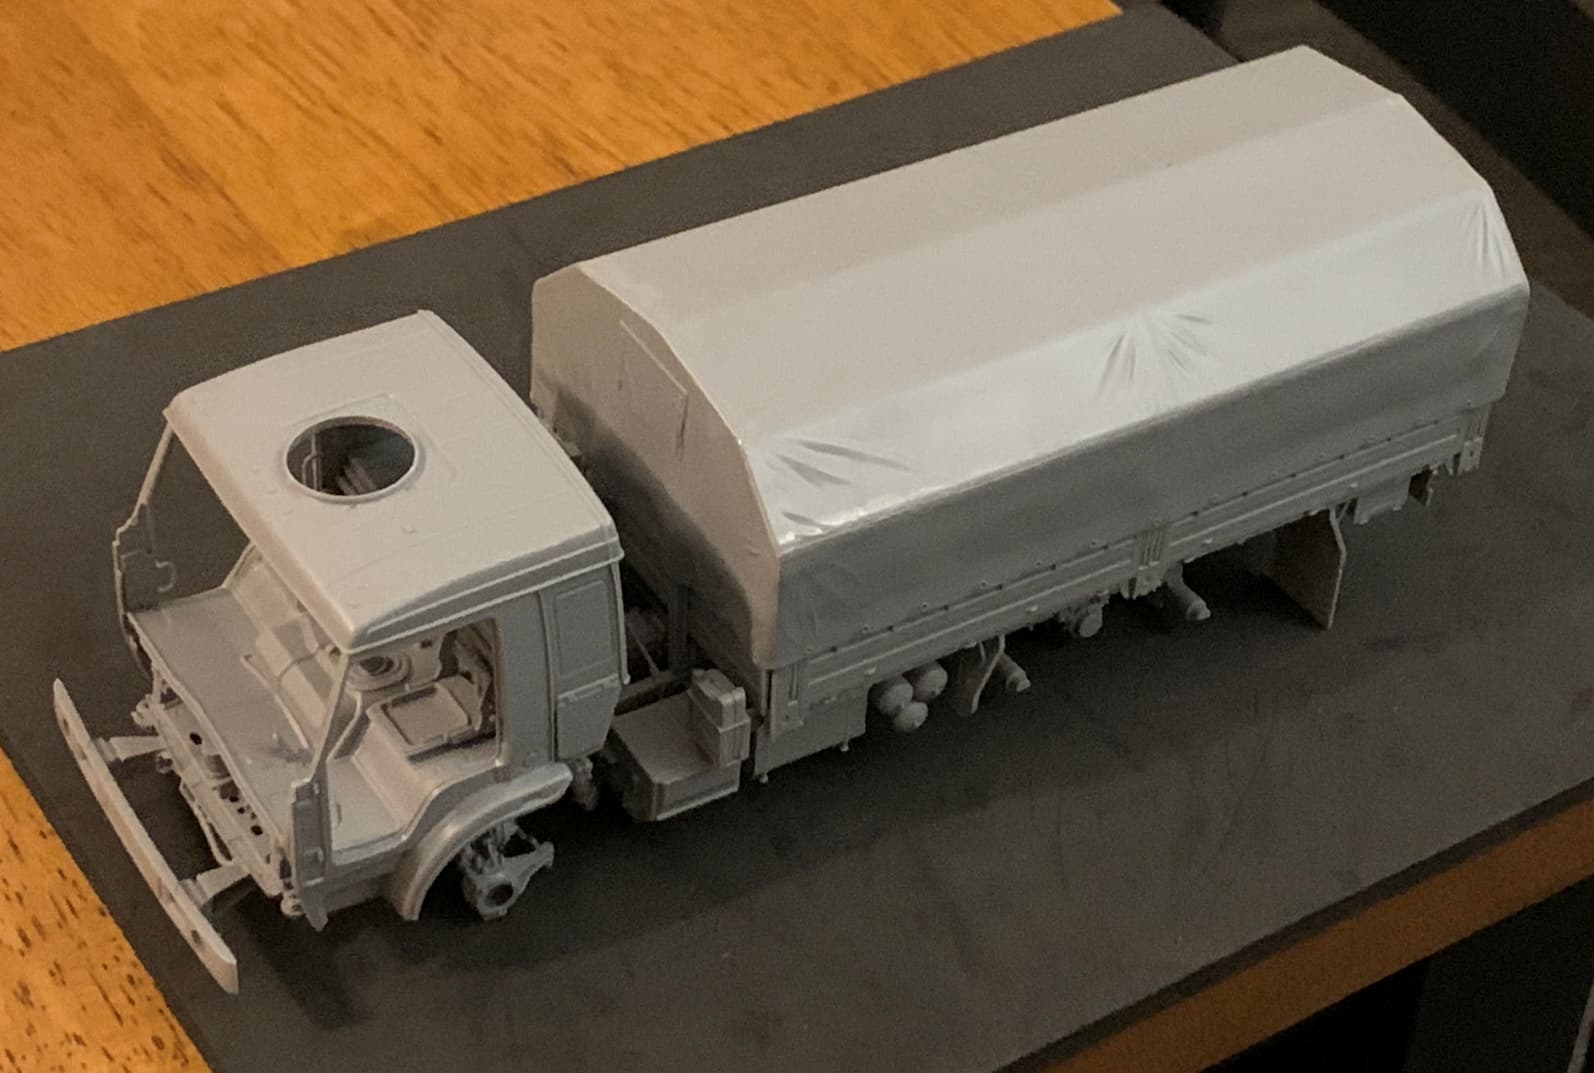
Well, between cross drilling the rotors on my CB, walking my dog and apparently being unfriendly online, I’ve managed to get some building done on one of the Zvezda kits I received yesterday - the Kamaz 5350, which will be one of many representing the Army of Z.
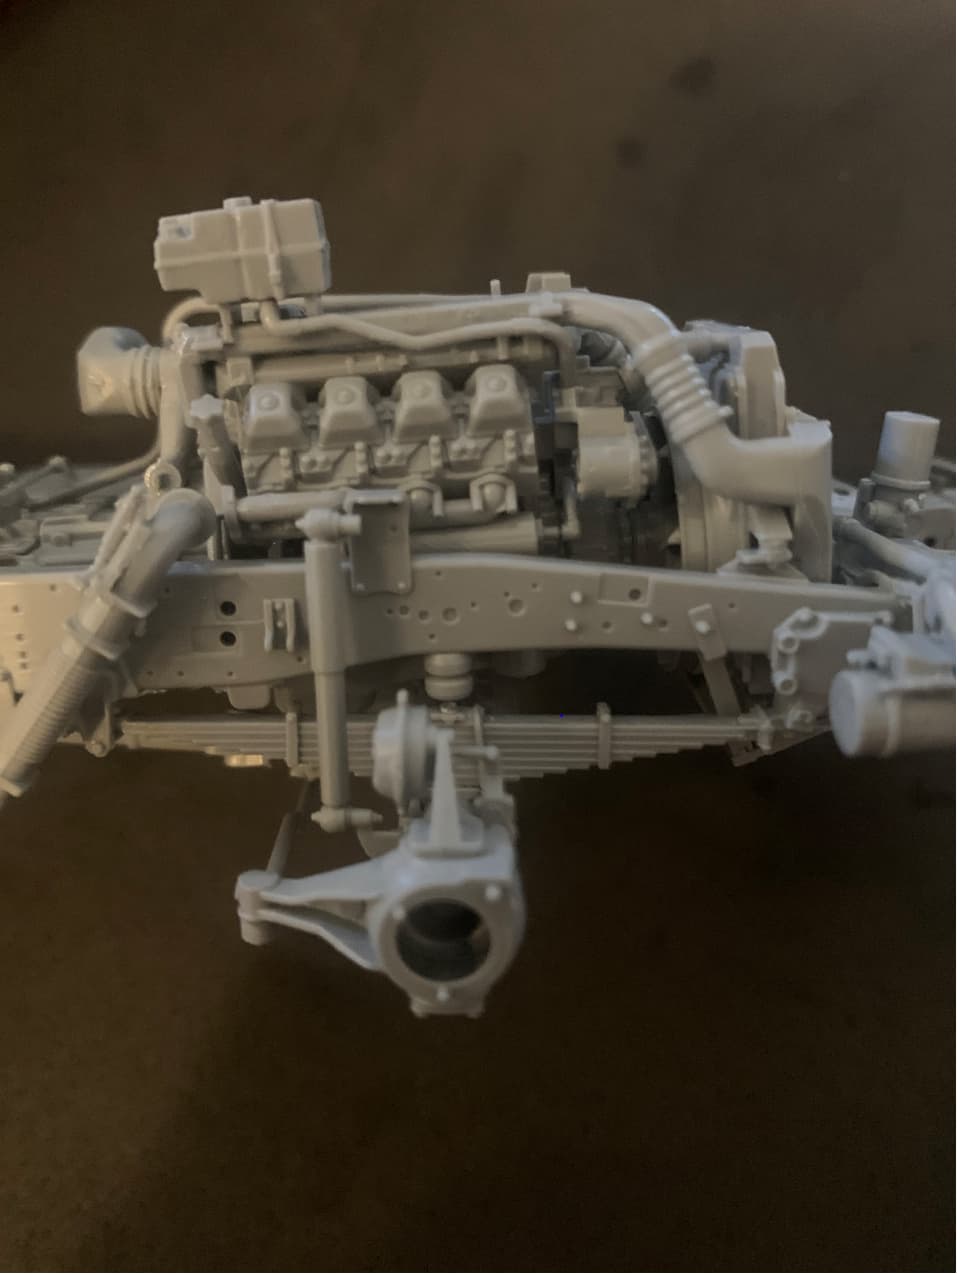
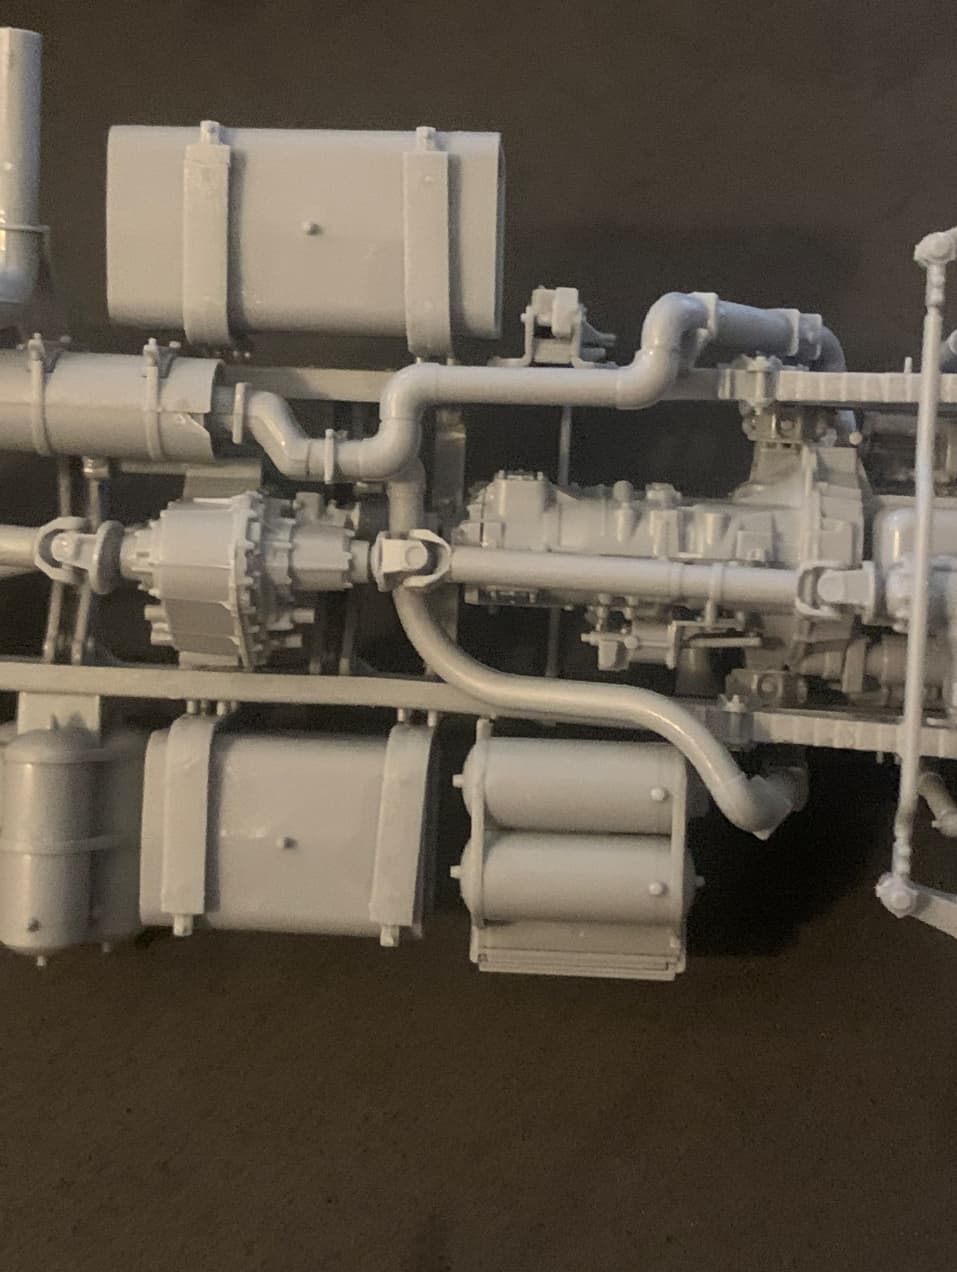
I recently said these Zvezda kits are probably the best out there right now, as I’ve built quite a few. This one is no different. The engine should be canted as shown. The radiator mount is similarly canted to allow them both to create a perfect fit between the fan, the radiator and the associated parts for the cooling manifold.
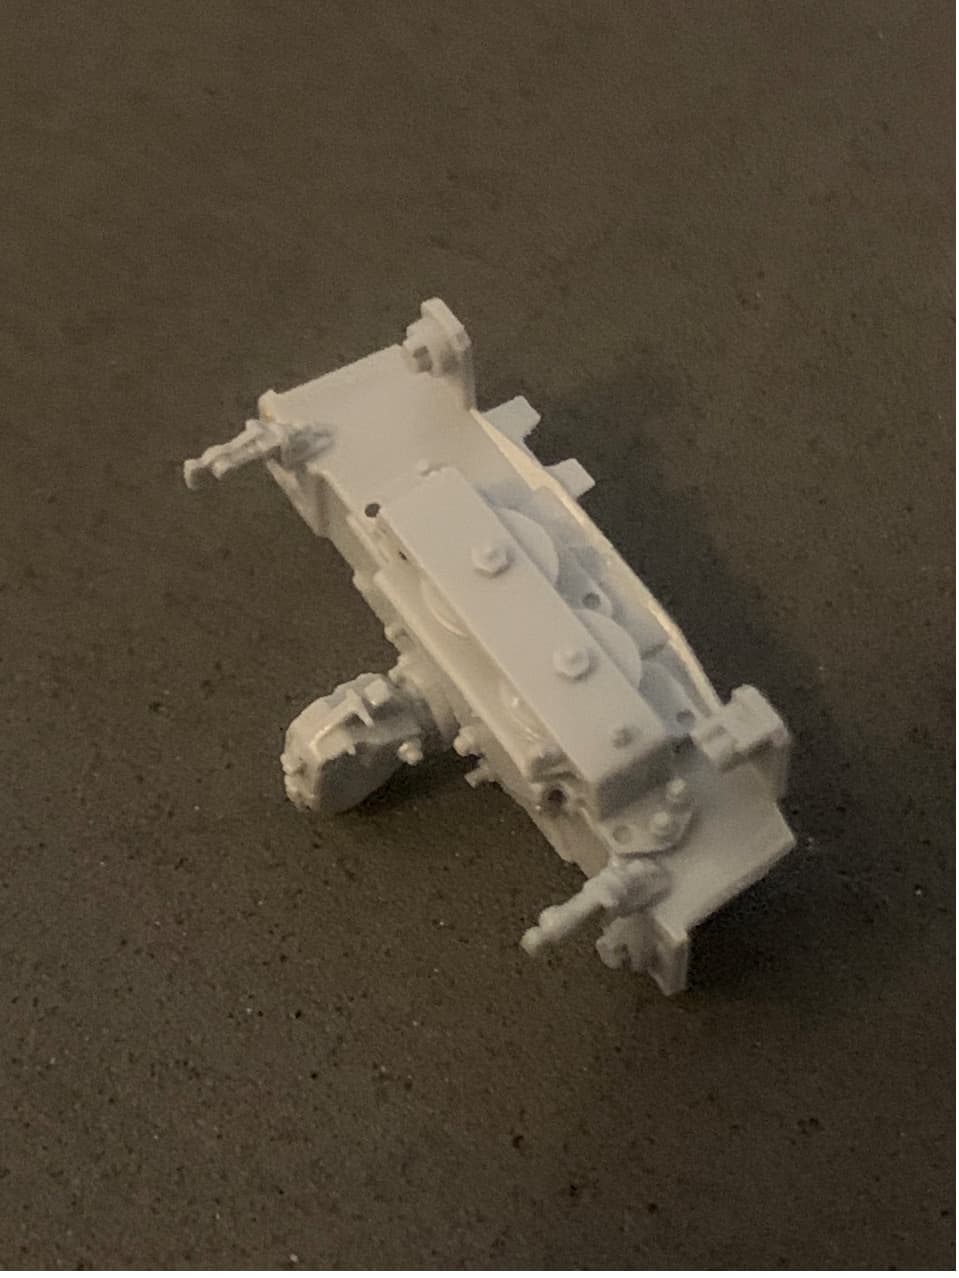
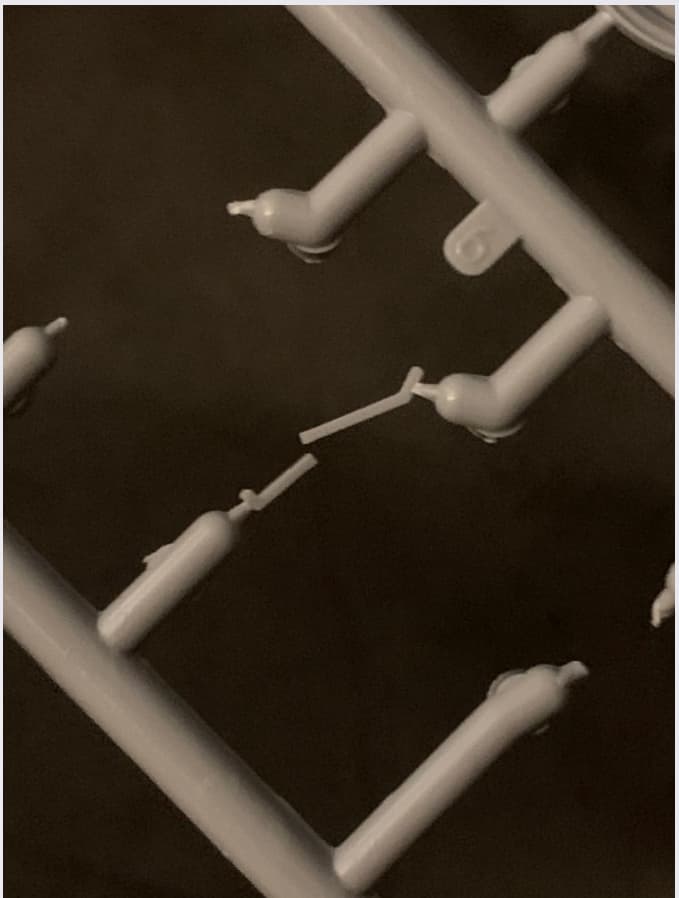
Not everything is perfect though. Two of the parts for one of the turbos were short shot. I’ve requested replacements. they’re missing in the photo.
Everything else fits perfectly as well. Haven’t quite finished the chassis yet, and will probably leave part of it until the very end. The glad hands are just begging to be broken off during handling:
Looks fantastic so far, great detail . I have the zvezda kamaz 4350 (or something like that) and it’s a beauty. Planned on making it in a diorama with some live resin mortar crewmen.
As you can see the outboard mudguard support is missing. Two were broken on the sprue. I was able to fix the inboard one okay as it won’t be seen much. I’ll replace the broken outboard support with flat wire or a narrow piece of PE fret. It’ll probably look better than the original.
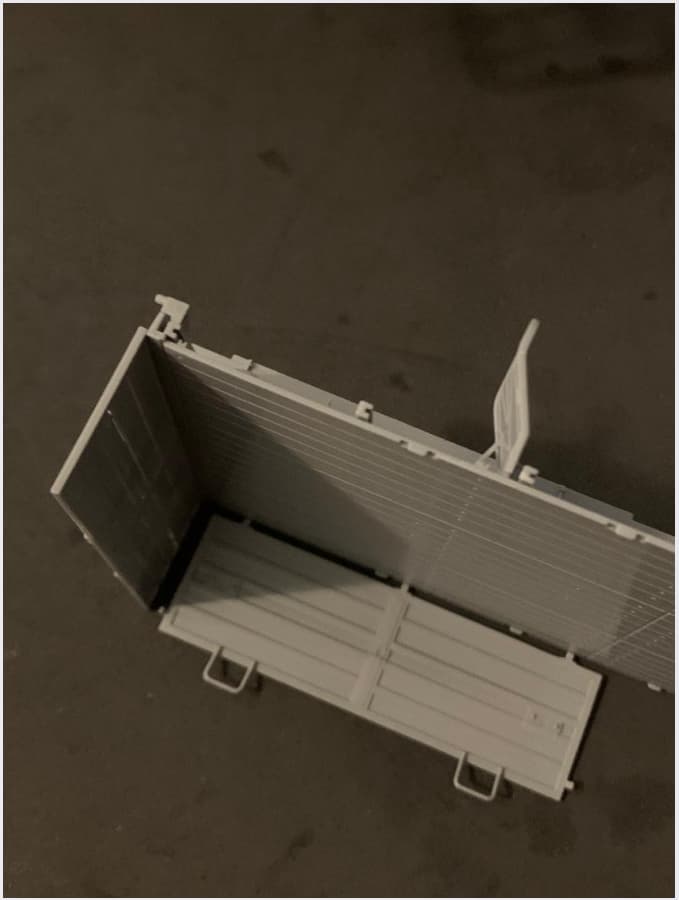
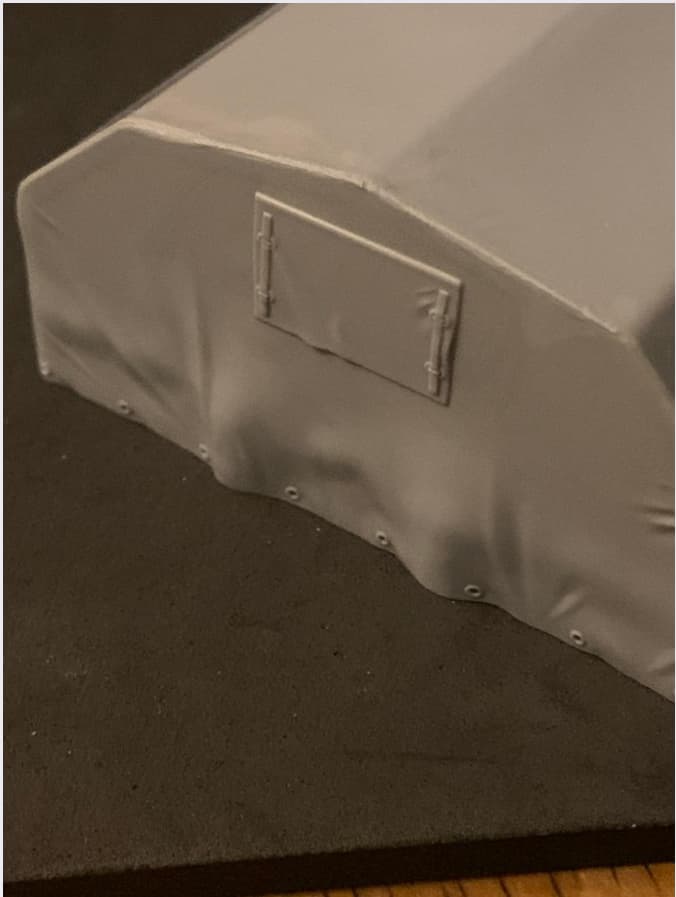
While some assemblies cure I work on others. The five piece tarp goes together perfectly with a little prep beforehand. One exception was on one end where the roof edge was slightly warped. It won’t even need any filler.
Thanks for the update 18bravo. That shape of the Zvezda Kamaz tarp looks impressive and very close to the real thing.
I can only tell, that the latest news I’ve got from my local hobby shop is that they won’t be renewing their stocks with Russian kits and aftermarket stuff, Zvezda among them for the very known reason. So better hurry up and get your planned kits ASAP.
This is about as far as I’ll get until I receive the 3D decals for the dash, and the resin wheels. Then I’ll add the remaining subassemblies and off to paint.
Although Tamiya Olive Green would work (not olive drab) I’m giving serious thought to using Tamiya Field Grey. It’s a actually a greyish green. I use it when doing black/green British armor and it looks just about right.
The instructions call for protective green but list it as Tamiya XF61 Dark Green.
I may do a few shots on an old wreck and see what I like best.
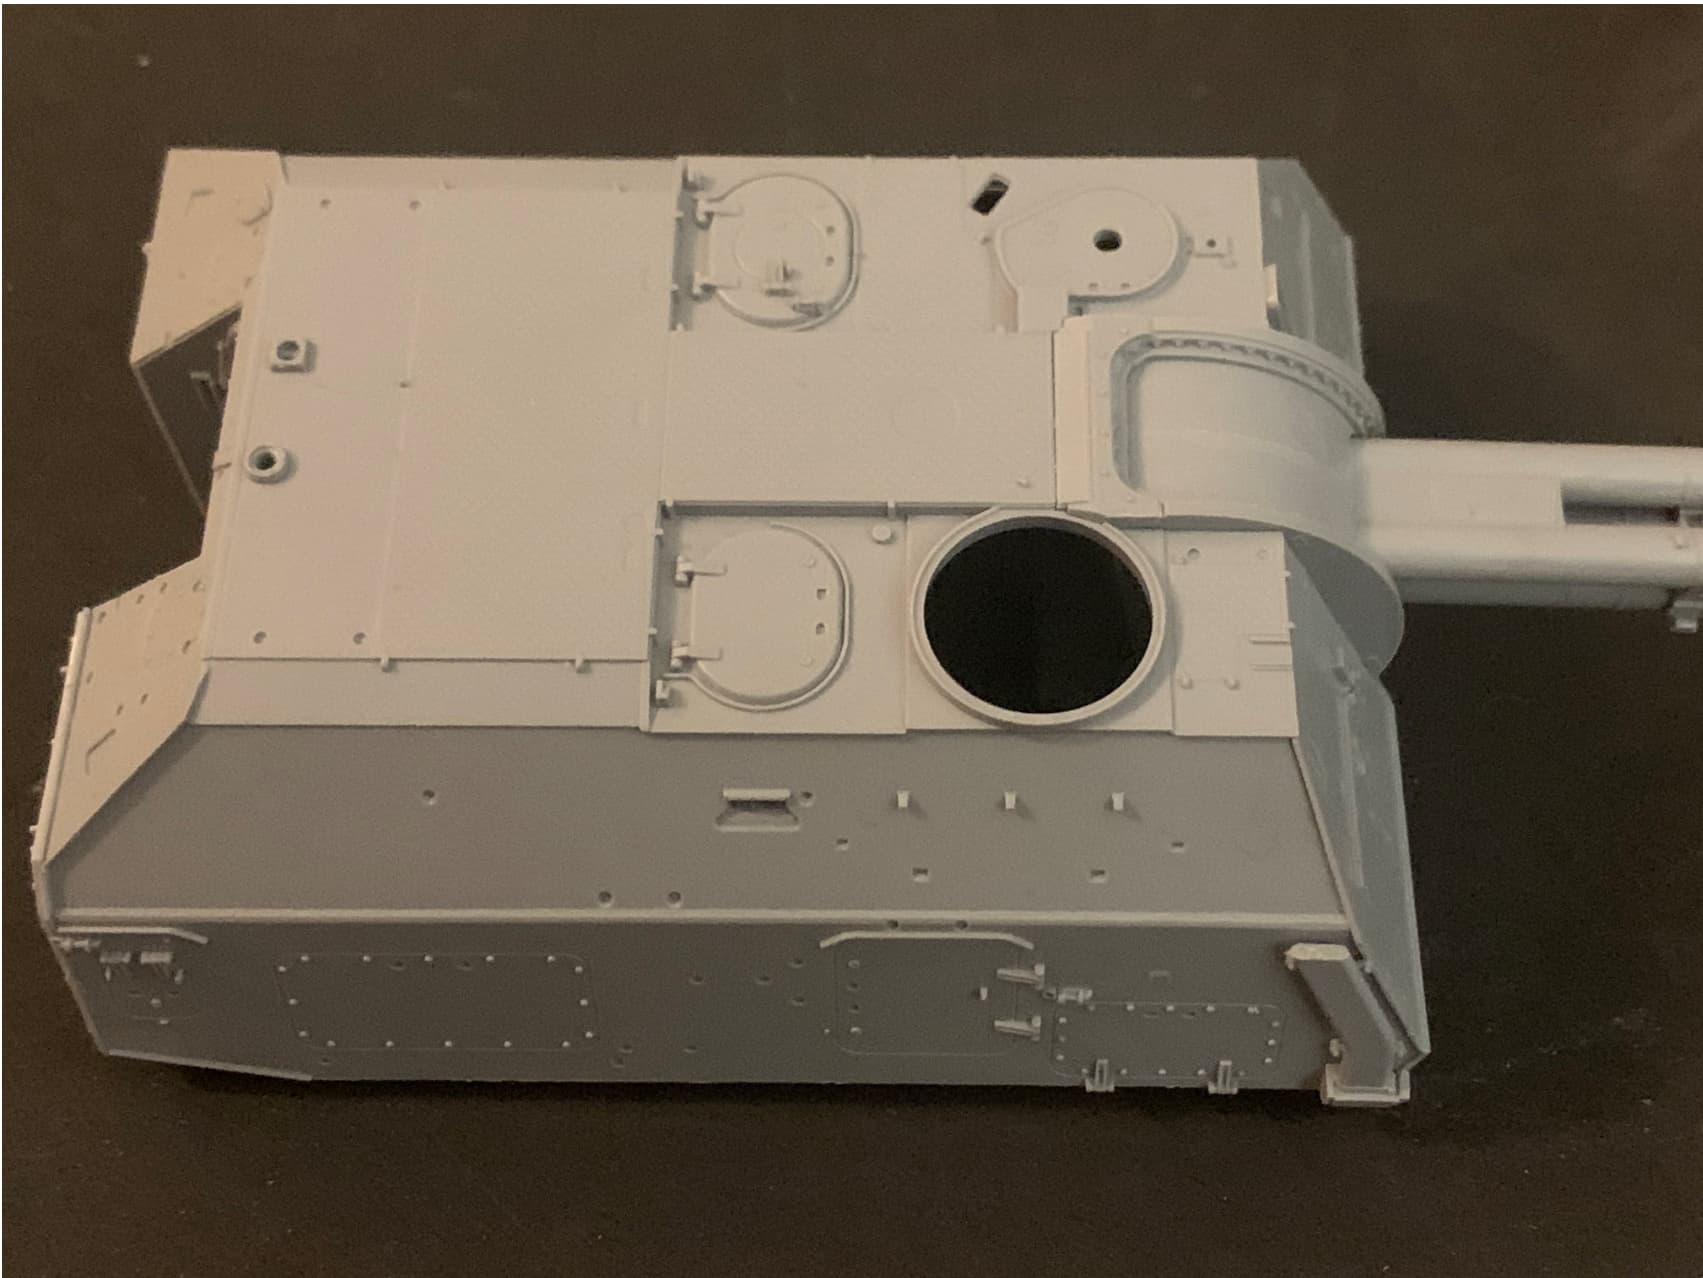
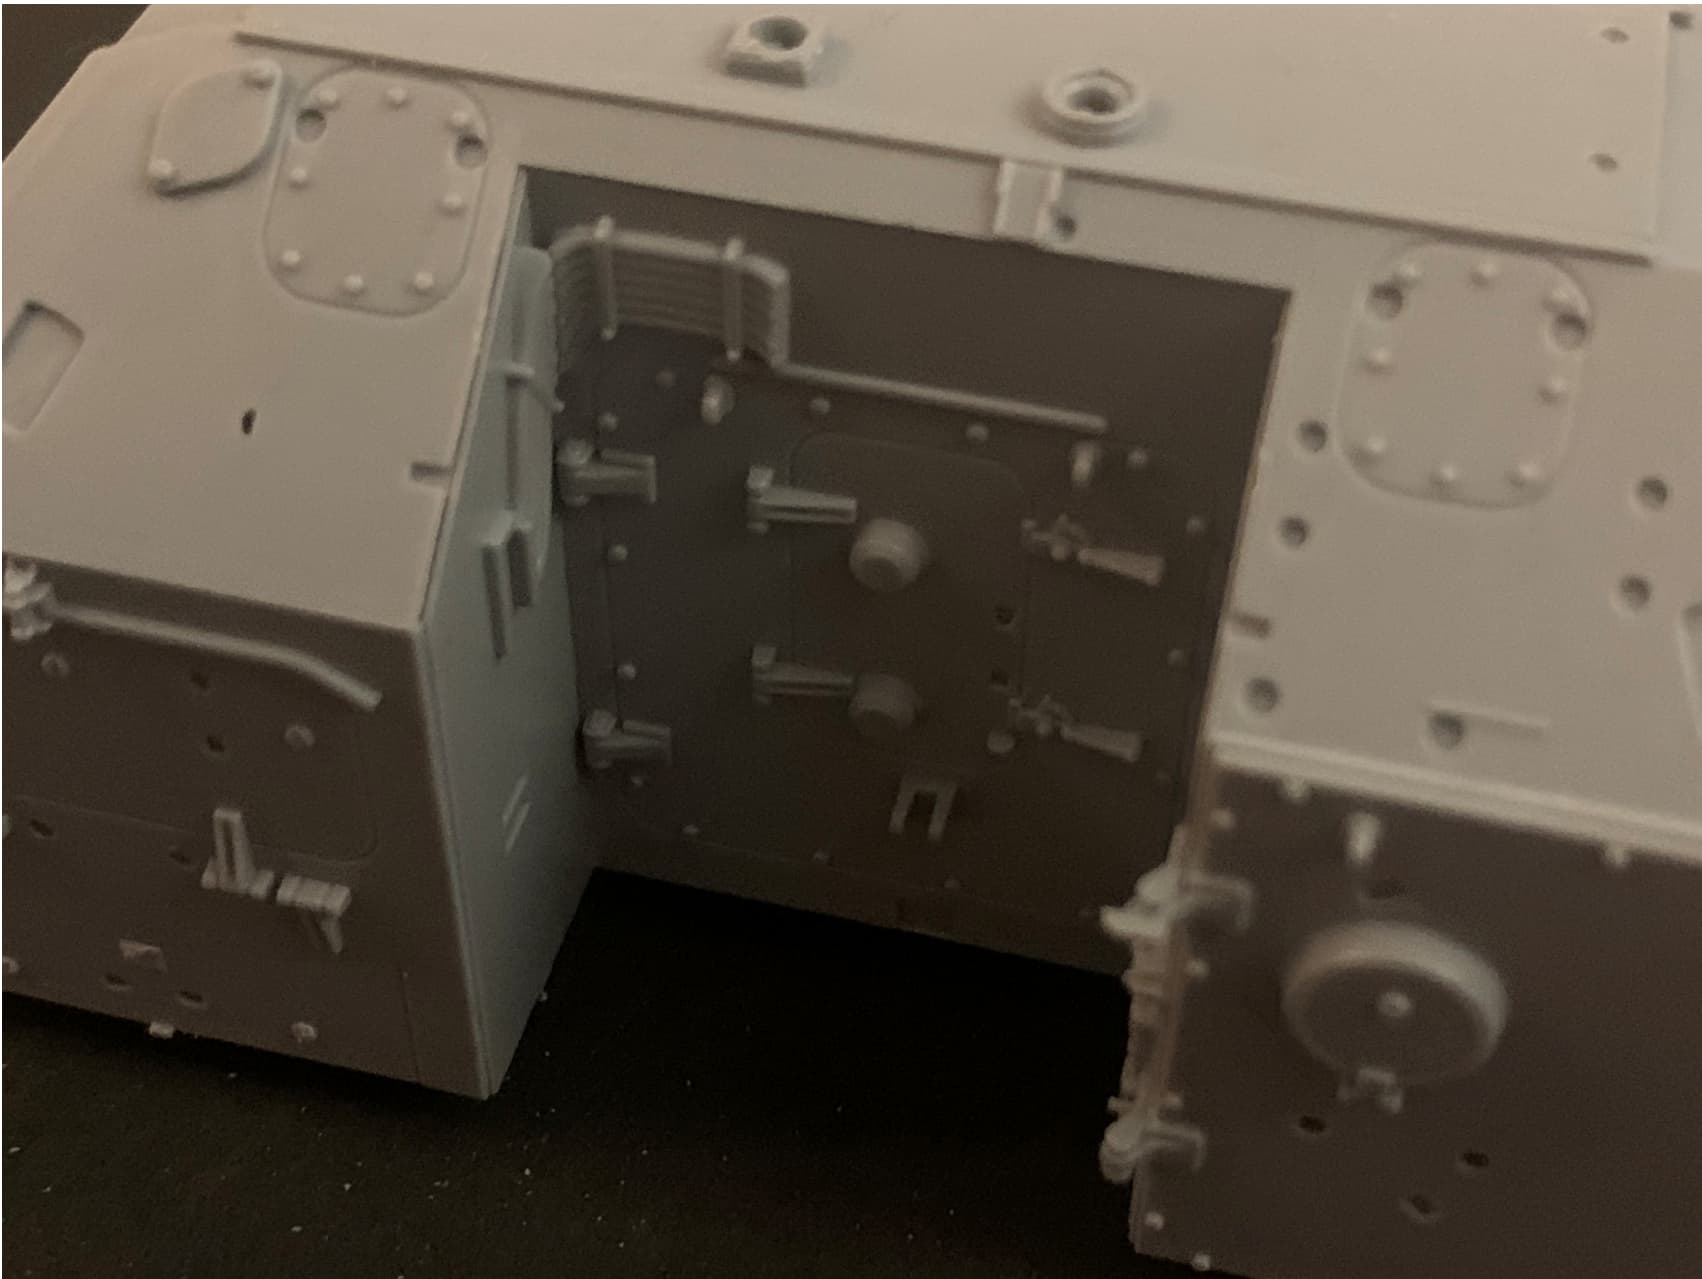
So with that one almost in the finished category it’s time to move on to the other kit I received the other day, the MSTA-S by Zvezda.
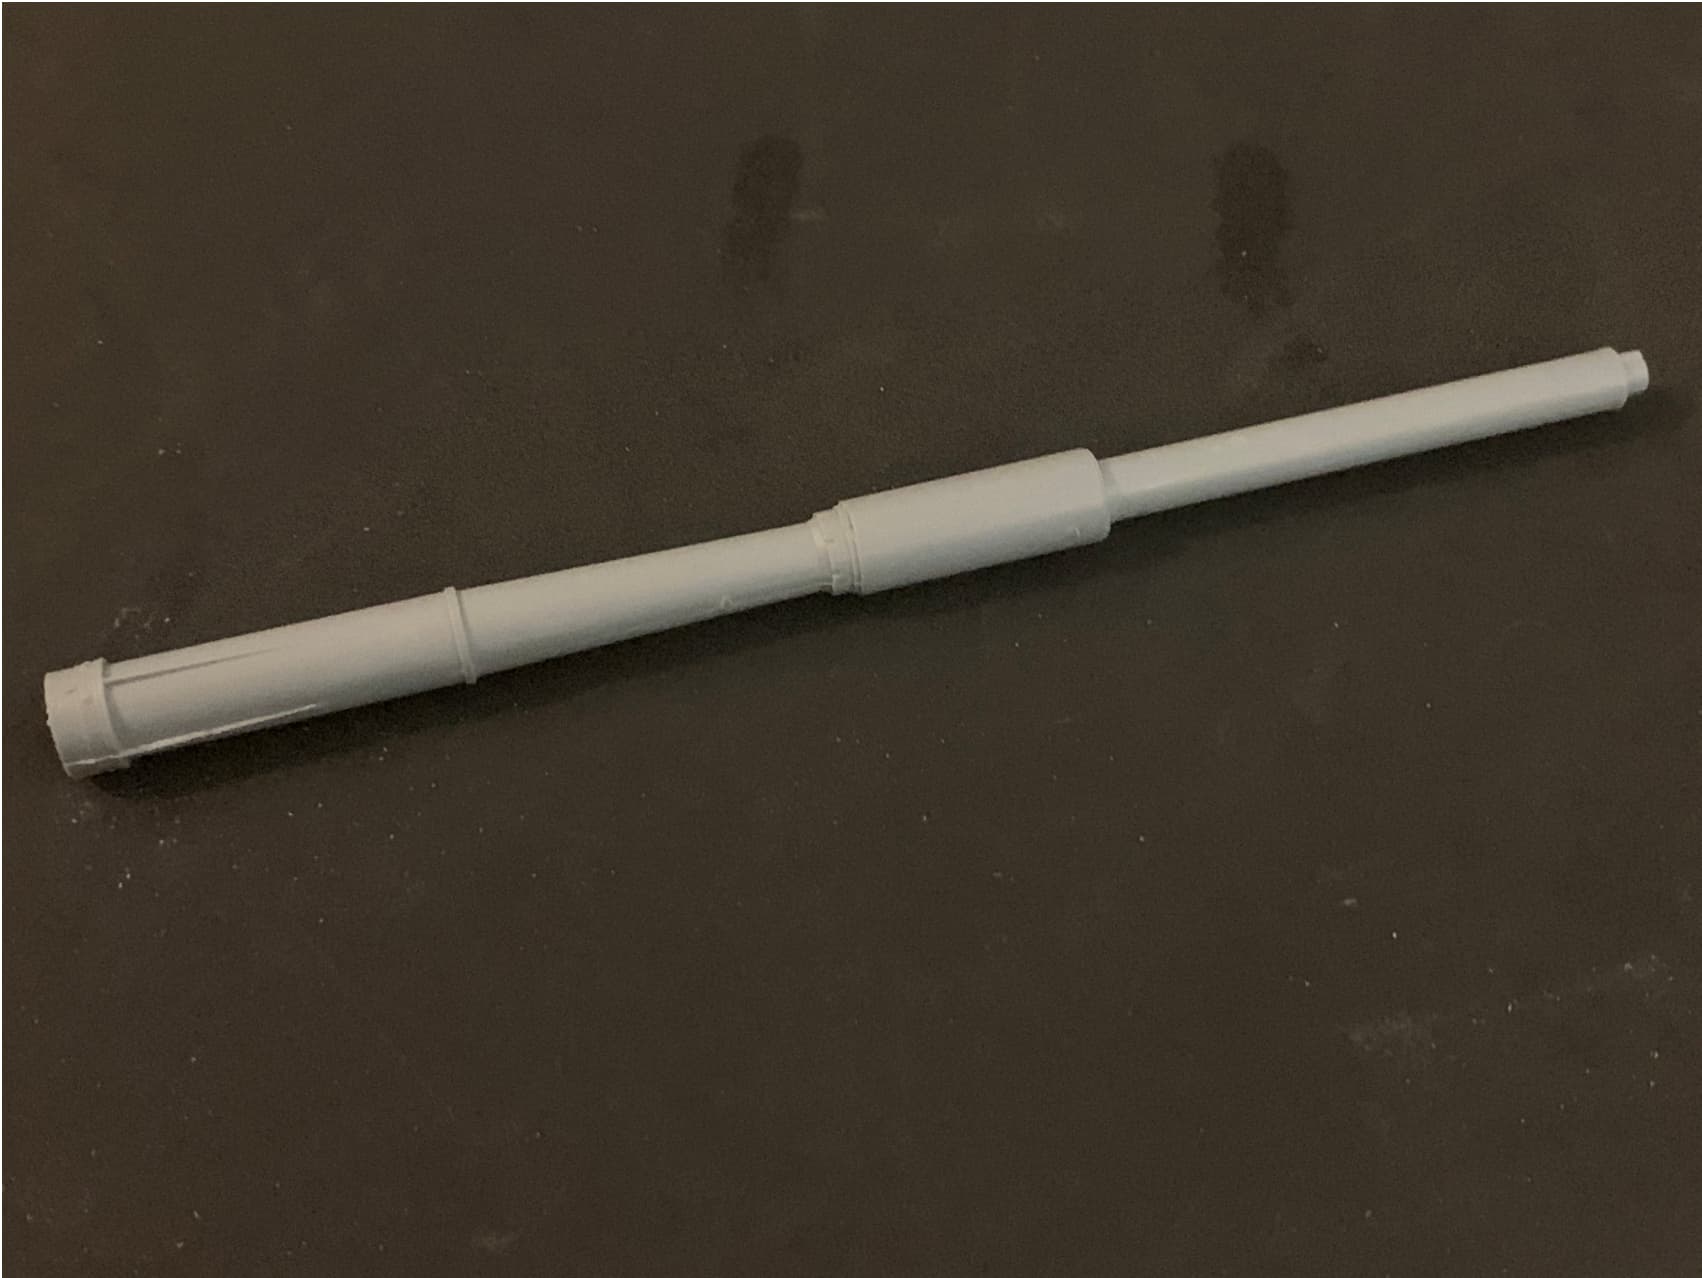
As with most tanks and artillery pieces I like to start with the barrel first so it has time to cure during the build in case I need to work on it. No need for metal barrels if you give them a little TLC.
There are so many different facets on this thing it’s easy to think it’s never going to go together well. So I paid particular attention to the sprue attachment points, and amazingly it goes together without a hitch.
Although there are some very interesting schemes for it, this one will probably be just a monotone green as well, as most in this current “limited incursion” seem to be just that.
The markings will give it a little something to break it up.
Just for $hits and giggles, a few years ago I used Tamiya RAF dark green 2 on a trumpeter MAZ tank transporter and it actually came out fine. So many dark greens to choose from though……