Nice camouflage, Peter ![]()
2 Likes
Crawling to the finish. Just going to add decals, panel lines, clear coat and good ole R2D2. Then I’m gonna call it done and retire it to life as a weathering mule.
Any way to get a couple of more days to close this one out?
8 Likes
Matt @SSGToms - buddy, can you do me a fav and a few others, put a 2 week extension in until 14 Nov 2023 please - Just to get the last few across the line … many thanks in advance mate … cheers … John
3 Likes
Done.
3 Likes
Cheers matey ![]()
1 Like
Thanks. Only the decals and a spot of weathering to add to the Botany Bay, but the extension does help. Hopefully will have that done by the weekend.
3 Likes
My Federation Heavy Cruiser continues to suffer from one problem after another.
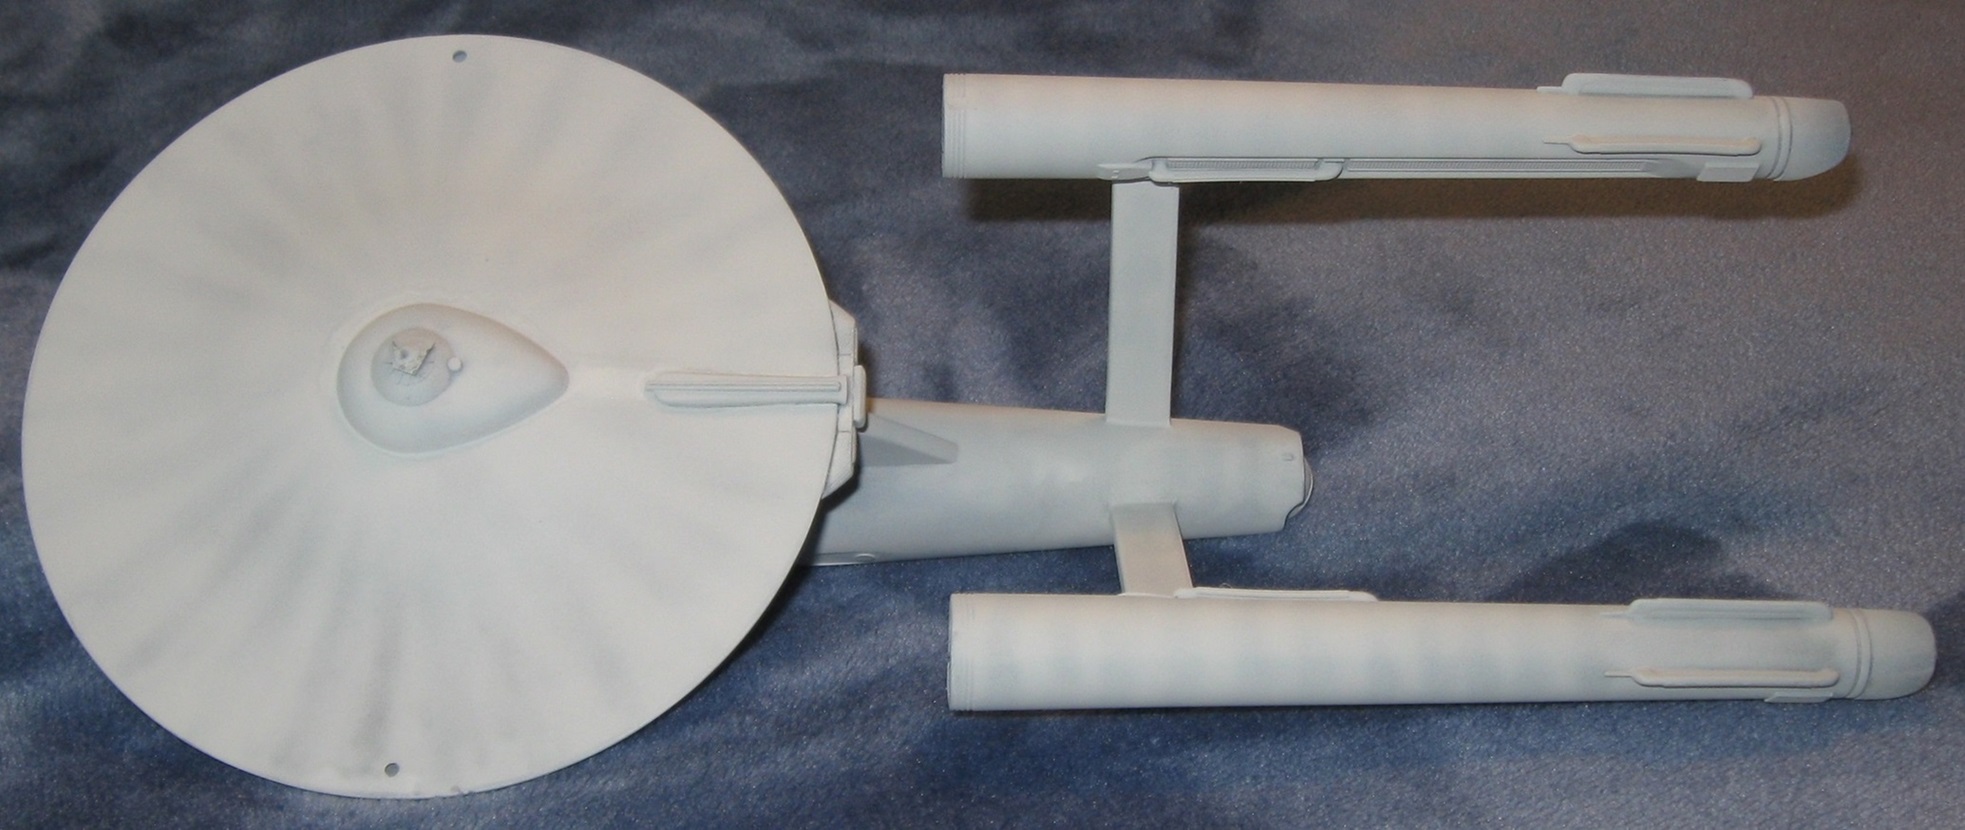
During the second attempt to shade and paint the model, water once again contaminated everything, resulting in all sorts of paint mayhem.
My frustration level with this project, and models in general, is currently very high. It may be best to put this in the closet for a year or two and pursue something much easier.
6 Likes
I don’t see it. Looks good in the photo. ???
—mike
1 Like
Doug, you are very close mate, and like Mike said, the water issues cant be seen in the images, so I would battle through and get this one over the line. Its looking really nice at the moment ![]()
2 Likes
Doug, looked like an excellent paint job. But maybe the water issues are more visible in real life.
2 Likes
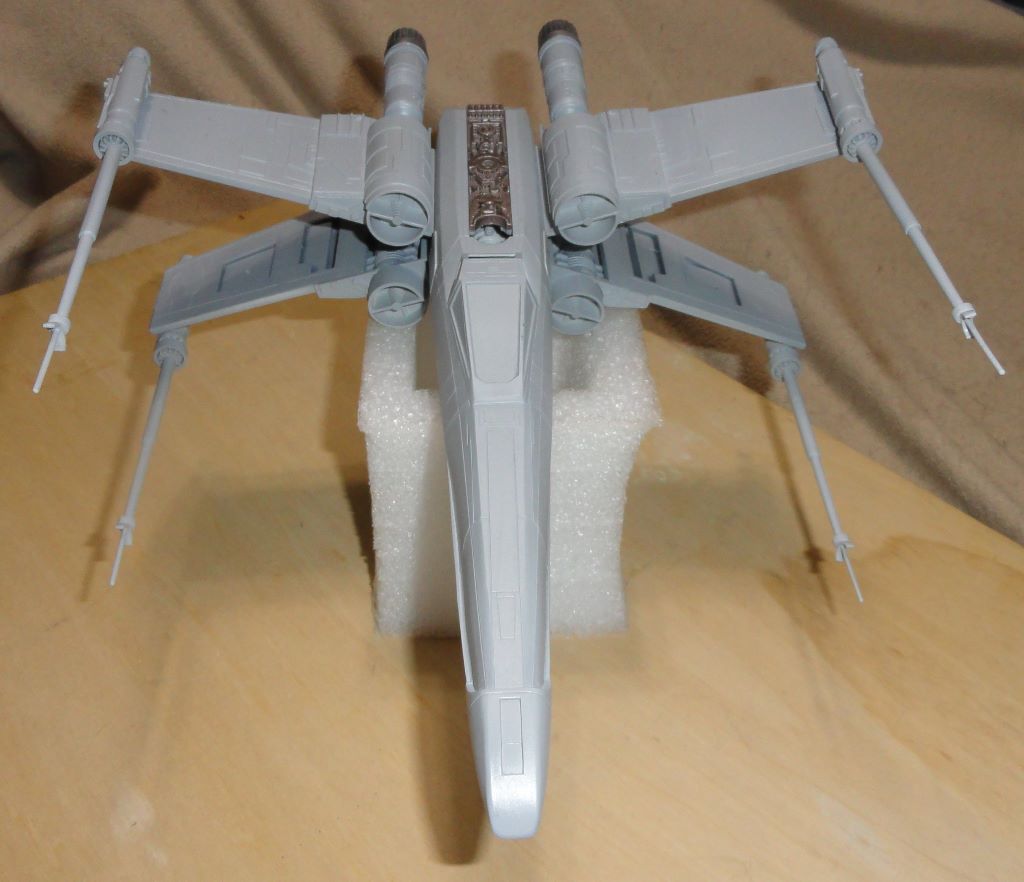
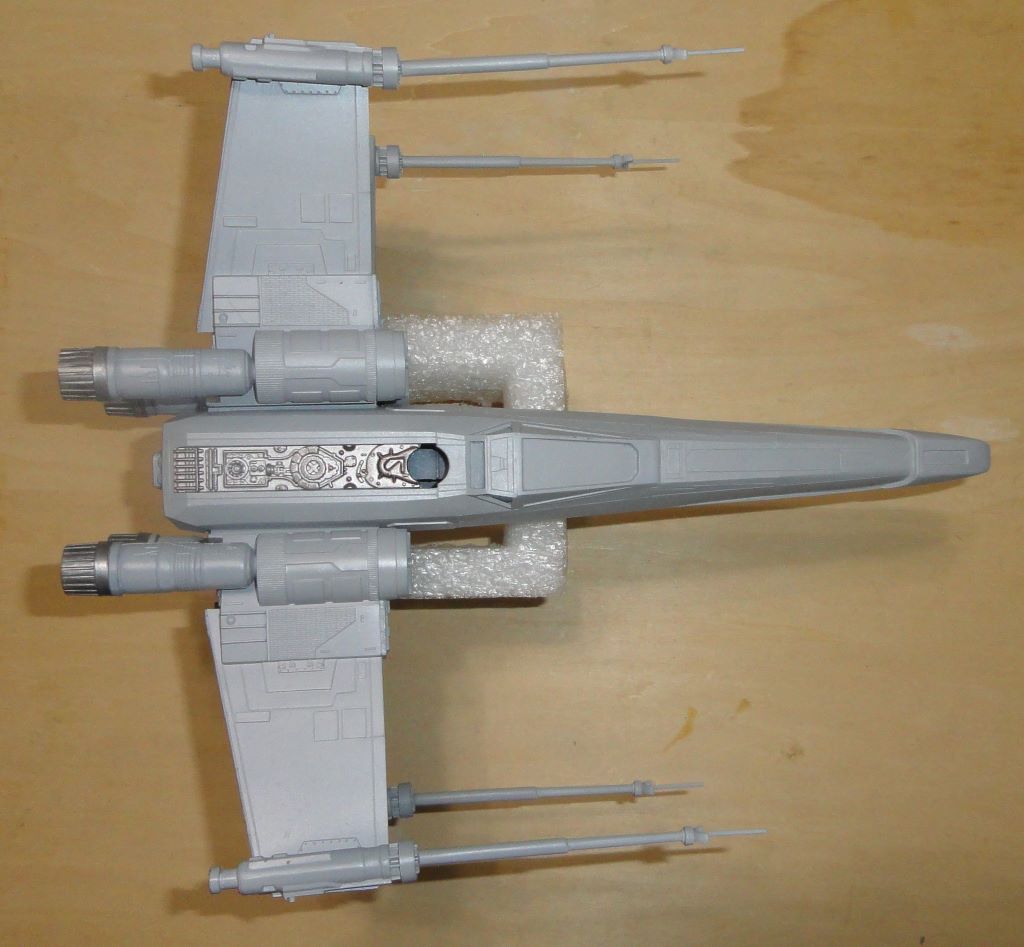
It’s OVER. I’m declaring this disaster finished. ![]()
MPC 1/4X Return of the Jedi X-wing Fighter.
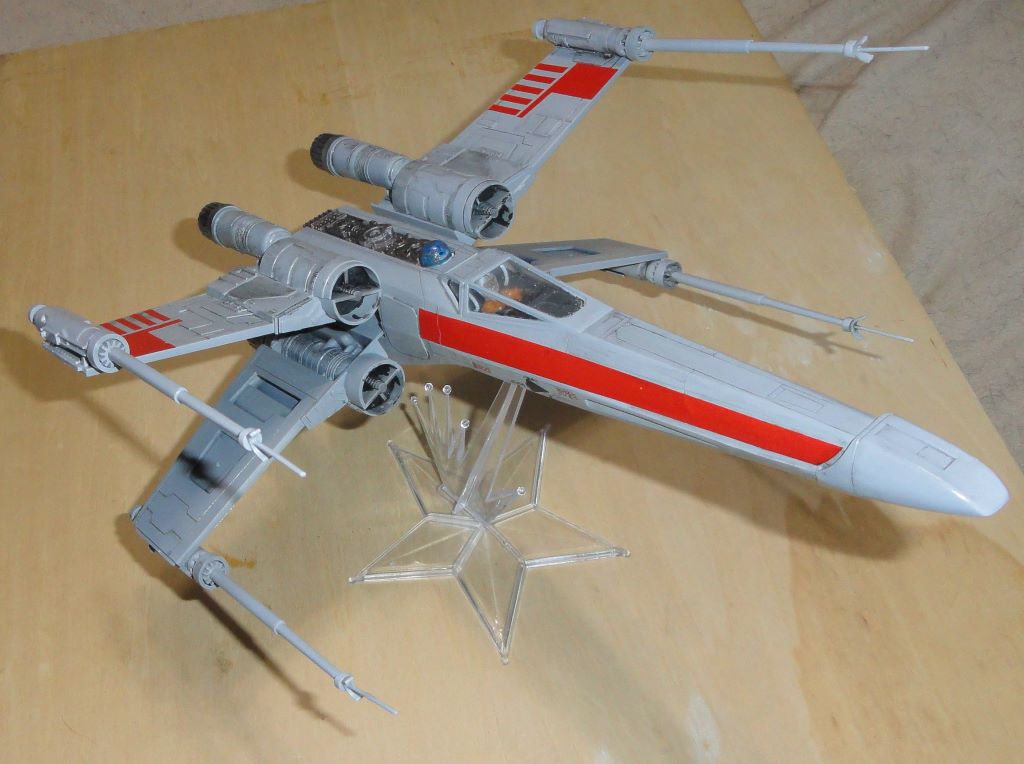
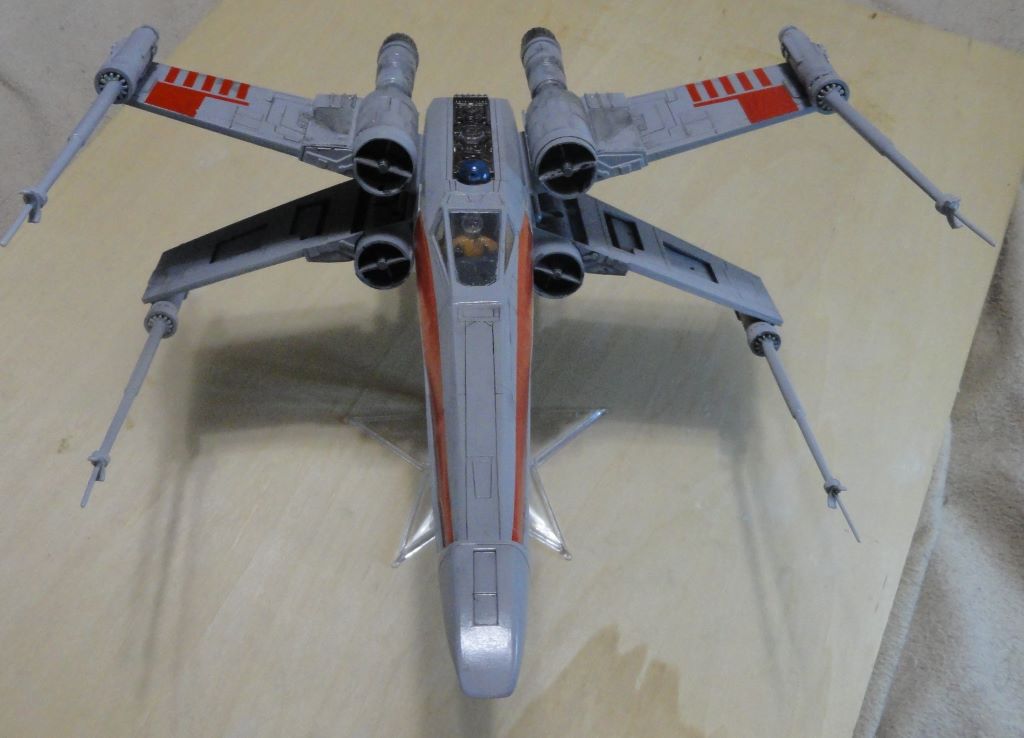
Luke and R2 with some greebles in the cockpit.

Poor fits, soft details. It most likely has a future as a weathering mule.
11 Likes
Nicely done Mark and main thing is, the X wing is across the line … it gave you a run for your money, but it didnt beat you and it has come out looking pretty nice in the end. And even if you are not 100% happy with it, then you have the fallback option and a paint or weathering base for it … Great work ![]()
And a last reminder for everyone still in the process of getting the builds finished … We are now down the last 7 days of bench time … End date 14th … Frack … May the force be with you … And live long and prosper … ![]()
3 Likes
Great job, Mark.
The MPC X-Wing used to be “the only game in town.” I built one decades ago and have since throw it away because it broke too often.
Be very careful of the four laser barrels as they are so delicate and fragile that one small bump and they might snap off at the base of the laser cannons and then it would be a royal pain to glue back in place. The laser barrel insert peg is so thin and narrow that it’s very insecure to hold something so long.
3 Likes
Been there done that. At least one of the laser barrels broke off at the base, another one is looking a bit wonky. and one of the ‘laser points’ broke just after the final clear coat. Luckly, it broke in a cone shape pattern so it sort of self-jigged when I put it back together. I tried to use R2 to locate the electronics strip behind the cockpit, but he fell in, I had to cut away the plastic fuselage to try and fish him out. I suspect that once I glued him in place, he’s only being held for Tamiya Extra Thick fumes. ![]()
2 Likes
Good work on the X-Wing Mark. I have heard this one’s a difficult kit so congratulations on finishing.
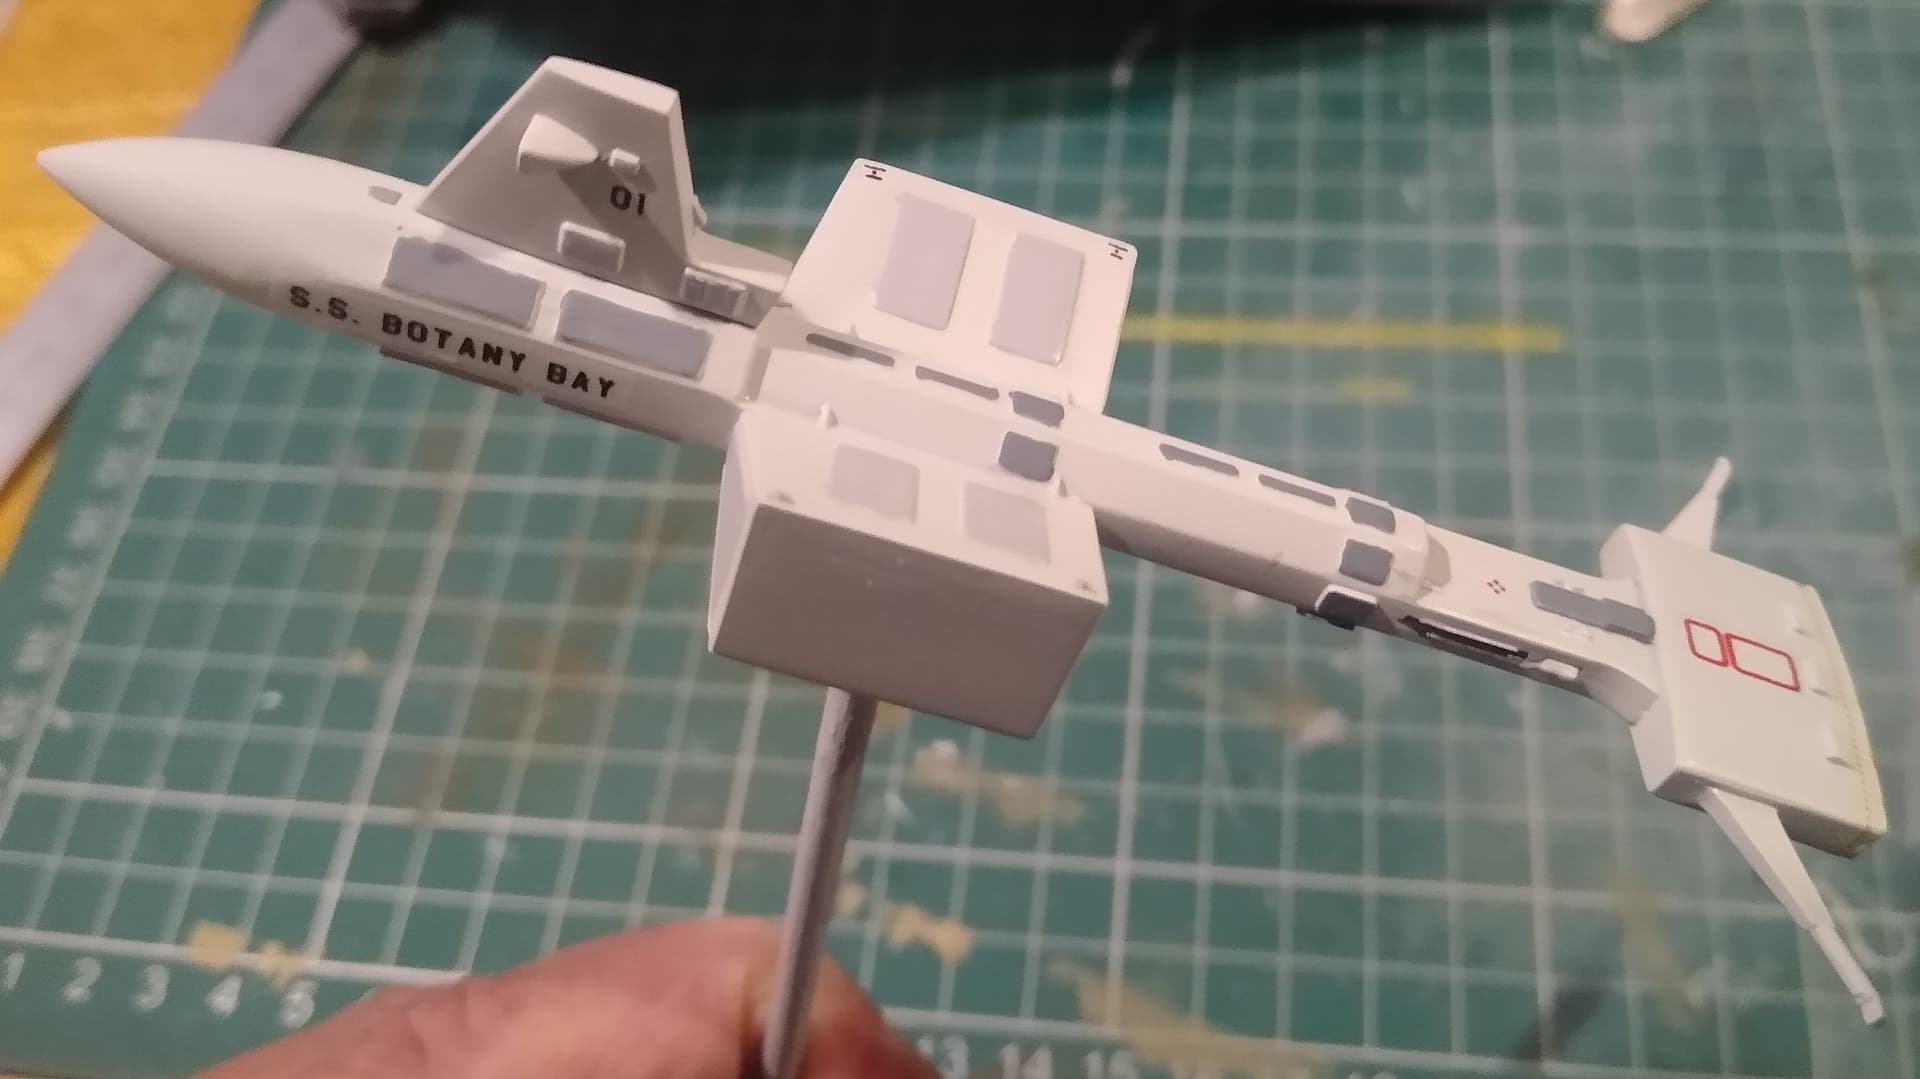
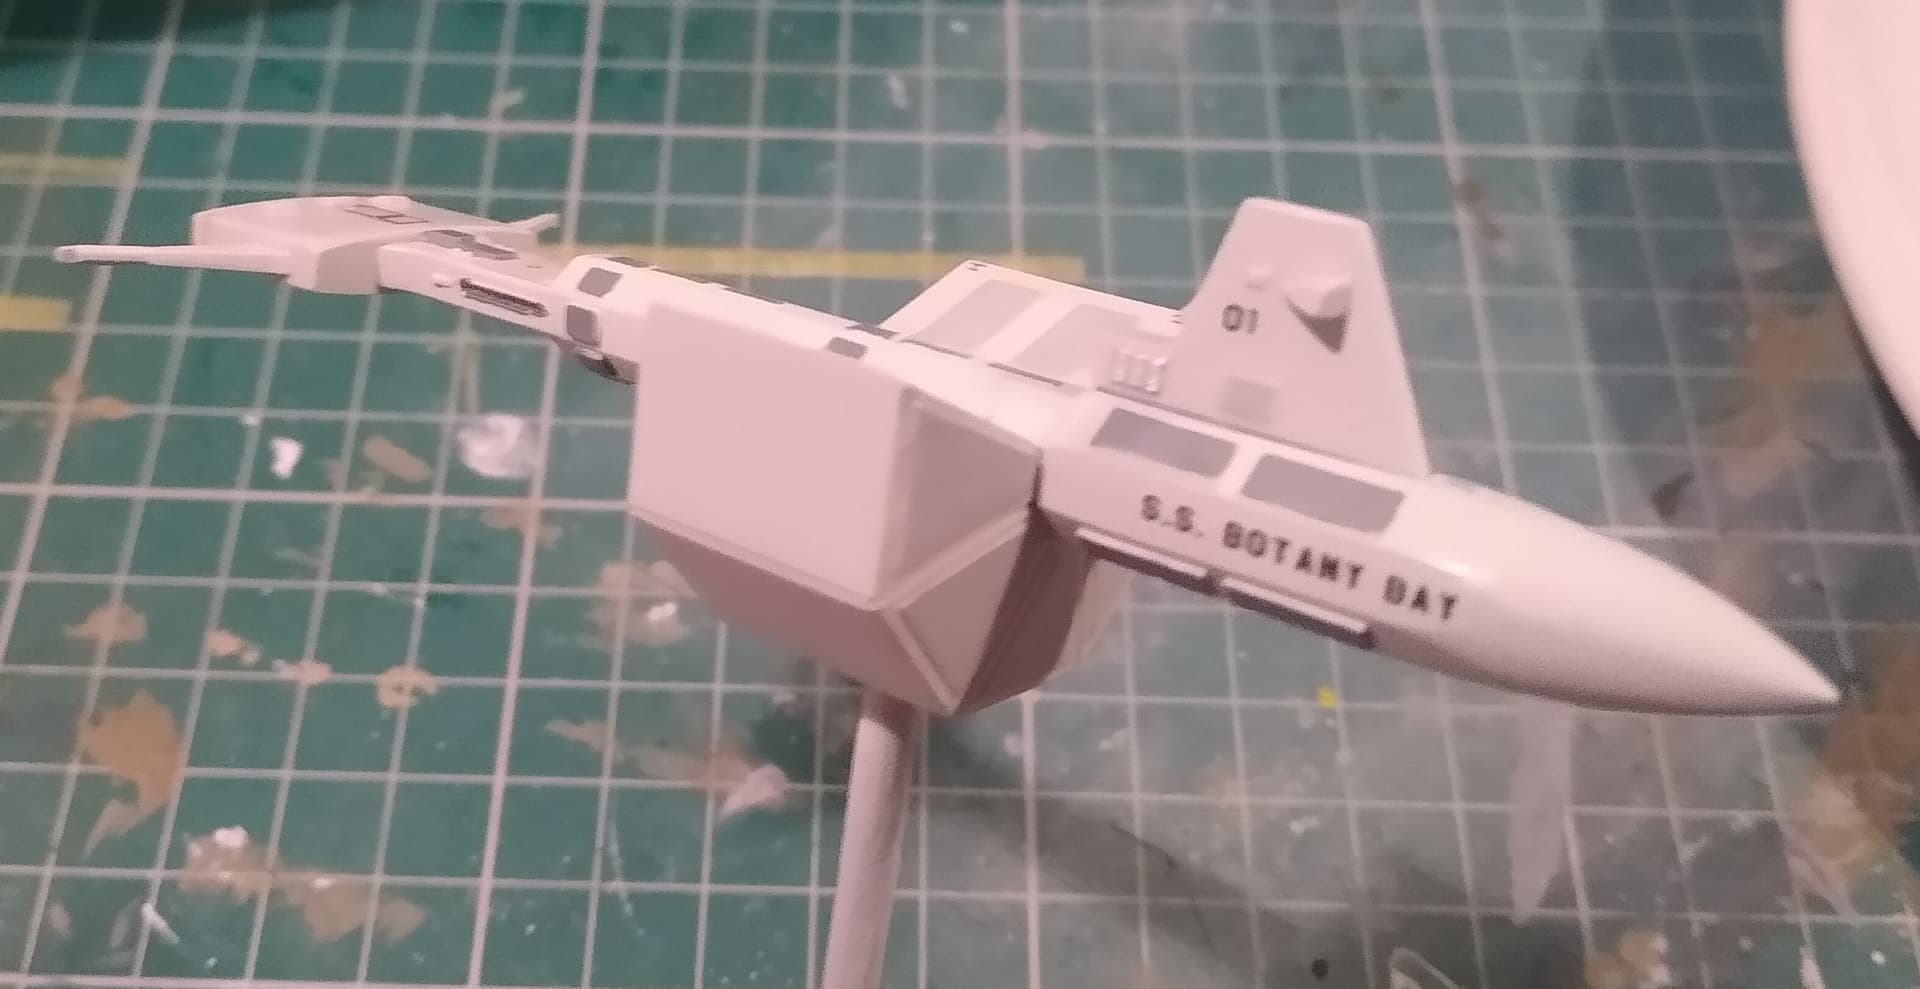
Well I finally got around to getting the decals on the Botany Bay. The home printed names went down well and I added some extra stencils from spare cut offs from various aircraft kits. Adds a little more life to it.
9 Likes
Kudos for persevering Mark. I hated that kit.
The decals do make quite a difference Stephen. Breaks up the monotone nicely.
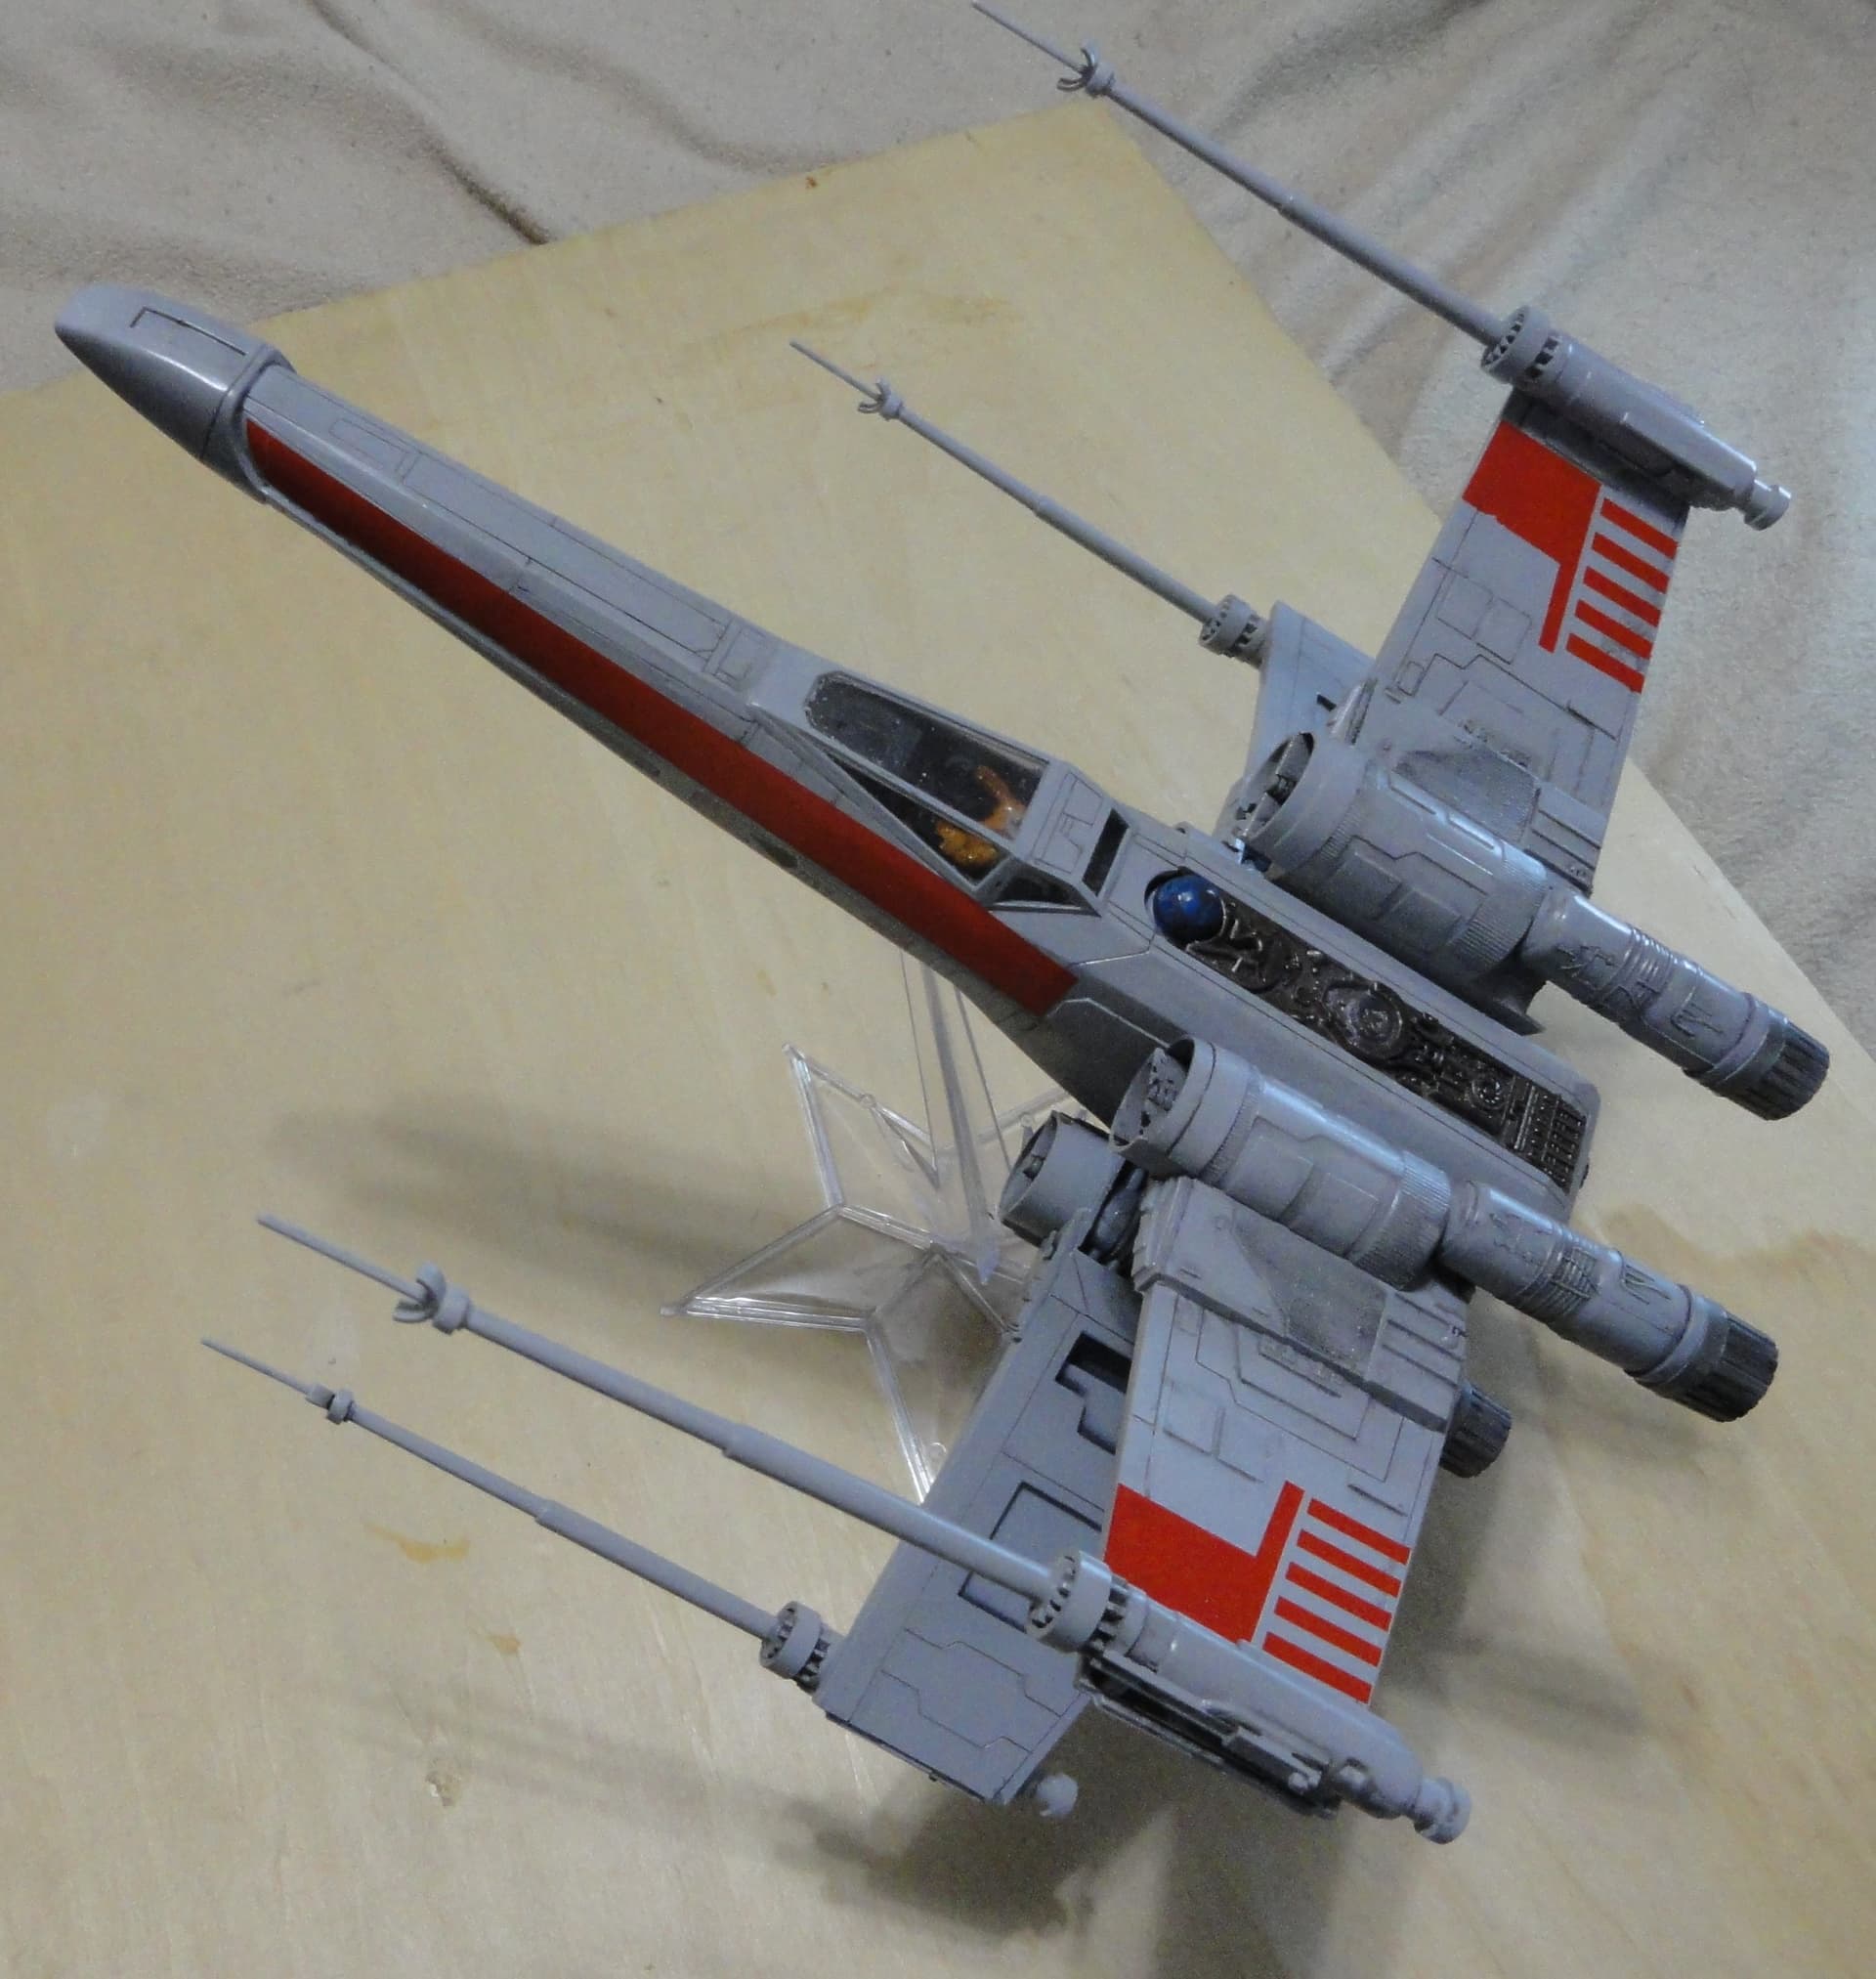
Well a teaser pic of where I am at. Doing the pin wash to accentuate the panel lines in the Finemolds X-wing:
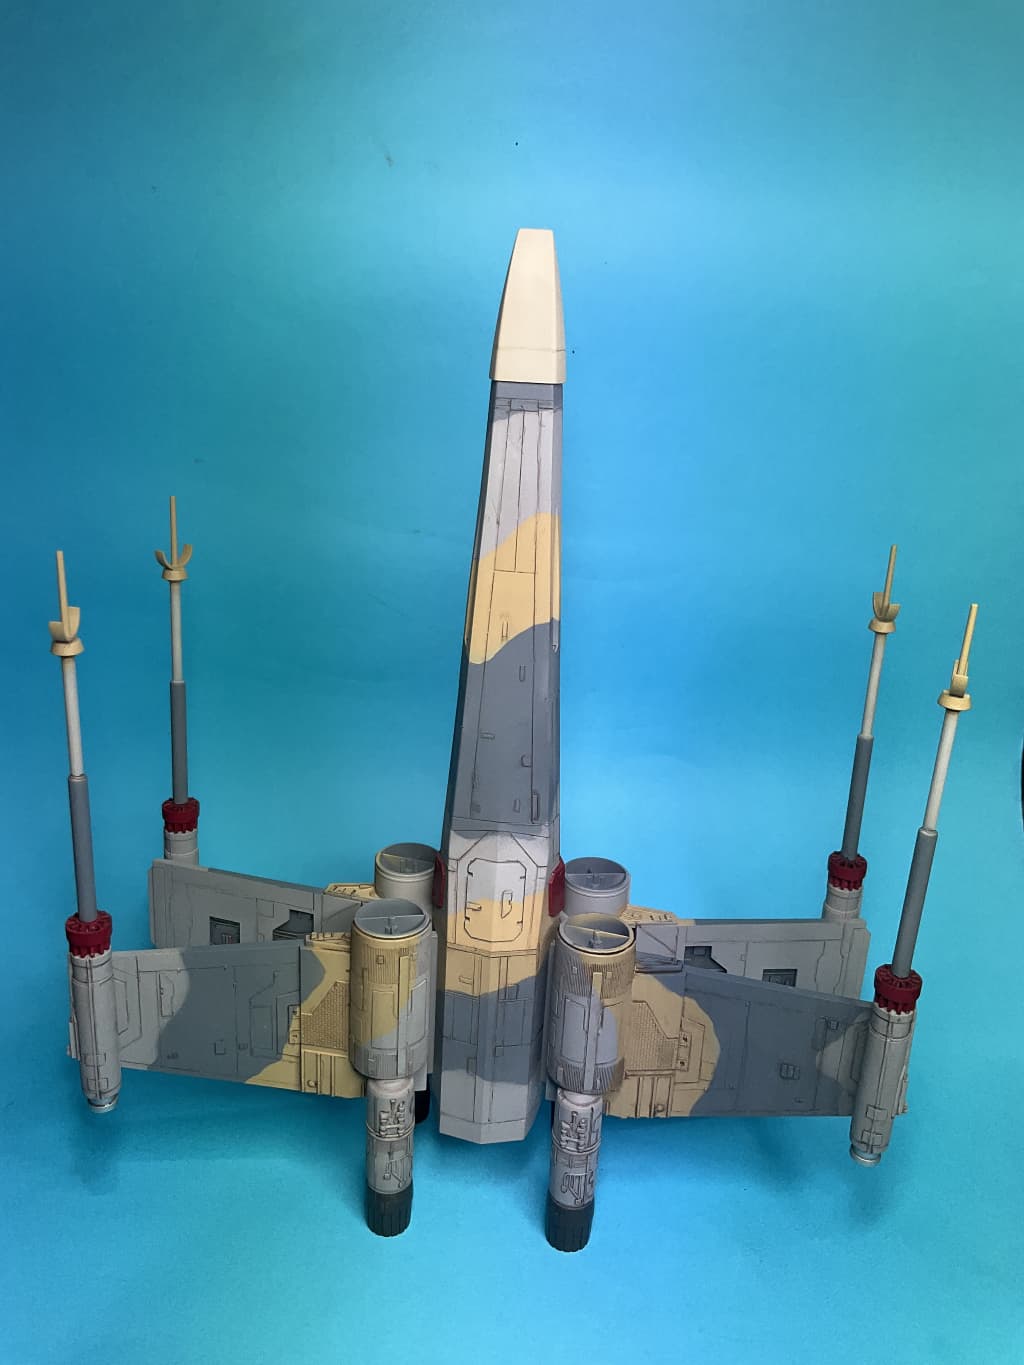
I don’t want it looking ‘looked after’ but a little grubby, so this is a nice result for me.
I am using Vallejo German Camo Black Brown, so it is a slow and tedious process. There is no flooding it on and wiping it off like most people do with oil paints and white spirit to clean it.
12 Likes
Thanks Peter. It’s given me a lot more confidence in printing more of my own. Just needs a little weathering and the base to paint now.
The cammo is looking great on your X-Wing, definitely something out of the ordinary. How did you use the paint to weathering? A thinned down pin wash?
2 Likes
Hi Stephen. Yes, I mix the paint with water. About 50/50 as the paint has been open a while and is a little thicker than it used to be. You just need to keep stirring the mix as it separates after a while. I moisten the area with water first, not too wet, then using a fine brush I just touch the tip into the groove and let it flow. Any excess can be dabbed/wiped away with a wet paper towel before it dries.
This colour is good for the technique as it does not have too many pigments in the mix. Vallejo’s mid browns separate into ochre and red colours when thinned like this.
3 Likes
Good going guys … Botany and the camo X Wing are looking sharp… Great effort ![]()
3 Likes
Looking good, Peter. Nice work on the panel lining. ![]()
2 Likes