@phantom_phanatic without getting to political i suspect a certain part time prime minister who opened her gob with a stupid financial budget that caused our currency to take a serious dive against the dollar and euro which really hurt my wife and when we were on family business in Spain a few weeks ago.
4 Likes
Yeah, but to be honest I’d noticed for a couple of years pricing going up, especially on stuff from the US. It’s a combination of increased USPS charges and another idiotic political decision a while back. We’re only supposed to be buying British now remember? Lol And all this of course has been made worse by more recent events.
But, yeah I don’t want this to go off topic either. It is what is.
1 Like
And Engage ![]() …
…
And I almost engaged it to the nearest black hole … !!!
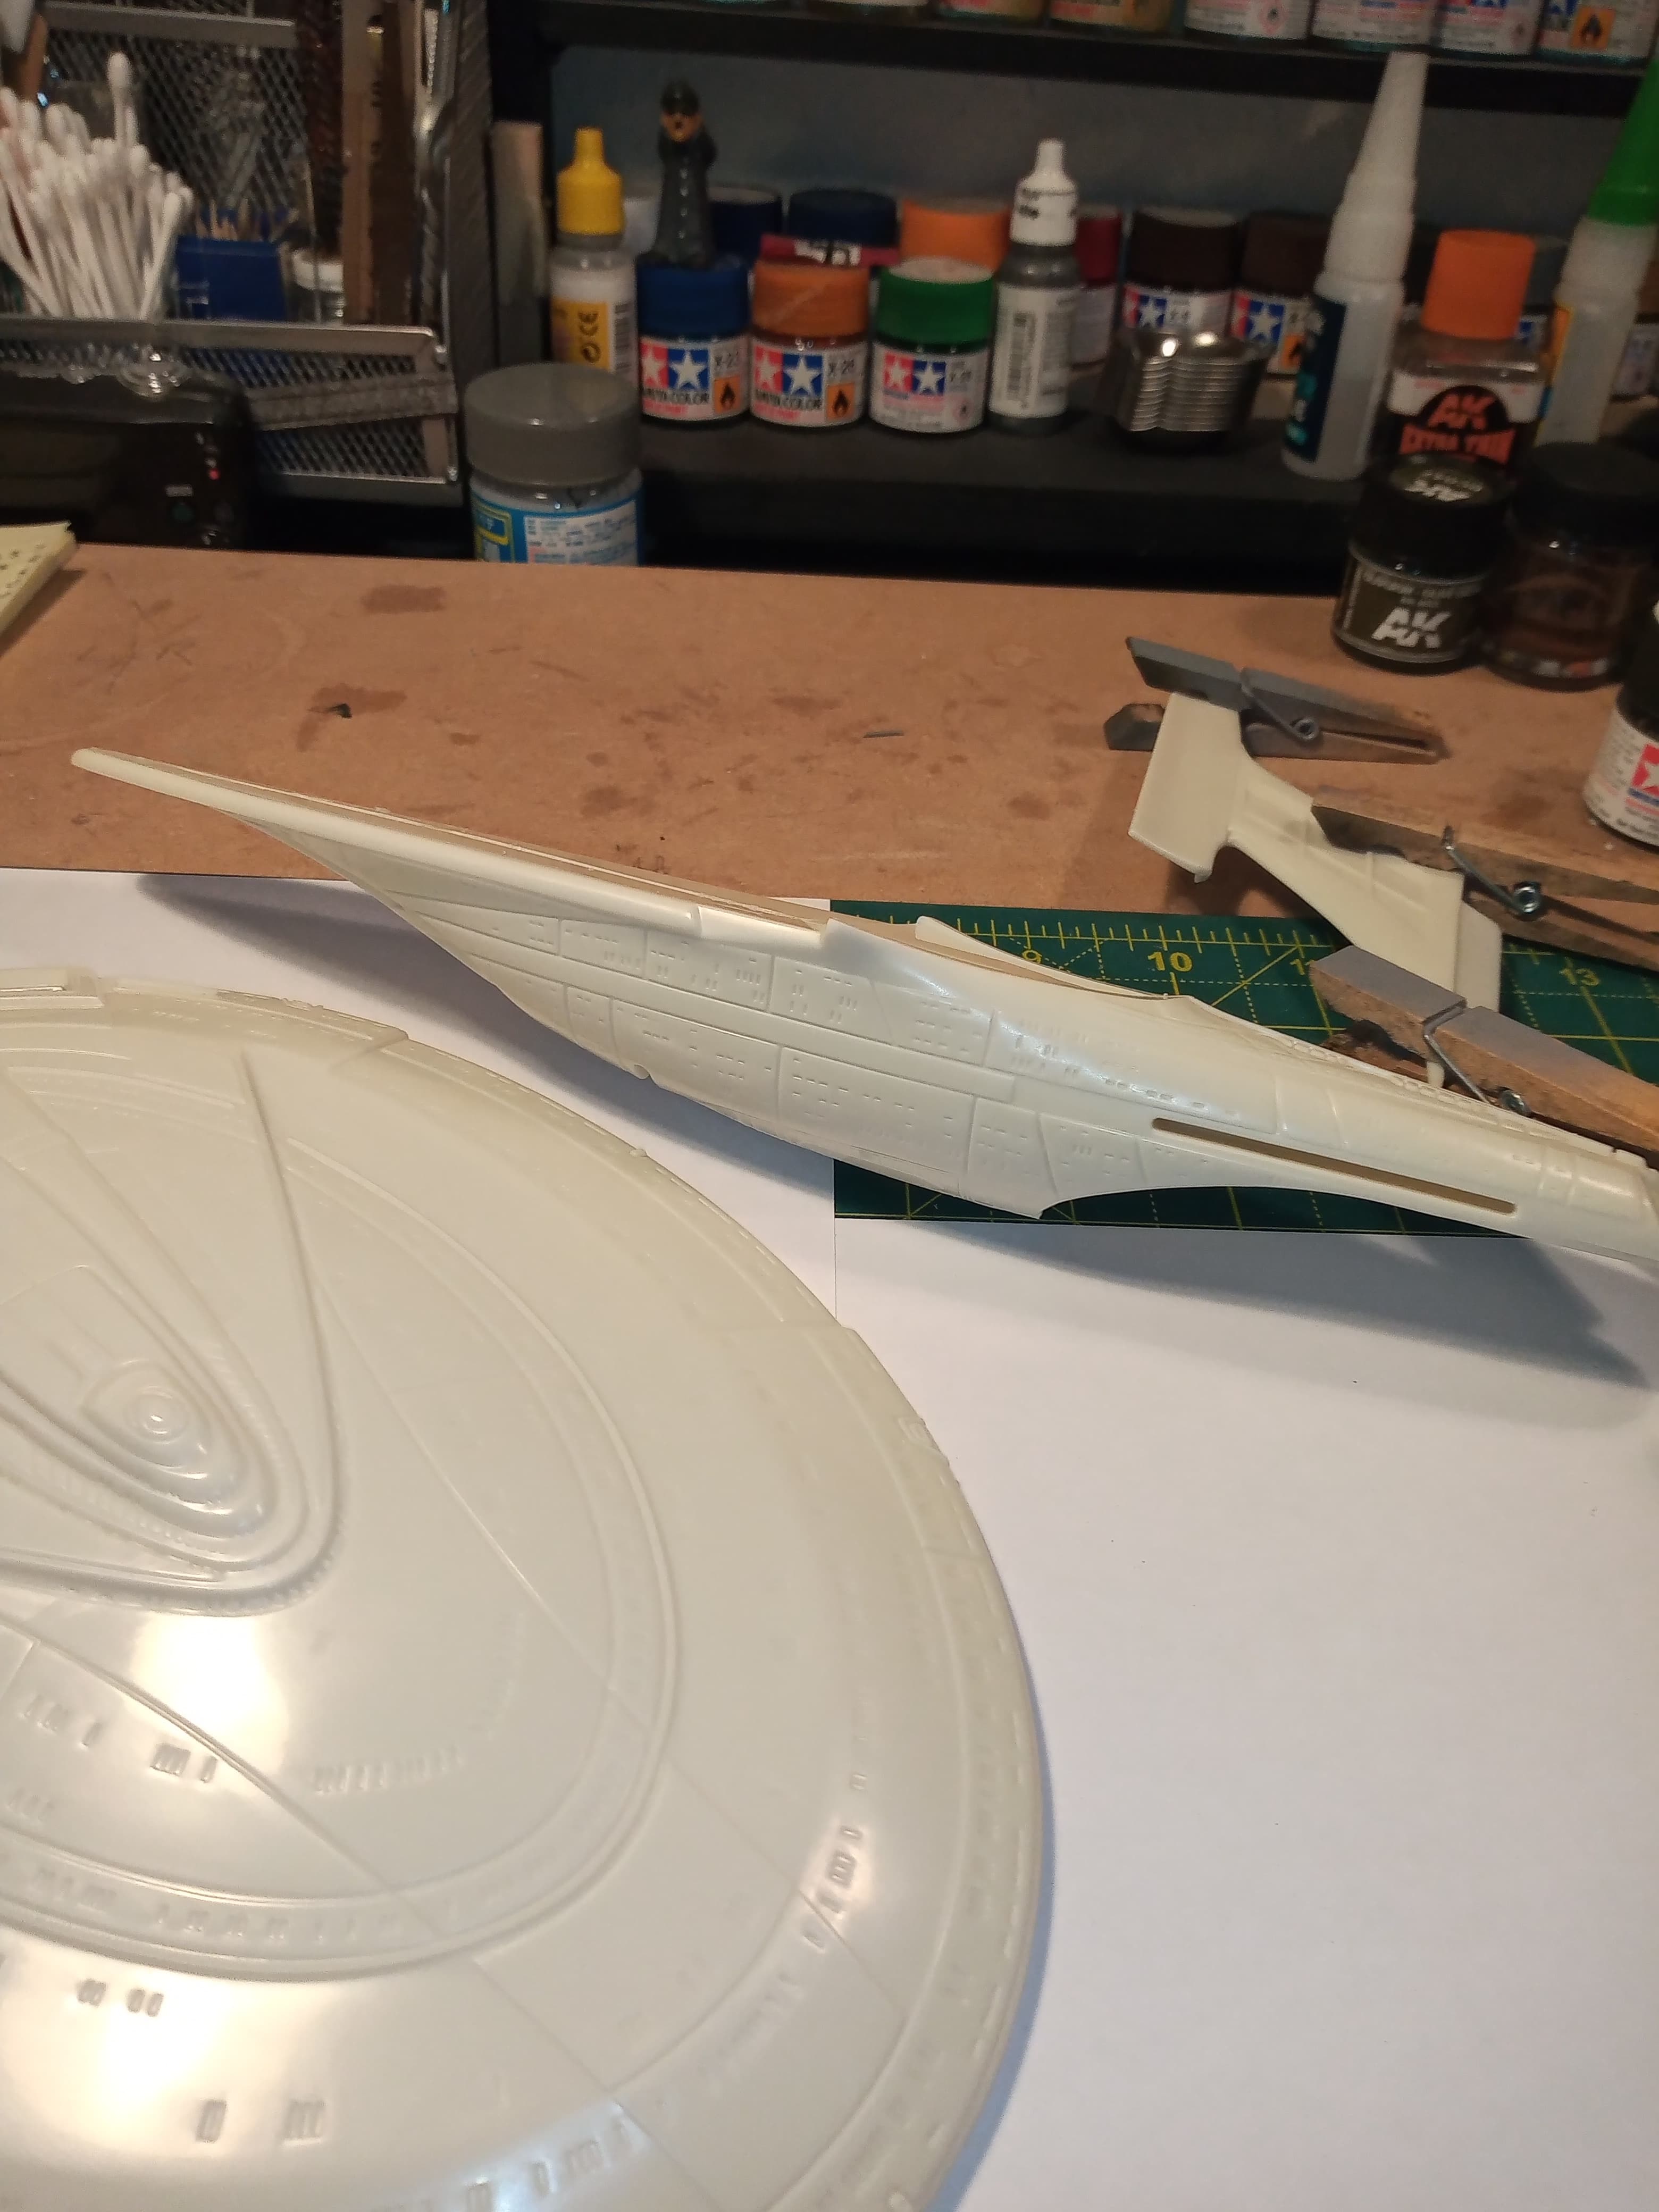
Ryan @Tank_1812 … You really undersold just how bad this AMT fit is …
It’s horrendous ![]()
![]()
![]()
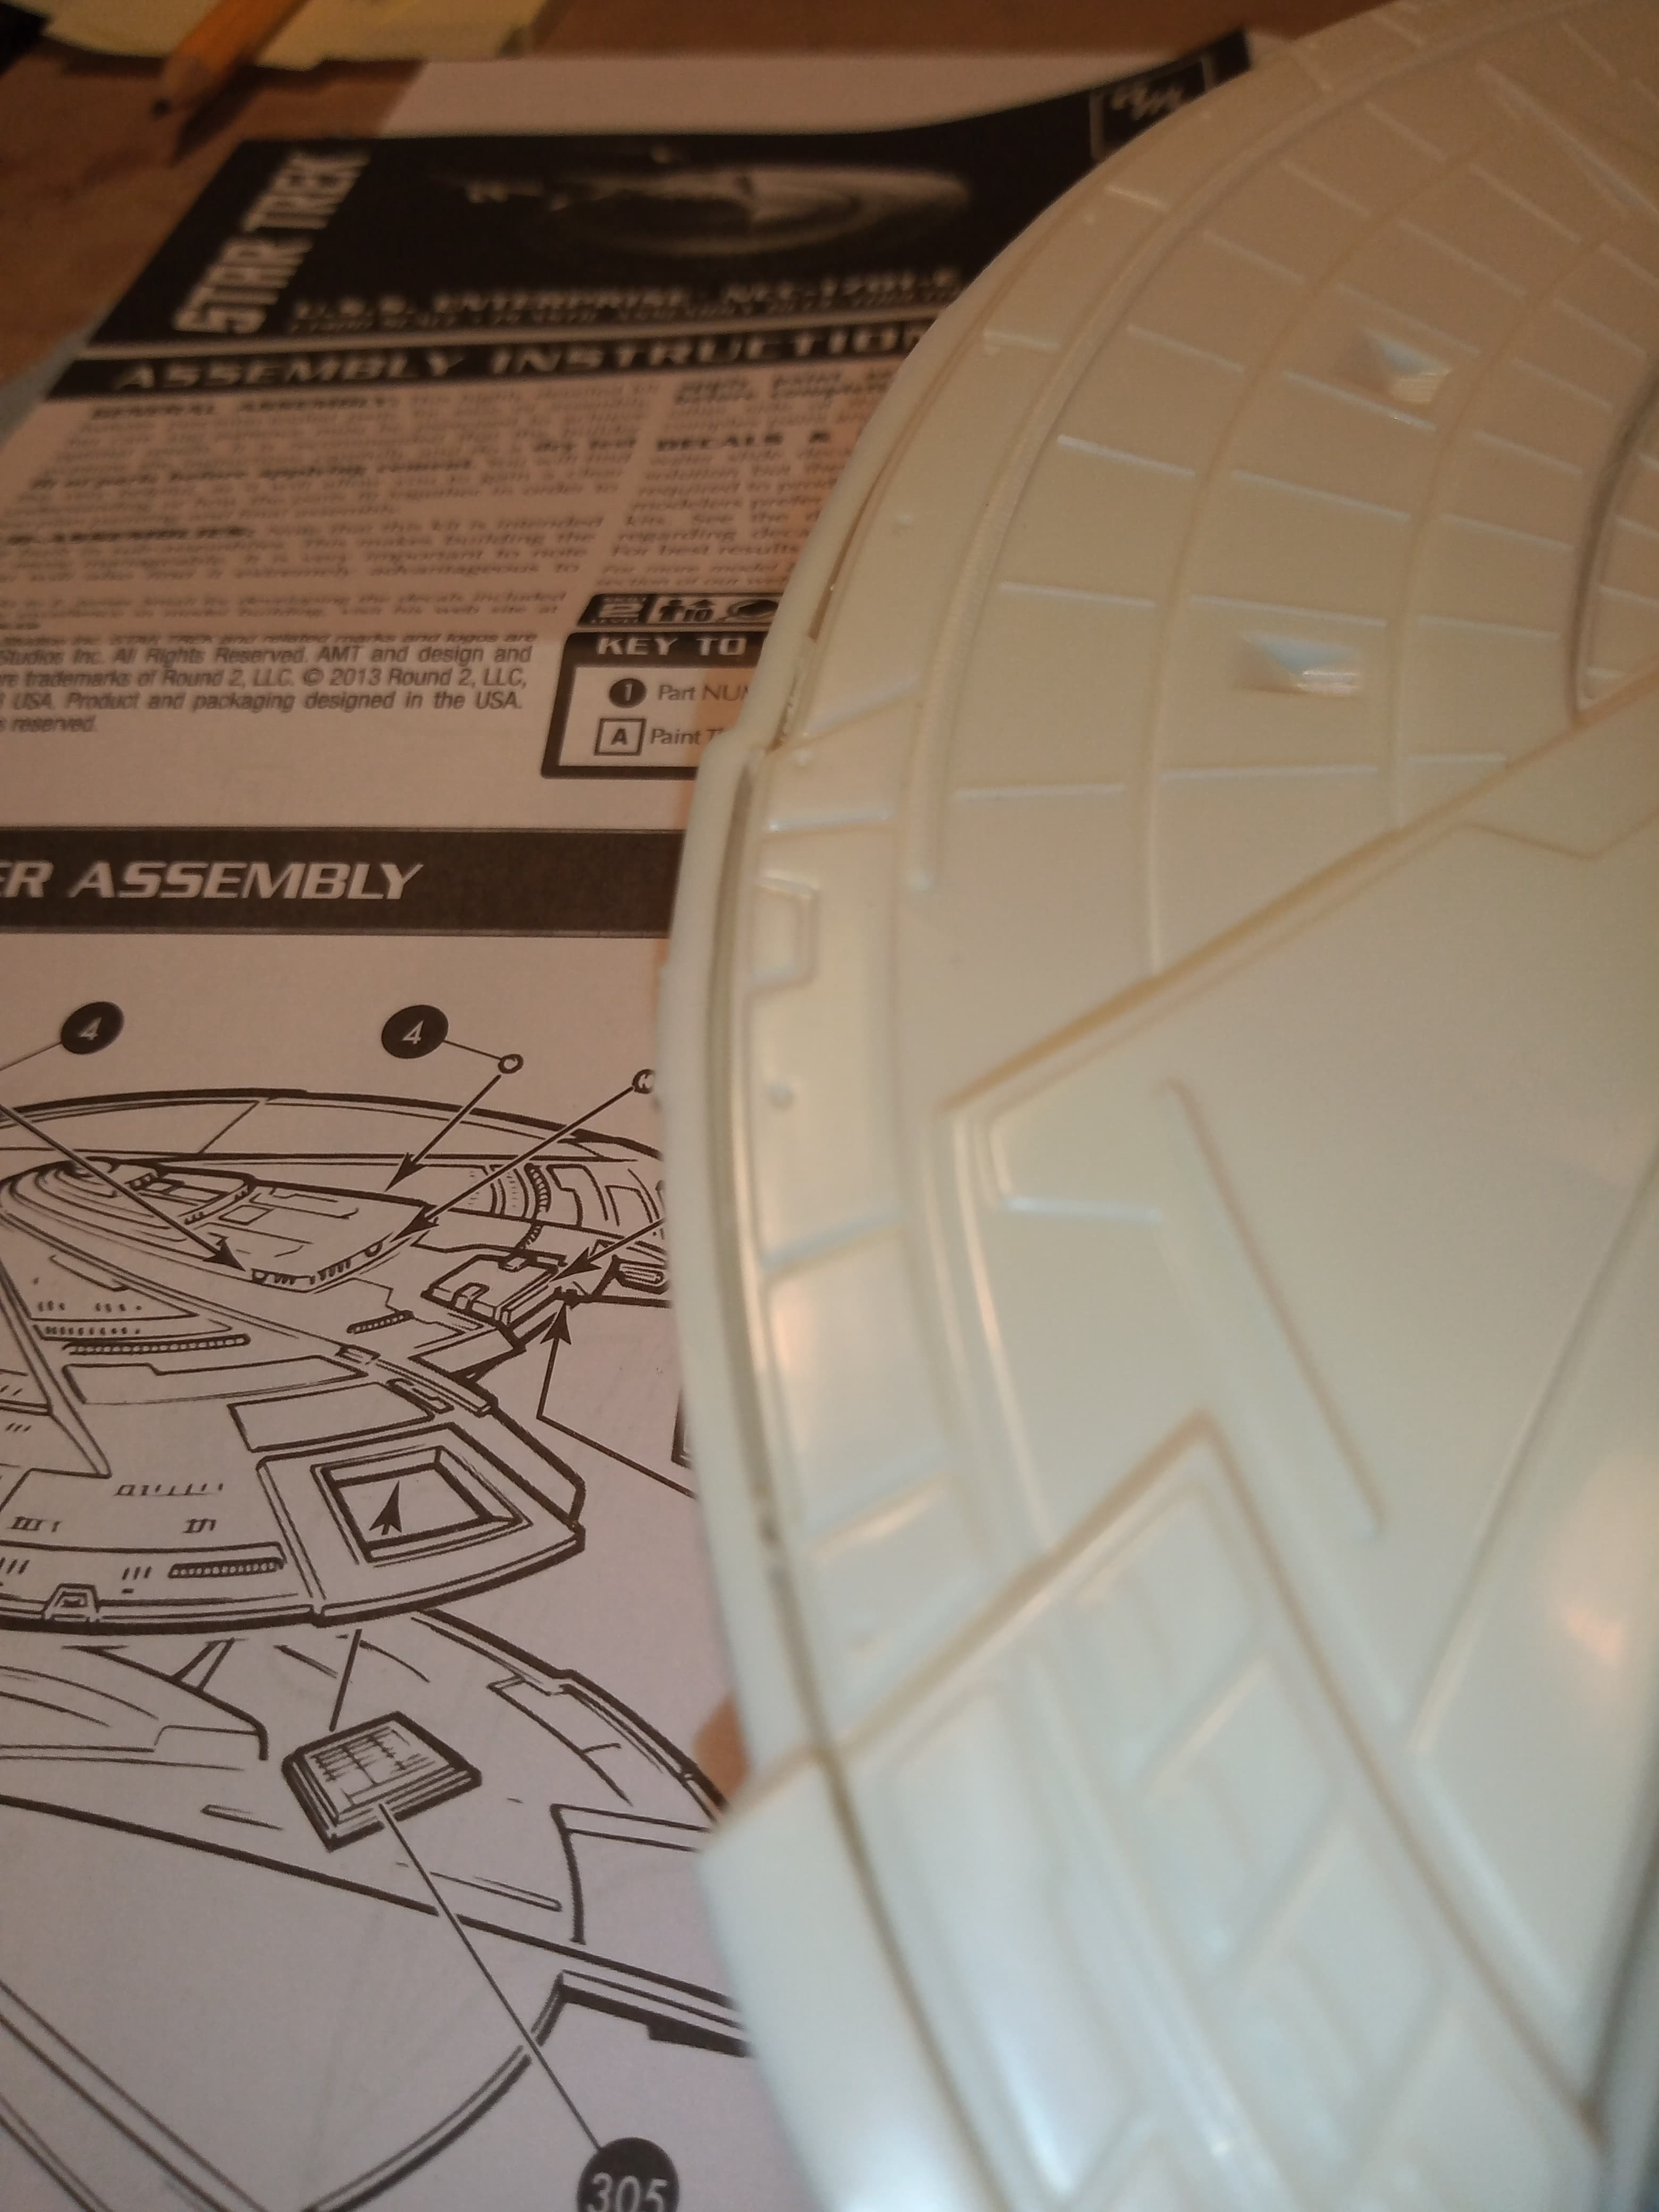
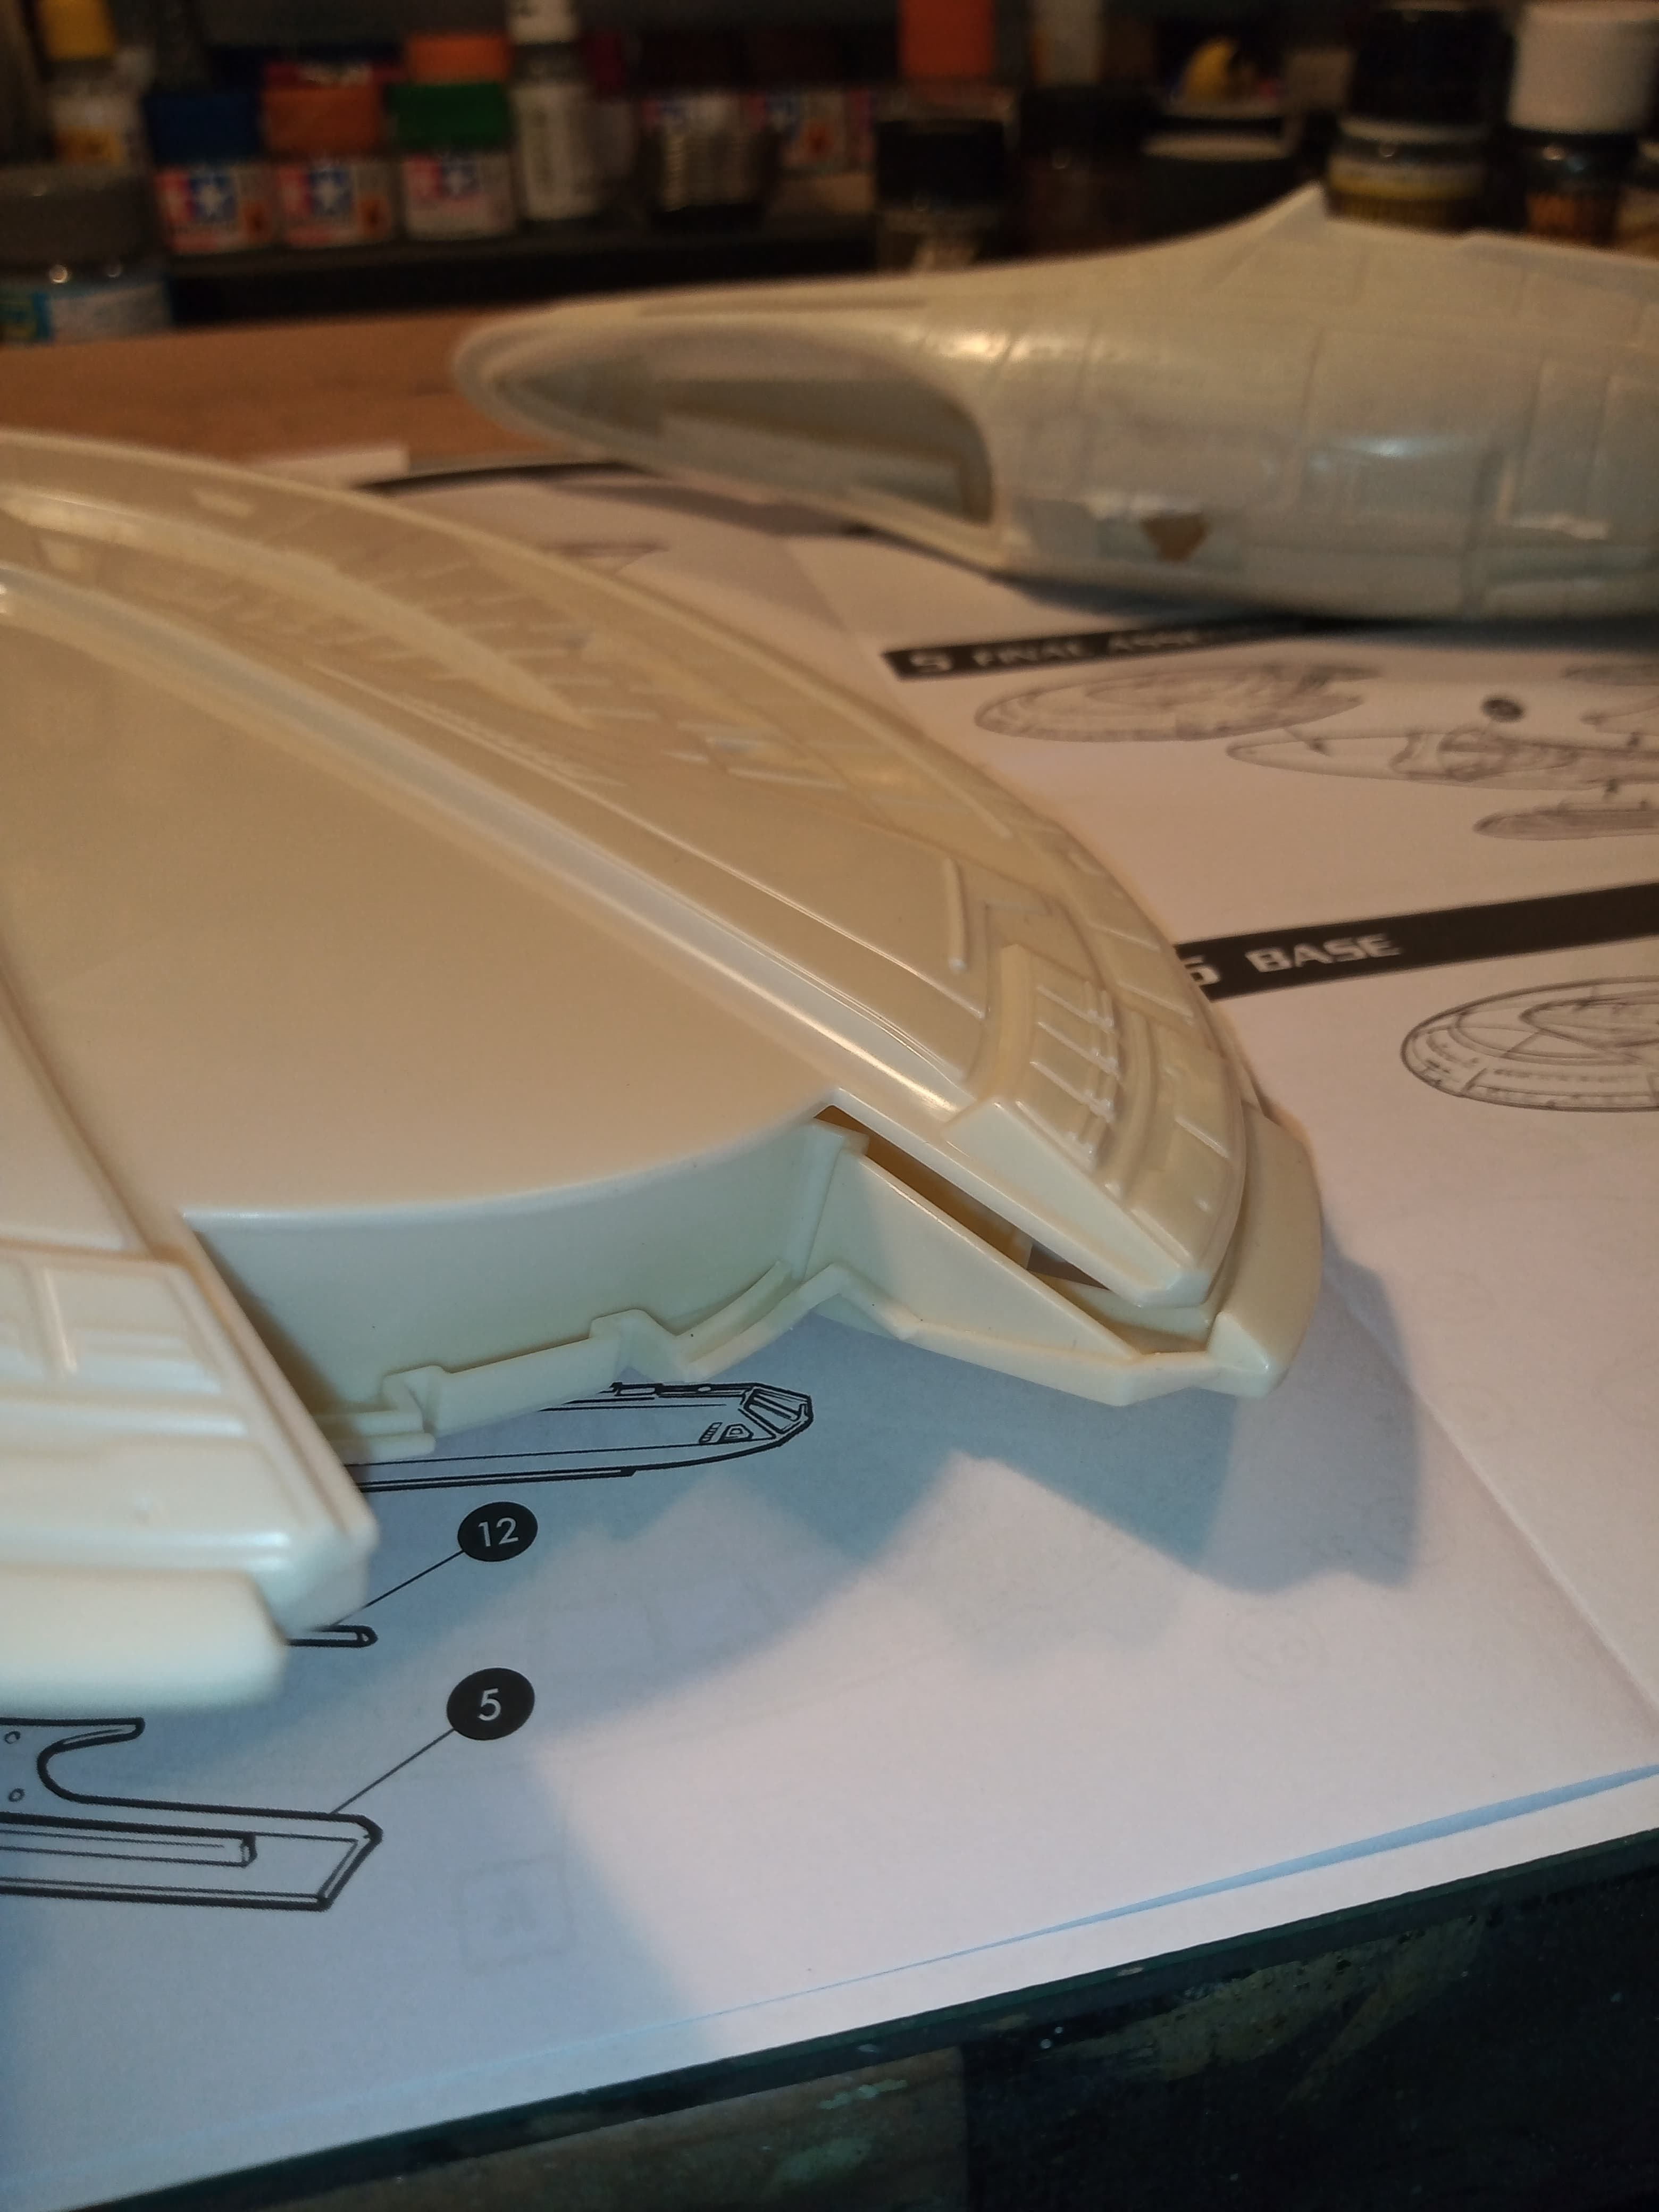
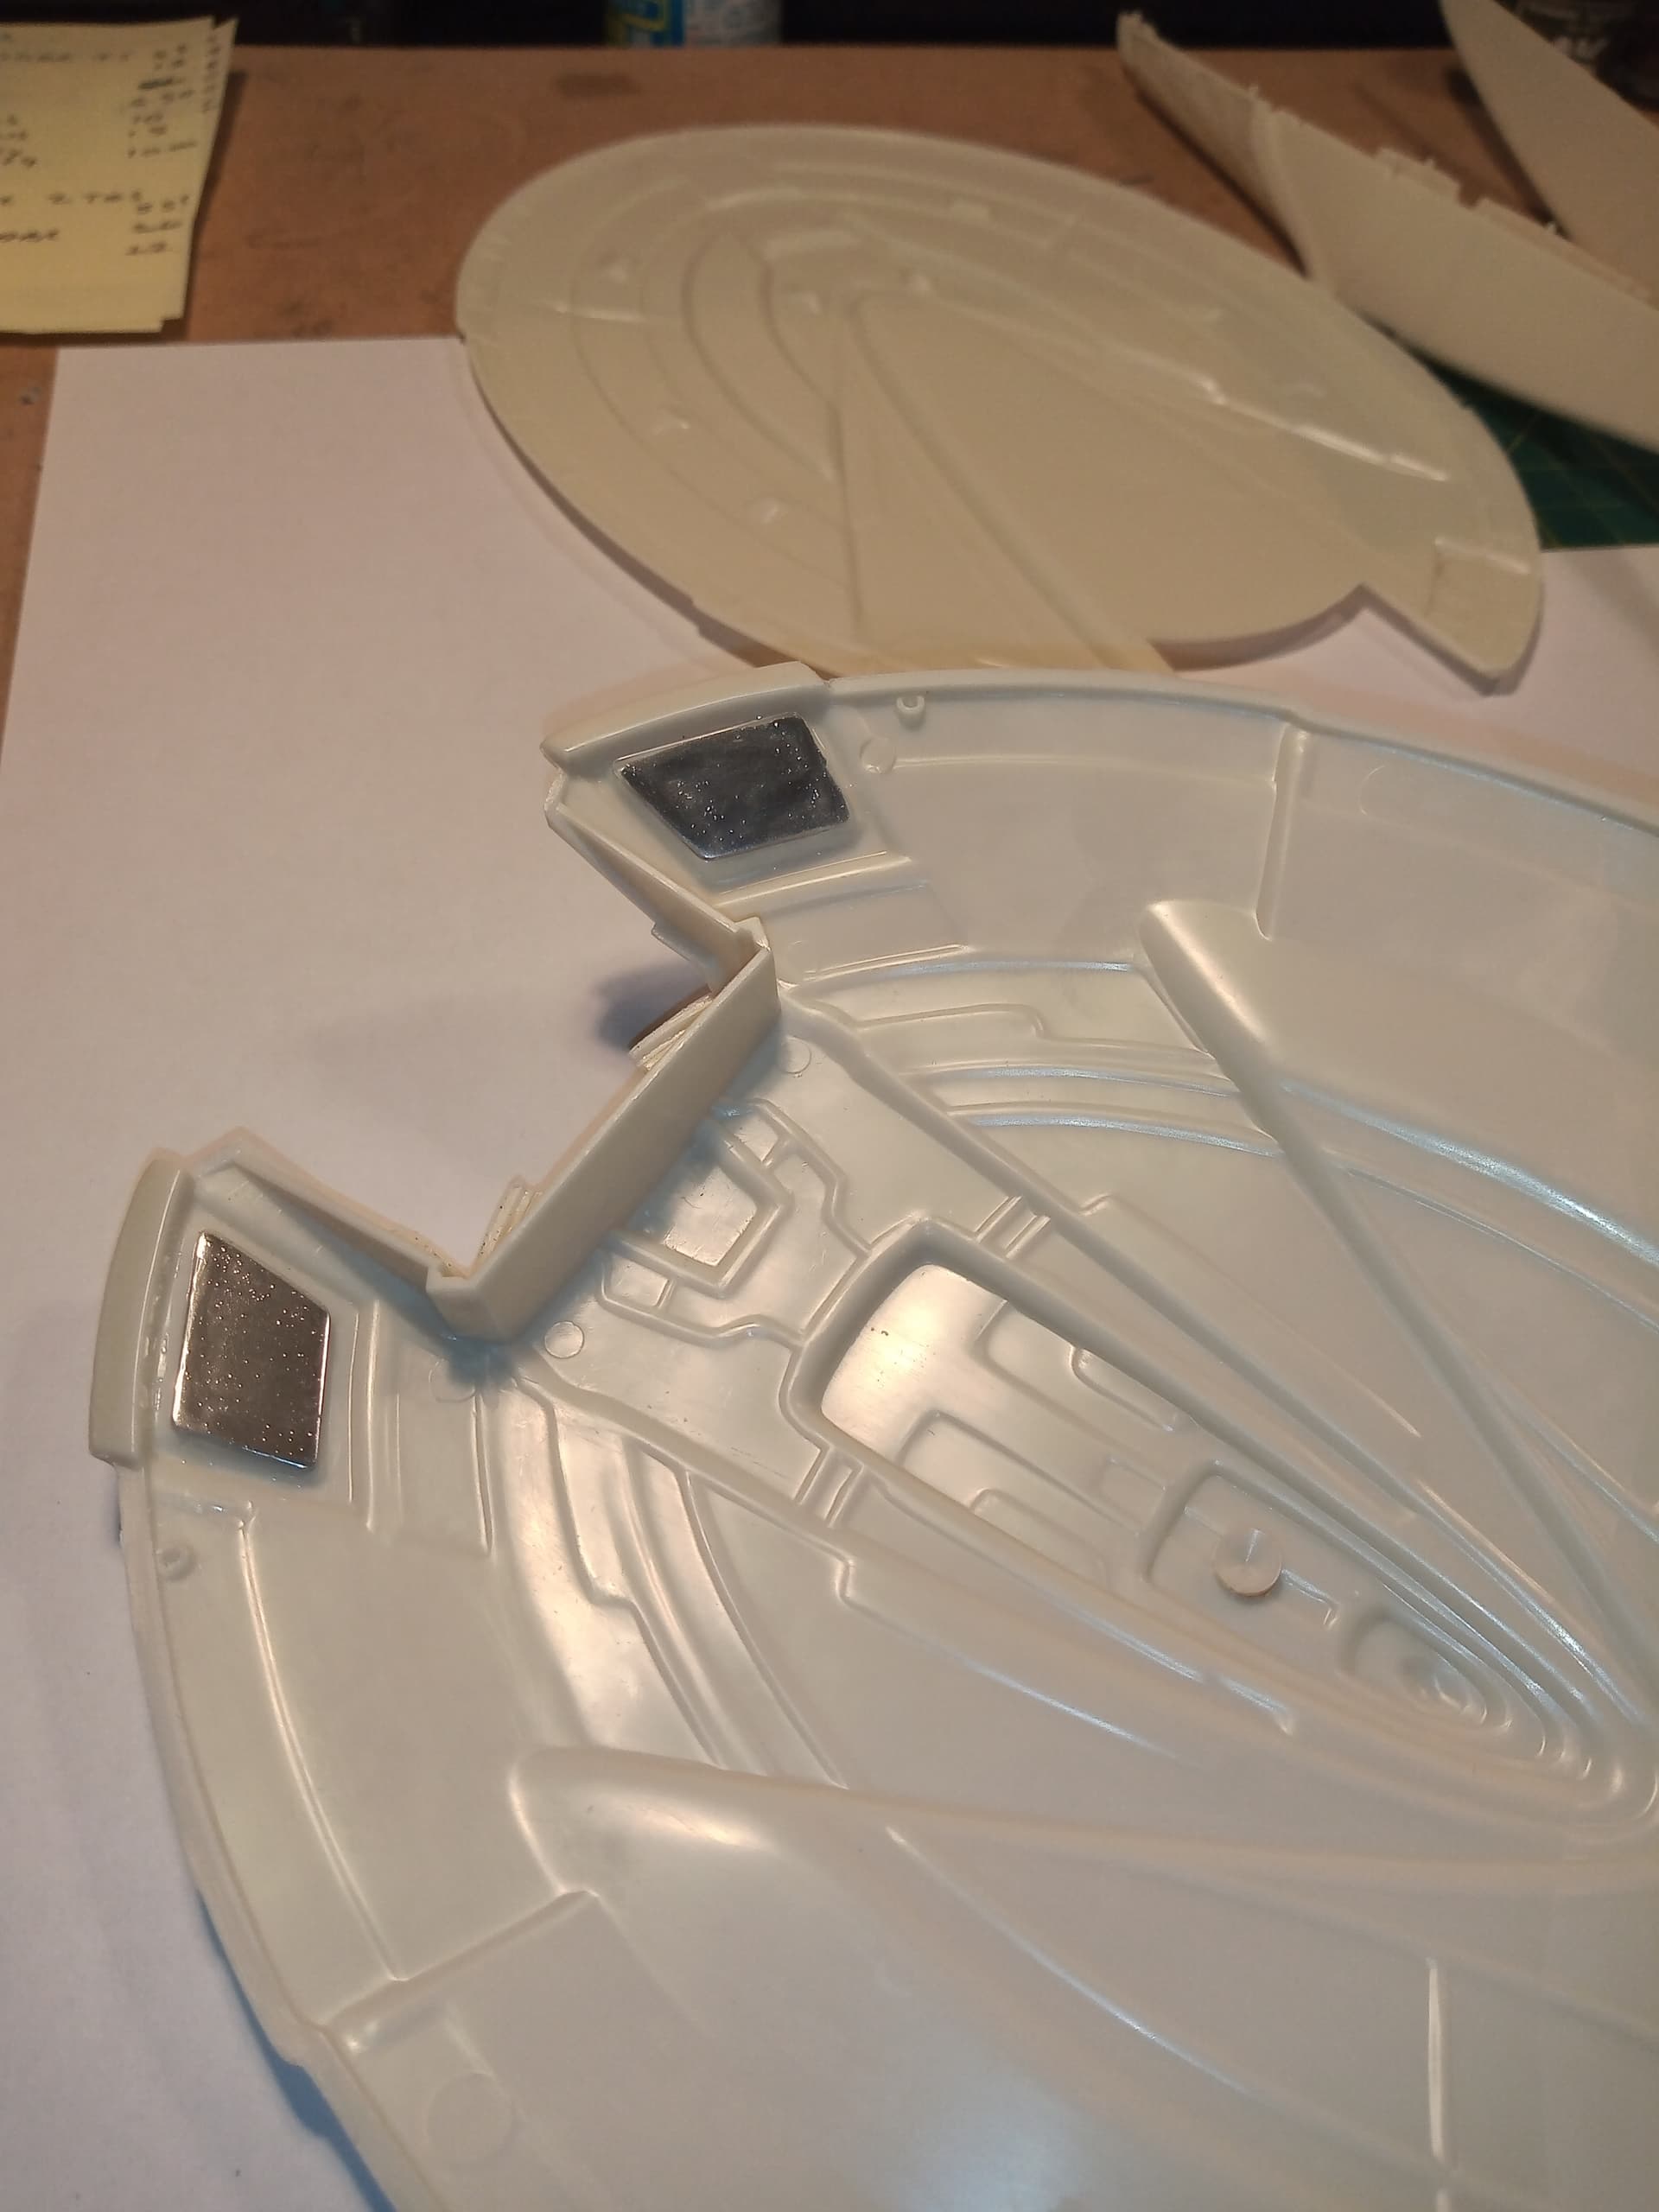
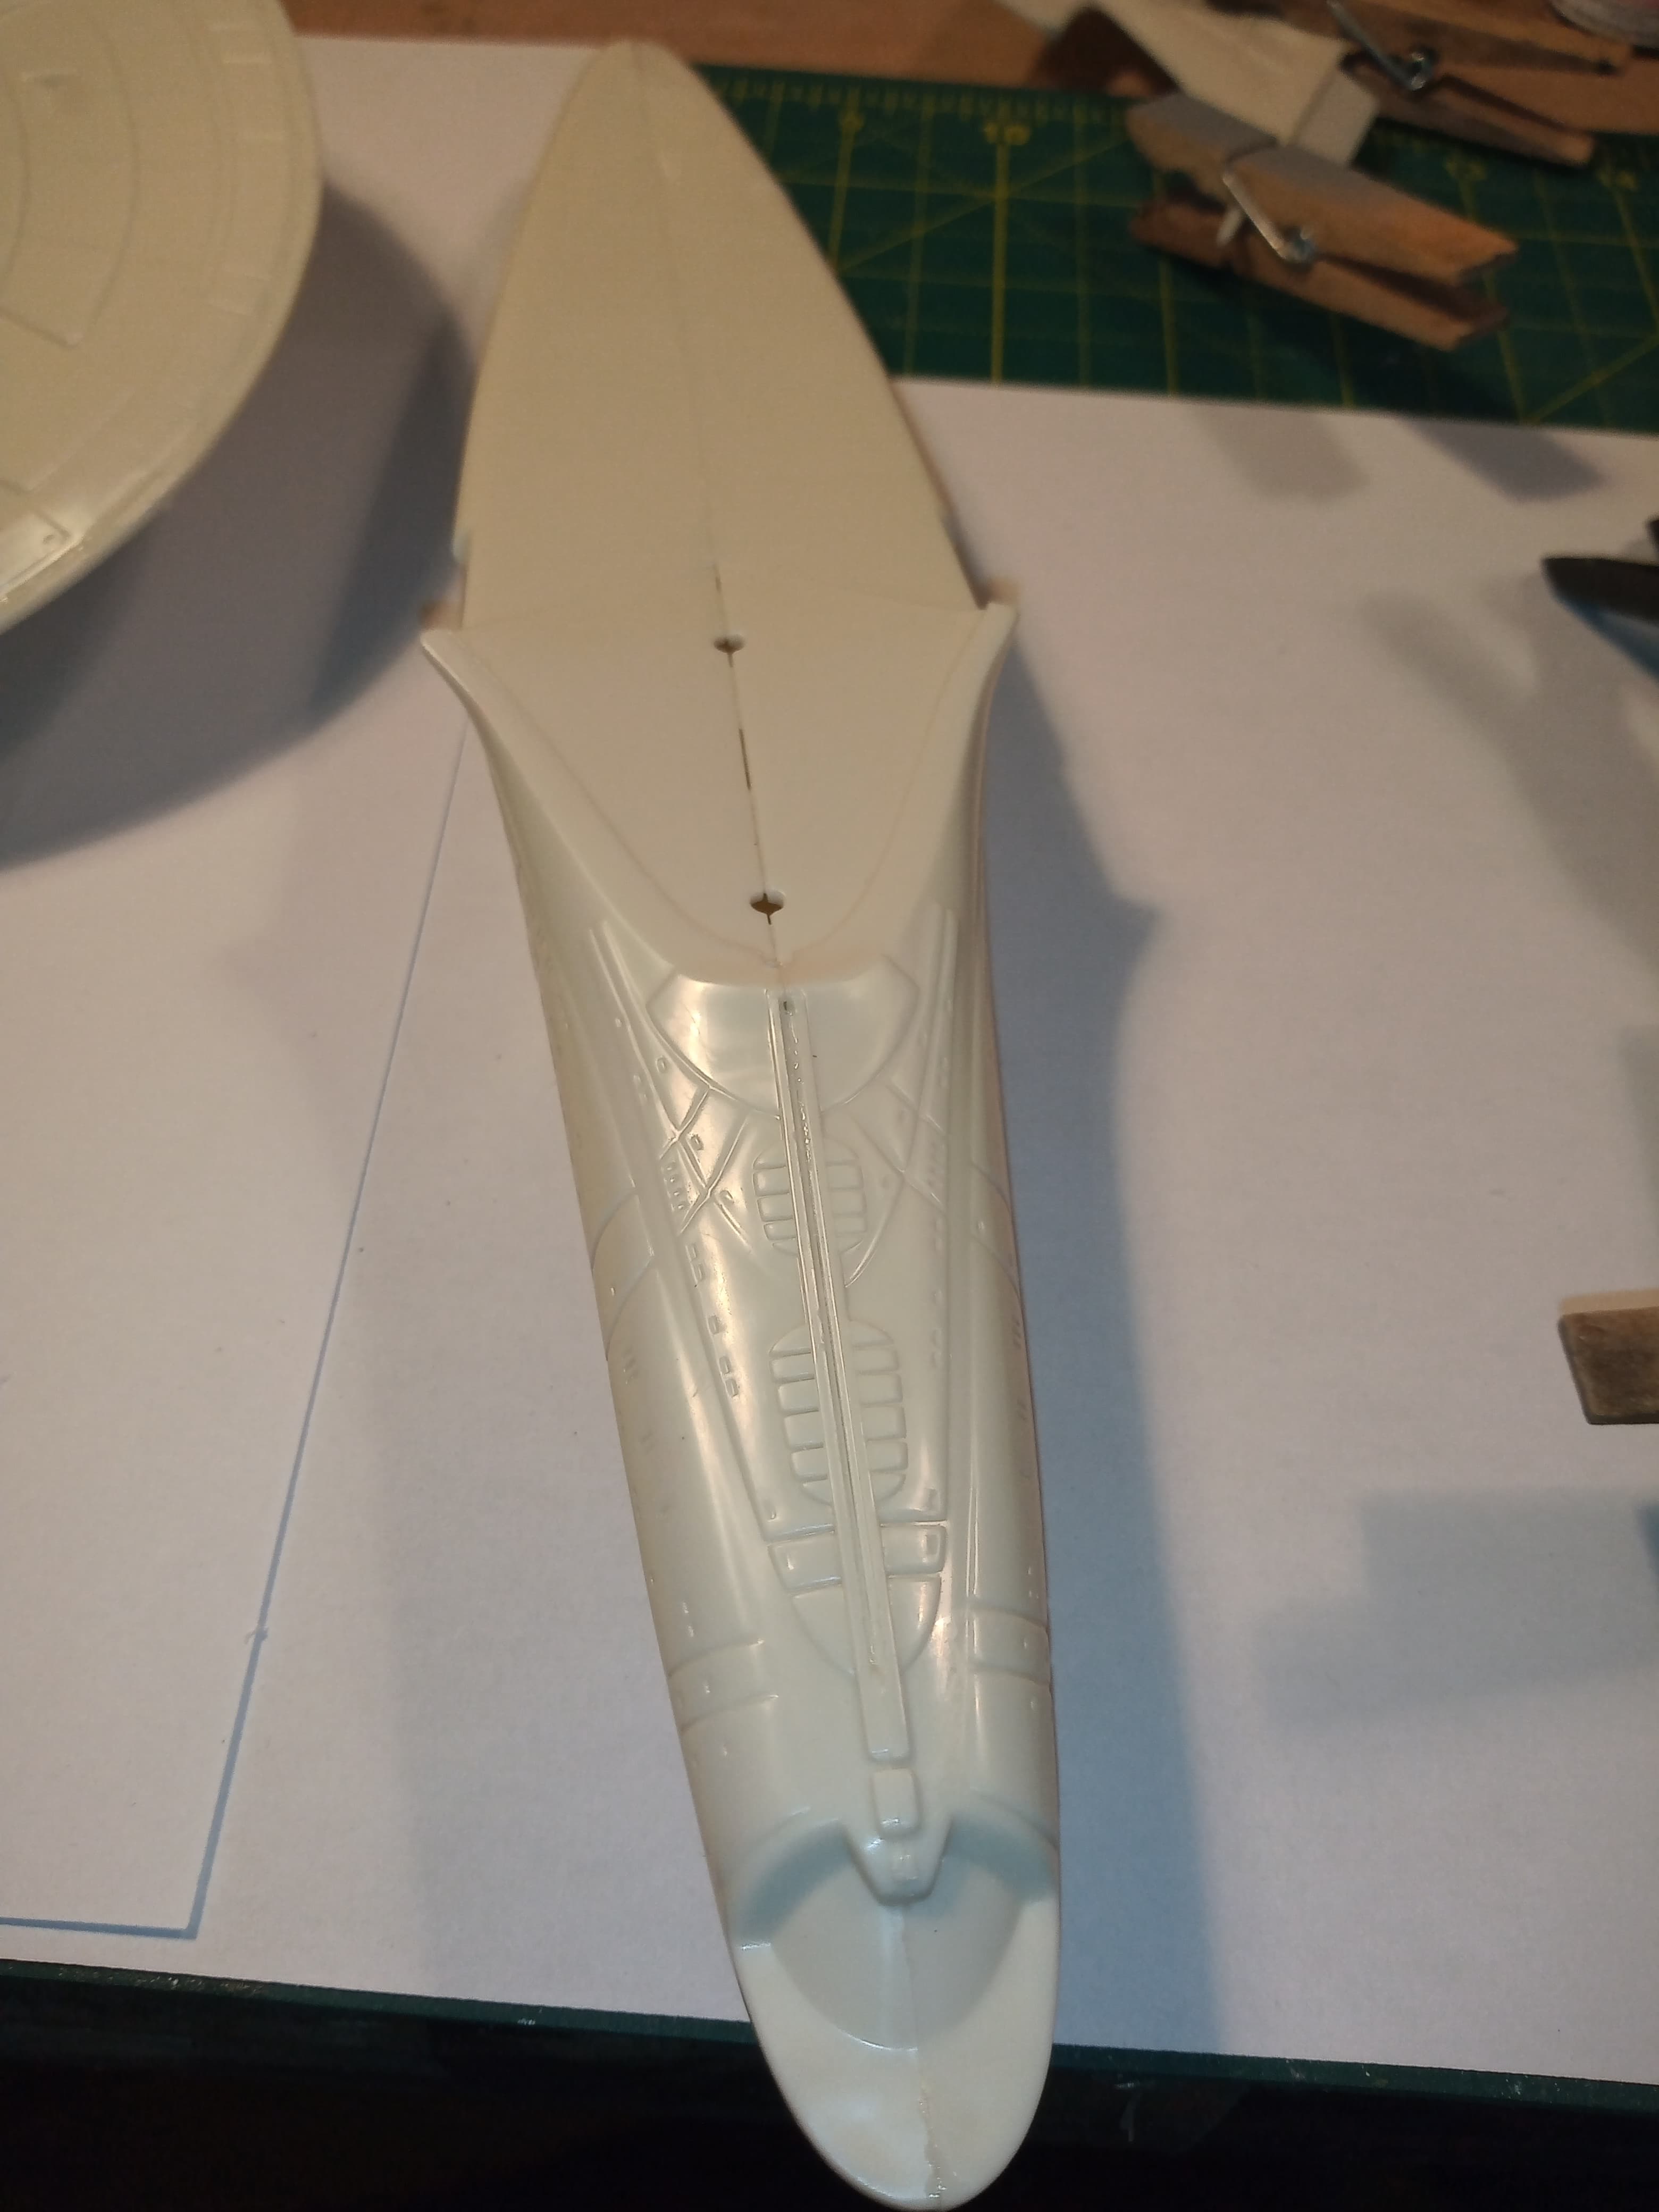
This is the main hull and as tightly pushed together as I can get it.
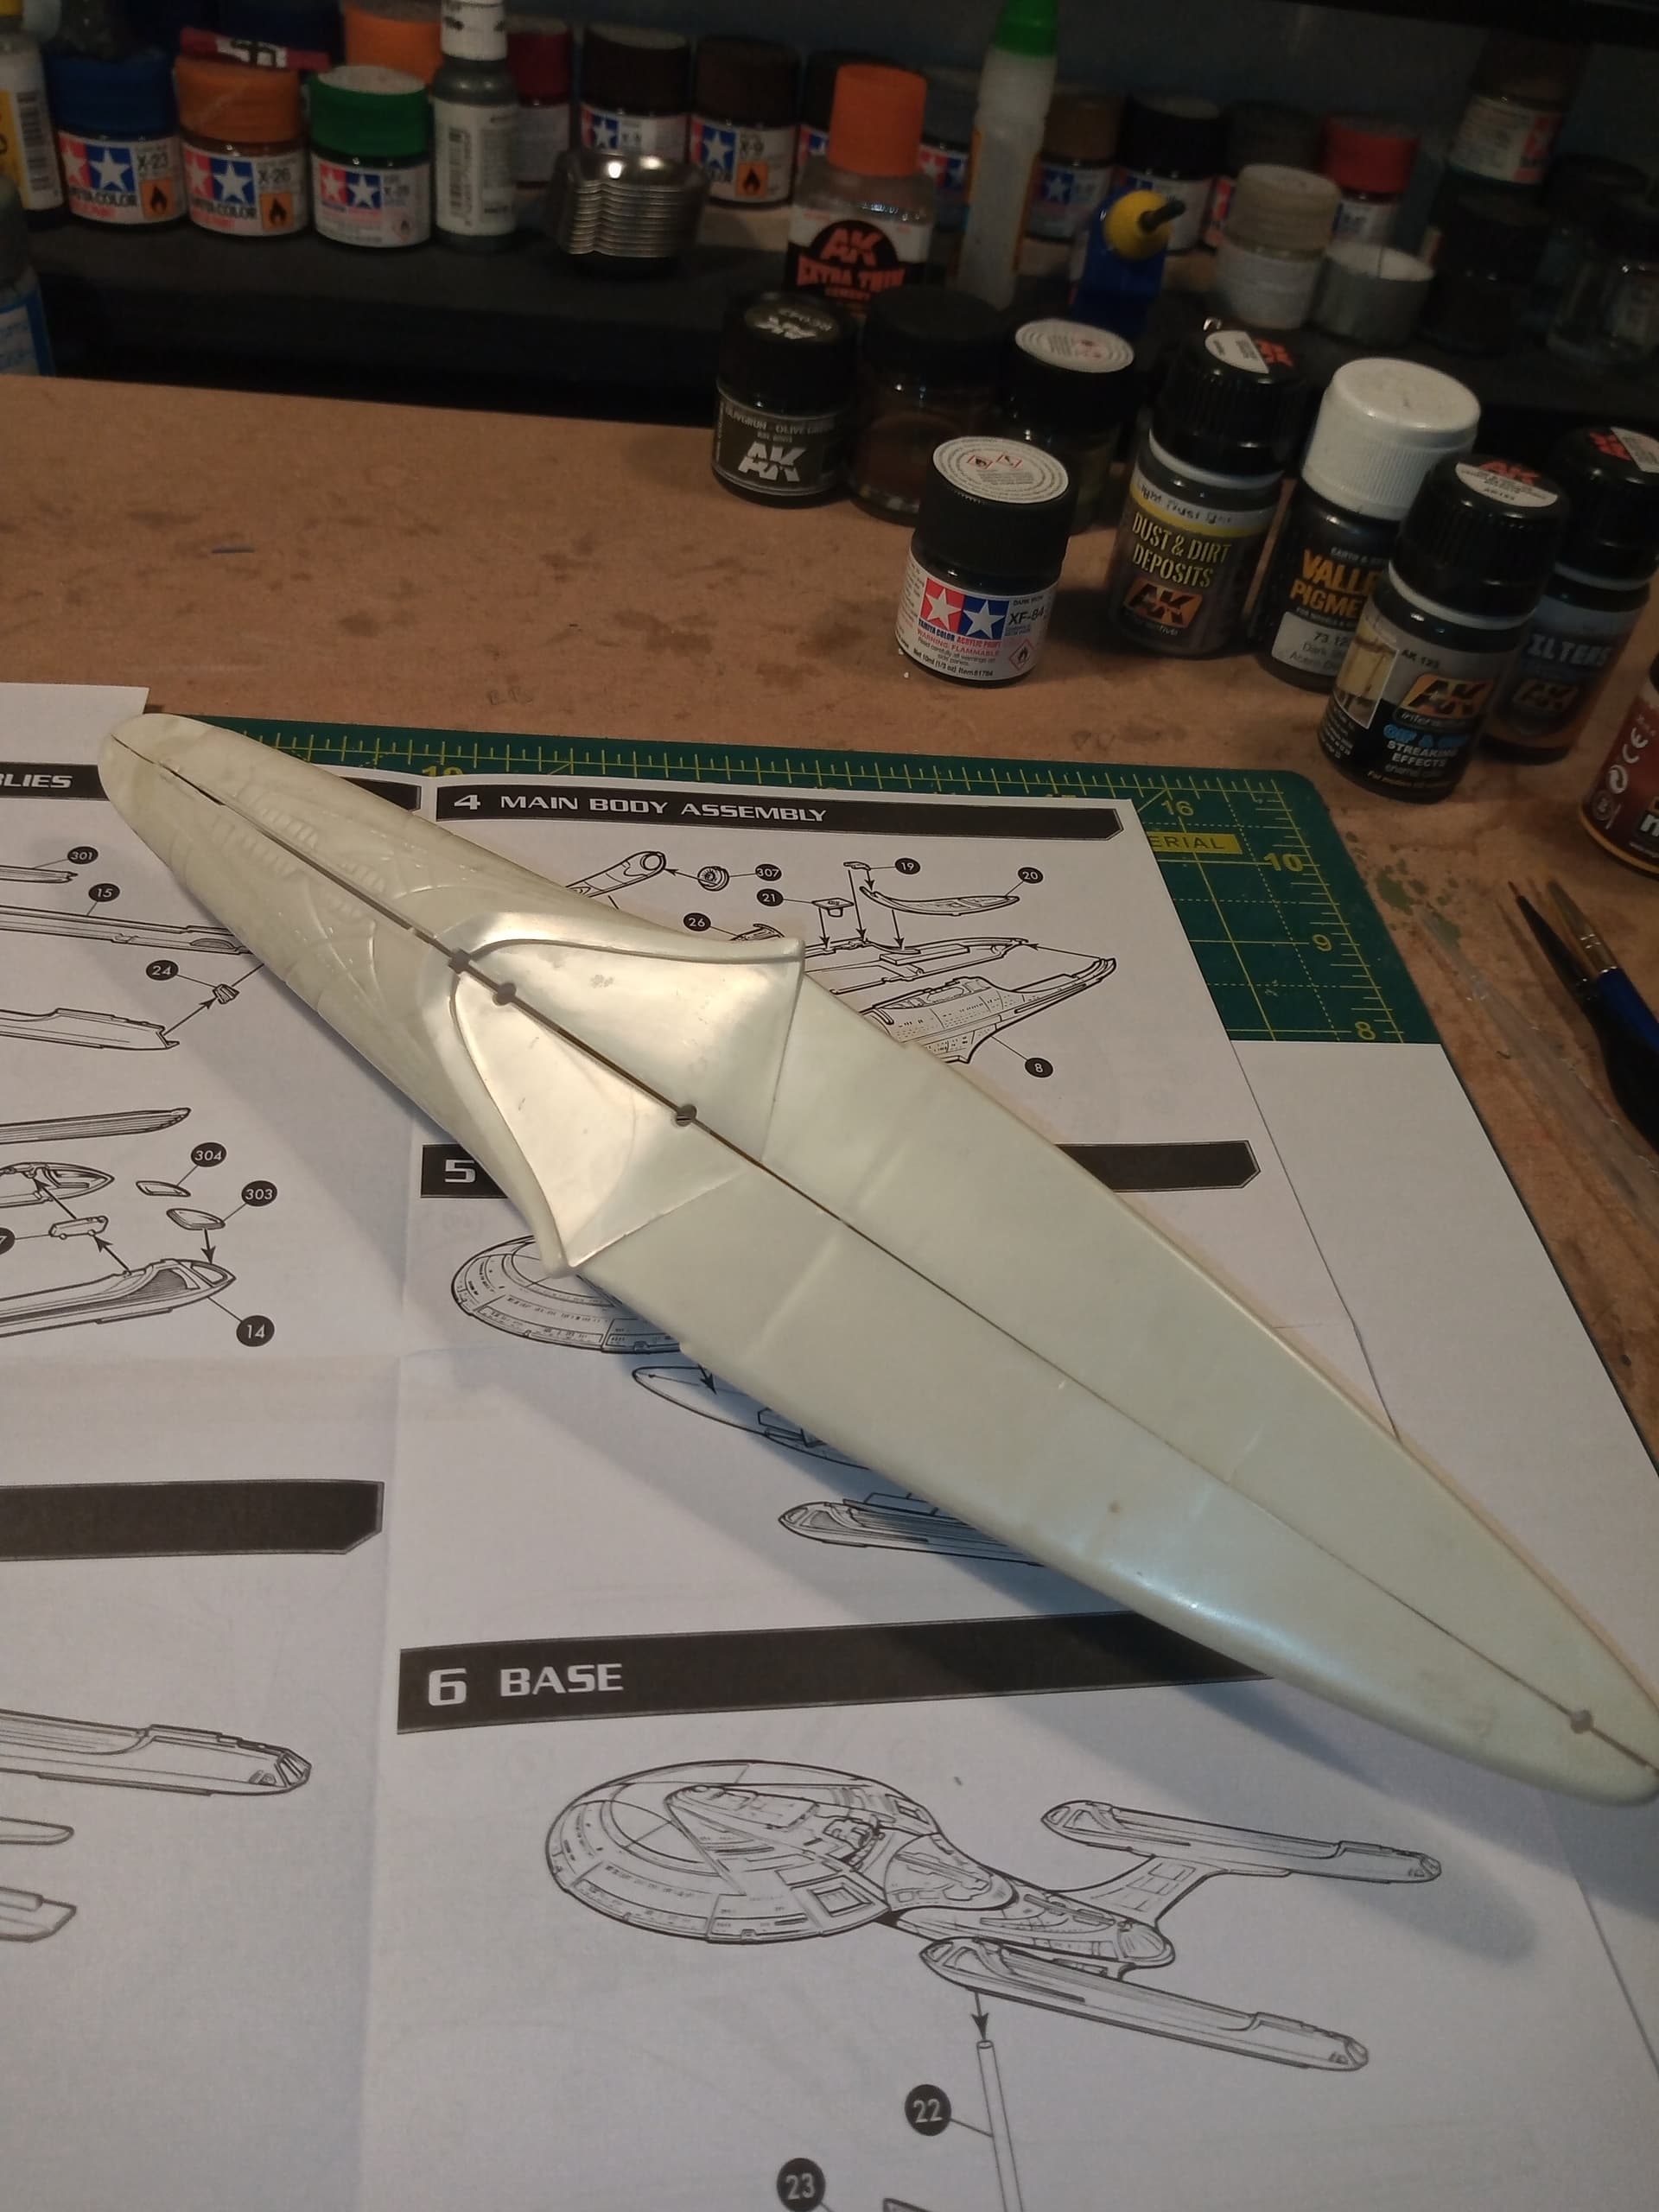
You could actually fly a shuttle through the gaps they are so big.
I can see my future and several types of putty/filler being very interwoven from now on… Seriously, the gaps are biblically horrific…
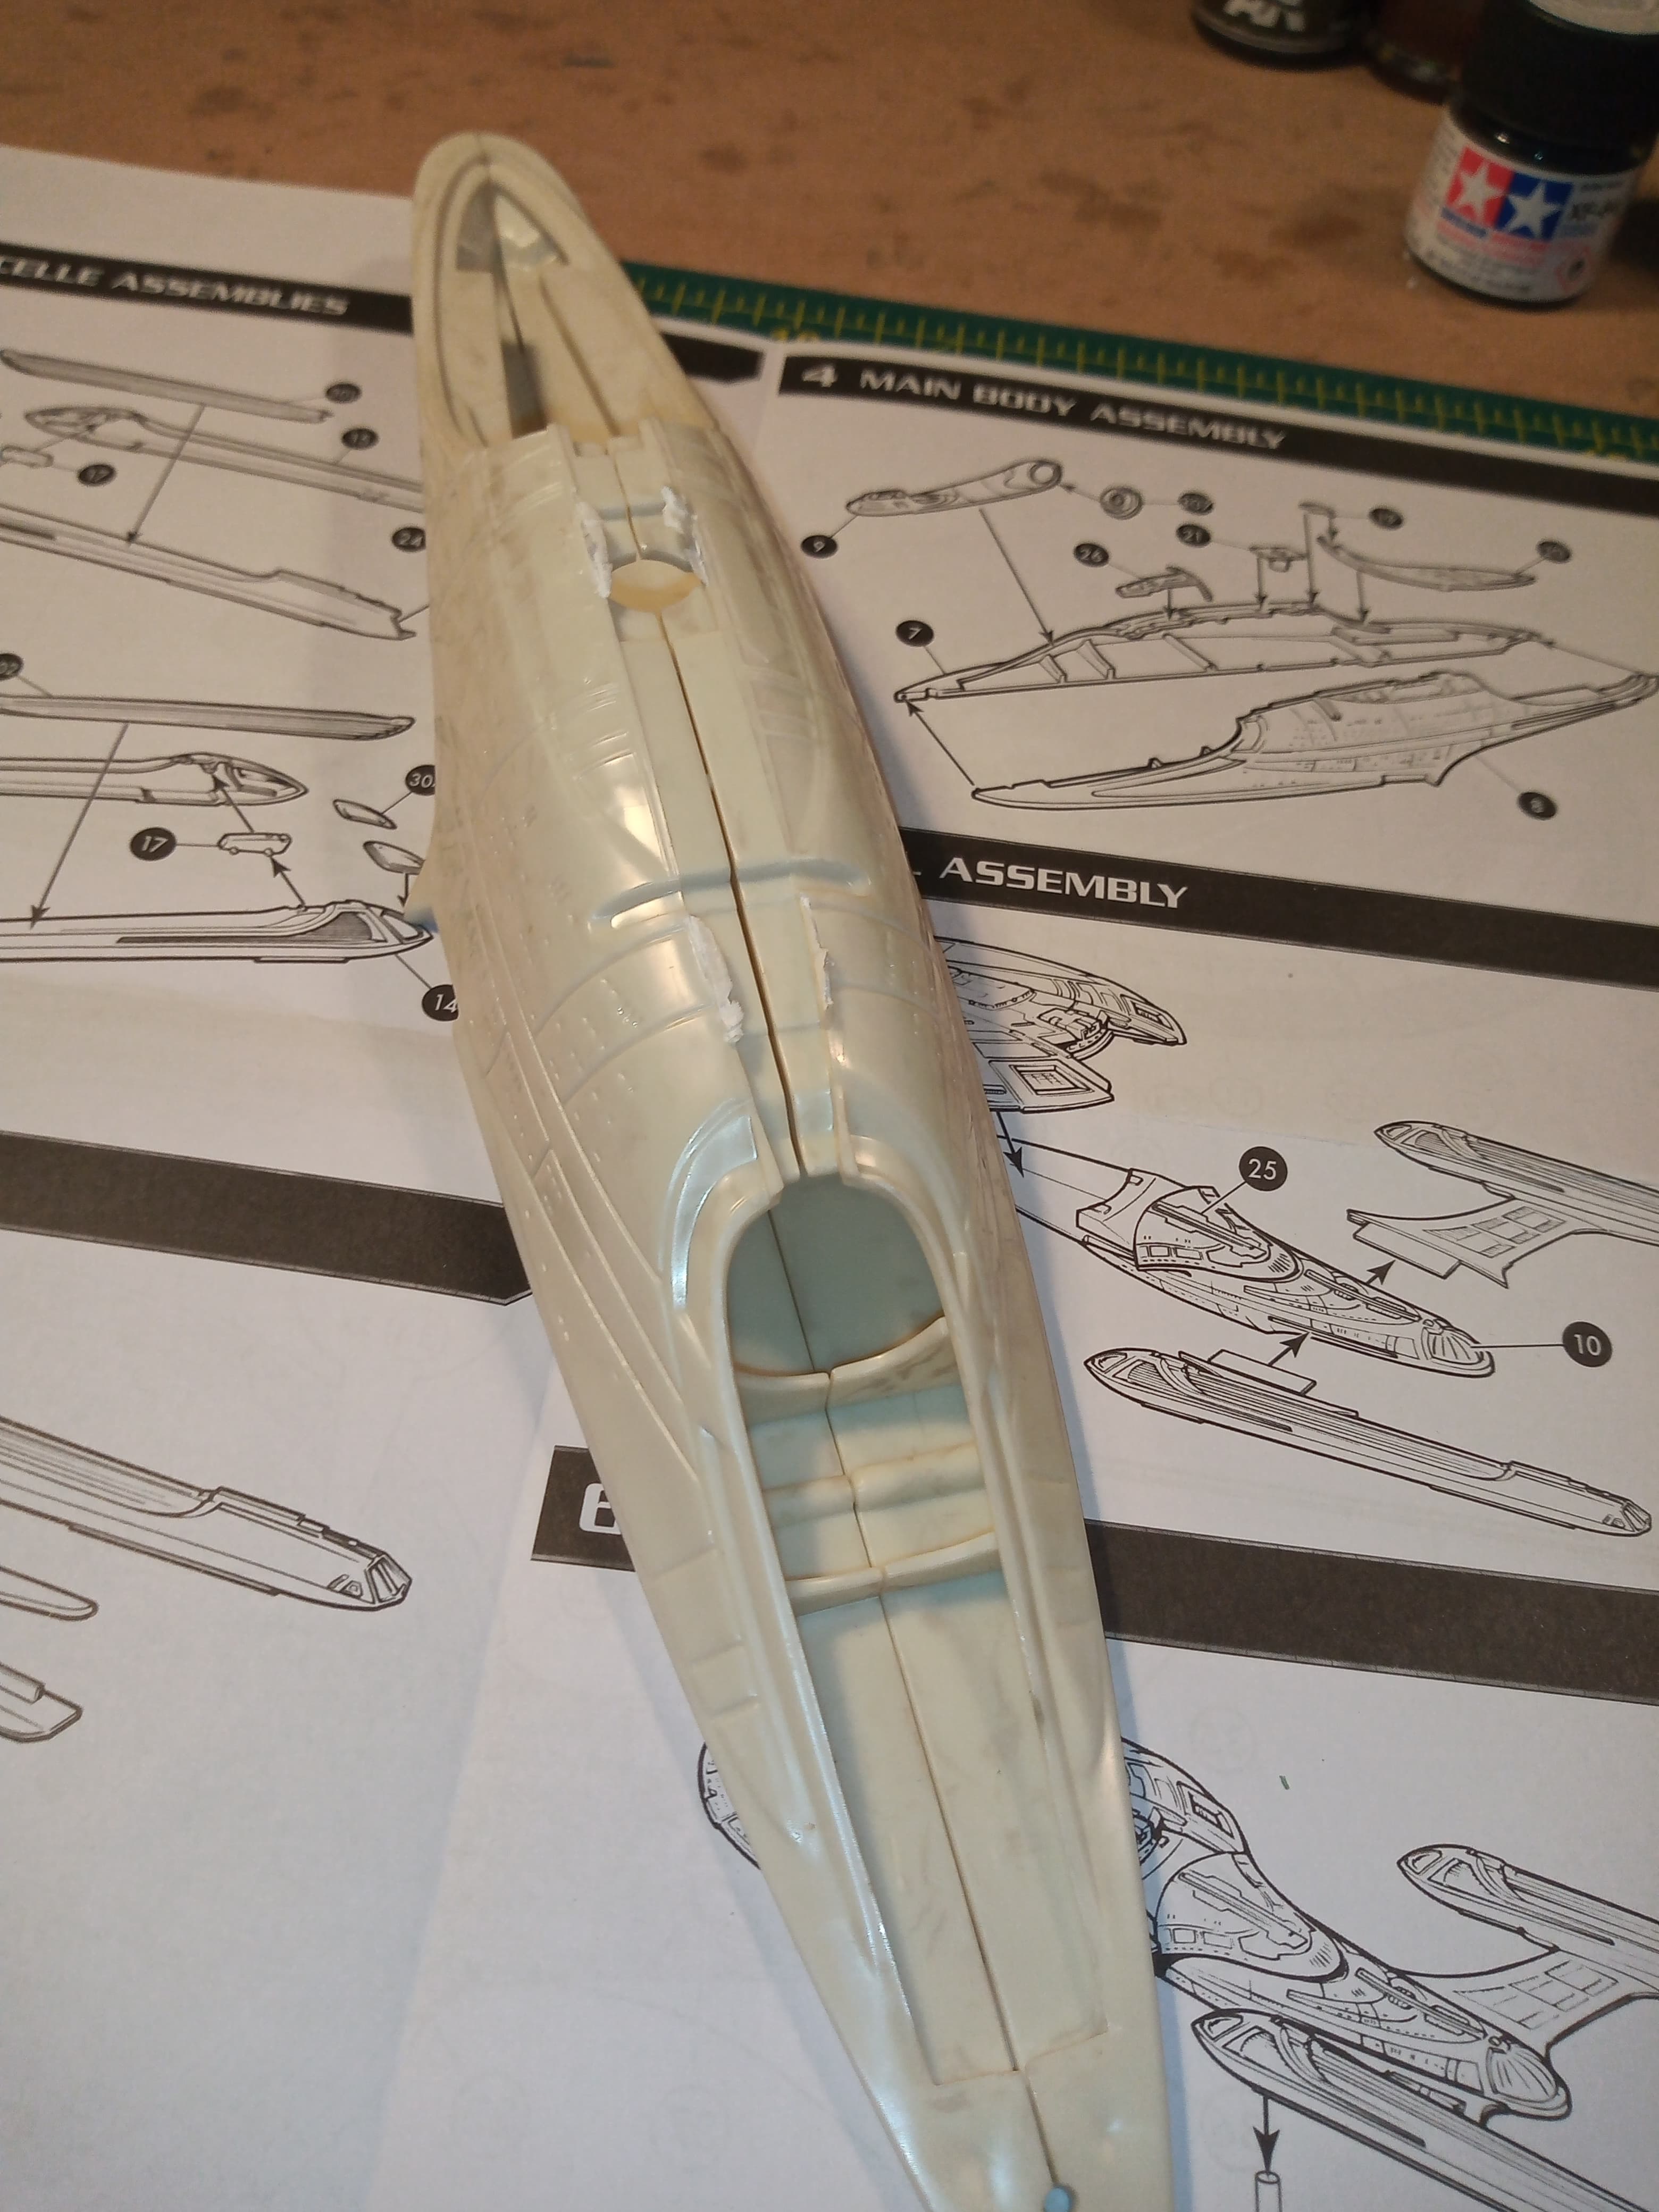
There is a ton of flash that will need cleaning from practically area…
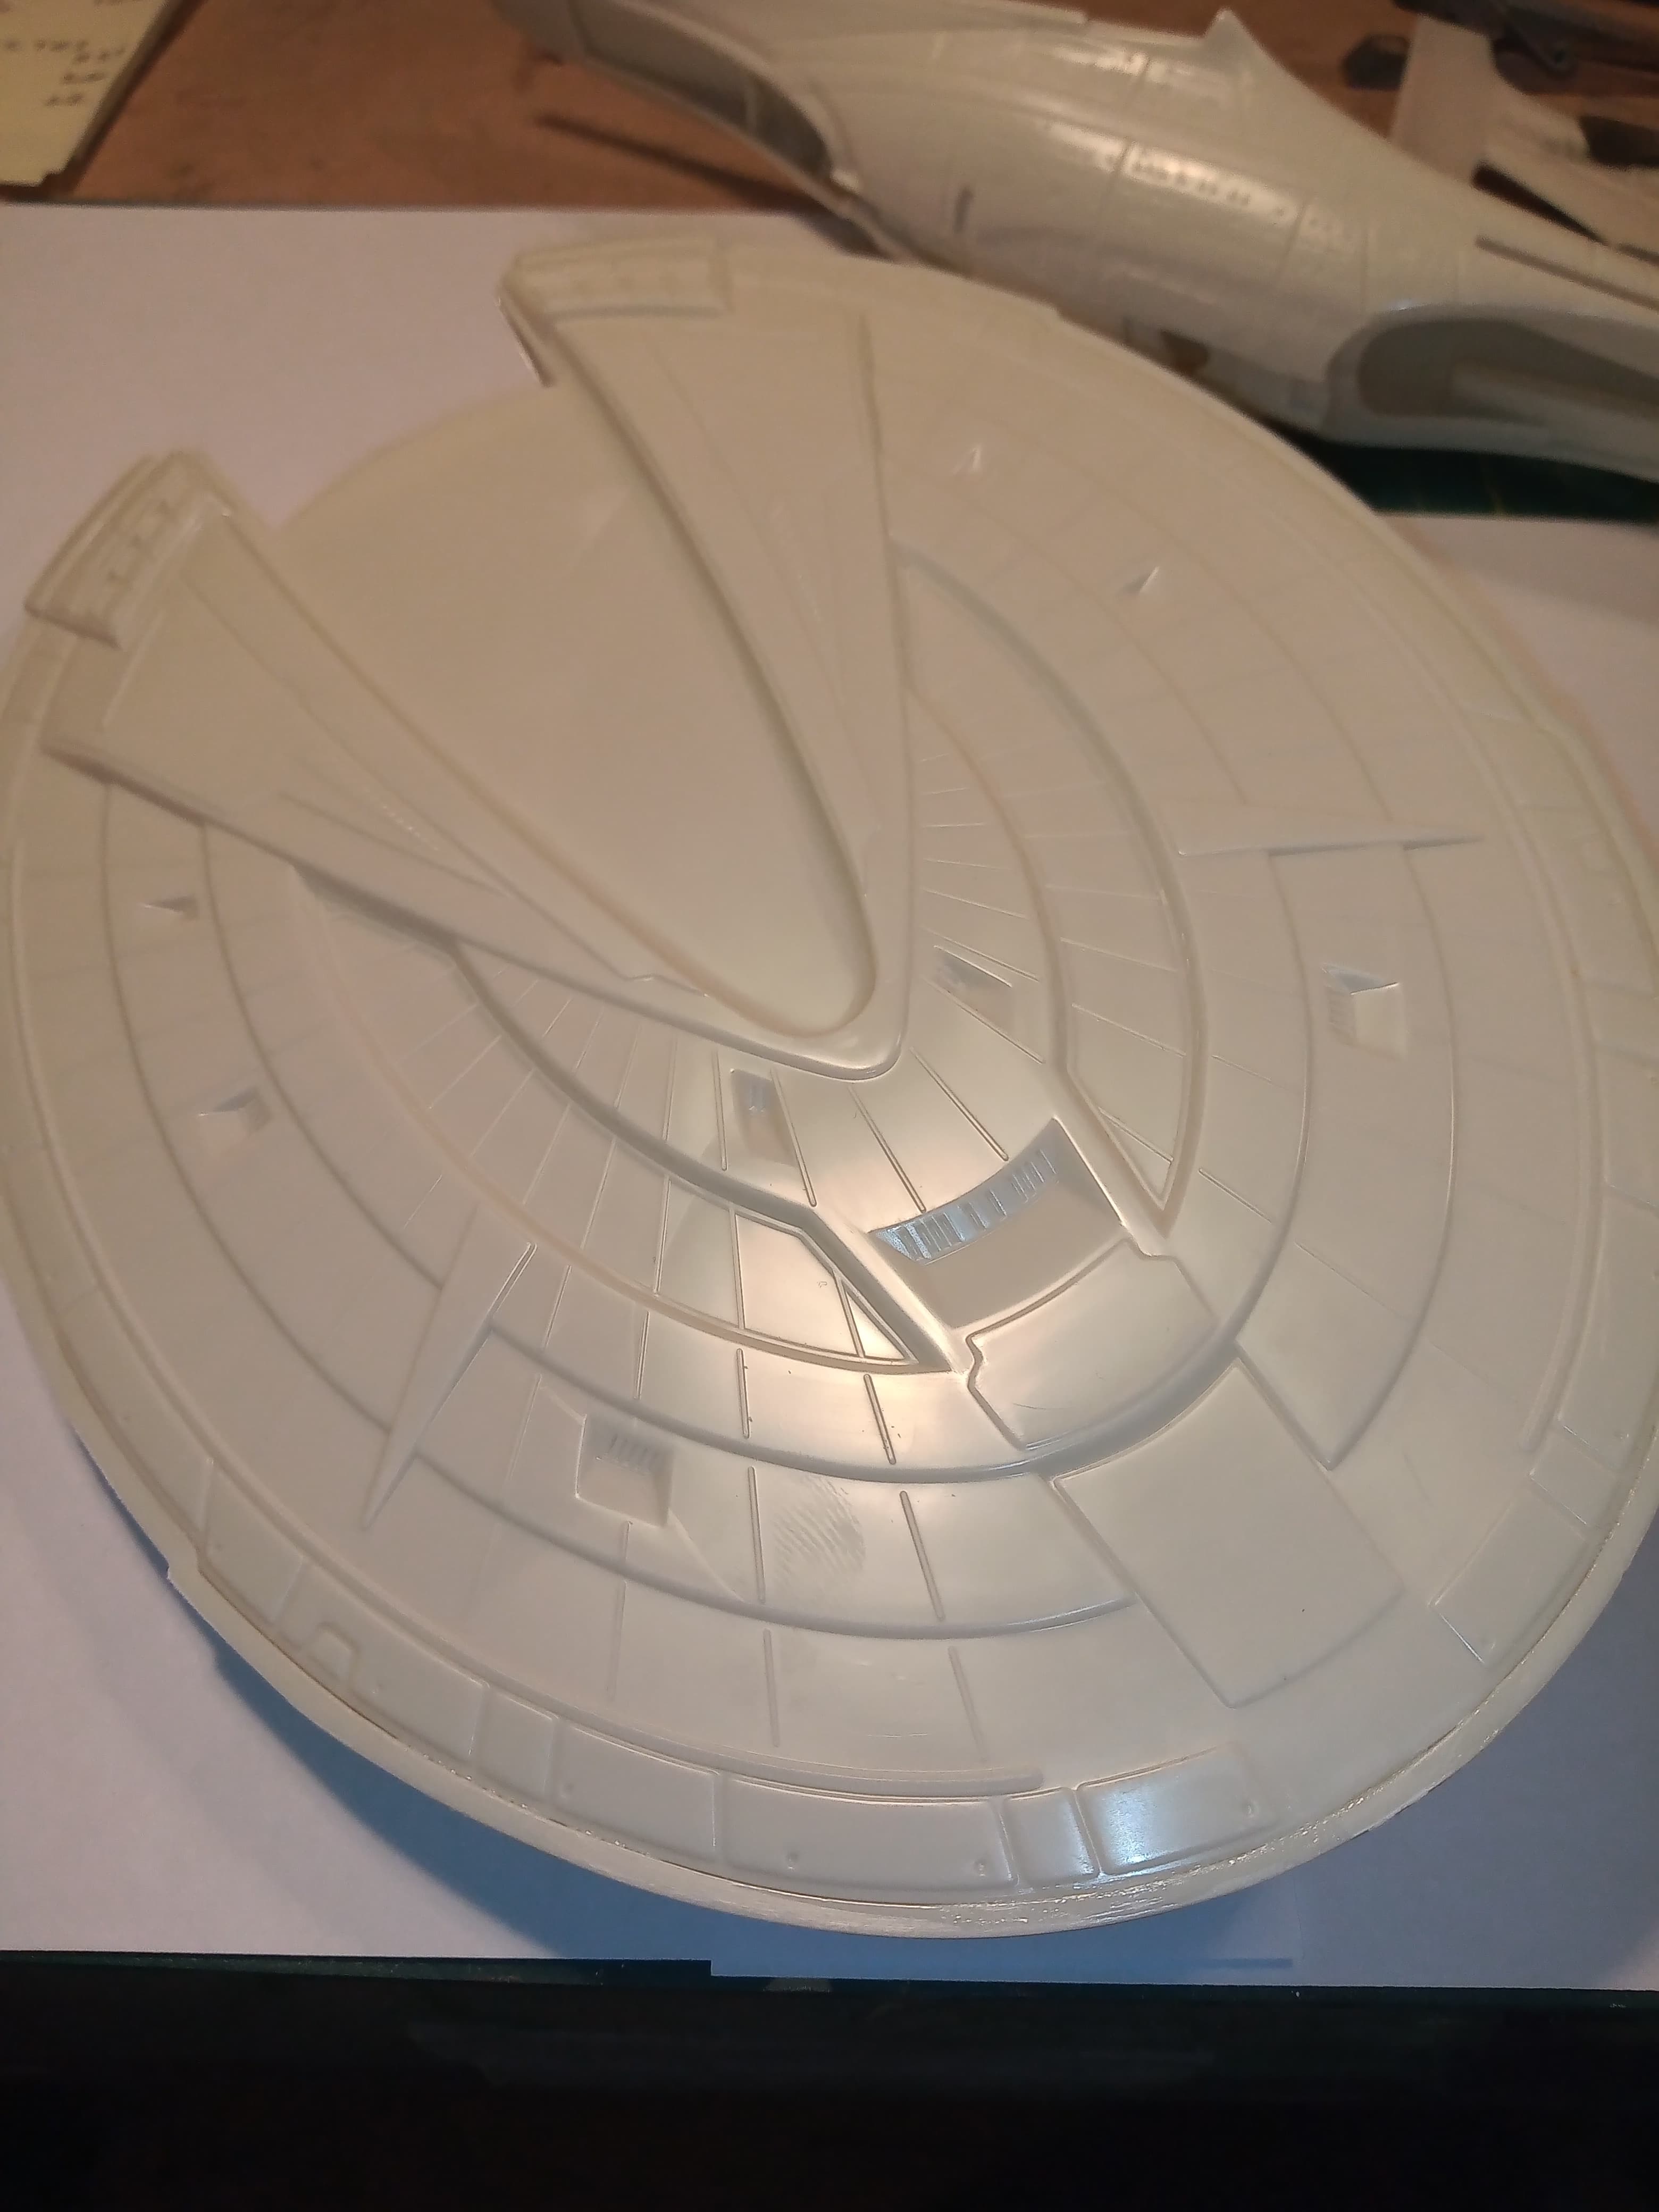
The saucer section is pretty much the same.
The bottom and top are no where near aligned… And possibly have a slight twist thrown in for good measure.
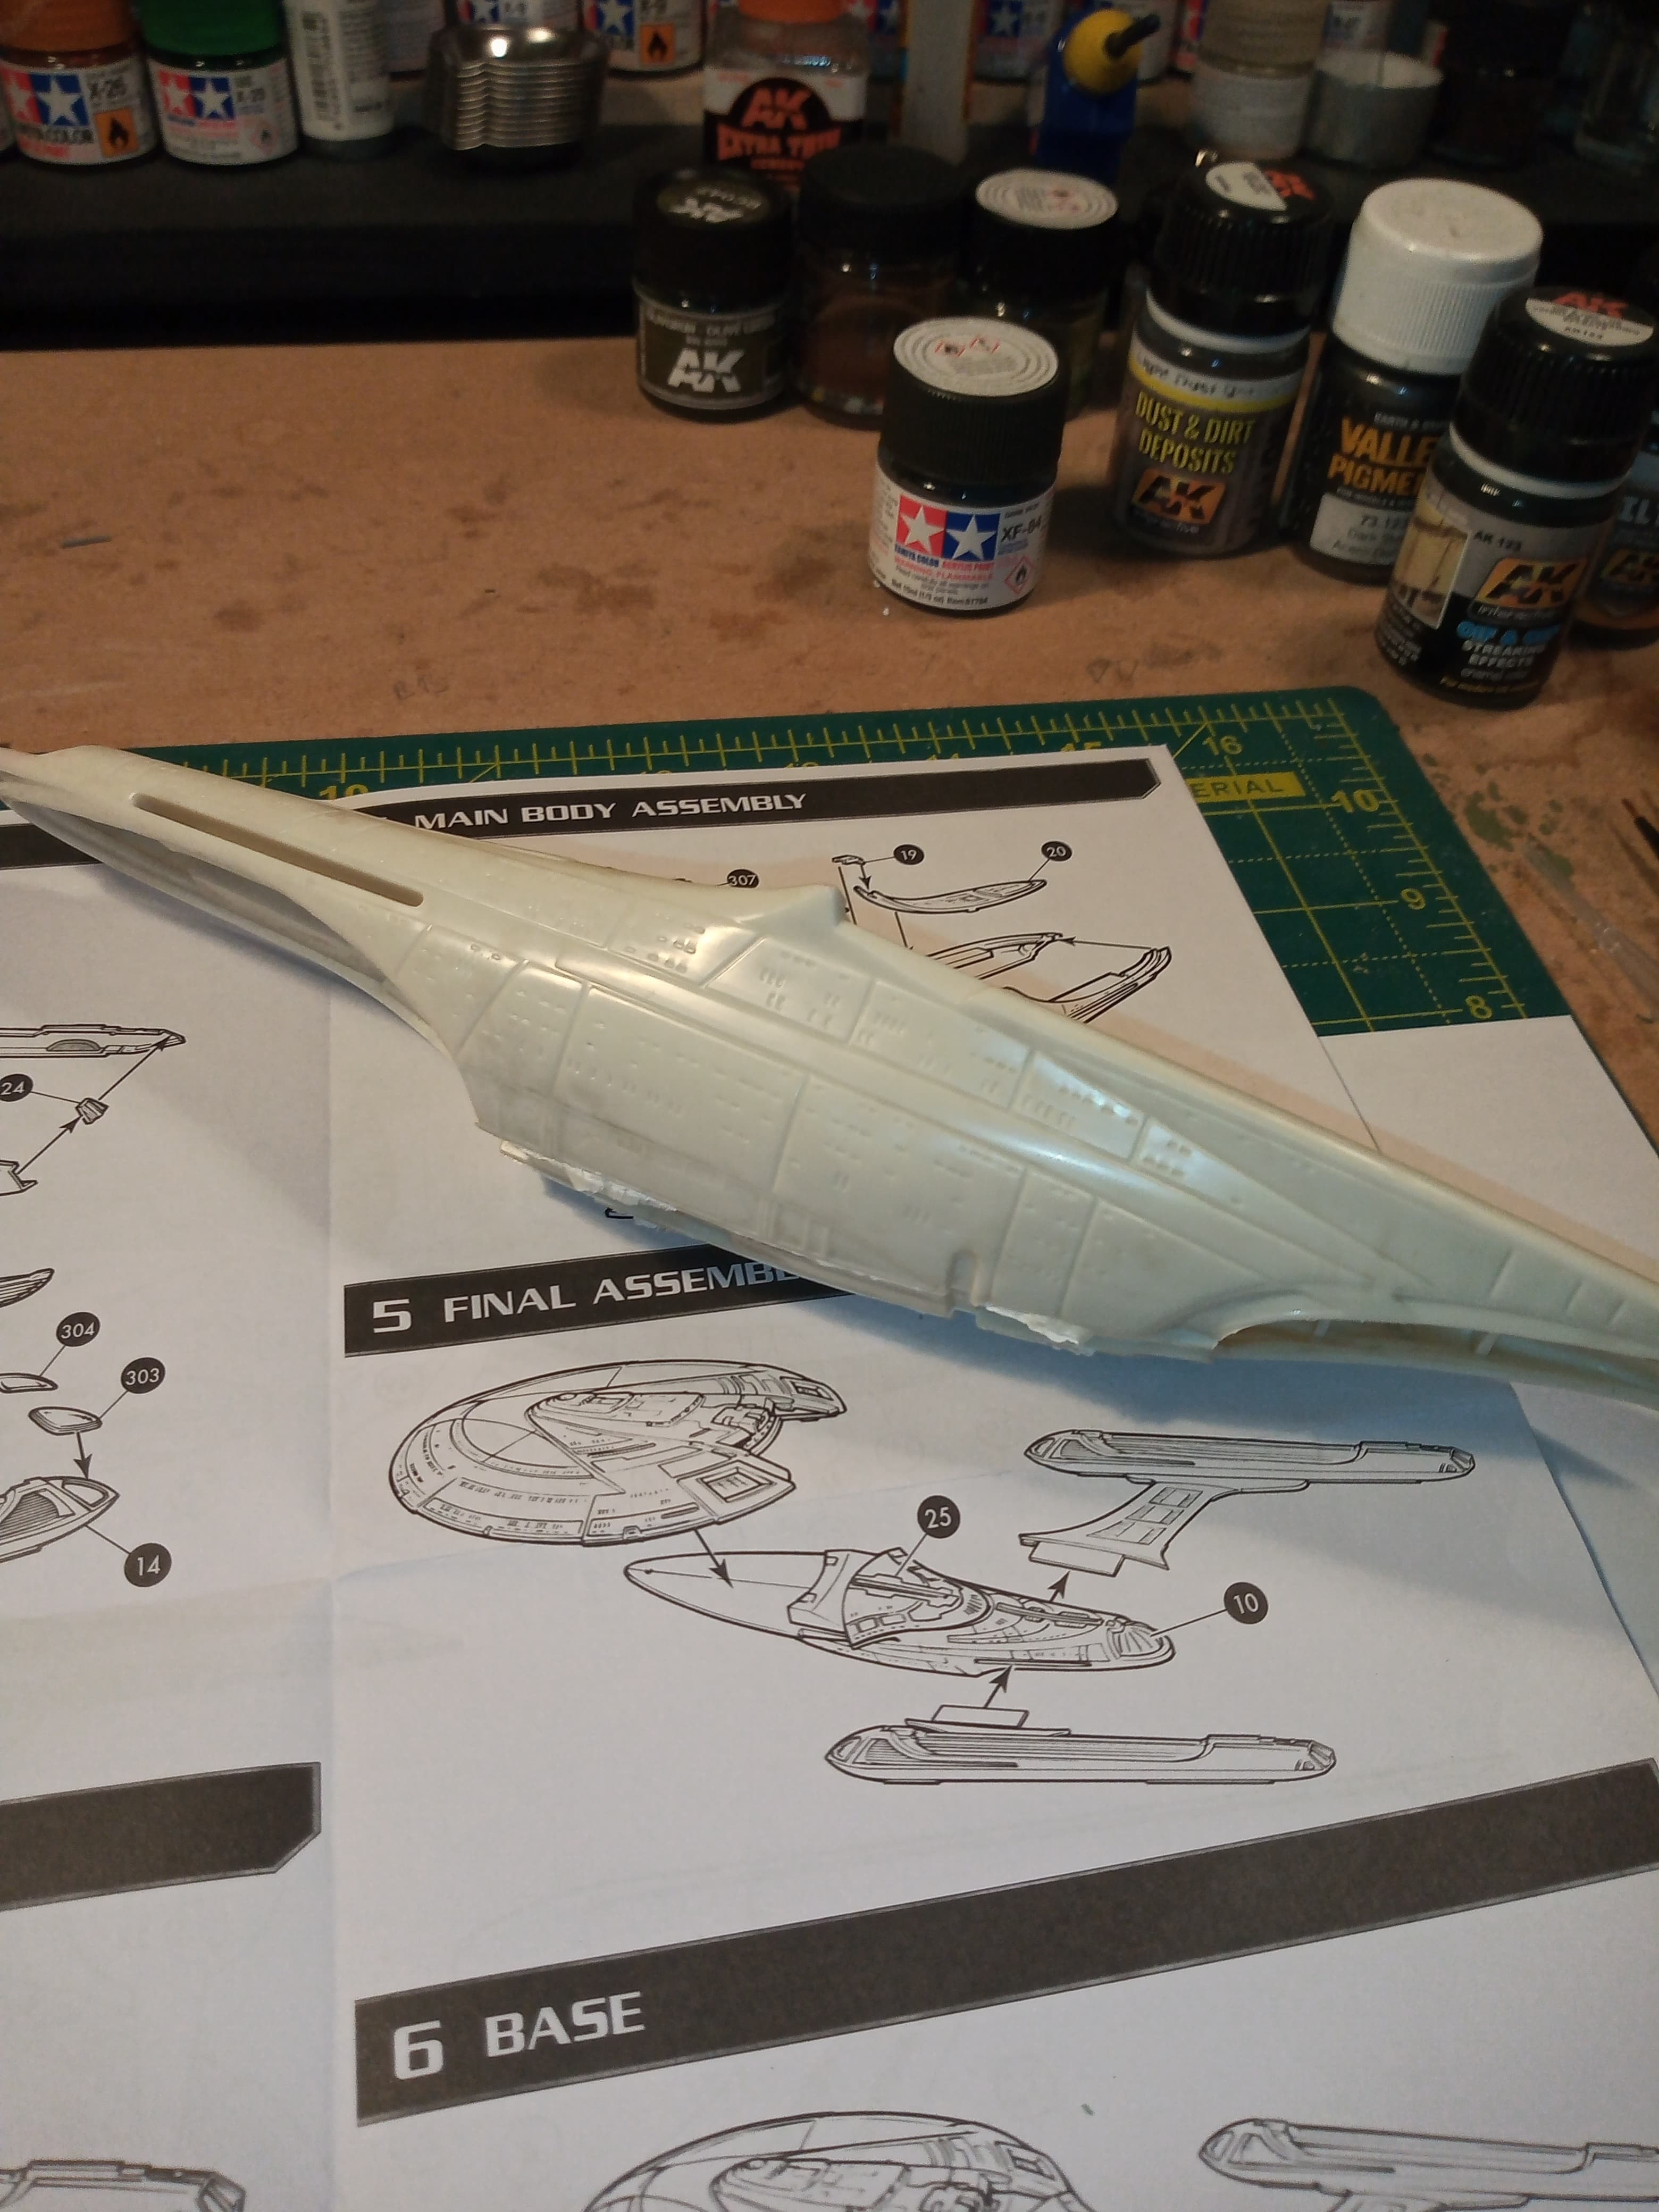
This the upper saucer detail and it on top of the hull.
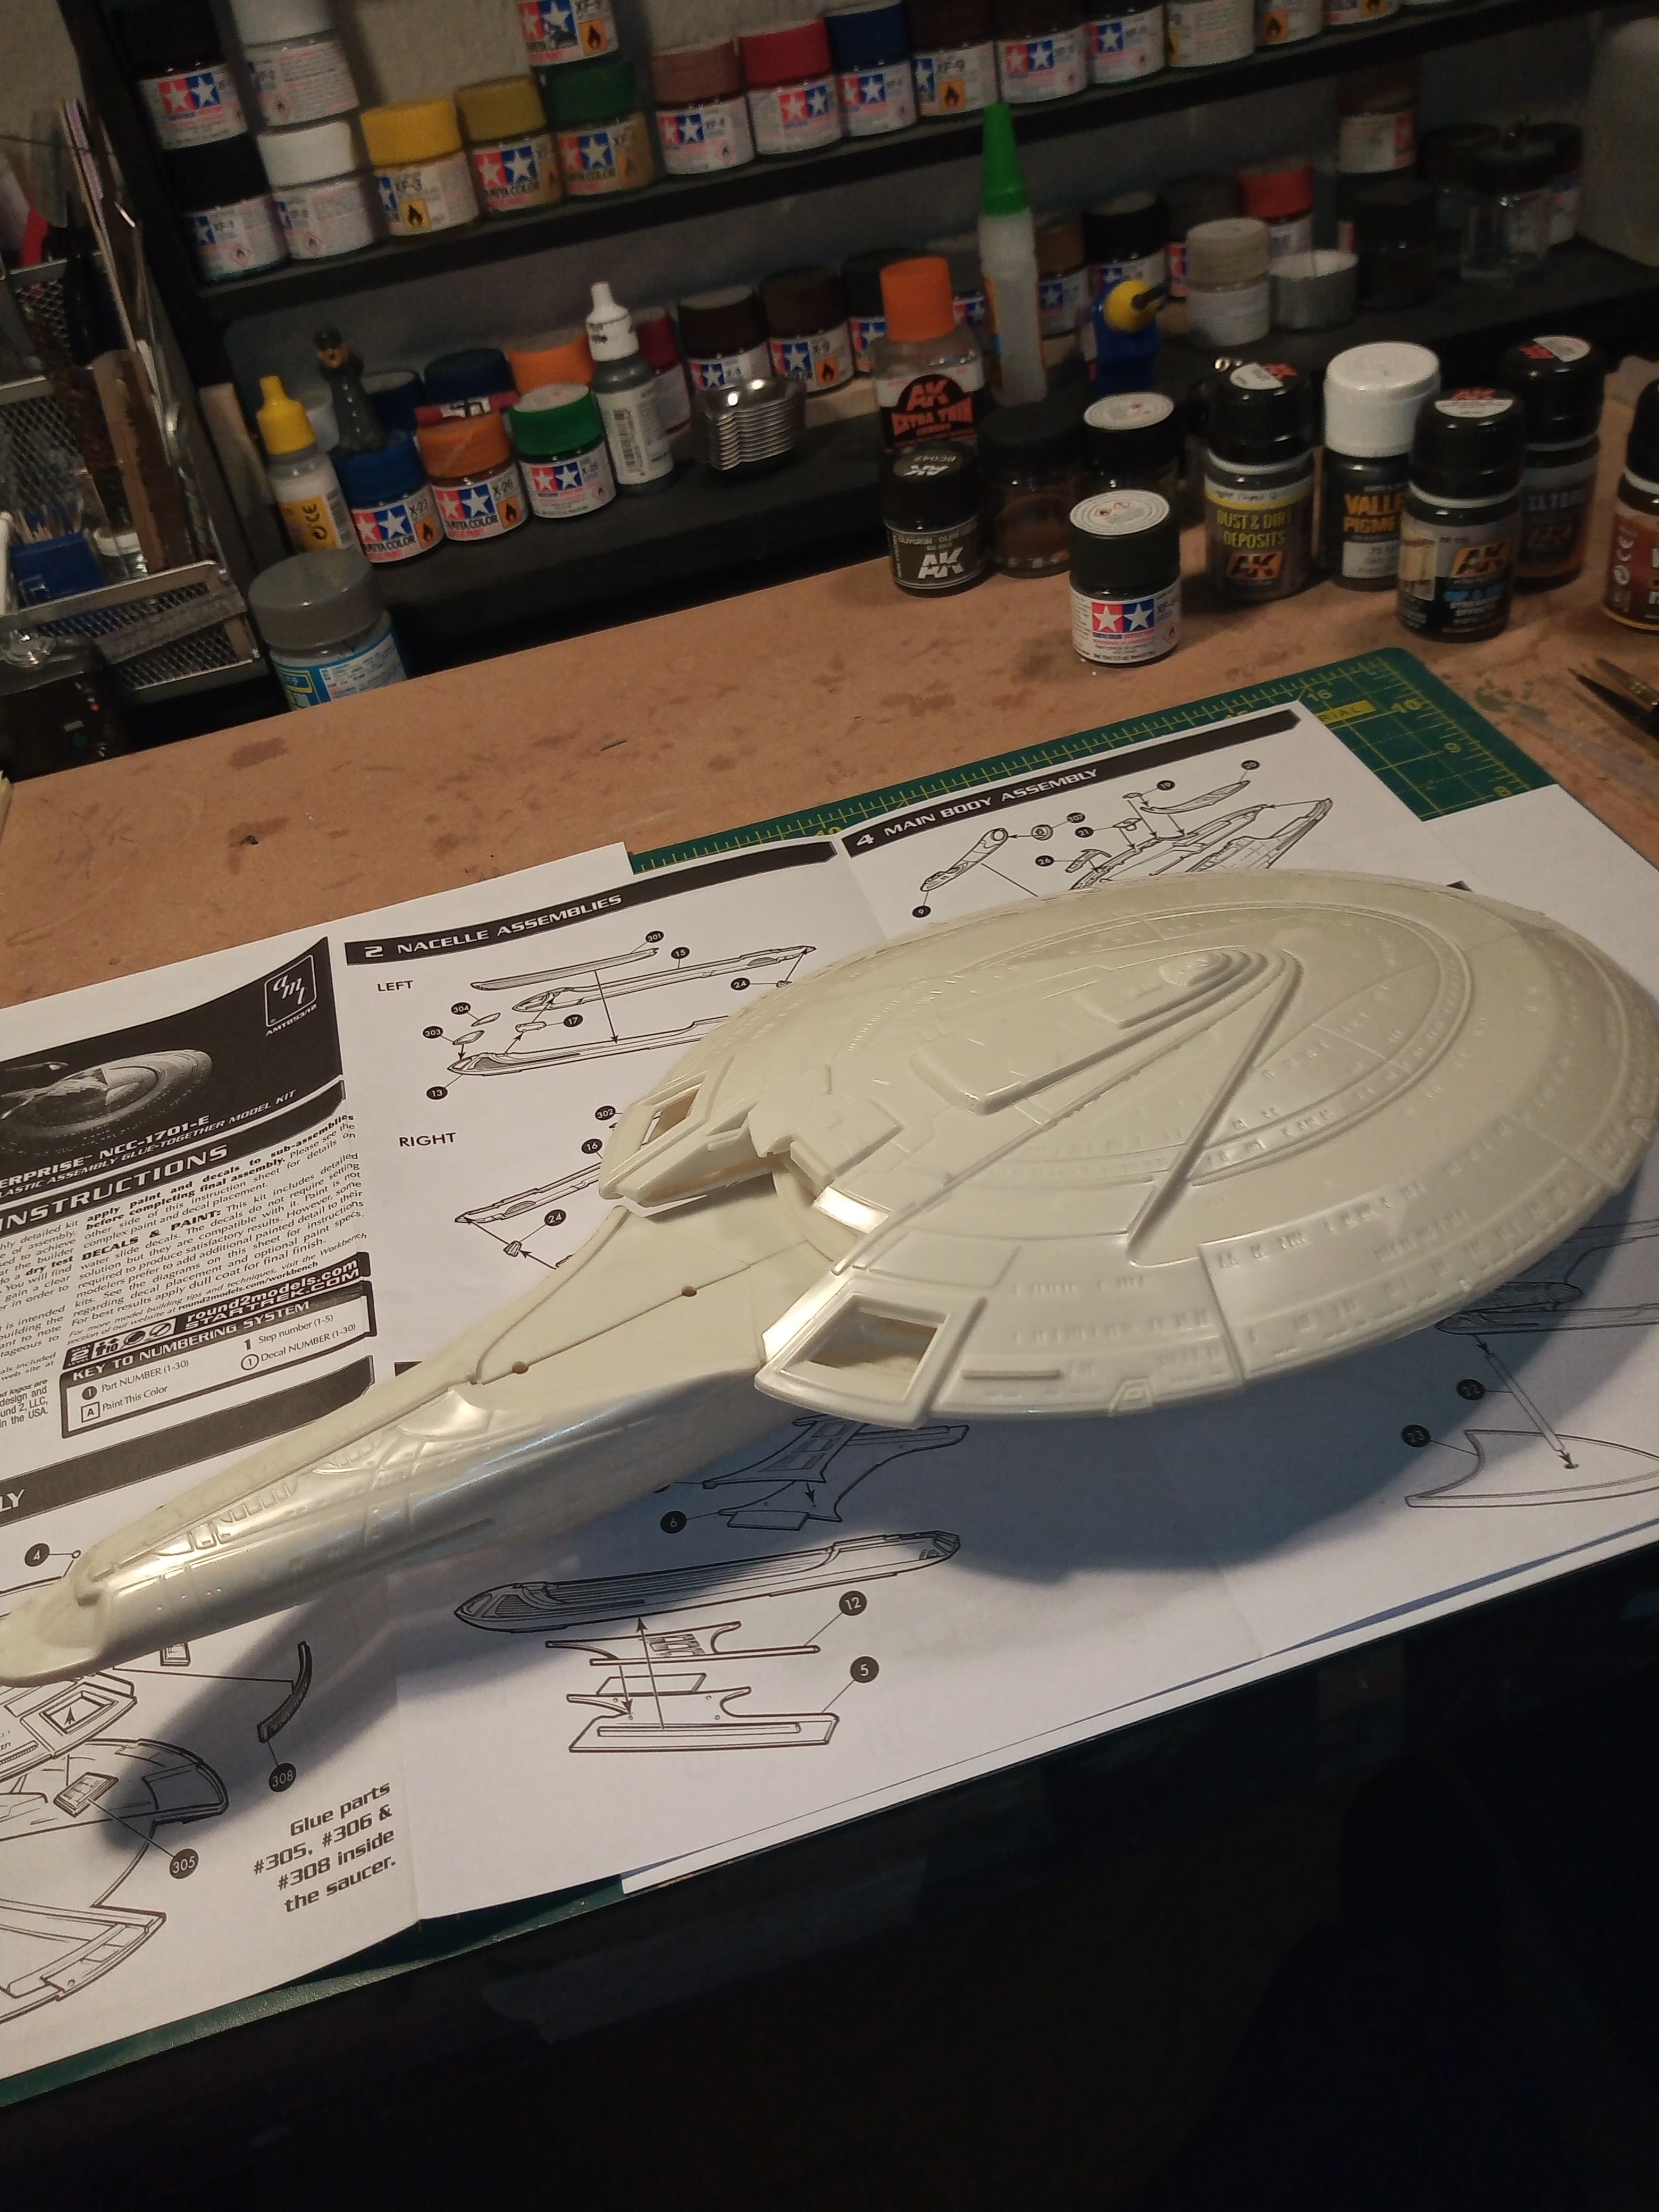
I was going to do a bit of cutting and glueing tonight but that ain’t happening any time soon… this will need a lot of clean up … A lot …
Love long and prosper lol…I knew I should of got that AT AT lol
3 Likes
Just not the MPC version I hope, it is just as bad as this kit…
2 Likes
Speaking of AMT and erratic quality, after going through several of their car kits I finally opened their 1963 Corvette (admittedly an old kit) and wondered if I had somehow got an original pressing.
The tremendous amount of flash was one thing, but the plastic was actually dirty as in actual dirt on it. WTF? I would have wondered if it was salvaged from a flooded warehouse if the box and instructions weren’t in nice shape. I am not looking forward to that build.
If you look closely at the hull and saucer above it is exactly the same…coveted in some form of dirt, dark smudges or similar… And all parts were still in heat sealed bags ?? Weird
Best of luck with it. I think you can make it co-operate. Unfortunately AMT do have this reputation. I was doing some dry fitting of the Runabout the other night and that has a lot of problems! I’m still in two minds about lighting that one. Preventing light leak just adds to the problems!
One thing I’ve found is that the location pins can be very tight, a little drilling of the holes usually helps .
You know I’d noticed that. Wherever it is in China that’s doing the moulding is very dirty and has poor quality control. The plastic feels cheap too. Hard and brittle.
She not just going to give it up, you got to work her to get it. ![]()
![]()
Instead of putty, your going to use a bunch regardless, use styrene shims to fill the big gaps.
2 Likes
Spray the parts down liberally with Windex (with ammonia) and rinse with cool water from the kitchen sink sprayer hose. This will get rid of the dirt / mold release agent without breaking any parts.
1 Like
In the UK thats the garden hosepipe lol
2 Likes
Some steps forward…
Washed everything…in the end good old soap and water did the job… All the grimey dark marks are gone. Just doing that made me feel better about it.
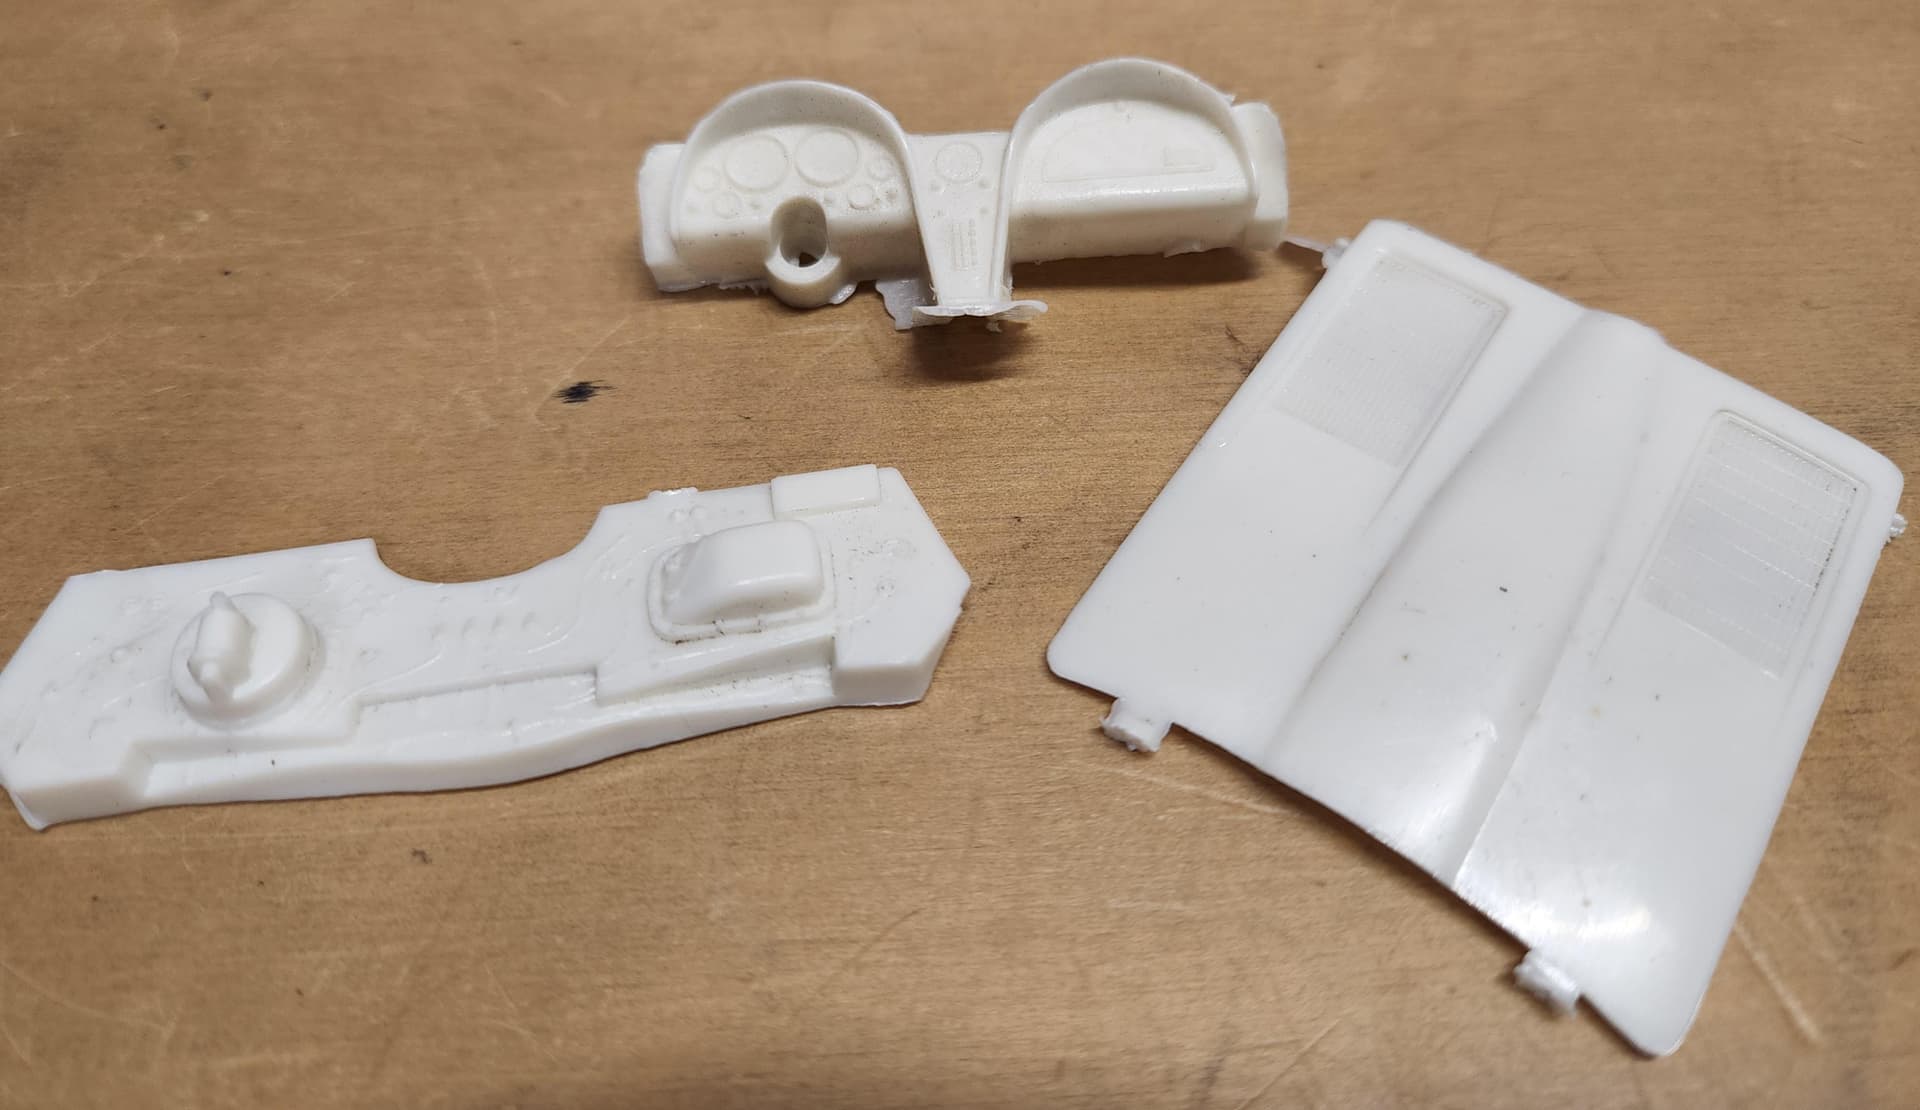
I painted the inside of the 2 clear bits on the upper saucer rear with the Molotov chrome pen, as the outside will be done in clear red.
Trimmed all the flash from every part, and then sanded all the edges of everything nice and neat.
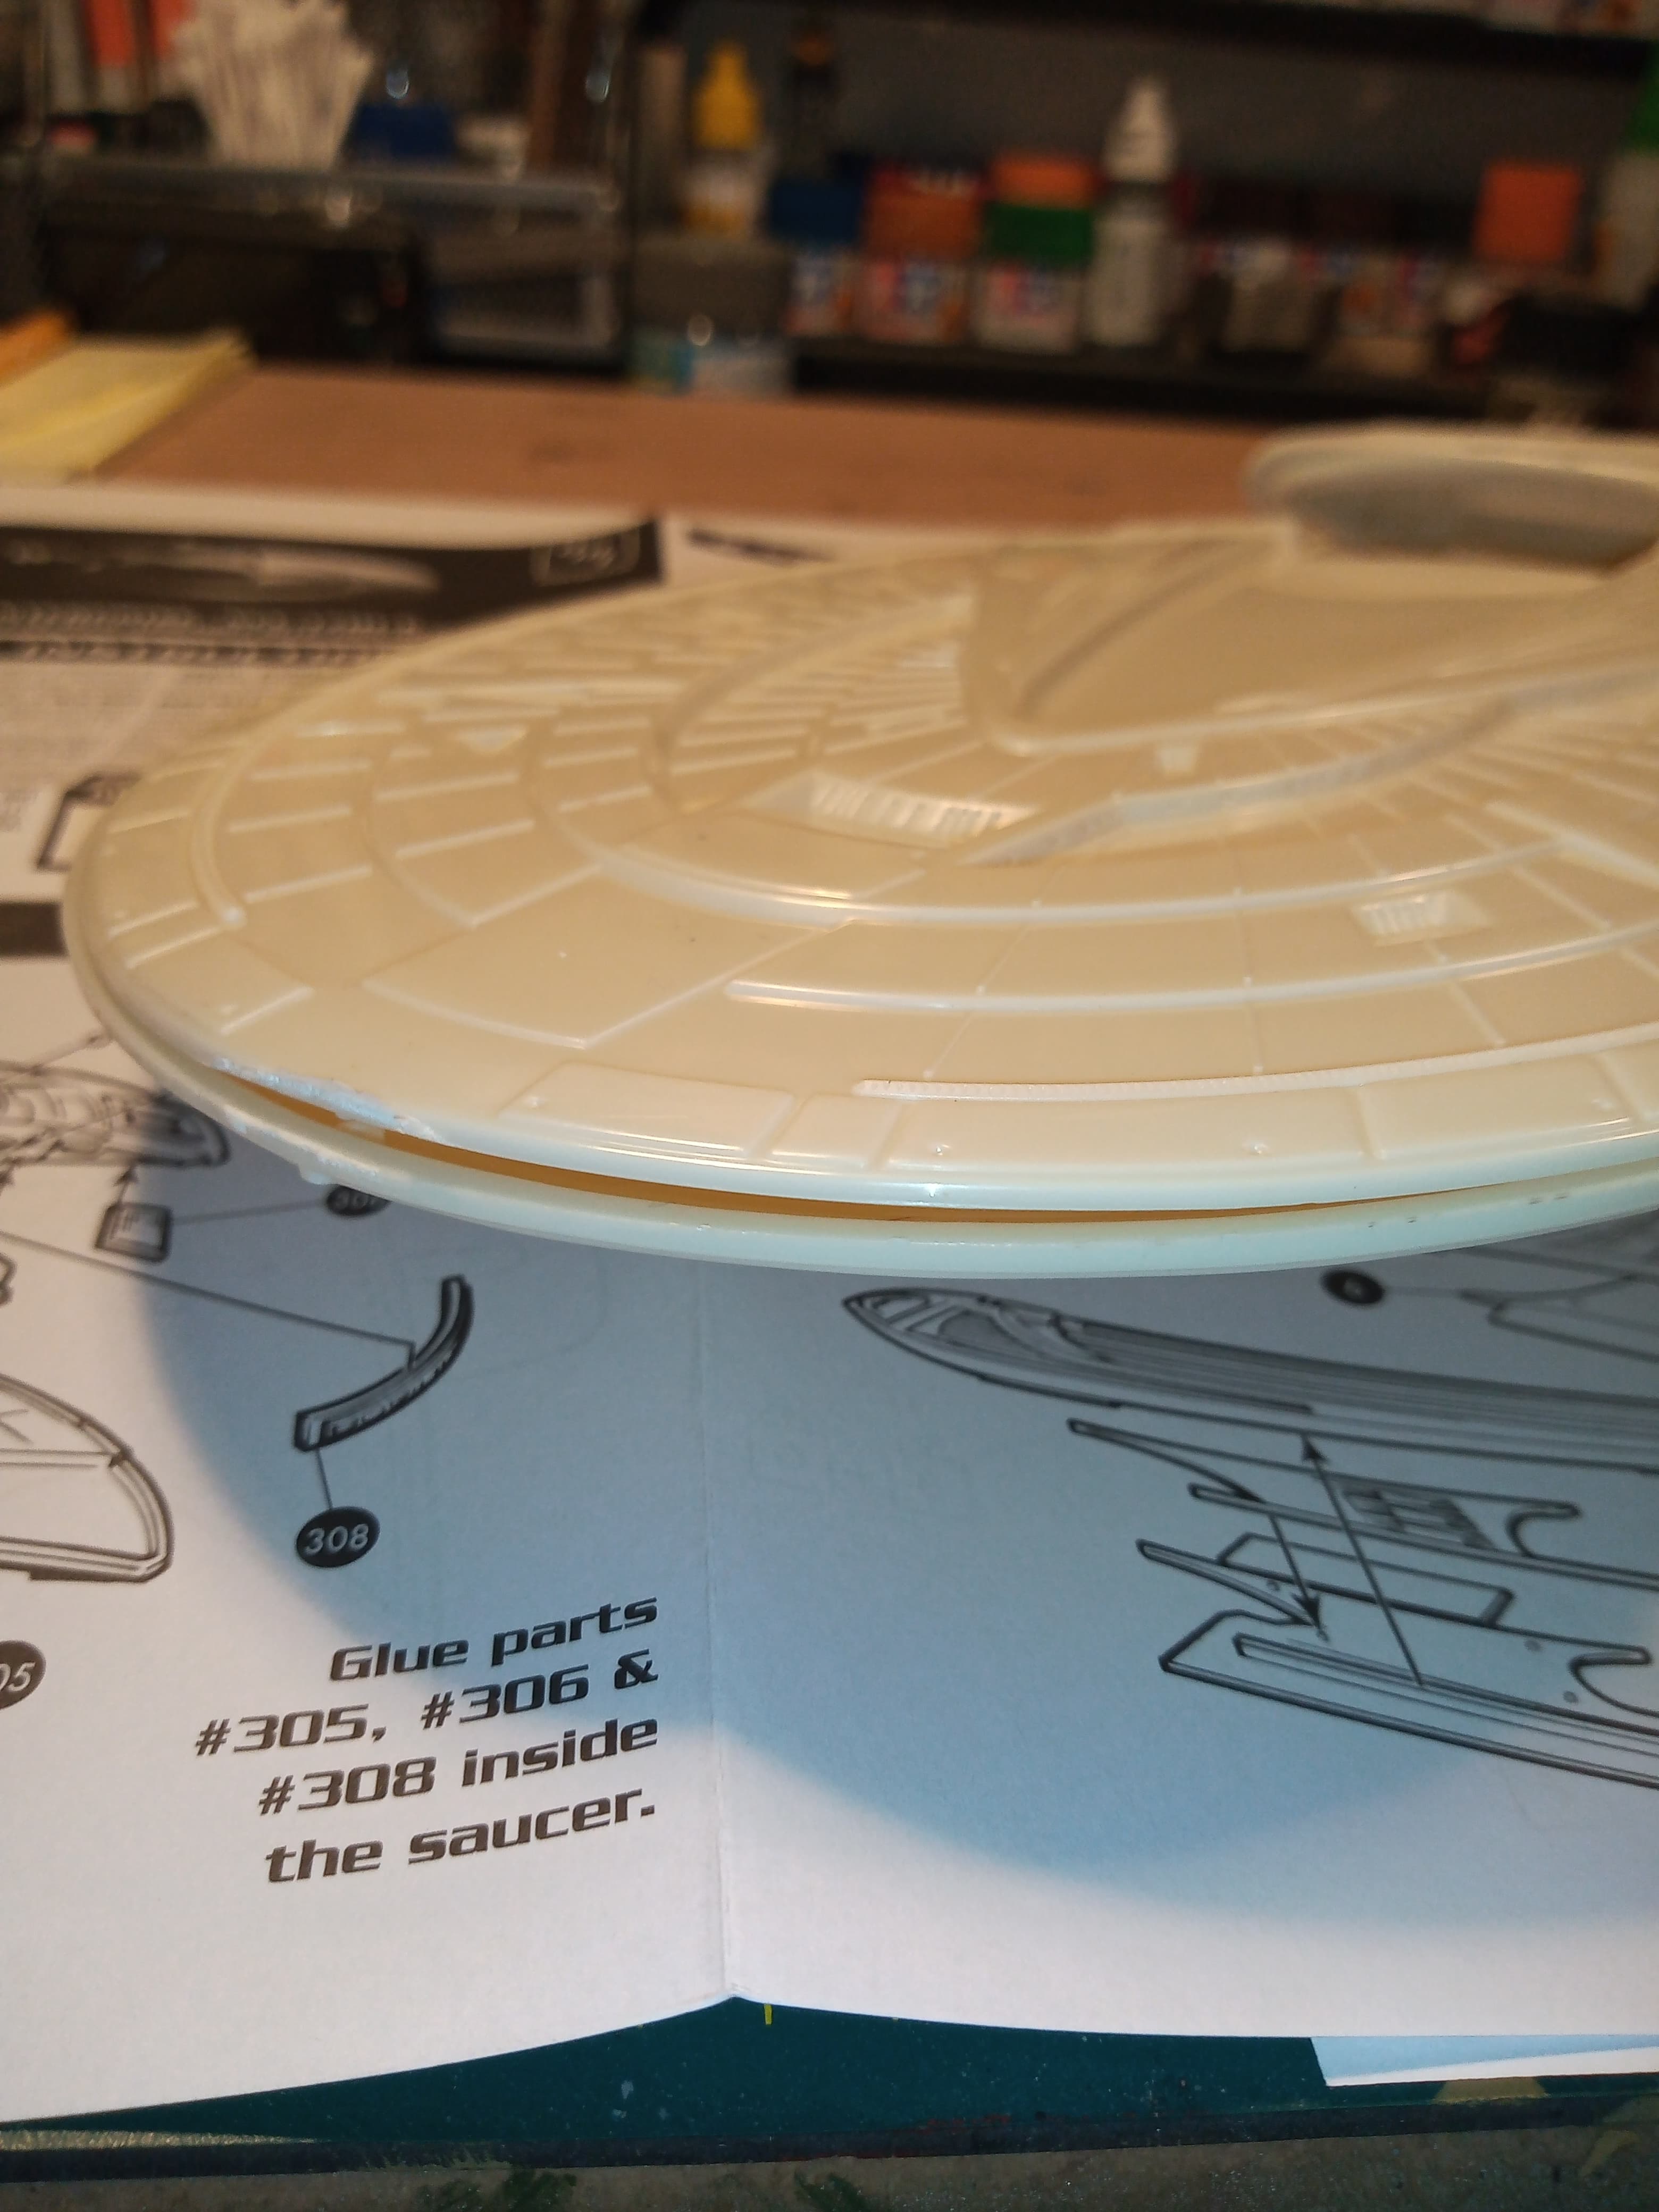
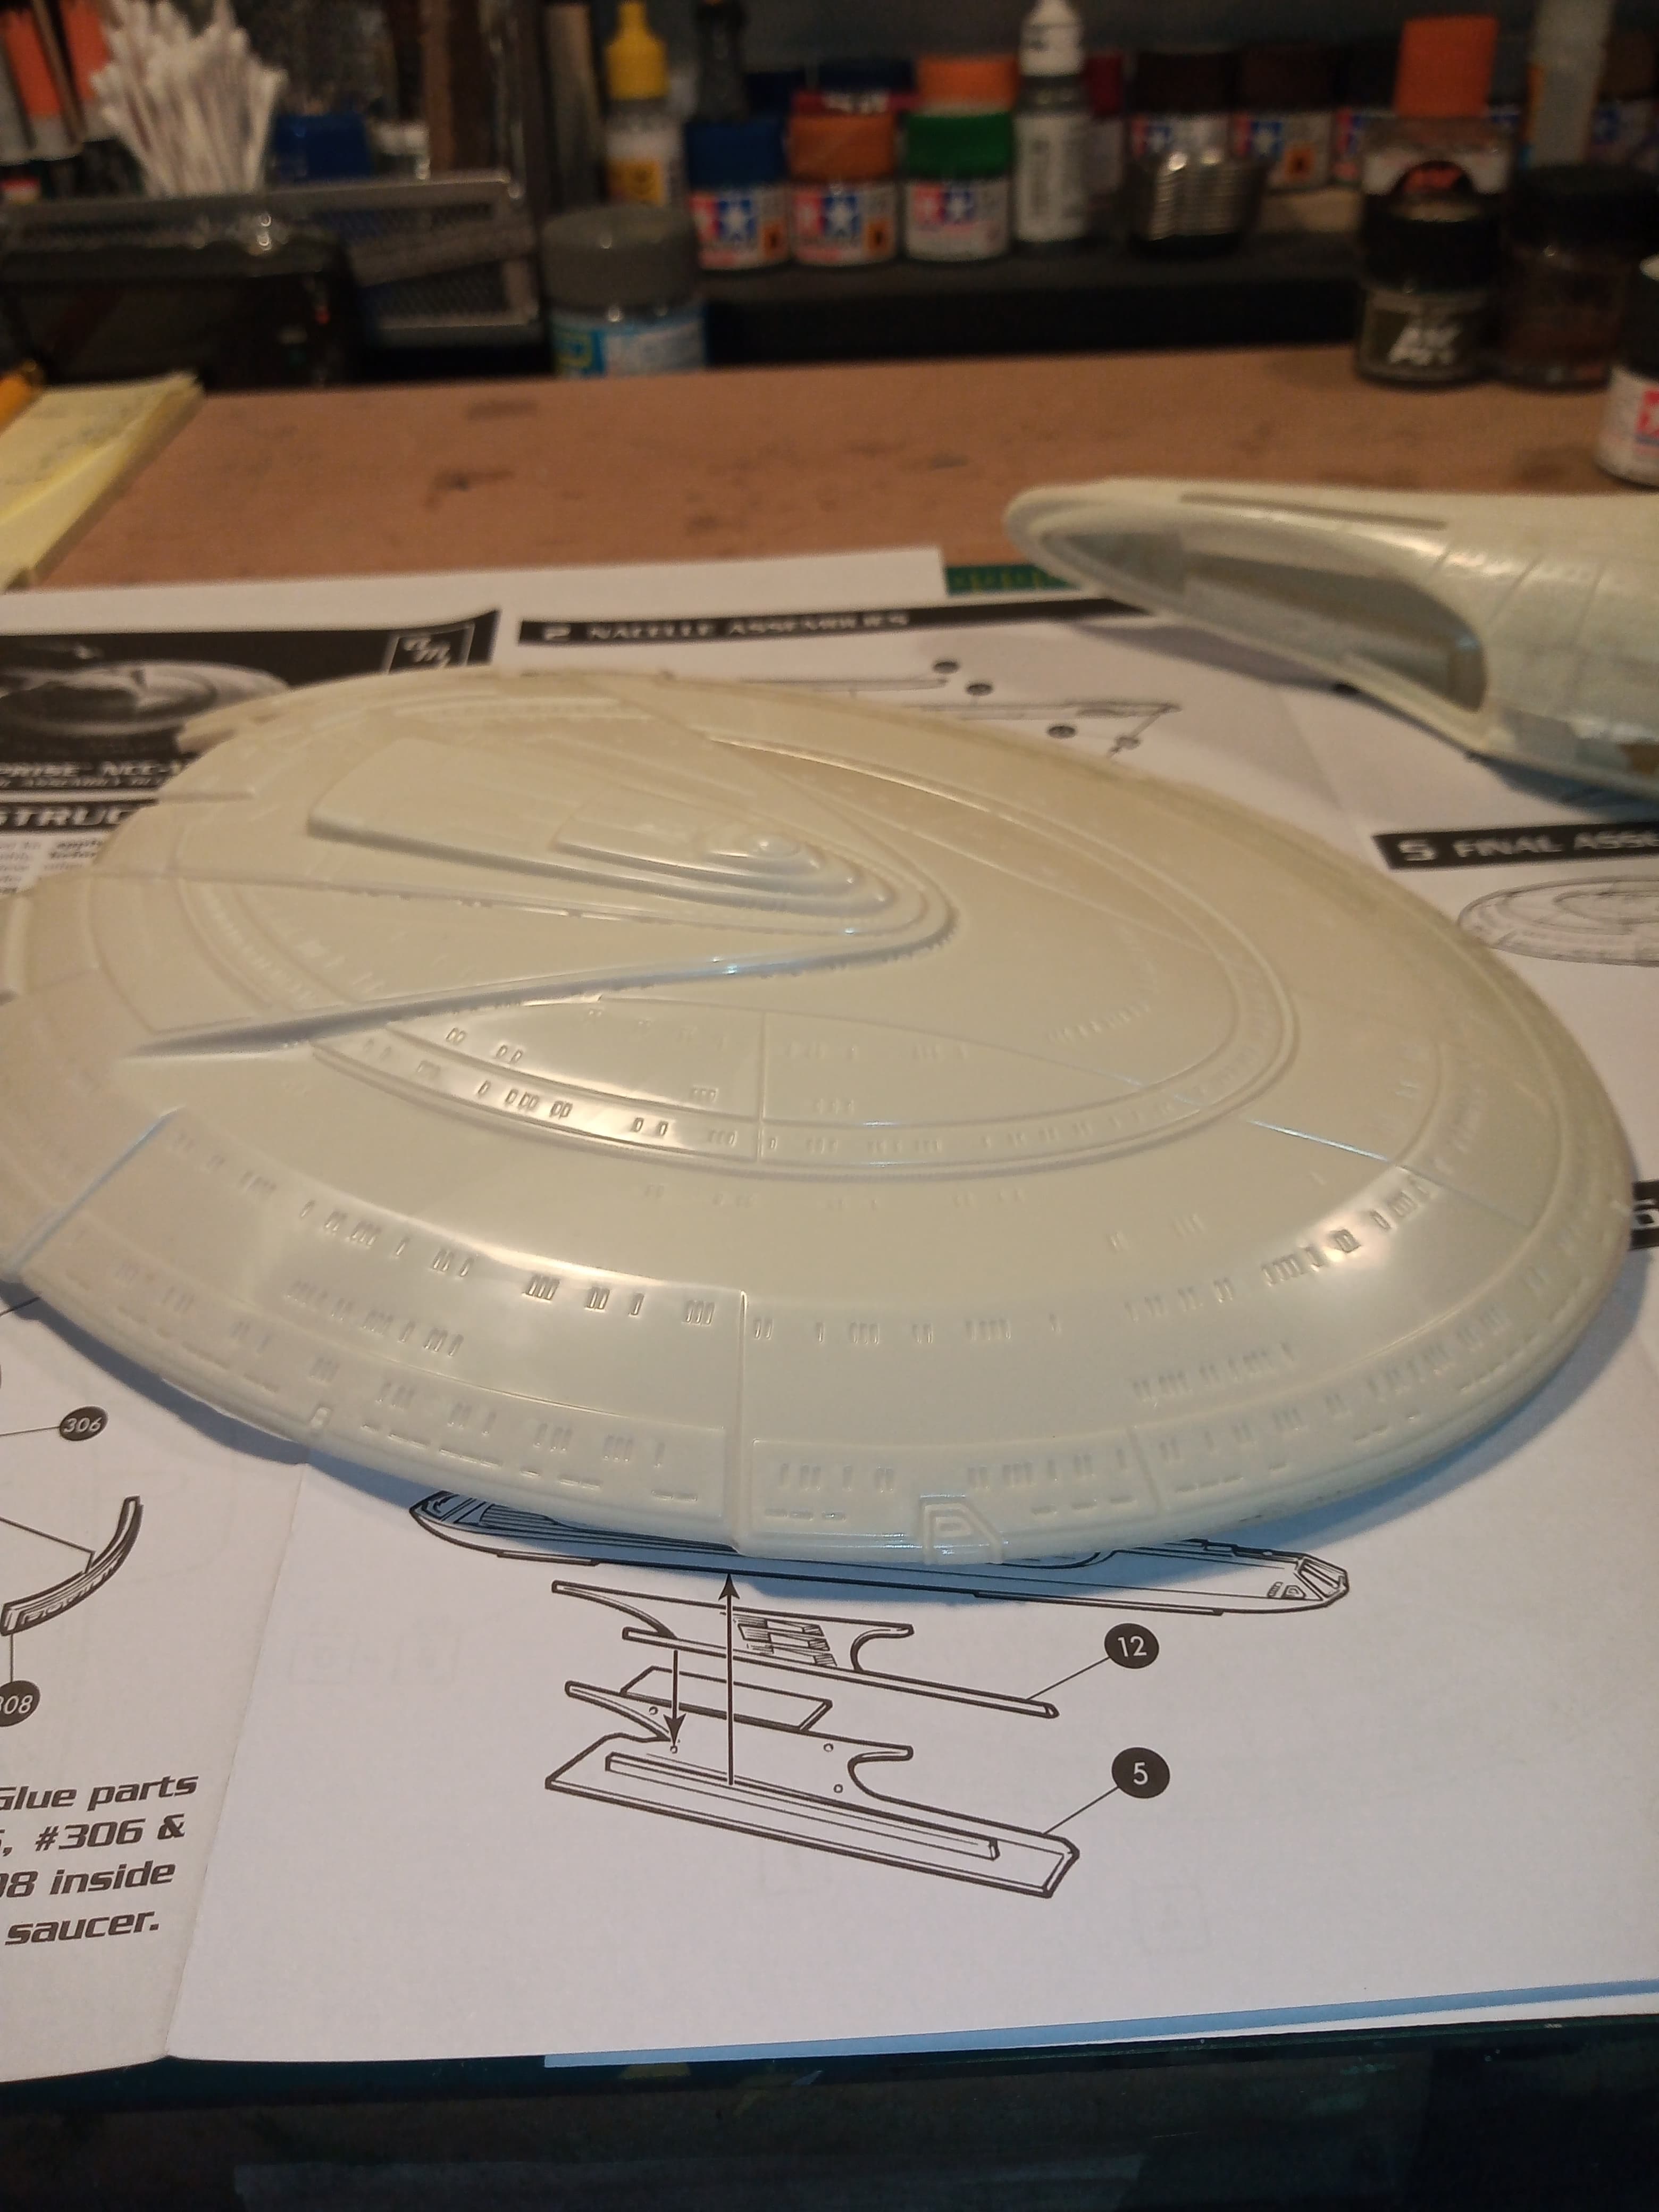
Put the saucer section together…
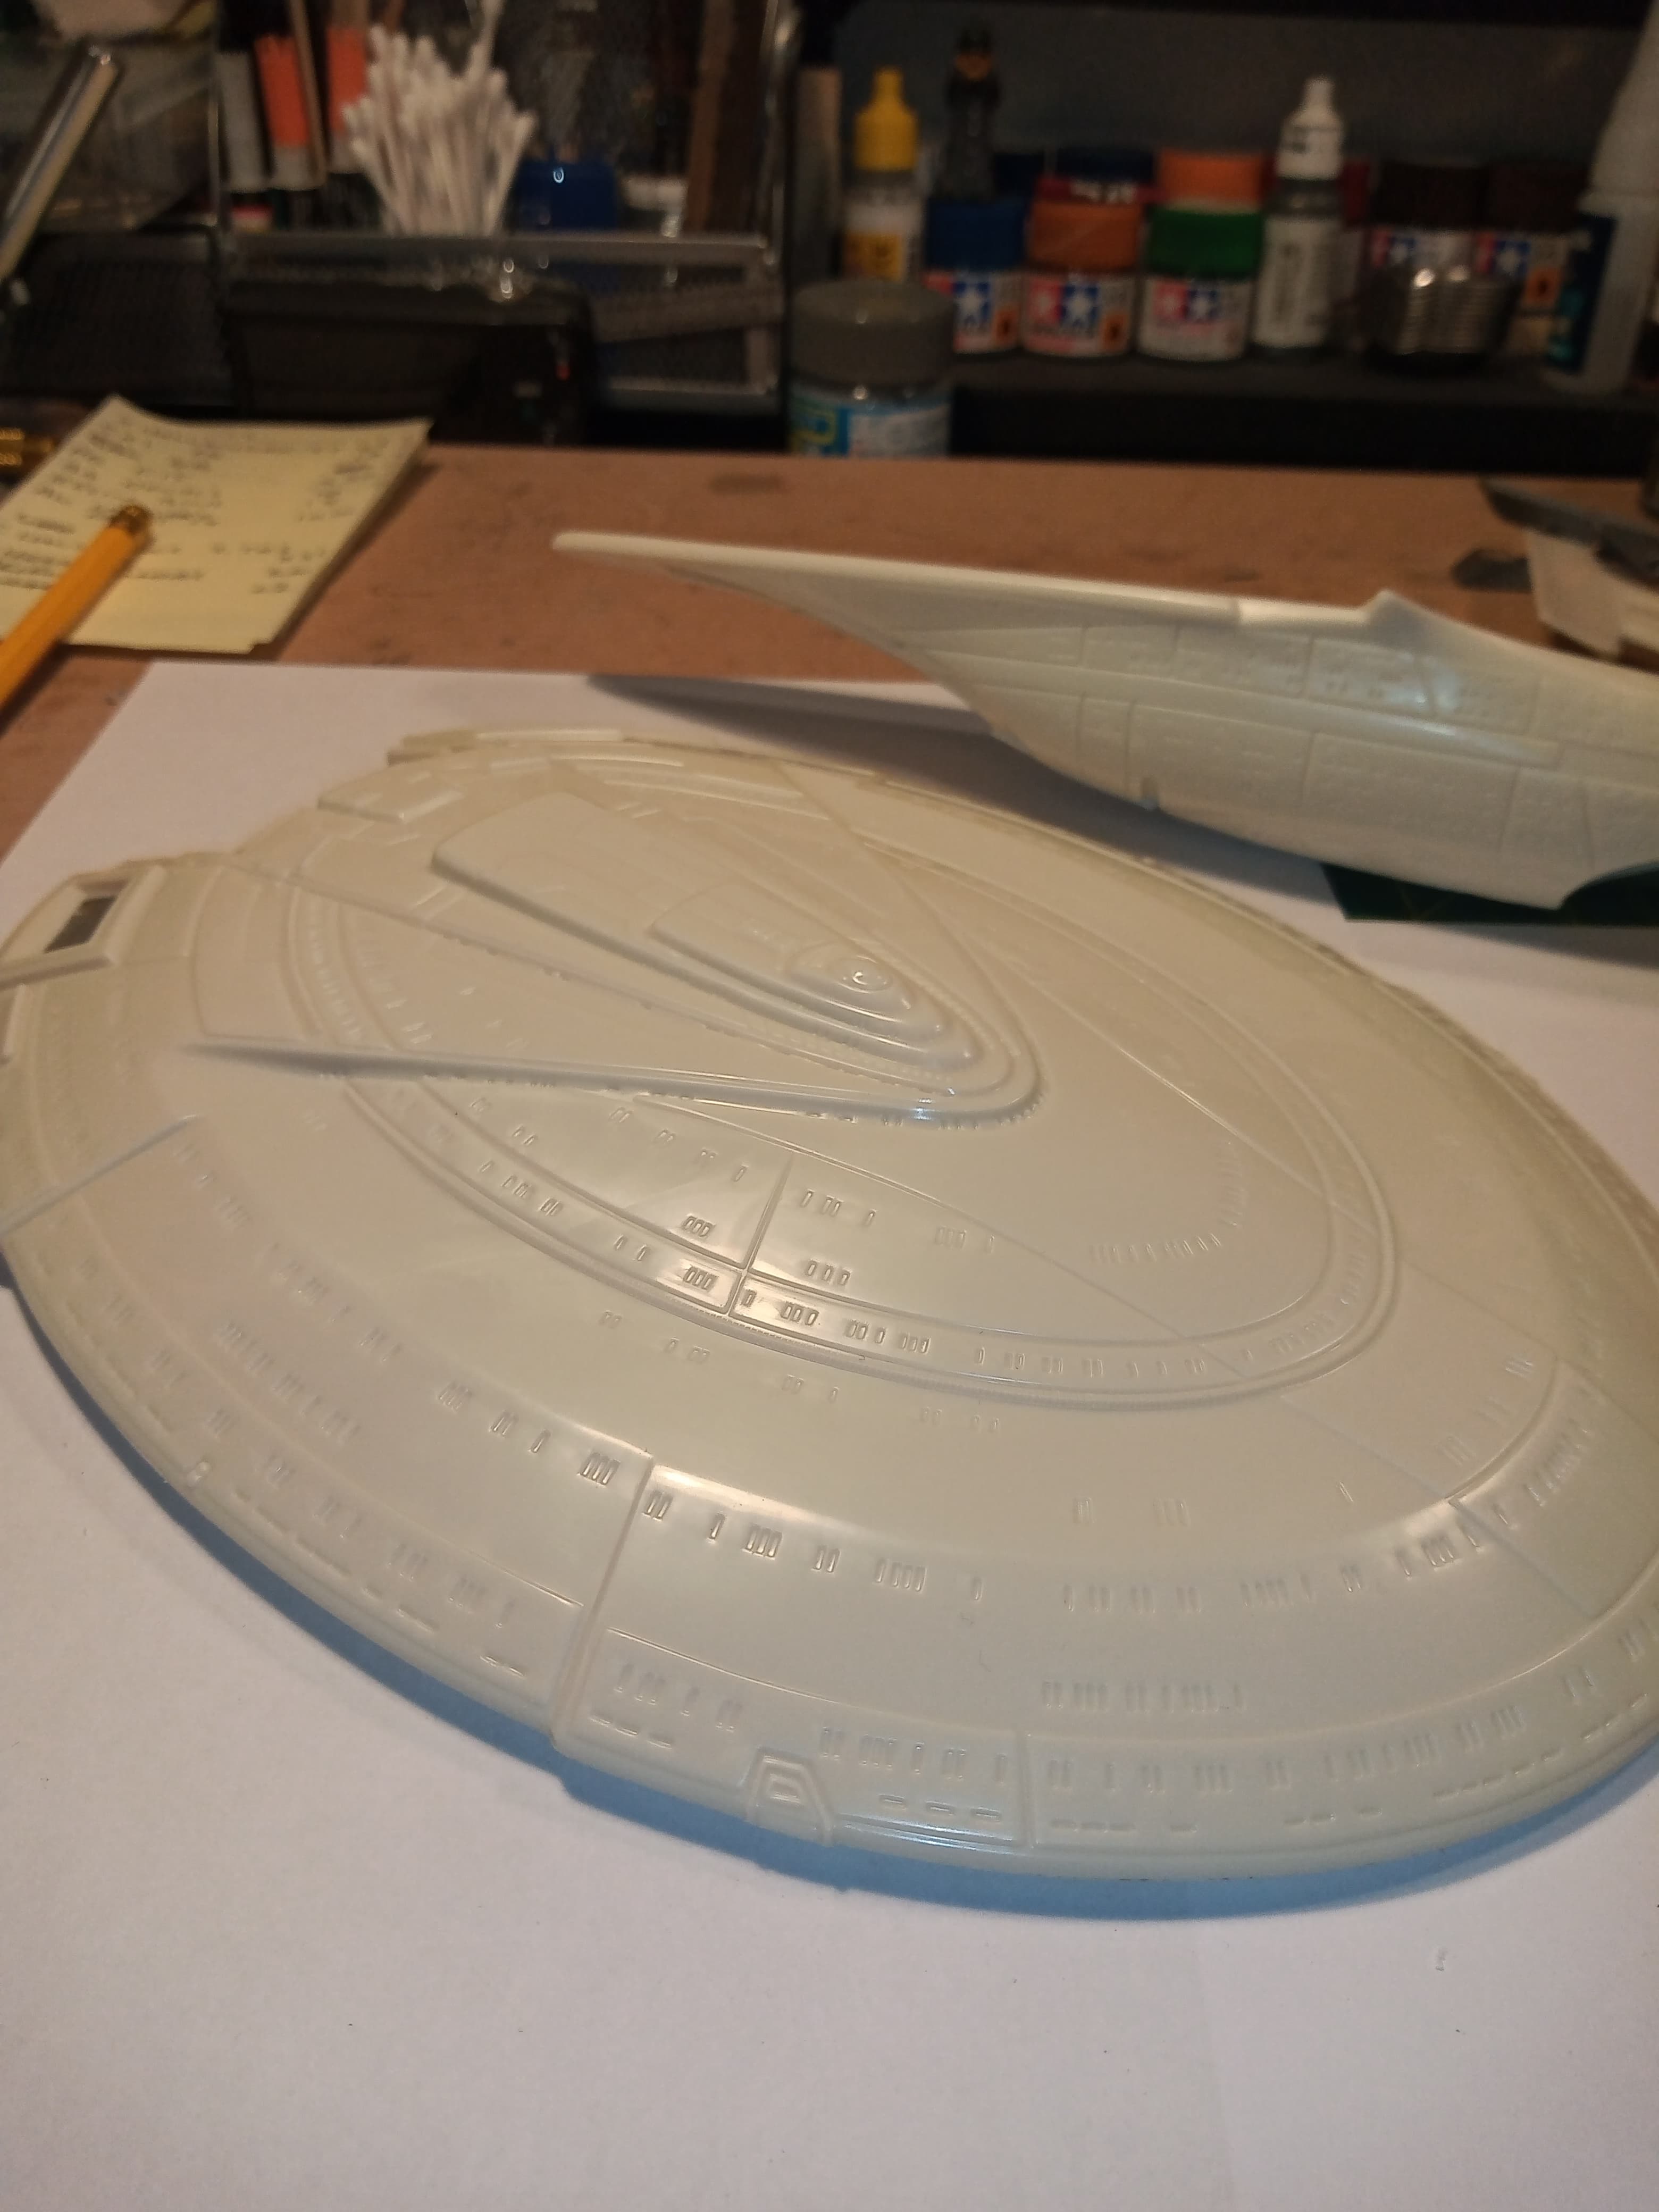
No major issues and it looks like the gaps have now not become such an issue.
Nice tip about the drilling out the connector holes Stephen @phantom_phanatic … It made such a difference… The hull went together pretty much almost perfectly
Again, with the flash trimming, gentle sanding and Stephens tip about drilling out the holes, the hull just slipped together nicely and again, this will need the minimal amount of filler.
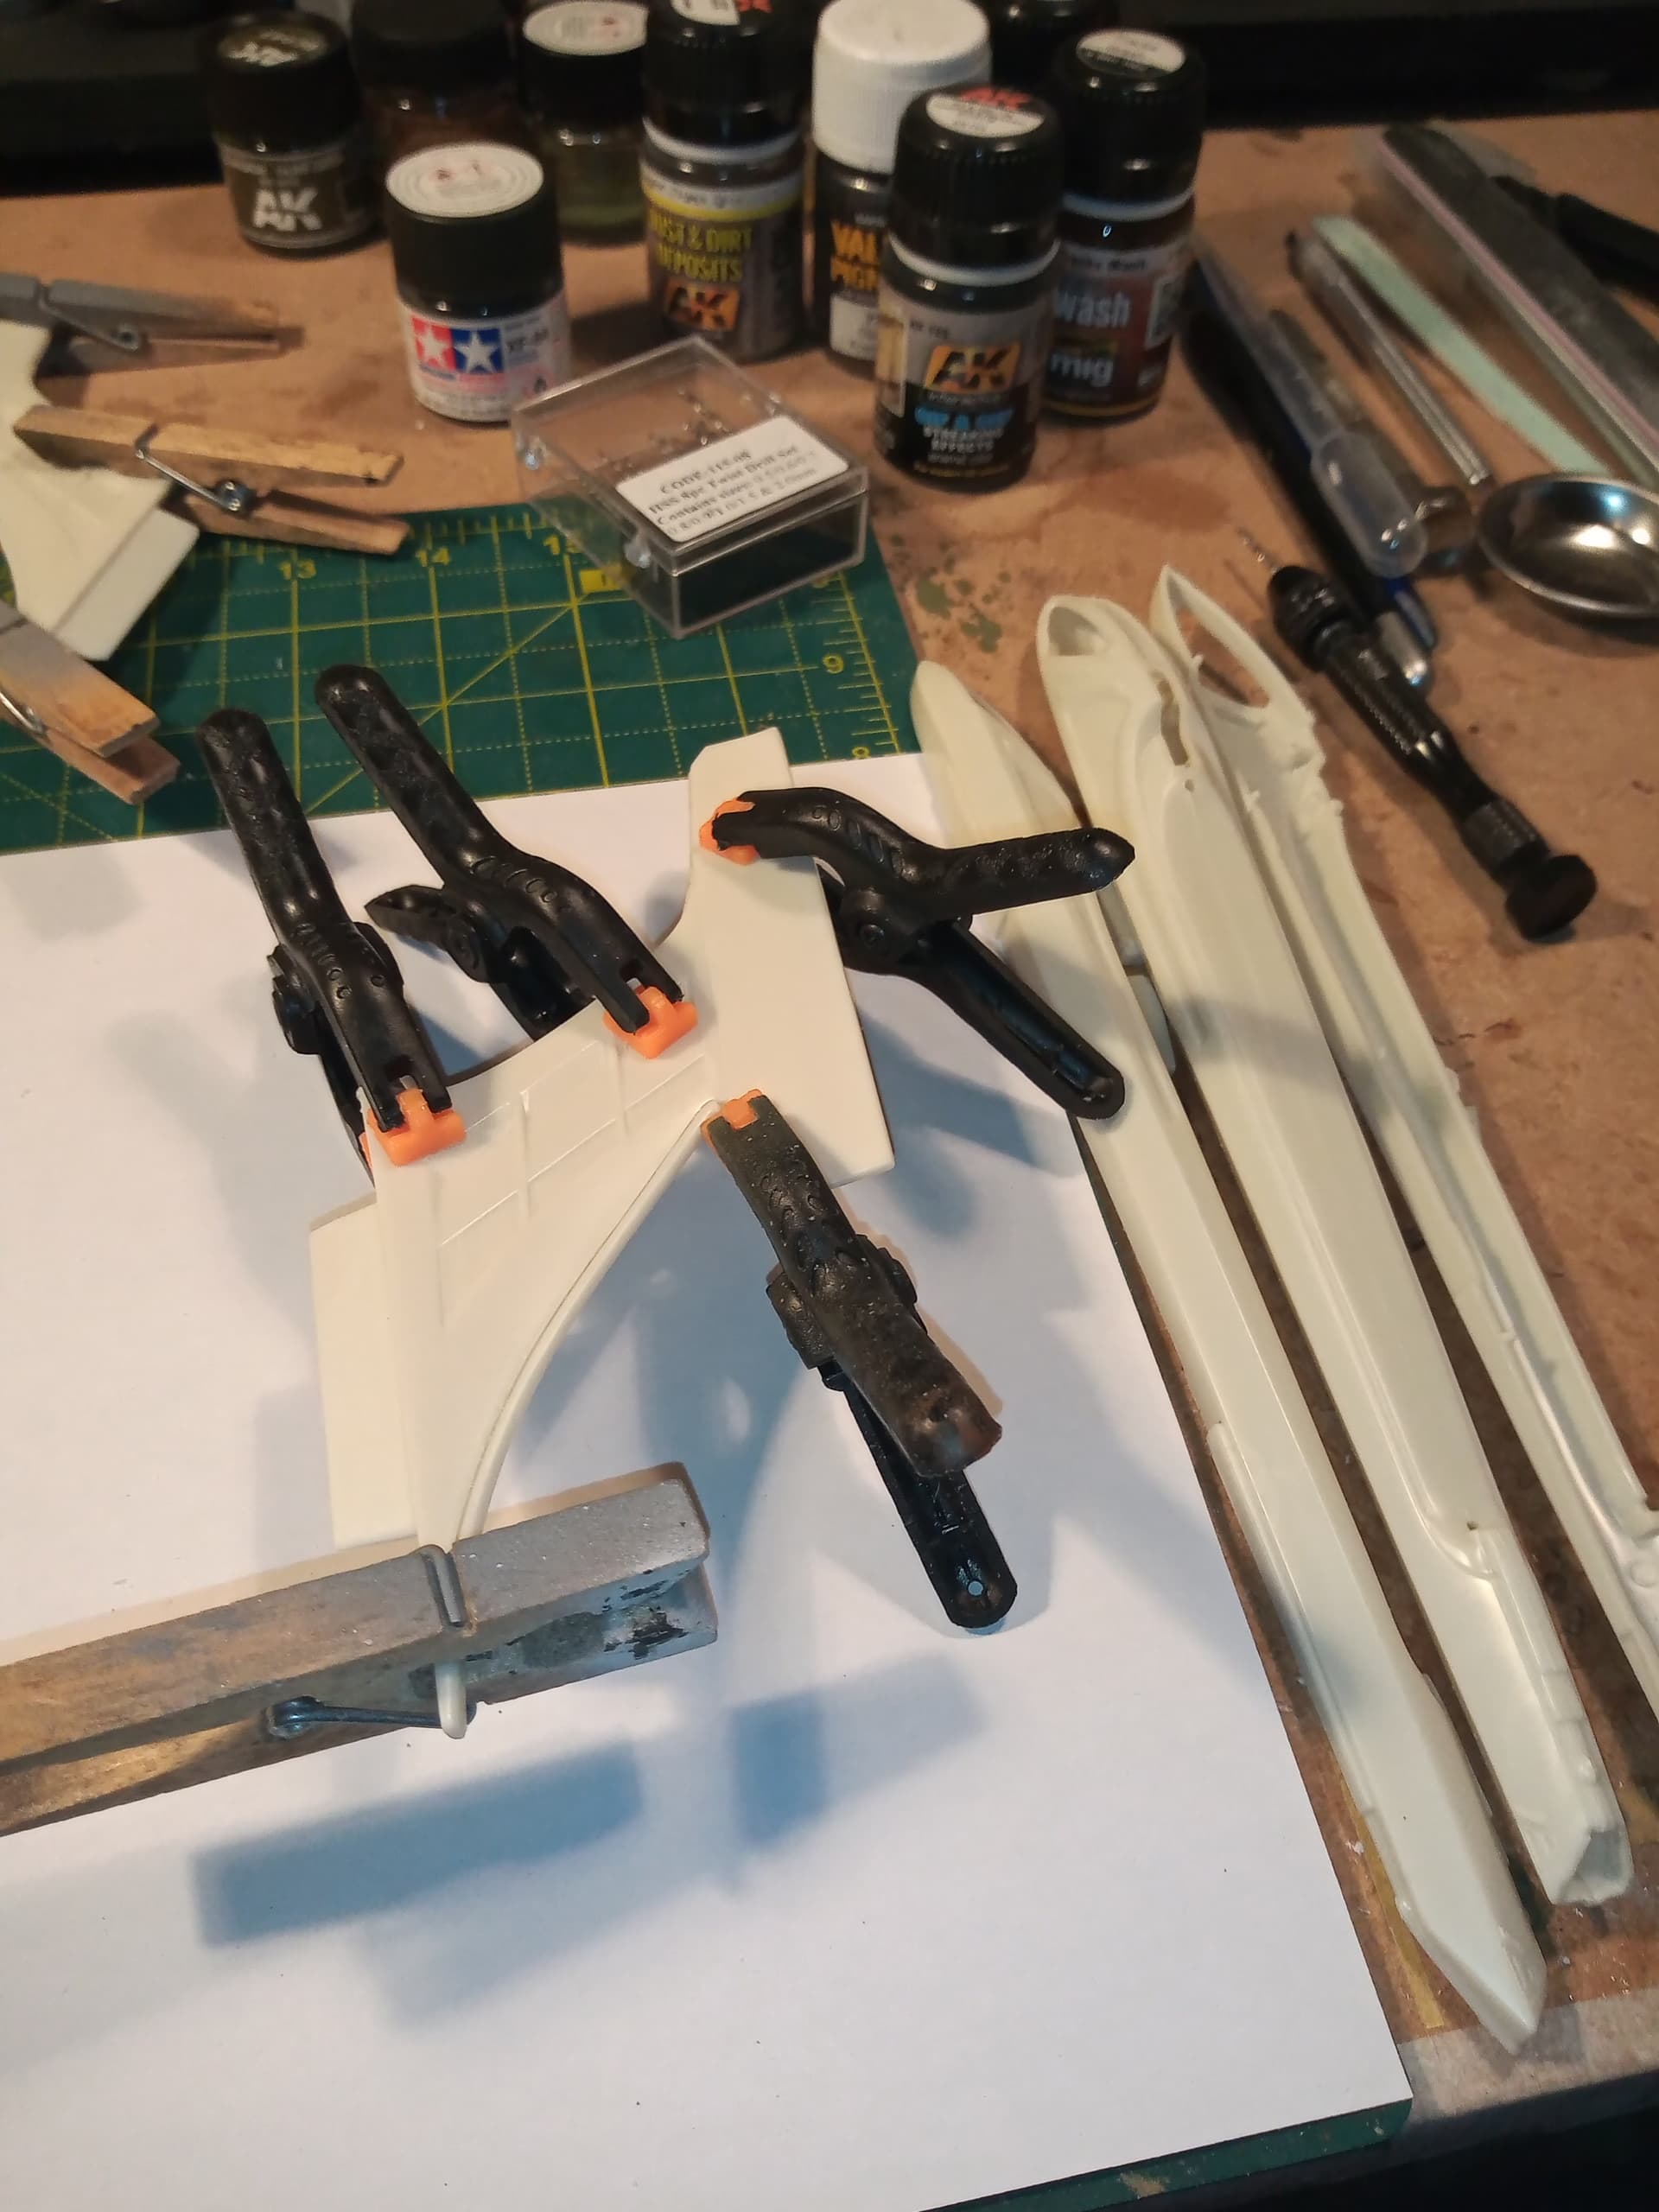
Have also put together the pylons and they are just to one side till the set.
To be fair, if I had started early tonight, I could easily of built this whole thing in a few hours, there are only about 40 pieces altogether…
Will get all the major parts built up hopefully tomorrow night… Stay safe ![]()
5 Likes
She is really falling together now. ![]()
1 Like
Glad you were able to get the fit sorted out. Good to know the suggestion worked! Looking a lot better already.
1 Like
Great results with a little prep work!
1 Like
Im just glad there are so few parts … about 40 is a breeze
Dry fit of all the major sub assemblies…
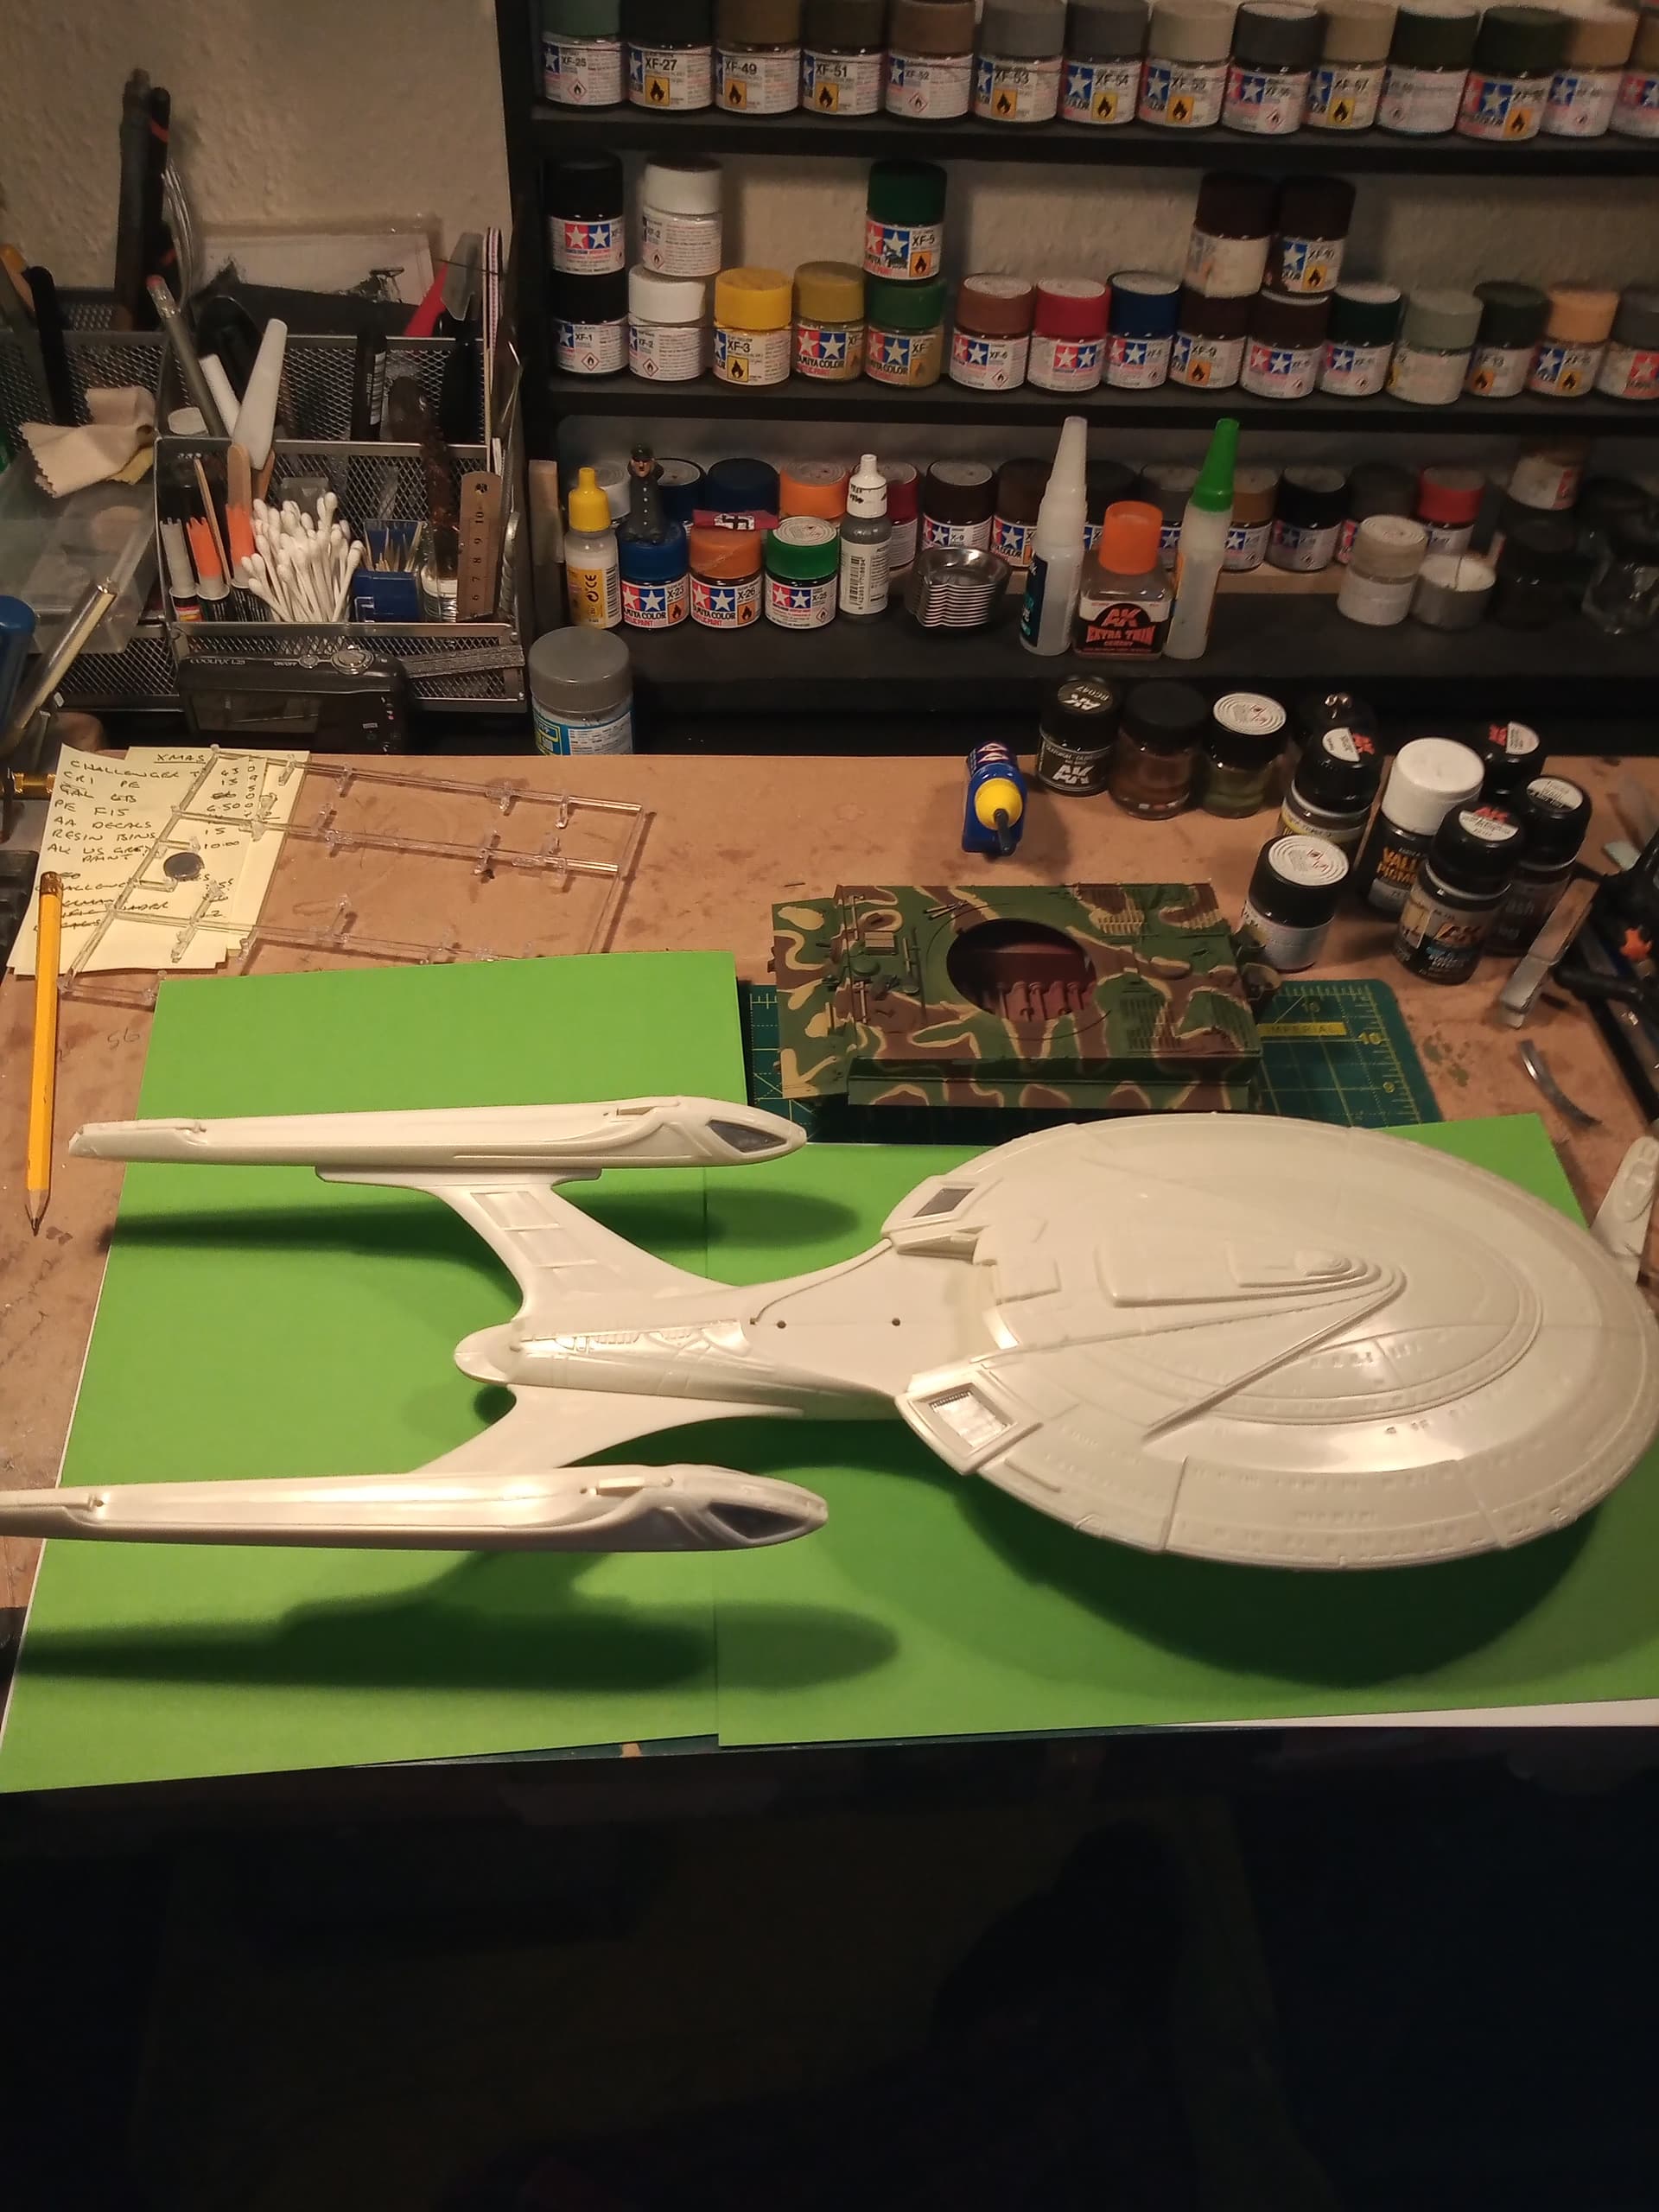
Will take them apart now and start filling each one as needed… There are quite a lot of small areas that need it.
5 Likes
Whoa! It all fits into one piece? Amazing!
1 Like
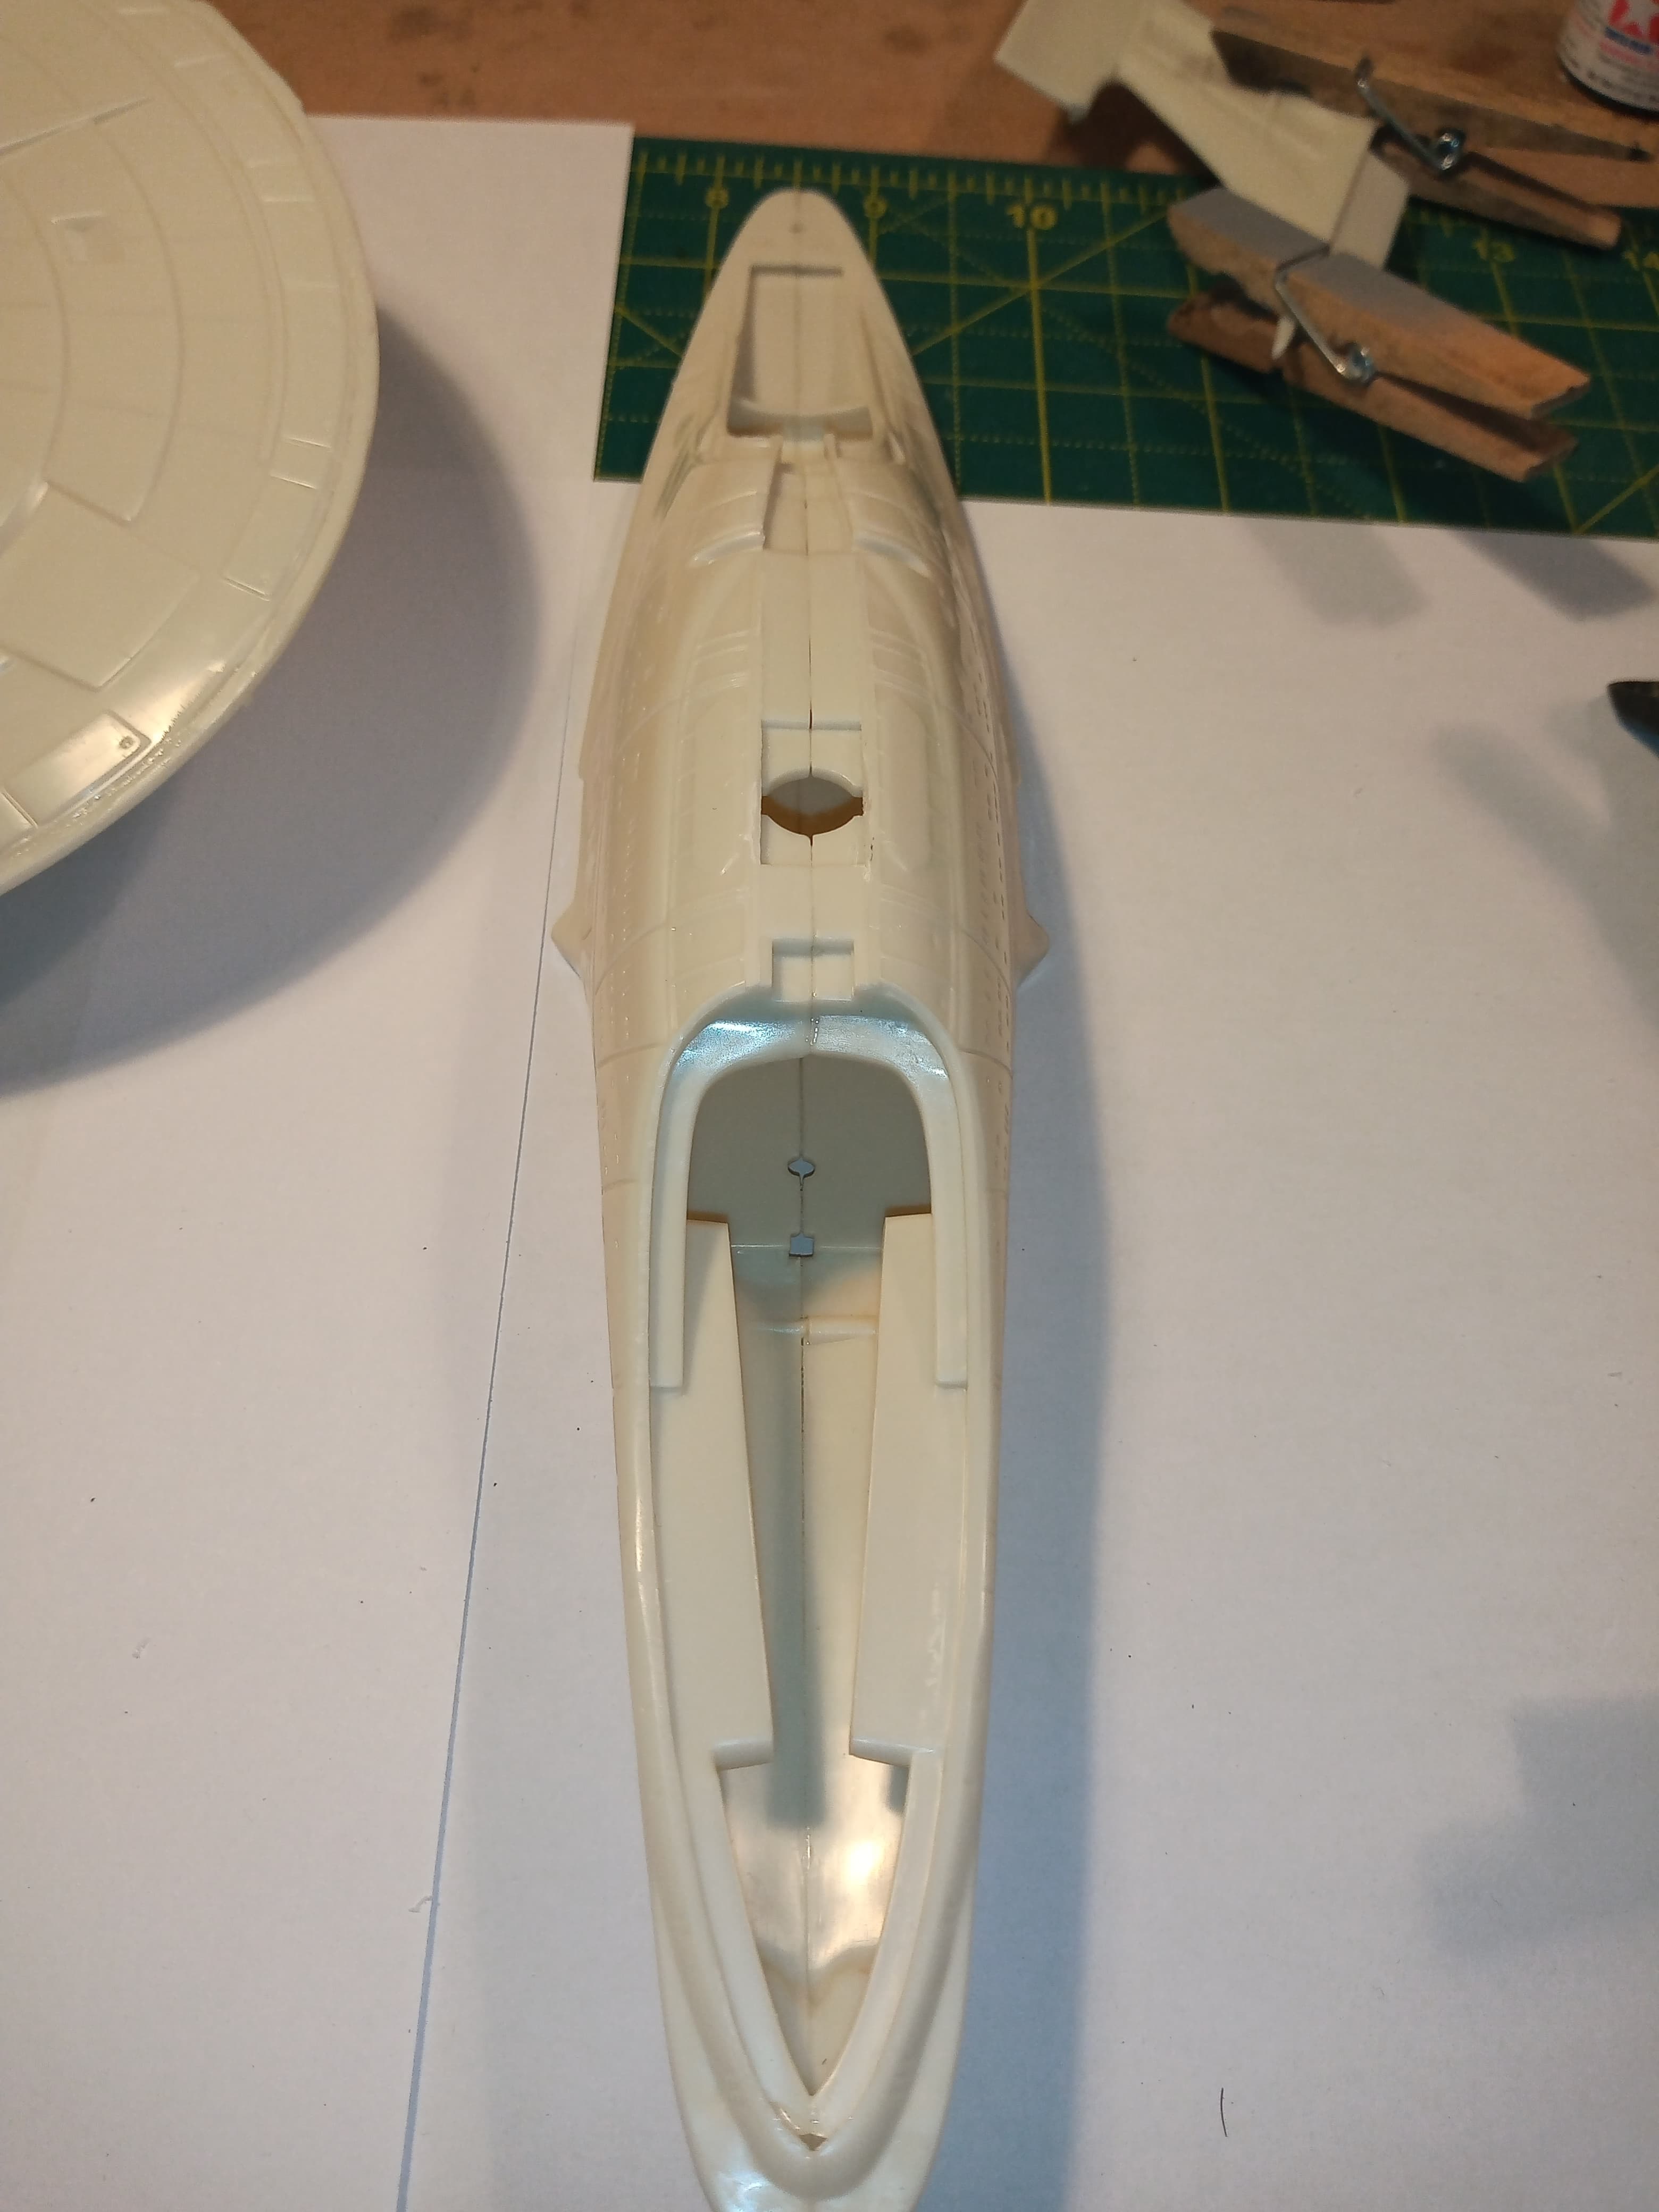
Huh.
I don’t seem to recall the Enterprise-E kit coming with any shuttlecraft and at any rate the size is way out of scale and the Federation doesn’t use camo schemes, although it is your kit and if you like tri-colored shuttlecraft that is your call. You should at least light the bridge dome before you put it on. That hole is big enough for a whole LED flashlight.
5 Likes