Maybe it is not a shuttle craft, maybe it is a section of Borg Cube?

It sure is a big kit John. Looking good.
Maybe it is not a shuttle craft, maybe it is a section of Borg Cube?
It sure is a big kit John. Looking good.
Cheers Matt @SSGToms , it looks pretty impressive once together. I was a bit concerned initially about the fit, but once I drilled the location holes out a bit it’s gone together really nicely.
There are a lot of tiny gaps, which I don’t think will be an issue and I will tackle probably all of those with the plastic putty I got.
One thing which is nice is everything mirrors each other really well like the pylons etc. The female/male locators are just tight enough to give a very nice fit and hold it all in the right position.
Haha, very good @brekinapez … It might be a Gorn ground assault vehicle ? ![]()
Thanks Peter @petbat … I like the idea of a Borg cube… It’s probably one of those things that would be easy to scratch as long as have a good blank cube shape and a massive spares box to raid, you could really use your imagination on it filling the cube surface …
How to build a Borg Cube:
Empty every kit in the stash onto the work bench and glue the sprues together in a cube shape.
Great work on the E, it’s a really good looking ship when it all comes together.
Cheers Stephen… The painting phase is looking a bit daunting to be honest… Will be doing most of it by hand I think.
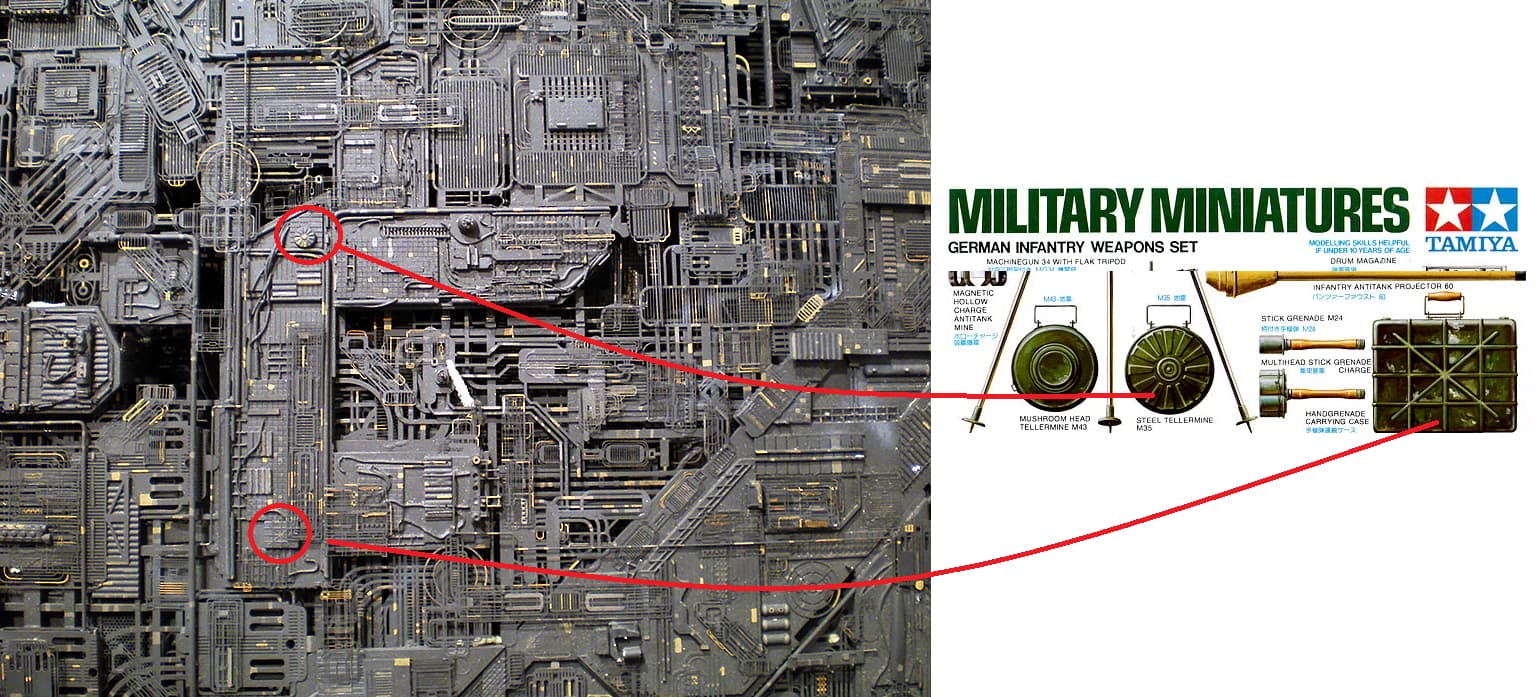
…and make sure you include etch and their frets. A section of the Borg Cube made by ILM for Star Trek: First Contact. Name those parts! I’ll start ![]()
I don’t know if you’ve seen this…the real deal ![]()

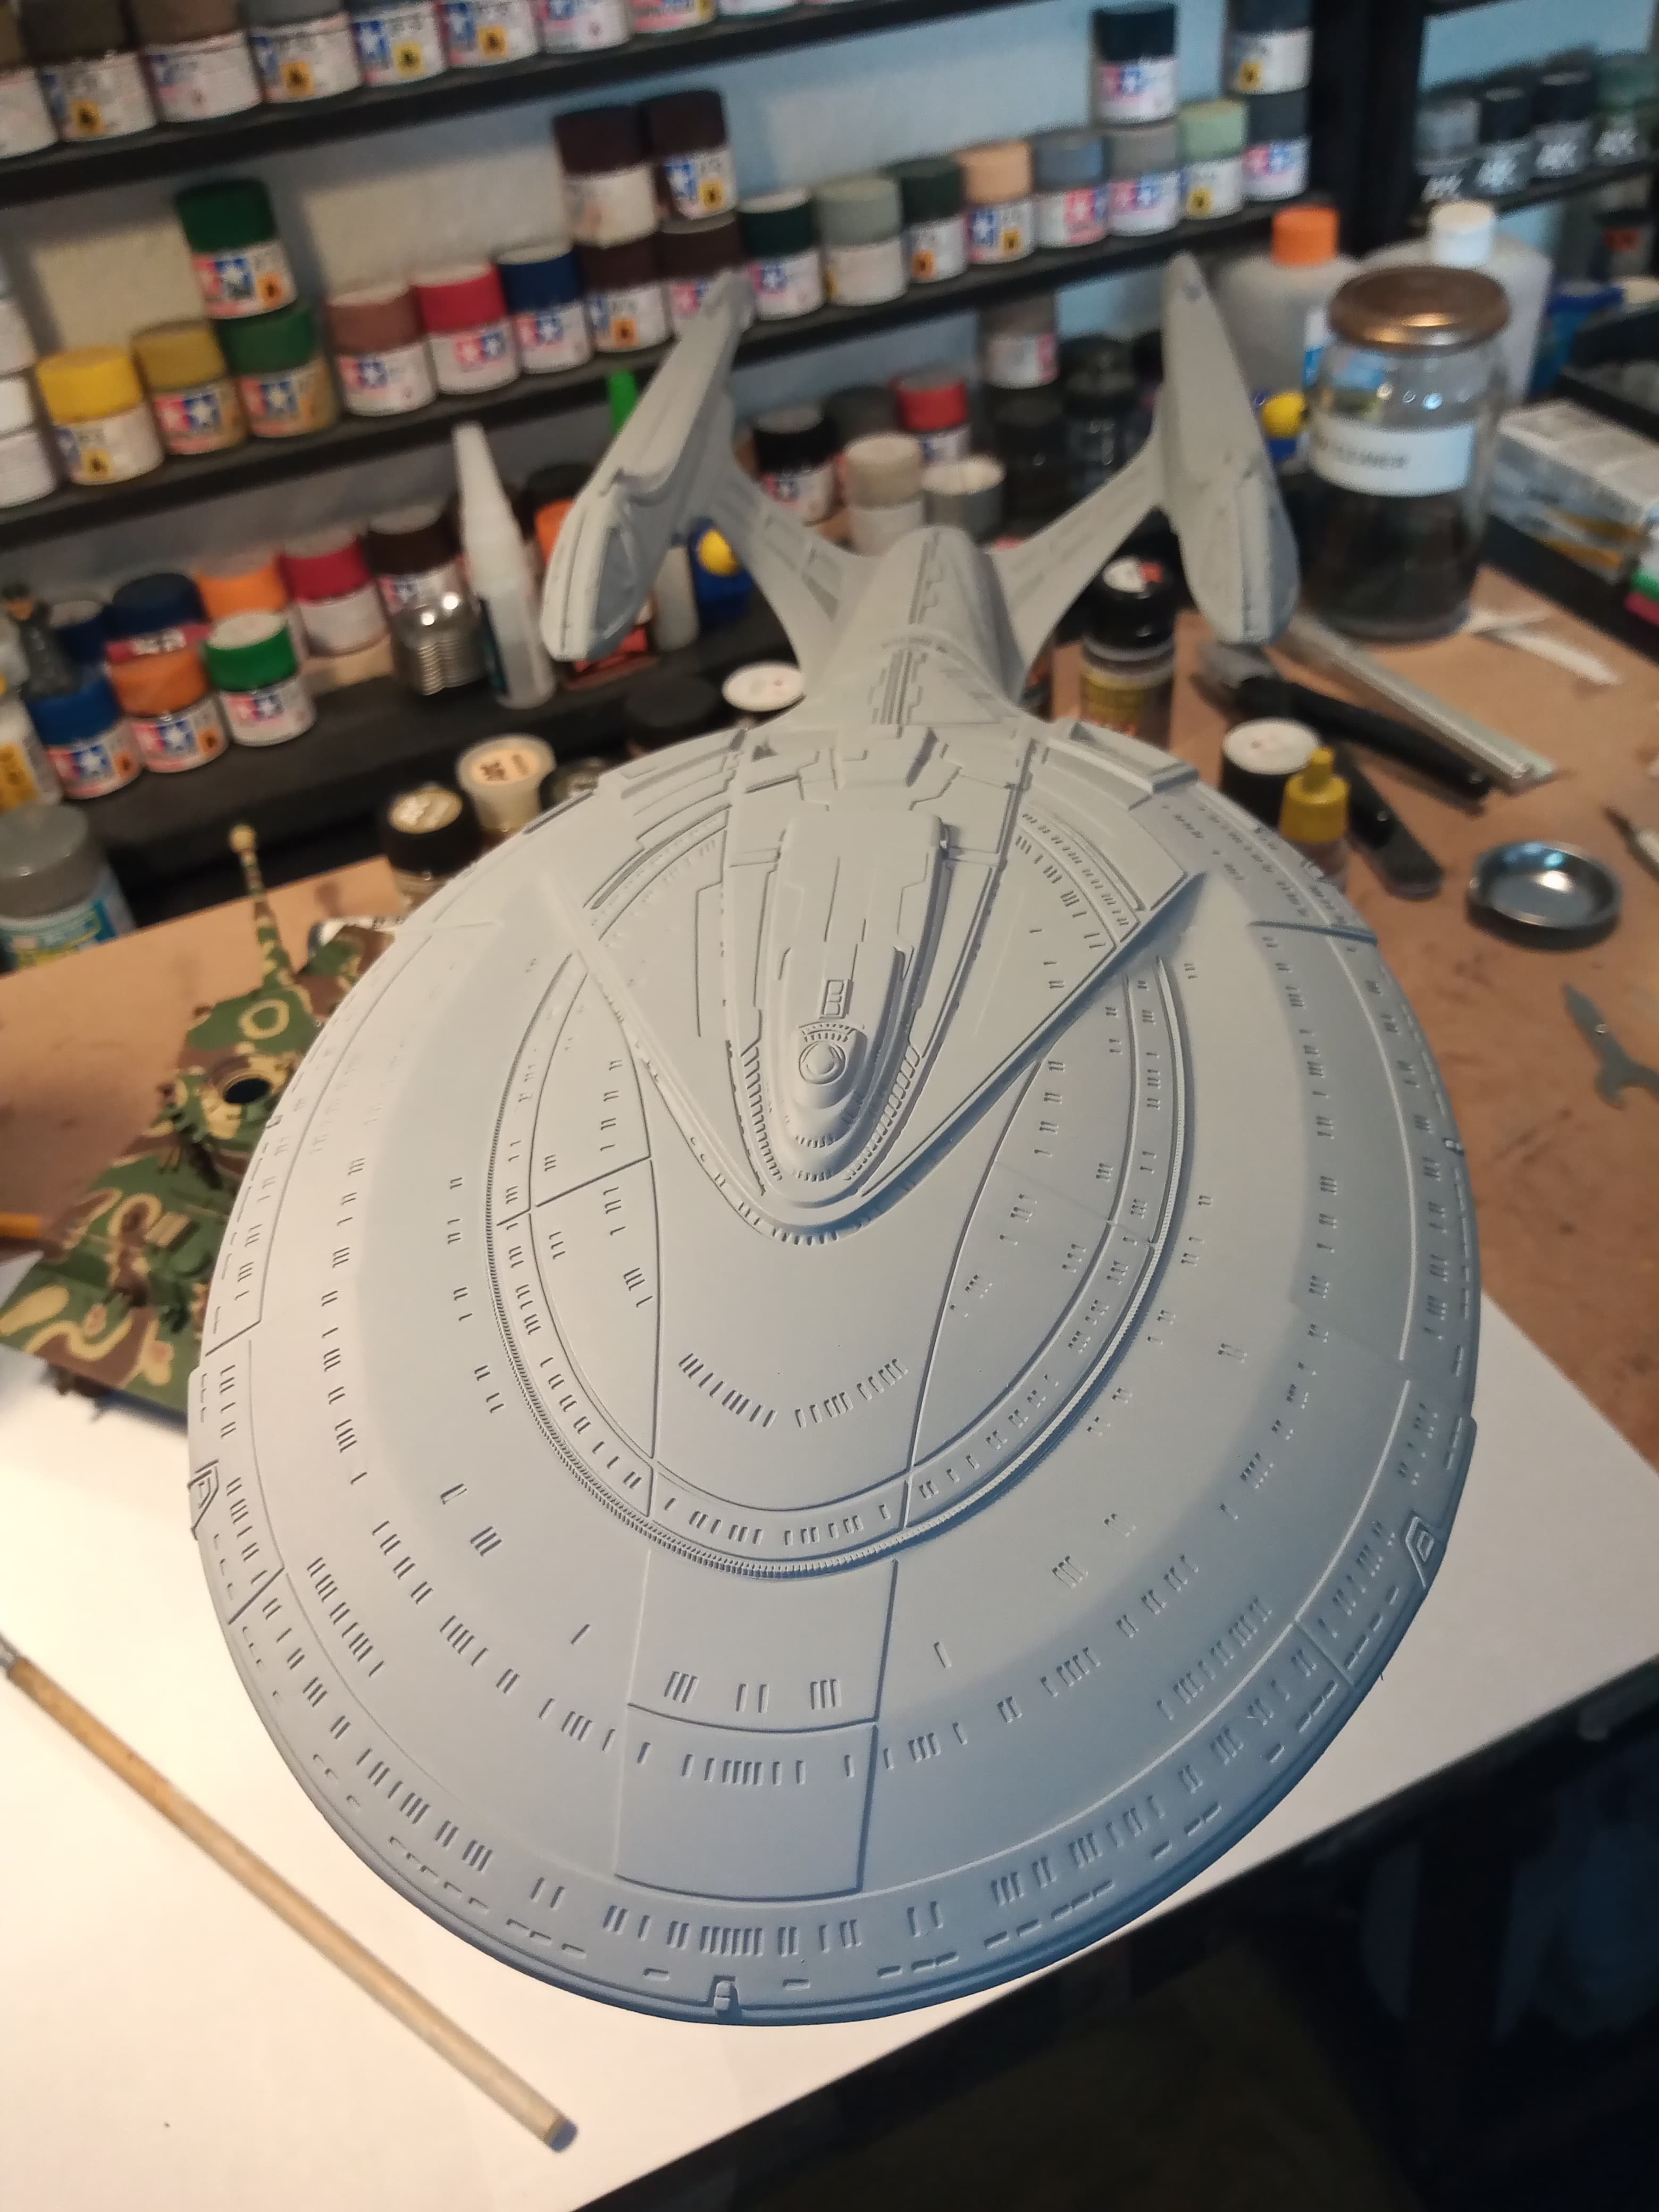
Still dry fitted, but all parts are now on, and wanted to see what it looks like on the stand.
… Massive lol…
I’m going fill all the small gaps on the individual assemblies and sand back. Then secure the saucer section on, but only dry fit the pylons, prime it, then decide on the major grey colour that will cover everything… Give it a coat of that and then remove pylons and then paint the remainder by brush…
She is looking good. ![]()
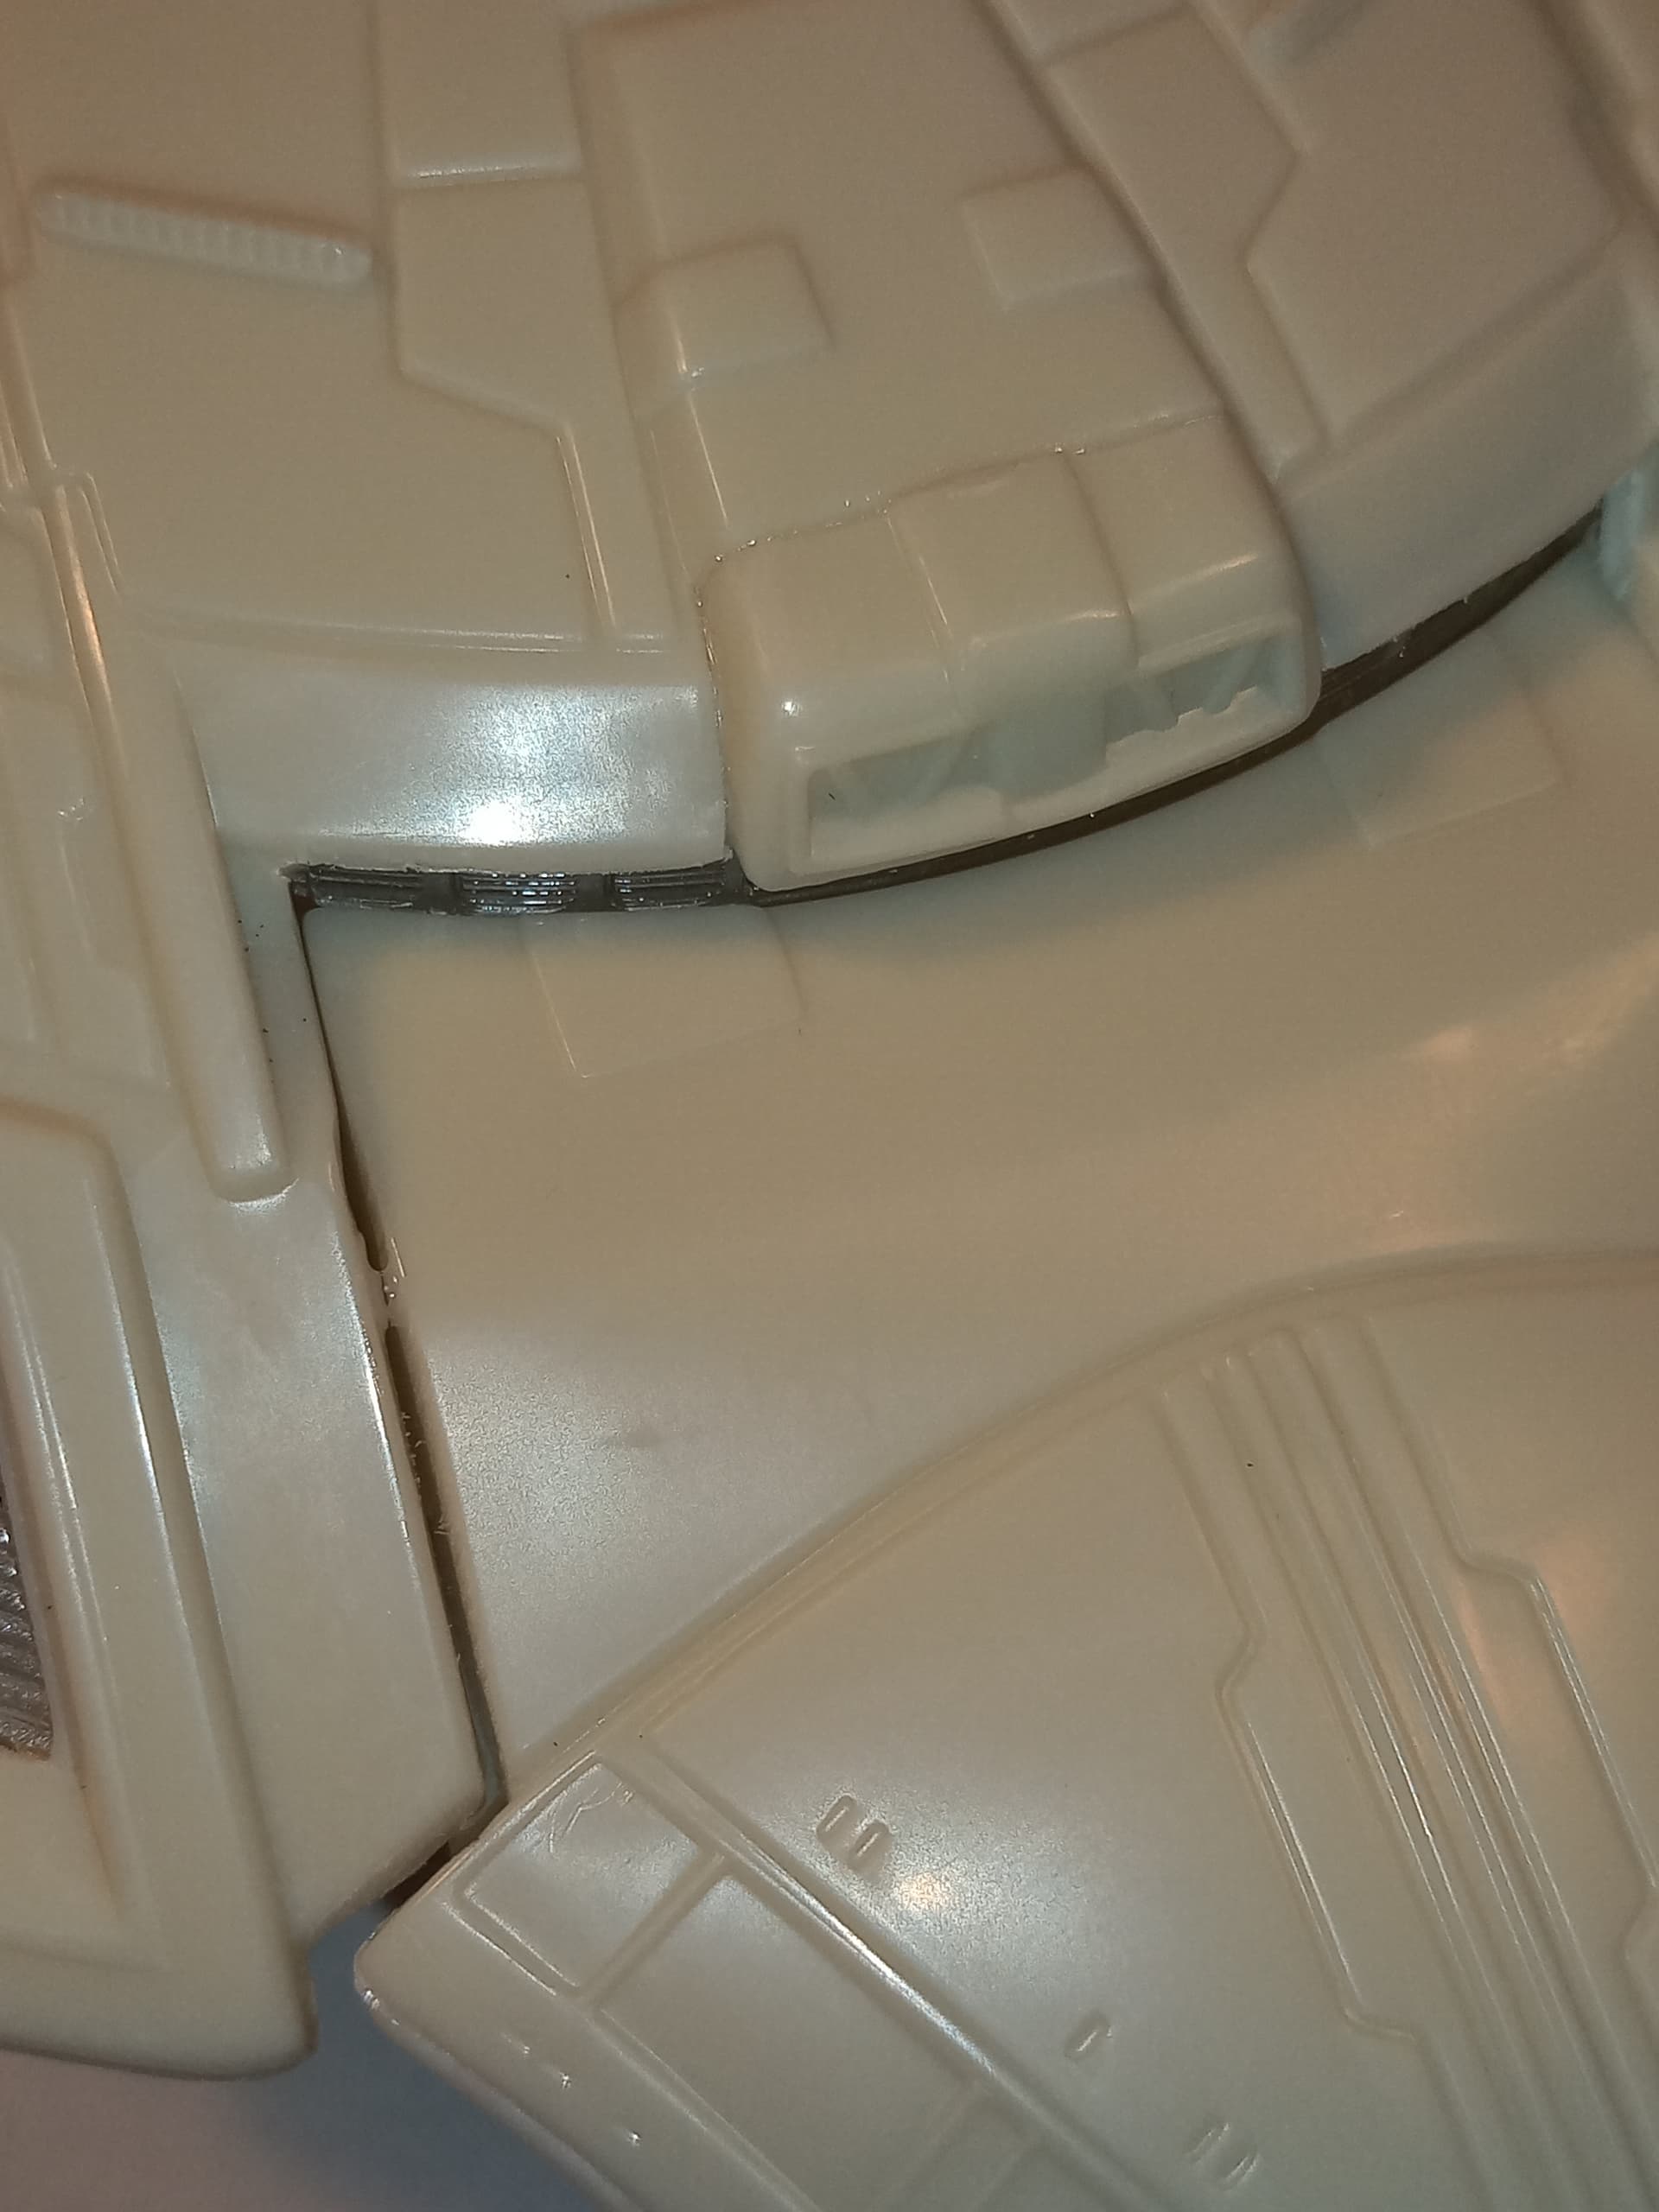
Secured the saucer section to the hull …
And these are the gaps around the join…
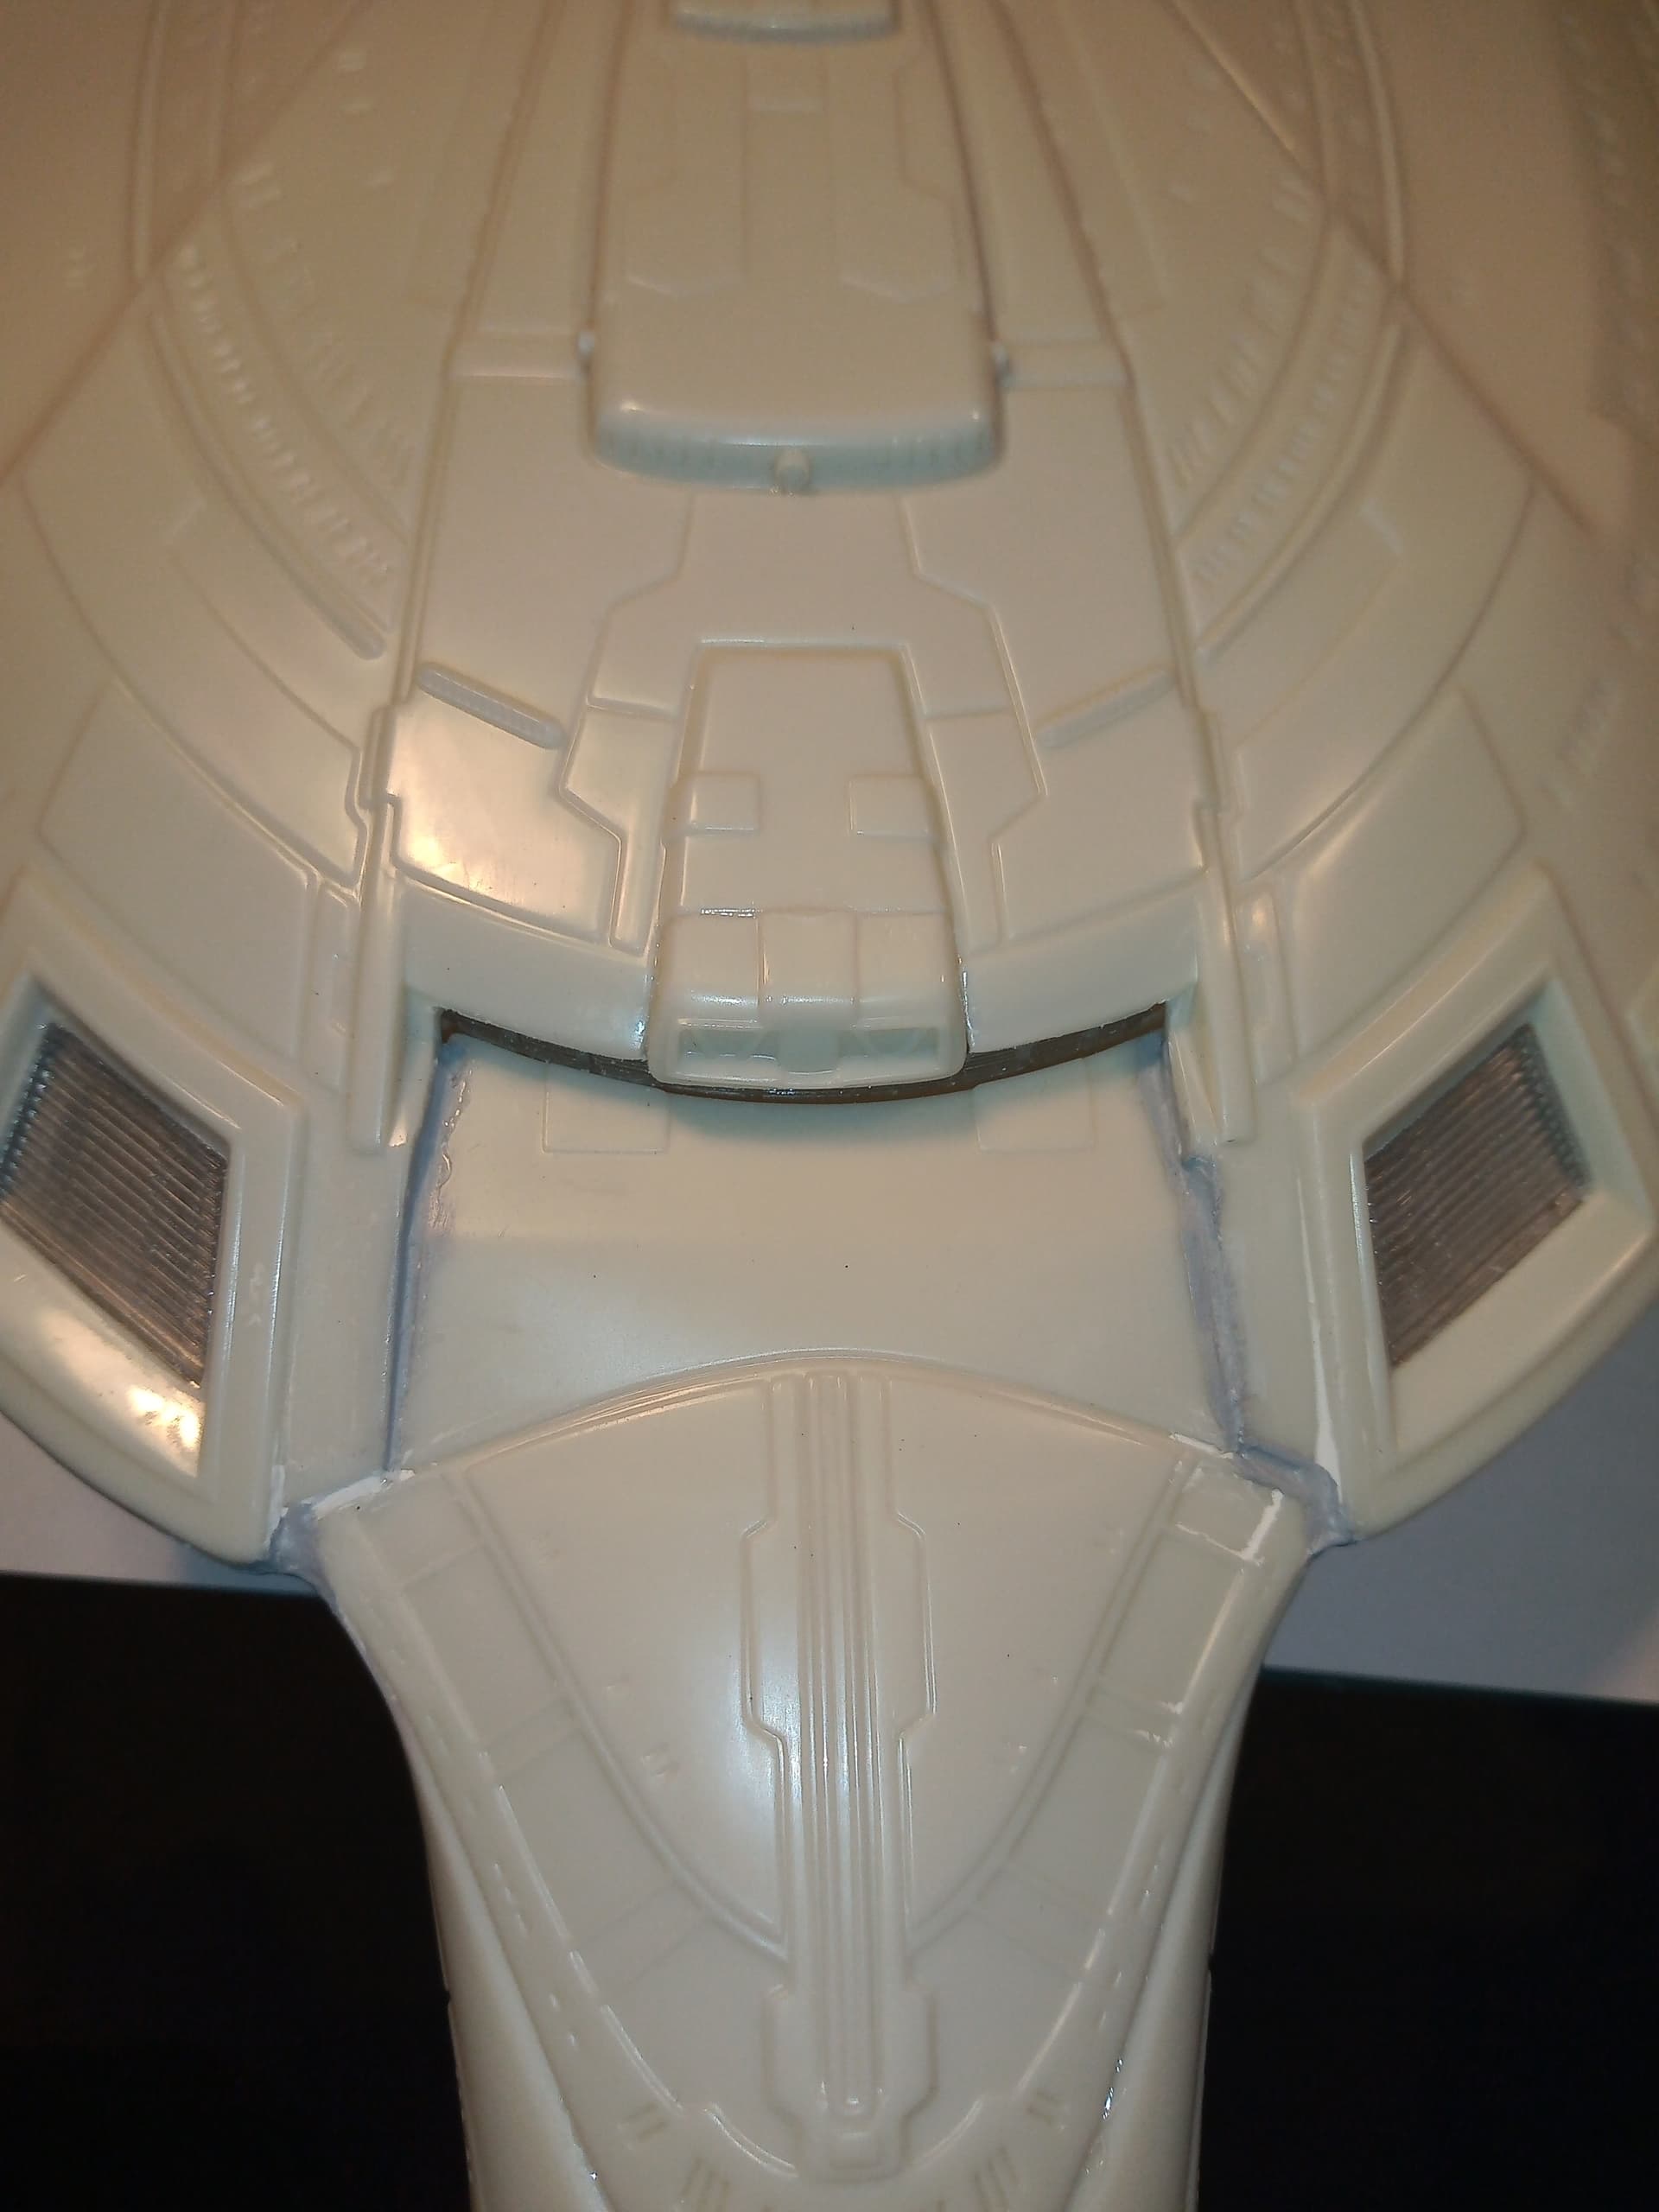
I had already filled the smaller gaps on the hull and saucer sections, I used plastic putty so the clean will be minimal.
Also did the pylons
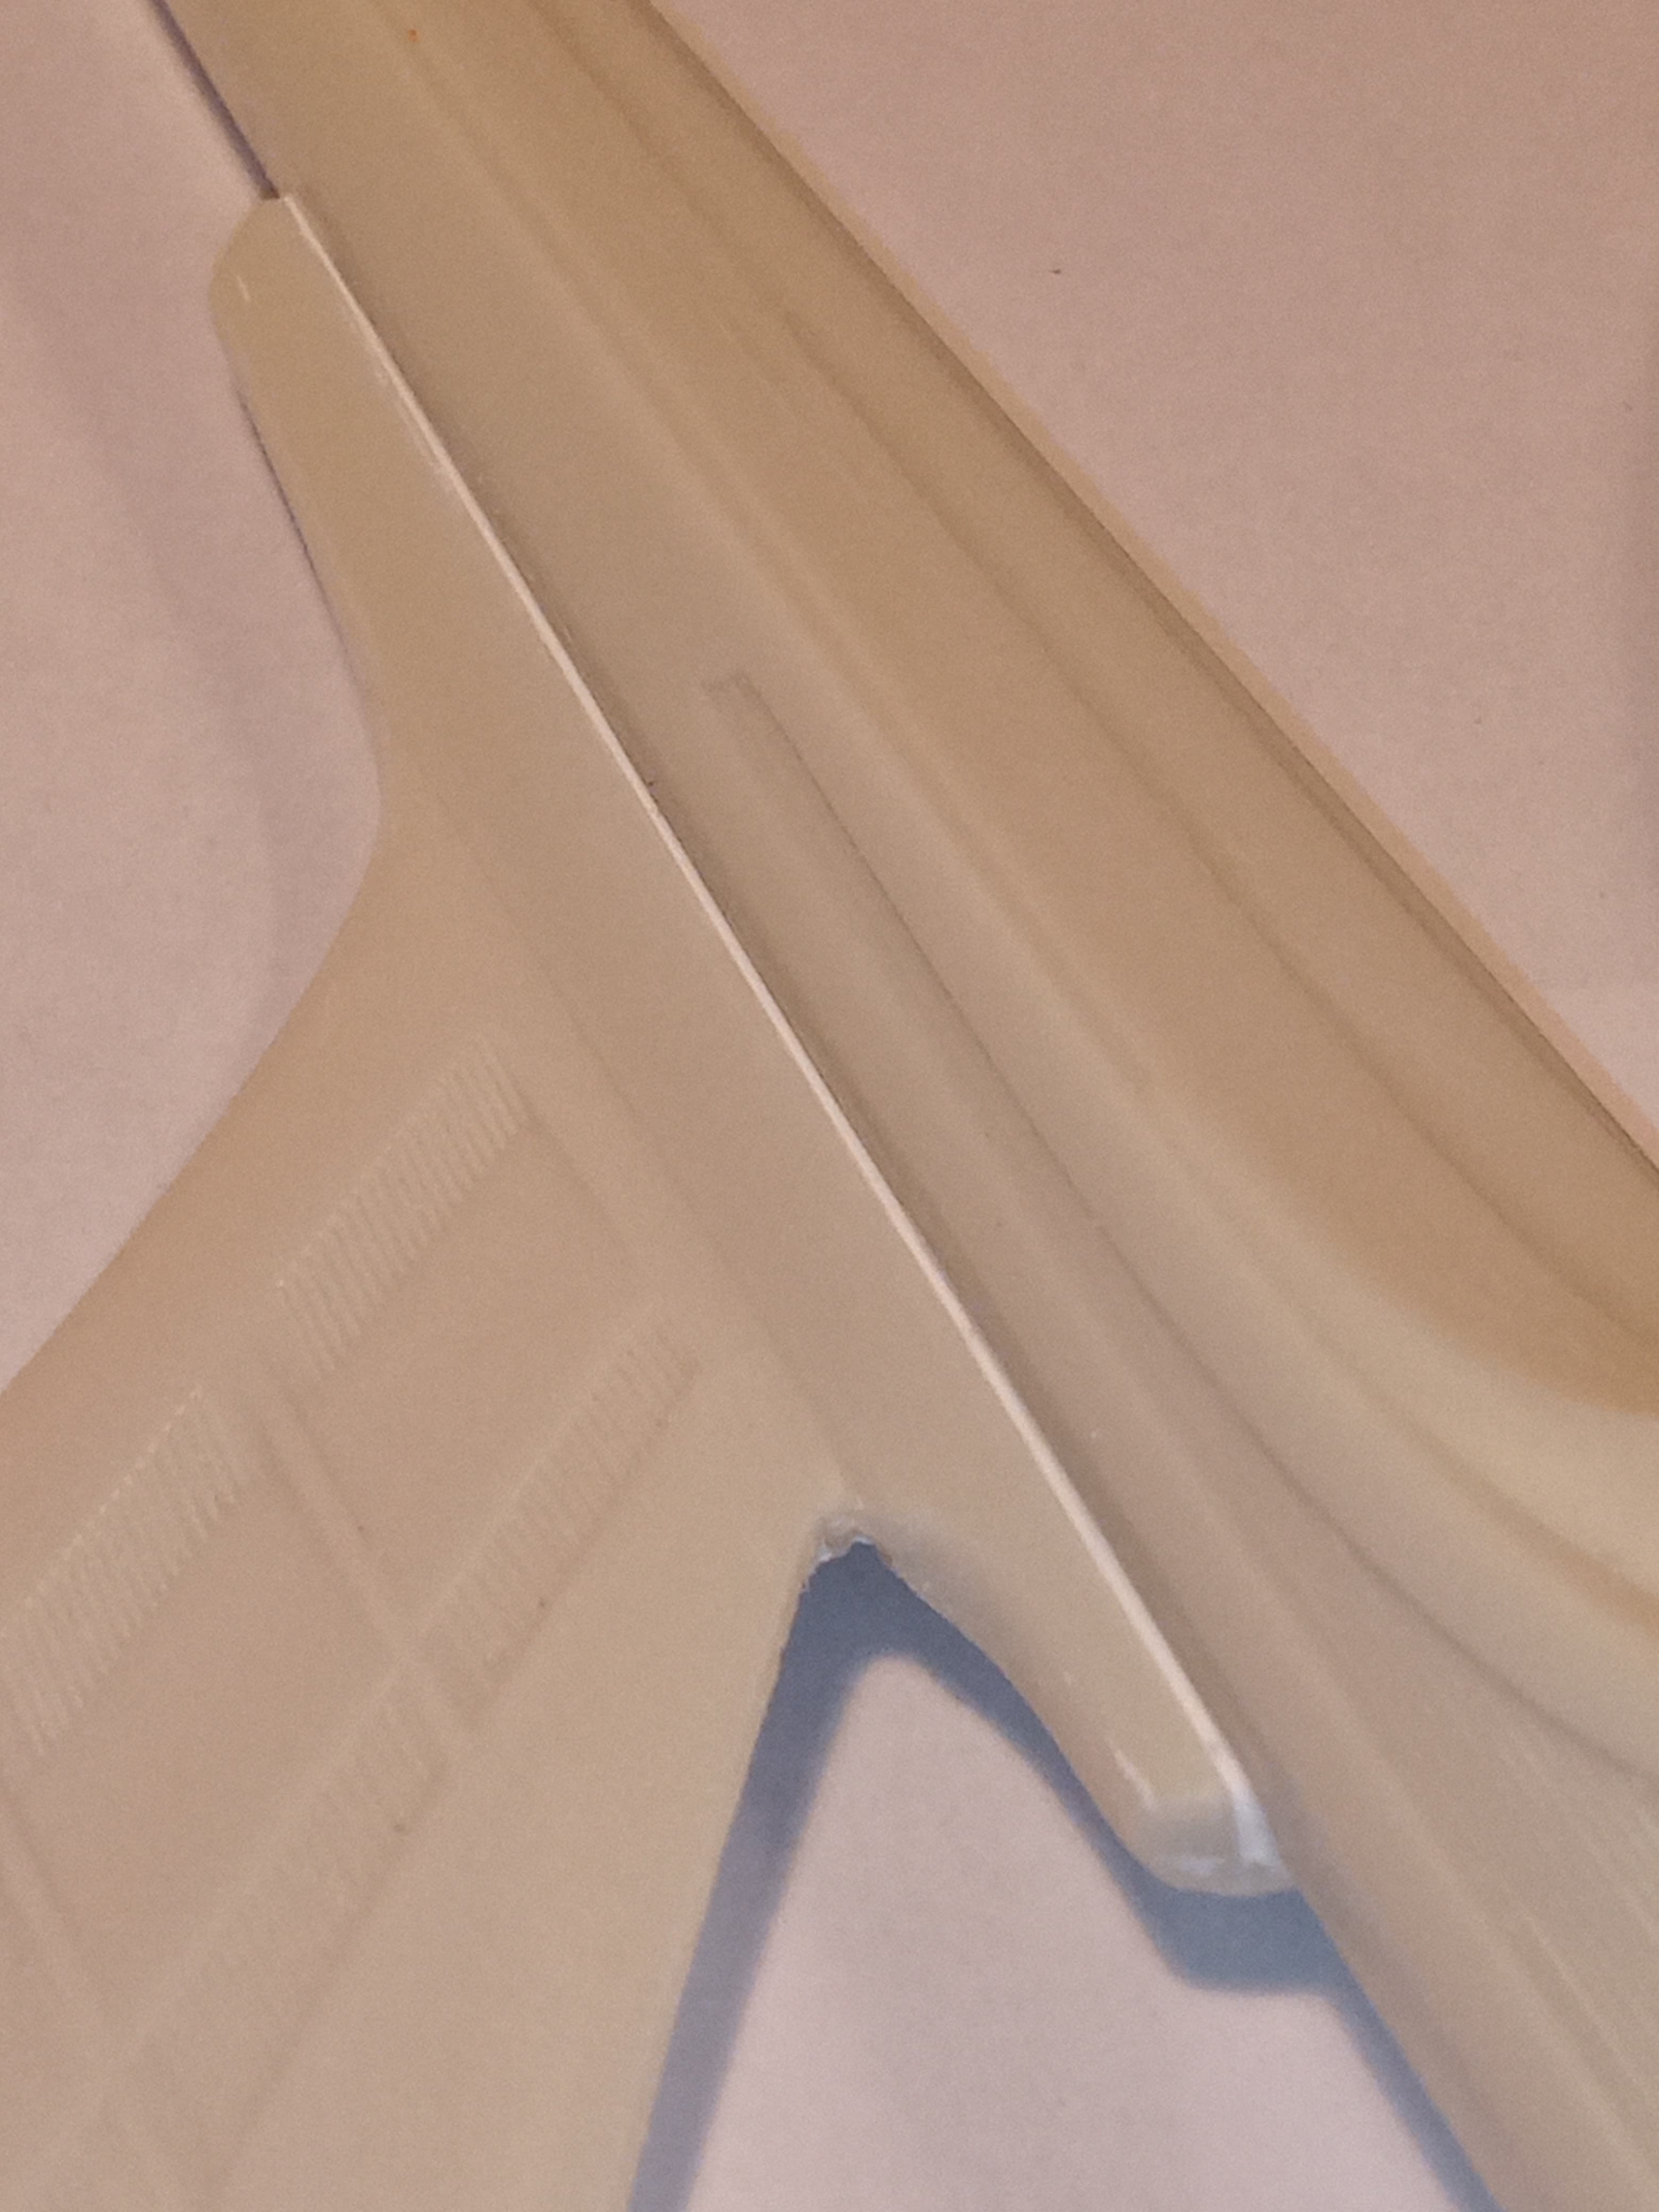
Have actually already filled the large gaps around the saucer section with individual cut lengths of plastic rod and strip … Once that’s dry will tidy it up with plastic putty again.
The filled gaps.
Need a bit more fill in with Mr Surfacer 500 and the tidy that up and it’ll be ready for a primer coat.
What did you use to fill those gaps? Looks like a neat job.
Just off cuts of these I had laying around the spares tray. Cut to the lengths I needed and layed on a thickish layer of glue so it softened up…
Once it has set, then plastic putty and Mr Surfacer 500 to tidy it.
Still need to finish up with some tidying here and there, also luckily 90 % of the big hard gaps are on the underside so partially hidden.
The primer coat is down. Again, it’s Halfords rattle can grey.
Going to study some ref Images and the destructions to see what is the grey that has the largest area, then base coat it with that and go from there… I may use a bit of artistic licence on the Grey’s … More to follow ![]()
Looking pretty. ![]()
Thanks Ryan, I’m quite enjoying this one now after the initial worry over fit and gaps etc… And I still partially blame G @G-man69 for all this Trekkie stuff as the Star Trek encyclopaedia he donated to me inspired me a fair bit as I was reading through it …
He is a good person to blame. ![]()
I remember watching TOS as a kid in reruns on our first color TV. Then I got the kit, built it up, and using the TV show as my reference, painted the whole model baby blue!
Lol … Very eye catching… The Andorians would be proud ![]()
That’s looking good under some grey primer. Good to hear it has gone together so quickly.
@SSGToms now that’s given me an idea (another one!). I’ve got one of the PL’s 1/1000 Enterprises tucked away to build as the pilot version from The Cage. And you’ve just reminded me that in the original effects shots, it was light blue! Some of the footage was frequently recycled during the run of the show, so it was common to see a blue Enterprise. I think that might be an interesting way to finish that one to contrast with the light gull grey production version.
Whether that blue finish was how it was originally painted or a result of the effects I don’t know, but it would make a cool display piece. Maybe a pale blue-grey would work?
Anyway, I’m getting ahead of myself and I am committed to doing the Defiant.