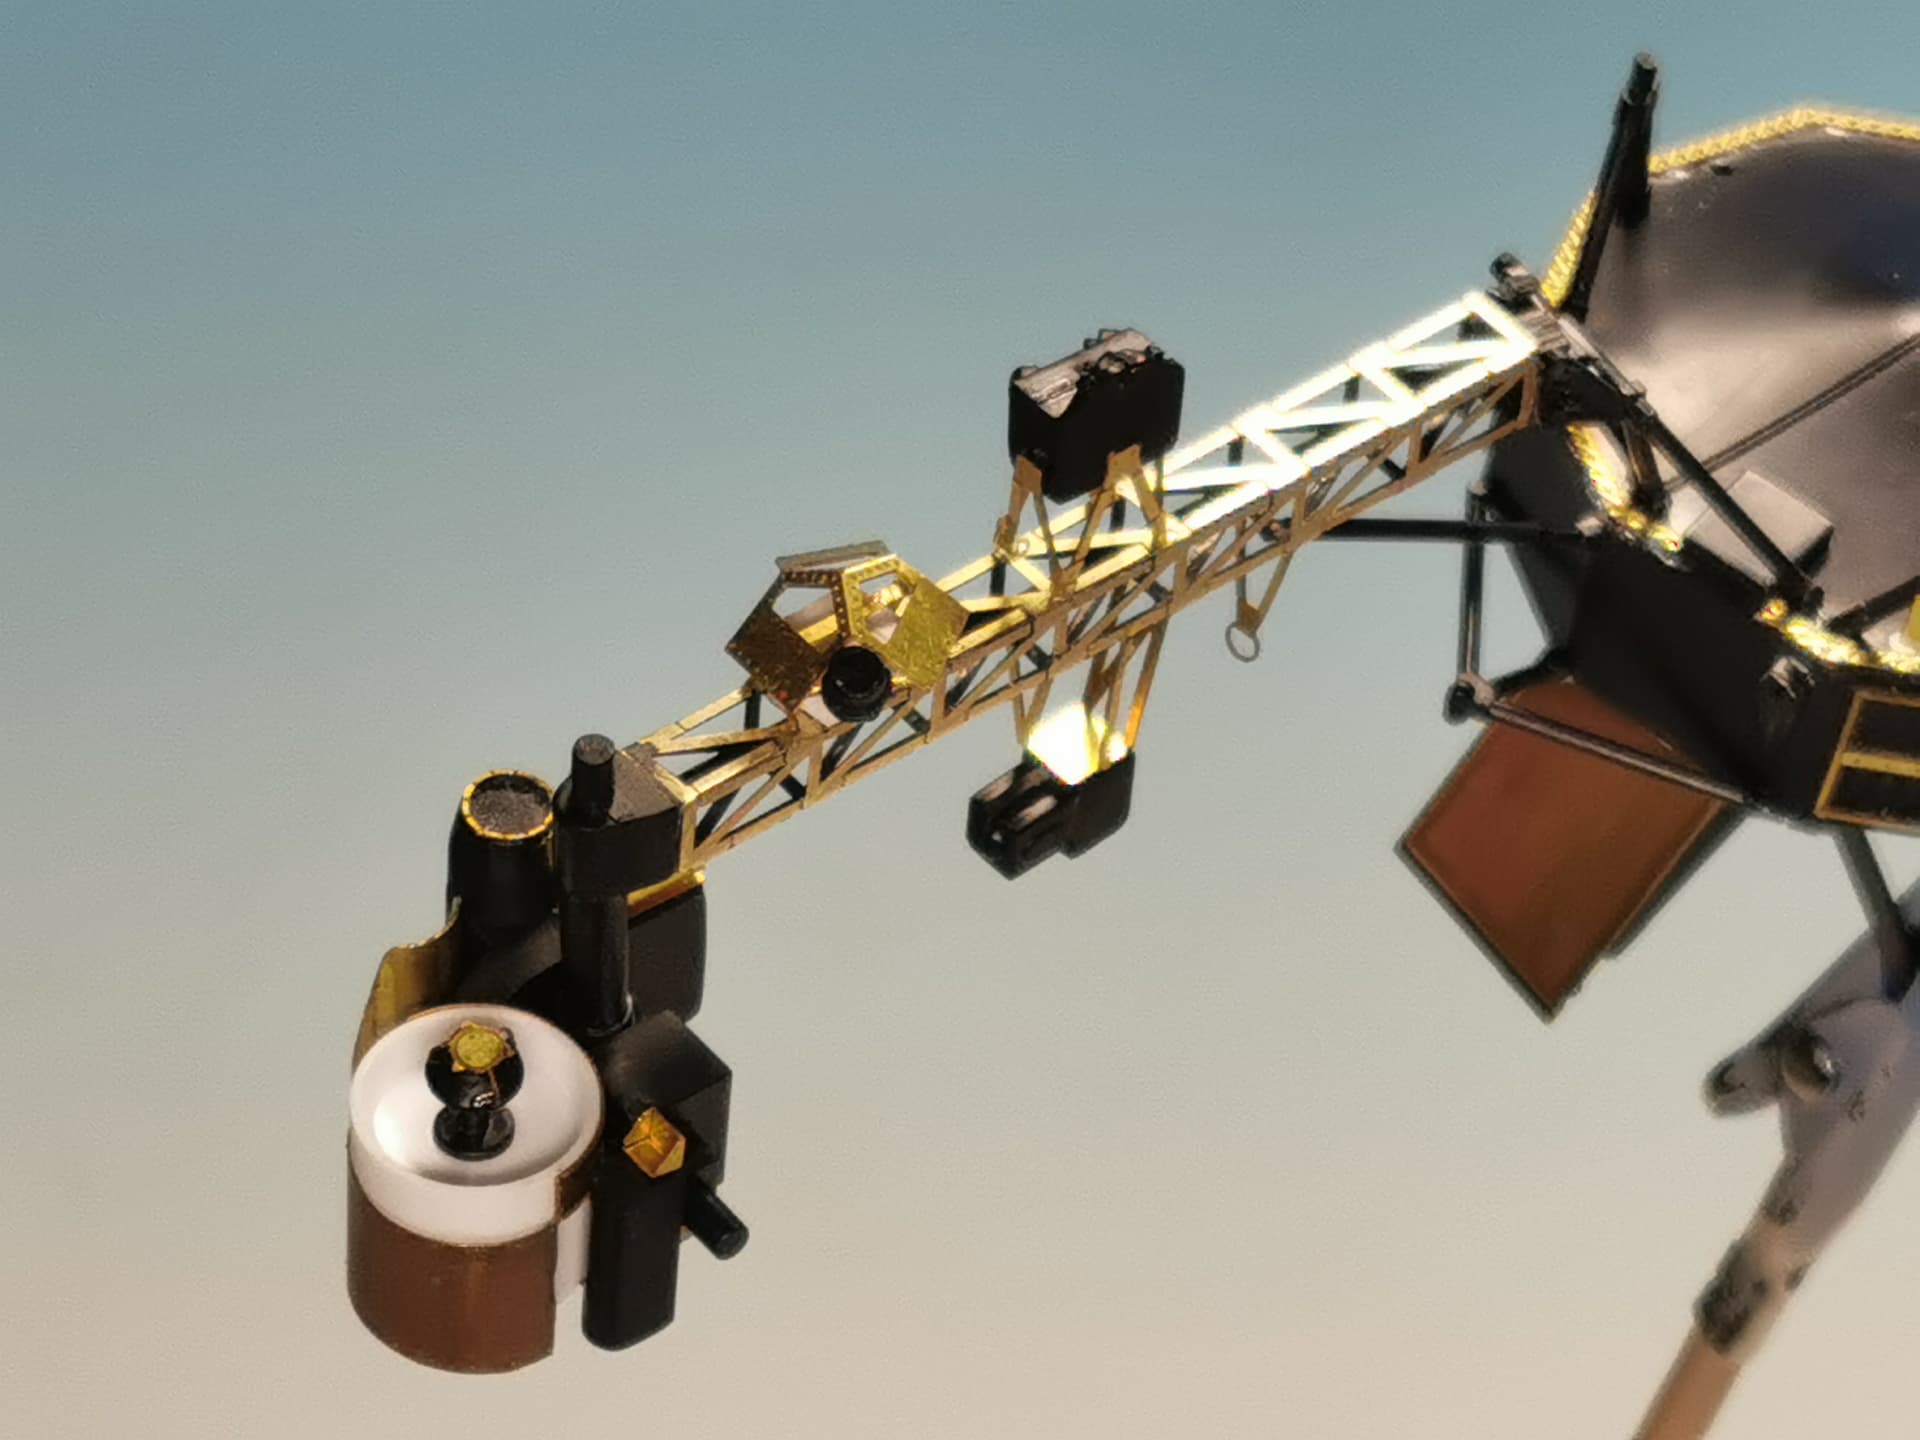
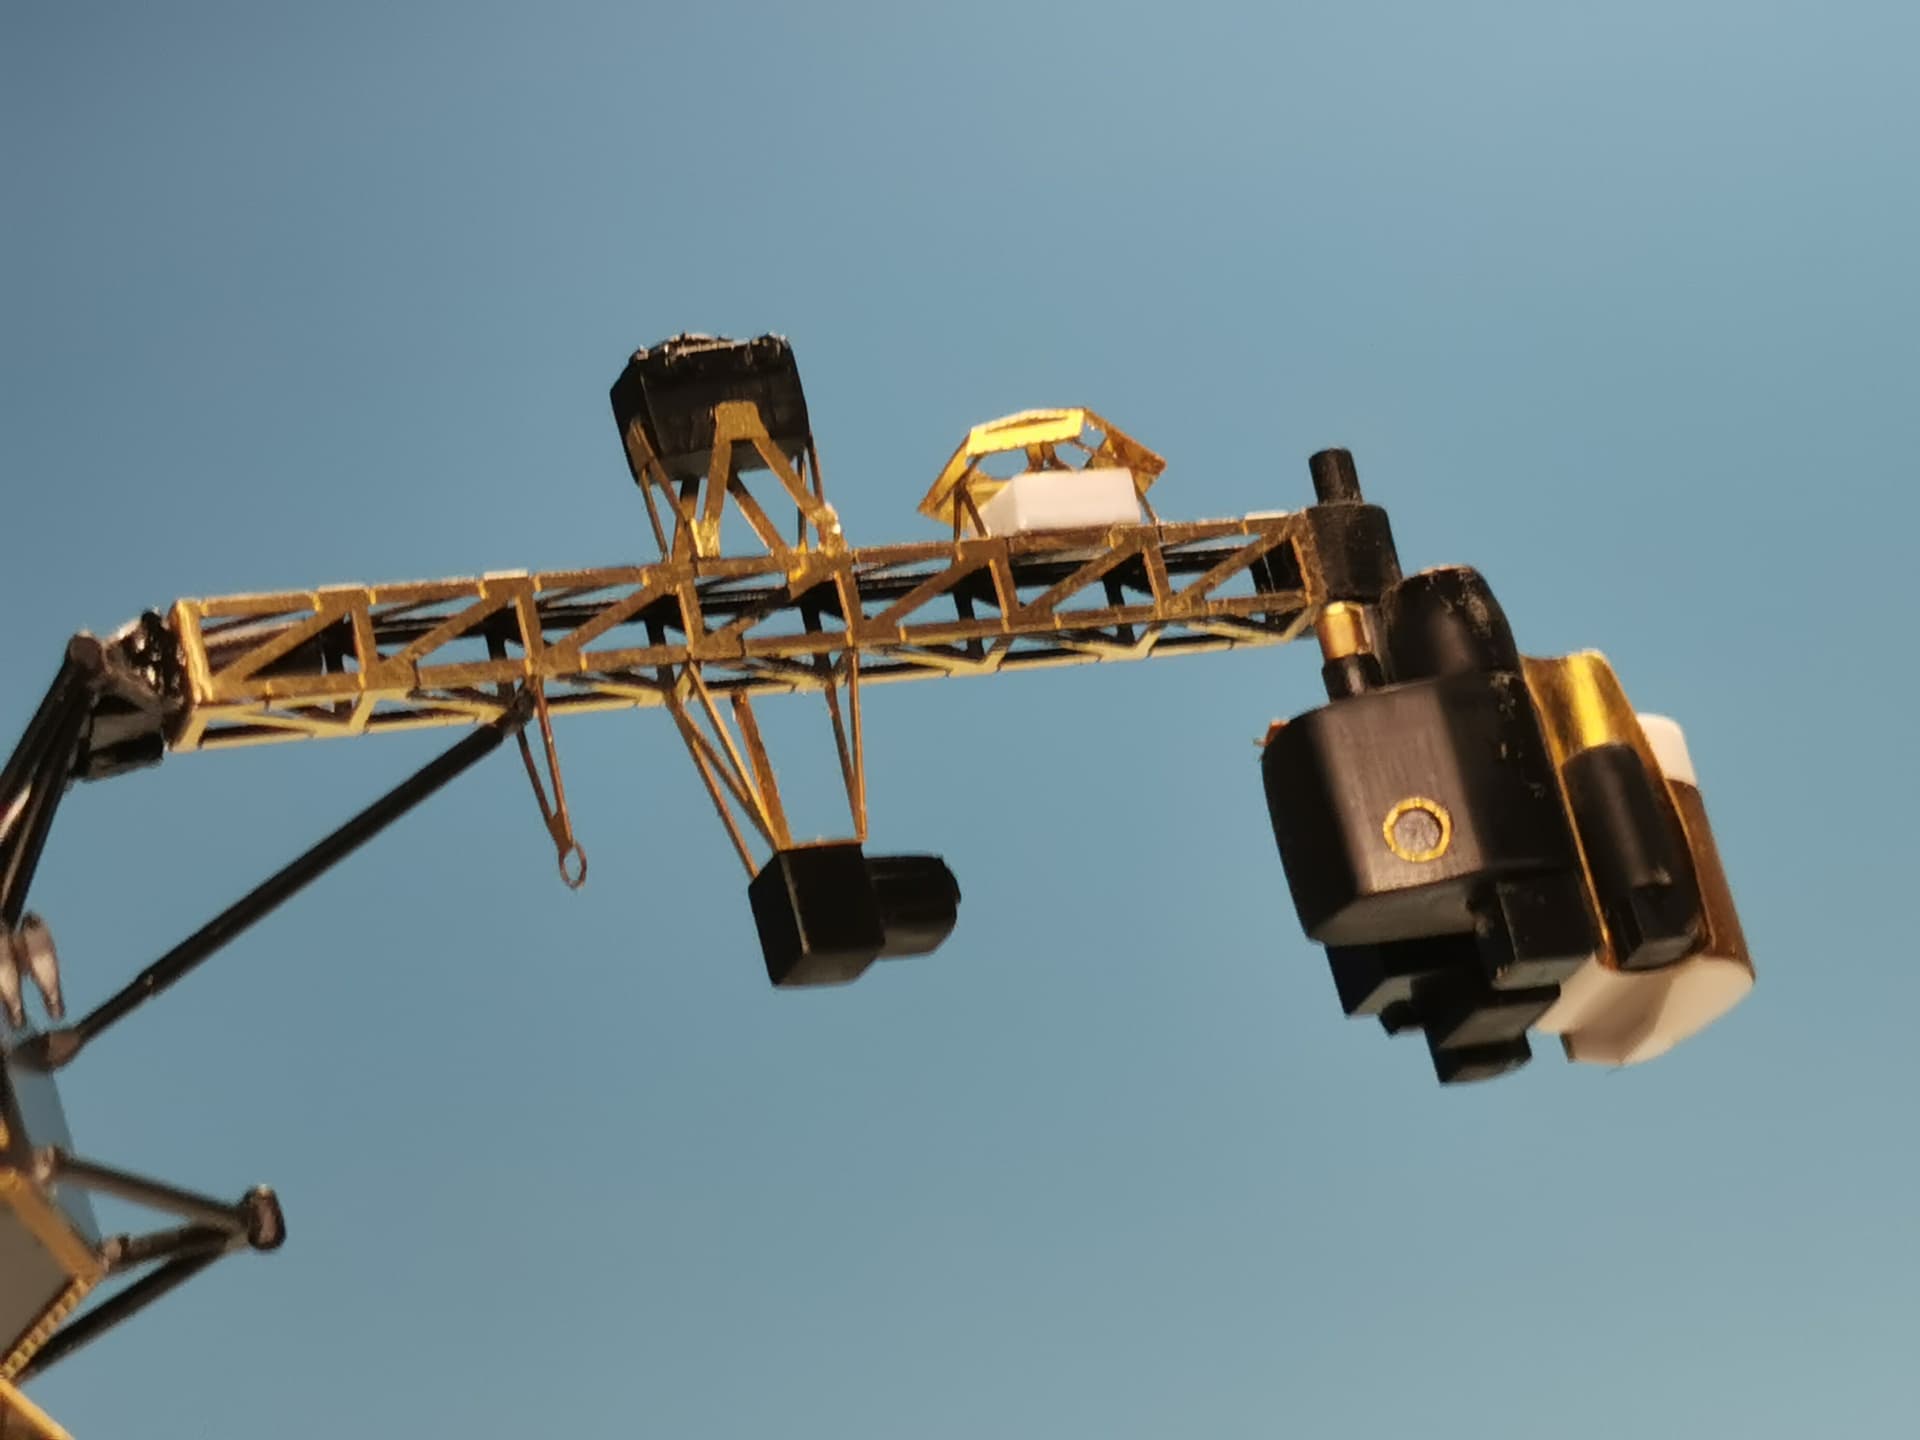
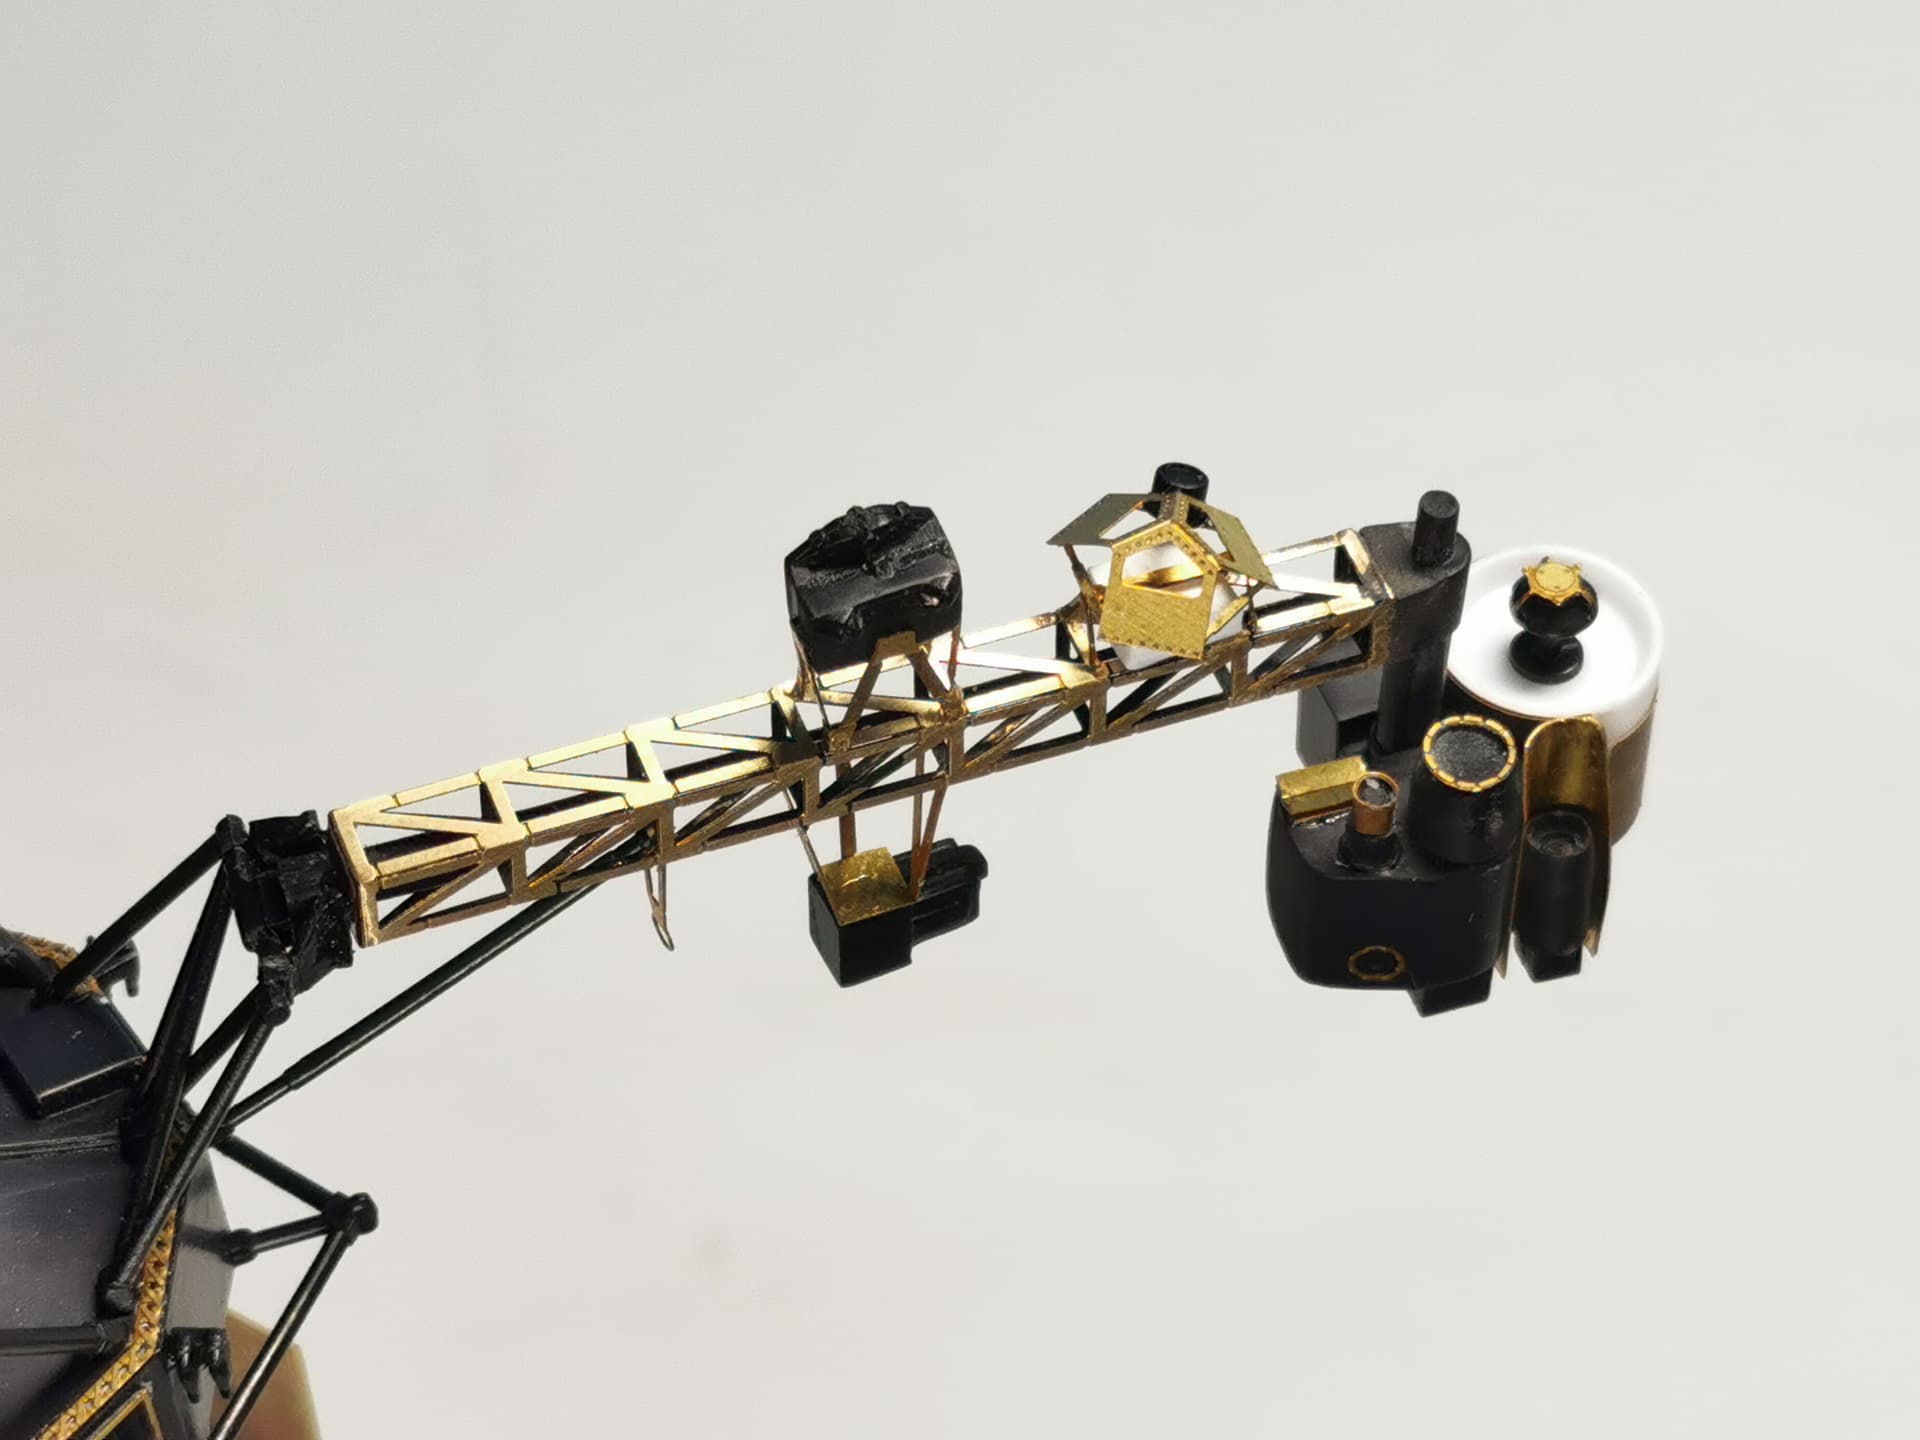
Thank you all for staying at my side for this build  Some progress can be reported for this weekend. I got the one extension arm with Cosmic Ray Subsystem (CRS), Low-Energy Charged Particles (LECP), Plasma Wave Subsystem (PWS), Plasma Science (PLS), Ultraviolet Spectrometer (UVS), Infrared Interferometer Spectrometer and Radiometer (IRIS) and Imaging Science Subsystem (ISS) installed. Of all of these instruments are just the first four still active. Aside from these there is just the Magnetometer at the tip of the long Magnetometer boom also still active. The rest of the devices are shut down to conserve the last remaining energy from the nuclear battery.
Some delicate parts need your attention but all in all its not difficult. This is how it looks like
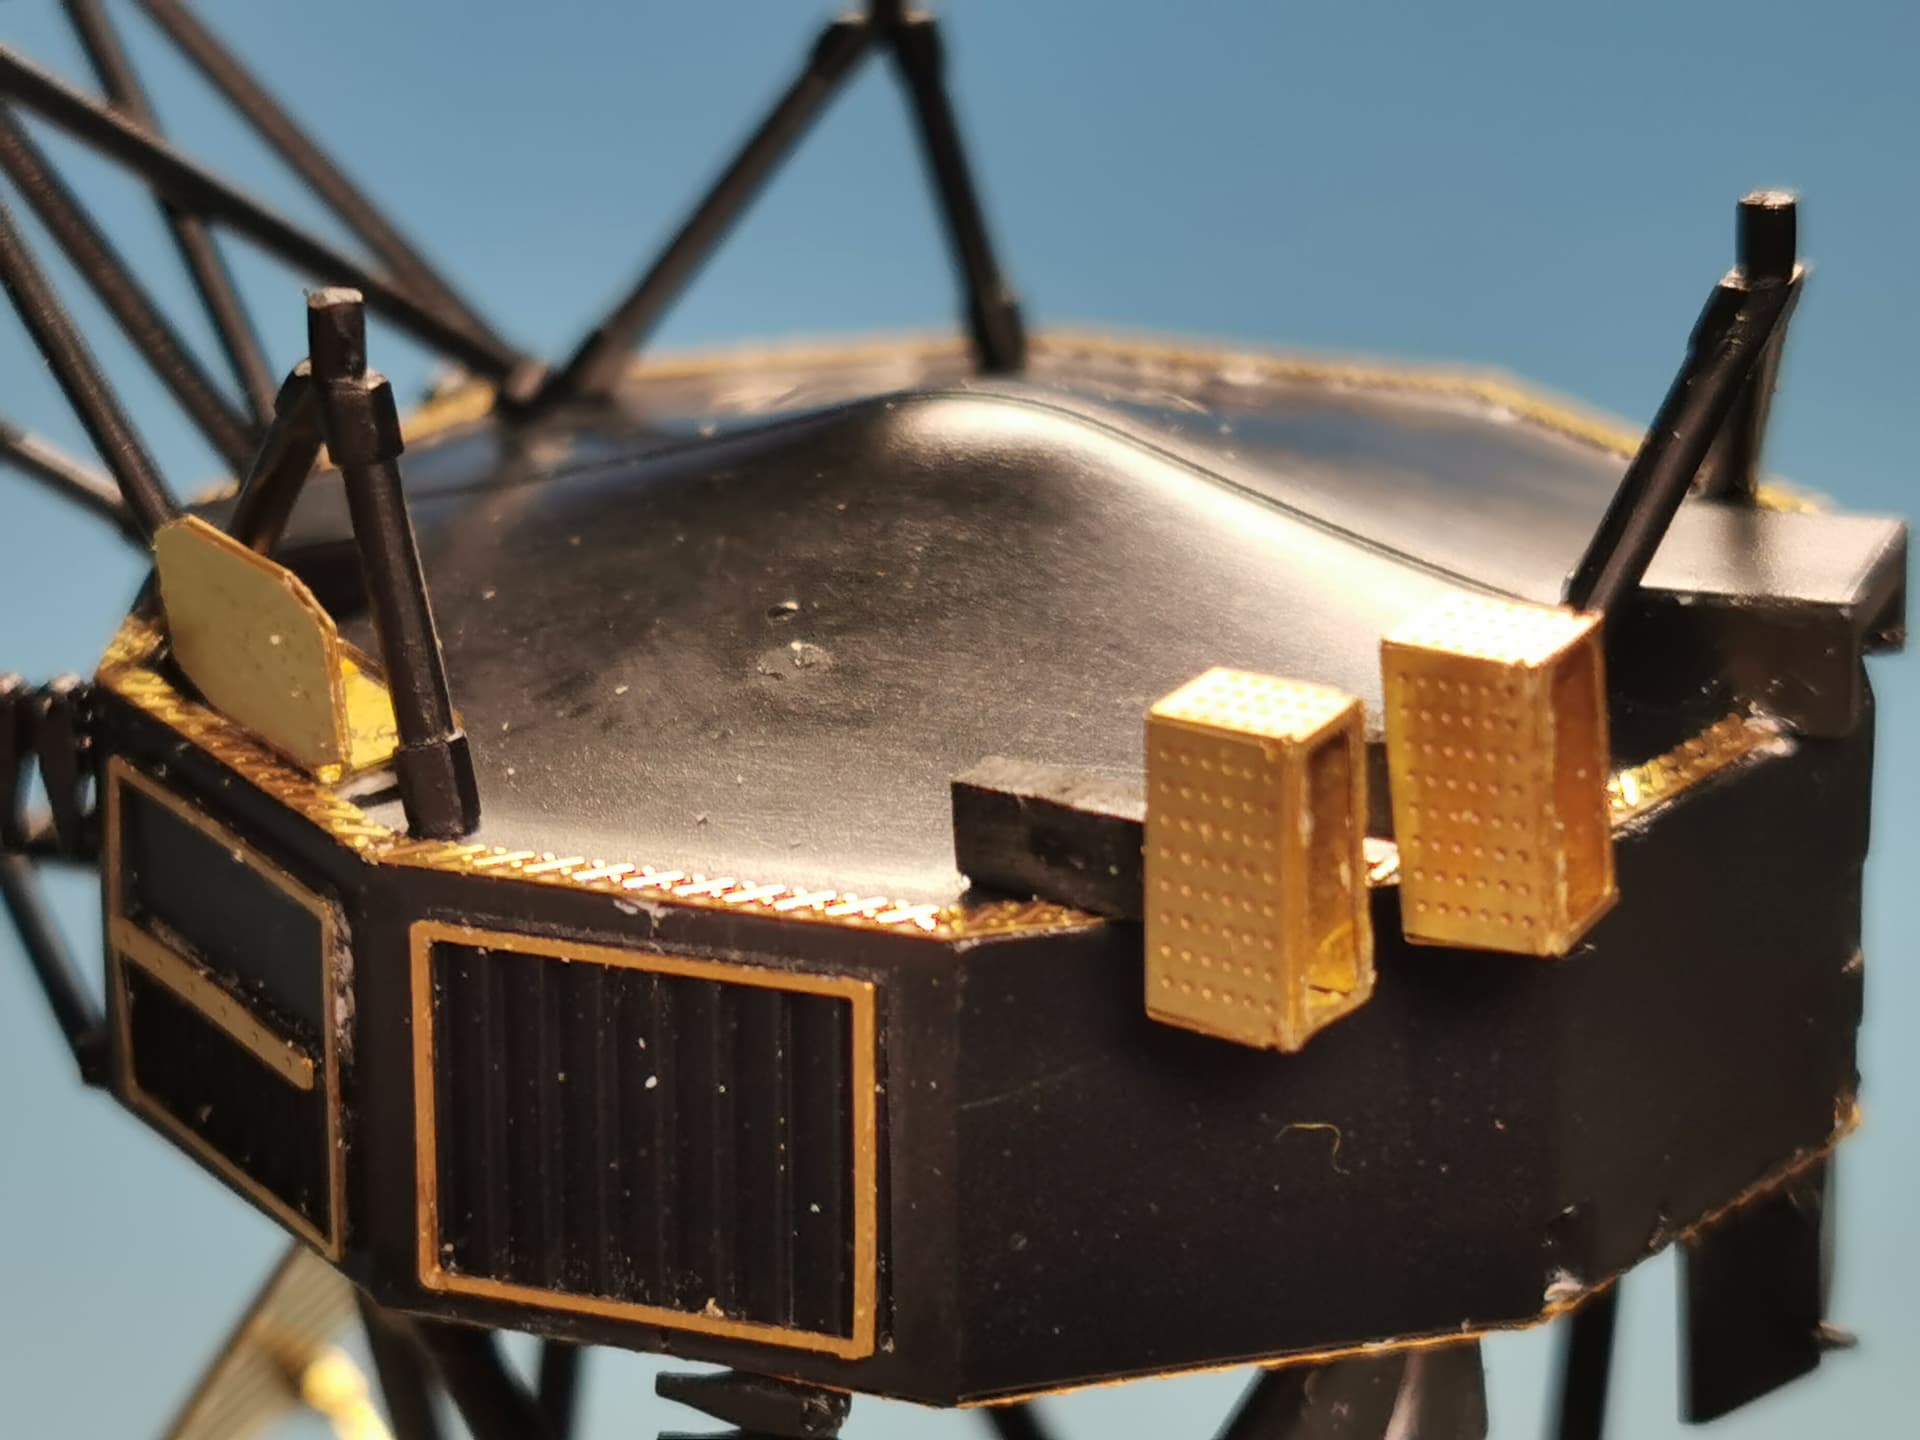
Some more etched devices atop the bus housing
Gentlemen please attach your dosimeter - we continue now with the nuclear battery 
6 Likes
Wow, look at all that bling bling! Oh to bright…
1 Like
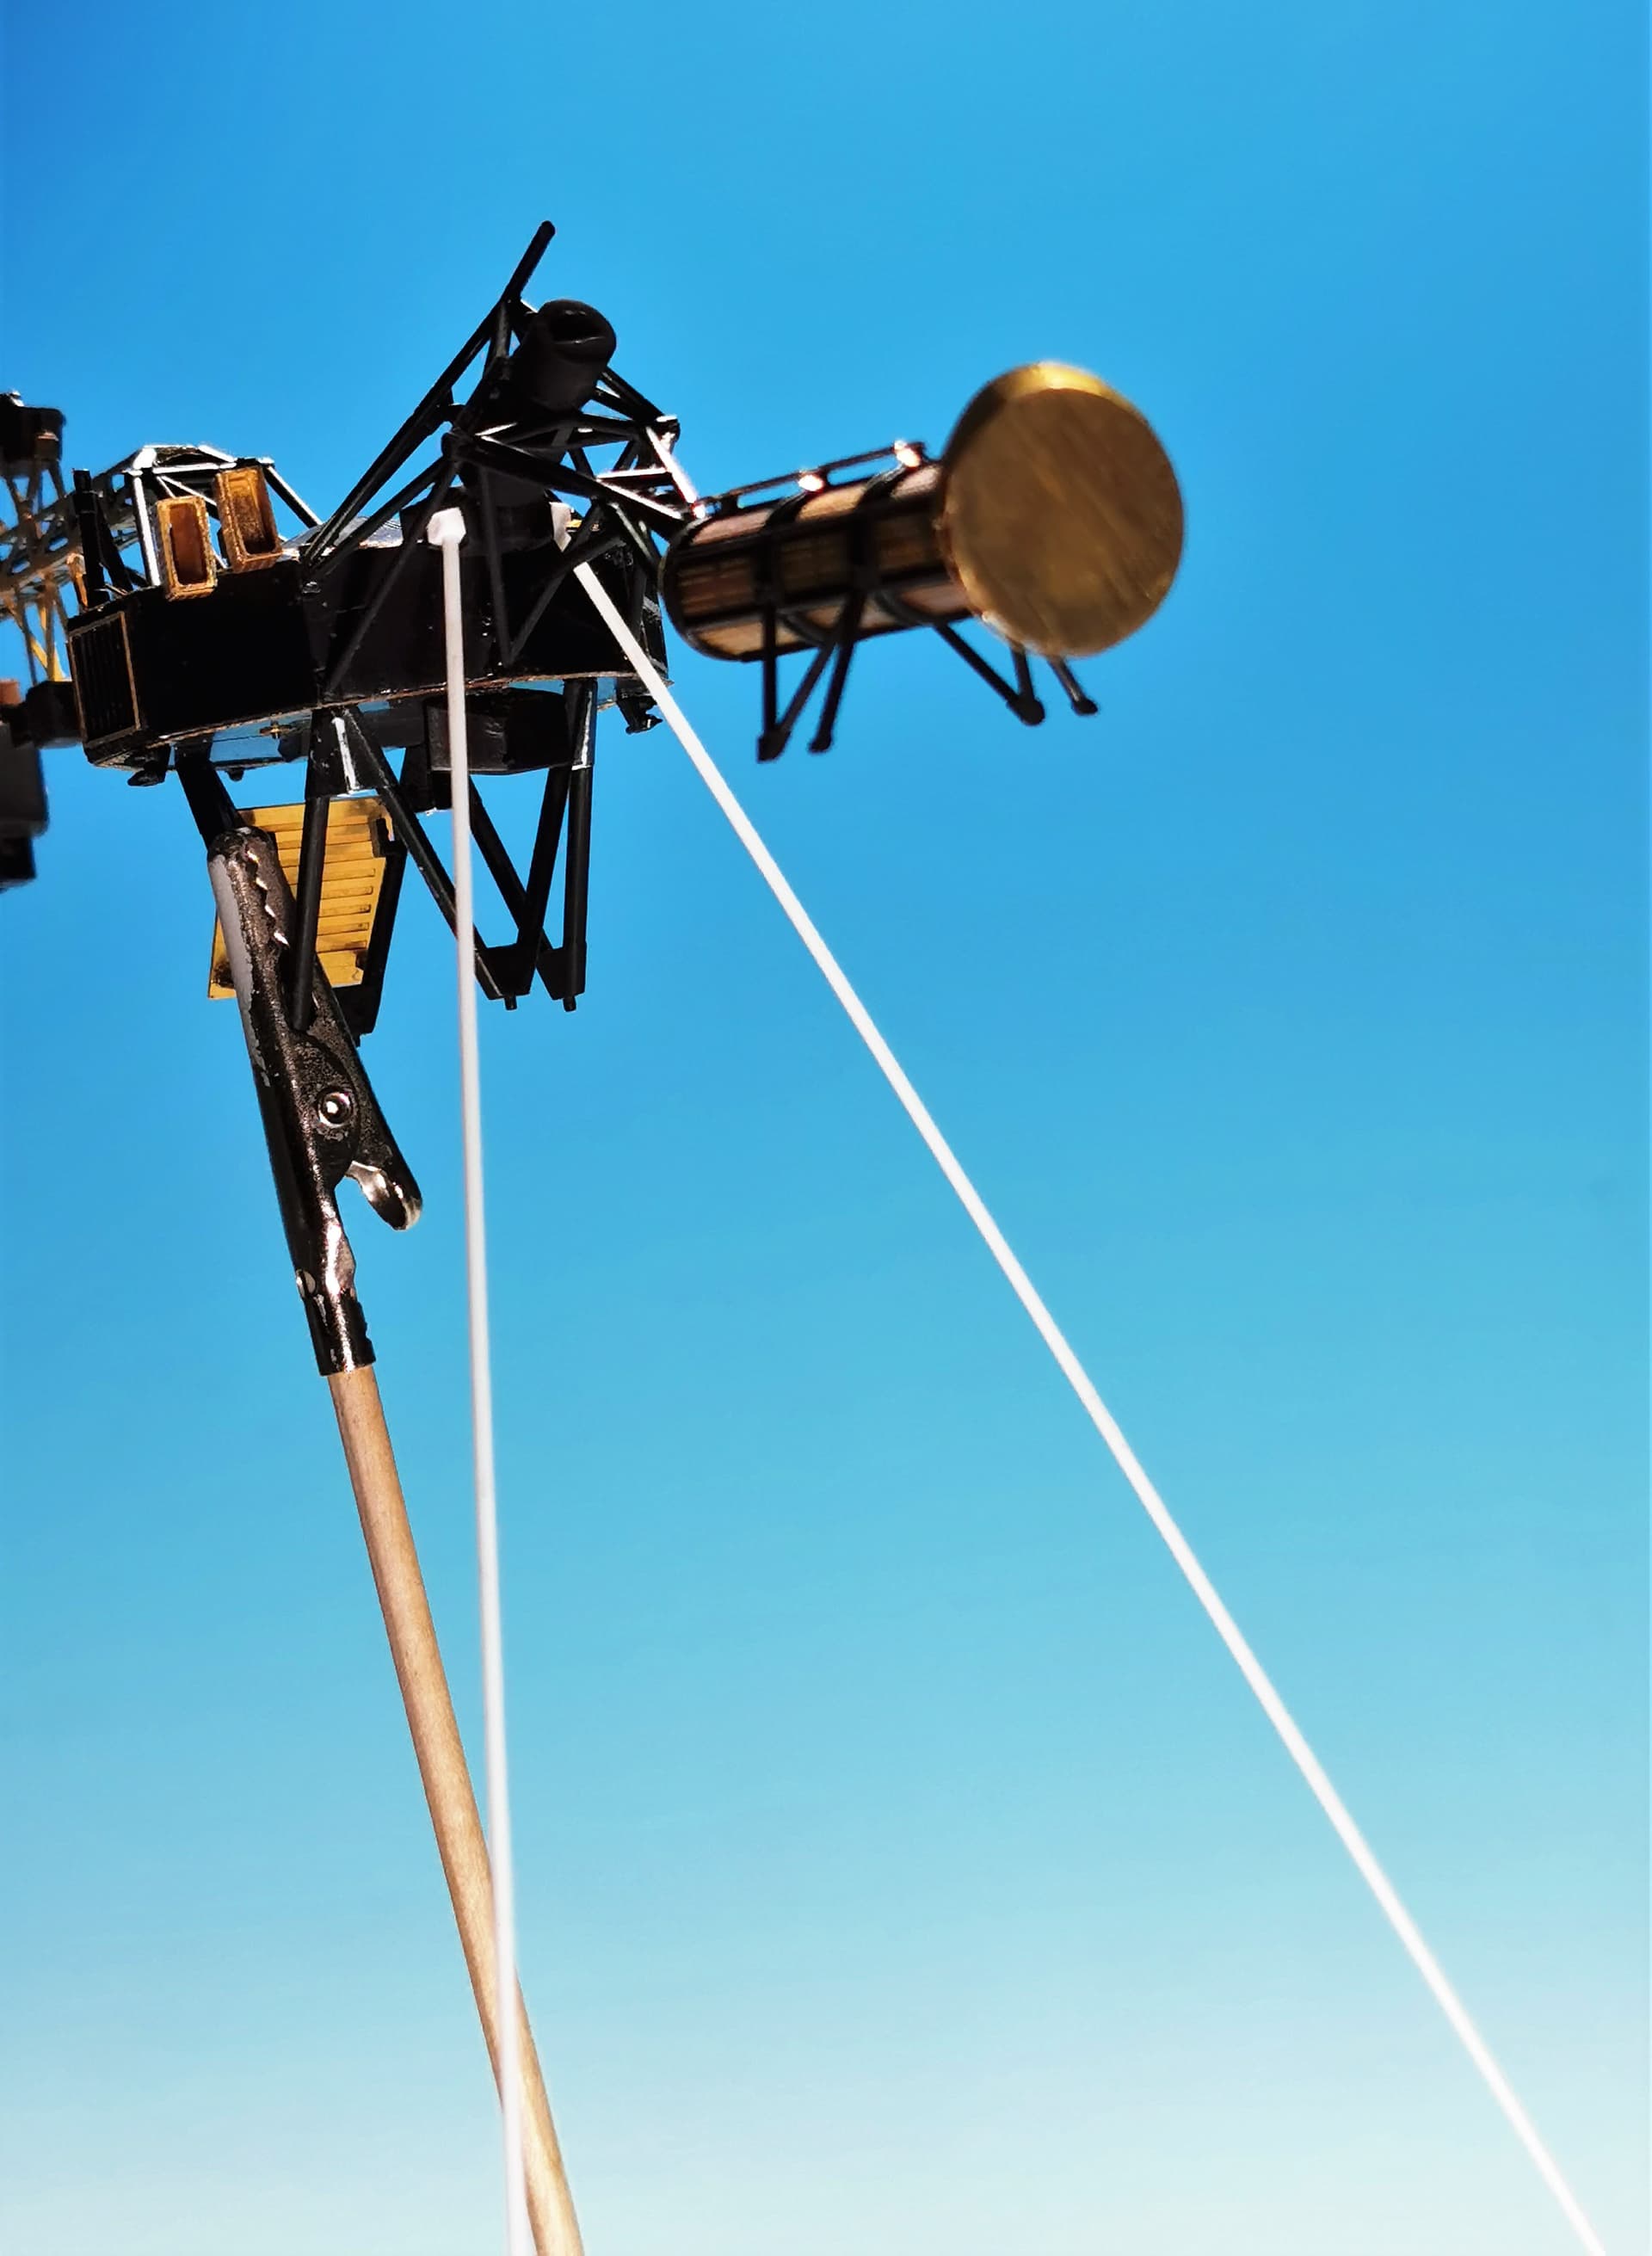
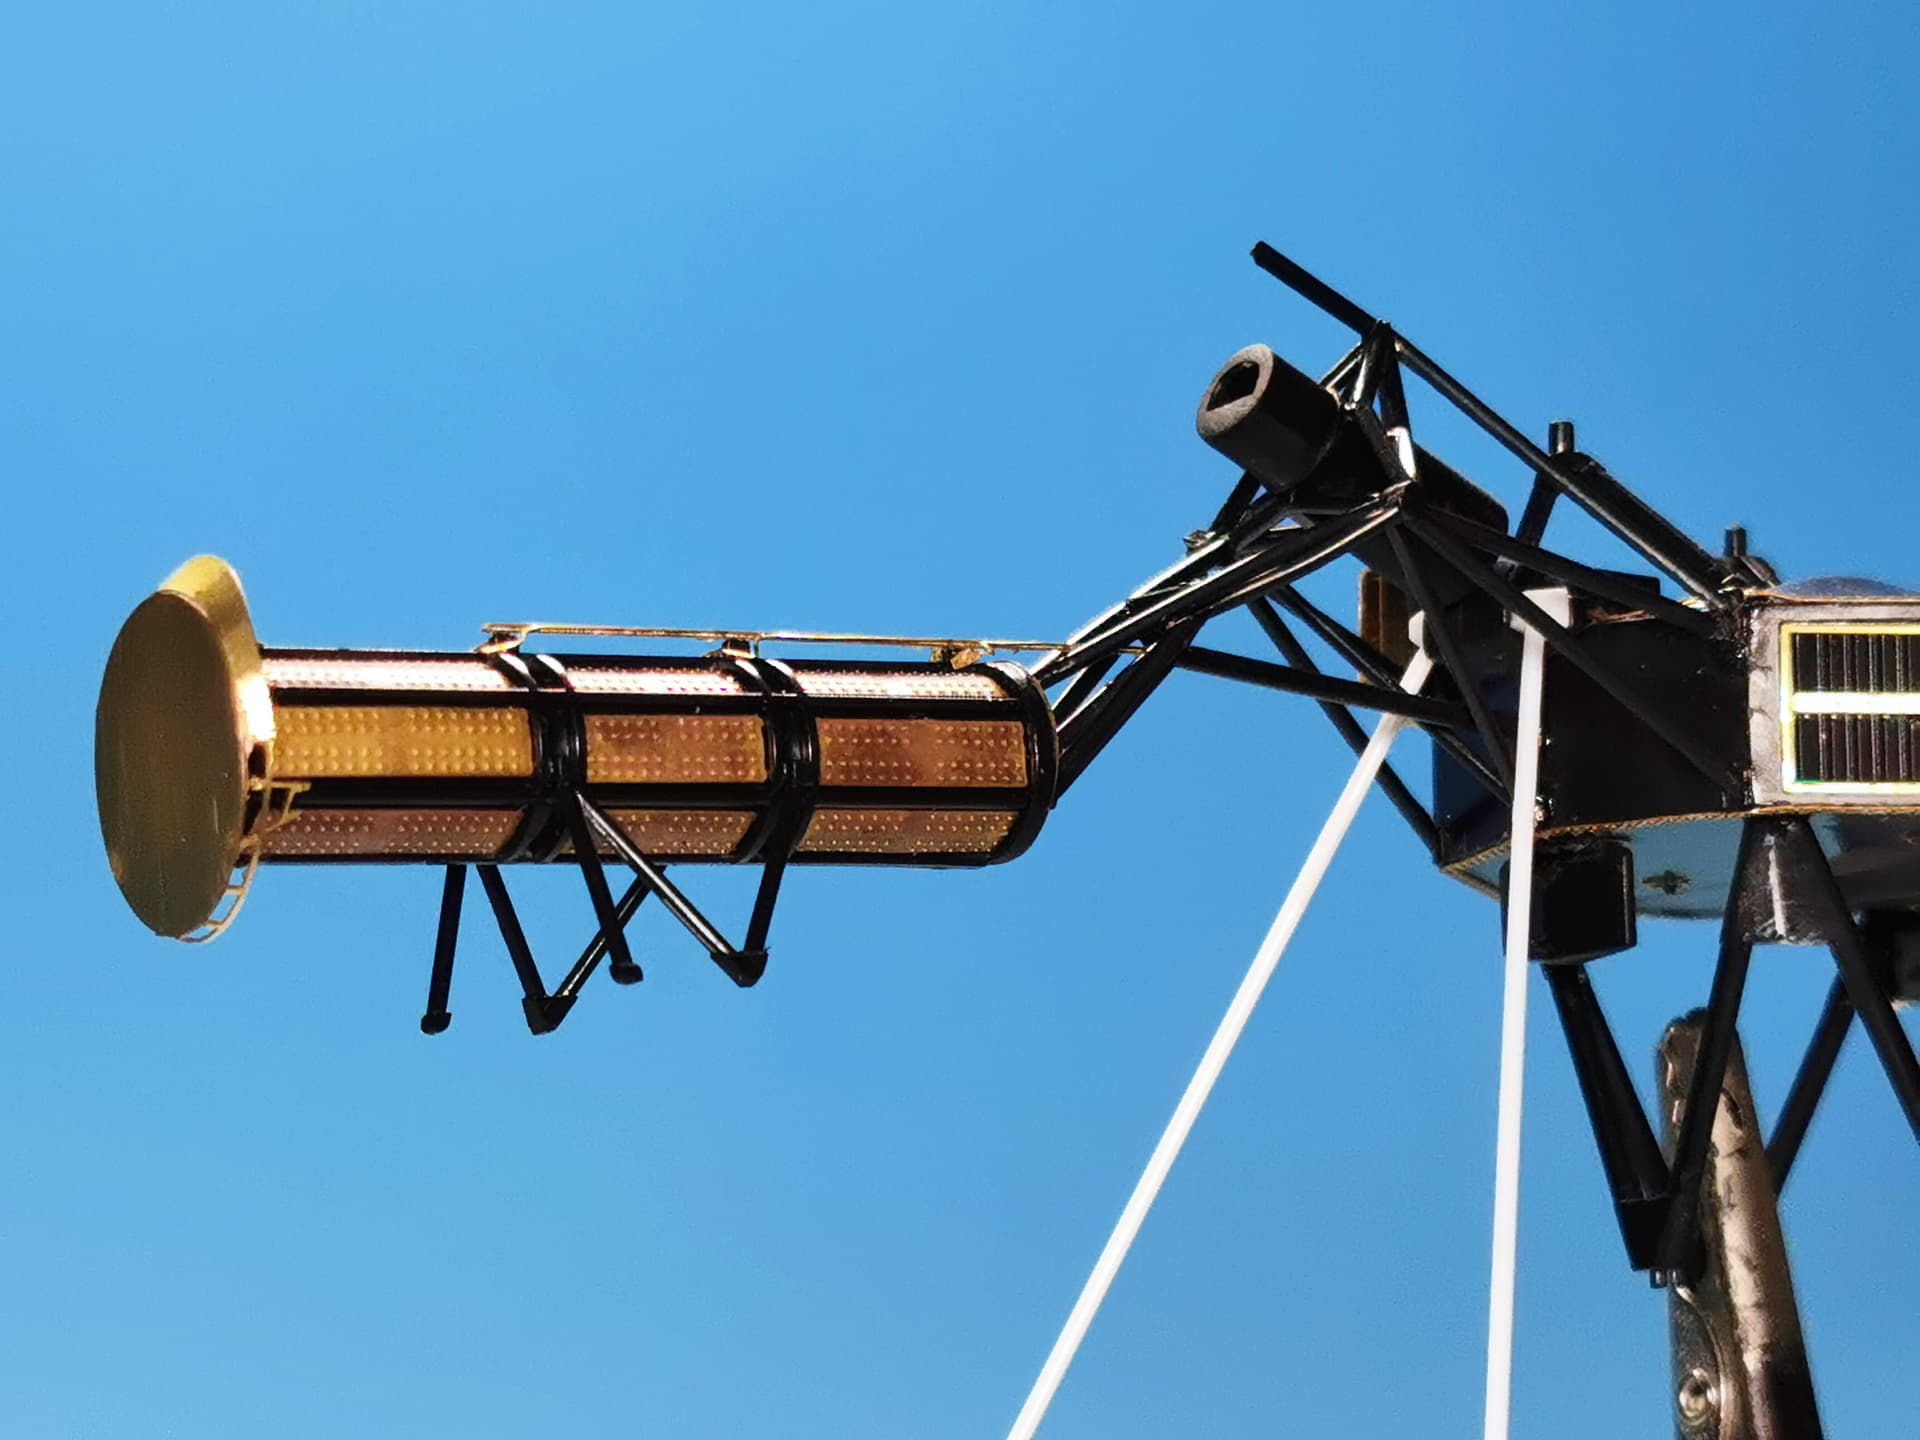
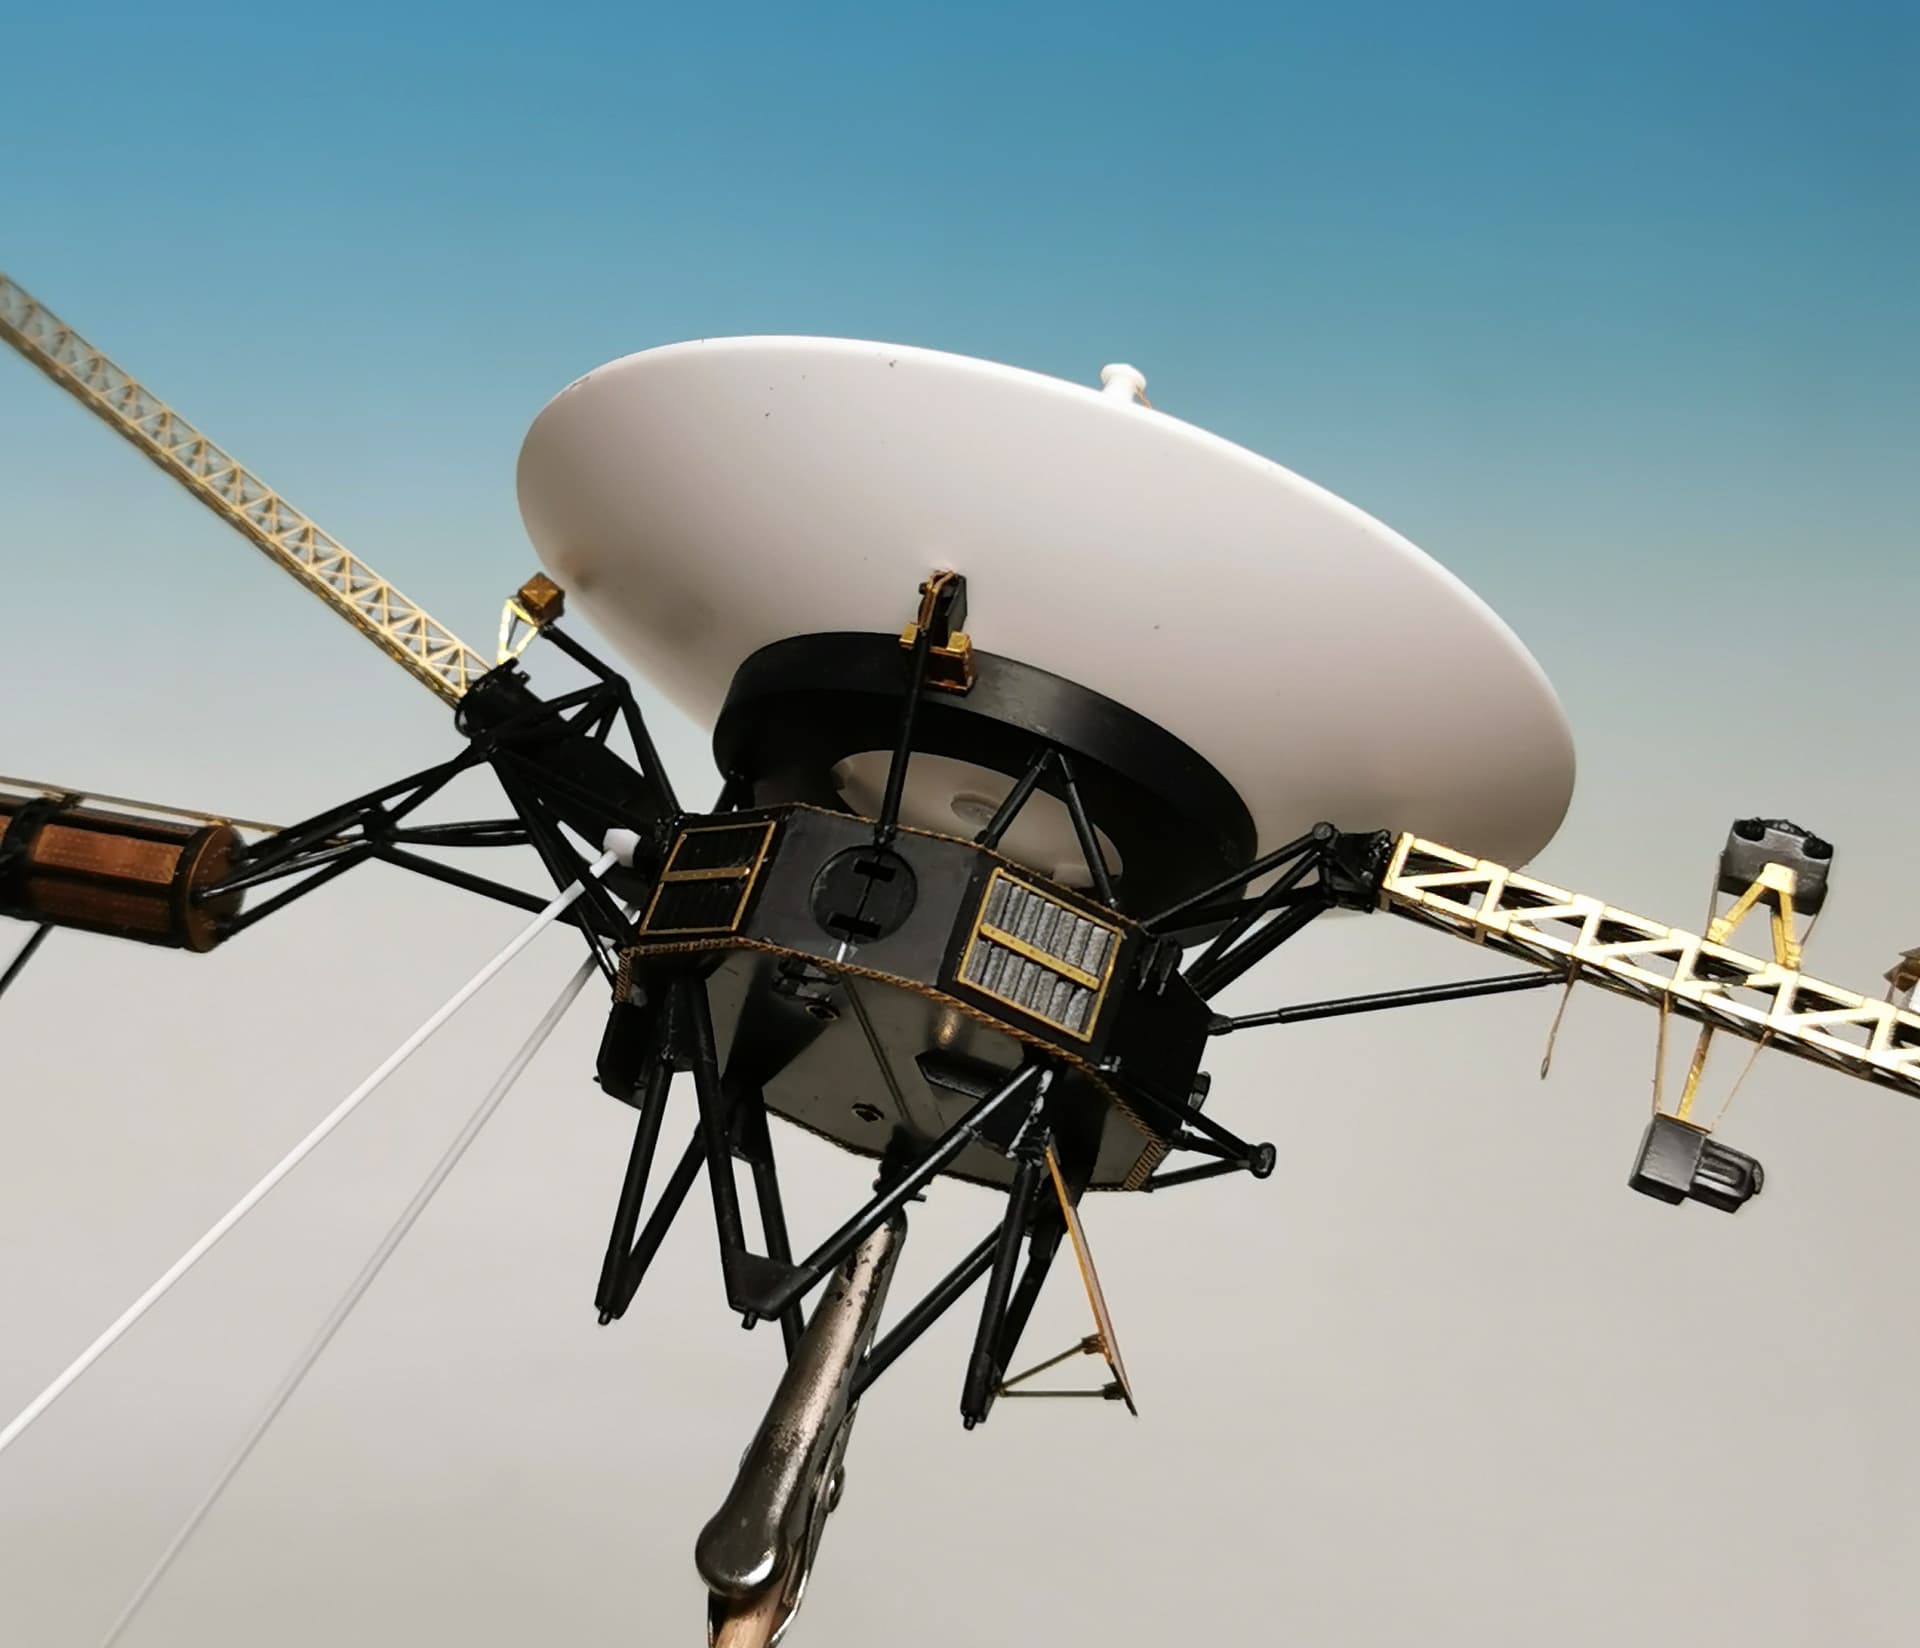
More “bling bling” is coming: Finished and attached the radioisotope battery together with the socket for the magnetometer antenna at the main body of Voyager. The planetary radio astronomy and plasma wave antenna were installed too. All these little etched details improve the look a lot
Meanwhile the ordered socket for my display also arrived. Together with Voyager connected with it over the bended acrylic rod will look interesting I hope.
The Planetary Radio Astronomy (PRA) antenna is still working at Voyager 2, the Planetary Radio Astronomy (PRA) antenna is switched off already at both Voyagers.
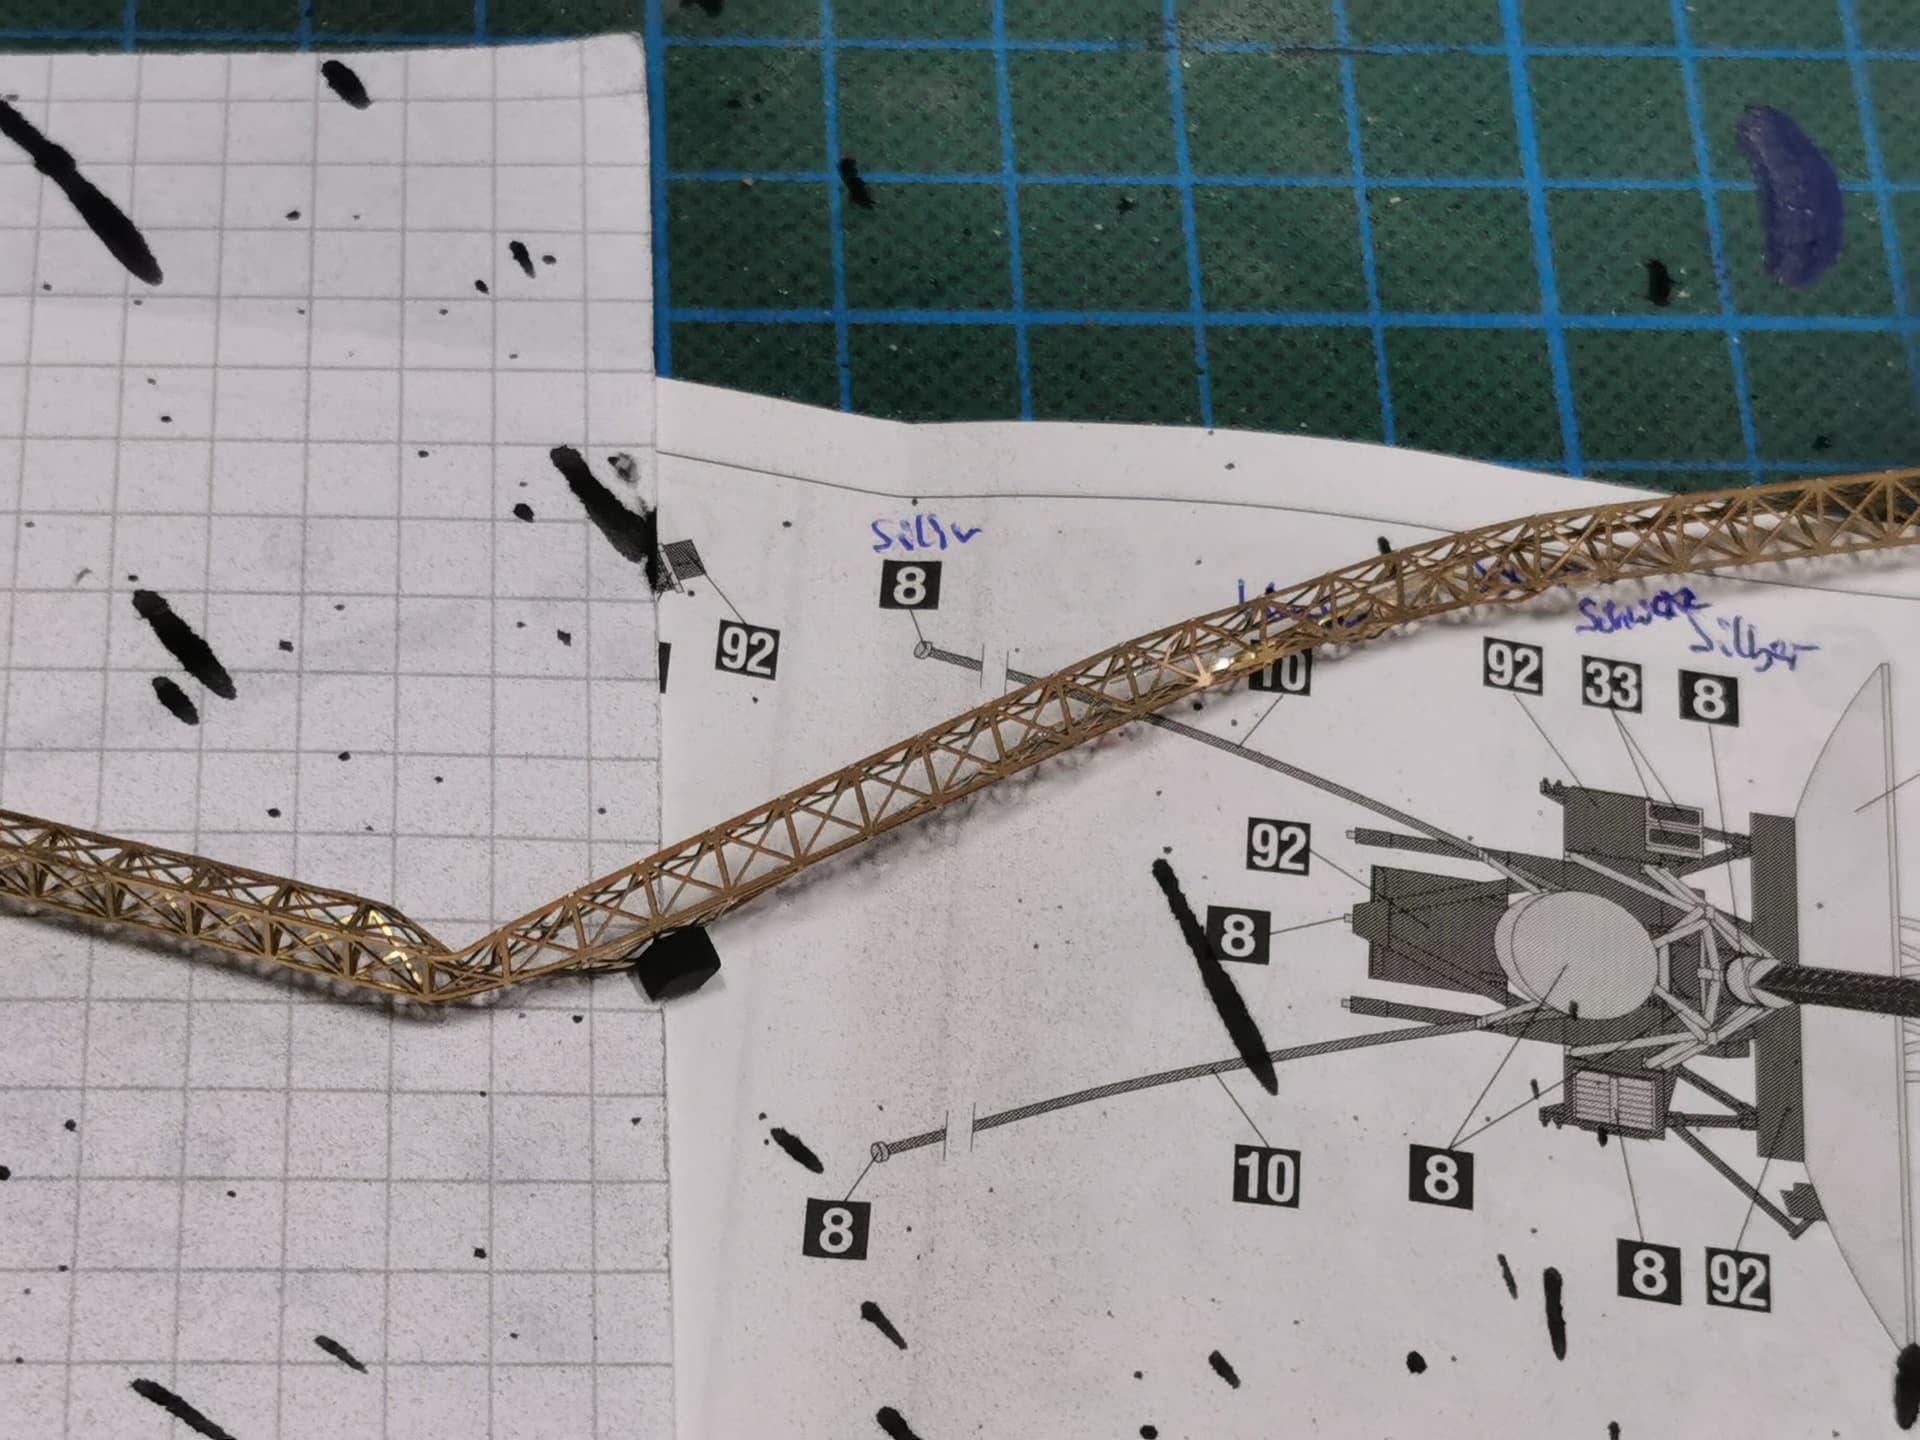
Continue with the looong etched Magnetometer Antenna (obviously the most difficult part for me)
Cheers
7 Likes
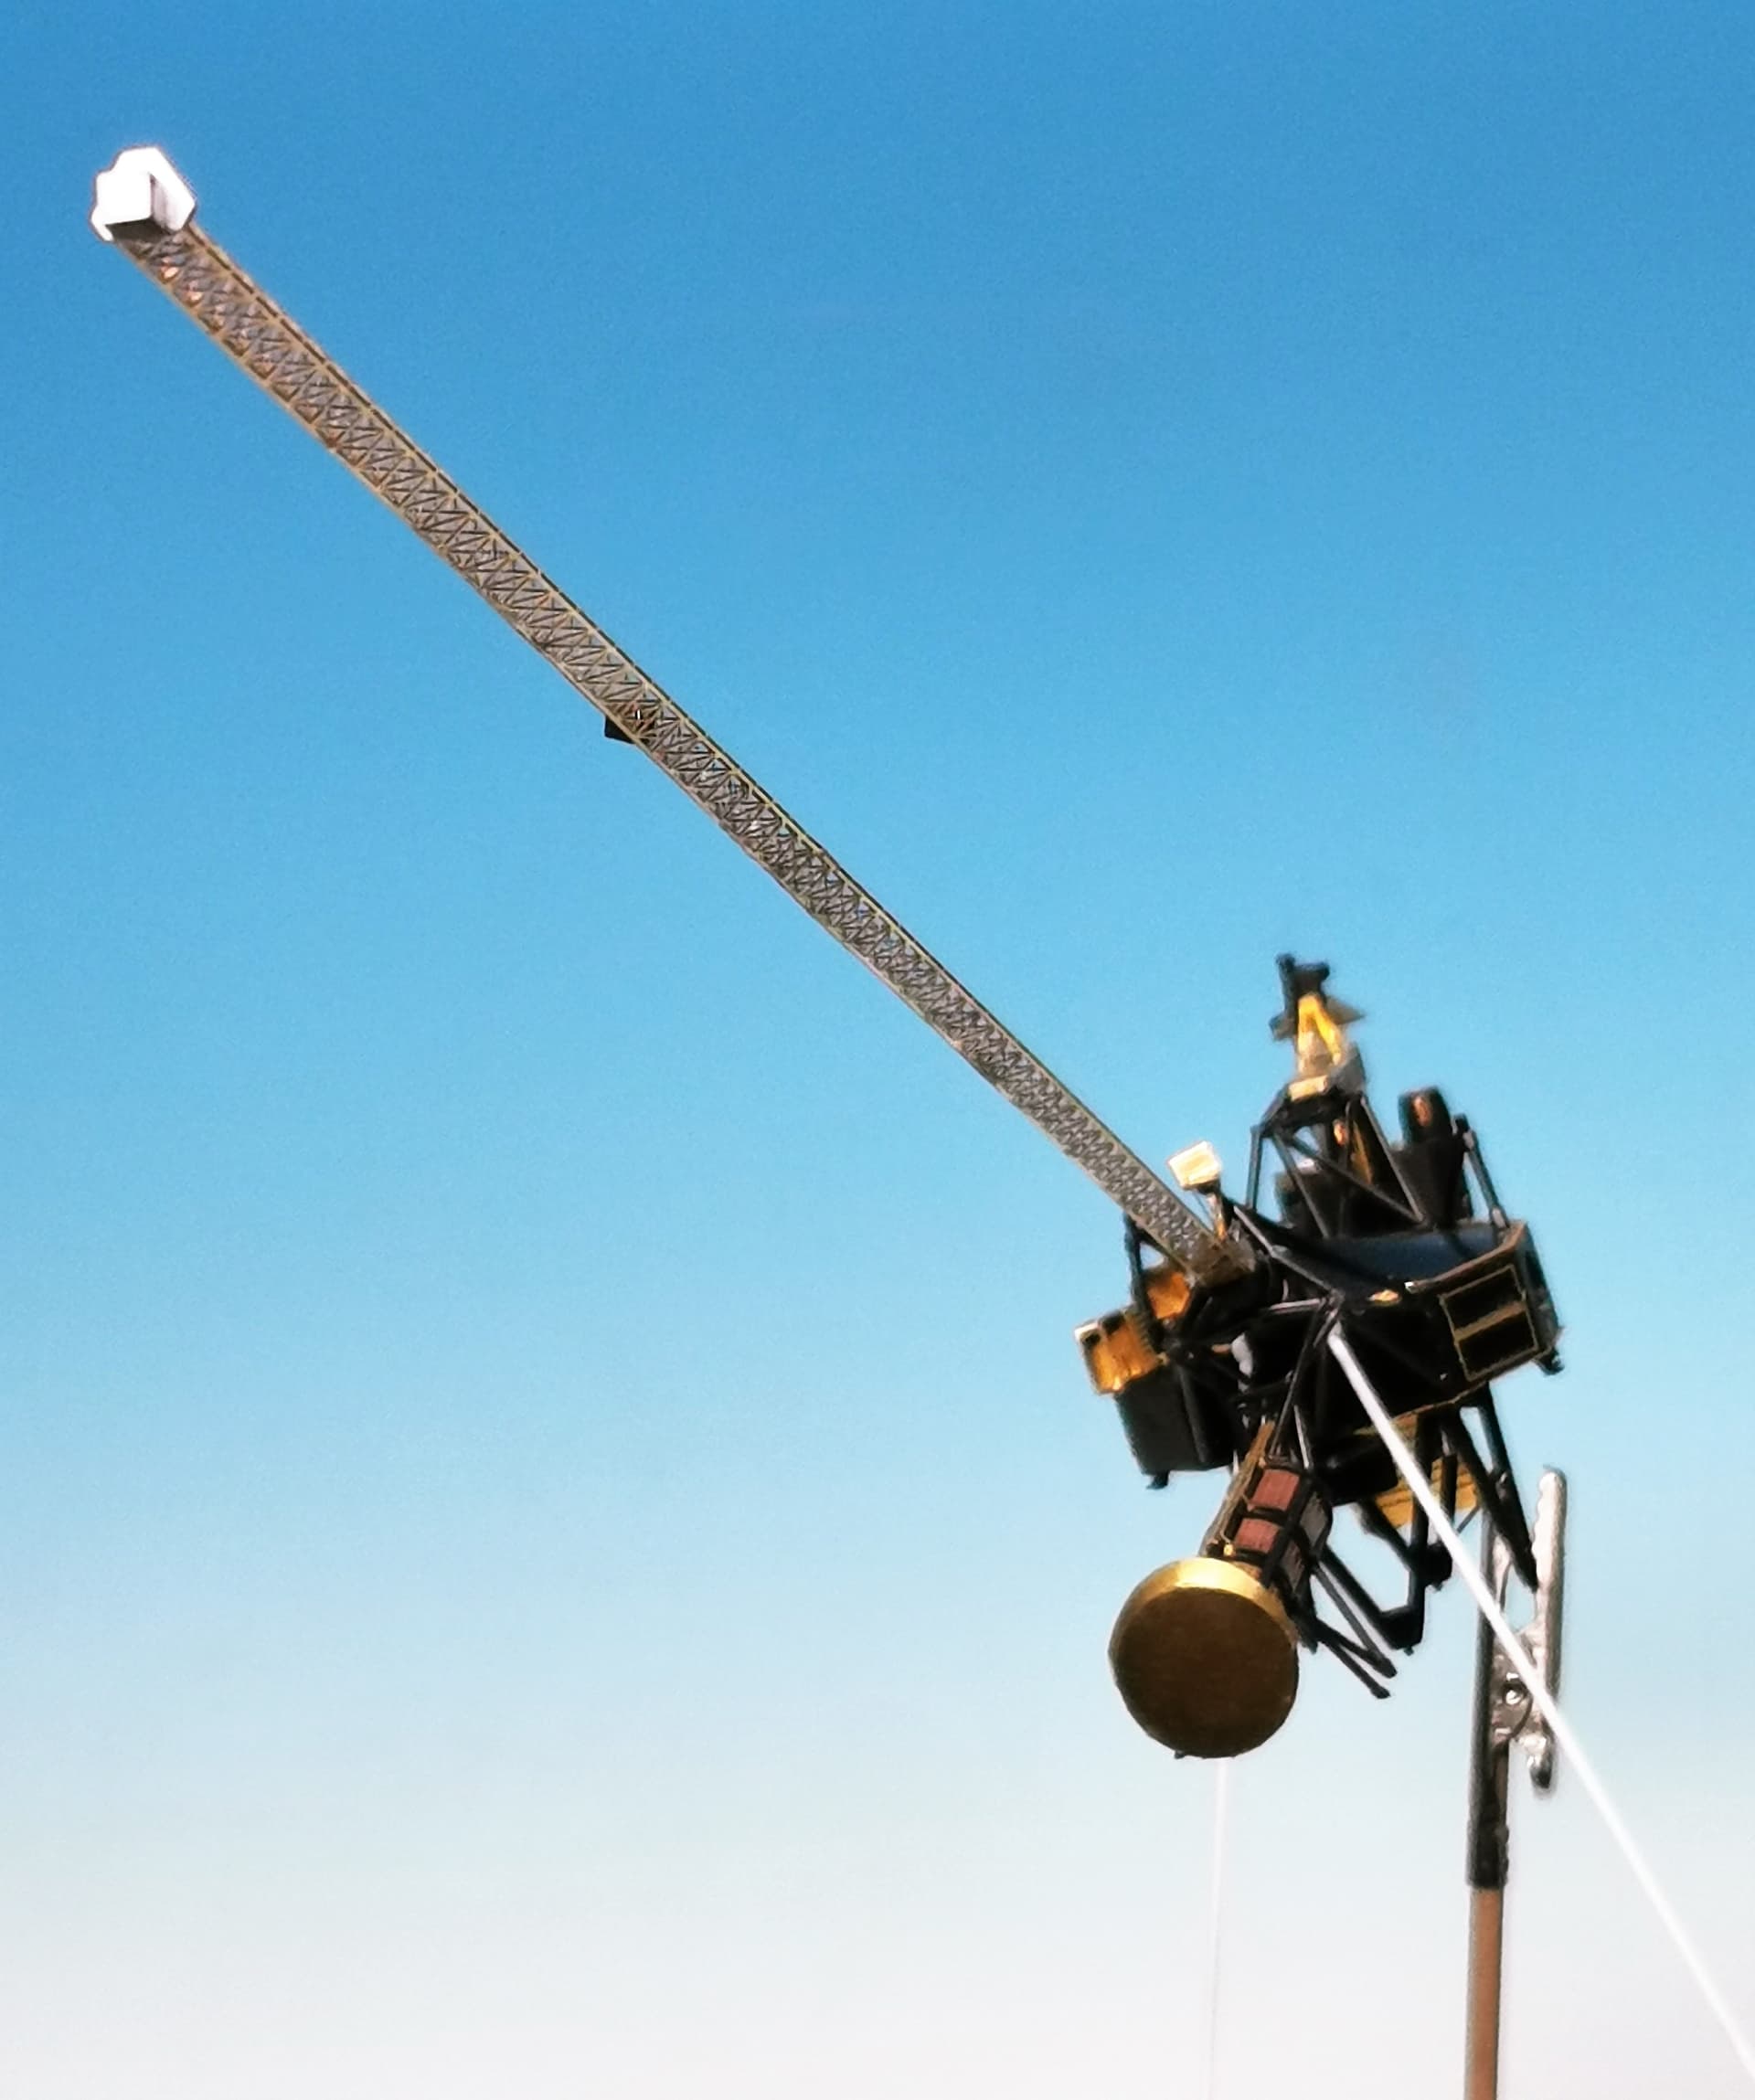
Good news and bad news: I finished the Magnetometer antenna. But I really have no idea how to twist it 120° in its longitude axis without accidently bending or even damaging the whole construction. Thats why I decided to leave the antenna straight. Maybe with soldering it would be possible to fix everything like the real one but I have no experiences in soldering. So… whatever 
The Magnetometer is, by the way, also one of these instruments which are still actively working on both Voyagers.
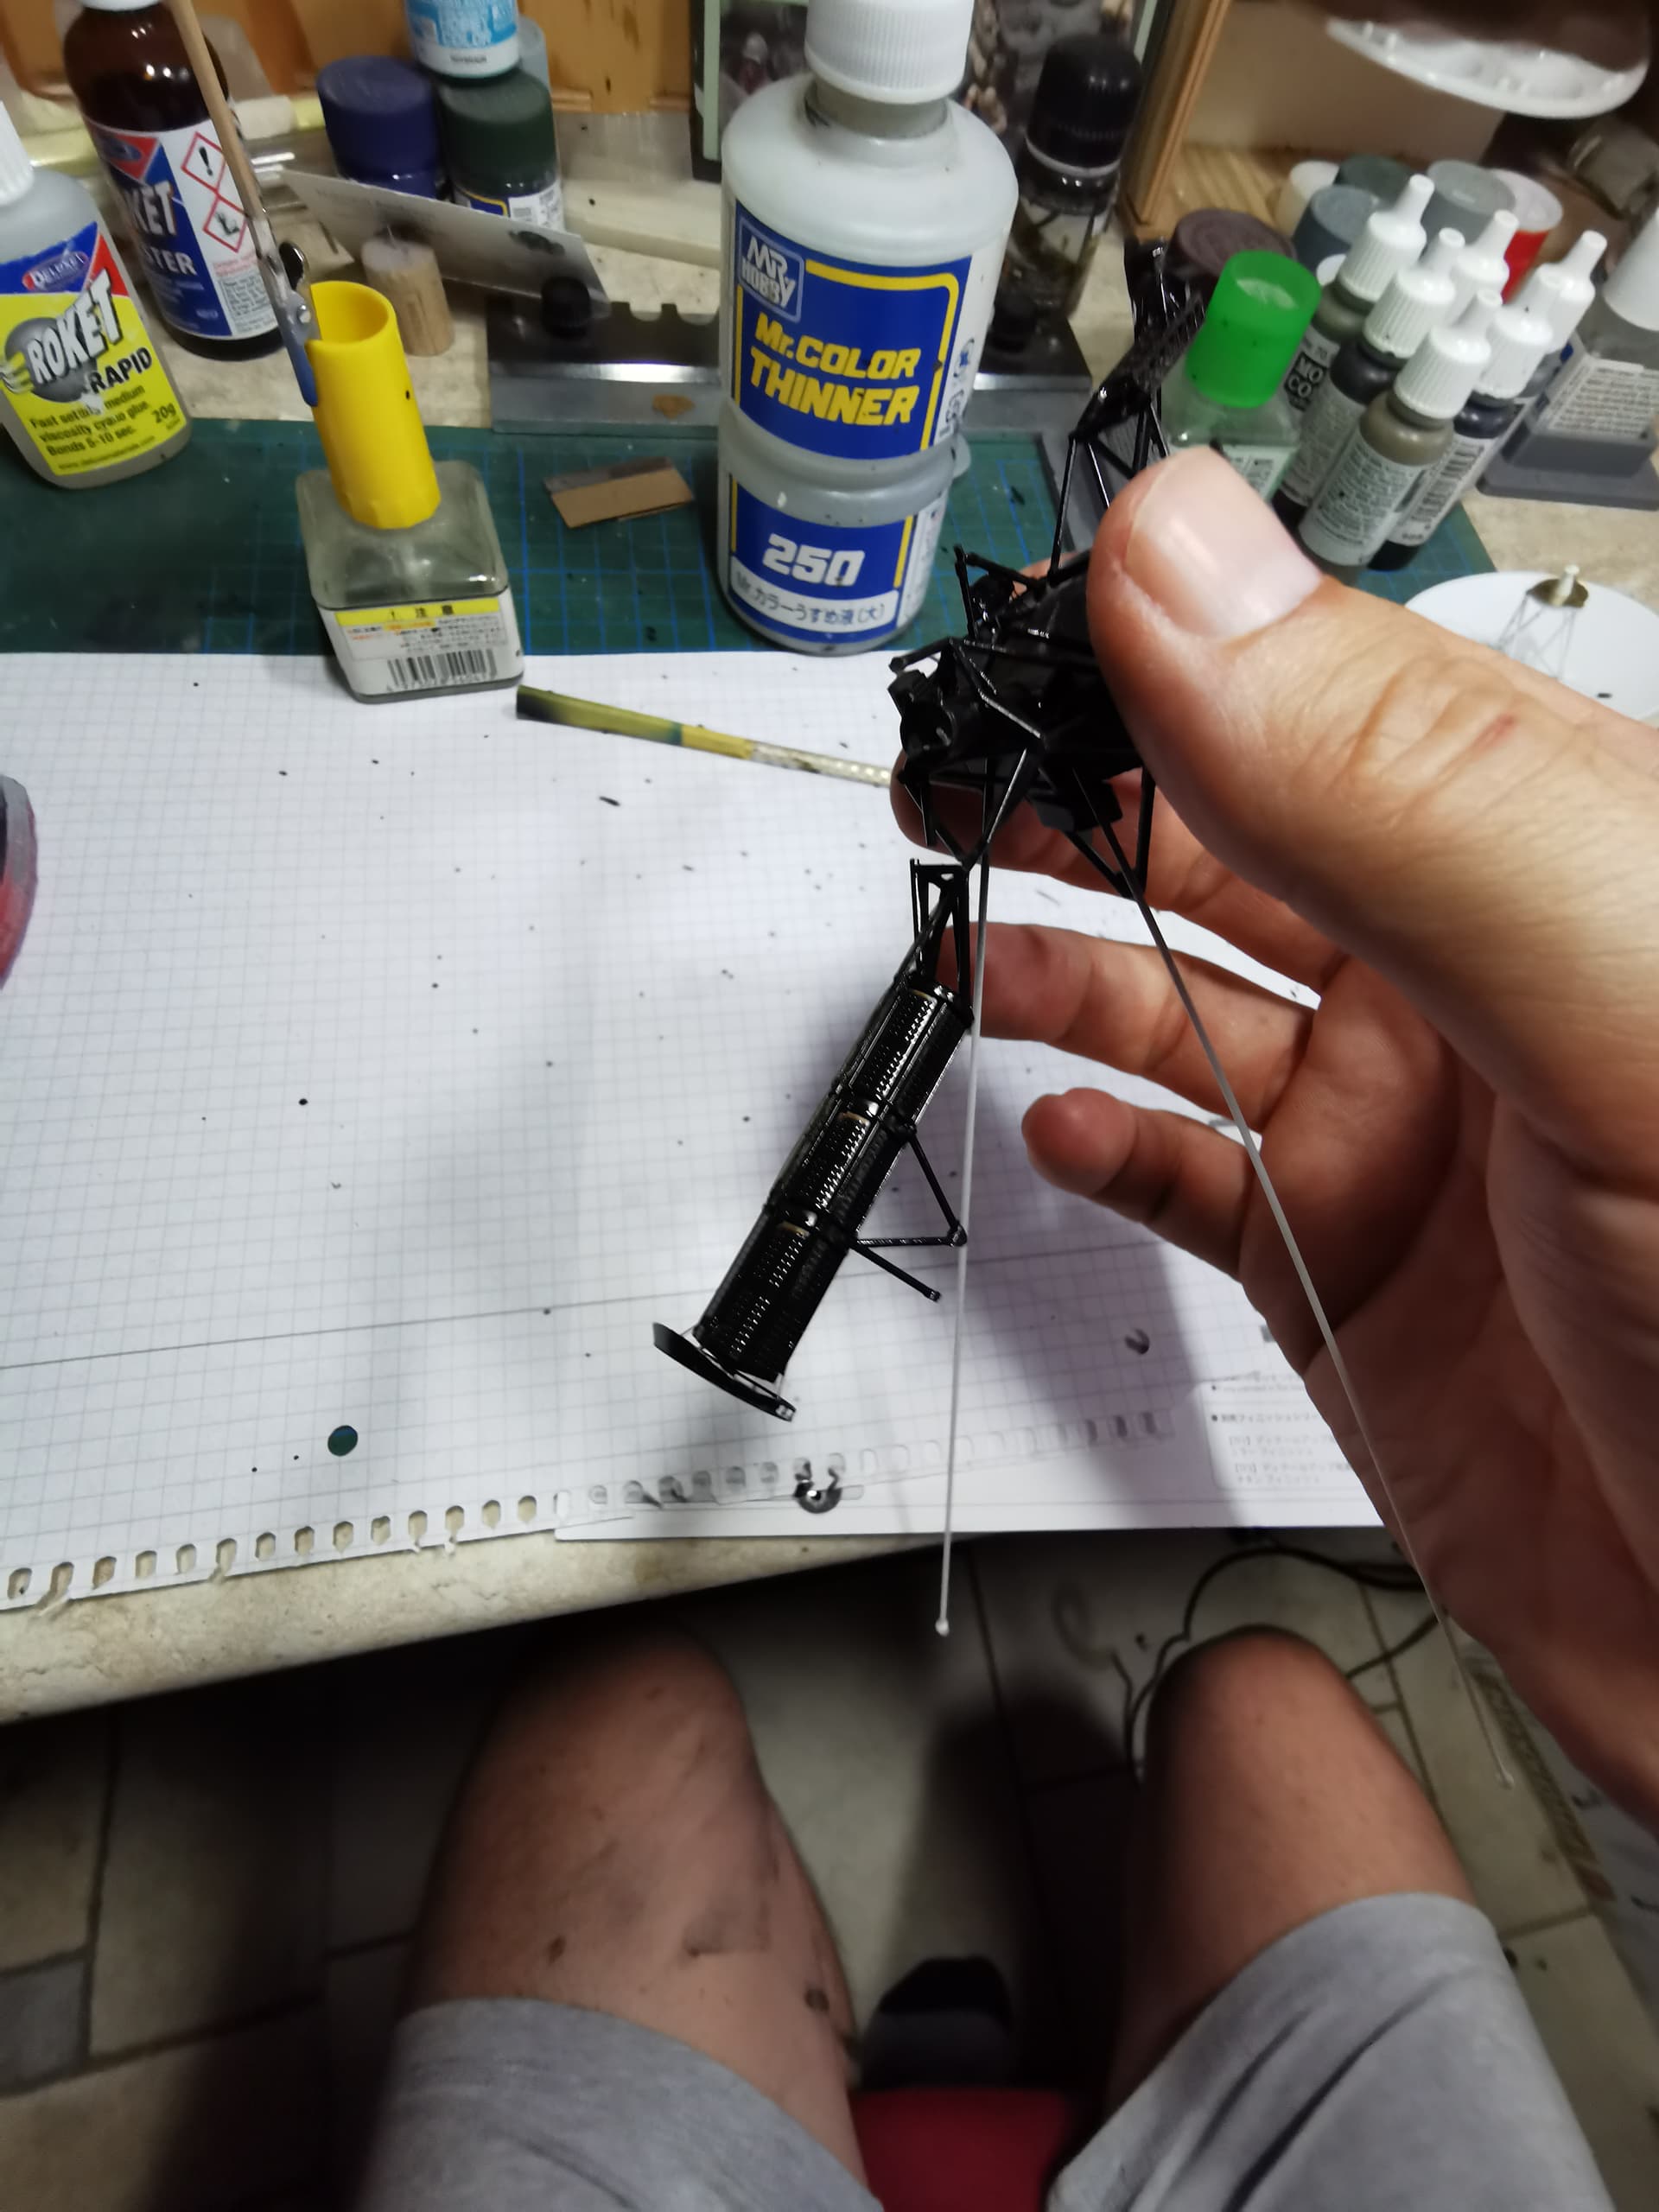
The connection with the box was a bit fiddly though
Now it looks already like a space probe, just its main high gain antenne left which will be next one 
5 Likes
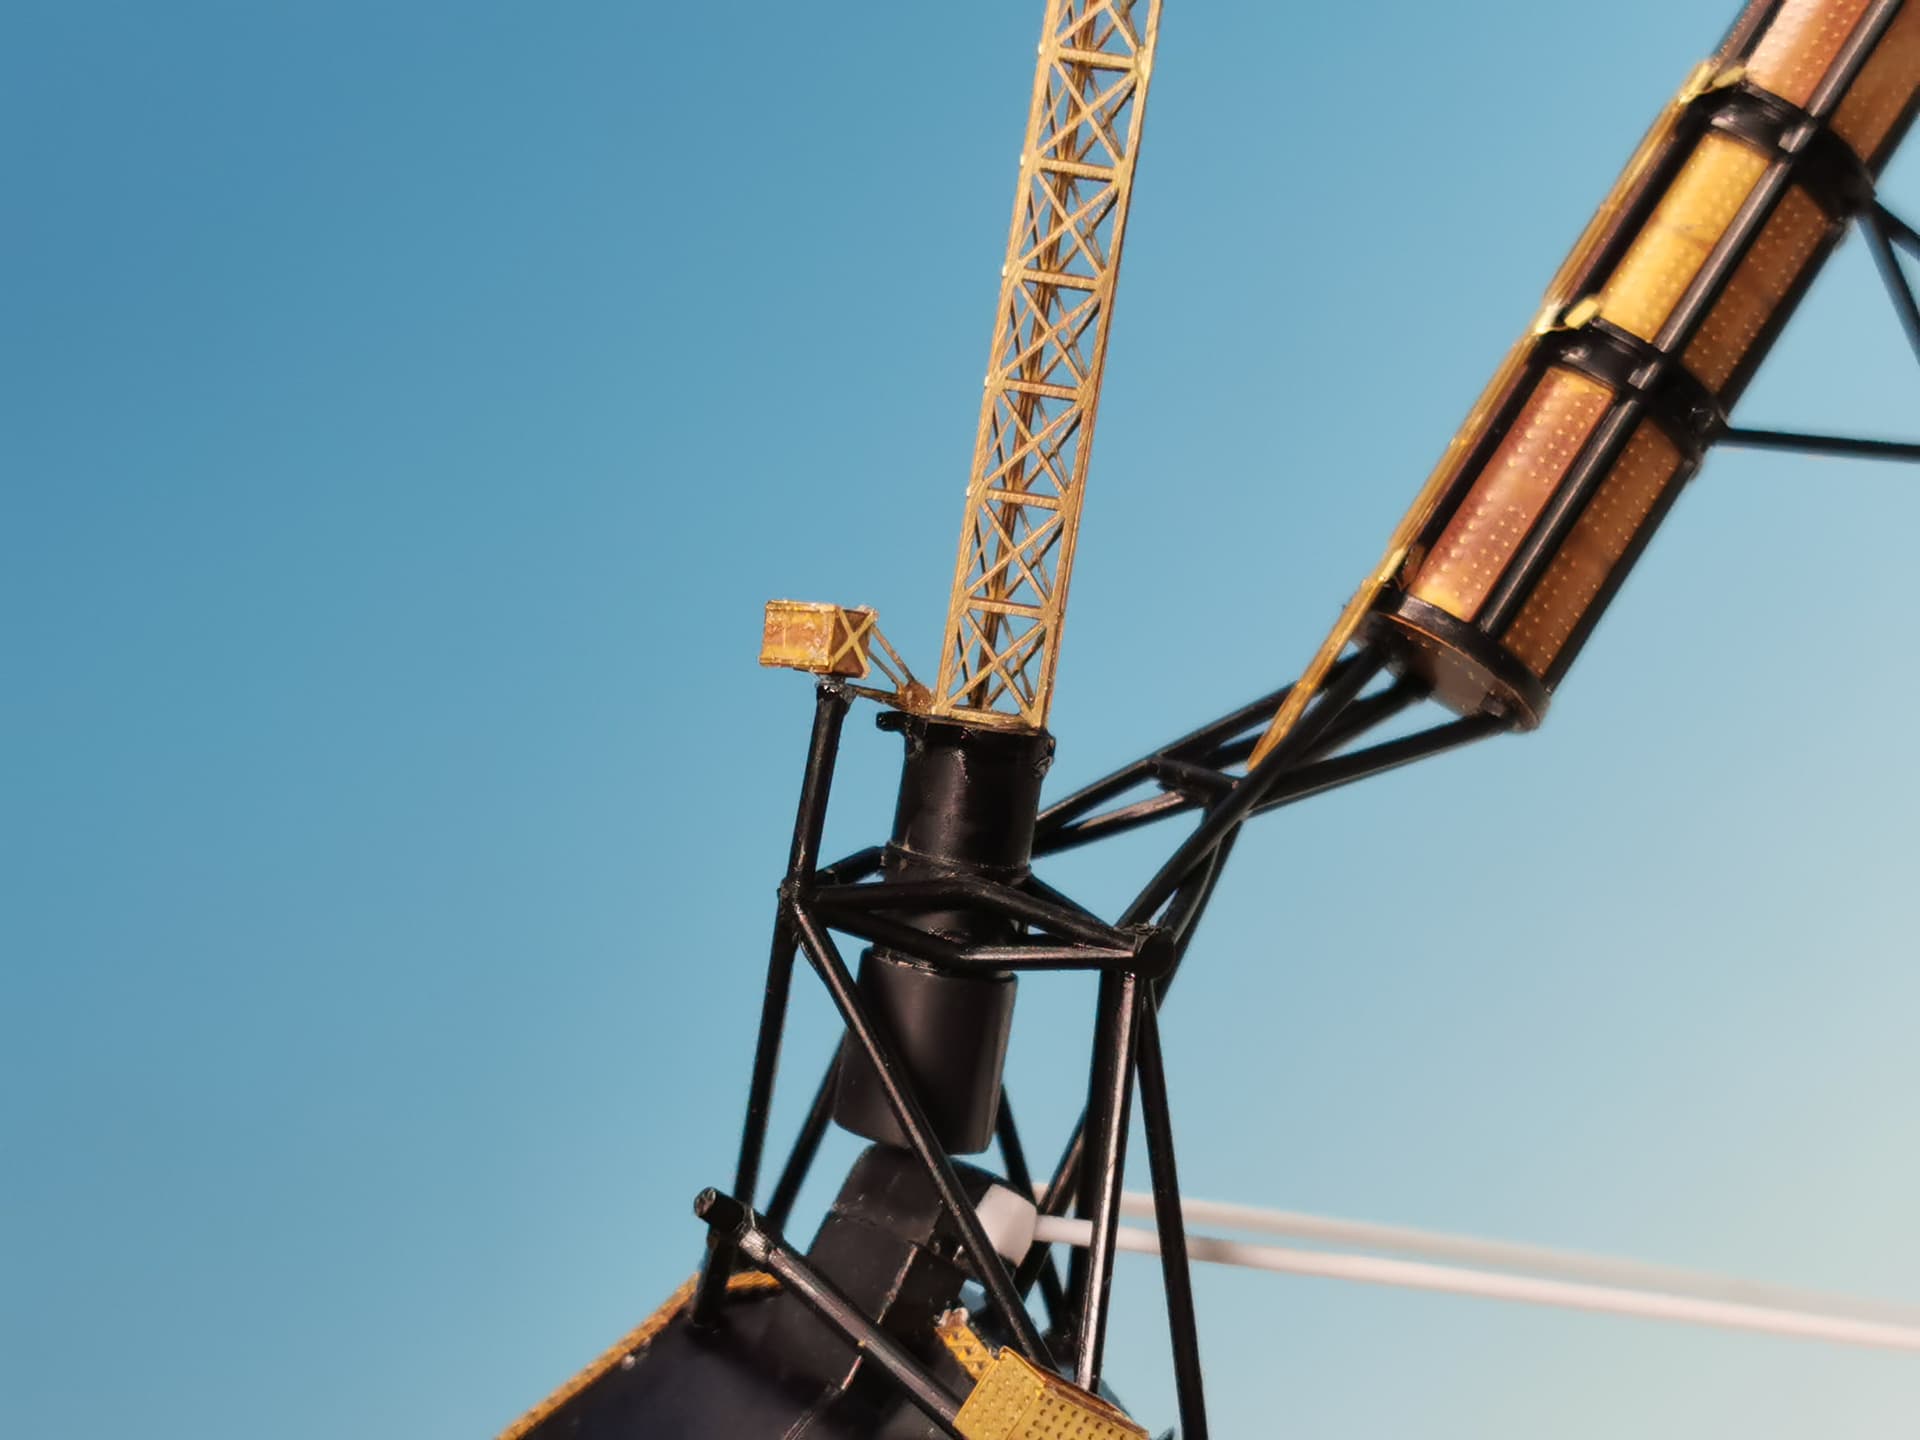
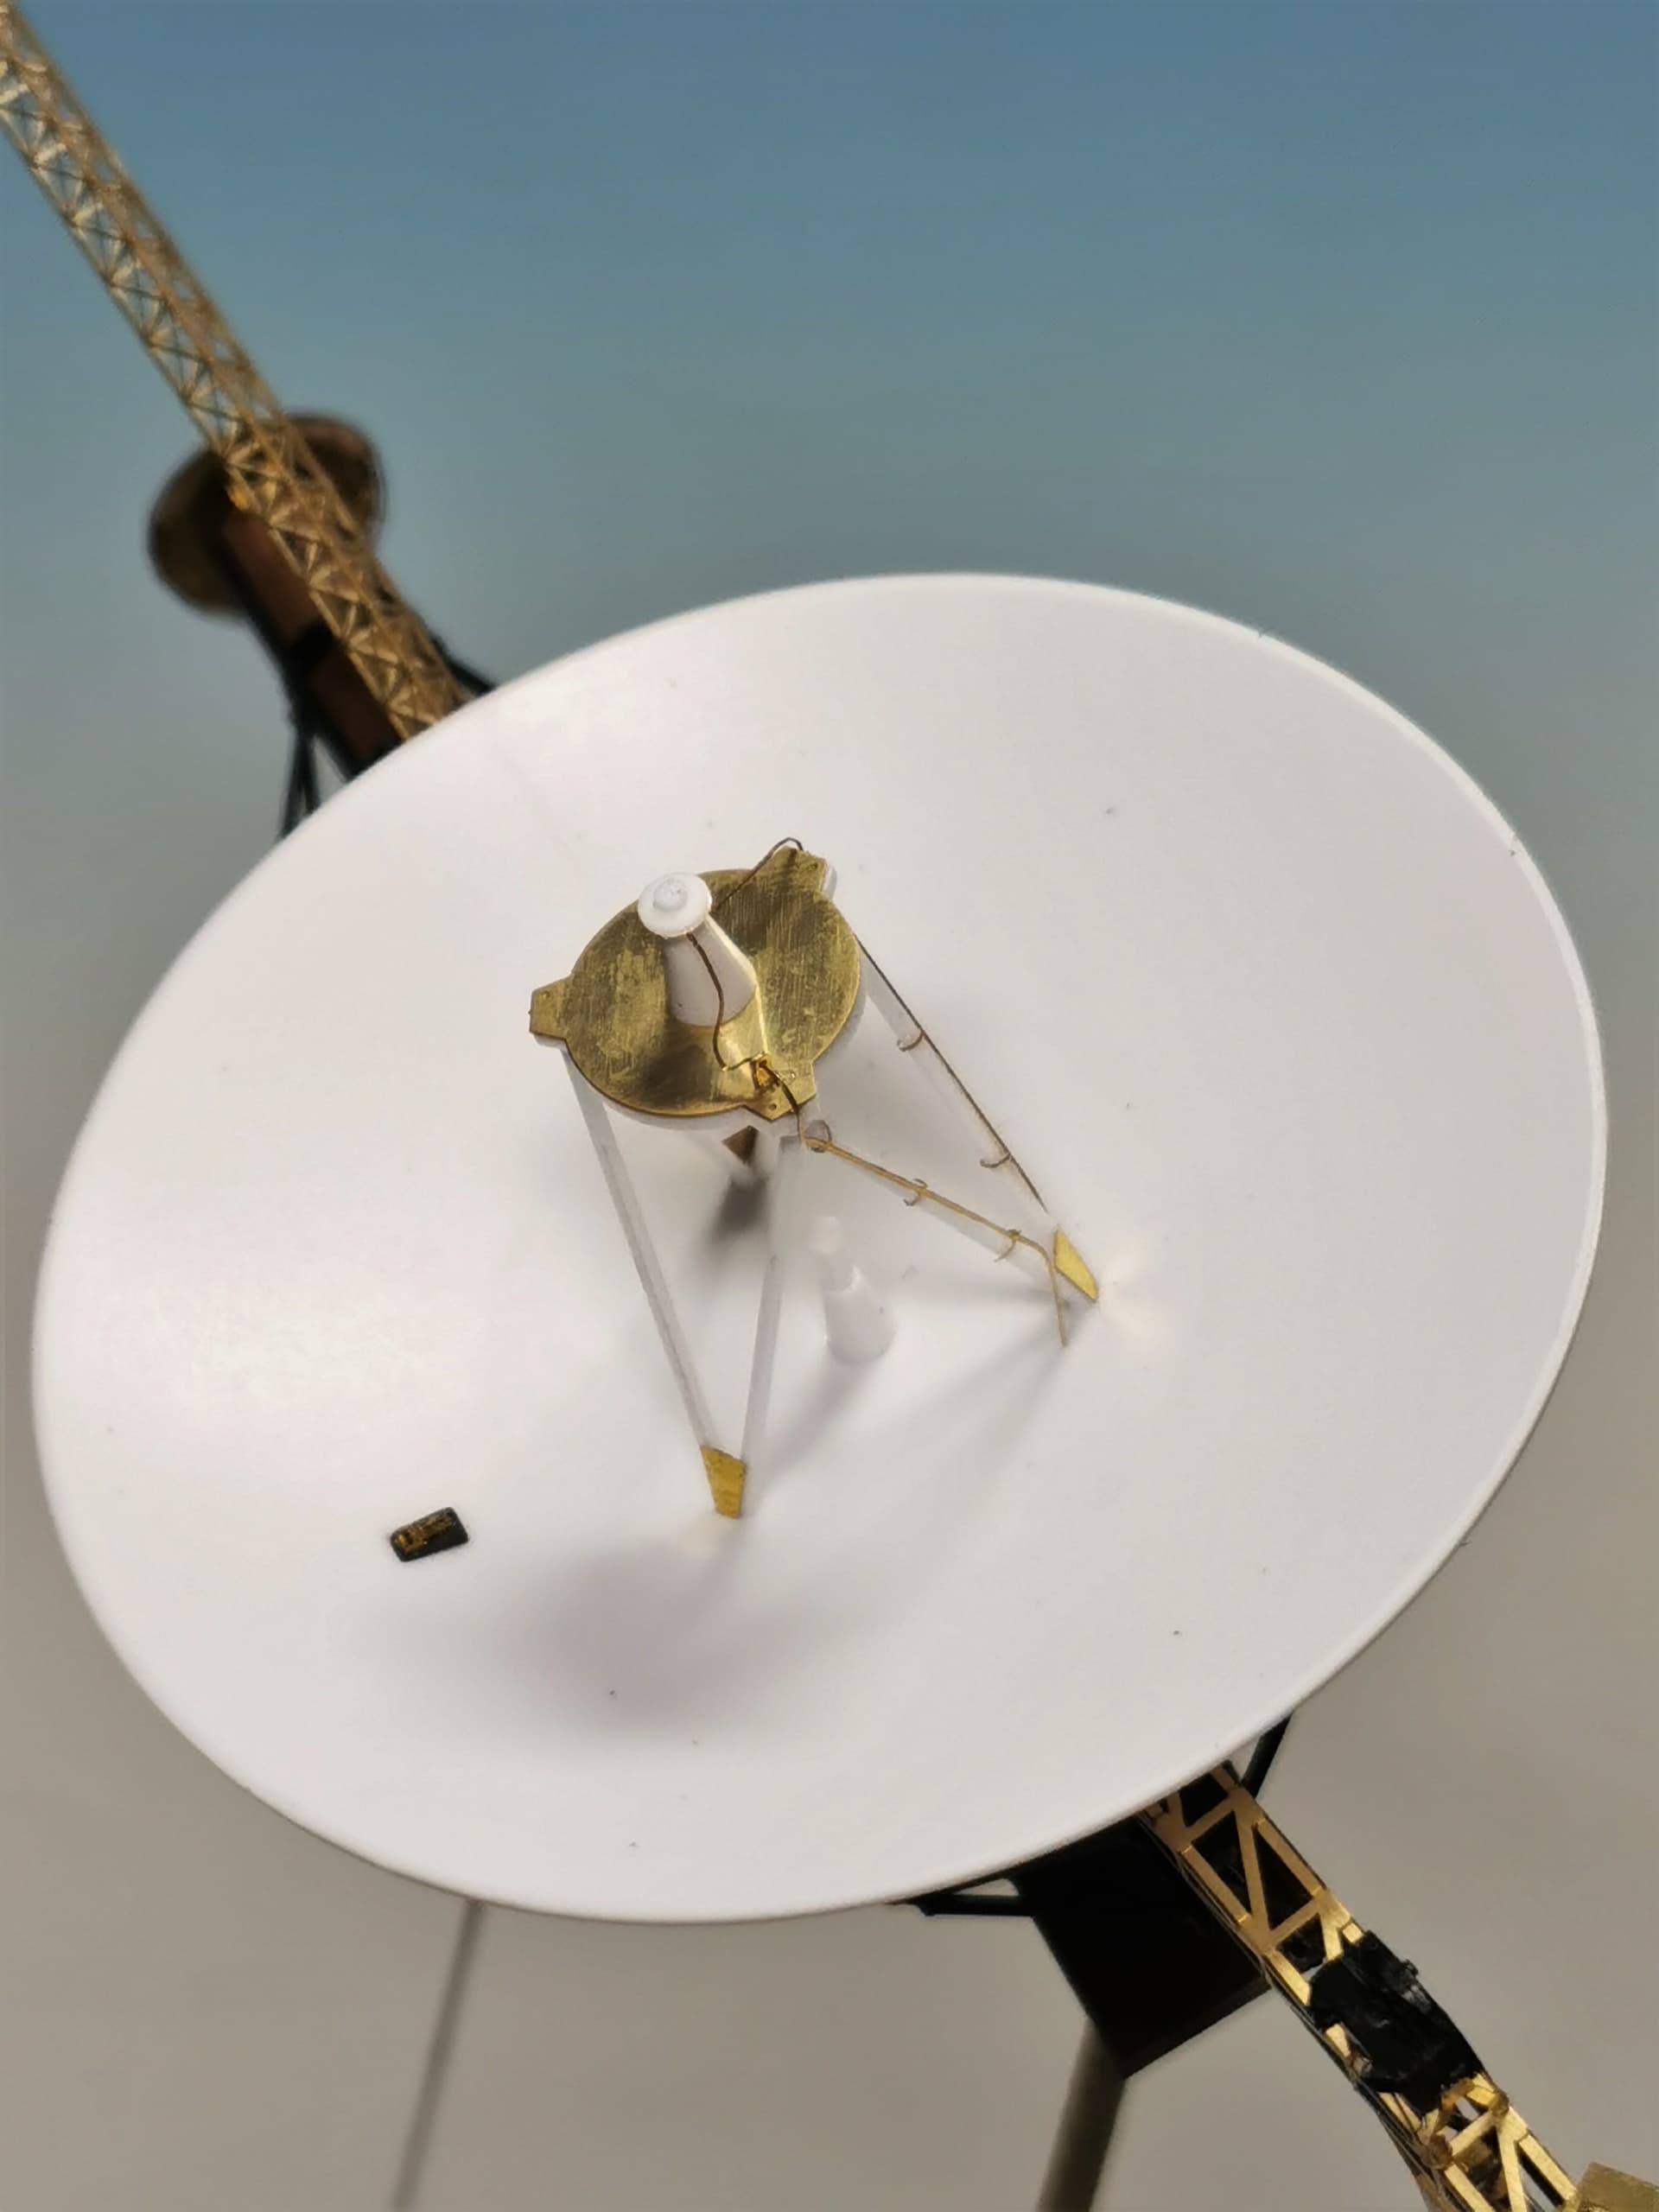
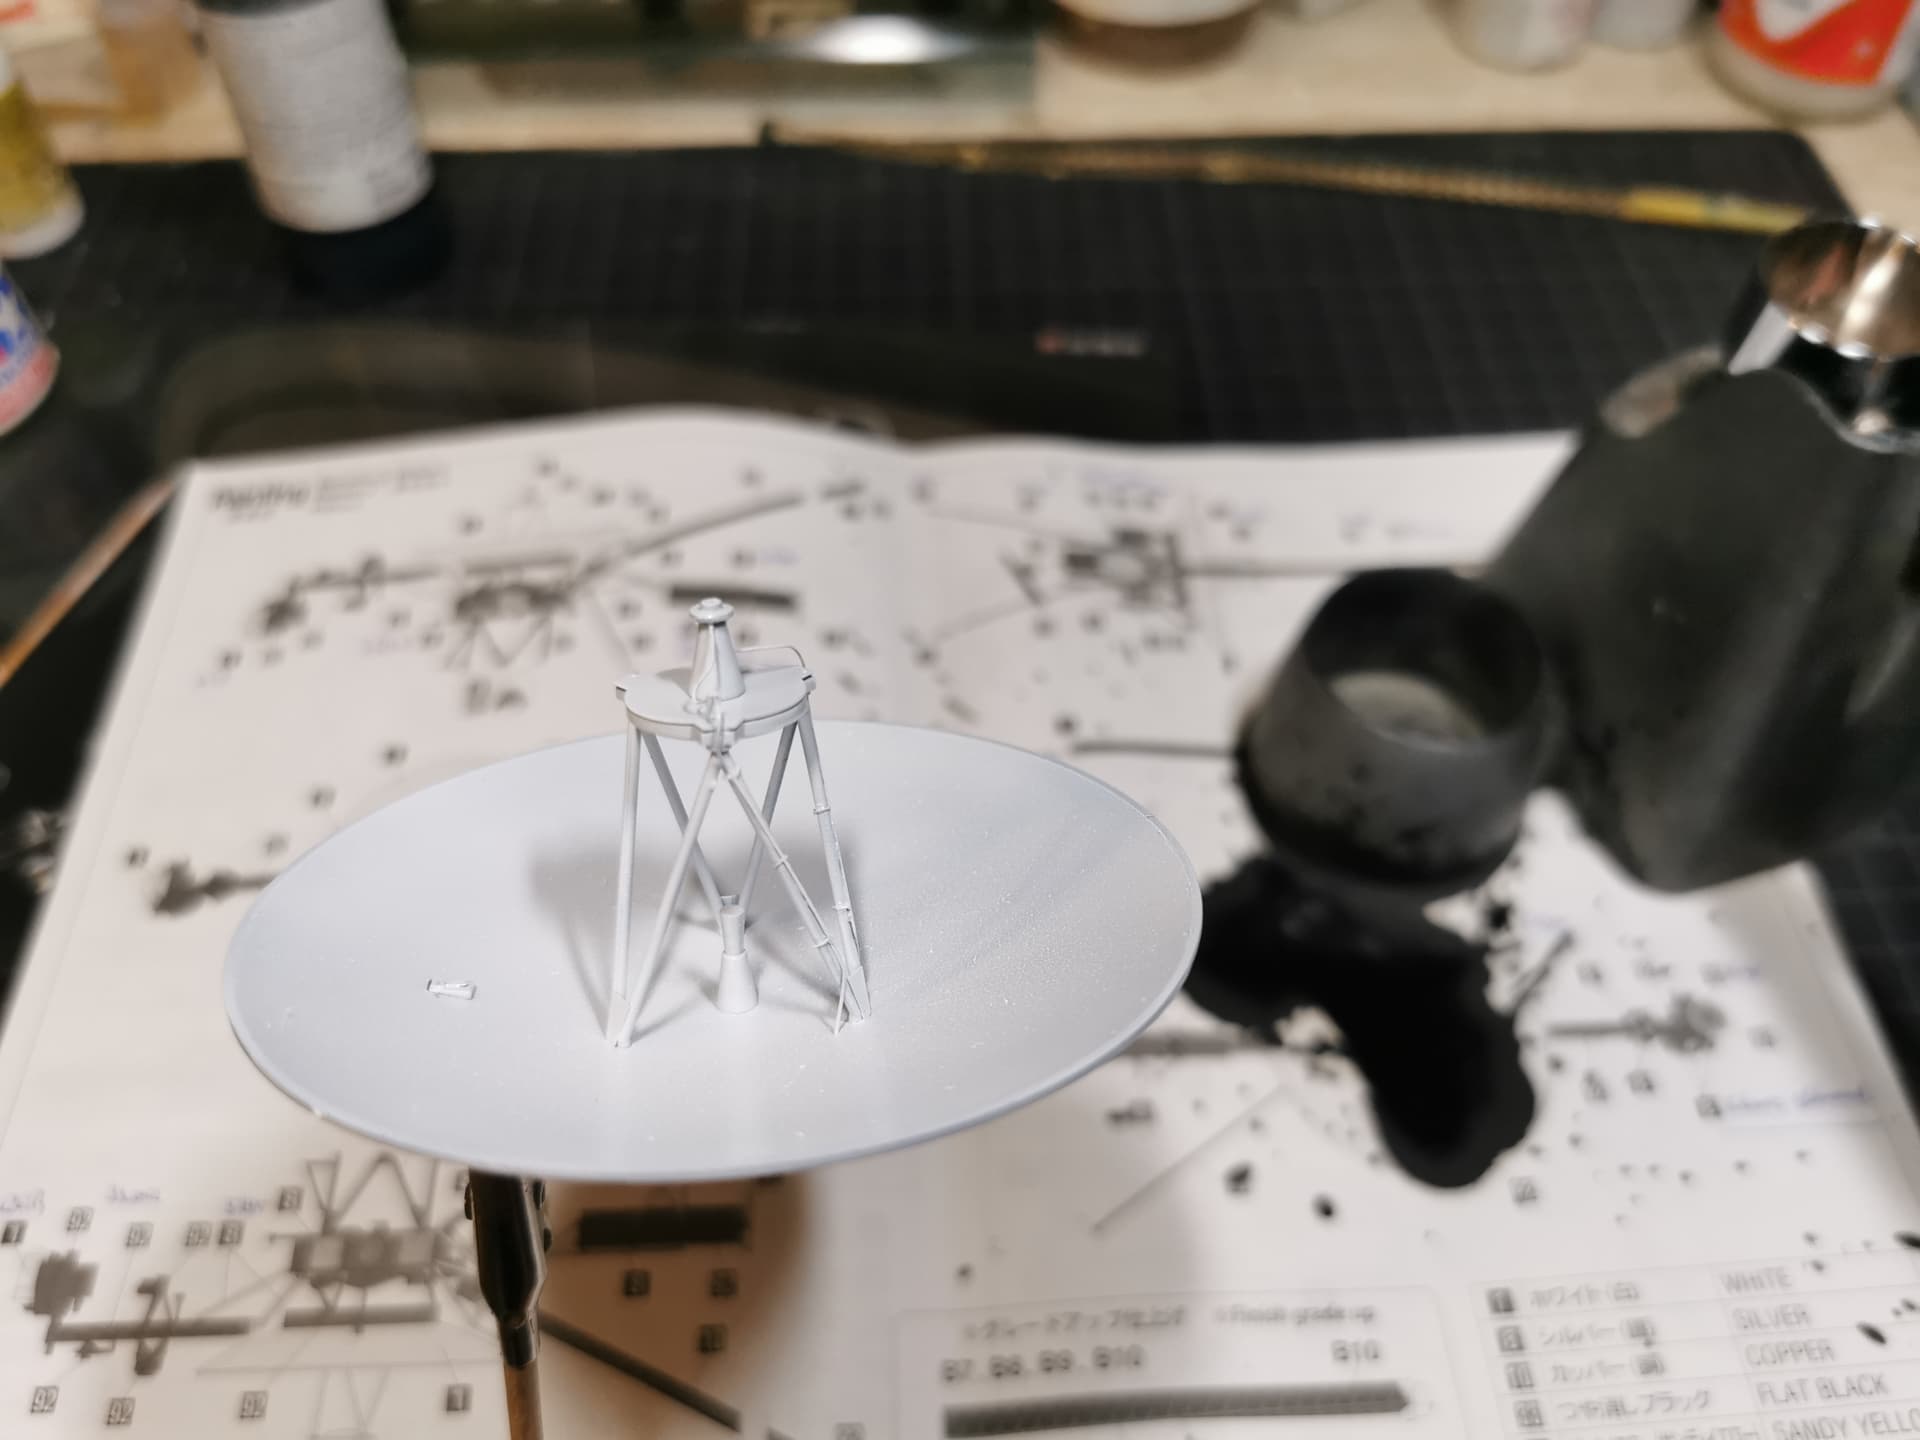
I was able to finish the last component of the probe - the high gain antenna. Some etched parts were added here, too to improve the look of it
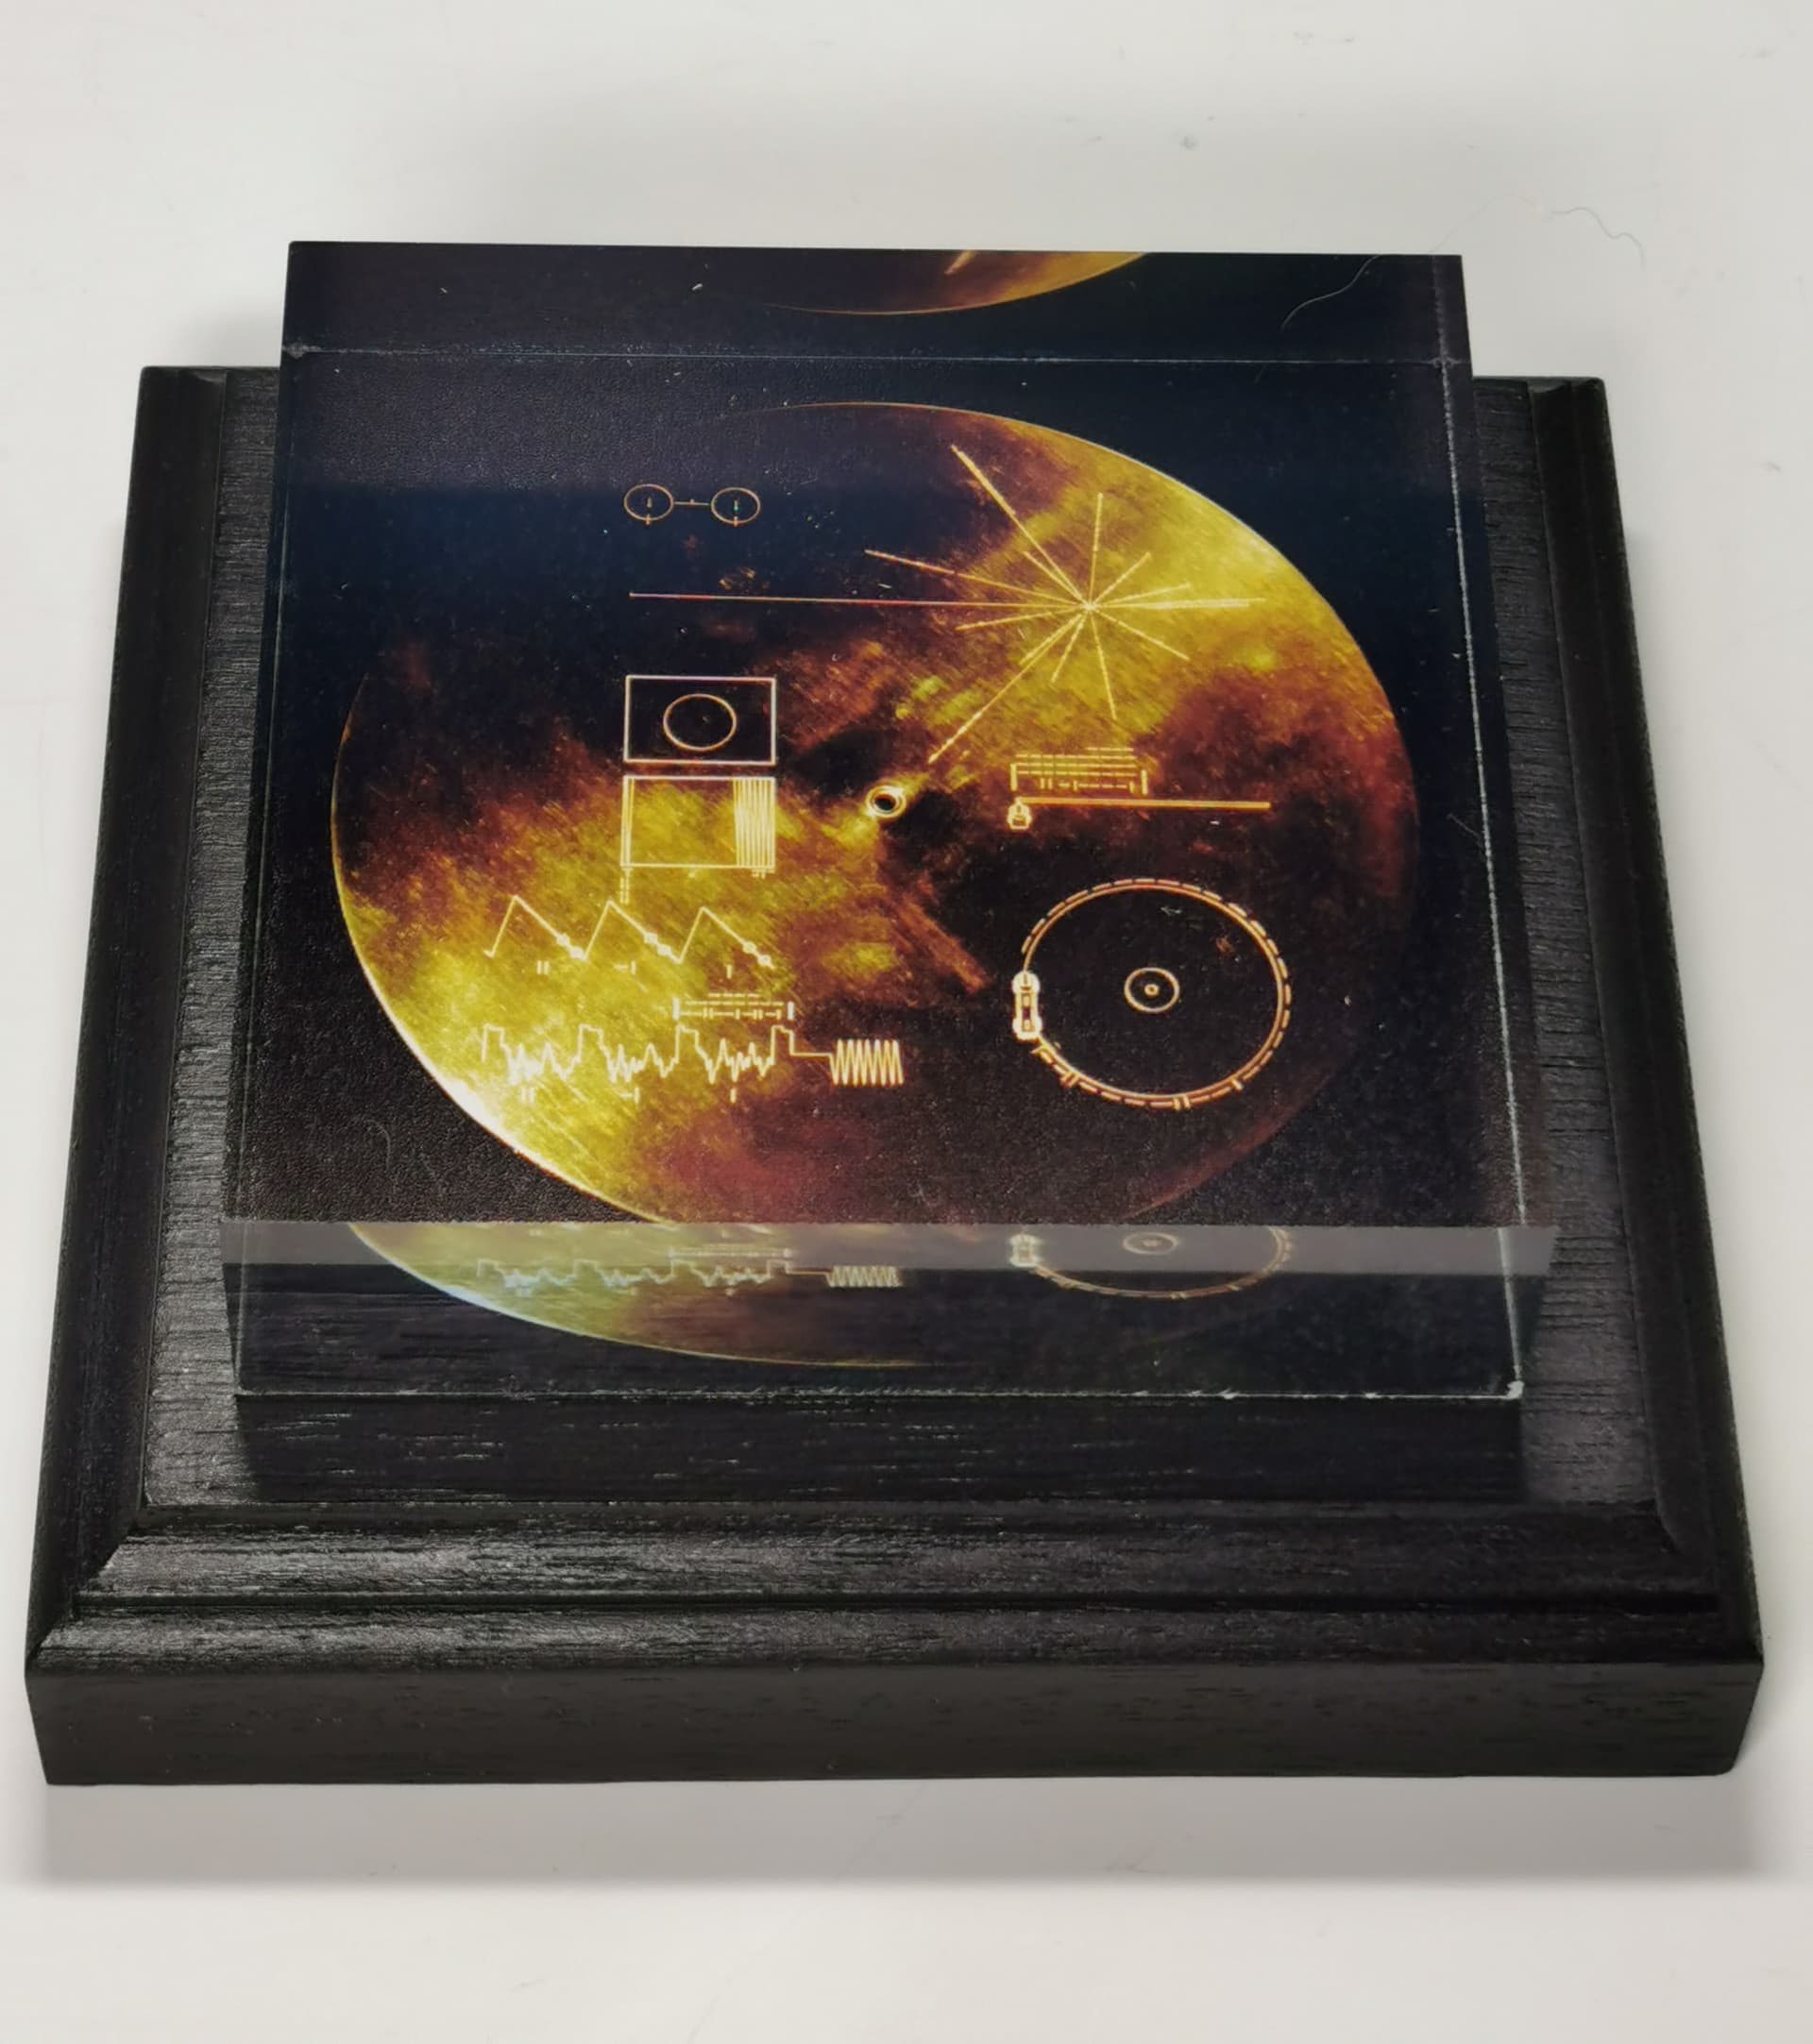
Just the golden record is still missing - this will be installed only at the very end after complete painting of the probe.
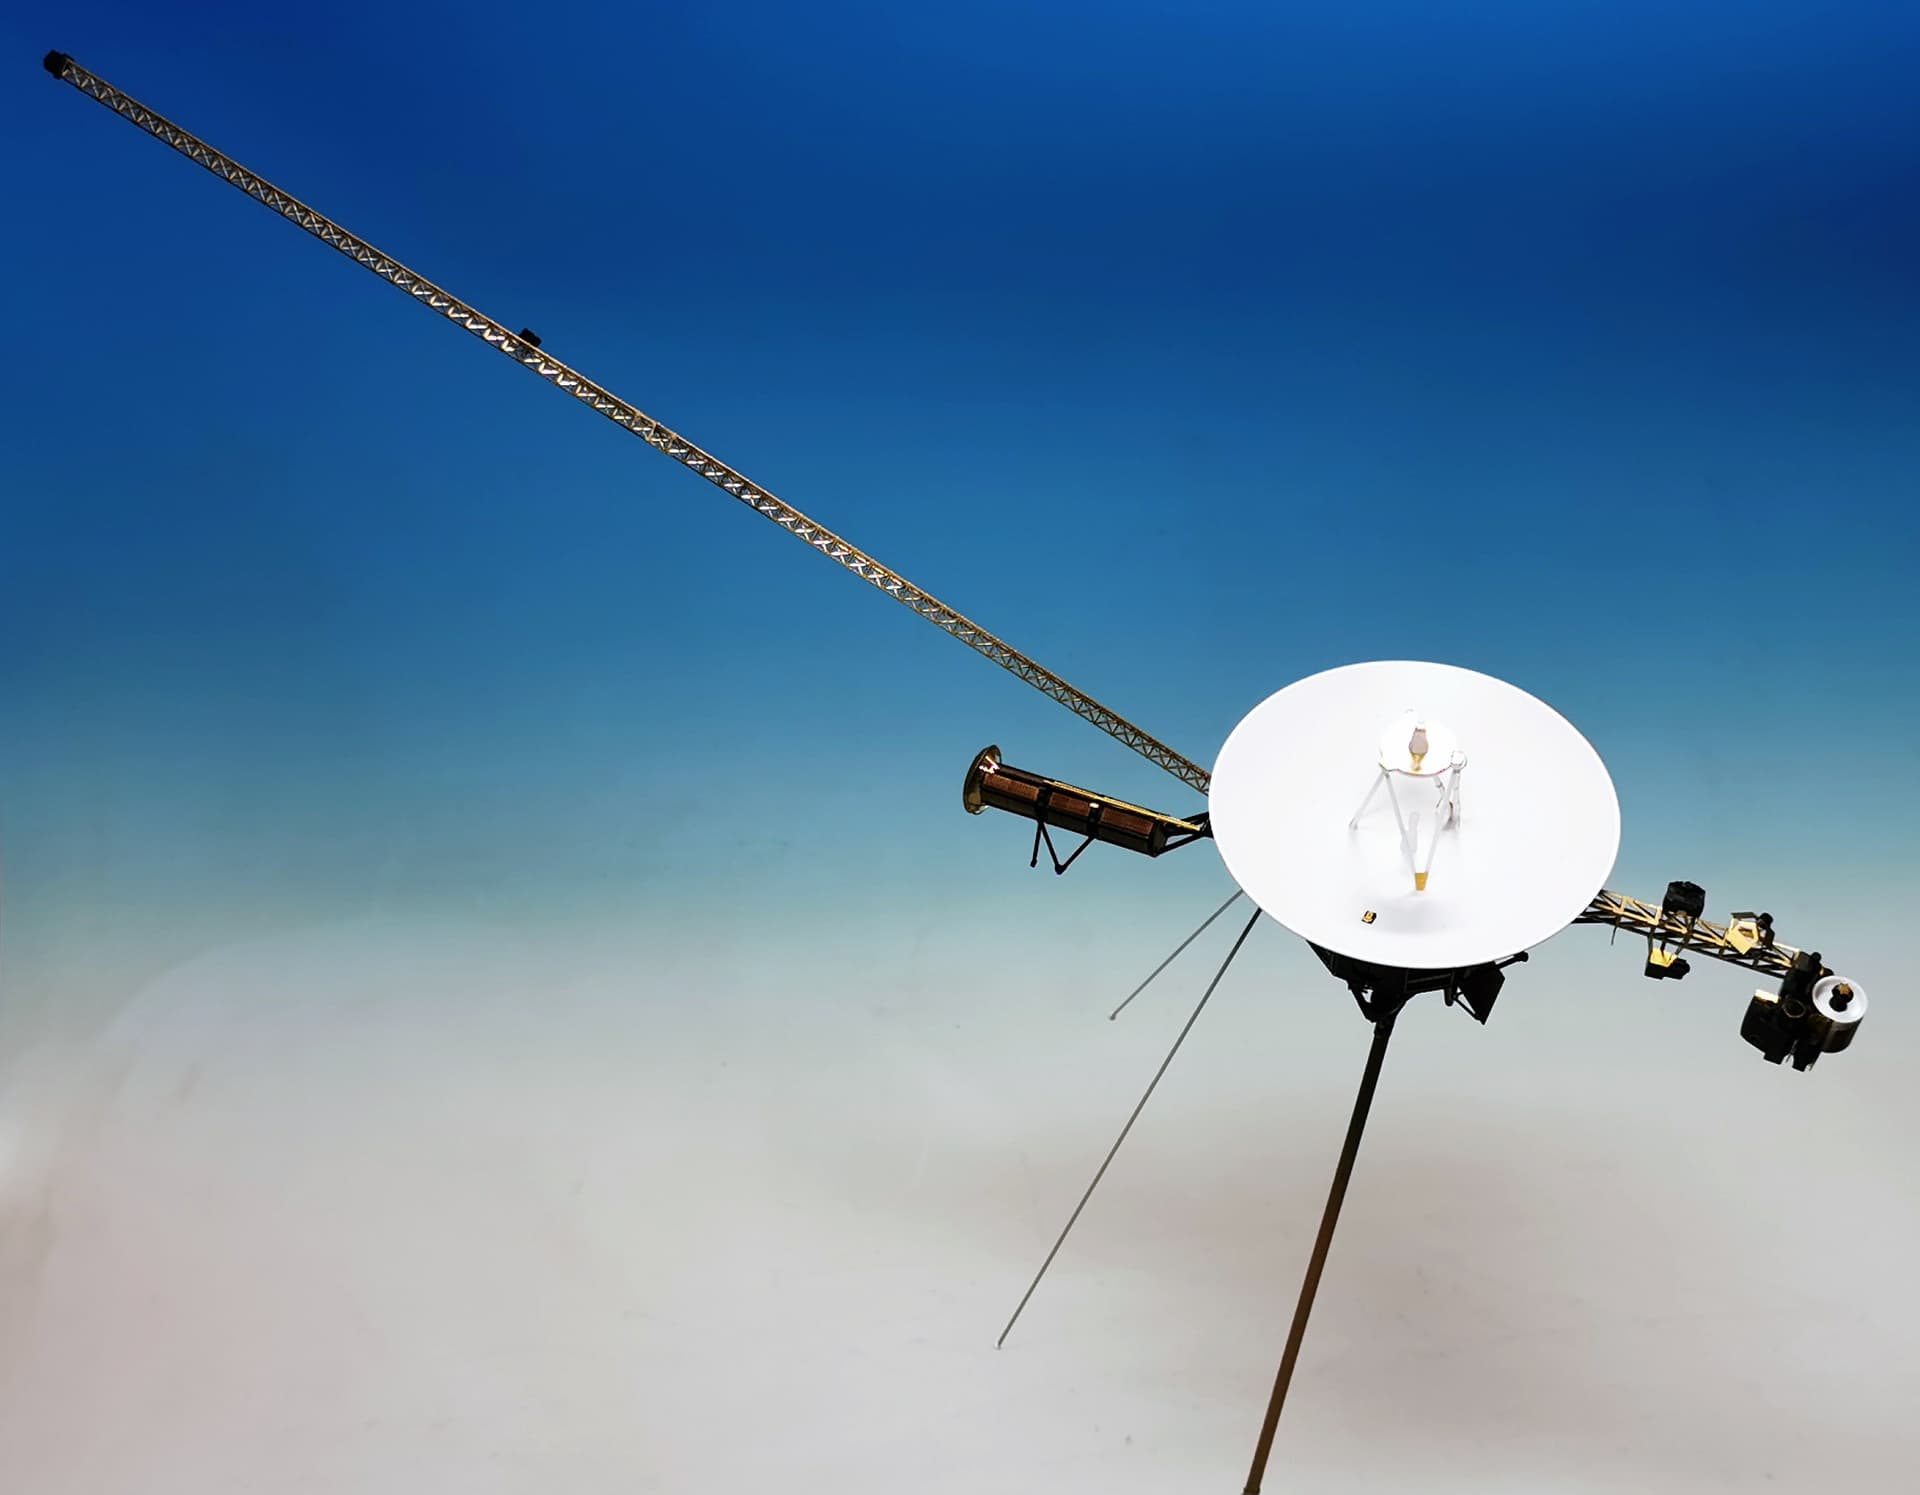
This is the final look of the complete Voyager before disassembly and priming
Cheers
9 Likes
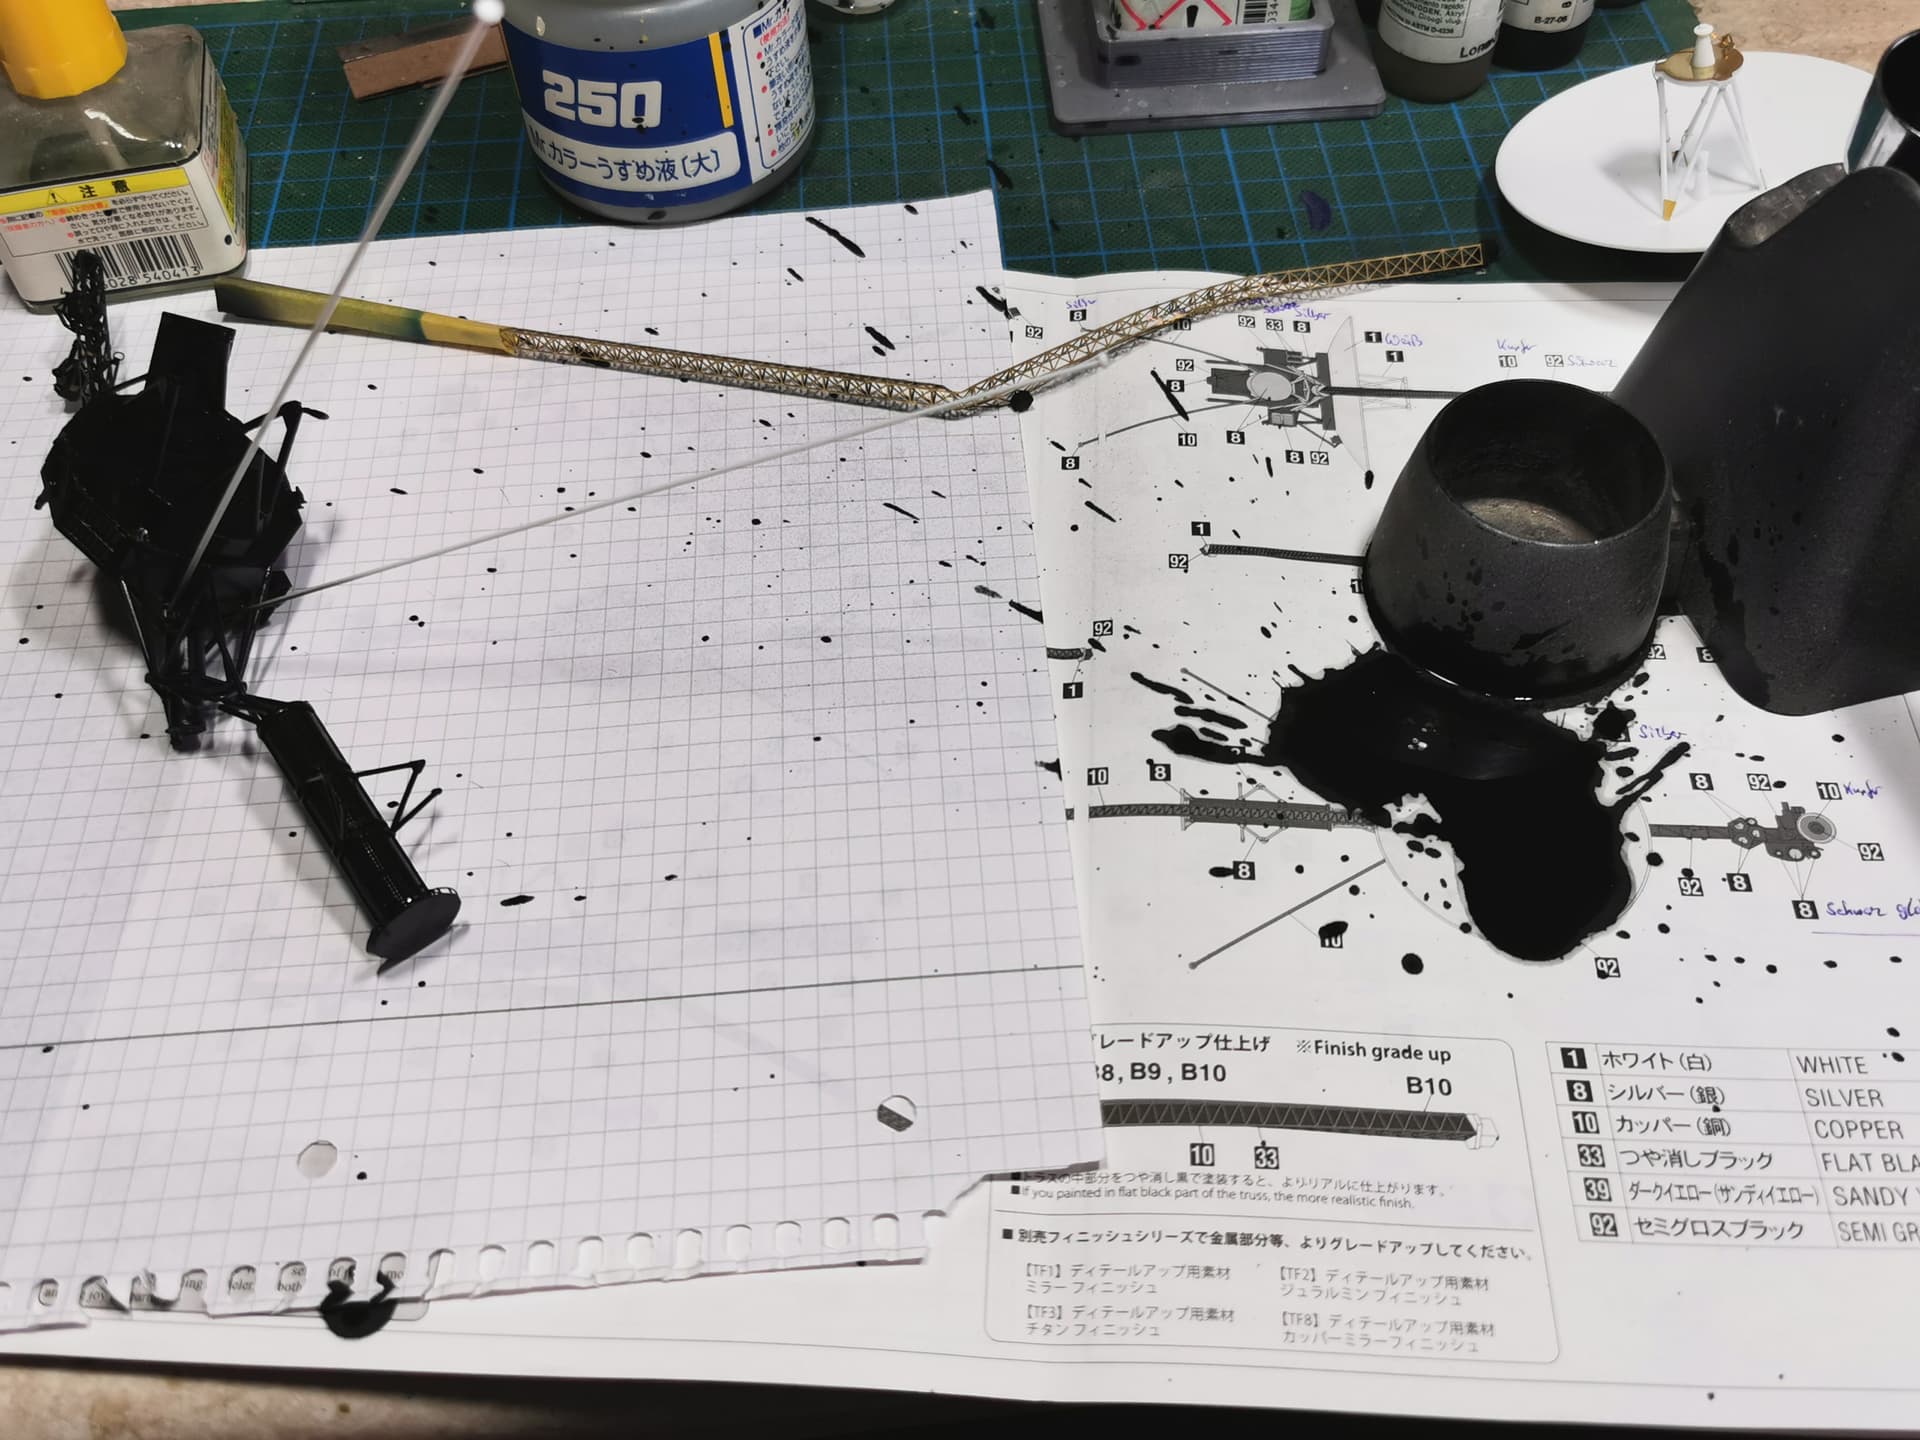
Very few accidents happened during my modelling hobby times but today desaster struck: During priming with the airbrush I did hold the probe at the long magnetometer antenna (I guess what you are saying at the moment…  ). Only about 2 minutes before finishing the antenna suddenly snapped and broke of, the probe fell onto my desk and the cameras also broke apart from the smaller antenna boom and disintegrated into smaller parts. I also spilled some paint onto my desk out of the airbrush
I suppose the magnetometer antenna is damaged beyond repair  I think I will need to look for another etched sheet
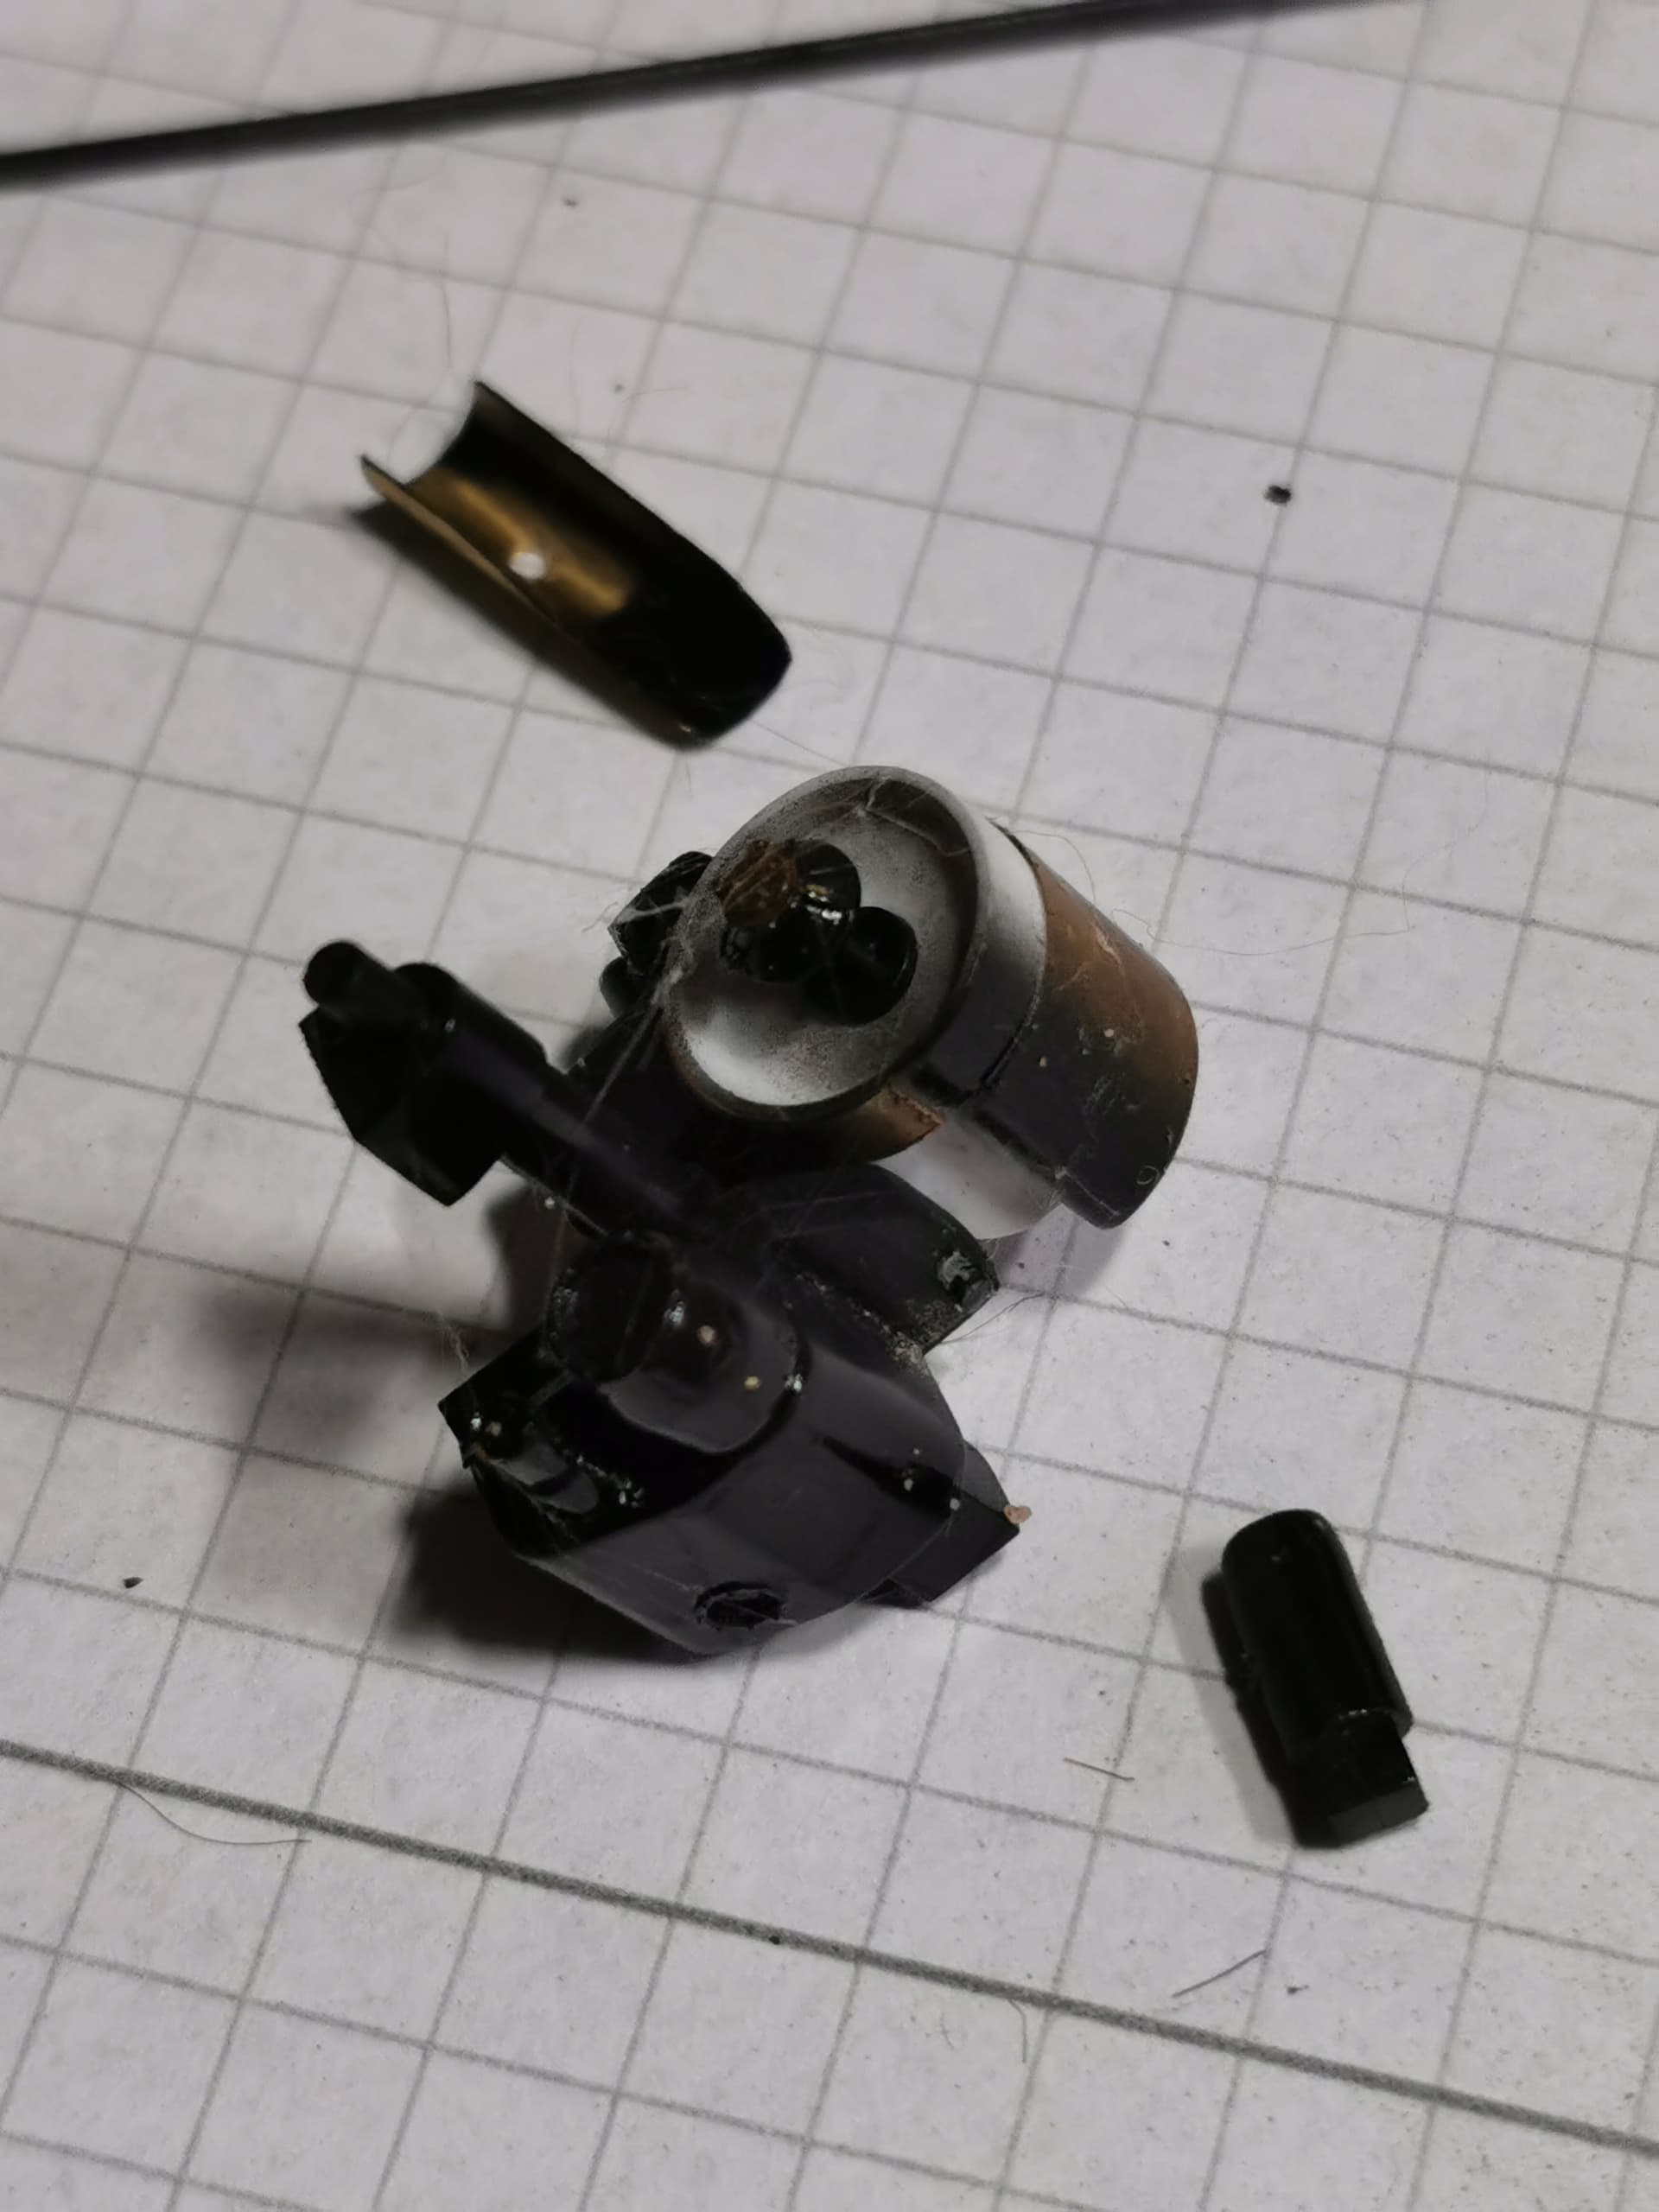
The loosened radionucleide battery
The disintegrated camera parts fell off my desk and onto the ground. I do have a big bernese mountain dog and this breed have a lot hairs so these freshly painted parts also got hairs now too…
My morale is very low now  I can not promise to finish this one up at the moment. I need a beer now

5 Likes
Aw Thomas, that is such a shame, we have all been there from one extent to another, however that was quite a spectacular event. I really hope you can salvage this fantastic build, but a beer and a wee cry just now will do you the world of good.
Commiserations mate!
3 Likes
Ouch!
Thomas that really is awful to hear. I think we’ve all had that moment though. Hopefully you can get another fret and repair it.
Have a cold one and come back to it another time.
2 Likes
Oh man, that hurts. Shame as I have been there as well. Several times I might add. Well, take a little brake and you will have courage again as we are all pulling for you on this cool build.
I do have question about your PE gluing method. What glue are you using and how are you applying it to the parts? The photos from my view of the PE parts show nice and clean work. I sometimes struggle with gluing PE parts and not make a mess. TIA
2 Likes
Mike I use different brands of liquid superglue: At the moment I have PATTEX Crocodile and ROKET RAPID from a german hobby shop. I think it doesn´t matter which liquid superglue you will use but I found it very helpful to put a big drop onto backing paper (which let the whole superglue dry more slower so you will have more time for your glueing work) and take some glue with a sharpened toothpick and apply it where needed. This way you save a lot glue and don´t spill any glue where not wished. Some glued parts which need quick cure are treated with ROKET BLASTER cyanoacrylate accelerator. This liquid is also picked up with a toothpick and applied over the area where needed. These toothpicks can be resharpened again and again with a file so you safe also toothpicks
I recently built the russian icebreaker ARKTIKA with the huge PE-set with this method and found it very useful. Hope it helps 
2 Likes
Thomas, thanks for the information. I have used toothpicks before but I guess the key is finer the tip better the result. I too have several 1/350 ships and appropriate PE sets so I this will come handy.
Btw, not to change subject on your thread but do you paint your rails in ship modeling before super gluing or after? TIA
I did bend and spraypainted all my railings before I attached them to the ship. I use two sided sticky tape for attaching the railings when I airbrush them. Nevertheless some still flew away toward the carpet monster during the process…
Cheers
1 Like
Thank you for this tip also. Know, since it’s painted before and glued after then I am sure there will be glue marks. So, I assume you go over these dried glue marks with fine tip brush and cover them with appropriate paint. Right?
You´re welcome. No usually I don´t have gluemarks when I use my toothpick. If you have long railings I draw a thin line superglue at backing paper and tow the railing through the line. It is important not to place the railing immediately after this onto the ship but tip the railing with the glue at another clean area at the backing paper. Superfluous glue will stick with the paper and you will not spill your model . With railings there is more the problem that the color pops off at some areas or the railing is not completely even with the surface. Here I use the brush and paint the bottom of the railing with the color and color let the railing get “even” with the surface. Works always very well with me.
2 Likes
Thomas, I sure will keep your tip about gluing long tails in mind as many will be long rails in 1/350 destroyers and carriers. I can see the issue of lineament of longer rails and where it meets the plastic. I guess it would be nice to have anchor points in these rails as if one is gluing plastic rails or parts. I guess we can’t have everything in life. Anyway, hope to see you back on the satellite kit soon.
1 Like
Thomas that is a huge bummer with that accident, what a shame as it was looking brilliant. I am sure after a spell away from it you will get back on it with some new etch.
You had done an amazing job on it up to that mishap, so it deserves to be done.
Have a nice cold Pilsner 
1 Like
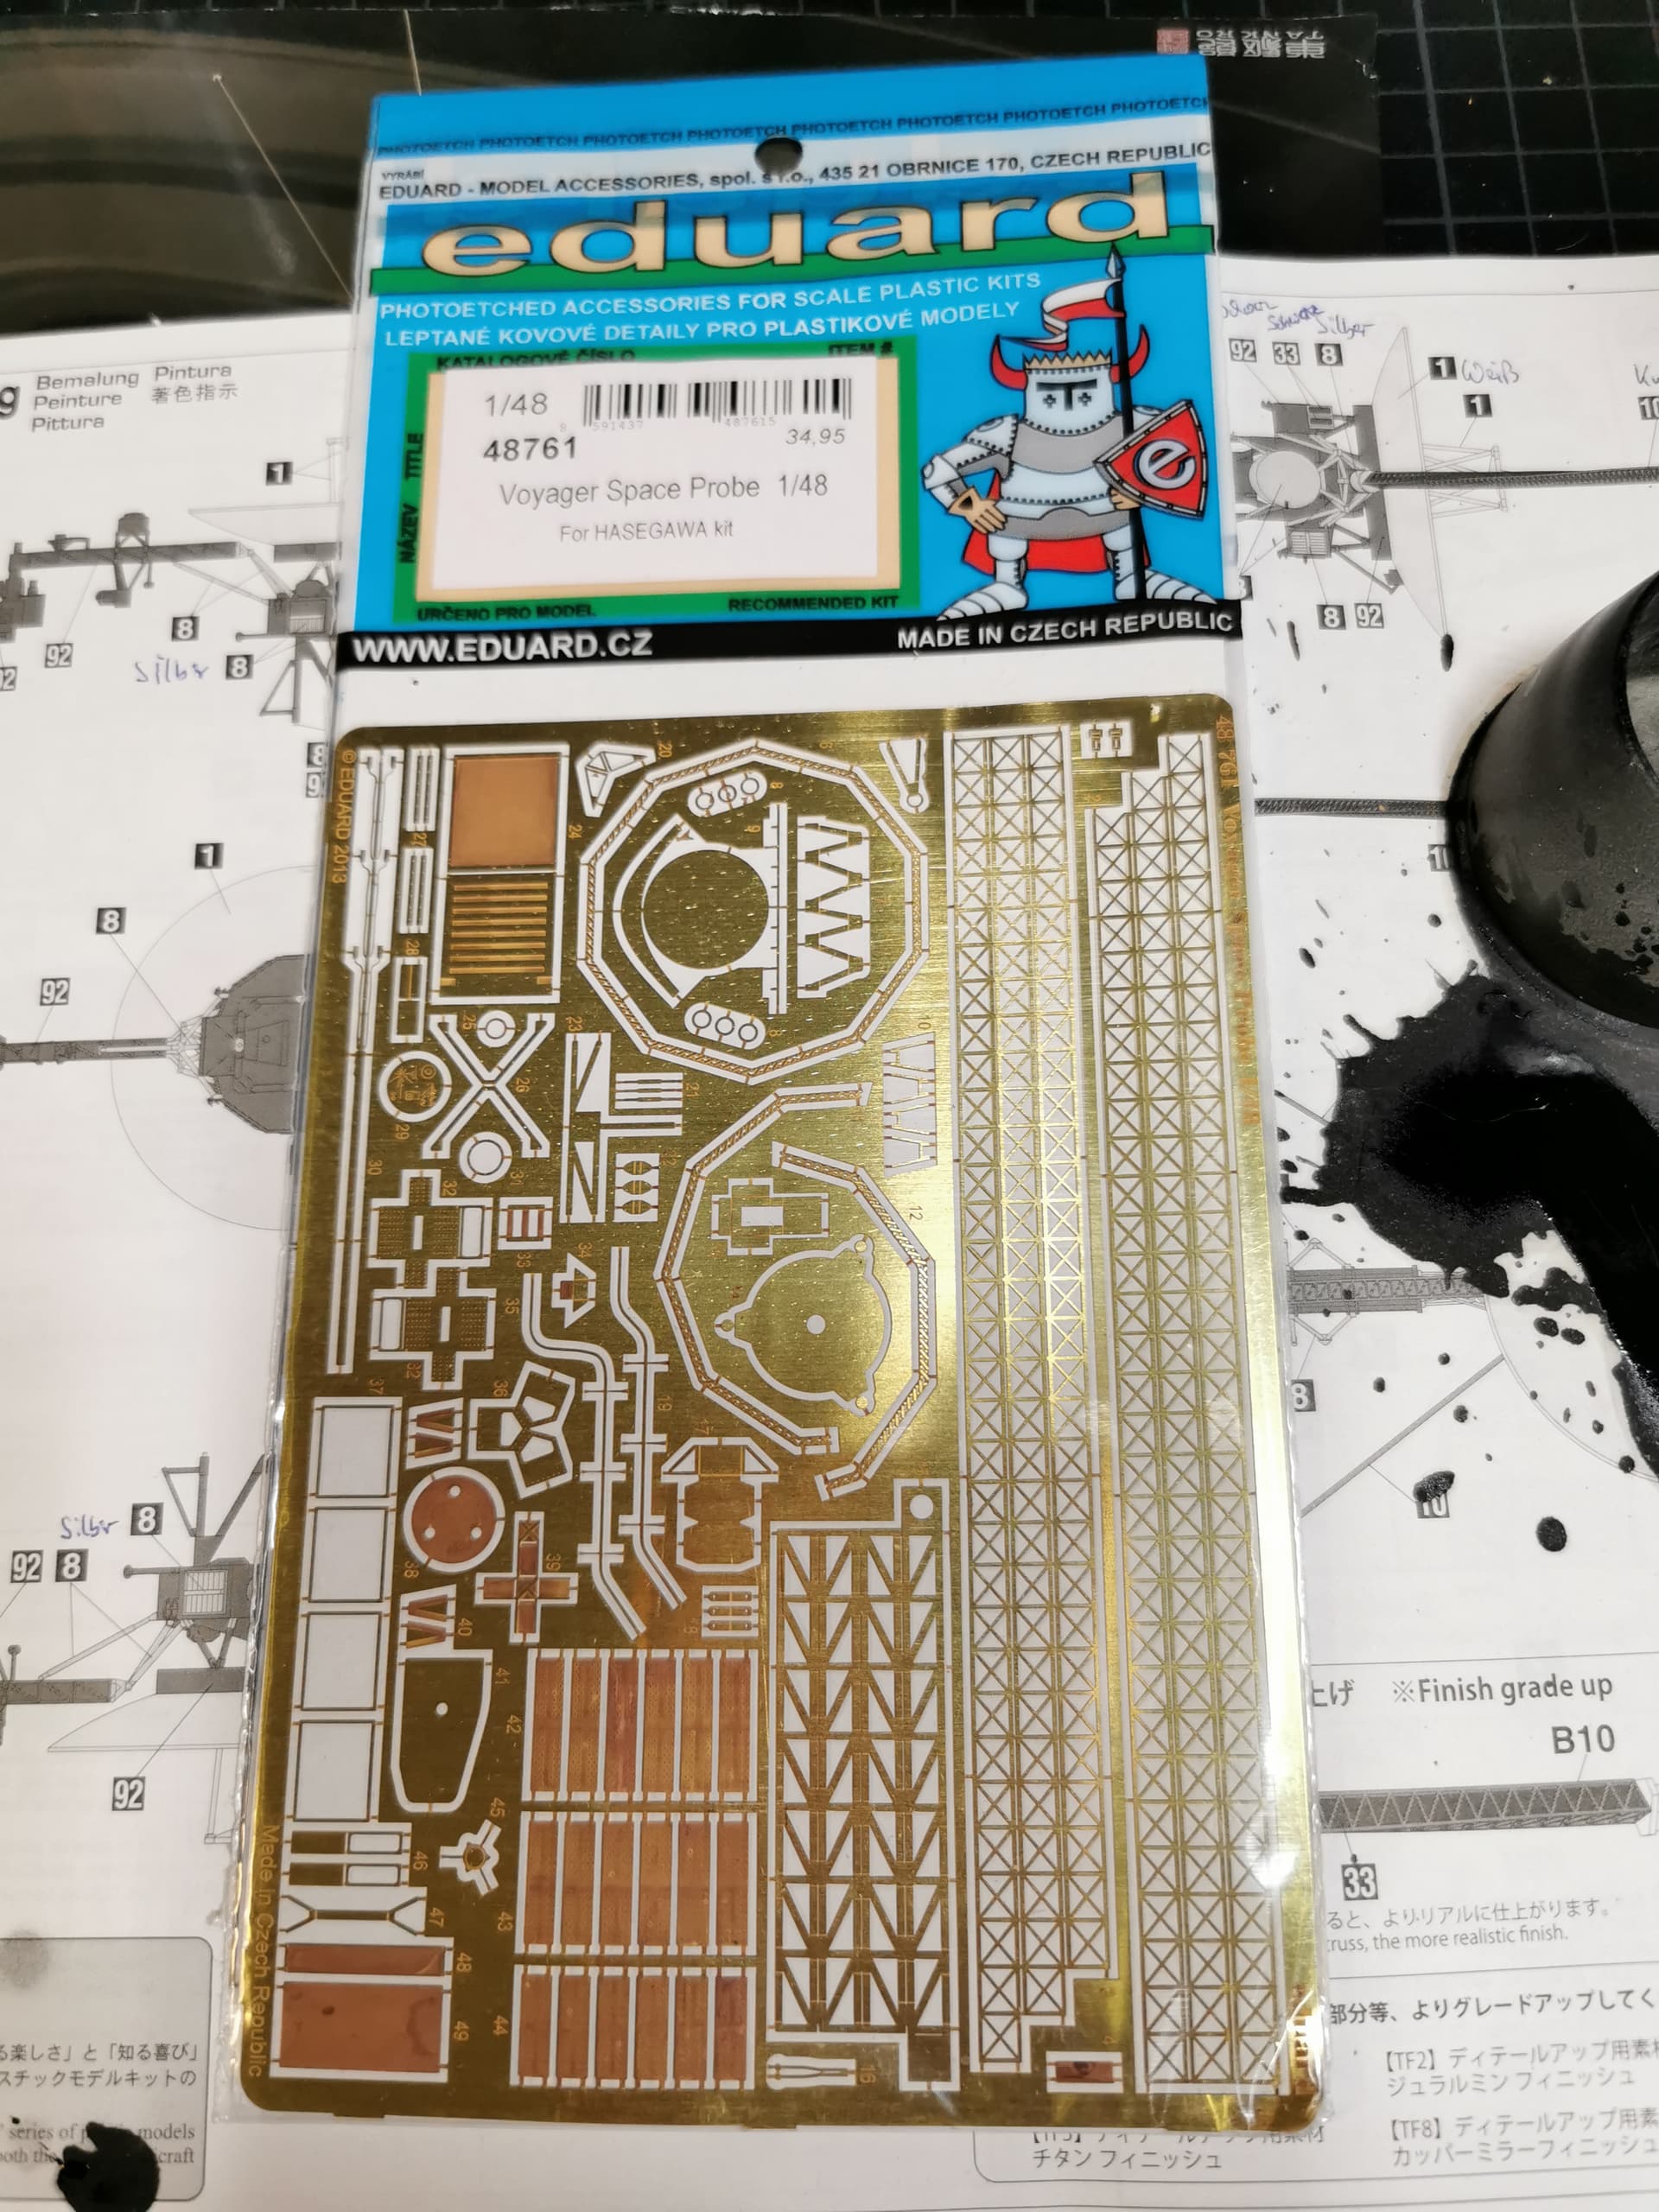
Hello again, its me with my previously damaged Voyager. In the meantime I was able to get another EDUARD etched set for the needed new replacement magnetometer antenna.
I already did dive highly motivated into the project again and started with painting the huge high-gain antenna in white
Cheers
Thomas
3 Likes
Thomas @Black_sheep I feel your pain, I’ve had catastrophies like this happen and it always seems to involve paint or glue on clear parts . . . speaking of clear parts, have you considered a clear acryllic rod inside the magnetometer for re-inforcement, that is long span for a PE assembly, of course this would depend on the attachment point being anchored into the satelite’s cabinet/body. Would hate to hear one day your display got knocked over and damaged again 
Cajun 
1 Like