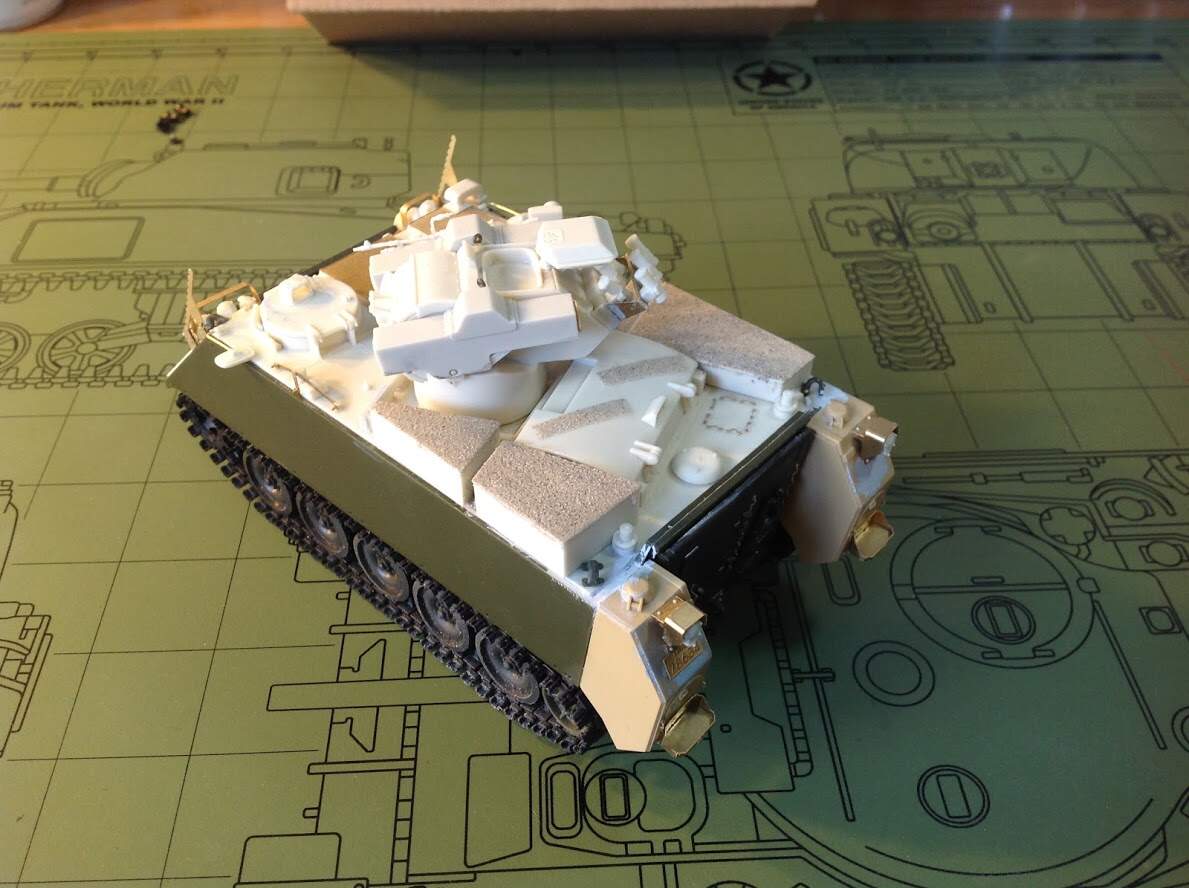
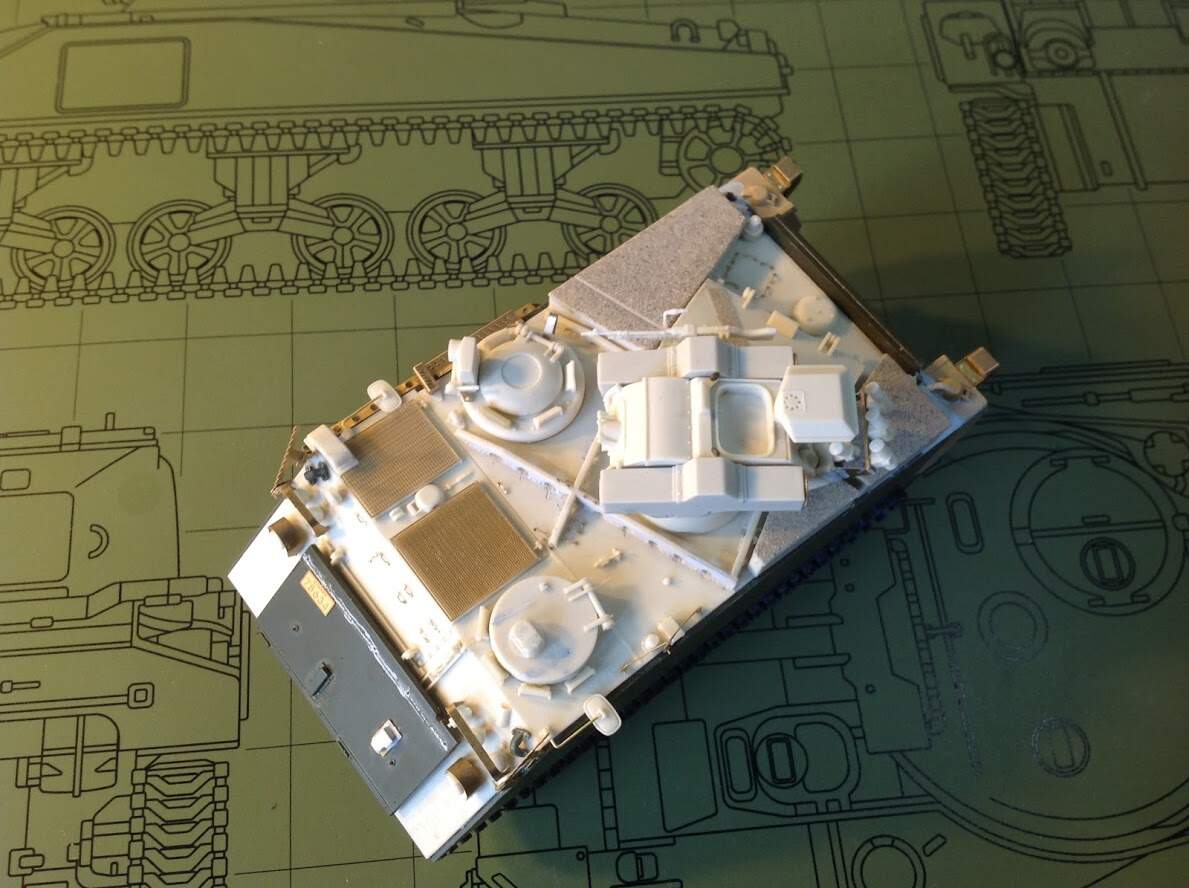
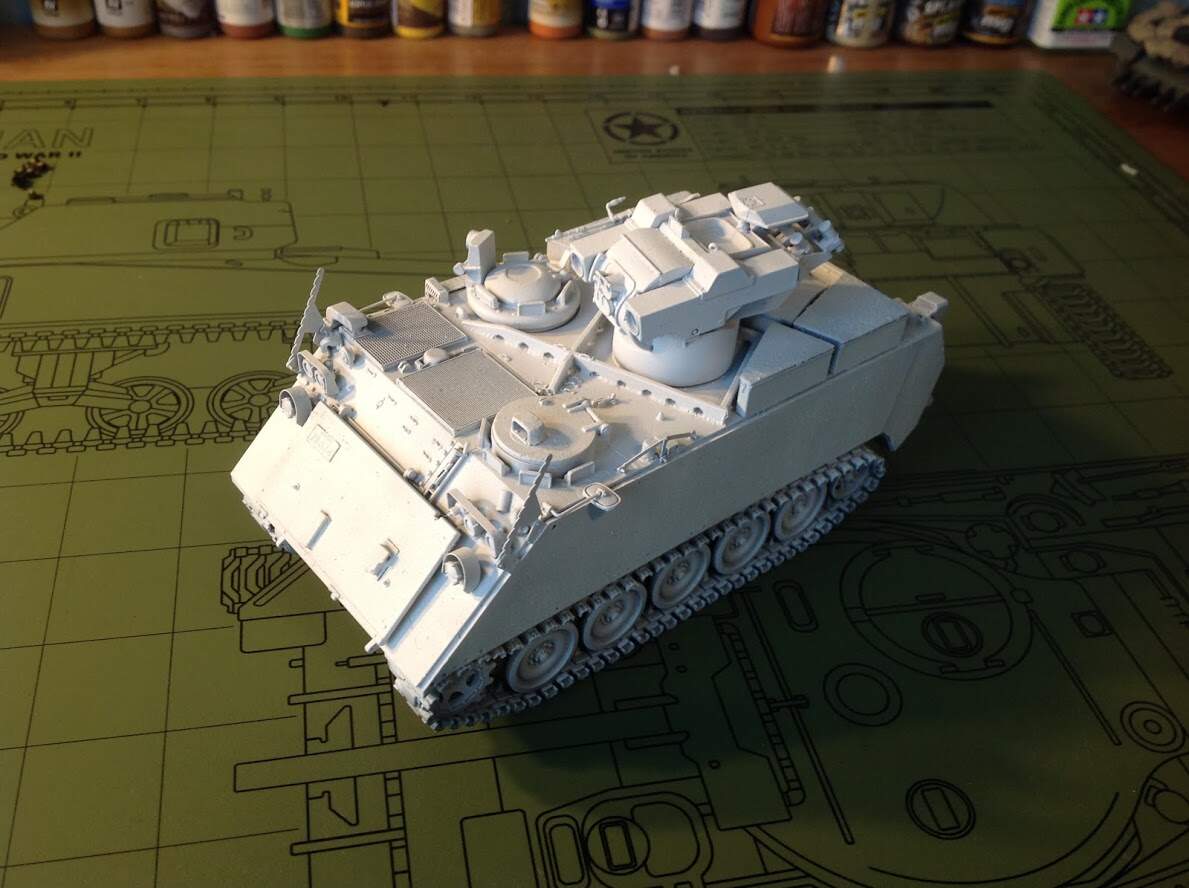
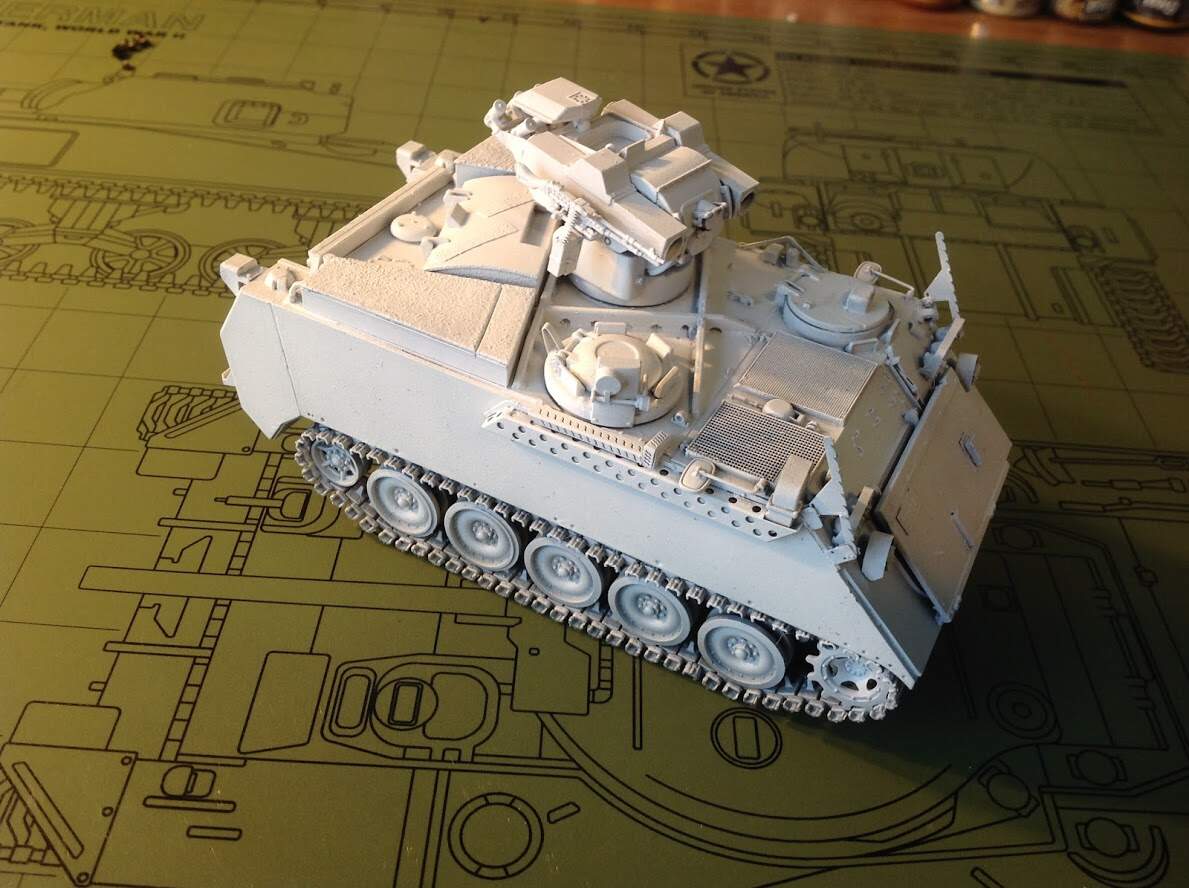
The bottom pic is for sure an A1. Dead giveaway is the lack of external fuel tanks on the back. I’m not clued in enough to the details to guess at the top one.
I had a former track driver comment on a Reddit post a while ago that most of the fleet were upgraded to A2 standard by ‘93, but that he still remembers a few A1s kicking around.
Given the propensity of the CF to drag their feet on everything related to new kit, you’re probably safe to model an A1 and call it the last of its kind.
Edit: @RonW , after squinting at them long enough, I’m pretty sure the tracks in the top pic are A1s as well. It looks like they have the early stovepipe style exhaust on the top. Design was changed on the A2 to something lower profile
Here is the livestream recording for anyone interested who was unable to come. It was a good time I think. It’s the Tale Of Two Repurposed APC’s one. https://www.instagram.com/canadian_donut/channel/
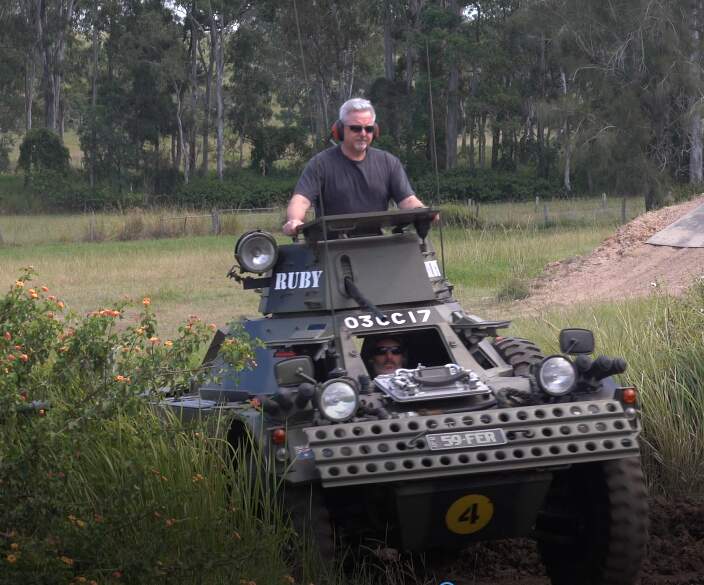
A bit more room in them than you think, once you are seated. Having sat in a couple (and been driven in one), and also been in a Centurion (where the poor ammo loaders position is tiny), a M3 Stuart, Australian Pattern carrier, etc… it actually has more elbow room than these. The turret is tight though - me playing commander (a still from a video)…:
Note the actual Queensland Australia Motor vehicle registration plate - 59 FER. This is one of the few military vehicle types that can be registered for real road use over here…
This is from my day at Tank Ride Tamborine QLD. I got to ride the Centurion as well…
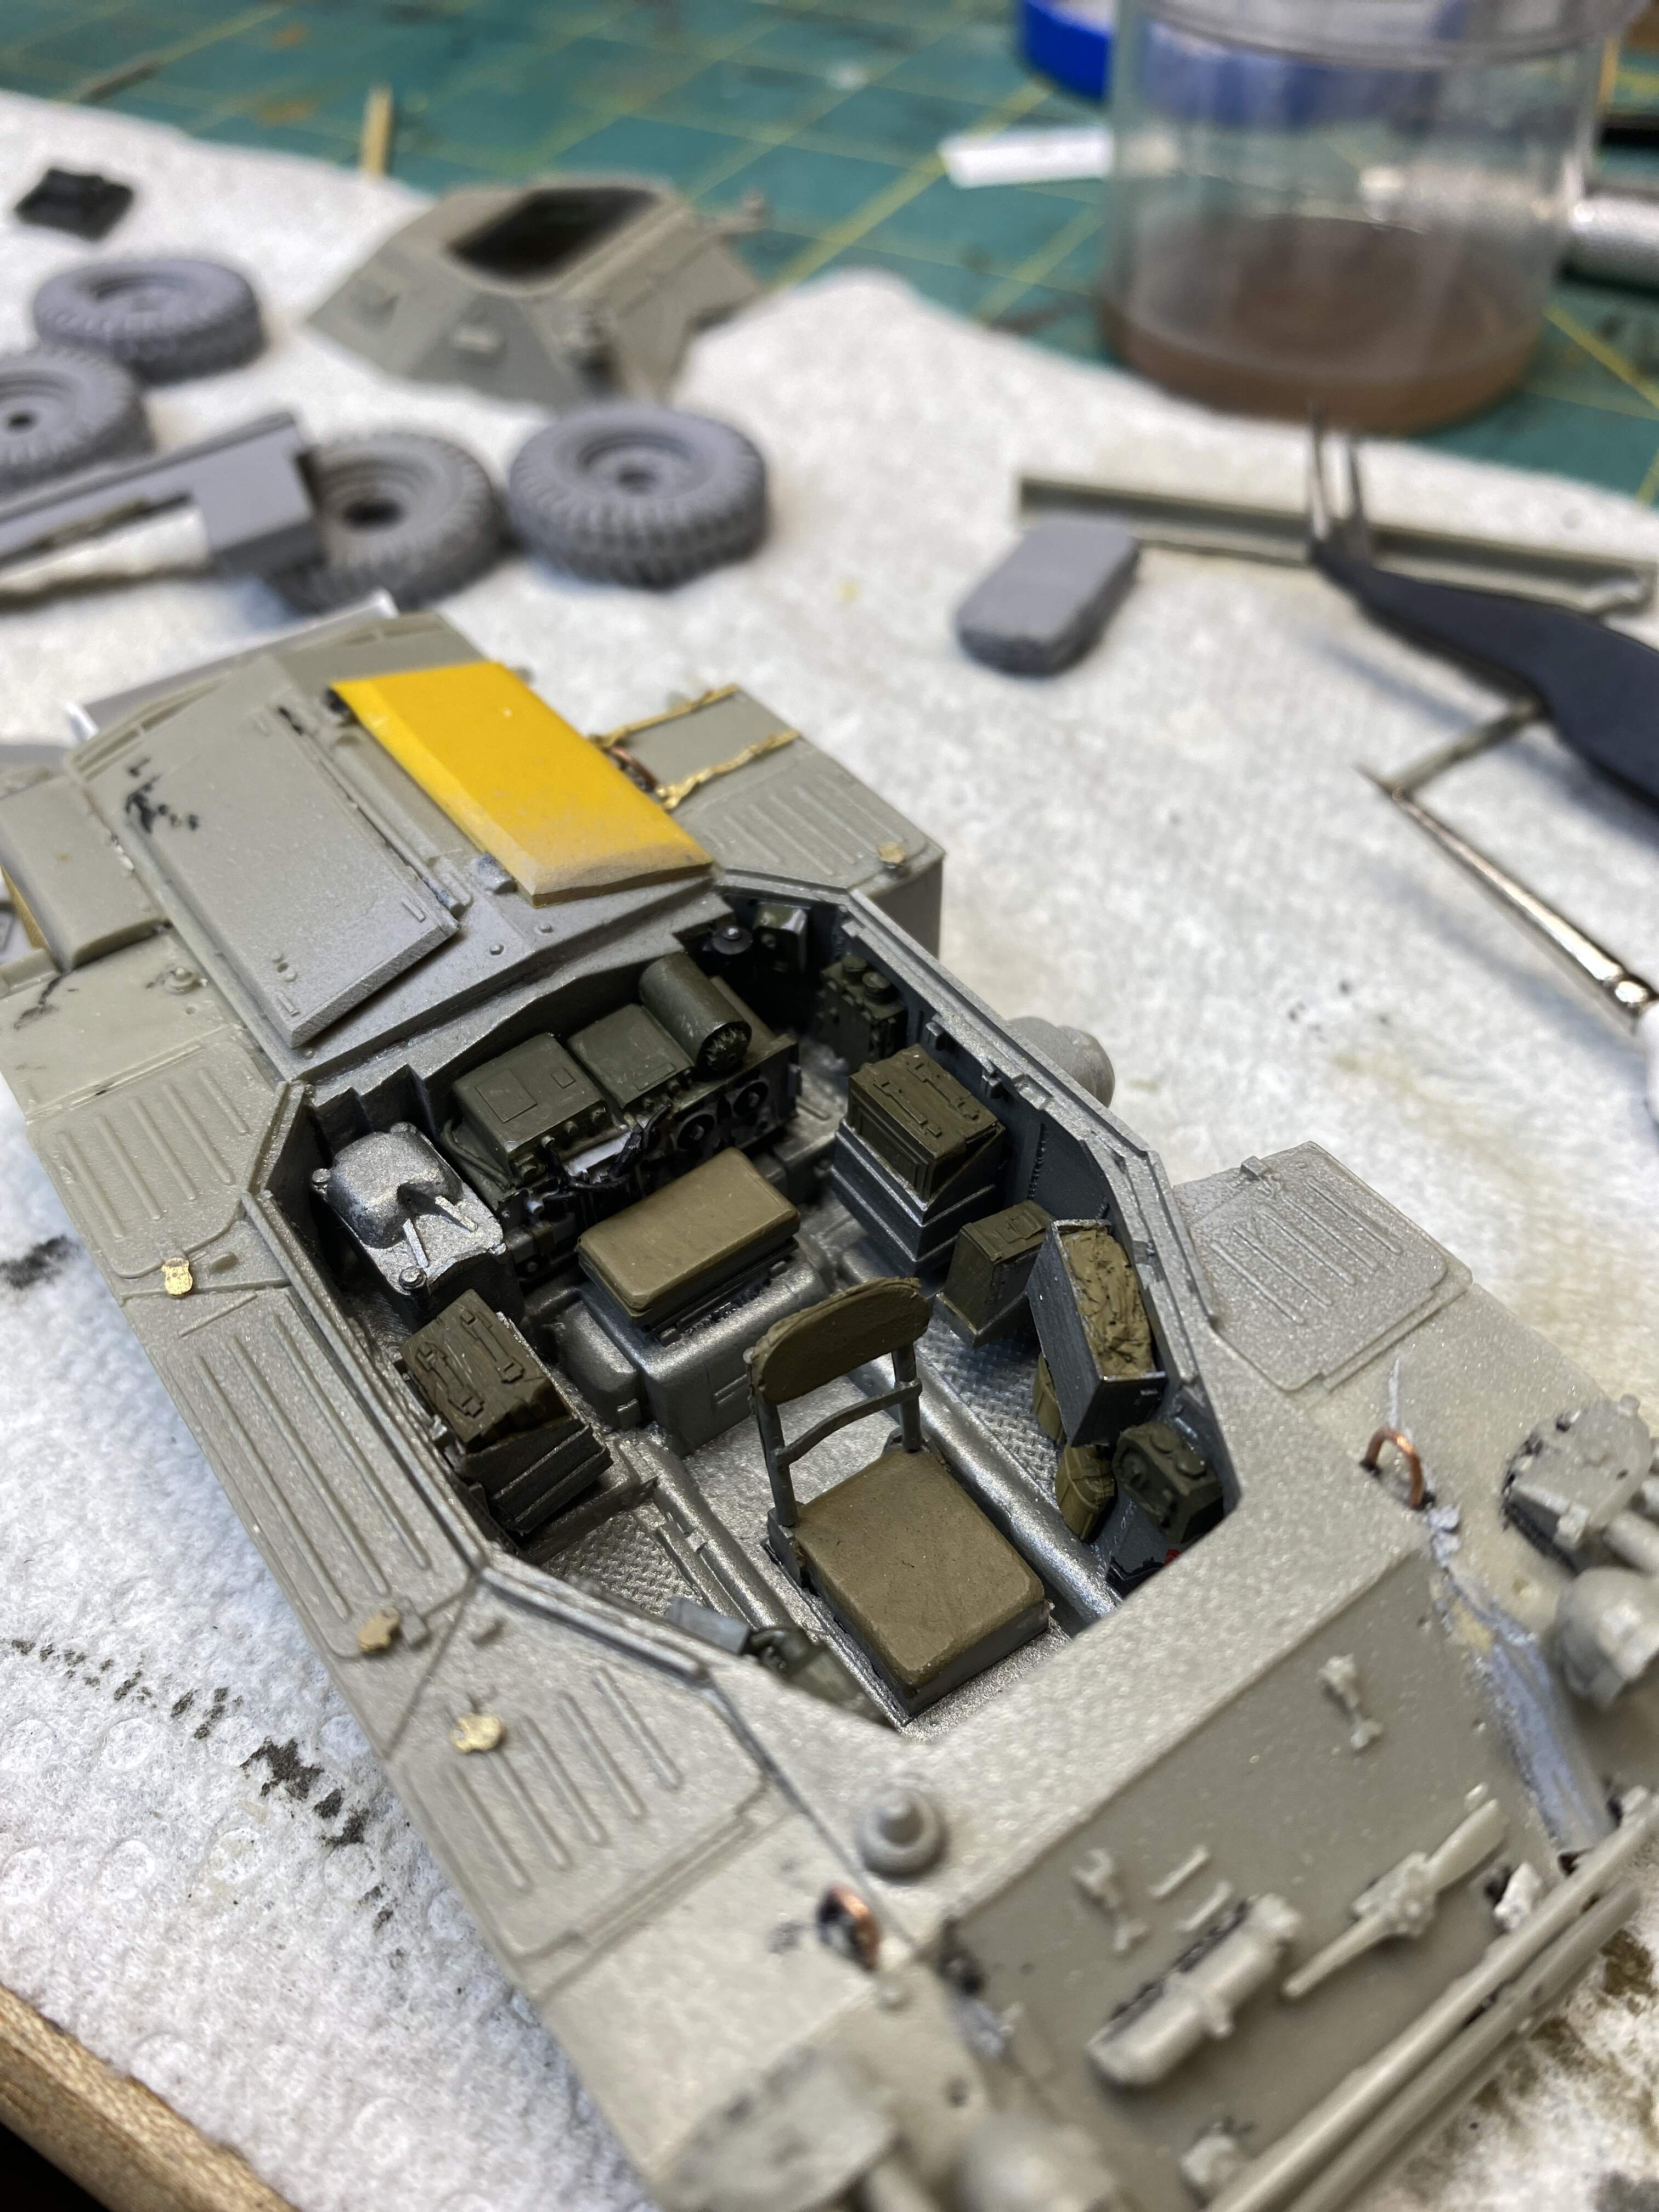
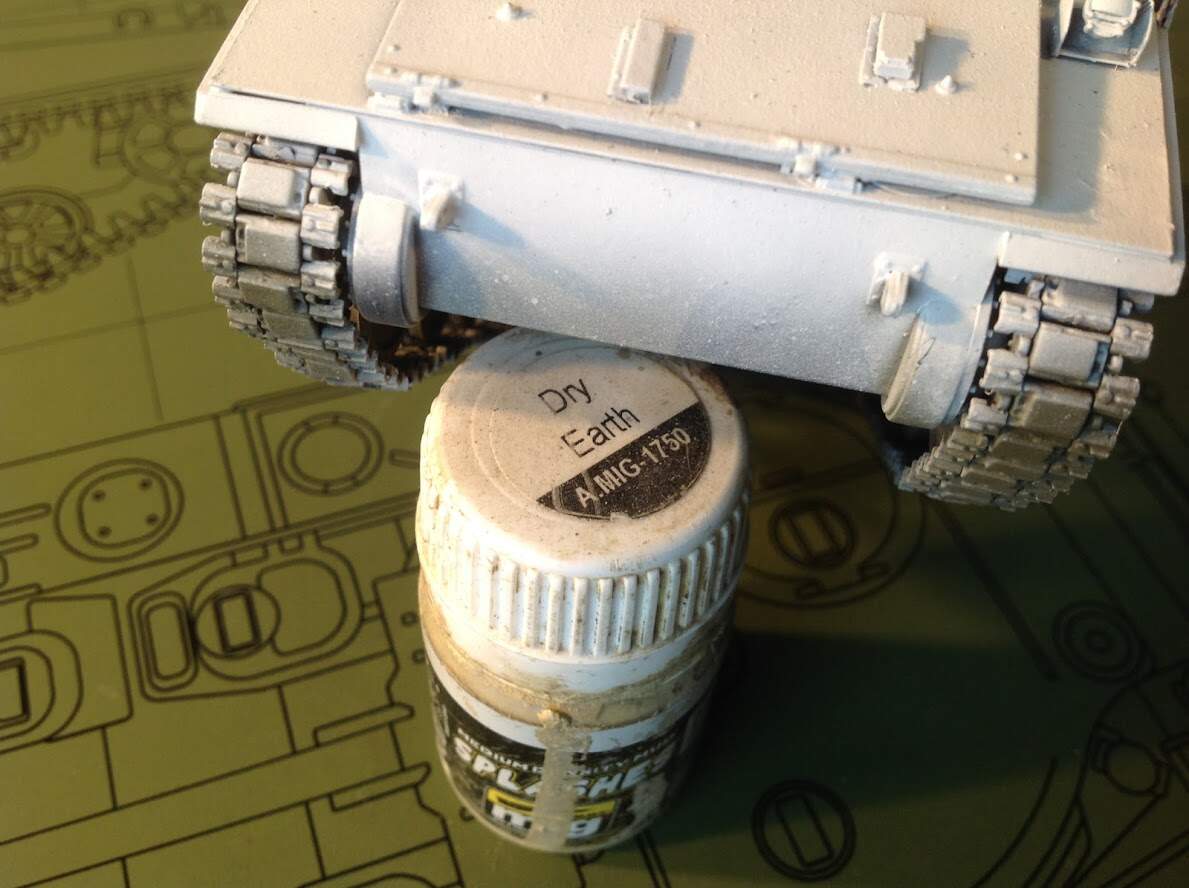
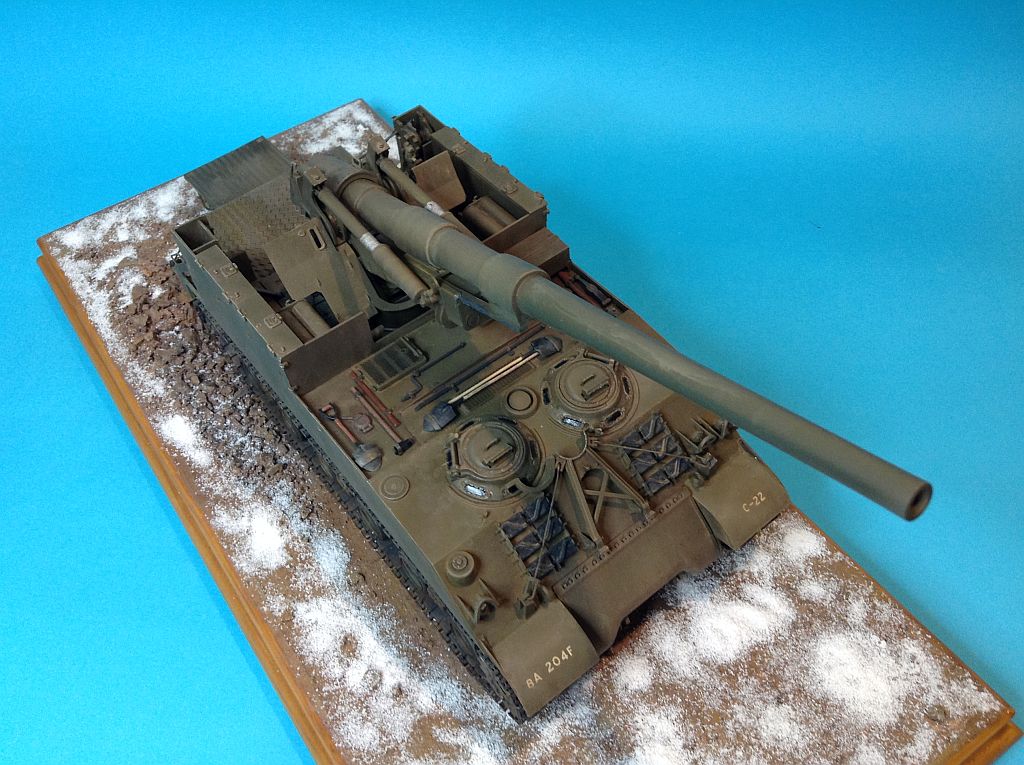
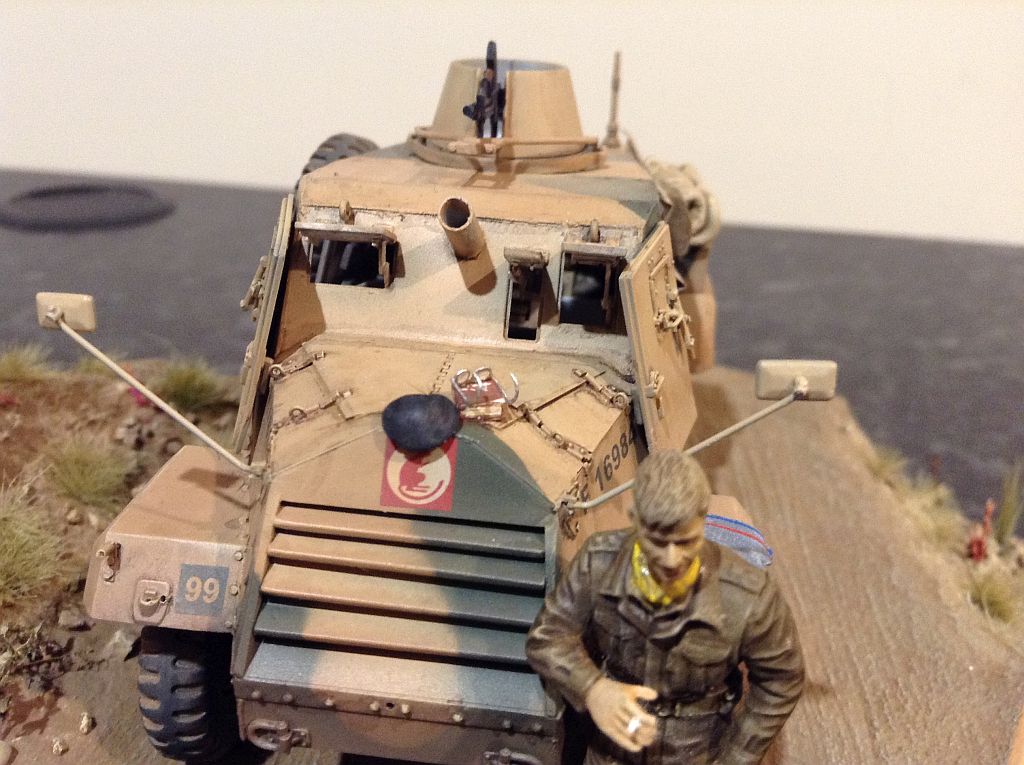
I want it to look like some painter got lazy and didnt spray all the way down.
(That dark line on the transmission housing is where I peeled of a strand of dog hair… I will cover it with dry mud later.)
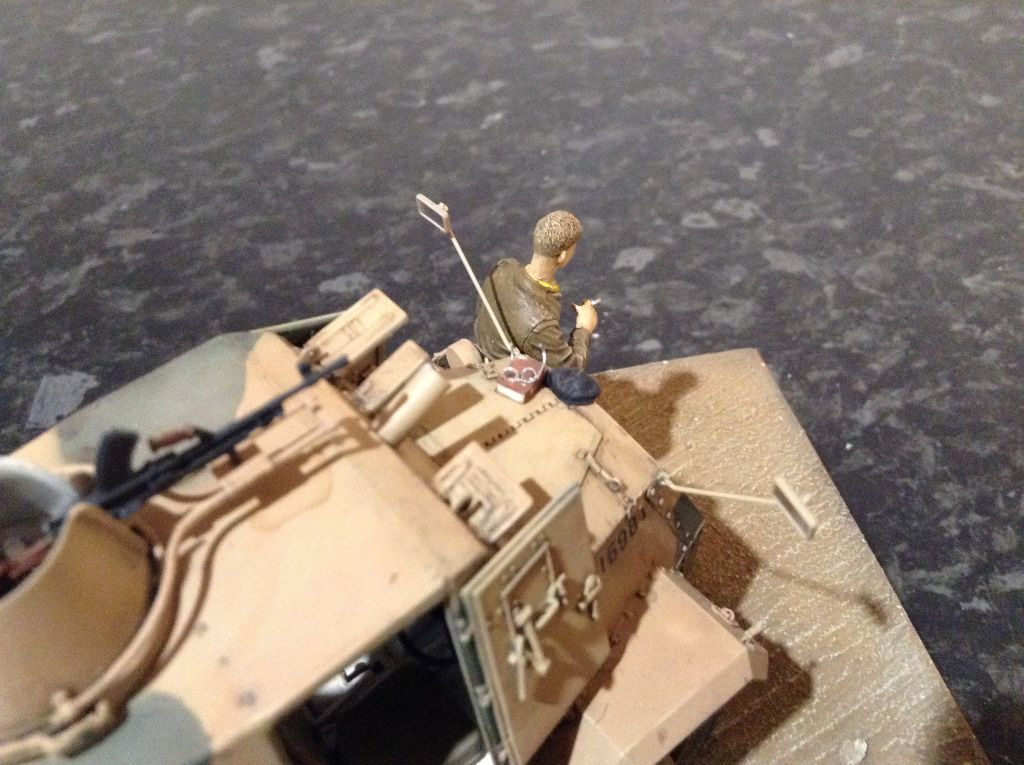
Next up is painting the road wheels, C6, TOW tubes and tracks.
Now are you talking old school wash, or new fan dangled ‘Spanish School’ wash?
For my AML 90 in the Snow White campaign, I tried dark grey and did not like it, so I went back and resprayed white, then used Vallejo German Camouflage black brown 70822 for the pin wash. That was much better.
I did no overall wash (Filter) as I was trying to replicate the weathering on a a specific picture
I used Vallejo US Tan Earth in selected places to add a grime effect, and a little more where there was dirt and mud build up. Lebanon does not have sticky mud like the Russian Steppes, so the mud had to be light.
When I did the pin wash, I brushed it outward a bit to darken the area around the detail, then went over it with Vallejo Cold White as a dry brush to lick out the white and blend the pin wash wash. I was happy with the result overall - my first white vehicle.
I used a mix of brown and black-brown on mine. Grey would also probably work well. When I first started I worried the contrast was too much, but once everything was done it really helped break up the solid white. Just look at any of the pics of 113s in Bosnia. Everything has a grey-brown tone to it.
I know you already thought of it for the trim vane, but don’t forget if you’re chipping to use some flavour of green. Tamiya field grey is actually really close to the base tone of the old 3 colour camo.
It was great fun, especially at speed going around the track. Tim the owner often takes it out onto public roads for promotions and just to have fun. At Christmas time he has a mate dress up as Santa, who sits in the turret then he drives it around the local streets and Santa hands out candy to the kids. They love it.
He has lots of vehicles you can ride in. My bucket list has me riding in all. I have also crawled all over everything he has.
He also has the only fully operational Centurion Bridgelayer left in the world:
and a lot more…
Since these video’s he has picked up a LARC V, a Skot, A Rapier (M113) and a Mk 3 Centurion gun tank…
Thanks Peter! So you used a acrylic paint for the pin wash? How do you clean it up?
Thanks @Canmedic Don! I might get my hands on some streaking grime for winter (White) stuff and a wash for green vehicles then.
Yep thats right, I need to have the chipping go down to the 3 color first then maybe some silver chips.
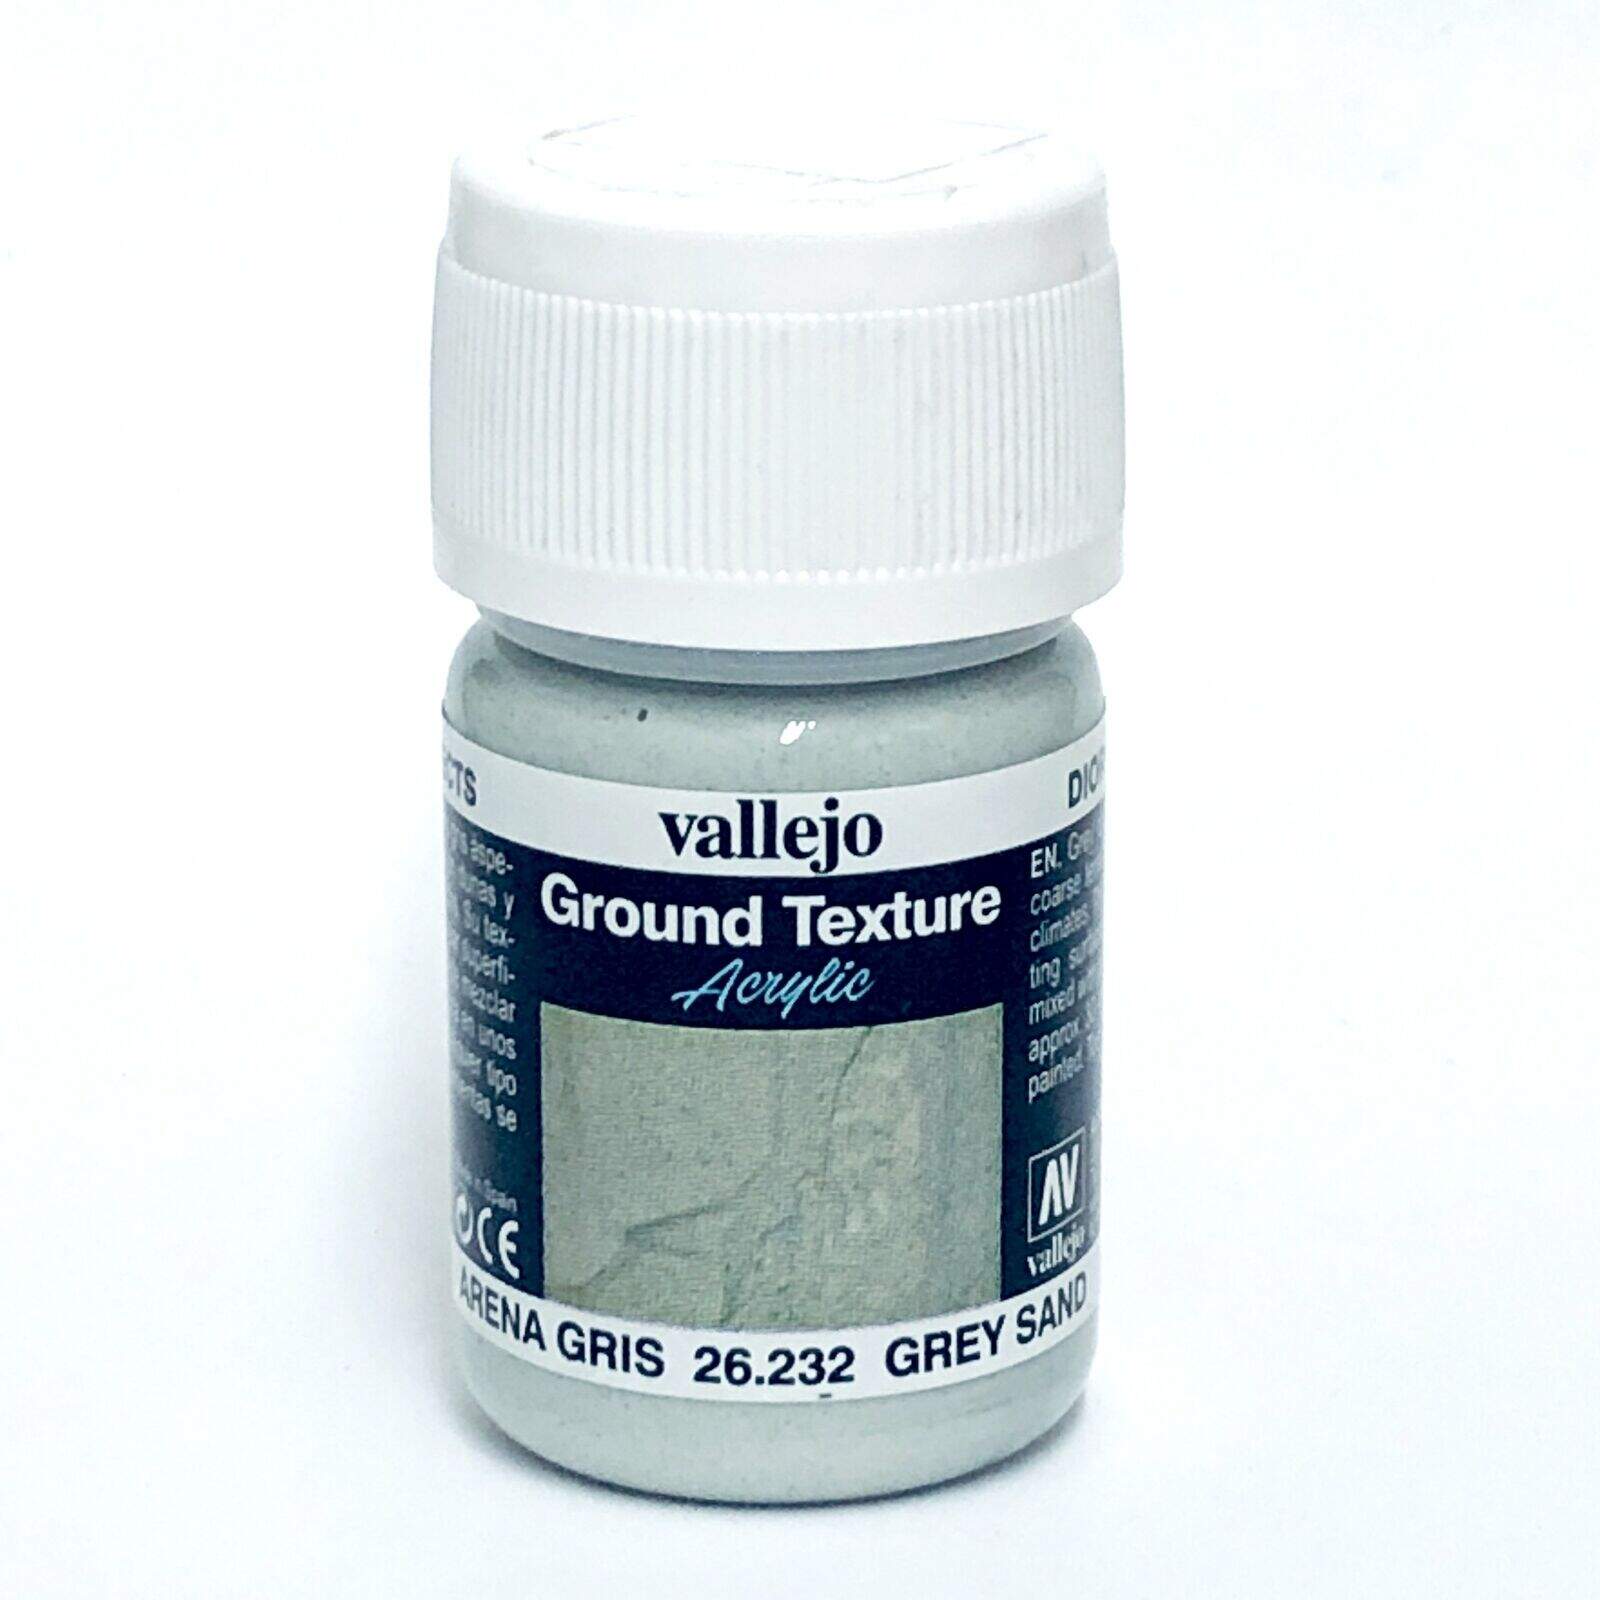
And for the mud as a base dry layer I’m thinking of buying this. As the color looks pretty close to the pictures of the dry mud I’ve seen on M113’s and Scimitars ect. in Bosnia.
The trick Ezra, is have a clean wide brush and clean water as well as a pot of water to thin the Vallejo with. Work in small areas at a time. Use the wide clean brush and clean water to wet the area you are to work on - just enough water like a thin layer of paint, then thin the Vallejo with some water and with a fine small brush, dab the vallejo/water mix against the detail you want the pin wash to bring out. The wet surface stops the acrylic paint being drawn away from the detail, but if there is any bleed, the wide clean brush can be used to wipe the excess away - just make sure you clean the brush after you have wiped paint away. Sometimes I allow the excess to just discolour the paint enough to add some depth. You can always fix too much colour shift by drybrushing the original base colour over the ‘spill’. If you look at the rear of the turret in my AML, you can see where I was interupted by my wife and I forgot to work the paint went I went back to it. the ‘paint run’ at the cleats is not what I intended! I have been meaning to fix that…
Wetting the surface means you can push paint out and avoid tide marks, unless you want the tide mark to depict where rain has mixed with dust and created a puddle and then the water has later evaporated. You can see that on some of my models.
Doing small areas at once allows you to control what you do, unlike when people do large areas with enamels then have to rush the blending and stippling before it dries too much.
When you mix Vallejo with water, the pigments separate if left for a while, and you can just whisk the mix to even the colour out, or use the variation in separated pigments to your advantage to vary the base wash colour. You can get 2 or 3 varying shades of the same colour just by using the mix in various stages of separation.
Really thin paint can be applied over the wet surface as a overall wash (‘Filter’ if you must) if you like, and by layering different colour variations or doing more layers of the same colour in some areas will subtly change the base colour.
I have not touched an enamel paint in years… my MIG Filters have evaporated more than I ever used…
And this one is one of the first I used the technique on. The uniform on the figure is done the same way. A base colour of Tamiya, then Vallejo English uniform for the base colour. Then the dark black brown as a pin wash in deeper crevasses, dry brushing a lighter colour (English Uniform and Buff ) then a very thin lighter colour (English Uniform and US Tan earth I think) thinned a lot and applied as a hint over all to just blend the shades together.
I like to make my pin washes less regular and have a noticeable grimy effect. So a little bleed is what I want, I just don’t want them all to bleed as, like them all being just perfect around the detail, it is just not what happens in real life. Tea gets spilled when the fender is used as a table, mud gets splashed up and washes away leaving irregular patterns and runs. Water and fuel get spilled, some times the crew wipes with a rag, most often not, but either way the result means an effect on dust not seen elsewhere, etc. Look at the front of the Otter, to the left of the 8th army decal and on the hood panel, where there are wiped oil marks from where the engine was being worked on and a rag was used on spills, etc. This is the type of imperfection my imagination brings out using the techniques to my advantage.
If you have any old test bed models, give it a try and see what you think. I would be interested in your thoughts after you tried it.