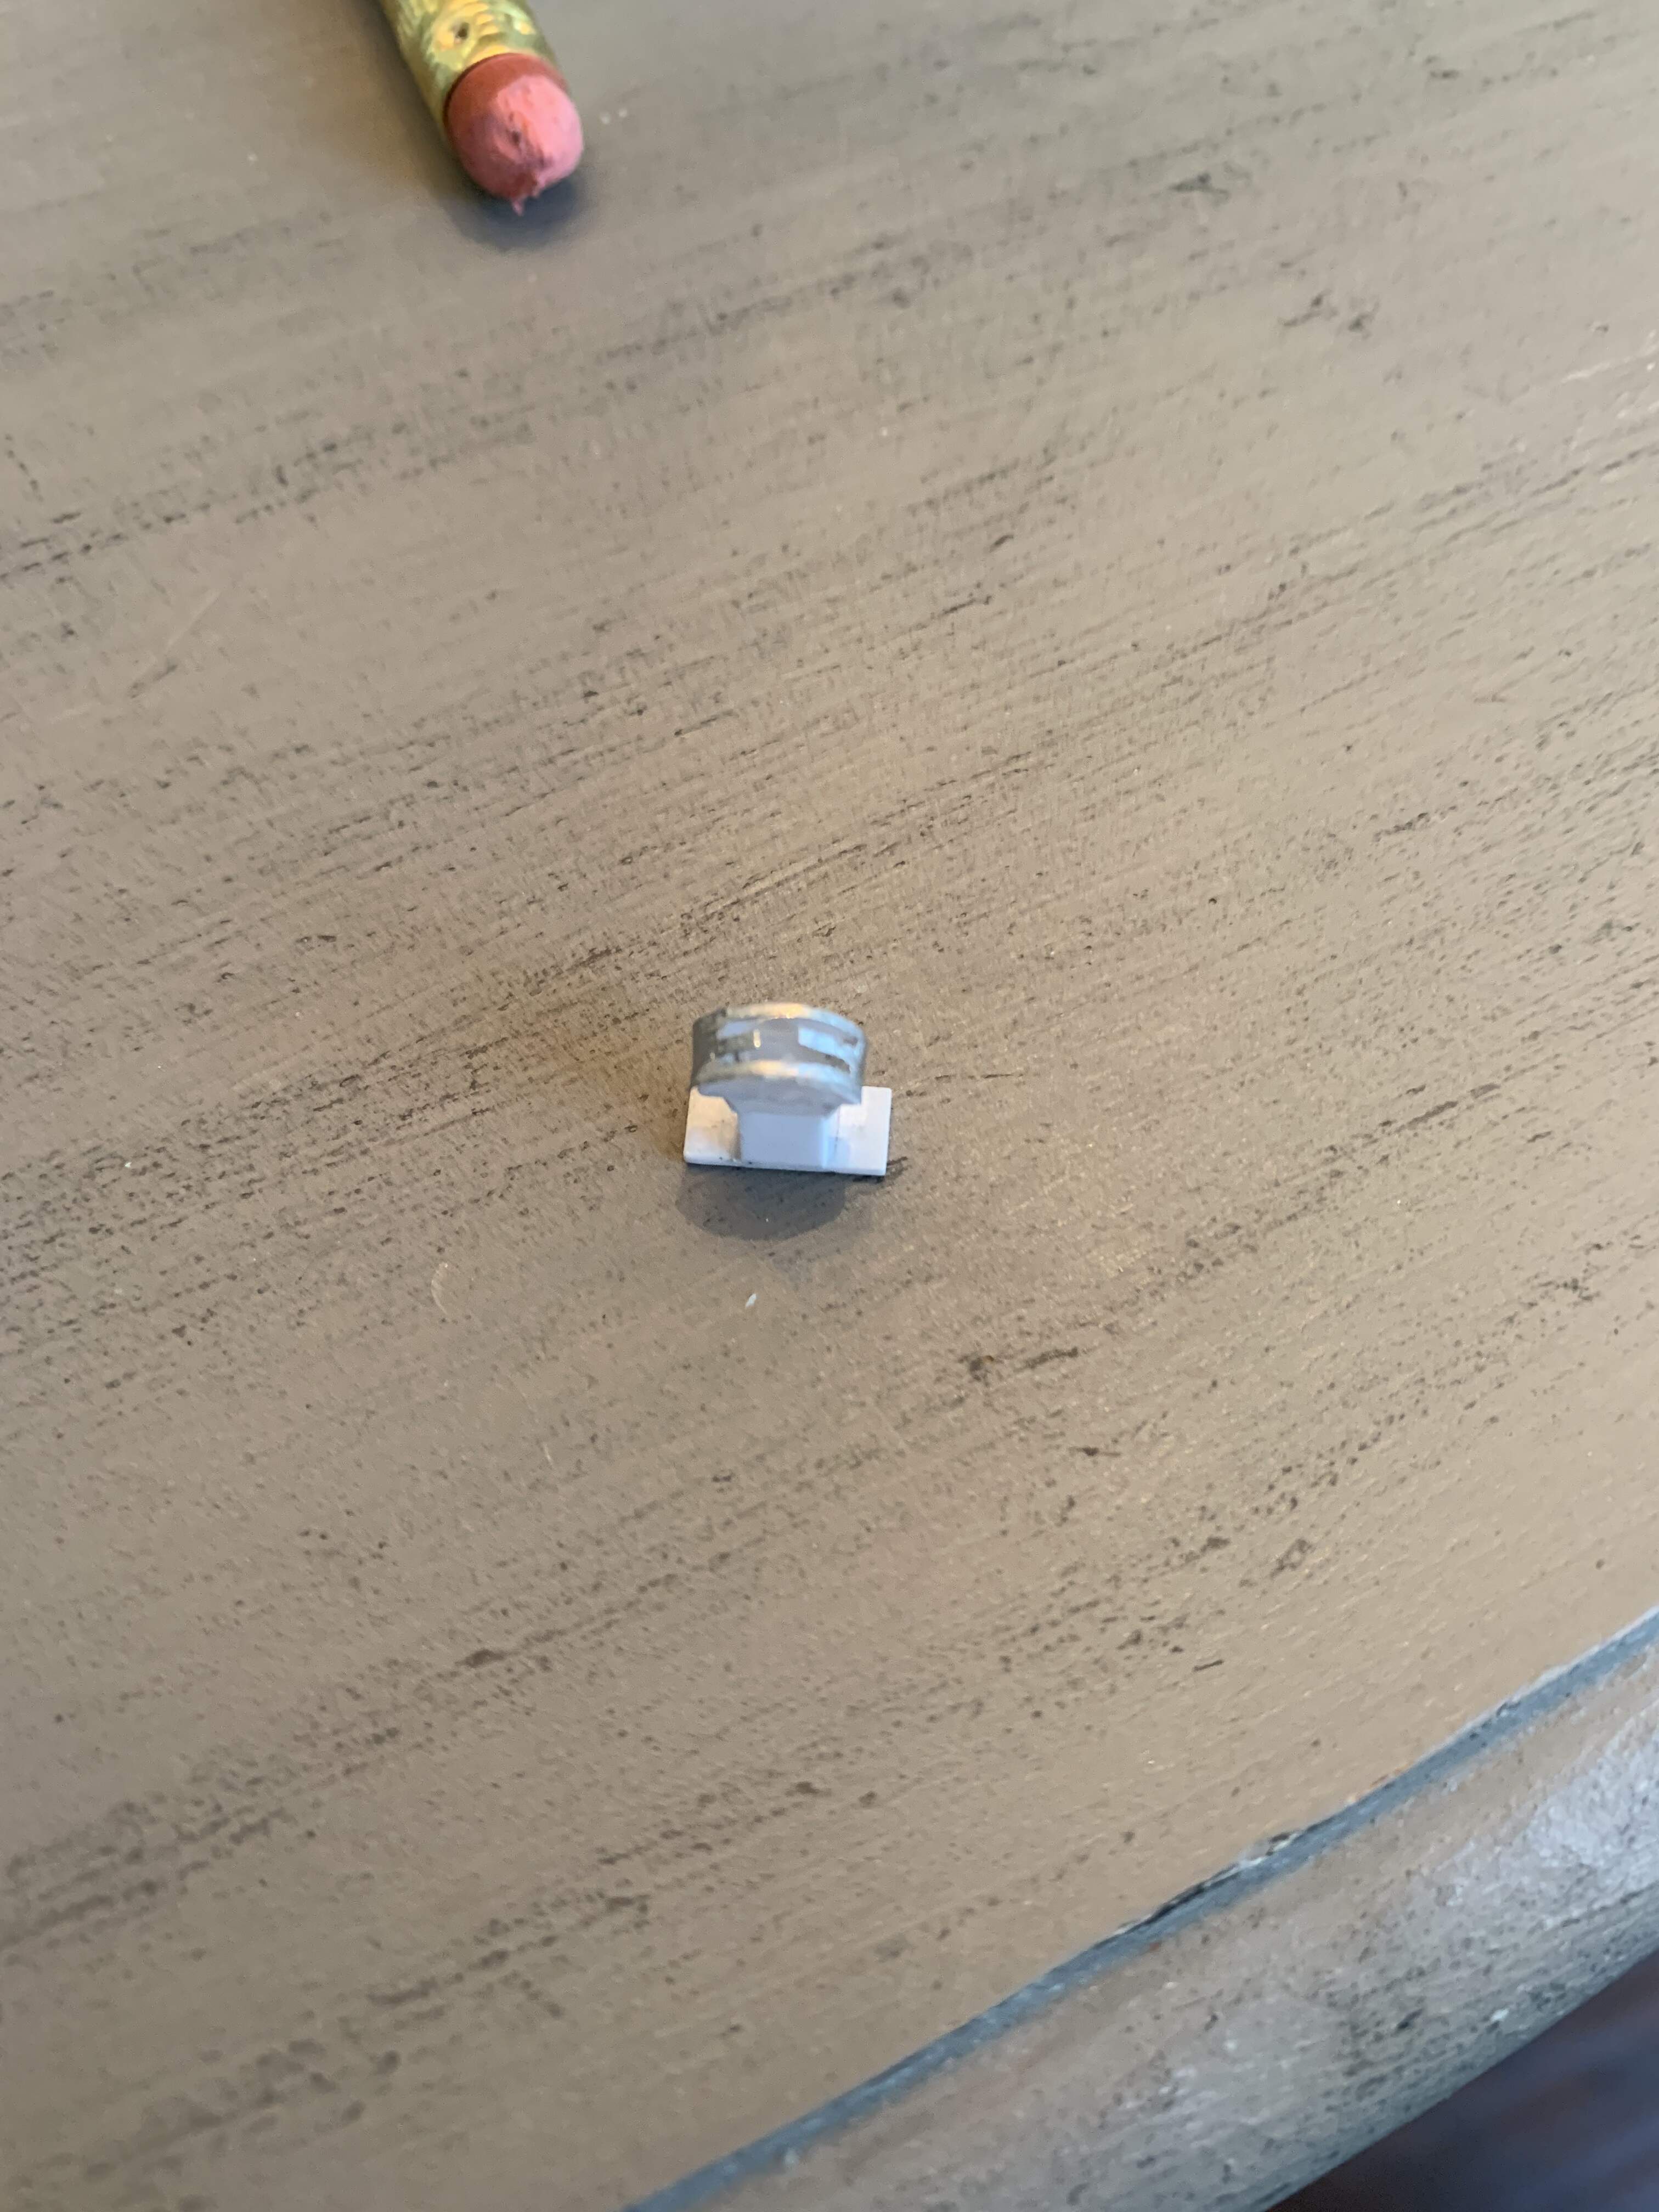
Scratched up the drivers gear shift housing, not sure if I like it, looking for feedback. I’ve also attached pictures of the real thing for comparison. Housing is mostly made with styrene but I did the top in alumin foil, it’s easier to curve around the housing and it’s easier to cut slots in for the gear shift stick. The resin No.19 radio and besa boxes arrived today. I’ll post pictures later.

4 Likes
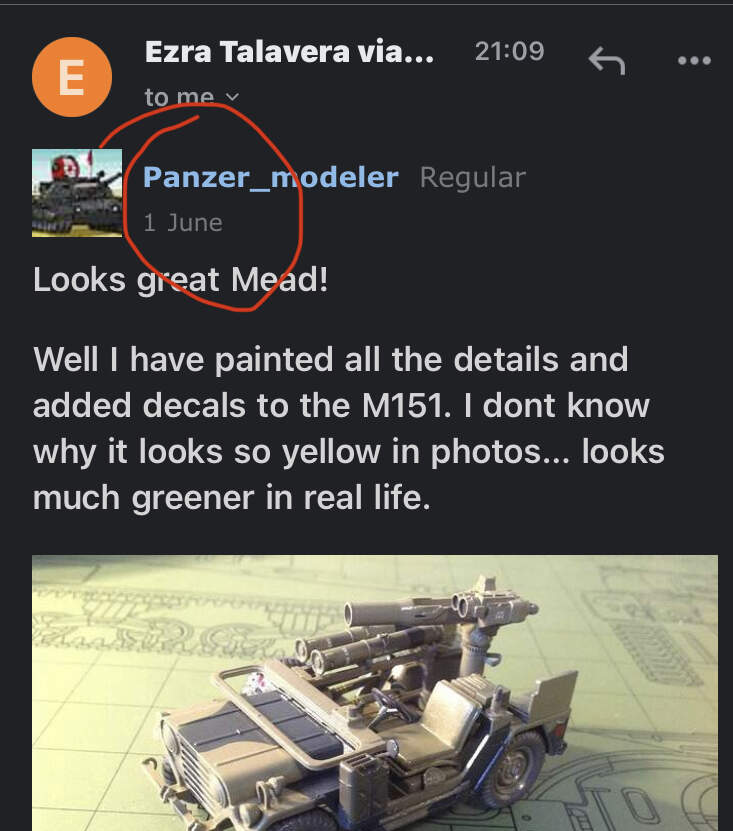
Looks great Mead!
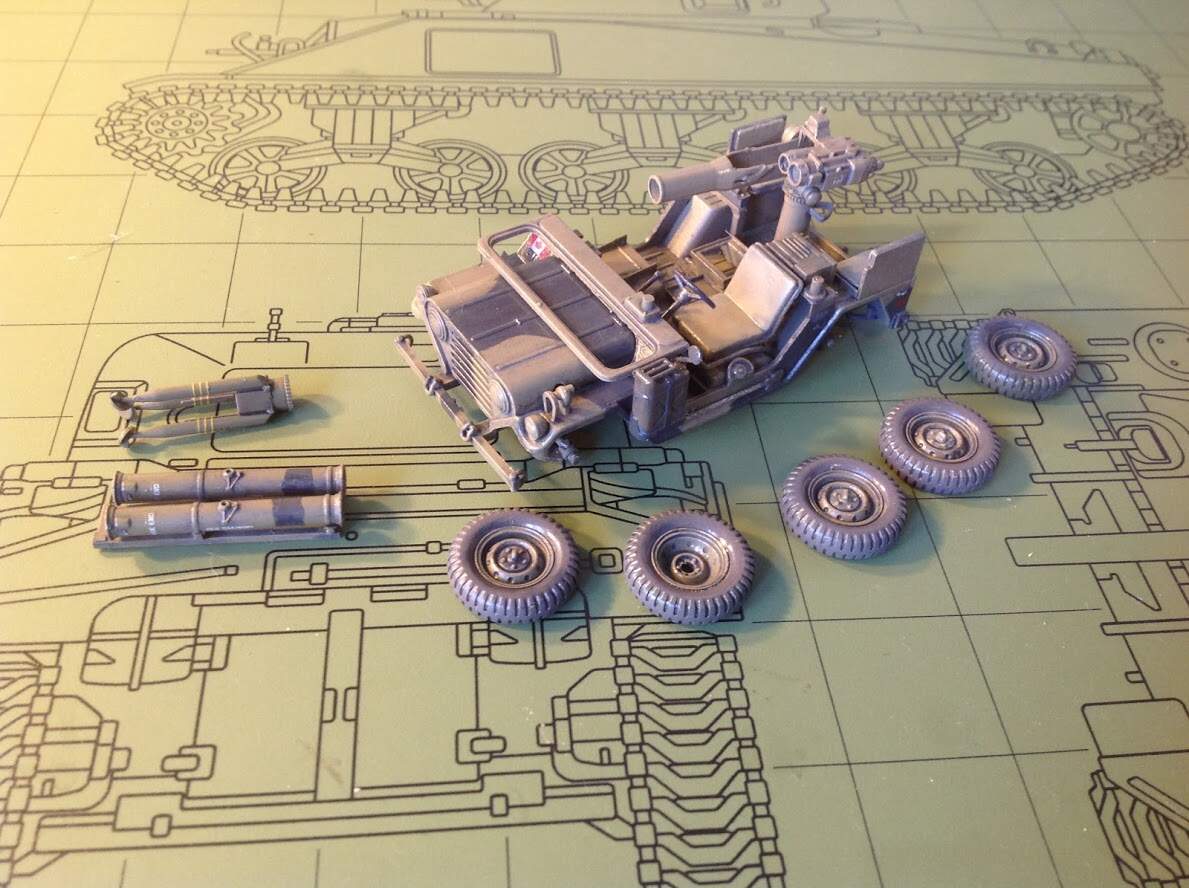
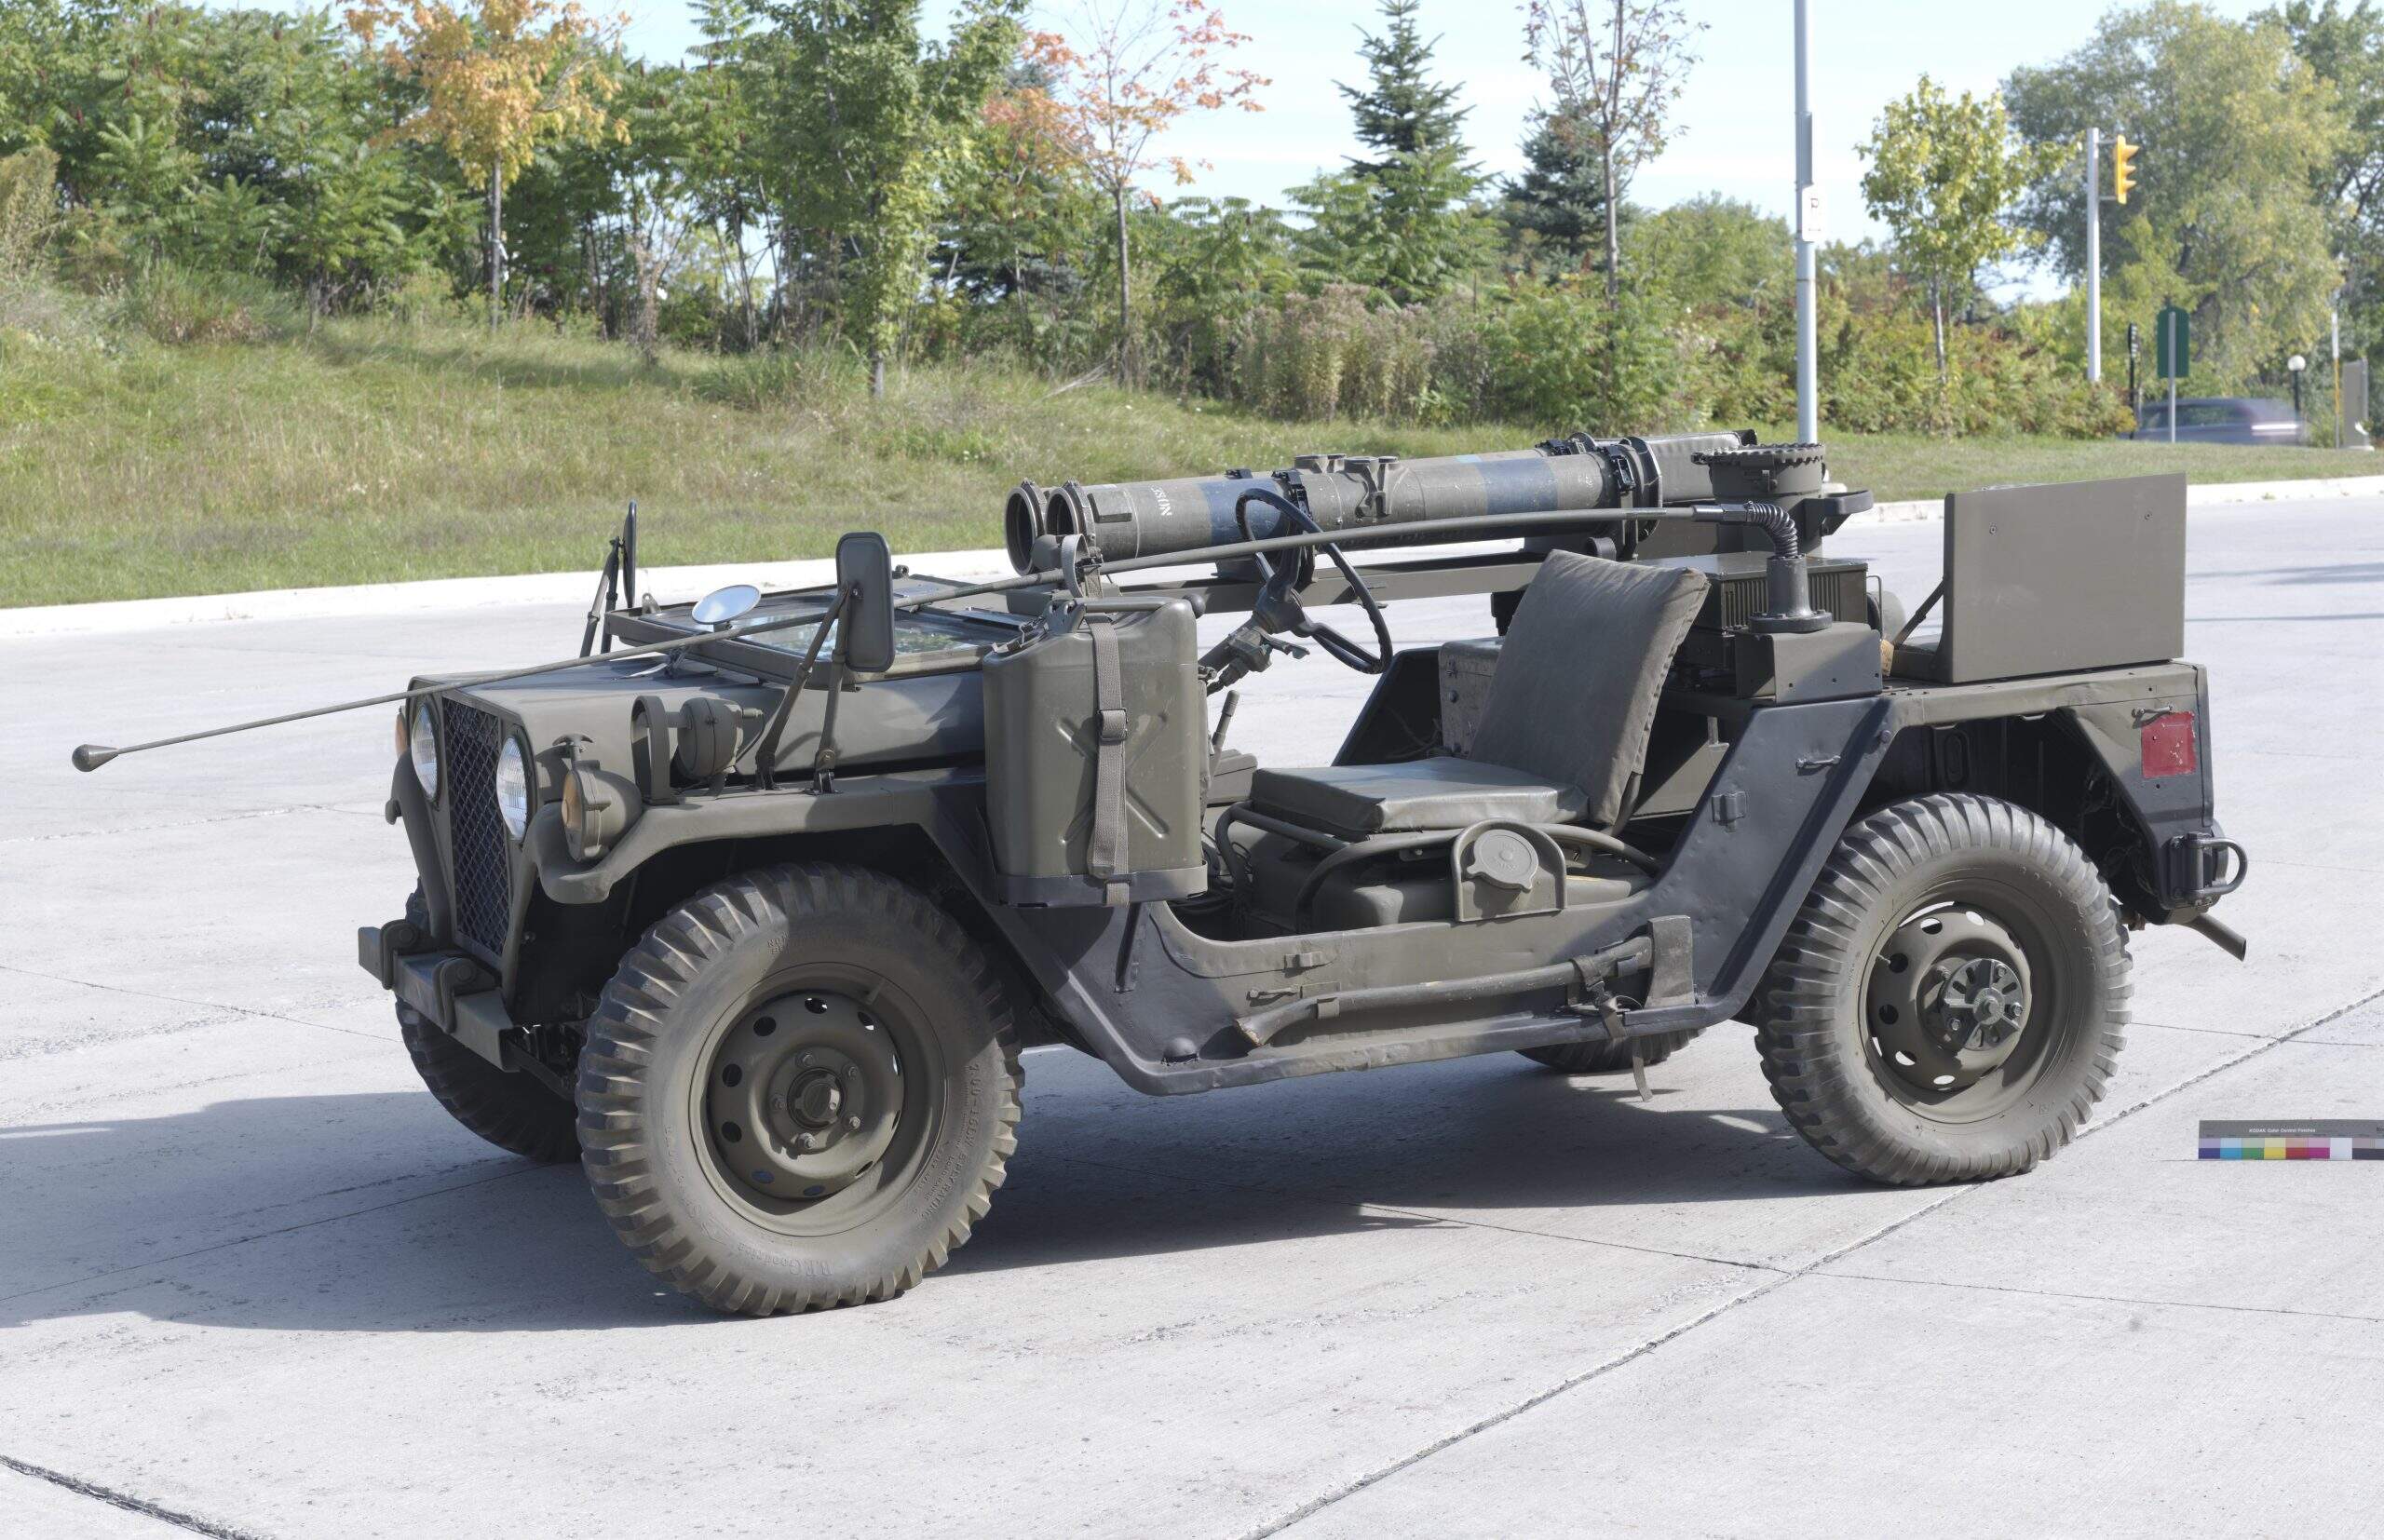
Well I have painted all the details and added decals to the M151. I dont know why it looks so yellow in photos… looks much greener in real life.
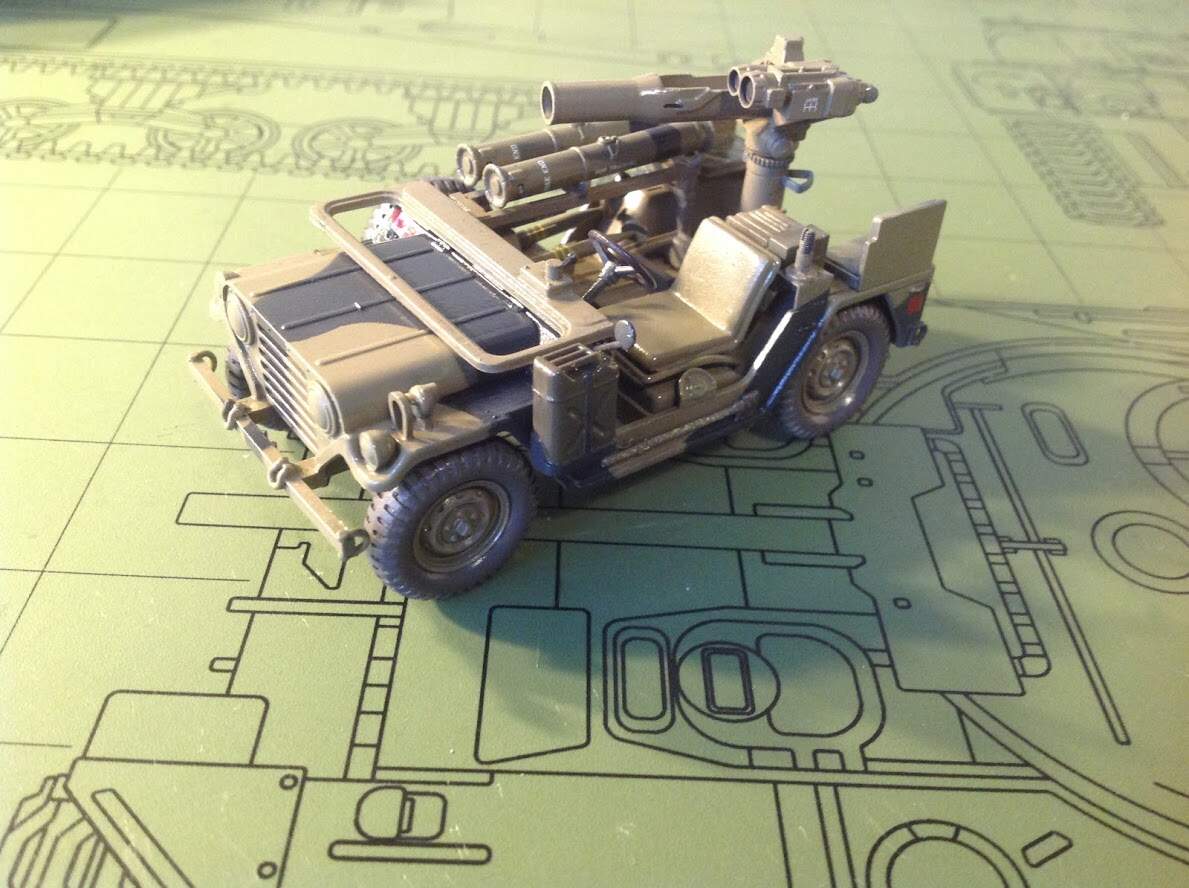
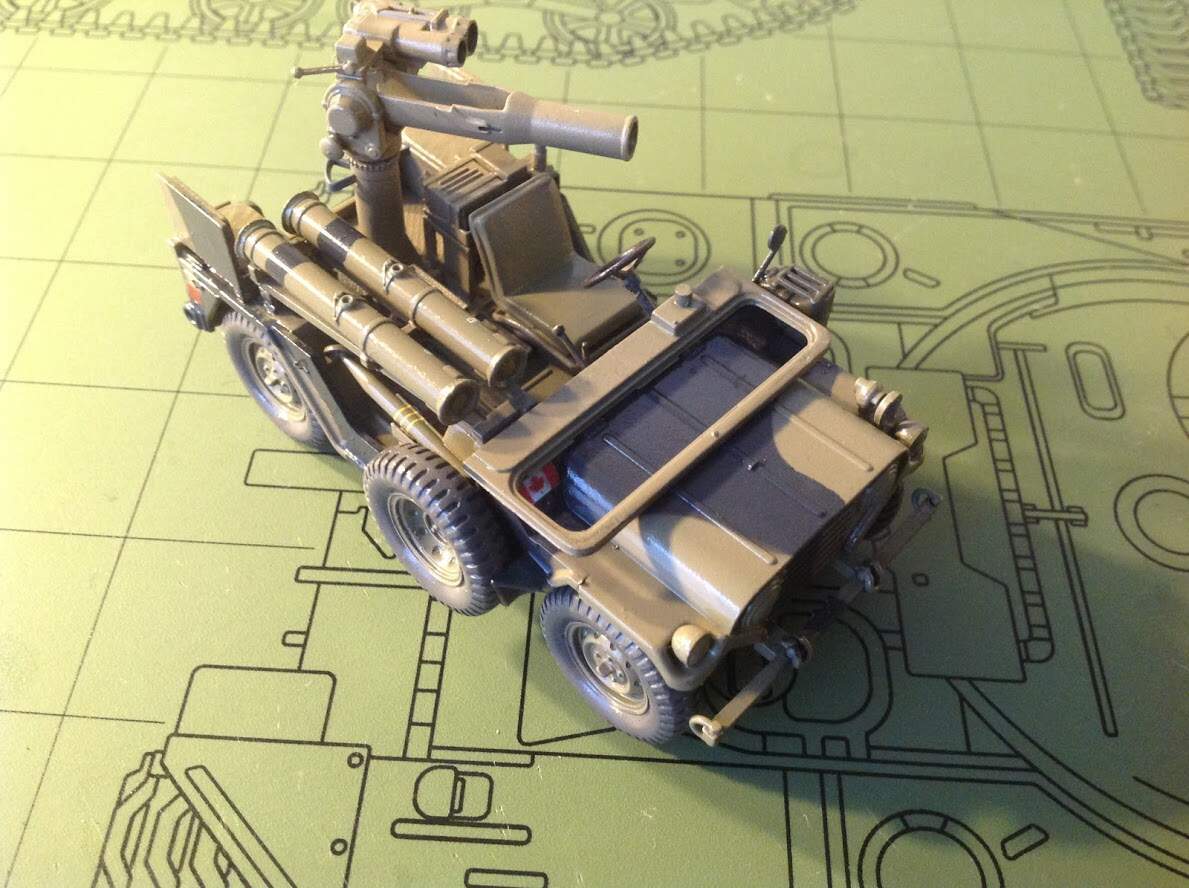
I know Tamiya is missing lots of details in this kit but whatever this is really just a nice almost OOB build before moving onto my 1000 part Trumpy LAV-3 TUA.
The only other real addition I will be adding is scratch building a new antenna mount and strap for the jerry can.
4 Likes
Ezra, I’m not a smart man by a long shot, but how in the hell is it that you live in NM but it’s somehow June 1st? Is that how you build so fast? You got a time machine don’t you!
I have no idea… Its funny actually the time is messed up on my computer and it says its 10:47PM May 30… I guess time flies when your having fun!
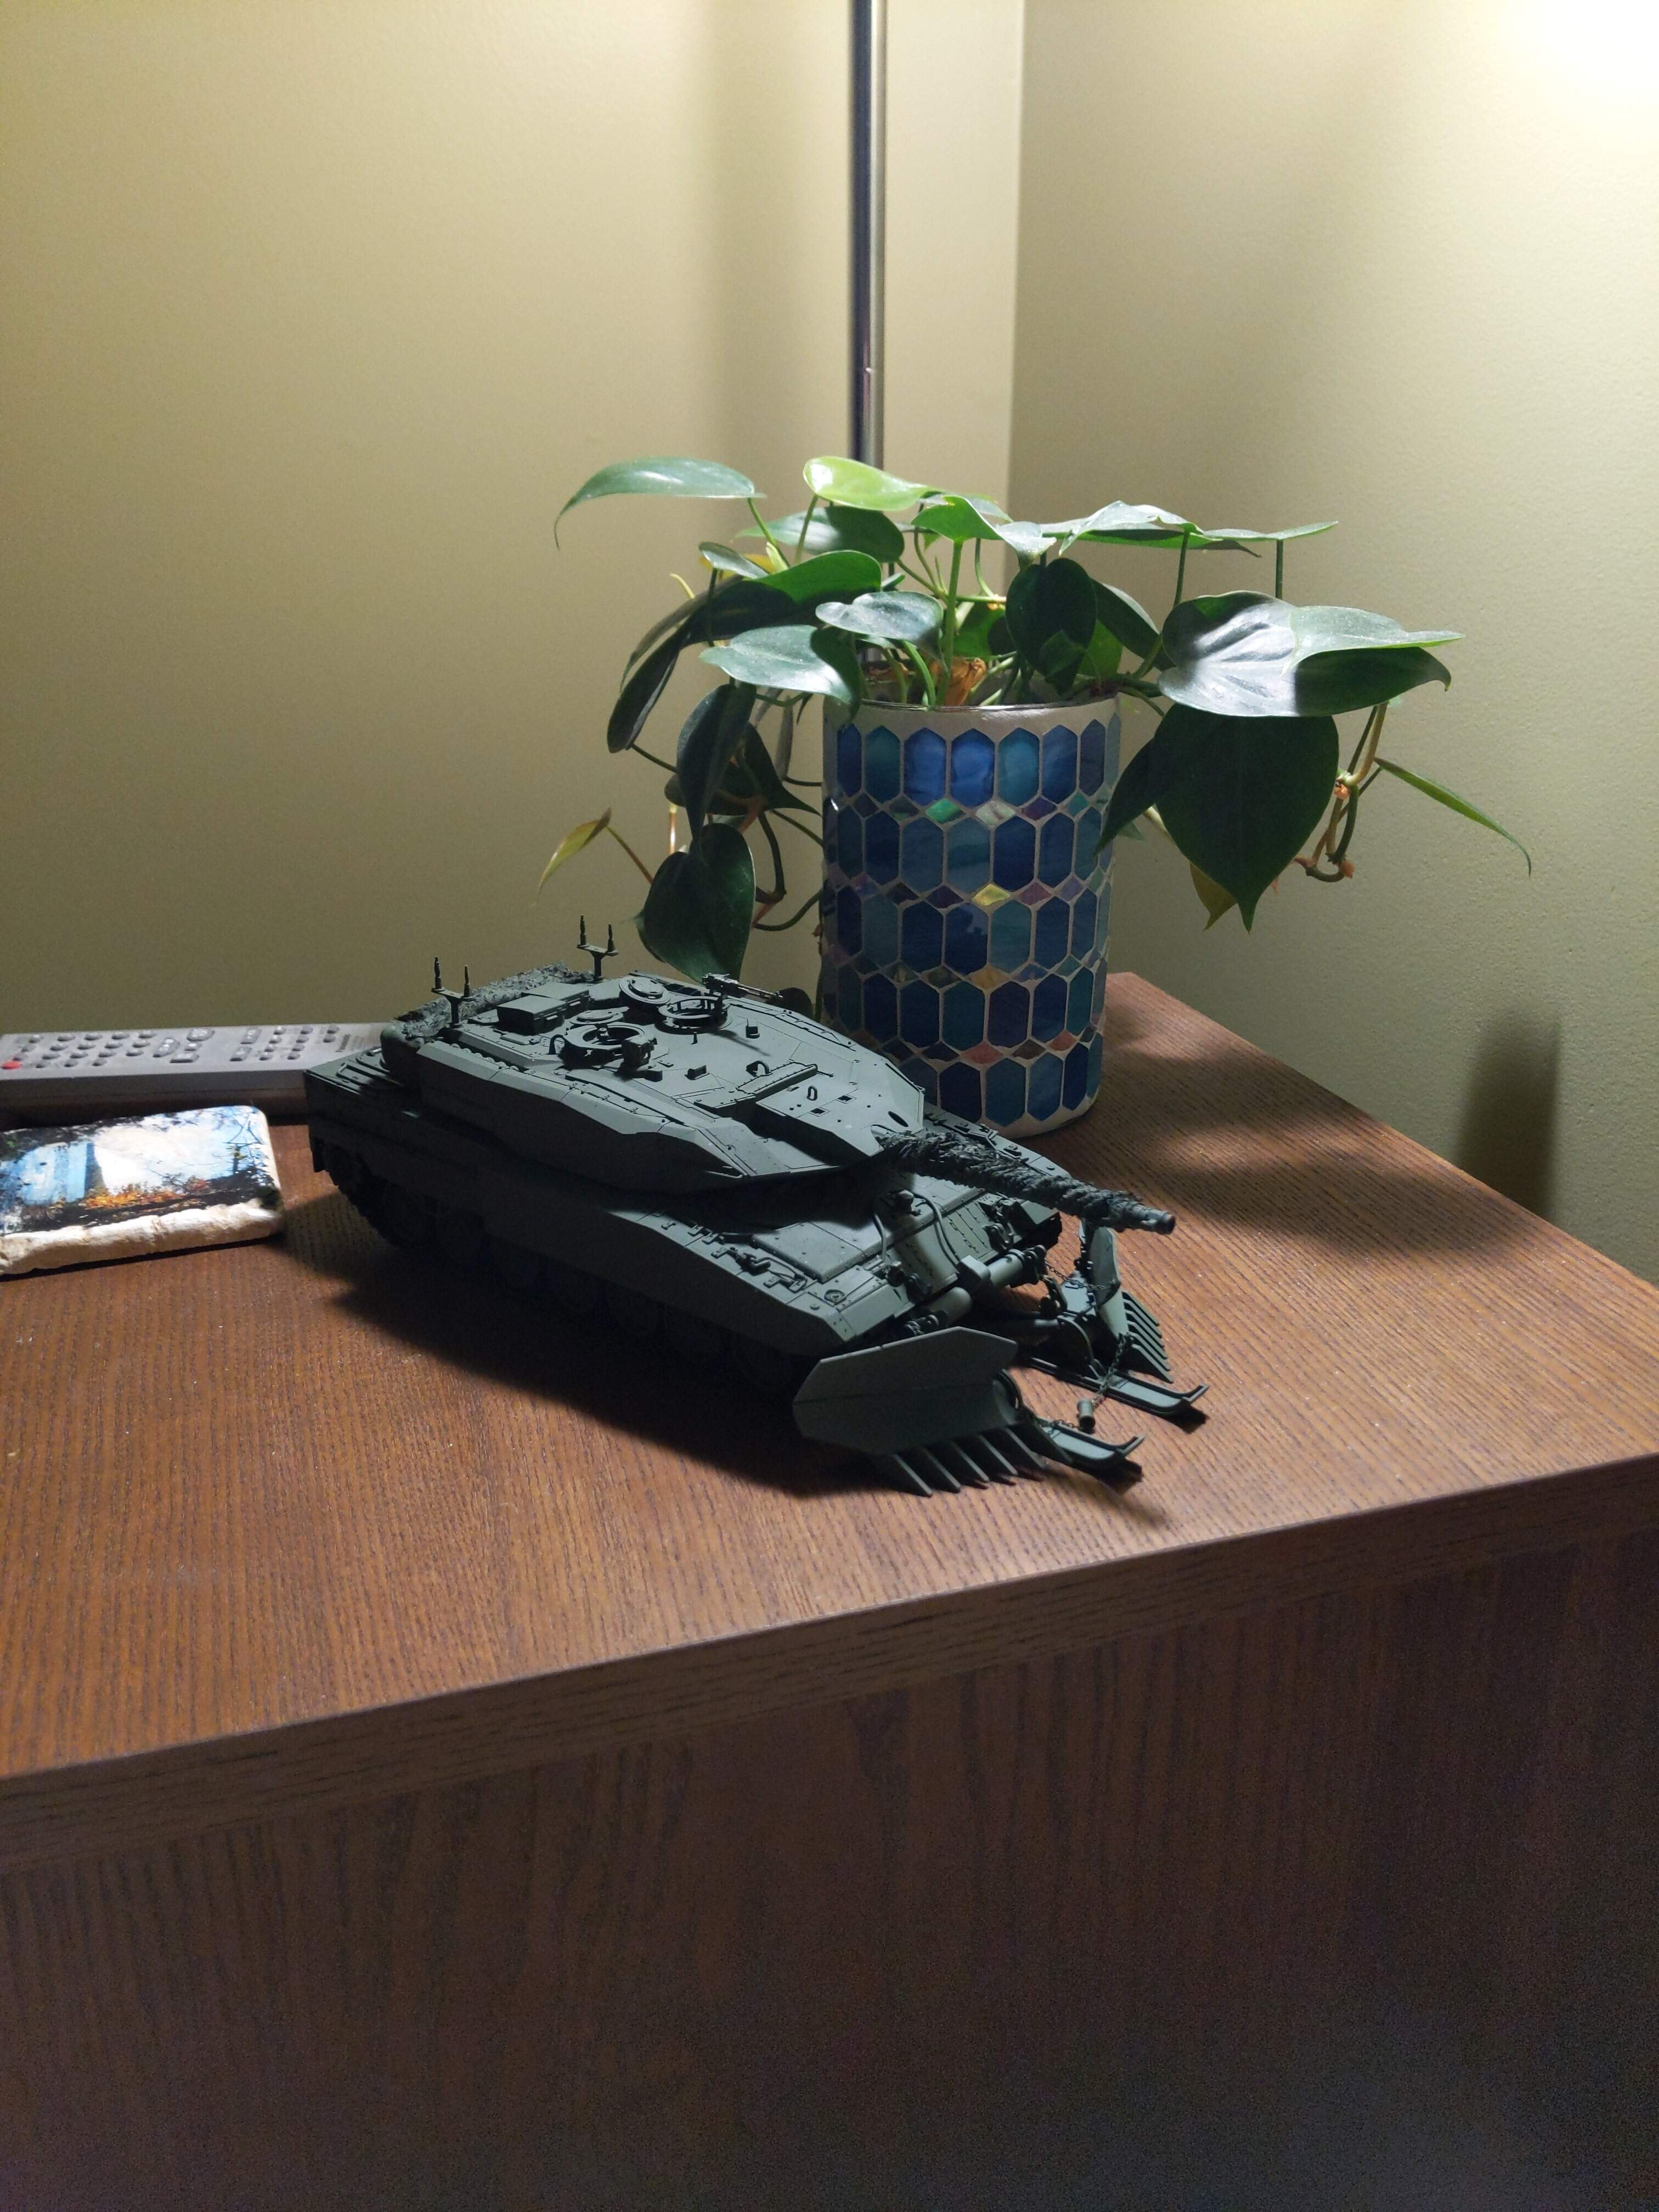
Looks great! I love the look of the TWMP on the Leopard!
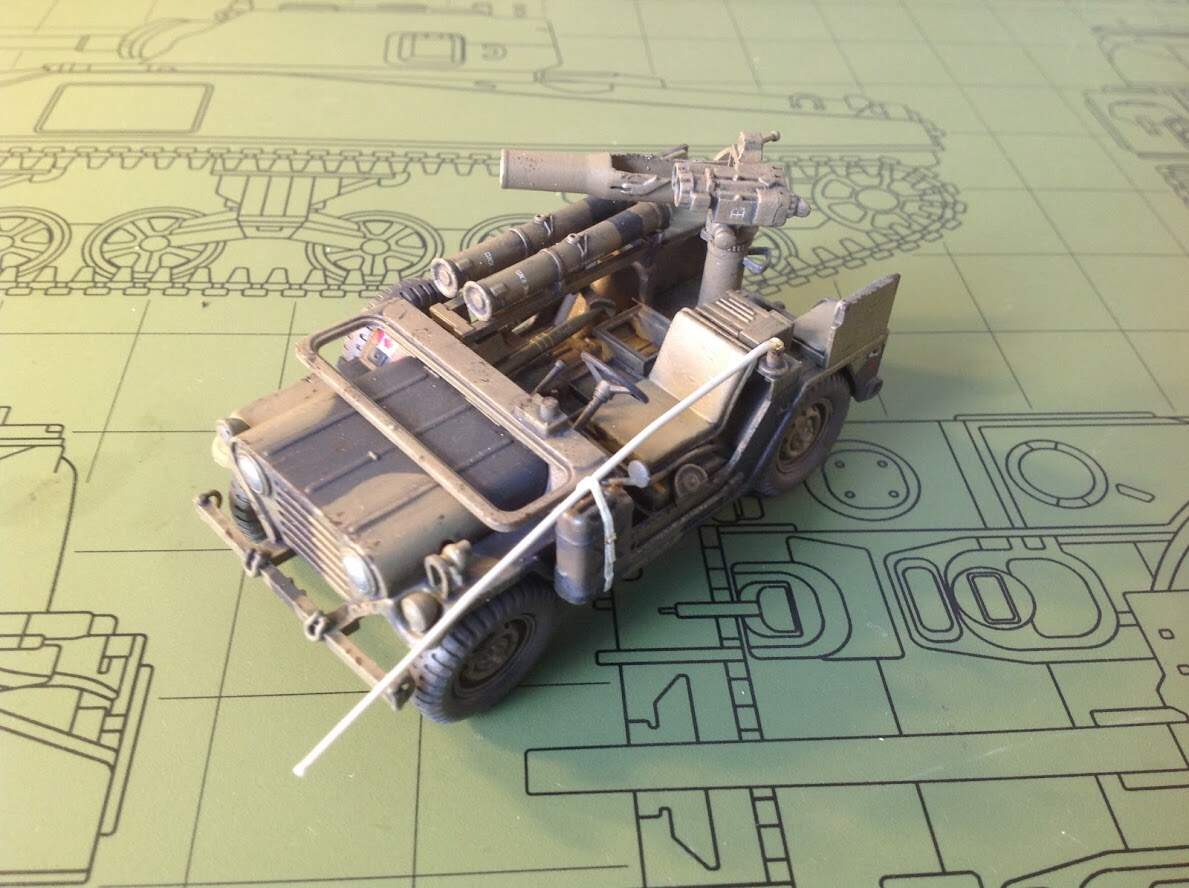
Little update on my M151a2, I left a wash drying on it under a heat lamp a bit to long and it dried very hard and when I tried to scrub it away some paint came with it… after letting it dry for a few more hours I have dry brushed the base colors back over it and sprayed a heavy clear coat over it. On the plus side the green now looks a bit darker and has a slightly weathered look.
1 Like
In relation to my previous post, which sort of teased at this, here’s my WIP HobbyBoss Leo 2A4M. As you can see, I’ve installed the TWMP so as to create a vehicle from Maple Resolve 21, which just wrapped up. I don’t really have any shots of the tank as I was building it, primarily because the focus of this build will be on the paint job. For now though, I’ve contented myself with bathing it in XF-67 NATO Green, and now work begins on the many decals representing velcro strips. There’s some serious silvering going on, so I’m going to use the nuclear option and hit the whole tank with some Mission Models transparent medium, which I find really cuts out any silvering. Perhaps I’ll use some flat earth as well.
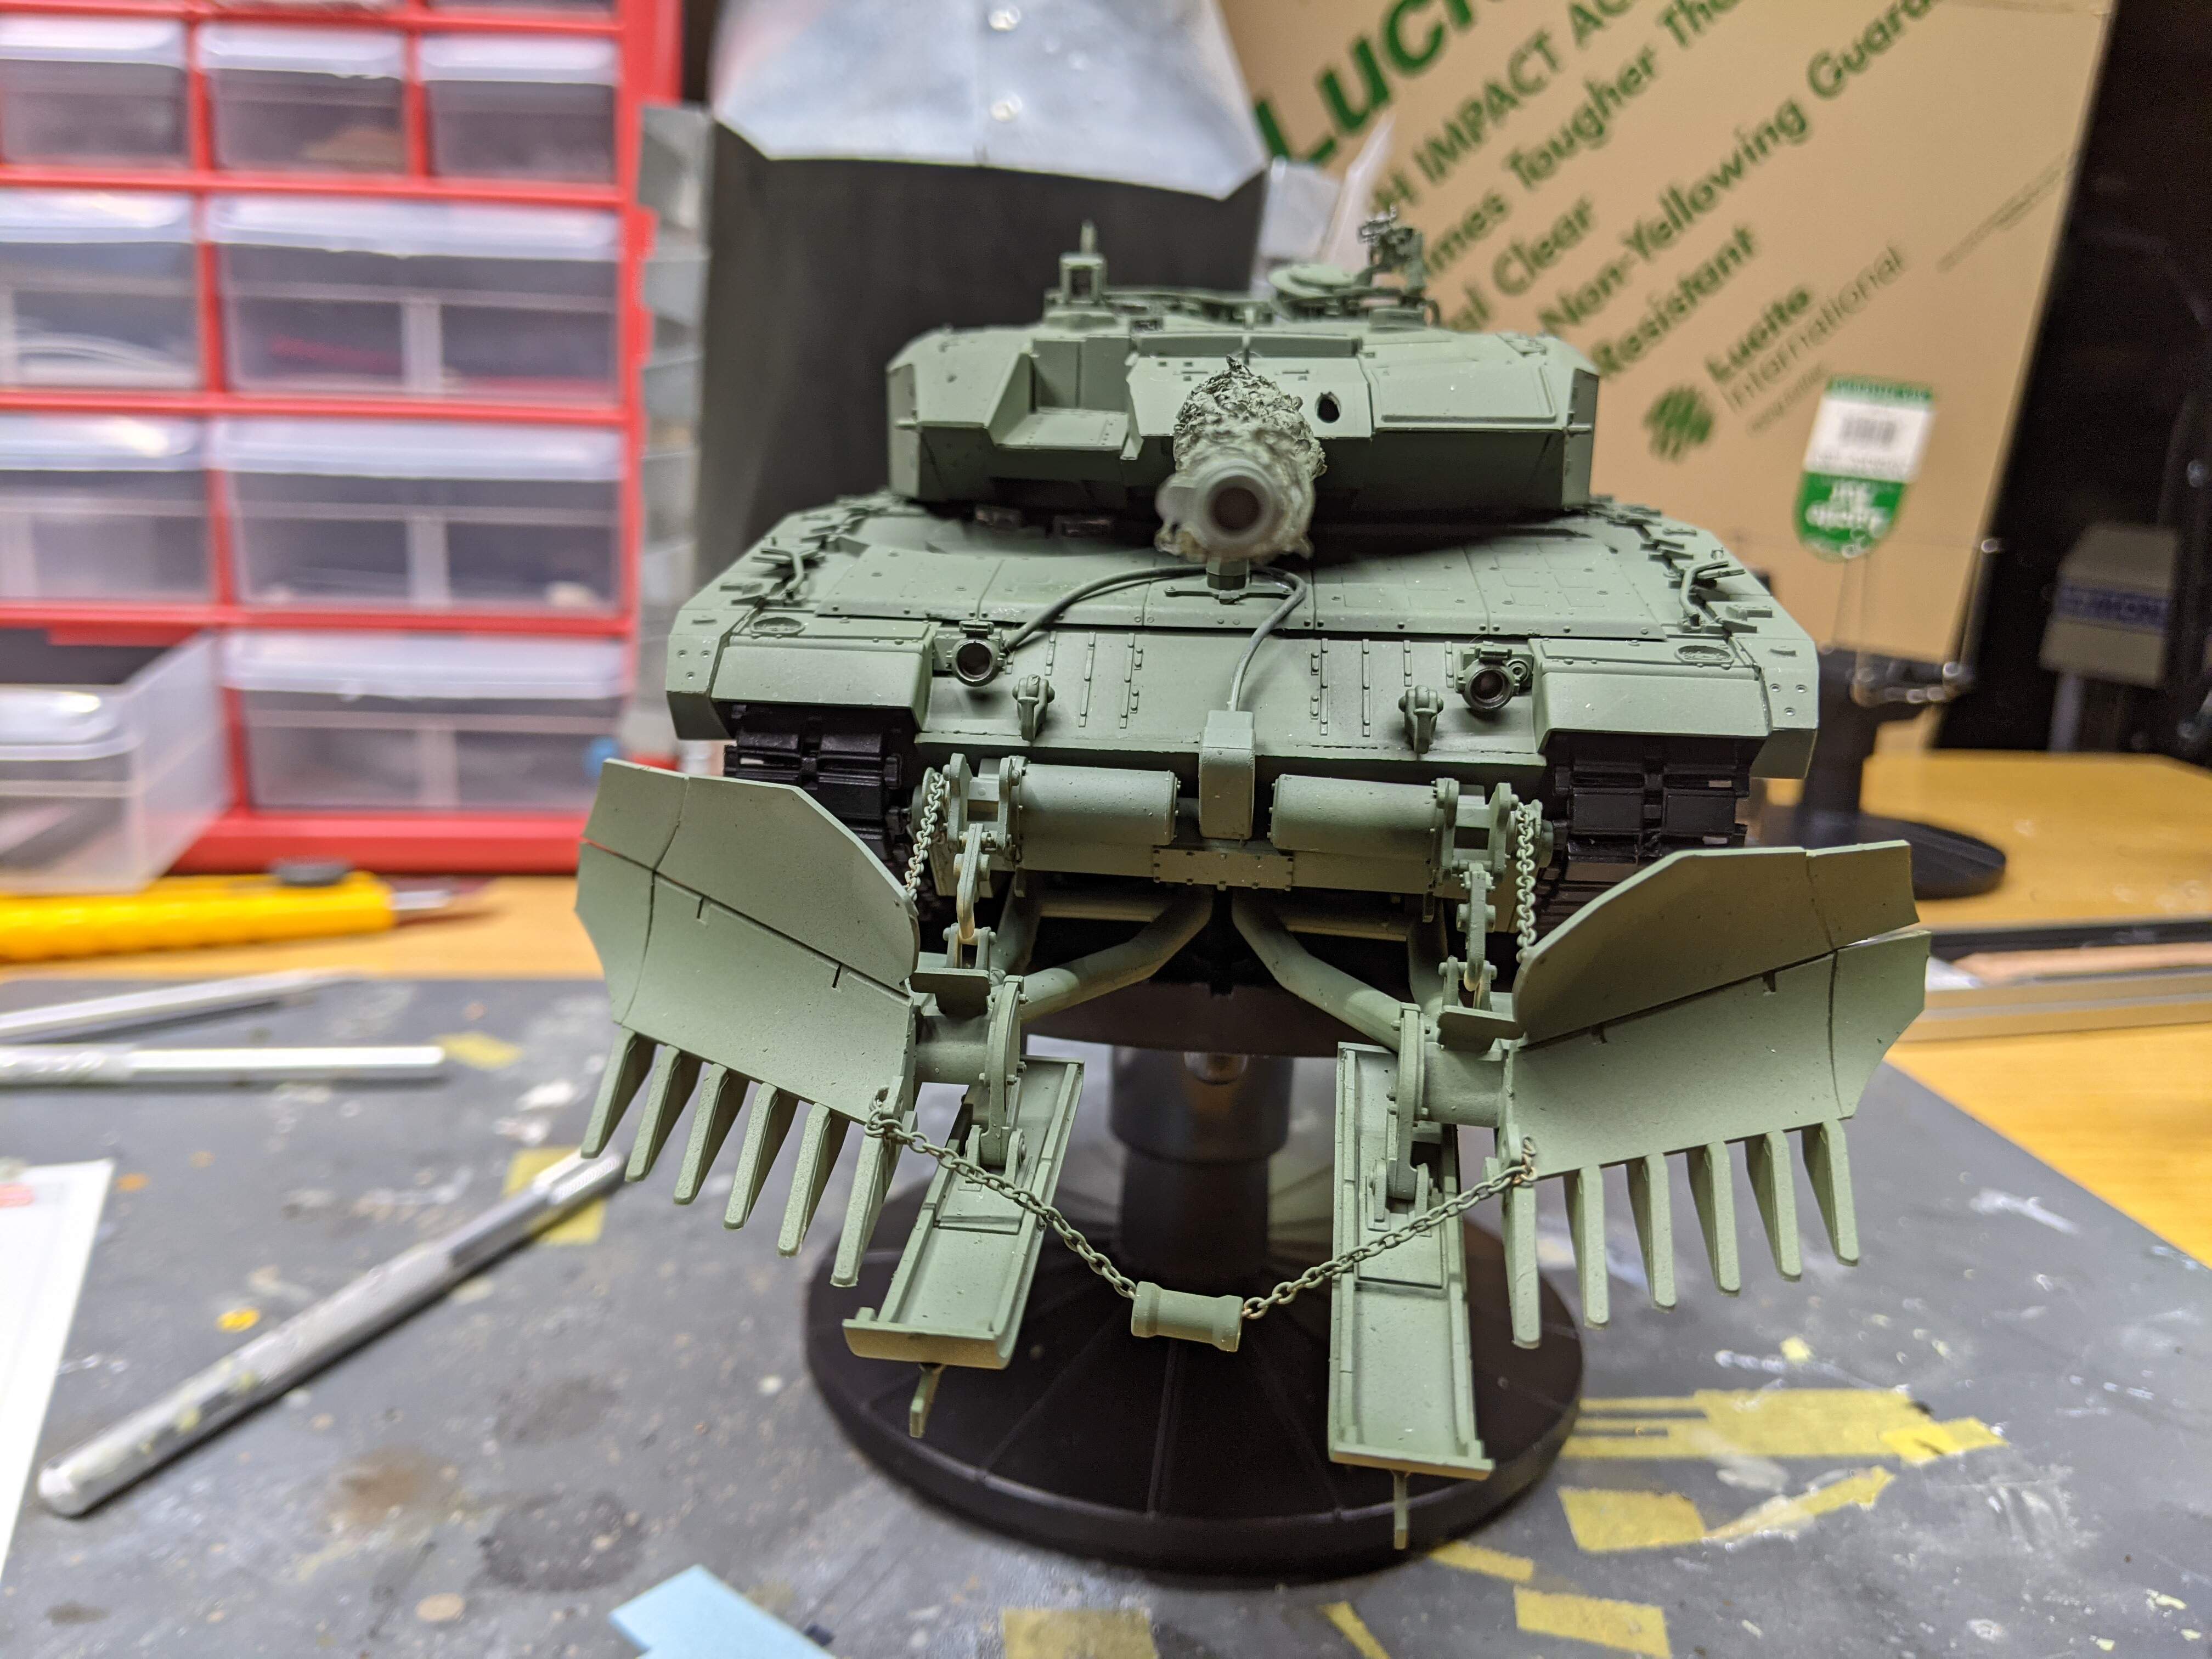

That’s all for now. Stay tuned for more velcro patches!
Dennis
7 Likes
Wash applied and ready for chipping…
I think its my secondary lights I have on near my bench that makes it look so yellow…
I plan to build another M151a2 TOW later in the year that will have lots of PE and things like DEF wheels so I will defiantly be doing research and stuff for that build. This kit was just a fun little intermission between TUA’s.
6 Likes
The only scratch built addition I will be adding. Its the folded over antenna for the radio.
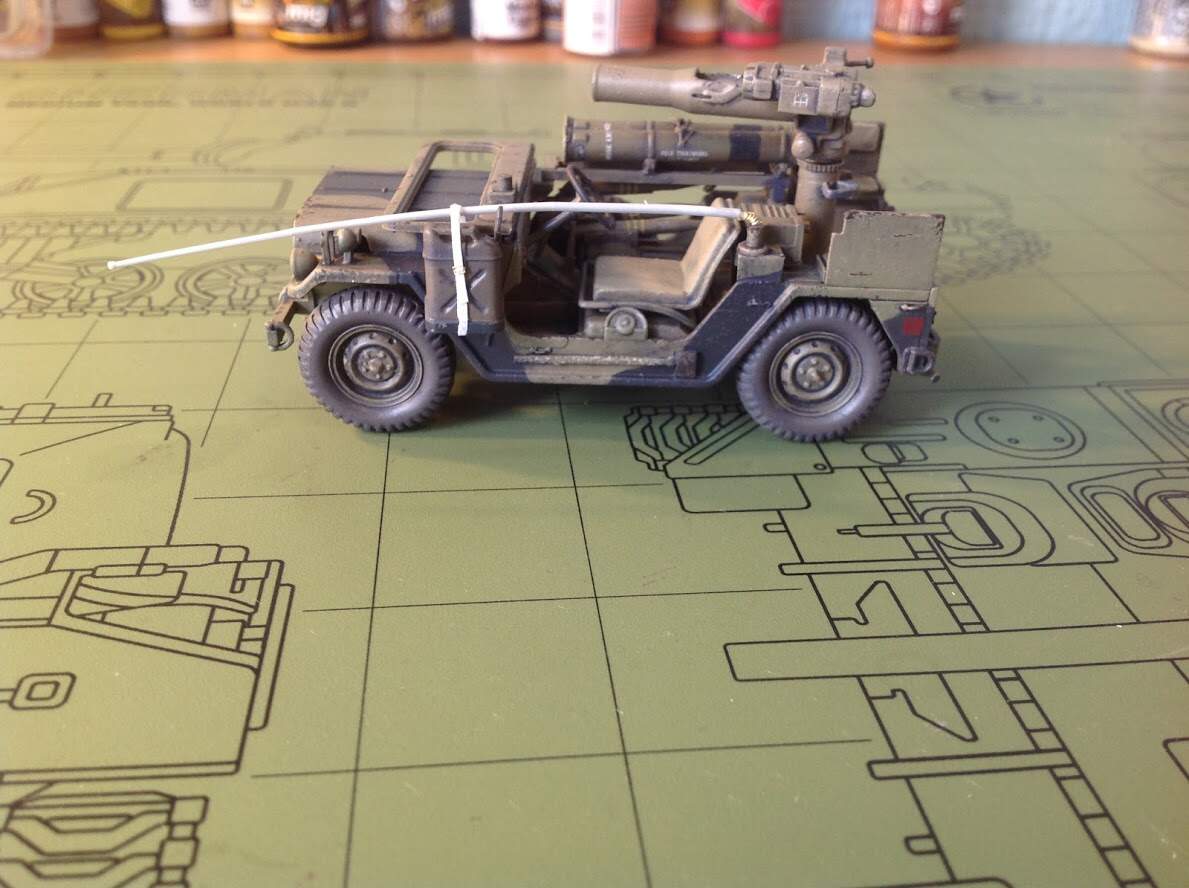
Based loosely off this picture.
Not perfect I know but I can live with it. Once its pained I can start the mud effects.
7 Likes
Striking while the iron is hot and the bench is still a mess, I’ve started work on my Mustang Mk I Fighter-Recon bird.
I’ve been trying to track down a model for the project, in any scale, for several years now without luck and then I finally stumbled upon a few on eBay. Model is from Accurate Miniatures. I’d never even heard of them up until now but so far I’m very happy.

It’s going to be a (blessedly) simple build. There’s just enough cockpit detail to make it interesting without feeling like I’m entombing weeks worth of painting. The instrument panel is actually clear with a very nice decal to lay across the back. Makes the gauges really pop with minimal work (and some generous use of liquid latex).
So far the fit looks excellent. Not a mm of flash to be found and I think I’ll only need a little putty here and there to help hide the fuselage seams.
Biggest headache so far, and the reason I build armour, has been the canopy glass. There isn’t enough raised detail for me to scratch my own masks, so I just had to drop $10 to fly little bits of masking tape from Poland…
Here’s the aircraft I’ll be modelling
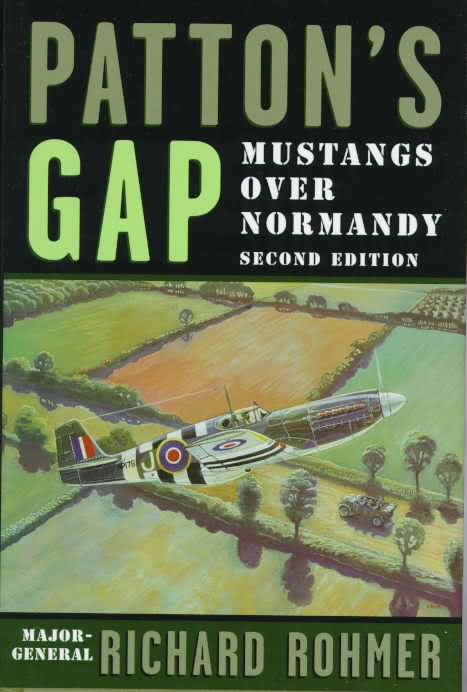
I’ve had the pleasure of meeting The General several times over the years. I can’t prove that’s actually the bird he was flying on D-Day, but he’s an absolute stickler for details so I’m fairly confident that cover wouldn’t have been published unless it was.
Given the luck I’ve had, and how much I think it adds to the look, I might get real ballsy and mask/spray all the markings rather than use decals, but we’ll see when the time comes.
5 Likes
Nice looking build glad to hear the kits are great. I’m picking up a dauntless by accurate miniatures latter this week! I too had never heard of them till this week but people who build planes a lot seem to have excellent things to say
Accurate Miniatures was a good company. The ones they created most people liked. There molds have been sold to other companies, so research is needed to who reboxed what. In a number of cases that is Academy.
The only other gripe I have, and it’s small, is their instructions are a little… vague especially when it comes to paint call outs. Nothing insurmountable by any means, but not Tamiya by a mile.
Sounds a lot like the tristar kit I am building. Highly touted by a lot of people, great kit mostly, a few very annoying issues like bad paint fallouts.
Just means I get to spend hours looking at cockpit photos!
1 Like
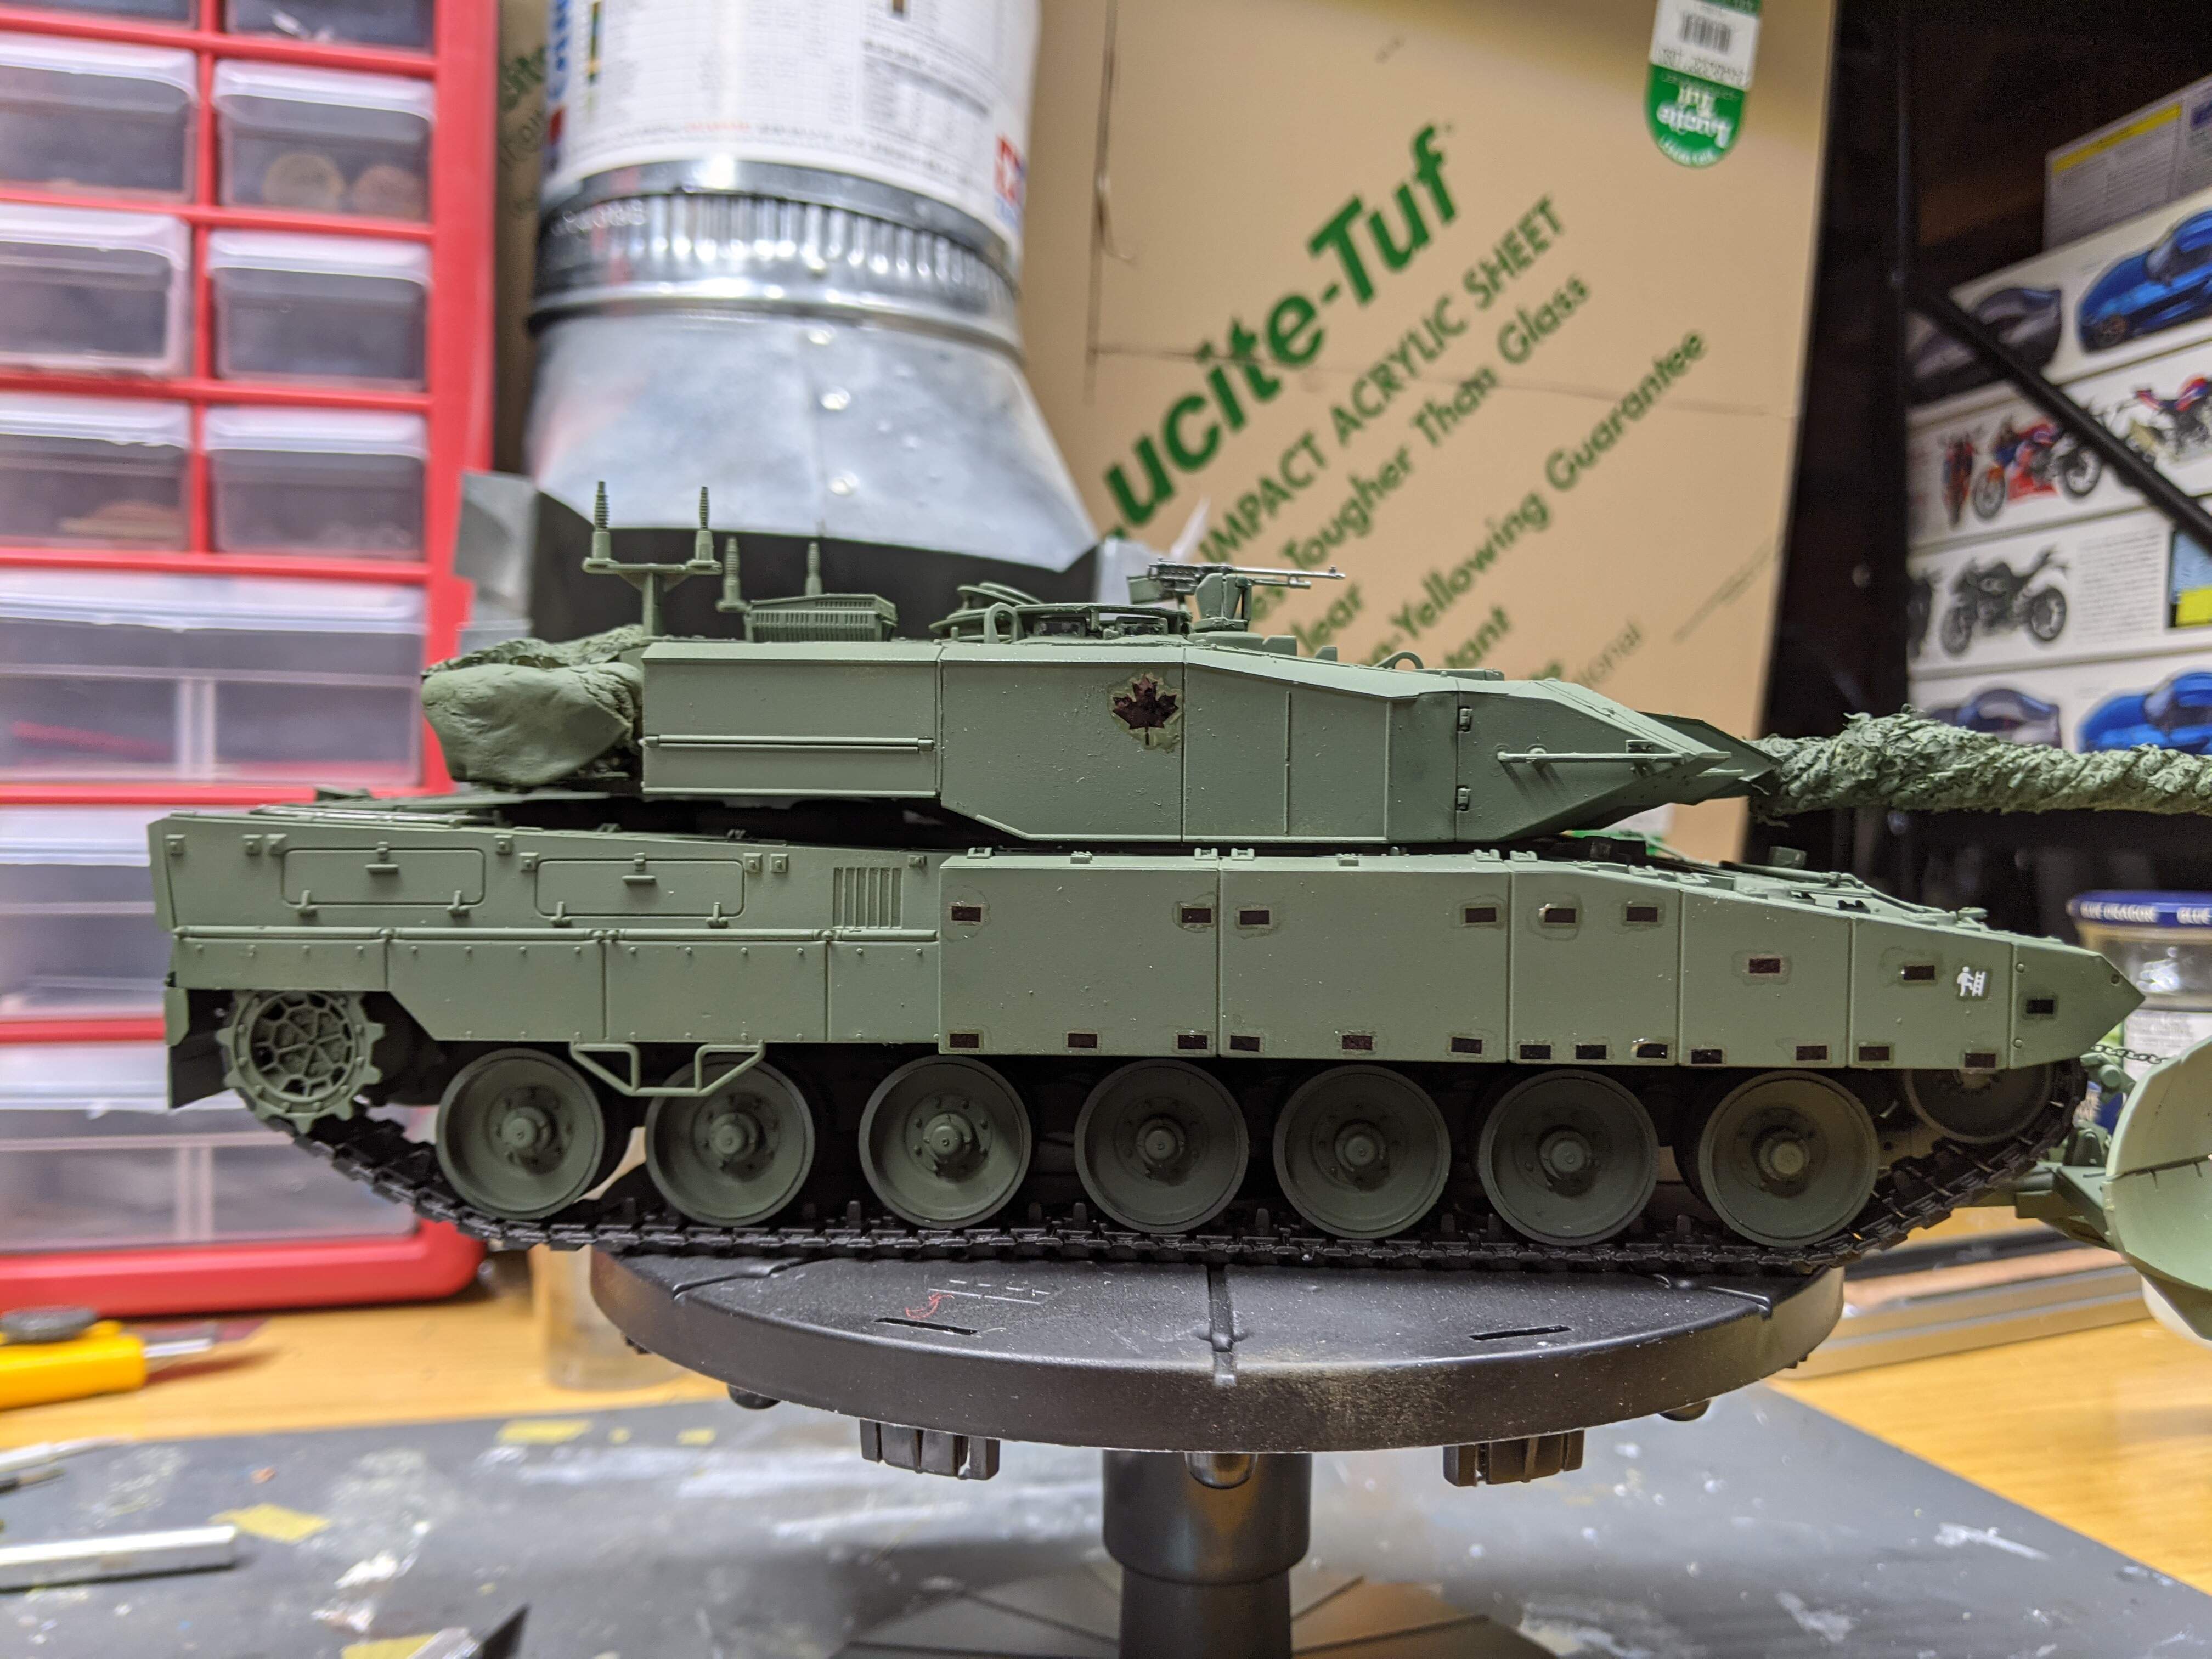
Today’s progress on the Leopard:
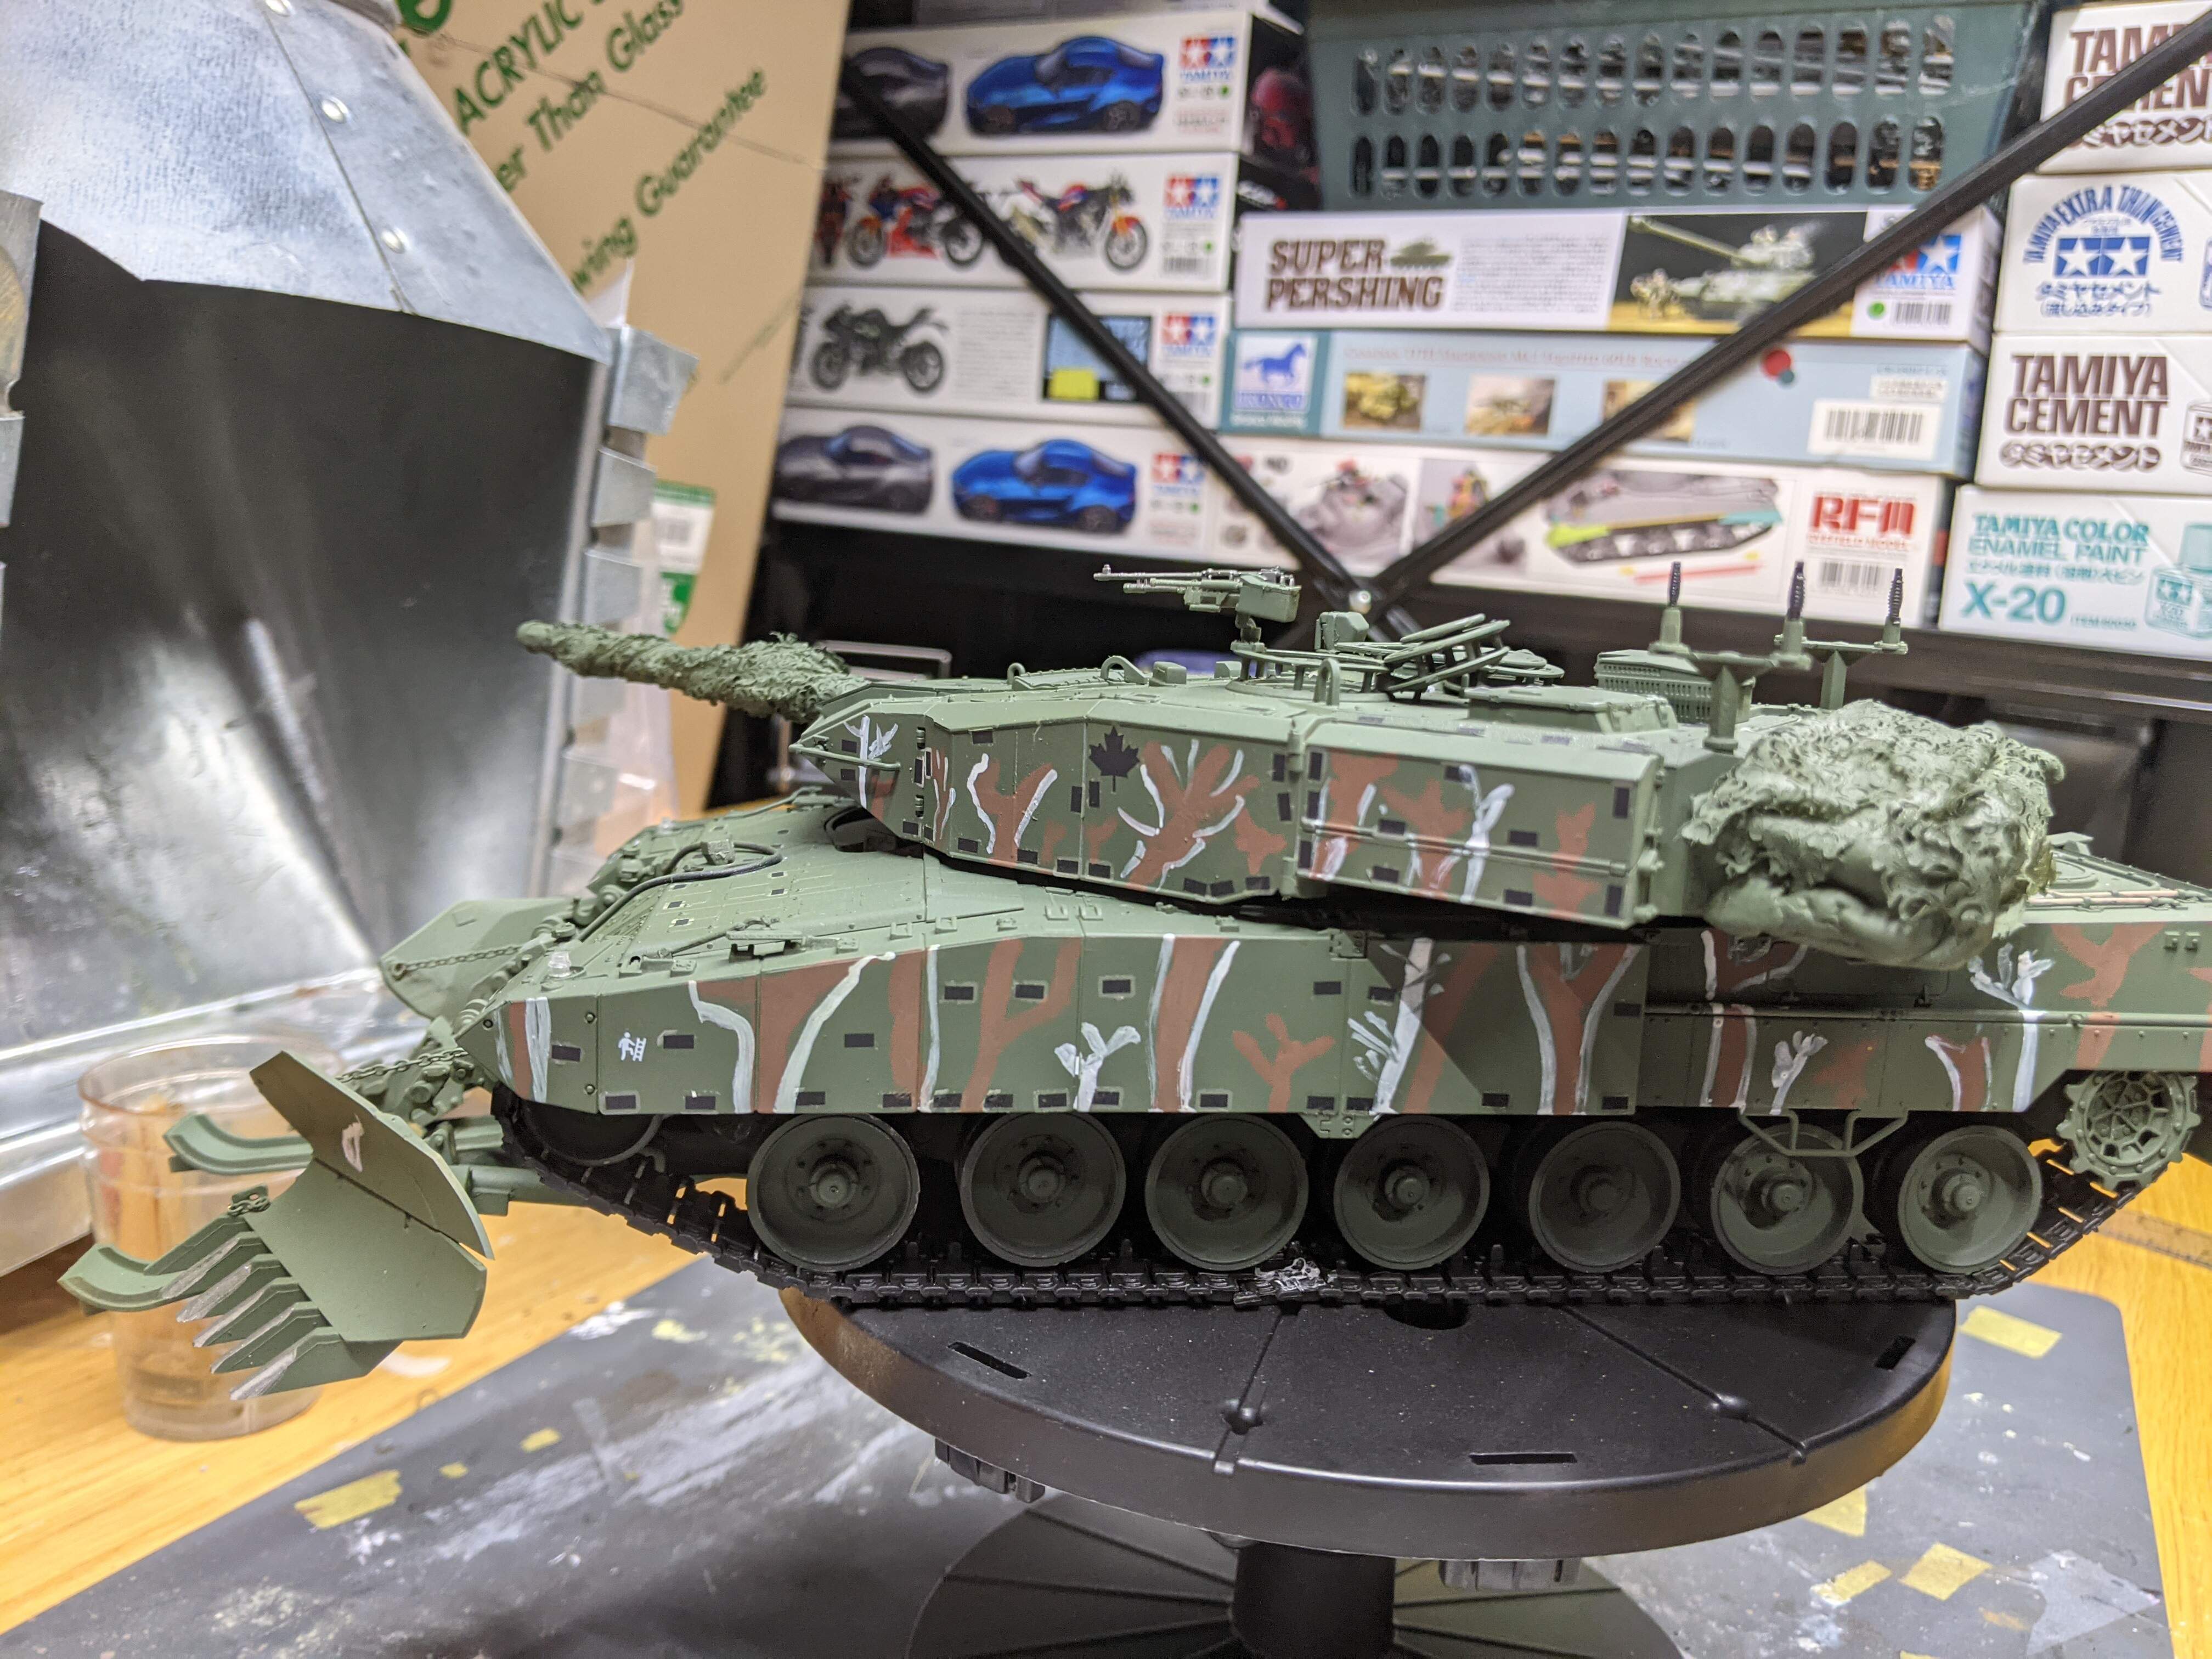
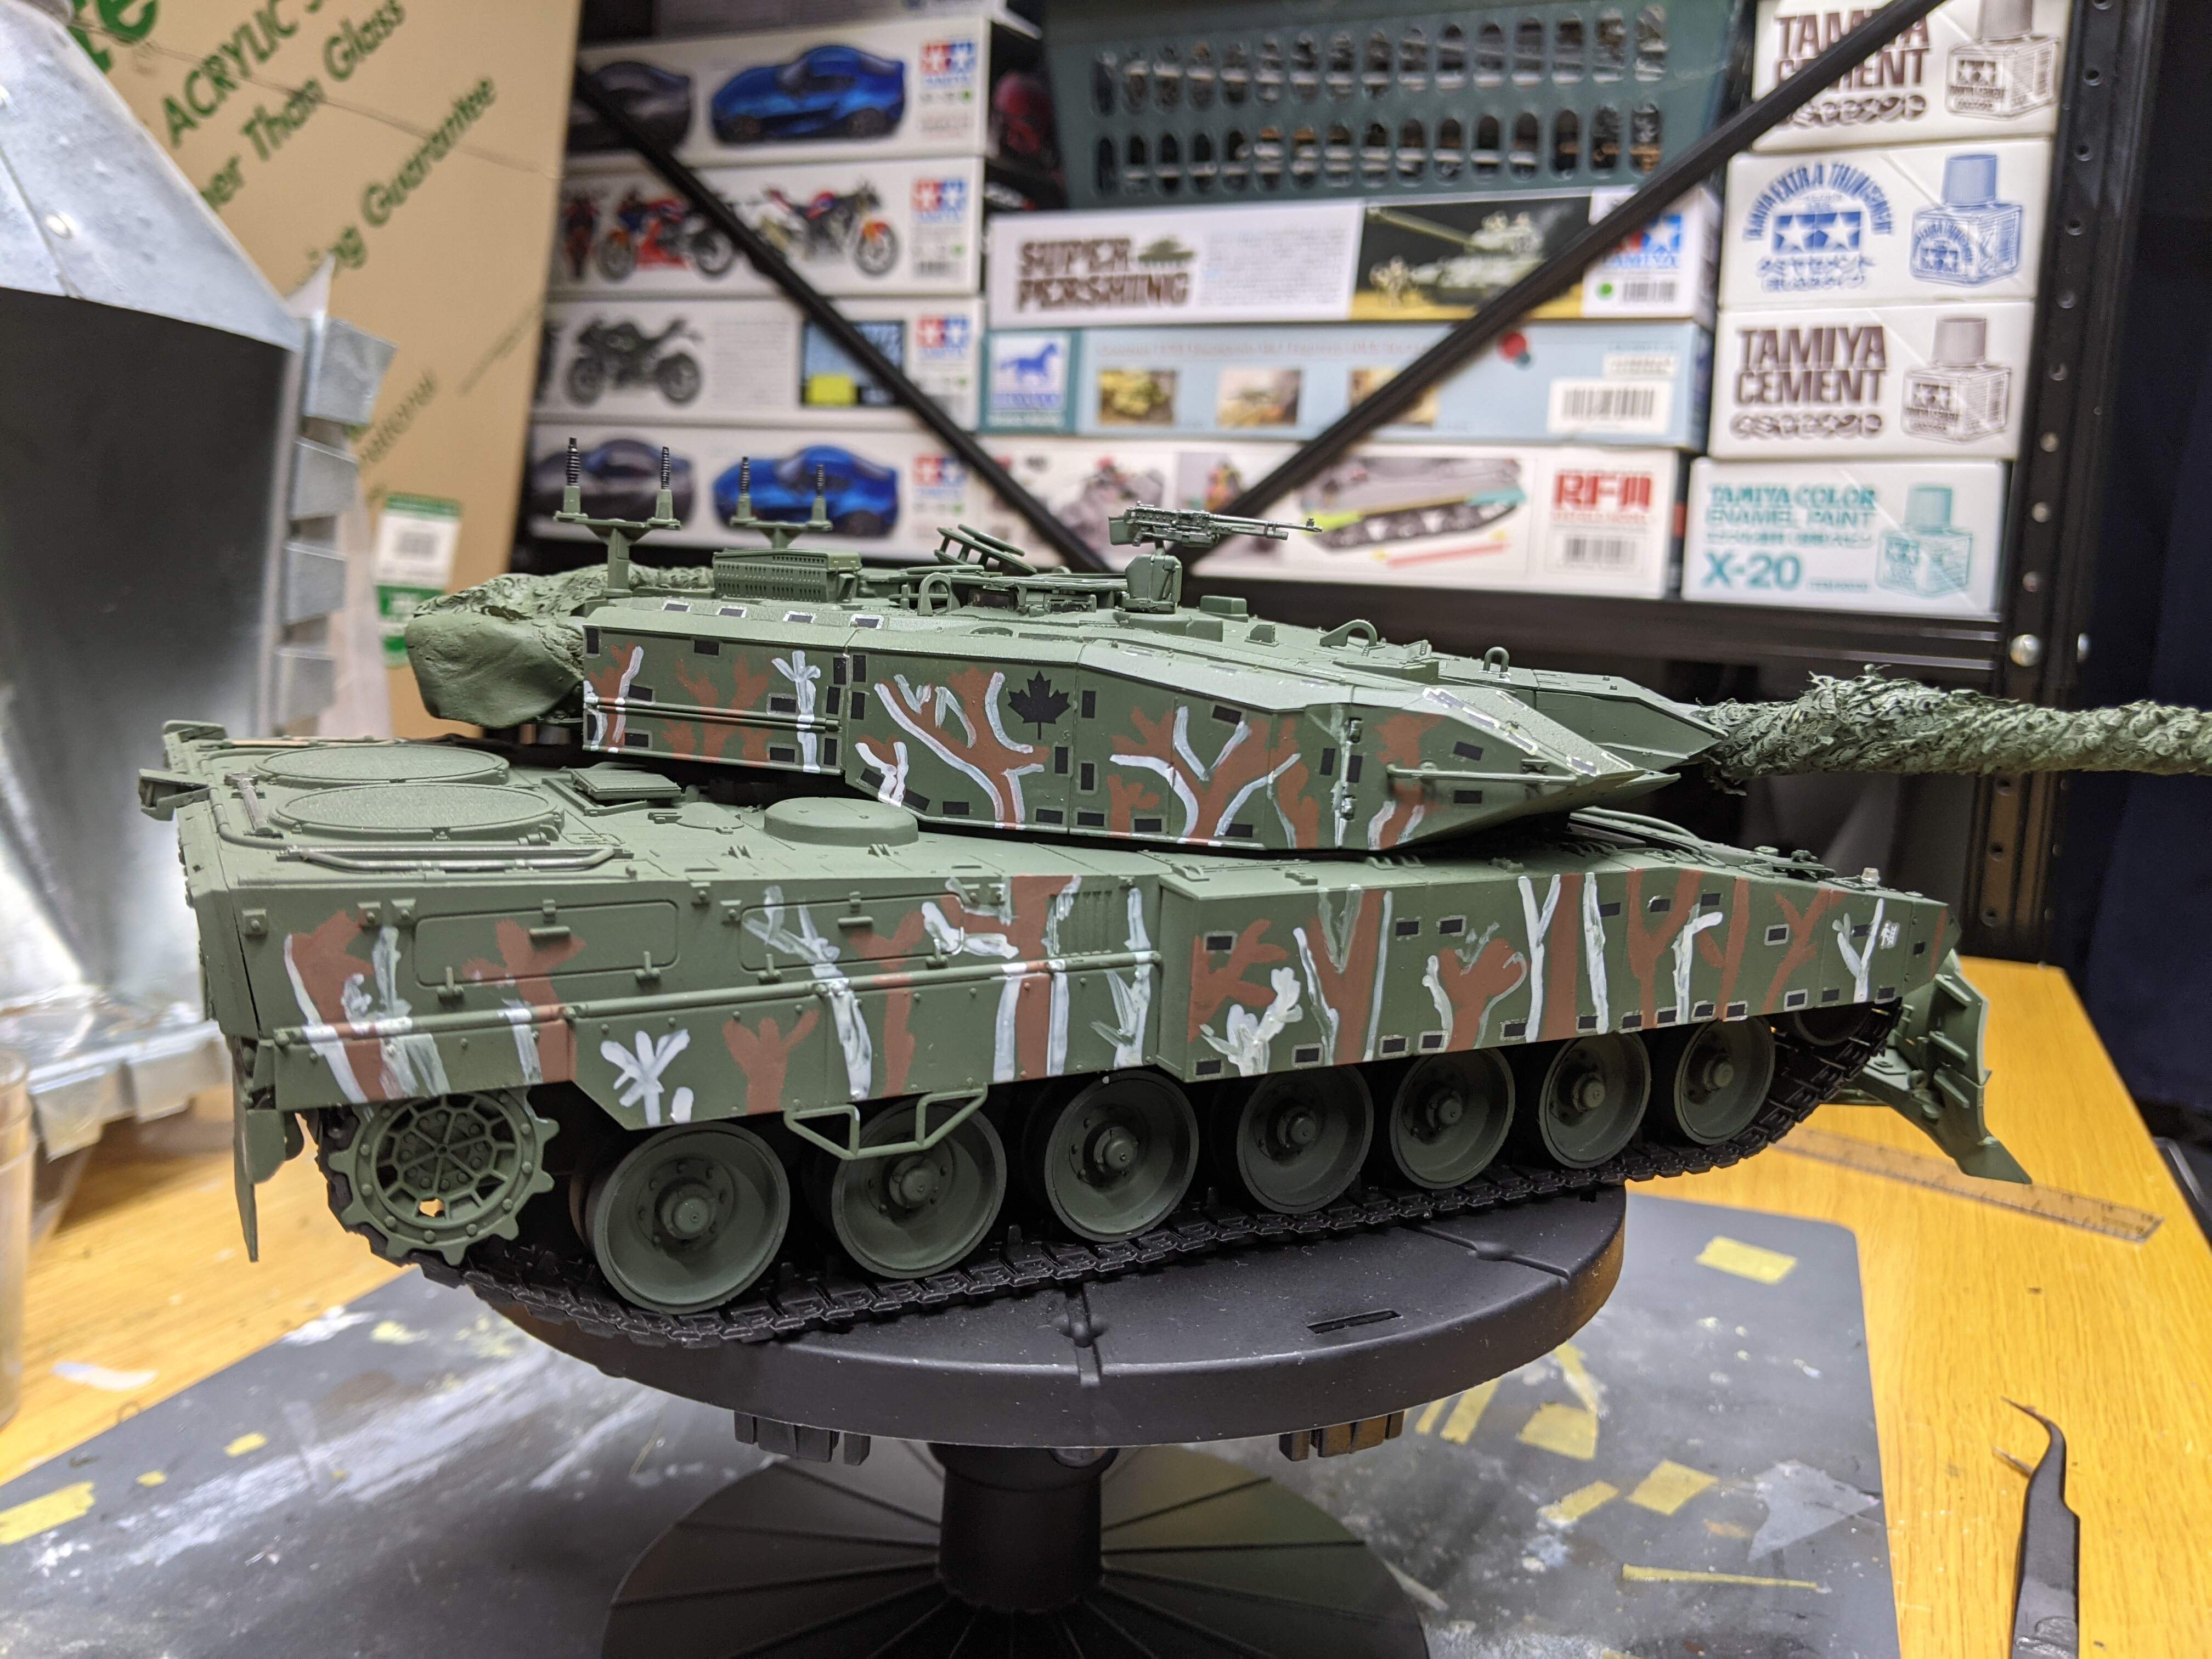
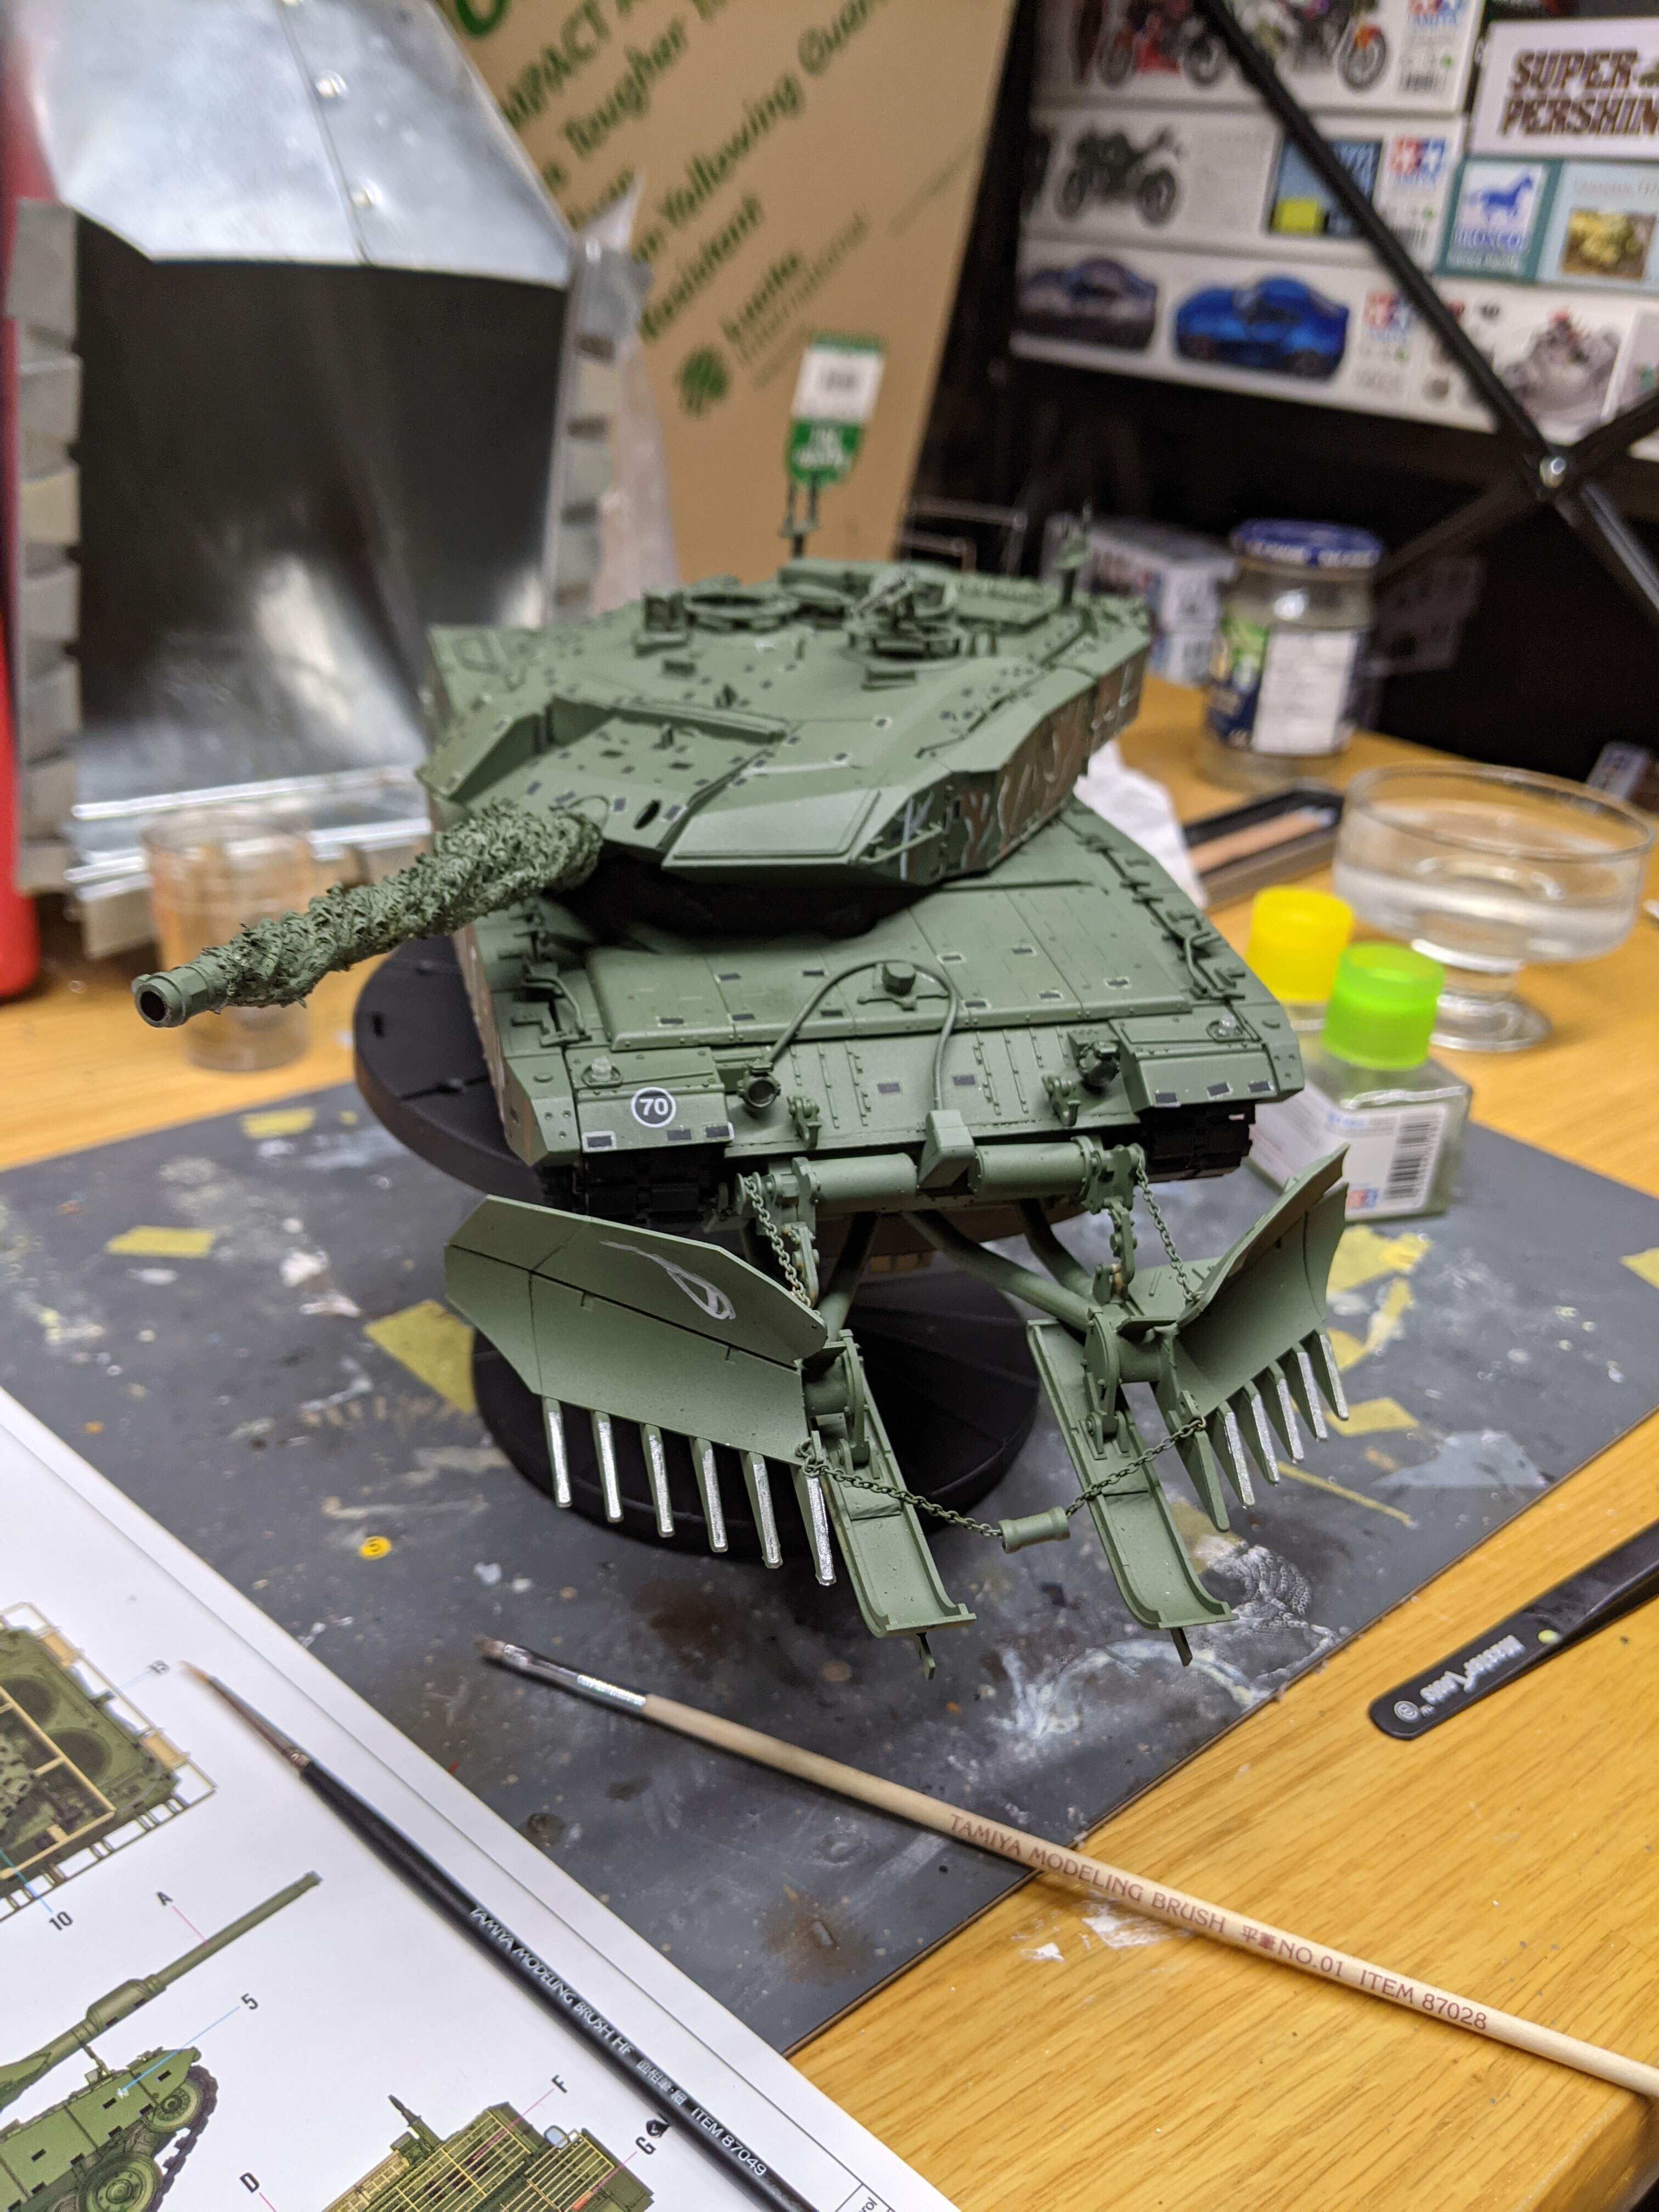
Decals are completely done and under a flat coat. I also took the liberty of adding the field camouflage, created by a bunch of tankers, some craft paint, and ten cases of Monster. The result is a crude, yet strikingly effective scheme which captures with unerring accuracy a forest moving at 40km/h across the grass fields of Wainwright. All of that was brush painted. Anyways, time to weather!!
Dennis
8 Likes
That looks stupid good. Shame about the Velcro patches going all weird on you. What do you think happened?
1 Like
Well it seems there might be something in their formulation that’s making them a bit squiffy, I was looking at the press photos of this kit and the one Hobbyboss was showing off had some serious silvering. The decals are really weird, they’re fairly thin but they don’t settle down unless I bathe them in Mark Fit.
My best guess, being someone who makes waterslides, is that whoever printed these for Hobbyboss really skimped out on the cellulose adhesive backing. It would explain why they don’t want to stay put, and as far as I’ve read, if the backing adhesive is poorly formulated it can lead to silvering etc. They work, and in the end once I weather everything they won’t be noticeable, but be aware that if you want to make a 2A4M that you should have all your decal solutions on deck.
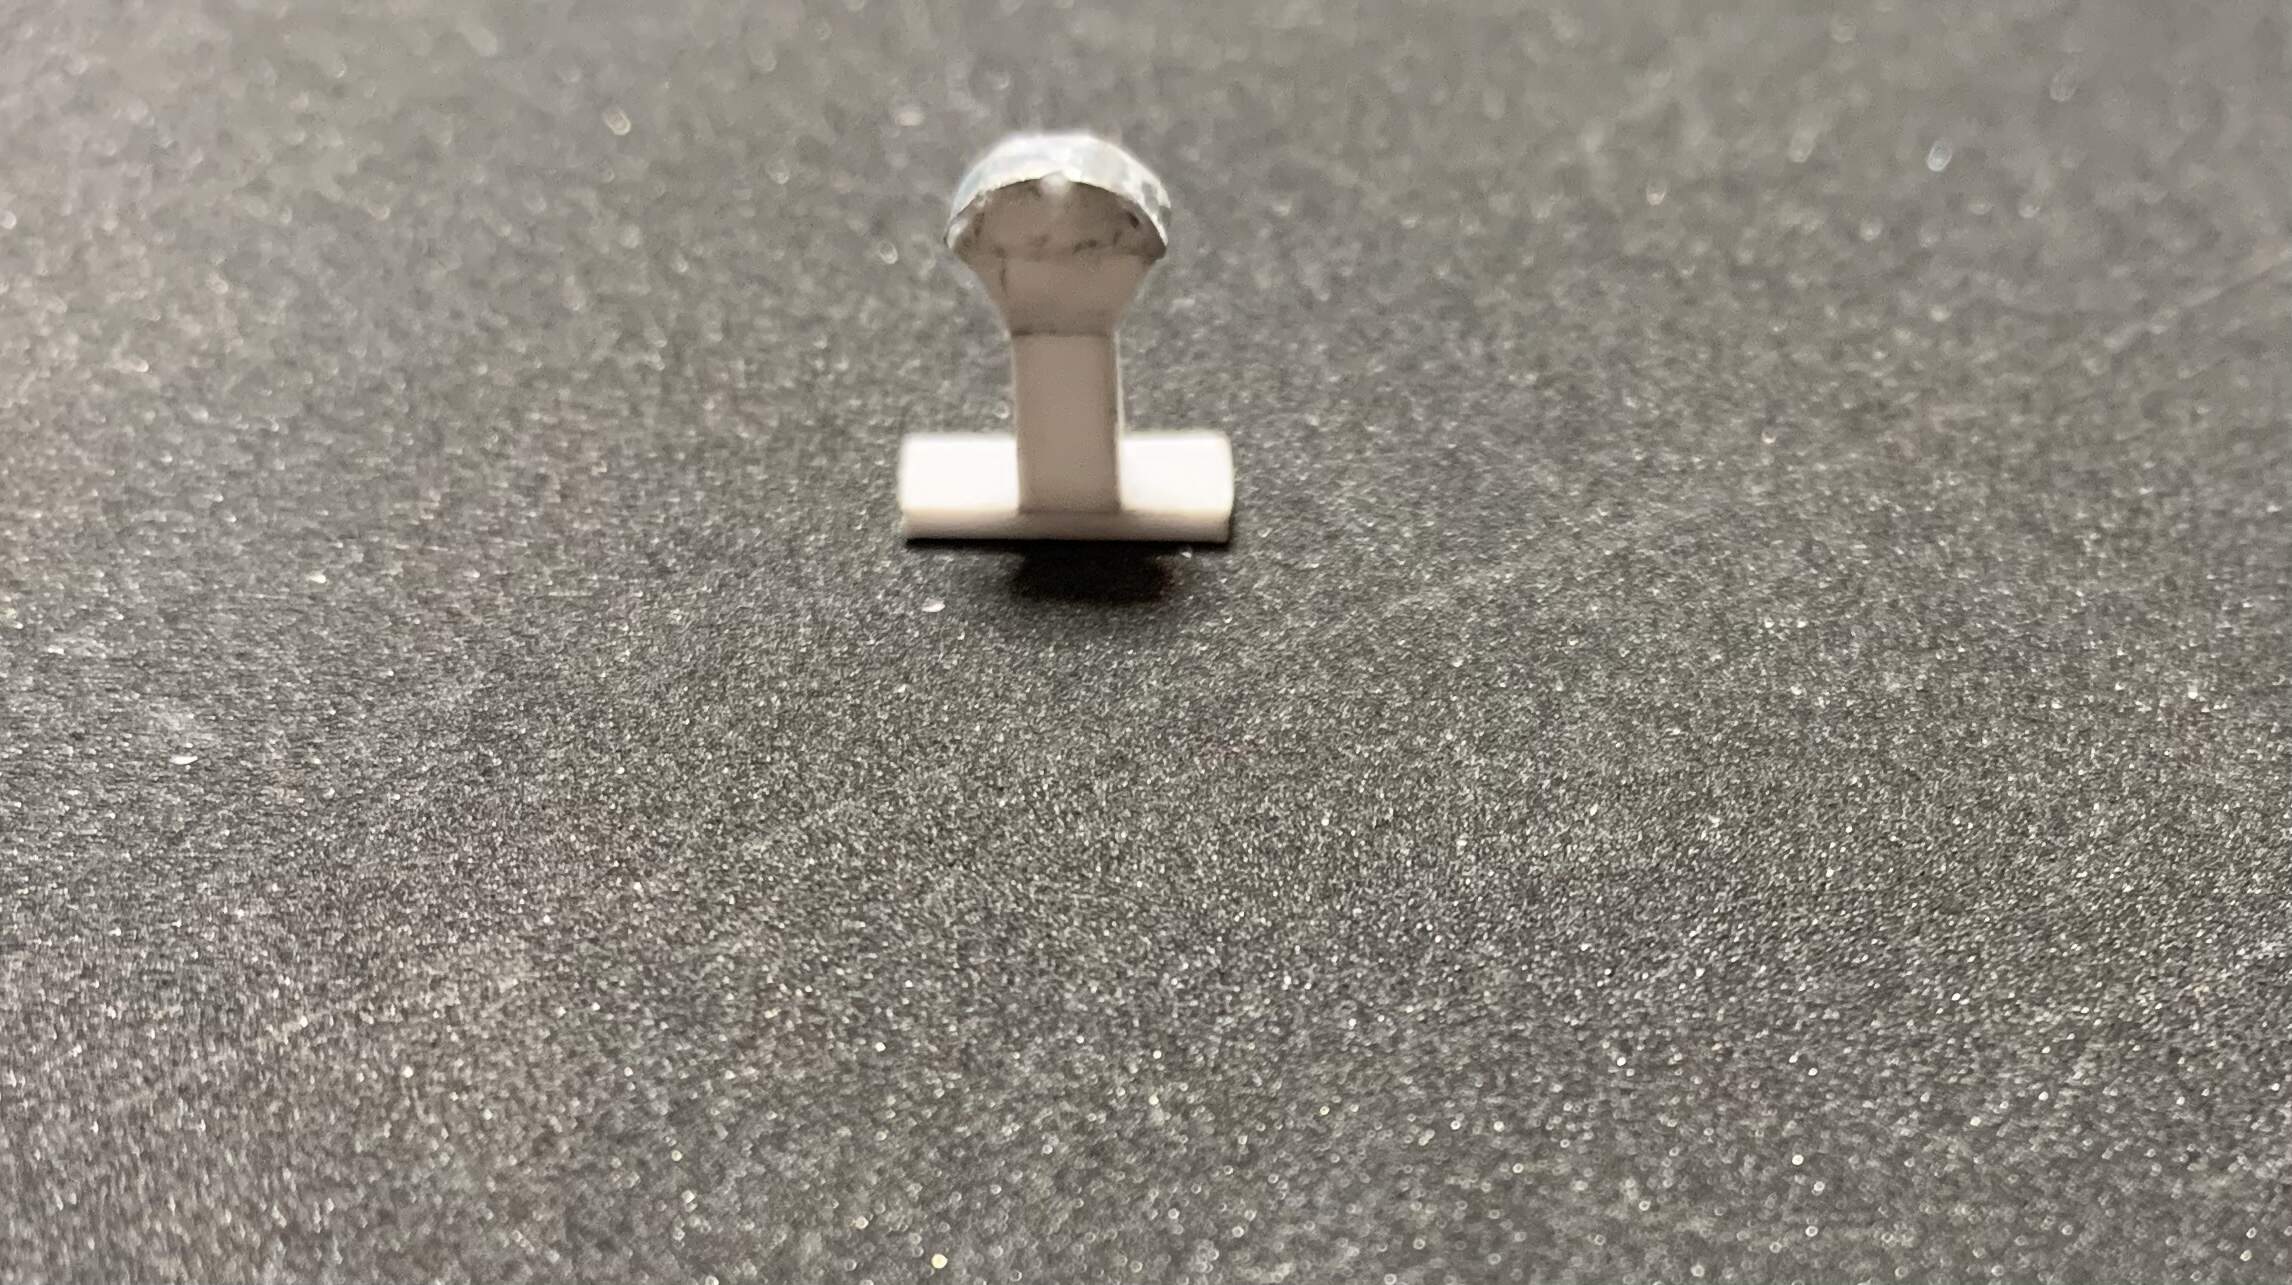
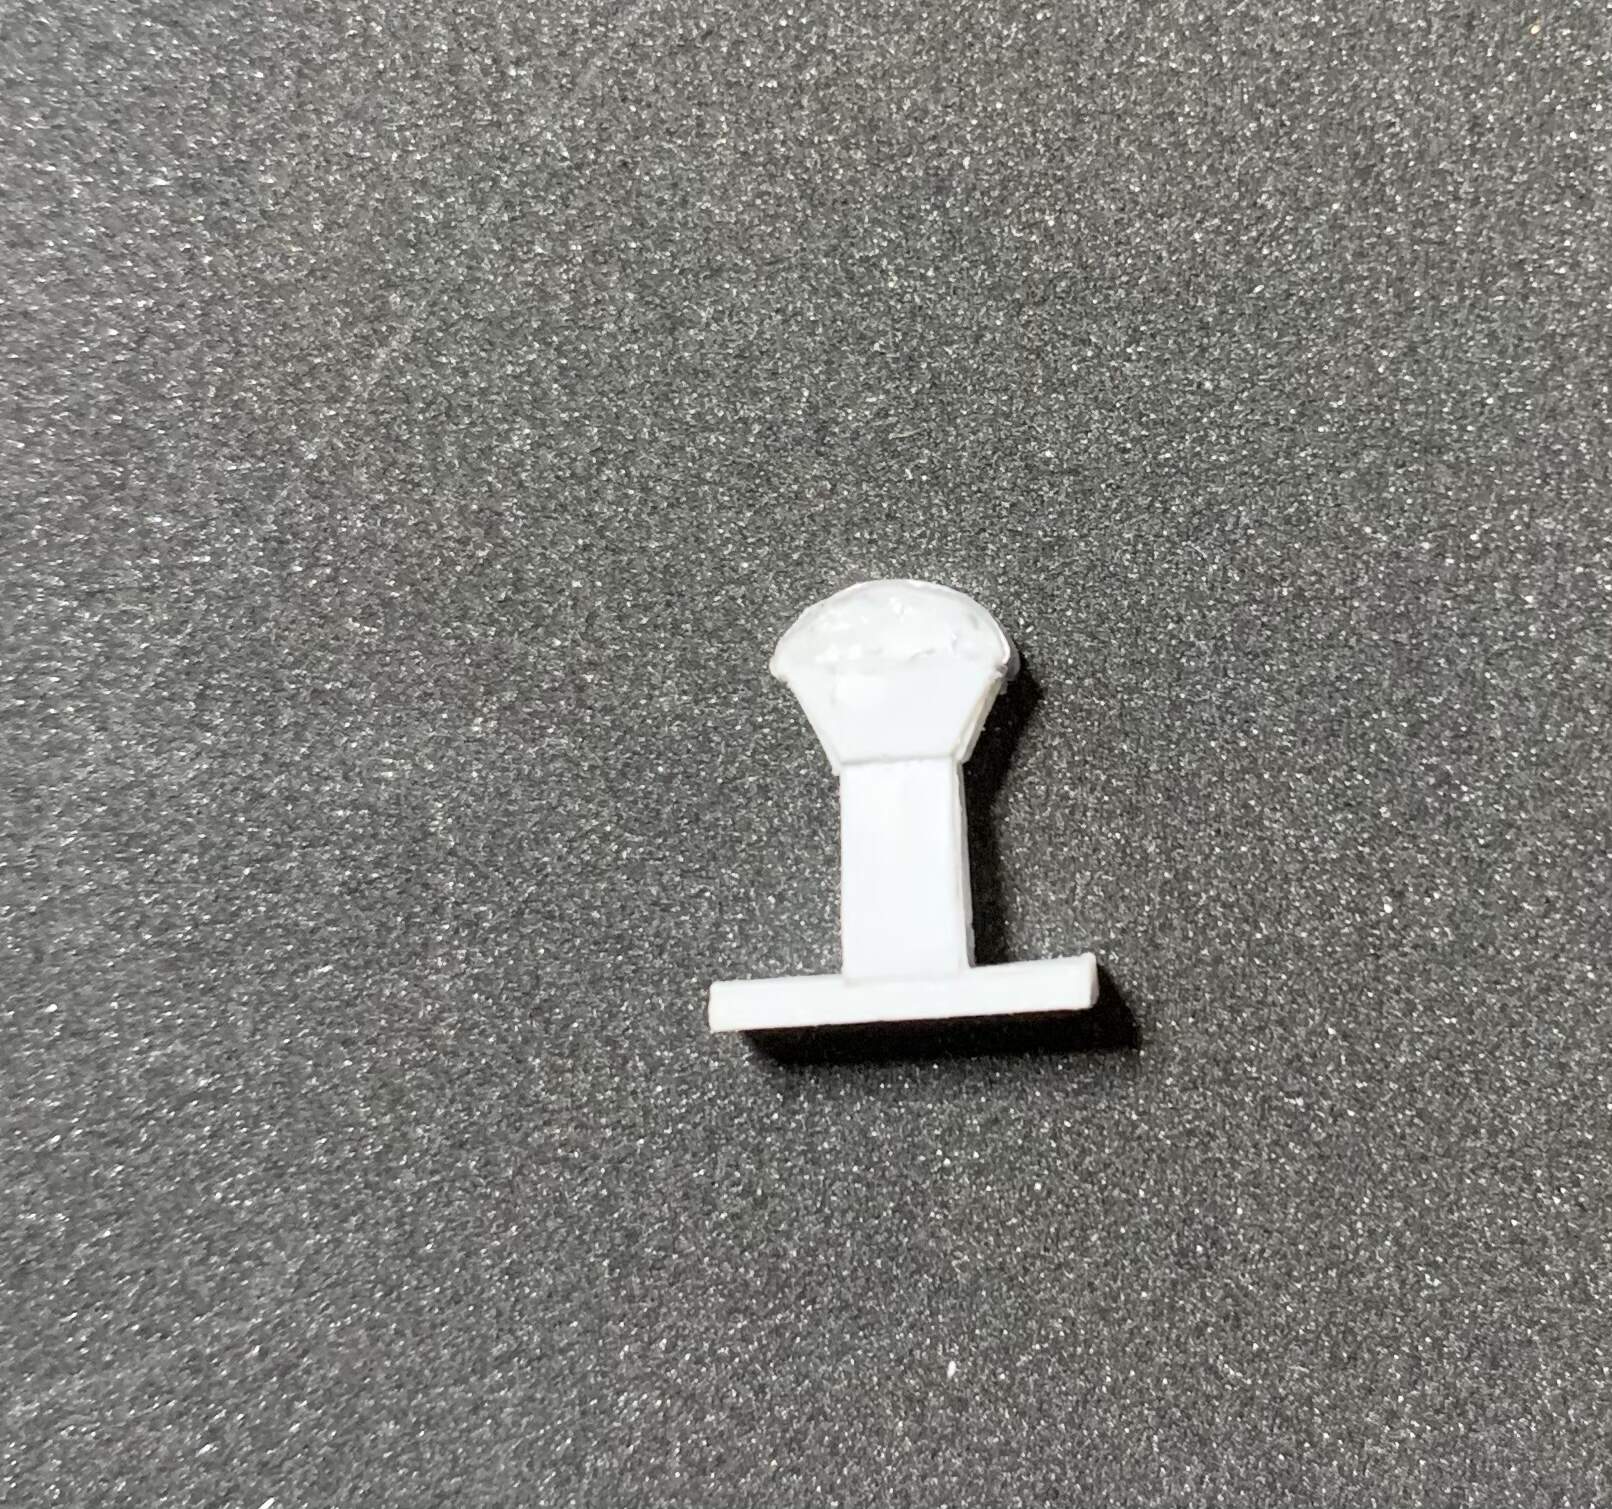
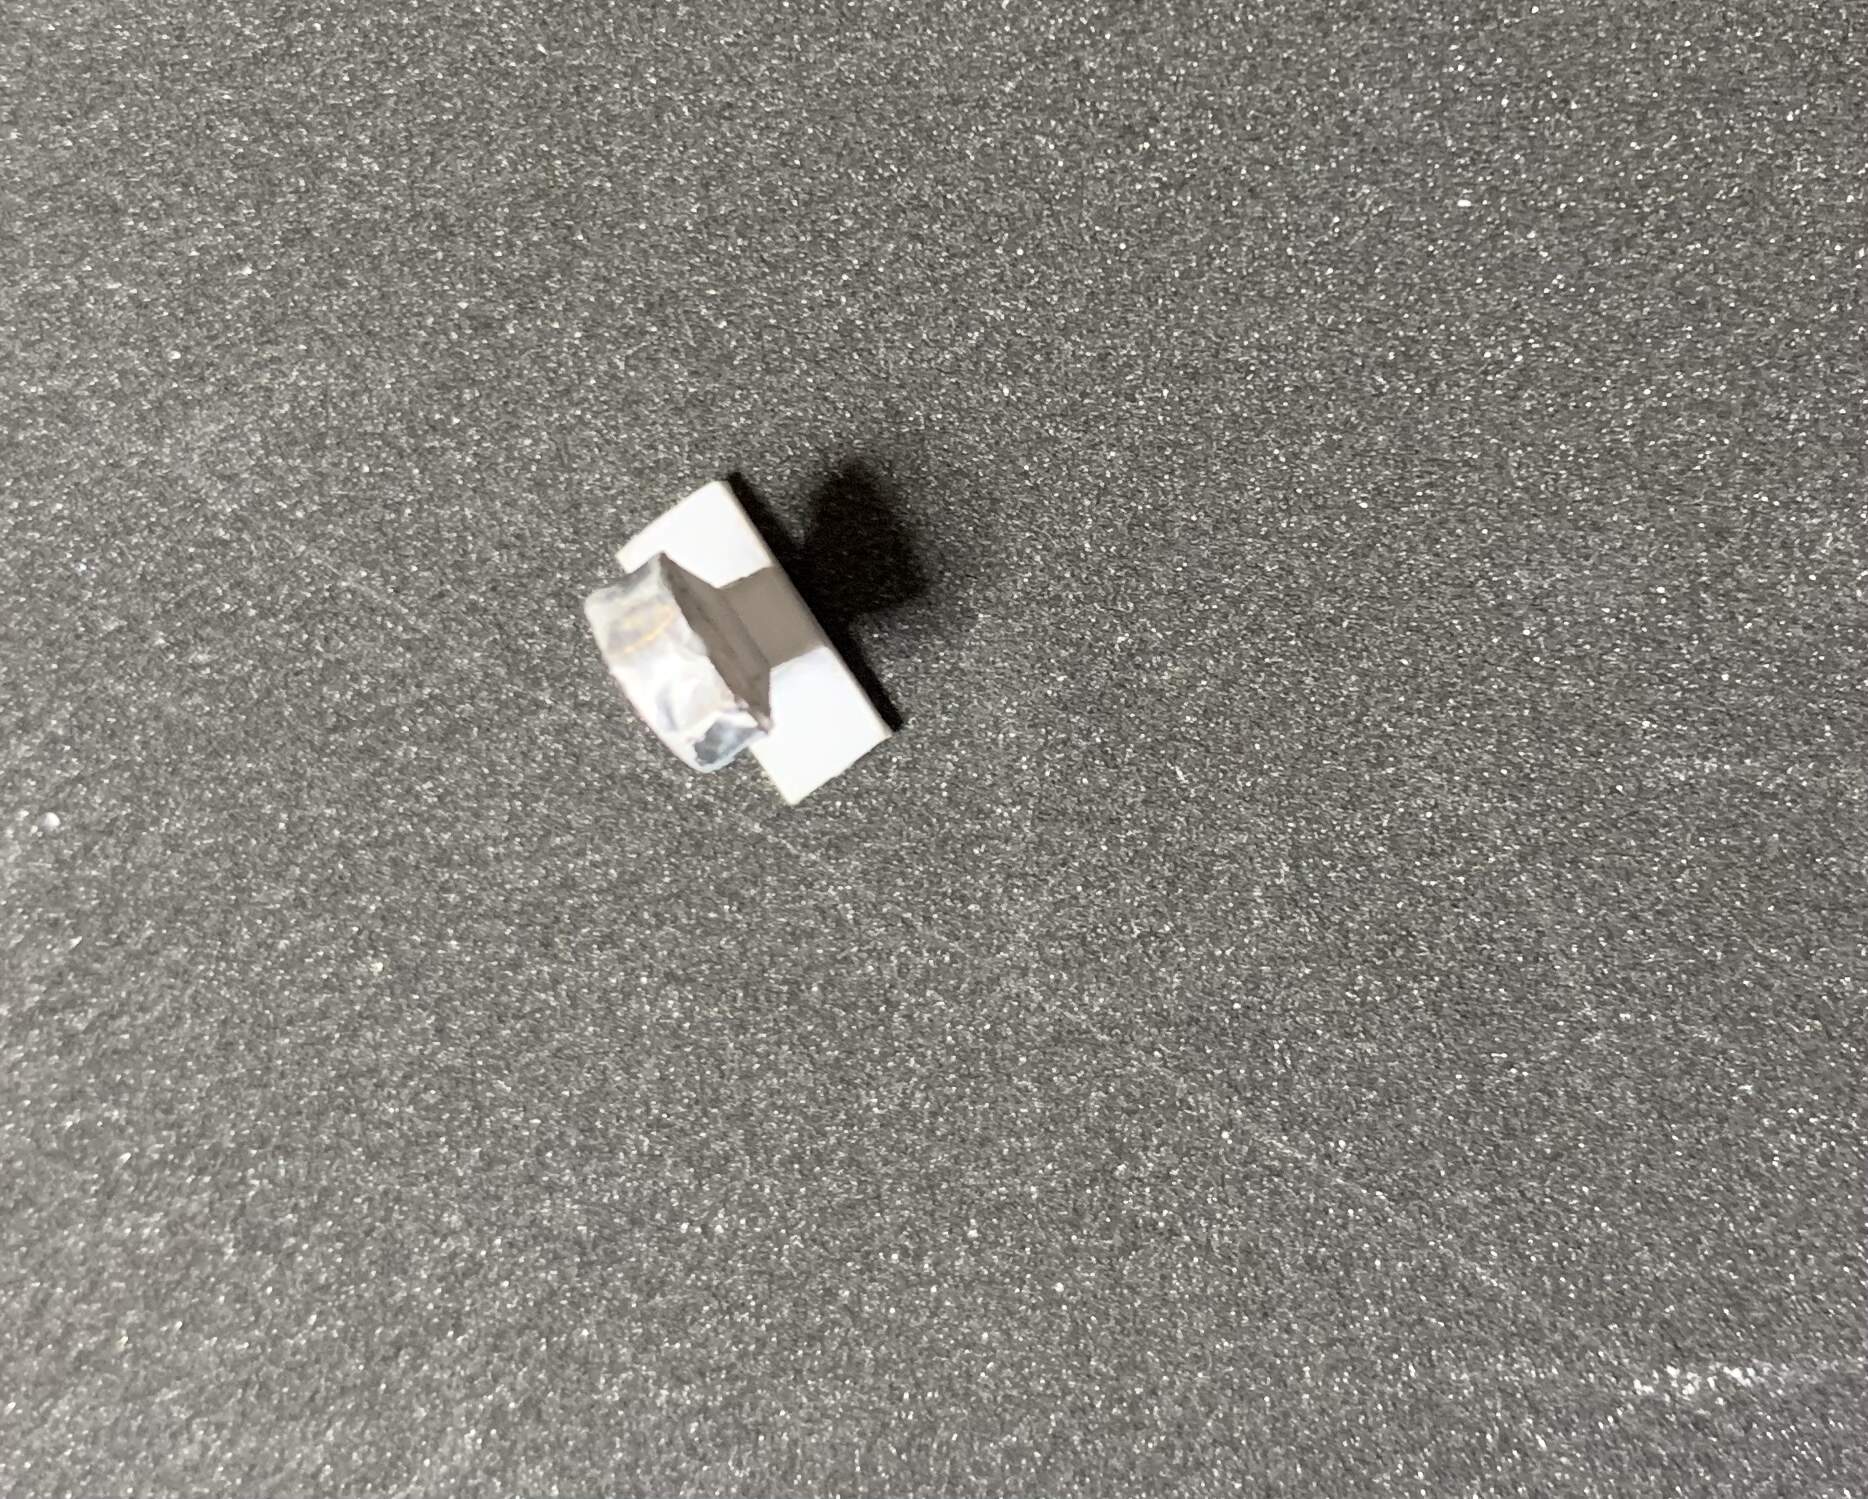
Fixed the gear shift, still have to add the stick, but I’m much happier now. I changed the dimensions, the old one looked like an ice cream cone lol.
OLD:
NEW:


3 Likes
Silvering decals, my way:
- Air brush the whole model with a satin misting of clear (to get the same darkening all over). Let it dry 24 hours or more
- Soak the decals thoroughly and wipe off any remaining glue
- Use hairy brush to place a small puddle of clear coat where the decal shall be placed
- Bed down the decal in the wet clear coat
- Push it down with hairy brush to push out the excess clear coat but don’t get too enthusiastic
- Brush the excess in over the decal and wipe off the rest.
I use Tamiya clear or floor polish.
The idea is to use the decal to shape an decal-adapted surface while still avoiding glossy patches outside the decal. This gets rid of silvering due to a matt paint surface. Iffy decal glue is washed away so it doesn’t enter the equation. The top surface of the decal gets hidden and protected under a layer of clear coat. This lets the decal blend in with the surrounding paint in terms of light reflection and if I were to do any weathering the decal “behaves” like the surrounding painted areas.
P.S. It only works for “flat” surfaces. Bolt heads, ridges, panel lines and other raised or depressed details under decals will need to be treated with other methods.
1 Like