I think I’ll take a deep breath and put it on the shelf, it’s been a headache from the start so I am reluctant to finish it. But I think I’ll try to salvage what I can for spares. Annoyed I ran into problems so late.
Trying to figure out if either my Mustang or F6B tac recee from accurate miniatures is appropriate for any of the RCAF squadrons they flew mustangs. If so I’ll build one of those and redo a spitfire later
430 Sqn. flew Mustang Mk Is in the F/R role. These are equivalent to the F-6A and are the first production run P-51s (no letter designation).
The F-6B is the F/R variant of the P-51A/ Mustang Mk II.
From the little bit of reading I’ve done, the few Mustang IIs outside the USAAF were flow exclusively by the RAF.
But… there is hope depending on how much Accurate Miniatures reused their sprues. The biggest difference between the Mk I and Mk II is the move from the x4 20mm cannon to x4 50s. If your bird doesn’t have the 20mm you’re a little out of luck.
The rest of the differences between the two Mks seem to be minimal from a 1:48 scale standpoint. If the F-6B you have has a ventral camera, delete it. The Mk Is only had the port side oblique camera. Mk Is also we’re not equipped with hard points, so no bombs/drop tanks.
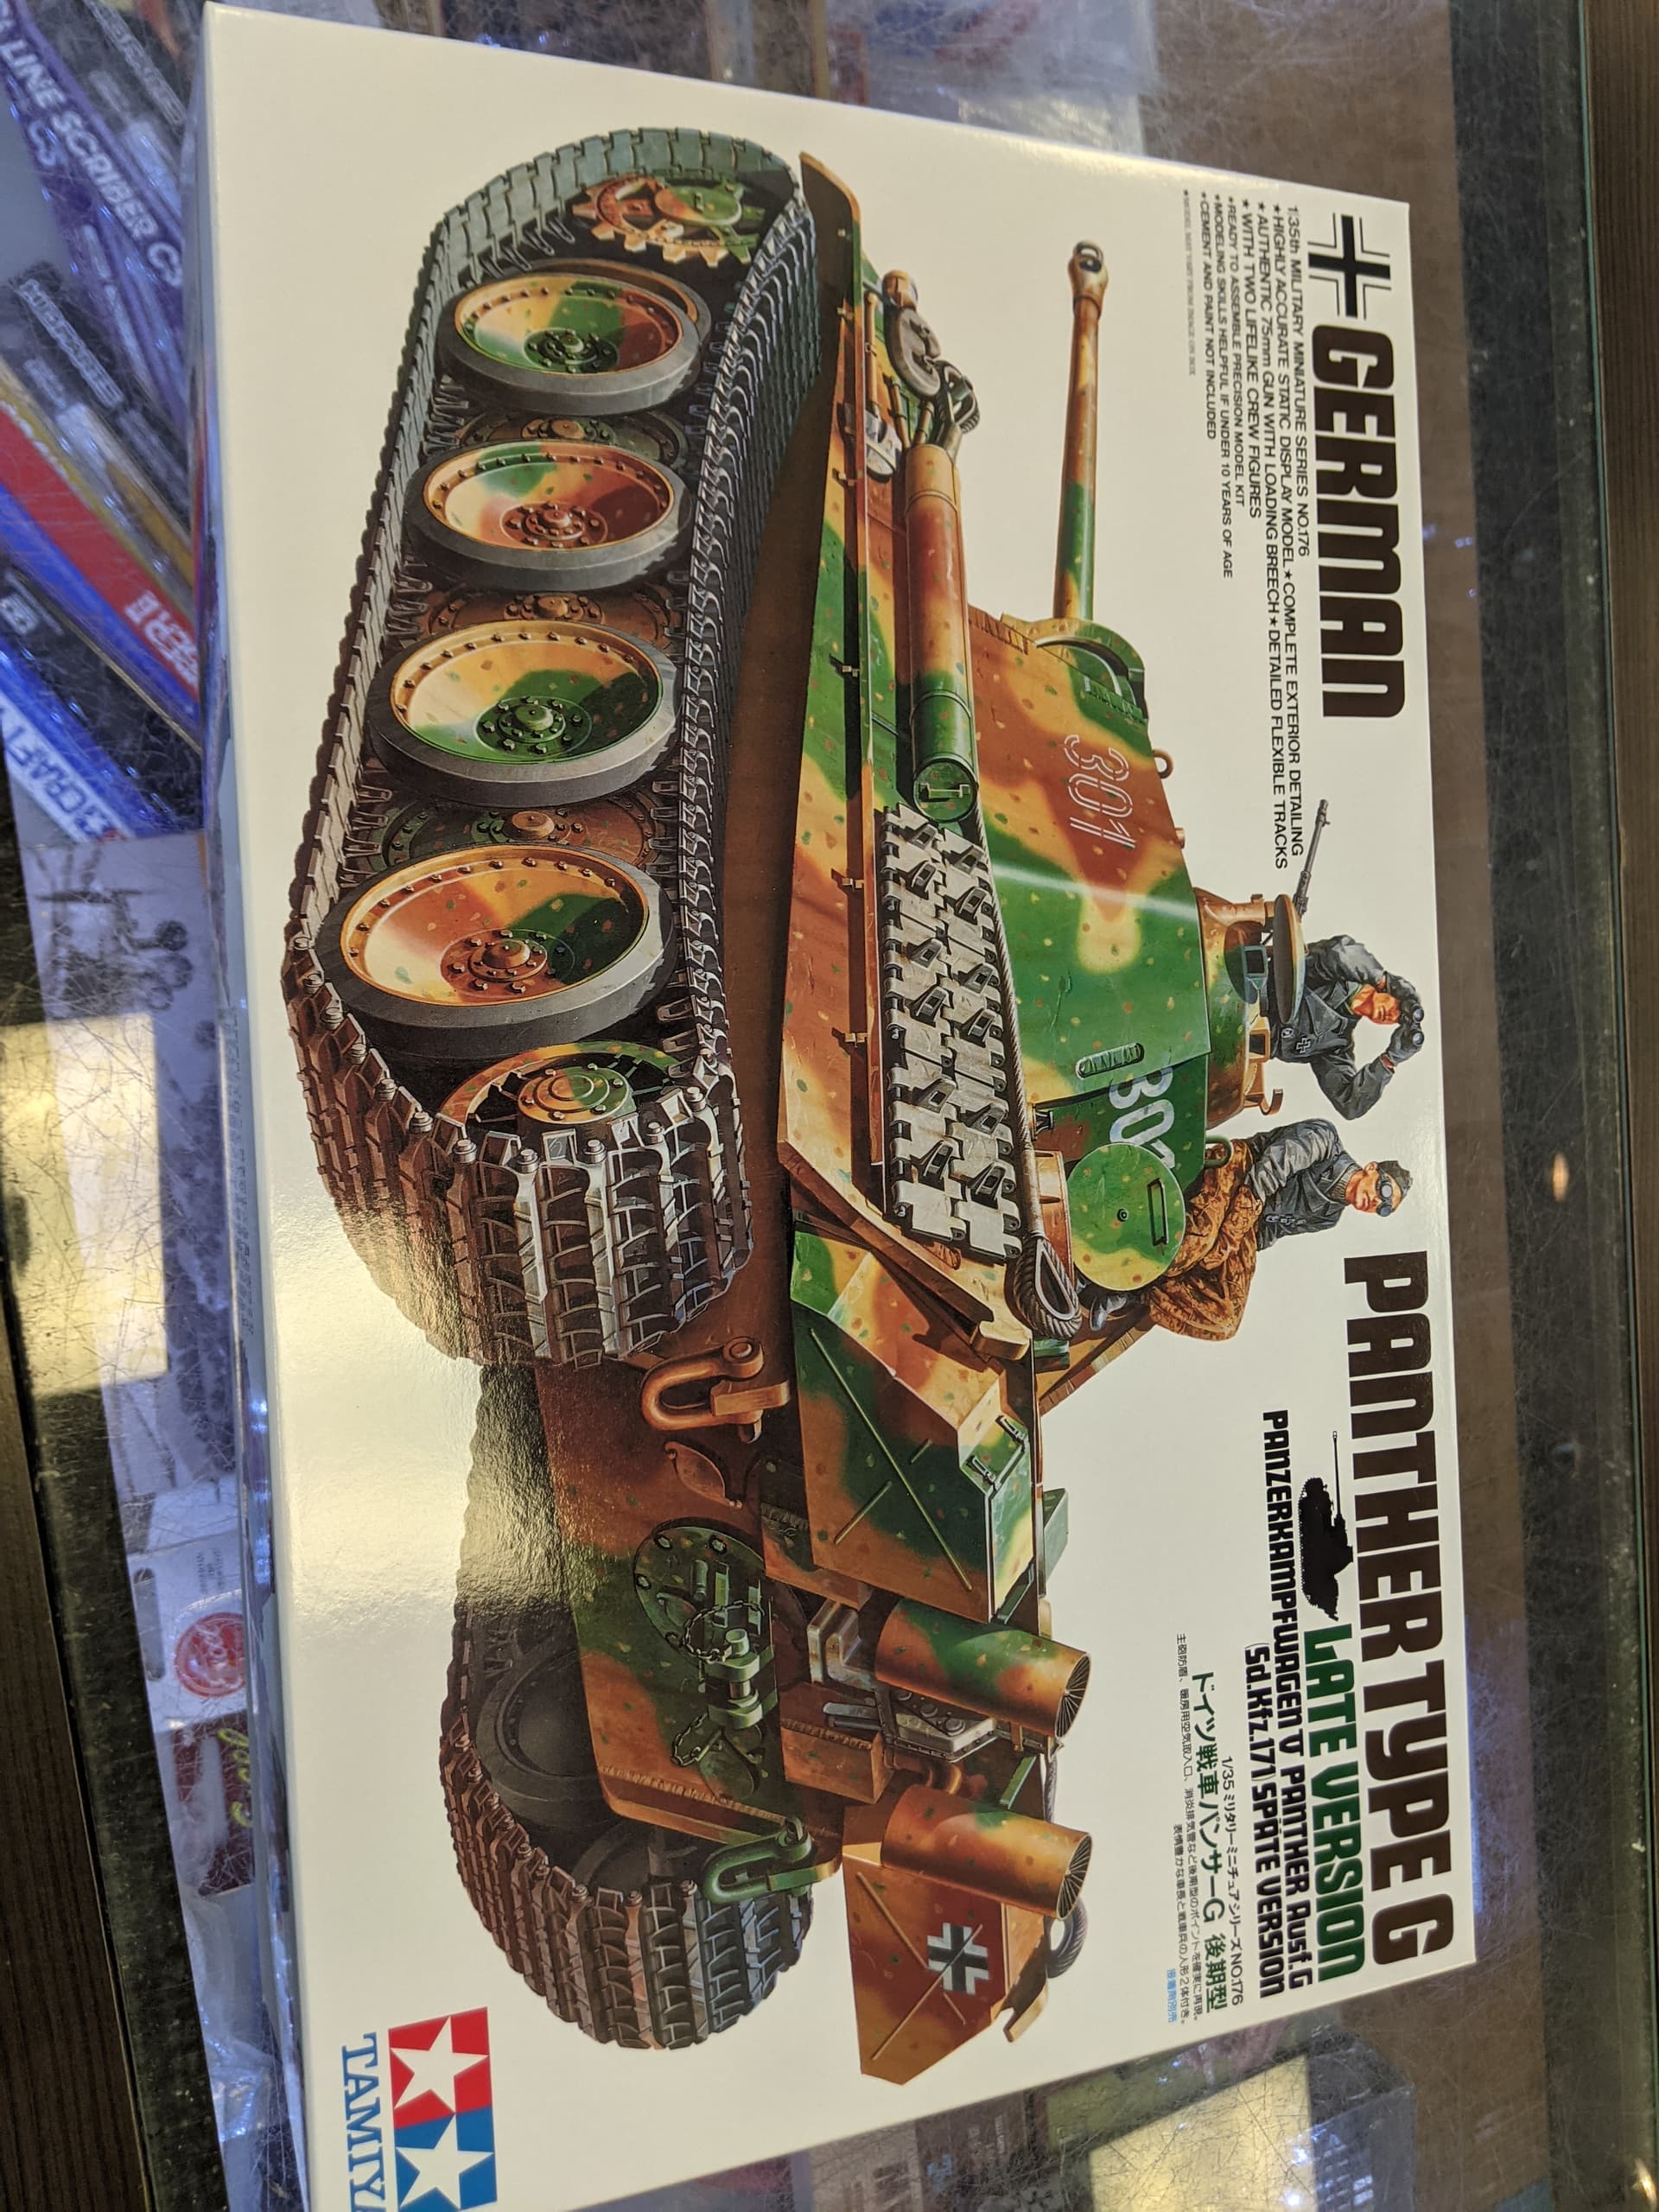
I’m finding reading on the non American mustangs a little tough. The two I have that I think could be made to work are the 4x20mm cannon variant, and the F-6B. Here are some box and instructions pictures if you don’t mind helping me out?
First up accurate miniatures #3400 p-51 with the 4x20mm:
God tell me about it… there were so few of the early Mks in RAF/RCAF service that they get kinda glossed over in the main stream sources.
Good new though! Easy fix!
Take the oblique camera from the F-6B and stick it in the 20mm Mustang. That’s literally all you need for a Mk I photo bird.
Swap the parts around the other way and that F-6B will build up as a P-51A so you’re not even losing a kit. You’ll just need to plug the ventral camera port if it has one.
Wait and see what the sprues look like once you’re in there. The F-6A that I bought came with all the bits to portray it as a straight P-51. Best part is you’re probably going to end up with some extra canopy glass.
I highly recommend chasing down a set of Montex masks.
Sweet good to know! Did the RCAF fly any of the Mk I without cameras? Also do you have any pictures of the RCAF mustangs with the 4x20mm cannons? I can’t seem to find one
The photos I find seem to show the machine gun variant
Gah! Sorry, the 20mm equipped Mustangs were the Mk IA in Commonwealth service. The Mk I had the .50s in the wings as well as two in the nose which were deleted for future Mks.
I couldn’t find a single reliable photo of an RCAF Mustang F/R bird. That was why I was so happy to find those squadron logs because until that point I was using an illustration from a book cover and some digital art from the net.
There are a few in RAF markings though and they all show them in the RAF Day Fighter scheme.
400 and 430 squadrons flew Mk IAs configured for Fighter Recon. 14 Photo Reconnaissance Sqn (later 414 Sqn) may have flown them as well. They were only used for F/R work with the RCAF.
Given all the work you’re doing on that Churchill I have no doubt you’ll be able to scratch a camera, but I guarantee everything you need will be found in those two boxes, even if you just use them for reference.
My boxing came with RAF decals. I wasn’t happy with how they looked. There we’re some problems with the register on mine so the dorsal roundels were wonky. I also found them very thick.
The after market ones I bought were (inadvertently) for a Spitfire which meant they were slightly large for the wing and tail areas. They ended up looking ok, but the scale is a little off.
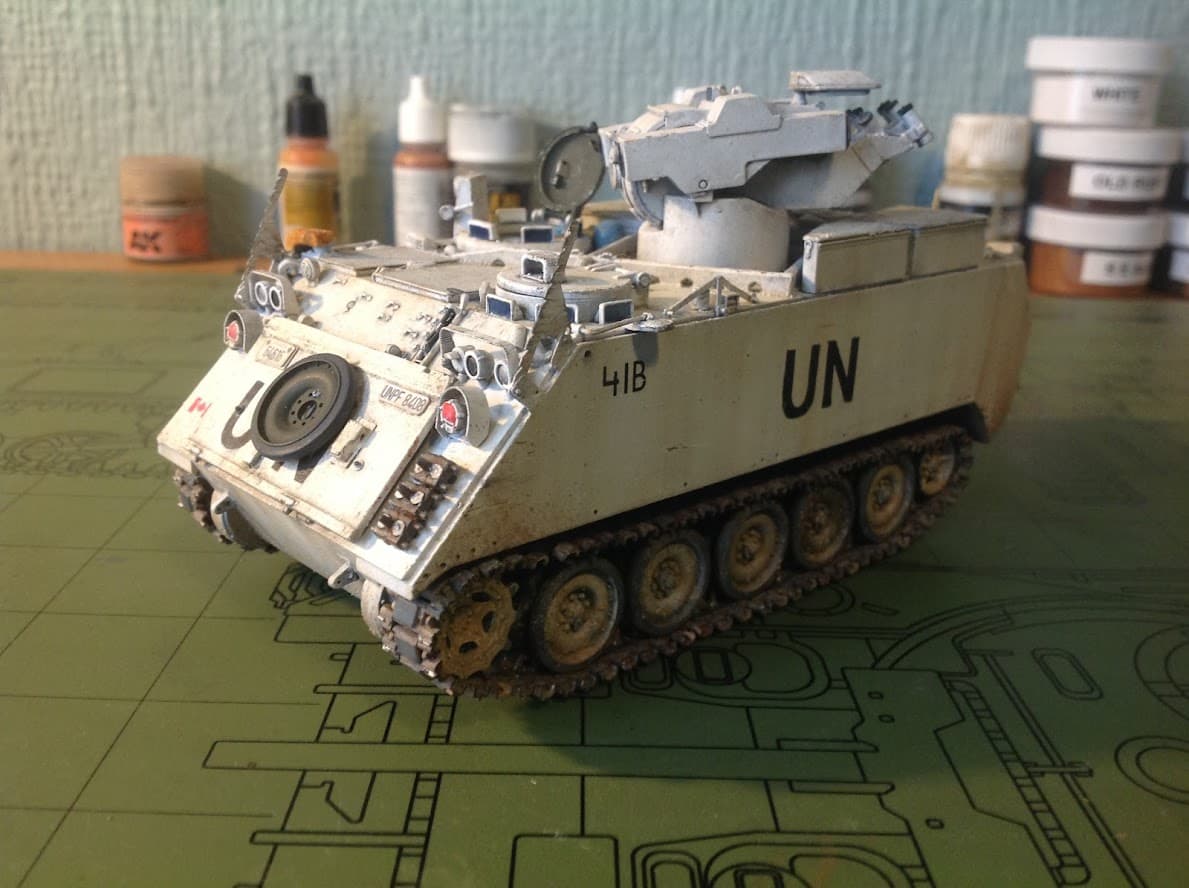
some times when the decal UN been damaged
he was repainted by hand
It could give certain results depending on the talent of the painter
it gives a more realistic look
nice job
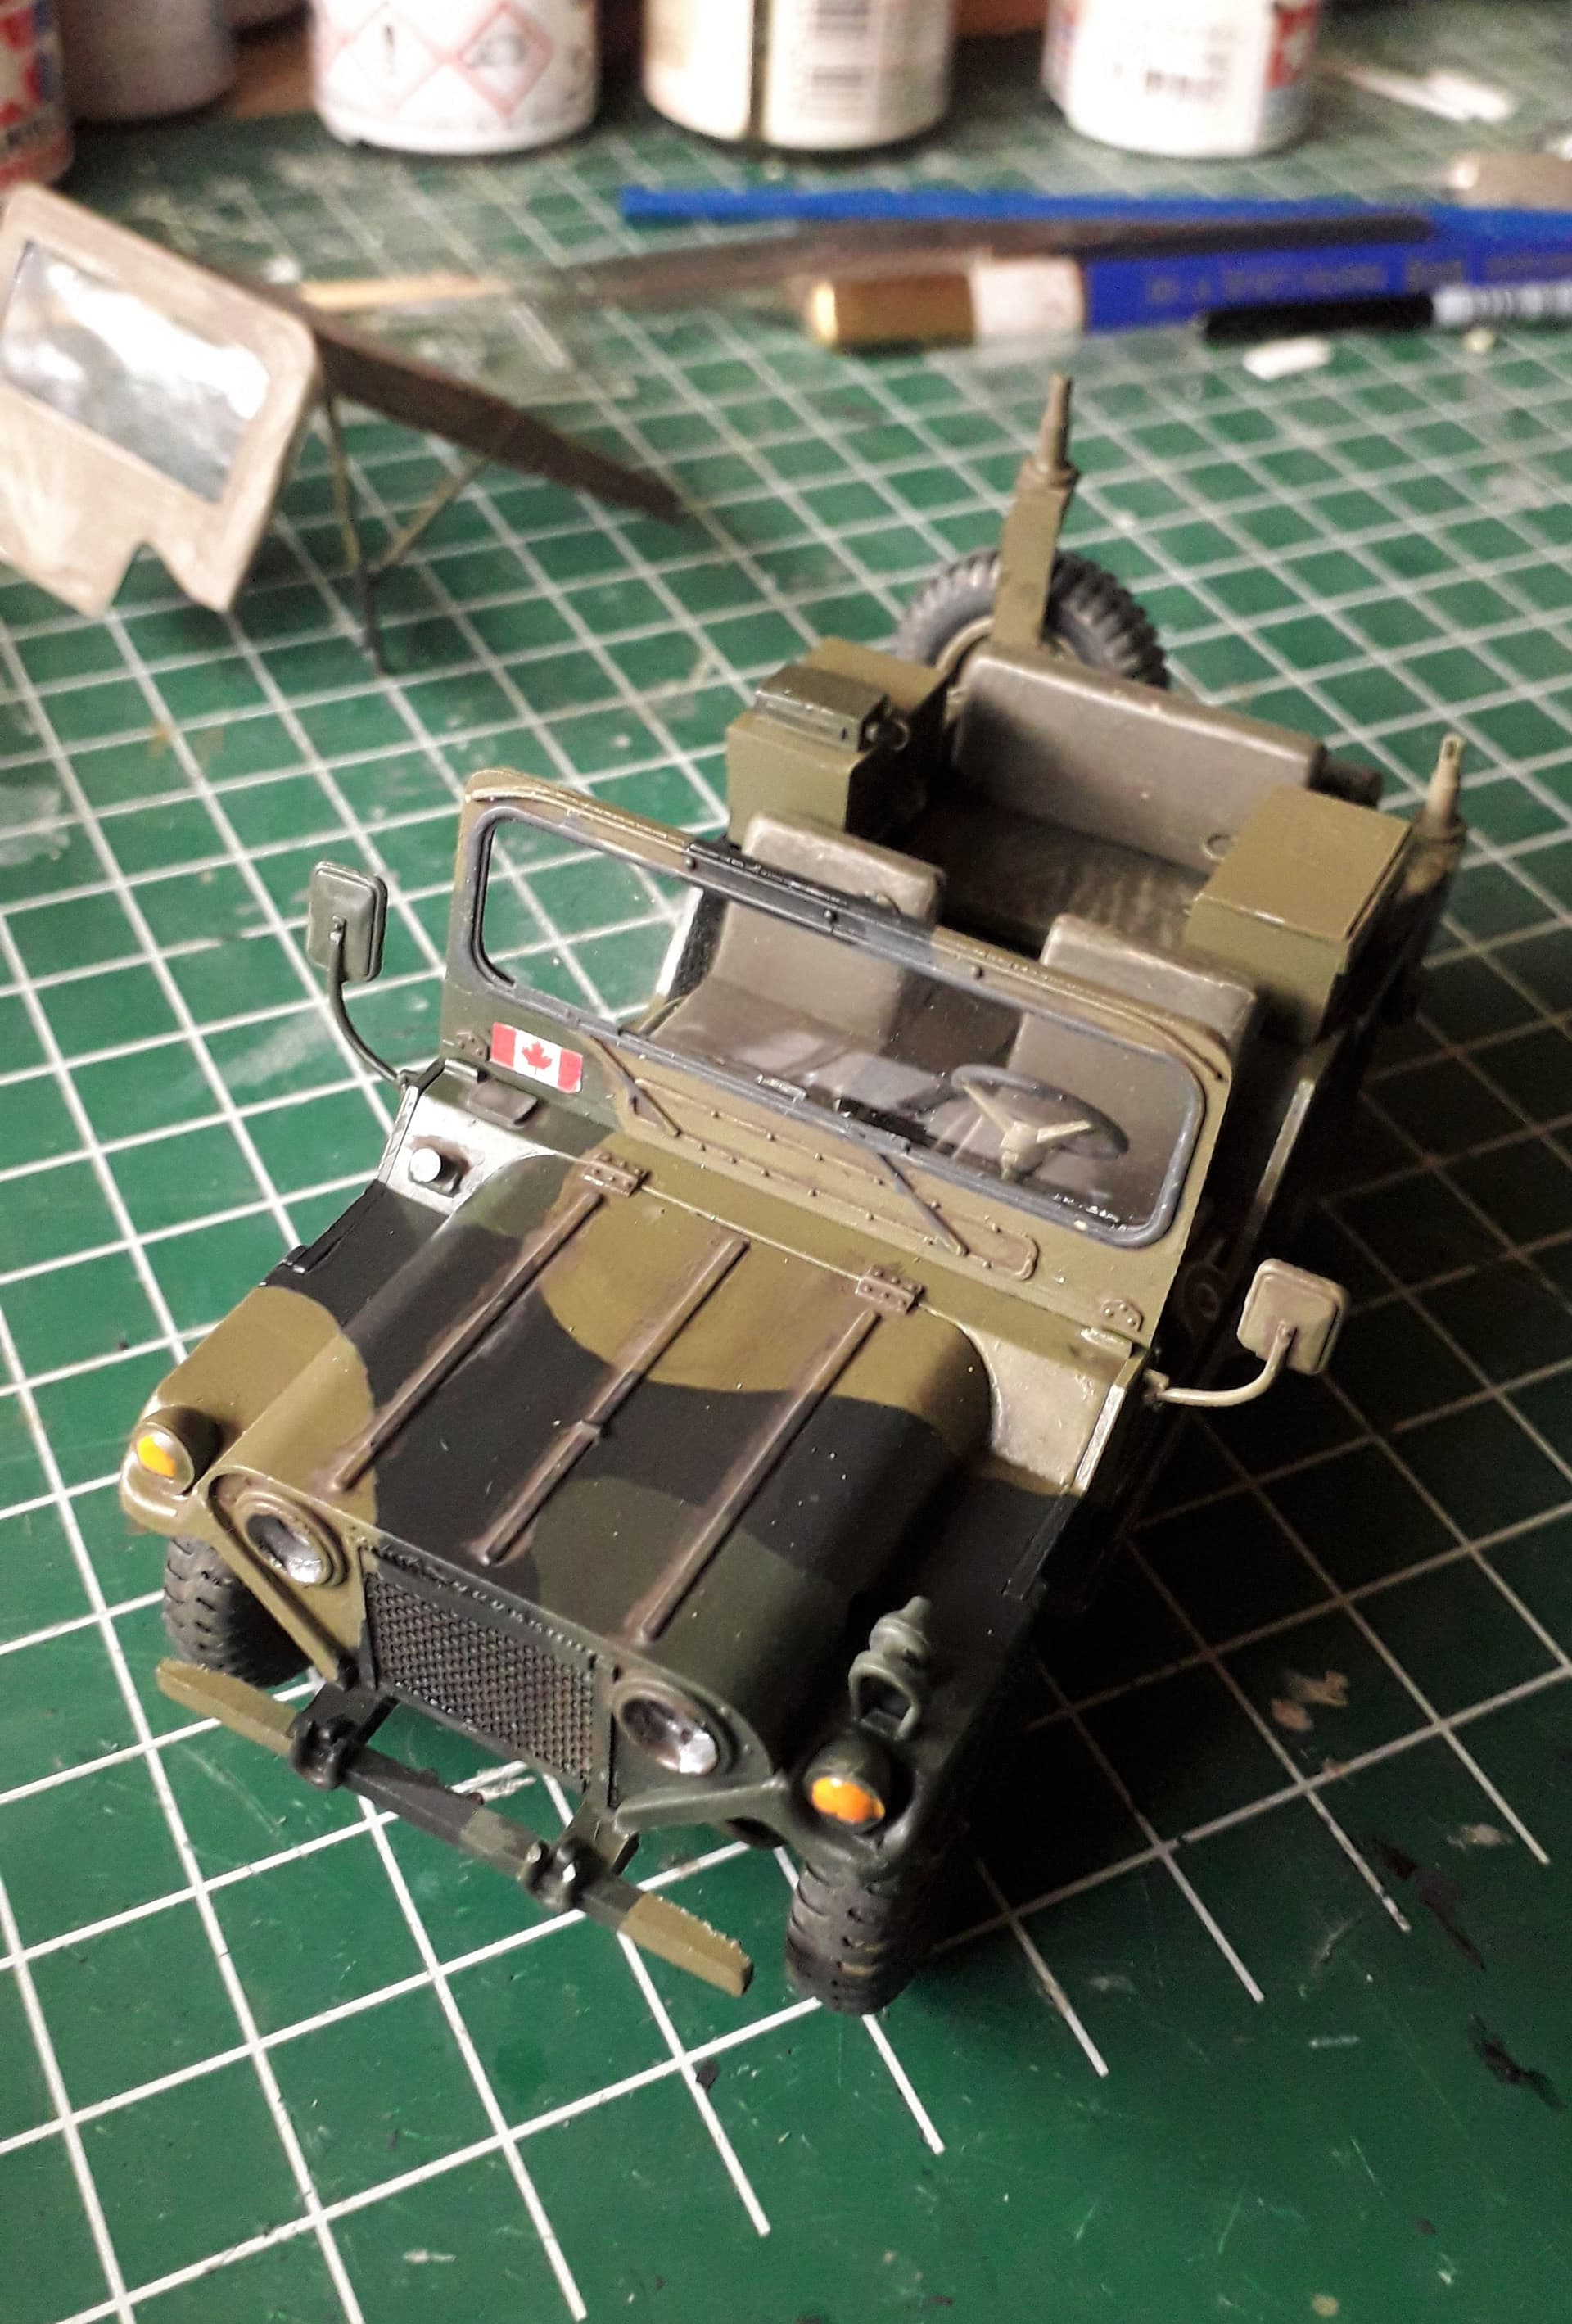
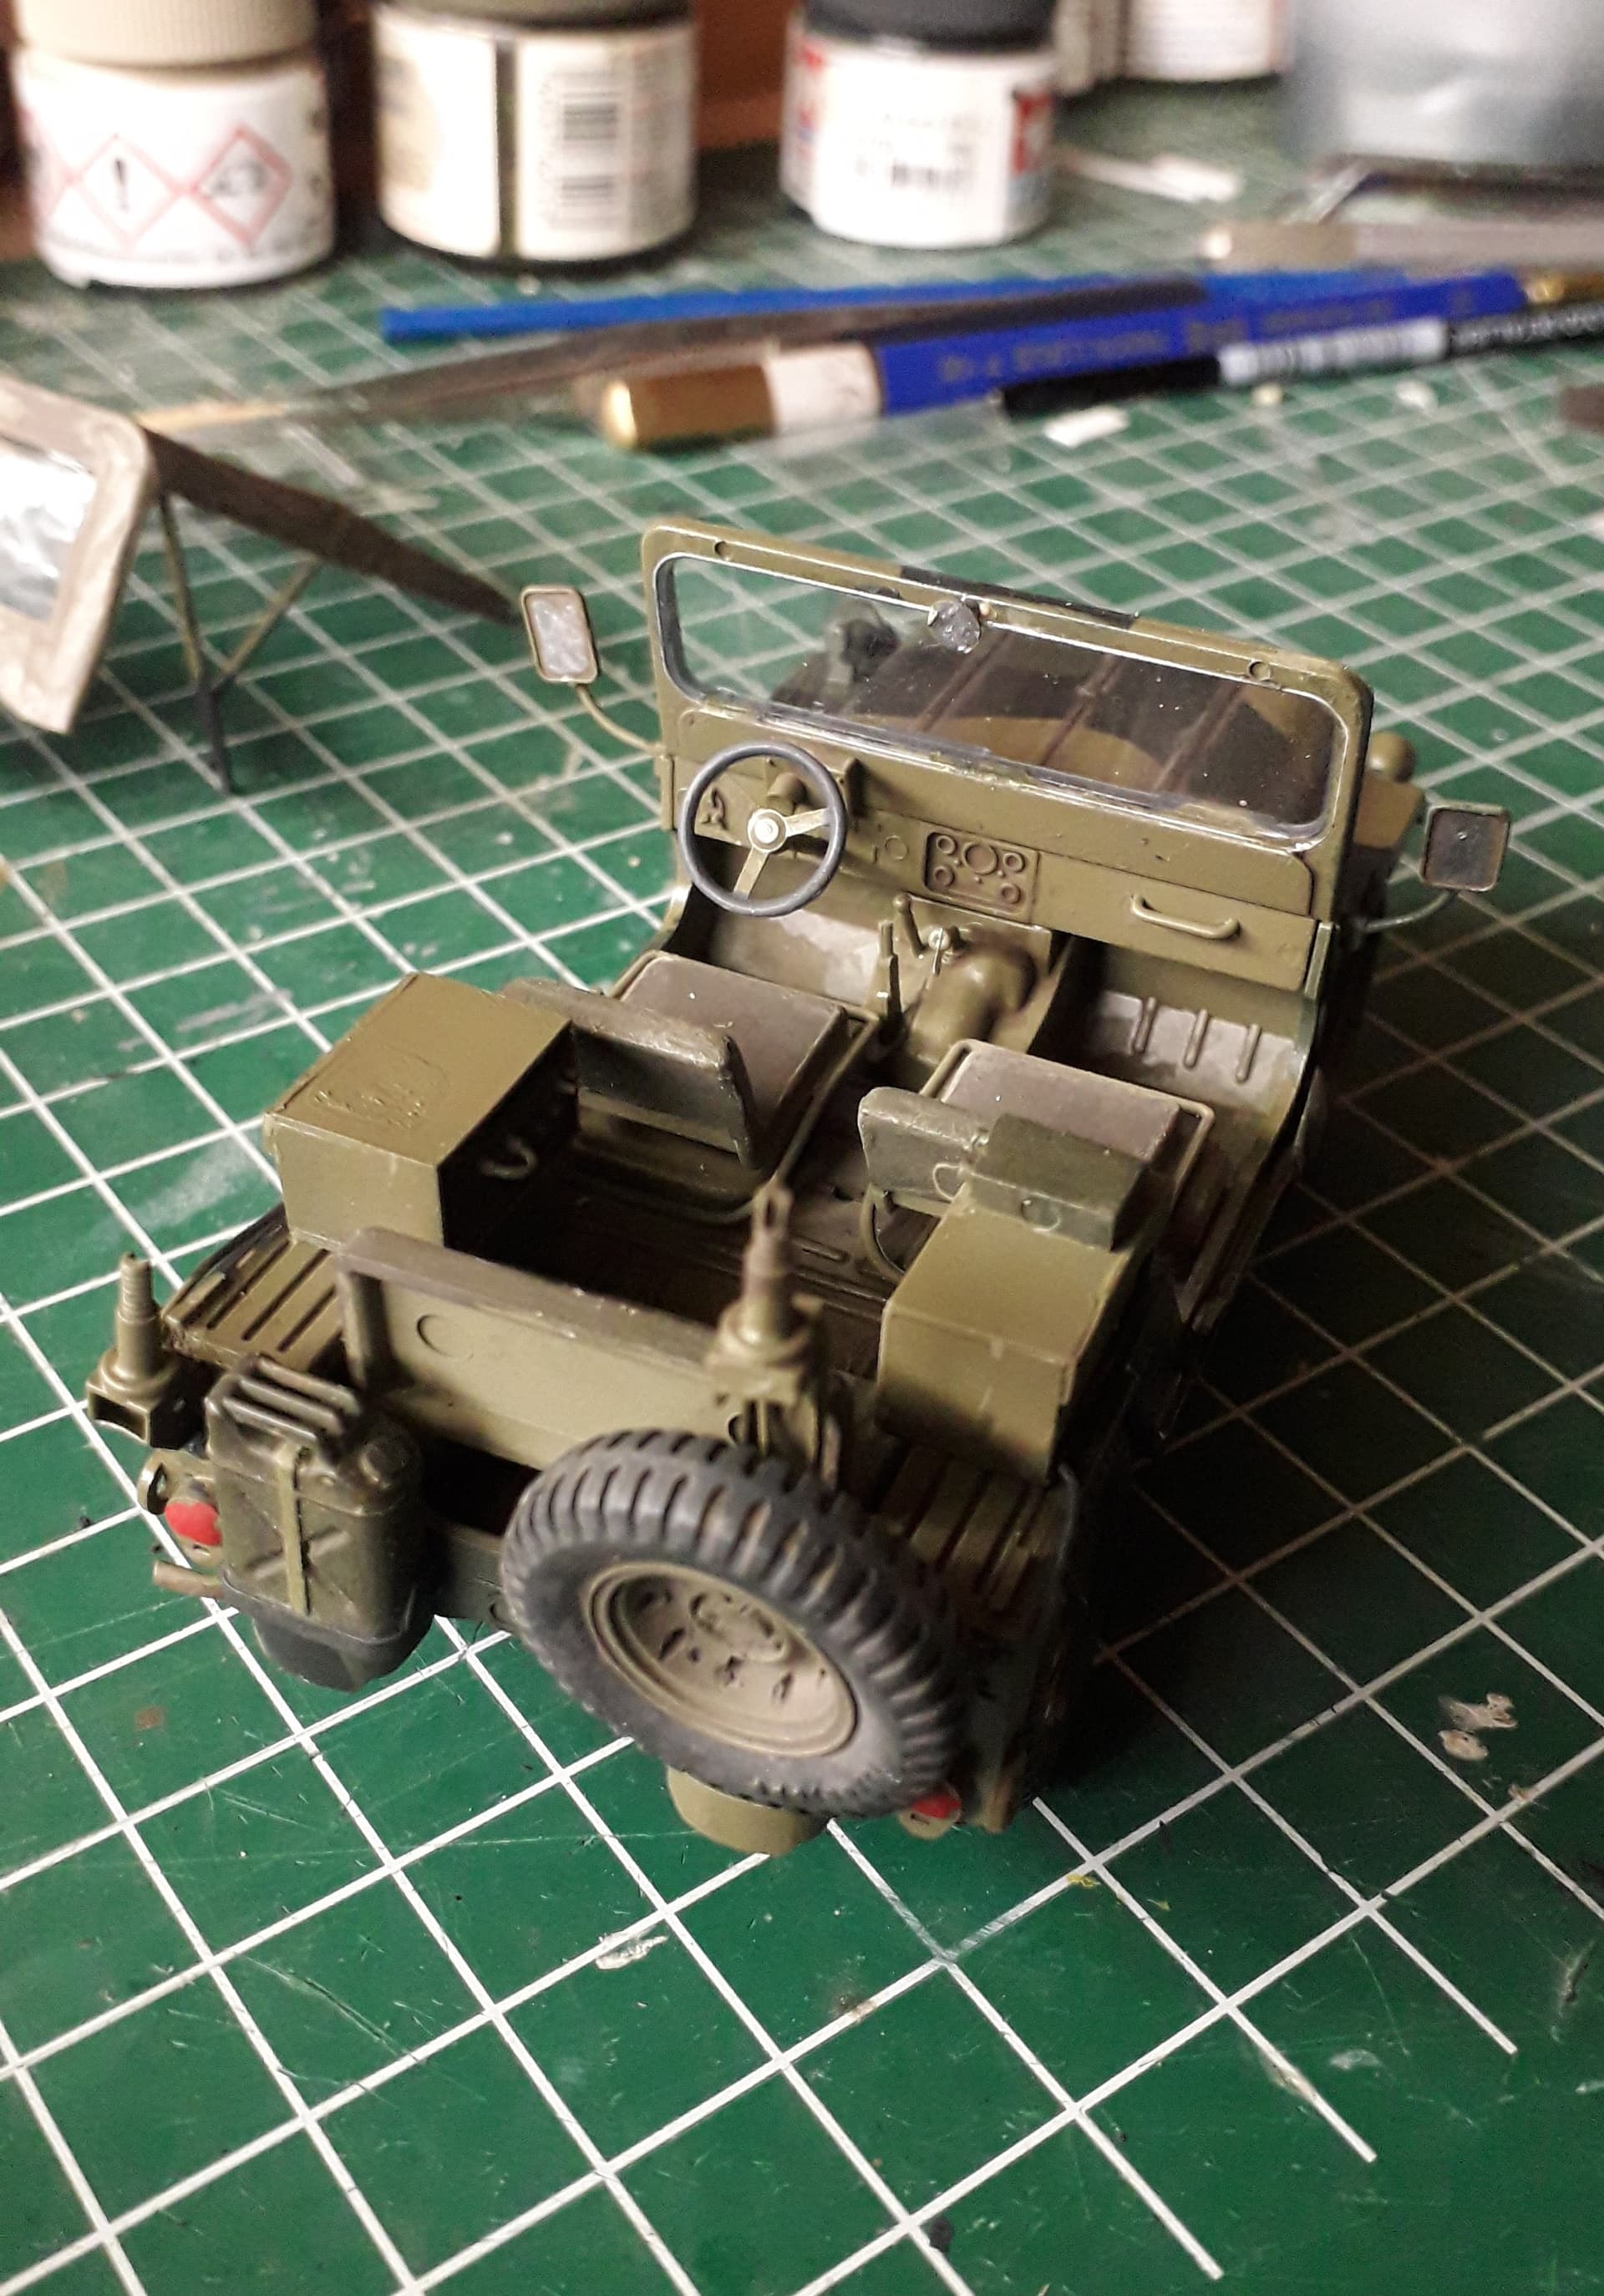
The heat of summer is all but gone, so I am at it again!!
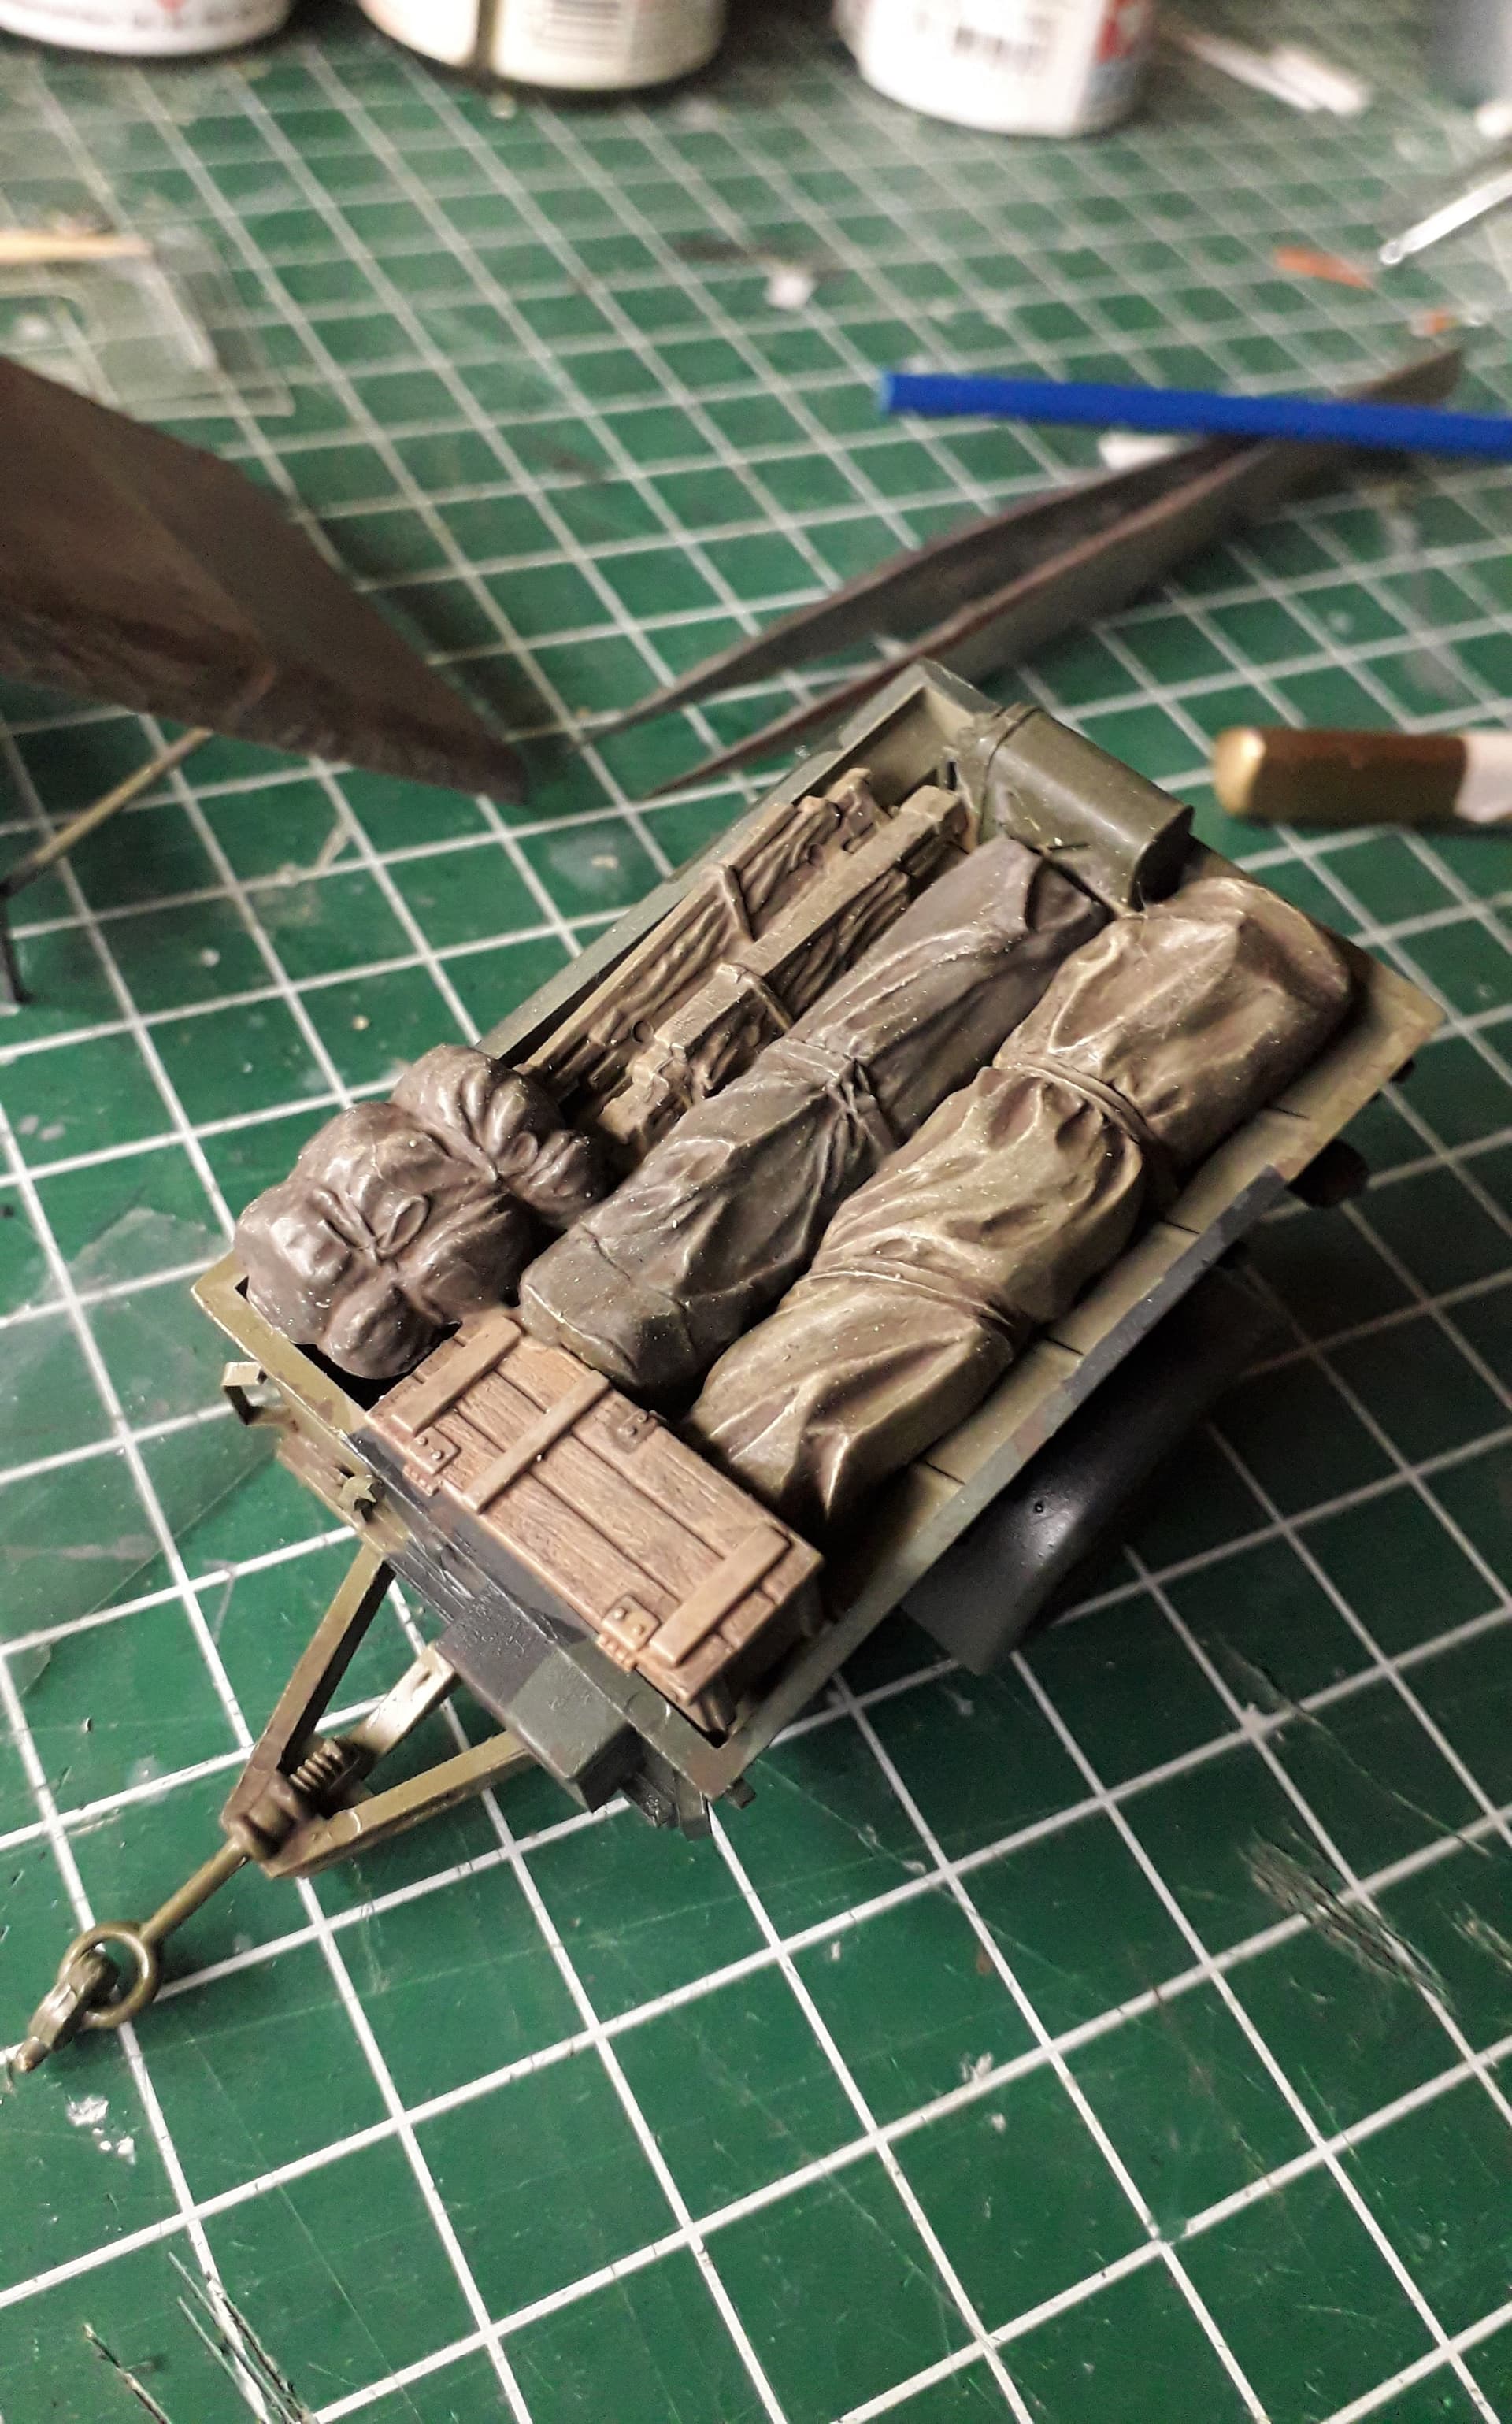
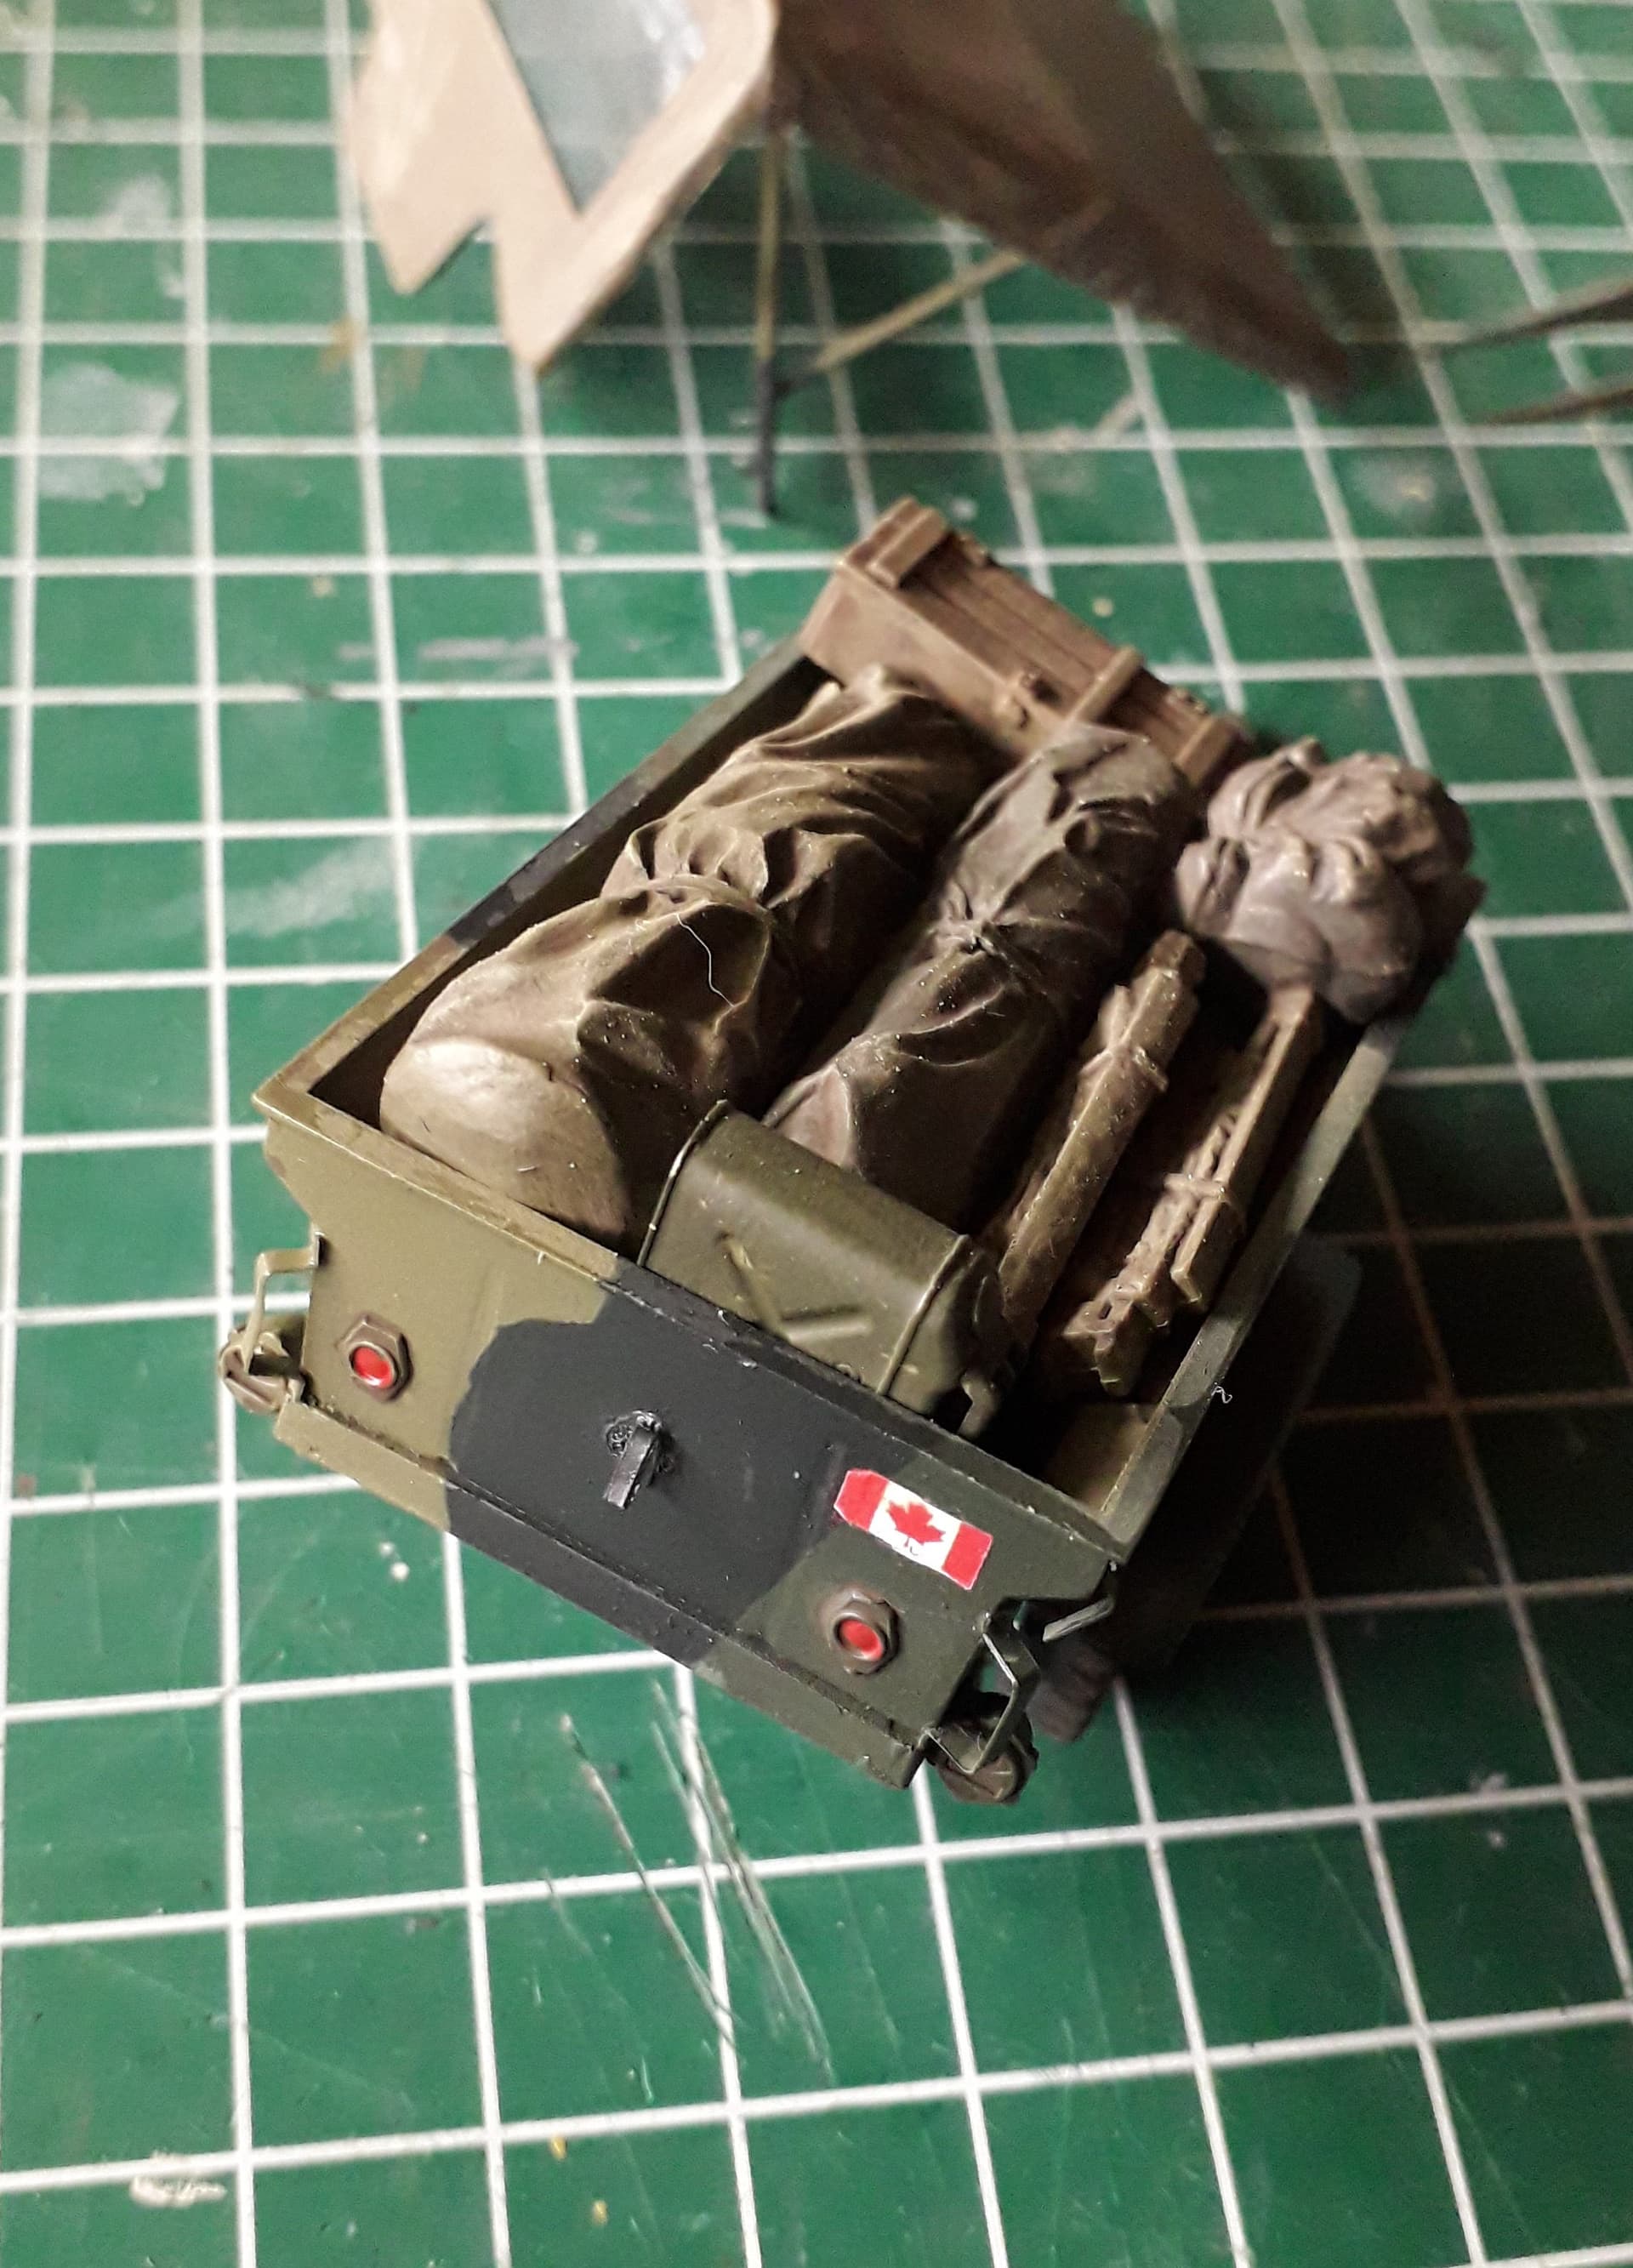
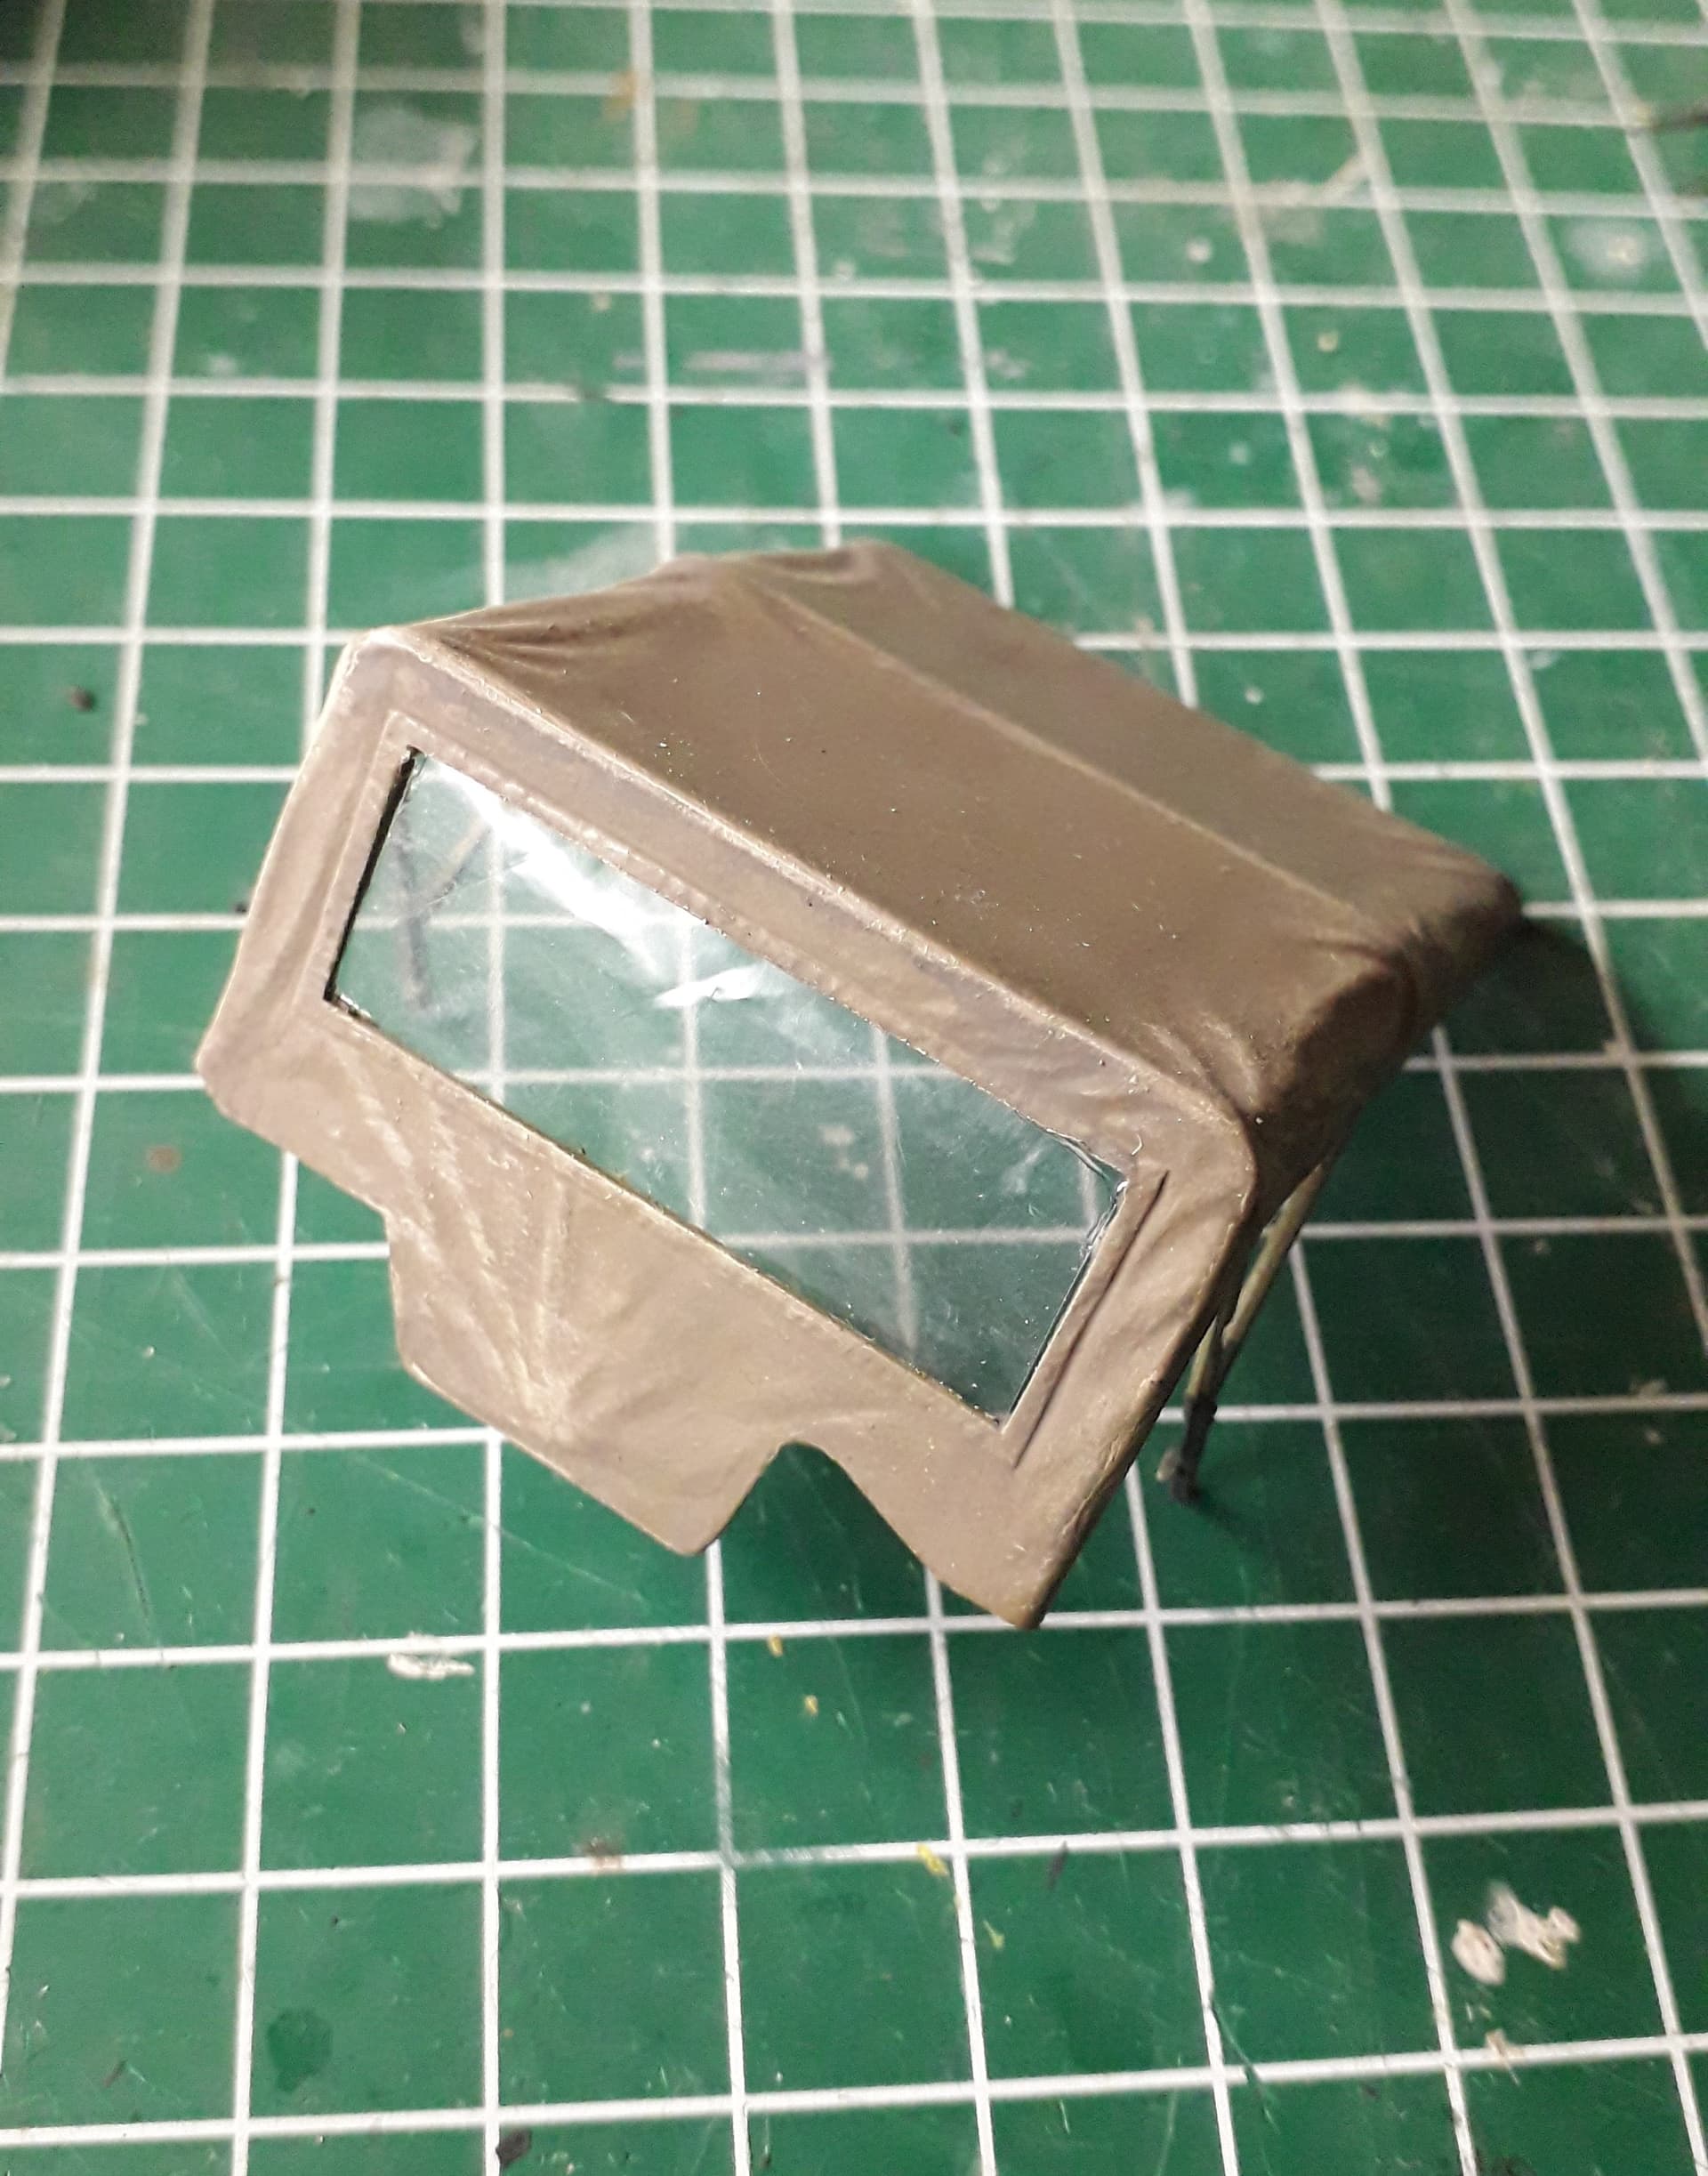
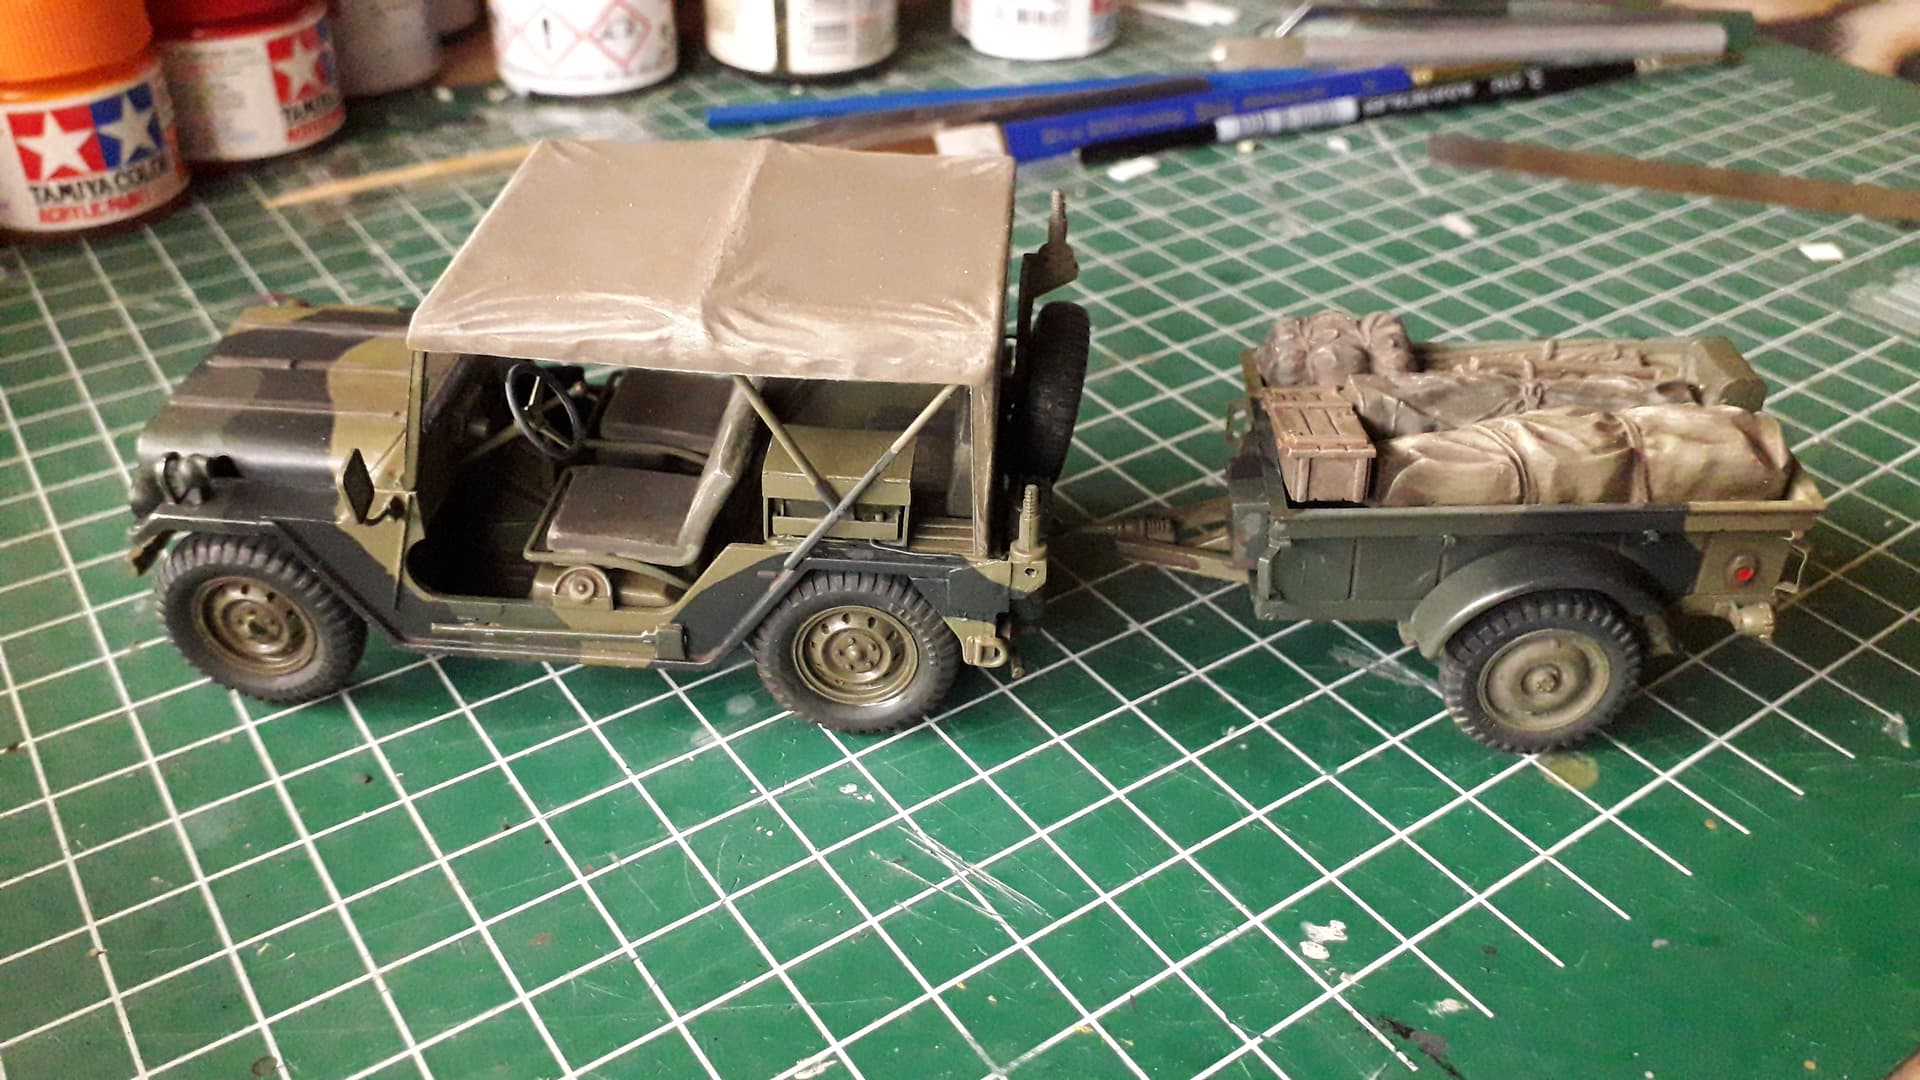
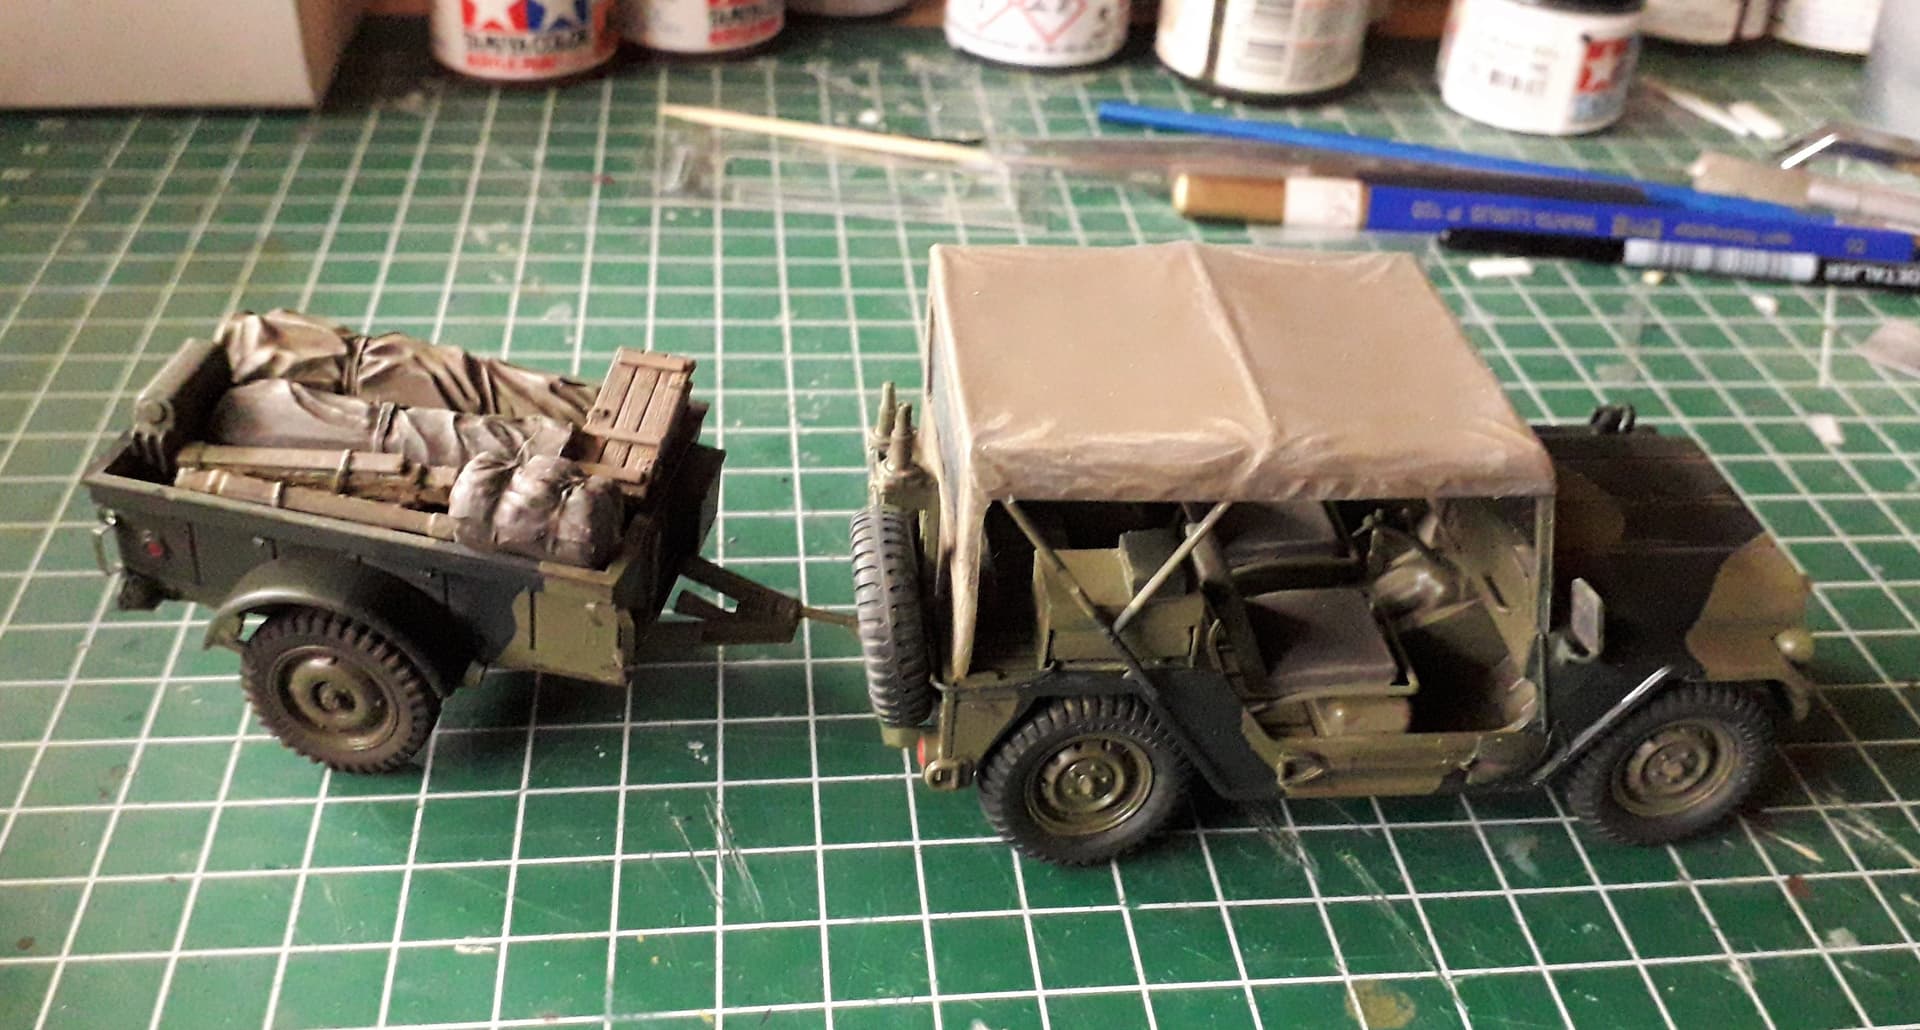
Before going on with the M113 I want to complete the M151, so that’s where I am focusing at.
What did I do so far;
the trailer; first dark and neutral washes, reflectors painted red, washes and drybrushes on load, added national flag decal.
Touch ups are still needed.


 …
…