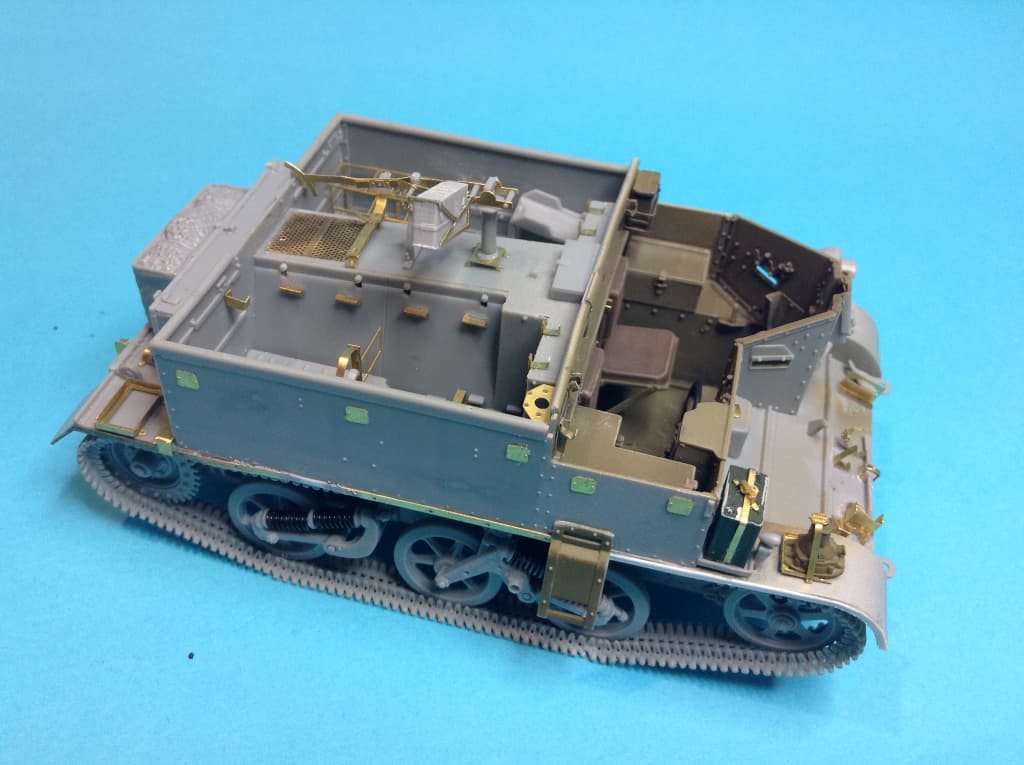
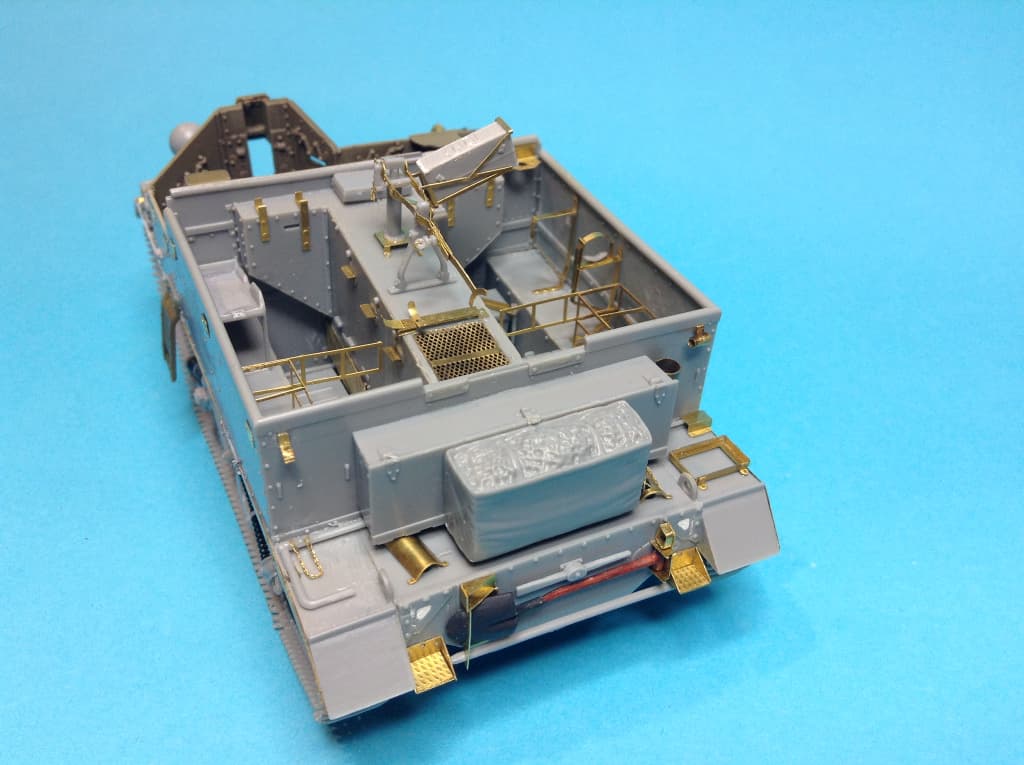
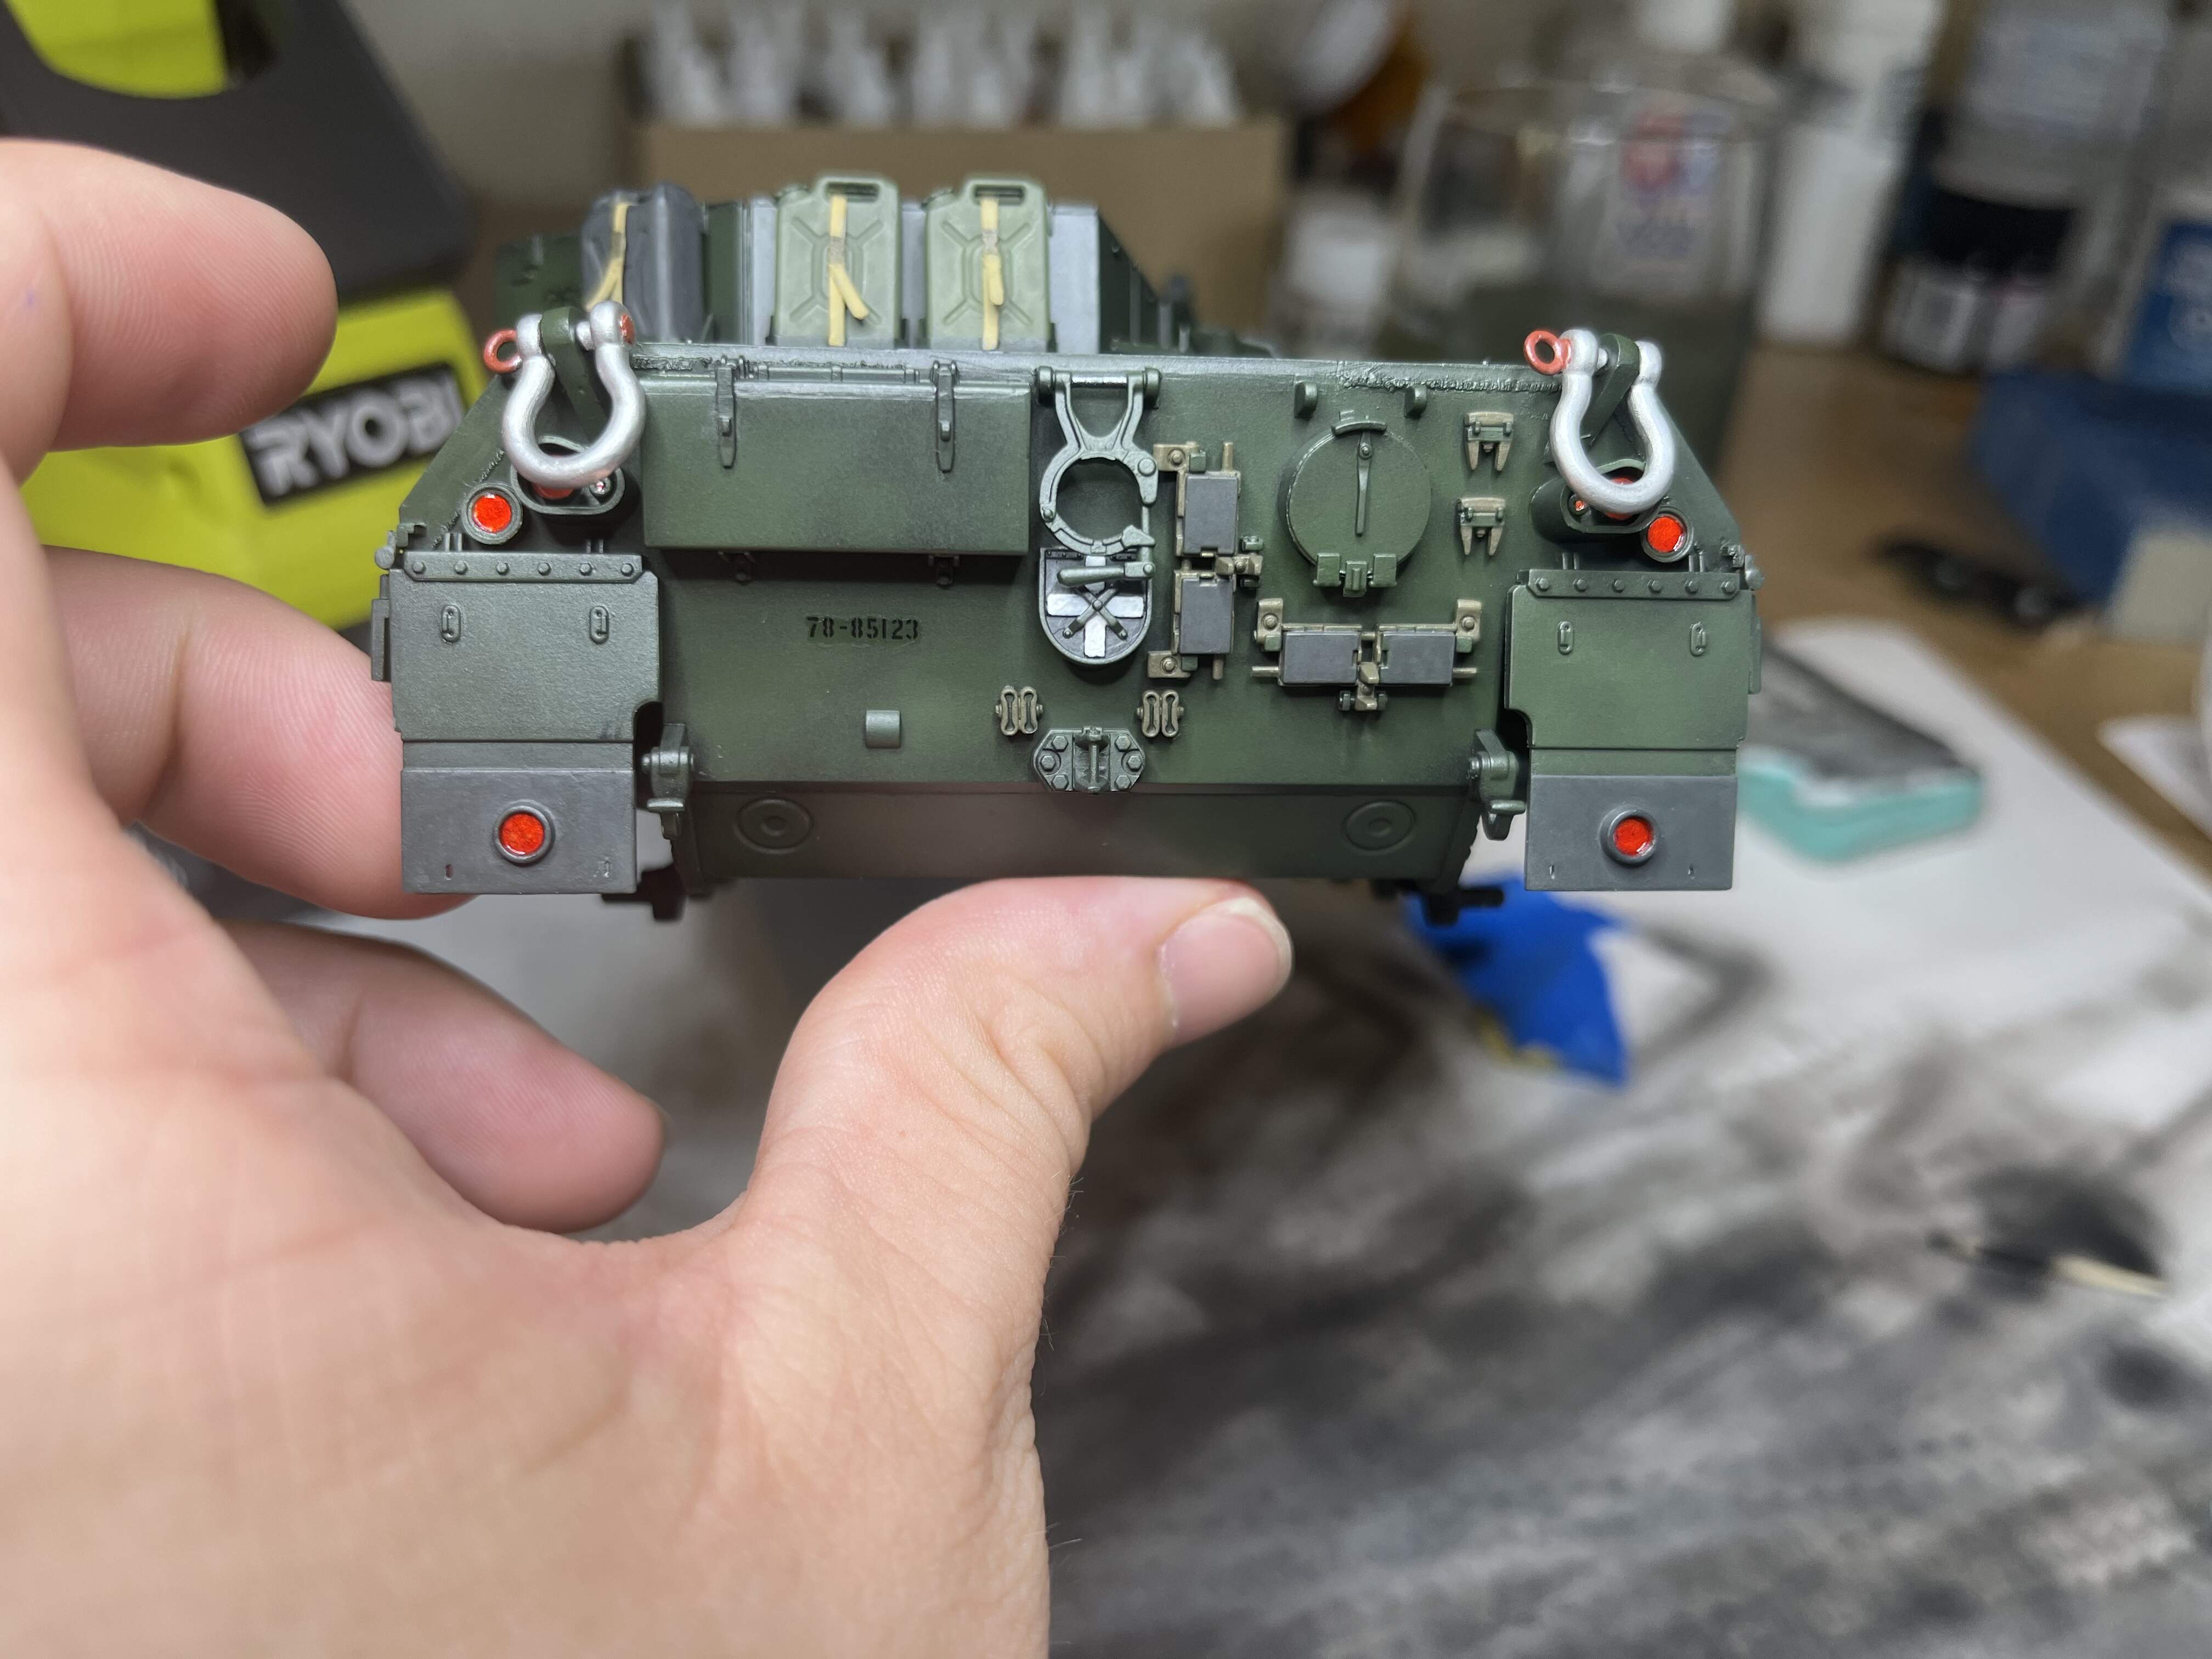
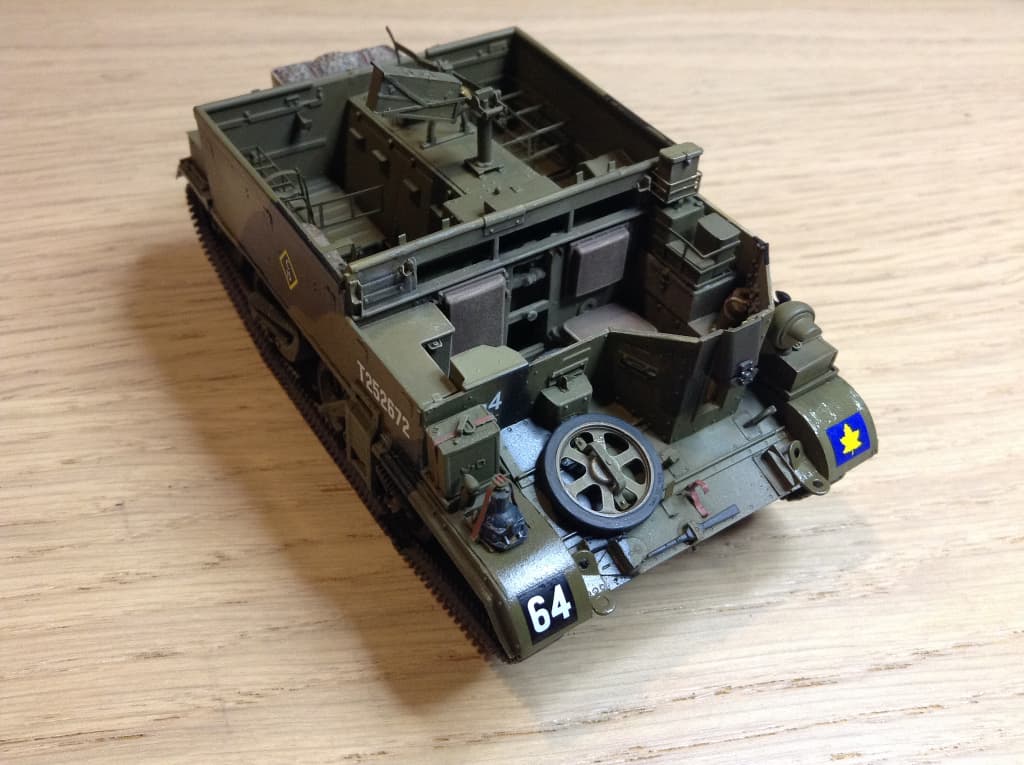
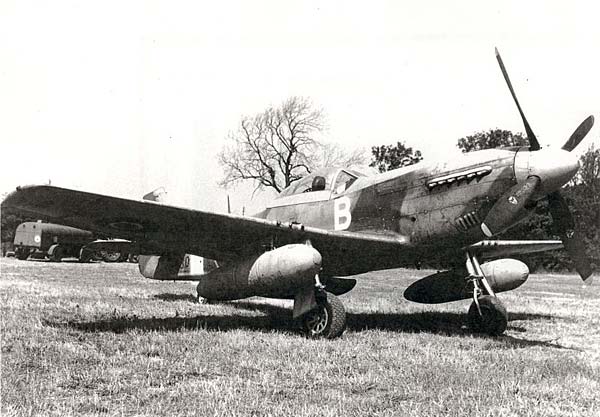
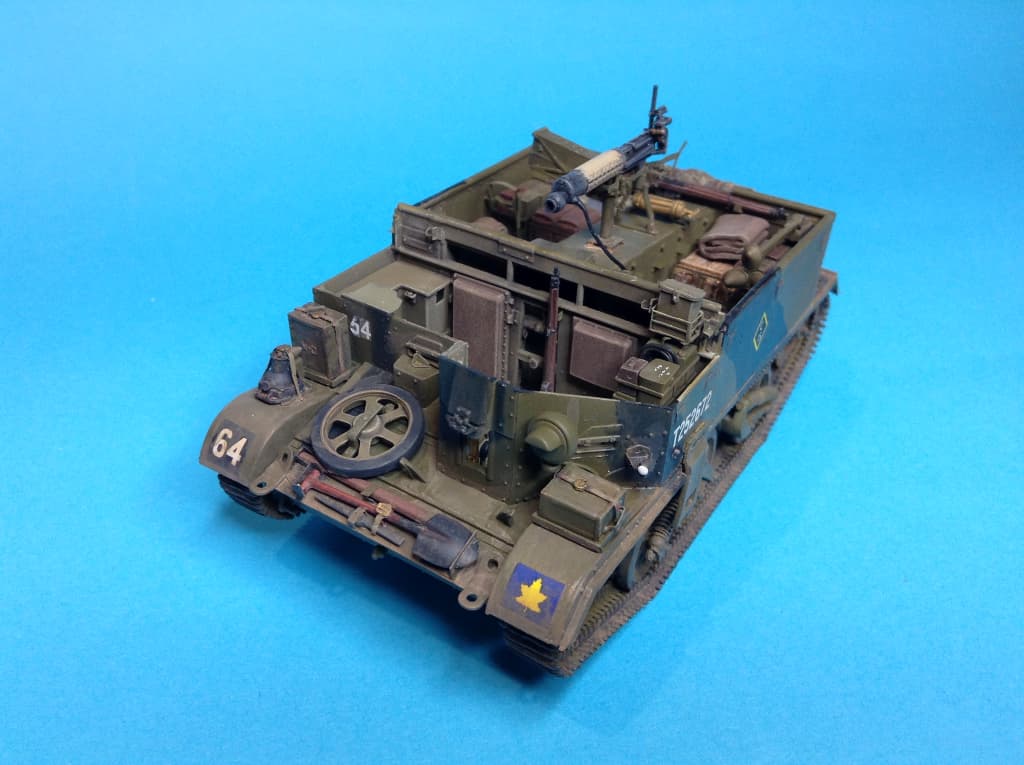
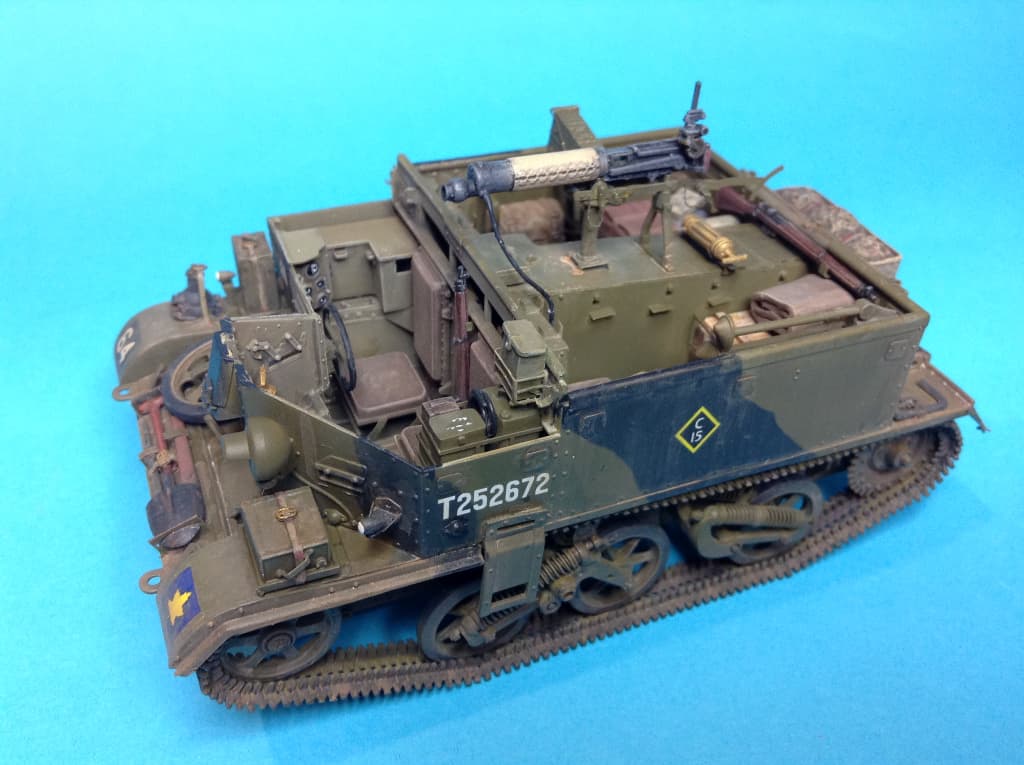
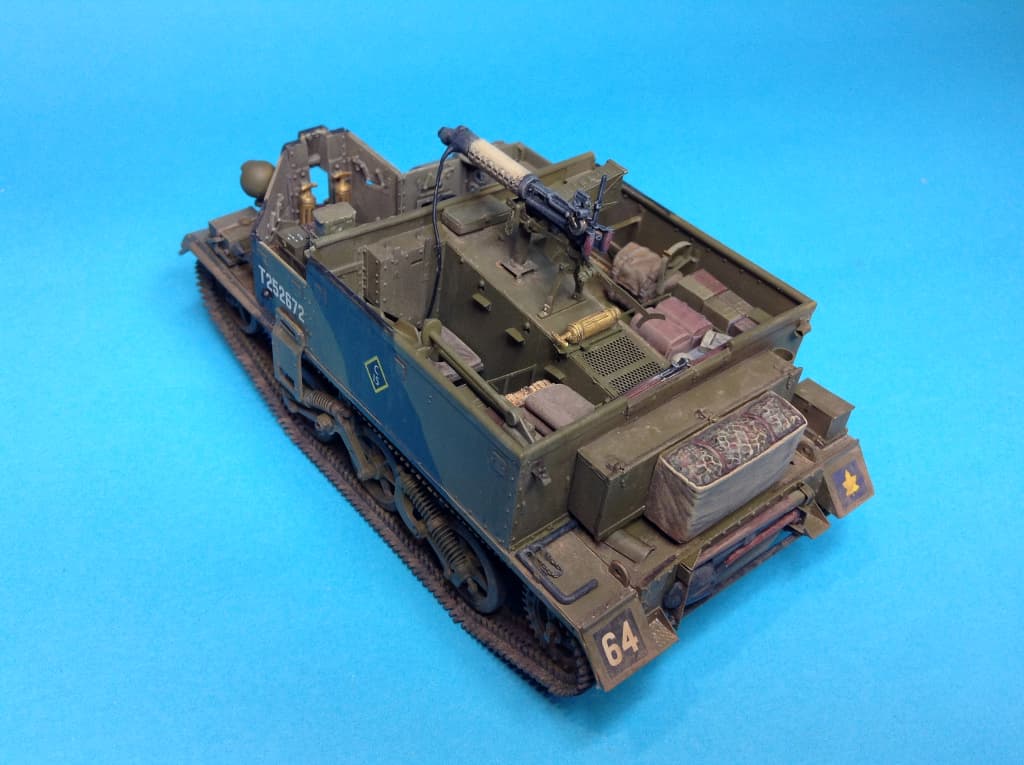
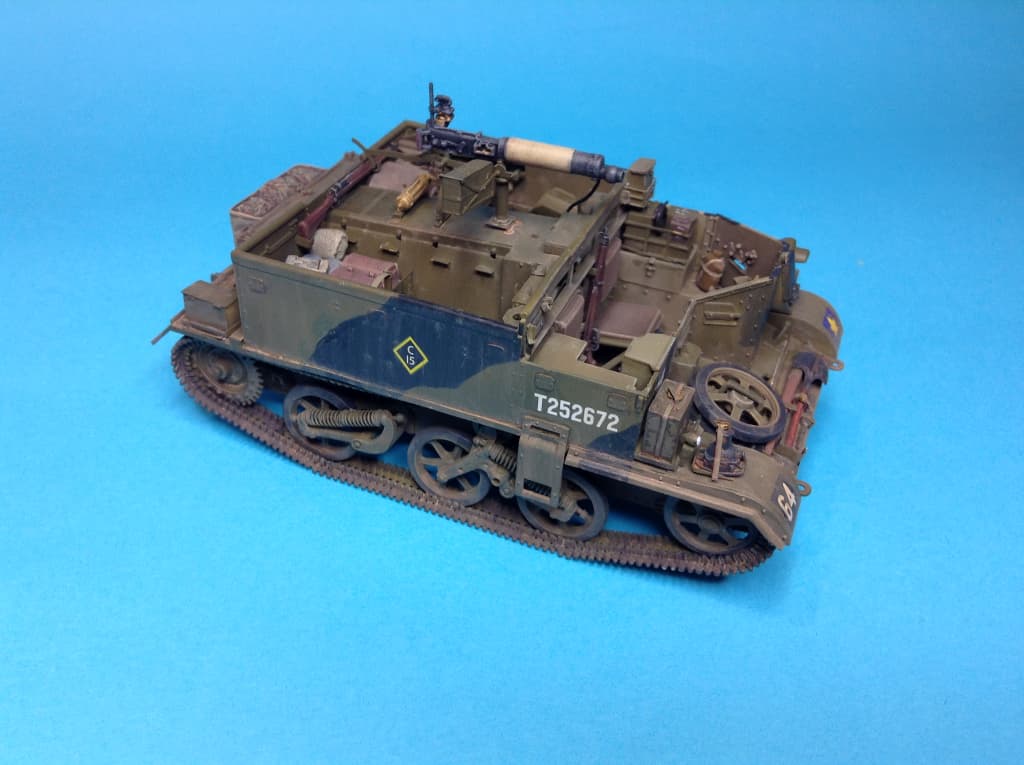
The sharp eyed may notice that I have moved the side steps forward. I forgot that on the Canadian vehicle I am depicting (markings in the kit) this was done, as was the removal of the canvas tilt frame tube brackets from the sides - hence only plates on mine.
I am taking a liberty in adding a water POW can to the front… and I am trying to find out what box is on the rear fender…
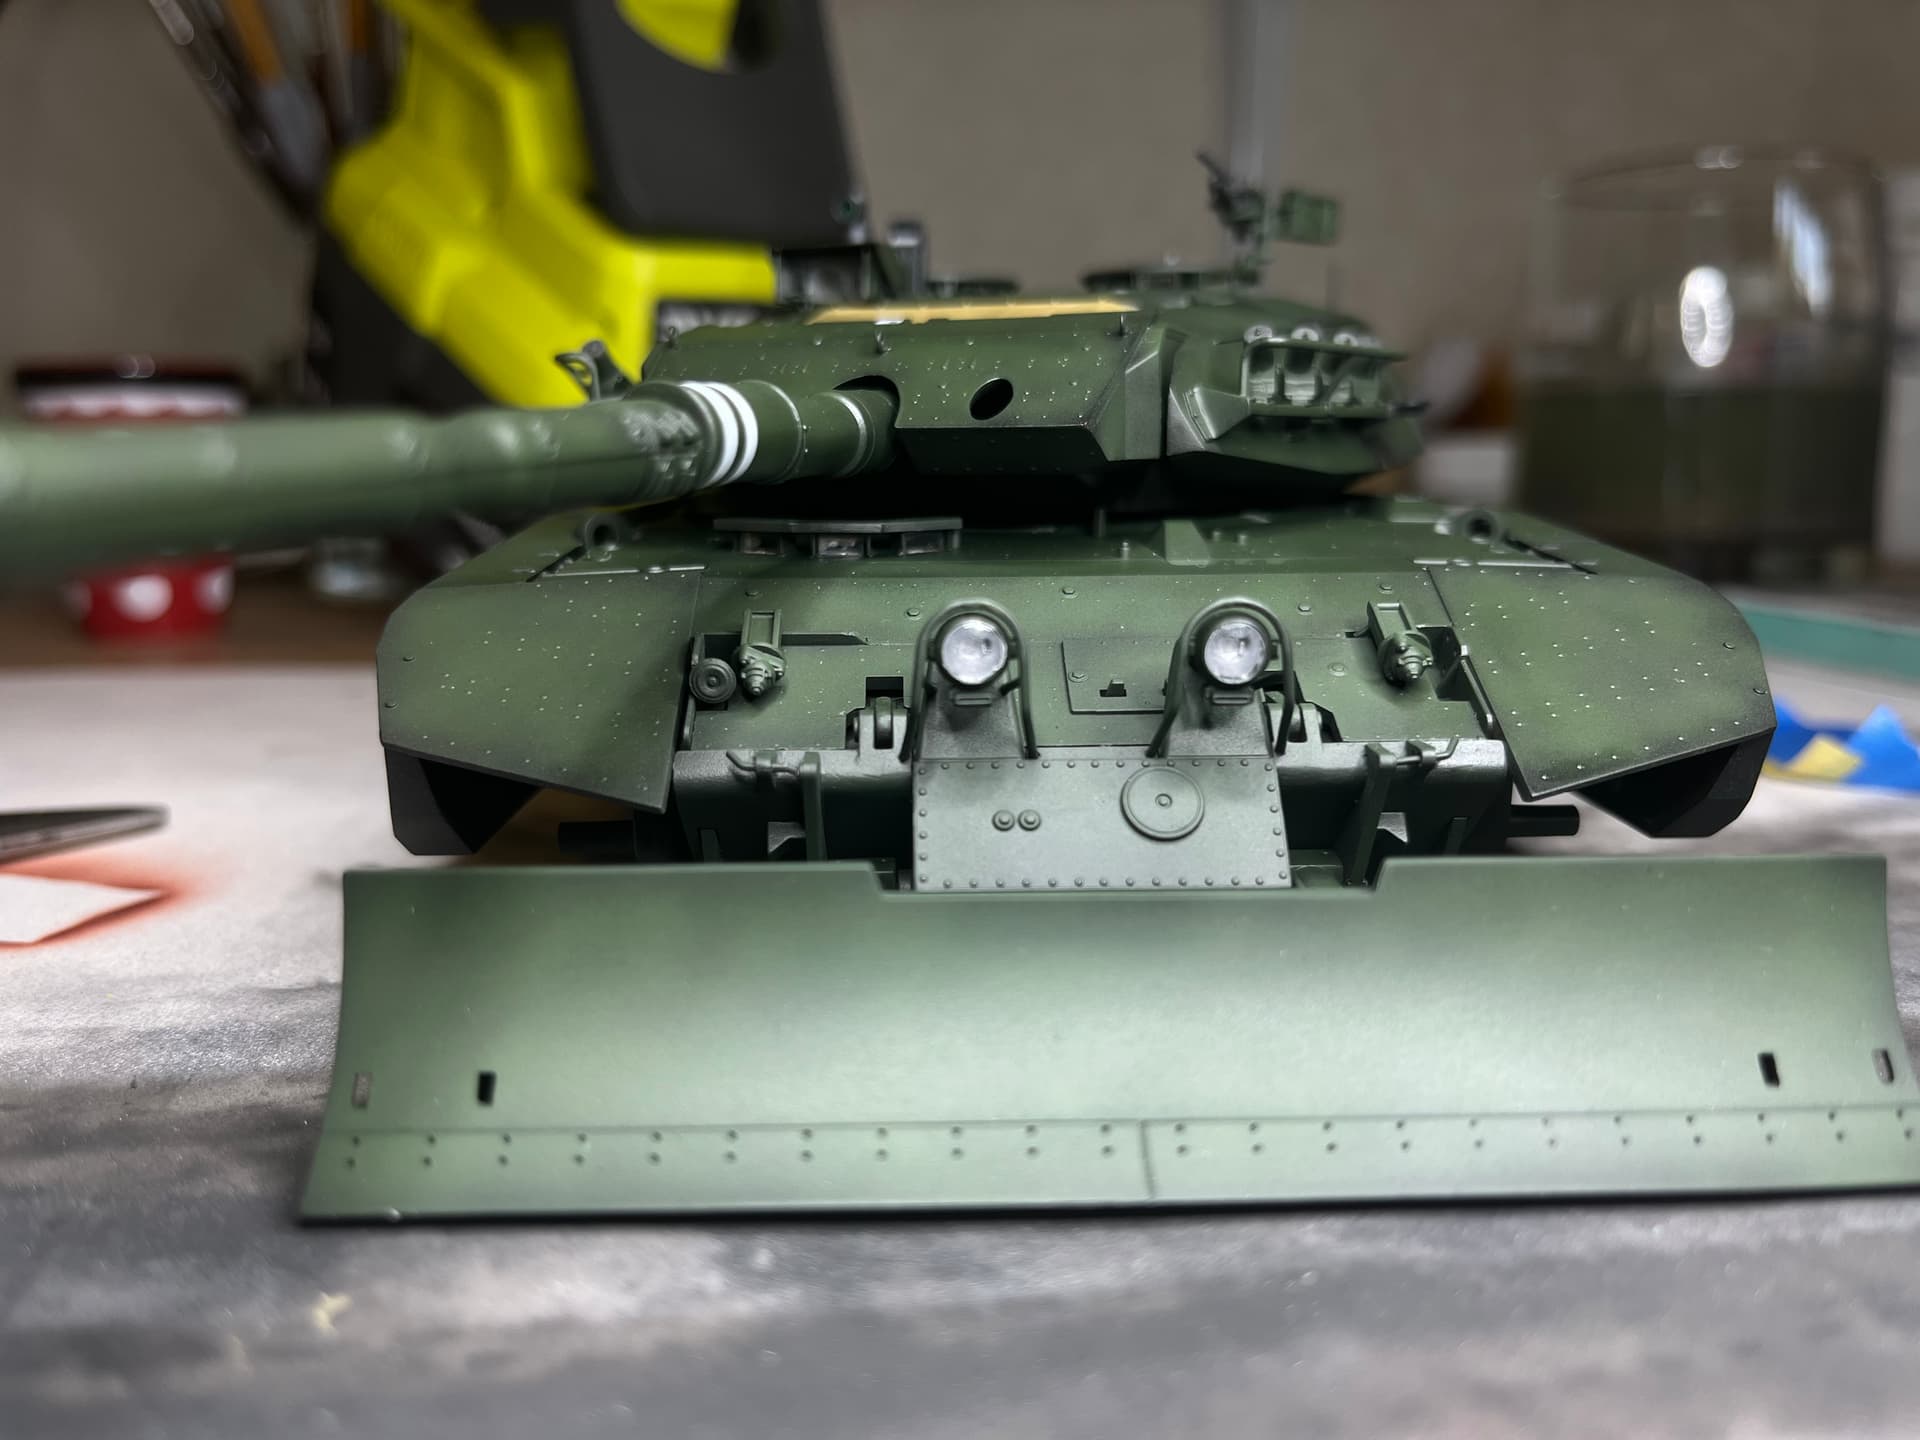
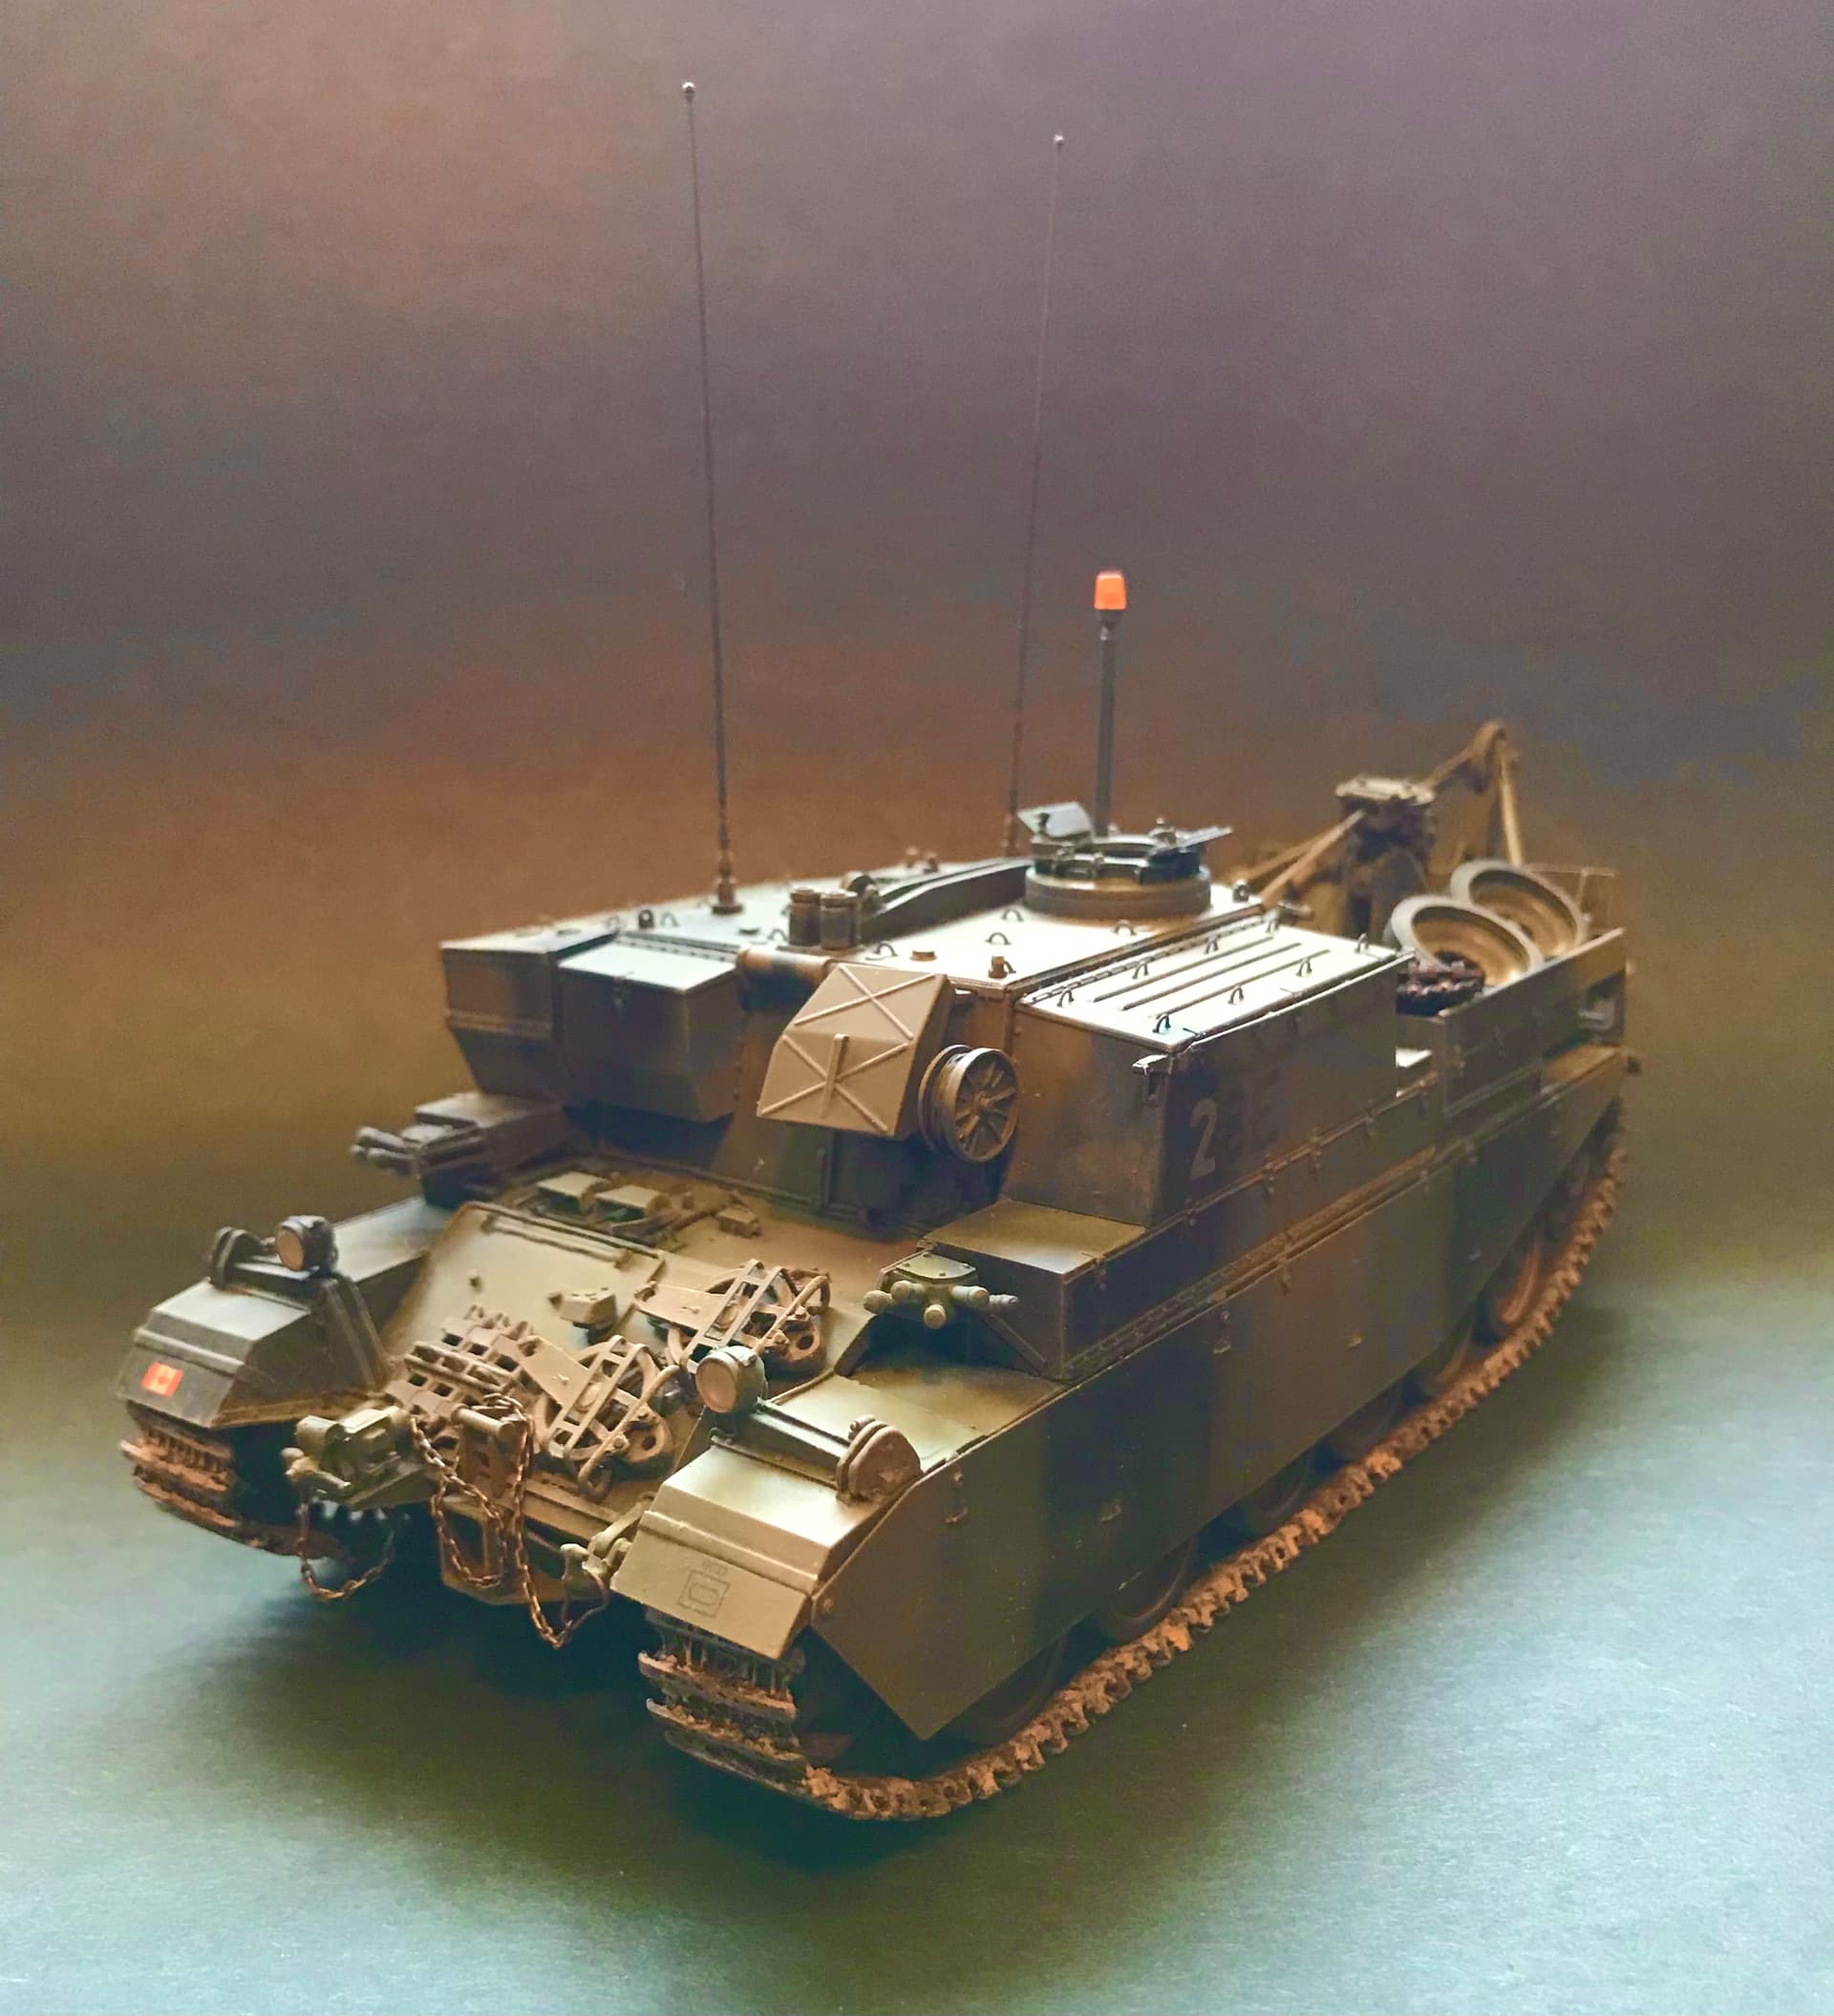
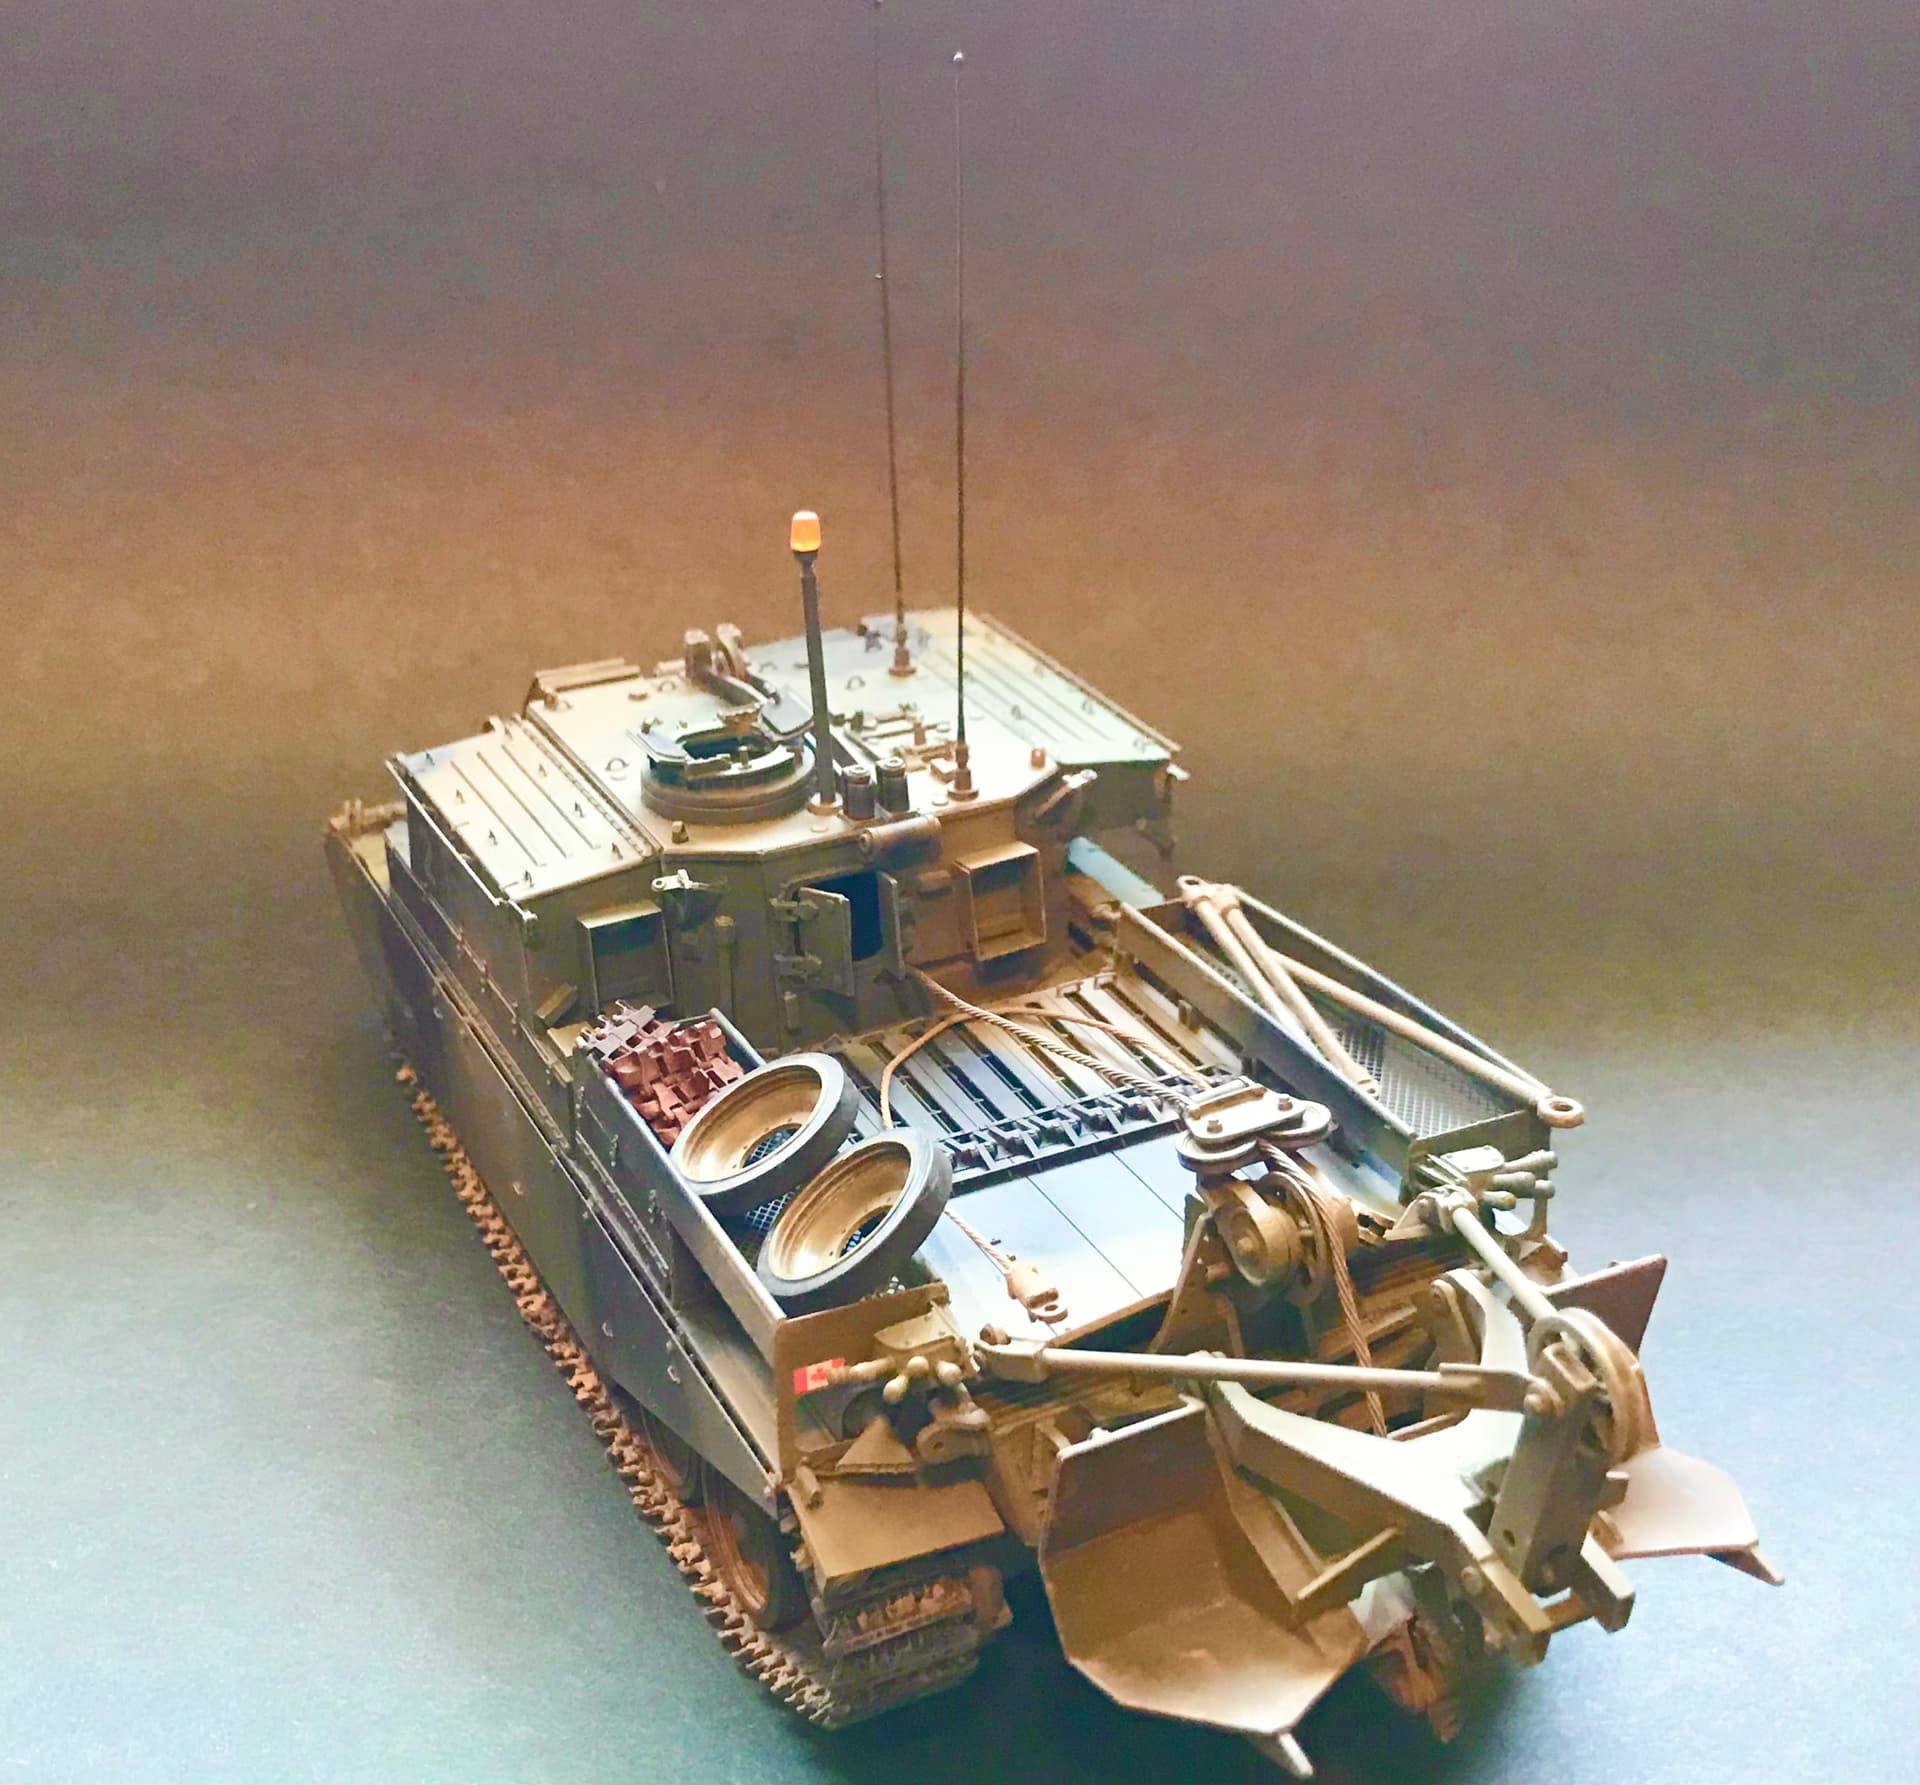
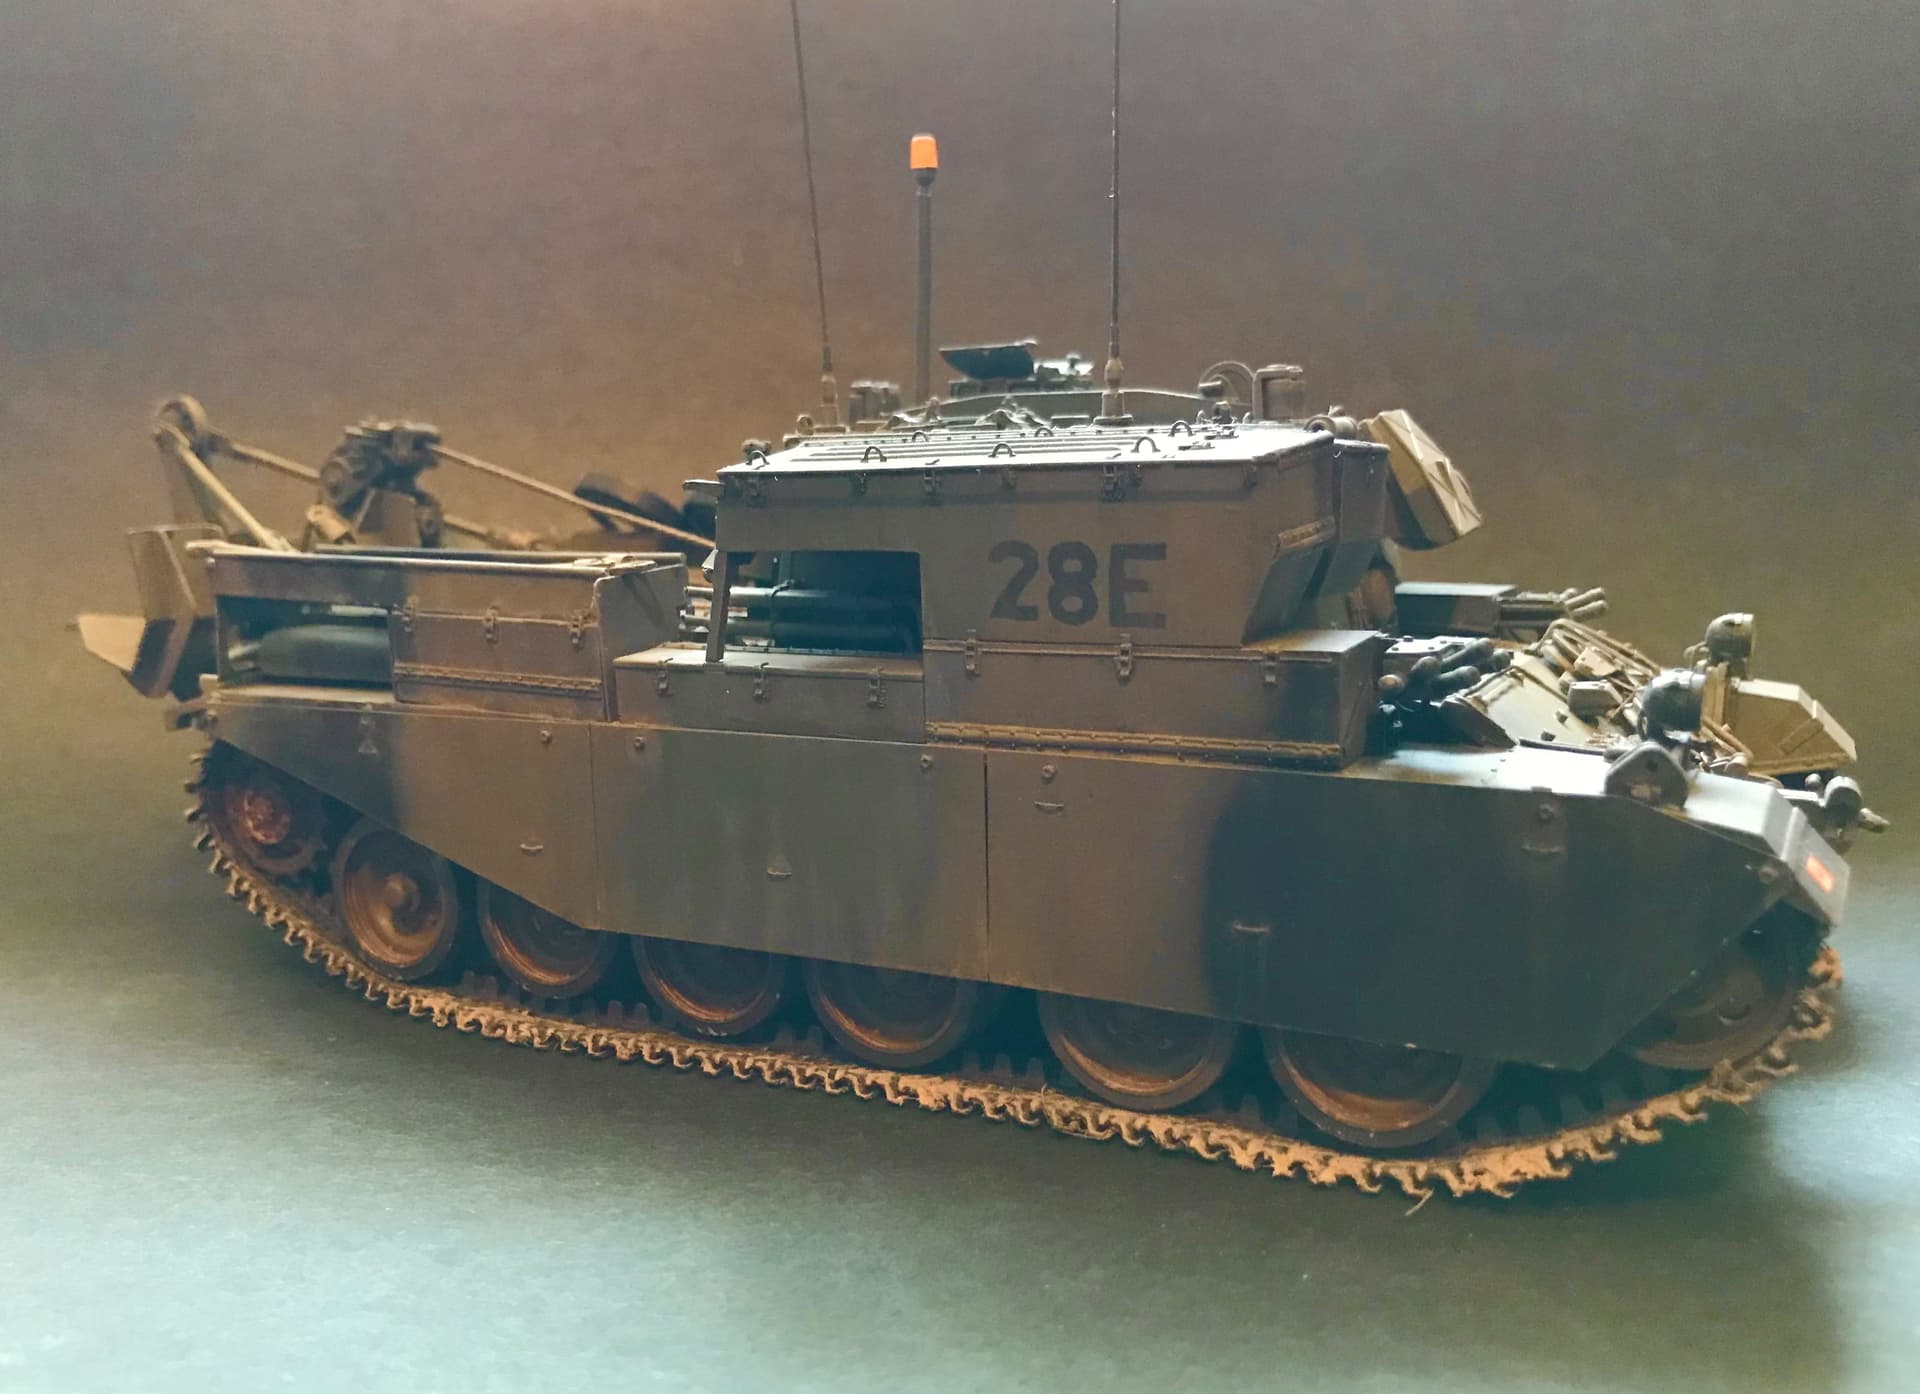
Thanks! It sure does! I hope with some dust weathering it’ll tone down a bit. The taillights also add a nice pop of color. I am also making a red air ID panel, that should add a splash of color.
Good work on the bren the carrier! The PE is sharp!
Just came back from a few days vacation in Czech Republic today. Thanks for the extra time, guys. Only decals are missing on my No. 442 Sqn RCAF Mustang and I’ll start with that tomorrow. Hopefully everything will be done by mid next week. So, yes, 1. August, I can make that deadline …
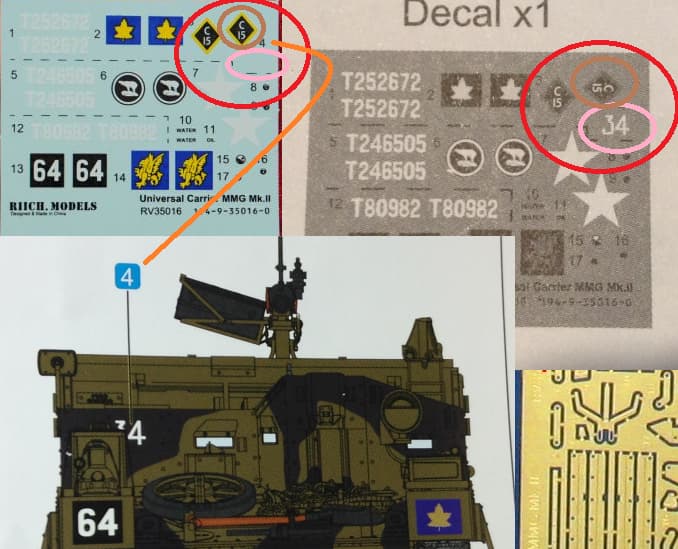
Adding the decals this evening, and came across an issue with Riich’s decal sheet - a missing decal! Their instruction sheet shows decal No. 4 needs to be placed in front of the driver position. The number 4 appears on the decal sheet - just there is no decal at all with the number. The instruction sheet image of the decal sheet and the actual decal sheet differ…
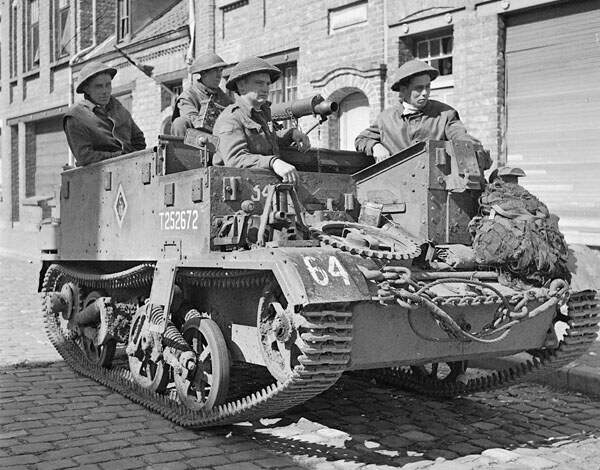
Actually not so big an issue, as the first number as shown on their instruction sheet does not match the actual vehicle number as per the photo I posted a few posts back anyway!
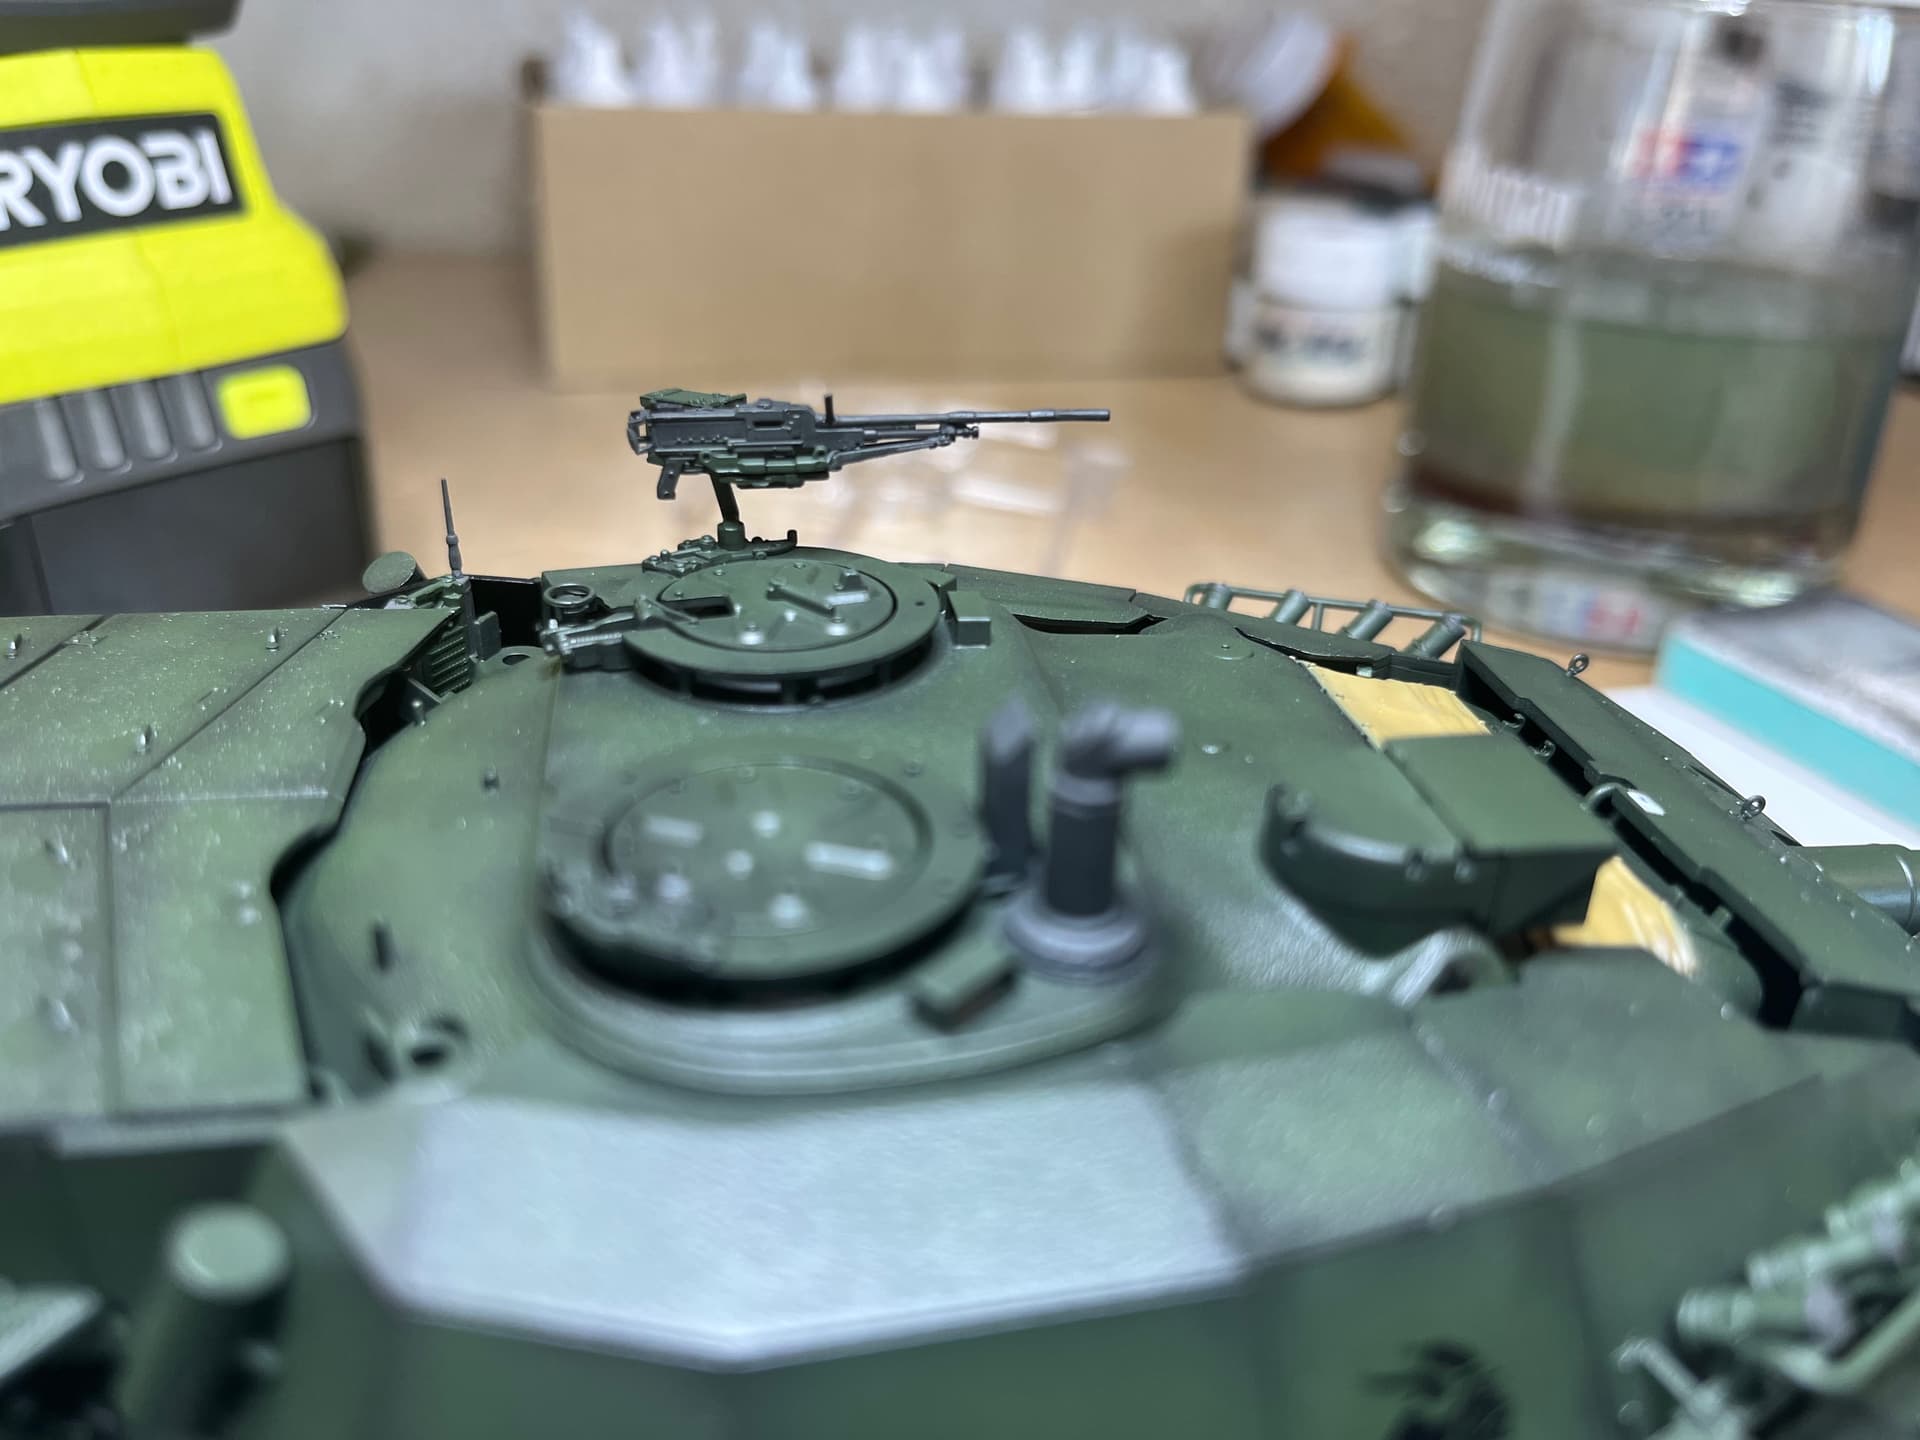
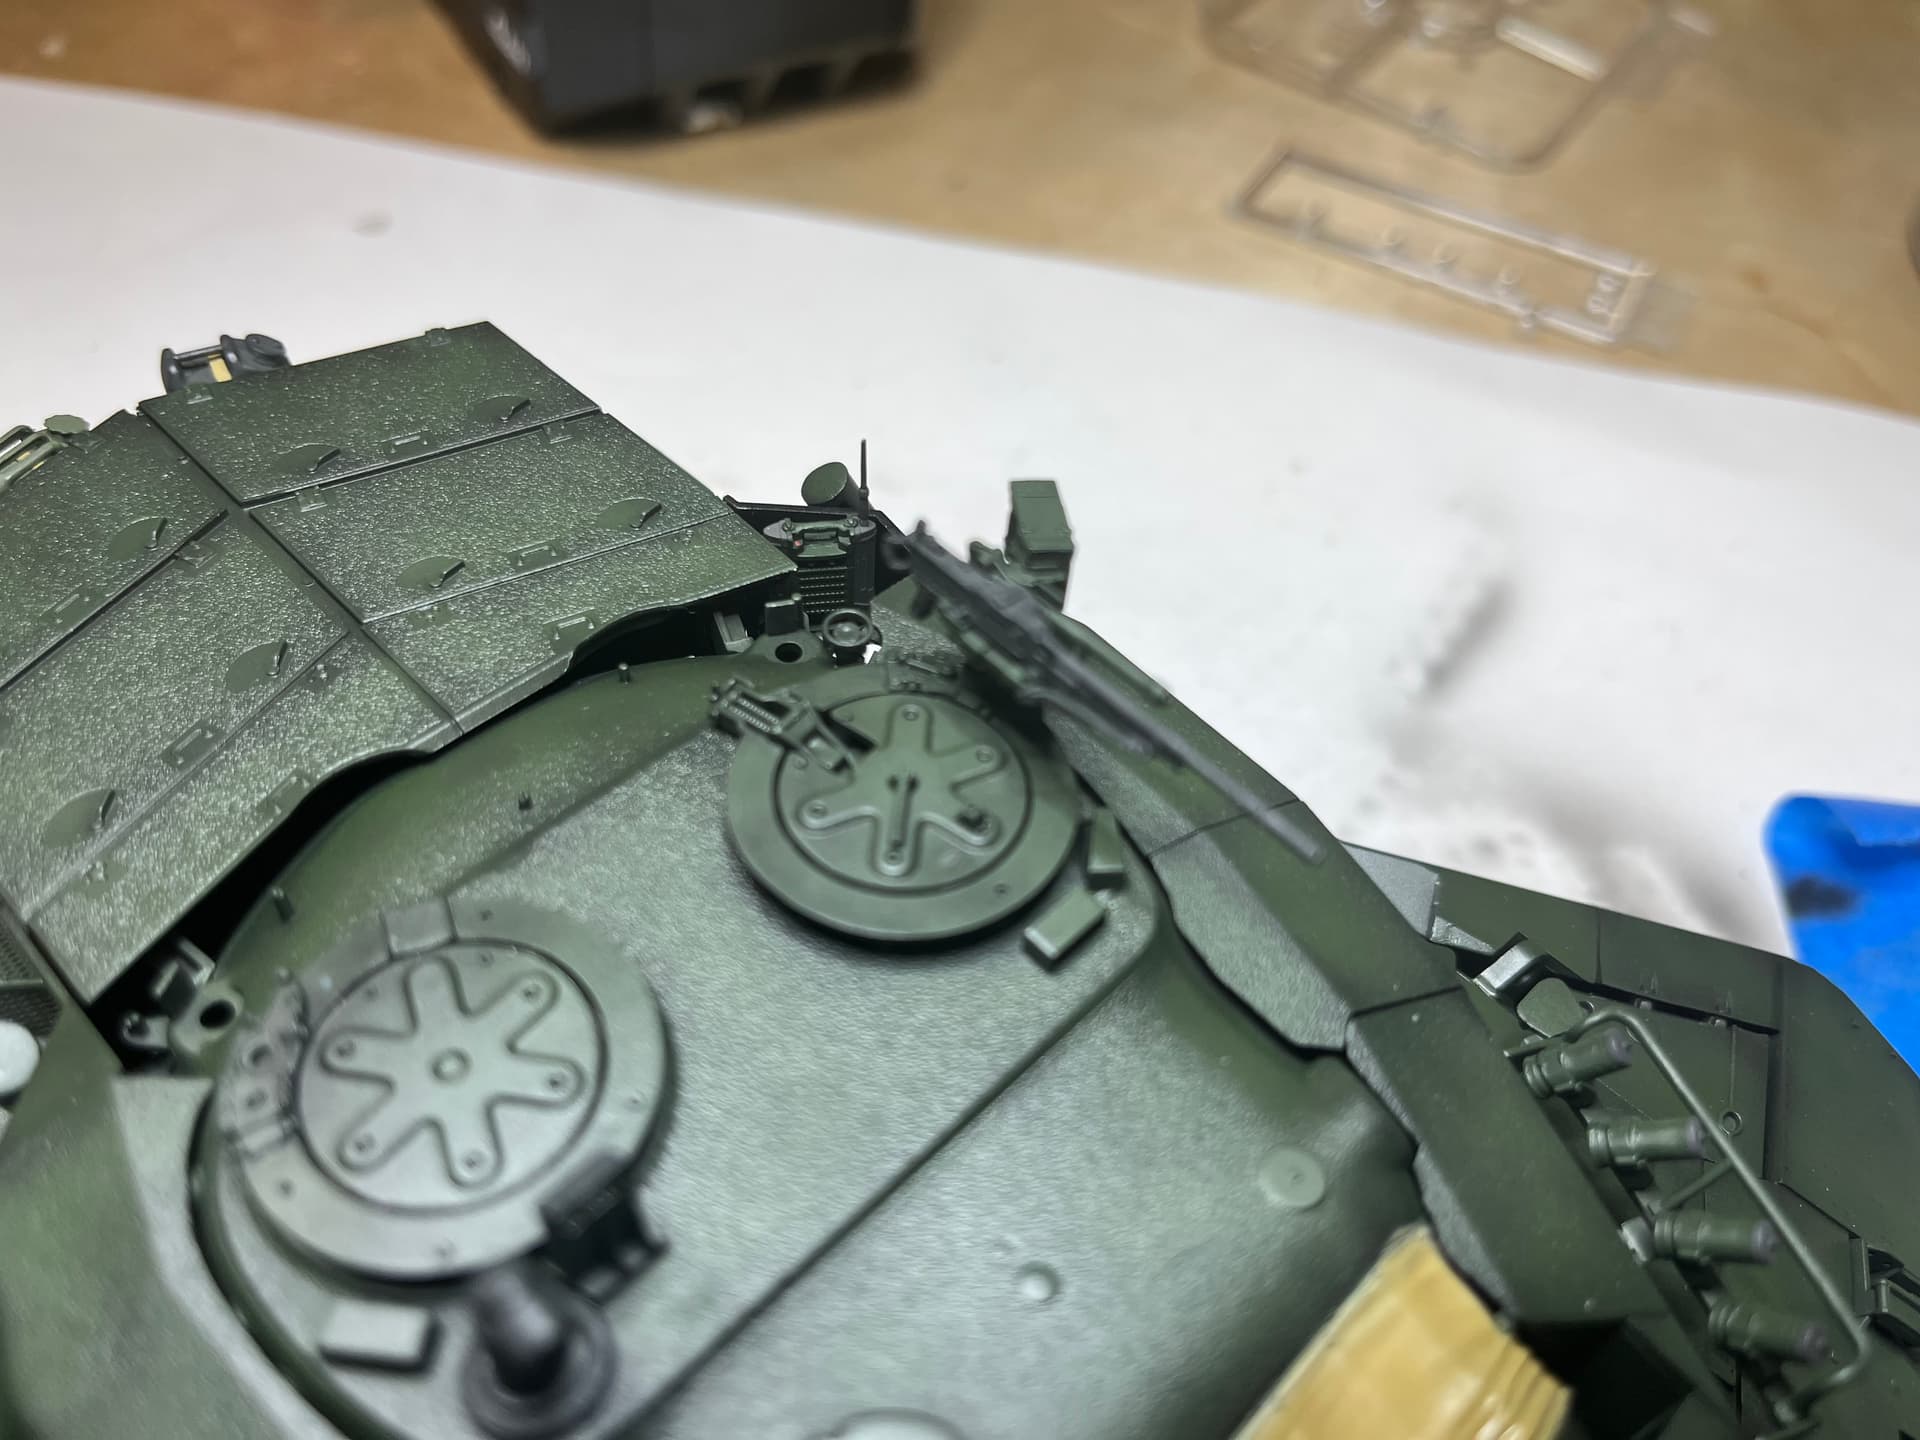
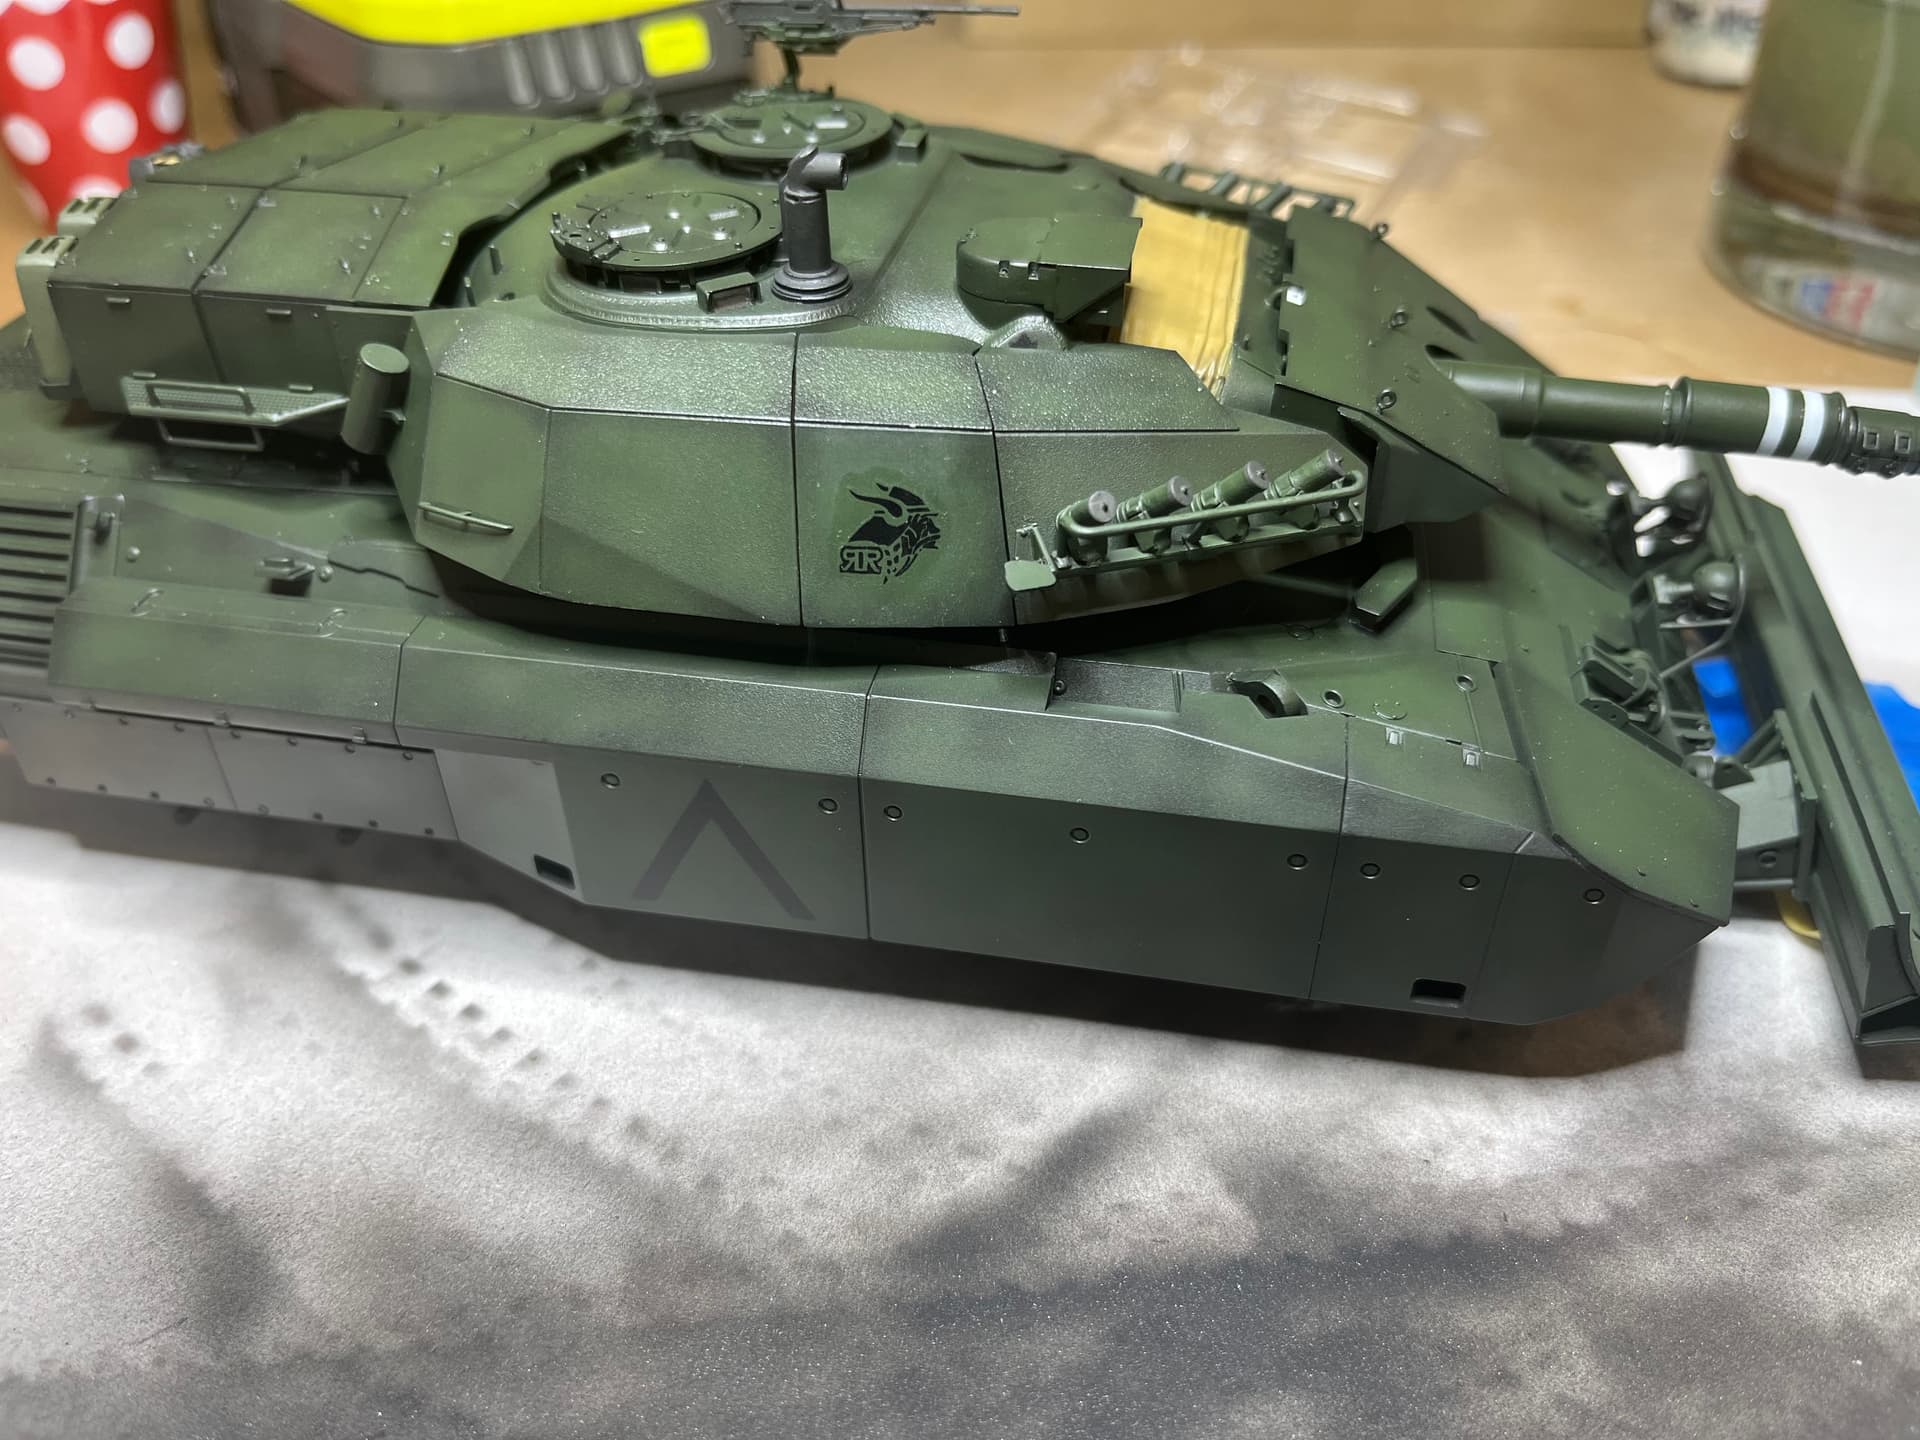
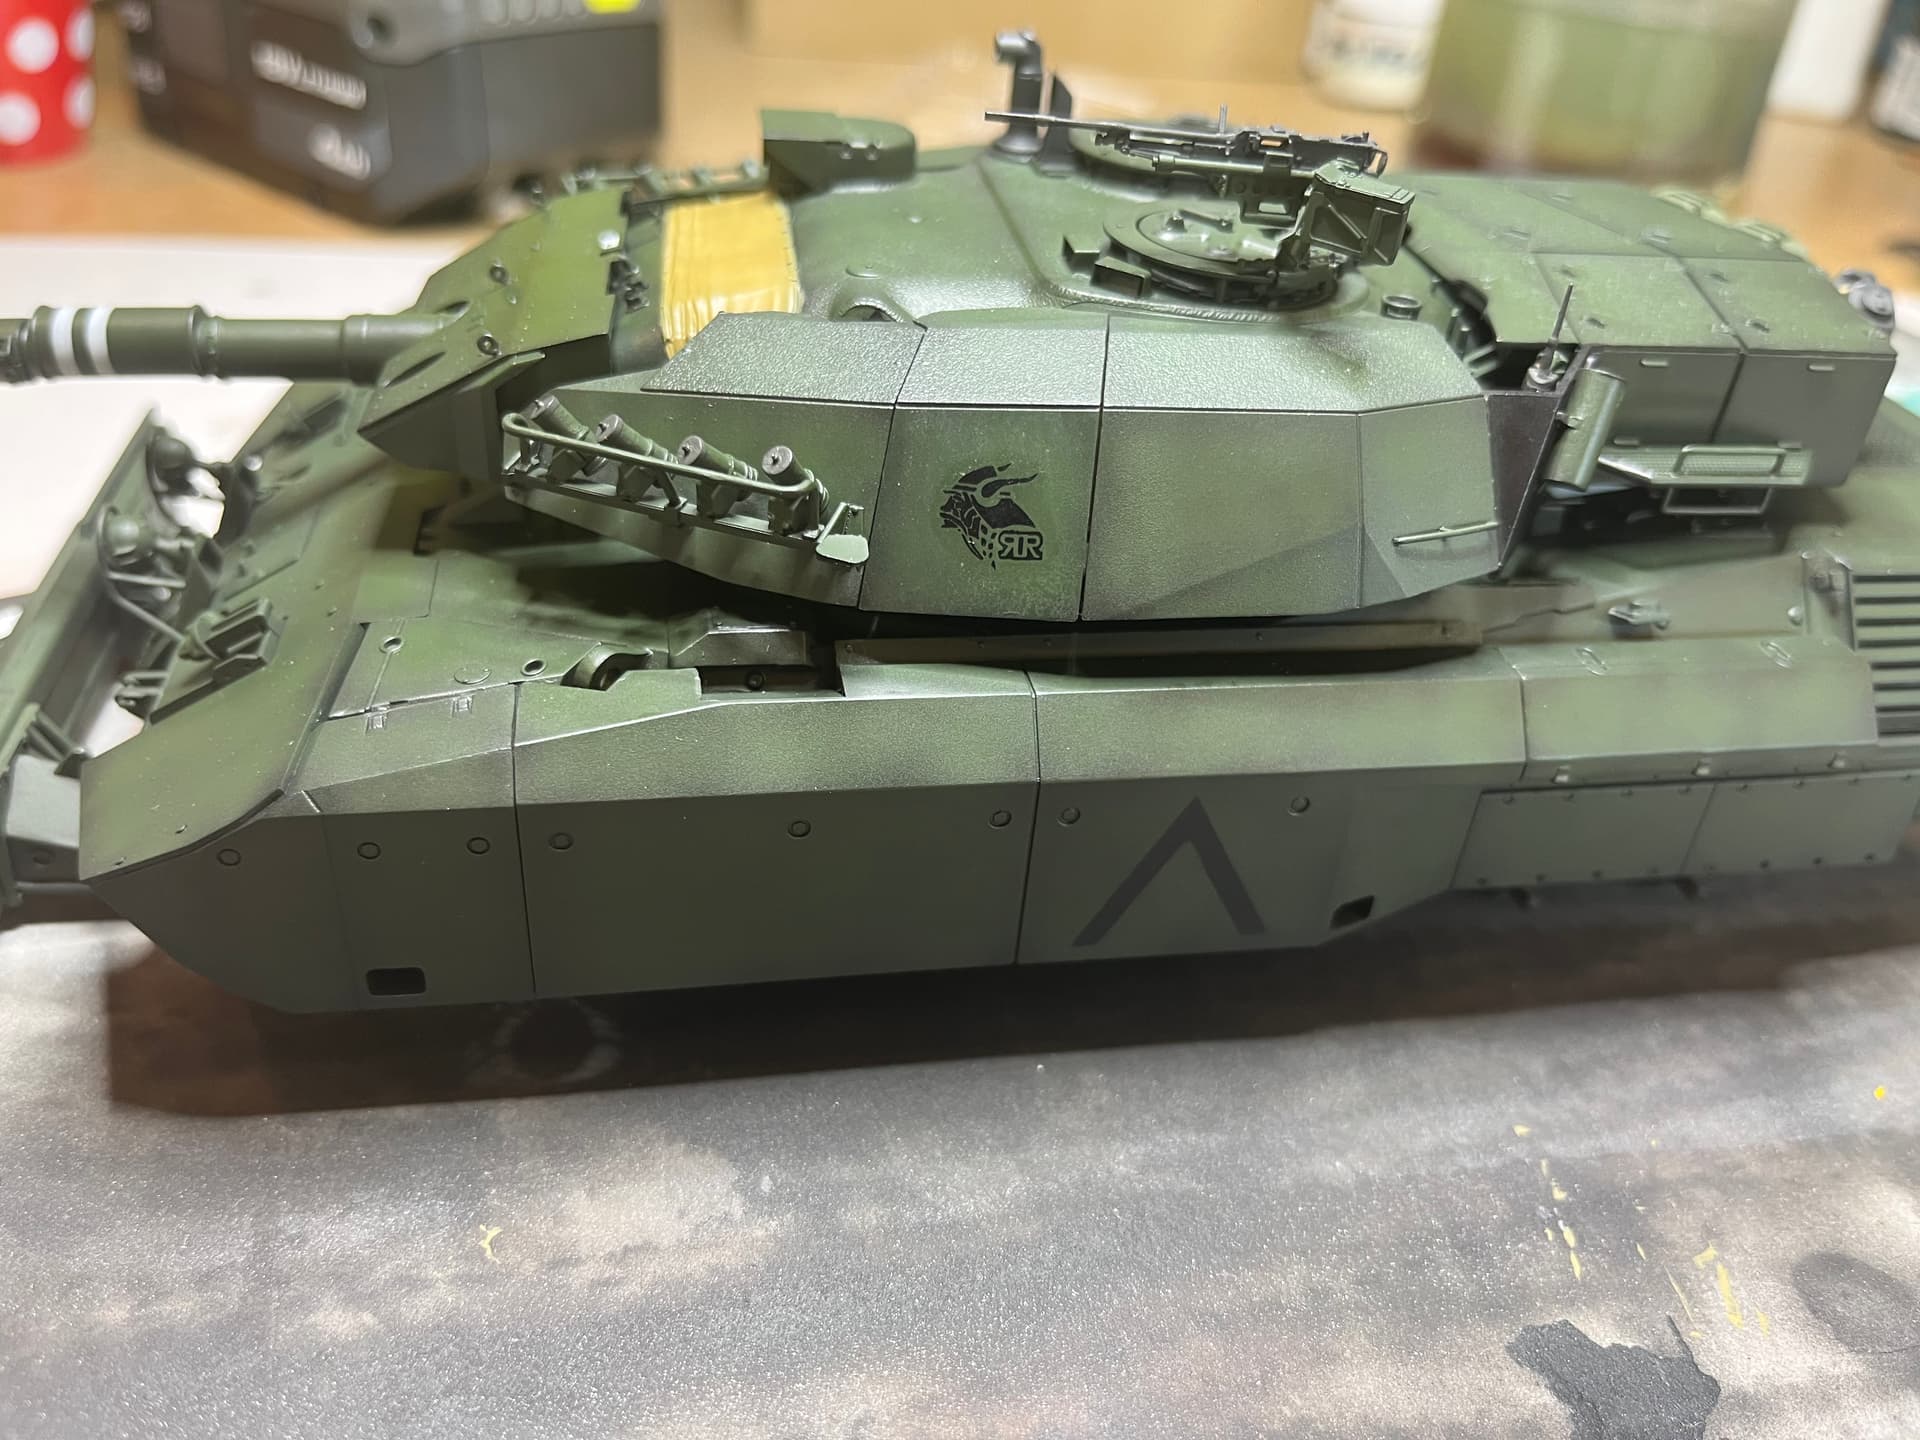
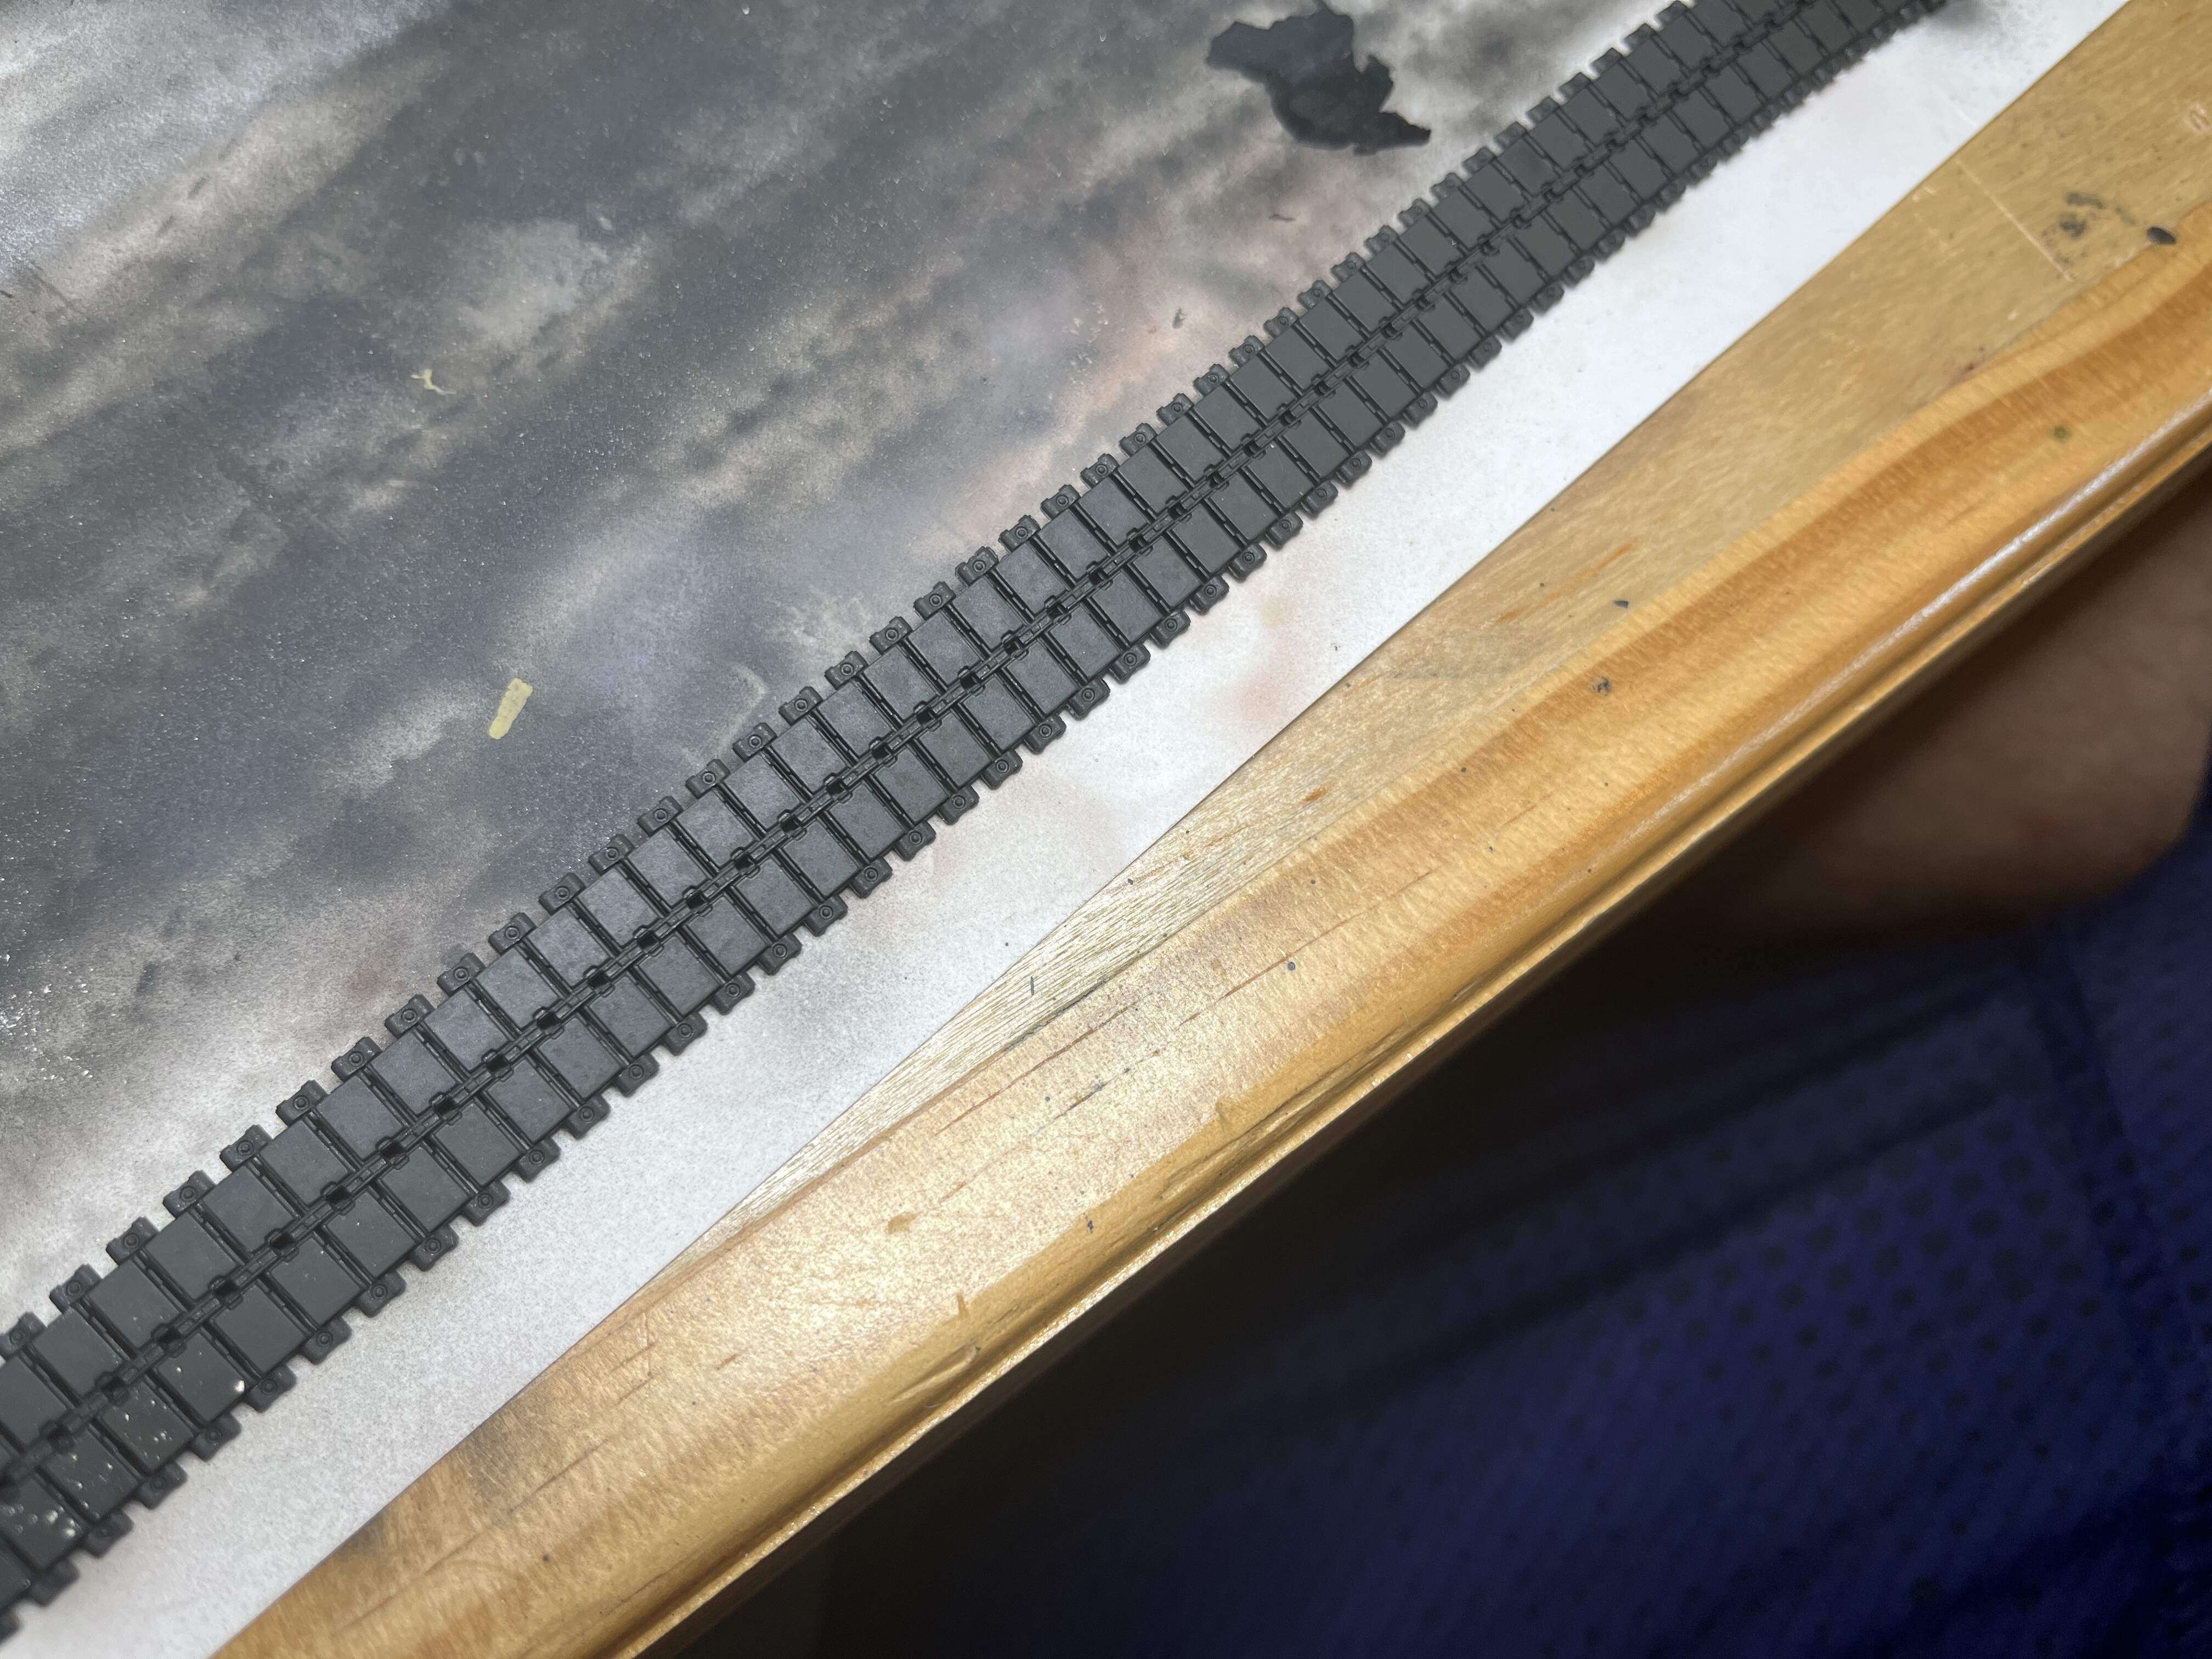
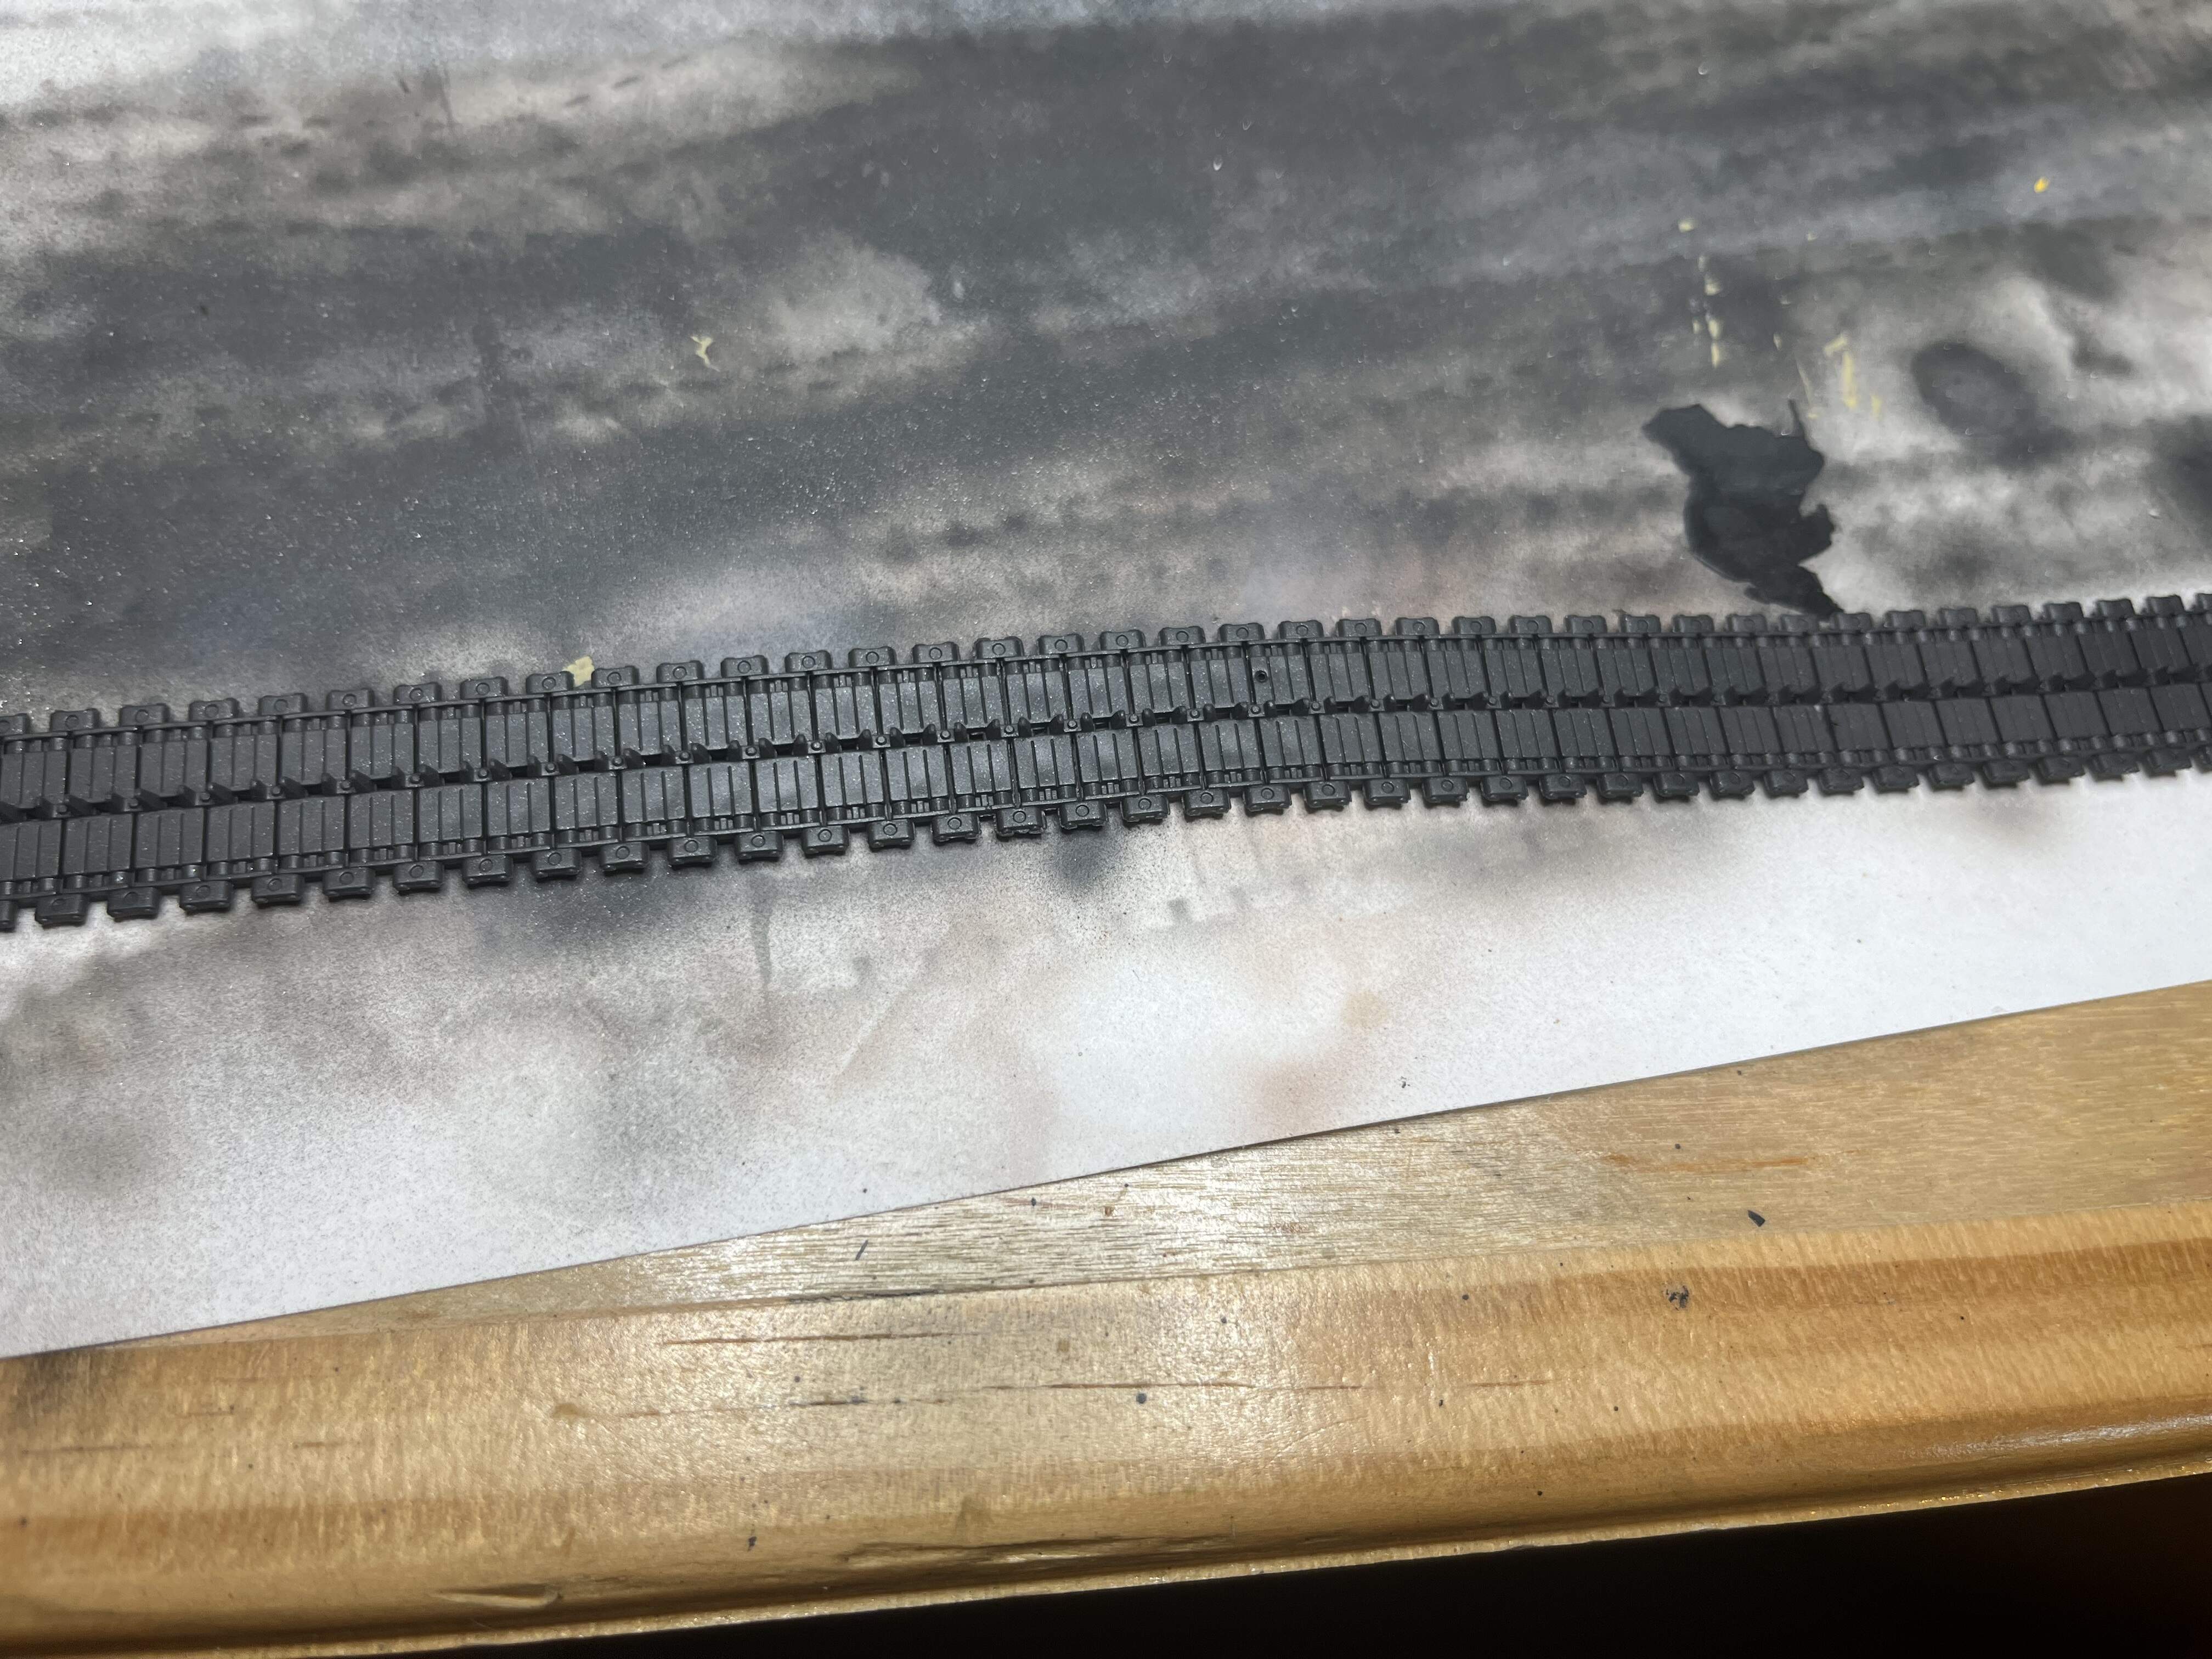
Forging ahead with the leopard. Have all of the details painted an on, and got all the decals on! Still have to seal them in. Yeah also painted the tracks with dark iron then each rubber block with a custom rubber mix from Vallejo paints. And finally sealed with dull cote! All ready for weathering. Of course the AC in my man cave died though and it’s 114 degrees this week so no modeling for me! Though I might try to sneak in a wash and dry brush at the kitchen table
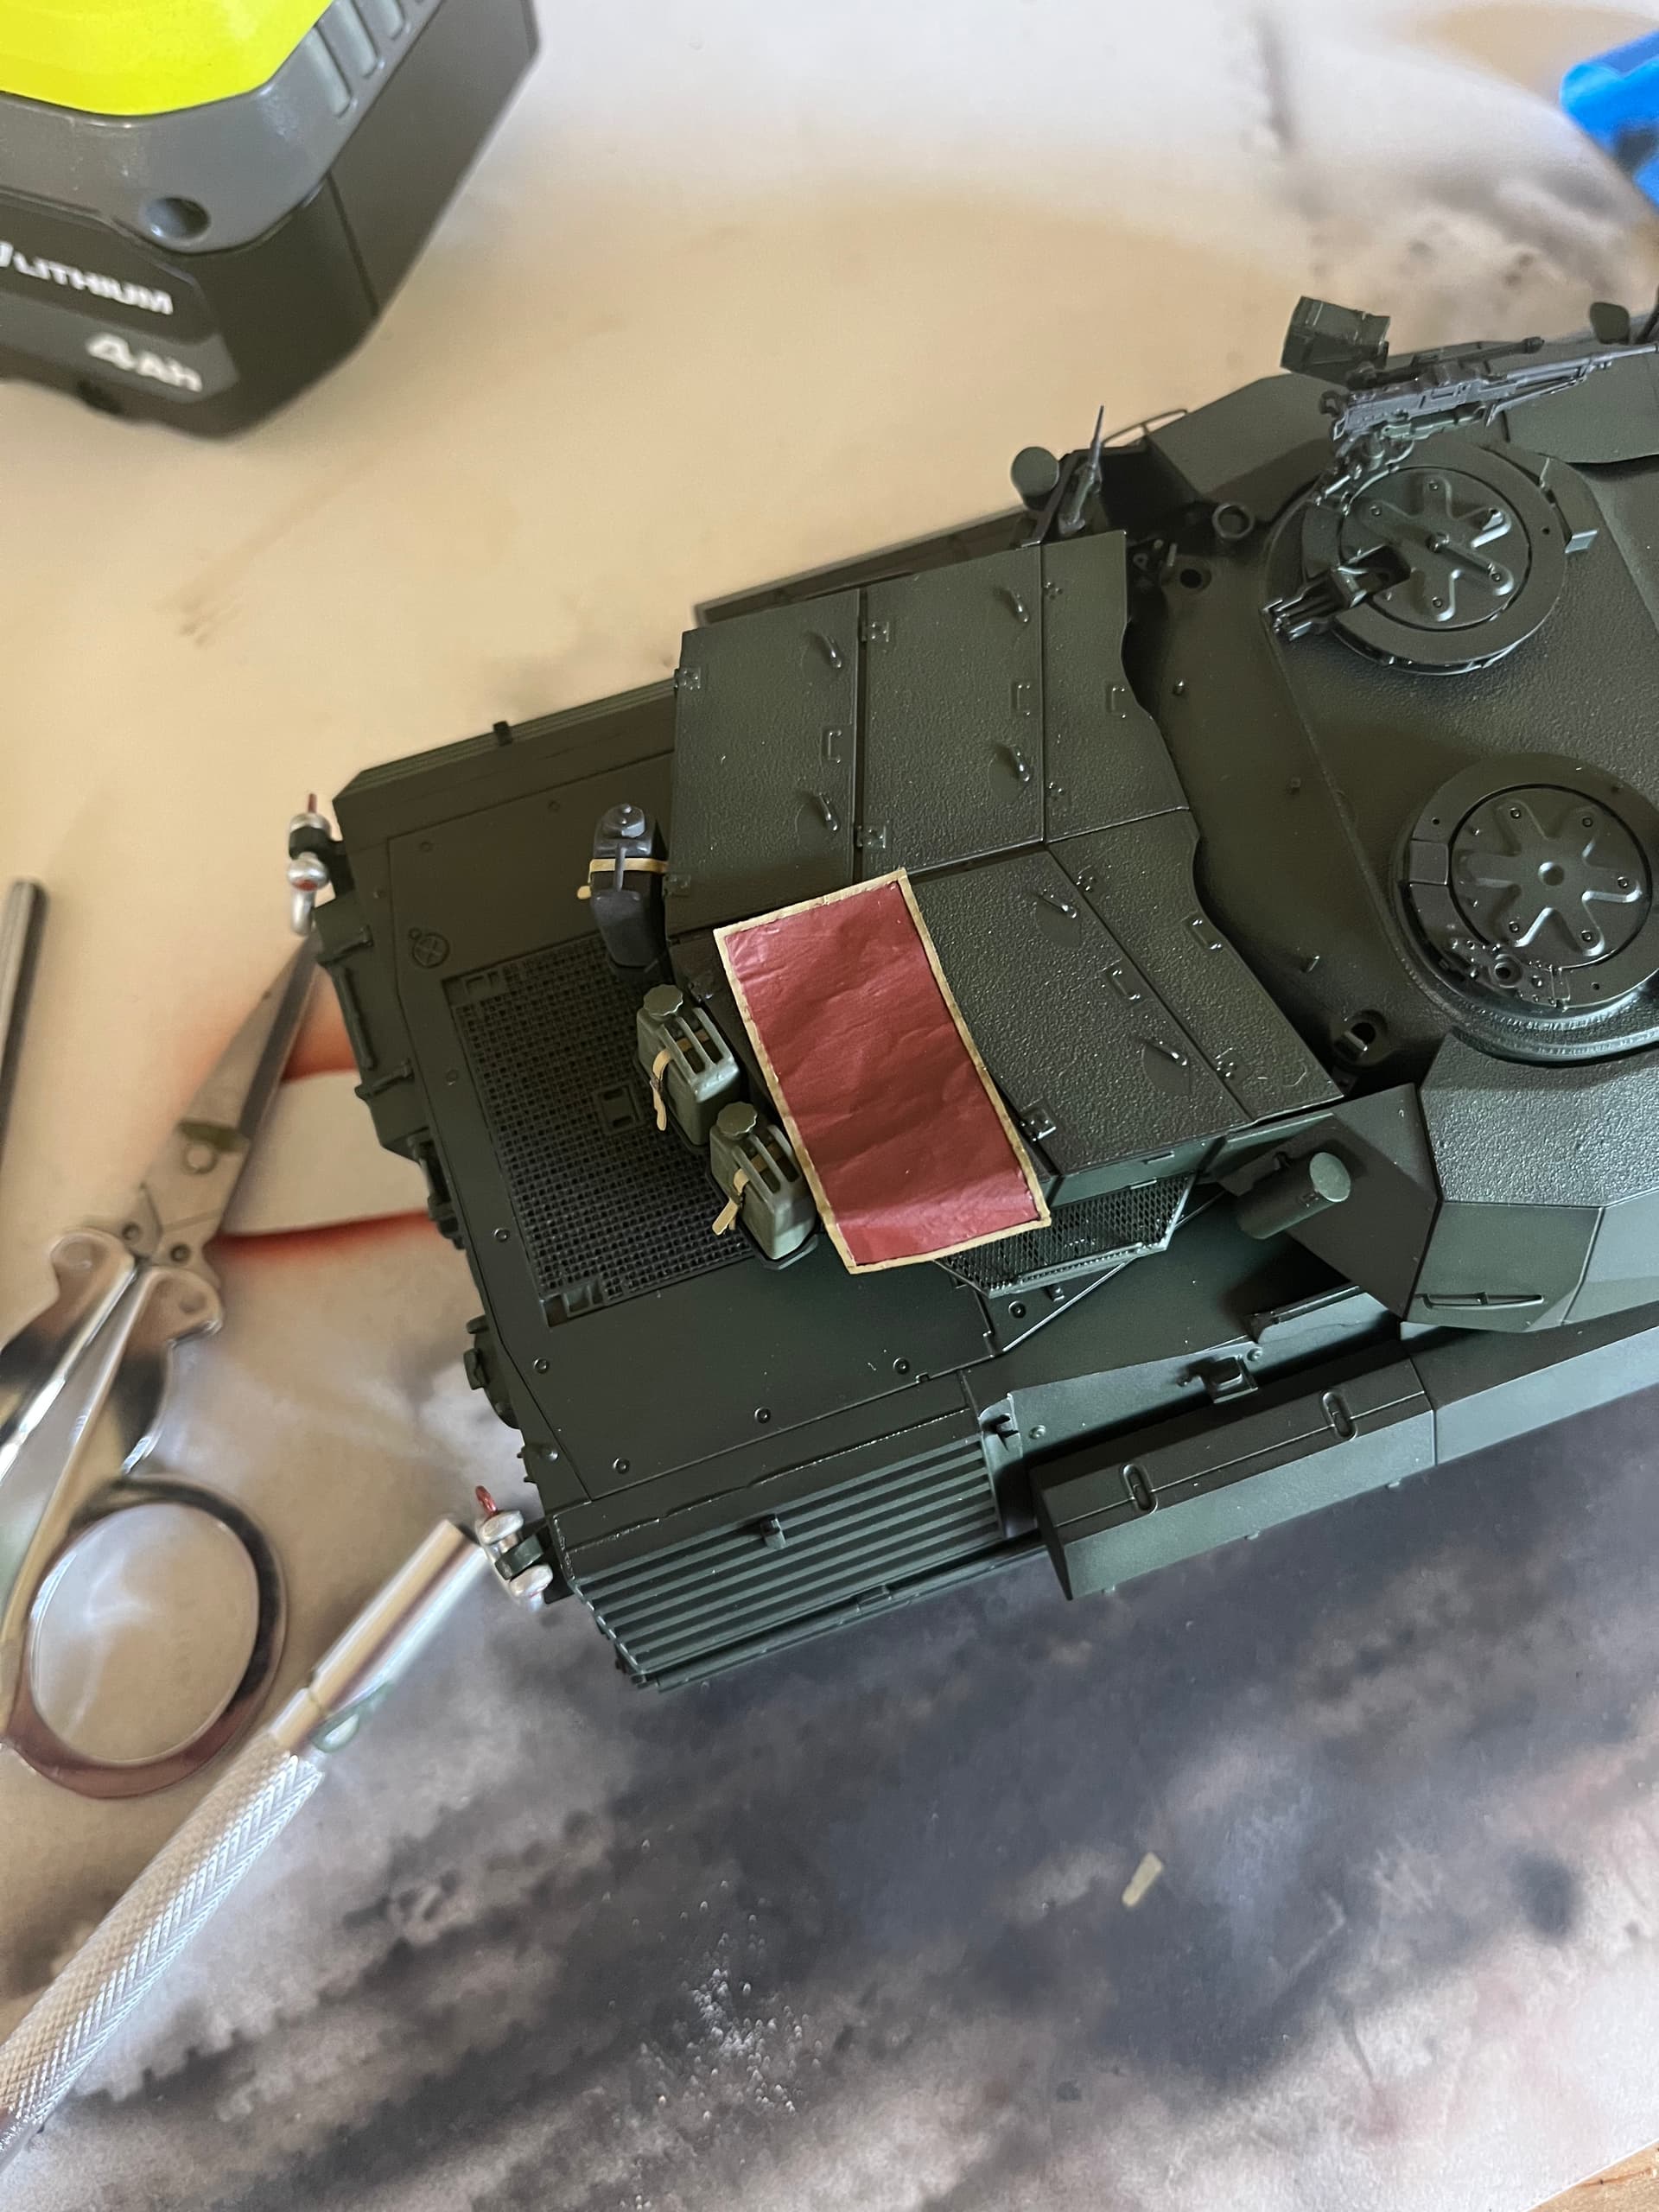
Not sure who meng uses for their decals but they sat down nice with microset and Microsol. The C6 spade grips were cannibalized from my spares box, and the jerry can tie downs were cut with my cricut
I also made a air ID panel from tinfoil and masking tape as seen on many C2 mexas but I am not sure I like it
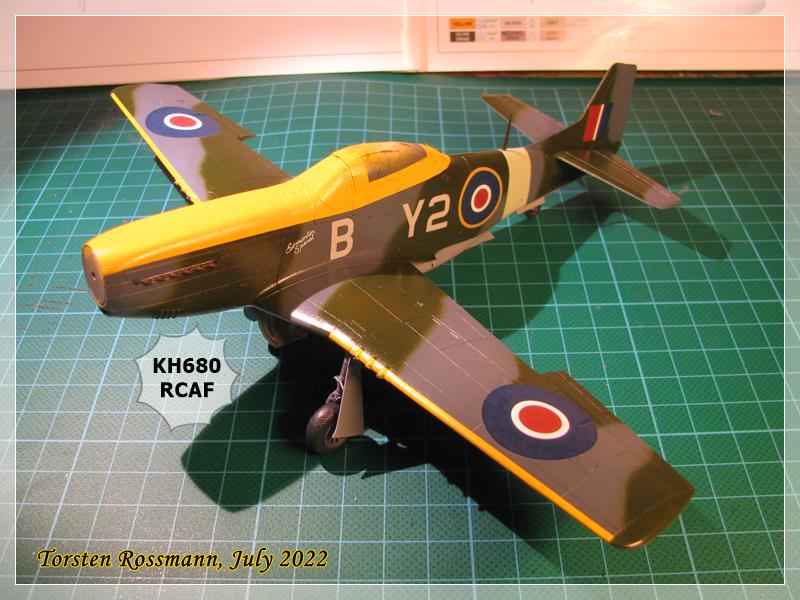
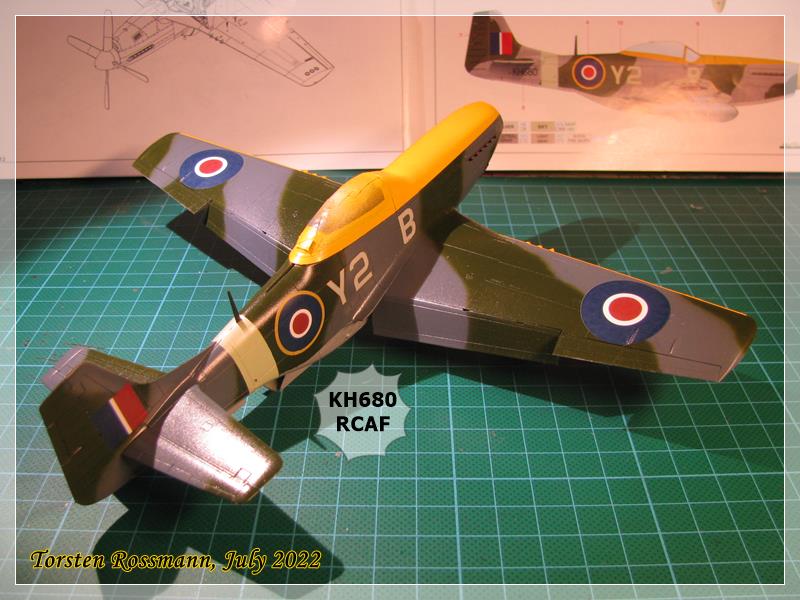
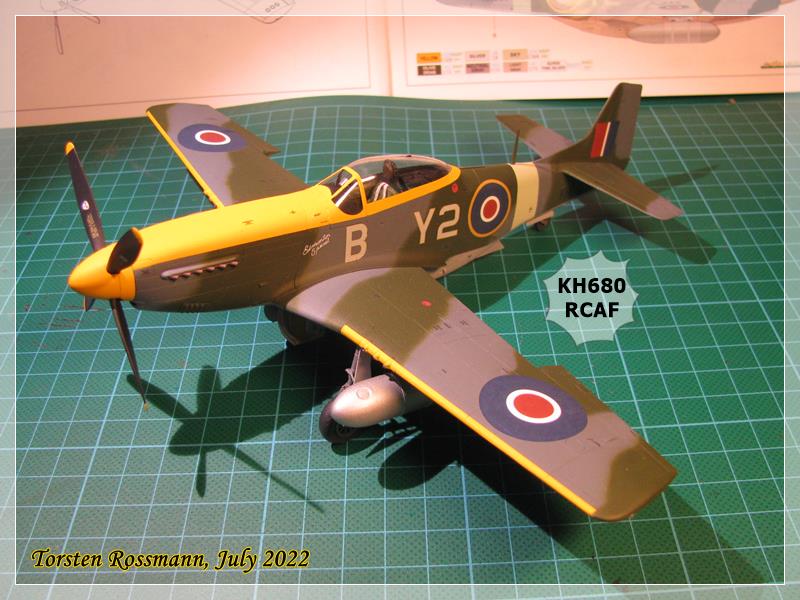
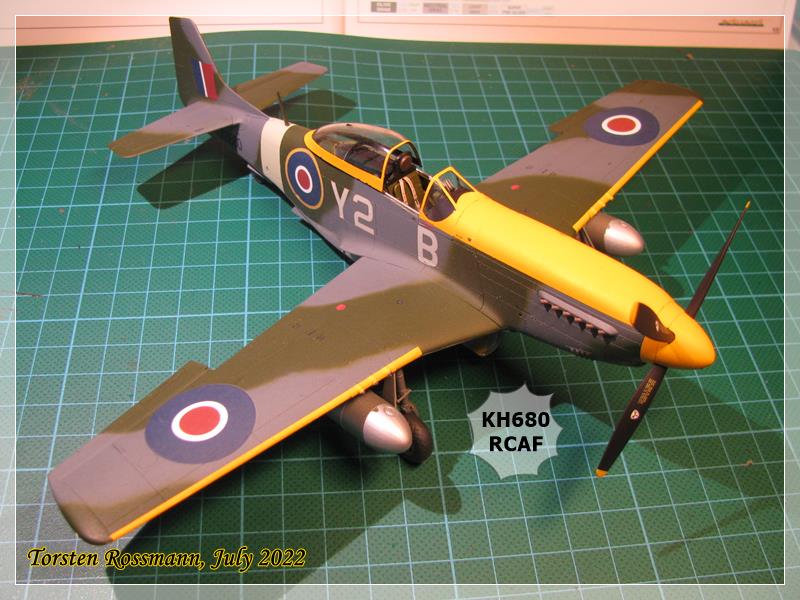
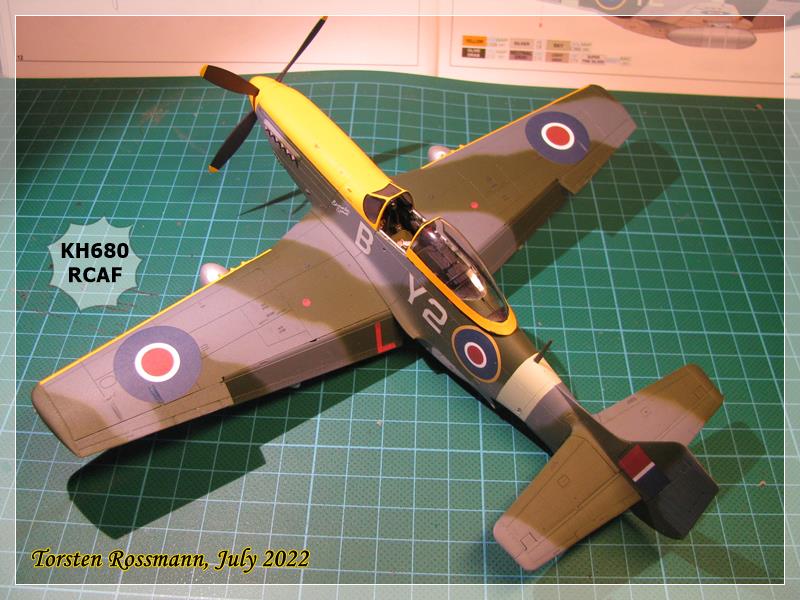
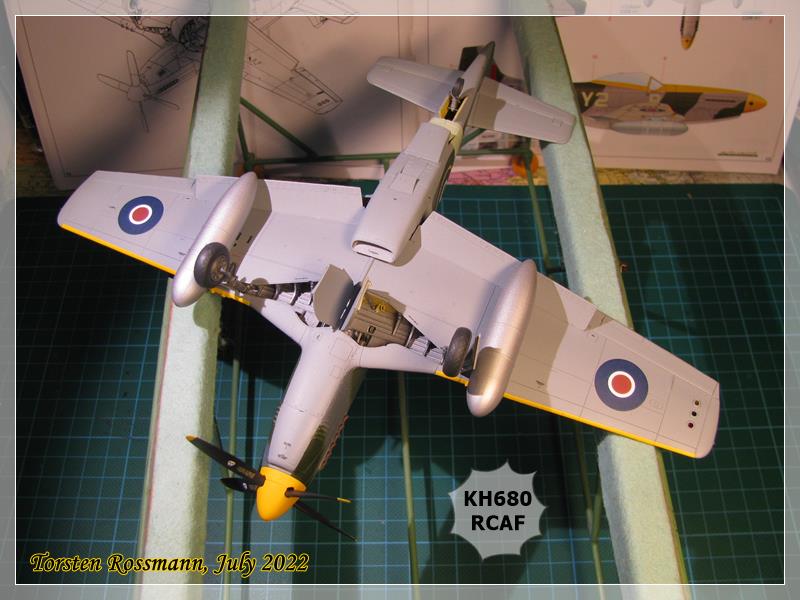
Mustang Mk. IV, KH680 No. 442 Sqn., Royal Canadian Air Force Hunsdon, England, April 1945
Pilot: P/O John Mallandine
Kit: Eduard 1/48 ProfiPack
Really nicely detailed kit with a lot of fun to build. The RAF camo was made with Vallejo paints, Yellow and Sky are from Revell Aqua. Final coating is a 60/40 mix of Revell Aqua Clear Gloss and Clear Matt. The decals are from the kit. A really nice colourful bird …
Thanks again for the extension of the campaign. I was a late starter and would have not made it in time with 2 builds on the bench. If you like to see more of this build I can recommend my own little work bench thread in the Aeroscale Section.
Thanks so very much Peter. I definitely recommend this kit and I would think the Aussie Cent kit would be the same. I have been thinking of doing an ARV and Cent in Vietnam for some time now and if no company is going to offer an ARV in plastic soon I will definitely get another Accurate Armour kit. Up till now I have worked with resin figures and accessories but not an almost full resin kit. At first it looks daunting but once you get into it I found it to be easy and very rewarding. The AA instructions are easy to follow and their resin and photo etching is excellent. I hope you get a chance to tackle this kit Peter. Enjoy
Cheers
TJ