I thought the Canadian way was like the Jamaican way, laid down and easy… ![]()
How strict are you on deadlines over there? I remember the start was moved, so why not the finish too? ![]()
1 Like
Sneaking up on the deadline. ![]()
All masked up for the wrap around camo.
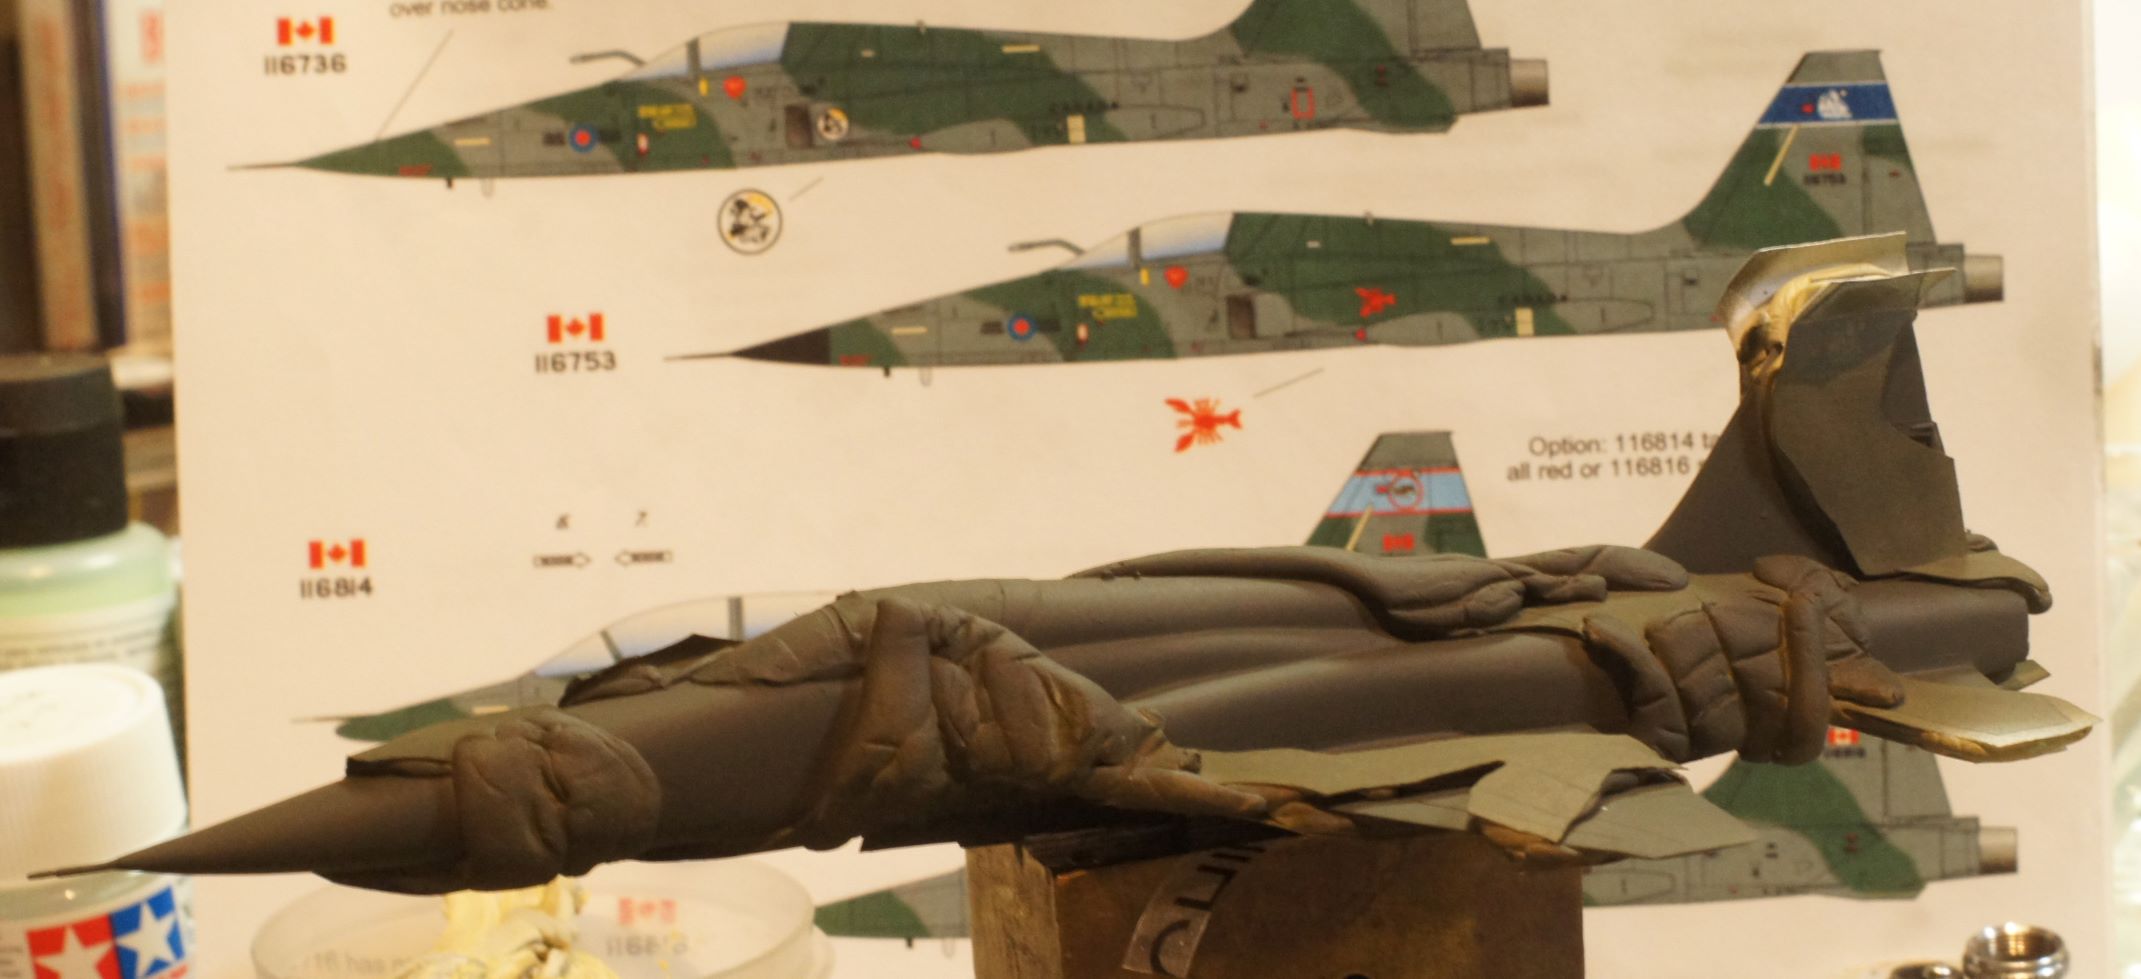
Got that show and a gloss coat on today.
Touch up paint and detail paints tonight. Then decals, flat coat and fiddly bits.
3 Likes
Hi Everyone,
I’m on final approach with the F-104, which looks pretty good despite the age of the kit. Mark, nice camo, good luck finishing!
So, last I updated the paint job was next. So first thing was to go over the model and make sure it’d be ok for a NMF paintjob. It was here that I discovered that I somehow installed the bottom fin the wrong way. Oh well nothing to be done at this point, so onward and upward. Still things looked pretty good.
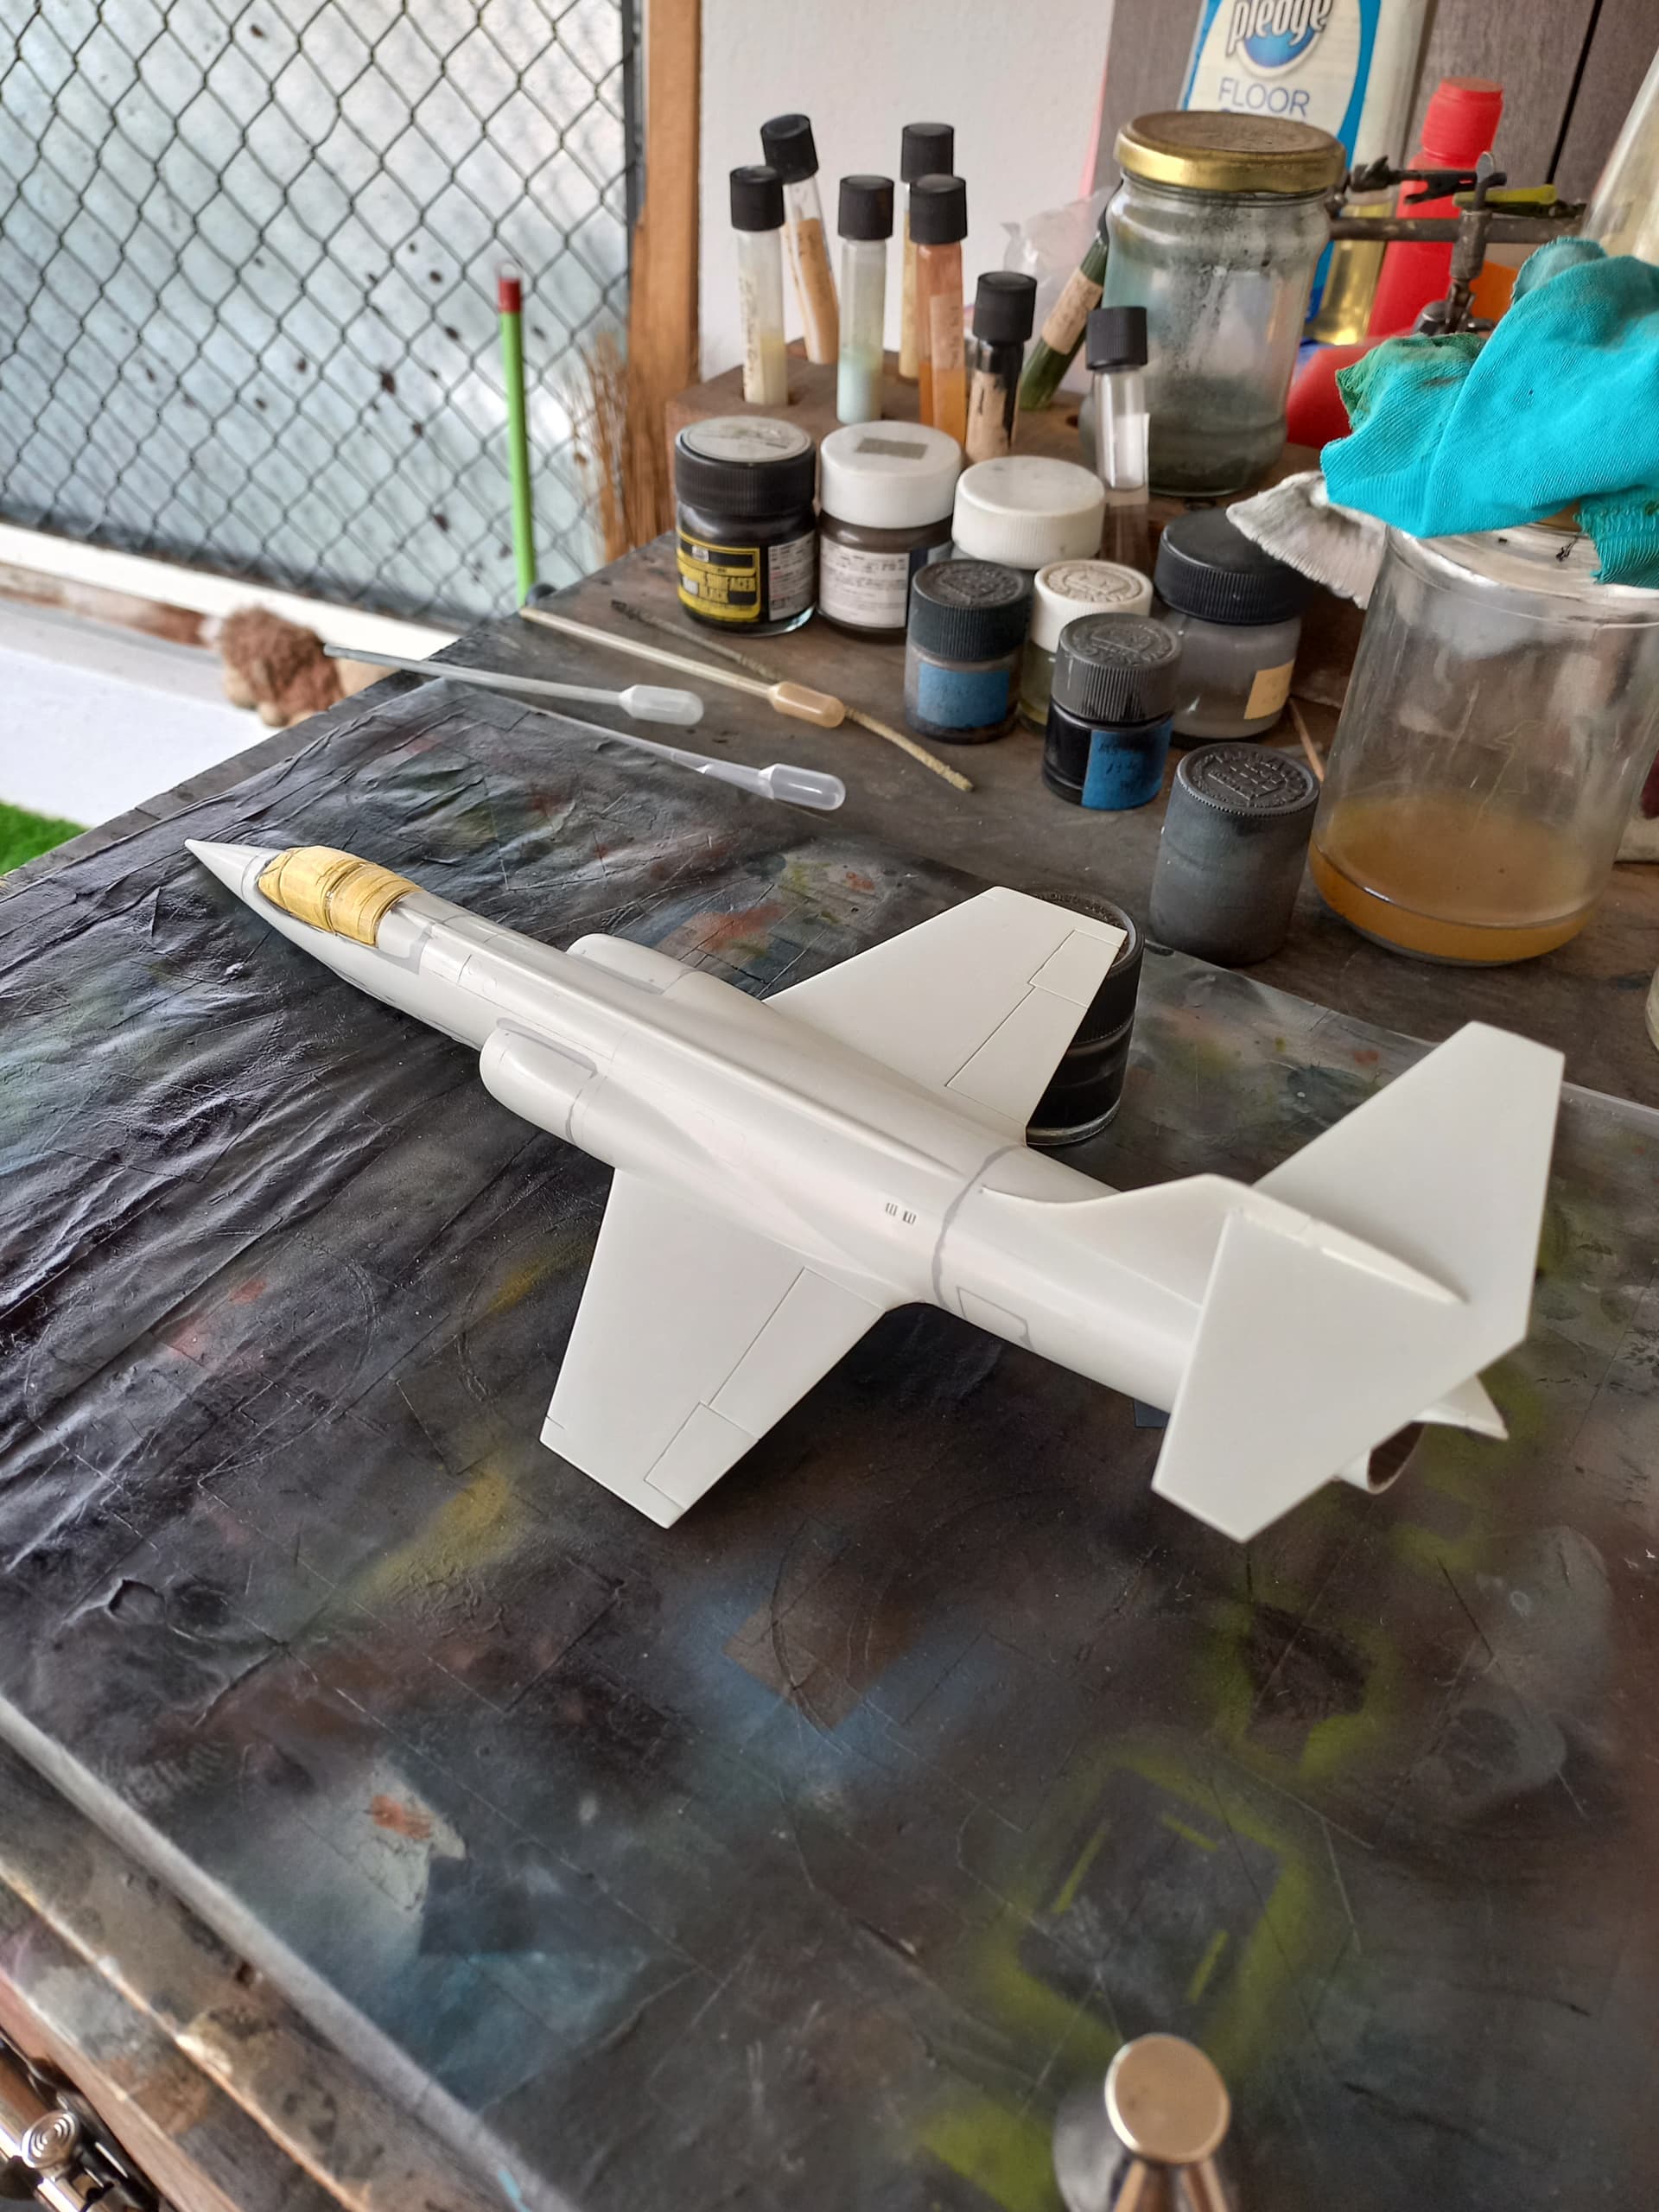
Somehow I got the brilliant idea to prime the plane with Mr. Surfacer 1500 black, leaving the wings to be primed with some Tamiya primer in white. I found that I’d done a pretty good job on getting all the seams taken care of.
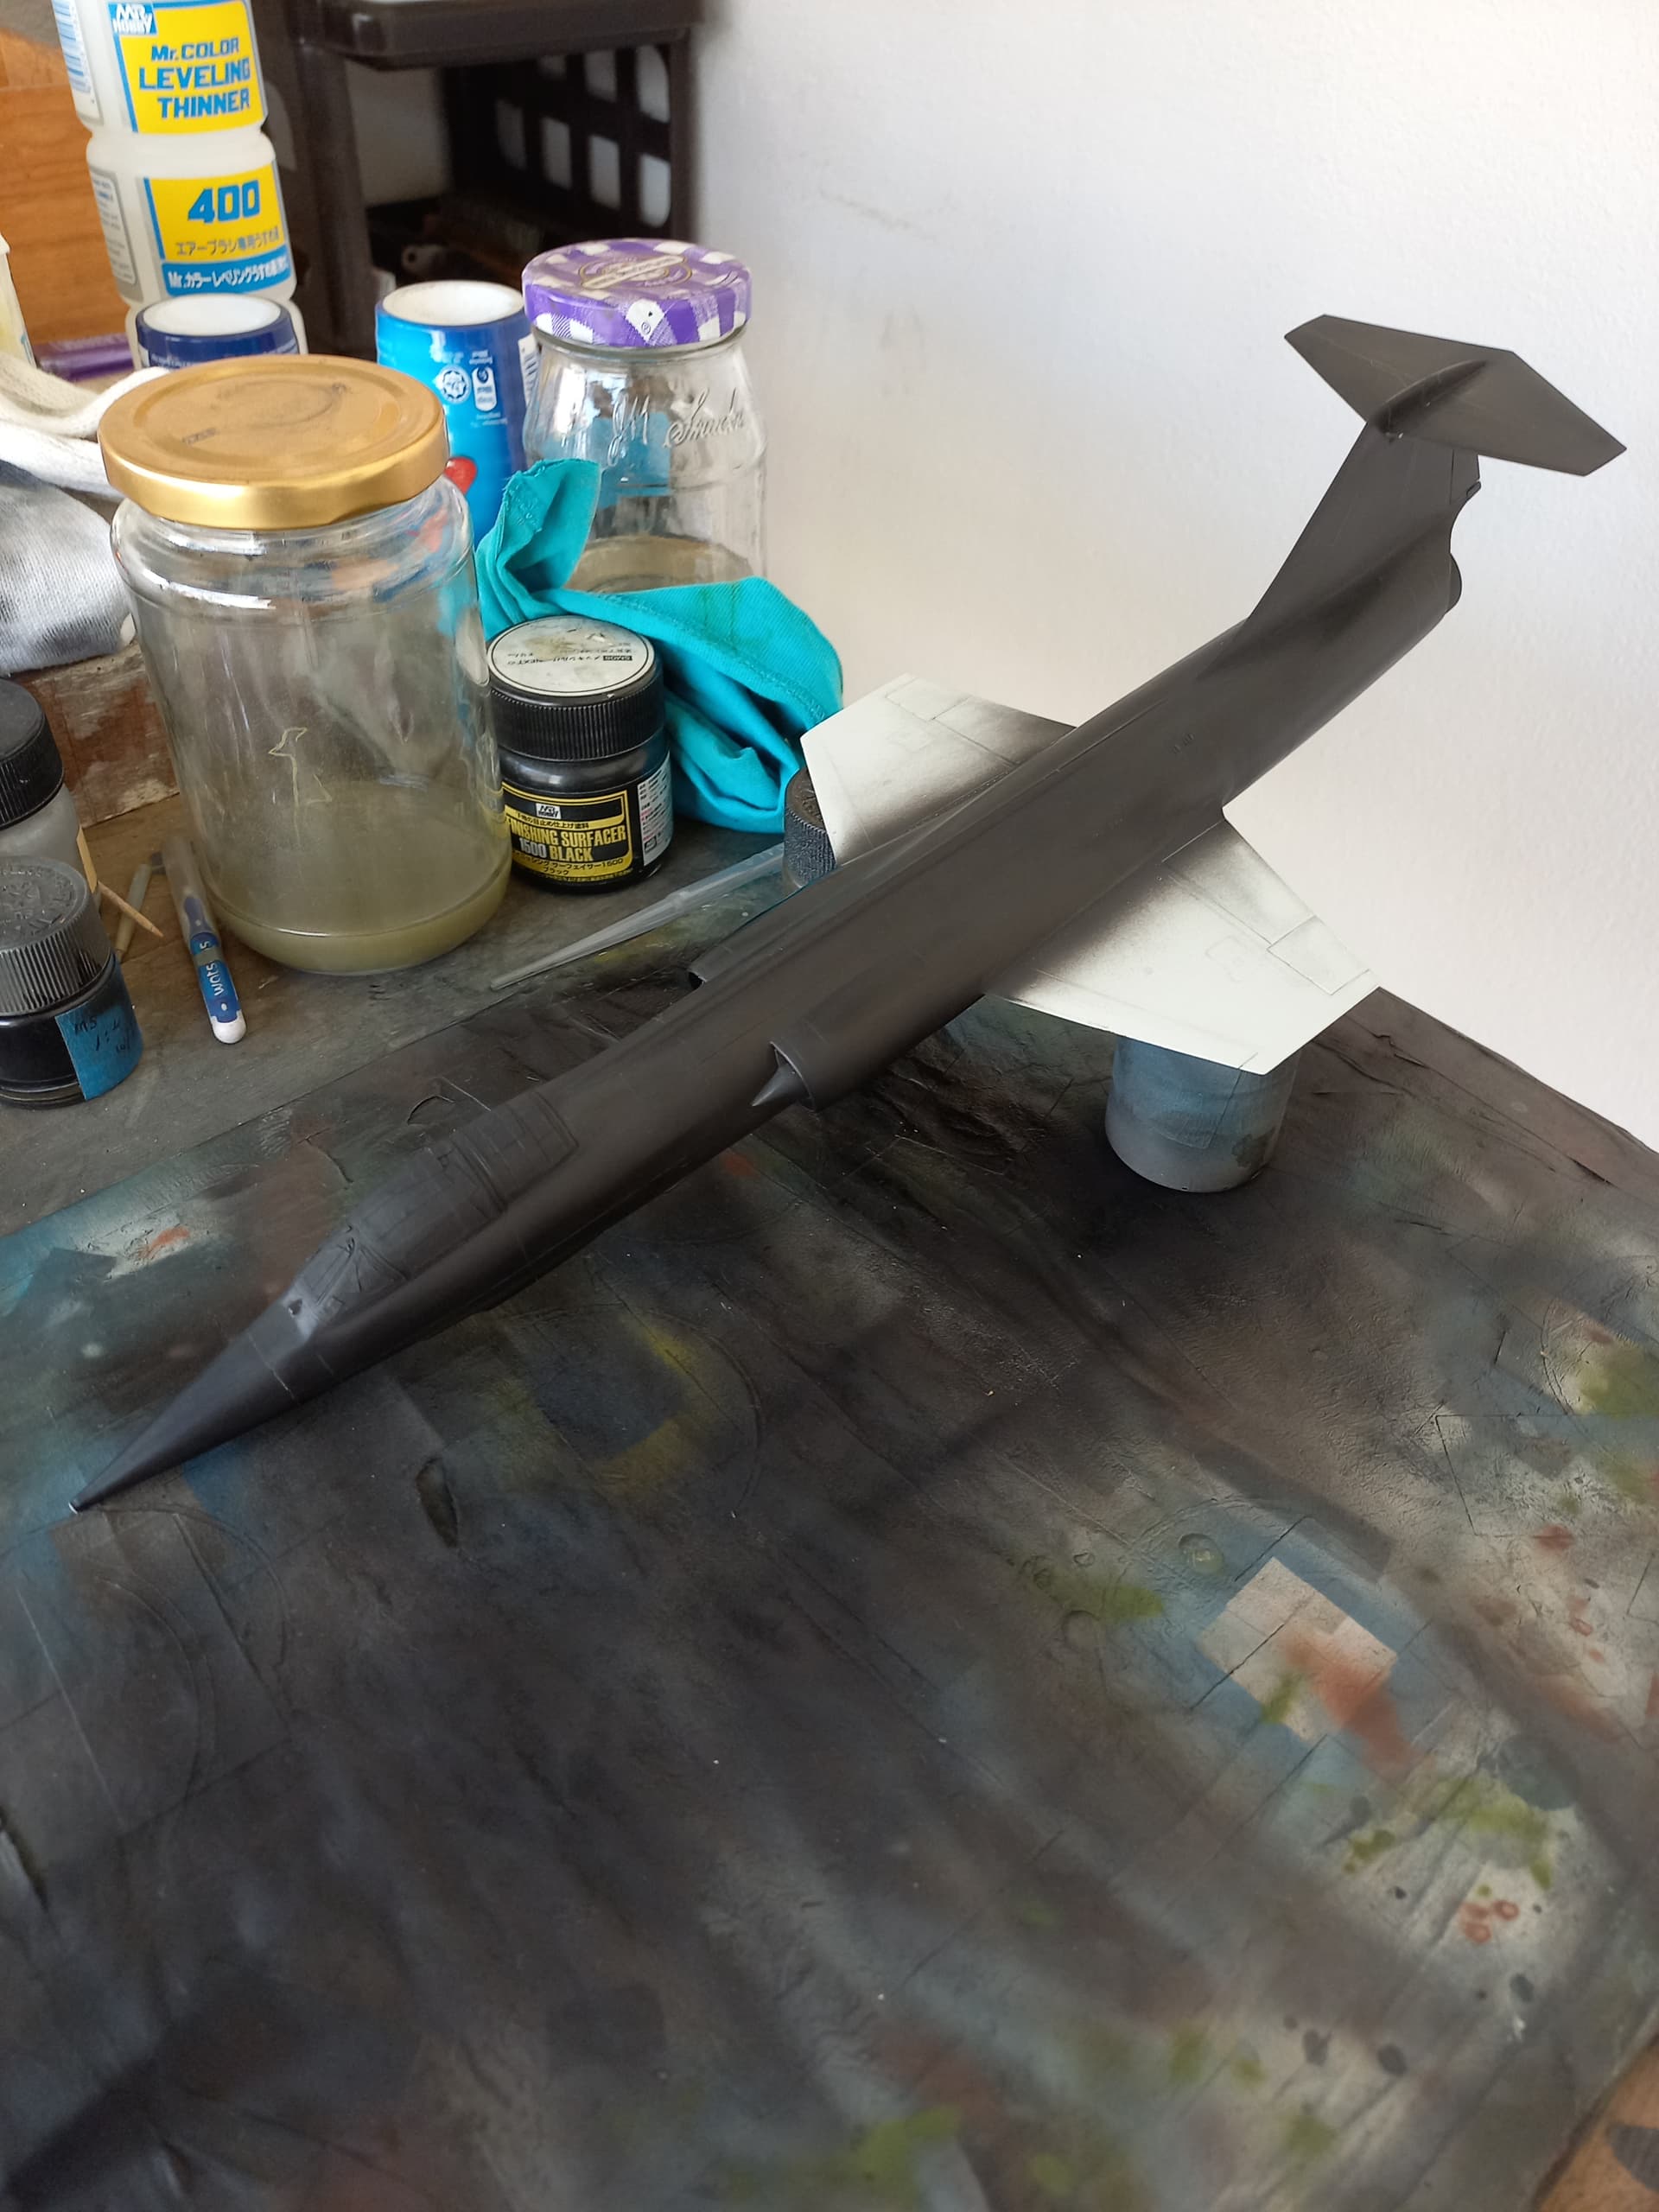
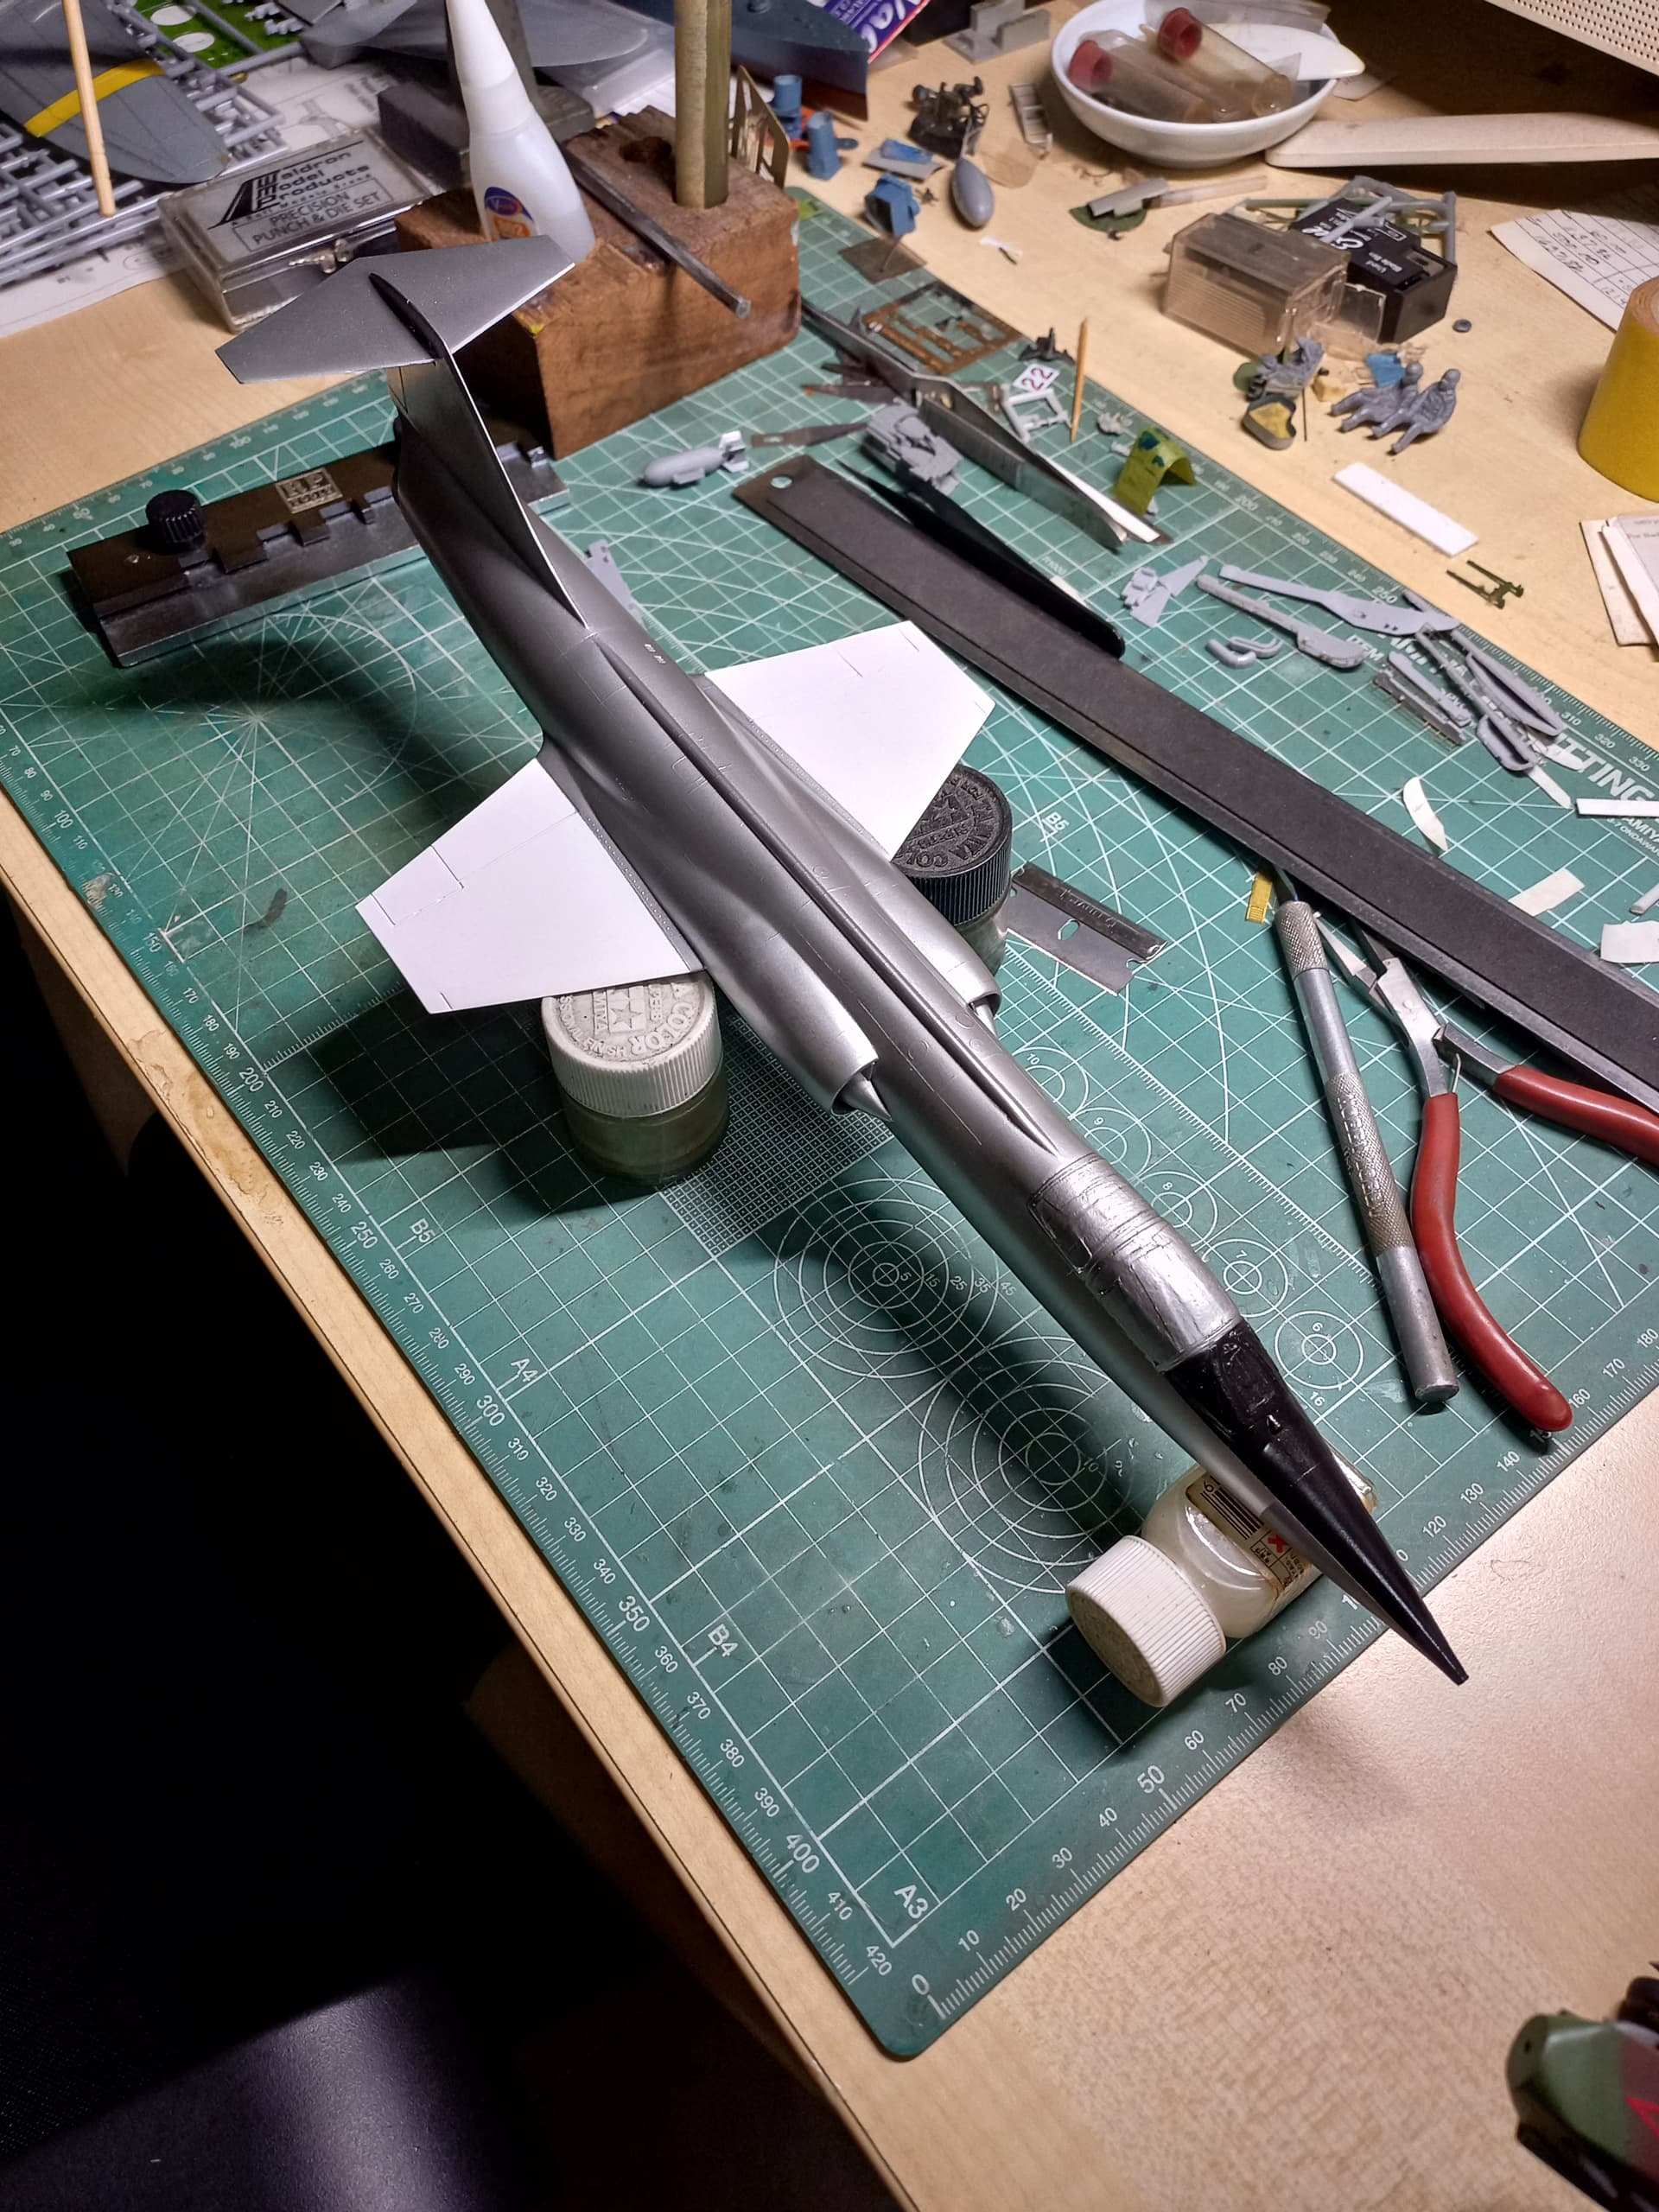
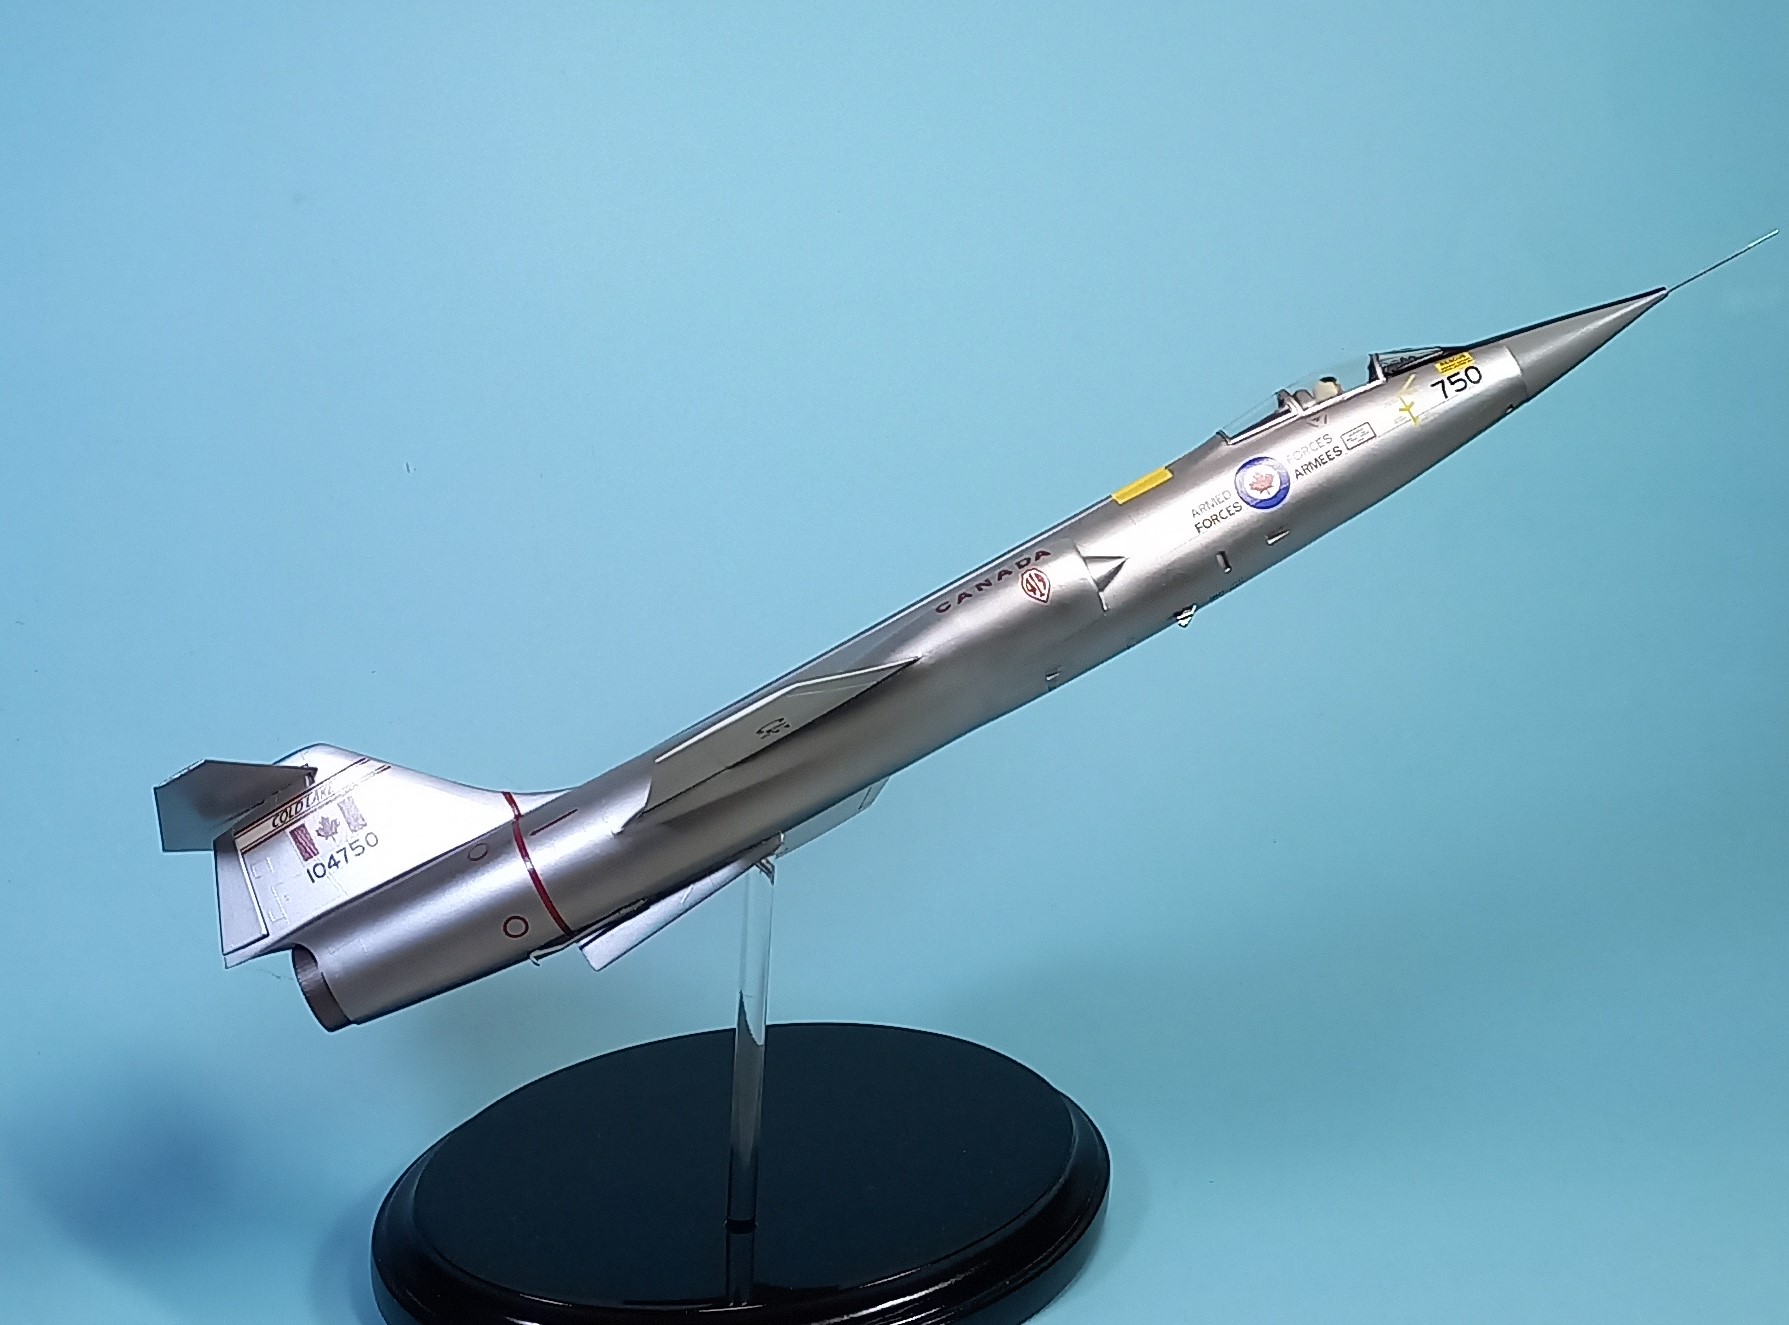
After four coats of my future mix to get things all smoothed out from the Mr. Surfacer (won’t be doing that again for a metallic finish!) it was time for the metallic finish. I painted the base aluminum coat using Mr. Metalcolor aluminum 218. Having used it before I was excited to use it on this build. The paint is buffable, and can be diluted, and is much less expensive than other metallic paints on the market (~2.50 USD, not sure on availability as I’m in Malaysia and much closer to Japan).
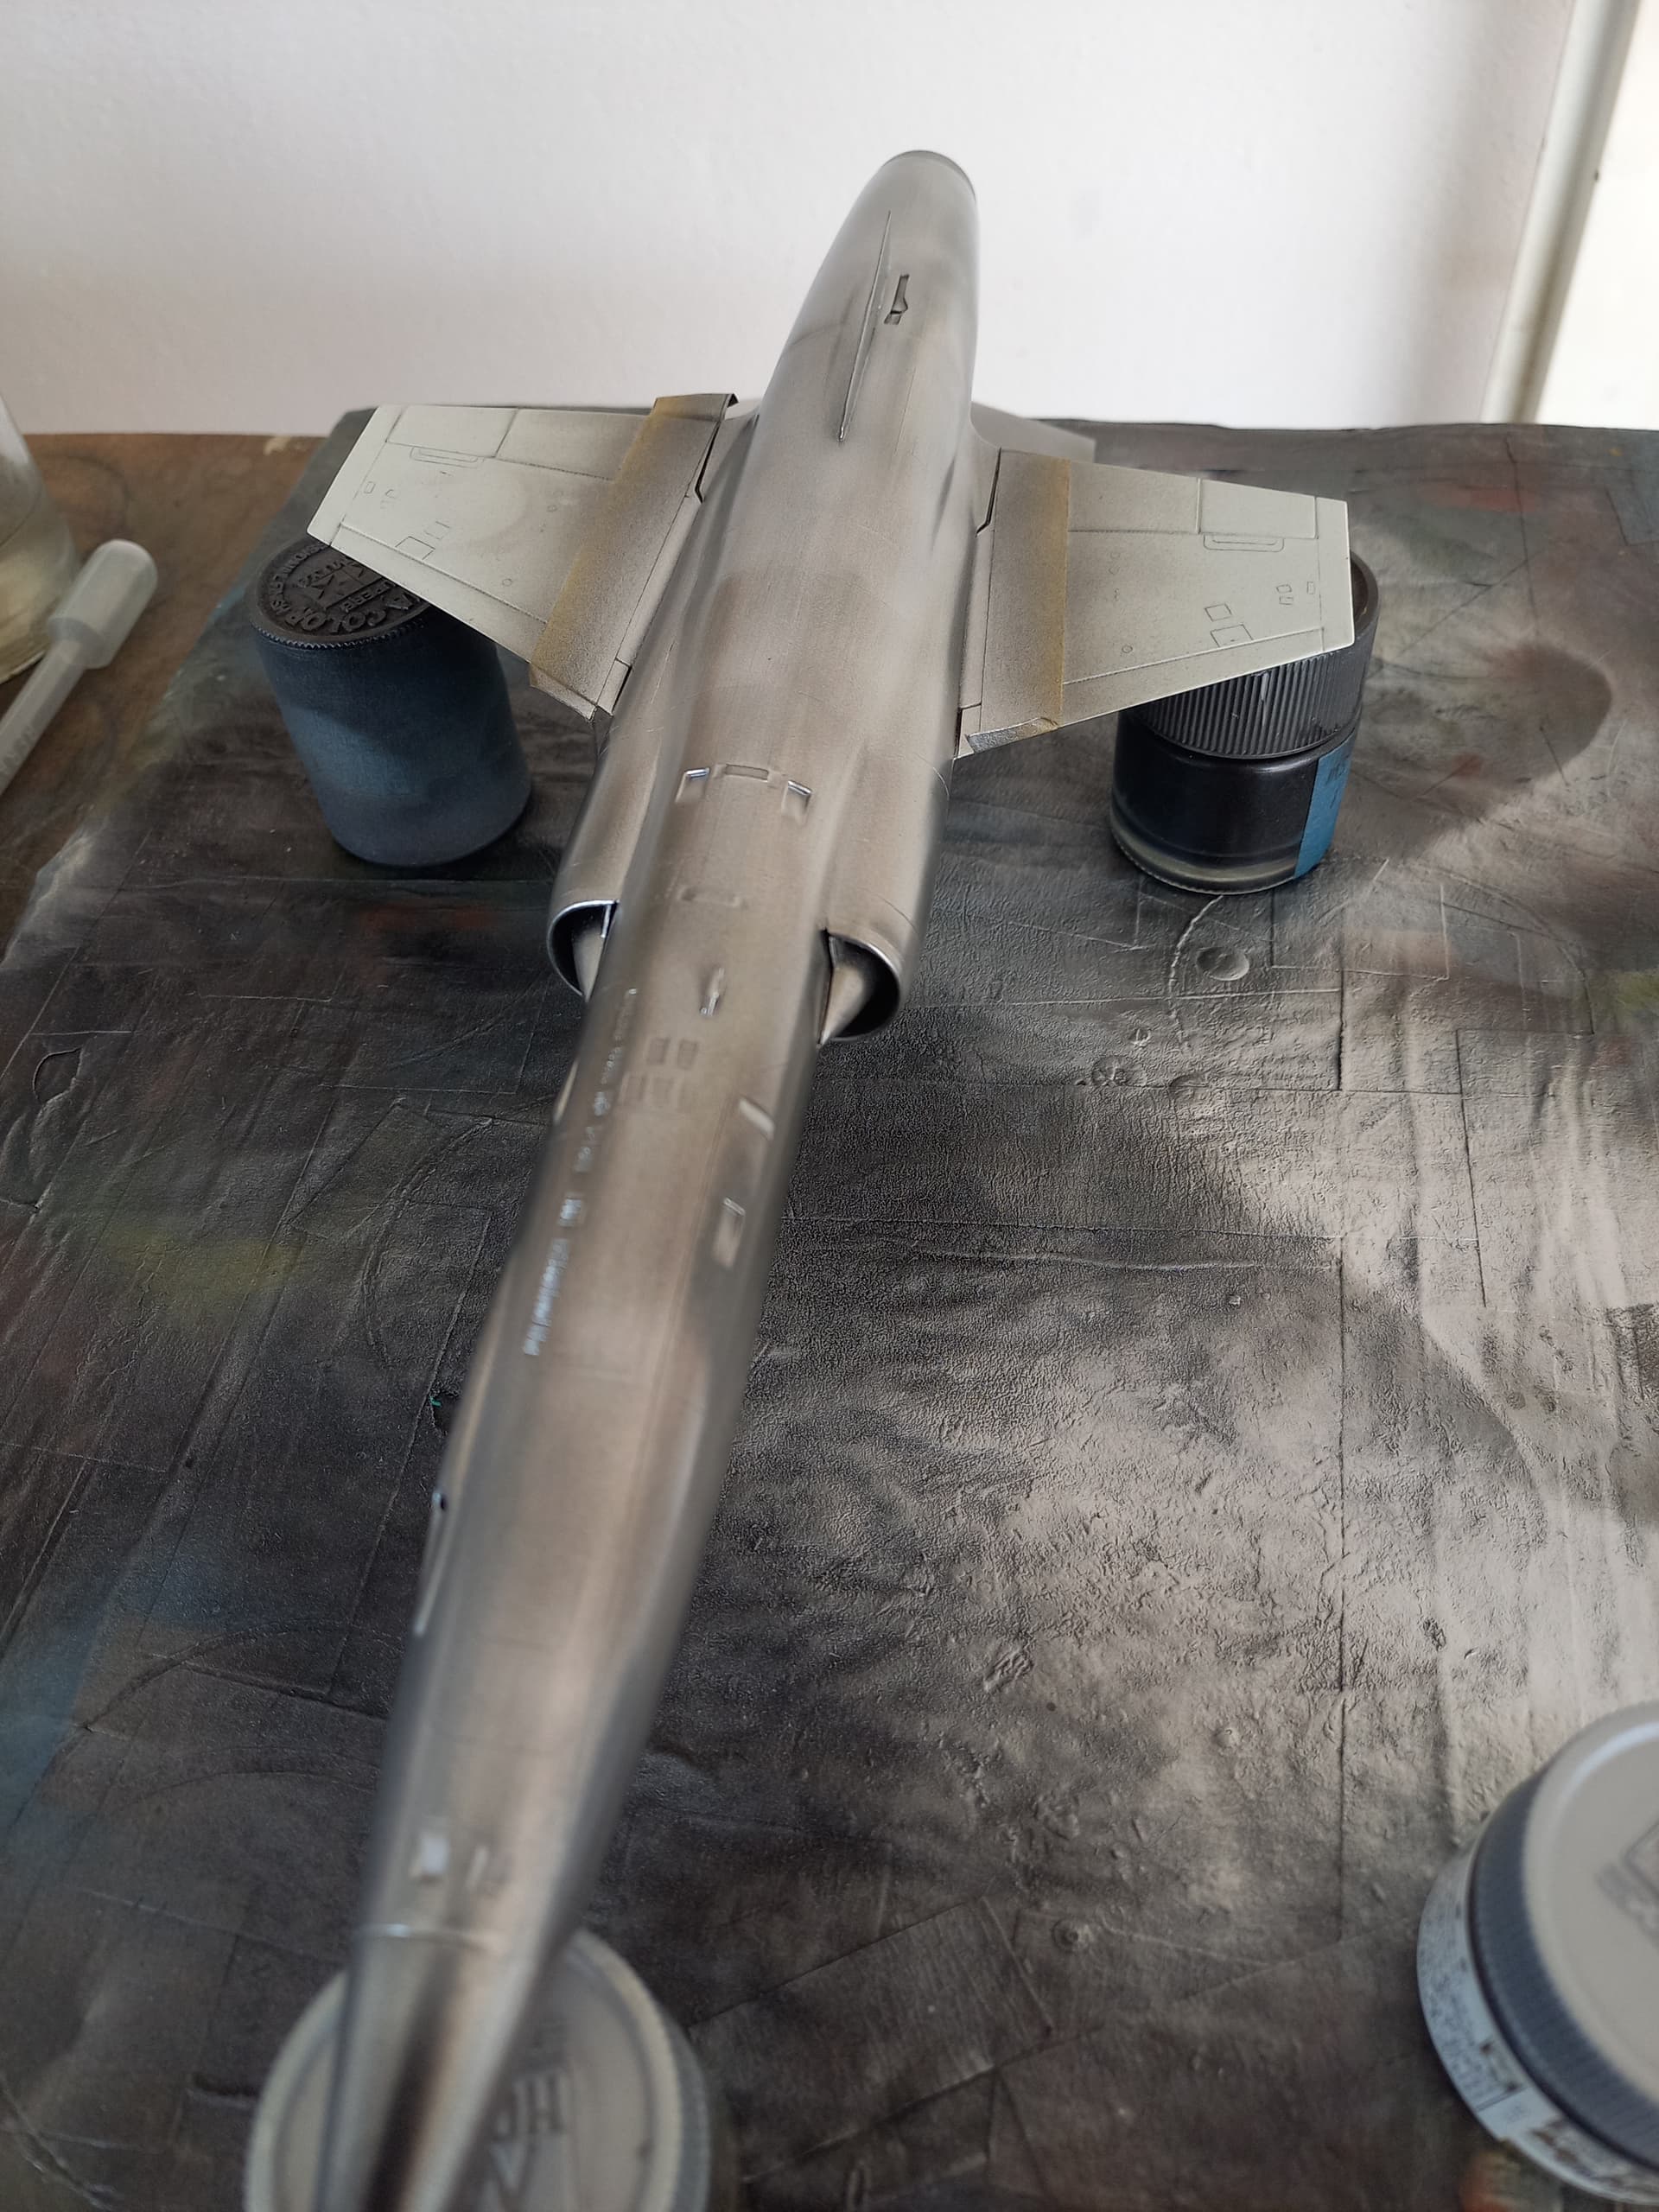
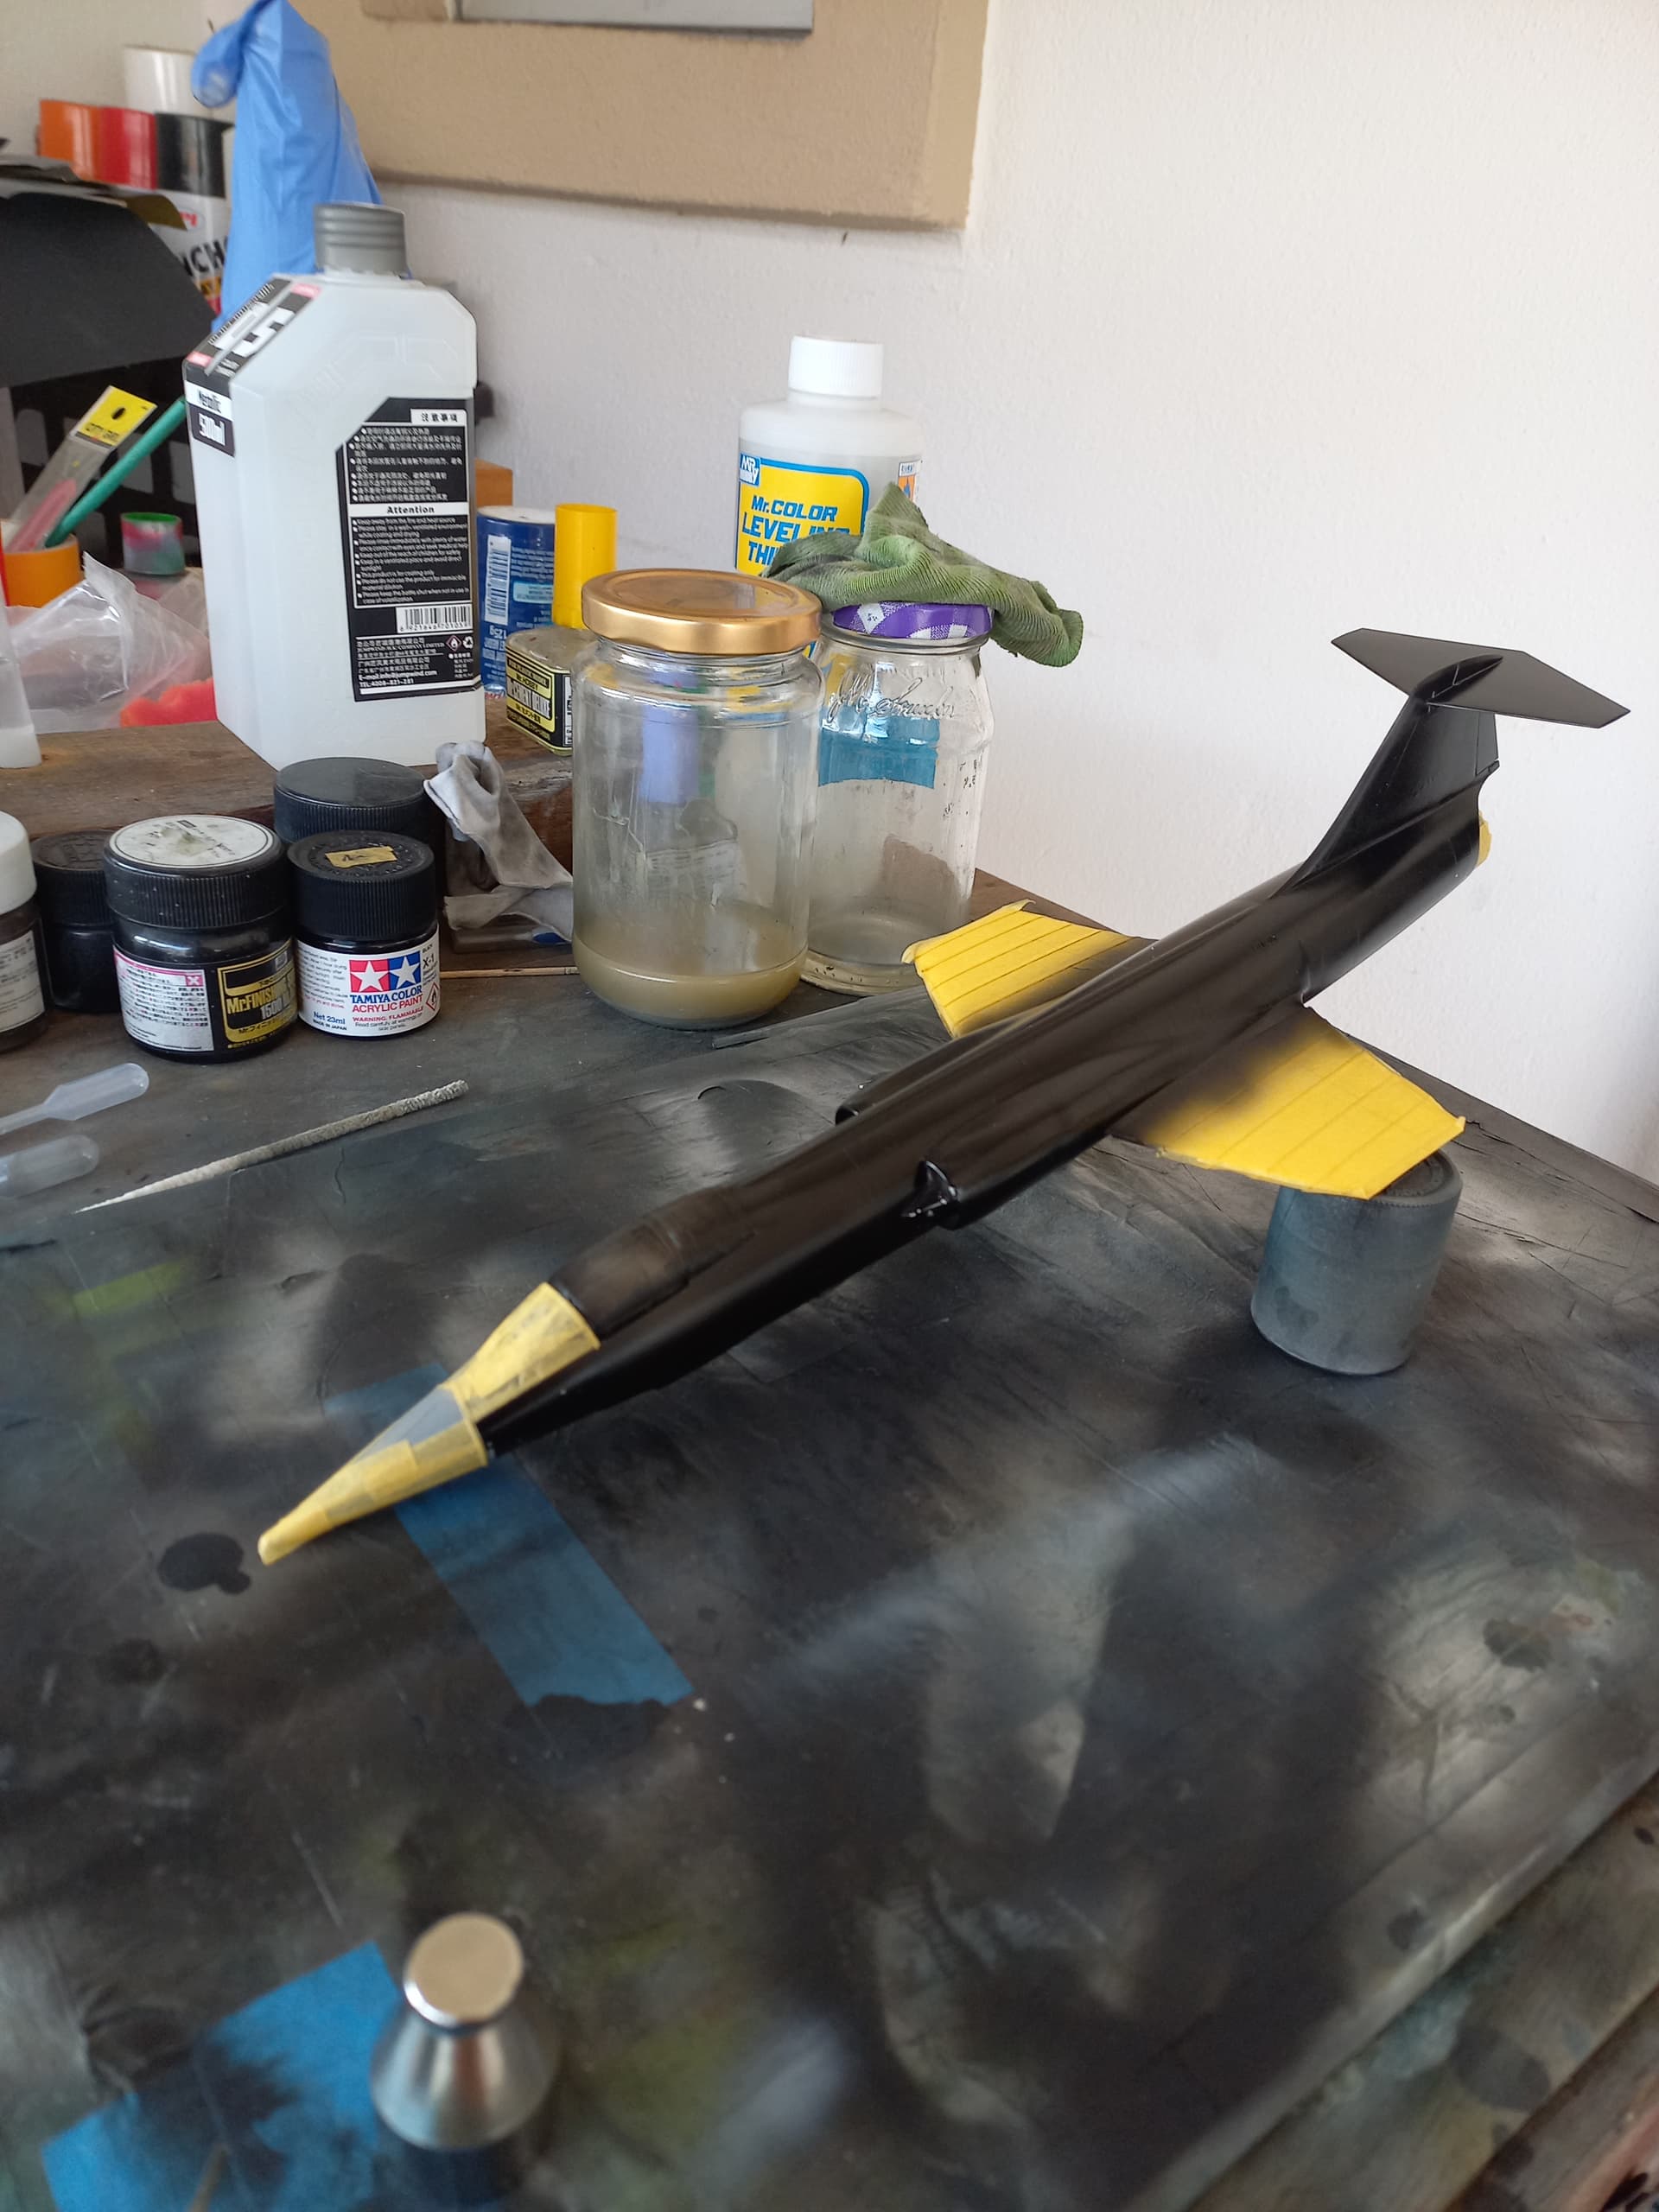
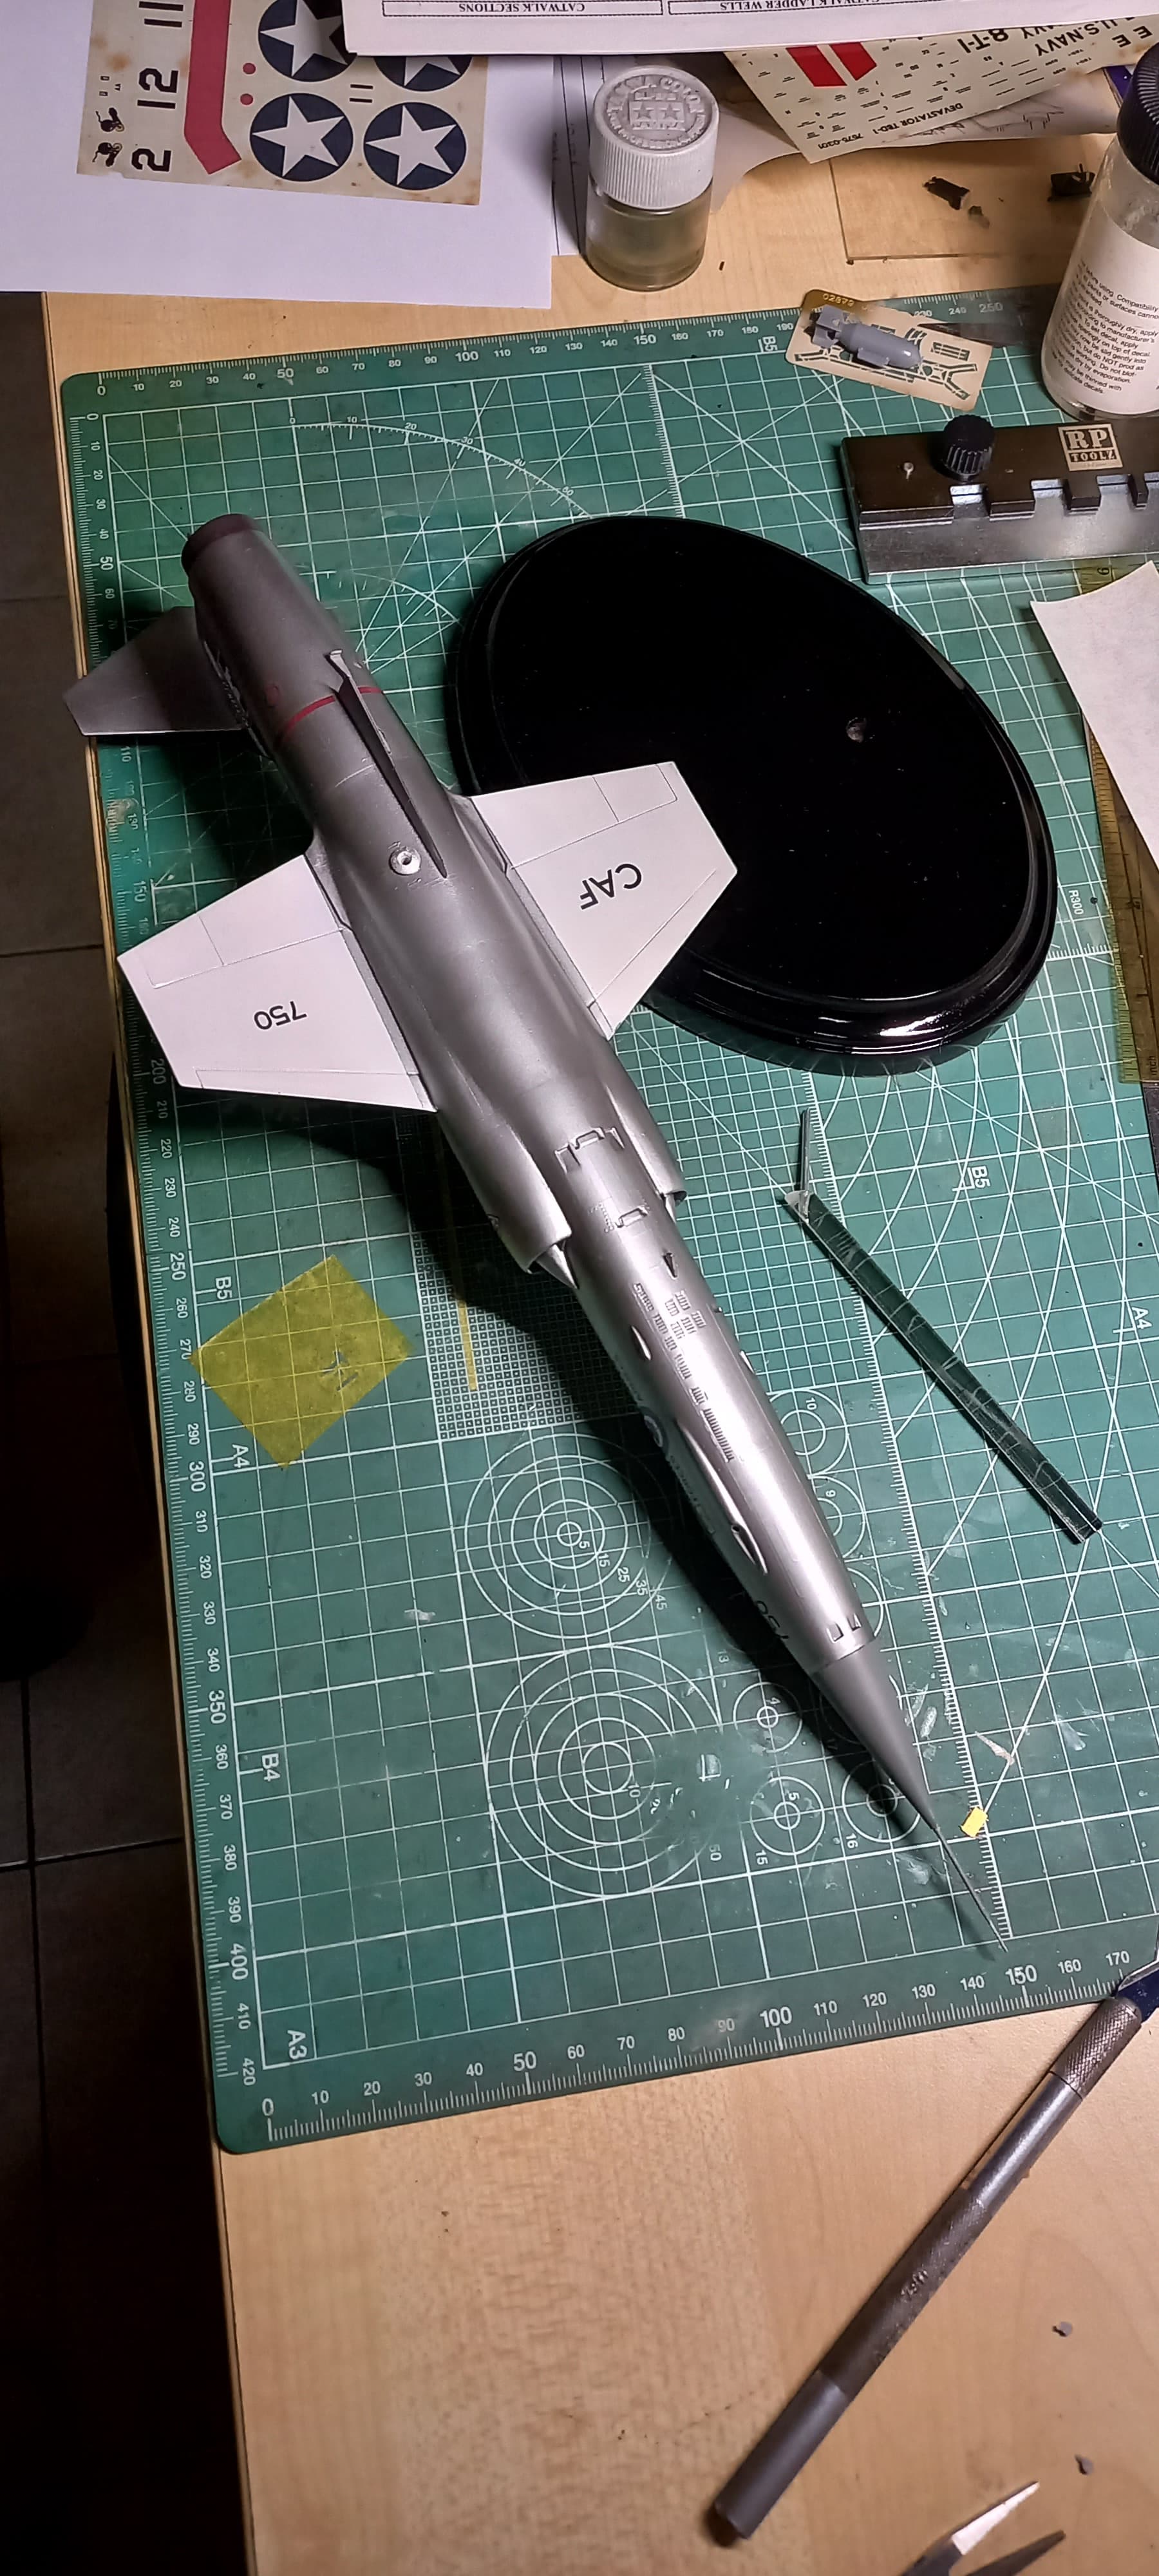
It was at this time that I realized that dust had somehow become impregnated into the clear coat and major sanding with 8000 grit paper was in order. I also realized that I was approaching the paint job completely backwards. In the past I’d have the entire airframe done in metallic, and making a discover on my P-47 (concurrent build, same dust issue) that things would go much easier if I were to do the wings and nose before the metallic. So, I laid down a nice black coat of Tamiya gloss black, and went to work on the wings. Being white on white this was pretty simple, and once dried it was time to do the nose. This was done in dark gull grey, and things were back on track.
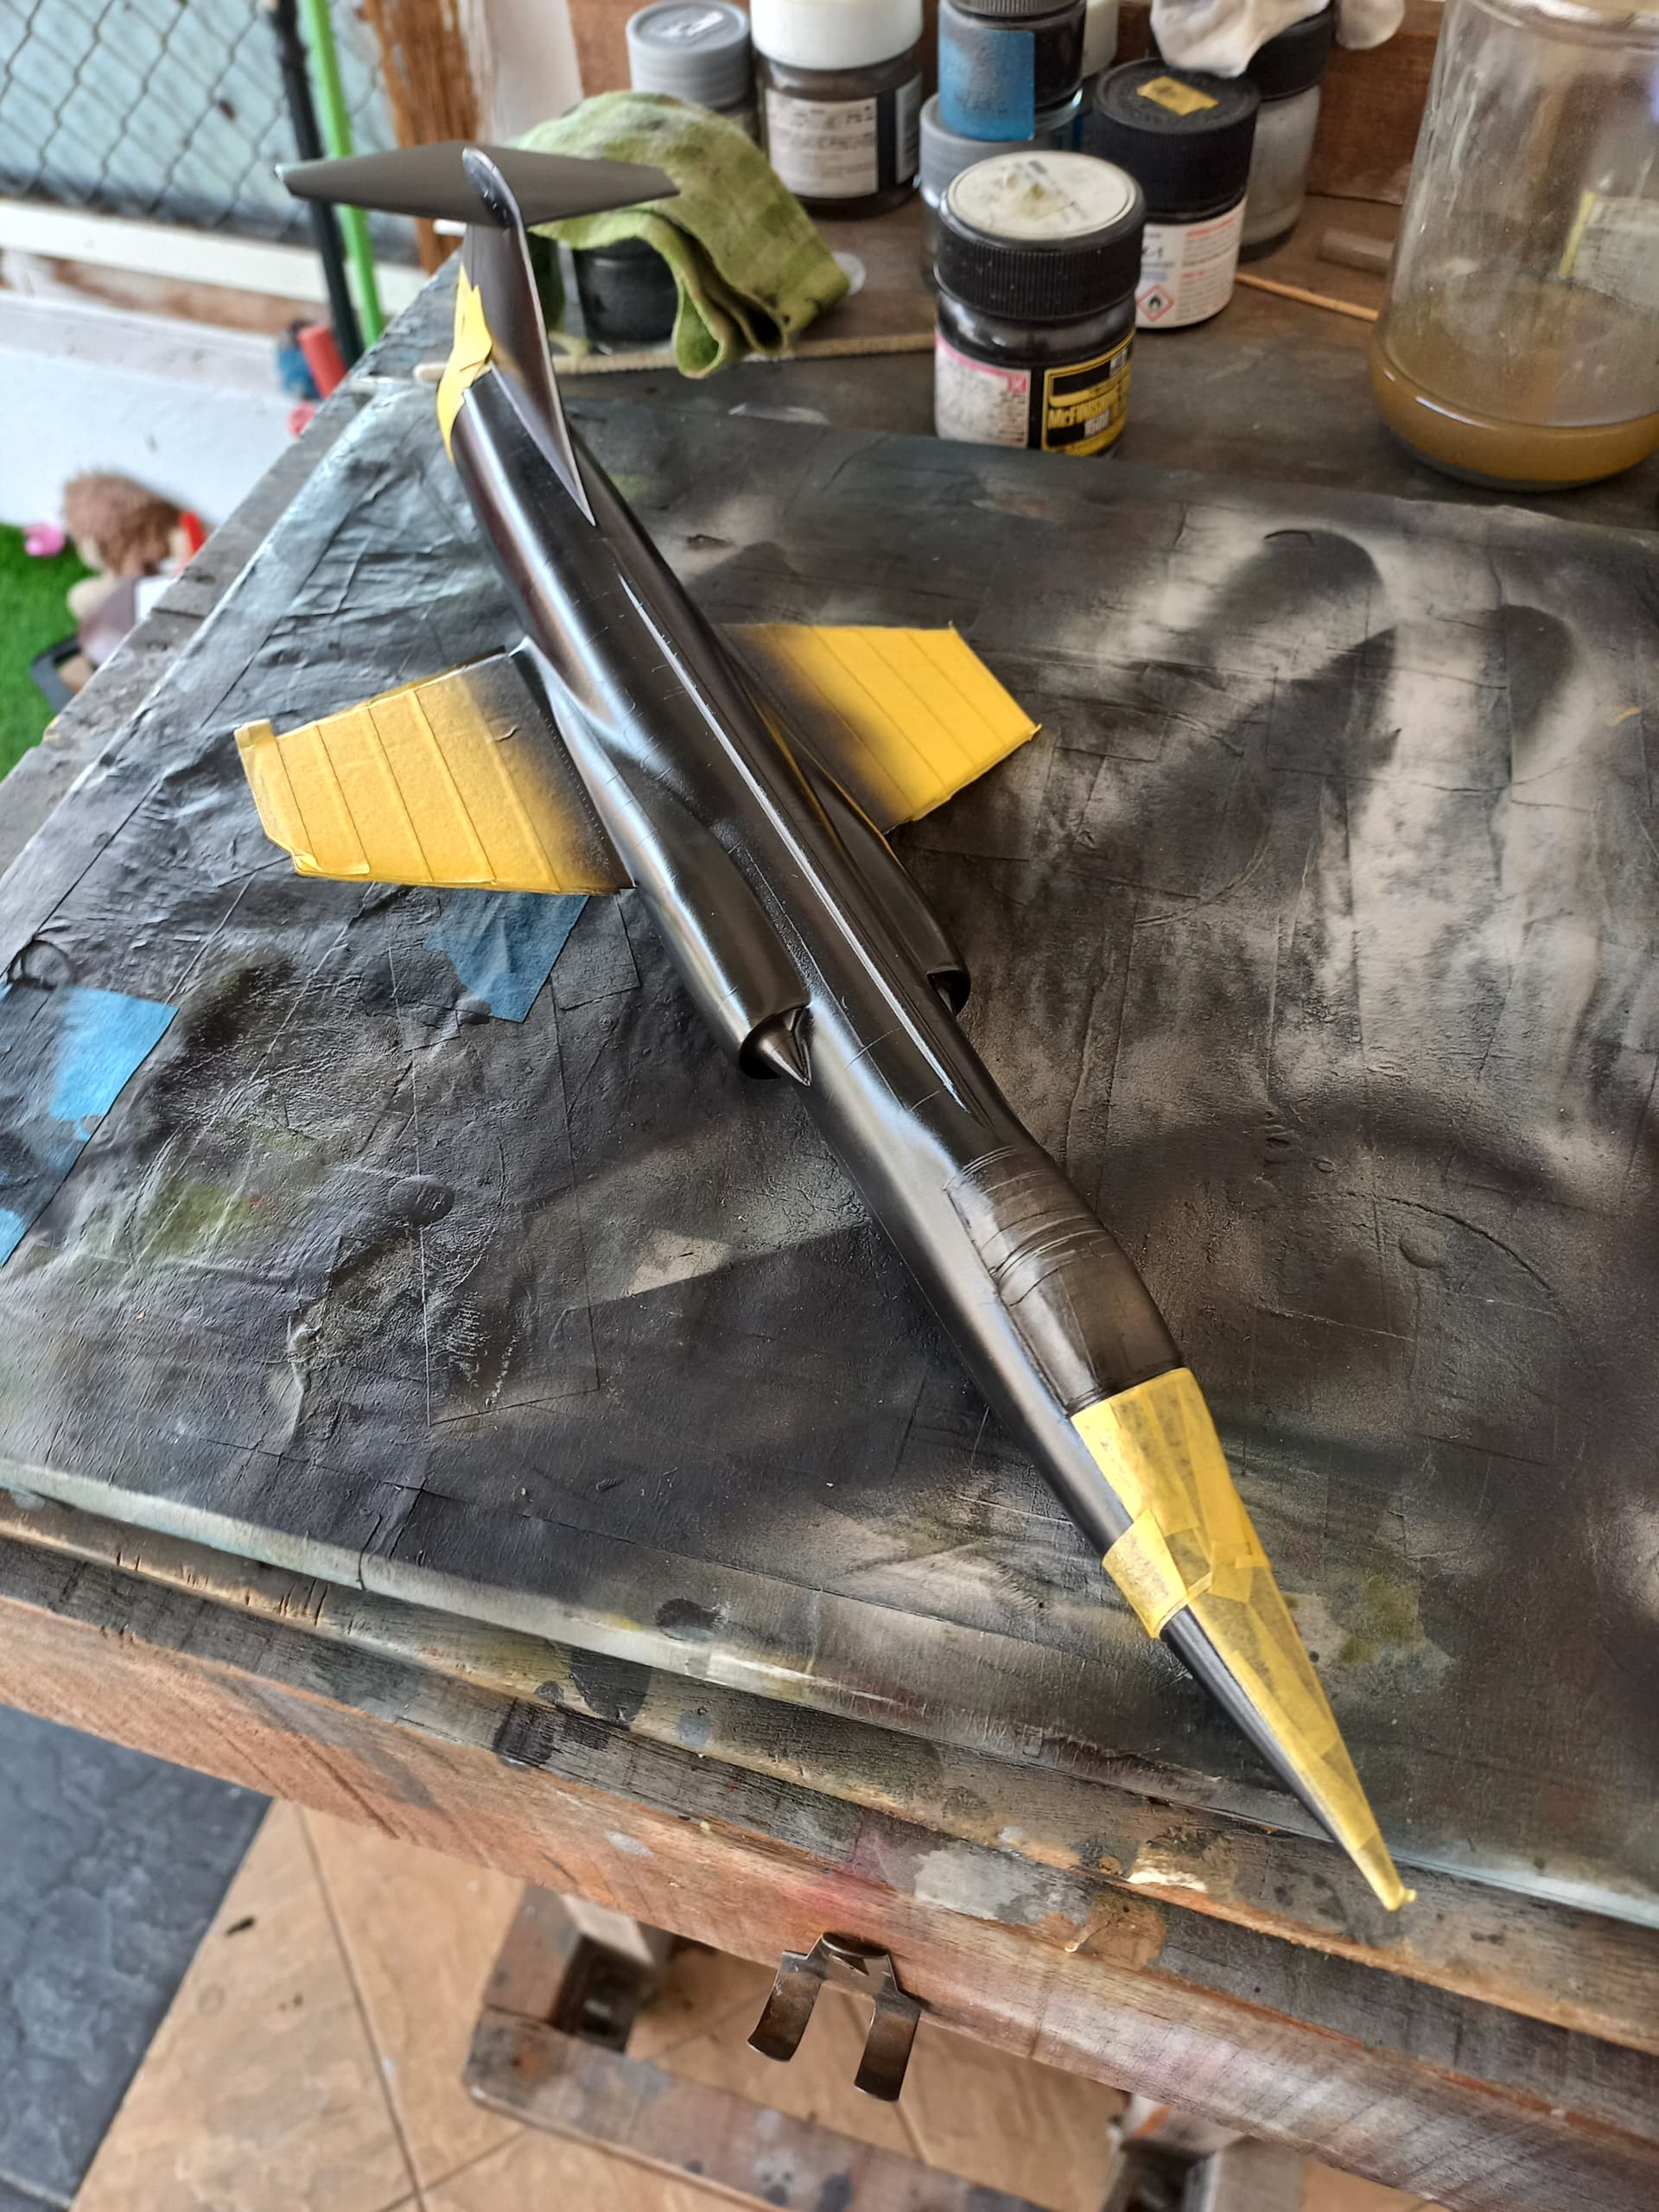
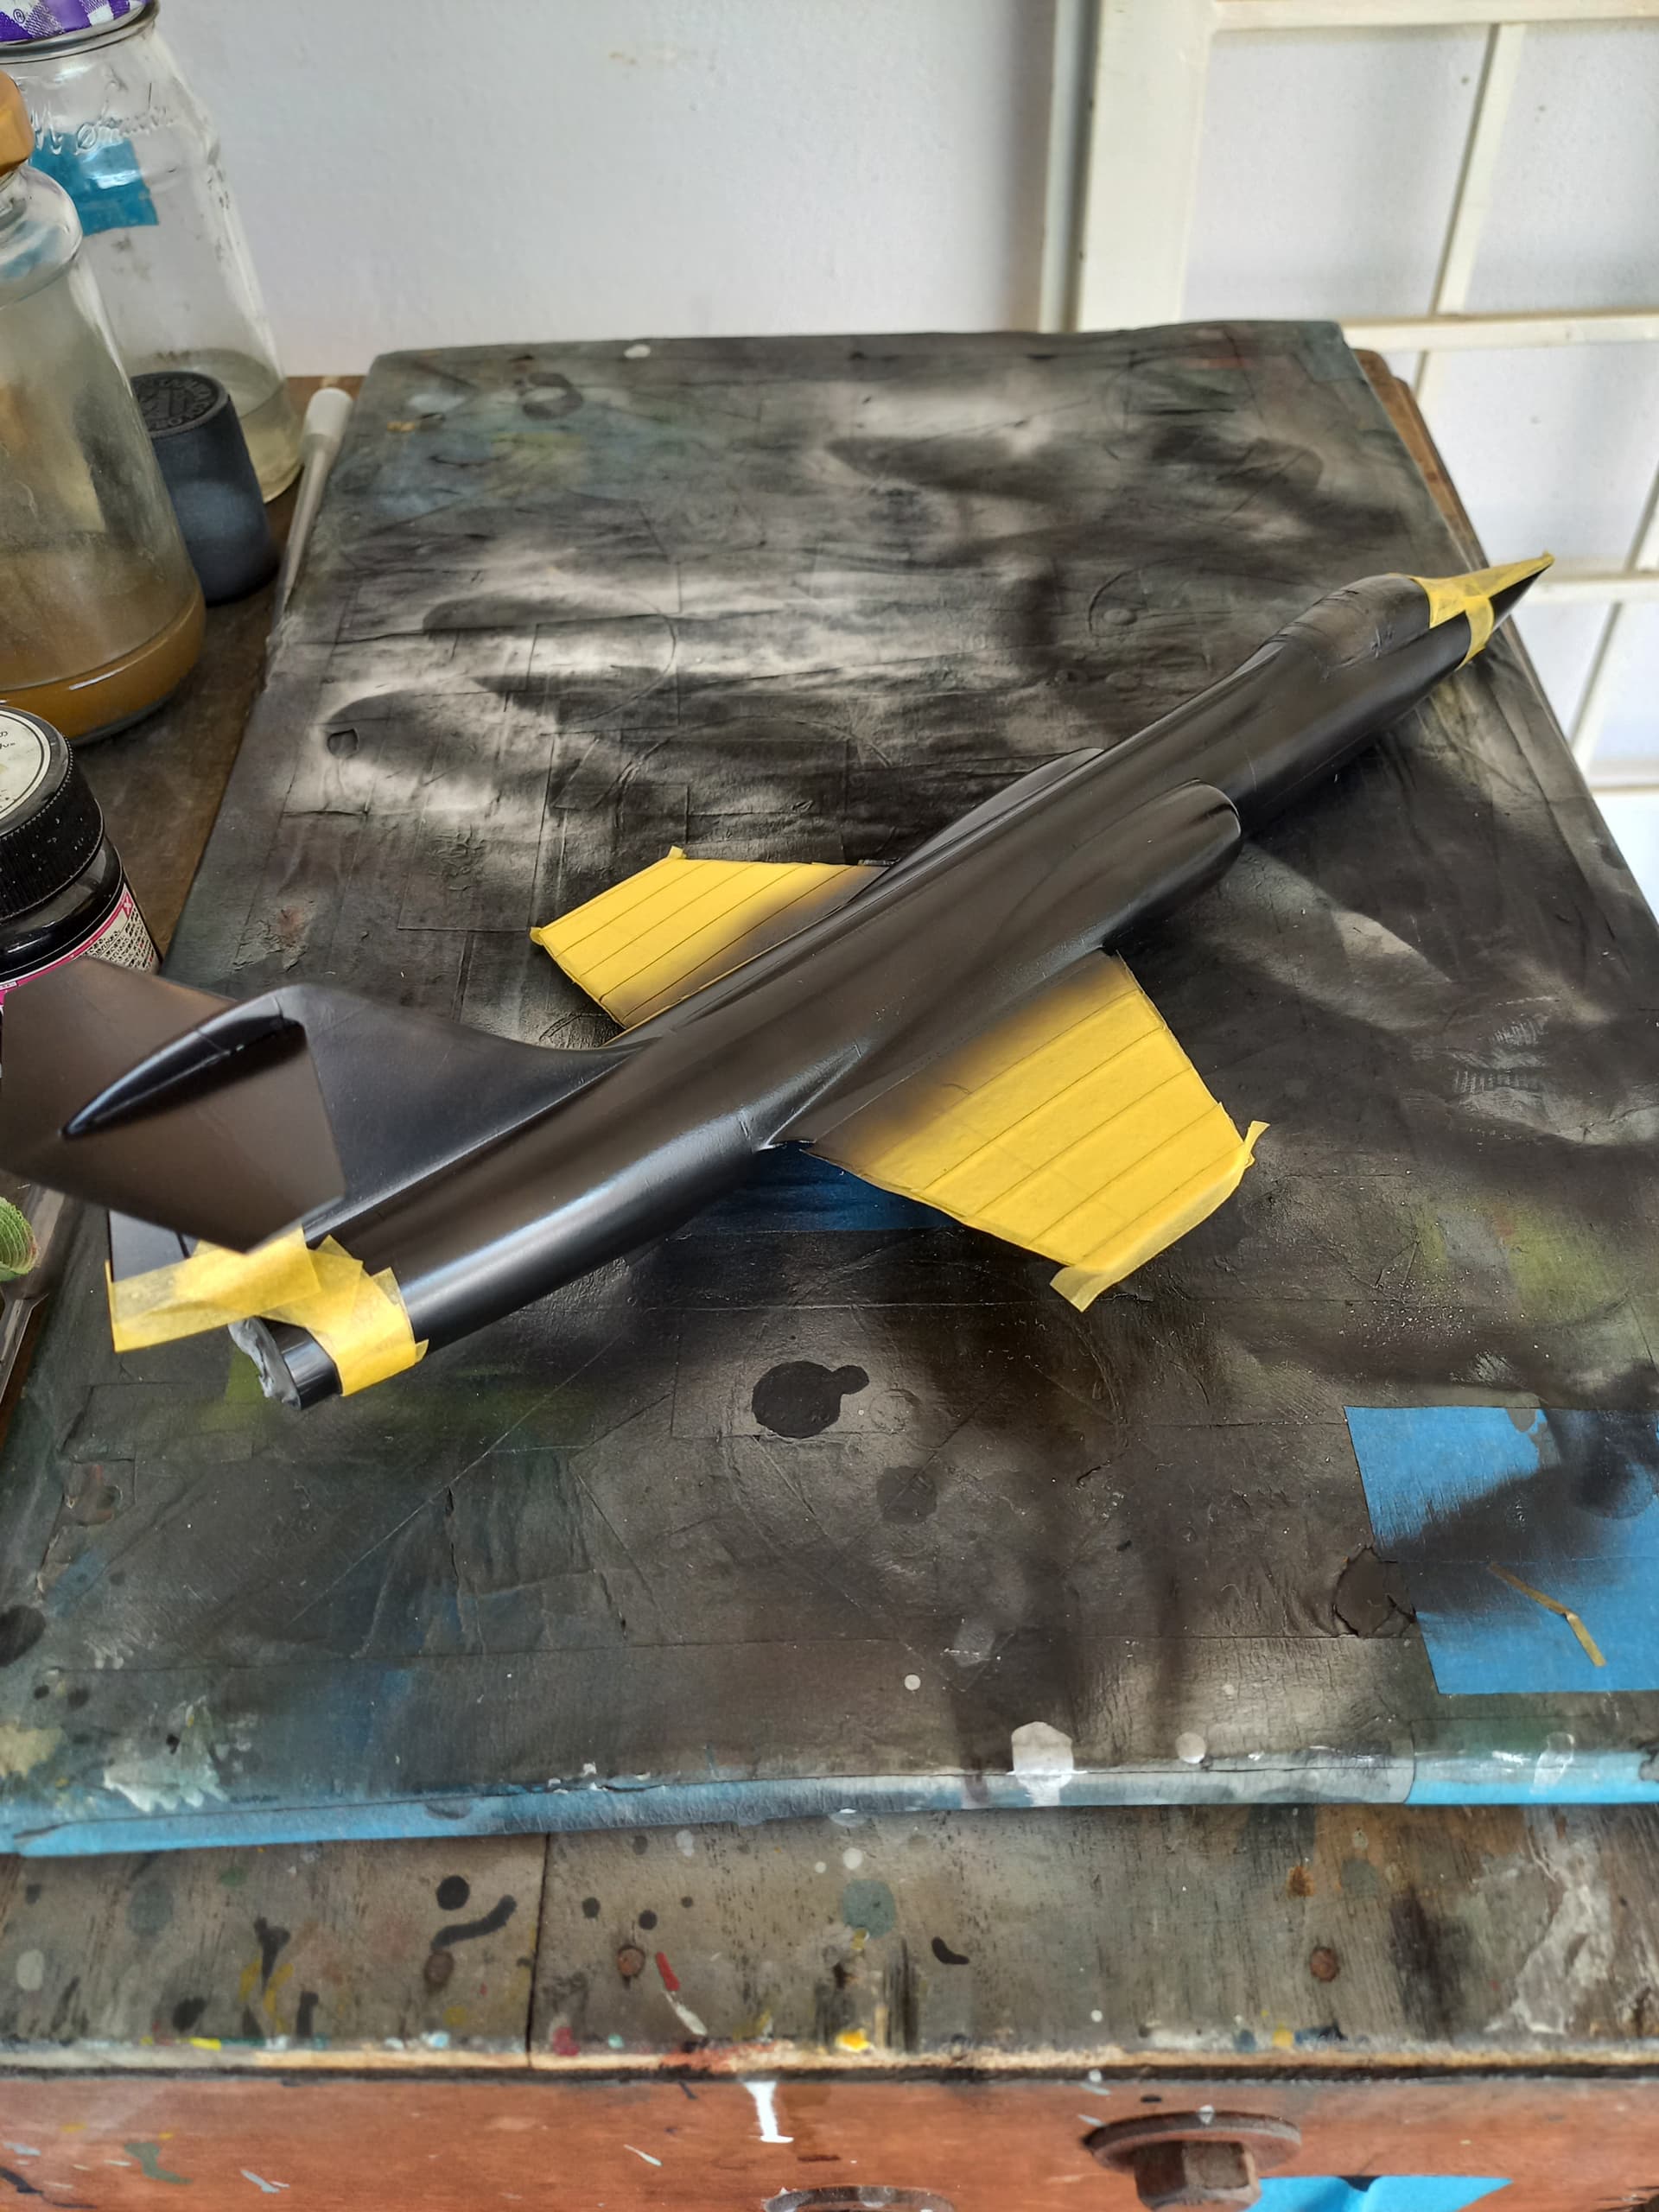
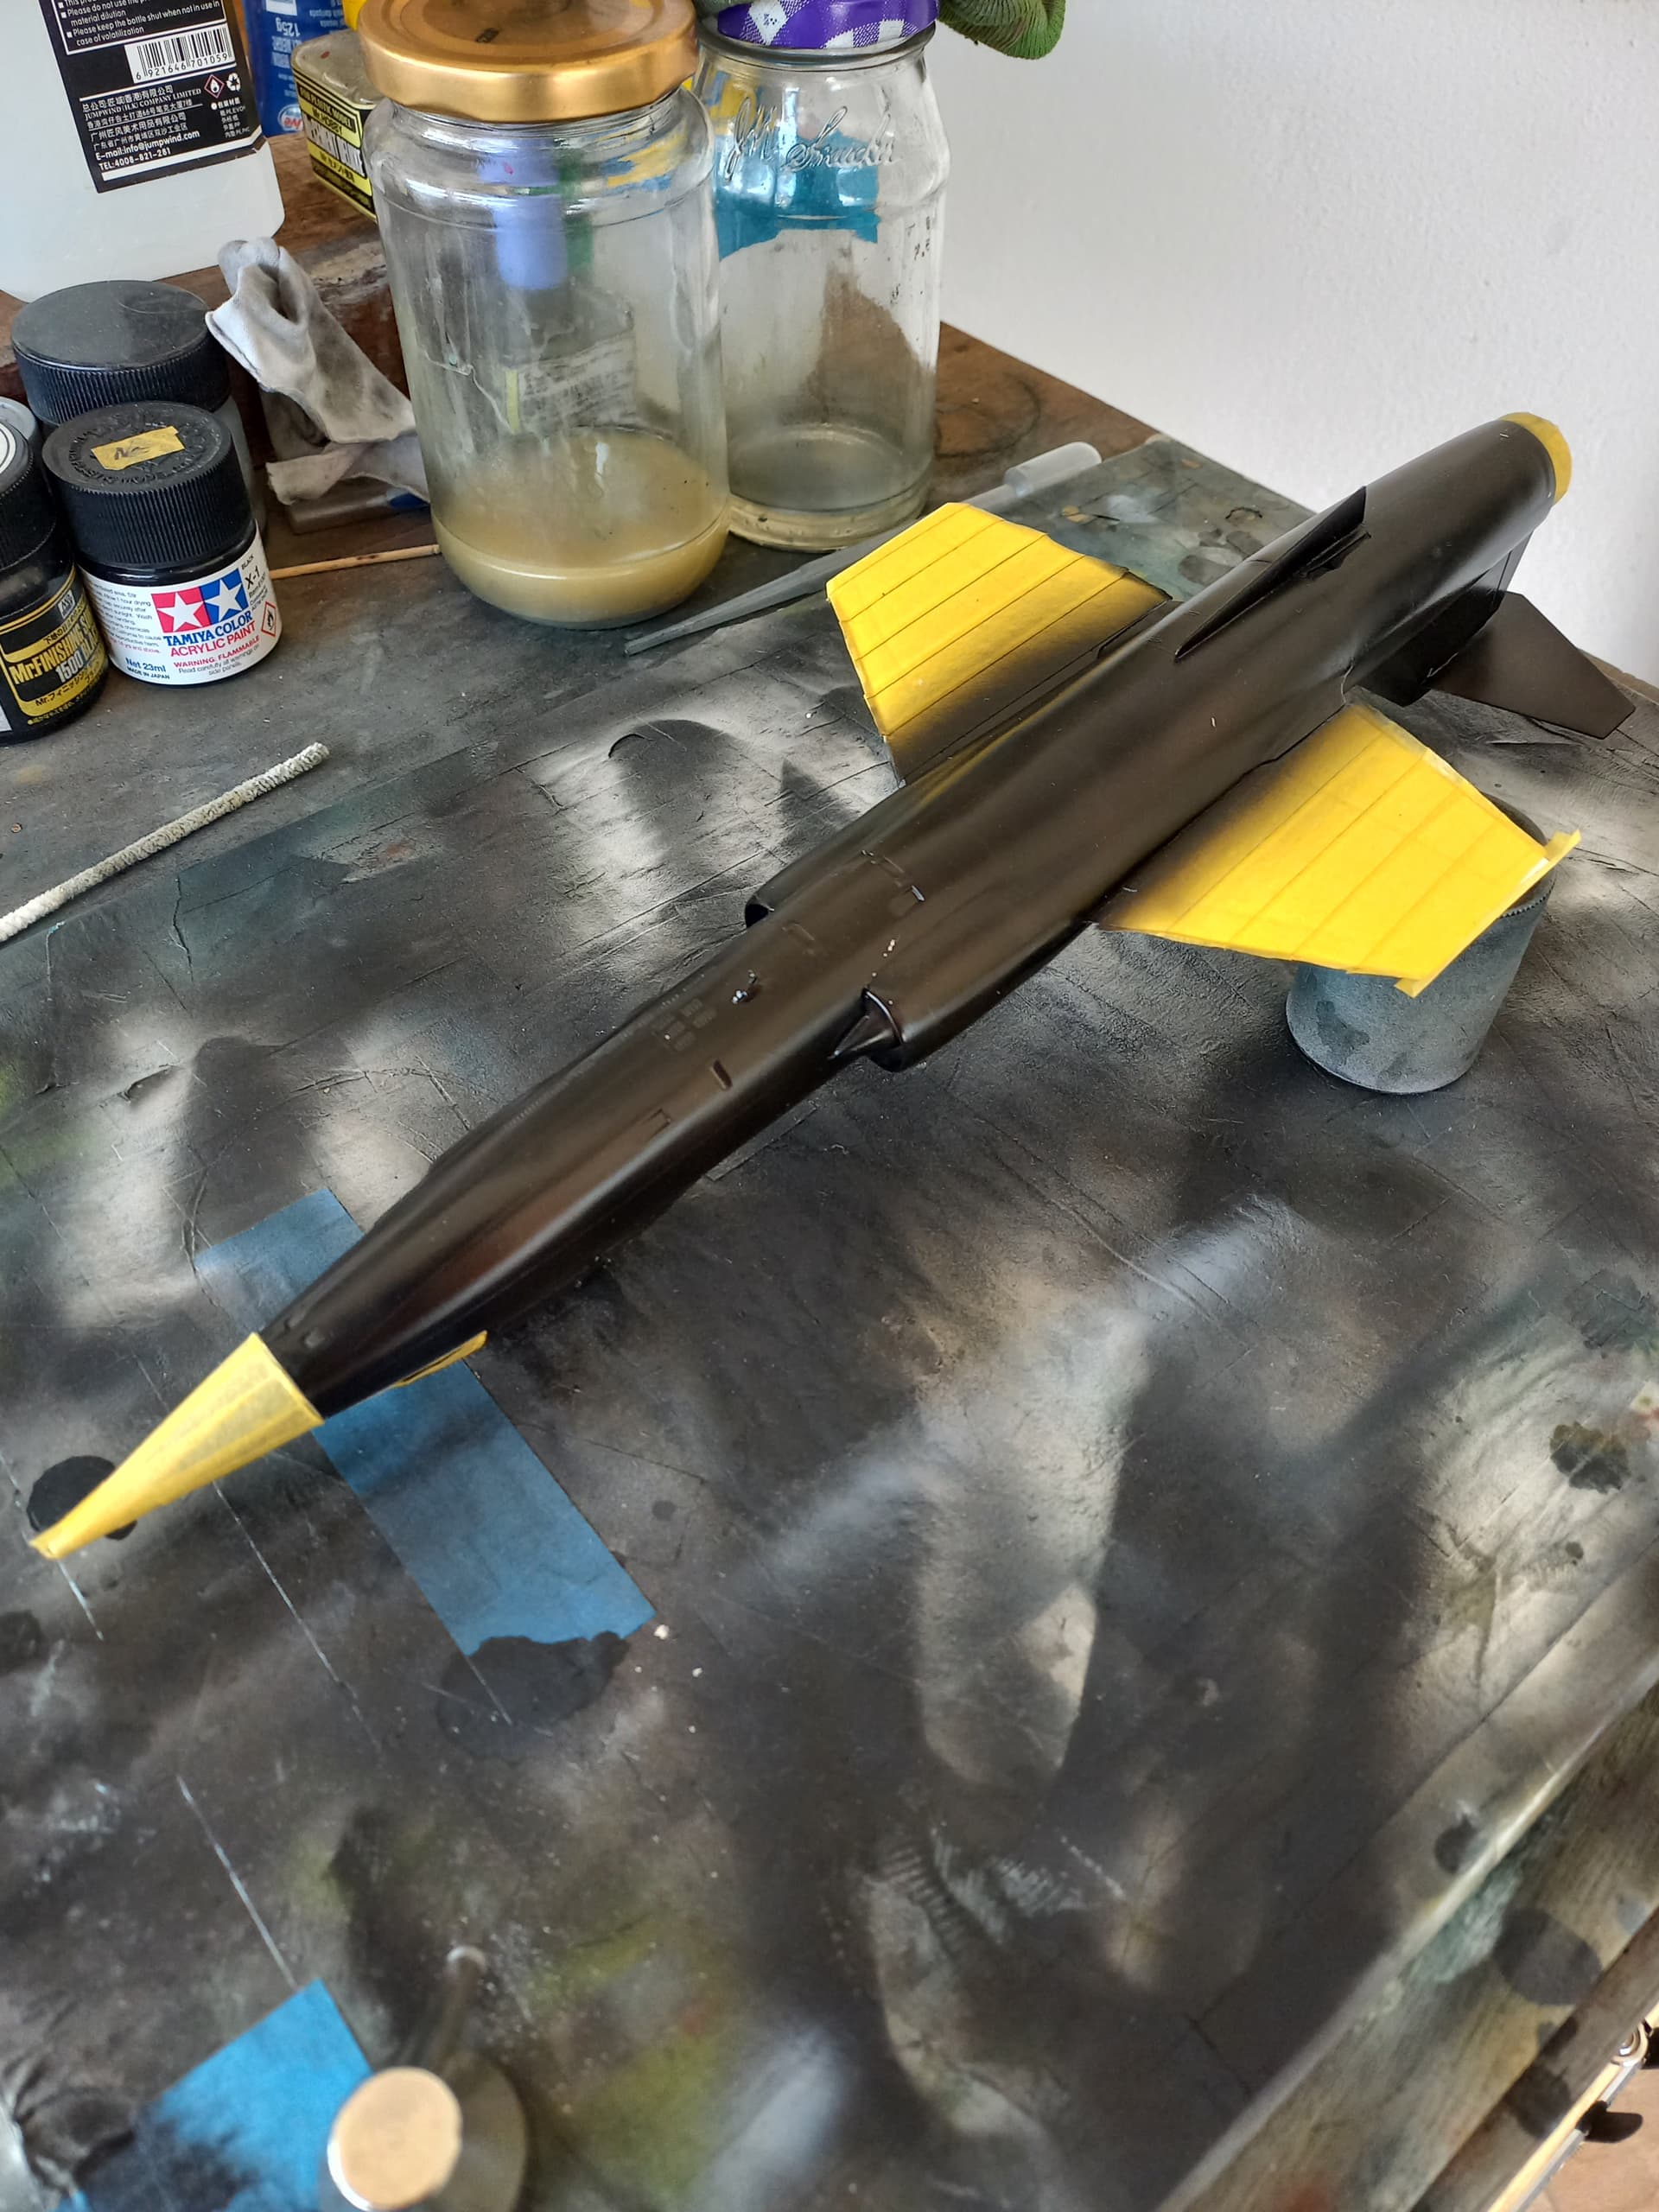
During this phase I also painted the engine area using metallic bunt iron. With all the non-aluminum areas painted I covered it with tape and got ready for the metallic.
This time the metallic coat went down without an issue, and we were back on the path to a stand model! After the metallic was buffed out I removed the tape and gave the bird three clear coats to prepare for the decals.
I chose to use the kit decals as I’ve had pretty good luck with the Revell decals that they’ve done for the reboxing. Overall I wasn’t disappointed with one exception. There appeared to be a dent or bend on one of the maple leaf insignia that for the life of me I could not get it to act right. In the end I burned it into the wing with Solvaset, and one can still see it if you look. Still, it’s pretty hard to see, the wife didn’t notice till I showed her and she said even then she found it difficult to see. This isn’t going to be a show bird, so as they say, on with it!
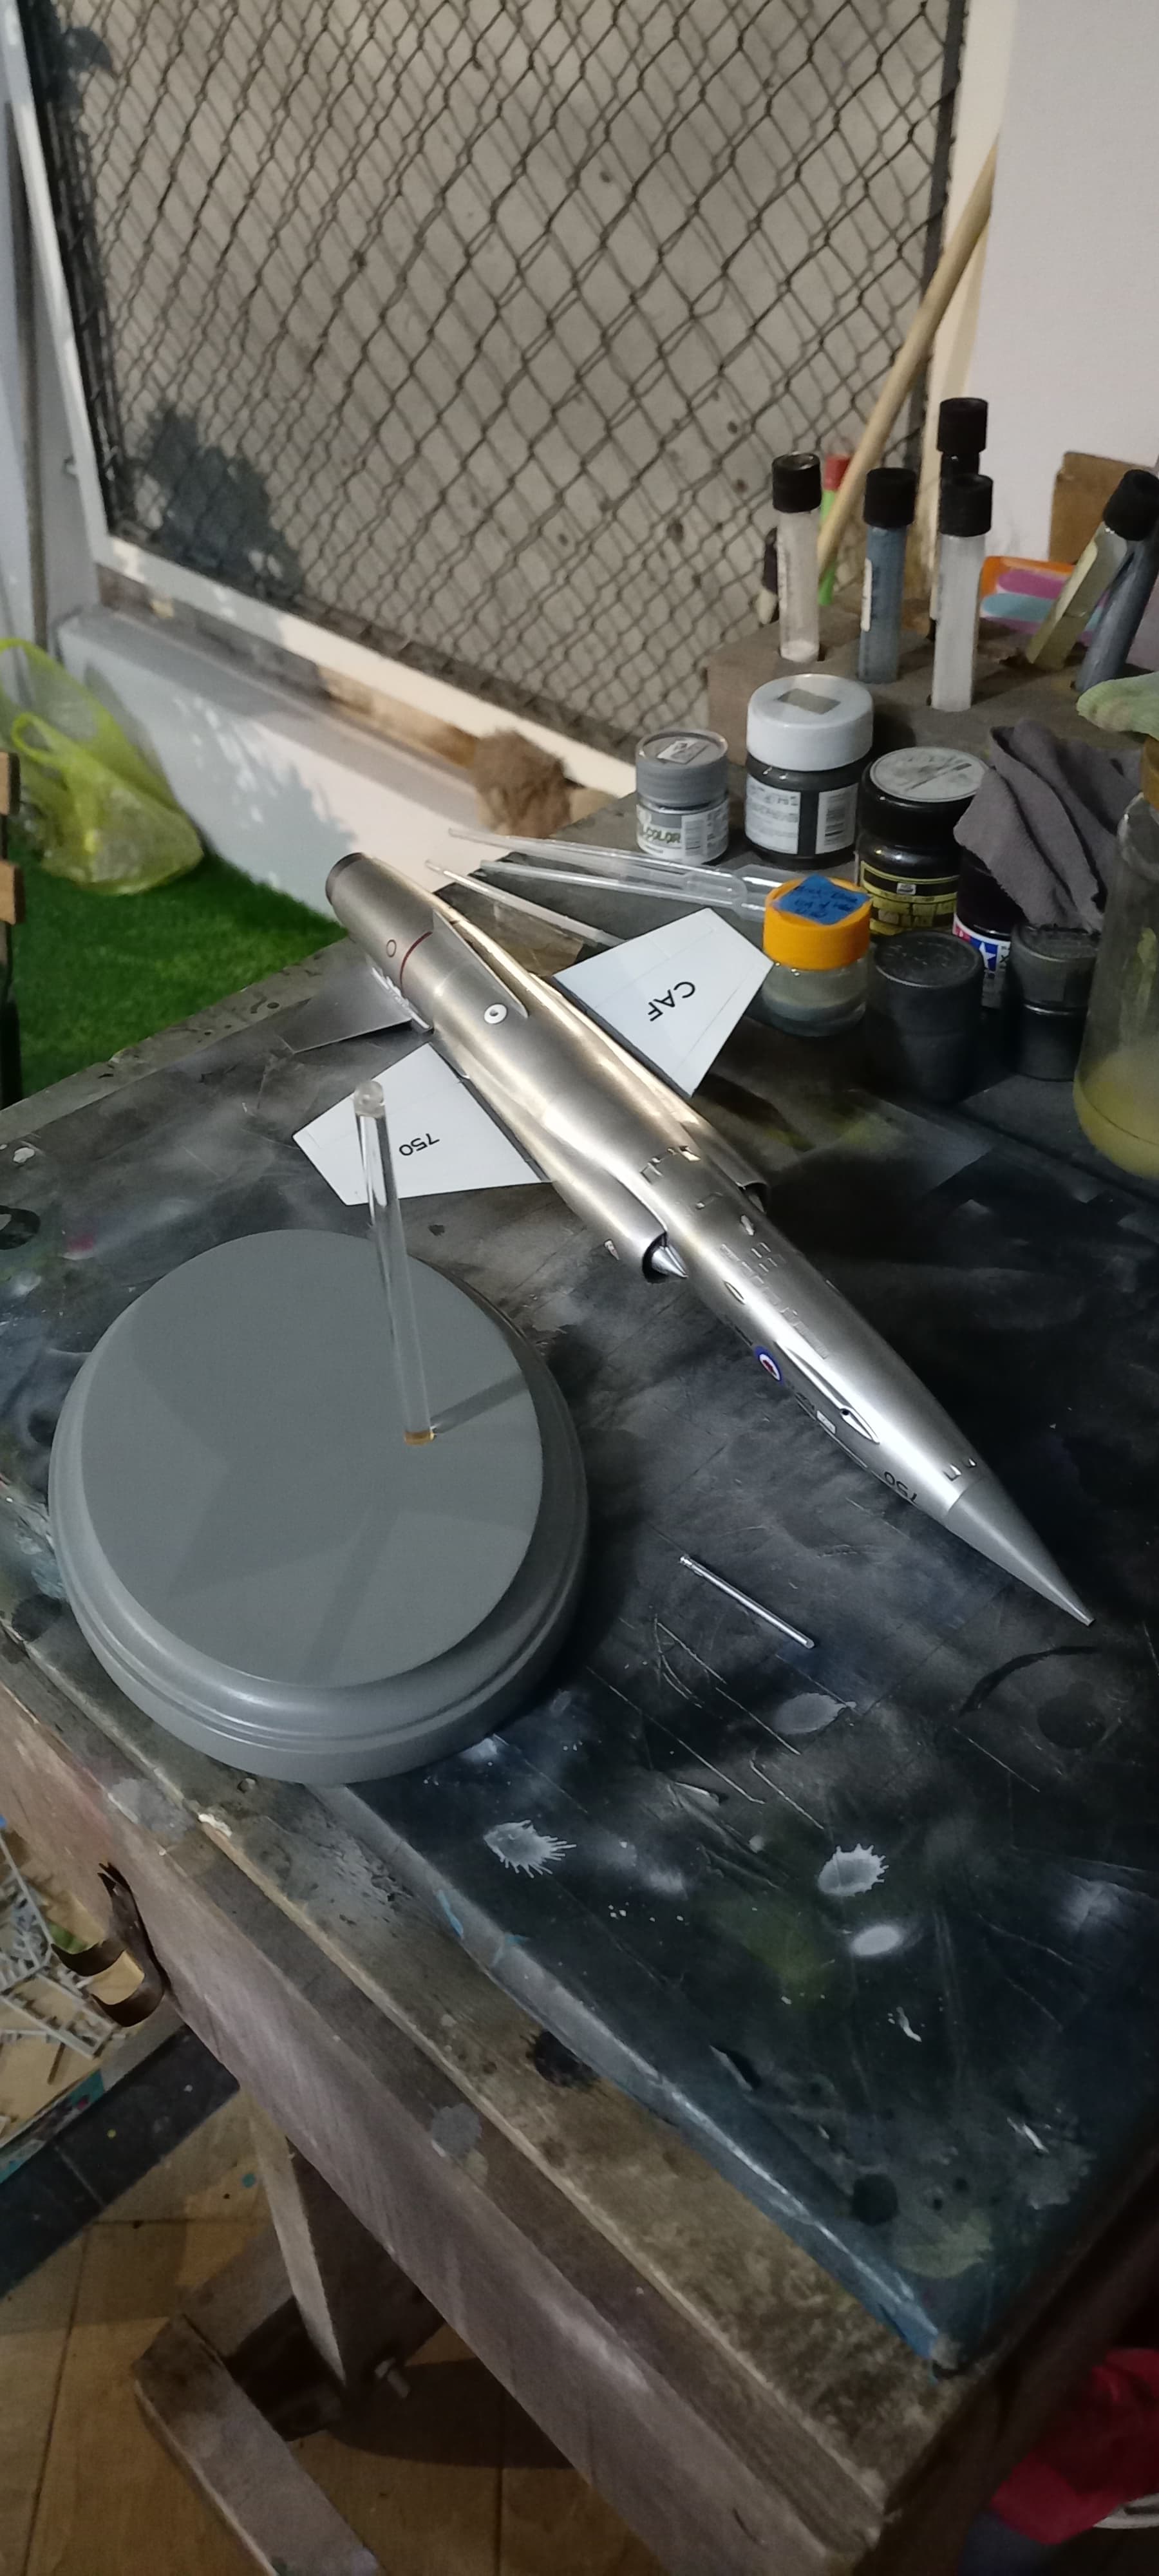
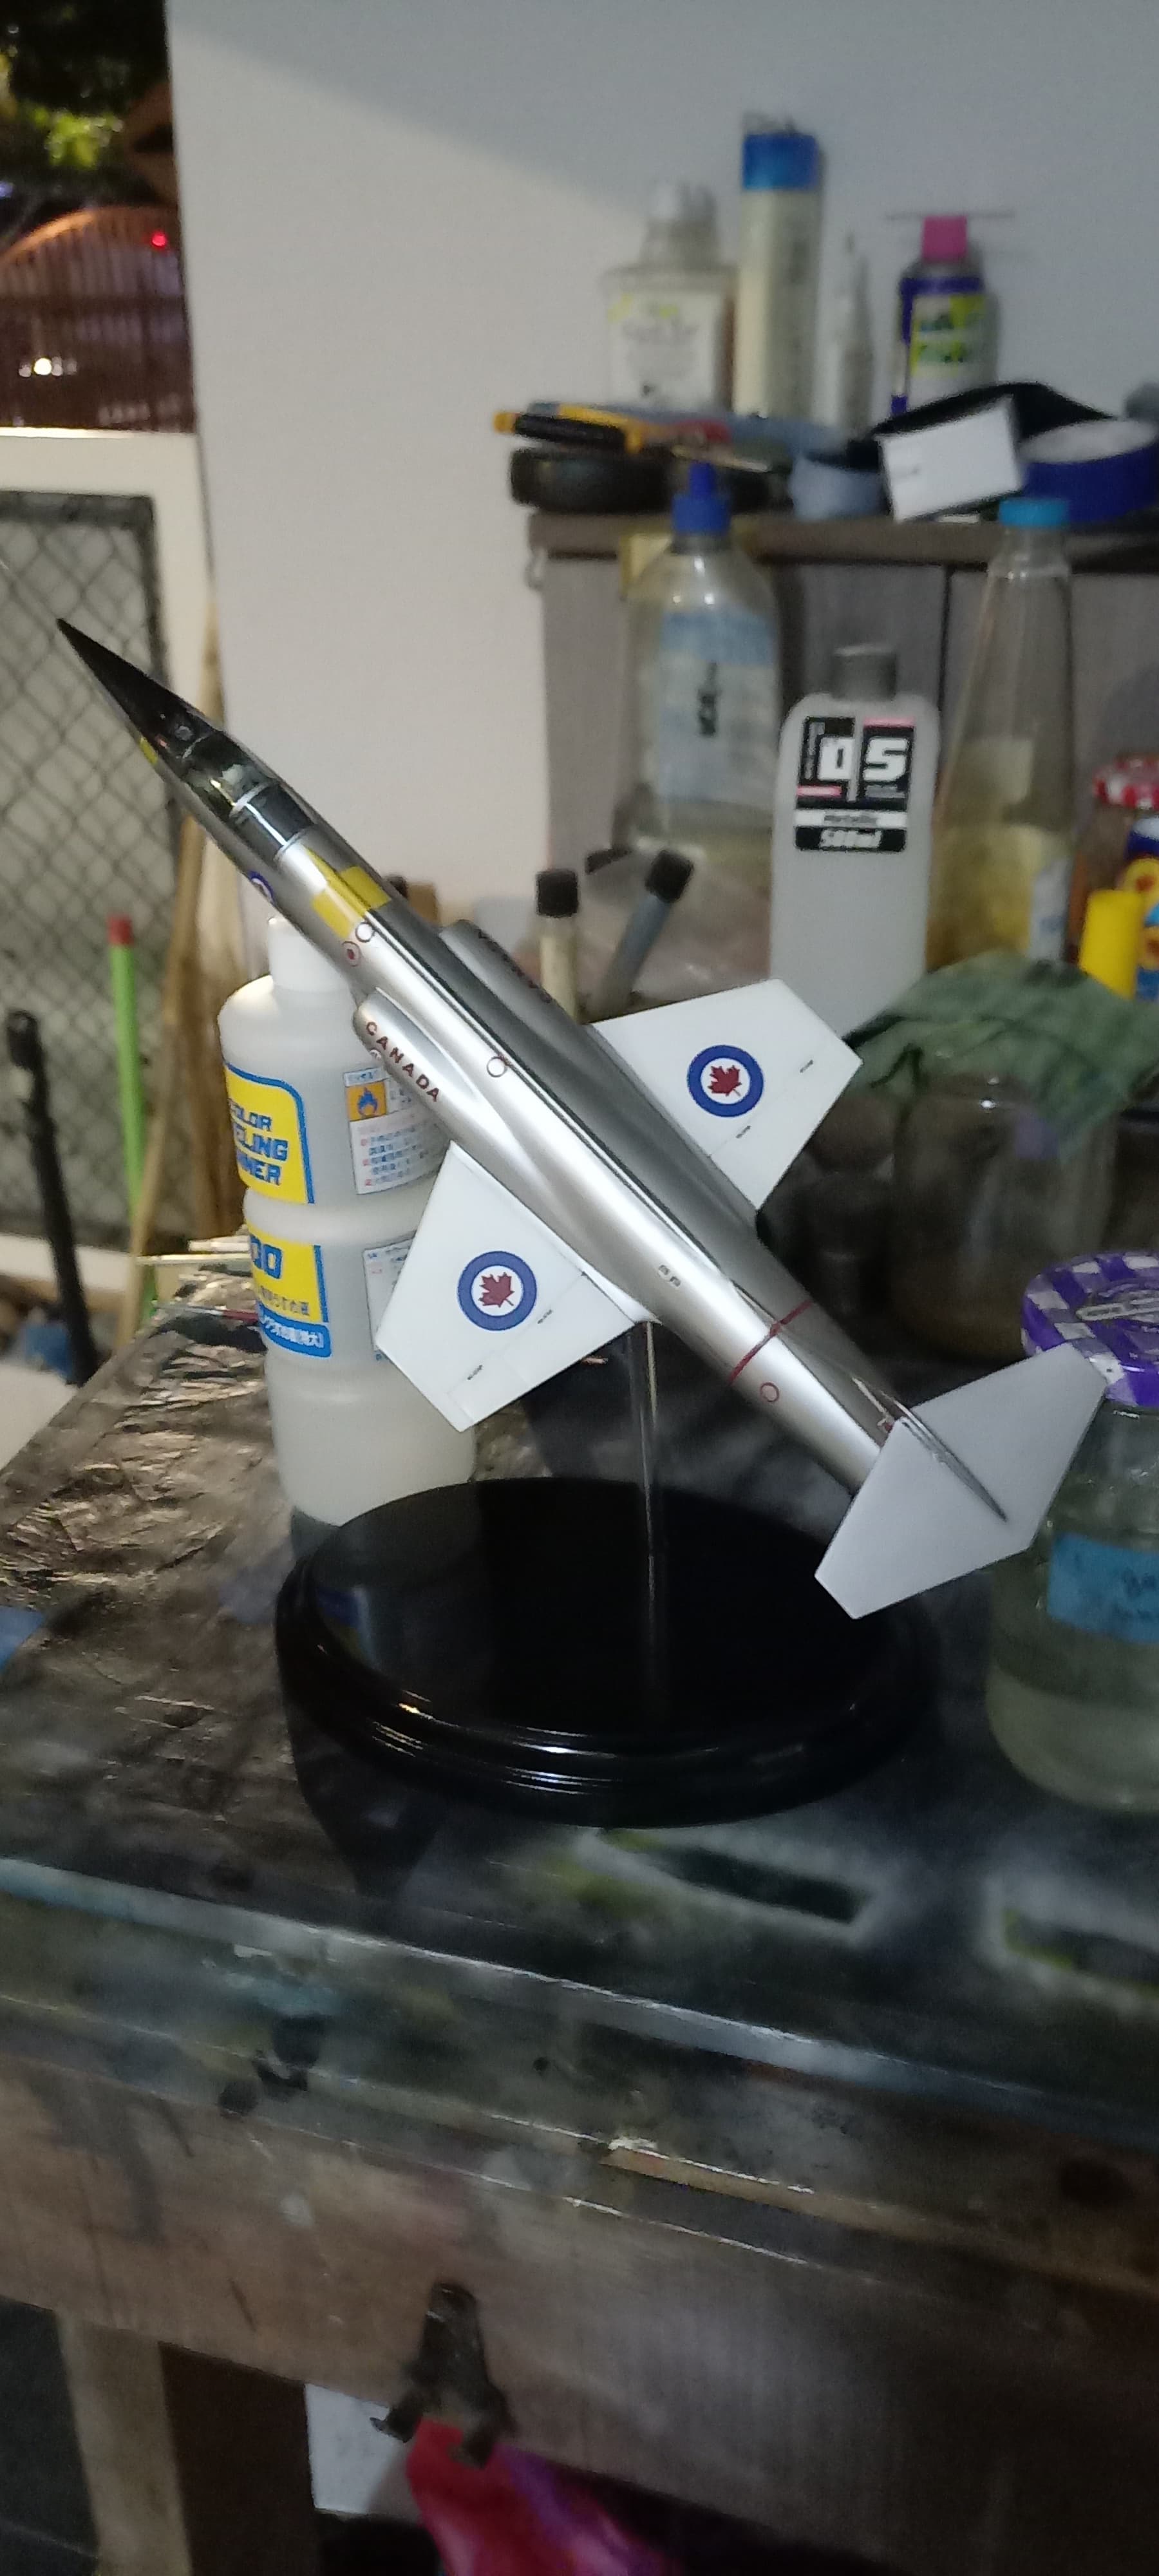
Finally it was time to get the base finished and put her on her stand. I used a trick I picked up along the way of taking a rivet removing the rivet part and drilling the hole in the fuselage bottom and then epoxying the rivet in place (seen here above as the white round thing). I then measured some acrylic rod (1/4" diameter) cut to the approximate length sanded and polished with a polishing stick. Then I test fit the acrylic into the a hole drilled into the base (done slowly with a wood drill bit, so as not to go through the base). I then decided on the angle of the bird relative to its stand and cut the top portion of the acrylic rod (about 45 degrees). Then test fitting all the way, I drilled an appropriate sized hole through the angle of the rod so that the nail portion of the rivet would fit through. Once satisfied, I superglued the nail in place (this also gets rid of any drill marks on the inside of the hole in the acrylic).
Finally came the nerve wracking part of the build, painting the base in it’s final gloss black finish. Here I used a gloss black lacquer in a spray can from the hardware shop. Things turned out pretty darned nice, one does have to do a lot of sanding and priming to get it there though. Still I liked the result.
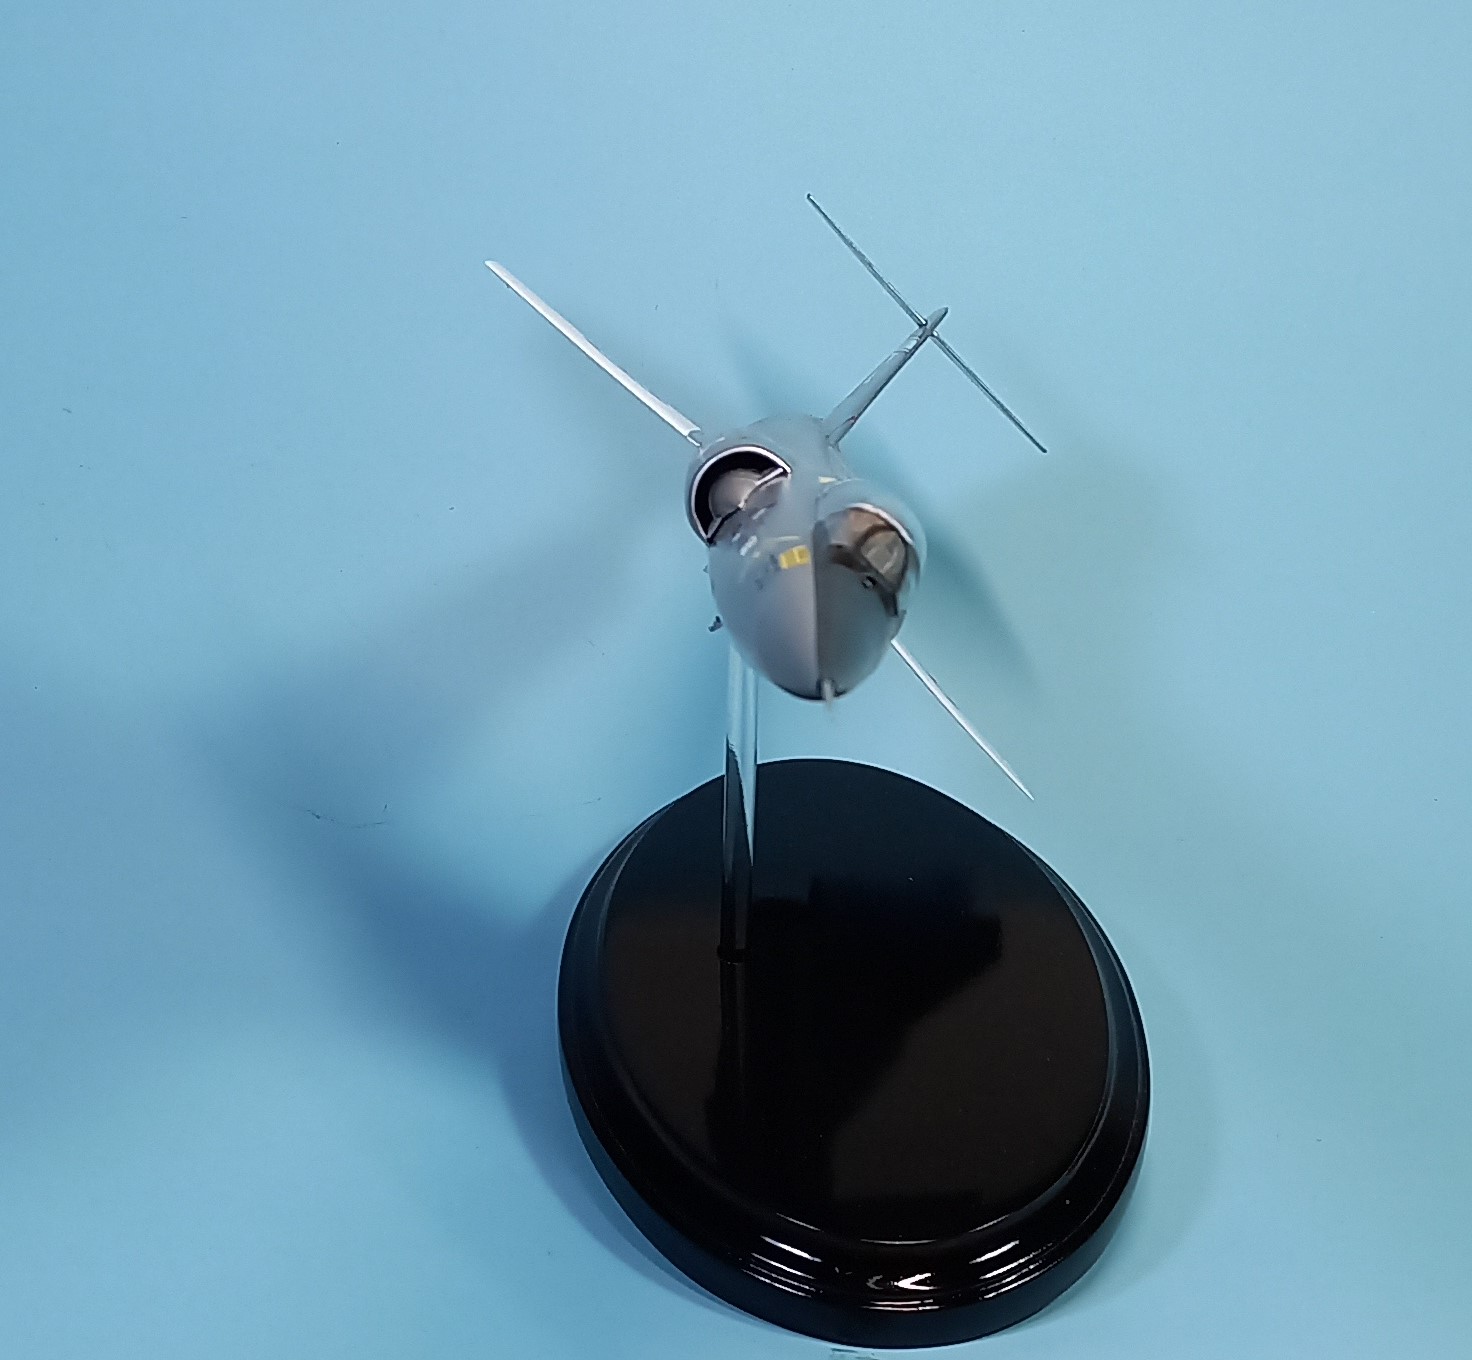
All that remained was to epoxy the acrylic rod into the base, and then affix the bird onto her stand and epoxy that in place. The nice thing with the rivet set up is once laid onto the nail one just needs to decide how much “up” the plane will have. I gave it a nice upward stance with attention to give the viewer a peek into the cockpit to see Bob, hard at work complete with his clipboard (I do regret not putting something like a map on it though, maybe next time). After epoxying the rivet, I used some specialized tools to hold everything in place until all was set.
Liking the result I set up the photo studio (table, posterboard, and desk lamps) and took the final pictures!
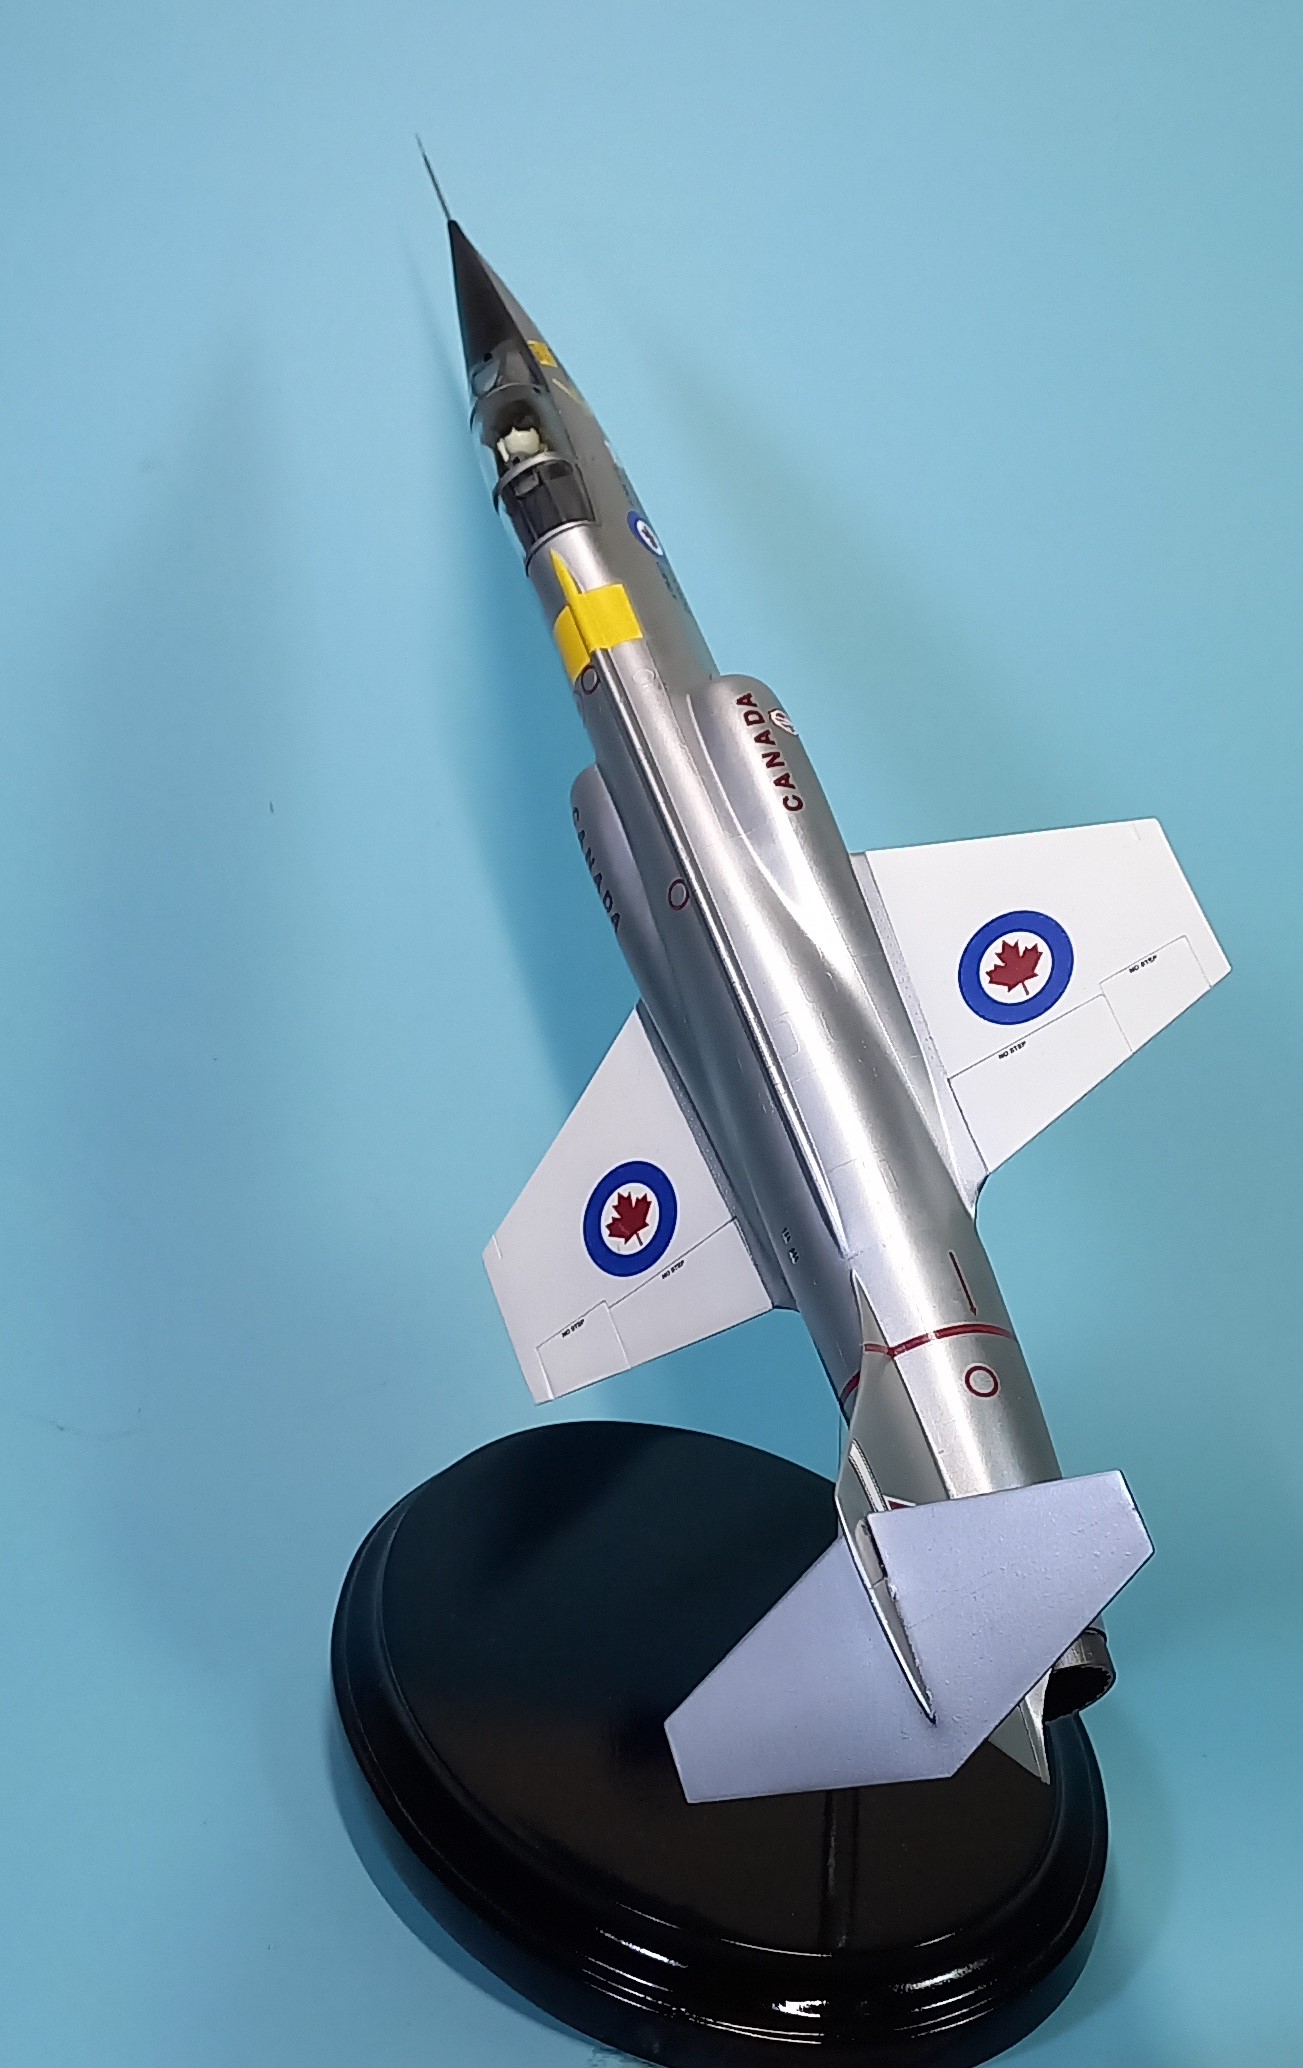
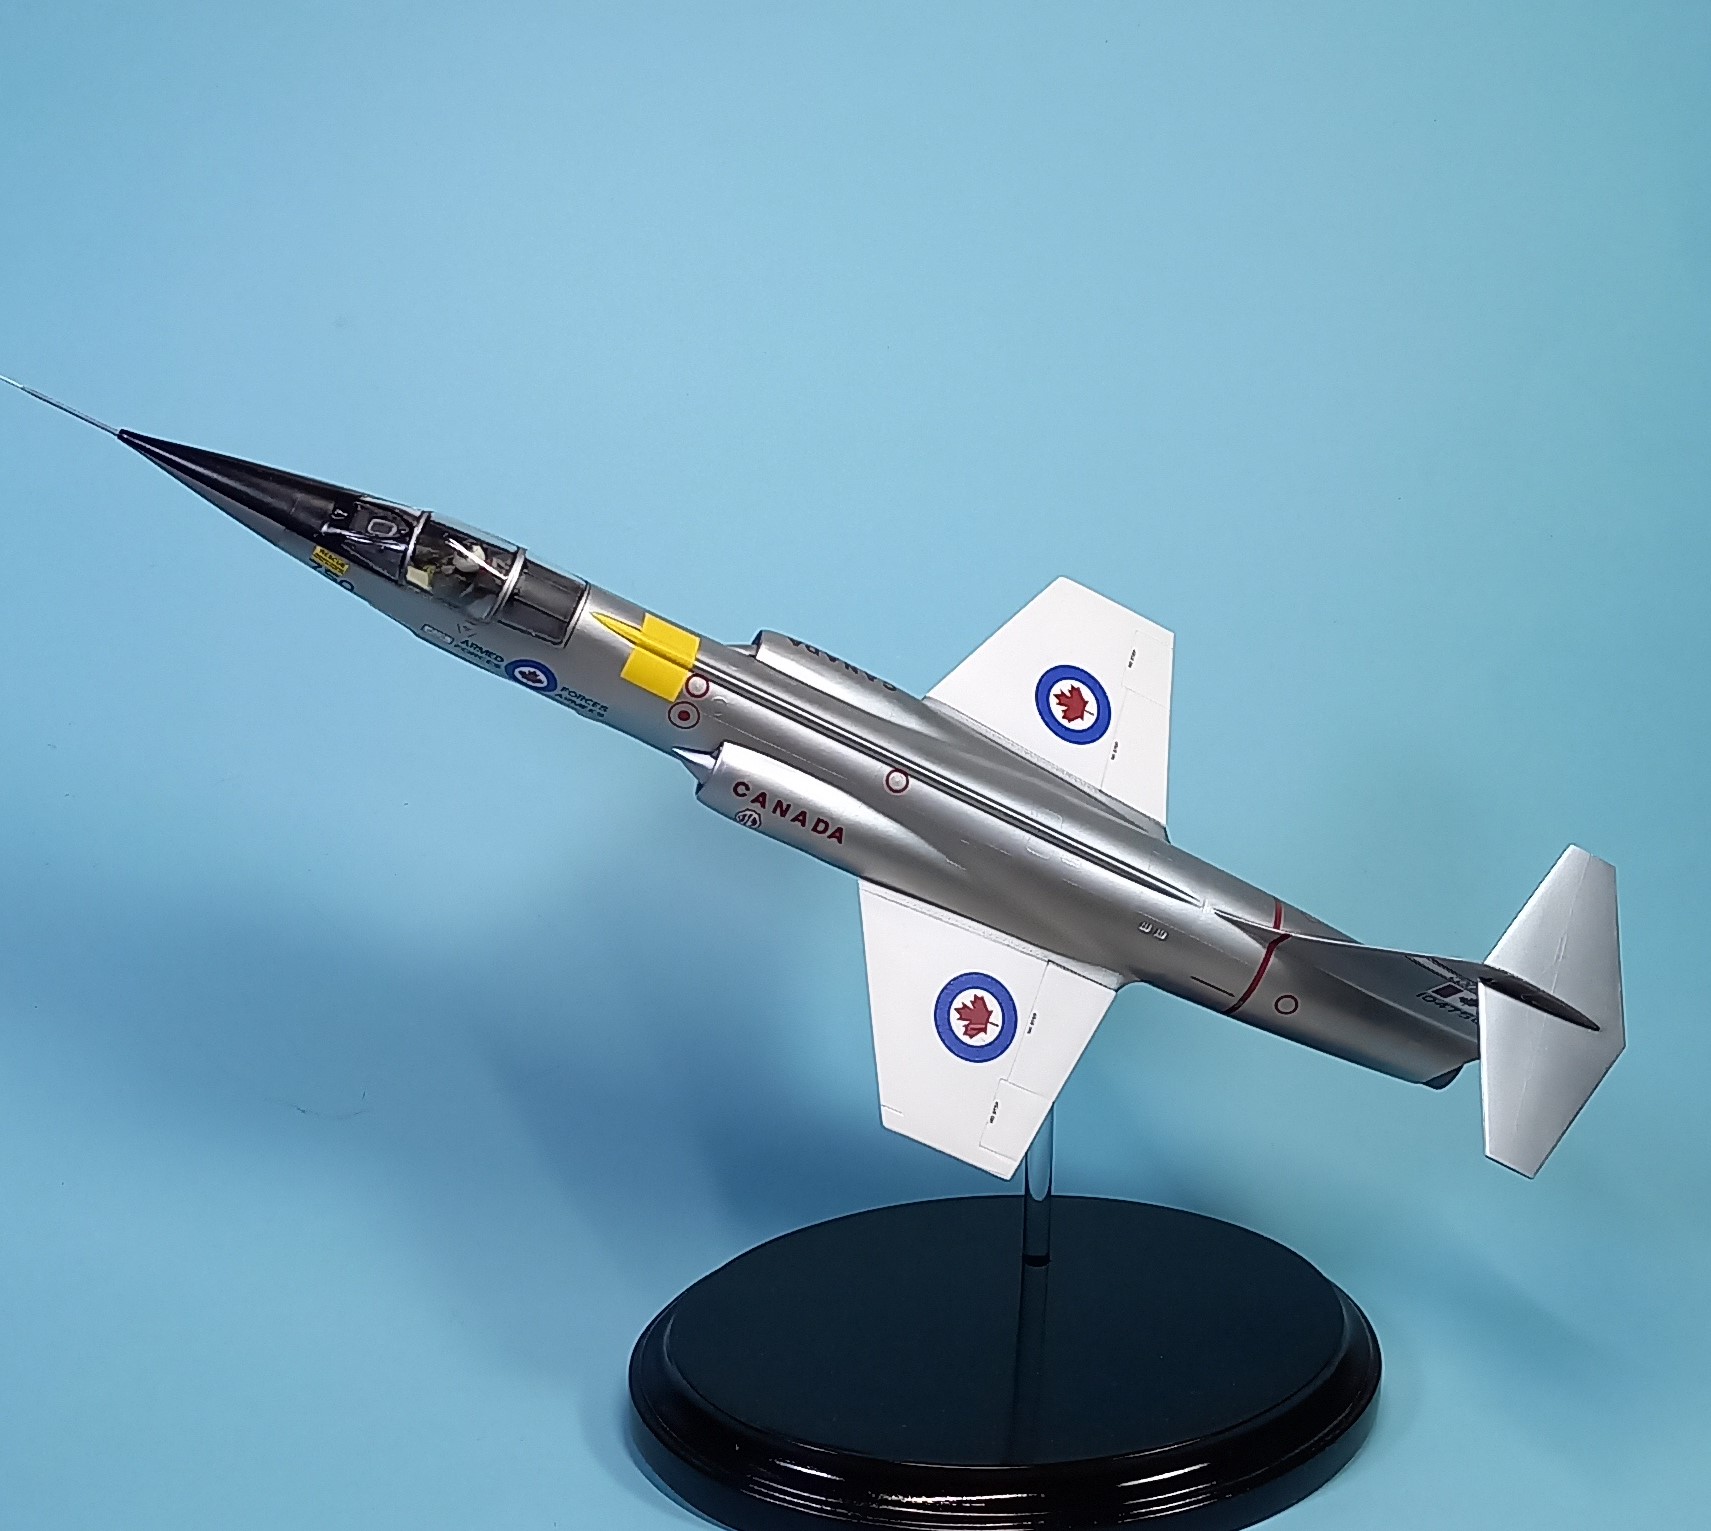
I really like how the build turned out, and wife really likes it as it now sits atop the model case competing with her plant. I really want to thank everyone for a very fun campaign! I like these multi-genre type campaigns as they include the rowdy armor part of the barracks! Which certainly livens up any campaign, lots of fun. Take care and have fun modeling!
9 Likes
Nice Starfighter. Just two more nights for me, can I get it done?? ![]()
1 Like
Maybe @Panzer_modeler will give us a two day extension. I think I can get her done by Sunday
1 Like
Sorry guys, but I won’t make the deadline tomorrow! This is how far my Mustang Mk. IV KH680 “Edmonton Special” is but I’ll be away for a few days now. So no update before the weekend 9./10.07. But I know some of you follow the build in my “bench works” thread …
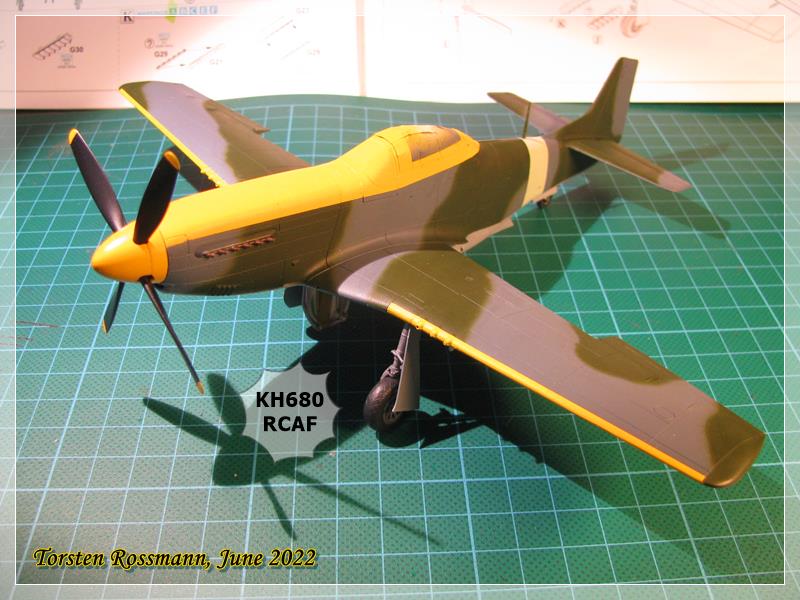
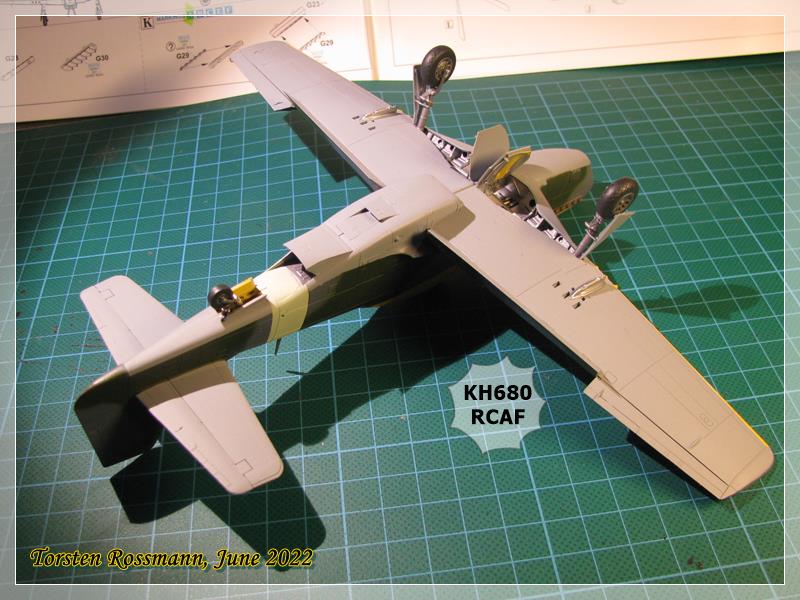
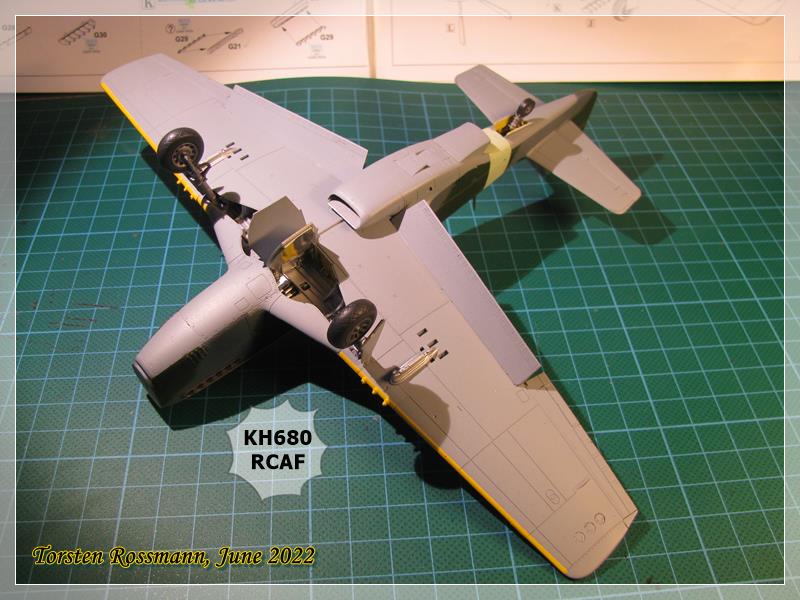
![]()
2 Likes
Nice Widow-maker John. Great job on the natural metal finish. Really brings the word “Bling” into meaning.
1 Like
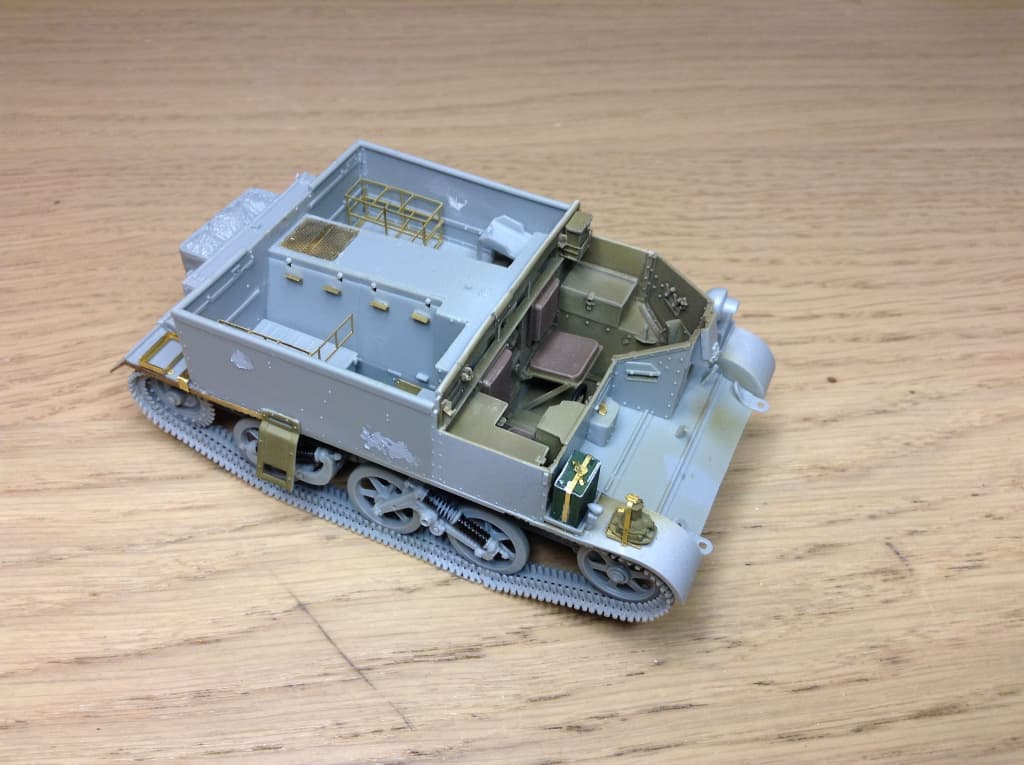
Okay, I’m lagging too… So much etch to add - 3 sheets of it and I’m only 1/2 way through that… and I just realised there are sink marks on the hull sides to fill
Where I am now:


I’ll need some extra time to finish too.
6 Likes
So many nice kit builds here. Would be nice to have one more month to finish the builds. I think I would need three more weeks to finish the Centurion ARV.
2 Likes
Seeing as Ezra (Panzer Modeller) has not been in the thread for so long, I will assume he has gone on to bigger and shinier things. With so many guys so close to the end, I will assume control of the helm and speak for him!!

I won’t bother a moderator to extend the time frame already in place, but keep building and hopefully we we all be over the line by 1 August.
1 Like
Thanks Chief. Not sure I’ll be done in just 7 hours.
But by Midnight local time (US Pacific Daylight Time) I should be complete. That would give me 6 models for 6 months this year… ![]()
2 Likes
Okay trolling Back I see these modellers have finished, some more than once:
SSGToms
Yeahwiggie
ColinEdm
Panzer_modeler
McRunty
Canmedic
bwilt
DennisatAutoloader
sgtchuck
SGTJKJ
john41492
md72
If I have missed someone, please let me know.
Then, there are a few of us still in the game and actively building, with a chance to finish by the extended deadline of 01/08/2022:
BlackWidow
Mead93
panorama
PanzerGeek
petbat
Let’s get cracking…
1 Like
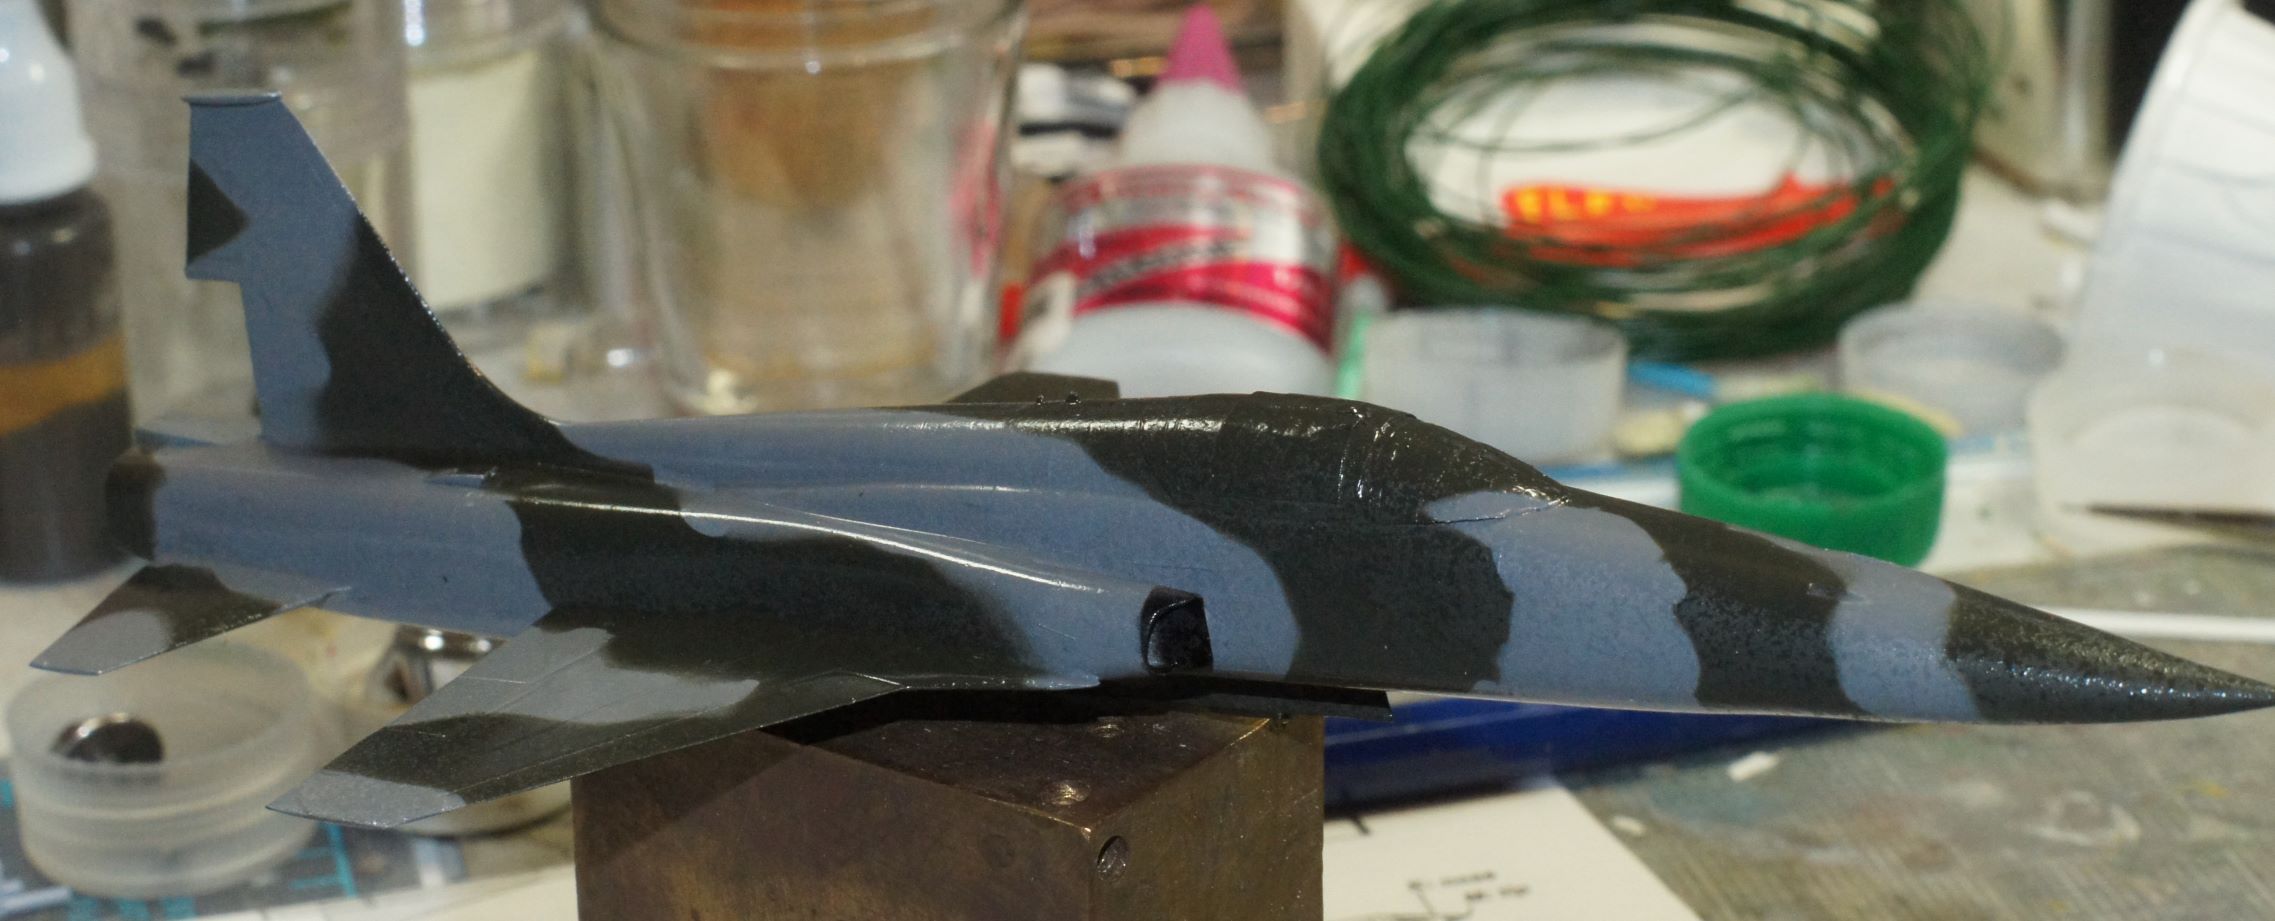
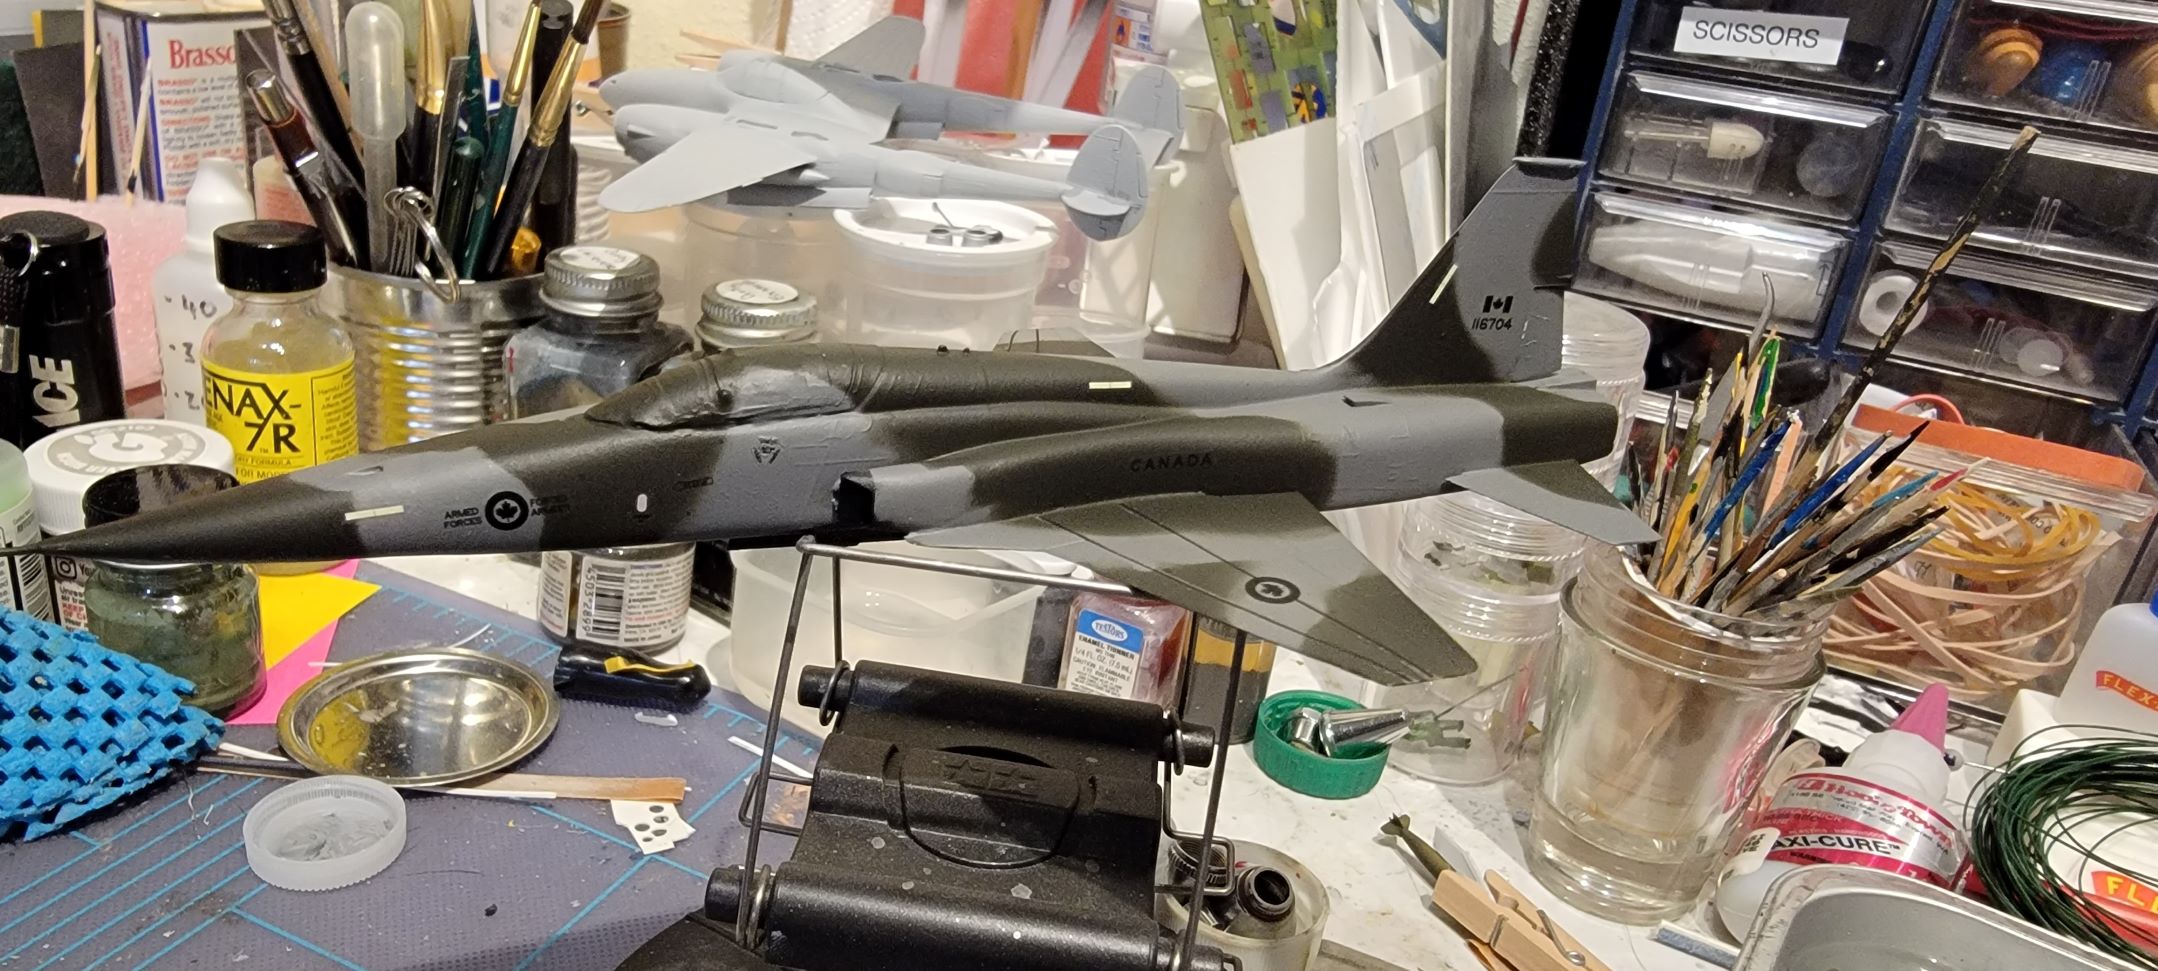
Nosing across the finish line and 11:10PM 6/30/2022 (30/06/2022). Hasegawa 1/72 F-5A in True Details Canadian wrap around markings decals.
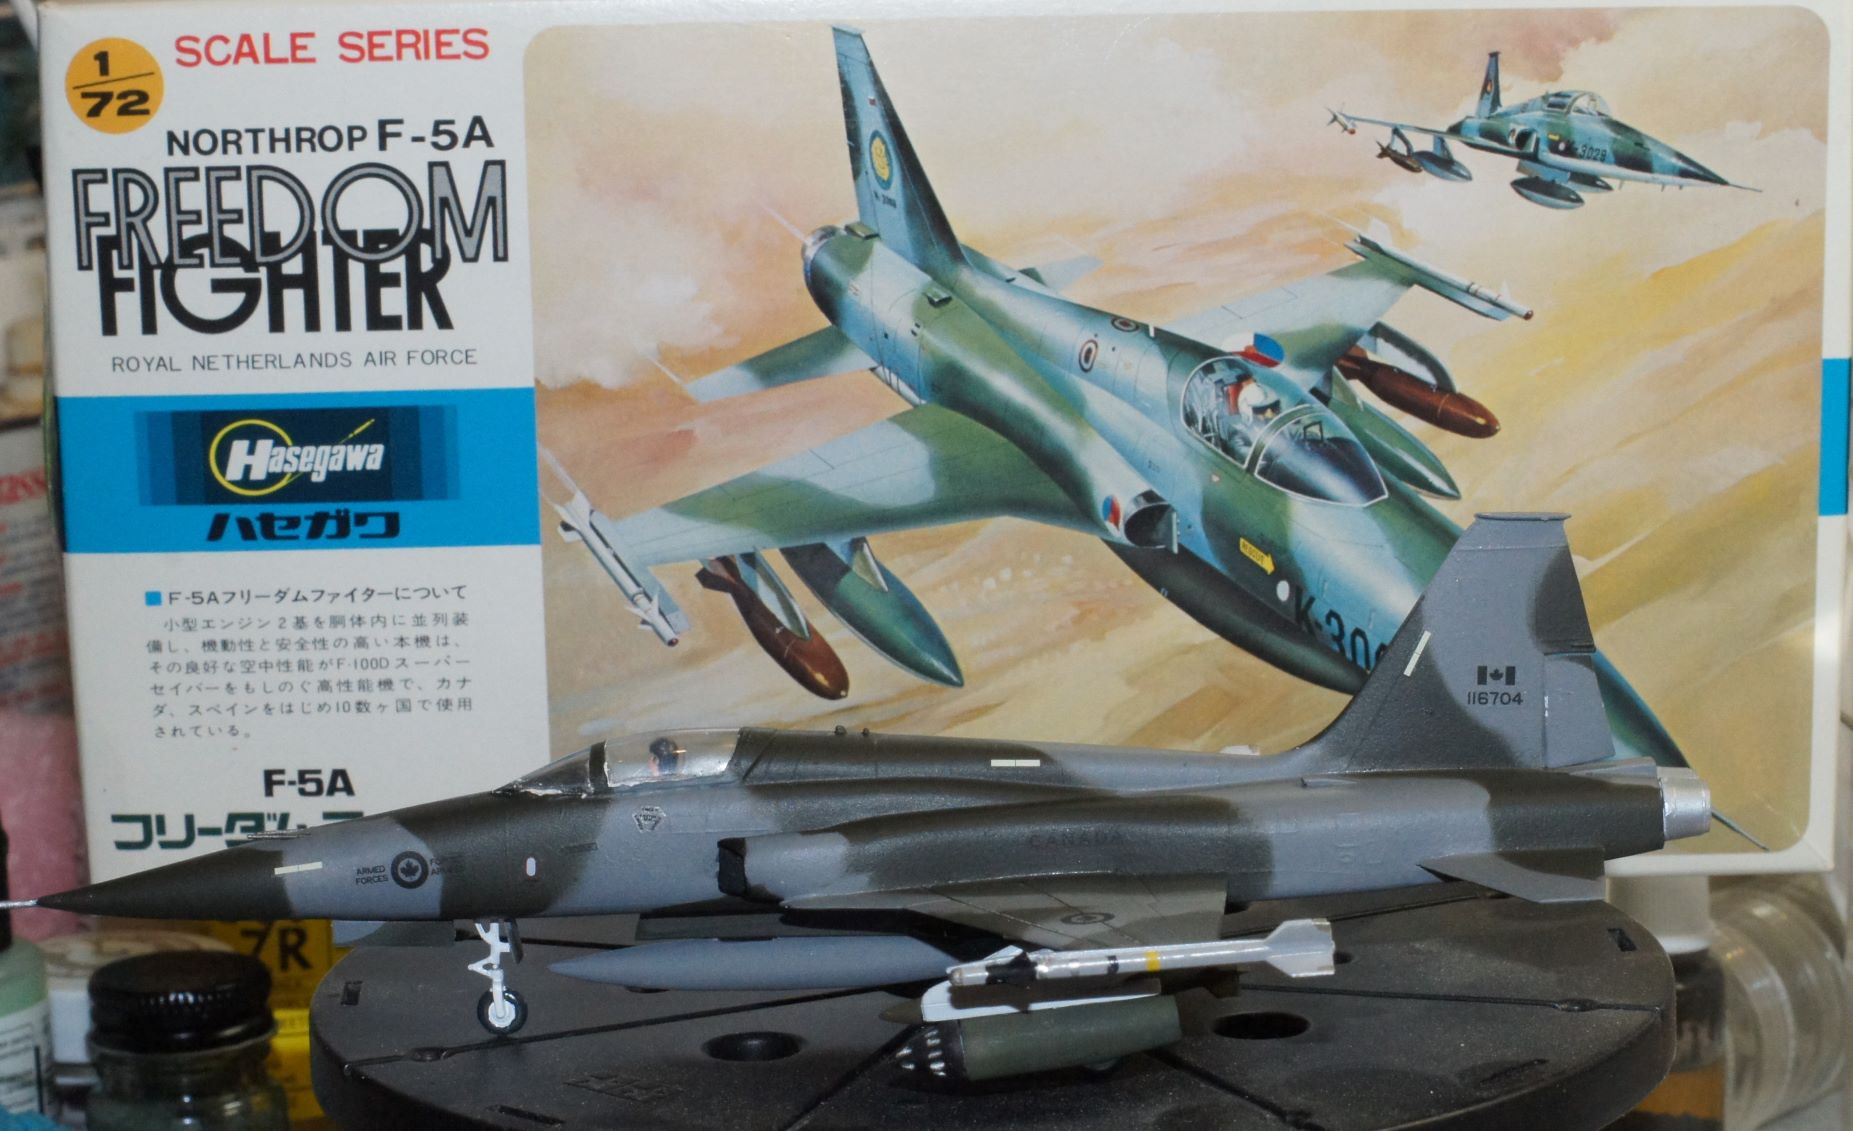
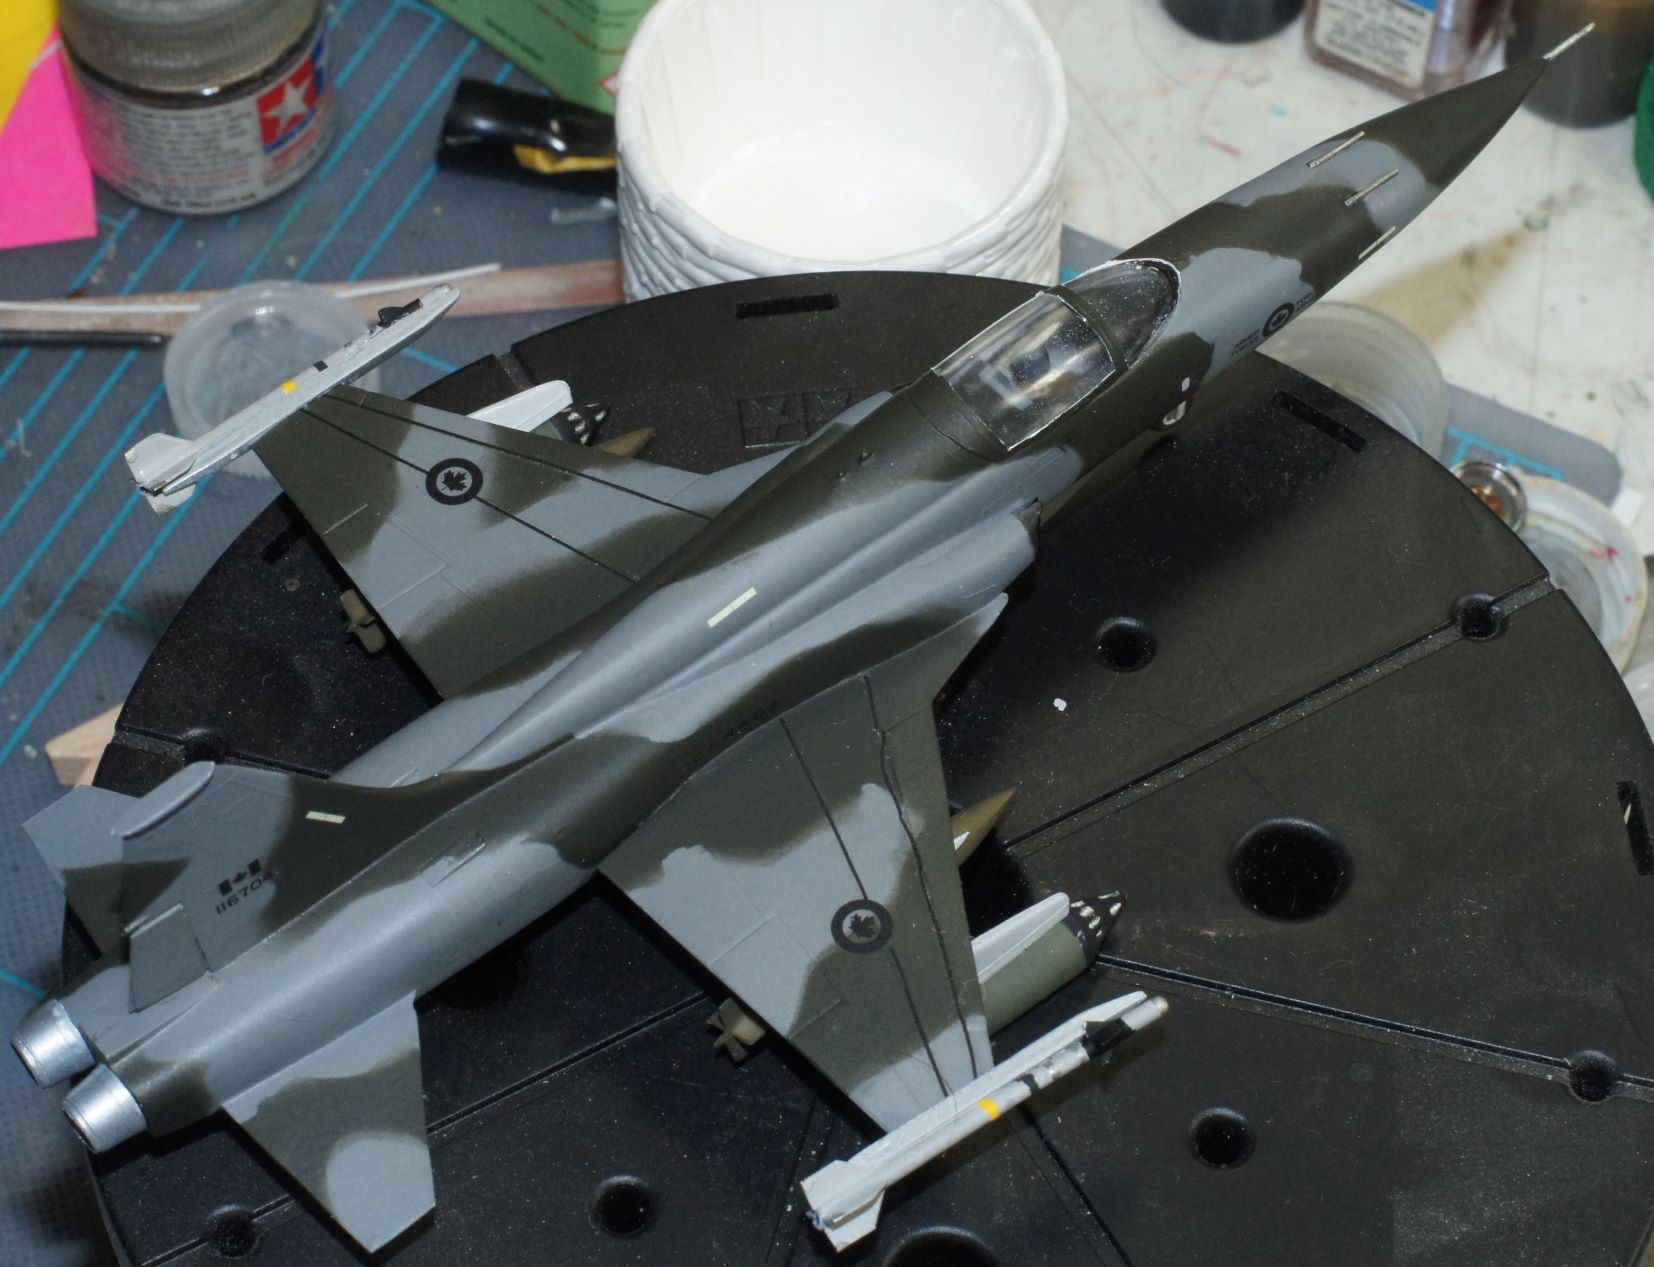
Told ya I was bringing a knife to your gunfight. A mighty dull one at that.
5 Likes
Nice one Mark. You have done very well with that old kit.
Ezra is away on the Discord working on the new Micro Machines Podcast, so as the resident Canadian (sorry @Mead93 ![]() ) I will say that there will be a one month extension. However, seeing as how it’s Canada Day now, thank you so very much to everyone who participated! There have been some truly amazing builds in here, and it’s great to see people making Canadian content. Again, if you want, keep building because there is a one month extension, but other than that, great work everyone! You’ve all earned a shot of maple syrup
) I will say that there will be a one month extension. However, seeing as how it’s Canada Day now, thank you so very much to everyone who participated! There have been some truly amazing builds in here, and it’s great to see people making Canadian content. Again, if you want, keep building because there is a one month extension, but other than that, great work everyone! You’ve all earned a shot of maple syrup ![]()
2 Likes
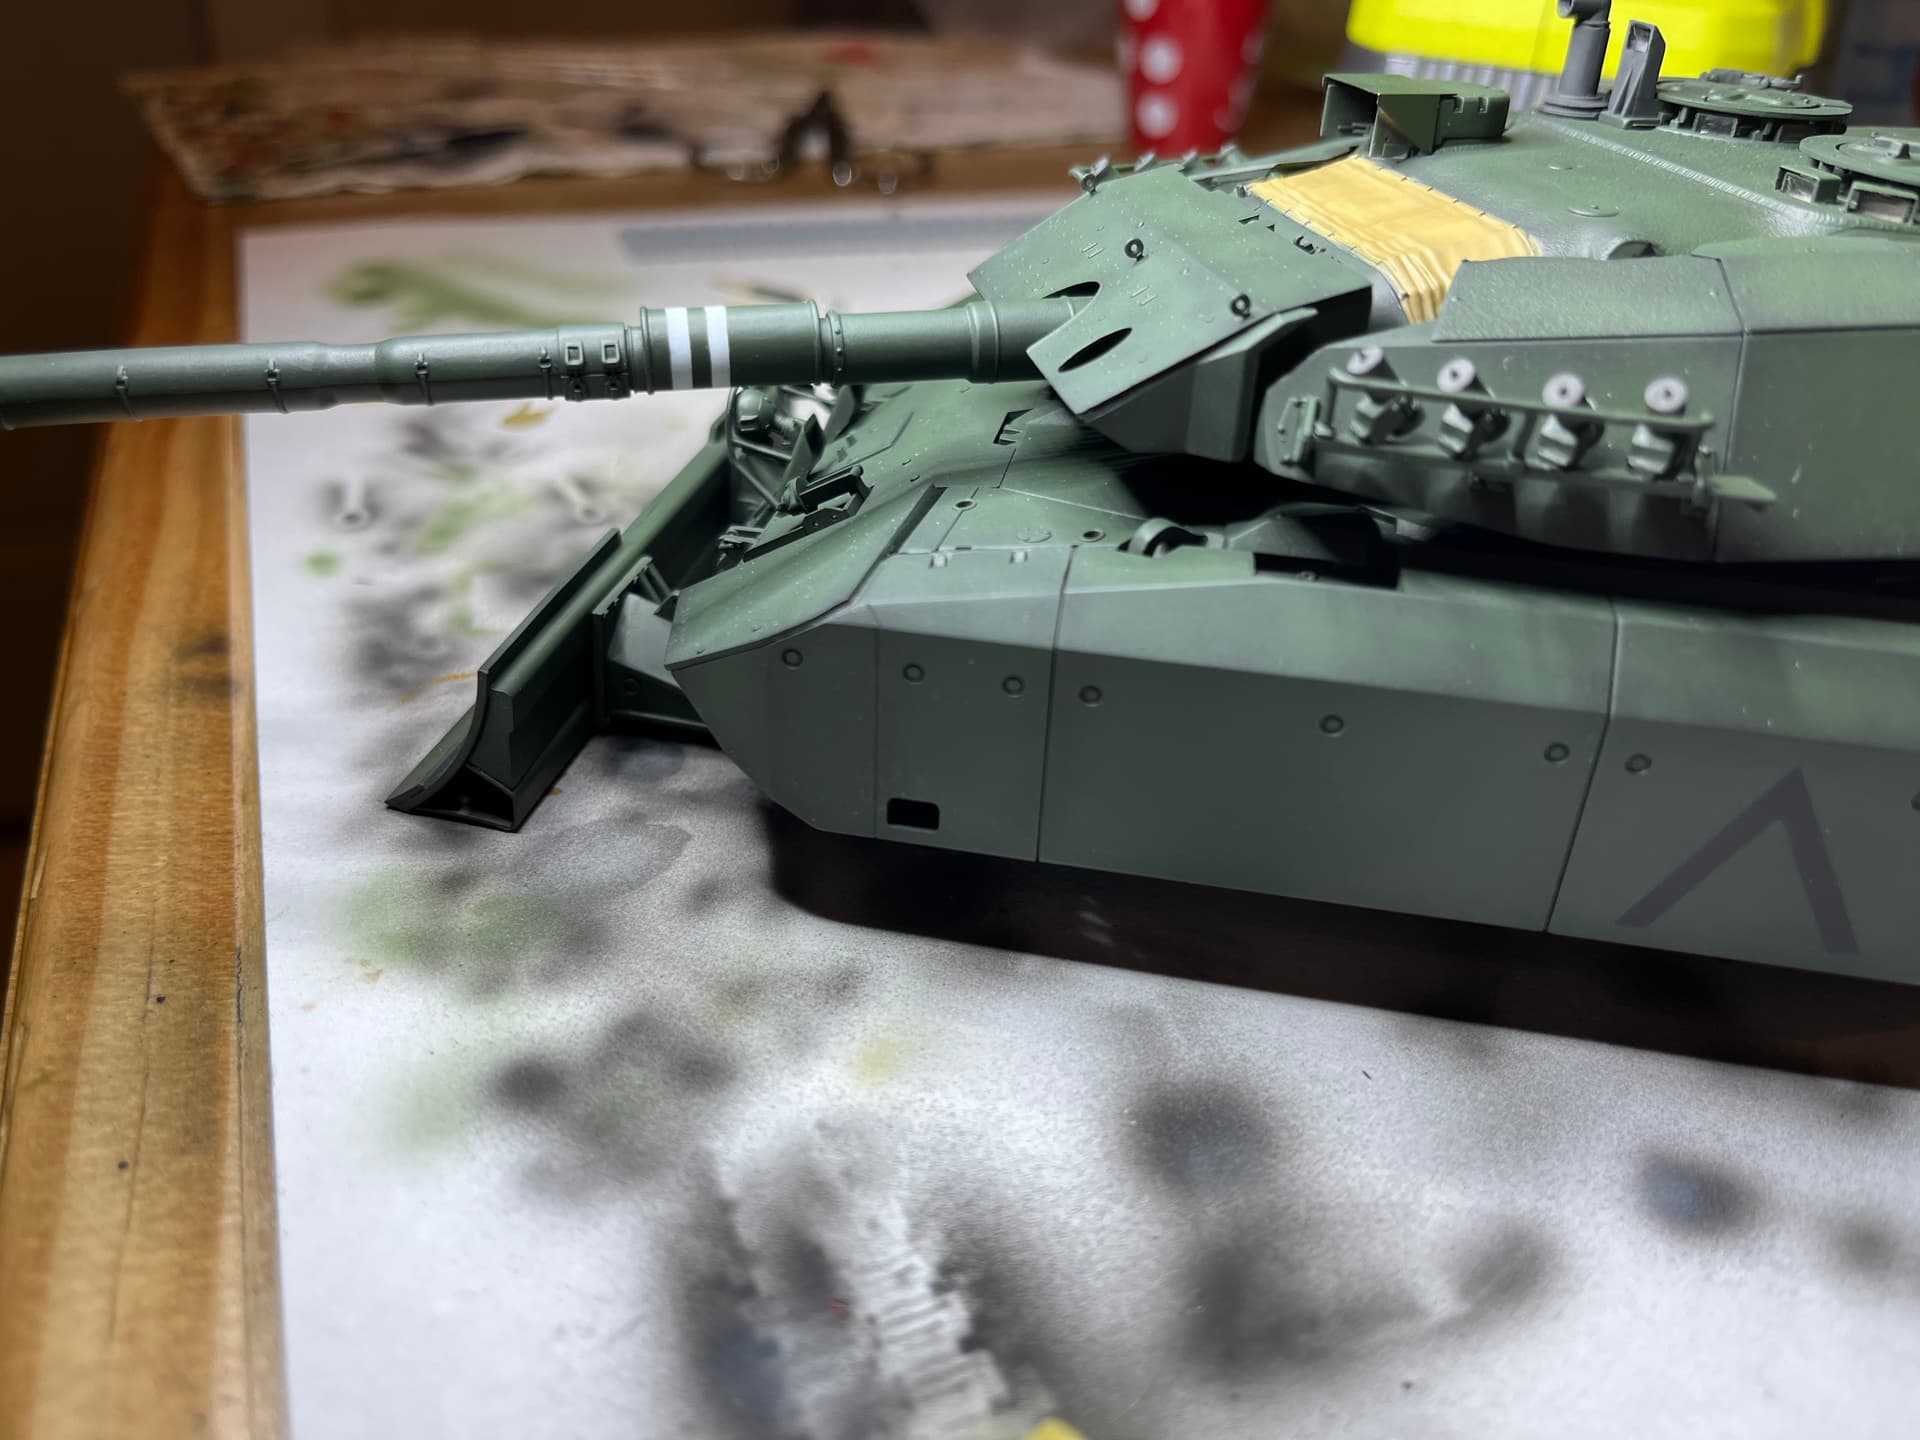
Appreciate the exentsion I really wanted to get something across the finish line for this build. I expect to have the leopard dome this weekend
I’ll let you have that! I did abandon ship
Mark, nice job on the F-5, put a good spin on an older kit!
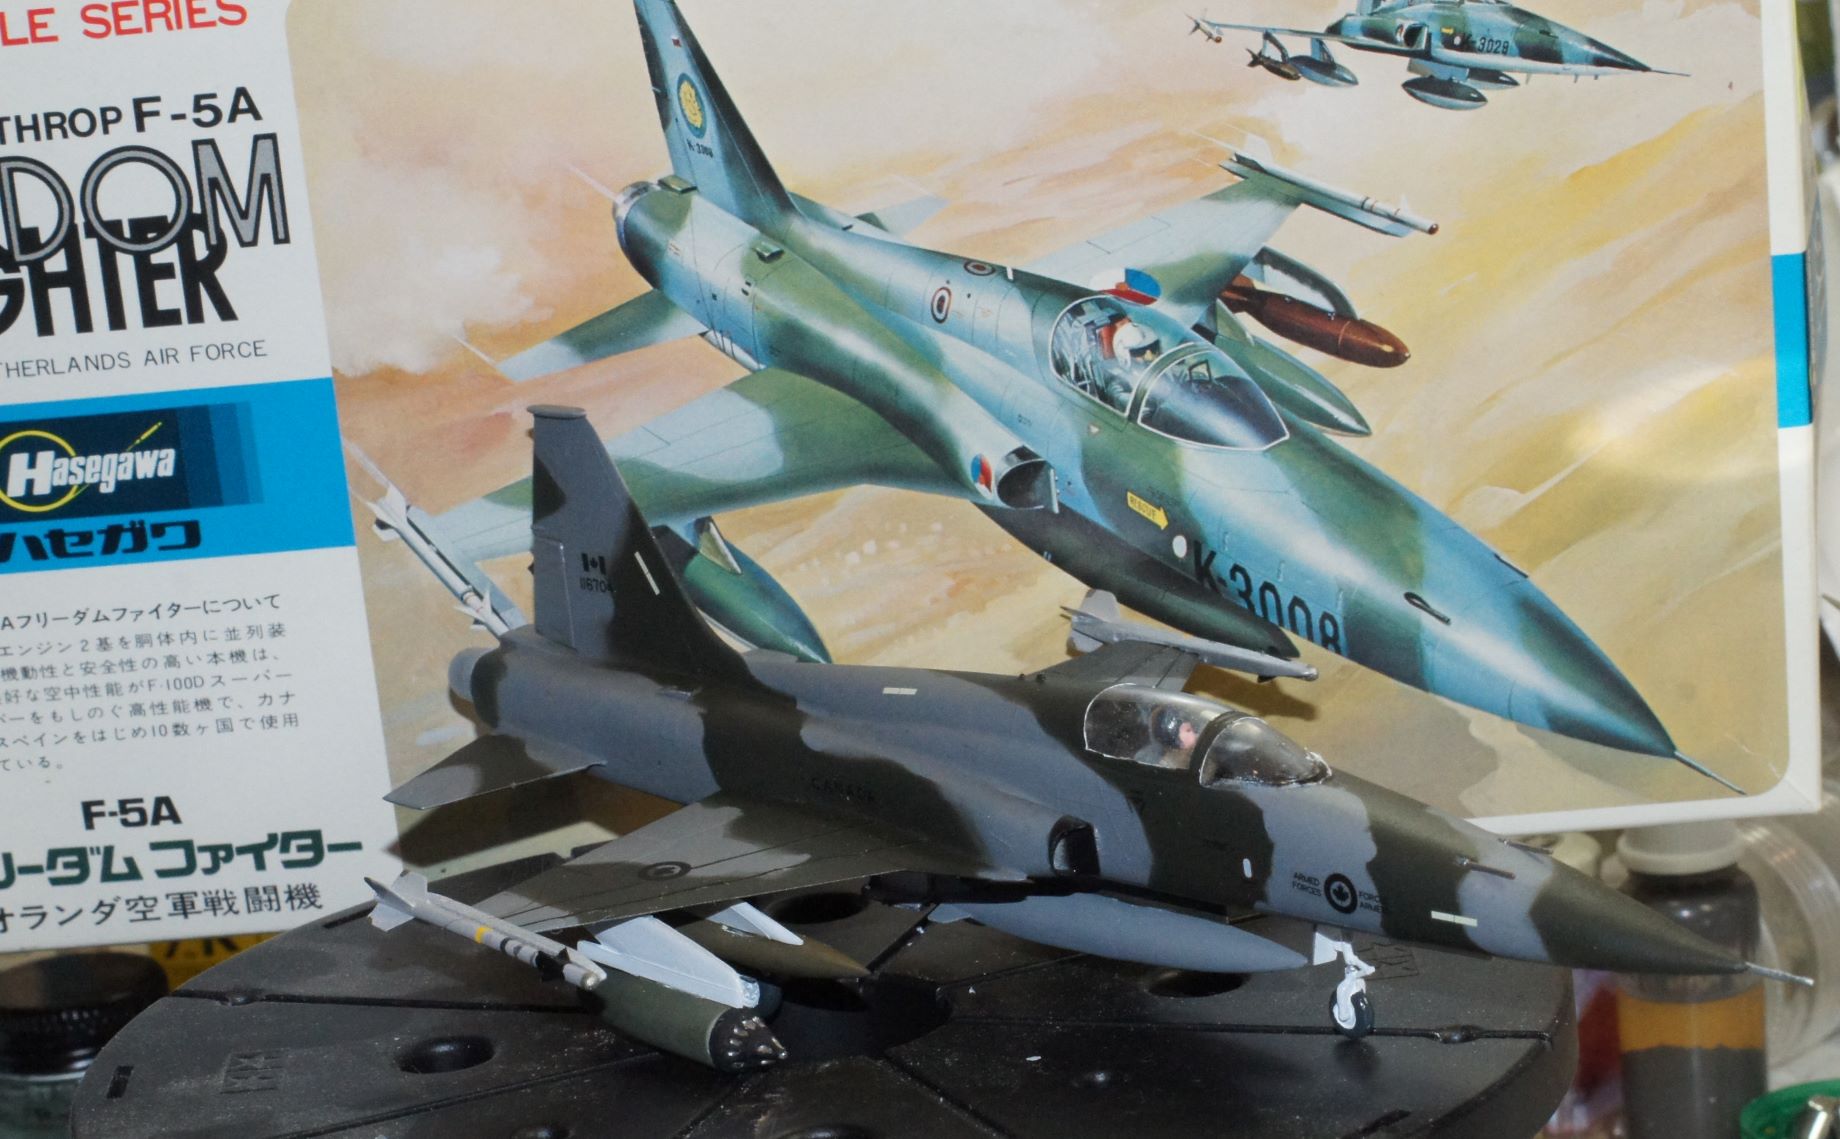
Happy Canada Day! ![]() From my collection of Canadian Fighters.
From my collection of Canadian Fighters.
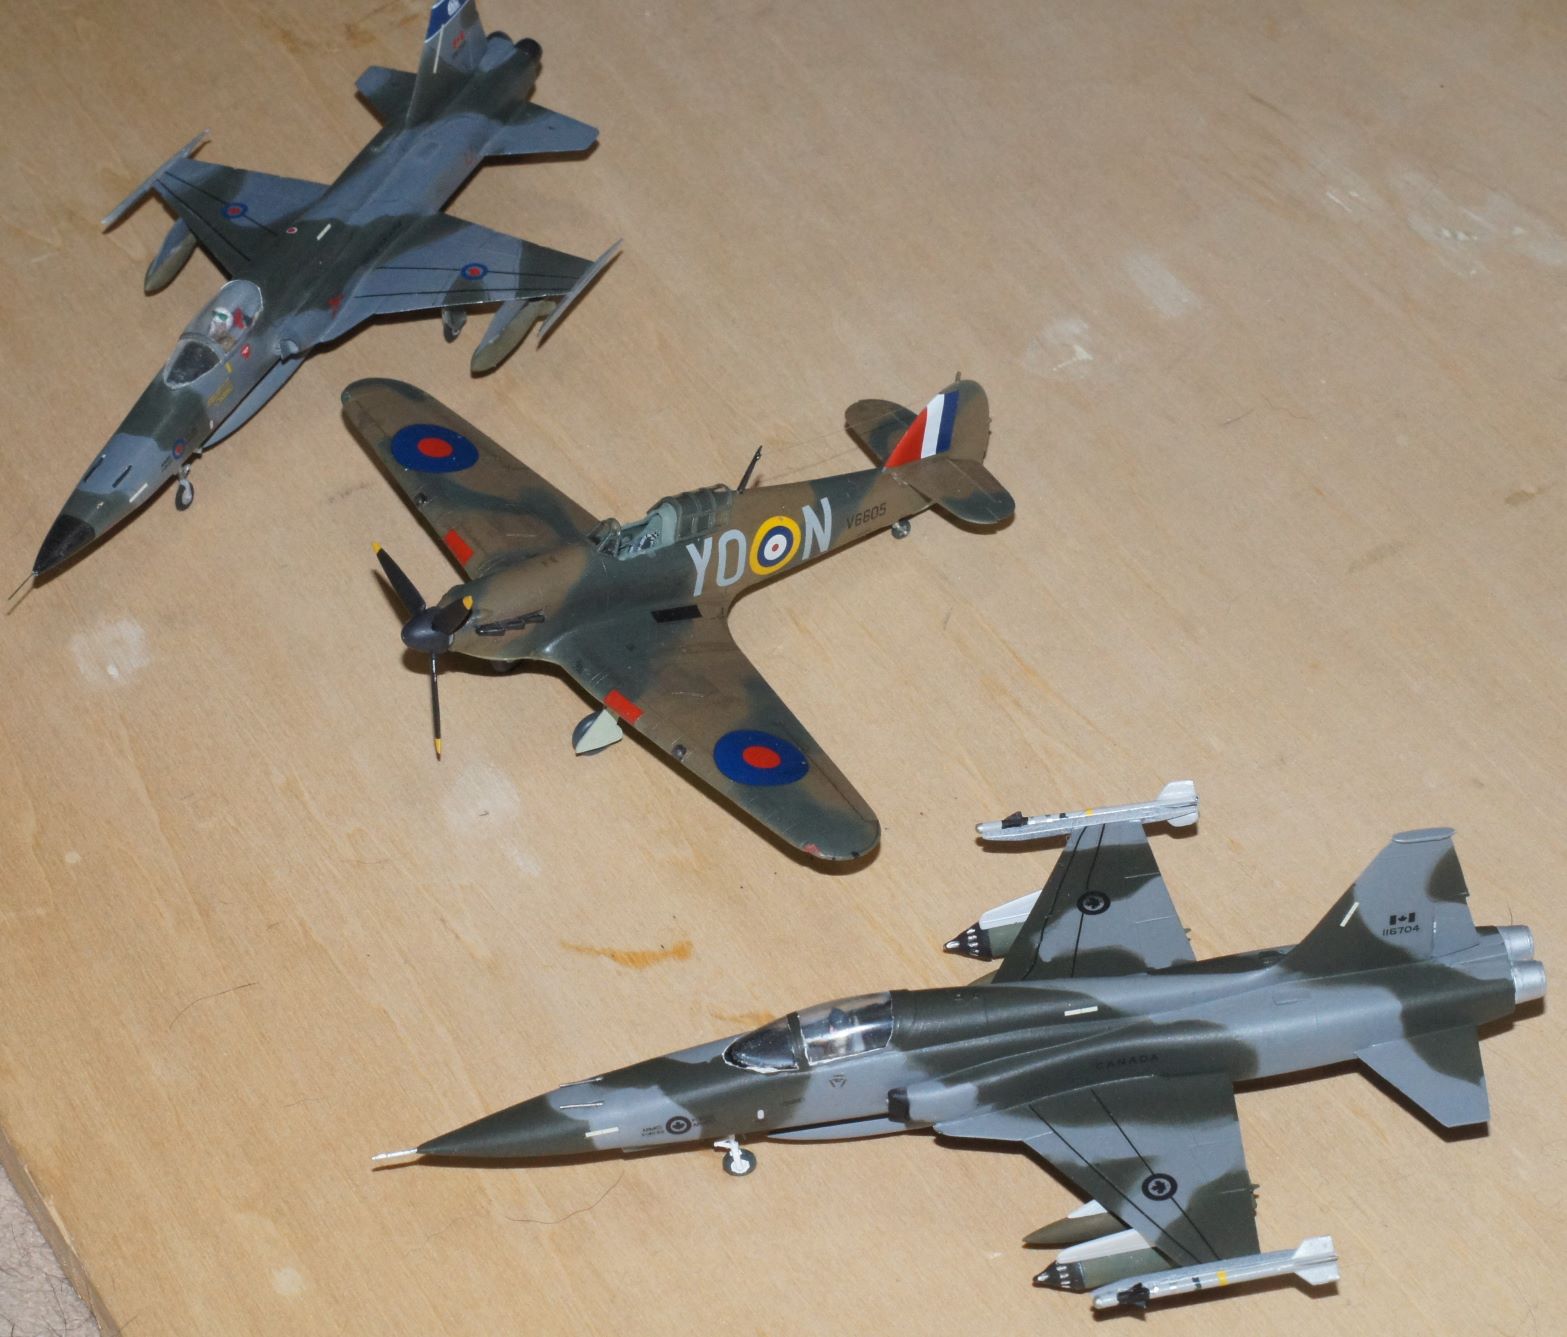
Airfix I/72 F-5A, 1/72 Arma Hawker Hurricane, and Hasegawa 1/72 F-5A.
7 Likes
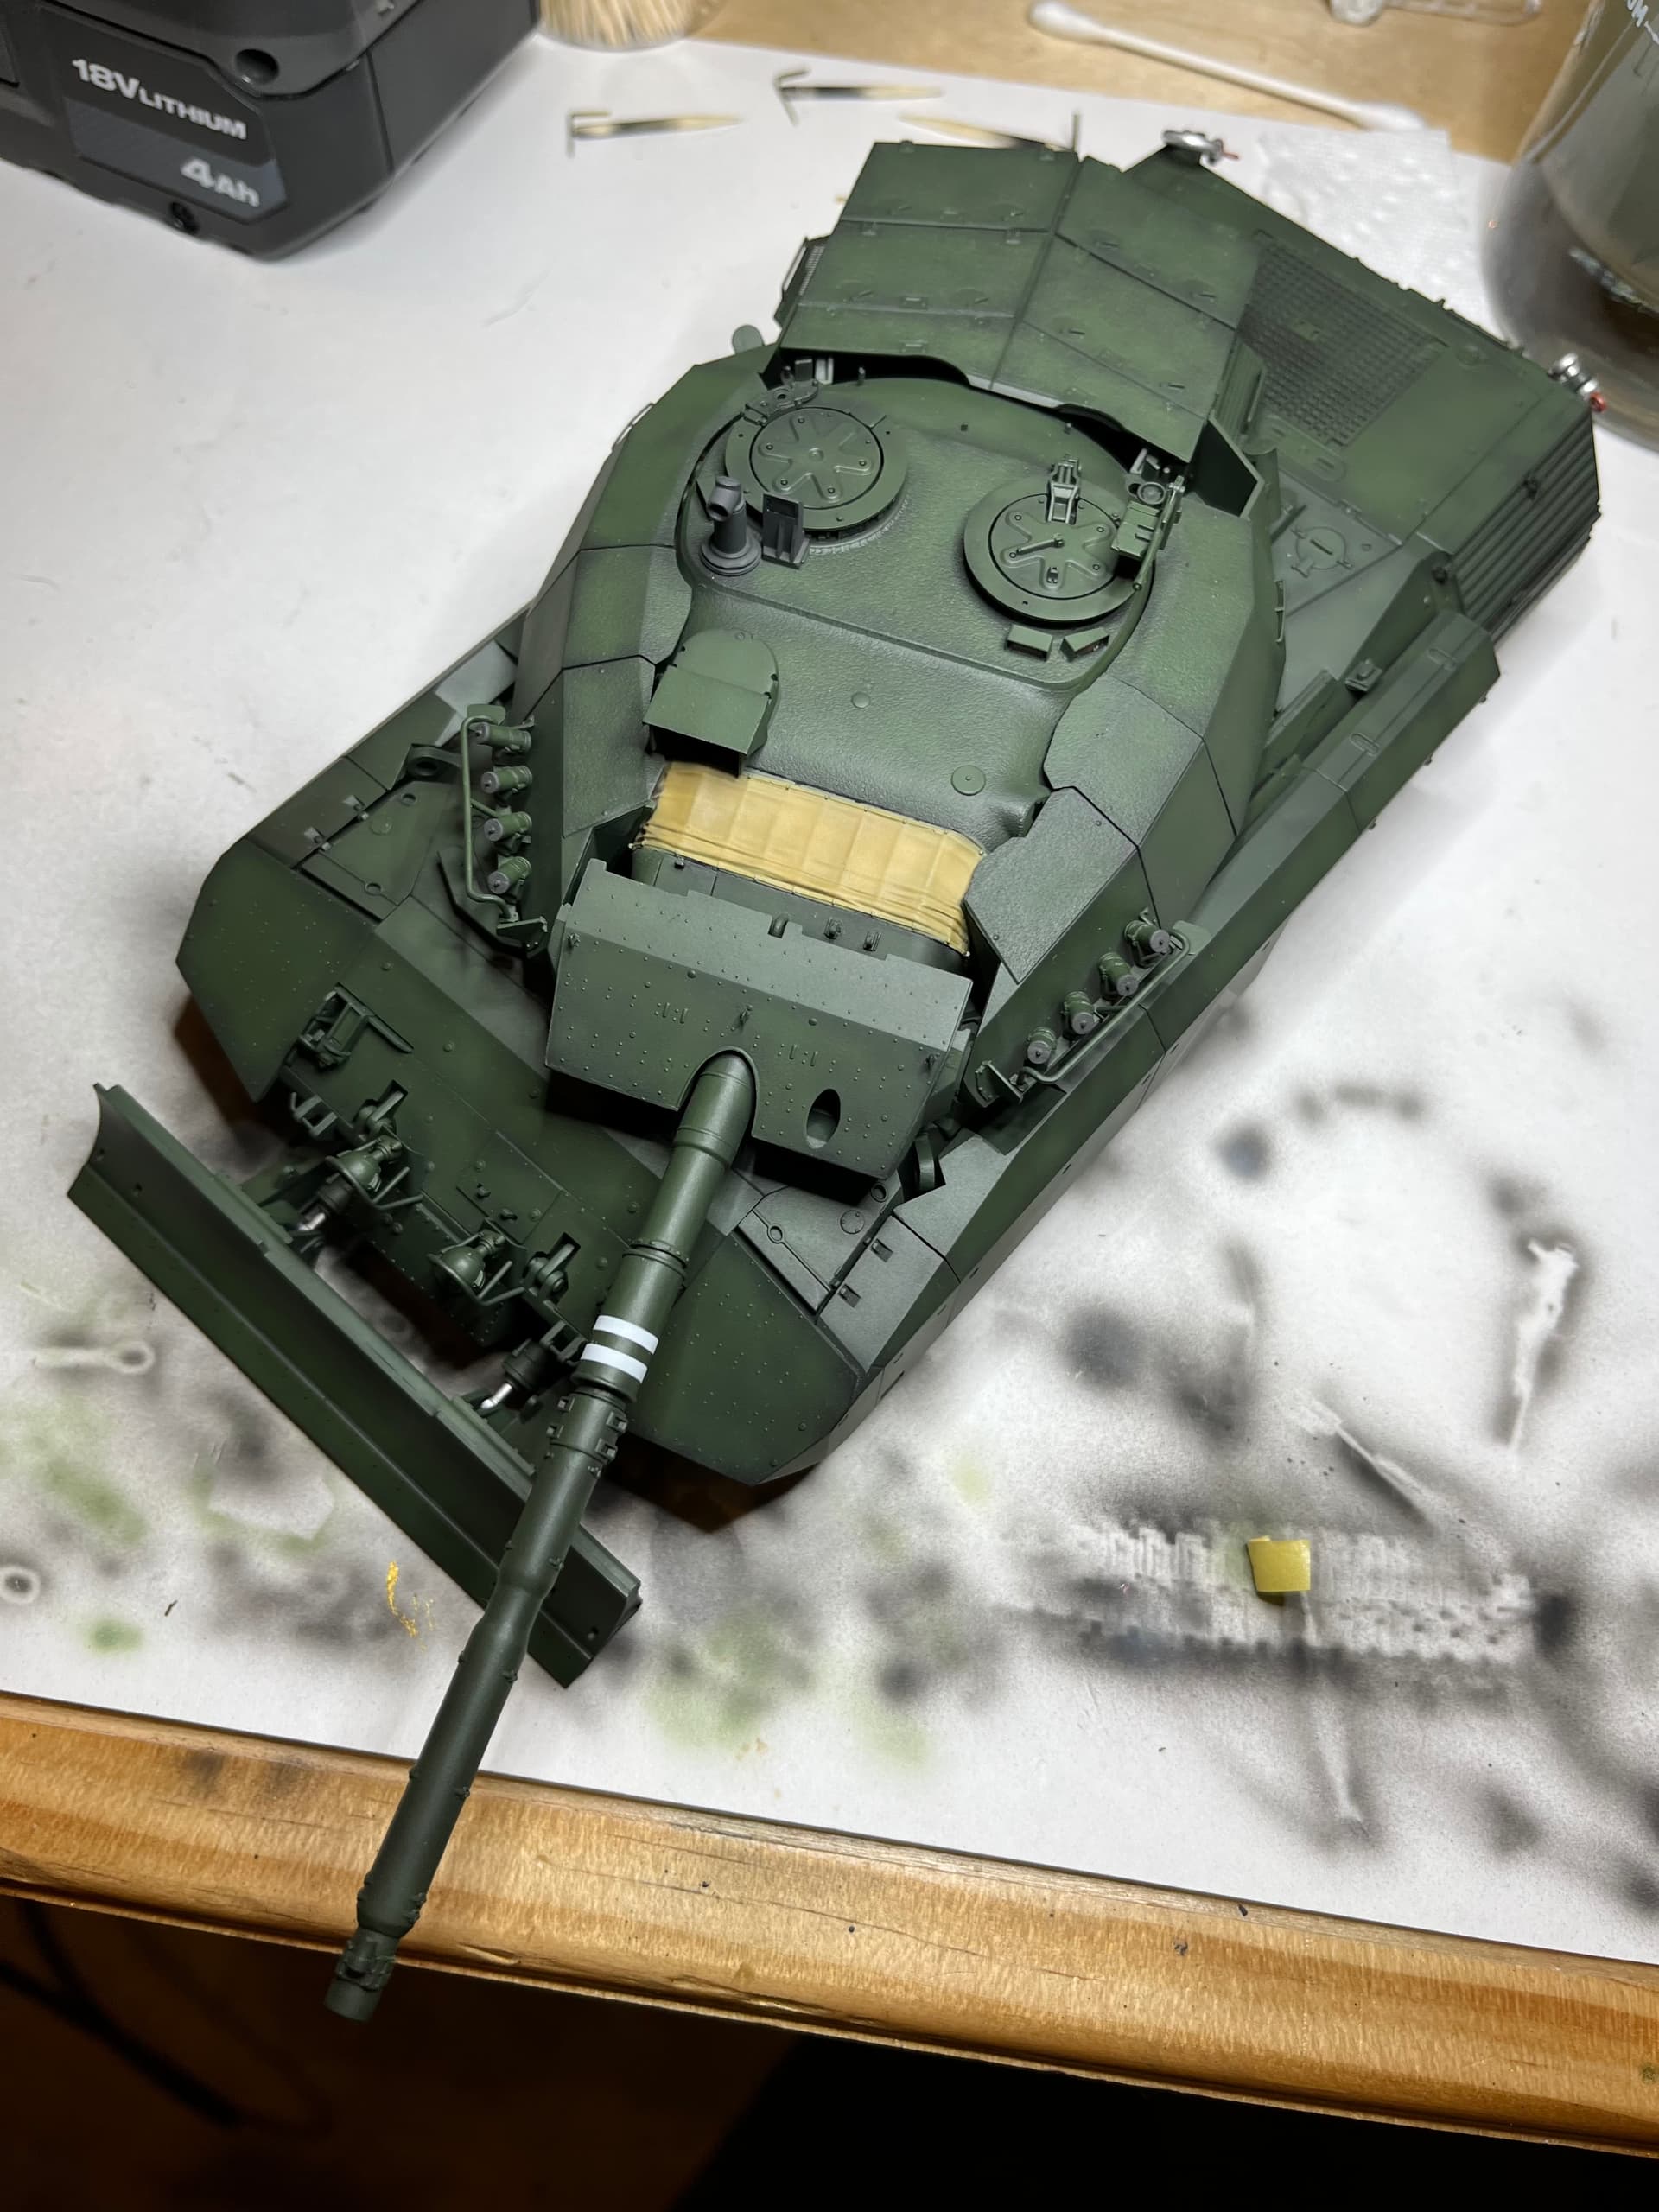
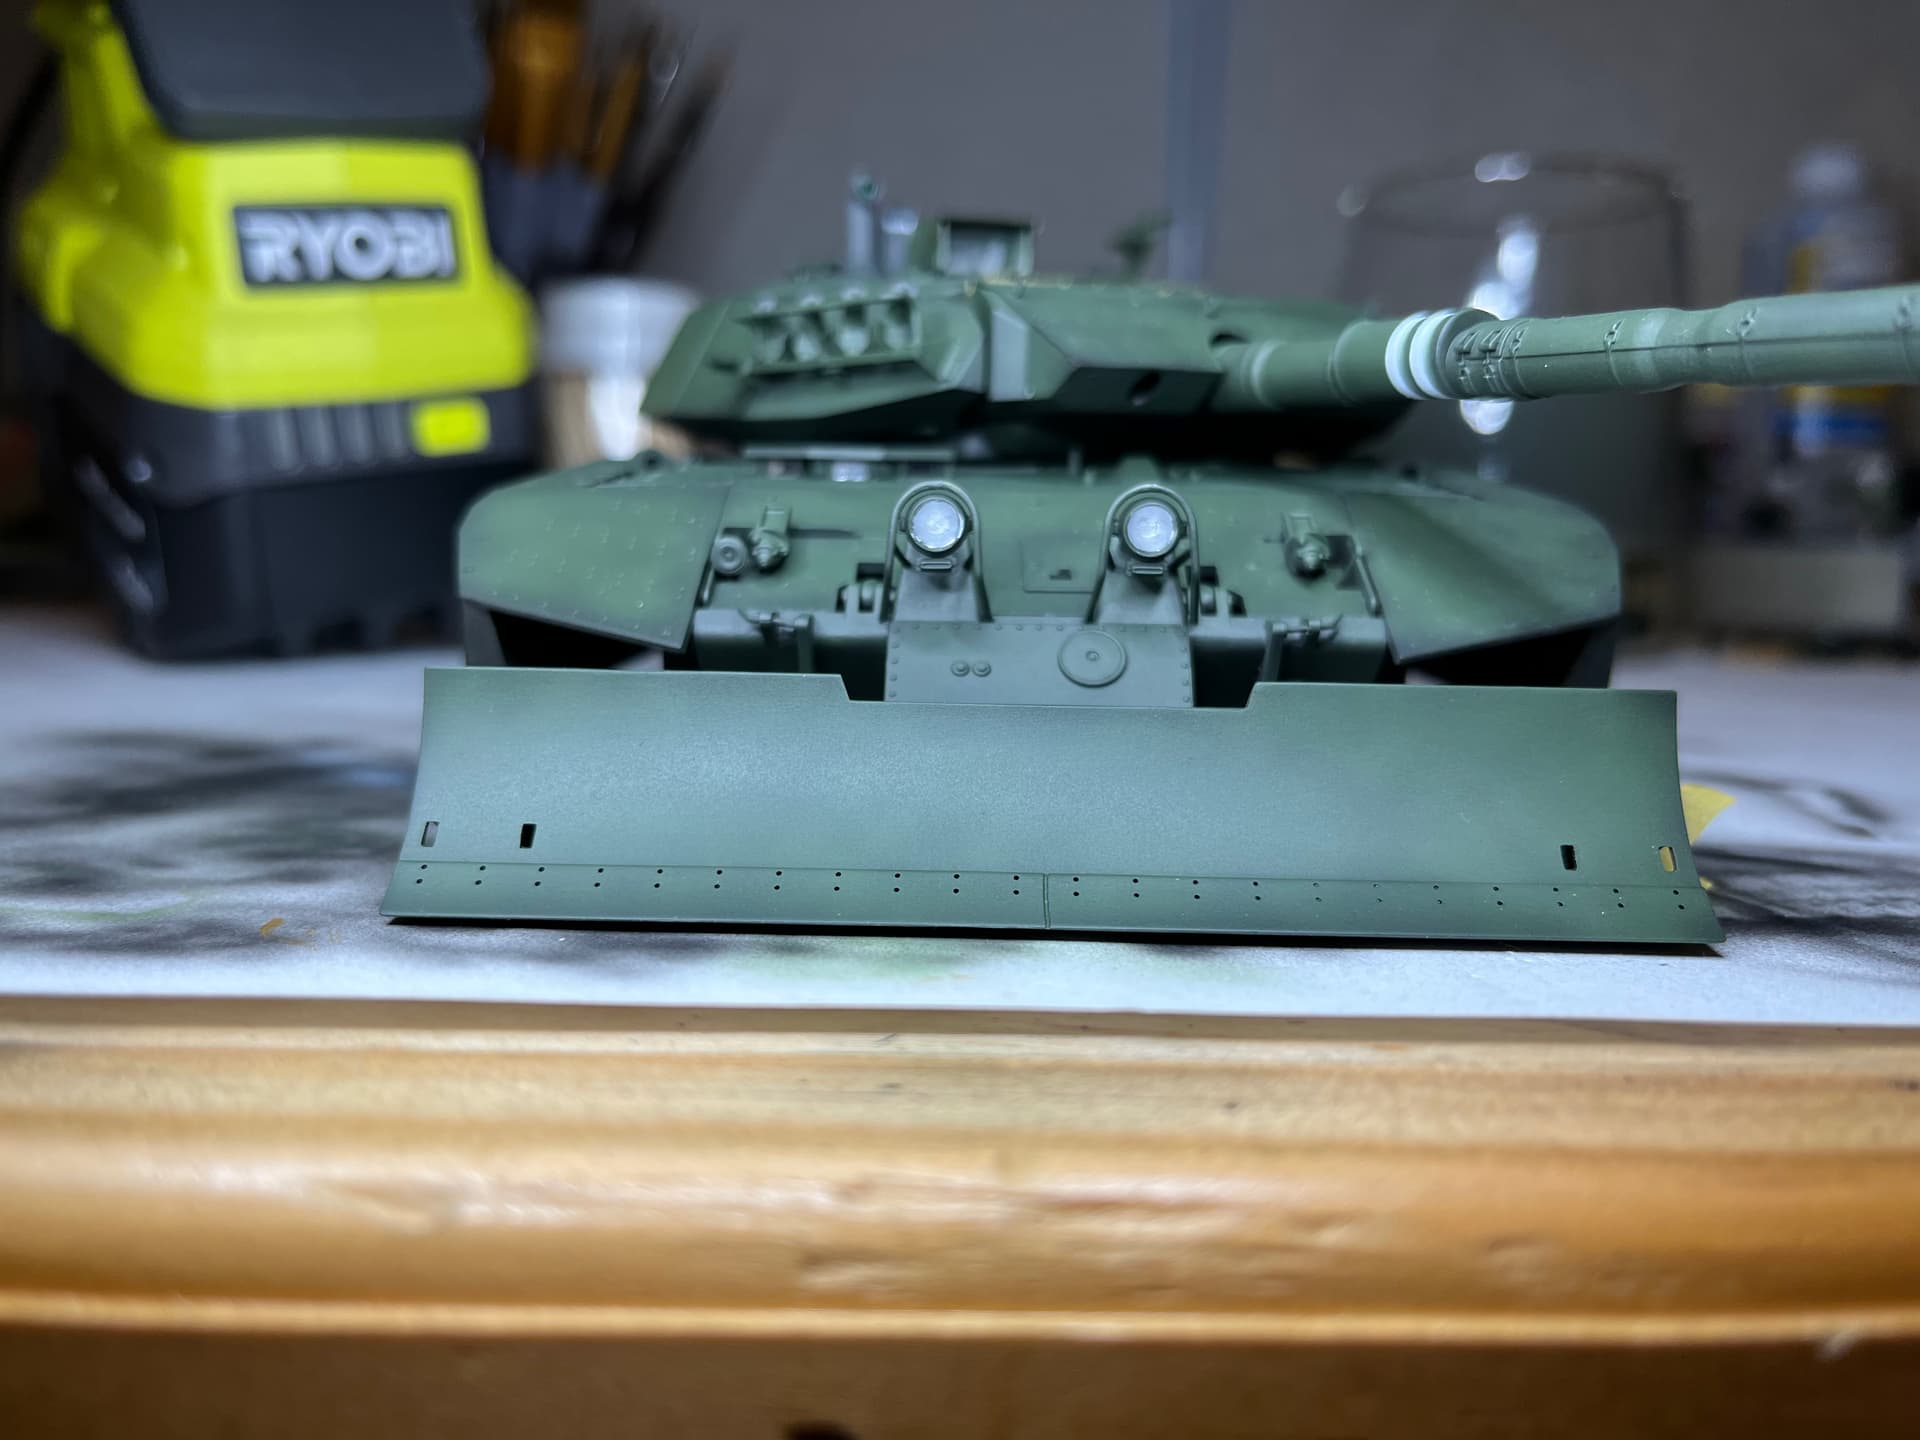
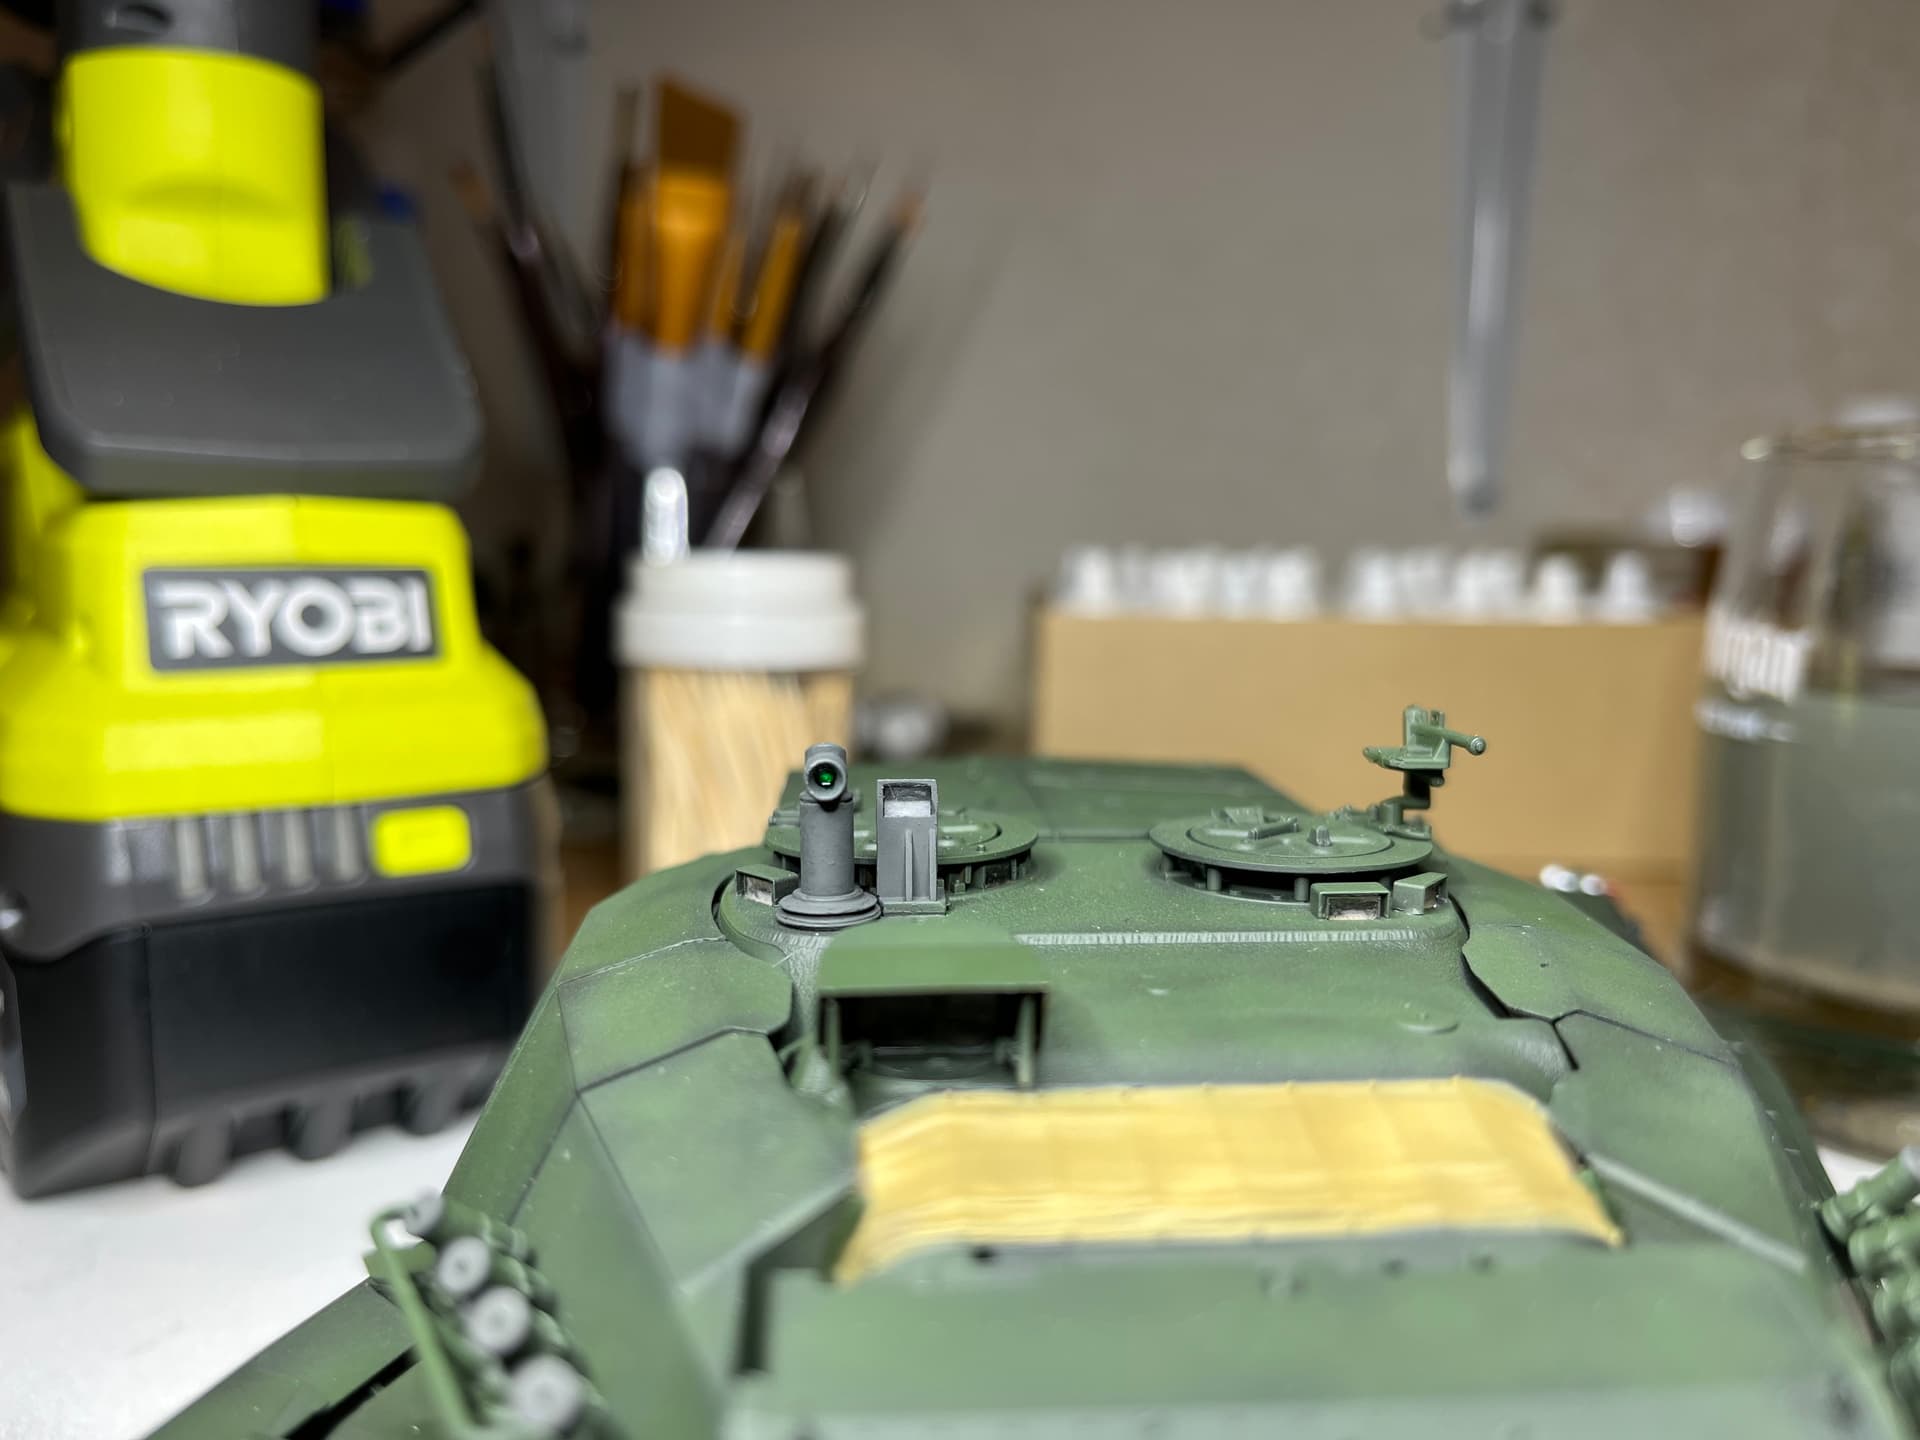
Got most of the details painted on the leoaprd. Also working on a KV-1 and archer at the same time so it’s been a tad slow but I have them all to the stage where they are ready for weathering.
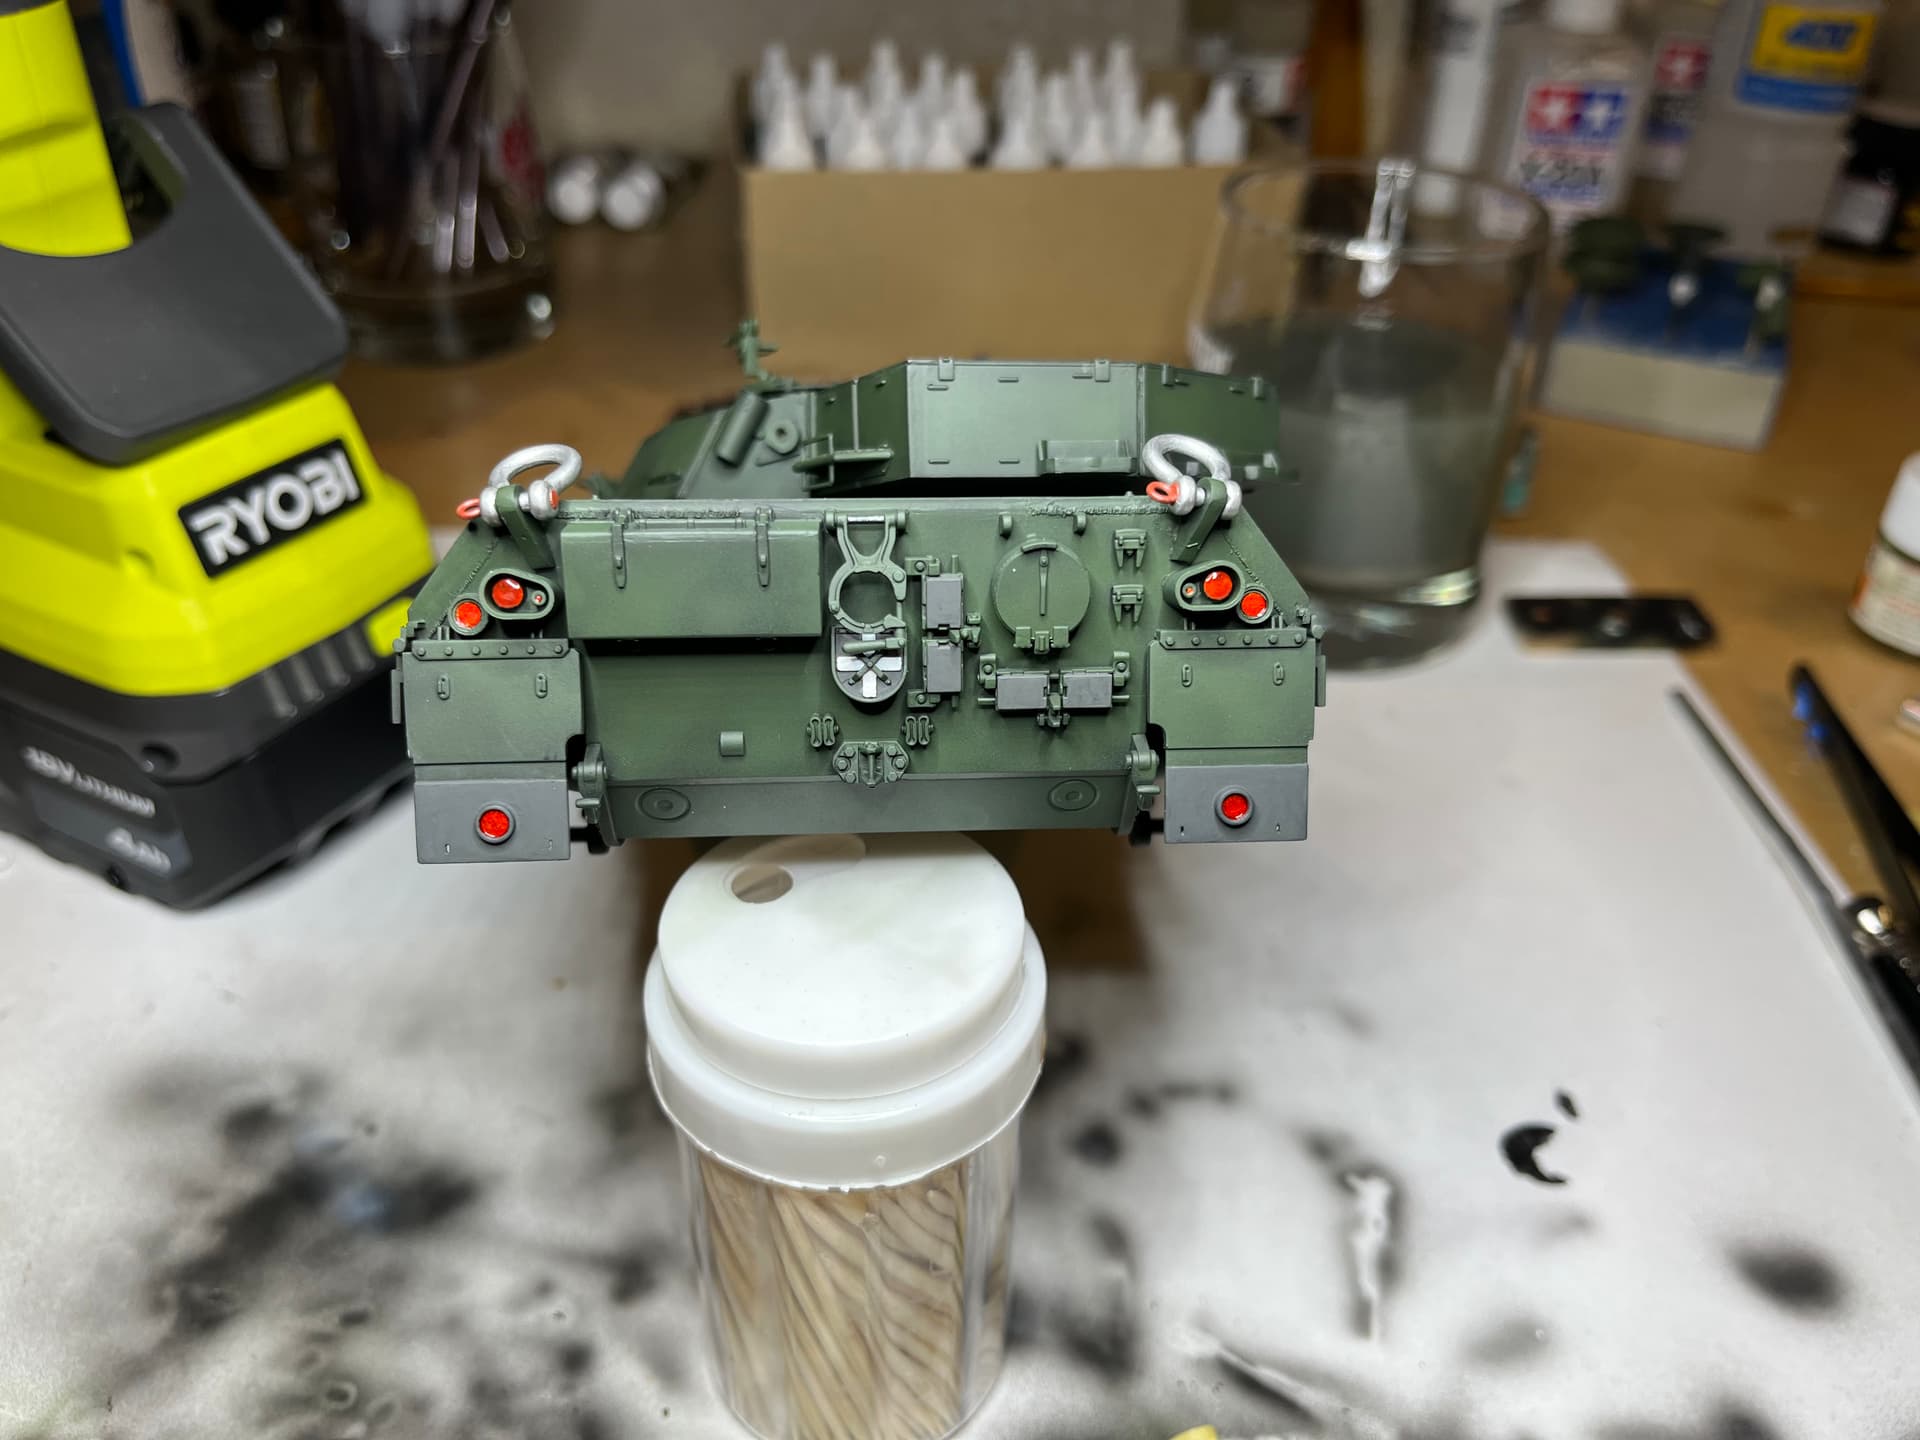
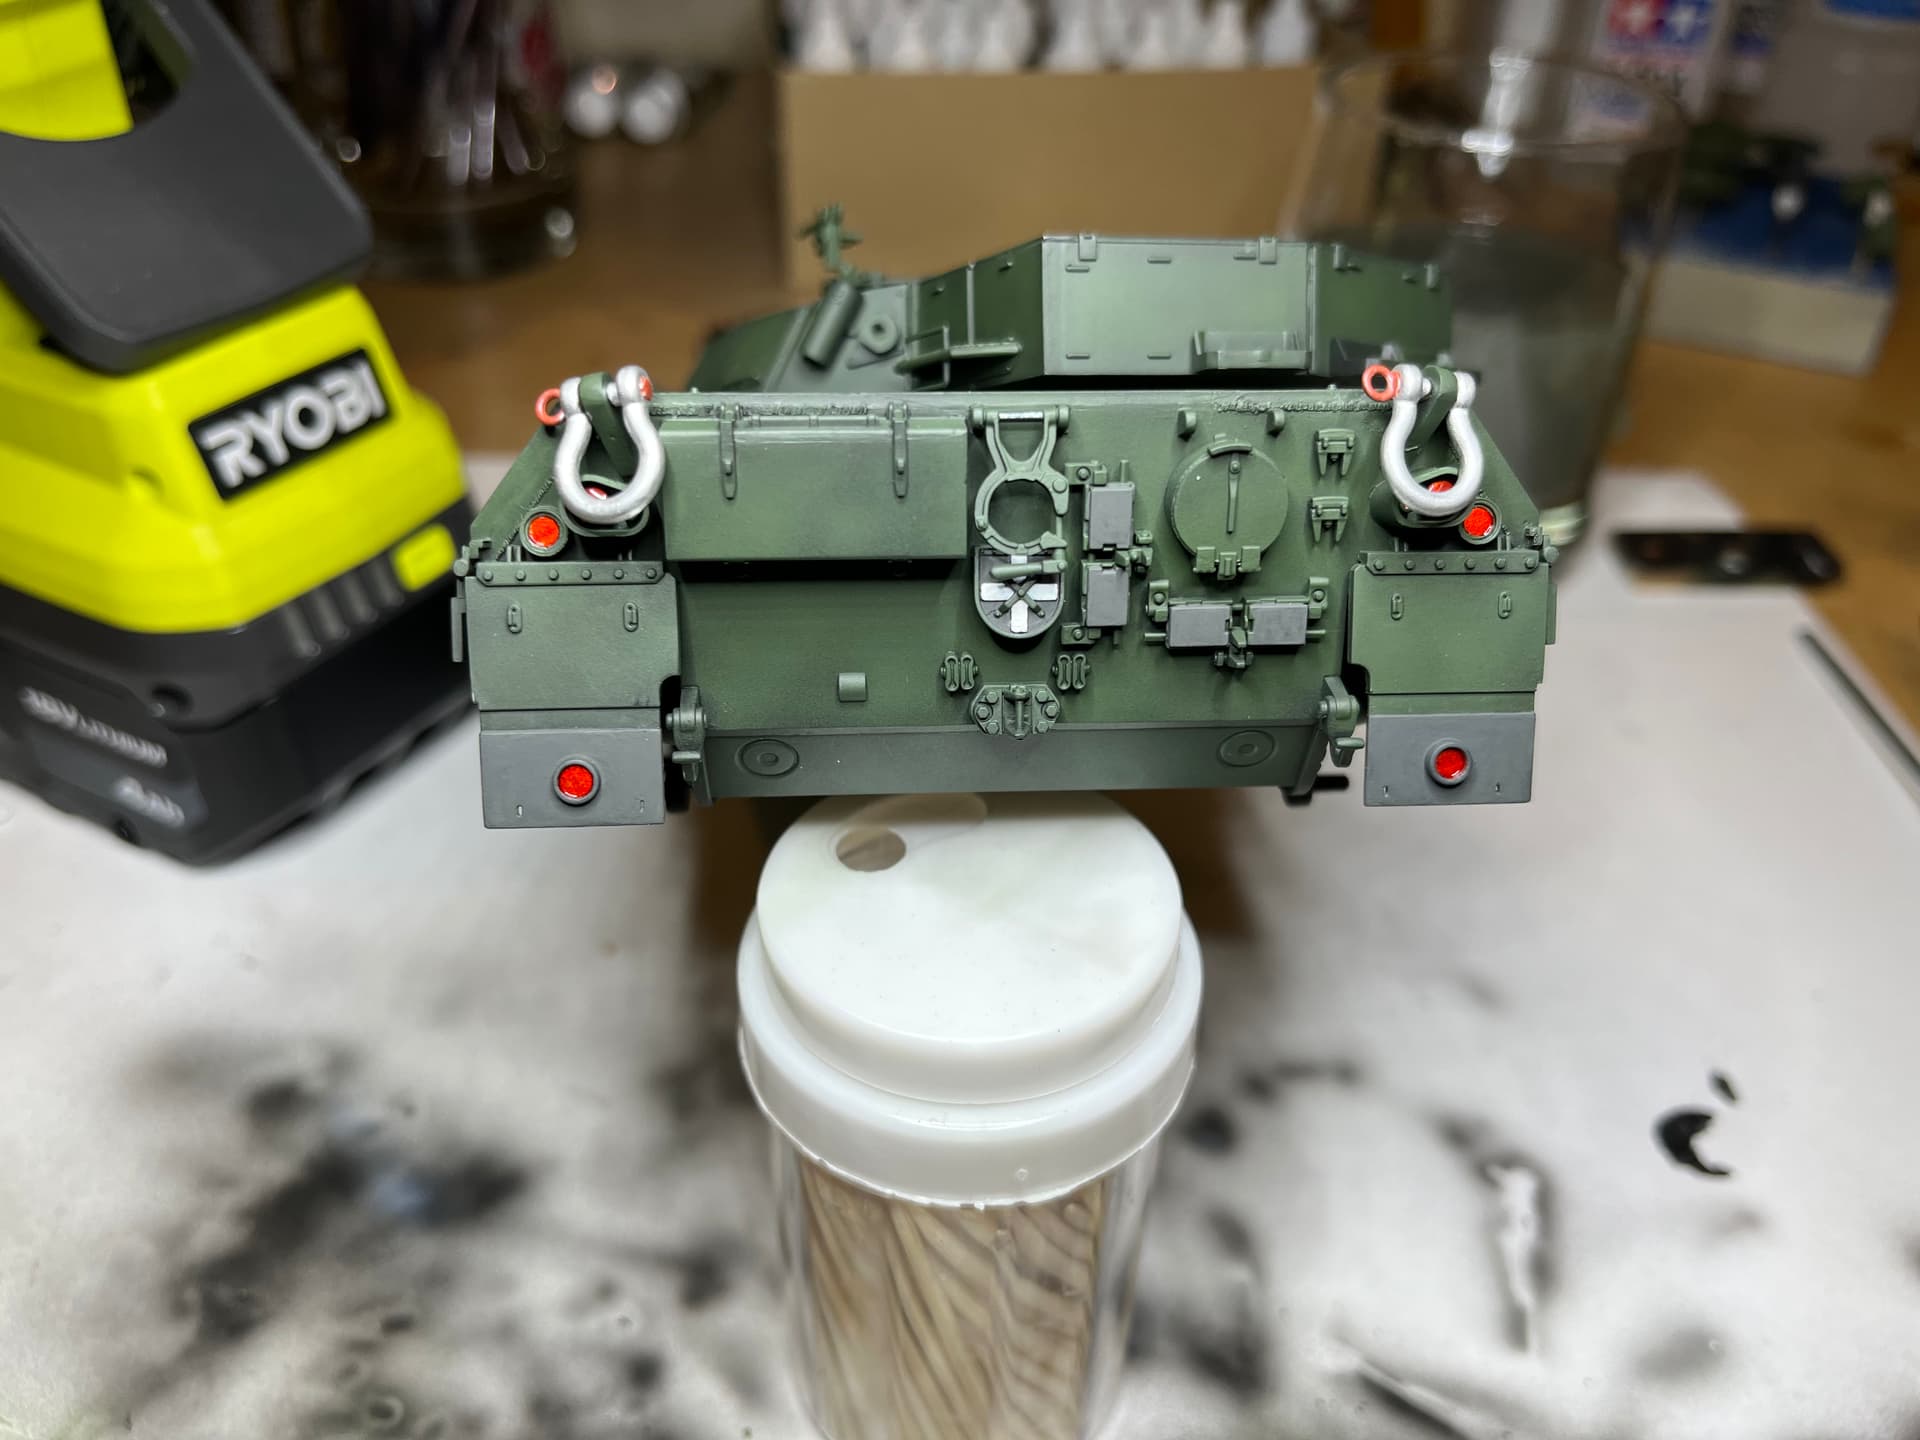
Also masked an sprayed the barrel white rings, resprayed the canvas tamiya khaki Xf-49 (looks more yellow in the photos than it is), repainted the dozer blade. I’m pretty happy with how the tail lights turned out


6 Likes
Looking good Mead. The canvas really stands out amongst the green doesn’t it?