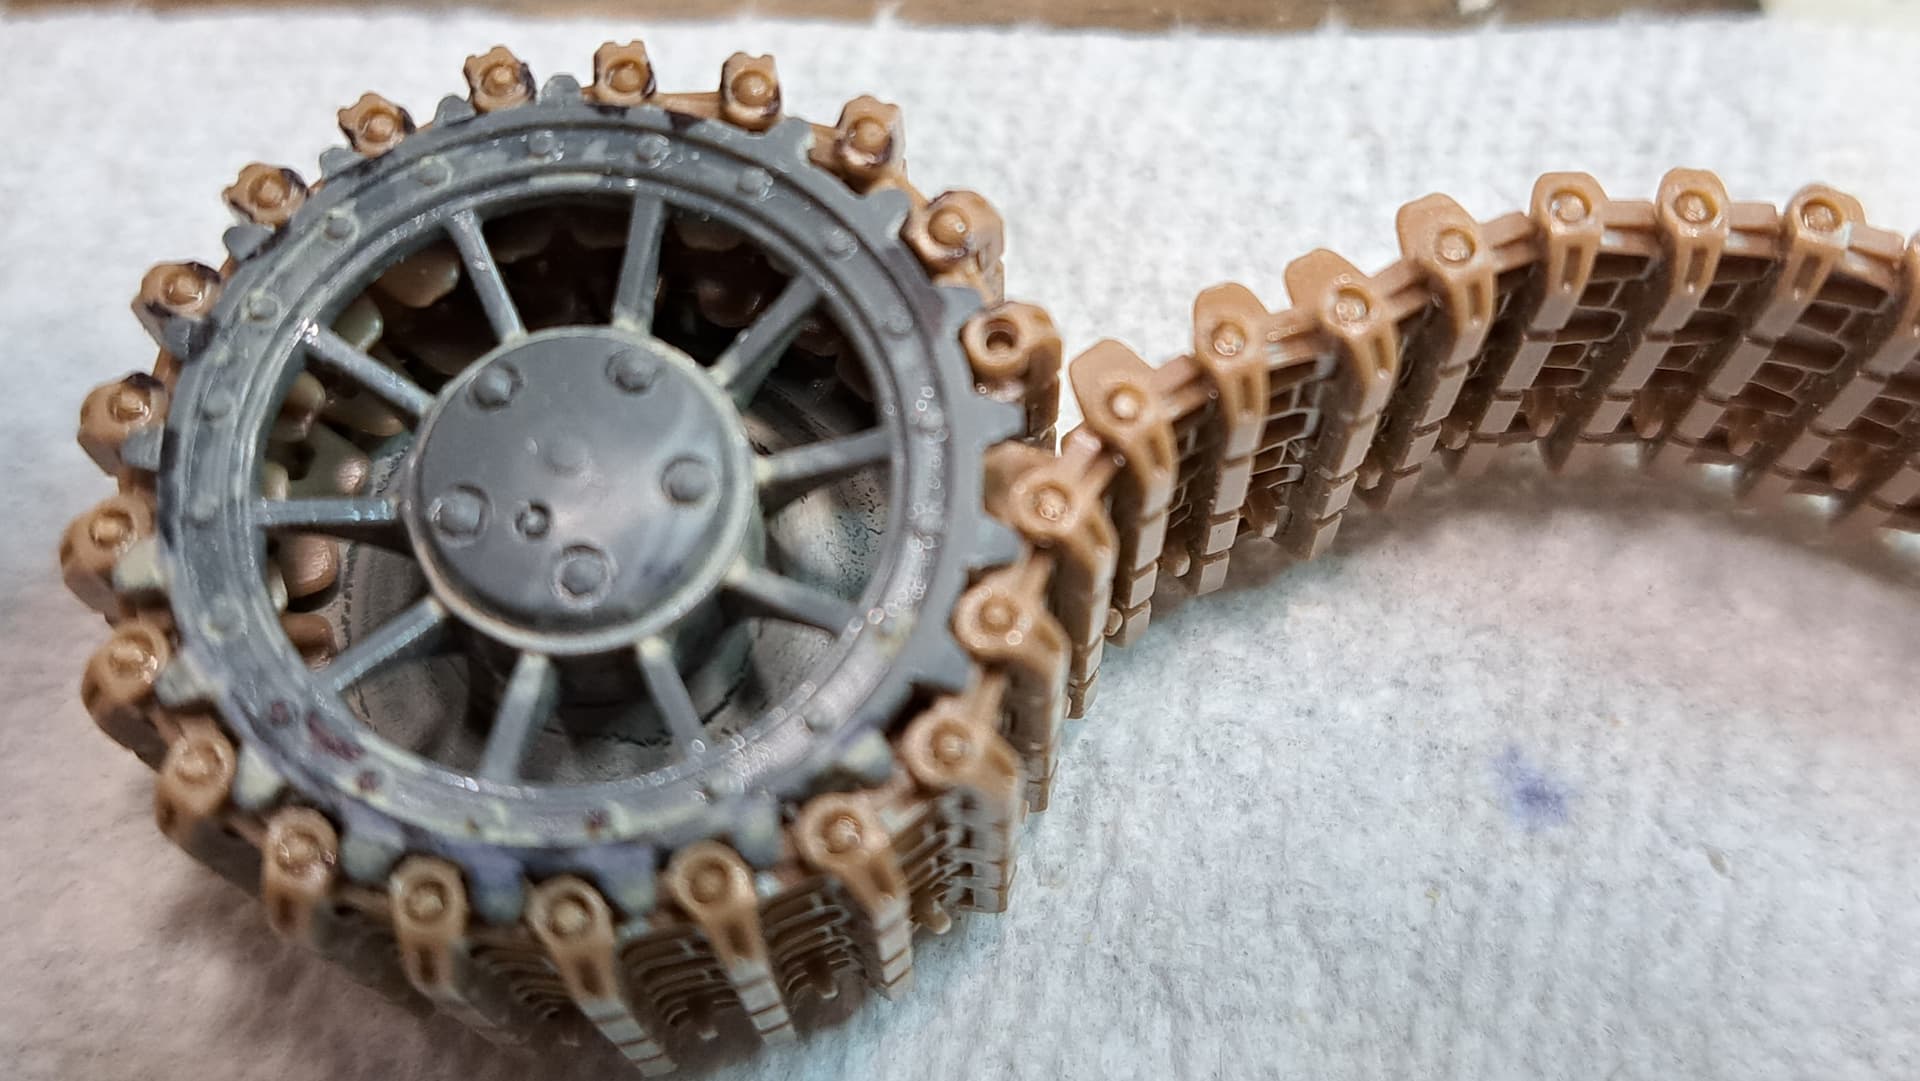
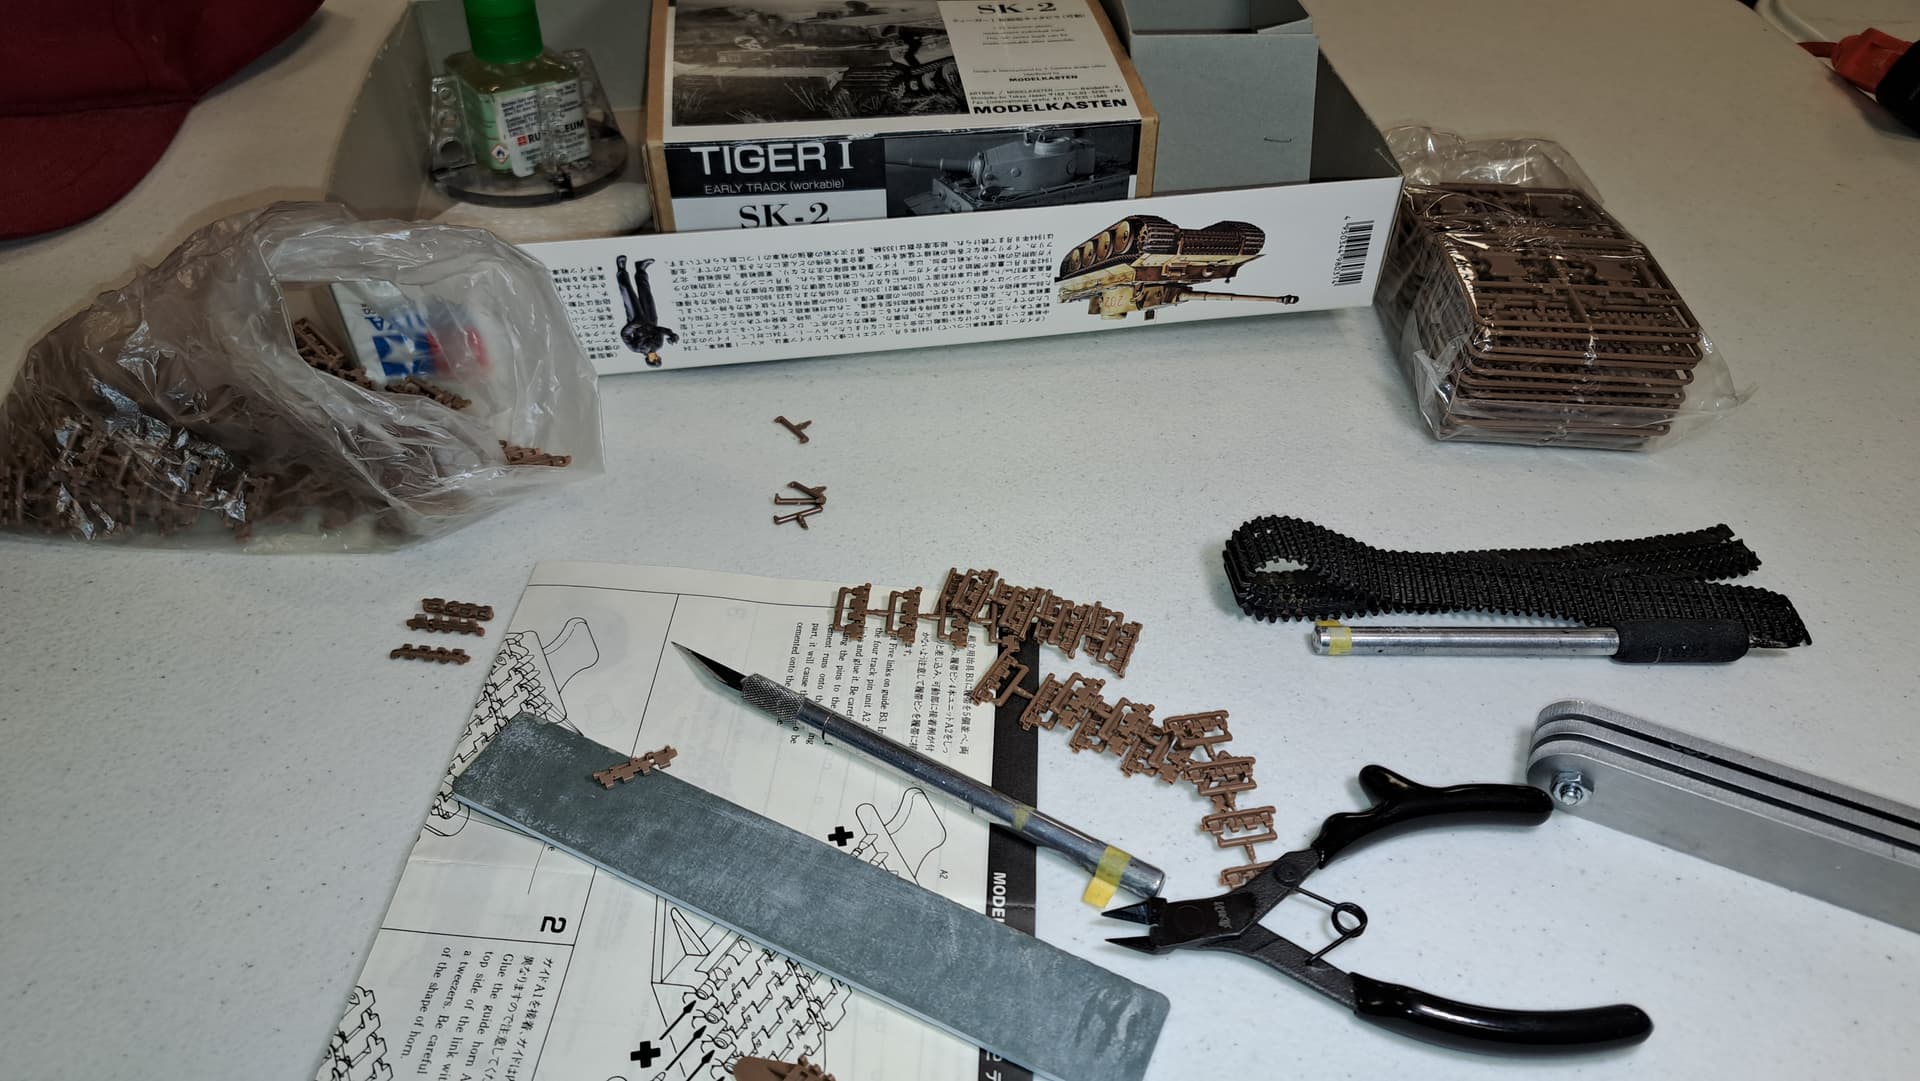
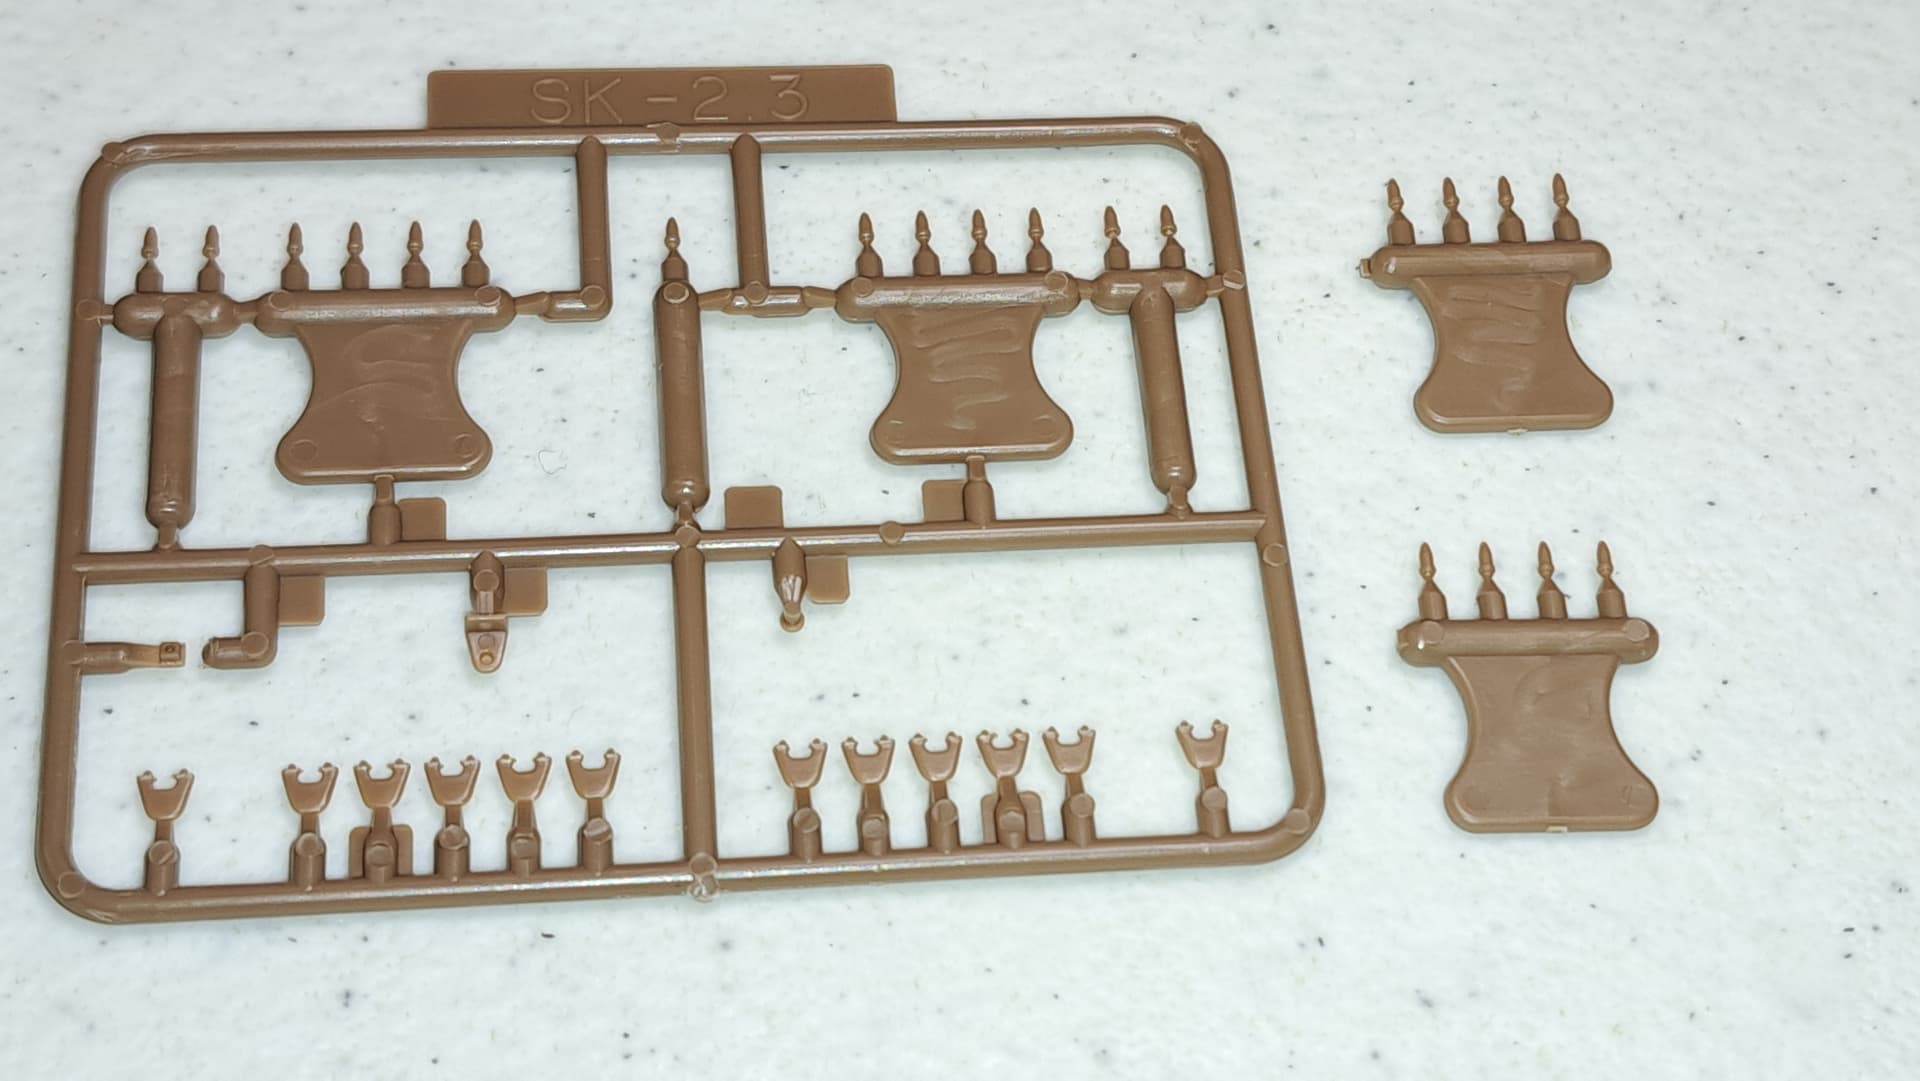
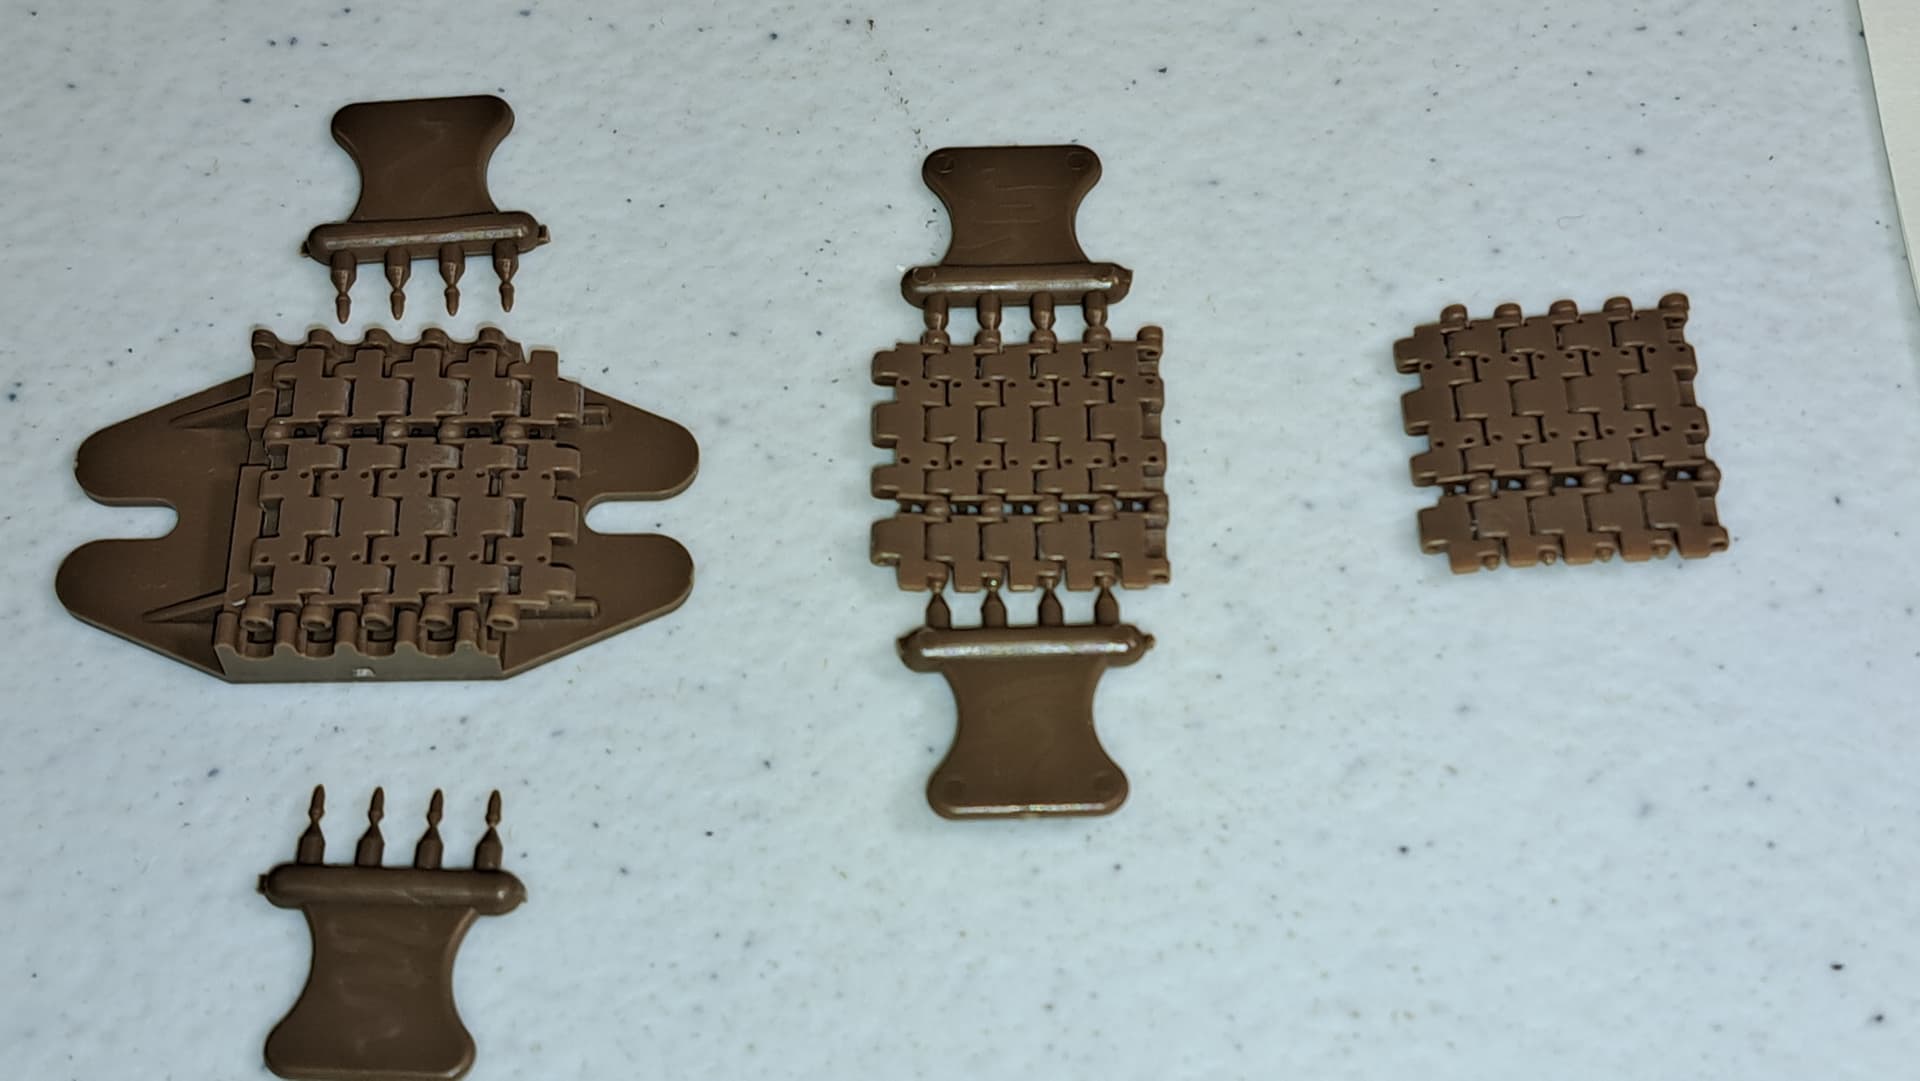
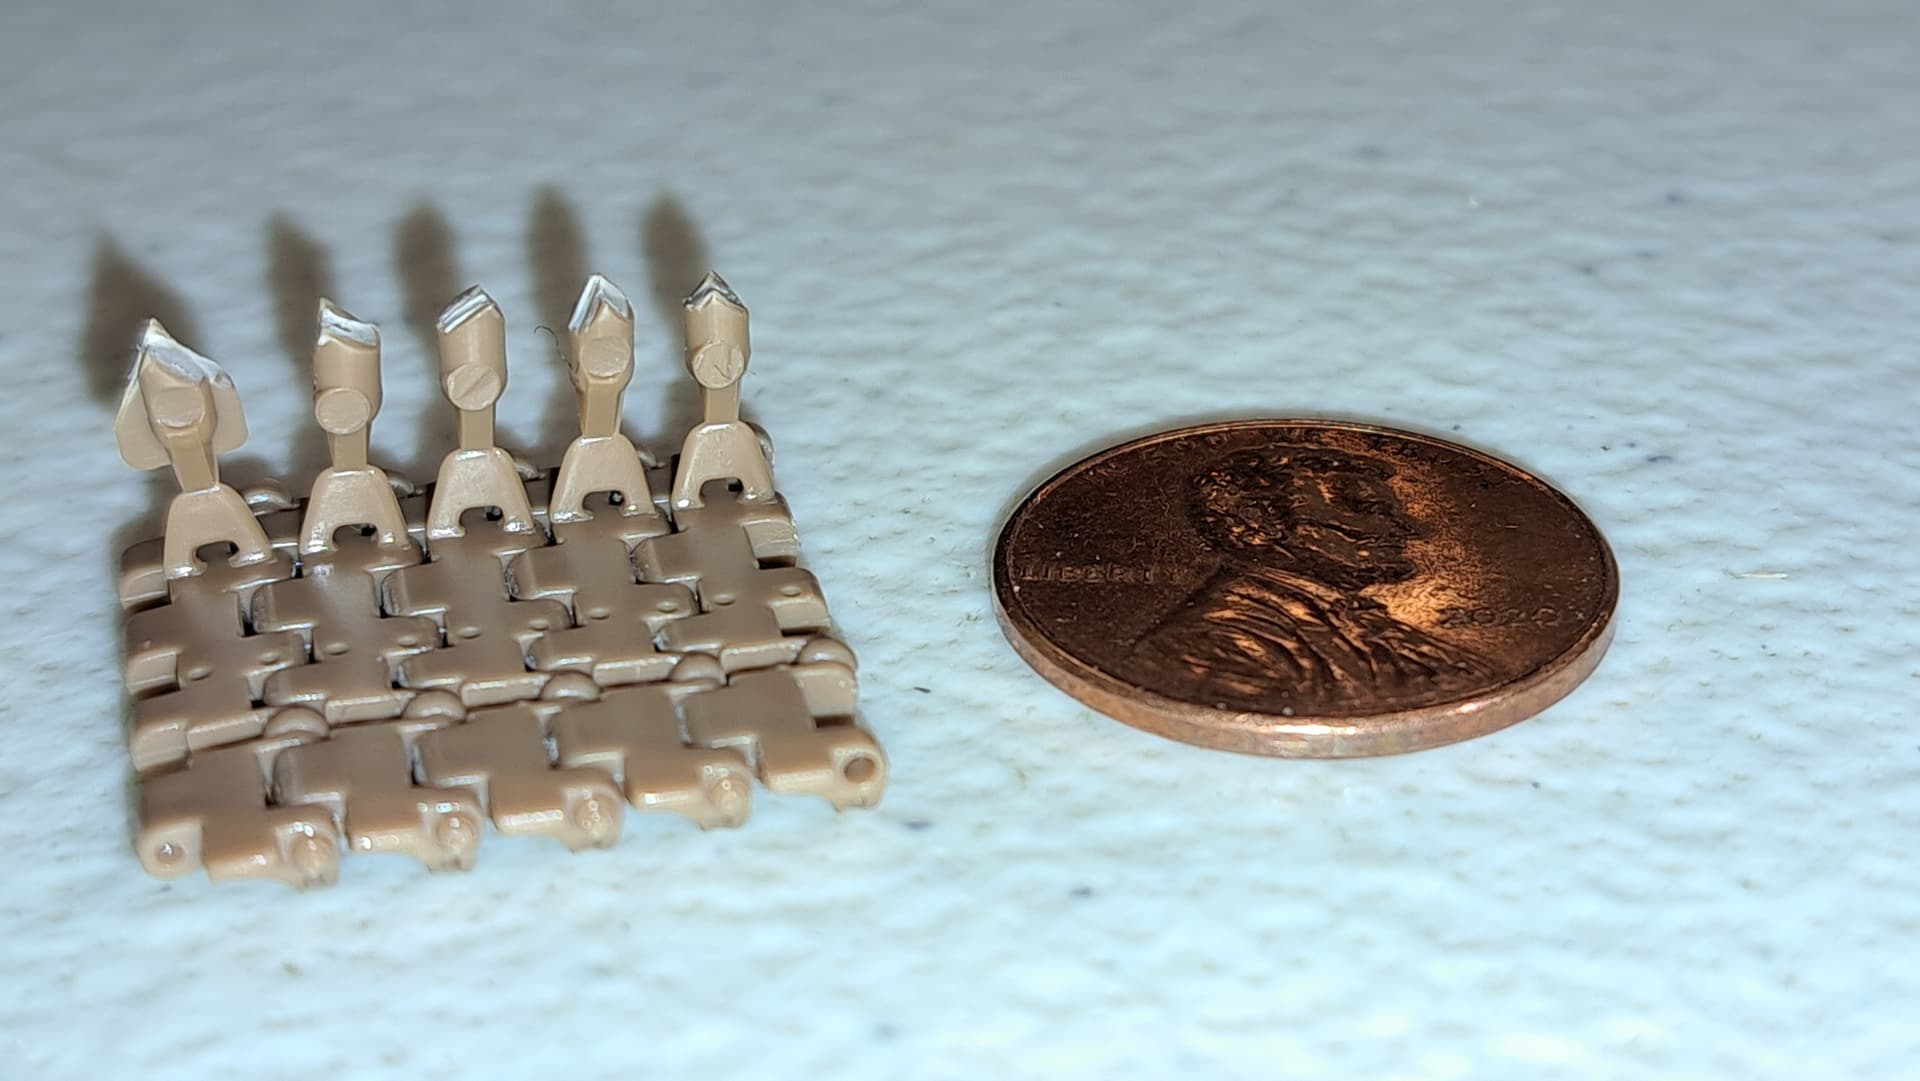
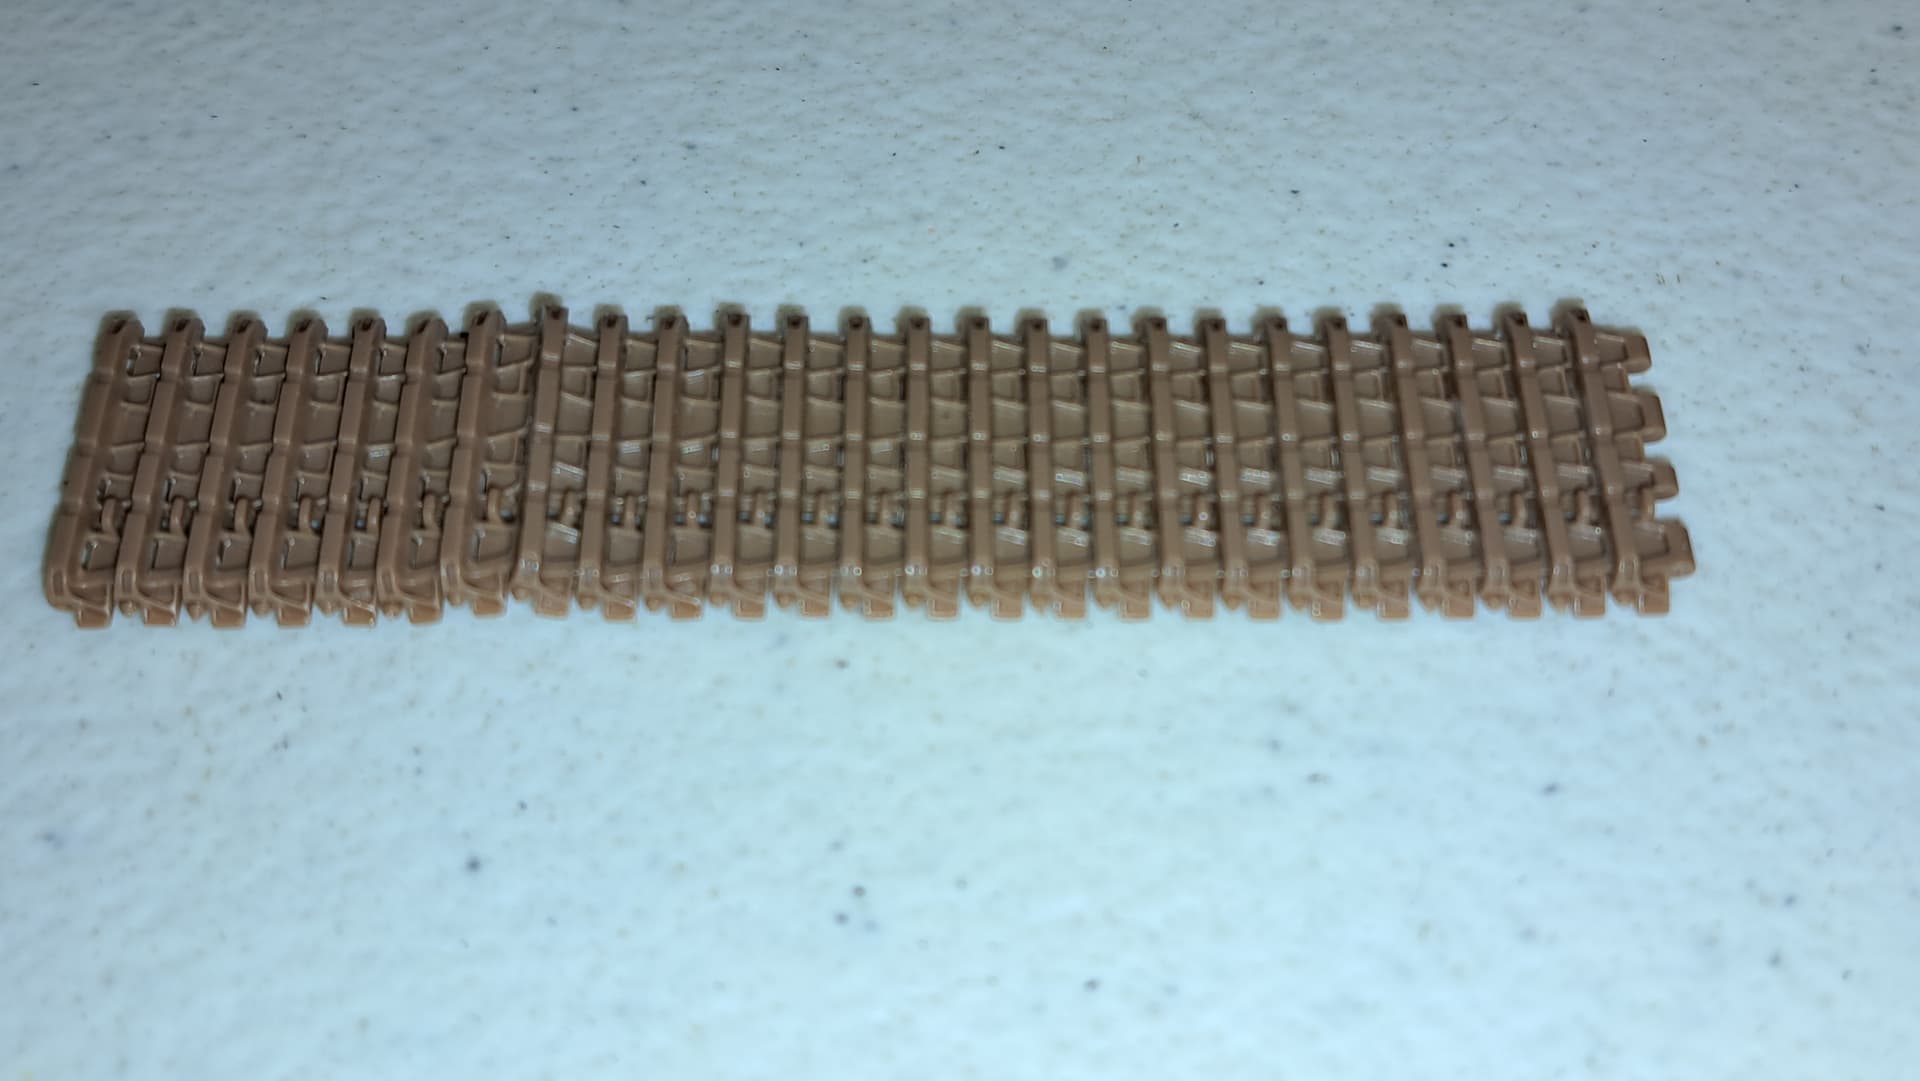
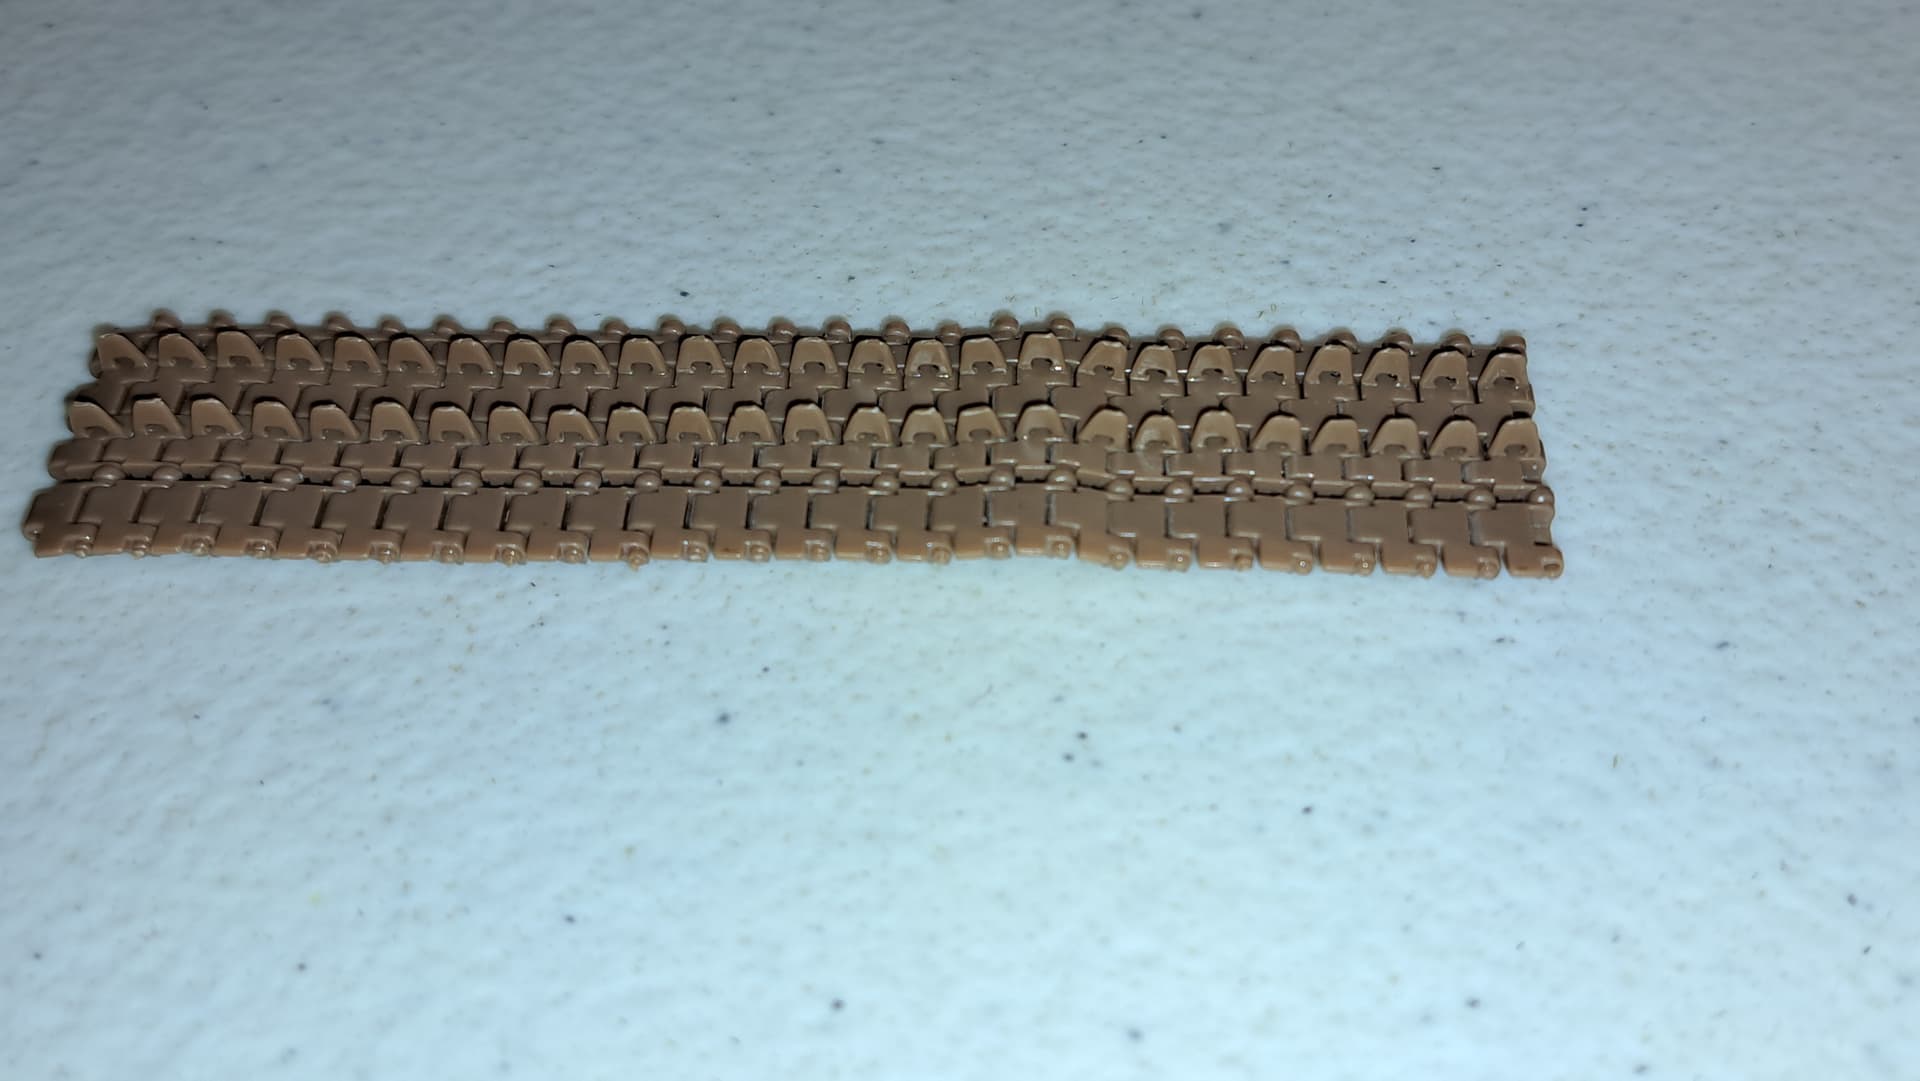
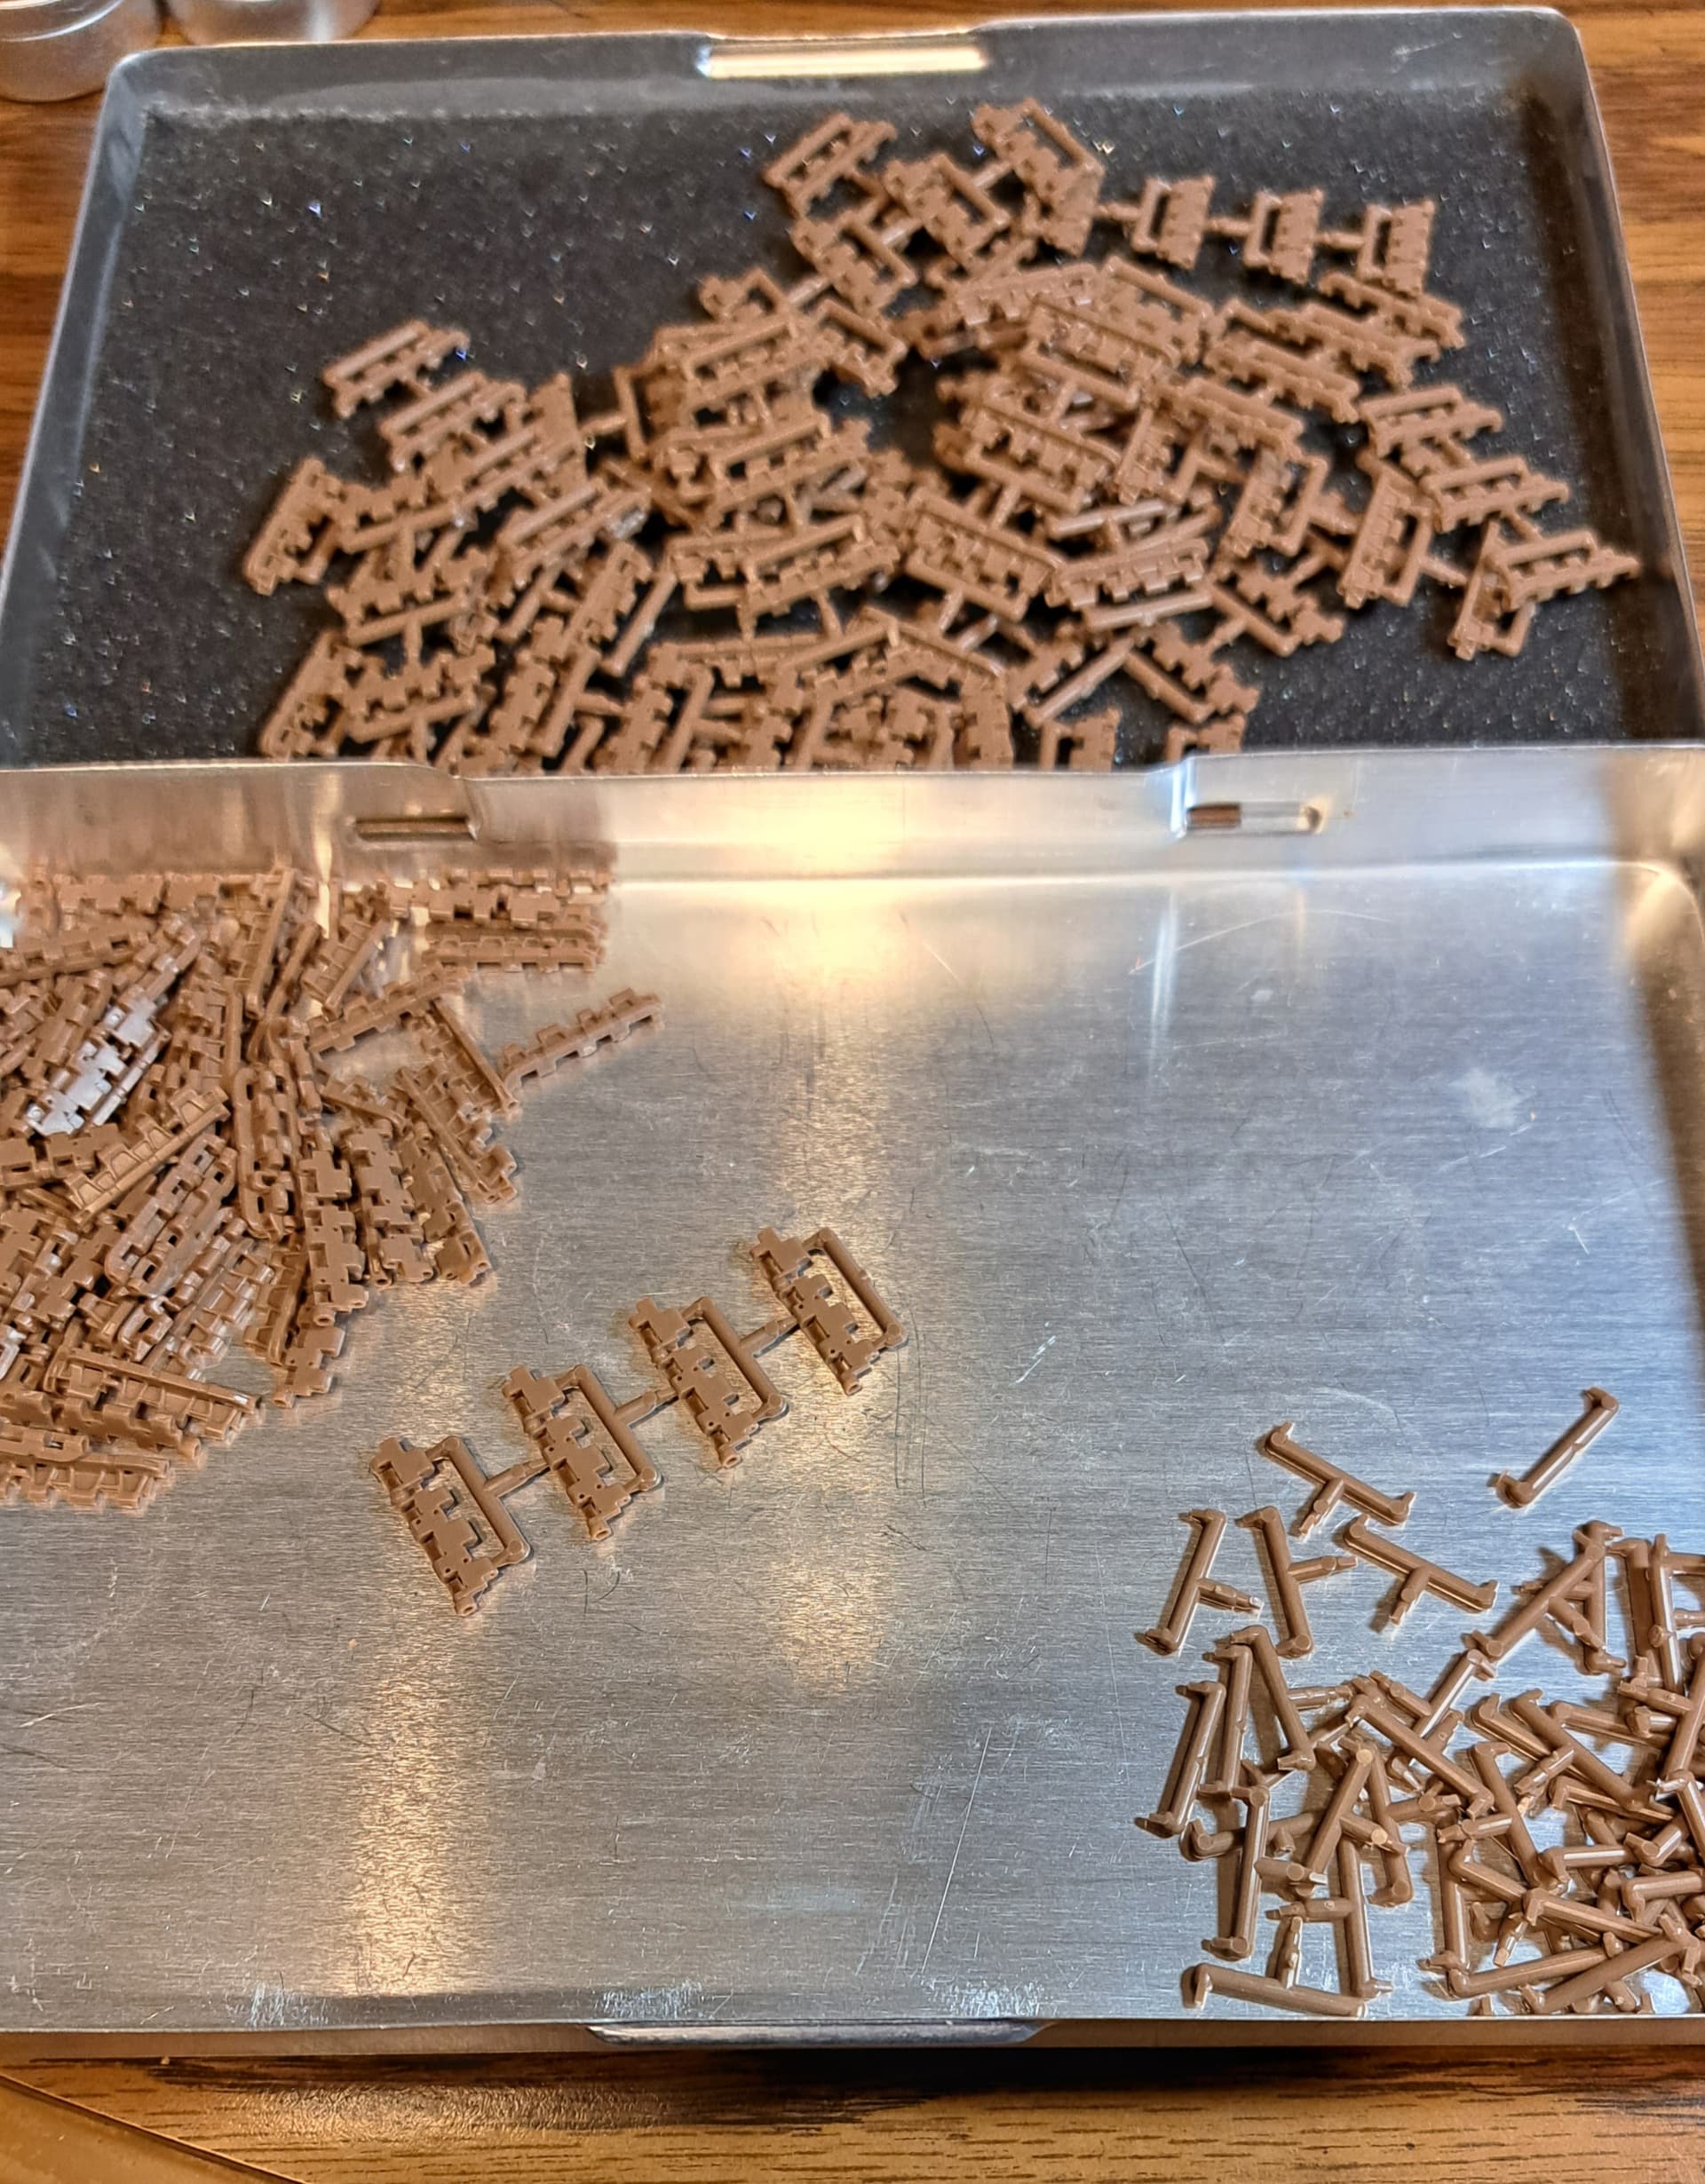
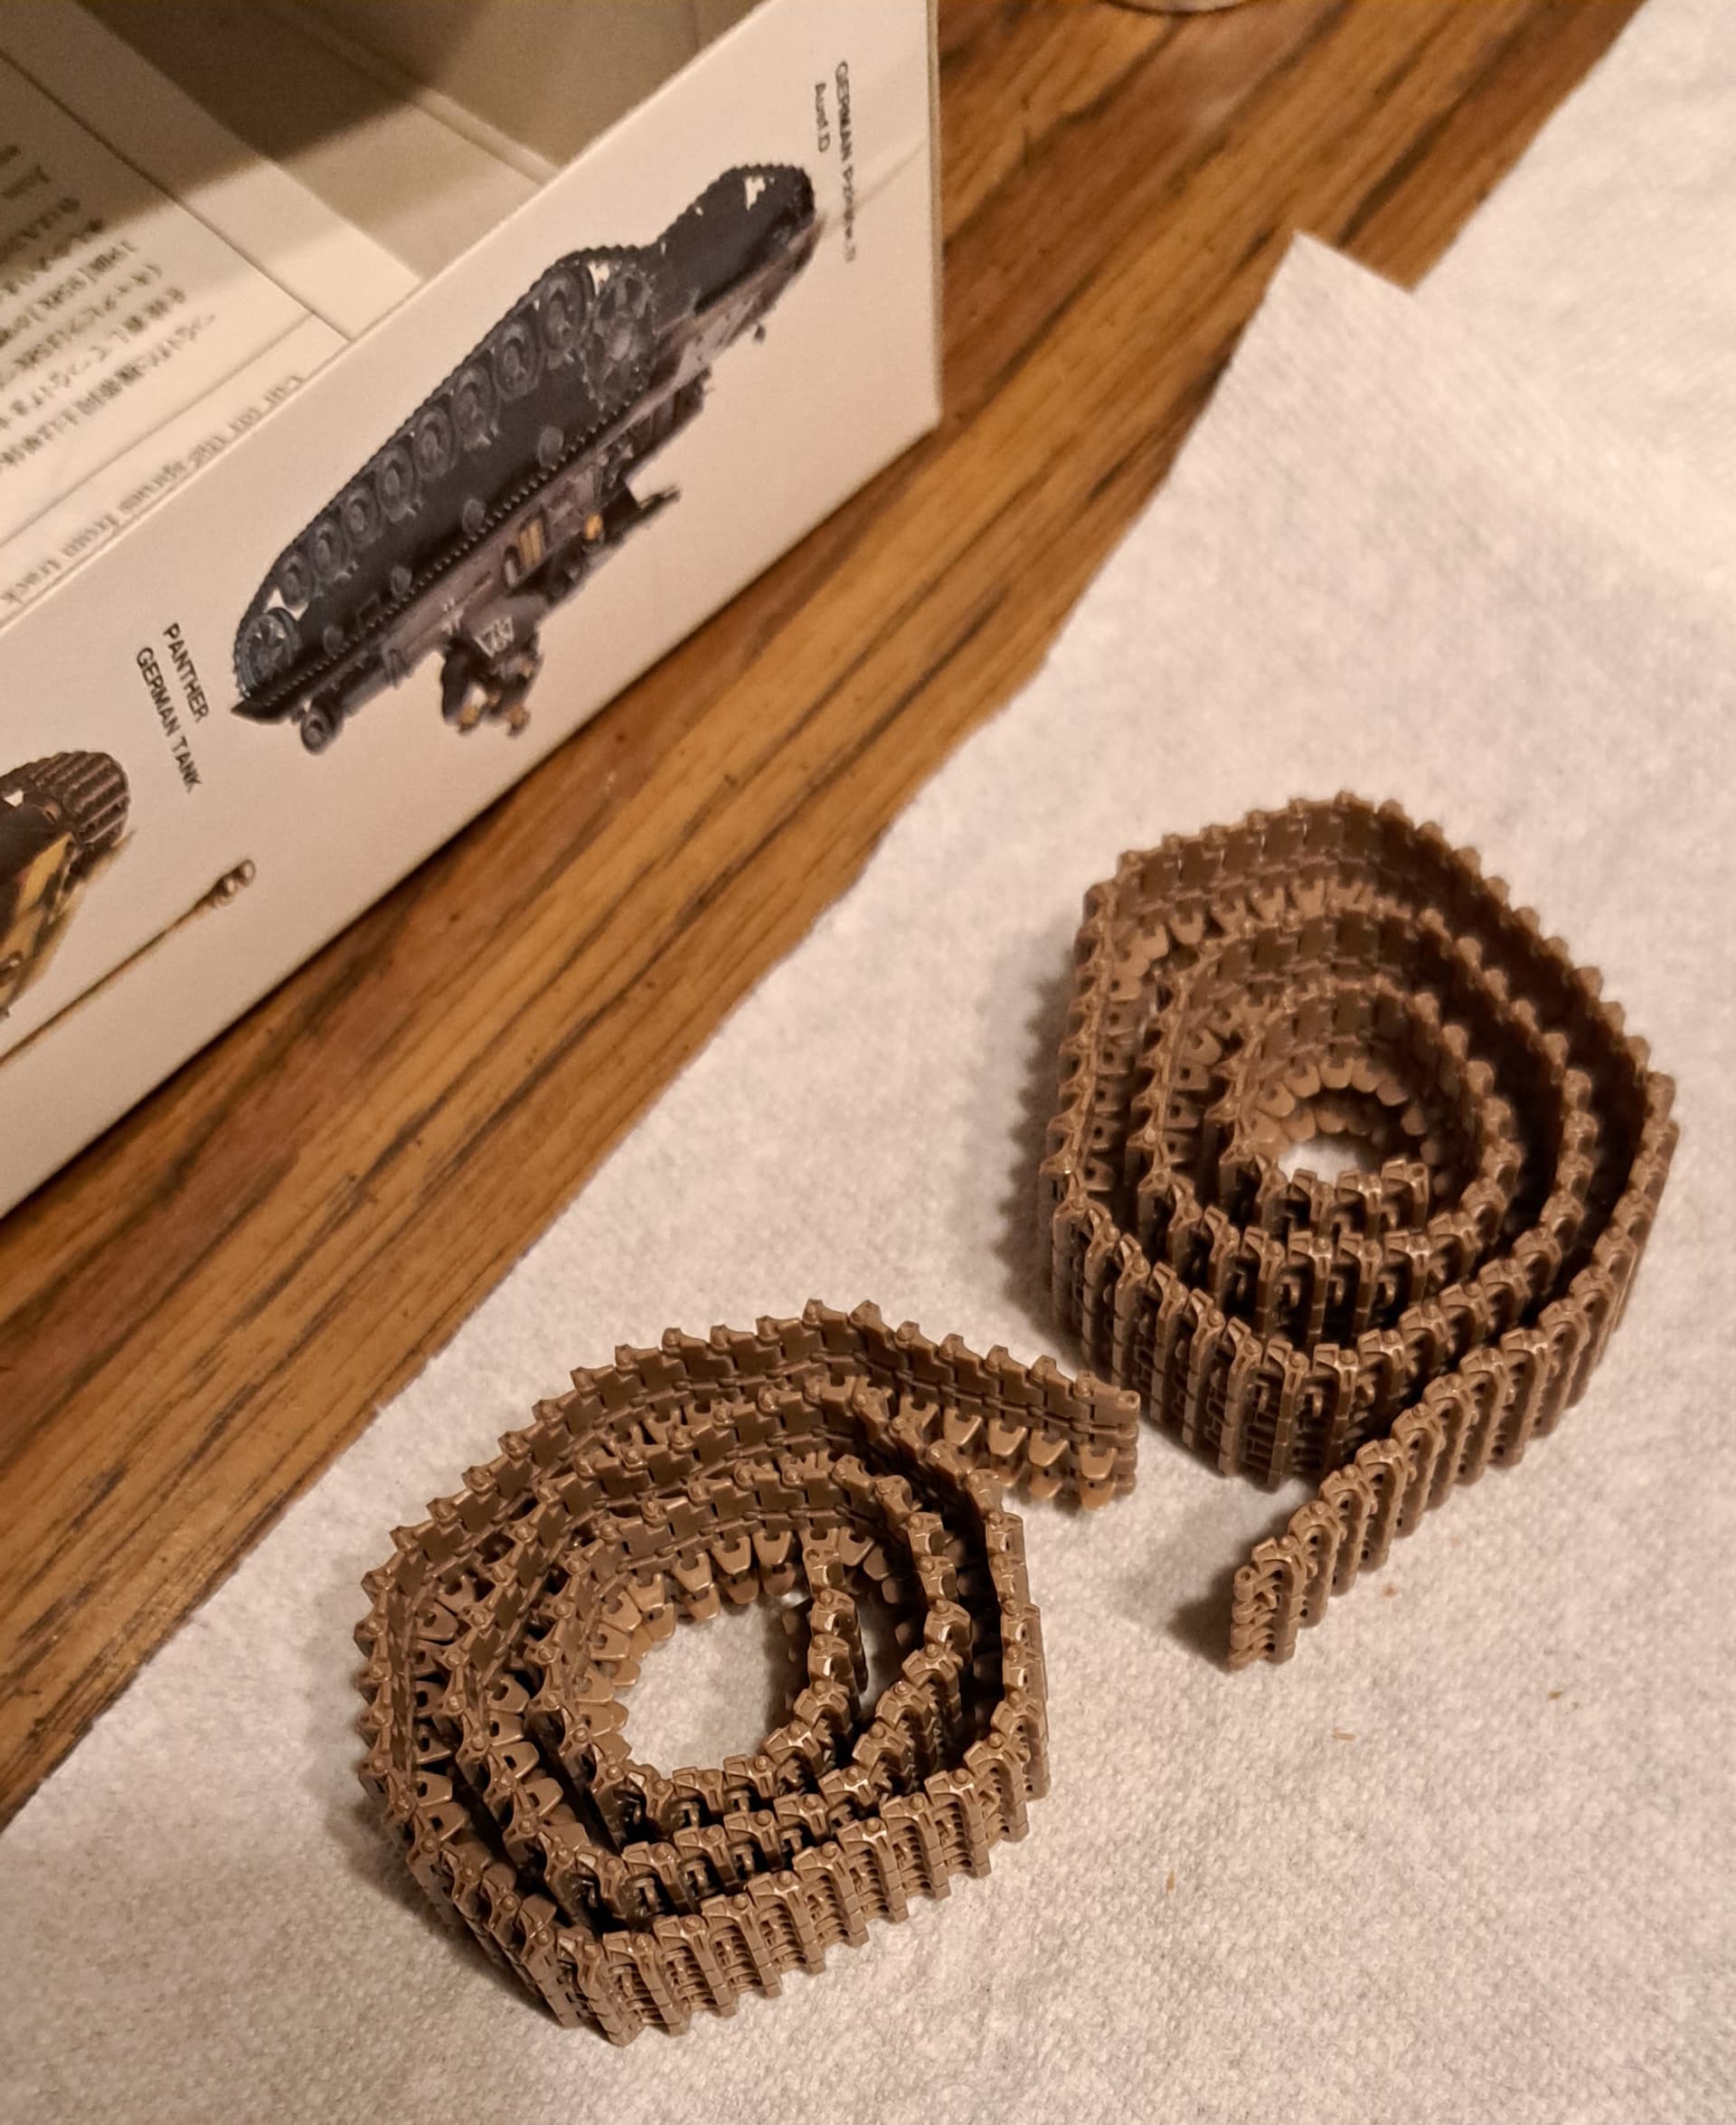
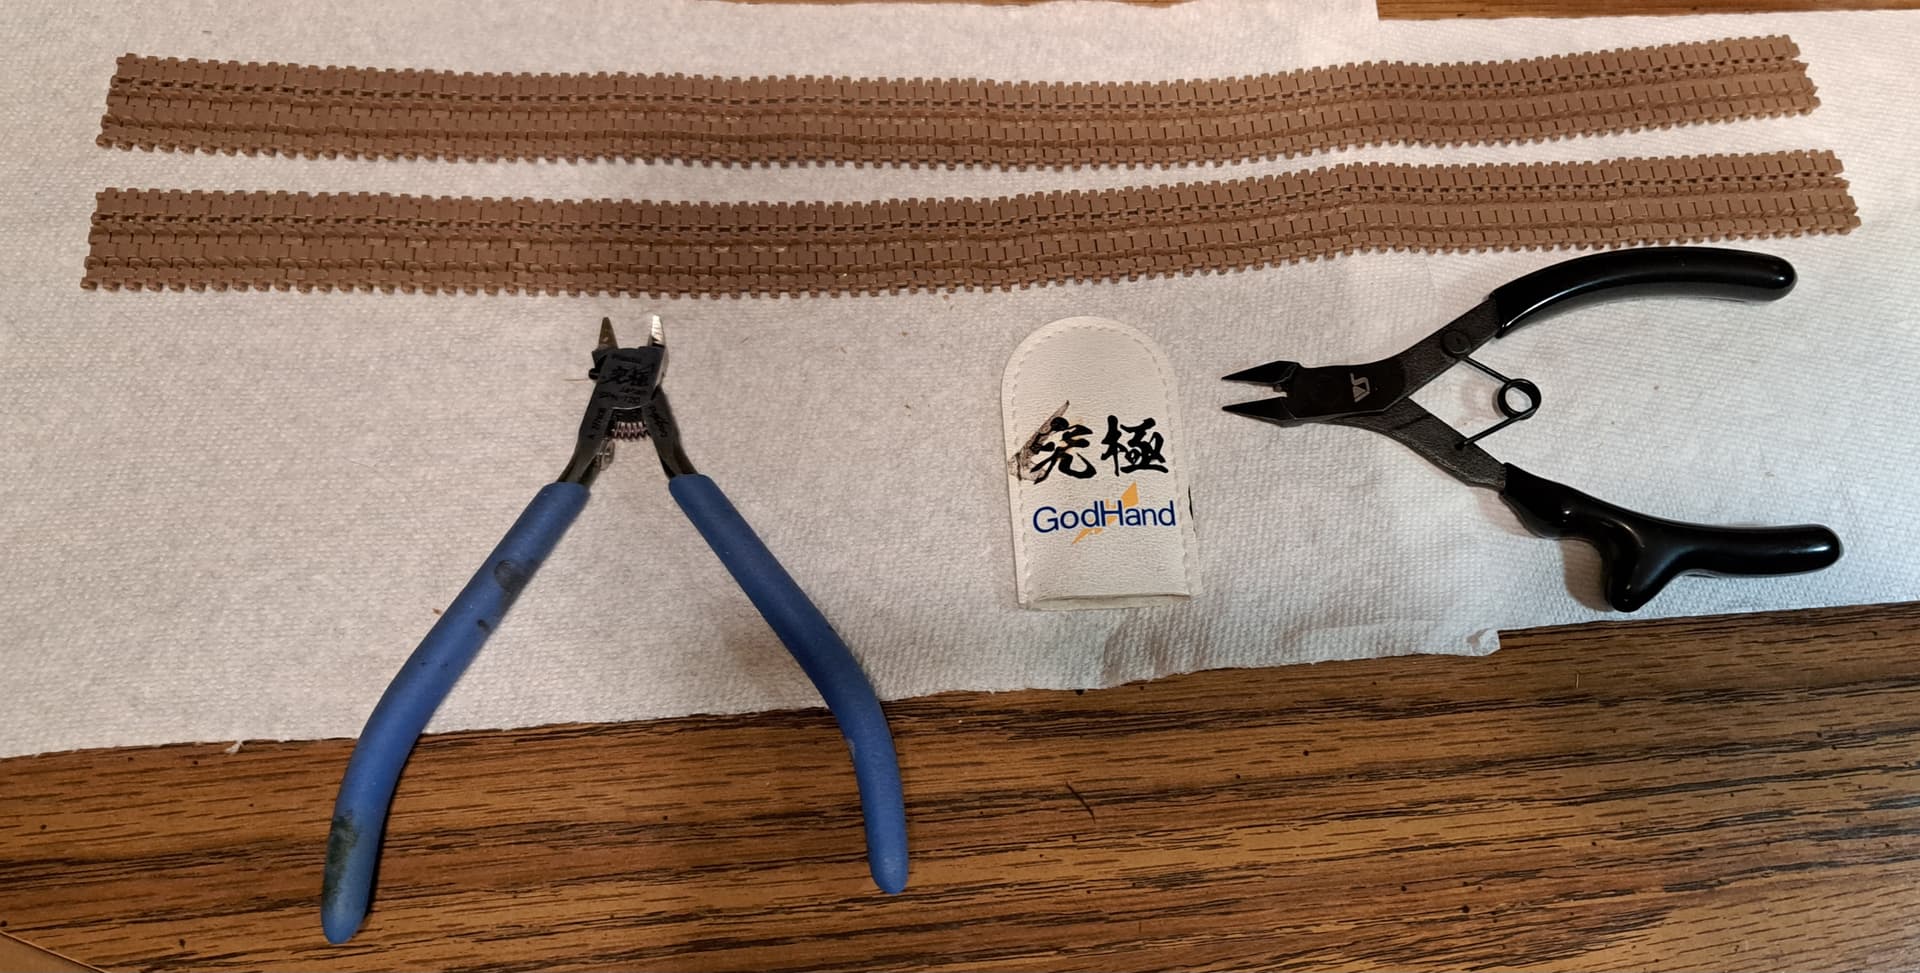
Pretty favorable impression of 30+ year old Model Kasten tracks, no visible punch marks on the track links to clean up when assembled! Links on turret will need two punch marks removed.
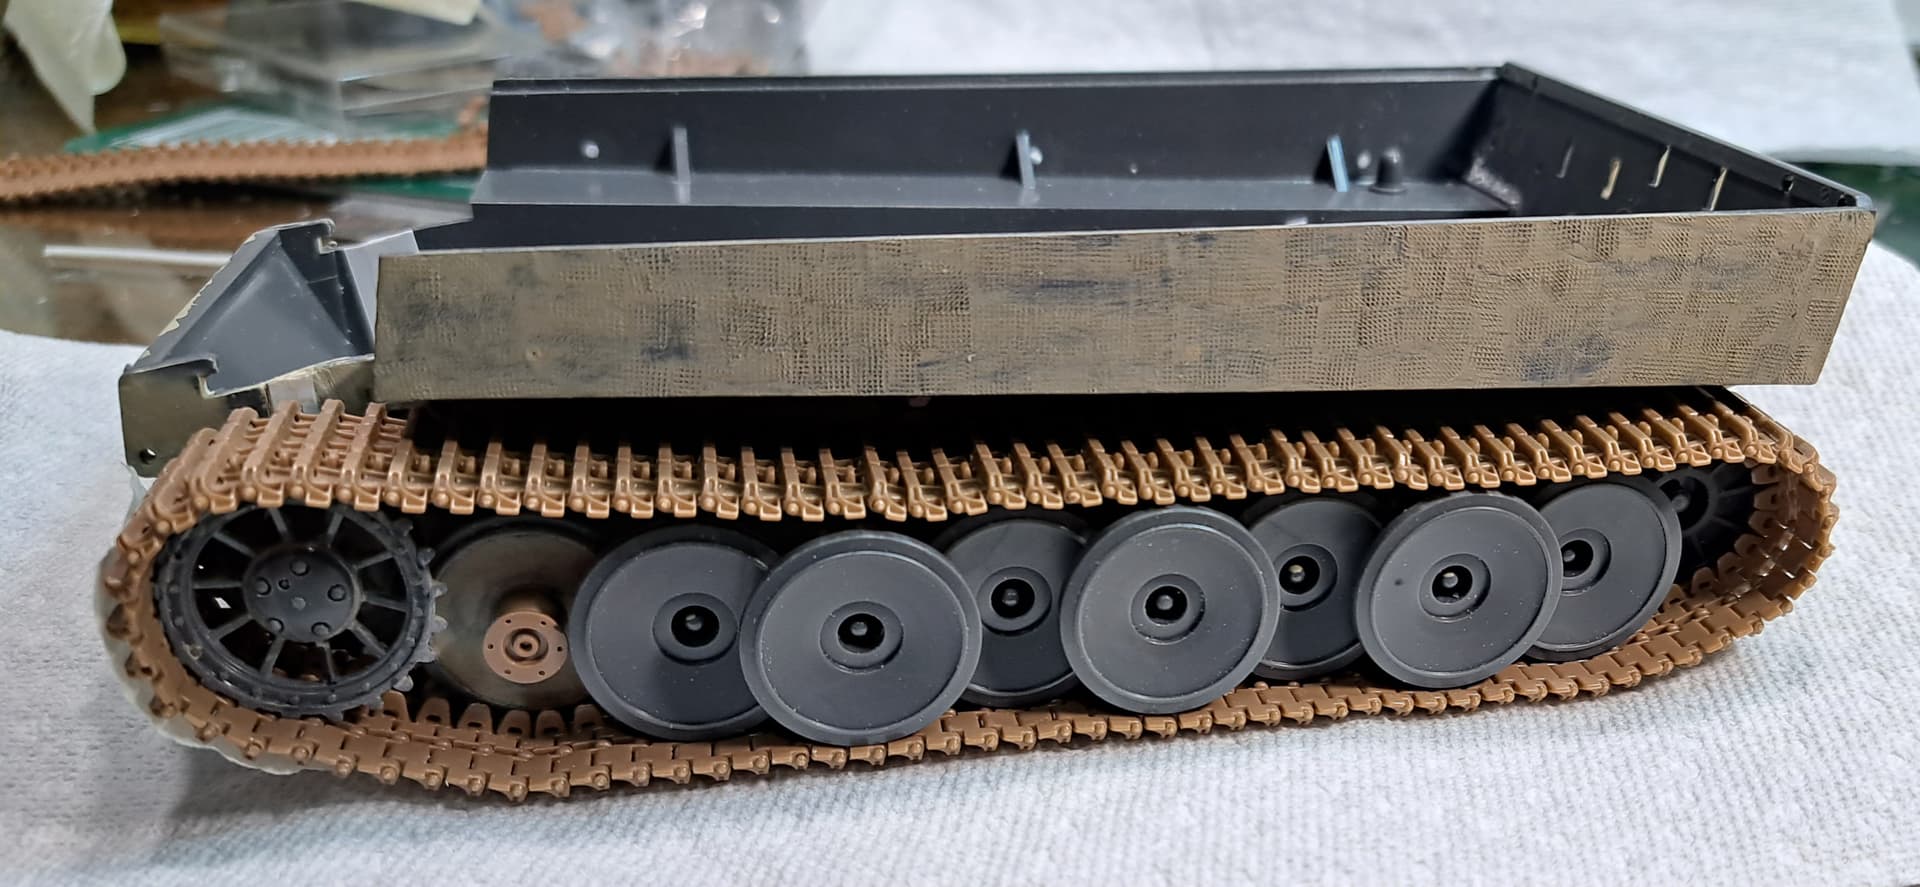
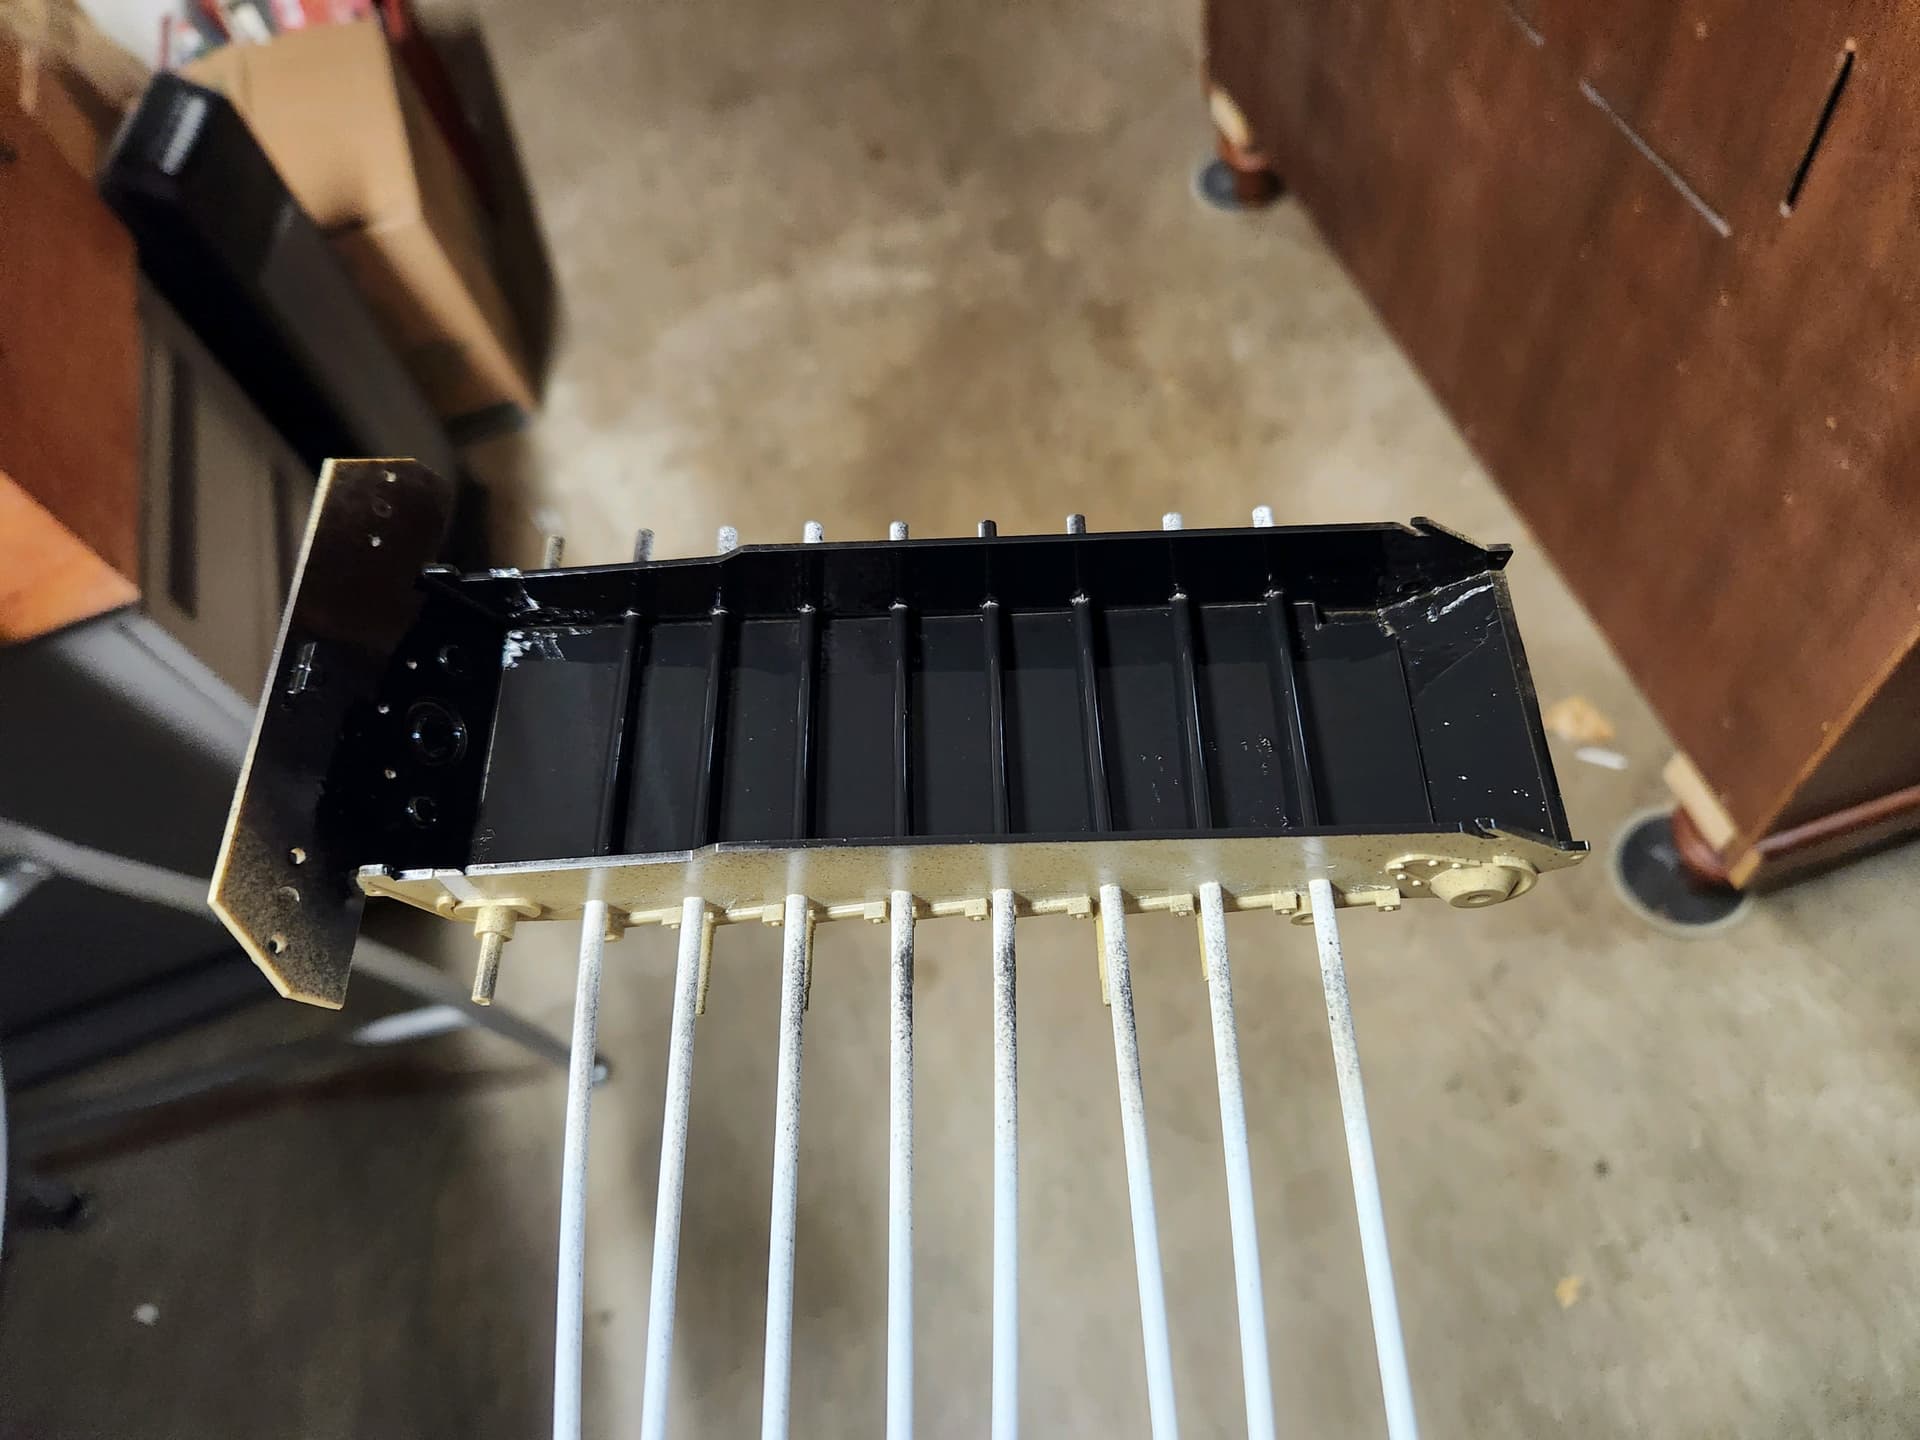
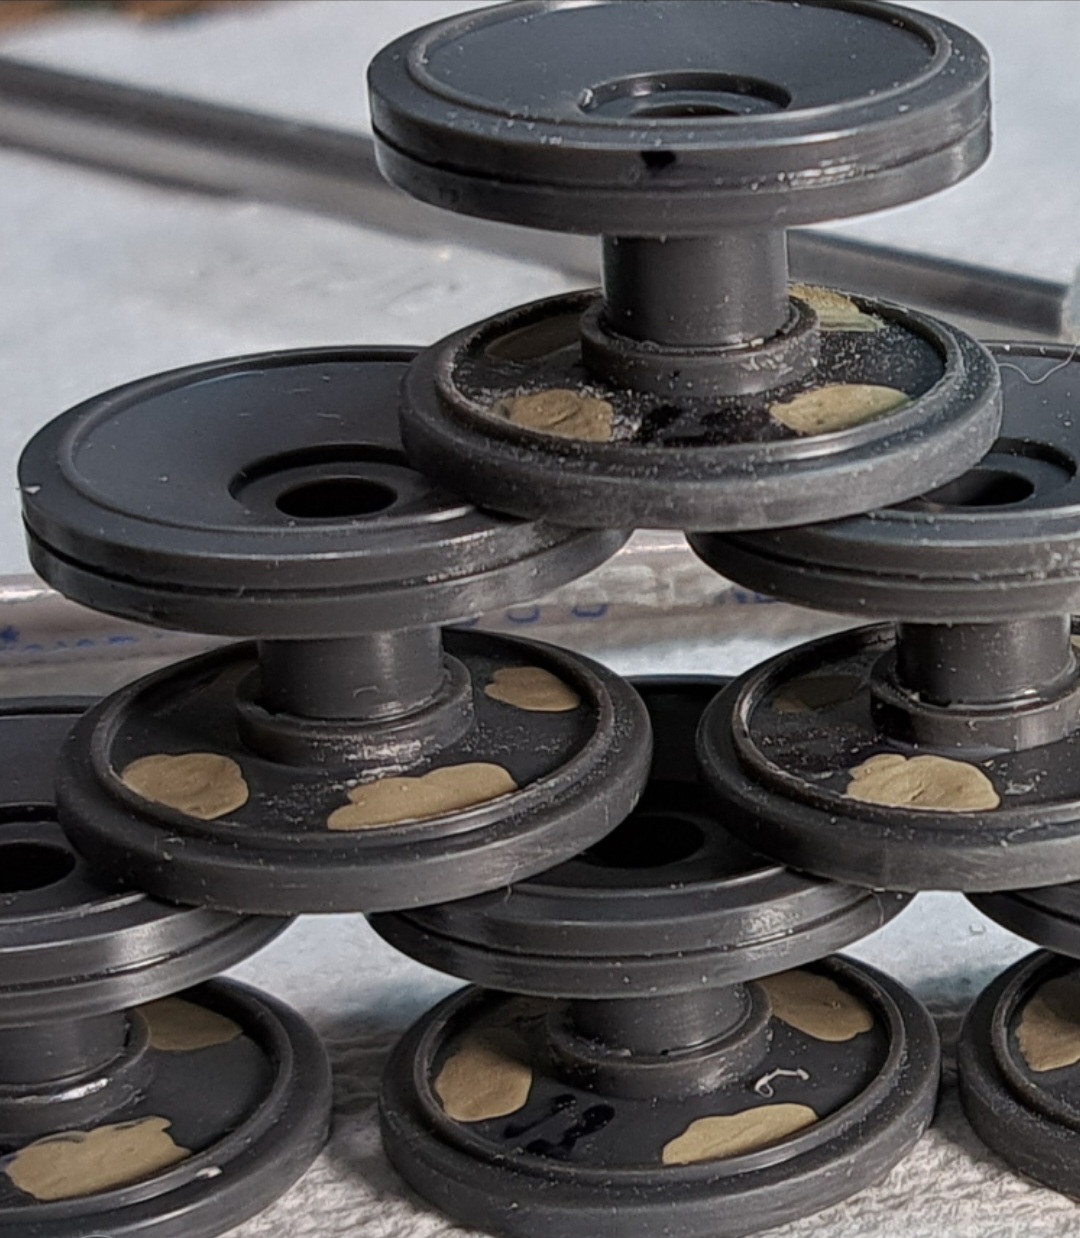
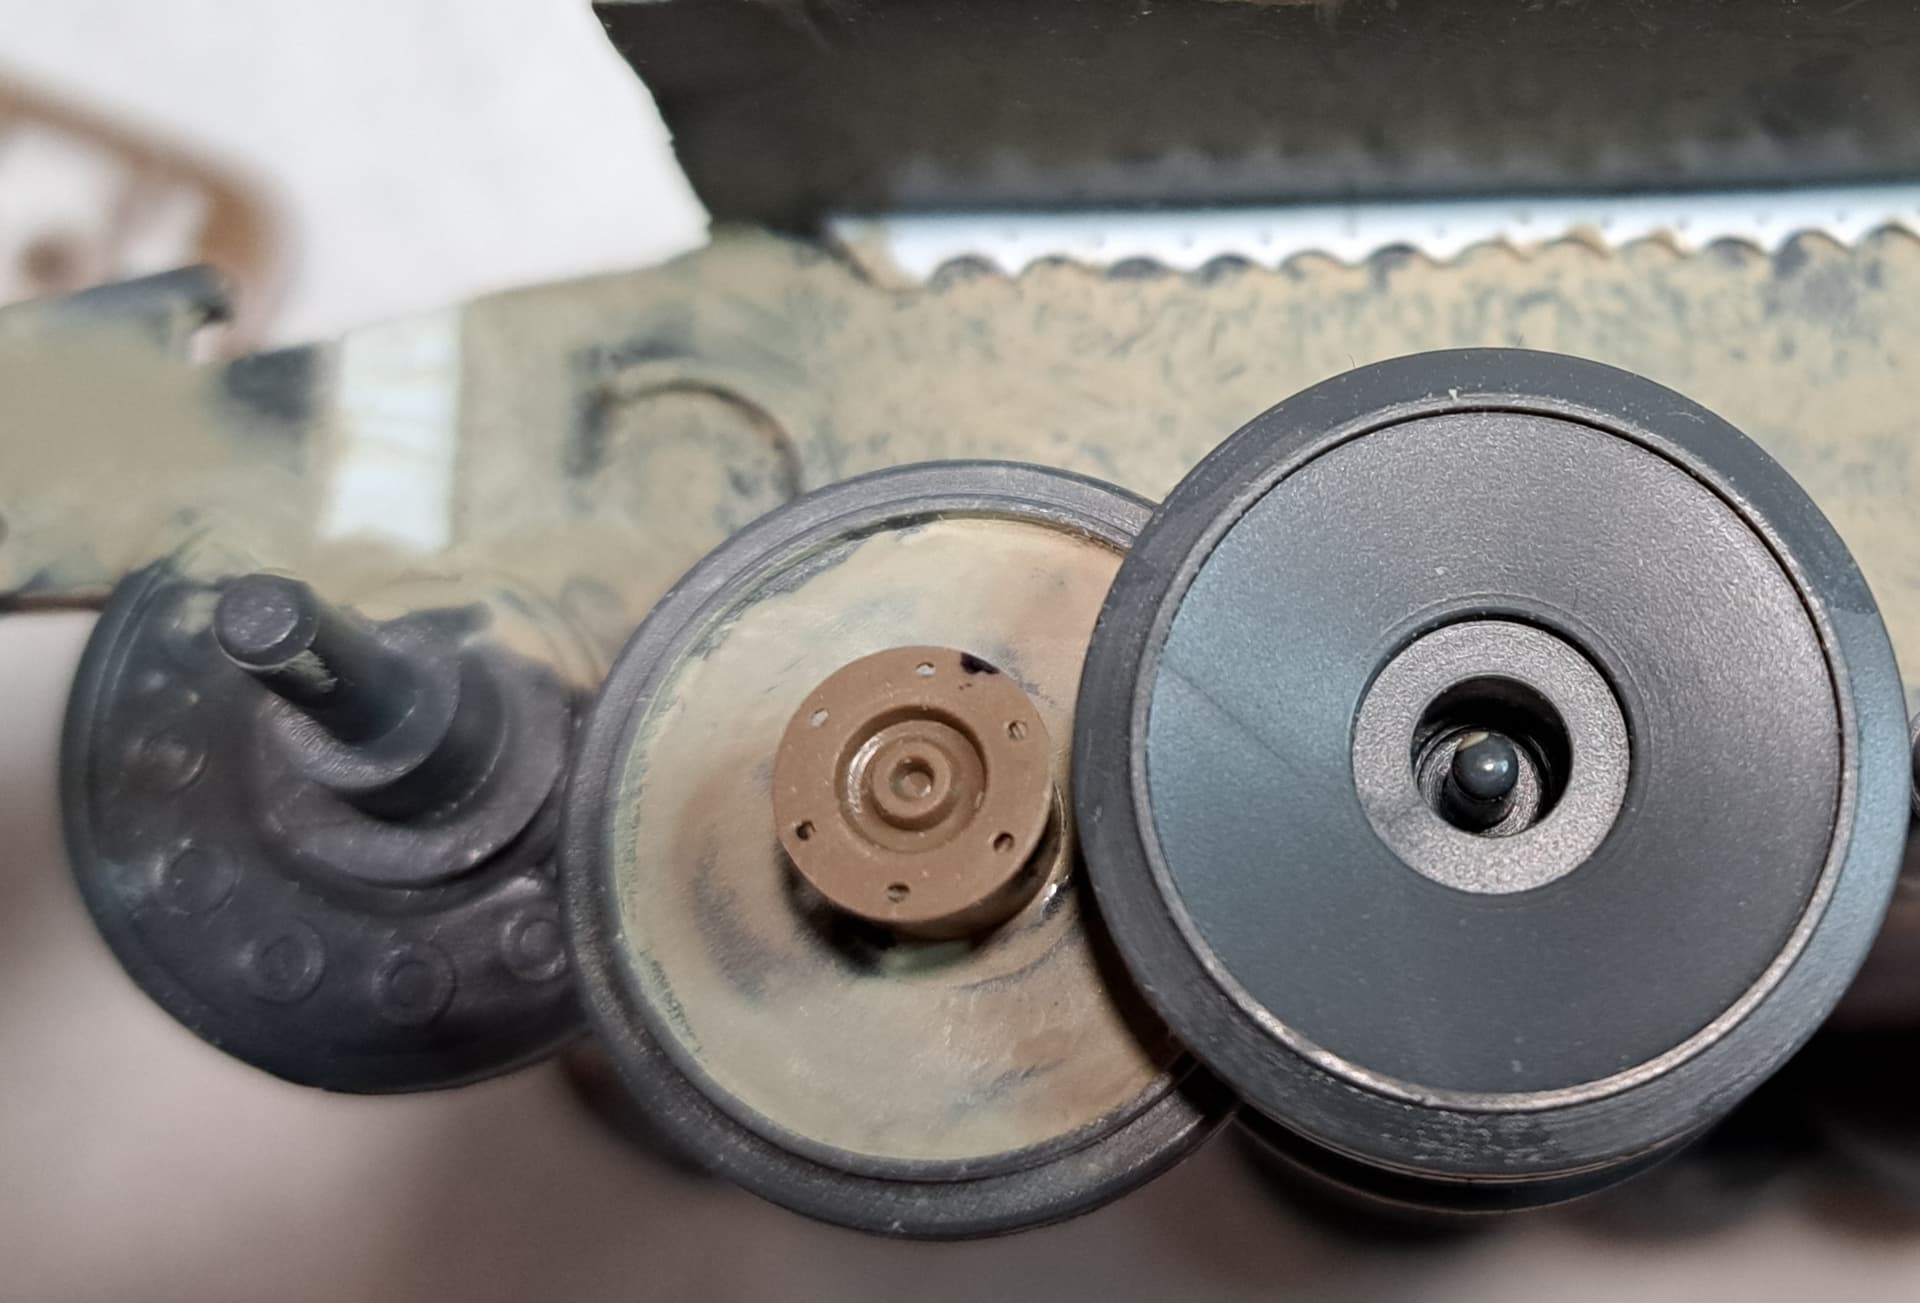
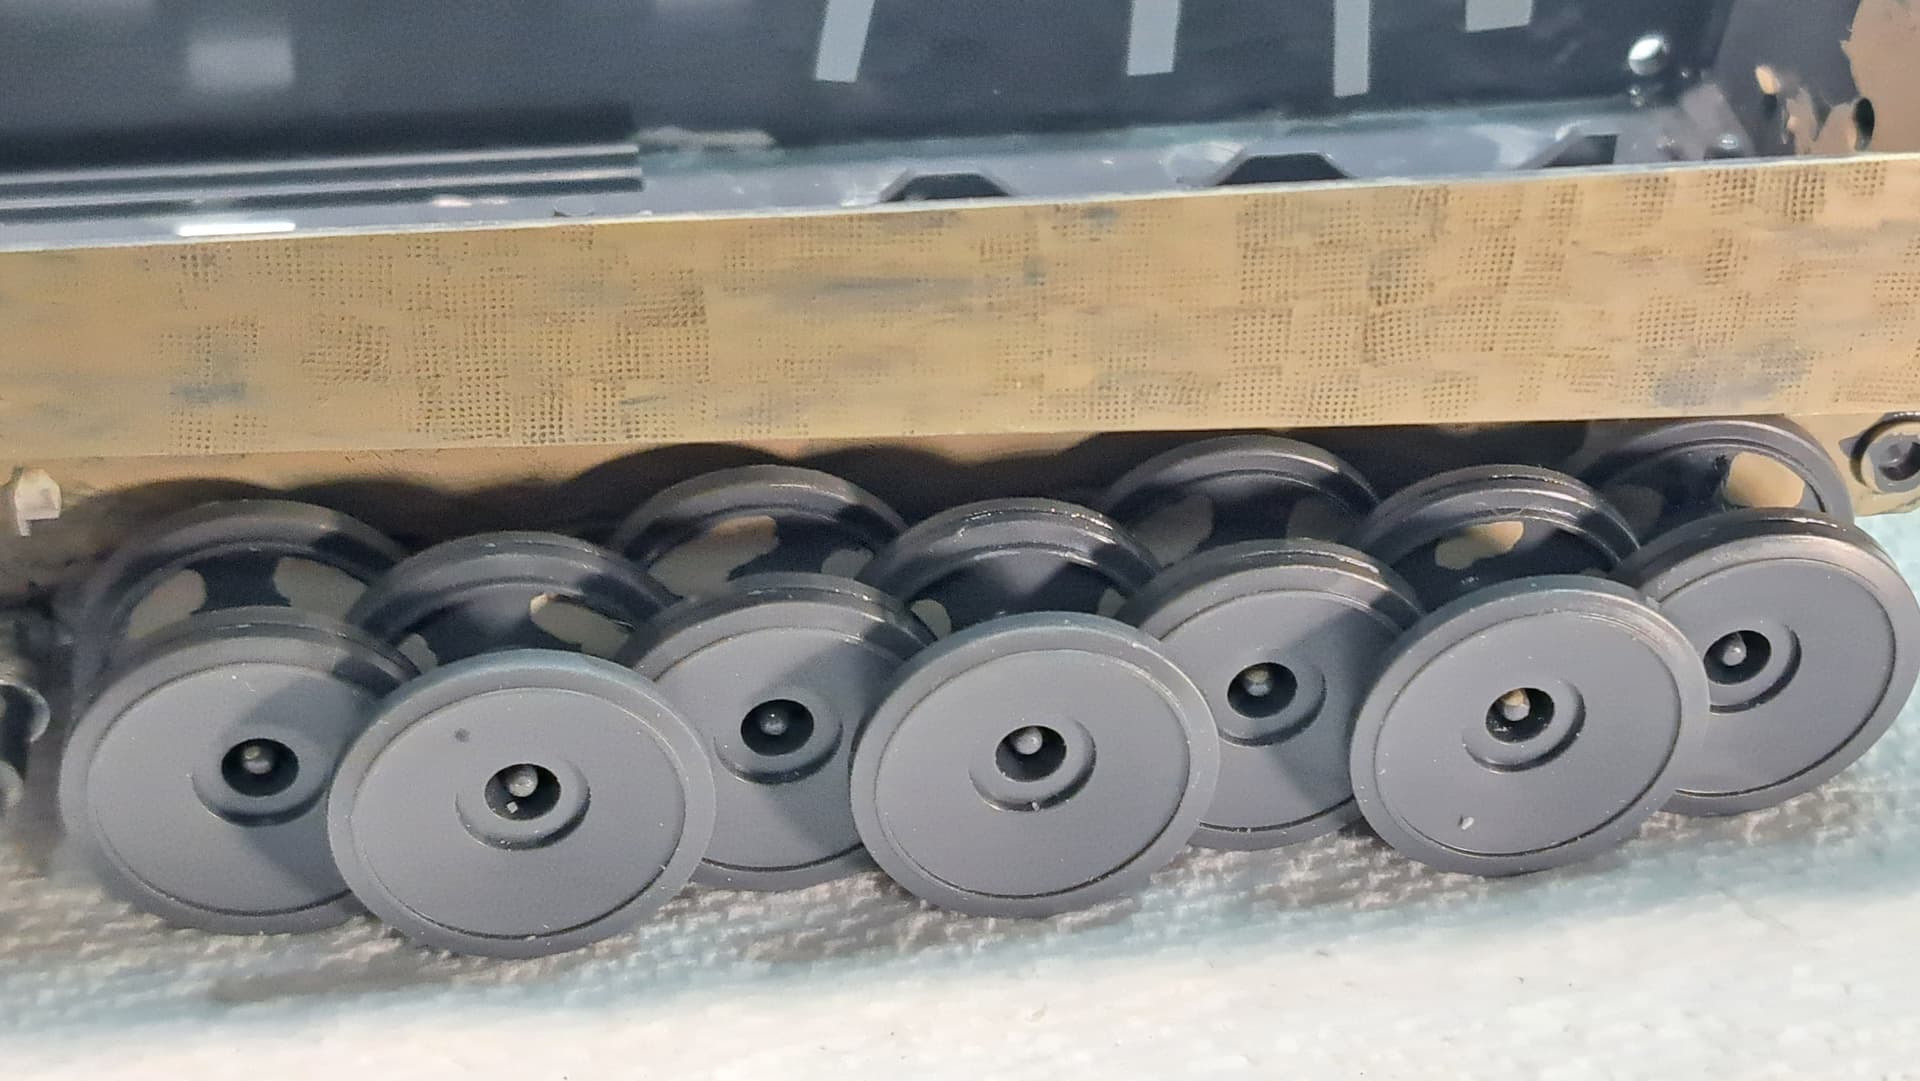
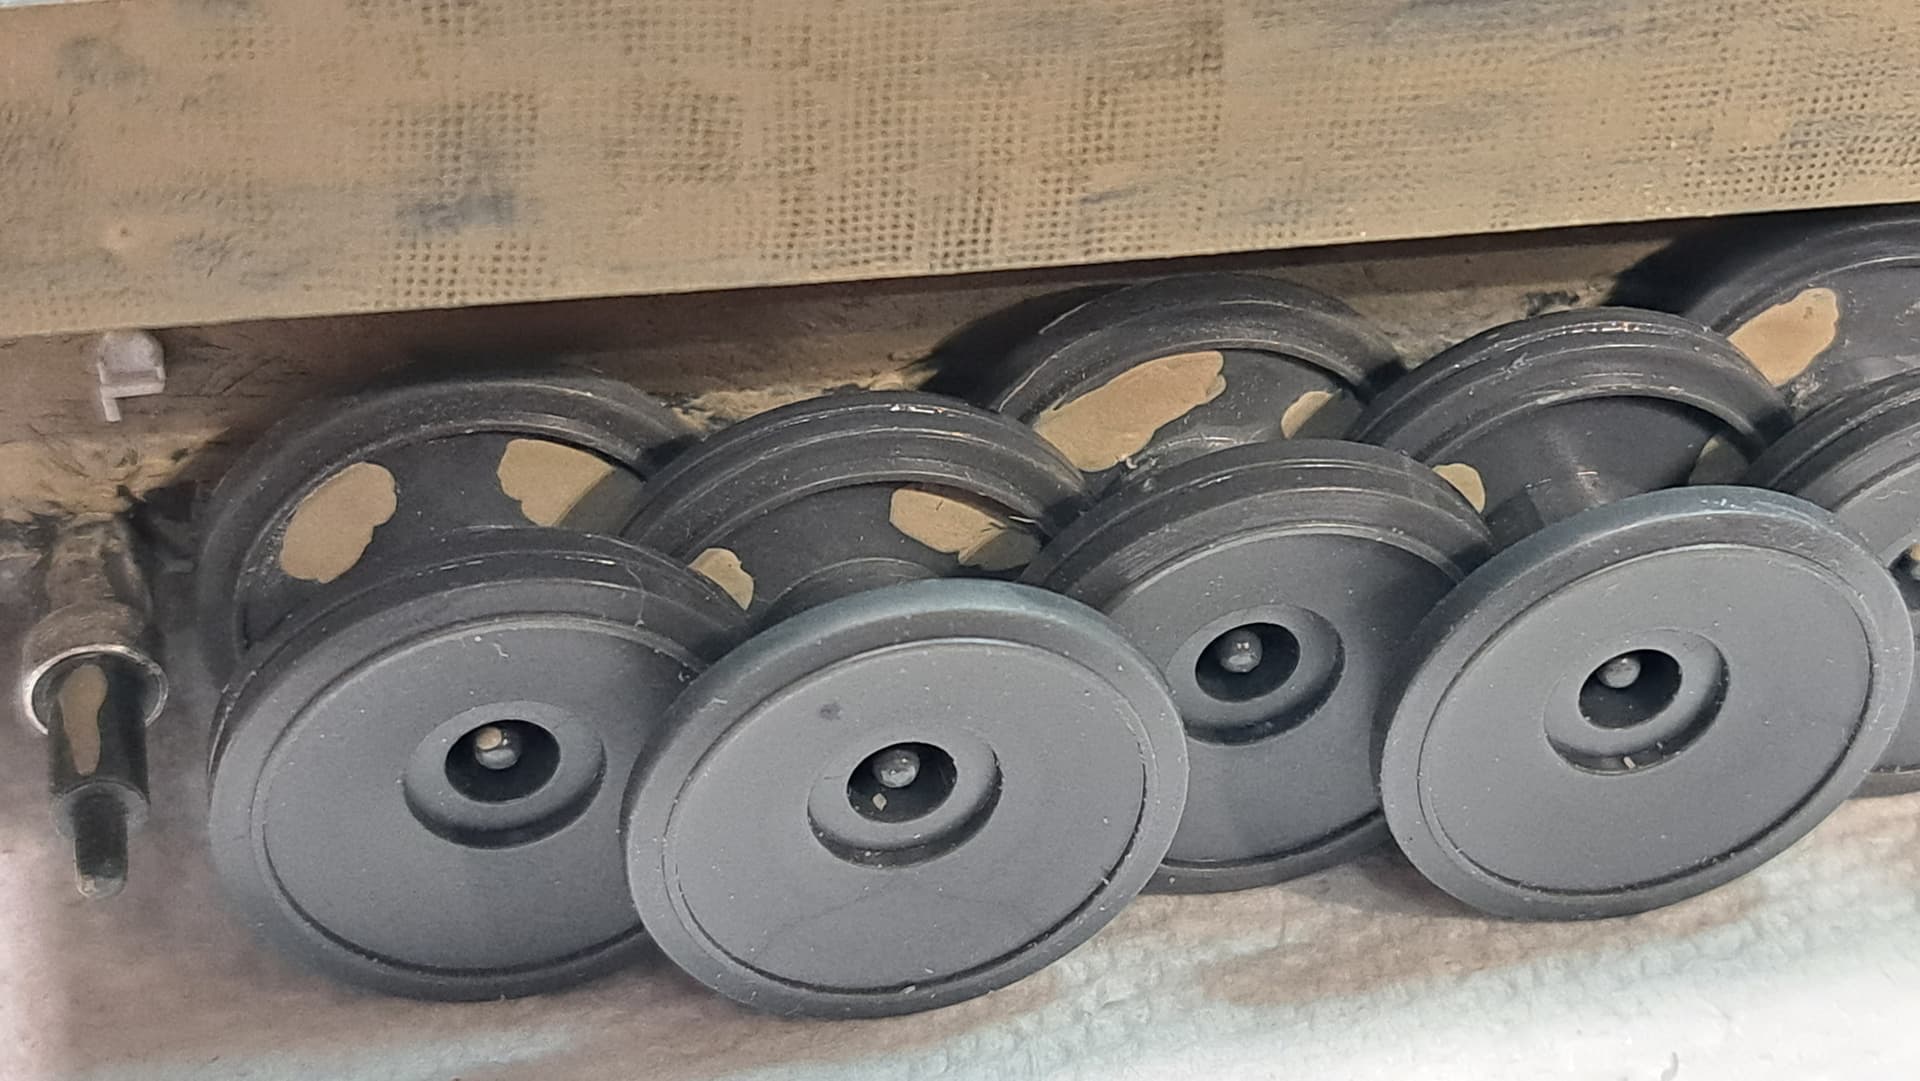
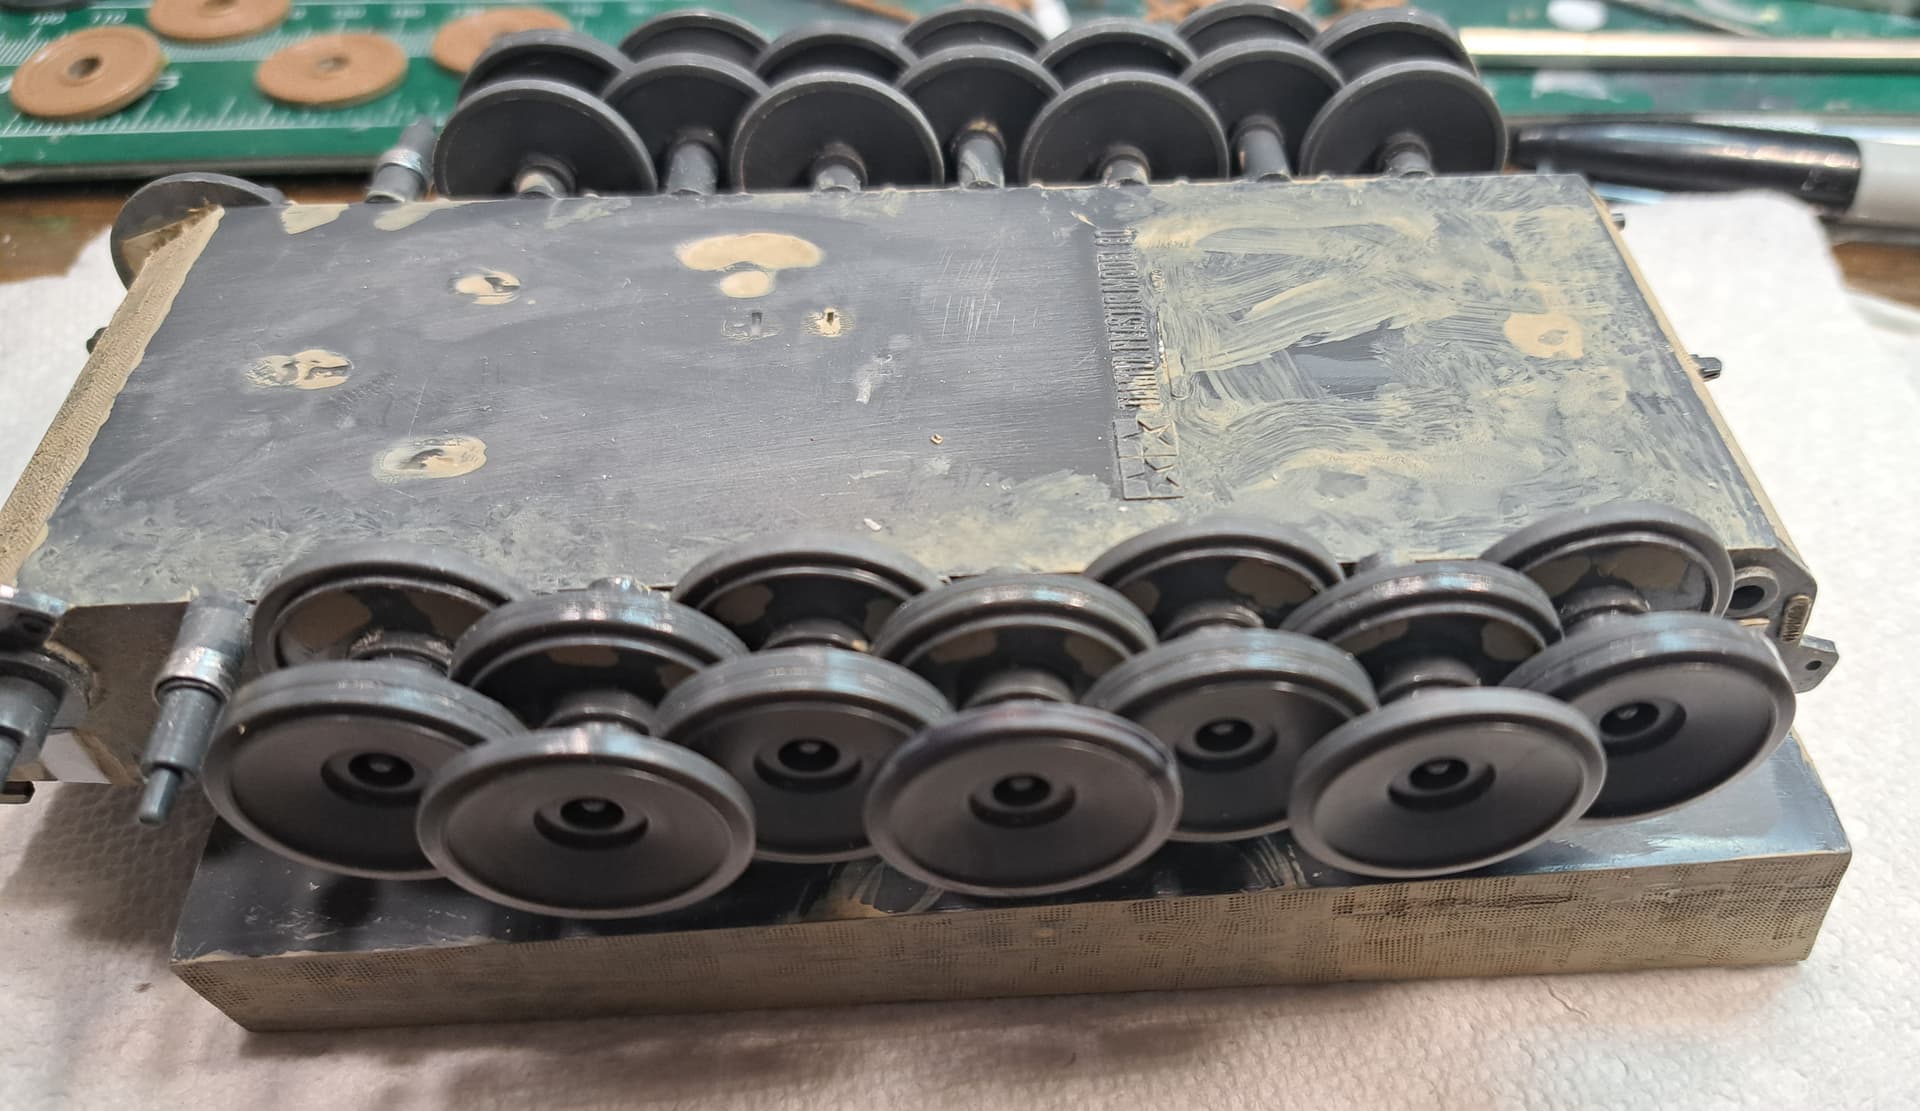
Eight wheels were shaved to a more appropriate thickness, all of double thick wheels were groved to simulate two tires and the first front wheel removed. It was fairly common for Tiger’s to have the first front removed due to it collecting mud.
I was reviewing a “Buddy Build” from “Hamilkar Barkas” on YT (don’t mind the German). It is a really nice build with lots of good advice; plus adding a transfer case from an Sd.Kfz. 7 was an astute move.
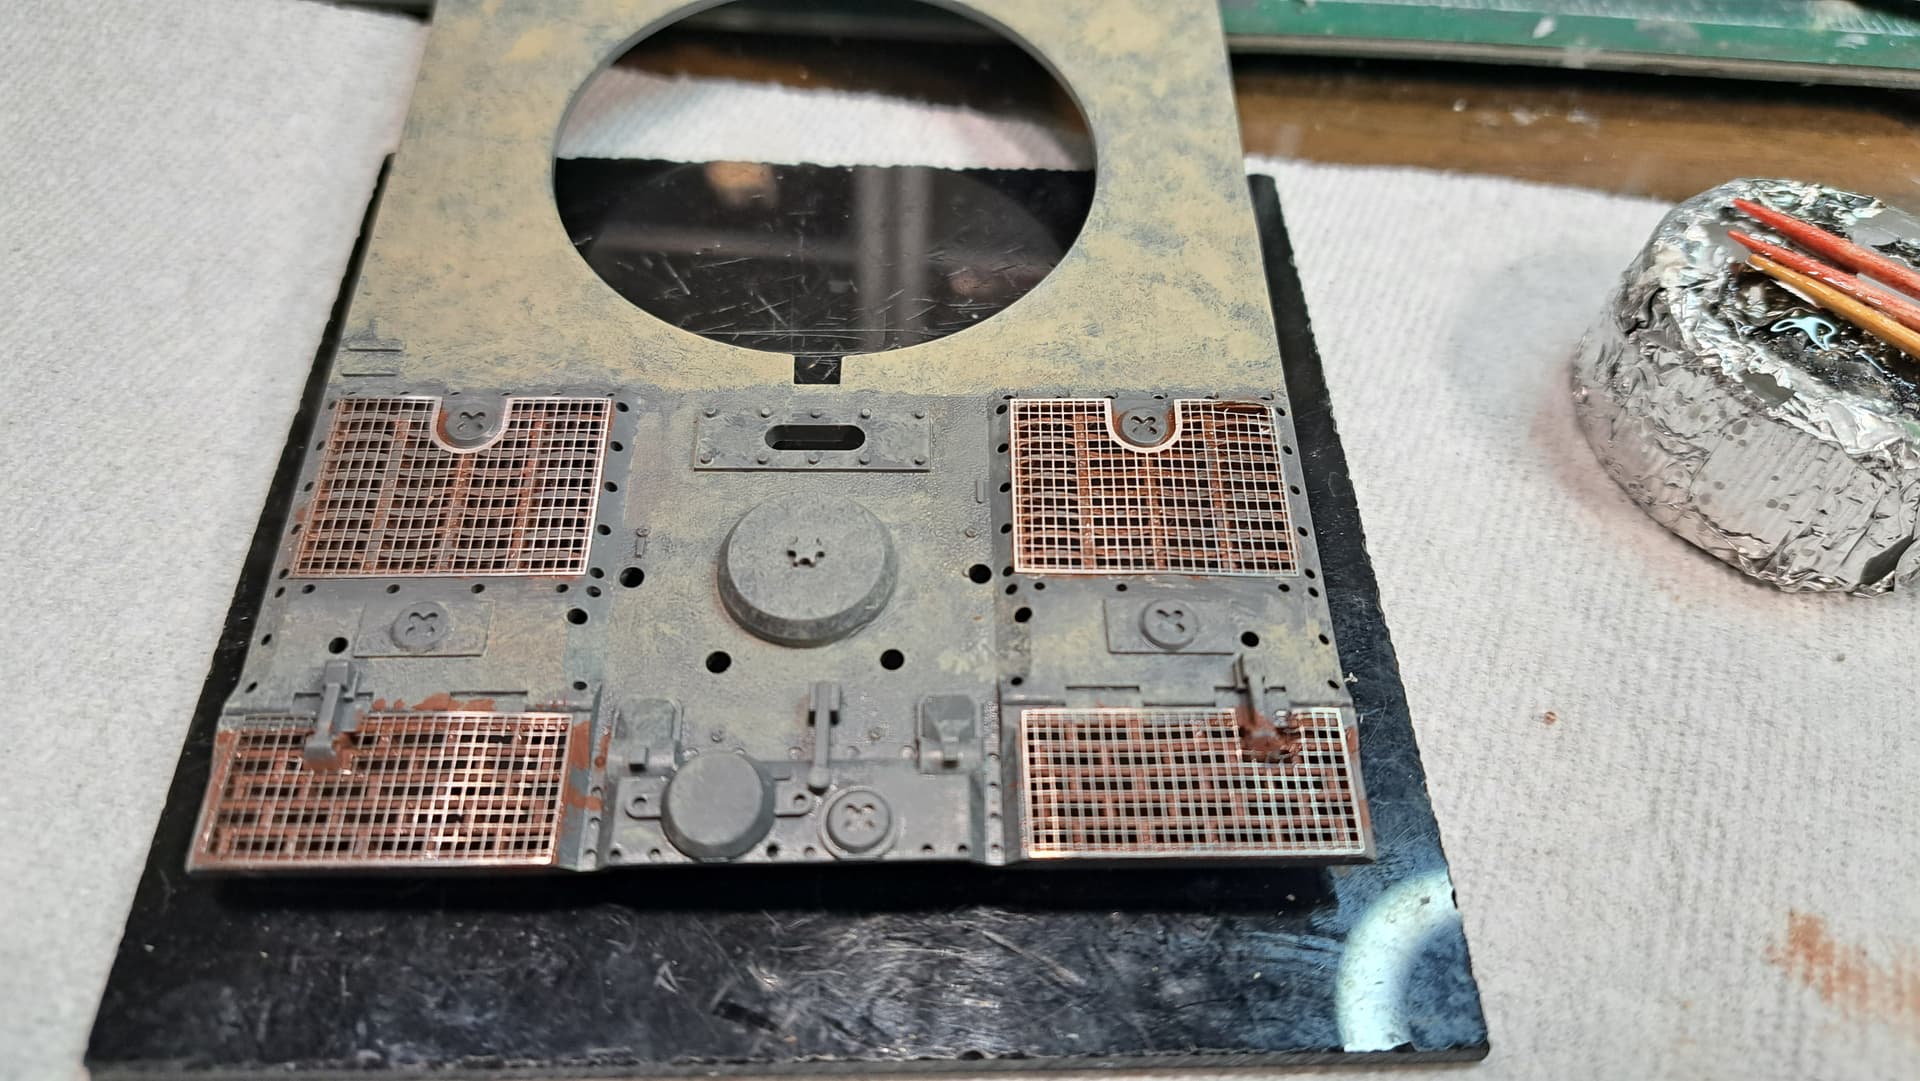
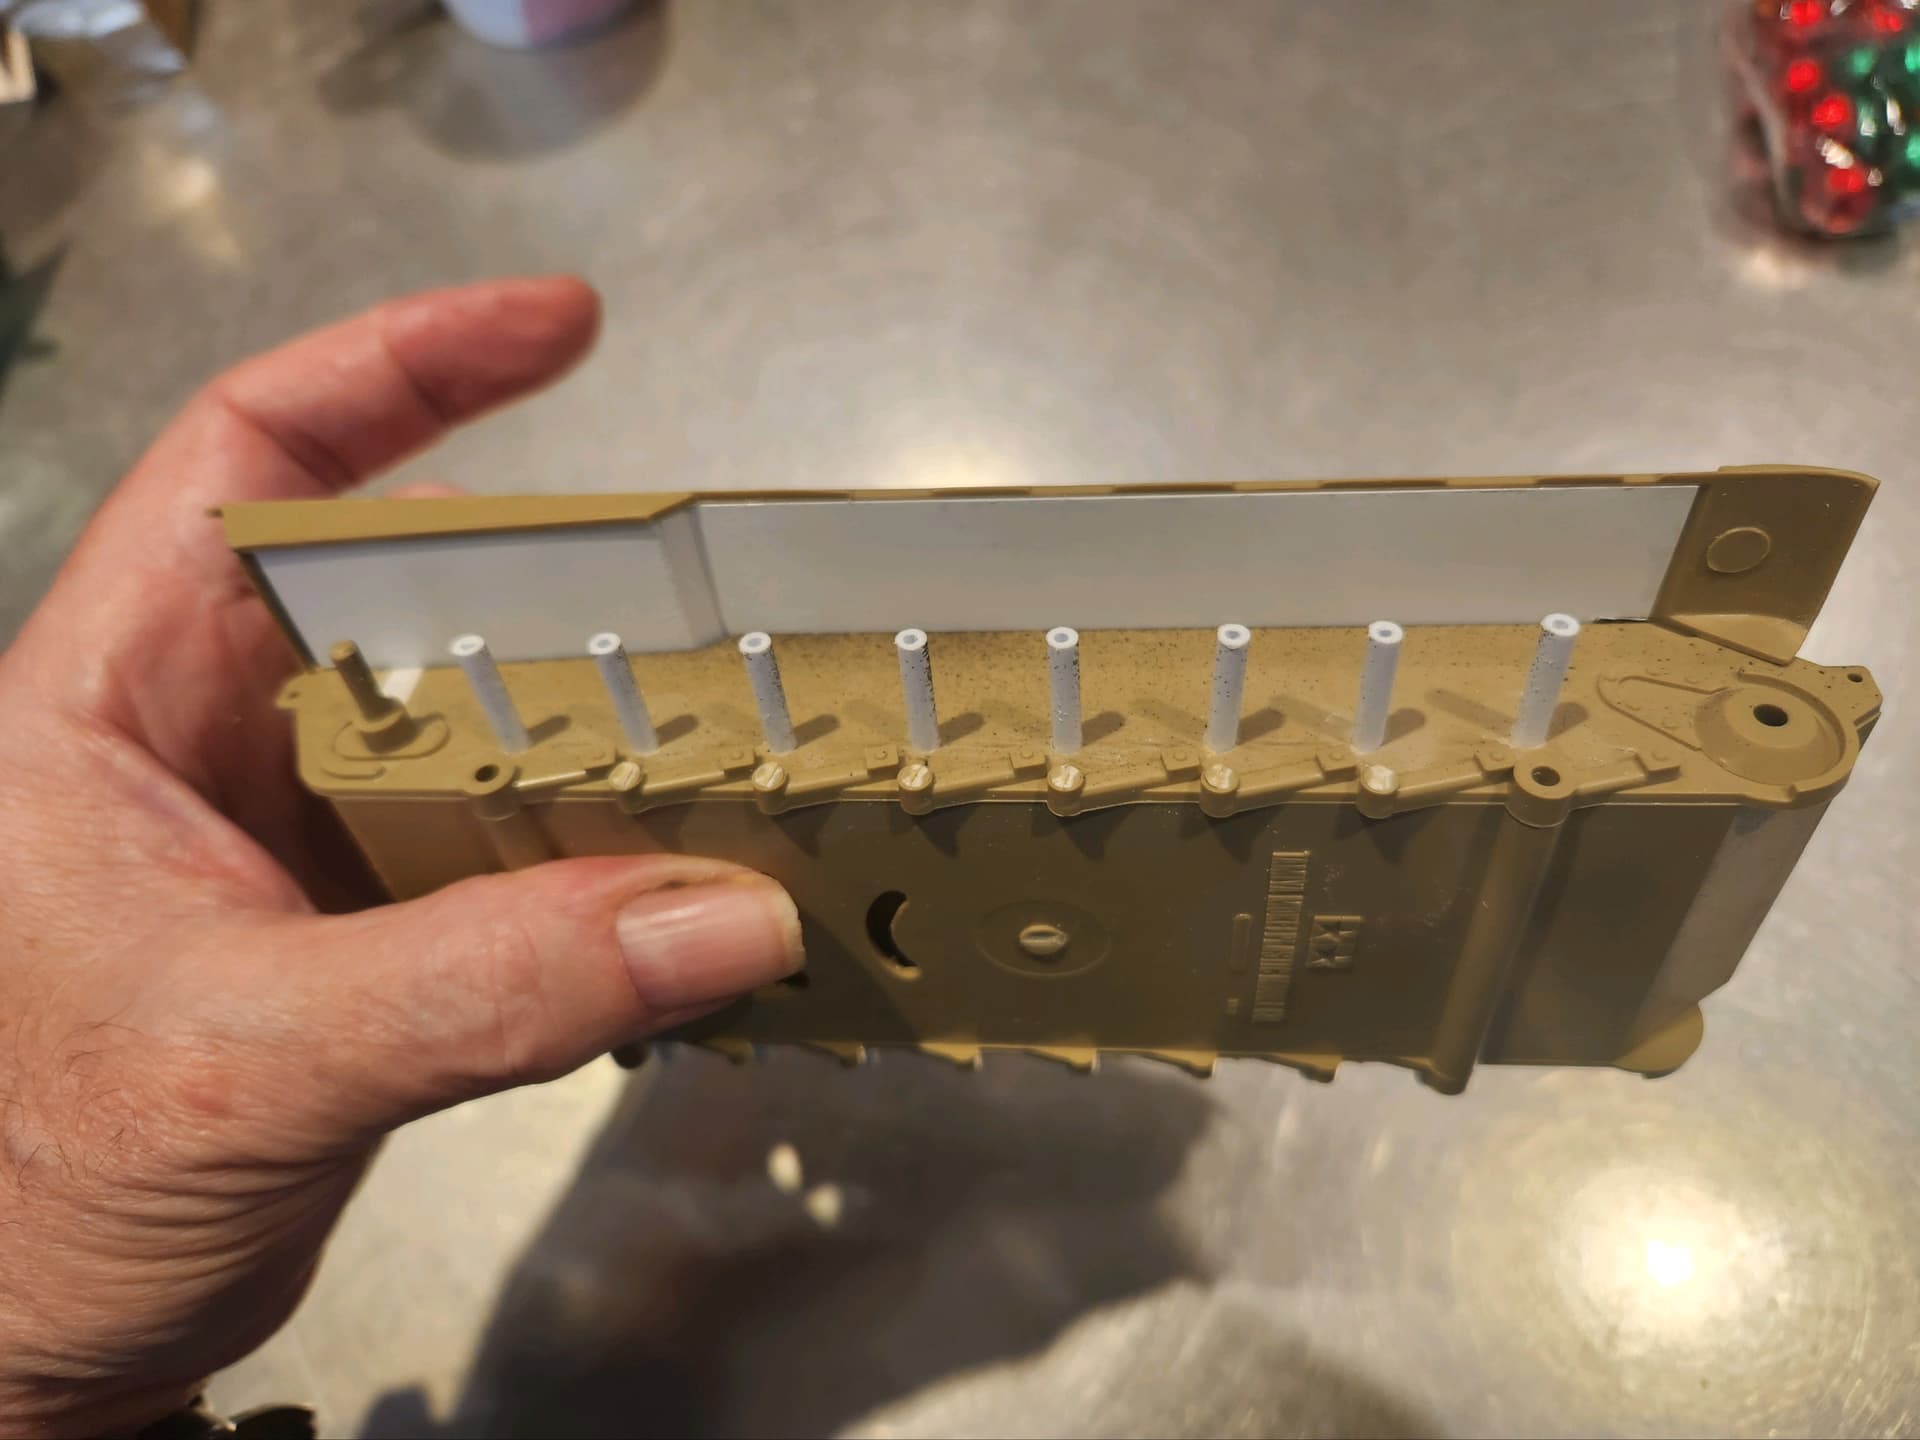
I then spent some time boxing in the sponsons. The 3 different angles were a little challenging. Once done I had to fight the new fit issues trying to fit the upper hull to the lower hull. The front would not slide down far enough for a proper fit at the front edge of the hull. Did some hidden surgery and got a reasonable fit.
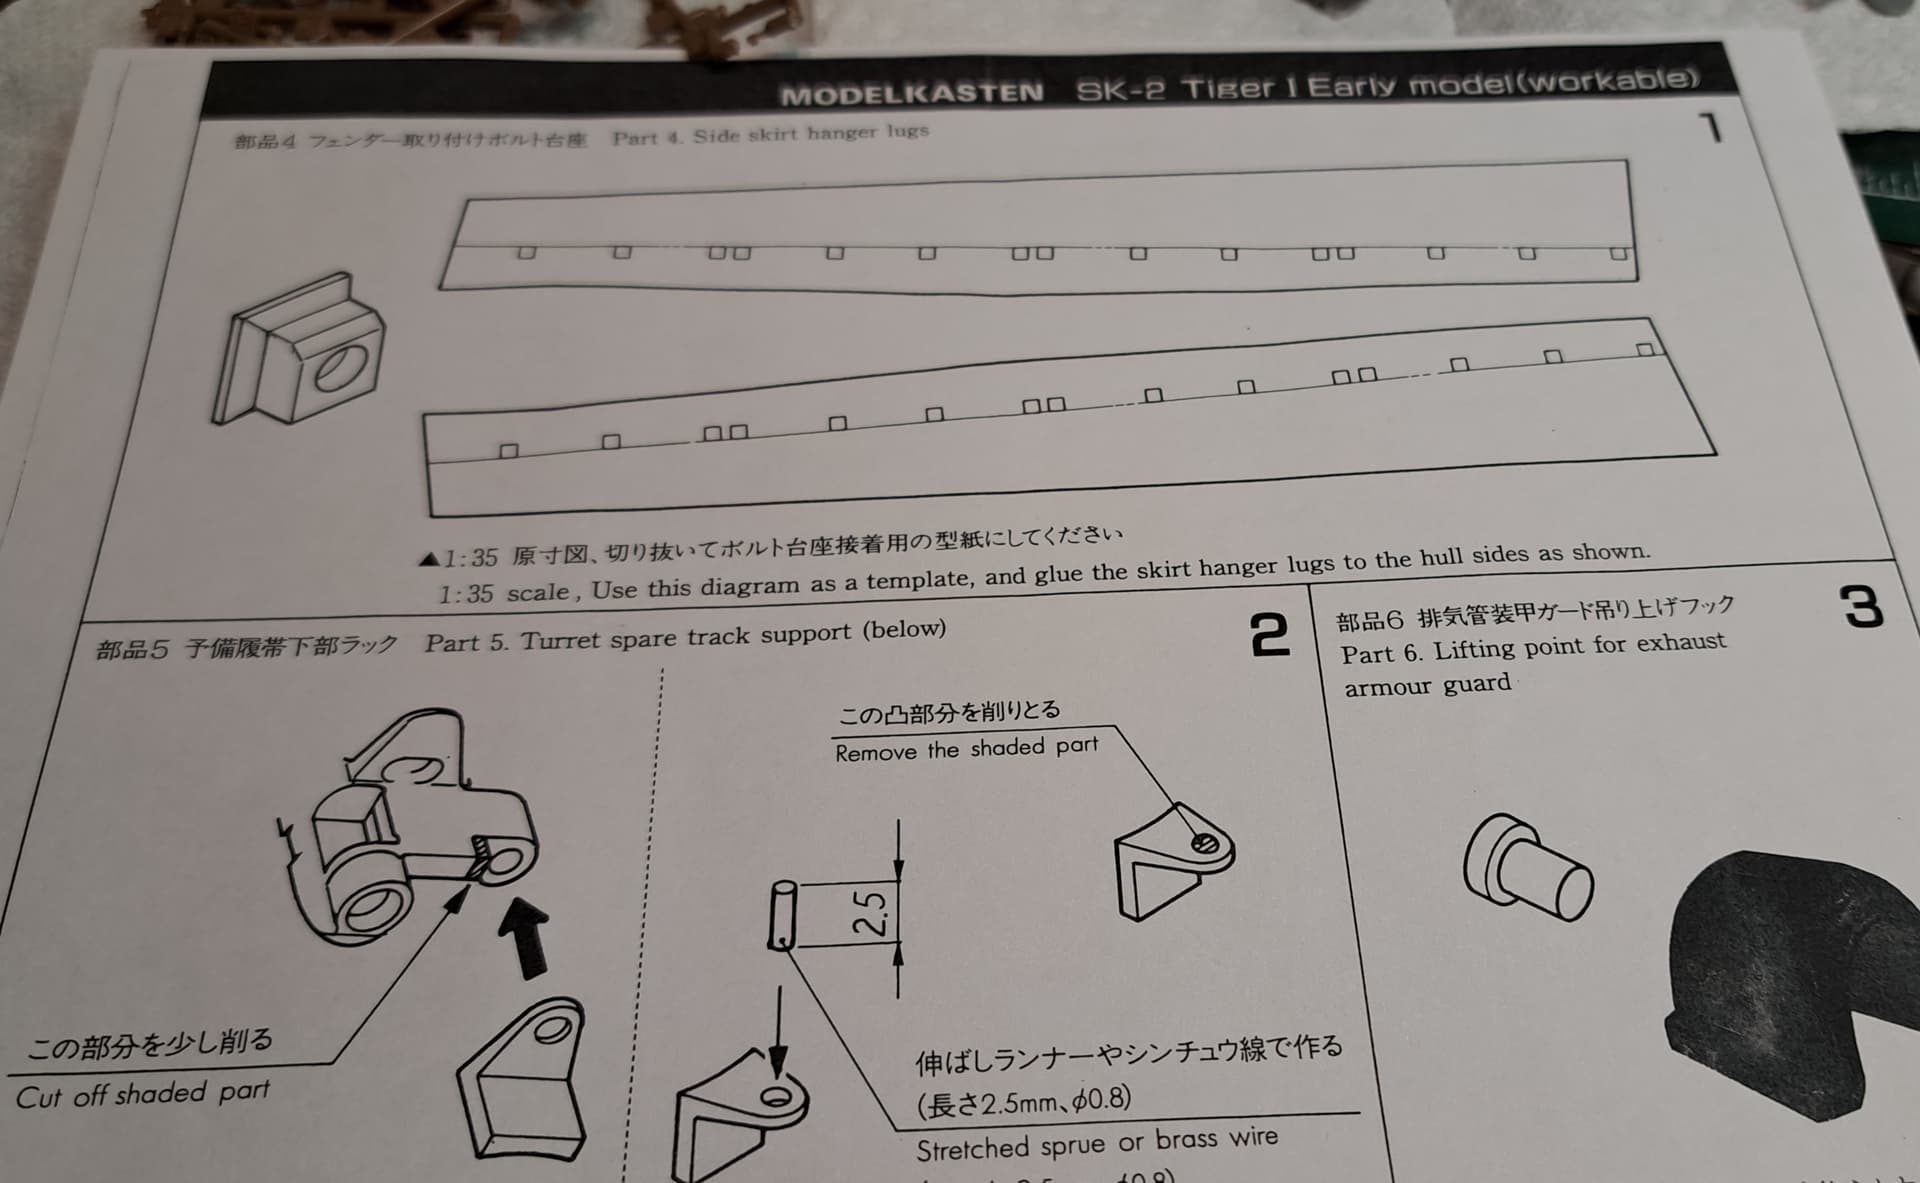
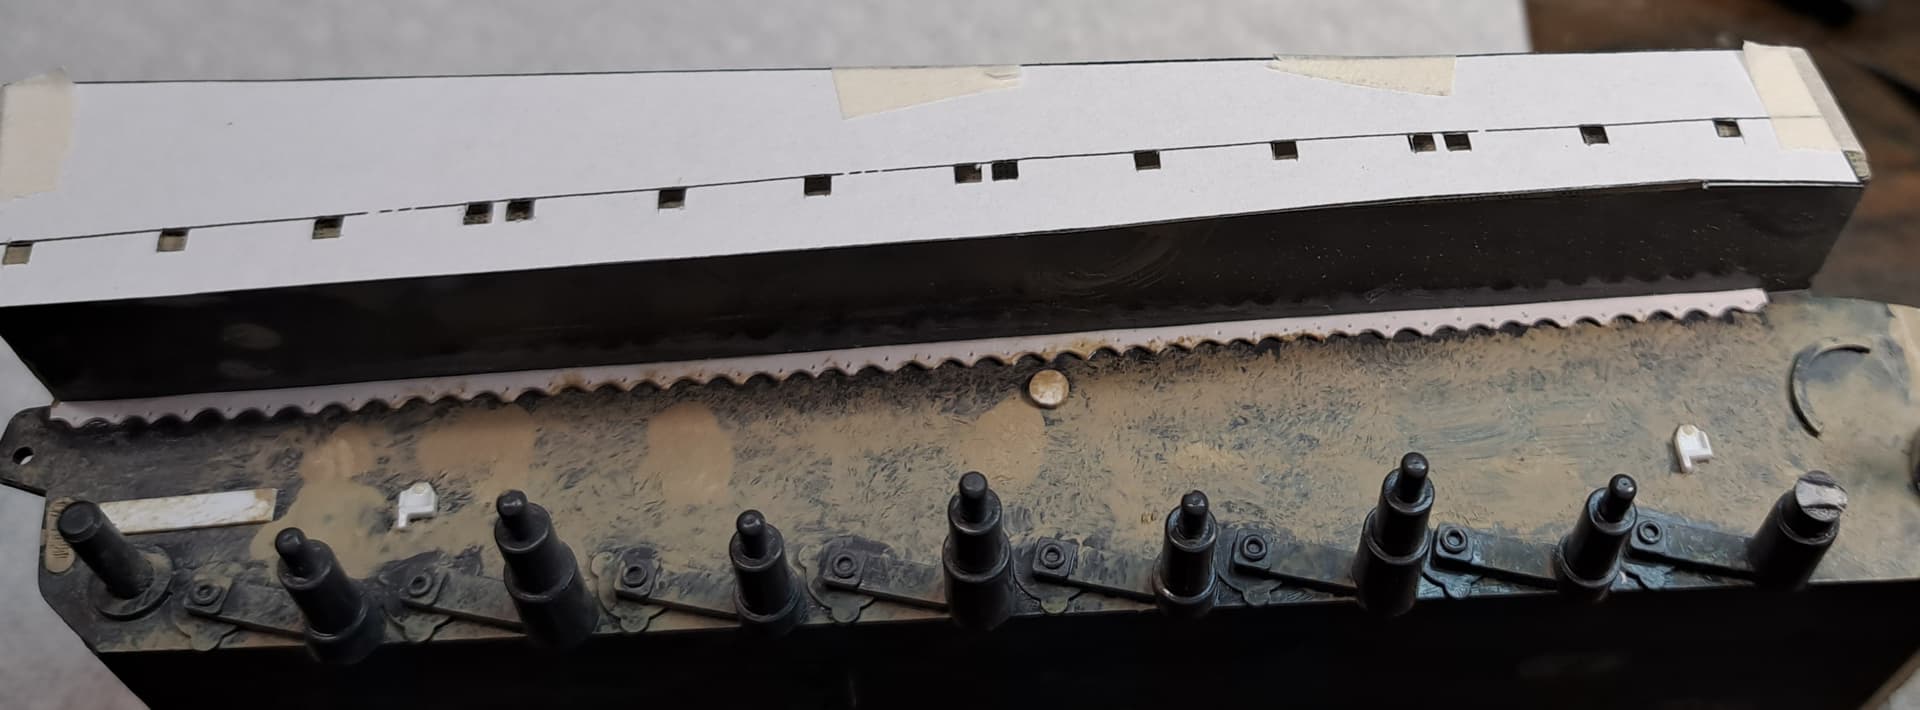
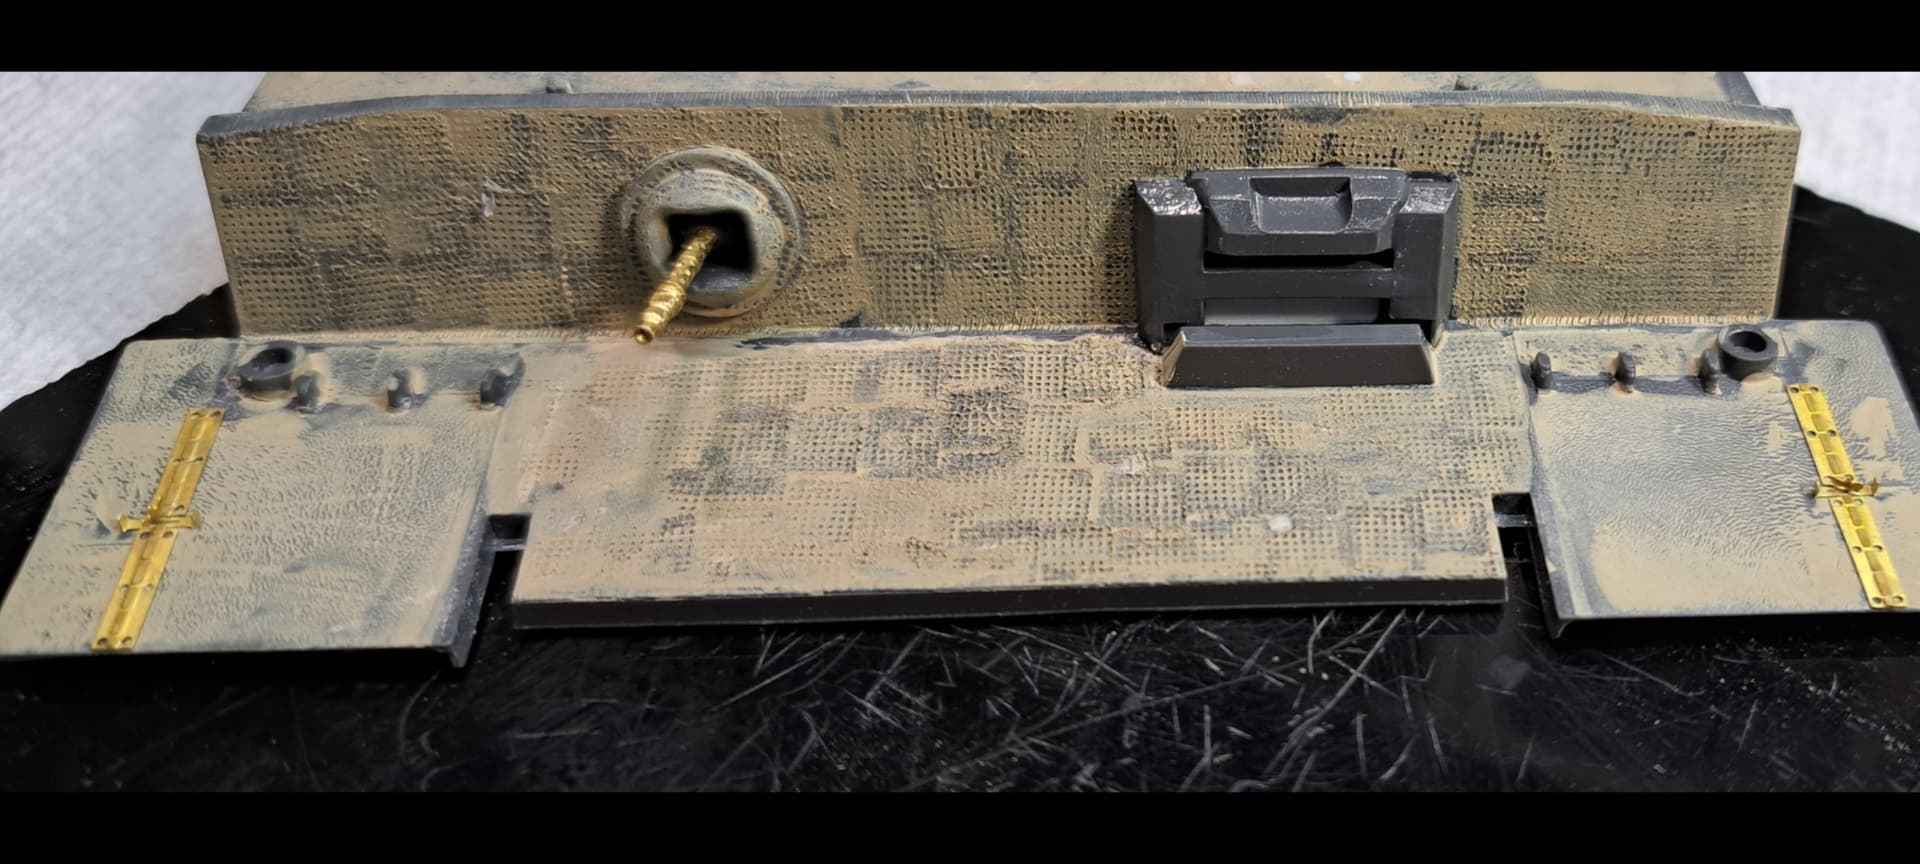
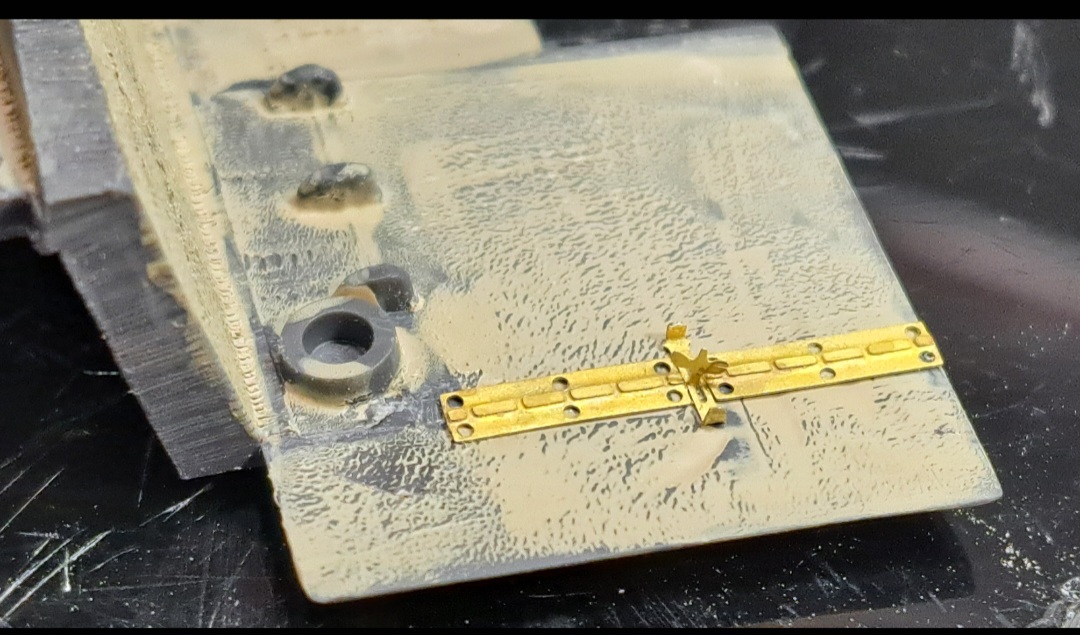
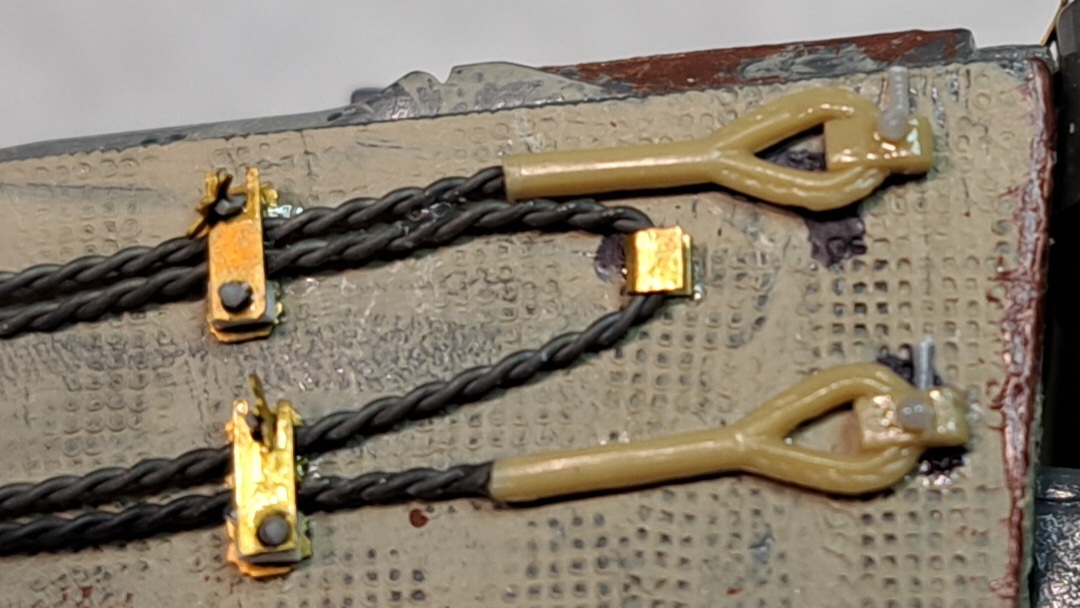
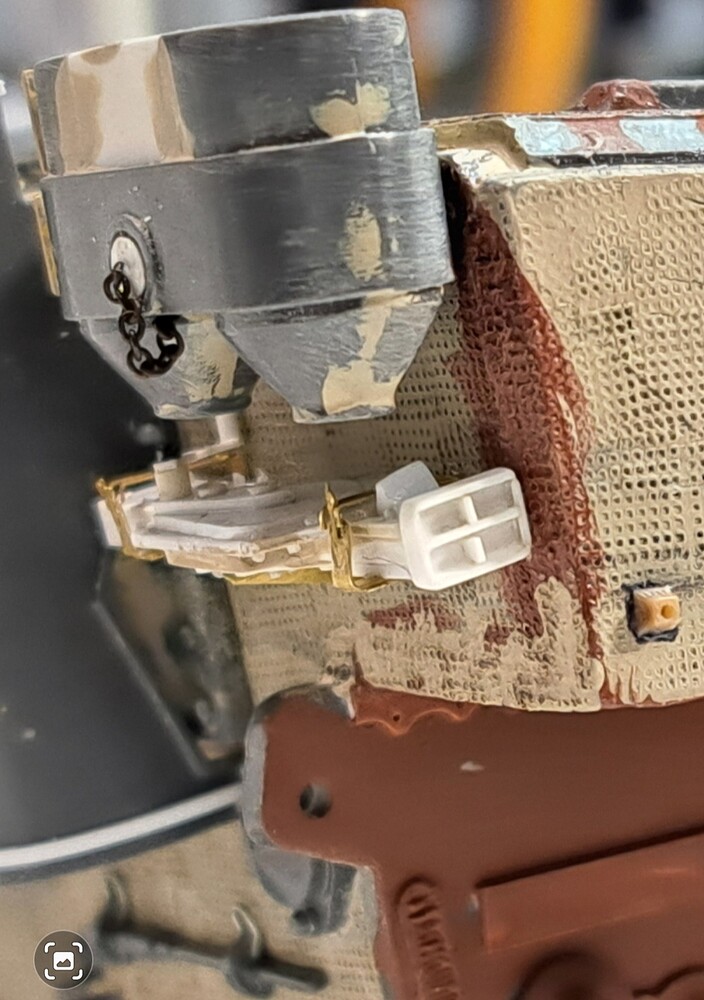
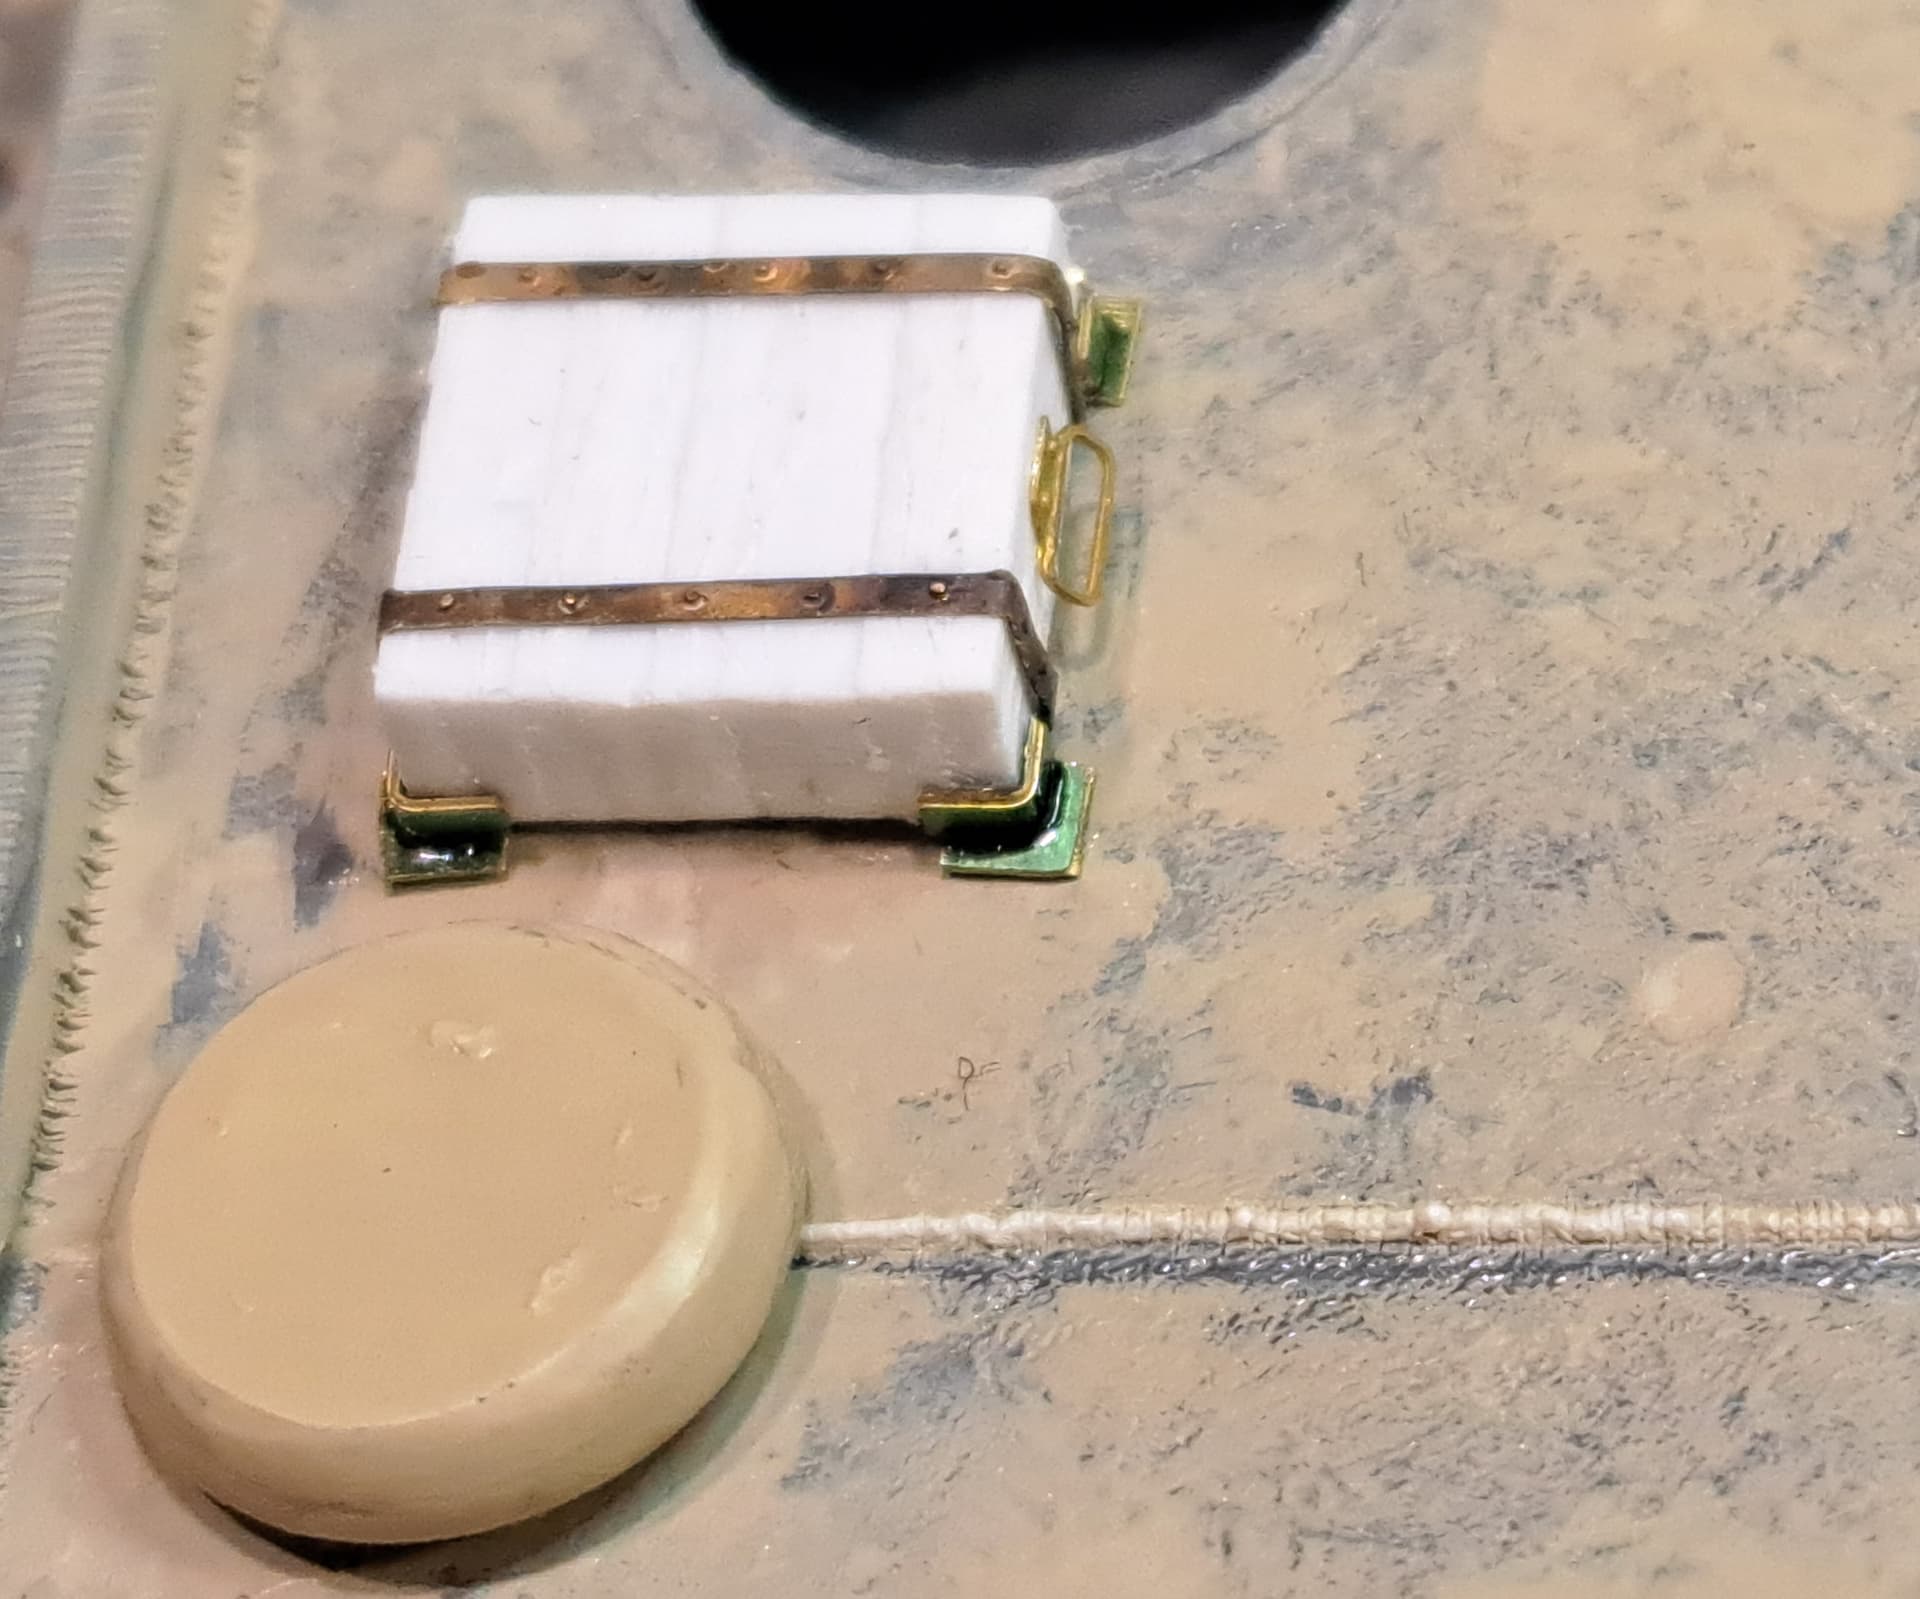
The next step is to prep for Zimmerit. I fit the tool racks to the side of the hull along with the spare track holders. I made the missing tool mounts Tamiya left off for thr cleaning rods and for the sledge hammer.
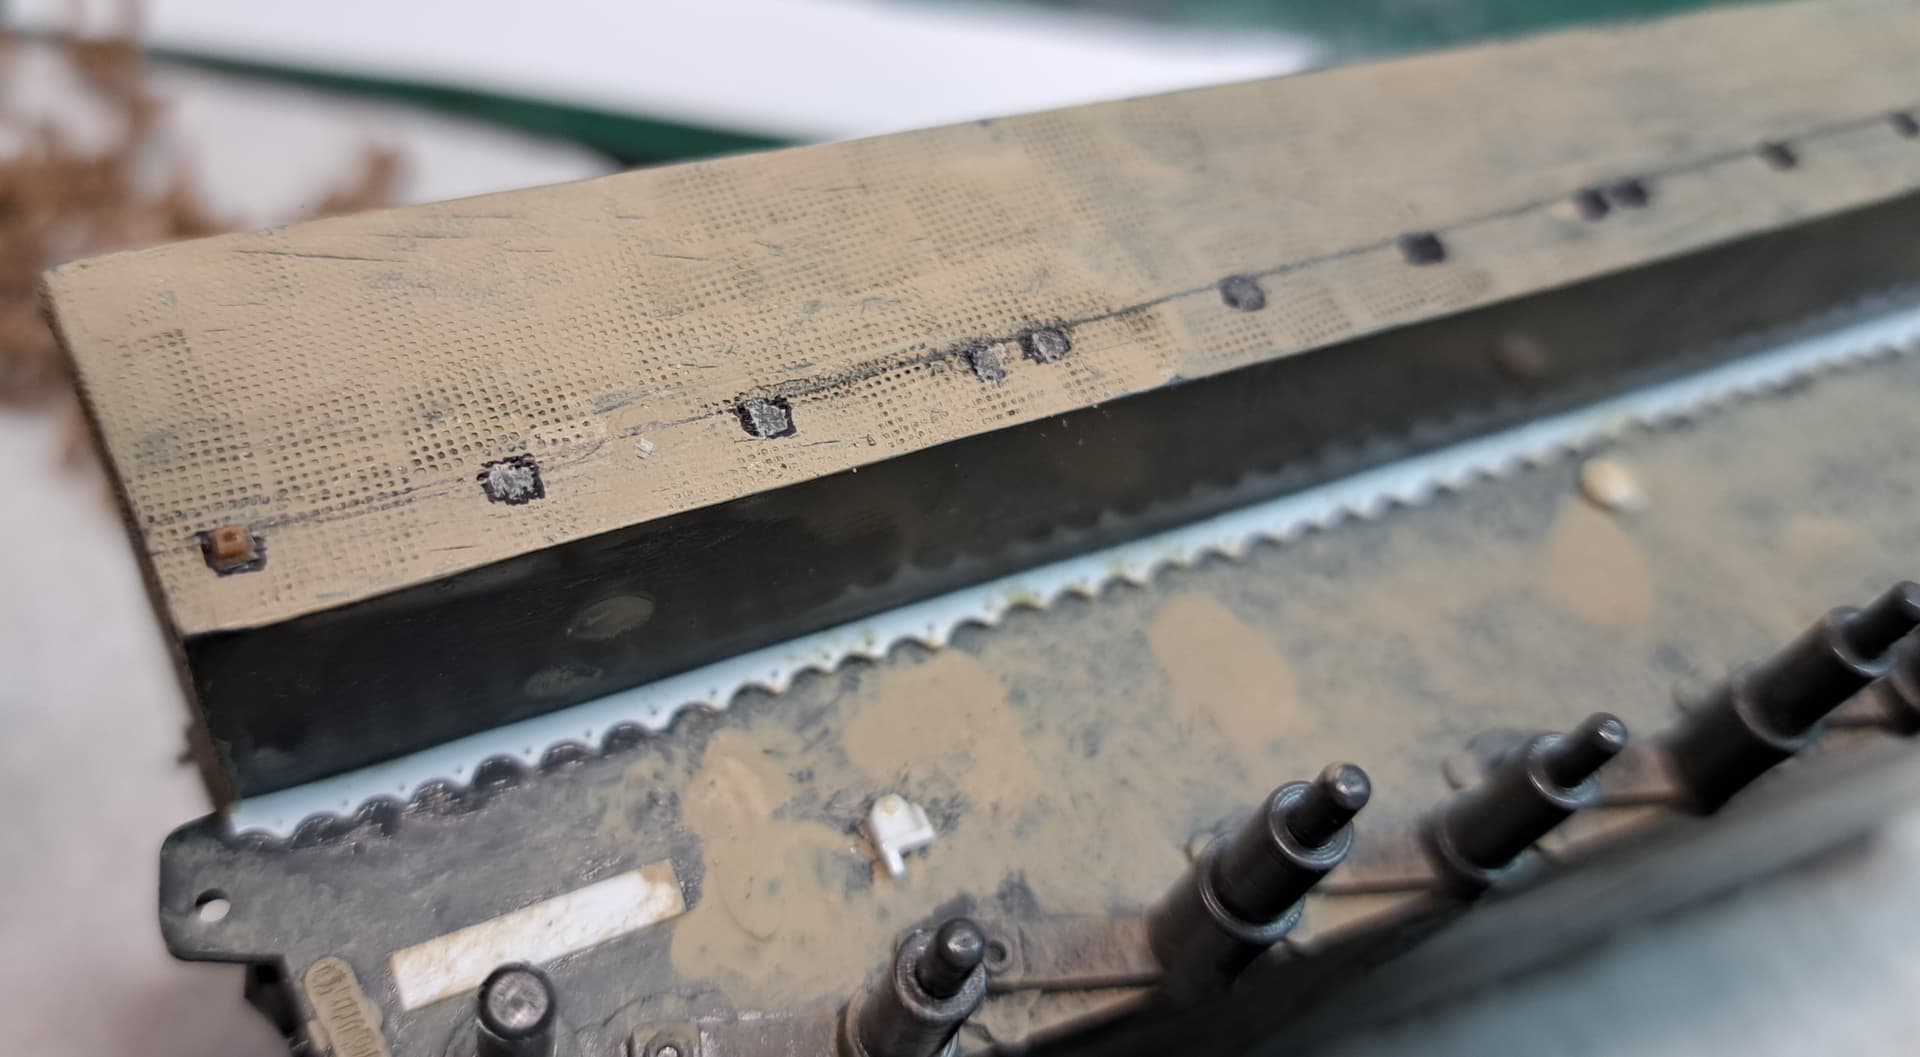
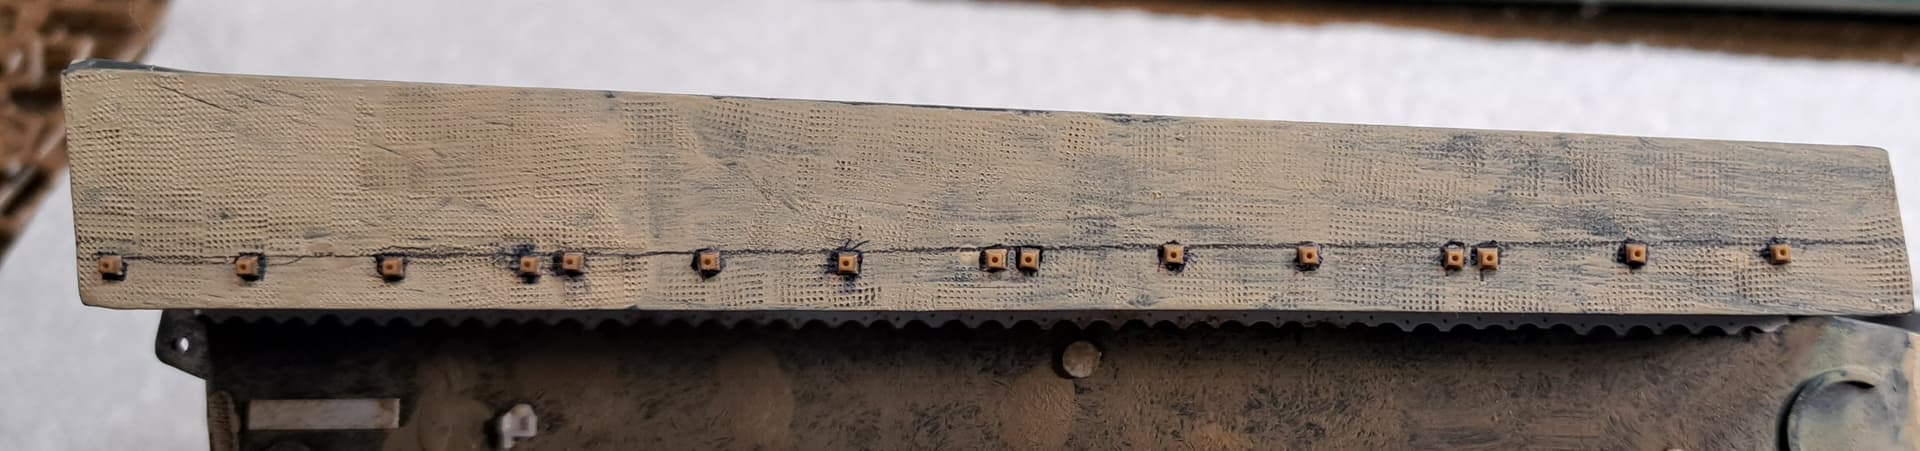
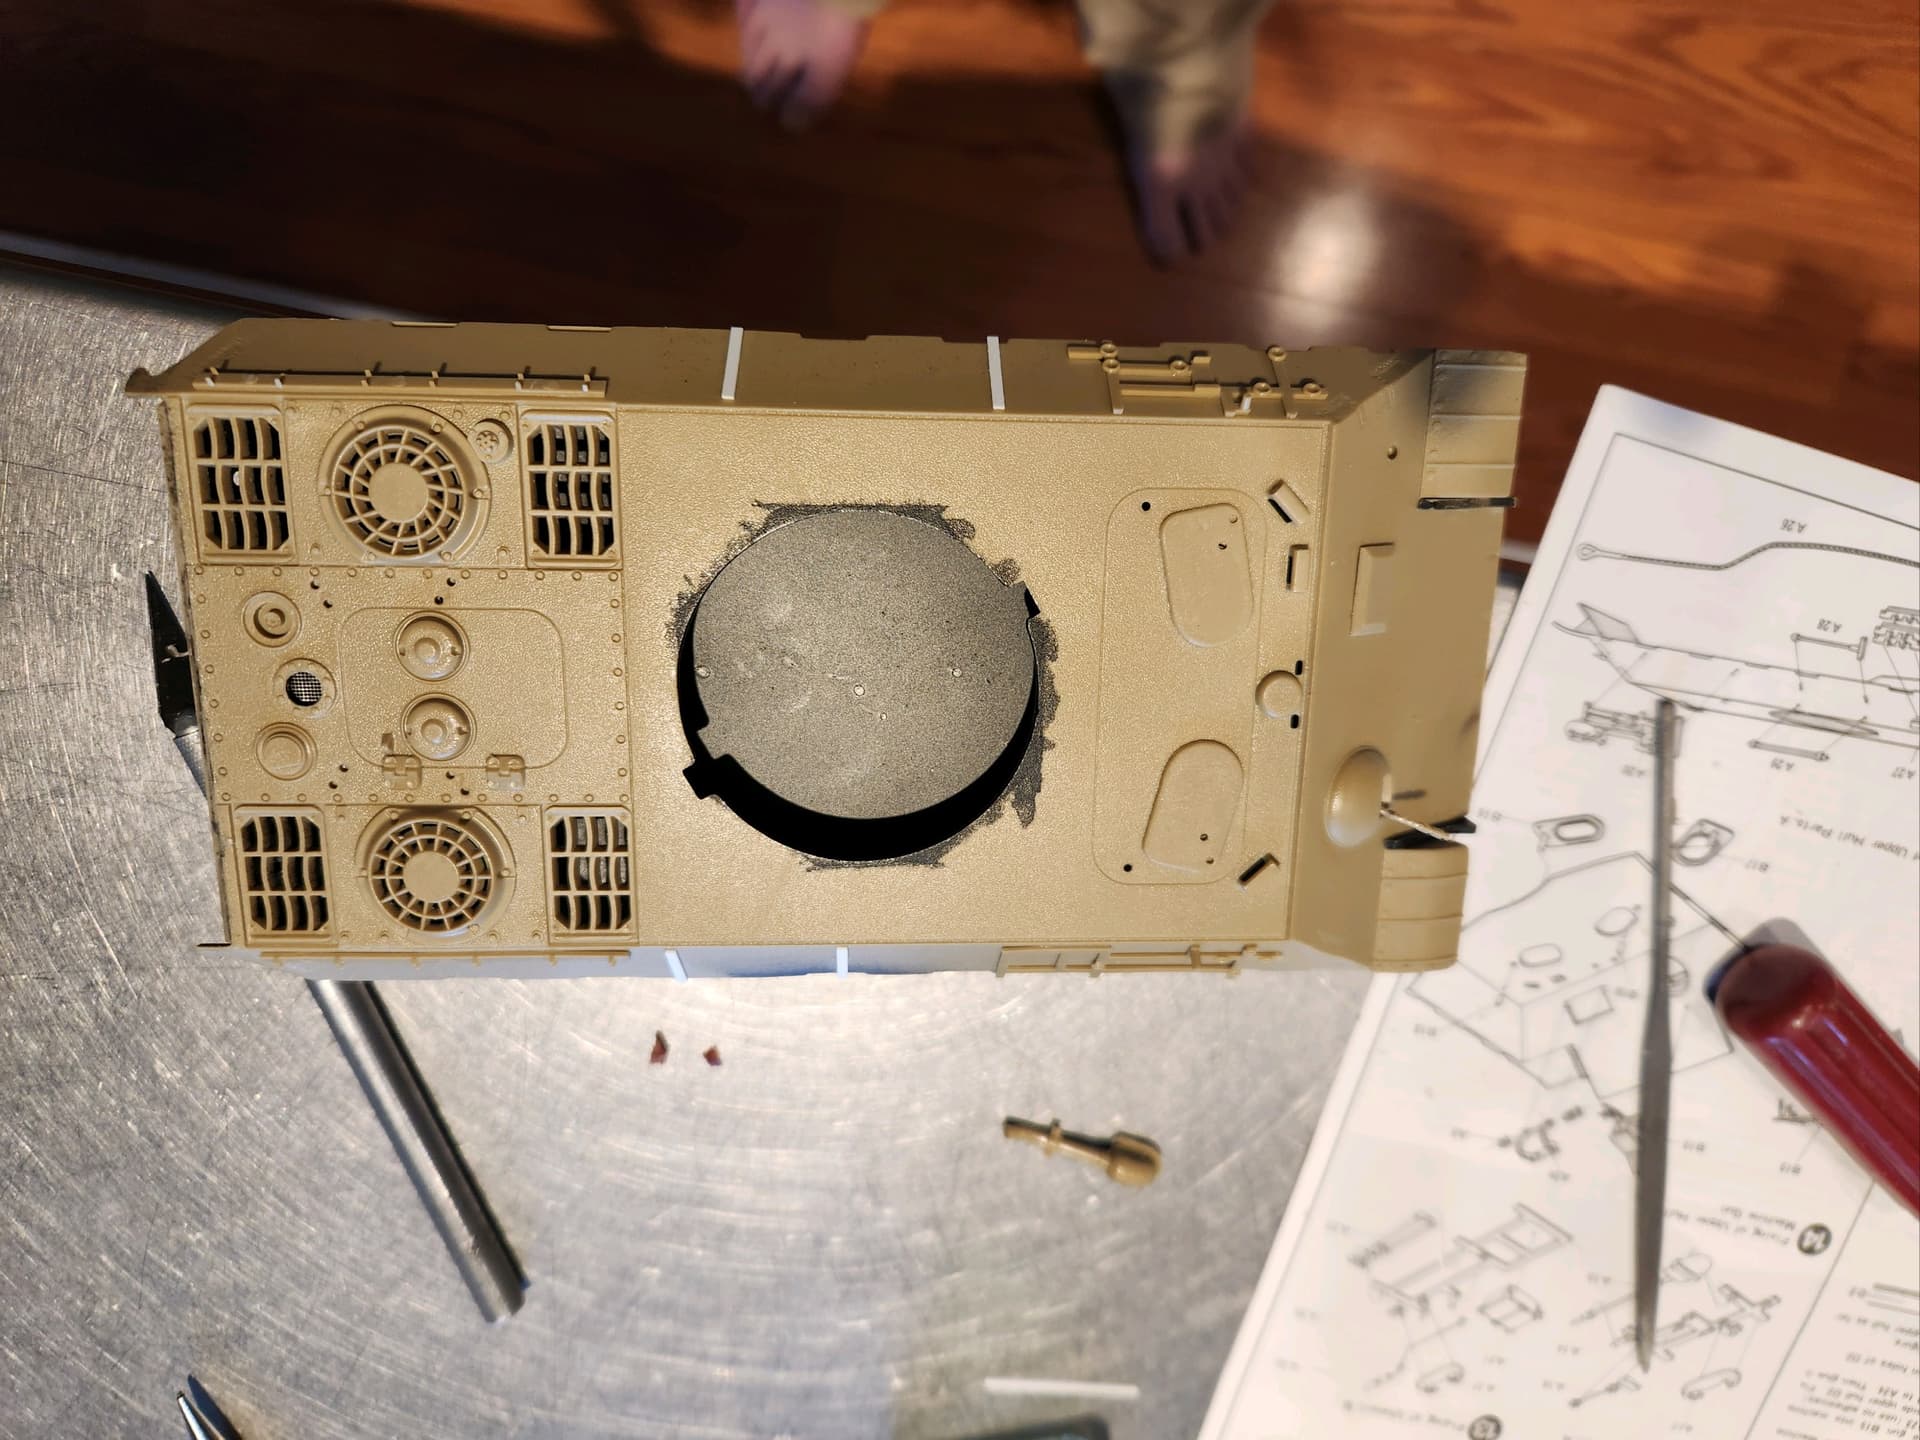
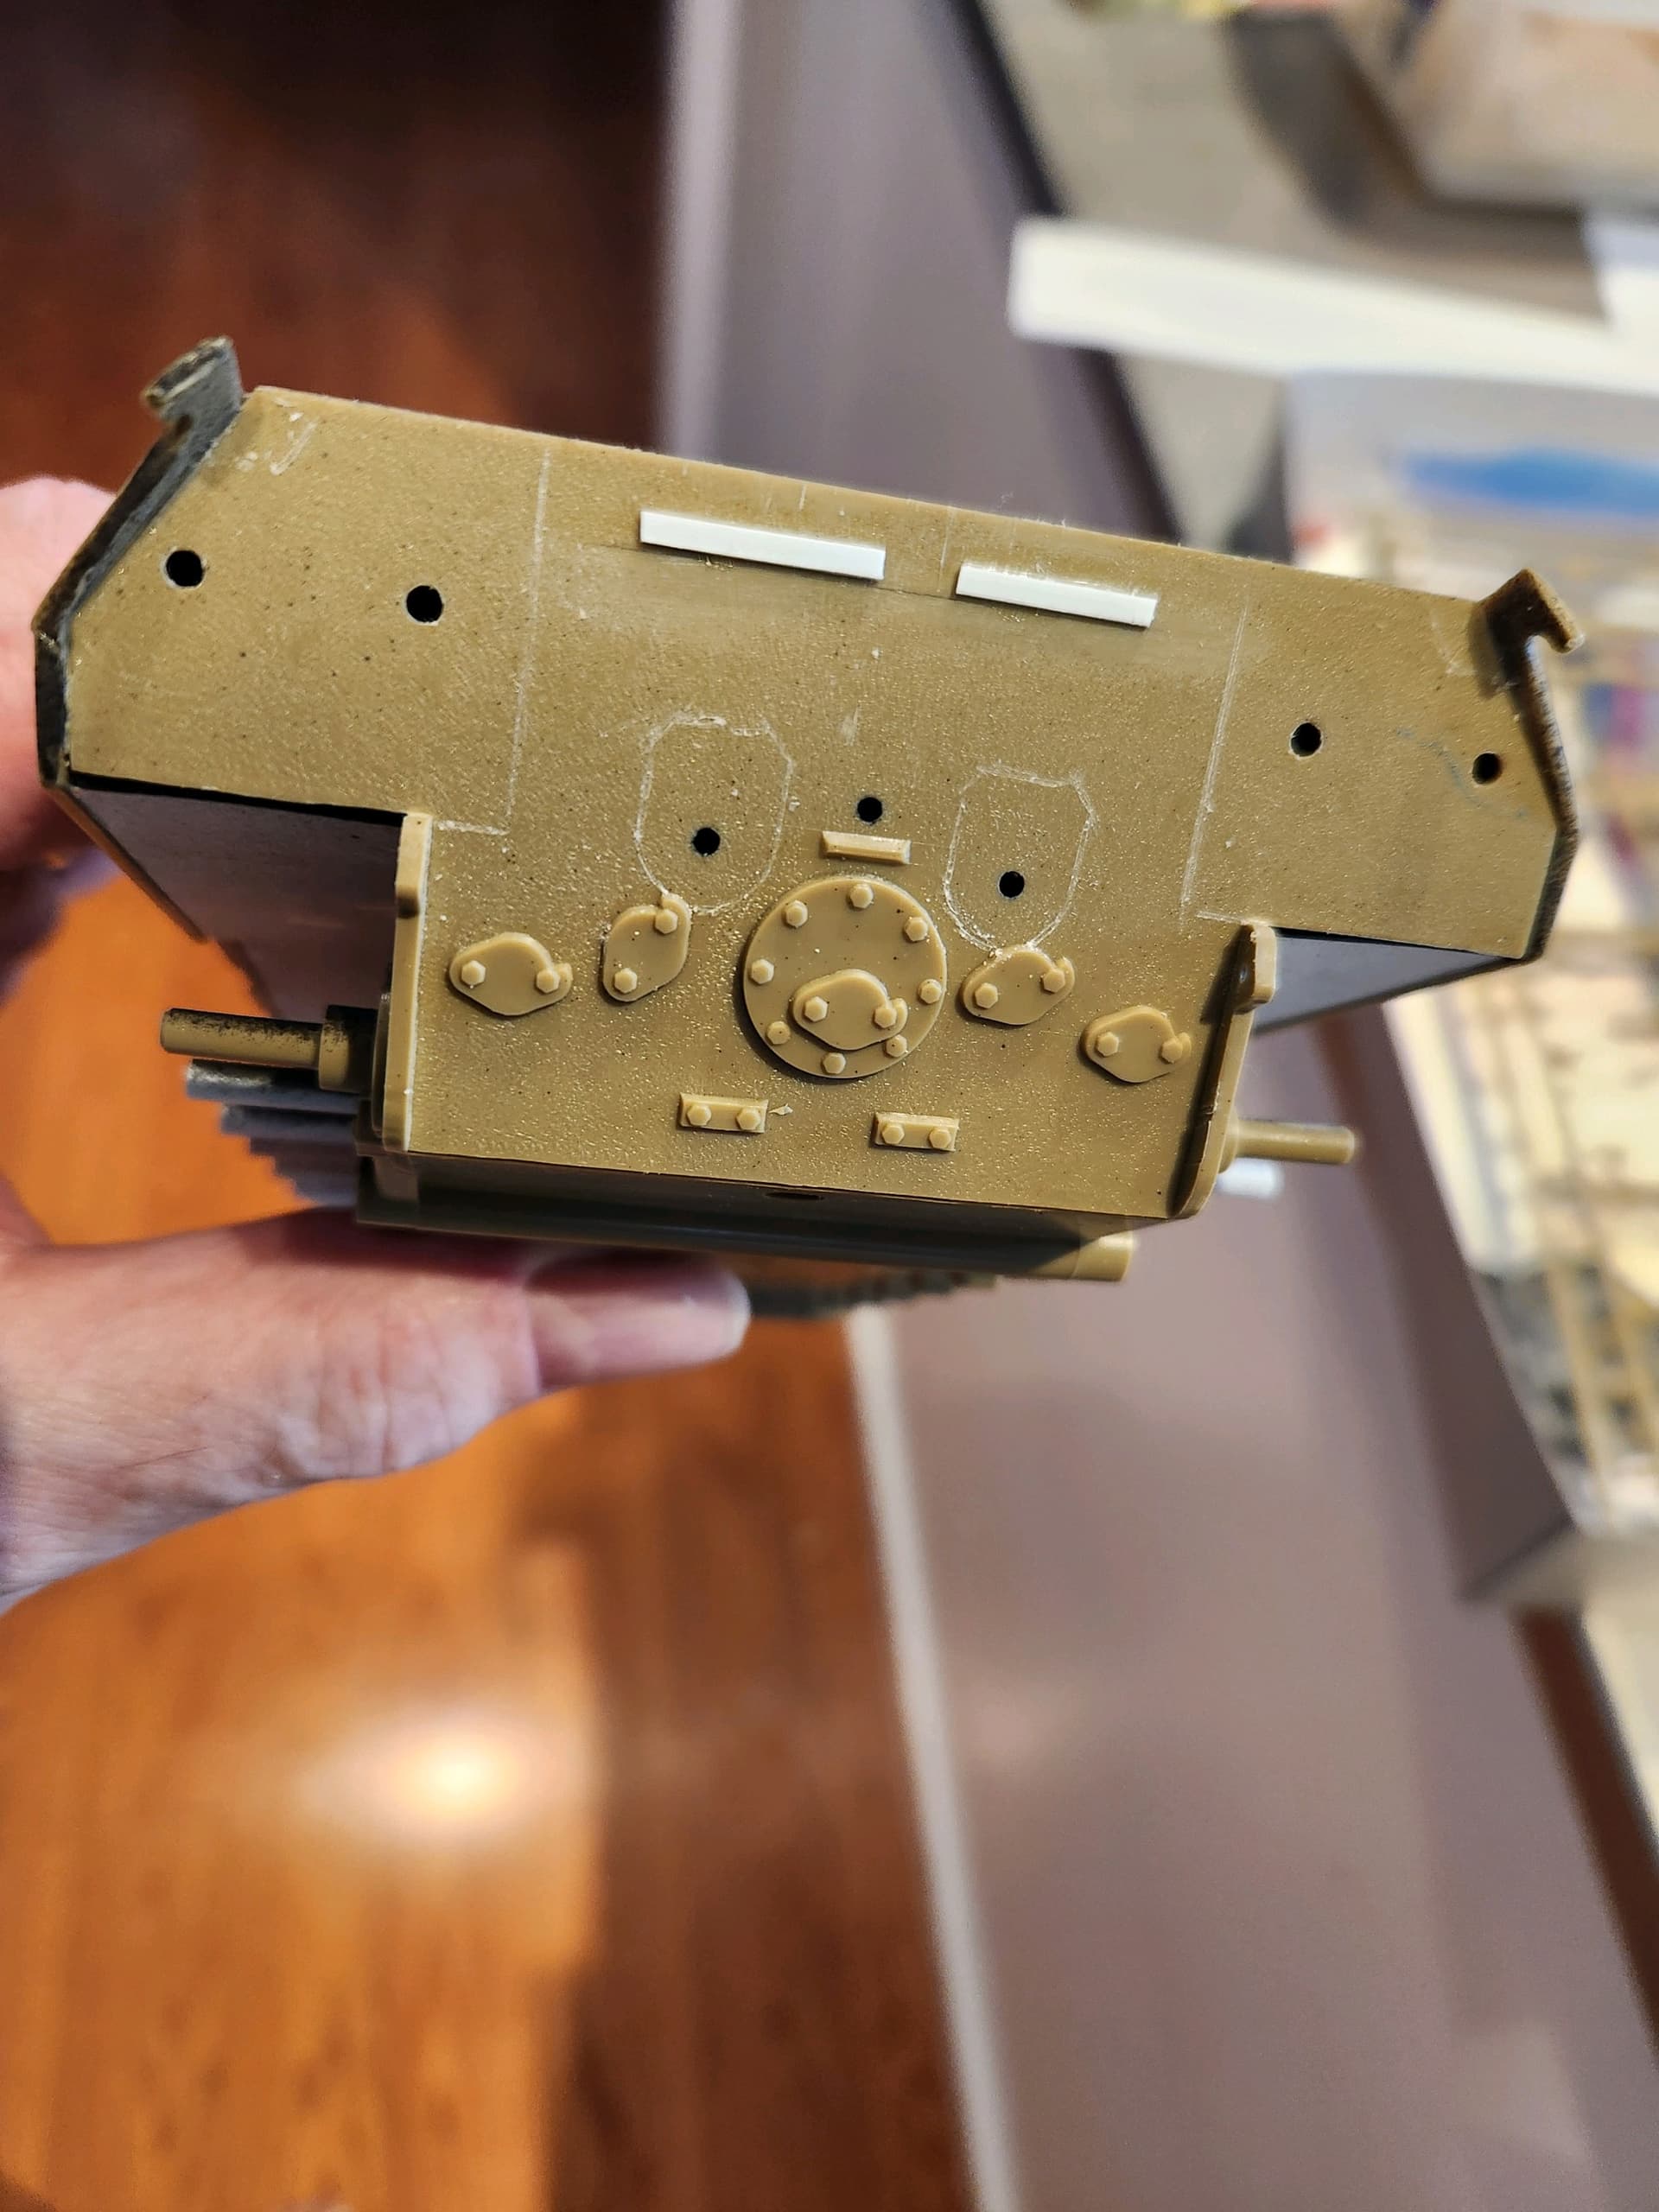
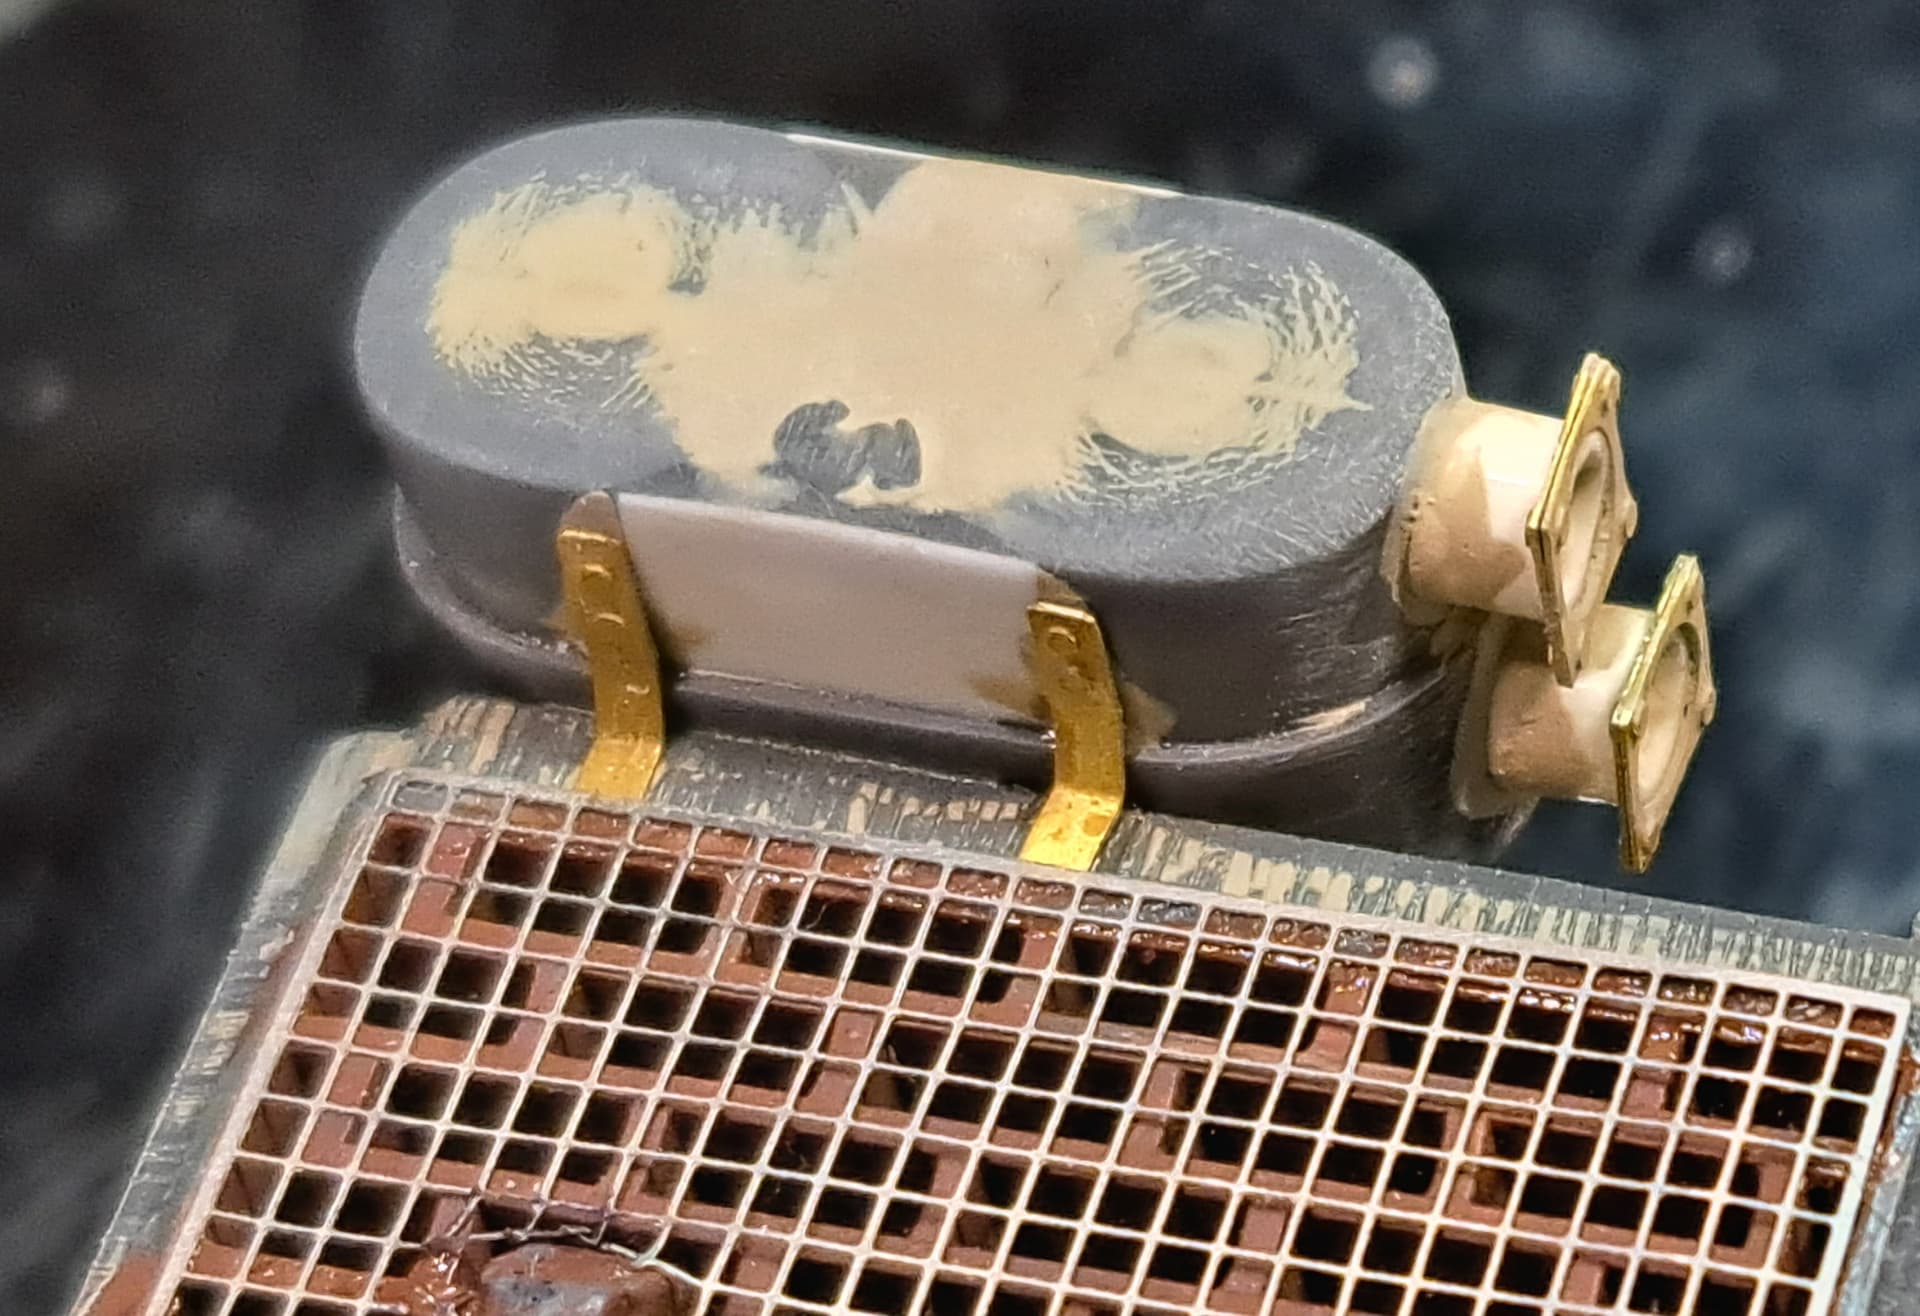
I engraved the locations of the rear storage boxes and exhaust so I will know where not to zimm. I used the back edge of a number 11 to engrave. I trimmed off the rear exhaust mount and replaced it with some sheet plastic. I will custom make some PE to mount there.
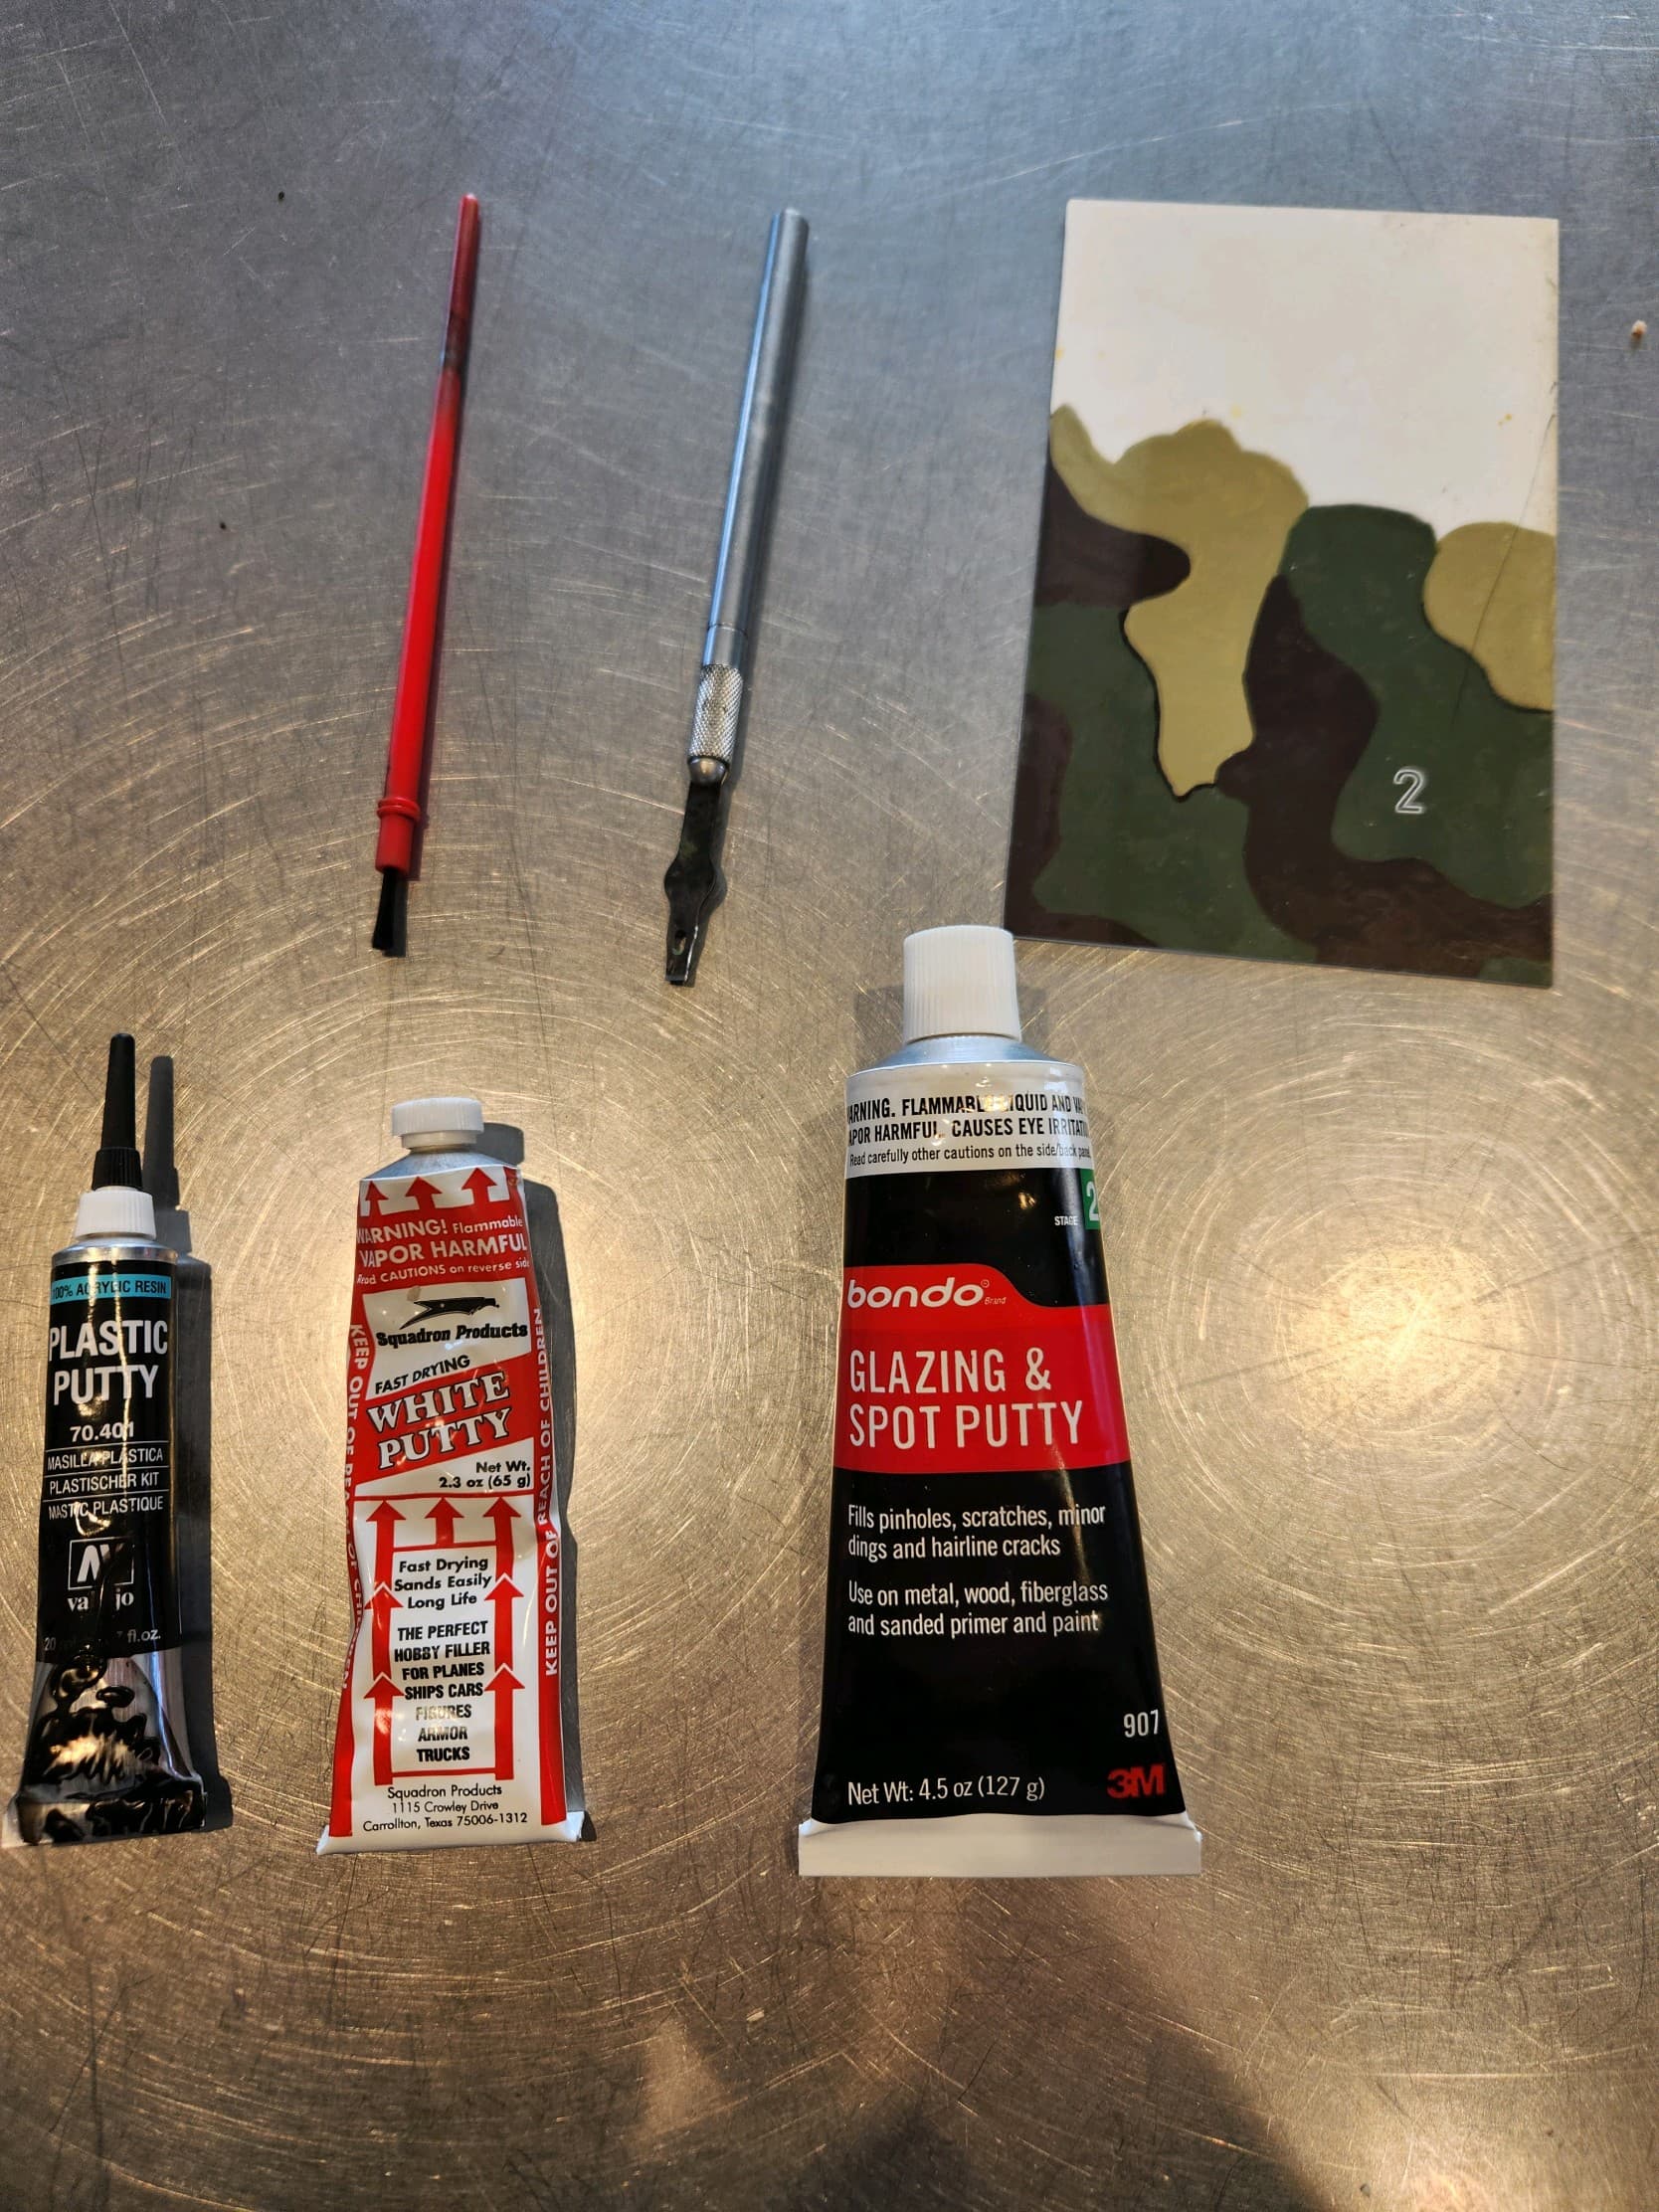
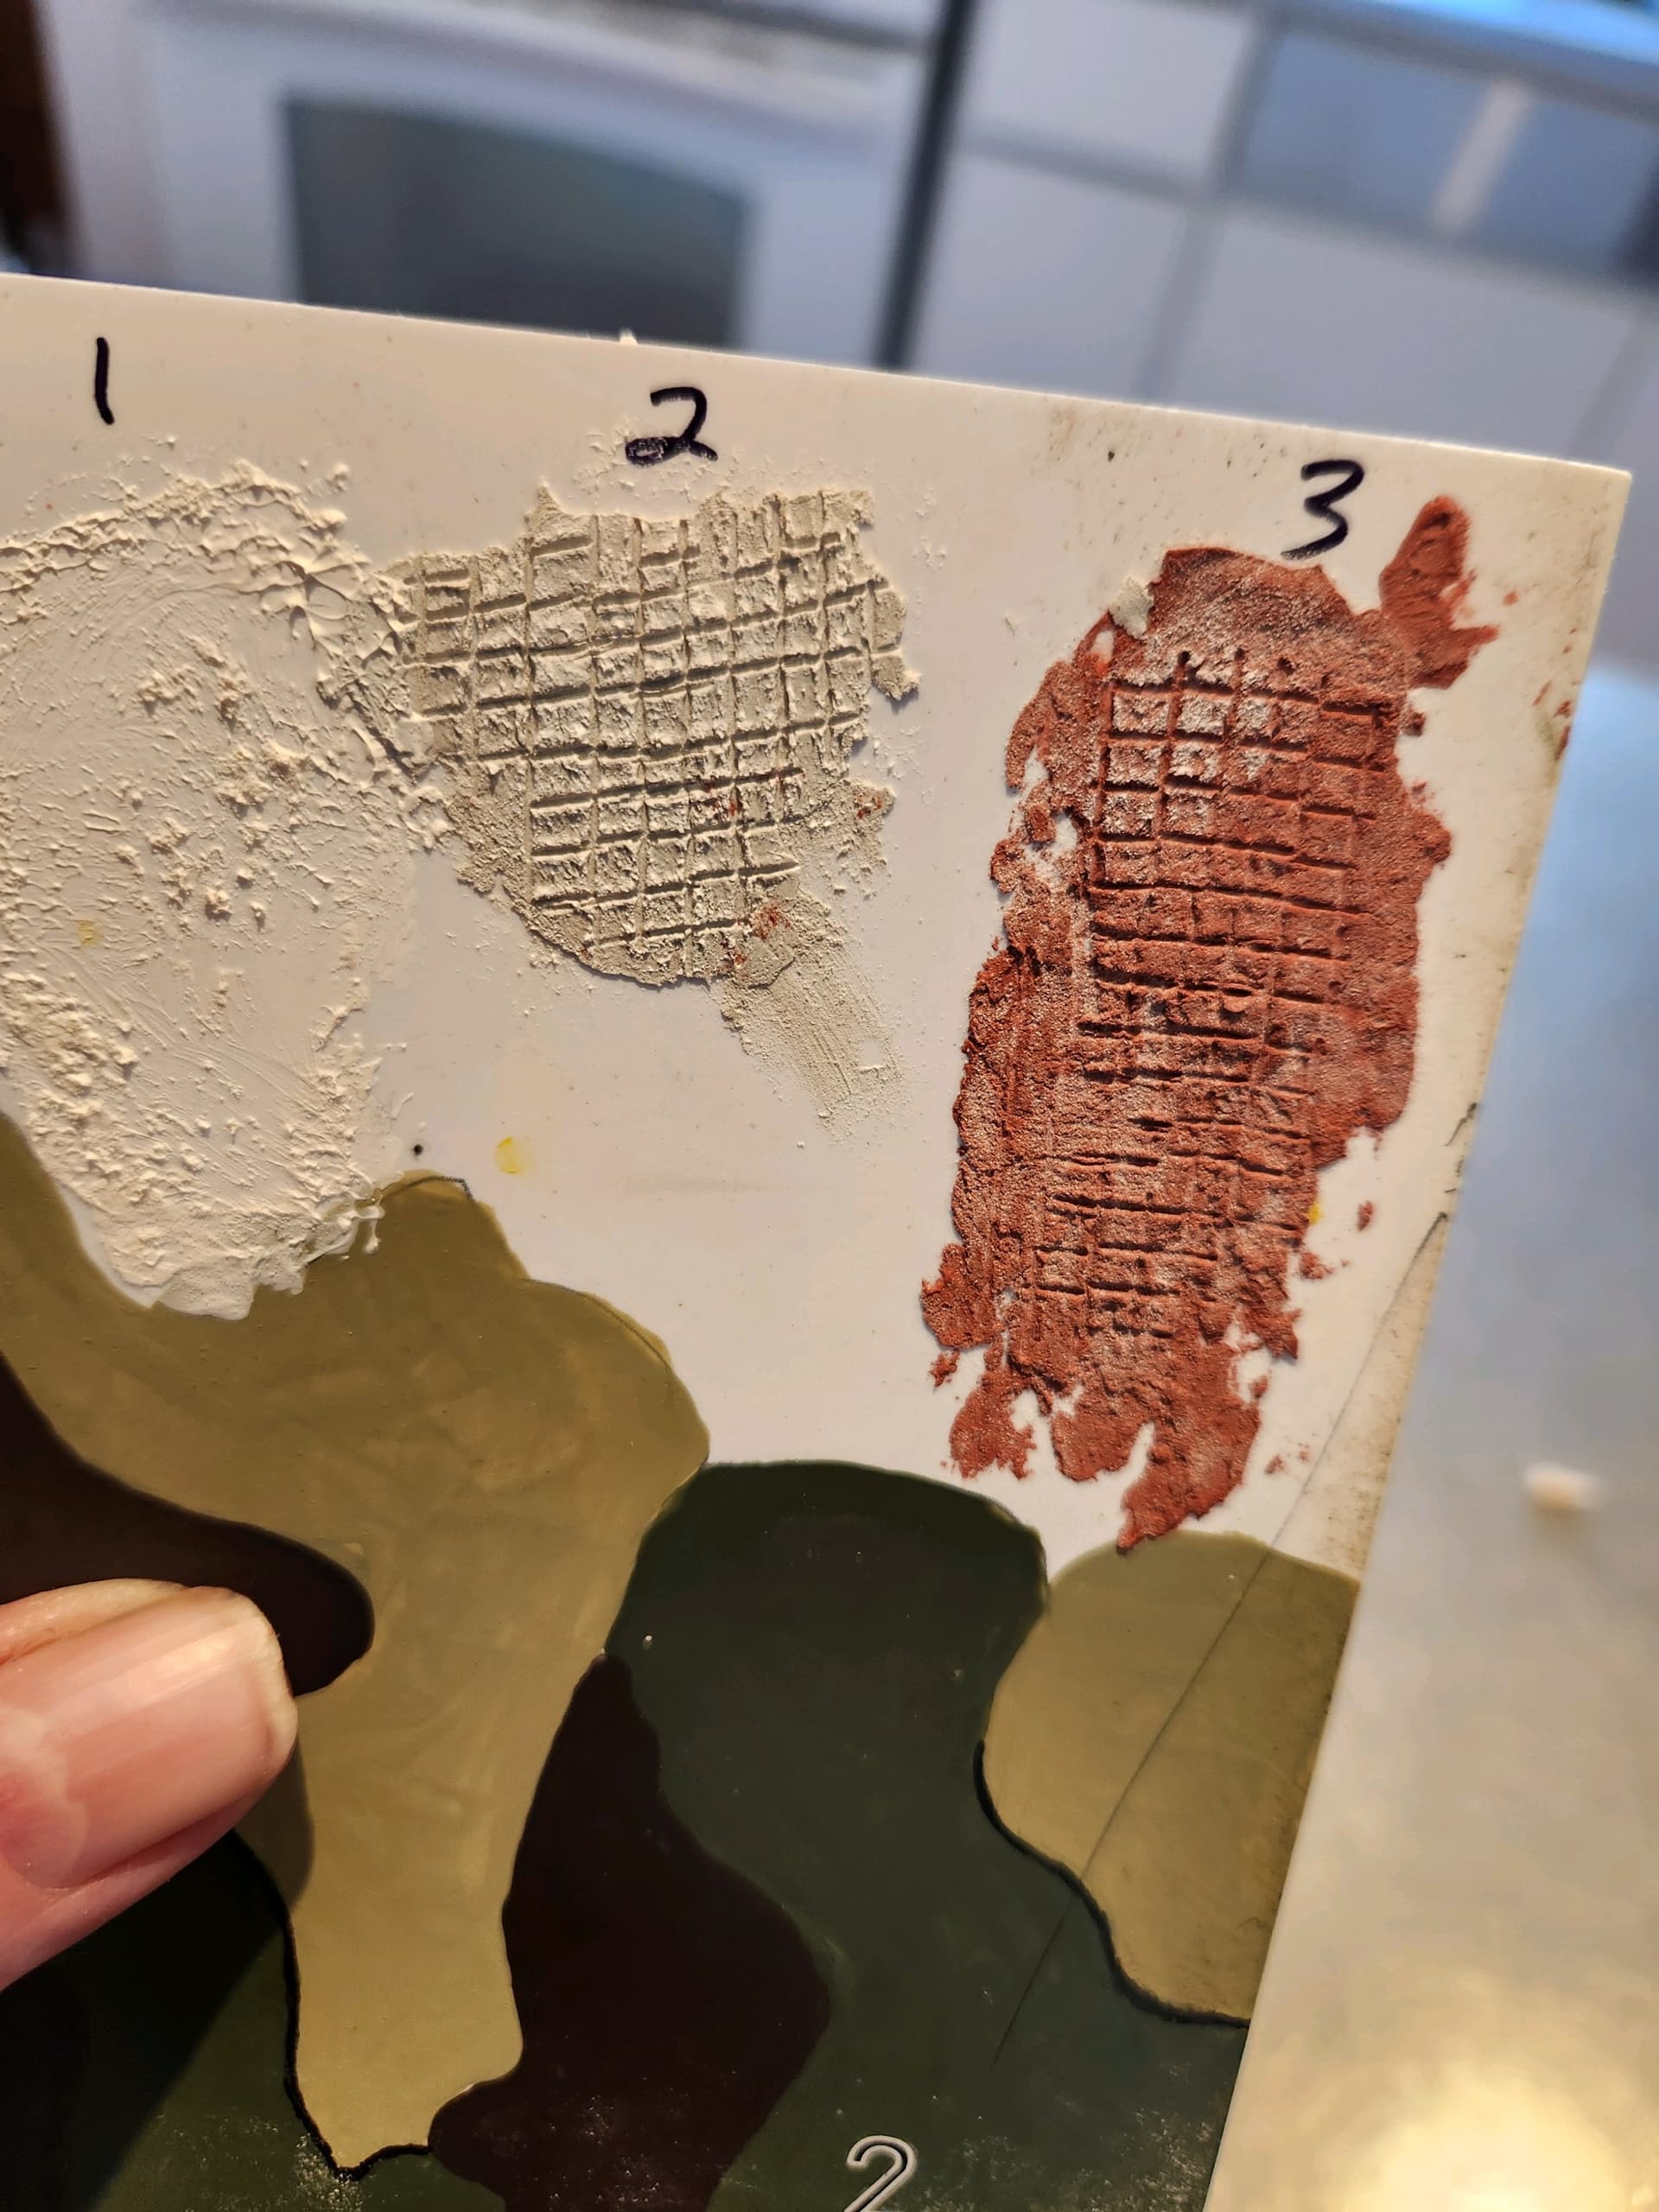
I tried all 3 out. The first was a soft cream, not so good for zimm. The second was Squadron Putty that was a might old and on the thickish side. The third was Matts recomendation. Bondo putty from Auto Zone.
The creamy putty was a bust, at least how I was using it. I used it to stipple the Squadron Putty and got a reasonable representation of the actual zimm texture. The Bondo went on the easiest but I have to put flower on it to keep it from sticking to any tools I use to spread it. I need a little more practice but I plan to start zimming tomorrow. Any suggestions as to keeping the Bondo from sticking to my tools would be appreciated.
You are already well on your way to put us all to shame!
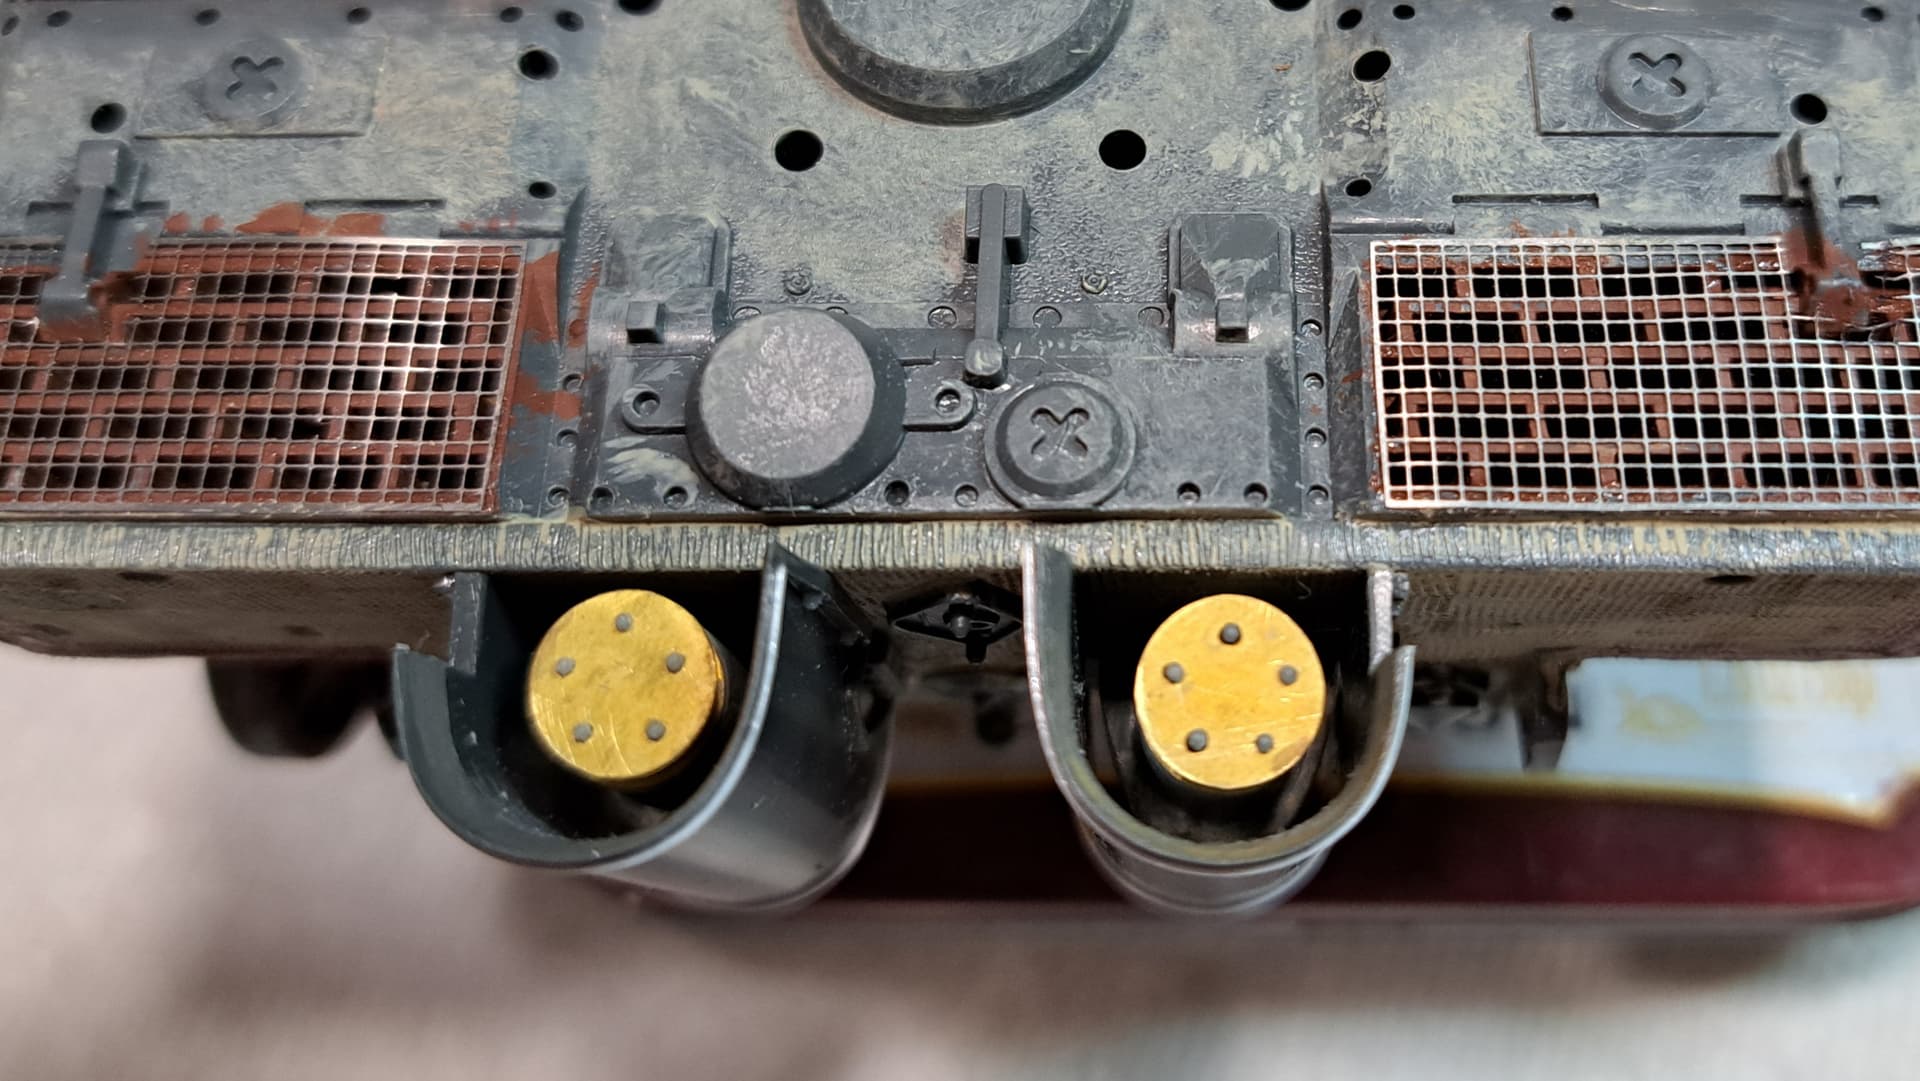
One thing that gave me headaches on my Tiger was how to paint the exhausts with the shrouds in place.
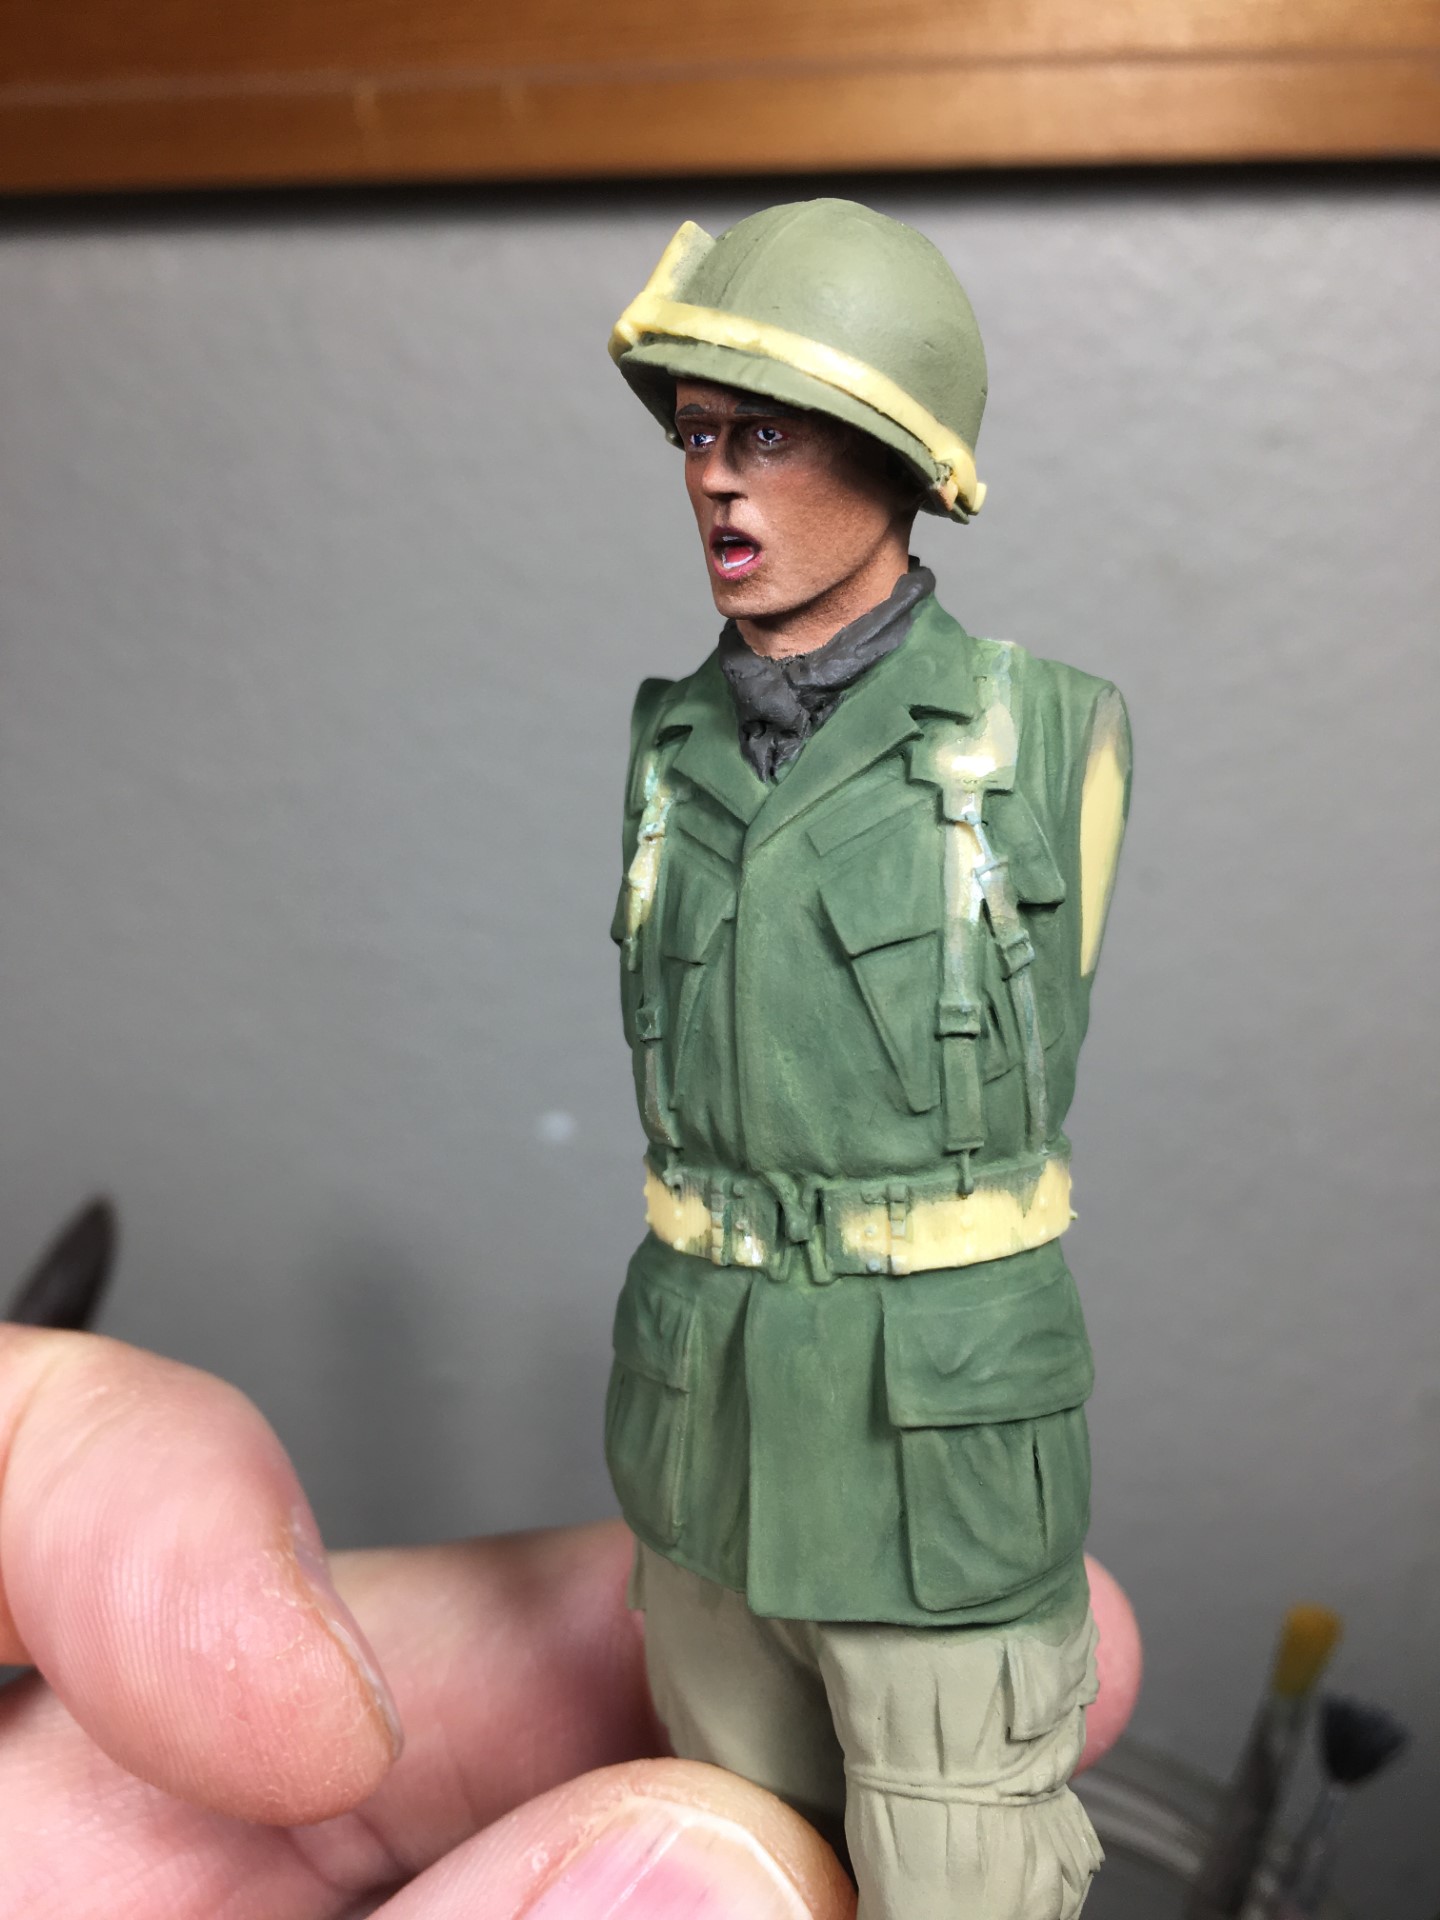
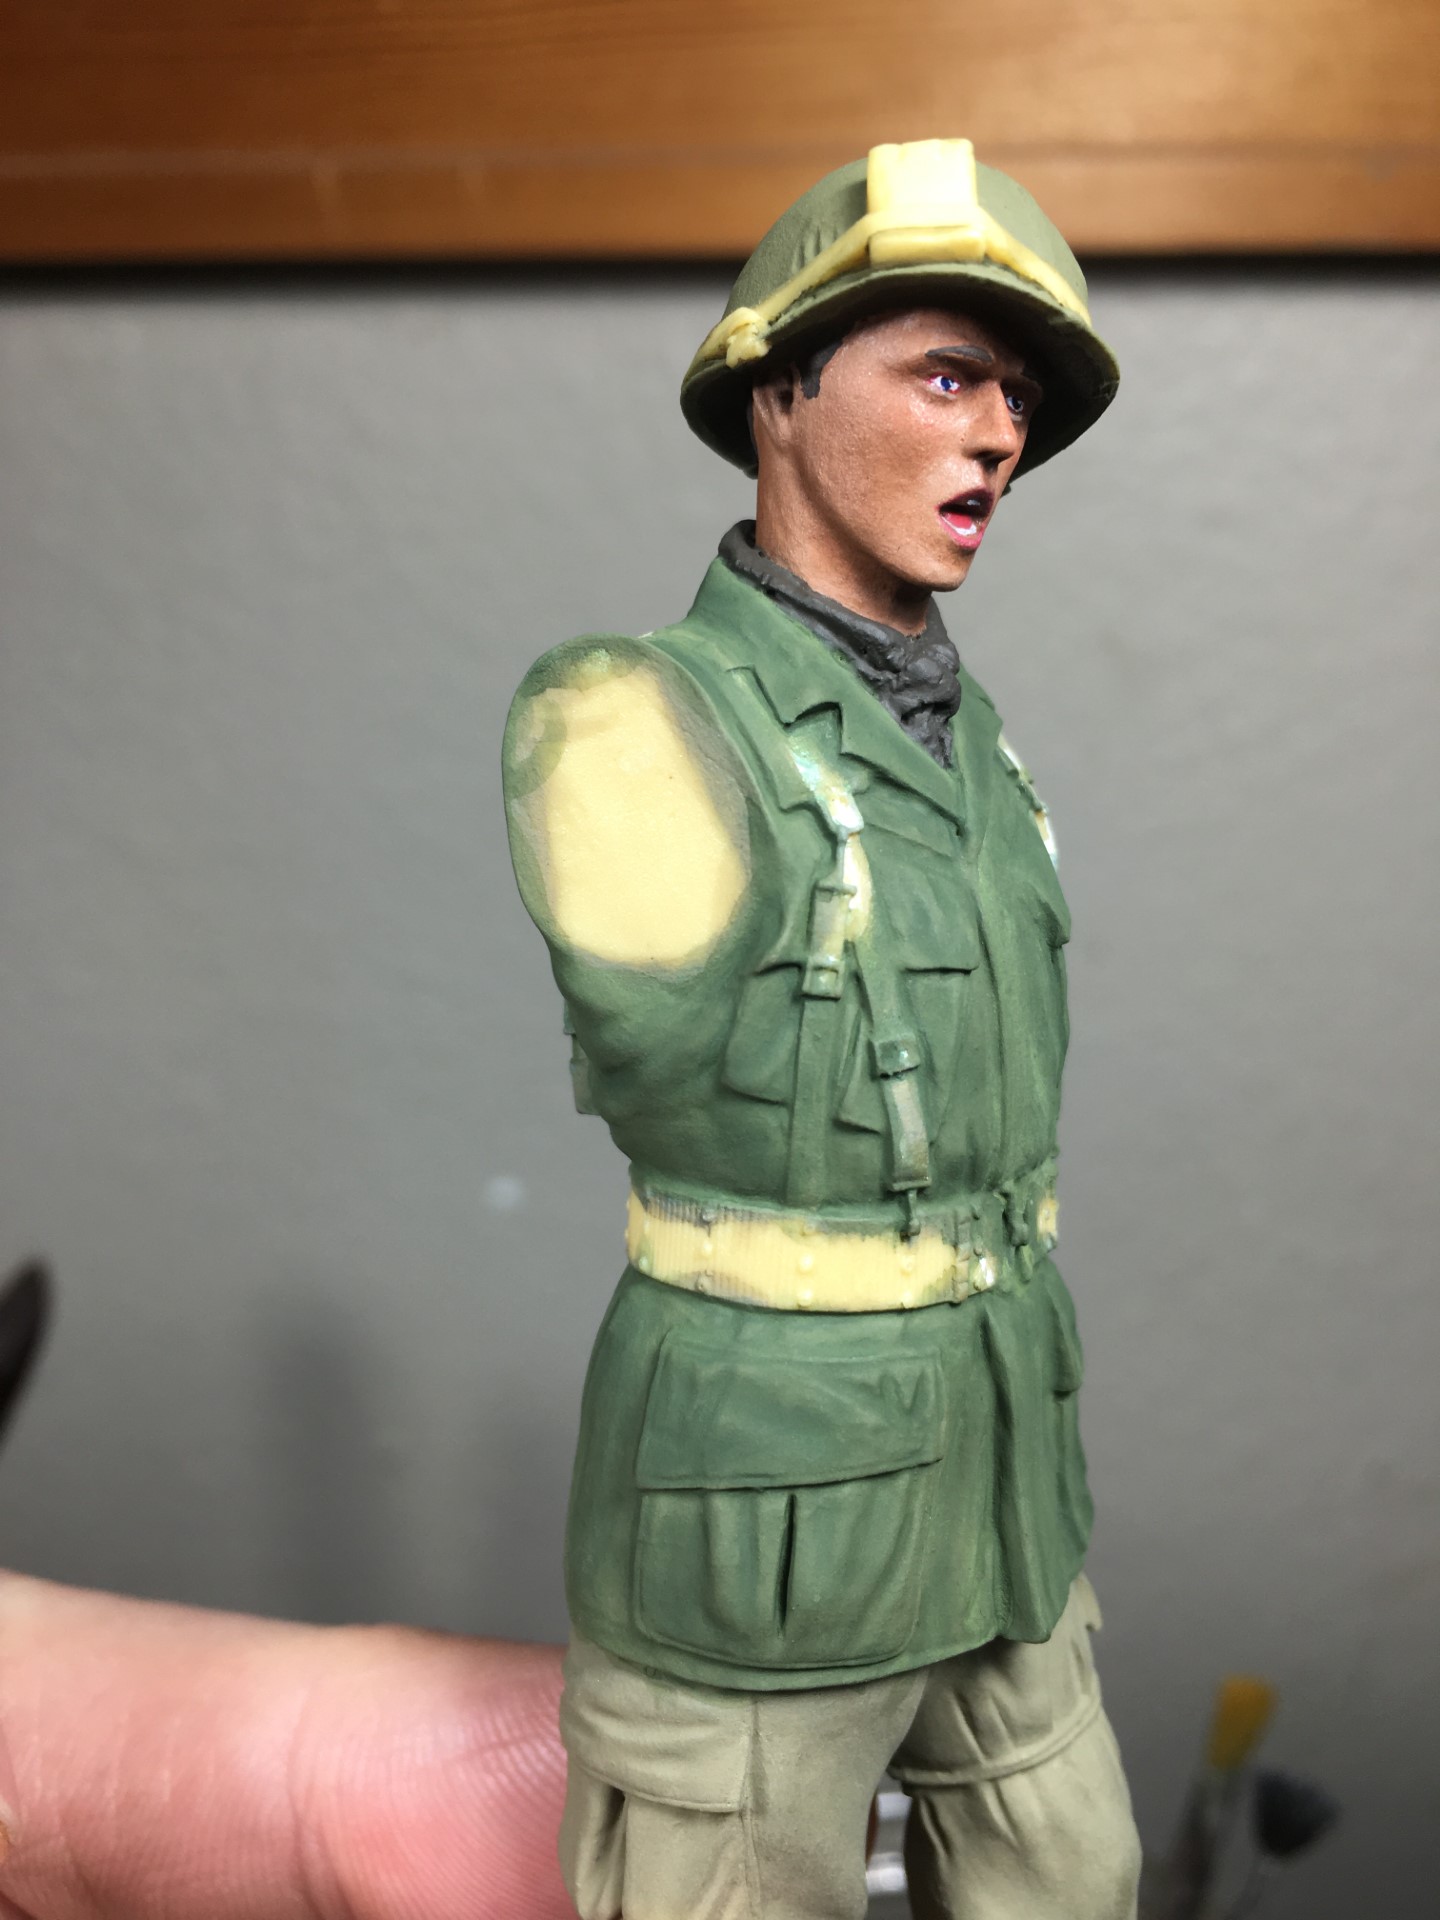
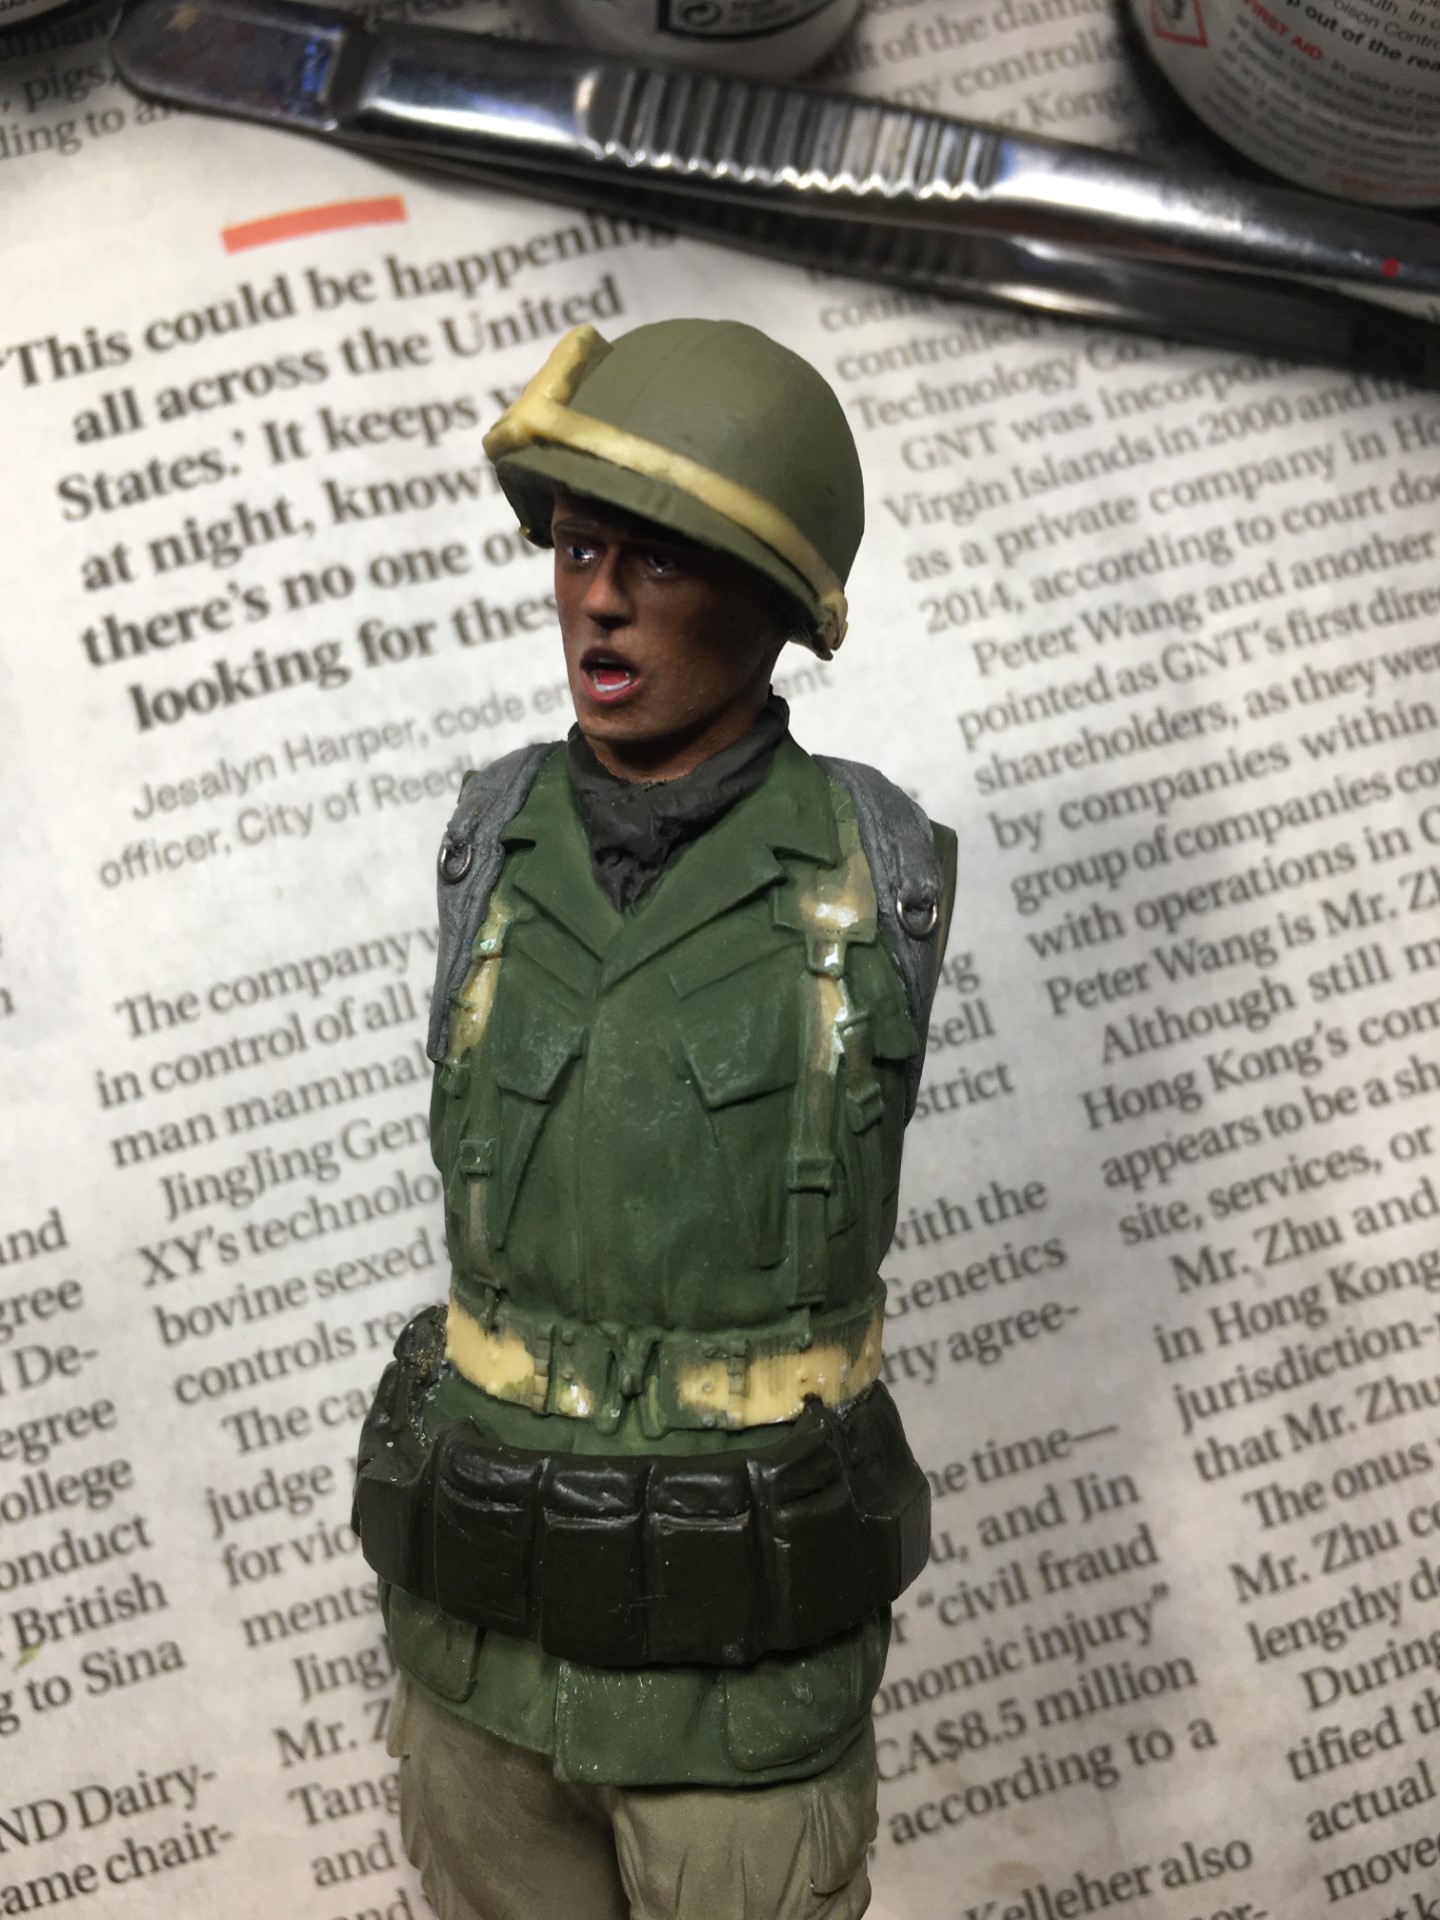
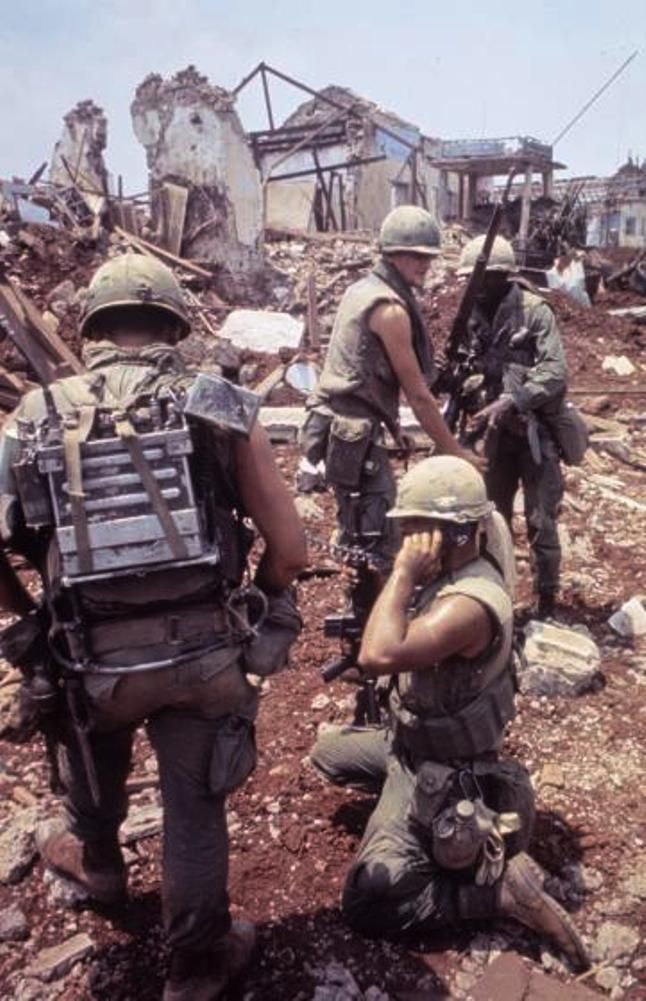
Here’s the conundrum. There are only a few ways to appropriately mount the radio on the figure. The primary method would be via a lightweight rucksack frame. That’s the route I am choosing because it was the most common, and hence the shoulder straps. The other means would be the canvas radio rig mostly seen early in the war and much less common would be to sling the radio over the shoulder via a GP strap connected to the handles on the radio.
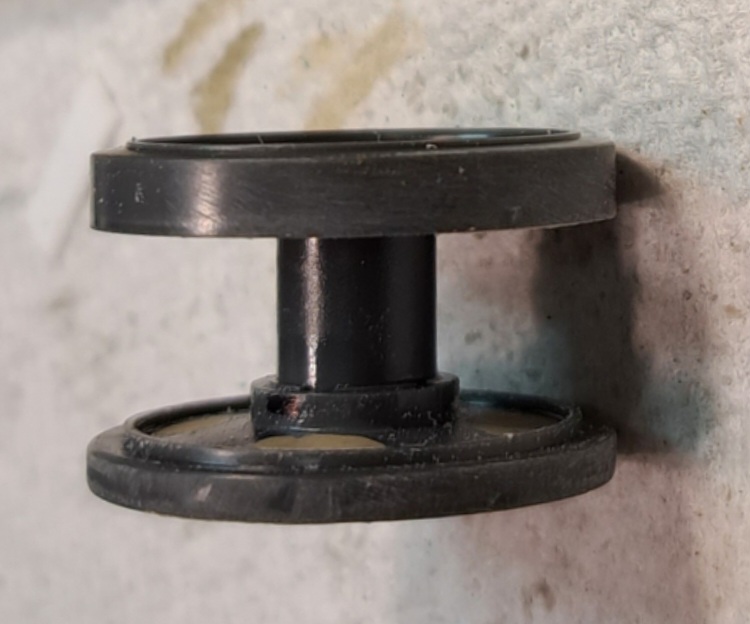
Here’s the problem. Verlinden’s radio is way too small. I looked for a suitable alternative, and the only “1/16” PRC-25 available is one from a more obscure model made by Dog Tag. It comes with a nice lightweight ruck frame, but sadly that radio is the same size of the Verlinden version. In fact, the radios and the frames are all 1/8" too small for that scale. I checked the measurements on the ones in my collection.
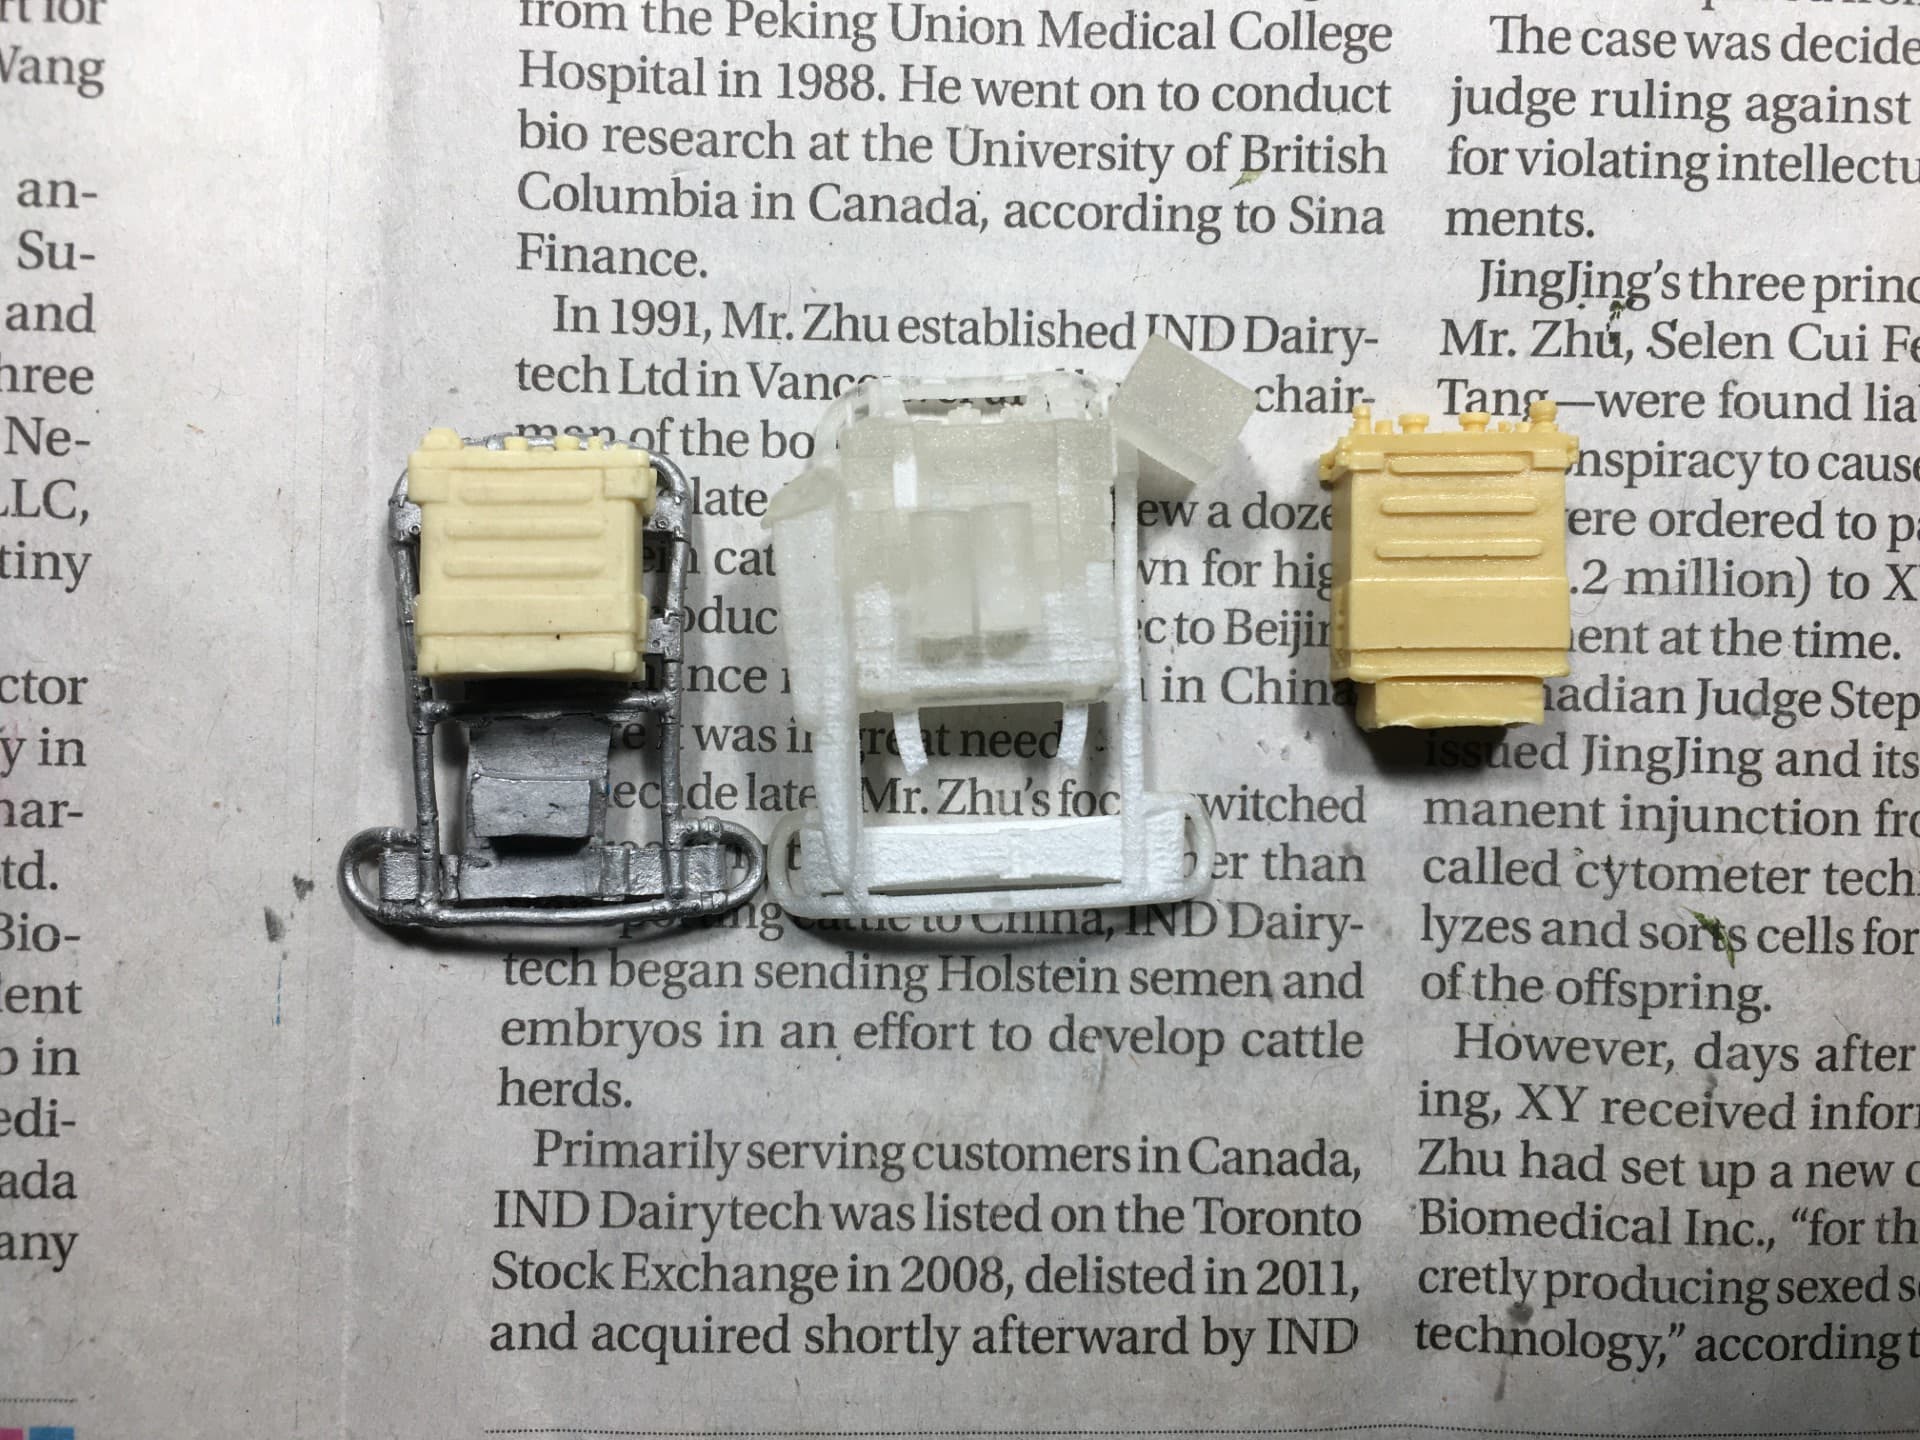
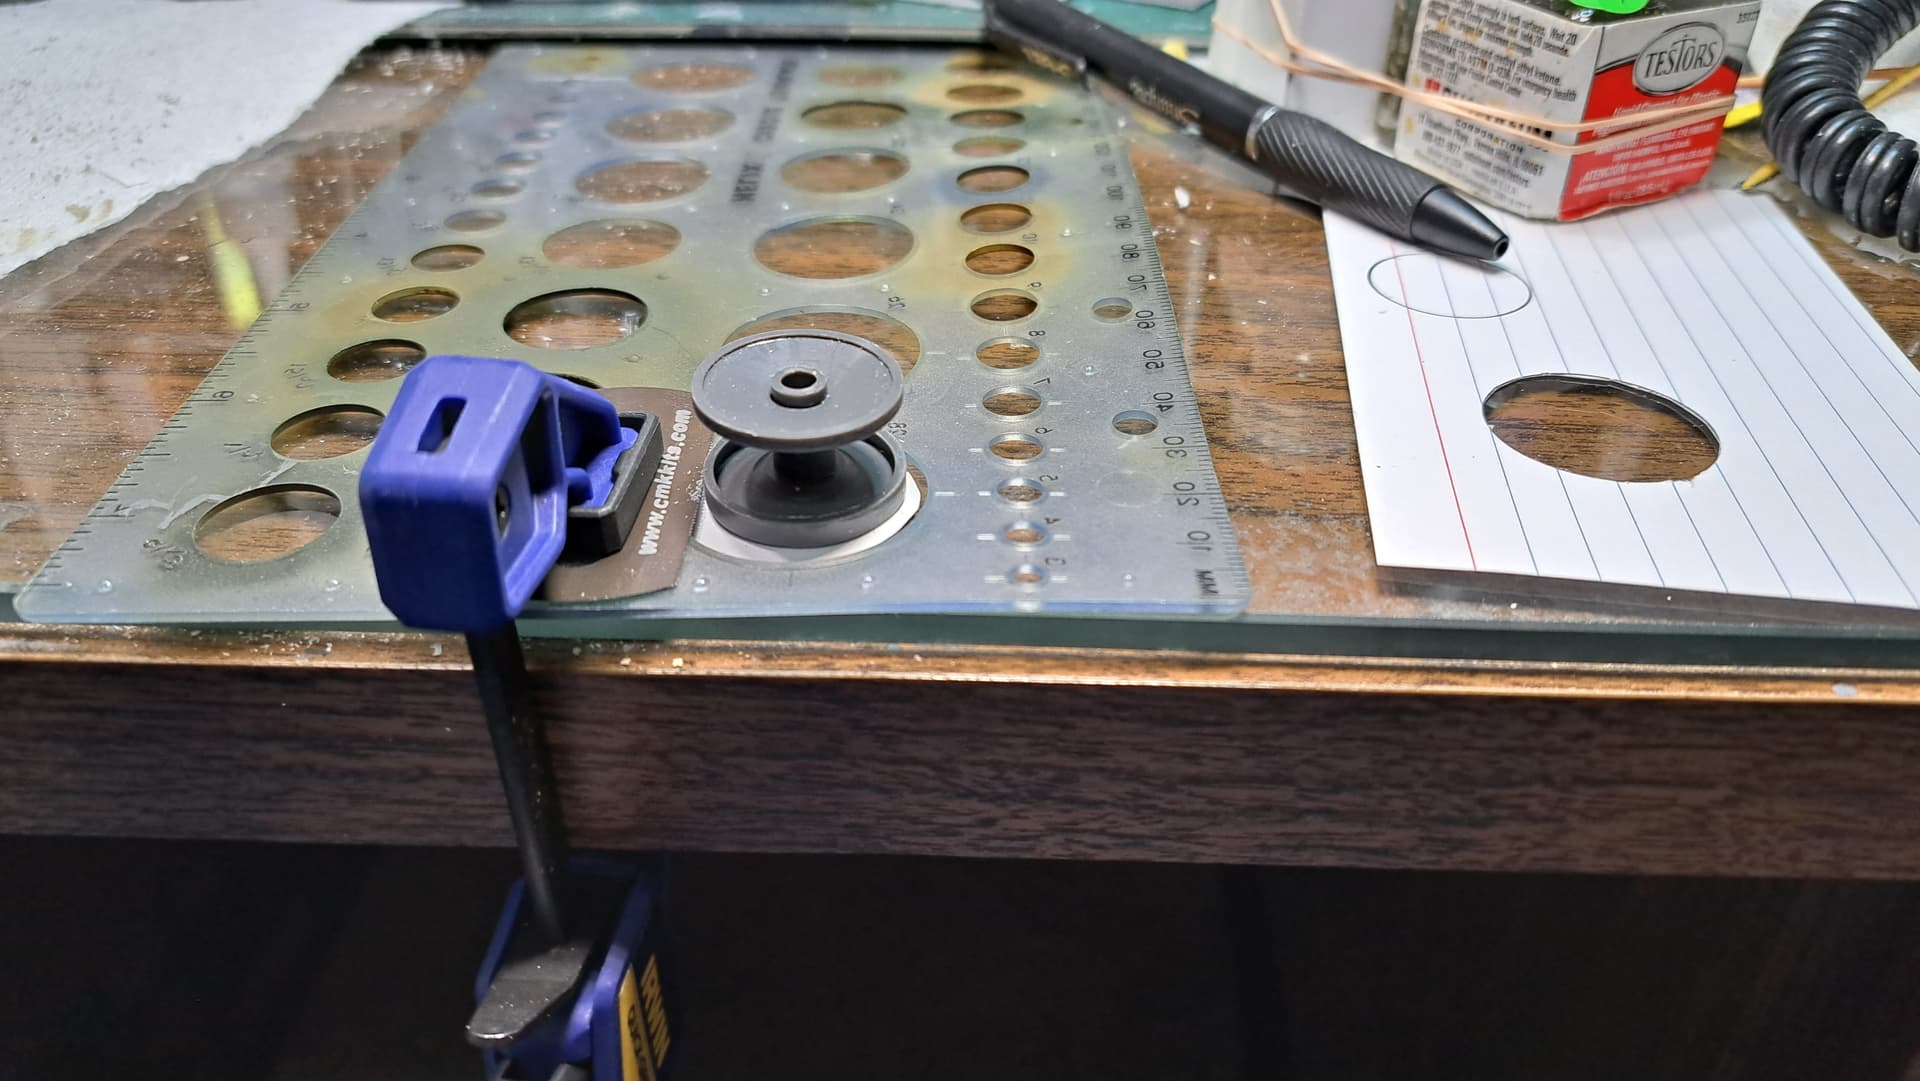
Several years ago I commissioned a 3D modeler to make several Vietnam rucksacks that I hoped would be suitable for modeling and selling. One such model was a radio and a frame that I specifically intended for a future Verlinden build such as this. Below is a comparison of all three. From left to right is the Dog Tag radio/frame, the custom 3D printed frame and the Verlinden radio.
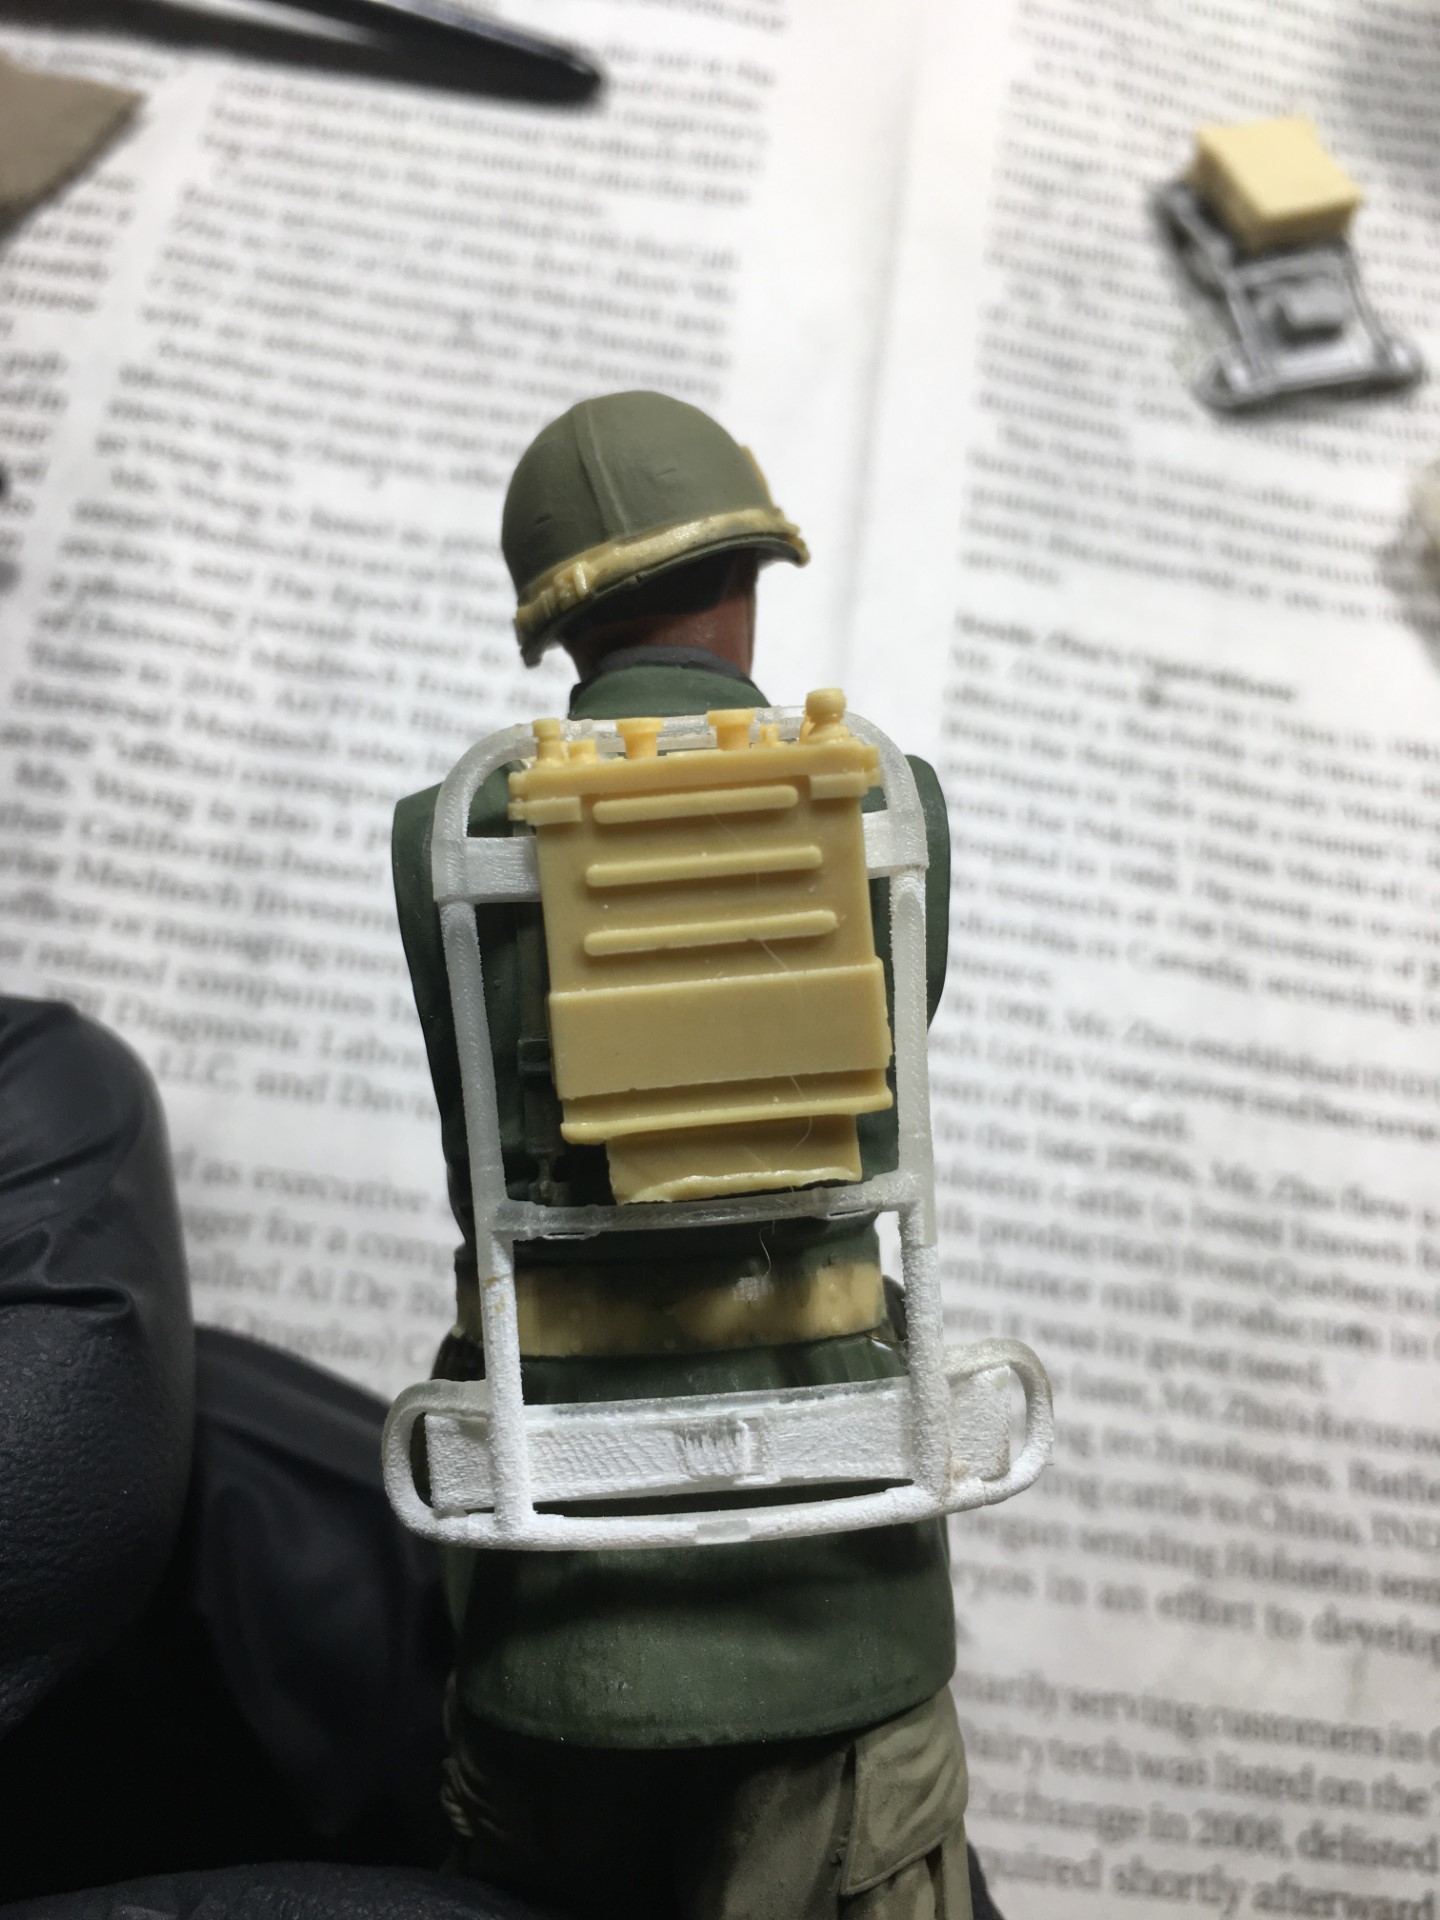
Seeing as the Dog Tag model was probably made sometime in the 1990’s and my dissatisfaction with the scale, the only way I could move forward and maintain the spirit of this event is scratch build a frame and a radio. Since it’s my time and I commissioned a model to be made for this purpose that already includes a speaker box, an accessory bag and smoke grenades, I’m going with my 3D model.
So, if you’re willing to keep me on this campaign, then great. If not, I’ll withdraw for not meeting the terms and continue the build on its own thread. Please let me know your thoughts.


")