I say you are still good to go as it still falls within the intentions of this campaign.
1 Like
Excellent! Thank you.
1 Like
I’ve never been one for following rules, and I am the one who originally thought of the concept for this campaign, I say do what you like, but at the same time I think you could scratch build the best version of any of them. I can’t tell what’s going on with that 3D printed version, but it looks like there might be a lot of striations.
1 Like
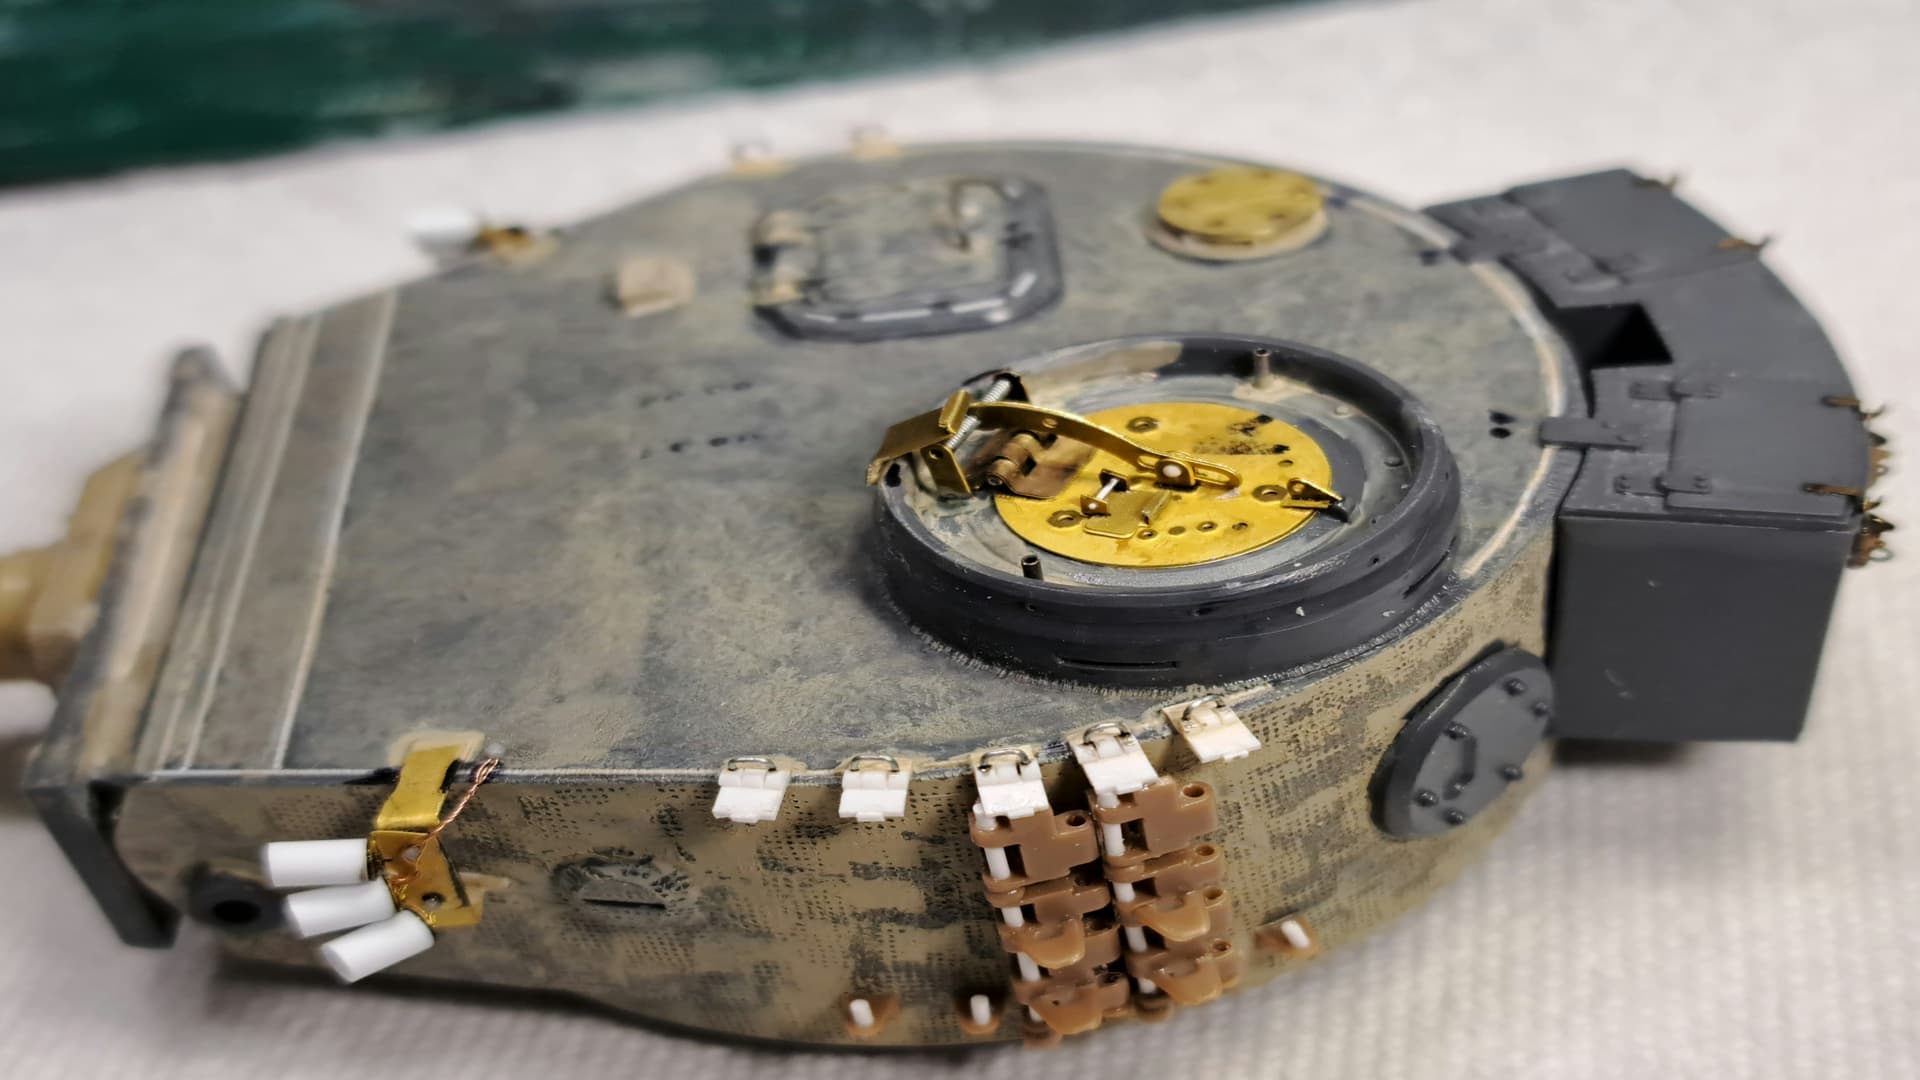
Did someone say “striations”?
![]()
Yes, I took the photo before doing any processing on the 3D printed version. The striations are a common and unfortunate result of some 3D printing processes. The resin printers are much better, but they weren’t around when I had this made. I already started to clean this up. It’s similar to dealing with mold lines. The radios I printed at 1/12 scale cleaned up very nicely. But if I can’t work out the striations, I’ll see if I can have one of our Kitmaker printers do a resin print. If not, then I’m back to scratch building.
2 Likes
@Apache26 Travis, your figure is looking great to me!
I’m asking the following as I know nothing about figure building or painting.
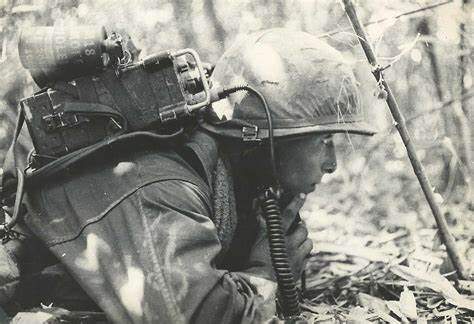
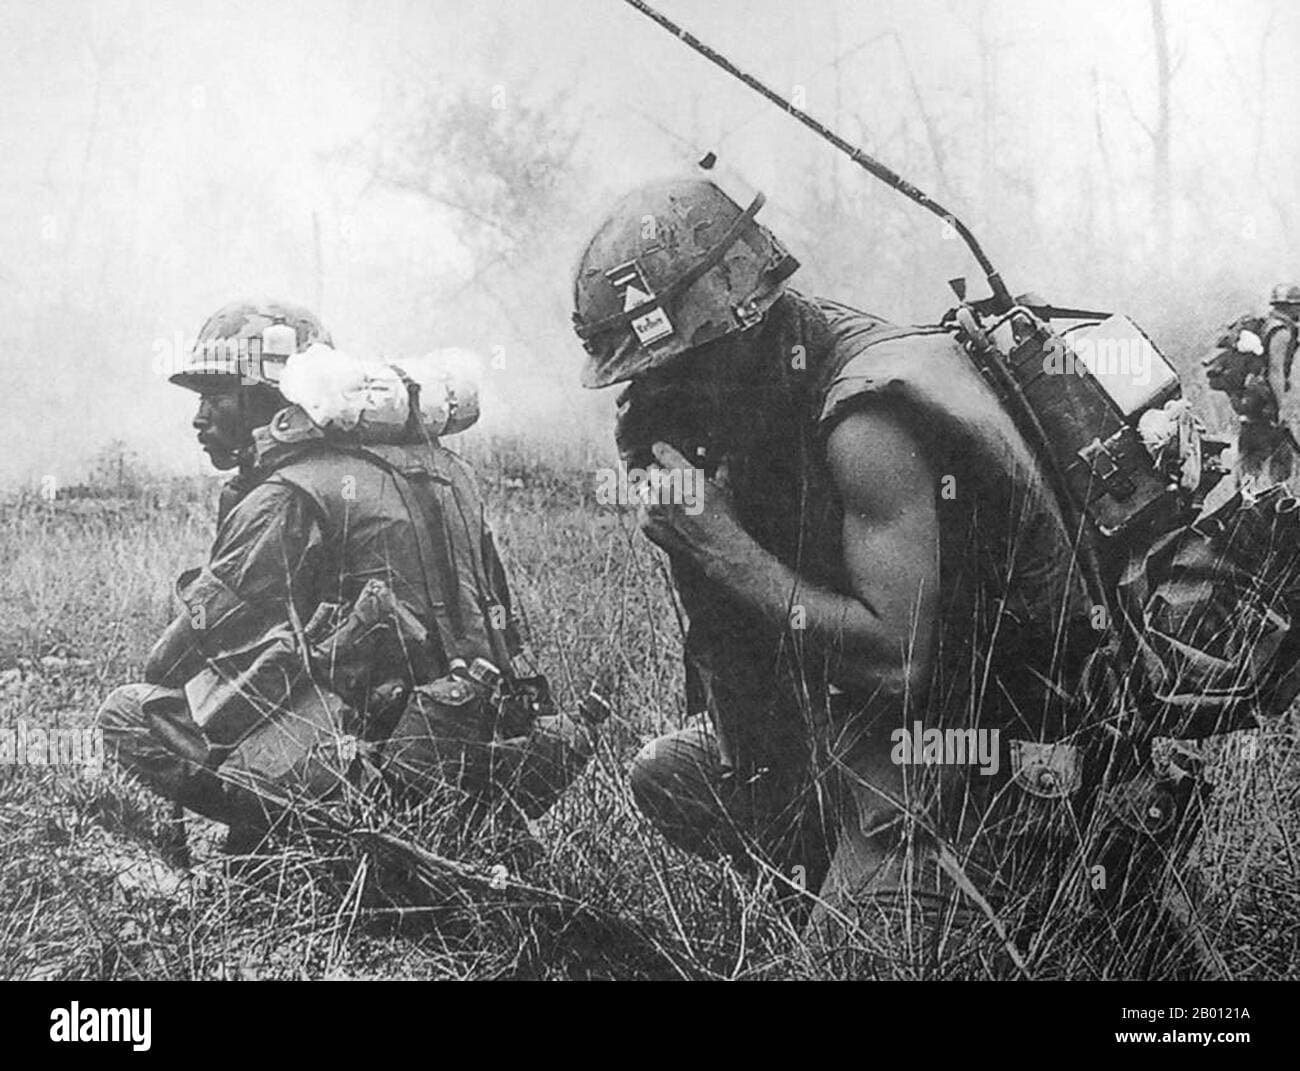
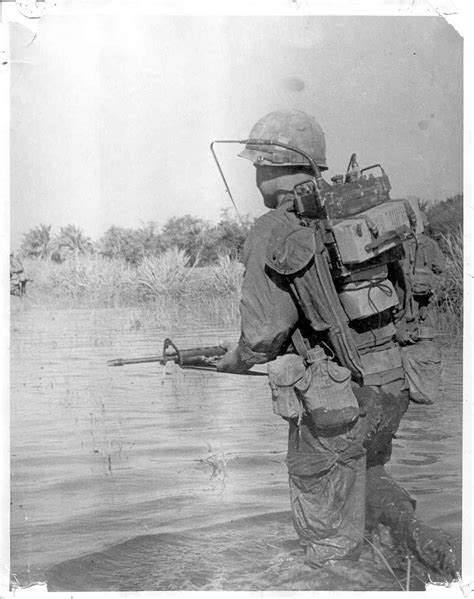
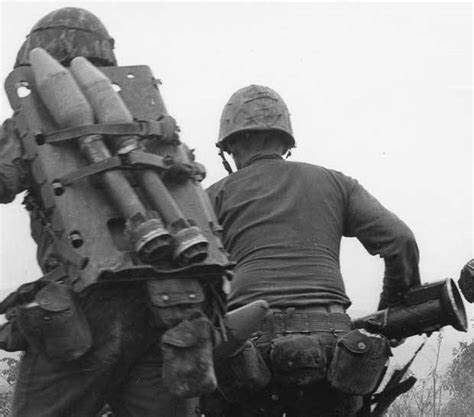
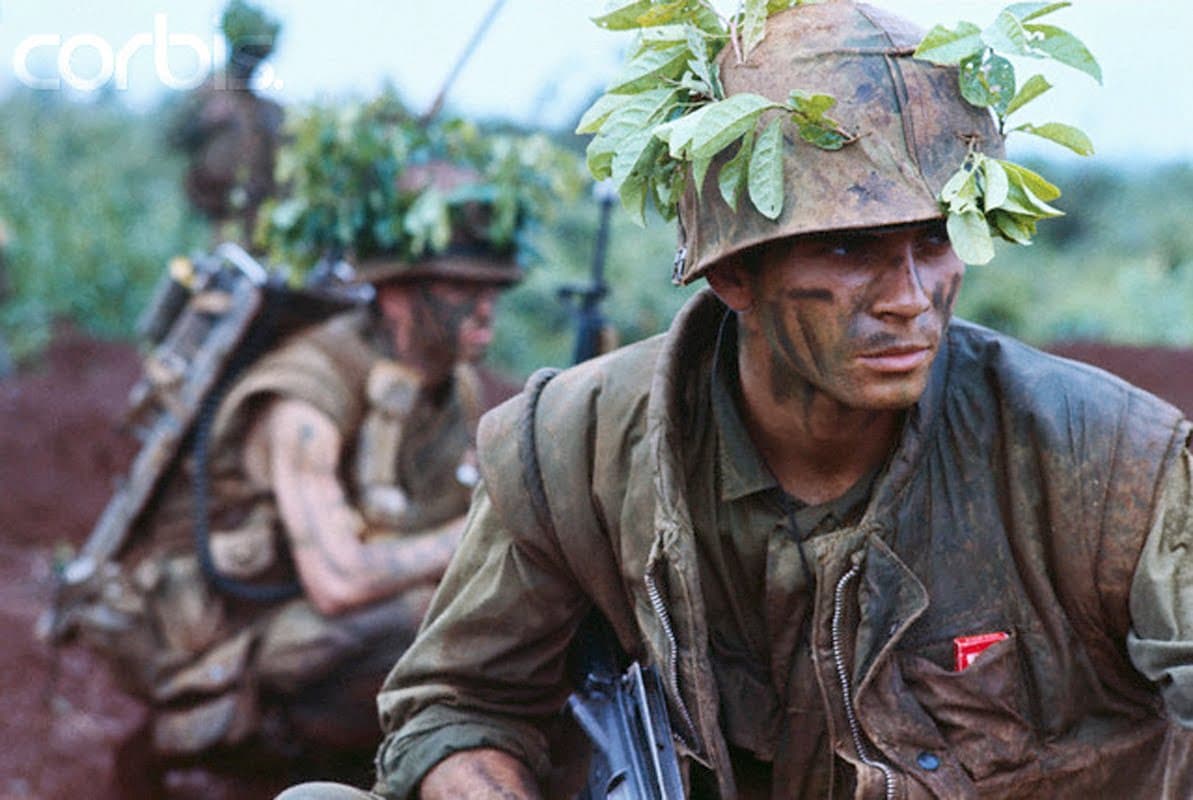
The real life soldier appears to carry the radio lower. Note radio position reference to the arm pits and shoulders.
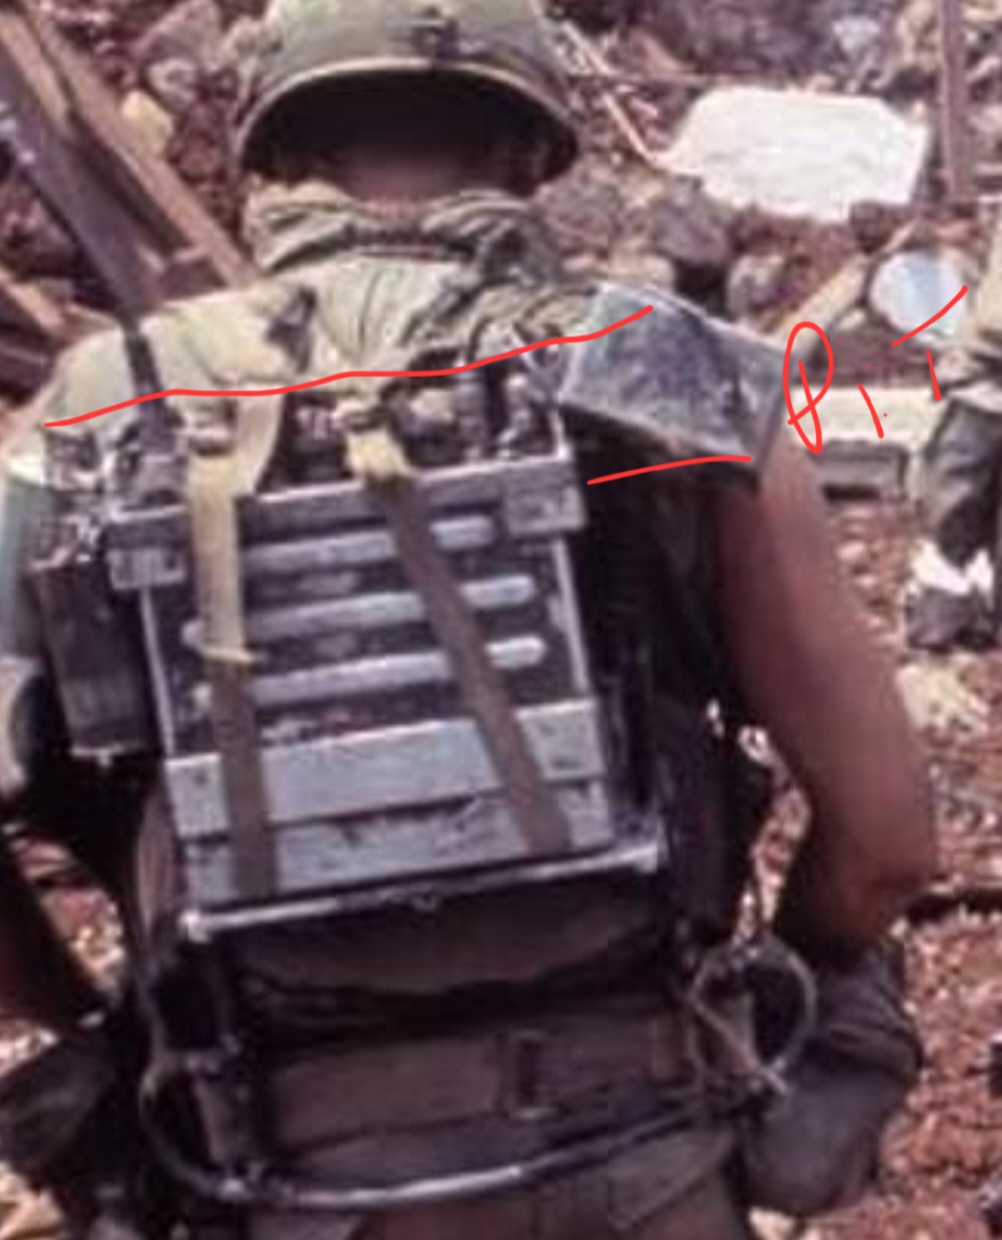
The figure parts appear to be test fitted in a higher position. Note radio position reference to the arm pits and shoulders.
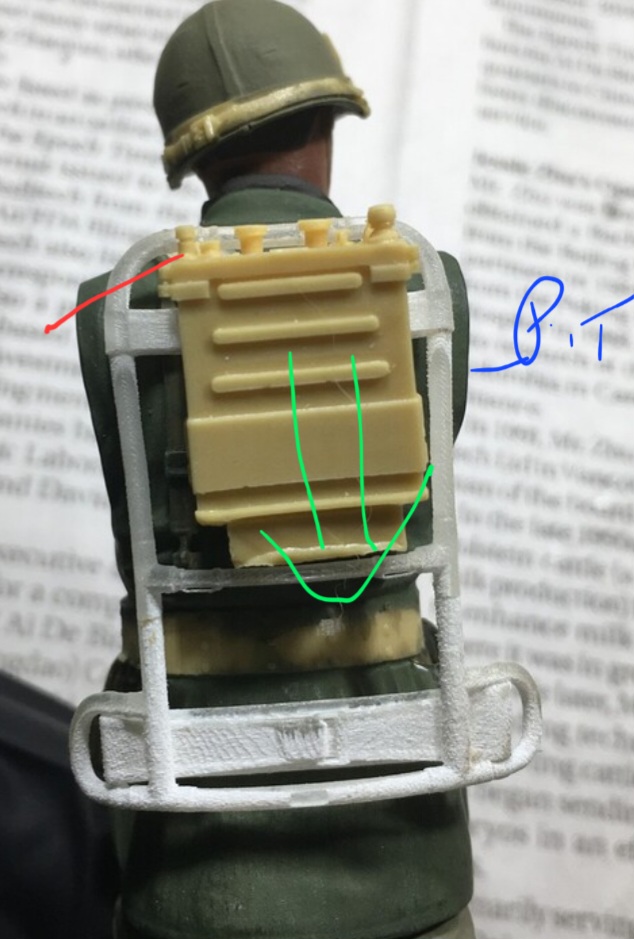
Is it possible the undersize of the radio is "an illusion " due to the relative positions on the soldier vs the figure?
Maybe one of the radio is suitable?
2 Likes
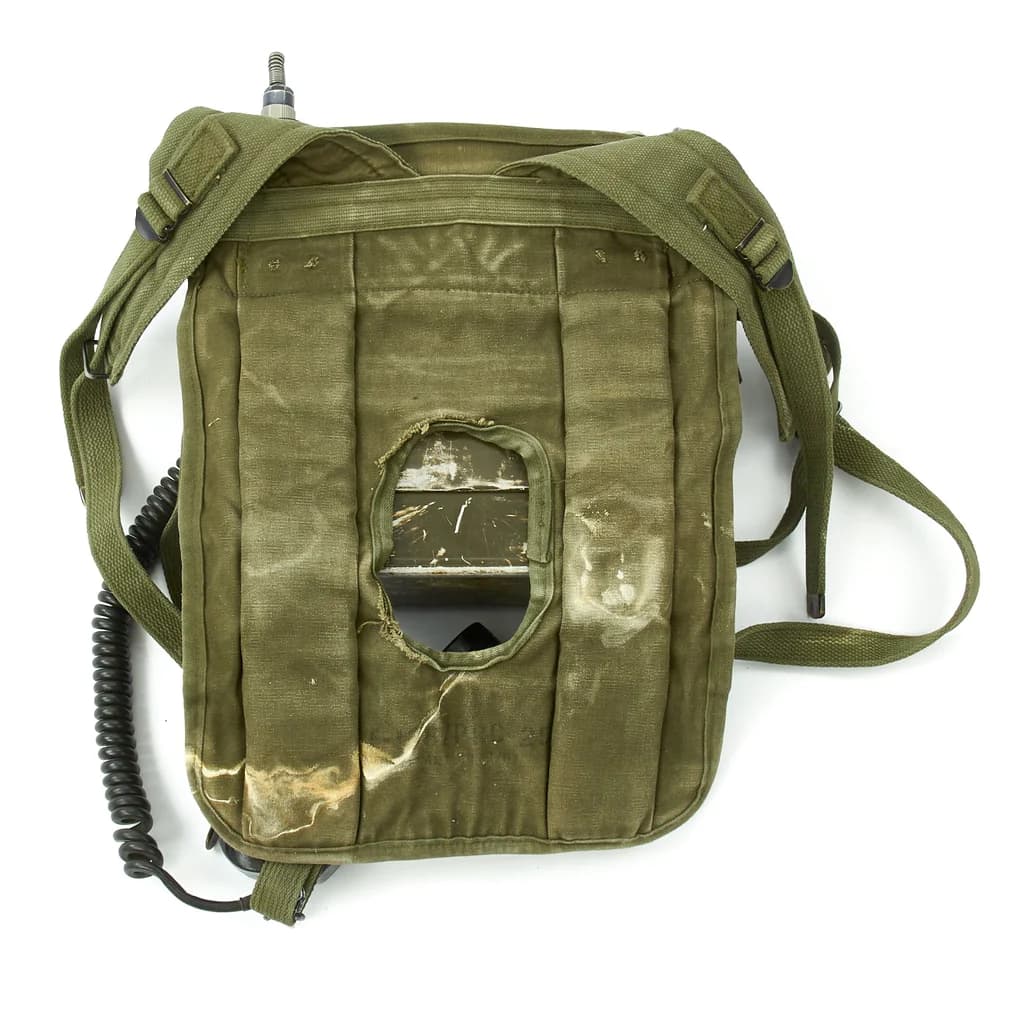
Looking at the frame itself, it would help figure out where that PRC-25 would’ve been attached to the frame.
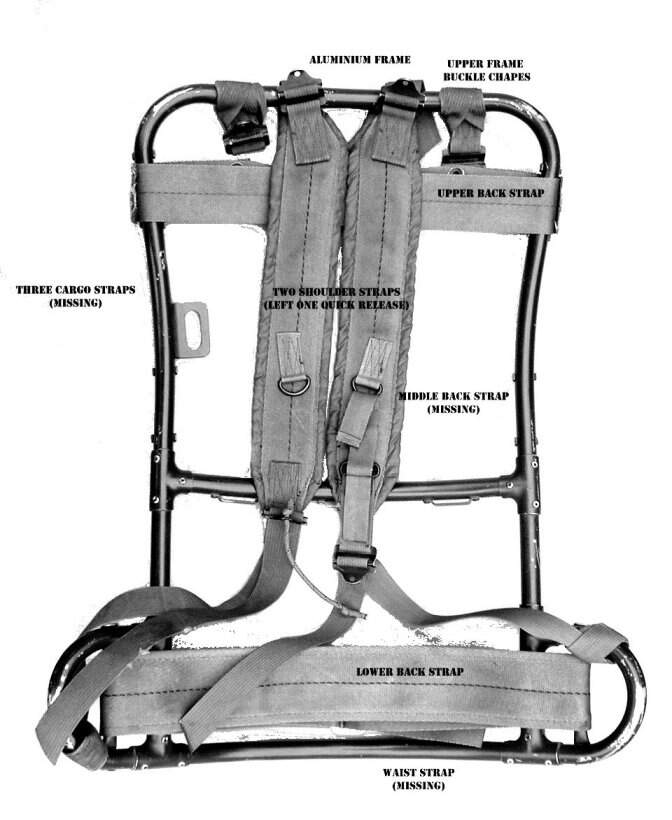
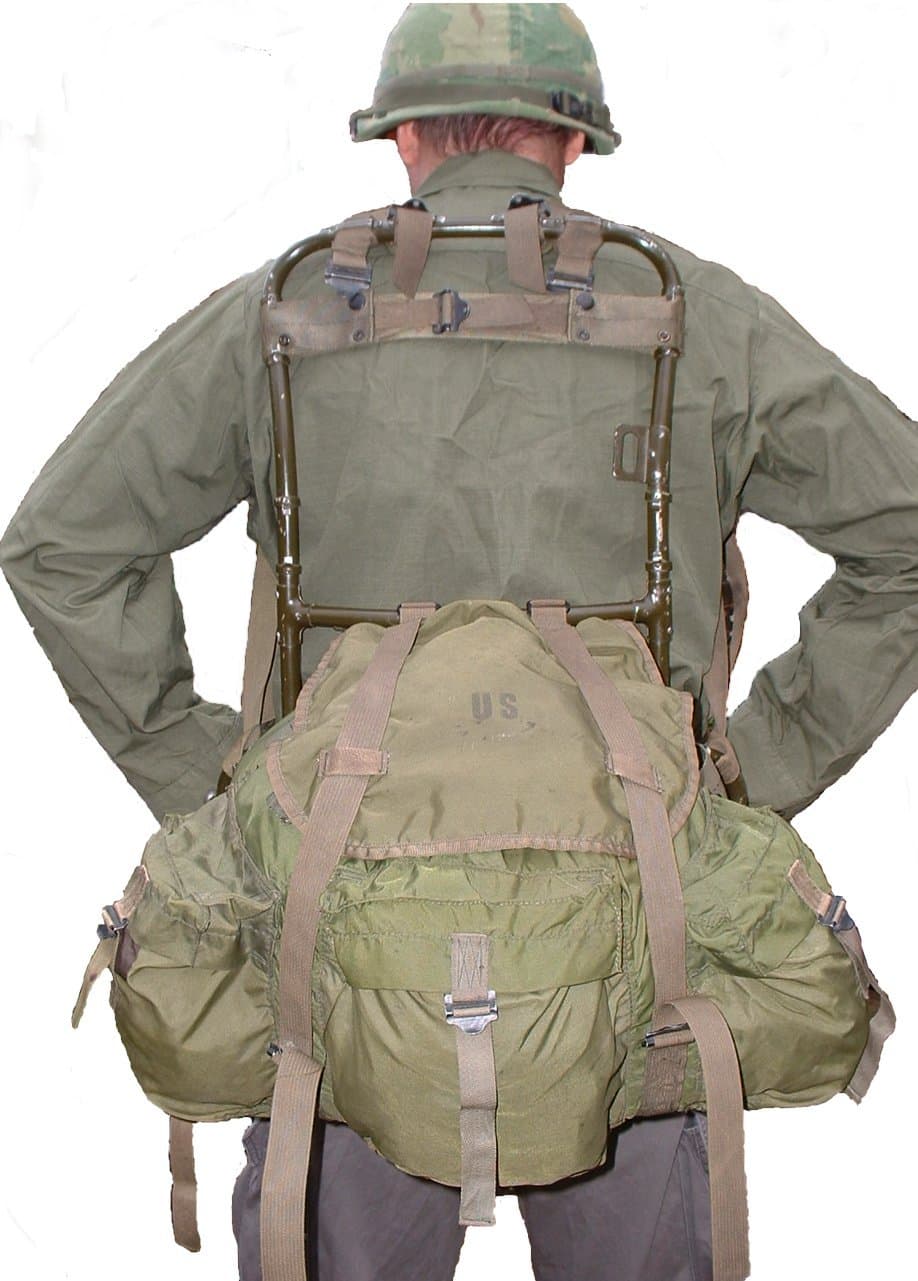
Setups would’ve been determined by the RTO; how he would put it all together for him to be able to carry the radio in relative comfort during foot patrols.
You can also see that some of the images show the radio attached to the specific radio harness and not the pack frame.
4 Likes
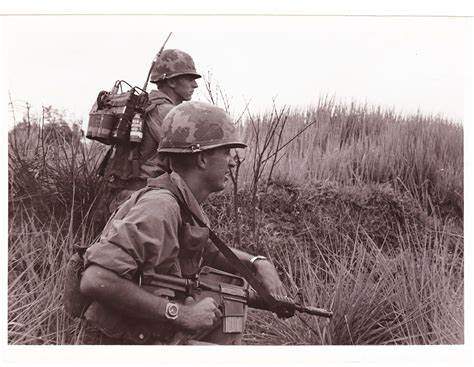
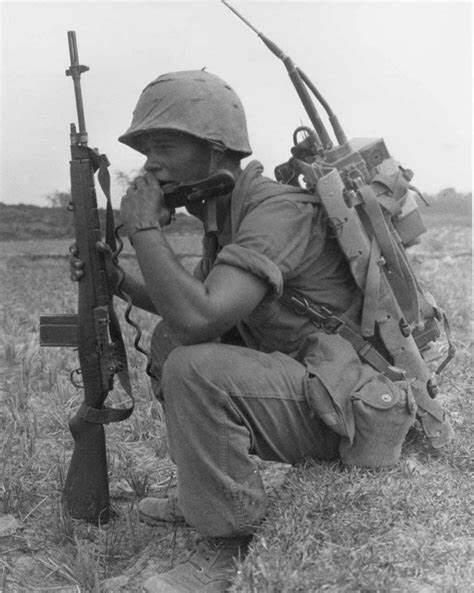
Reynier, excellent pictures! Wow!
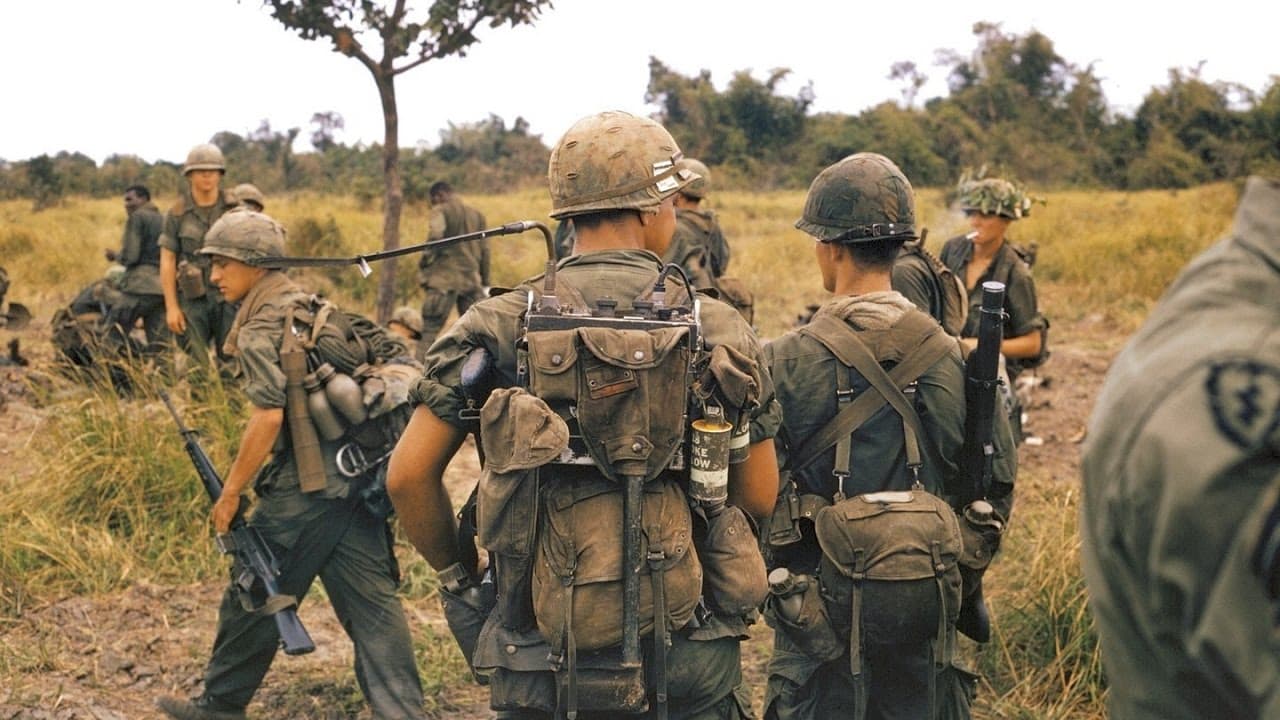
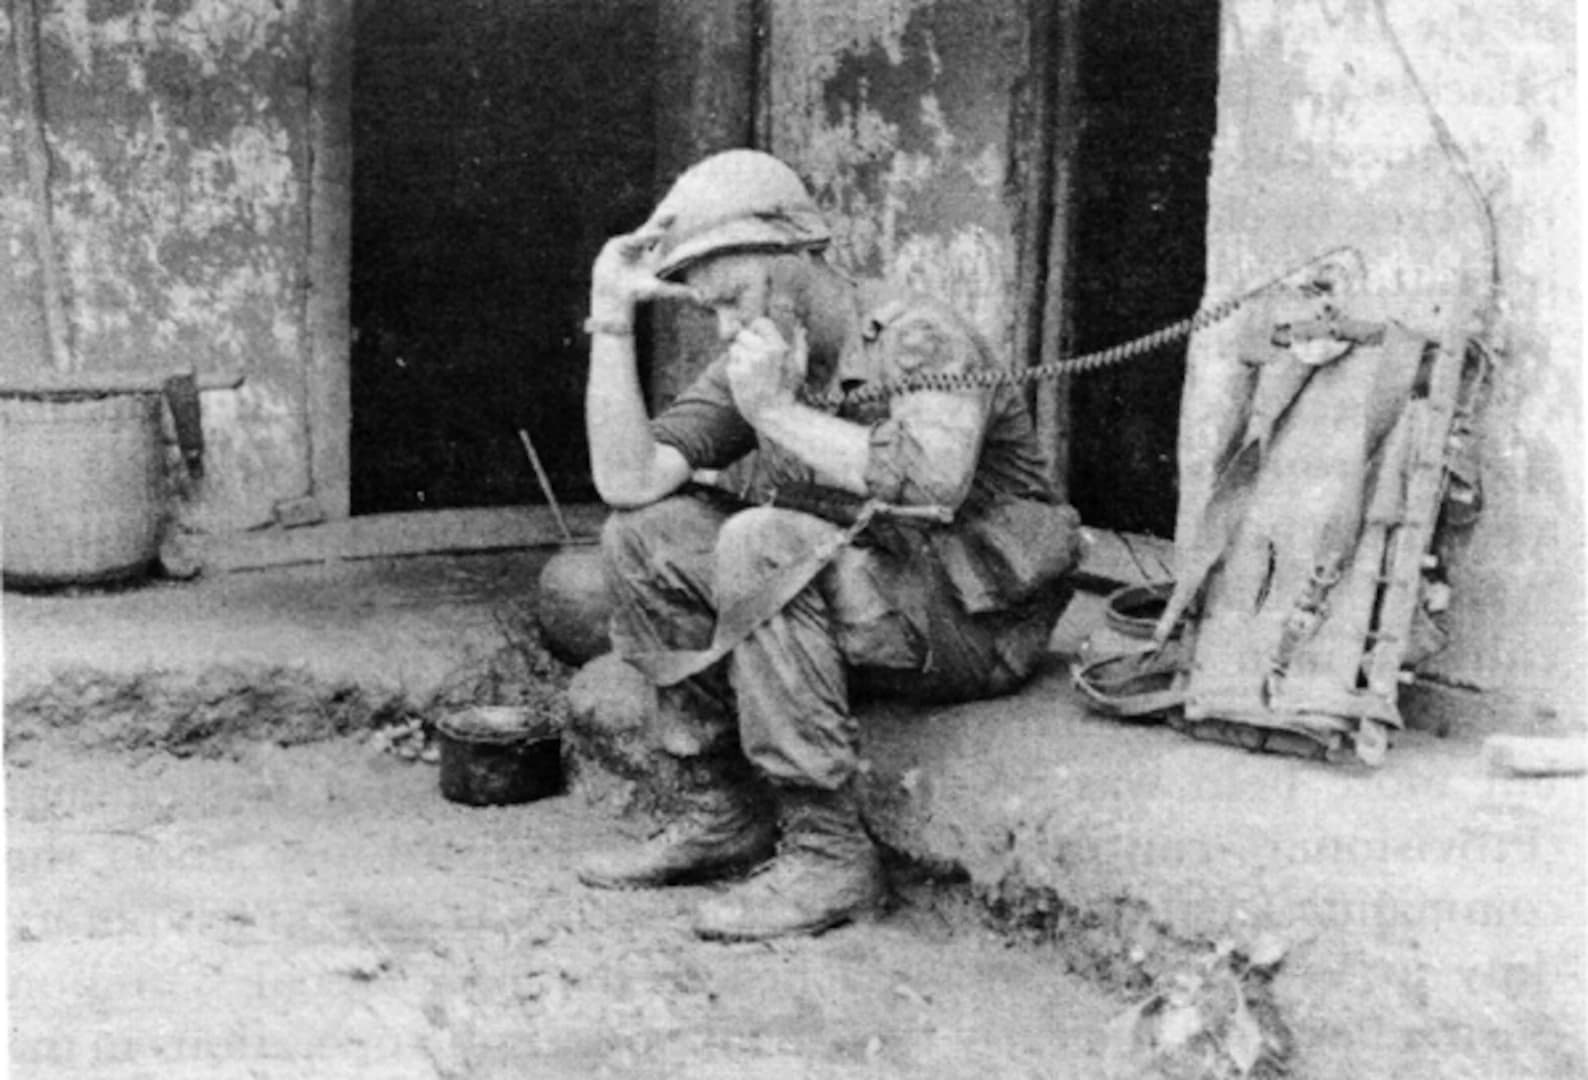
To me the radio doesn’t look all that large relatively speaking in this picture.
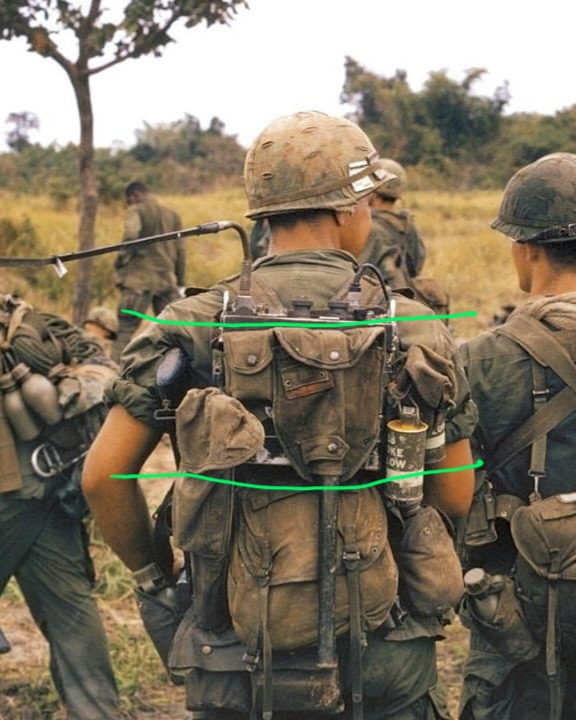
1 Like
yeah; the AN/PRC-25 and later AN/PRC-77 are relatively small units.

The basic setup (radio transreceiver, antenna, mike and frame) was not large, but when you add other additional pieces of gear, like spare batteries, speakers, ammo pouches, smoke grenades, buttpacks etc… It would look much larger.

6 Likes
The PRC-25 dimensions are:
11 x 4 x 14 inch / 279 x 102 x 356 mm
Re-scale to 1/16 and compare the results with your parts to see which is accurate.
(Data from Radio Set PRC-25/RT-505 Mil TRX MILITARY U.S. different makers for | Radiomuseum)
4 Likes


The radio with battery is 25 lbs. In and of itself, that would cause quite a bit of sag. You’re right, my photo is high but that was the best place I could get it to balance while holding a camera with one hand and the figure with another. The smallness of the Verlinden radio can best be seen when it is placed directly on the figure’s back.

I’m not sure if this was intended for comment, but the attachment of the radios to the LW ruck frame was field expedient. It seems that no one was issued the frame shelf component, and if they did they were never used. The radios were simply lashed on with the long cargo straps that came with the ruck frame. The canvas radio harness was inadequate as it was only meant to support a butt pack. RTO’s used the LW ruck frame because they could attach the LW rucksack pack on patrol and unstrap it when going light. This was the impetus to place the radio pocket on the inside of the ALICE packs.
I’ll admit that the photos can be deceptive. The way the rig would look on a 5’8" man is obviously different than a 6’4" gentleman. I guess that’s the relative problem with scale all around.
Fortunately, I own lightweight rucksacks and frames and a couple of PRC-25’s. At 1/16 scale, the 3D printed version is accurate. The Verlinden and Dog Tag versions are both about 1/8" too small in all dimensions. This goes for both the frame and the radio. Even at 1/16 scale, that’s a substantial difference.
5 Likes

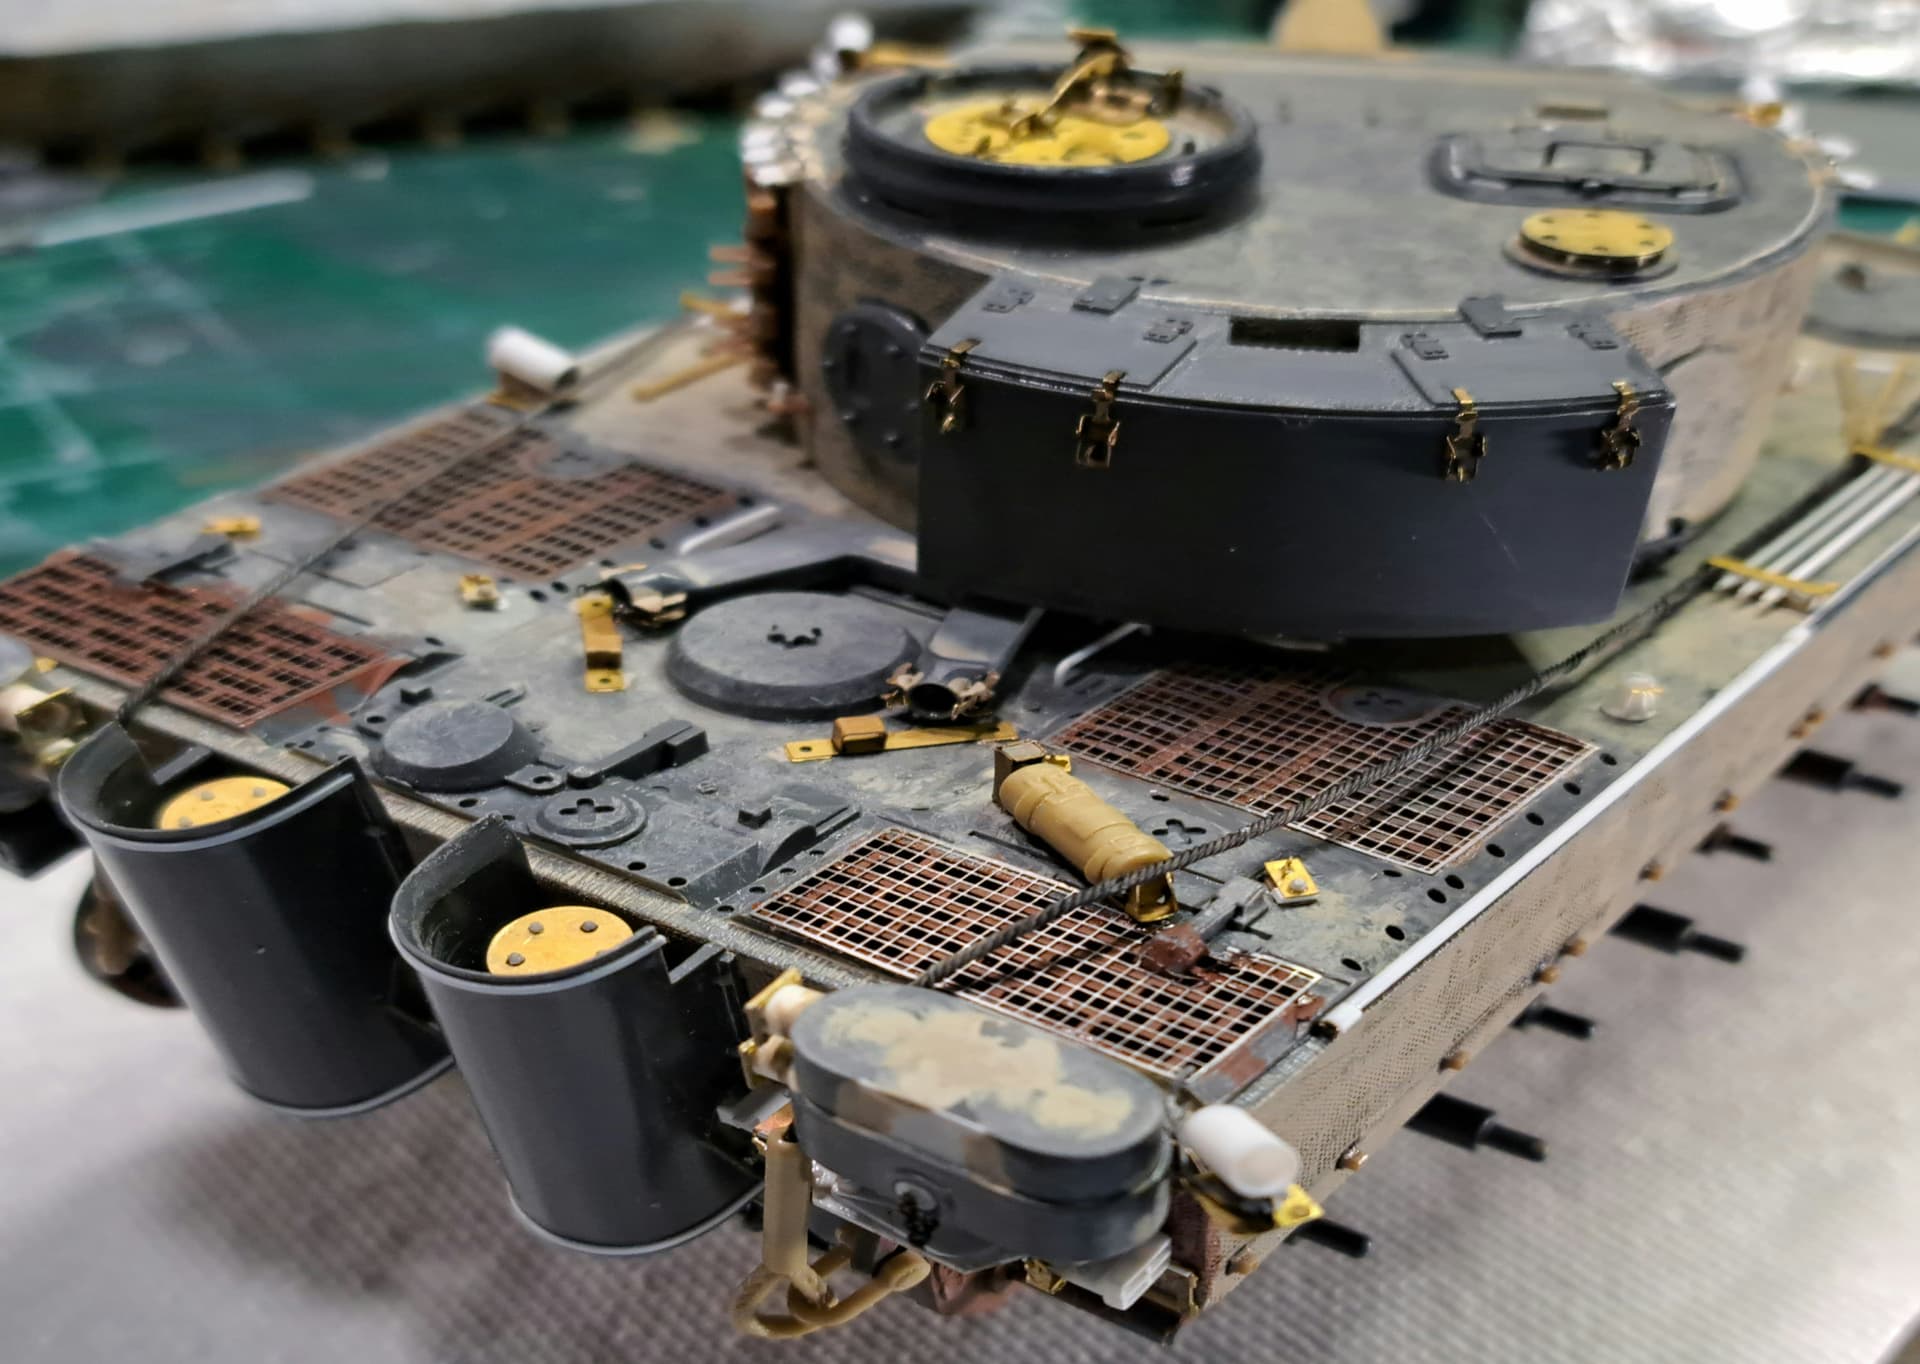

Excellent work on the PE!
3 Likes
Don’t forget the metal shelves which could be moved from one spot to another on the packboard.
Left WW2 plywood design. Right newer metal style. Both used in Vietnam.

4 Likes
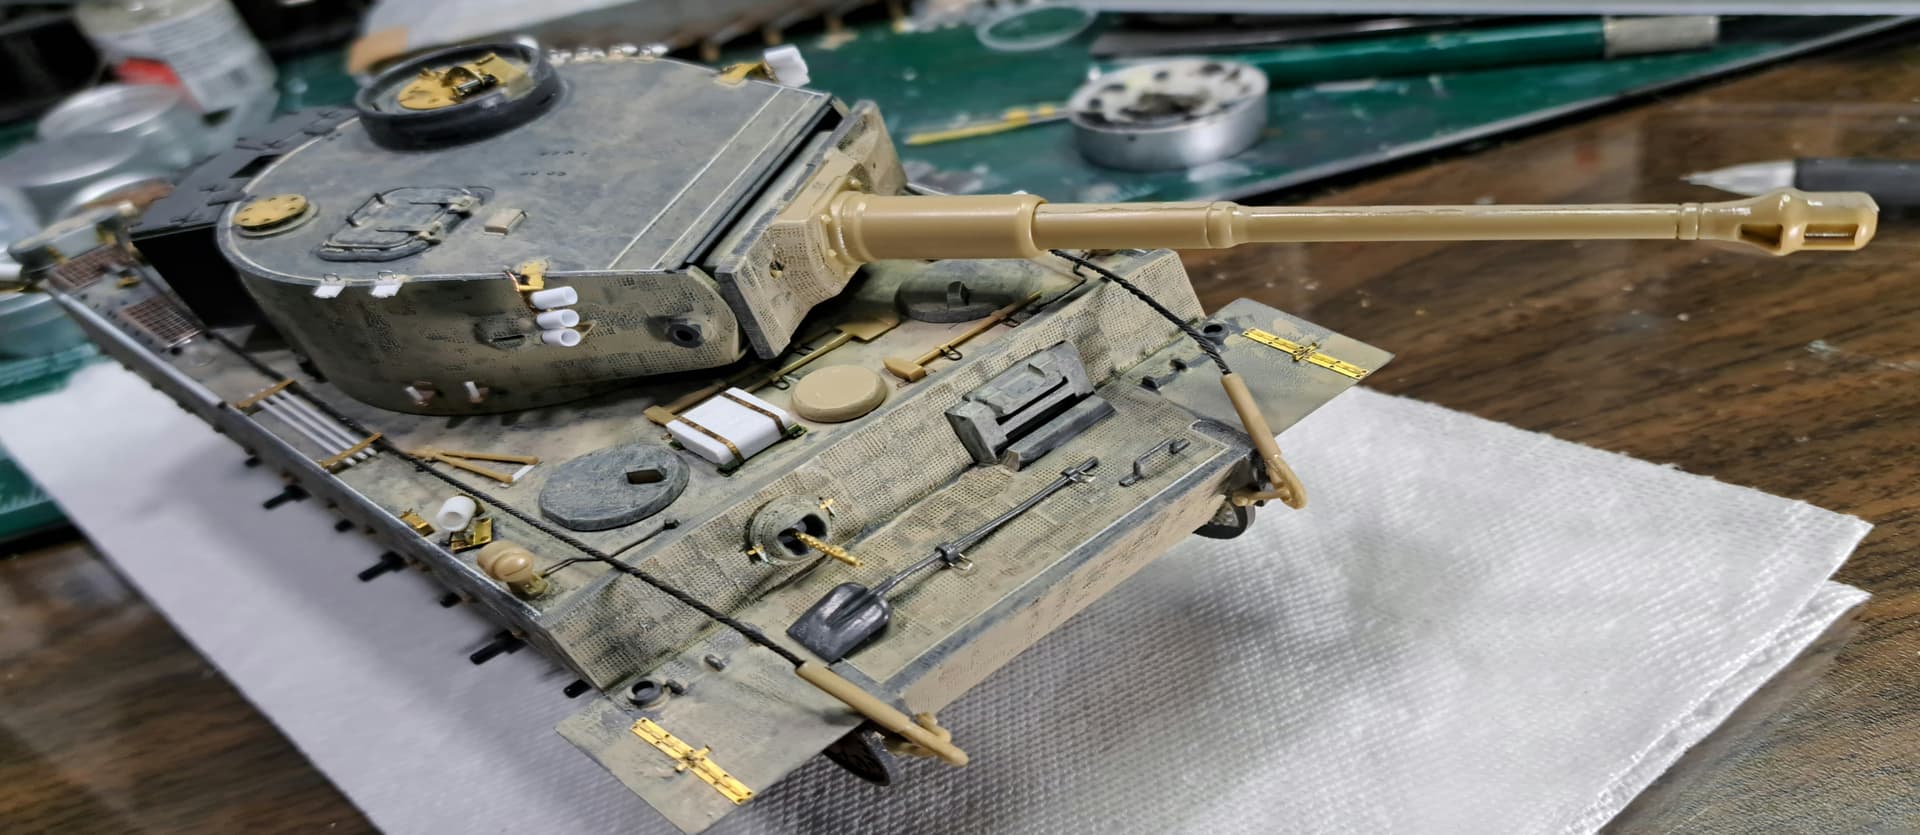
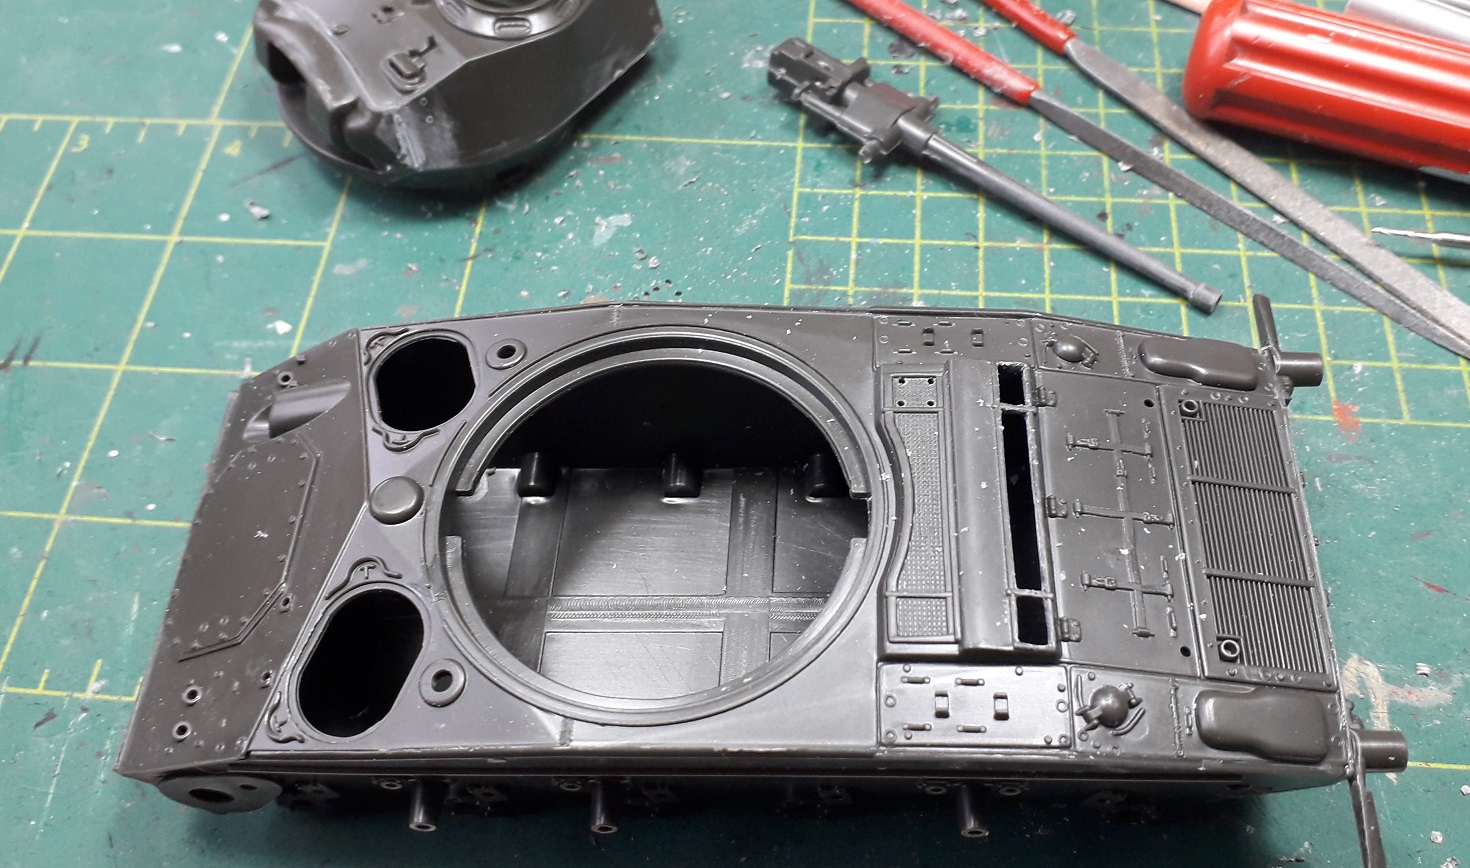
I have made a start as well and I noted that my model has some significant flash in places. The plastic is rather soft to work with and it frays when sanded.
One of the changes I’ll be making, is adding proper grills to the engine deck.
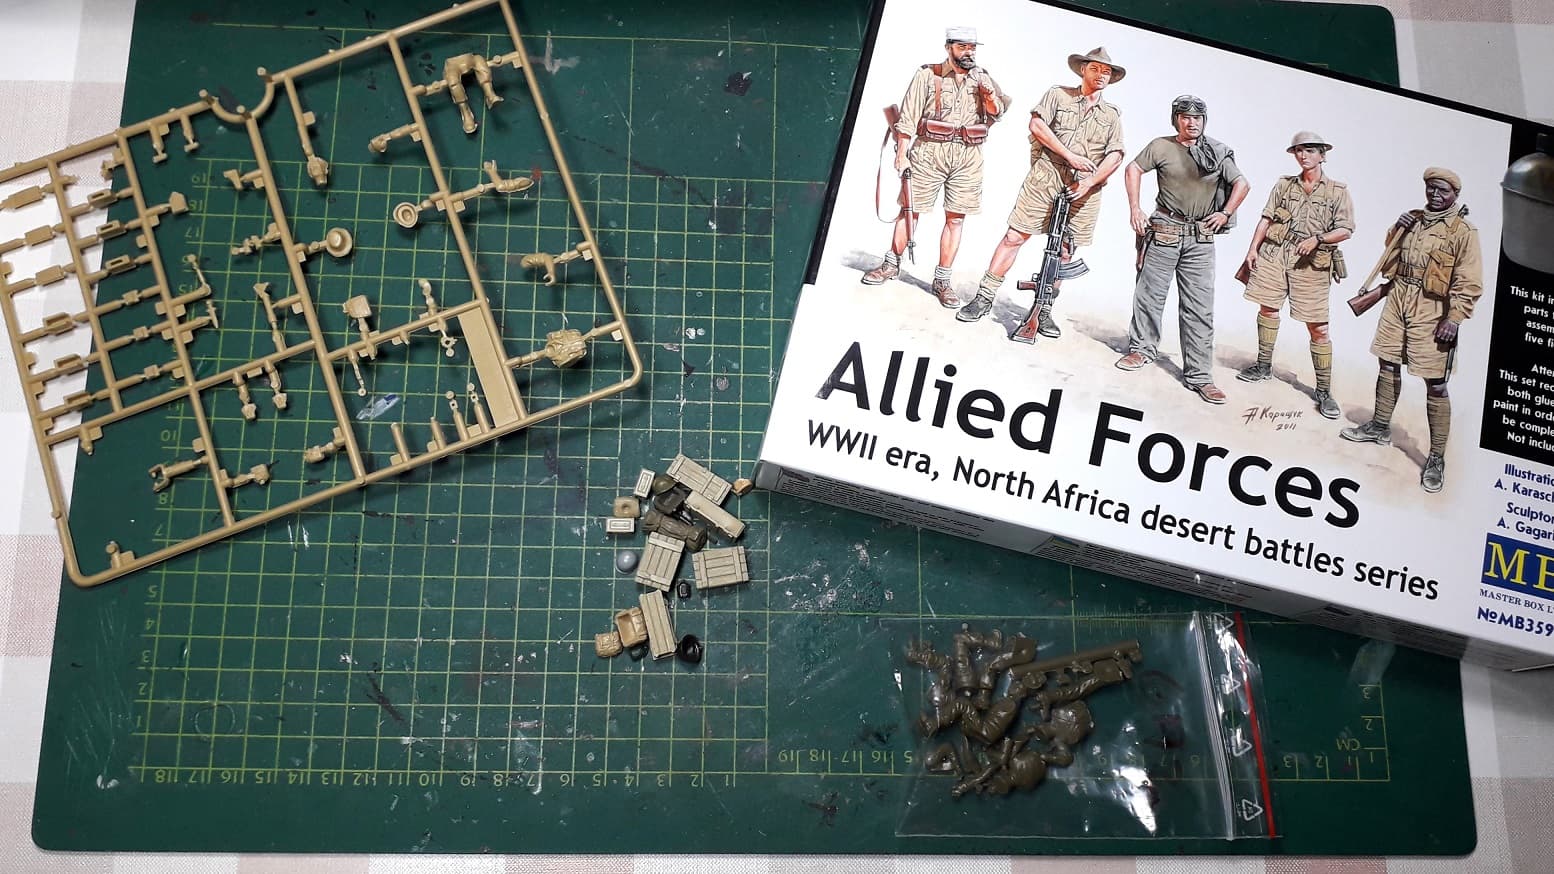
I will also make an attempt to cobble together some legionaires from the sparesbox; the Frenchman from the MB set, the US soldier from Academy’s Hummer and some US troops from Italeri’s jeep.
8 Likes
That’s no good. What do you do in that case?
1 Like
The manpack is processed and mostly complete pending attachment to the figure.
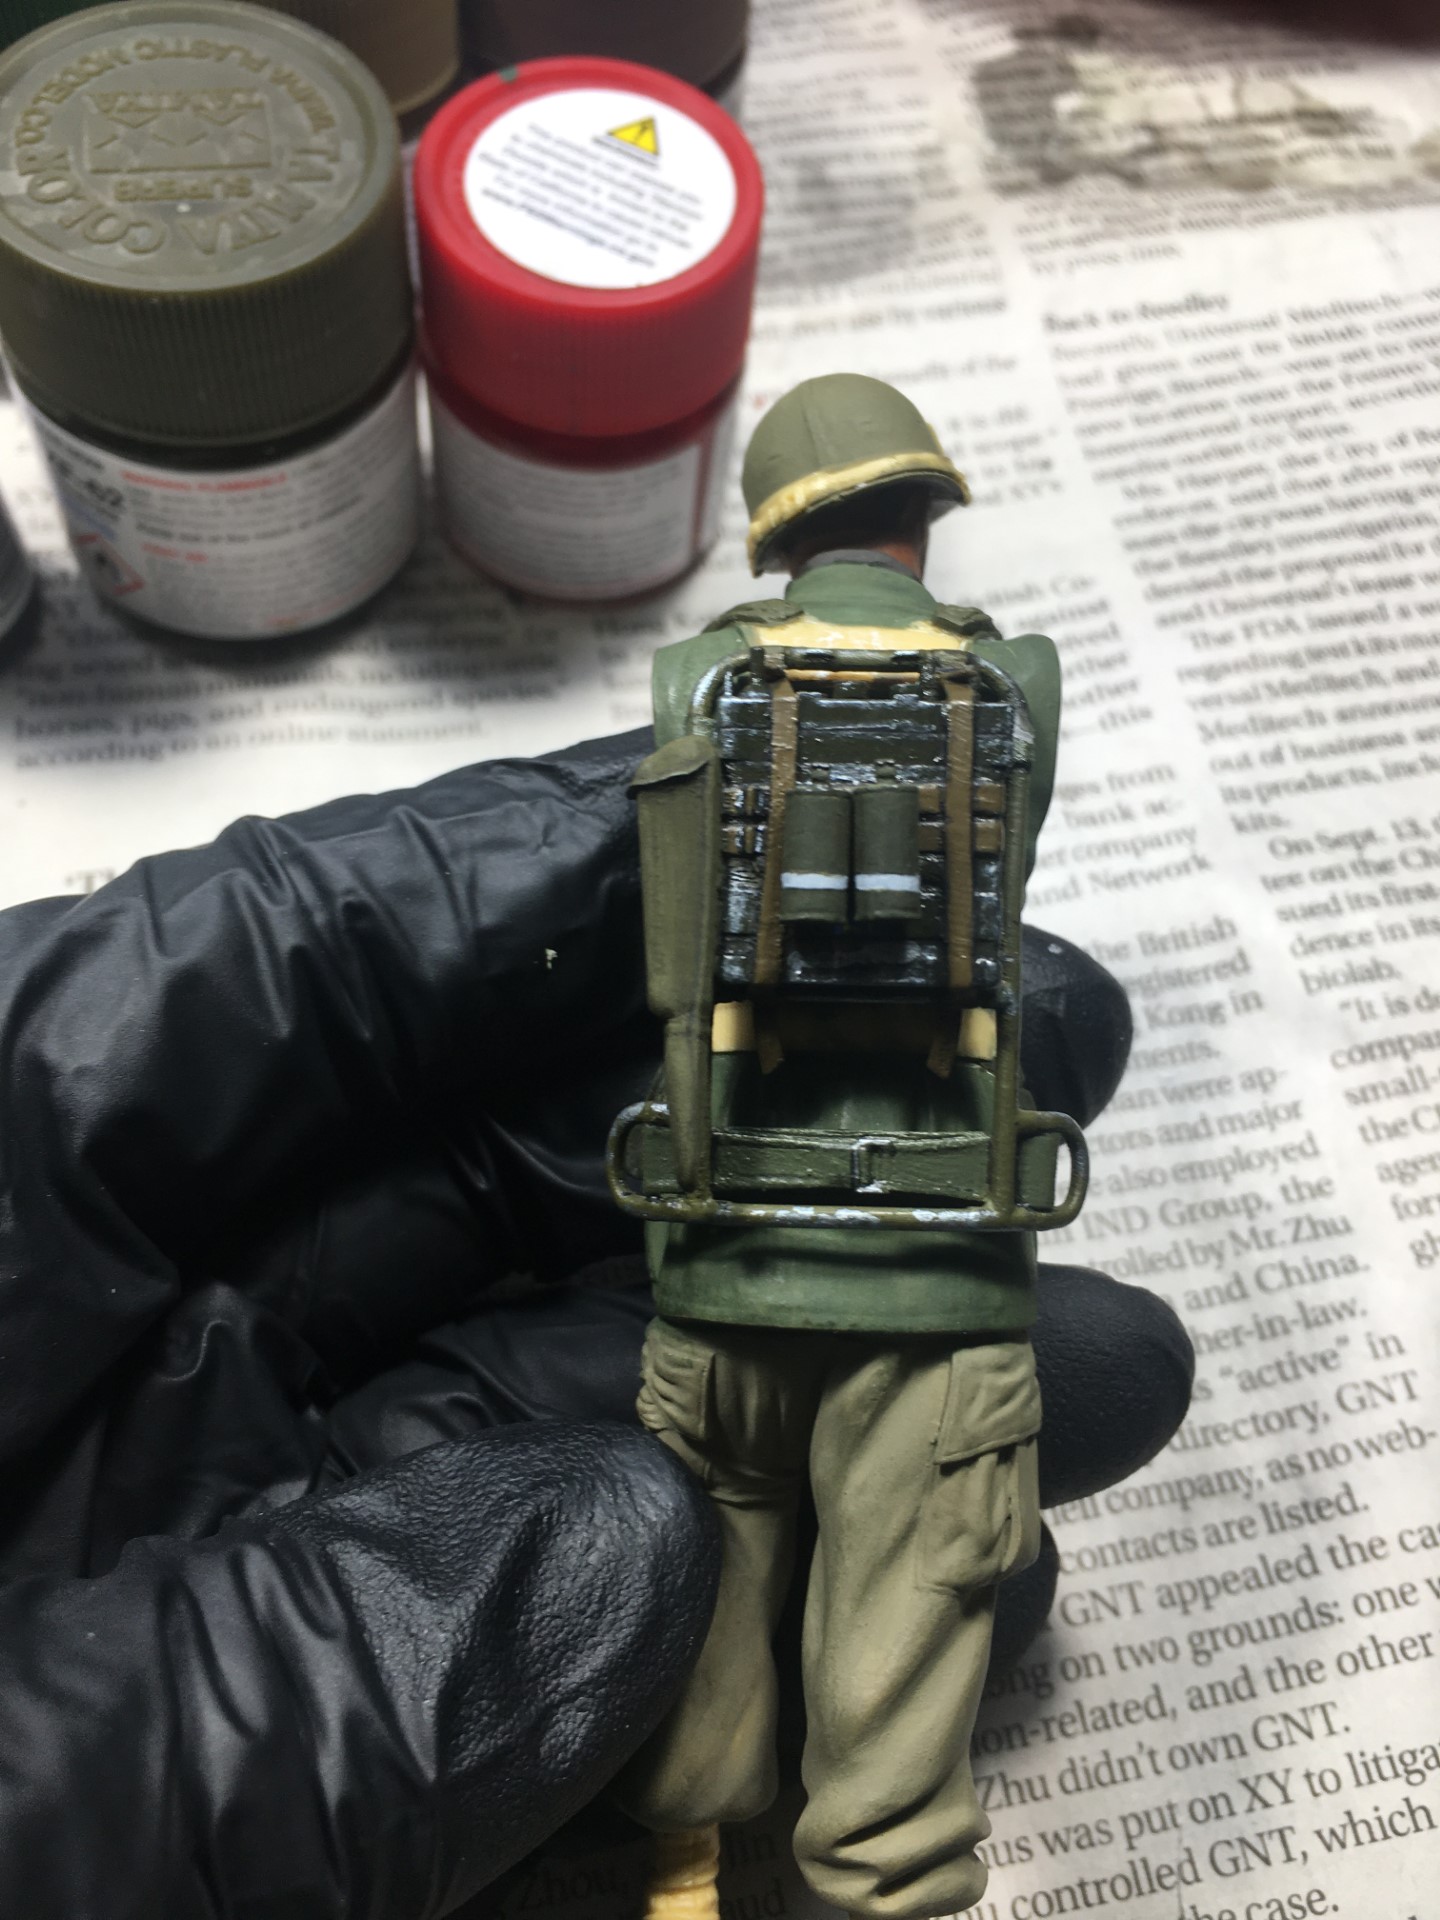

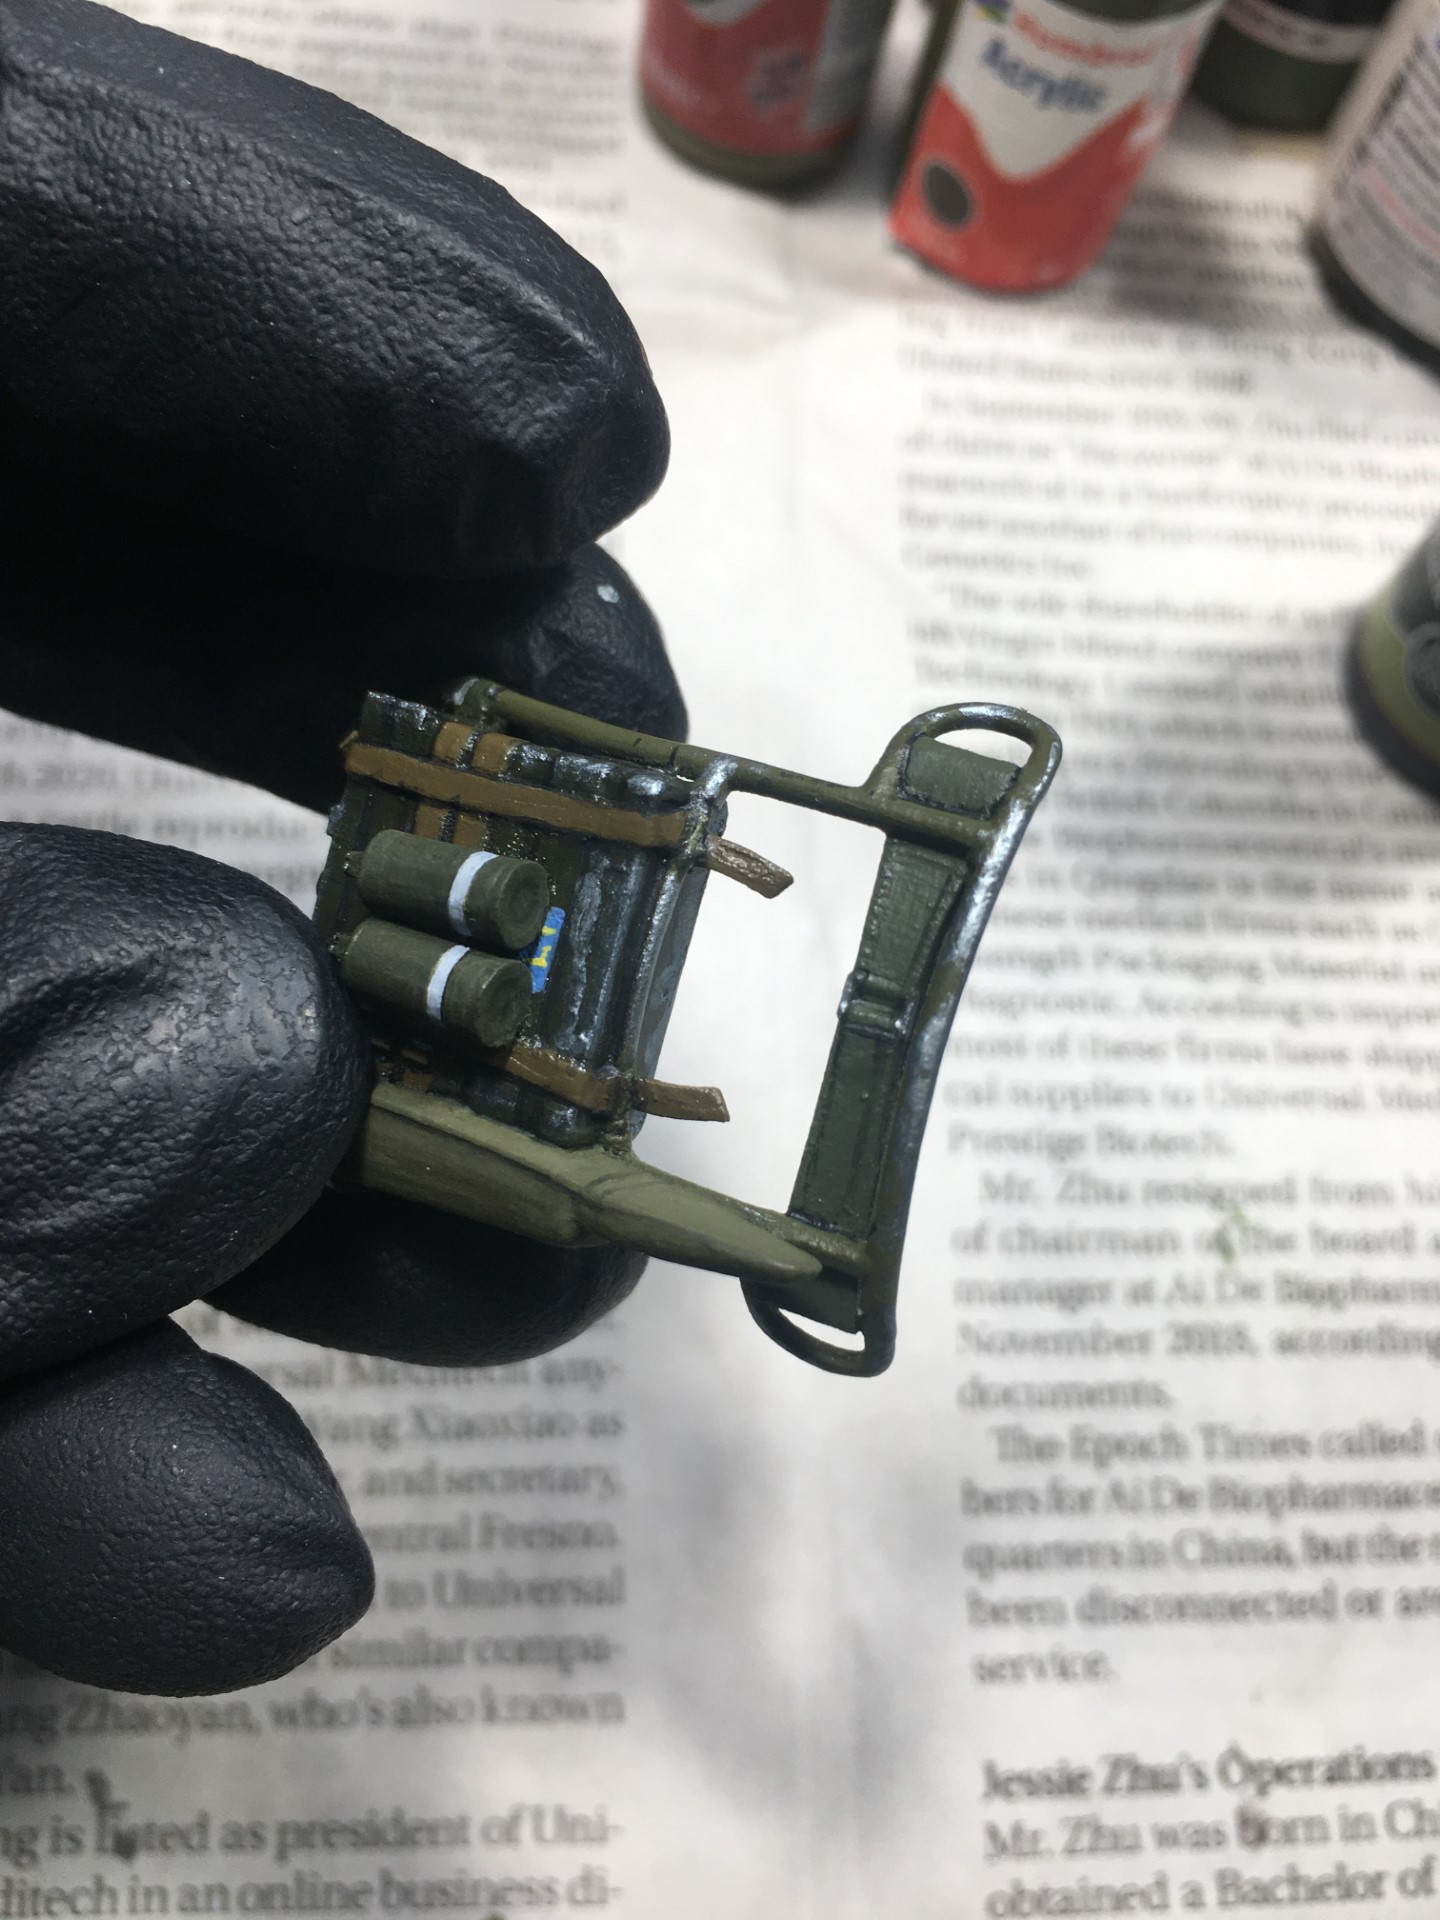

I’m looking at the photos and thinking, “Something is missing…”
Then I realize the speaker box broke off when I dropped it! It’s repaired now. Updated photos to follow.
6 Likes
Darn, that frame looks good! And are the radio extras also printed?
1 Like
Thank you. The whole thing is printed in one piece.
1 Like