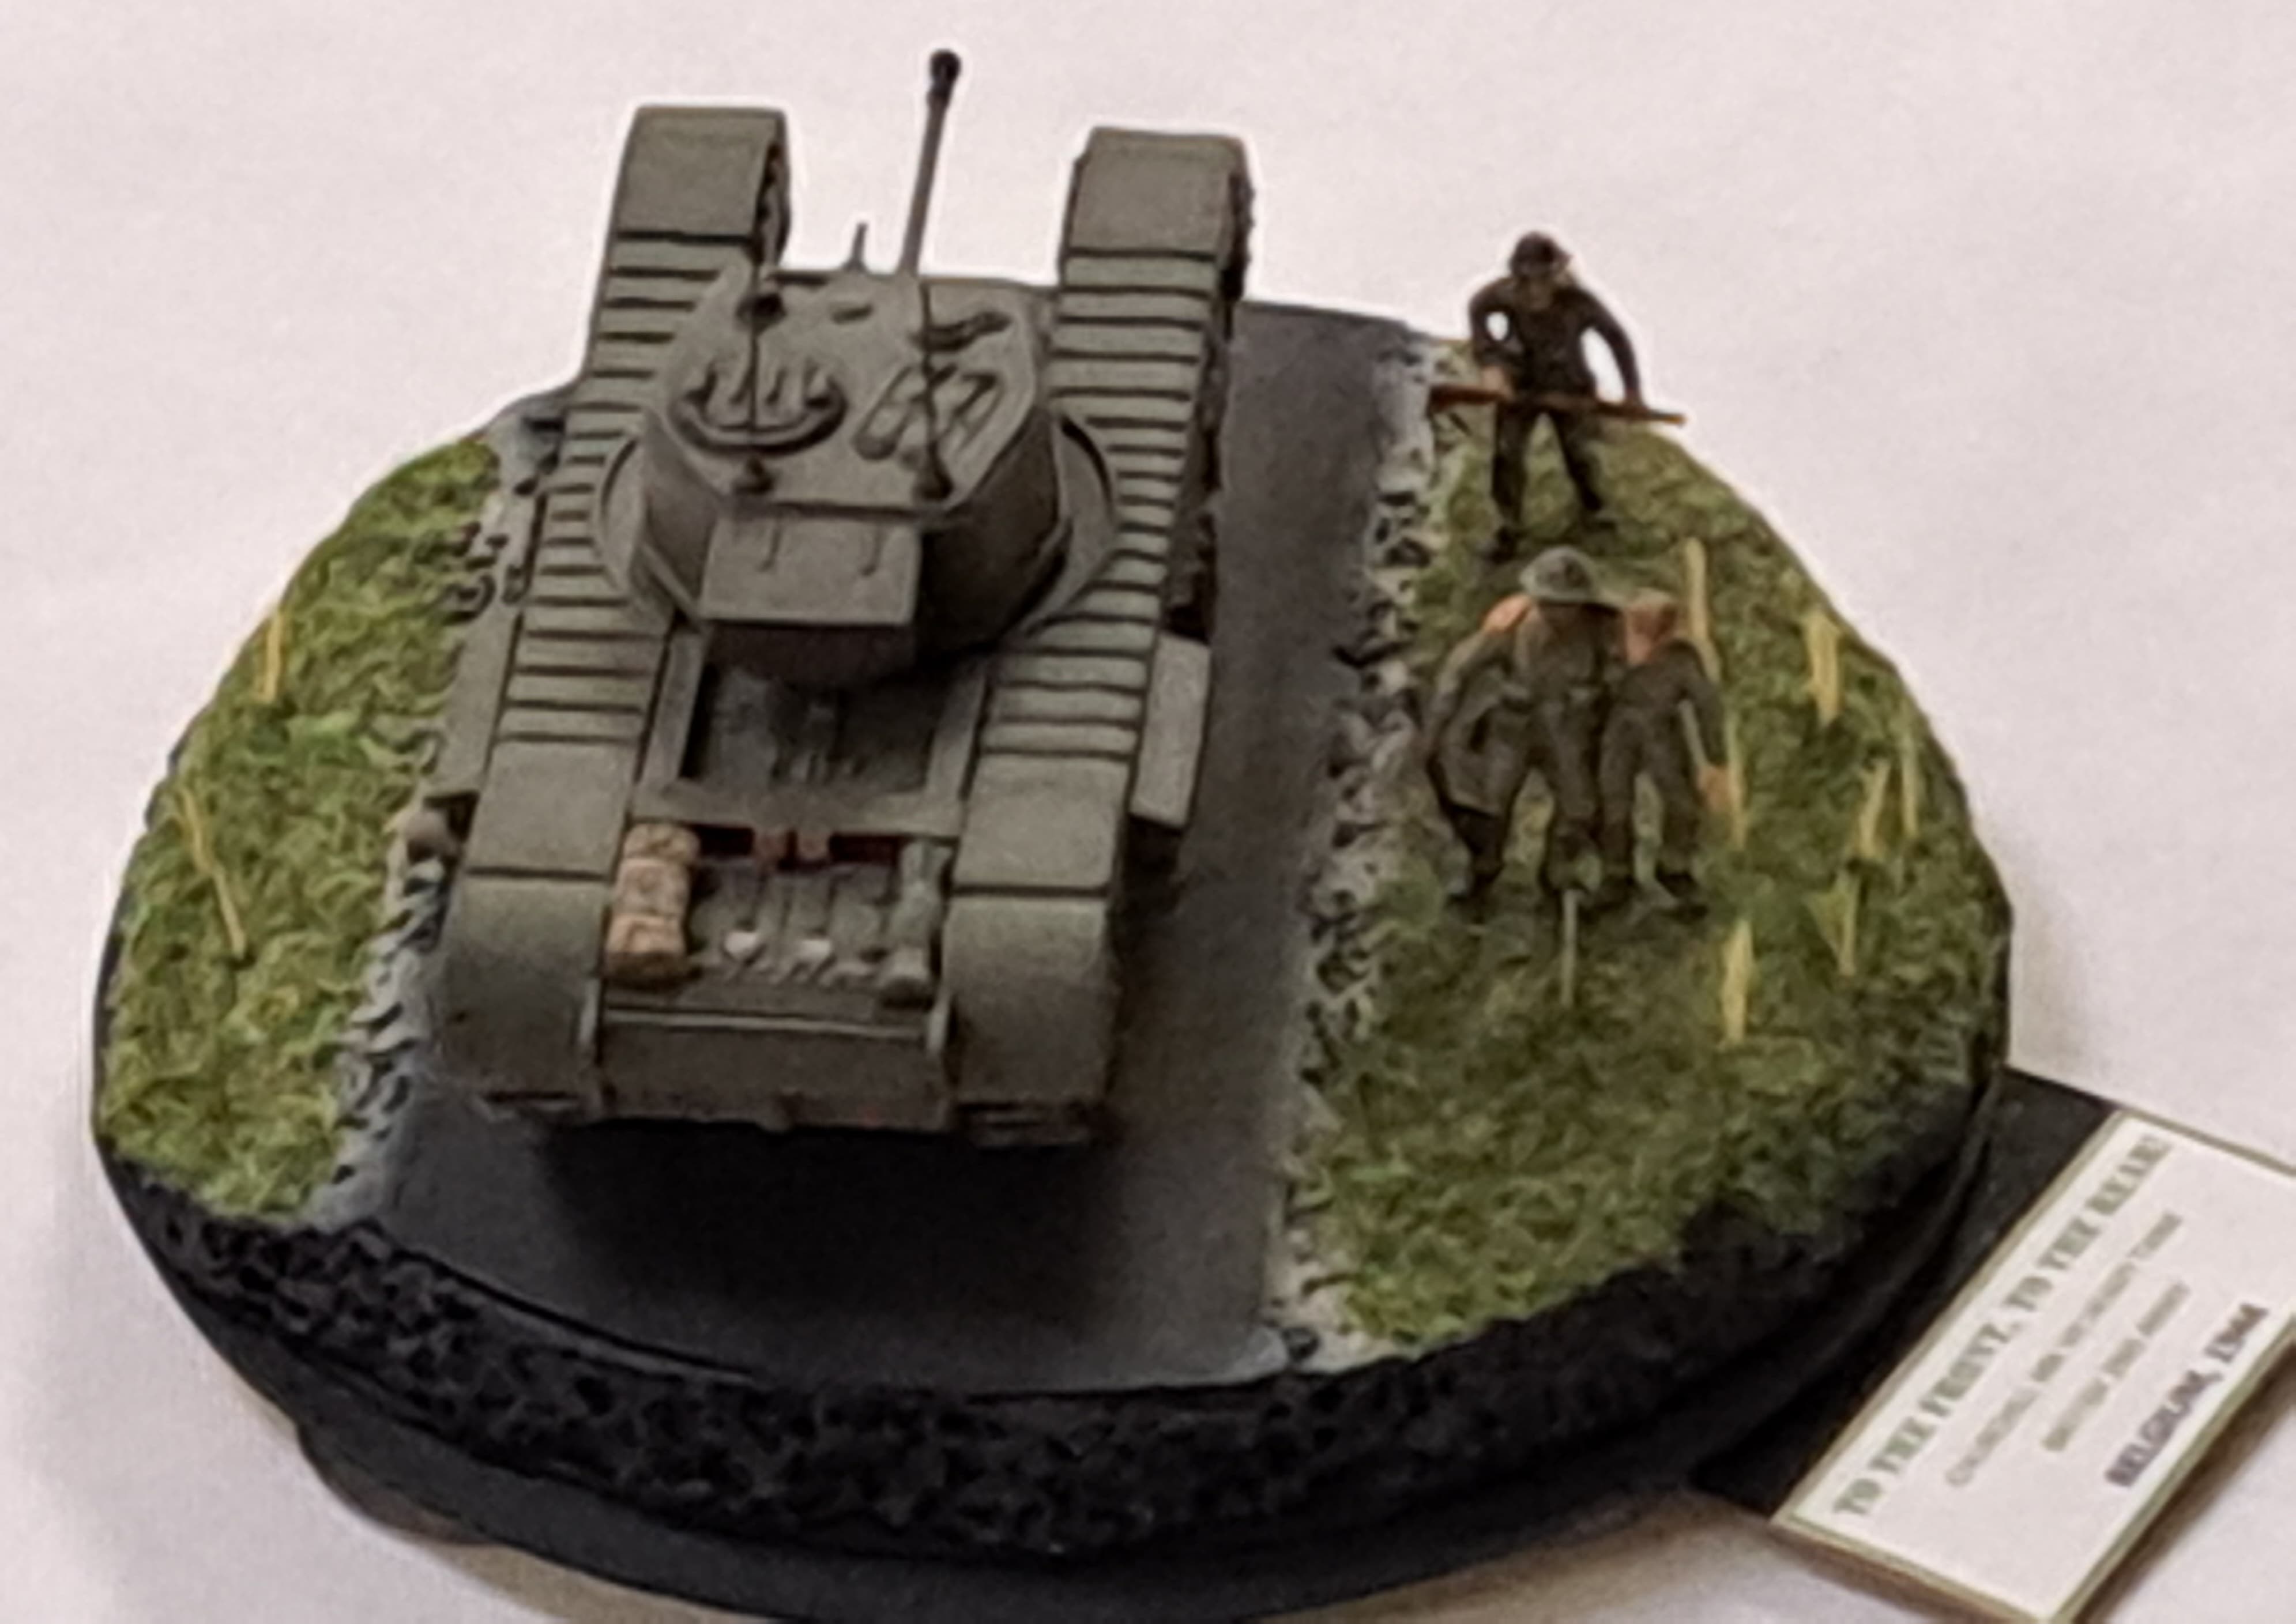
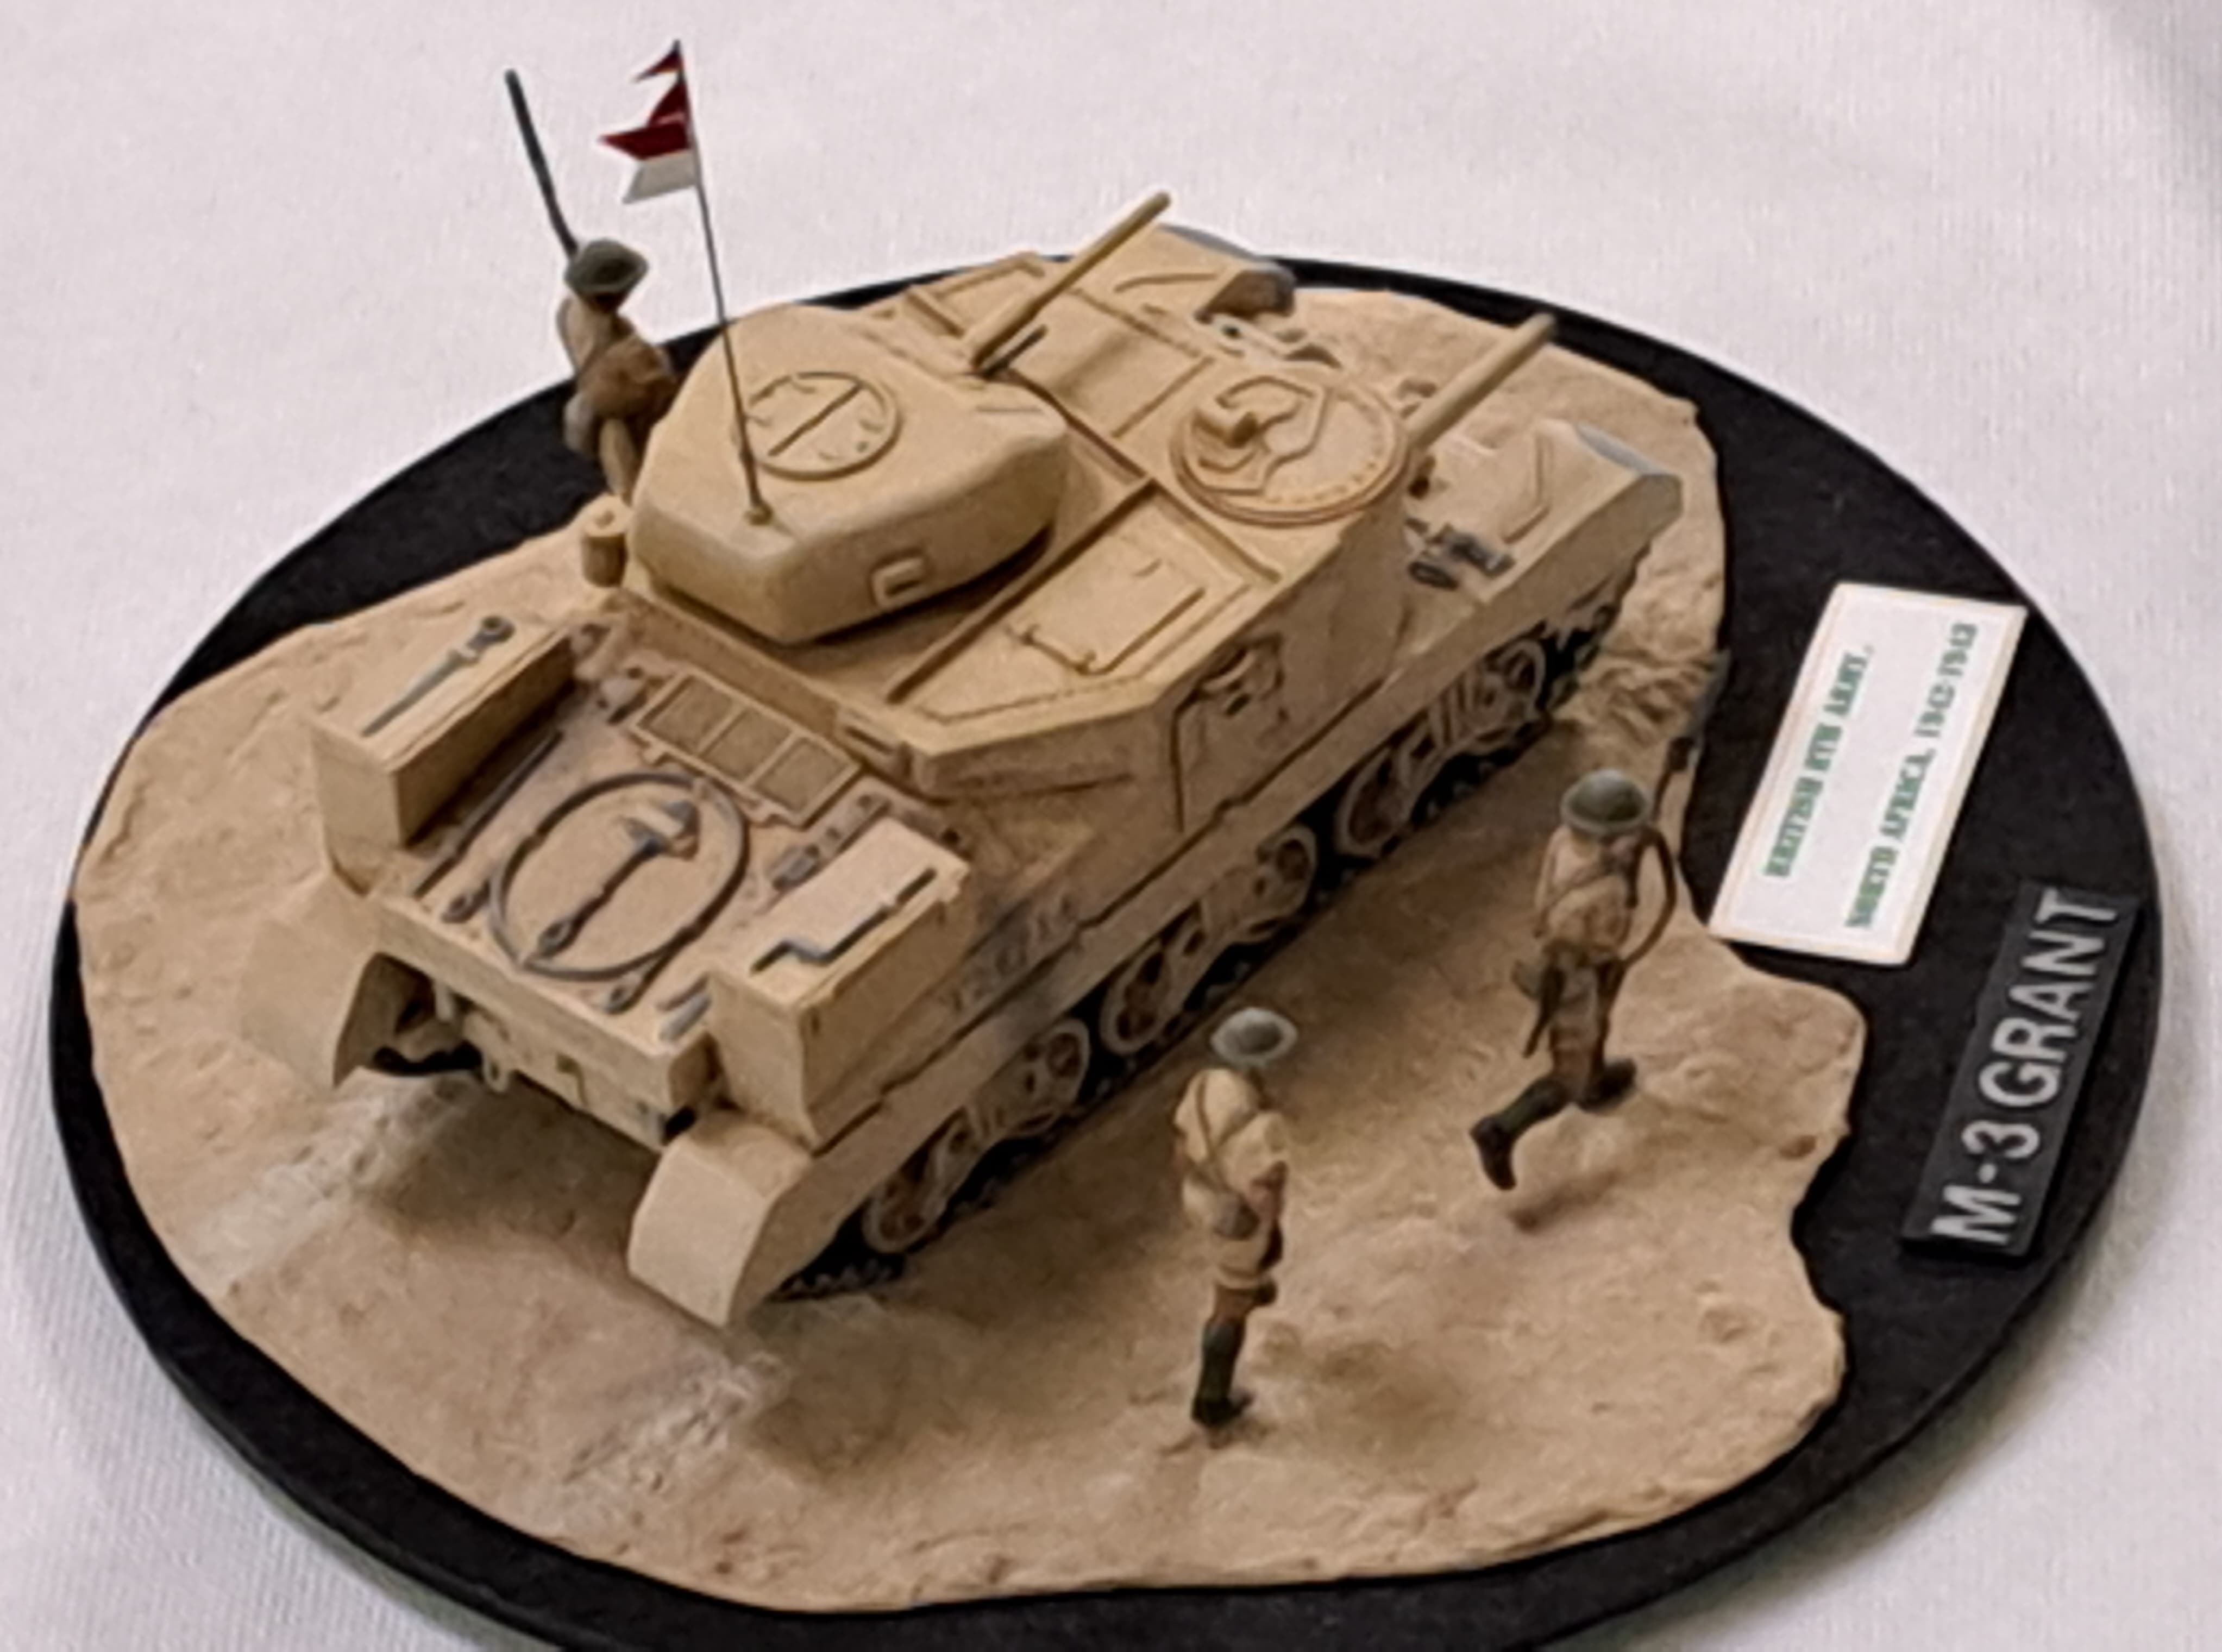
Thanks a lot, the first diorama is all Dragon the second all Trumpeter
1 Like
I really want to also talk about the 17cm gun as well. Is it OK to continue here or should that move off to become its’ own thread?
I think I just answered my own question.
New 17cm thread just posted with @UncleHeavy 's assistance.
Here is the link:
1 Like
Sure all artillery talk is very welcomed!
An extremely interesting site provided by Victor Dashkiyeff:
Showing PAK 40, 15cm and 17cm guns in a very rustic (if very rusty) setting.
Click on Photo

2 Likes
For the 15cm gun the transport procedure seems to be as follows:
The top mounted recoil rod is first disconnected from the breech block (retained by just one very large castle nut) and then the gun tube is physically pulled back (out of battery) to offer better balance while transporting and this more balanced load puts less strain on the trunnions, on the gun elevating mechanism and on the carriage itself.
(The practice was the same for the US 155mm gun.)
Seen below is the gun positioned in “transport mode” waiting for its’ limber.*
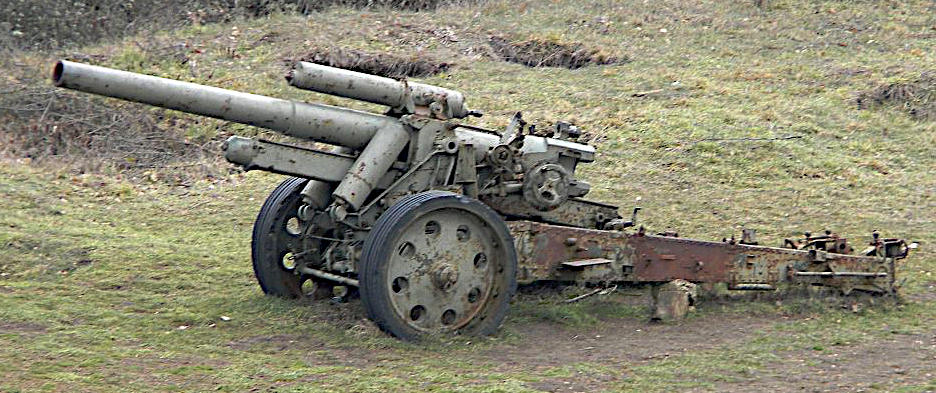
Original photo by: Victor Dashkiye - used here for discussion ONLY
Traveling

Again in the photo below the recoil rod has been disconnected (top arrow) and the gun tube and breech block have been slid back to balance the load for traveling.
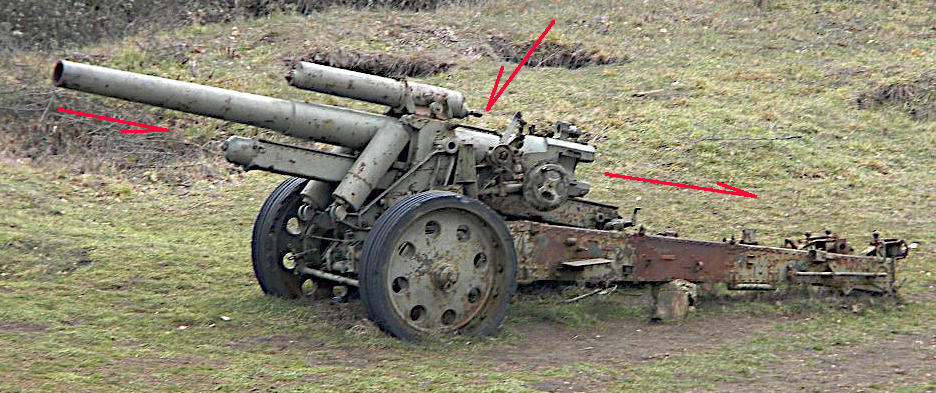
Original photo by: Victor Dashkiye - used here for discussion ONLY
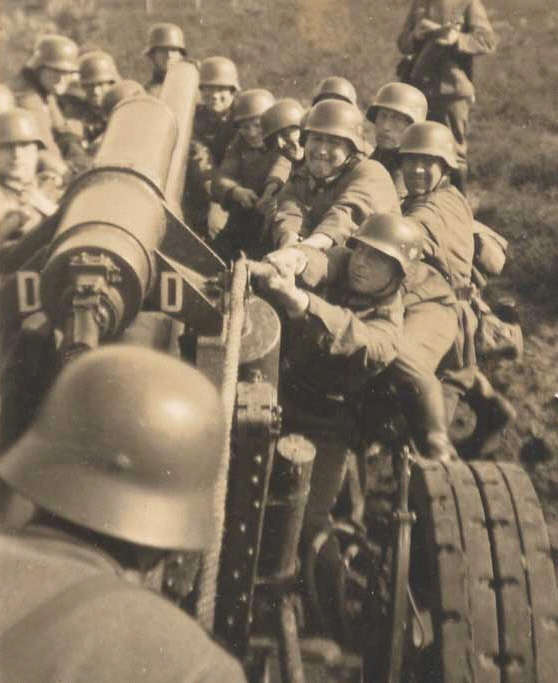
Pulling the gun “Back Into Battery.”
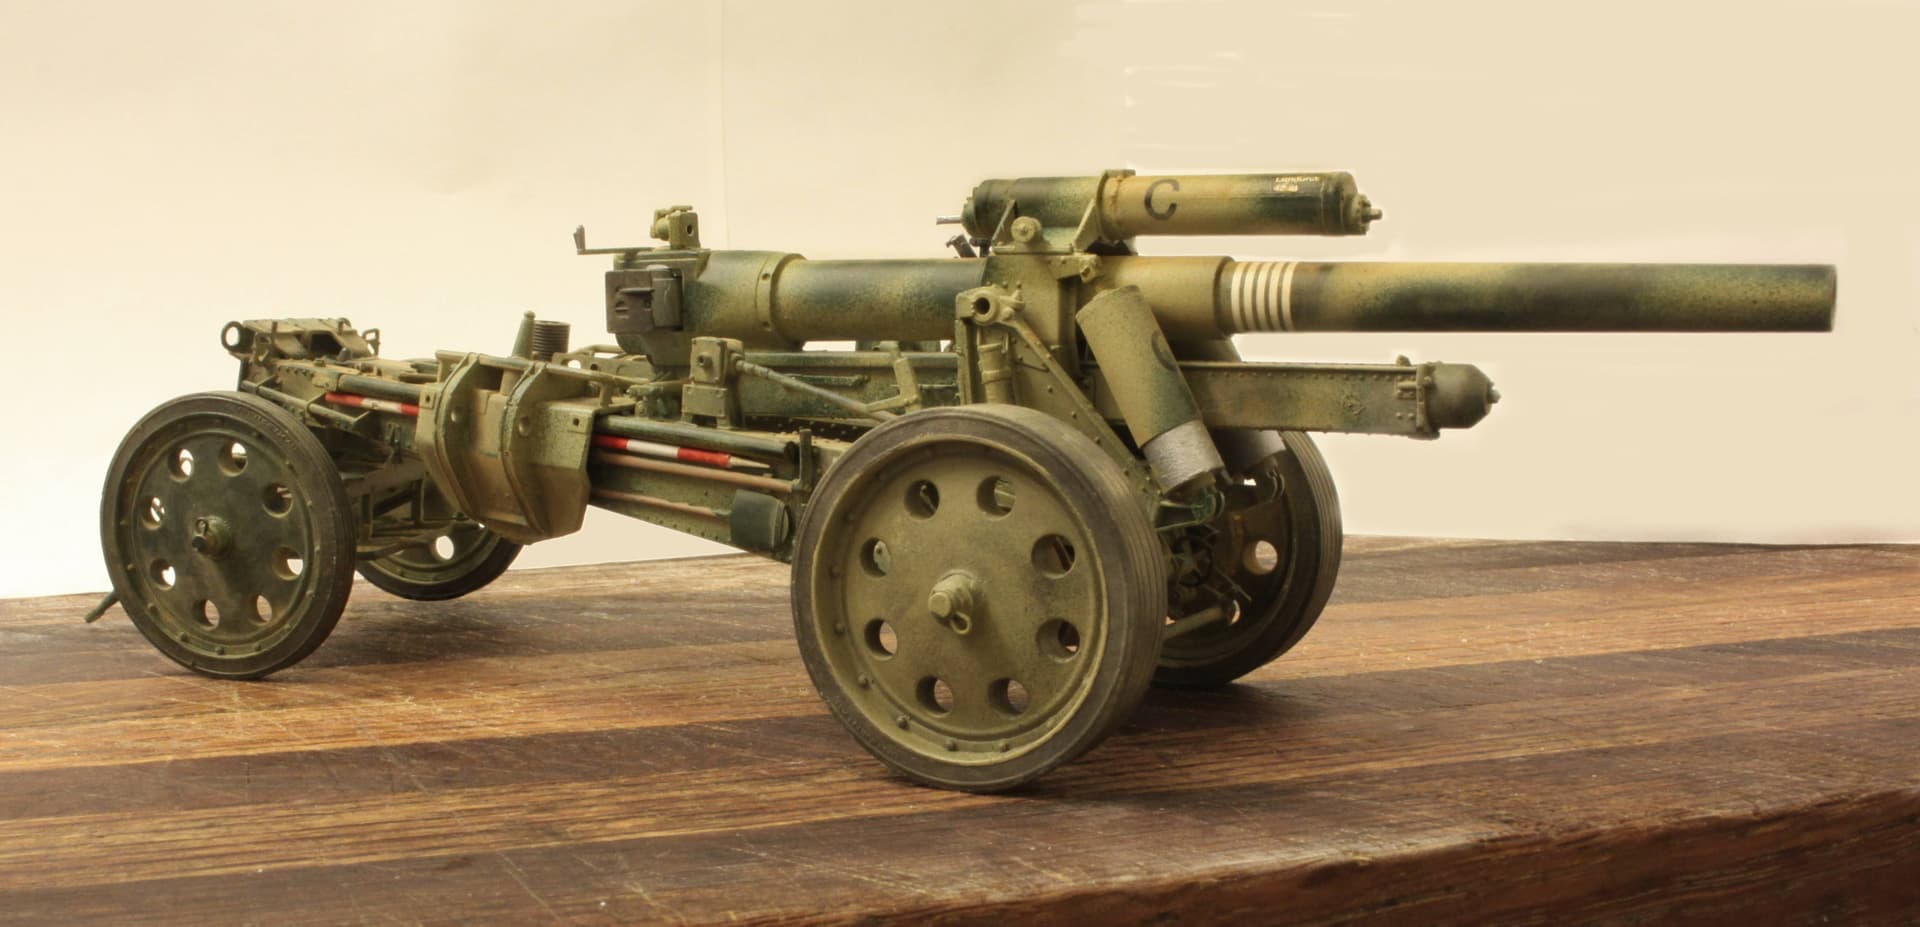
And again; my model built in traveling mode.
*Normally you would attach the limber BEFORE moving the gun out of battery because with the whole structure balanced in firing position it would only take the weight of 3-4-5 guys hanging on the gun barrel to shift the balance and cause the gun trails to rise off the ground so the limber could then be attached.
5 Likes
Fascinating pictures. Would make a good diorama. I’m a bit surprised that the crew had to manhandle the tube back into battery in the way shown. I always assumed that’s what the winch on the right trail was for, or is that to open the trail legs?
1 Like
Sorry, cannot answer that question but to my understanding moving the gun tube in and out of battery was a manual, REAL “tug-of-war” situation.
Large wheel on left side of gun is elevation control.
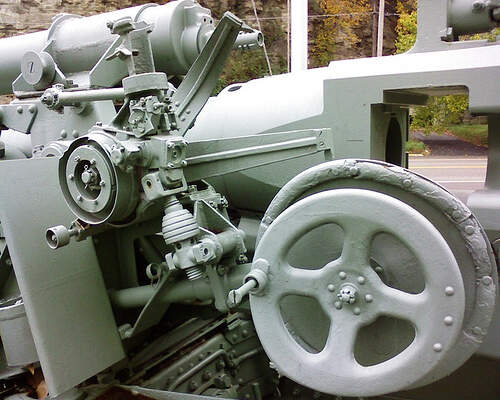
*Again please note; the recoil rod has been detached from the breech block.
The gearbox on the right side of the gun is the “slewing control” (left/right movement of the gun barrel) for minor azimuth adjustments.

Handwheel has been stolen off this Museum piece as happens all too often.
1 Like
Looks like the breech block has done a bunk too! The blank grey plate forward of the sights should have the range and charge info on a brass plate, or I assume that’s what it was. BTW the winch I was referring to is the one just above the sighting rods on your colour picture of your model. It has a shaft that leads vaguely somewhere into the carriage.
1 Like
Ah thanks, that answers my question.
1 Like
The sliding portion of the breech block is often removed and destroyed in order to de-mil Museum guns.
1 Like
@165thspc Michael, as mentioned above fantastic pictures! ![]() Thank you for sharing the information with us!
Thank you for sharing the information with us!
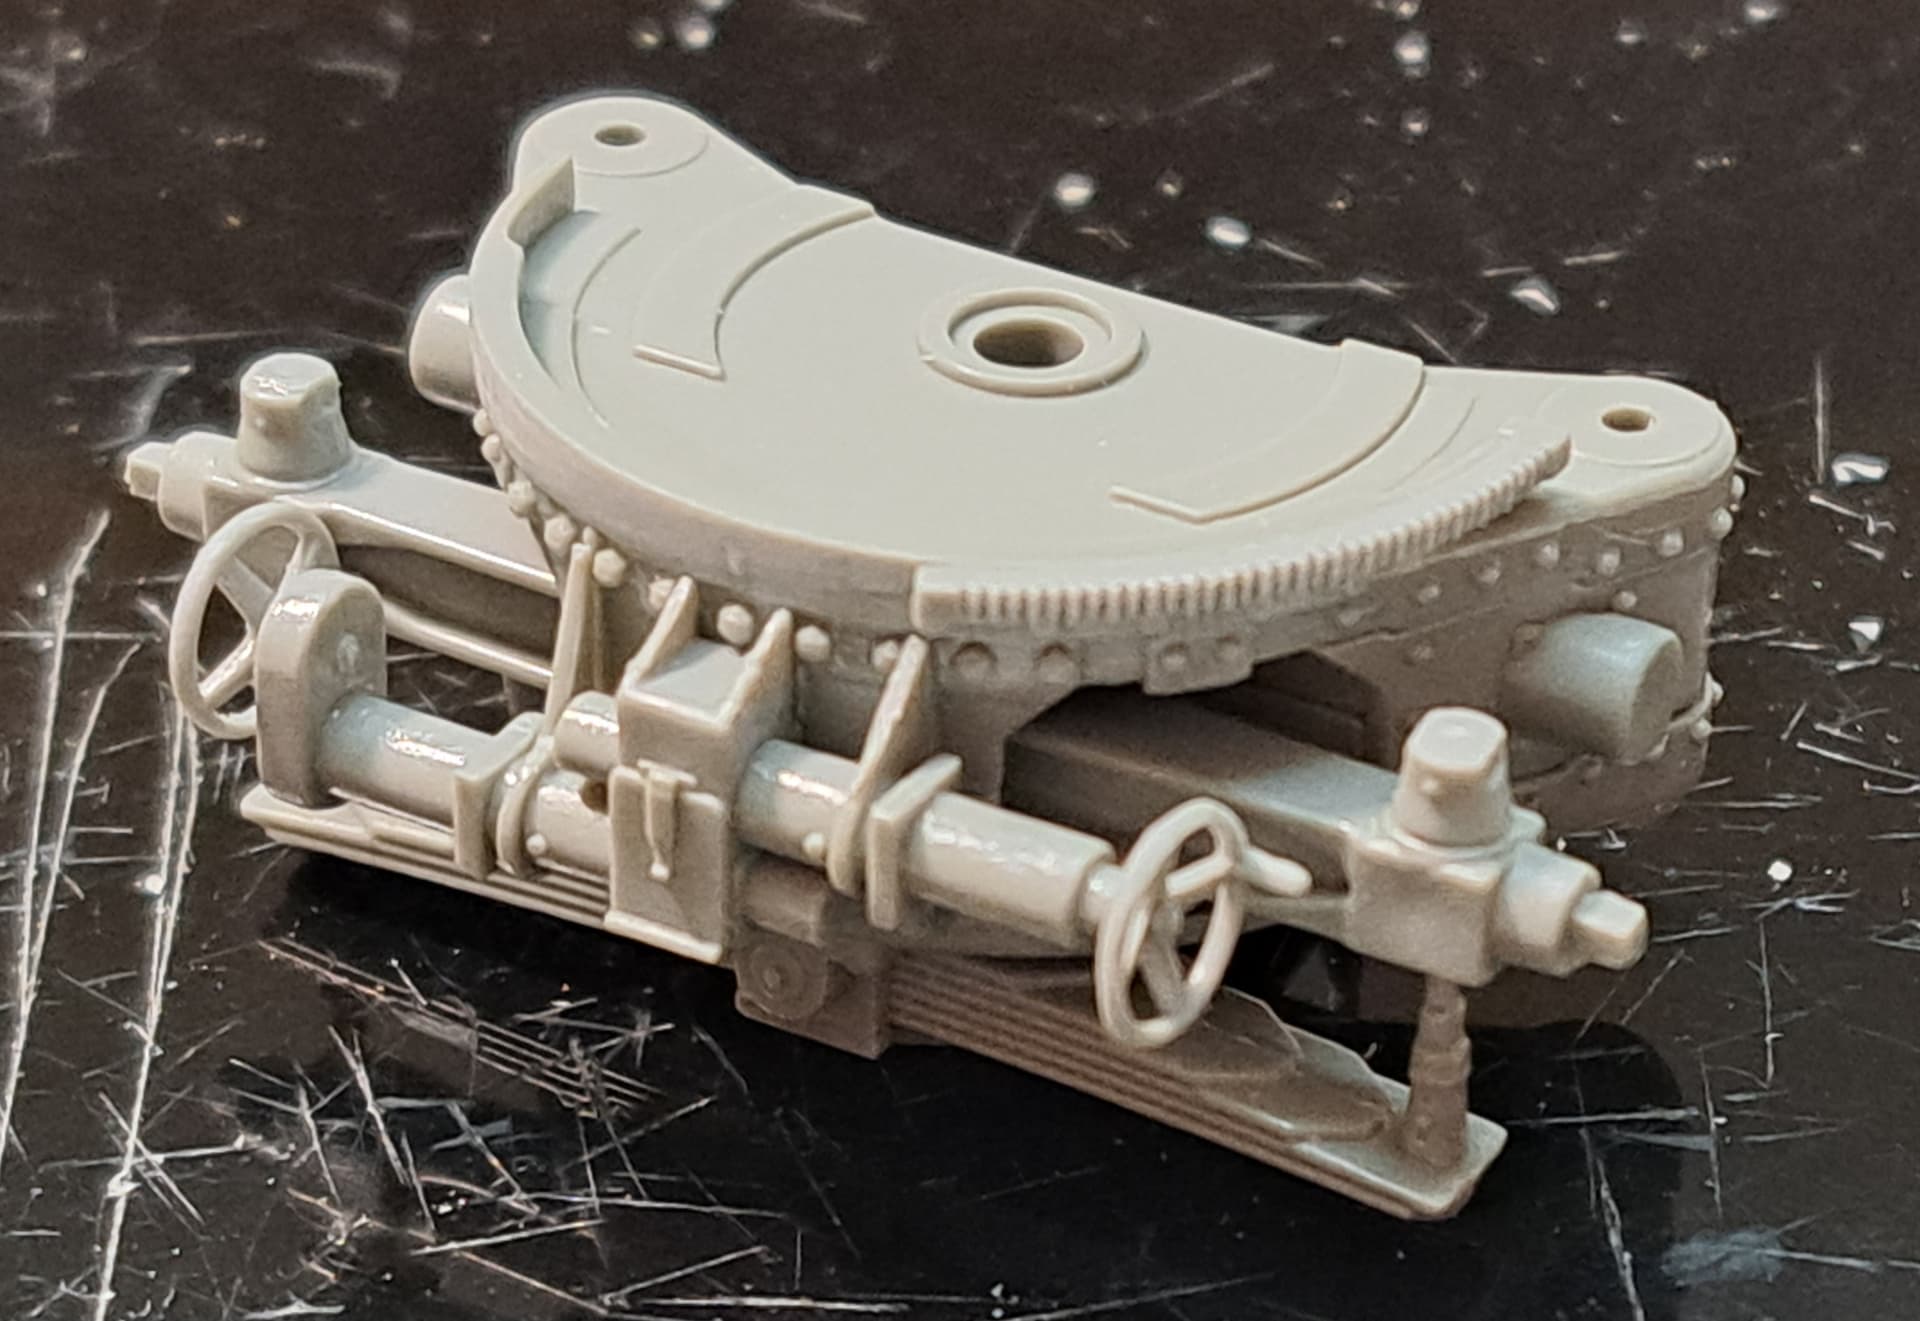
Working on Step 5, start to look like artillery finally!
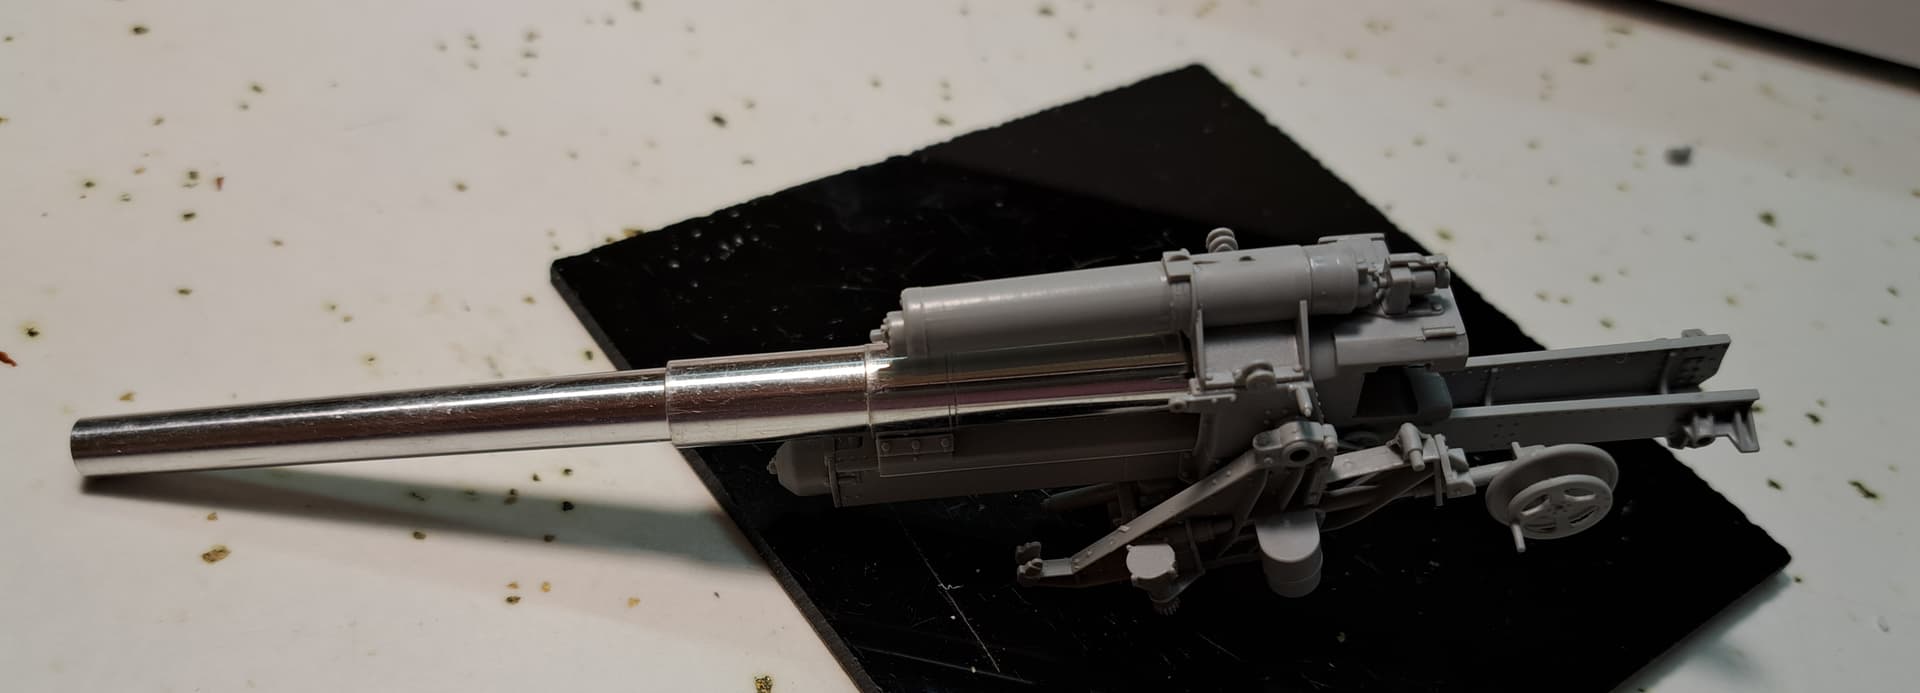
5 Likes
Did the GCMB model club meeting last night.
It was nice change of pace and fun to talk to modelers face to face. Pictures of completed models at club meeting.
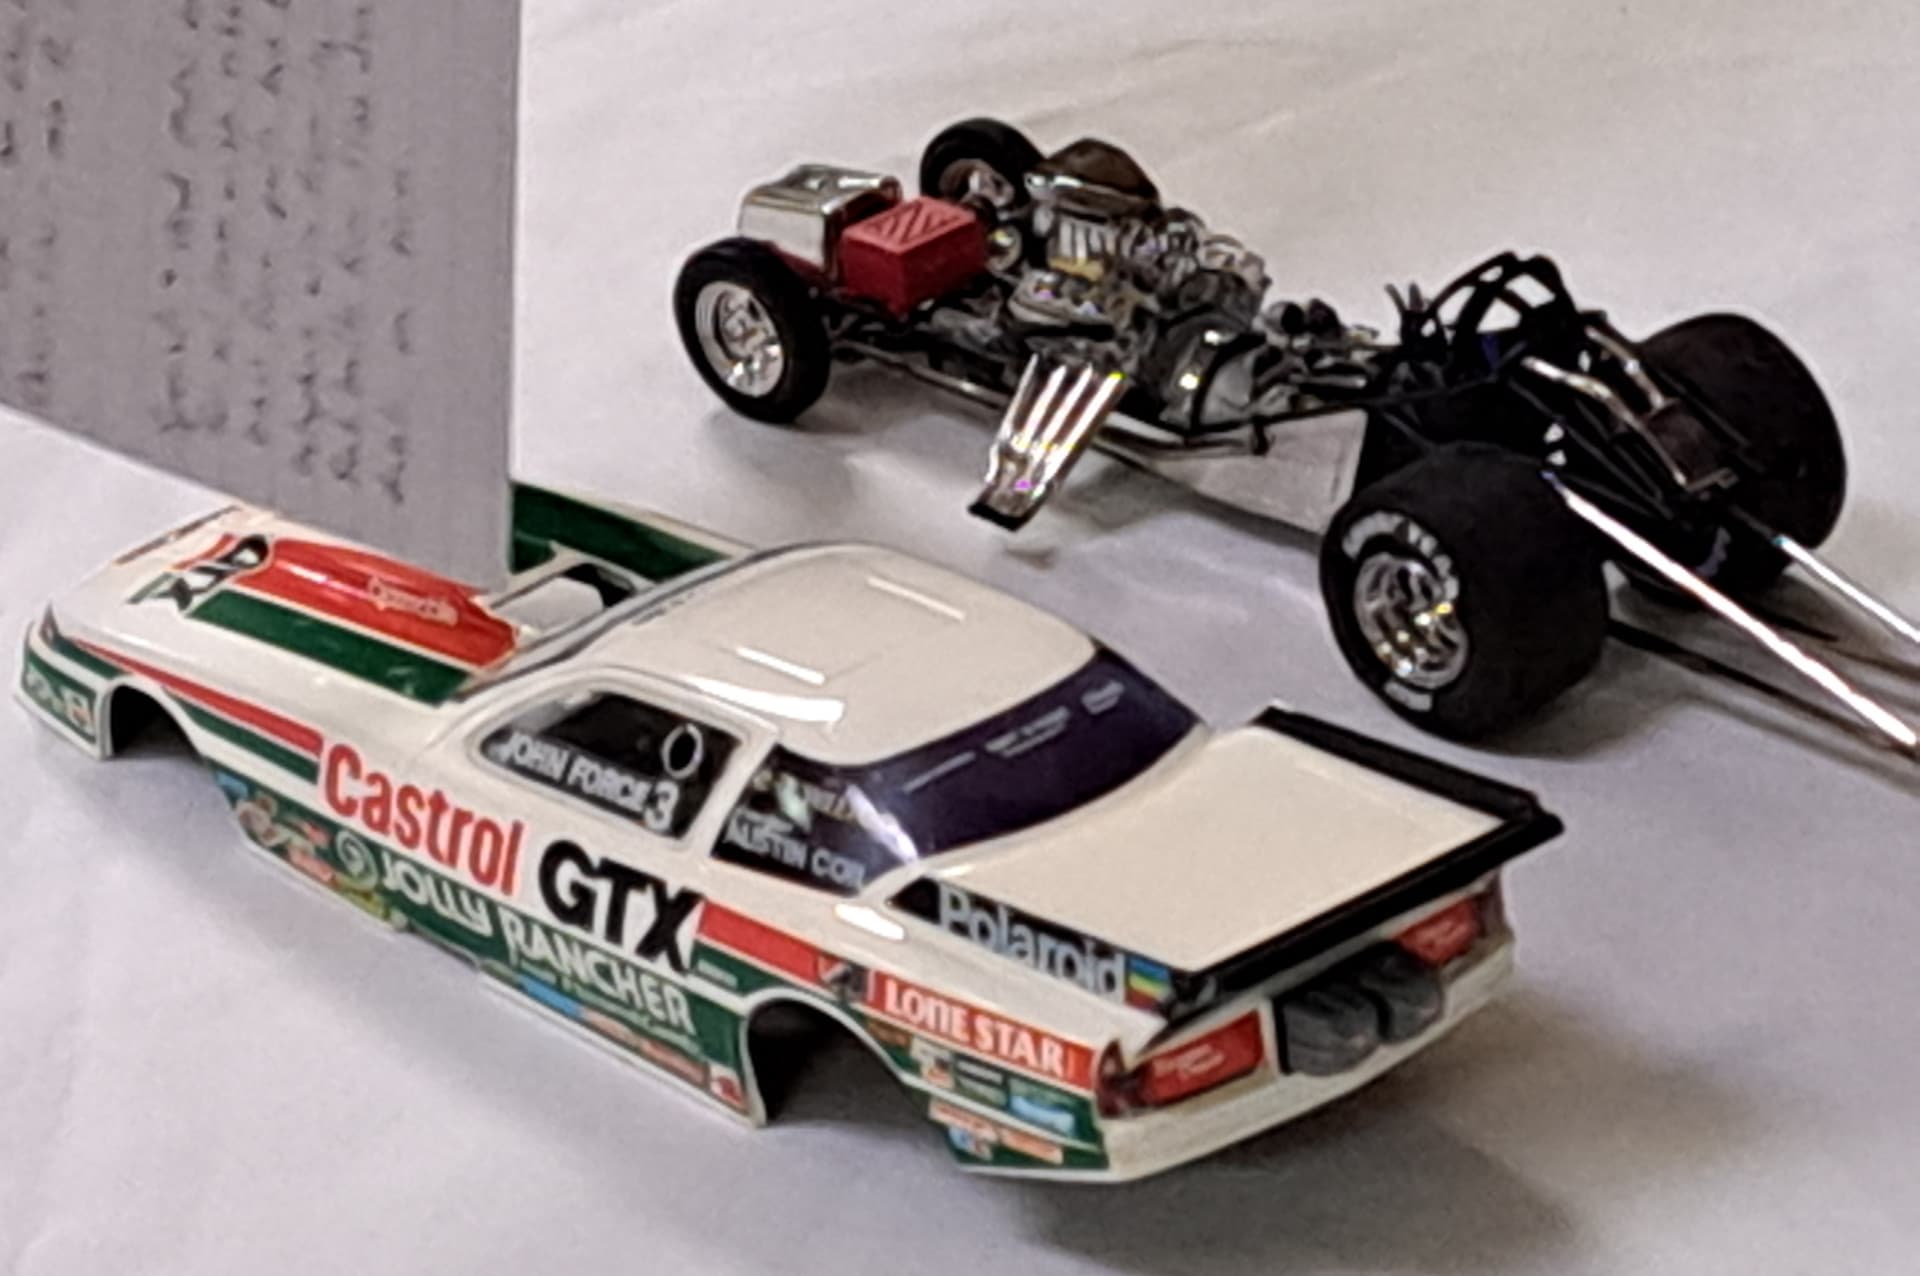
Hope to return to working on artillery piece tonight.
4 Likes
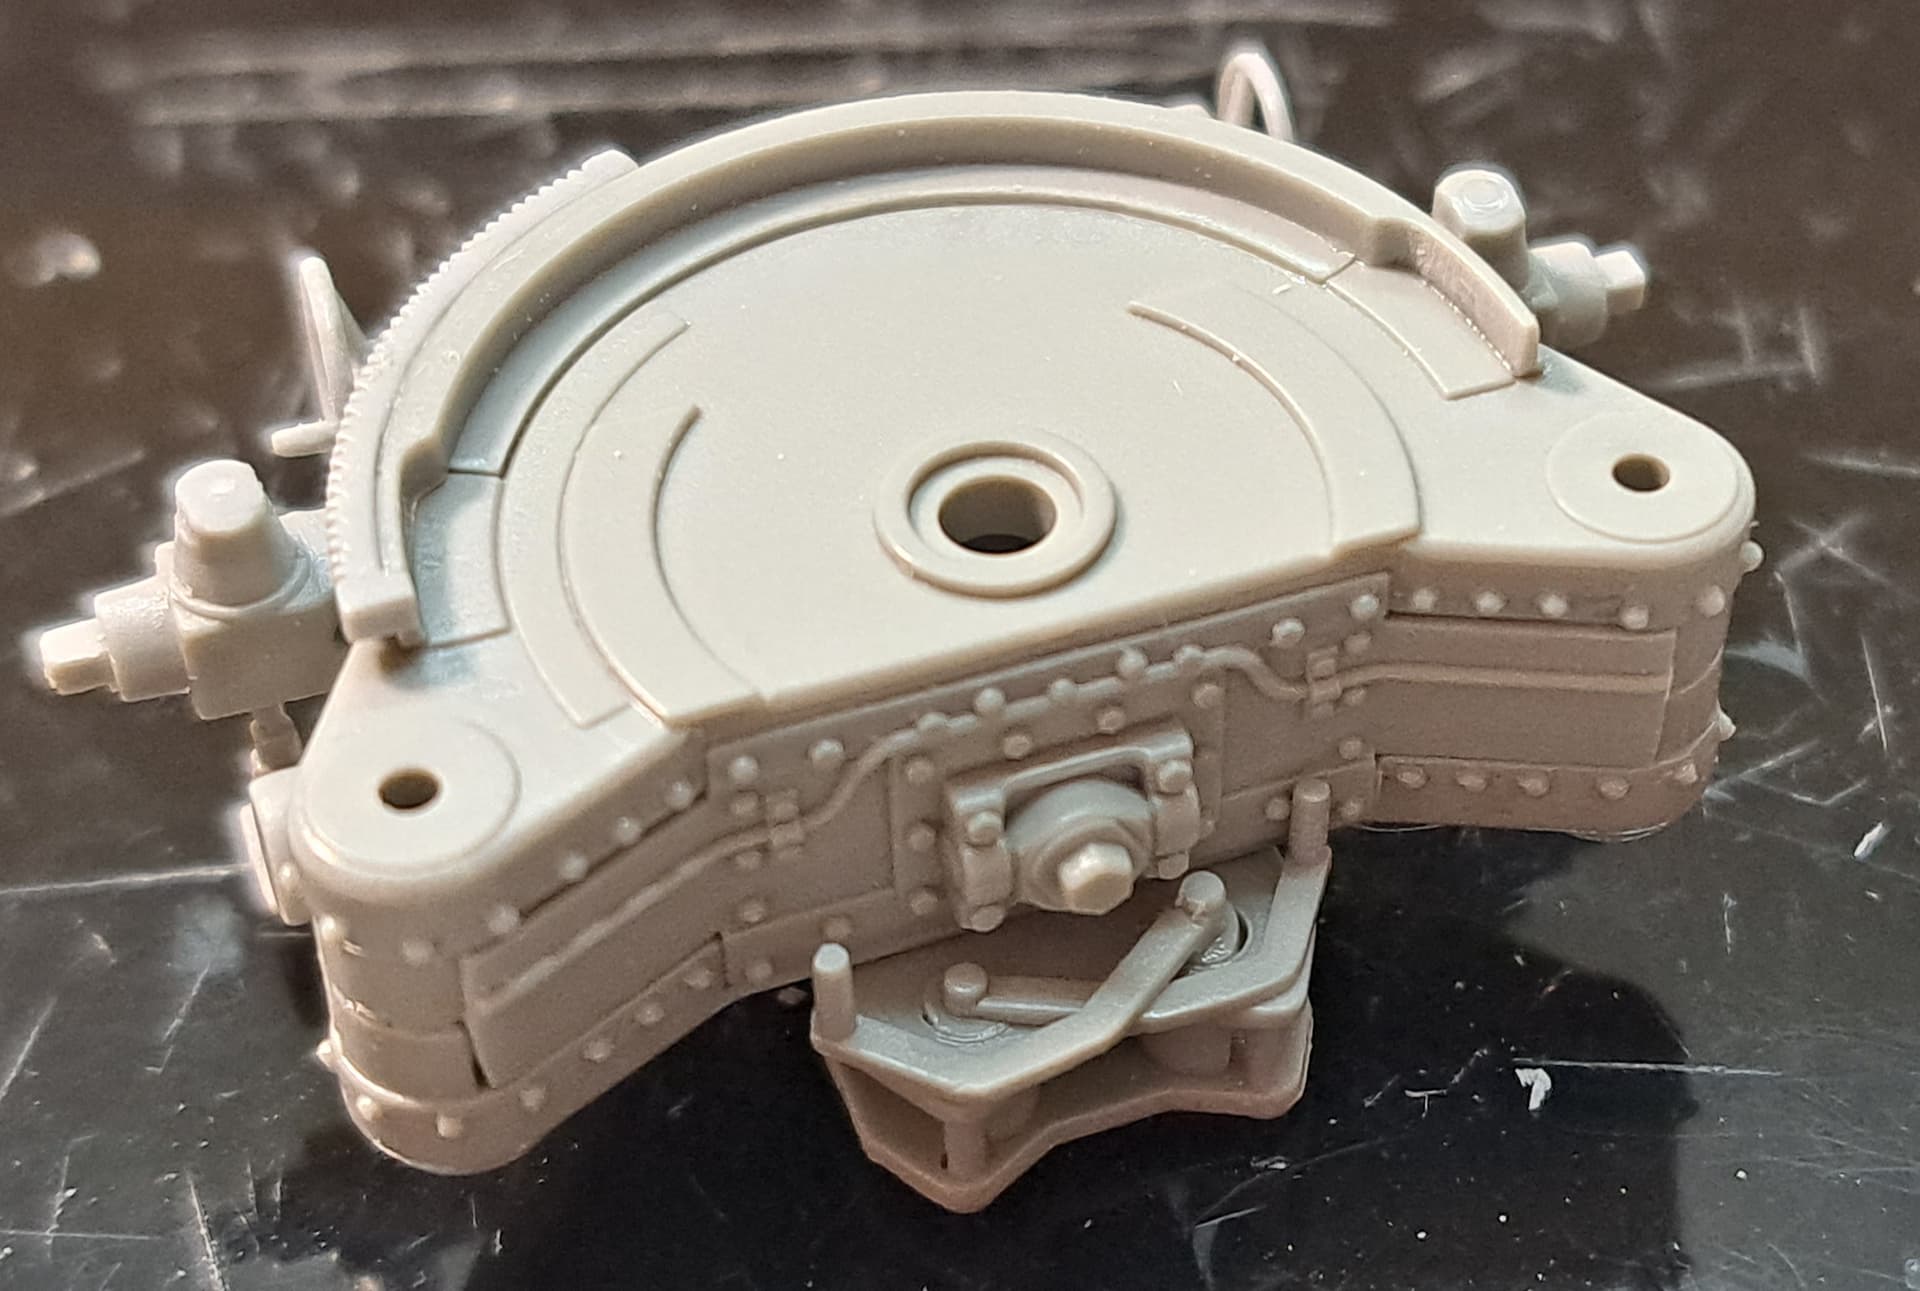
Step 6
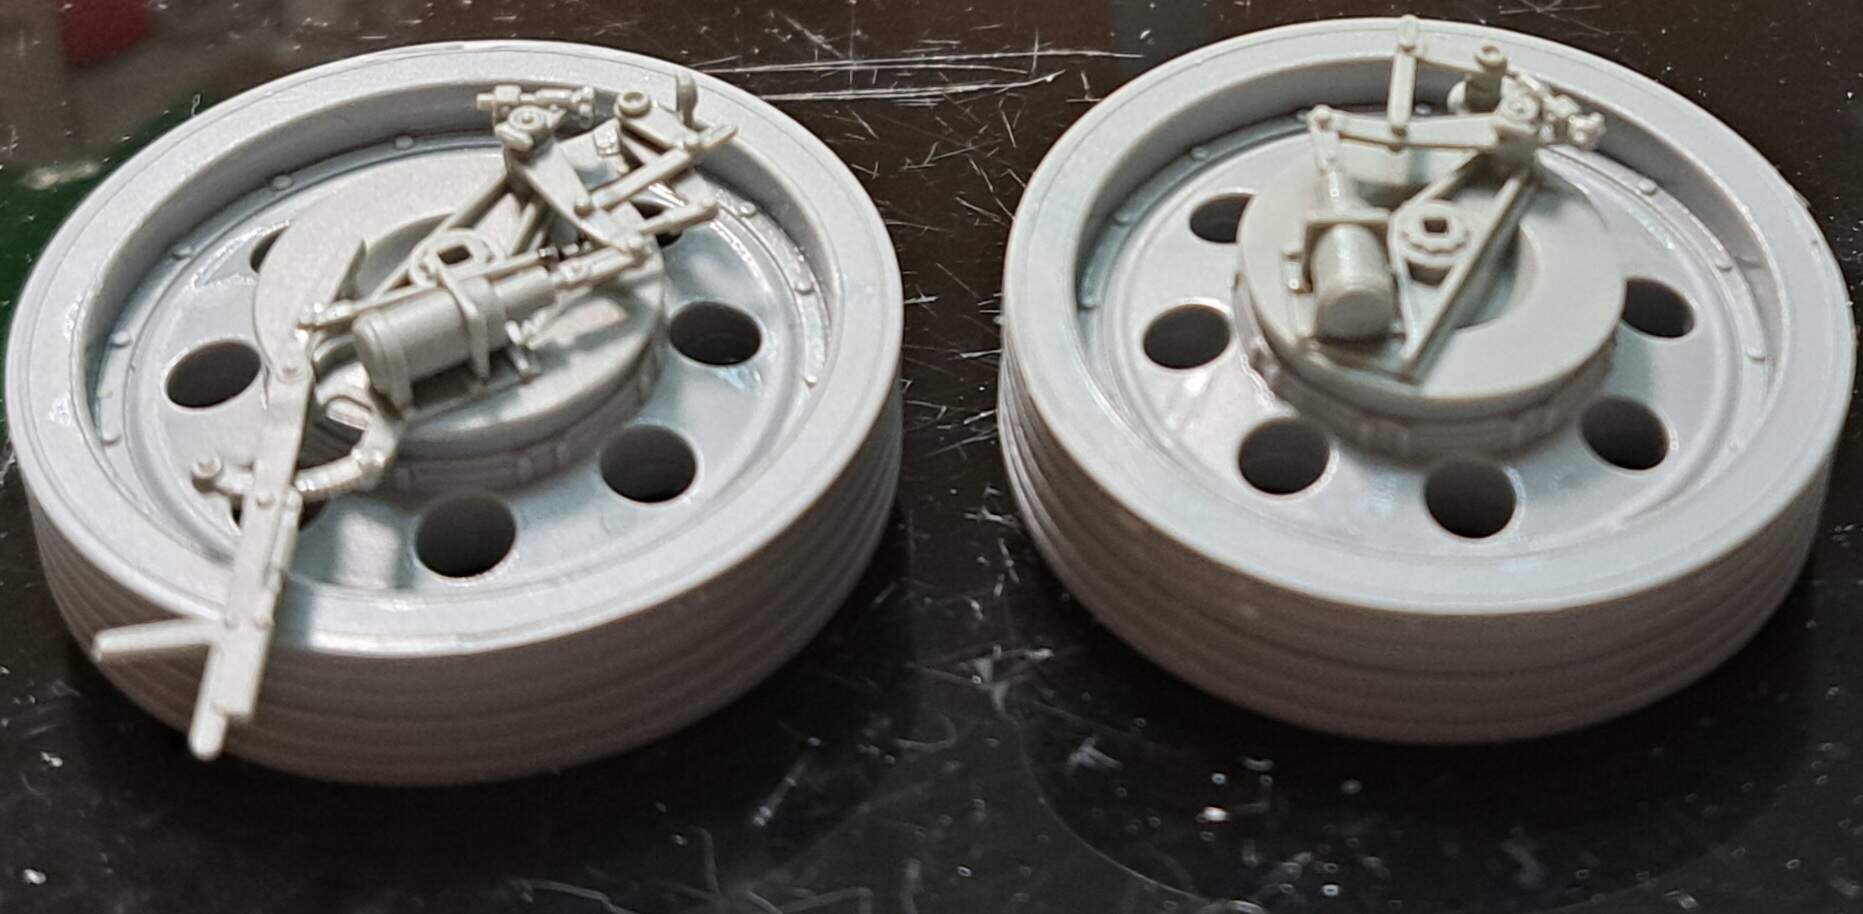
Found another instruction error to add to the long list from Perth, D31 in second drawing, step 6 should be D32. Step #6 is for both of the thick wheels not a thick and a thin wheel. Minor but annoying.
4 Likes
Yes, that’s Dragon for you! ![]()
1 Like
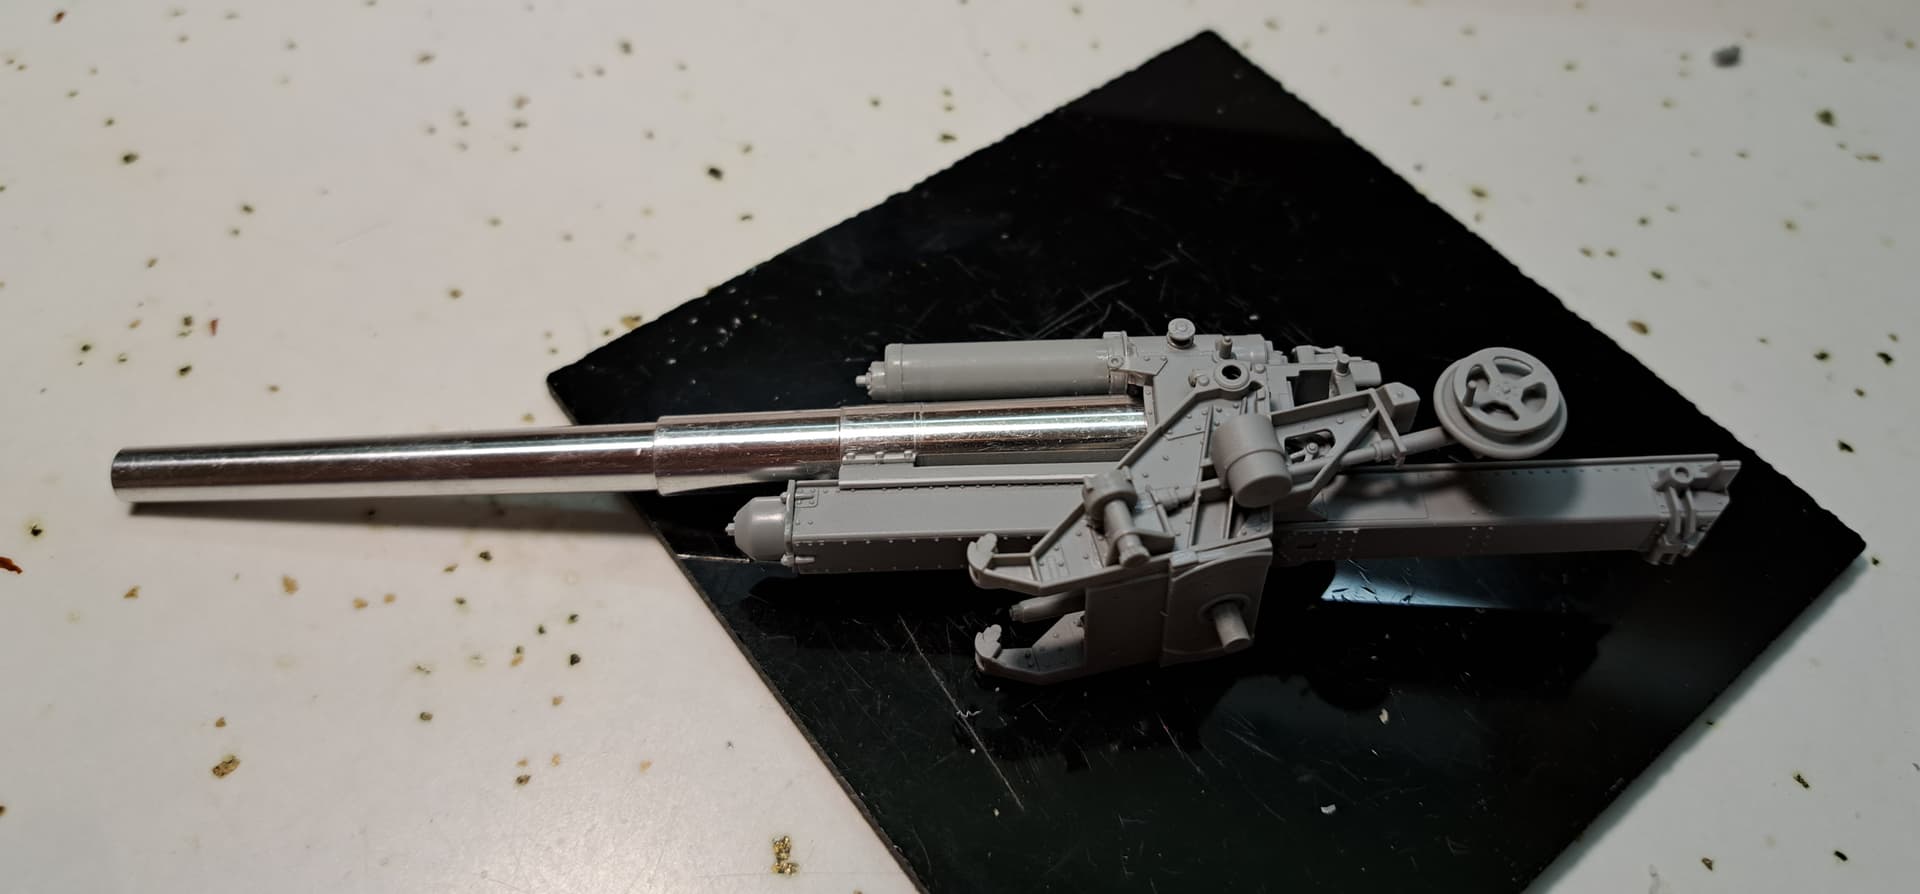
Step 7, the review from Perth proved very useful pointing out multiple Dragon instruction errors. The assembly went well enough with good overall fit. Has several hairline seams etc that will require Molak Stucco Putty or Mr Surfacer before painting etc.
4 Likes
Step 8 Adding wheels and tie bar.
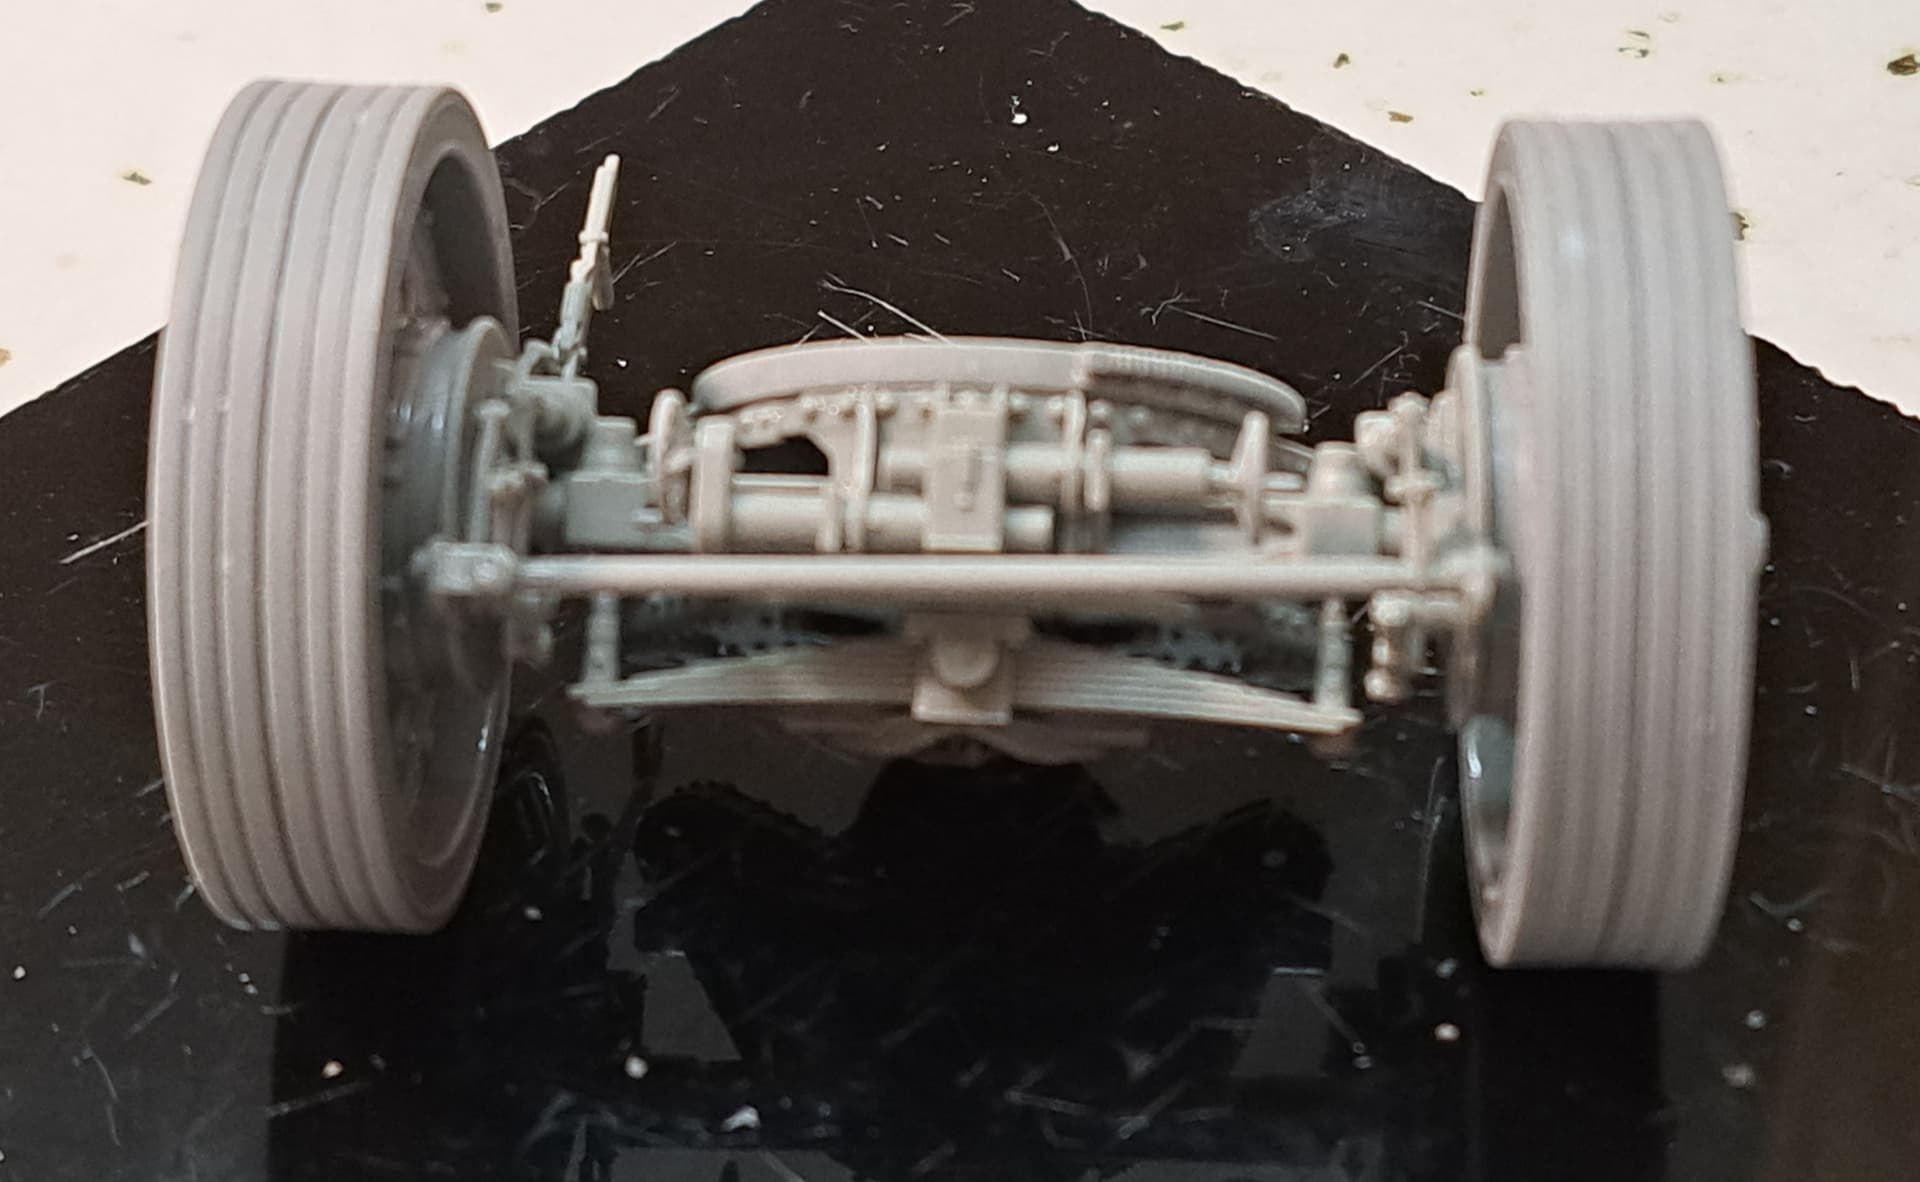
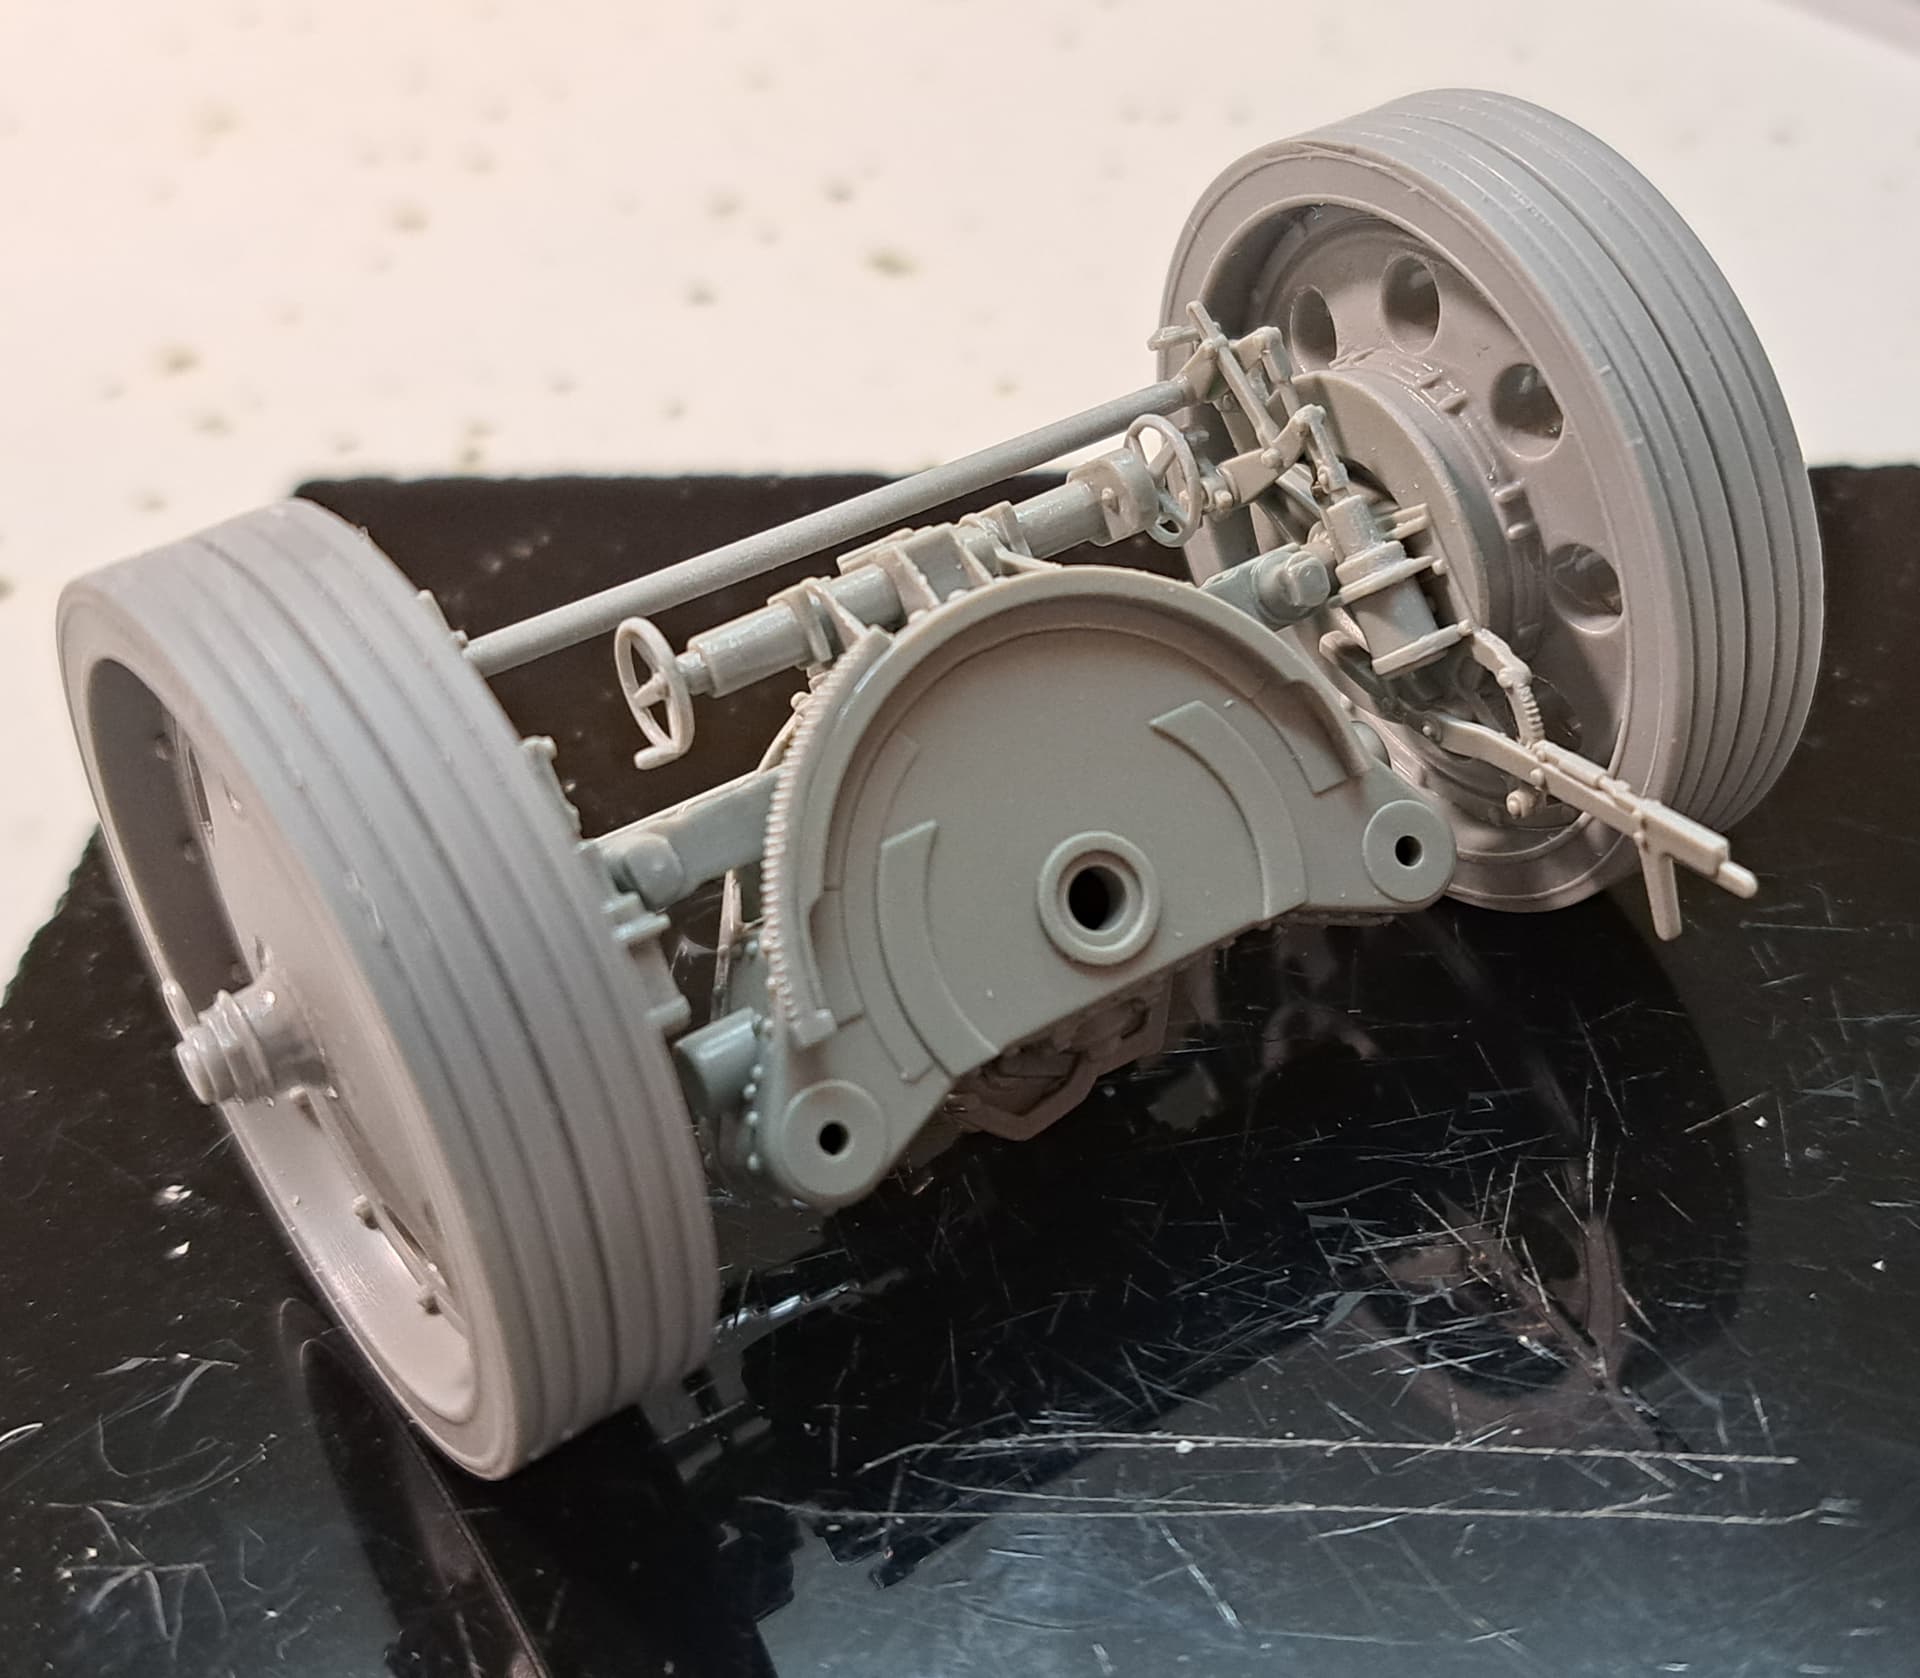
Perth mentioned adding fiddle bits to tie bar but, I’m leaving mine as is.
5 Likes
Be aware those spindles the wheels attach with aren’t very sturdy. I had to sink a pin into one after it snapped off while trying to attach the gun cradle.
3 Likes
Thank you for the heads up! That’s good to know.
Going together it seemed about as sturdy & steady as a new born baby deer. I’d hoped it would be sturdy when the cement dried.
2 Likes
Wish I remembered more about the build but it was about five and a half years ago. I know I took a look at the Perth site, as I have done that for a number of kits and not just Dragon. Trumpeter/HobbyBoss has required a visit more than once. I didn’t make all the changes as I build for myself and for fun first and if it can’t be seen when complete I won’t always bother. Like the seams in step 7: I filled them in enough to hide them from casual eyes and as the piece is displayed barrel outward no one can see the back anyway. Once the crew gets done and I put it on a base I can hide some things with grass and other nonsense. TA DA! Another out of the stash and providing a home to a new generation of house spiders.
Seriously; not a fan of spiders.
3 Likes