@Brisk_Risk Derek, thank you for taking time to check out this Pz III thread in such detail. All in all, I think the Academy Pz III is the best bang for the time required to build. With a few basic tweaks the kit really wakes up. I hope you give the kit a shot and would love to follow the build!
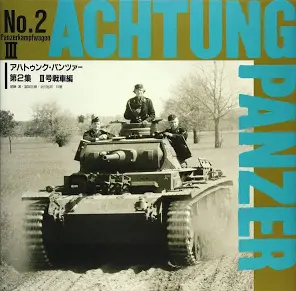
Speaking of model details on Pz III, I know very little but the old reference Achtung Panzer #2 is outstanding with line drawing for modeling. It’s reasonably accurate on major details from what I’ve seen.
Let’s talk decals before tracks.
My decal film ends up highlighted despite gloss coat, decal, gloss coat if I do weatheringover it. My drybrush technique is very aggressive and washes are applied in a similar manner. Aggressive in the sense of lots of paint brush movements. Typically drybrush may hit an edge ~20 to 30 times etc. So I try to avoid decals a lot of the time and apply markings with stencils etc.
Thank you for the kind words on the tracks. In my opinion, when painting tracks this recipe works pretty well. Tracks with rubber pads require a little different approach. There’s lots of ways to do tracks, here’s my method.
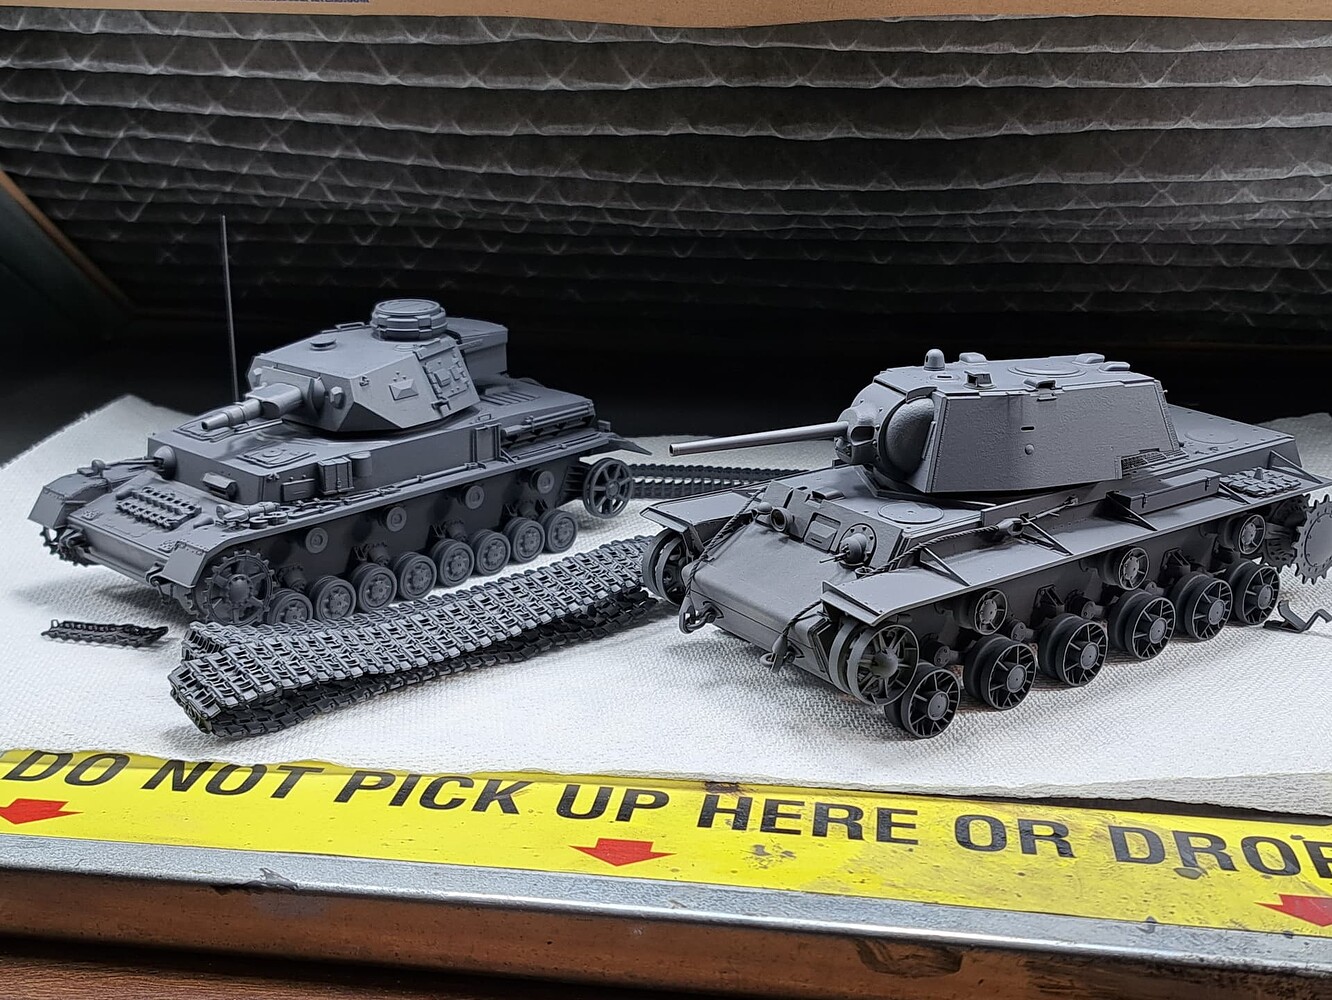
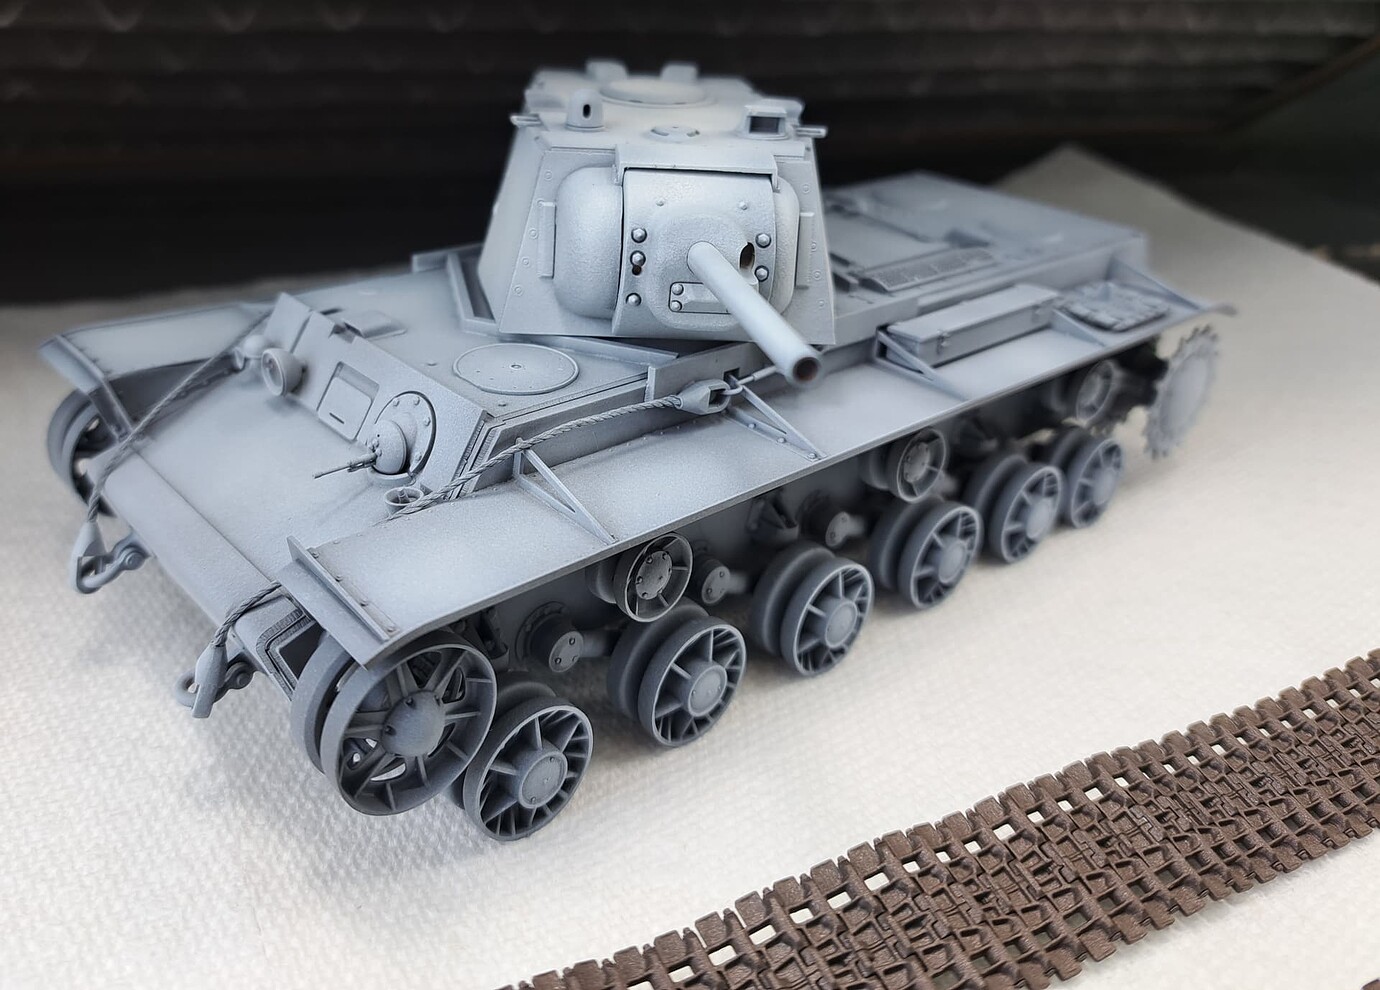
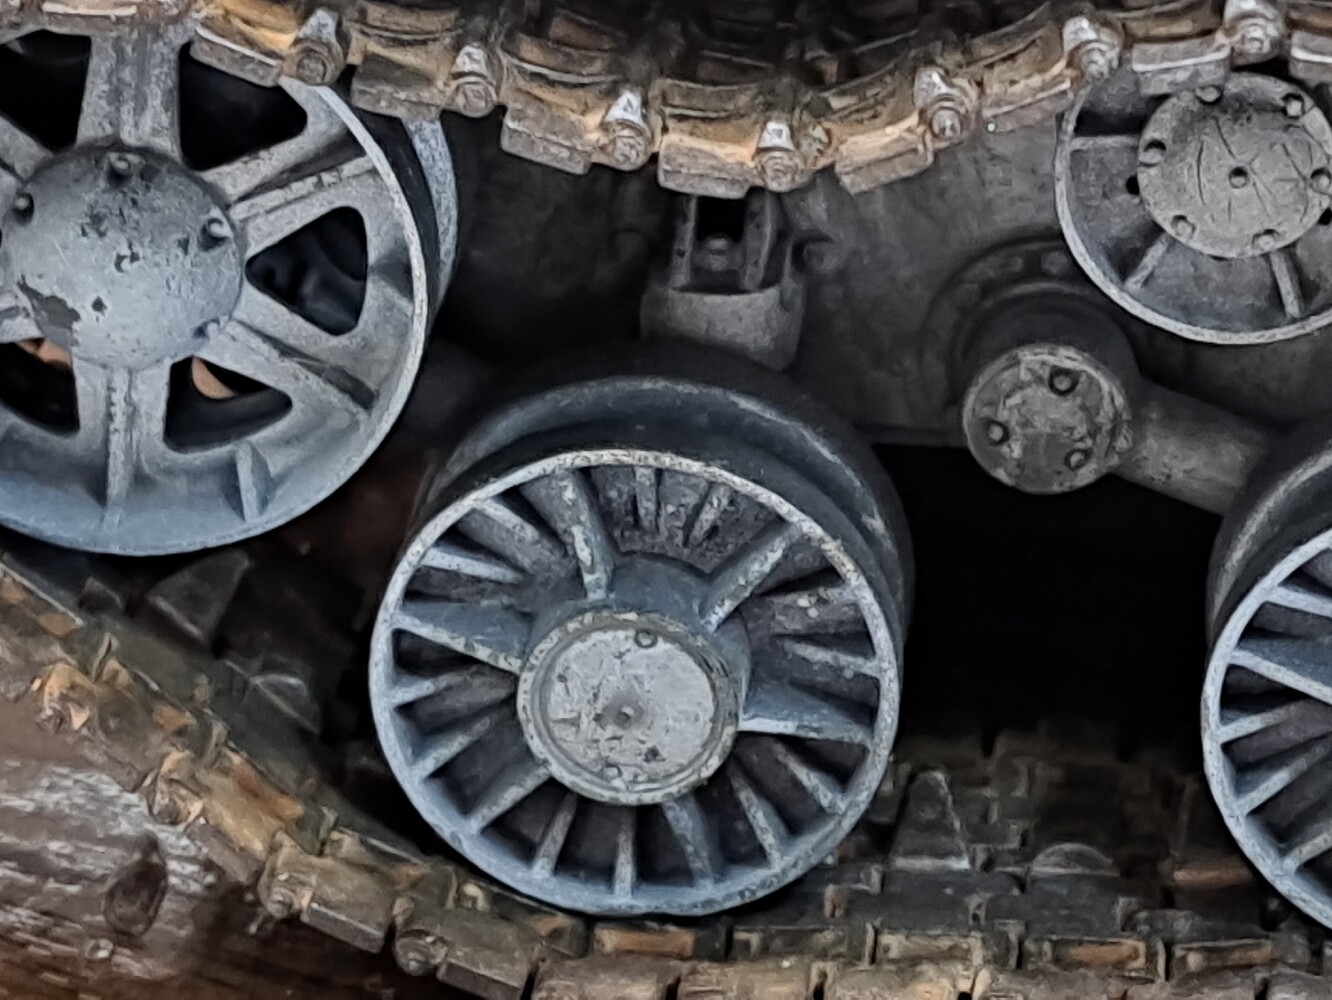
This thread rfm5041-kv-1-model-1942-simplified-turret-build has same method applied to a bigger foot print track.
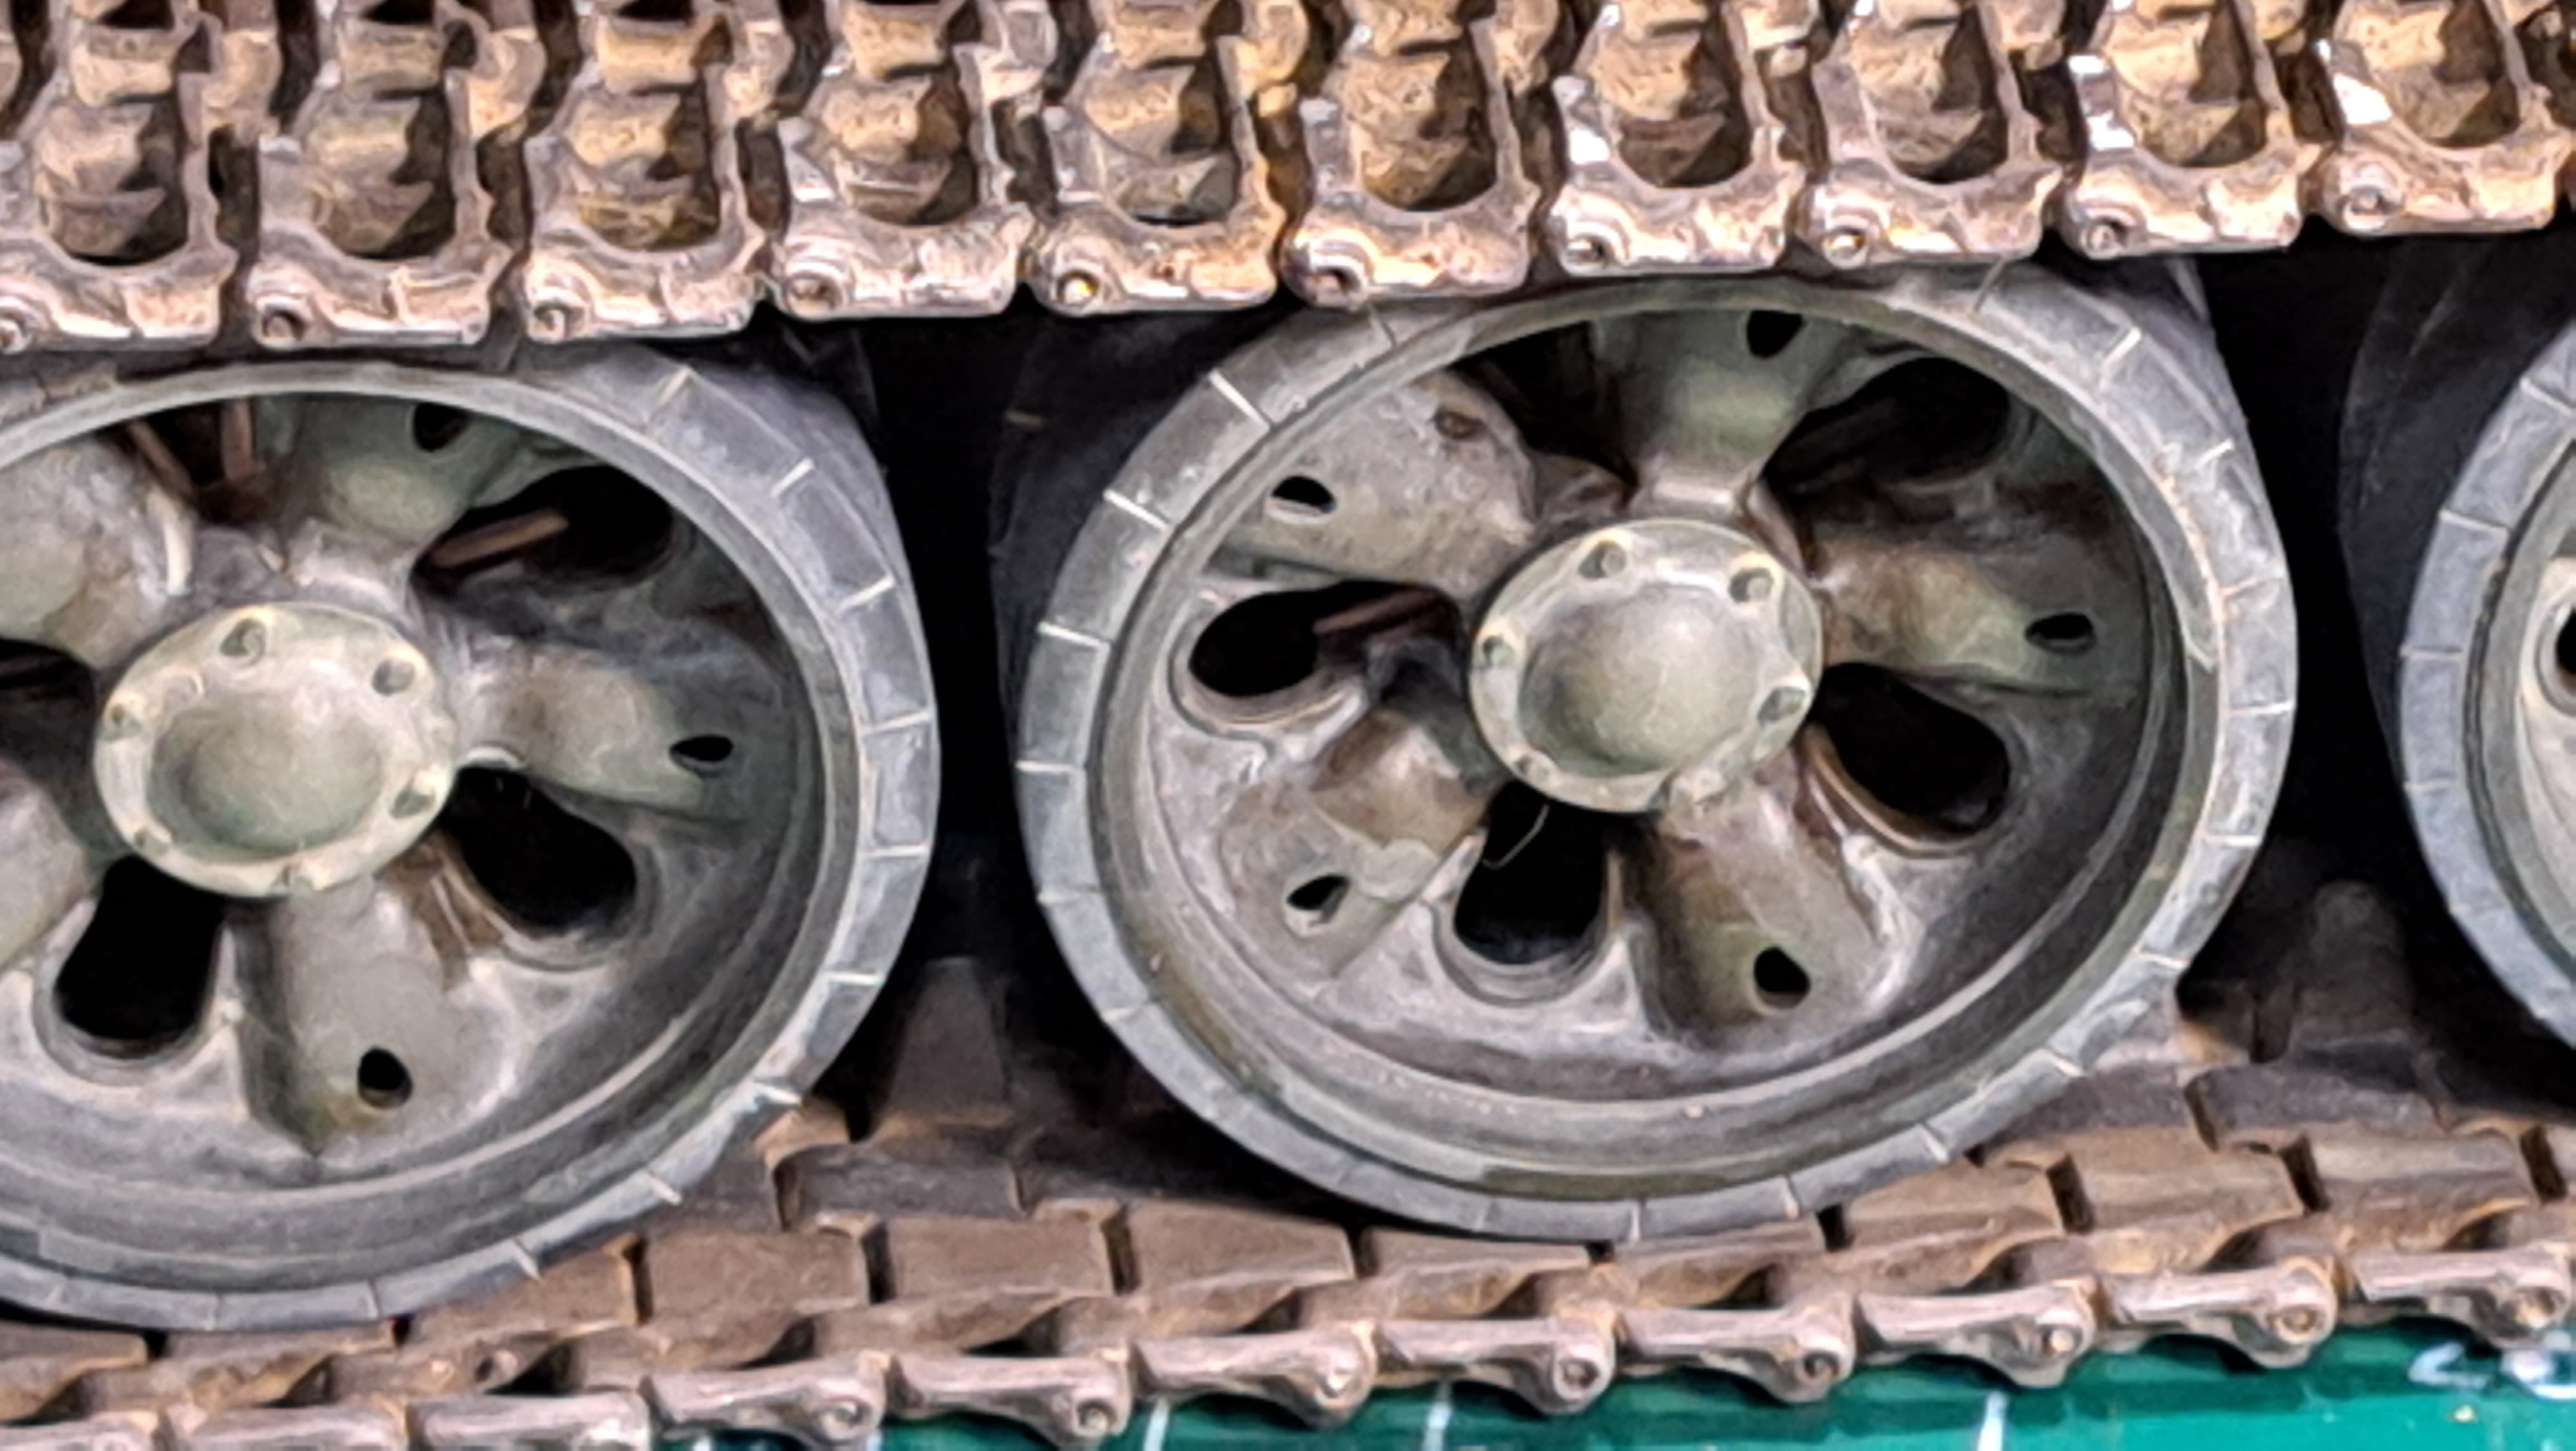
- Base color of Weathered Black or very dark gray. This set shadow in the recess. With workable tracks they should be articulated to ensure all recess are covered. My pet favorite paint is Floquil Railroad Weathered Black but any black shade up to RLM 66 grade black works. RLM 66 is a little on the light side etc. Tamiya Nato Black with a little gray works well too.
With this KV-1 1942, I blasted the tracks with Weathered black like the models received.
- Light misting overspray of Floquil Railroad Antique Bronze. Don’t want it in the recess but mainly covering most exposed details. Tamiya Burnt Iron is an excellent substitute but is a little dark.
-
I like to apply a “gun metal” color to the area where the road wheels ride as that area often has a metallic sheen if the tank is operational. My pet favor colors are mix of a bluish black metallic and silver. (Floquil Military Chain Mail & Floquil Military Silver). I put five drops of chain mail on the palette and two drops of Silver. I randomly mix the two colors and brush paint the area of road wheel wear.
-
Using same mix in #3 add drop of silver and lightly drybrush track guide teeth tops and outside track face.
-
Light wash of dirt.
Probably 85% thinner and 15% Floquil Military Dirt. Any dirty color should work. I add another drop of paint or a drop of thinner at various points to the wash mix in my color cup. This given 3 to 5 different intensities of color with the same paint. -
Light wash of Floquil Military Orange rust. The intensity of the wash is altered as mentioned in #5 to give variety of color with same paint.
White Metal Tracks get a similar treatment. Blacken-It/Burnishing fluid instead of Weathered Black paint. Same overspray of Floquil Railroad Antique Bronze. The metal detailing can be painted but is more fun to do with sand paper. Dirt and rust washes applied the same way.

Fruilmodel’s T-55A white metal tracks finished as described with an additional wash of Gunzy/Mr Hobby “Sail” color paint as dust.