Worked on the jerry can for the rack while other stuff cures. Needs ten cans to fill the rack but Dragon only provided three.
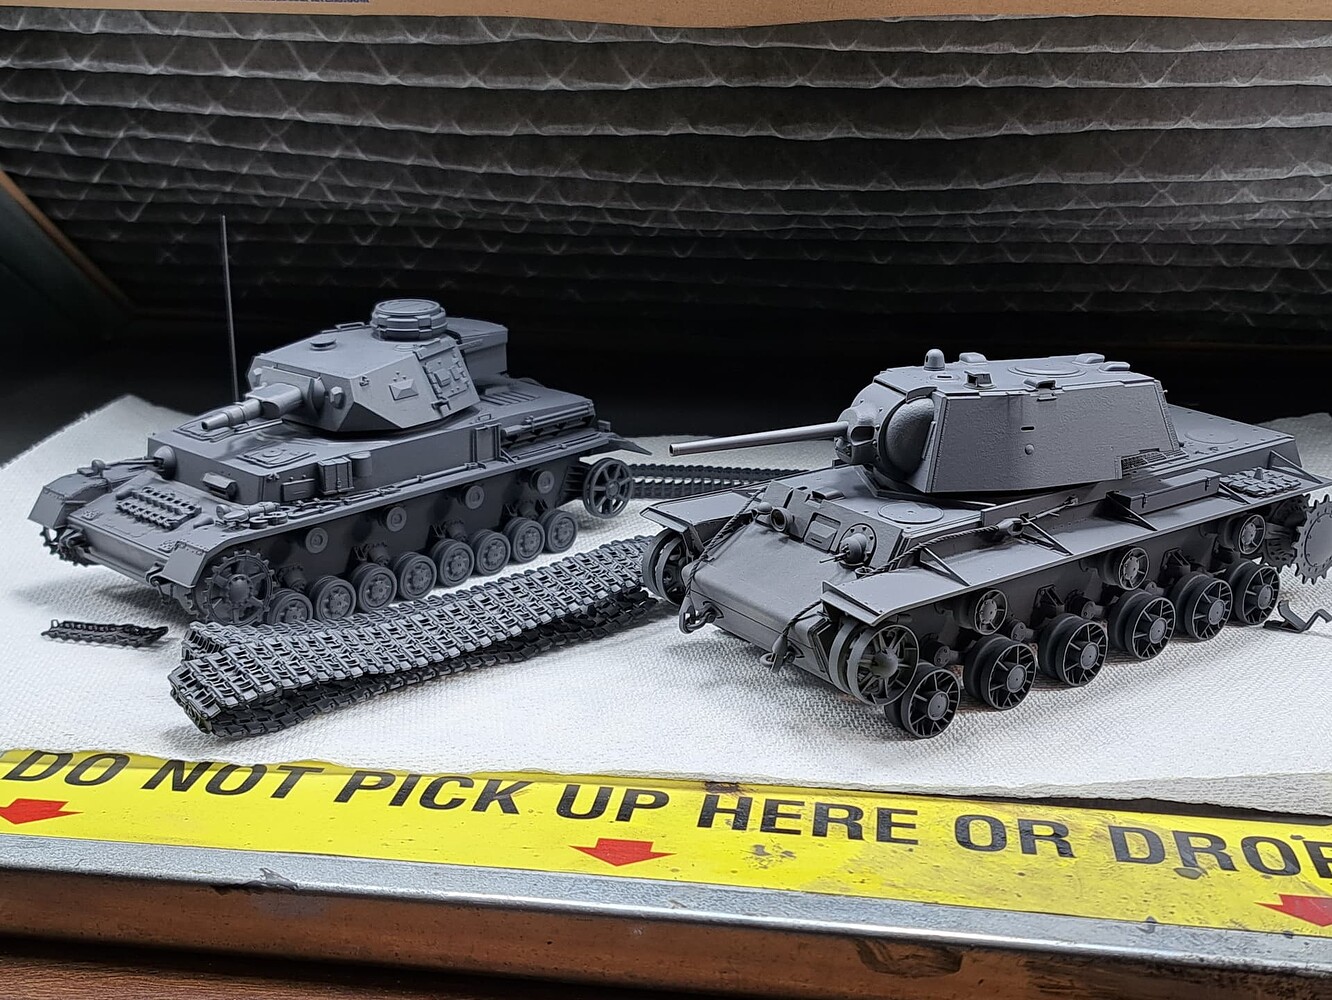
Two Tribes Go to War
Dragon’s Dra-goons Vs Idgit’s Italeri
They’ll learn get along in the rack.
FWIW- like the reworked Italeri tan water can on the right the best.
10 Likes
Nice tweak on the tracks Wade, dangerously close to Perfection now so forget about that plate & the cans are fine 
2 Likes
Thank you, Tim.
Close to wrapping the front gap.
Tested a product, I’d heard tremendous excellent commentary about Alclad II AquaGloss. Dragon’s Cartograph decals for a 501st Tiger Battalion Pz III ausf N proved too tempting.
From the bottle, A2 AquaGloss sprayed OK, at ~20 PSI via Harder-Steenbeck Evolution airbrush. Wasn’t about to risk a favorite (Paasche VL & Iwata Micron B) airbrush with an product I’m unfamiliar with using. 
Laid three or four light coats and tested laying one wet coat as I’d read about both methods. A2 AquaGloss proved an adequate functional replacement with a much harder dried finish. Cured well enough to apply decals in eight hours for my project. Applied small amount of Micro-Set as needed to two decals.

So why the grumpy face?
-
Proved no better for my application than Floquil Krystal Cote I’ve used for 30+ years.
-
Per label, AquaGloss contains chemicals known cause cancer in the State of California. Respirator required IMHO chemical (Fortunately, I’m in the midwest so I must be safe…joke).
-
It’s an excellect gloss coat and adequate substitutefor Floquil Krystal Cote. Of course, I don’t like how AquaGloss sprays compared xylol thinned Floquil Krystal Cote for me…grumpy grumble 
Dragon’s Cartograph decals are excellent. Very happy with them.
7 Likes
Wade! The models are excellent! And J, and N. Everything is very cool. Both the build and the paint are amazing! 
On J I would have shaded the large light spots, I would not have made them so sharp. But, these are my quibbles. 
2 Likes
Thank you, Vlad.
The “J” accidently became an experiment mapping & paint brush chipping Panzer Gray to gain contrast. Your suggestions would worked very well and provide a great result. In hindsight both the J & N should have gotten chipping fluid etc to solve my contrast issue.
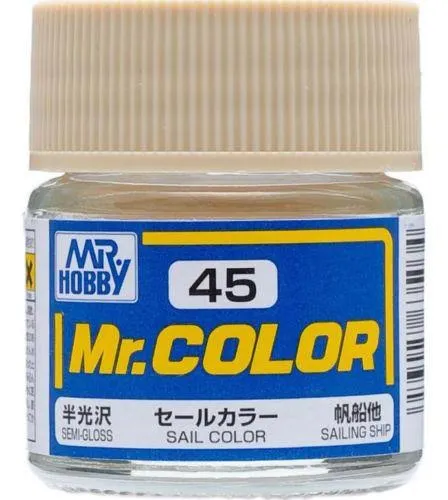
The “N” received dust washes of “Sail” plus Mr Leveling Thinner. I think thst helped with blending transitions compared to the “J”.
3 Likes
Wow.
There, that’s the praise outta the way. The Dio Police have a big problem with Perfection because it would render them unemployed…so their choppers are circling this one. Before they turn me into toast could I offer another suggestion? (You were unwise enough to mention you welcomed same )
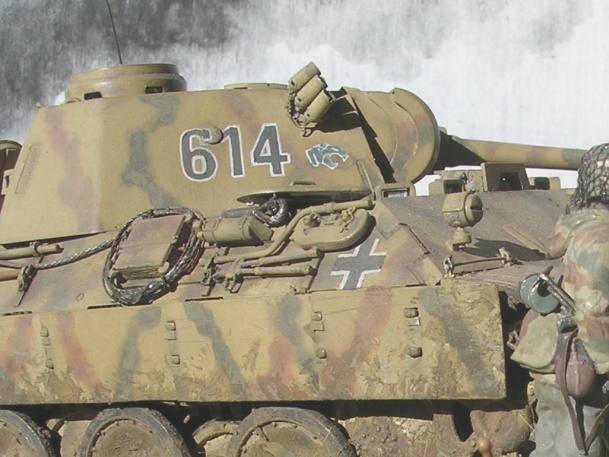
Forgive me if I’m jumping the gun - excellent markings but they stand out as intense compared to surrounding weathering. My standard fix has been some light dirt-coloured pastel-chalk dust brushed on with a soft brush – it stays put provided a finger doesn’t touch it. This example isn’t the best comparison as I hand over-painted them in dark grey first, but I still brushed some pastel to fade them more…
7 Likes
Tim, I definitely agree the markings need to be toned down. That’s a sharp looking Panther and an excellent photo. Very nicely done. I wish my photos weren’t so cellphone quality 
I’ll see if that stark white can be tweaked. Have to find the name plate then select a base next, hope to wrap the “N” soon. The T-55A’s new sprockets arrived so I want get it sorted soon.
3 Likes
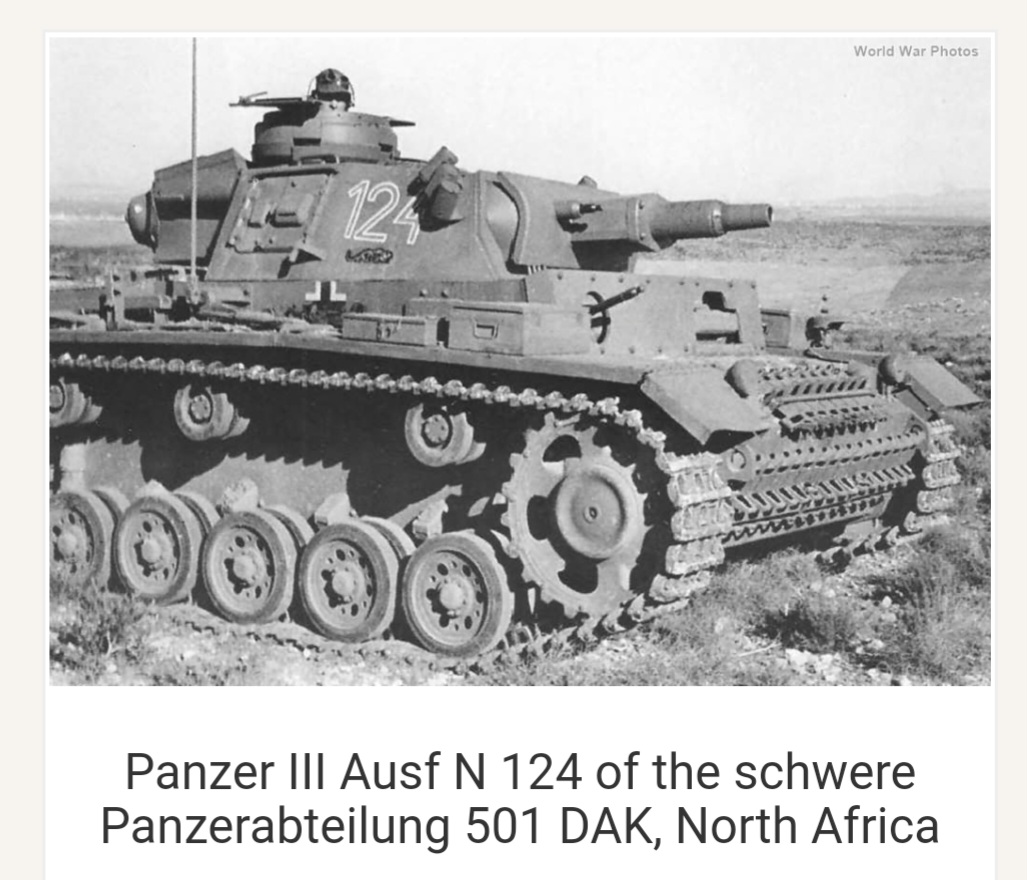
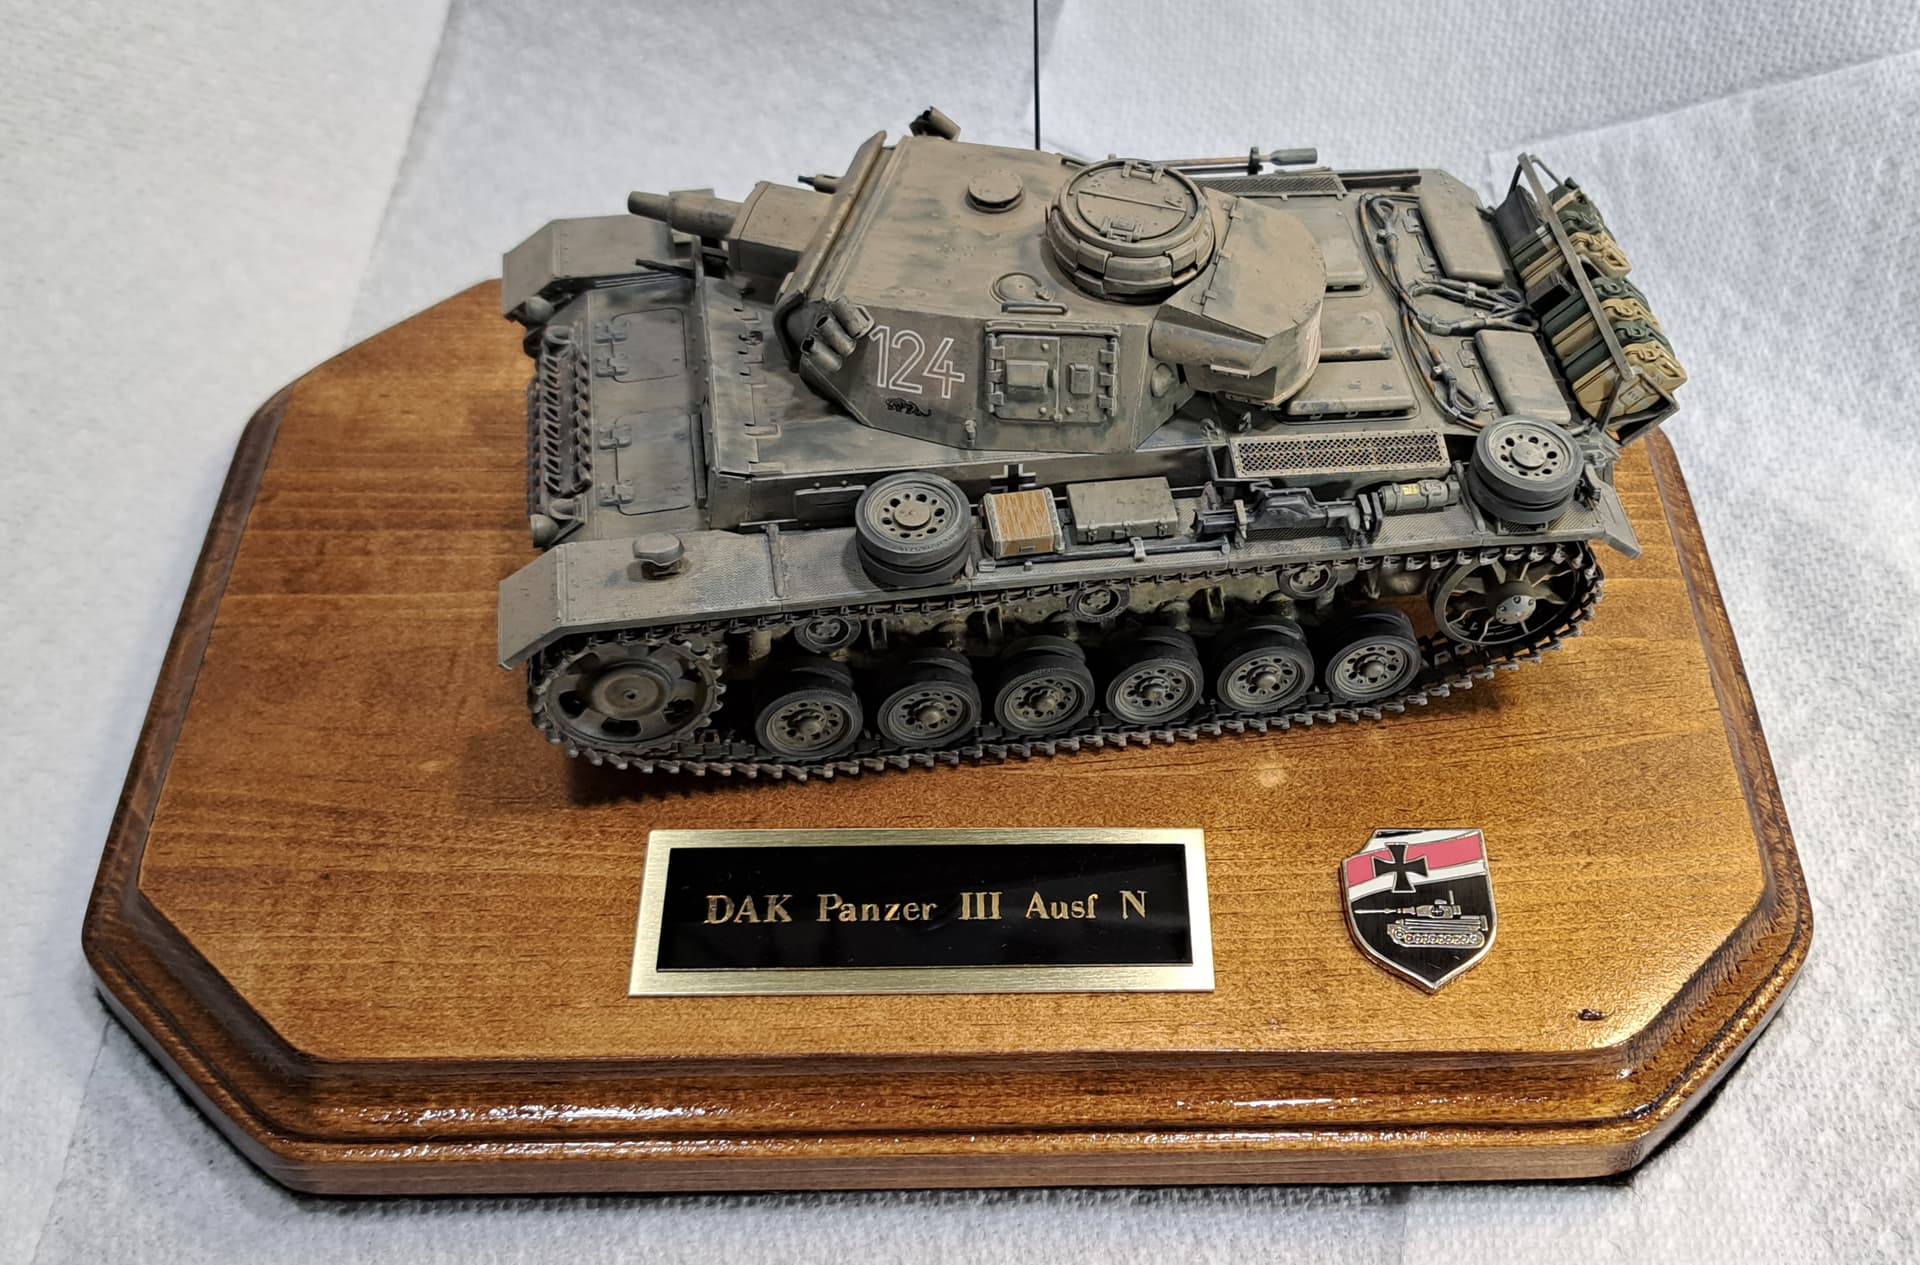
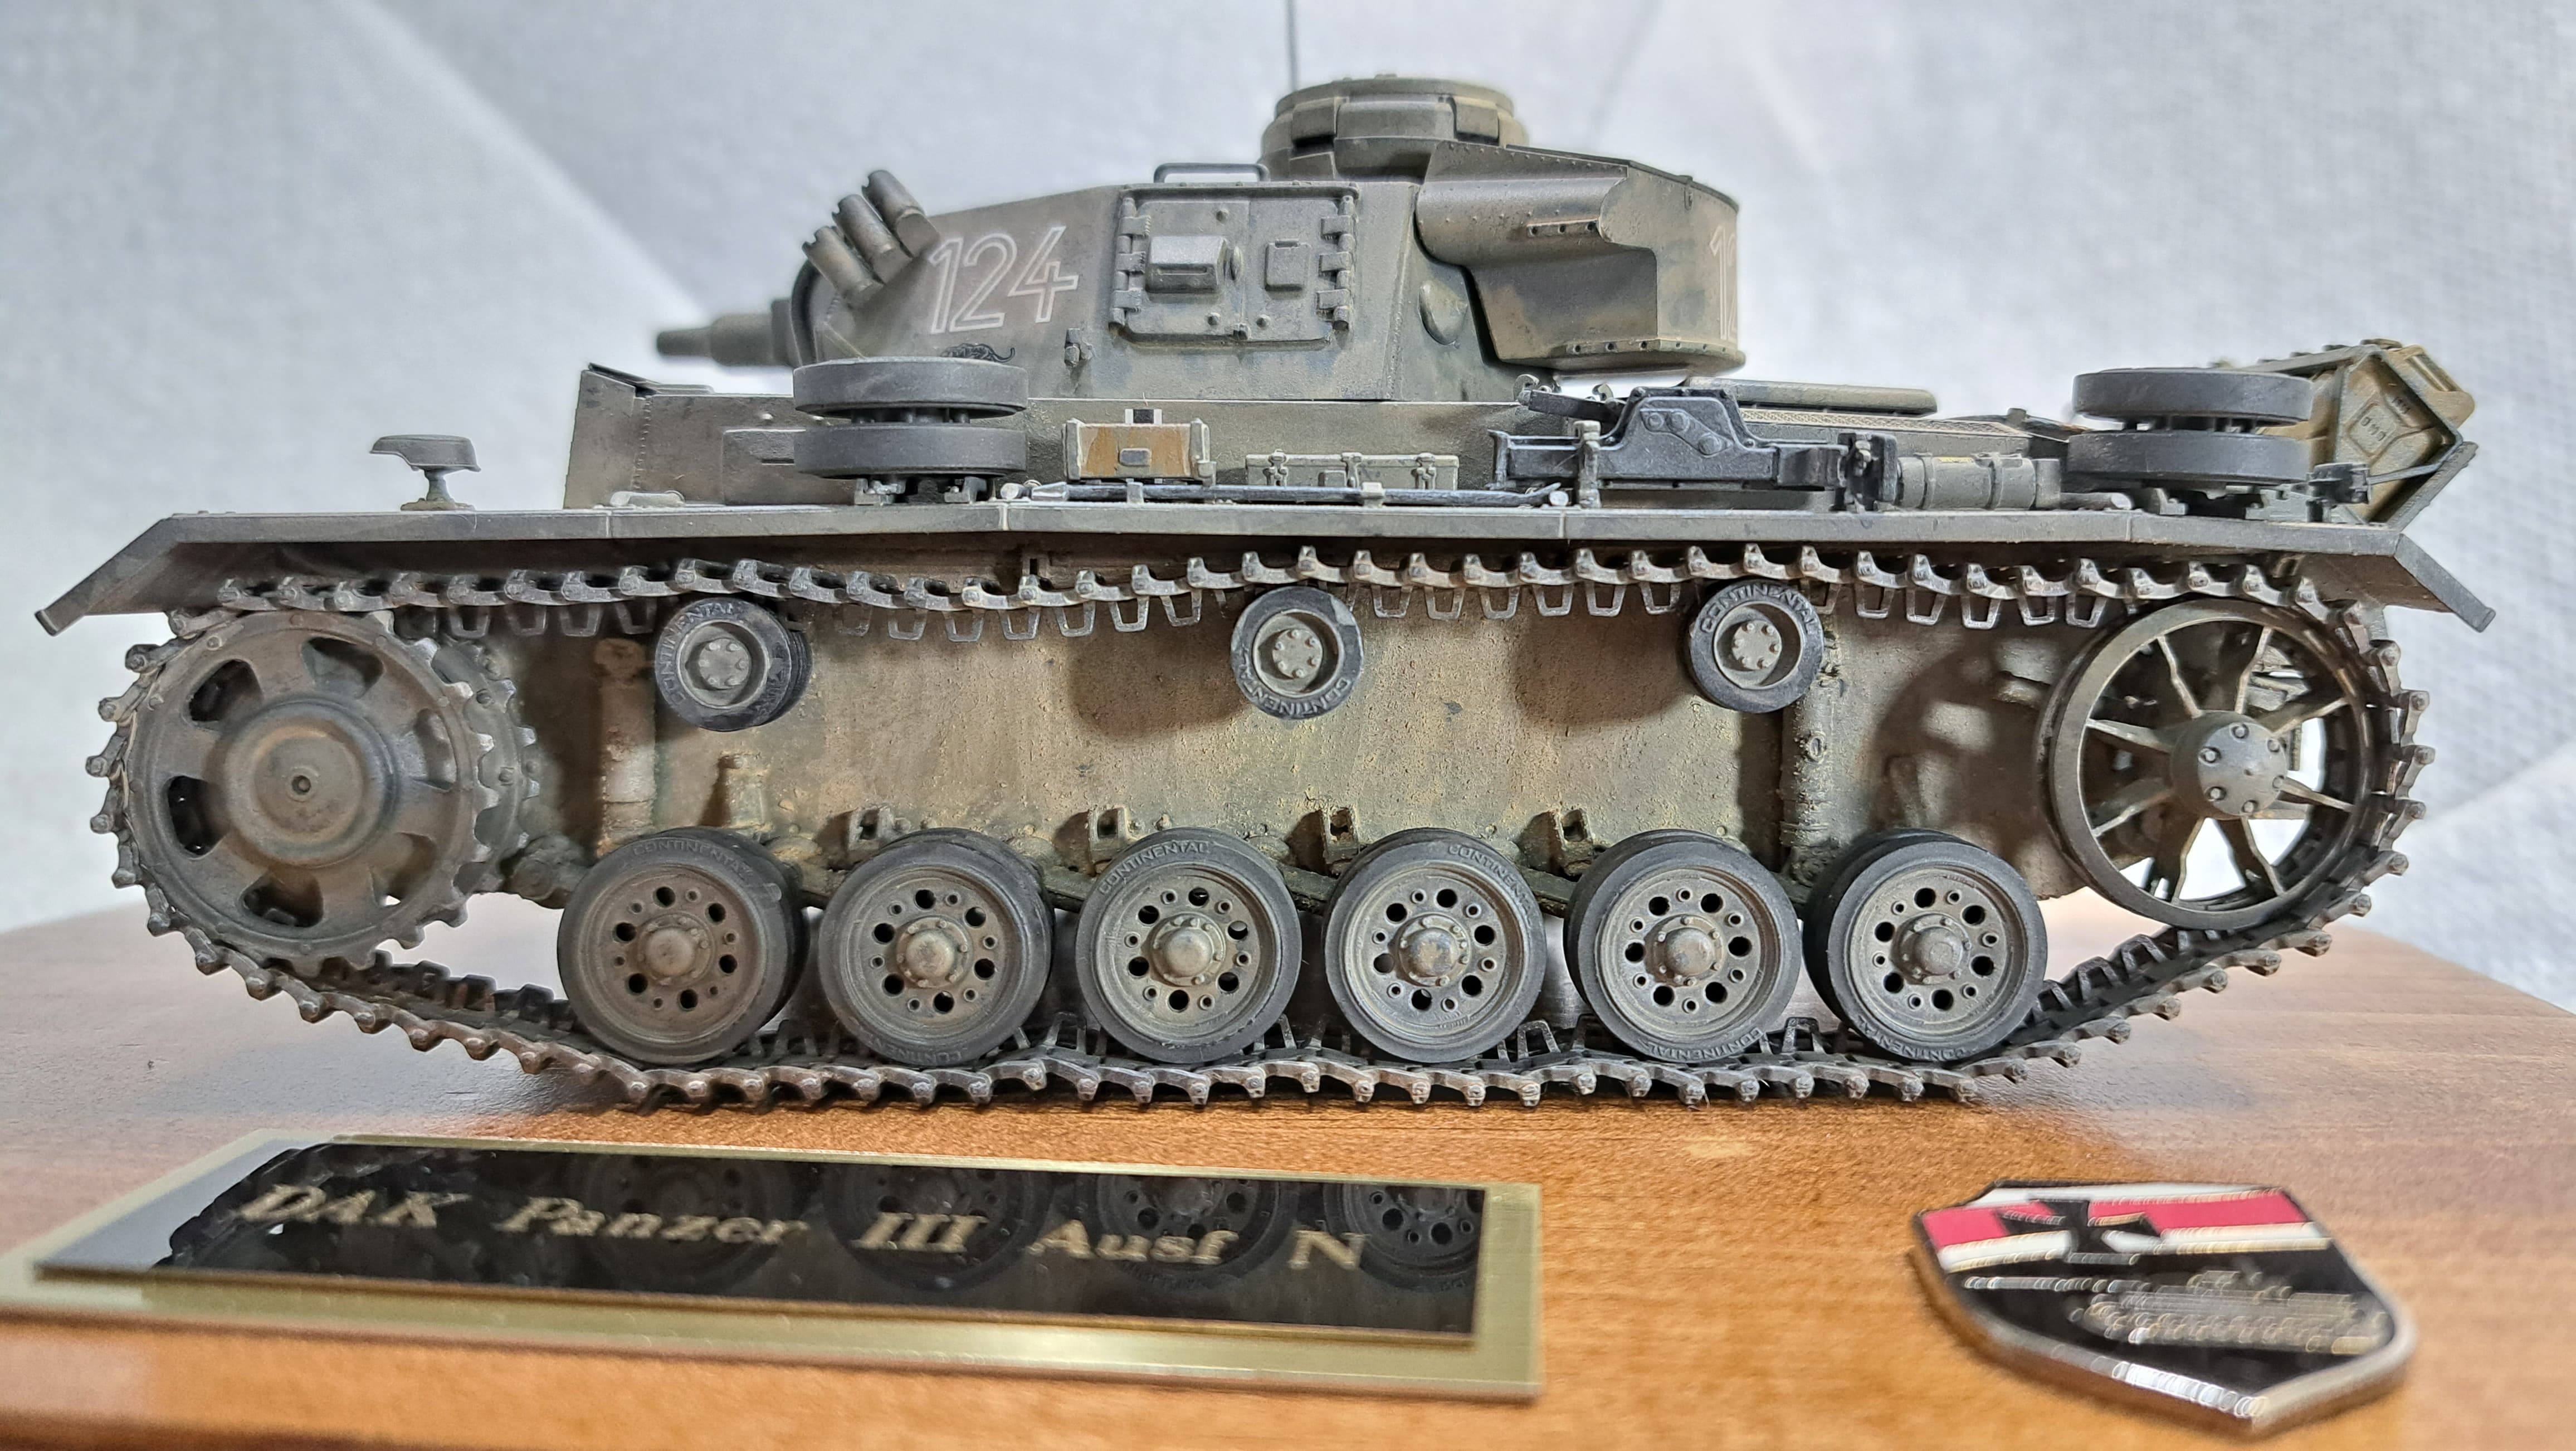
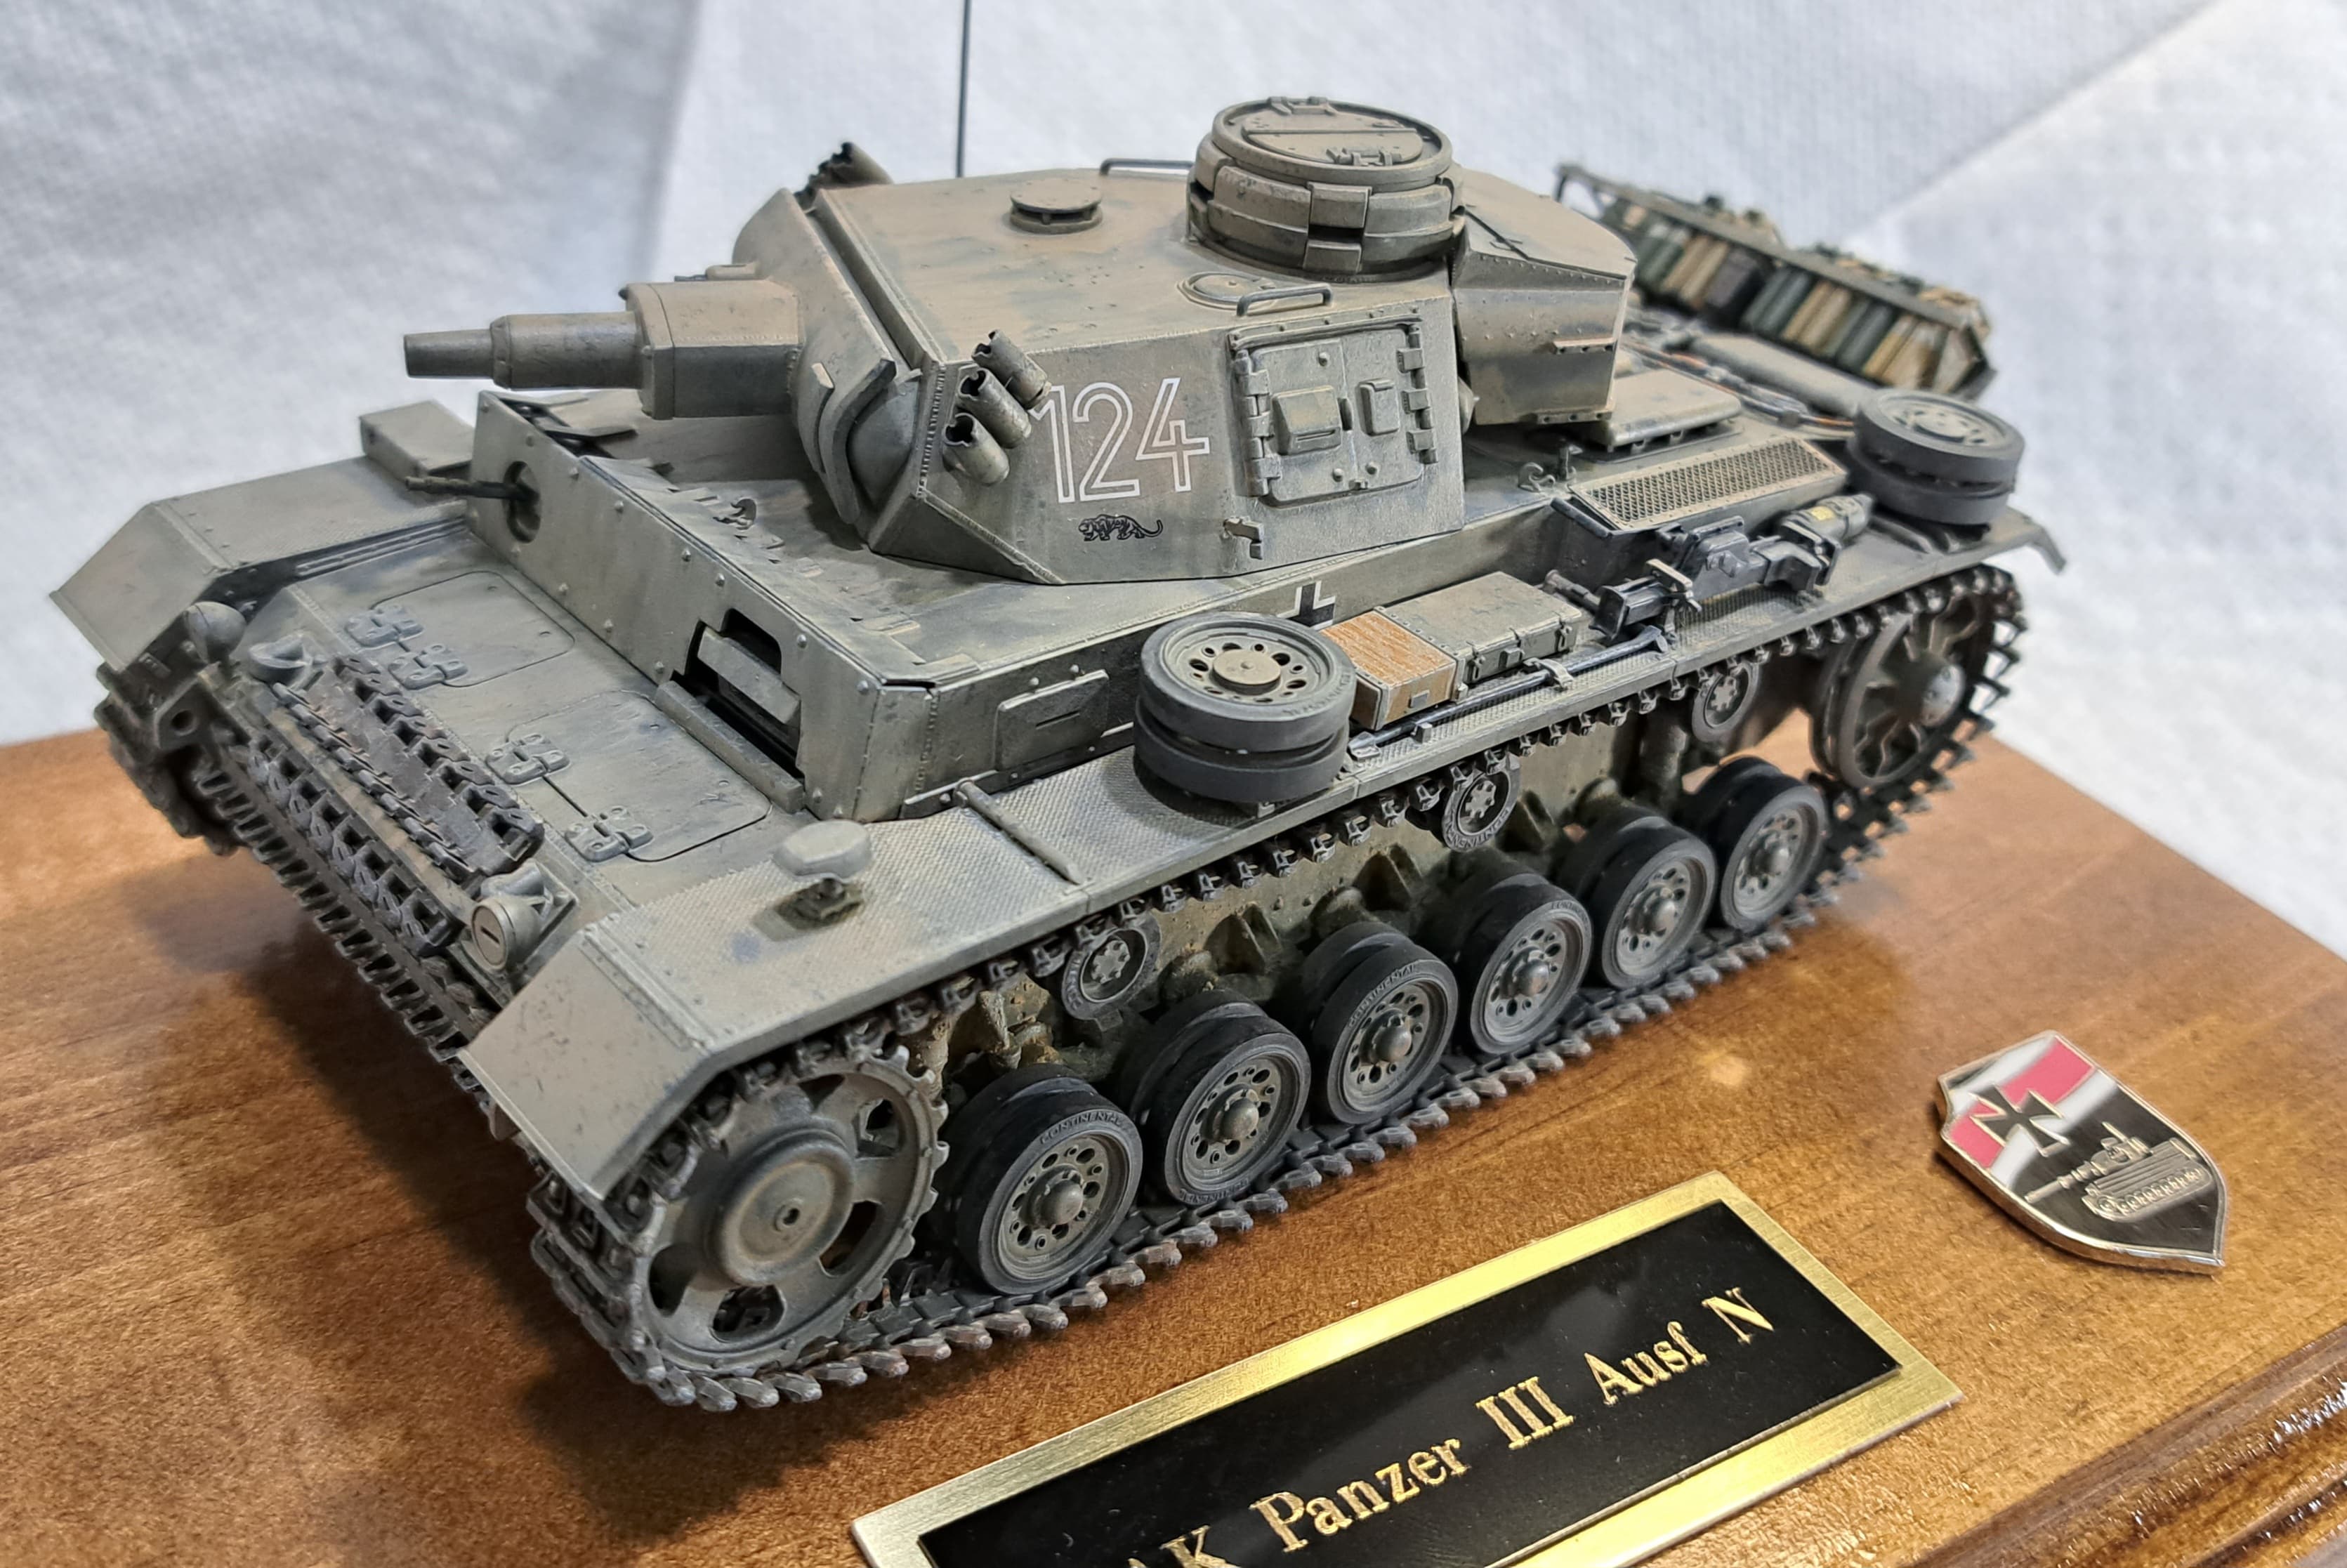
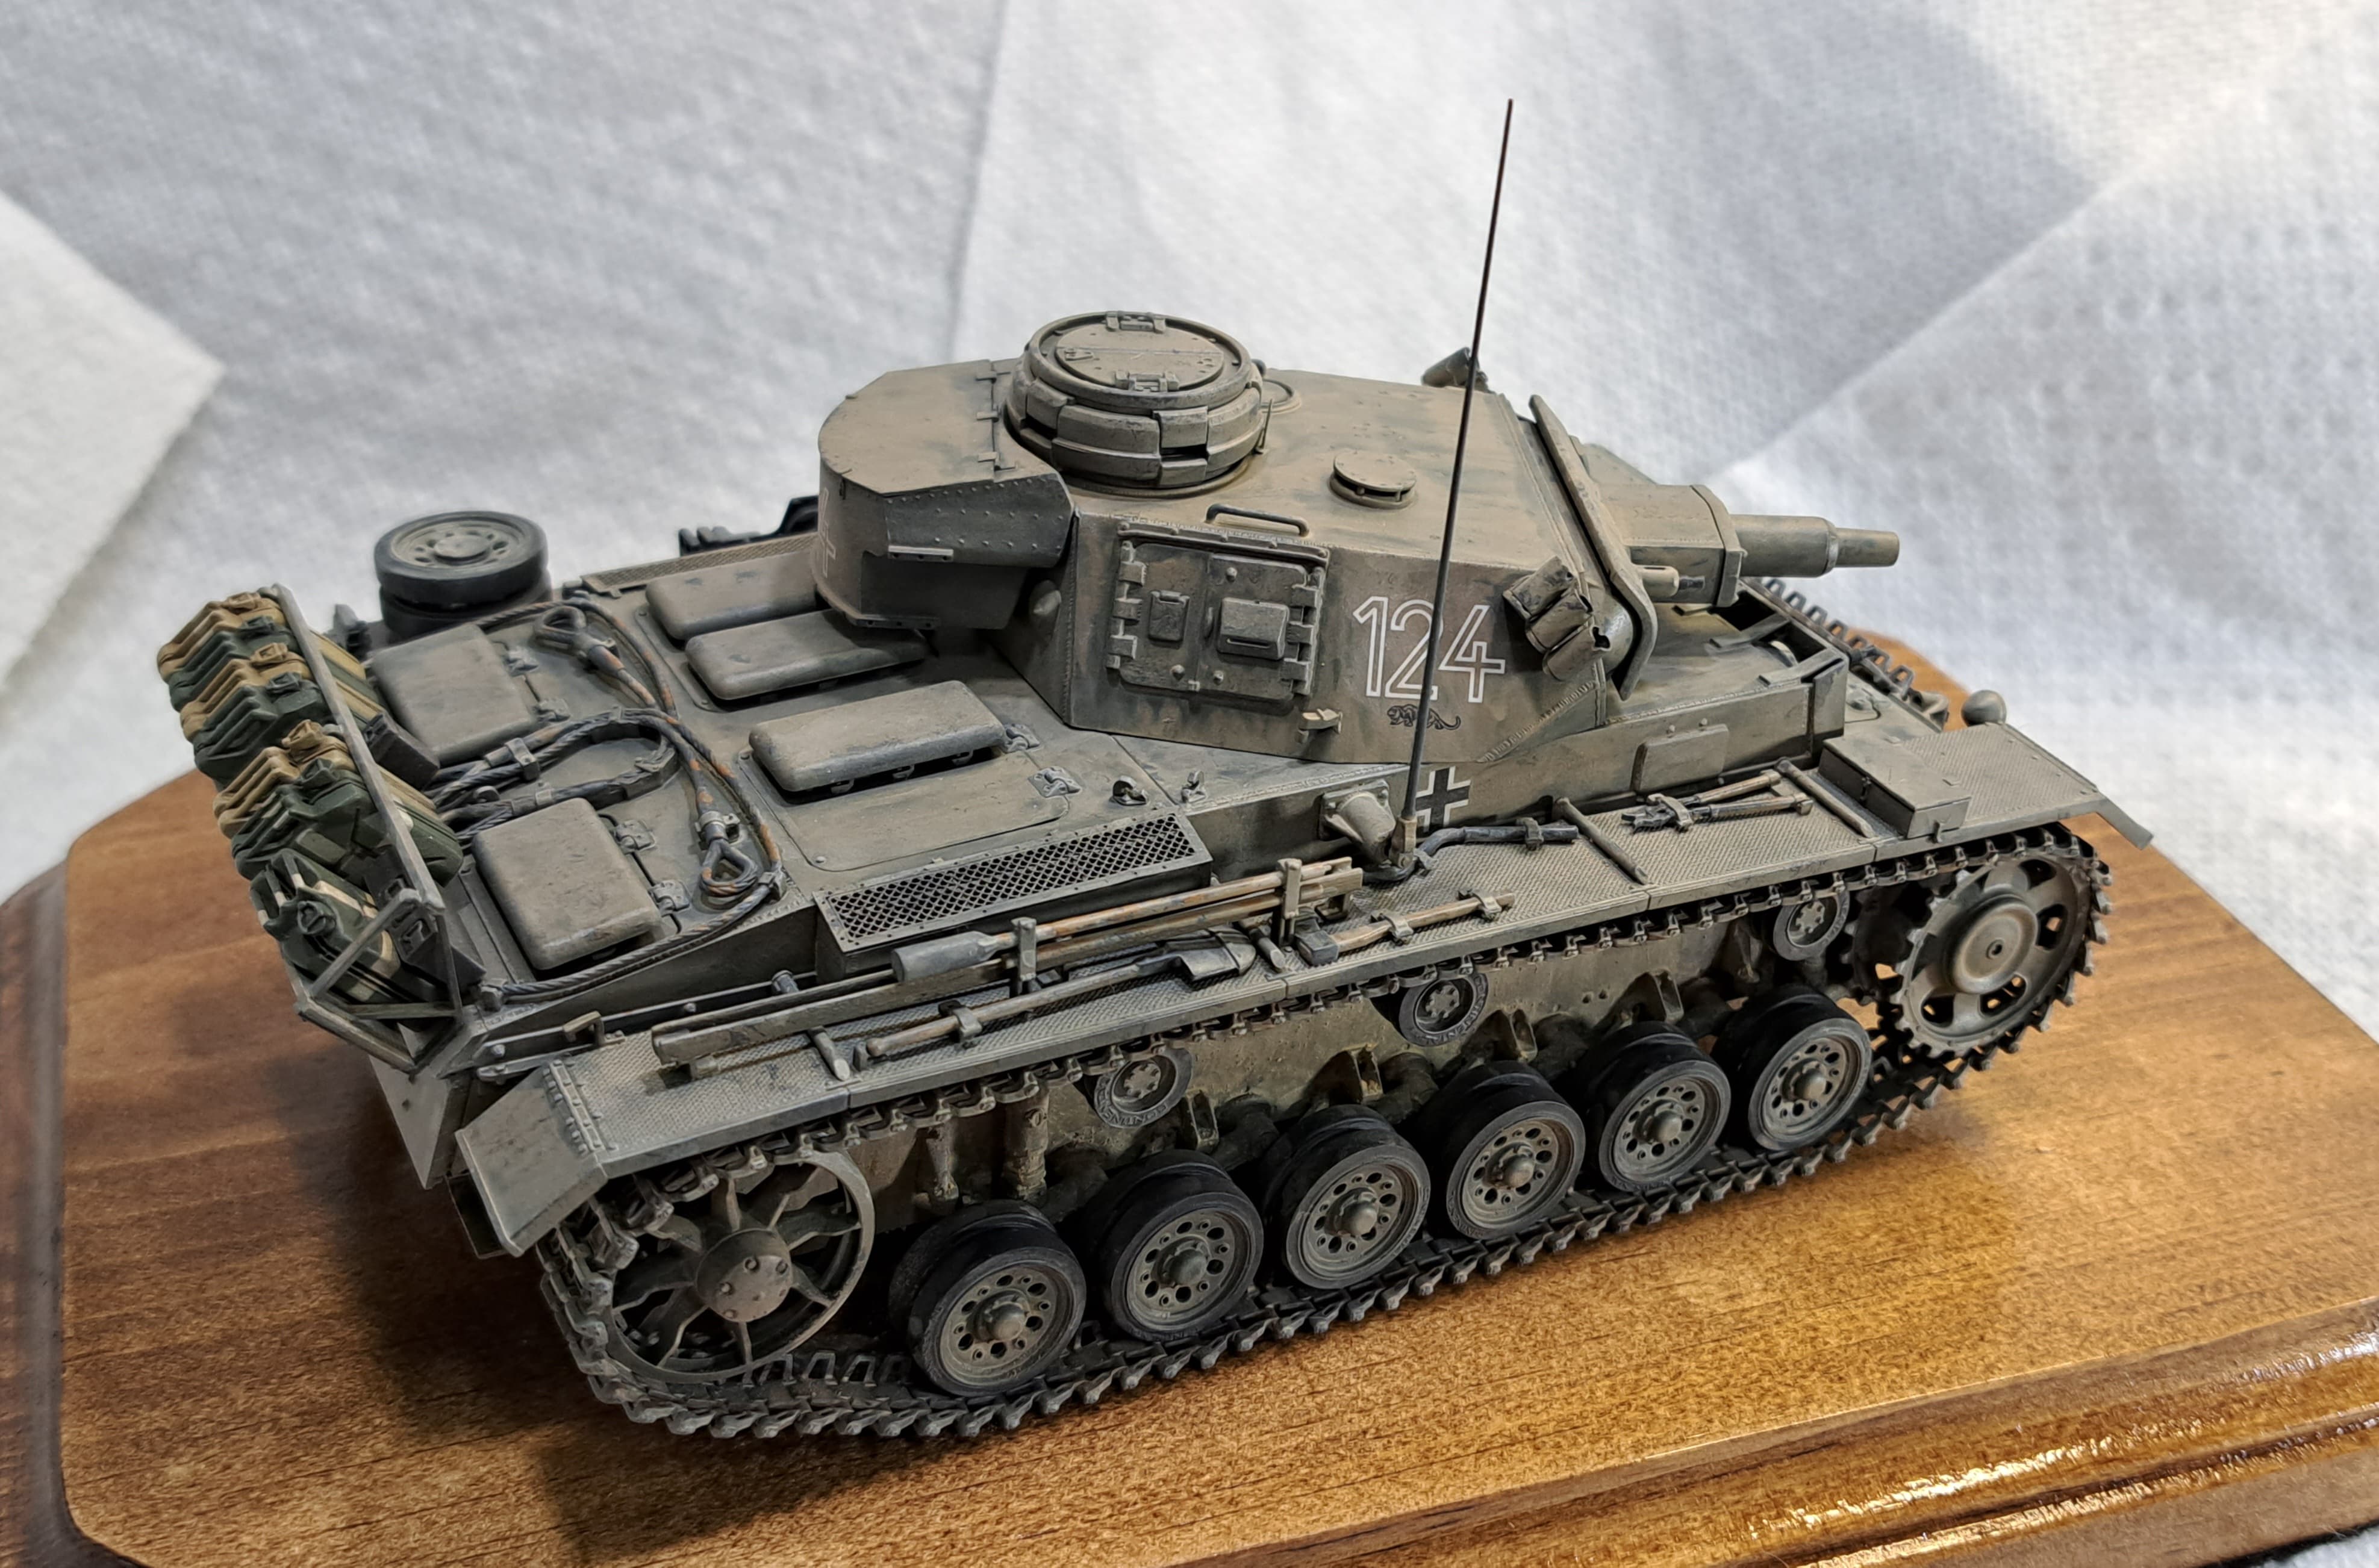
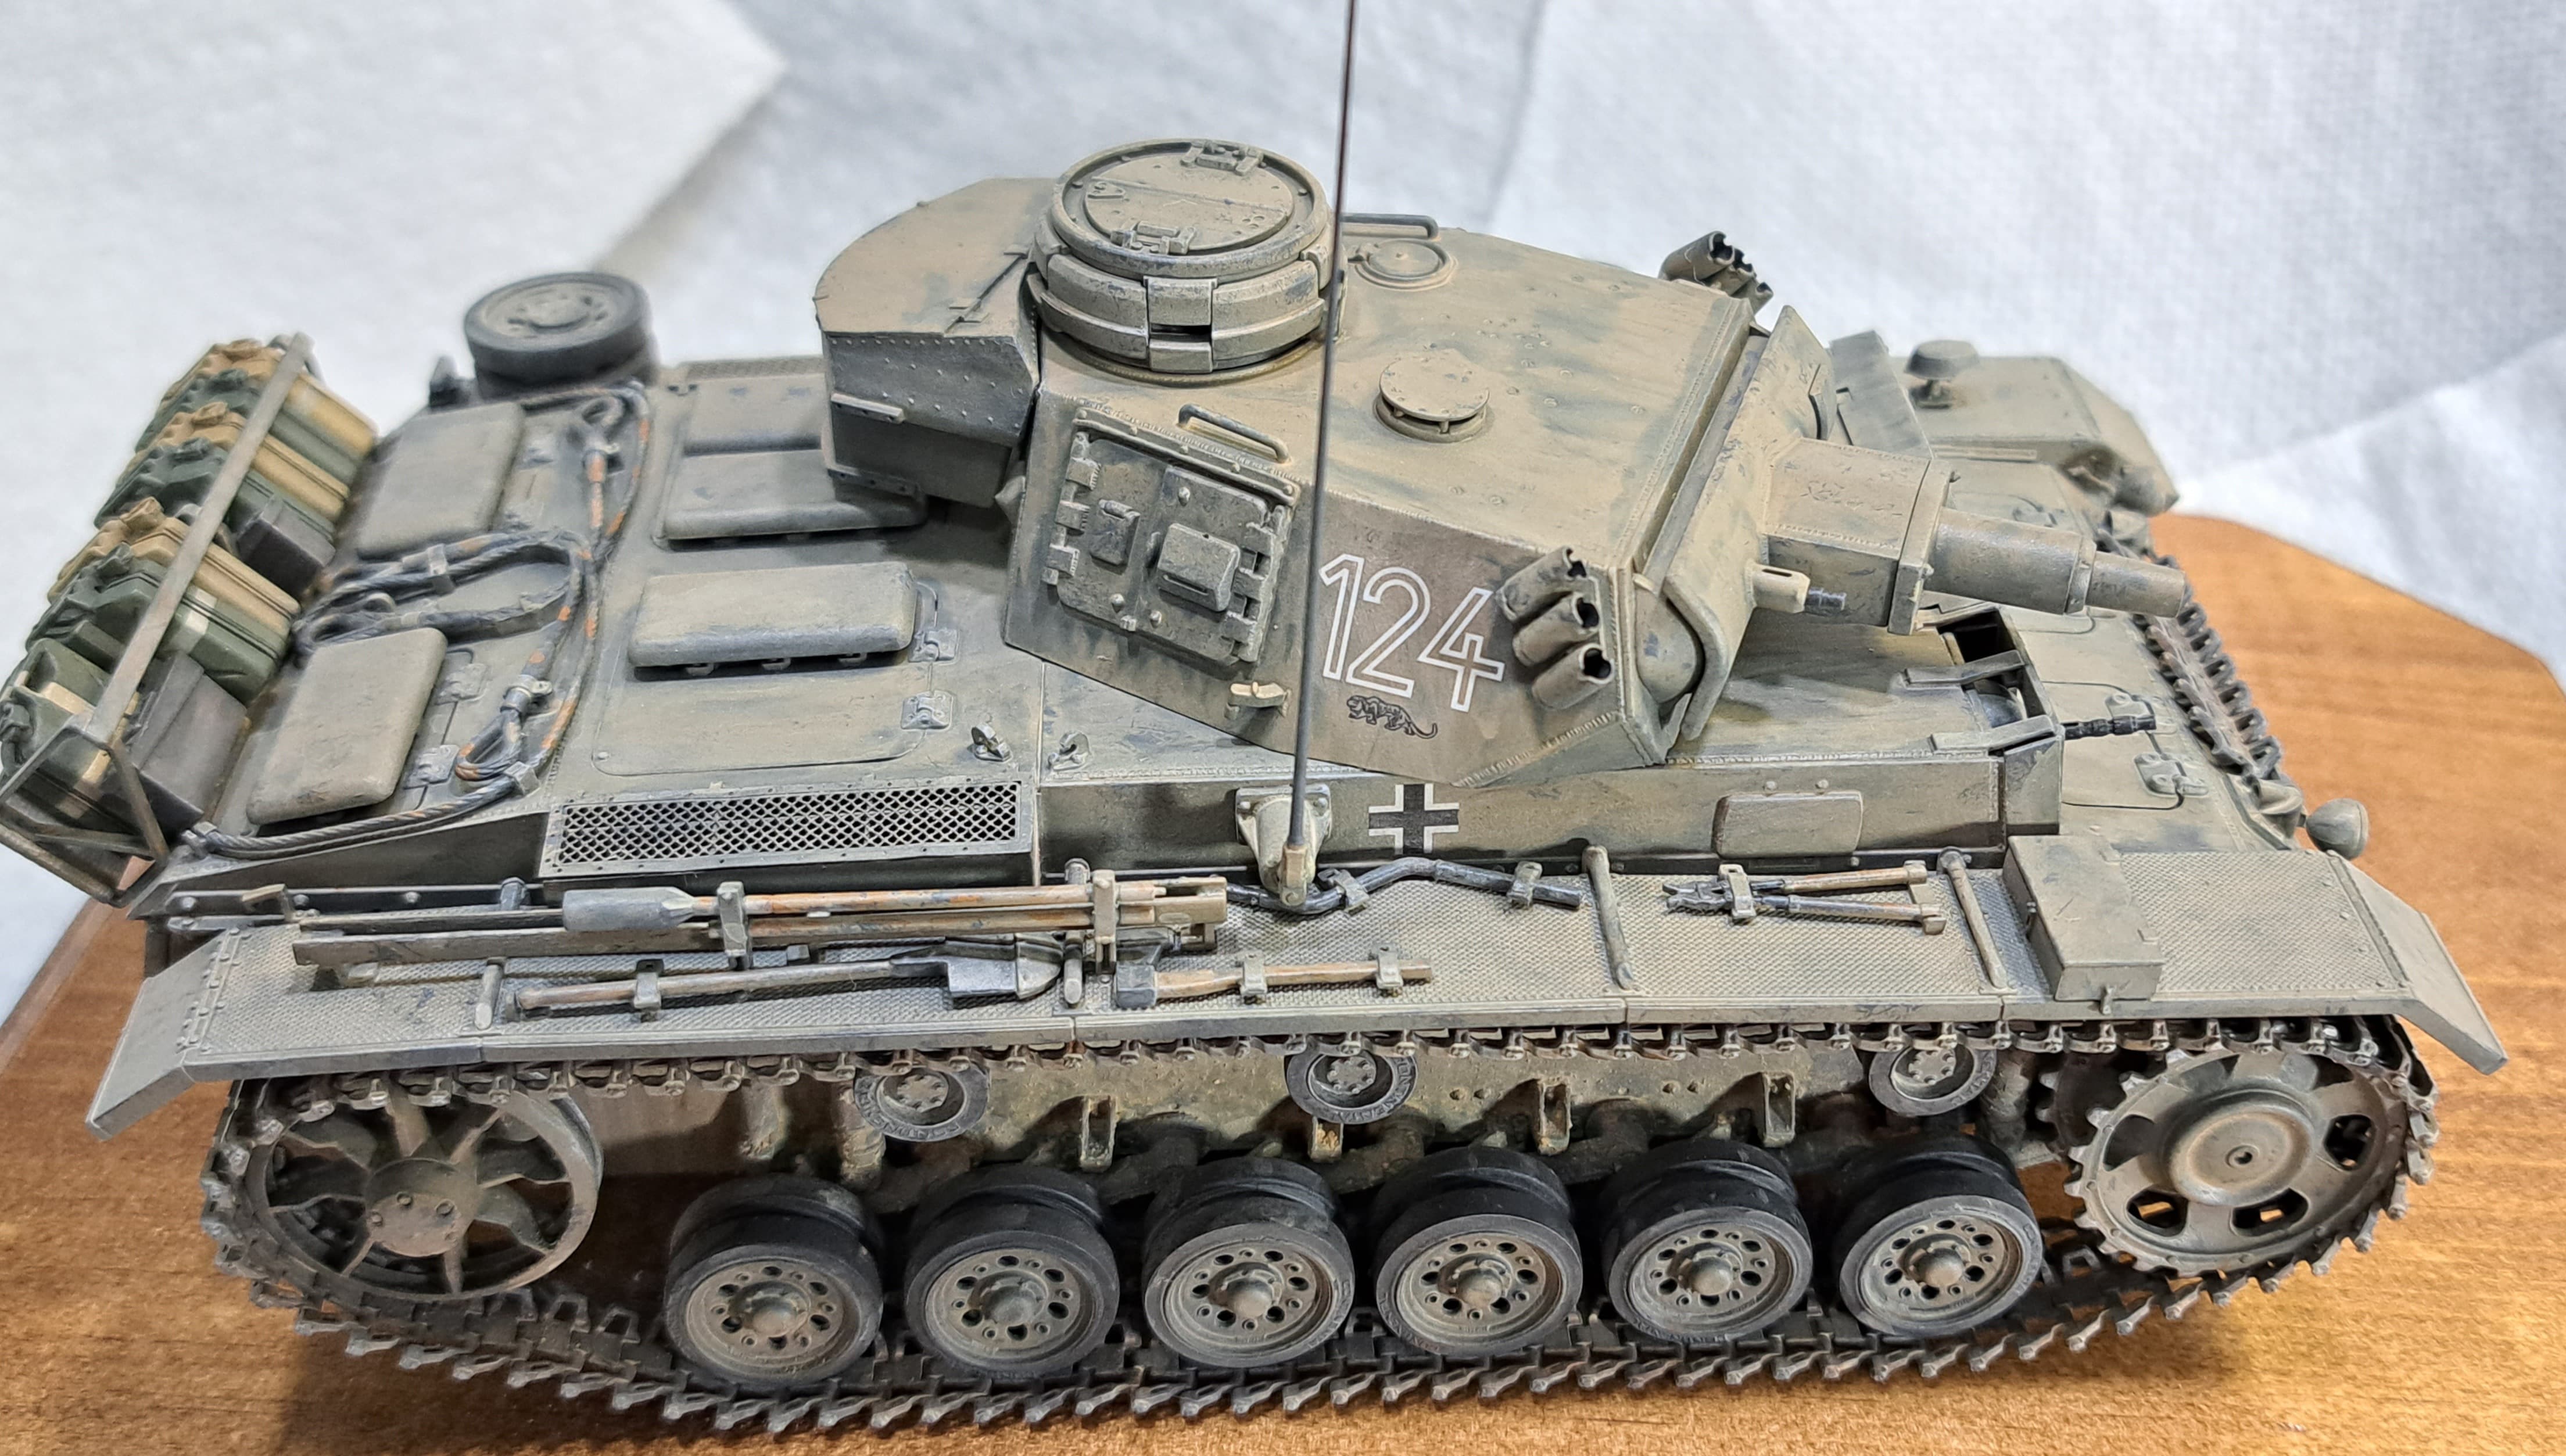
Dragon Pz III ausf N, 501st Heavy Panzer Battalion
Part of DAK or not? There’s back and forth on if the 501st was assigned to Afrika Korp. I don’t think that occurred. Using DAK on name plate may help oriented those with only a casual interest to the location and early 1943 time period.
Peace
12 Likes
James can provide an endless supply of jerry cans.
2 Likes
He 3D prints fantastic jerrycans “Petition to God” is his login
2 Likes
Greg, unfortunately Petition to God isn’t willing to do WW2 German related subject matter per statements he’s made on the forum. I’d happily buy jerry cans and commission other items if he wanted to offer subjects aligned with my modeling interests. It is of course his prerogative to work on offerings that are of interest to him. I fully respect that choice.
1 Like
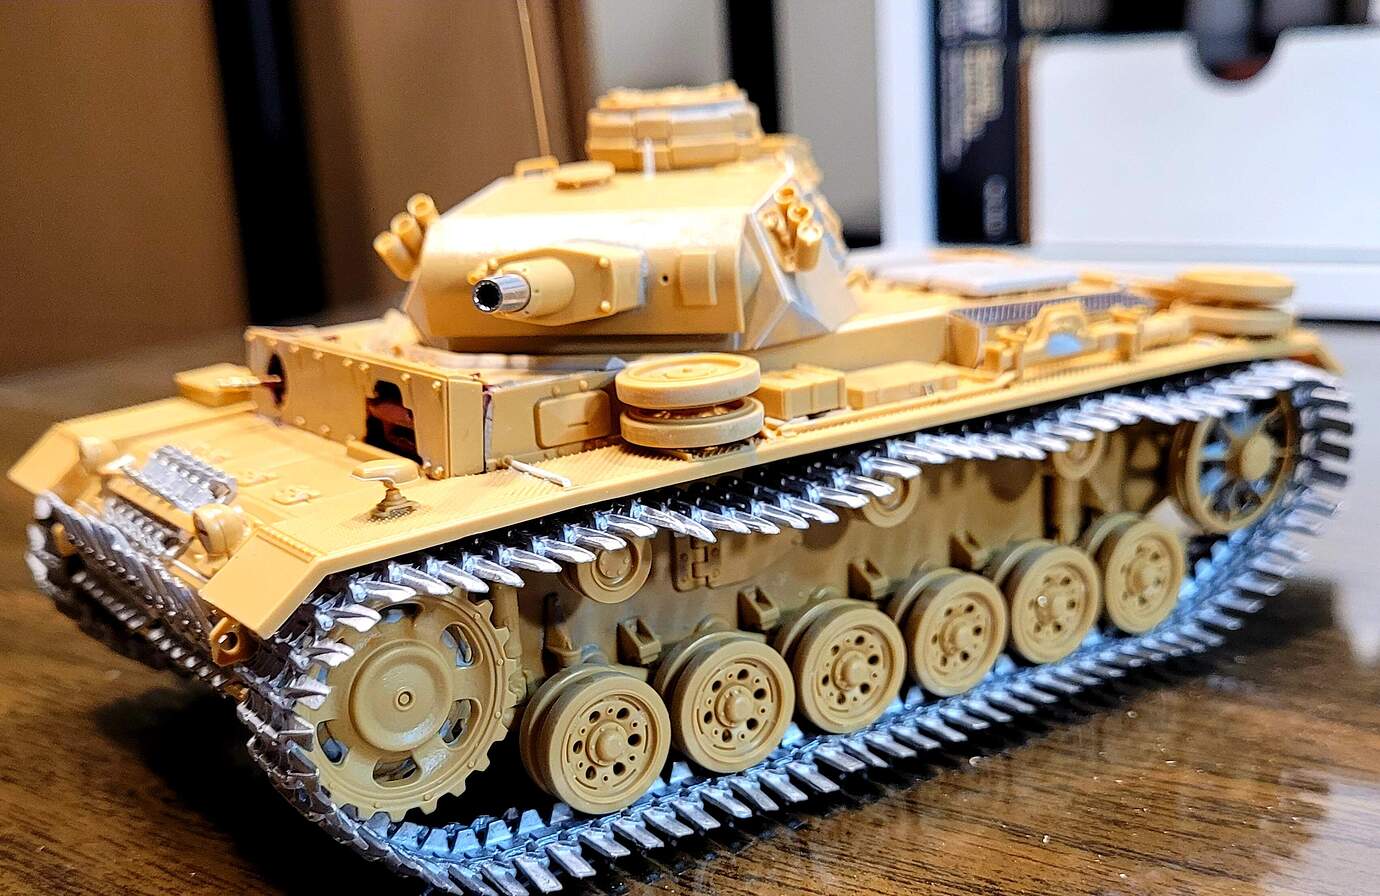
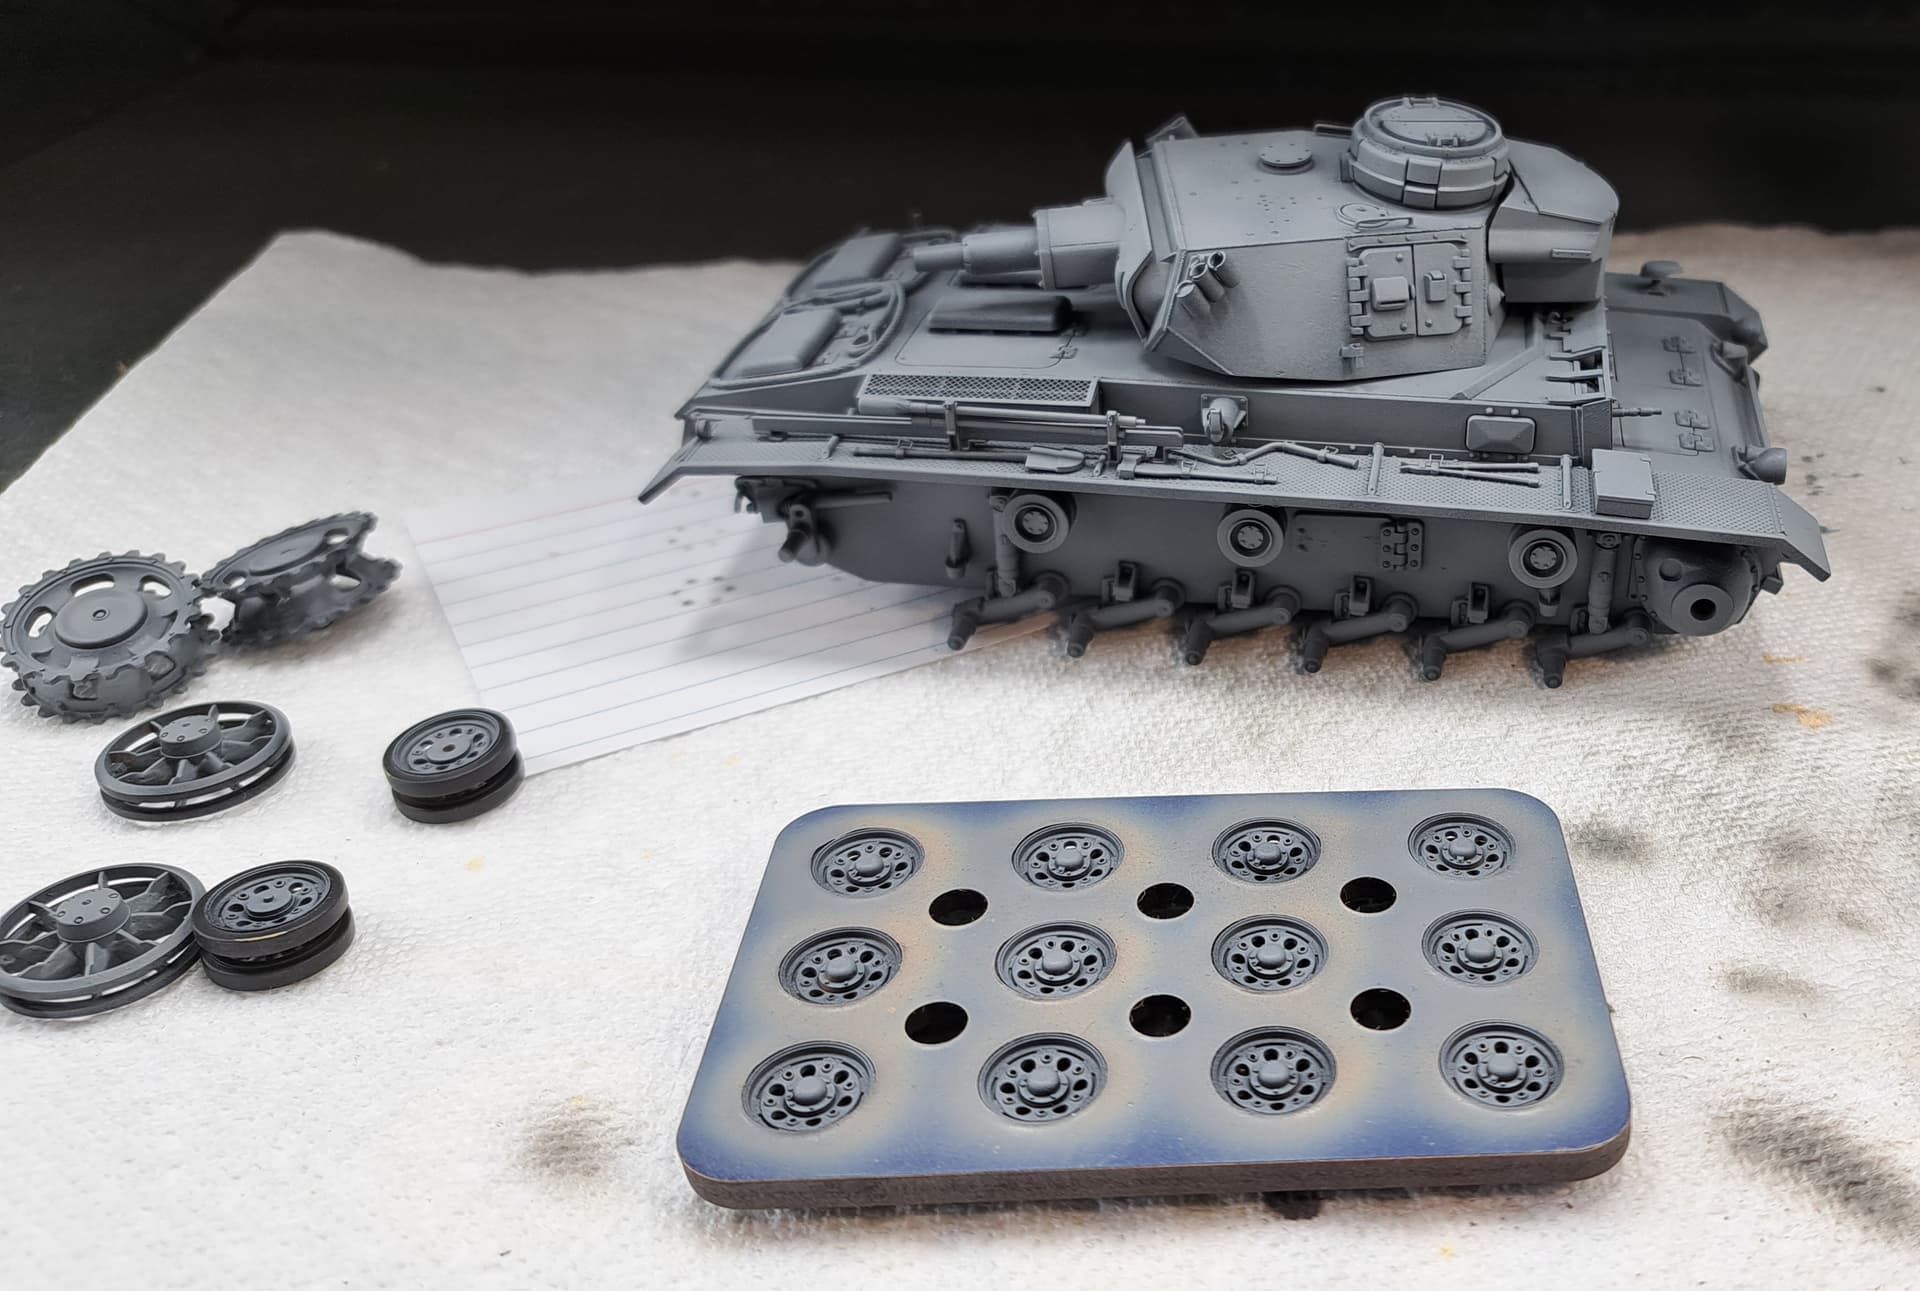
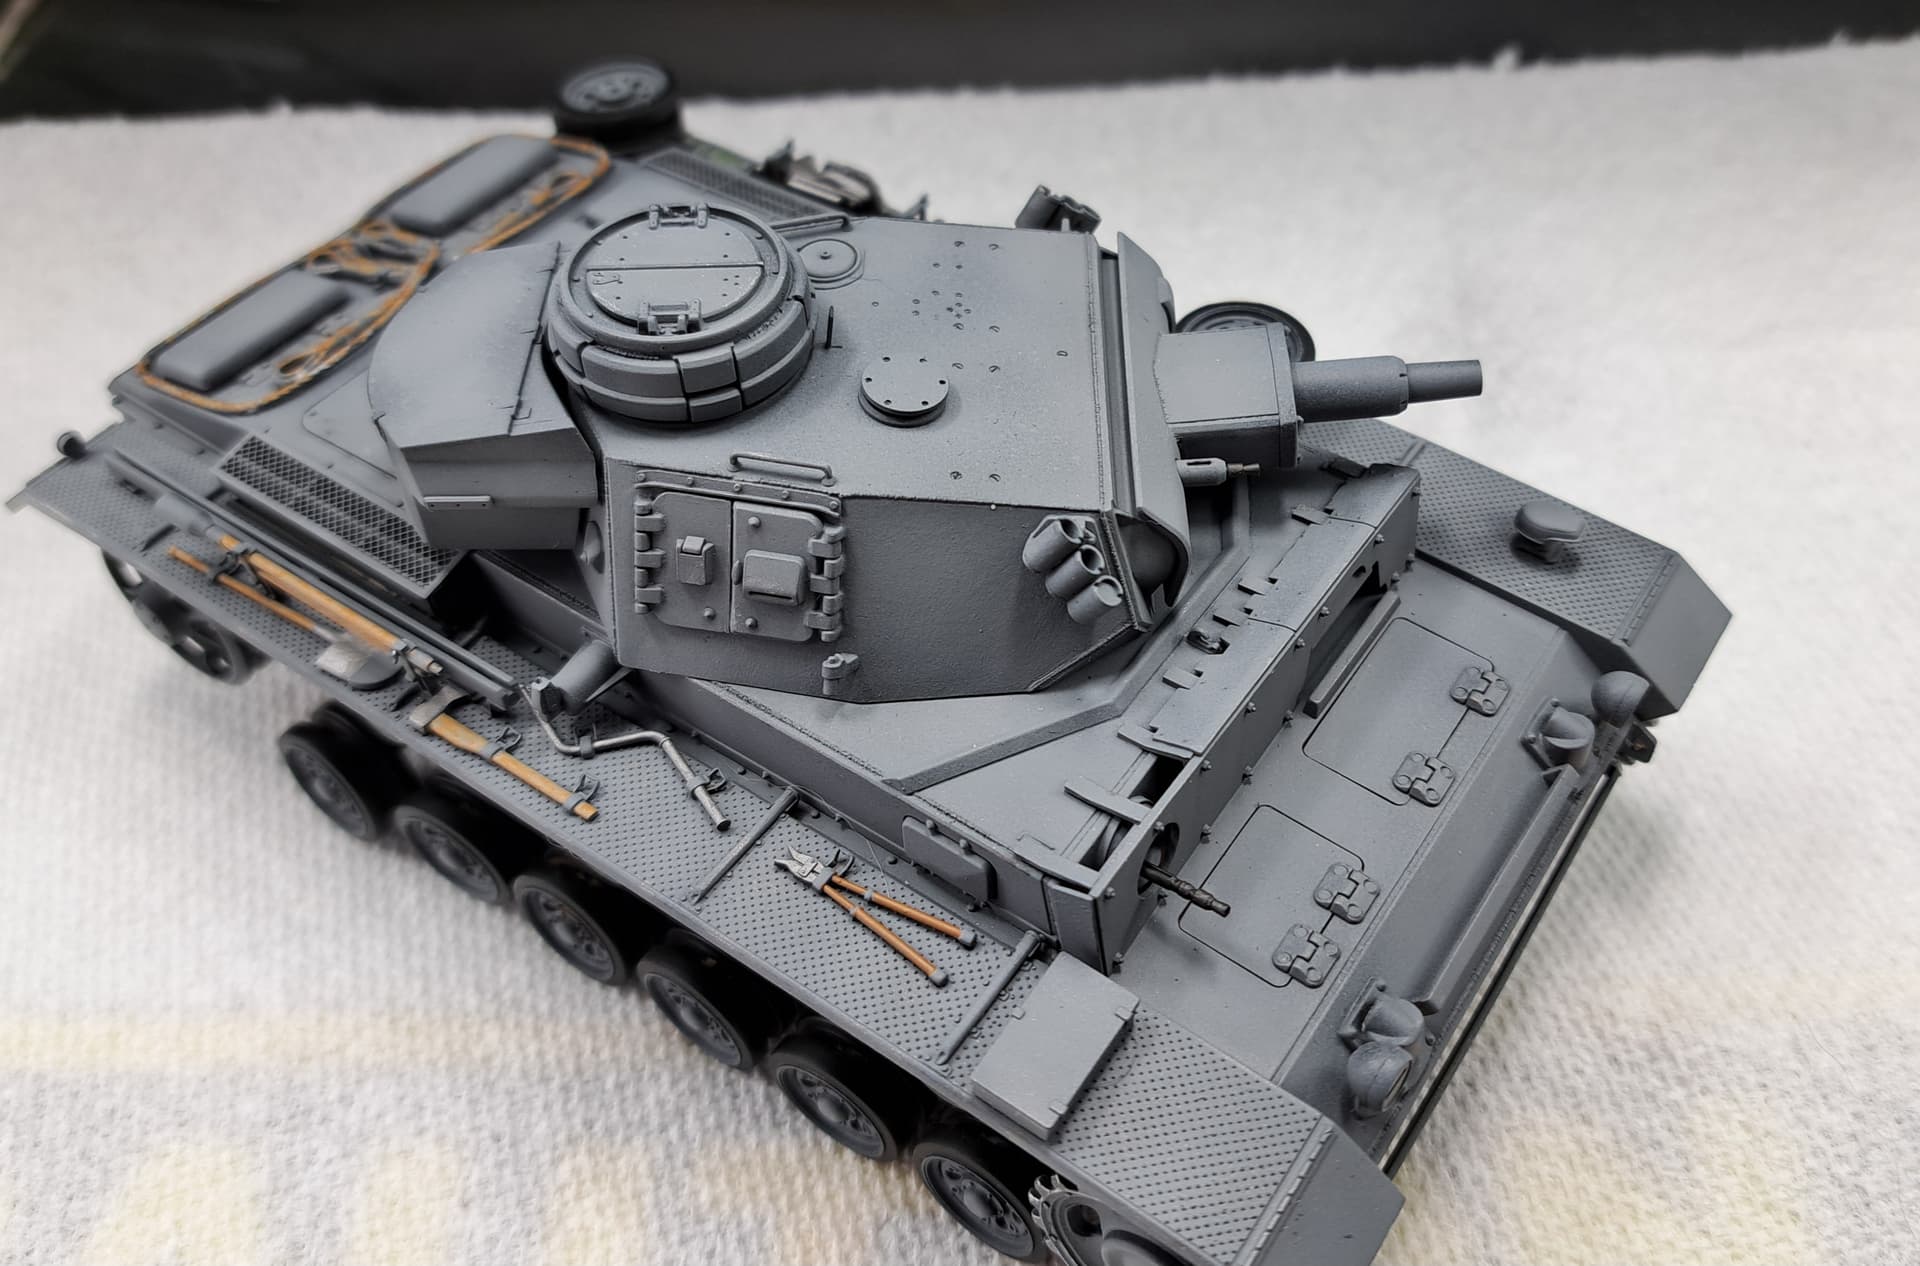
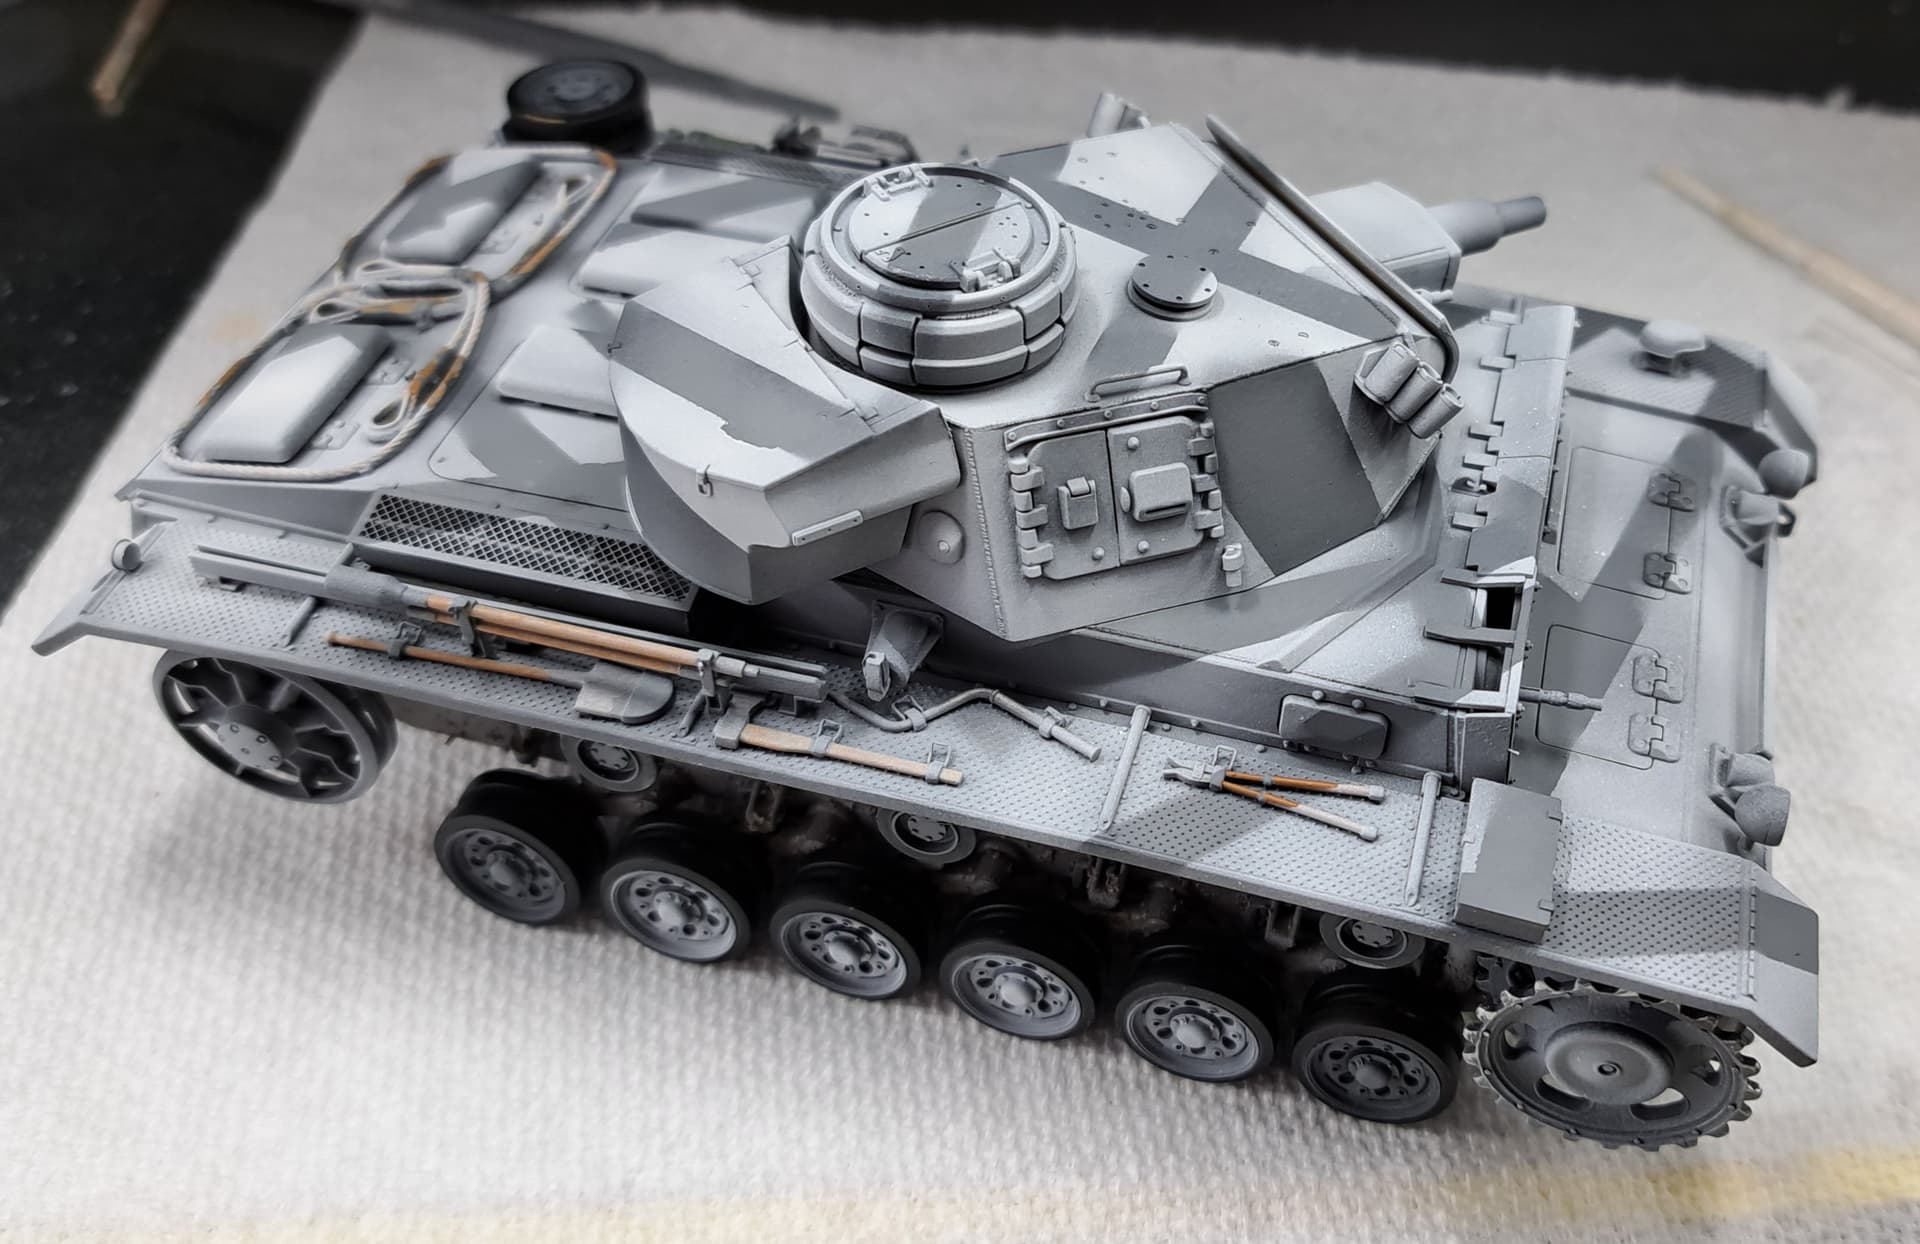
Seems like the Amigos are getting painted in reverse order of being built. Keeping with that theme the Tamiya Pz III ausf N moves to the paint booth.
Since this one will get winter white wash, I feel the basic Panzer Gray color is a less critical than normal. Likewise the base coat of Floquil Weathered Black, my favorite base coat to paint accordingly won’t be used. Mr Hobby/Gunzy - Black Mr Surfacer 1500 gets the nod.
This helps conservation the limited supply of Floquil Weathered Black. That probably seems silly etc but I’m old school finicky about favorite lacquer & enamels, I like Mr Hobby/Gunzy…so all in for base coat…
Oh well its done, next time will have to mix in gray or mahogany Mr Surfacer to get a more Weathered Black/Grimy Black base color.
Over spray of Floquil Panzer Gray & mix of Floquil Panzer Gray with Floquil Panzer Interior Buff. I’ll let this cure for a couple of weeks before white washing.
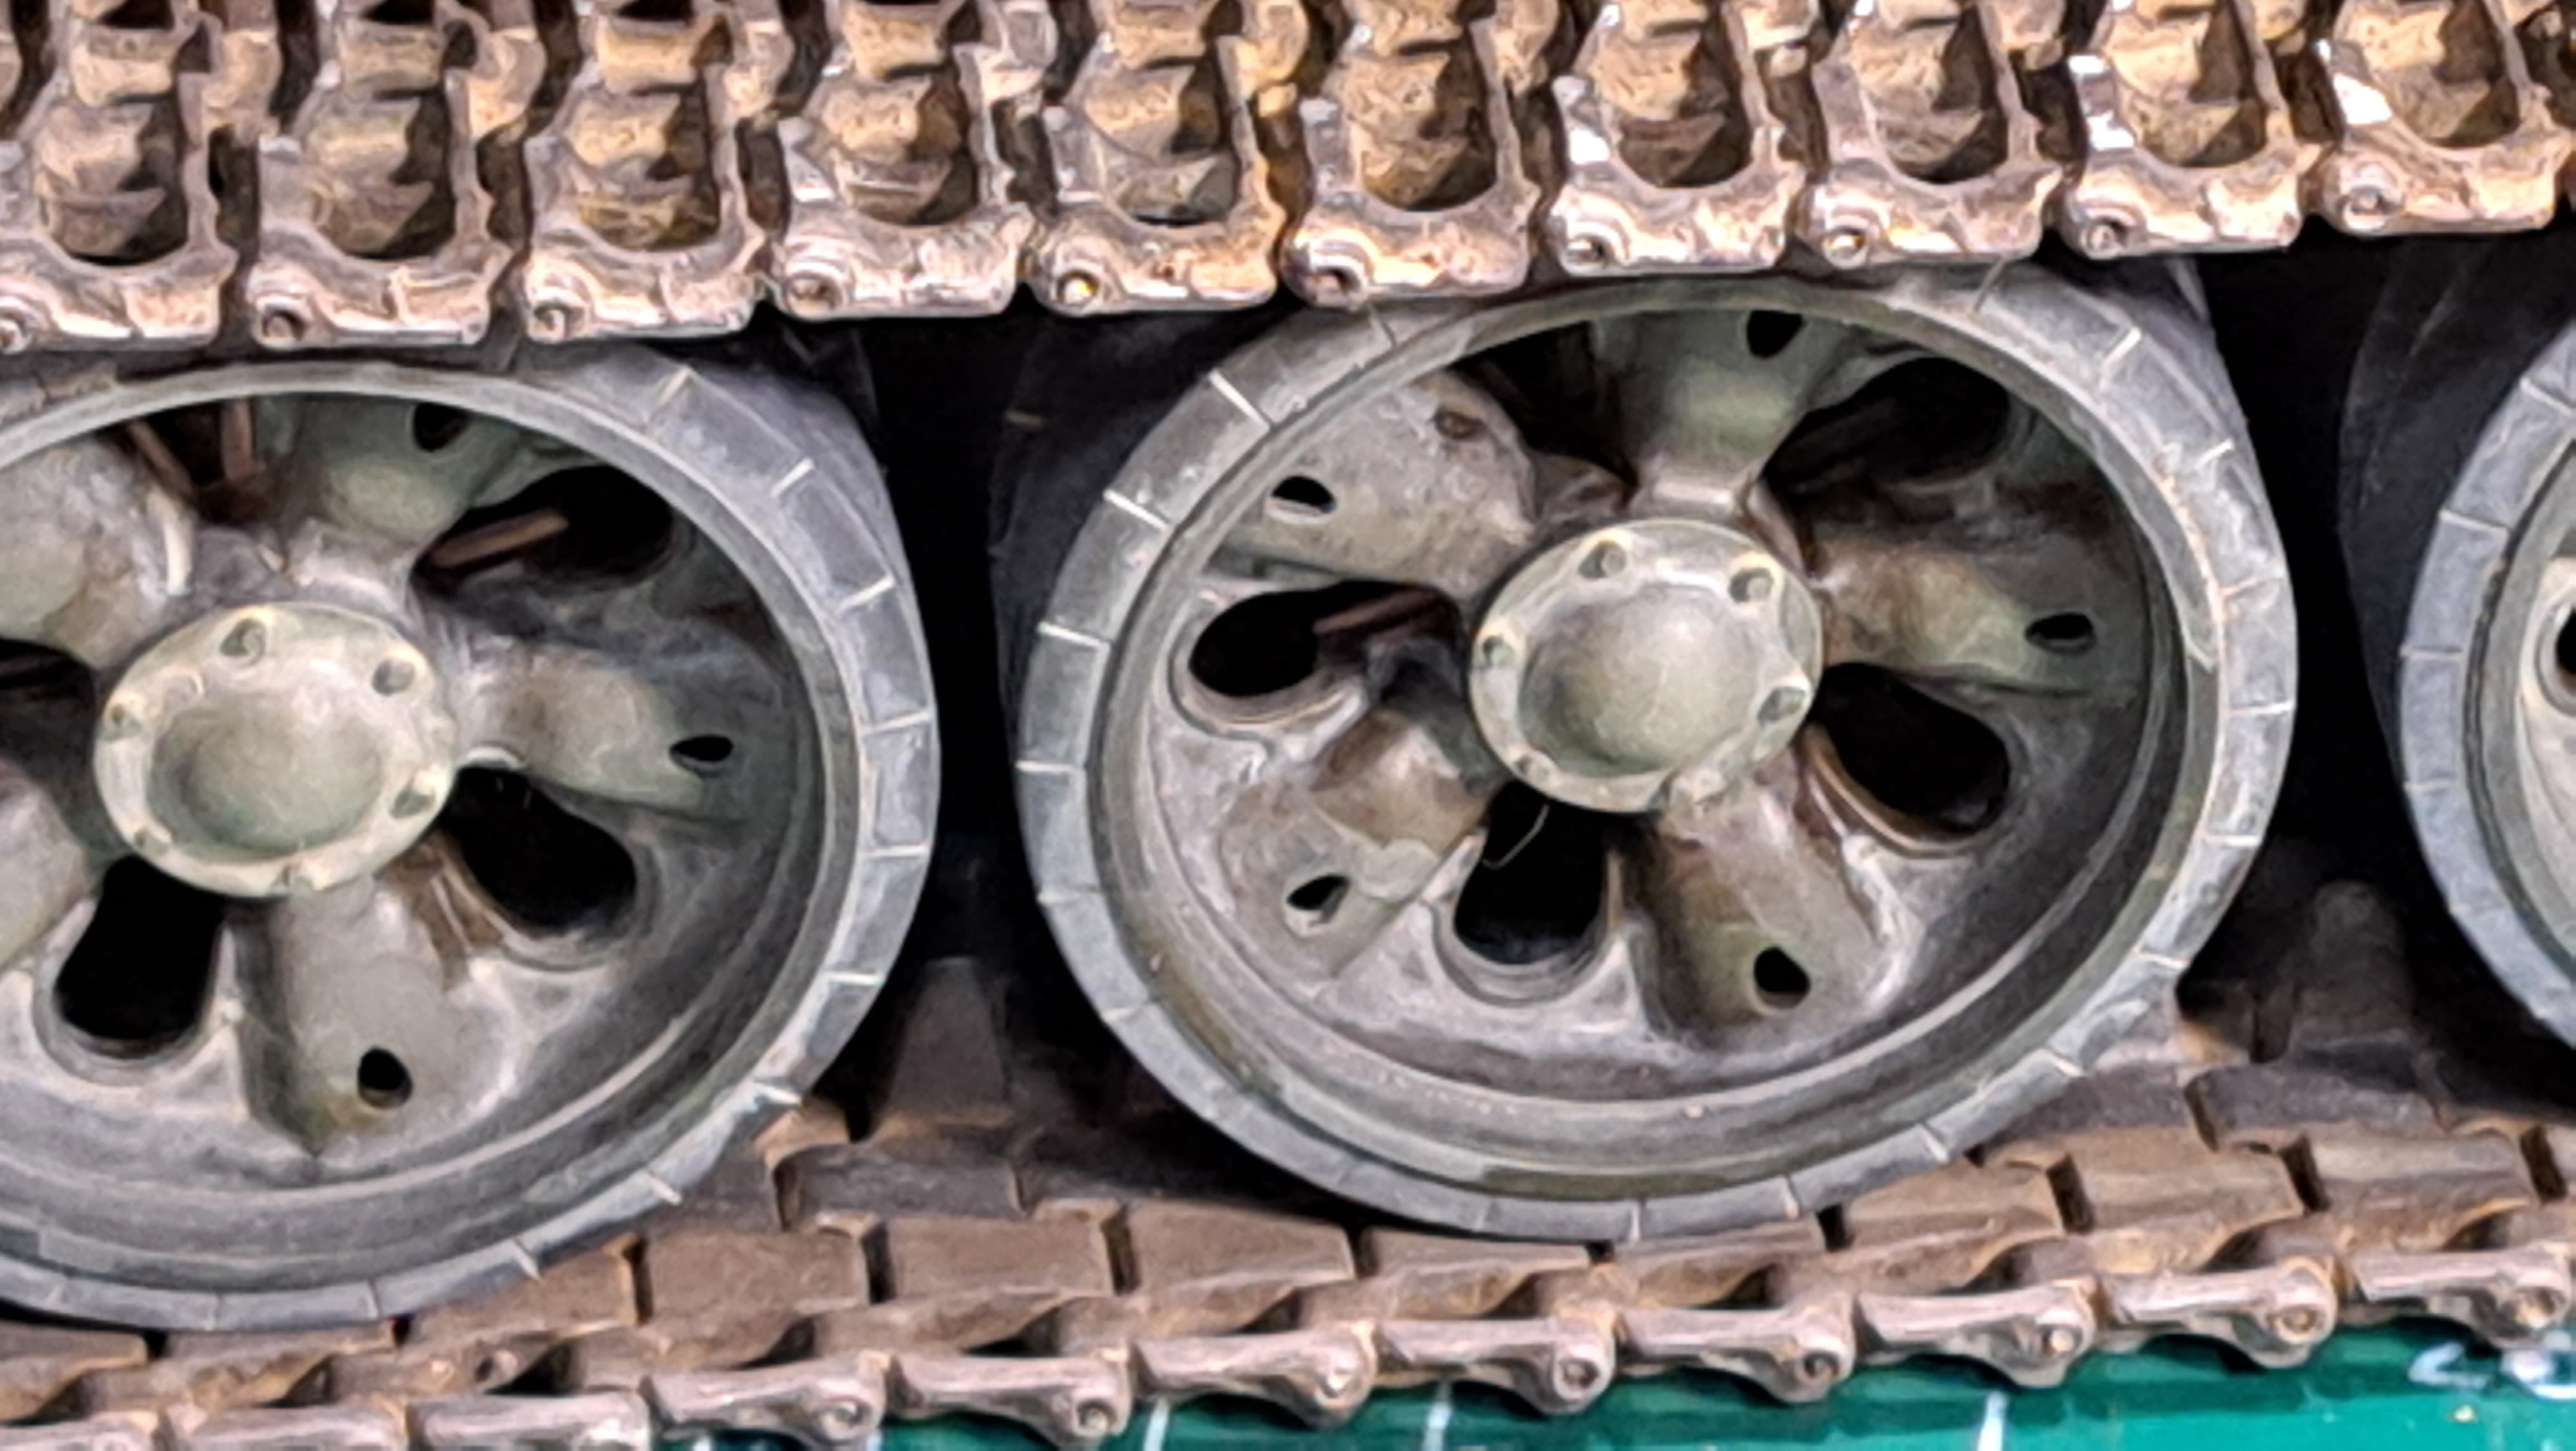
BTW - the Quick Wheels Dragon Pz III wheel mask doesn’t quite fit the Tamiya Pz III wheels. Used the index card to hold the Tamiya wheels in the Dragon mask.
Thank you for looking.
8 Likes
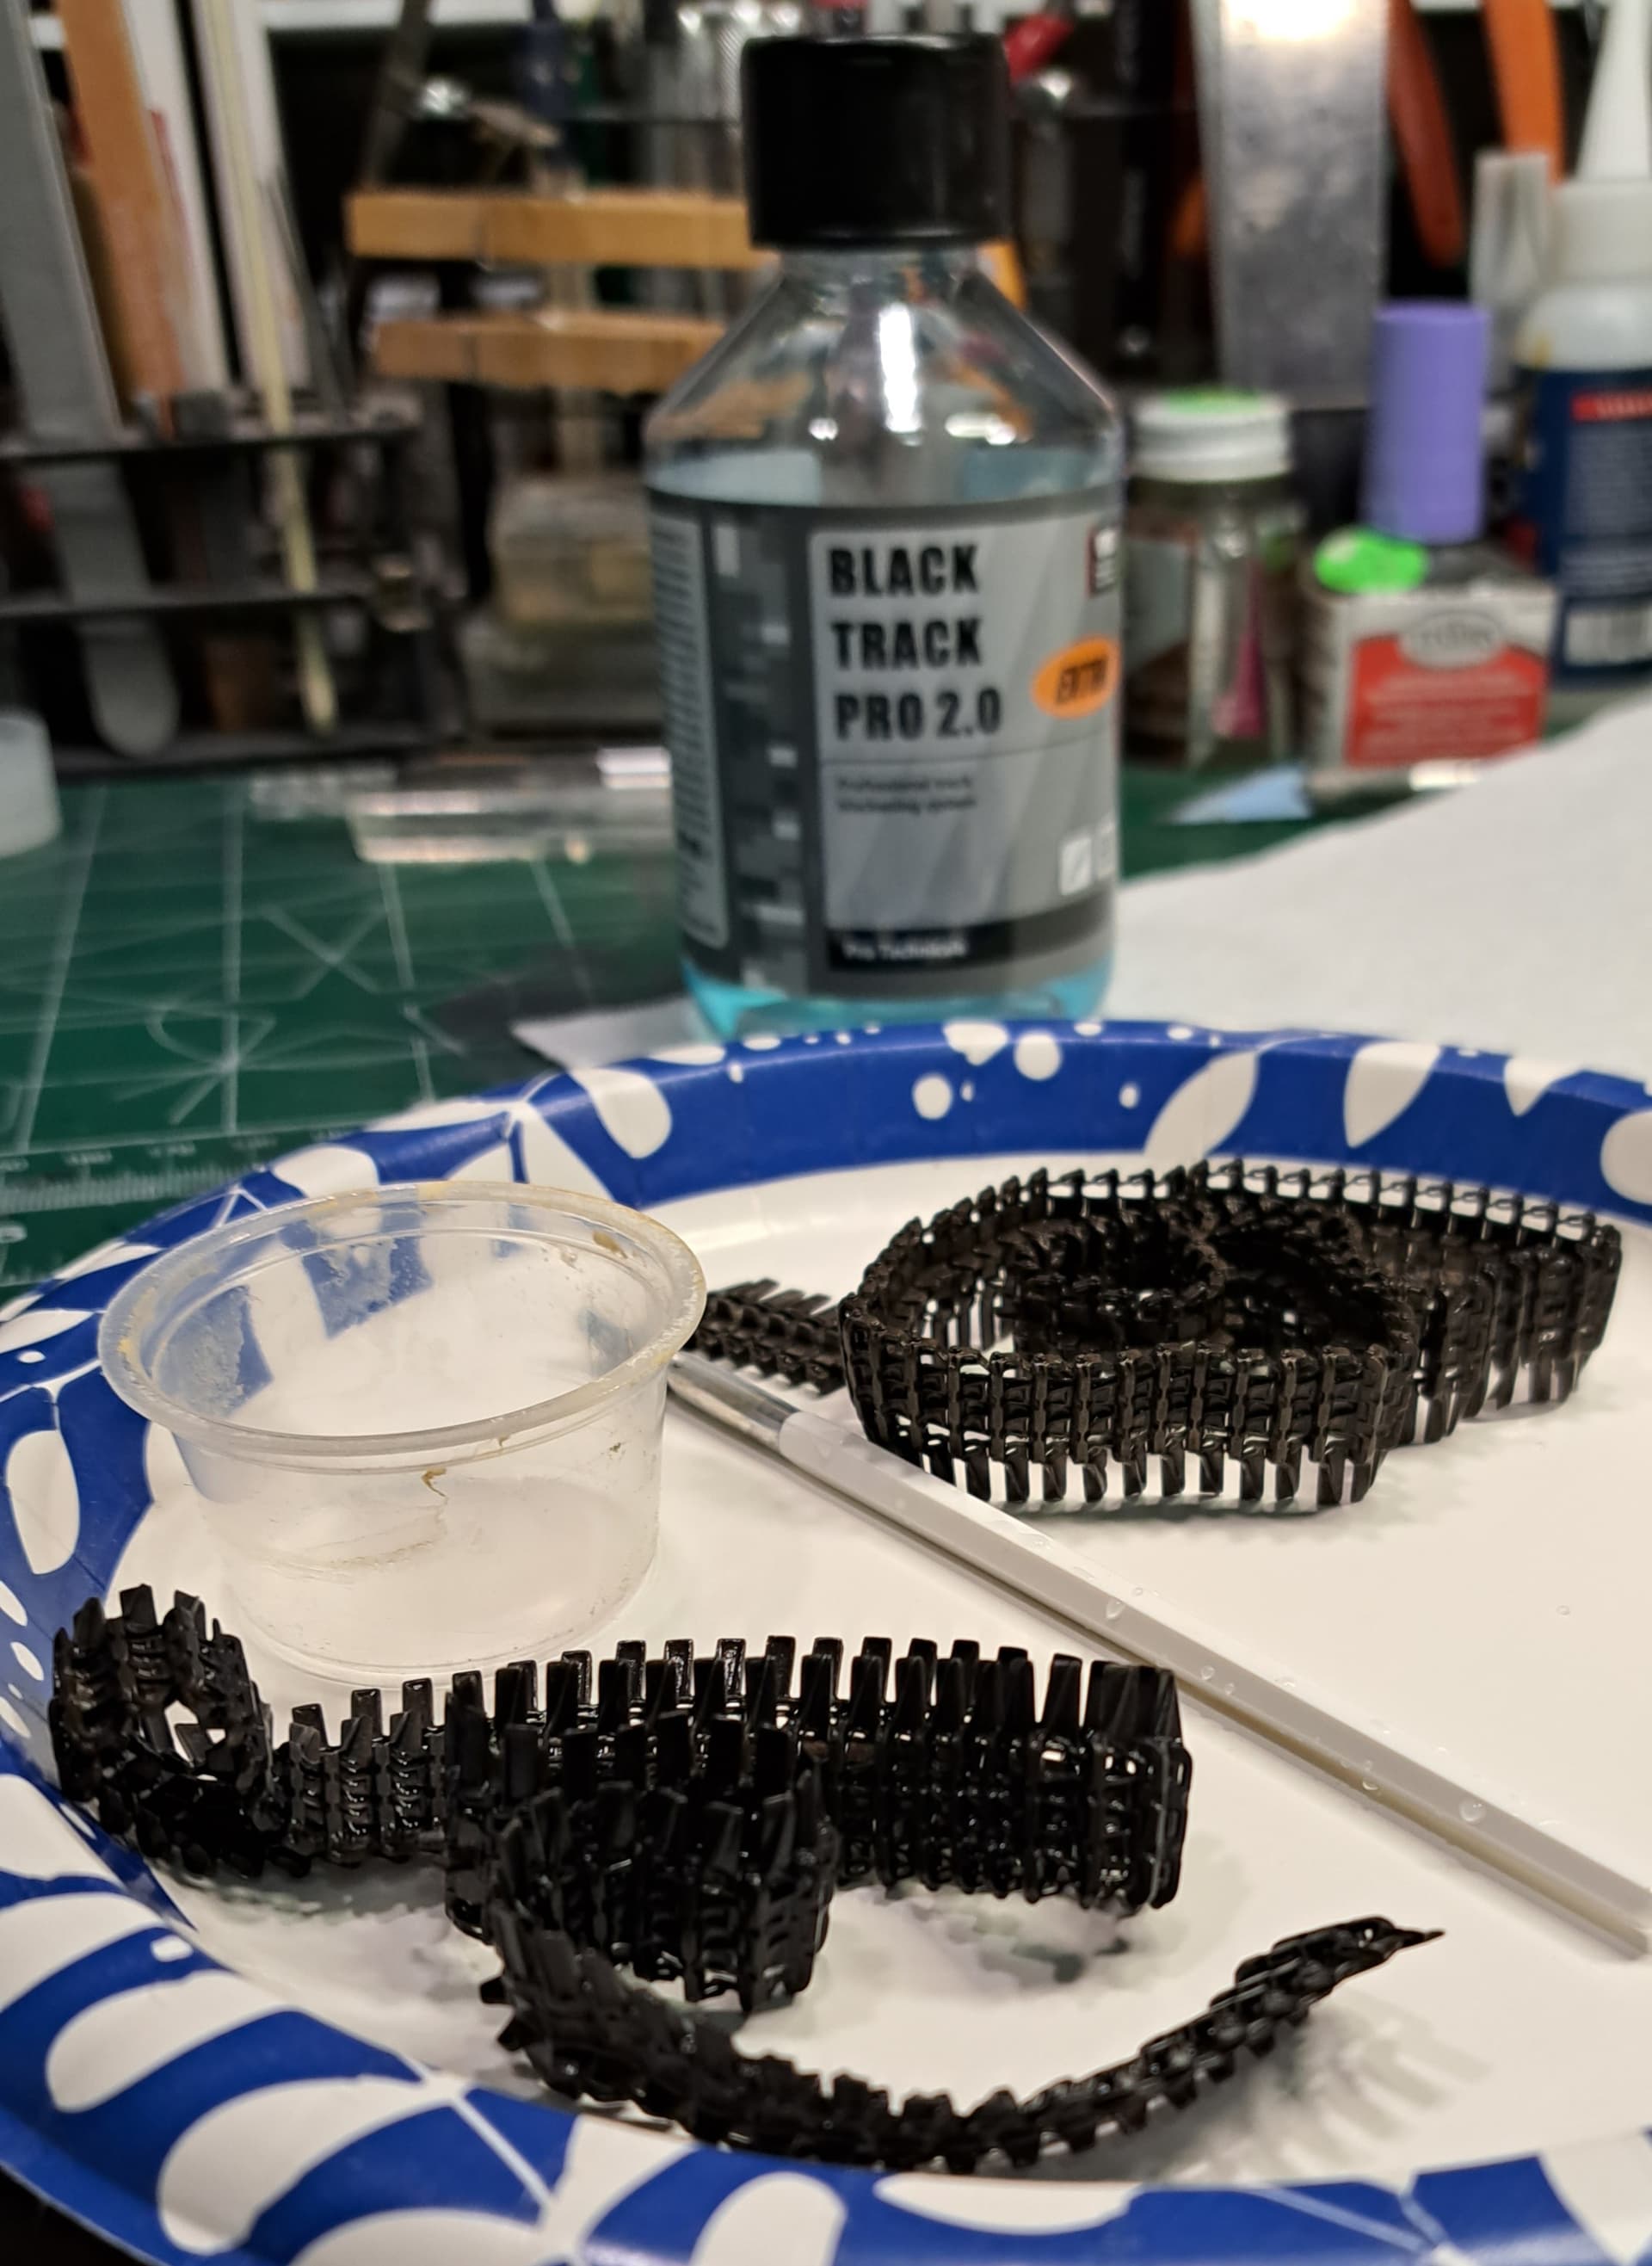
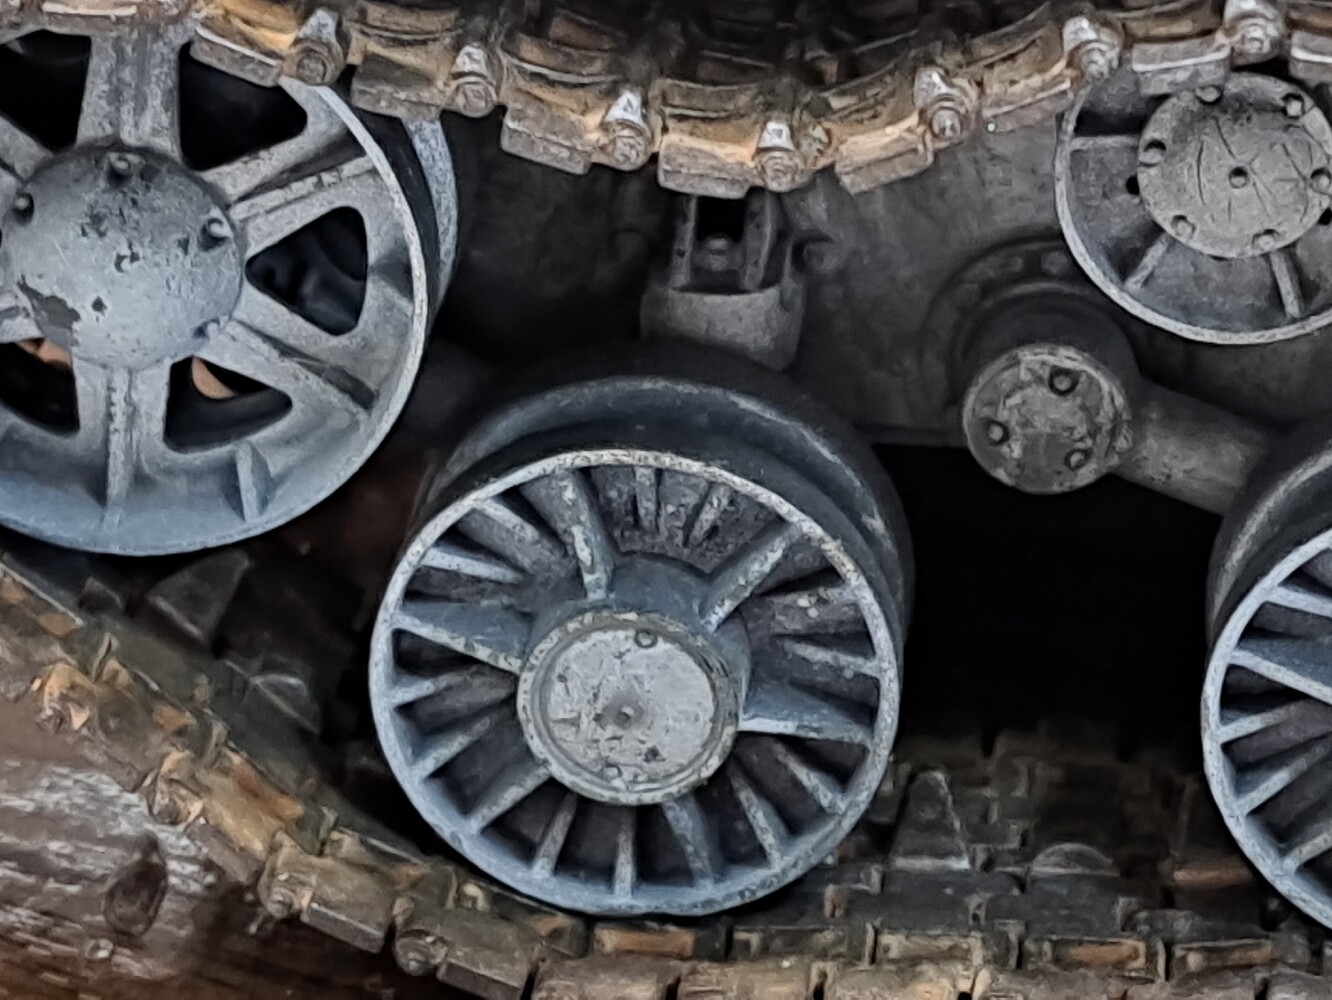
Decided to try VMS Track Black 2.0 on the Fruilmodel tracks. The VMS bottle contains 200 ml or about 8 oz. Based on what was required to do this set of tracks, I’d estimate 3 to 6 sets of tracks could be done depending on the size of the tracks.
I’ve used several track blacking chemicals. One should remove contact lens, wear eye protection, have good ventilation and wear gloves. The solution is less noxious than some of the other chemicals commonly used.
VMS Track Black 2.0 works well, overall about on par with the old model railroad Blacken-It which was my favorite.
Of course, there are spots that didn’t Blacken. These defects make an excellent random road map for weathering effectd in a future step.
8 Likes
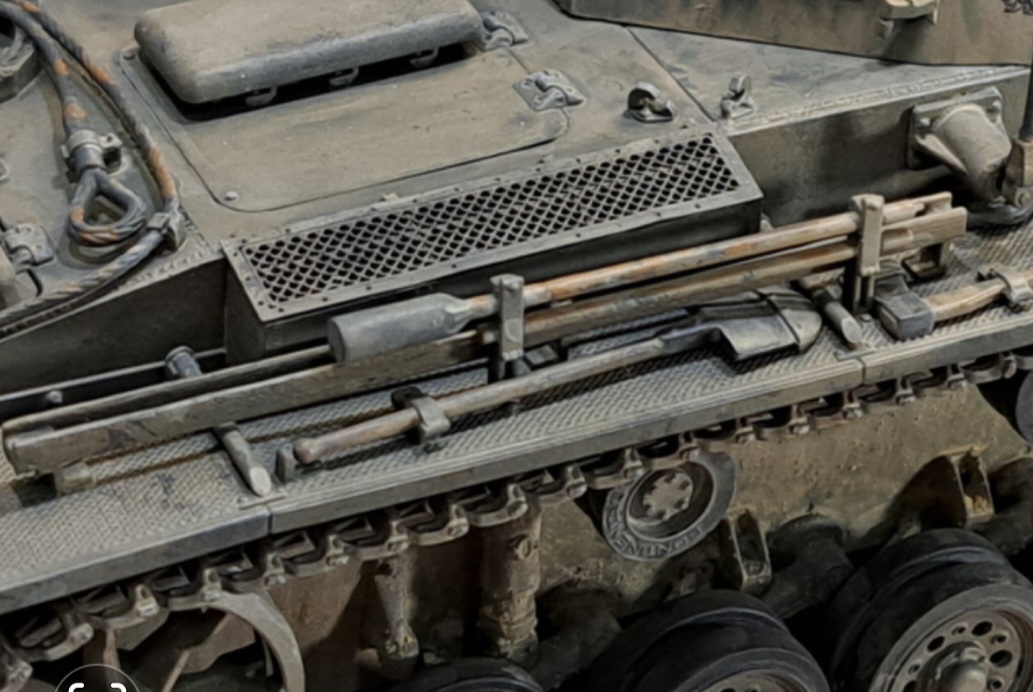
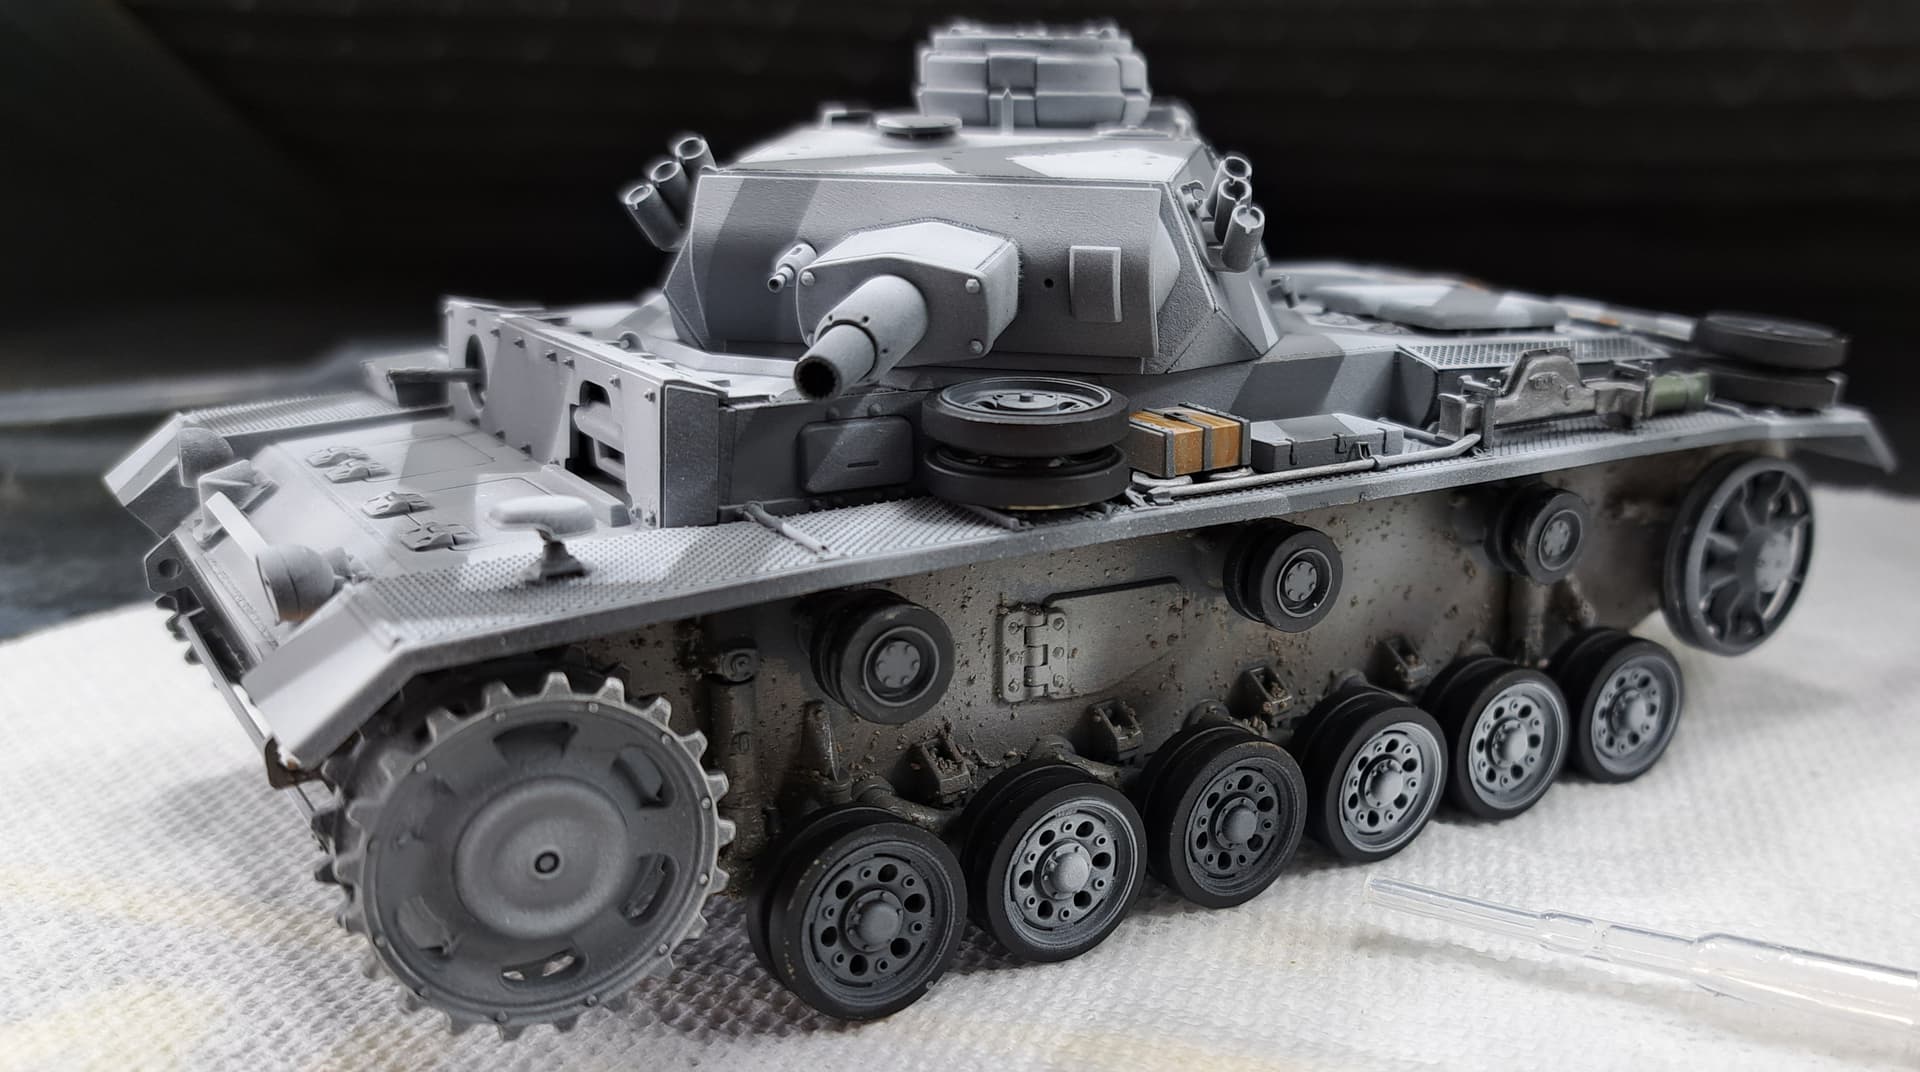
Painted tools and suspension dirt.
Now to cure for a couple of weeks.
I know that seems a little excessive but I lifted a bit of Mr Surfacer doing detail painting. Touched up area but was surprised. Haven’t any lift issues with the Floquil Railroad base coats. Model had been washed and dried etc. Guess my thinner heavy, heavy handed painting caused the issue. Given I like to weather directly on paint without gloss coats, feel this one needs to sit and cure.
9 Likes
@Armor_Buff Wade, I have finally caught up on this thread and it has been a wonderful journey. I love how detailed you are with your builds ( 3 links go on the idler wheel?!?). How does one obtain such detailed knowledge of a subject lol. Also I want to go buy an Academy panzer iii now.
You have done some excellent painting and weathering, I especially love how your tracks come out! Could you possible go into detail in how you paint/ weather tracks. I feel that is one of my weakest areas and I’m constantly trying new techniques to get the look just right.
My only critique would be why don’t you put the decals on before weathering and put a satin varnish over the decals/ model and then weather? Helps to blend the decals with the whole model and you don’t have to go back and try to weather that one spot in hopes that it matches the rest of the model.
2 Likes
@Brisk_Risk Derek, thank you for taking time to check out this Pz III thread in such detail. All in all, I think the Academy Pz III is the best bang for the time required to build. With a few basic tweaks the kit really wakes up. I hope you give the kit a shot and would love to follow the build!
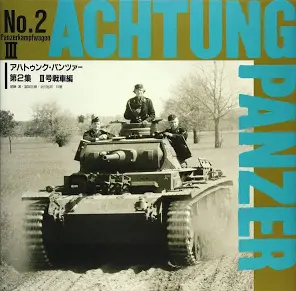
Speaking of model details on Pz III, I know very little but the old reference Achtung Panzer #2 is outstanding with line drawing for modeling. It’s reasonably accurate on major details from what I’ve seen.
Let’s talk decals before tracks.
My decal film ends up highlighted despite gloss coat, decal, gloss coat if I do weatheringover it. My drybrush technique is very aggressive and washes are applied in a similar manner. Aggressive in the sense of lots of paint brush movements. Typically drybrush may hit an edge ~20 to 30 times etc. So I try to avoid decals a lot of the time and apply markings with stencils etc.
Thank you for the kind words on the tracks. In my opinion, when painting tracks this recipe works pretty well. Tracks with rubber pads require a little different approach. There’s lots of ways to do tracks, here’s my method.
This thread rfm5041-kv-1-model-1942-simplified-turret-build has same method applied to a bigger foot print track.
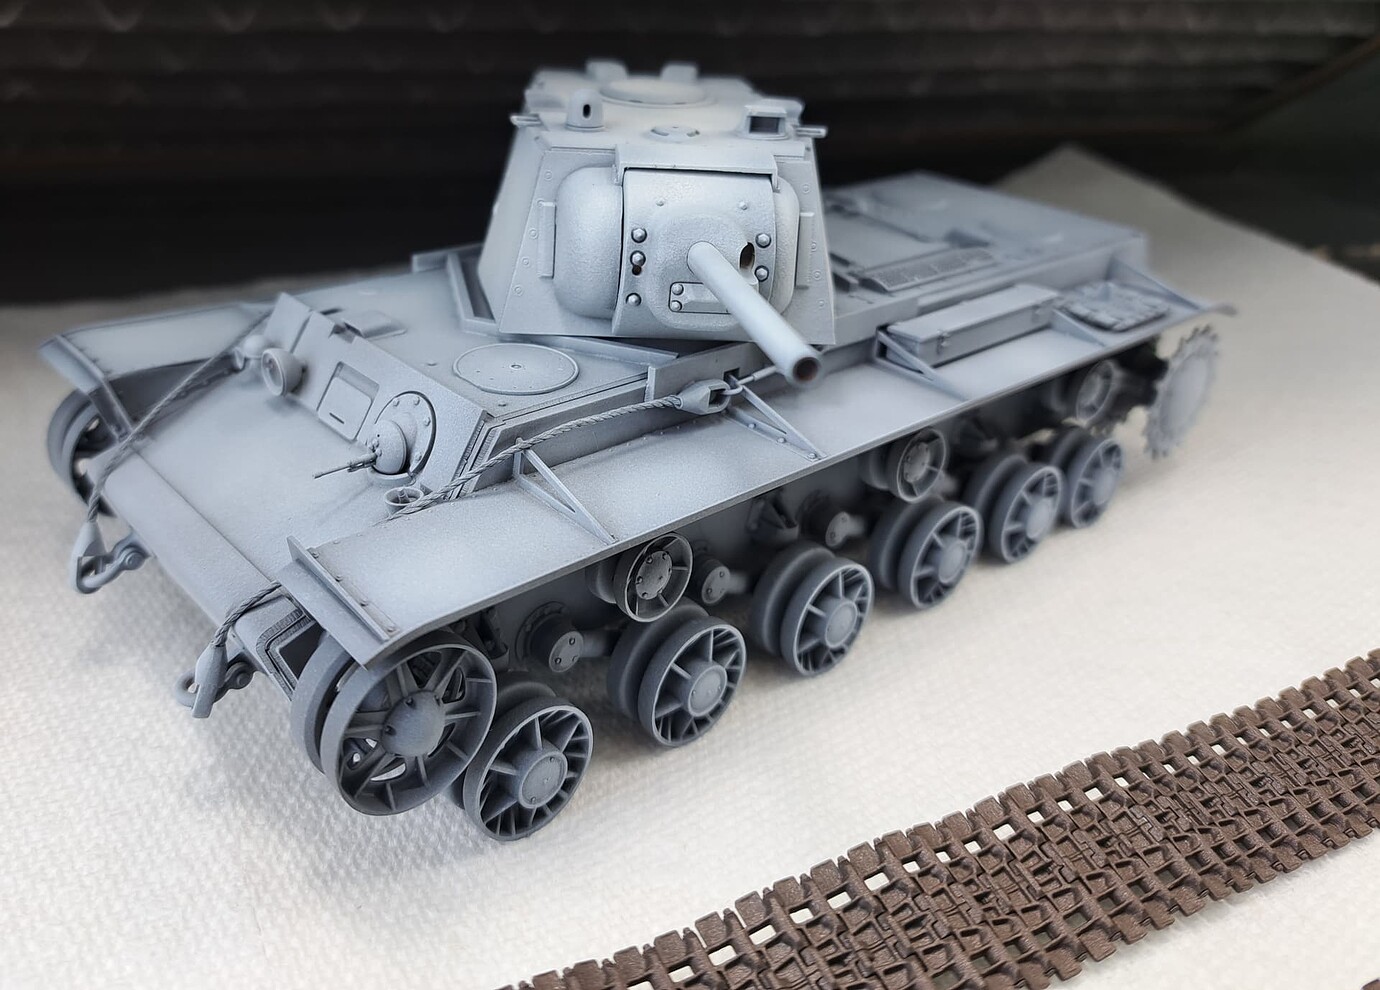
- Base color of Weathered Black or very dark gray. This set shadow in the recess. With workable tracks they should be articulated to ensure all recess are covered. My pet favorite paint is Floquil Railroad Weathered Black but any black shade up to RLM 66 grade black works. RLM 66 is a little on the light side etc. Tamiya Nato Black with a little gray works well too.
With this KV-1 1942, I blasted the tracks with Weathered black like the models received.
- Light misting overspray of Floquil Railroad Antique Bronze. Don’t want it in the recess but mainly covering most exposed details. Tamiya Burnt Iron is an excellent substitute but is a little dark.
-
I like to apply a “gun metal” color to the area where the road wheels ride as that area often has a metallic sheen if the tank is operational. My pet favor colors are mix of a bluish black metallic and silver. (Floquil Military Chain Mail & Floquil Military Silver). I put five drops of chain mail on the palette and two drops of Silver. I randomly mix the two colors and brush paint the area of road wheel wear.
-
Using same mix in #3 add drop of silver and lightly drybrush track guide teeth tops and outside track face.
-
Light wash of dirt.
Probably 85% thinner and 15% Floquil Military Dirt. Any dirty color should work. I add another drop of paint or a drop of thinner at various points to the wash mix in my color cup. This given 3 to 5 different intensities of color with the same paint.
-
Light wash of Floquil Military Orange rust. The intensity of the wash is altered as mentioned in #5 to give variety of color with same paint.
White Metal Tracks get a similar treatment. Blacken-It/Burnishing fluid instead of Weathered Black paint. Same overspray of Floquil Railroad Antique Bronze. The metal detailing can be painted but is more fun to do with sand paper. Dirt and rust washes applied the same way.
Fruilmodel’s T-55A white metal tracks finished as described with an additional wash of Gunzy/Mr Hobby “Sail” color paint as dust.
9 Likes
@Armor_Buff Wade,
I love the idea of step 5, that’s a great way to add variety without much hassle! I have tried to wet blend dark brown and orange on tracks but I didn’t like the look too much. This sounds like a better version of what I tried.
When you were talking about Achtung Panzer, I thought y’all were talking about the book written by Heinz Guderian lol. Makes way more since now and another book on my radar!
I really appreciate you taking the time to give this much detail and info for my question and linking another thread I can enjoy!
I am looking forward to how this Takom kit turns out and keep up the great work!
4 Likes
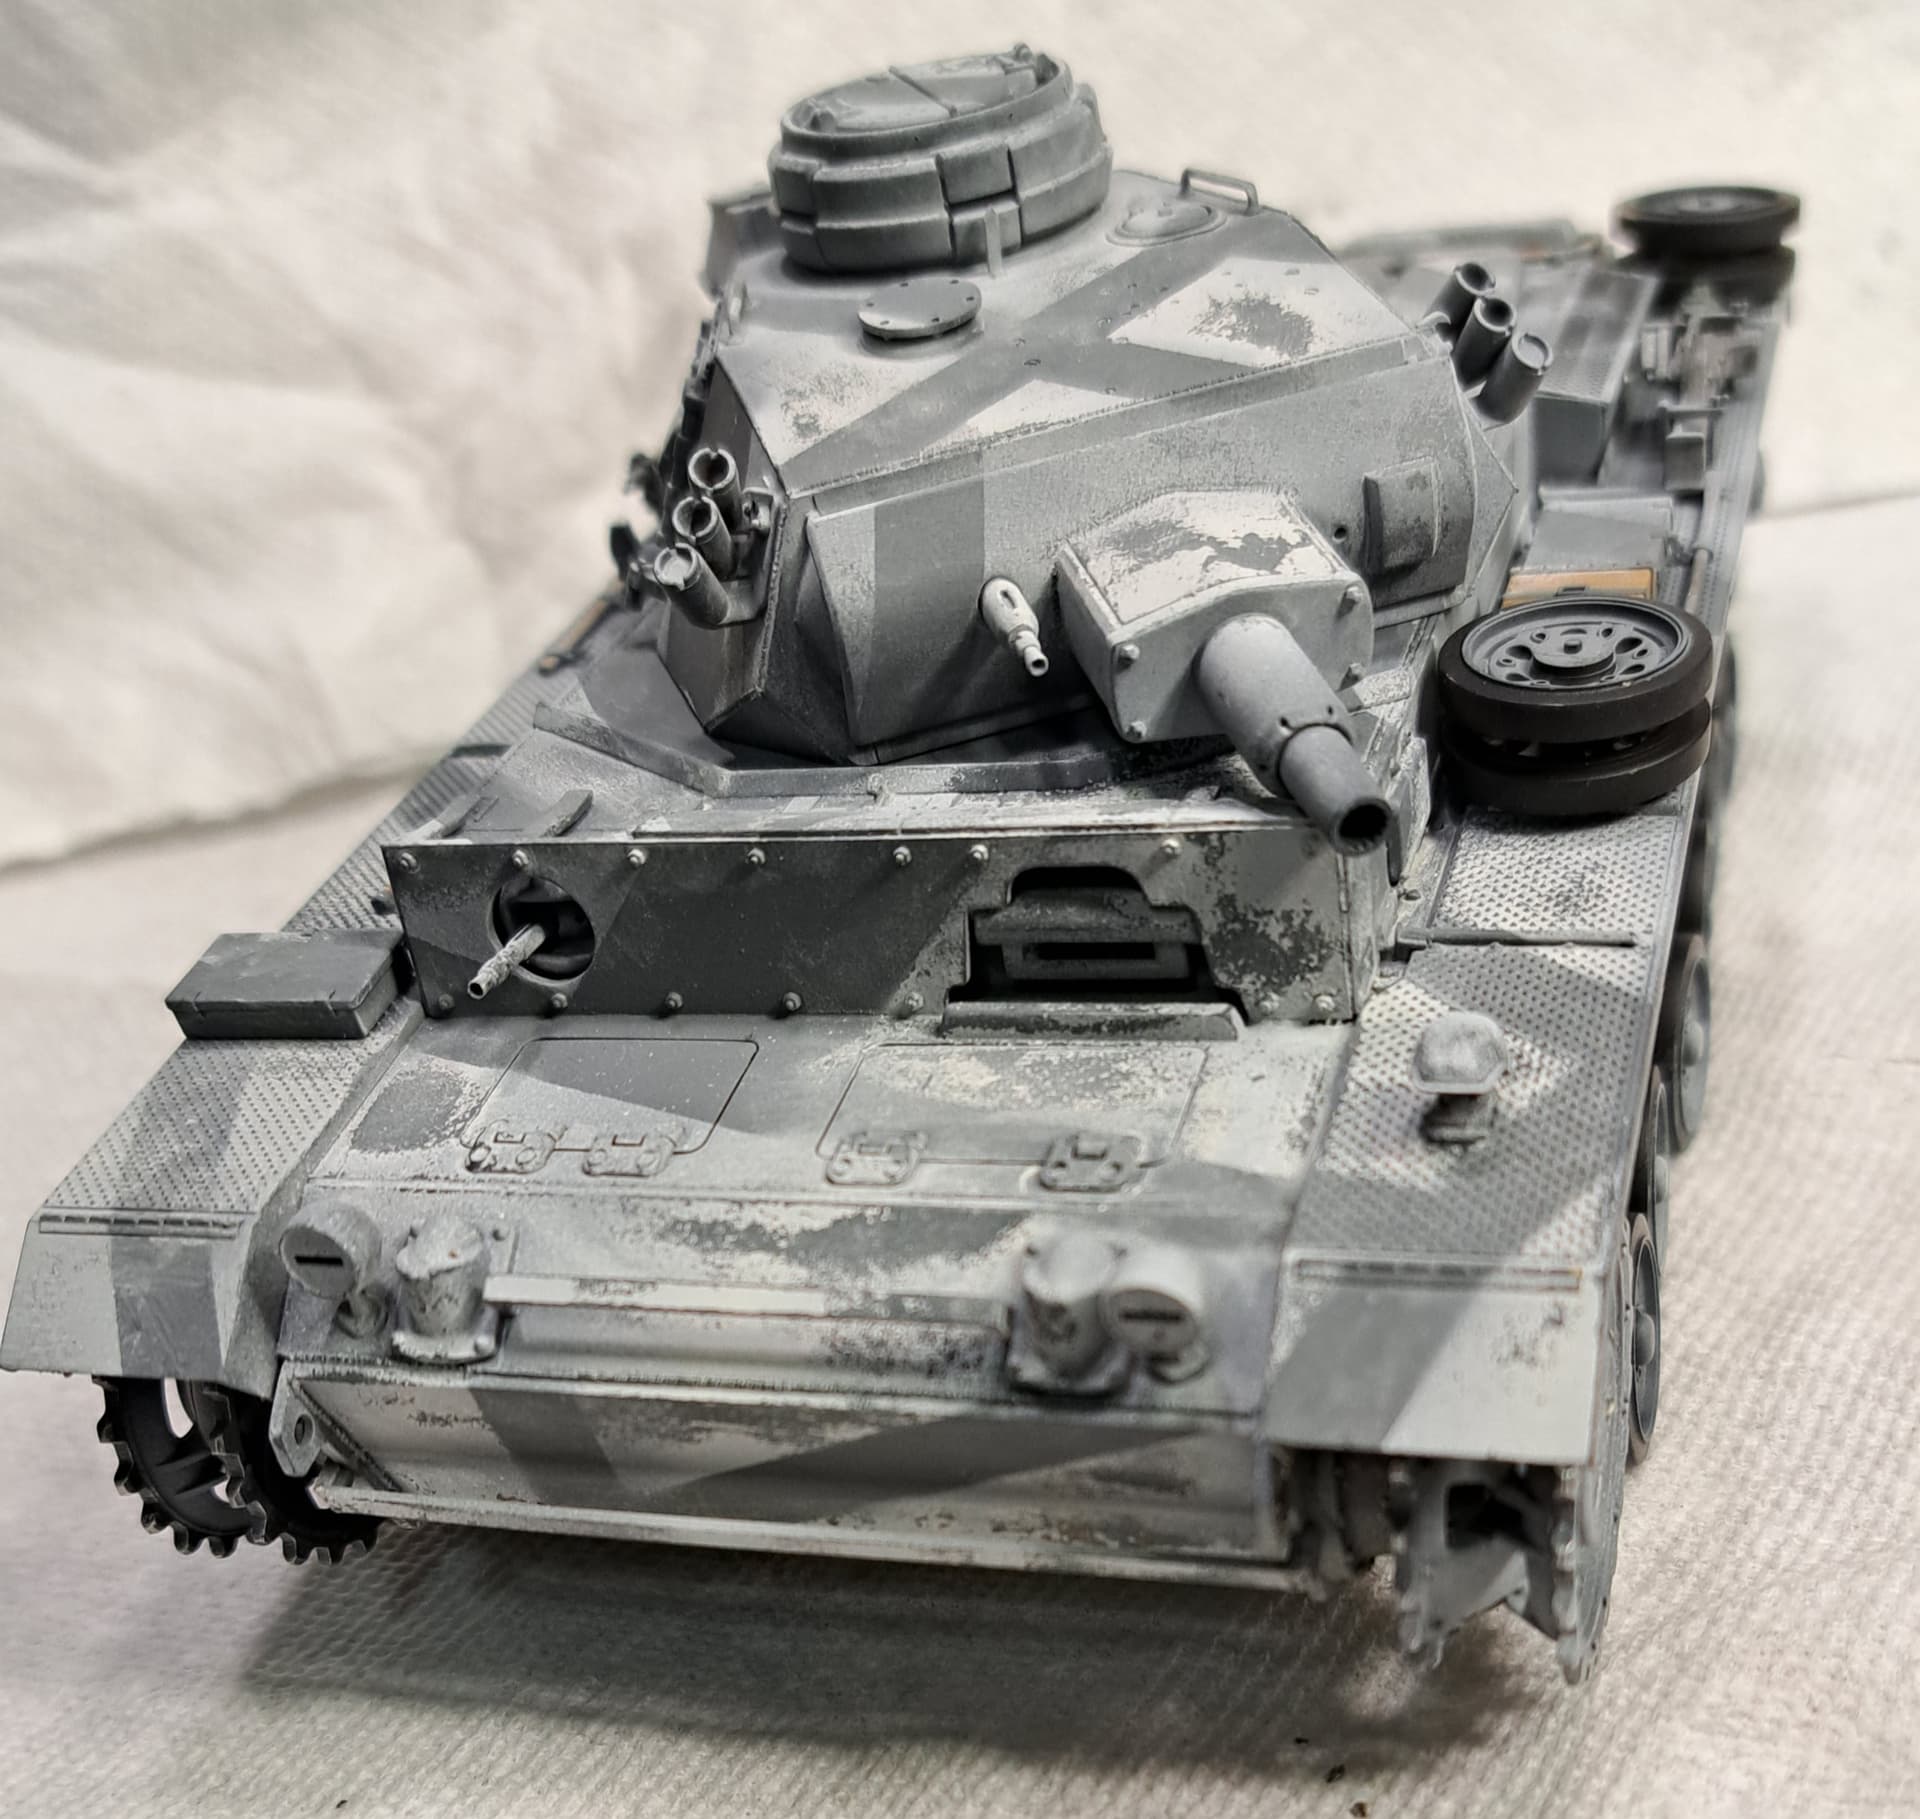
Long time no updates…
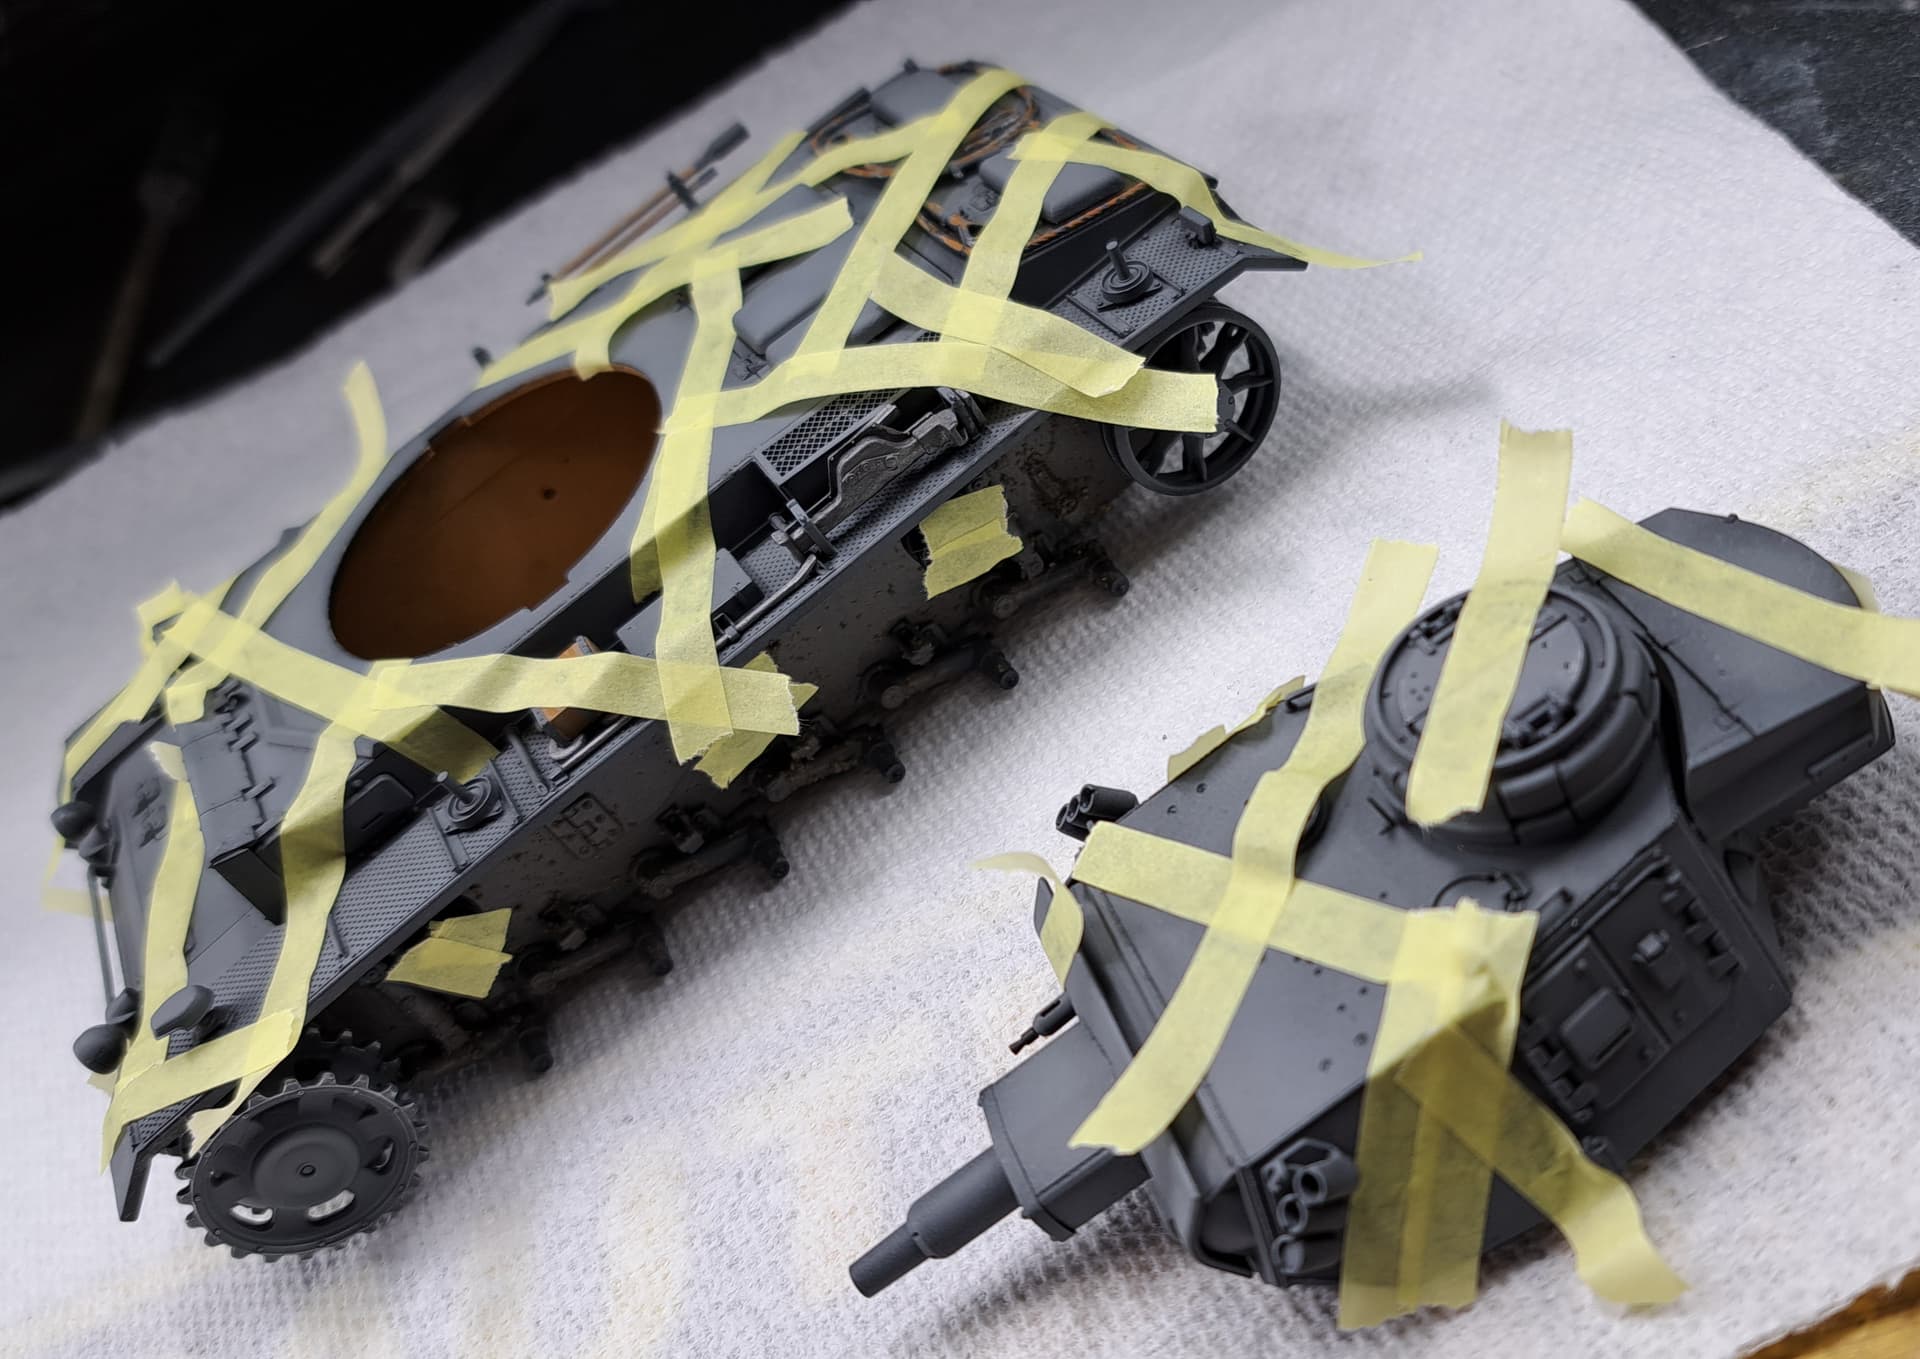
Tamiya Pz III ausf N had most of it’s details painted so time for white wash.
Masked, going for that box art inspired look.
Outcome, seems OK. I wasn’t sure how chipping fluid would work out with masking.
Will get to chipping later today…a higher priority calls…
Cheers 
8 Likes
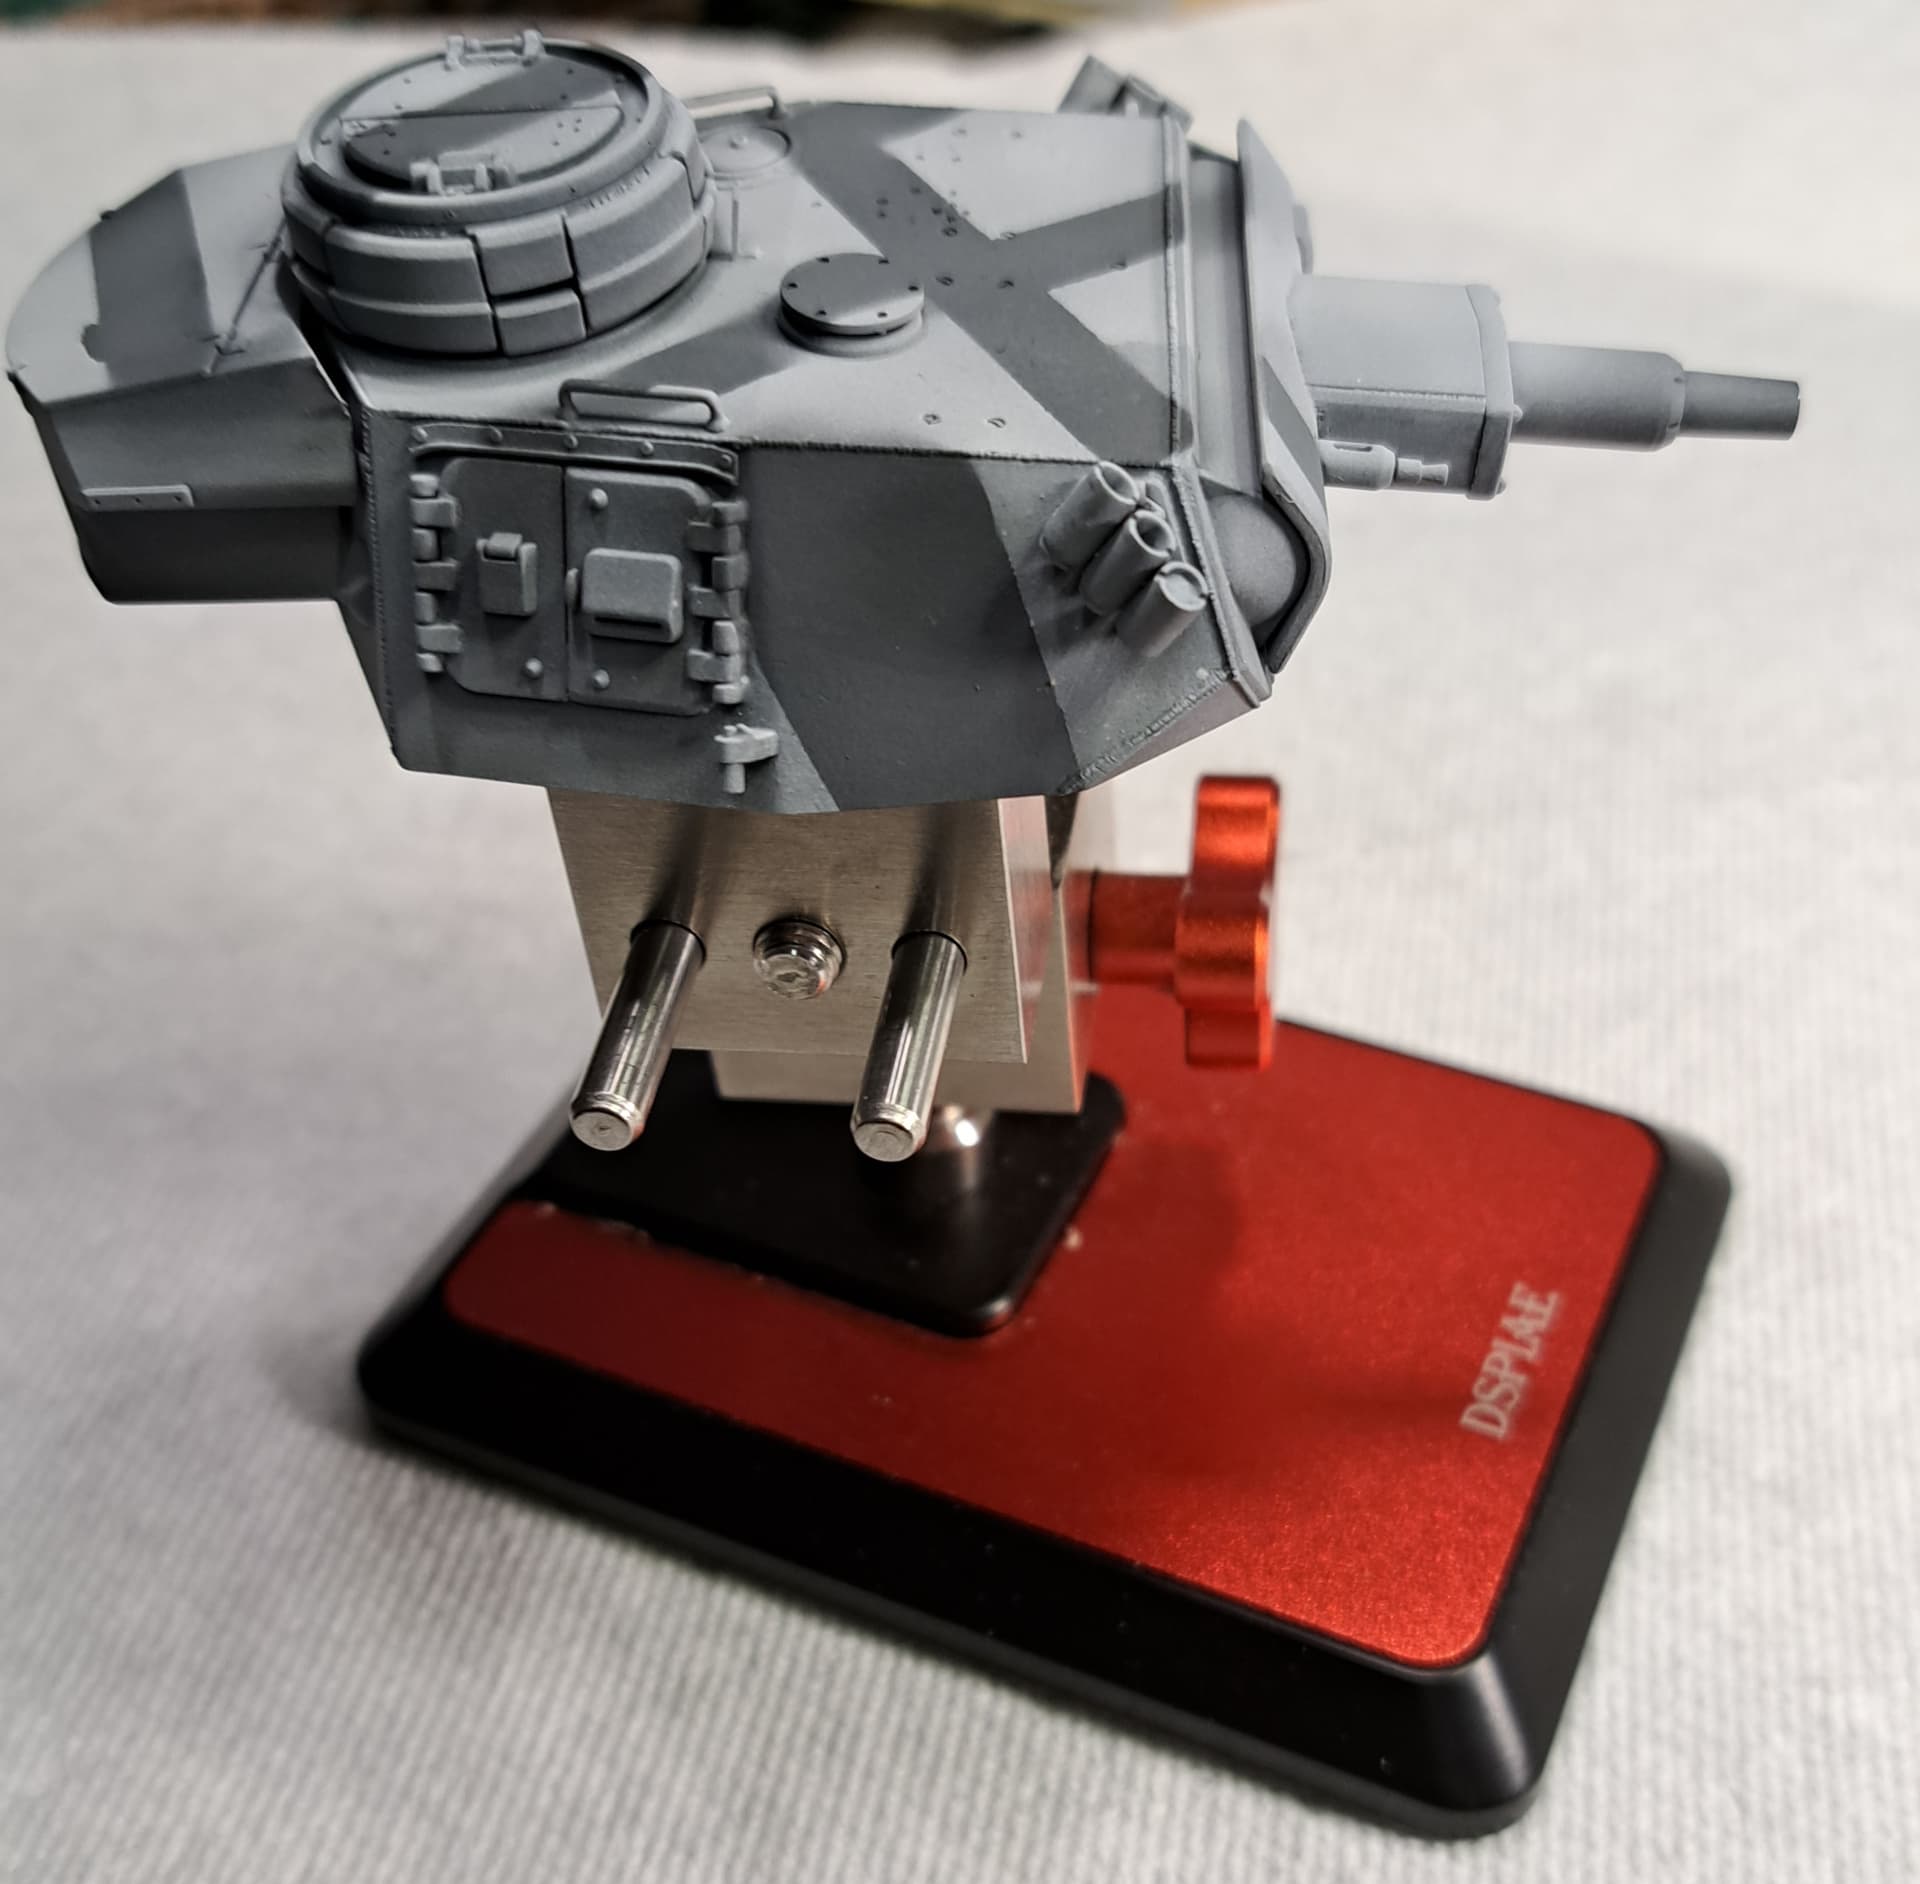
The DSPIAE vise proved very useful.
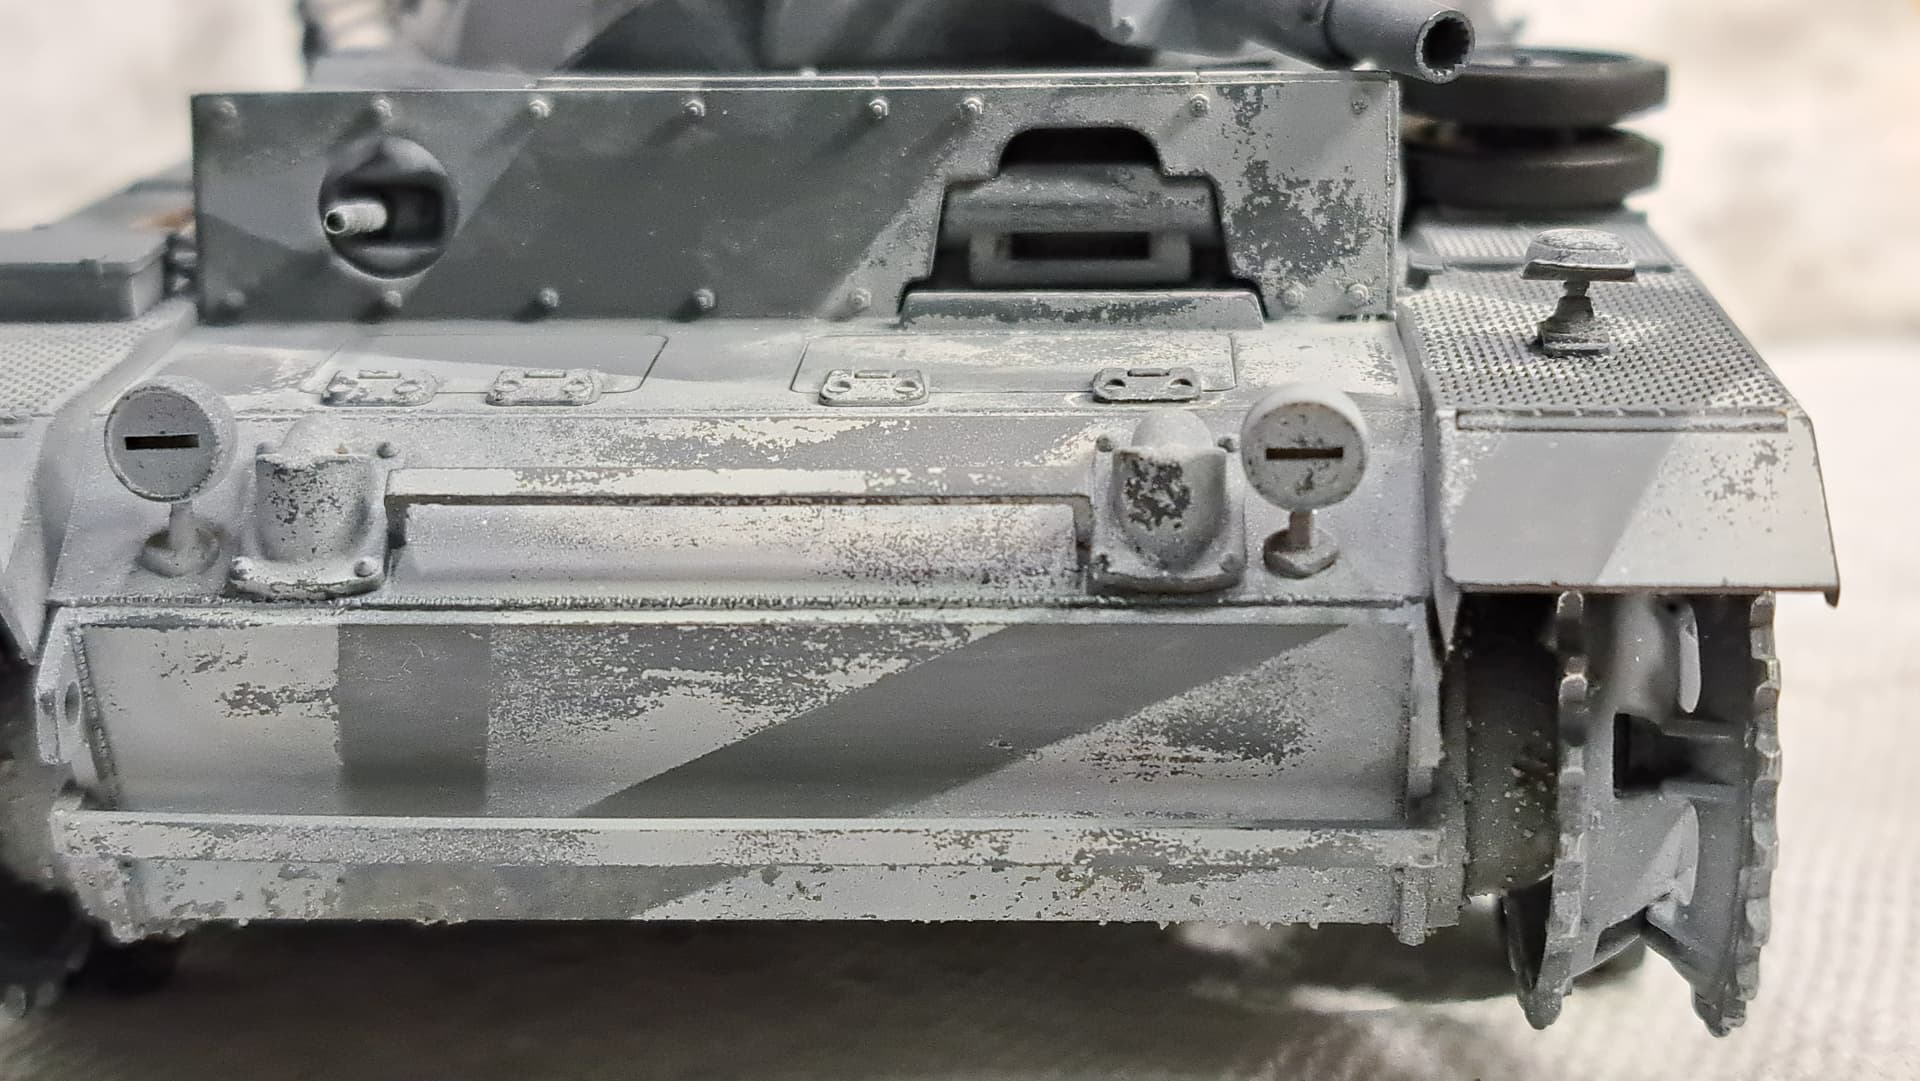
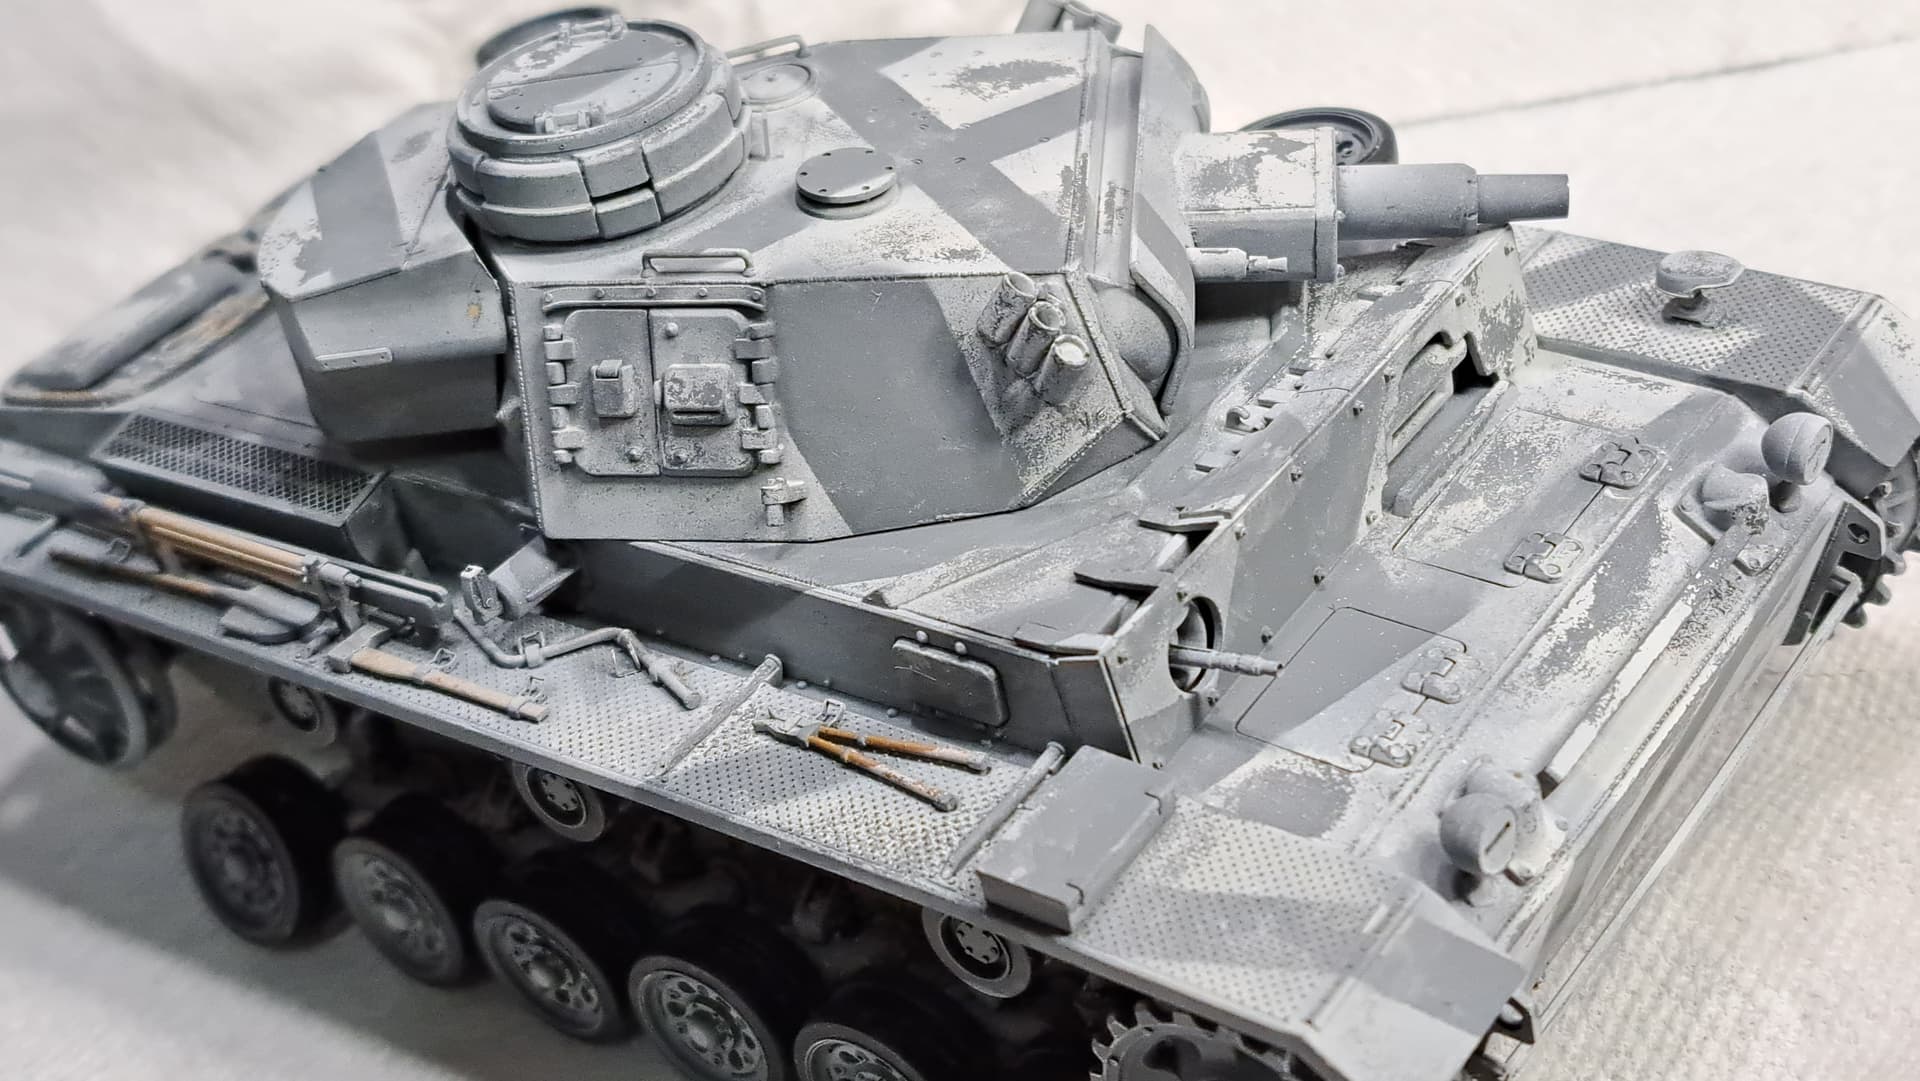
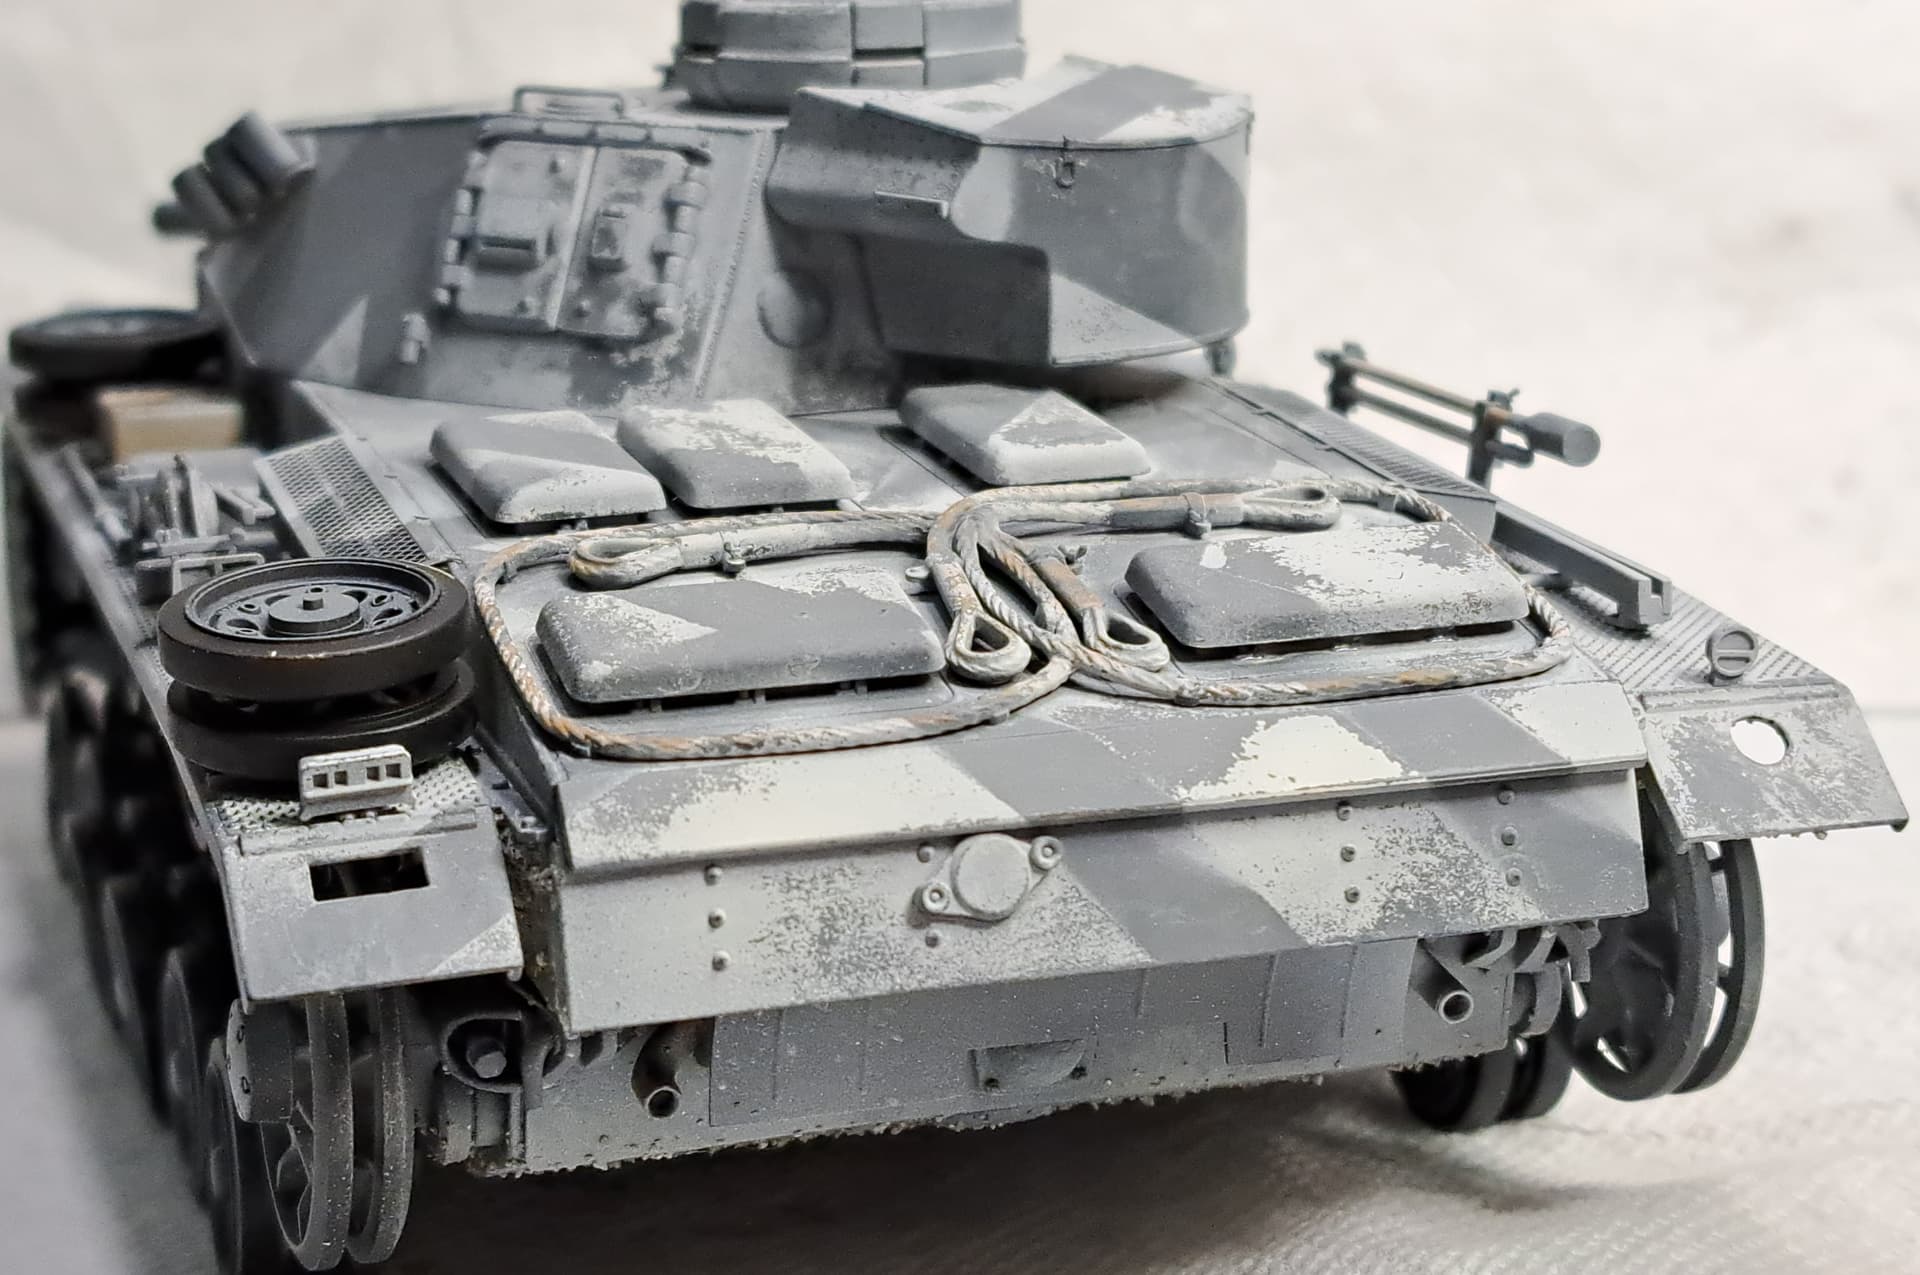
Scrubbed…
Will probably hit it again later today in a few spots.
8 Likes