I’ll have to look
1 Like
I think you can make the latter work. Or maybe 91 on one side and 92 on the other, reverse depending on your mood.
1 Like
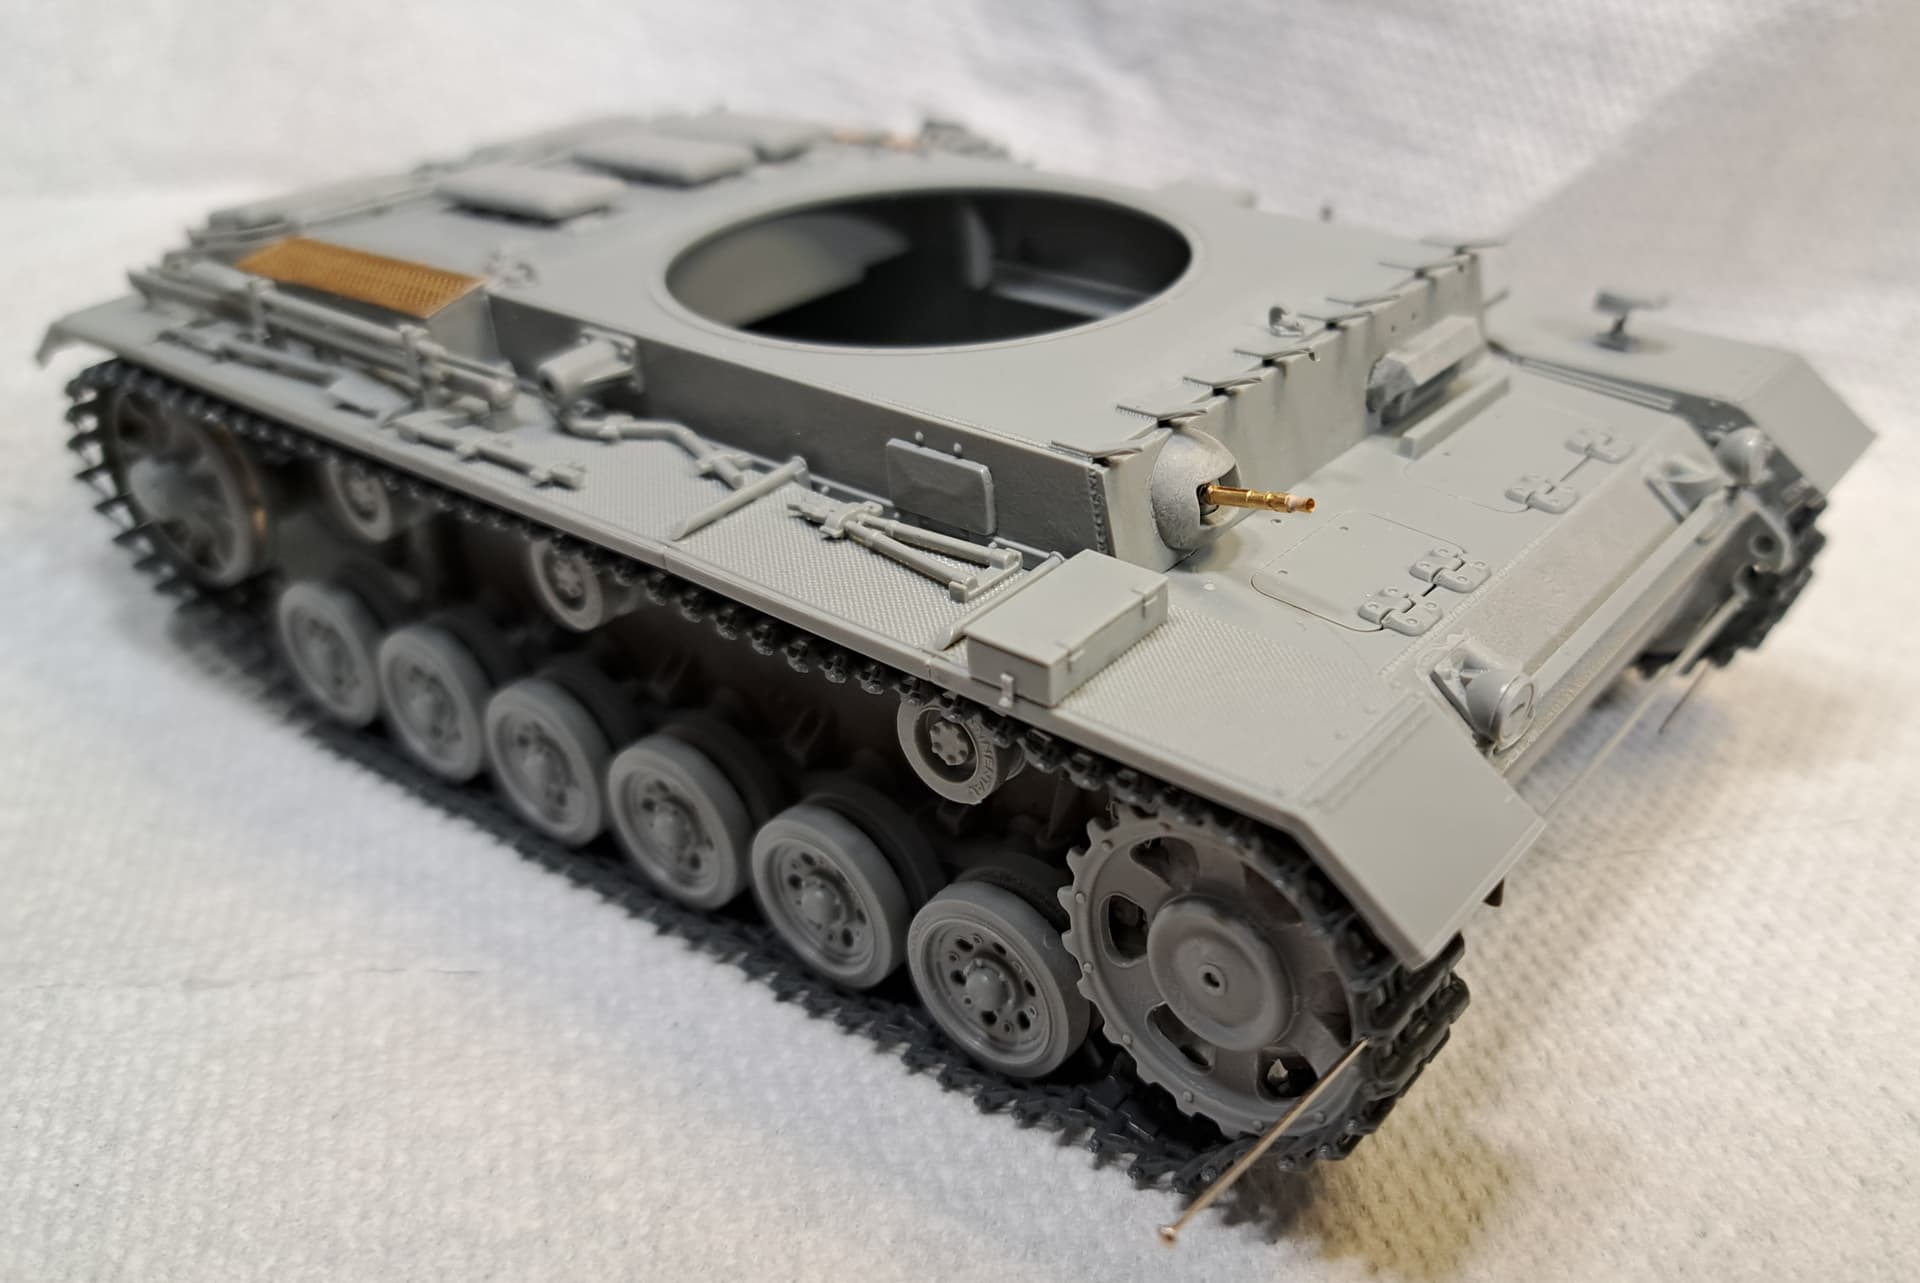
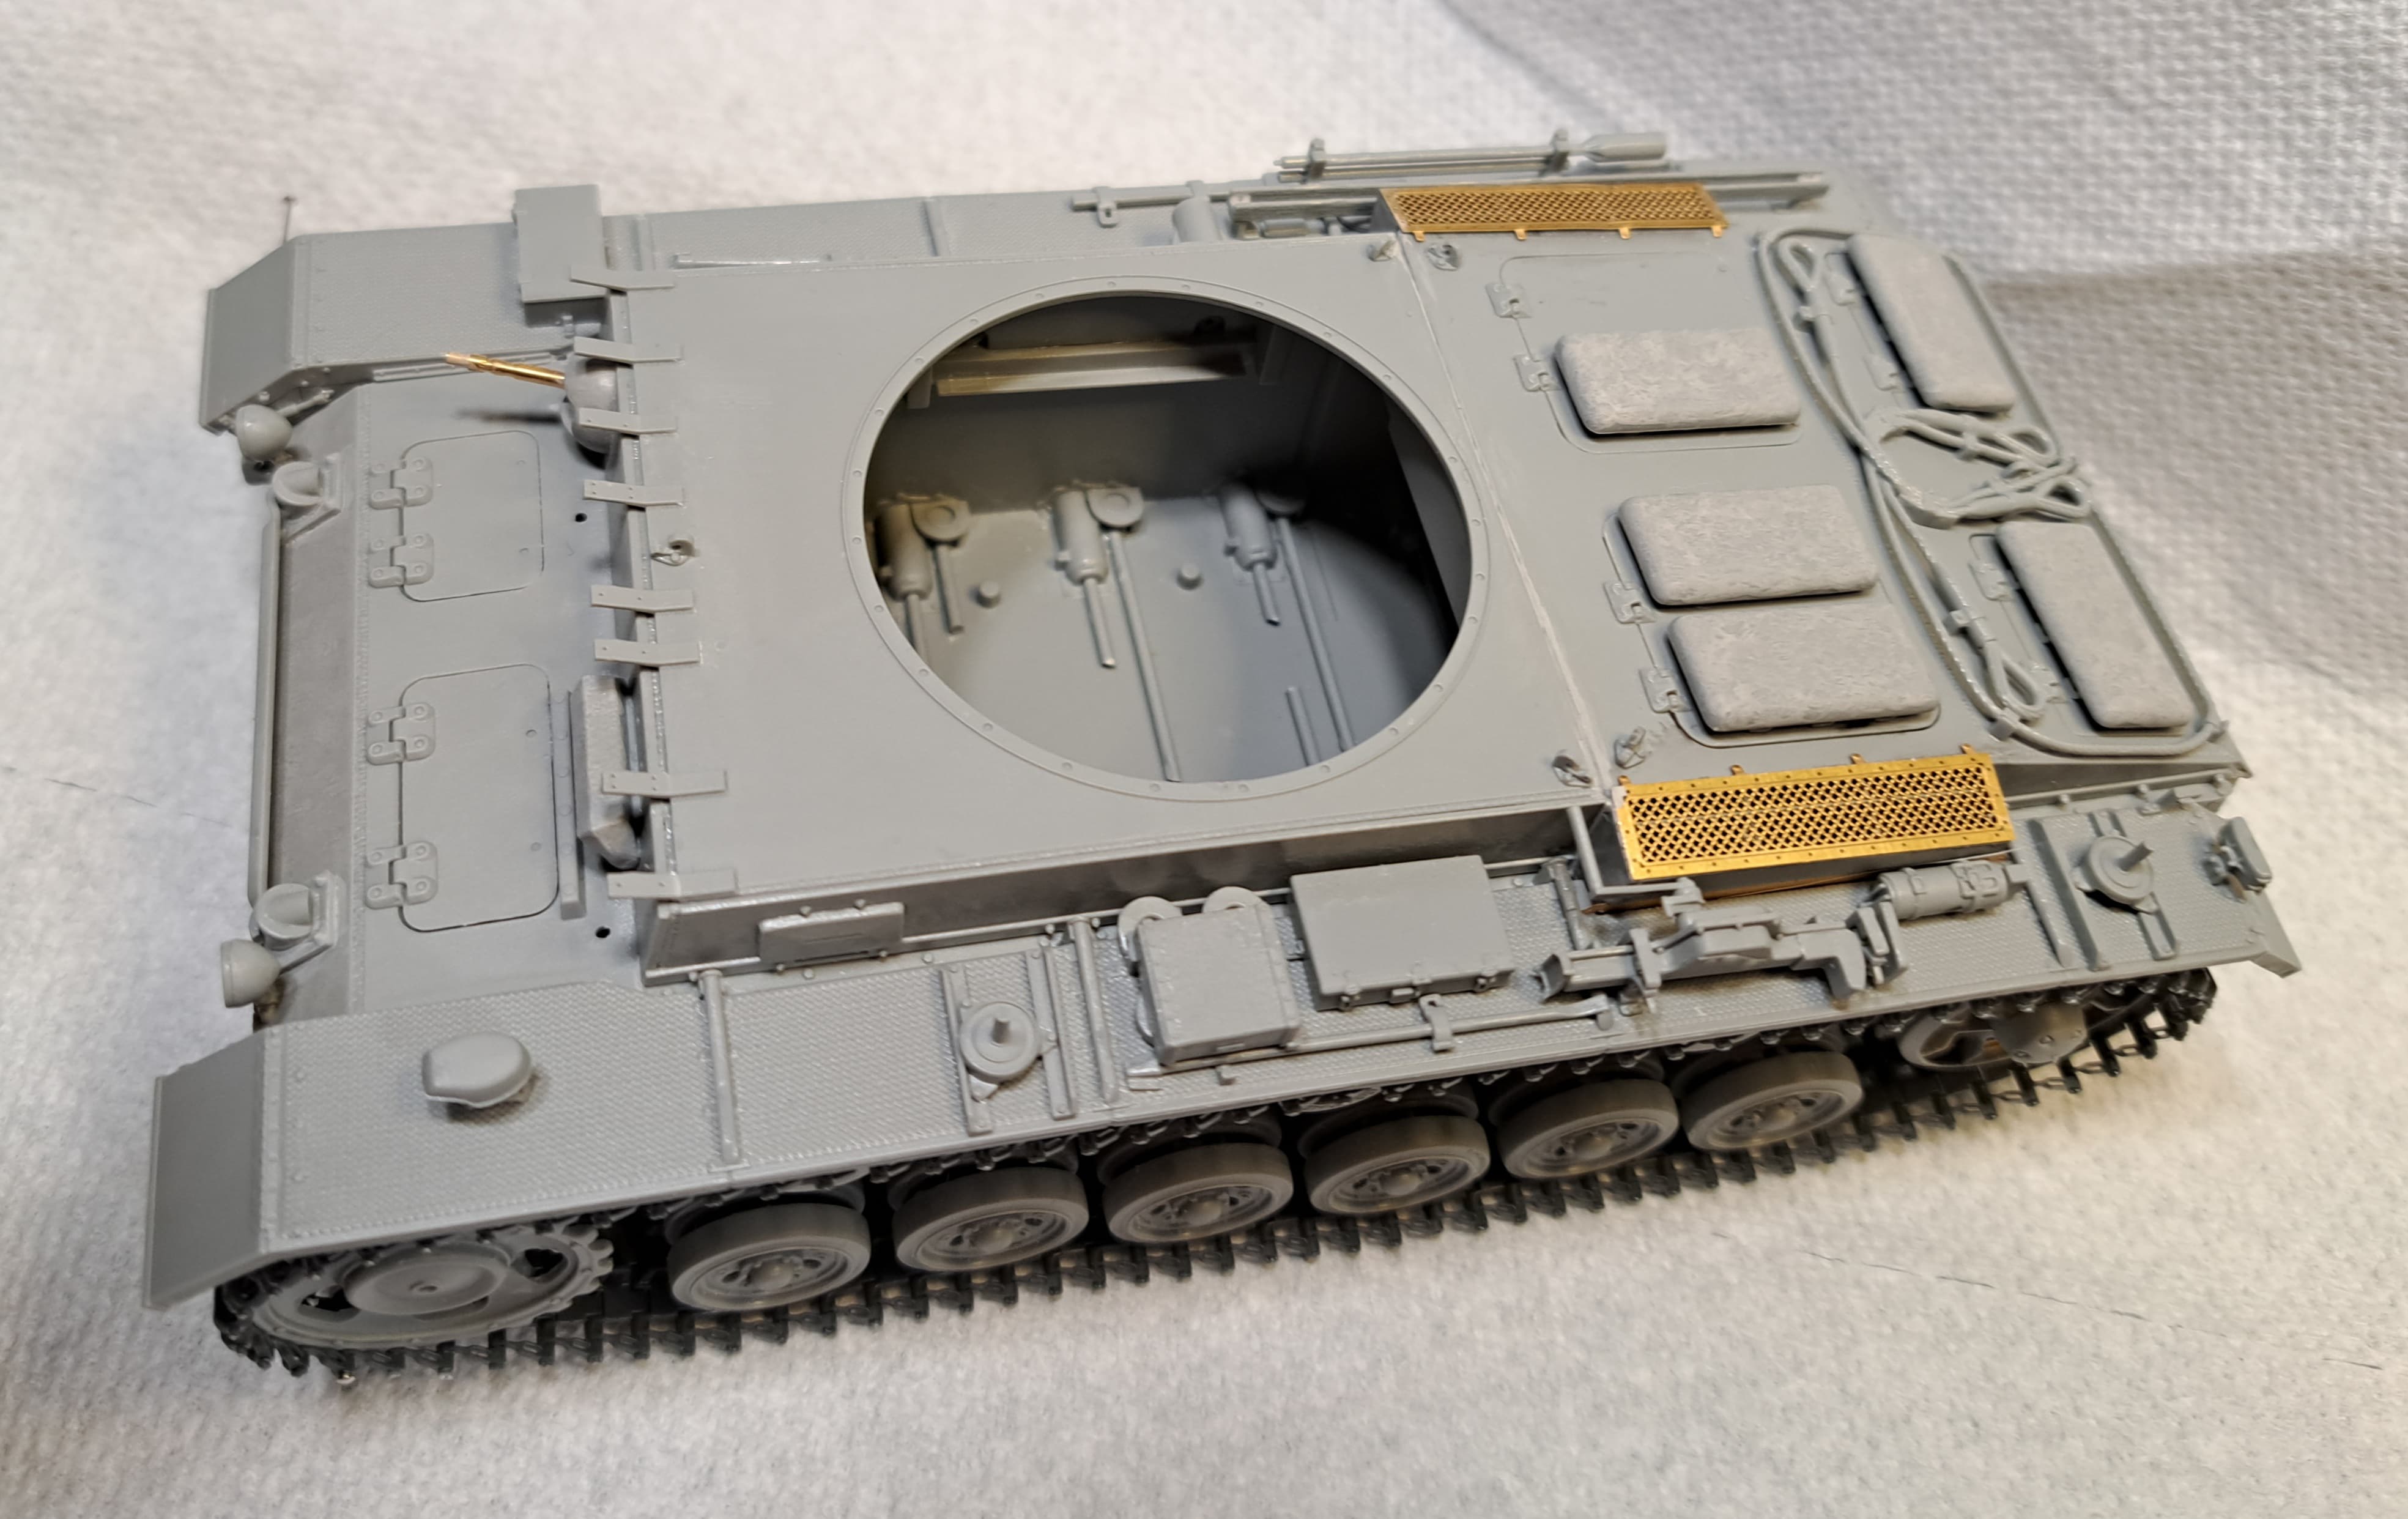
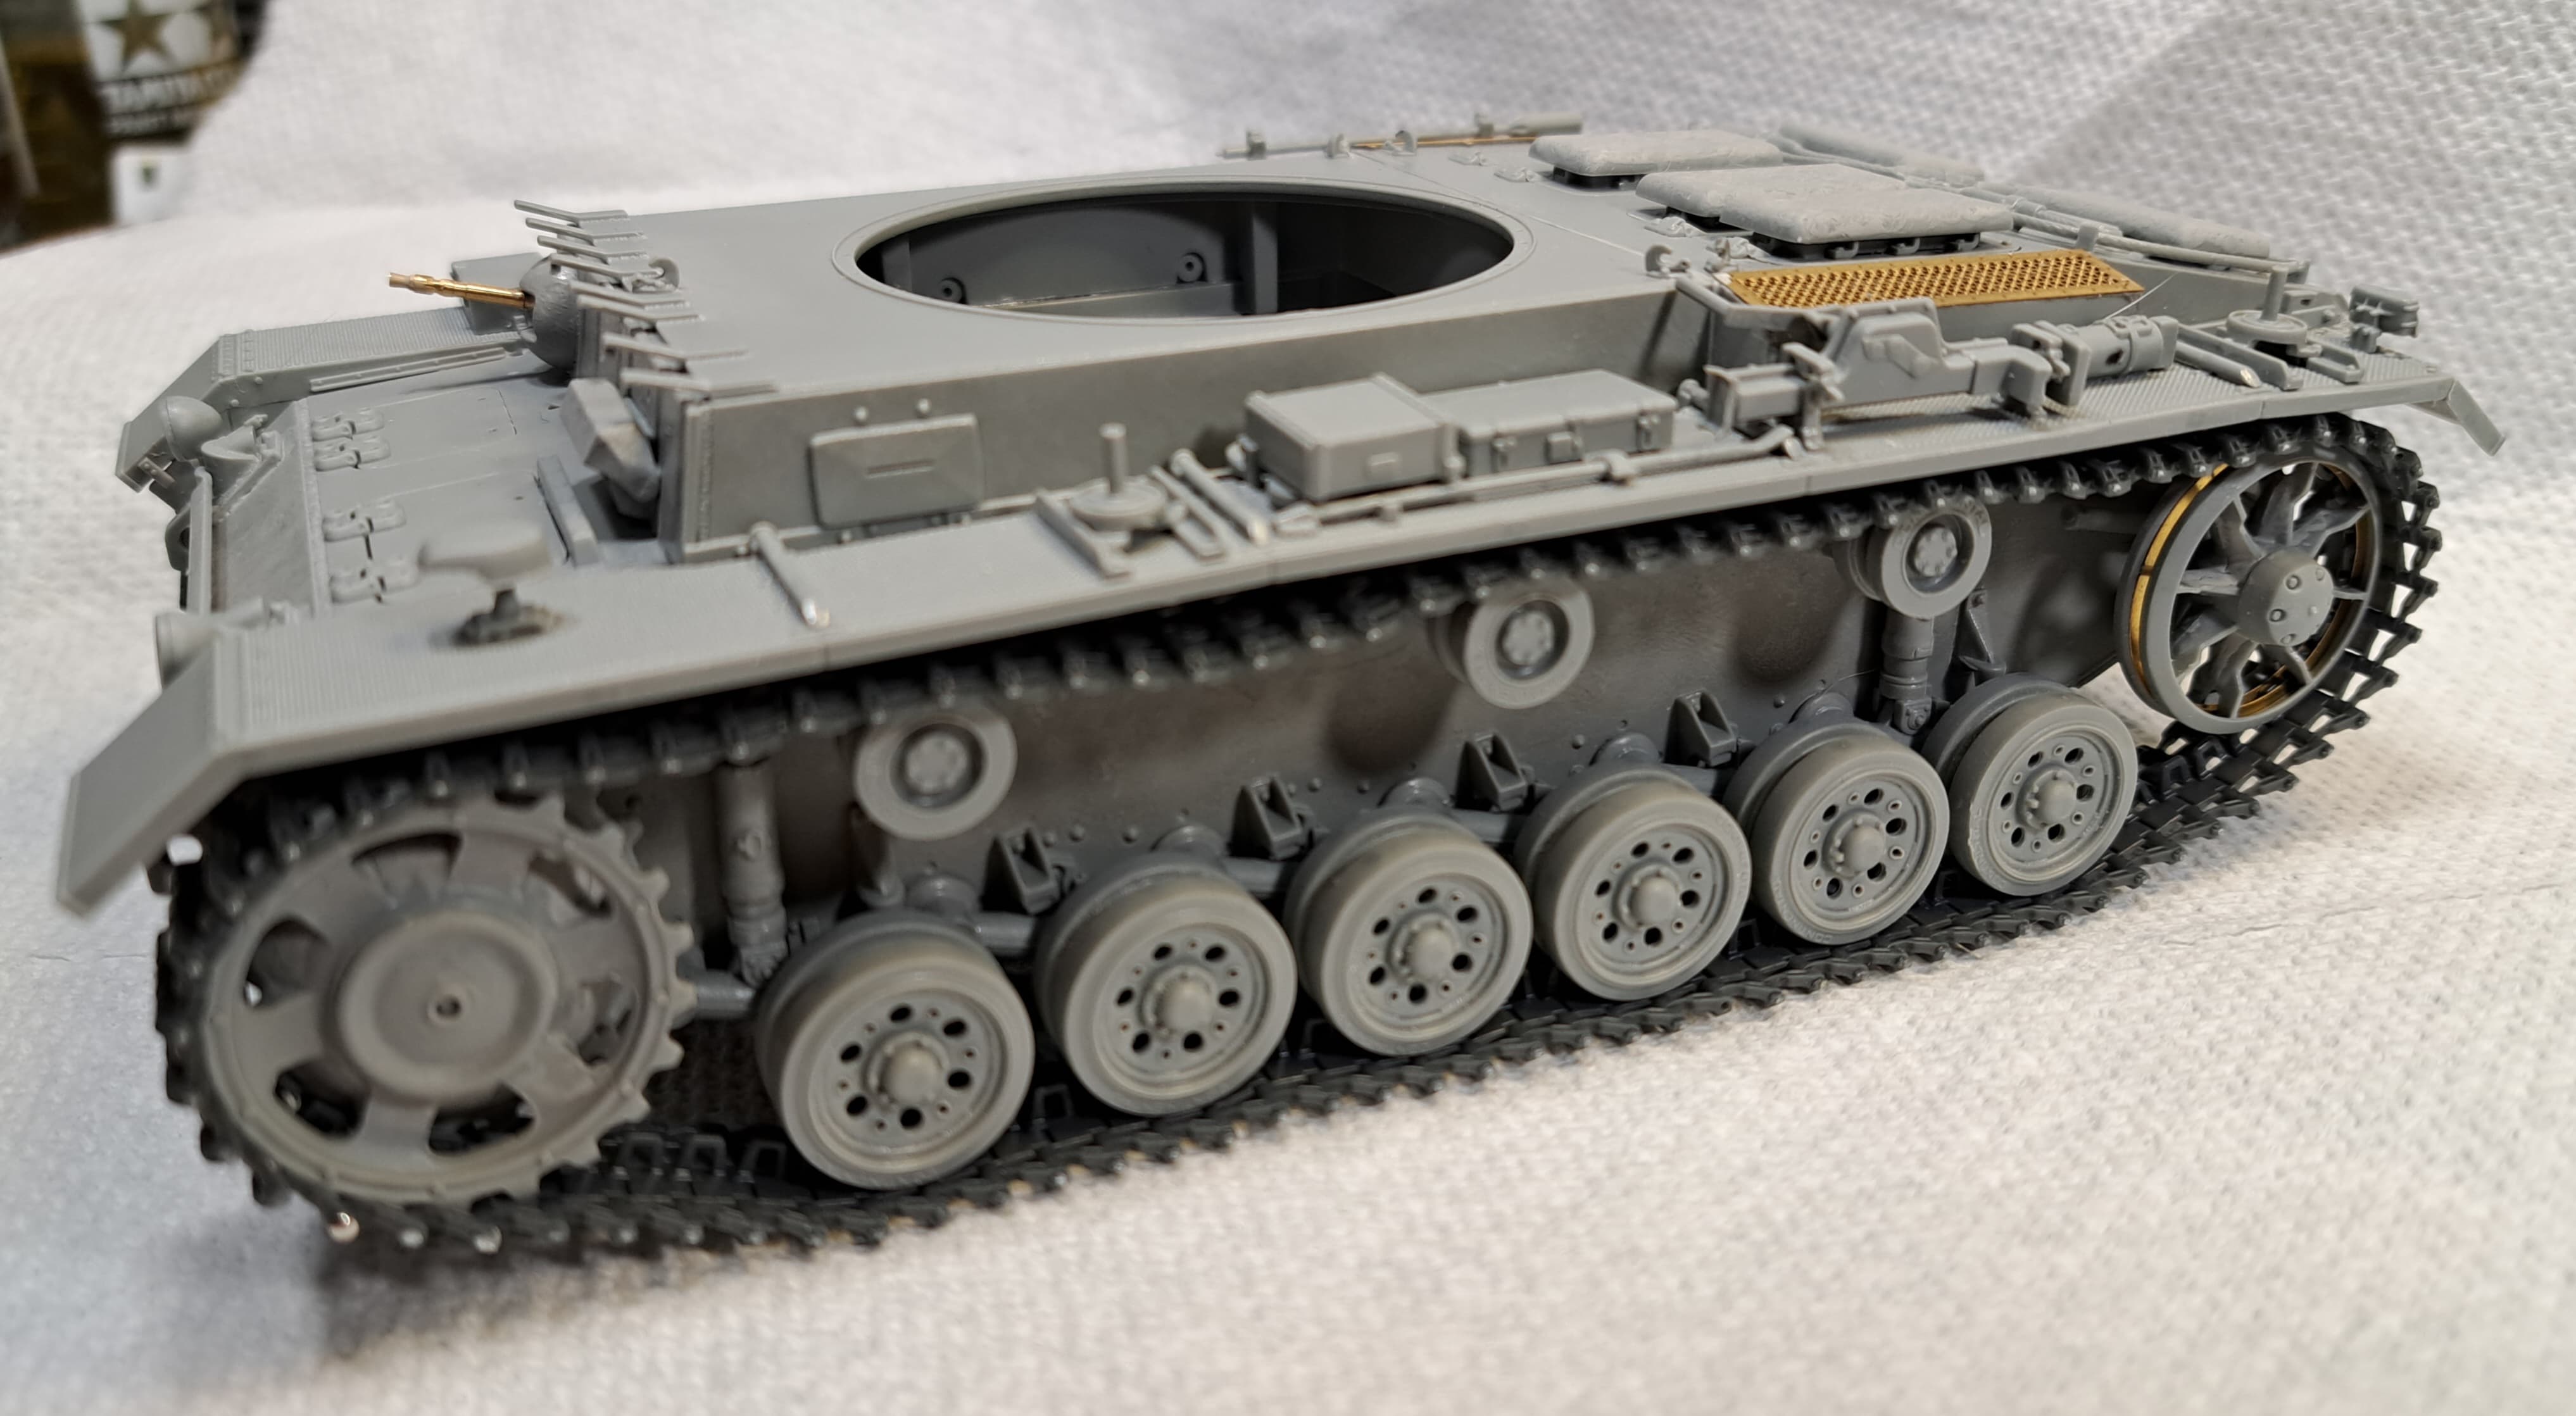
Step 14 - “The Sum of All Fears” - Hull Assembly.
< 6 hour 17 minutes >
running total 27 hours 27 minutes
RFM working tracks ate ~3 hours, I’m sure scraping dozens of buschels of punch marks and fitting the kit provided link & length tracks would have taken me longer. Drilled two links and fitted with small dress pins for easy install and removal. Will permanently attach with kit track pins after painting.
Due to Dragons Crap-tacular instructions fitting the upper hull was far more annoying than it should have been. Dragon really sucks at instructions. On the bright side, the parts fit together very good once the six tabs on the lower hull are snipped off and dressed.
6 Likes
Looks nice
1 Like
92 links without a doubt.
1 Like
Step 15 - Spaced Armor & Cupola.
< 1 hour 49 minutes >
running total 29 hours 16 minutes
Brushed black in the recessed areas before adding spaced armor. Everything fit perfect A++


2 Likes
Meet the Dragon’s.

I heard Blister & Burn let Blaze design a couple of Pz III N parts. I think I found one of them. If I were a betting man, I’d hazard a guess Blaze also is responsible for those punch mark covered link & length tracks.
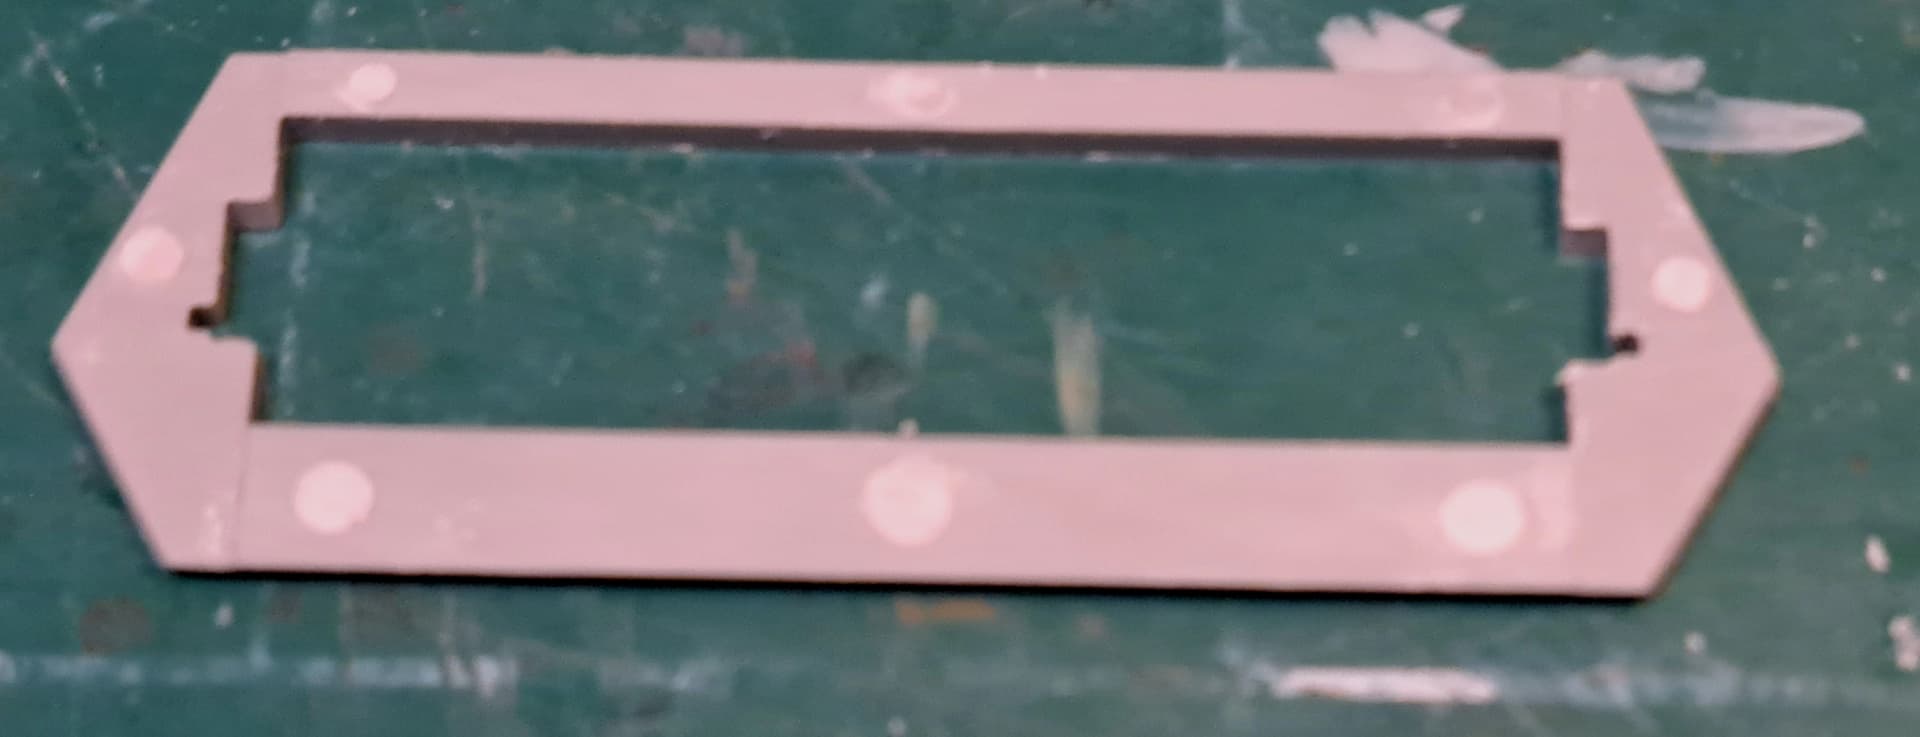
Looking ahead at the up coming steps for the turret searching for Land Mines, discovered this jewel of Horrible Engineered Dragon Design aka (HEDD): Not one! Not two! BUT Eight exterior punch marks on the turret face!


No the main gun doesn’t cover them up. All are either fully or partially exposed. Based on the quality of the much larger and more complex fenders I believe Dragon was very capable of molding this part without EIGHT exterior punch marks on this part! It is an $80 kit after all.
They of course can be cleaned up and many will say that’s just basic modeling. If ones talking about the 1970’s, I’d agree fully but 1990’s forward that it’s just lazy, lame and pathetic ![]()
2 Likes
That’s on the outside and not inside?!
Thats hard to believe out of them.
1 Like
Dan, yes eight punch marks on the outside face. This is exactly ![]() what I always expect out of Dragon, even with their best kits. It’s like in the company bylaws, Dragon has to find a way to hamstring their products from being Tier 1 world class.
what I always expect out of Dragon, even with their best kits. It’s like in the company bylaws, Dragon has to find a way to hamstring their products from being Tier 1 world class.
Even relatively new Takom who’s Blitz Pz III N (paid ~$28 for it) that sucks being dimensionally wrong and with ill fitting suspension managed to not put punch mark the turret face! However, Dragon with 30+ years of success in the model making business didn’t hesitate to do so and slap an $80 price on the kit.
Of course it’s just a minor annoyance because Darth Wader has Molak Stucco Putty The Force as his work bench friend. Applied last night, dried overnight, scraped flush,

Sanded
It will also be mostly hid by the main gun etc so its certainly not a deal breaker.
Step 16 - Main Gun Housing
< 1 hour 5 minutes >
running total 30 hours 21 minute
Step 17 - Main Gun
< 35 minutes >
running total 30 hours 56 minute
Step 18 - Main Gun & Housing
< 55 minutes >
running total 31 hours 51 minute
These three steps are all grouped together as a single procedure. In step 16 the MG was replaced with an Aber brass MG 34. The housing had a nasty little hair line seam on top or bottom and left or right. I chhose to avoid the seam on top and beside the MG.
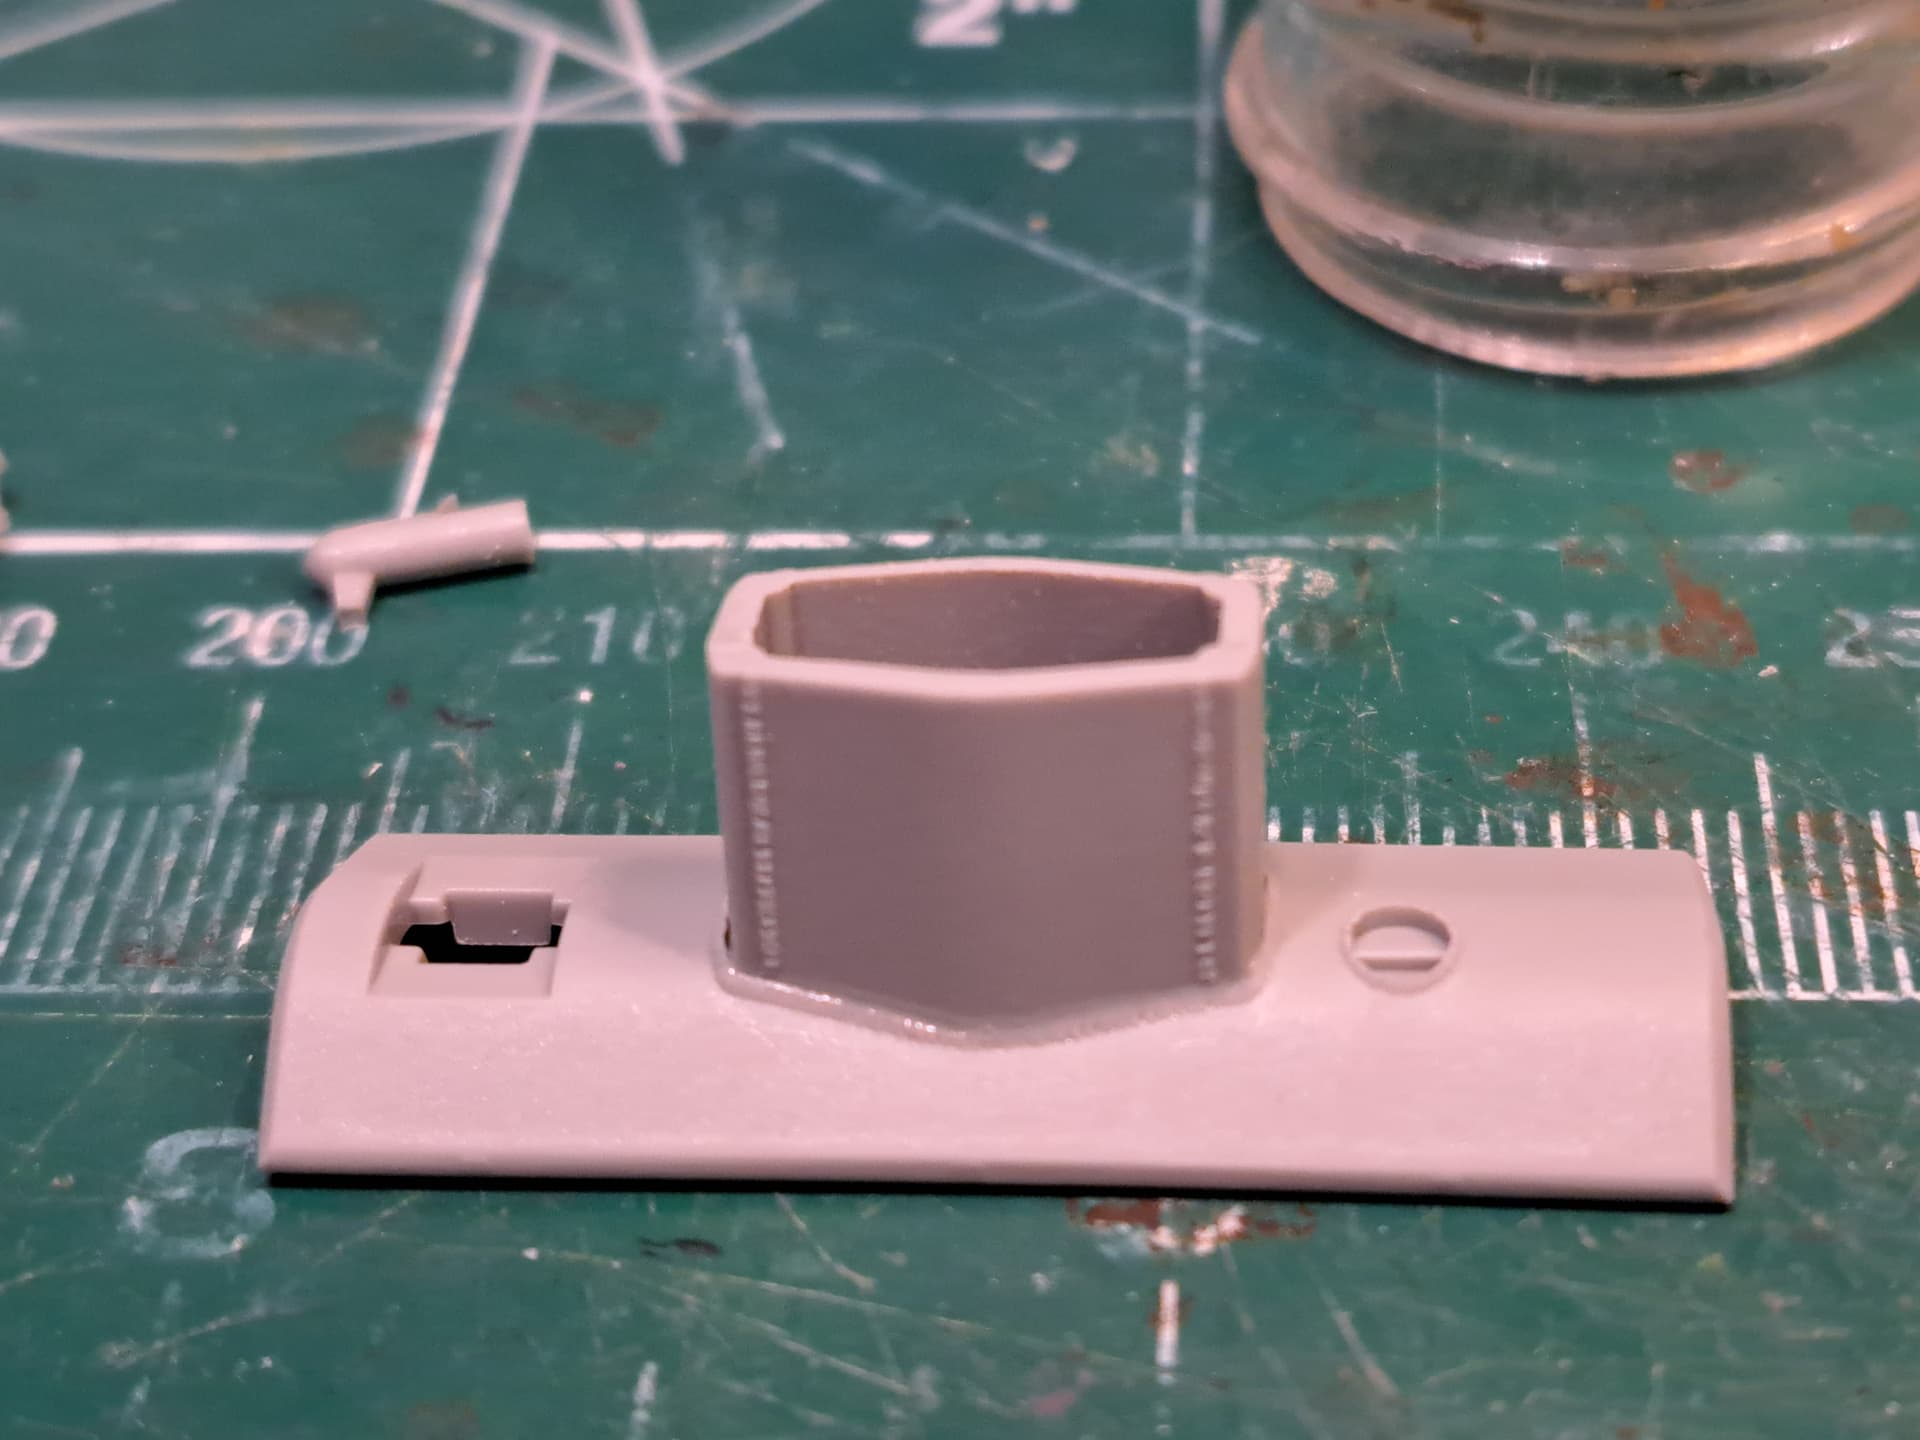
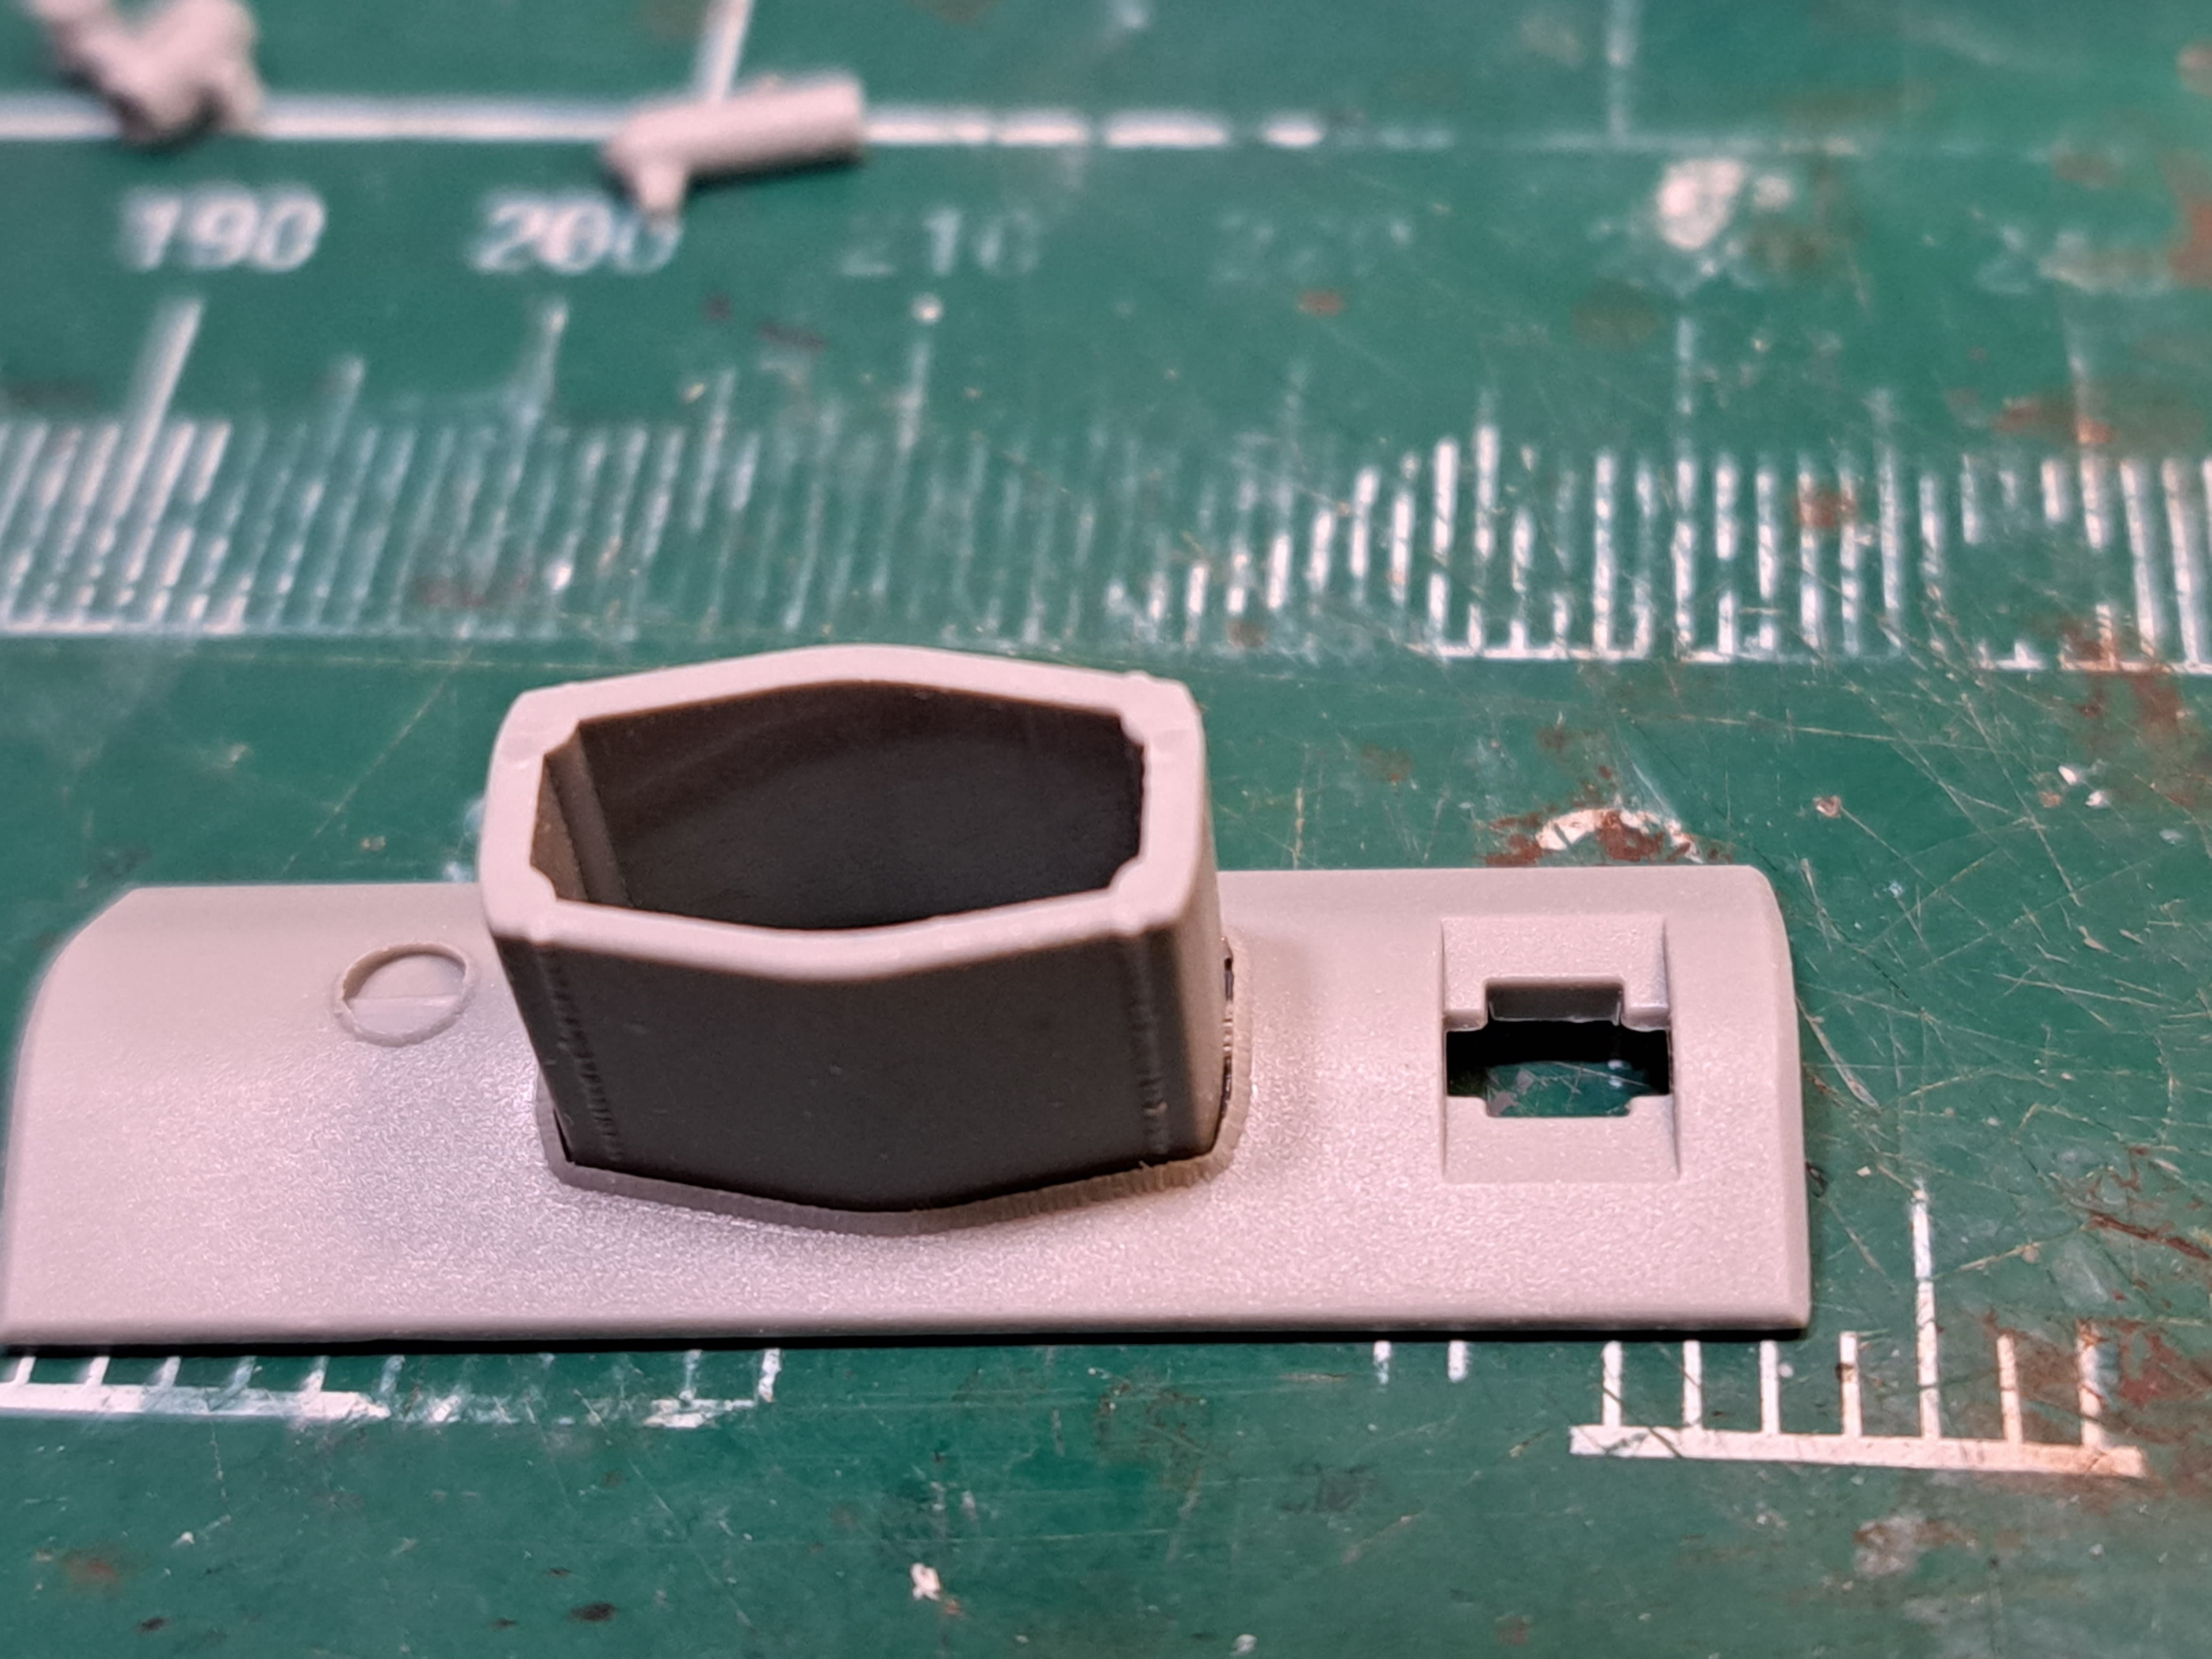
After applying “The Force” aka Molak Stucco Putty and retextue of bottom side weld.


In Step 17 Dragon being Dragon sets the modler up to fail. How does our favorite lizard do this? By failing to mention E2 & E3 should NOT be cemented in place. They really need to be held until step 18 so one can position the main gun elevation as desired.
Step 17, the X is mine.

Proof Dragon is aware of the Do Not Cement symbol.
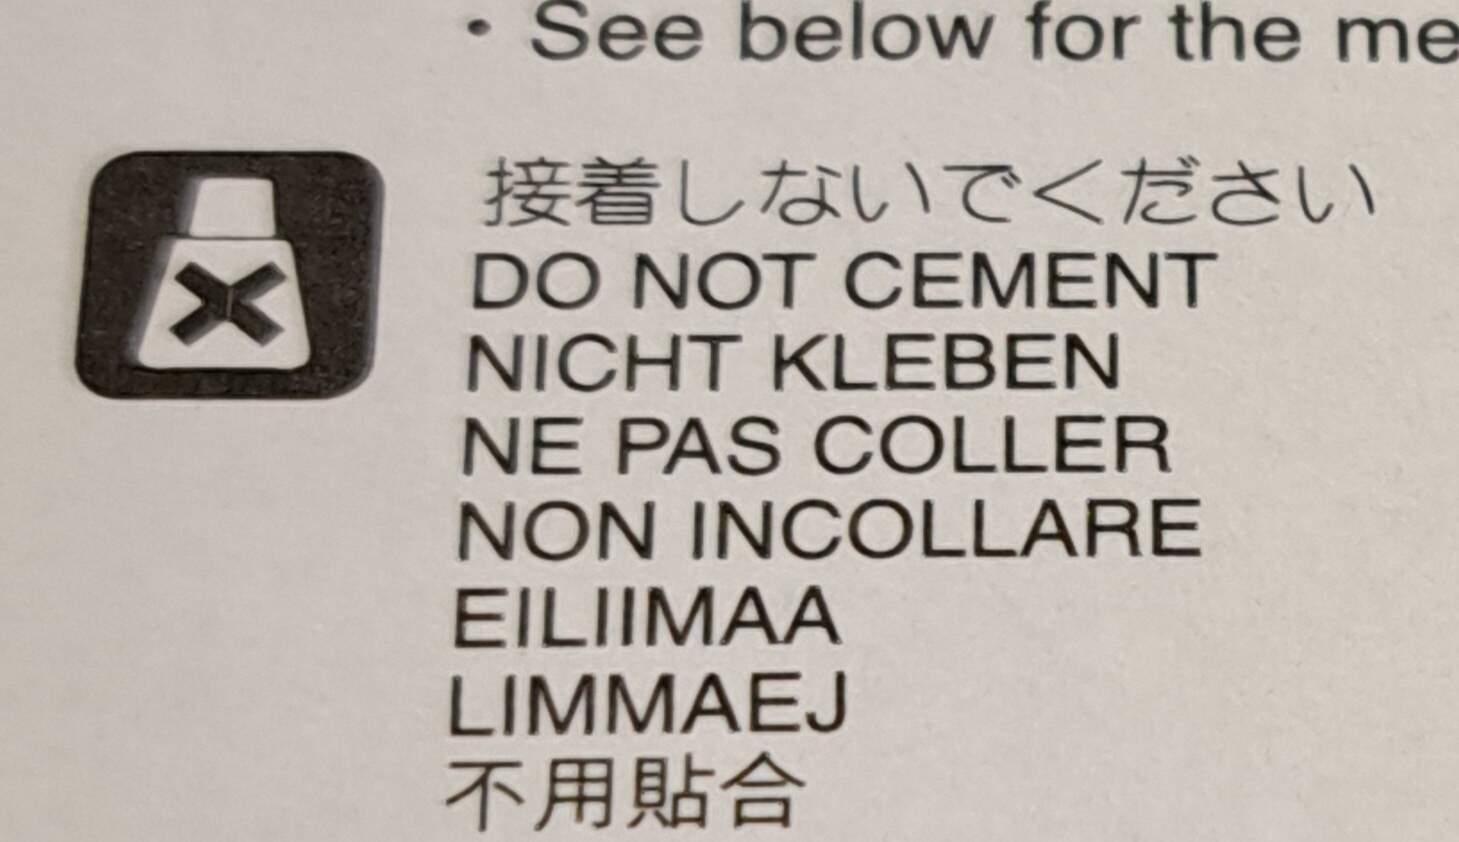
I think Dragon lets Blaze write the instructions…
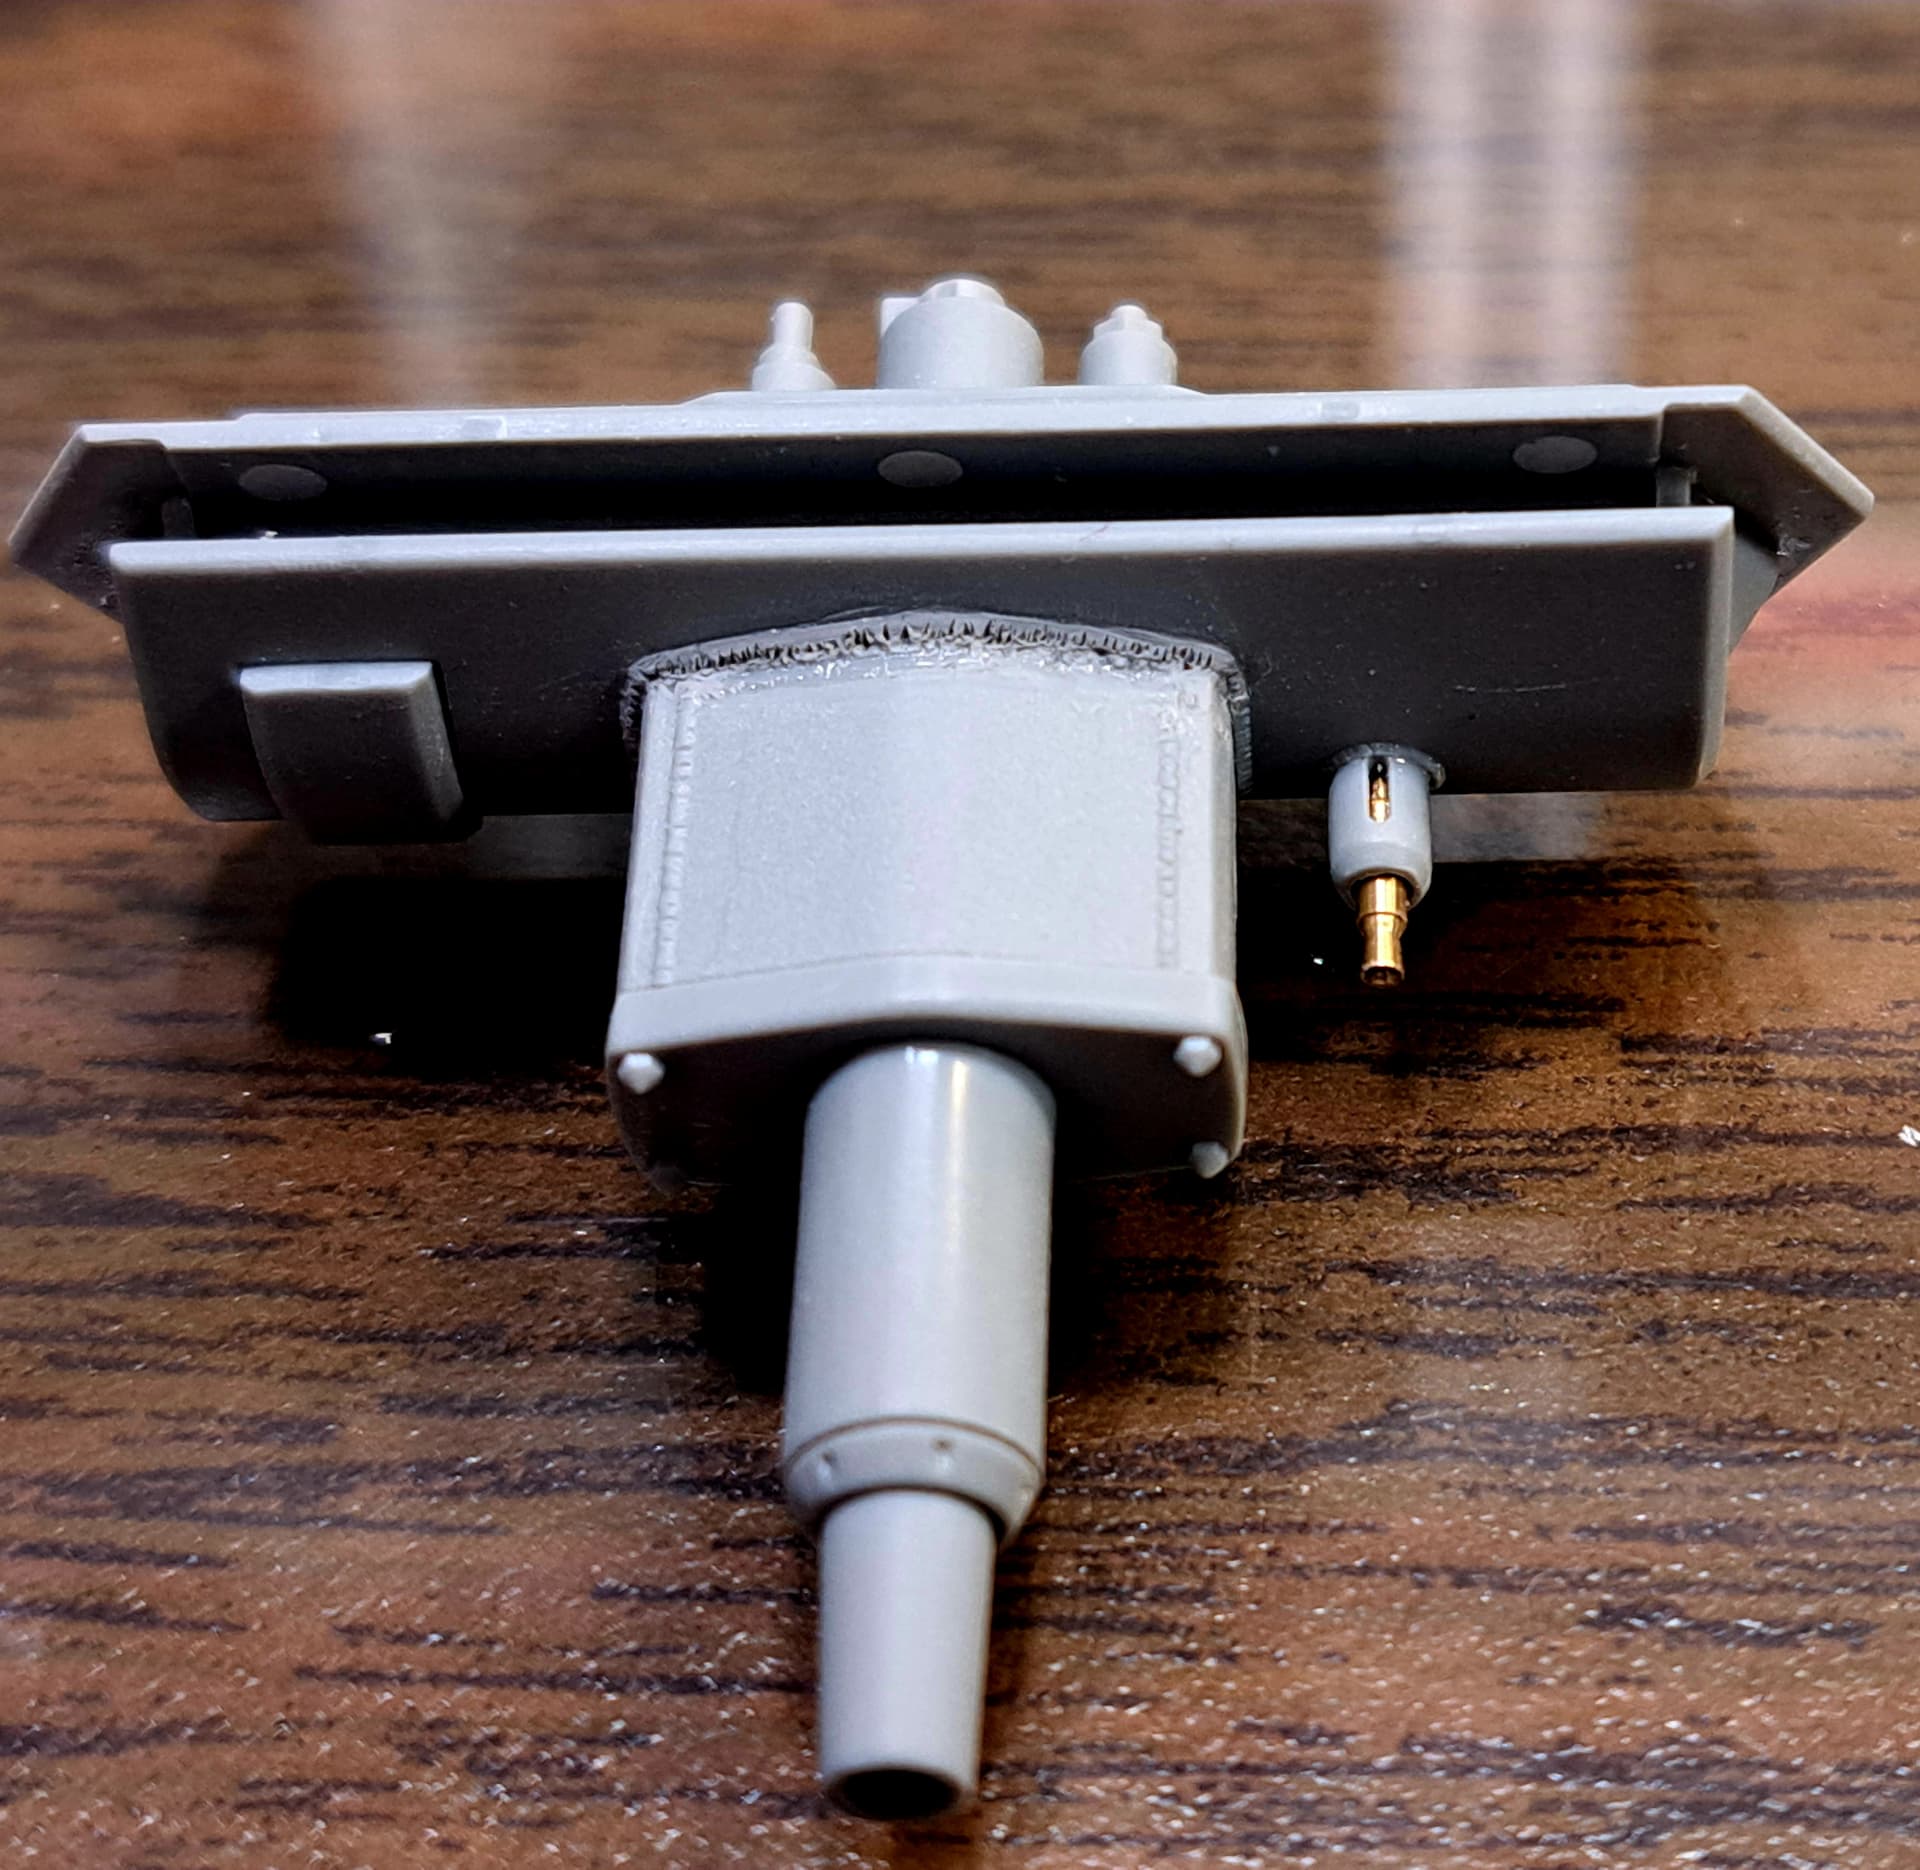
I left off everything related to the interior since model will be buttoned up.
Result
4 Likes
This is a total Hoot!
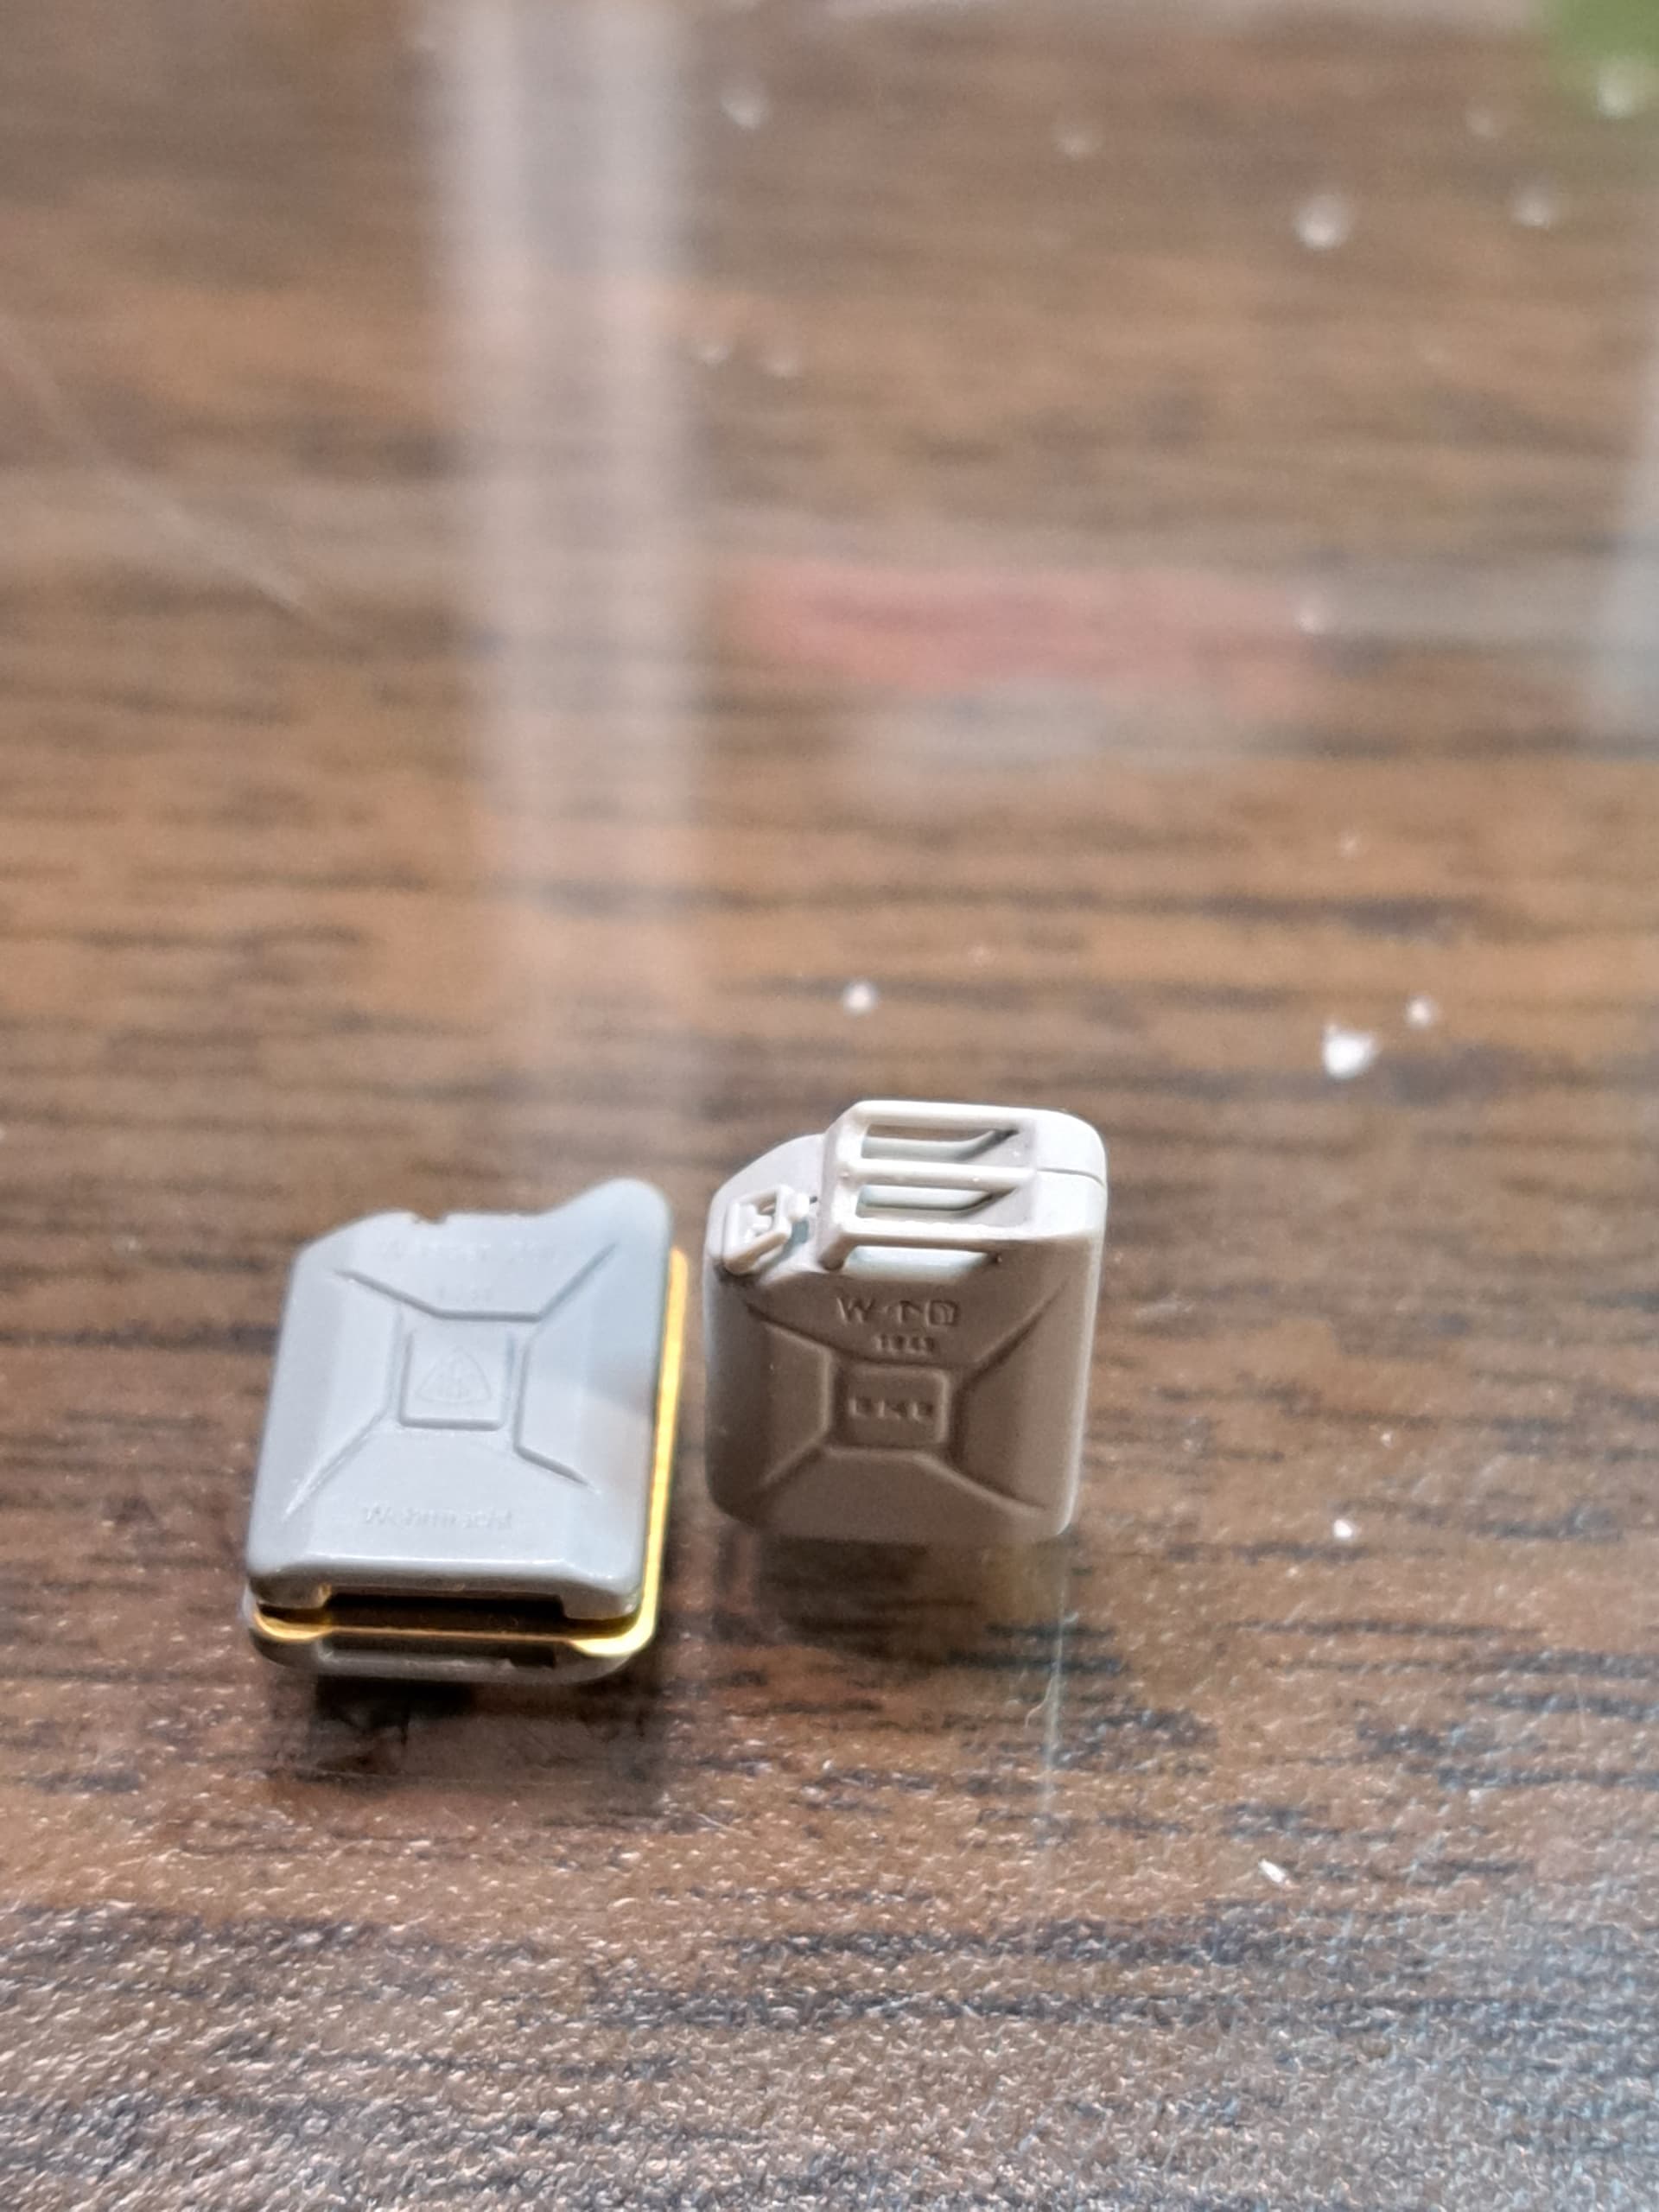
Check out these Dragon jerry cans included in the Neo # 05 Pz III Ausf N #6956.
Italeri’s nearly 50 year old Jerry Cam stomps the Dragon’s ones in this 2020 release kit. I couldn’t have imagined ![]() that would prove true. The old Italeri cans are very good. They even sit level unlike Dragon’s attempt.
that would prove true. The old Italeri cans are very good. They even sit level unlike Dragon’s attempt.

How can this be?
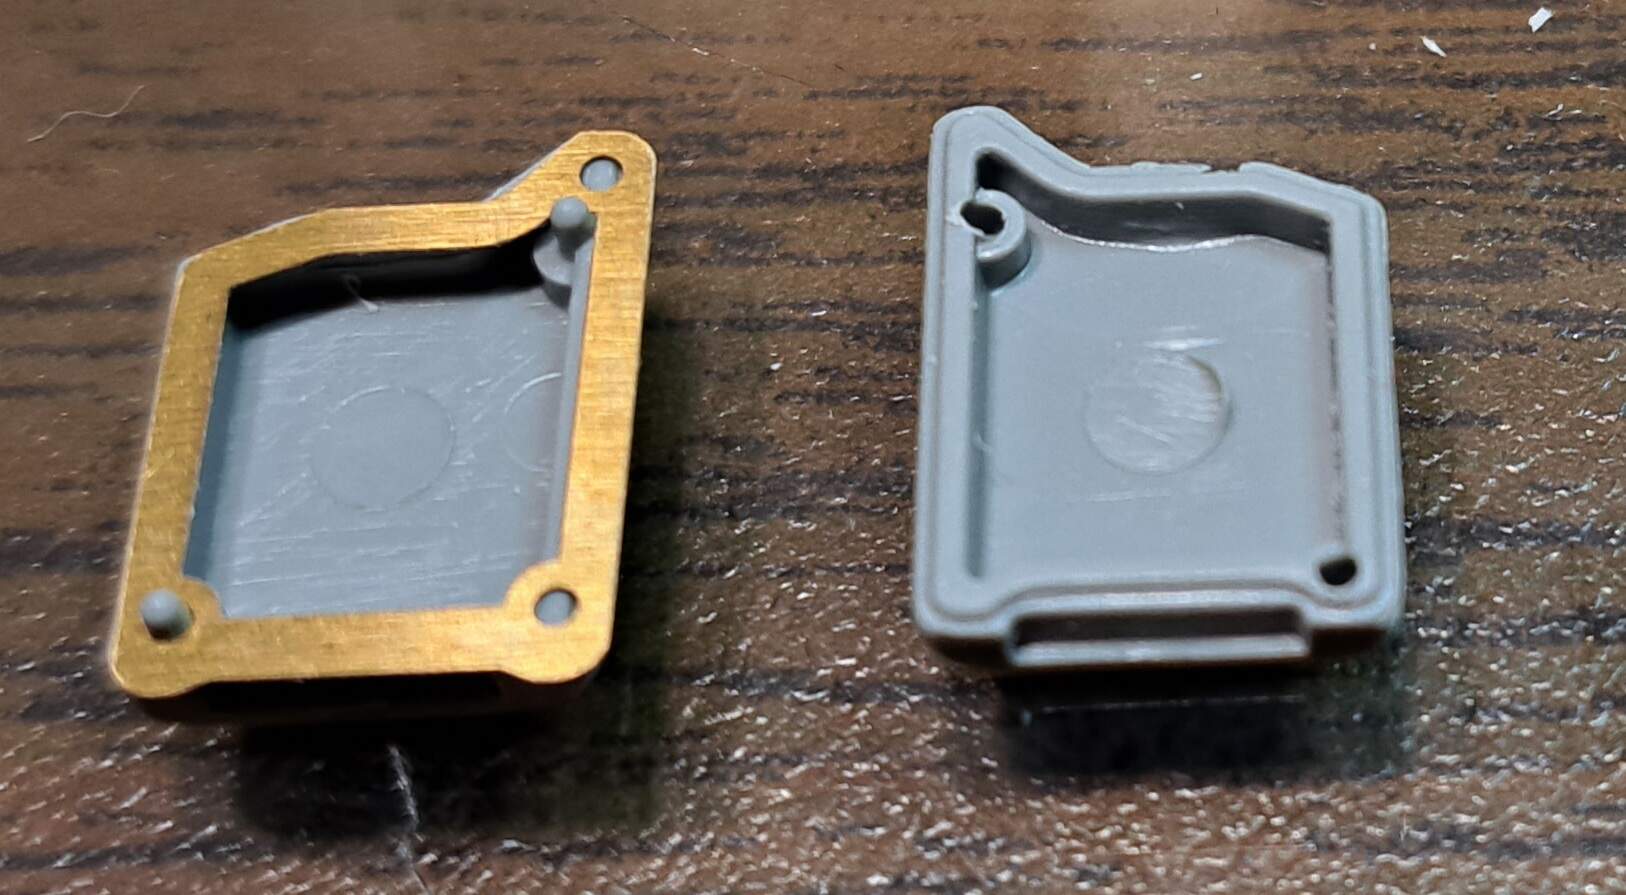
Check out that PE on the Dragon can.
I think they let Blaze design some more parts…see if you can guess which ones… ![]()

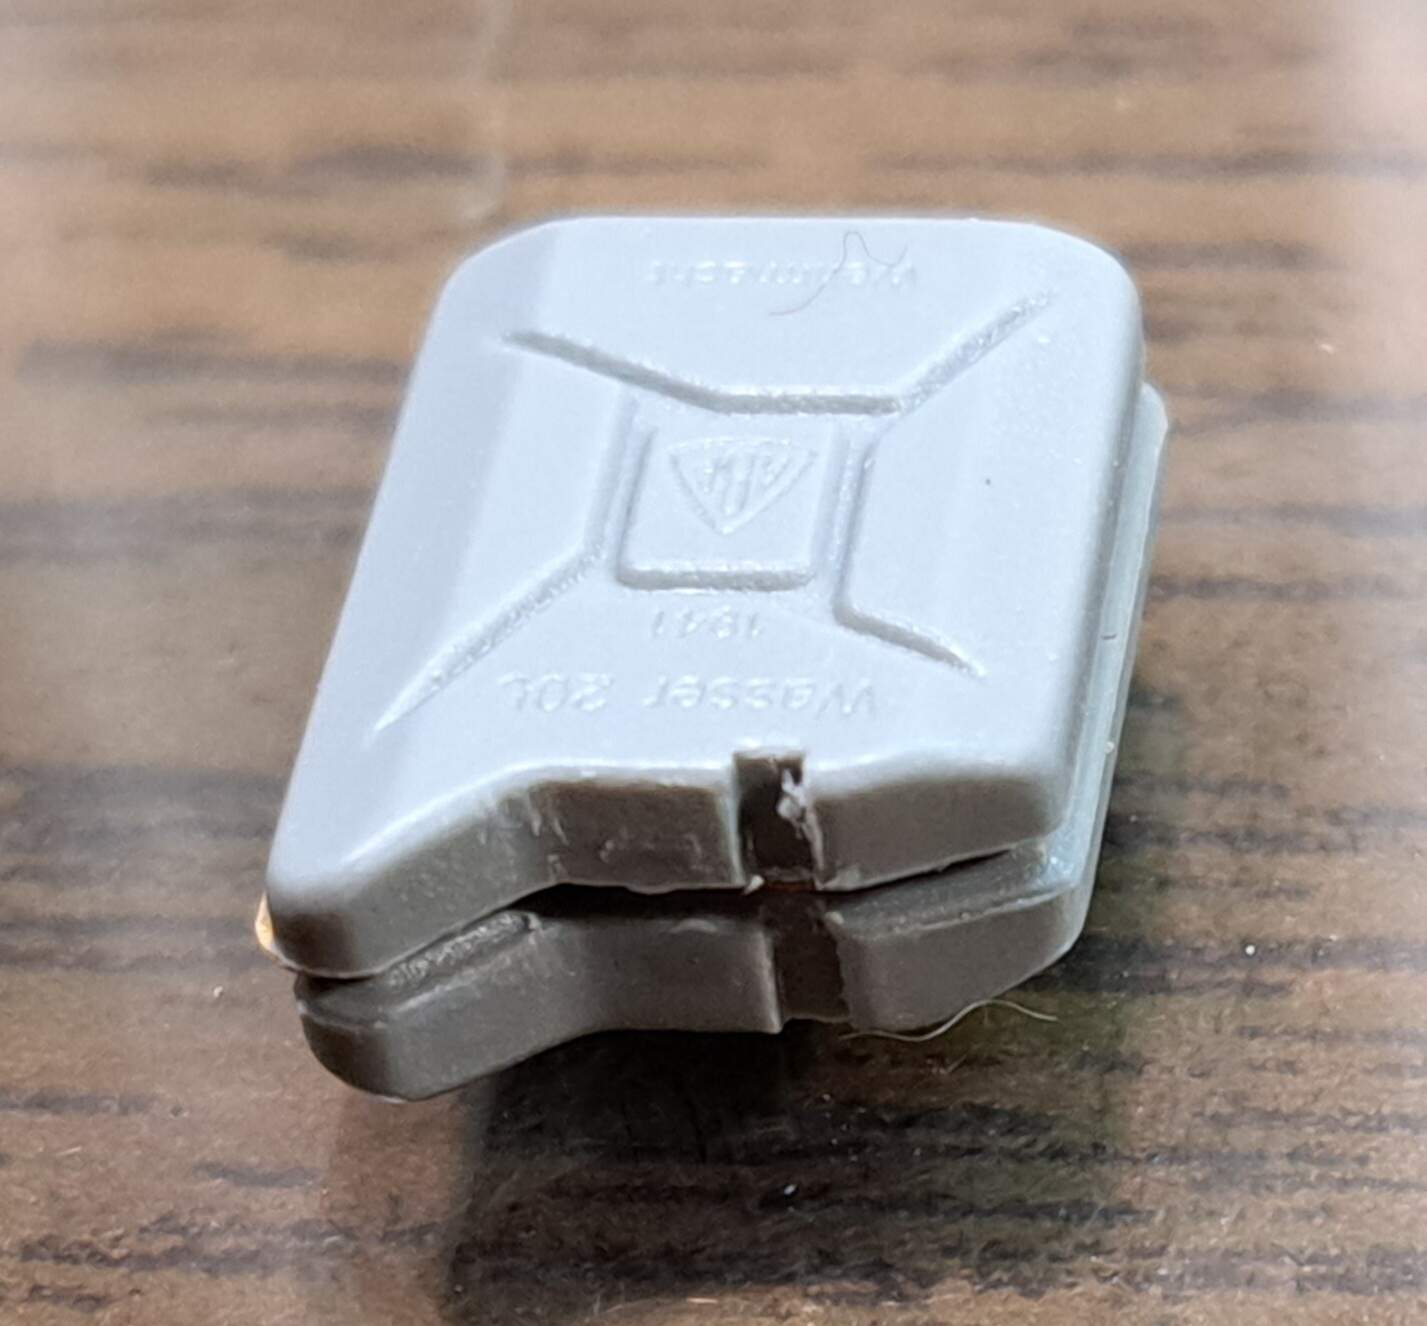
Top side PE is too recessed. 0/1 Dragon
Handle side PE fits! 1/2 Dragon
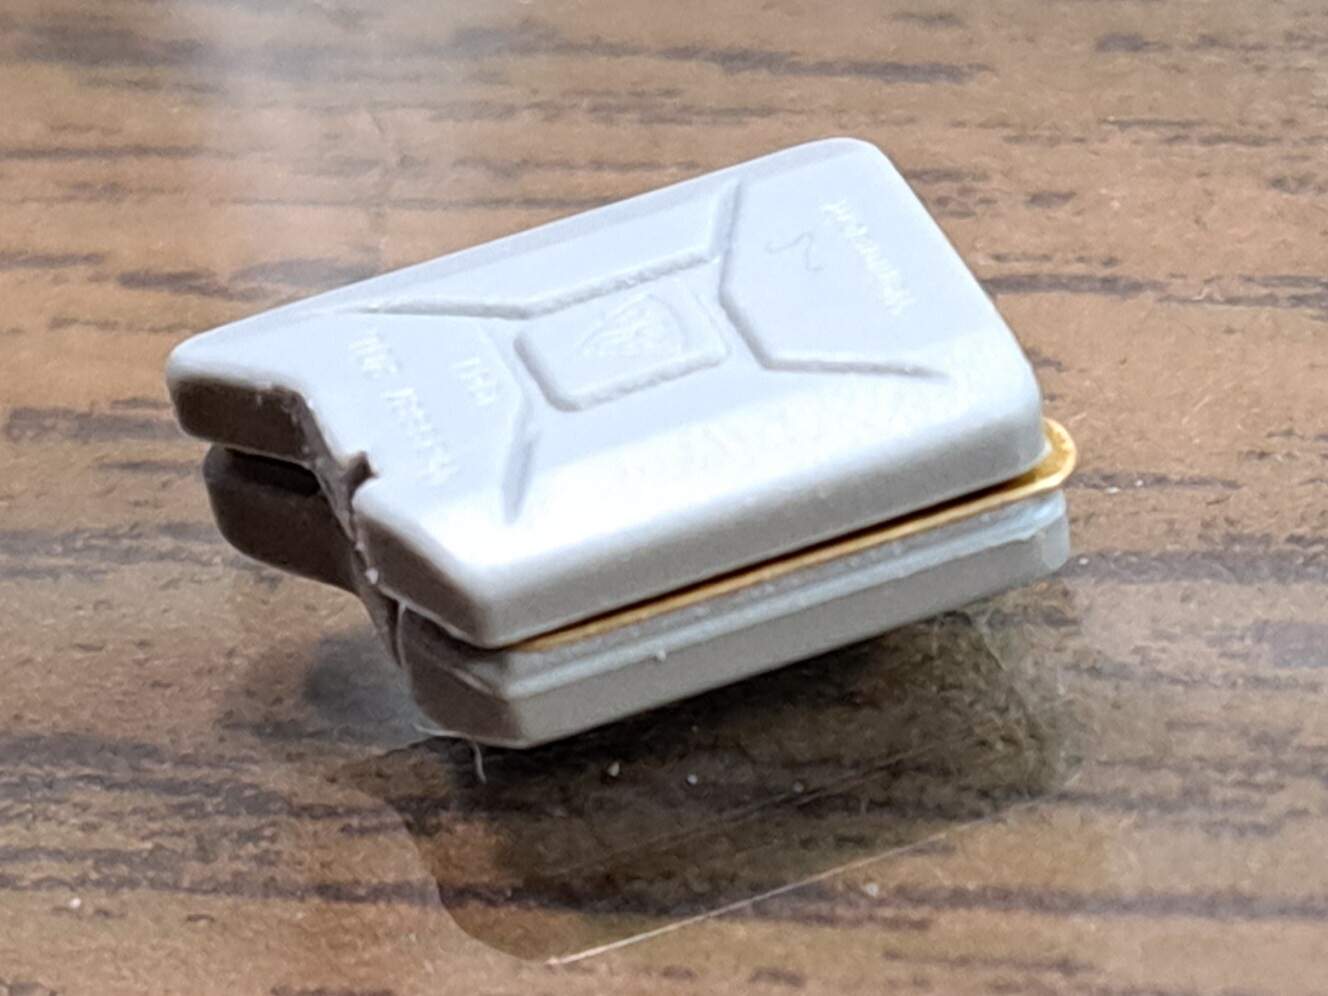
Back and Bottom PE is too big! 1/4 Dragon
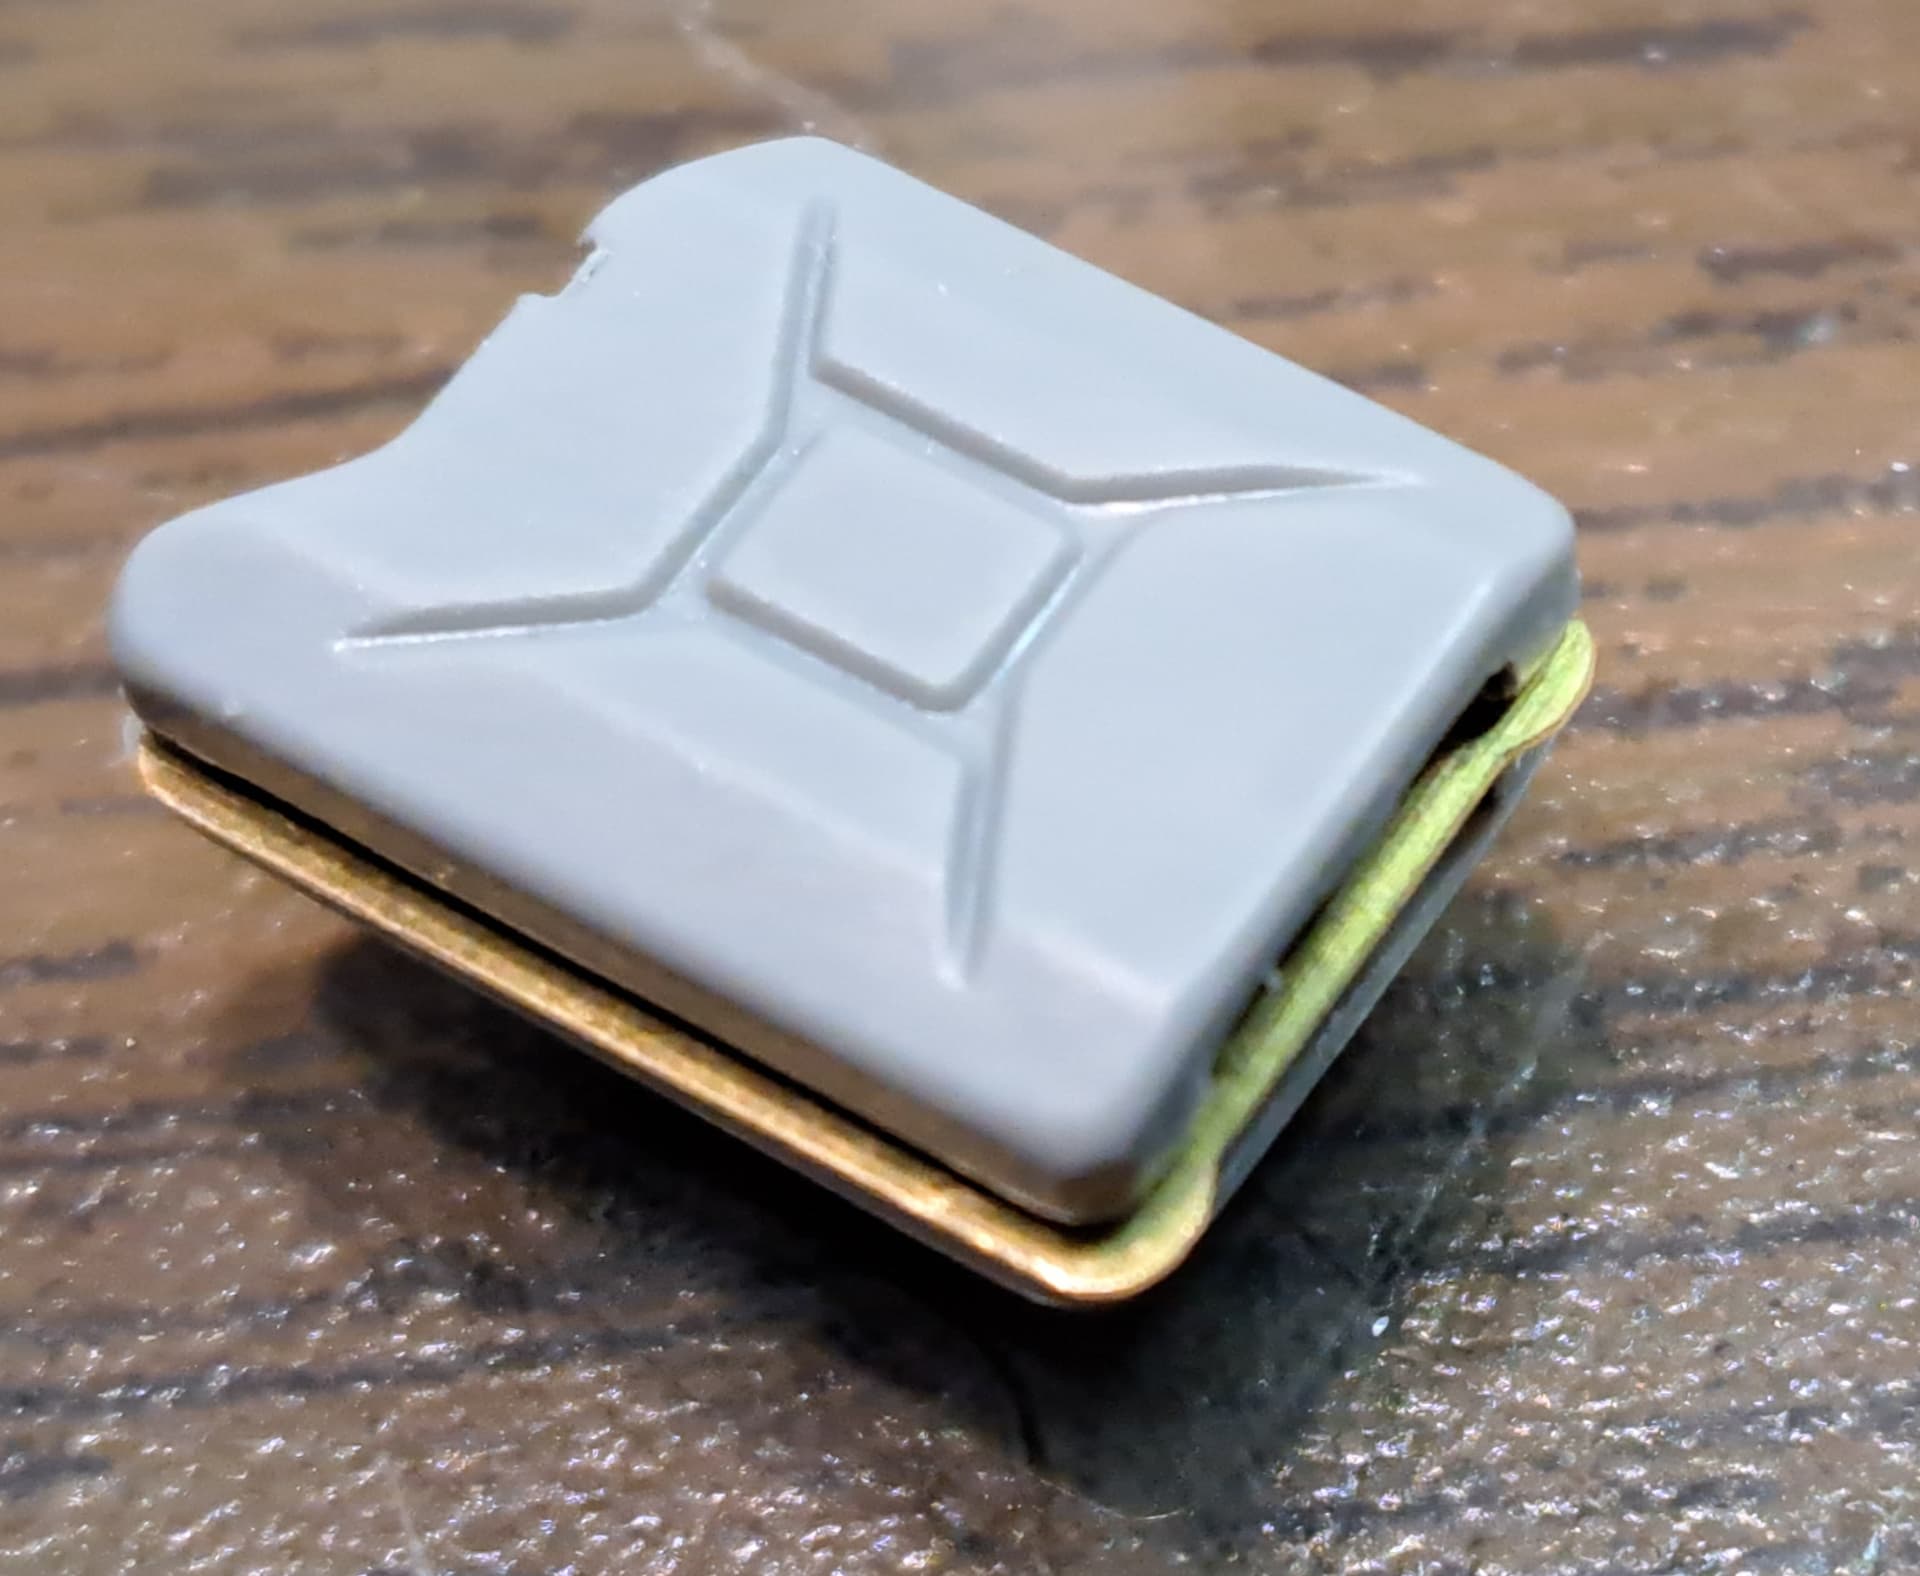
The PE is off about one 1mm. That would be a lip sticking out ~35mm if scaled up!

Three alignment holes in PE, two alignment pins on part and results in one pin fitting into alignment hole. Priceless!
Sure you can leave the PE off and make a jerry can out of this or an intrepid modeler can file the PE down and make it work. You can work around the issue without too much hassle.
At least there’s macabre entertainment value in this $80 kit. Looks like a couple of 1975 vintage Italeri jerry cans may hitching a ride on this Pz III N. They do show their age and are probably dimensionally inaccurate so maybe not.
5 Likes
And that is why I am glad I got all my Dragon kits during the Year of 50% Off Or Better and was only paying $25-$30 per kit.
2 Likes
MiniArt’s jerry cans were pretty good detail wise, including the PE part in the middle like Dragon attempted to do, but the pour cap was 3D printed, extremely oversized and looked like a blob. They did provide a photoetch option for it, but Tamiya’s jerry cans have a pour cap that’s plastic the looks just as good as the photoetch. If you ever happen to get your hands both kits, use the Miniart for the can and Tamiya’s pour lip. Or stick to the Italeri ones, which ever you prefer.
1 Like
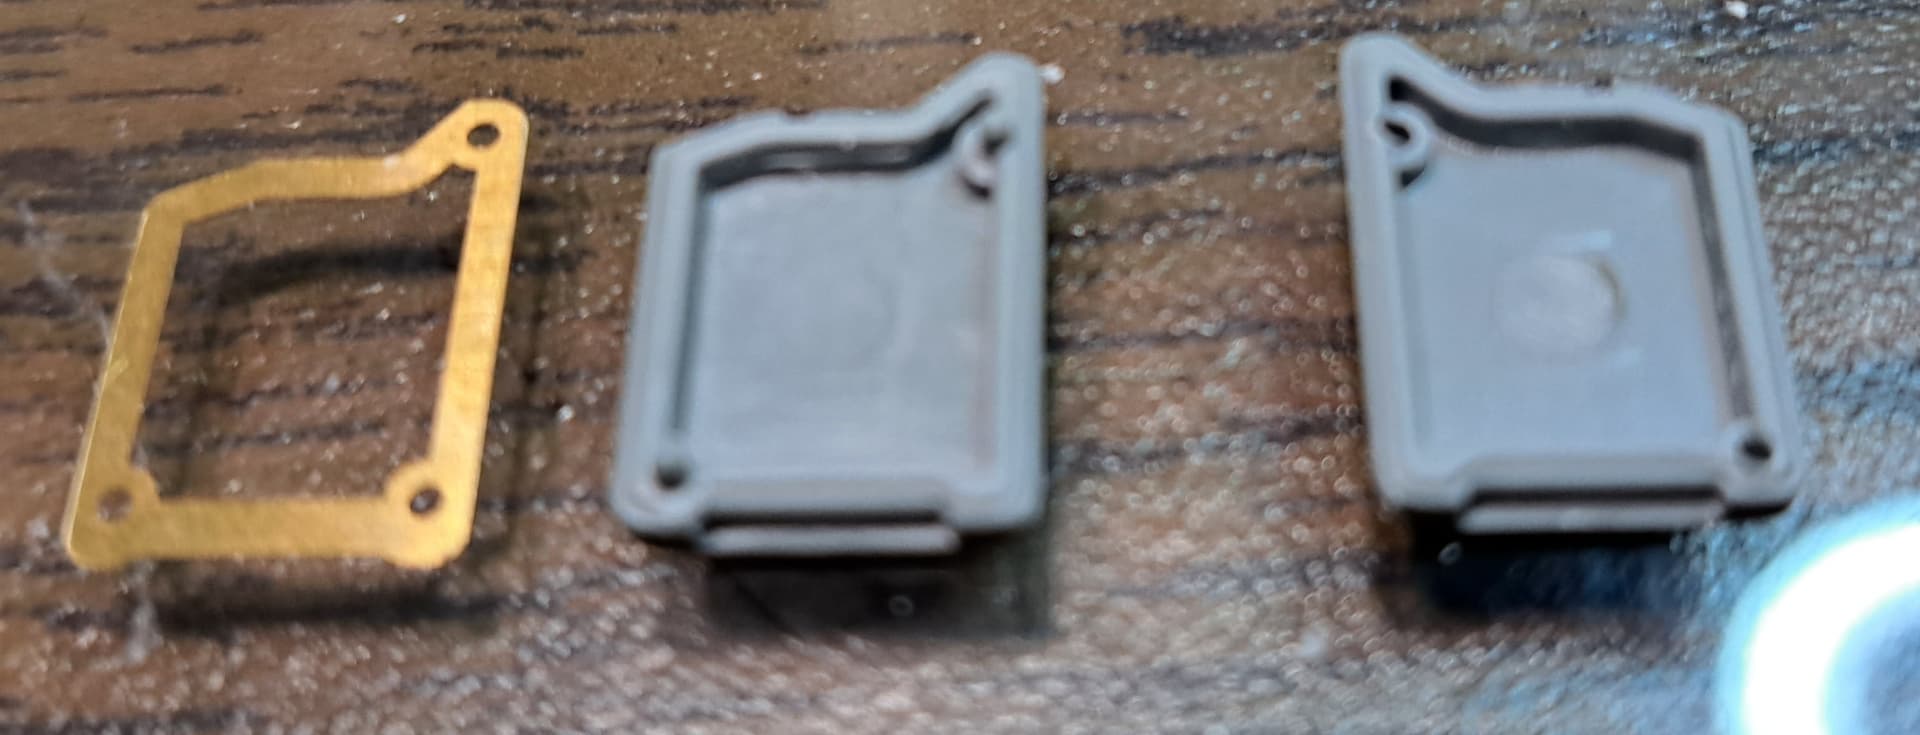
Robin kindly suggested chopping off all Dragon’s alignment pins and seeing if the PE would fit better. Middle can has the PE. Annoying to glue etc. Made a thin styrene spacer version, its on the right. Italeri’s on the left.

Hate being OCD, have to made an Italeri with a spacer next. I don’t like the Dragon handles all that much.
6 Likes
Good save
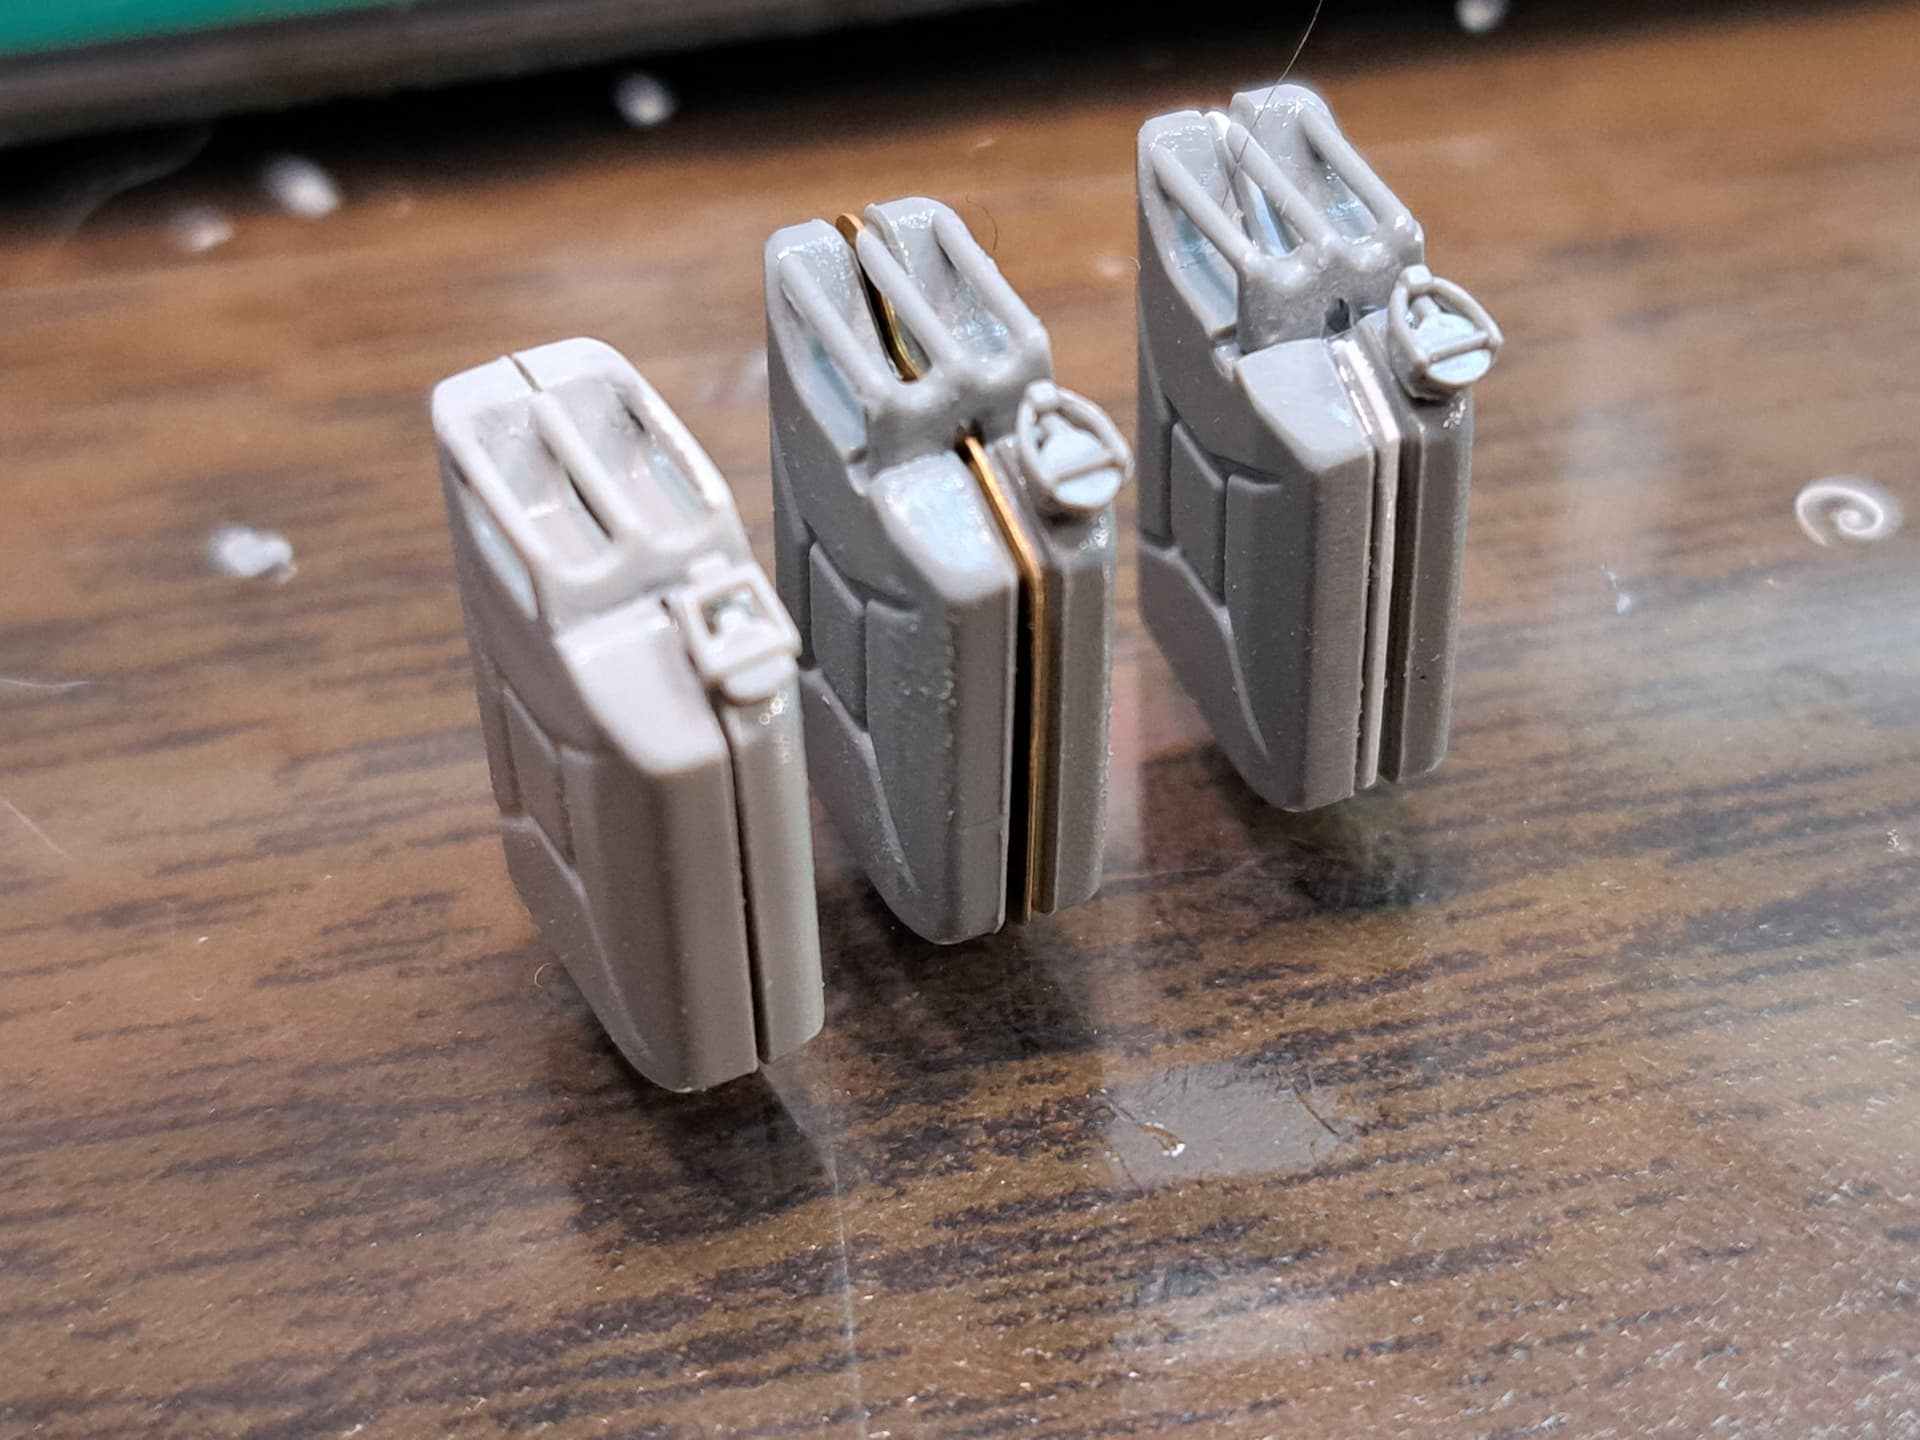
Fool’s Errand Completed. Two days working on some old Italeri 1970’s Jerry cans.
Dragon’s kit provided. PE can mod’d so it fit. The other two have sheet plastic shims instead of PE. The gray plastic hids it but the nasty handle gap took a fair amount of Molak Stucco Putty to sort.

Italeri with fair amout of Molak, sheet plastic shim and .2 mm scribed slots on each side of the “weld”.


All nine cans.

6 Likes
Step 19 & Step 20 - Turret Prep & Turret Stowage box
Not much to show here, steps were combined. Saved part Y46 until Step 21 so it could be centered easily.
< 45 minutes >
running total 32 hours 36 minutes

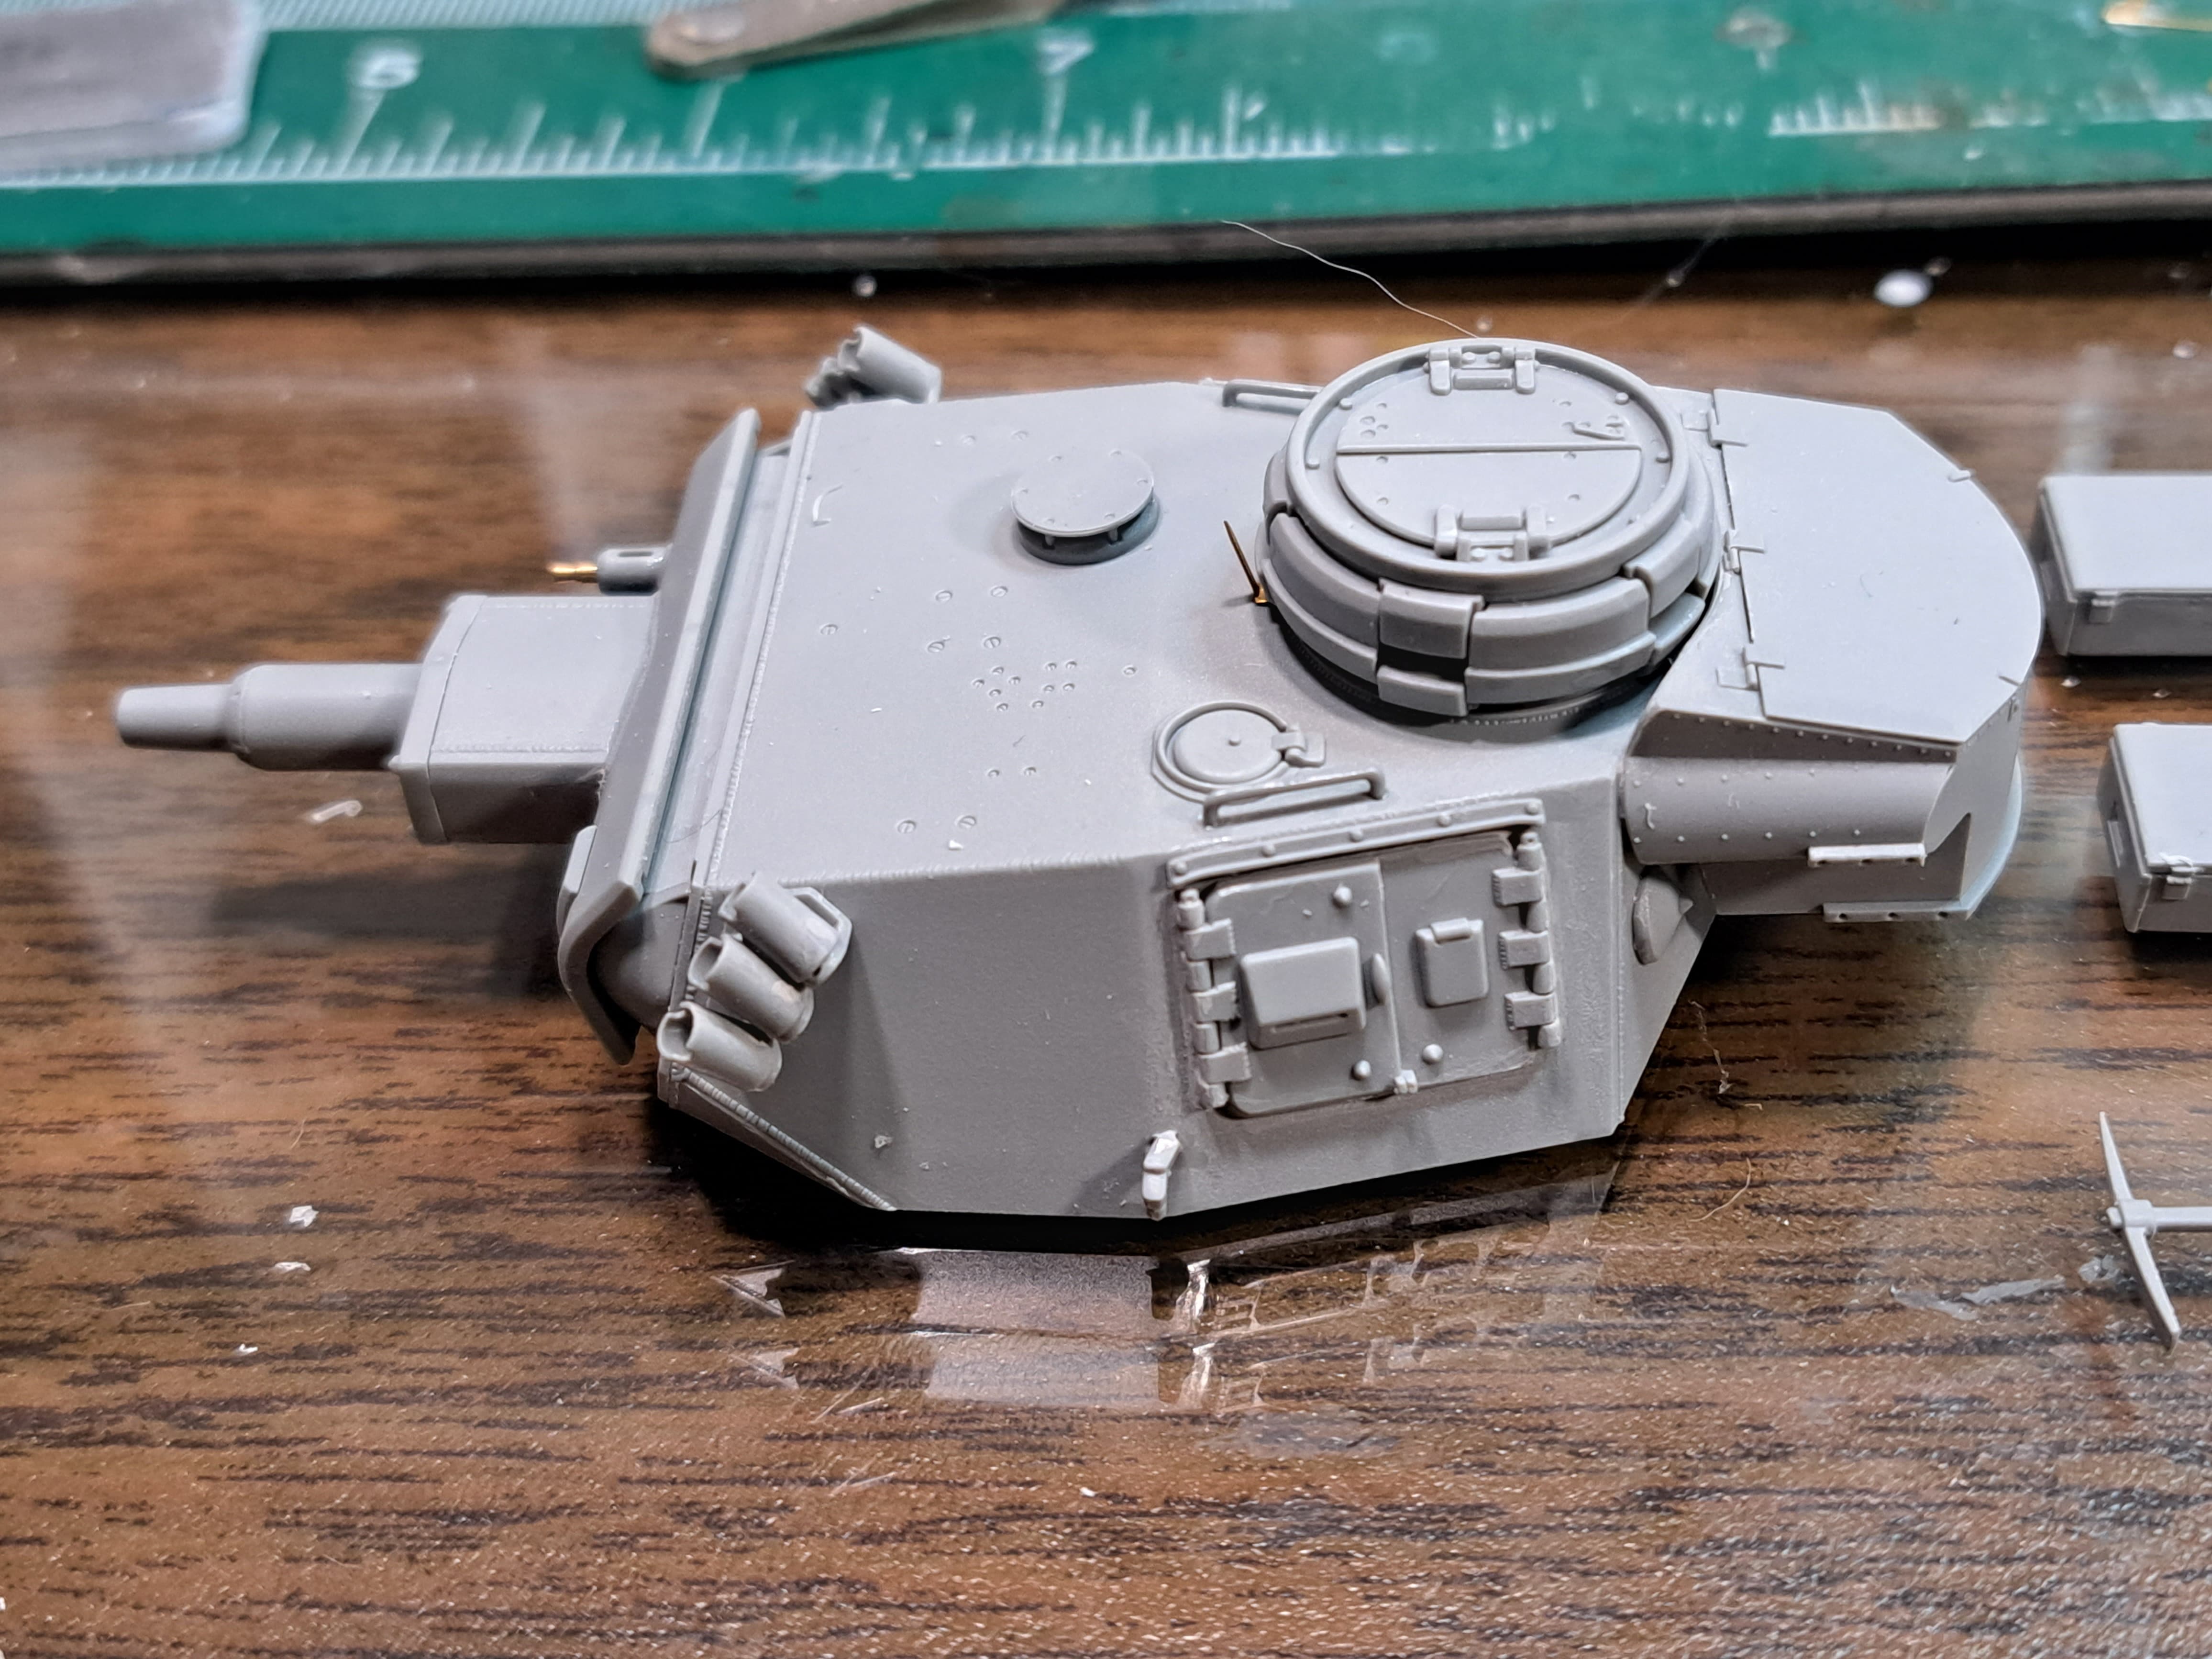
Step 21 - Turret Assembly plus Stowage
< 2 hours 50 minutes >
running total 35 hours 26 minutes
The four main subassemblies for the Turret fit perfectly ![]() . Ran into a little hassle with side hatches and bit of extra sanding and putty was required. Forward facing hingles had hairline seams etc. Smoke discharger didn’t fit due to over sized alignment tabs. Tabs removed and positioned accordingly.
. Ran into a little hassle with side hatches and bit of extra sanding and putty was required. Forward facing hingles had hairline seams etc. Smoke discharger didn’t fit due to over sized alignment tabs. Tabs removed and positioned accordingly.
The tab is massively over sized compared to the slots on the turret sides. Just another Dragon goof up ![]() .
.

Boxes, pick, jerry cans plus rack included.
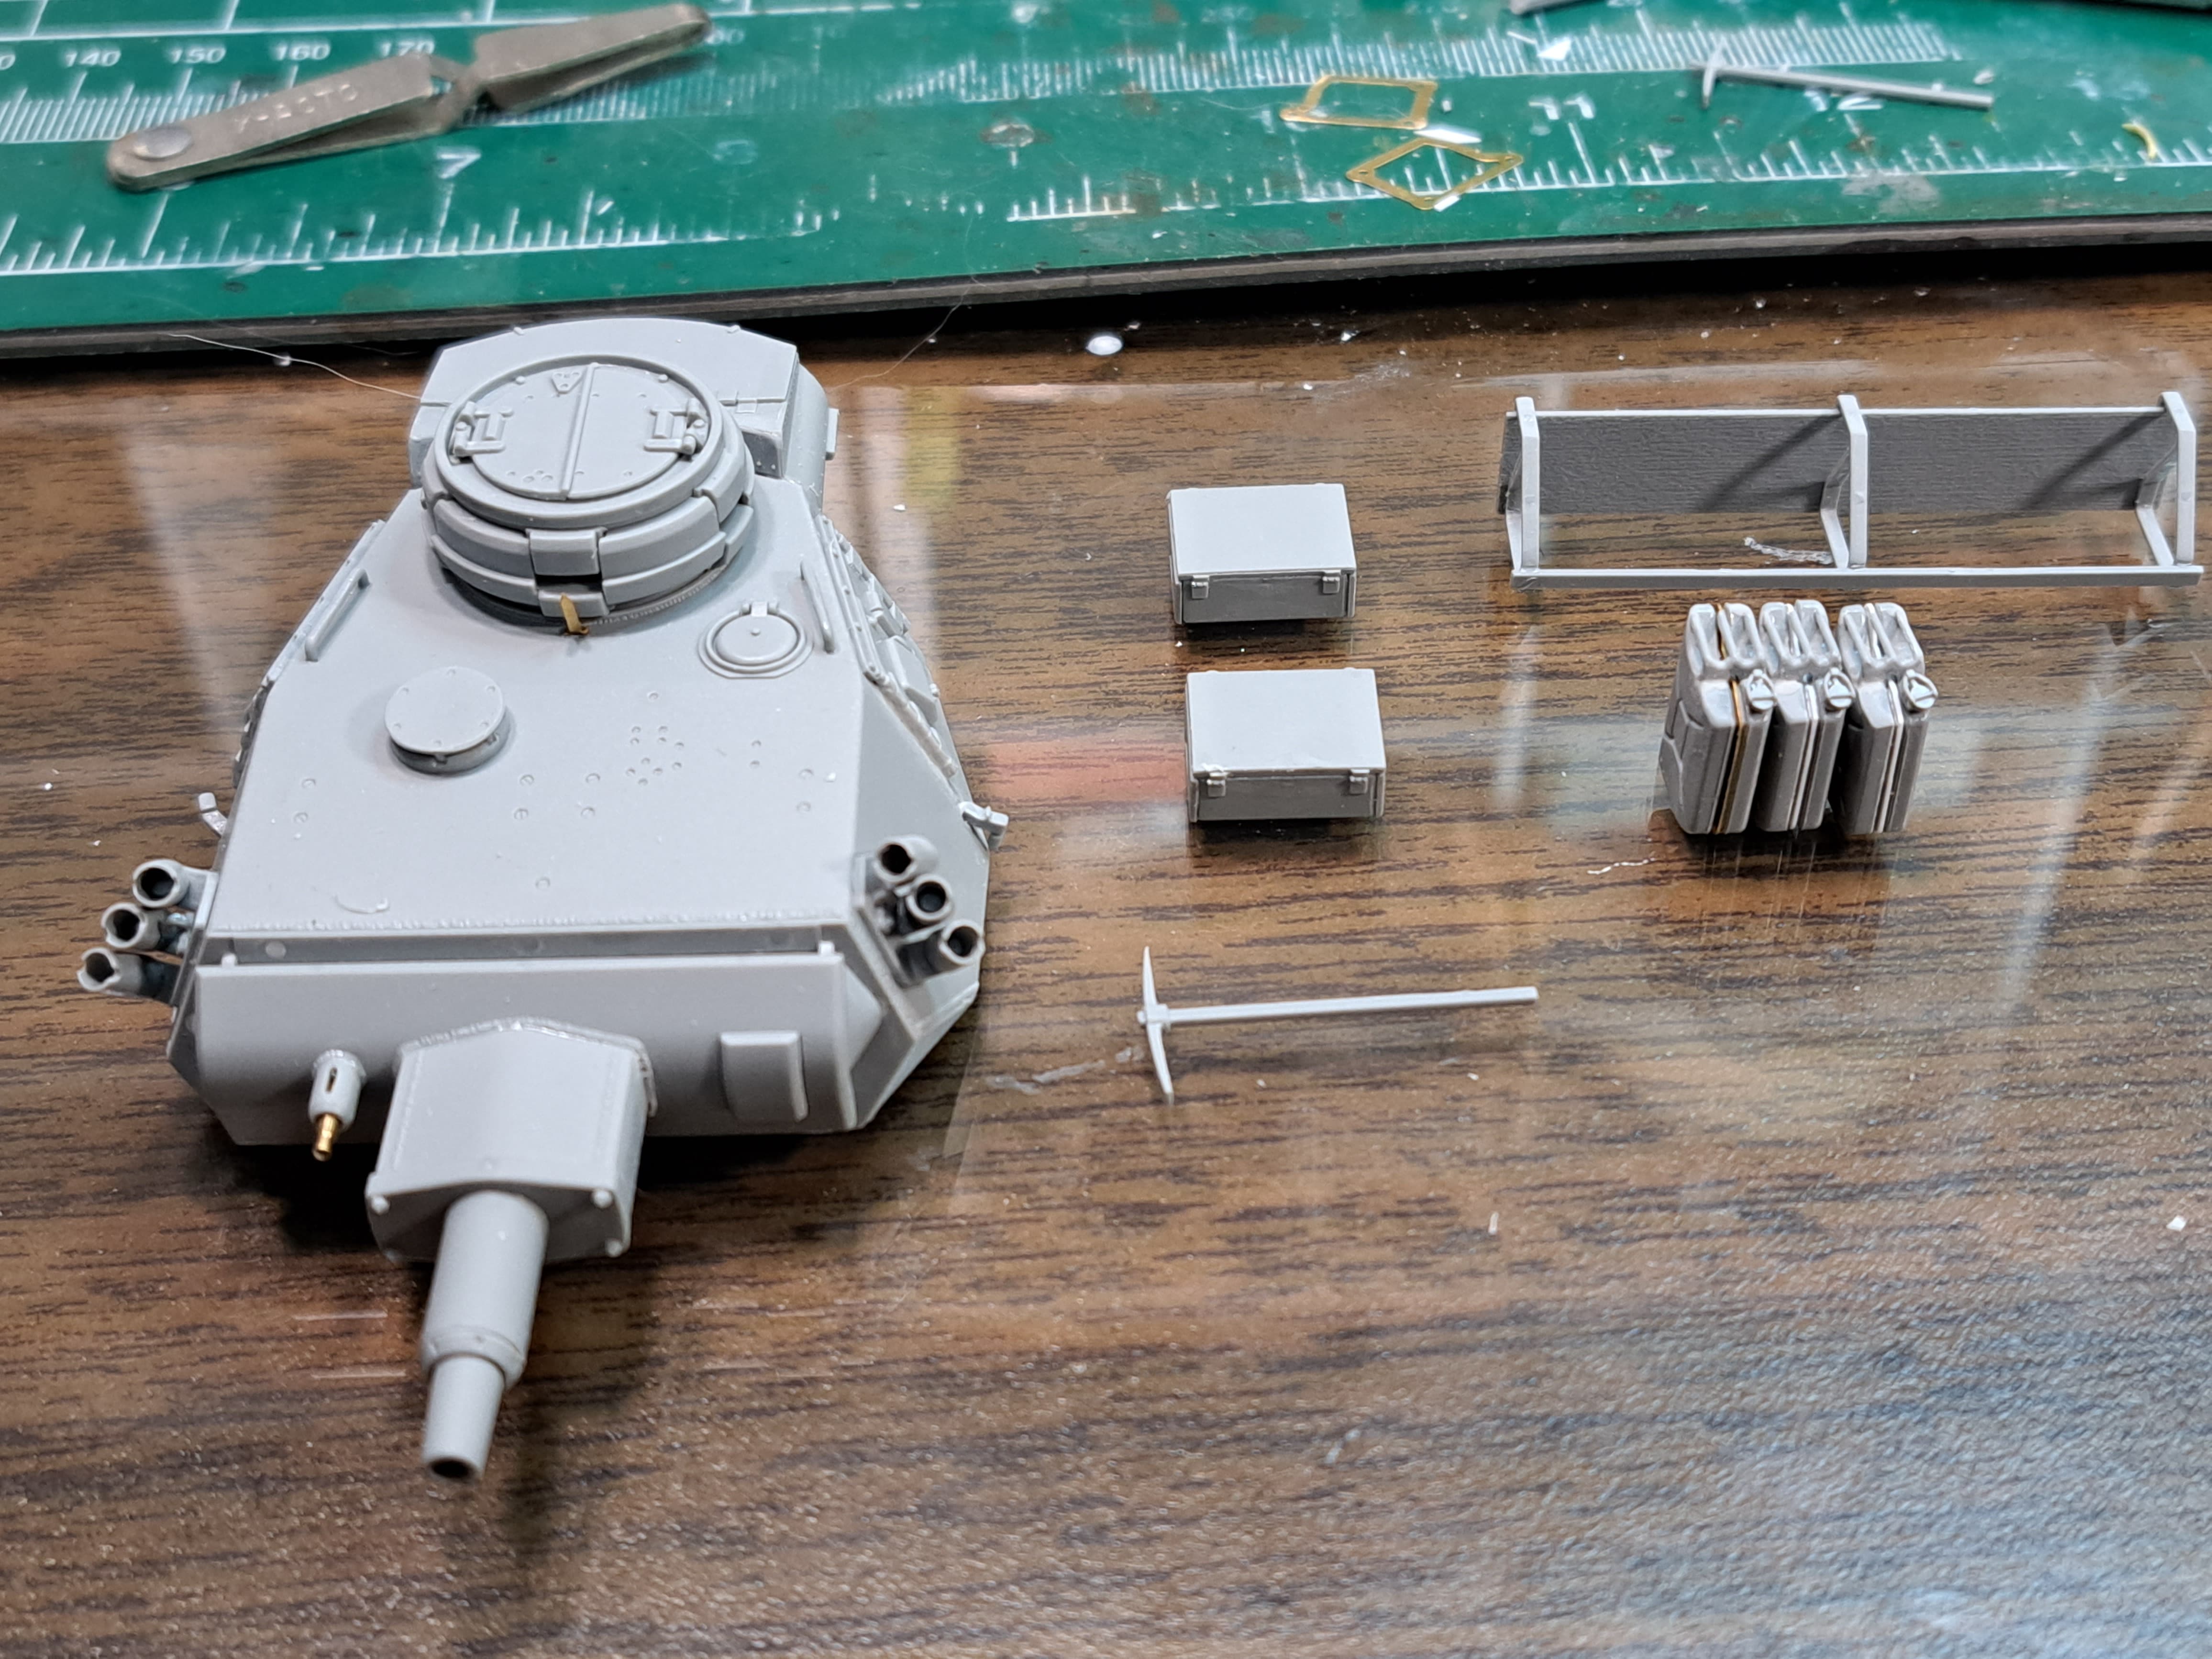
One step remaining!
5 Likes
I think the smoke discharger tabs don’t quite fit anymore because the turrets got retooled for the billion variants they released but no one altered the tabs. I say this because my older Dragon III’s fit but I did have to fix the later kits.
2 Likes
Do you have a RFM Pz III in your bucket list?
1 Like
I have a RFM Pz III & Academy Pz III but they are both 50mm long gun versions not Ausf N’s. It’s tempting to build them as sequels because other than the main guns there’s not much difference given L/J hulls were sometimes used to make N’s.
1 Like
I’ve not seen the academy kit built and it would be interesting to see how it holds up.
I’ve got a RFM J half built and its a fine kit.
1 Like