Thank you Ezra.
Some will say I’m too harsh on Takom. It is buildable:)
Thank you Ezra.
Some will say I’m too harsh on Takom. It is buildable:)
wow, i wouldn’t have expected so a low rating.
Marc, I hear you. It’s possible I’m too harsh.
It just had a lot of issues that kept adding up over the build.
*Suspension Arm Fit Issues
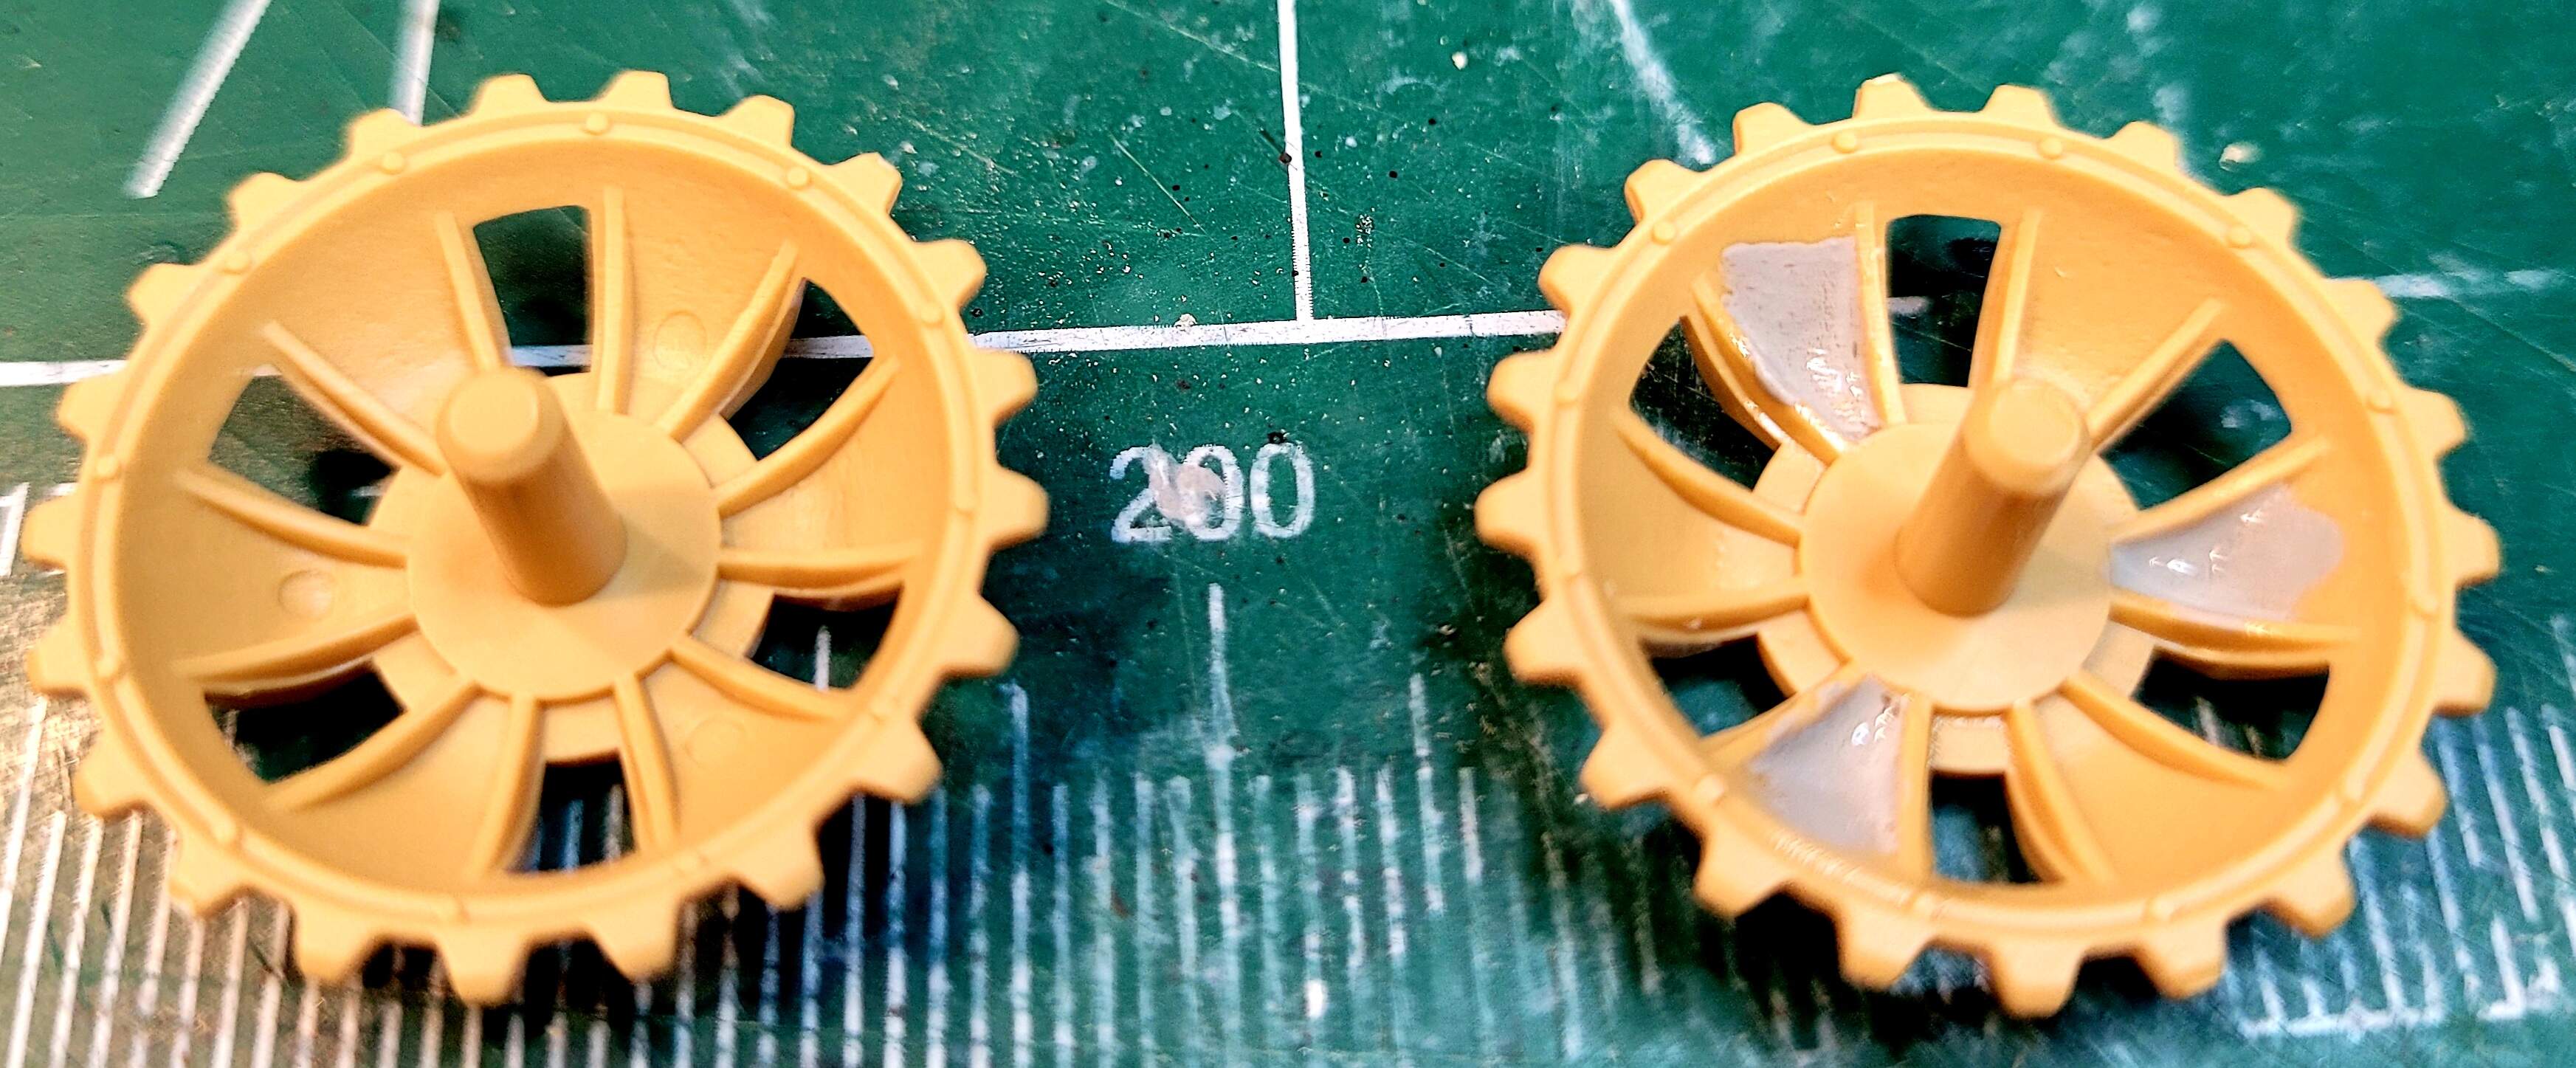
*Wheels not fitting together
*Rear Hull Fit Issues
*Poorly fitting Antenna tray
*Hard to read instructions
*Vague instructions
*Lots of flash on parts of newly released kit. With good tooling this is often due to molding machine being ran too hot.
I just recently finished Takom’s Panzer III M. It seemed that the kit fought me every step of the way. The finished model looks ok, but I won’t be taking it to any contests. I found that the build was not enjoyable. I was put off early in the build by the poor fitting wheels. I also struggled with the fit of the rear hull, and the fit of the mantlet assembly. I enjoyed building Takom’s T-55 AMV and Merkava I far more. I have also built Tamiya’s Panzer III N. That was a fun build. I would build the Tamiya kit again, but not the Takom kit.
@tybugg Michael welcome to the forum. Thank you,for sharing your experience with the Takom kit. You summed it up very well, it fights the modeler through the whole build.
Looks like my decision not to buy was warranted
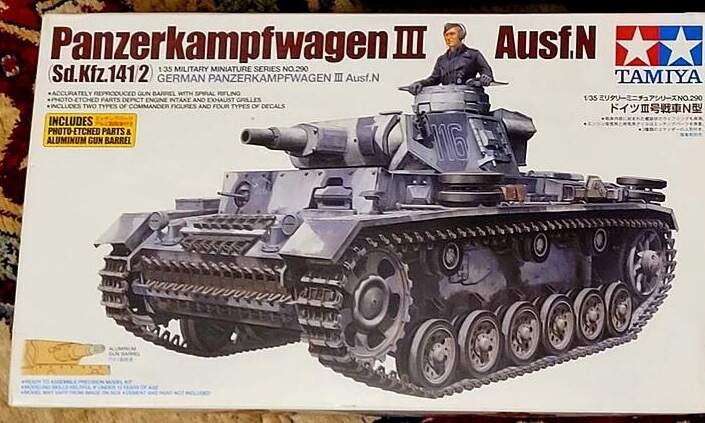
Our 2nd Amigo will be the Tamiya Pz III N. It was released in 2008 and is based on a prior Tamiya Pz III L released in 1997. I paid ~$35 for the kit.
#35290
Scale: 1:35
Type: Full kit
Released: 2008 | Rebox (Updated/New parts)
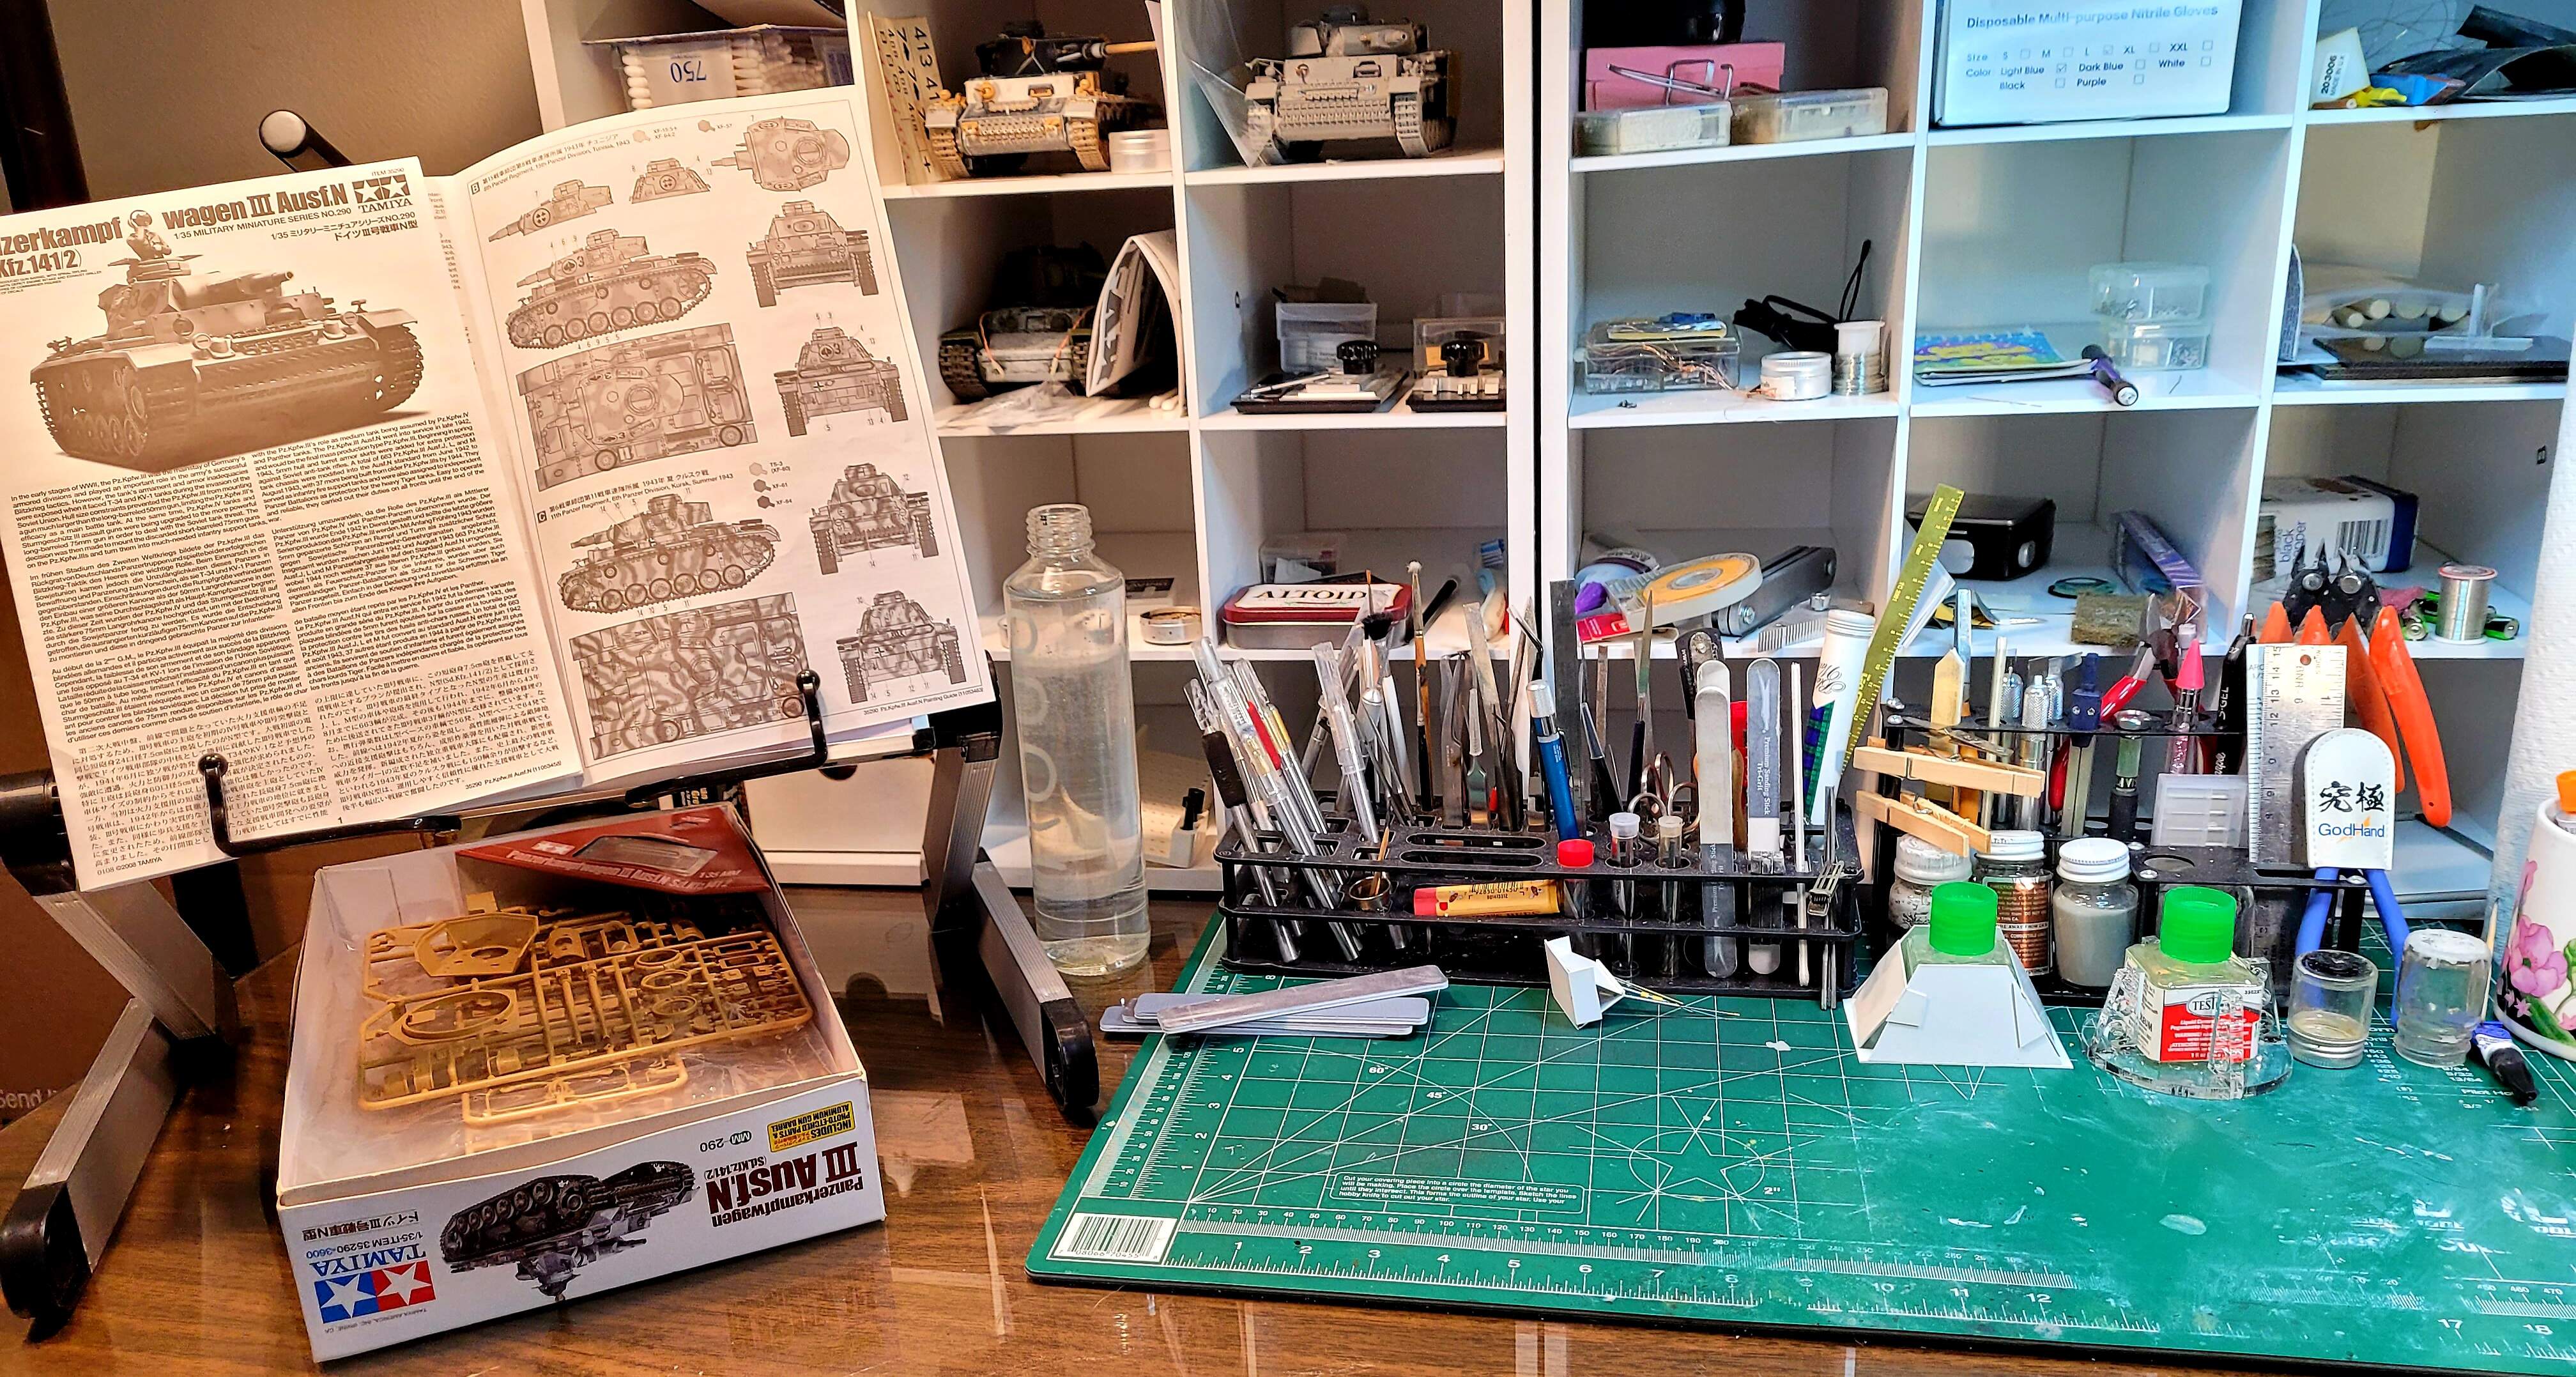
With the molds ~24+ years old there will be opportunities to add details. The rubber band tracks are OK but they will be discarded. Potential replacements are Model Kasten/Fruil/Dragon Magic Track depending on what’s available in the spares box.
Brief outline
*replace tracks
*replace MG’s with Aber bras
*replace antenna with Aber brass
*dress up tools with PE clasps etc
*other minor items
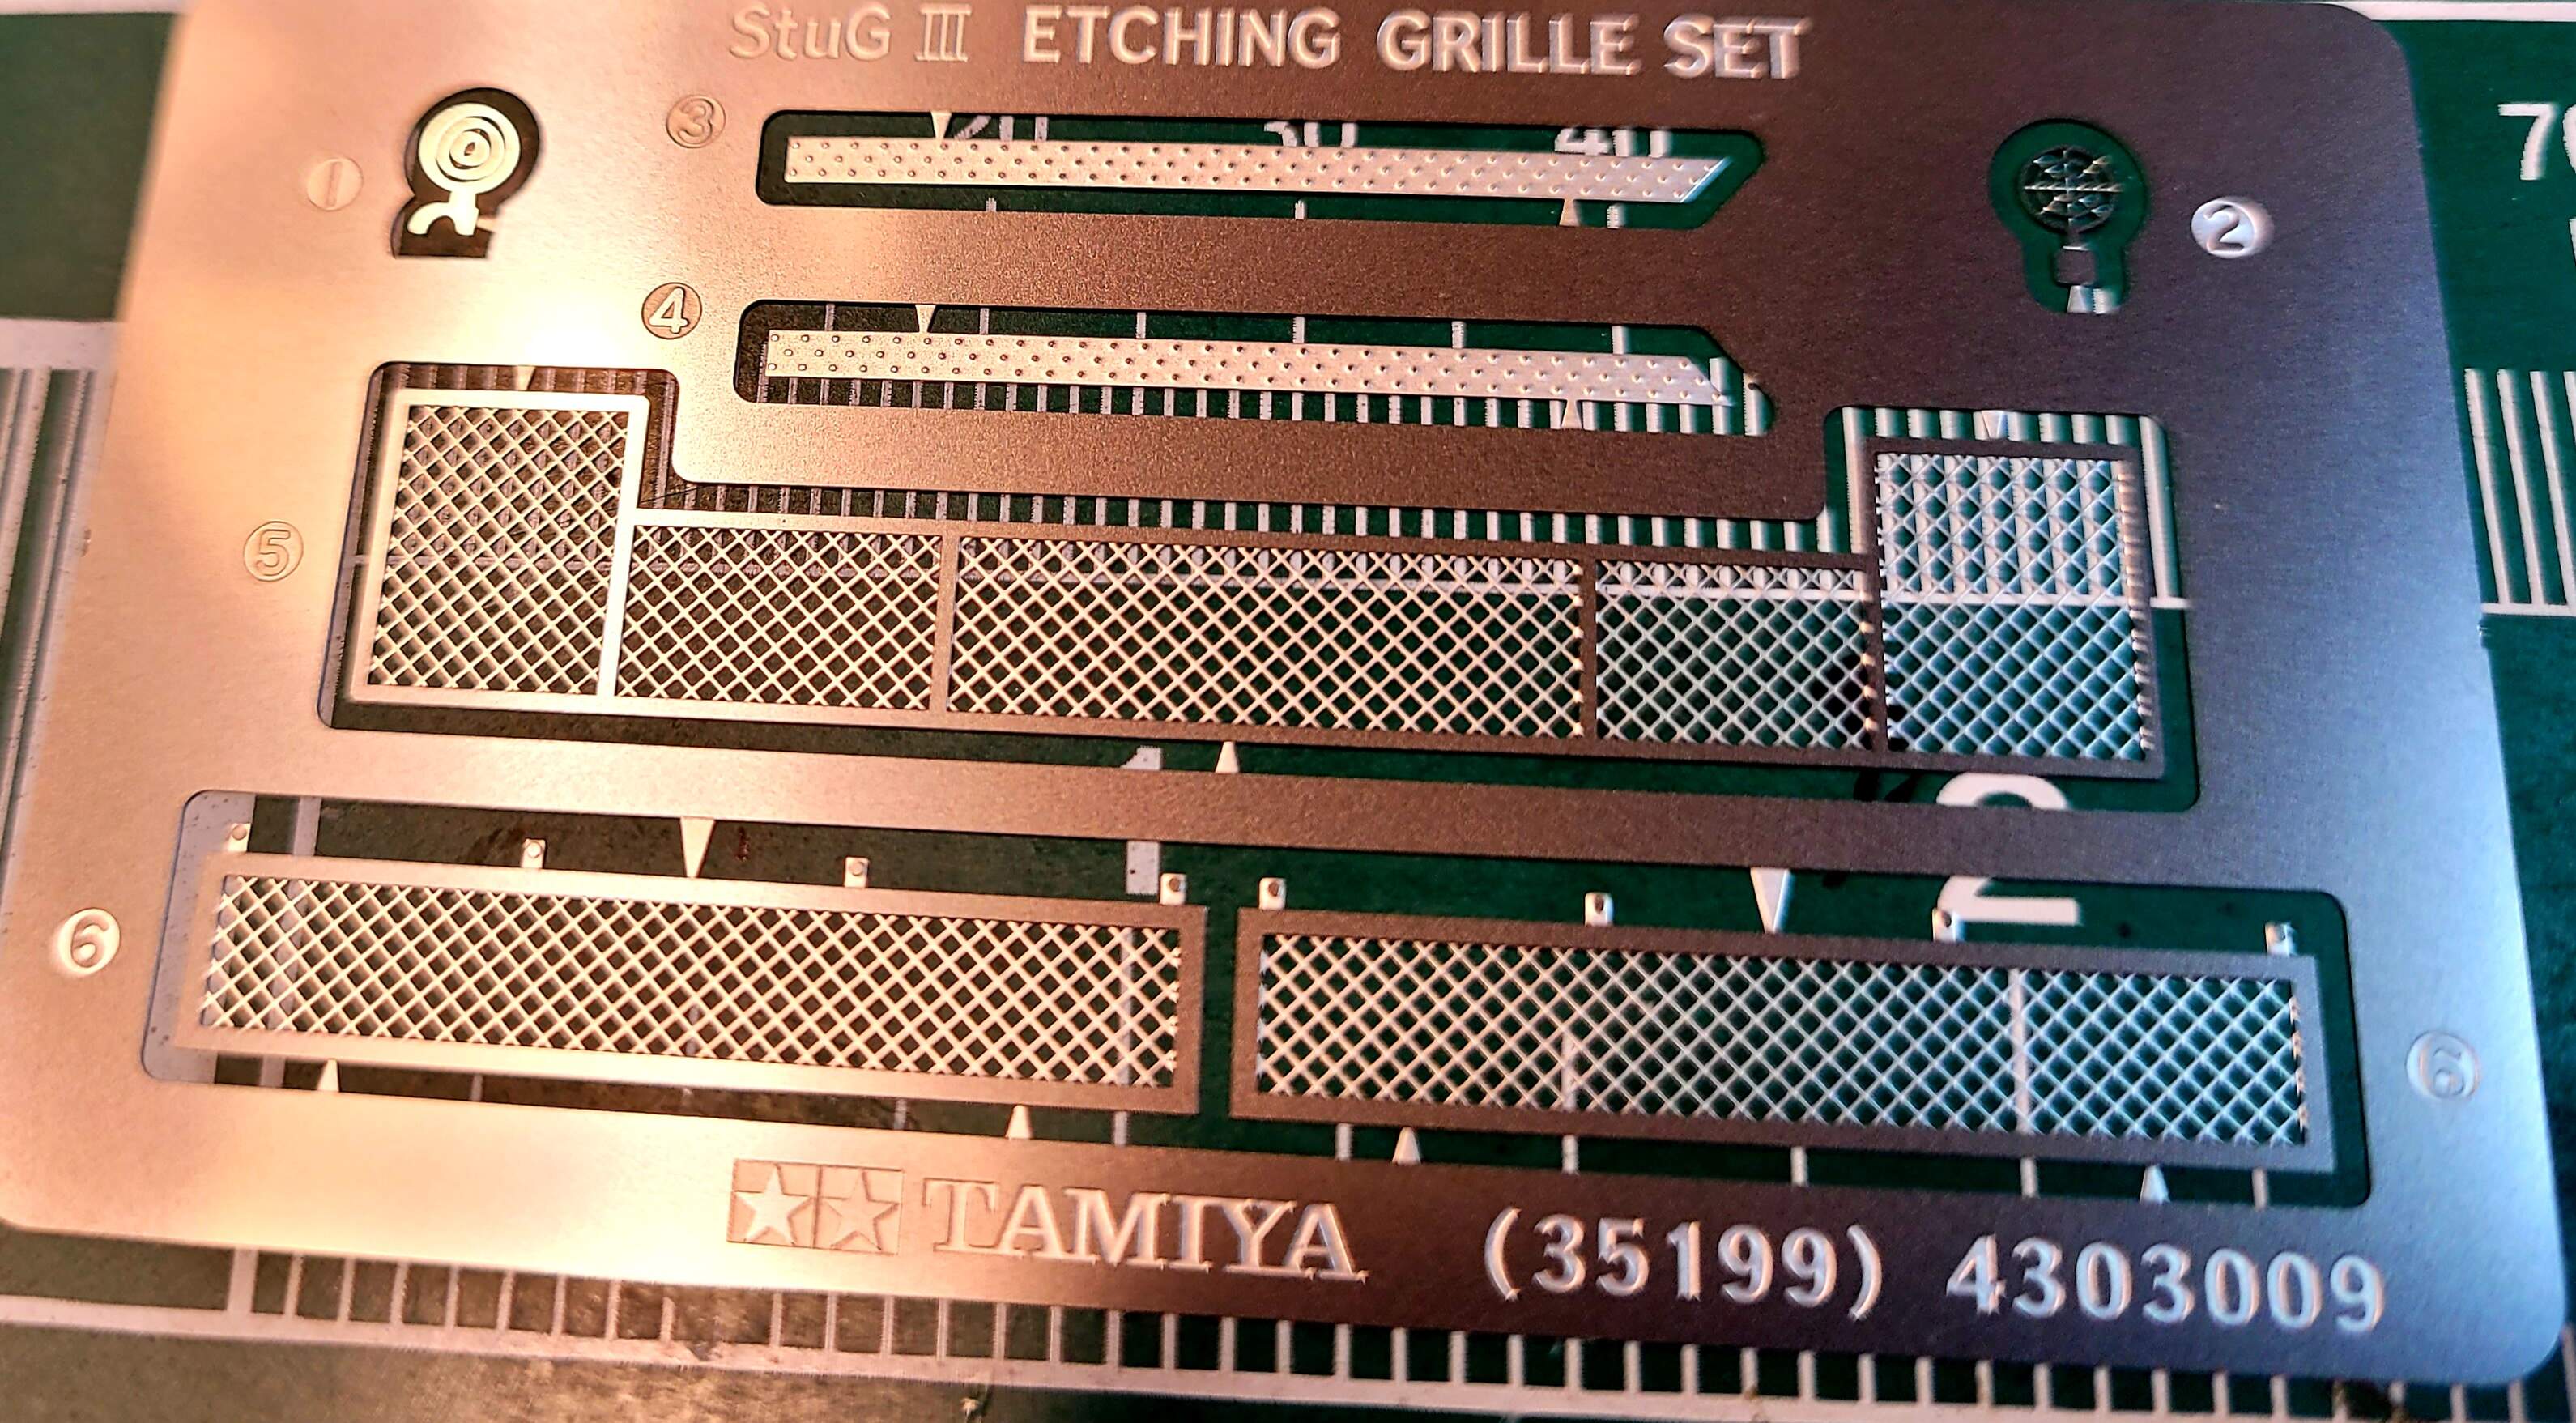
The kit contains PE screens and metal gun barrel.
Being committed to several build campaigns (Forgotten Wars, Tank Destroyer, T-34-85, Star Wars Camo) that start tomorrow or shortly the second amigo may take longer to assemble. Please bear with me.
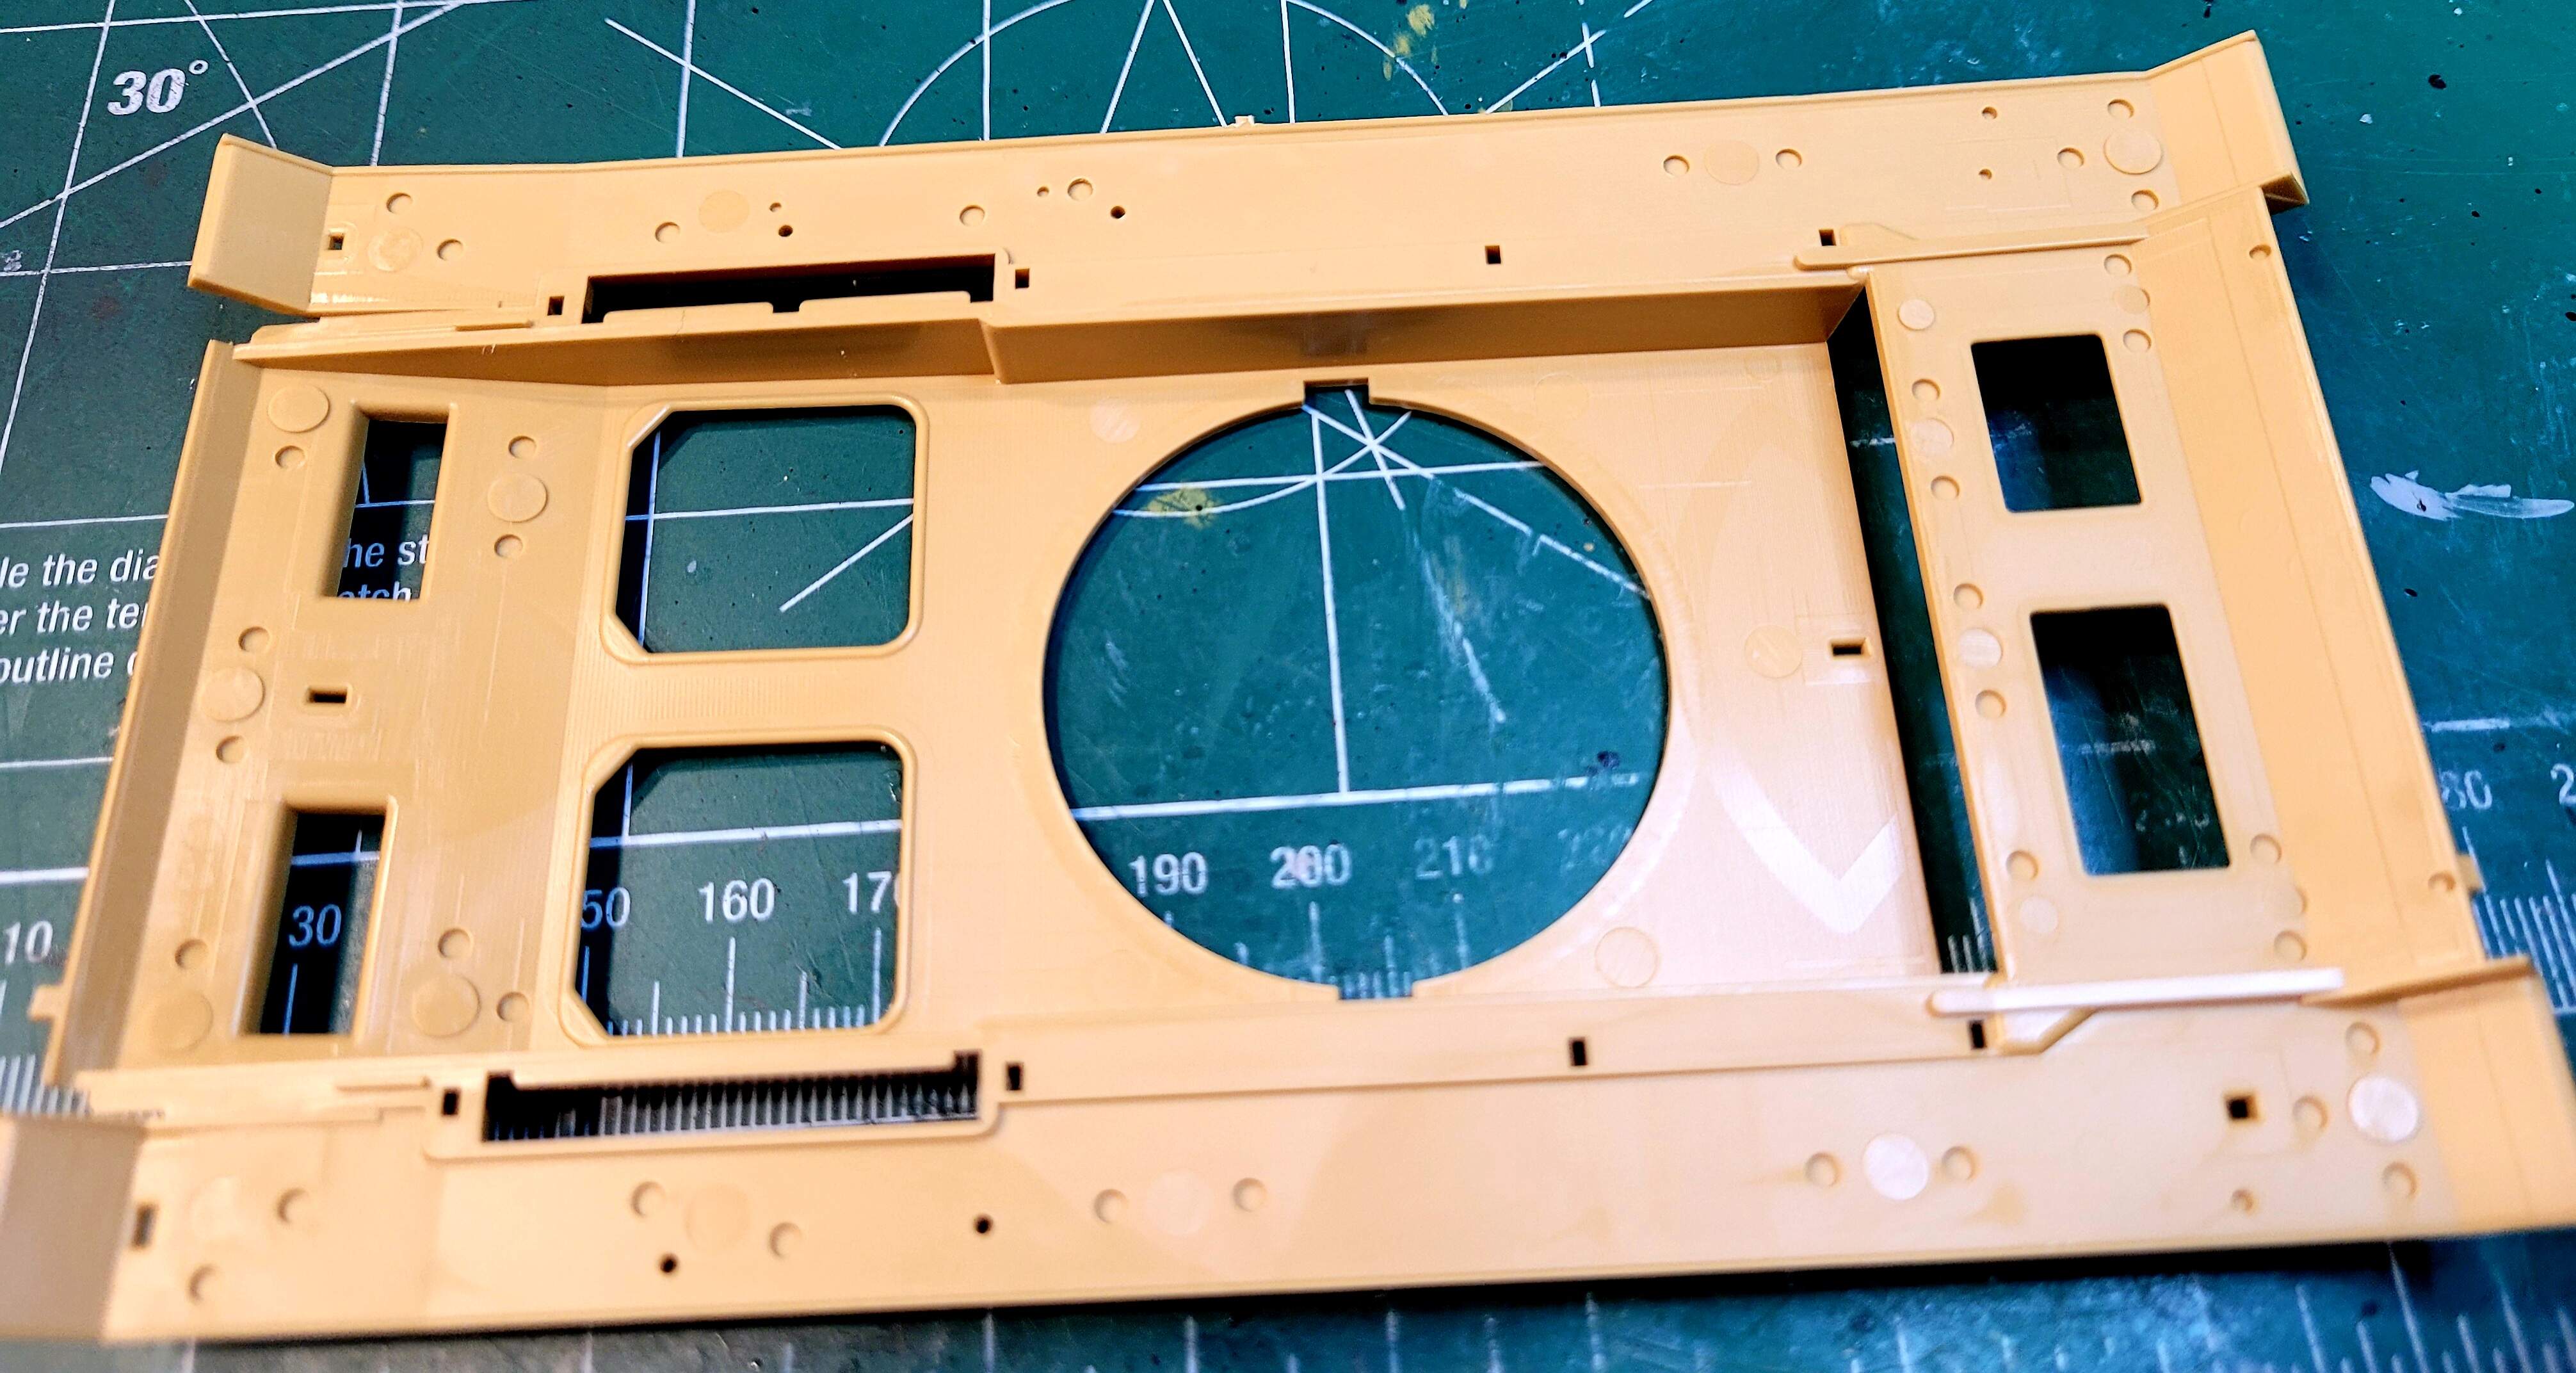
Intro
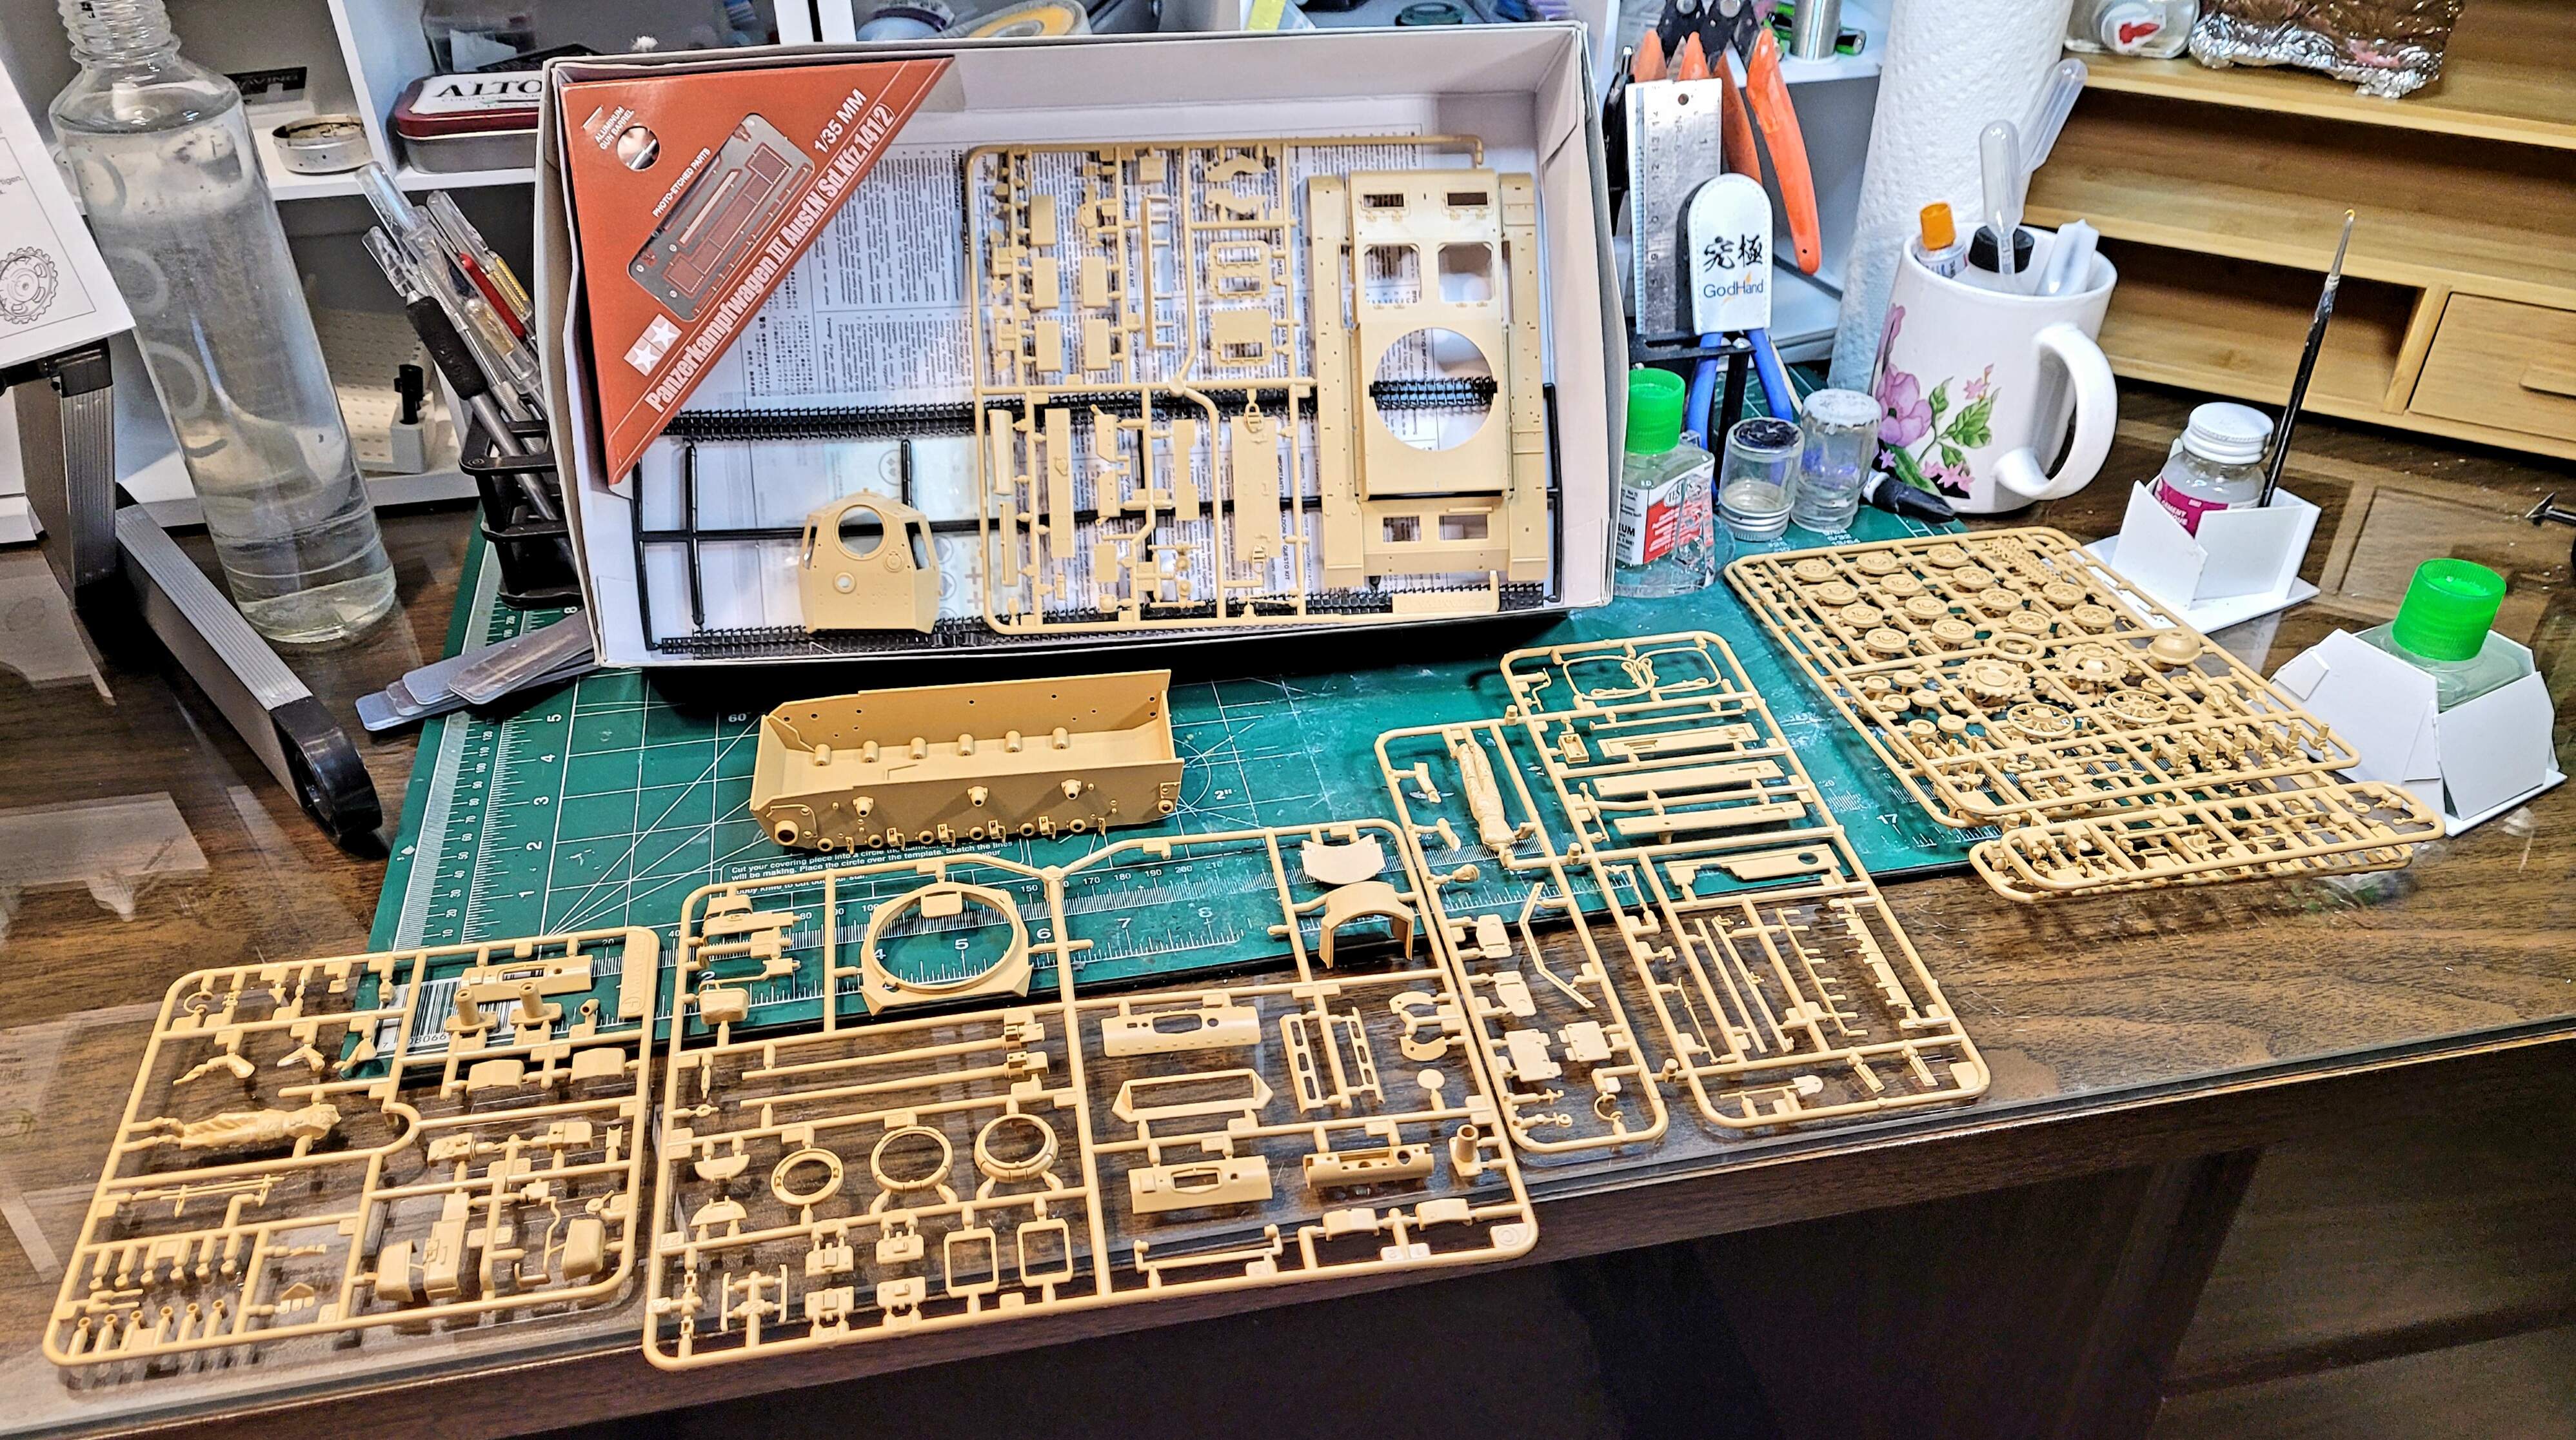
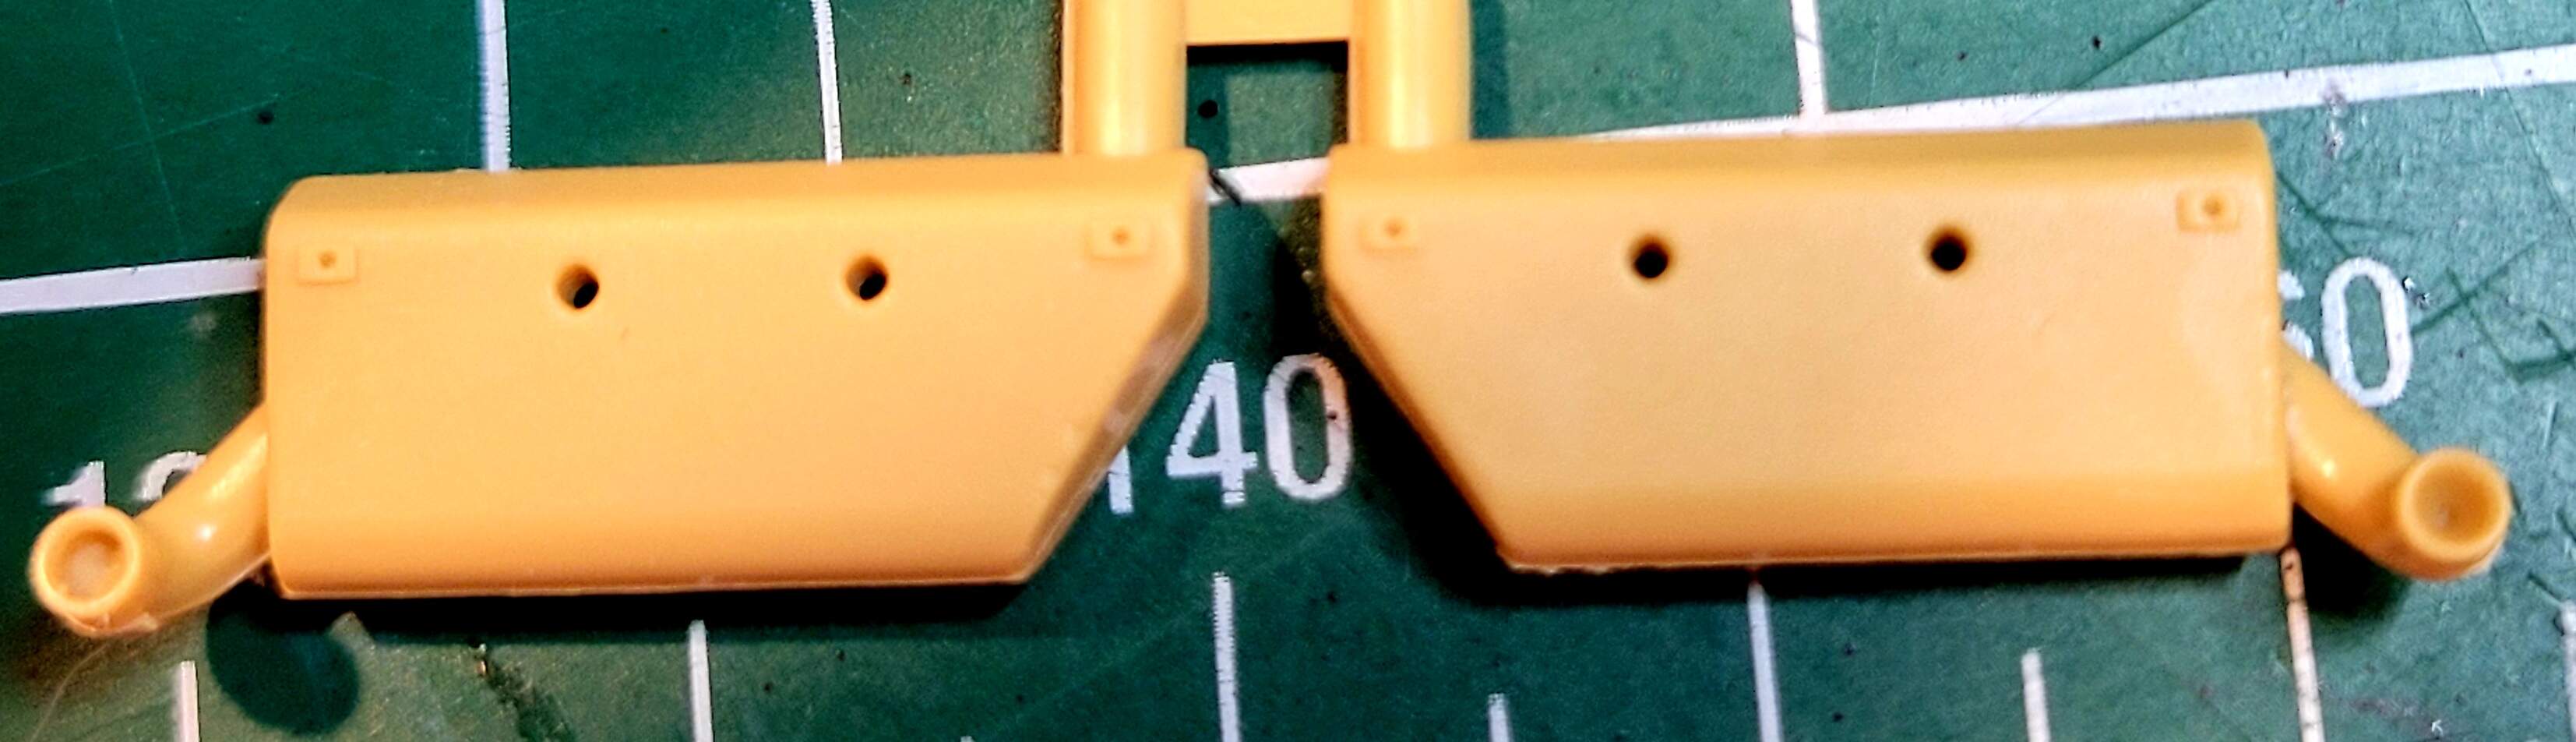
Nice to see even 24 years ago, Tamiya avoided injection molding artifacts on the top of the hull. Only three attachment points should be easy clean up.
The mass of punch marks under the fenders will need some attention.
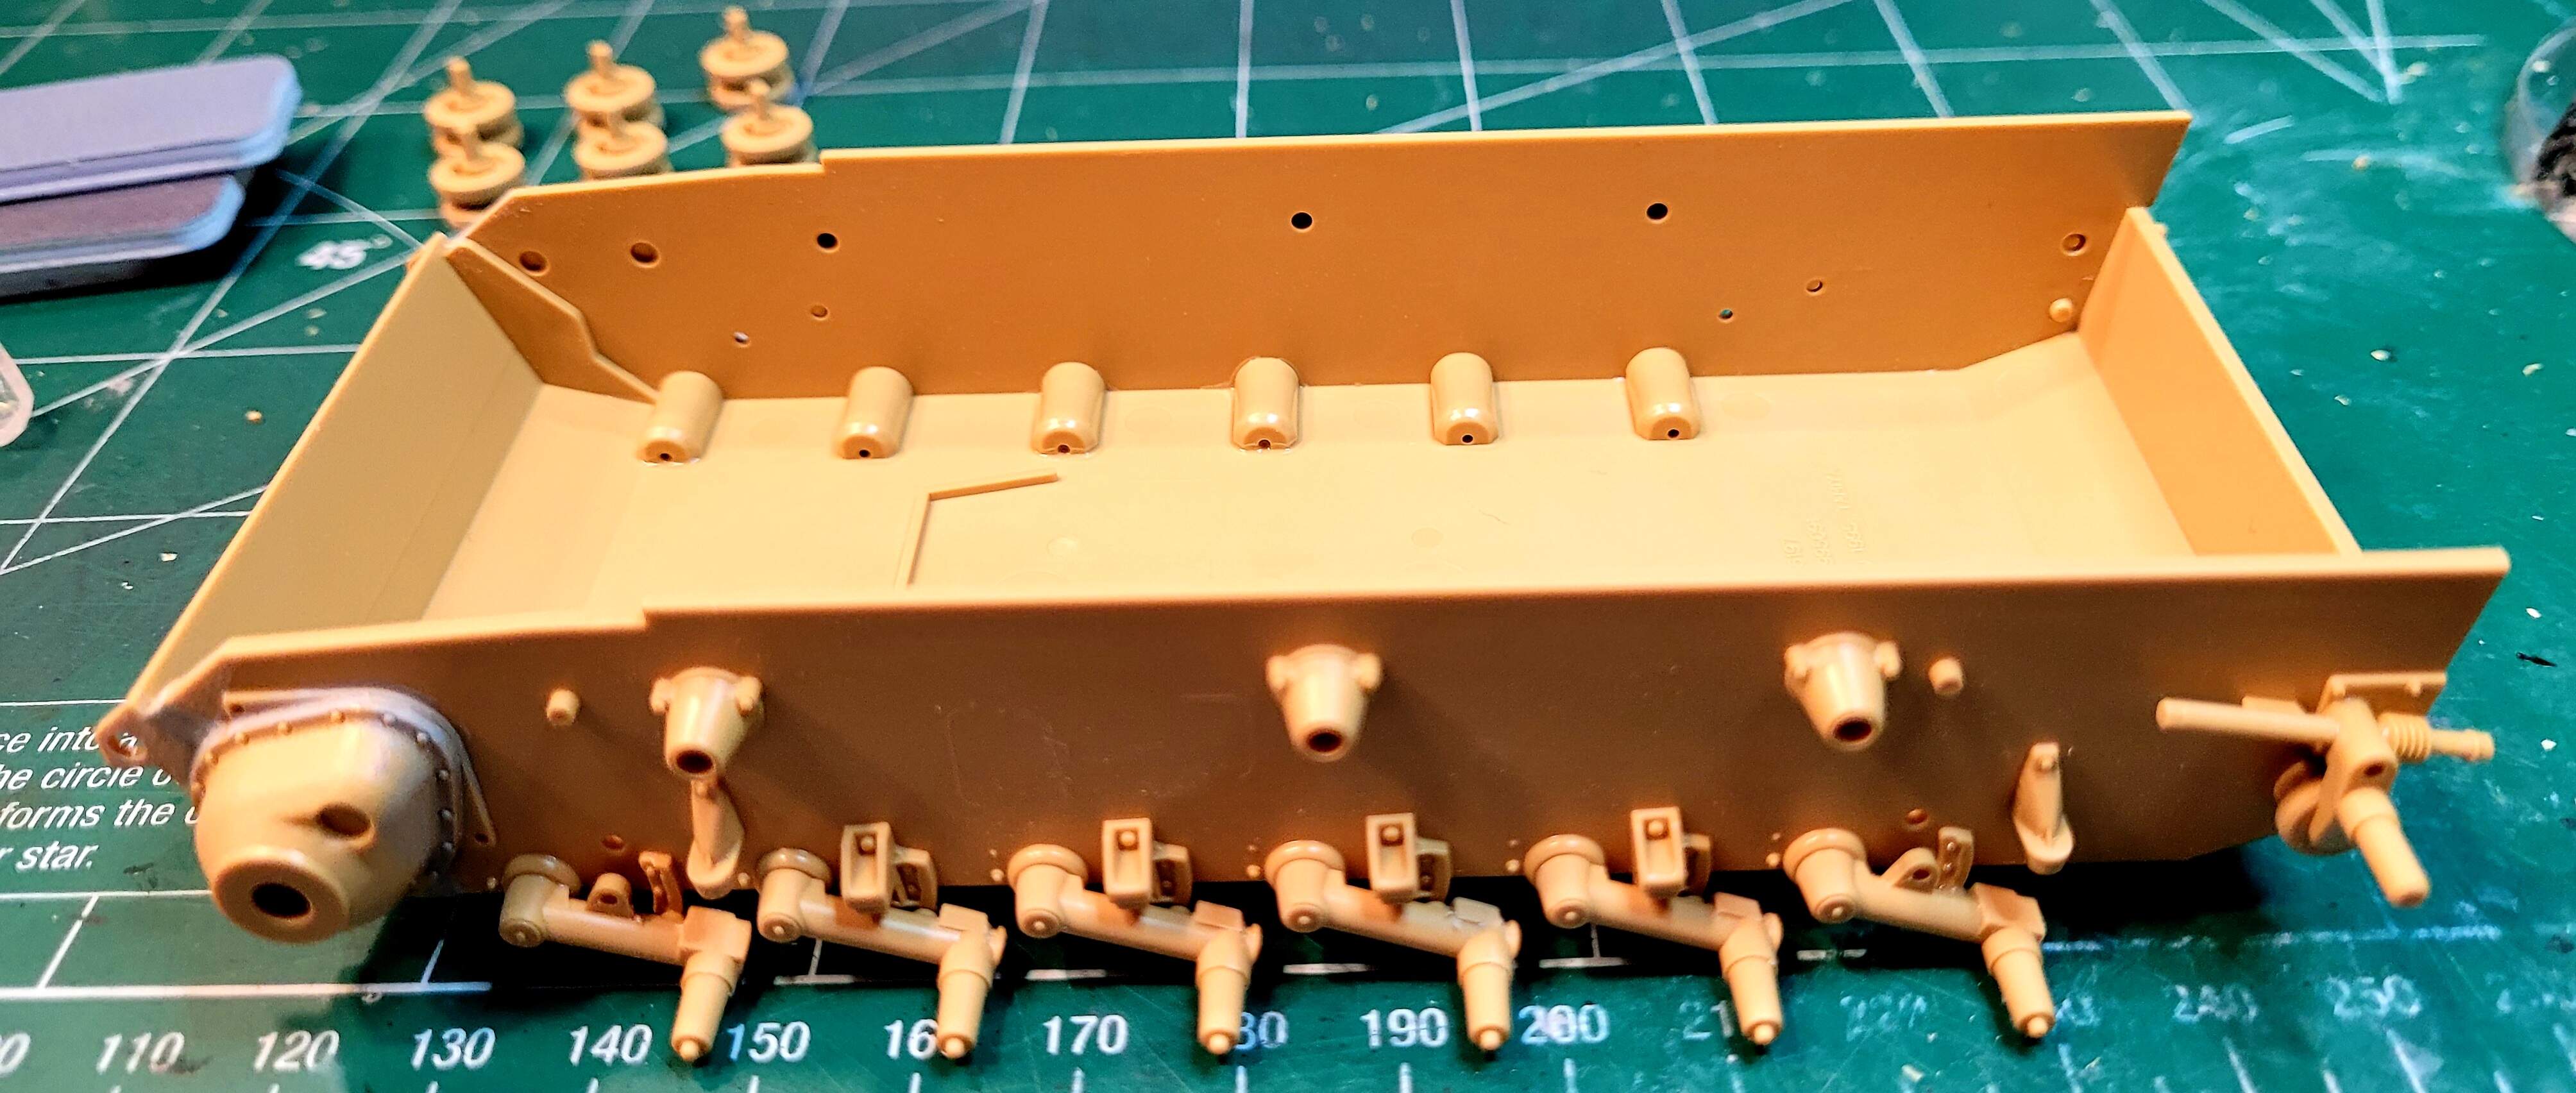
Step 1 Suspension & Torsion Arms <1 hour 20 minutes>
Noteworthy clean up
The suspension alignment was perfect and tight as installed no adjustment required. Checked with straight edge and glass desk top being level.
Right out of the gate, this older kit is a joy to build!
Tamiya kits are my therapy. After a Mintiart kit with 900+ parts it’s nice and relaxing to decompress with a no fuss no muss Tamiya build.
@Armorsmith DV that is definitely the truth!
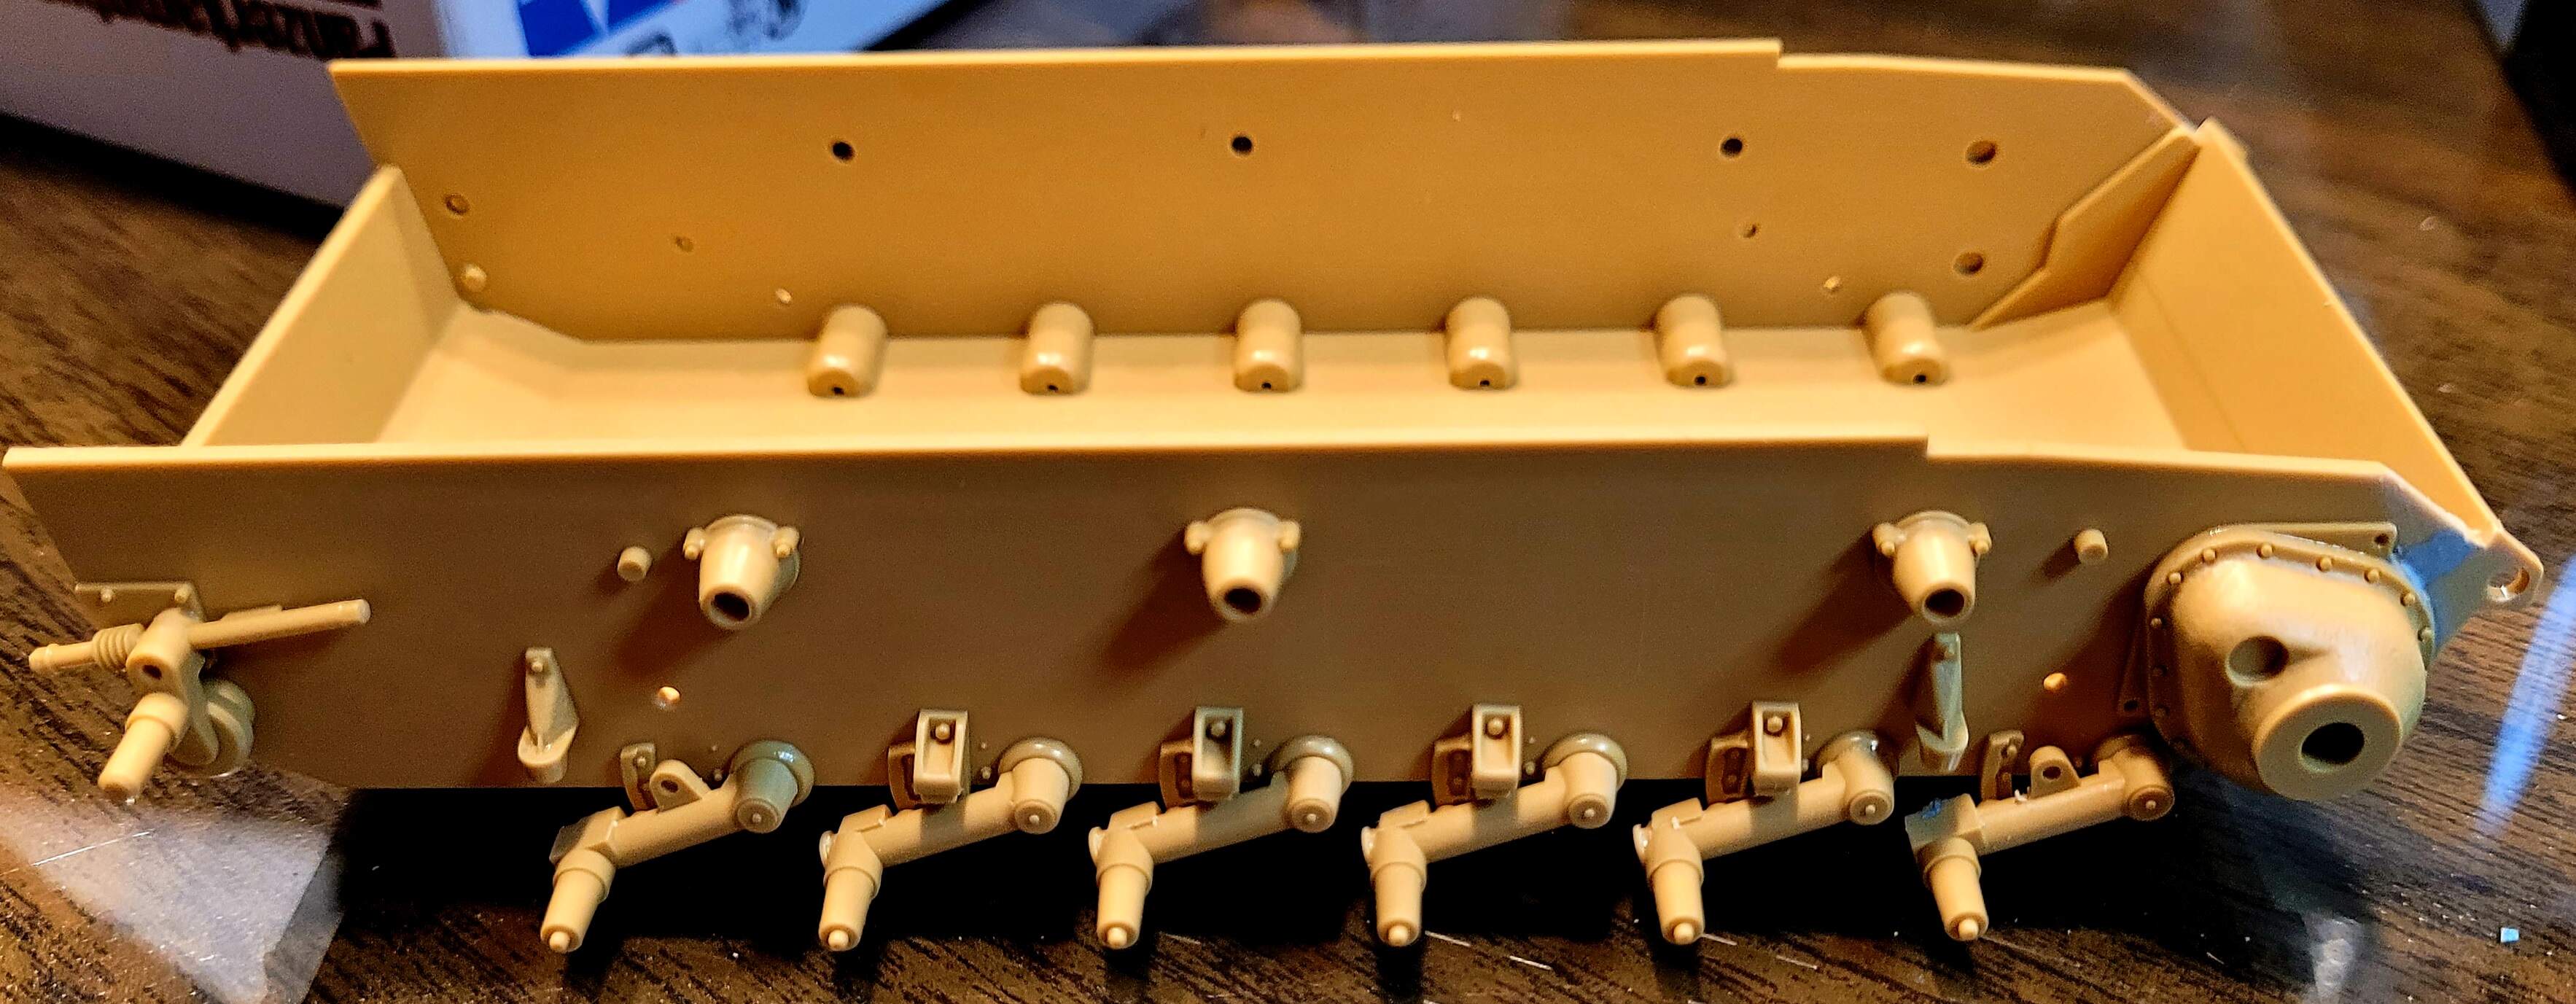
Step 2 <1 hour > total time 2 hours 20 minutes
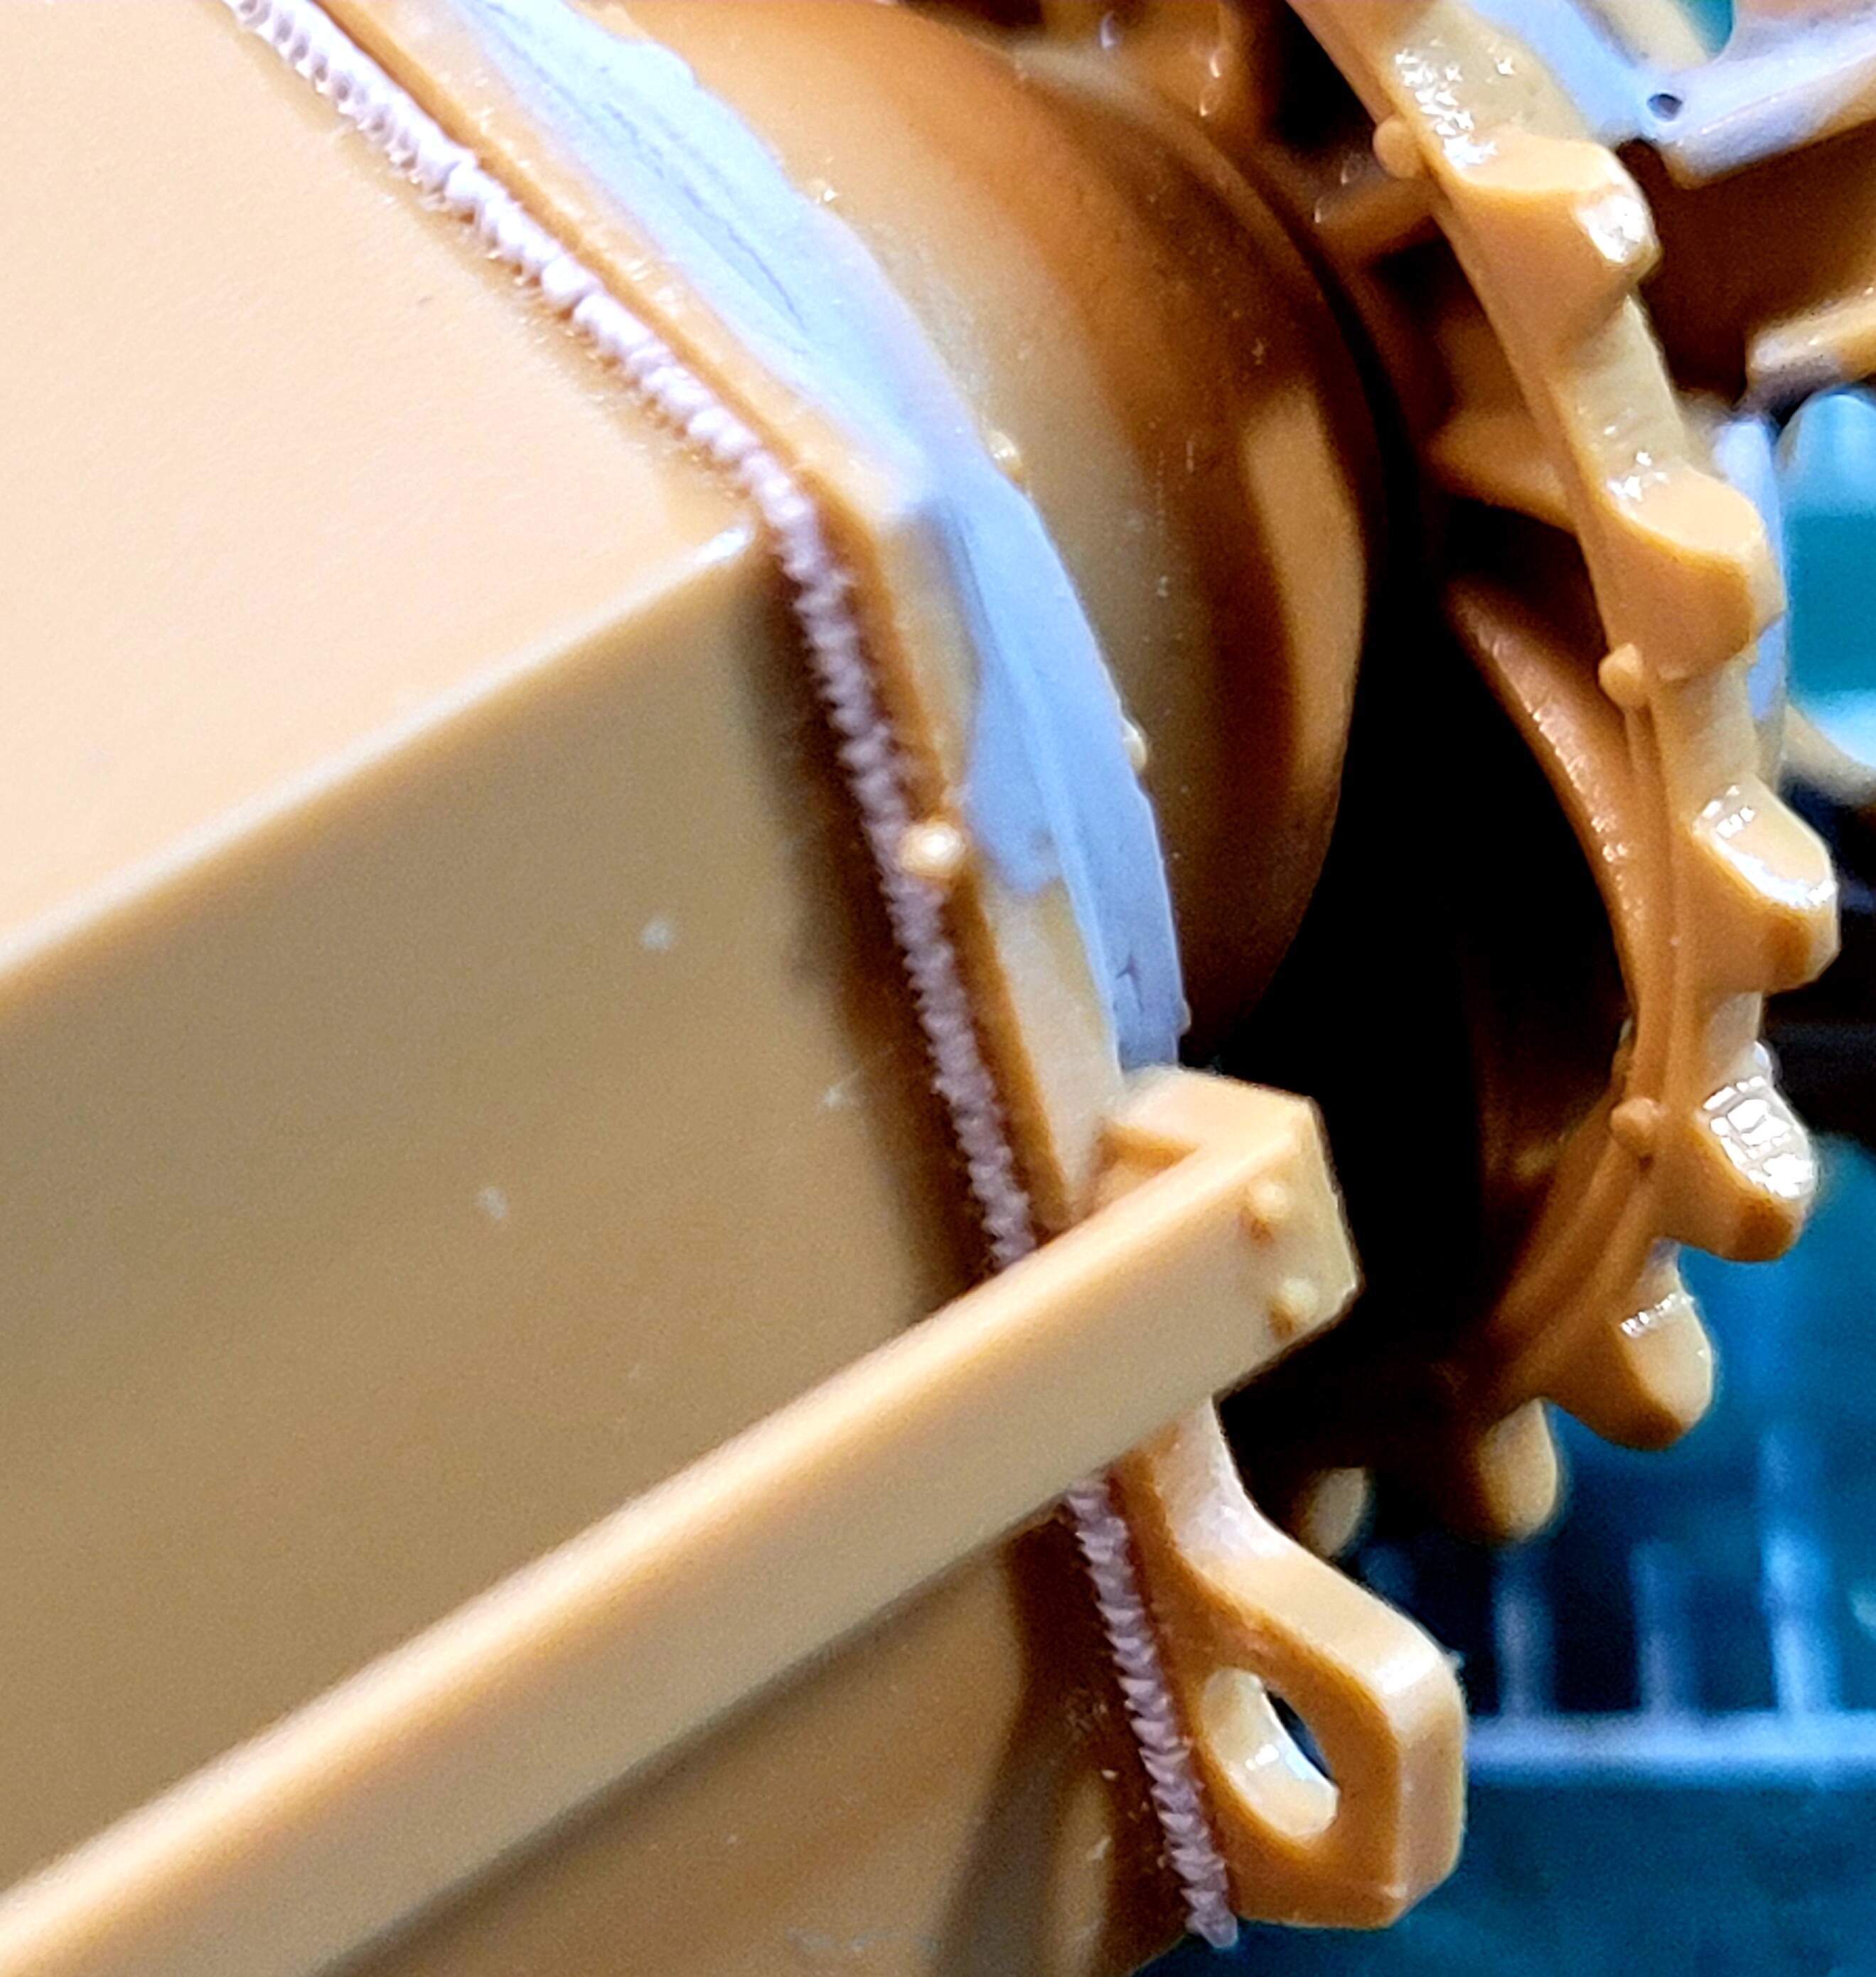
Had a hairline around the final drive housing and applied a little thinned Stucco putty. Be sure to remove any raised punch marks from the back of B3 as they could effect fit.
No surprises, enjoying the Zen like effects of a well engineered build!
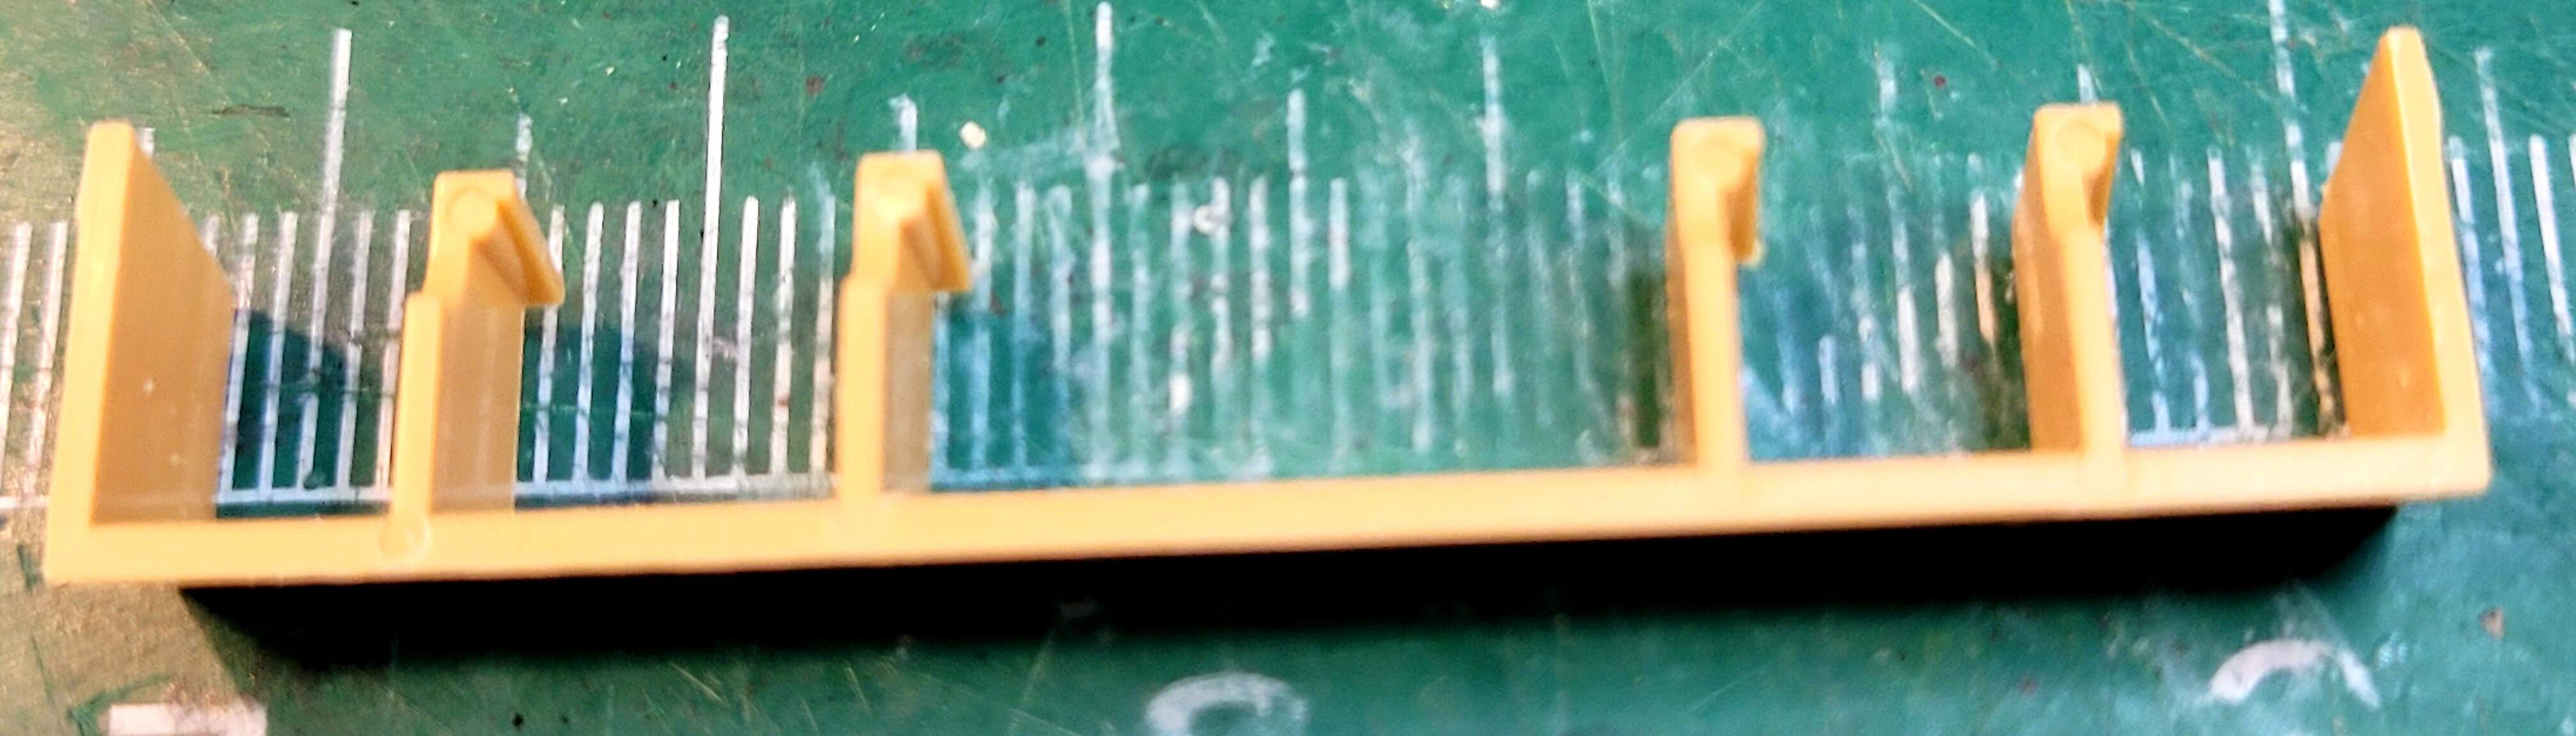
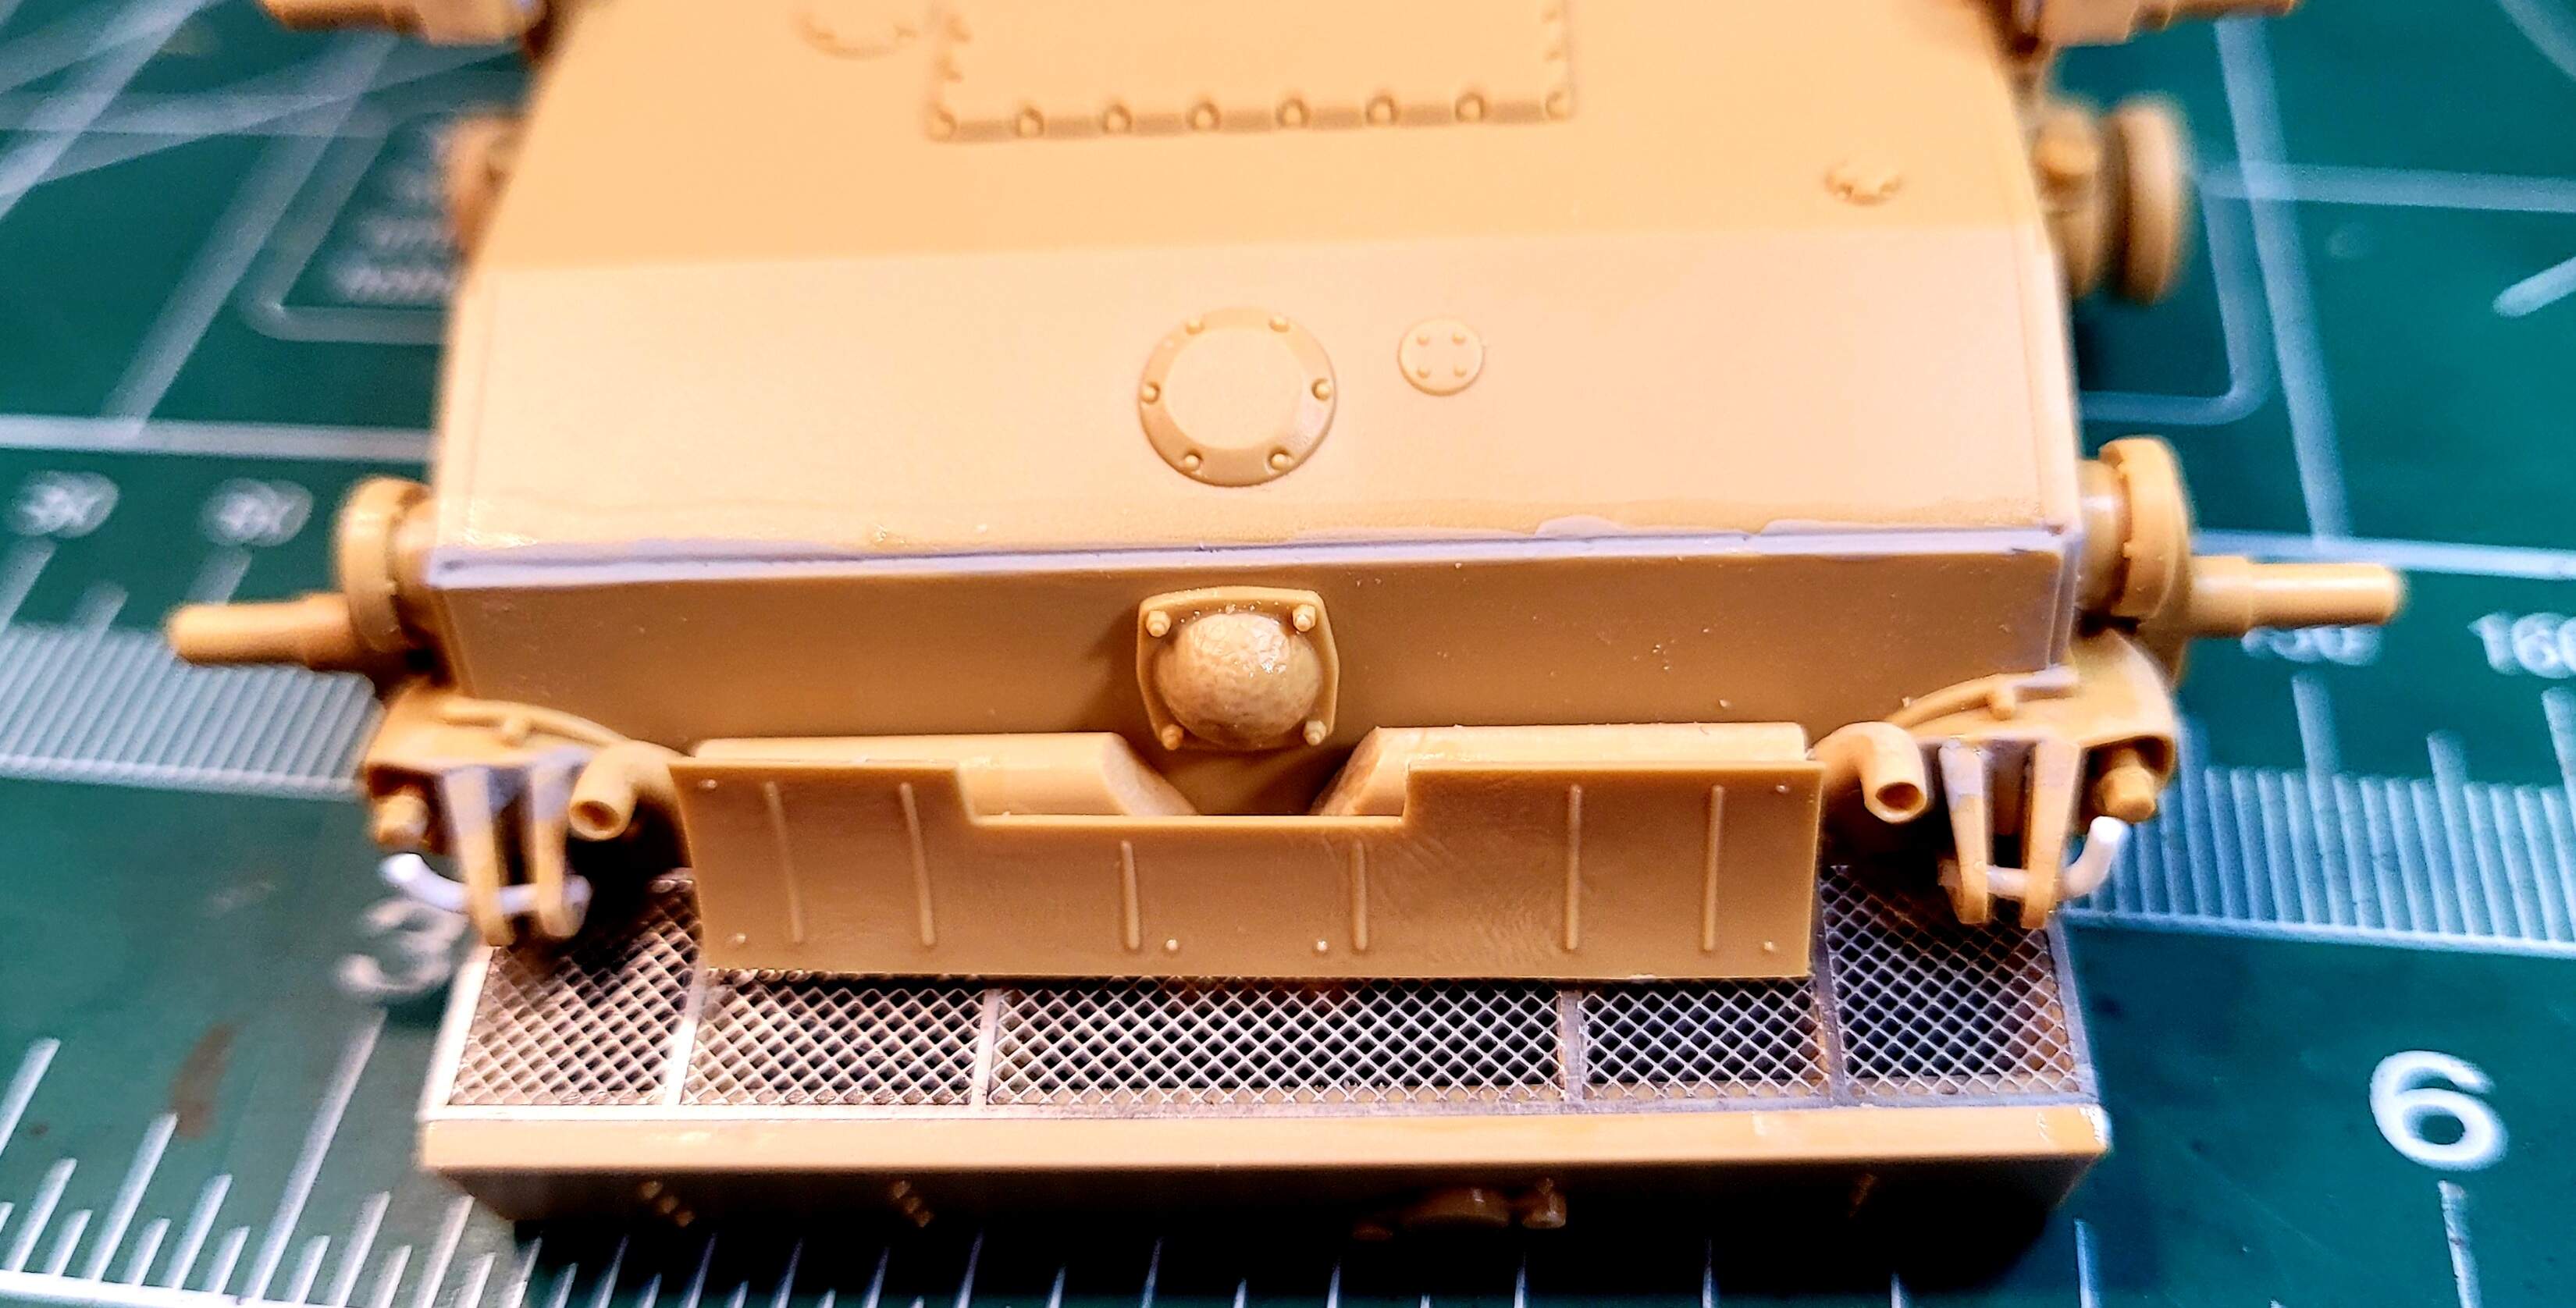
Step 3 <47 minutes > total 3 hours 7 minutes
Drilling the exhaust on the twin muffler with1.3mm gave a little more depth.
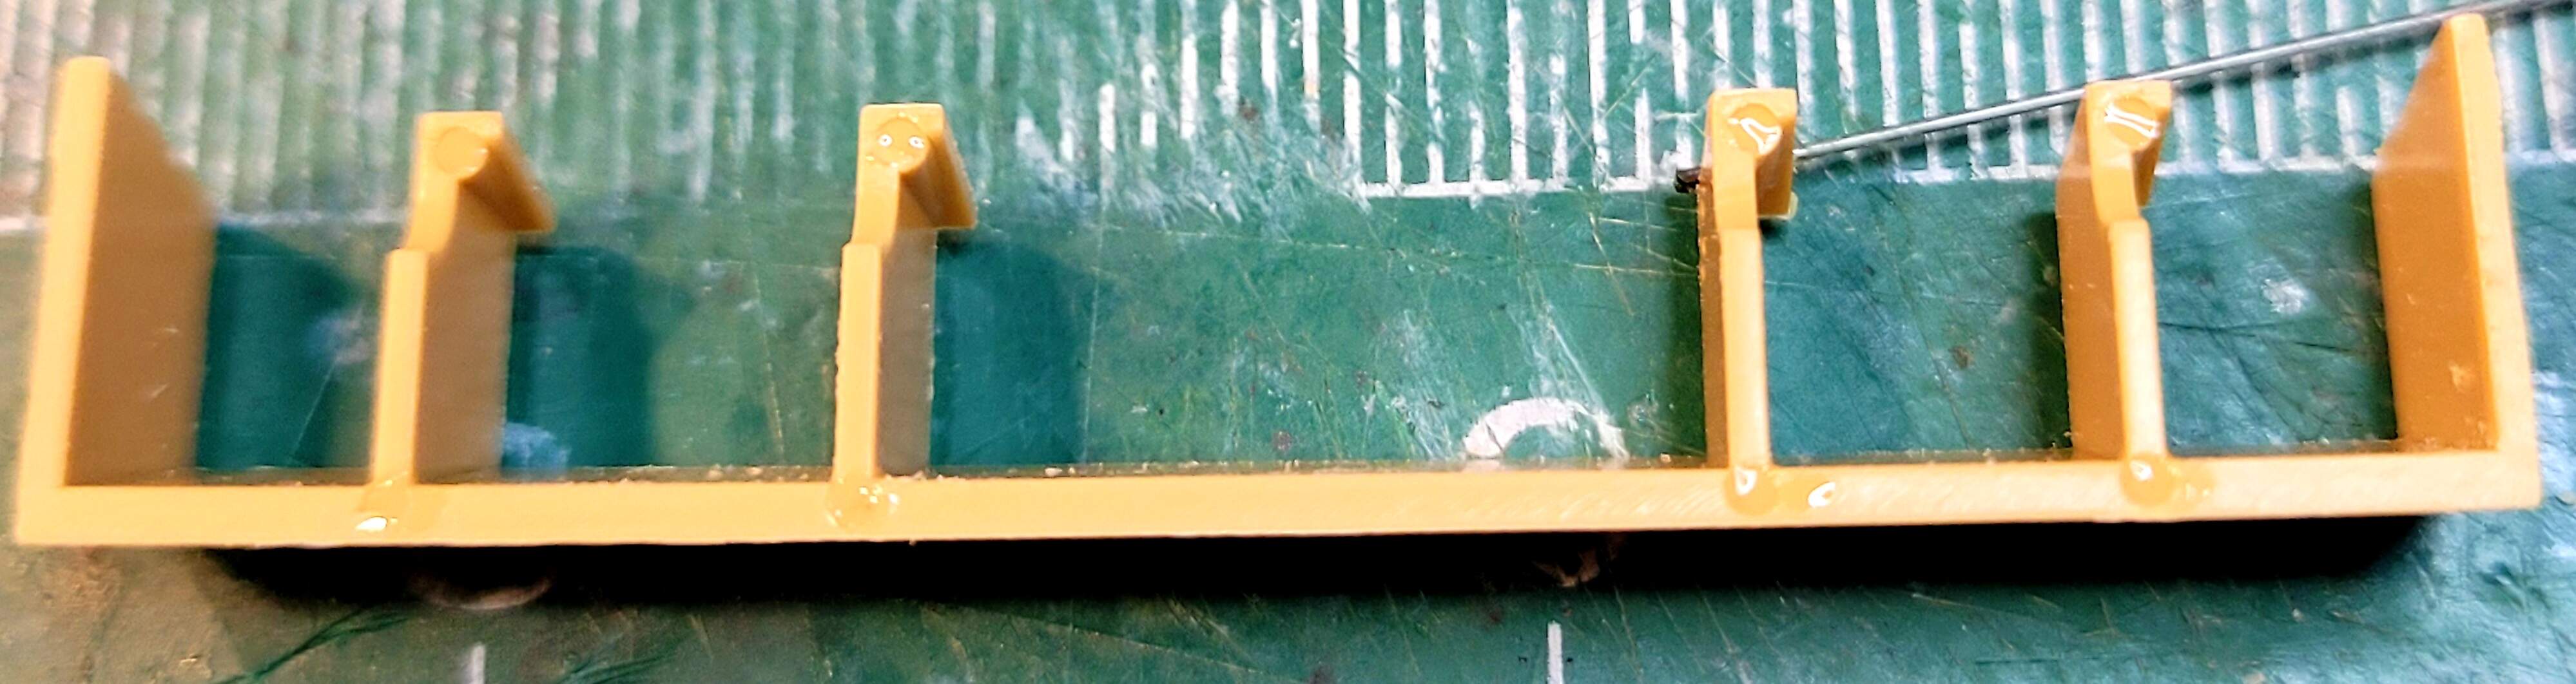
There are a lot of small punch marks where the grill goes. Filling them only takes a minute.
The kit supplied PE fret with rear underside grill and top side grills.
Grill installed
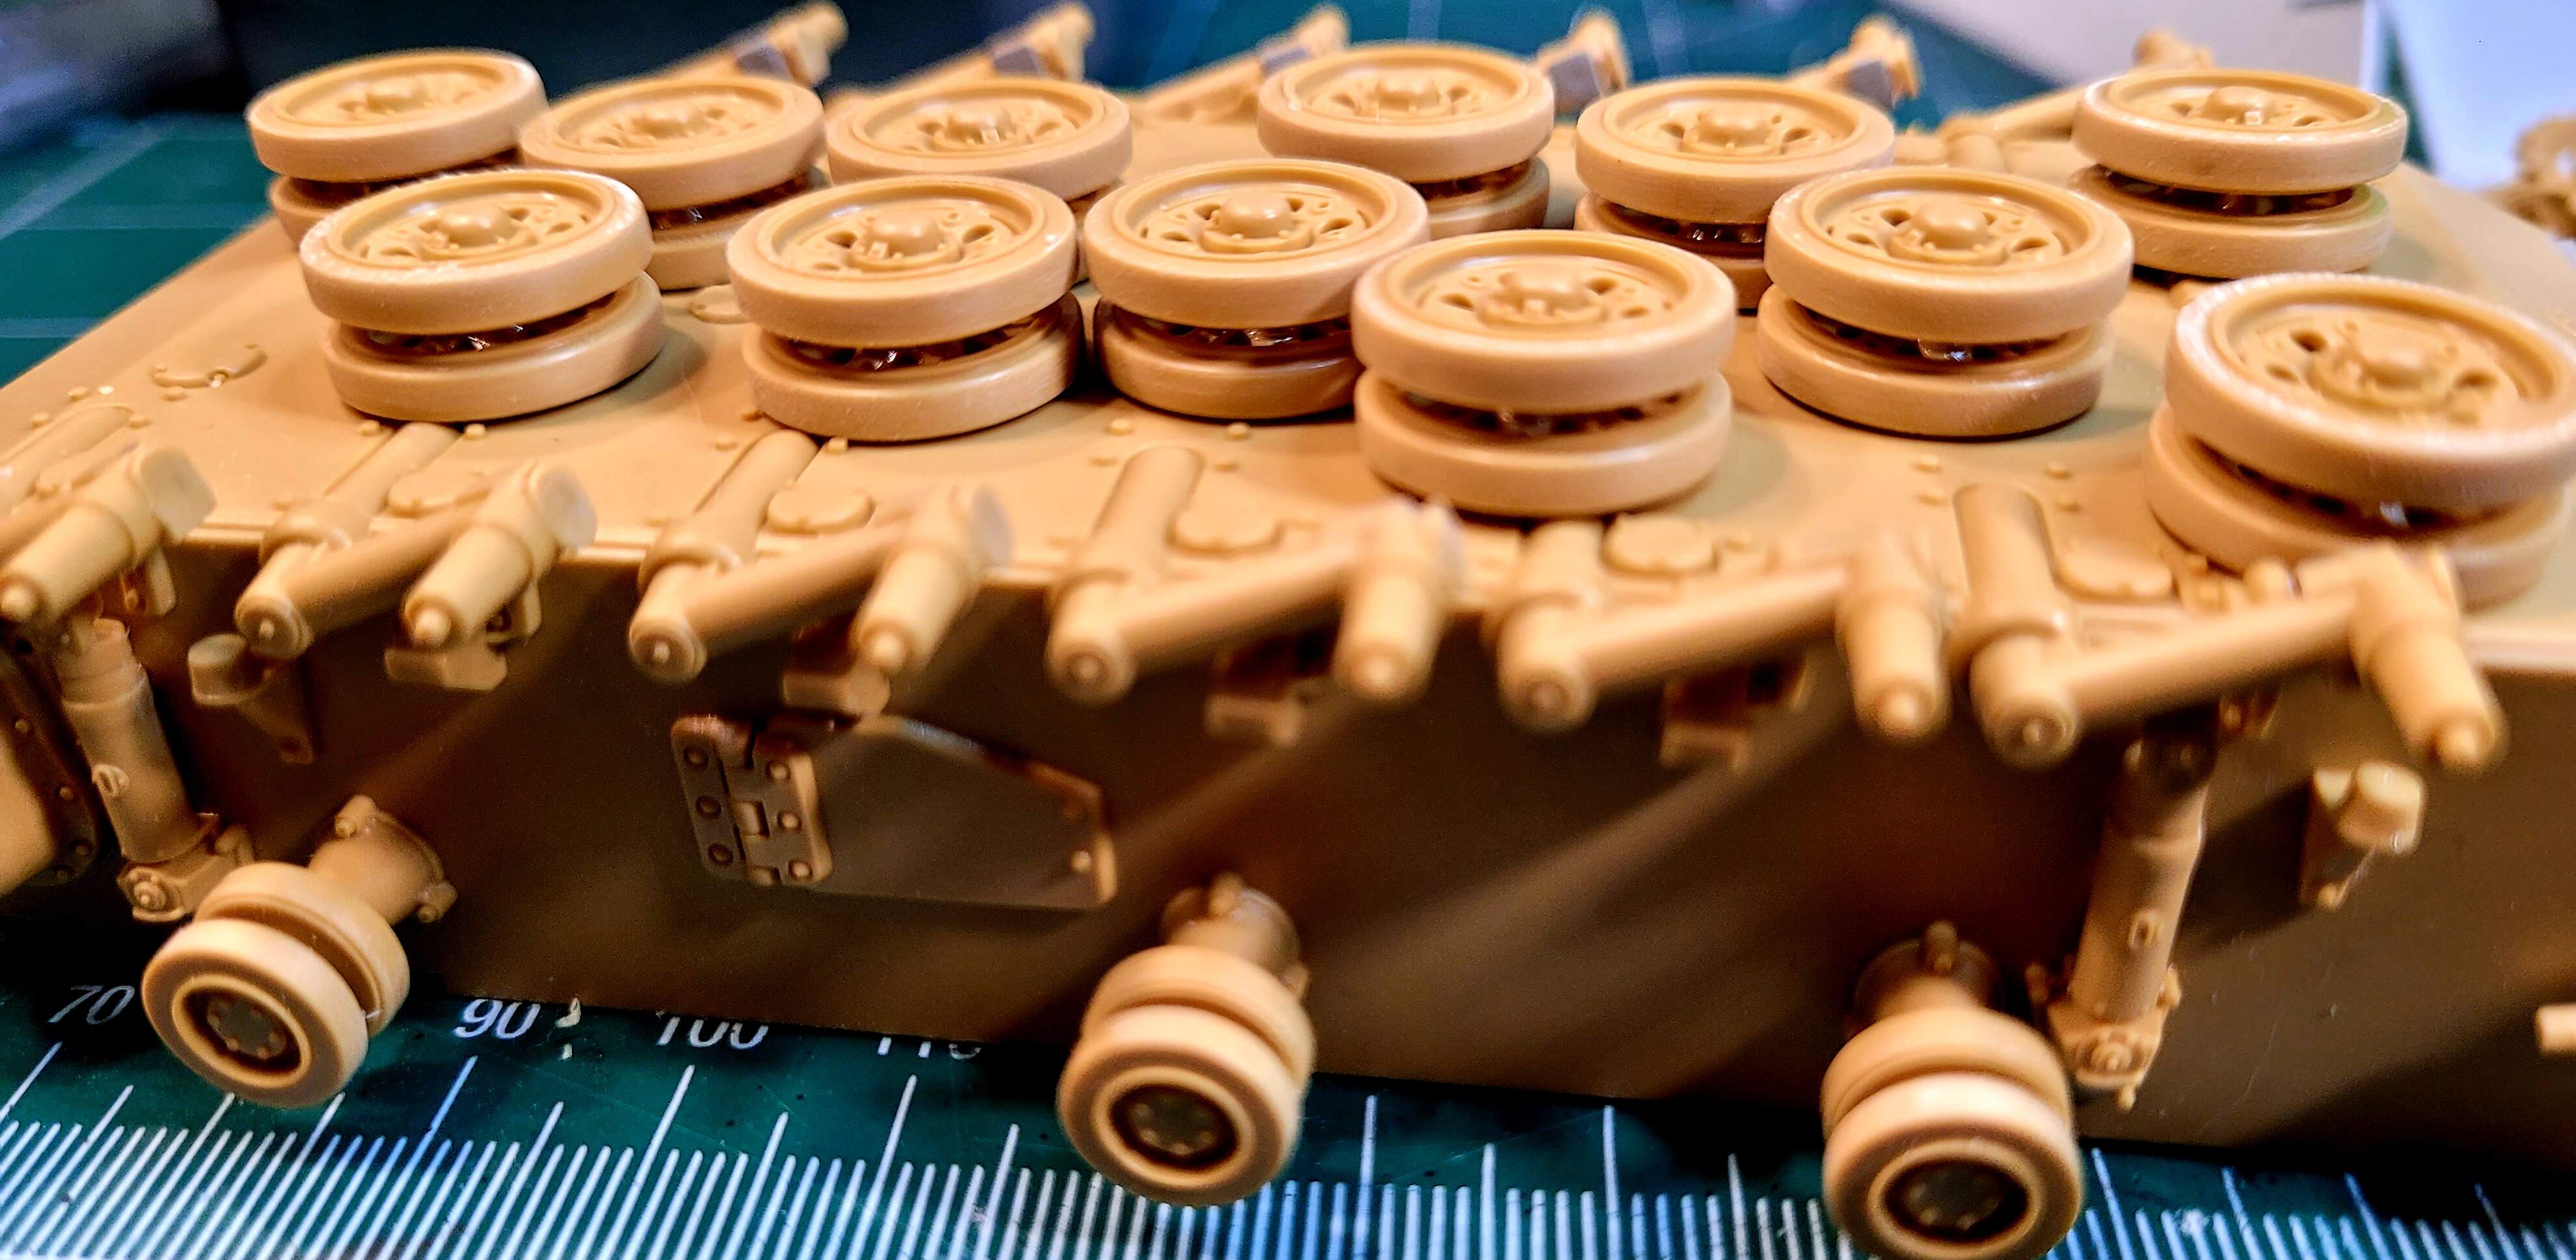
How to De-Burr & Remove Mold Seams from 24 road wheels in 15 minutes
Having had a bad go around with Carpal Tunnel for many years, I learned to hate clean up road wheels with a passion. My CT was fixed long ago but I still use the short cuts for cleaning road wheels.
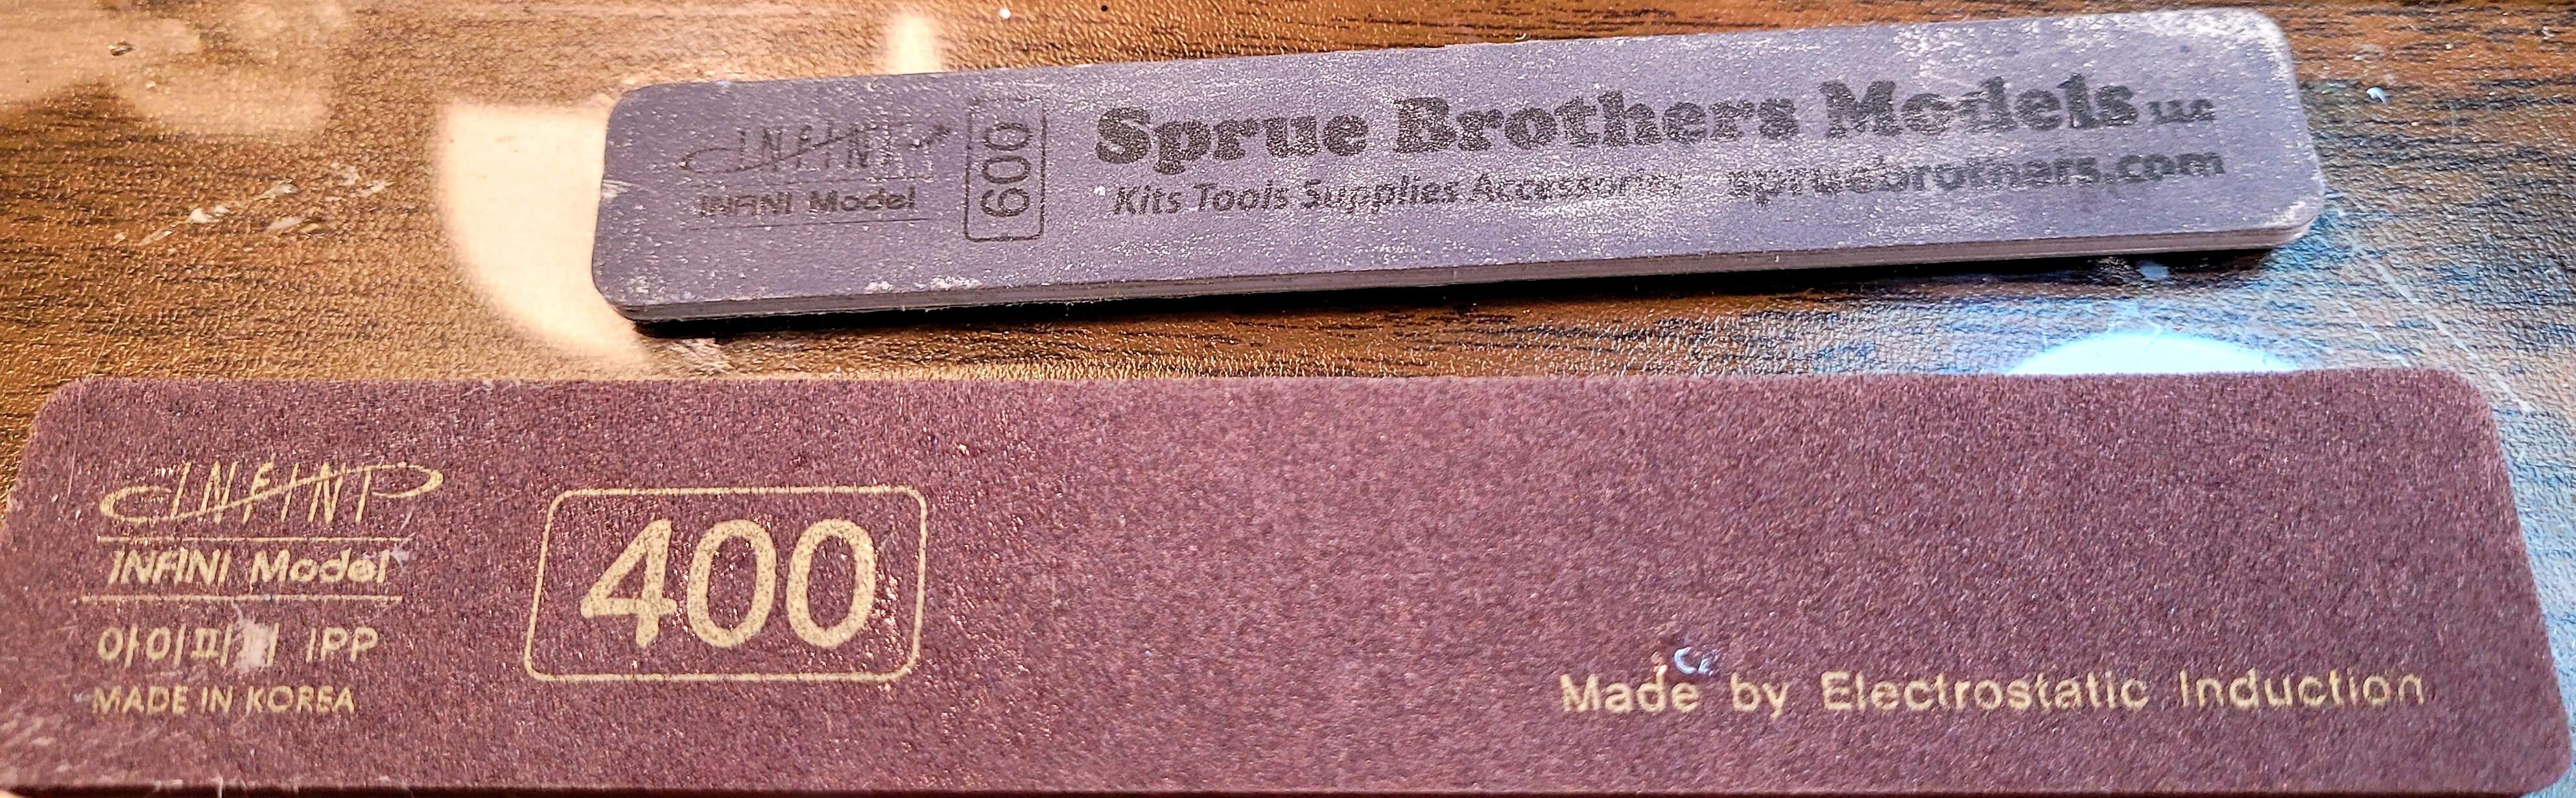
A couple of good sanding sticks about 400 & 600 are needed and water for wet sanding.
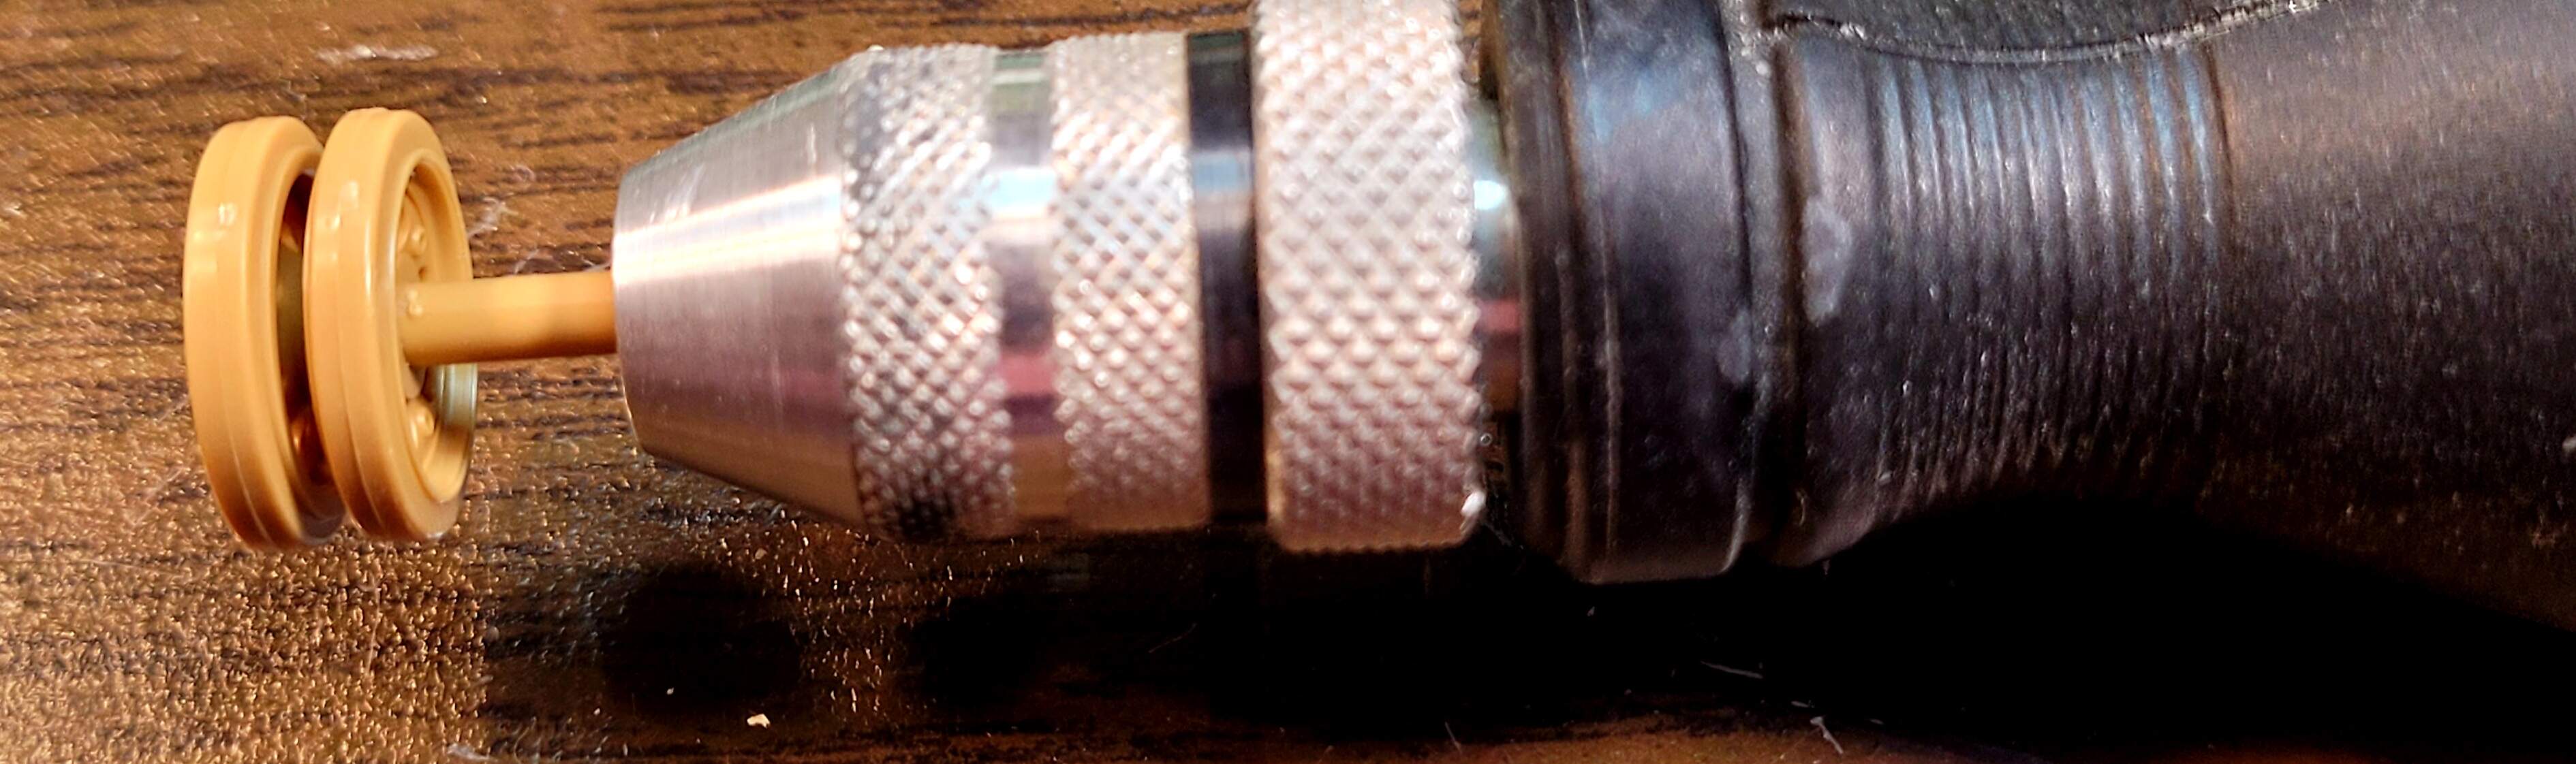
The wheels were cut off the tree with GodHand Nippers and glued together. Allow to fully dry while working on something else.
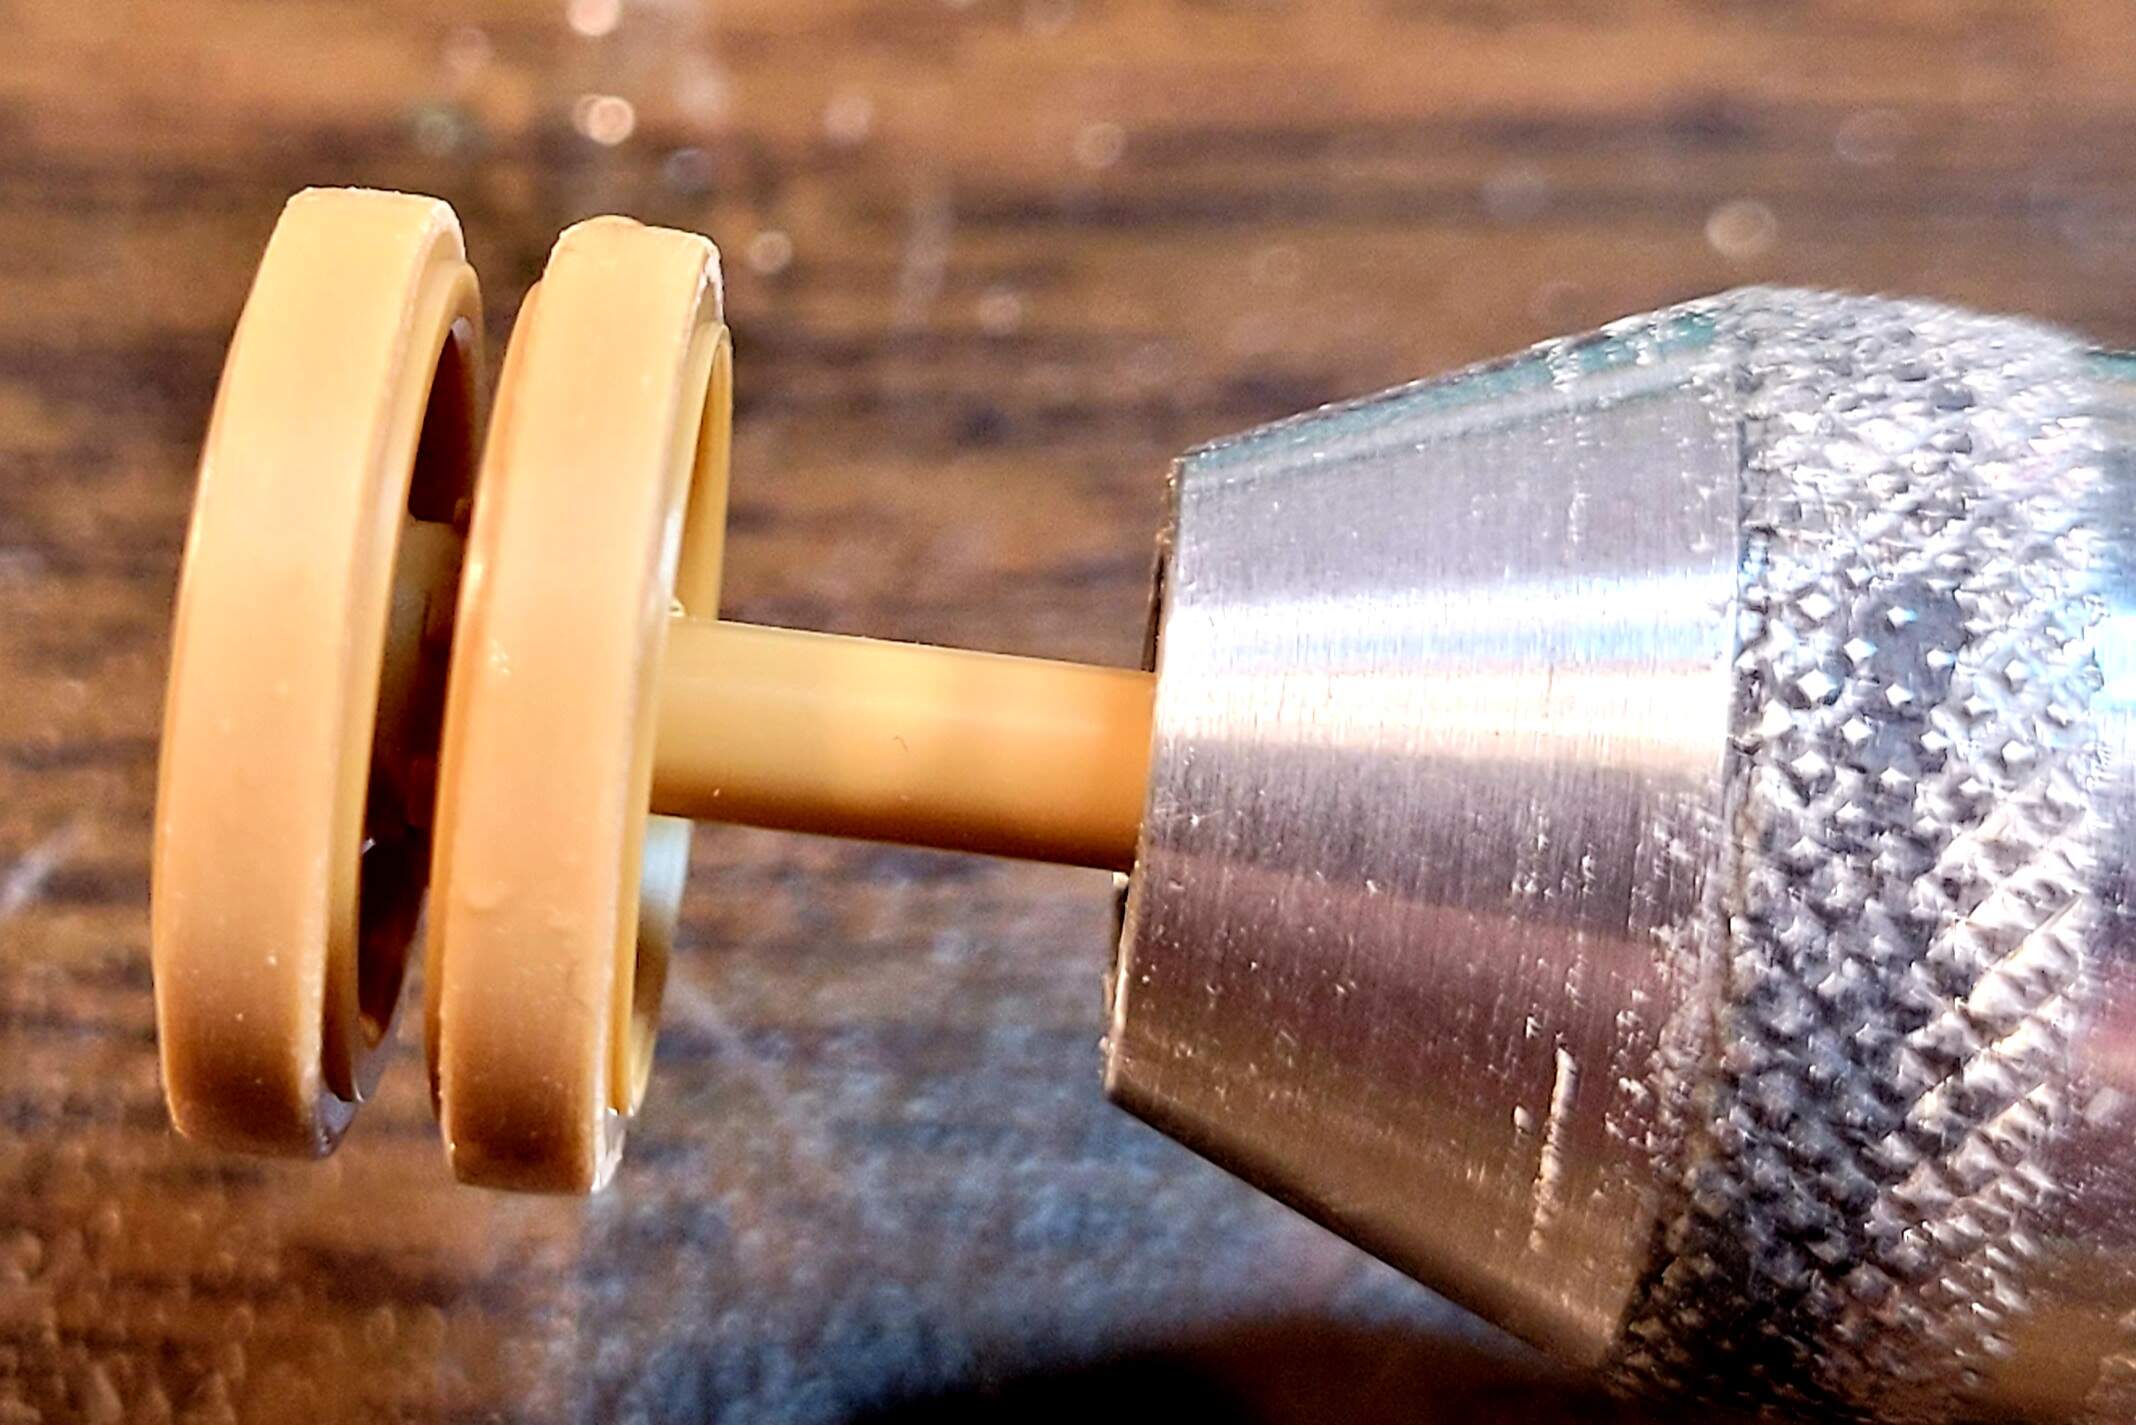
Cut a scrap sprue to fit road wheel. This random runner was a perfect match for the Tamiya wheel. Mount in variable speed drill like this MiniCraft. Set to low speed.
20 to 40 seconds of 400 wet followed by 20 to 30 seconds of 600 wet
!Cleaned up set of road wheels.
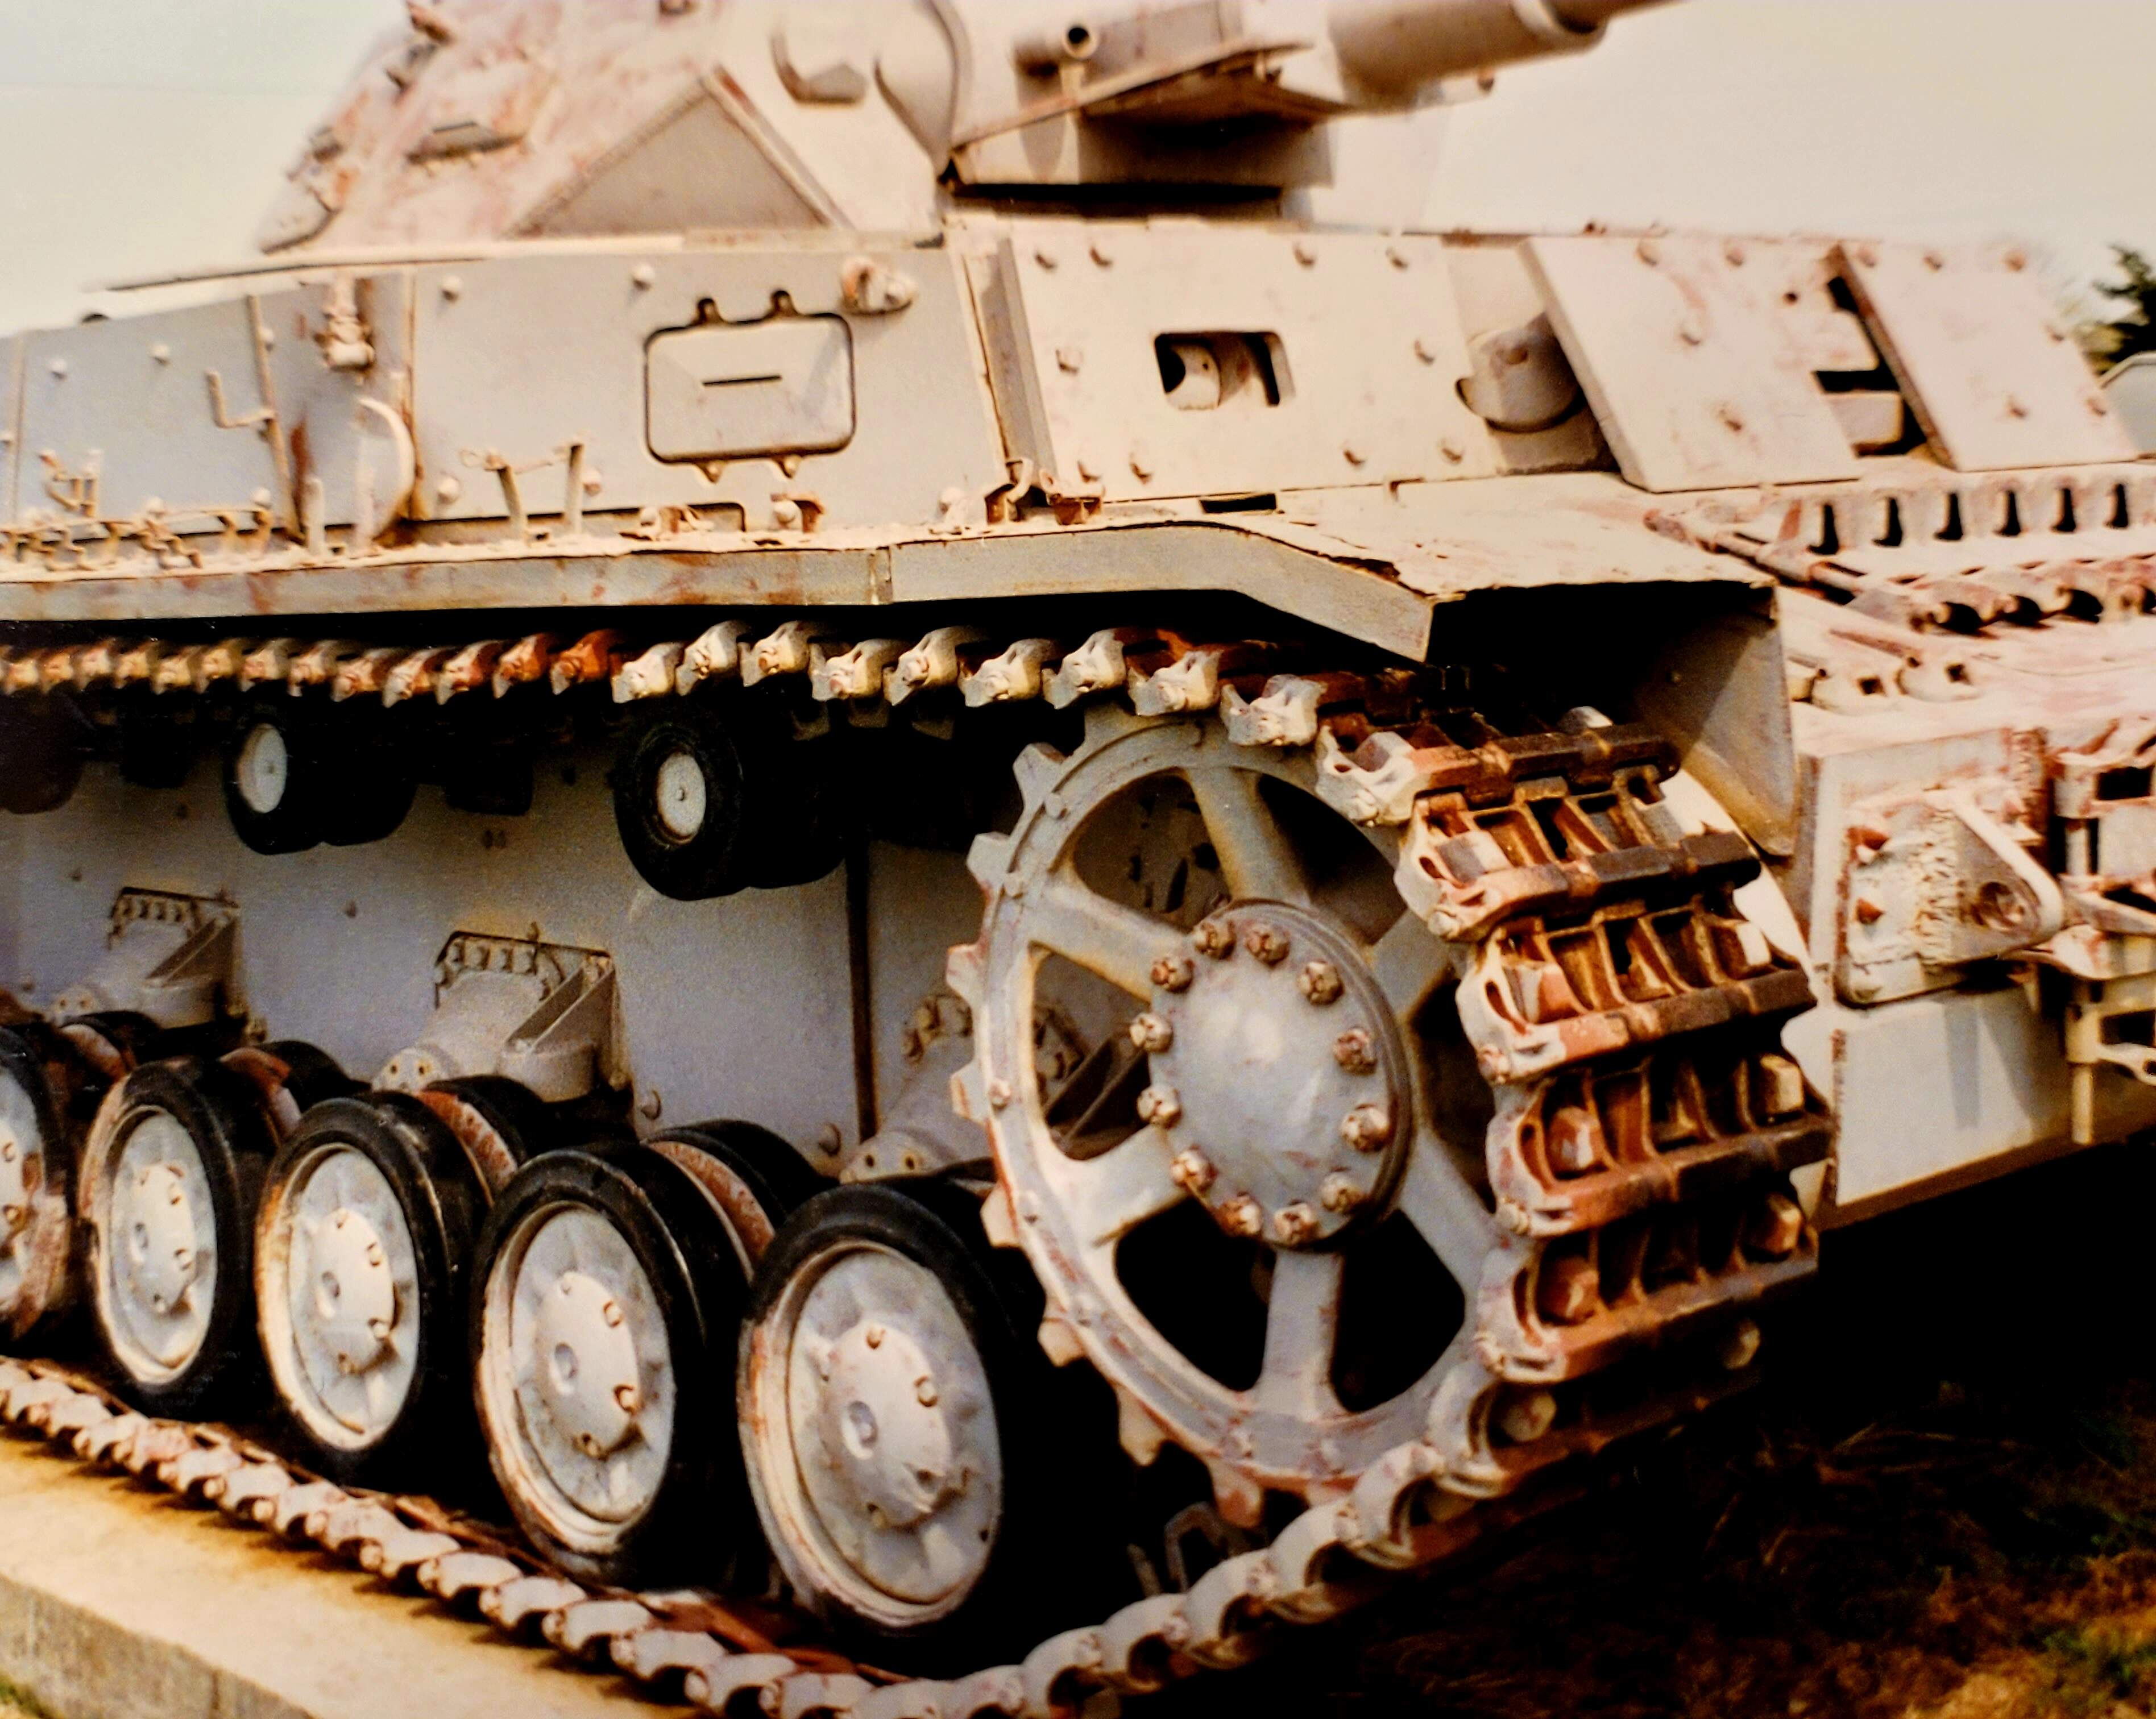
SideBar - Sometimes someone will claim wheels have mold seams so the the mold seam should be left on the wheel.
Here’s a picture I took of a Pz IV E at Aberdeen from about six feet away. The mold seams aren’t very visible. That six feet is the equivalent of looking at a 1/35 scale model from two actual inches away.
From a normal viewing distance of say 1 foot (actual the equivalent of 35 scale feet in 35th scale) - mold seams on rubber wheels are basically invisible at that viewing distance.
While there may be seams when new, it doesn’t take long for them to get worn away with a 35 ton tank rolling over them. Unlike you I still do the road wheels the old fashioned way. Strange as it may seem I kind of enjoy doing it as it is such a mindless process you can kind of just zone out. 
DV that’s uber hard core enjoying doing road wheels! My limit is individual track links which I enjoy doing but road wheels no thanks!
Takom do seem to be hit and miss on their kits, especially some of their new stuff. I loved building my Chieftain, Rhino G6 and M-46. I despised their 1/4 ton (Willies) Jeep. It almost ended up thrown against a wall.
@McRunty Roy thank you for posting!
Seeing the Talom Chieftain kit was the what convinced me to try a couple of Takom kits.
Heard this is the most common sight in hobby rooms with lots of Takom kits…wink.
I feel better about the Takom Chieftain in the stash reading that. Hopefully theTakom Fries Crane & steel wheel Panther G in the stash will be a good kits too.
I won’t buy another Takom kit without reading at least three solid views of it.
Sorry to hear about your Issues with the Takom kit. I’ve built most of their T55s and a good many of many of their others without any real issues. At least nothing that would keep me from purchasing them again. Perhaps it was just this particular kit as I have really not heard anything bad about Takom in general. Despite your problems with it you have managed a clean build.
Thank you DV. I honestly expected to be singing Takom praises that was why I started the thread with their kit. Maybe my kit was just the rare turd of a kit where the injection molding machine operator let the machine run hot or out of SOC’s etc.
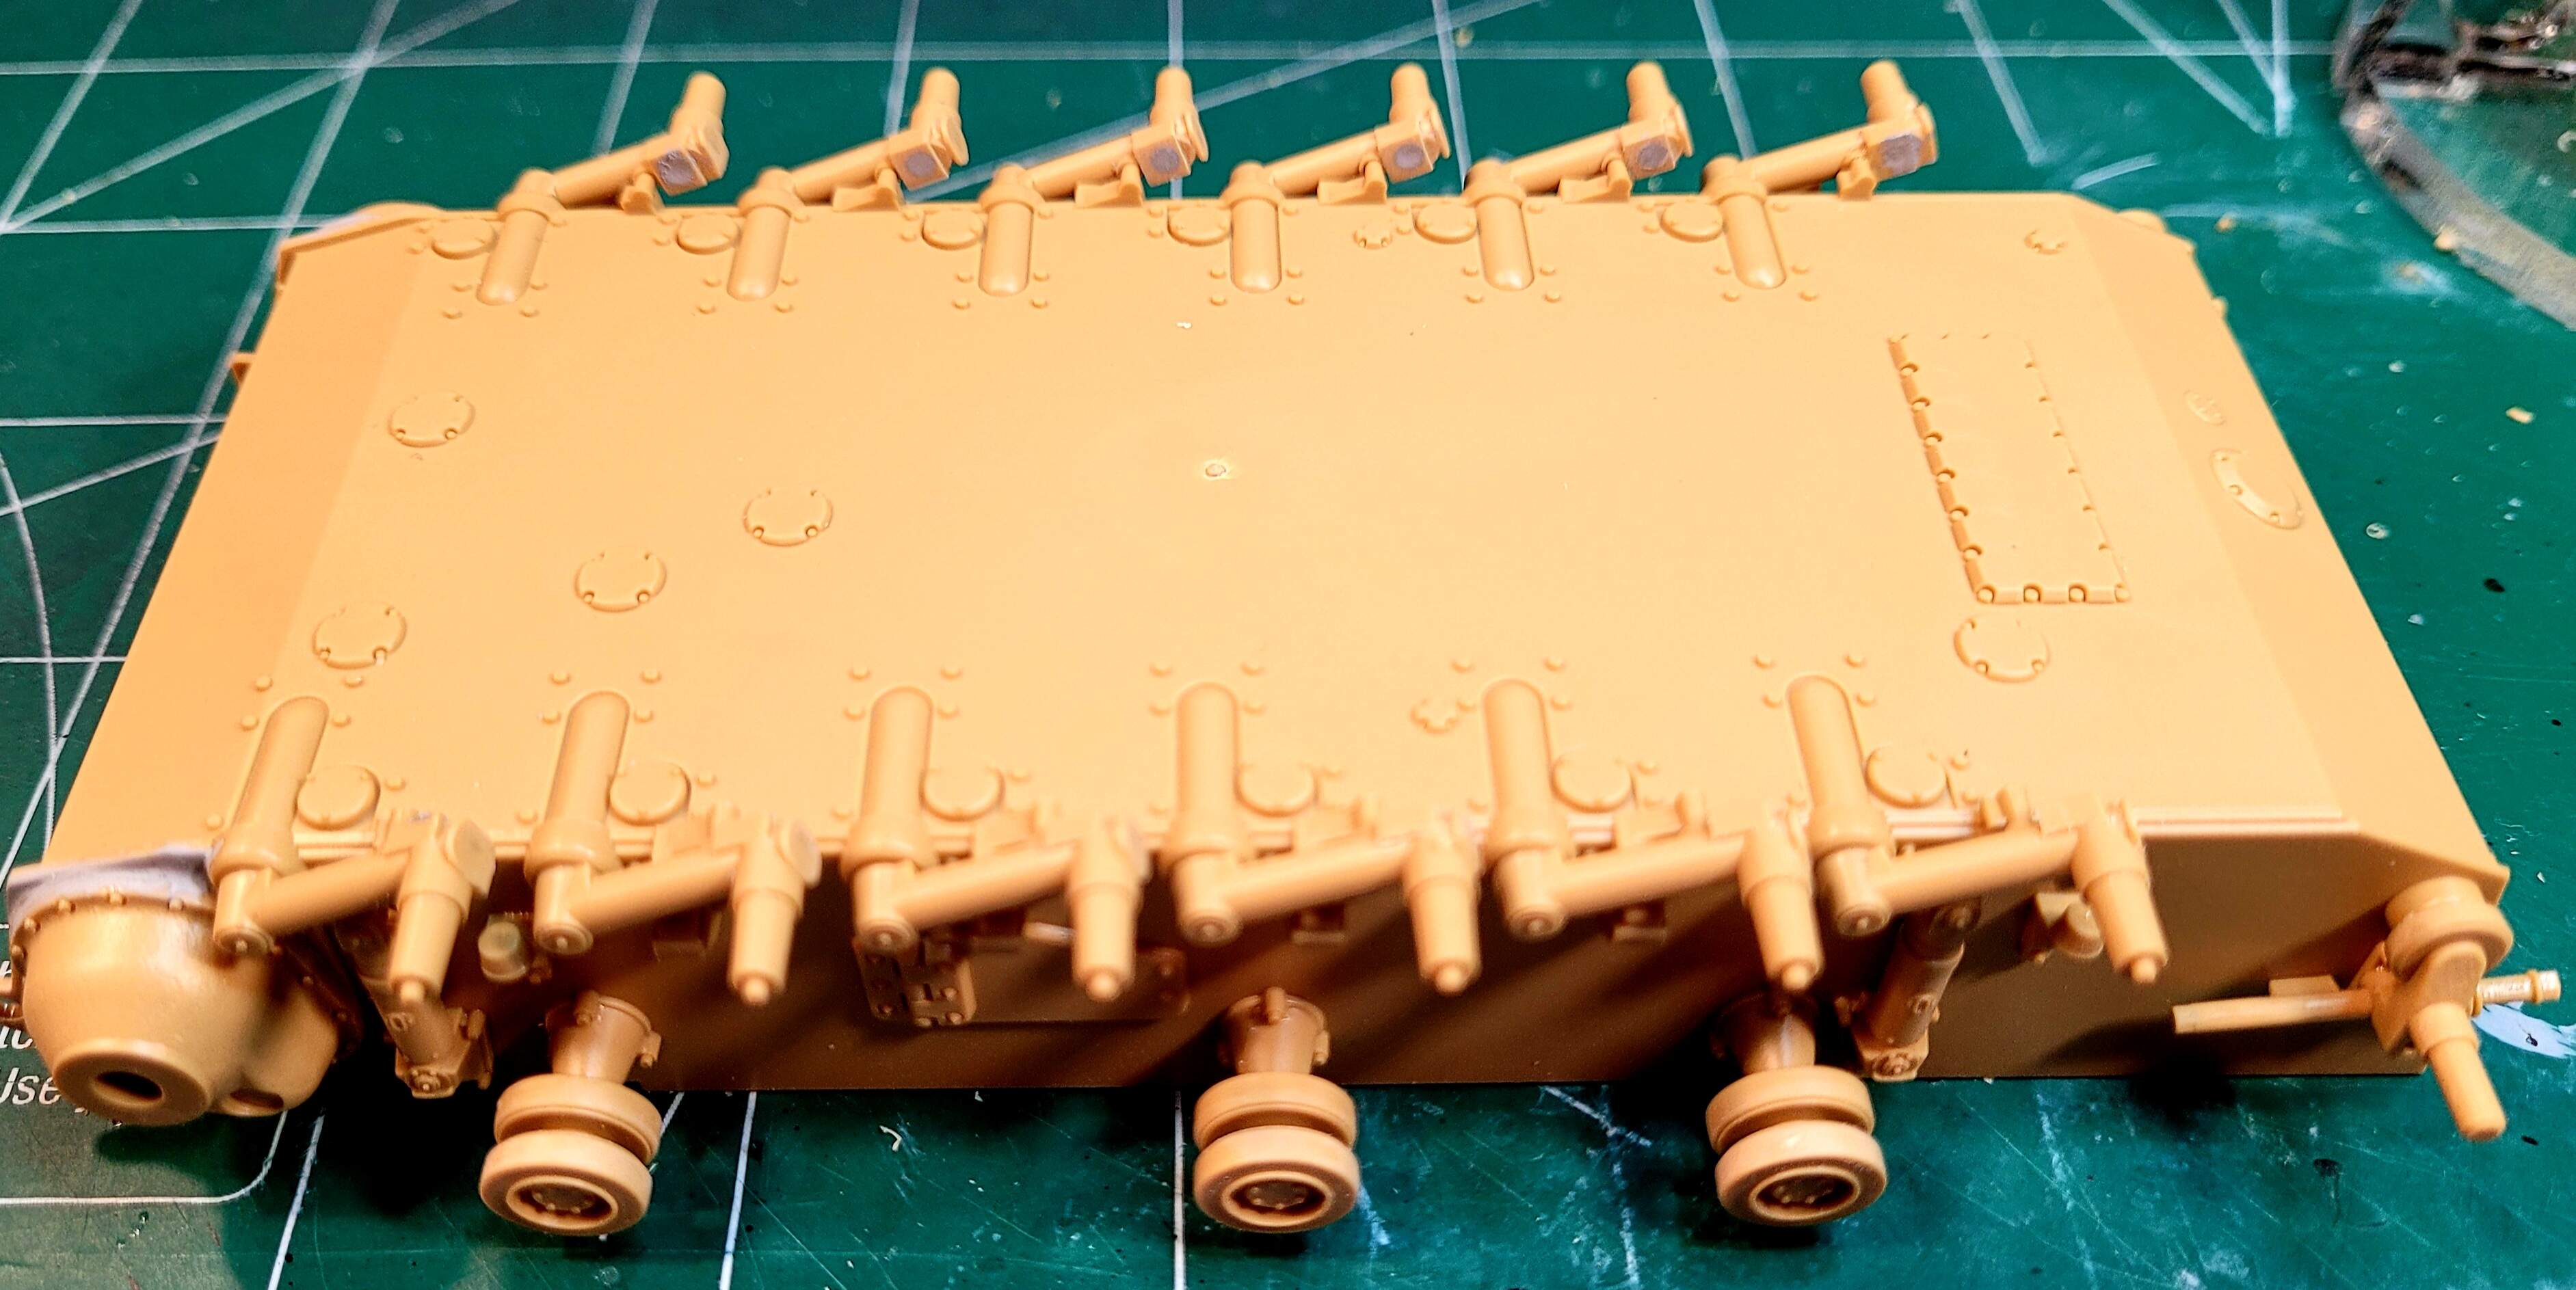
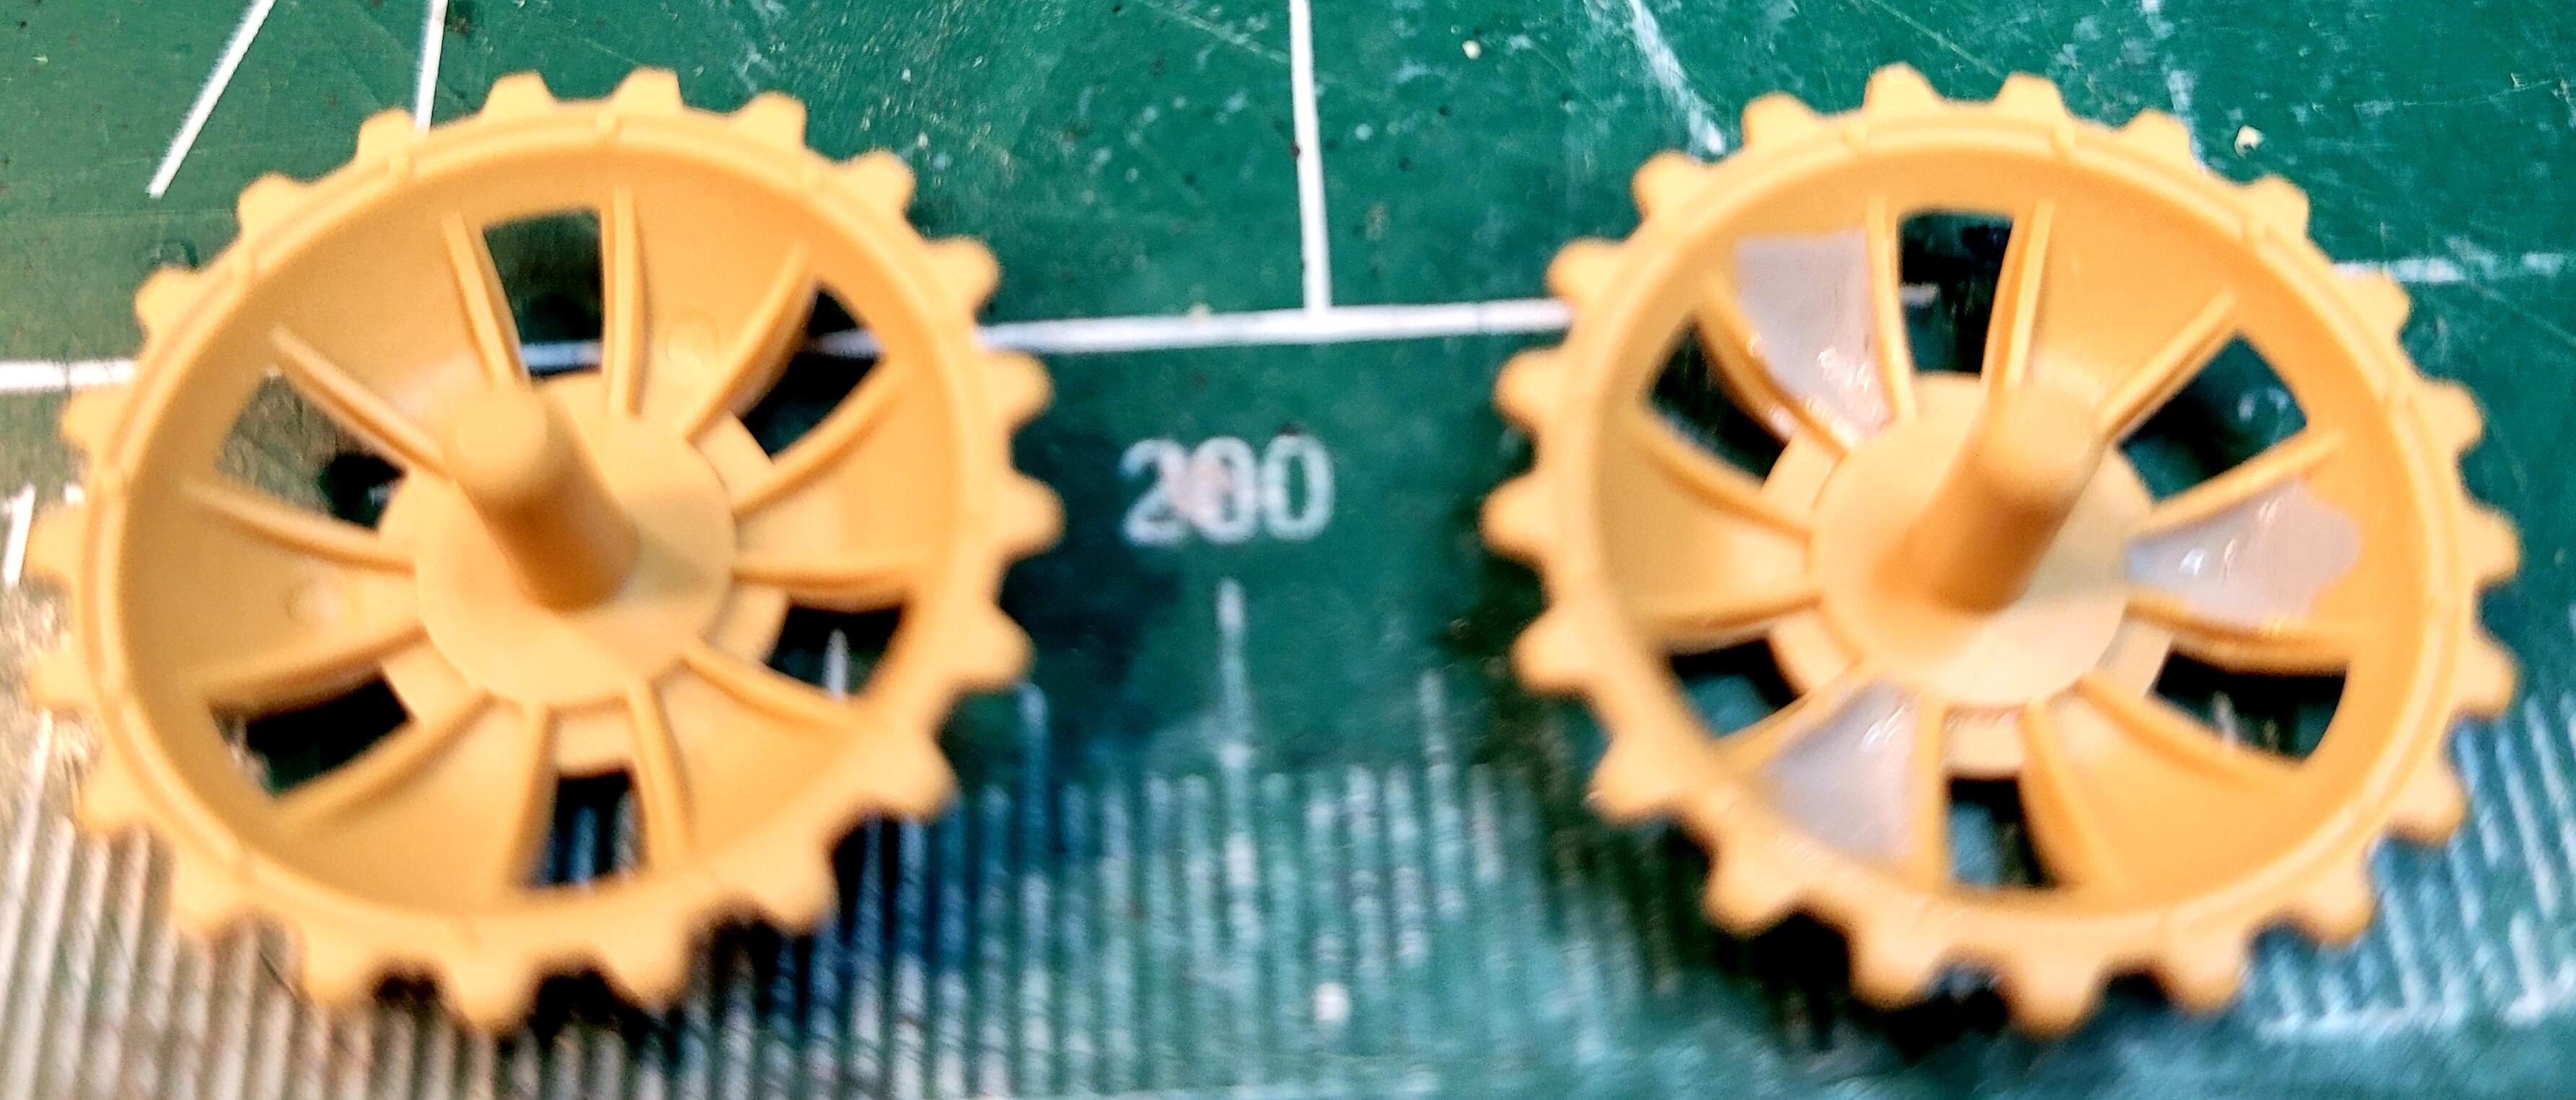
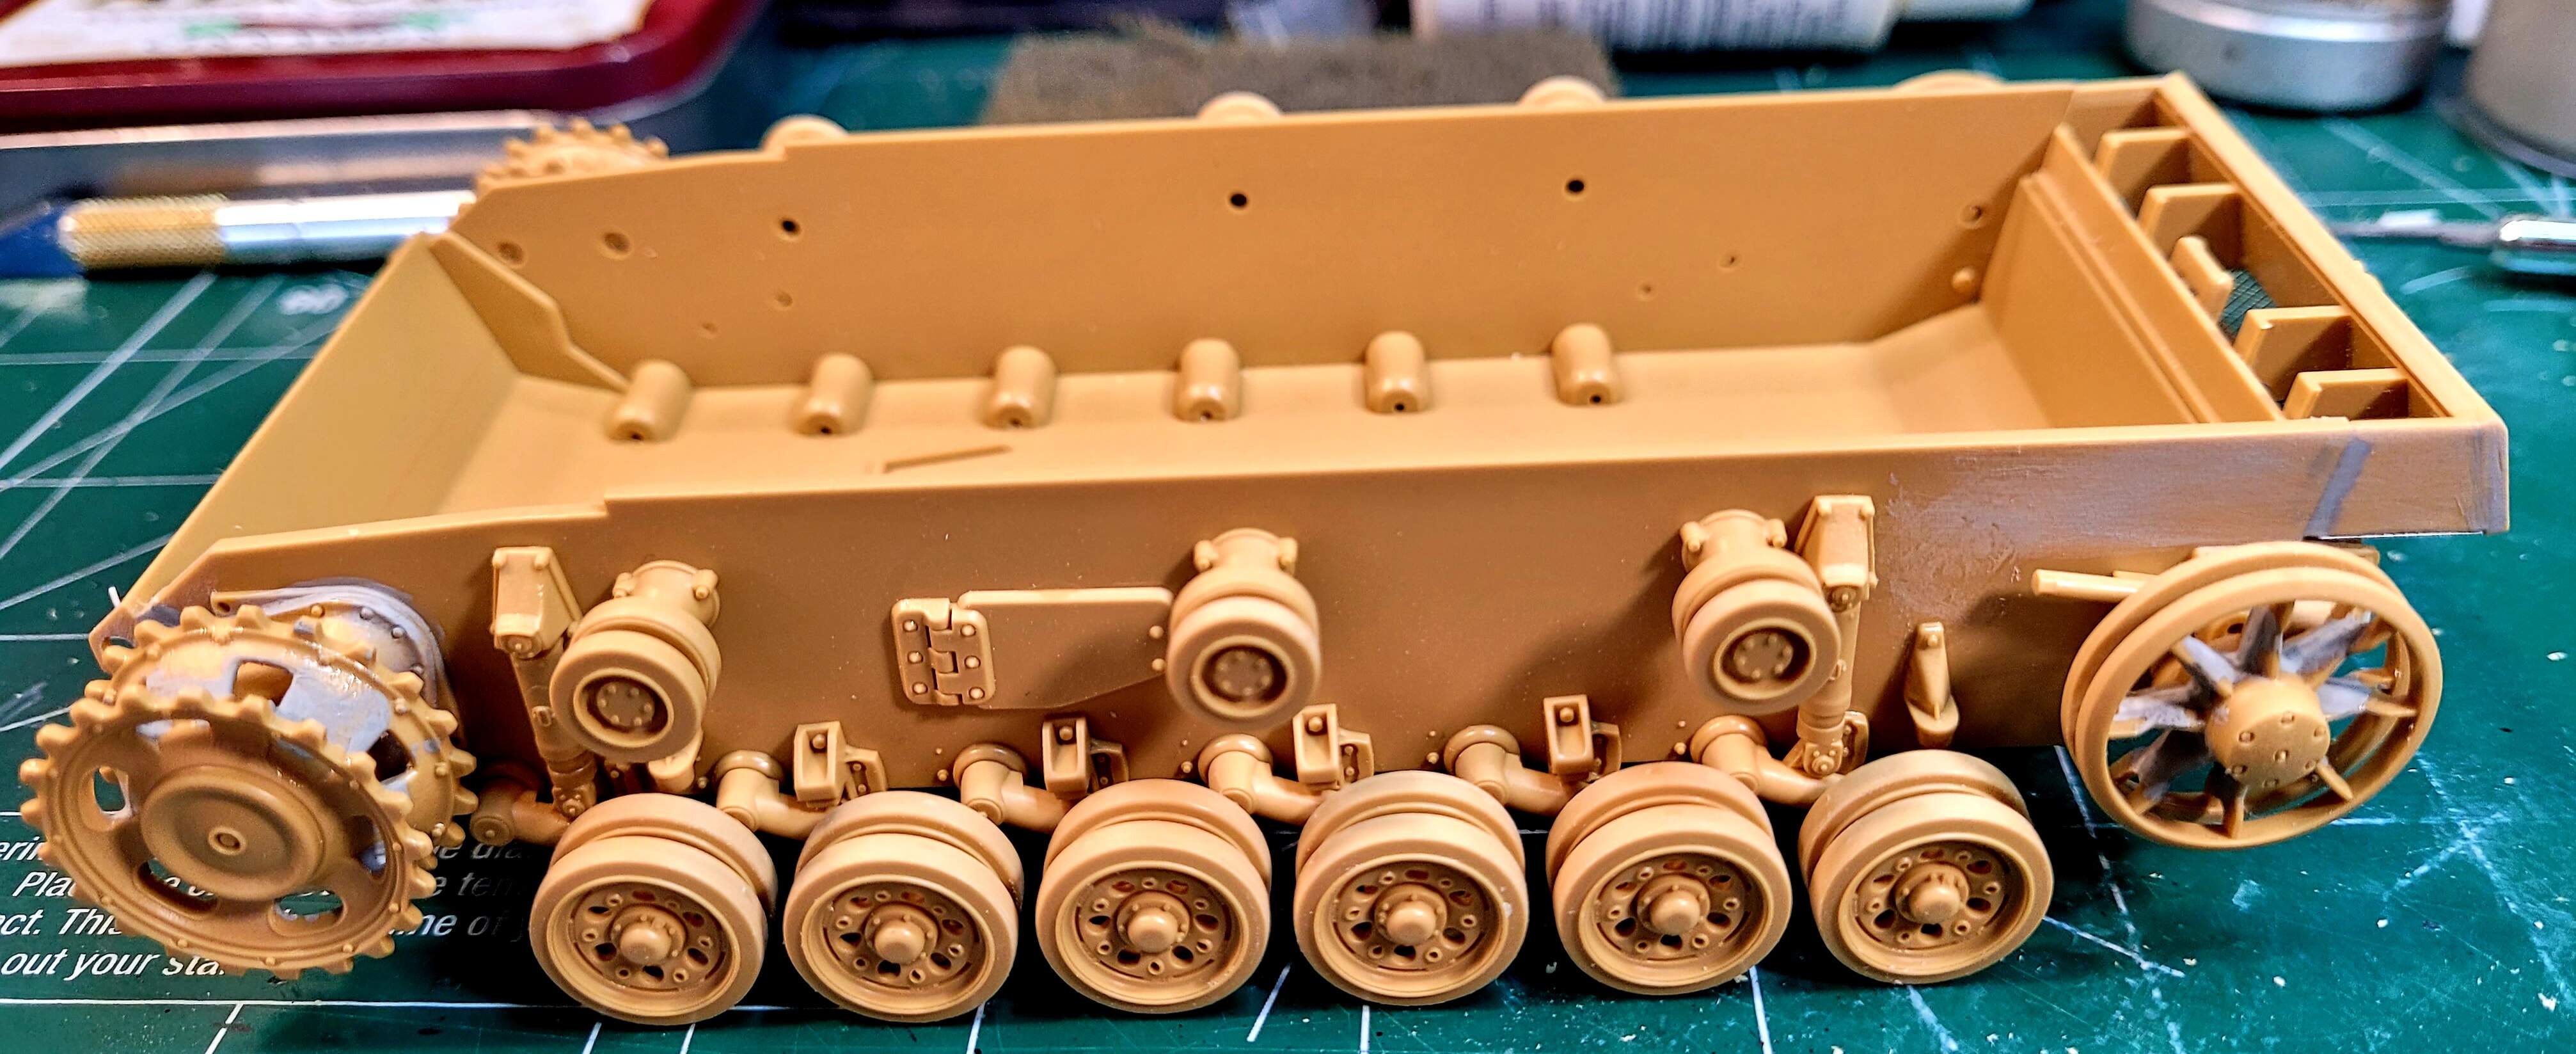
Step 4 < 1 hour 15 minutes > total 4 hours 22 minutes
The wheels went well as mentioned above. There’s some clean up with the sprockets three punch marks hiding in plane sight to fix.
With running gear
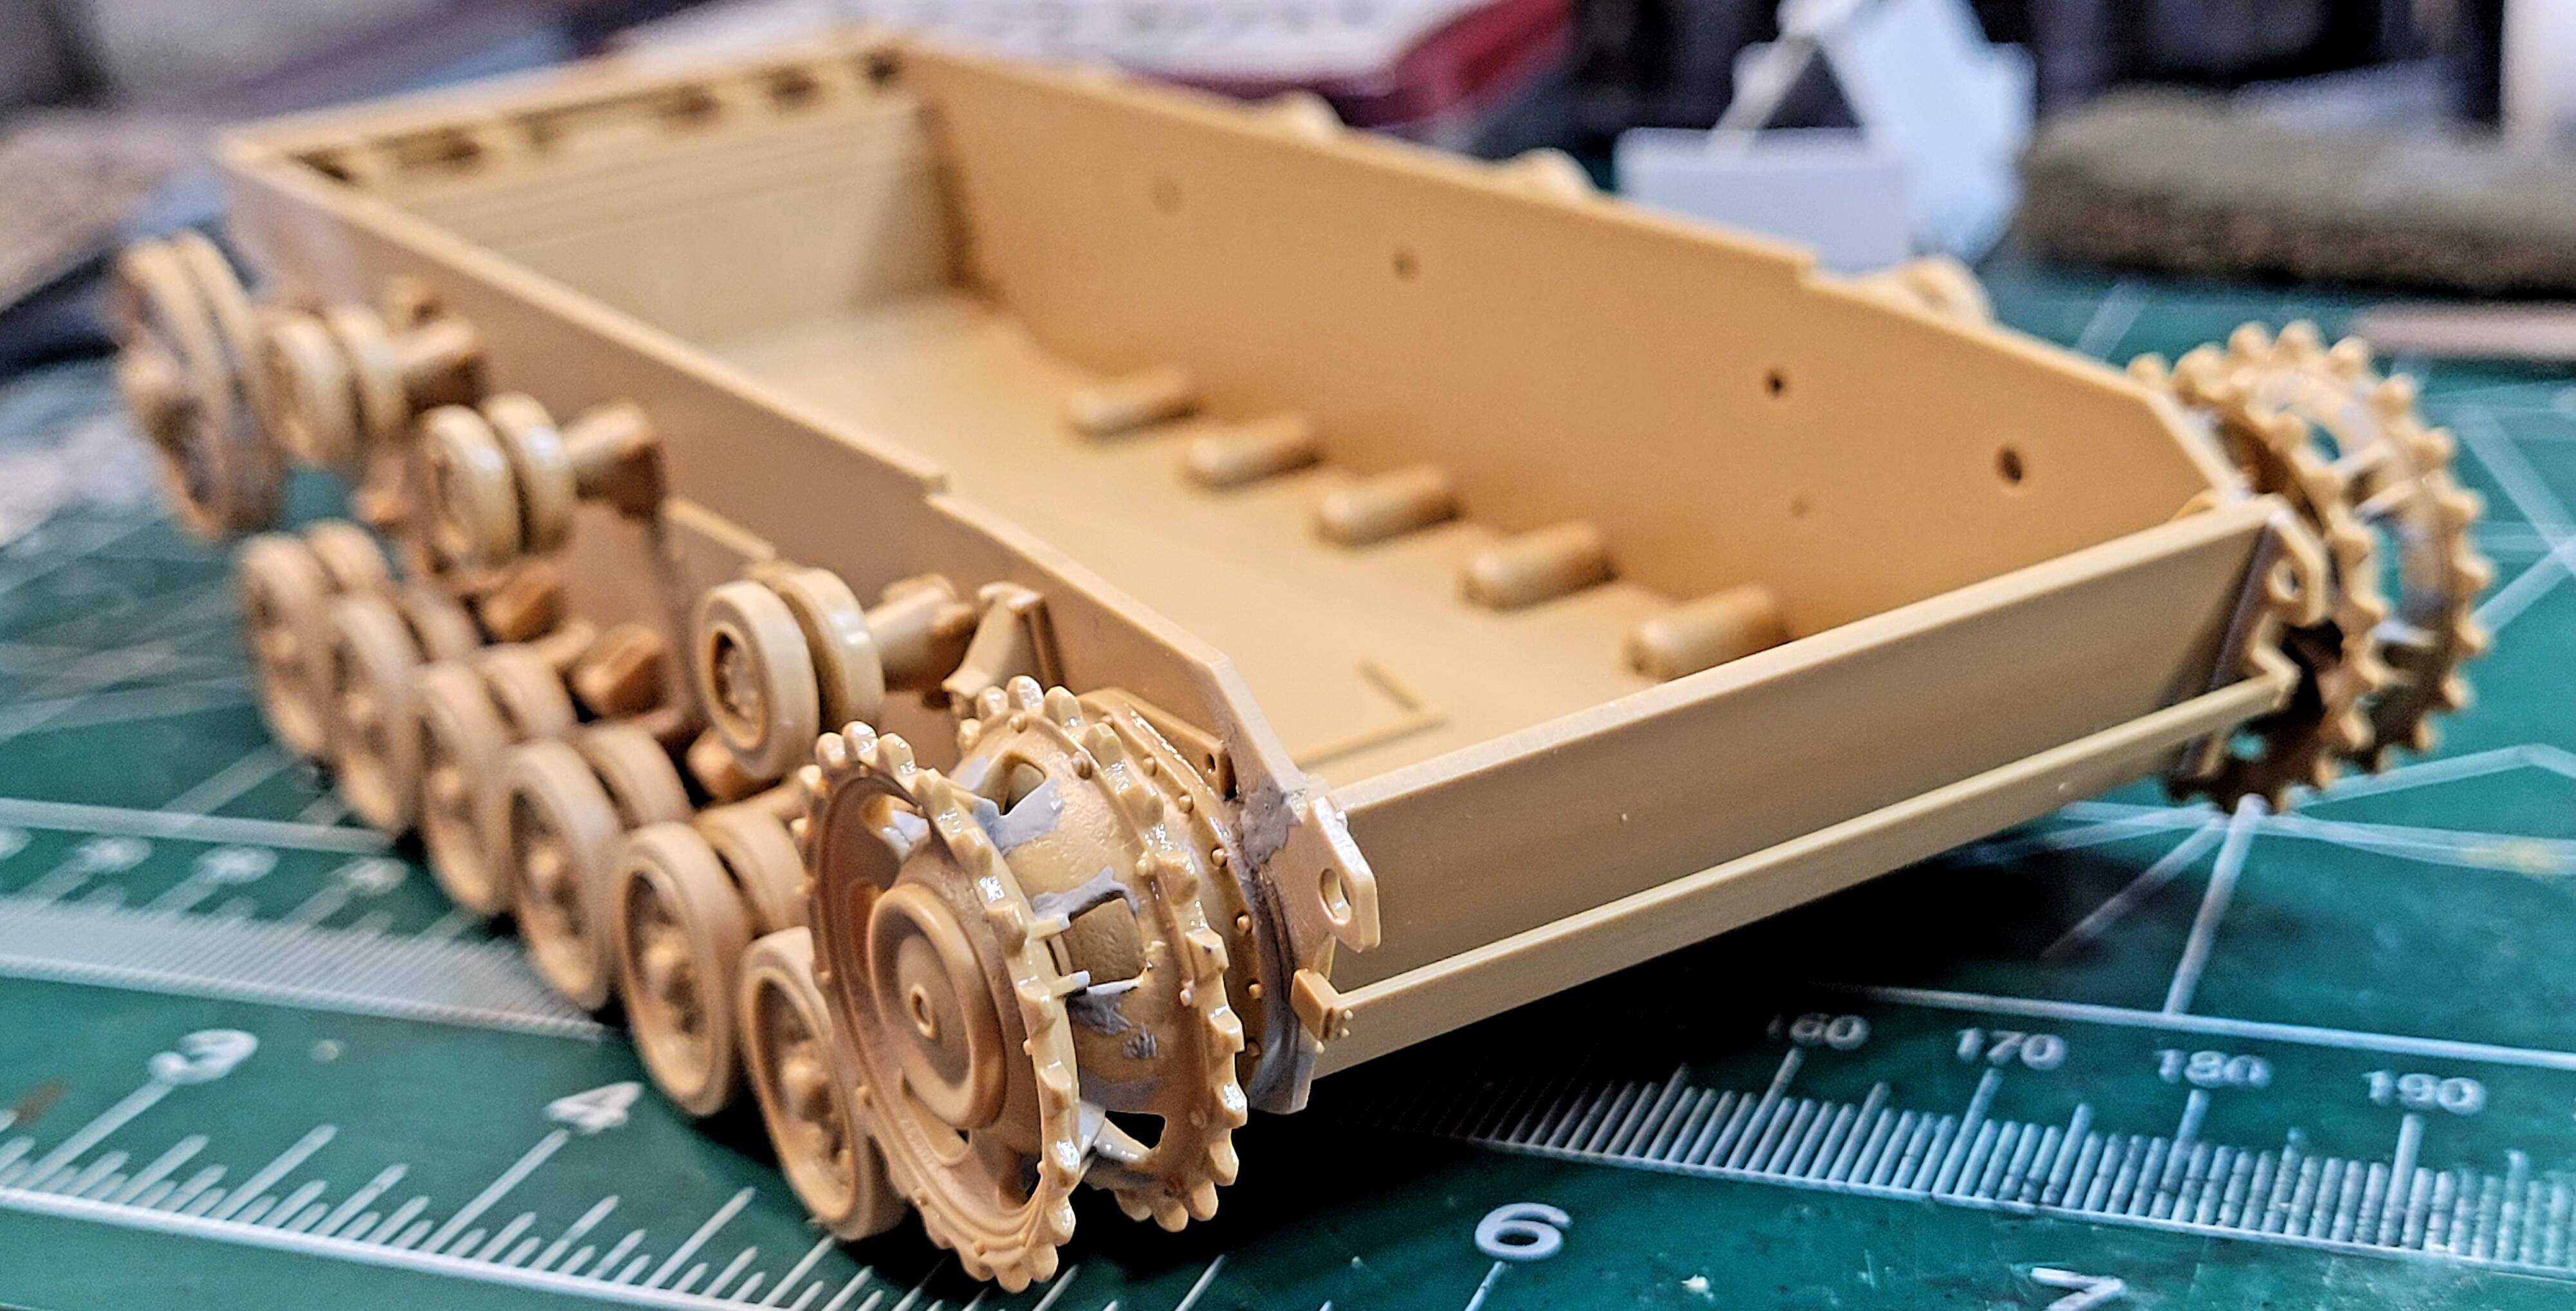
Step 5 <5 minutes > total time 4 hours 27 minutes
The spare track on the front will be added later. Just the track holder to add. Also added two welds to the nose.
Note - reaching the same stage of completion of the lower hull took 4 hours 27 minutes for the Tamiya kit and 10 hours 40 minutes with,the Takom. The Takom kit does have better detail but you really don’t get much for more than twice the work and time in my opinion.
An old dog  has his day…
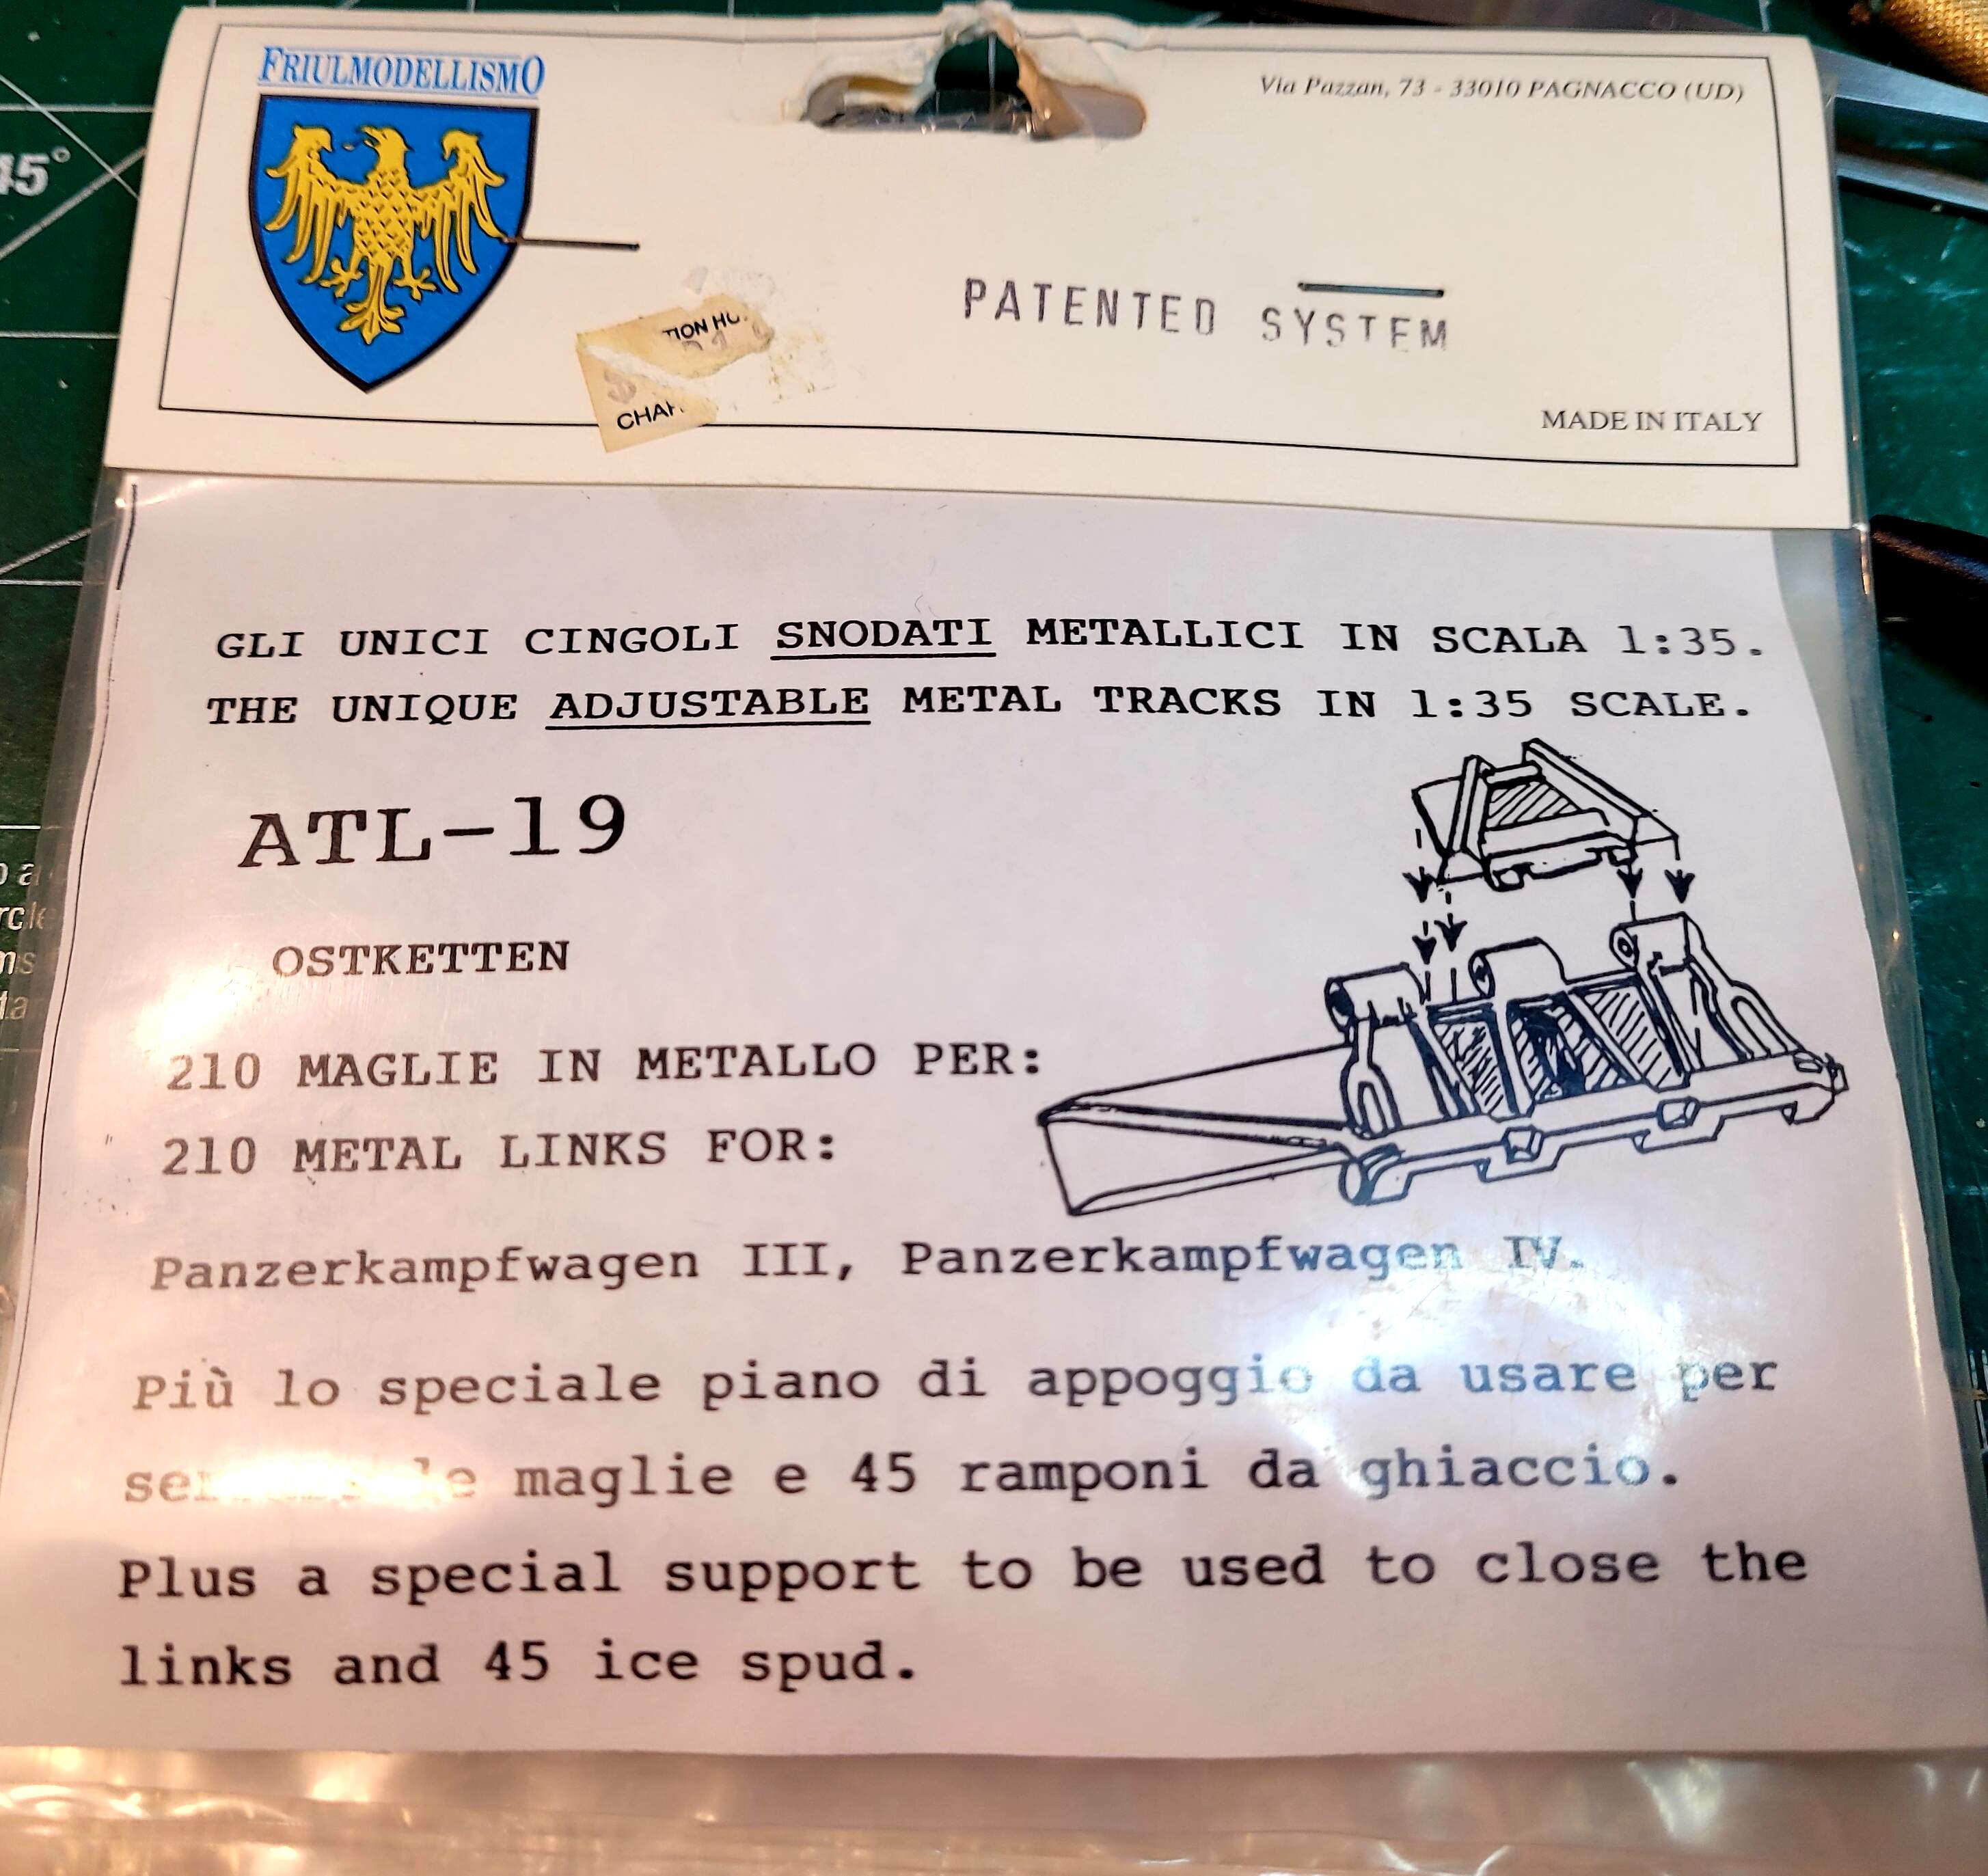
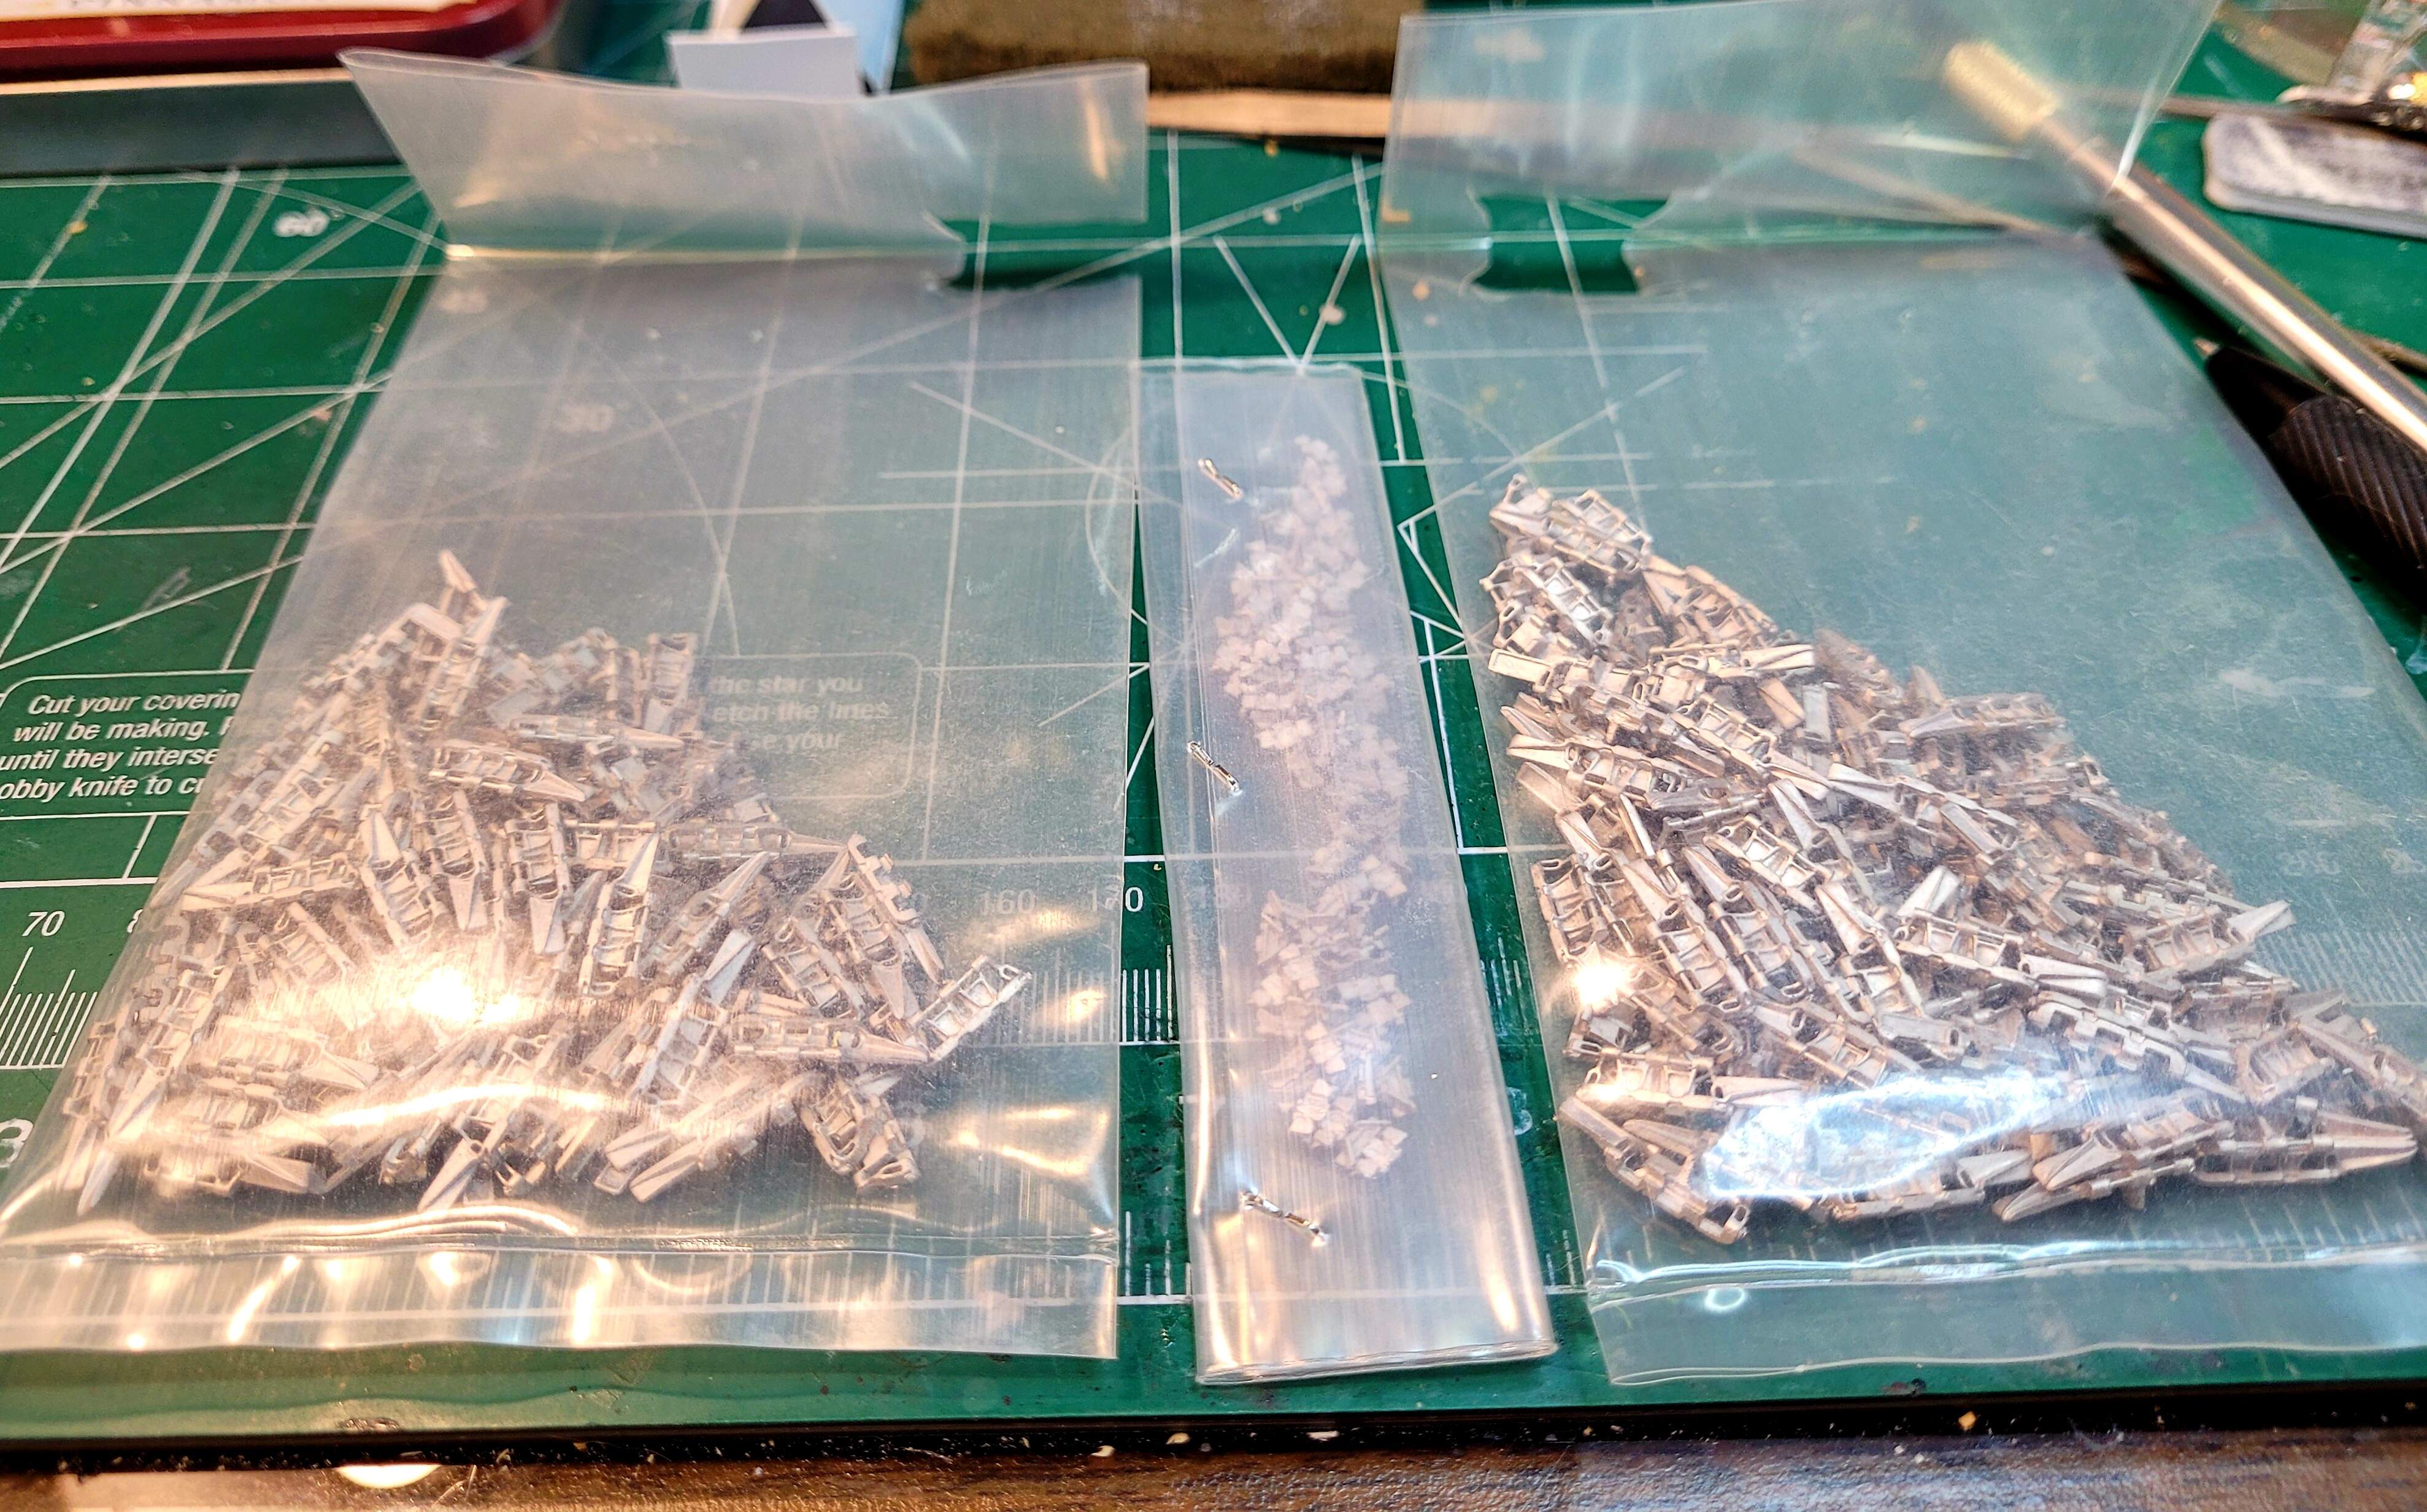
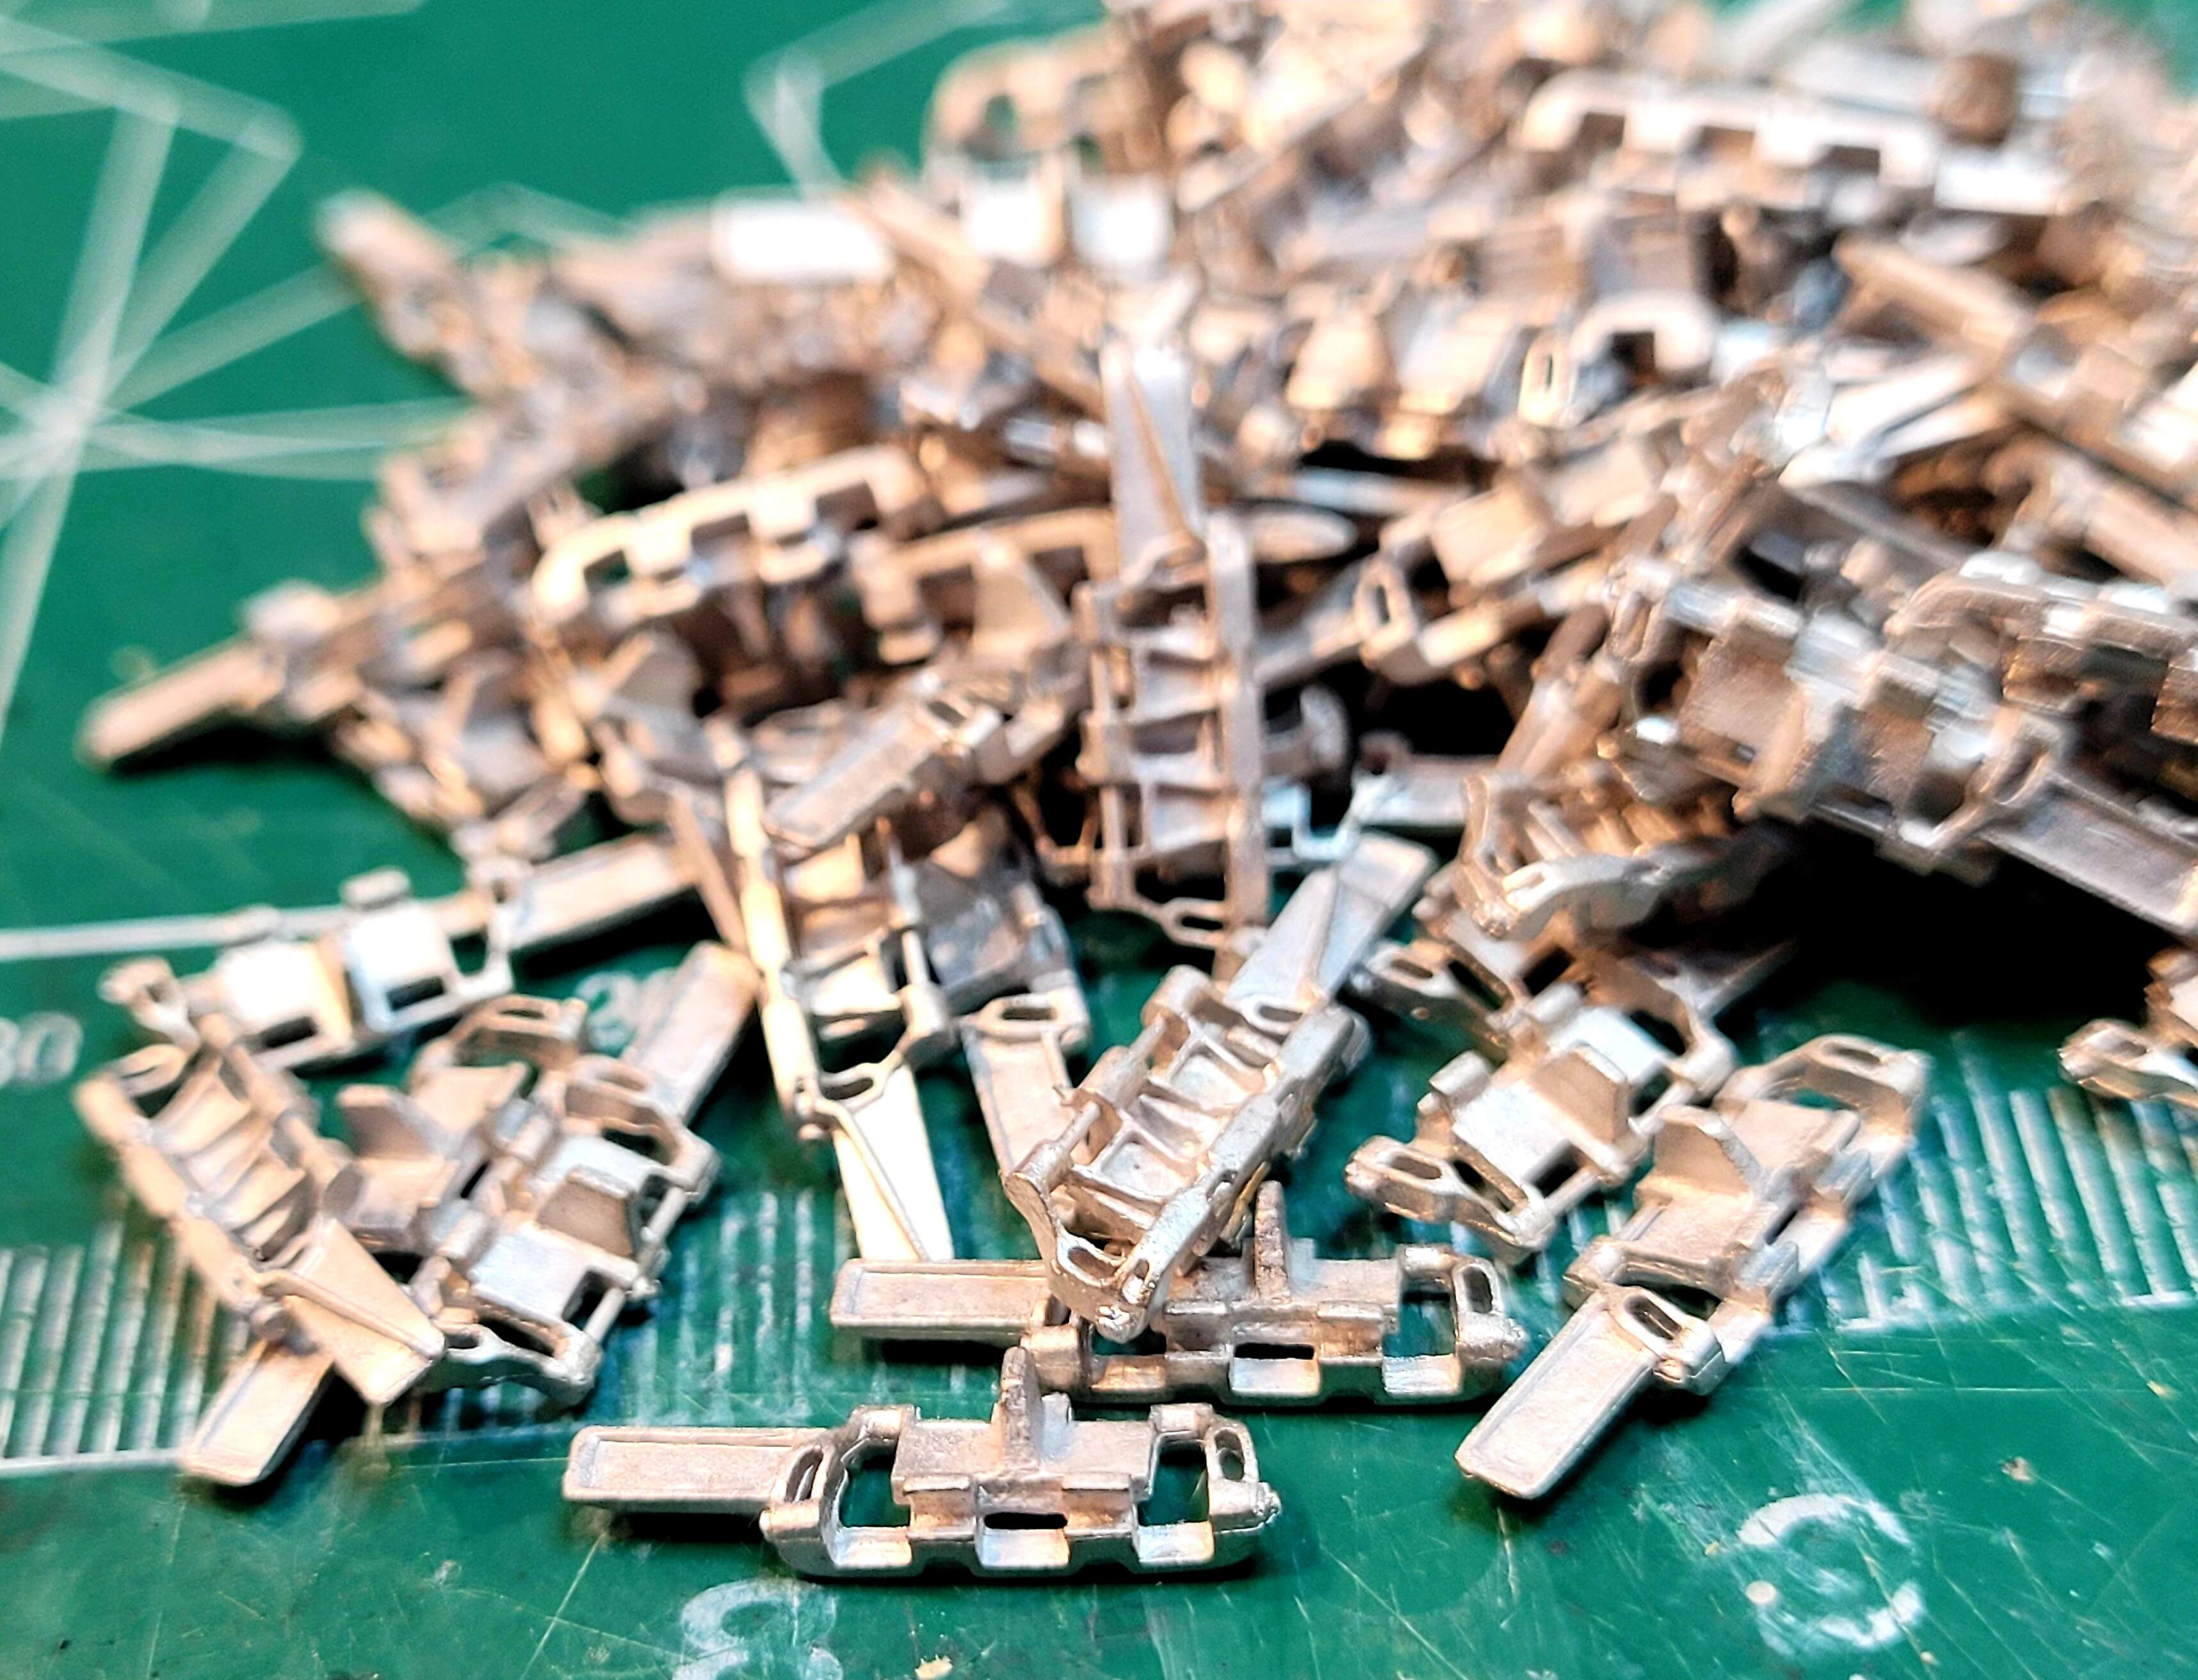
Let’s rock this old Tamiya Pz IIIM with a set of equally old and obsolete Friulmodellismo Ostketten track links for the Pz III/Pz IV. These are the original design with the folding clasp to secure the track links together without wire or staples. They work well enough but narrow Pz III/Pz IV tracks are fragile and must be handled with care. The extra weight of the Ostketten will ensure these are very fragile.
In addition to the handed link the ancient Fruil set provides 45 ice cleats.
These are so cool! The molding is laser sharp. They require almost nothing as far as clean up. I wish the current generation of Fruil products would get back to this level of outstanding quality molding.
I am also starting to look around for Friule replacements. I agree that the current quality is down and the competition has gotten better.