Hi Thomas,
congratulations on the Flyhawk-set. You’ll have much fun with all those tiniest parts which are yet to come. 
Enjoy your well deserved beer (maybe a Bellheimer Pils) !!


All the best
Alex
Hi Thomas,
congratulations on the Flyhawk-set. You’ll have much fun with all those tiniest parts which are yet to come.
Enjoy your well deserved beer (maybe a Bellheimer Pils) !!
All the best
Alex
Thomas,
looking at your older builds, I’d say that perfectly describes you! I could hardly think of somebody better suited to build this one! I have several “Z” kits (Trumpeter, Dragon and Zvezda) and various aftermarket sets waiting for me. I’ll be watching with high interest!
Awesome work so far!
Cheers
Jan
That’s very nice camera work! Good job on the PE too 
I have been working on the superstructure of my Myoko. The kit came with no PE at all and I didn’t want to spend more money on a set (also they were only available in China and god knows when it would have arrived).
I opted to rummage through my spares and use excess railing from old projects. I am pretty happy with how it came out. This is the first time I have not used a pre-measured set on a ship.
Railing came from a Wasp Class LHD and from an Arleigh Burke. I had to mix and match due to run lengths so that’s why there are 2 bar and 3 bar railings together. I also used ladders from a generic ladder set I had previously acquired and some excess PE sprue for some of the solid runs around the bridge.
Now onto the rear superstructure and mast and then I get to do it all again for the Atago 
McRunty,
Nice job with the railing install. I haven’t installed pre-measured railing yet, but I have a few ship kits that come with them. The fun part of railings is figuring out what to do when the measurements are to short or to long for the railing you have.
Anyway nice work.
Mark
Some news from Captain Micron 
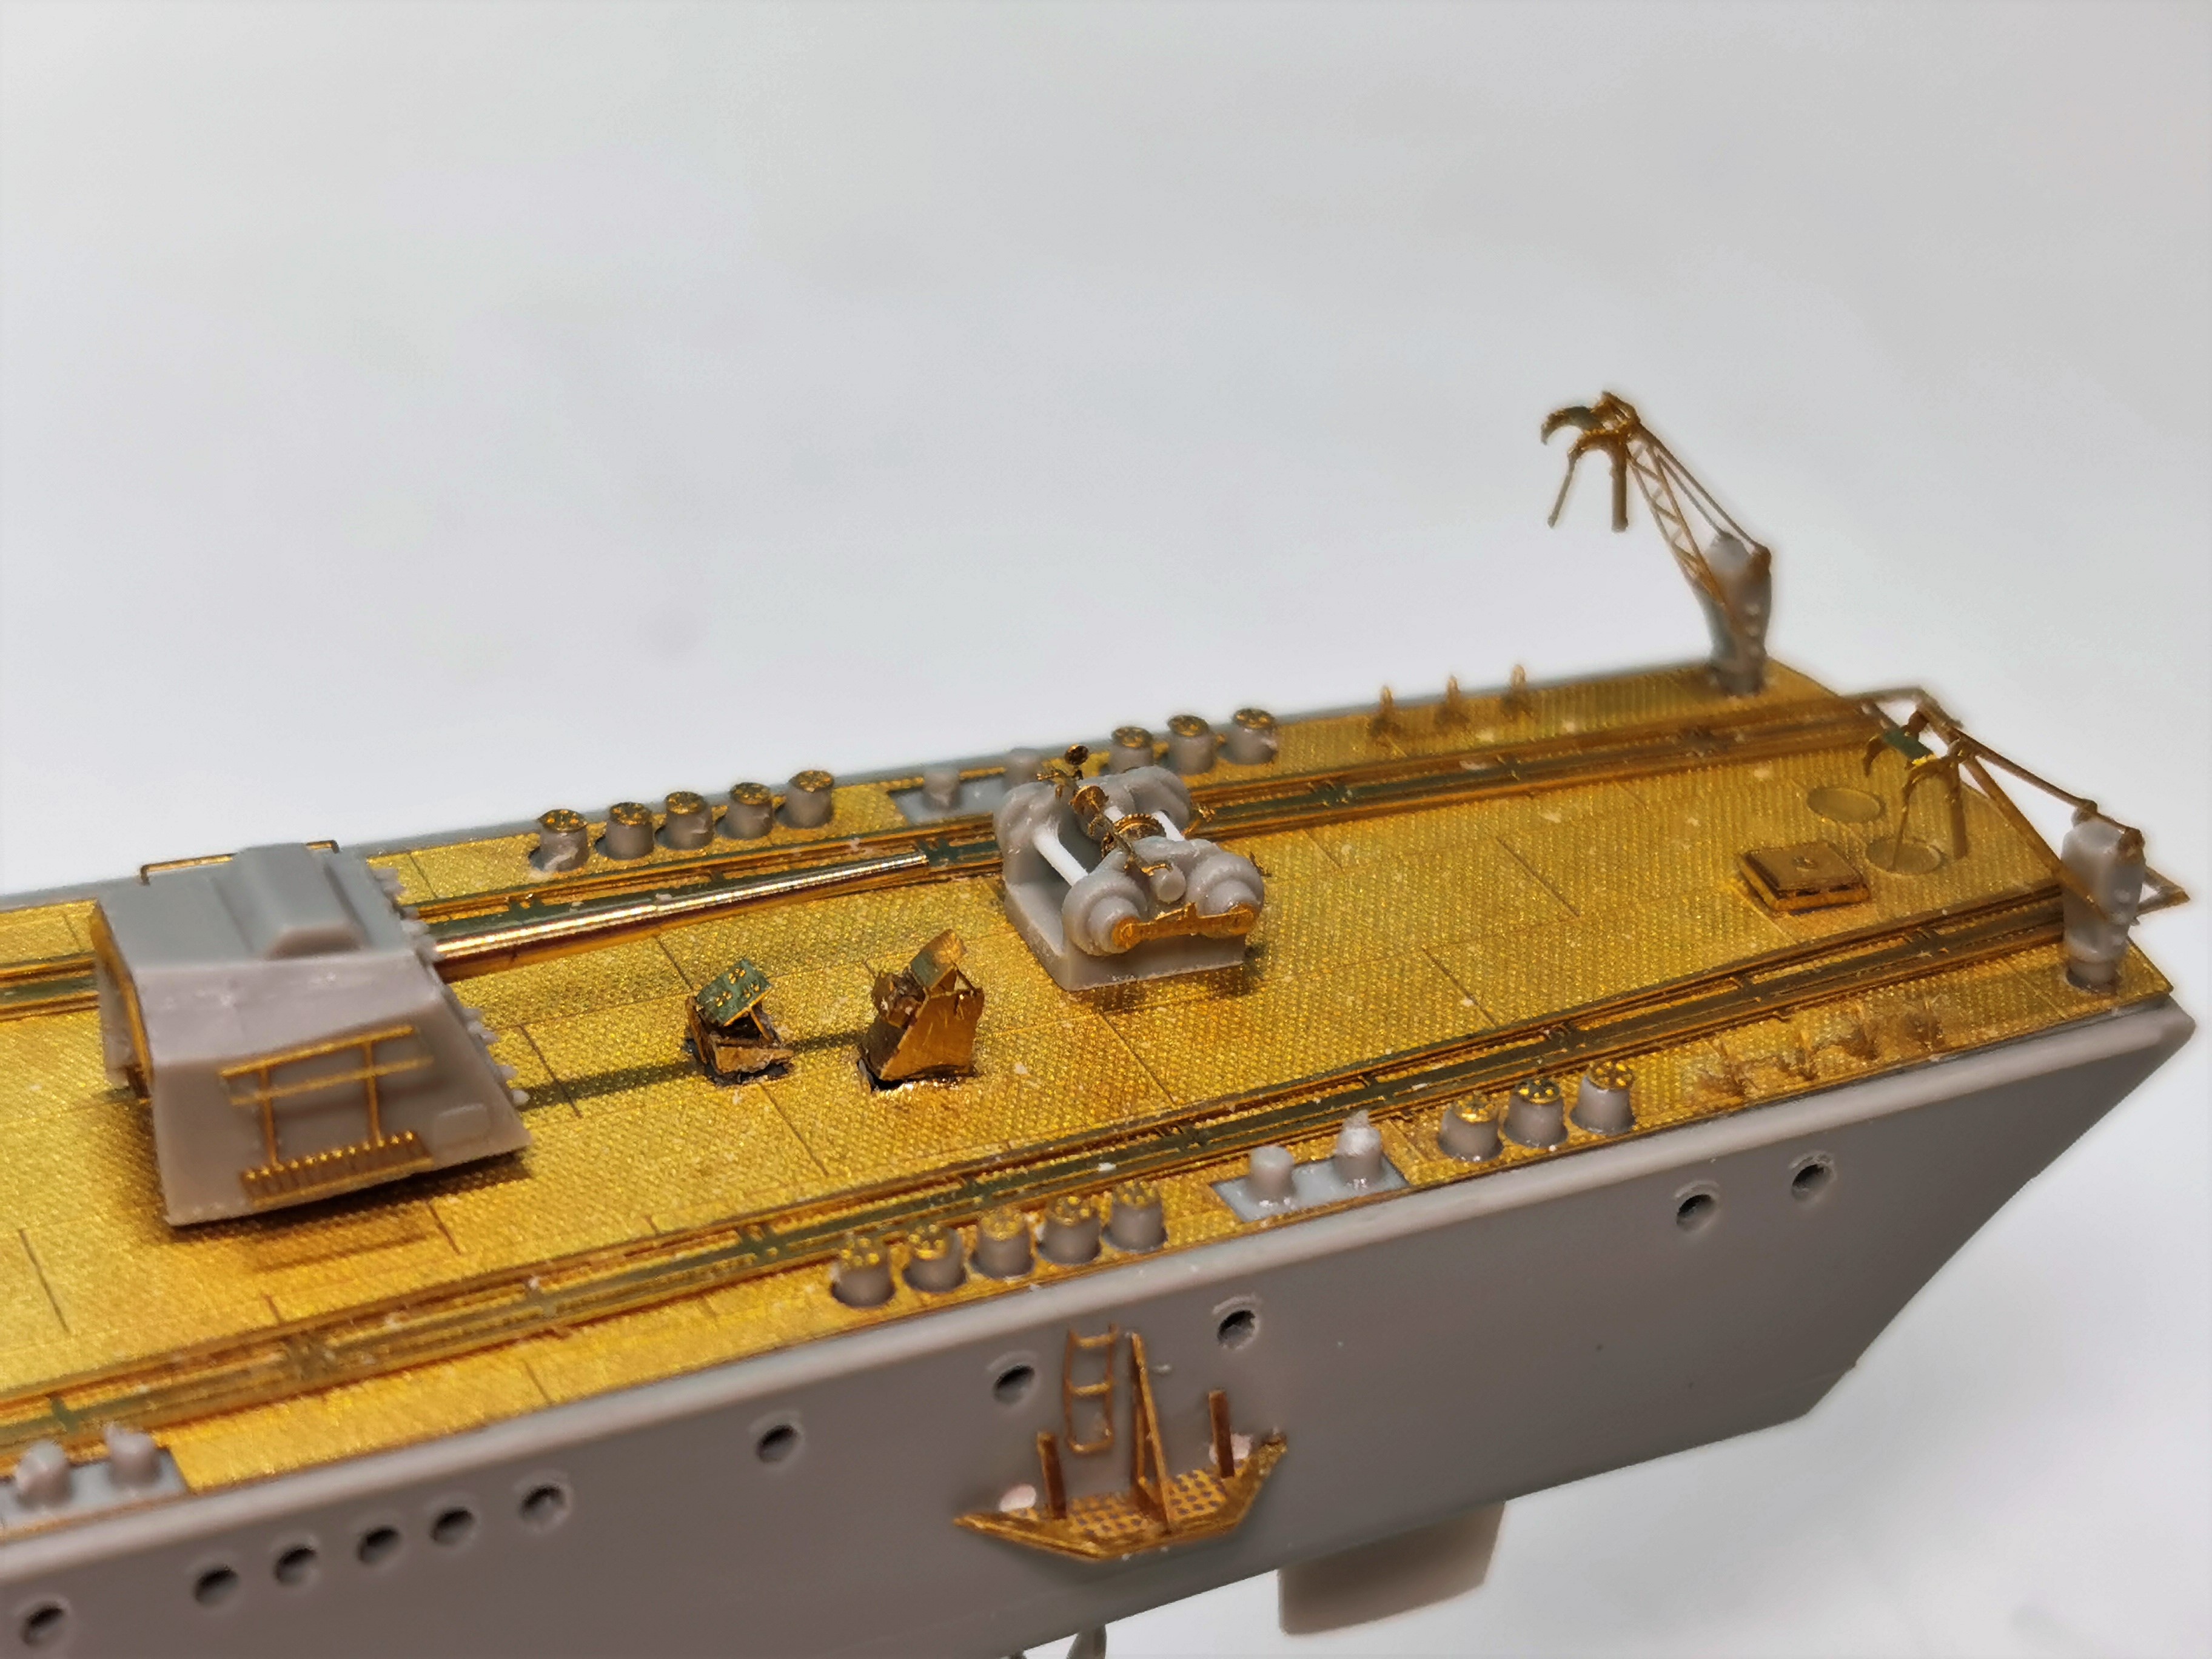
I was battling through Flyhawk´s vast construction manual and fixed all small PE parts at the ship´s deck. Many parts were really miniscule and a challenge to fix and glue.
Most of the small etched parts were to be installed at the ship´s stern. But in the end it improves the impression a lot to the original kit
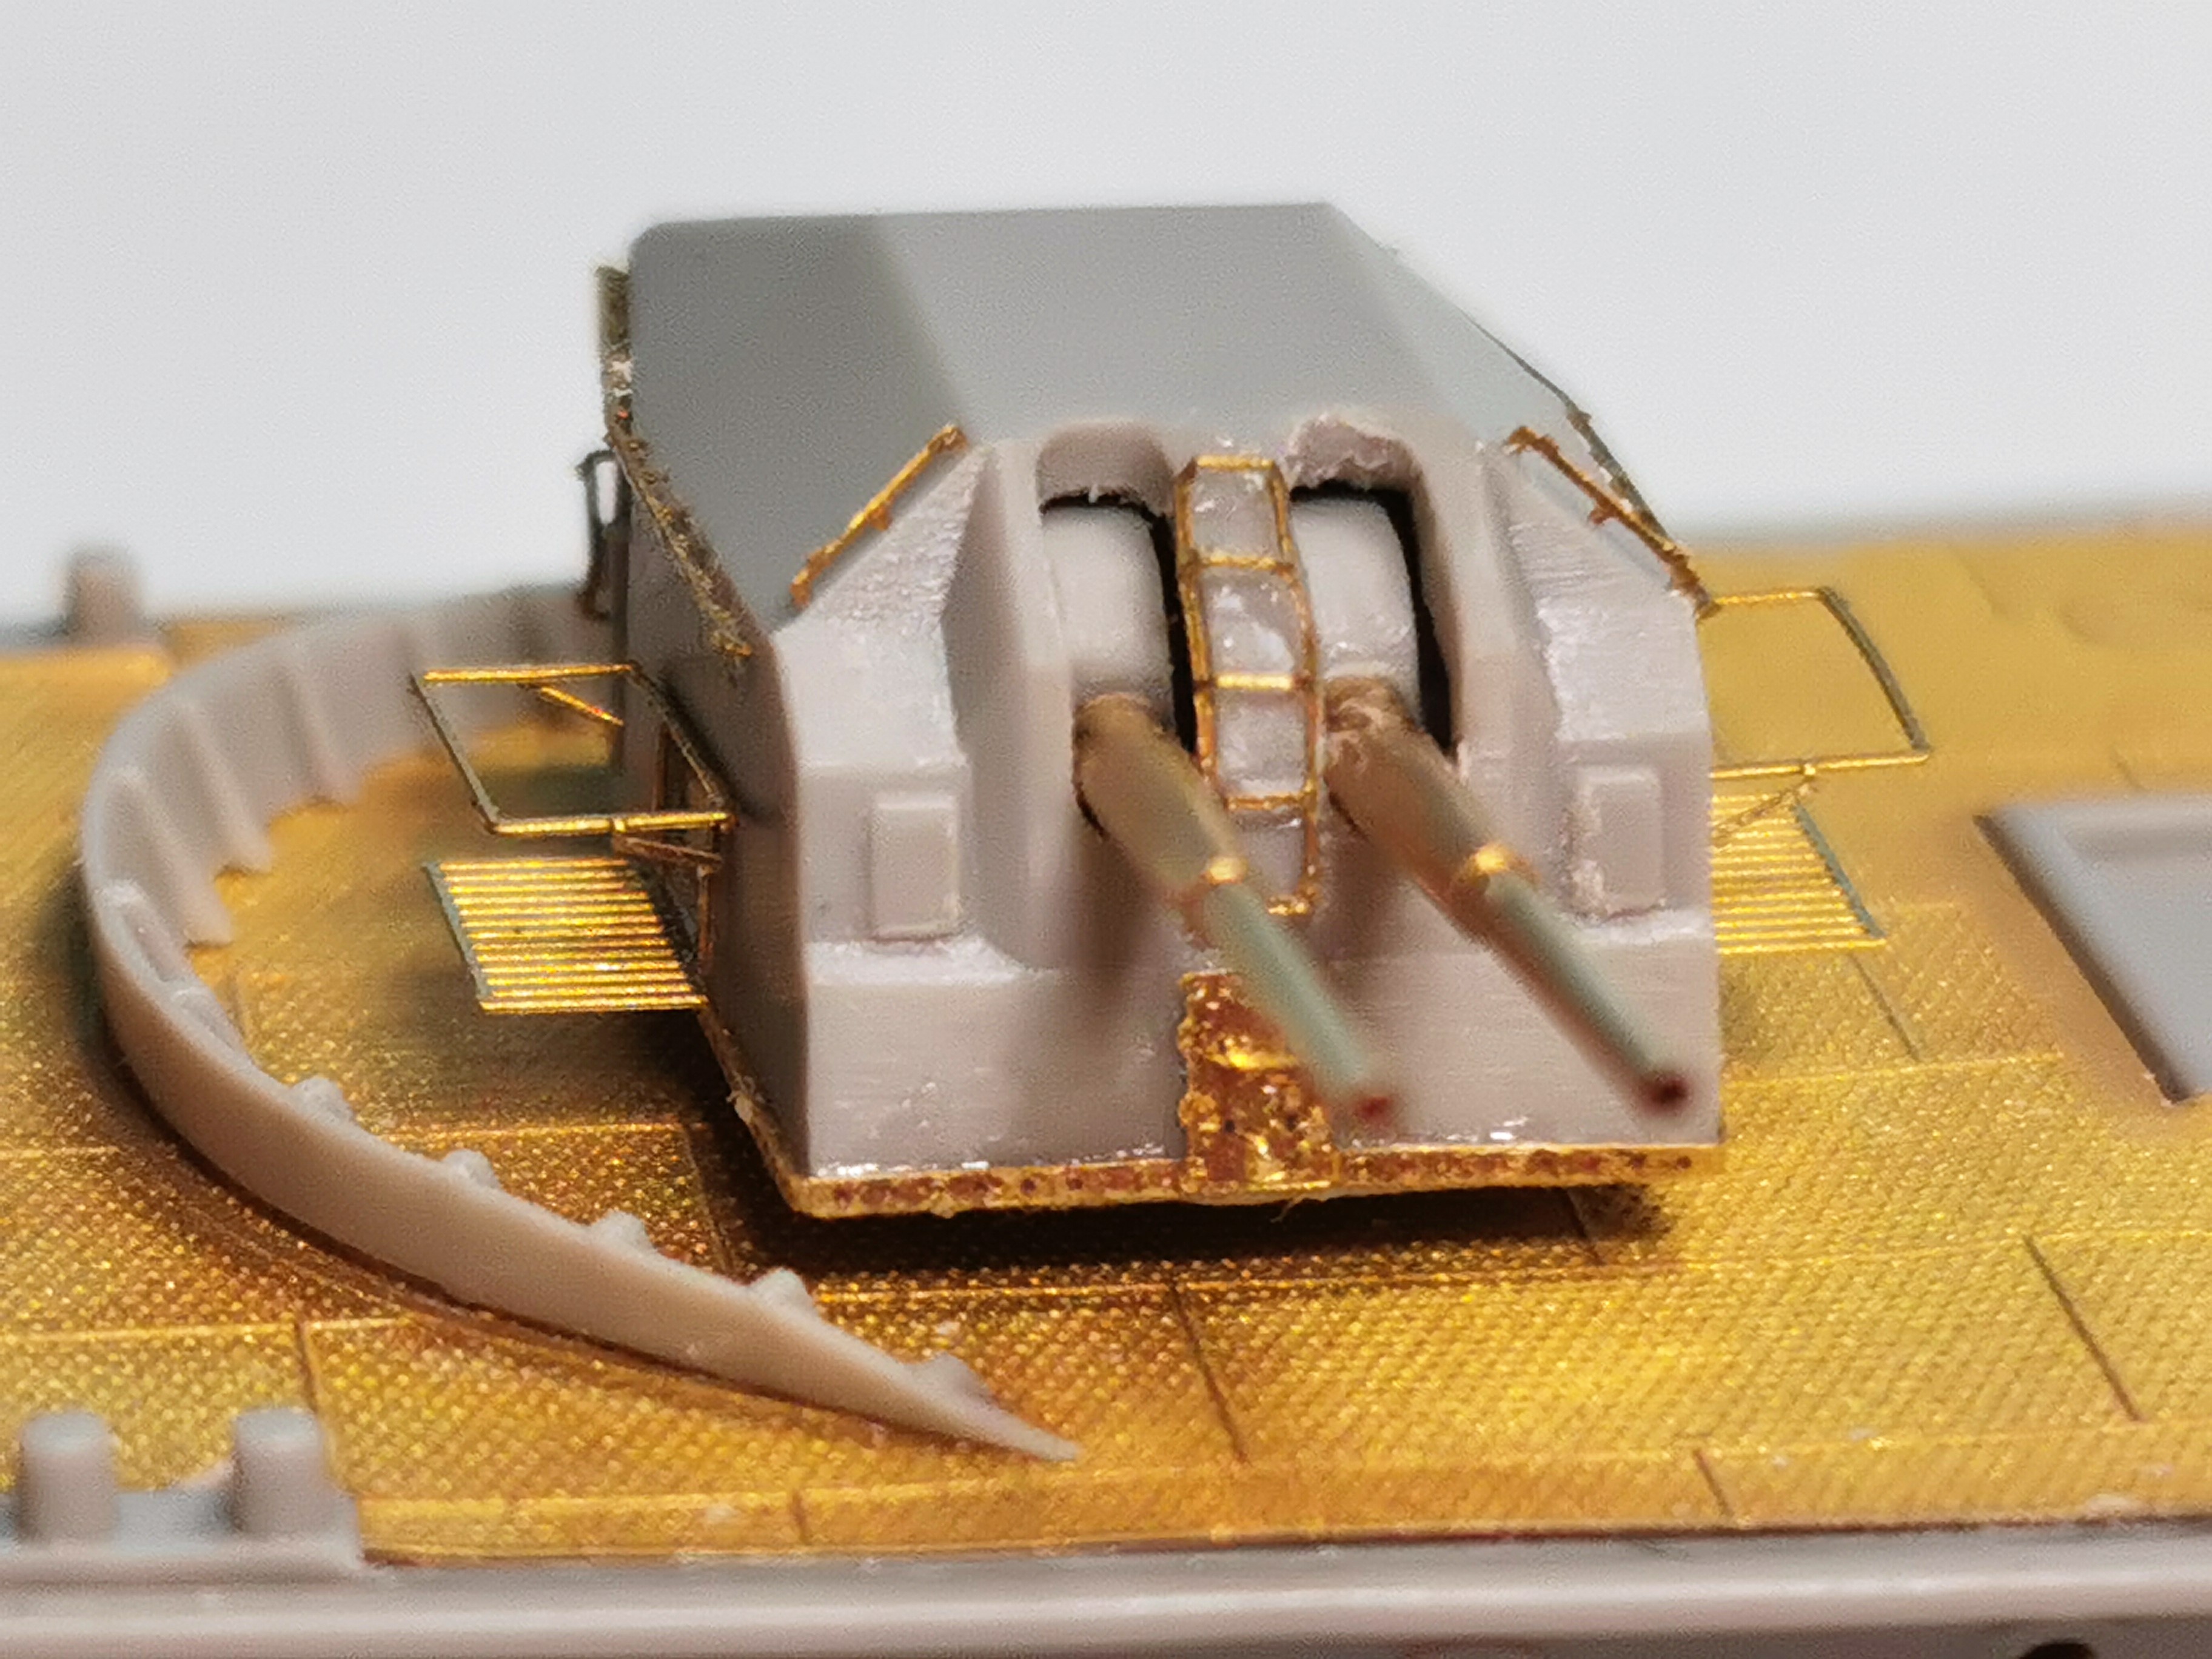
First I started with the frontal dual deck gun turret
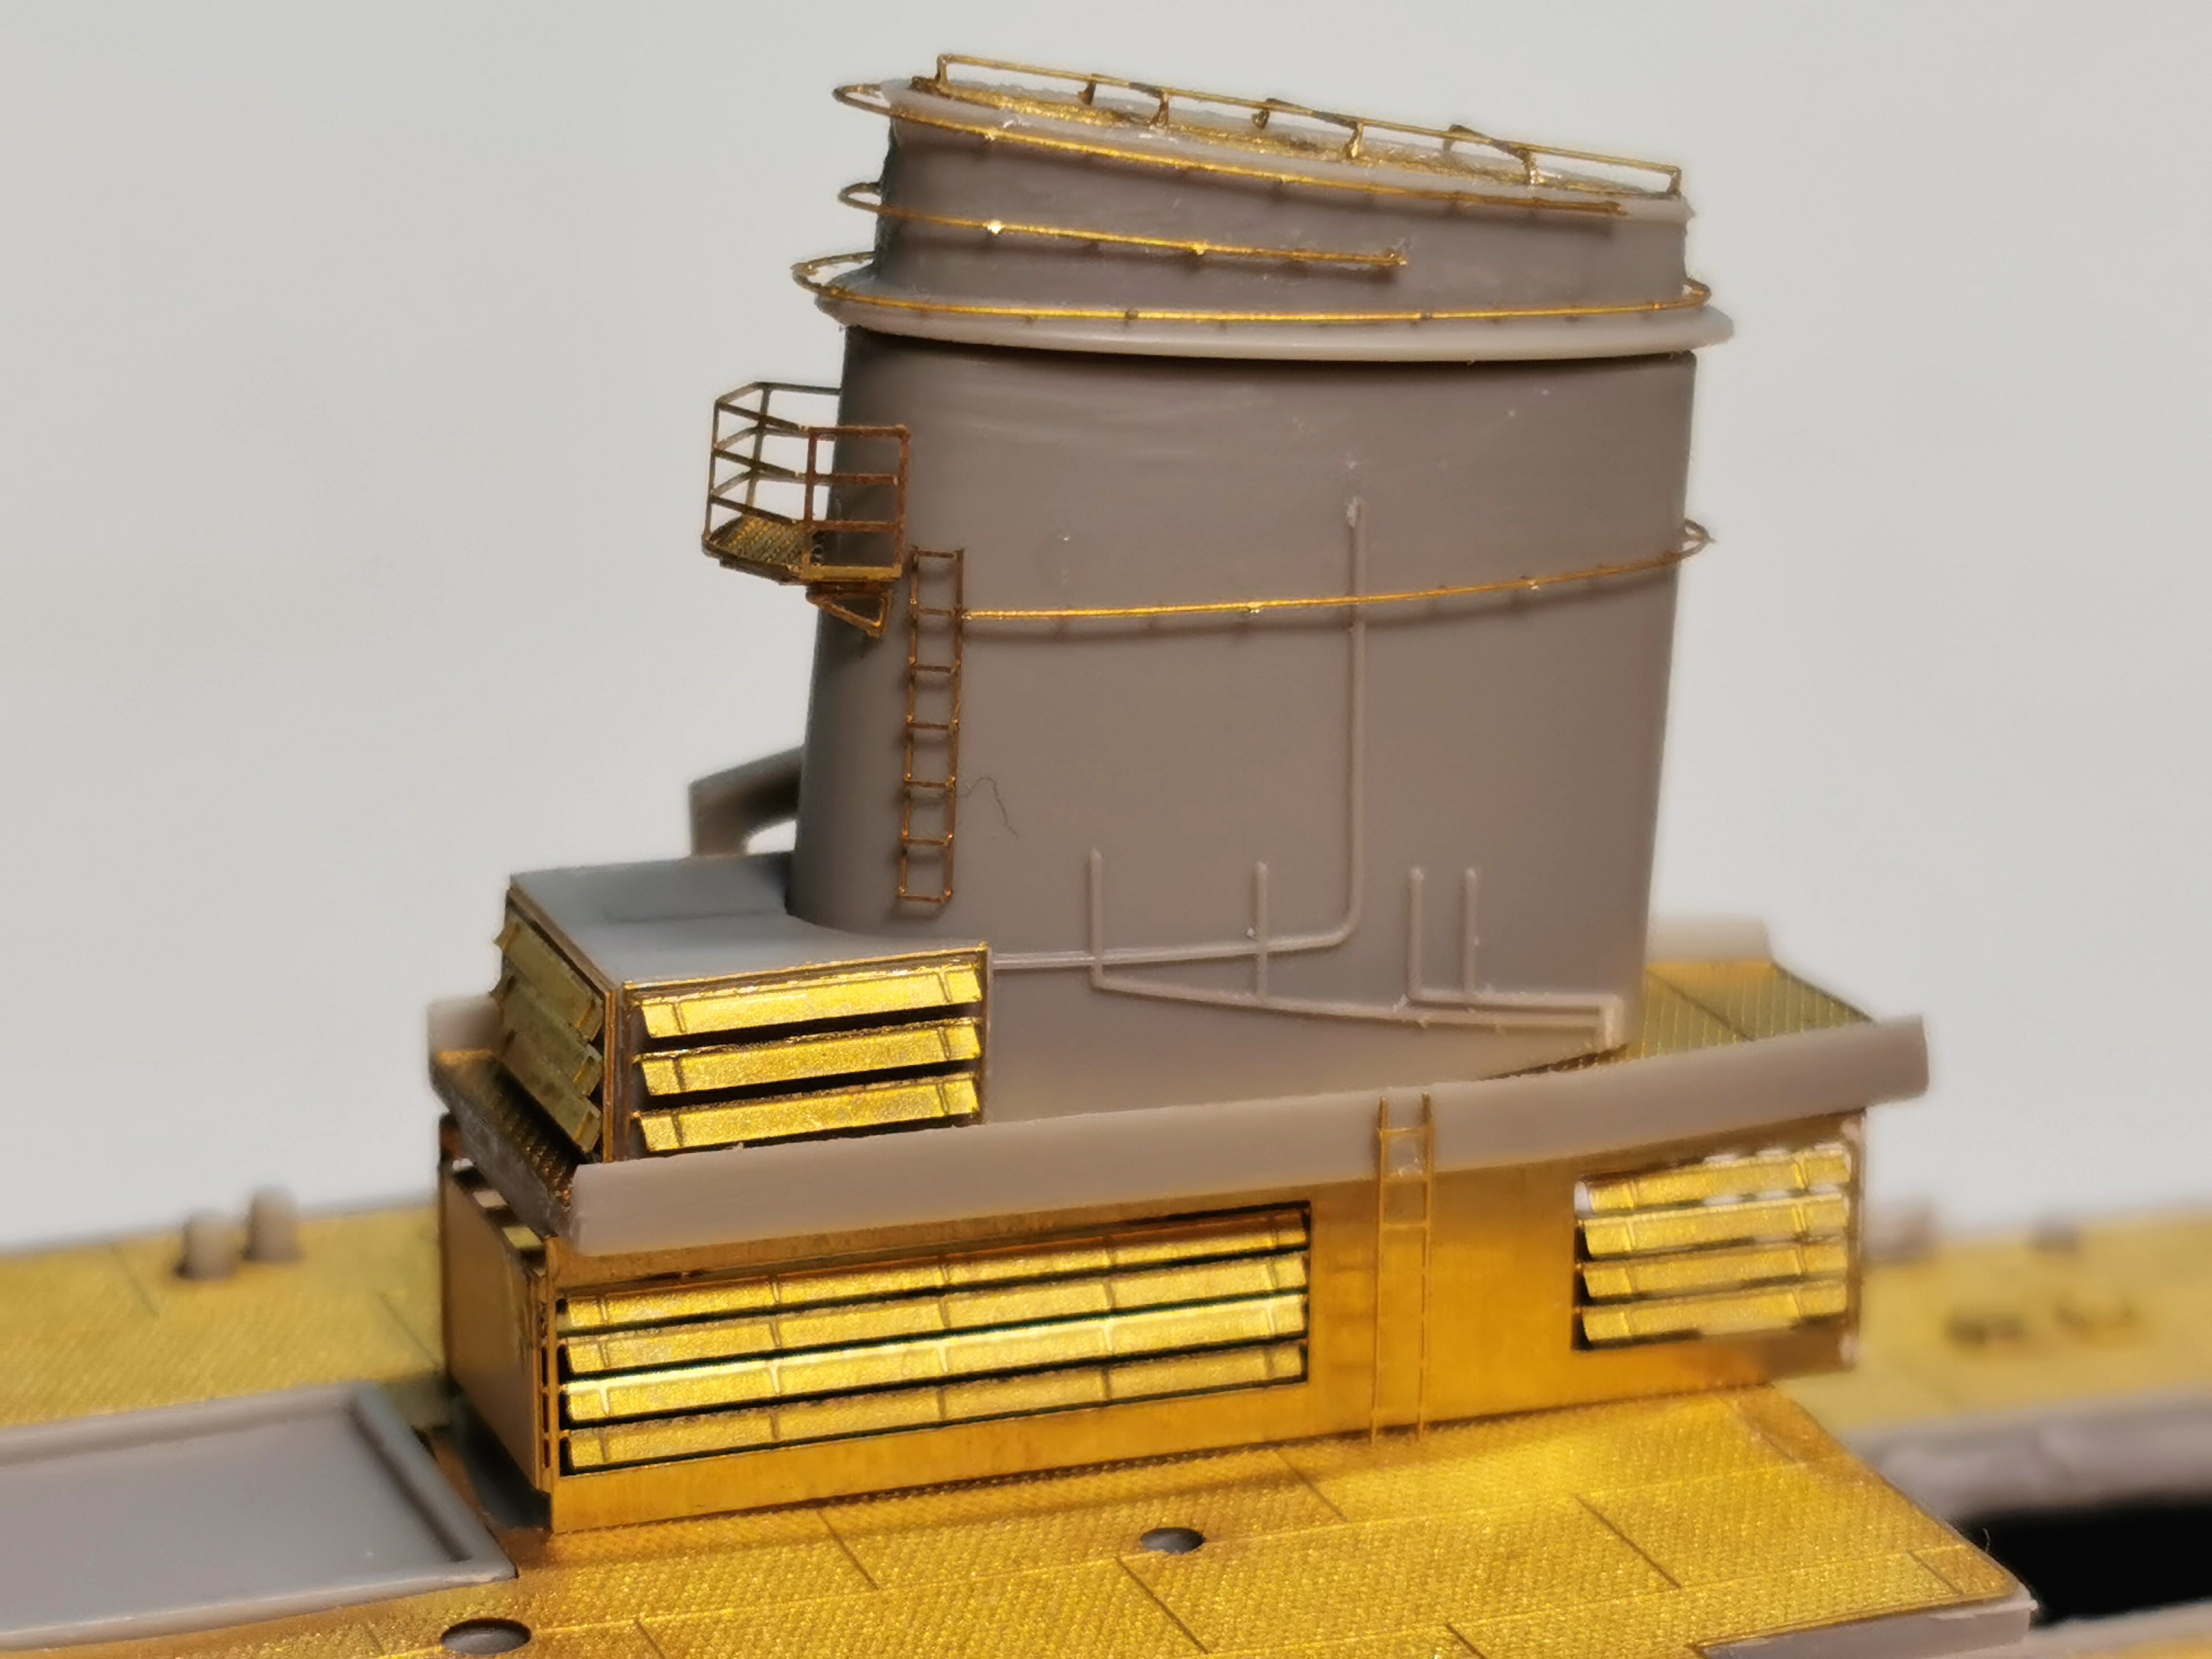
Then I tackled the main funnel and the compartment below with all the open louvers
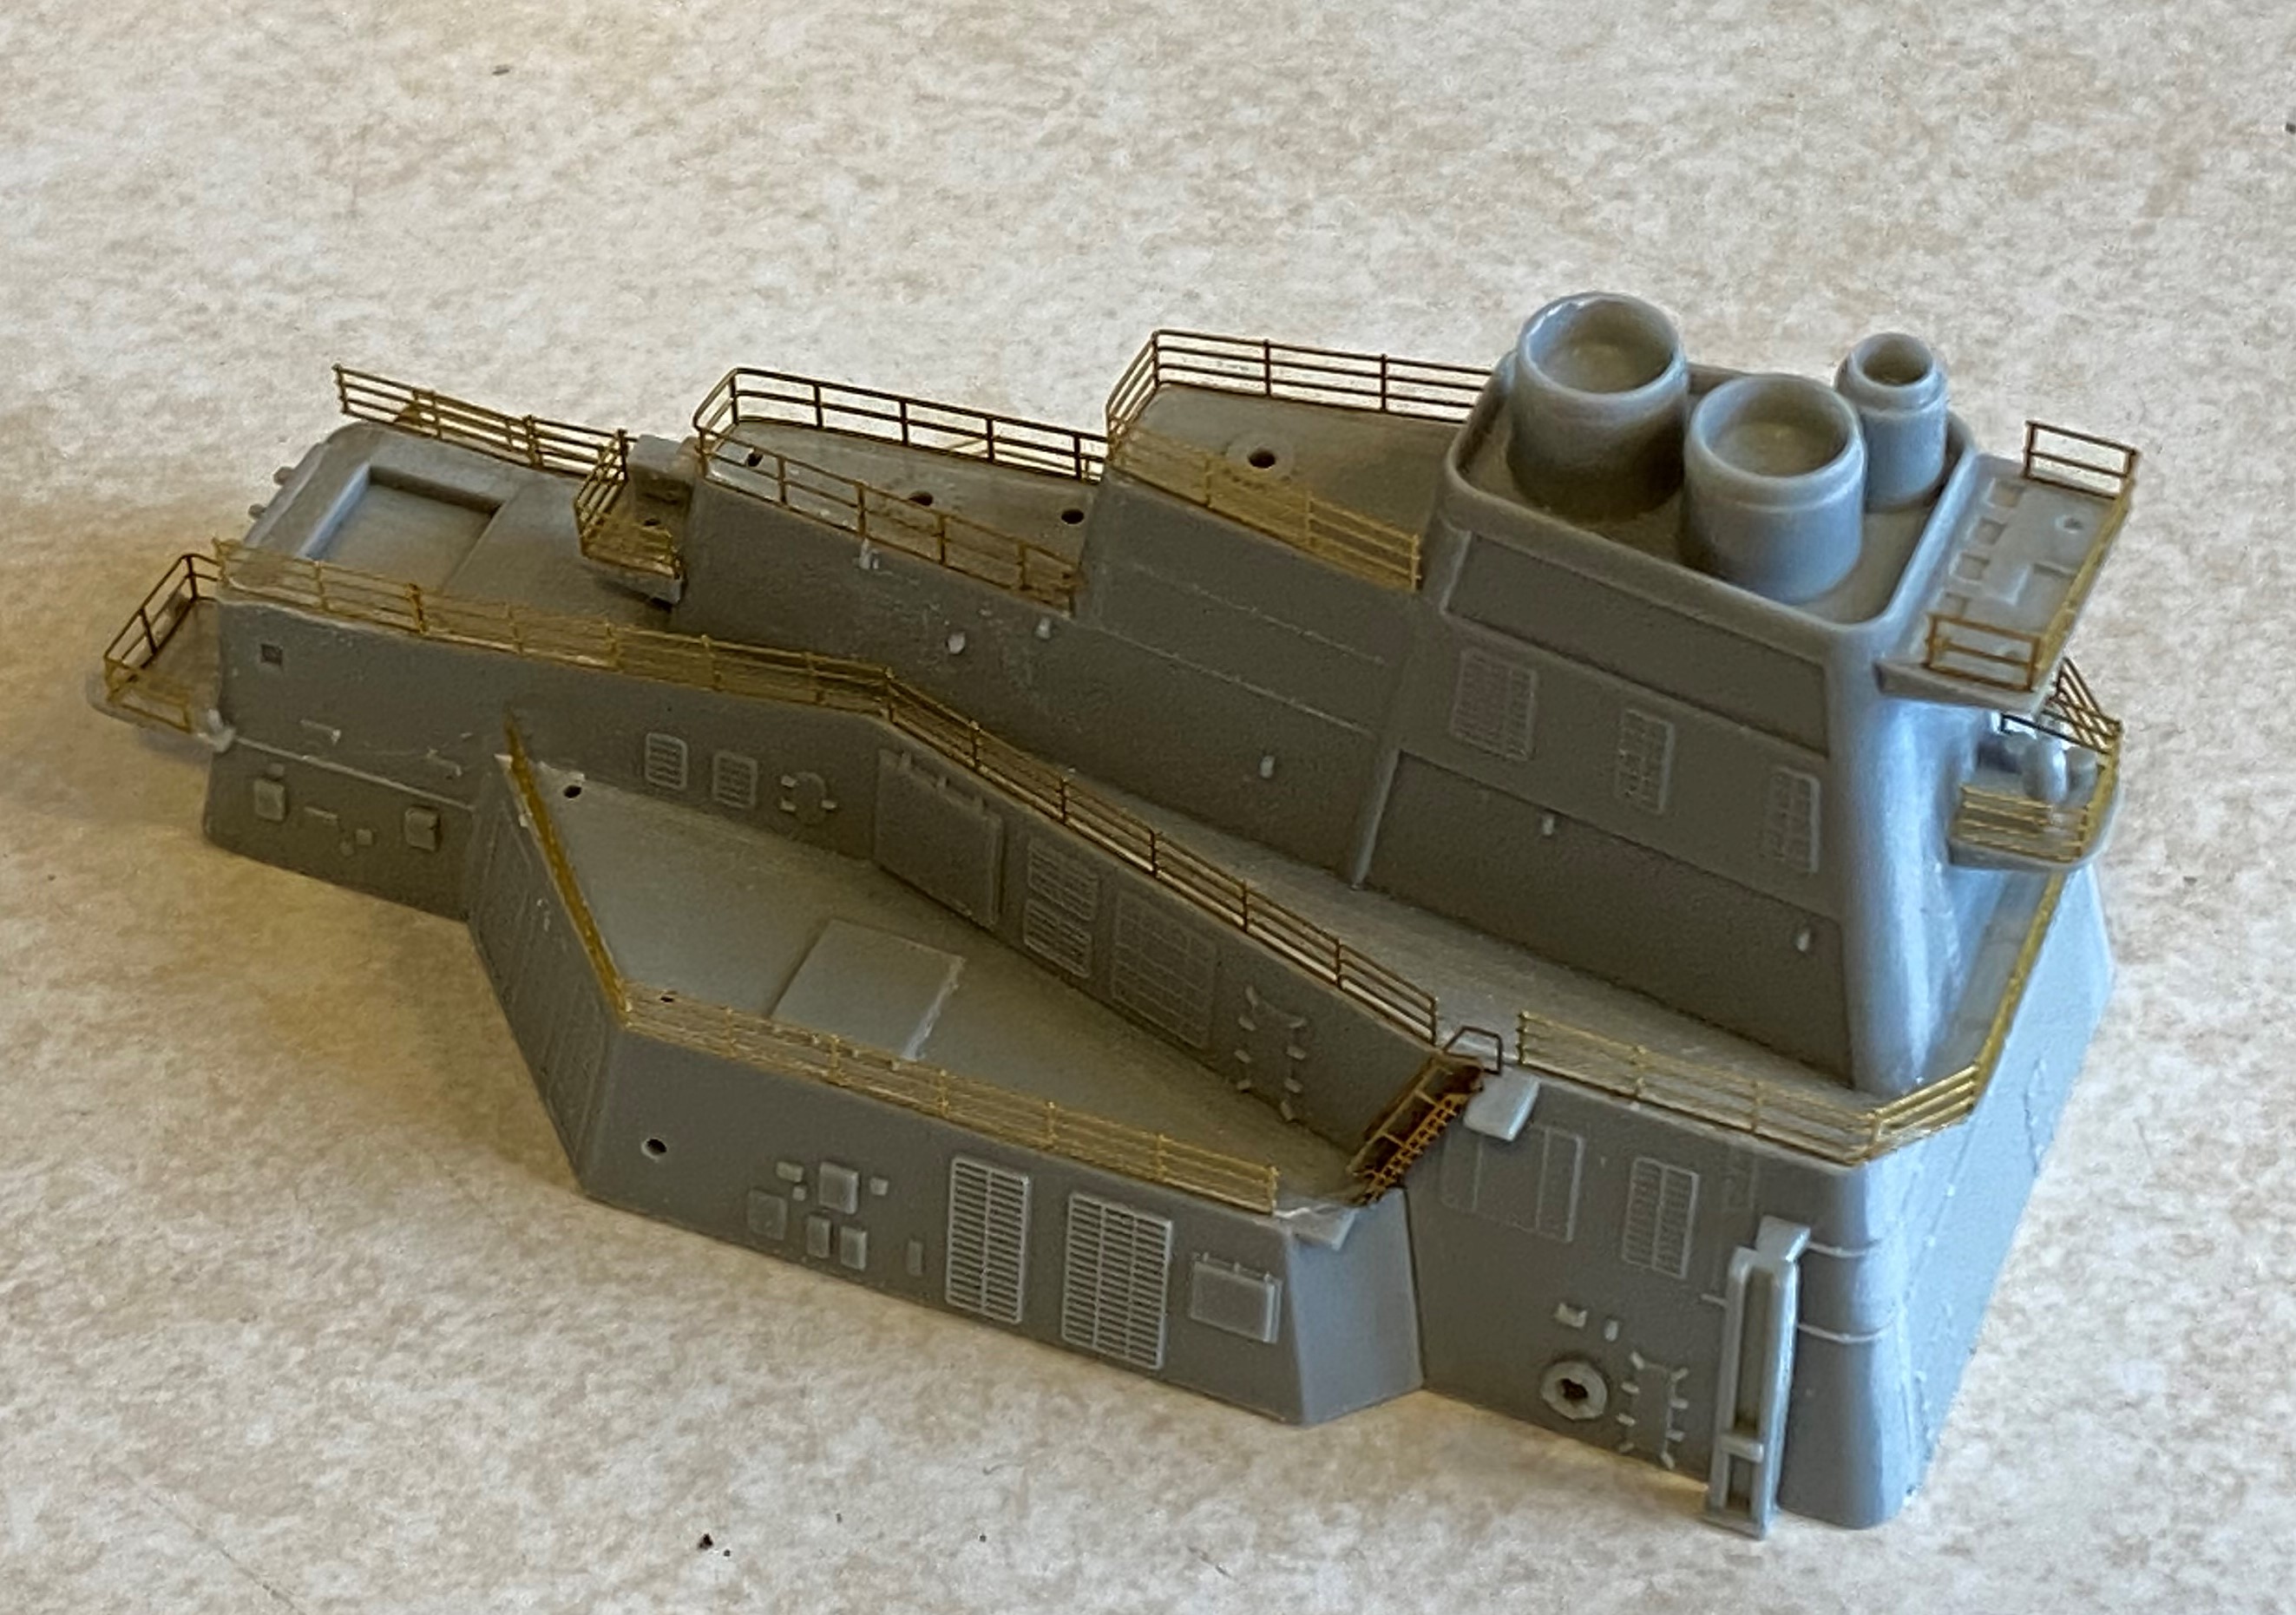
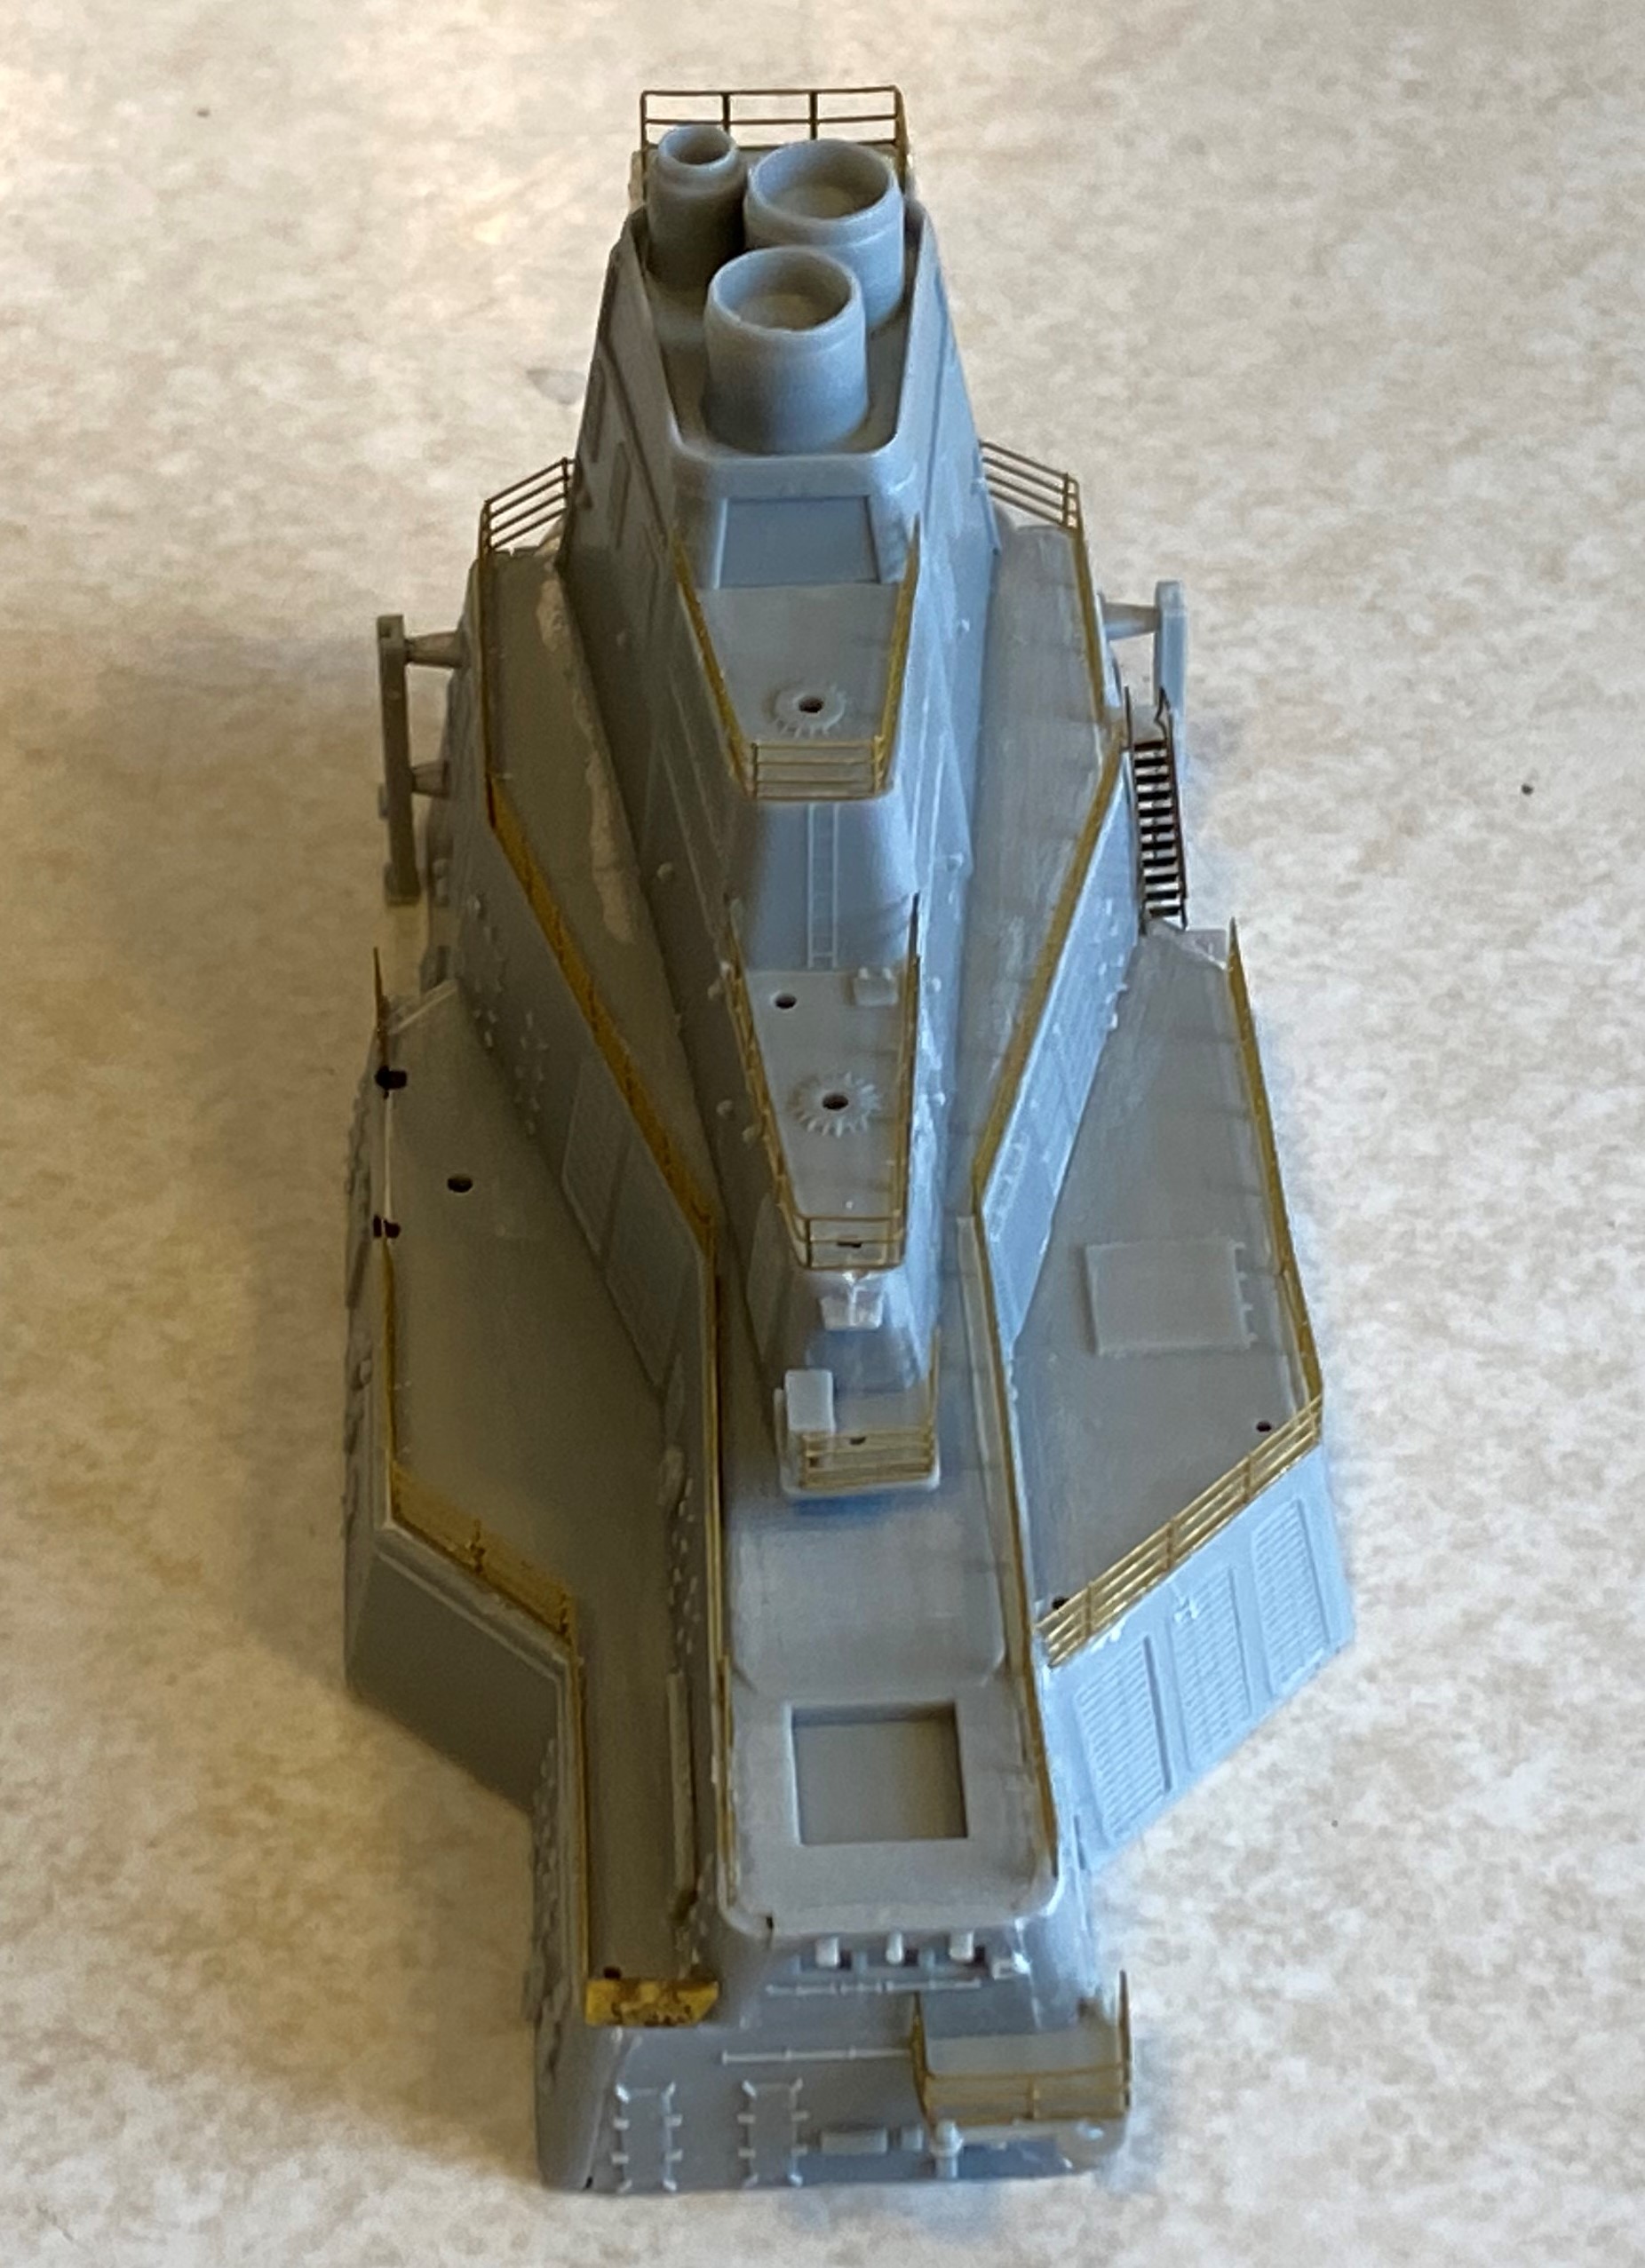
This is the general view of the ship in its current construction level
Continue now with the main bridge 
@Black_sheep Thanks for the update, I am following your build with much interest. I have a USS Ward I would like to do.
I don’t think I could do all the PE you’re tackling. Keep up the good work.
Take care and stay safe friends,
Don “Lakota”
@Black_sheep: Looking good. You are just powering through that PE and doing it to your usual excellent standard.
Further update to my Myoko. Rest of the superstructure railing has been completed as well as the mast. Now its on to adding the finicky plastic parts and then paint.
Thomas, this project looks like an ounce of plastic and a pound of brass.
Indeed it is 
![]()
![]()
![]()
Thomas, Rory, great progress guys…
Hope to finish up the Gladiator for the Bi-planes campaign in the next week or so then reopen the shipyard and crack on with HMS Da… I mean the type 45! ![]()
![]()
Black_sheep,
Wee-o that is a lot of PE, did it take a whole bottle of super glue to put down that deck?
Mark
McRunty,
Nice progress.
Mark
Wee-o that is a lot of PE, did it take a whole bottle of super glue to put down that deck?
Indeed Mark, the small bottle is almost empty now 
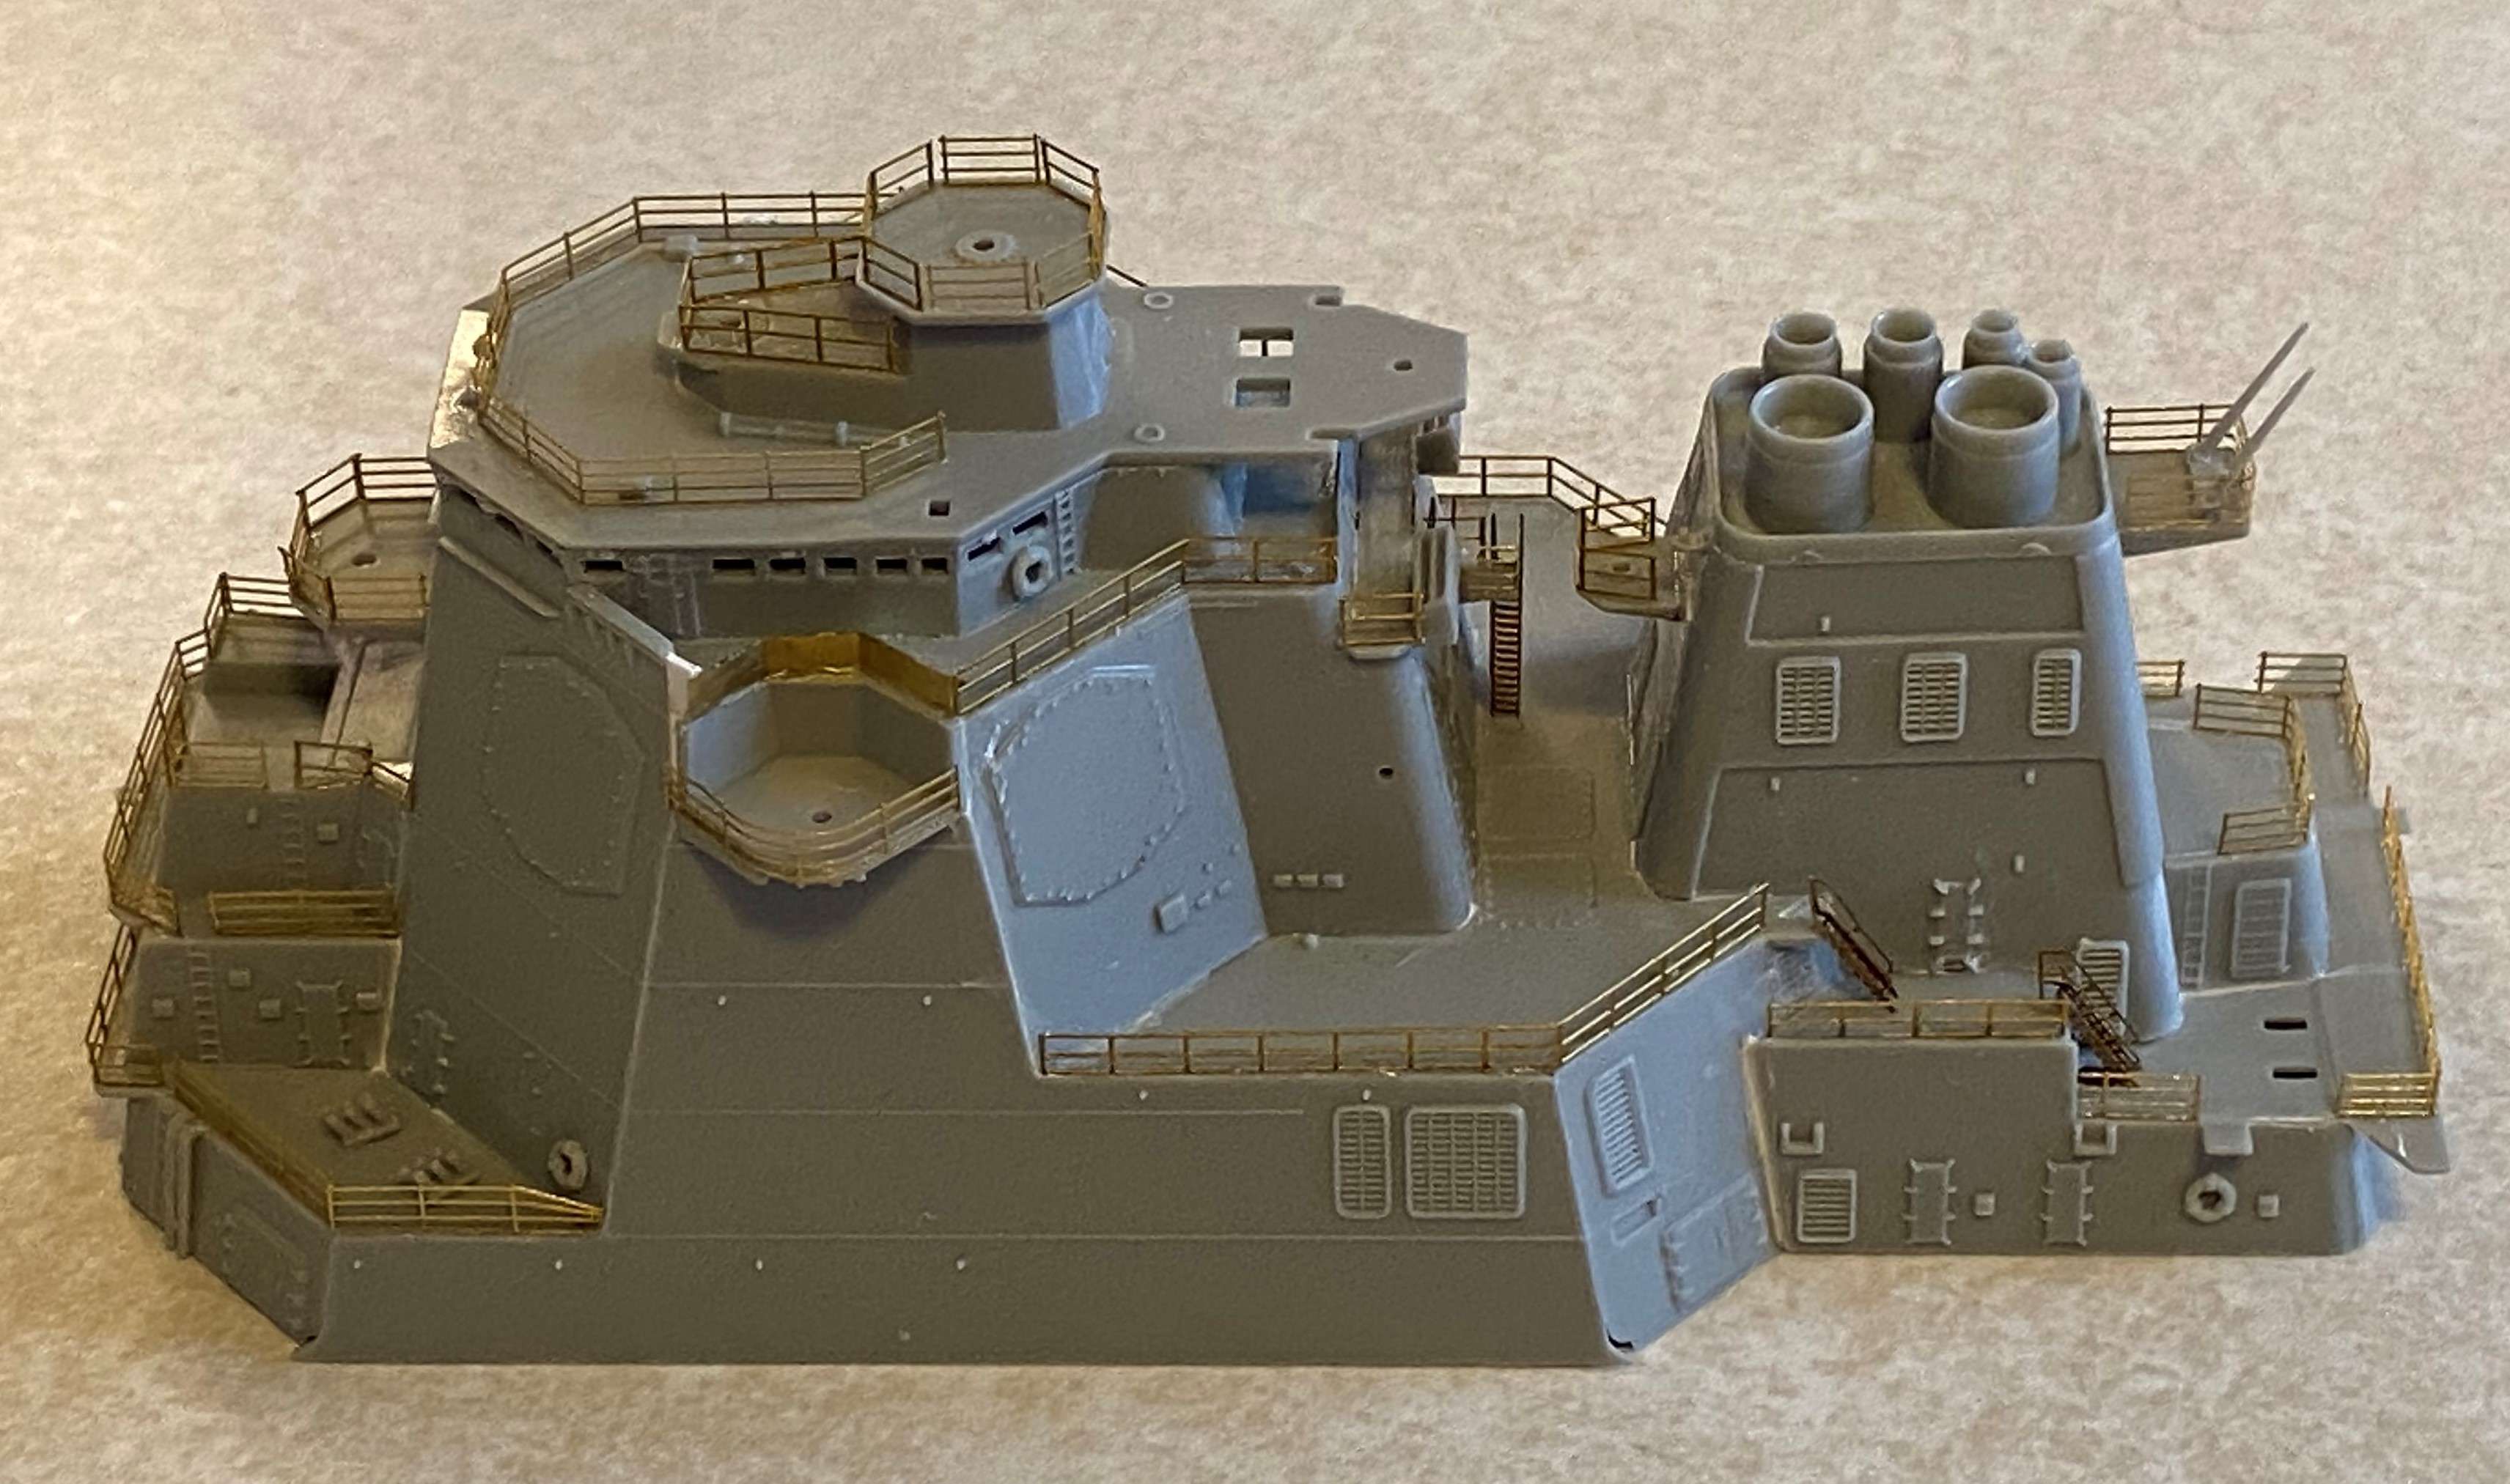
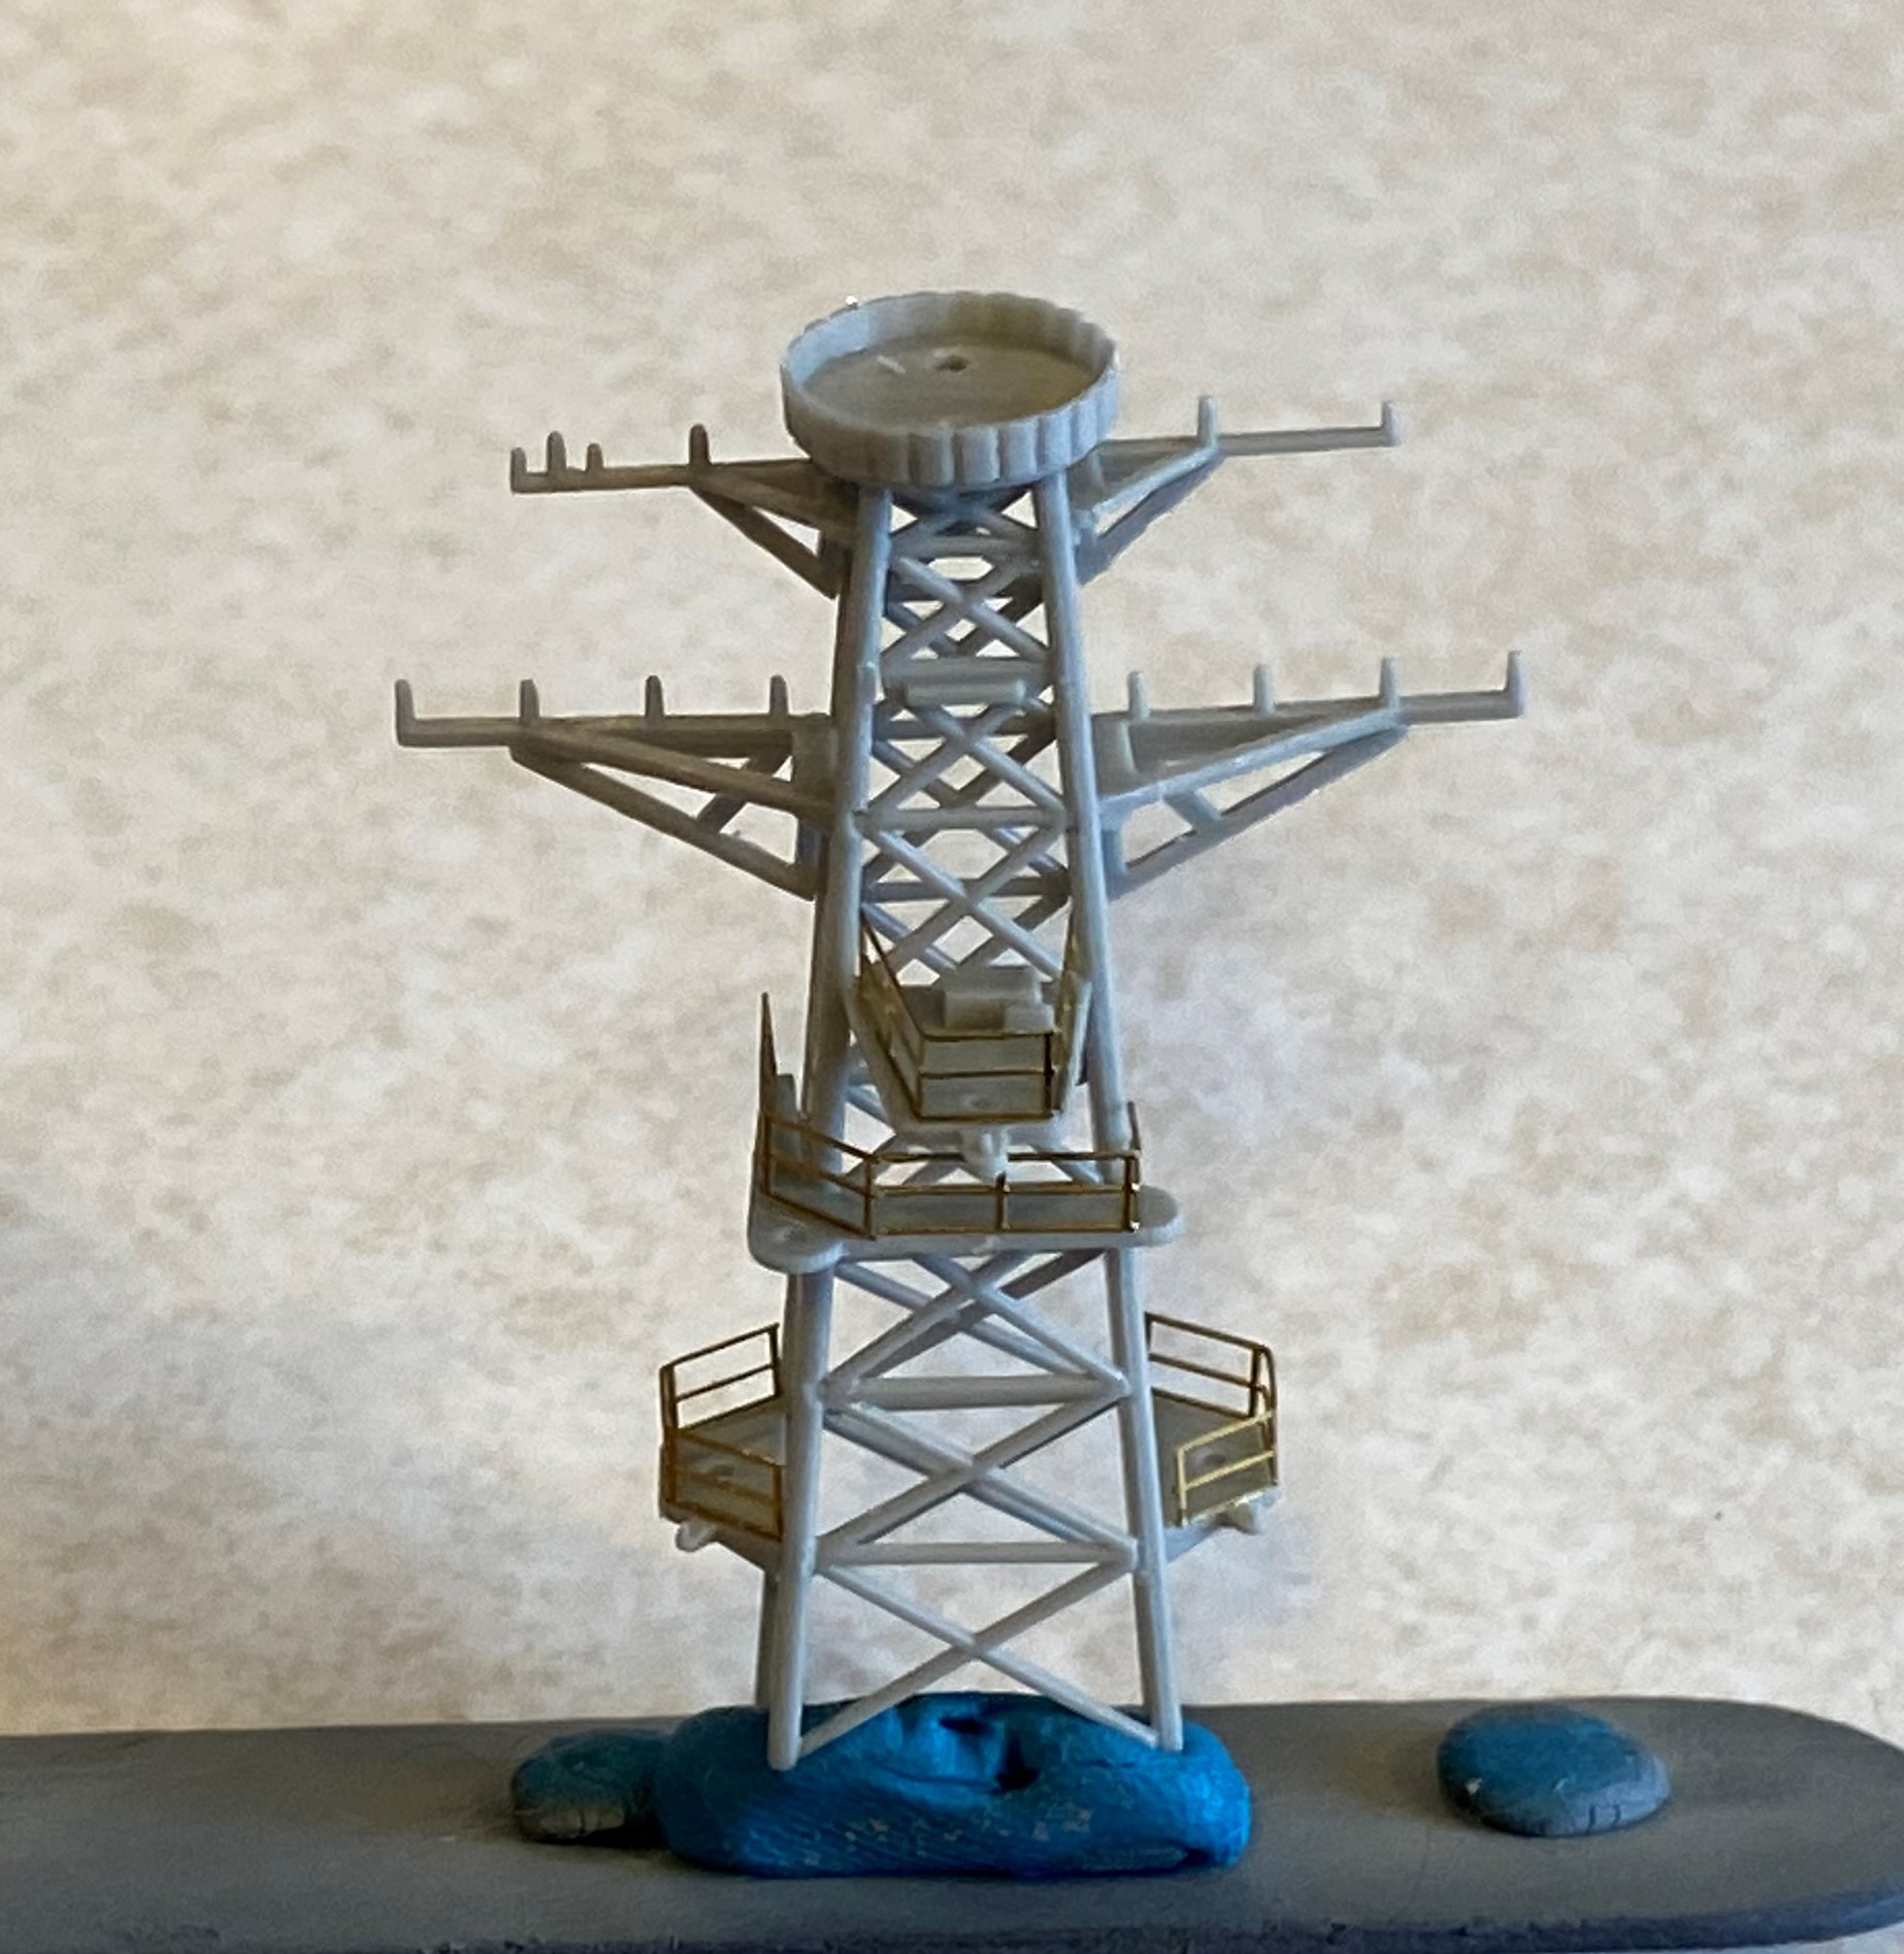
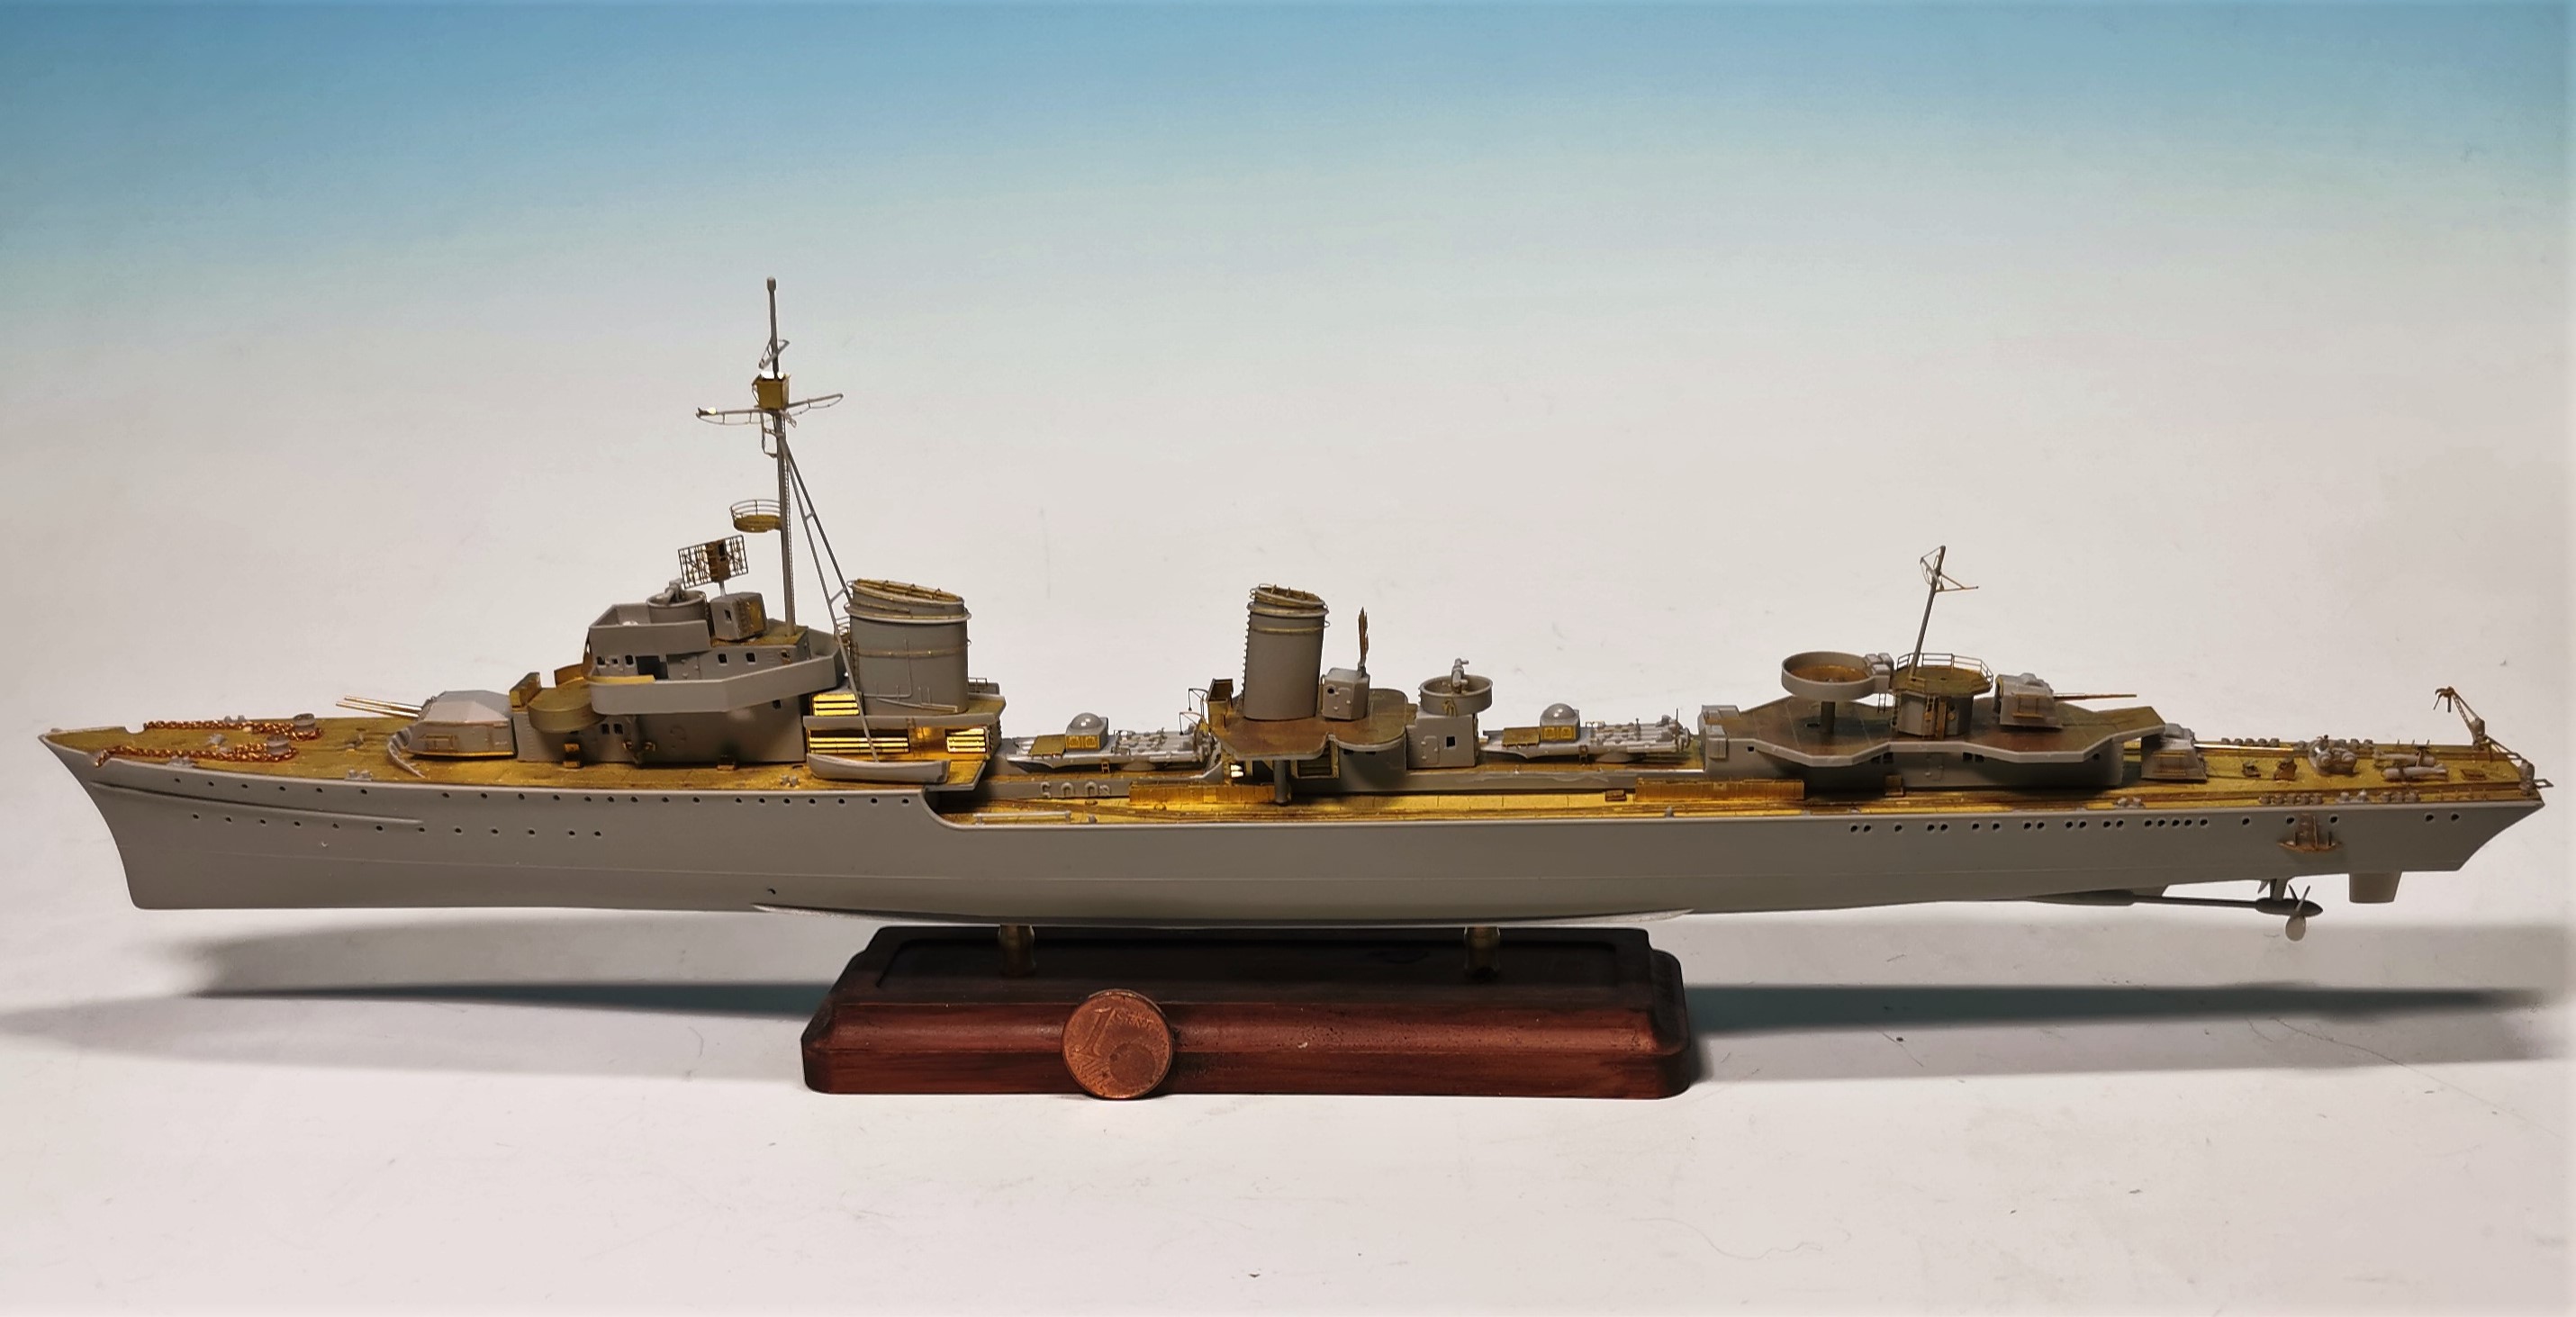
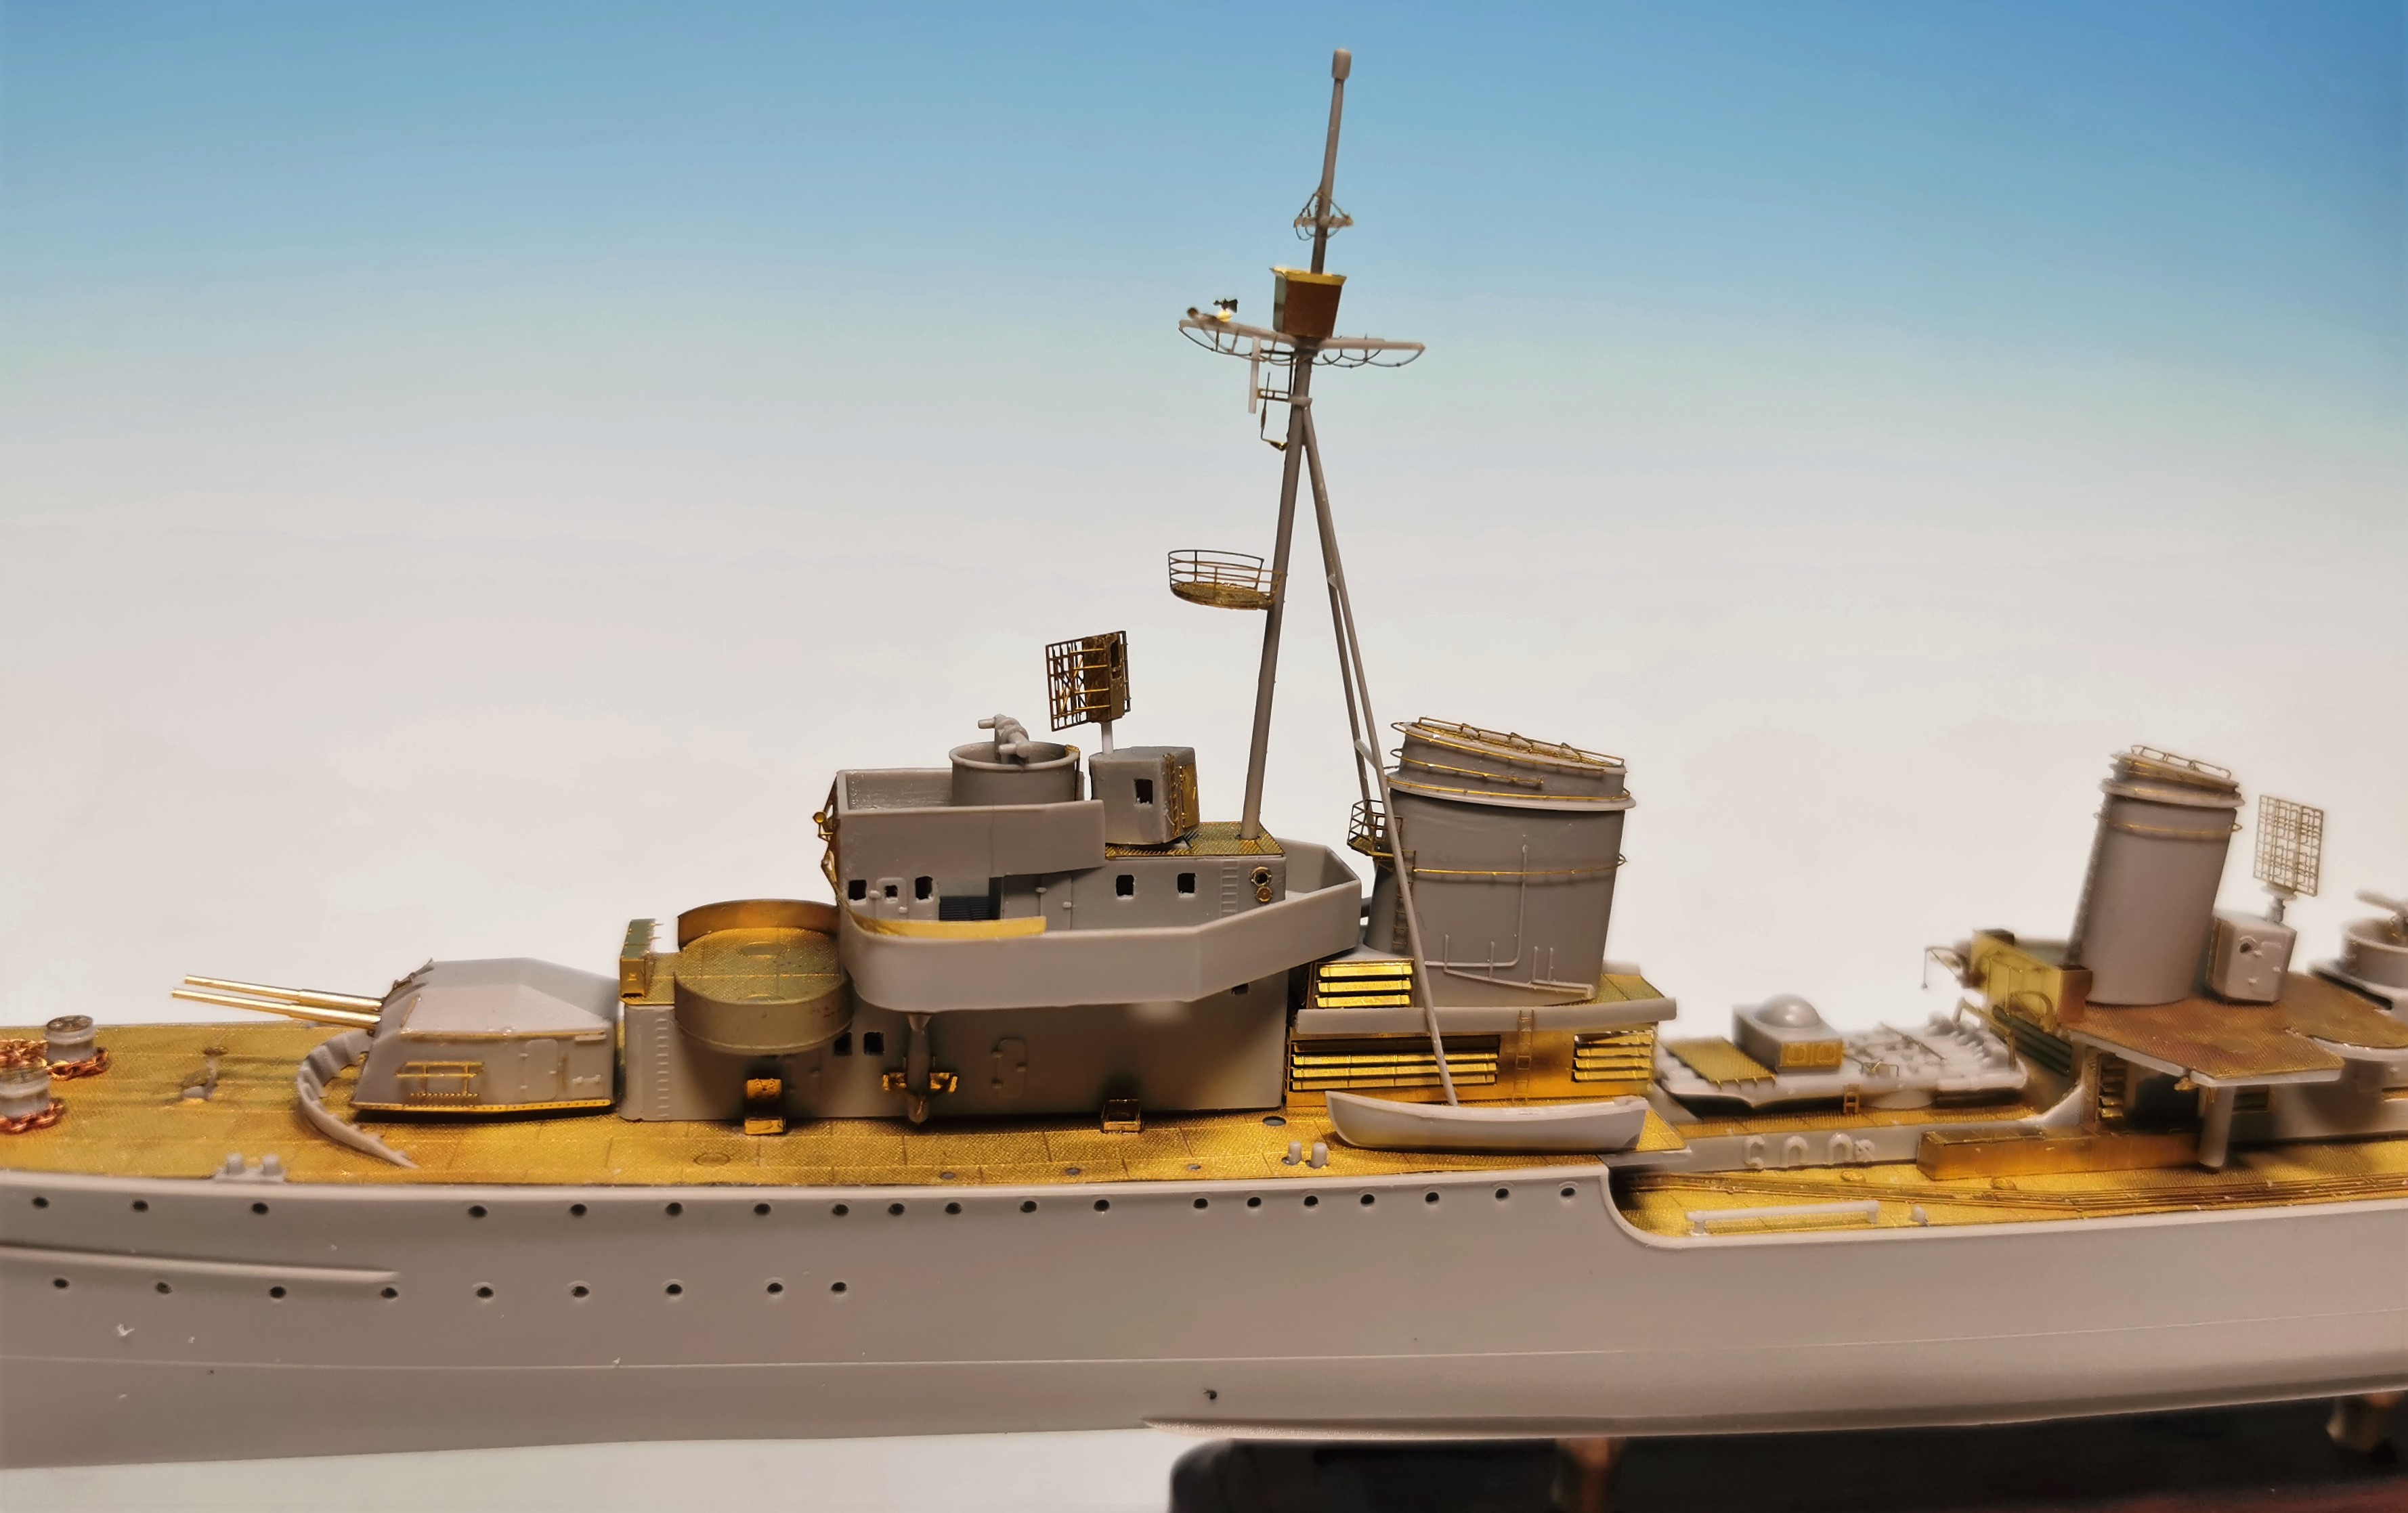
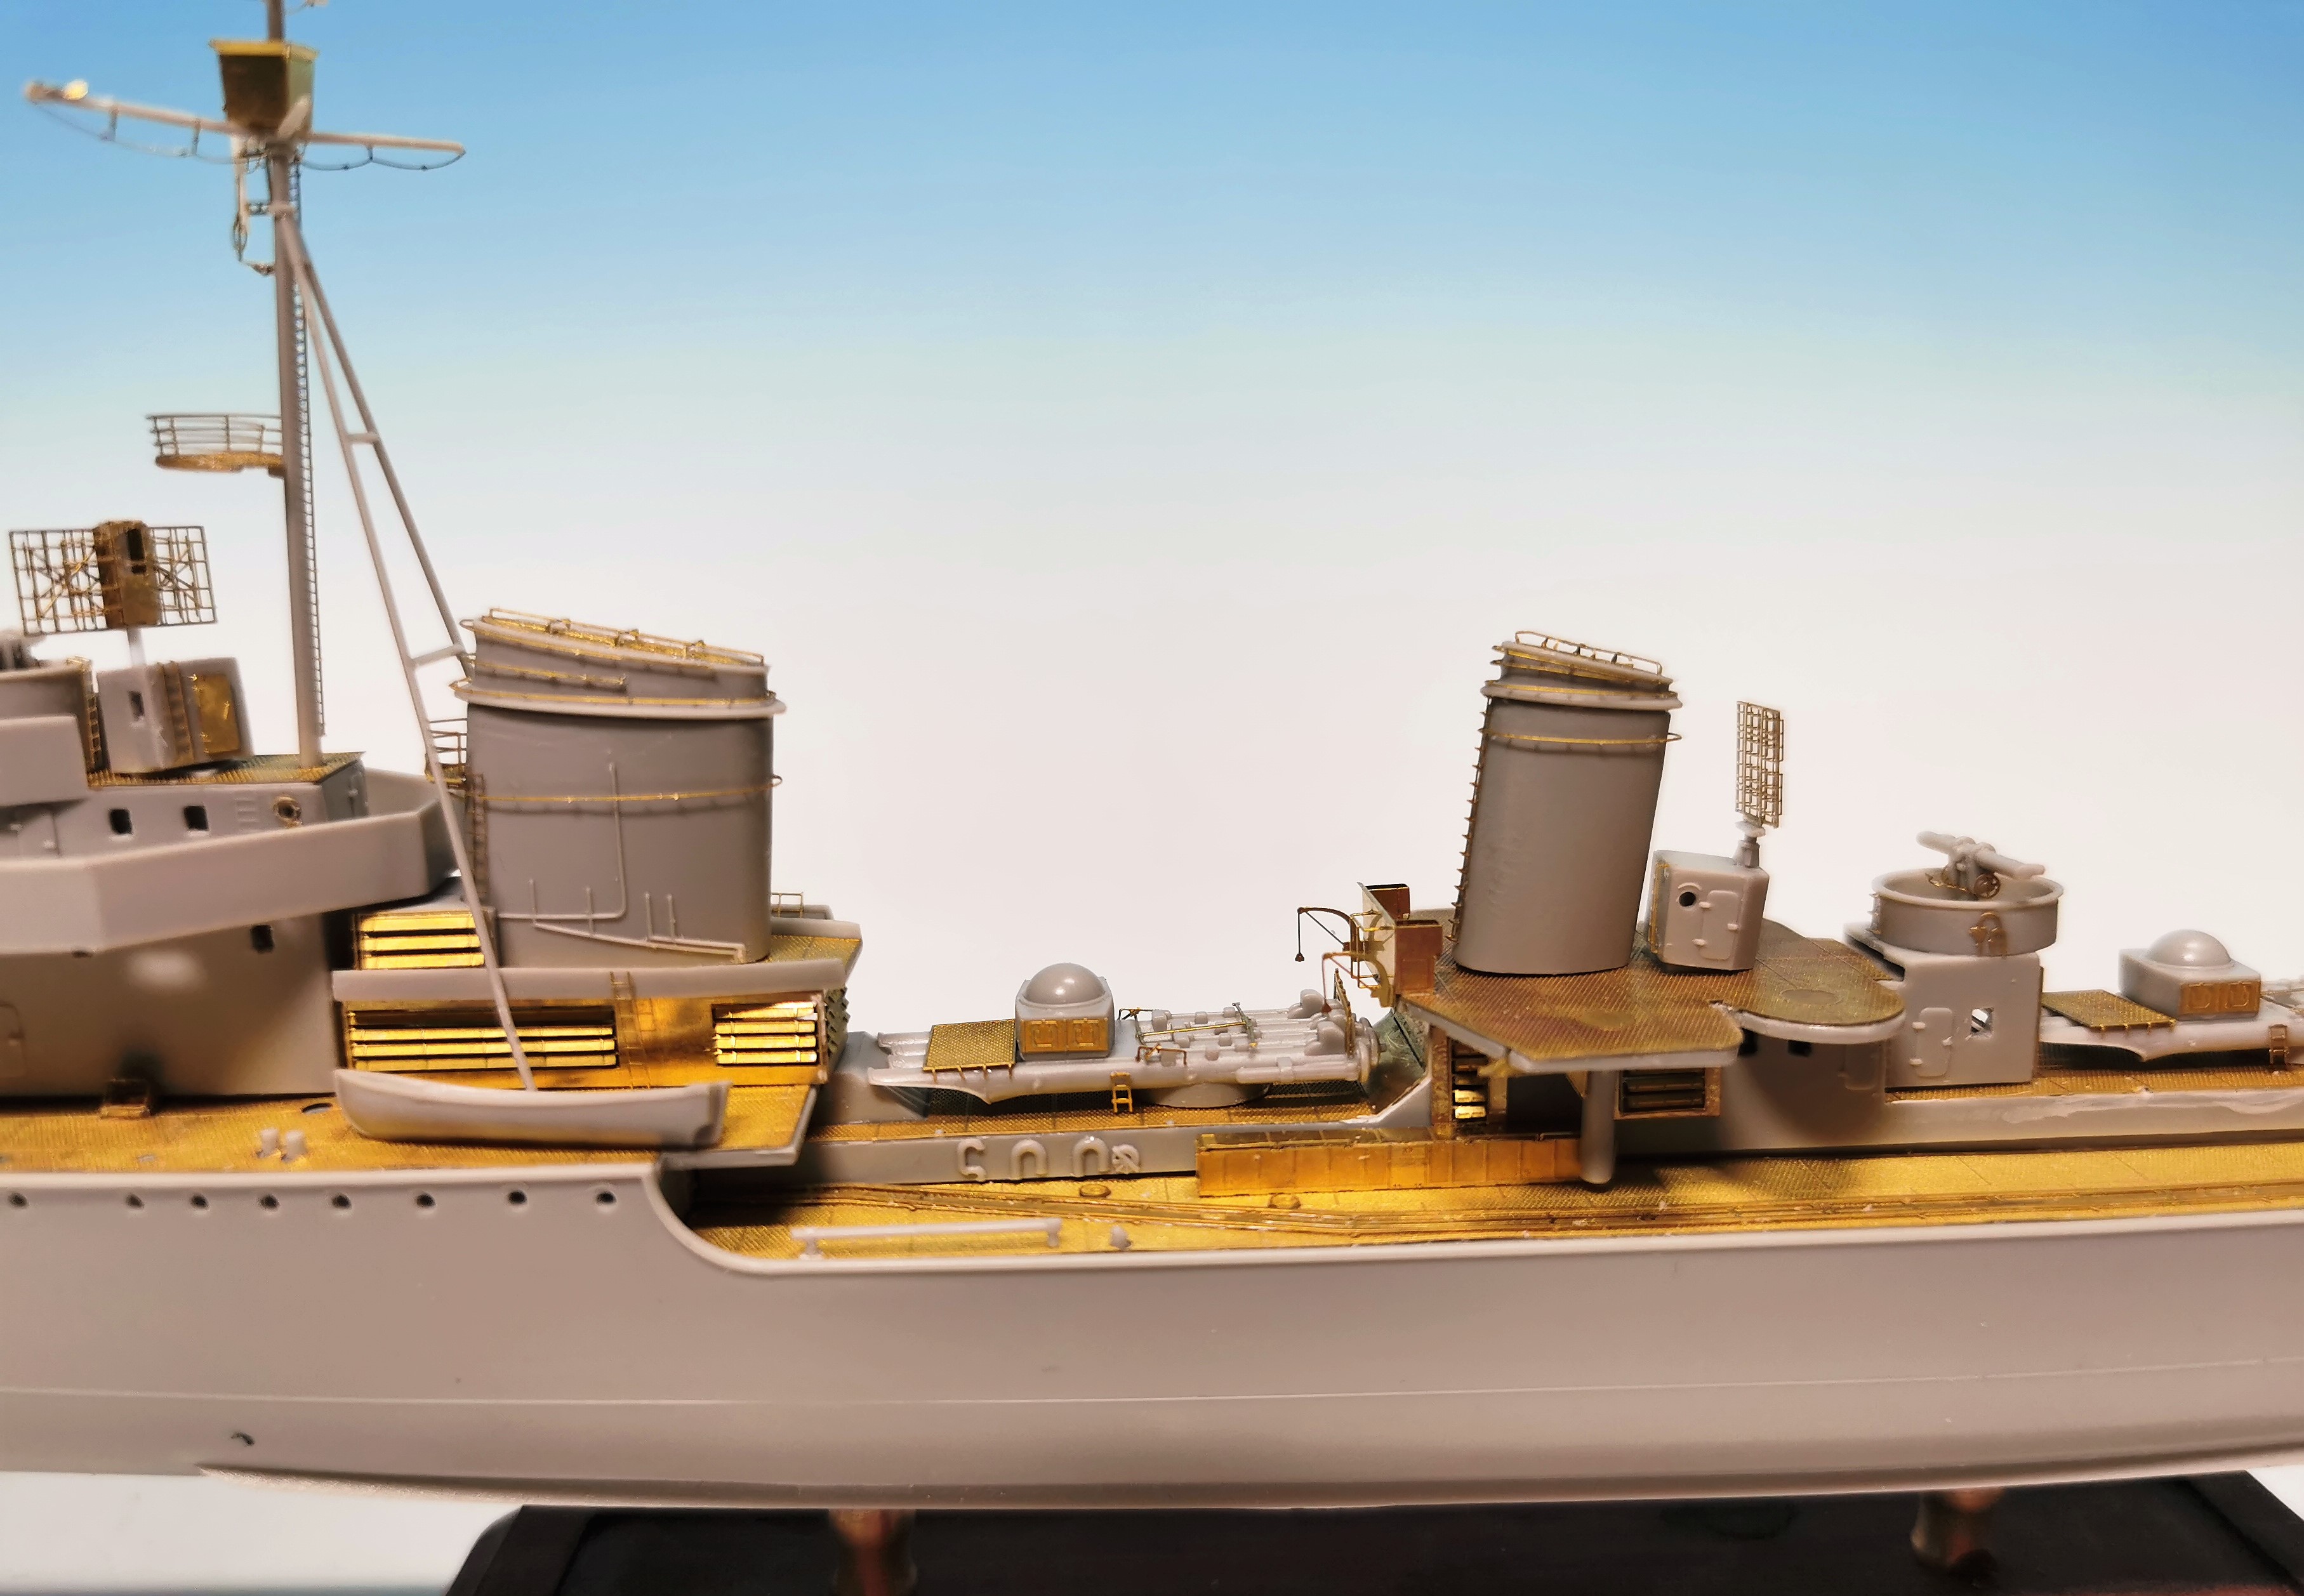
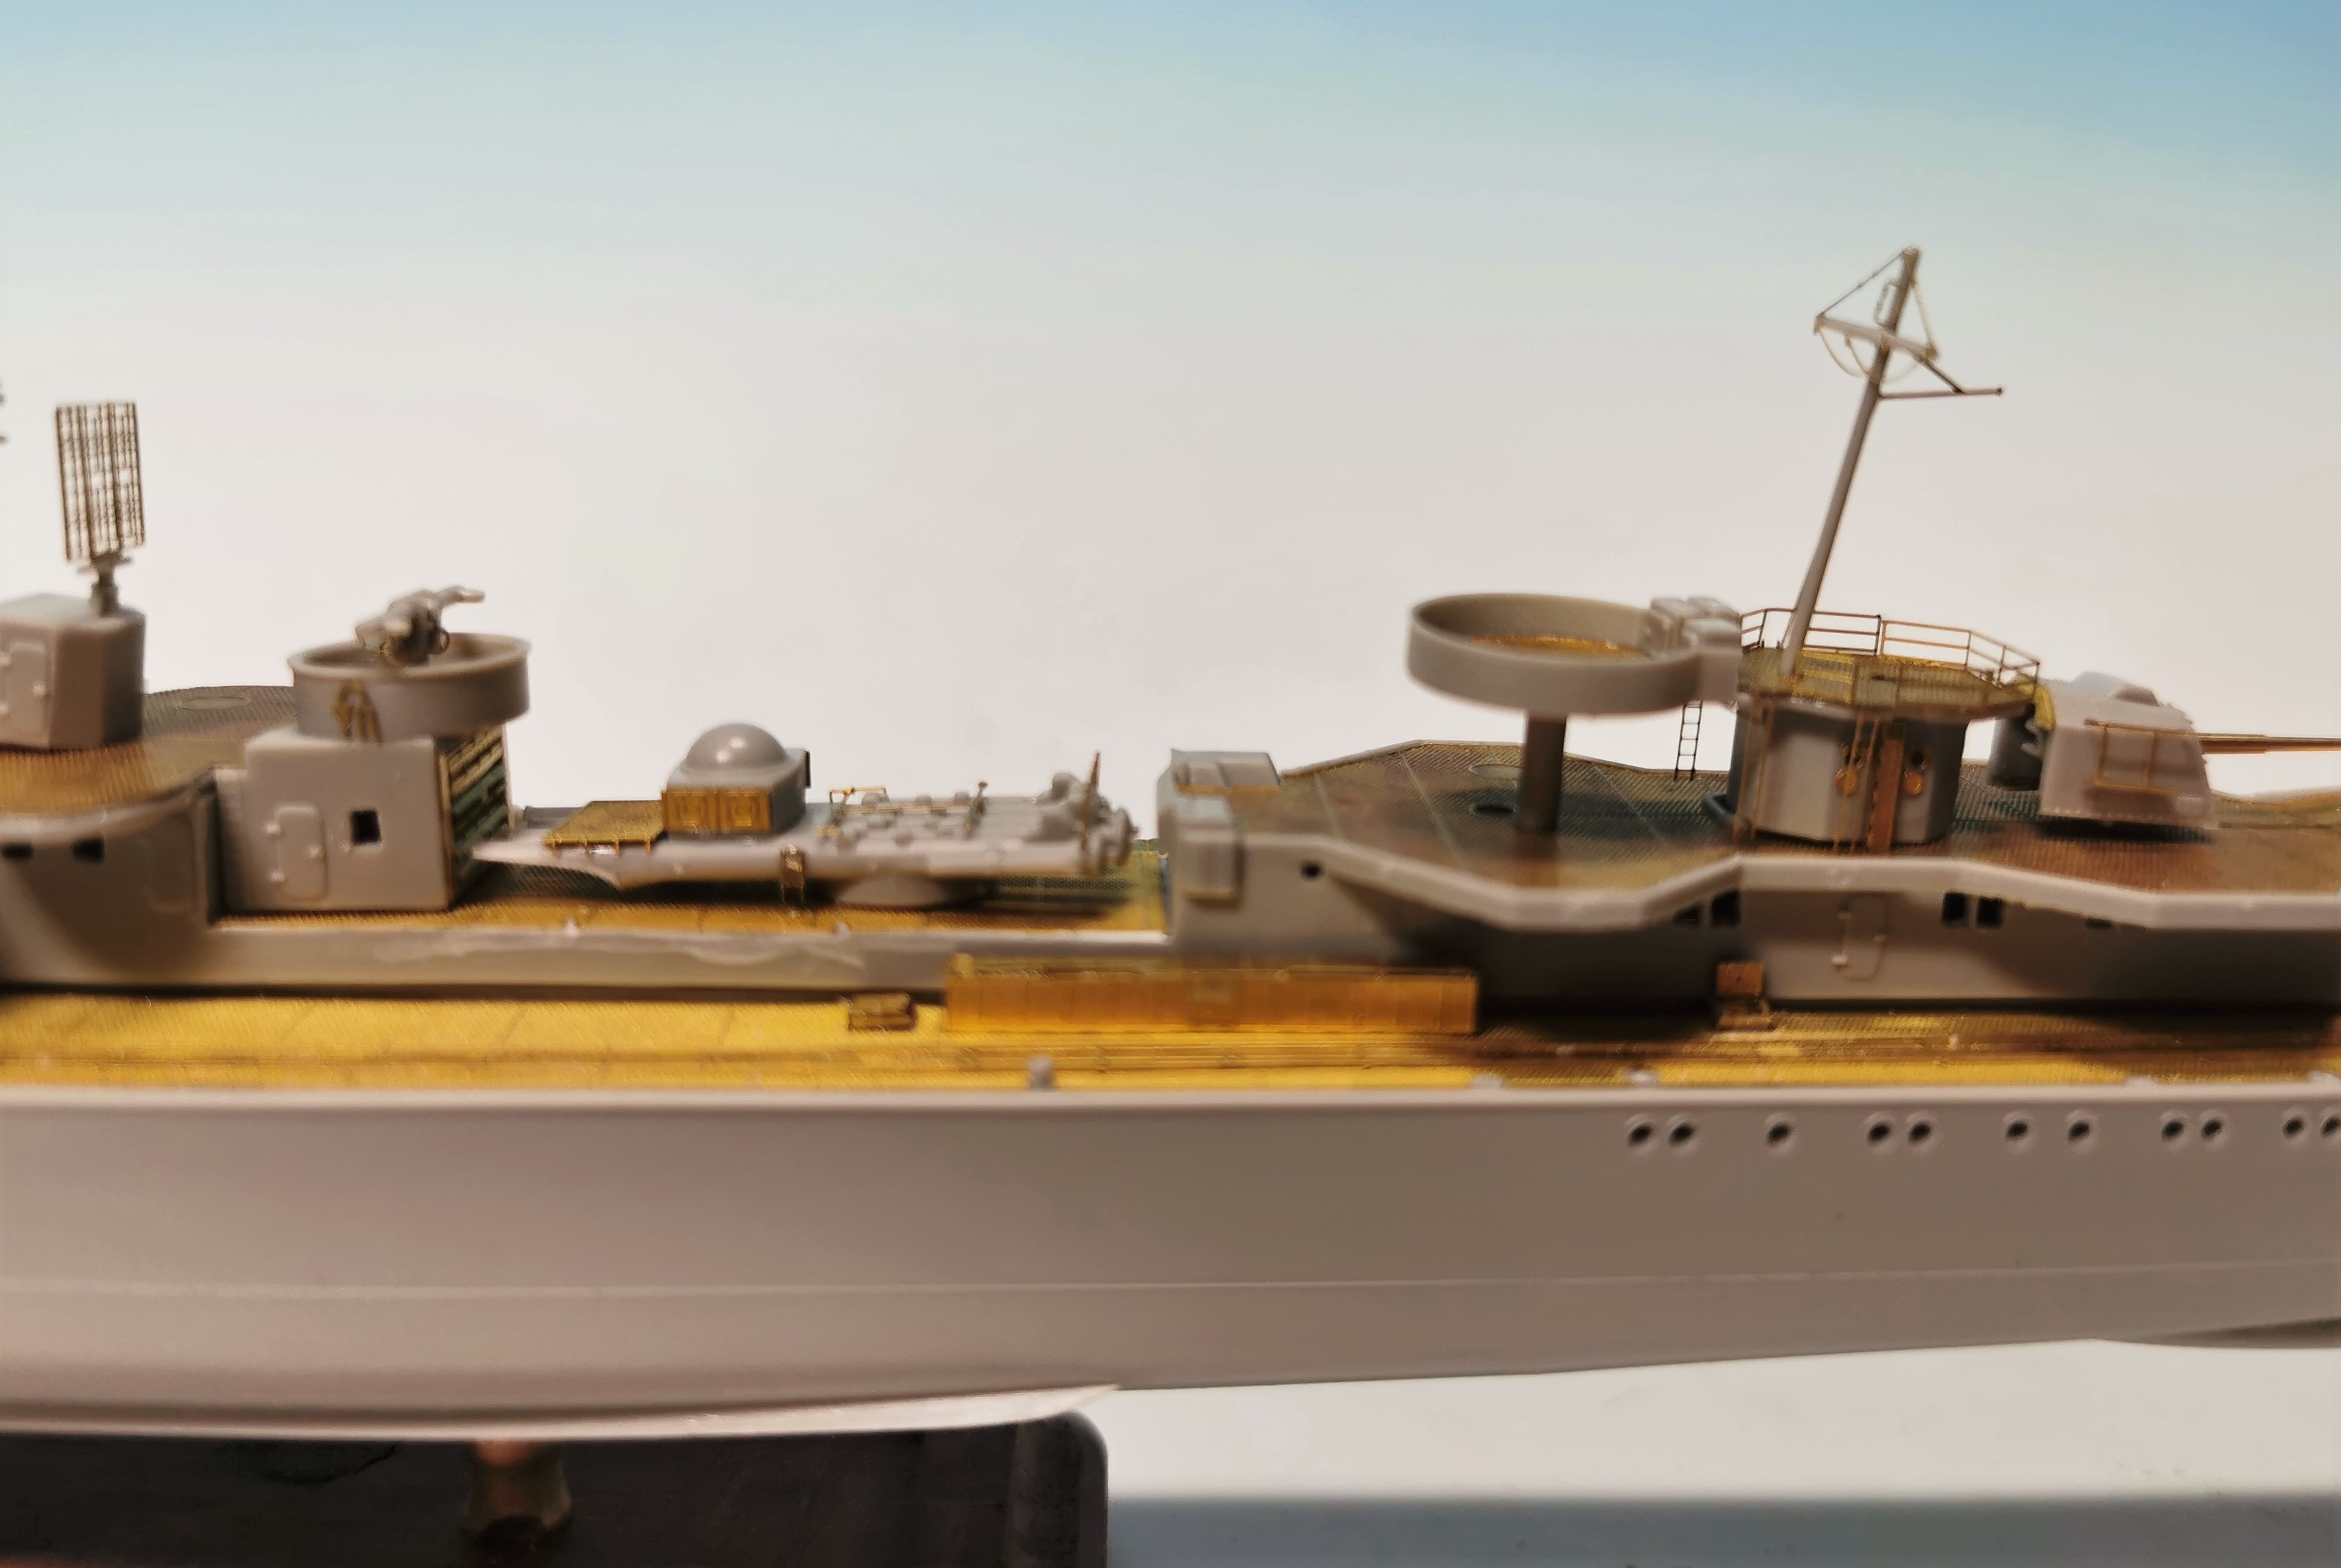
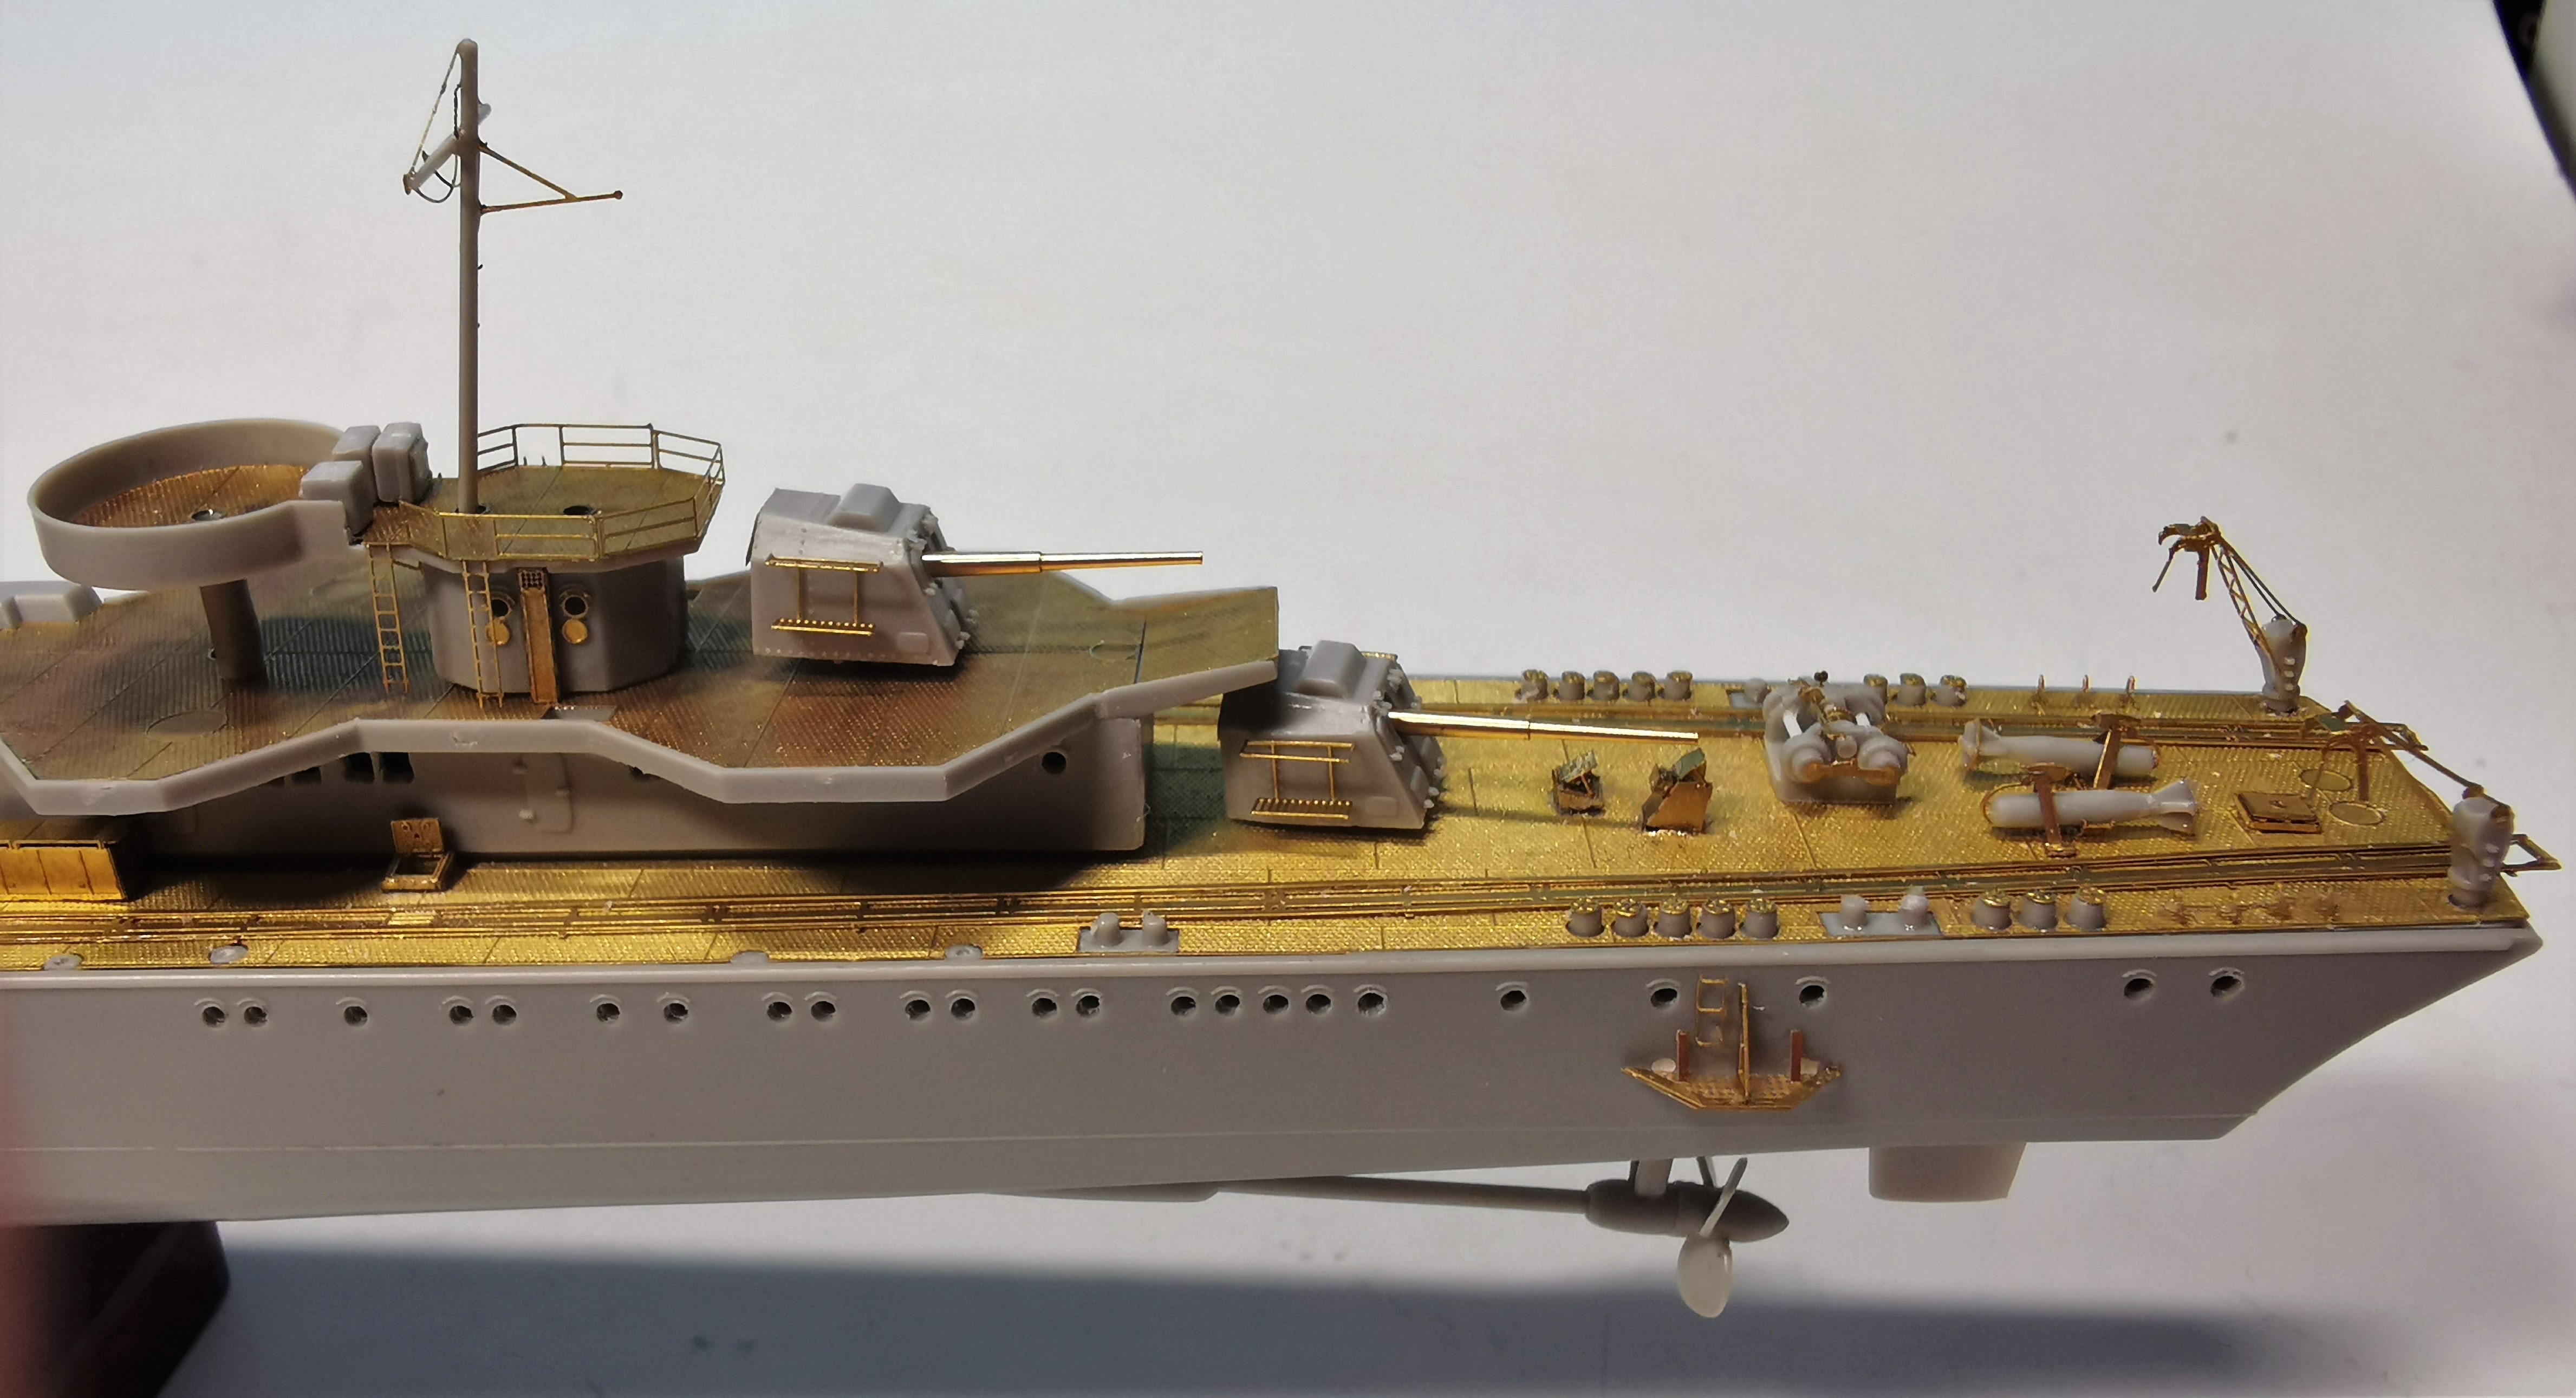
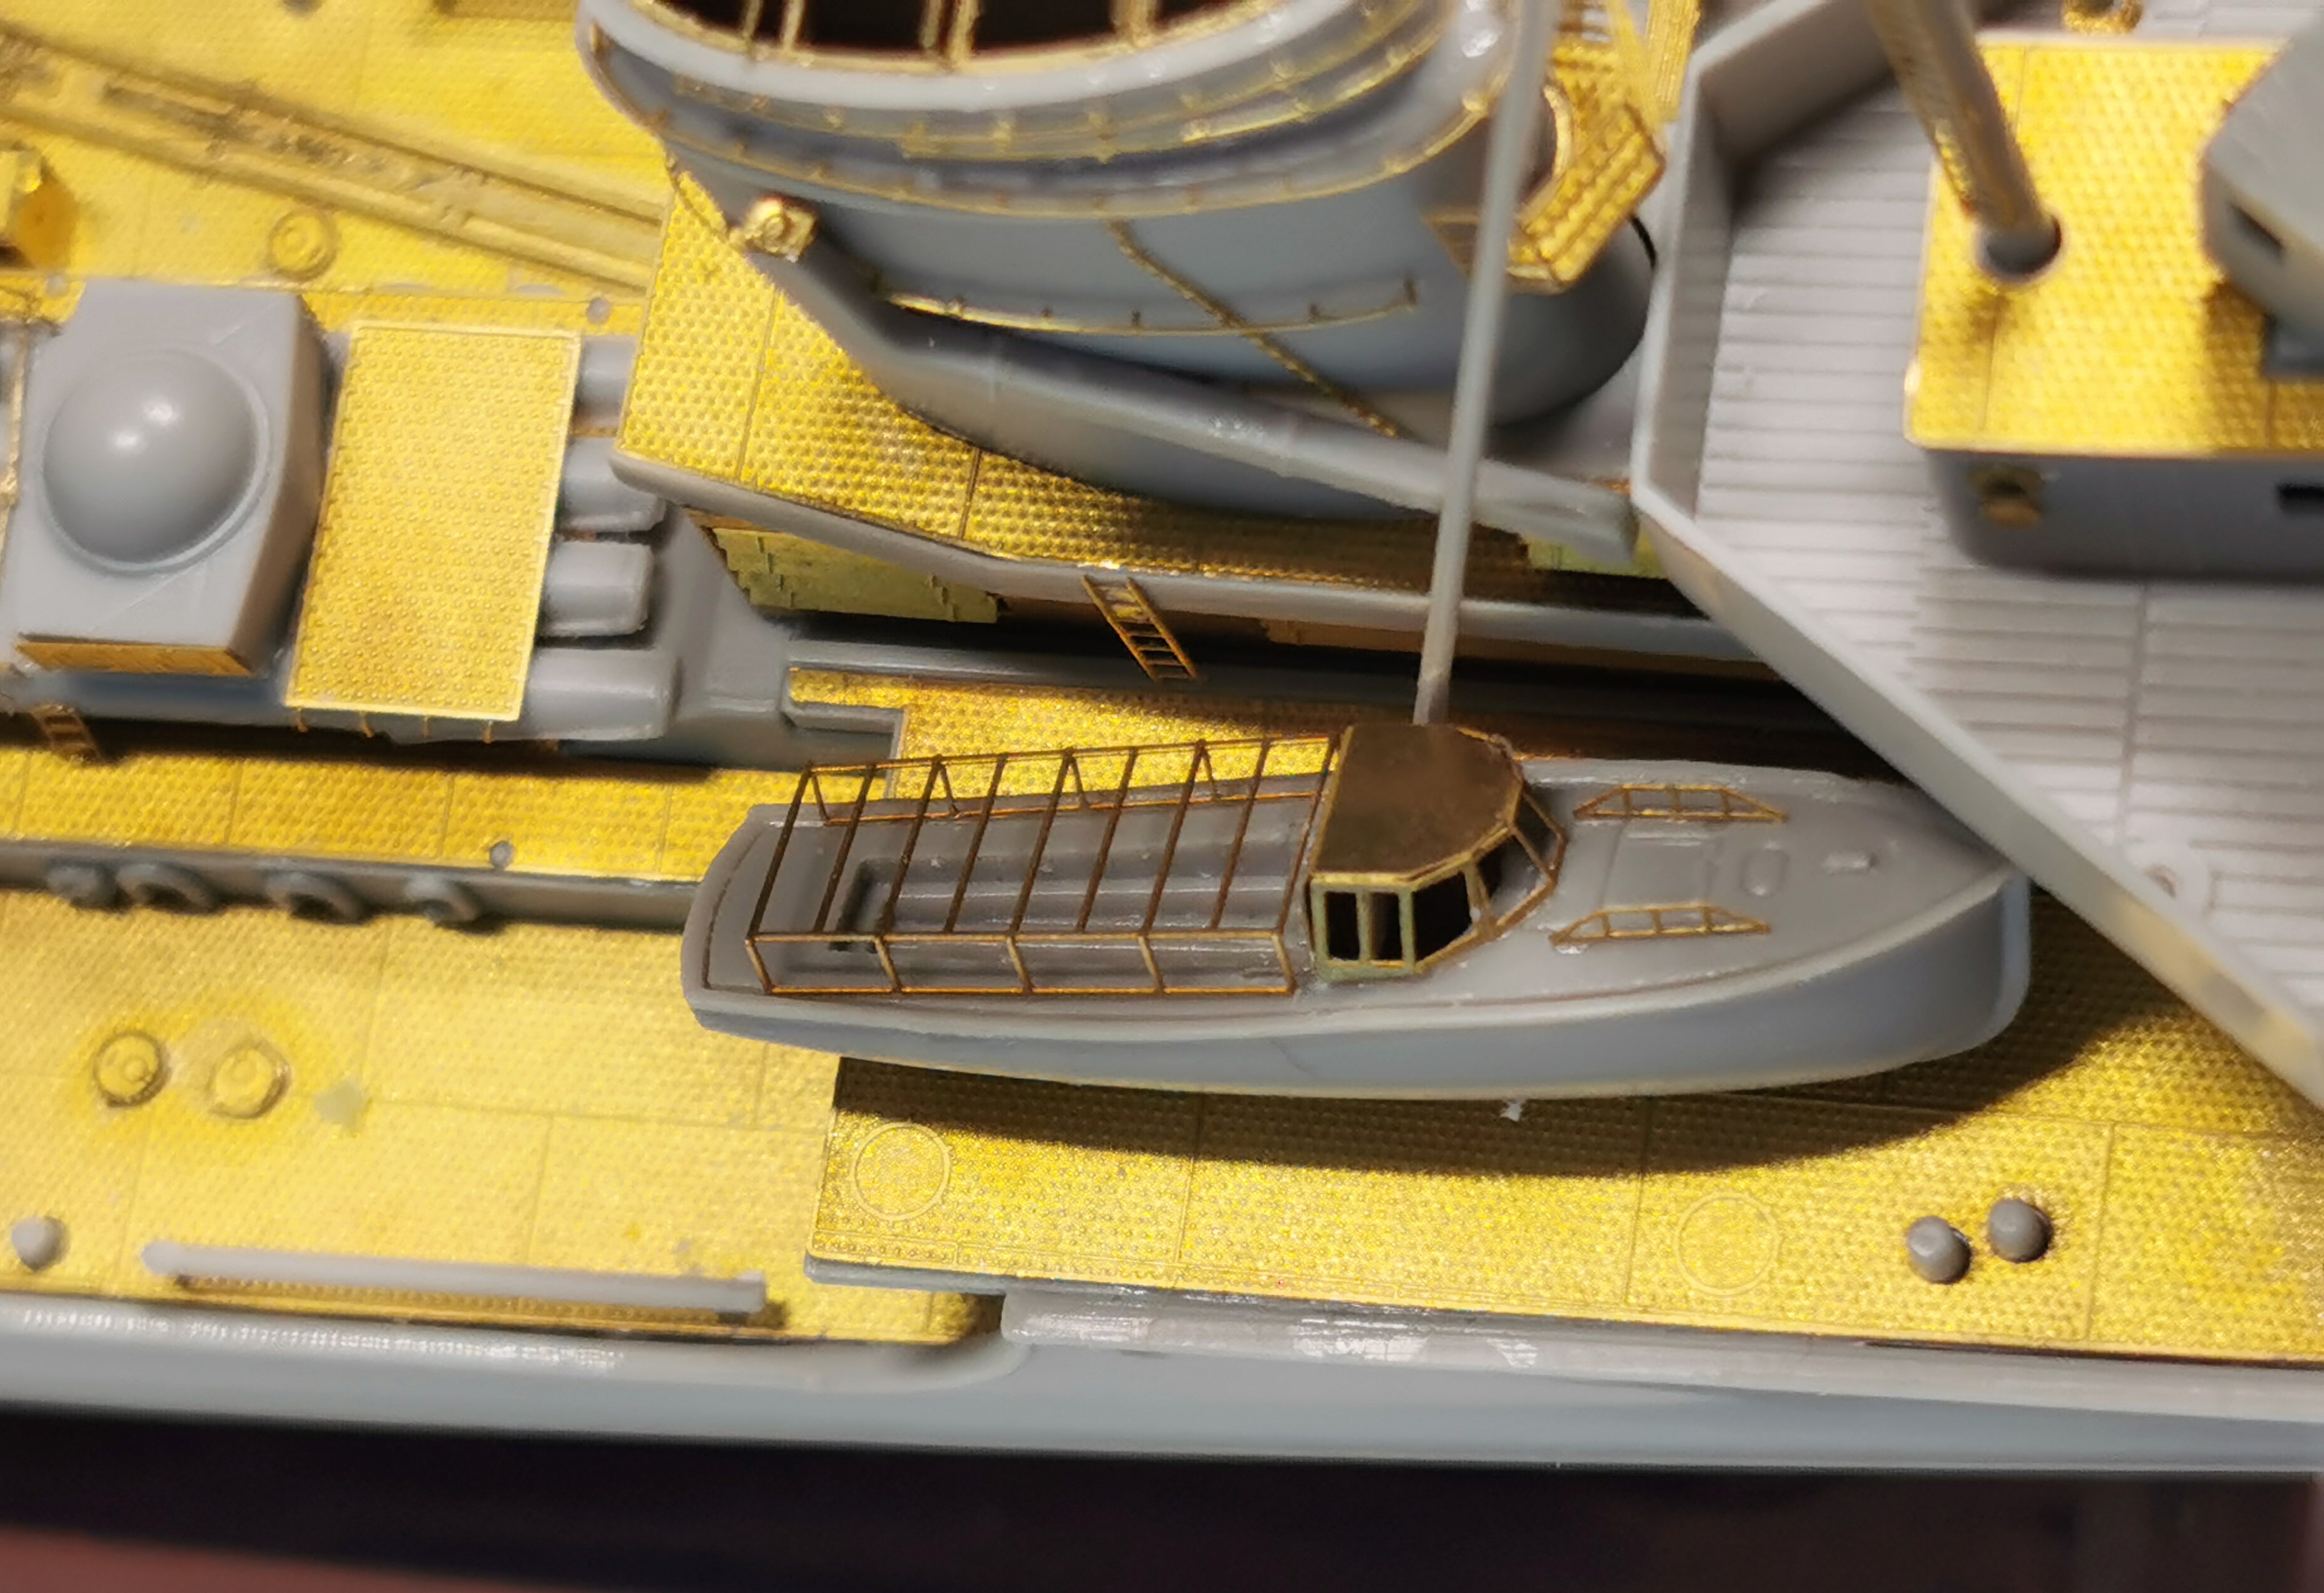
Gentlemen some in-progress-pictures of my Z-25 destroyer. The etched frets getting more and more empty and my head feels more and more dizzy… All main components are done exept from ladders, stairways, railings, cranes, hoists and all the AA-weapons (which will be the 3D-parts from Black Cat). I build everything in some components for better painting afterwards. I show you all the assembled components to see how everything is looking before painting
I´ve added a 1 Cent coin to let you see the size of the build
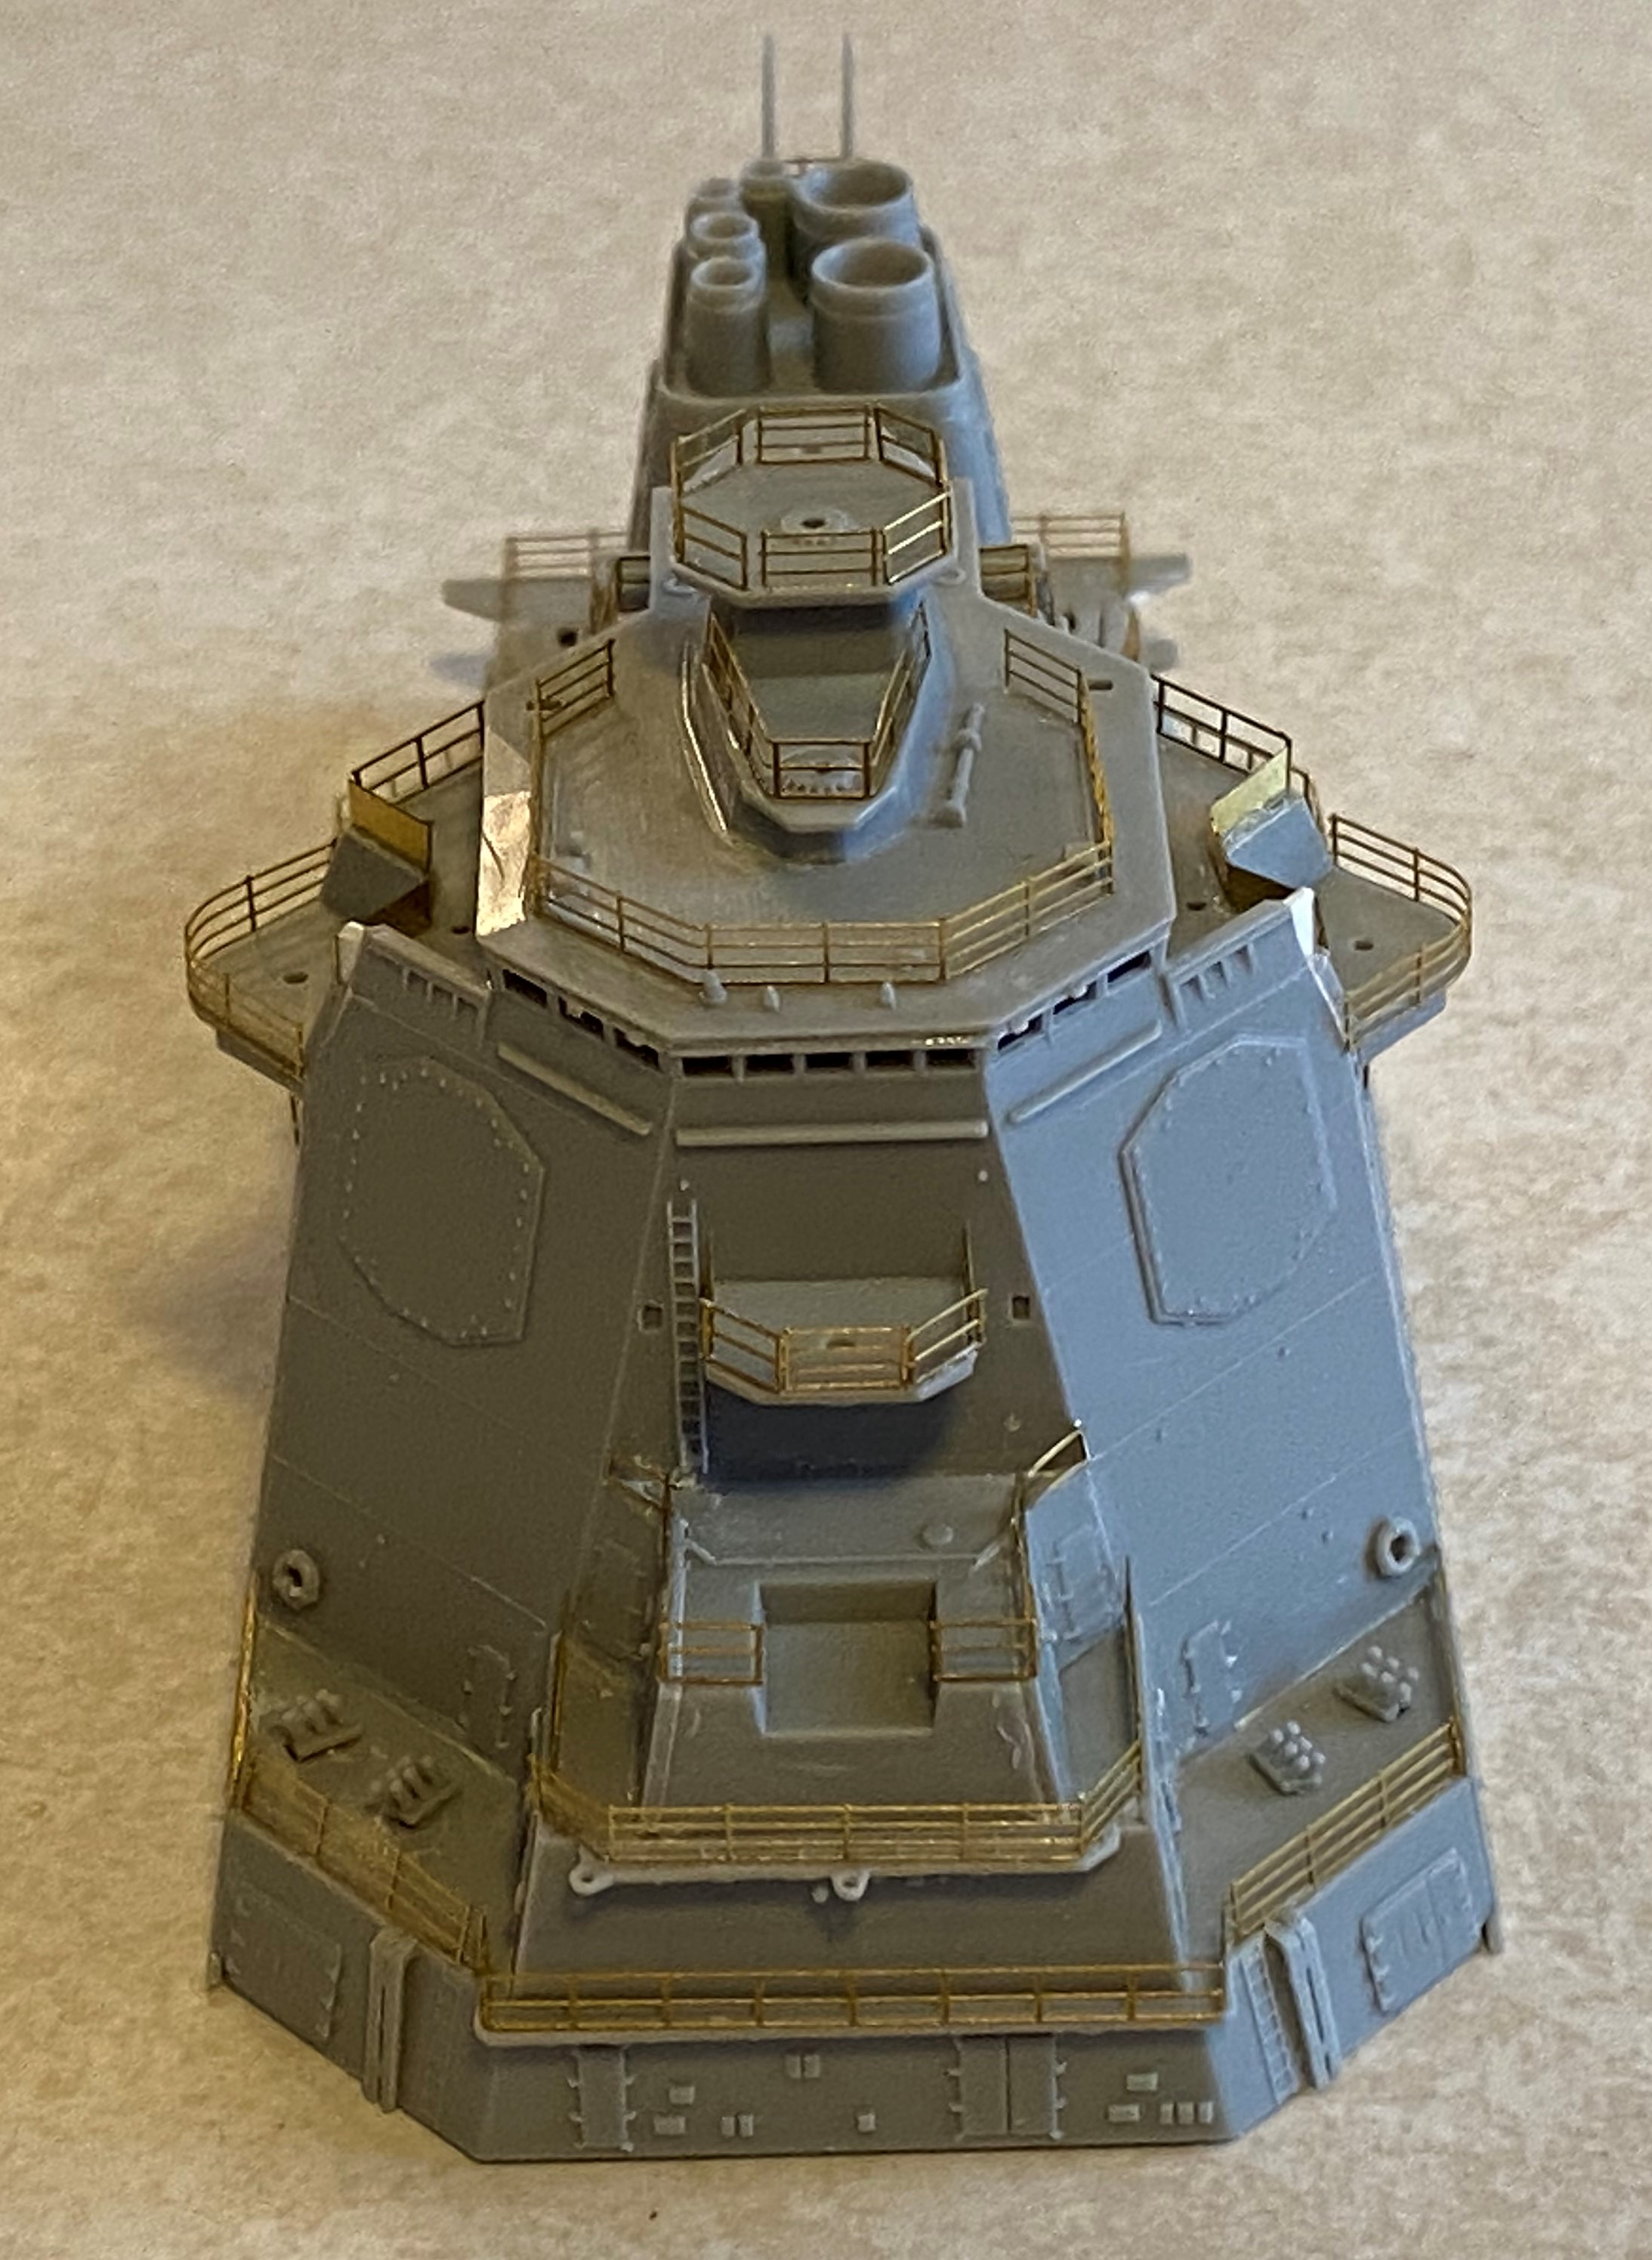
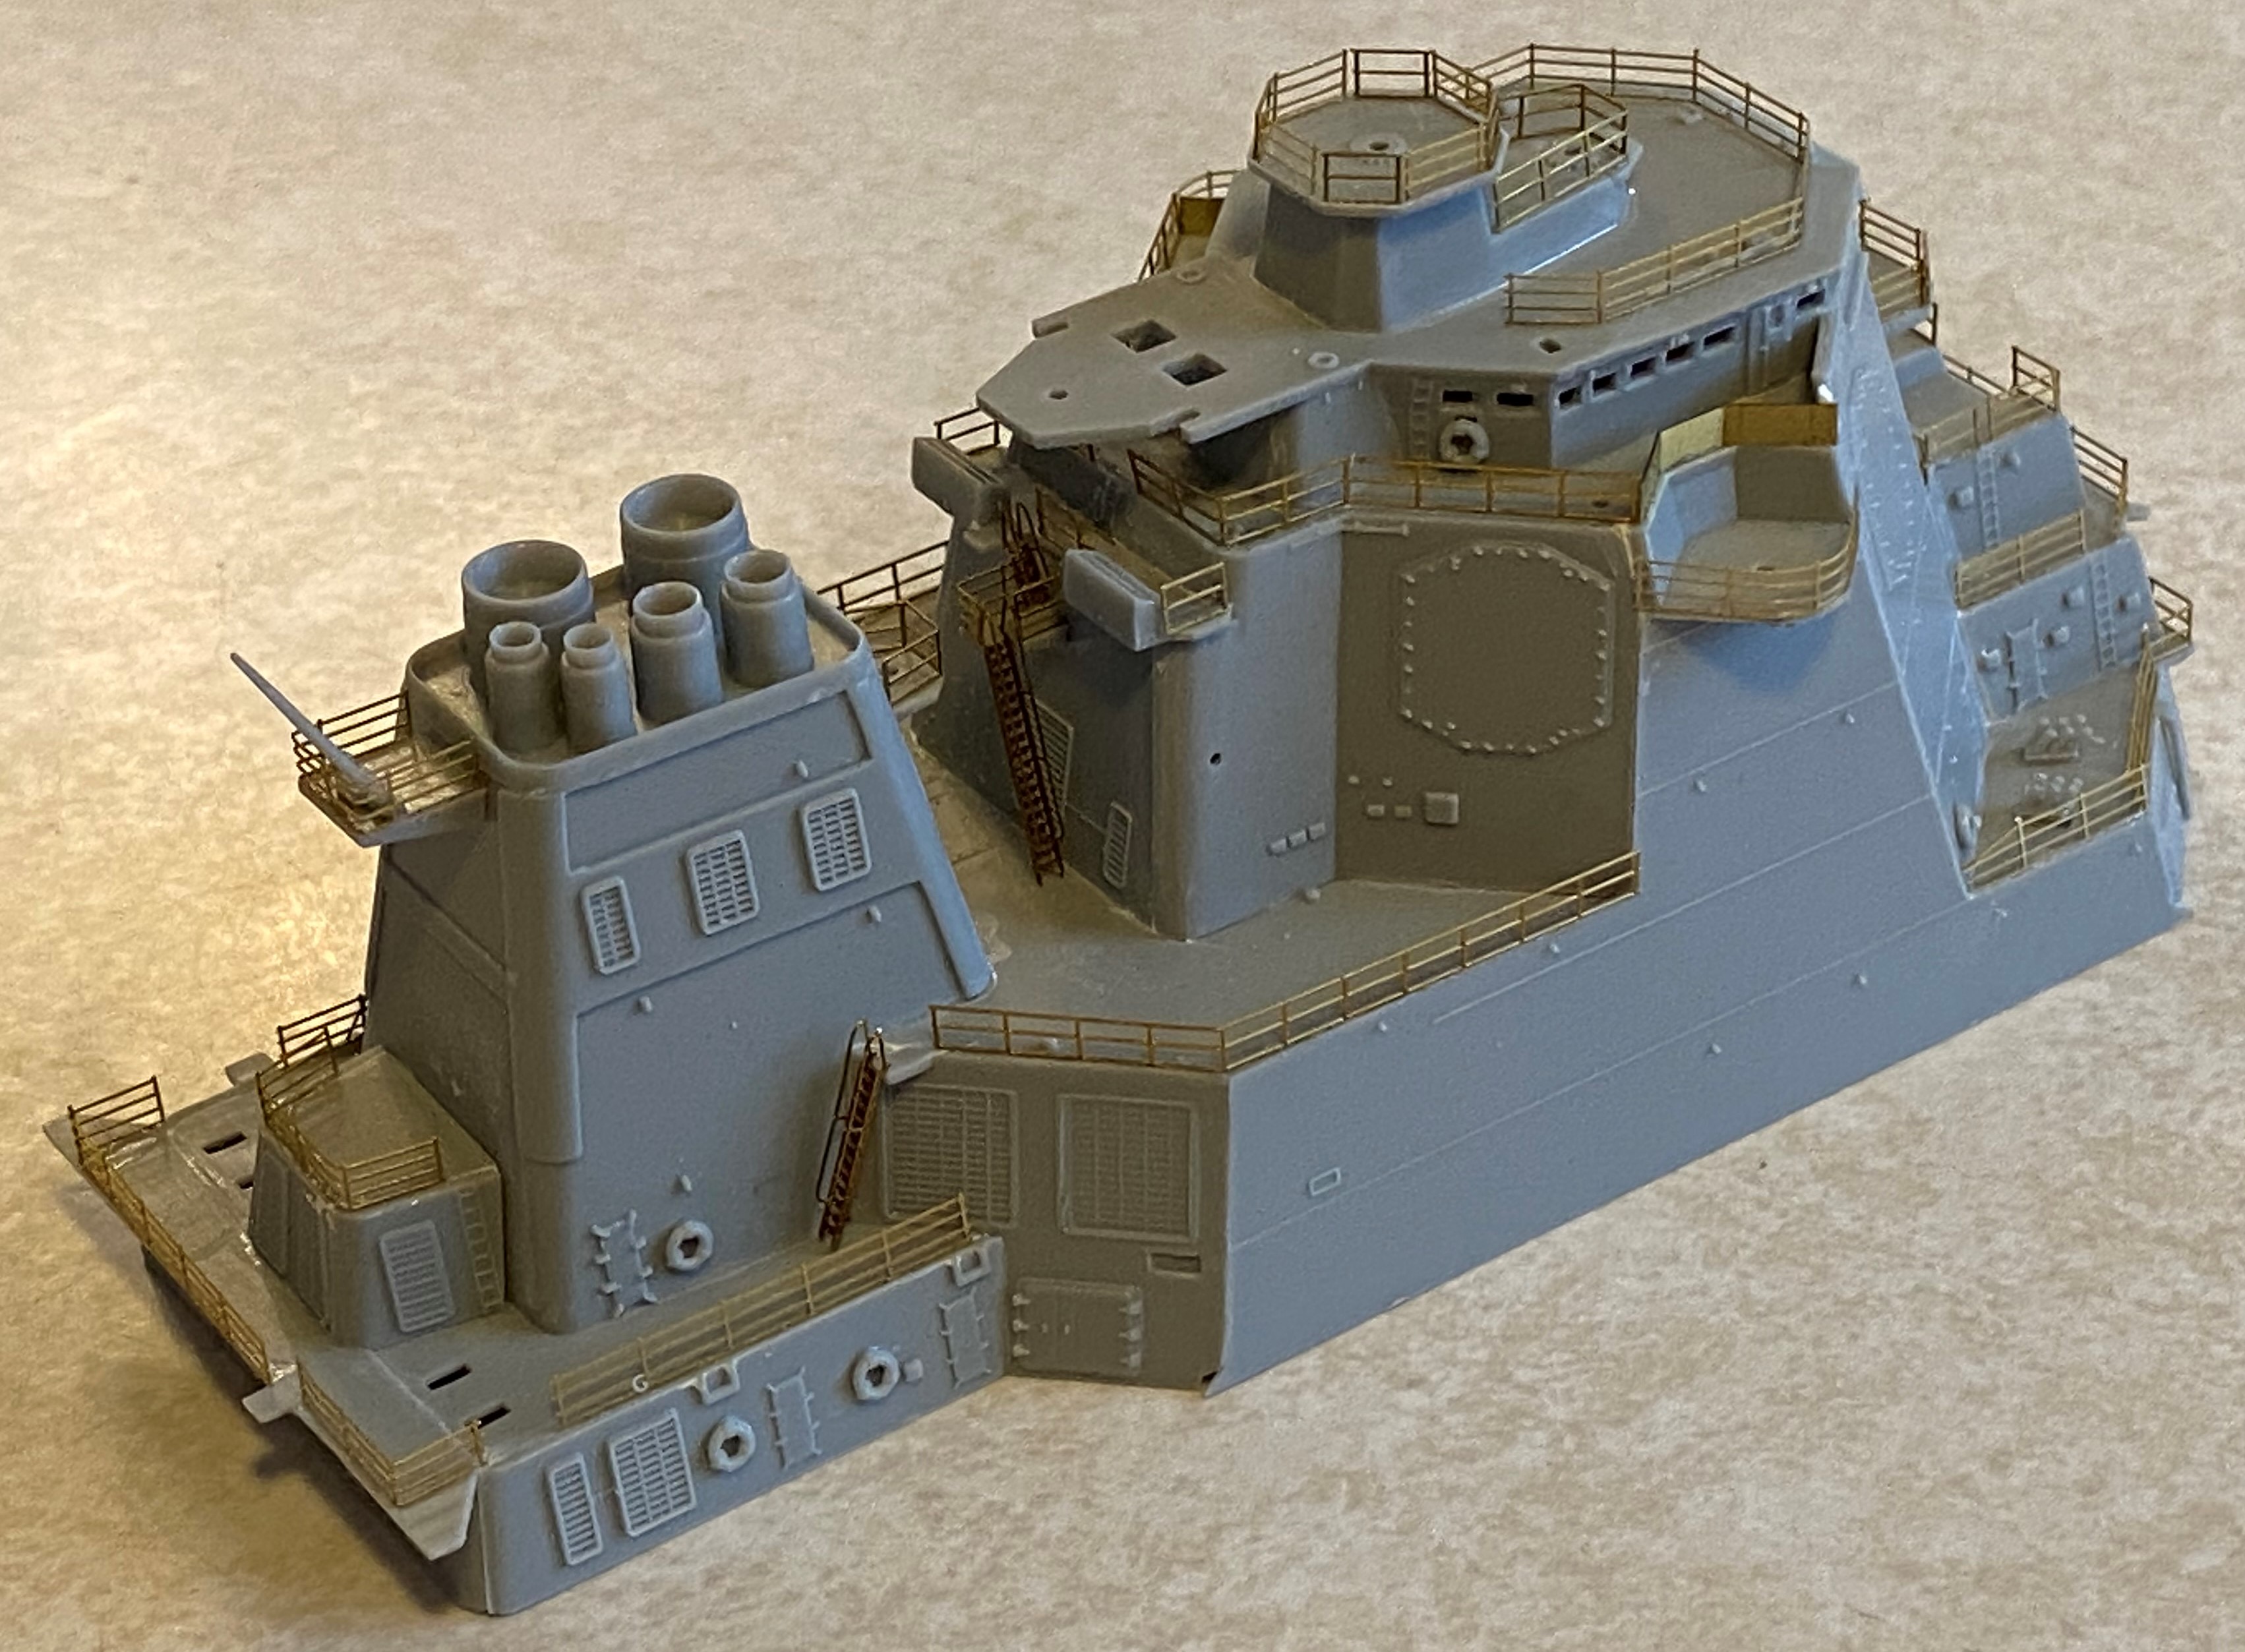
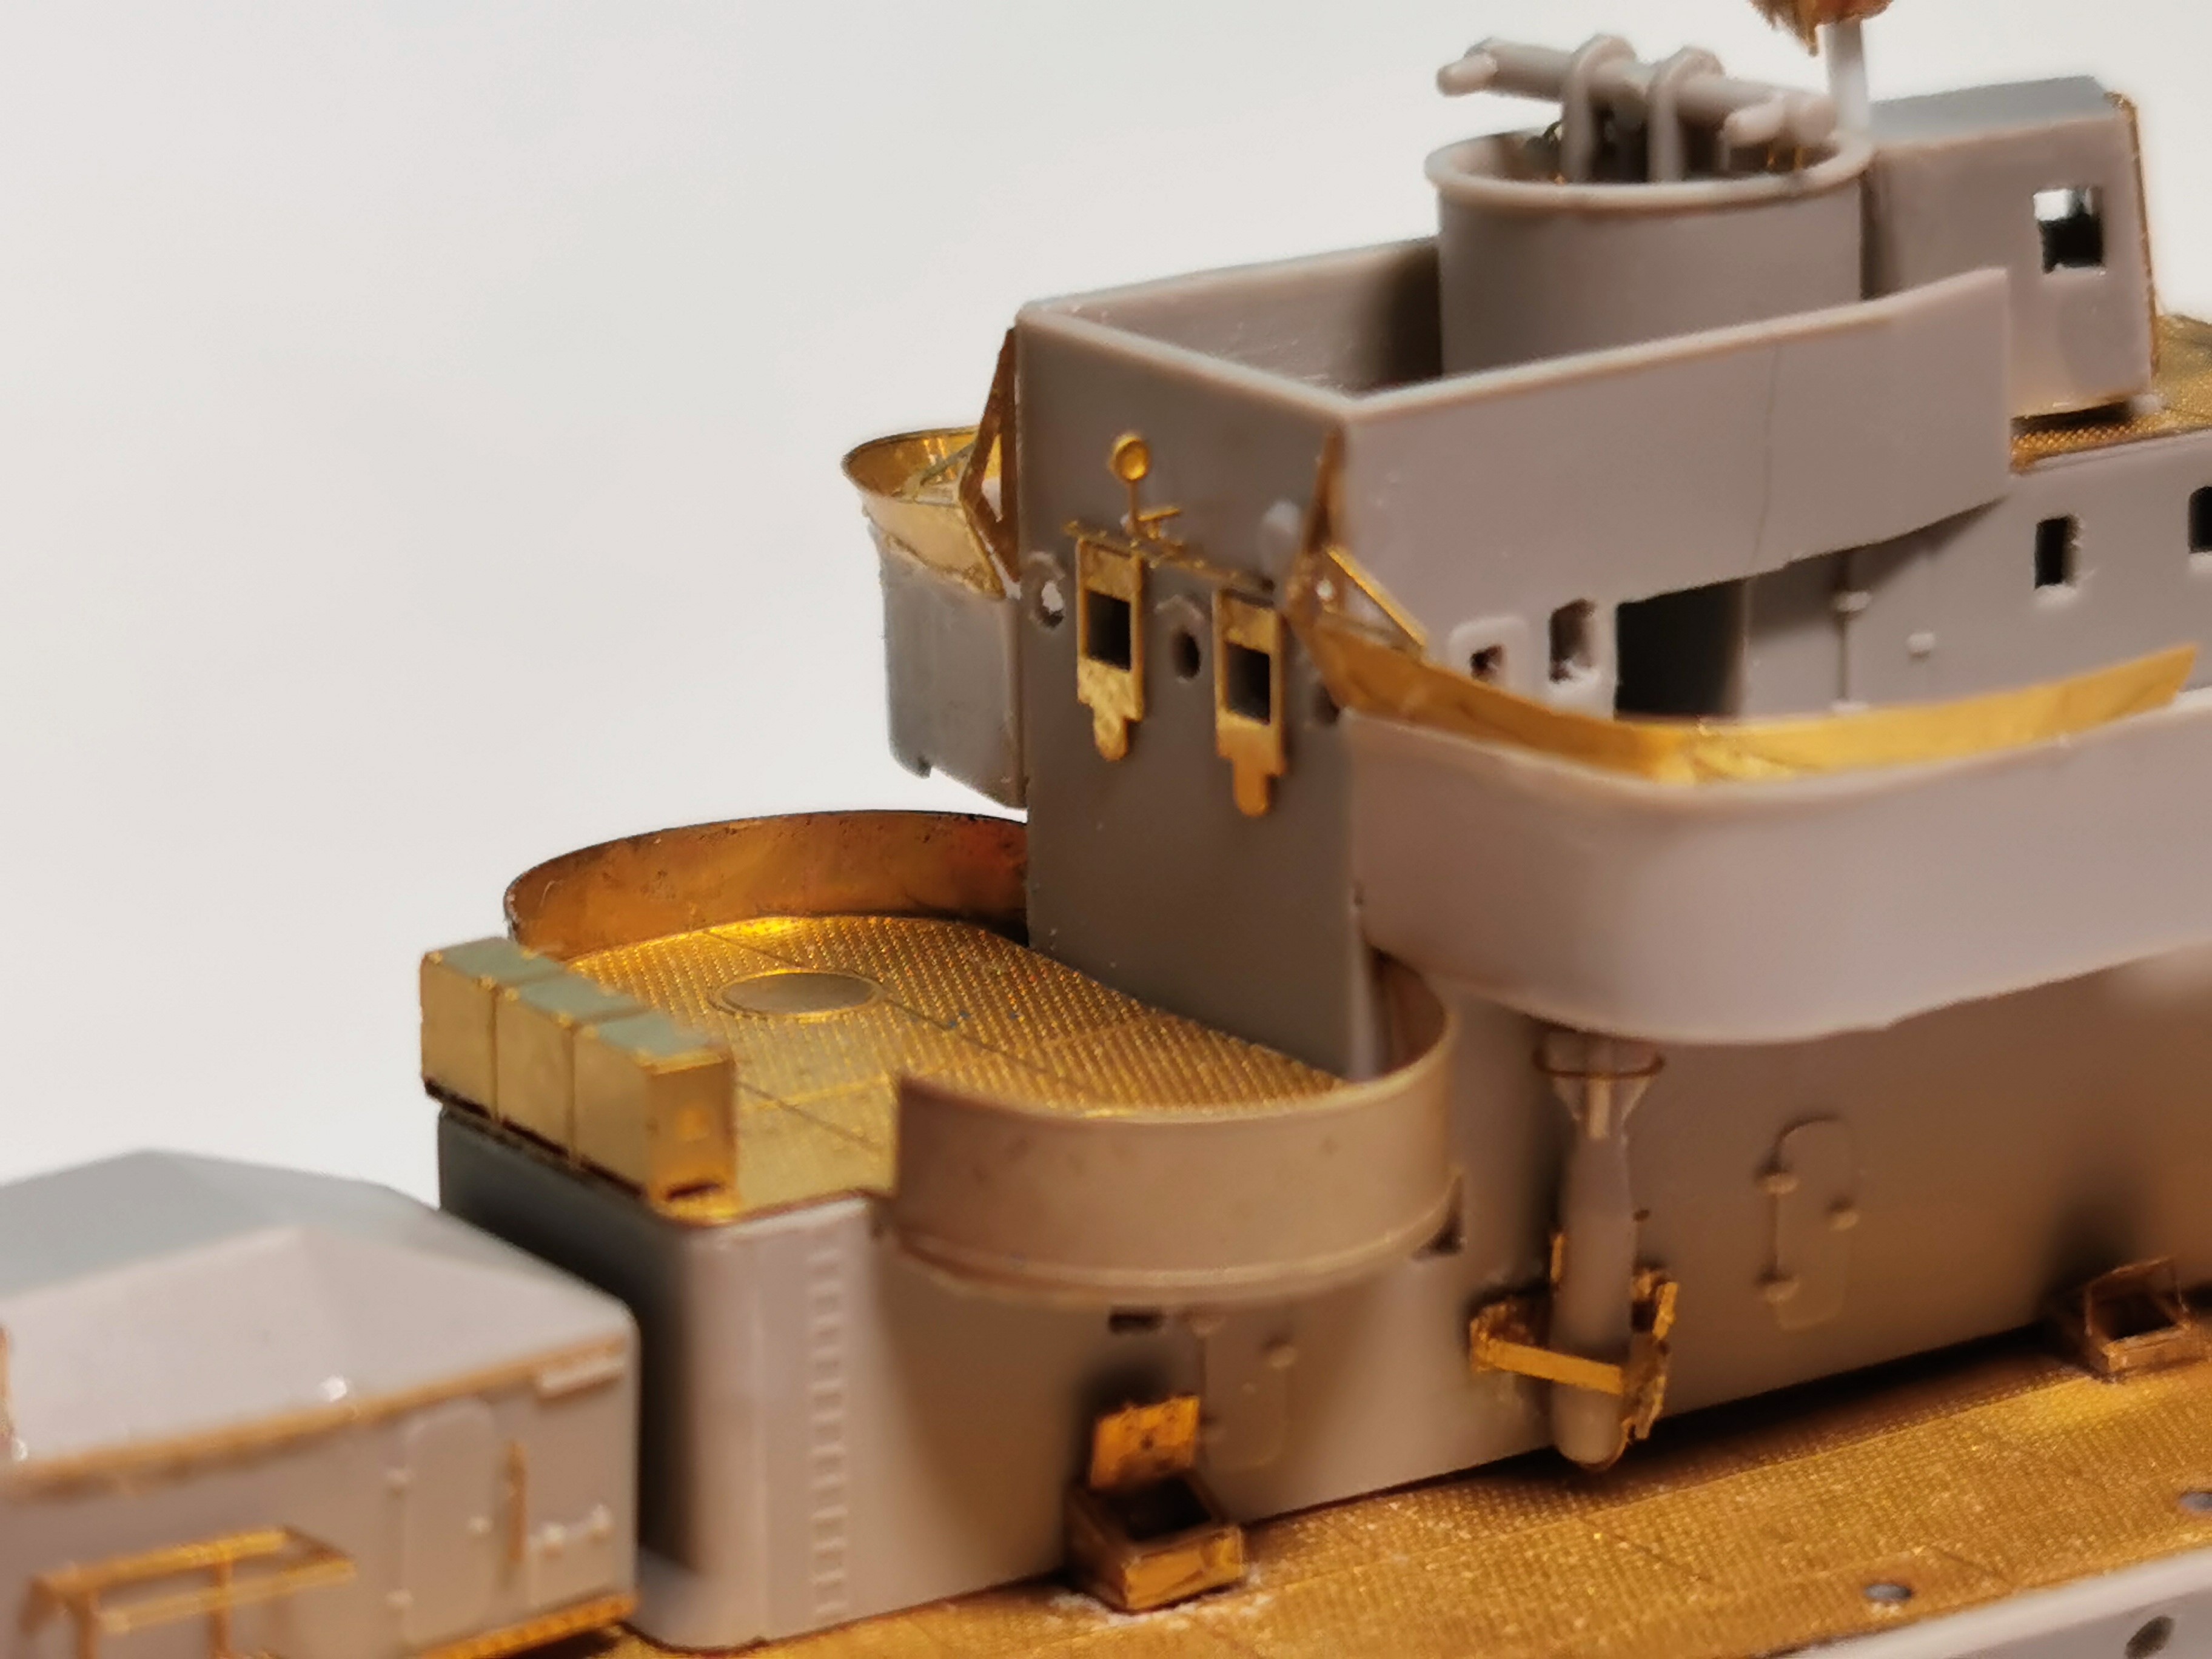
The bridge
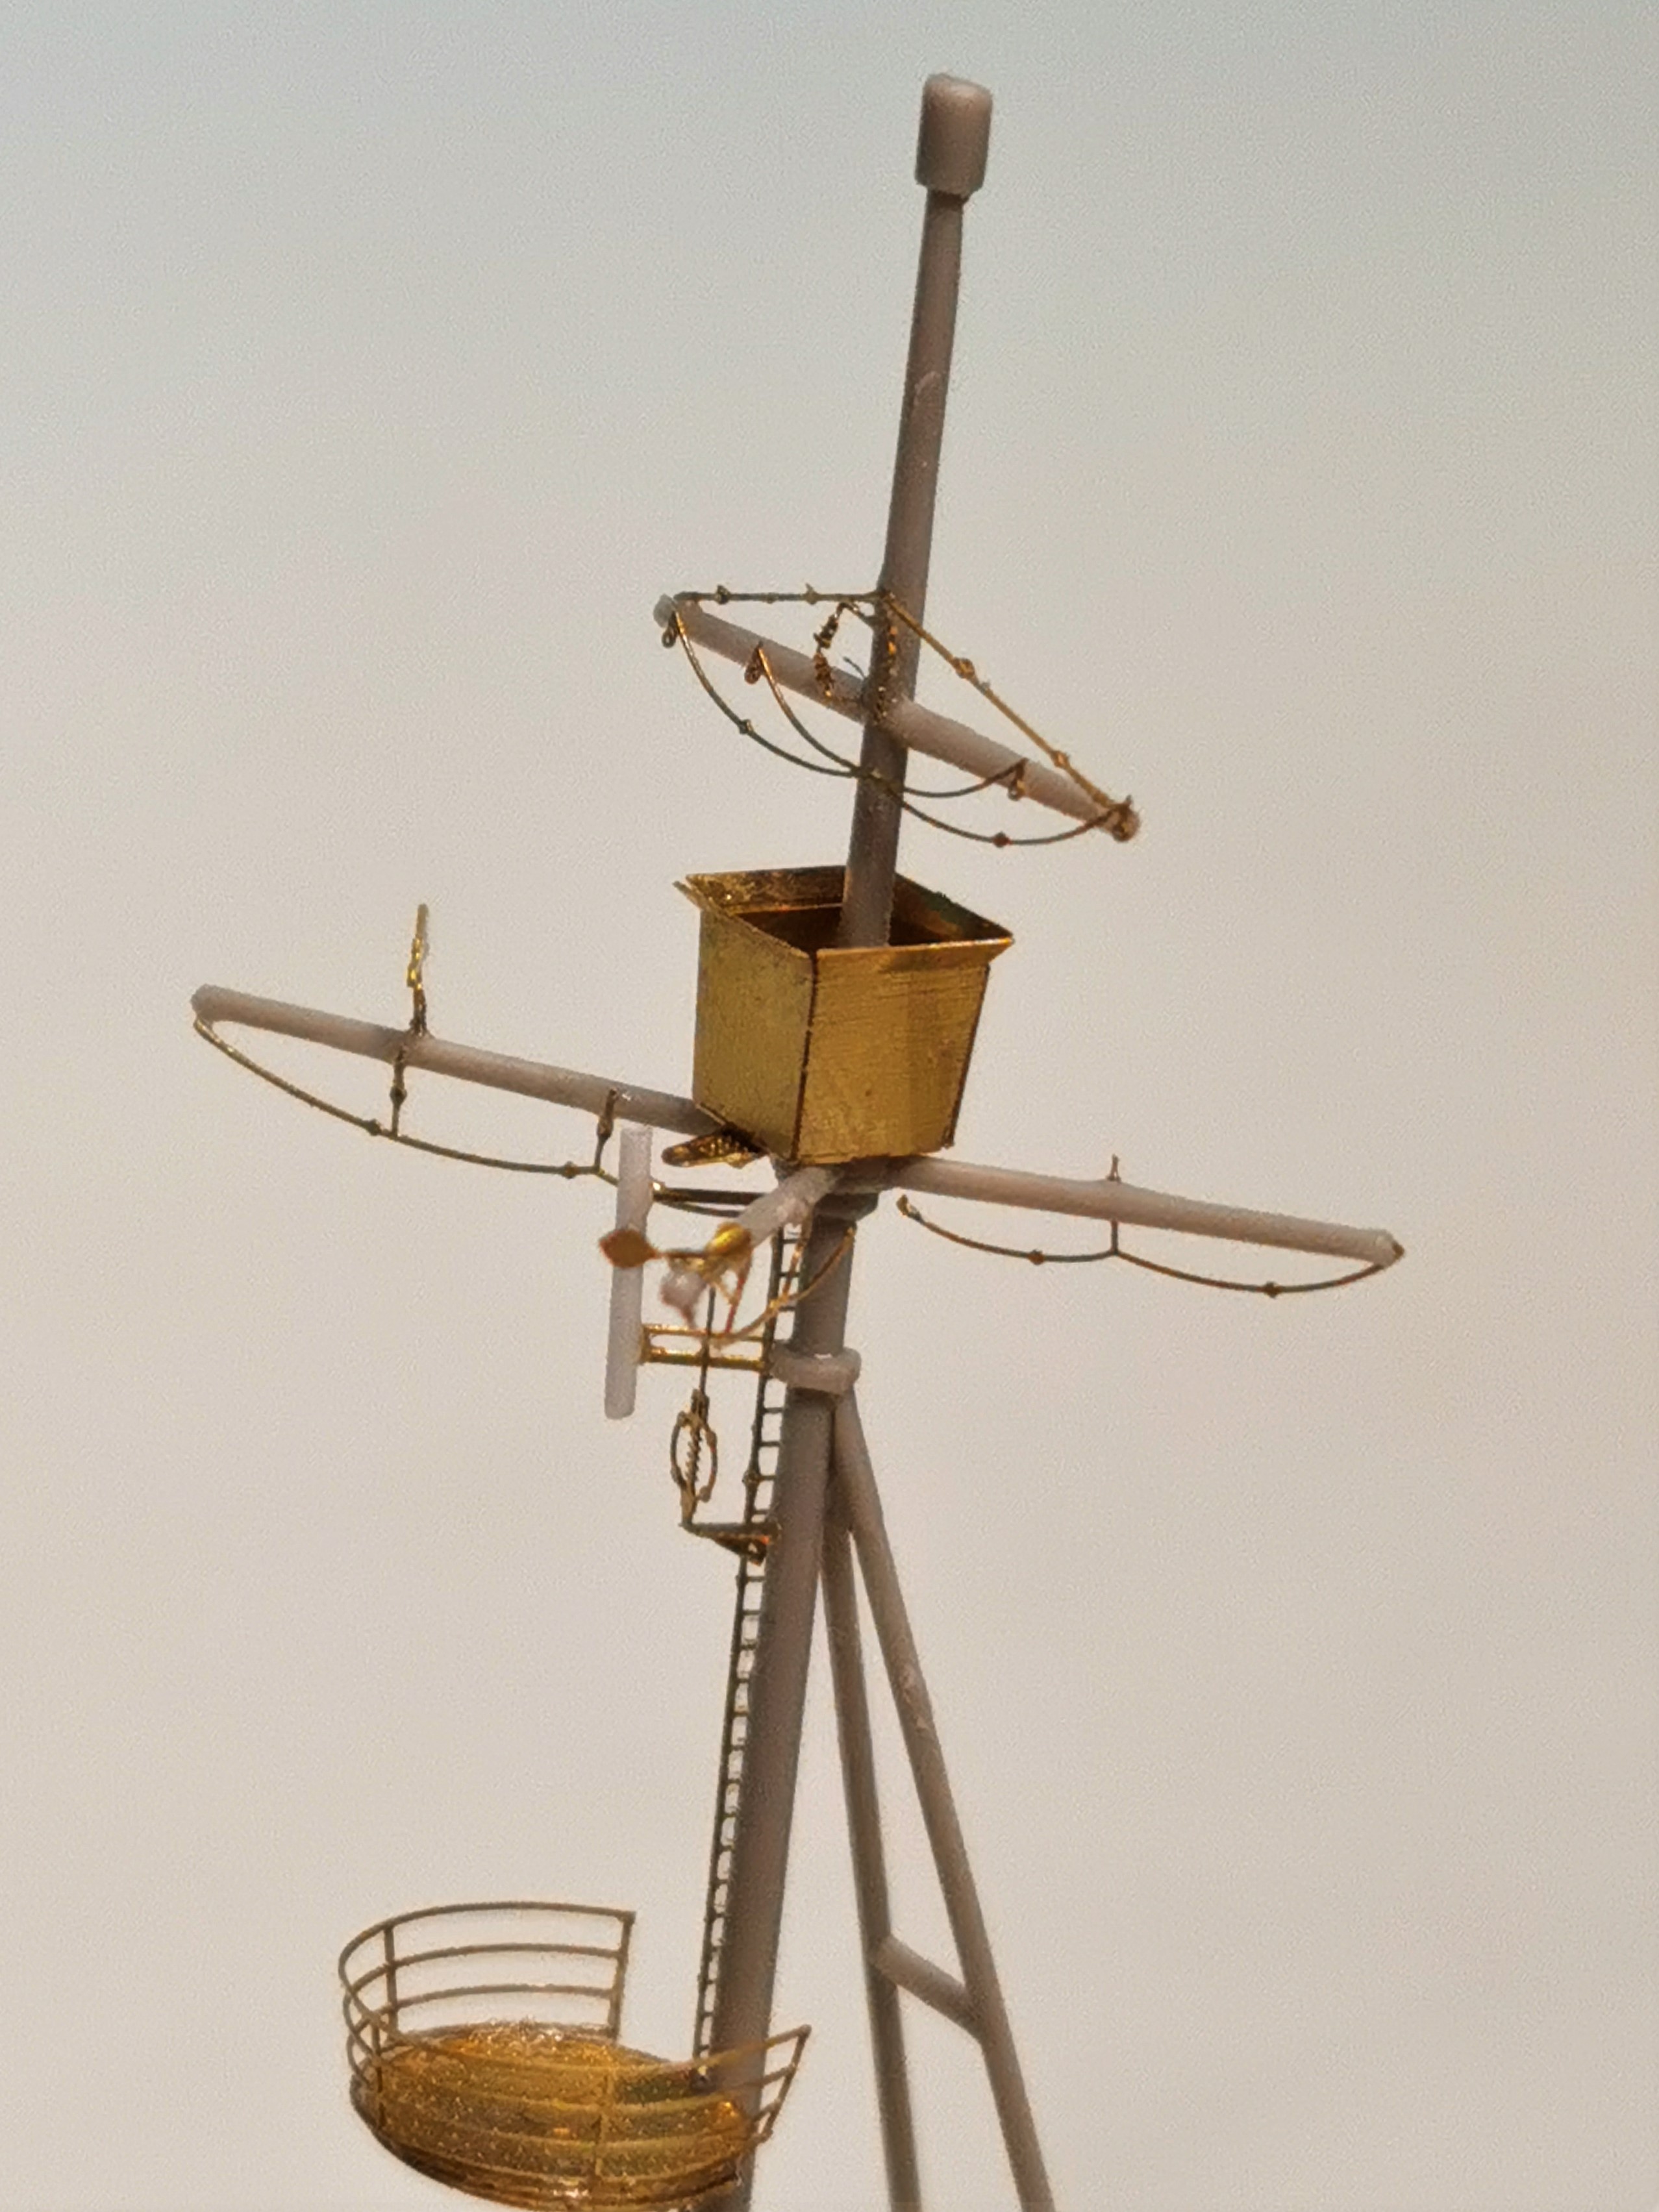
The main mast
The the bow part of the ship
The torpedo launchers
The stern part
The captain´s barge
Thats it for today, will decant the laque buckets soon
Cheers
Thomas
Ooohhhhhhhhh!
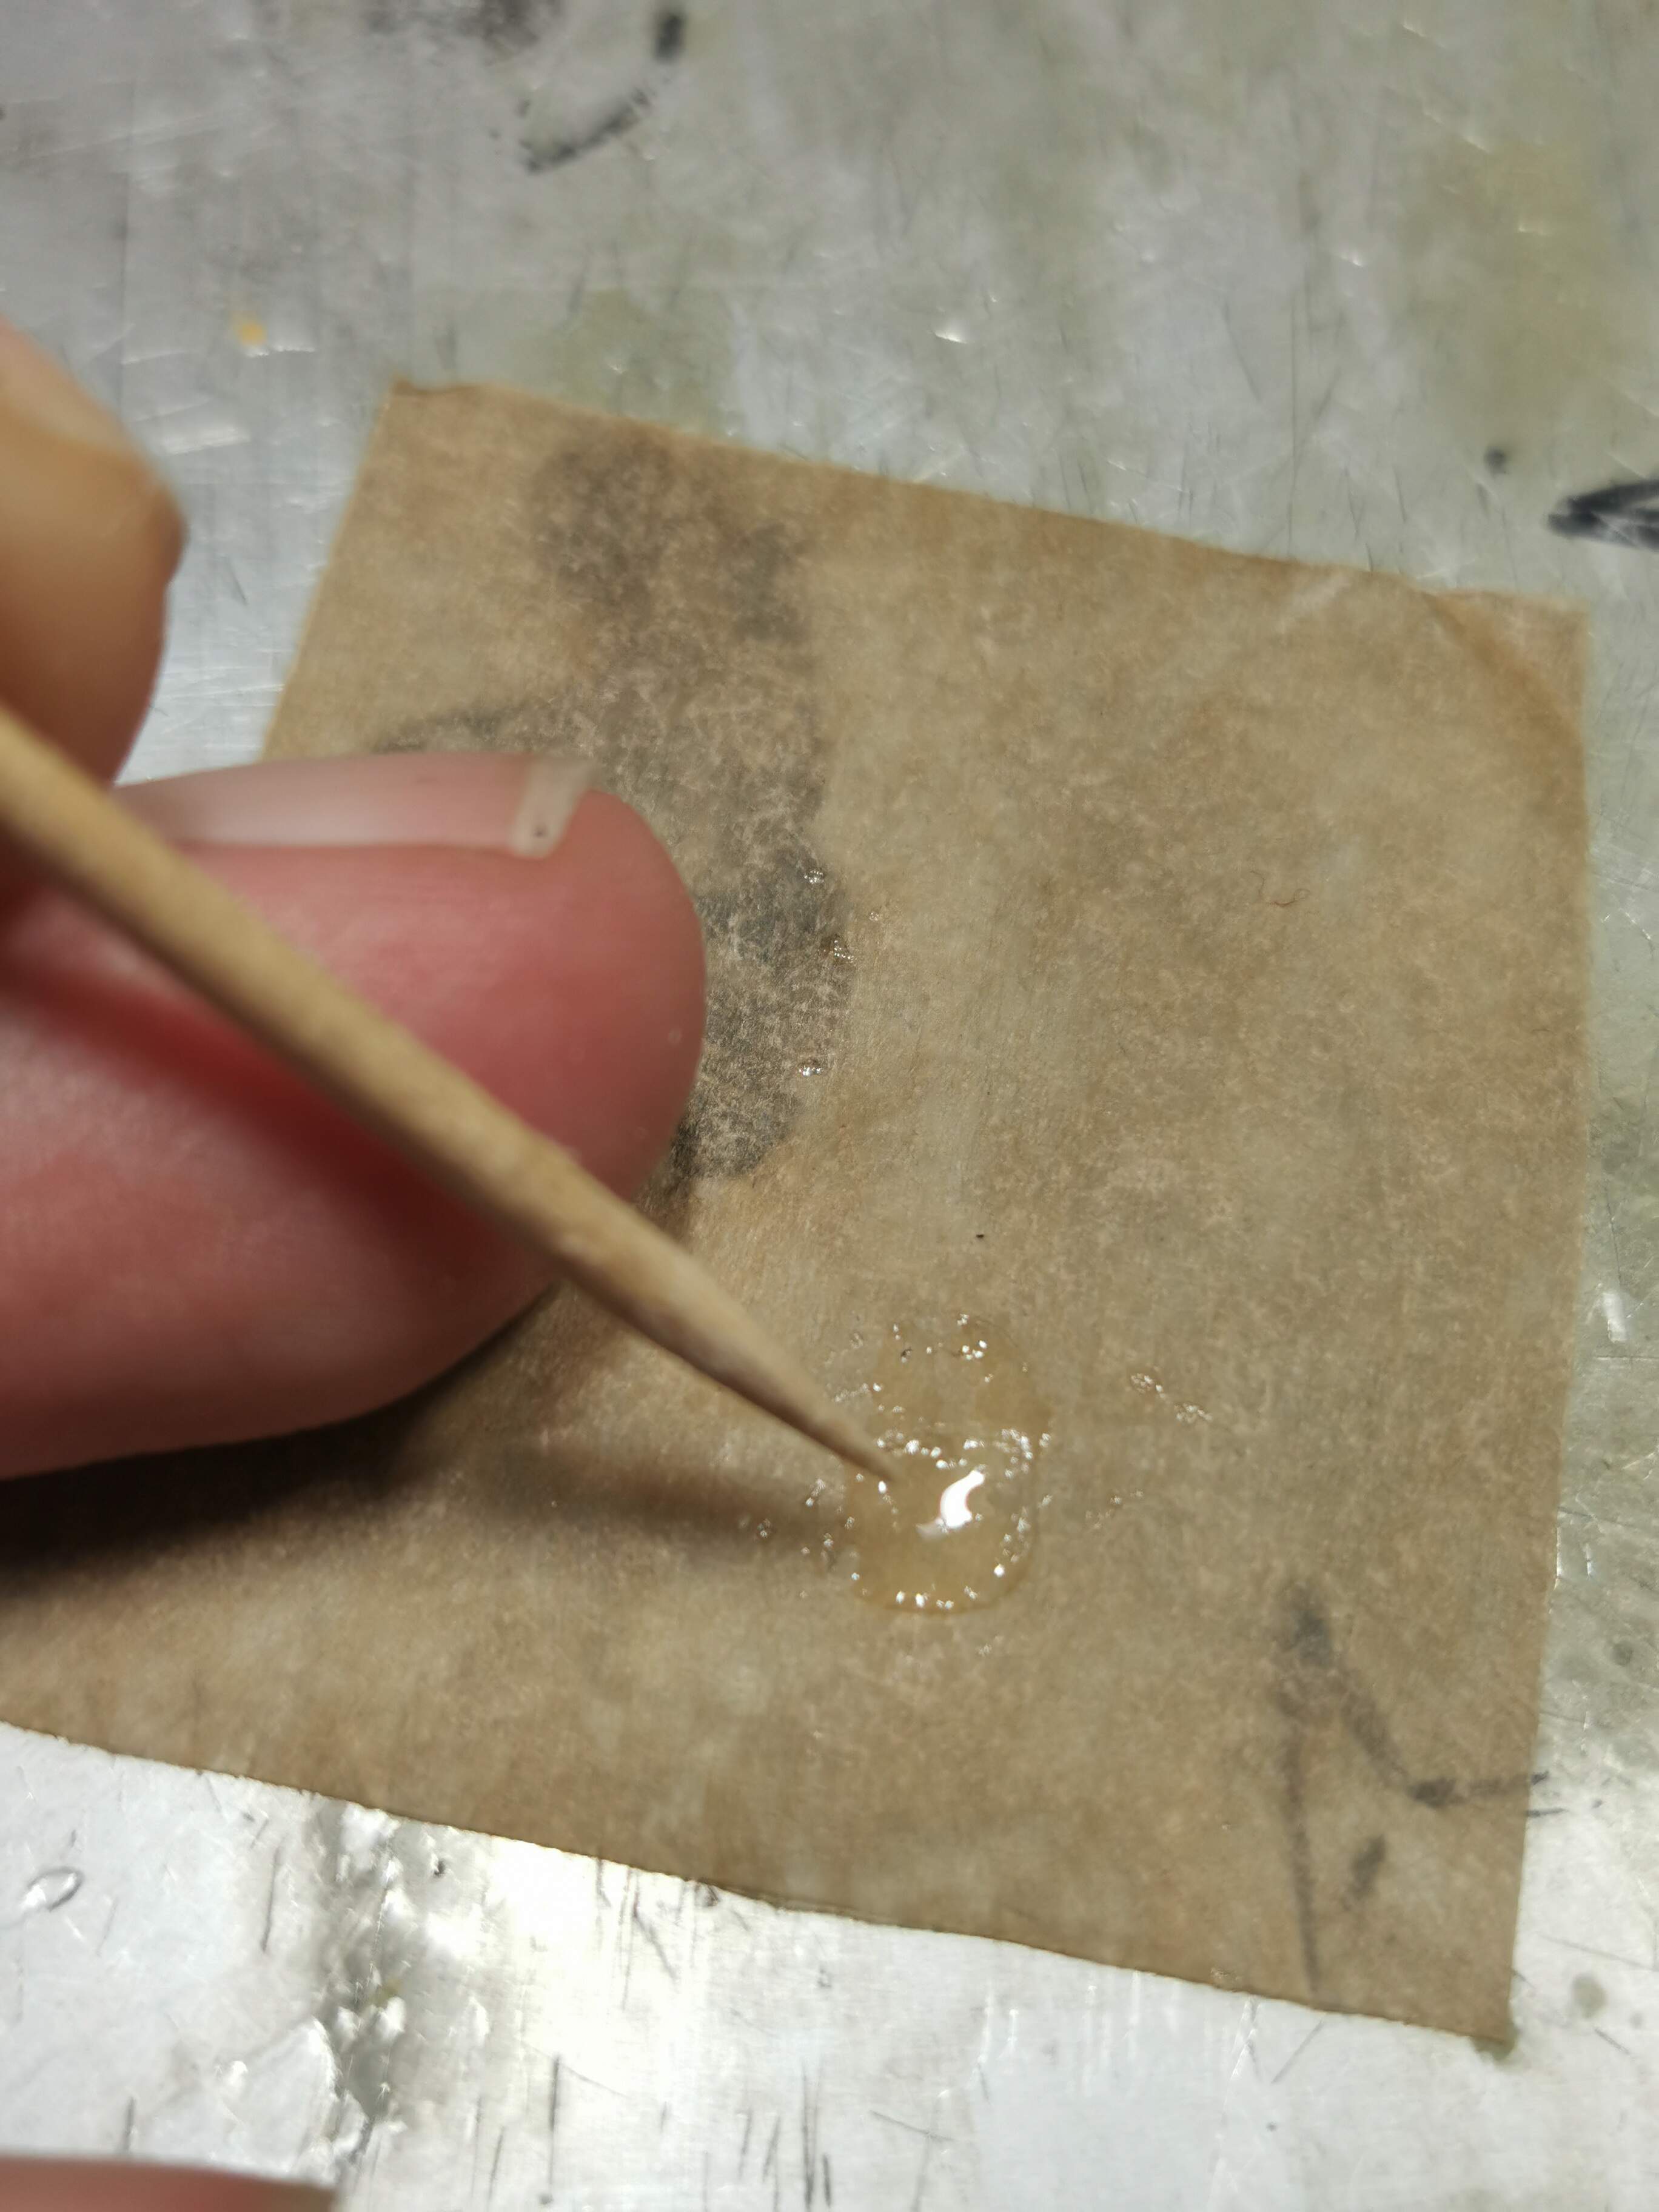
You are just barreling along and she looks amazing. What tools are you using to apply the CA at that small scale?
That looks really great!
Hey thank you for the flowers 
for these tiny PE-parts I apply a big drop Cyanoacrylate glue at baking paper. I found out this will keep the glue longer “liquid” and gives you therefore more working time. I also use toothpicks for taking over and apply small amounts of Cyanoacrylate. This works very well for me. Otherwise I could not handle these small PE-parts at the funnels for example. If the tip of the toothpick will get thick from the clogged glue, just sharpen it again with a file.
Cheers
Black Sheep,
I see the second funnel has quite a gap at the base, will it be sitting on the PE deck? Seem to me that would make it harder to fill the gap. Very like the PE work on the ship’s launches.
Mark
Hey Mark,
everything is just resting without glue for a general overview. I already dismantled the single components again for an easier paint. when they are glued on at last everything will sit evenly (I hope )
Cheers
Thomas