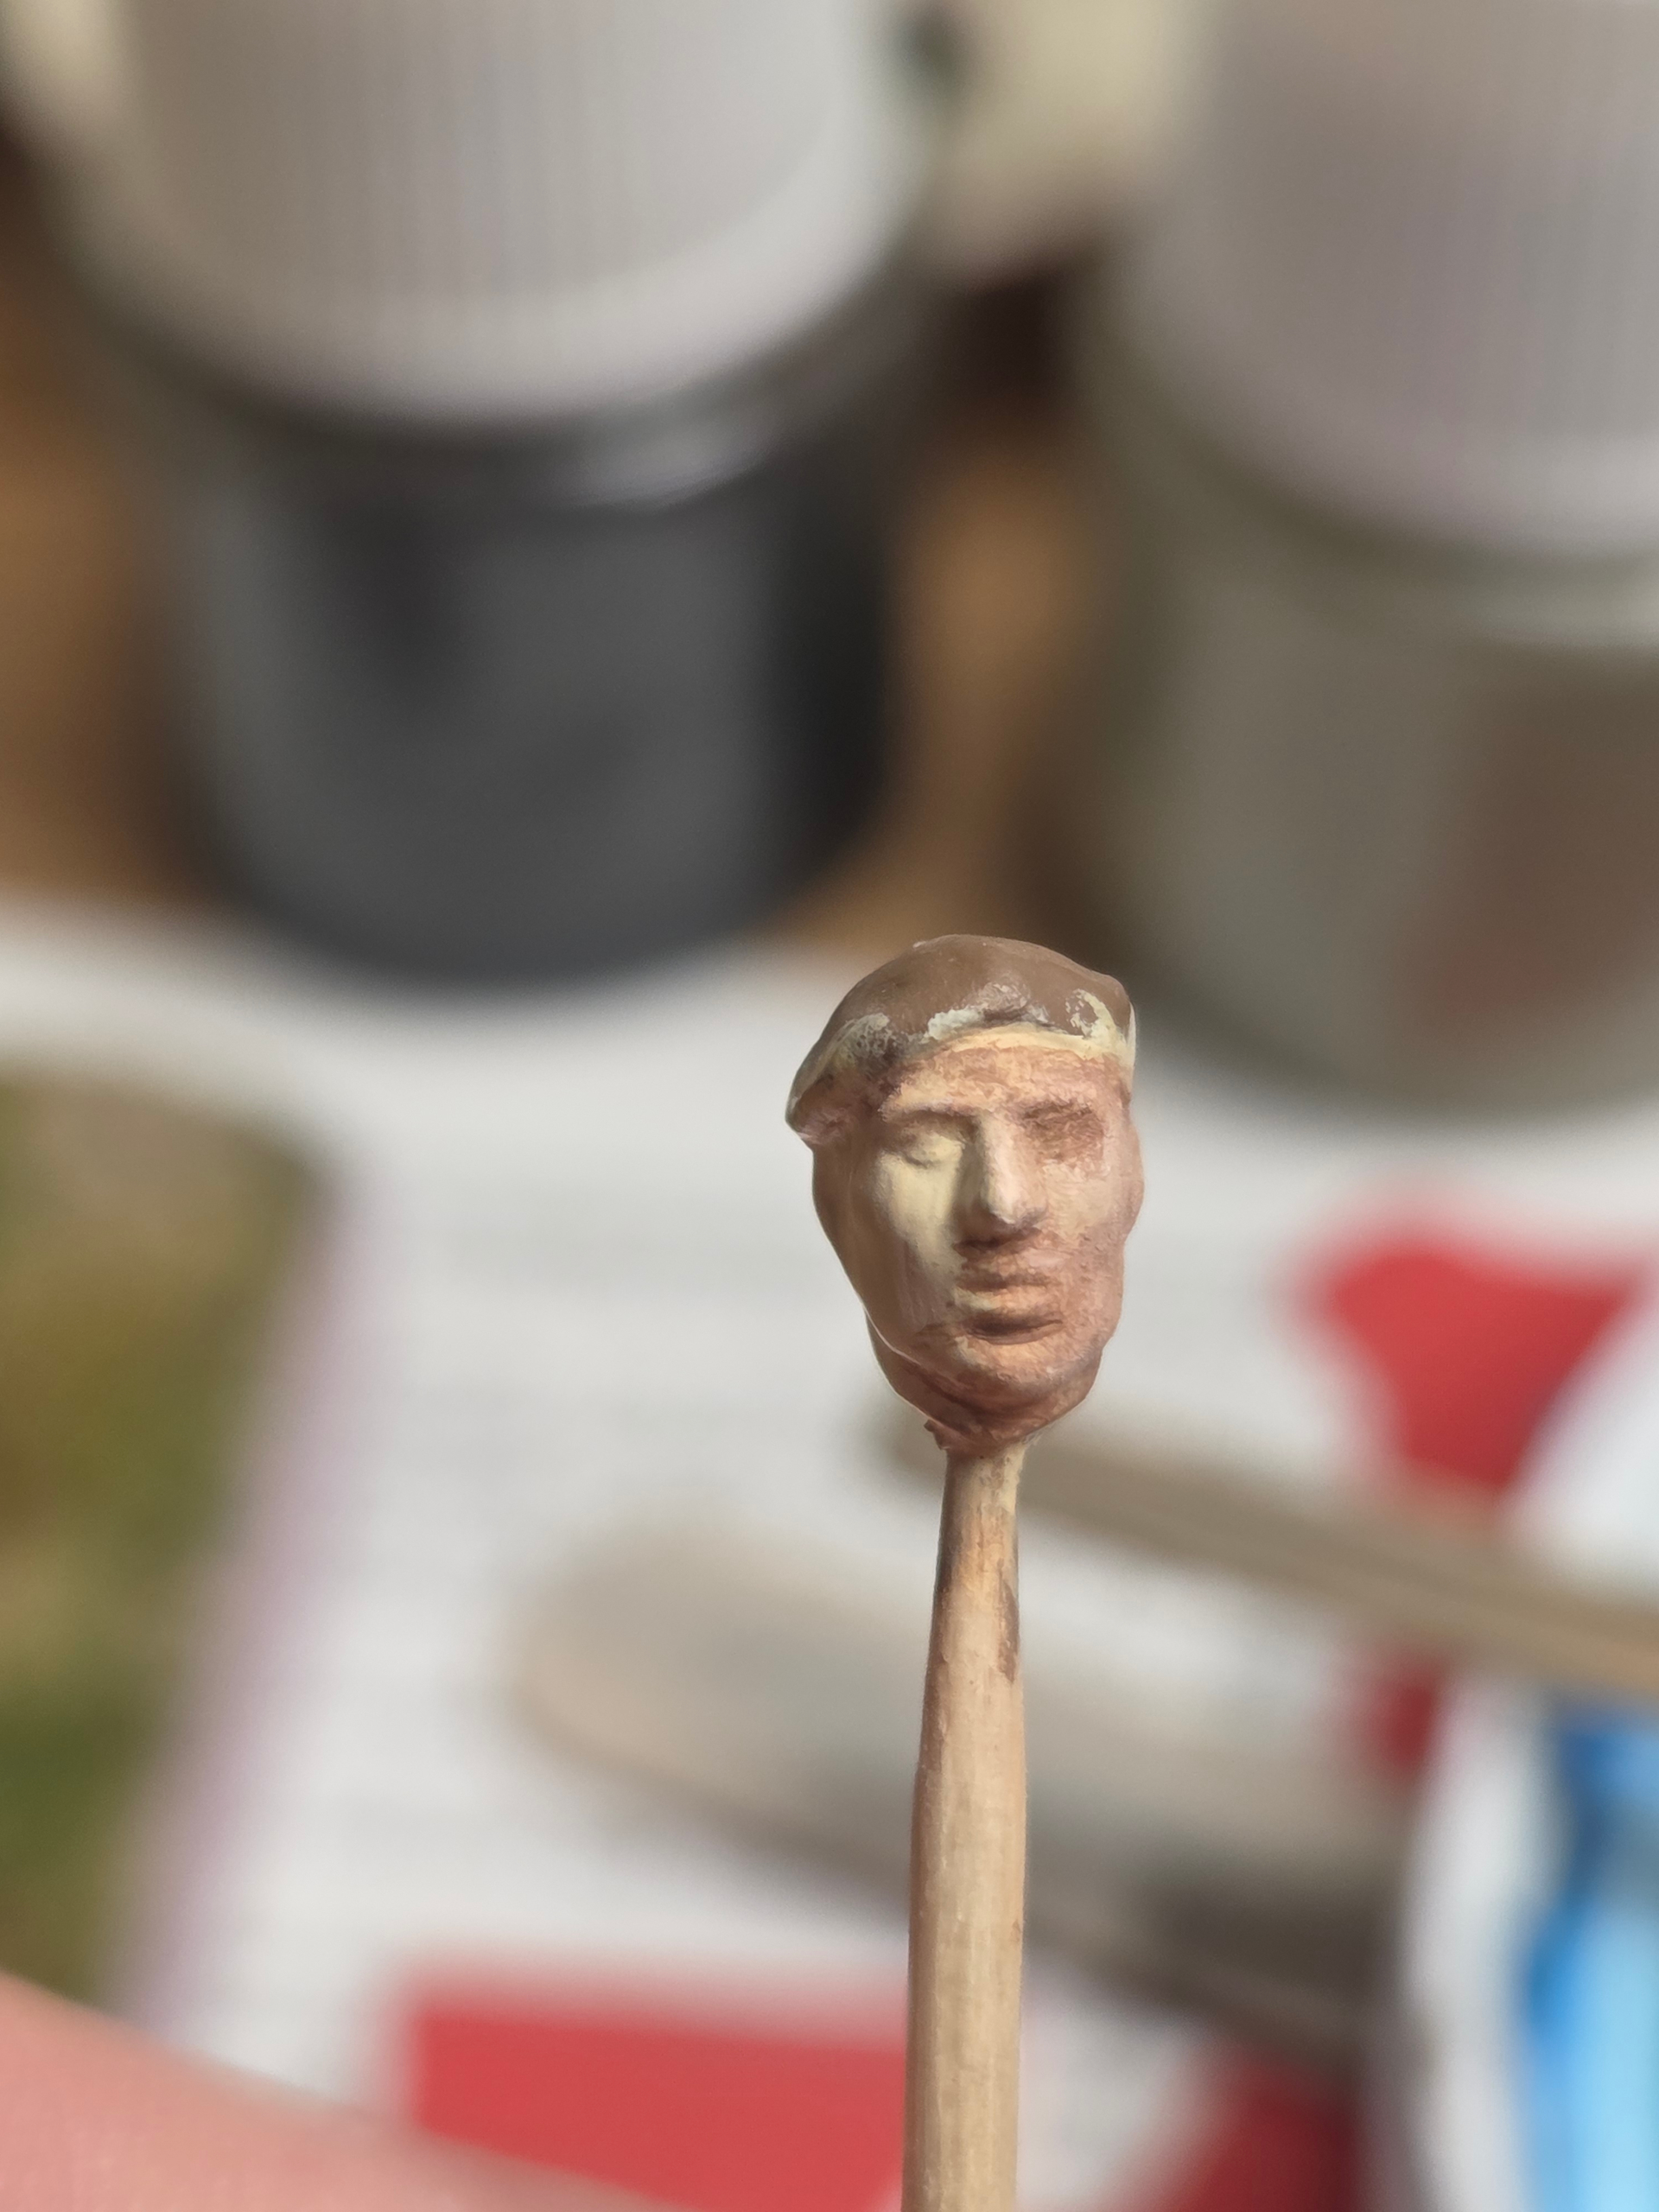
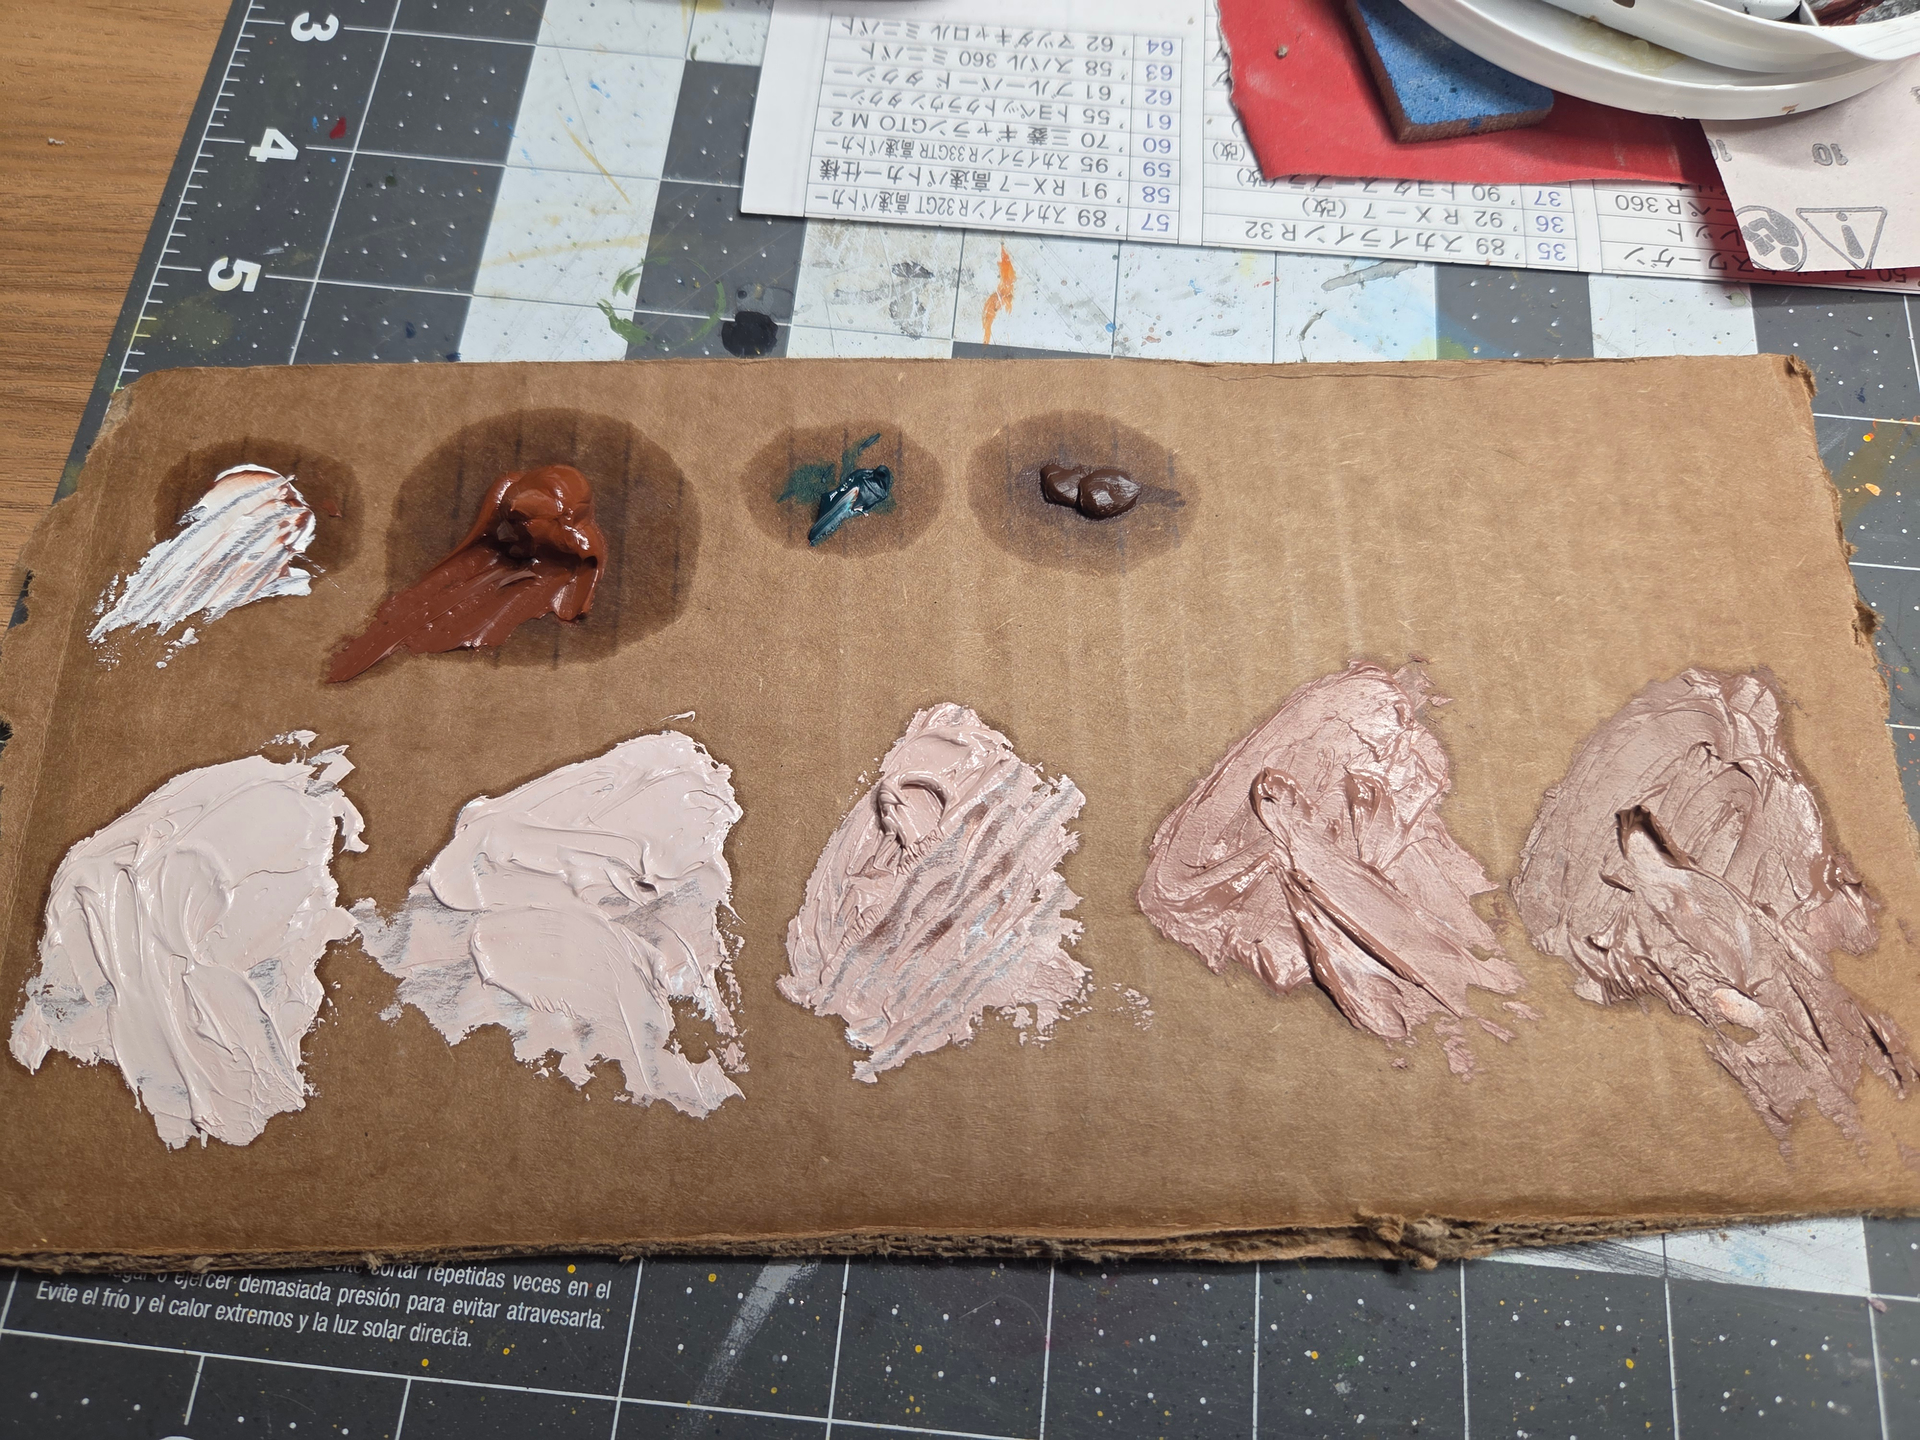
I’m learning how to paint flesh with oil paints, but so far I’m failing… see the pics below. The base color is AK Basic Skin tone, and I created a color palette using raw sienna and white, mostly, based on videos I’ve seen online. I’m trying to blend my paints, but it seems to thick. Any tip would be welcome!

4 Likes
One thing I see is you also need some yellow ochre for your mix. I still paint skin with oils and learned the Shep Paine method. You might try a tiny bit of mineral spirits to the tip of the brush.
Jeff
4 Likes
Thanks Jeff. I use some thinner, but i either feel I’m adding too much or not enough! Sigh…
I’ll add some ochre to my palette.
Not as many tutorials online as for acrylics, but I guess here it comes down to practice.
Having a better head would probably help as well. This one doesn’t have much texture to help with placing the paint.
1 Like
I’m out of town right now but when I get home, I’ll send you some stuff. I don’t consider myself a figure painter but get nice results
Jeff
2 Likes
That’d be wonderful! Thanks Jeff!
1 Like
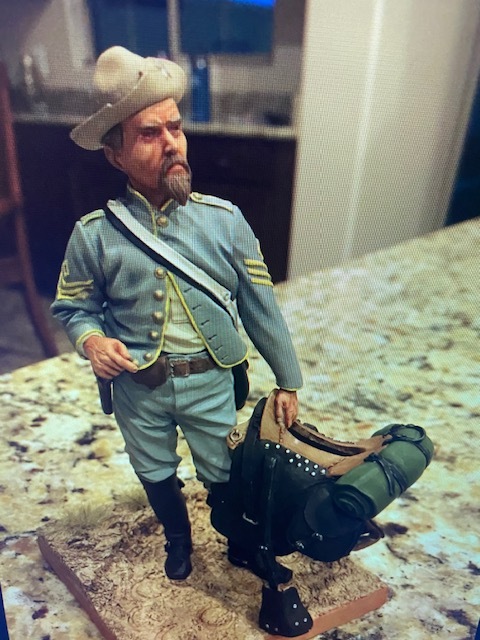
Hey Francois, sorry it’s taken me so long. I don’t claim to be a figure painter but this was my first large scale figure a few years ago. The skin tones were done with oils the “Shep Paine” way. I have gotten to the point with my 35th scale heads that all I do now is hit them with a coat of Mr Surfacer 1200-I don’t put a basecoat layer down. I then put down my darkest layer, move to midrange and blend the edges, and finally use almost total Titanium White, in very small amounts, and blend until I like the look. If you can PM me, I’ll send you some more stuff.
Jeff

7 Likes
Thanks Jeff, I’ll pm you.
1 Like
Jeff’s got it covered, his method’s probably the best of several options. I’d only add that as a general principle work from dark to light. That means starting with a dark brown shade in the eye sockets, lips, ear recesses (if relevant), mouth, under the nose, and white everywhere else. Then a wash of flesh (as he said, yellow’s an important component) overall, then white highlights on the brow, cheekbones, chin, tip of nose. Then a light pinkish wash overall is worthwhile to unify. Lastly a mid-pinkish touch on the lips and edges of the ears…

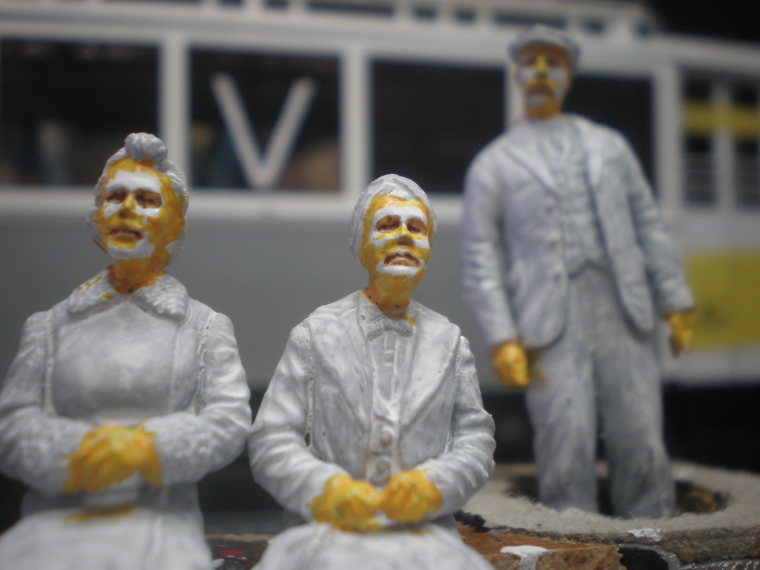
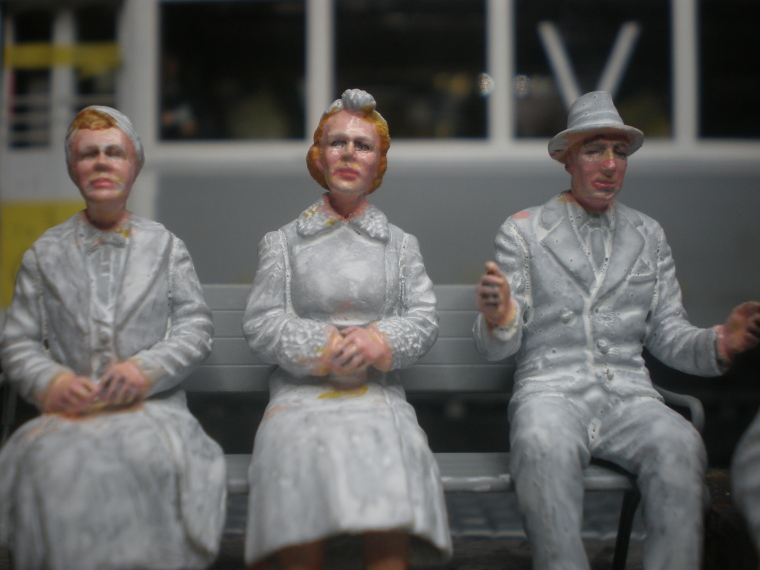
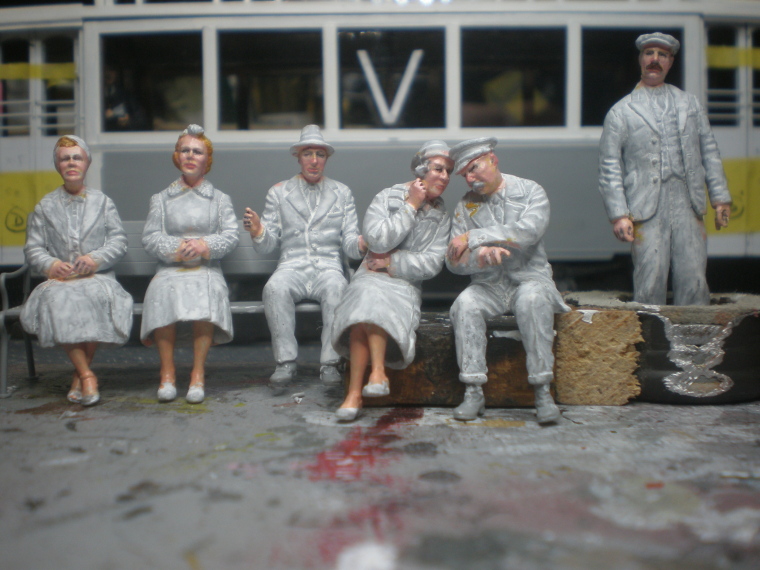

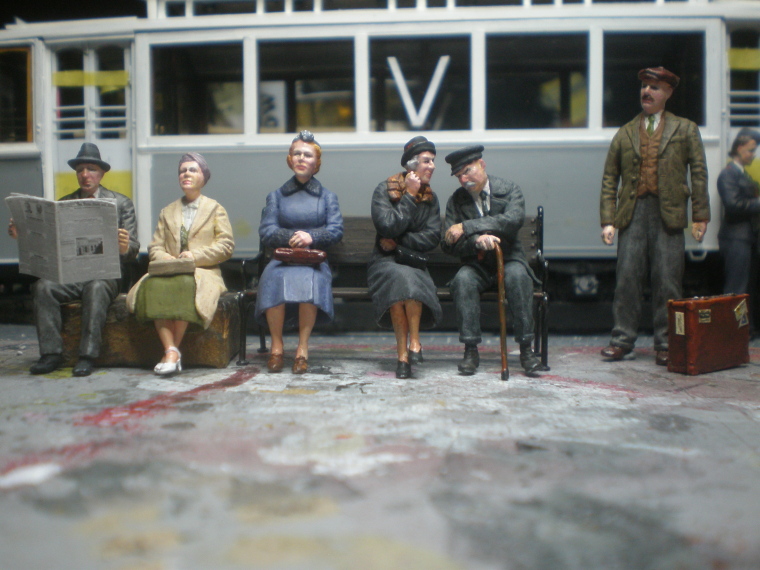
I should explain I use artists’ acrylics, which end up looking too glossy. Depending on what paints you use, a matt/flat varnish may be necessary at the end to remove the sheen.
7 Likes
Thanks Tim for detailing your process. While I’m trying to fo with oils on an acrylic flesh base, it seems that the principles remain the same whatever the paint type: dark to light, quick wash if necessary, and subtly bright highlights. There are of course variations in style, but things appear to follow a similar process most of the time on the videos I’ve watched. Thank you again for sharing pictures of your process.
2 Likes
Excellent figure Jeff
1 Like
Yep and it does take some practice. Incidentally I missed at least one step – usually the eyes & mouth need a dilute wash of very dark grey with a super-fine brush right at the end, to settle in the eyes/eyelids/lip gap. There are some rare freaks (hi Jerry!) who somehow manage to paint whites-of-eyes and eyeballs. I don’t have a microscope or that steady a hand…and besides at the distances we photo 1:35 scale at least, I don’t see much point, literally.
3 Likes
I’ll start with the common disclaimed that I’m no Calvin Tan, or Bill Horan (I did not see that rhyme coming). I’ve been trying to use arcylics, but the technique still eludes me, so I usually revert to oils at some point. I am not a fan of using a section of cardboard to draw out the lindseed oil for all colours; only the “oiliest” ones. And even then I will carefully transfer the de-oiled paint to a palette. My reasoning is that too often I find that the paint can pick up the “fuzz” from the cardboard and this can add unwanted muck to the figure. For the record I use Windsor Newton Artists’ grade. It’s their middle line; not the cheapest, not the most expensive. Perhaps I’m being too fanatical about it, but there you have it. I use a disposable palette (the ones with sheets joined like a note pad). I also use a two brush method. One brush, a round, to apply a small amount of paint to the subject, and a DRY flat (filbert), to blend. Hope this helps in some way.
3 Likes
Thanks Evan for sharing your experience and practice! I’ll try working with disposable palettes or buy a nice glass palette one of those days (depending how my use of oils goes).
I use the cheapest oils I could find, and perhaps that was a mistake, as I’m wondering if part of the problem I have with the blending is because the quality of the paint really is too bad. Not that the paints are the sole thing to blame! But perhaps some middle-of-the-road paints could help.
1 Like
As I understand it, the difference between the cheap stuff and the more expensive stuff is the ratio of pigment to binder. The more you pay, the more pigment you get, and the better the binder. And in some (most) cases the pigment is better quality. For our purposes you do not need to go to an extreme like Old Holland (I think my mortgage is cheaper than a tube of their paint), but, if its in your budget avoid the cheap stuff and go up a rung on the ladder.
2 Likes
Yeah, some those oil paints cost an arm! But you’re confirming my feeling that getting a good quality white, raw sienna, and some ochre could go a long way. Perhaps even some viridian blue and burnt umber.
1 Like
I would suggest titanium white over flake white, ultramarine blue is an oldie but goldie, and a good burnt sienna too. Burnt umber is a classic and a must have! As others have said, in our hobby one tube lasts years. Just make sure to keep the caps and threads clean. They can be rather challenging to unscrew if left a mess and allowed to dry.
4 Likes
Gotcha! Thanks a lot for the wisdom 
1 Like
The old adage “Cheap is expensive” comes in to play here. Cheap oils, especially the ones you get in a set, have coarsely ground pigments and do not blend or thin well. You can ruin an otherwise perfect model or figure with cheap oil paints. At least purchase Winsor & Newton “Winton” paints, their economy brand. They are not too expensive and are of high quality. Like Evan said, you only need a few colors, can pick them up over time, and a tube lasts a lifetime, so they are a good investment.
3 Likes
Thanks Matt for the advice. I’ve updated my priority list of modeling items to purchase so W&N oils are at the top!
2 Likes
Good man!
1 Like