Hello everone,
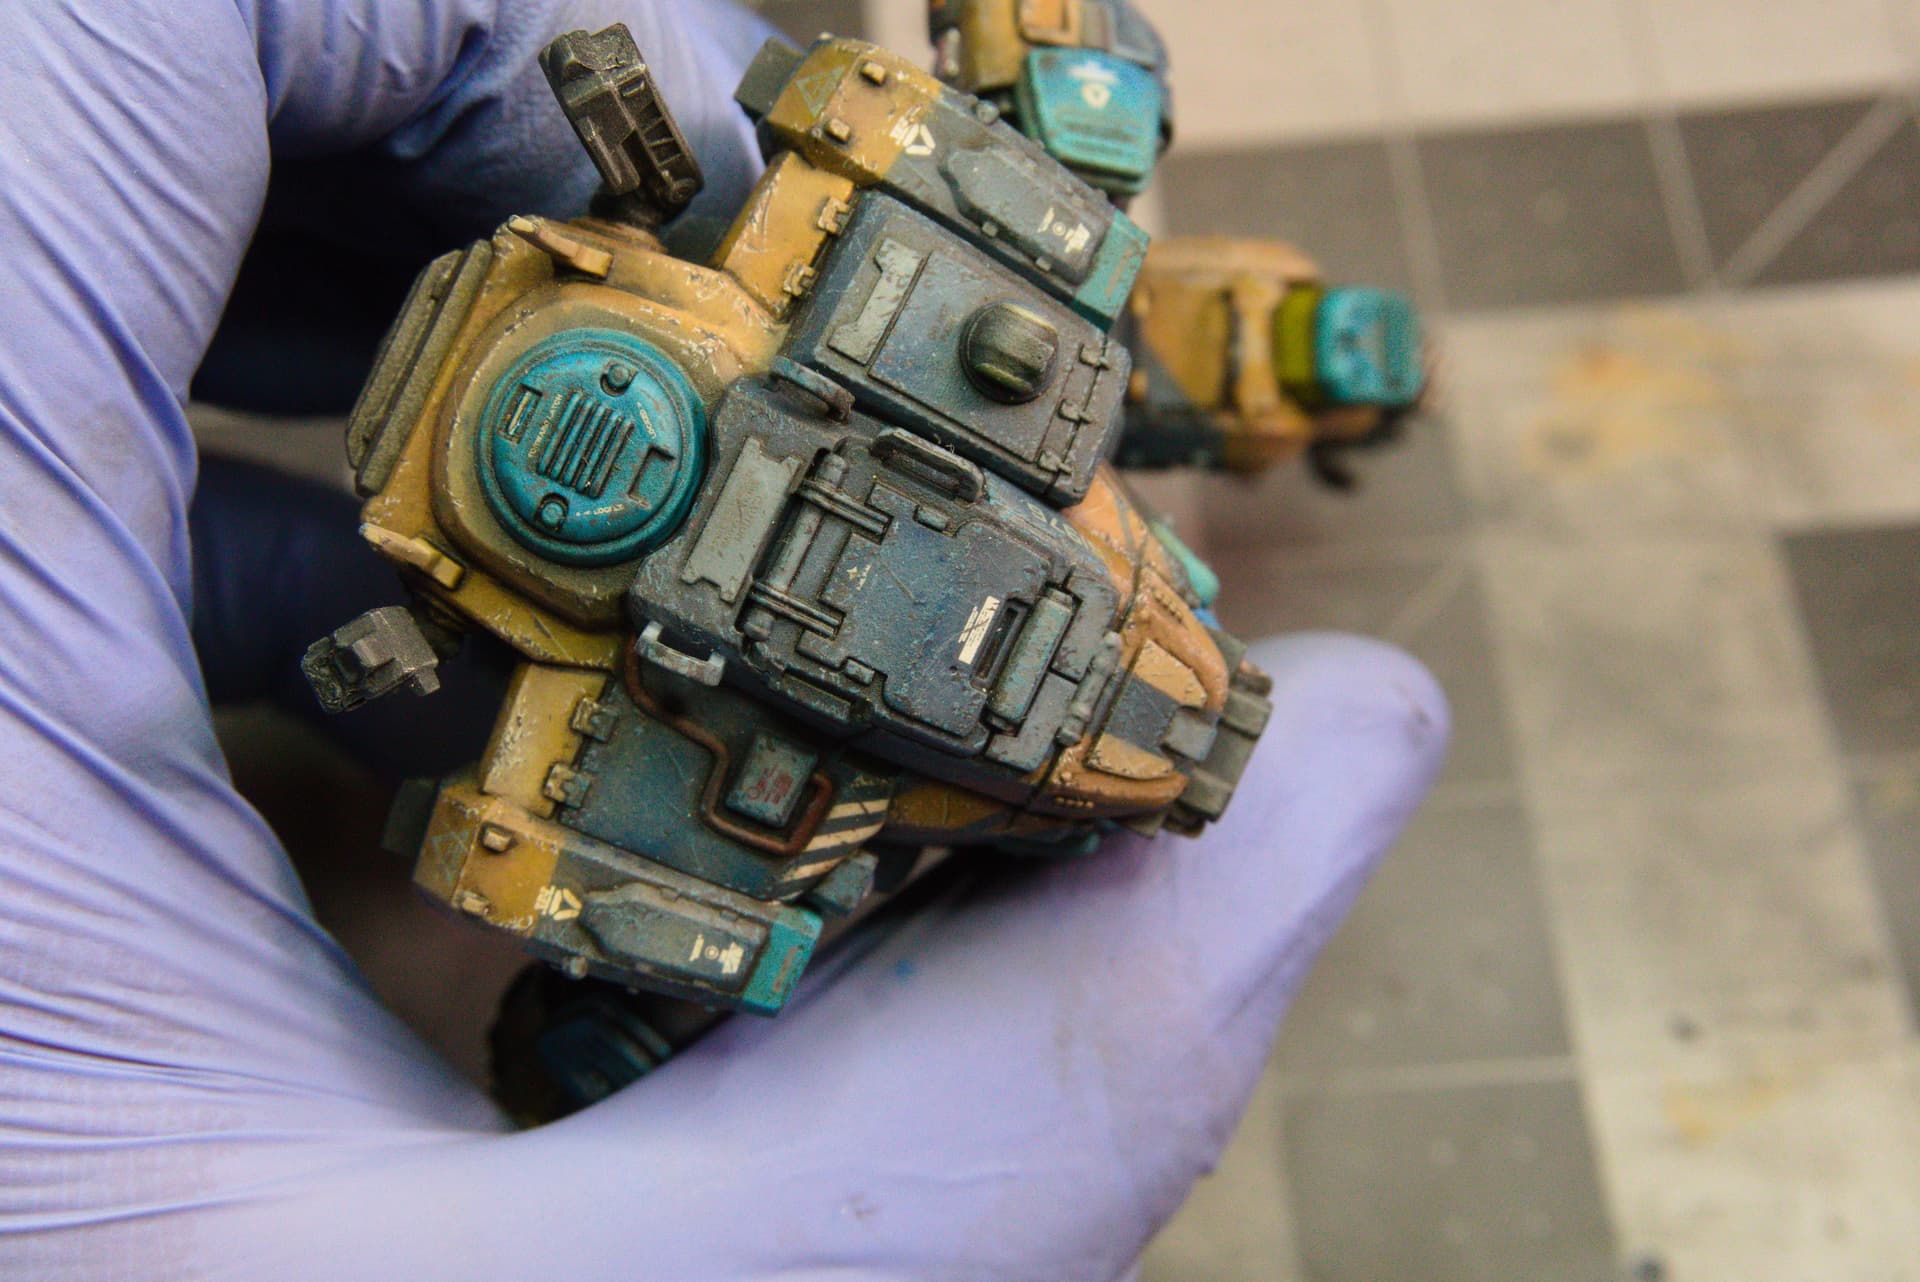
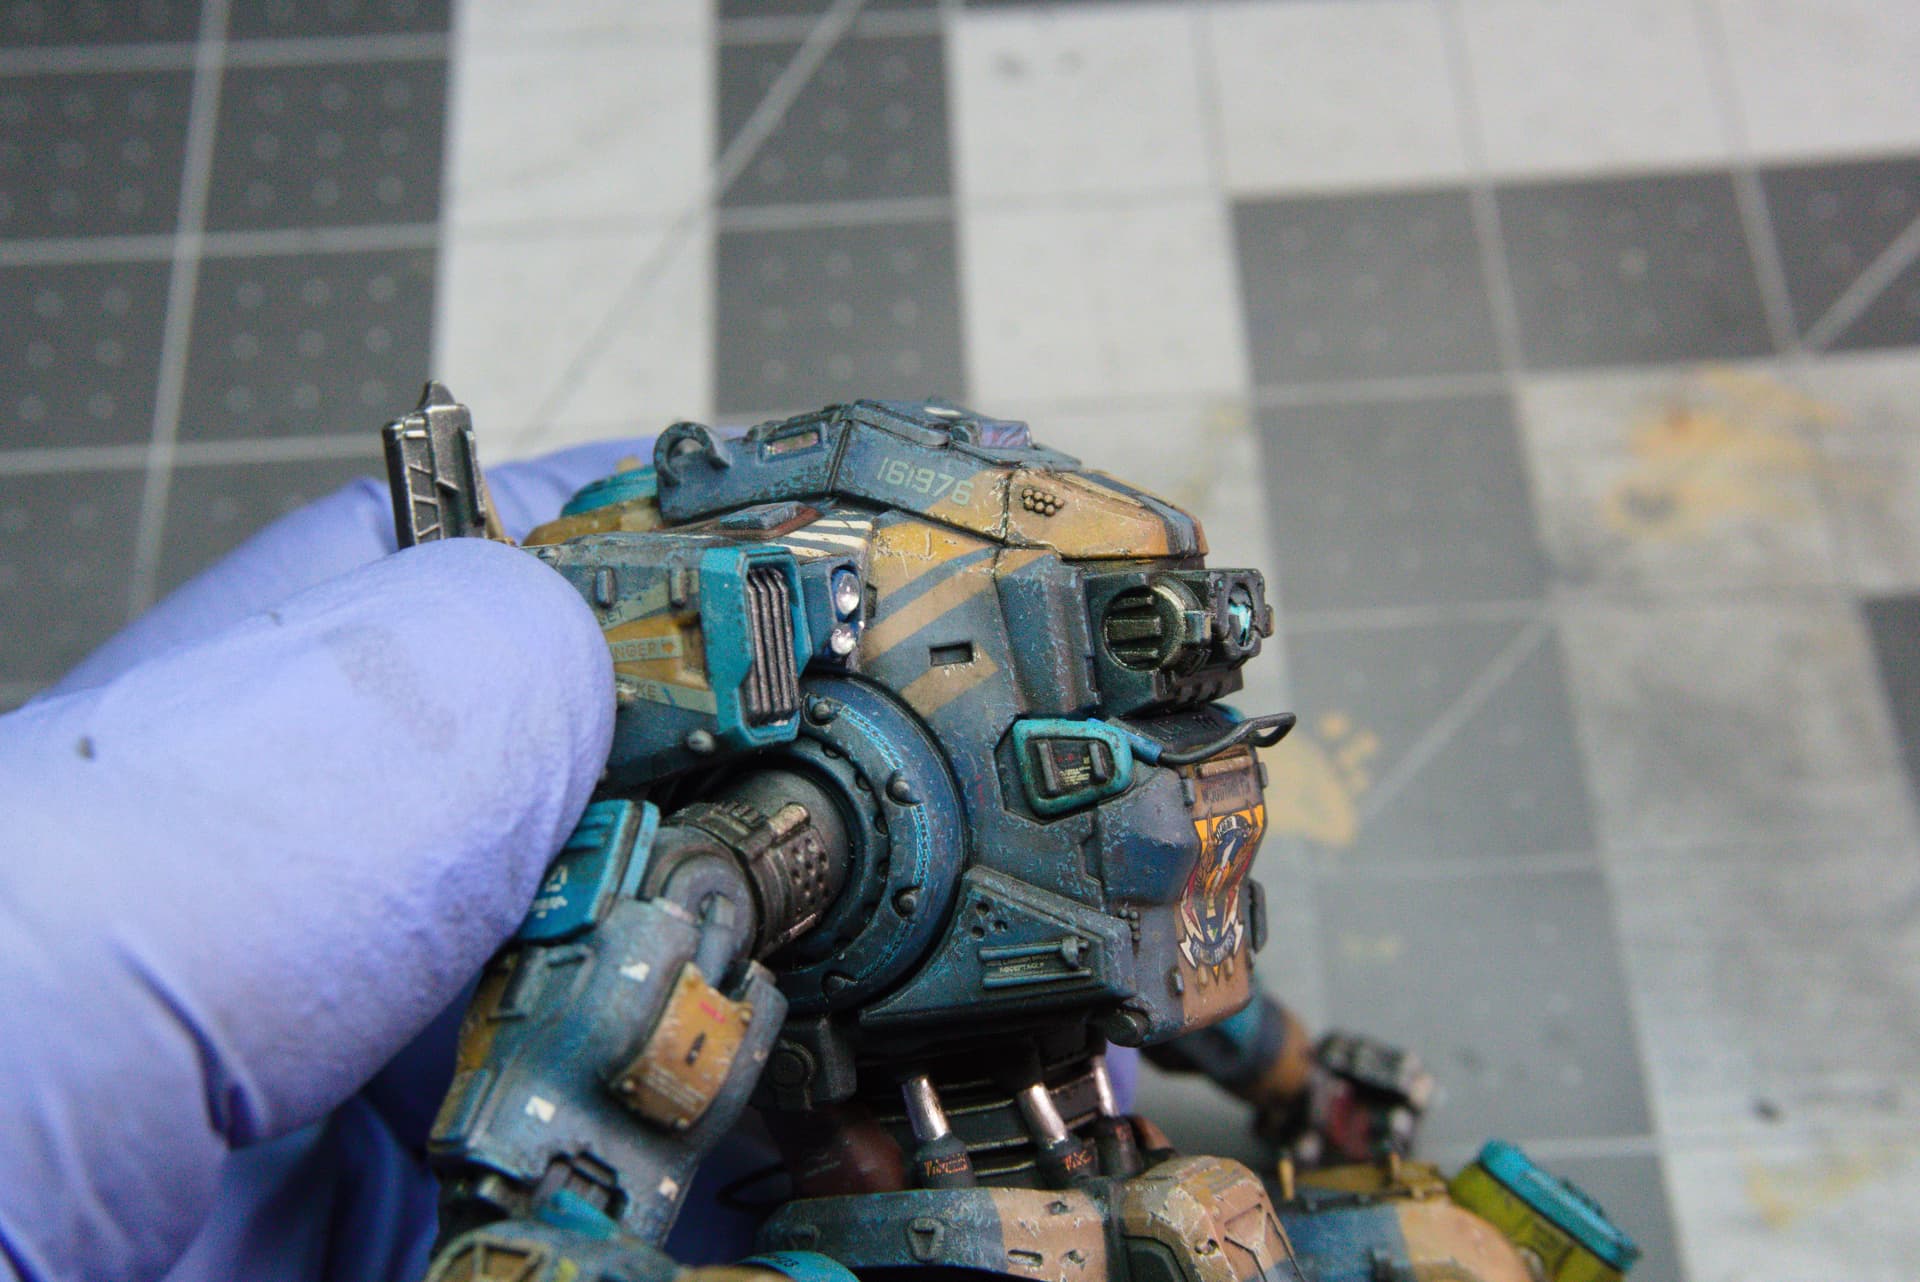
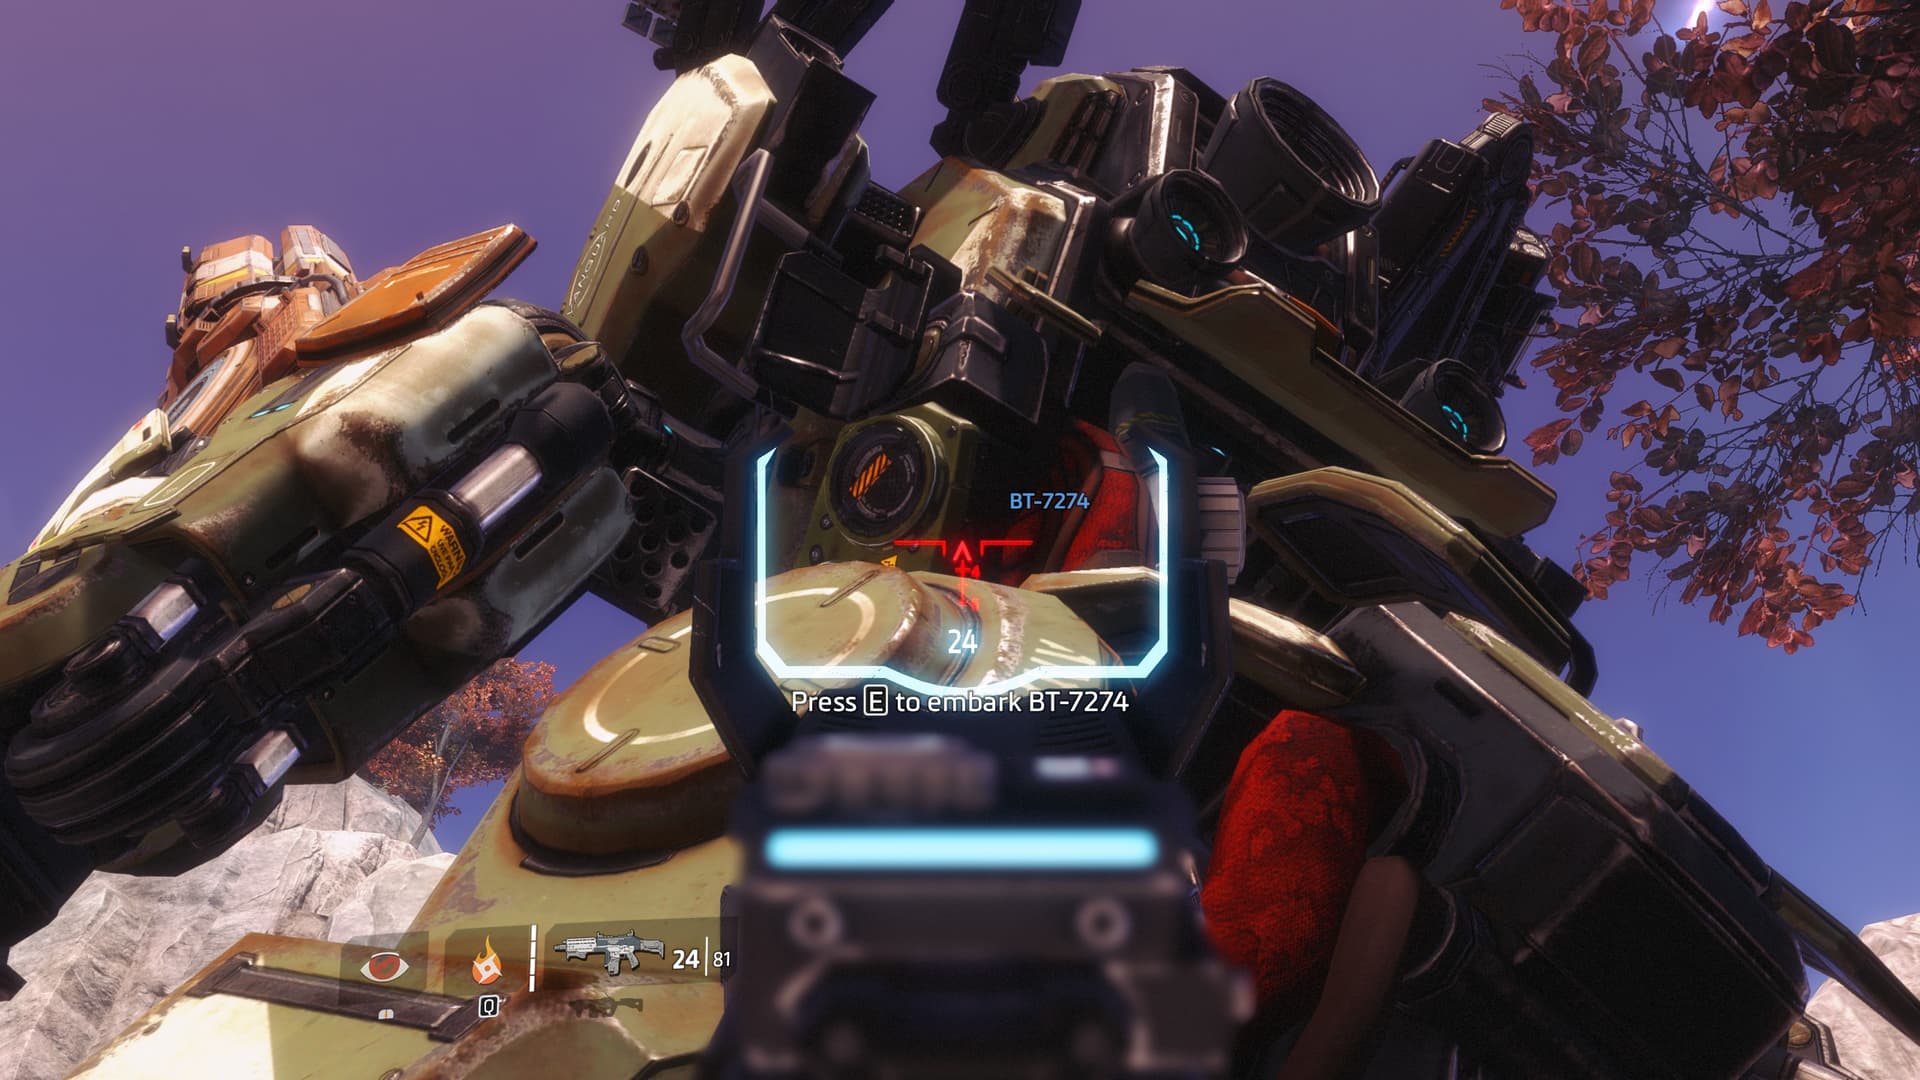
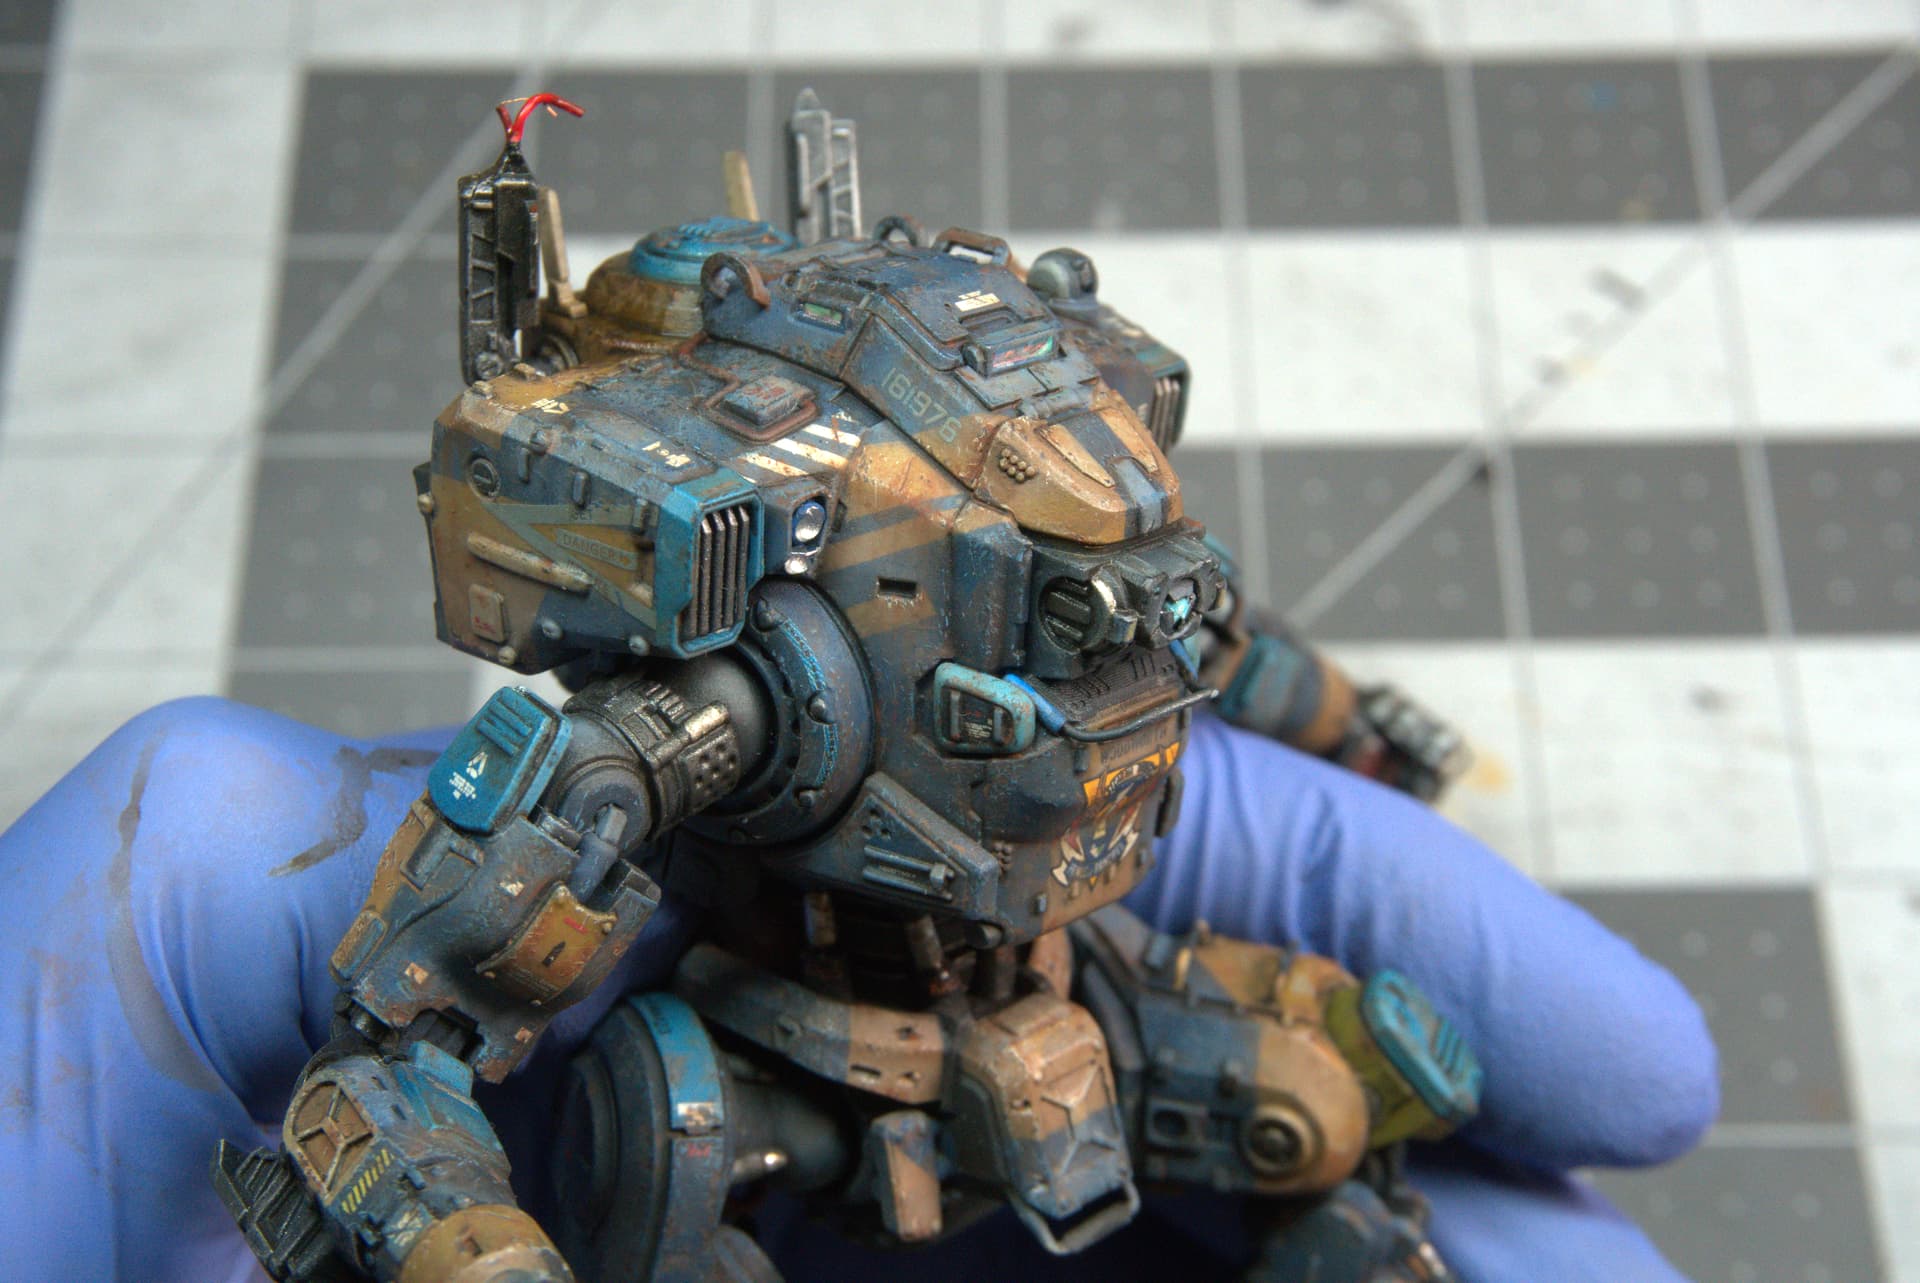
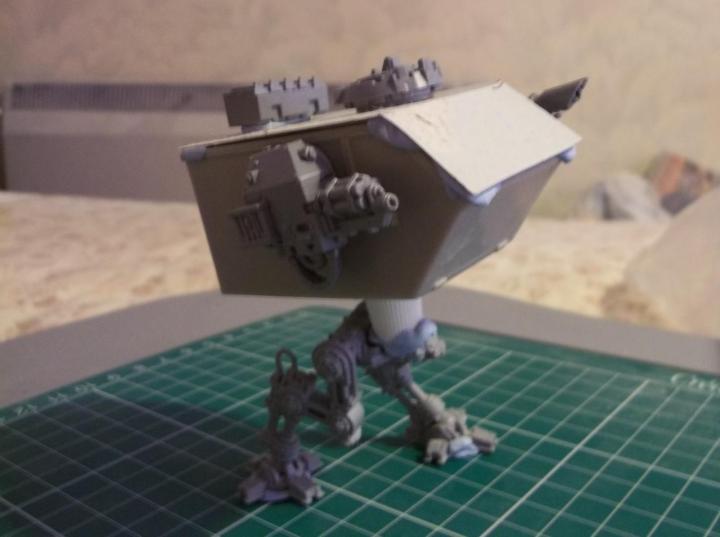
I come with bad news. I have overdone the chipping, and while they are kinda true to the game, I feel like it is overwhelming on this model. I haven’t painted, let alone chipped in a really long time, so it was good to get it out of the system before a more serious project. Anyways, here it is as compared to some of the game photos.
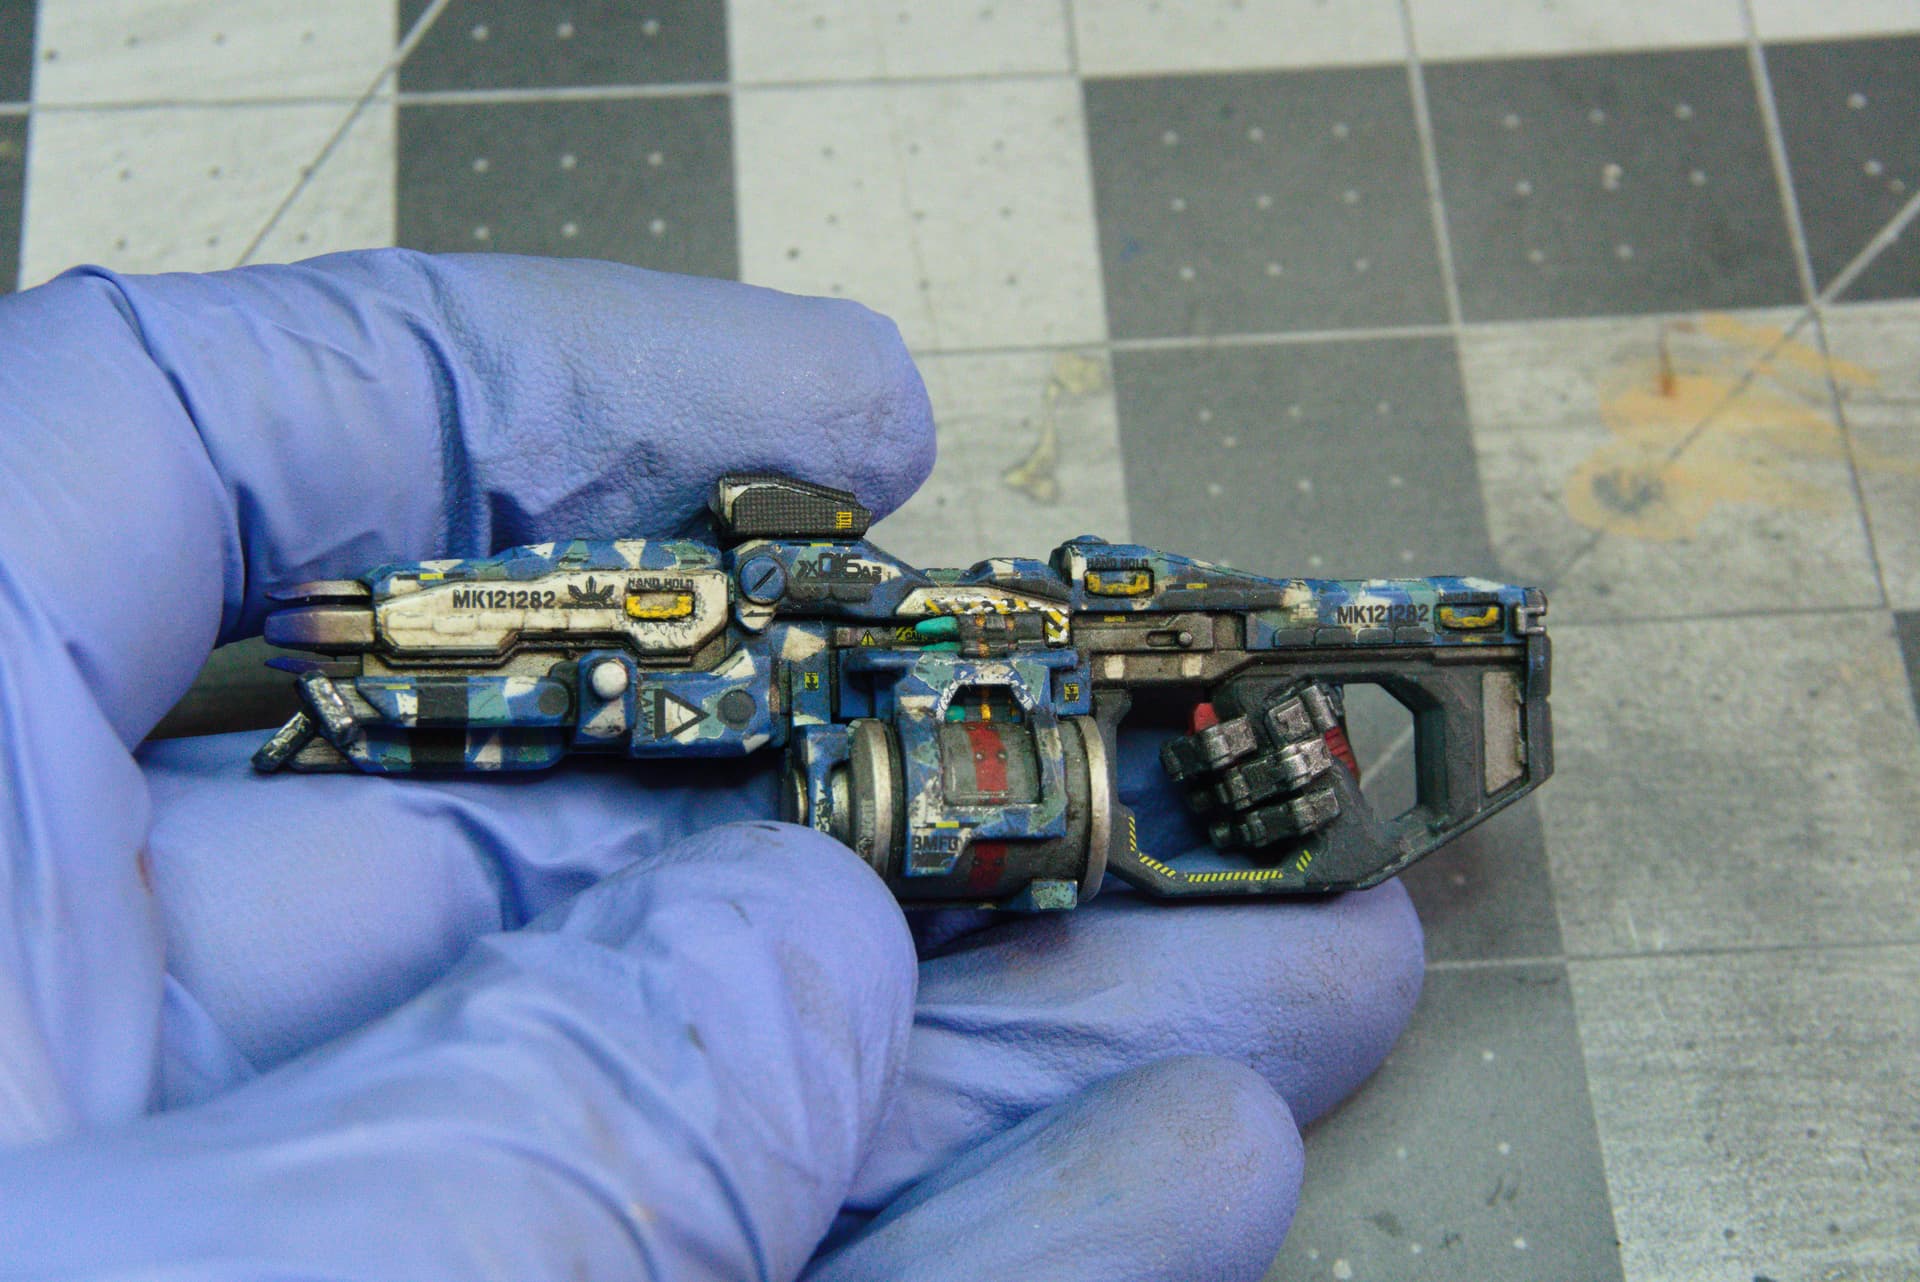
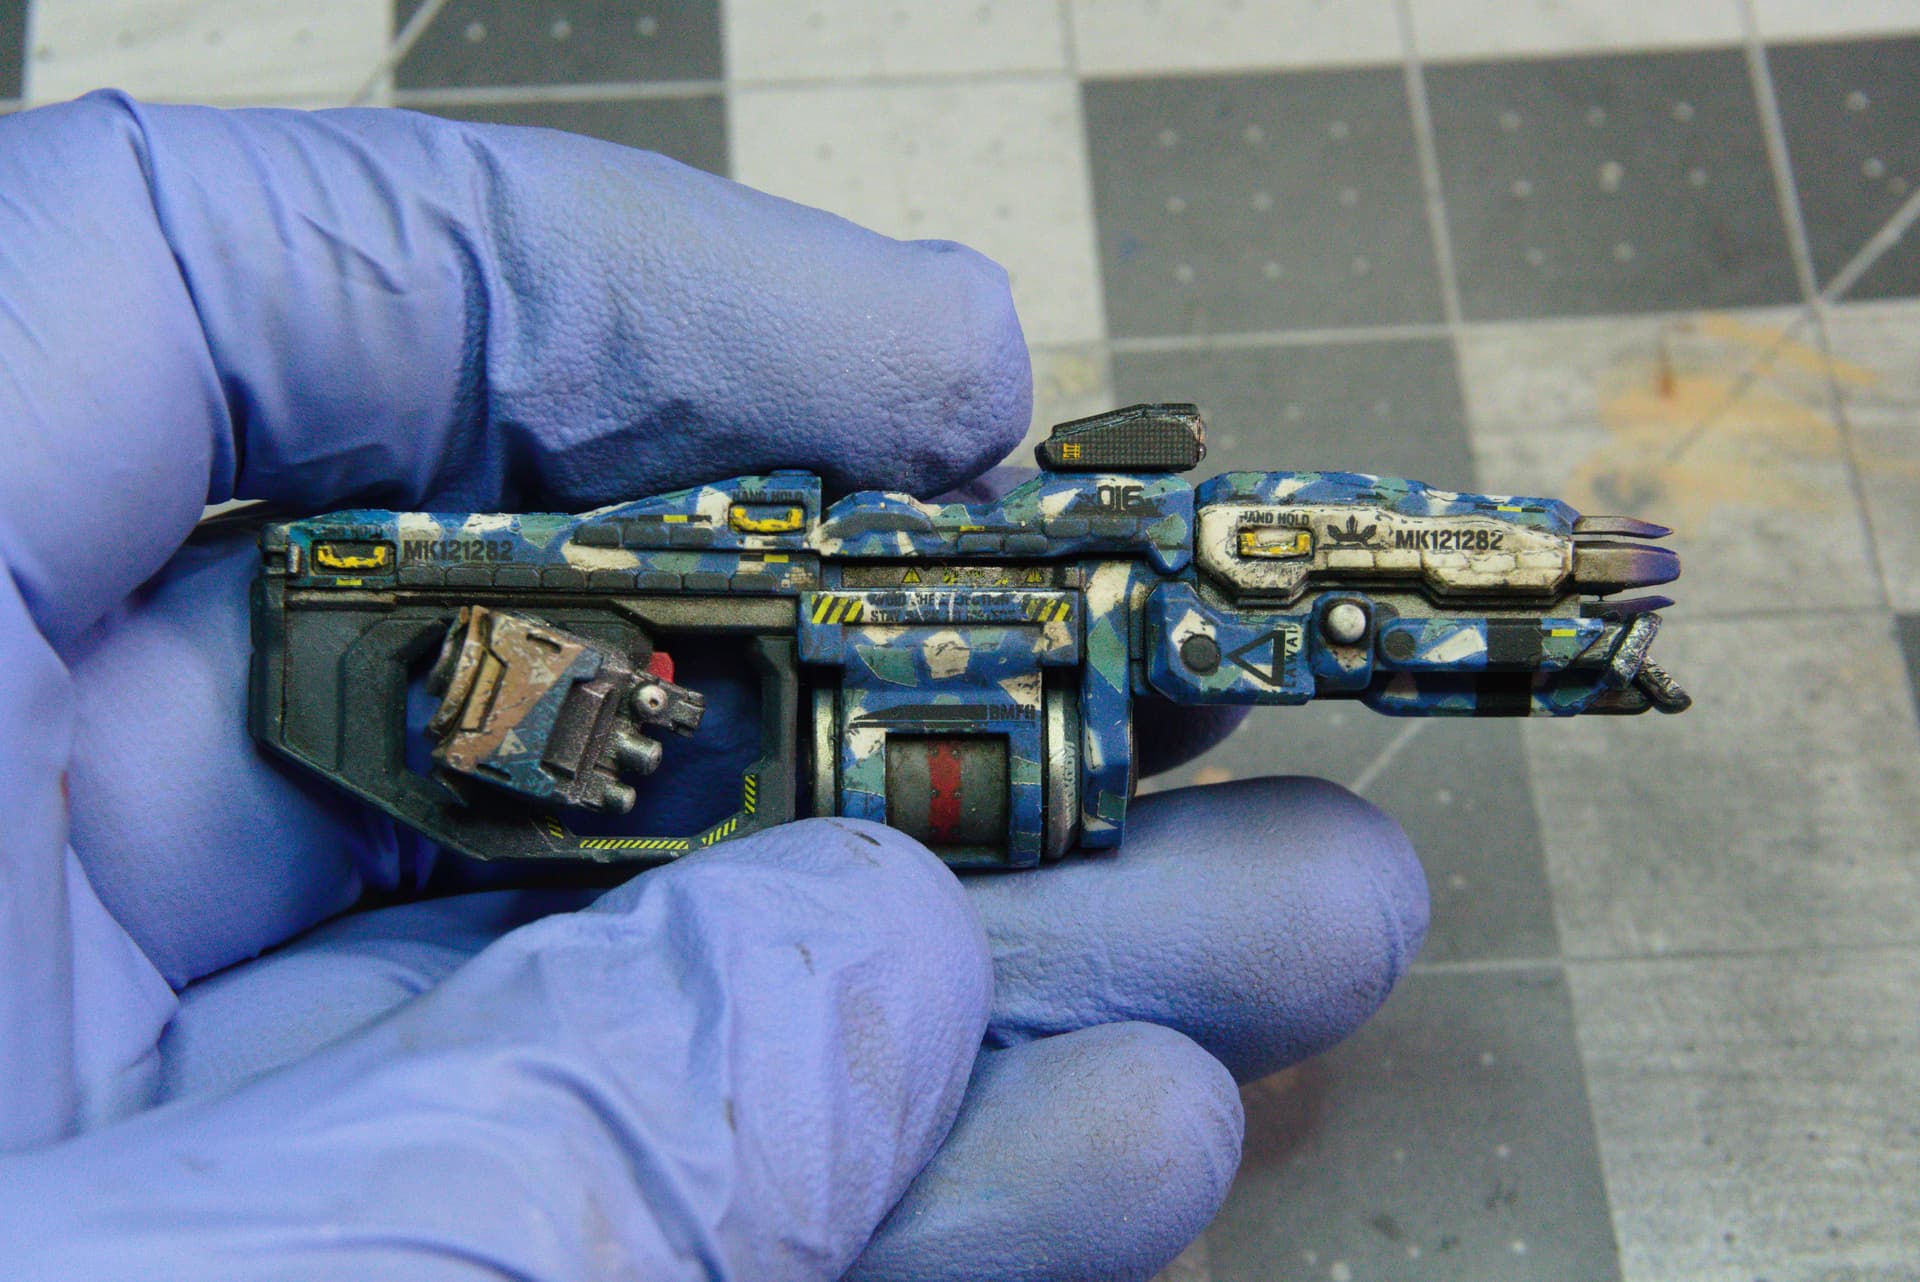
And the gun,
Despite being the future, it seems that the robots still rust, so that will be the next step along side some leaking oil spots before getting some dirt on this thing.
Thanks for looking.
8 Likes
I humbly beg to differ… I’d be ecstatic if I could produce something that good looking.
Regards,
M
3 Likes
I too would beg to differ in terms of the chipping. I think it looks awesome- shows a well worn paint scheme that has seen a lot of hard use. But, more than that, it looks realistic- the way you have picked out the chipping with lighter colors of the paintwork and then added in heavier chipping with metal colors showing heavier wear- that’s what makes it so good (and convincing) looking.
4 Likes
I think it looks awesome with the chipping…perhaps it was caught in a severe sandstorm or hailstorm. Those TITANFALL 2 mechs are used and abused until they’re often destroyed or broken.
Your 3D print is really showing its value and care. Having 3D printed models myself, I understand that not all of them are worth the quality, time and effort to make them look great.
2 Likes
I make parts as upgrades all the time, and honestly, I don’t know how I feel about full 3d printed models. The work process on them is so different, and I just find them very inflexible compared to plastic.
2 Likes
Hello,
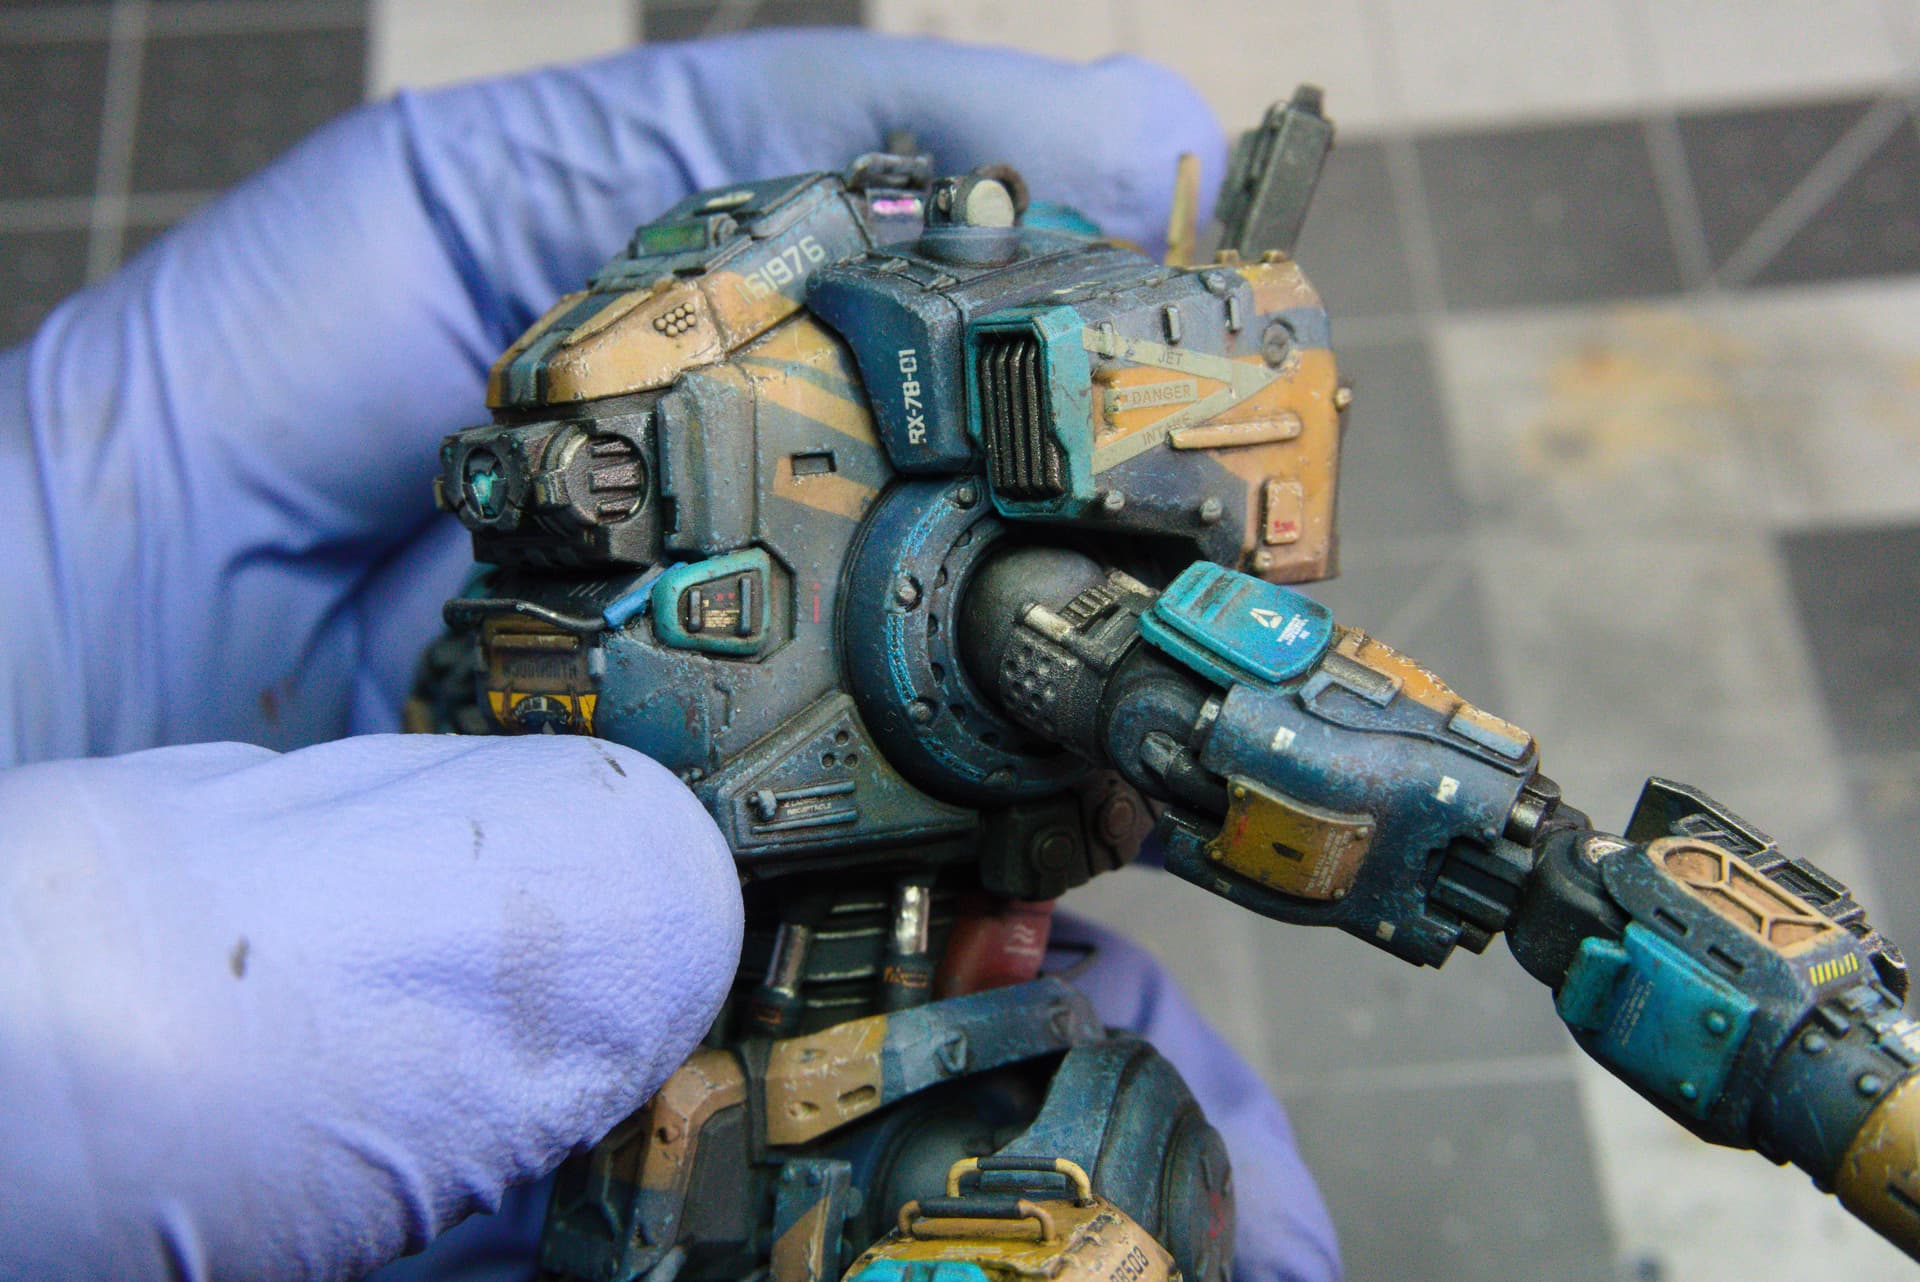
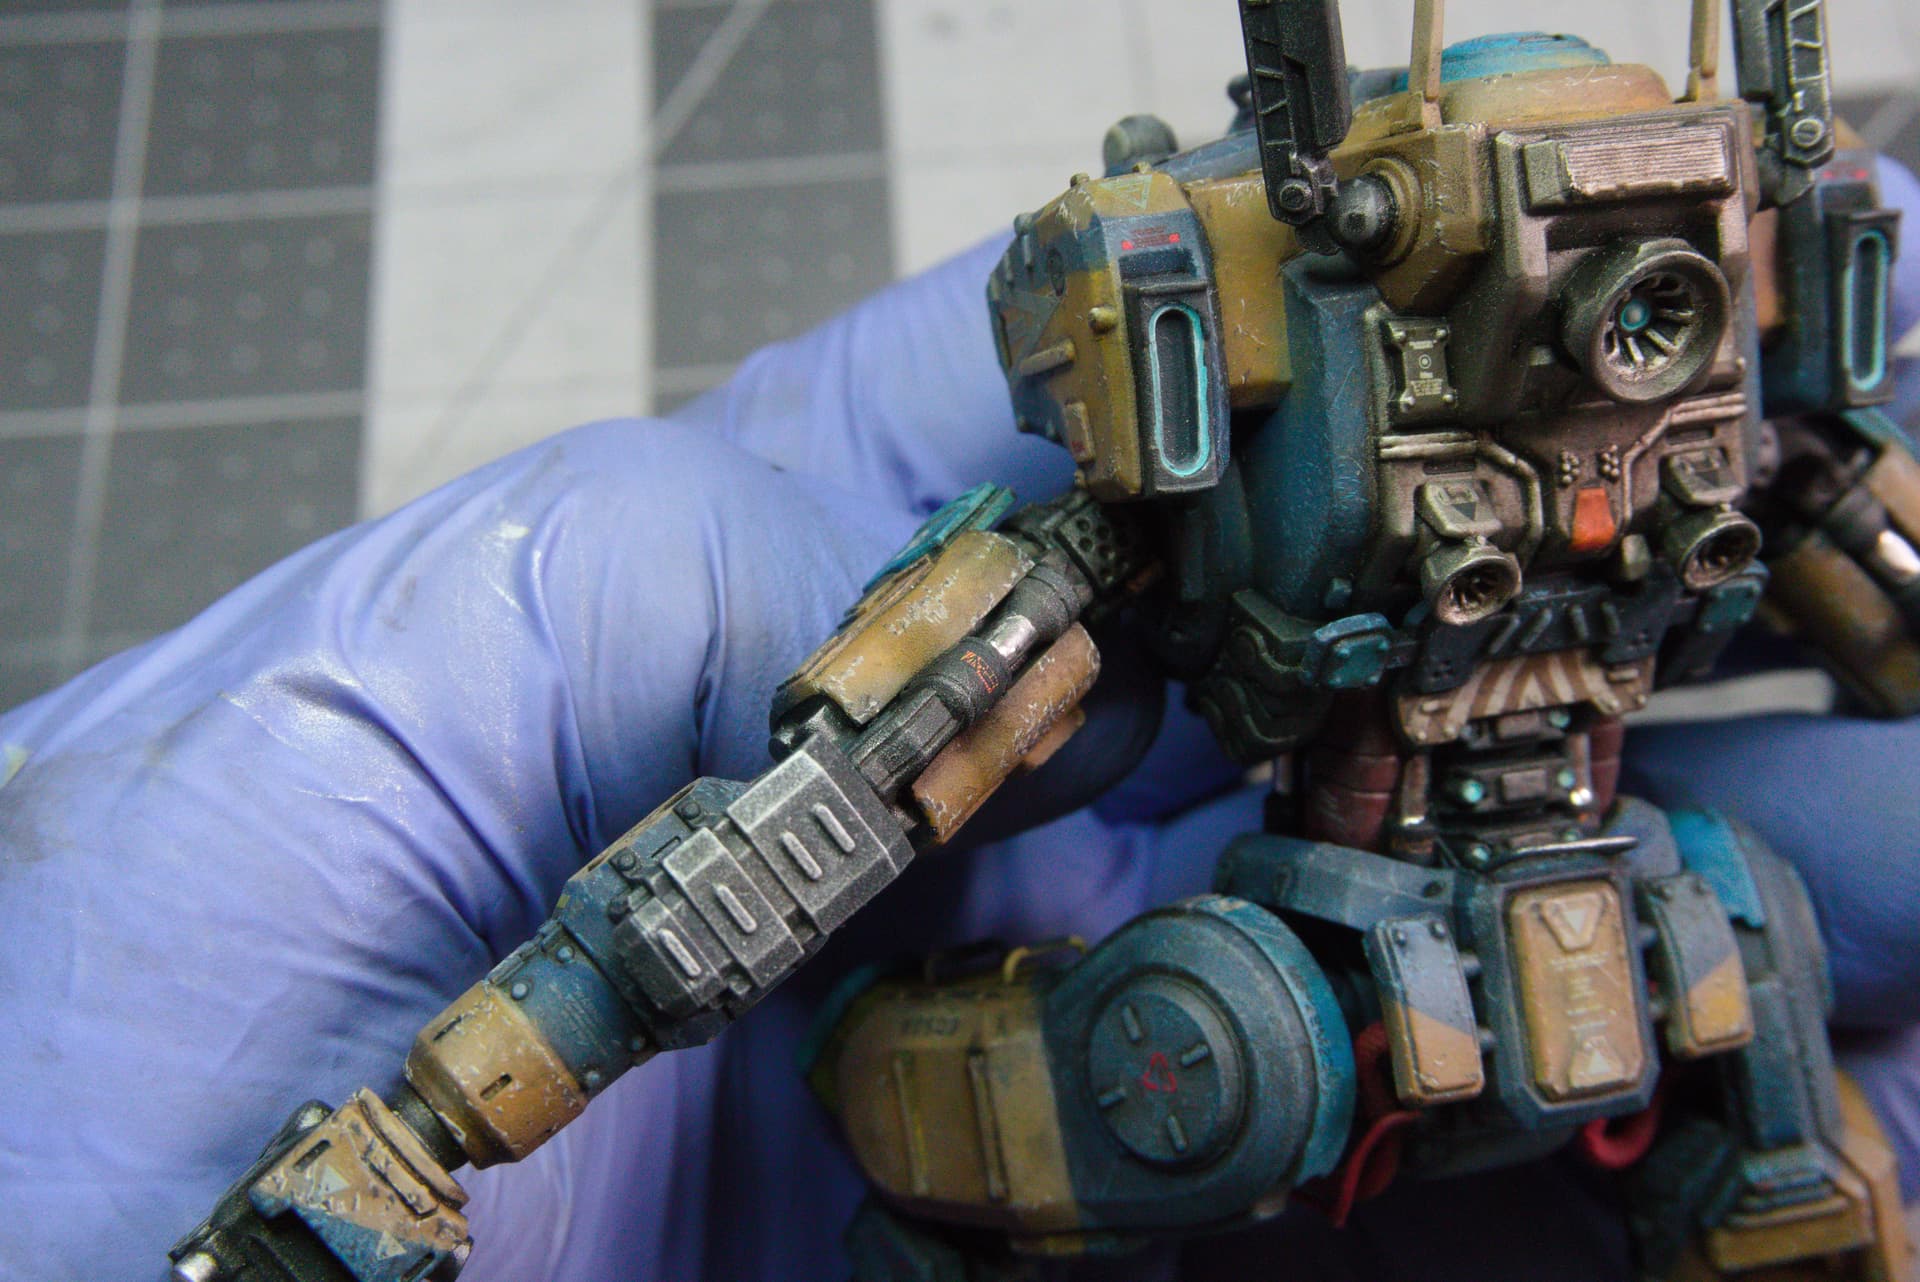
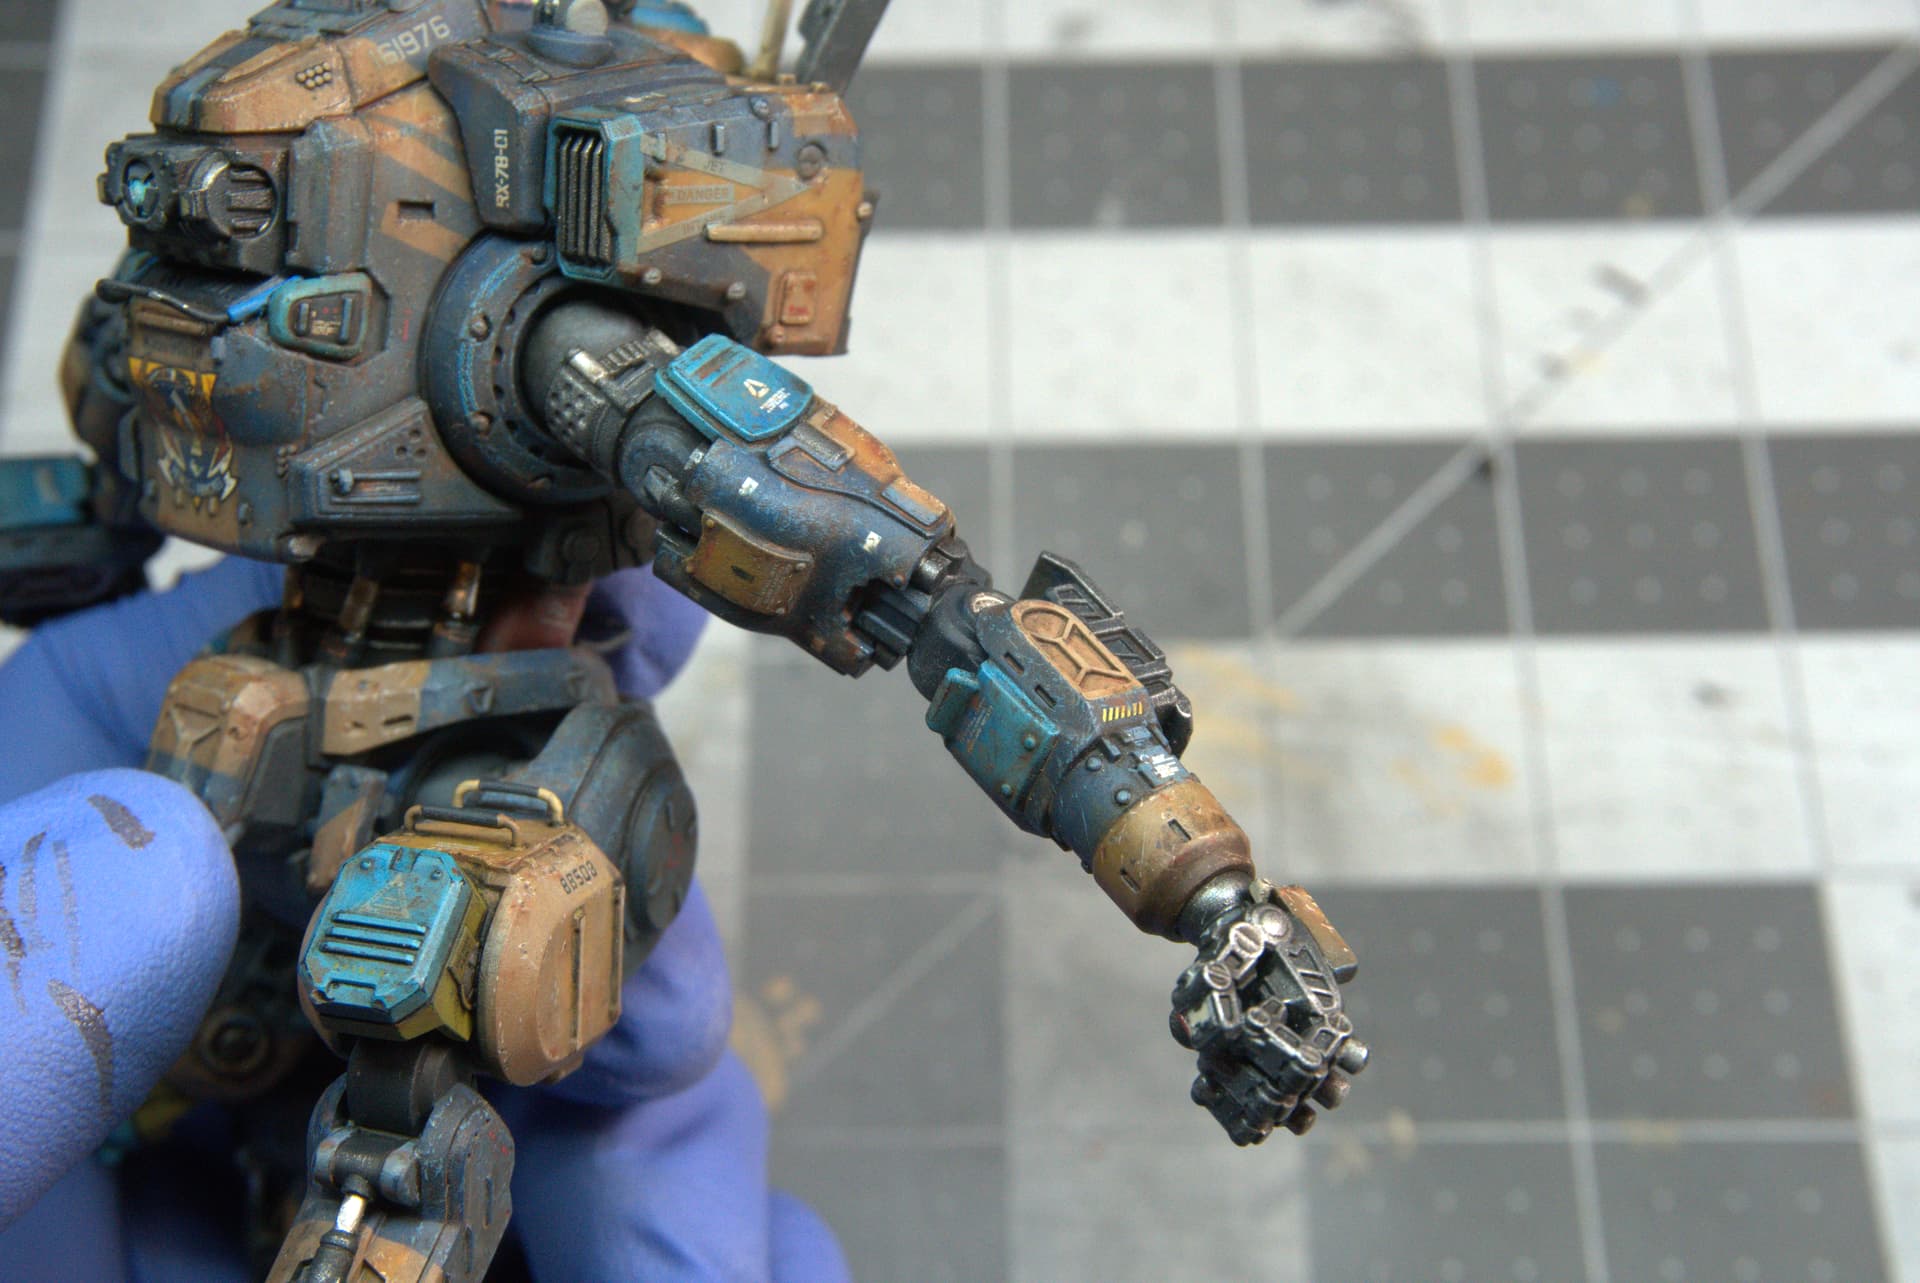
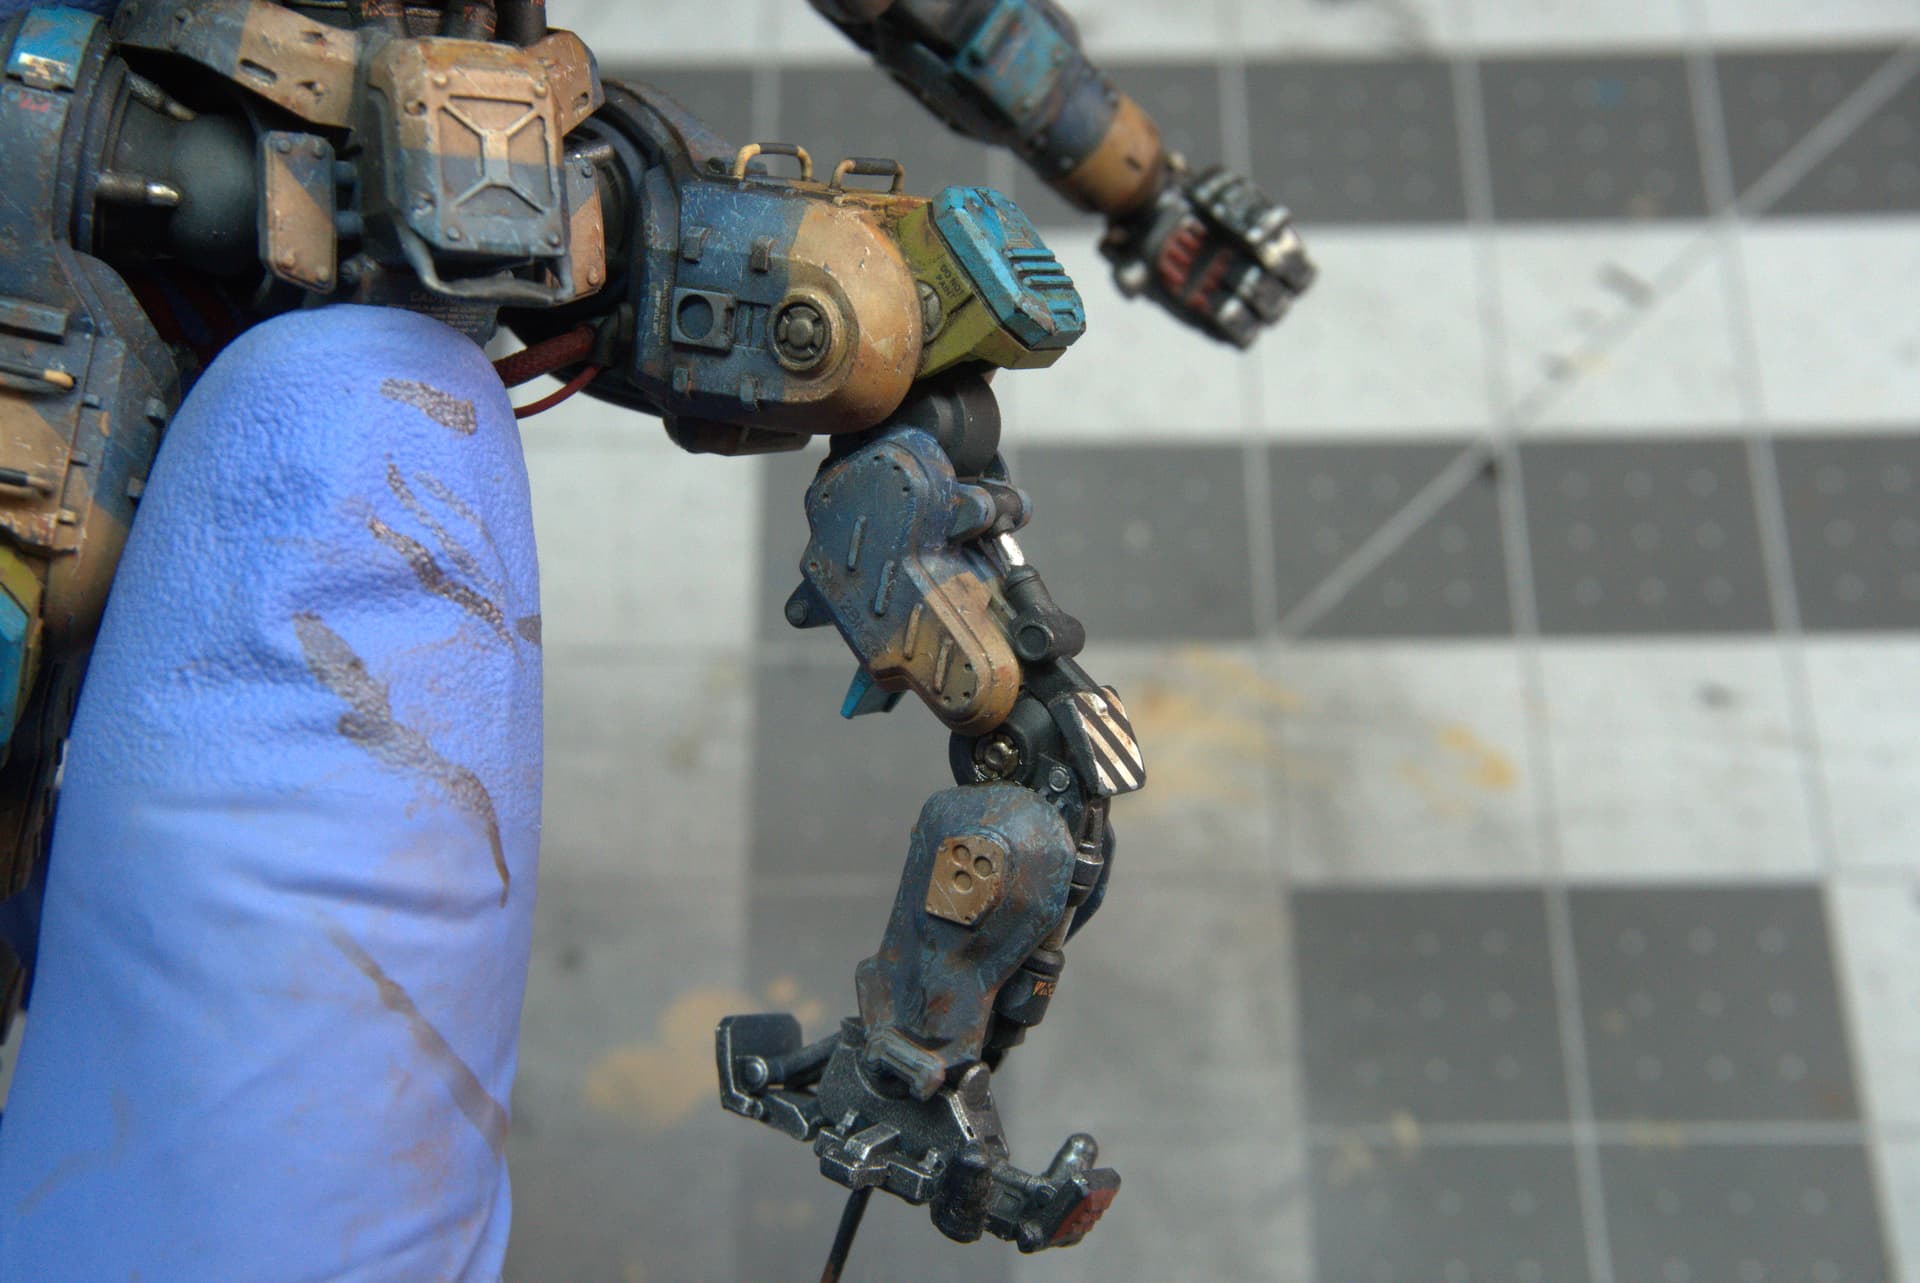
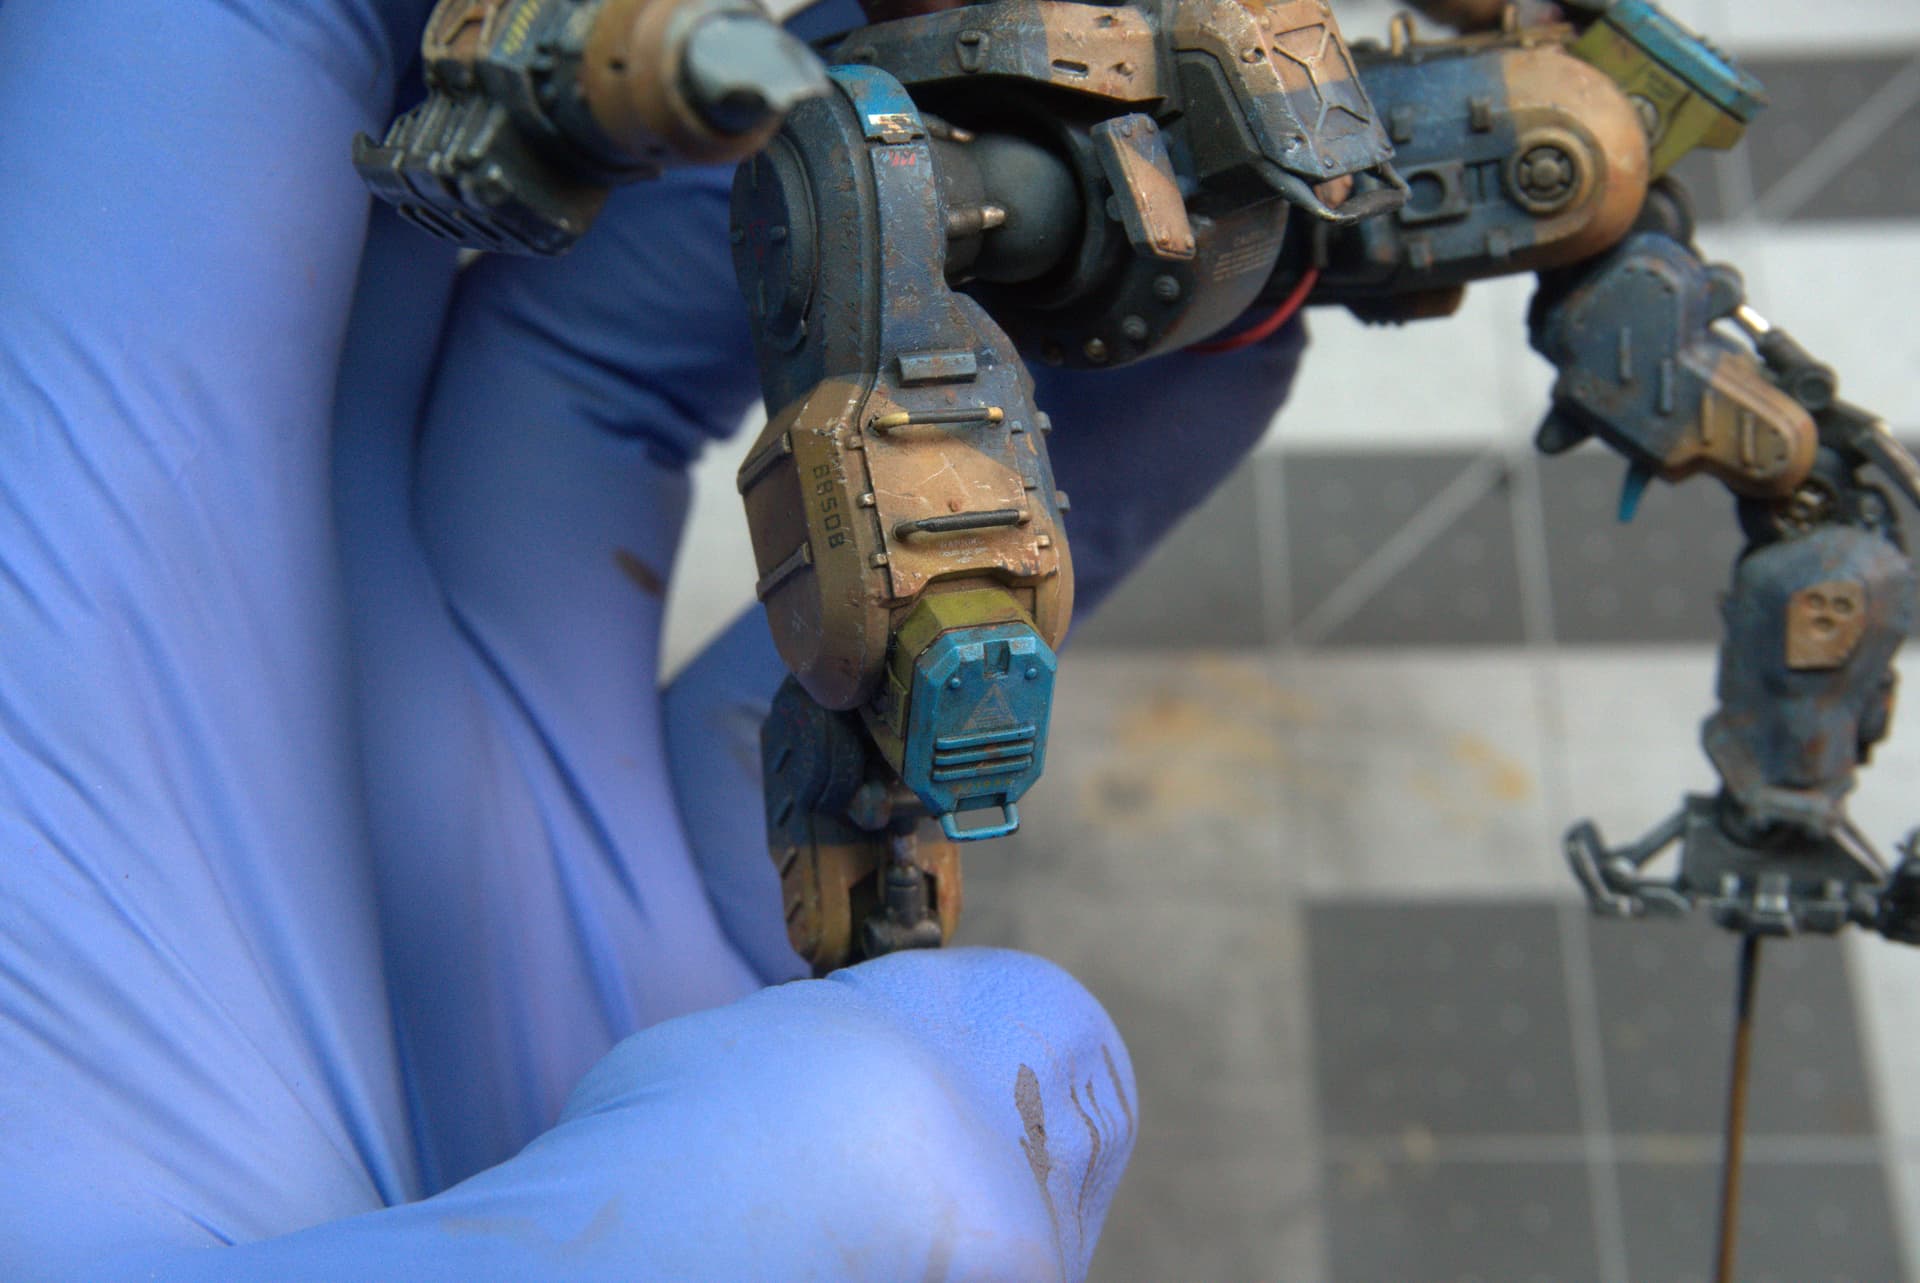
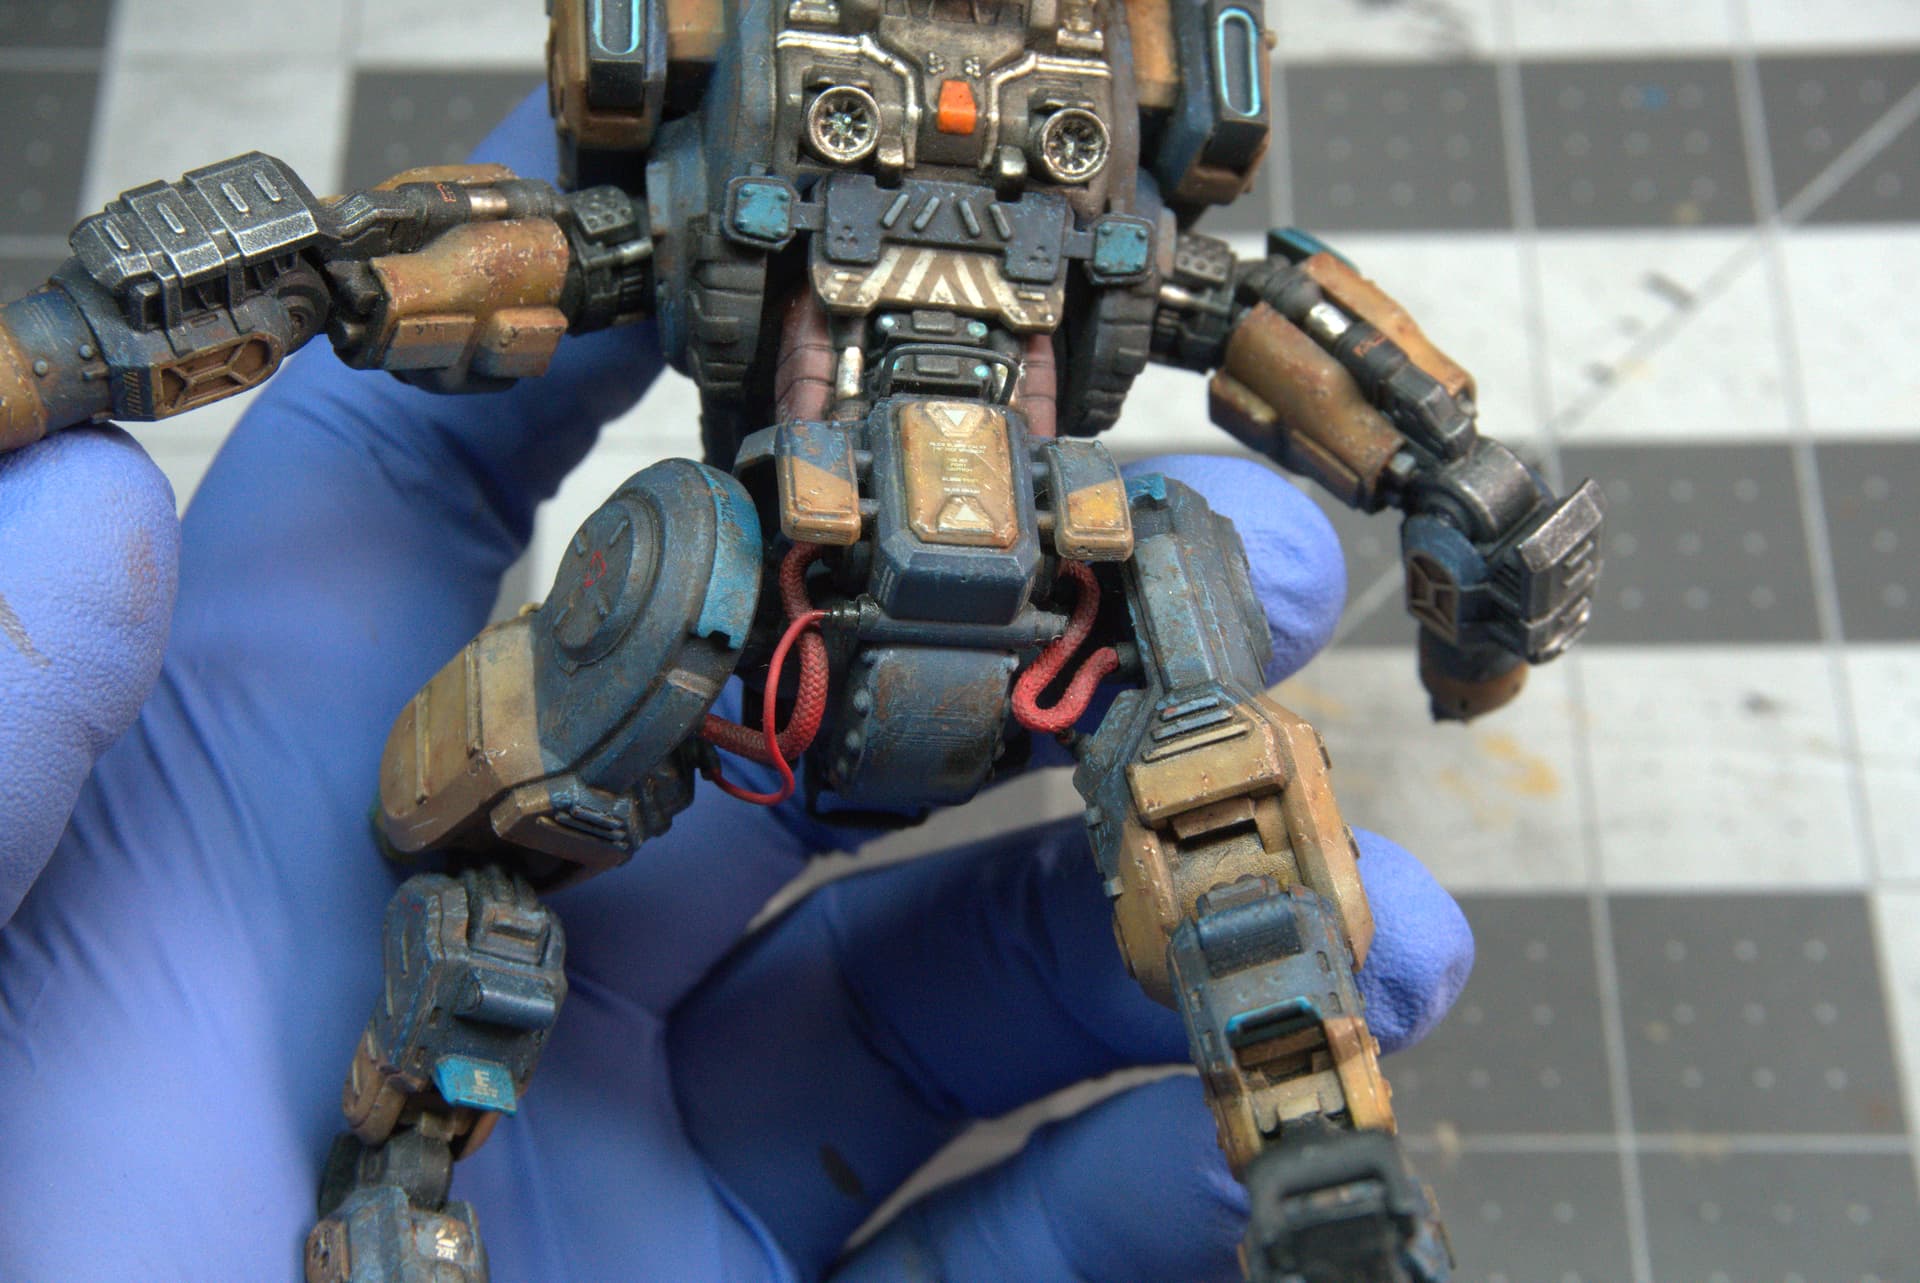
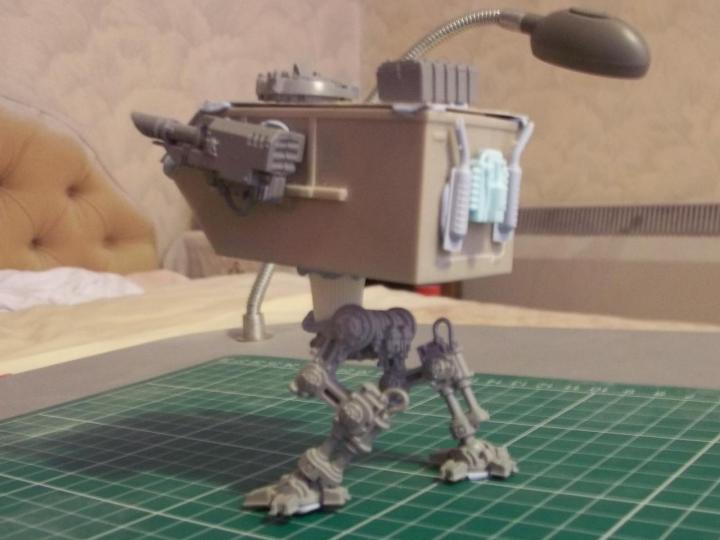
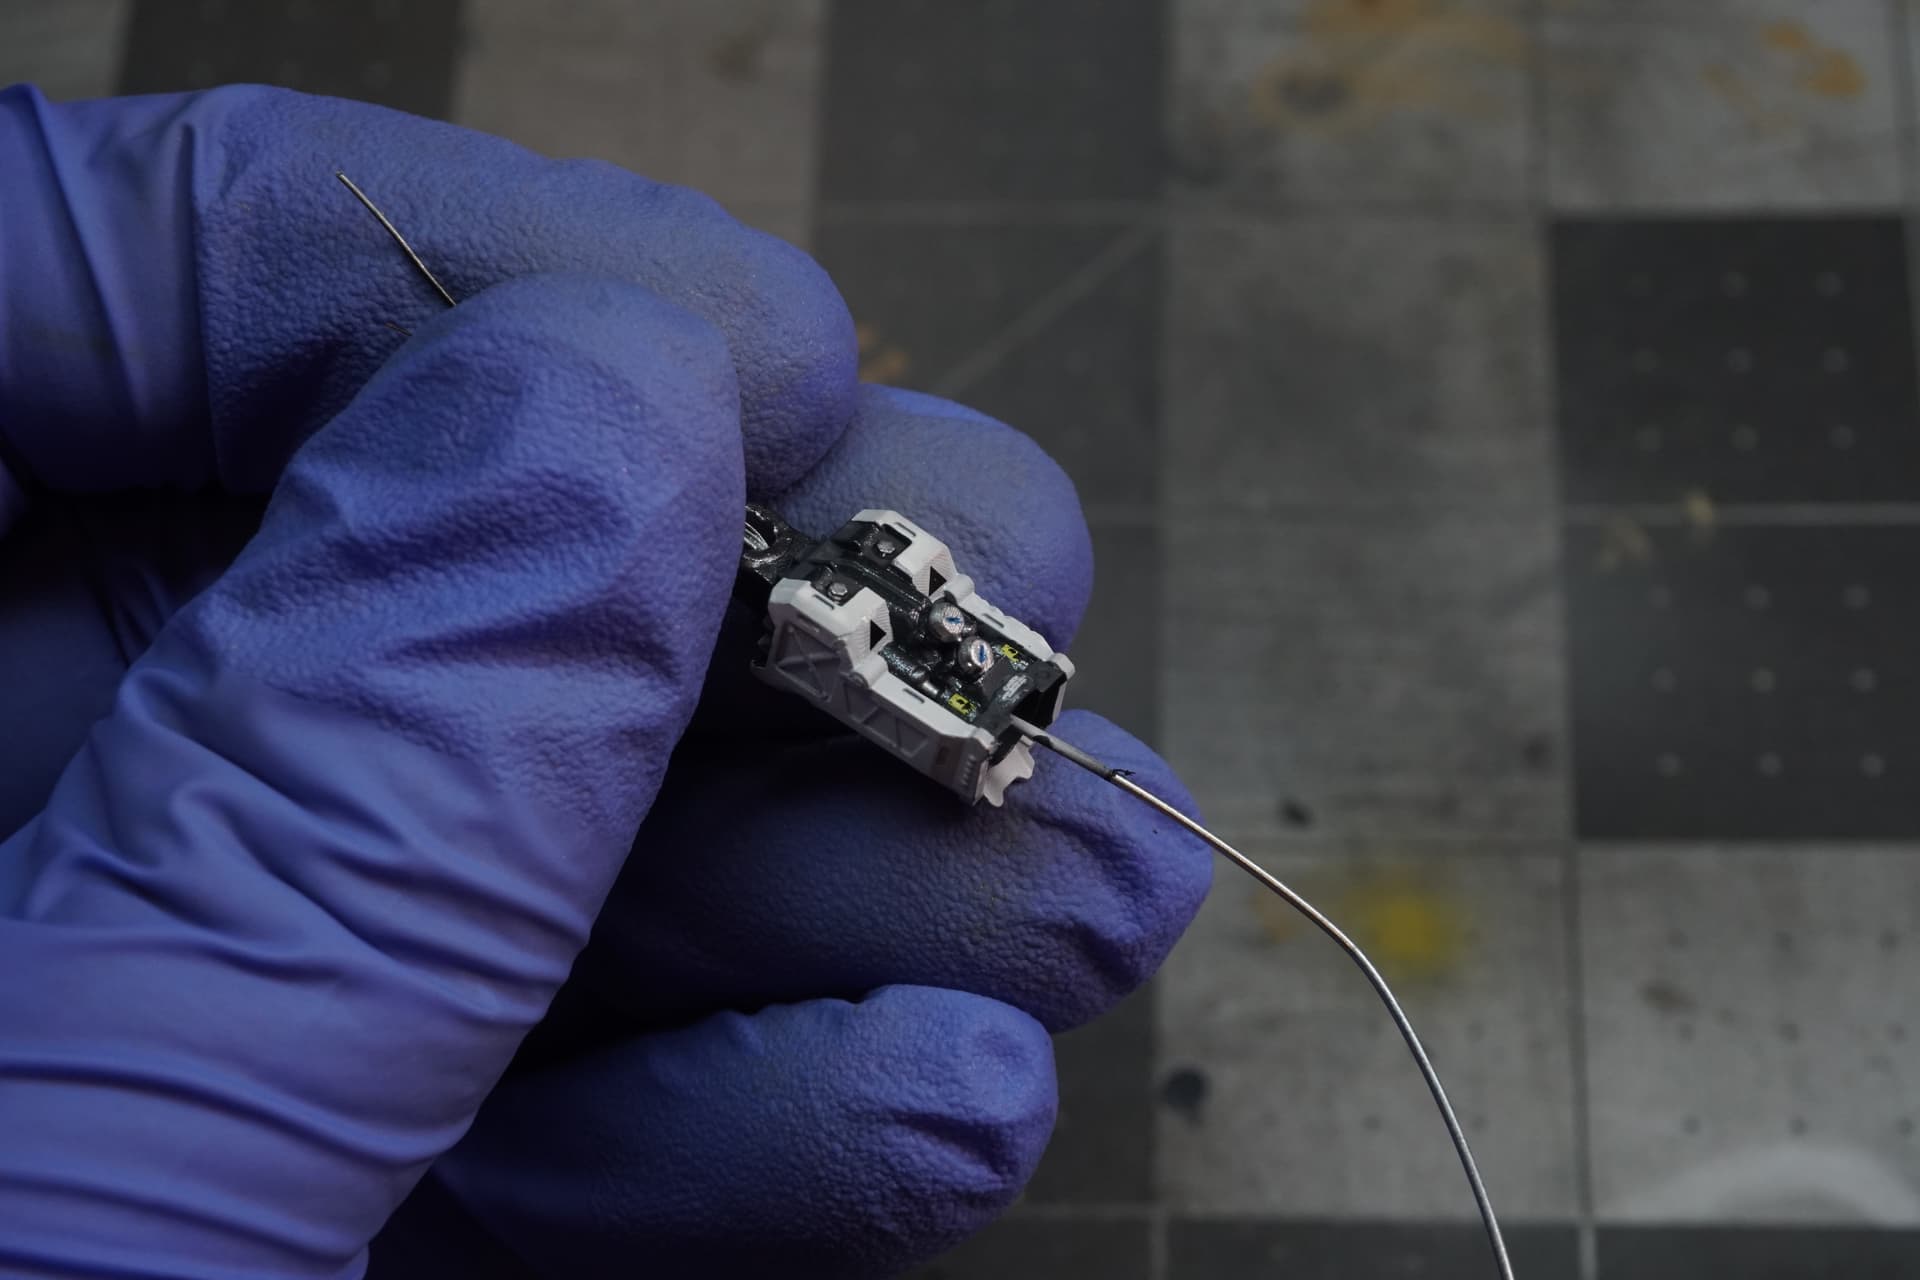
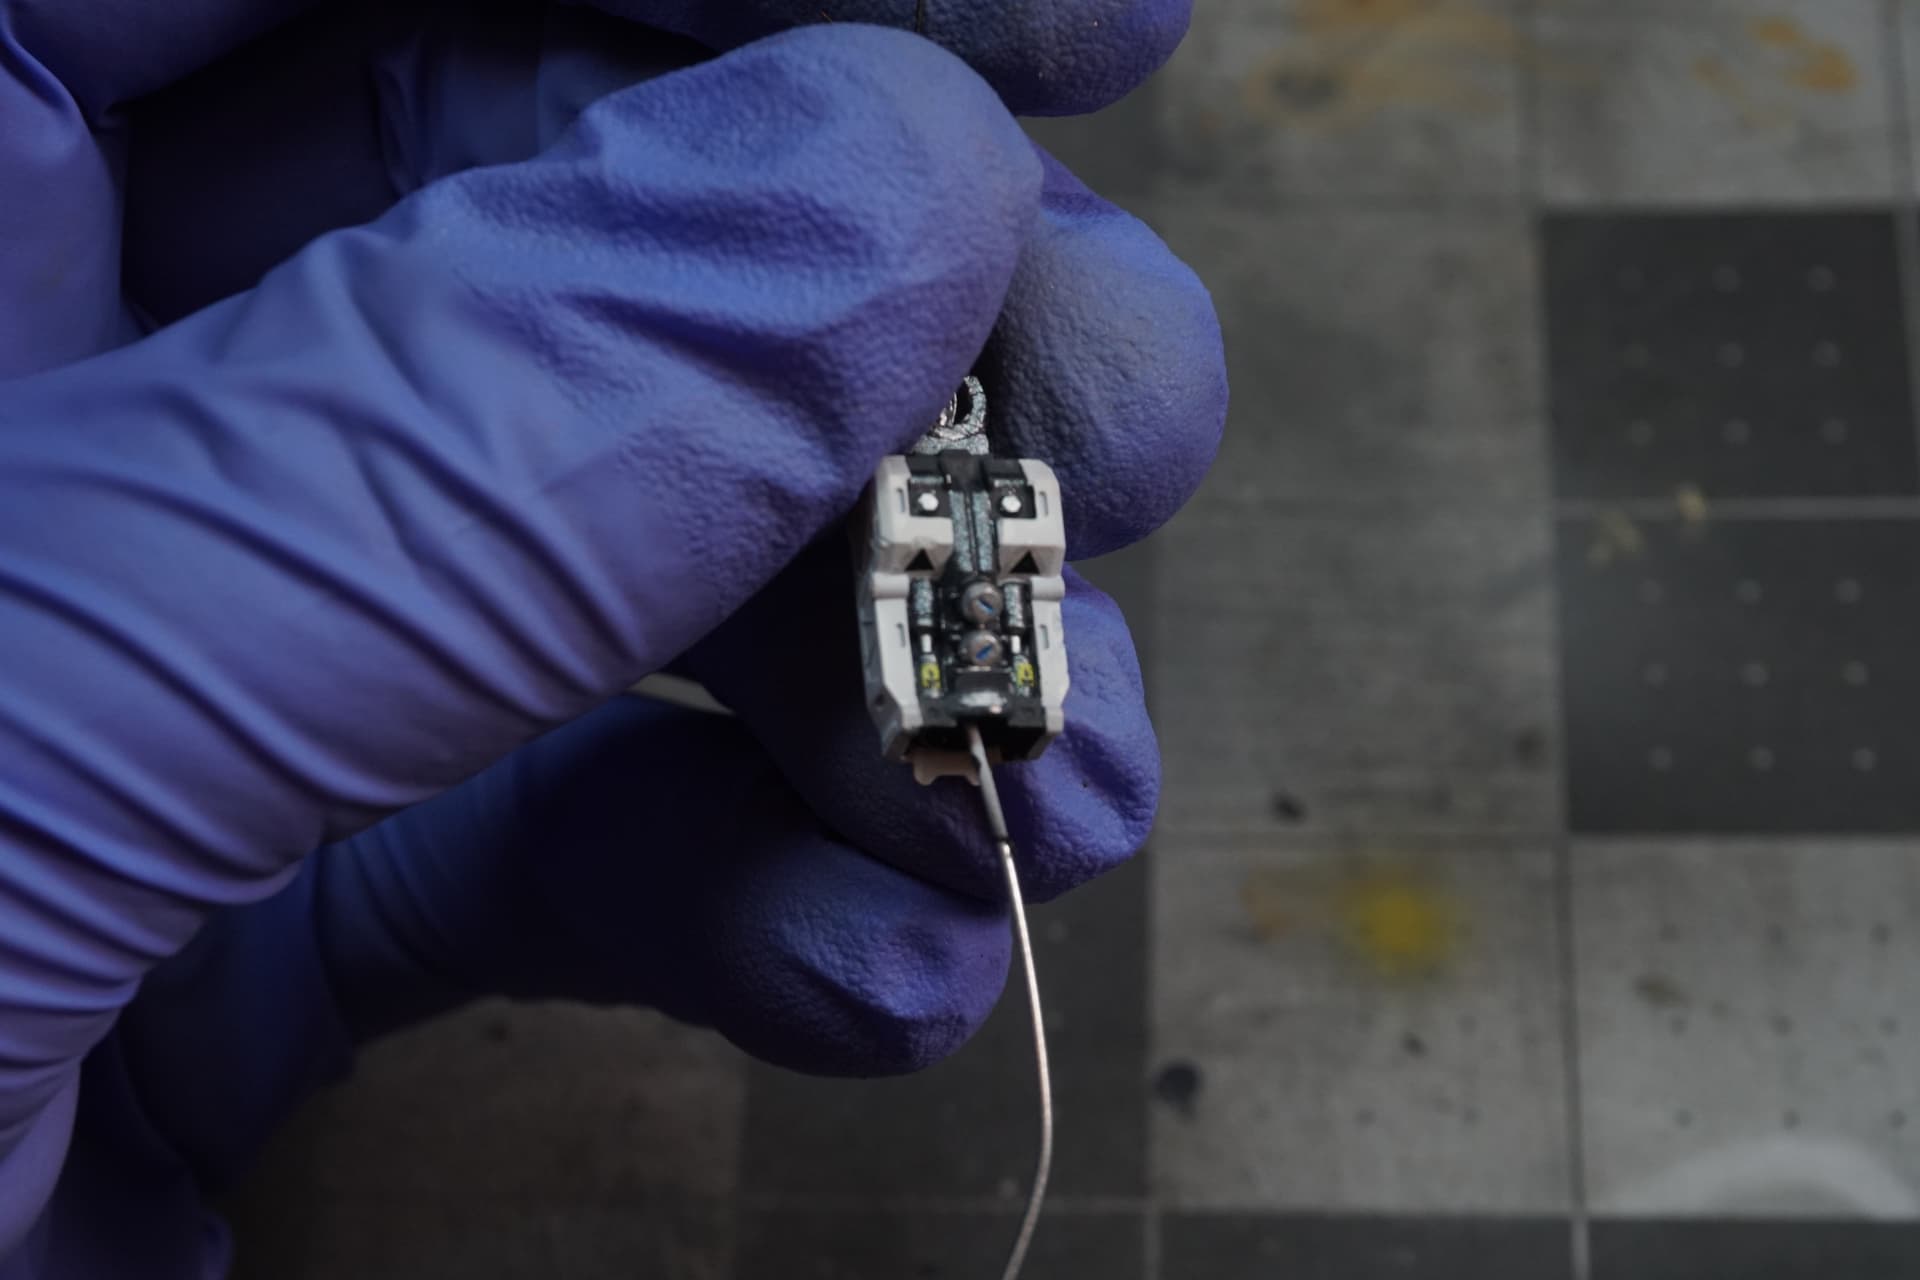
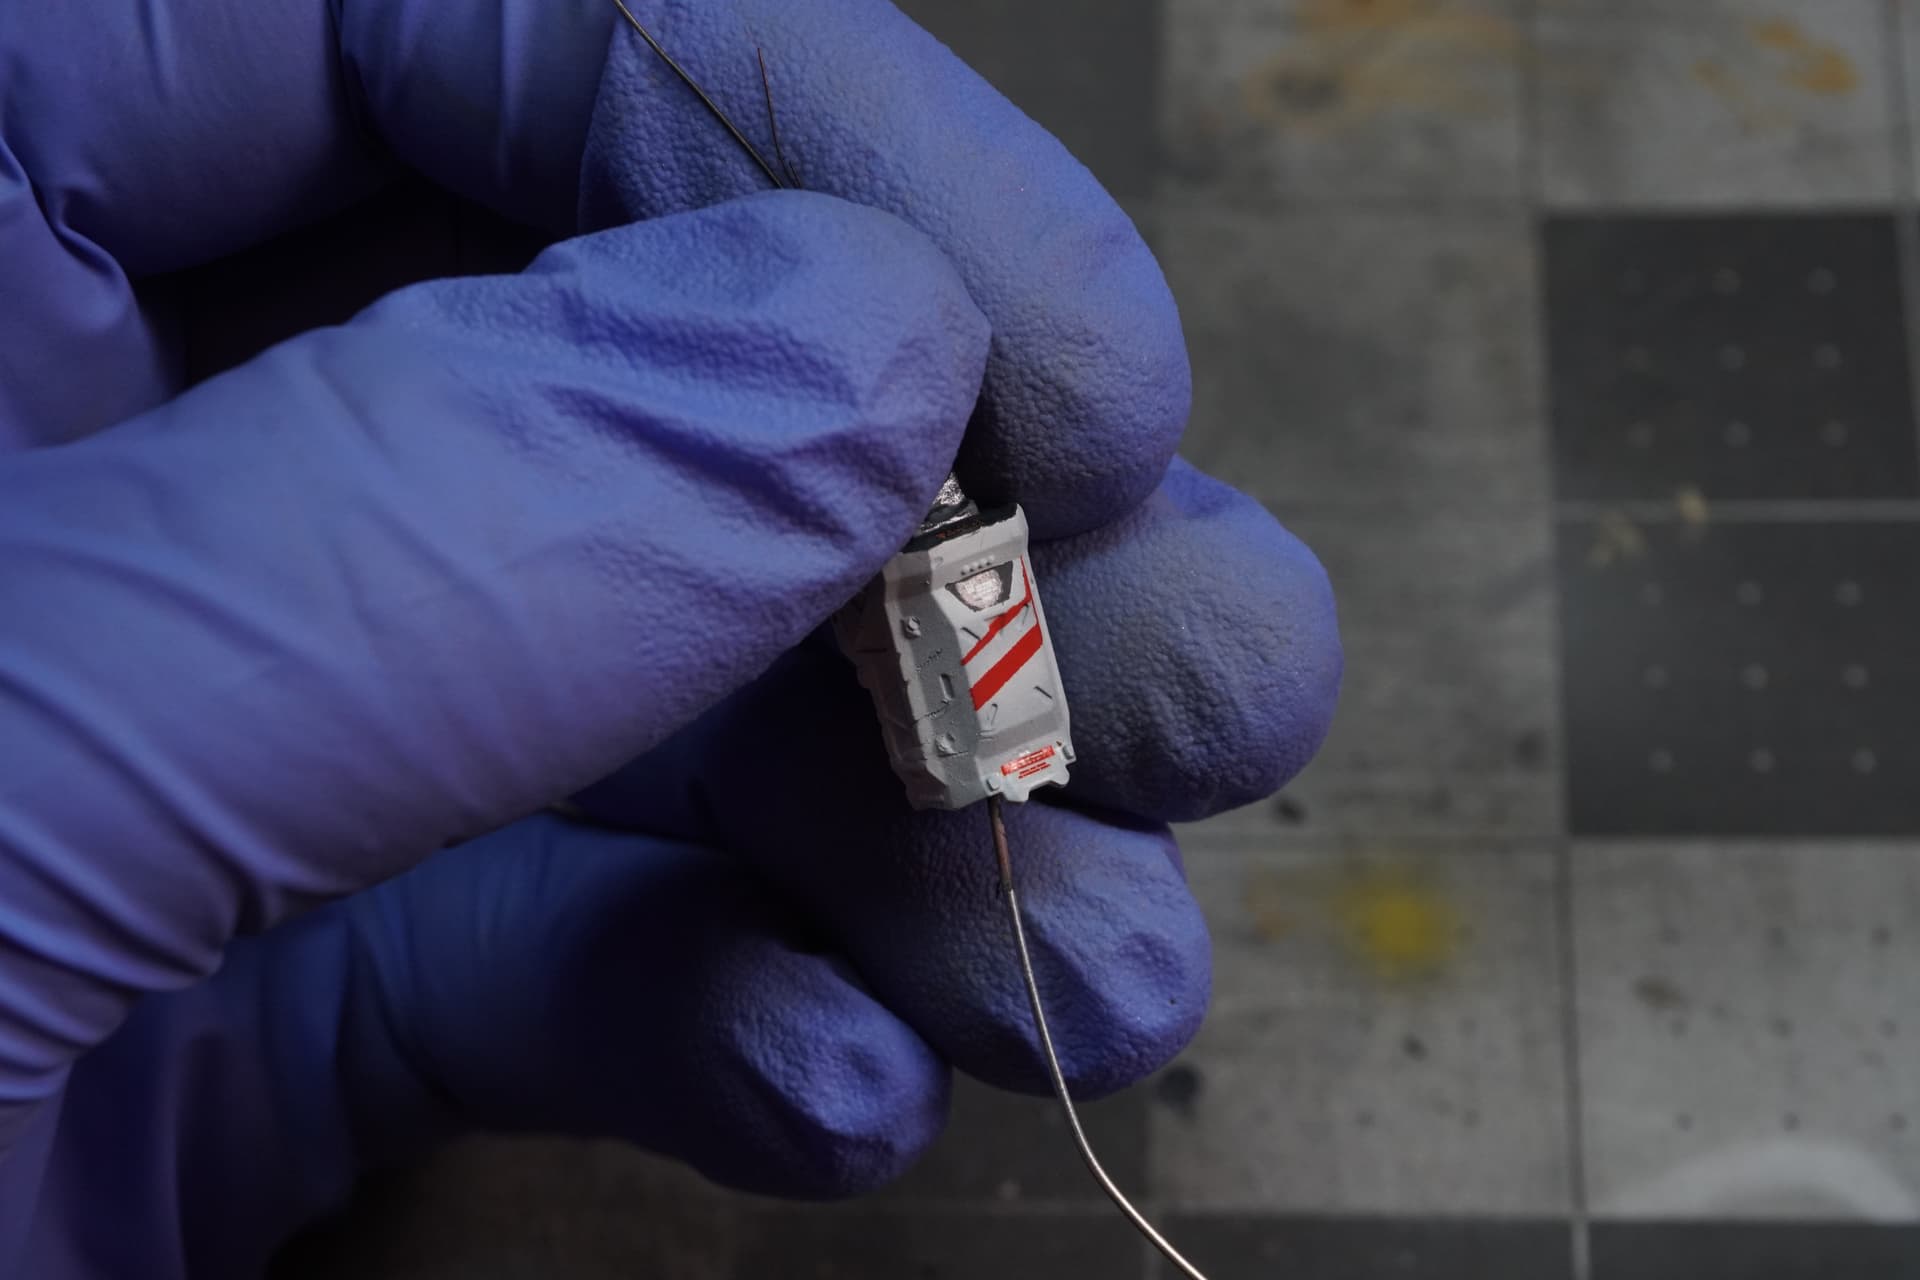
Quick update after a break, got the rust done and… oil? I can’t remember whether I posted previously about this, but my cat destroyed one of the rocket pods. I woke up one morning and, while leaving for work, found the mangled pieces of the rocket pod in my shoe. Instead of printing and painting a new one, I simply made it look damaged with one electrical cable and one hydraulic one spewing oil.
Other than that, I just added the rust to the model. I am now trying to go for a “been in a fight a little too long” as these mechs tend to be.
I also have some more ideas for road scatter!
Promise some quicker updates from now on.
Cheers!
8 Likes
Always great to see an update on this- the new photos really show off your metalwork to good effect!
3 Likes
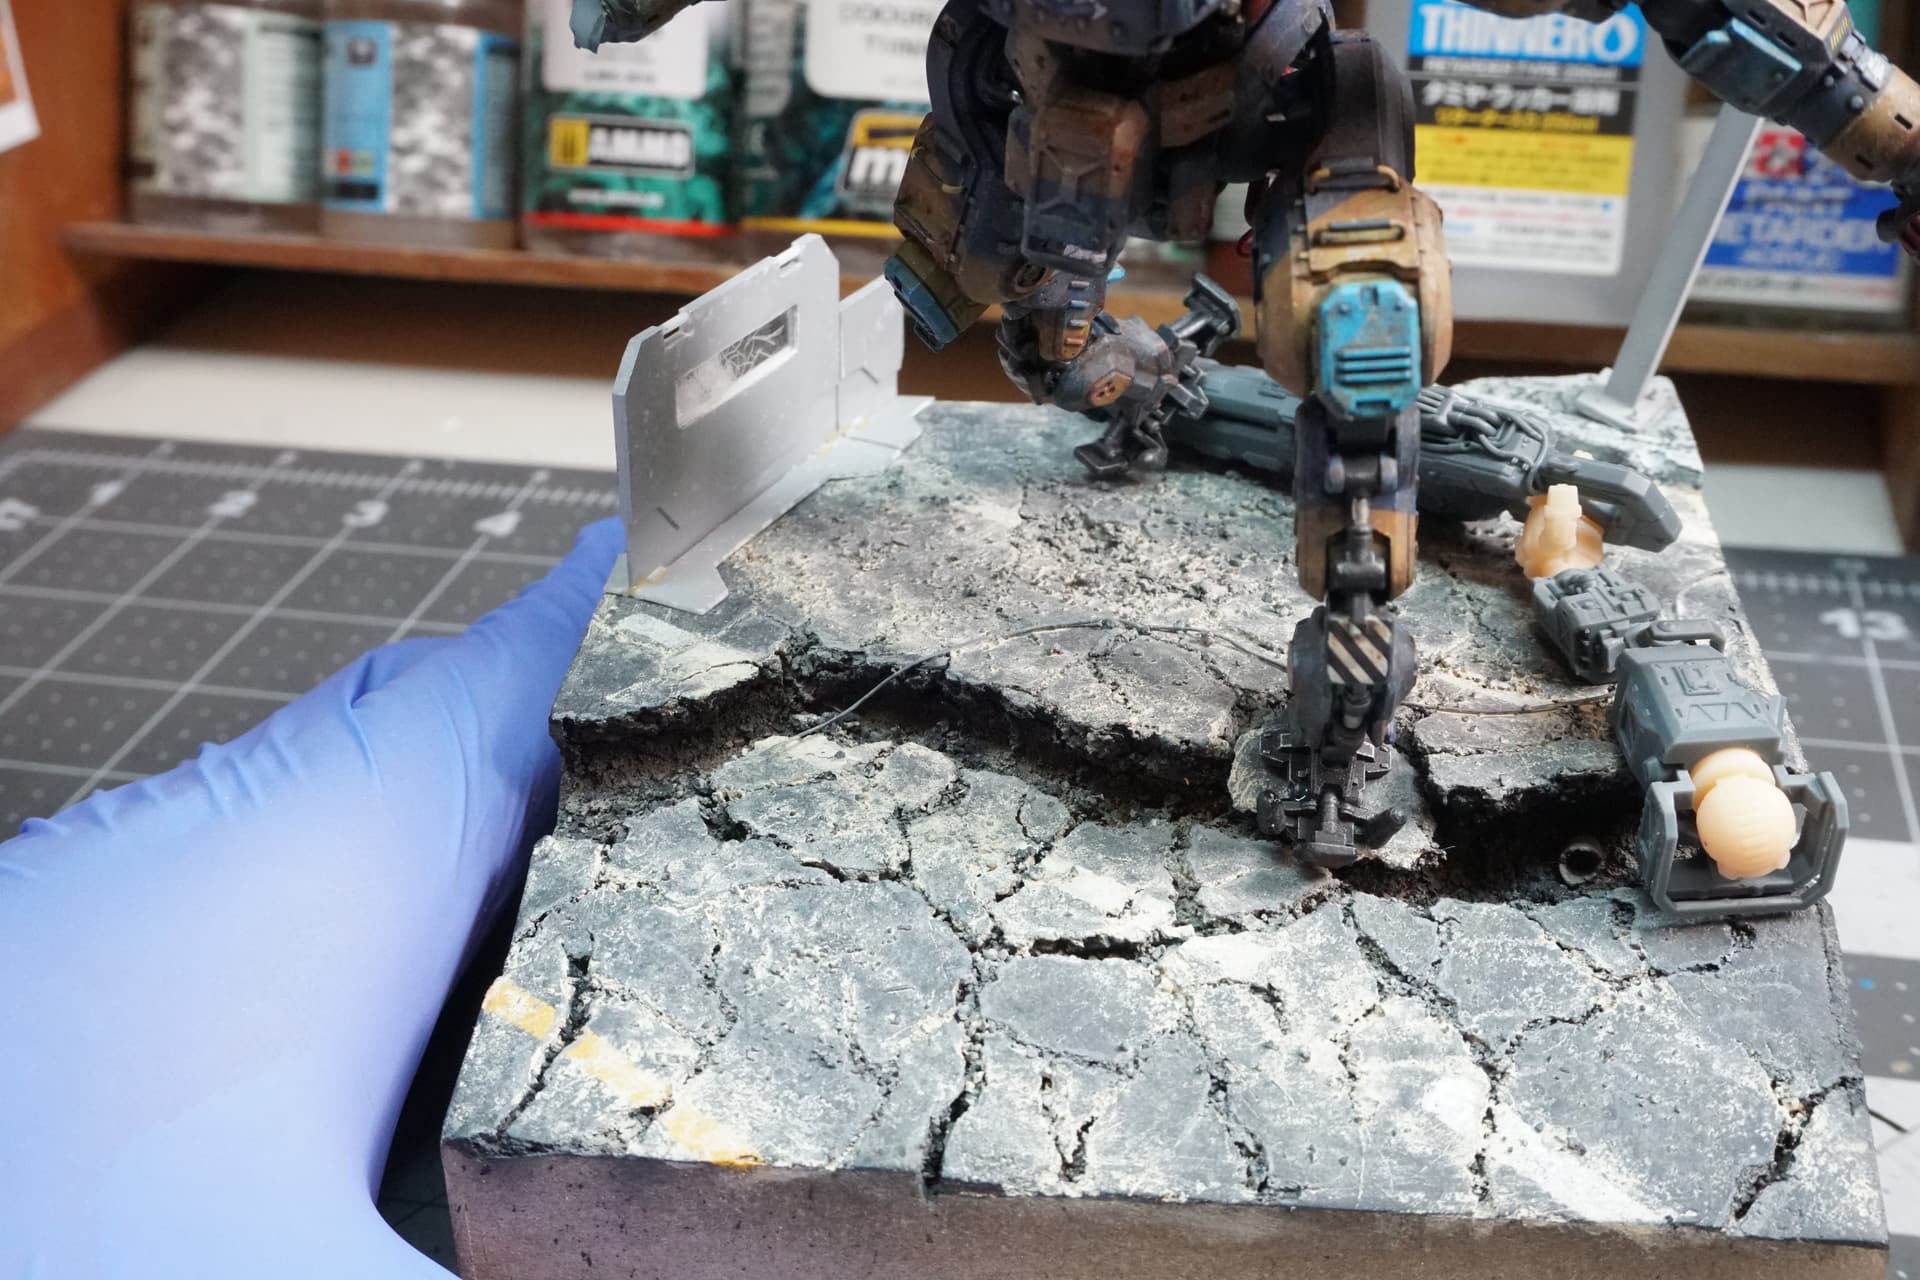
I have started to get some more work done on the base while researching dust weathering for mechs.
Build this so far:
I am still looking for what the robot will be stepping on because I don’t see myself building the car, honestly. I replayed the game and took photos of the scatter around the areas.
Most of them don’t make too much sense to put in this battle scene. The game does have plenty of sandbag defenses, but that doesn’t make sense to have them on a street. Maybe a barrel?
Any ideas welcome
5 Likes
I don’t think you would need sandbags on a street unless it was some sort of checkpoint type thing. What you have there looks excellent.
3 Likes
I would look for a 3D print of a vehicle as that would be the most likely item. Outside of the a dumpster depending on where on a street the action is taking place would work. Another idea would be a smaller mech or part of a destroyed mech.
2 Likes
Mech parts sound interesting. A dumpster was also an option. I changed my mind on having a car because it just didn’t fit the scene, both in scale and size. Just made things look awkward. My problem is that the way the mech is posed and the metal spokes that are used to pin it to the base force me to have something under it’s back foot.
1 Like
Mech parts IN a dumpster?

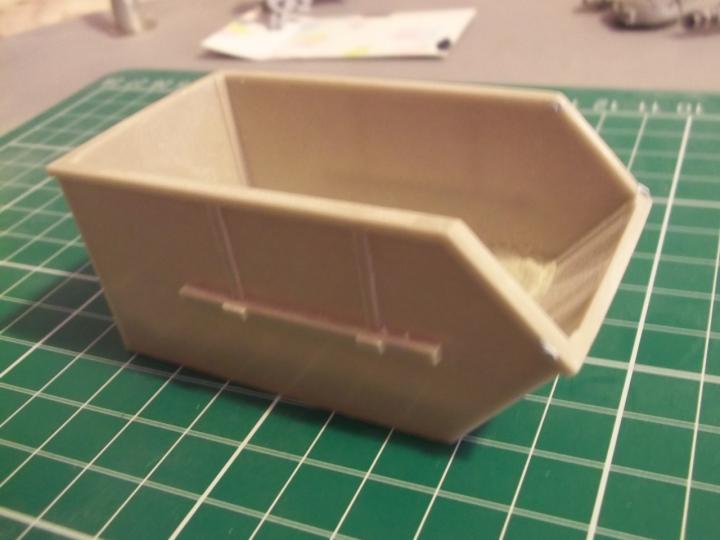
Dumpster mech:
Cheers,
M
3 Likes
I know many modeler who would like to throw Gundam parts in the dumpster. 
2 Likes
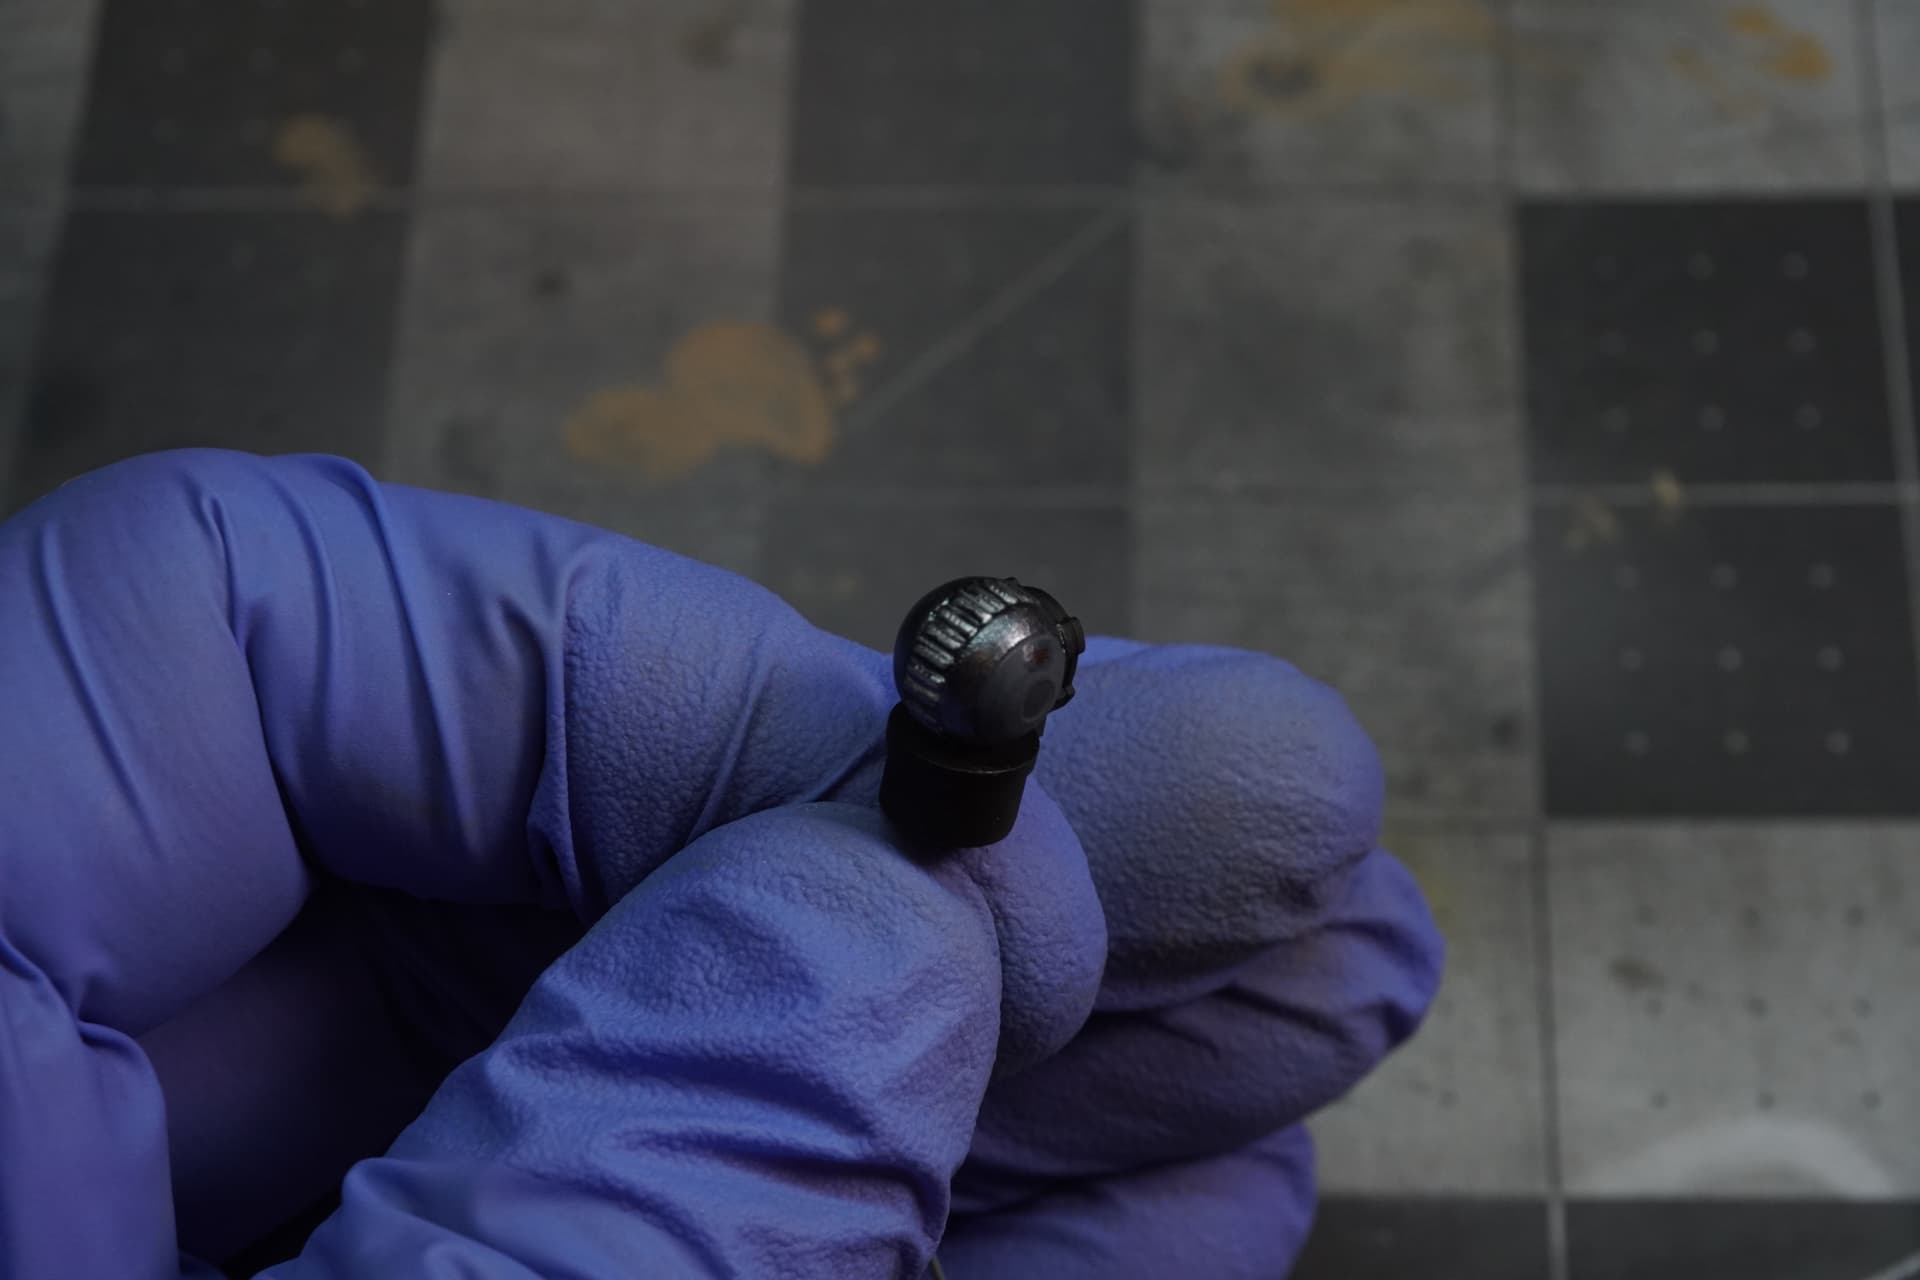
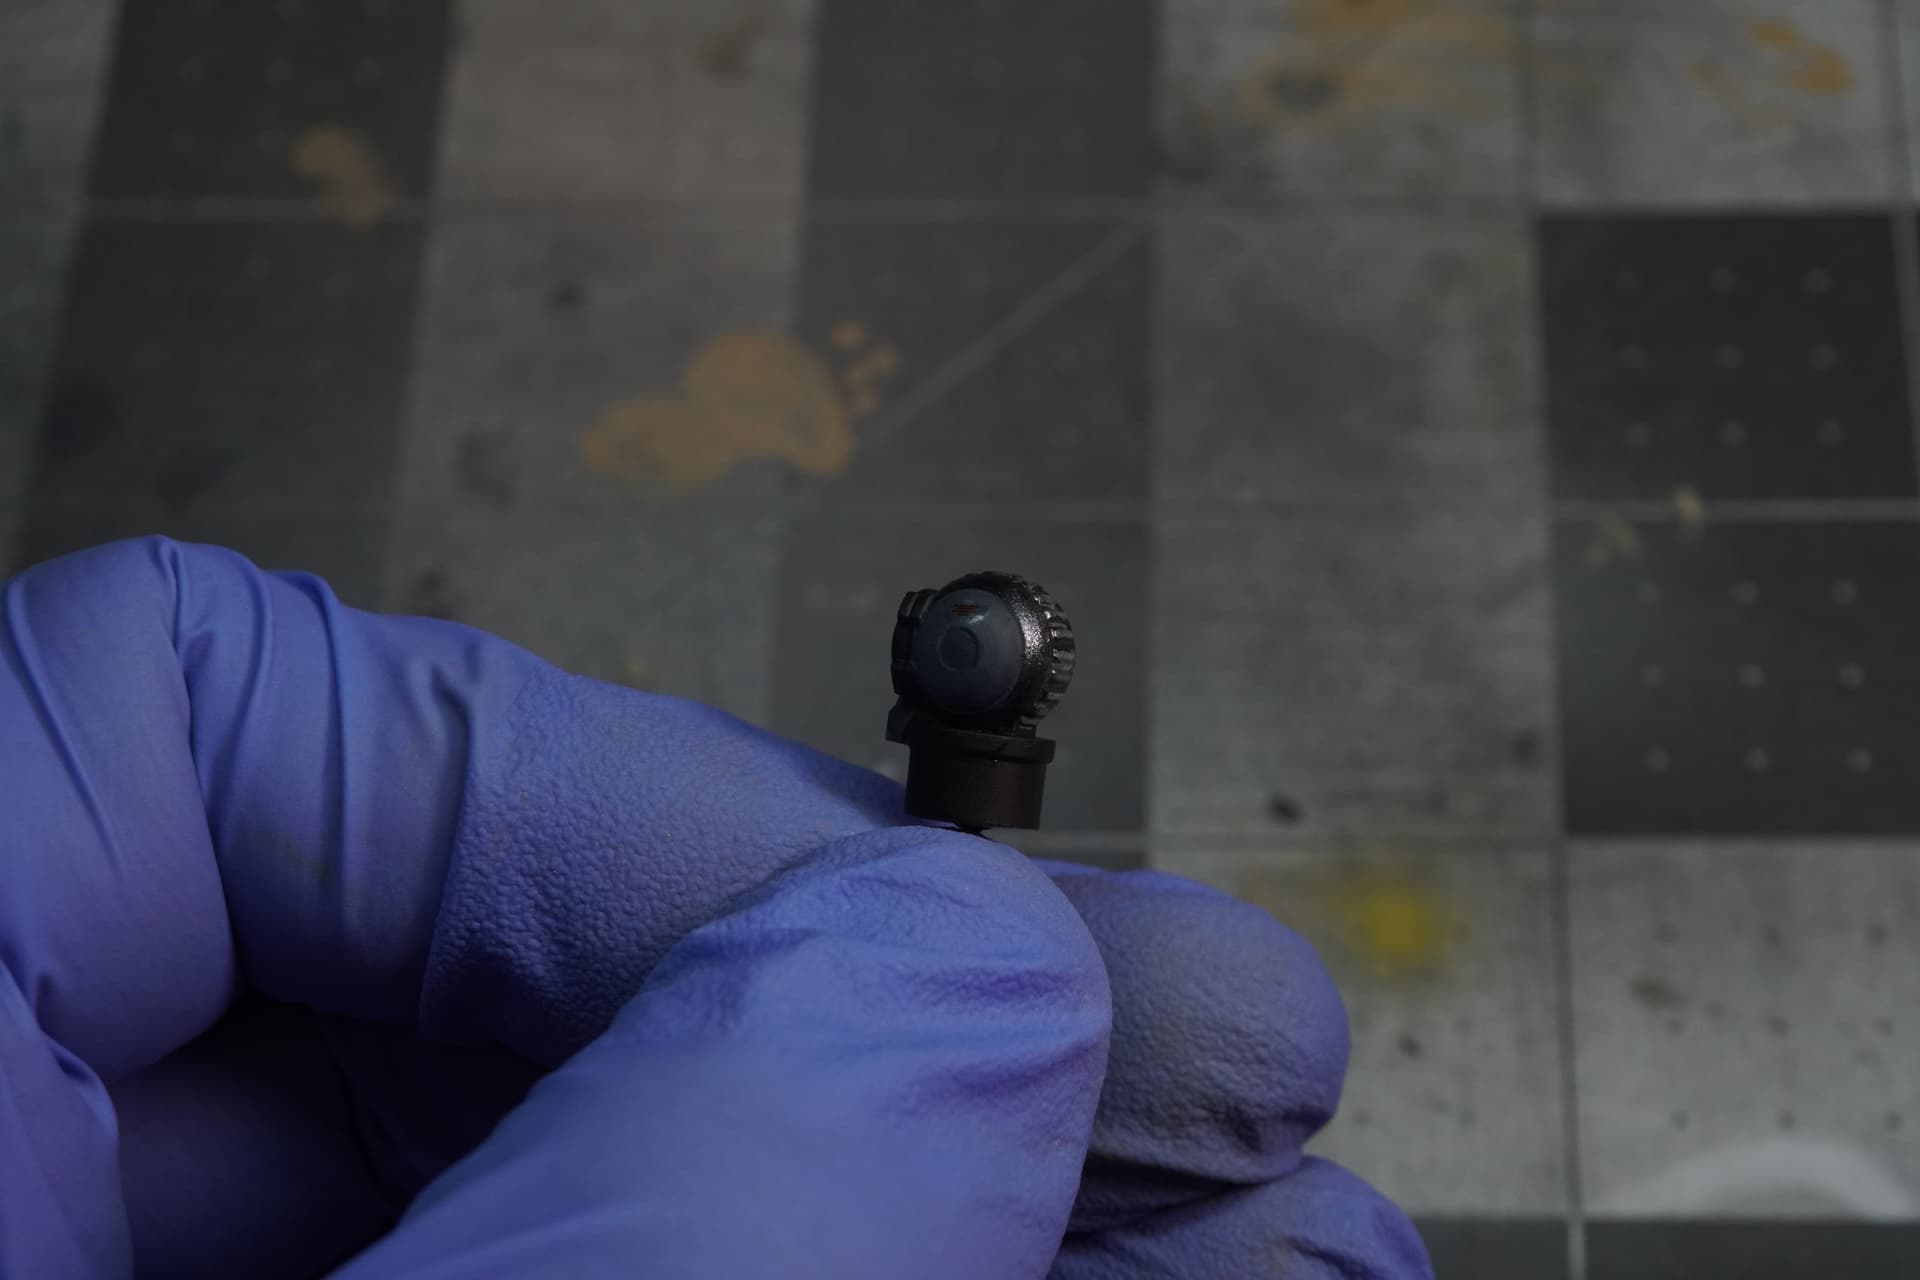
I figured it out, guys. I will print a gun with a damaged arm from a different mech to be stomped on
4 Likes
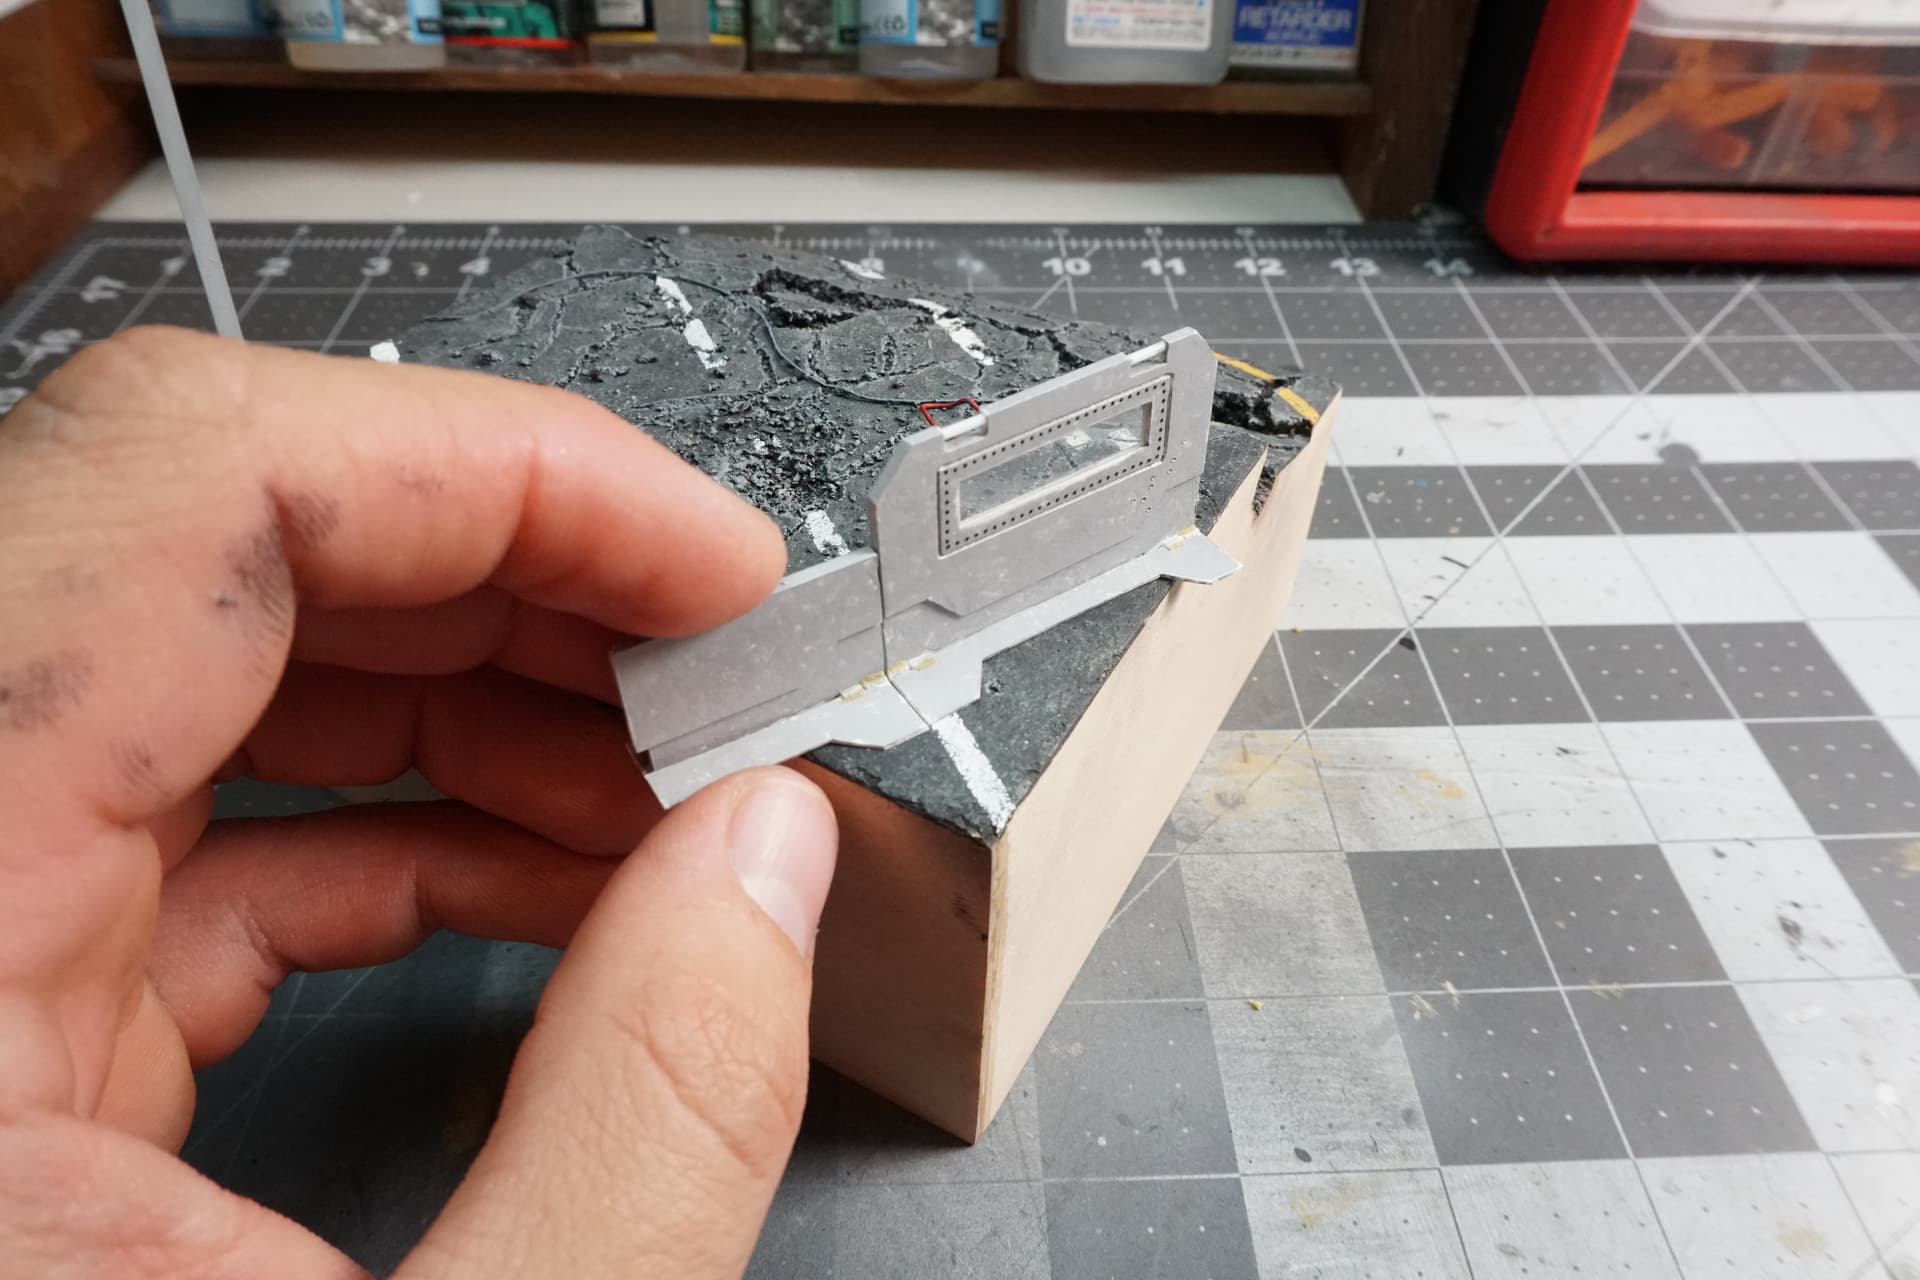
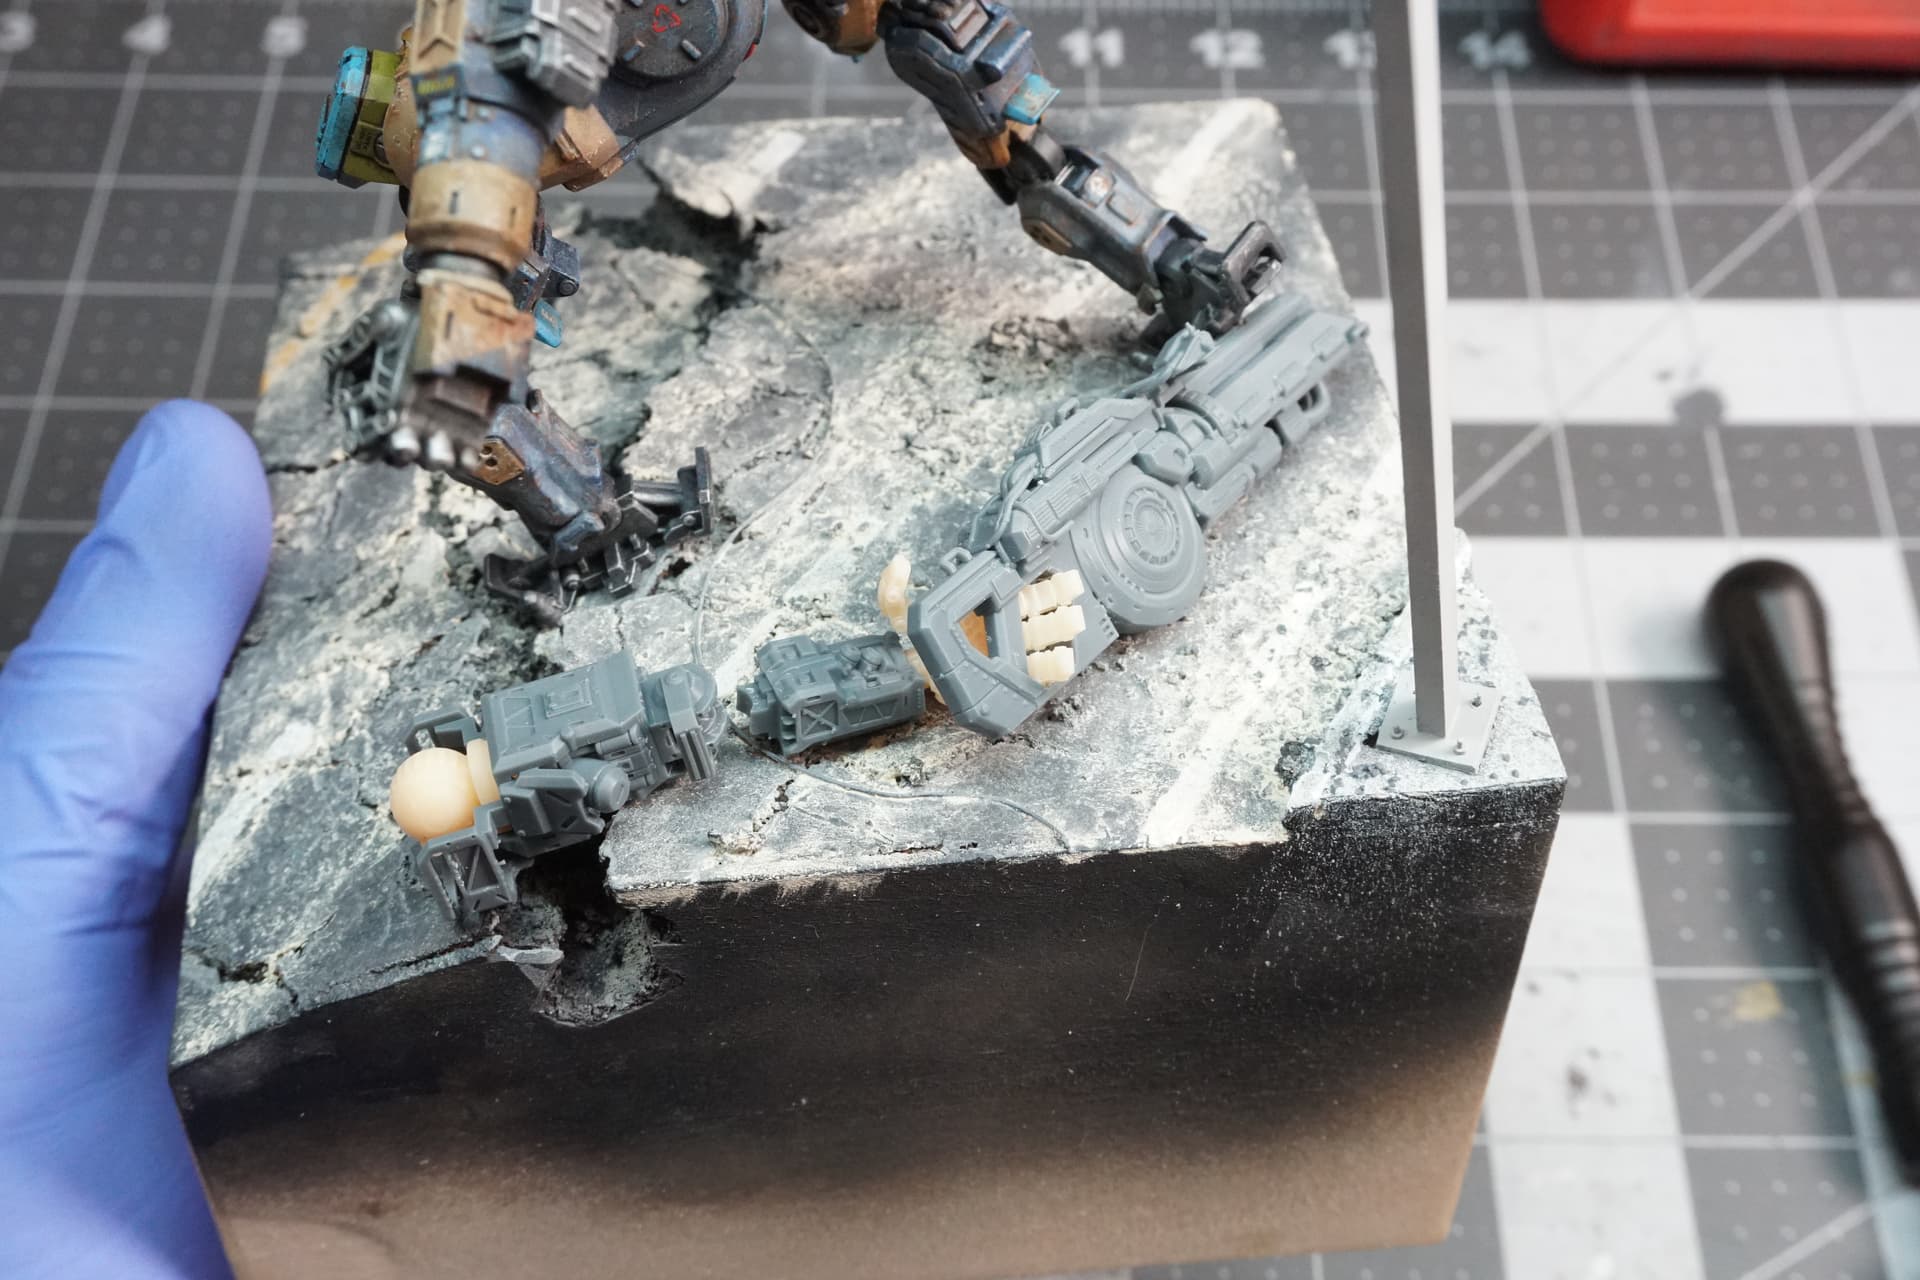
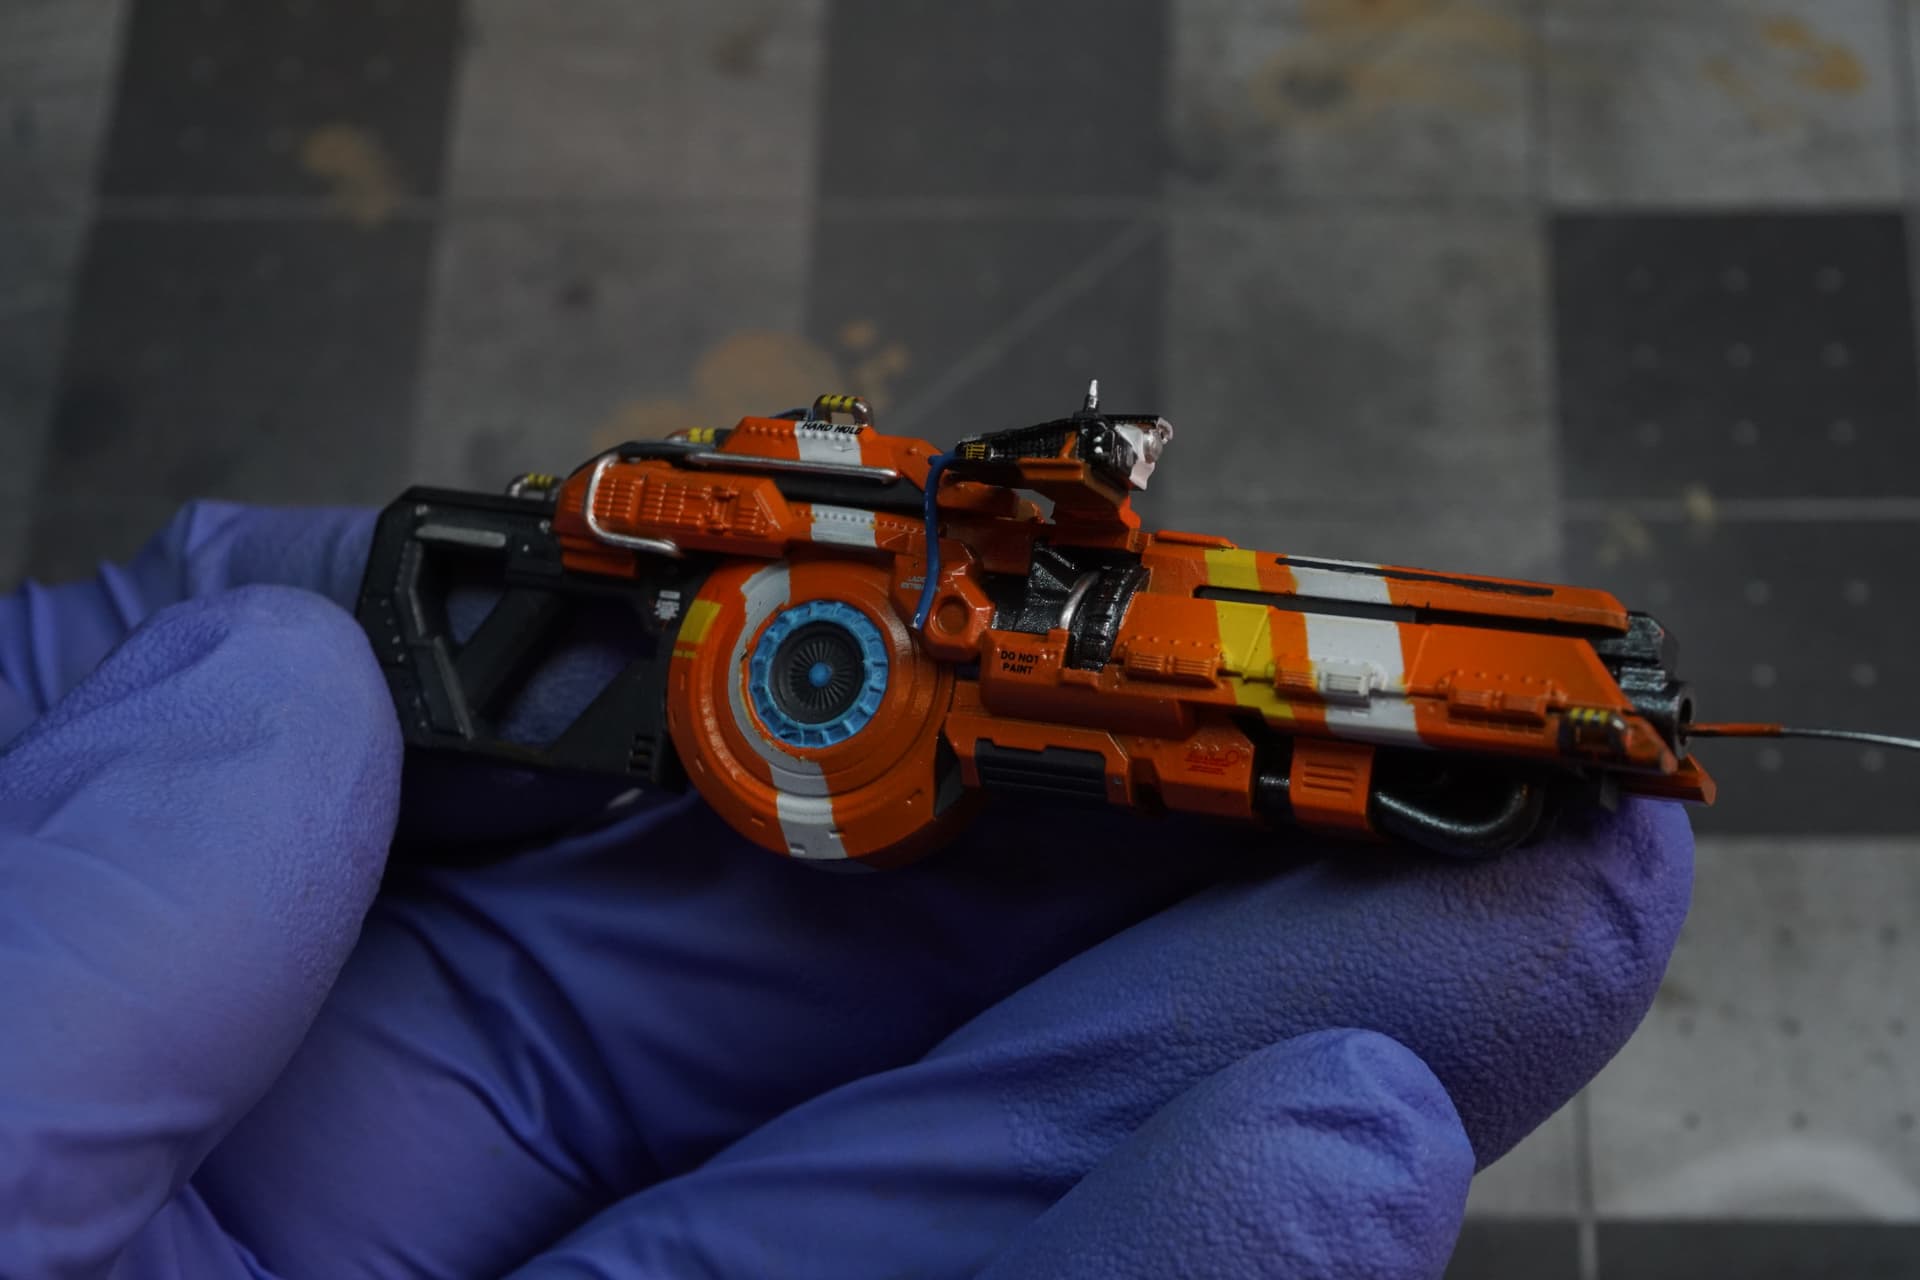
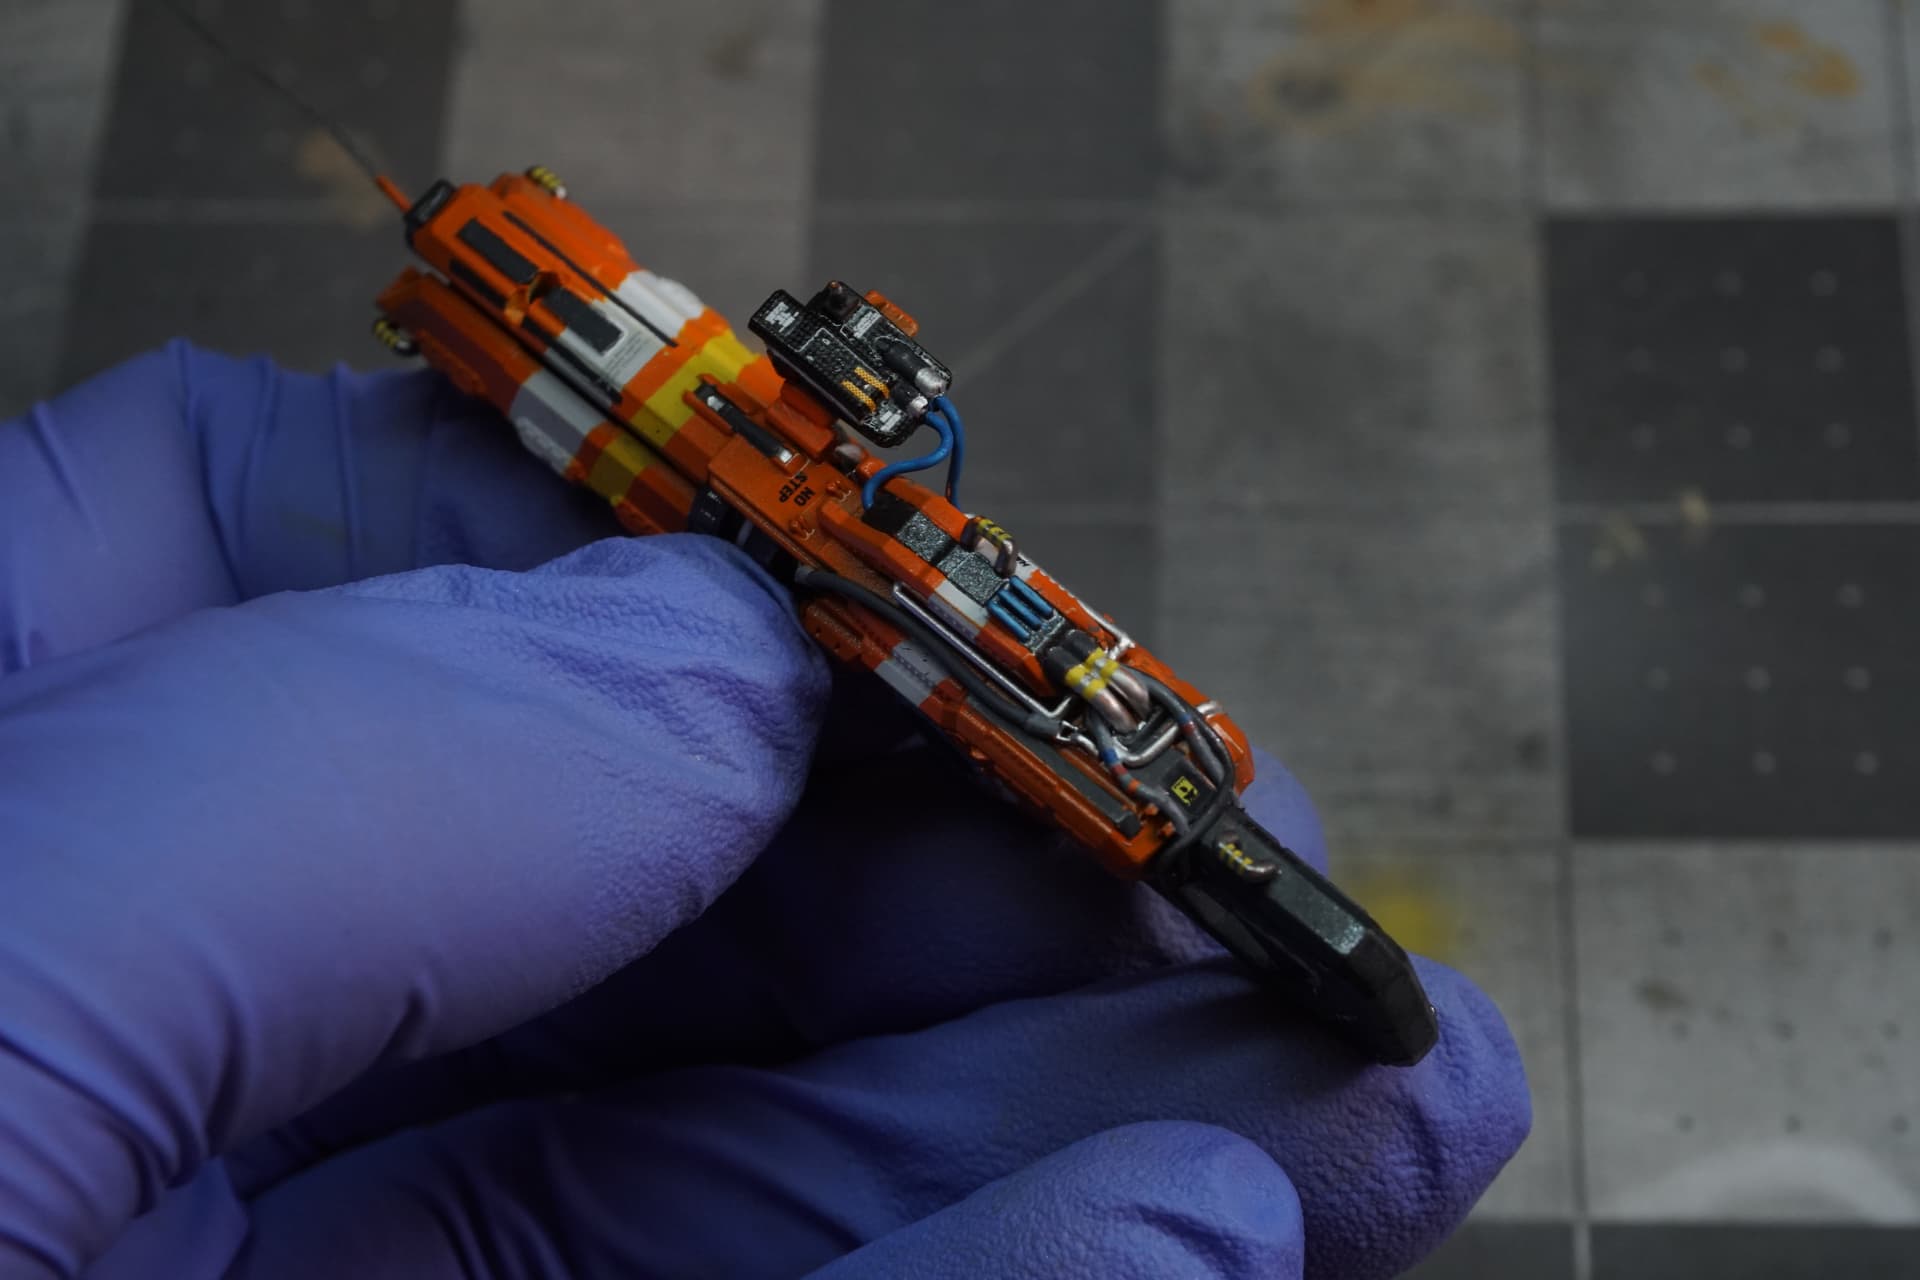
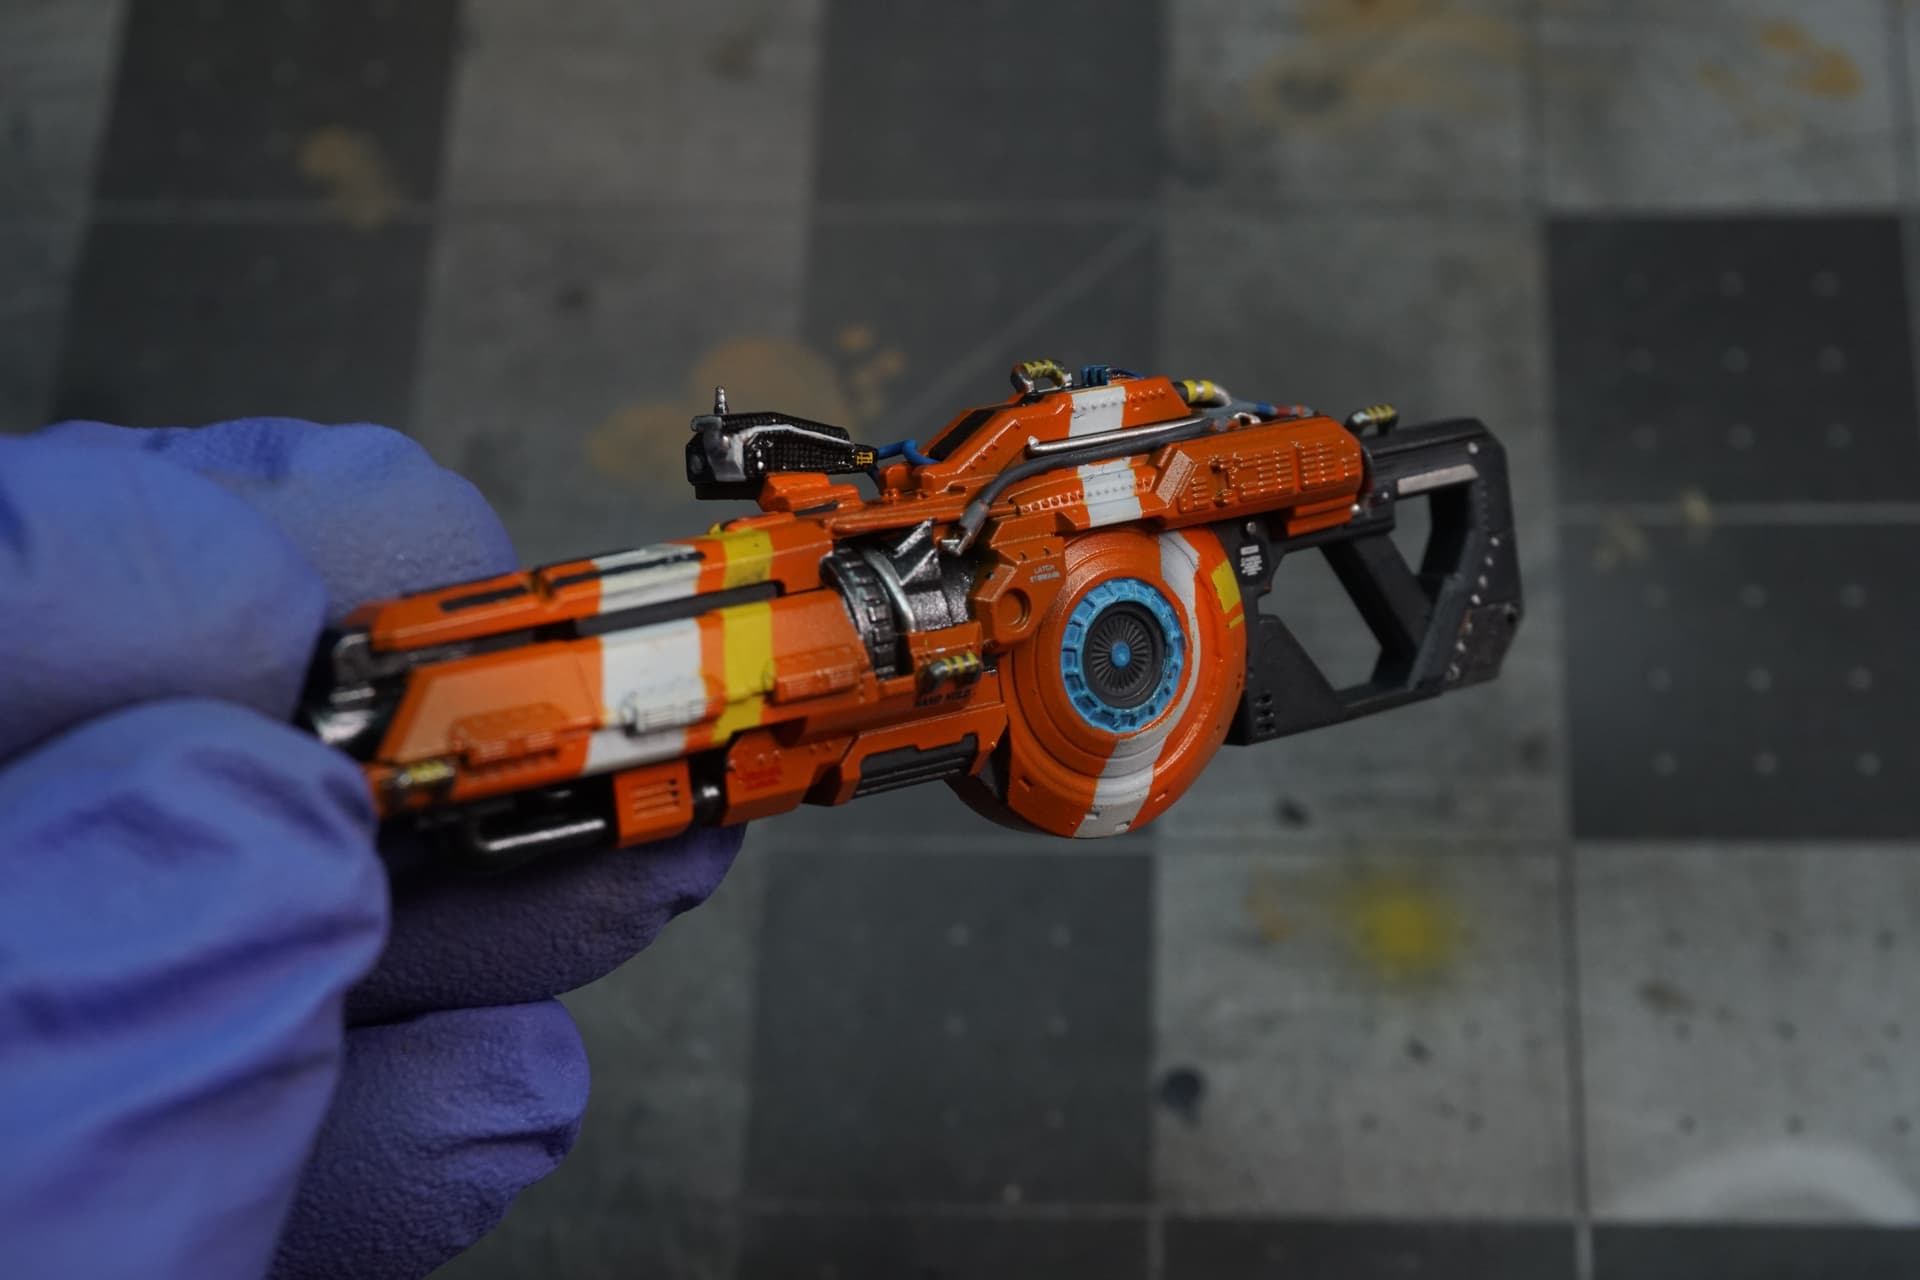
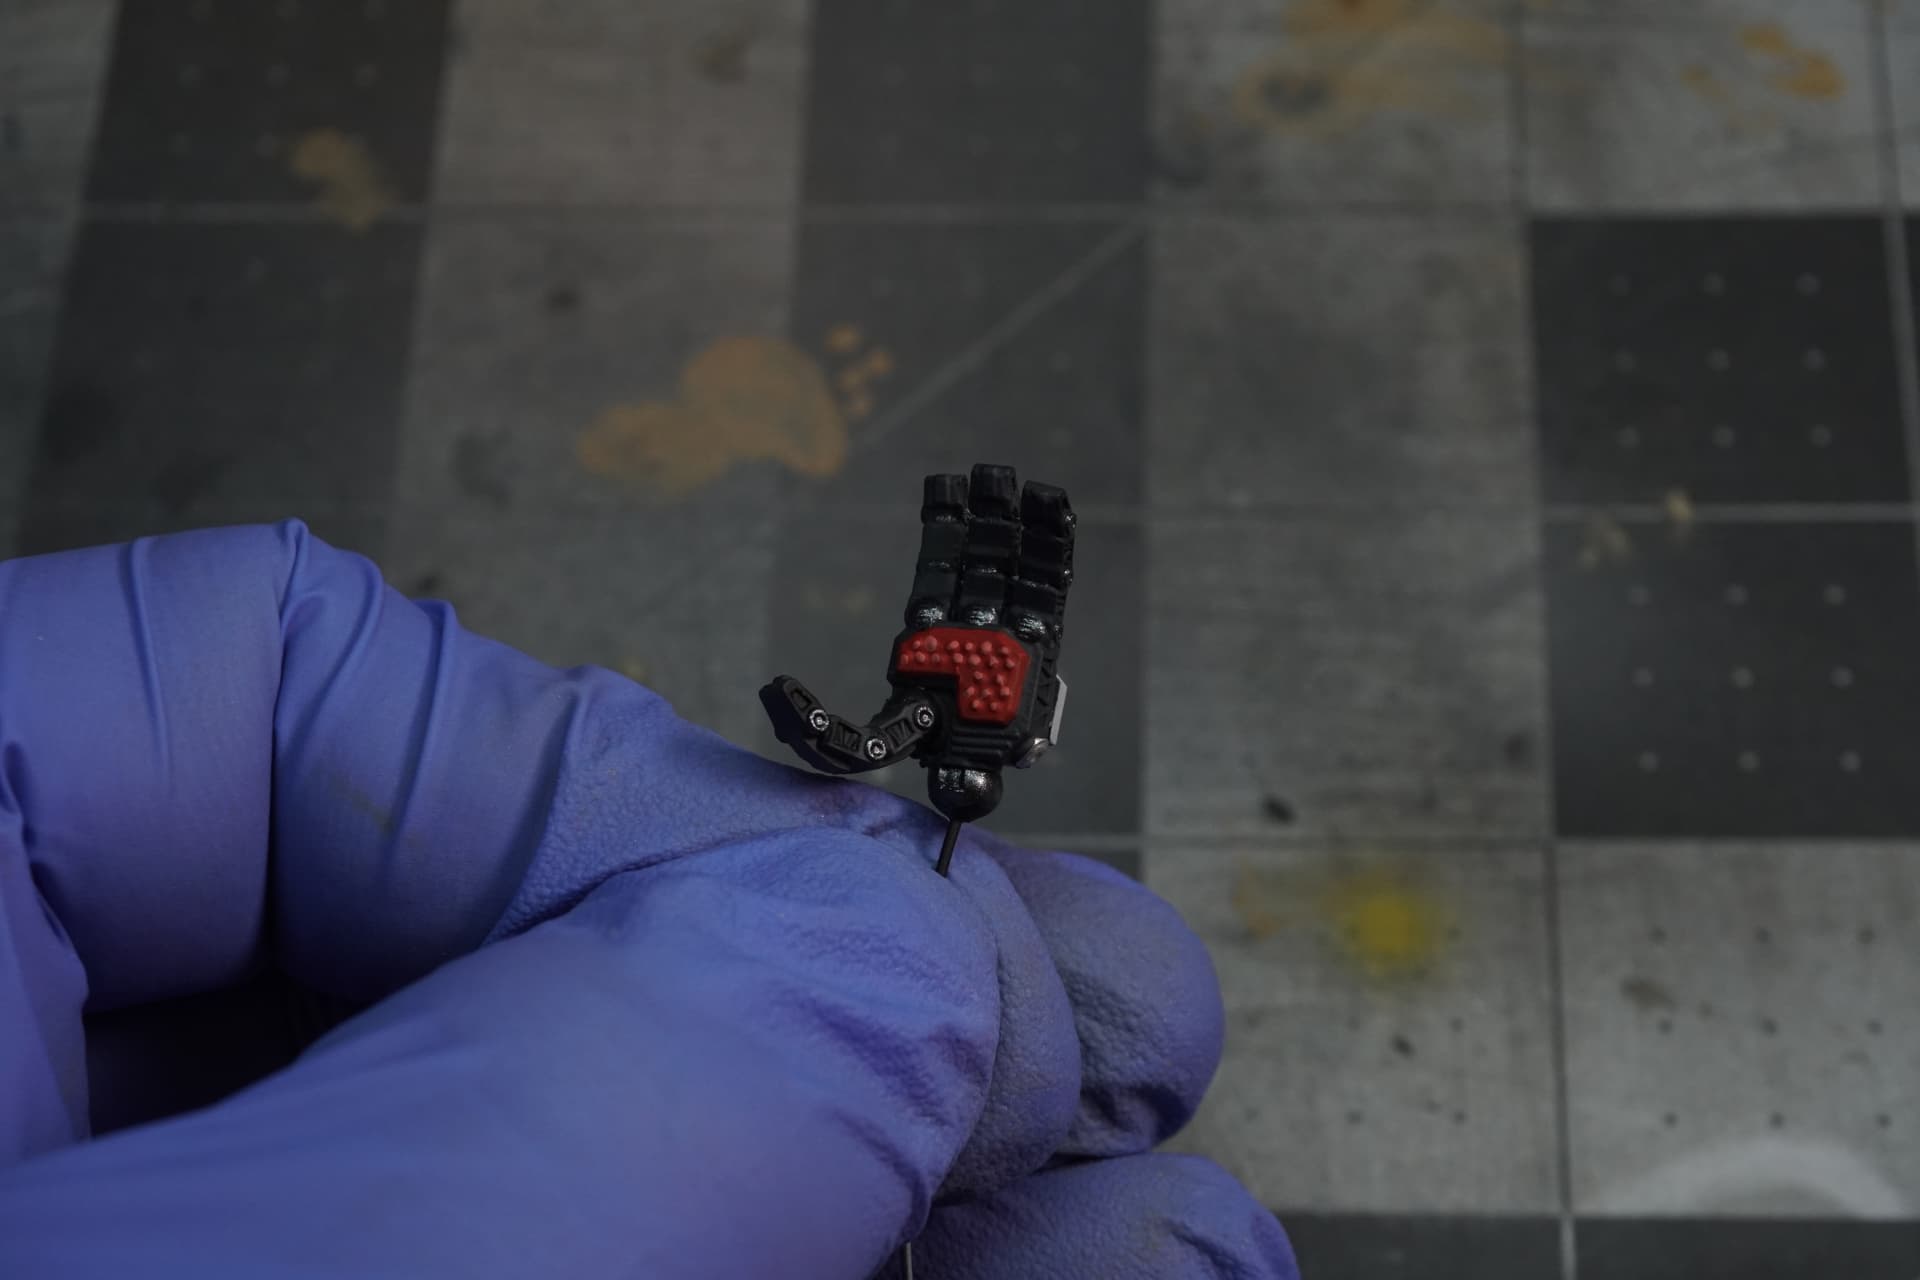
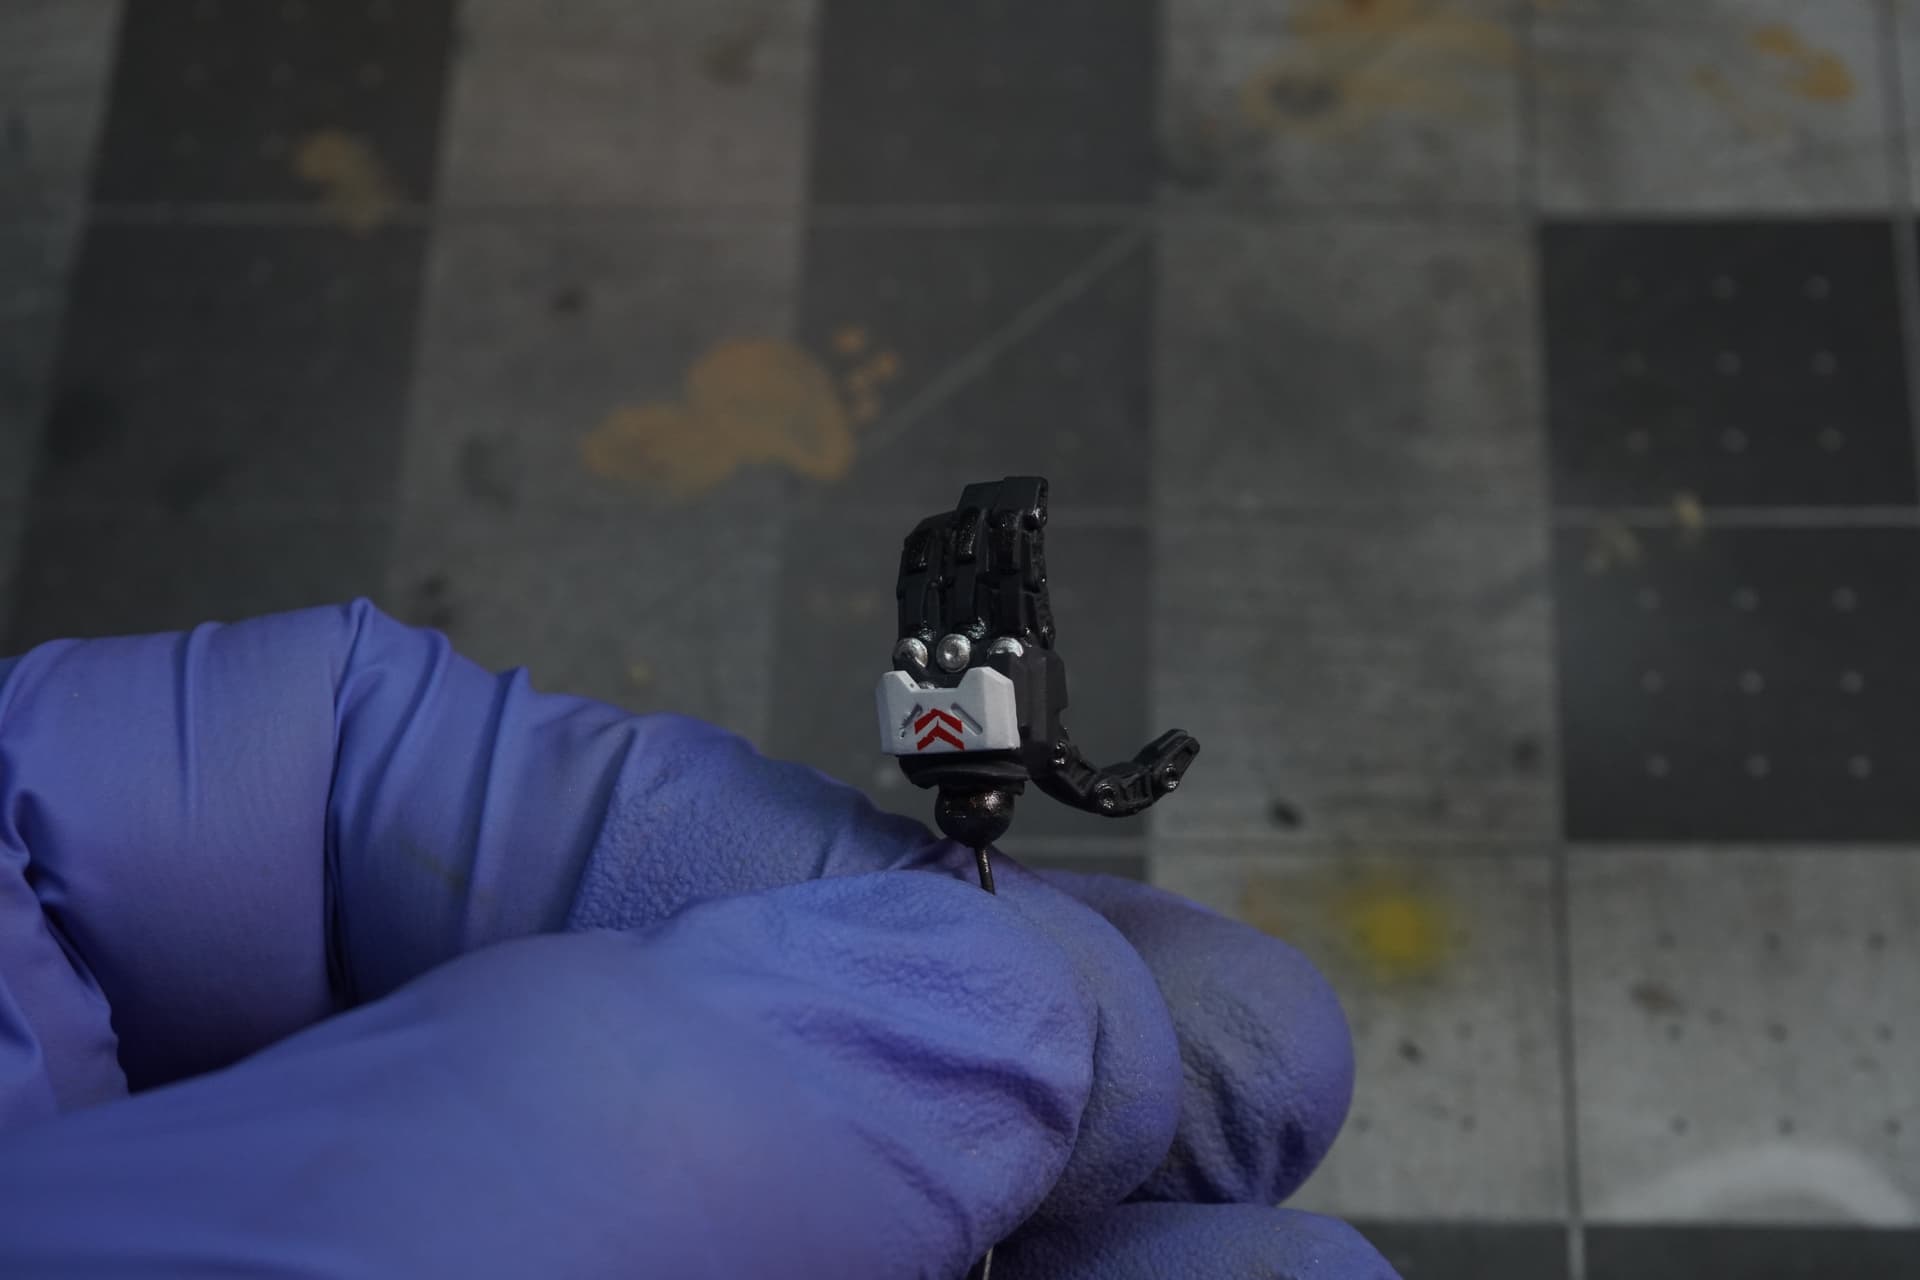
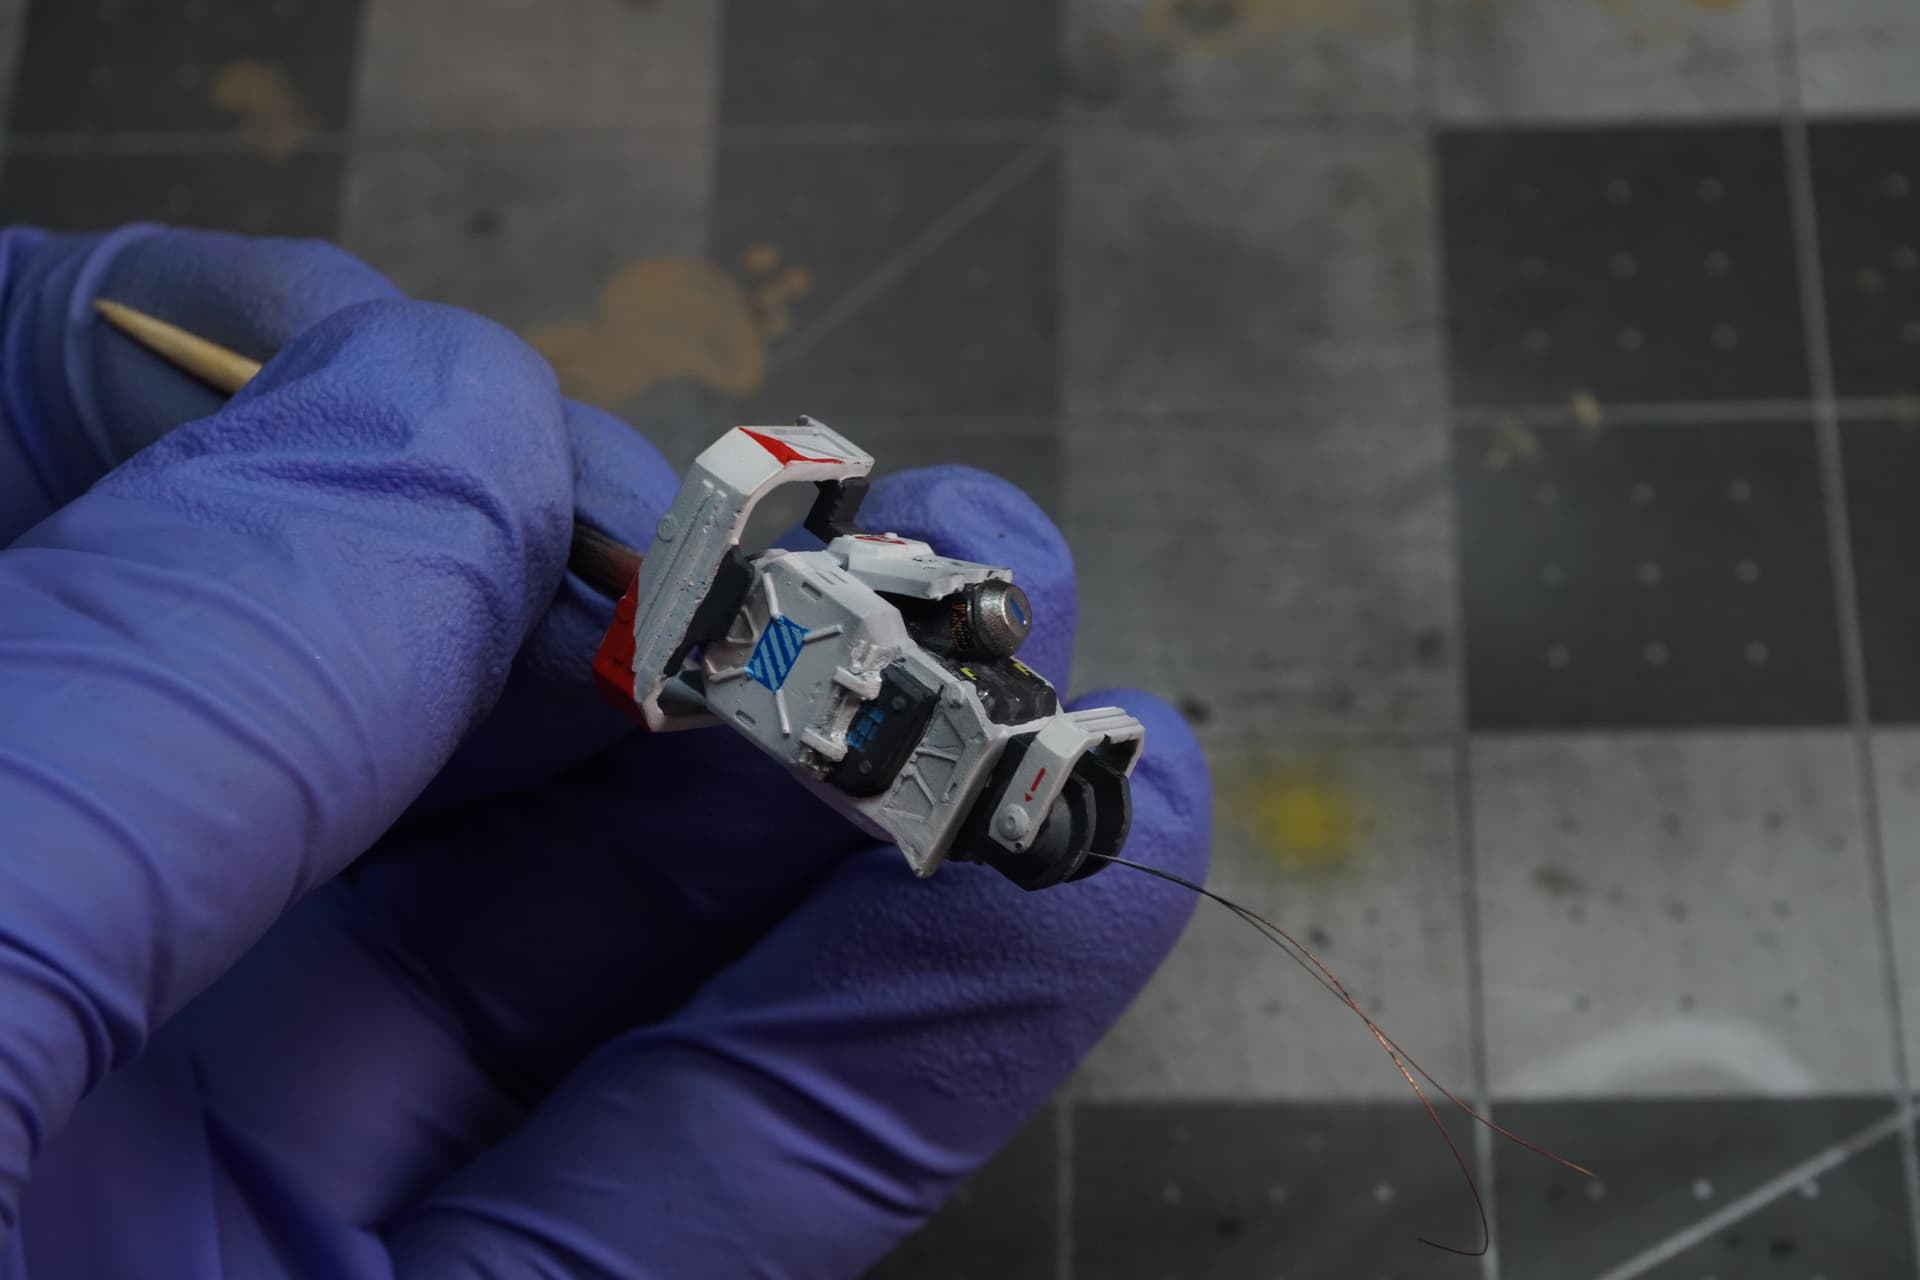
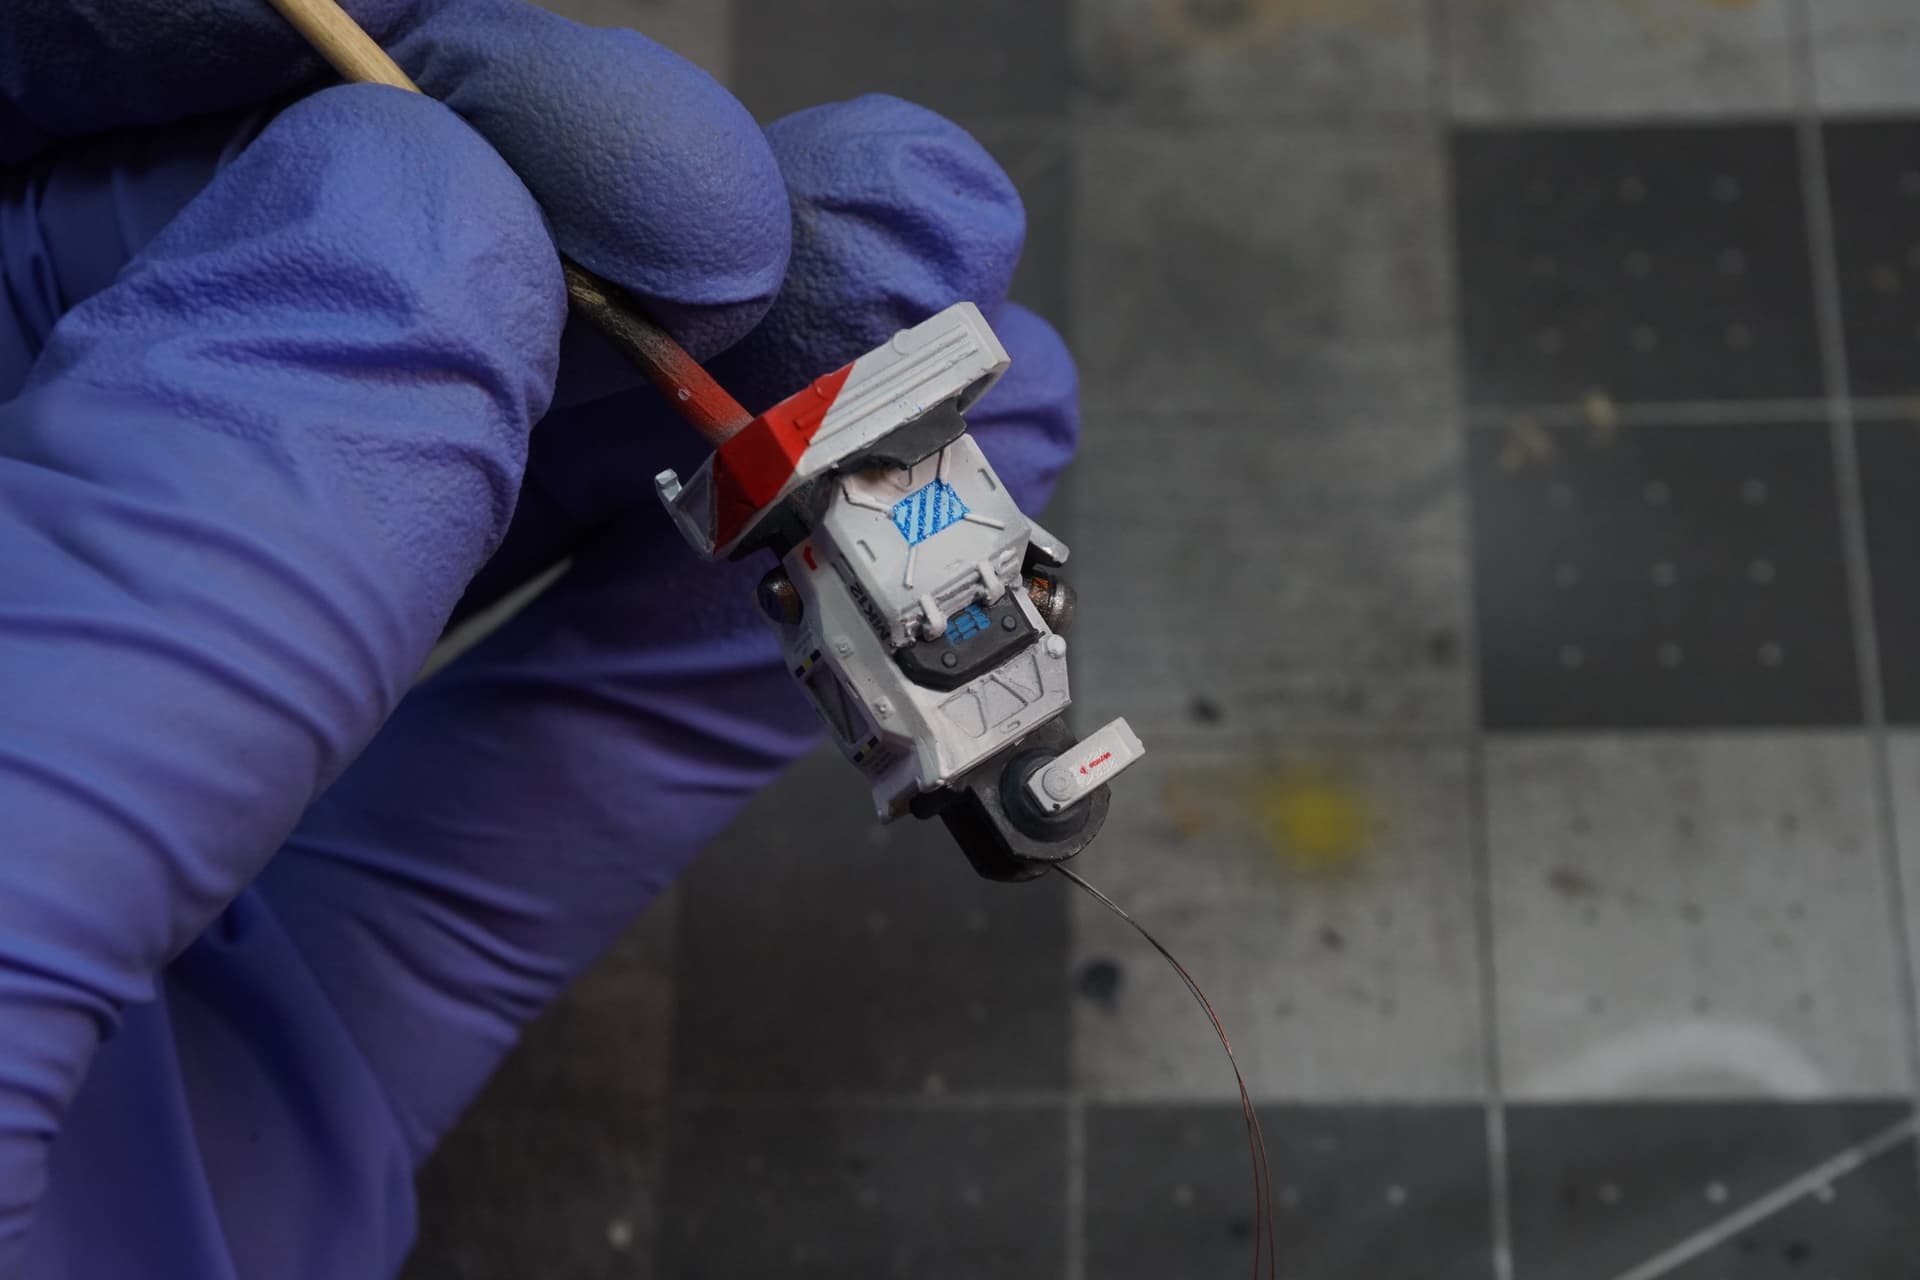
I spent the week housesitting for the in-laws, but managed to 3D print a crap ton of pieces.
One of which was the gun and arm from an ION titan. I also printed the legs, but the arm and gun looked nicer.
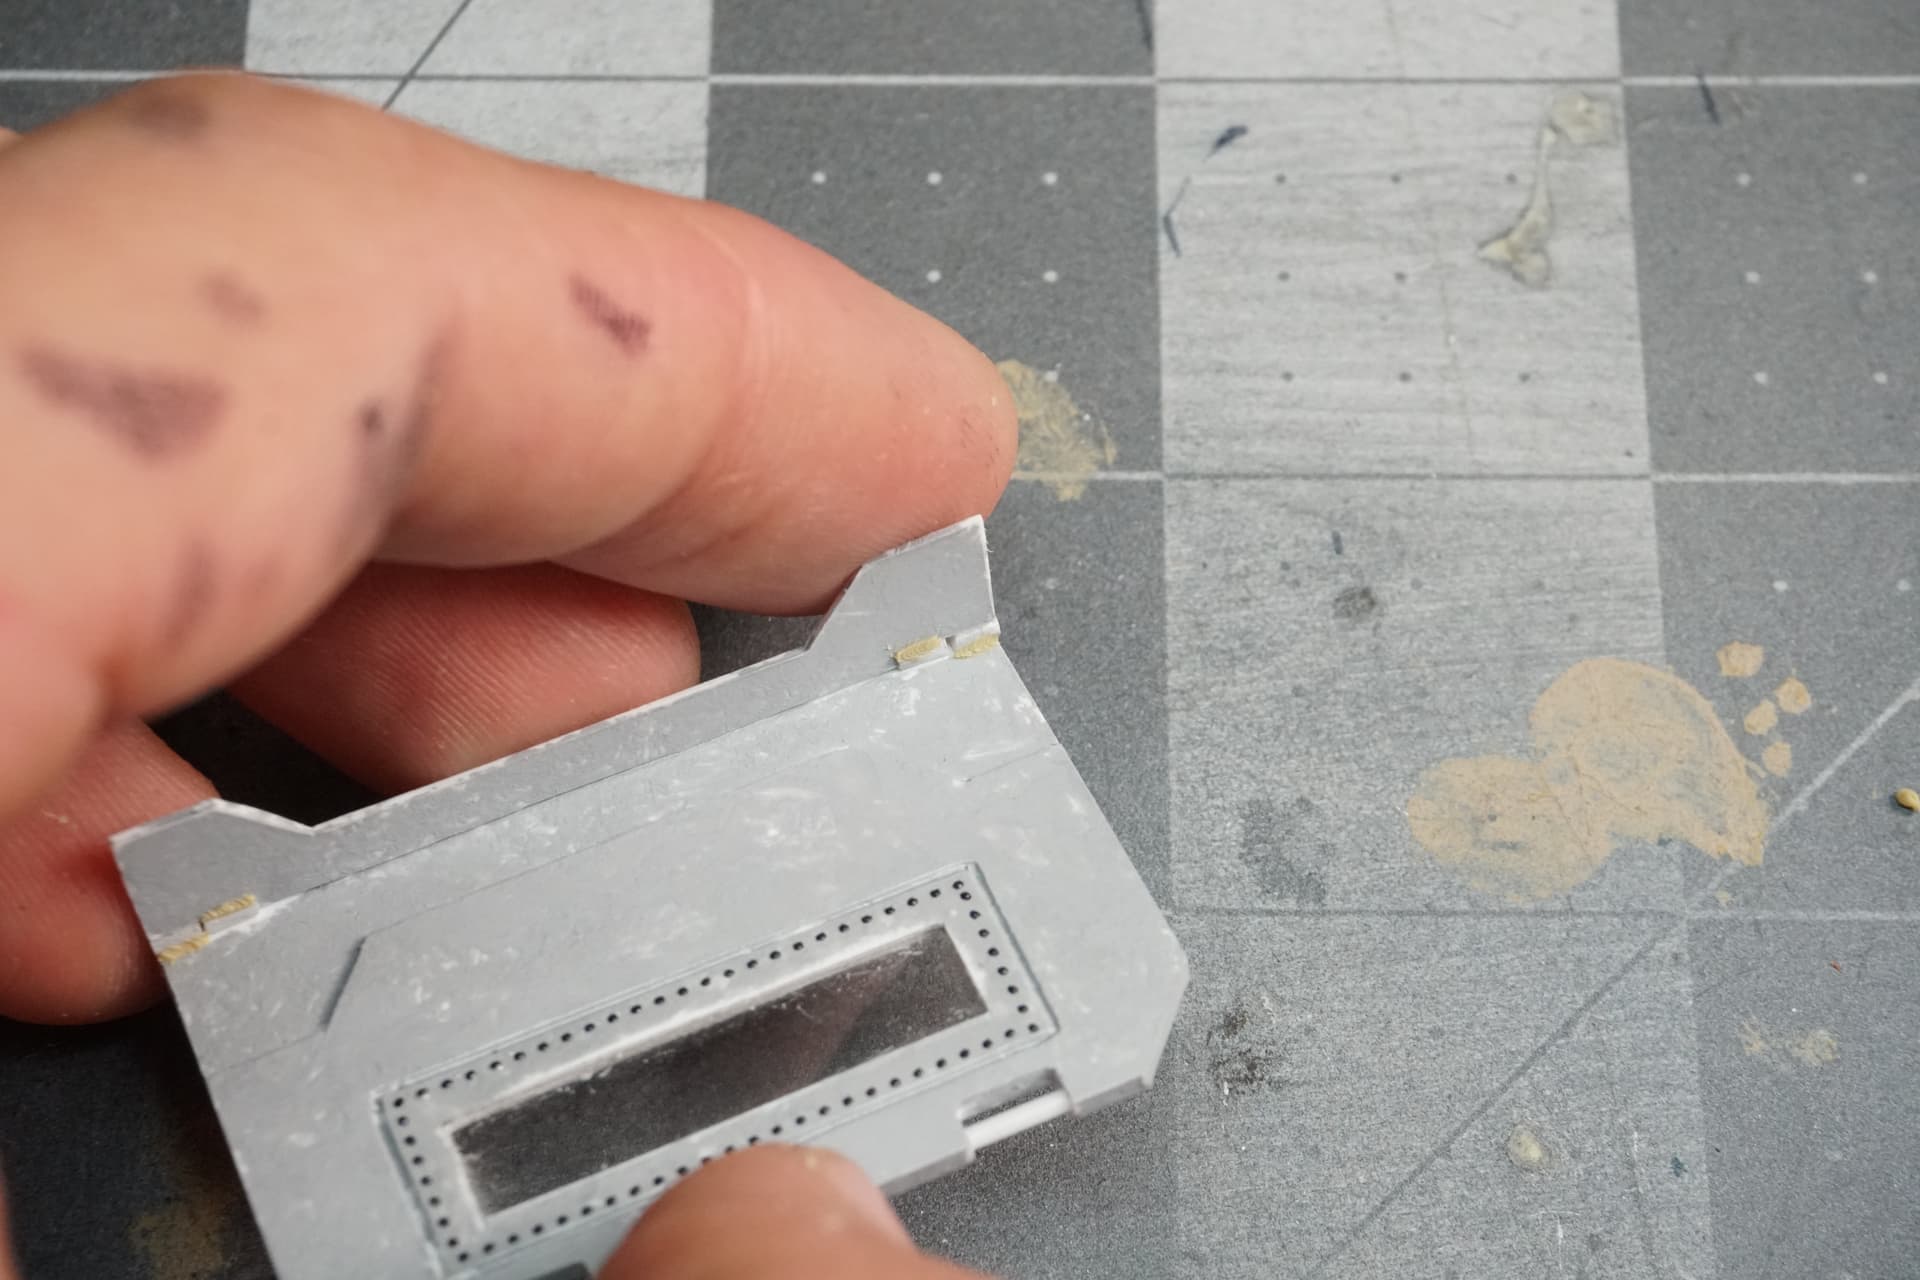
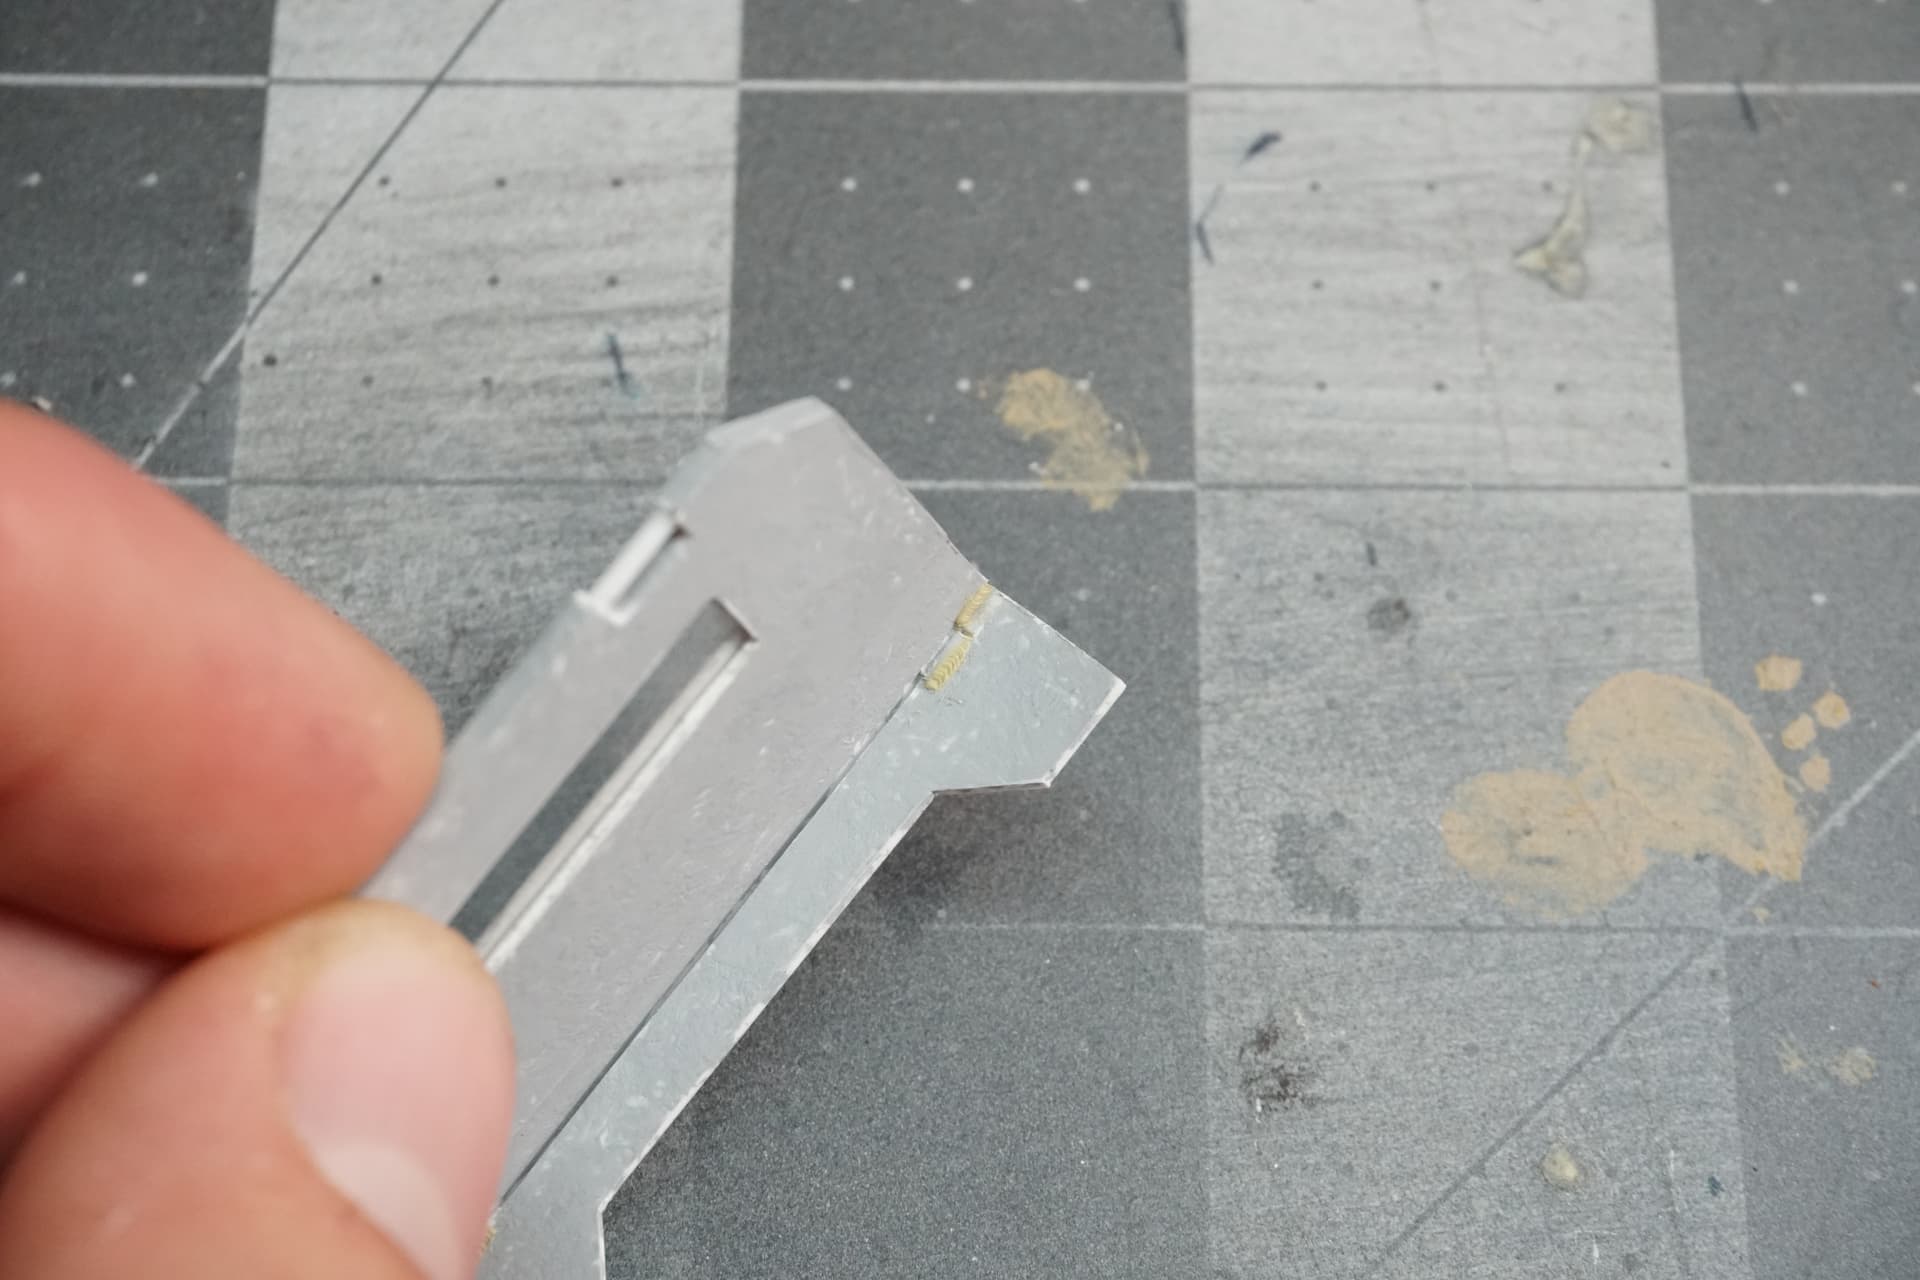
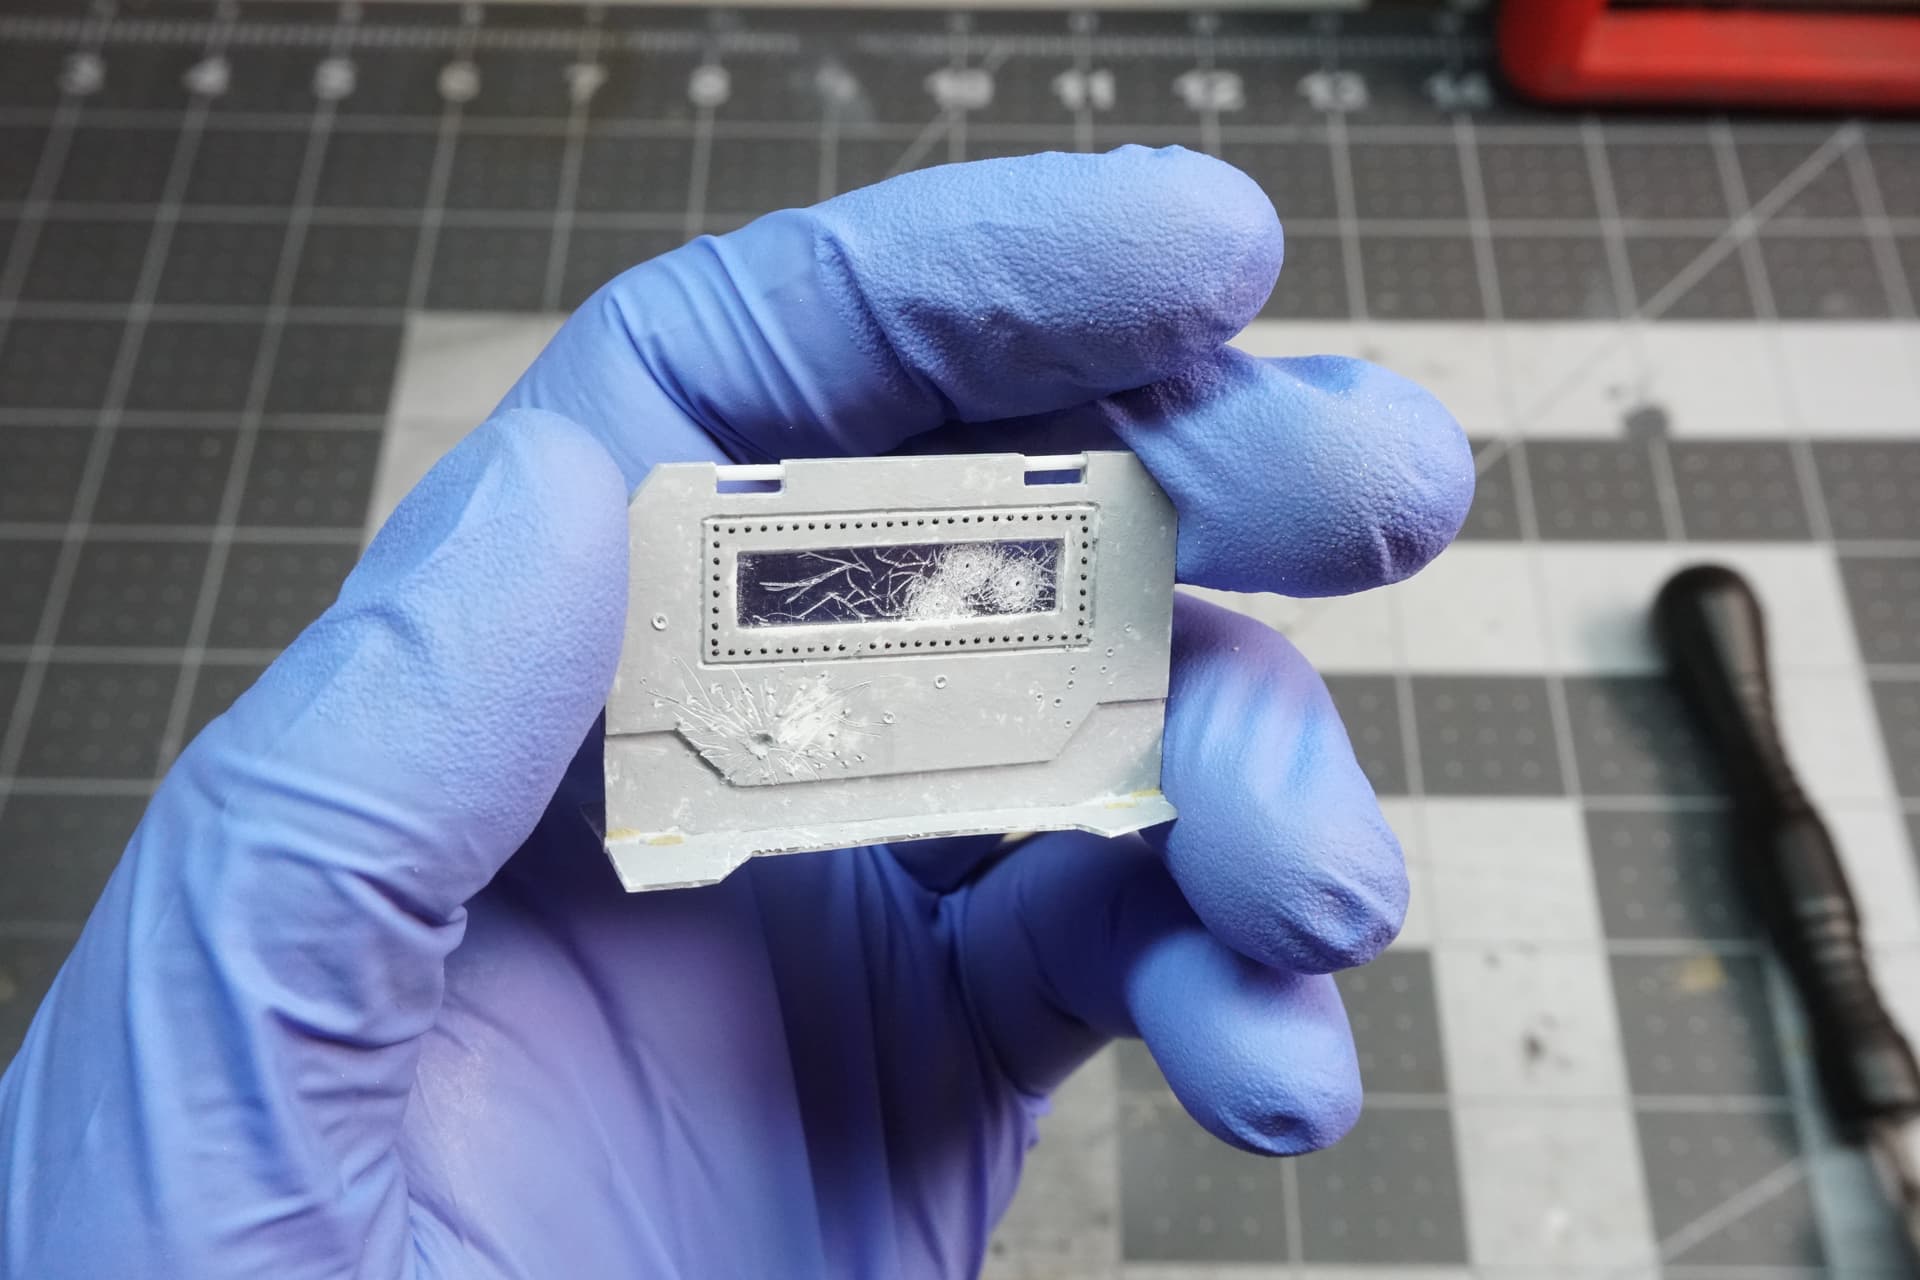
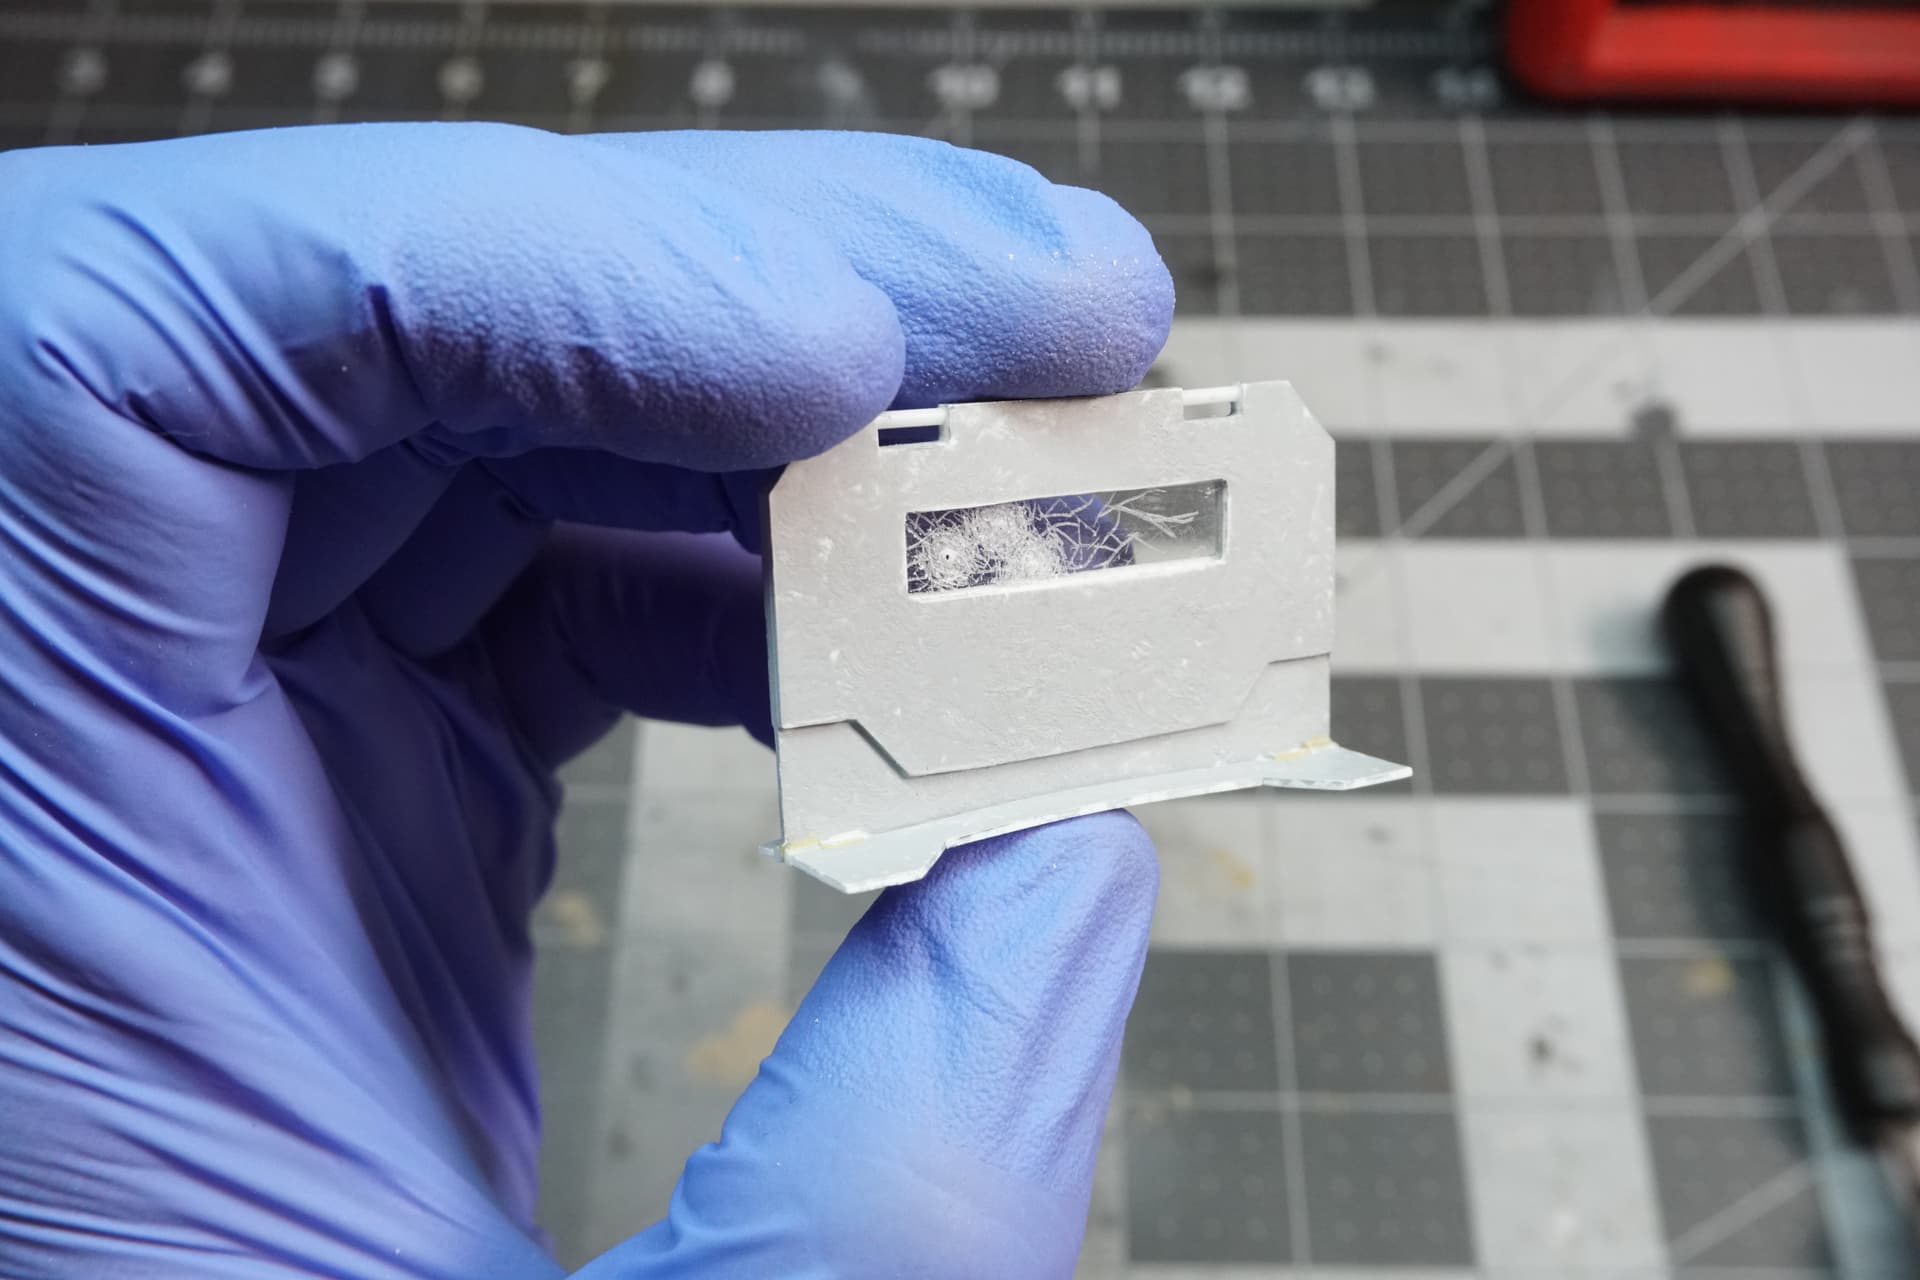
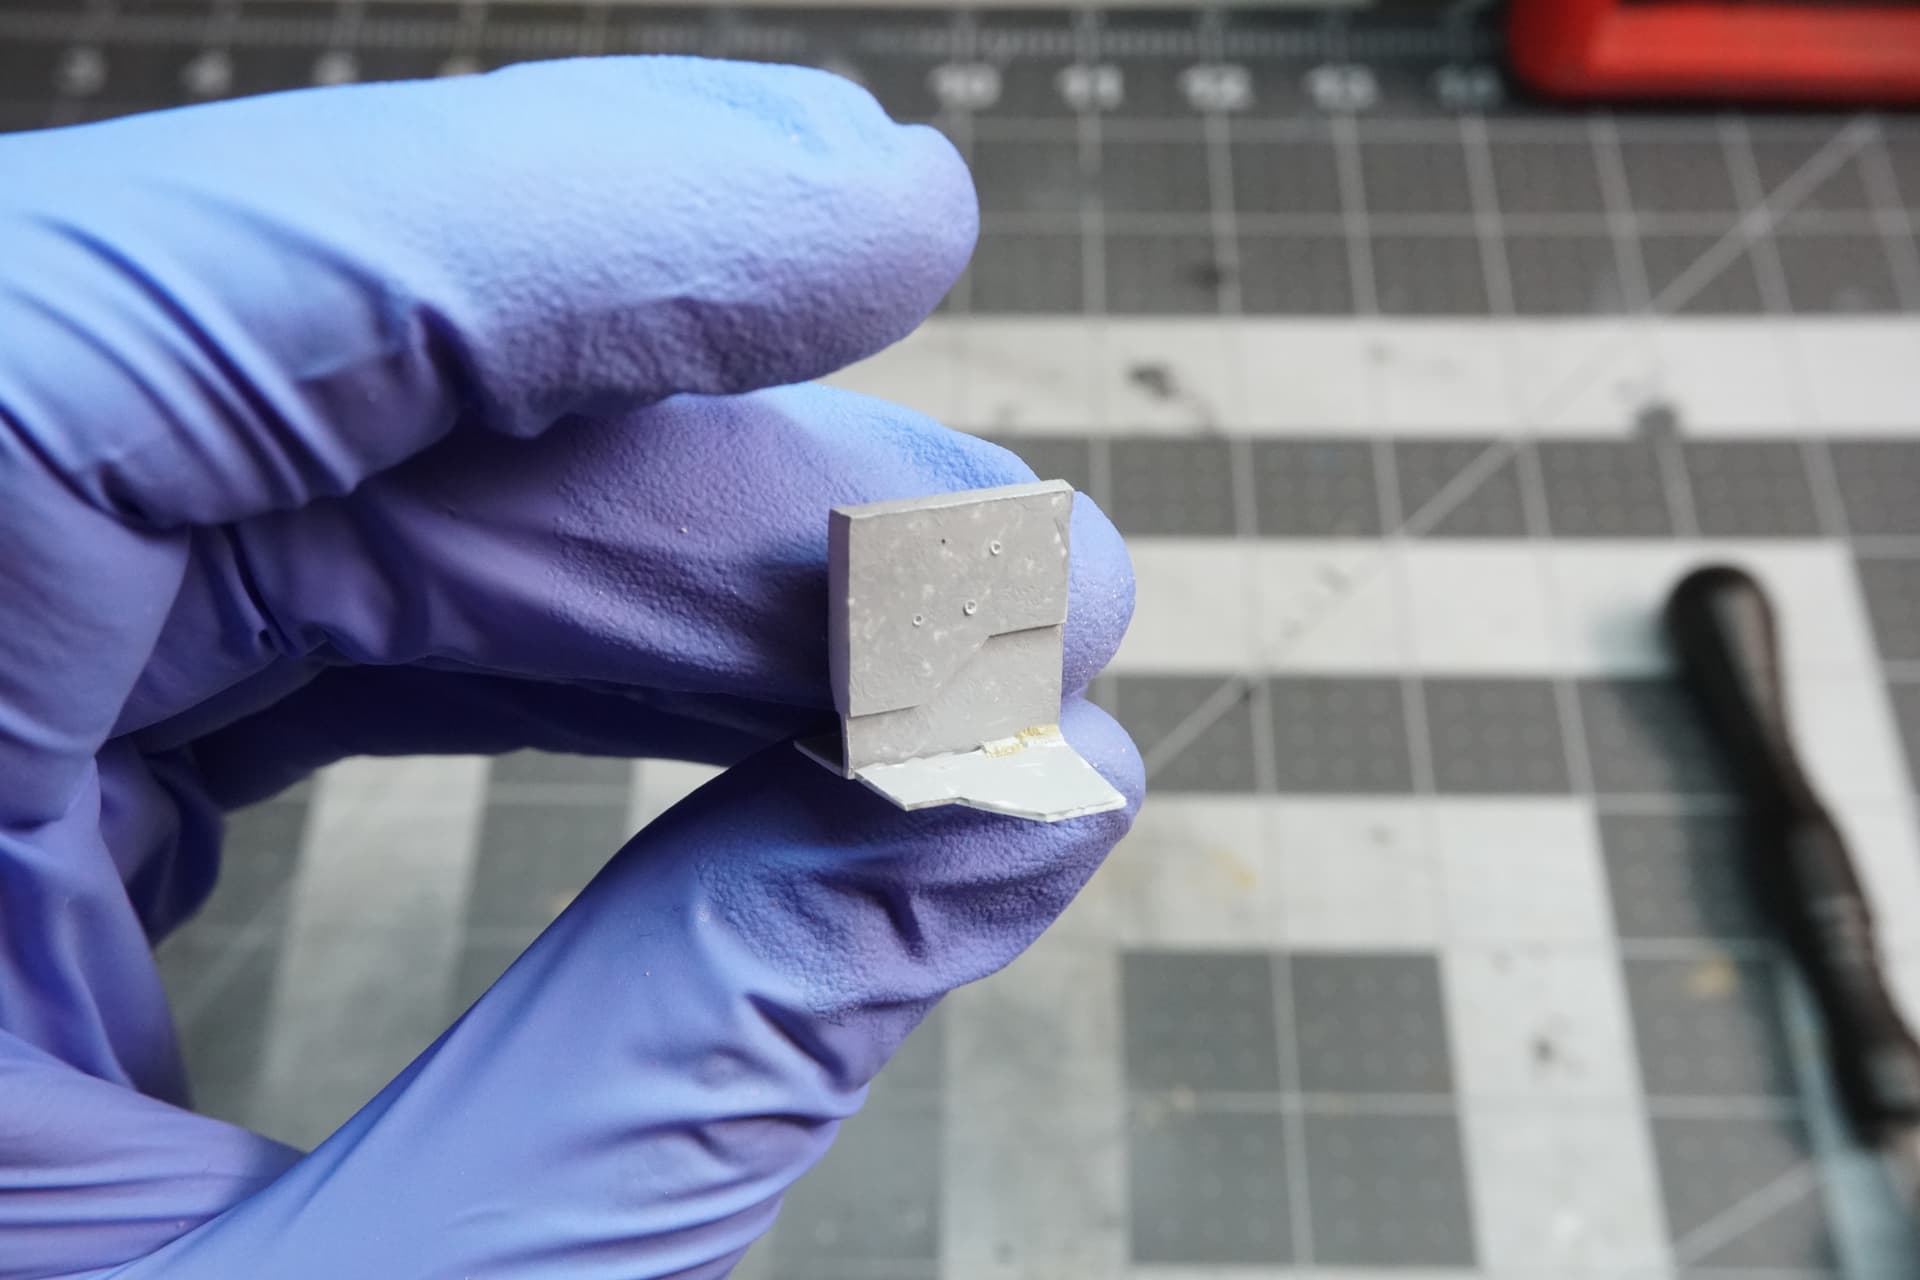
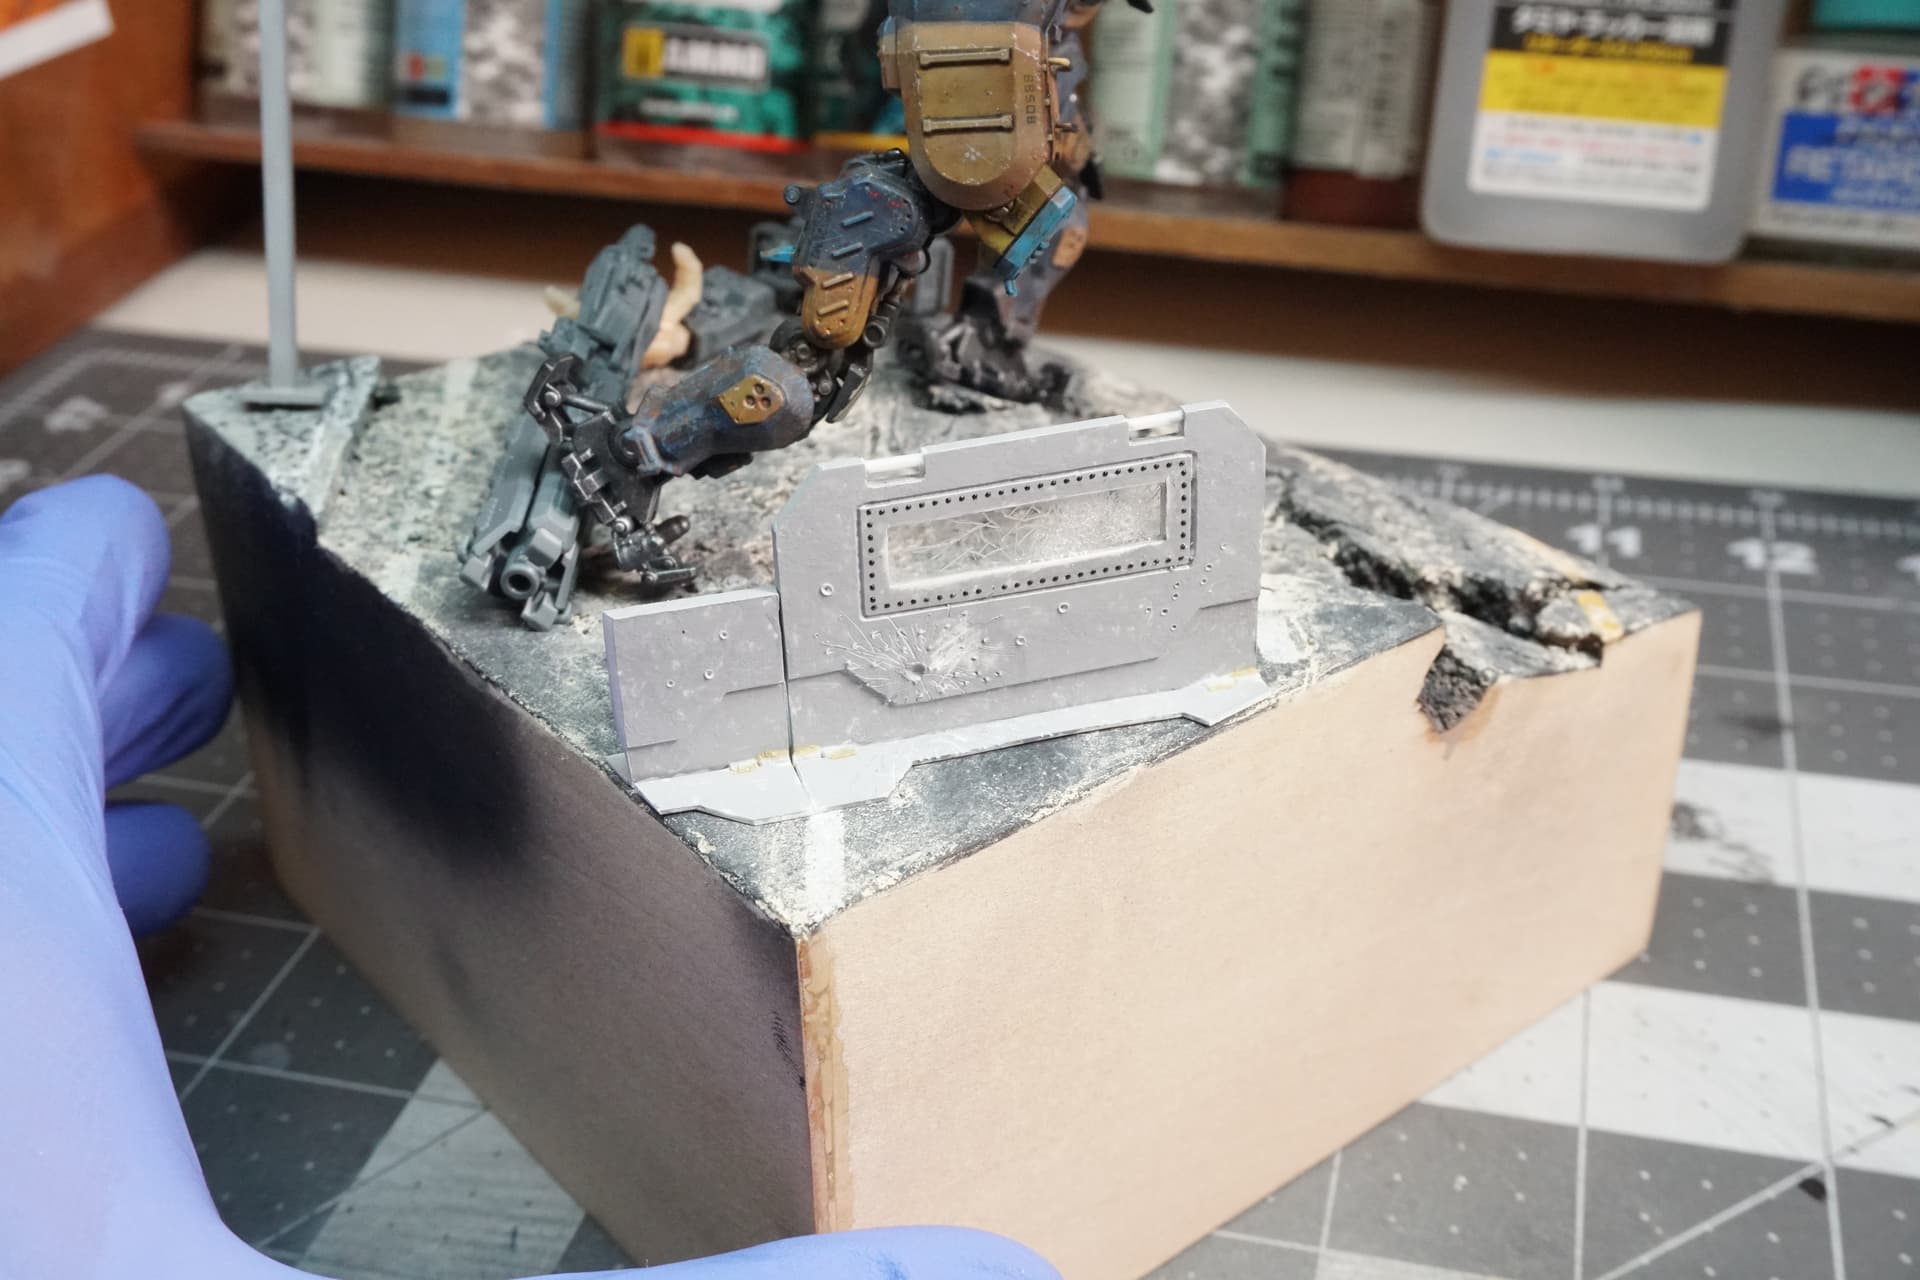
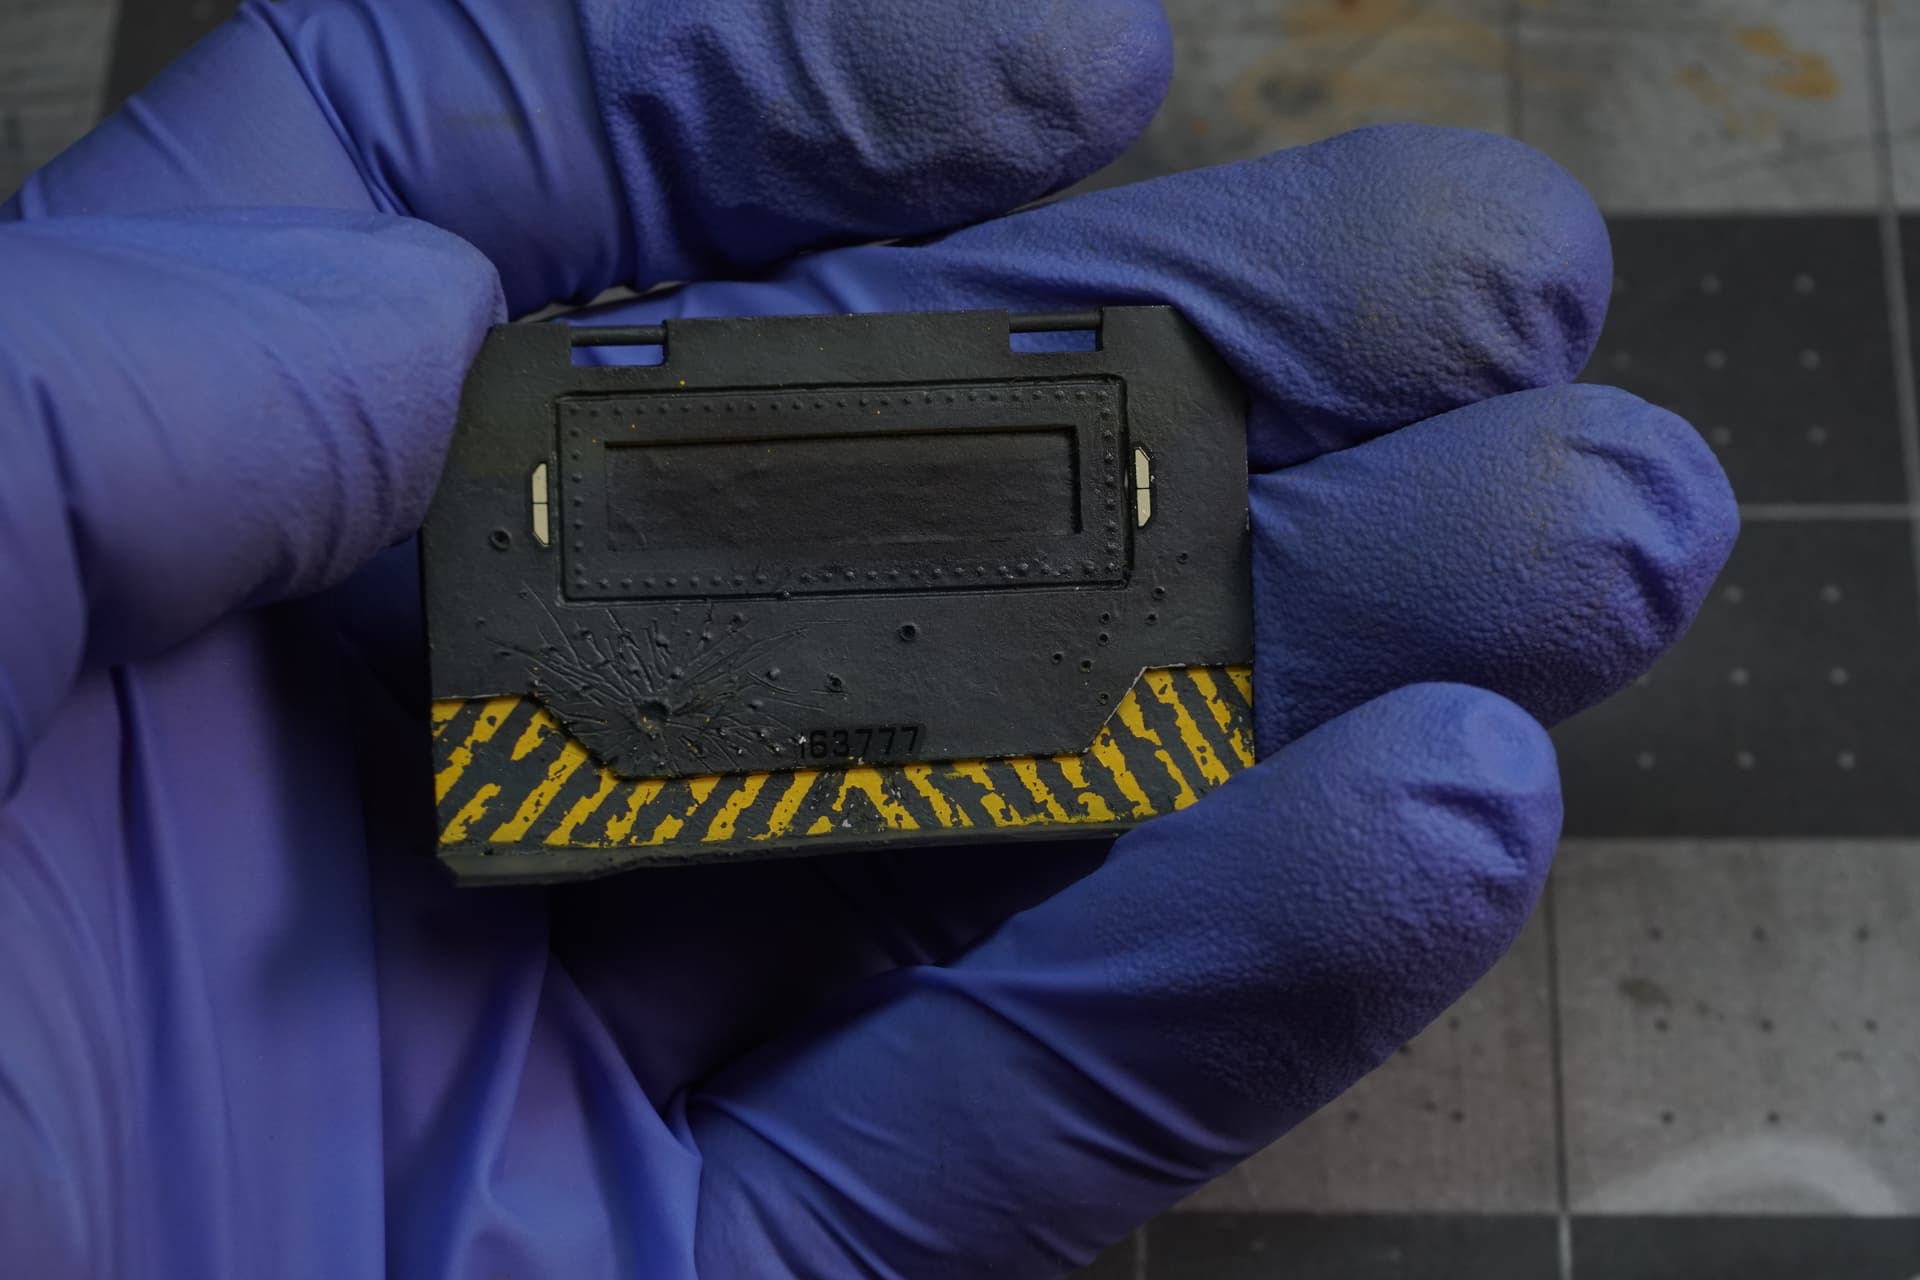
Also finished up the barriers and got them ready for primer.
Now to the cock-ups: the dust I used to weather the base is WAAAY too strong. It looked fine until the enamel thinner dried, and all of a sudden, it’s the Sahara on the pavement. I need to repaint some parts of it for touch-ups anyway. Sucks to take a step back in terms of paint, though I am glad for a lesson. I will also leave some pieces near the barrier to make it look like they were setting up a firing spot.
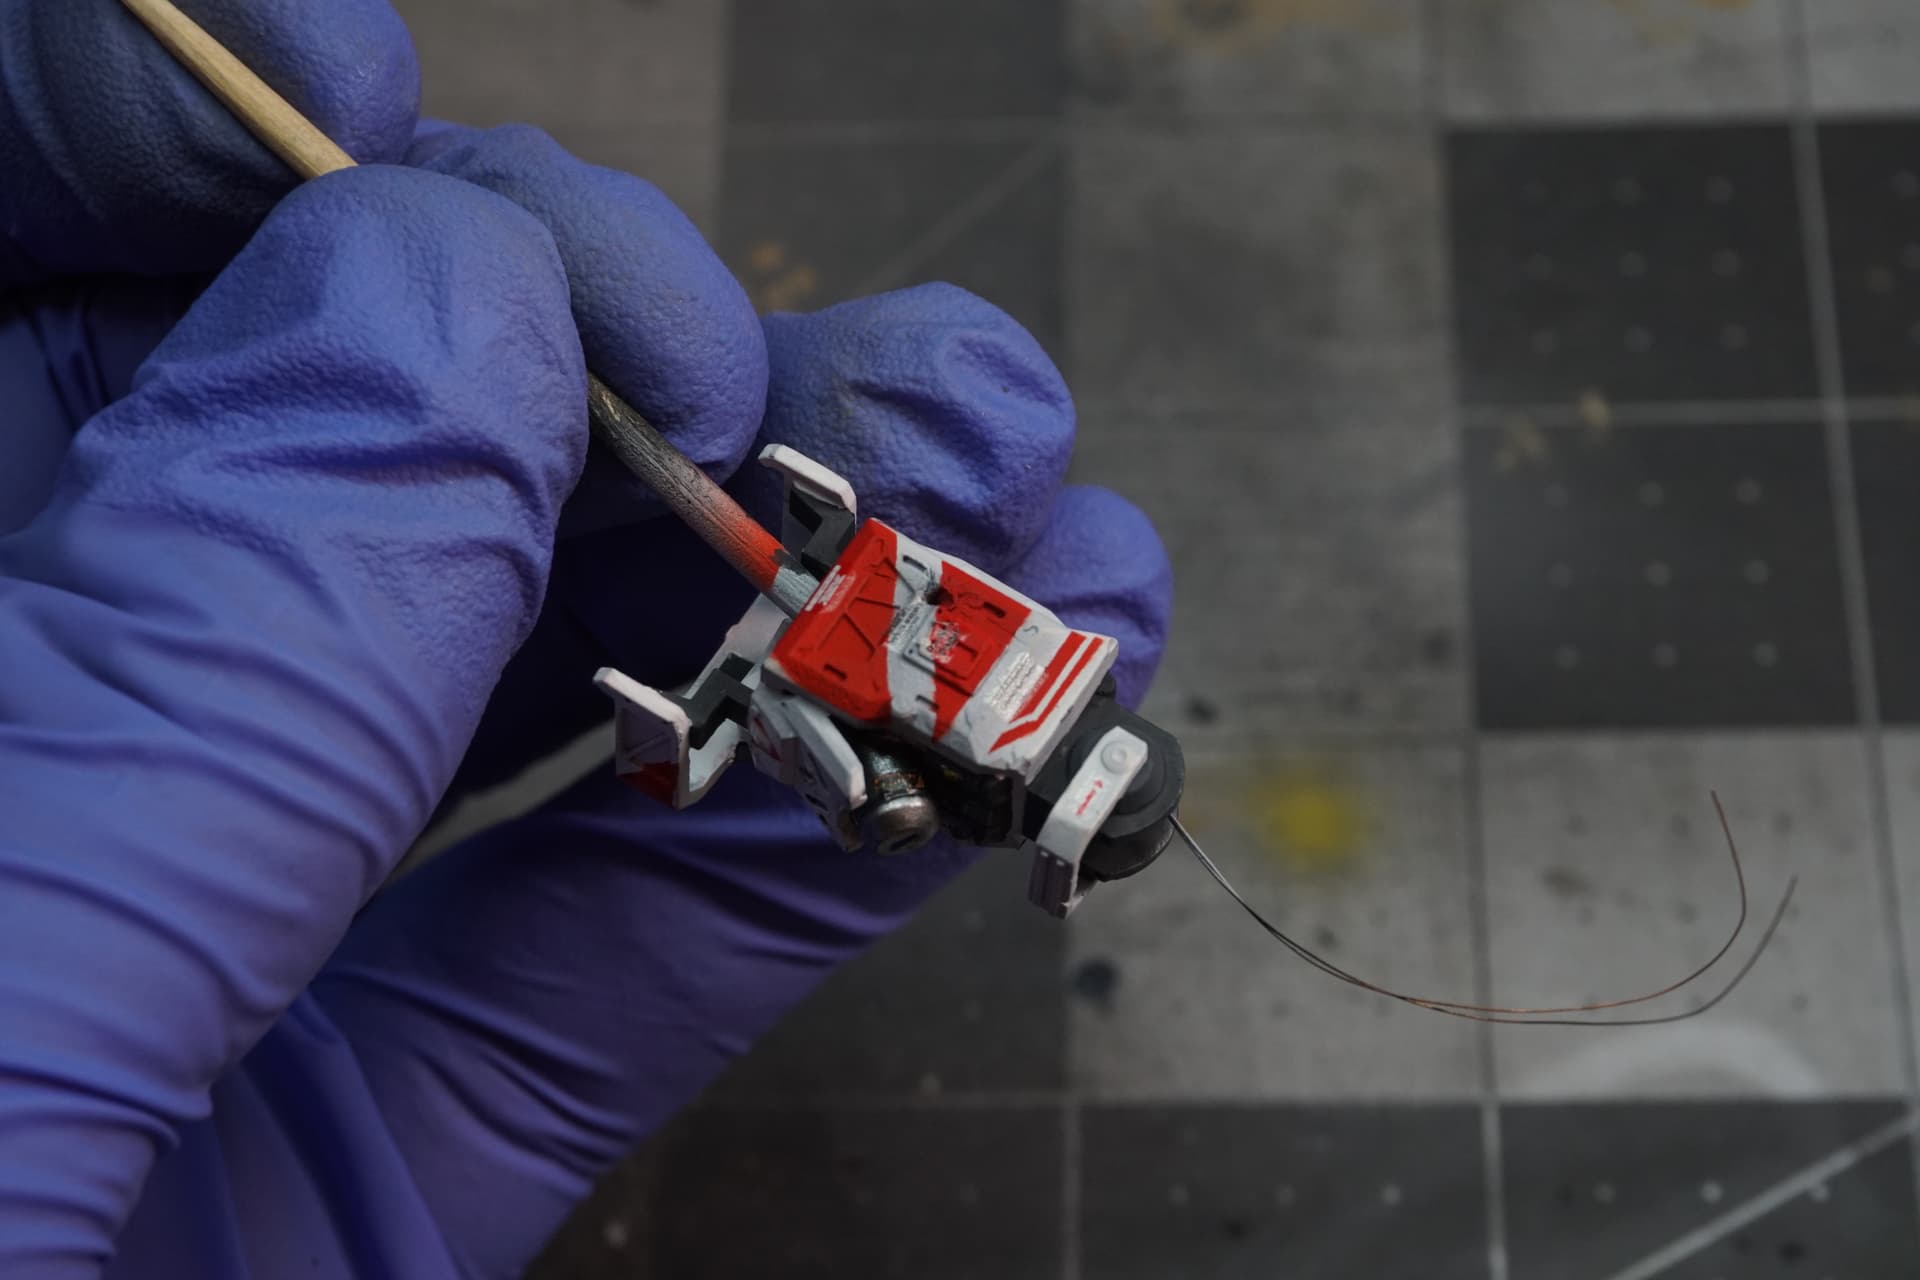
Lastly, the foot that is stepping on the gun is floating slightly, so I have to get something under it, but otherwise very happy with the way the layout is coming along.
There will be some wires still connecting the pieces of the separated arm, as well as battle damage!
Cheers
6 Likes
Coming together very nicely!
3 Likes
I bet you say that to all the girls…

Cheers,
M
3 Likes
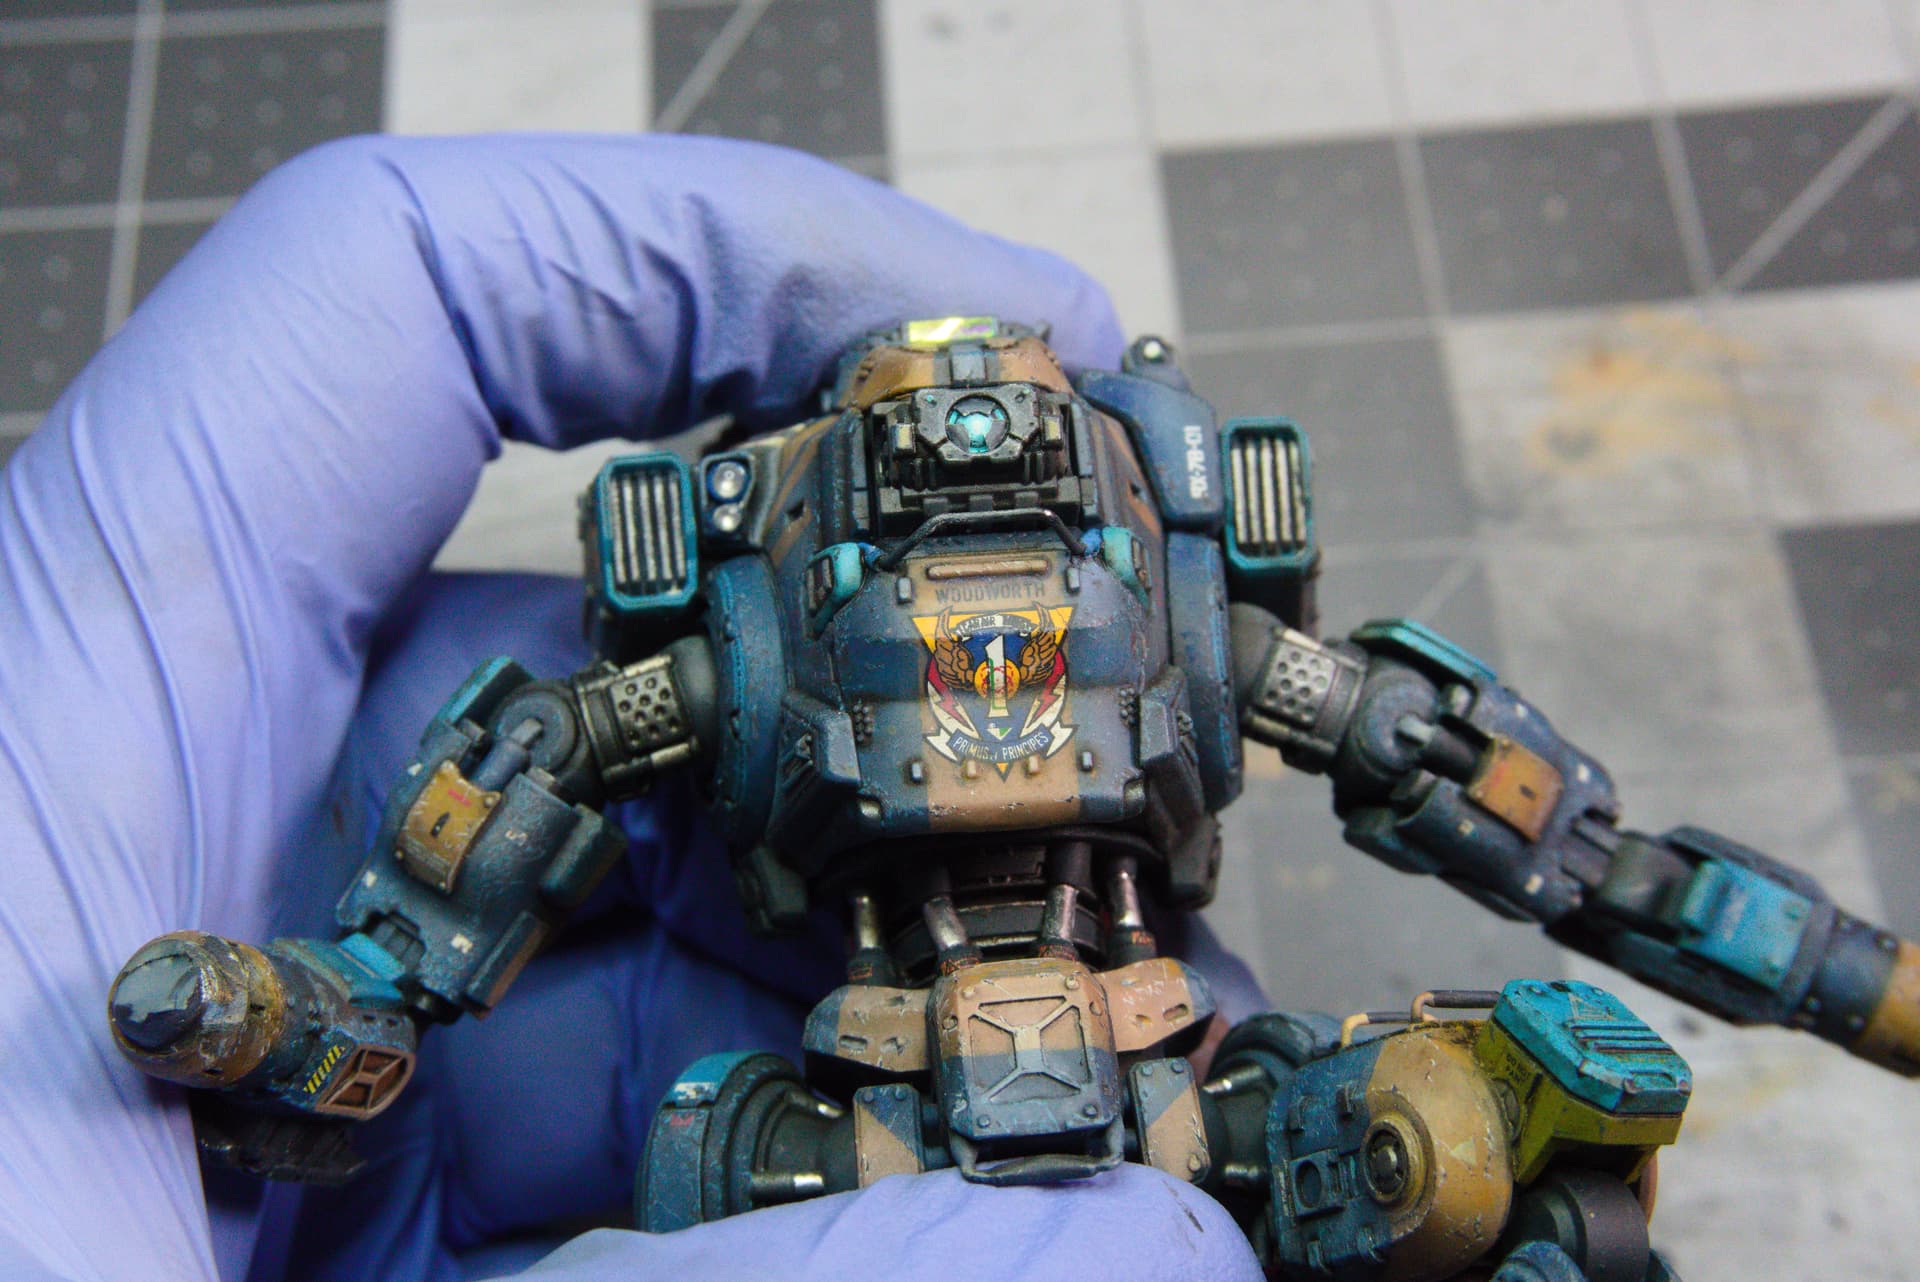
Got the base paints, decals, and varnish prep done tonight! While that dries, I will attempt to fix the base and get it prepped.
6 Likes
Beautifully intricate work both in terms of color and decals.
2 Likes