Thanks for your info Mike… Could you enlighten us more about the source of the information? I also have been searching for photos from the Ceylon involvement as you suggested, but could not find any photos that were relevant.
2 Likes
@ Mike (Tanksami)
I’m loving the kit so far. The details are quite good and there’s no flash or injector pin marks to speak of. However, I found the instructions a bit daunting in some sections.
I did a great deal of research on the “Ju 88A-4 Torpedo” variant before and during assembly (Internet and YouTube references). … WARNING: All Ju 88s are not the same and ICM makes a ton of them. Just when you think you’ve got a certain sub-assembly licked, the Ju 88A-4 launches her torpedos at you! …
I read where one modeler binned his kit when he was very close to the finish line! And thus, I have seen many places where things can go really bad. Still crossing my fingers.
Torpedo los! …
—mike
2 Likes
Erwin,
Please forgive me! I’ve currently been working on a D3A “Val” and that research shows that the in-between area included the top color applied. Unfortunately for me, I made comments regarding your build which is a B5N “Kate”. When you wrote me again, I realized I spoke before checking my research! Turns out I had the same question when doing my Kate to be depicted during the battle of the Coral Sea. They were indeed left the original paint scheme painted way before they contemplated attacking Pearl Harbort. The easiest way for me to determine this was the area behind the rear gunner, as the rear wind screen extended past the gunner’s station. Also, the photos of their time near Ceylon.
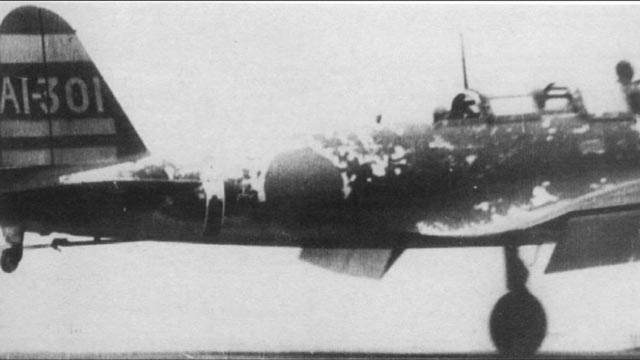
This photo clearly shows the color difference in front of the radio operators station.
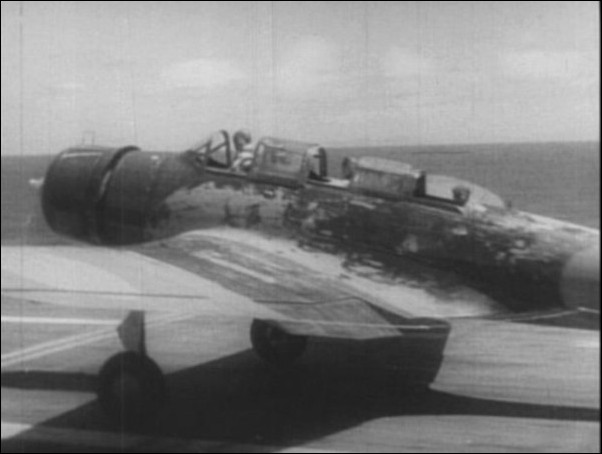
It looks like this practice continued through the late war as well.

Most of my reference pictures are from the internet via “B5N Kate at Ceylon WWII” or something close to it. This search was precipitated through J-aircraft.com, a site dedicated to Japanese aircraft. While primarily historical in nature, many a modeler will visit the site. Admittedly, getting good modeling information (i.e. paint color call outs) can be difficult and lead to many a “rabbit holes”, as painting of Japanese aircraft changed a great deal over time due to resources and degradation of quality, brought about by their involvement in a war with the US.
Again, I apologize, and as myself wound up painting my Kate based on the information above, had found.
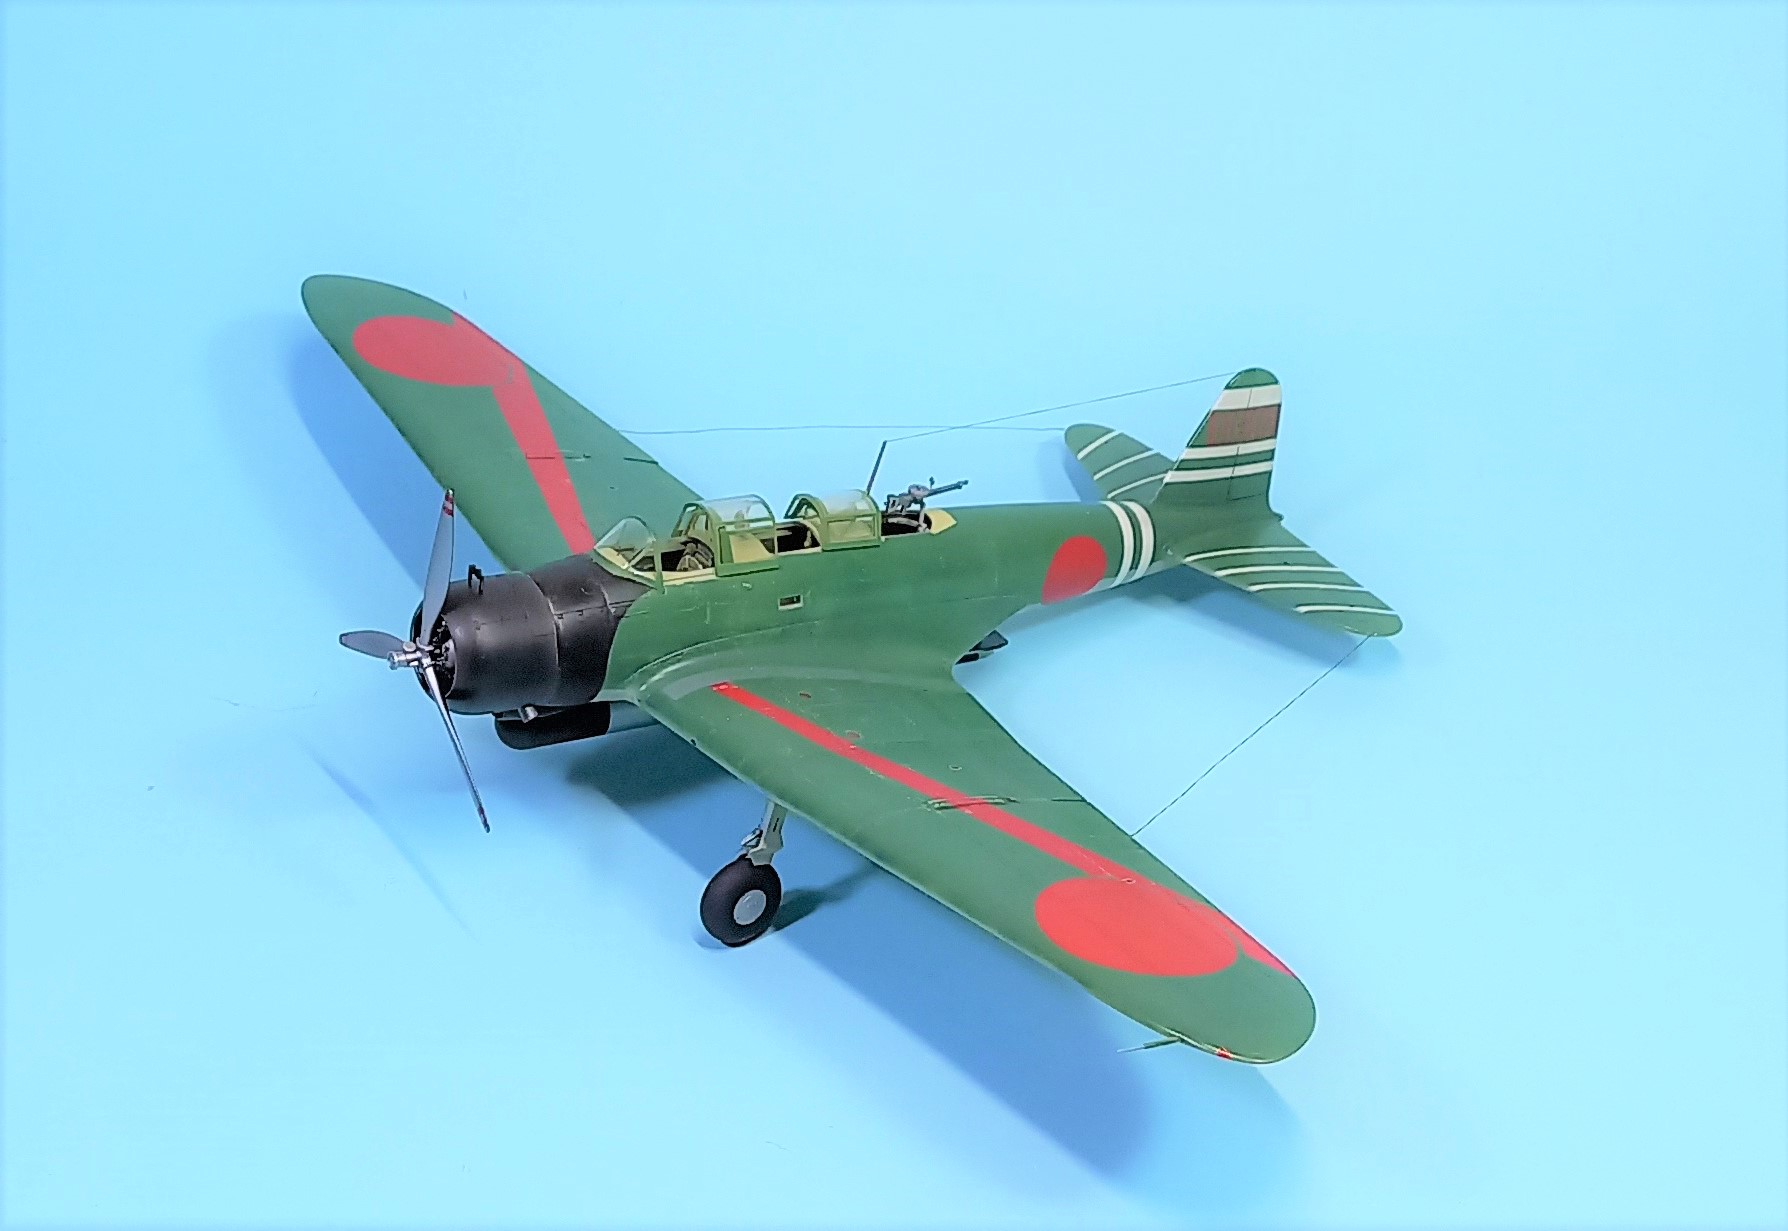
I really hope this helps and didn’t cause you any undue stress!
John
7 Likes
Thank you very much for your extensive answer John.
The stress already started when starting the research for the colours required for the plane, specially the details.
Looking at the pictures, one Indeed can see a lighter color, which best can be observed in the last photo you posted. I thank you for that picture, as I have not come across it before.
I did come across the J aircraft site ofcourse, but this did not give the difinitive answer.
Looking at your plane, the color you choose for the affected area looks to me the same (or close to) as the cockpit interior, not so much the colour I would expect on the fuselage.
I guess the colours of this plane will be discussed quite extensively for years to come!
3 Likes
Tail-sitter with a twist…
Hi guys!
Here’s another installment for my Ju 88A-4 build.
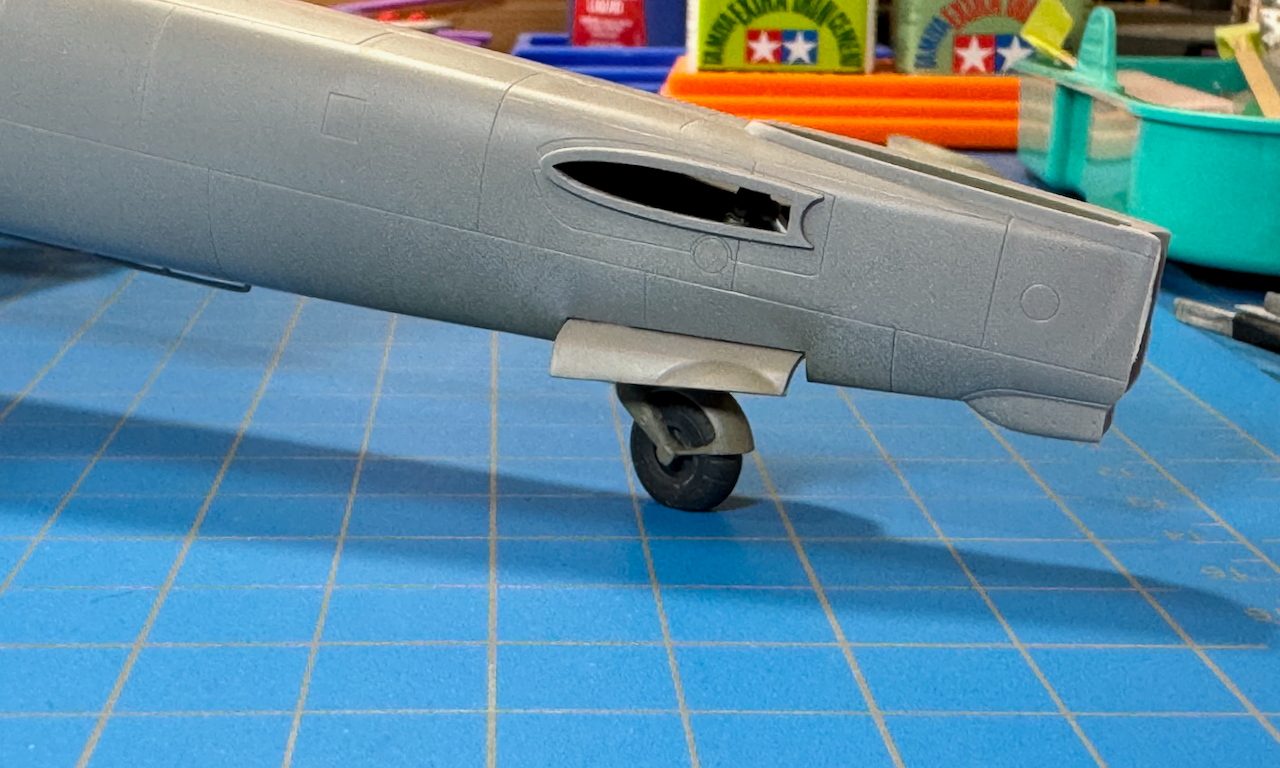
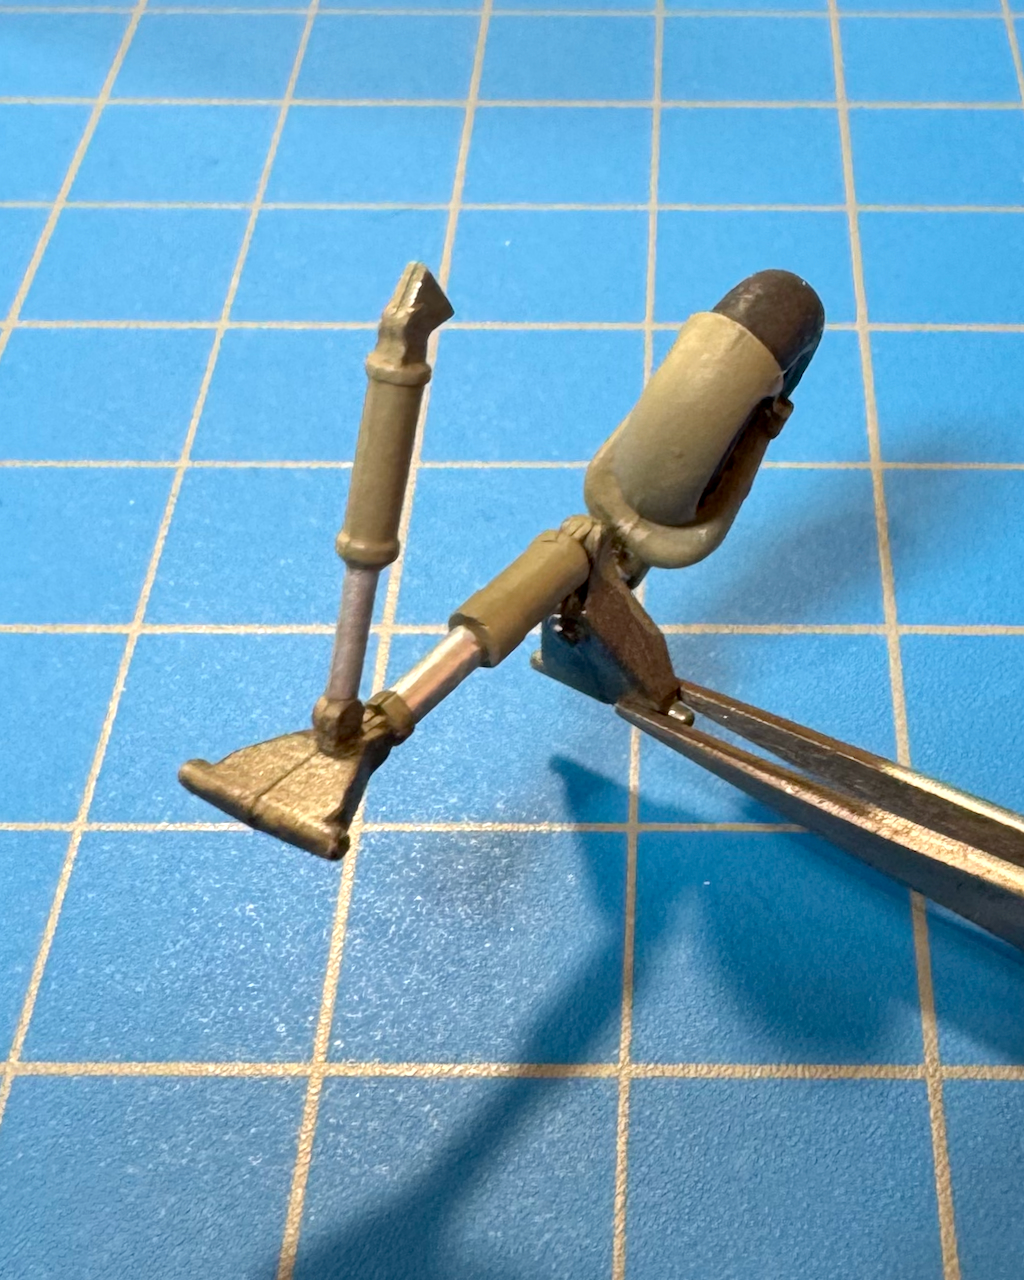
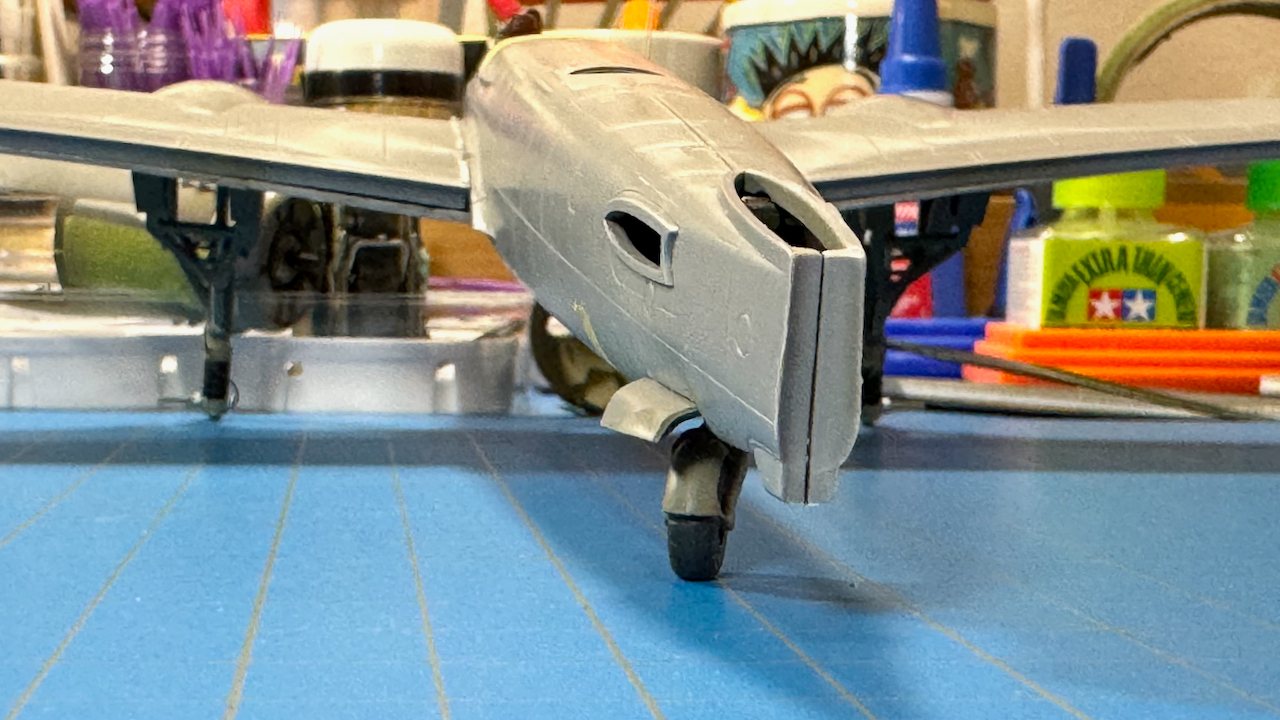
Flattened tailwheel and slightly tweaked gear to resemble a turn to port.

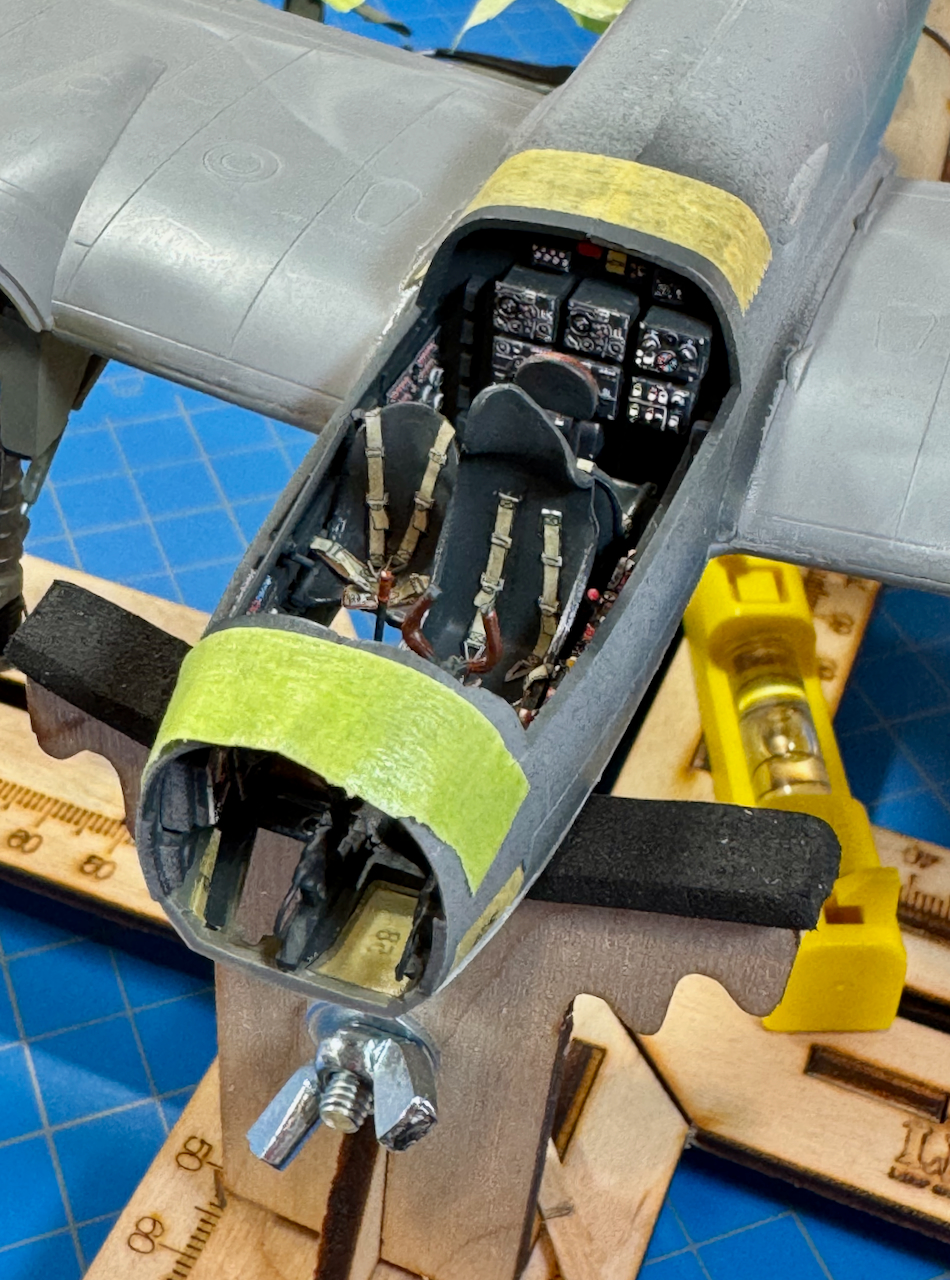
Cockpit interior is permanently installed now.
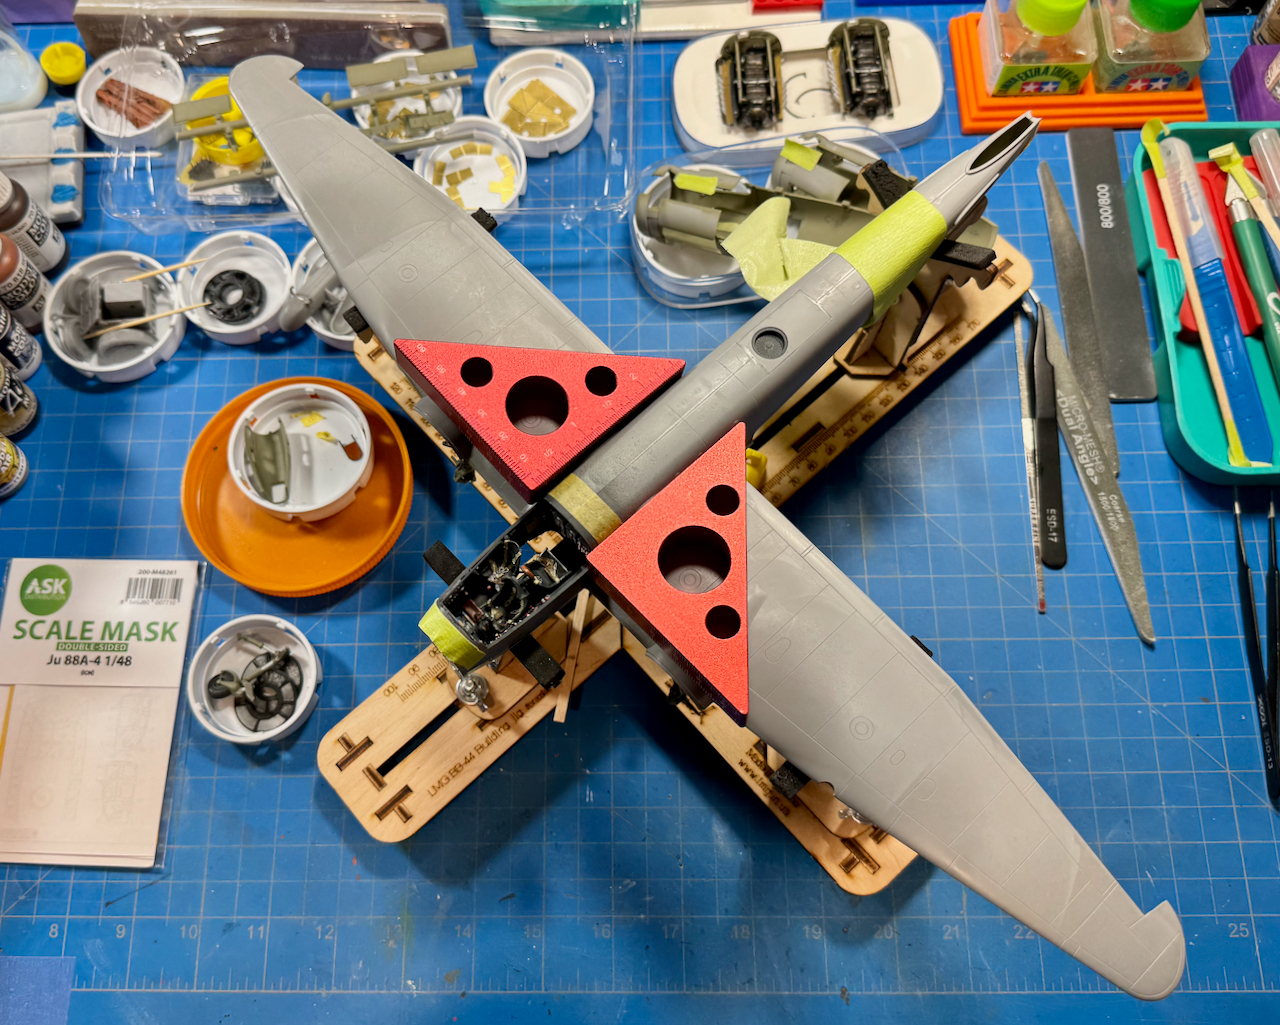
Wing roots were glued and weighted-down for overnight curing. In addition, the fuselage is partially closed-up.
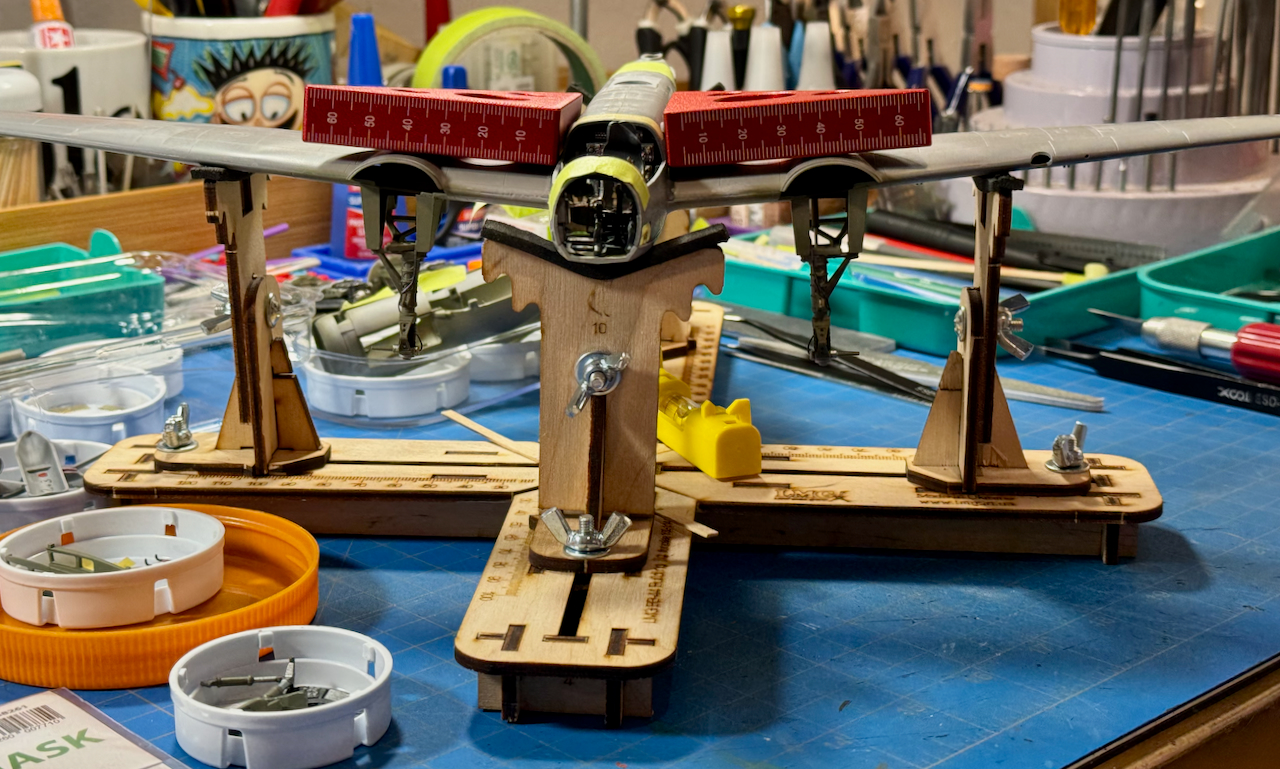
––––––––––––––––––––––––––––––––––––––––––––––––––––––––––––
Nacelle Nightmares!
Inside the wheel bays… Approximately 0.5mm had to be trimmed from the PE parts in order to fit the landing gear through the bay openings. Note: The landing gear assemblies must be attached to the wings before nacelles can be added to them.
The Cooling Rings were painted with ‘Rust-Oleum (334020) Flat Black.’ The PE Grills were painted with ‘Vallejo Magnesium Metal Color (77.711).’
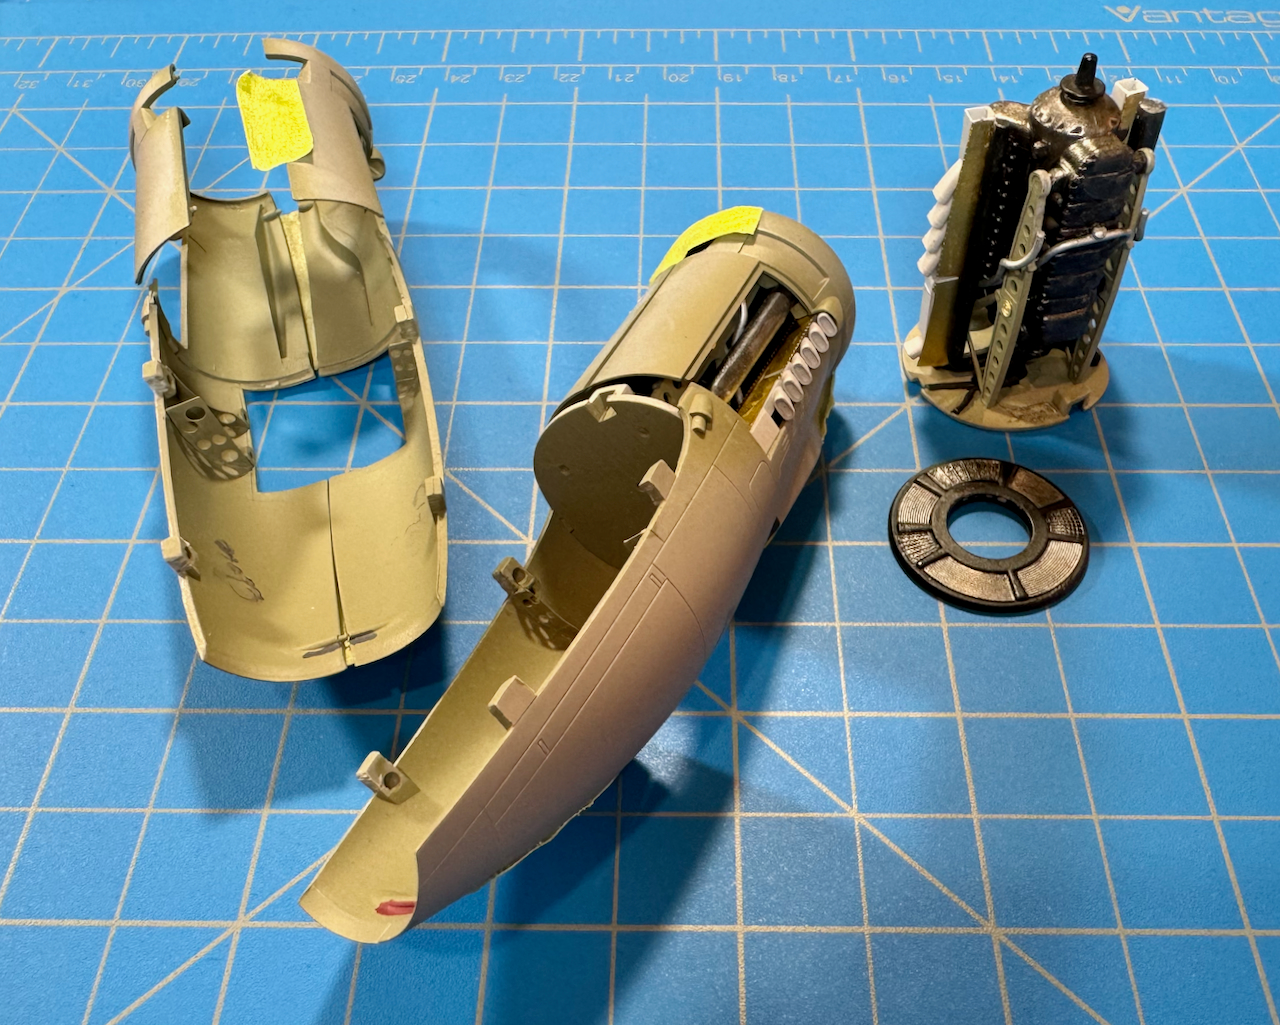
Styrene thinning was needed around the 'Eduard Exhaust Stacks and ‘Metallic Details’ PE to ensure a proper fit.
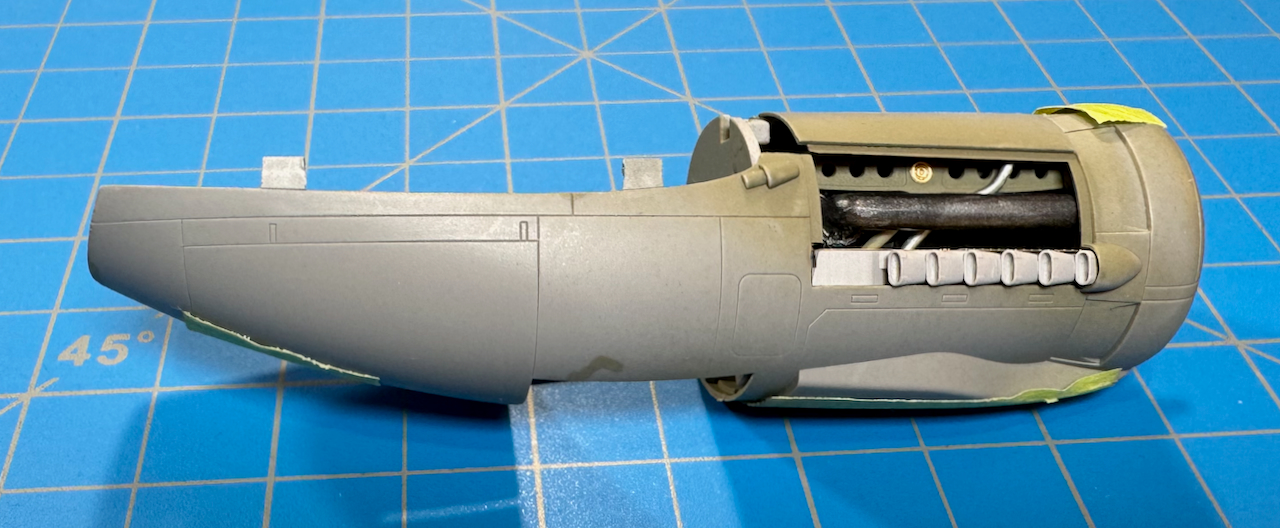
Metallic Details (MD4818) PE parts added to the Eduard resin.
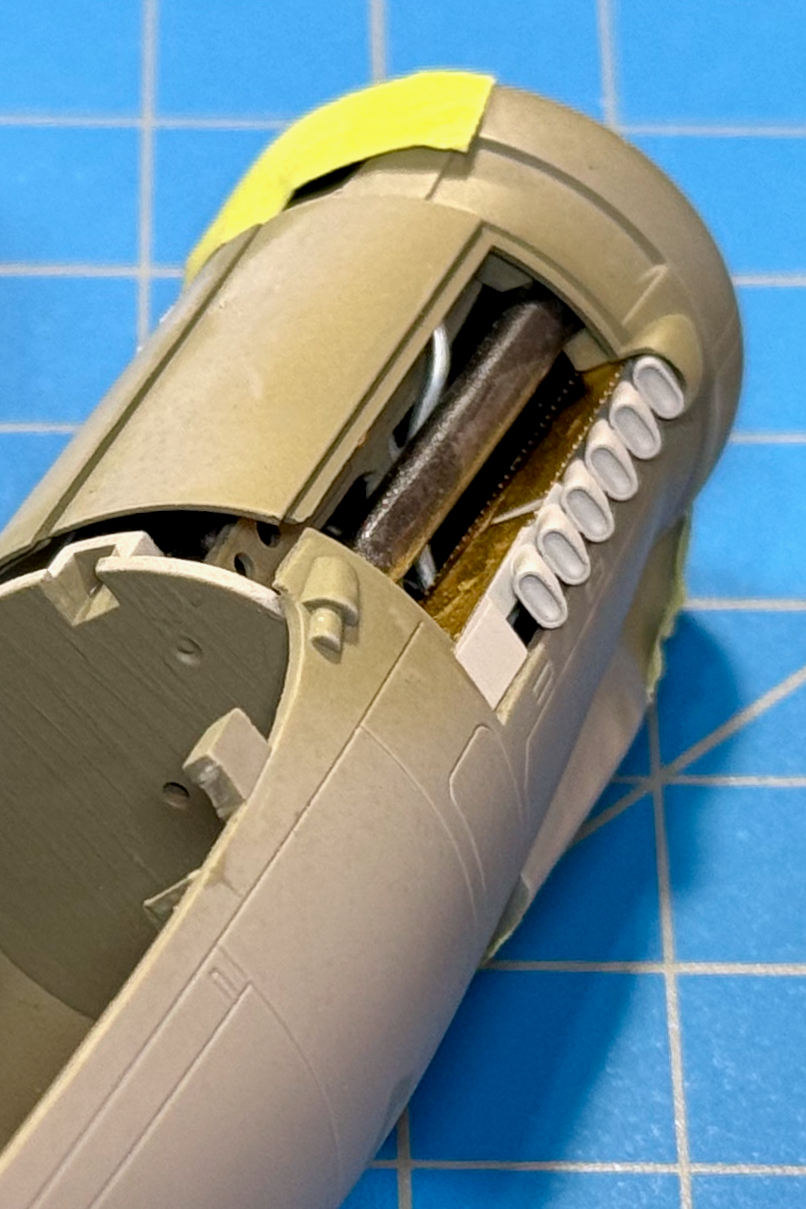
Lots more work to come…
Torpedo los! …
—mike
12 Likes
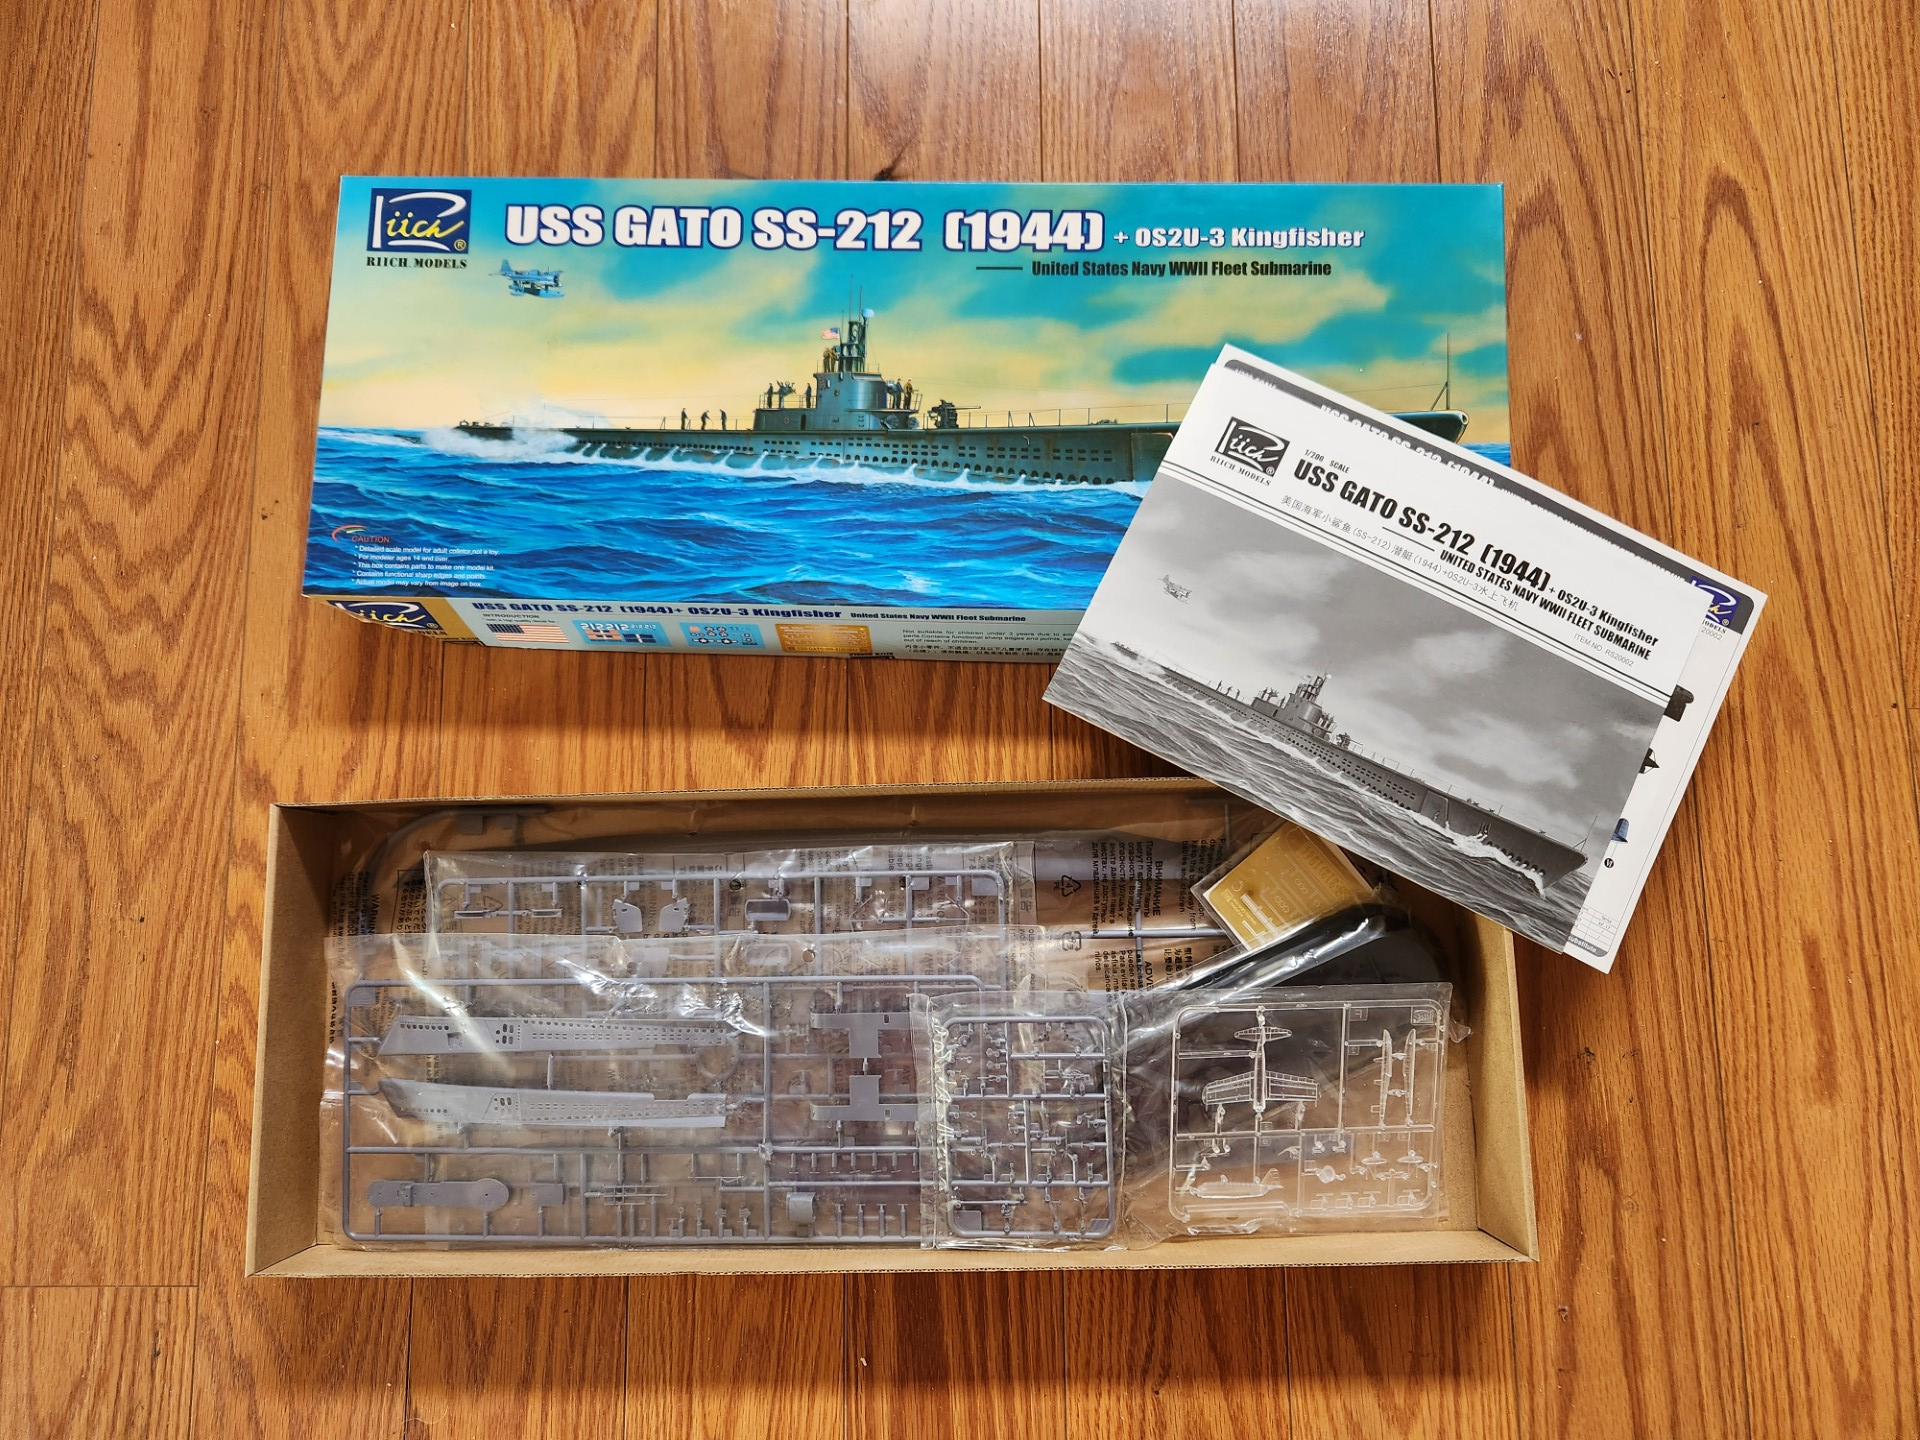
So being in 2 campaigns is not enough  I am being pulled into Torpedo Away! Sounds just so adrenalin filled. My delayed entry. Her Keel will be laid down soon.
Riich 1/200 Gato Class Submarine.
8 Likes
Two is not enough? I’m currently involved in nine of them.
3 Likes
So, you have 9 times the chance of finishing one of them. 
3 Likes
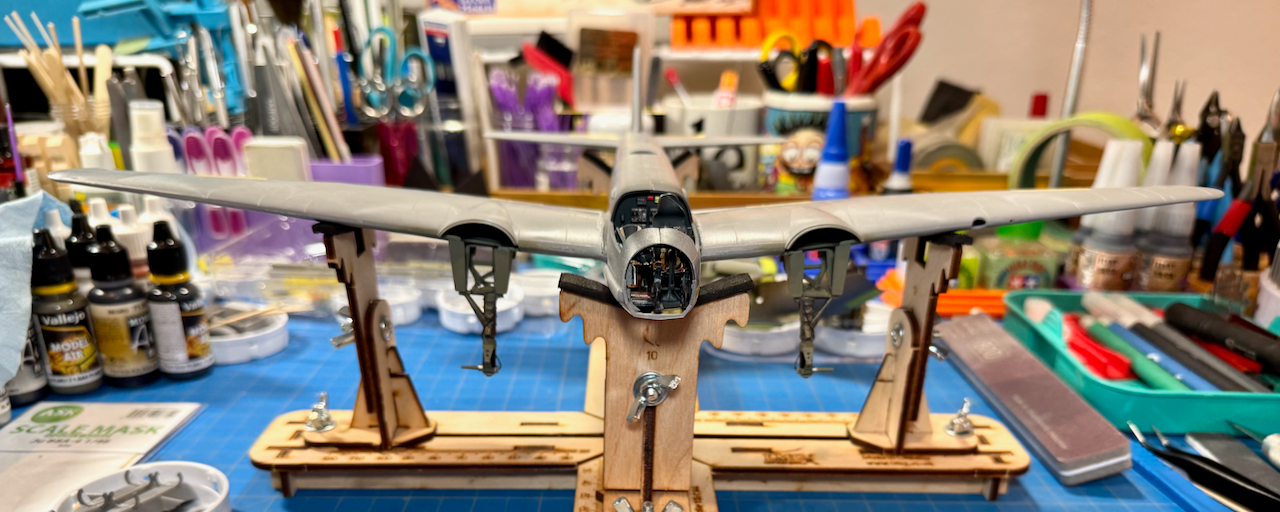
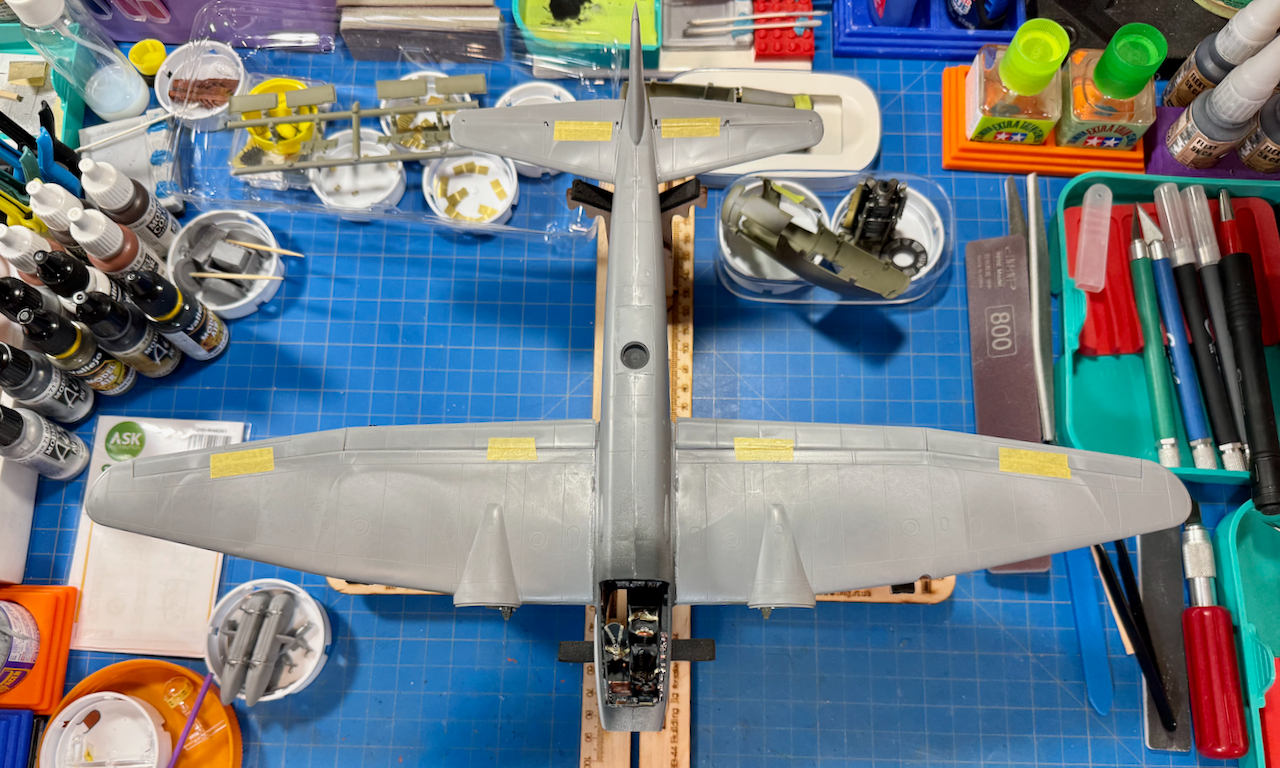
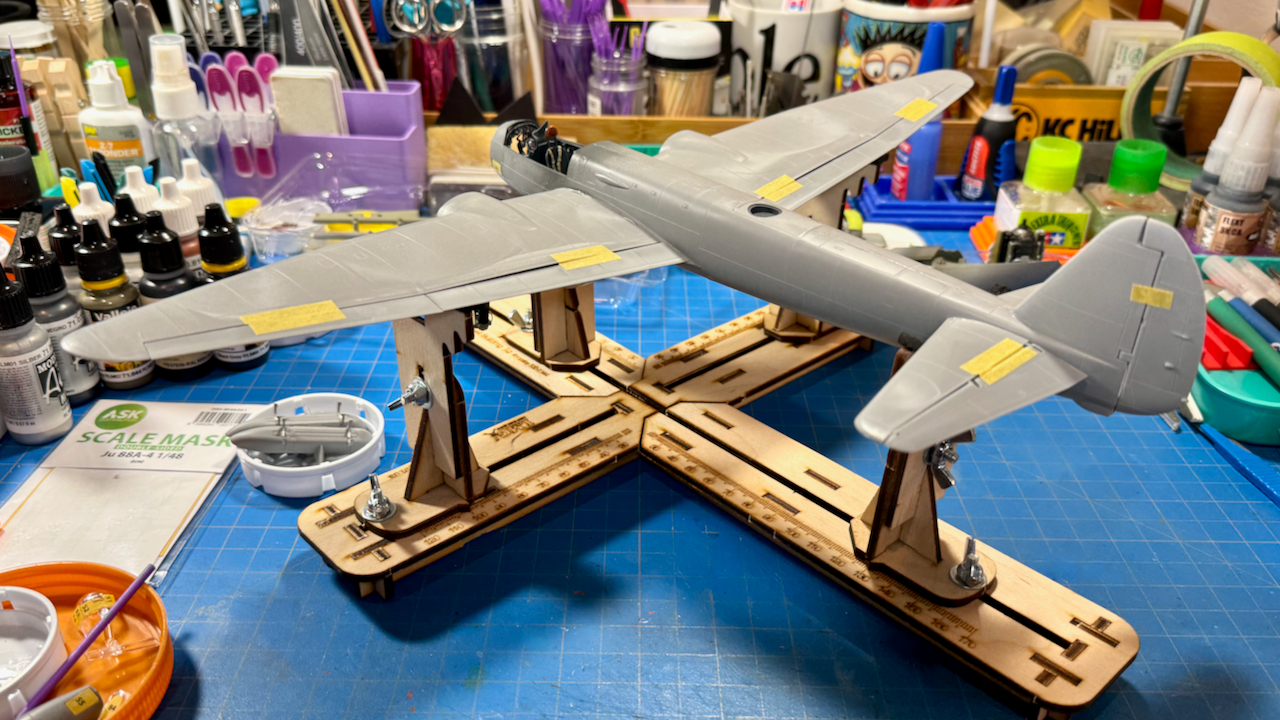
Ju 88A-4 update…
Triple-checked all the alignments. Since that went well, I bit the bullet and closed-up the fuselage for good. The model is much more sturdy and easier to handle now. Speaking of handling, I need to flip the bird and give her a serious wipe-down.
–––––––––––––––––––––––––––––––––––––––––––––––––––––
Let the masking begin… 
Or not?! … Right outa’ the gate, I was missing a part! After a thorough Carpet Monster search, I realized that Gondola window Part F15, did in fact not exist on the sprue. How I discovered this… The corresponding ASK Masks mirrored the identical missing profile. … So, after going well over my twenty-minute rule, I got into scratch-build mode. Luckily, in both cases, there were unused parts which were easy-enough to butcher into the appropriate profile (mask 55).  …
…
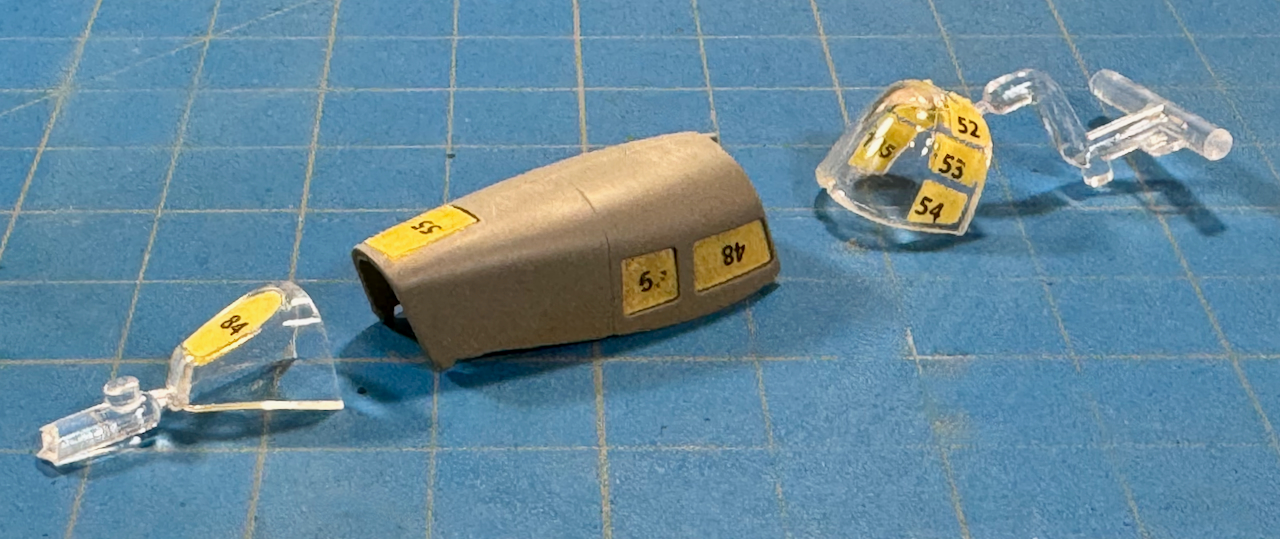
This is my first introduction to ASK Masks (both sides). Gotta’ say that I’m extremely pleased. I can’t fathom the thought of doing the complex Greenhouse Canopies by hand. Had pre-cut masks not been available, I never would have purchased the ICM kit in the first place.

–––––––––––––––––––––––––––––––––––––––––––––––––––––
EDIT: Added image.
A final look at the Twin Jumo 211 Engines before exhaust stack removal for paint.

Still to come… the starboard nacelle nightmare. 
Torpedo los! …
—mike
11 Likes
Absolutely beautiful work, Mike!
2 Likes
Michael, that is really coming together!
2 Likes
The keel is being laid.
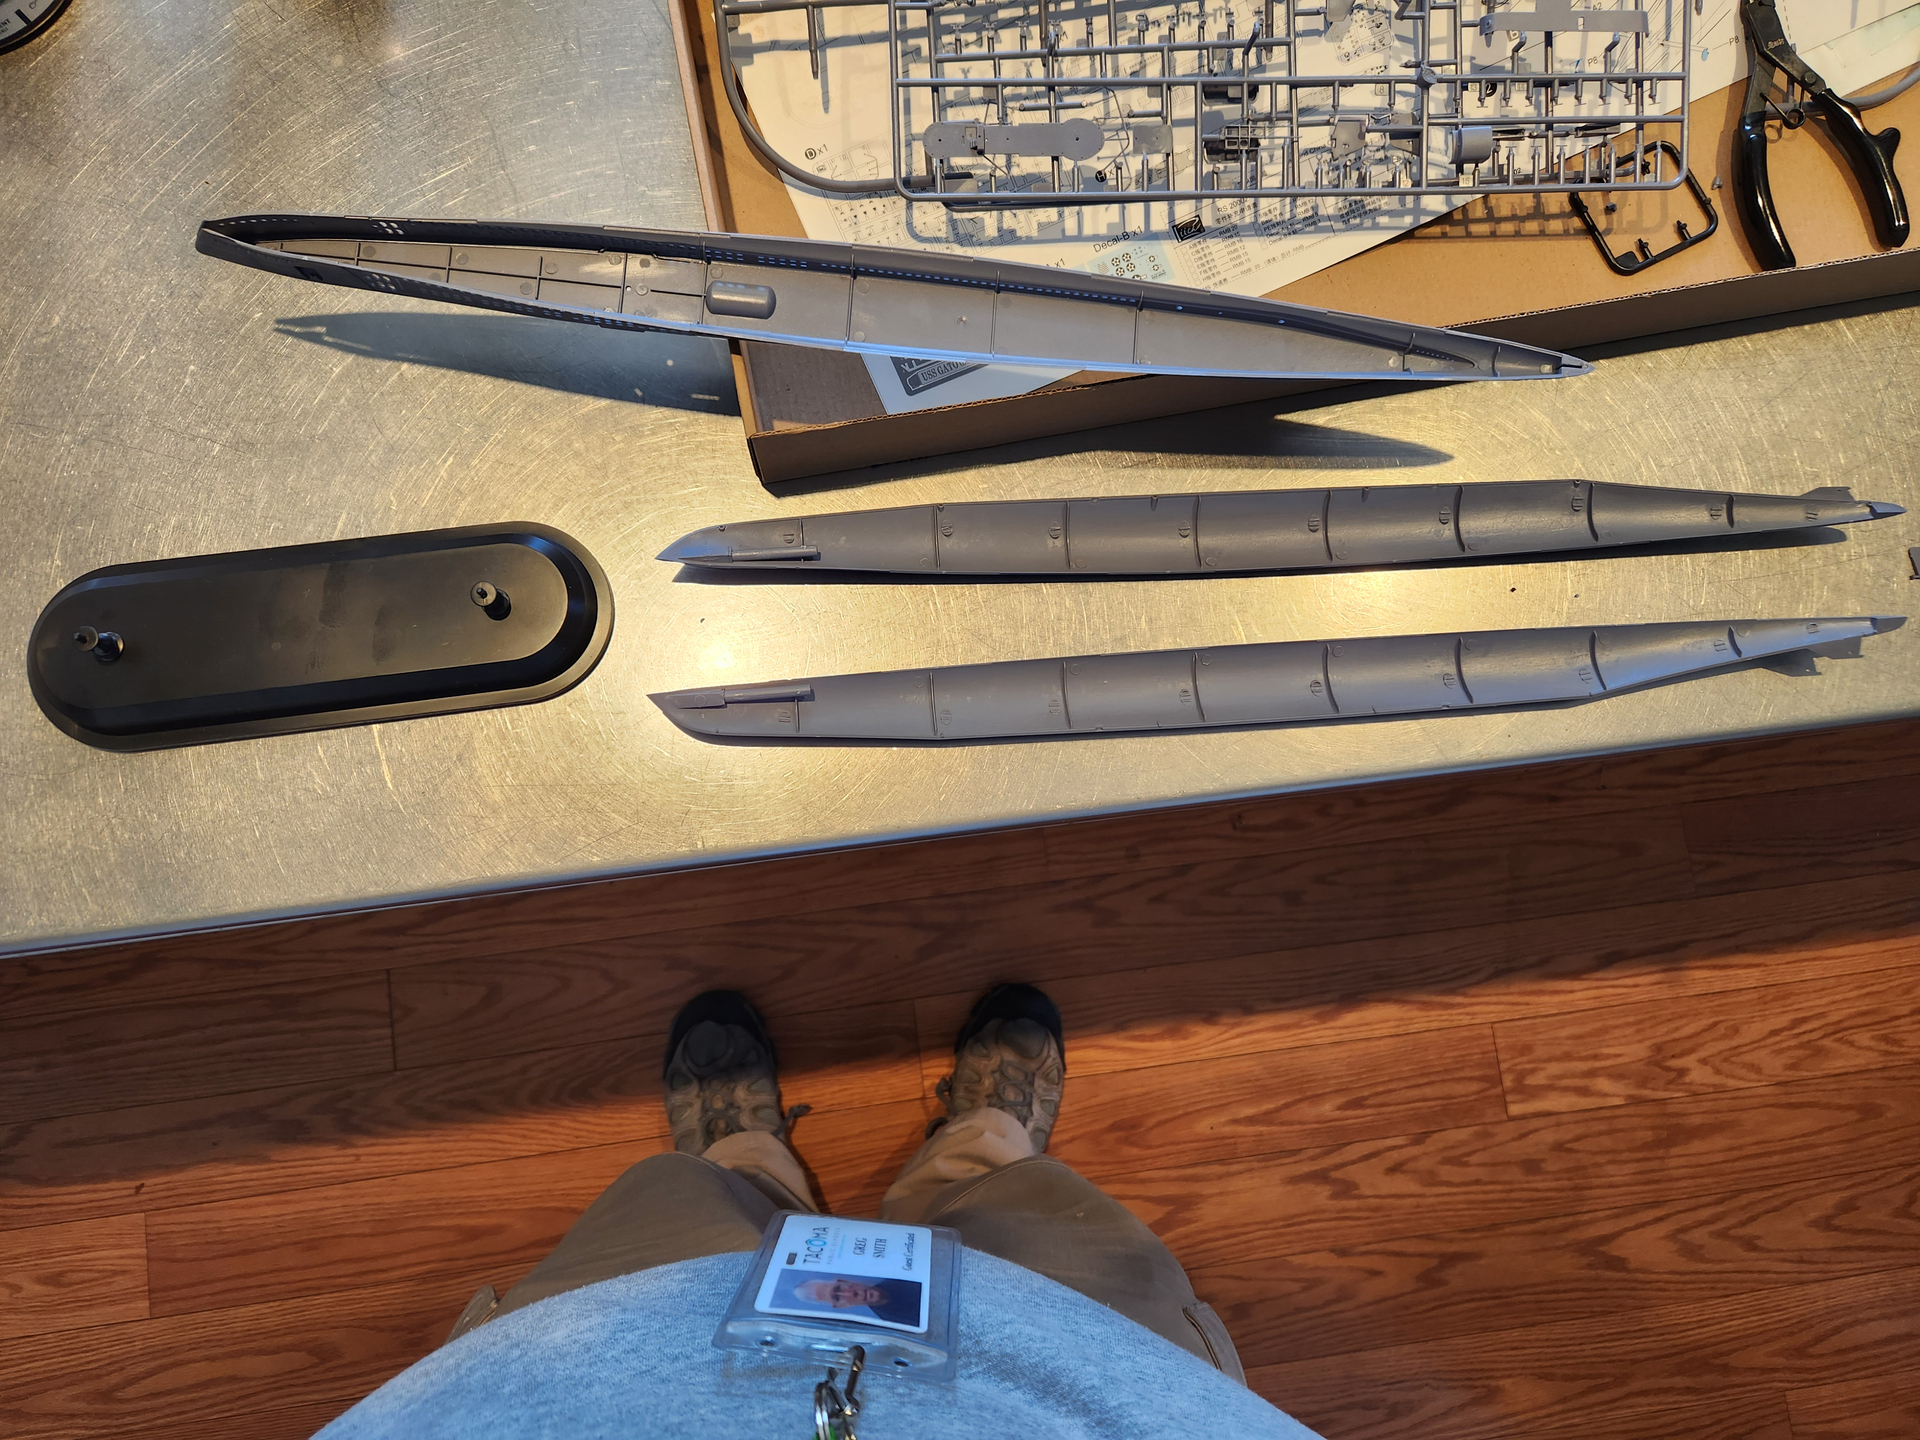
Once I can get the two lower hull sides and the hull top together, things should go smoothly.
The two lower halves fit fairly well together. The upper hull will be more interesting. The upper hull comes flat and you add the upper bow sections and then bend the upper hull to get it into place, while maintaining all of those long, bow to stern seams…I am thinking I should use some blocking to prevent the lower hull from spreading where it meets the upper hull during assembly.
6 Likes
Hi guys!
Some more progress on the Ju 88A-4.
Spent the last few sessions filling seams, wet-sanding, and re-scribing a few panel lines on the fuselage. Trying to take this phase of the build a bit more seriously this time around. 

Masked and primed the main portion of the Ventral Gondola.

Still need to deal with a slight dimple on the port side where the two parts (clear and Styrene) are joined.

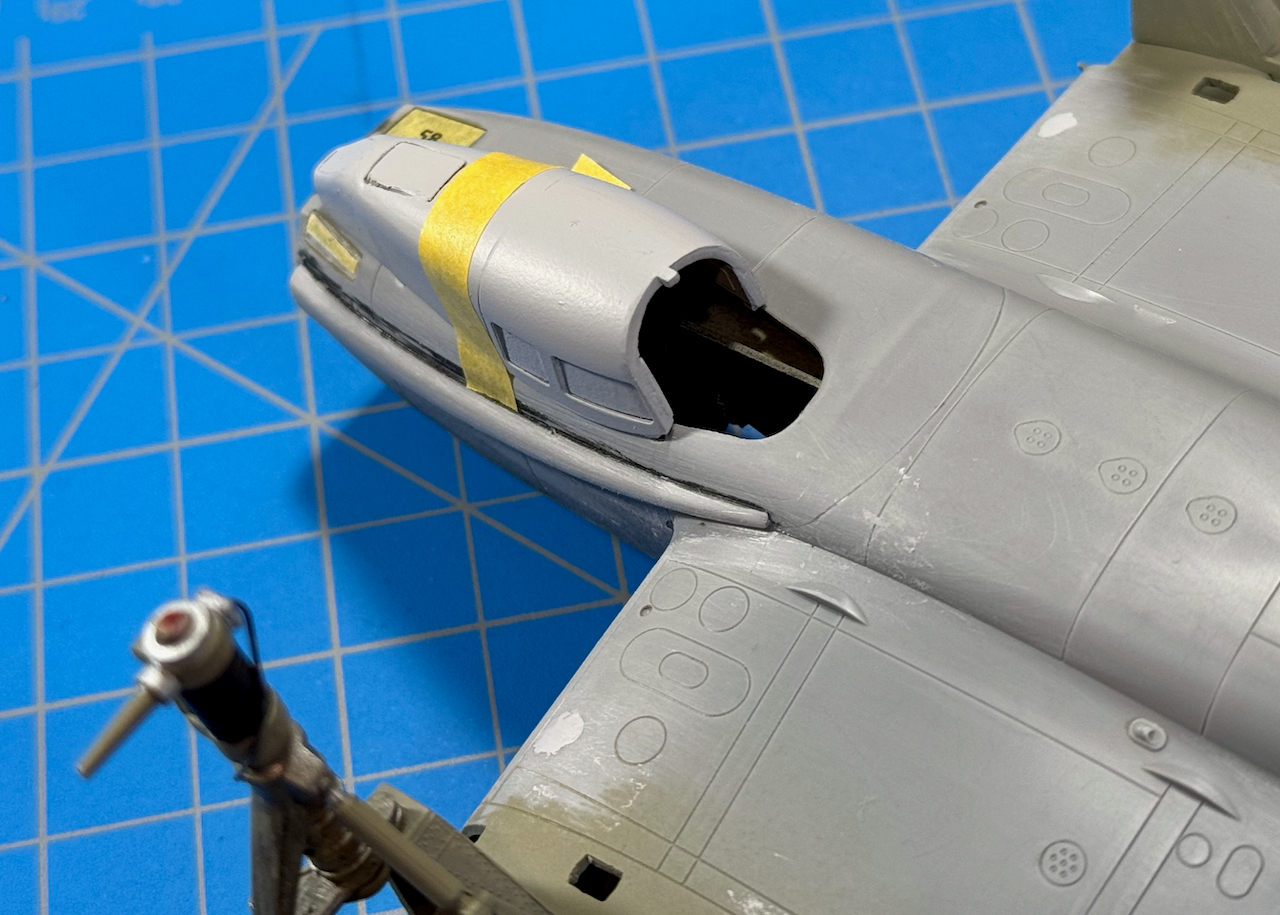
Planning on leaving the access door in the open position as seen in the following reference image.
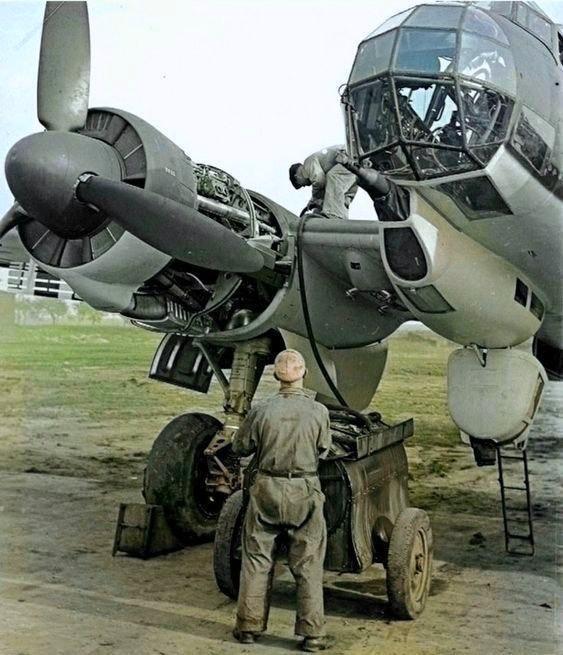
Image for reference only.
Yeah, I would bail-out of that hole (the only exit) … if the plane was burning! 

Torpedo los! …
—mike
12 Likes
That’s some serious work there MIchael! It’s looking very good.
2 Likes
Some great progress going on in here, congratulations to all builders, I’ll keep following,
 .
.
G, 
4 Likes
Some progress some contemplation.
I started on the two lower hull halves. I pressed together and glued 1 inch at a time until the lower hull was done. The final product looks real good, super tight seam when completed.
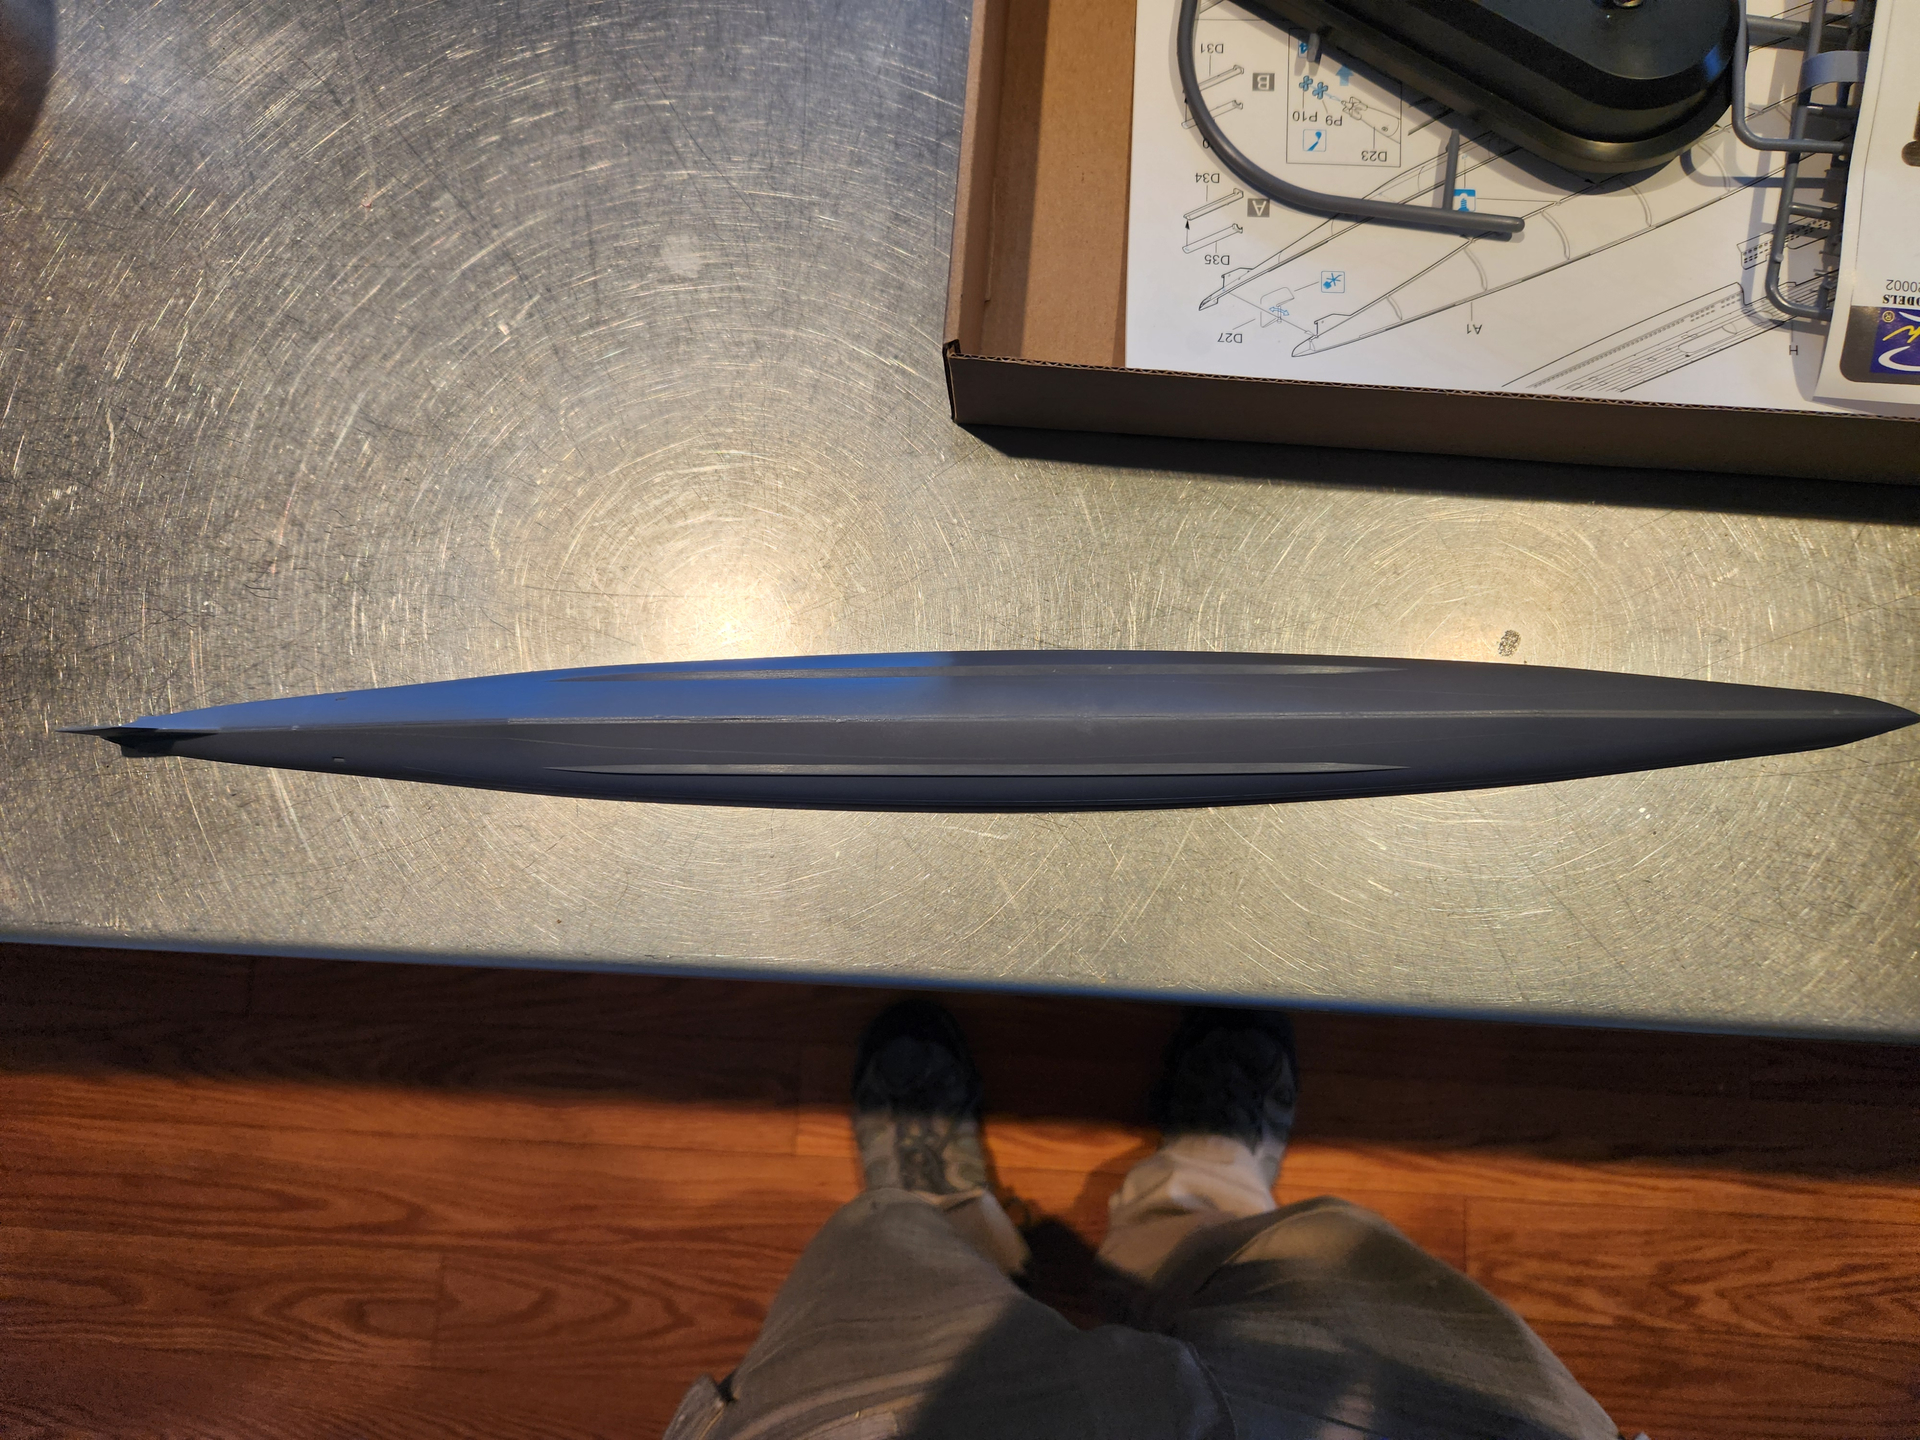

Next I attached the upper hull bow sections to the main upper hull. I again pressed together and glued 1 inch at a time until completed.
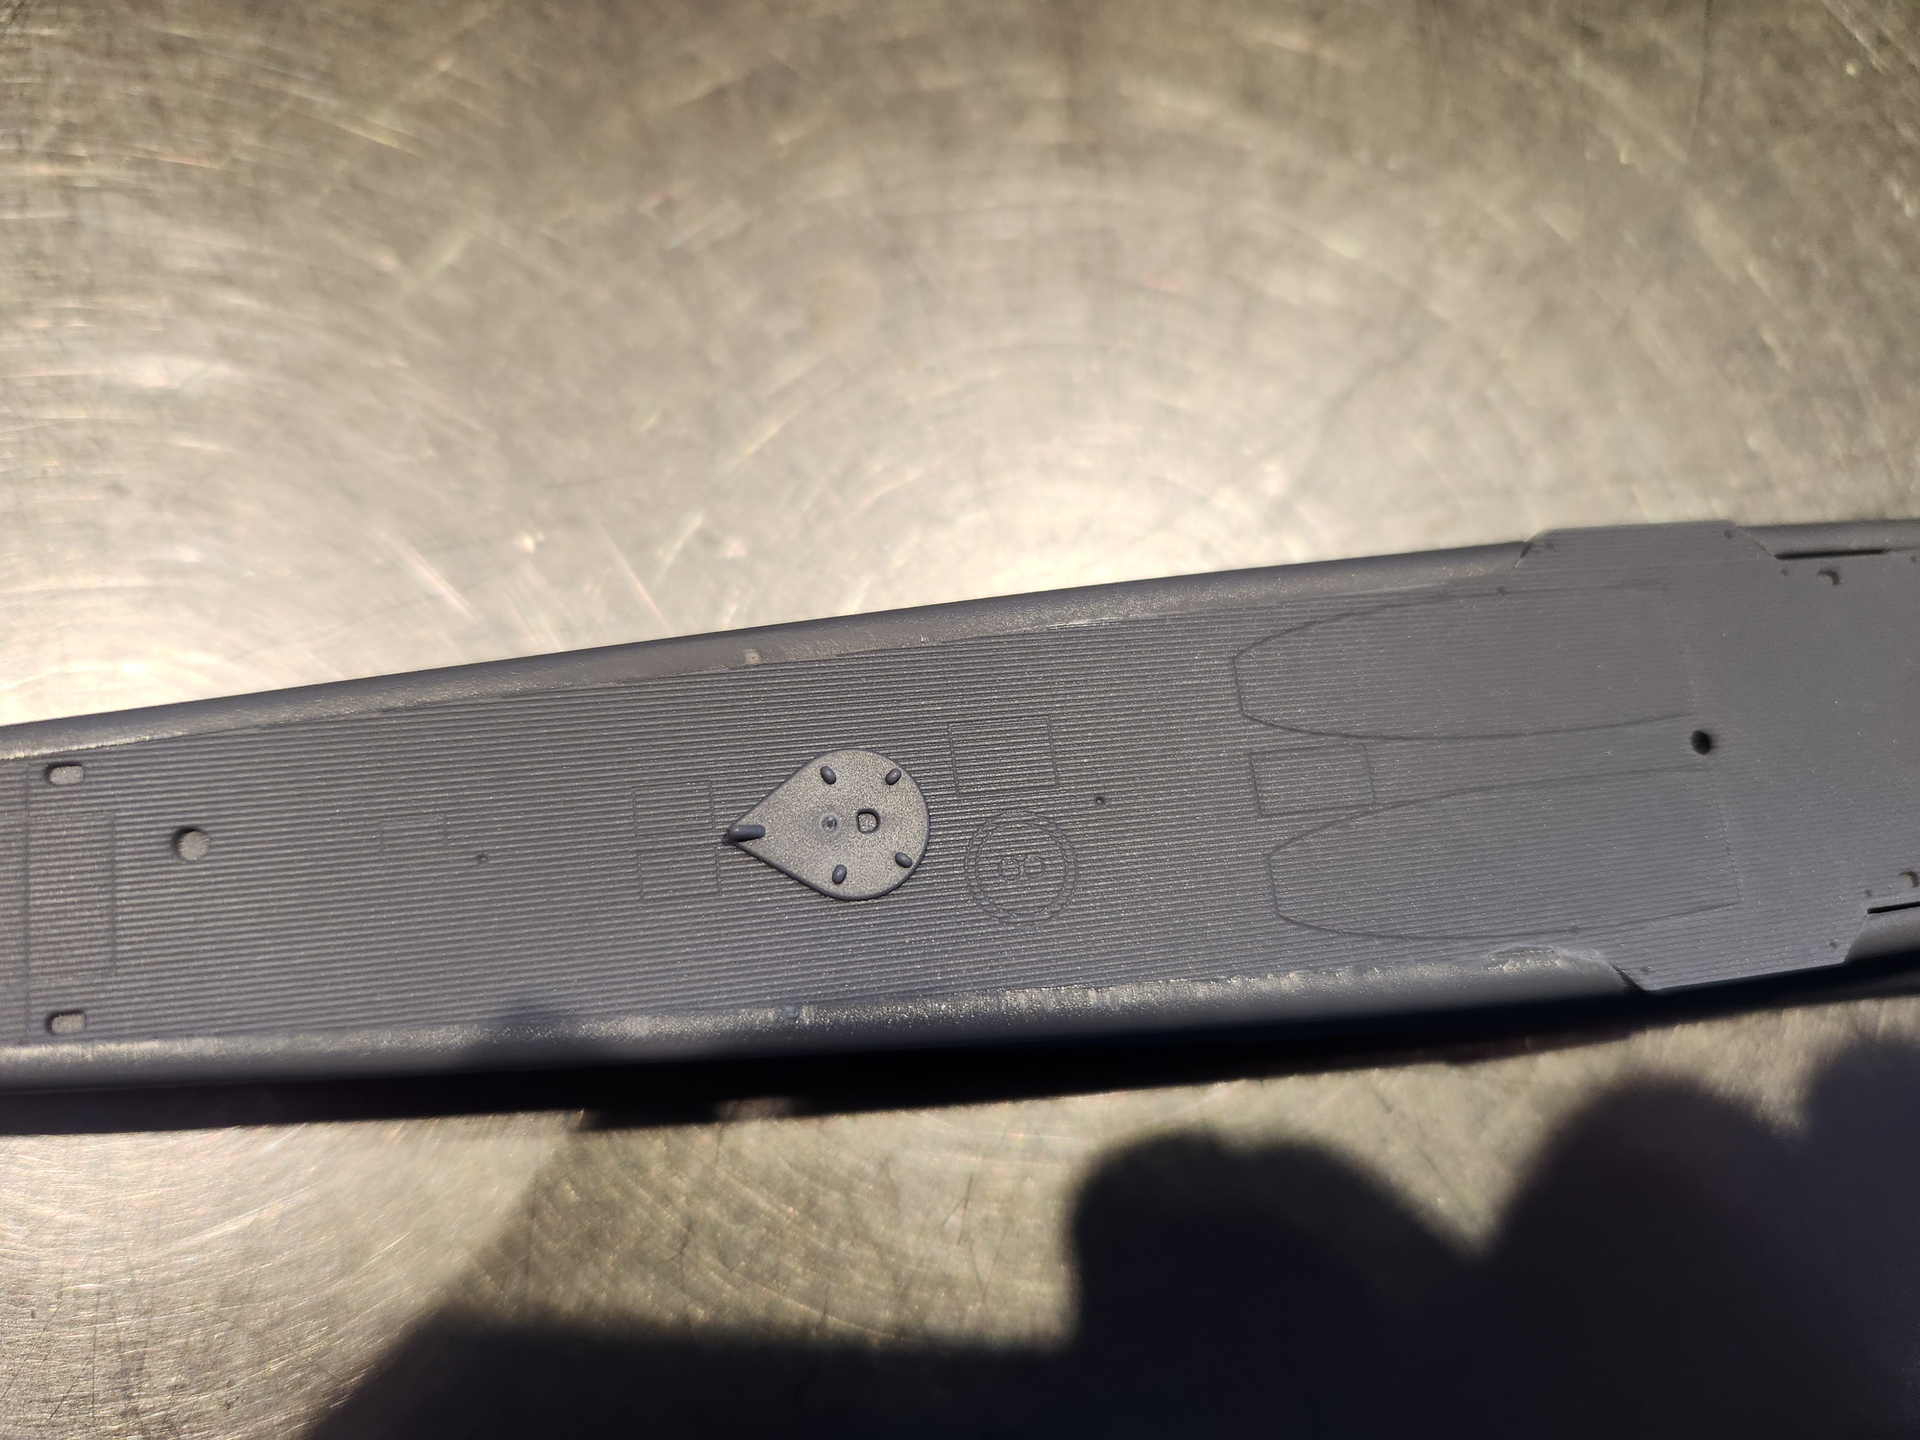
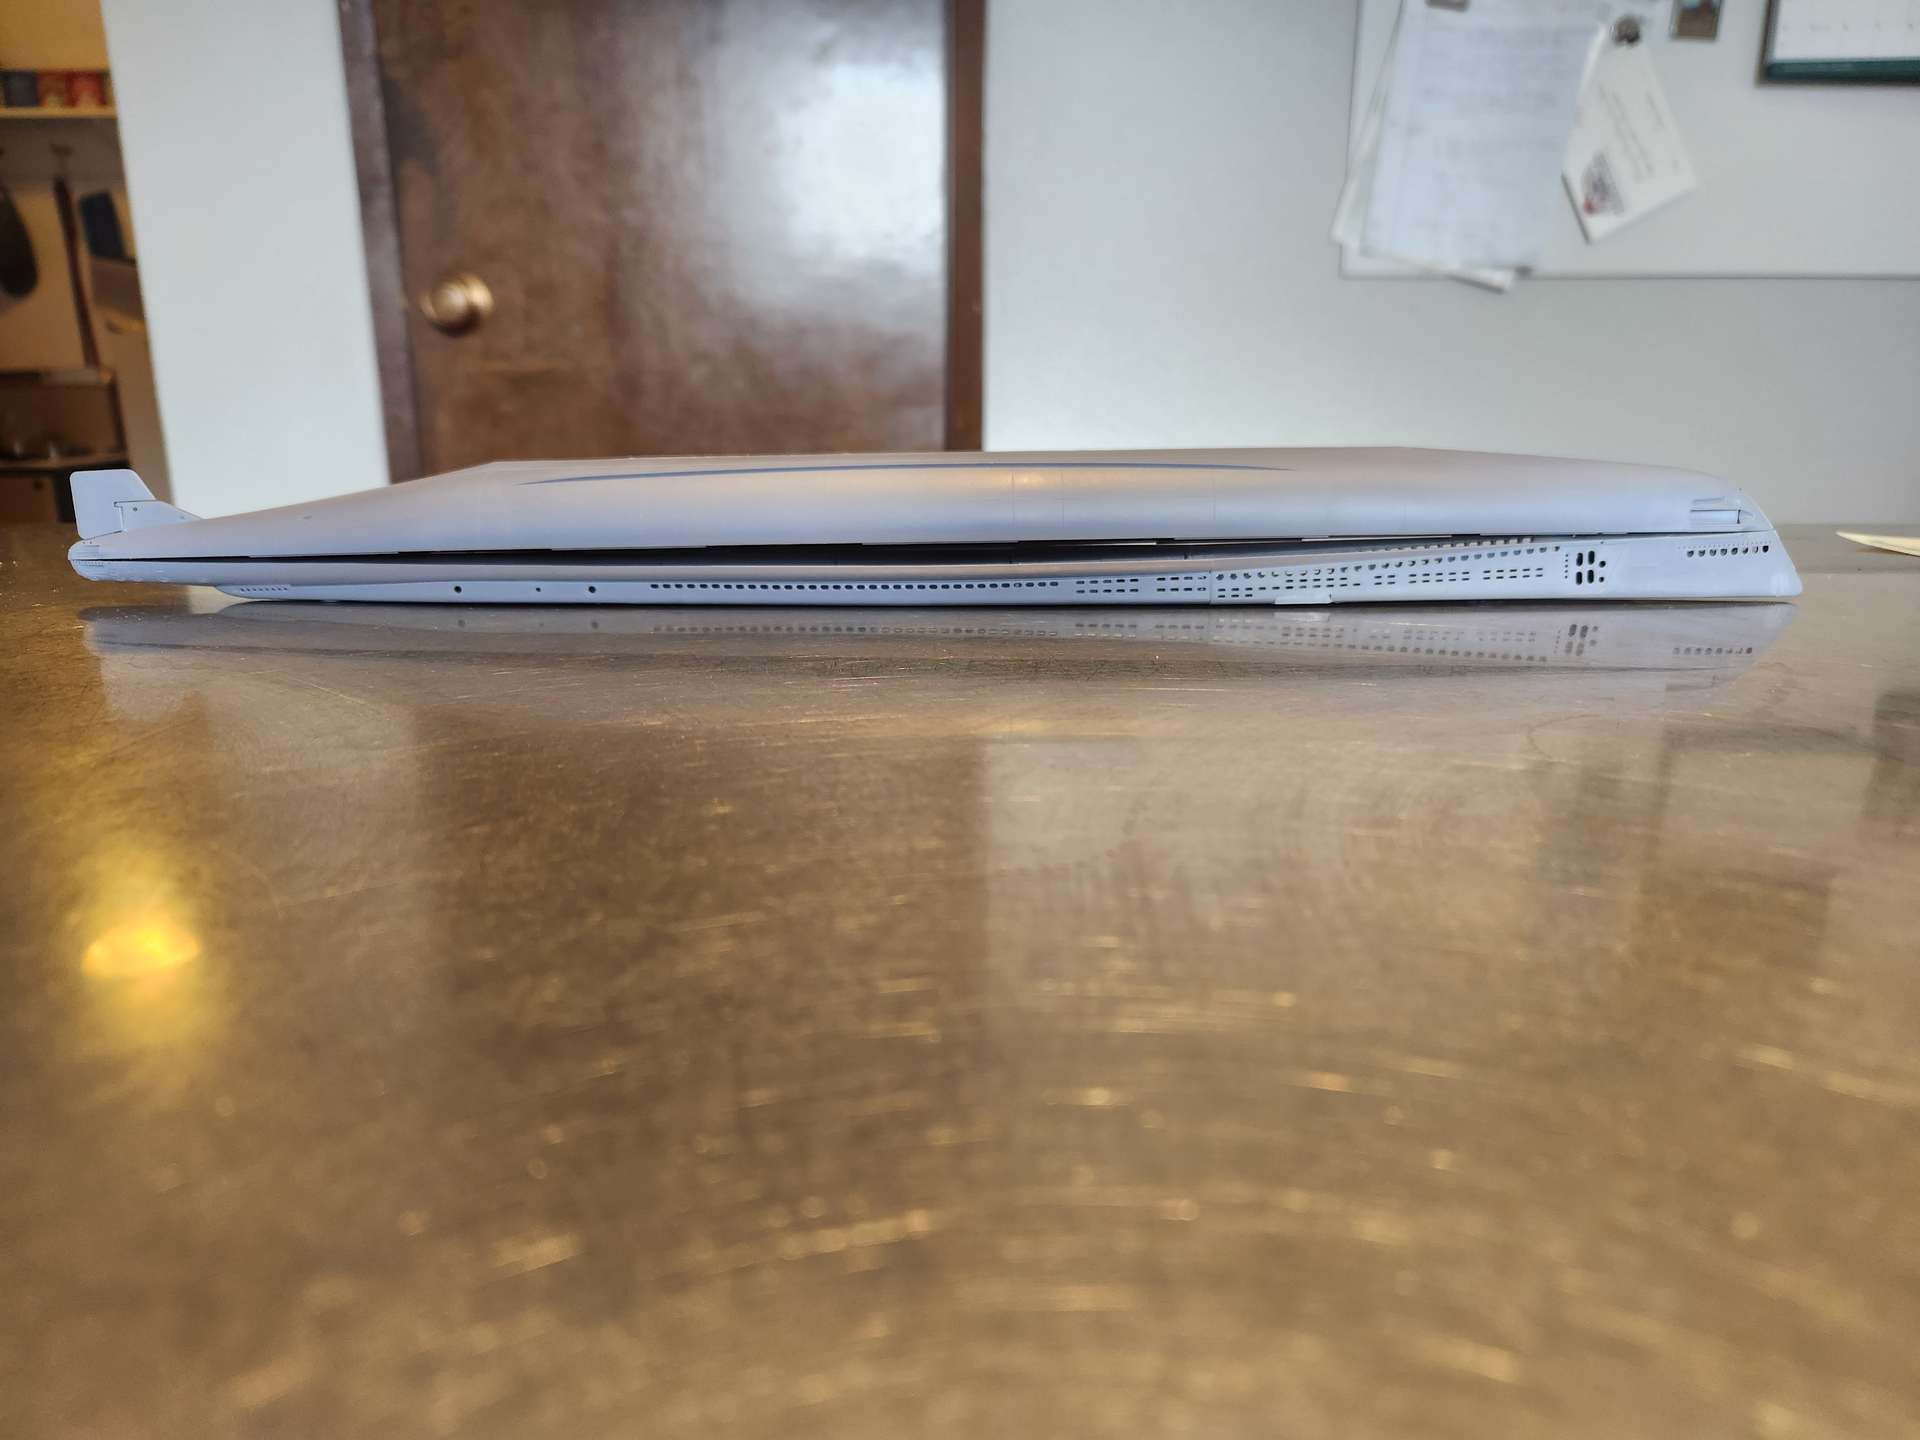
I haven’t cleaned the seams up yet in the photo but you can see an almost perfect fit between the wooden deck and the metal hull sides. The exception is by the stern of the gun mount. I had to compromise. To get the side of the forward upper deck to fit I chose to have the compound curves on the side to sit flush. This left a small gap that I will have to fill on the deck. When done I checked the fit of the upper and lower hulls….Ugh.
So contrary to my better judgement I attached the base to the lower hull. This put off the joining of the two hulls till later and probably will exponentially increase the issued when finally gluing the two hull halves together.
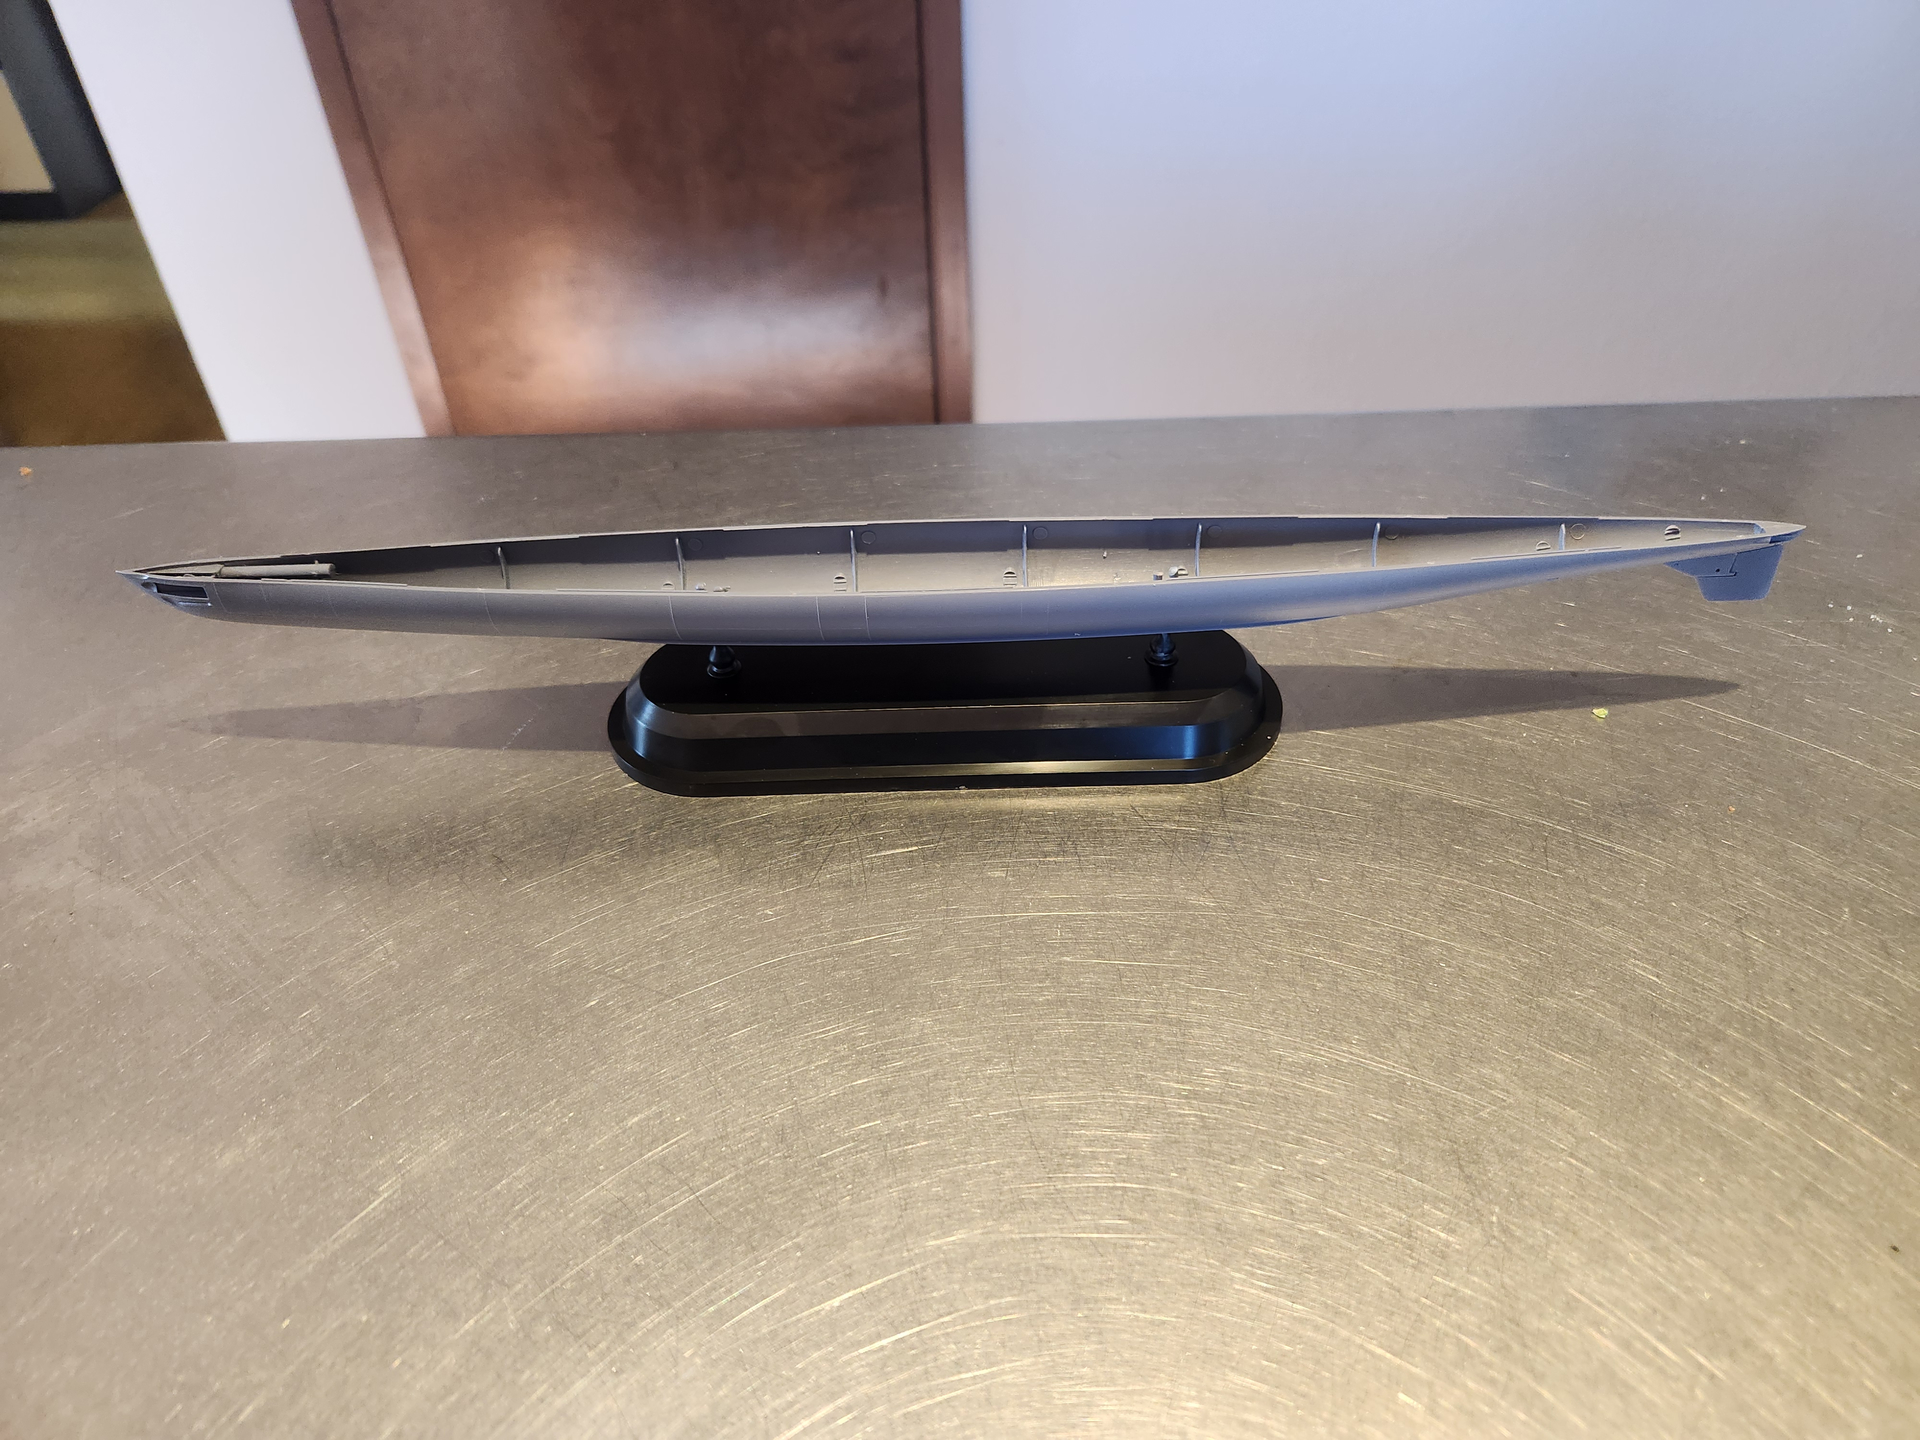
The joint between the base and hull was not very strong so I fortified the attachment points in the hull.
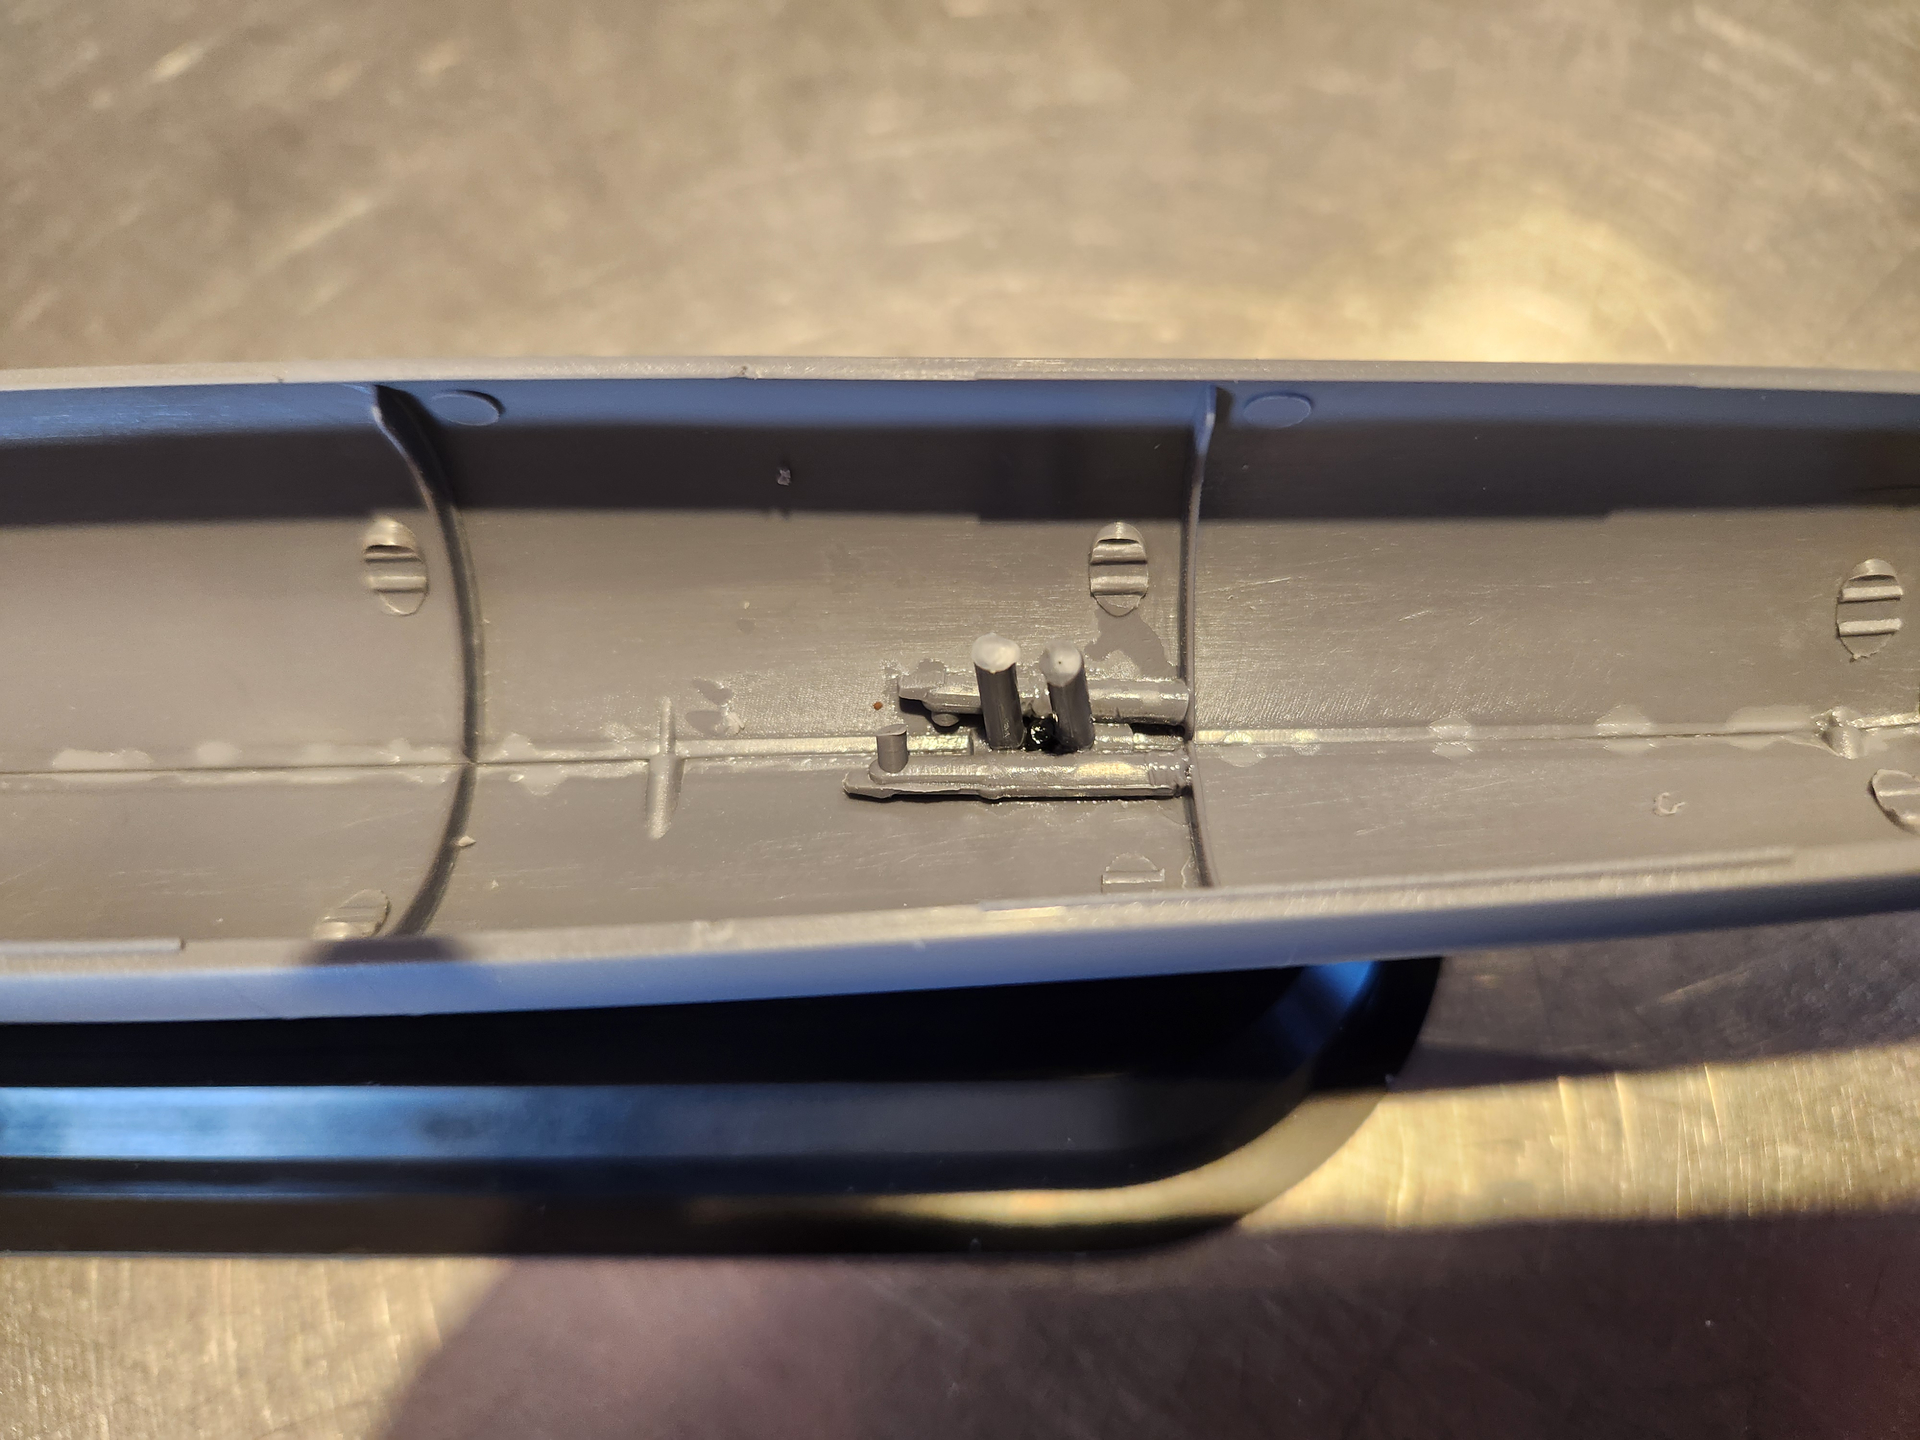
So I now test press fit the upper hull to the lower. Looking good!
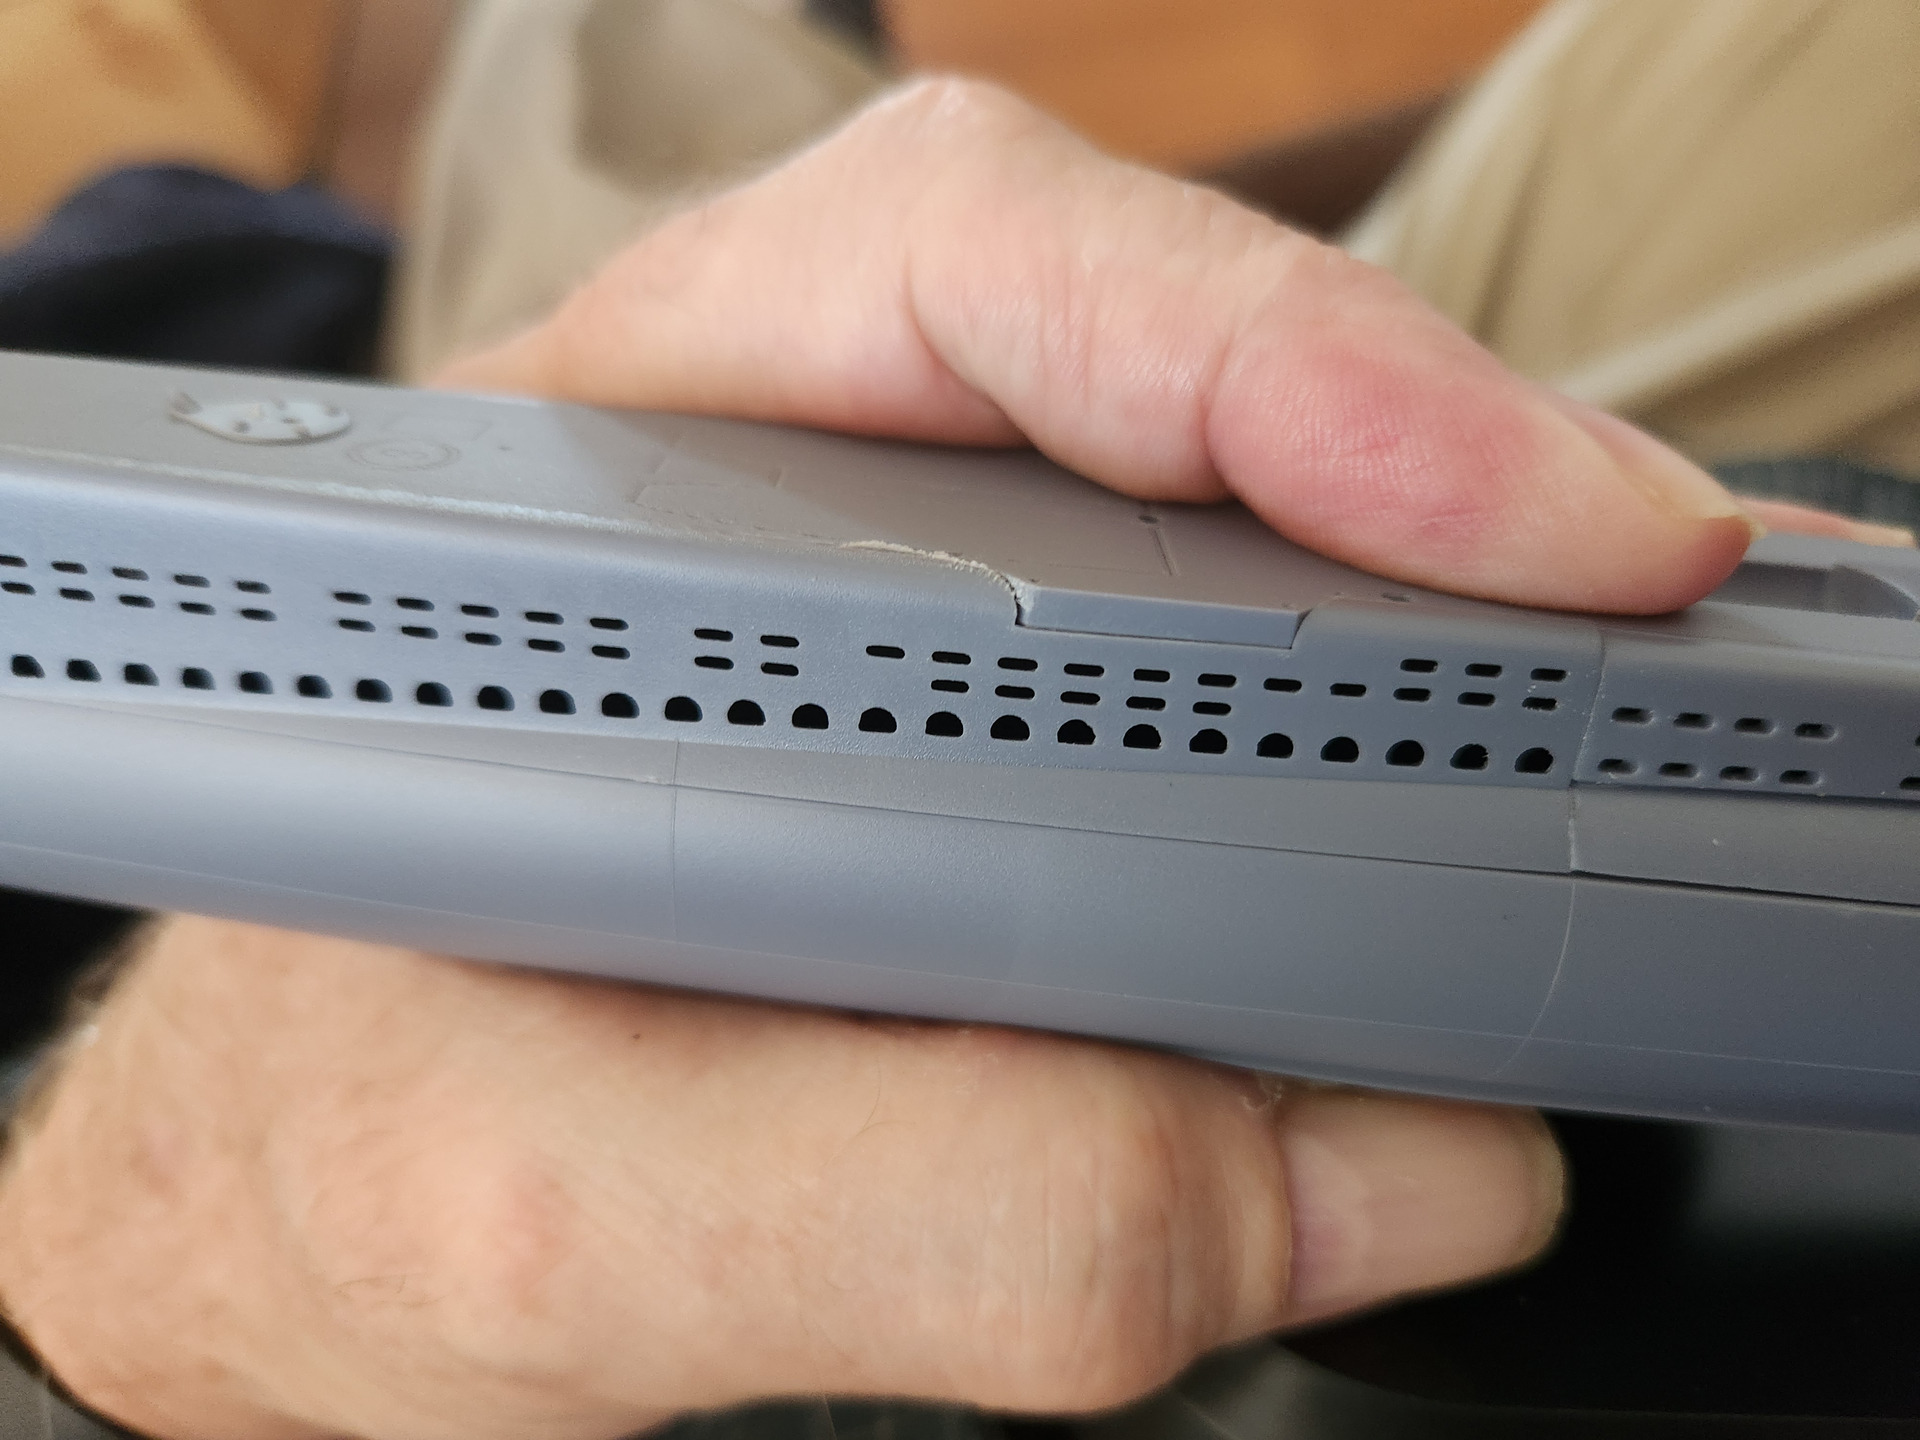
Until I look at the other side.
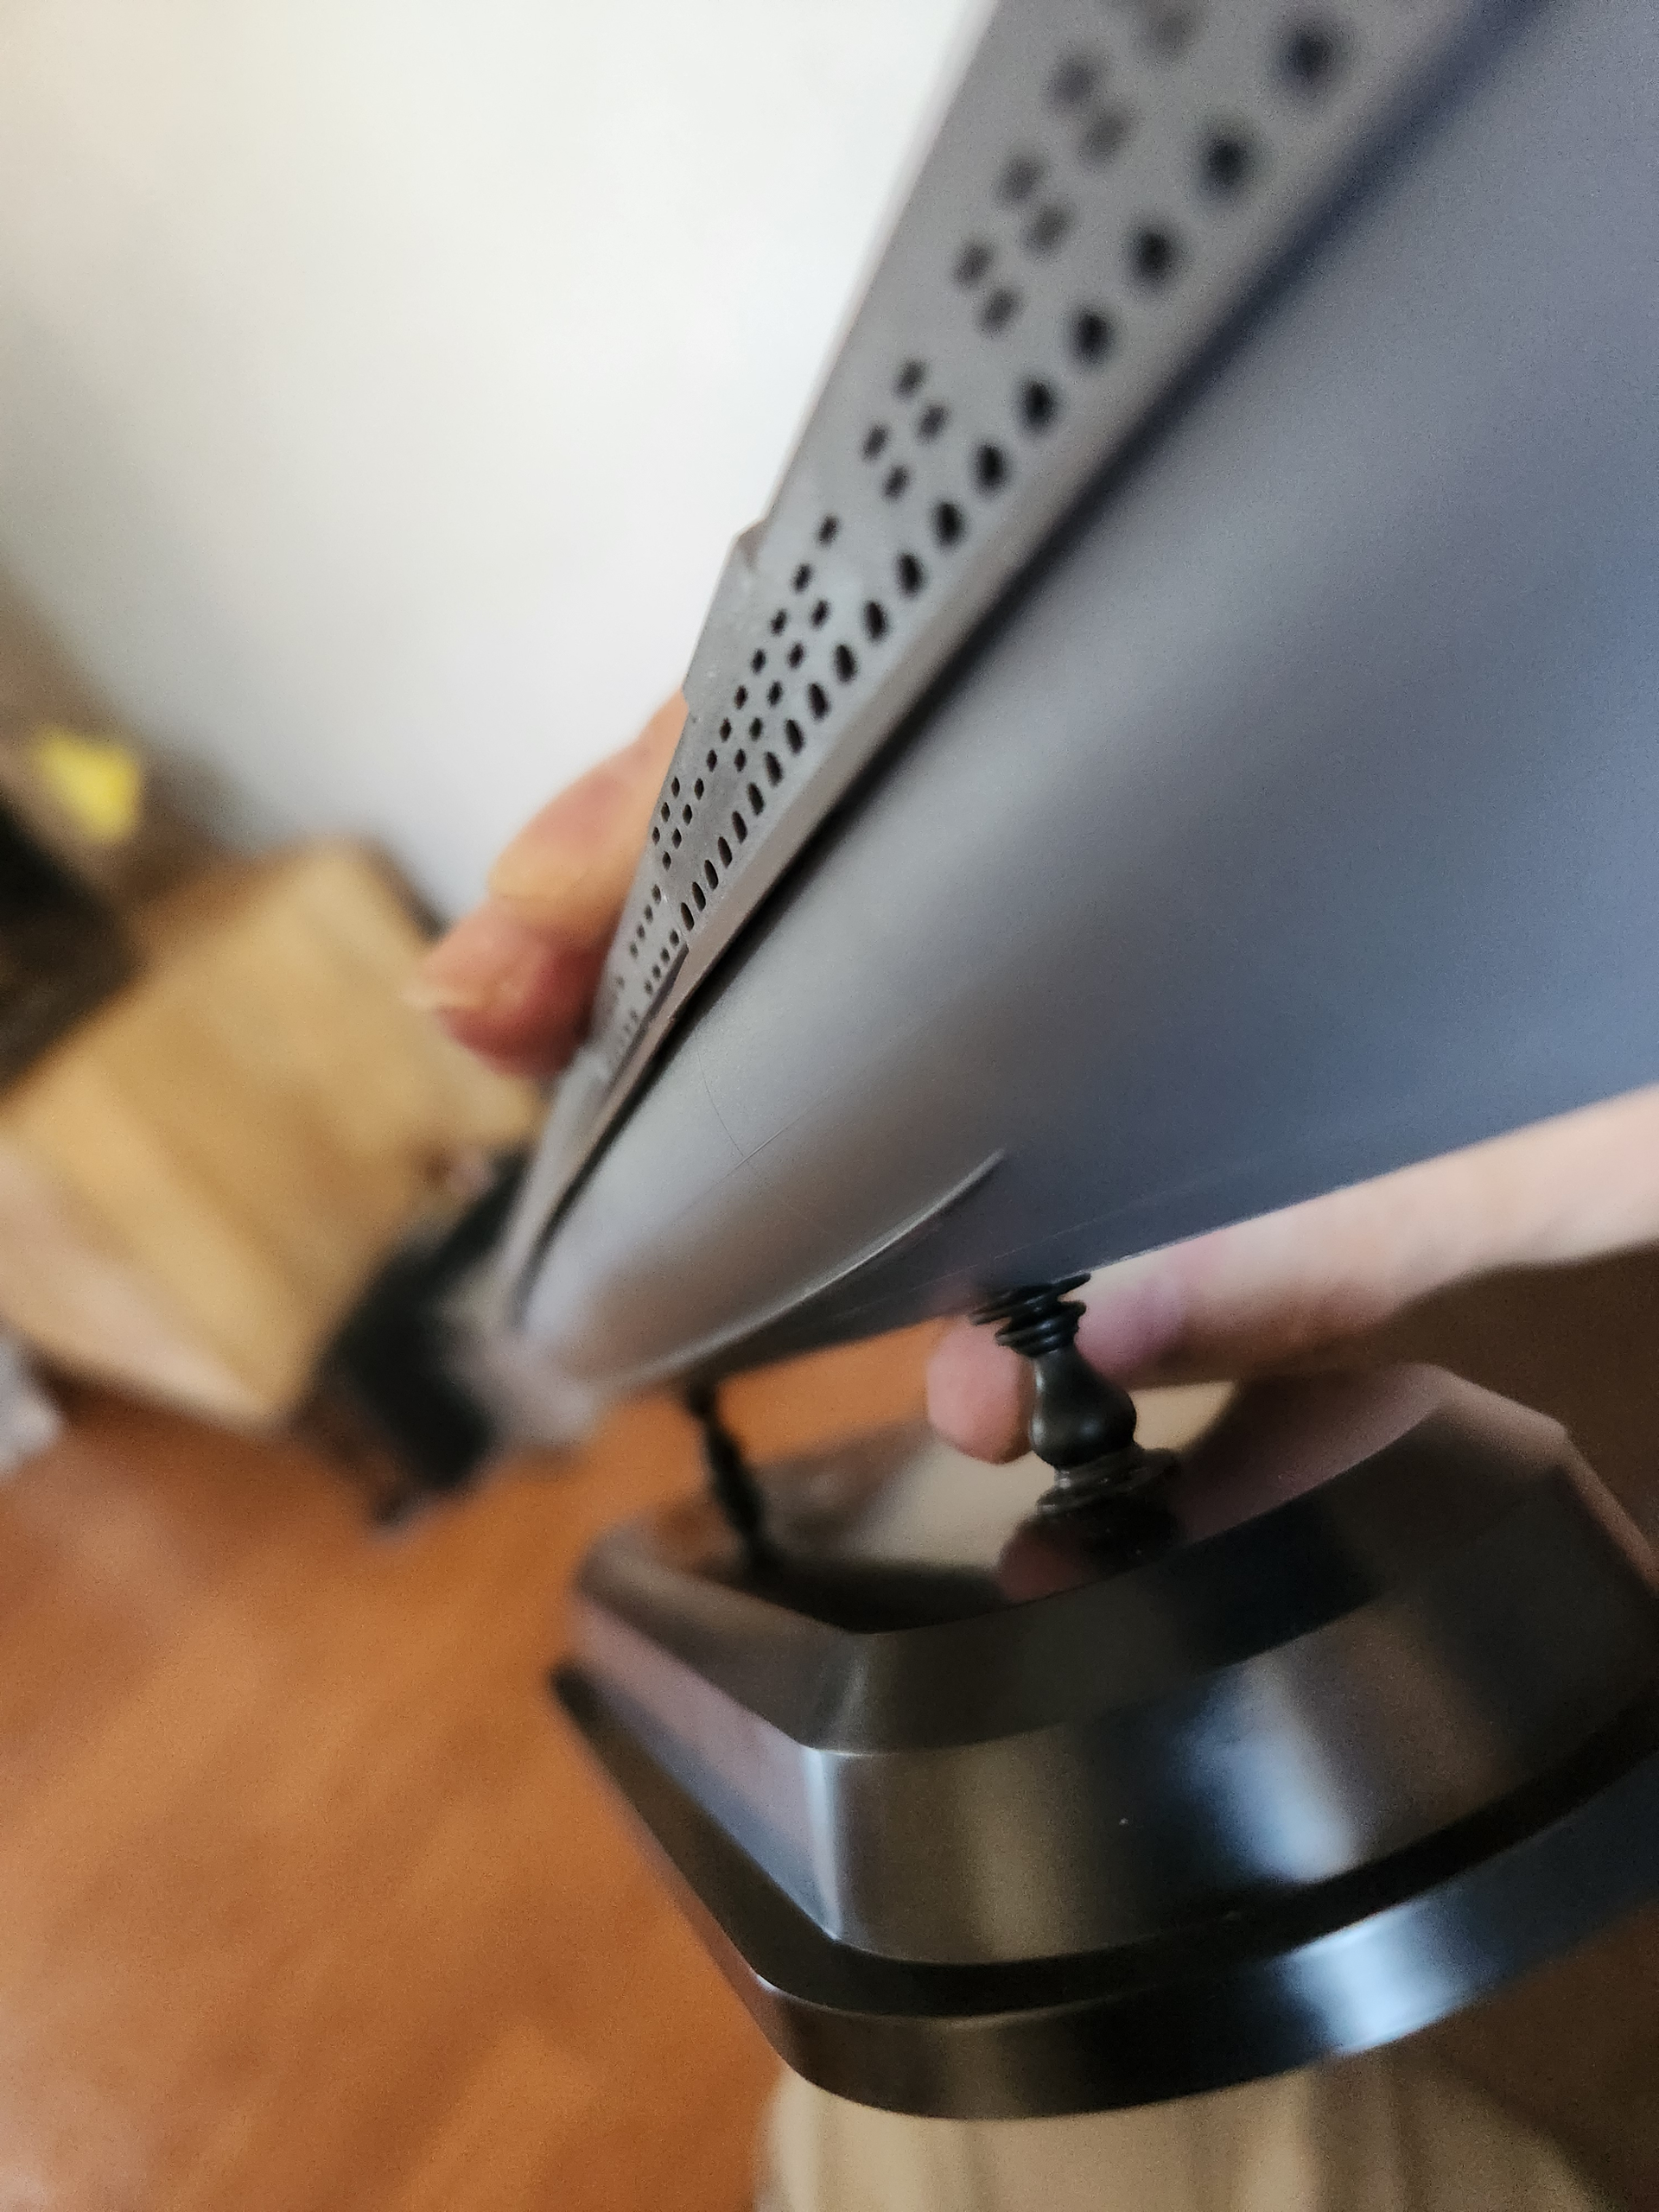
Your thoughts on making this go well? The upper hull overhangs the lower hull. My first thought is to wedge the lower hull apart with some sprue. Not sure how to get the exact lengths of sprue so as to end up with the exact width needed. Wouldn’t have been nice if the company had included some braces for the lower hull interior so the correct width would be established when fitting the two lower hull pieces together….
8 Likes
All the best! Sand and fill until you like it? Sorry as I have not tried this one, but watching closely
1 Like
Yikes! She’s imploding! Bring her to the surface!
But seriously… I’d recommend something more rigid than sprues. I’m thinking something like braces made from ‘Evergreen 253 Square Tube 3/16" (.187") (4.8 x 4.8 mm)’ located above the ribs. Dry-fit like crazy until the hull conforms to the top and going for the glue. After it all cures, use CA glue or Epoxy to reinforce the connections. HTH.
Good luck! …
—mike
EDIT: I changed my original 1/4" Square Tube recommendation to 3/16" — less bulky, but similar rigidity.
2 Likes
Perhaps balsa wood blocks between the lower hull sides to gently push them apart pushed forward and aft to get the hull sides to ease out to match the upper hull. Being soft balsa might give a little if you need to finely adjust it with a squeeze of the hull.
Rolled strips of corrugated carton may work too?
I would recommend reinforcing the lower hull joint along the bottom first though with a bit of thick styrene and or cyano in case it cracks during manipulation.
Keith
2 Likes
Finished-up the Ju 88 A-4 canopy masks last night. Hope they can withstand my ham-fisted airbrushing technique. As a precaution, I’ll re-burnish all the edges with a toothpick prior to going into the paint booth.
Art Scale Kit ASK 1/48 Ju 88A-4 (double-sided) Express Fit Mask
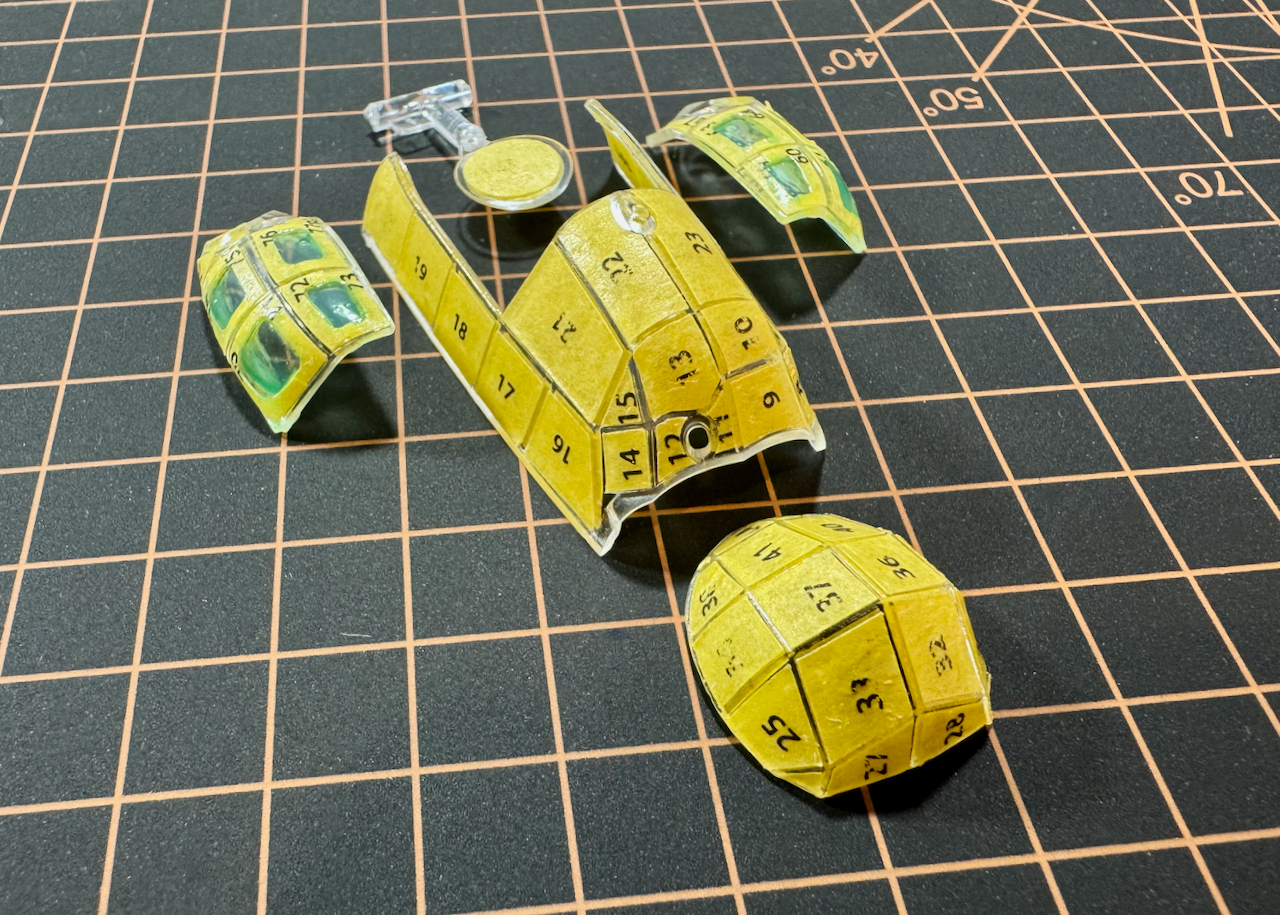
Torpedo los!
—mike …
7 Likes