Beautiful work as usual. You really managed to make this old kit into something stunning.
I’m looking forward to the corsair-build👍
I,m impressed . Beautiful build .
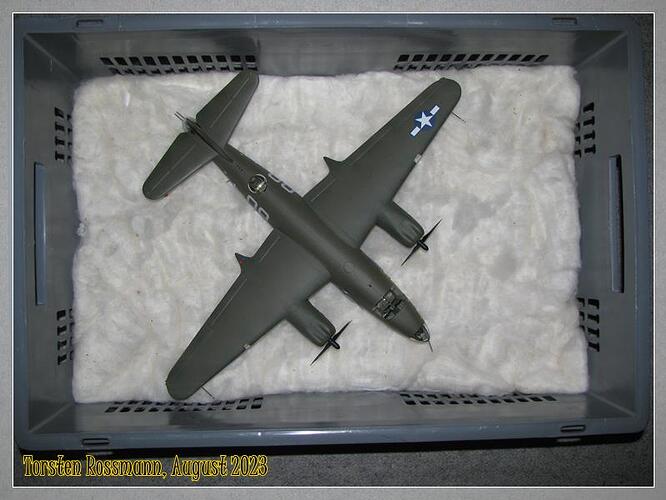
Like so many others that shared the same fate, Torsten, but unlike the rest, “Idiot’s Delight” gets to live on in your beautifully presented 1/48 rendition! ![]()
![]()
![]()
Kudos, sir! ![]()
Thanks for all your feedback, guys! Much appreciated! ![]()
I’m quite happy how this build has turned out in the end. A lot more work was put into it than in a Tamiya or Eduard kit. Still I have to make compromises with a 45 years old kit. But in the end I have now a model which you rarely see built. And the Marauder even fits in my transport boxes, though the box shouldn’t be any smaller … ![]()
Will be following the Corsair build .
I have a Tamiya 1:32 F-4U-1D that I want to build as a dedication to the variant ( updated )Jesse Brown flew in Korea .
Thanks for bringing this name to my attention, Quint. Never heard of the guy, so I had to google him. Interesting life story but way too short. Here for everyone else who also never heard of him:
Jesse L. Brown - Wikipedia
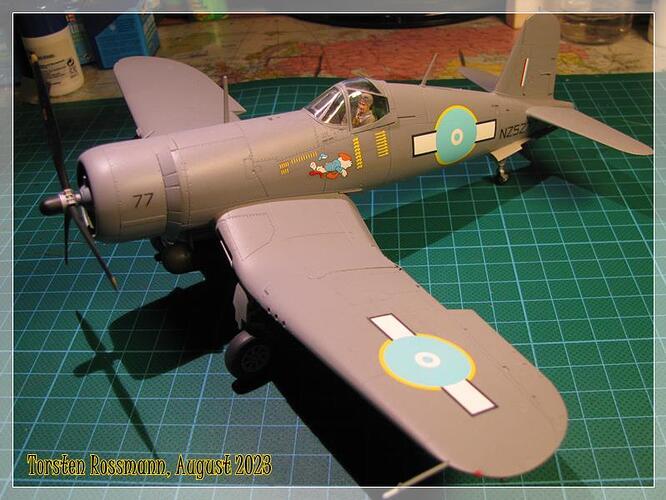
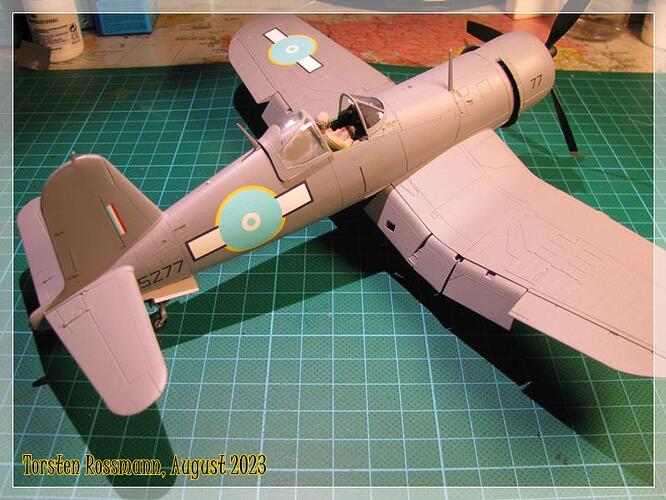
The only Corsair I can show from my collection at the moment is this many moons old Tamiya F4U. RNZAF decals are from Sky Models, Italy. Painted with Agama back then, so I can’t tell what I have used. It’s an old show veteran already … ![]()
I’ll start with the Aeronavale Corsair in the next days … ![]()
First update of my new Corsair. ![]()
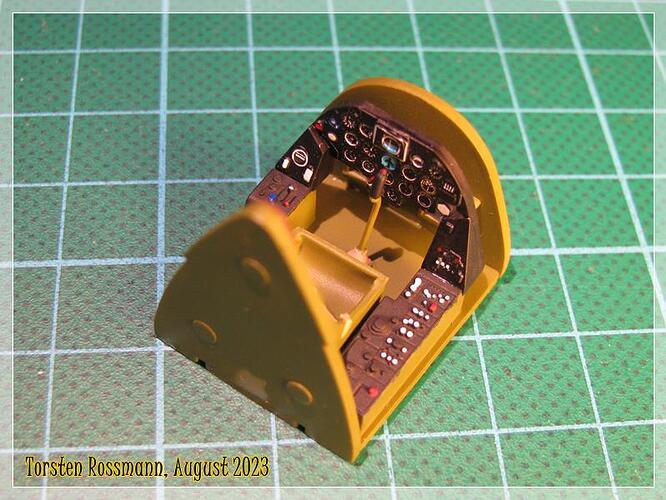
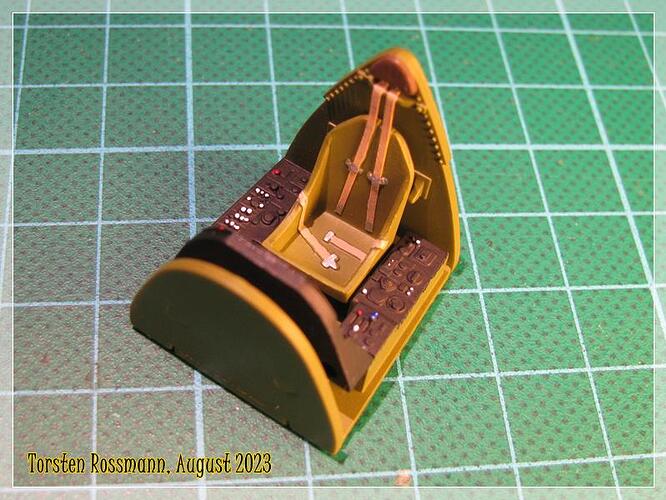
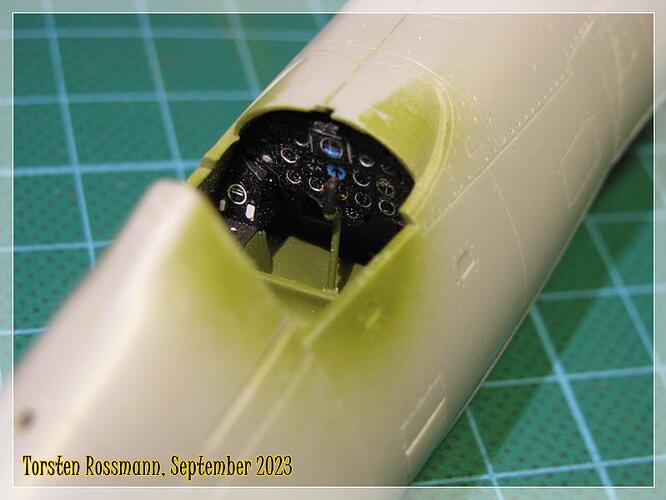
The cockpit looks quite rudimentary. Nothing near the high end cockpits of Eduard today. Here you see the age of the kit (1990’s I guess). The IP has 3 decals which were quite sticky to the transfer paper. Needed about 2 minutes in warm water to get them at least a bit loose. Hope this is no bad omen for the other decals. The seat belts are molded to the seat, I used some masking tape to make it look a little better. But I will keep the canopy closed anyway. There’s not much to see in the end …
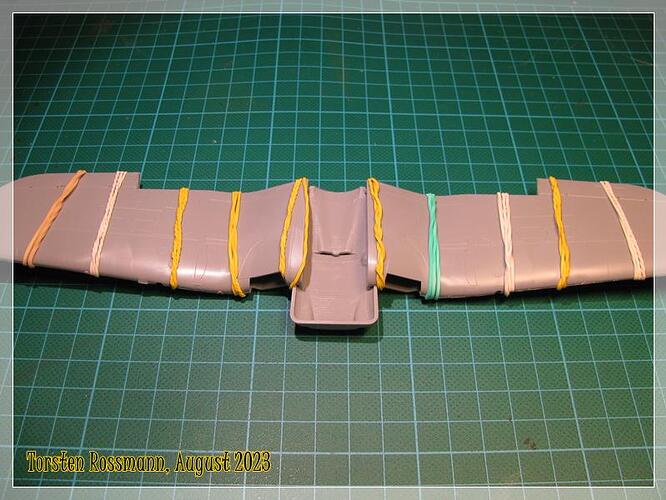
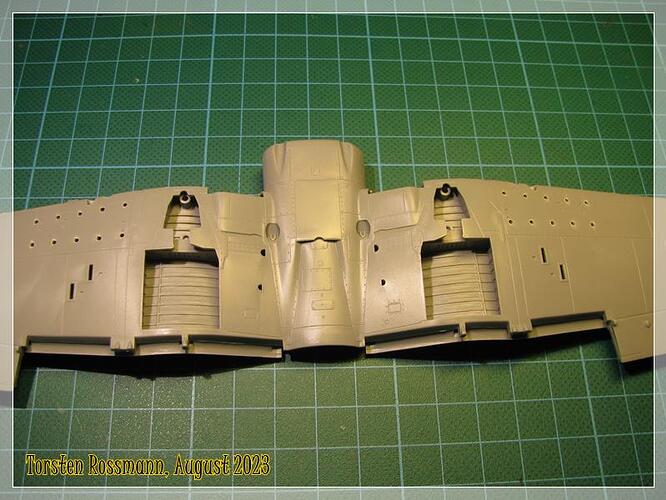
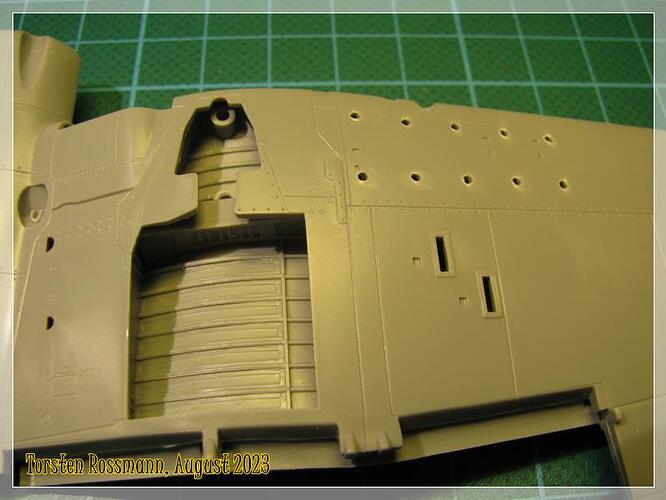
Wing parts are also done and holes drilled for the rocket rails.
Next update soon. Have a nice Sunday all!
Torsten ![]()
Torsten,
As usual I’m lurking in the dark recesses of Aeroscale and do follow your builds as I’ve done for many years, just seem to post less these days everywhere on KM.
Great job on the 46+ year old Revell-Monogram B-26B. You’ve certainly brought it up to current standards, and should be a real attention getting at your next attended show.
joel
Thanks for your feedback, Phantomlvr and Joel! Glad to hear you like my works here, though there are quite a few guys out there who are way better than me.
Joel, I’m glad if you’re peep in here every now and then and leave a comment. I know you follow my builds for a long time and I always appreciate your words and hints. Though the Marauder won’t be a show stopper I’m sure people will have a look at it. There are 2 final shows for me this year in October in Koblenz and in Thionville (France).
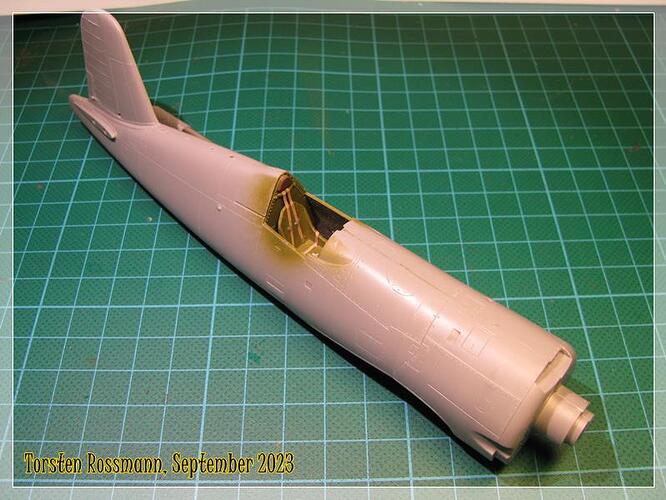
I came pretty far with the Aeronavale F4U in the past days. First the fuselage halves were glued and sanded. Fitting could be better … ![]()
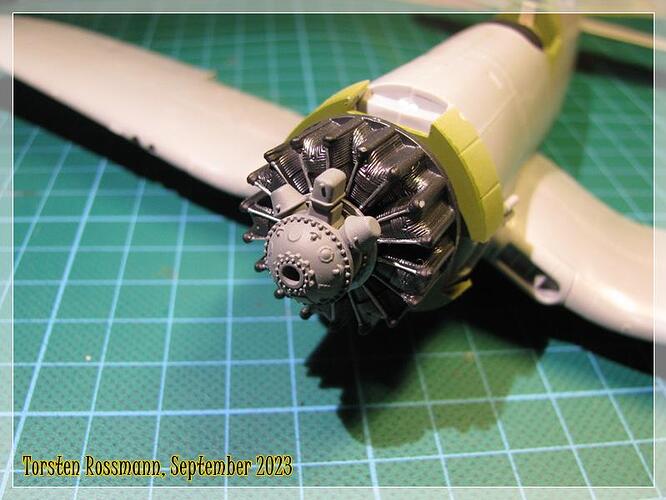
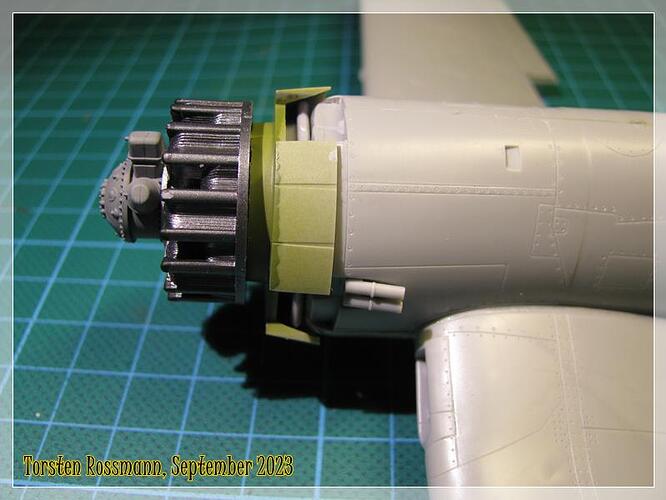
… like on the Marauder, the P & W engine is mainly painted with Vallejo 71073 Metallic Black. Most of it vanish inside the cowling later …
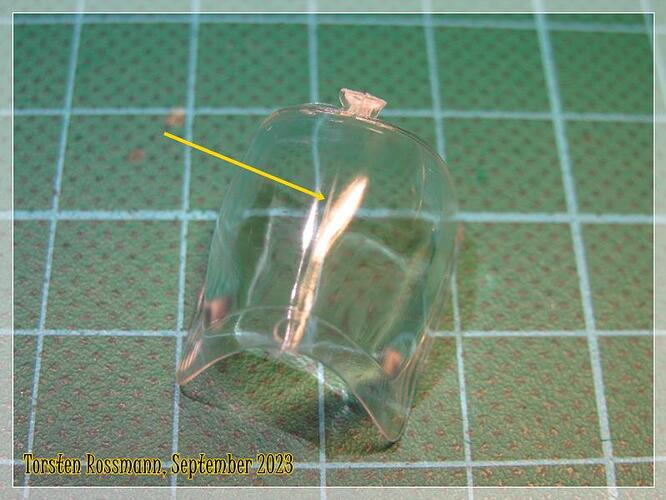
… the bubble canopy showed this ugly seam right in the middle. That was the standard molding technic of the last century I think …
… so some soft sanding (I said soft!!!) was done … ![]()
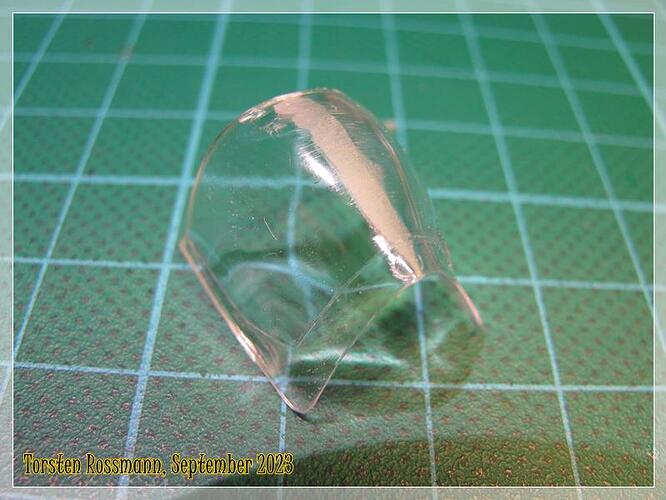
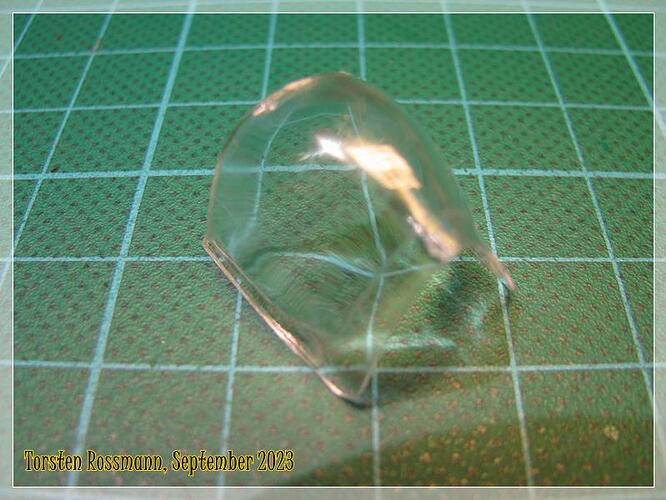
… followed by sheer endless polishing until the result was okay for me …
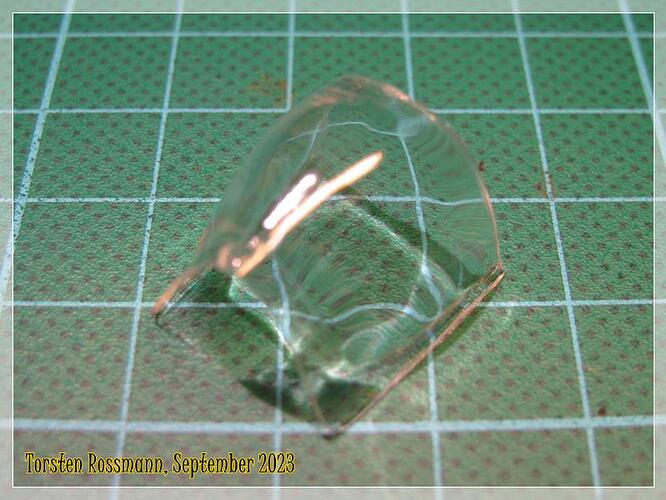
… finally I dipped the canopy in a Future bath and let it dry over night. The result is so shiny that my camera didn’t know what to focus, sorry … ![]()
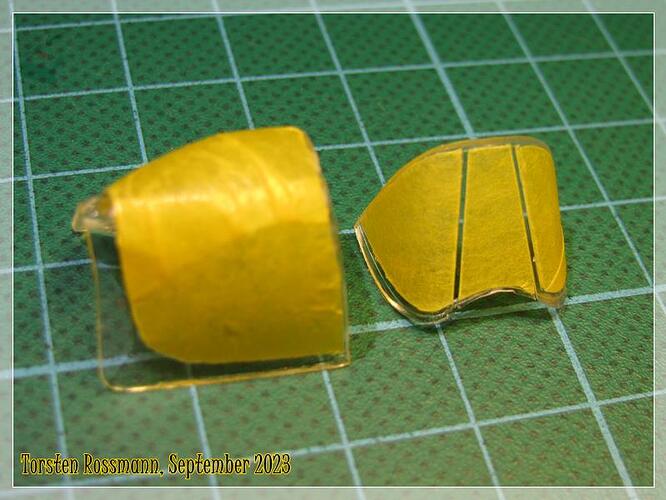
You may have noticed that I don’t have an Eduard mask for the canopy, so I had to cut one with Gold Tape. It’s always the worse option to cut on the clear part but with a steady hand, sharp blade, patience and good music in the background this is the result of my efforts …
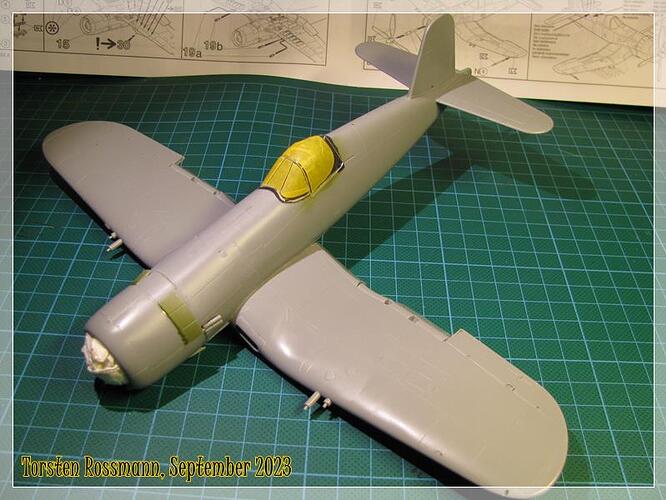
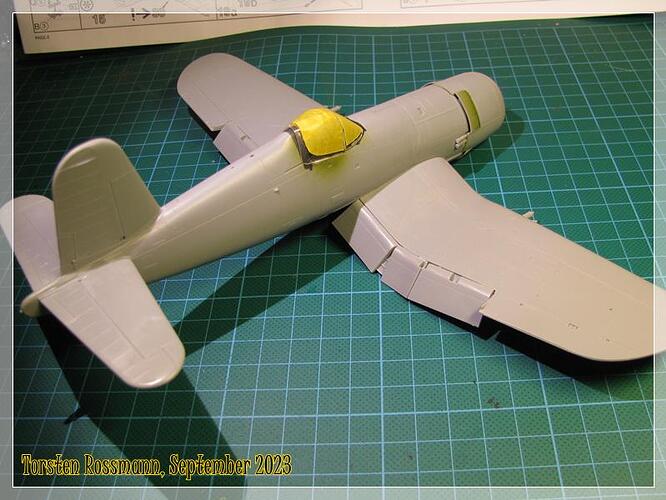
Further work was done, all flaps were added, exhaust stacks are drilled open and the canopy glued to the fuselage. The cowling has a very tight fit. Don’t know if that comes from the kit or if it’s my mistake but it’s in place now … ![]()
Everything is put on a hold now. I’m in the preparations for my vacations which will keep me away from my bench and modelling for the next 2 weeks.
Have a nice week, guys!
Torsten
![]()
Nice work on the canopy. The seam line is one of the reasons that the few aircraft kits I own are still in the boxes! One day I may venture forth into the great unknown of canopy polishing.
Looking fine as usual.
There is a great product from Tamiya. It’s a paste, or better three tubes with a paste in rough, fine and a polish- cream. You can remove deep scratches with it
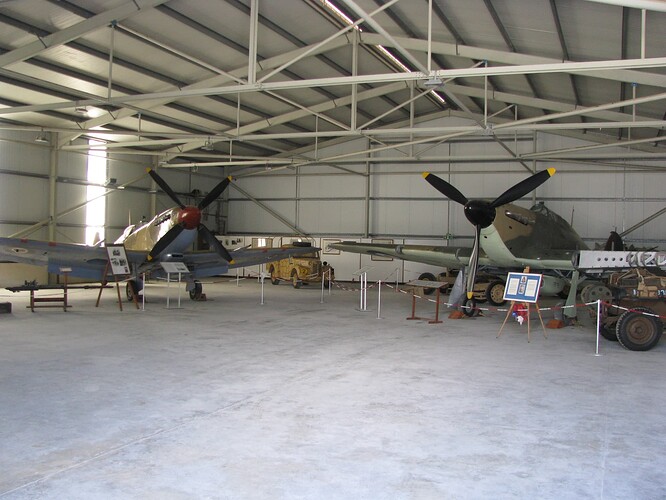
Greetings from sunny Malta, guys! ![]()
Behind me you can see the Maltese War Memorial in Valetta, also known as the Siege Bell. Been also to the War Museum in Fort St. Elmo today (4 hours), which tells not only the story of Malta in WW2, but it takes the most place there.
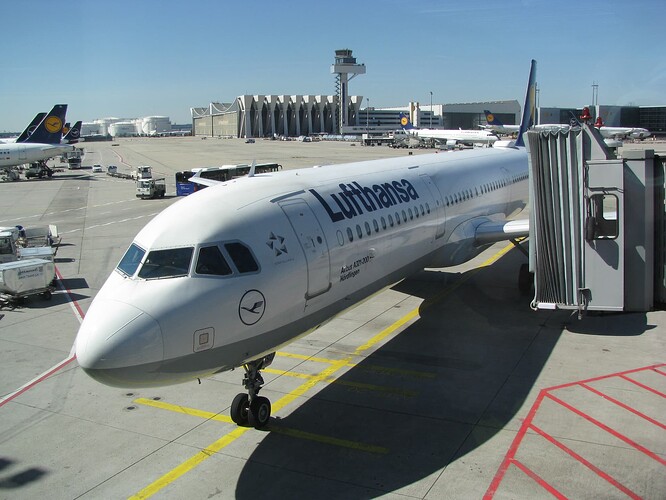
My plane of the day (on Wednesday) was this Lufthansa Airbus 321-200 “Nördlingen”. Flight took a bit over 2 hours … ![]()
No bench works in the next 2 weeks but a lot of sight seeing on the islands. There’s so much to see here, that 2 weeks are not enough.
Torsten
![]()
Torsten,
Most impressive work on removing that nasty seam on the canopy. Being a car guy, we specialize in removing body scratches using various compounds. As Marco mentioned, the Tamiya 3 step tube paste works fantastically. I personally use the Gravity of Spain 3 part system as I’ve yet been able after years of trying to get all the Tamiya tubes and their wax. Just so many Tamiya products aren’t imported here in the states. Just never understood why. Last but not least is your canopy masking. One would have a real hard time trying to figure out if you cut the mask yourself or used a manufactured one.
Have a great time on vacation. For us here on the Eastern Seaboard of the USA, it’s the height of the Hurricane season, and the Atlantic is just continually loaded with new storms. Right Now Lee is heading towards the coast but is supposed to turn North East and spare us as it’s now an official Cat 5 storm. That’s winds up to 180 mph with gusts to 200 mph!!! No house nor tree here can stand that. Scary times for sure.
joel
Stay safe this Hurricane season Joel. We get cyclones here - the same type of storm, just named differently - and I have been through a few bad ones.
Peter,
This has so far been a record breaking Hurricane season as at times there’s so many waves coming off of the African planes that there’s literally no room for them in the North Atlantic. Right now there’s Lee which scaled back to a mear Cat 4 Hurricane, and Magot that forecasted to be just what we call a Fish Storm as it won’t hit any land till its journey’s end, but two more waves just off the African coast which always are concerning.
joel
Joel, if it would help, I could send some Maltese sunshine, calm weather and some of the 28 C we have here right now, over to you. During the day we had around 35 C. Stay safe over there!
Torsten
![]()
Torsten,
Sure seems like you’re having one great vacation. Just treat your camera to some TLC at the end of each shooting day.
Feel free to send some of that weather my way.
joel
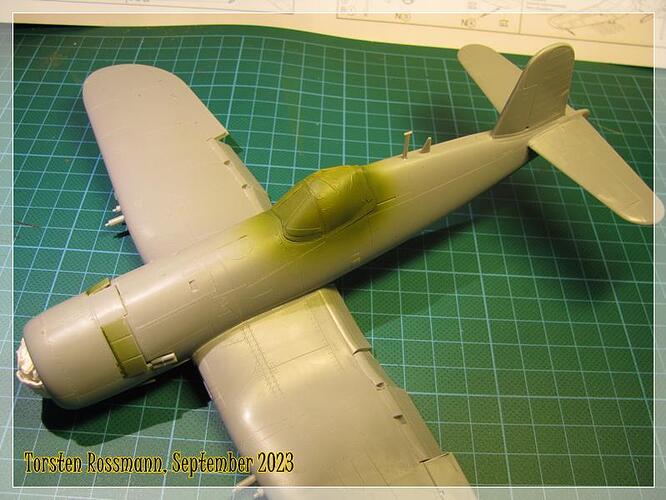
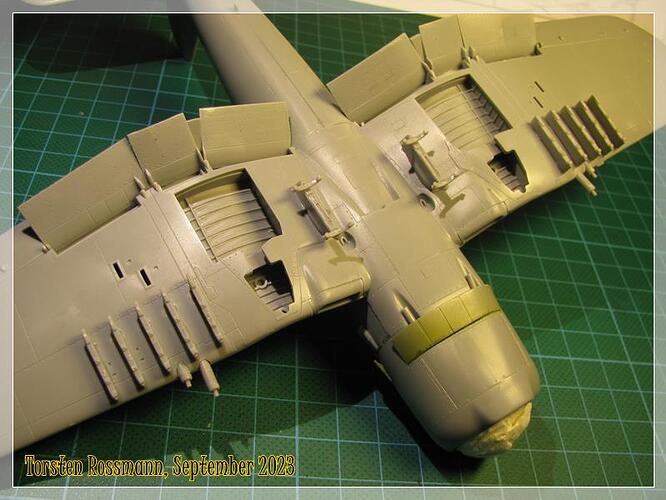
Back from vacations in sunny Malta means back at the bench. Have done a bit of work in the last days, like adding the antennas …
… plus bomb racks and rocket rails. Some fiddly work …
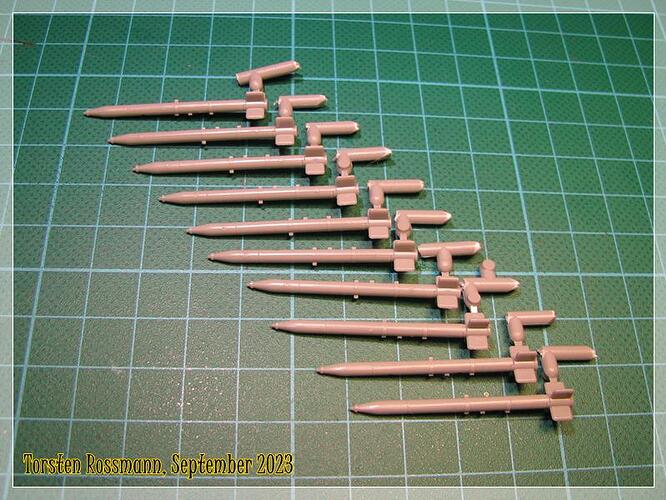
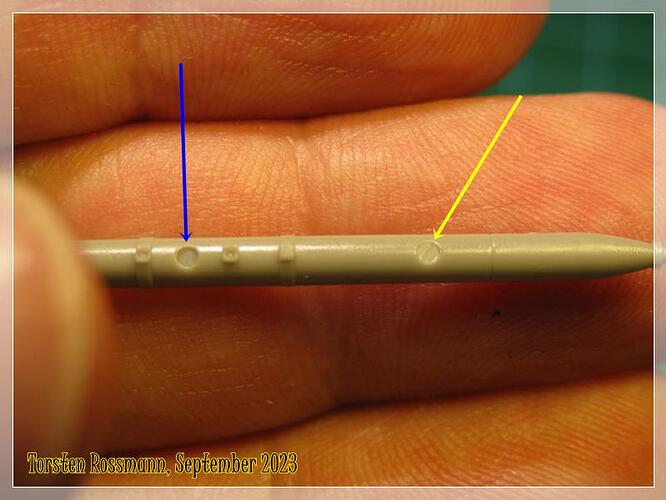
The rockets are 2 pieces each …
… and have ugly ejector pin marks ![]() The one with the yellow arrow will be visible later, the one with the blue arrow won’t. Sanding is no good idea (I’ve tried that), so I will carefully fill and sand that one. Not sure if the result is what I like…
The one with the yellow arrow will be visible later, the one with the blue arrow won’t. Sanding is no good idea (I’ve tried that), so I will carefully fill and sand that one. Not sure if the result is what I like… ![]()
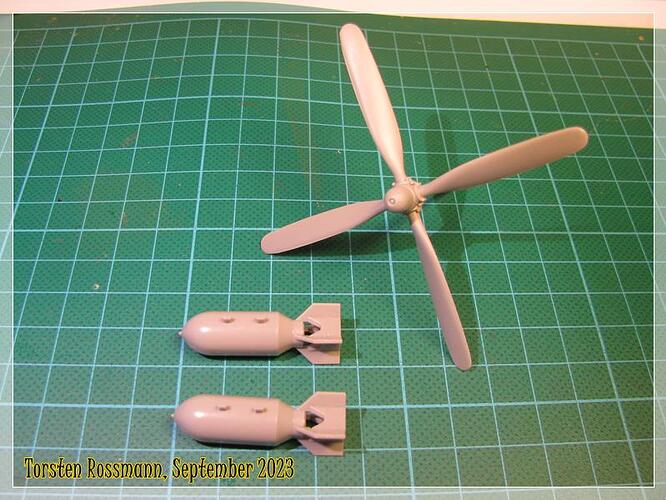
The bombs are 4 pieces each and the propeller had also nasty seams and pin marks on the rear of the blades which I have sanded meanwhile … ![]()
Only the landing gear and gear doors are still missing but I think I can start painting next week.
Have a nice Sunday!
Torsten
![]()
