Torsten's bench works

Thanks Russ! Glad, you like it! :slightly_smiling_face:

Some time has already passed since I finished the C6N1 Saiun, so time to start something japanese :jp: again. Though I have quite a few Hasegawa Zeros in my stash, I couldn’t resist Eduard, when they came out with some new Zero kits since 2022.
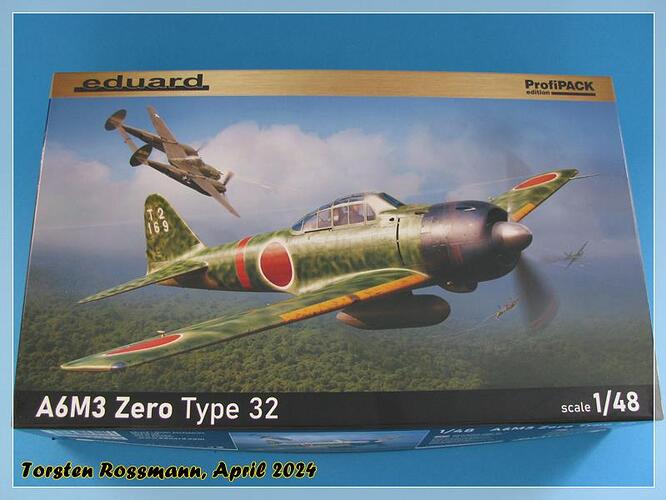
First new kit on my work bench will be the Mitsubishi A6M3 Zero Type 32 as the ProfiPack …

Let’s have a look at the spues. Sprue A comes with all the clear parts …

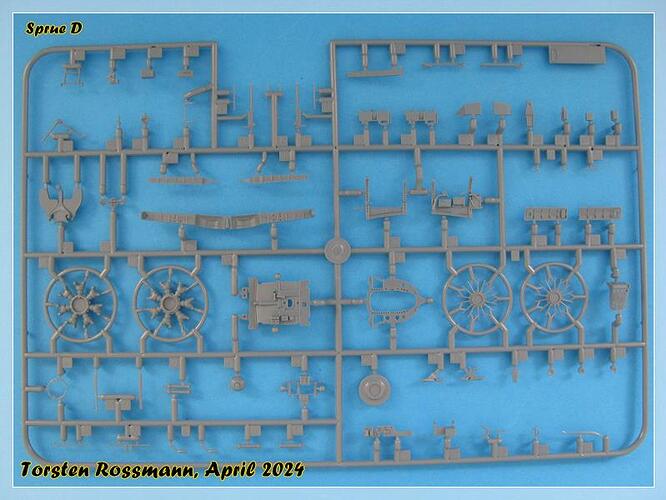
… Sprue D has various parts for cockpit and engine …

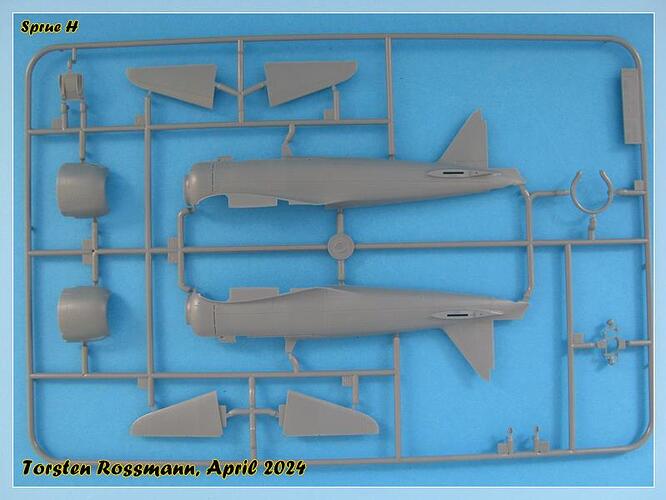
… Sprue H shows the fuselage and elevators …

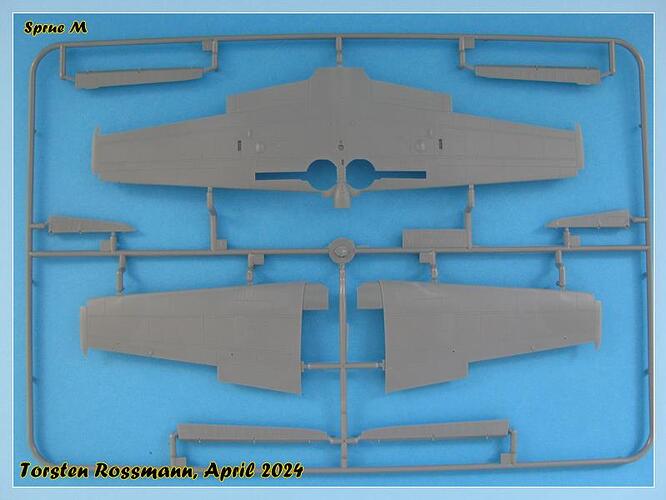
… Sprue M holds the wing parts …

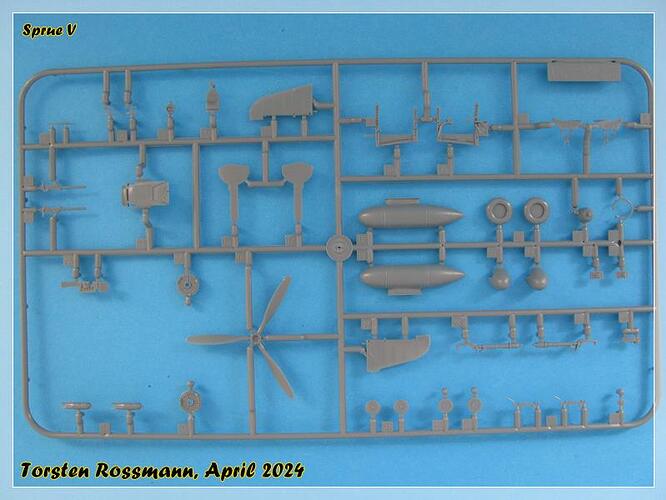
… Sprue V has parts for the landing gear and external fuel tank …

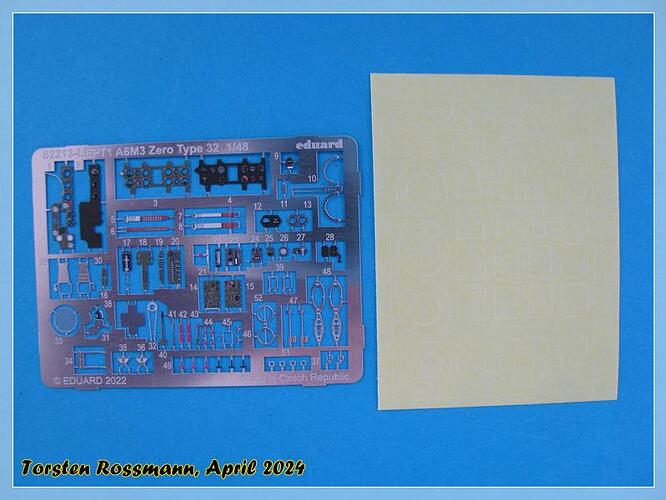
Doesn’t look like too many parts here. Furthermore the ProfiPack has as usual a mask and PE parts …

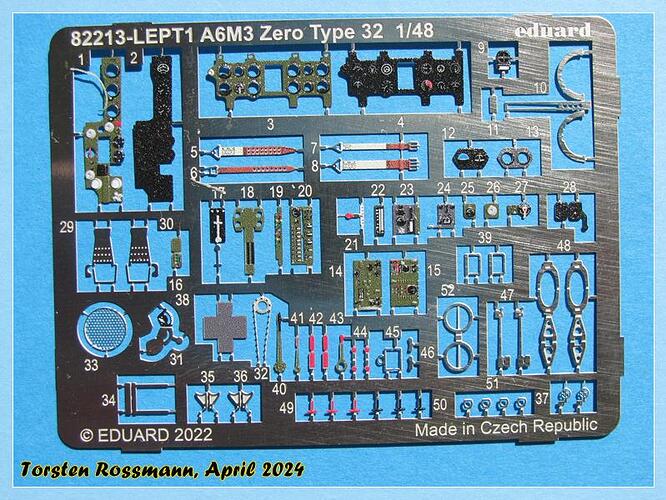
… and a closer look at the PE parts. I’ll see how many of them I really find usefull …

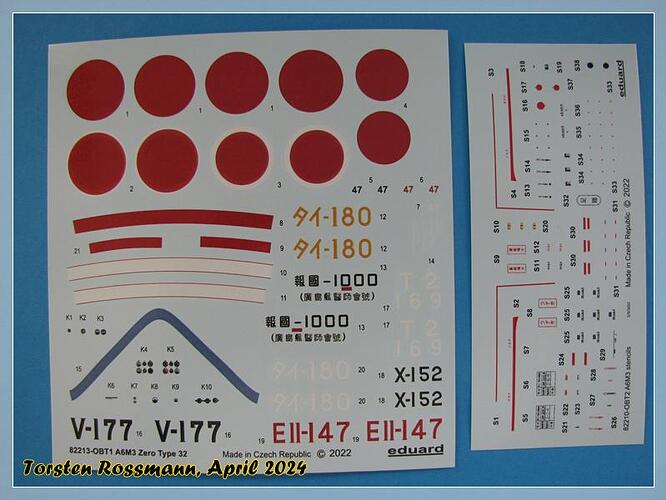
… the decals are made by Eduard again with the inevitable stencils. Everything looks well printed …

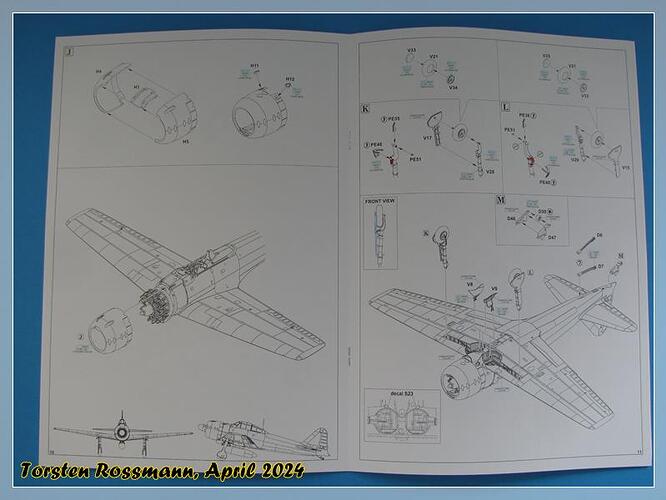
… as usual, the intructions are again a small booklet …

… though Eduard offers 5 interesting decal options for this kit …

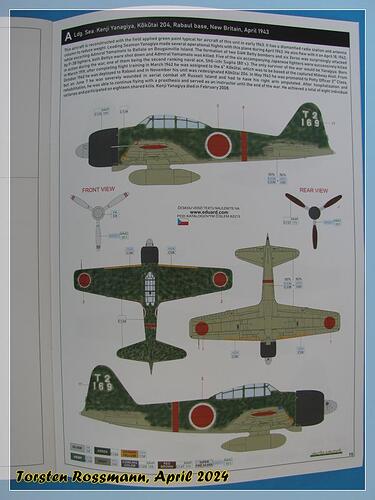
… it was a quick decision for me when I saw them. I’ll go for the aircraft of Kenji Yanagiya

Though he was an “average” Zero pilot, credited with 8 victories, he became famous because he was one of the 6 escort pilots of that disastrous Yamamoto flight (from the japanese view) on the 18. April 1943, being the only one of them to survive the war. He used this Zero on that day and shot down a P-38 during the fight.
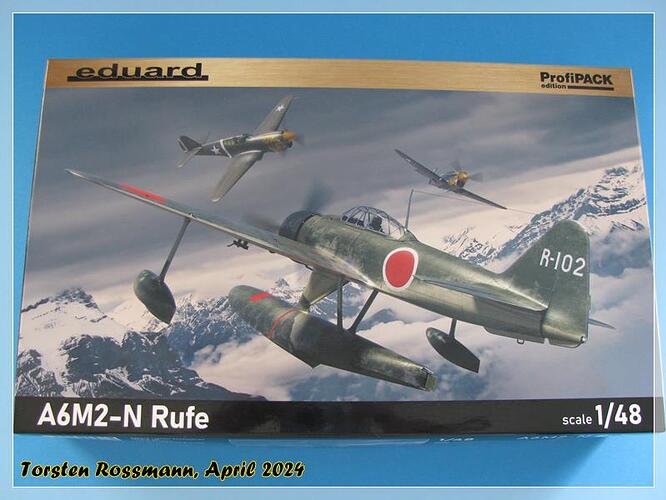
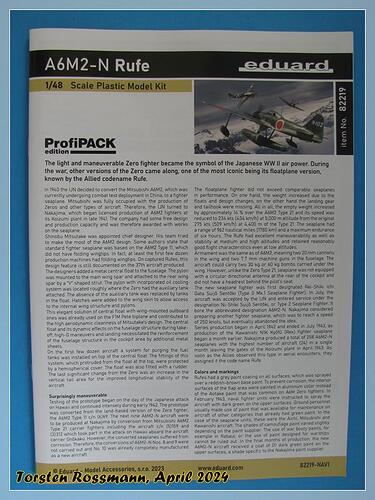
In the last days I did a lot of thinking if I should make it a double build or not. Finally I decided yes, so here comes the other part. Though it’s another Zero it’s slightly different to the other build, but only slightly … :wink: It’s the Nakajima A6M2-N Ni-Shiki Suijo Sentoki, better known as “Rufe”. And it’s another ProfiPack …

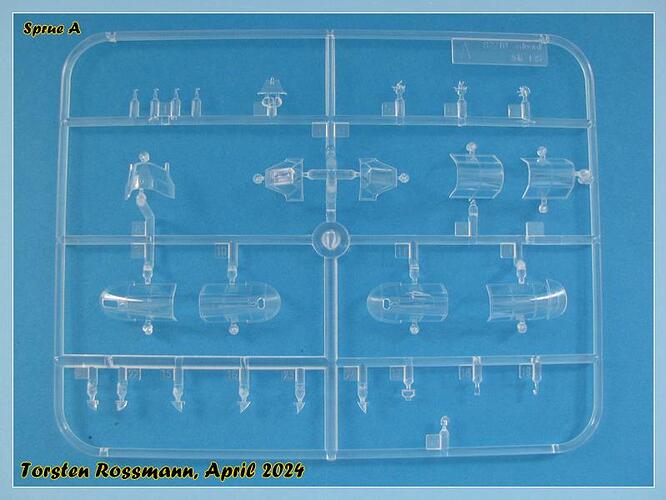
Let’s again have a look at the sprues. Sprue A is the same as on the A6M3 …

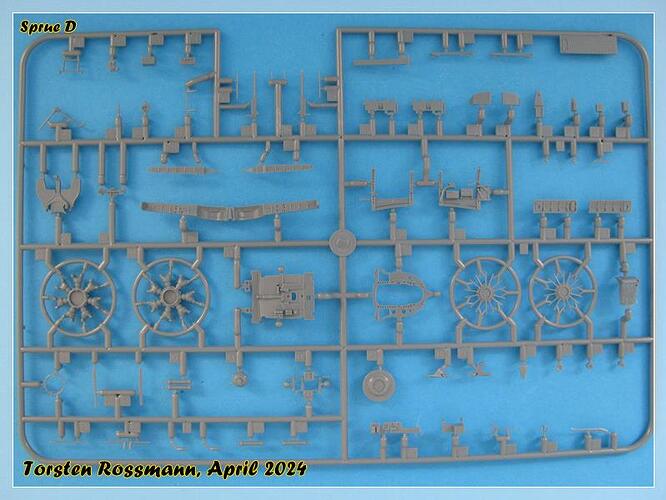
… same with Sprue D …

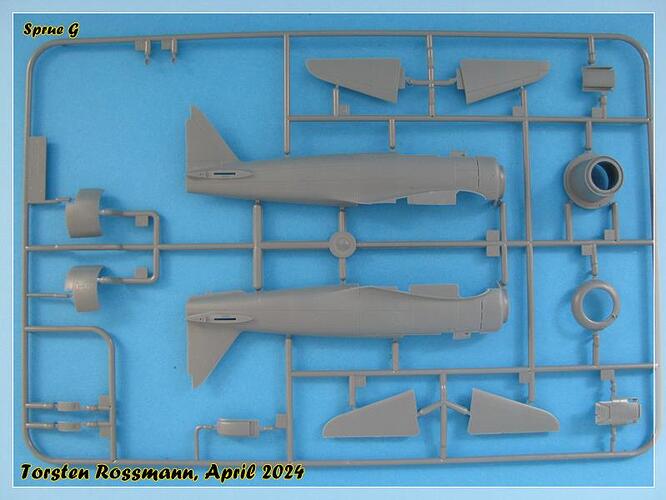
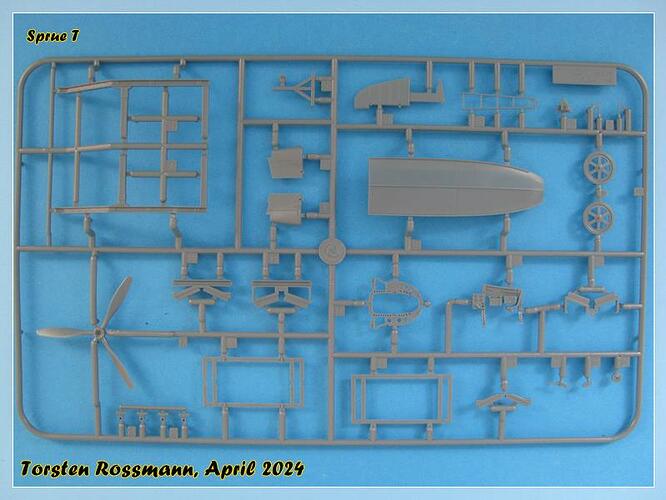
… but that’s it with the similarities. The fuselage comes on Sprue G …

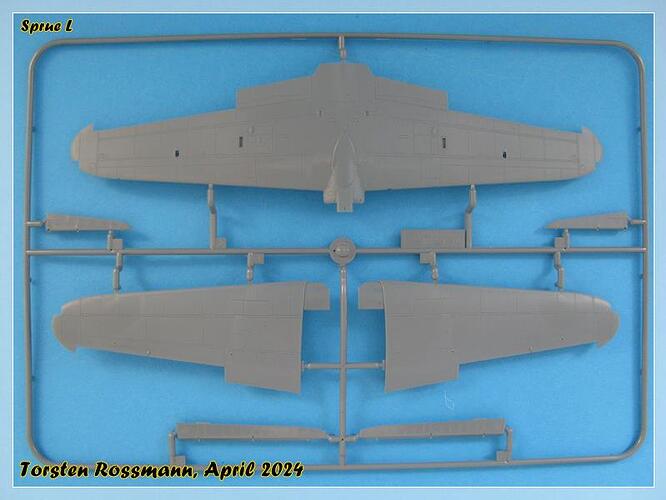
… the very different looking wings are on Sprue L …

… the carriage for the seaplane is on Sprue T …

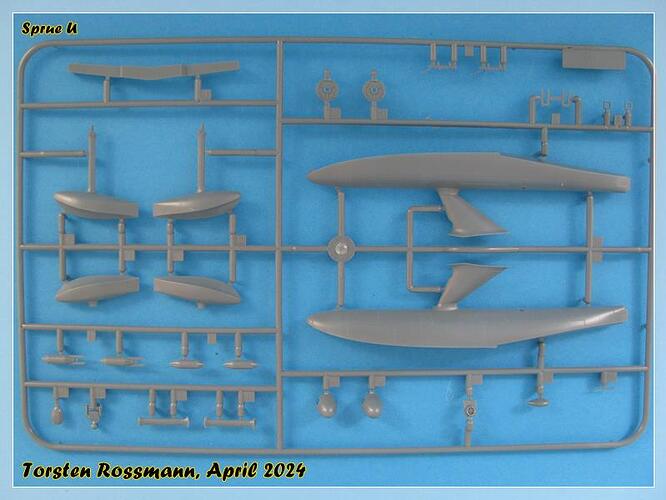
… while the floats and some bombs are on the final Sprue U …

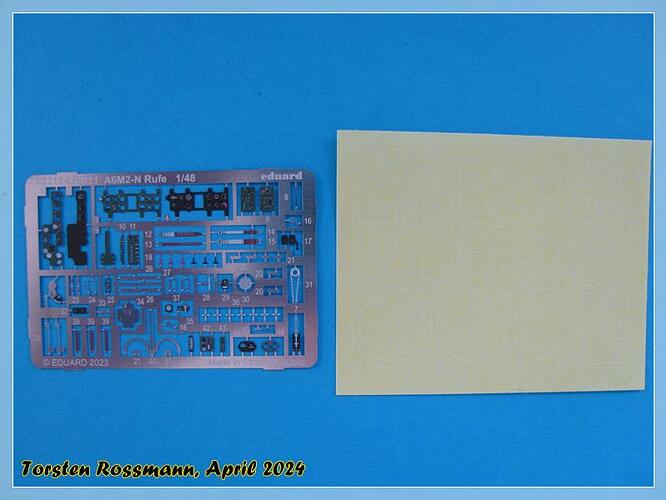
… here are masks and the PE-parts …

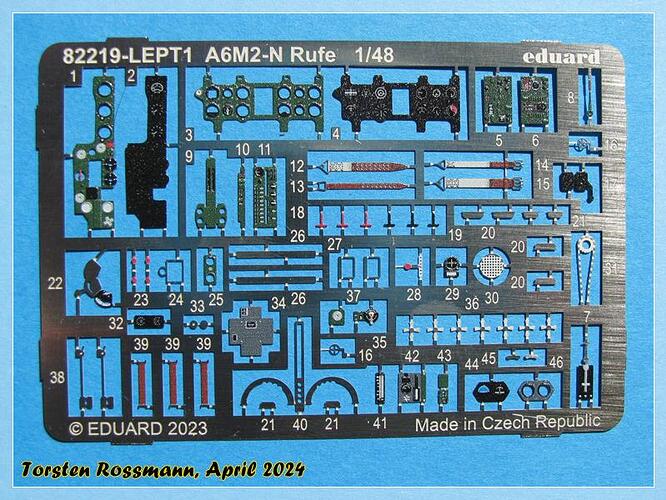
… another closer look at the PE-parts …

… again good printing quality of the decals …

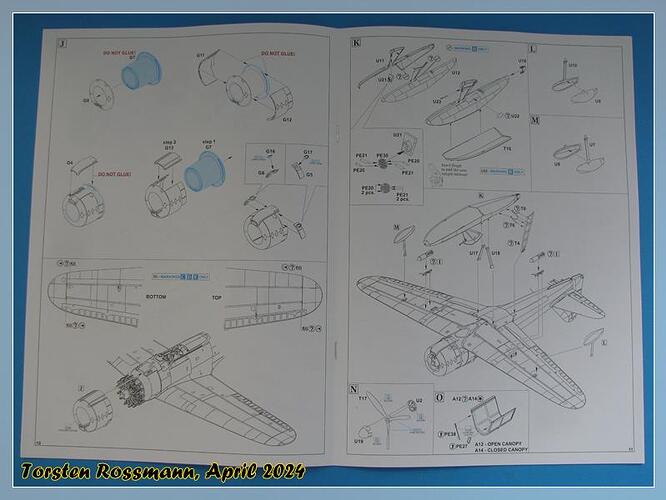
… the booket with the intructions …

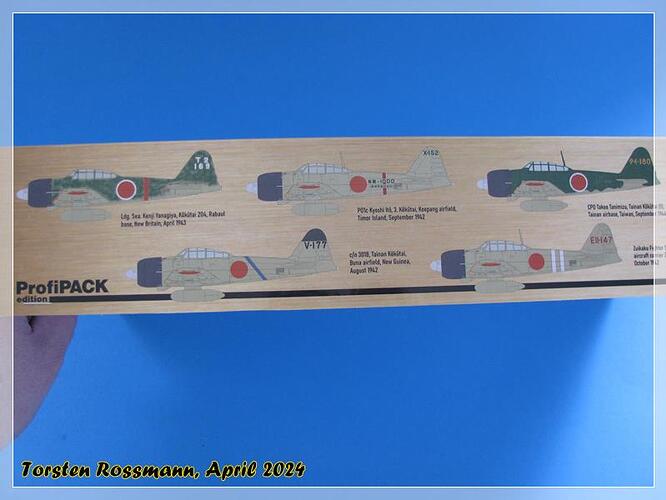
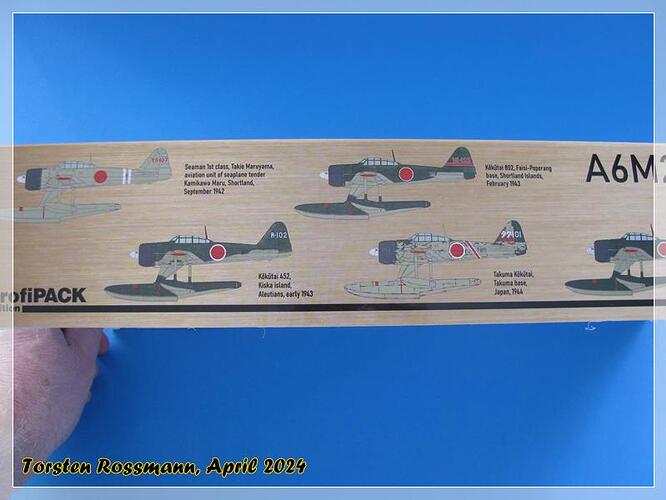
… Eduard offers again 5 options for this kit …

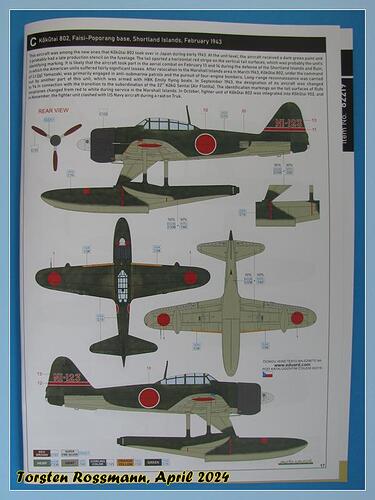
… and I probably go for this plane of the 802. Kokutai at the Shortland Islands 1943. Haven’t made my mind up about it but this bird looks nice. Hope I can achieve that kind of mottling …

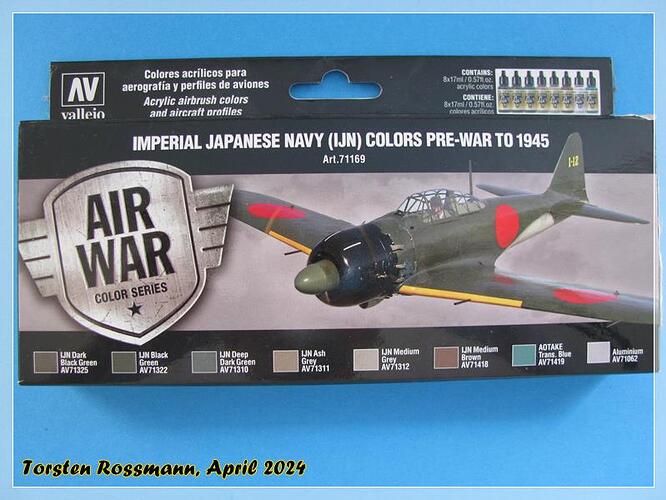
Last year I bought the Vallejo paint set 71169 for the IJN colours. They should help me to achieve a nice result on both builds …

A bit difficult will become that kind of Grey or Beige on the underside of both planes. Eduard suggests a 50/50 mix of 2 Gunze paints, so does Vallejo with their paints. I’ll do some test spraying in the next days to see what the colours look like and make a decision. I’m not really a fan of mixing paints … :unamused:

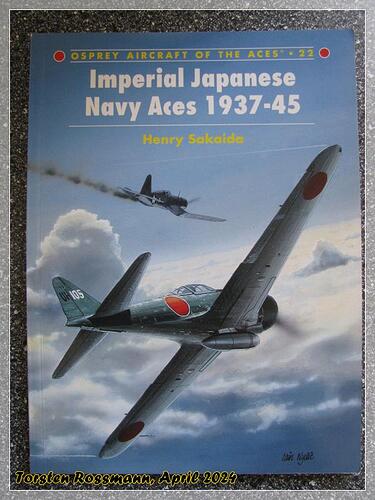
A bit of help might also be this old IJN Aces book from Osprey. It was already written when Yanagiya was still alive and well …

I’ll start with the builds soon and it would be great if some of you guys would again accompany me along the way.

Happy modelling!
Torsten
:beers:

9 Likes

Few things beat the feeling of starting a brand new Eduard kit!

Regarding Tunnan and Vampire. OK, they look good, but I mostly see them as a major missed opportunity for a double Swedish Airforce build. Shame on you :grin:!

:raising_hand_man:

Magnus

2 Likes

One of these few things is when the brand new Eduard kit is close to the finish line, right? :slightly_smiling_face:

Regarding the Tunnan, the kit had also swedish markings but the Austrian AF was a bit more colourful. The Airfix Vampire had only 2 x RAF and 1 x French AF on the decal sheet and also here I have chosen the most colourful bird. But yes, I take the blame on me for not making a Tre Kronor Vampire … :innocent:

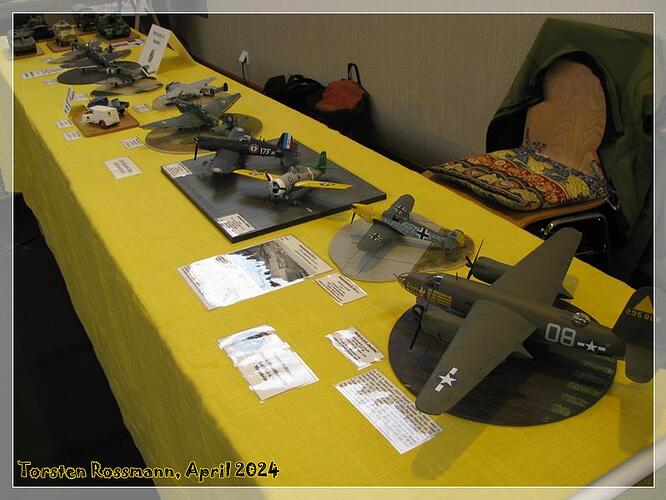
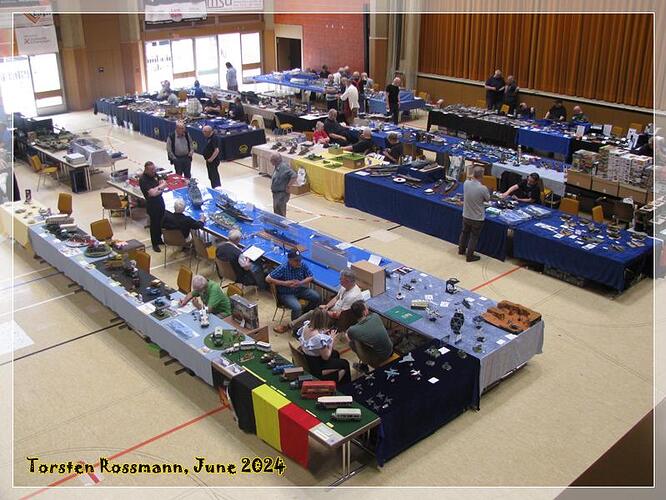
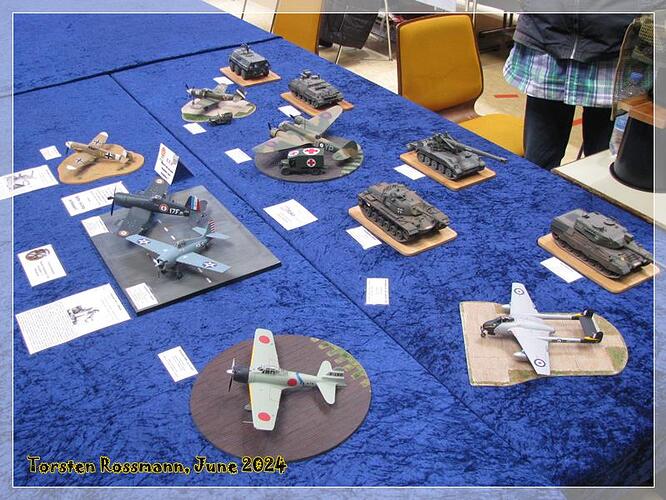
As you guys may remember, I have been on another very nice model show last weekend in Neufgrange, a small village in the Departement Lorraine/France, about 200 km away from my door. It was again a fine little show and also another happy meeting of the big modellers family with folks from 4 countries. I had a great weekend at our french friends with a lot of chatting and laughing. This was my table, today with a yellow tablecloth instead of a blue one. I guess you recognize many of the builds from this thread …

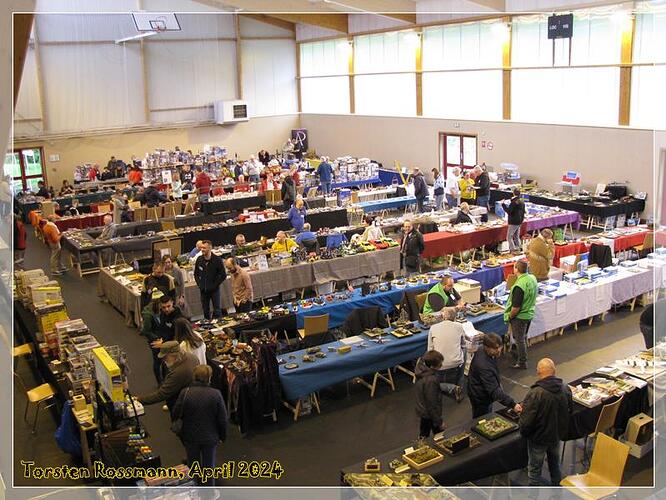
… this was the hall on Sunday morning. Spot my table!

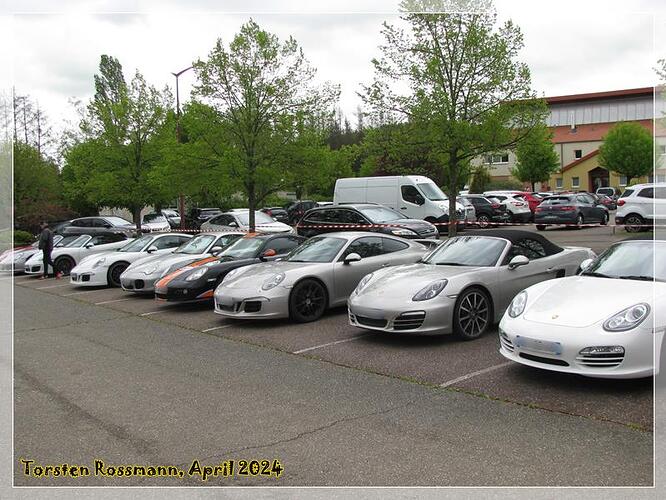
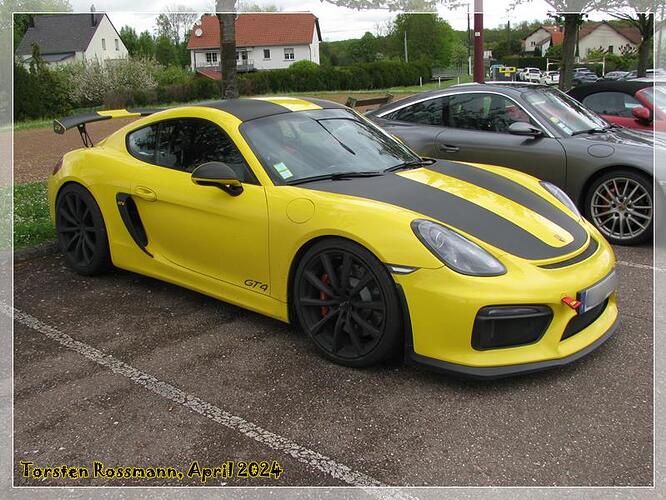
On Sunday we had to leave some space on the parking lot for a Porsche meeting. All Porsche came from Lorraine and Alsace. Several 100.000 Euros stand here. Choose your favourite one …

I haven’t started with the Zeros yet, but I hope to start with them this week. Just be patient …

Have a nice week, guys!
Torsten
:vulcan_salute:

8 Likes

Love the Yellow/Black Porsche!

2 Likes

À votre plaisir, Monsieur! :slightly_smiling_face: :rightwards_hand:

2 Likes

Question for you Torston since you are a Eduard expert.
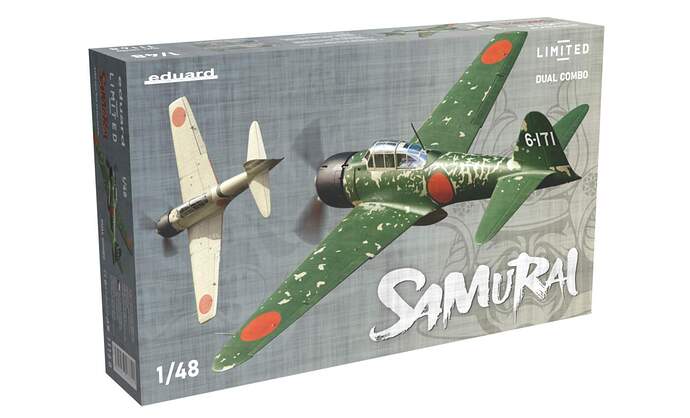
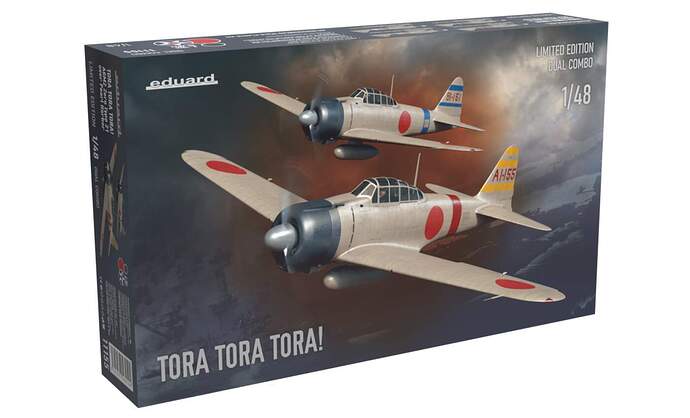
What is the difference between the Tora Tora Tora and the Zero Zero Zero Eduard kits?

1 Like

Hi Quint! I wouldn’t know that I’m an Eduard expert. But I’m sure an Eduardoholic meanwhile … :laughing:

I don’t know if there’s a Zero Zero Zero kit, as it is not listed on the Eduard site. Maybe you mean the Samurai Limited Dual Combo? Here it’s possible to build two A6M3 Type 22 or 32 Zeros.

The Tora Tora Tora Limited Dual Combo was the first Zero kit from Eduard and it’s only possible to build A6M2 Type 21 Zeros from the PH attack.

But I have none of these kits. I did quite right to wait for the ProfiPack kits, because they are more interesting for me with their decal options (Yanagiya/Tanimizu/Sakai). Hope this helps you.

Torsten
:wave:

7 Likes

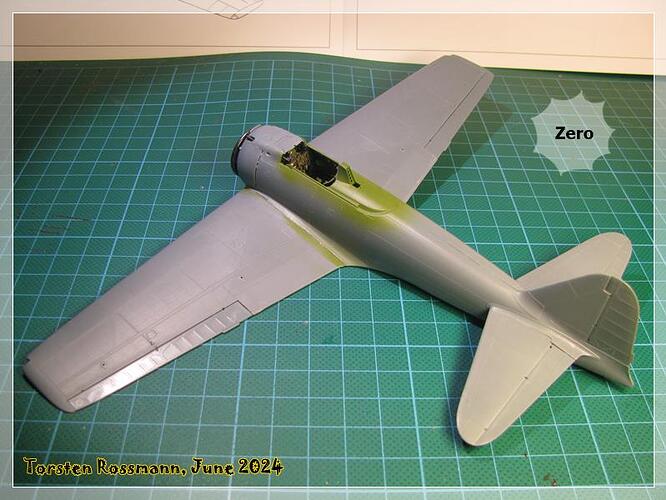
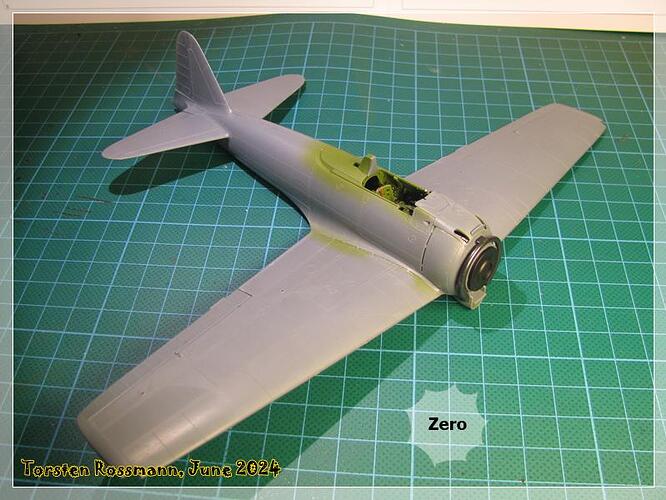
It’s been a while since my last posting here. Every start is a slow start but this is the beginning. I have started with Yanagiya’s Zero. Not much to see yet this are the first pics …

Don’t know when I will get the cockpit parts painted because at the moment I watch the ice hockey worldchampionships again, this year in Czech Republic. After a bumpy start with 2 heavy defeats against the Teams USA :us: and Sweden :sweden: , our guys with the eagle on the chest :de: are now on a good way to the quarter finals with won matches against Teams Slovakia :slovakia:, Latvia :latvia: and Kazachstan :kazakhstan: and 9 points in the books … :muscle: The tournament lasts until the 26. May.

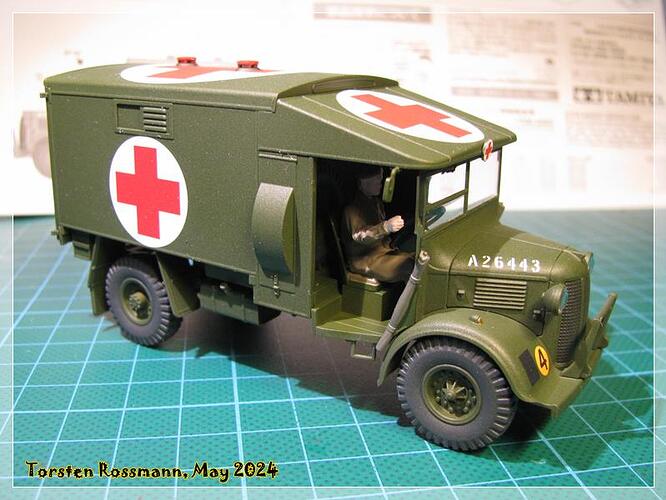
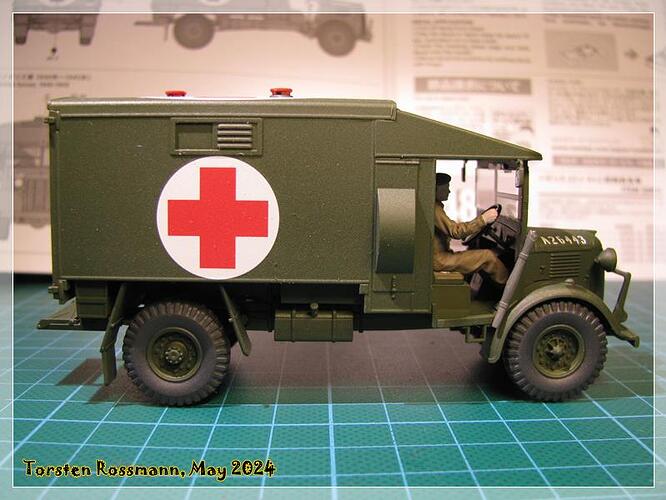
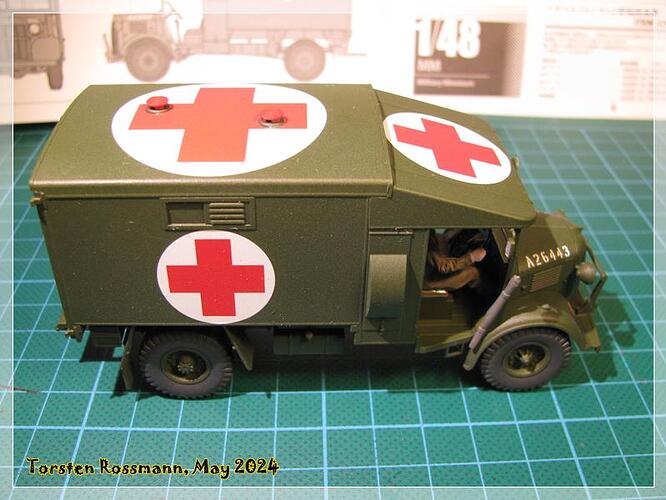
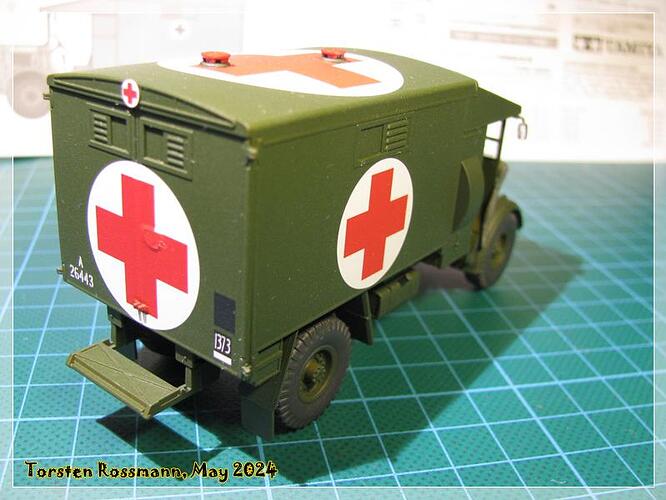
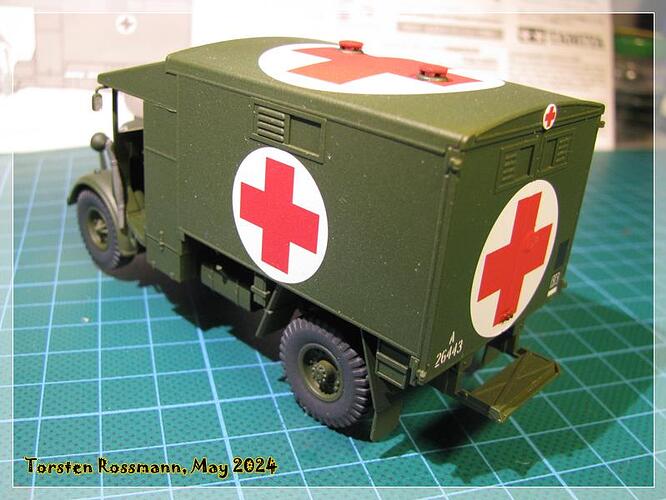
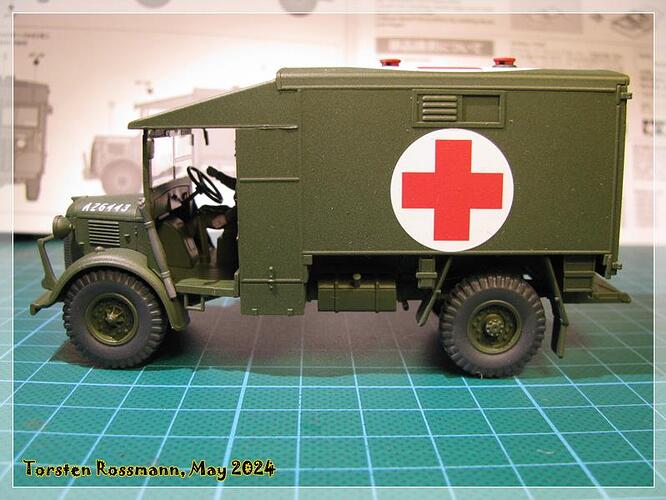
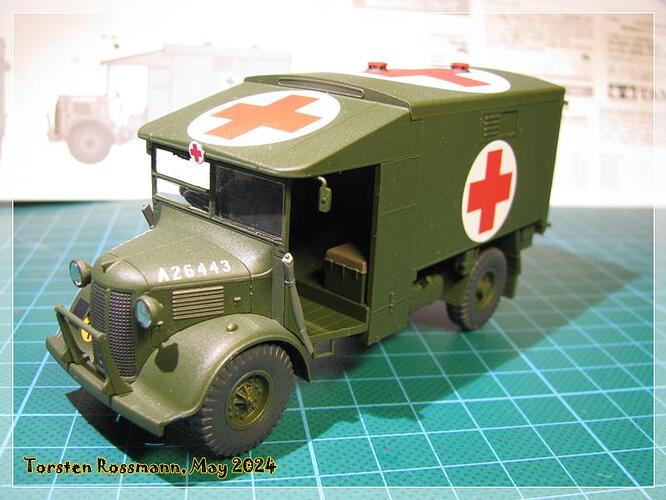
Furthermore I have finished a lovely little build earlier this month :slightly_smiling_face:
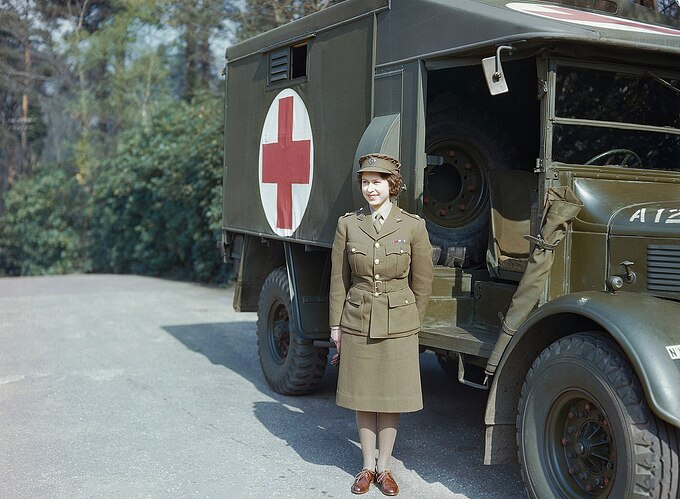
Austin K2Y
British Forces 1940’s
Kit: Tamiya 1/48
Mainly I’ve used Vallejo 71324 RAF Dark Green on this build. It will be seen on my next models shows beside a Spitfire, Defiant or Blenheim.

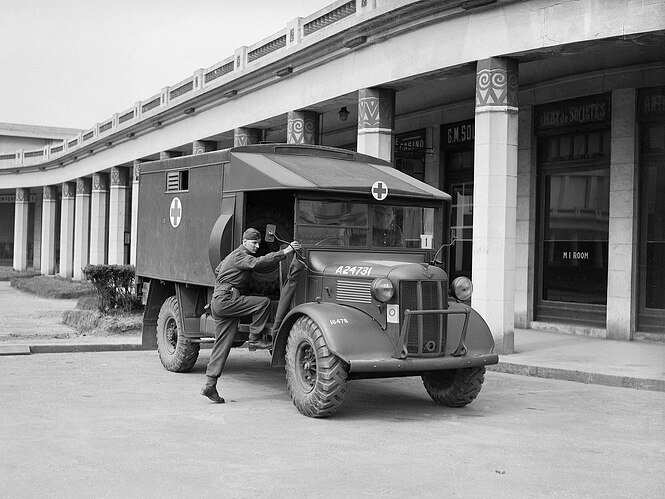
My build seems to be a later Austin, see the position of the rear view mirrors on this original …

… and on this original …

Still haven’t started with the Rufe yet … :innocent:

Have a nice weekend!
Torsten
:beers:

8 Likes

Very nice work on the Austin K2Y Torsten!

Aha! There it is! … Anxiously waiting for the ‘Rufe’ build to commence.

No pressure. :hammer_and_wrench::grin::beer:
—mike

1 Like

Thanks Mike! Both build will take their time, just like any other double build from me. My goal is to have them finished for the model show in Andelfingen/Switzerland in the end of August (hopefully earlier …) My next show is in 3 weeks, but that 's illusory to have them done by then …

Btw, Team Germany :de: has just beaten Team Poland :poland: in a nervewraking match 4:2, the quarter final is most likely fixed with 12 points :ice_hockey: :slightly_smiling_face: Last match is on Tuesday against Team France :fr:

1 Like

Way cool Torston another Puck Head !
I myself am a Big Hockey fan . Following the playoffs as well as the the race for the Stanley Cup .
Oh and the truck looks good to .

1 Like

Thanks Quint!

Yes, I love ice hockey since I was a little boy. In the winter time I met with friends after school and we played played ice hockey for fun on the frozen lake in the village I grew up. Those childhood days are long gone but my love for this wonderful sport is still there …

Our team played well again this year, though they had to give way to Switzerland in the quarter finals with 1:3 after a great fight. The guys scored more goals in this tournament than not in the 30 years before (e.g. 16 in 2 matches … :muscle:). They made only 2 “unhappy” matches in the preliminary round against USA and Sweden, which fortunately didn’t do any damage. Congratulations to the new world champion :czech_republic: Czech Republic :czech_republic:! What a thrilling final! Winning at home in front all your fans is amazing! Next years championships are in Sweden and Denmark and in 2027 the whole bunch comes to Germany :slightly_smiling_face: ! Maybe you like to jump back to Post 740 here to check out my little report about last years tournament …

Edit:
Found a small 5 minutes summary of the final match between CZE and SUI. Sorry comment is only in german but enjoy the pure emotions and happiness of the czech players and fans … :slightly_smiling_face:

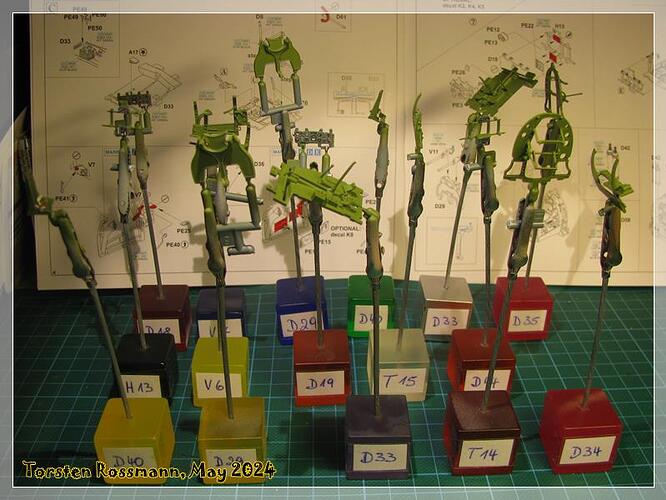
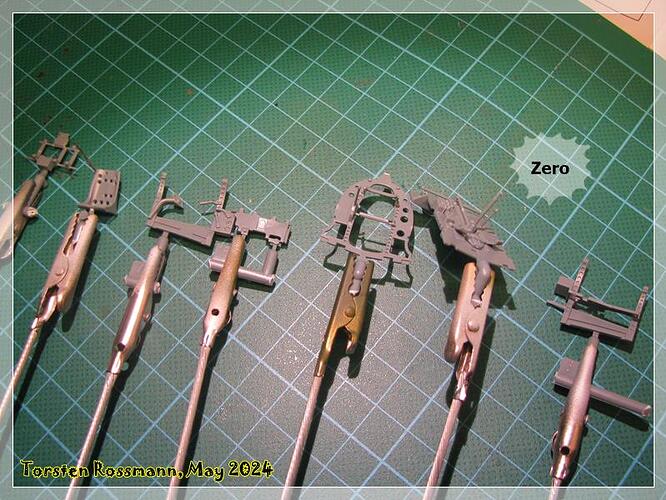
Okay, now that this exhausting event is over I have more time for my work bench so I could at least finish the cockpits of my Zeros. First many clamps at work again …

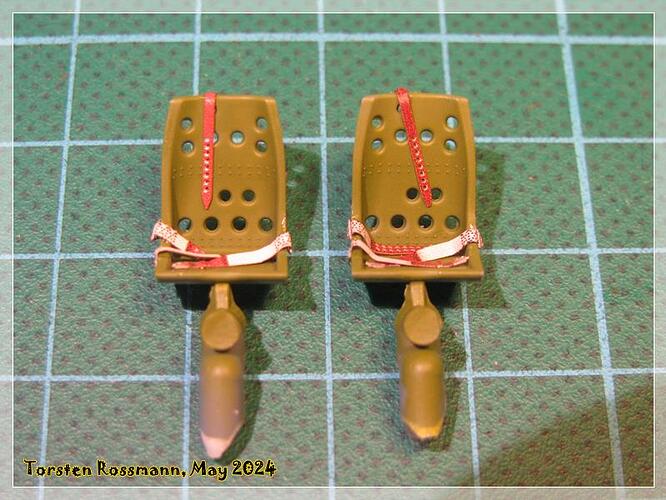
… the seats for both are the same. Some fiddly work with the seat belts …

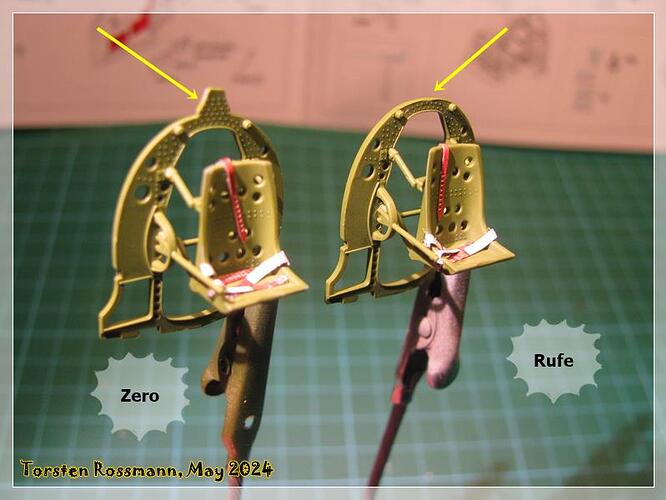
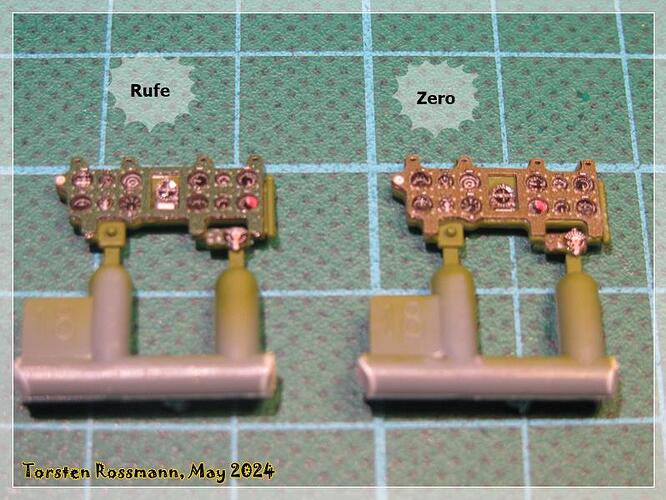
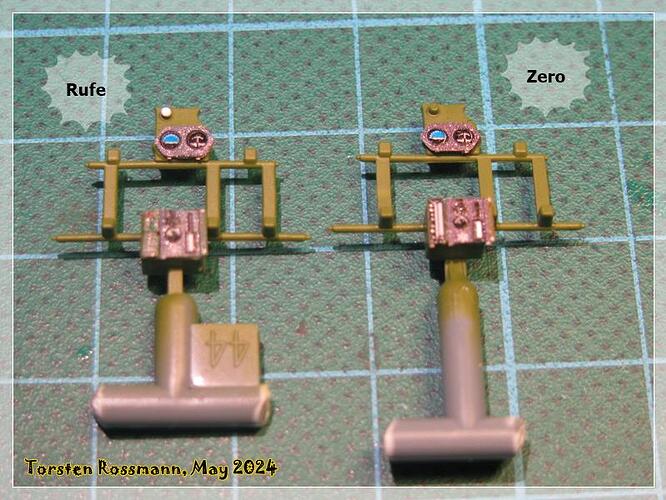
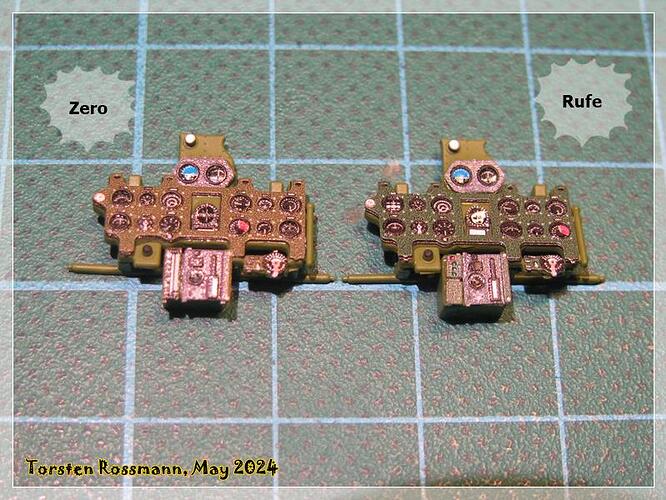
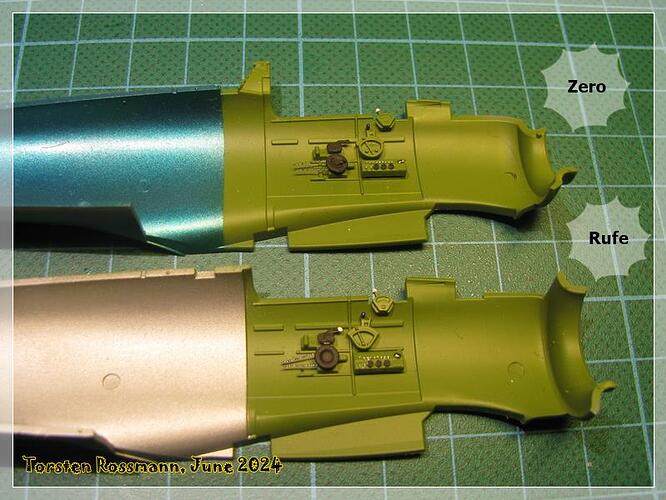
… but there’s a little difference in the cockpits. The Zero had a head rest while the Rufe didn’t …

… I used only the etch parts for the IP …

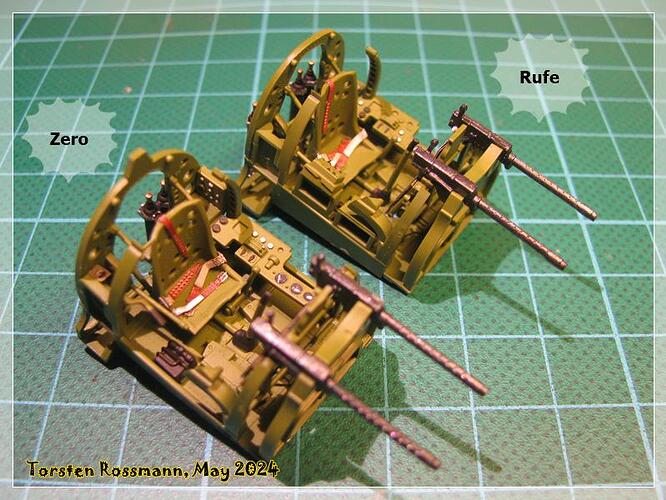
… and the finished cockpits …

For Interior Green I have used Vallejo 71137 US Light Green, which seems to be equal to FS34151. Next steps will be working on the fuselages and wings. So both builds are on the way now … :slightly_smiling_face:

Torsten
:beers:

7 Likes

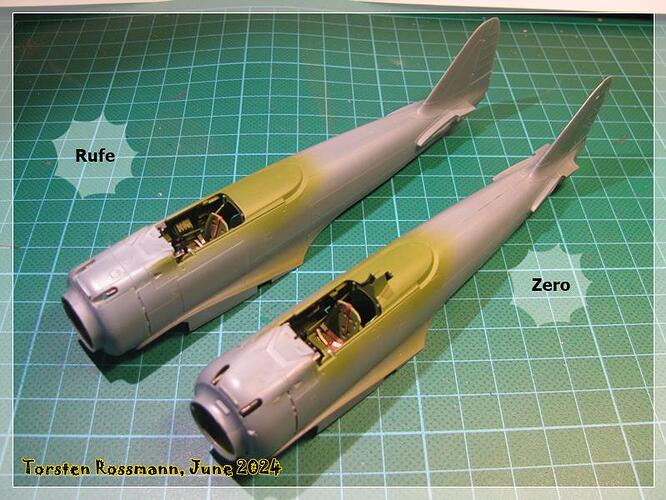
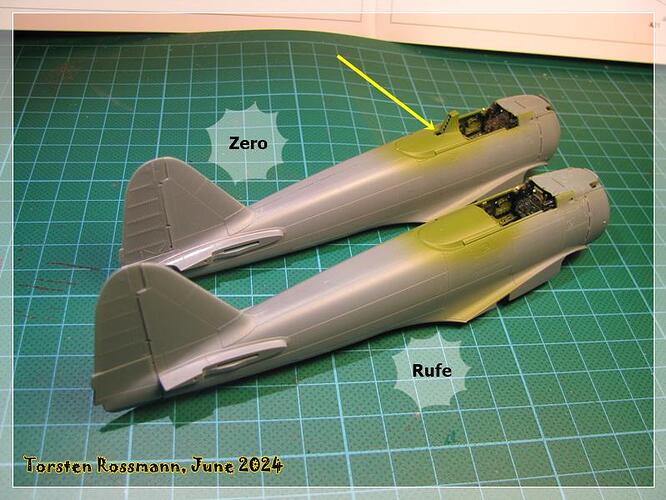
Again I had not much time in the last 2 weeks because of the organisation of our model show but at least I’ve got a bit done on the Zeros. Painting behind the cockpits is not necessary as I found out in the meantime. It’s not visible when the fuselage is closed …

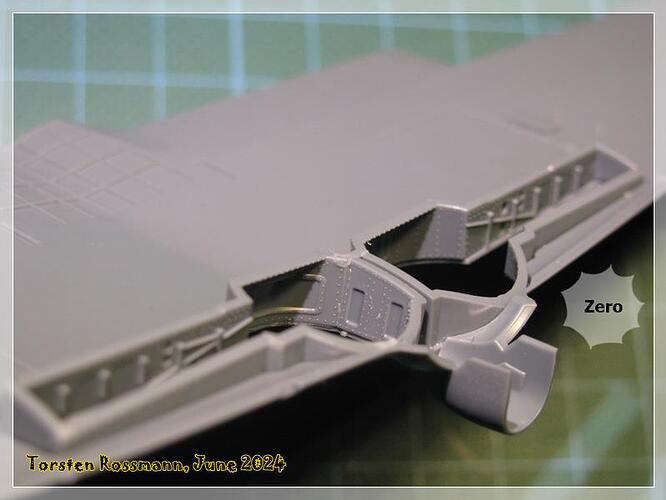
… the cockpits fit like a glove into the fuselage and the fitting of the fuselage parts is good, there’s not much sanding the seams needed. But I don’t know, what the hole behind the headrest is good for. There’s no explanation for it in the instruction plan. It’s no hole for an antenna …

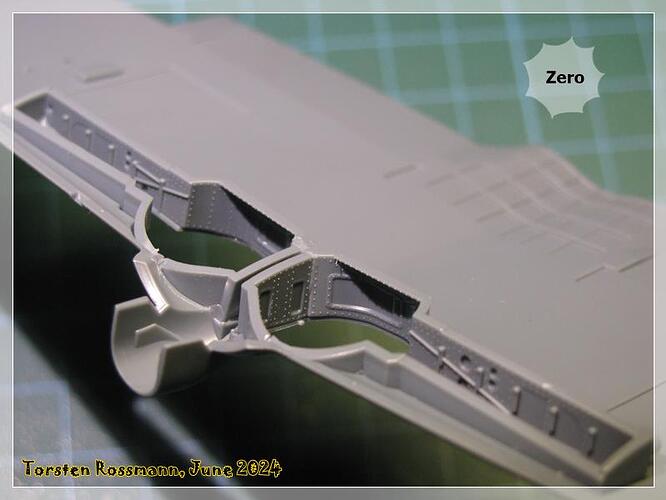
… the wheel wells of the Zero are nicely detailed …

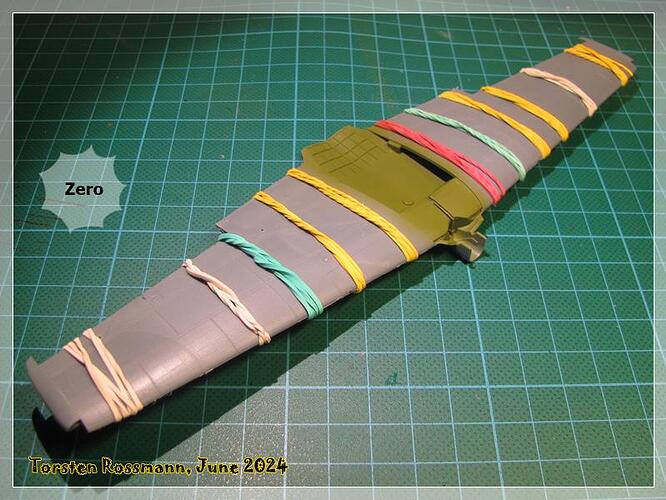
… the wing parts fit well together but as usual I have some rubber bands for pressure over night

… first test fitting of the fuselage/wing section shows, that I might need some more pressure than usual … :thinking: I’ll let you know …

As I mentioned above we had our model show “Kurpfälzer Modellbautage 2024” last weekend. My function is always sending the invitations and making the plan for the tables, 121 this year. This is the hall on Sunday morning. We had exhibitors from Belgium, Czech Republic, Germany and Switzerland … :slightly_smiling_face:

… and this is my table Friday evening at about 9 pm. As you can see it’s the first show of my new Austin K2Y, beside the Blenheim …

… I didn’t had much time to have a closer look at the models of the others. Most of the time I sat at the entrance and asked the visitors for some money … :grin: Well, that’s the fate when you’re one of the organizers.

Hope to show you some more progress of my builds soon.

Hai noroc!
Torsten
:beers:

11 Likes

Looking good T .

1 Like

Hi Torsten,
Looking good! As usual, I’m following along with much interest. :smile:

—mike :hammer_and_wrench::paintbrush:

1 Like

Thanks, Quint and Mike! As always I try my best, though it’s a slow build this time, I guess …

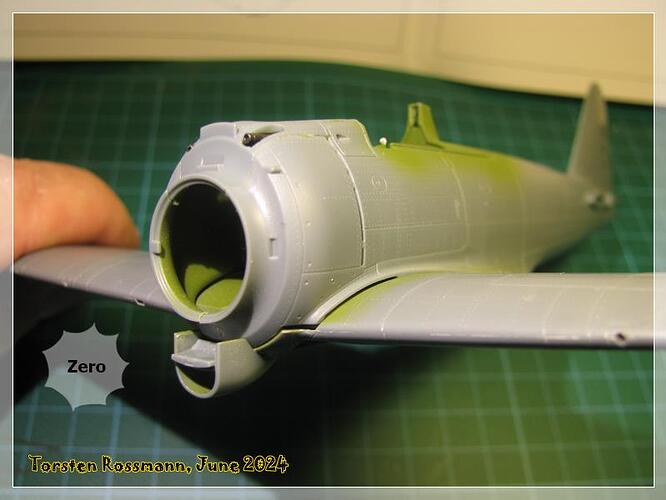
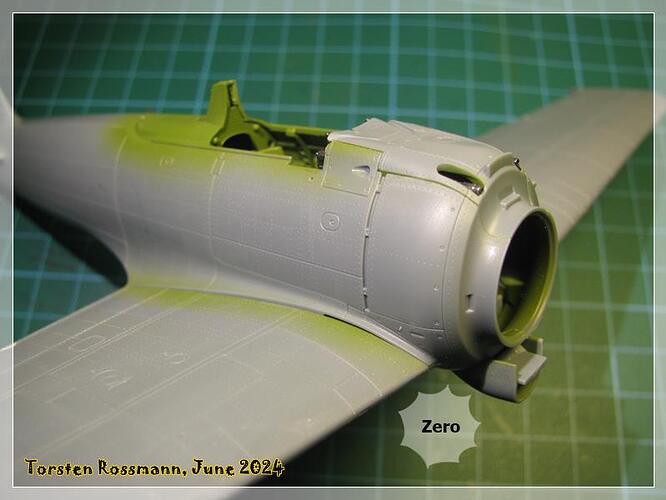
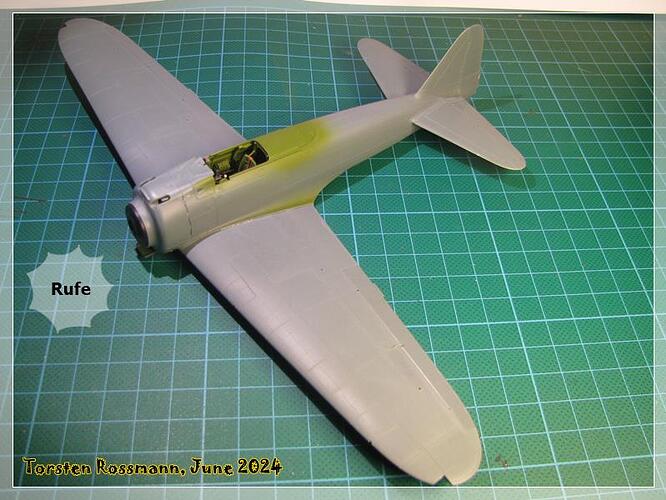
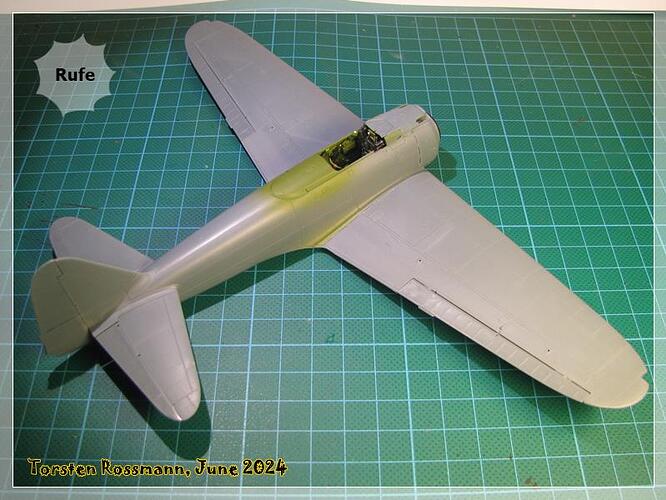
But I have another update of my Sons of the Rising Sun. Adding the wings to the fuselage was a very tight fit. Sure not perfect but I’m quite pleased with the result. First the Zero …

… and here the Rufe …

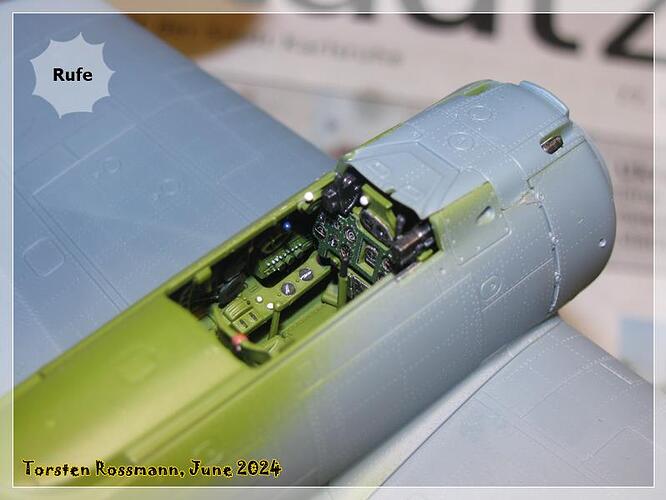
… a quick look in the cockpit of the Rufe … :slightly_smiling_face:

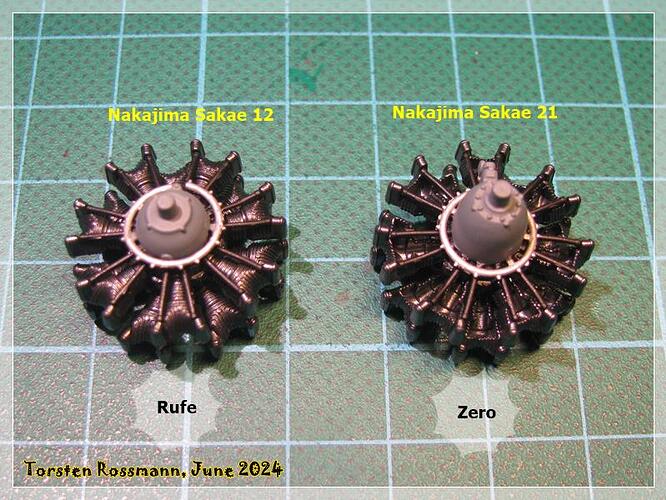
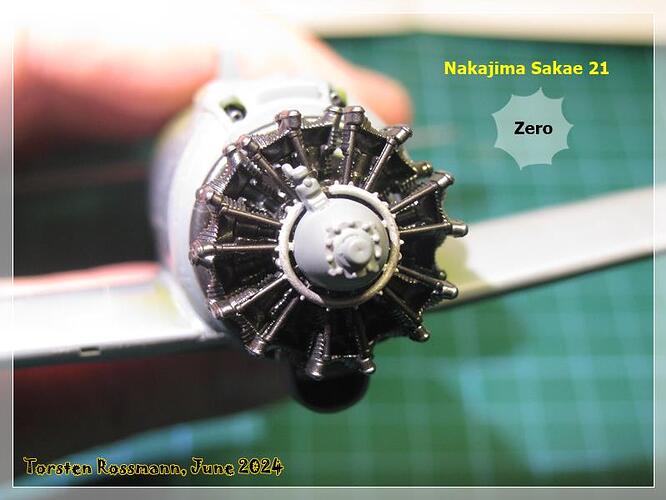
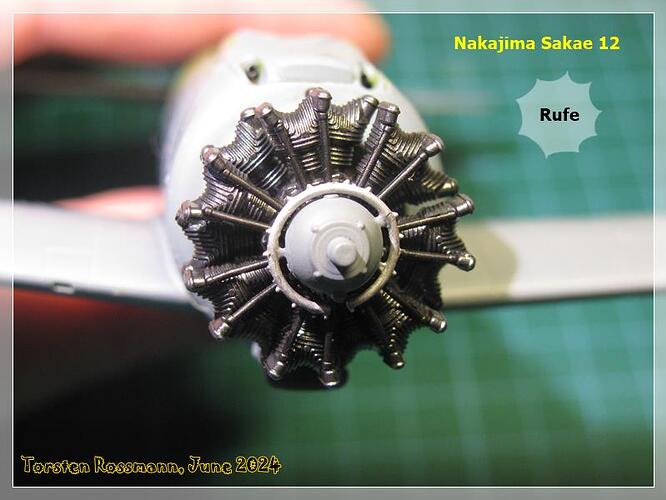
… both engines consist of 7 parts. As paint I have used again Vallejo 71073 Metallic Black. The Rufe had the same Sakae 12 as the A6M2, while the A6M3 had the stronger (and thirstier) Sakae 21 engine …

… when test fitting the Sakae 21 on the Zero I was not sure if I was right because it looks slightly lopsided. So I made a quick research on the internet and found a photo of an original engine. Looks like the fitting is correct. Surprisingly Eduard doesn’t offer a ton of PE parts for the wiring …

… so I think the fitting of the Sakae 12 of the Rufe is also correct …

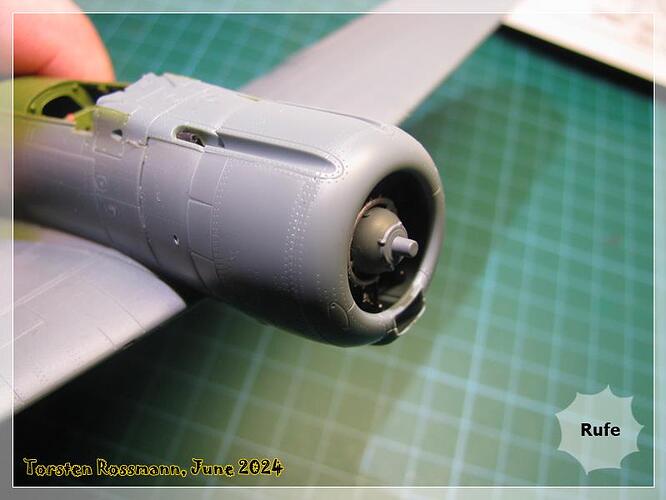
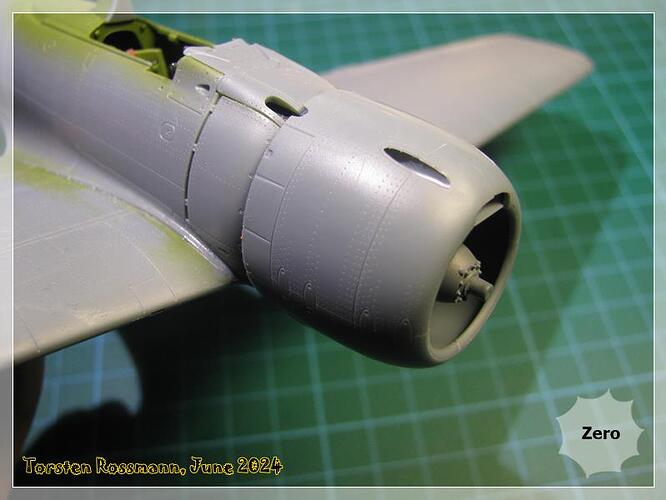
Next steps are building and painting the cowlings and adding the canopies to the builds. They slowly look like an aircraft now …

Stay tuned, guys!
Torsten
:vulcan_salute:

10 Likes

Forward progress is looking good T !

1 Like

Thanks, Quint! I’m also quite happy with the progress now. :slightly_smiling_face:

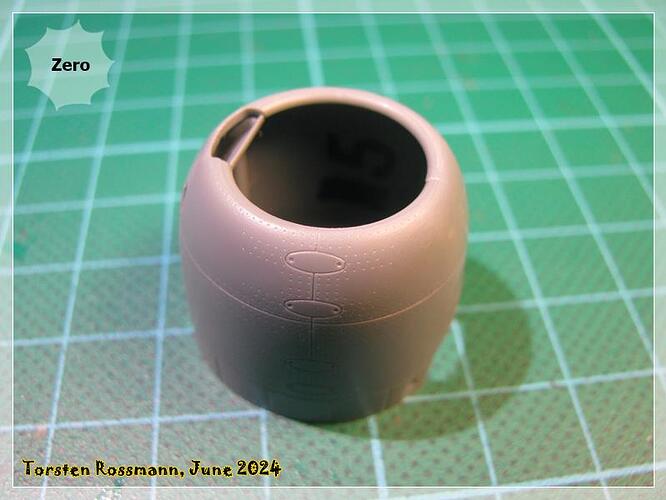
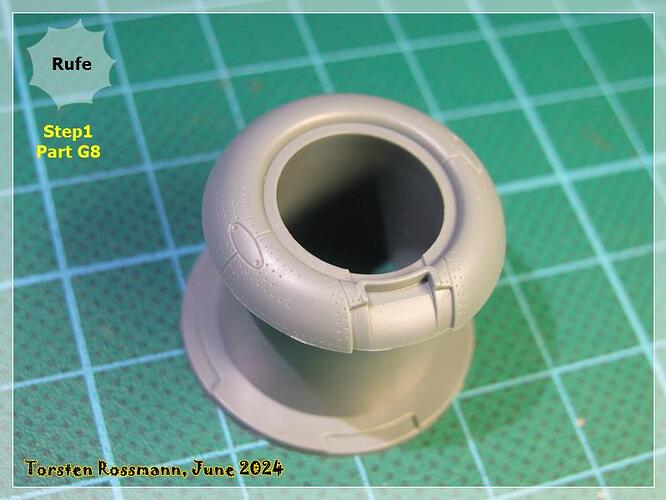
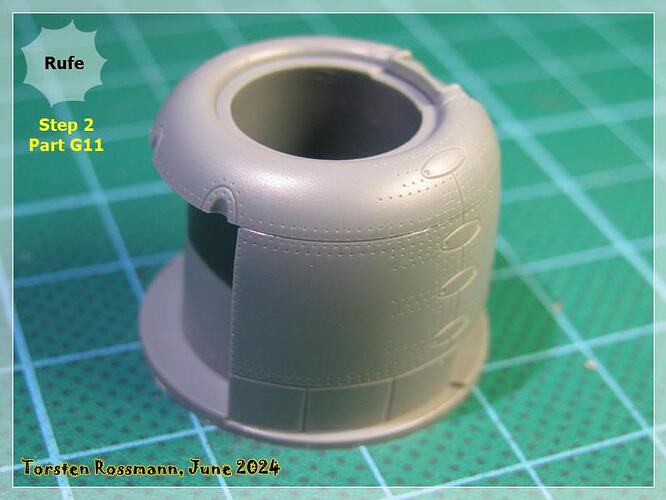
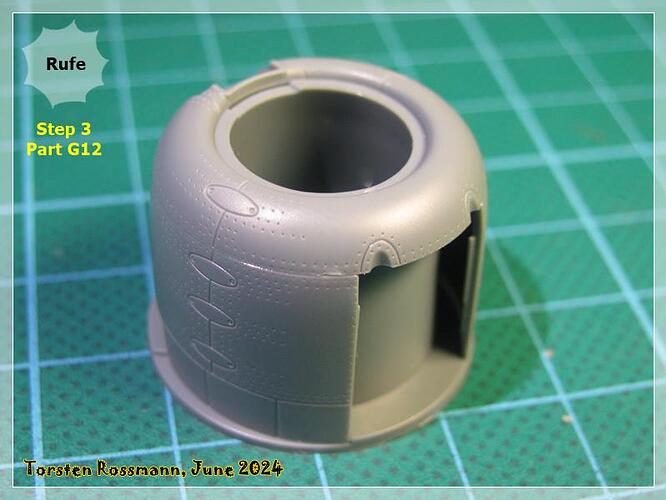
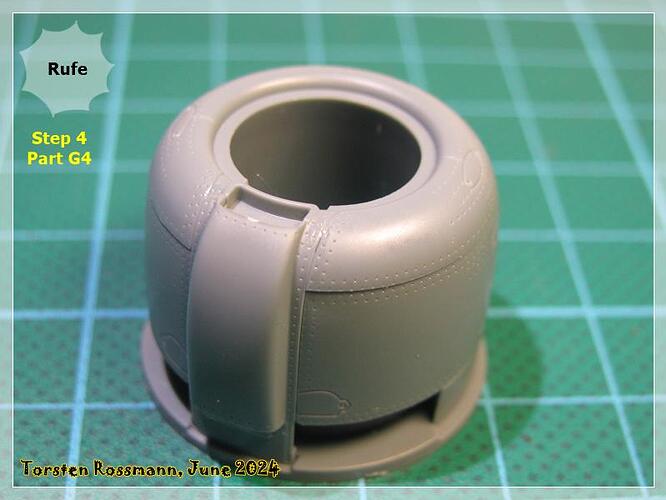
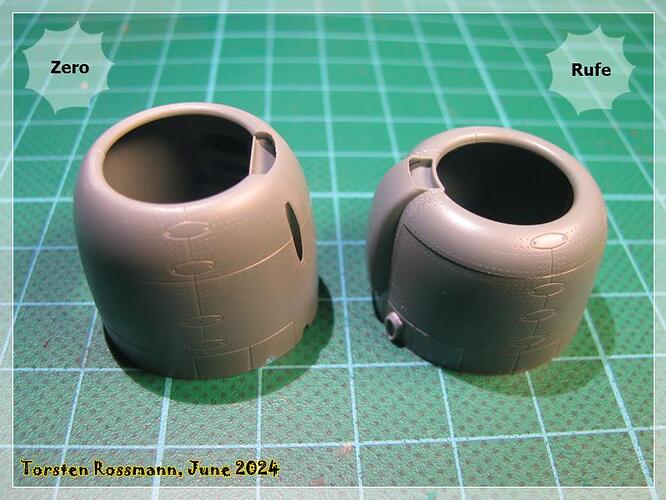
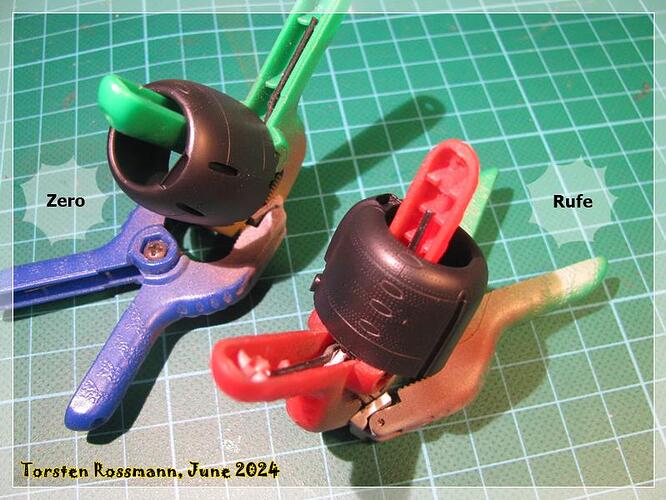
Another update from my work of the last few days. Have assembled the cowlings. While the Zero cowling constists of only 3 parts and is easy to assemble …

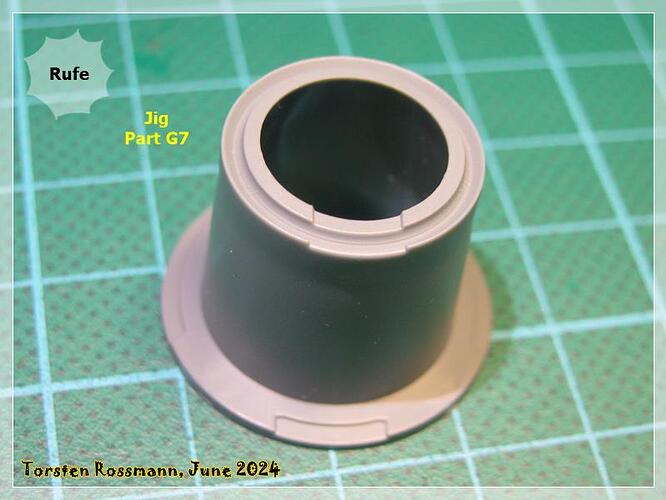
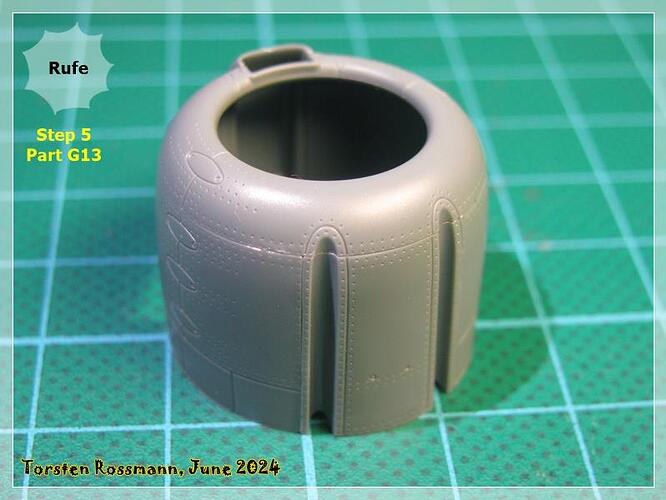
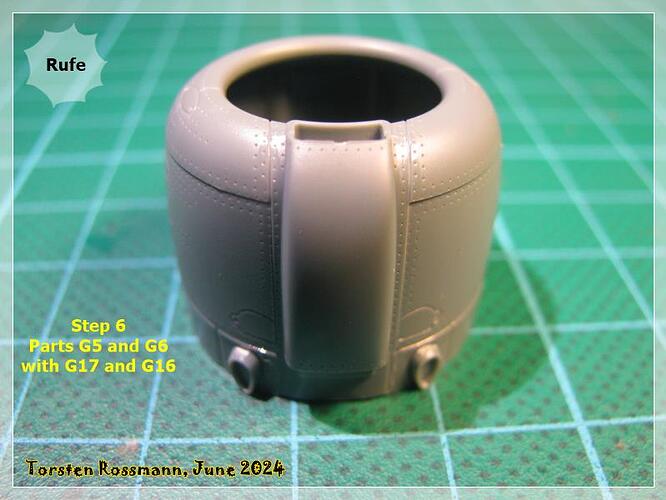
… the cowling of the Rufe is a bit complexer. A small jig is needed and part of sprue G …

… and now let the fun begin … :grin: I have used ethylacetate as glue. That crawls in every tiny gap. Just make sure the cowling is not glued to the jig or you’ll have an unpleasant surprise!! :joy:

… finally both cowlings side by side. The differences are clearly visible …

… both fit like a glove … :slightly_smiling_face:

… and fresh from the paint bench this afternoon. Paint is Revell 302 Black. Still need to dry thoroughly before I can attach them to the fuselages …

Next step is masking the canopies. Have all a nice weekend!

Torsten
:beers:

8 Likes

Looks great T !
That’s cool they supplied the jig for the Cowls .

Your favorite task , and you are a master of masking !

2 Likes

Thanks Quint! Yes, the jig is of great help with the cowling. Concerning masking, my favourite task is to take the masks off when the build is finished. They are a necessary evil. :smile: It’s always so time consumpting. Here I envy our armor building friends. They don’t need much masking, if any …

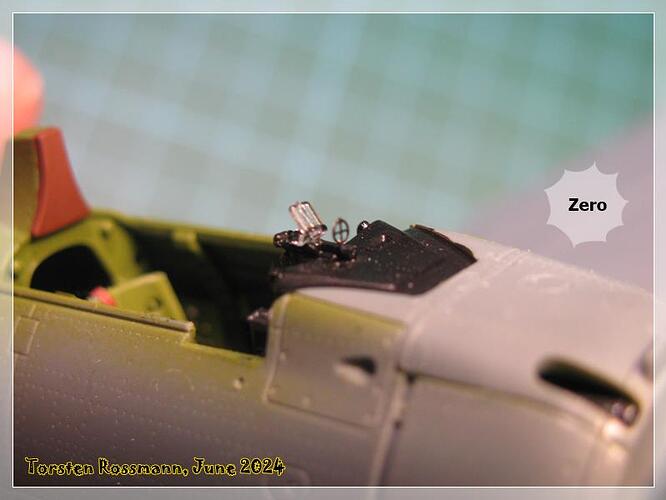
But I finished masking the canopies in the last few days, beside watching the Team Germany matches at the EURO 2024. But first I like to show you this tiny ring gun sight. Really nice, but I would have prefered that the rest of the gun sight would also be a PE part or at least a clear film. Here on the Zero, the Rufe has the same. Sorry for the fuzzy photo, it was hard for my camera to focus and this was my best attempt …

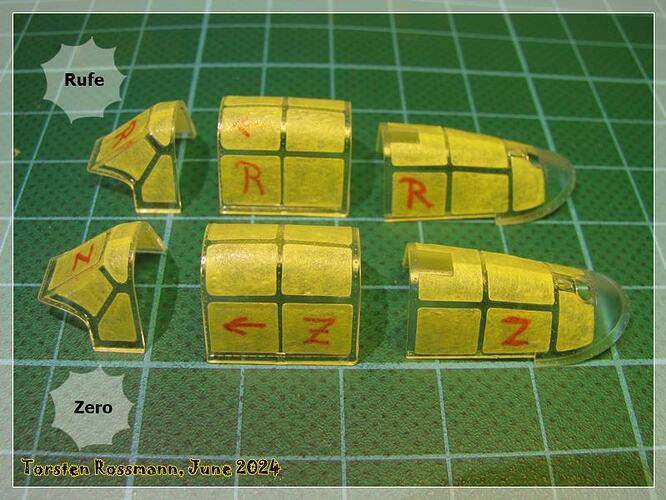
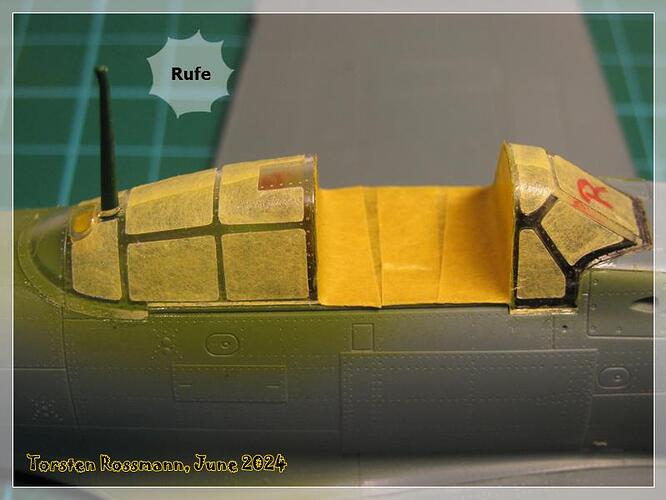
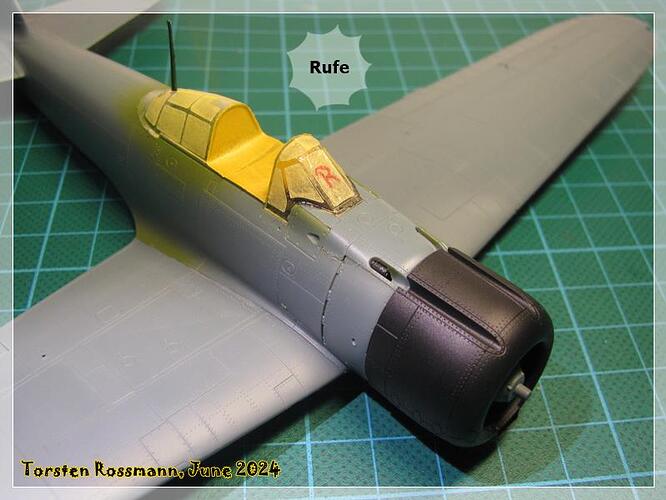
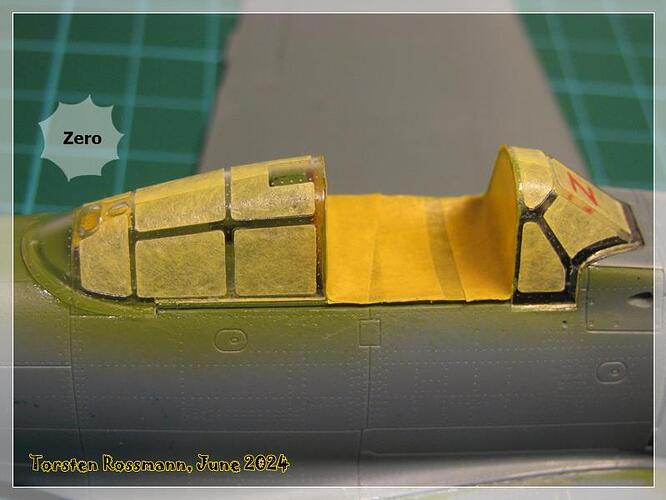
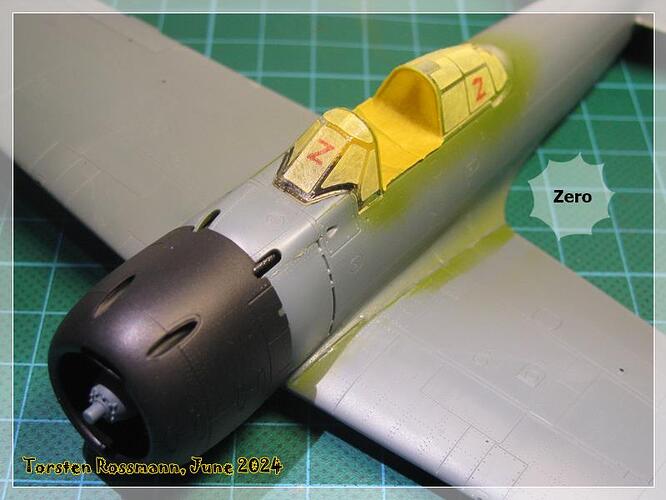
… here the finished masked canopies. Both builds use the same parts …

… masking finished. Covering the cockpits is as easy as on the Bf 109 … :slightly_smiling_face: Have used White Glue. Note that the Rufe has an antenna while the Zero has none …

Before I paint the canopies I have to mask the cowlings. Another step will be assembling the floads for the Rufe. But I’ll paint them seperately and attach them later to the fuselage.

Furthermore I wrote a small biography about Yanagiya of what I could find in my books and the internet. Not much though. The sheet will lay alongside the model on my coming shows in the future. I always like to give my models “a face in the cockpit”. Interesting life story this man had.

Have a nice week, folks!
Torsten
:slightly_smiling_face:

8 Likes