Thanks Peter! I had some great days in Dublin indeed!
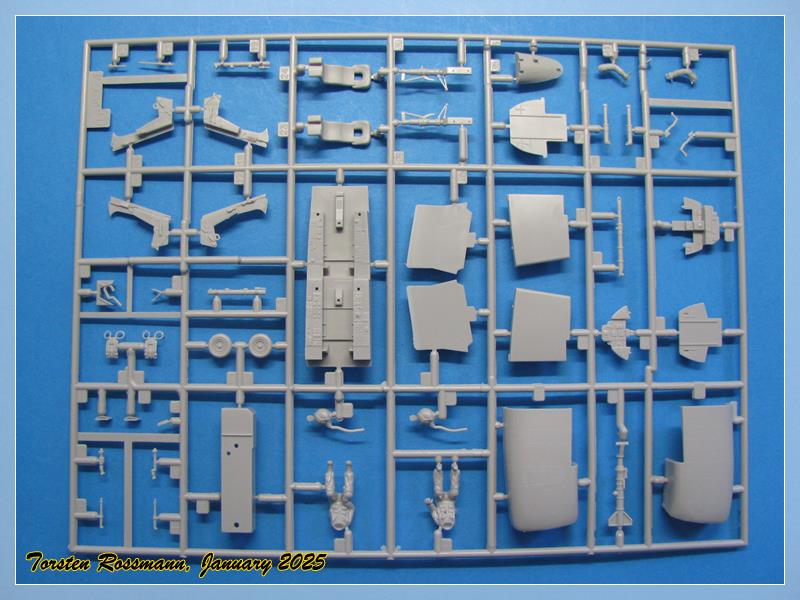
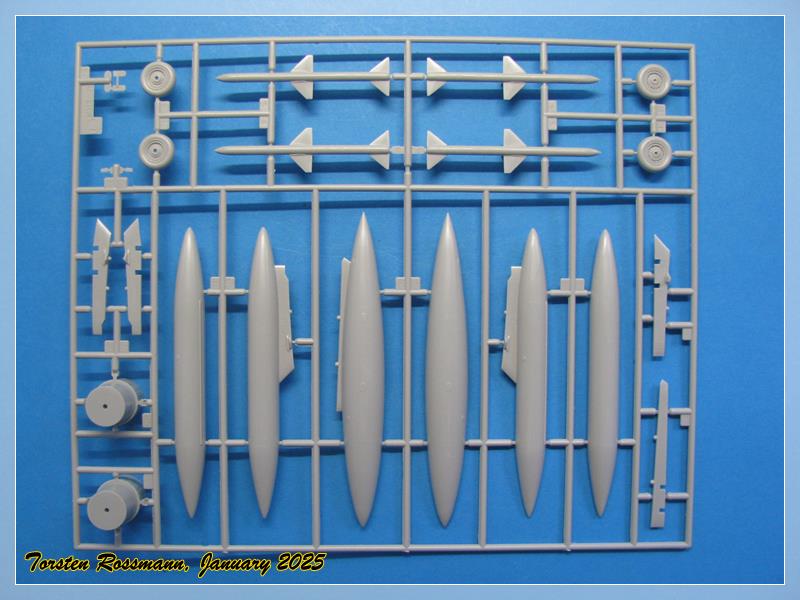
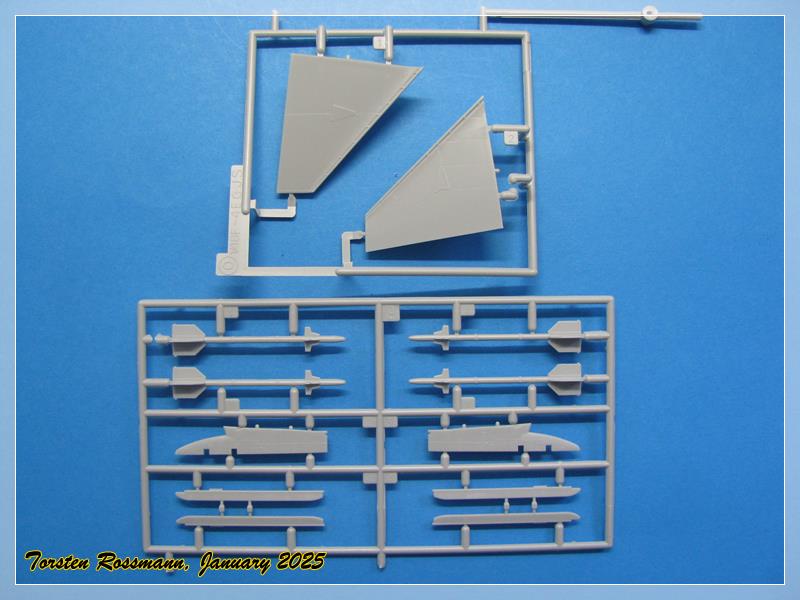
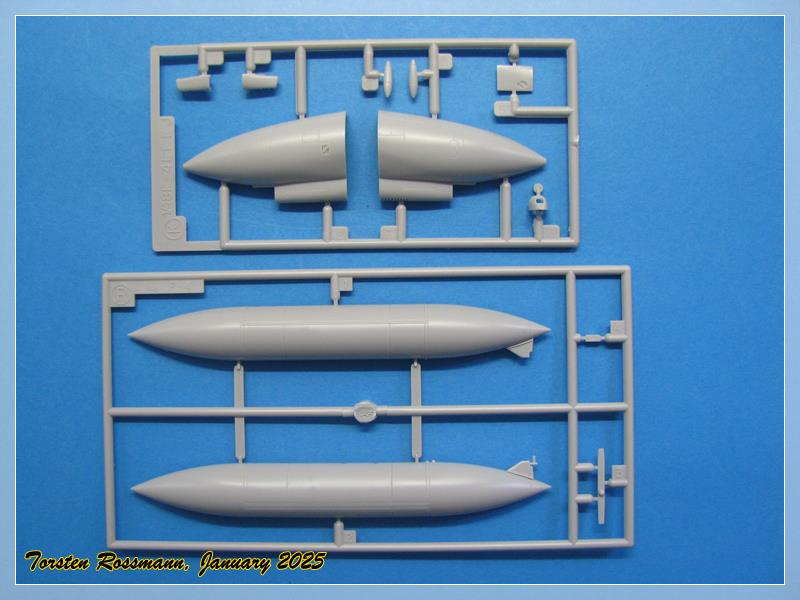
Well, new year means new builds. As I said, this will be the most modern build since I started this thread. I signed in for the running Phantom Campaign and found this oldie in my stash, a Hasegawa F-4E Phantom II …
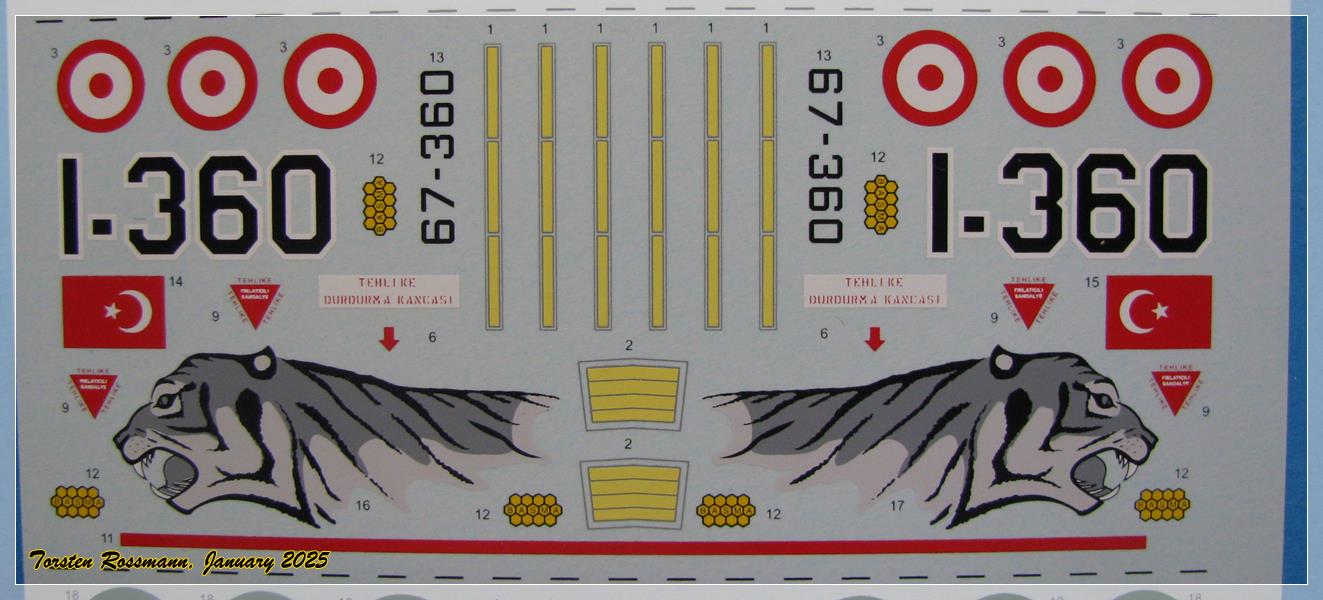
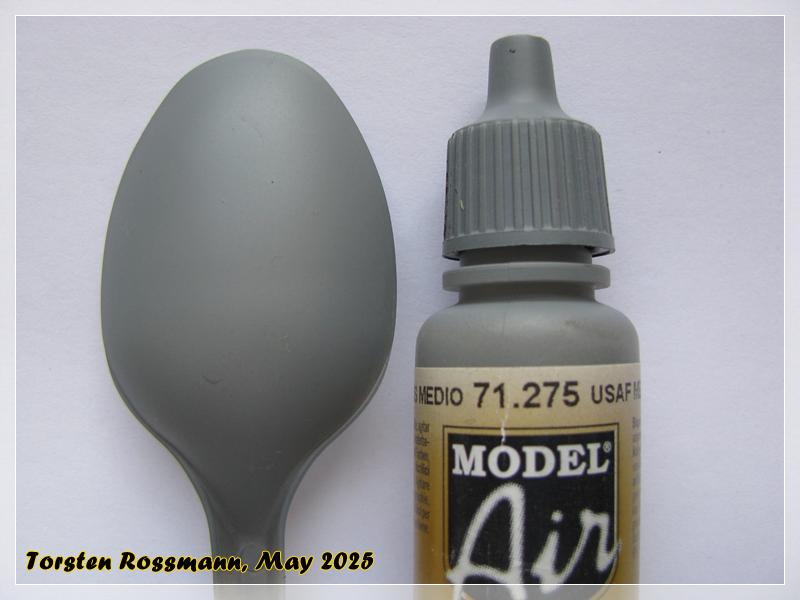
As I said, I will need only some stencils from the box sheet. Main paints will come again from Vallejo. No. 71097 Medium Gunship Grey FS36118 and USAF Medium Grey FS 36270.
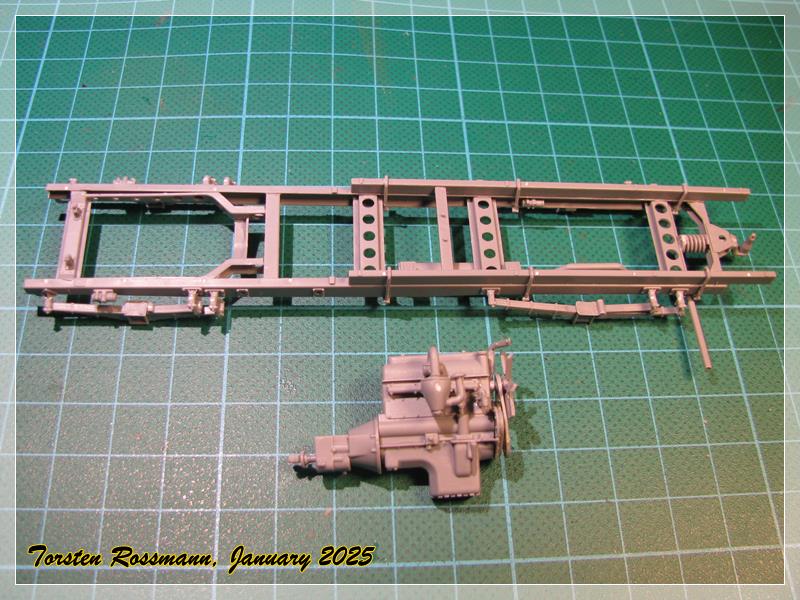
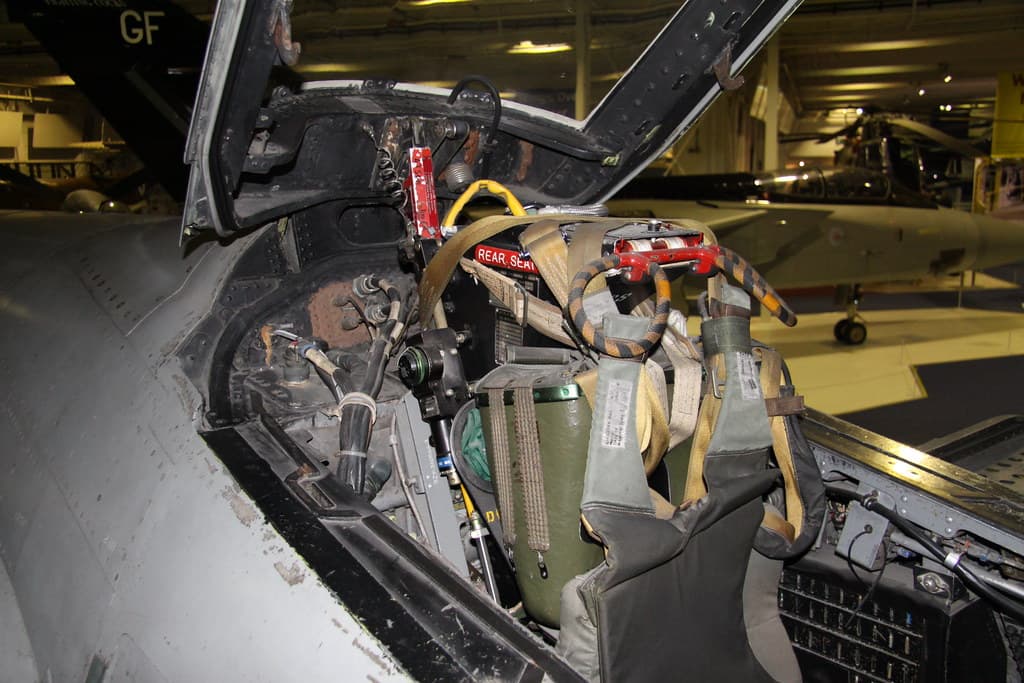
As a side build (well, I hope … ) I will also try to get this little fellow together, which I drove often during my Bundeswehr times …
So the Phantom will be a slow build but I hope some of you will again follow me in the coming weeks. As always your acompany is much appreciated! I will start with both next week.
In my earlier model building days I have also built a few of them, mainly US but also Germany and a colourful IDF Kurnass. All brush painted. Long ago … So this will be my first Phantom painted with airbrush. As promised I have already started the build …
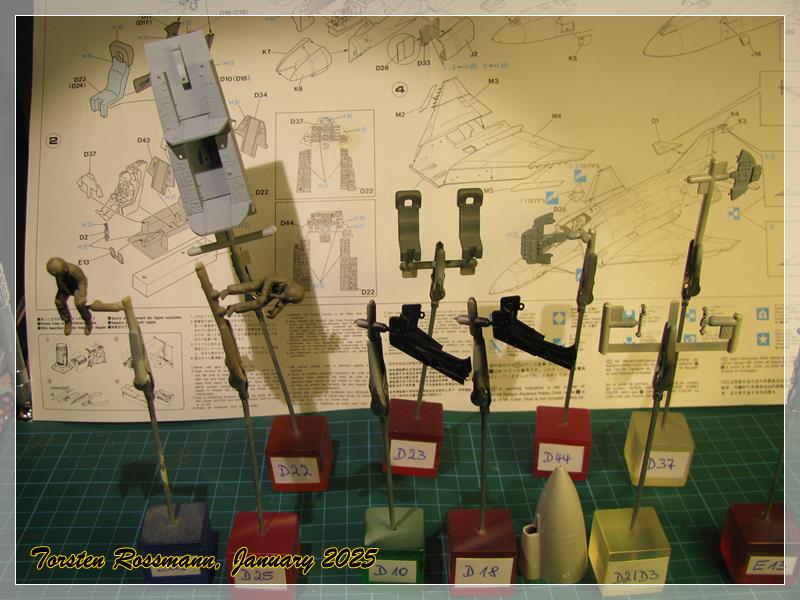
Not much done yet, only 10 out of over 40 steps. It feels like hundreds and hundreds of parts but it should be a fun build. The Iltis is put back in the stash for a while but the Phantom is waiting in the background. I plan to have both finished for my first model show in March.
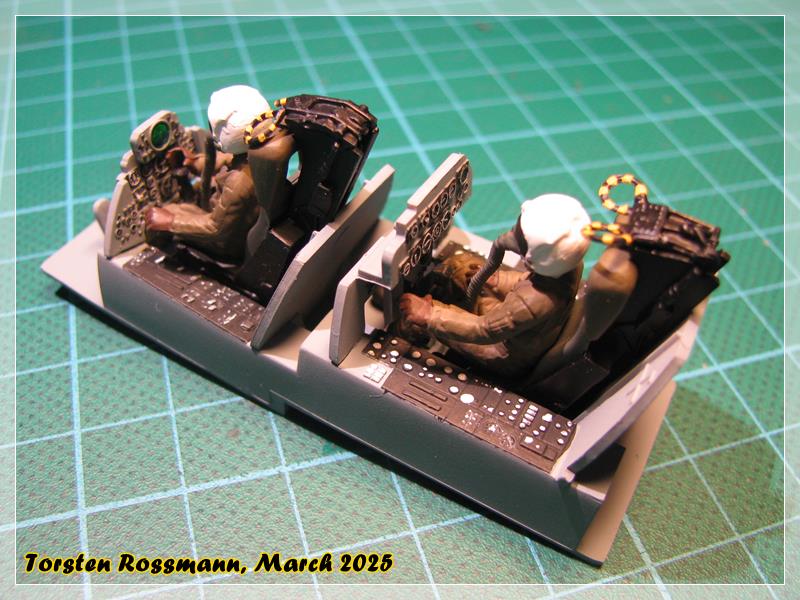
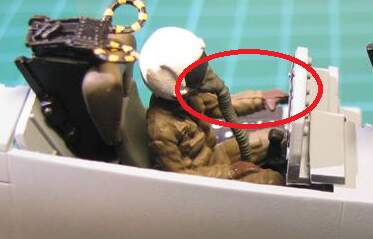
So, finally a first small update after the restart last weekend. I have finished painting and assembling the cockpit. There are no PE parts or decals for the instruments, so I dry brushed them. Sorry, I’m no good figurine painter so I leave the guys as they are now. Lost the overhead handle for the ejection seat of the WSO but found one in the spare box. Not the same but better than nothing …
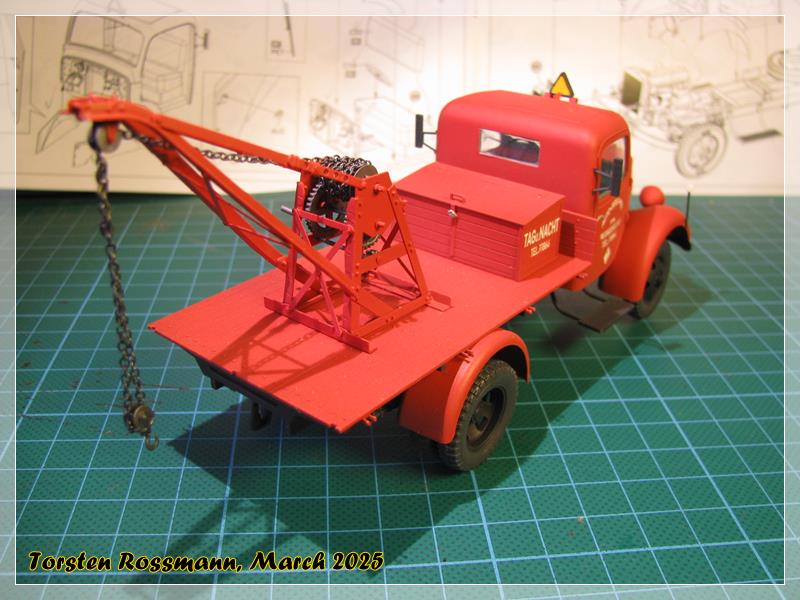
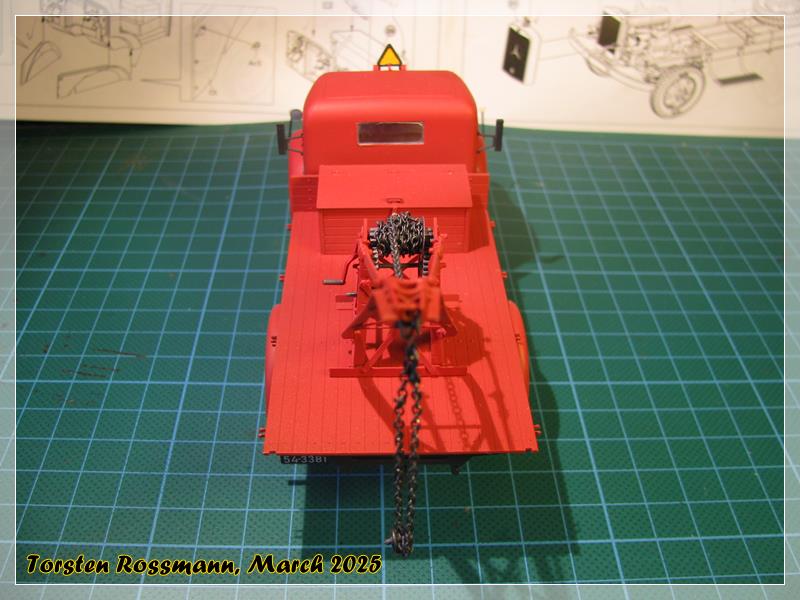
Aaaand I have finished my first model in 2025 last week! Needed 2 months to work on it. A bit “over engineered” for my taste but finally I won the fight.
Mercedes L1500 wrecker truck Frankfurt/Germany late 1940’s
Kit: MiniArt 1/35
Nearly all paints I have used are from Revell
No. 36 Carmine Red
No. 302 Black
No. 09 Anthracite
No 57 Grey
And Vallejo 71073 Metallic Black for the tow chain.
Great to see some pics here Torsten. The Phantom is coming along nicely. Love the wrecker.
The figures look pretty good from here. If you just remove the seam line on one and do a bit of a pin wash to accentuate the detail it will be all the difference you need.
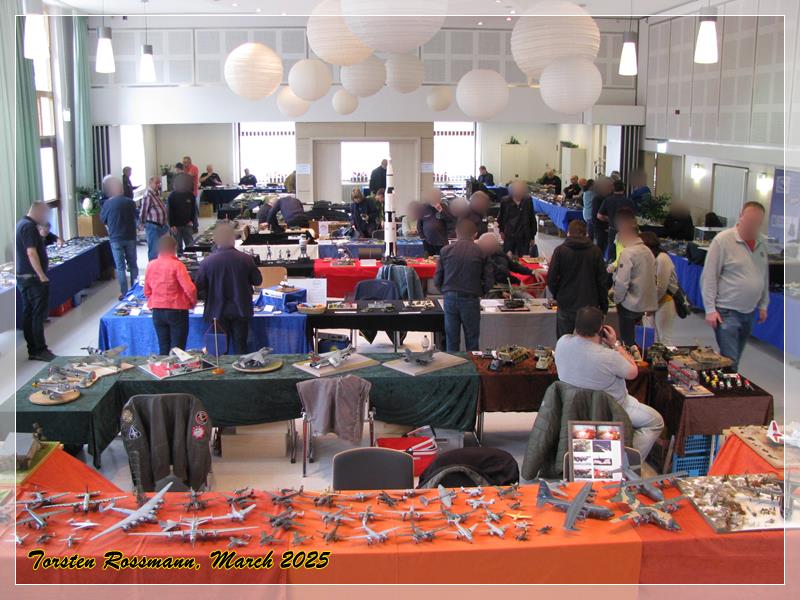
Thanks Steve! I had really a great weekend at the show, meeting old friends again. The exhibitors came from Southern Germany and Switzerland. The days were full of chatting and laughing and went by too fast, as always. This was my table. I guess, you recognize a few models on it from this thread …
Peter, no, the handles for the WSO are correct. As I mentioned above, I lost the original part from the kit and had to take one from the spare box. I think this one is from an older Revell Phantom.
I have similar photos, Peter. You may be right, I may be wrong. But this handle is from an old Revell F-4C Phantom. I checked the old instruction and this way is correct. It wouldn’t fit the other way round. As I mentioned, it’s a substitute for the lost original Hasegawa part. I have no other.
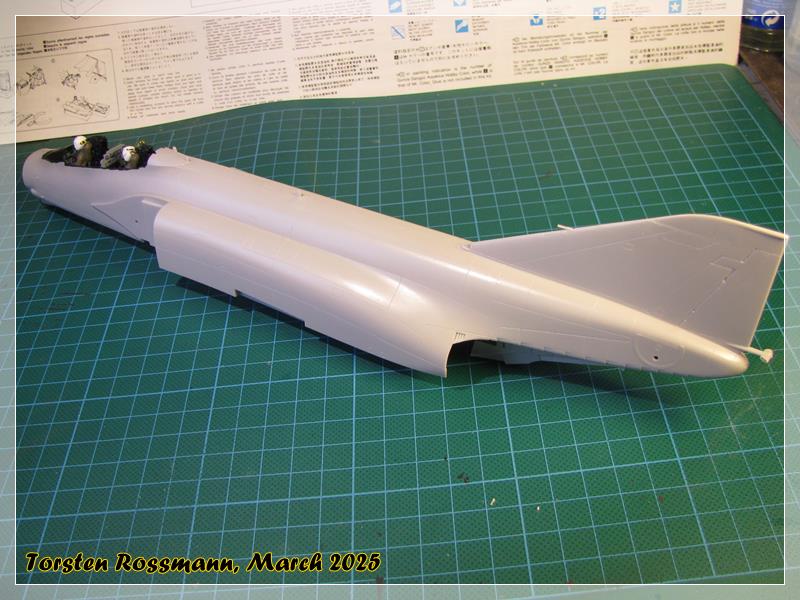
And talking about ejection seat handles, while I glued the fuselage parts together I came too close to one of the pilots handles with my clumsy fingers, the handle broke and disappeared without a trace … I made another one out of a paper clip. Of course I was not amused about this.
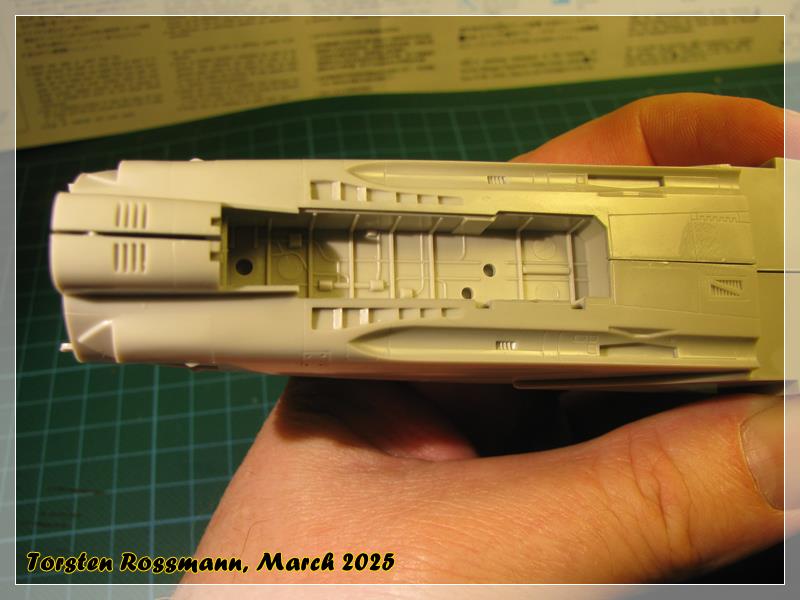
I have glued the fuselage parts again bit by bit with ethylacetate, which works perfect for big parts like these. Fitting is good so far for a 1990’s kit. Sanded already the seam and brush painted the cockpit parts black with Revell Aqua 302. The radom is not yet glued to the fuselage, it’s just to show the size of this kit …
Hasegawa does not mention the nose balance weight in the instruction so I thought this would be a good idea …
Used some steel balls I bought some time ago at a model show in France. White glue helps to keep the bunch together …
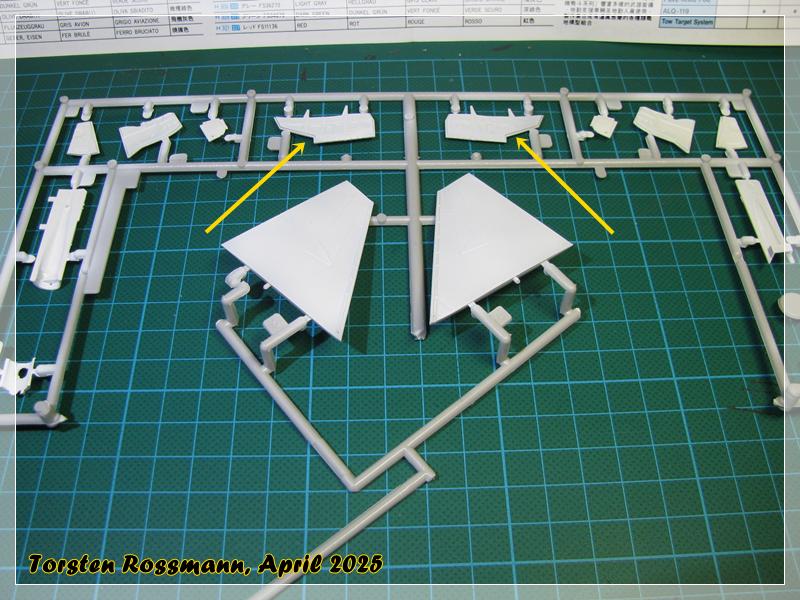
the landing gear wells are painted in white with Revell 301. I think a white primer is better than a grey one, especially when you have problematic coatings like White, Red or Yellow …
Further painting was done on other parts. While the landing gear doors will be white on the inside (just like the landing gear), the speed brakes (see arrows) will be painted in red on the inside later.
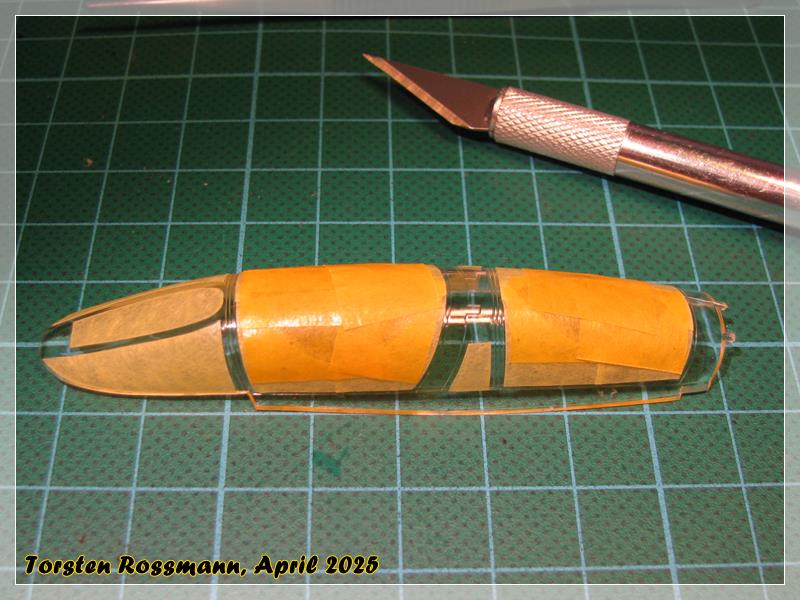
After the Easter Holidays break for a few days I’m back at the bench and did some work on the Phantom. Masking always doesn’t look much but it’s very time consumpting, here especially the air brake bays. I quite sure to do paint corrections here later …
Now follows another session of most enjoyable masking before the next paint. Have already started with the elevators. Work of yesterday evening - same on both sides, top and underside. This is the topside …
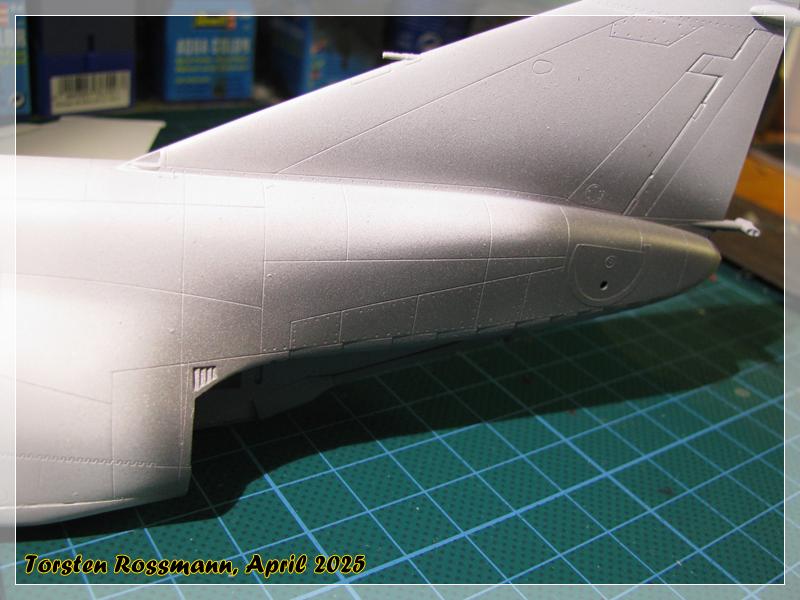
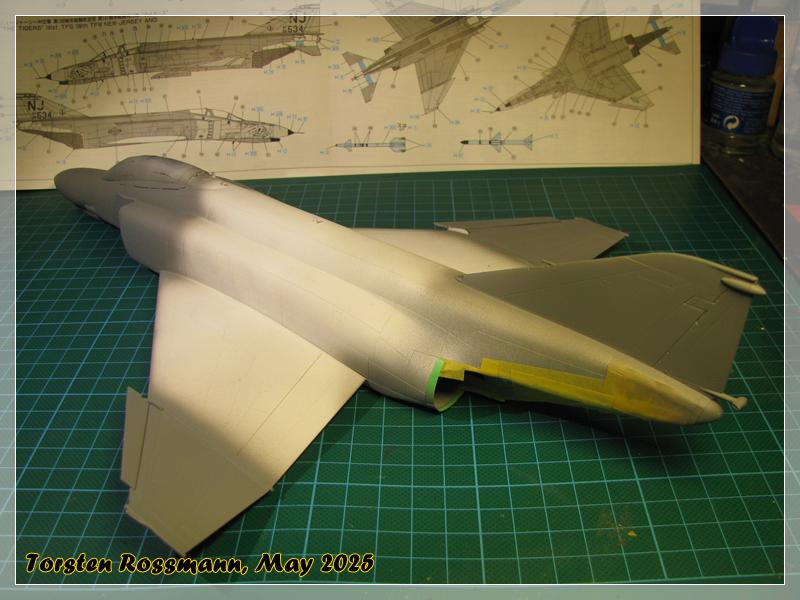
Yesterday I could make quite a big step in painting when Vallejo 71275 USAF Medium Grey FS 36270 was added. It covers most parts of the Phantom but I didn’t expect it that dark …
Just checked if the paint came on sufficently opaque. No “clouds” visible …
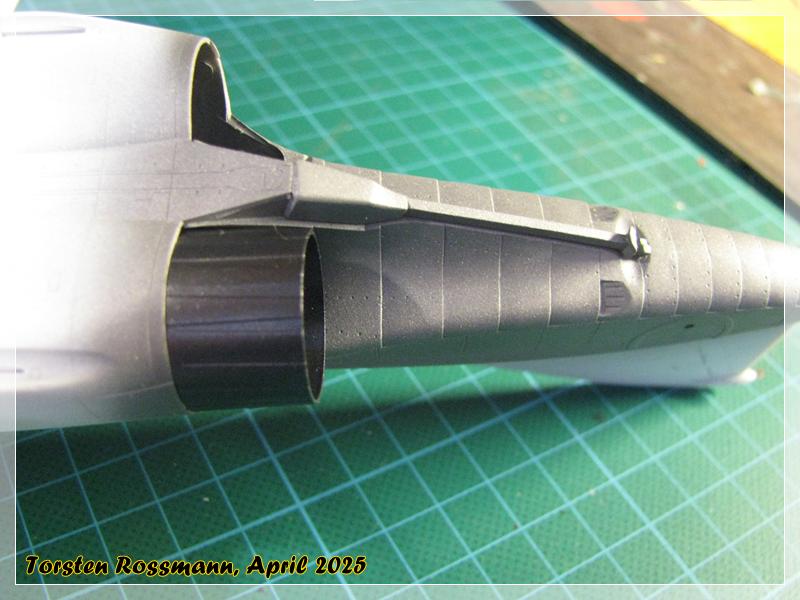
Next step will be another longer masking session before I can add Vallejo 71097 Medium Gunship Grey FS 36118 to the build. I’ll try to have soft edges between the paints where possible. Wish me luck.