Curious if there is any appetite for a build blog of this fun little vehicle. If not I’ll delete the thread. Planning a small vignette with figures from Stalingrad miniatures.
8 Likes
Yes!
I would love to see a build on this little minipanzer! Big TriStar fan!
Absolutely. Saw it on your post about postman’s deliveries and caught my attention 
Please bring it on,I love the Tristar kits.Best regards…Dale
I’d follow your blog. Love the panzer variants.
Cheers,
C.
Alright seems like there is some decent interest!
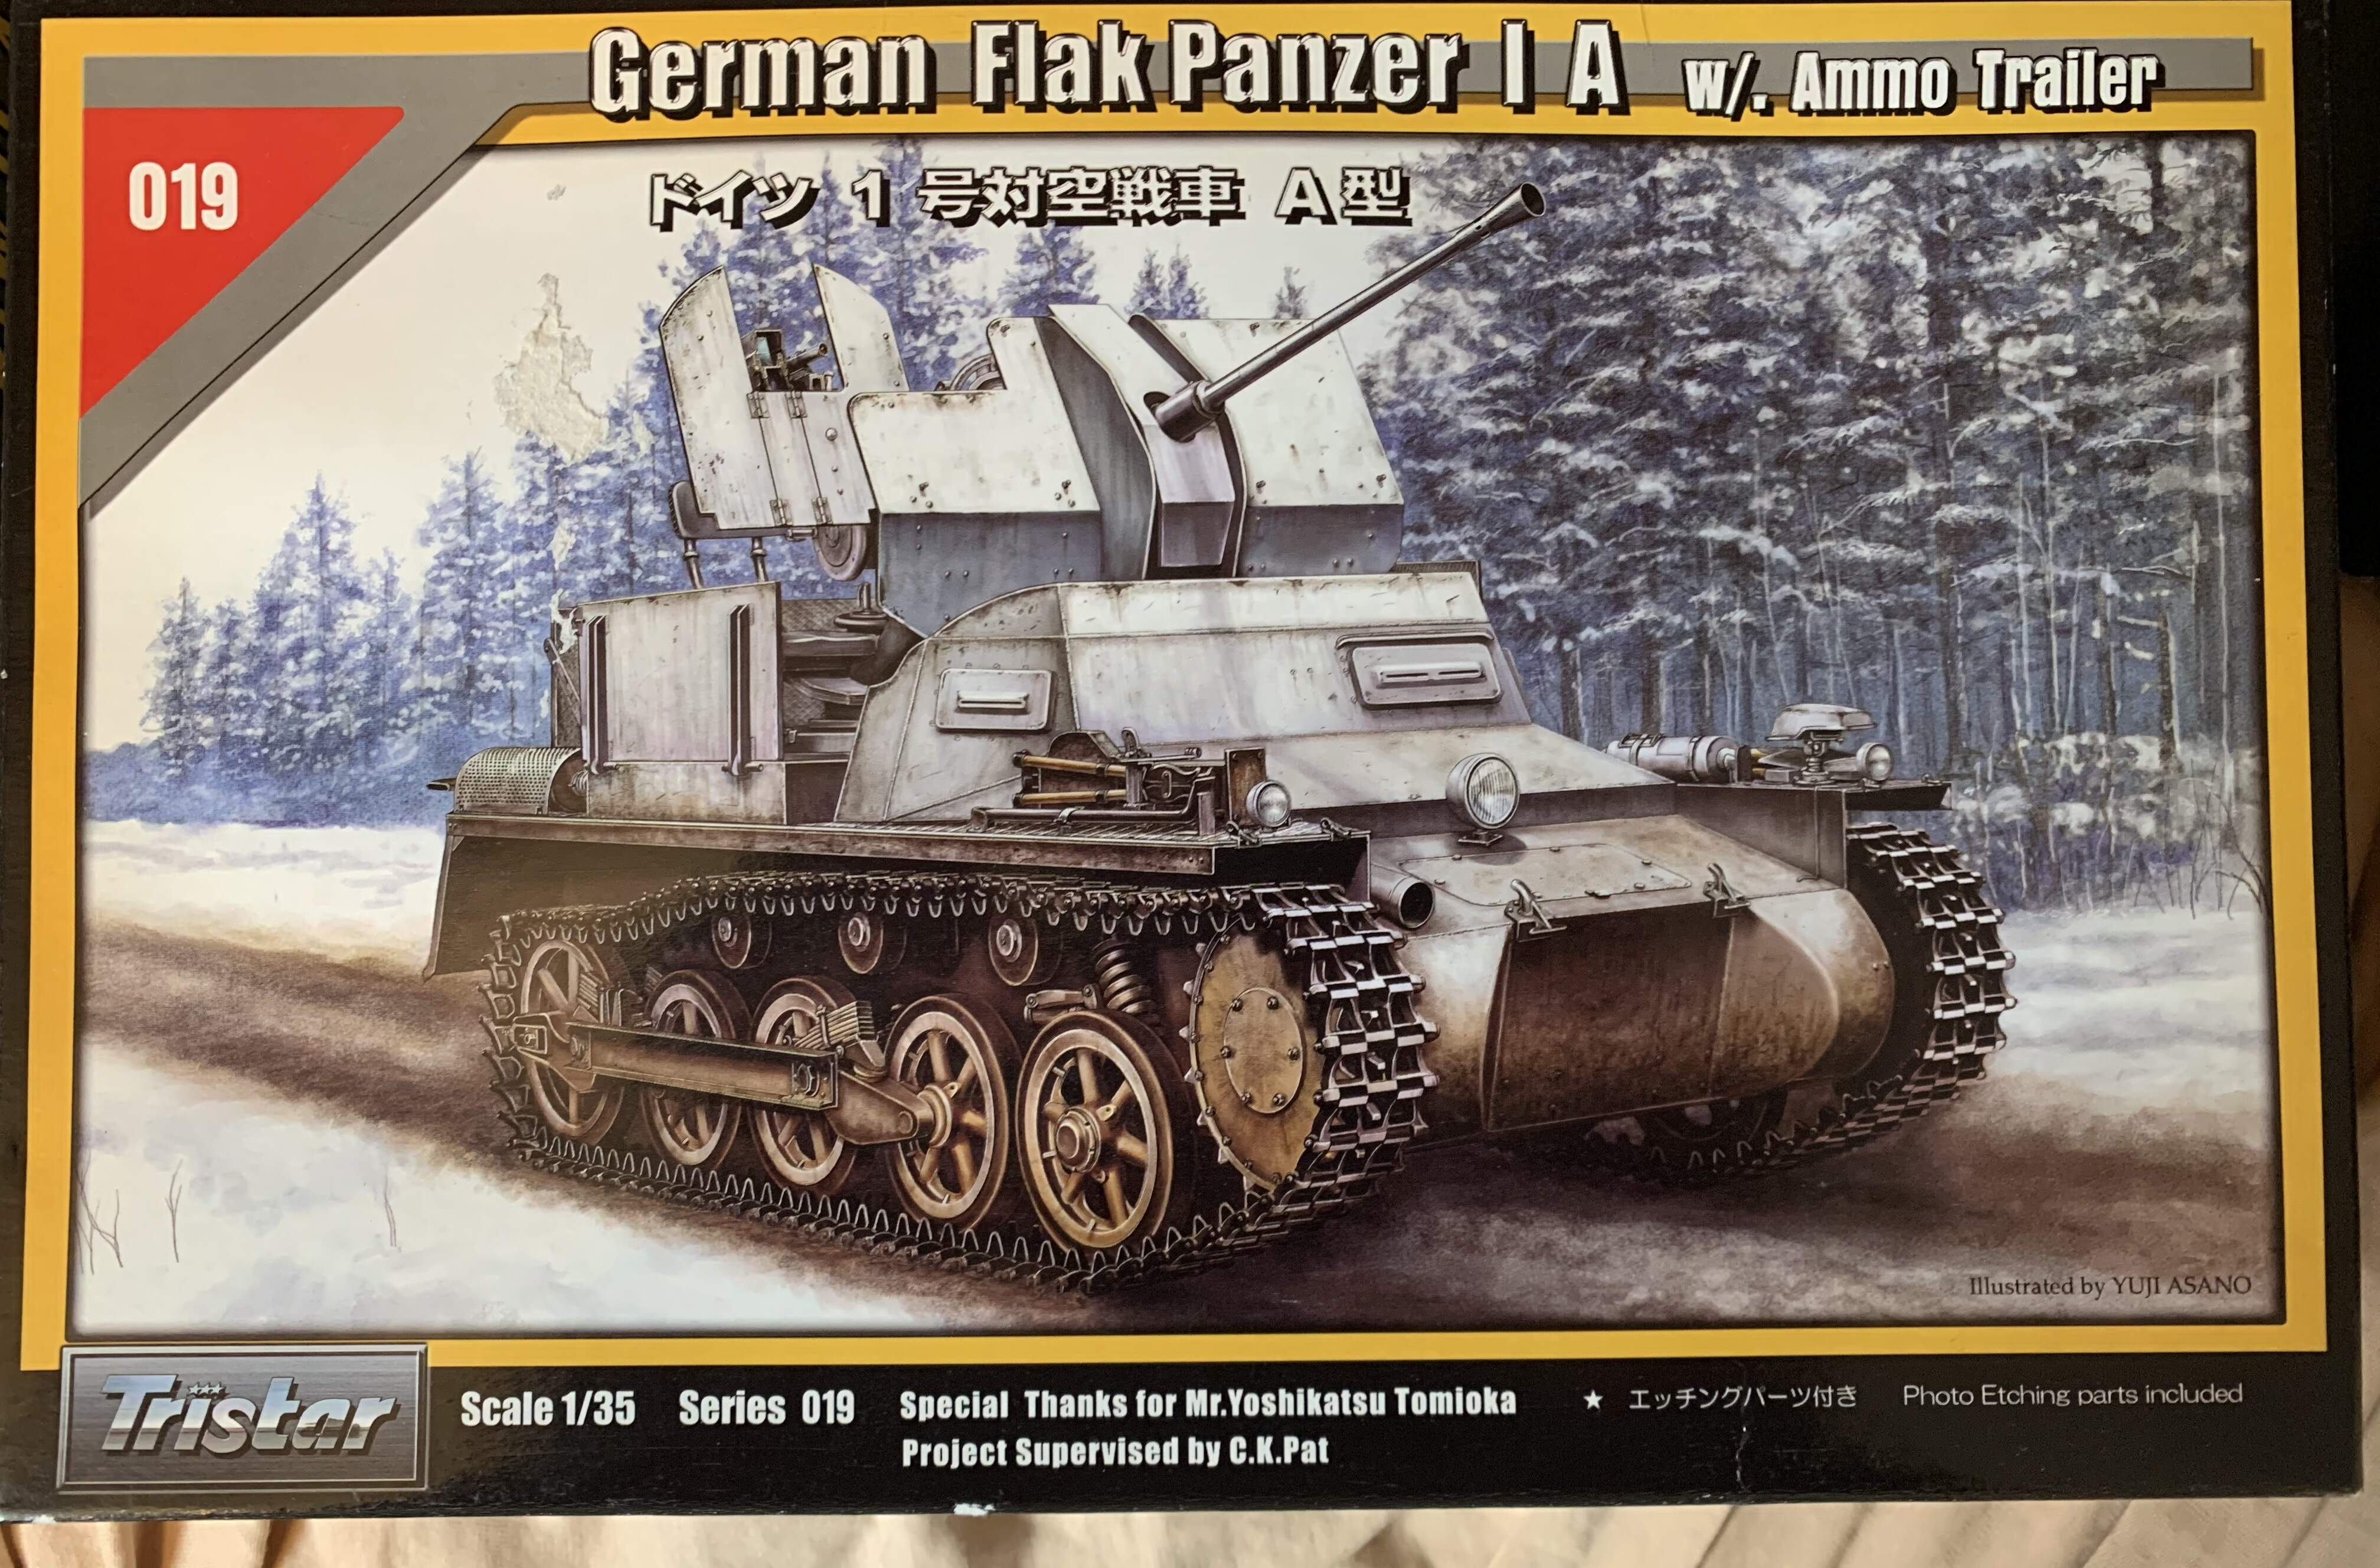
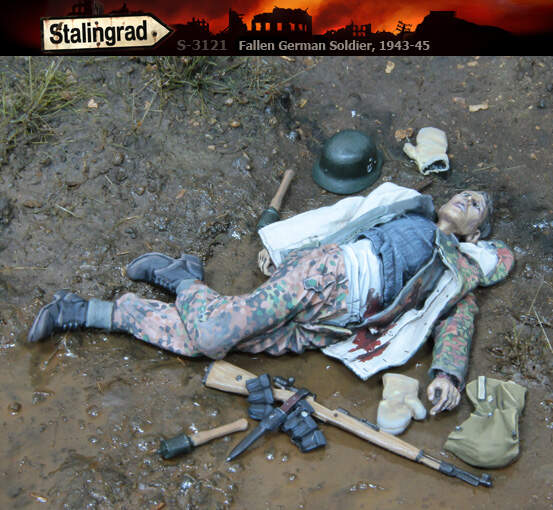
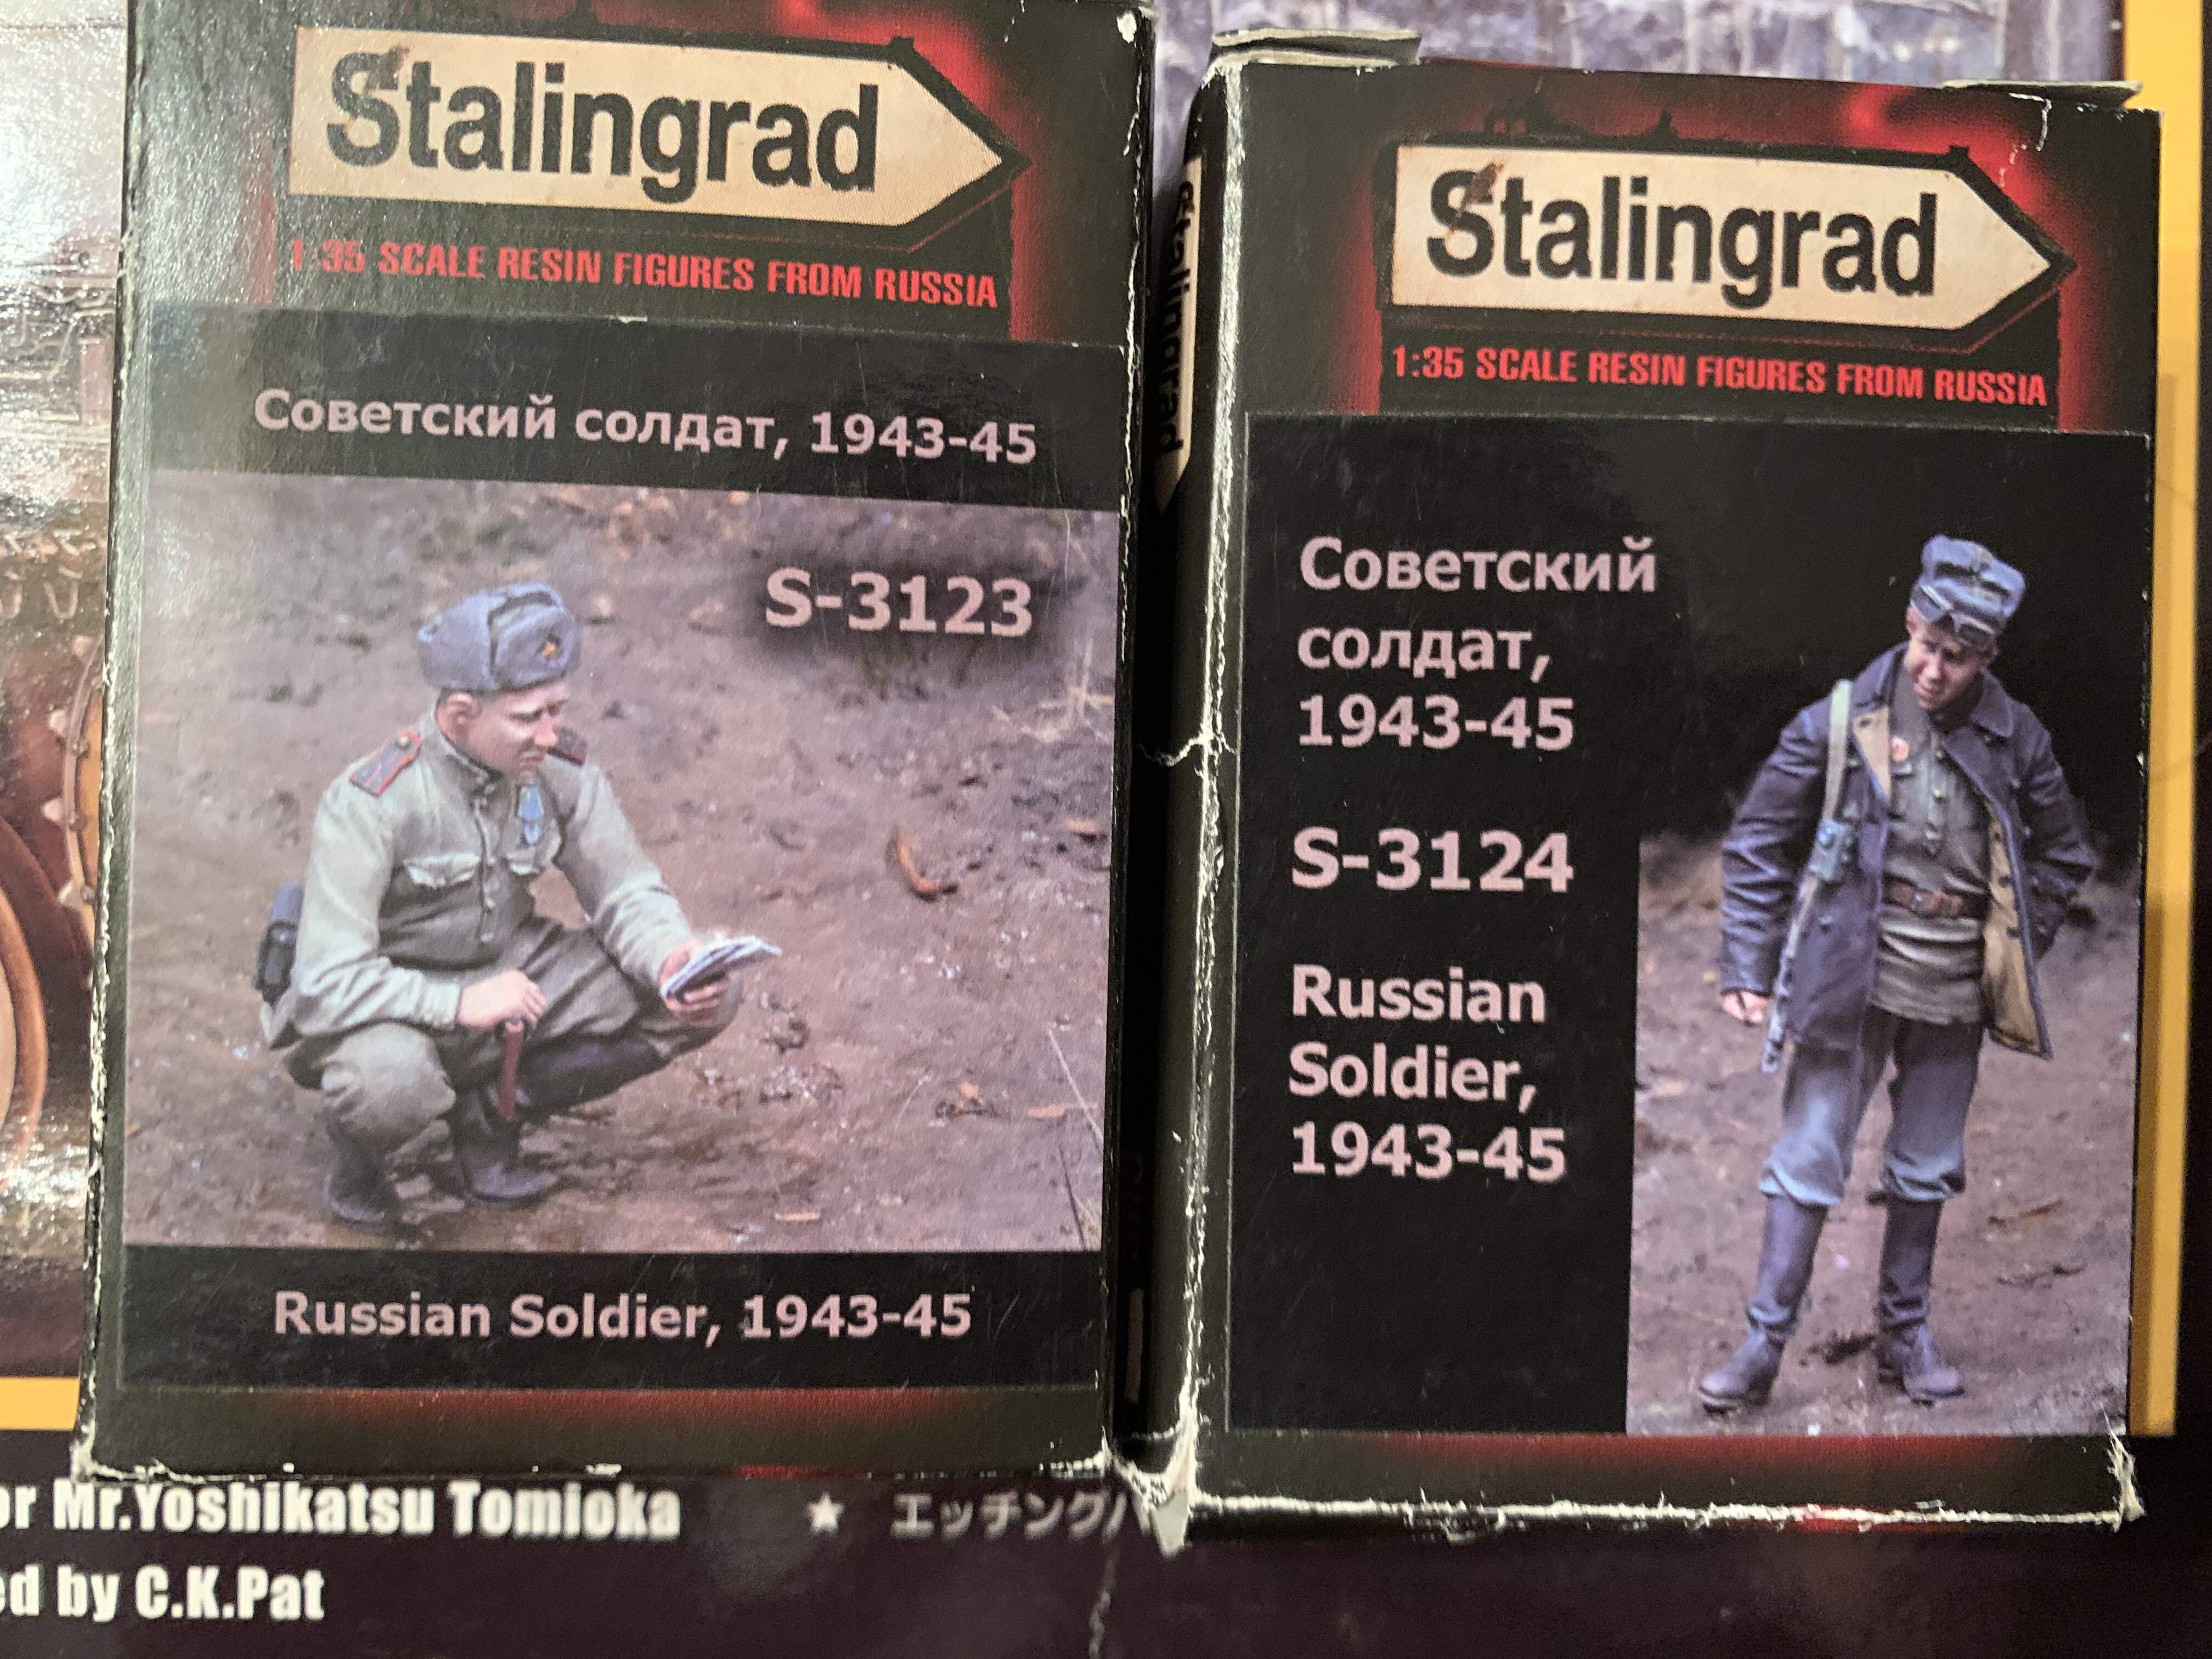
A bit of history on these vehicles. During the blitzkreig in France the Germans found that their mobile Flak guns lacked armor protection. The decision was made to mate a Flak gun to panzer chassis. For this the Panzer I was chosen due mainly to availability. In 1941 the Flak Panzer I was born by mounting the 2cm FlaK 38 on a Panzer I hull. This vehicle was extremely rare as only 24 were made, all of which went to the FlaK Battalion motorized 614, which was transferred to Romania. This unit went on to fight in operation Barbarossa and was eventually transferred to the 6th army as part of Army group south’s assault on Stalingrad. The battalion was wiped out in Stalingrad. I plan to show one of these vehicles using the tri-star kit out of the box except for the flak 38 barrel which will be replaced with a metal one. For figures I am using the following from Stalingrad miniatures,


3 Likes
I like those Tristar kits. Excellent kits (but needing attention to construction) at an excellent price. They gave Dragon a good run for the money!

The details look excellent. A few small bits, but a bit of patience and it should go together well!
Hoping to start it next weekend. Currently working on a T-54 and Stug IV. Need to wrap up the stug iv before I start anything else
I’m defiantly interested! I love everything based on the Pz.i chassis.
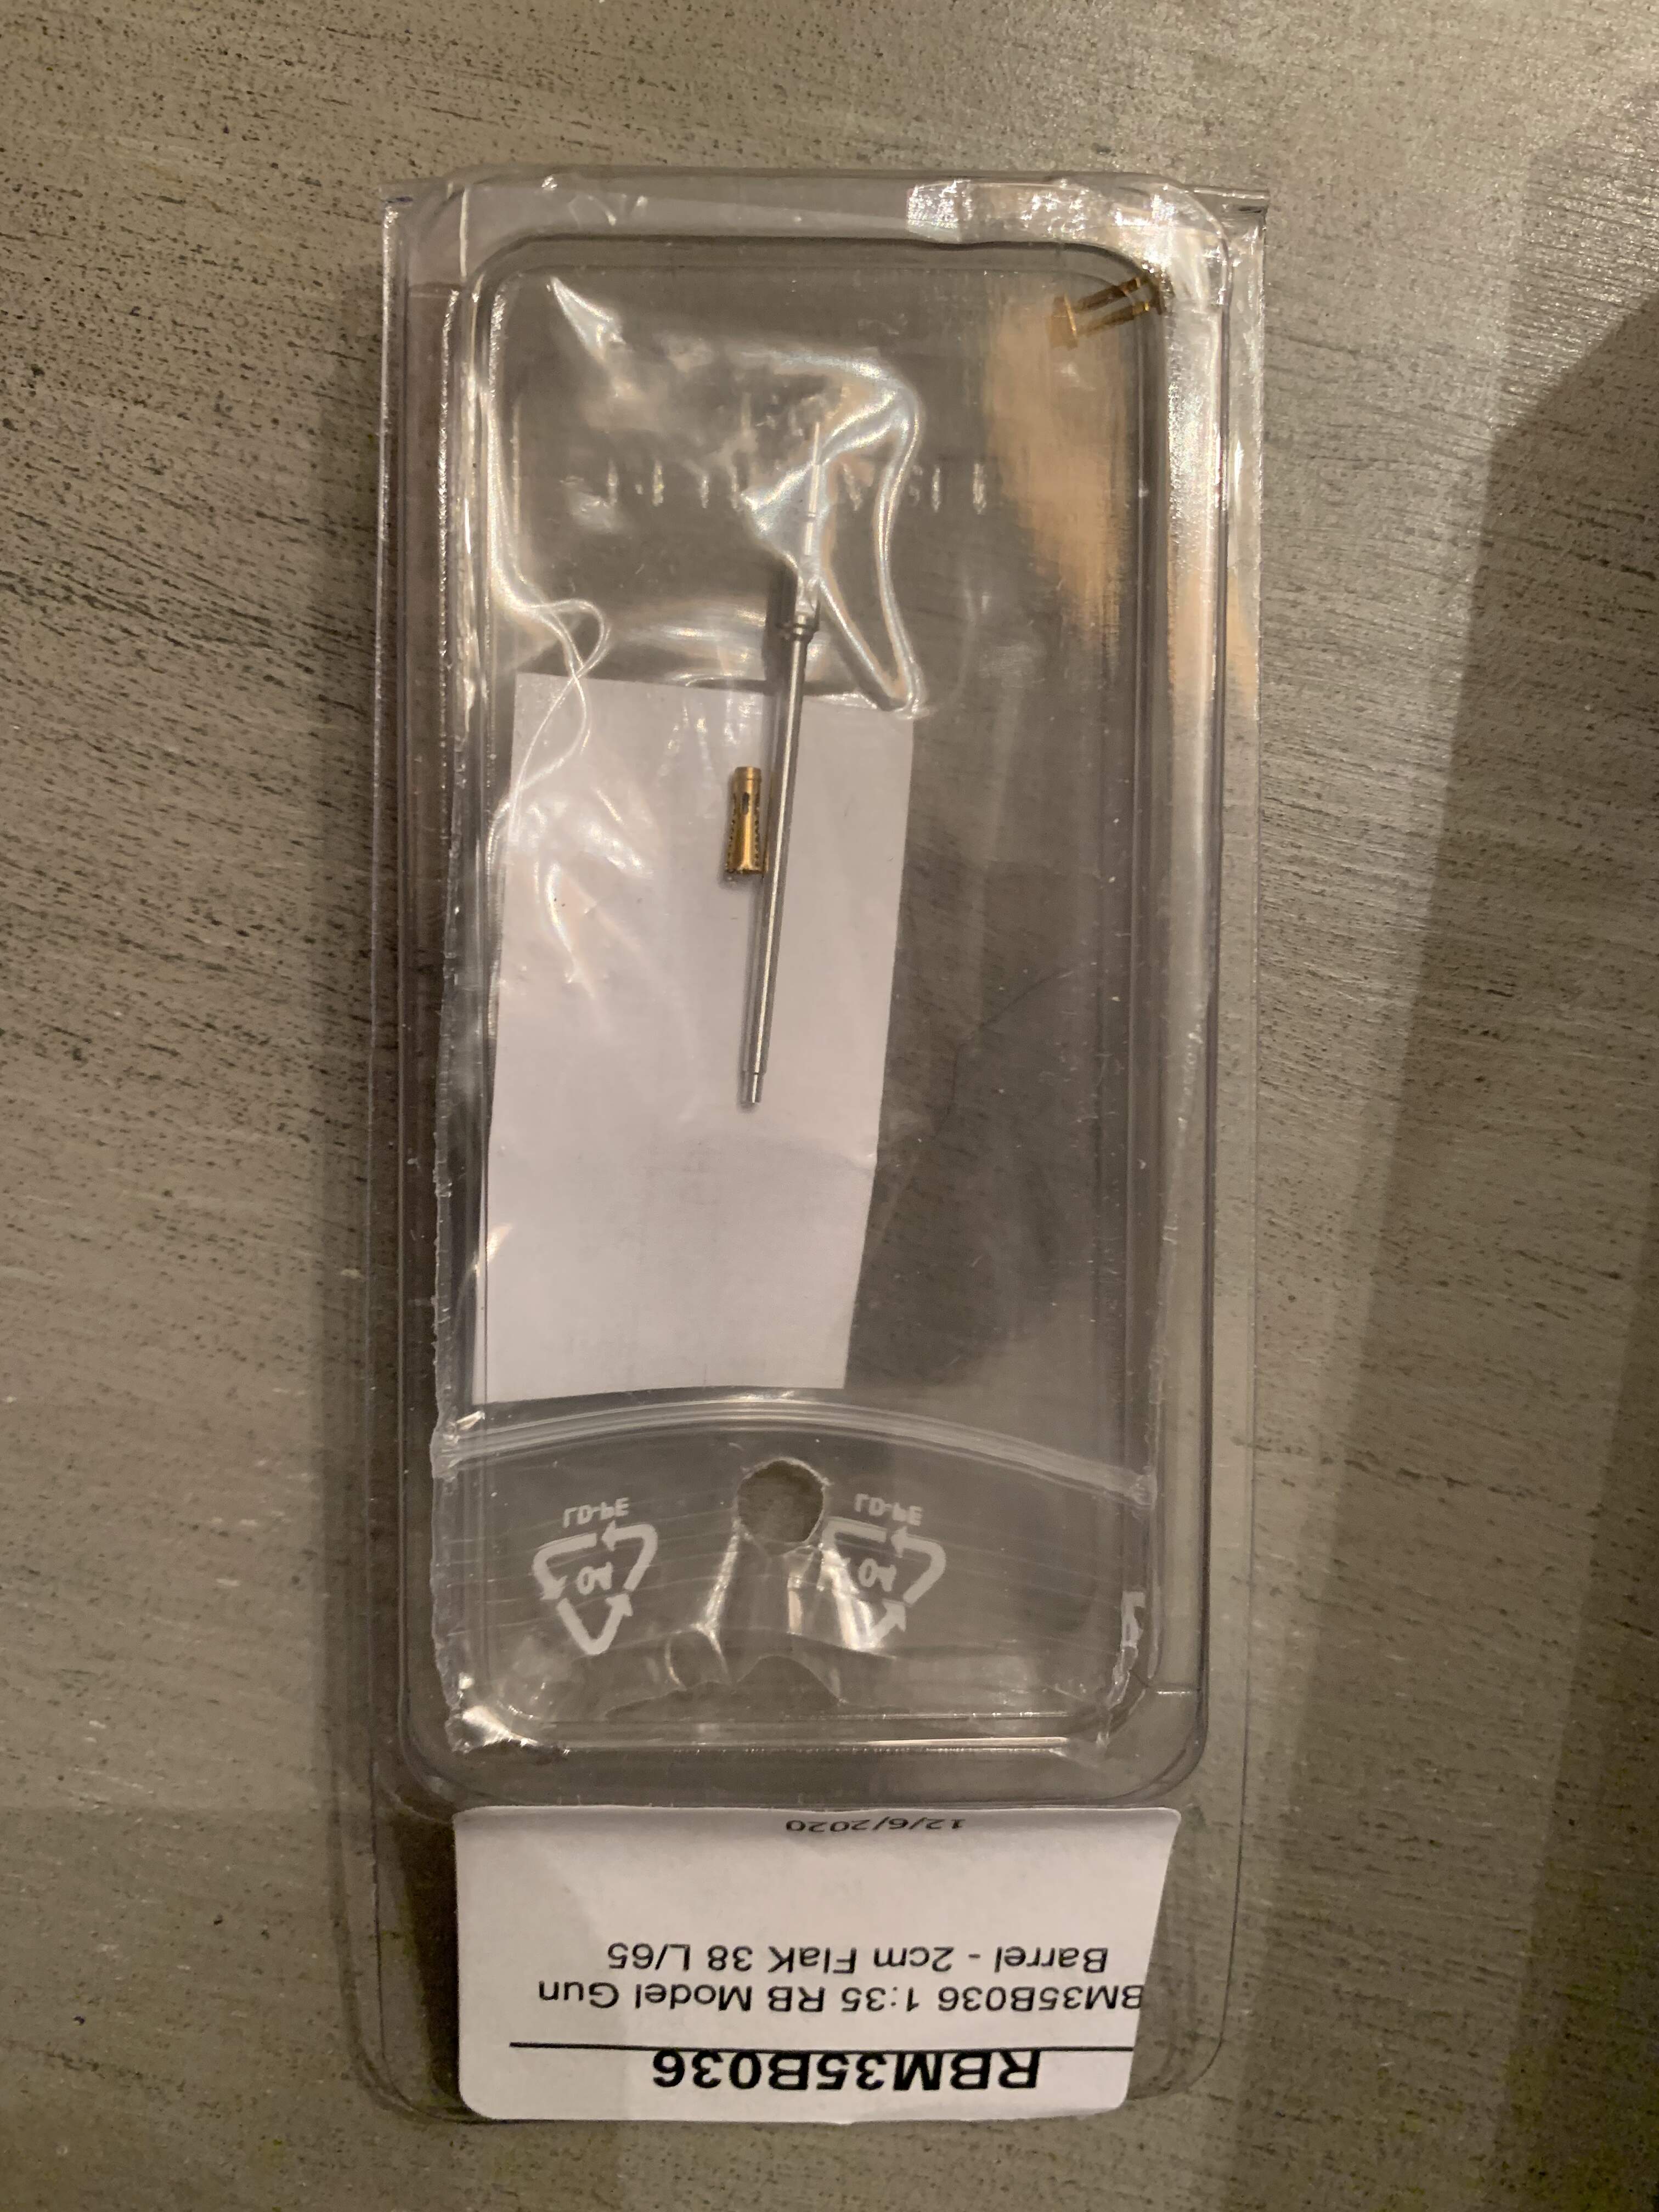
Alright the day has come to start this build. I have finally gotten the entire hull of my T-54 build complete so before I move on to the turret and tracks I am taking a break from that kit and moving on to this one. The build will start today. I am building it mostly OOB except for a metal barrel from RB models. I chose a metal barrel for two reasons, the first is that the tri-star barrel is apparently the correct overall length but has some small dimension issues, im that the housing is too long and the barrel too short. The RB models 2cm Flak 38 L/65 barrel corrects this. Second the metal muzzle brake is crisper.
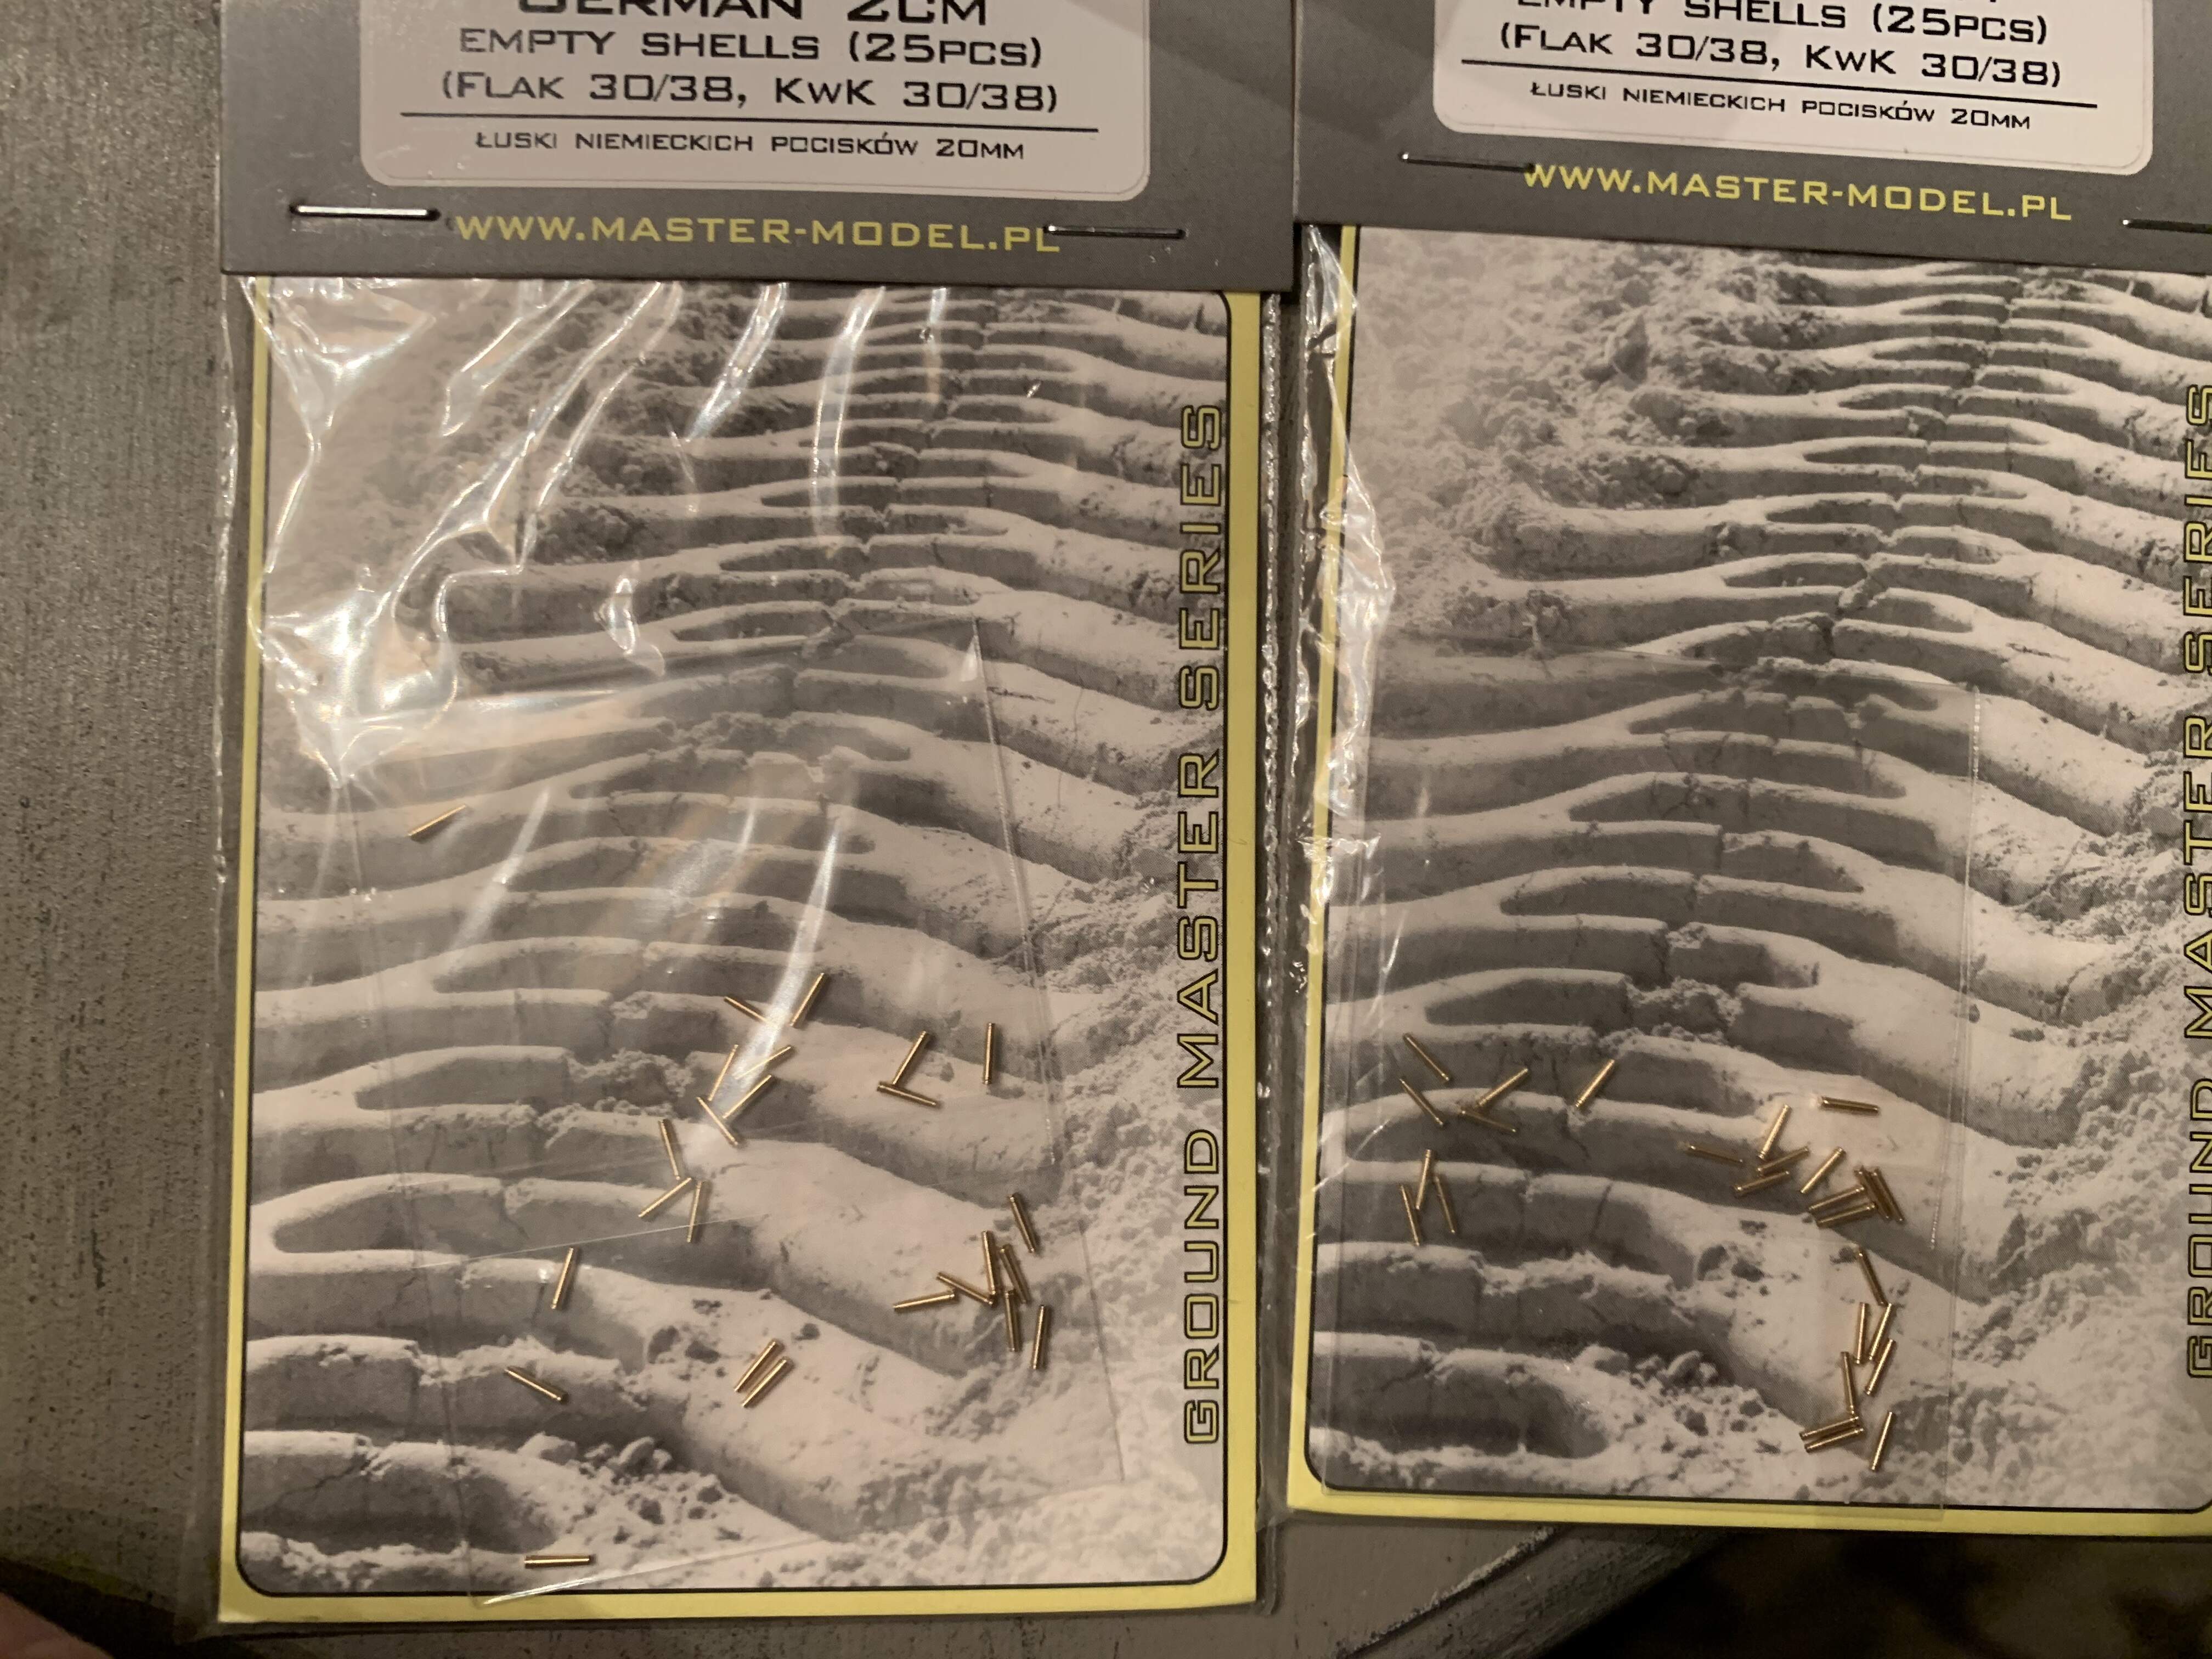
I am planning a small vignette with the panzer abandoned after a fight with the Russians in Stalingrad. As such I’ve added two figures from Stalingrad miniatures (I will add one more of a dead German, but it hasn’t arrived yet), and a bunch of shell casings.
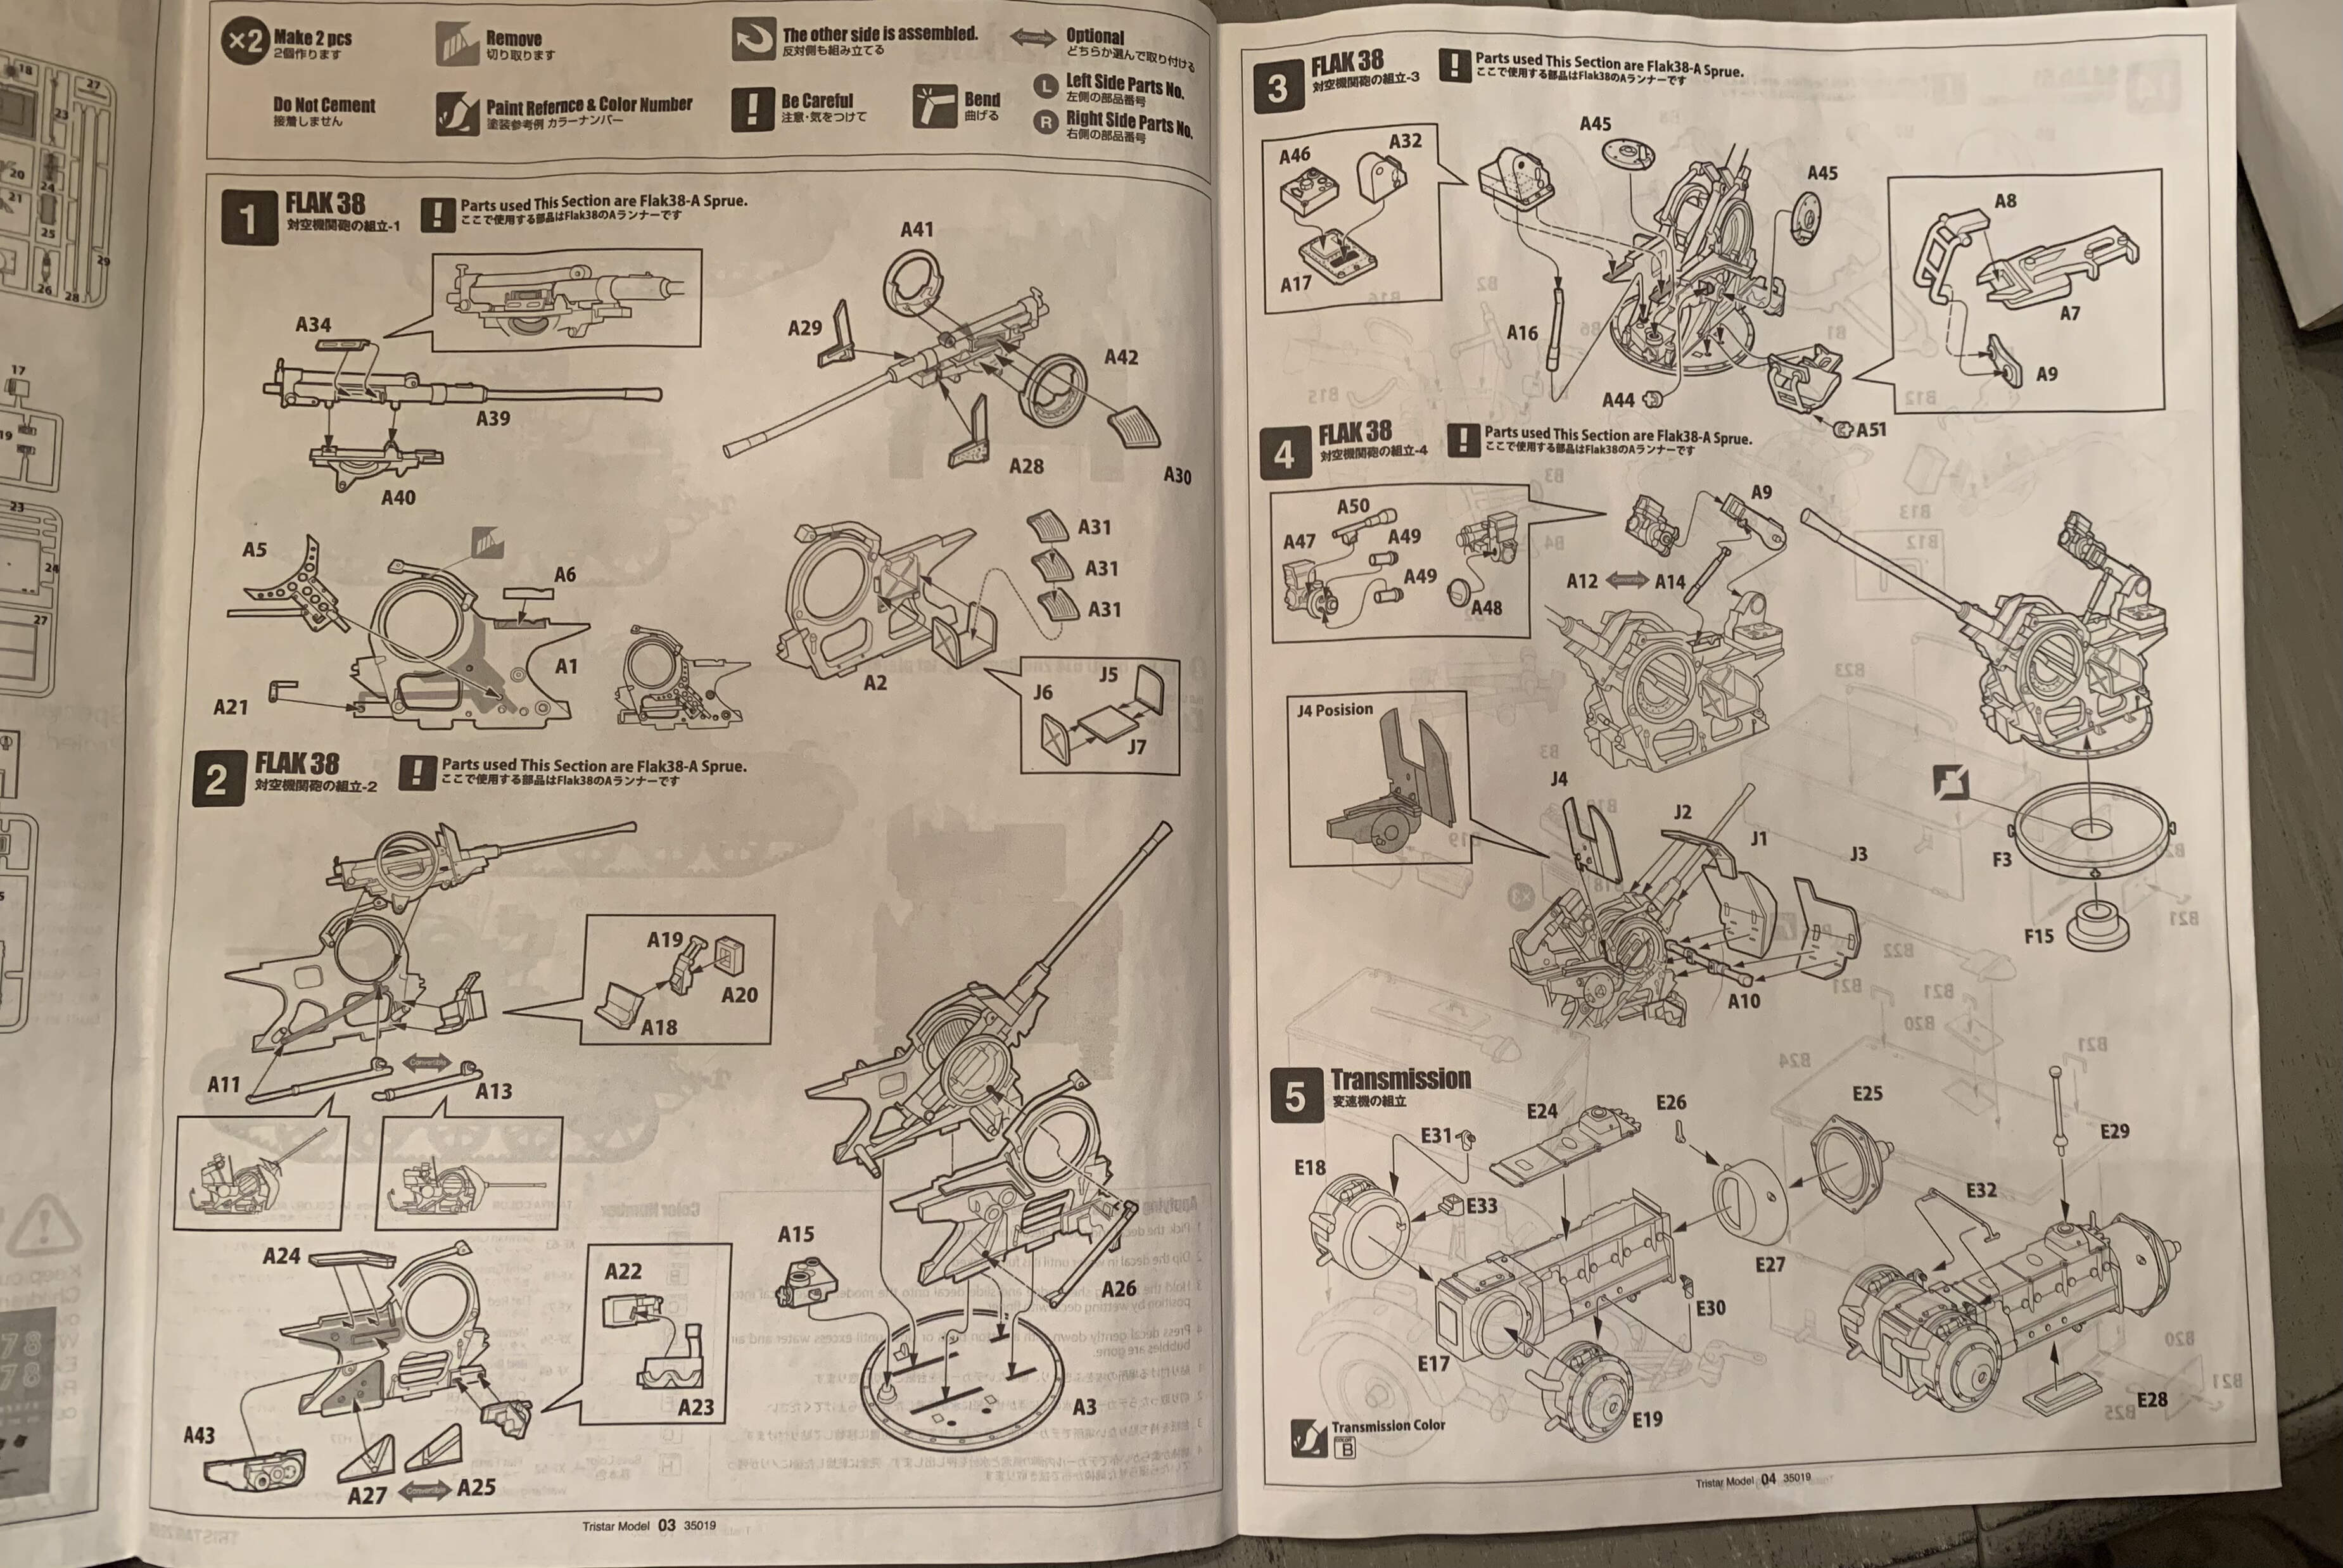
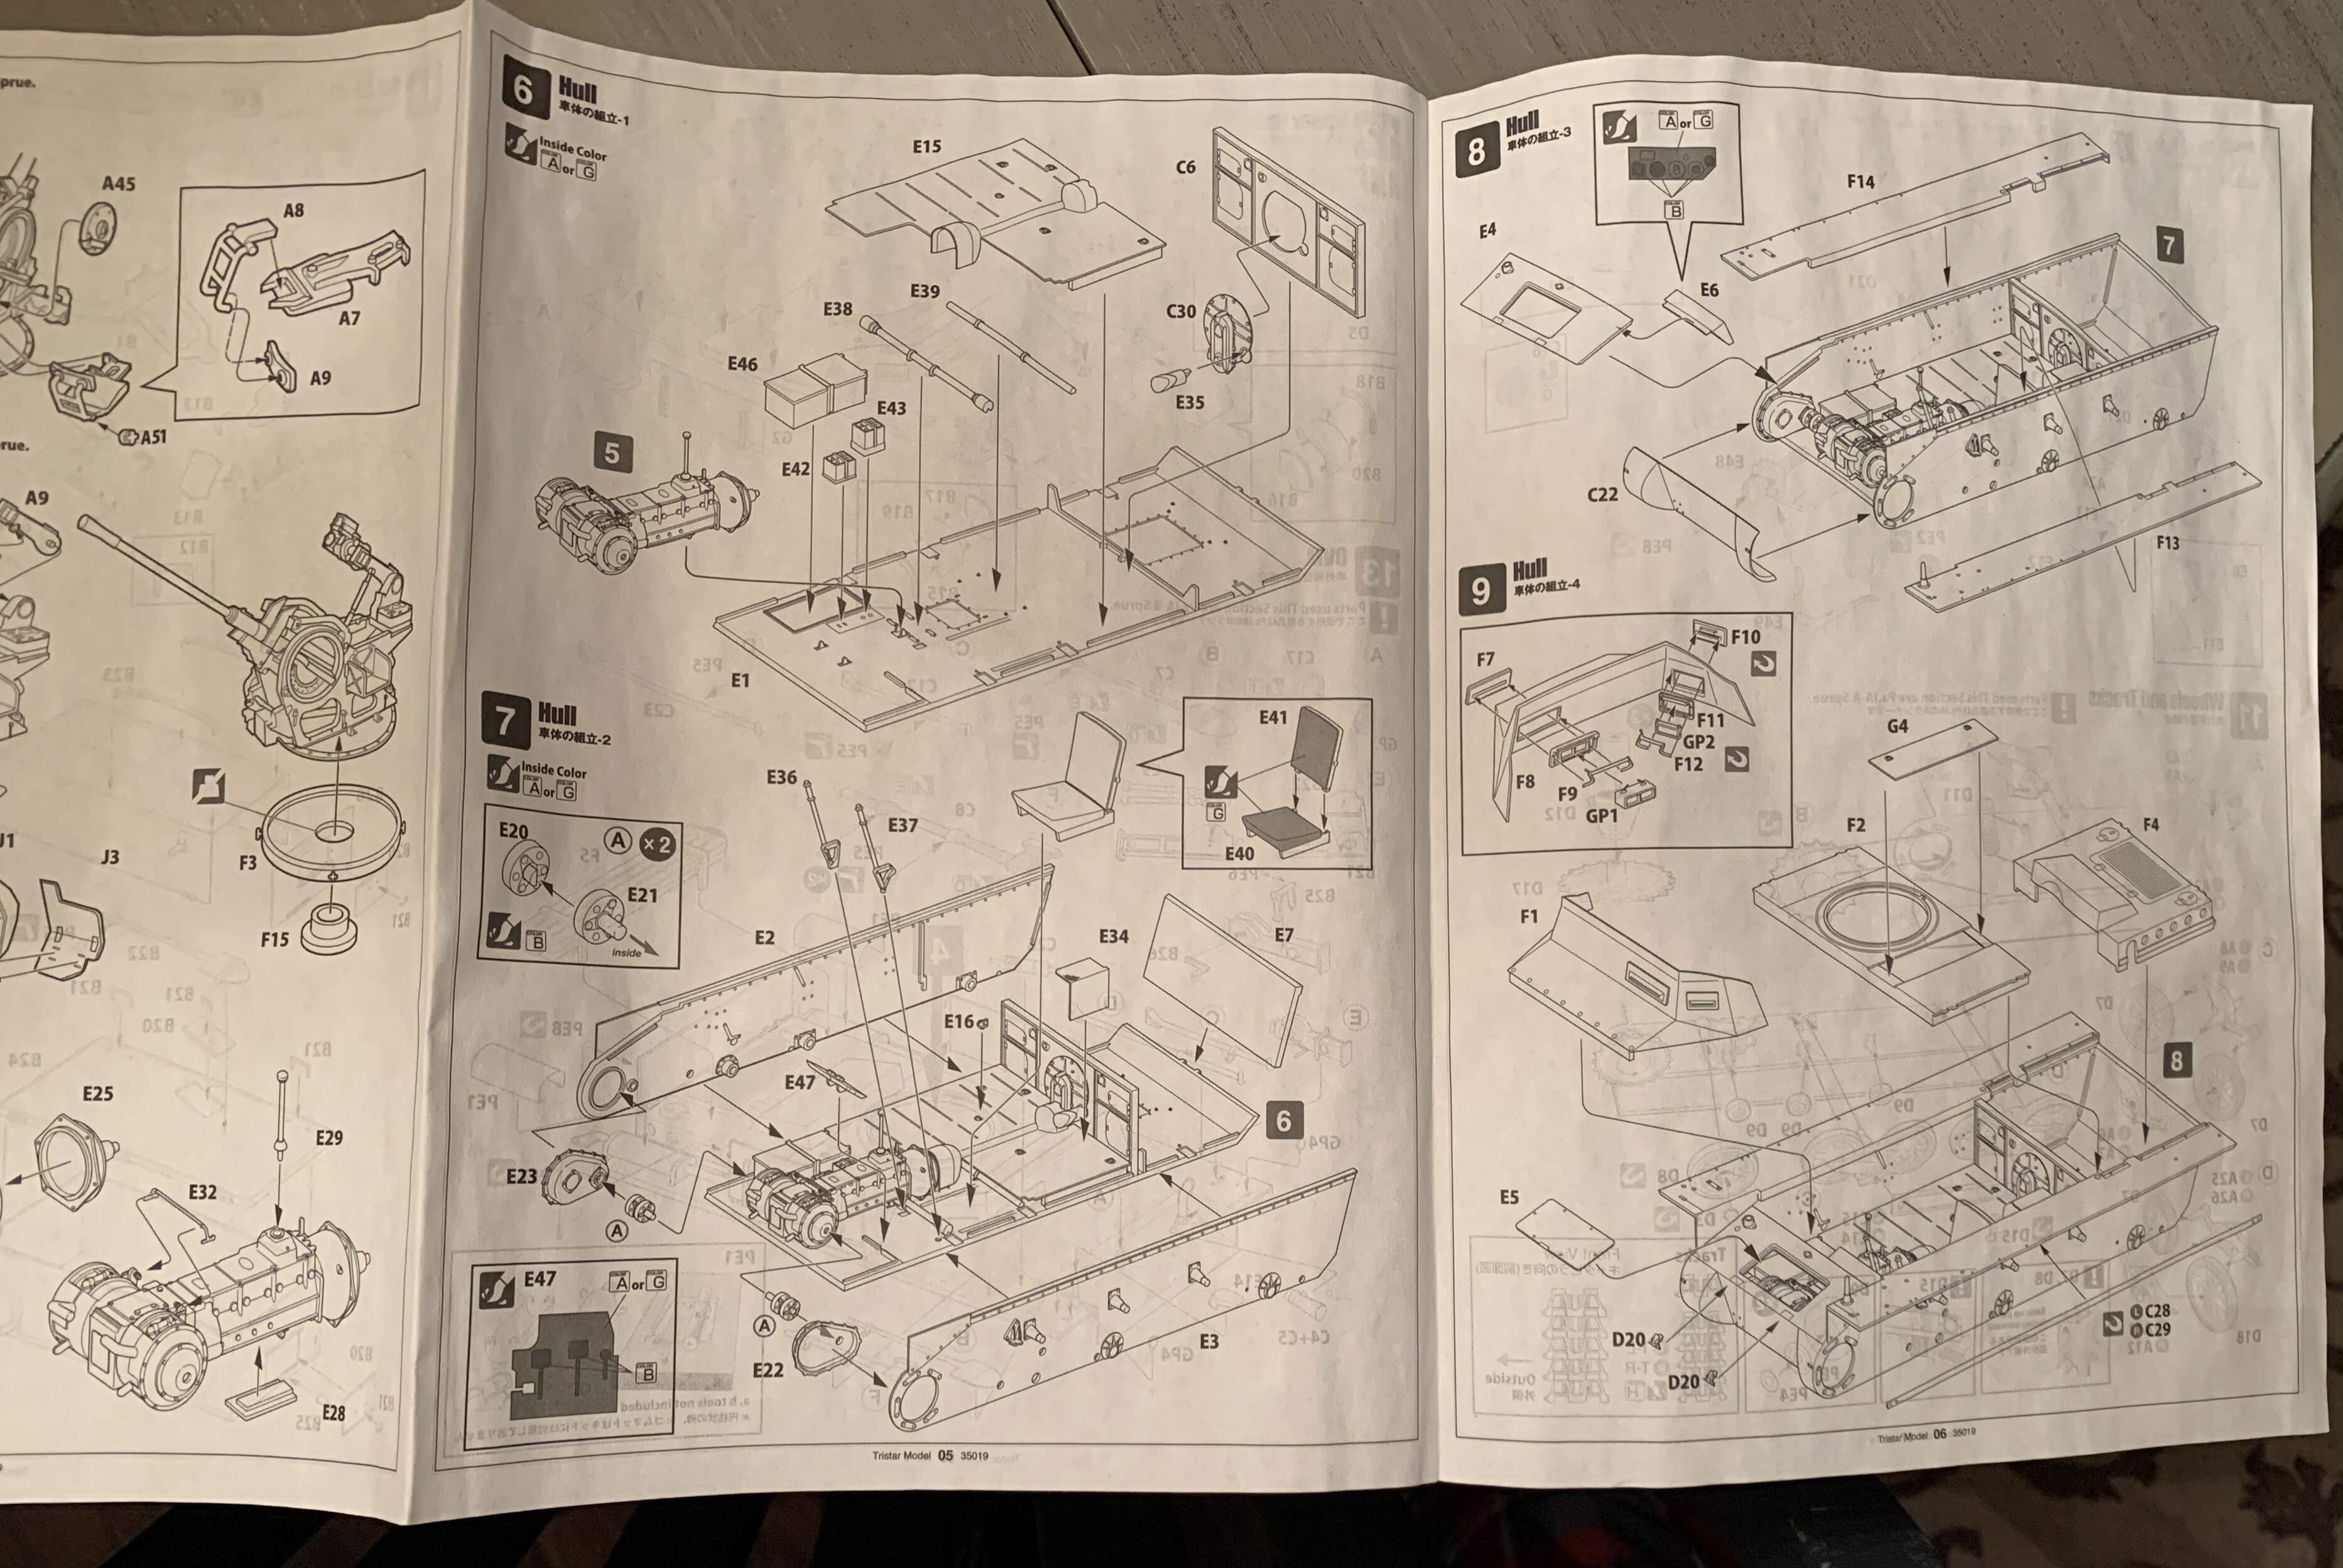
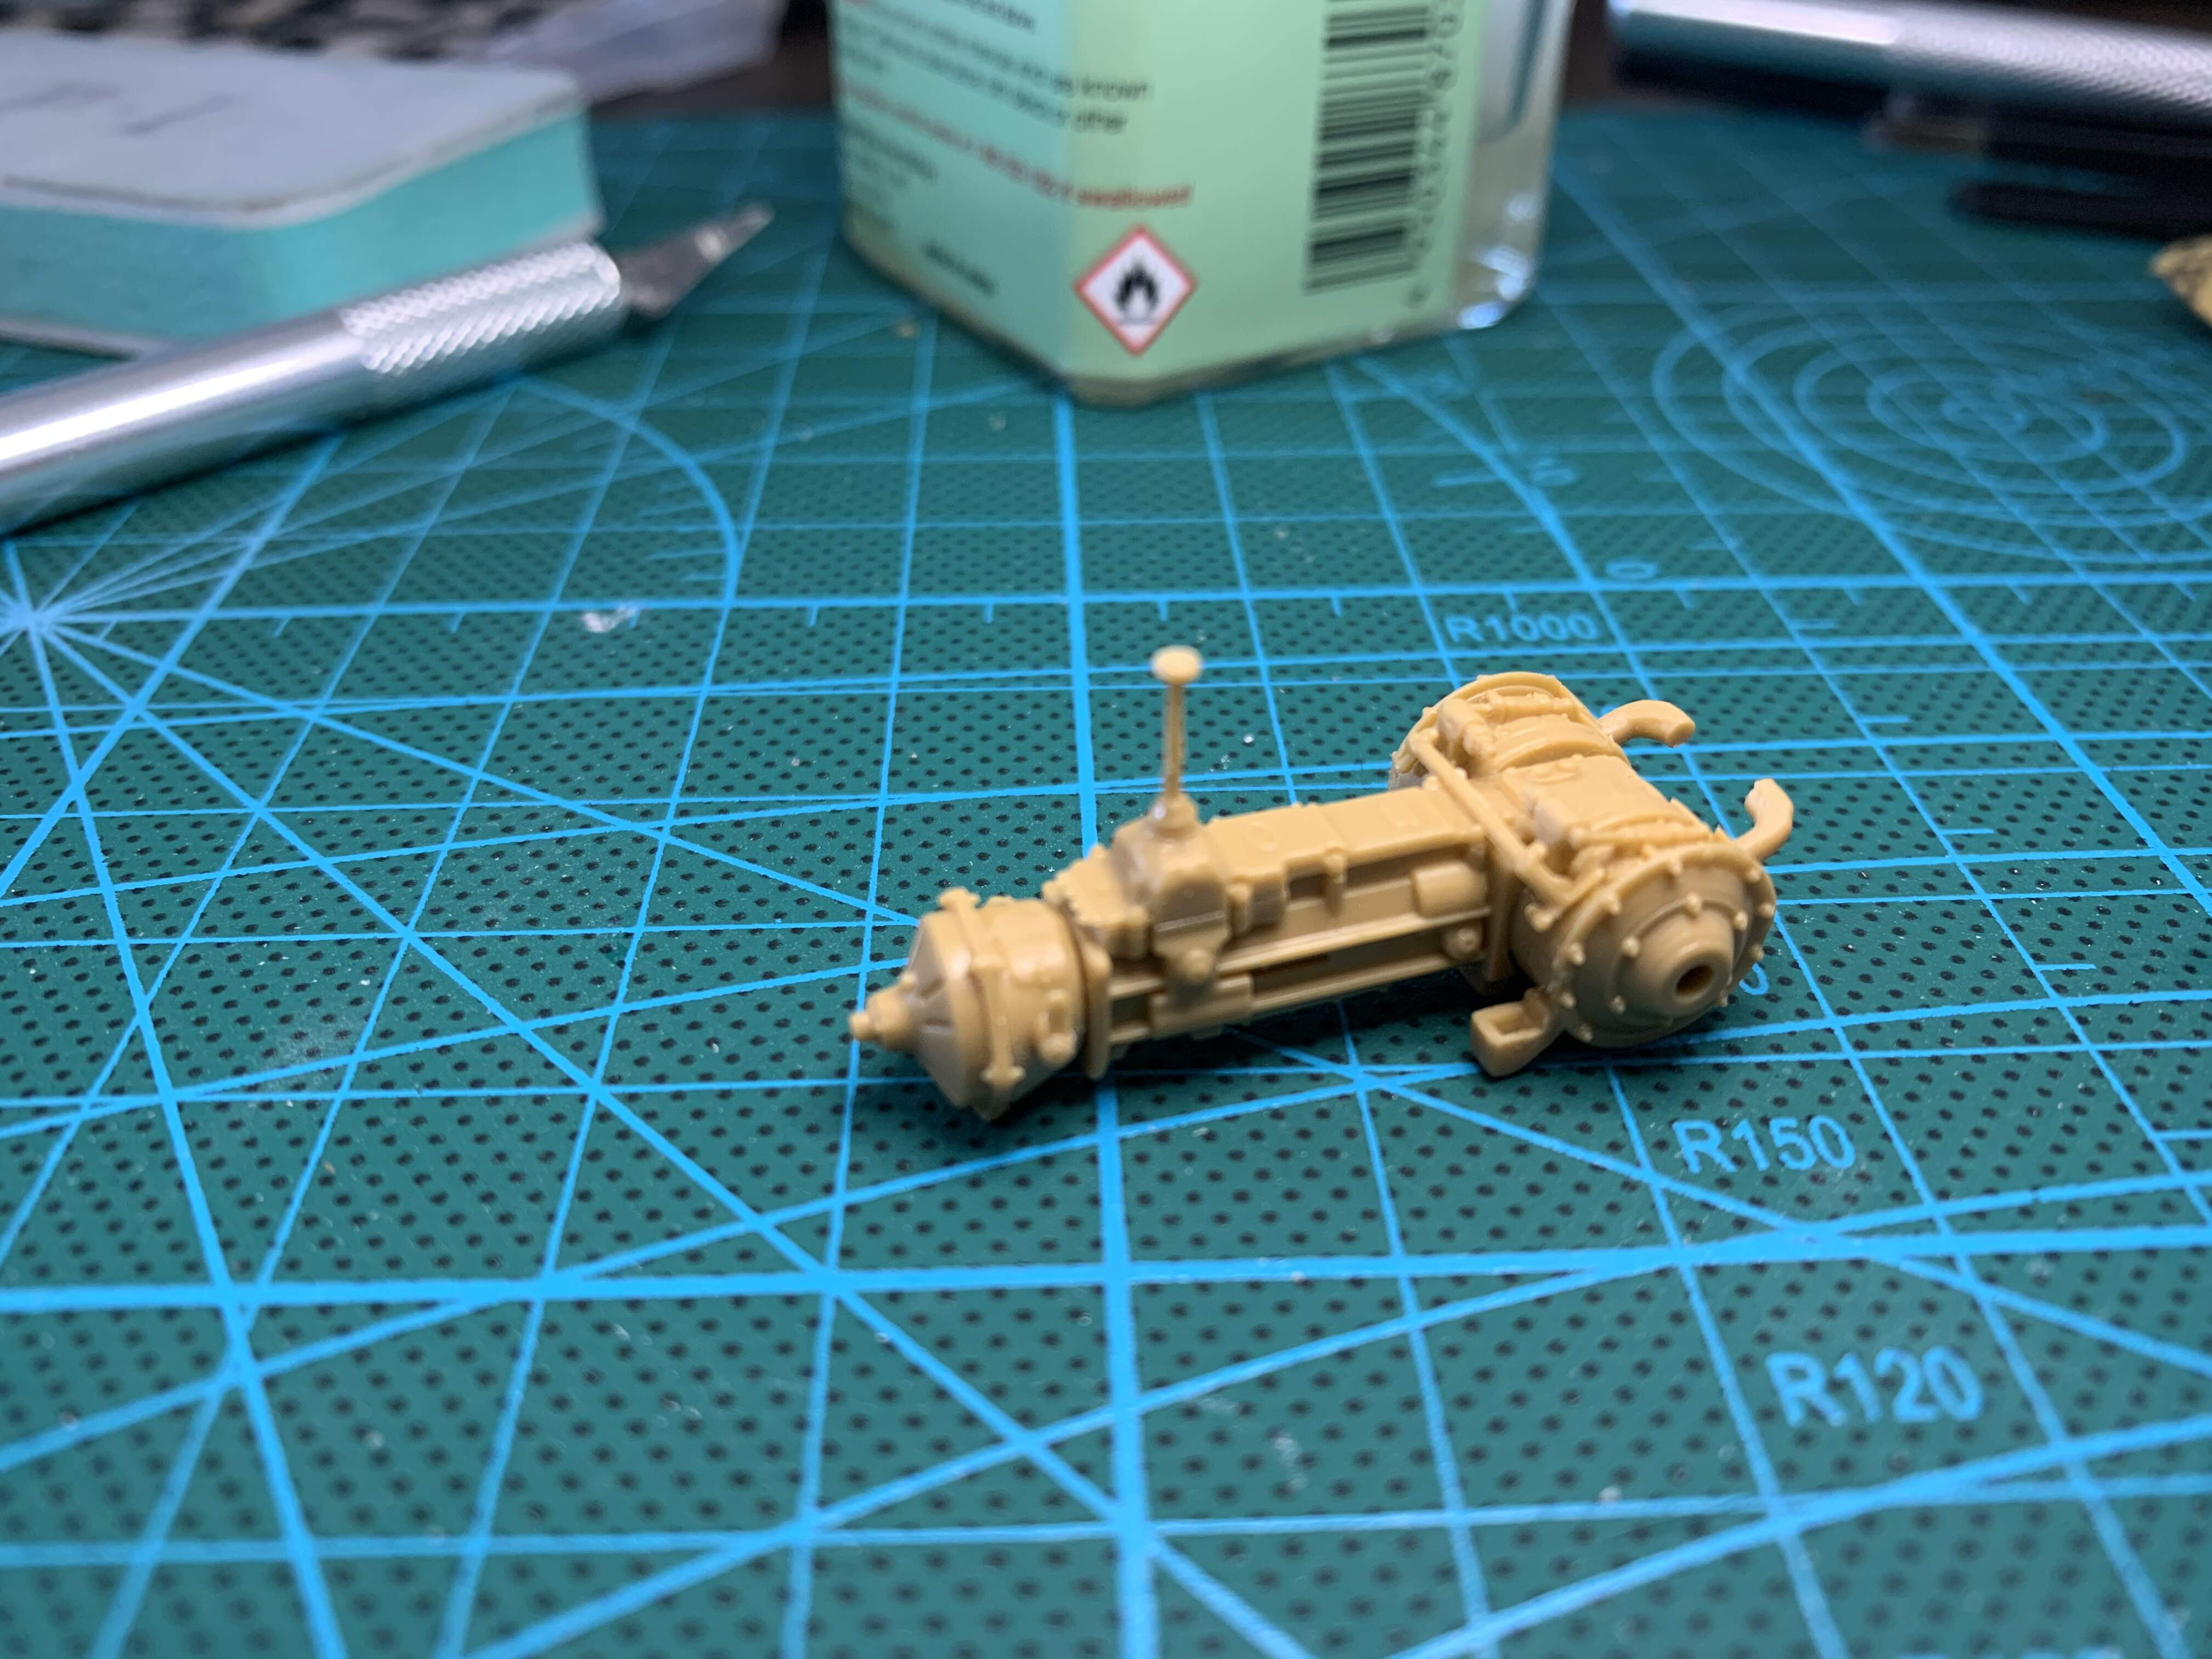
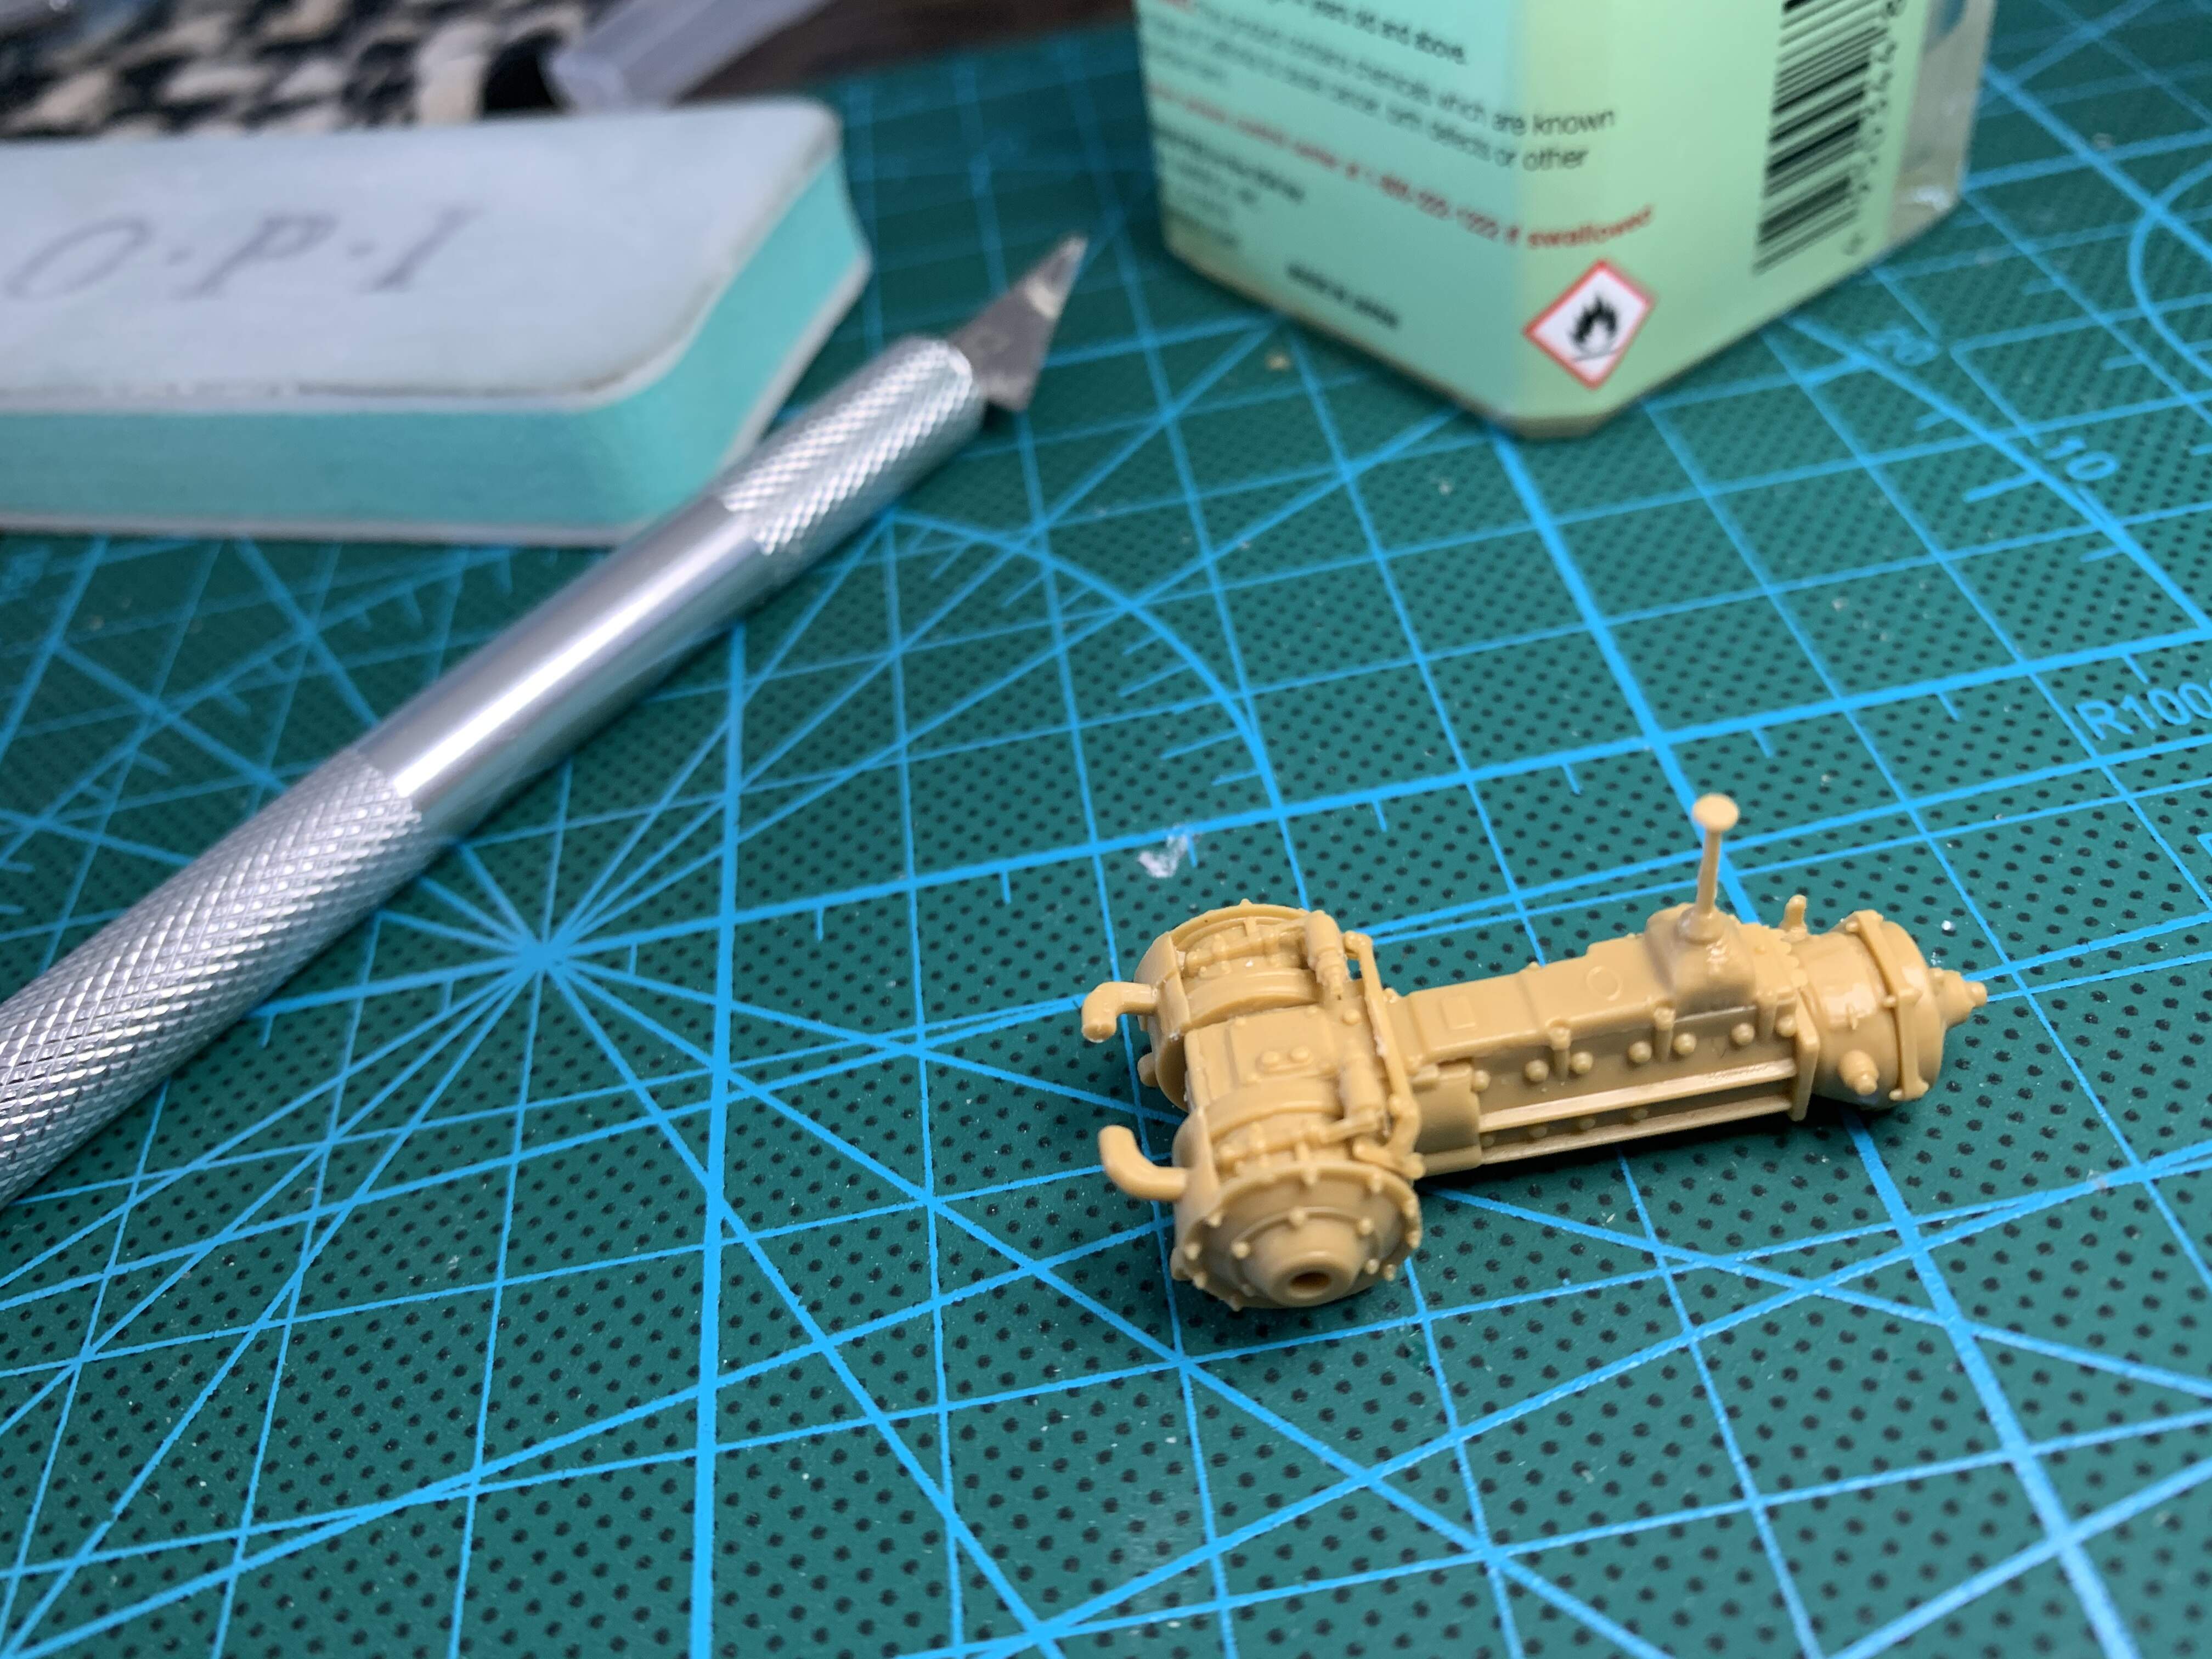
The instructions start with the gun, but I am going to jump to step 5, starting with the transmission and interior. Once I get to step 8-9 where I glue the hull tub together I’ll backtrack to the gun while I give the hull time to cure.
4 Likes
Looks like a fun build! Cant wait for more.
Tracking the topic. Looks to be an interesting build of an unusual subject.
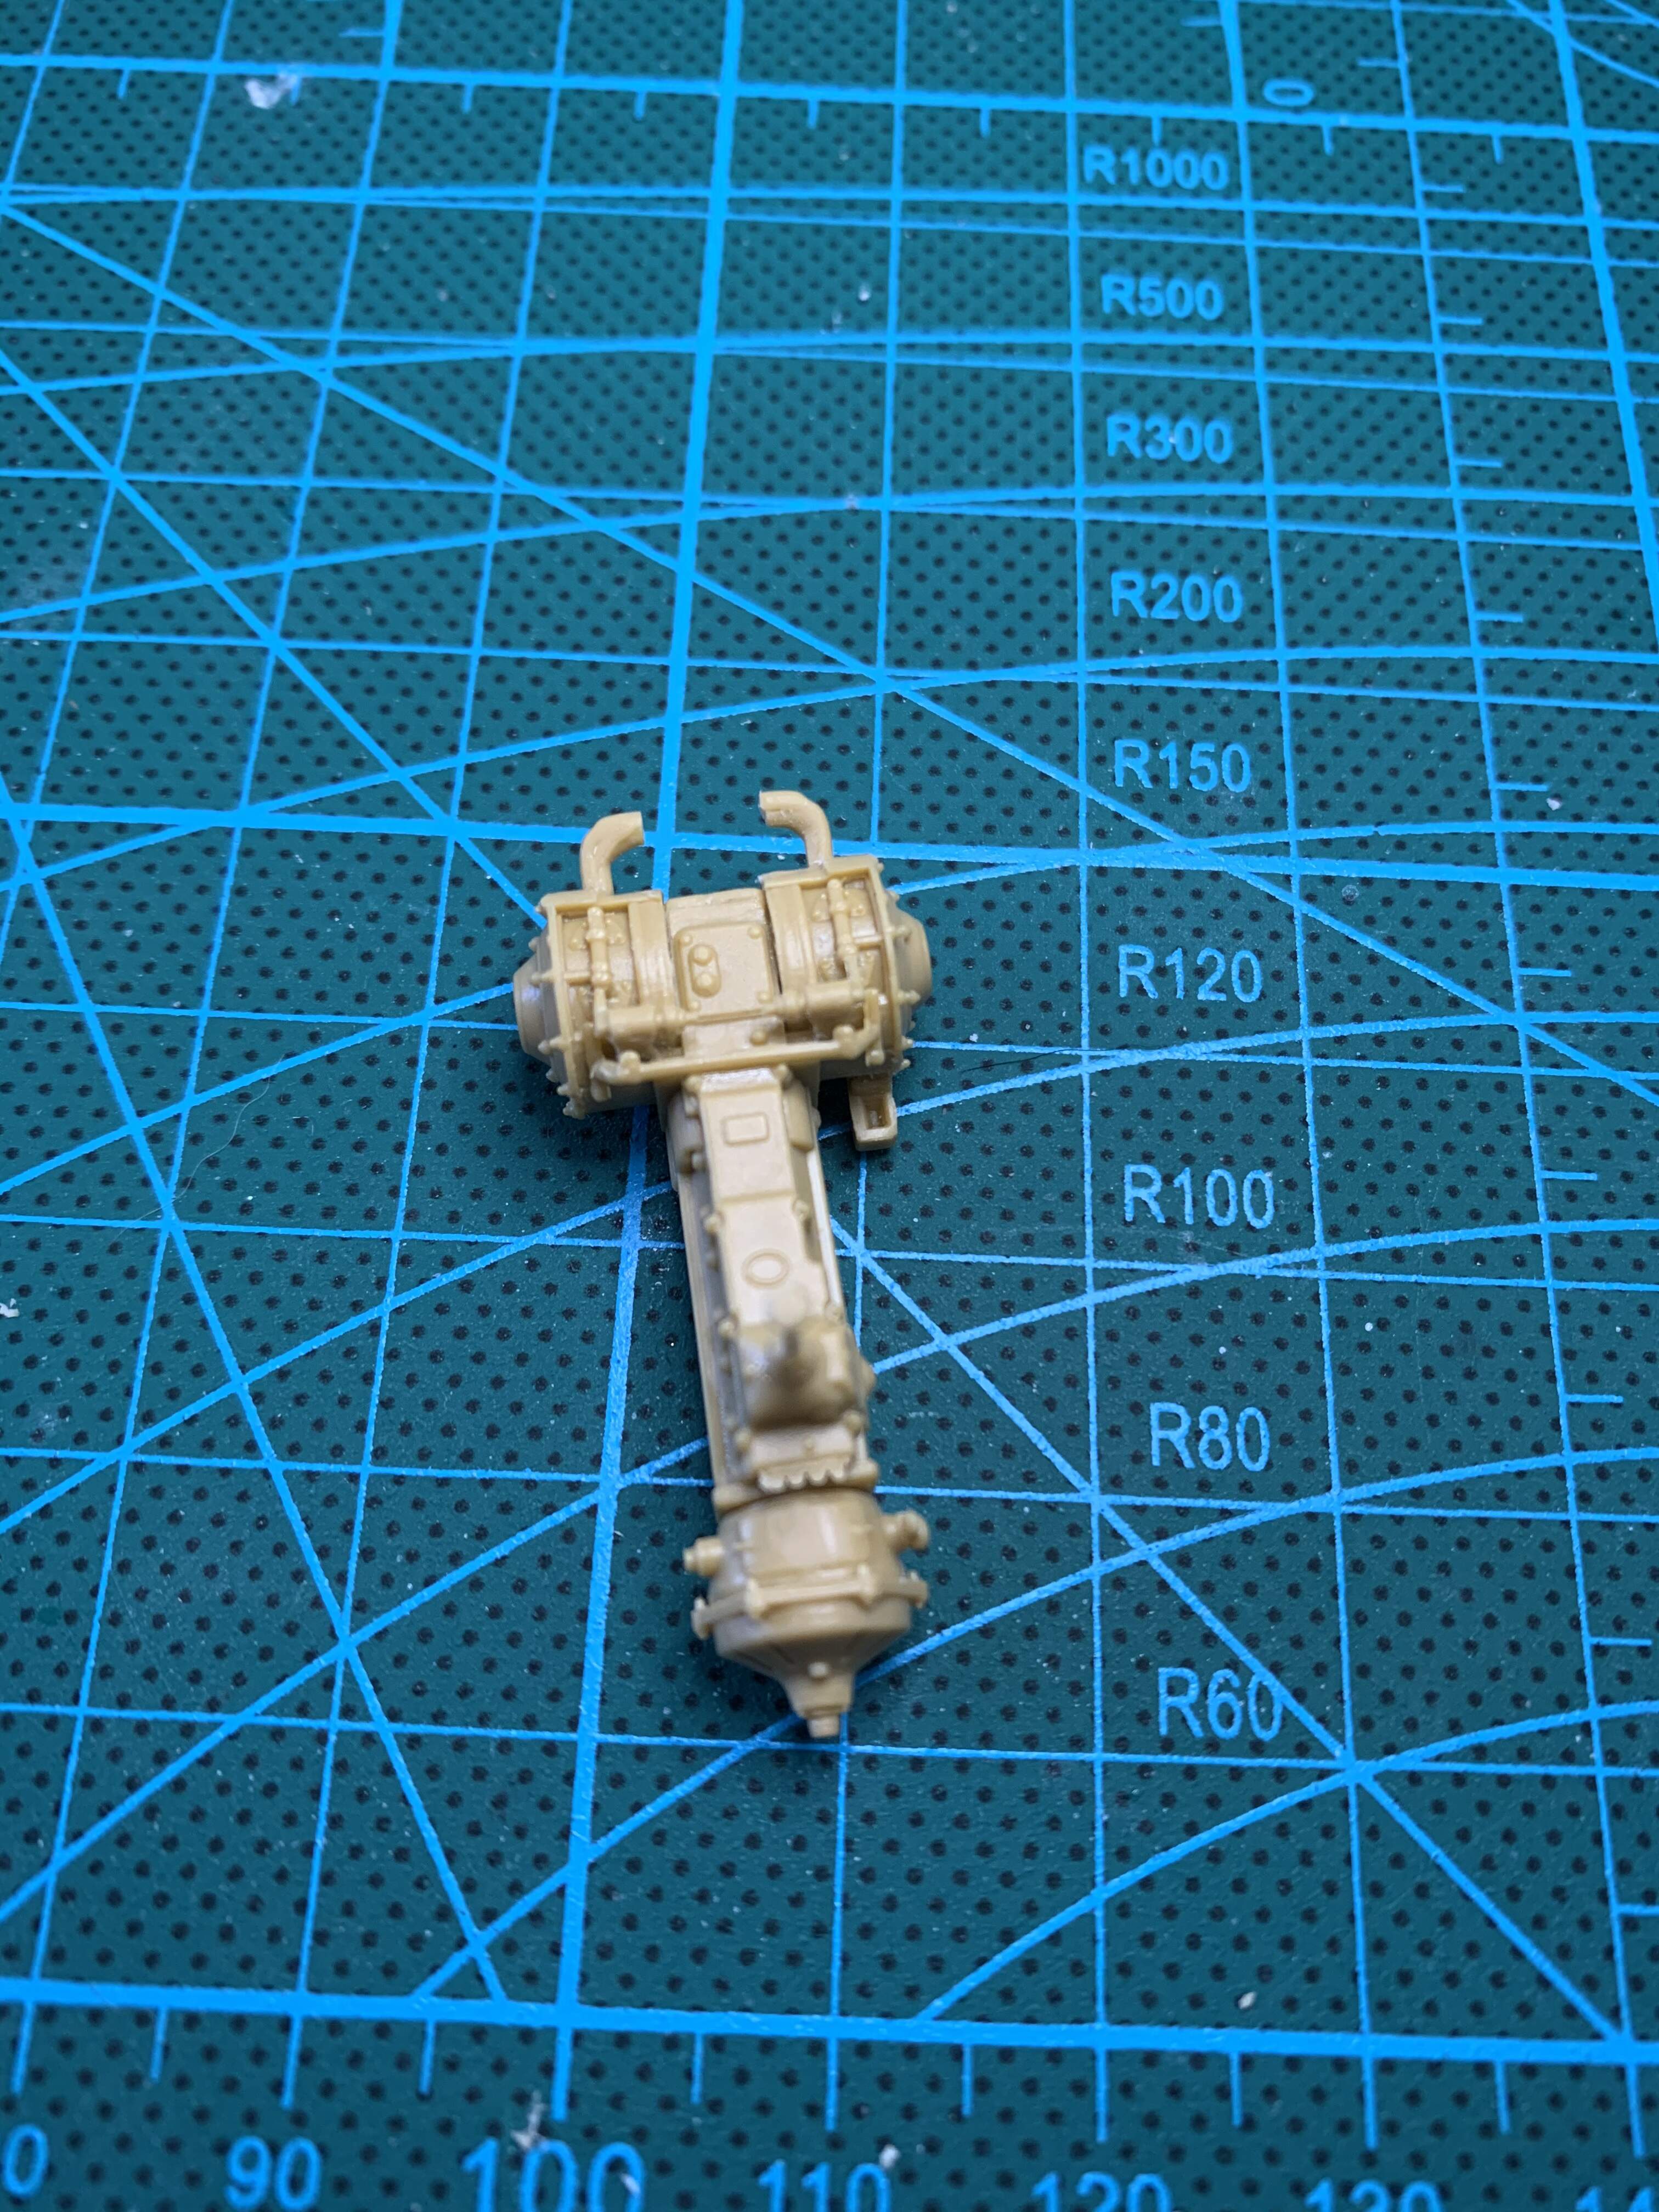
Small but of early progress. Got the transmission built up. The detail in this kit so far is quite nice. And the sprue connections are small allowing for easy clean up. I do however find the plastic brittle and hard but this might be because I was working on a Miniart kit previously with softer plastic. Just a bit of clean up left on the transmission and then onto the hull floor before painting the interior
6 Likes
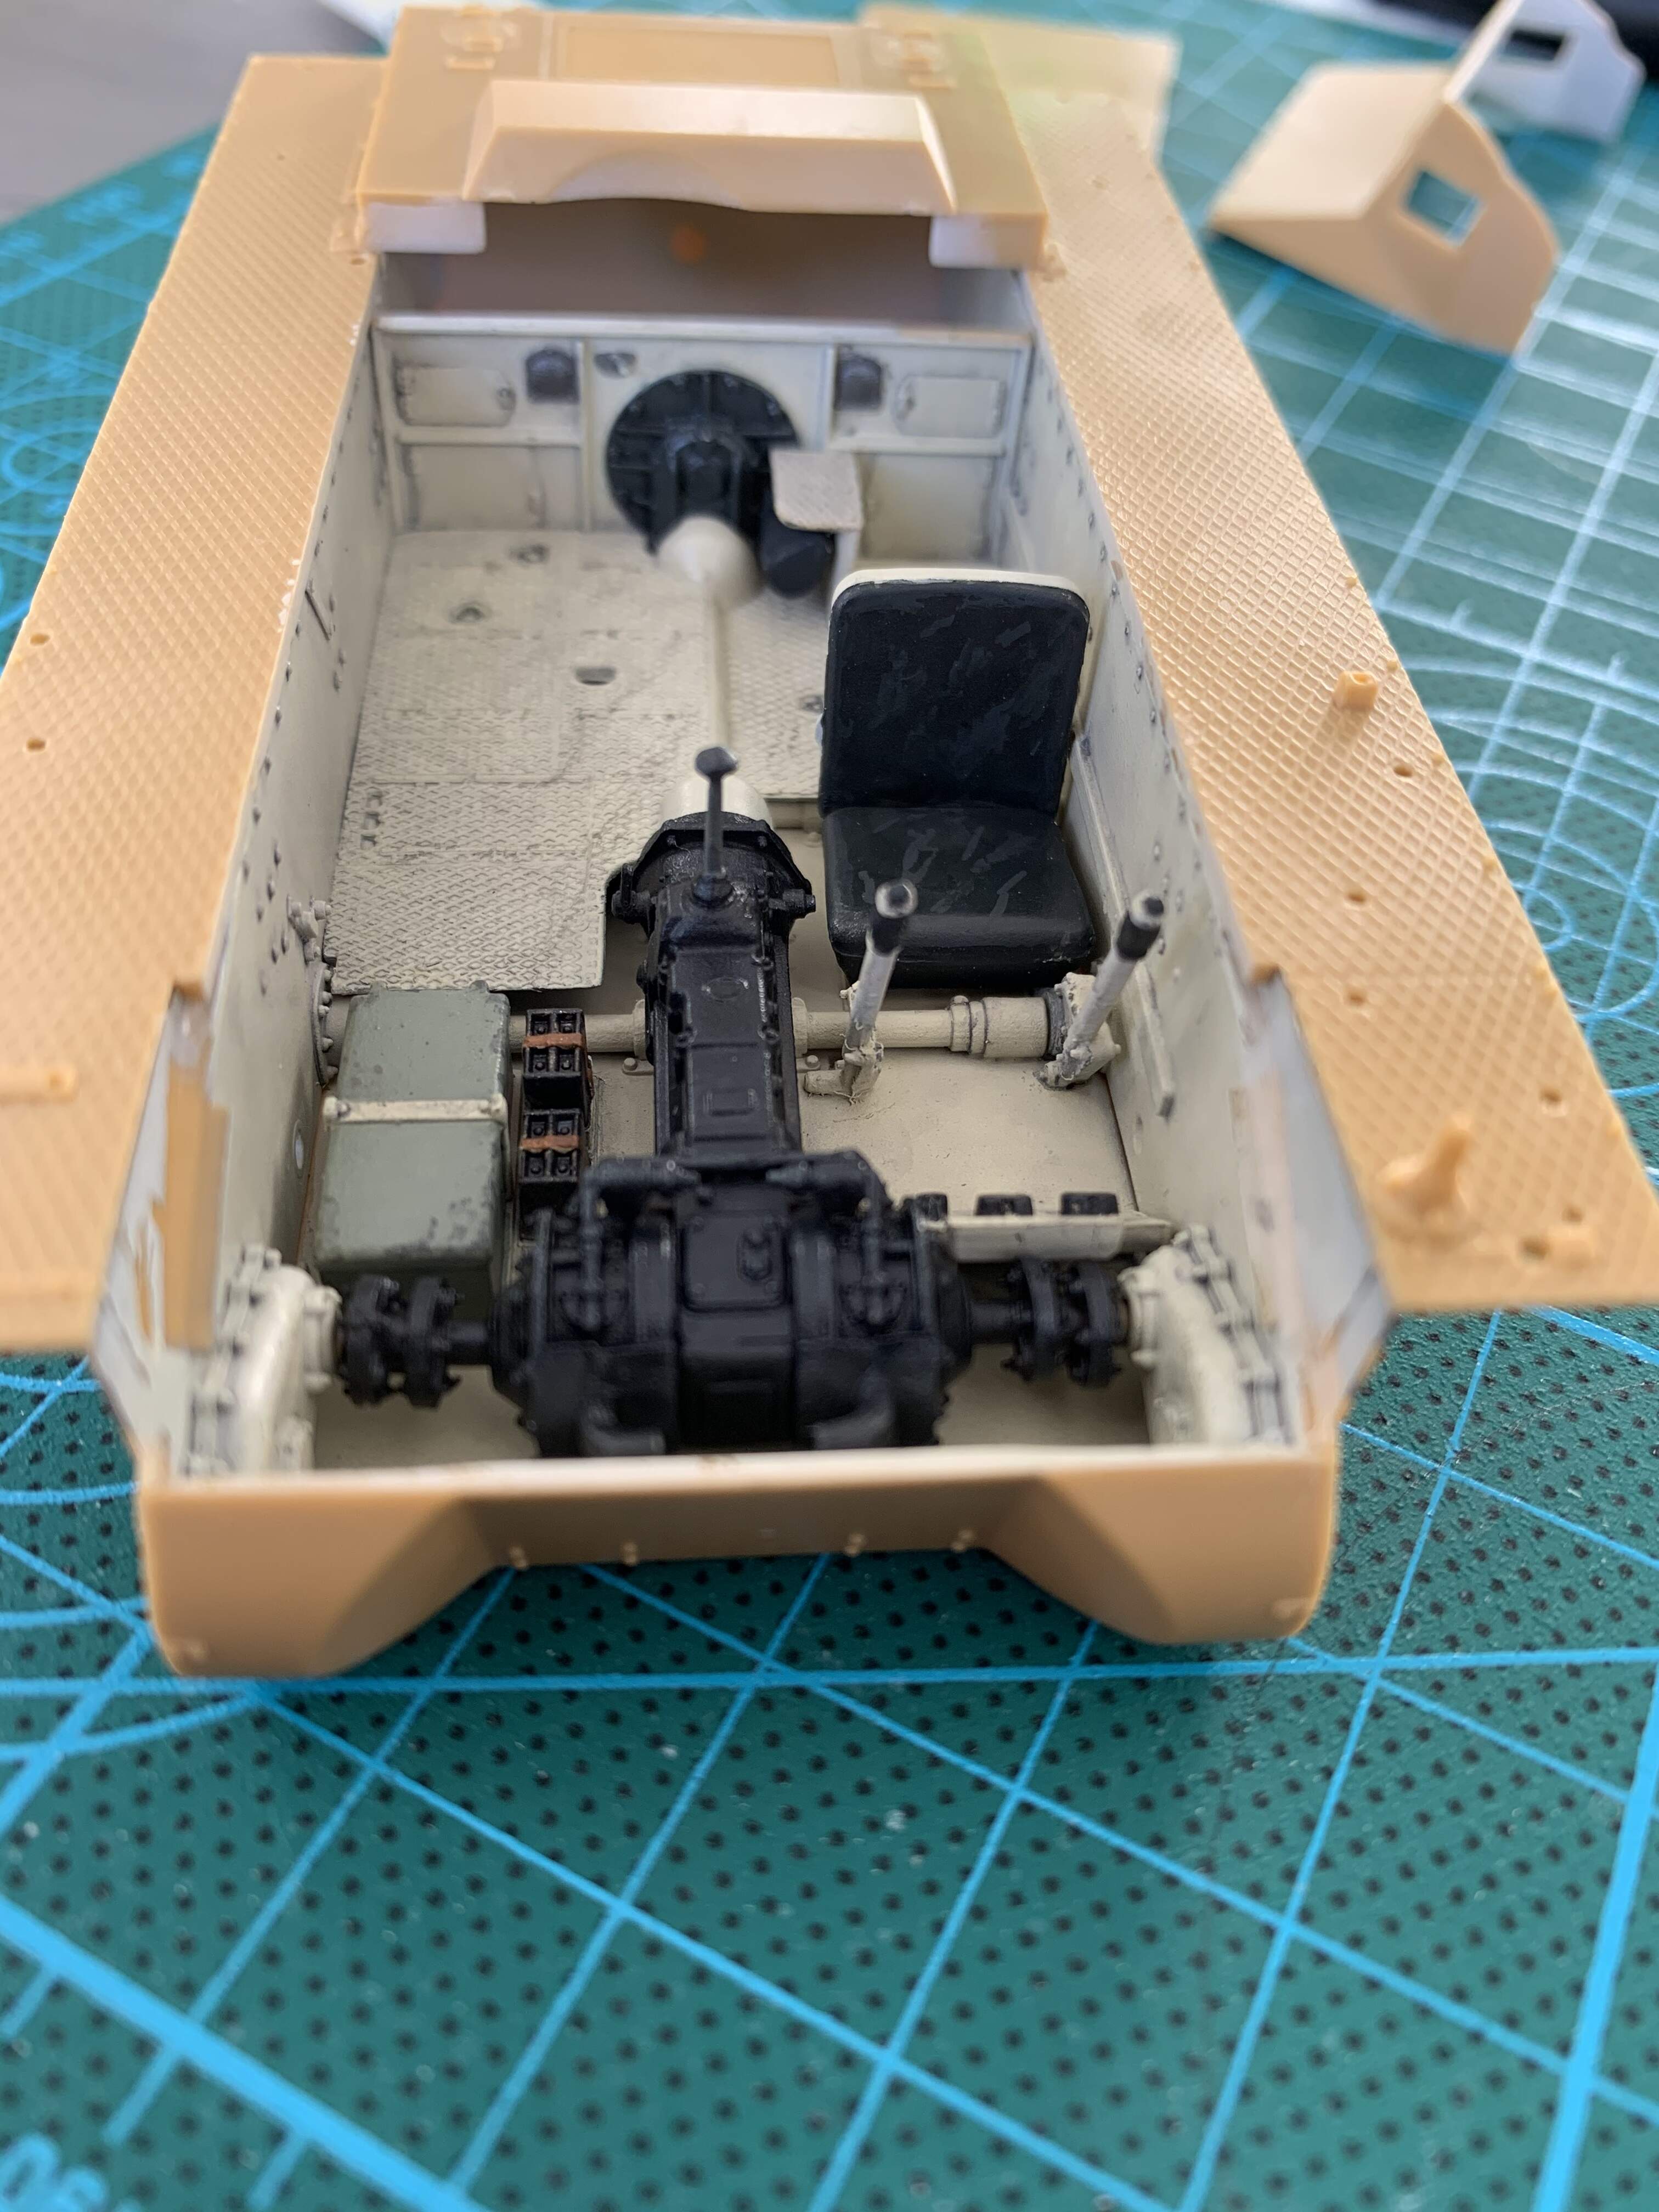
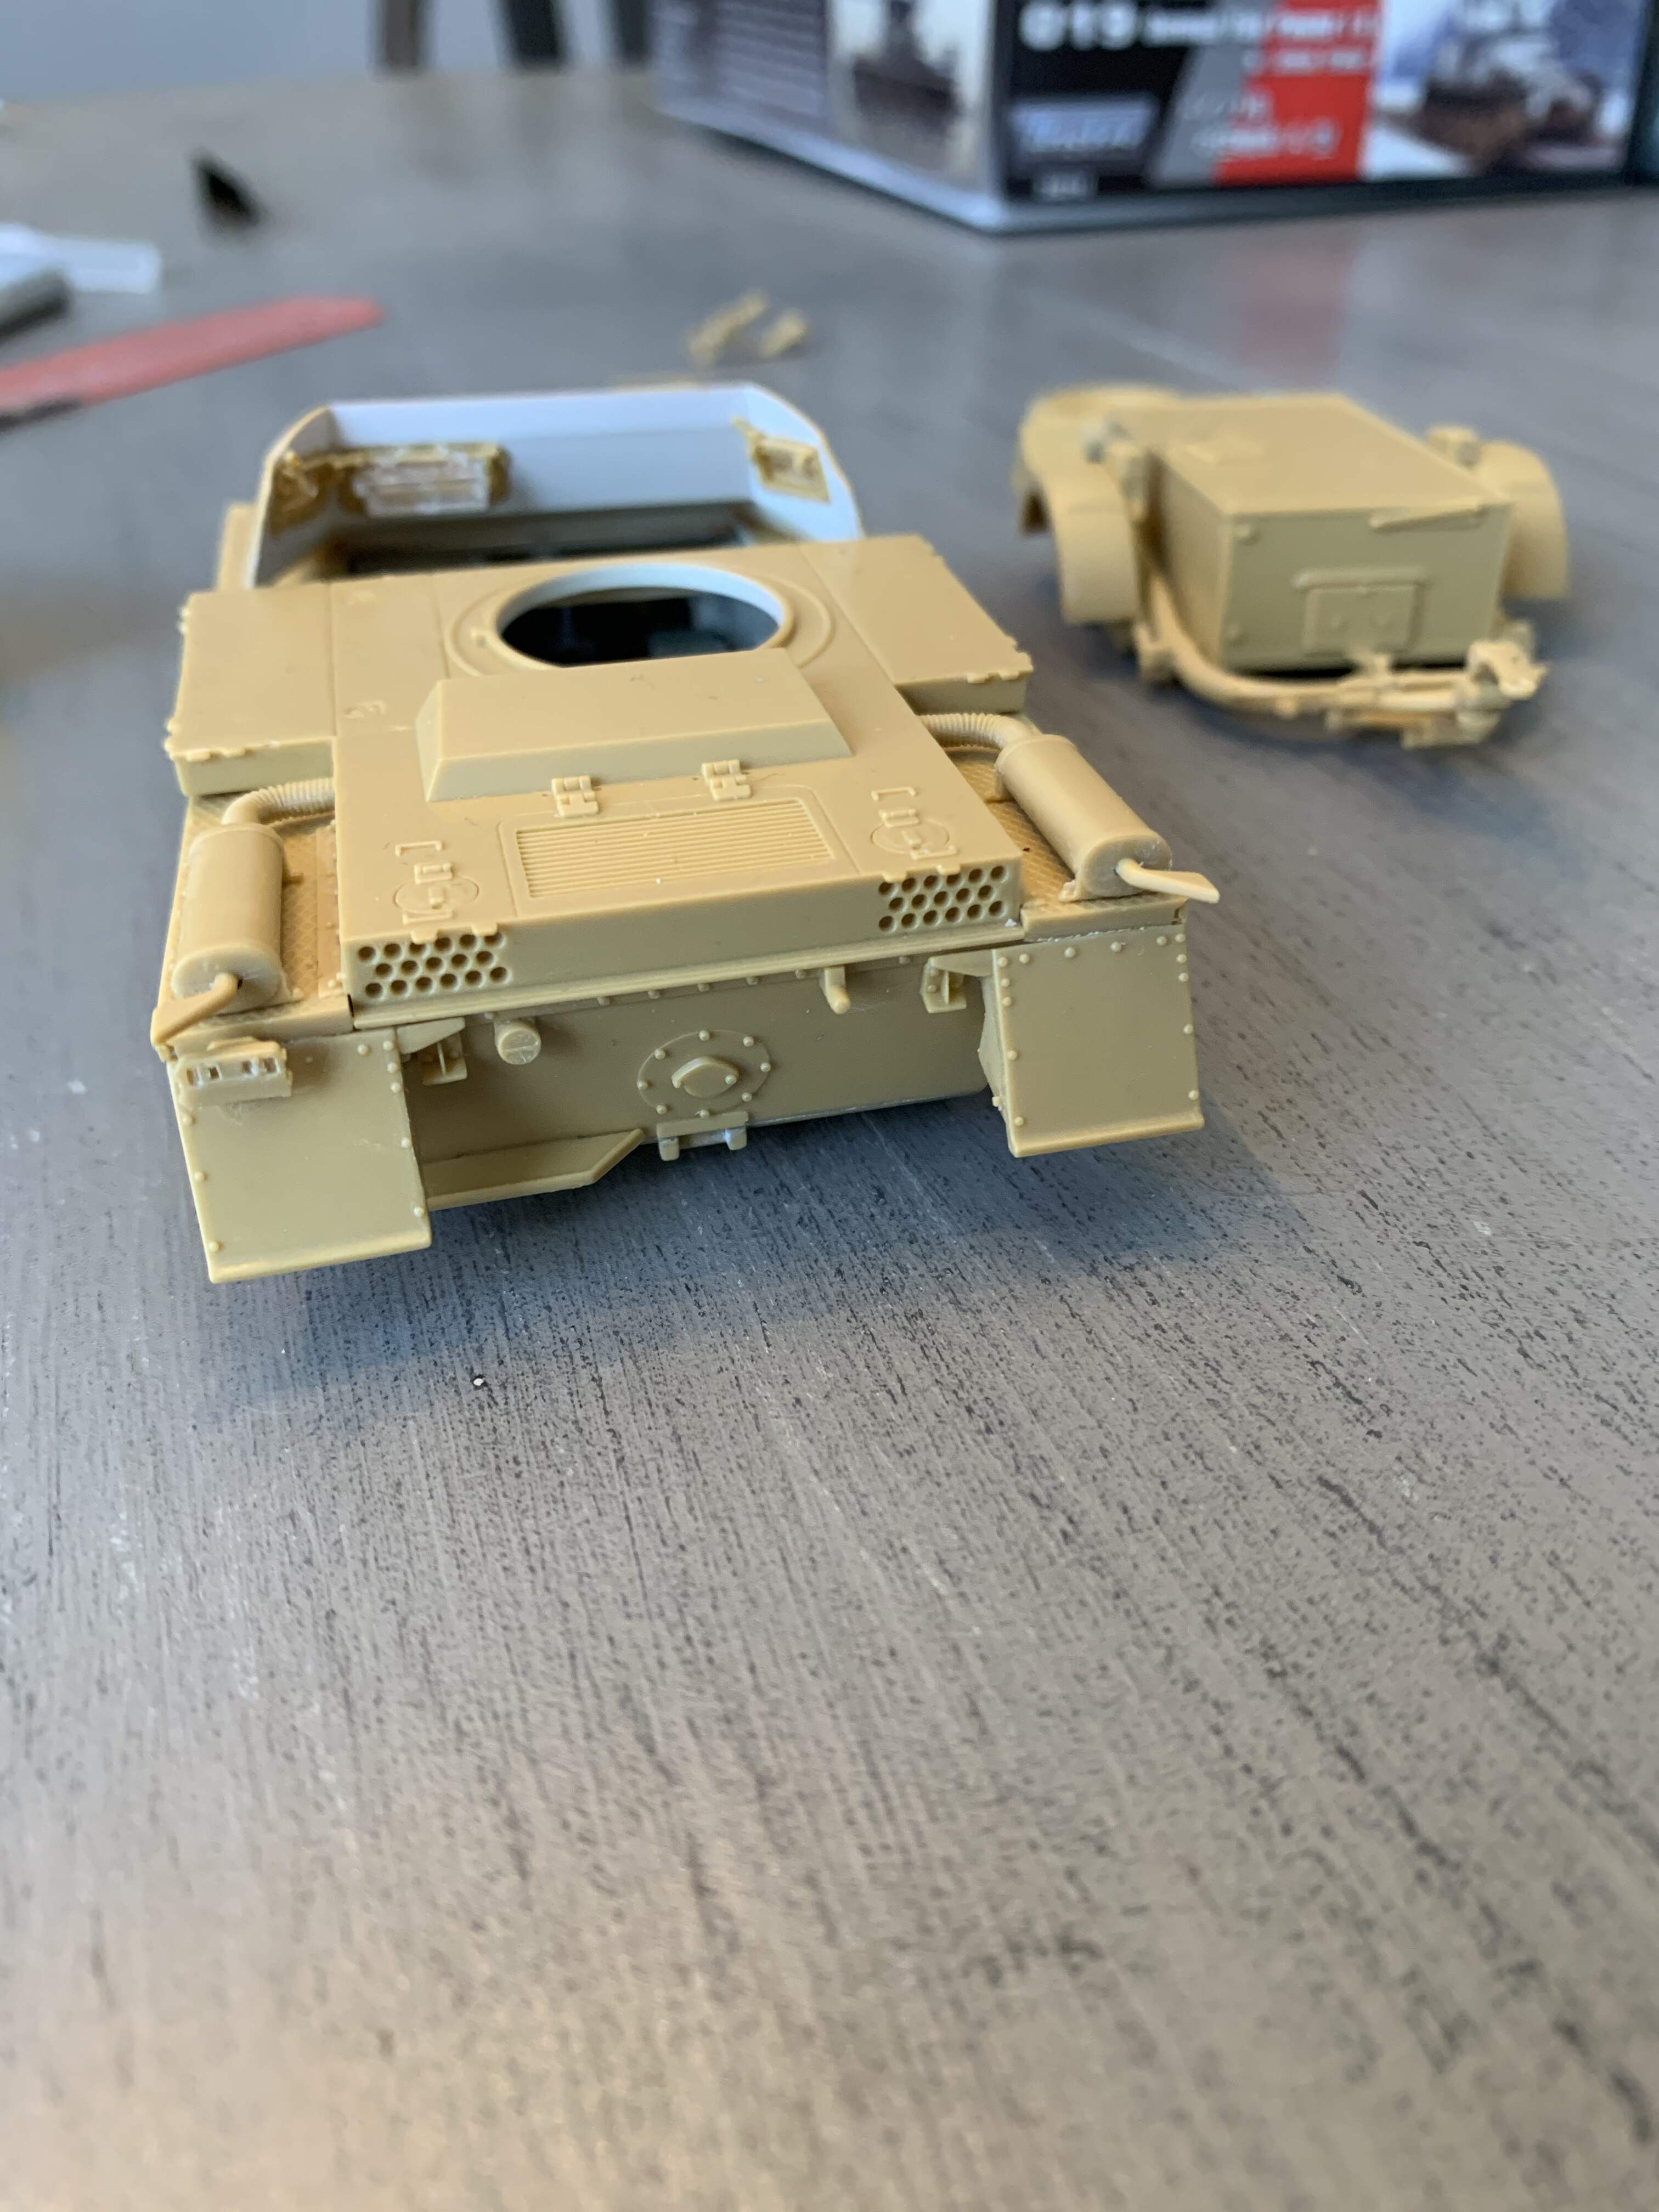
Made some more progress. Painted the interior pieces and attached them. Then attached the hull sides. So far the part fit has been pretty good. A small piece has to be removed from the tread plate just behind the drivers seat to fit the axel inlet. This was a minimal amount of plastic just a few shavings.
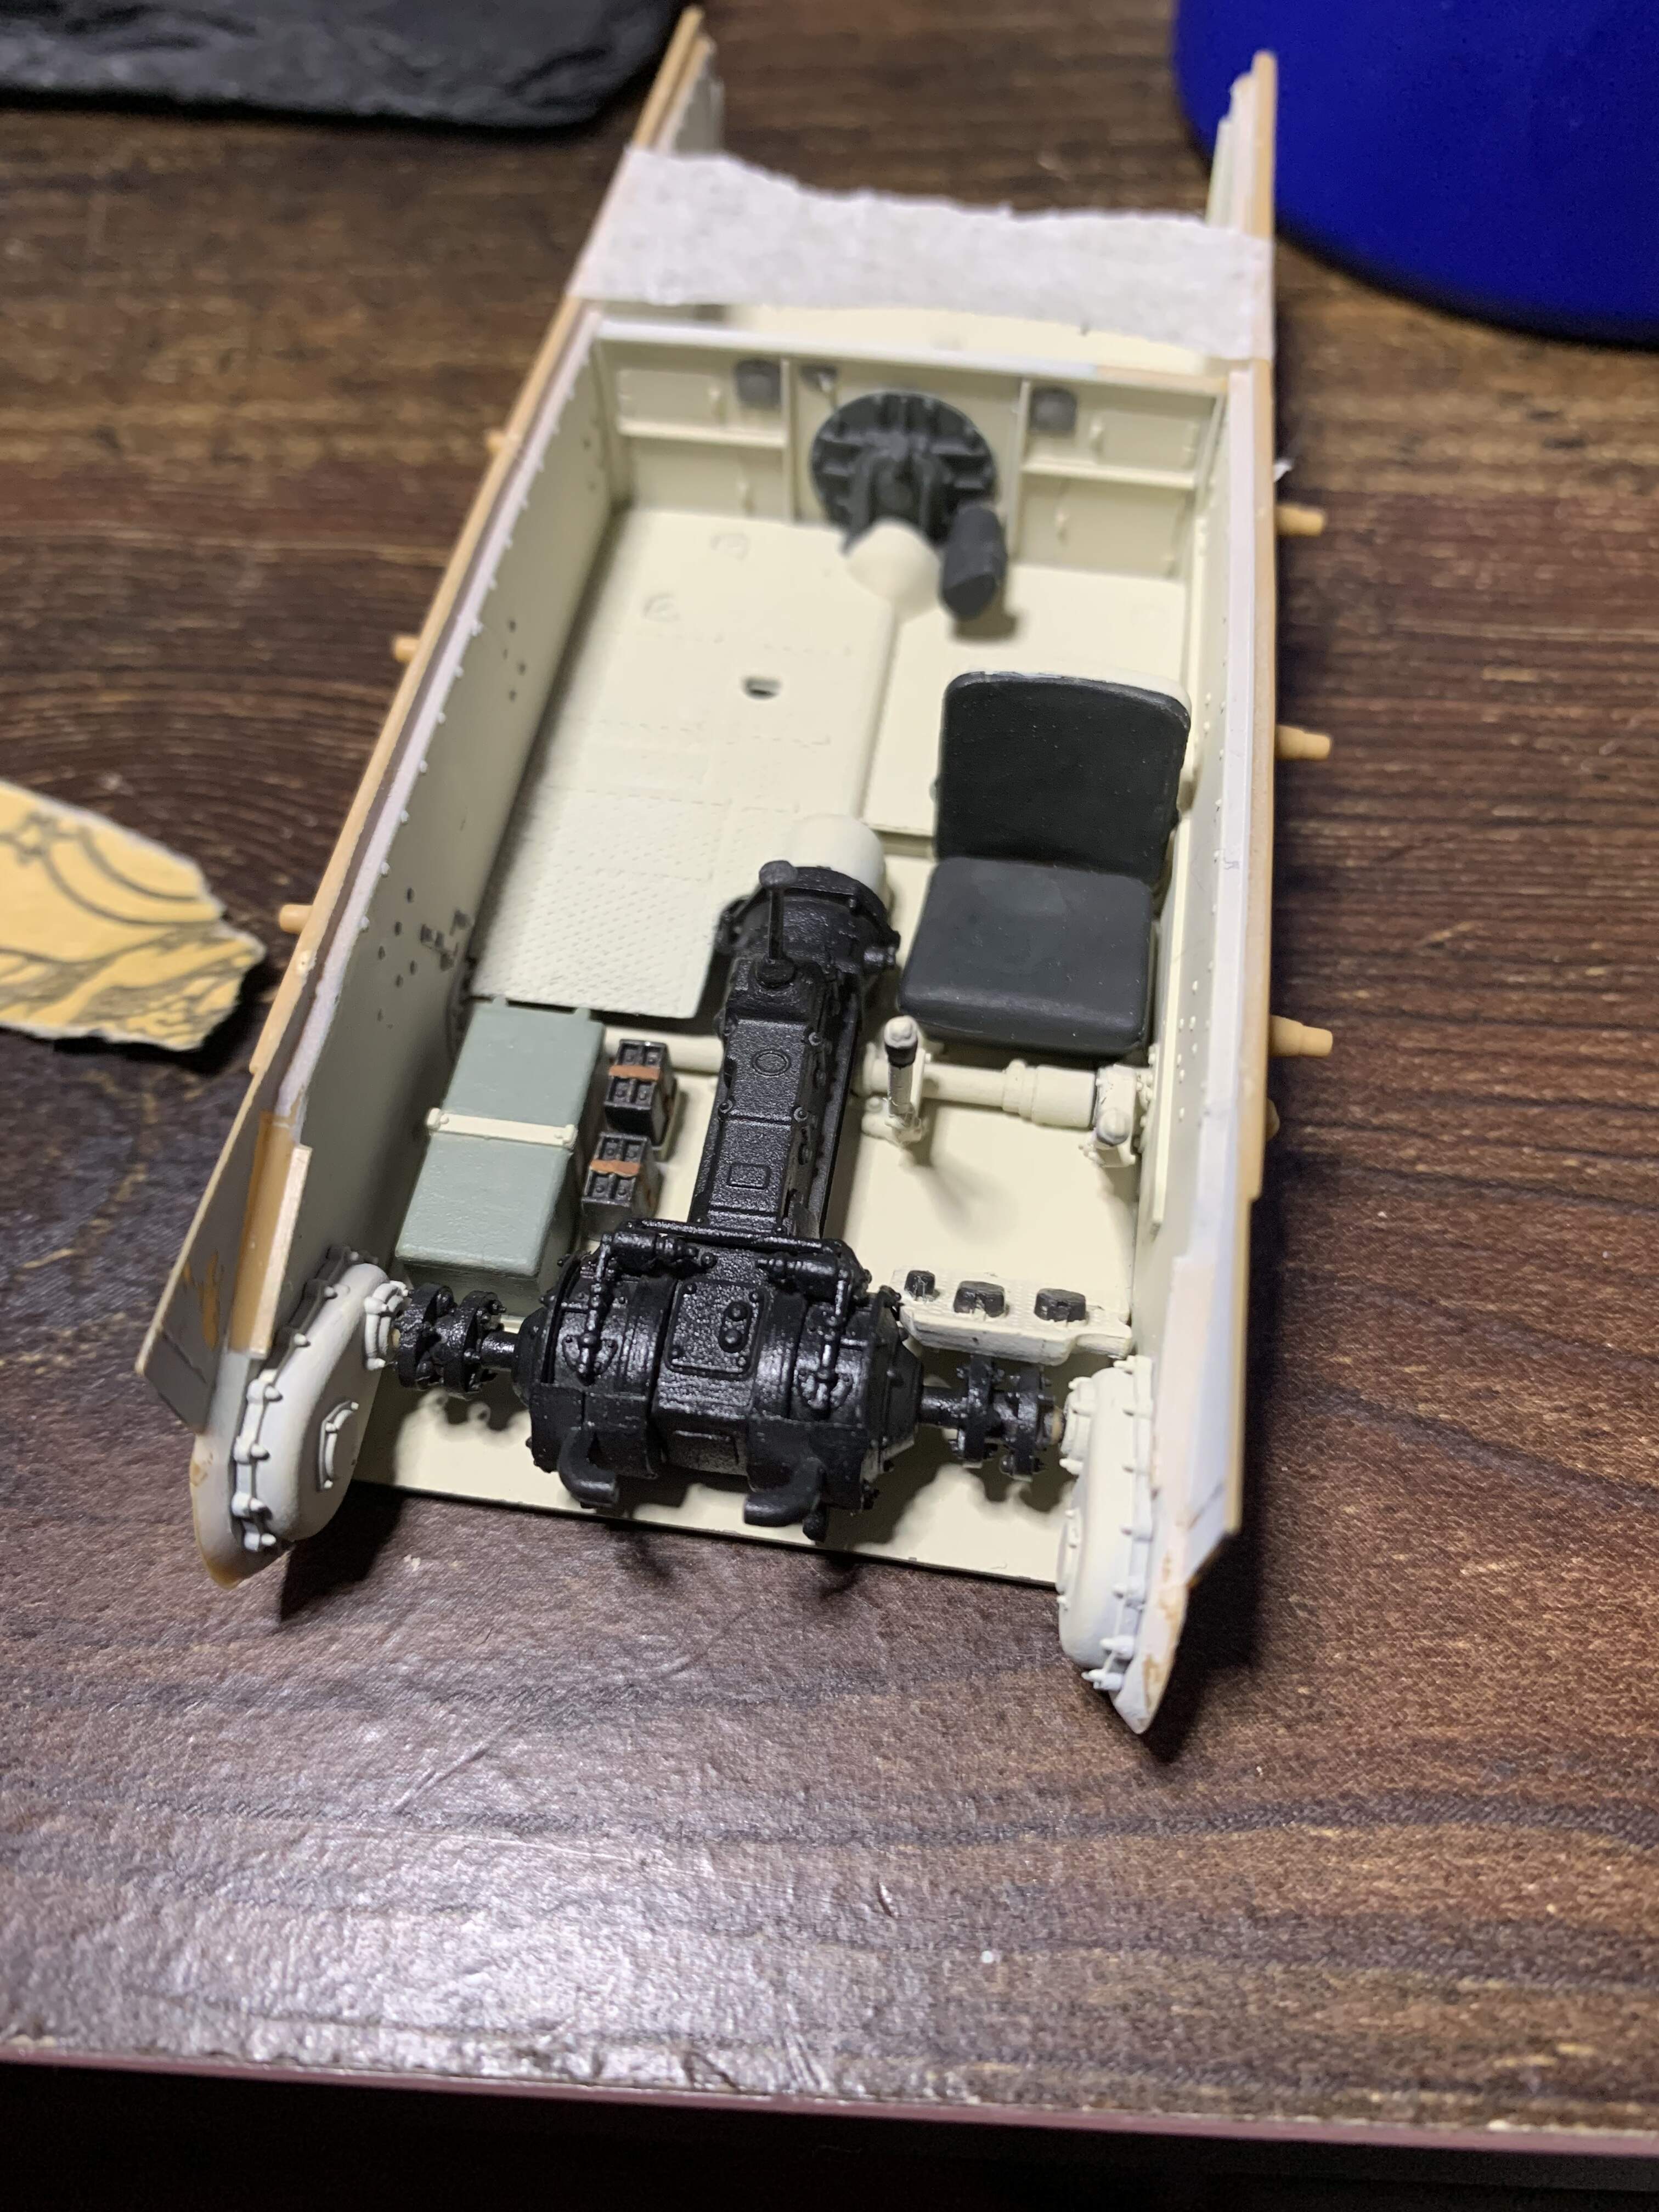
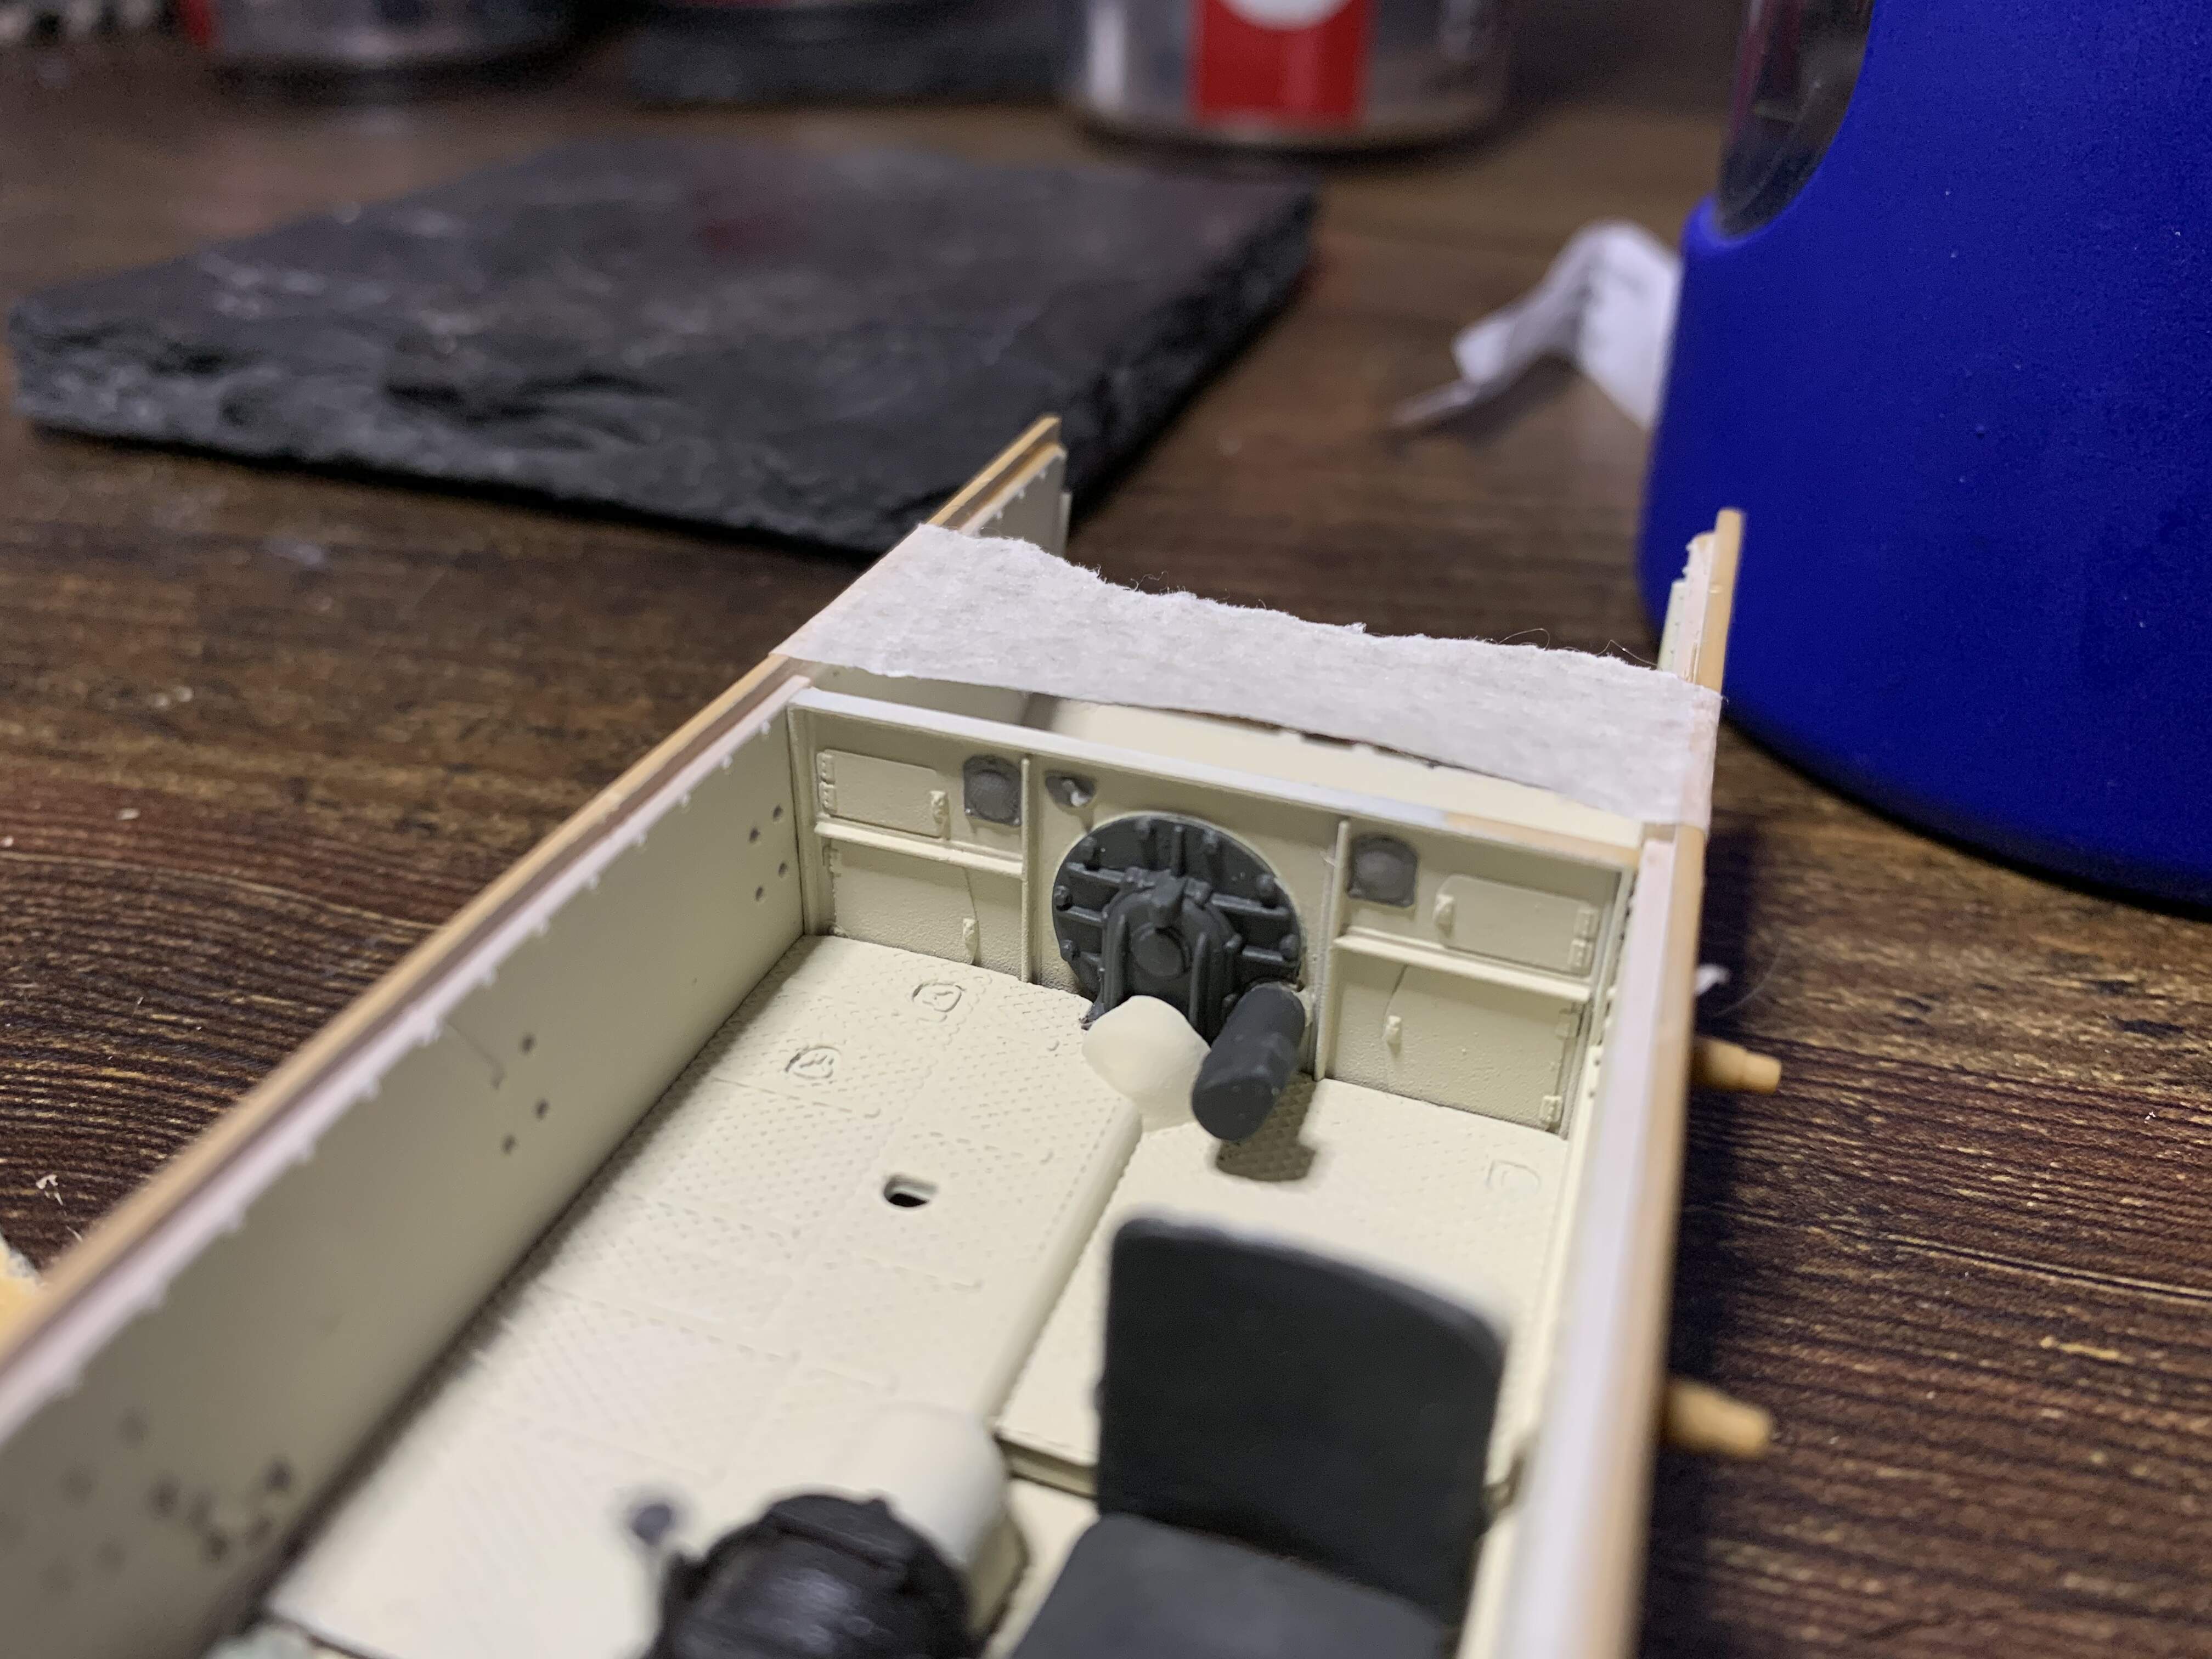
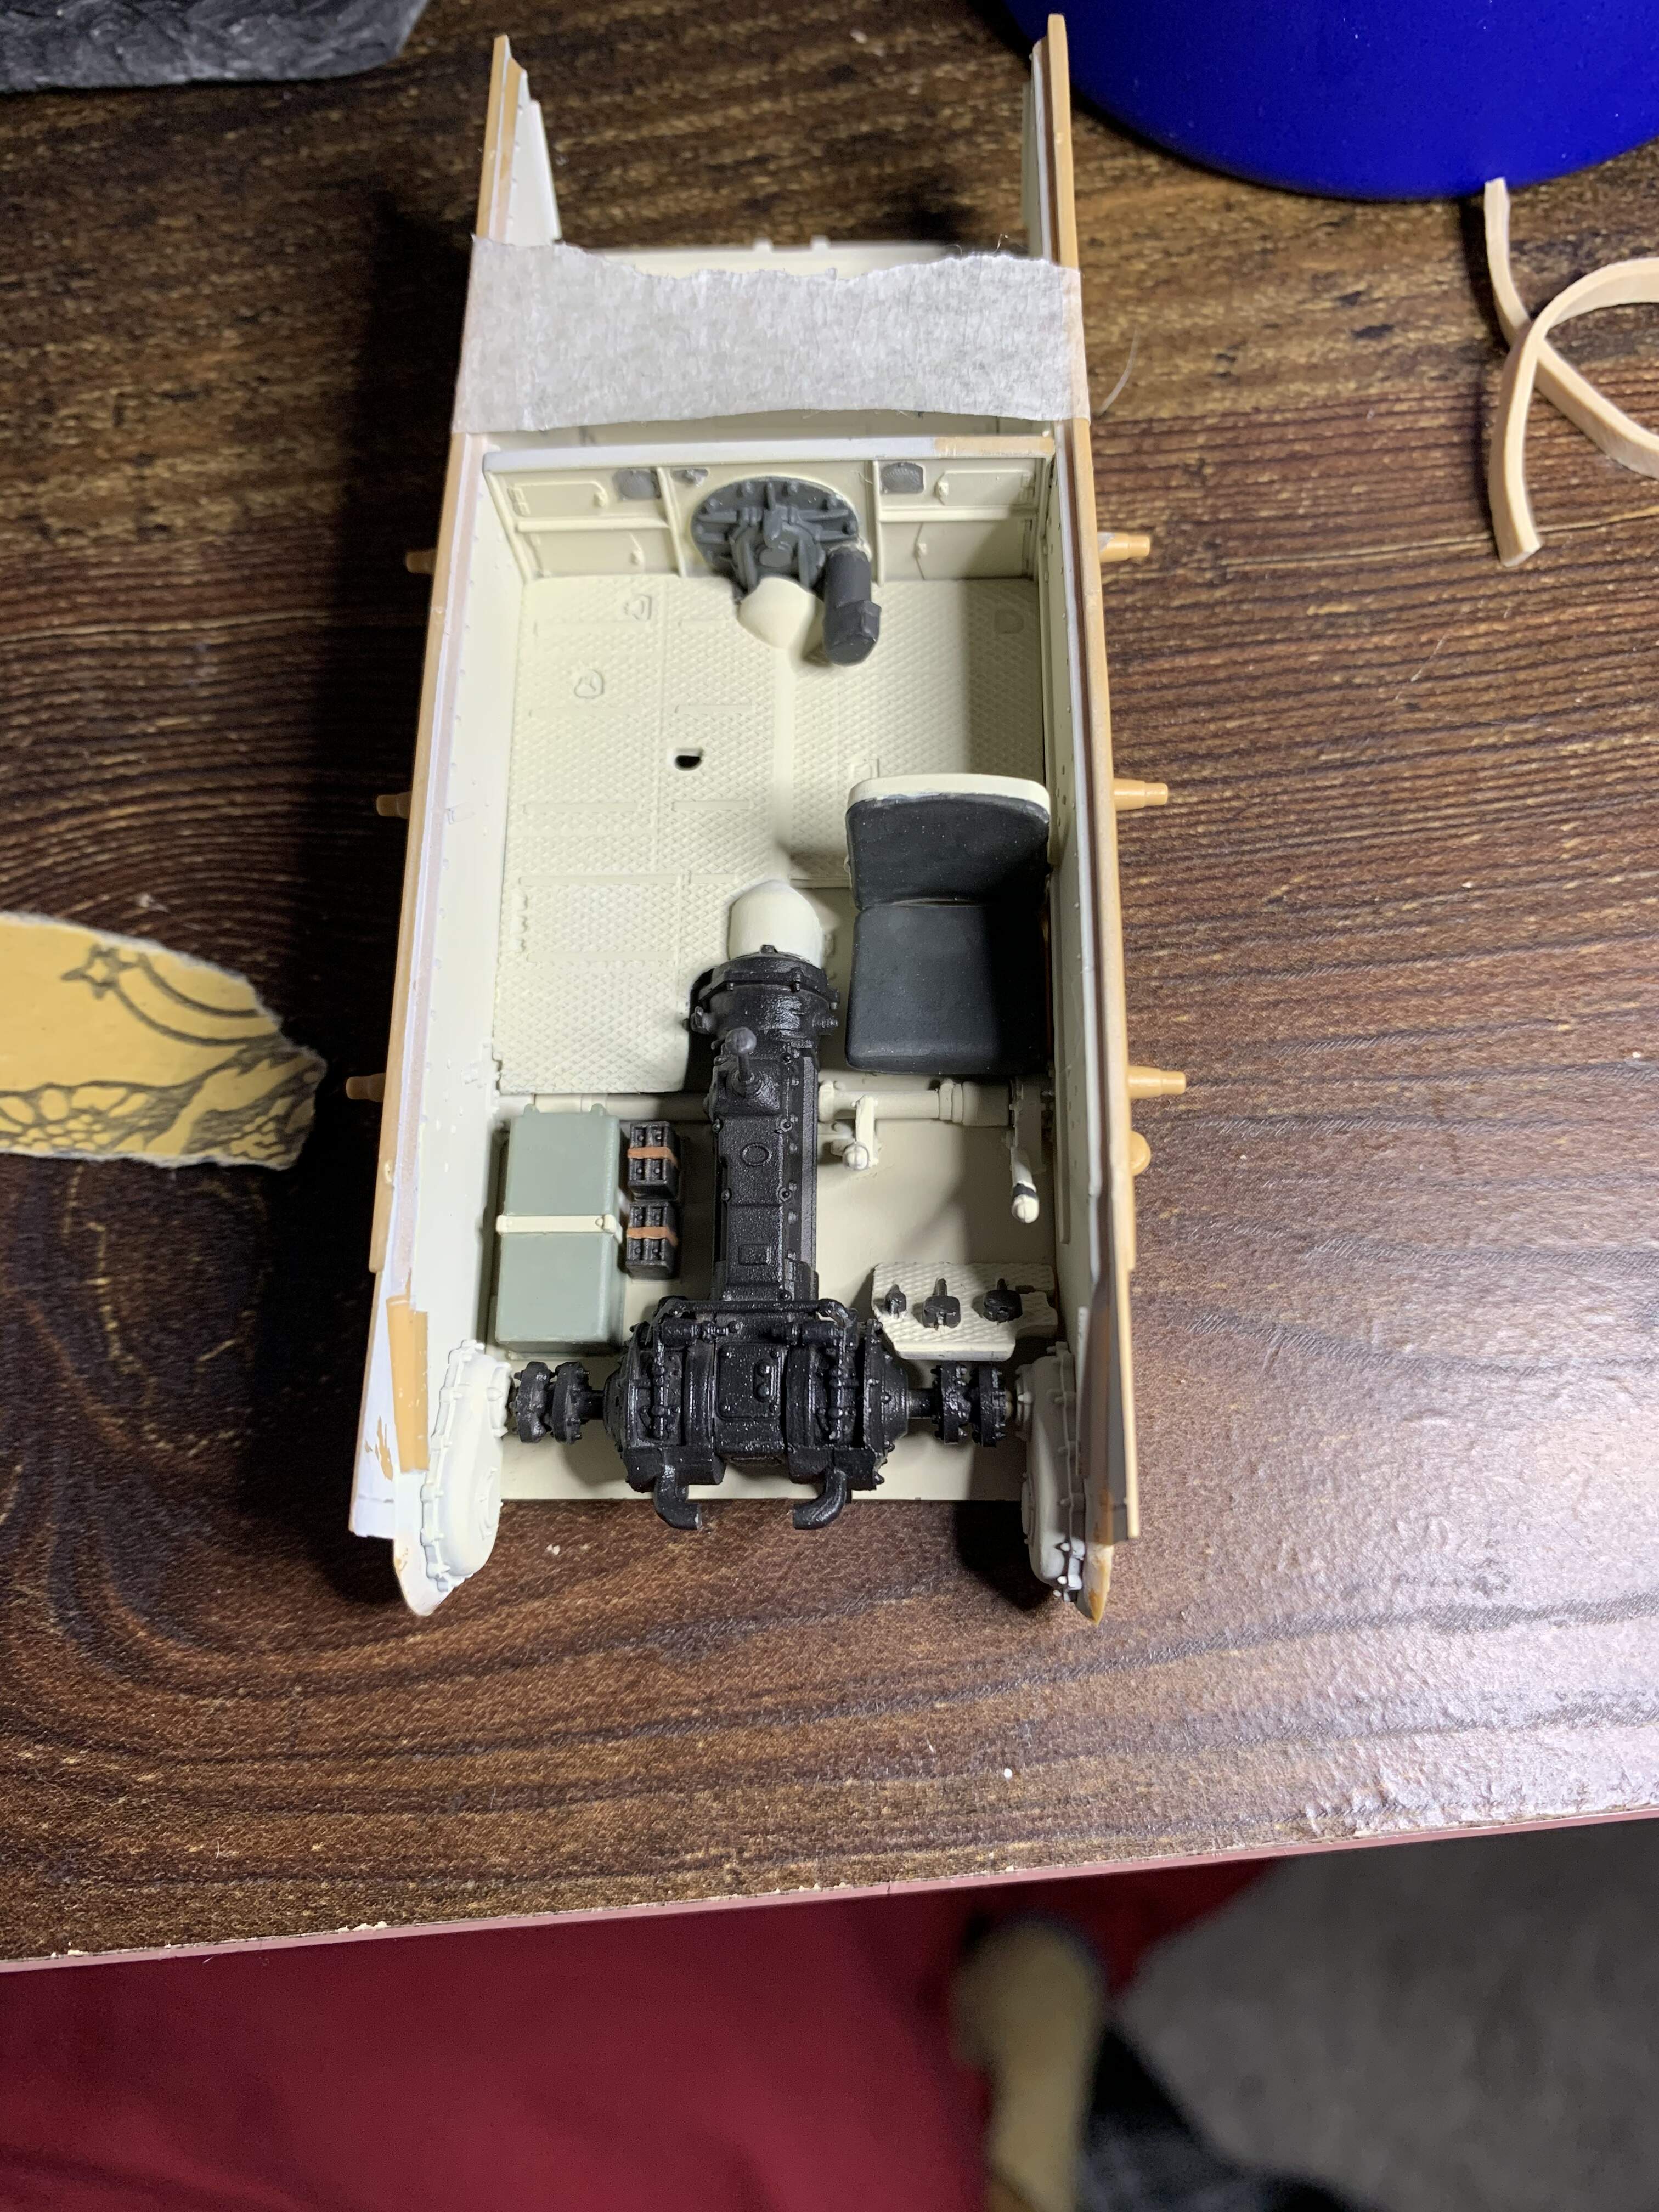
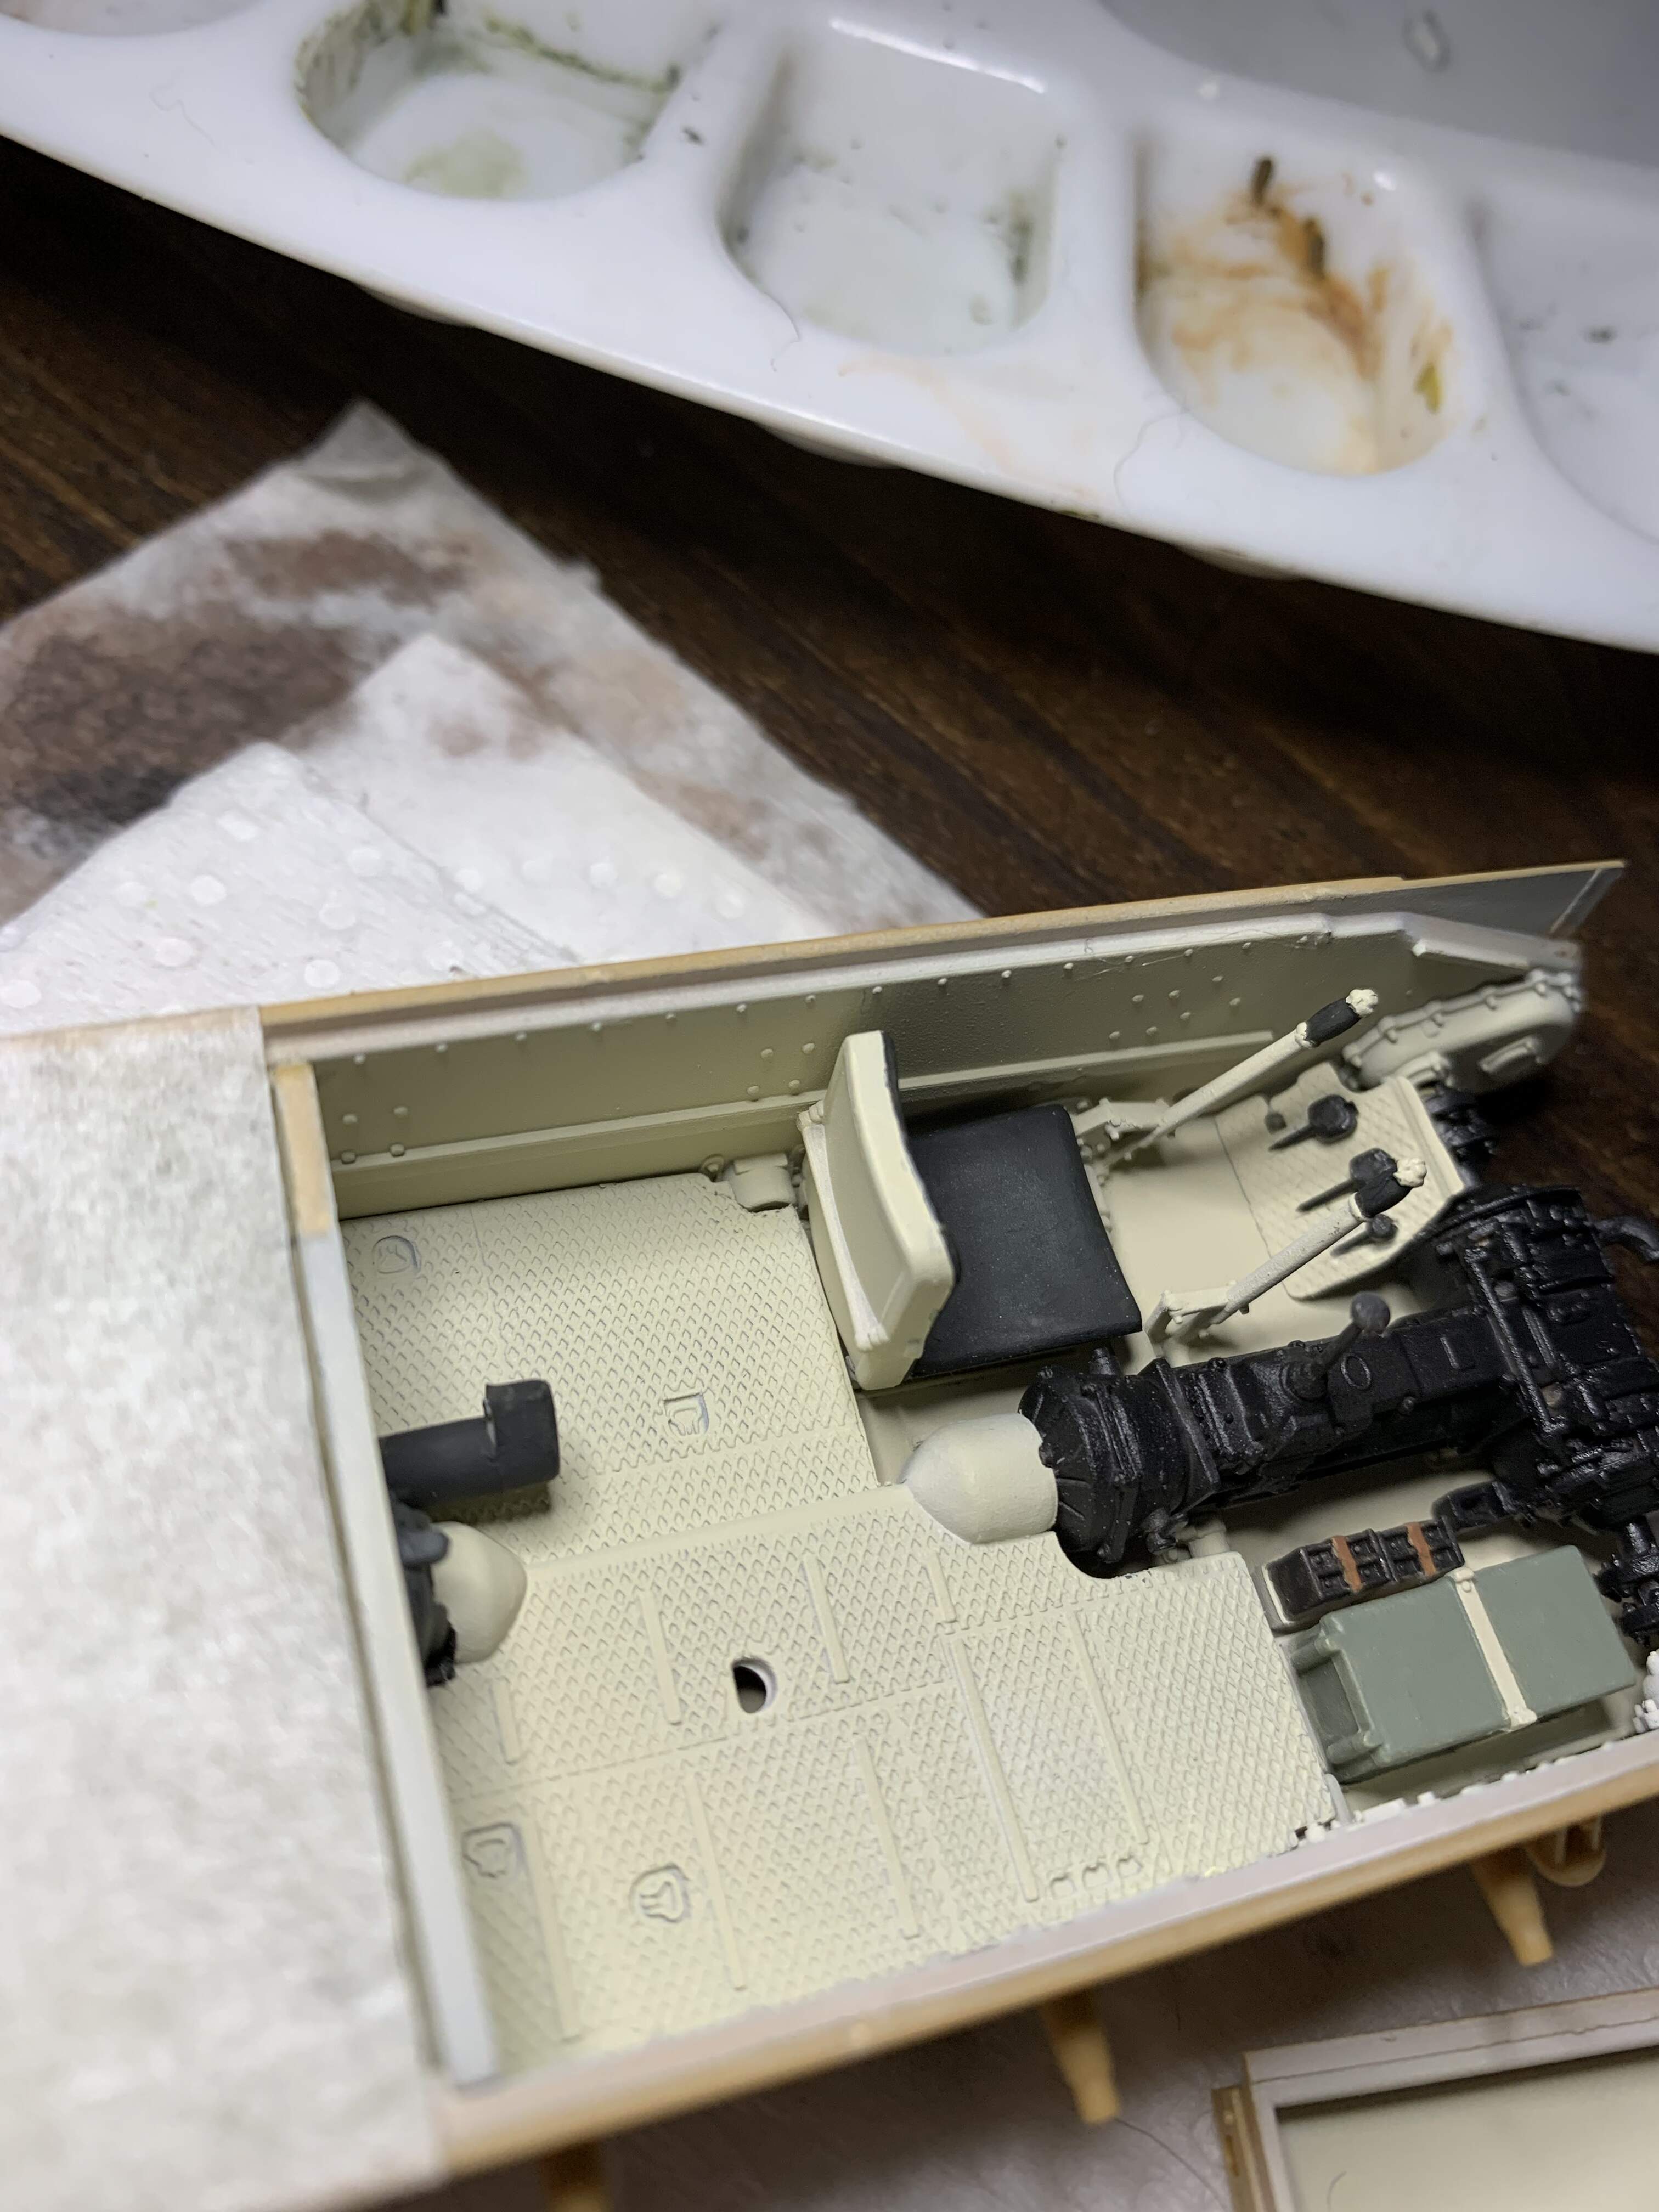
Care must be taken when attaching the hull sides, and it required a lot of masking tape to get nice tight fits that would hold while gluing. There are a few small gaps where the hull floor meets the sides but these are very minor and won’t take much work at all to clean up.
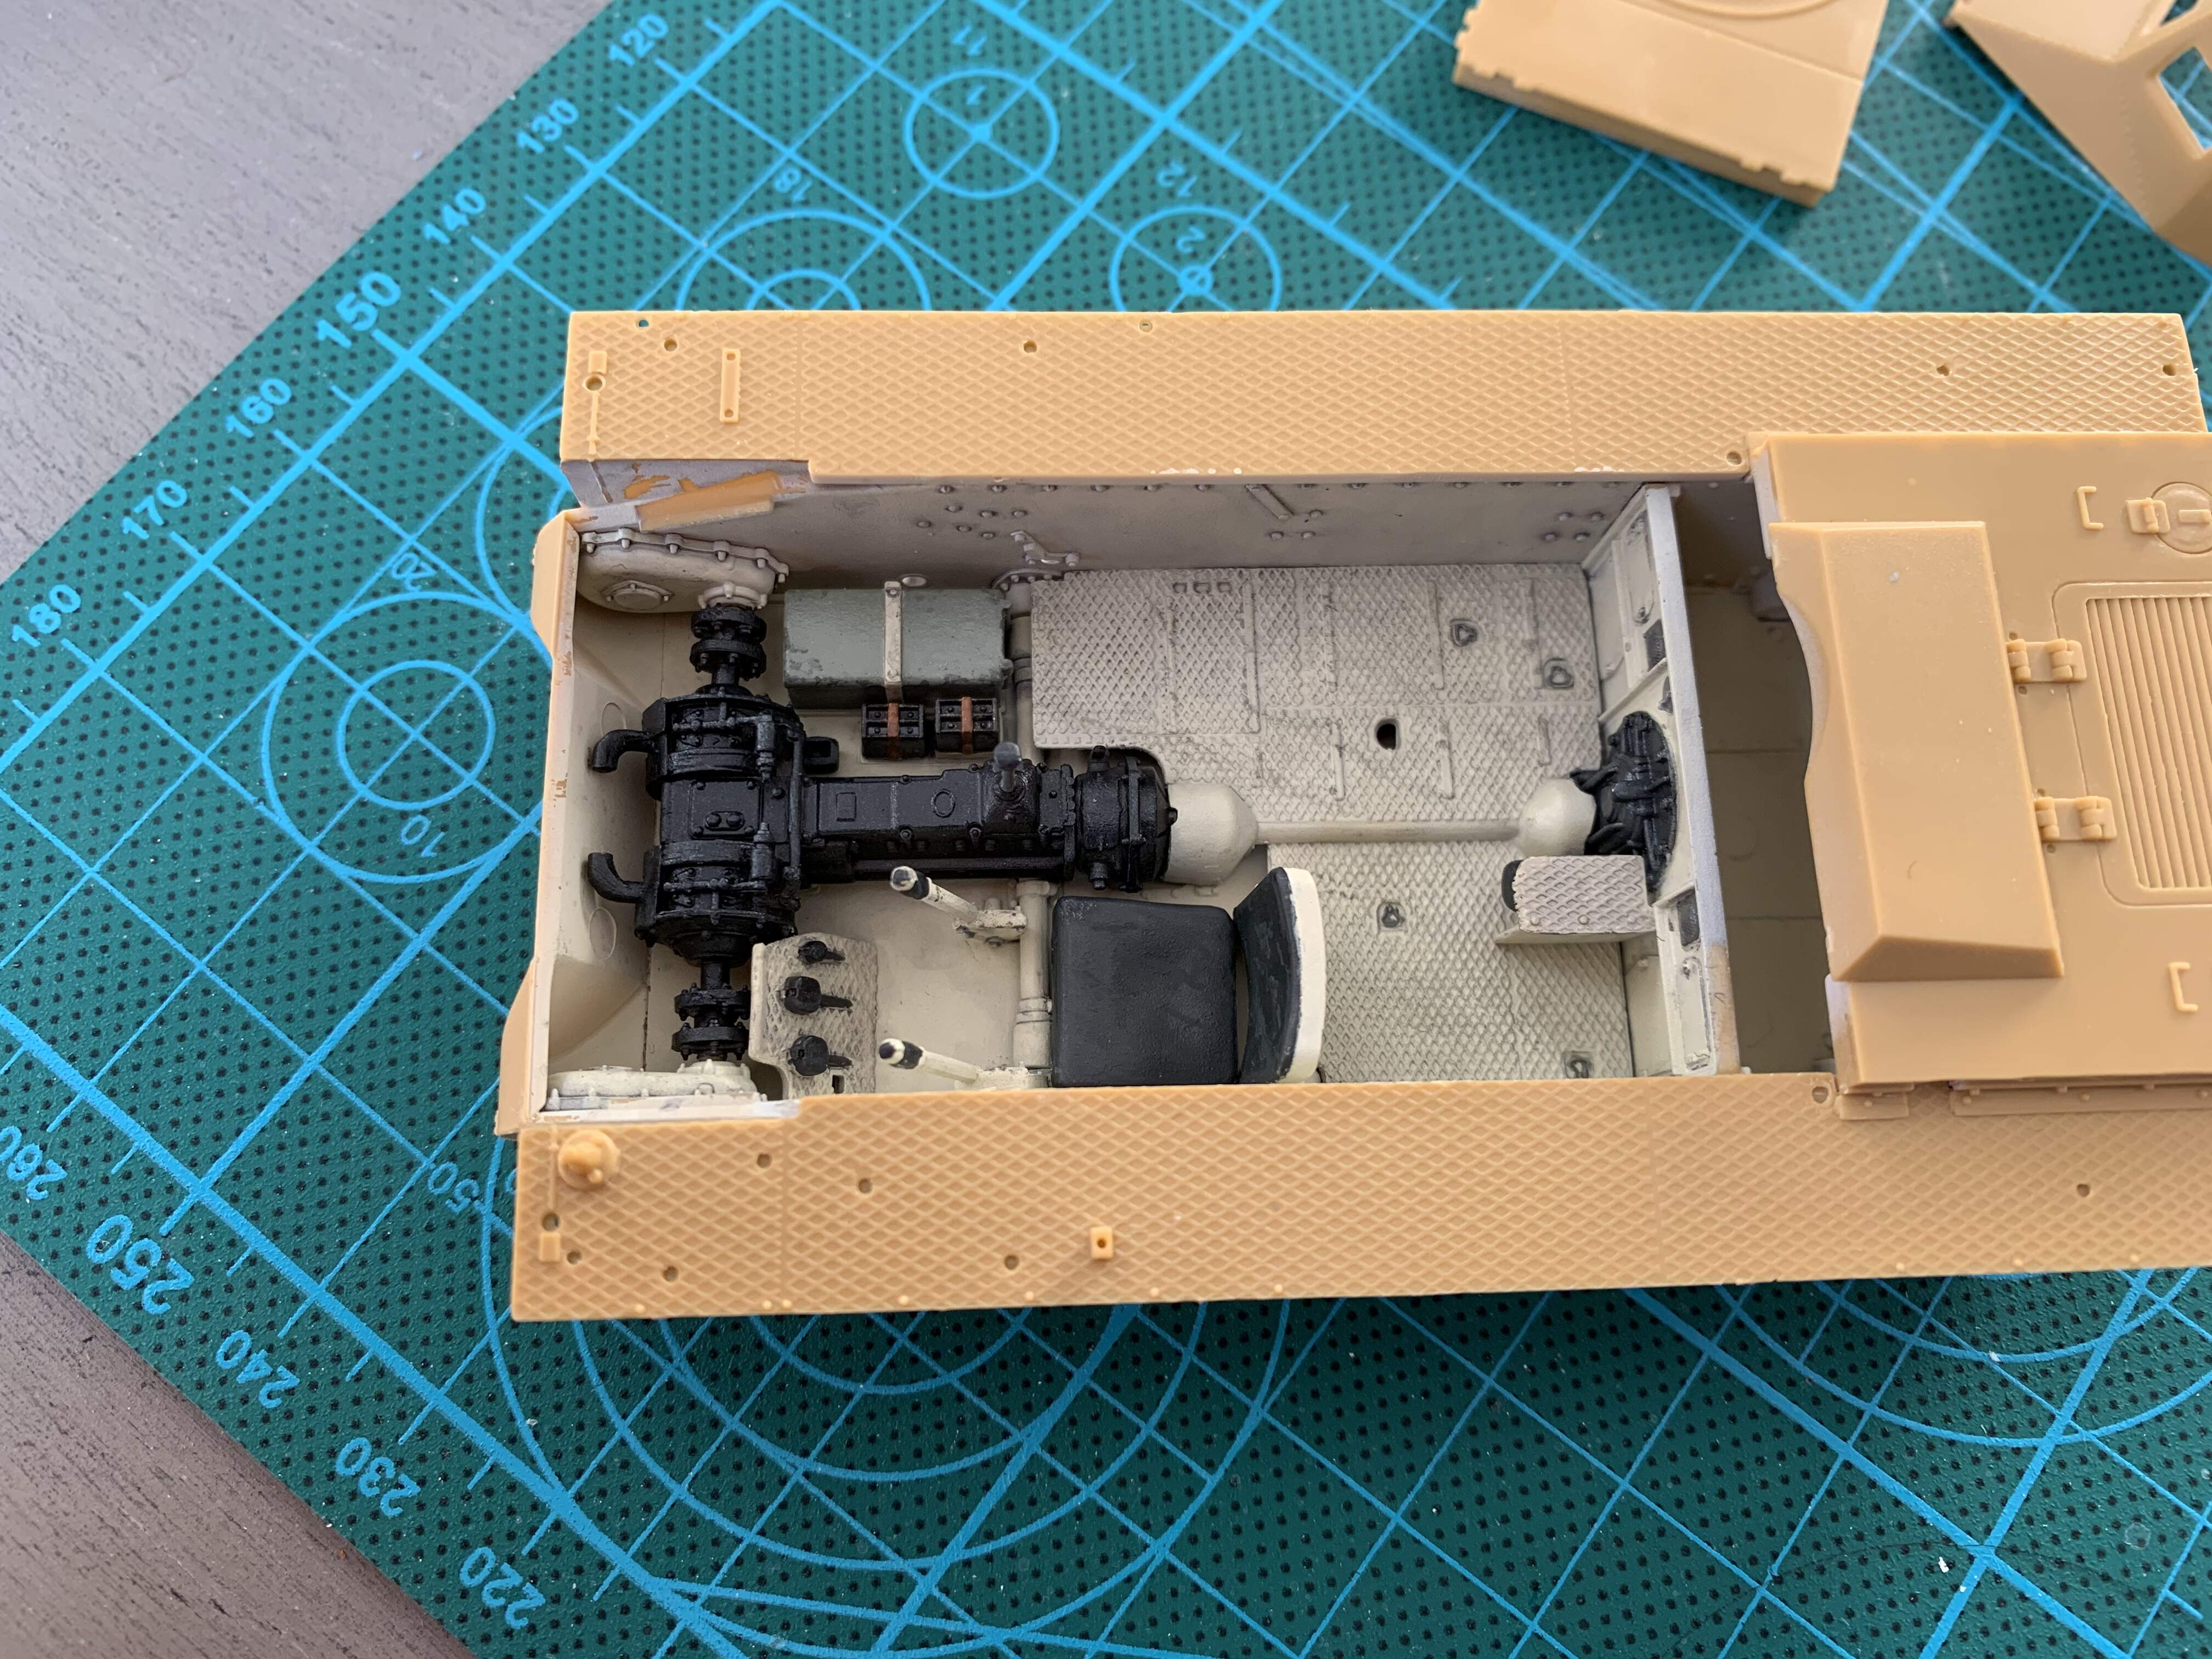
Next up is to attach the front transmission cover and back plate to shore up the sides and then weathering of the interior (pin washes, chips, and scuffing of the tread plate
6 Likes
Looking good so far!
Cheers,
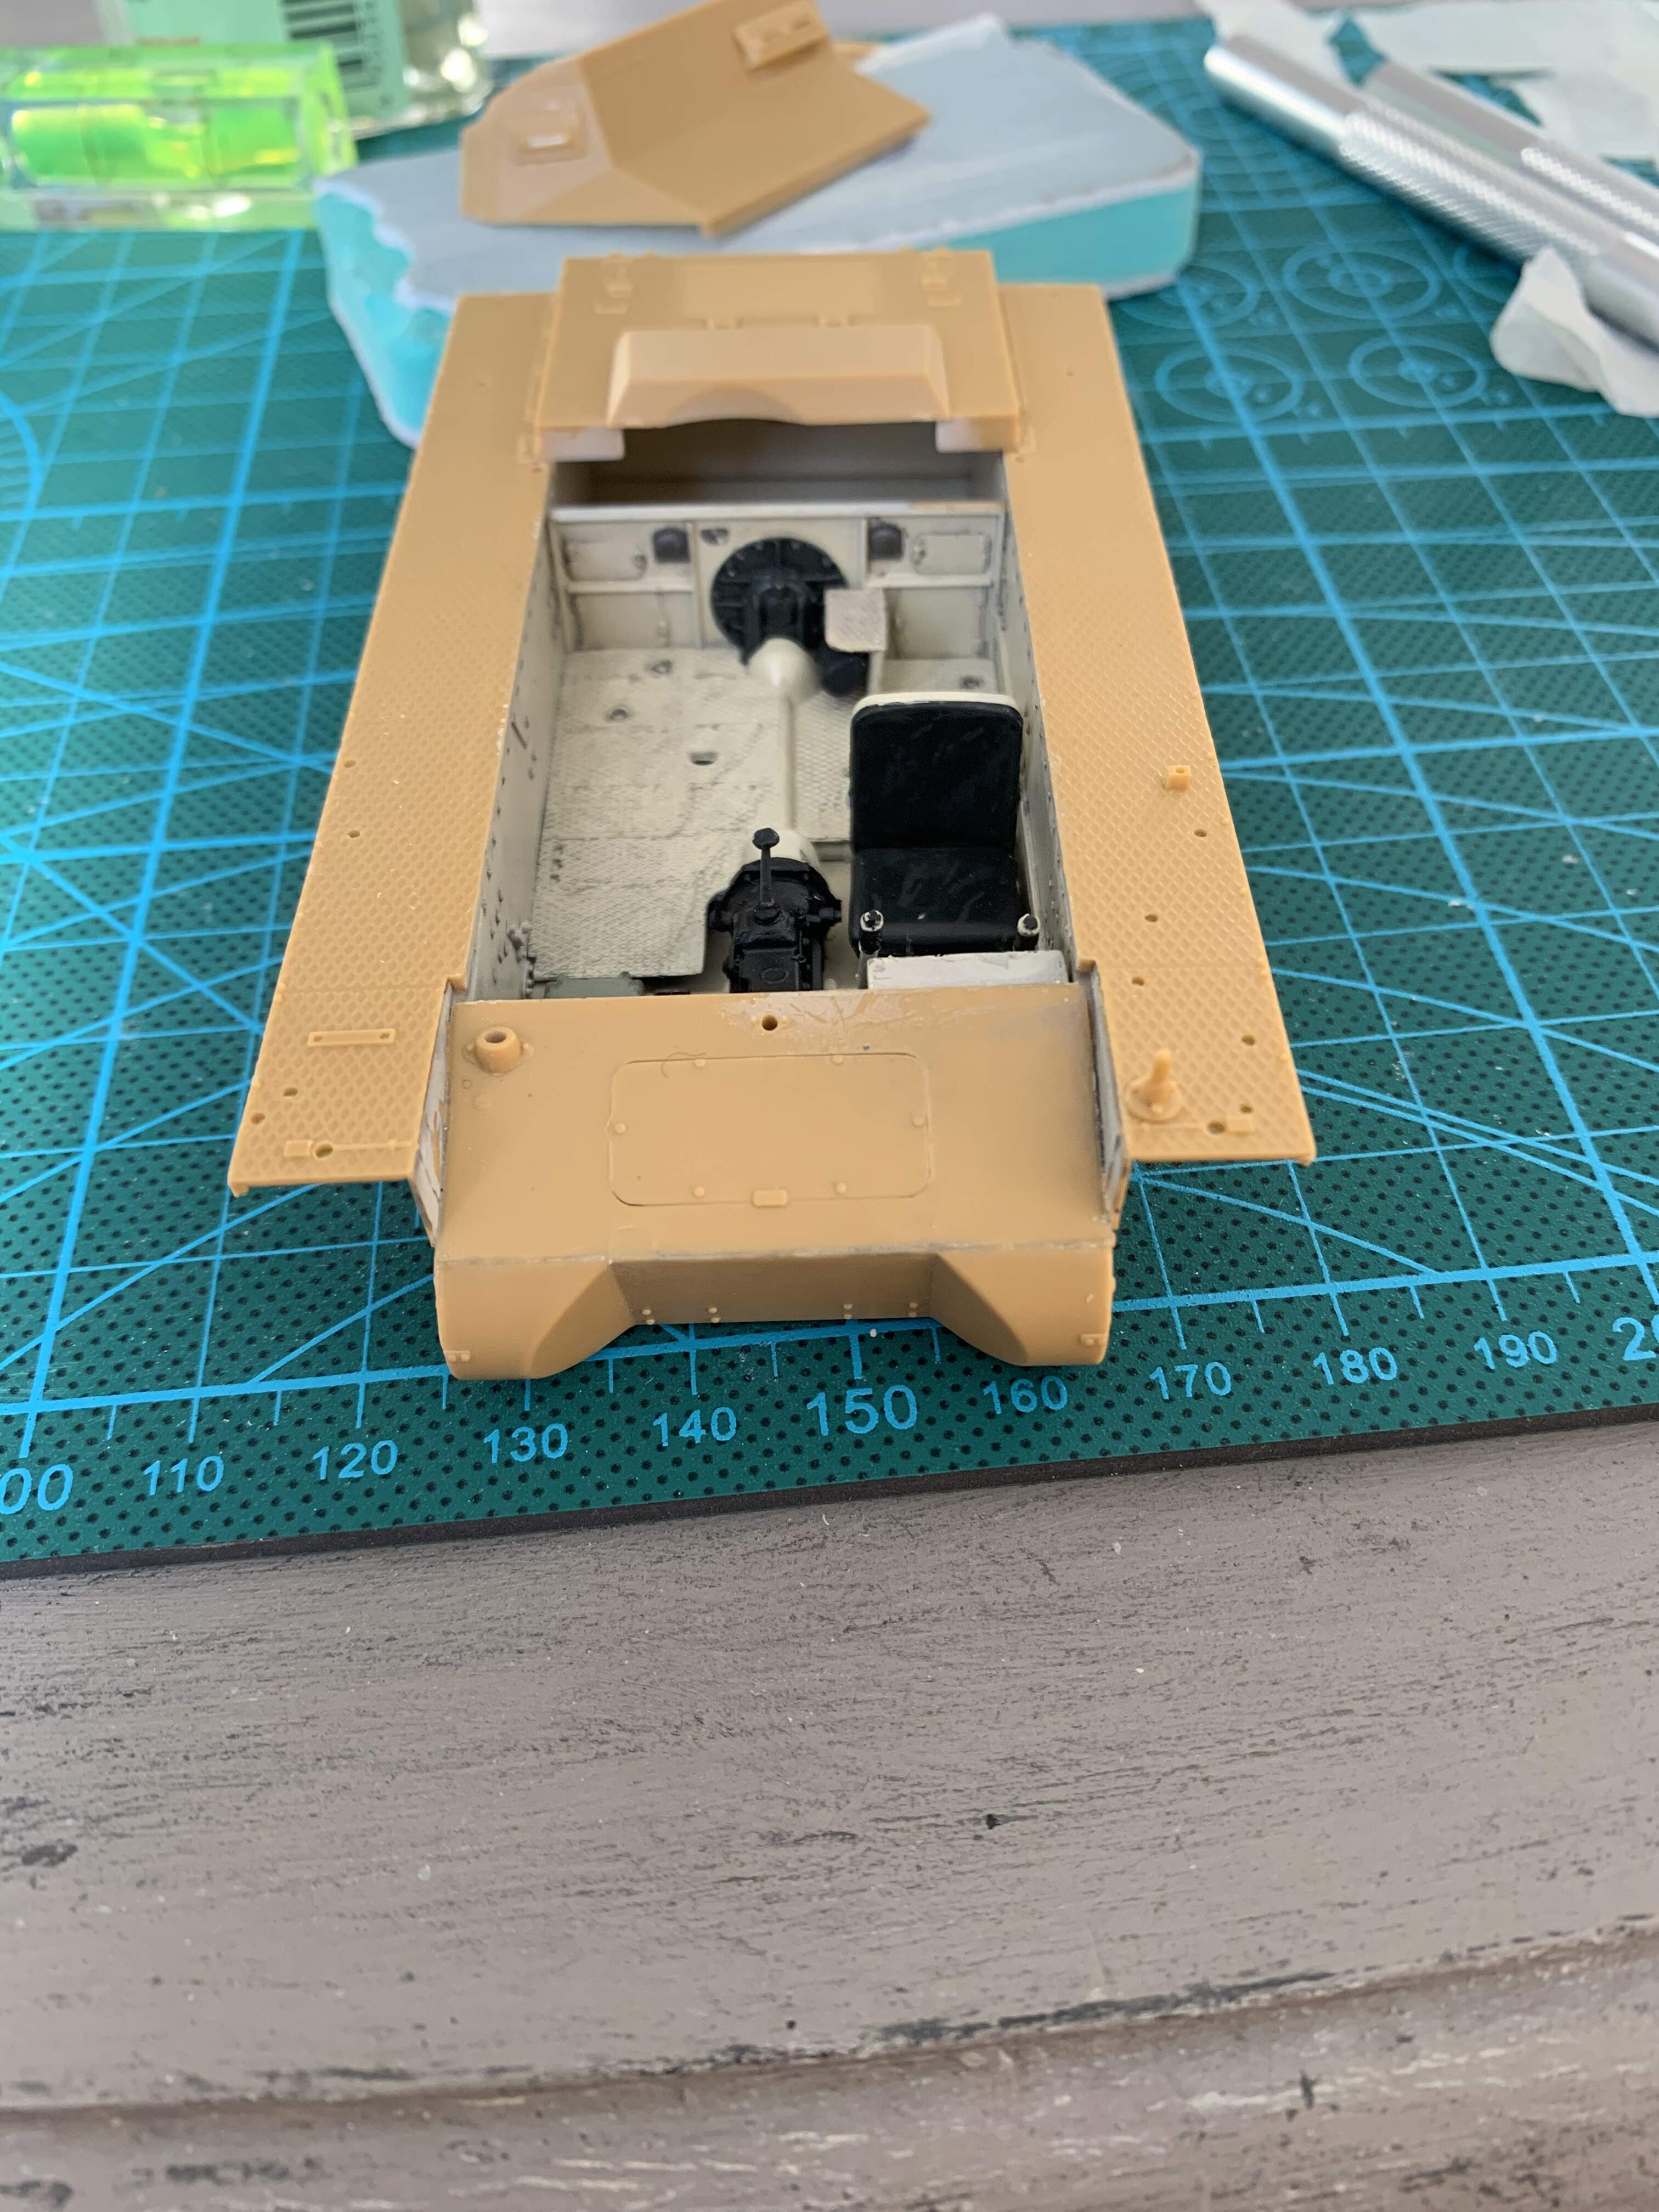
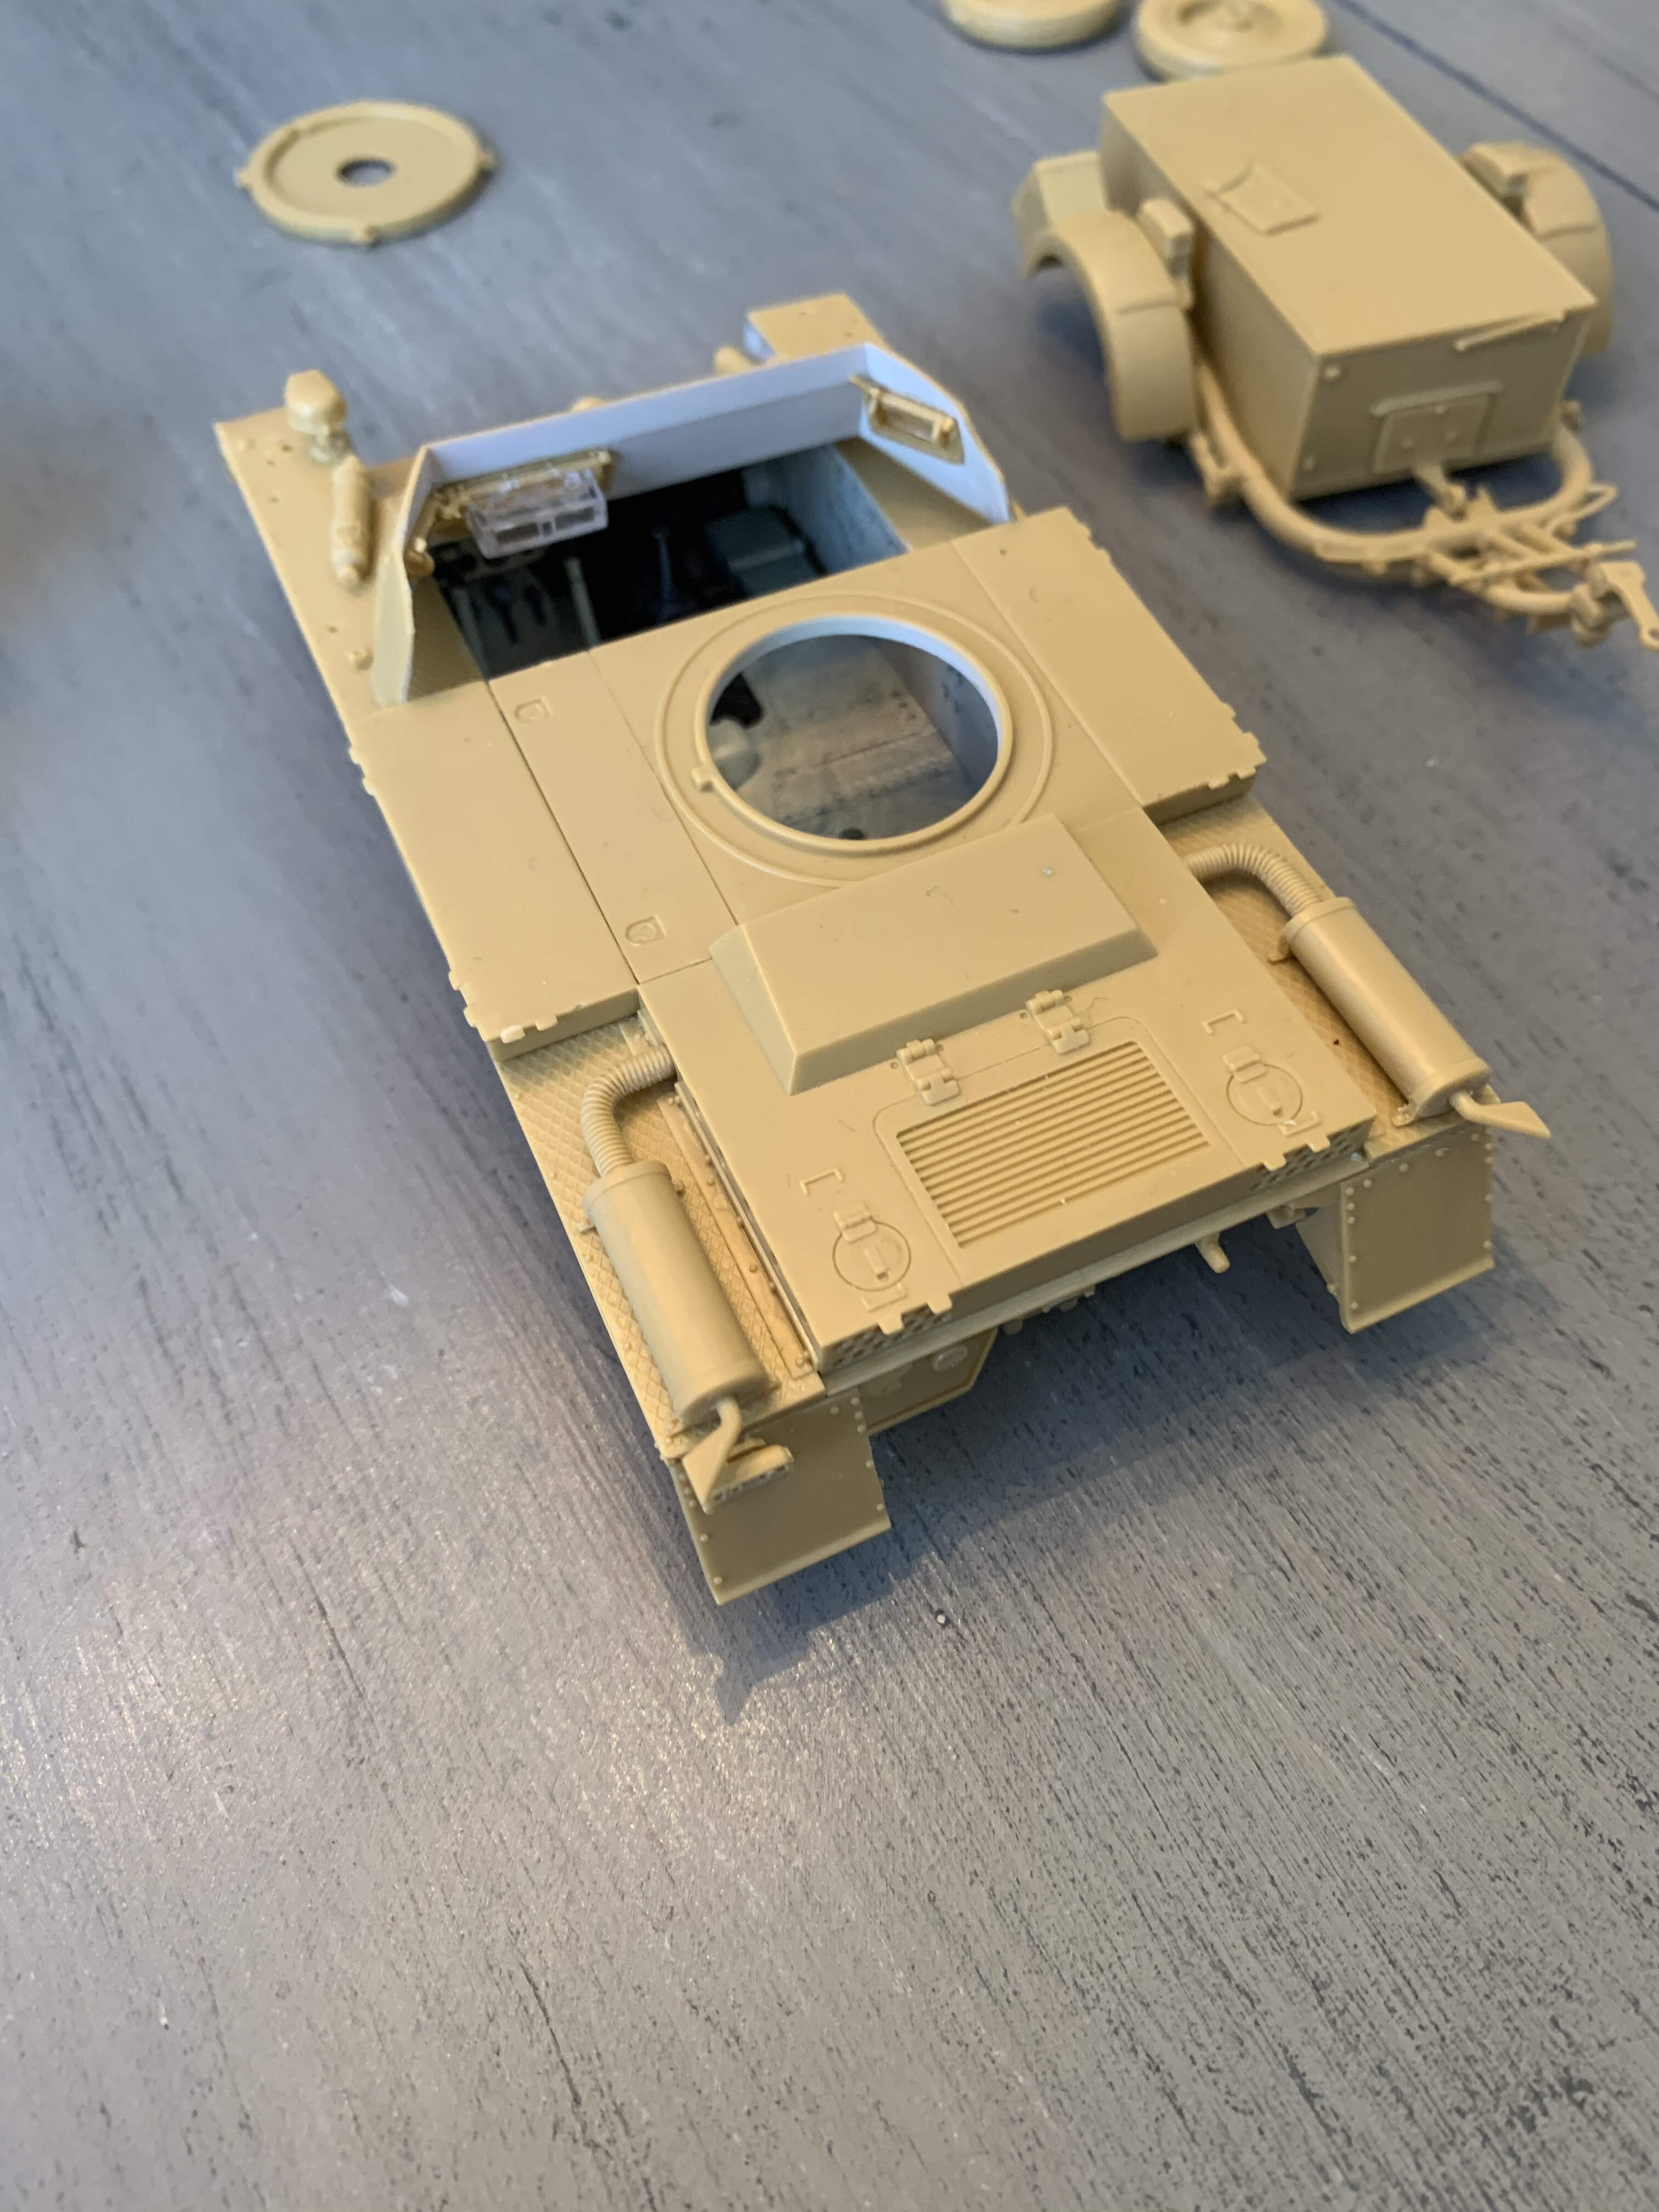
Some progress on the flakpanzer. Progress has been a little slow waiting for some acrylic glue and testors liquid cement, as well as being off sick.
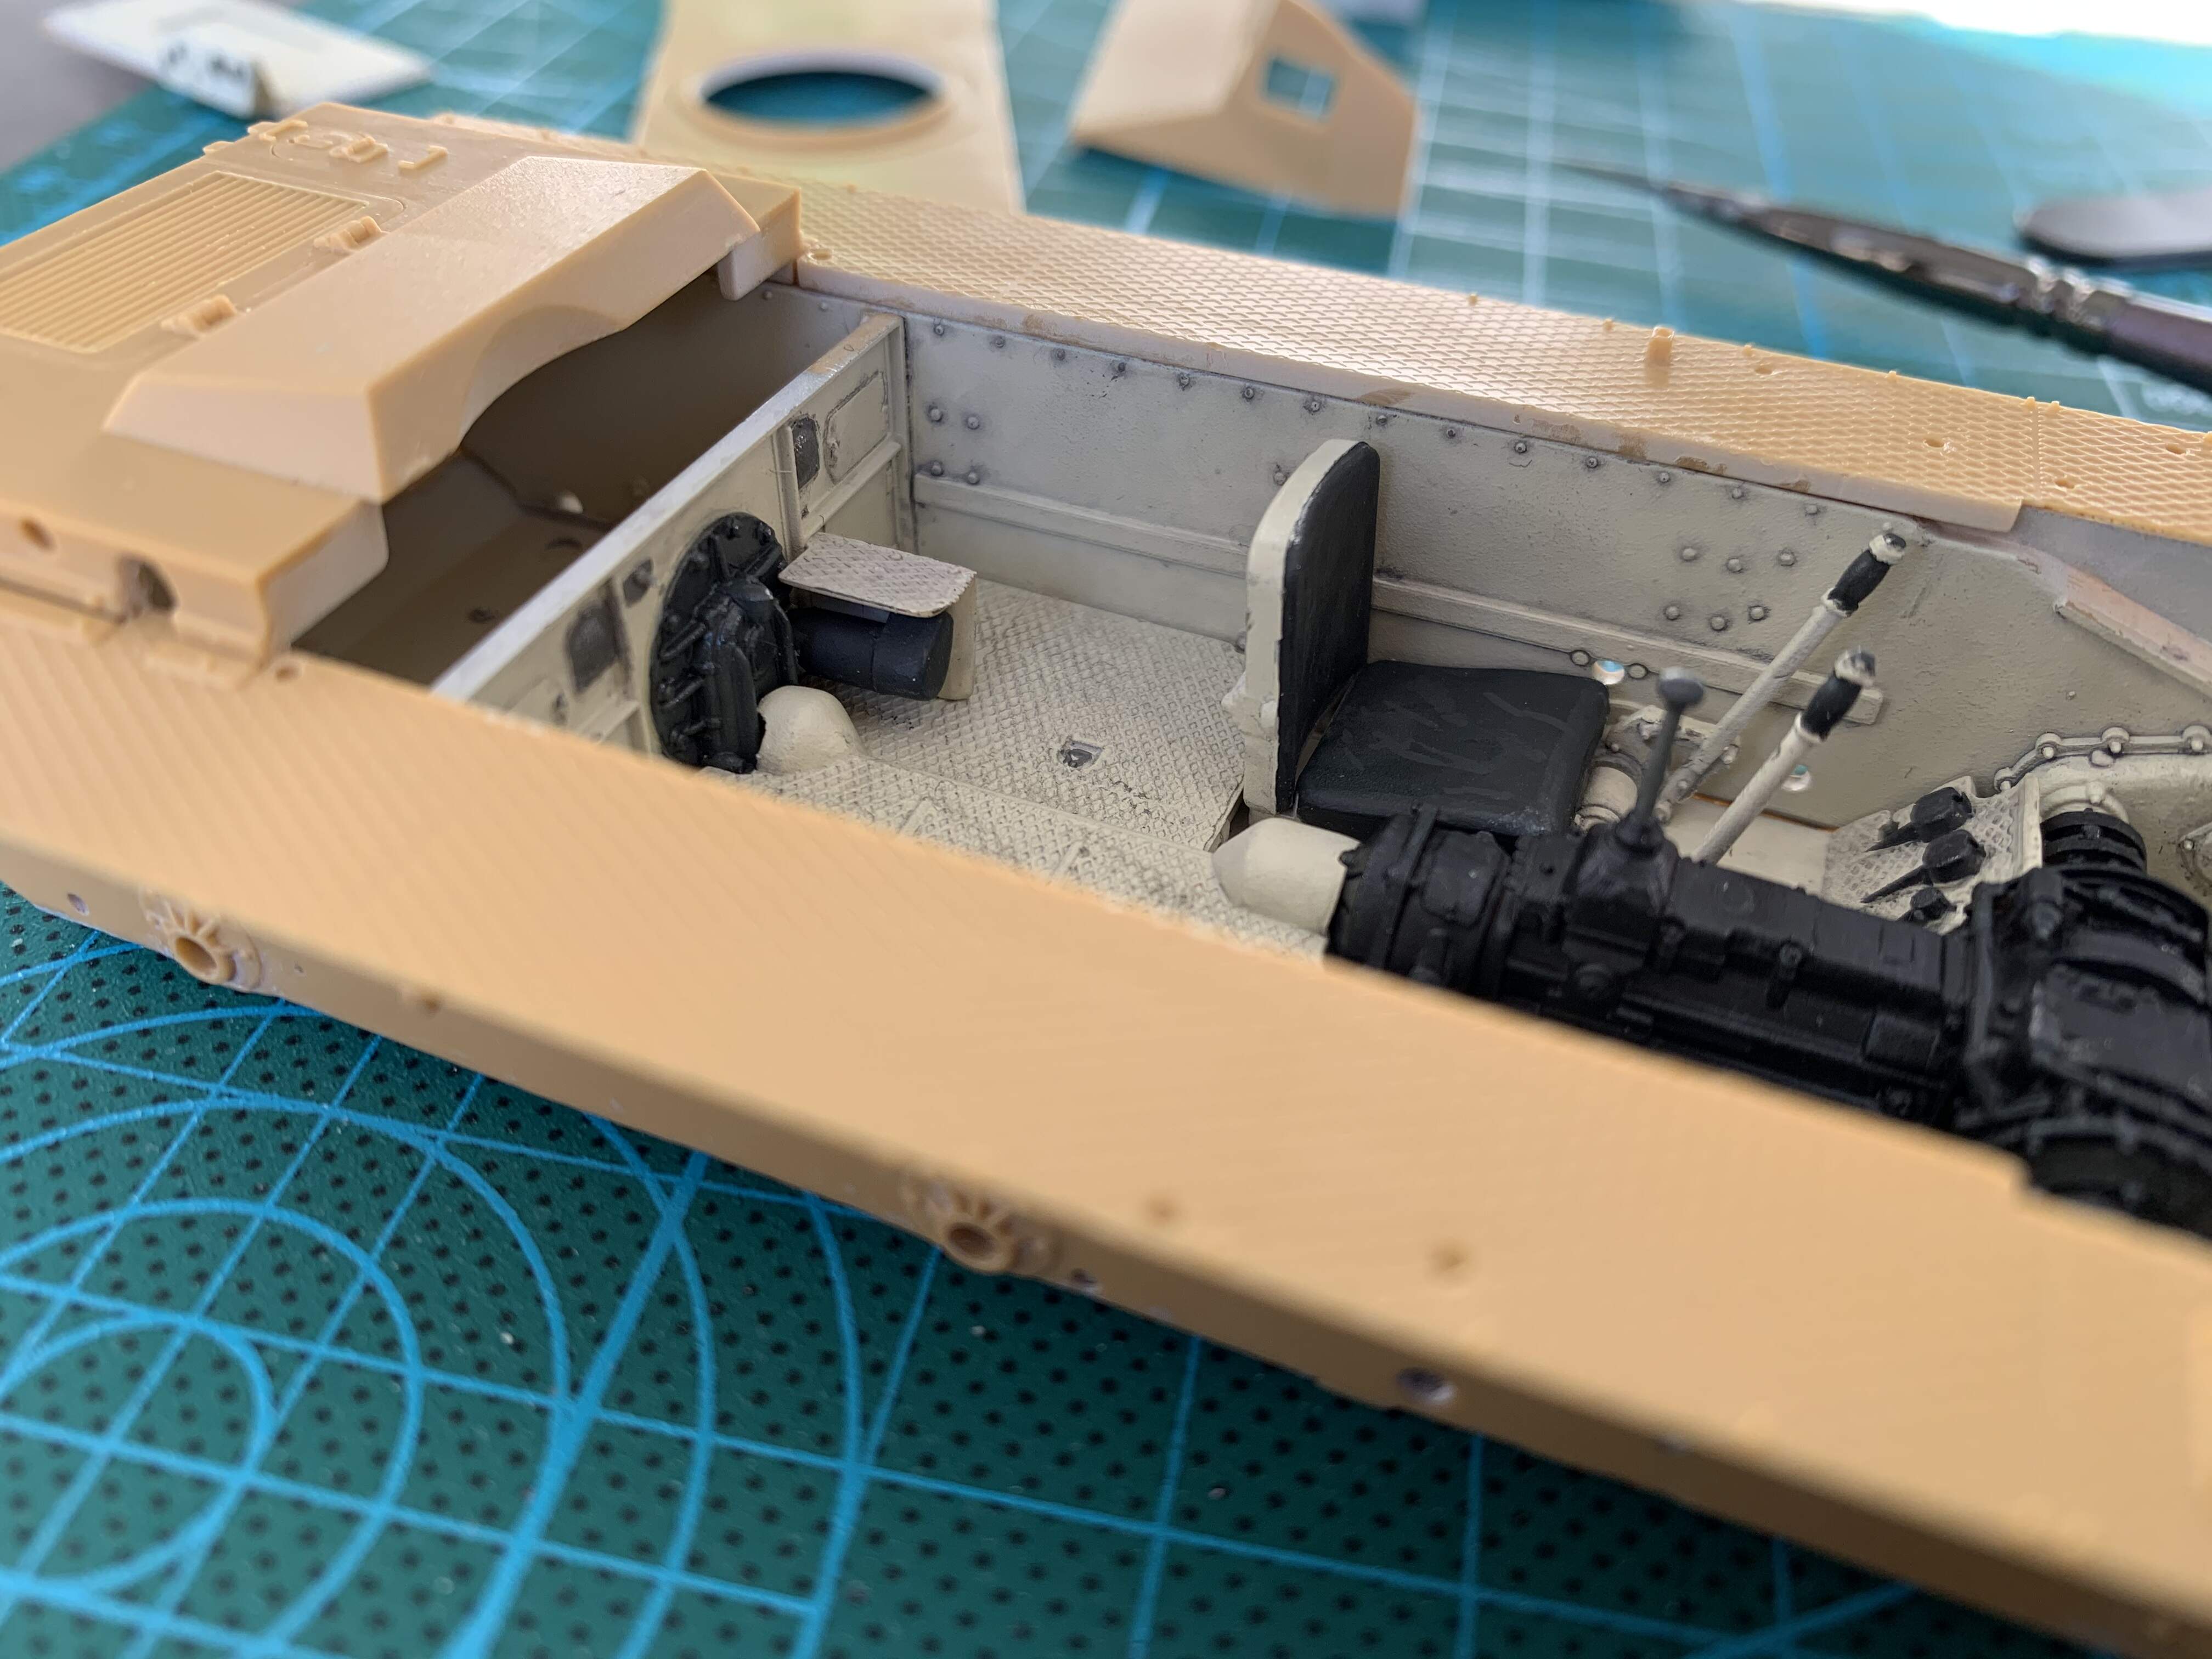
Added the fenders, engine deck and weather the interior as well as painted the dash. Up next is work in the gun.

5 Likes
Looks great!
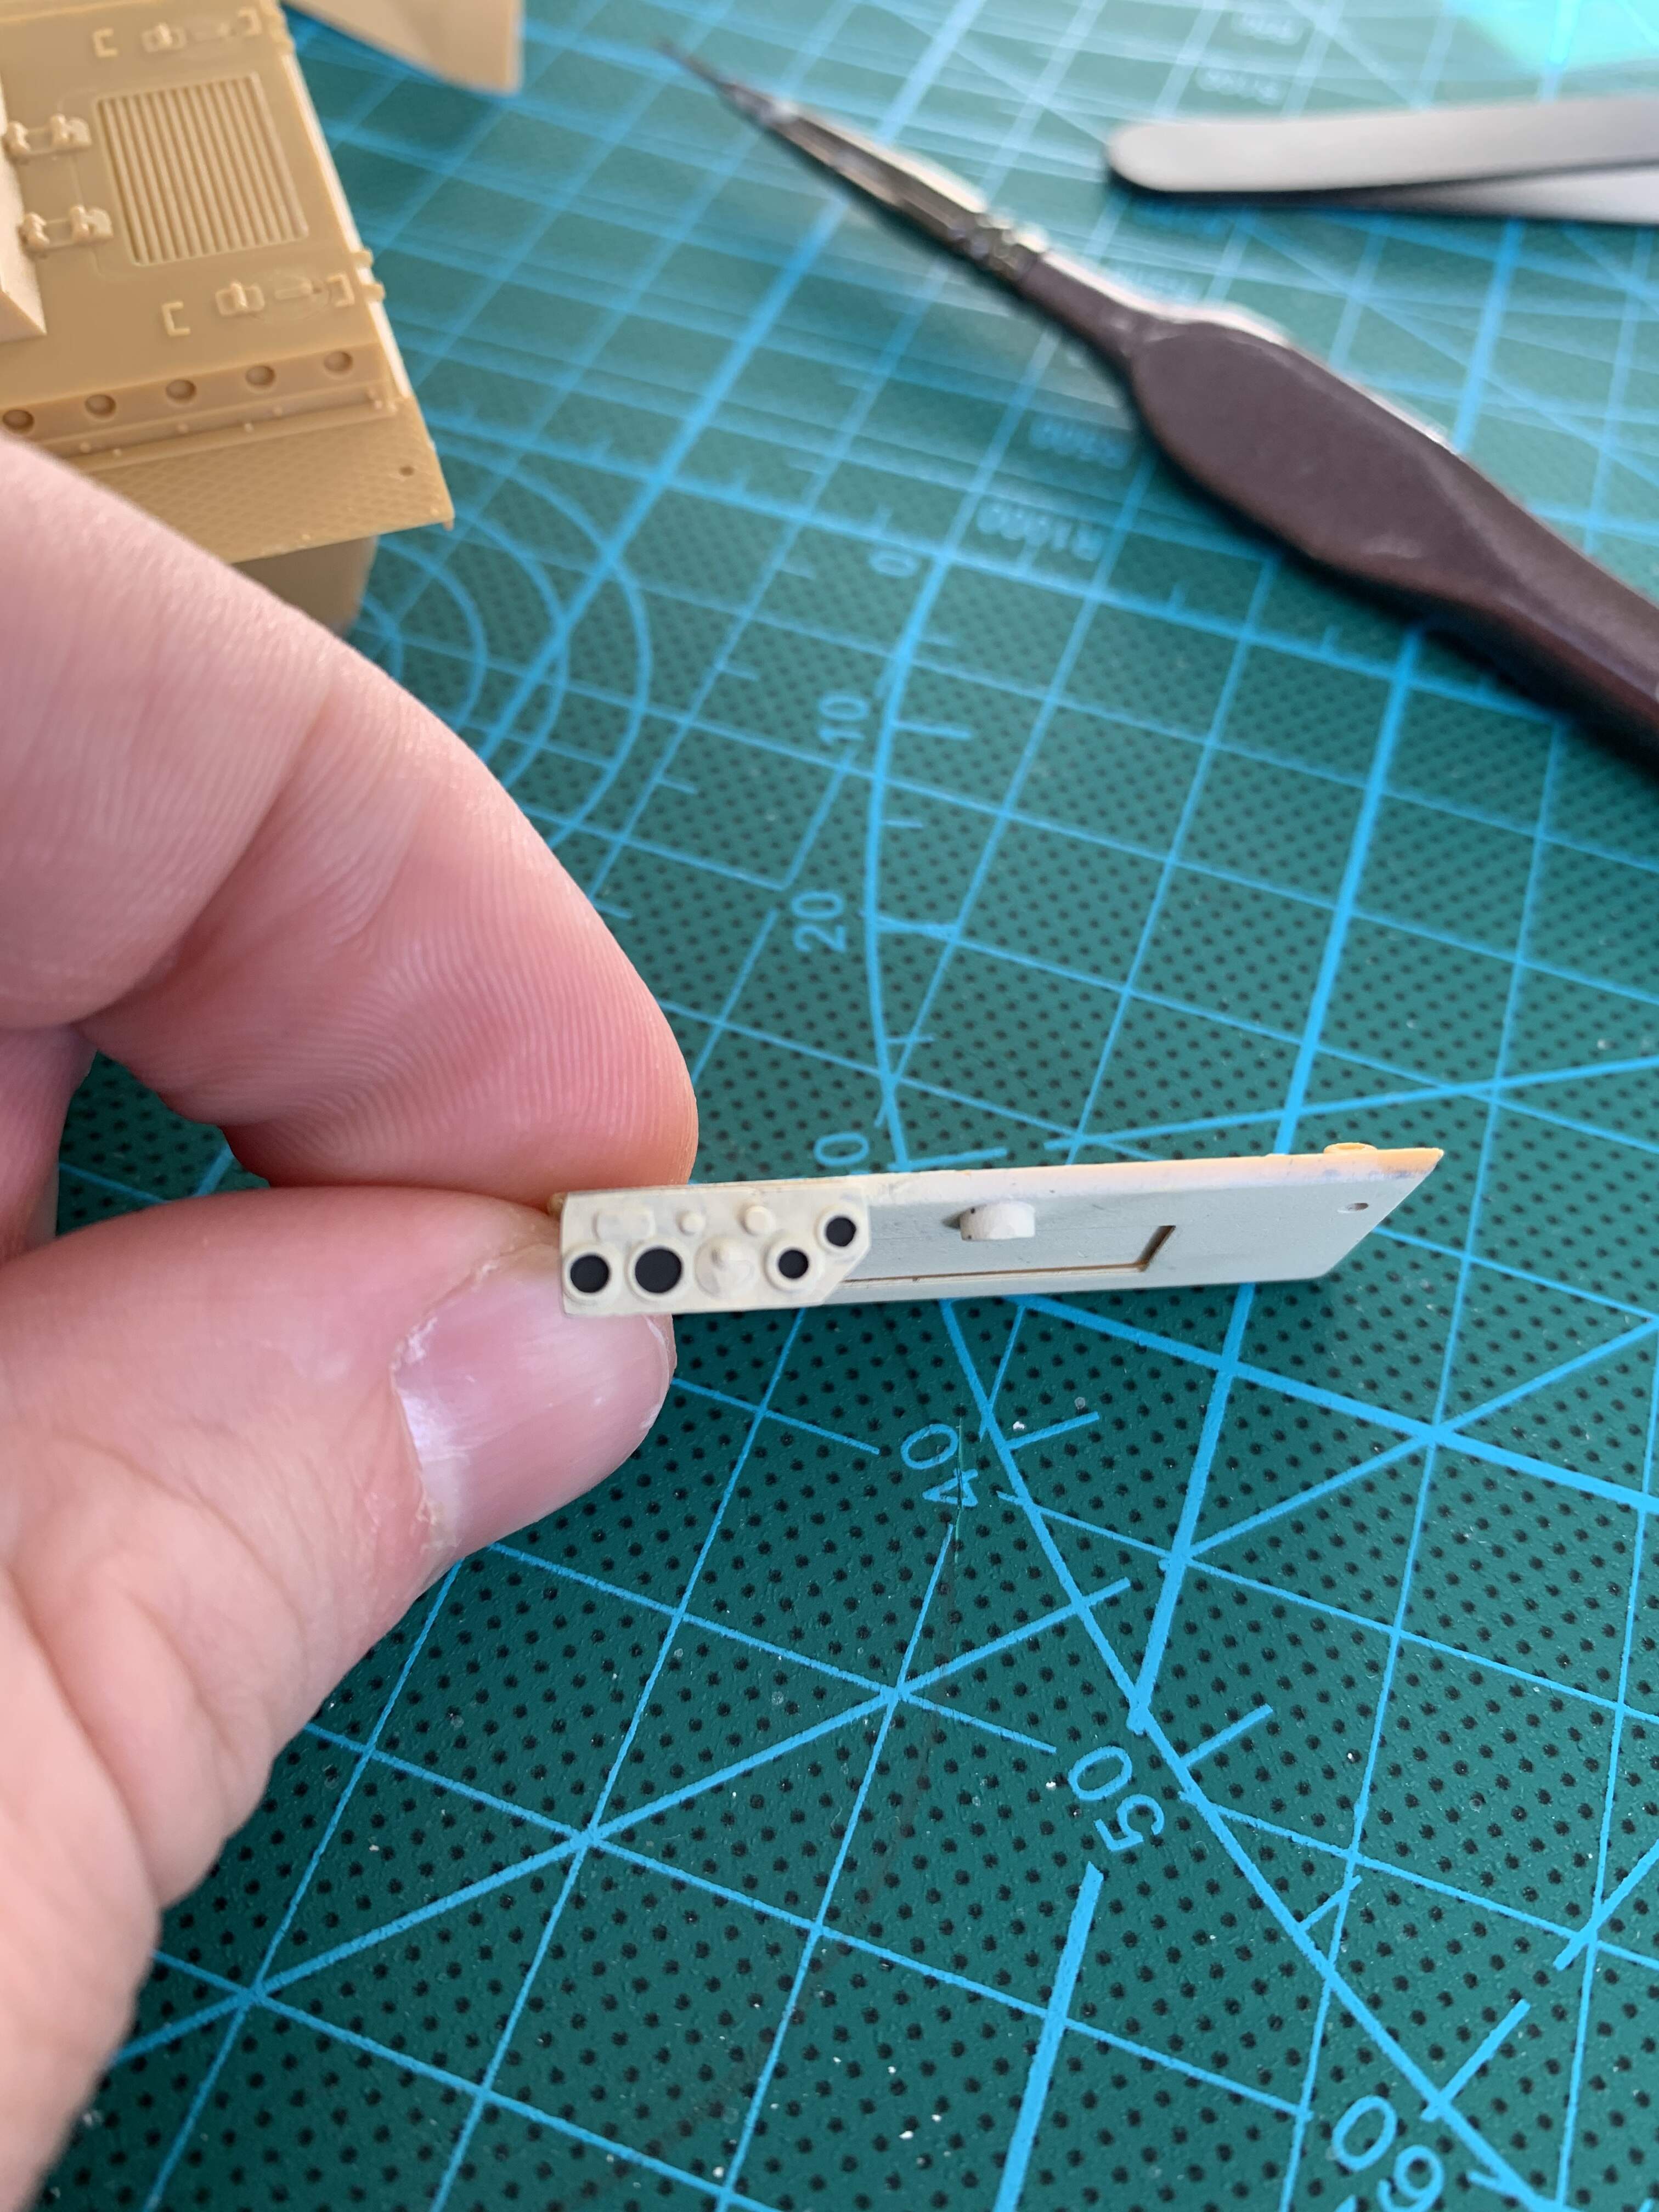
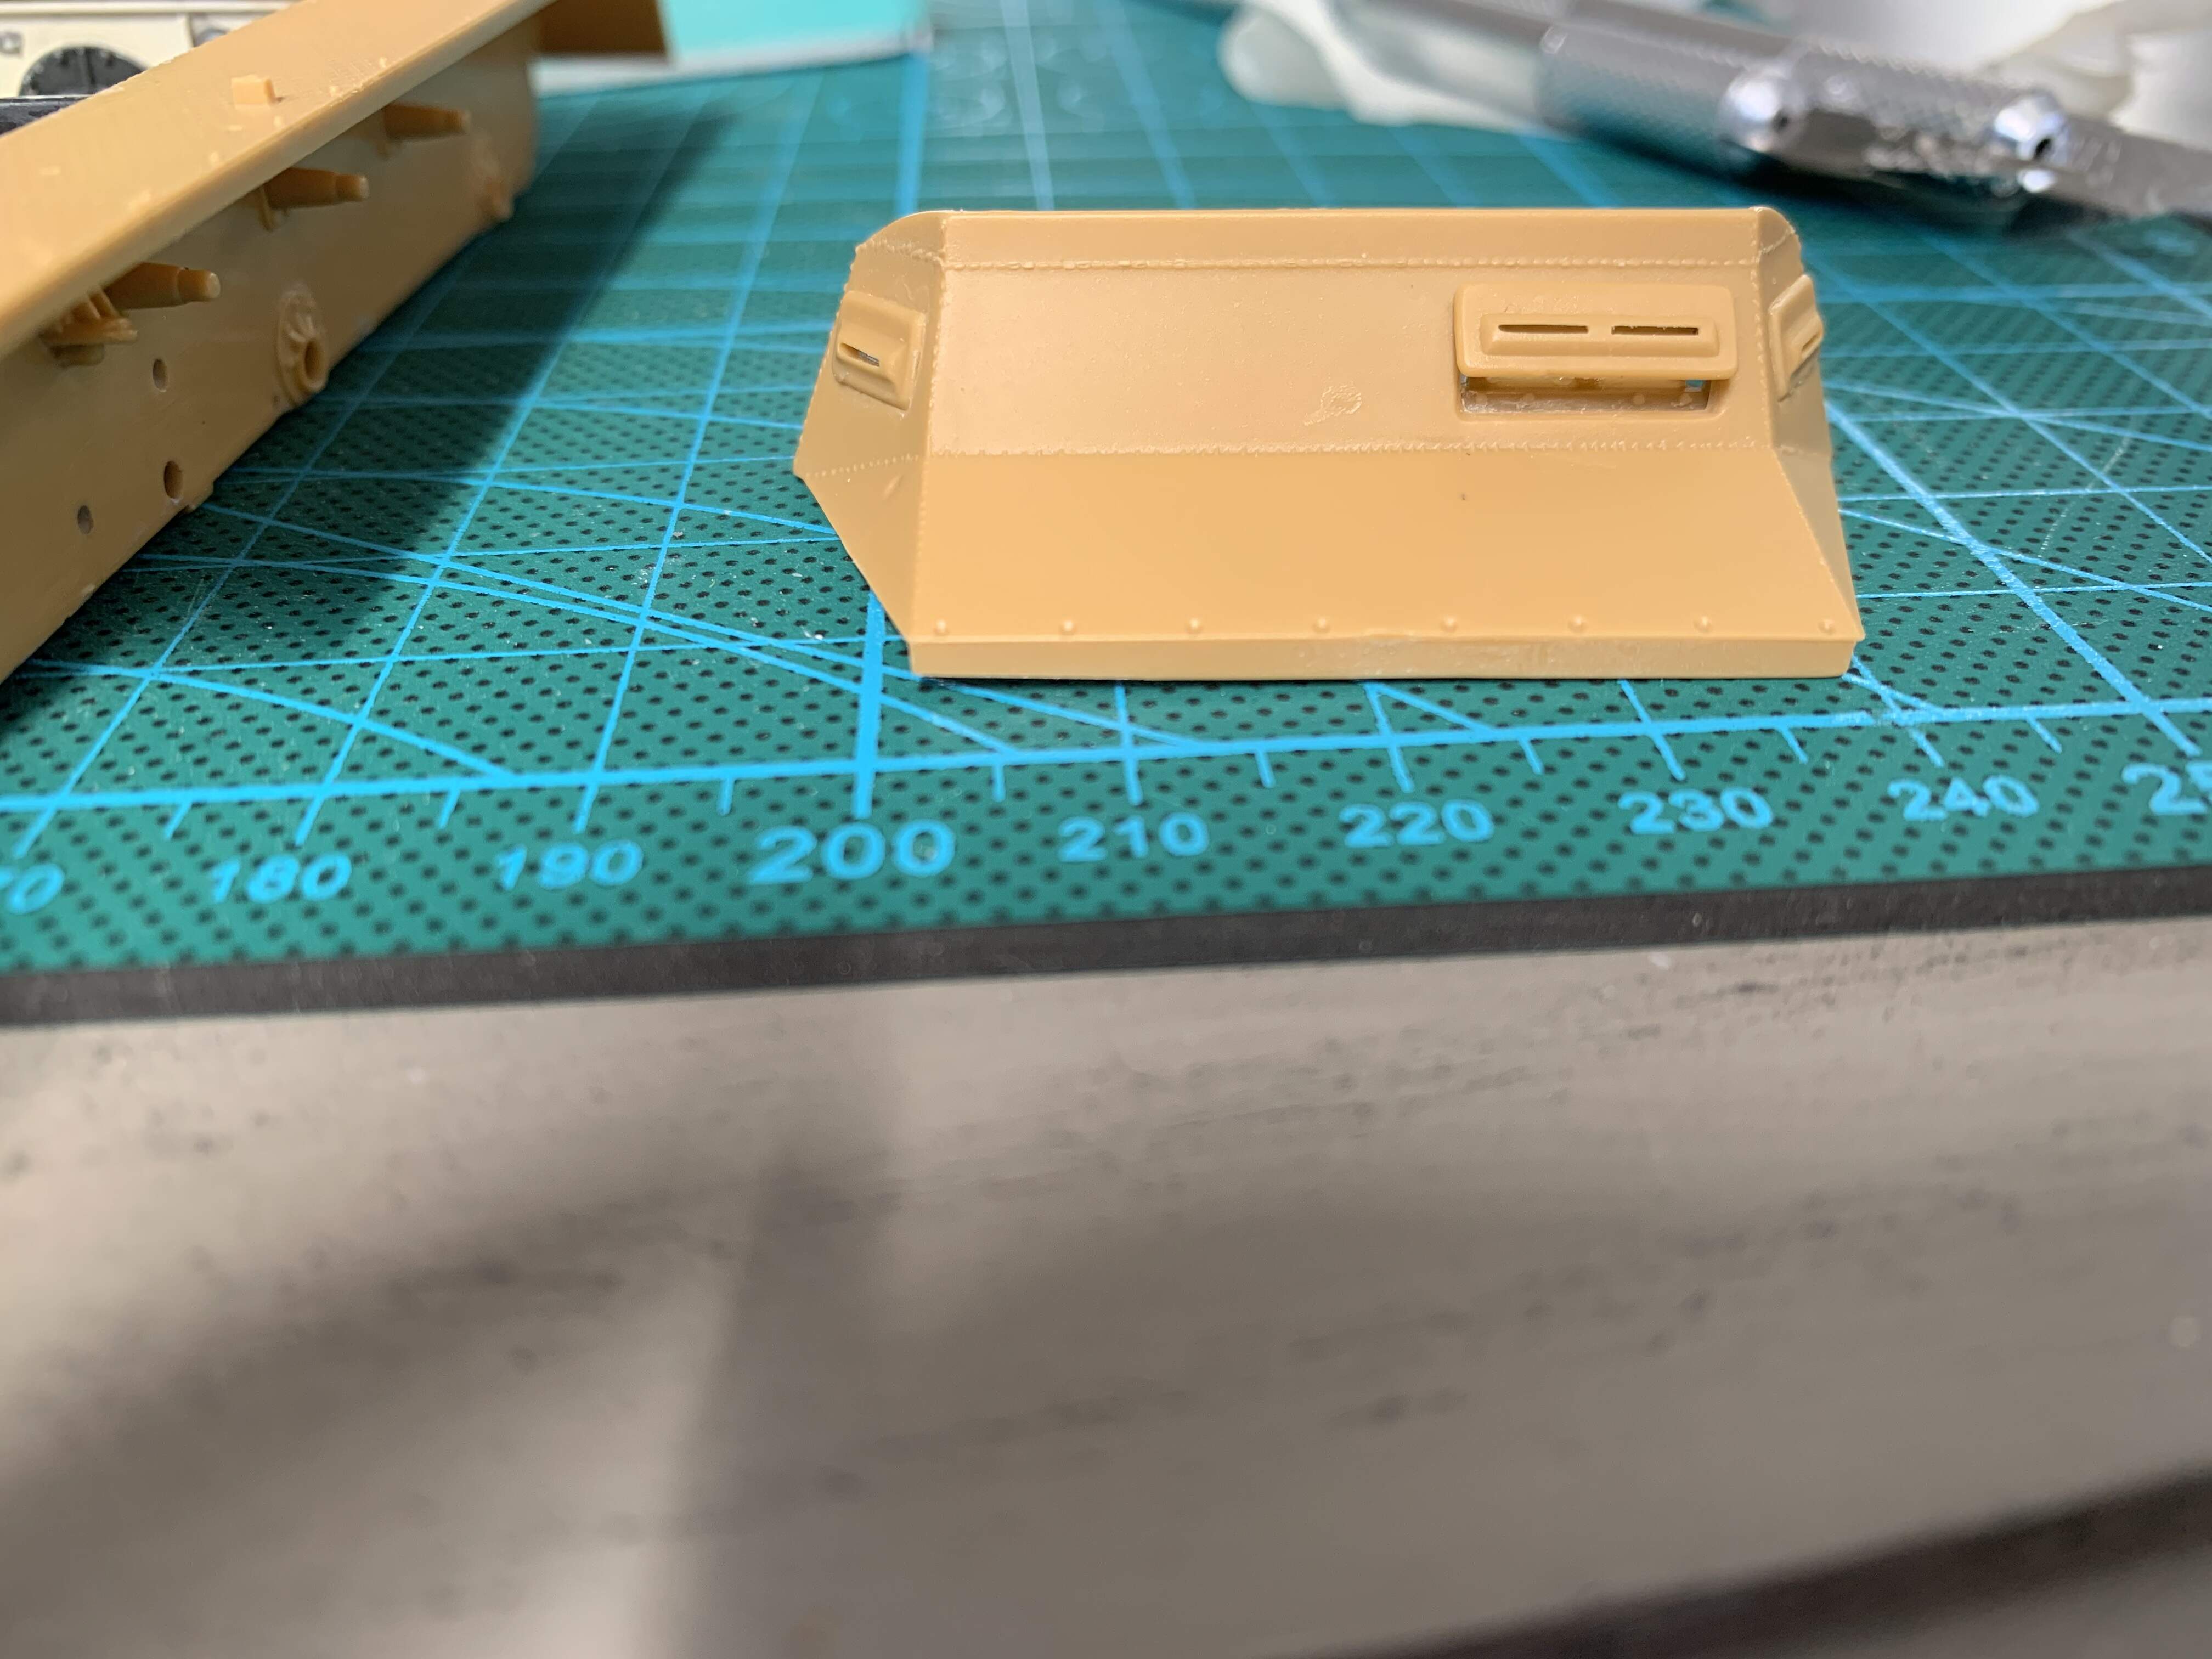
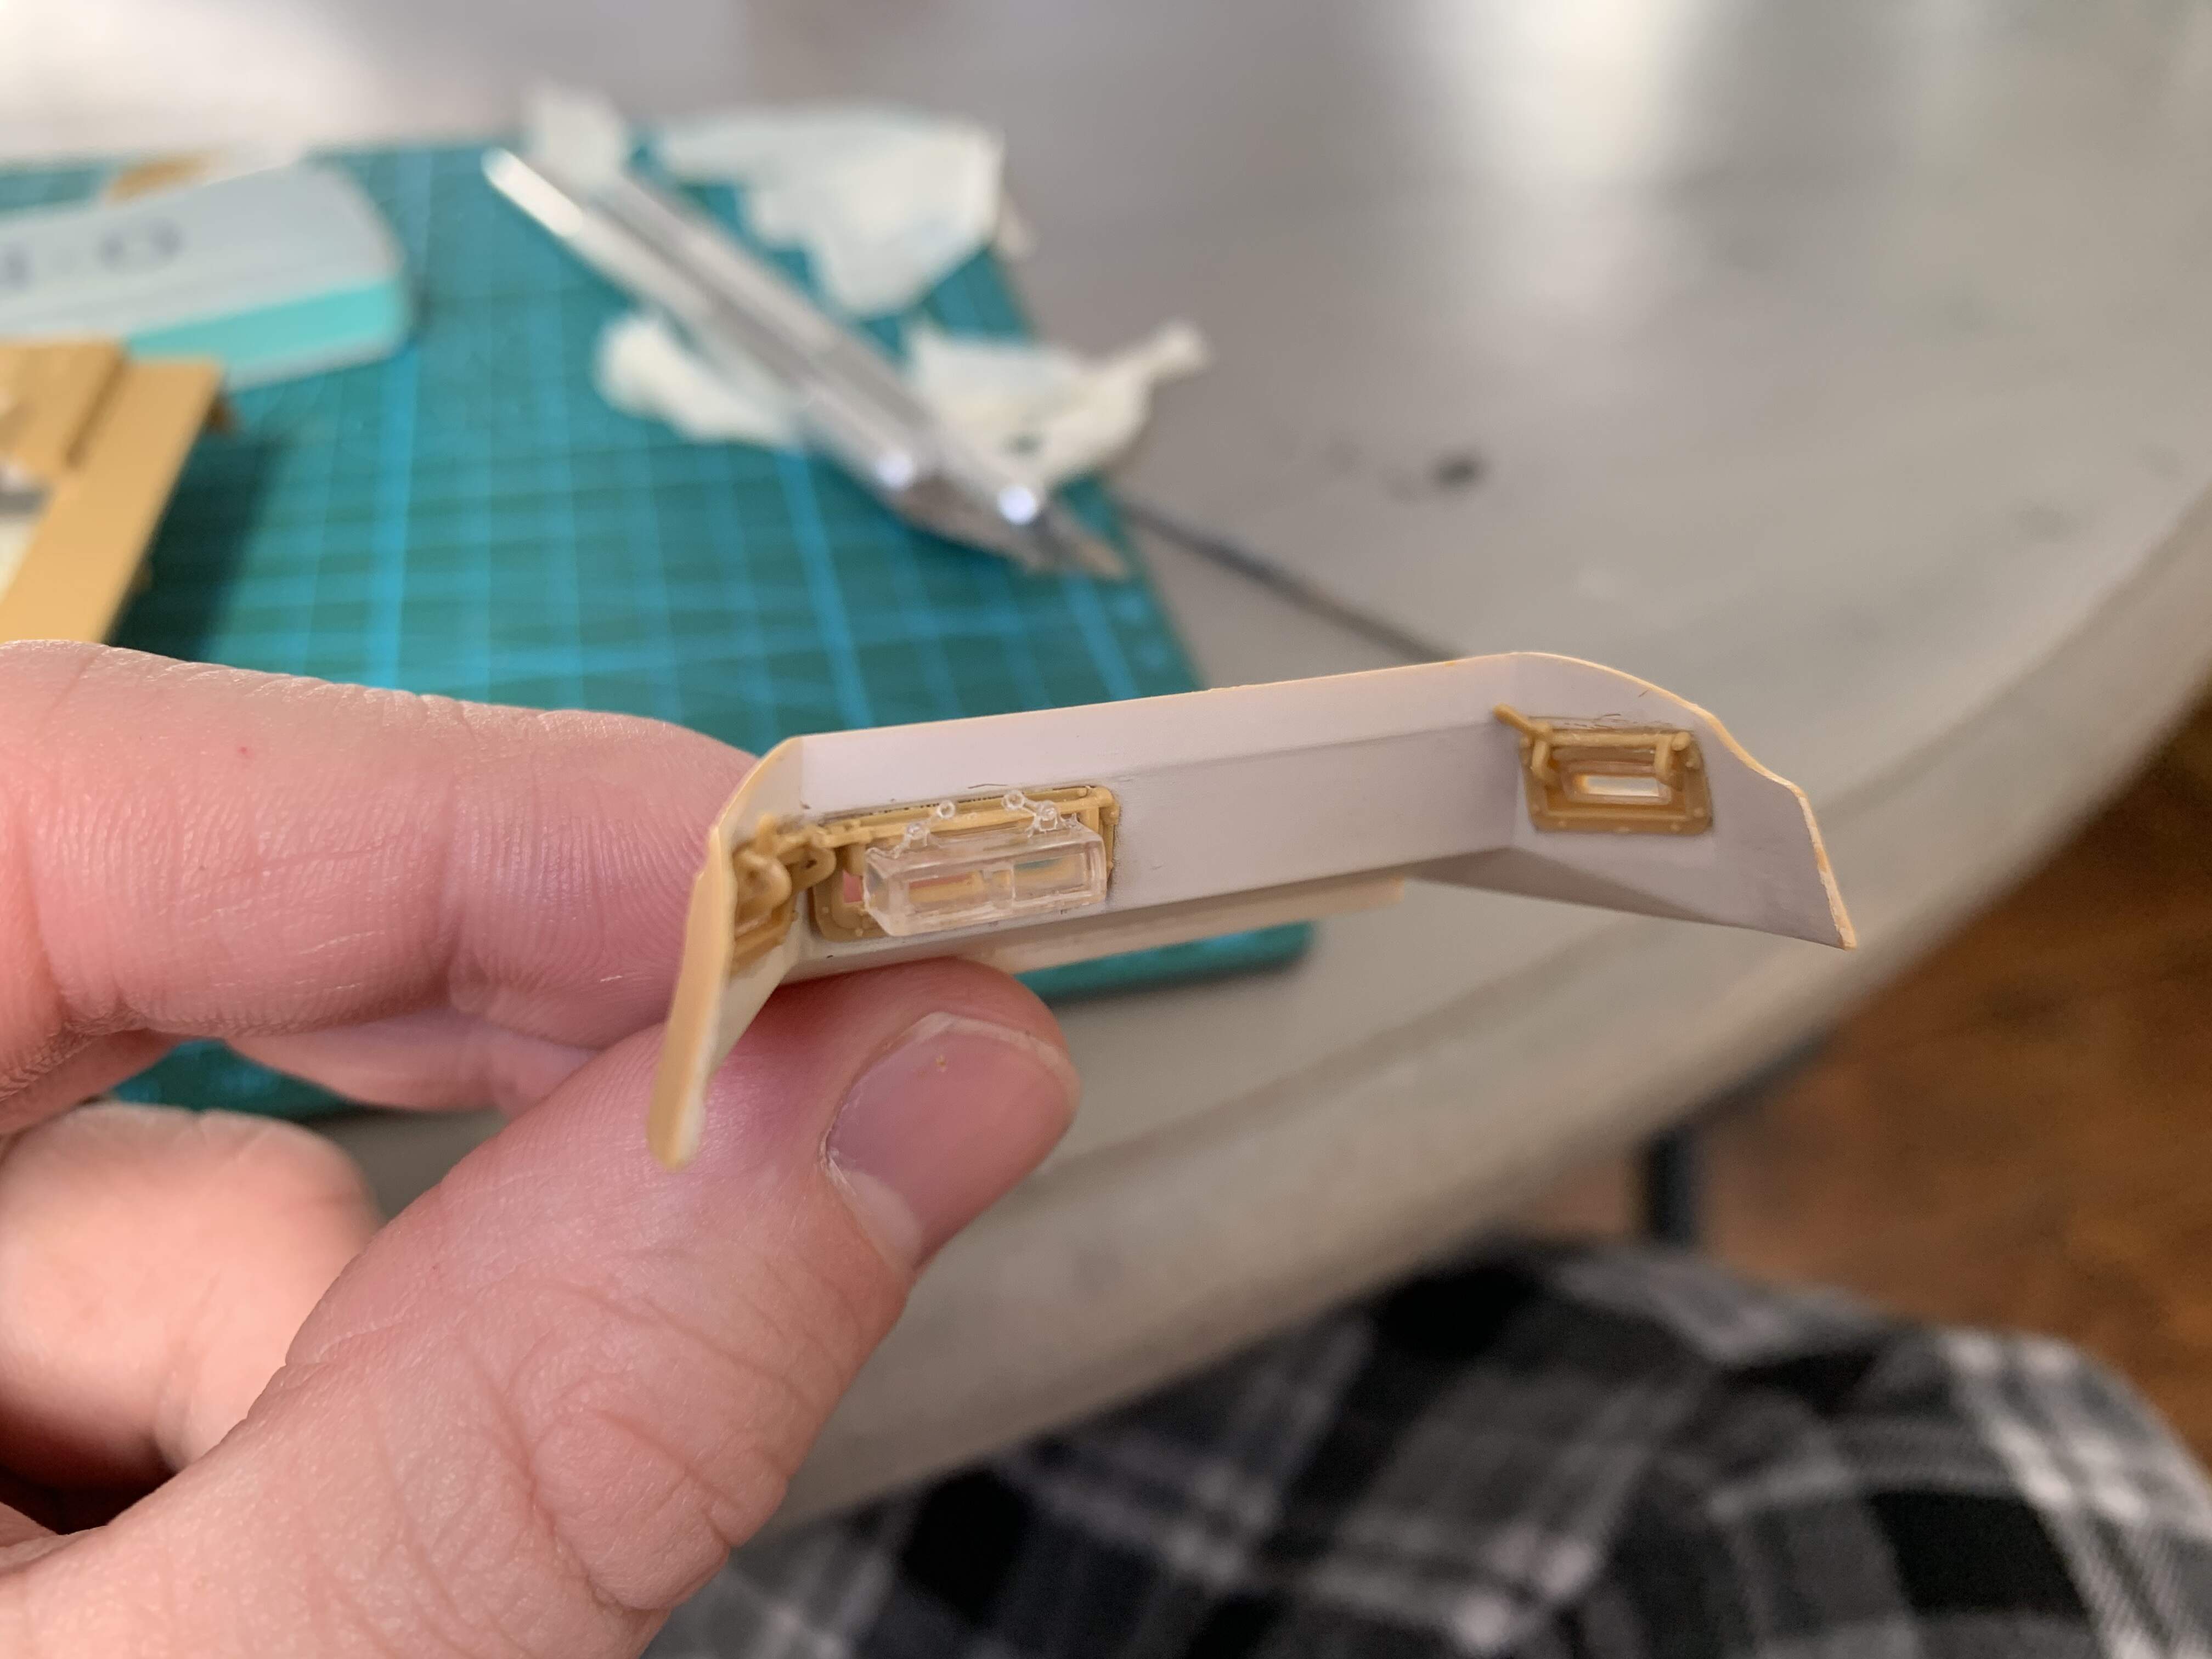
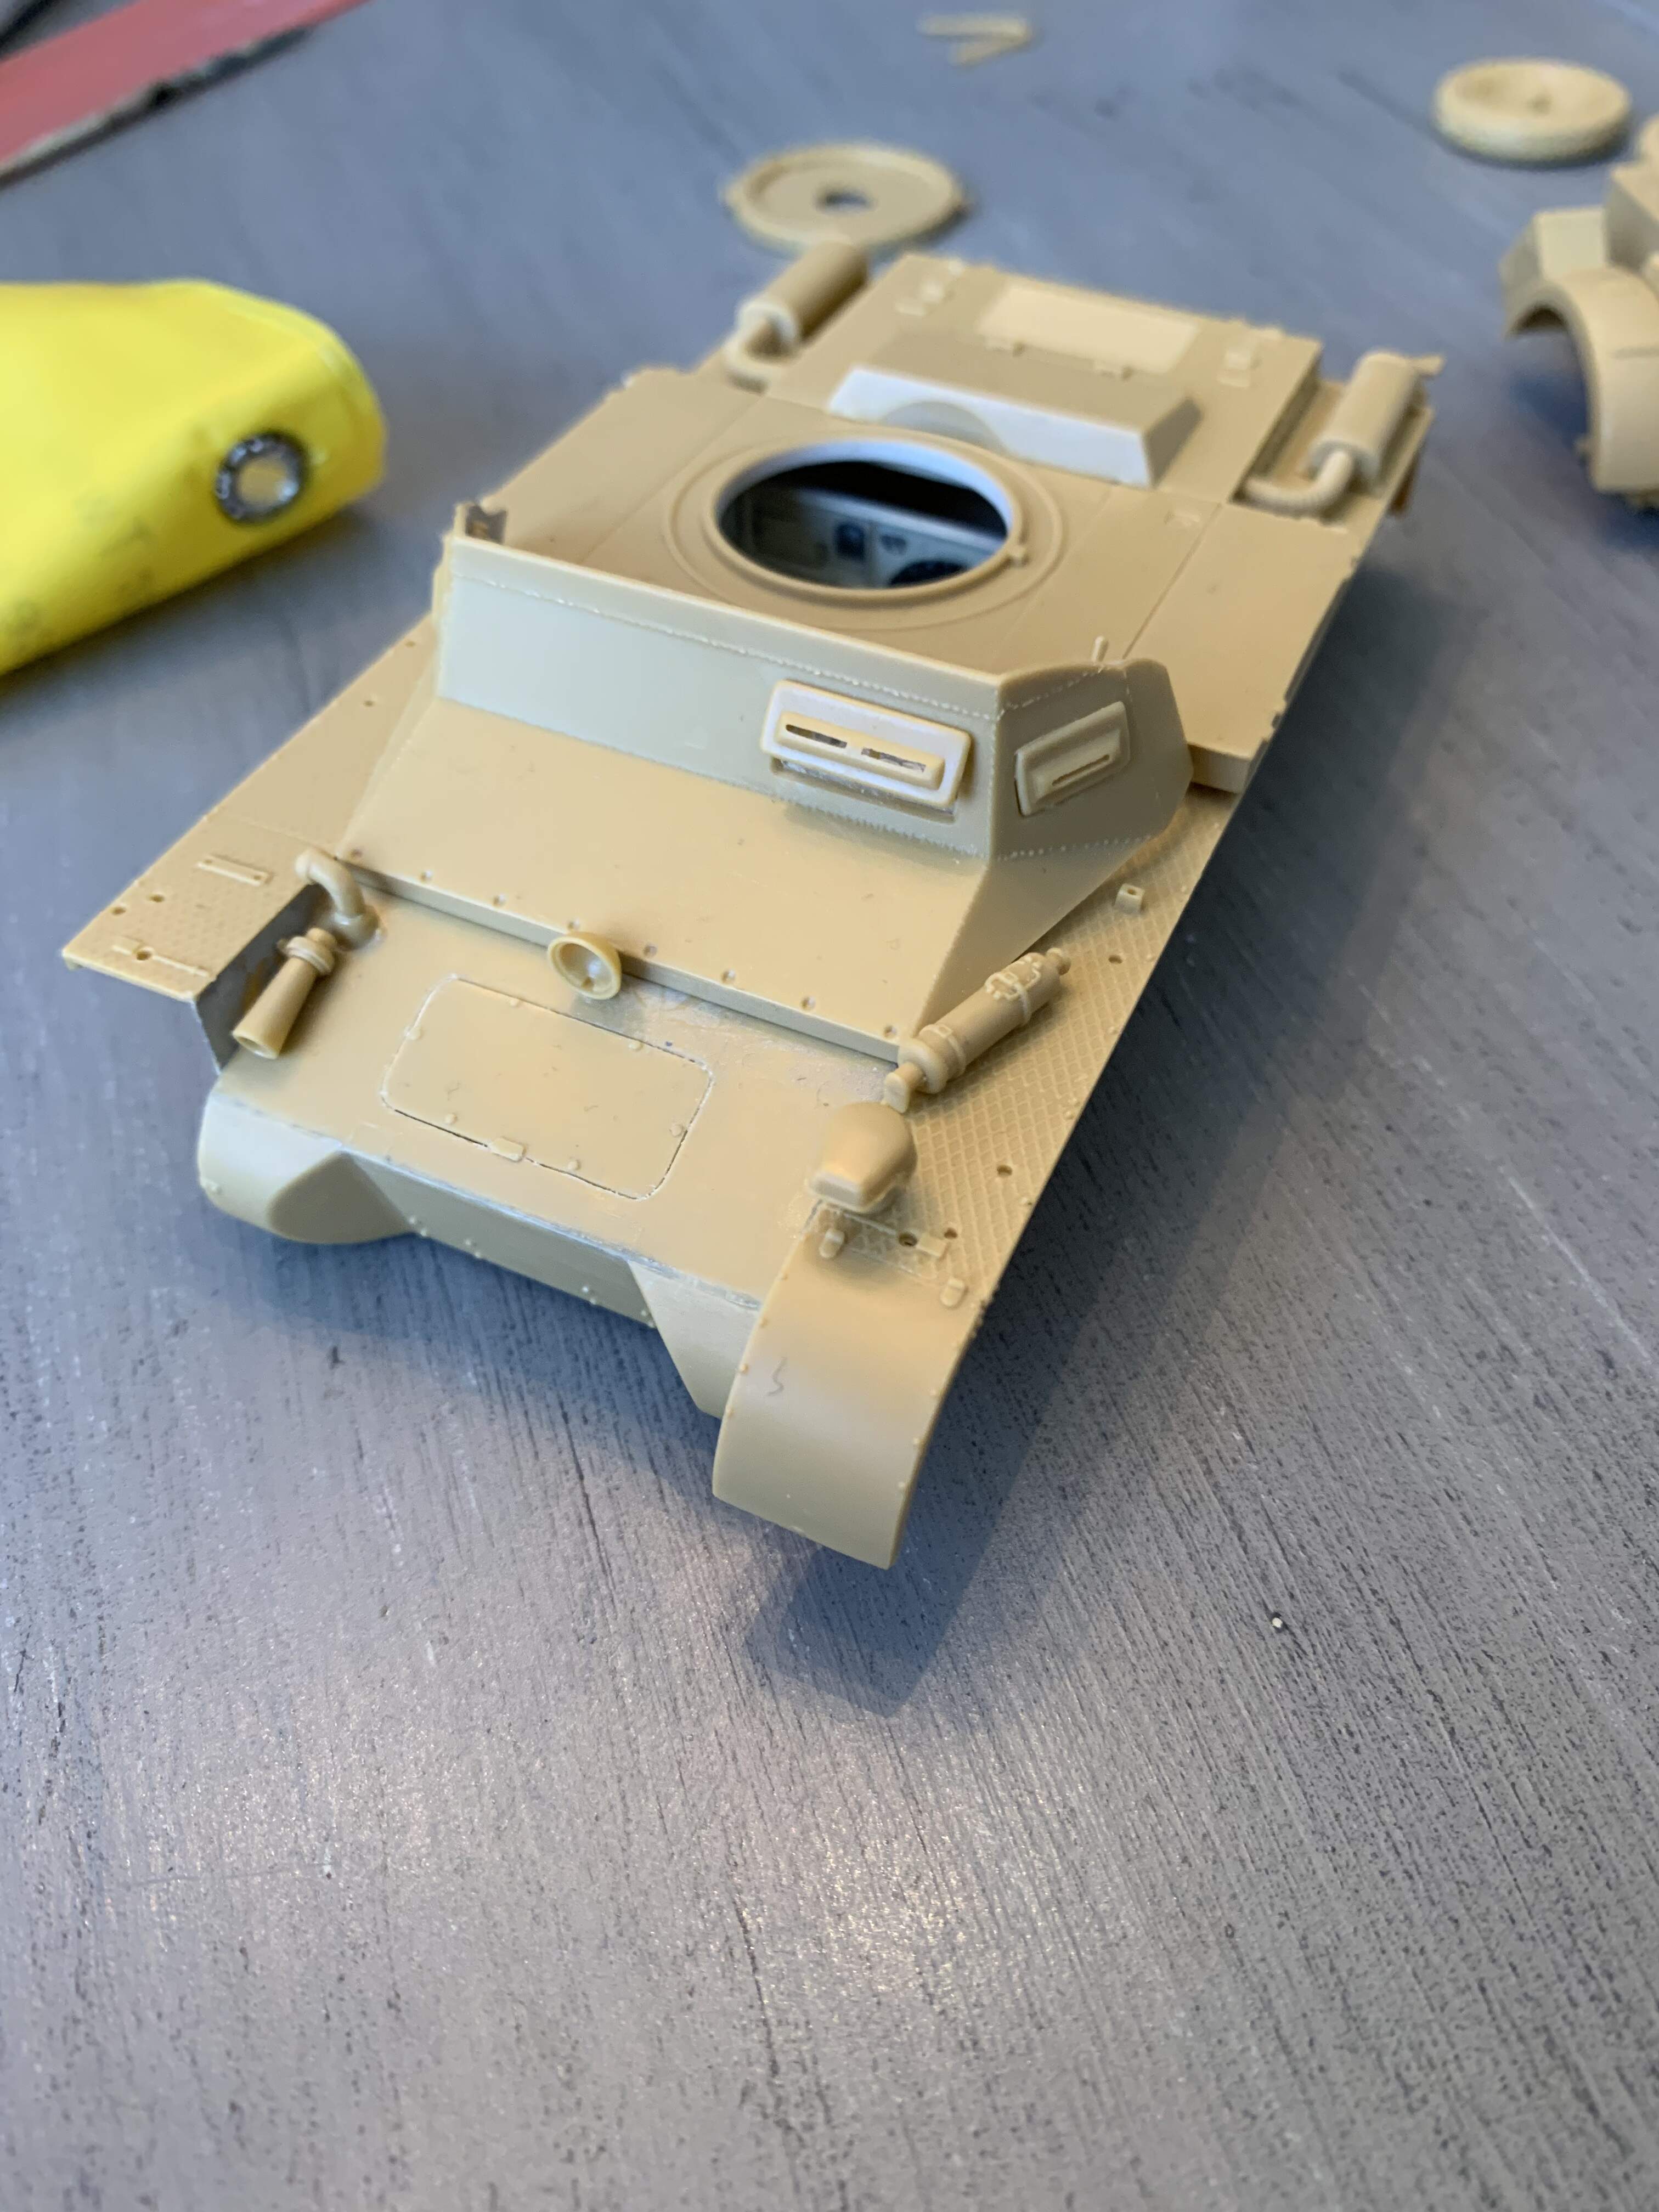
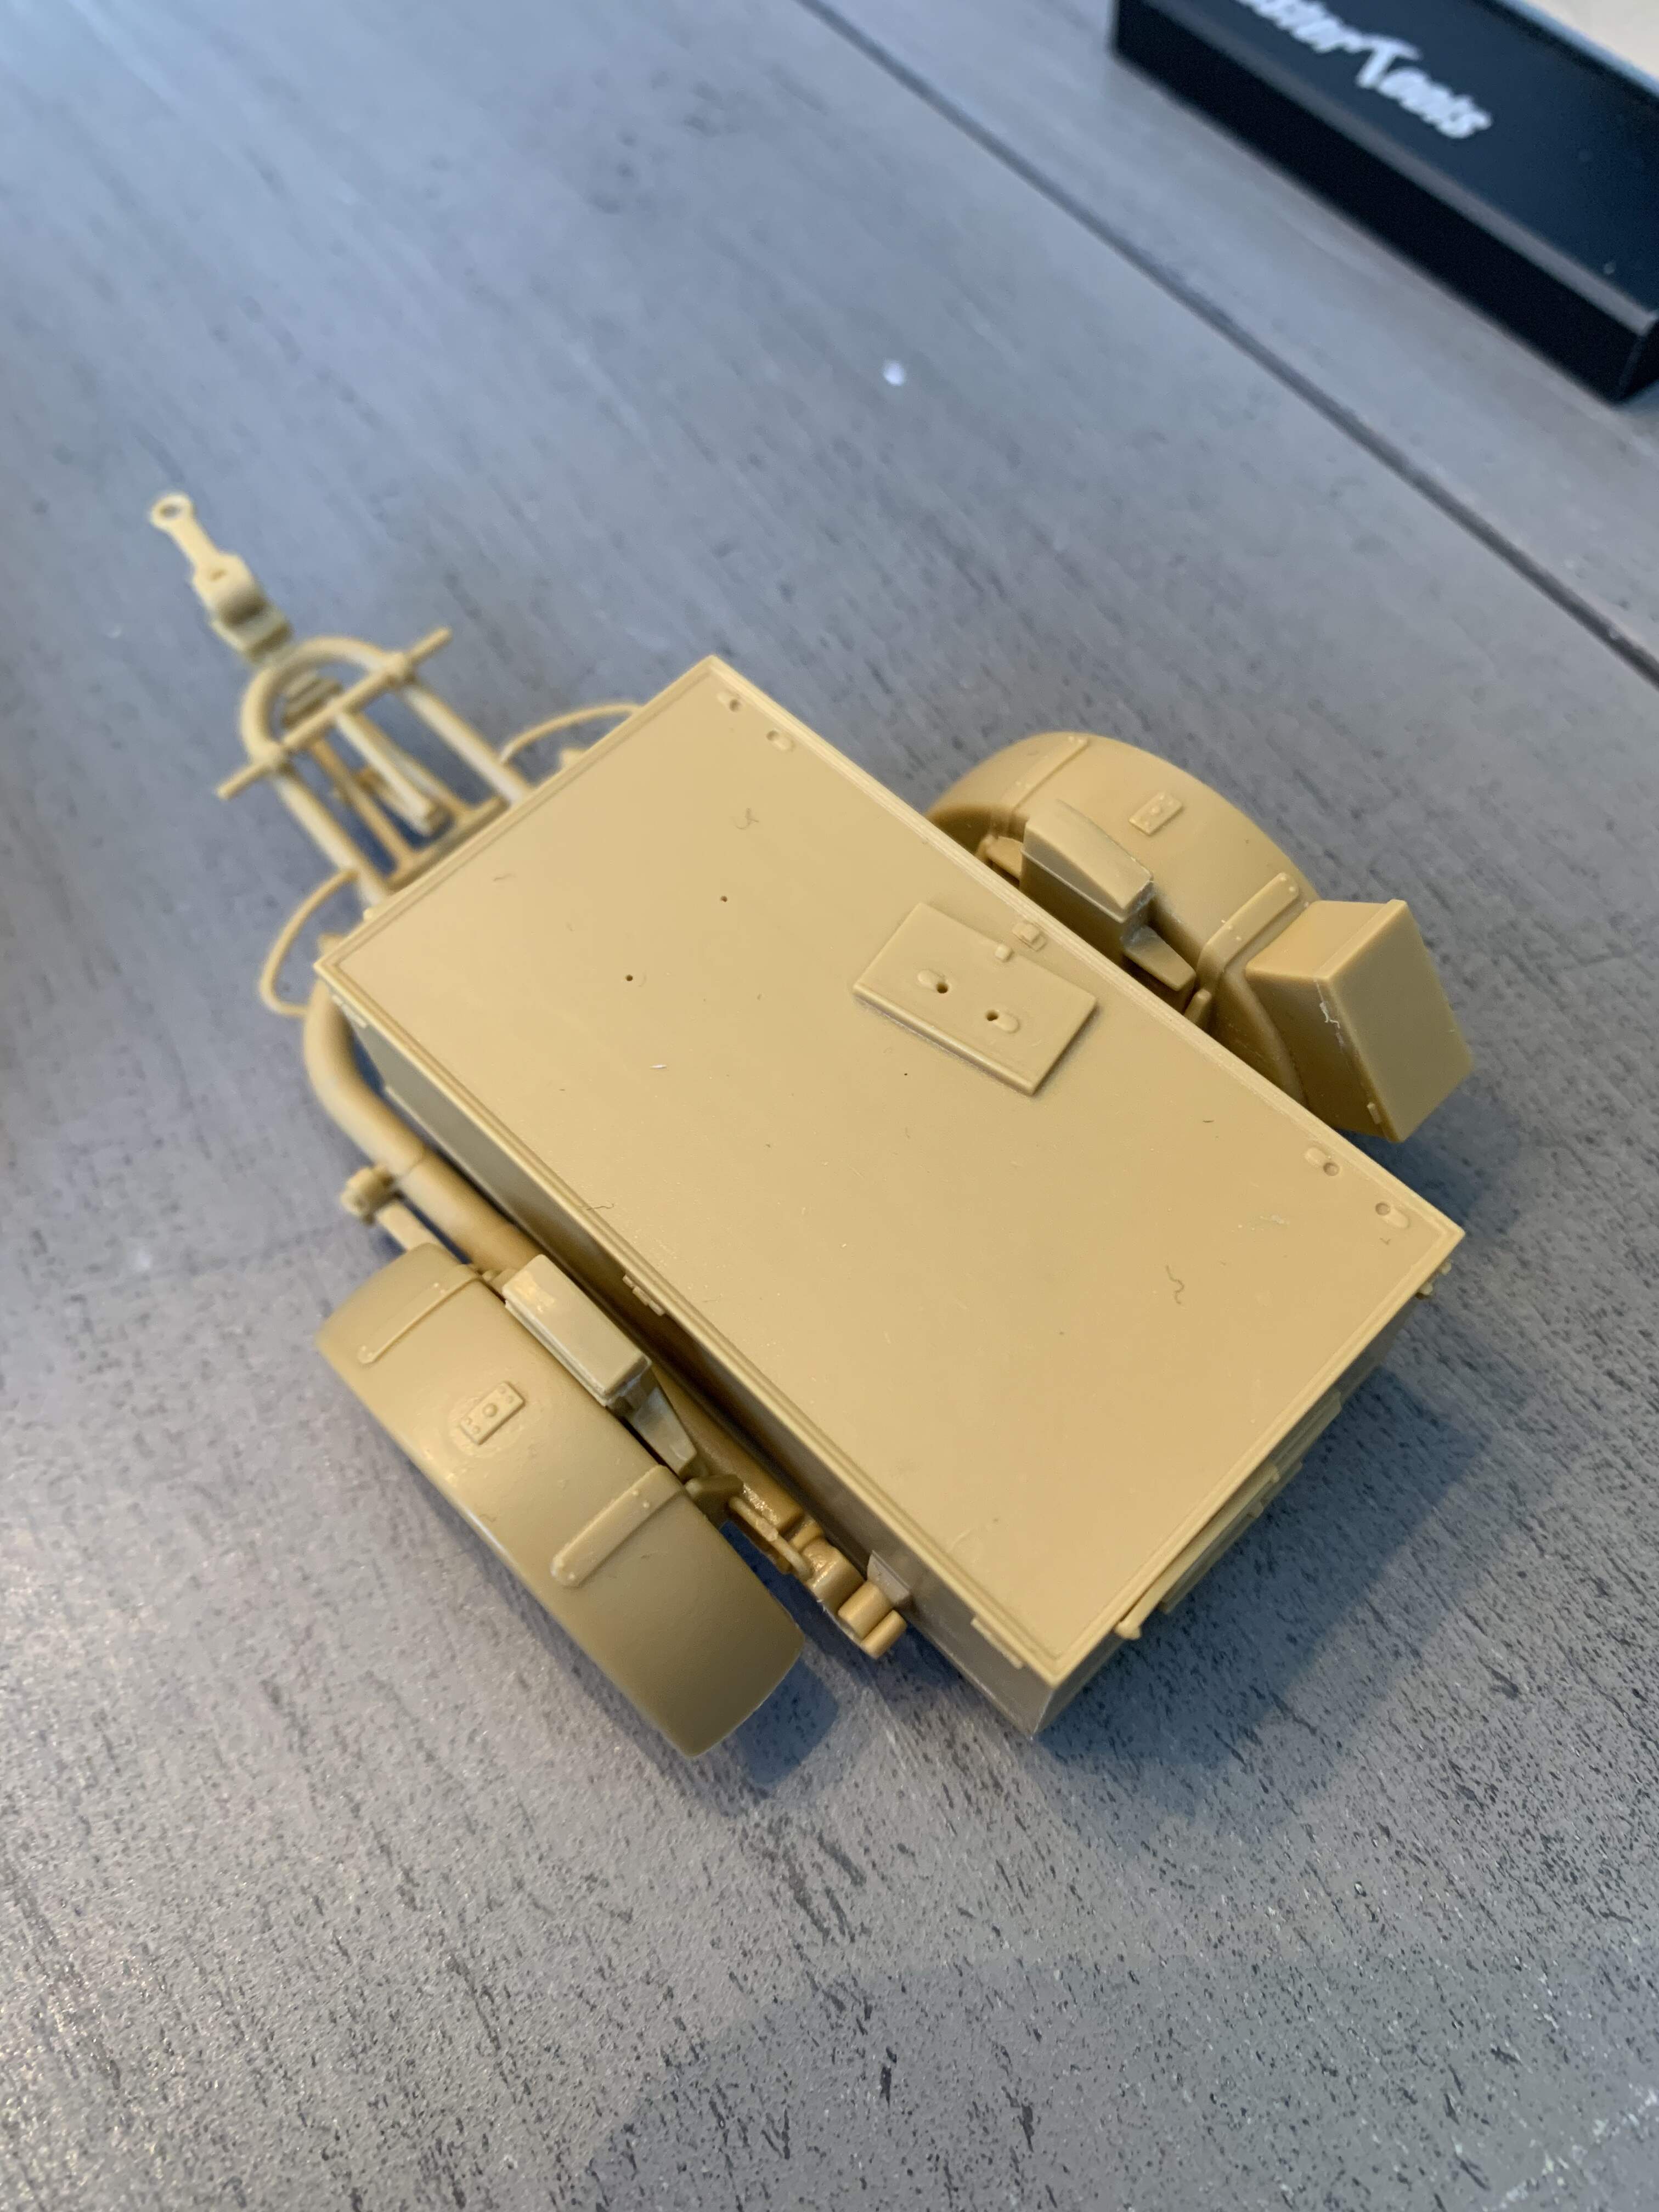
Alright, this thread hasn’t been updated in ages. I was plugging away on a t-54 build for the Miniart campaign, but that’s finally hit the spray booth so I’m back to this one. Since the last update I’ve added the front plate, rear mudguards, and sides of the fenders. I’ve also worked on the front superstructure and vision ports.
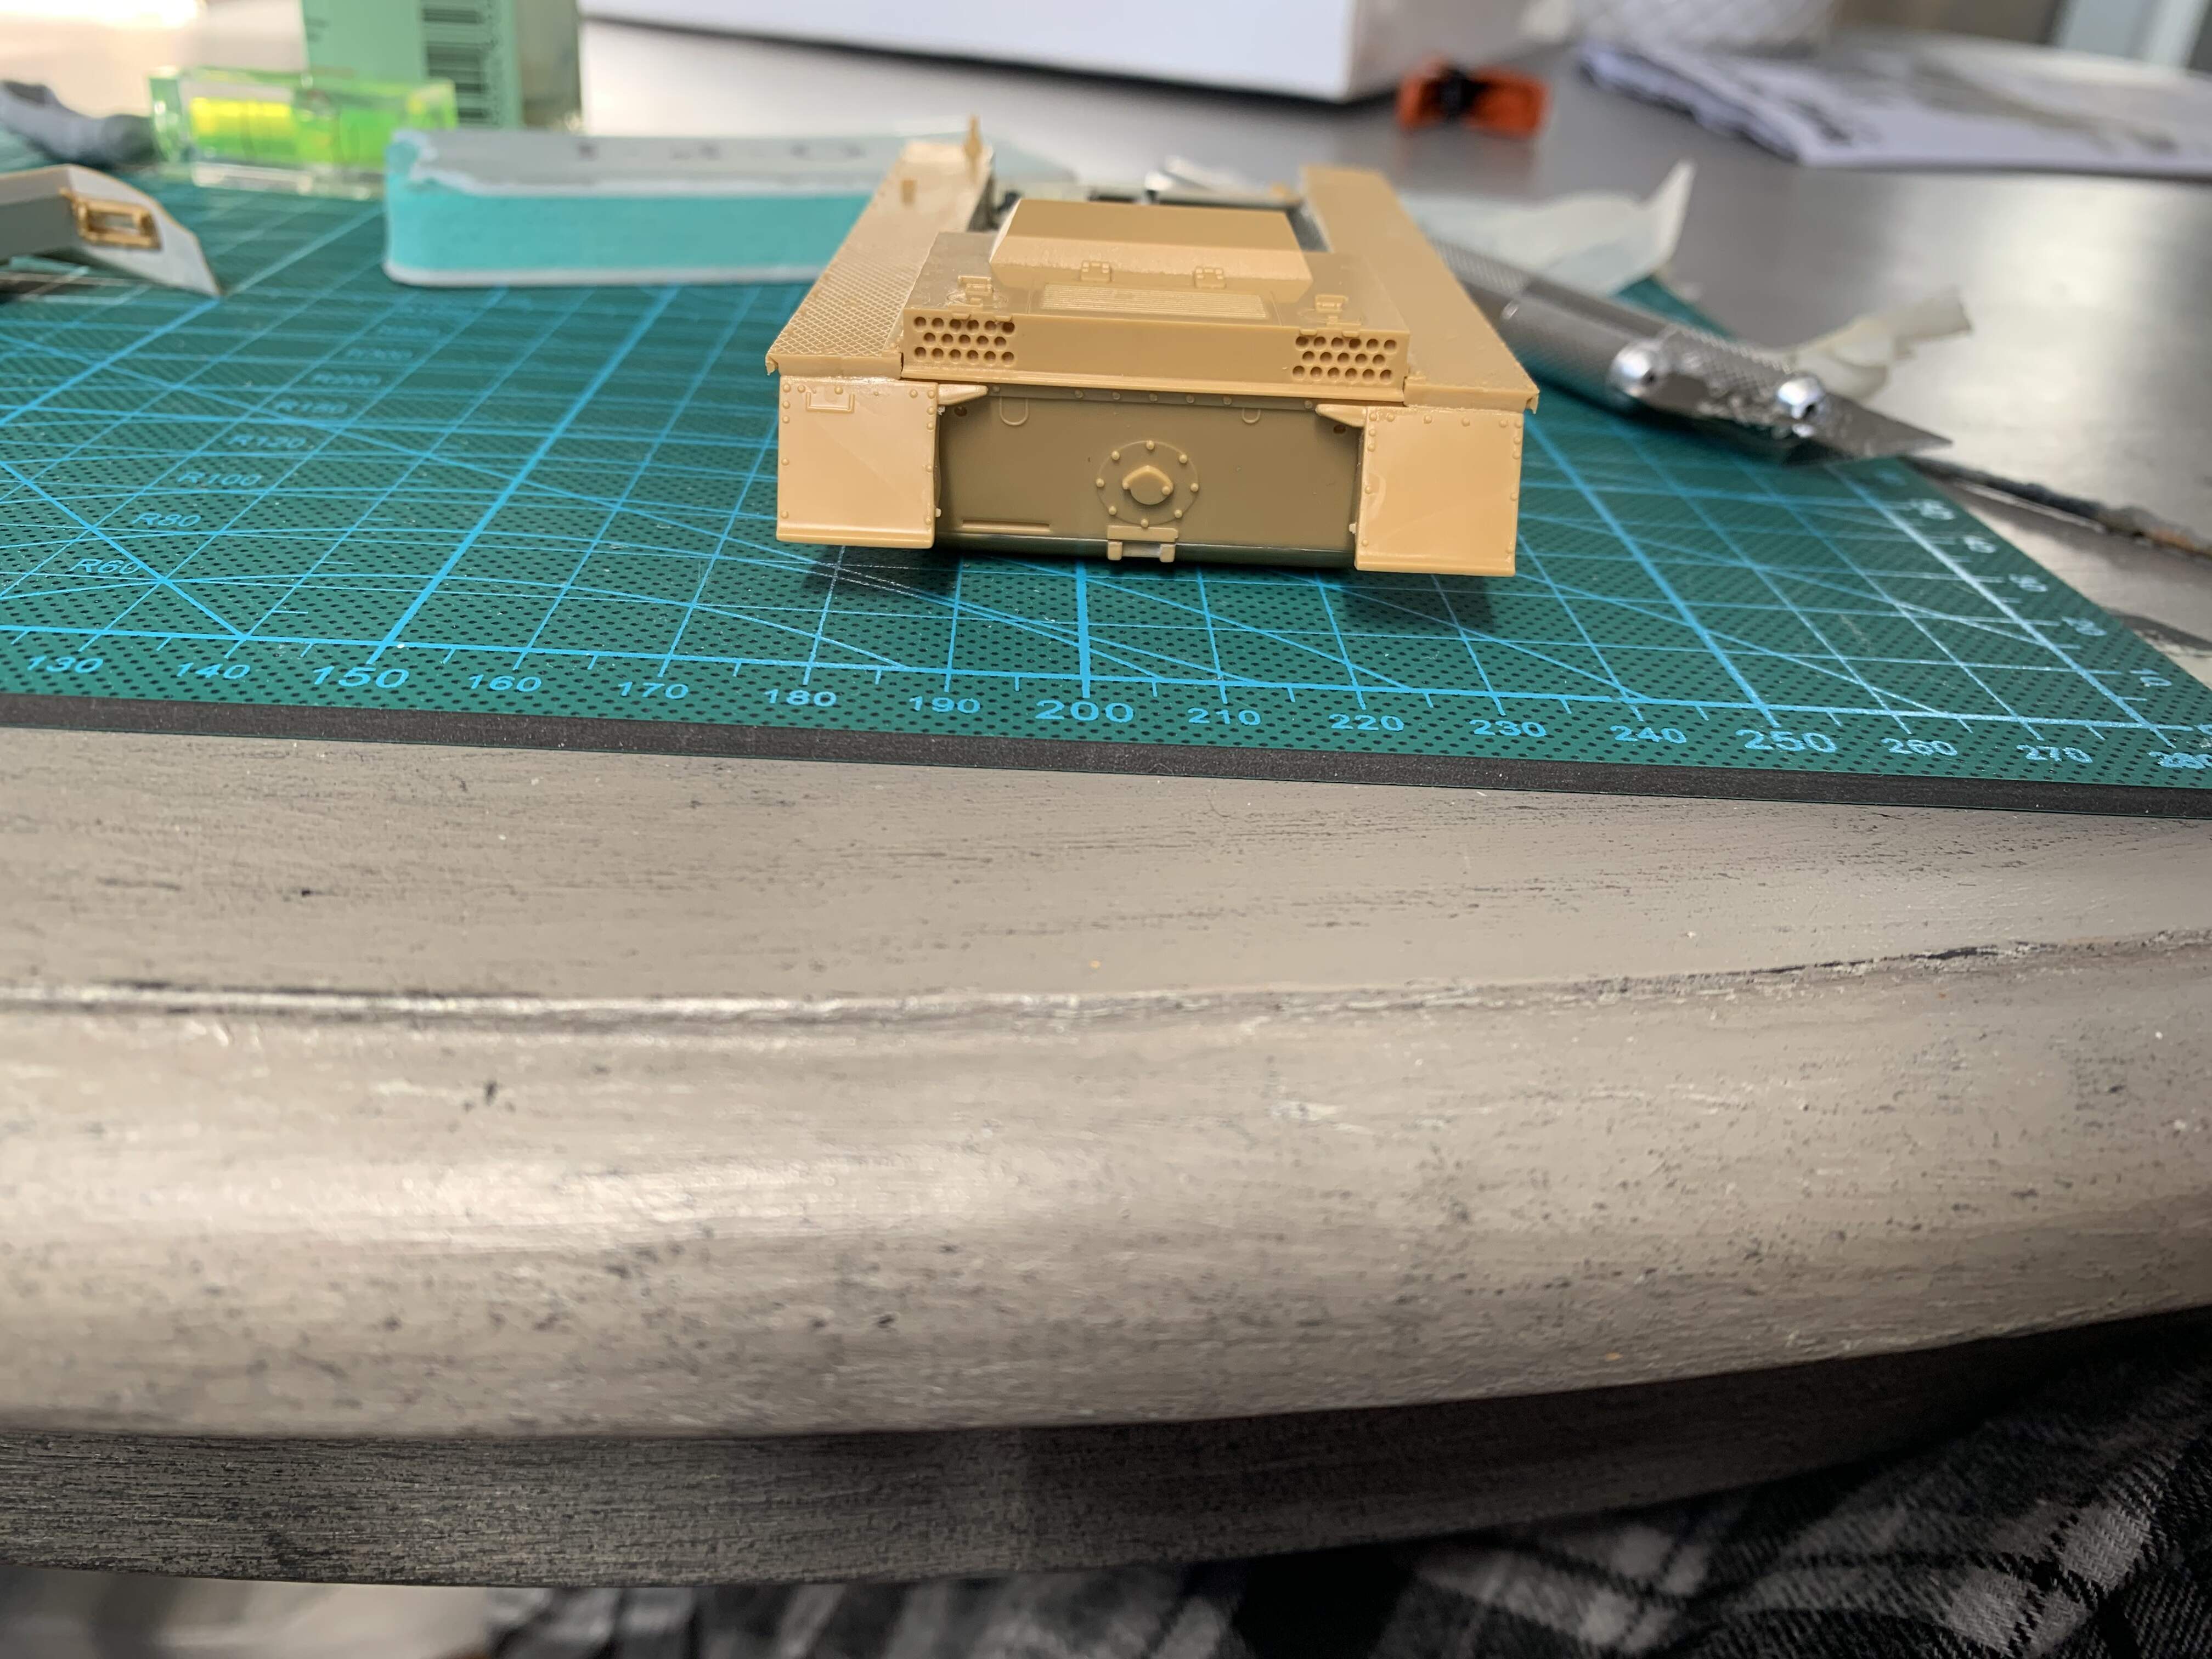
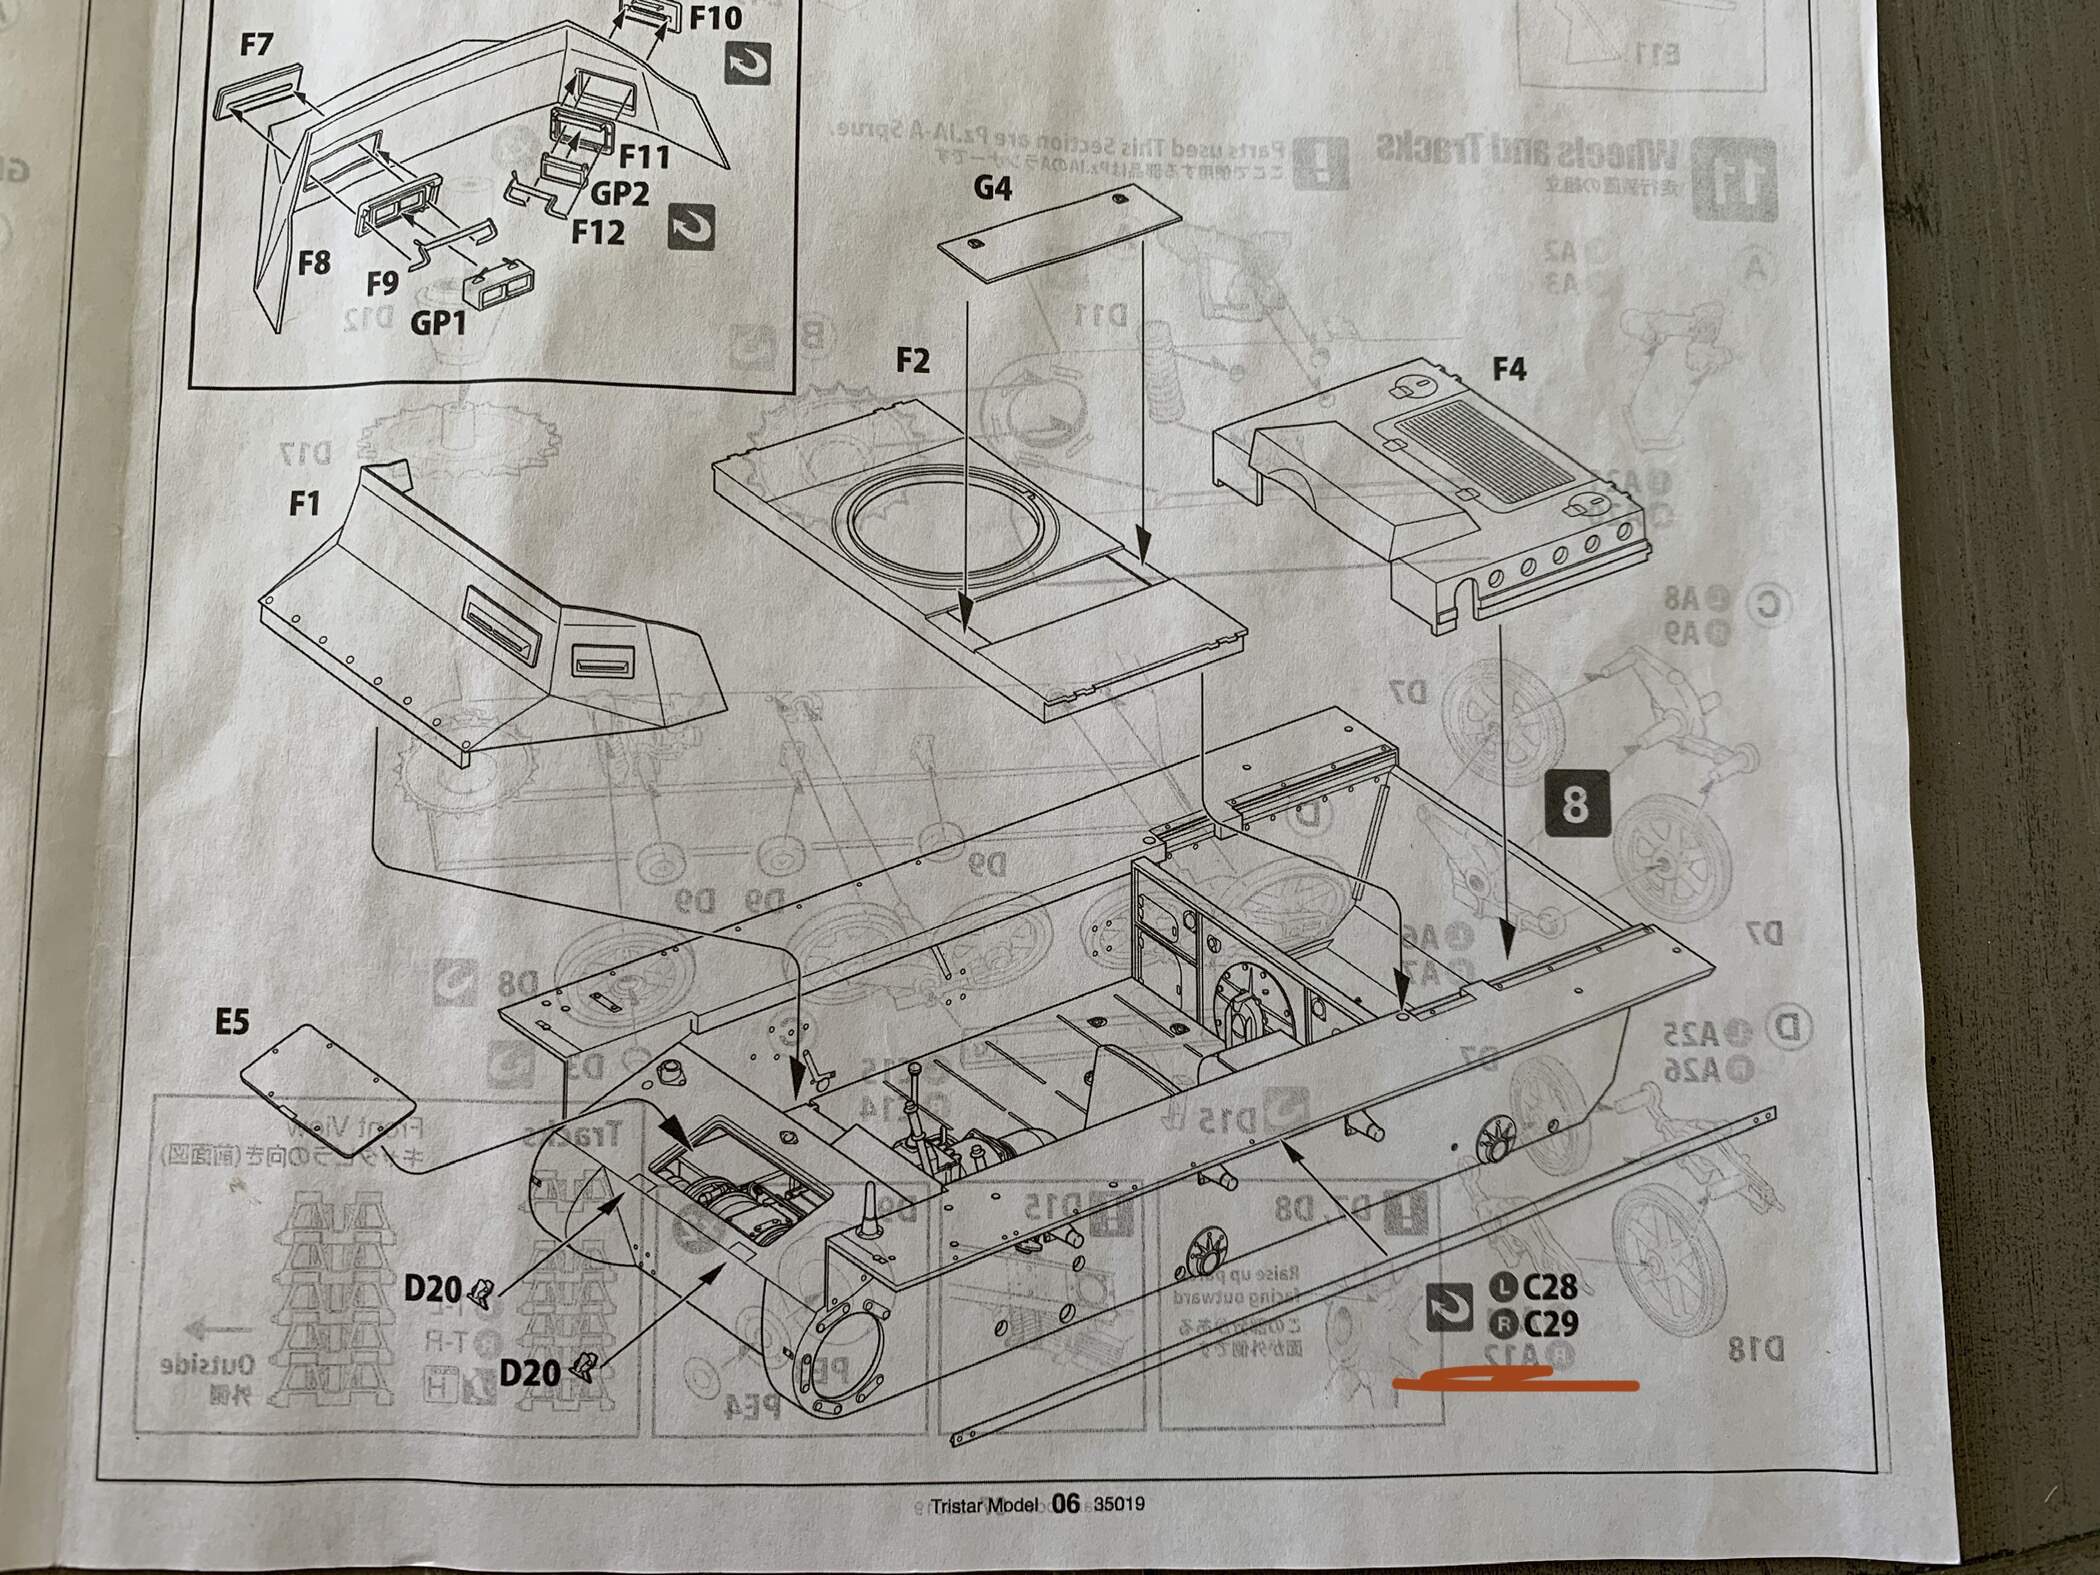
I think this will build up okay but it hasn’t been my favourite kit to build. I find the instructions confusing as heck. One major problem is laziness. A lot of similar but not identical parts go on both sides of the model, and they don’t give you two views to show which goes where. Instead they mark them L and R for right and left. How do you know which is L and R?! After all this changes when you look at it from the front and back. While they have marked the inside of each final drive cover with an L or an R. If you place these on the wrong side at the start ALL of your parts will be on the wrong side. To add insult to injury they don’t tell you about marking the final drive covers I had to find this out on my own. Additionally a lot of times parts are added in one step and then disappear from the model in later steps preventing you from checking other steps for orientation and location of parts.
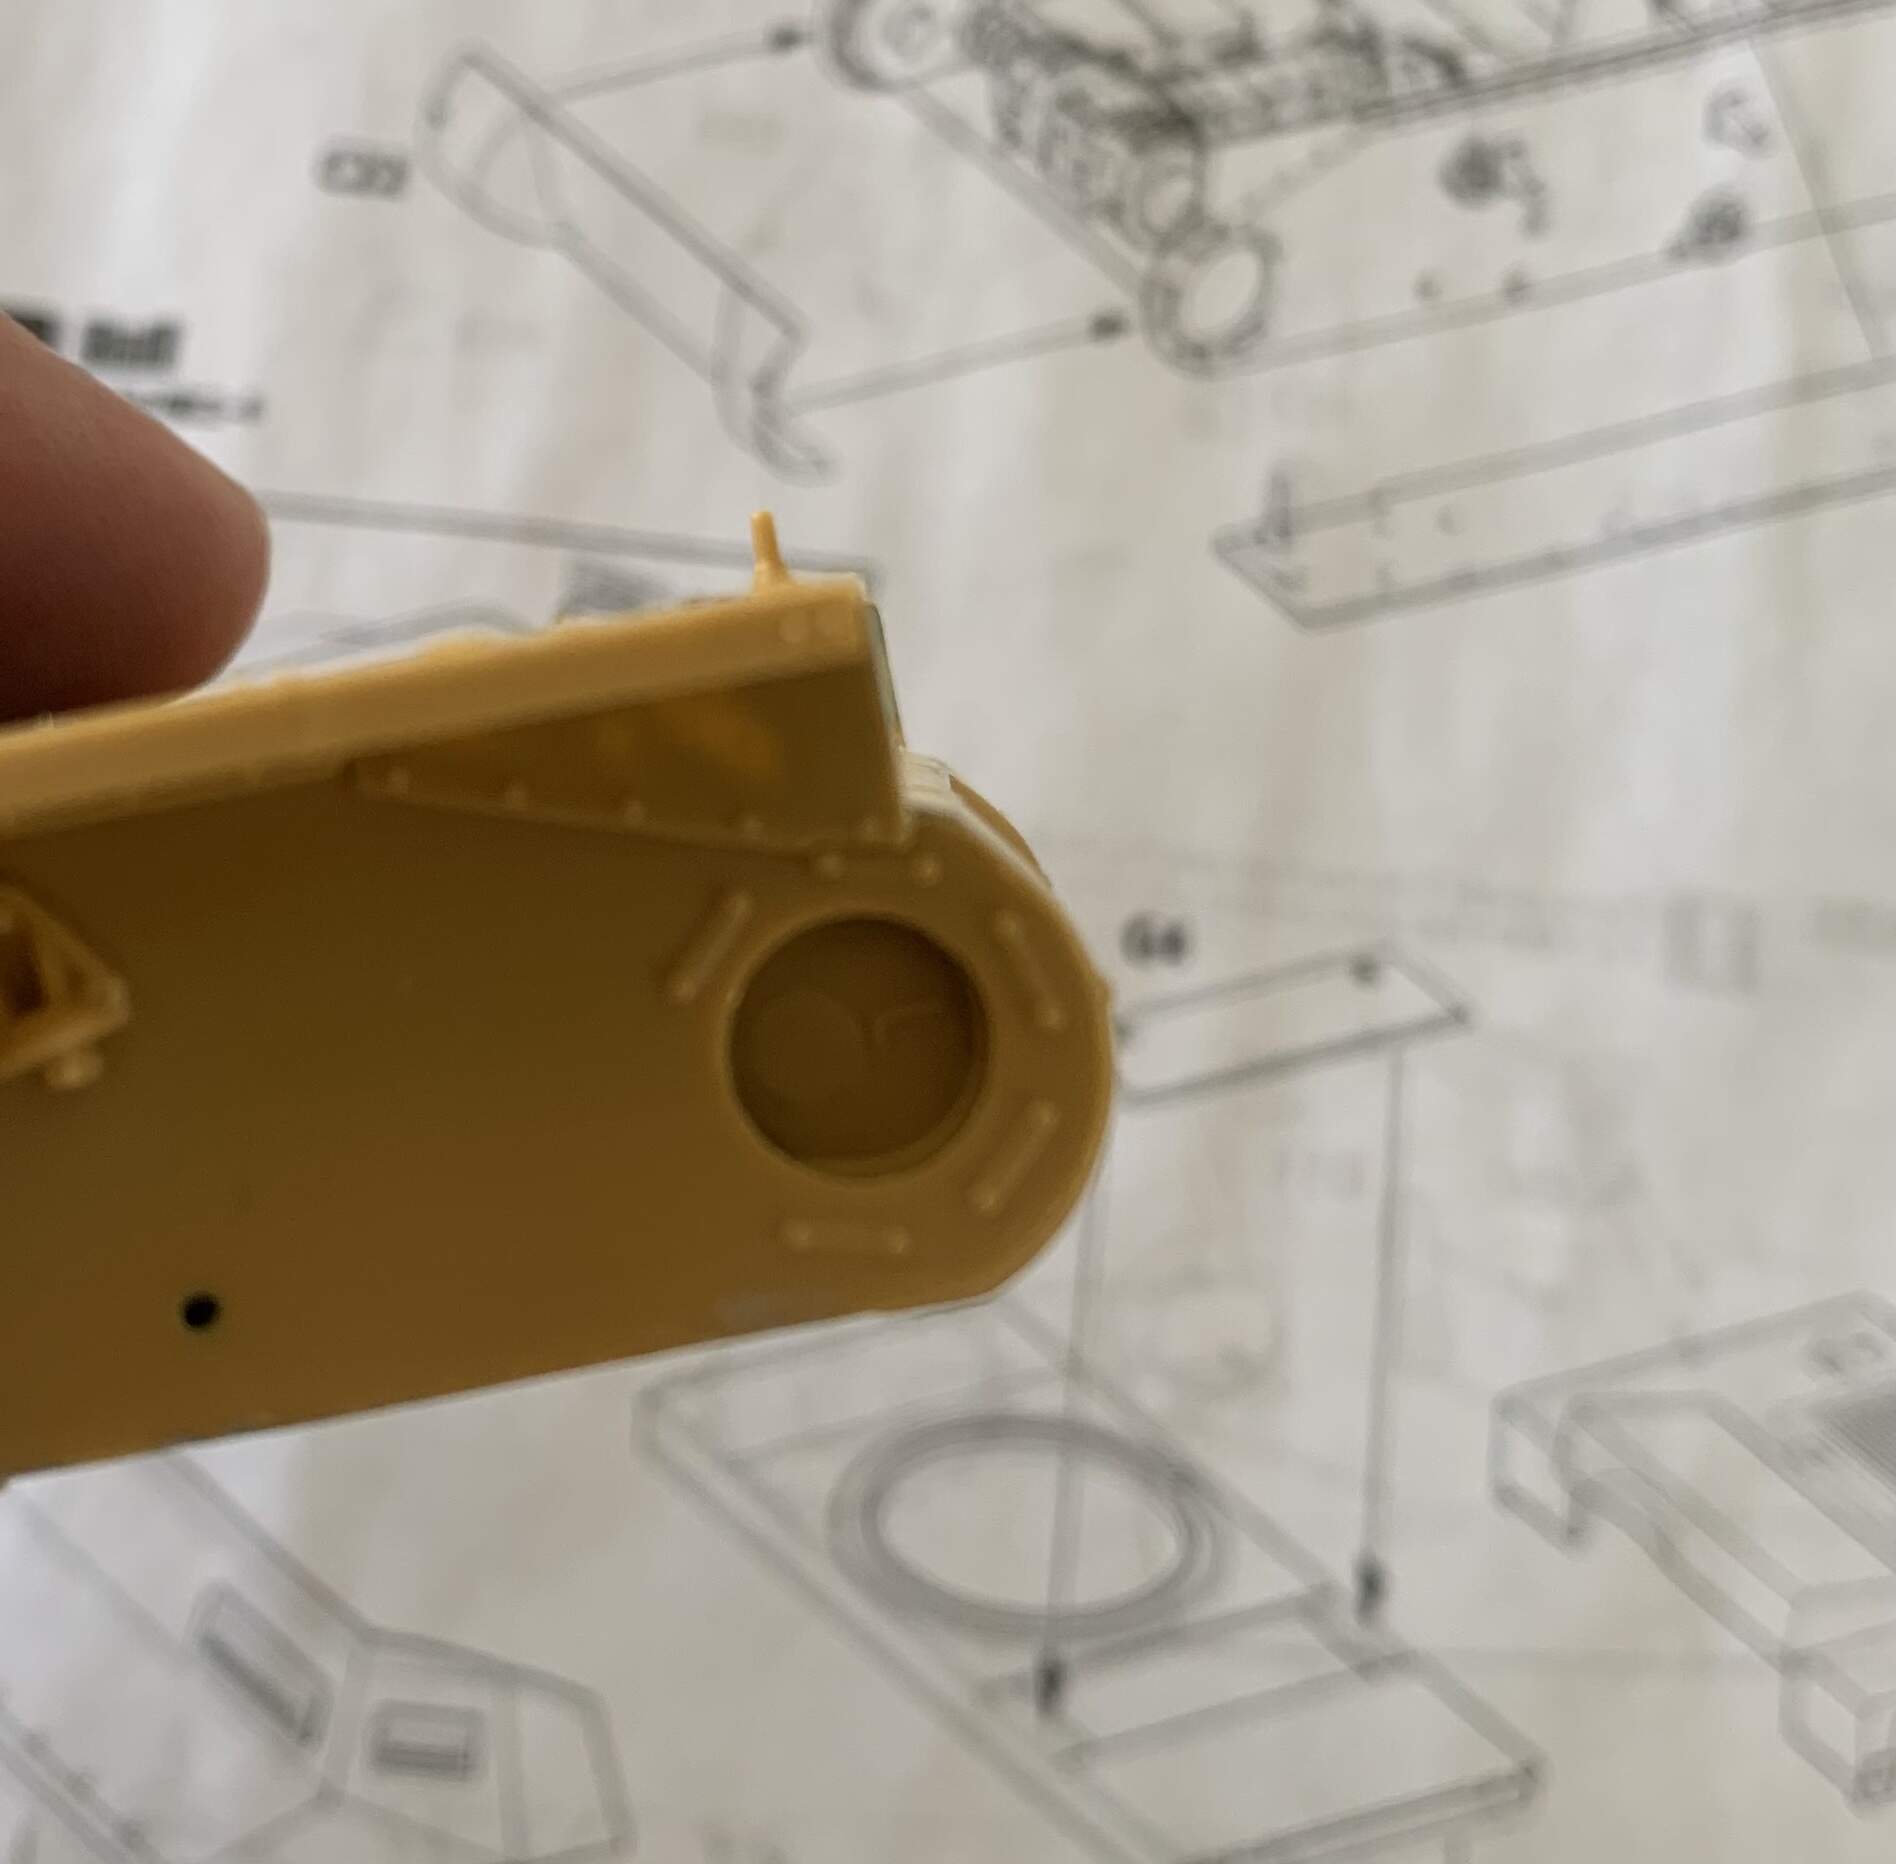
The other major issue I’ve found is that some of the major parts, including hull sides, bottom, rear plate, and front park don’t have any locating holes or tabs. Instead parts are glued together on angled seams. This makes it somewhat hard to keep the hull square while building. My hull is a little out of square/warped but I can’t fix it no matter how hard I try. It’s not bad and can be compensated for by adjusting the road wheels ever so slightly. There have also been more gaps than I am used to. Again all fixable but more work to make it nice than I am used to
5 Likes
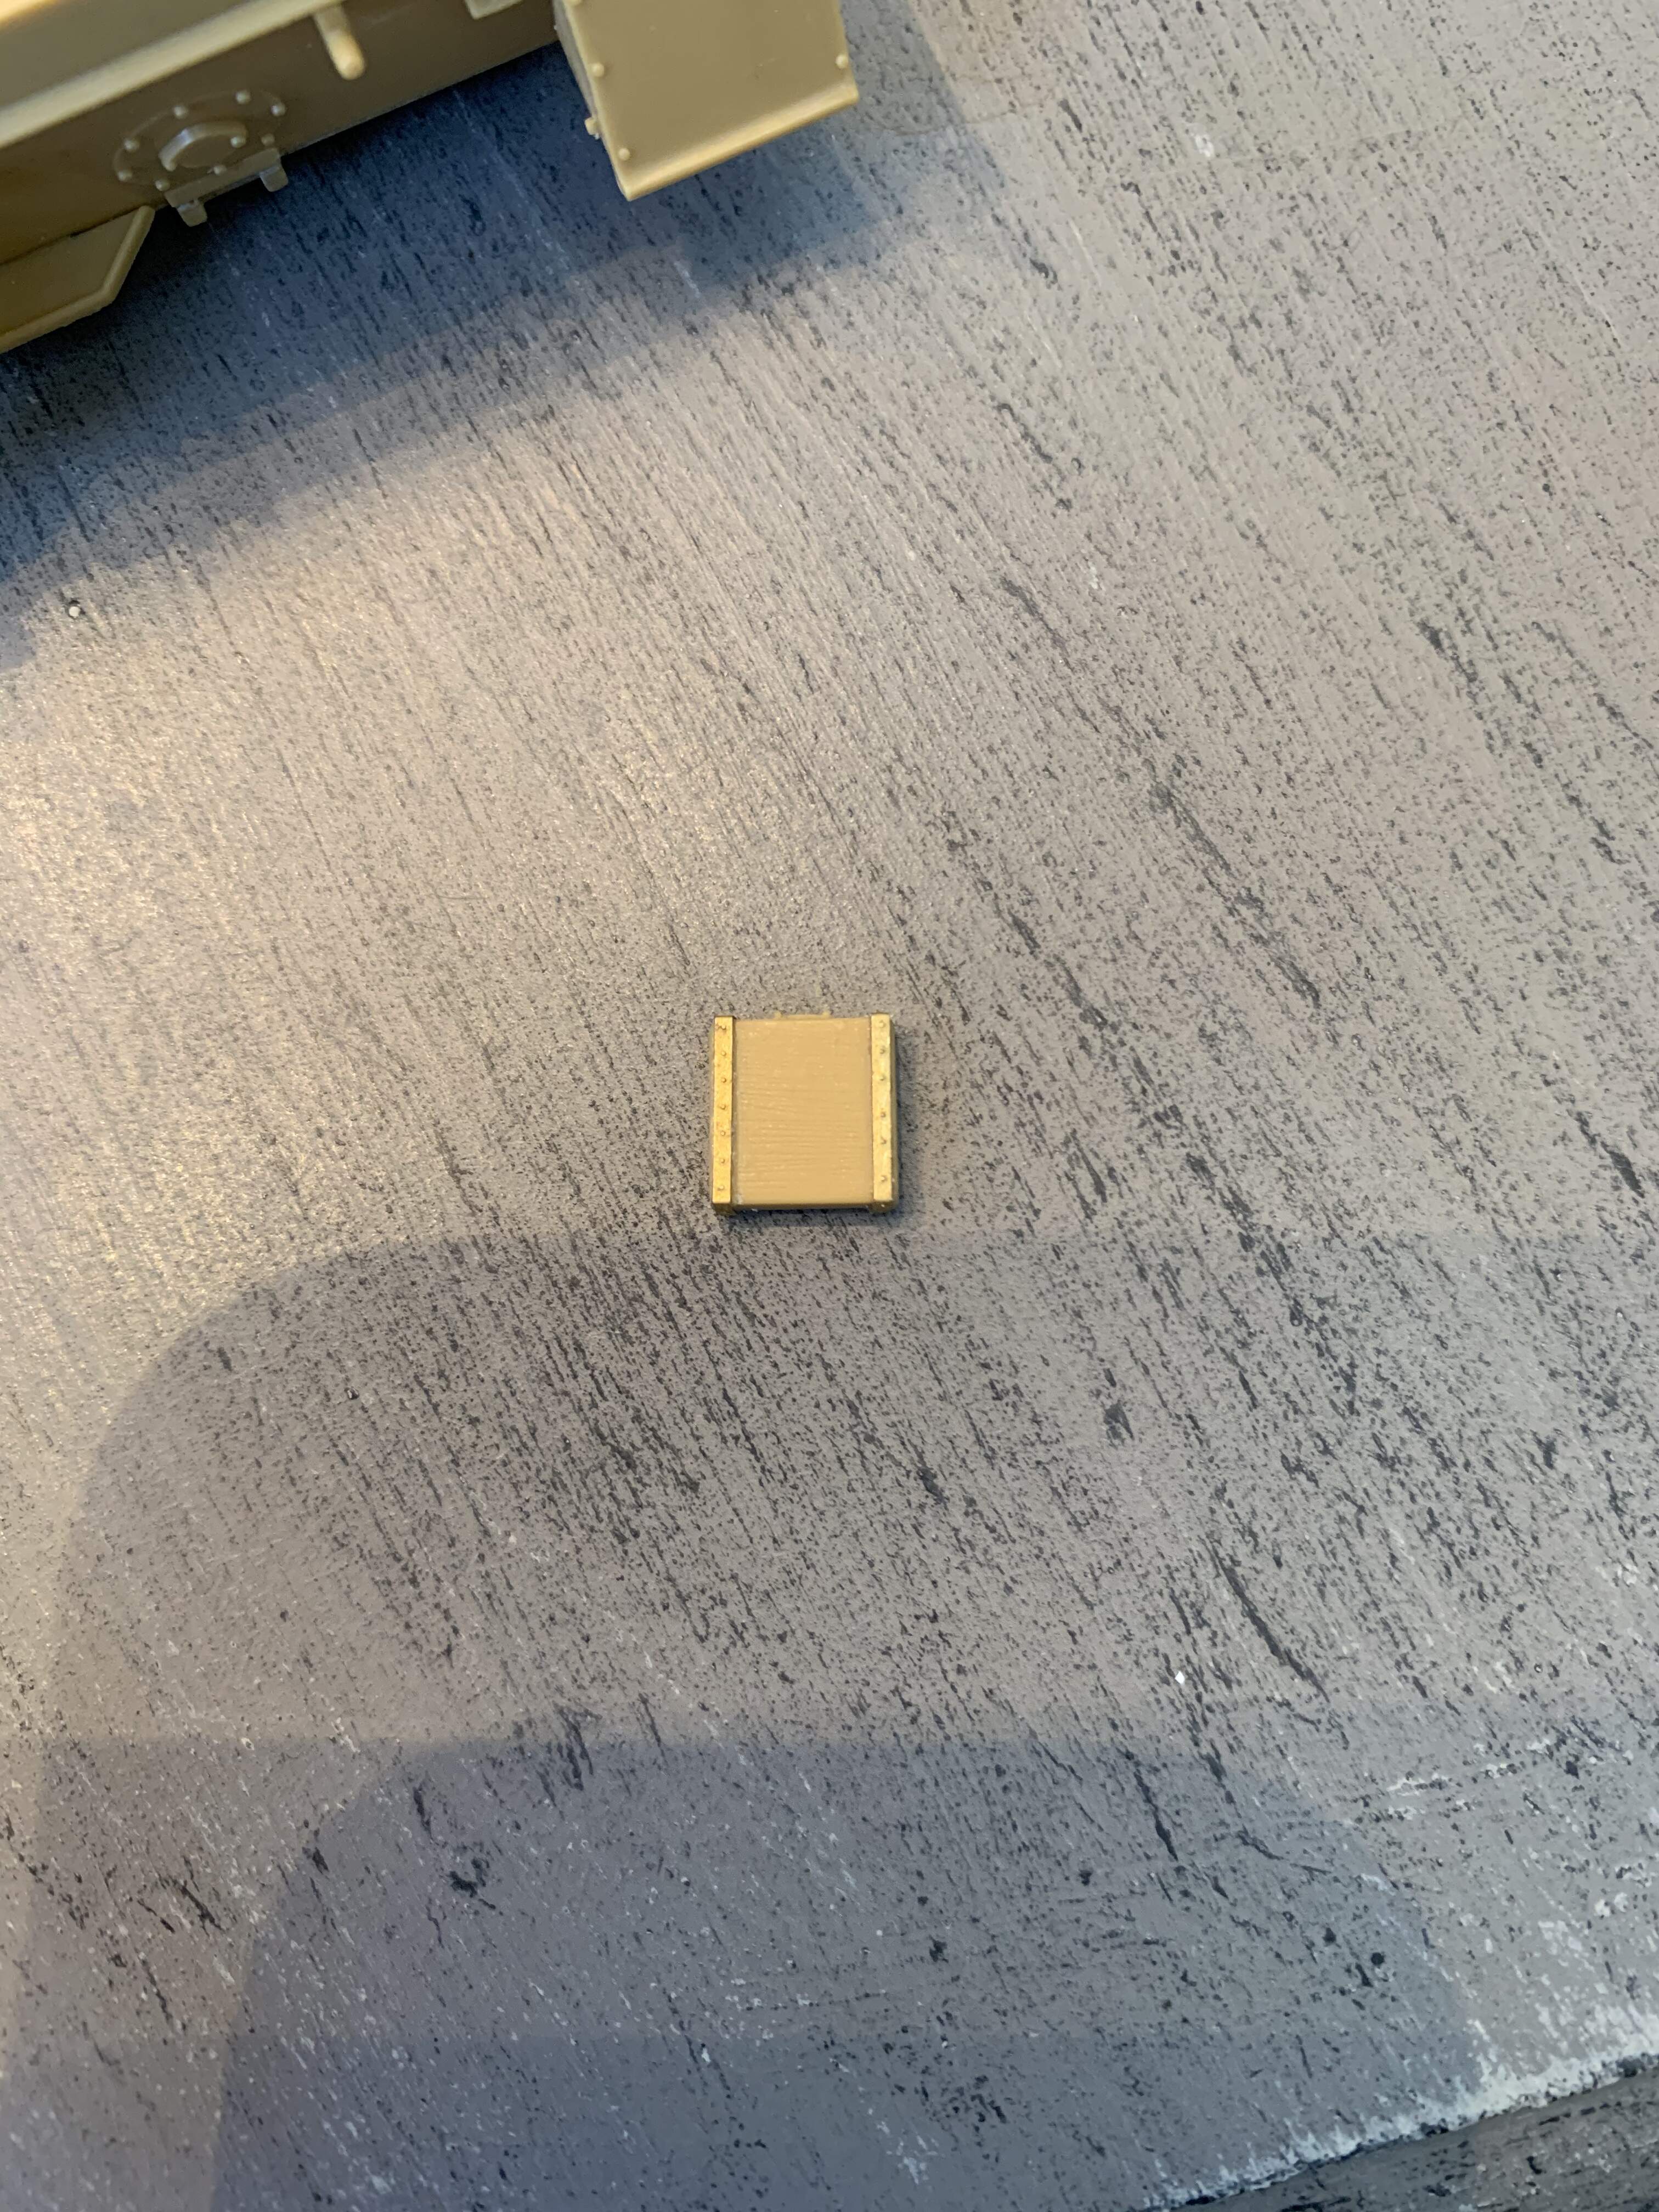
I was perhaps too hard on this kit in the last post, the detail is excellent, and the trailer went together without a hitch (pun intended). The issues I complained of last time can be fixed, the slight hull twist will go away when I added the upper superstructure, and the rest of the kit is fine otherwise.

Up next, the gun, tracks and suspension.
6 Likes
Making progress and over coming annoying little issues, looking good!
1 Like