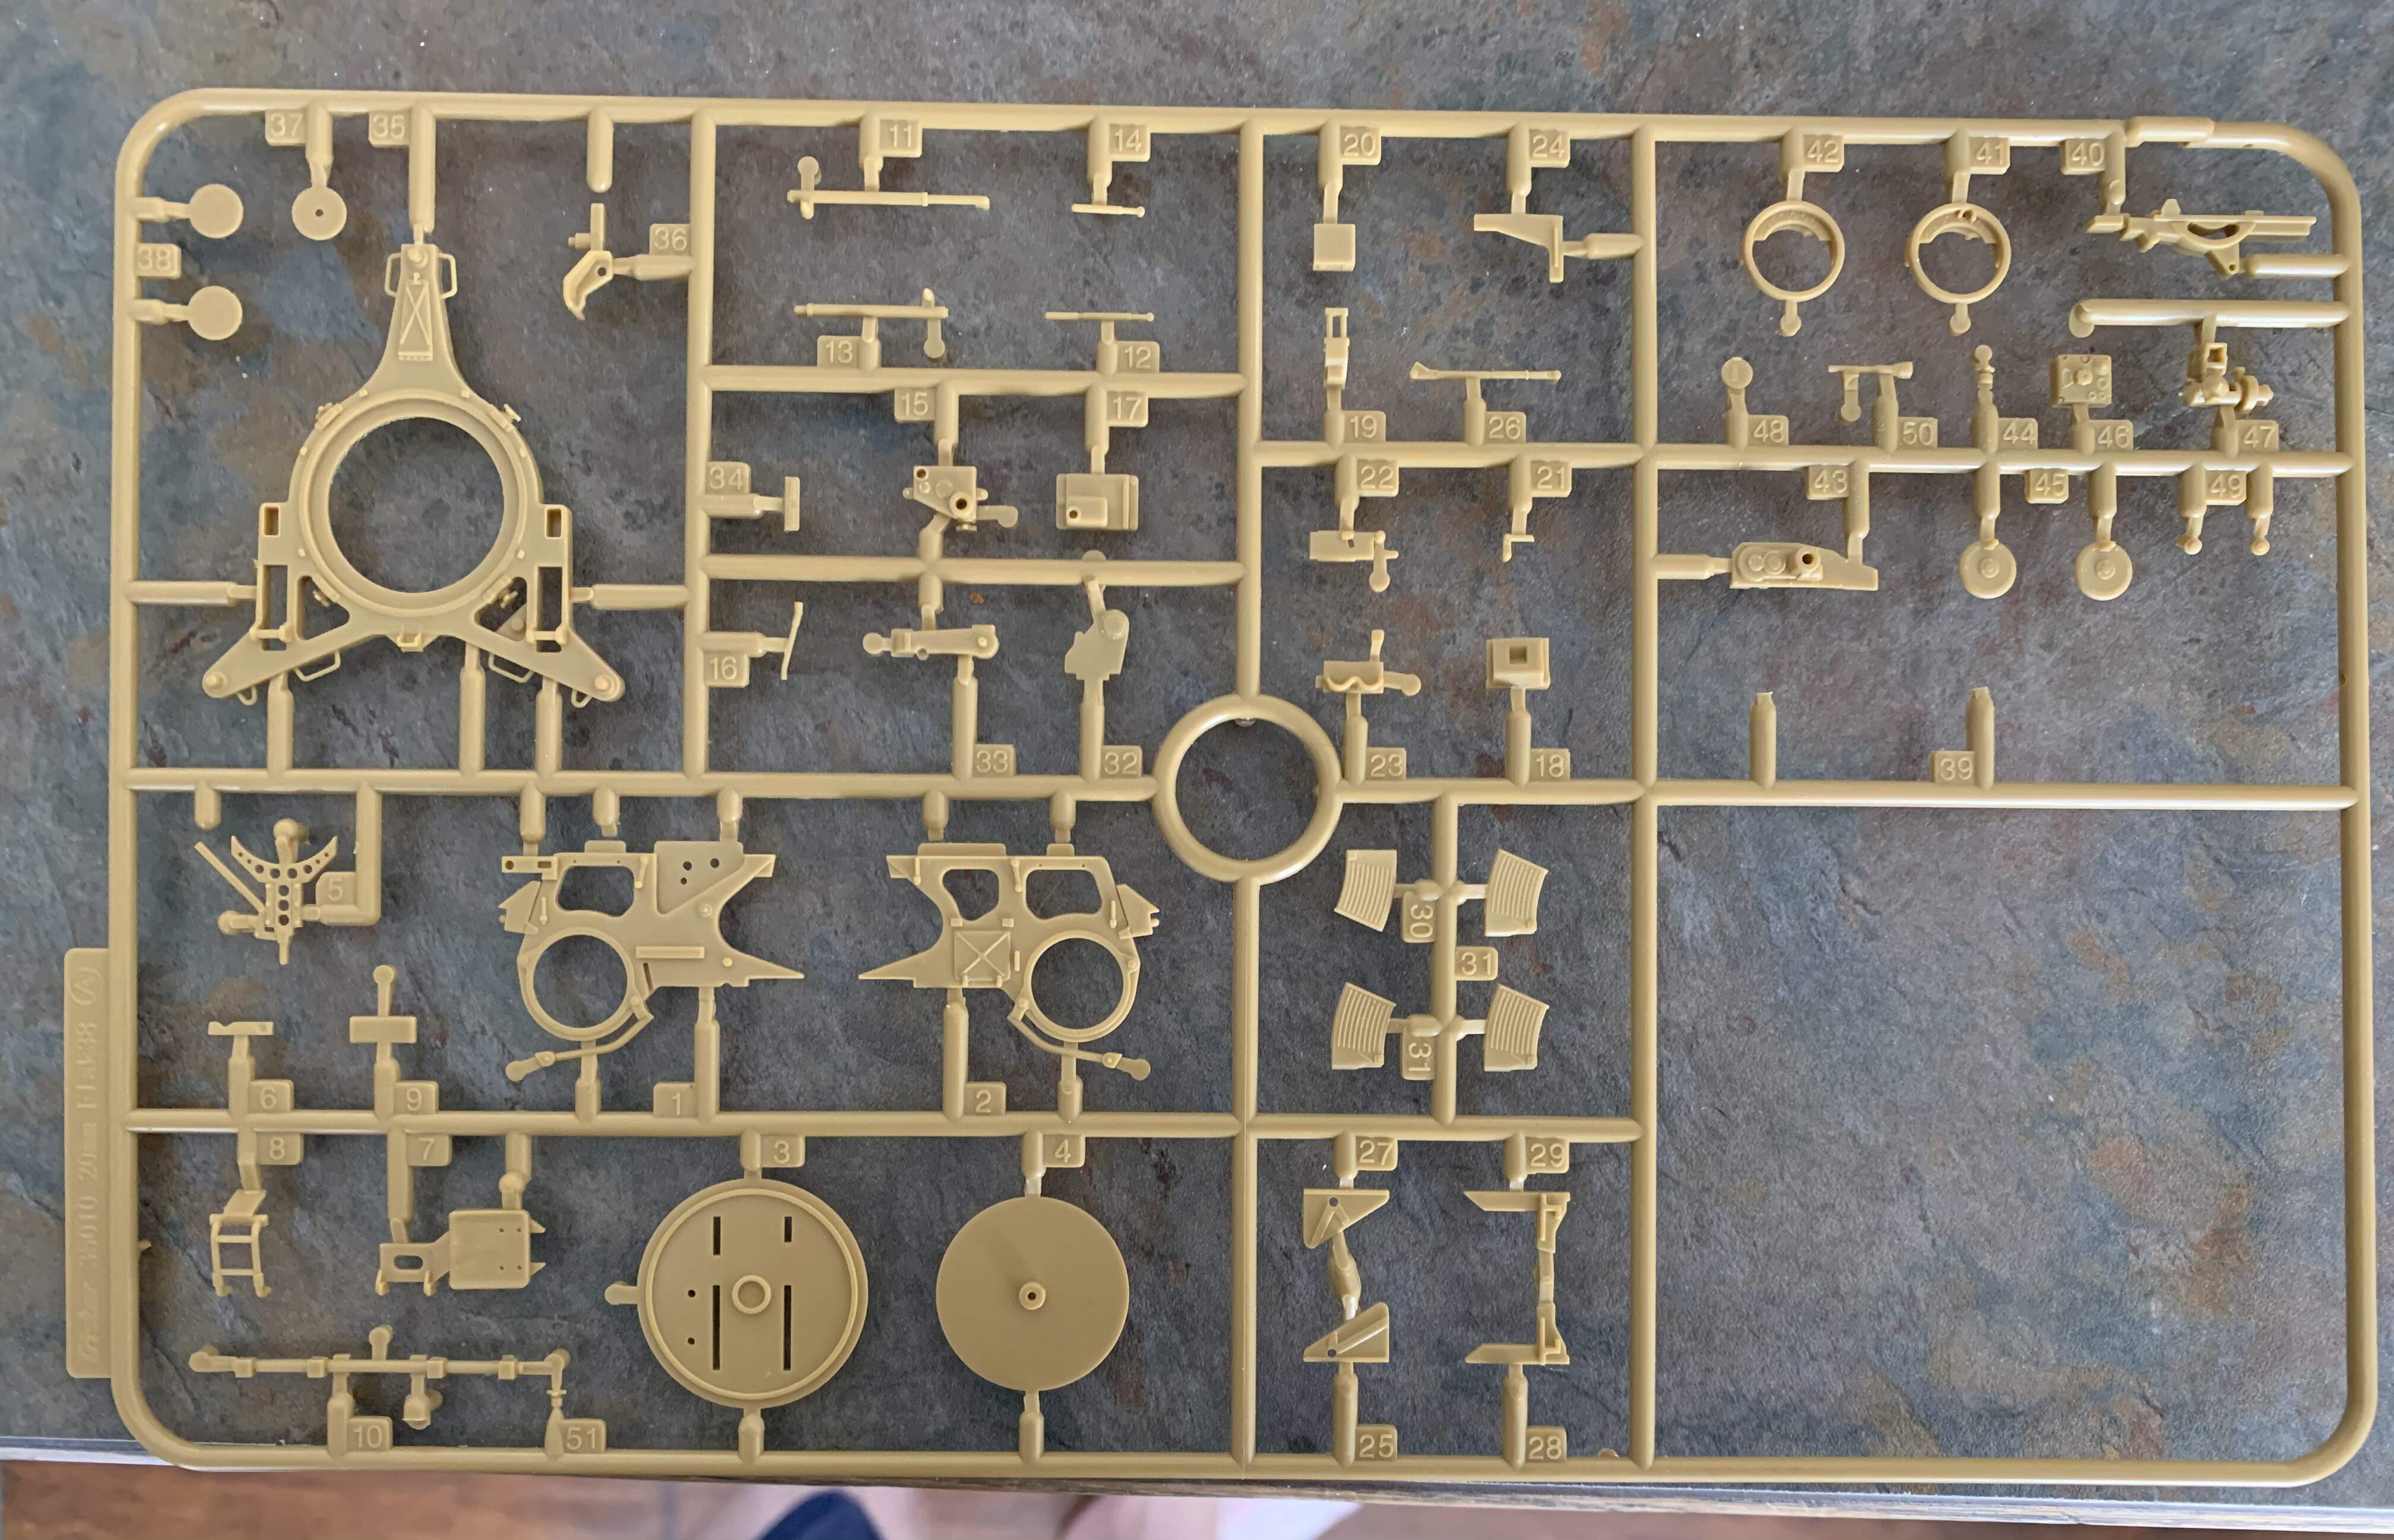
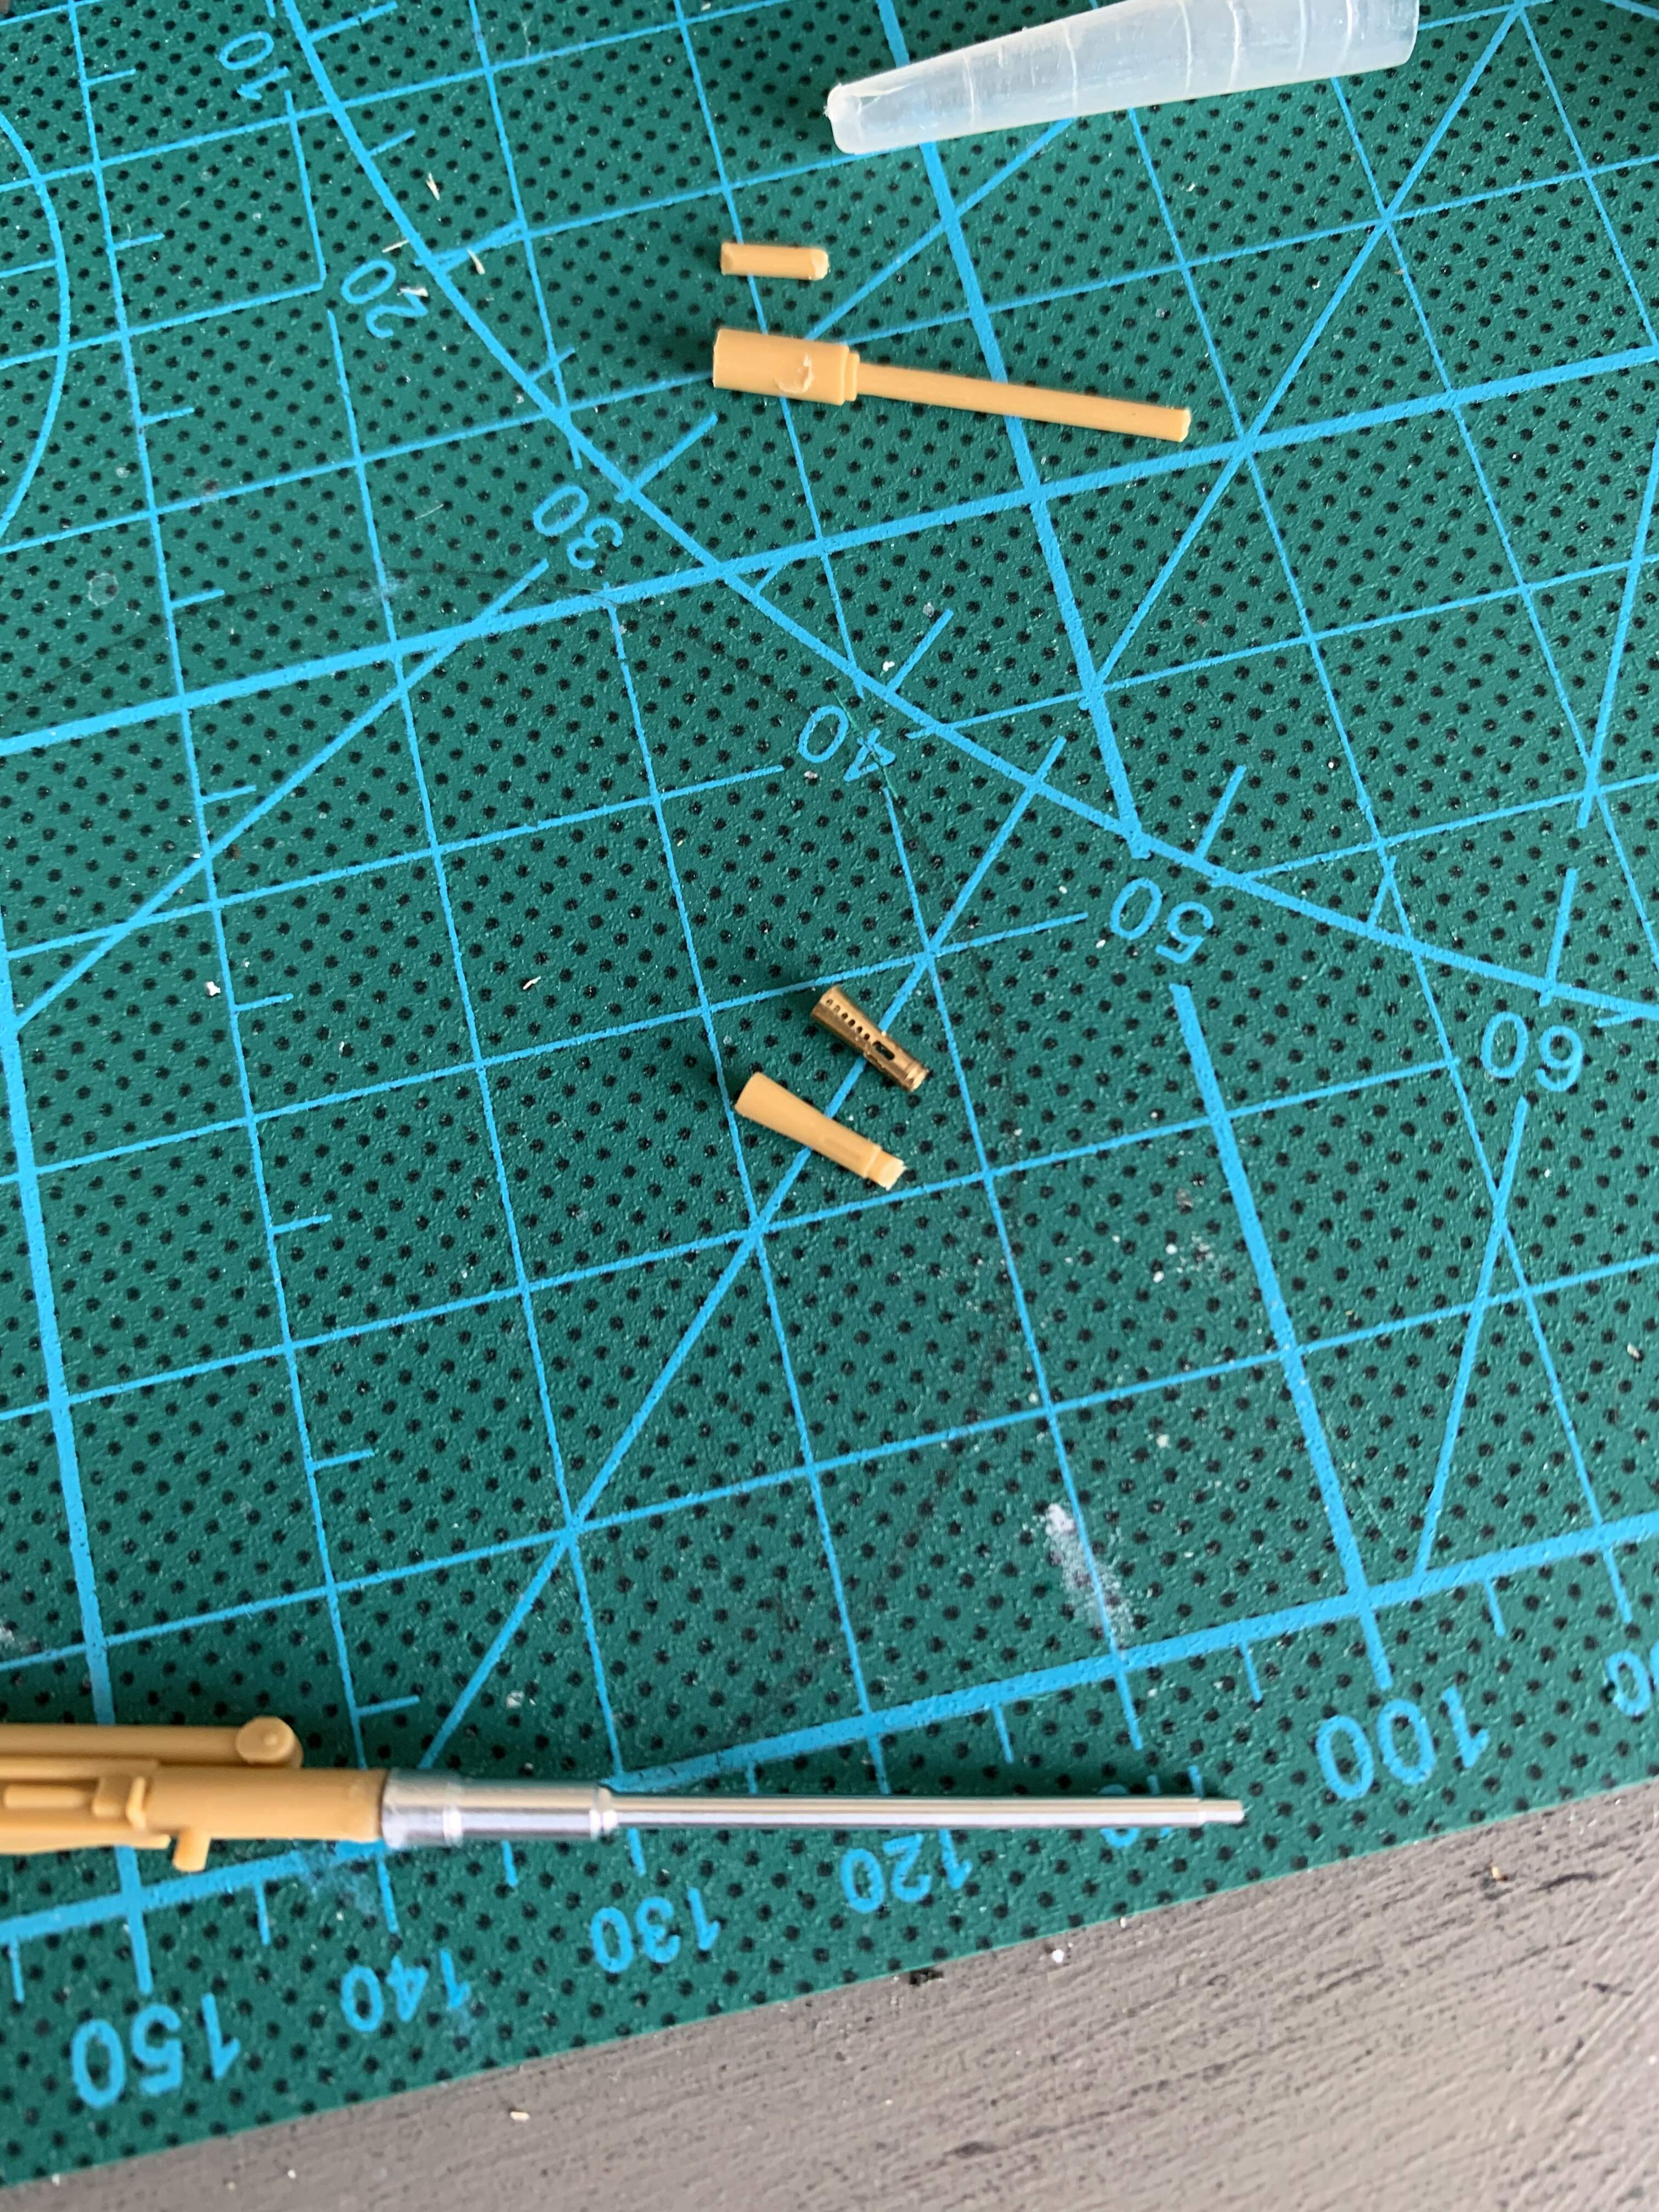
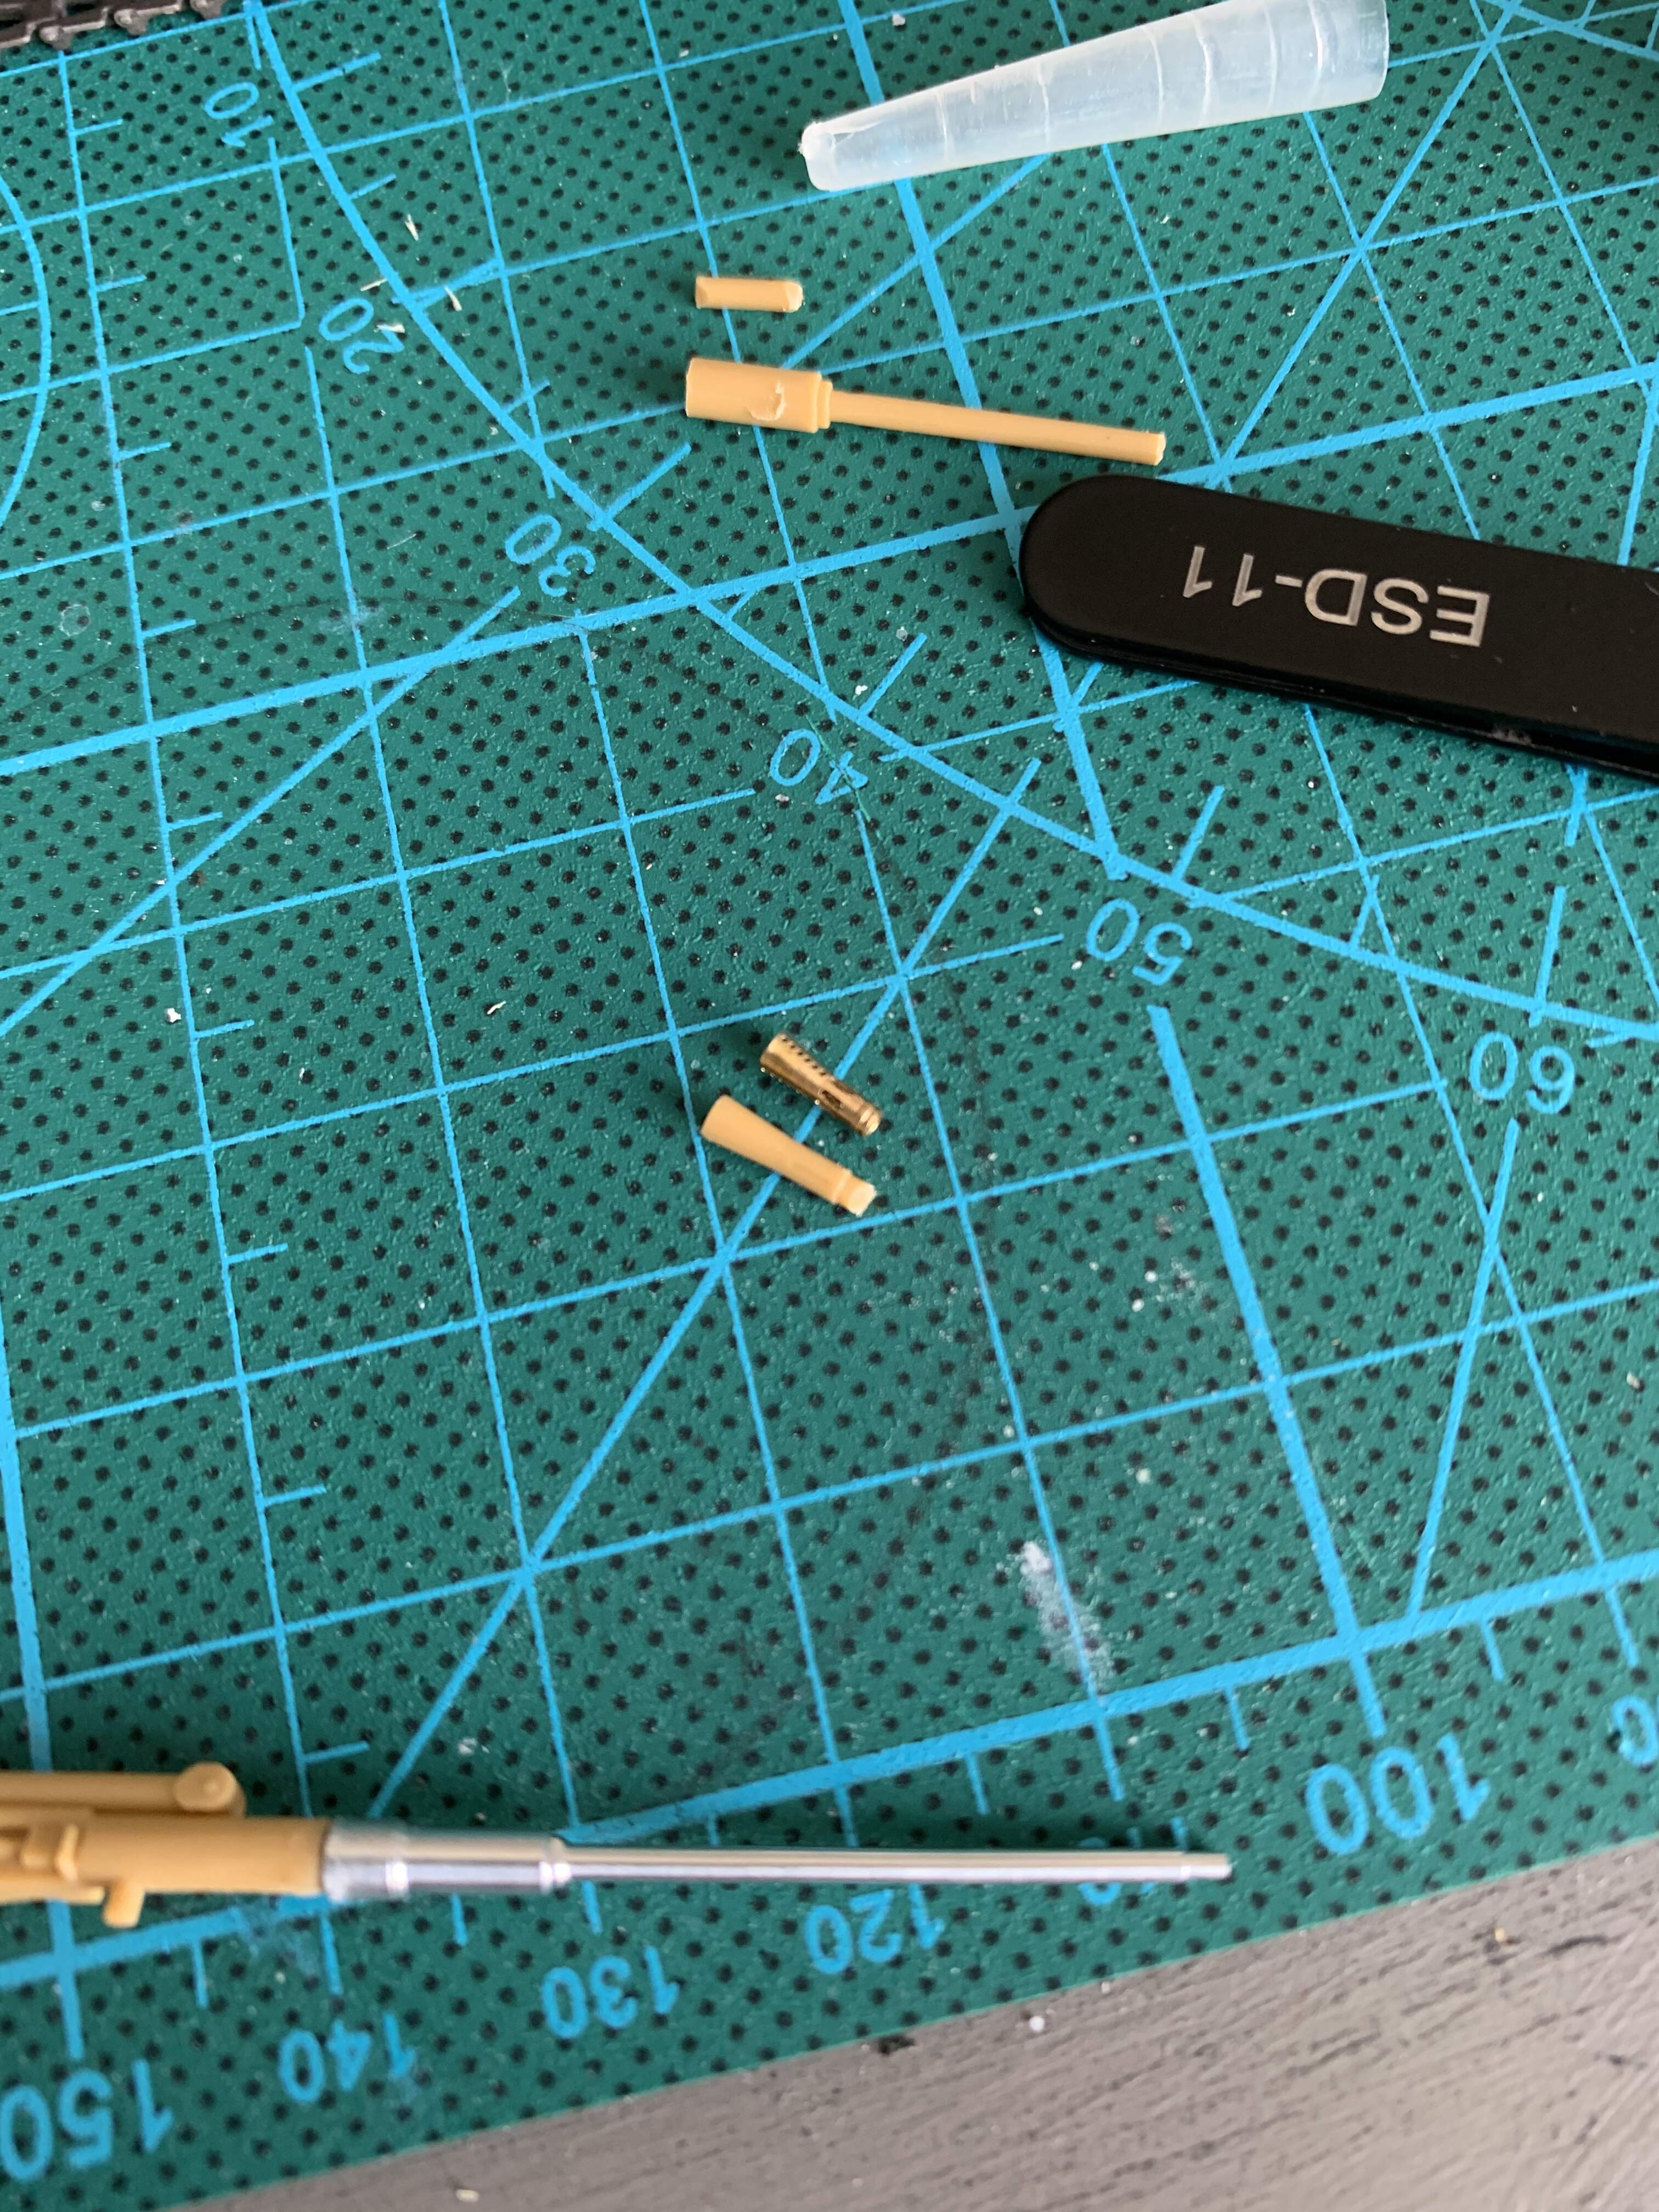
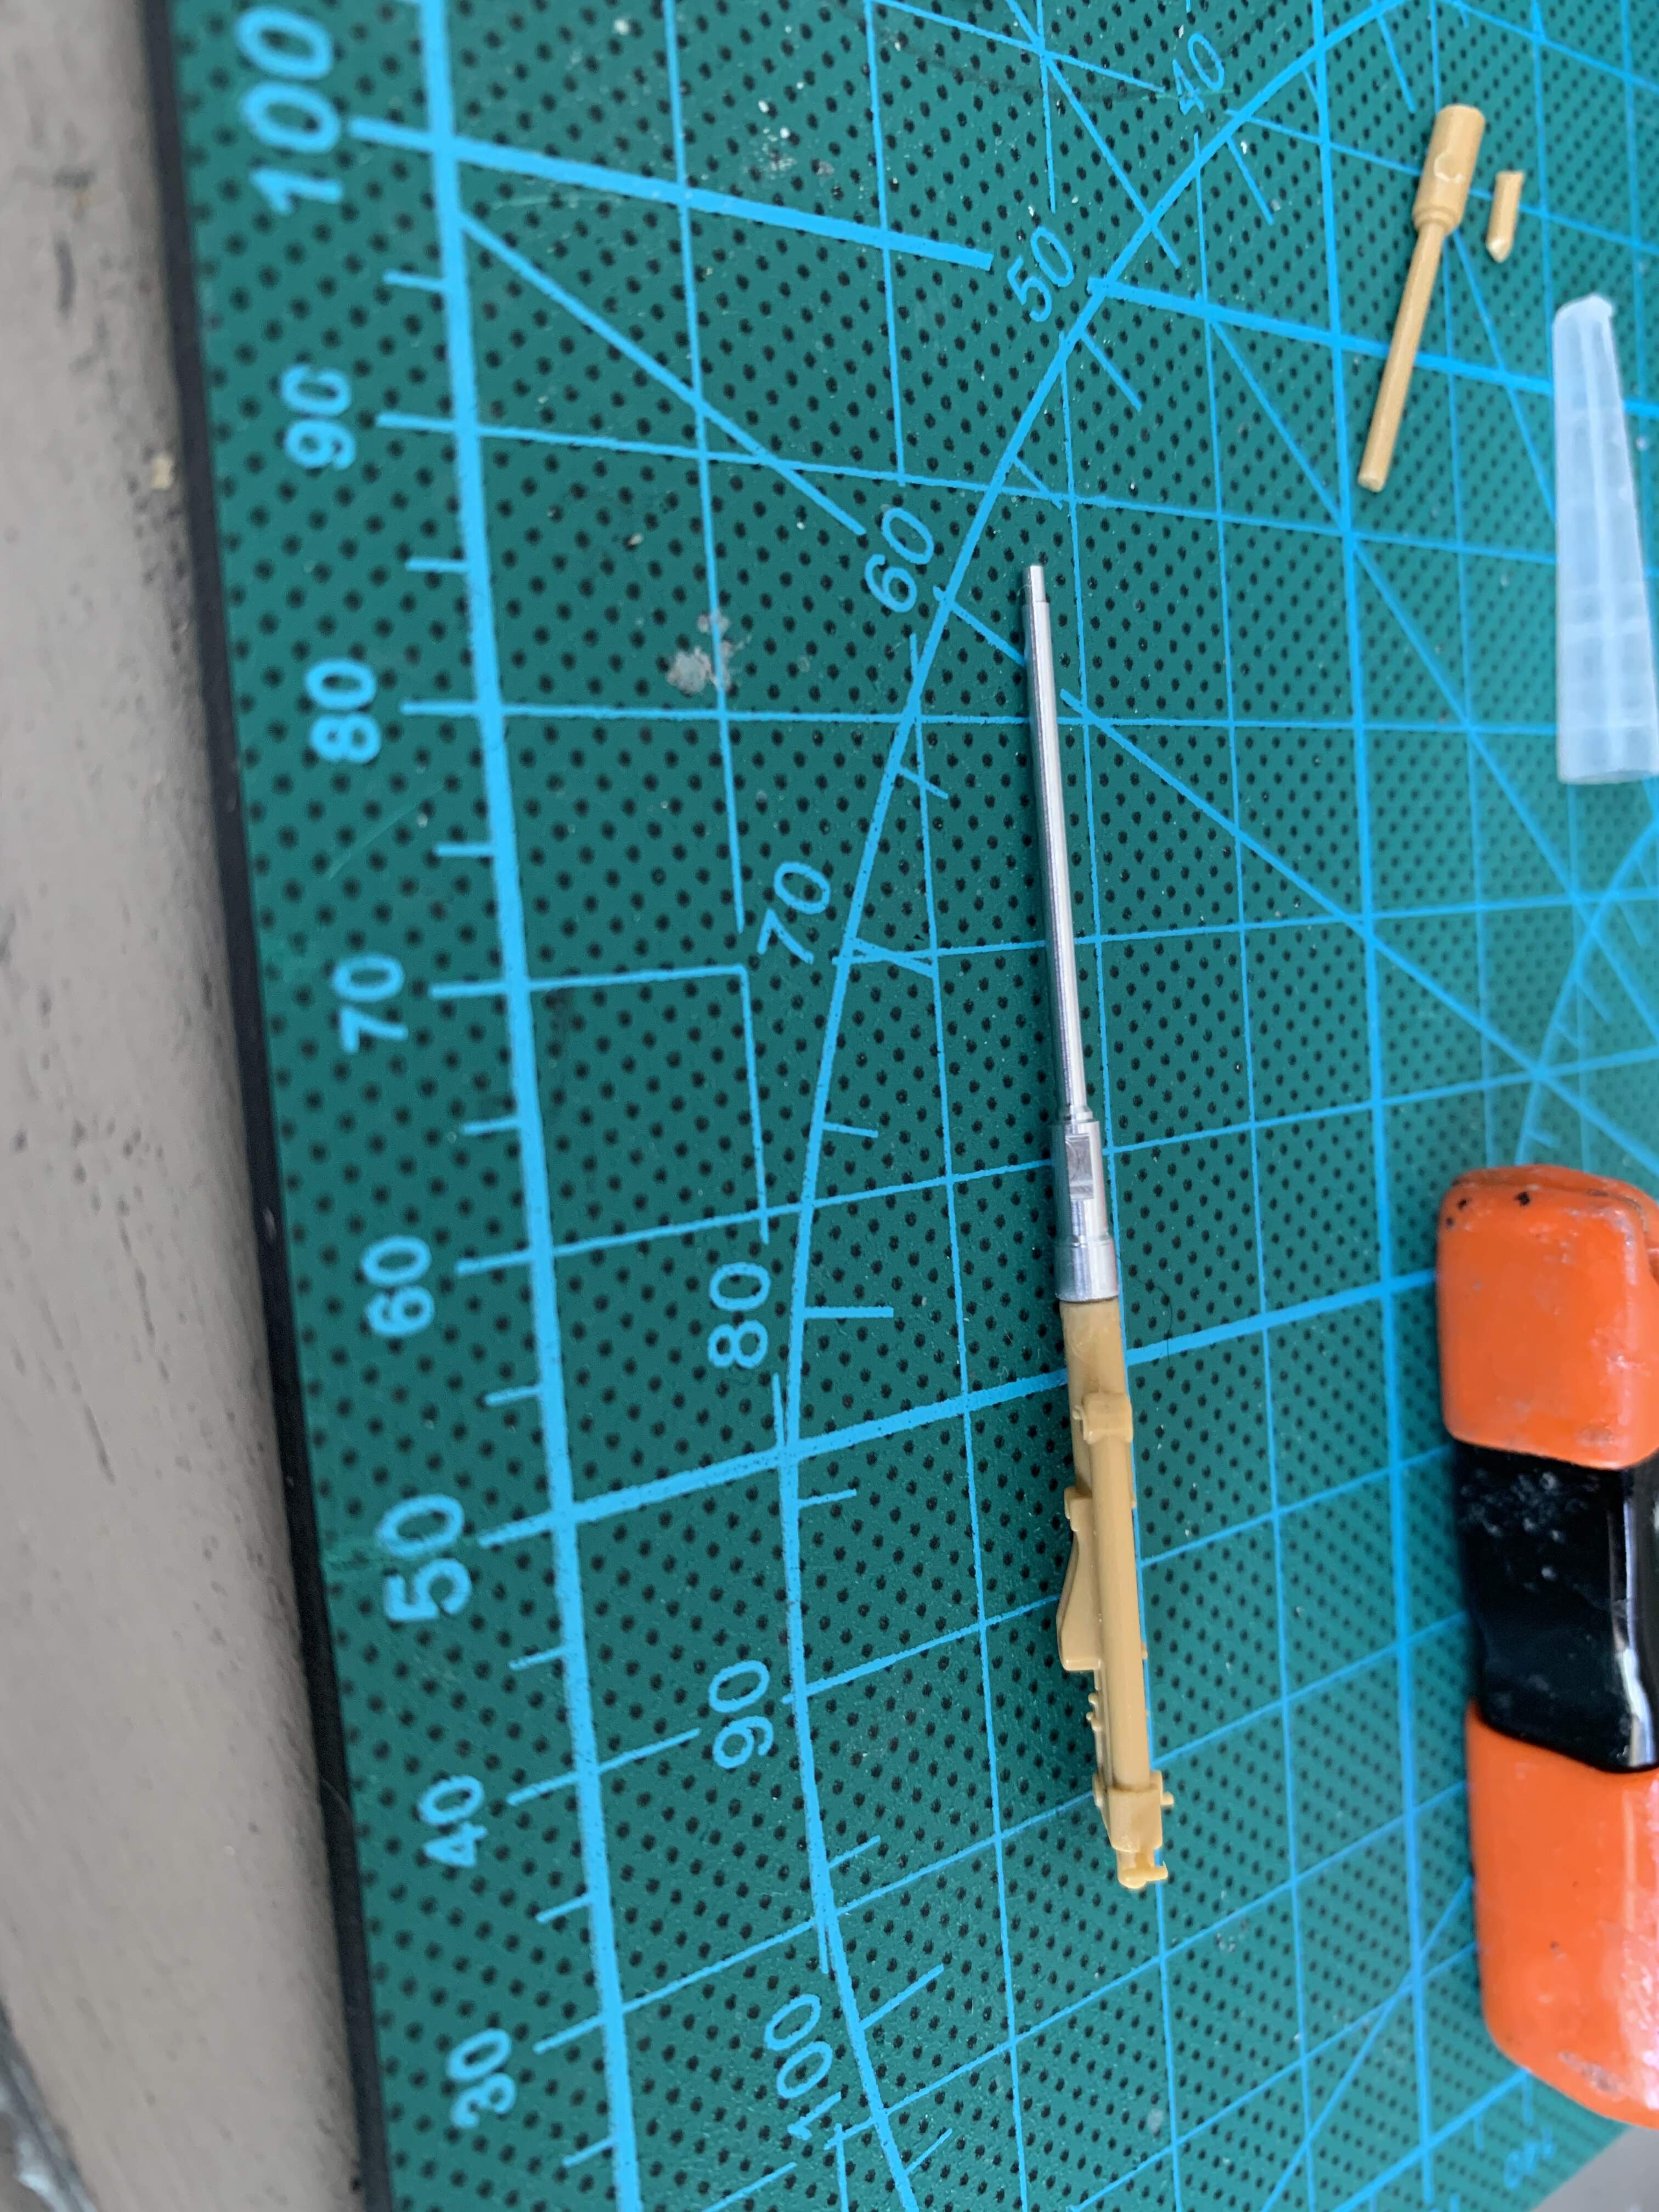
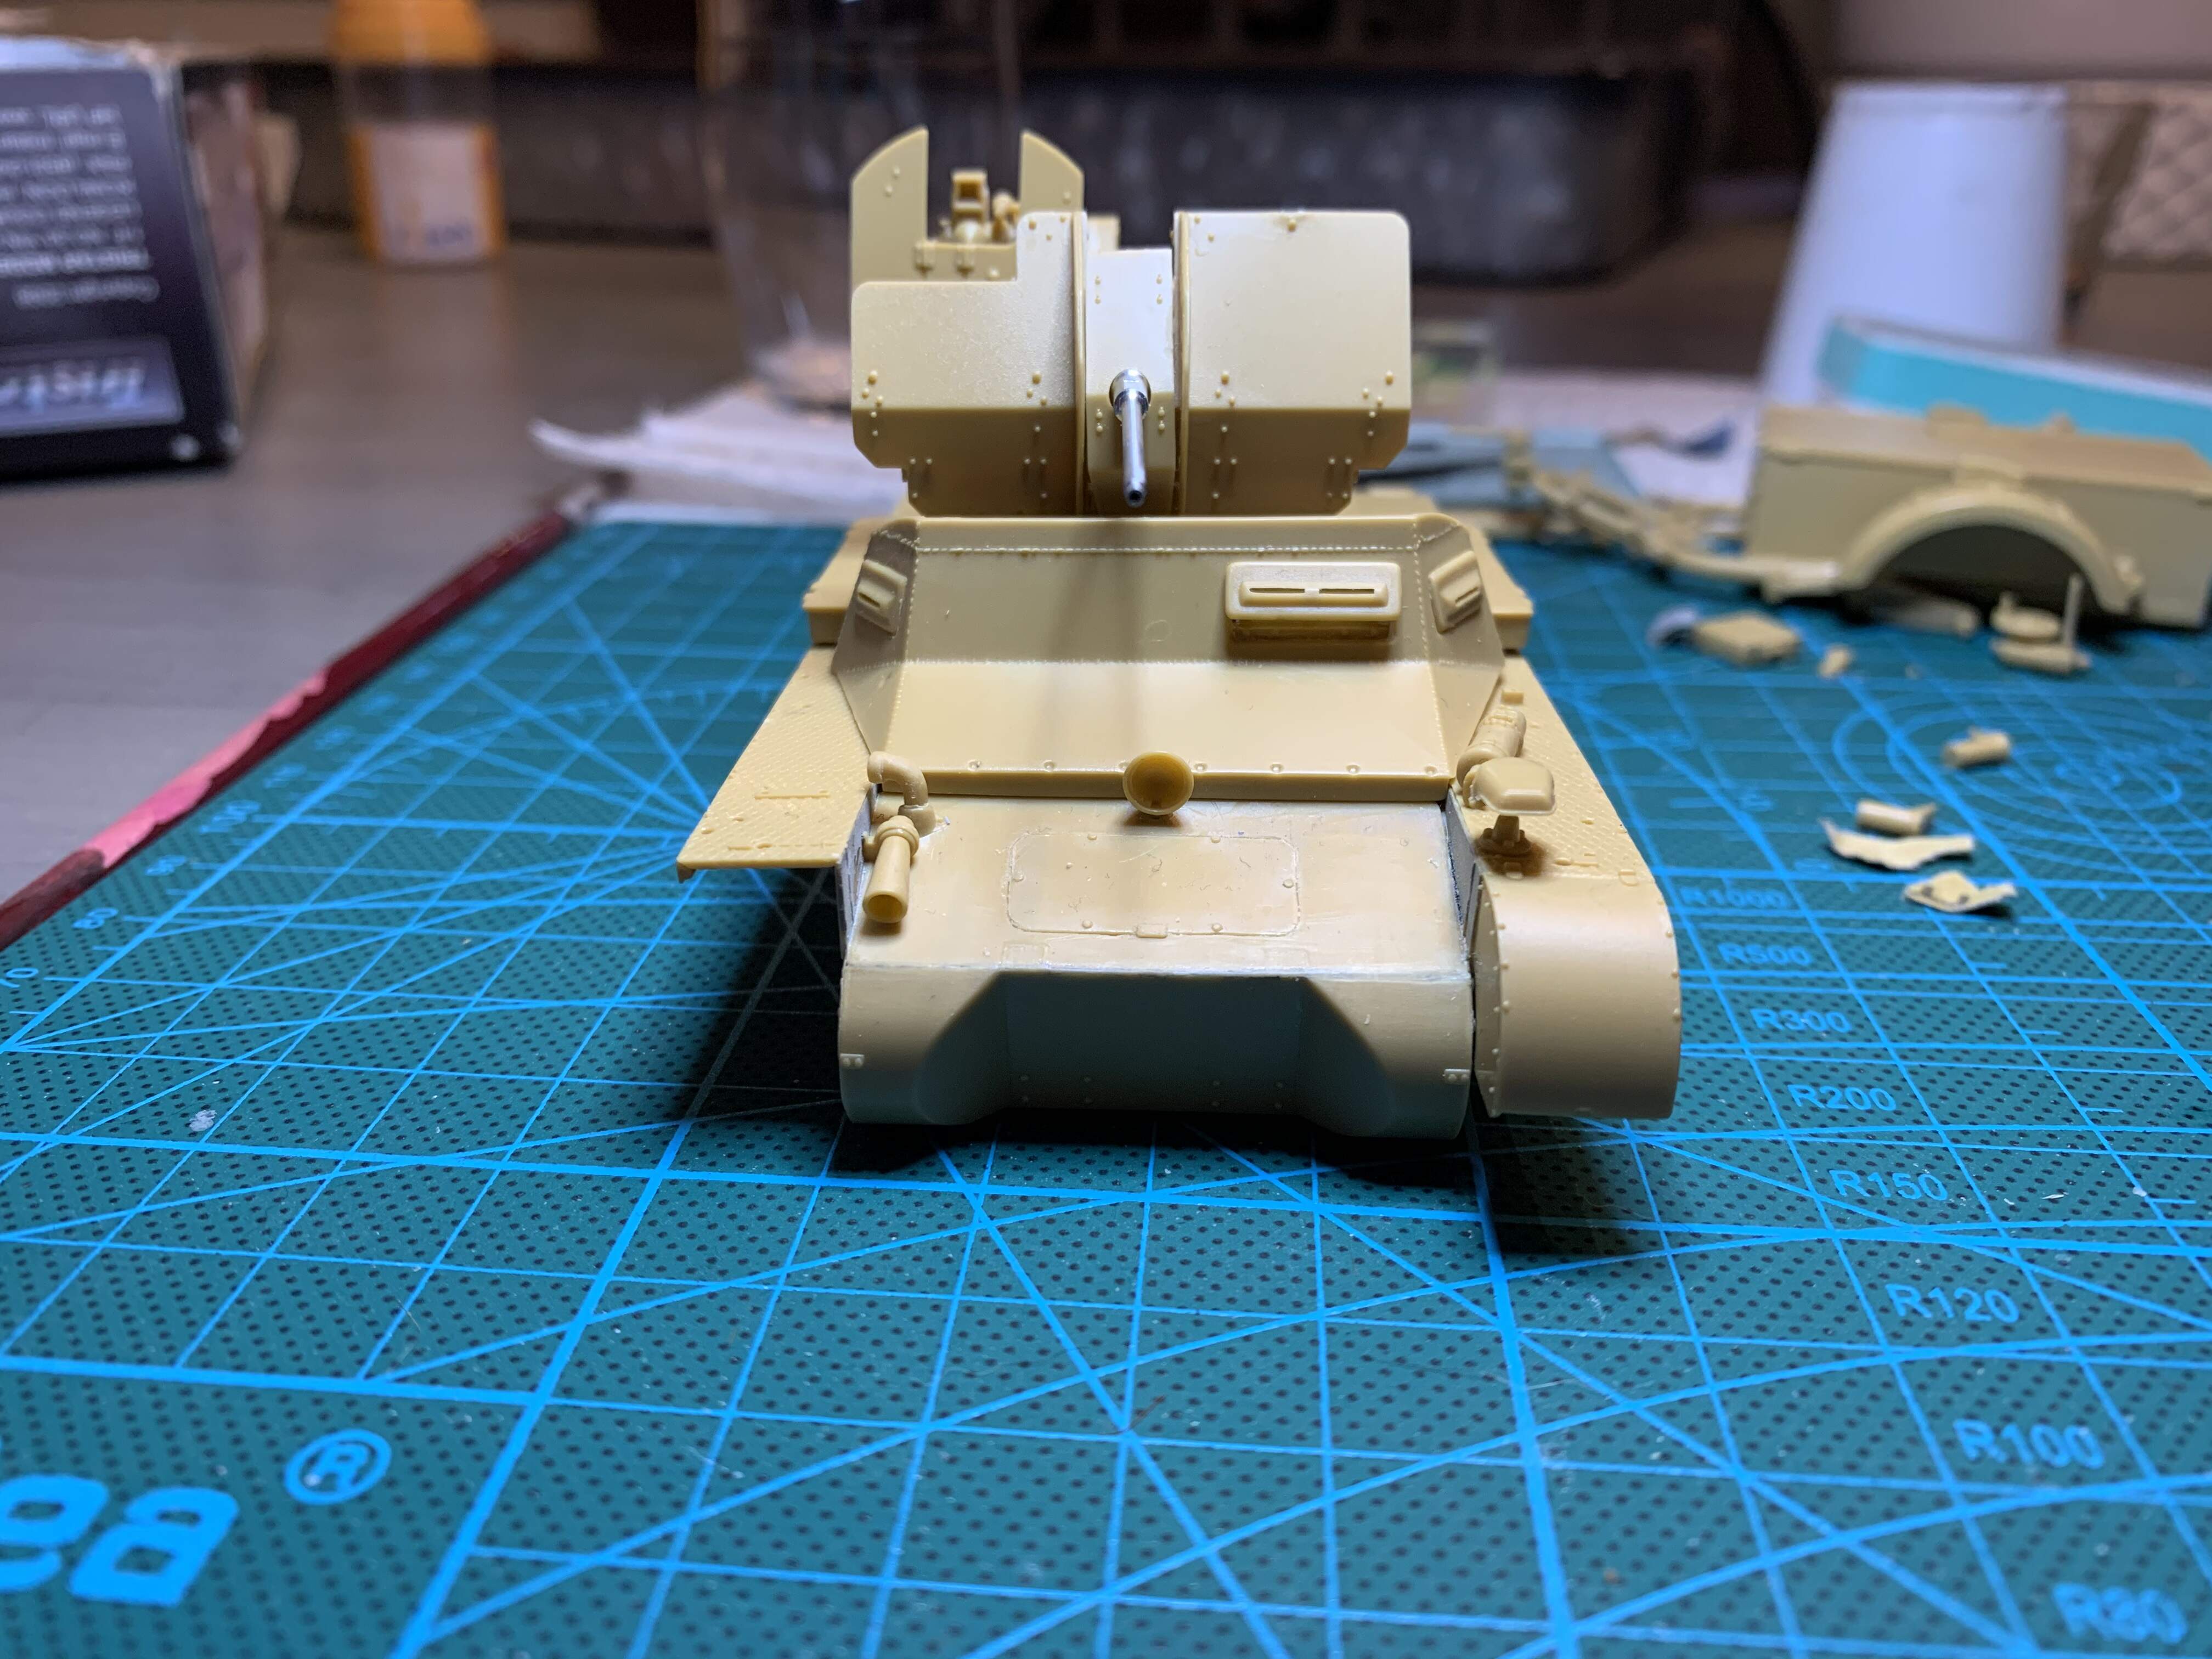
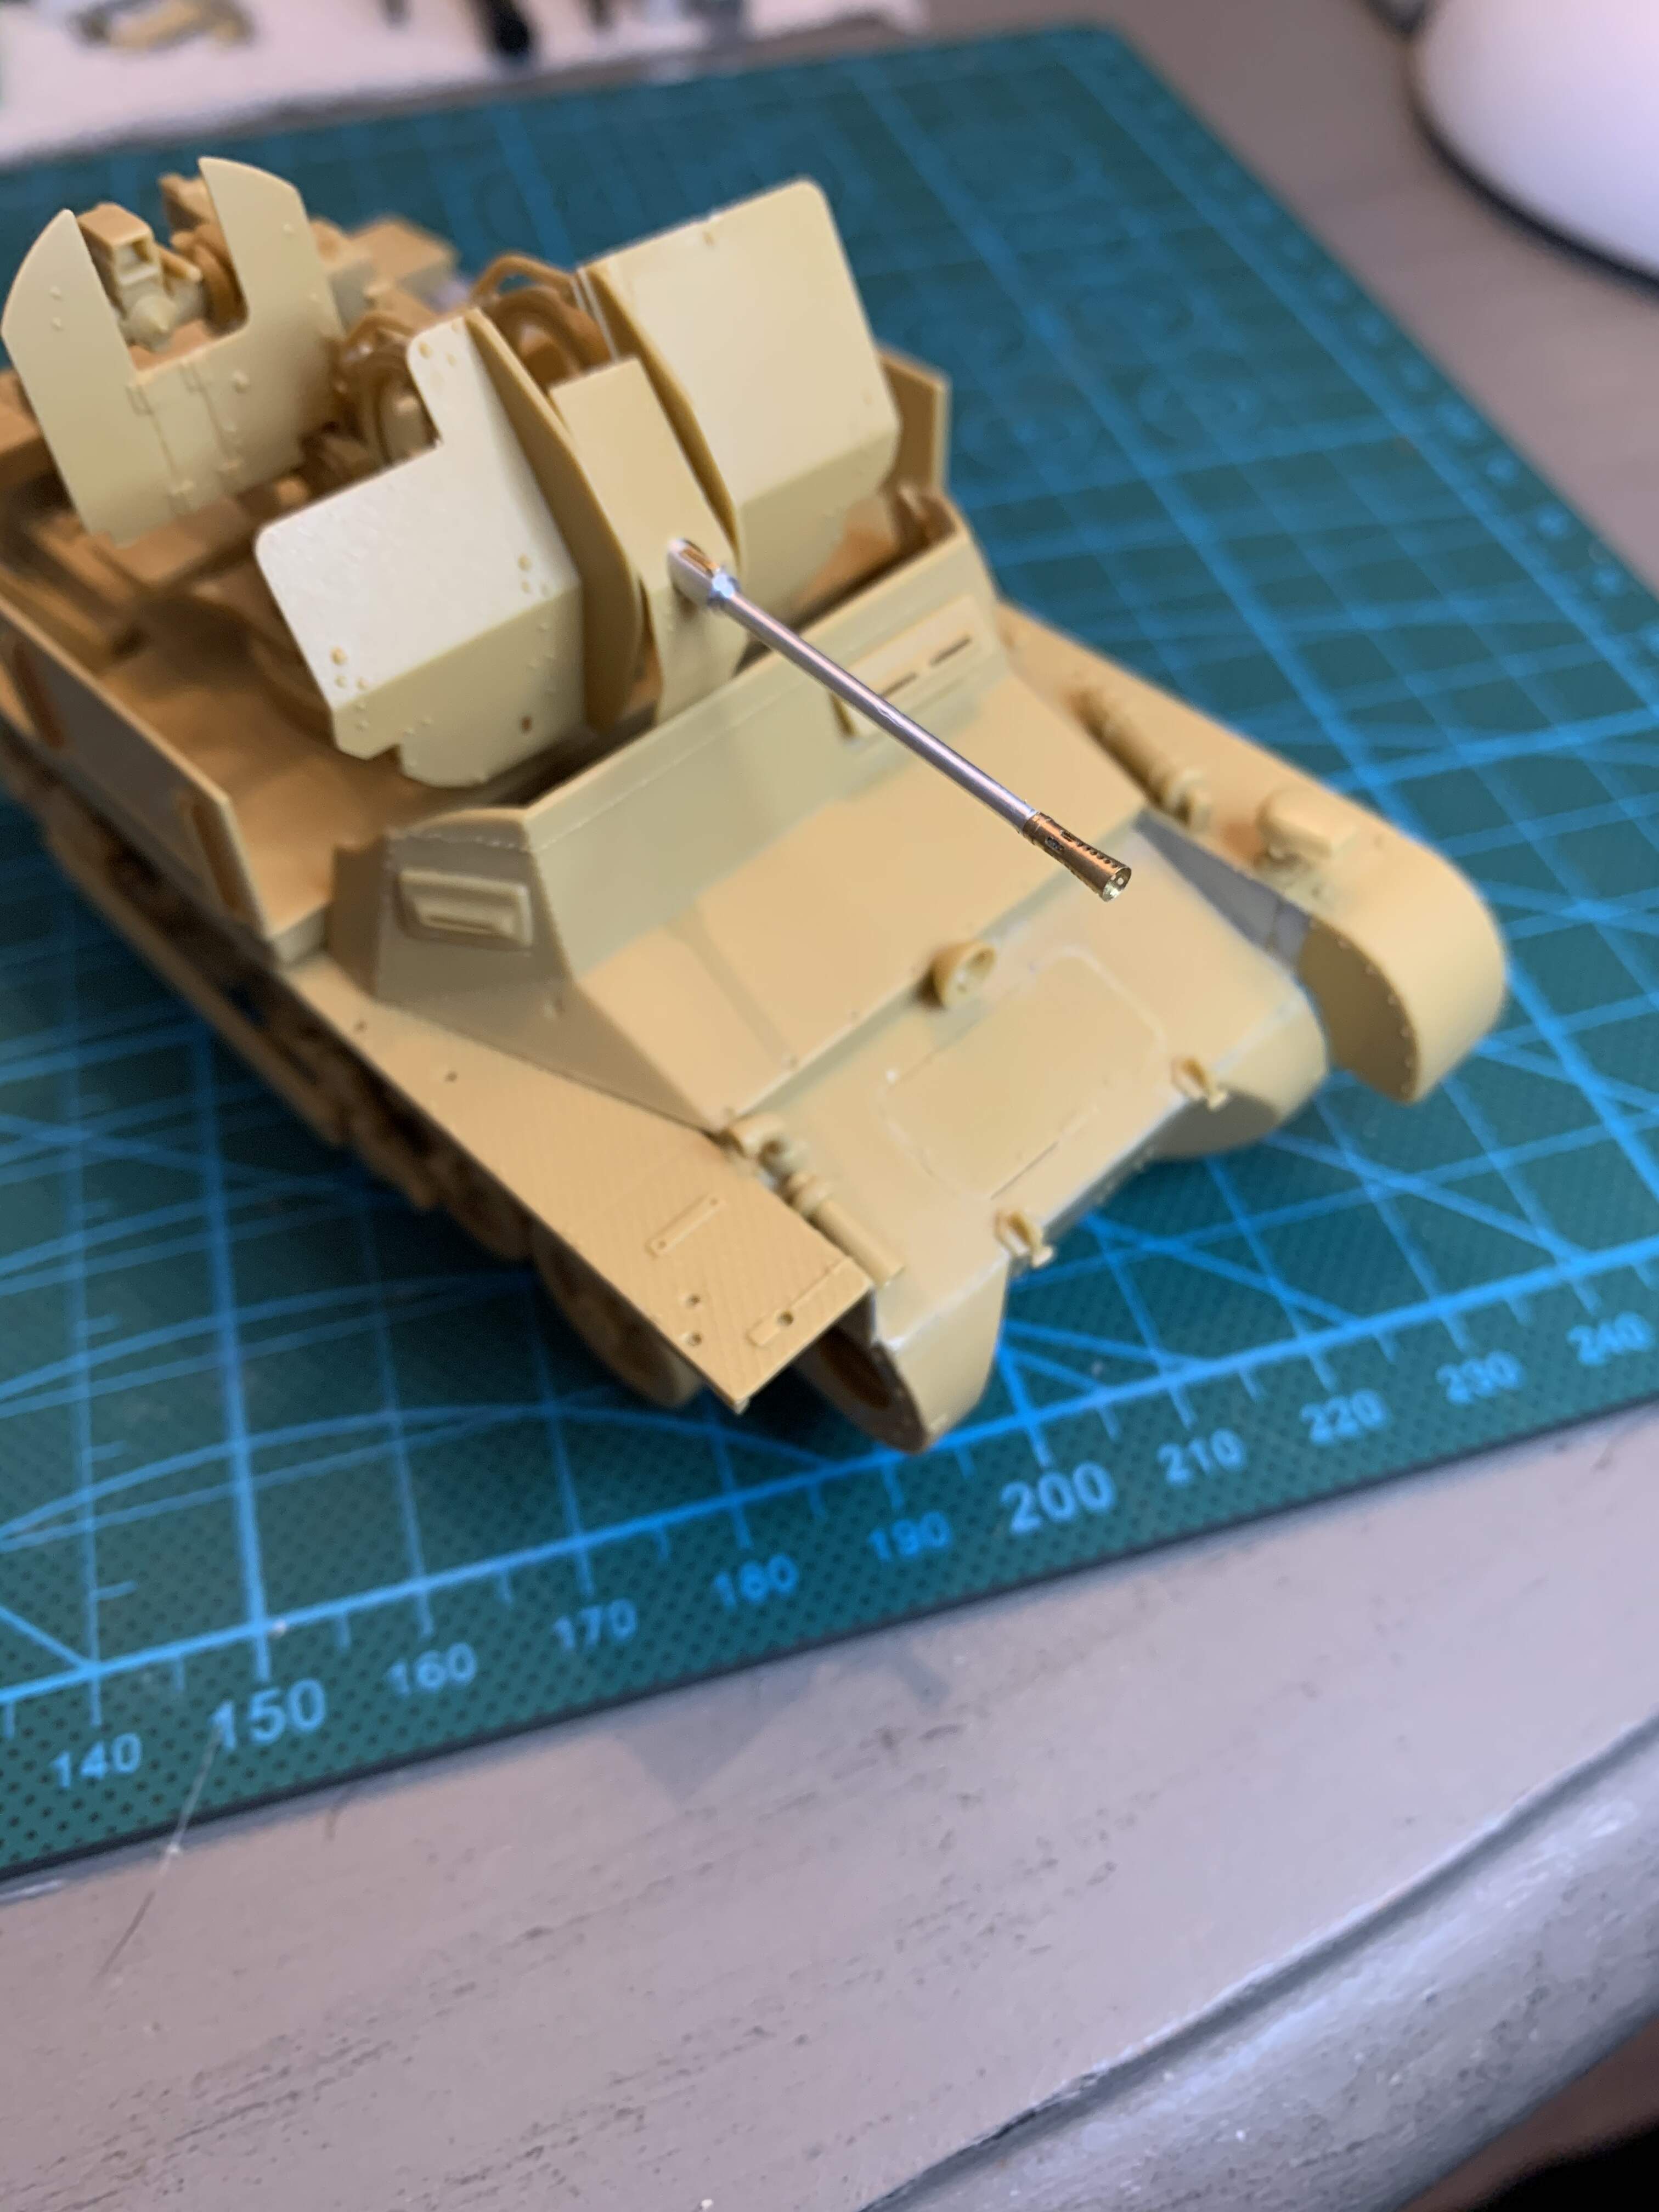
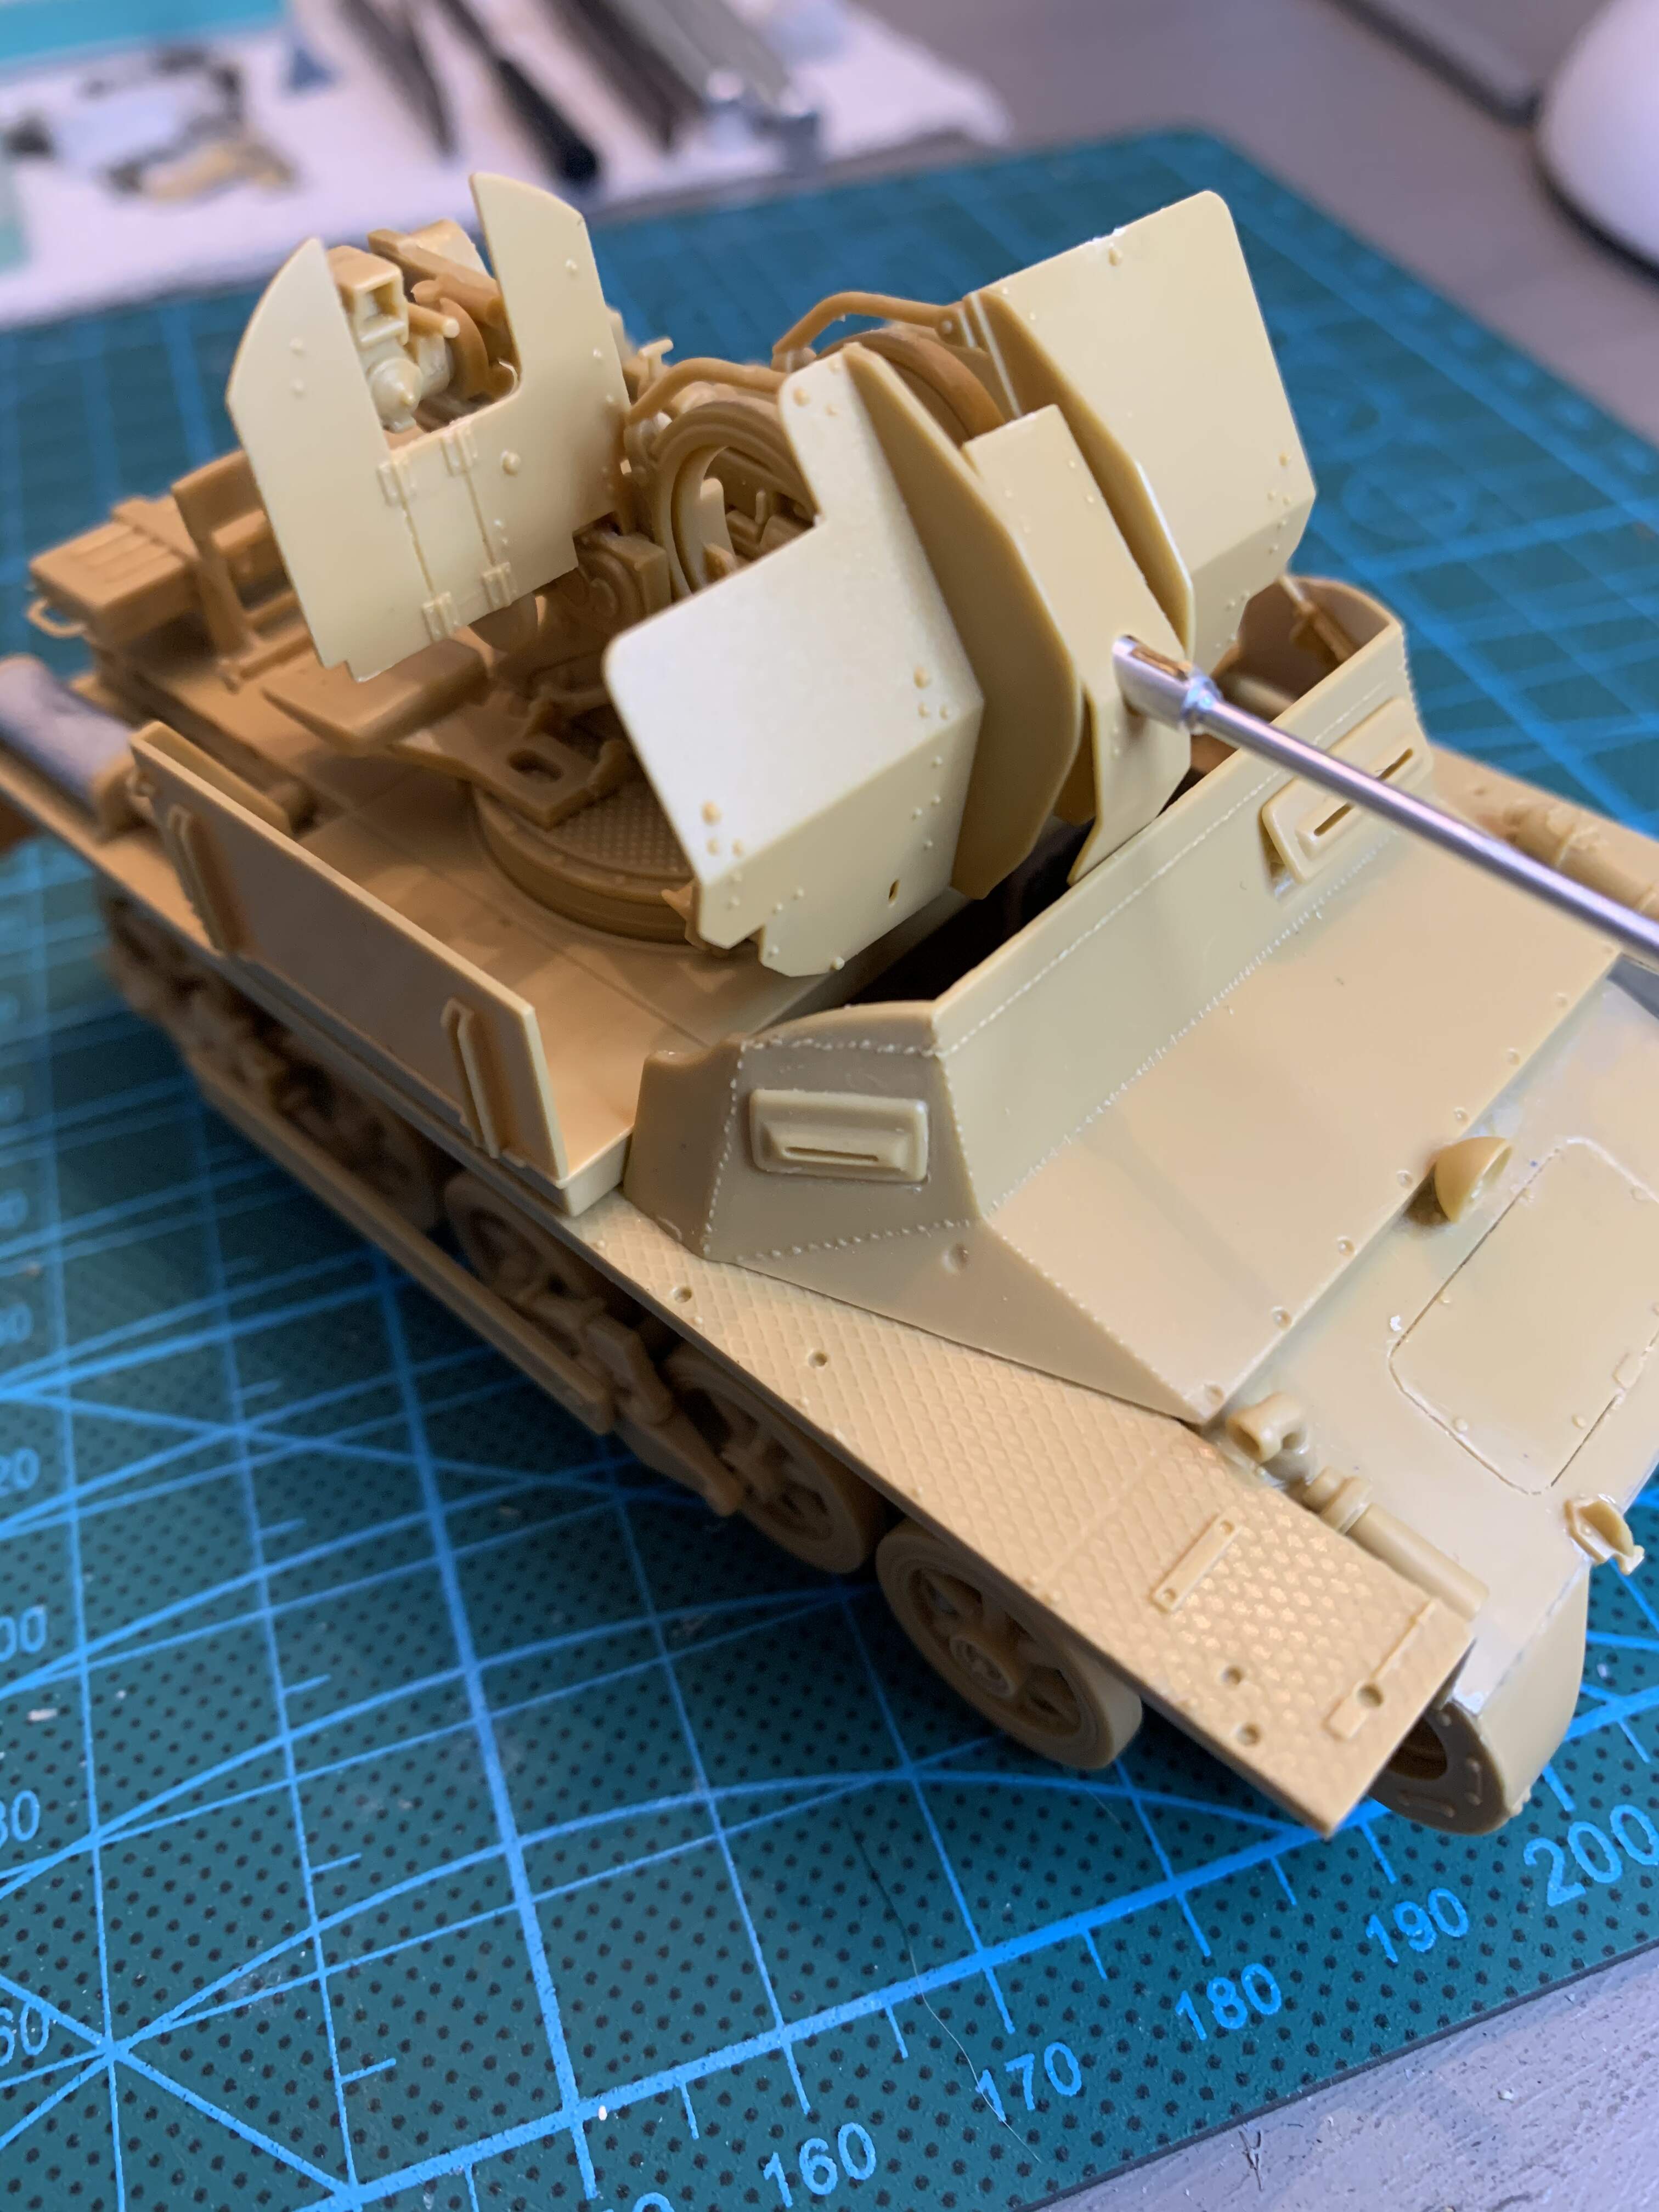
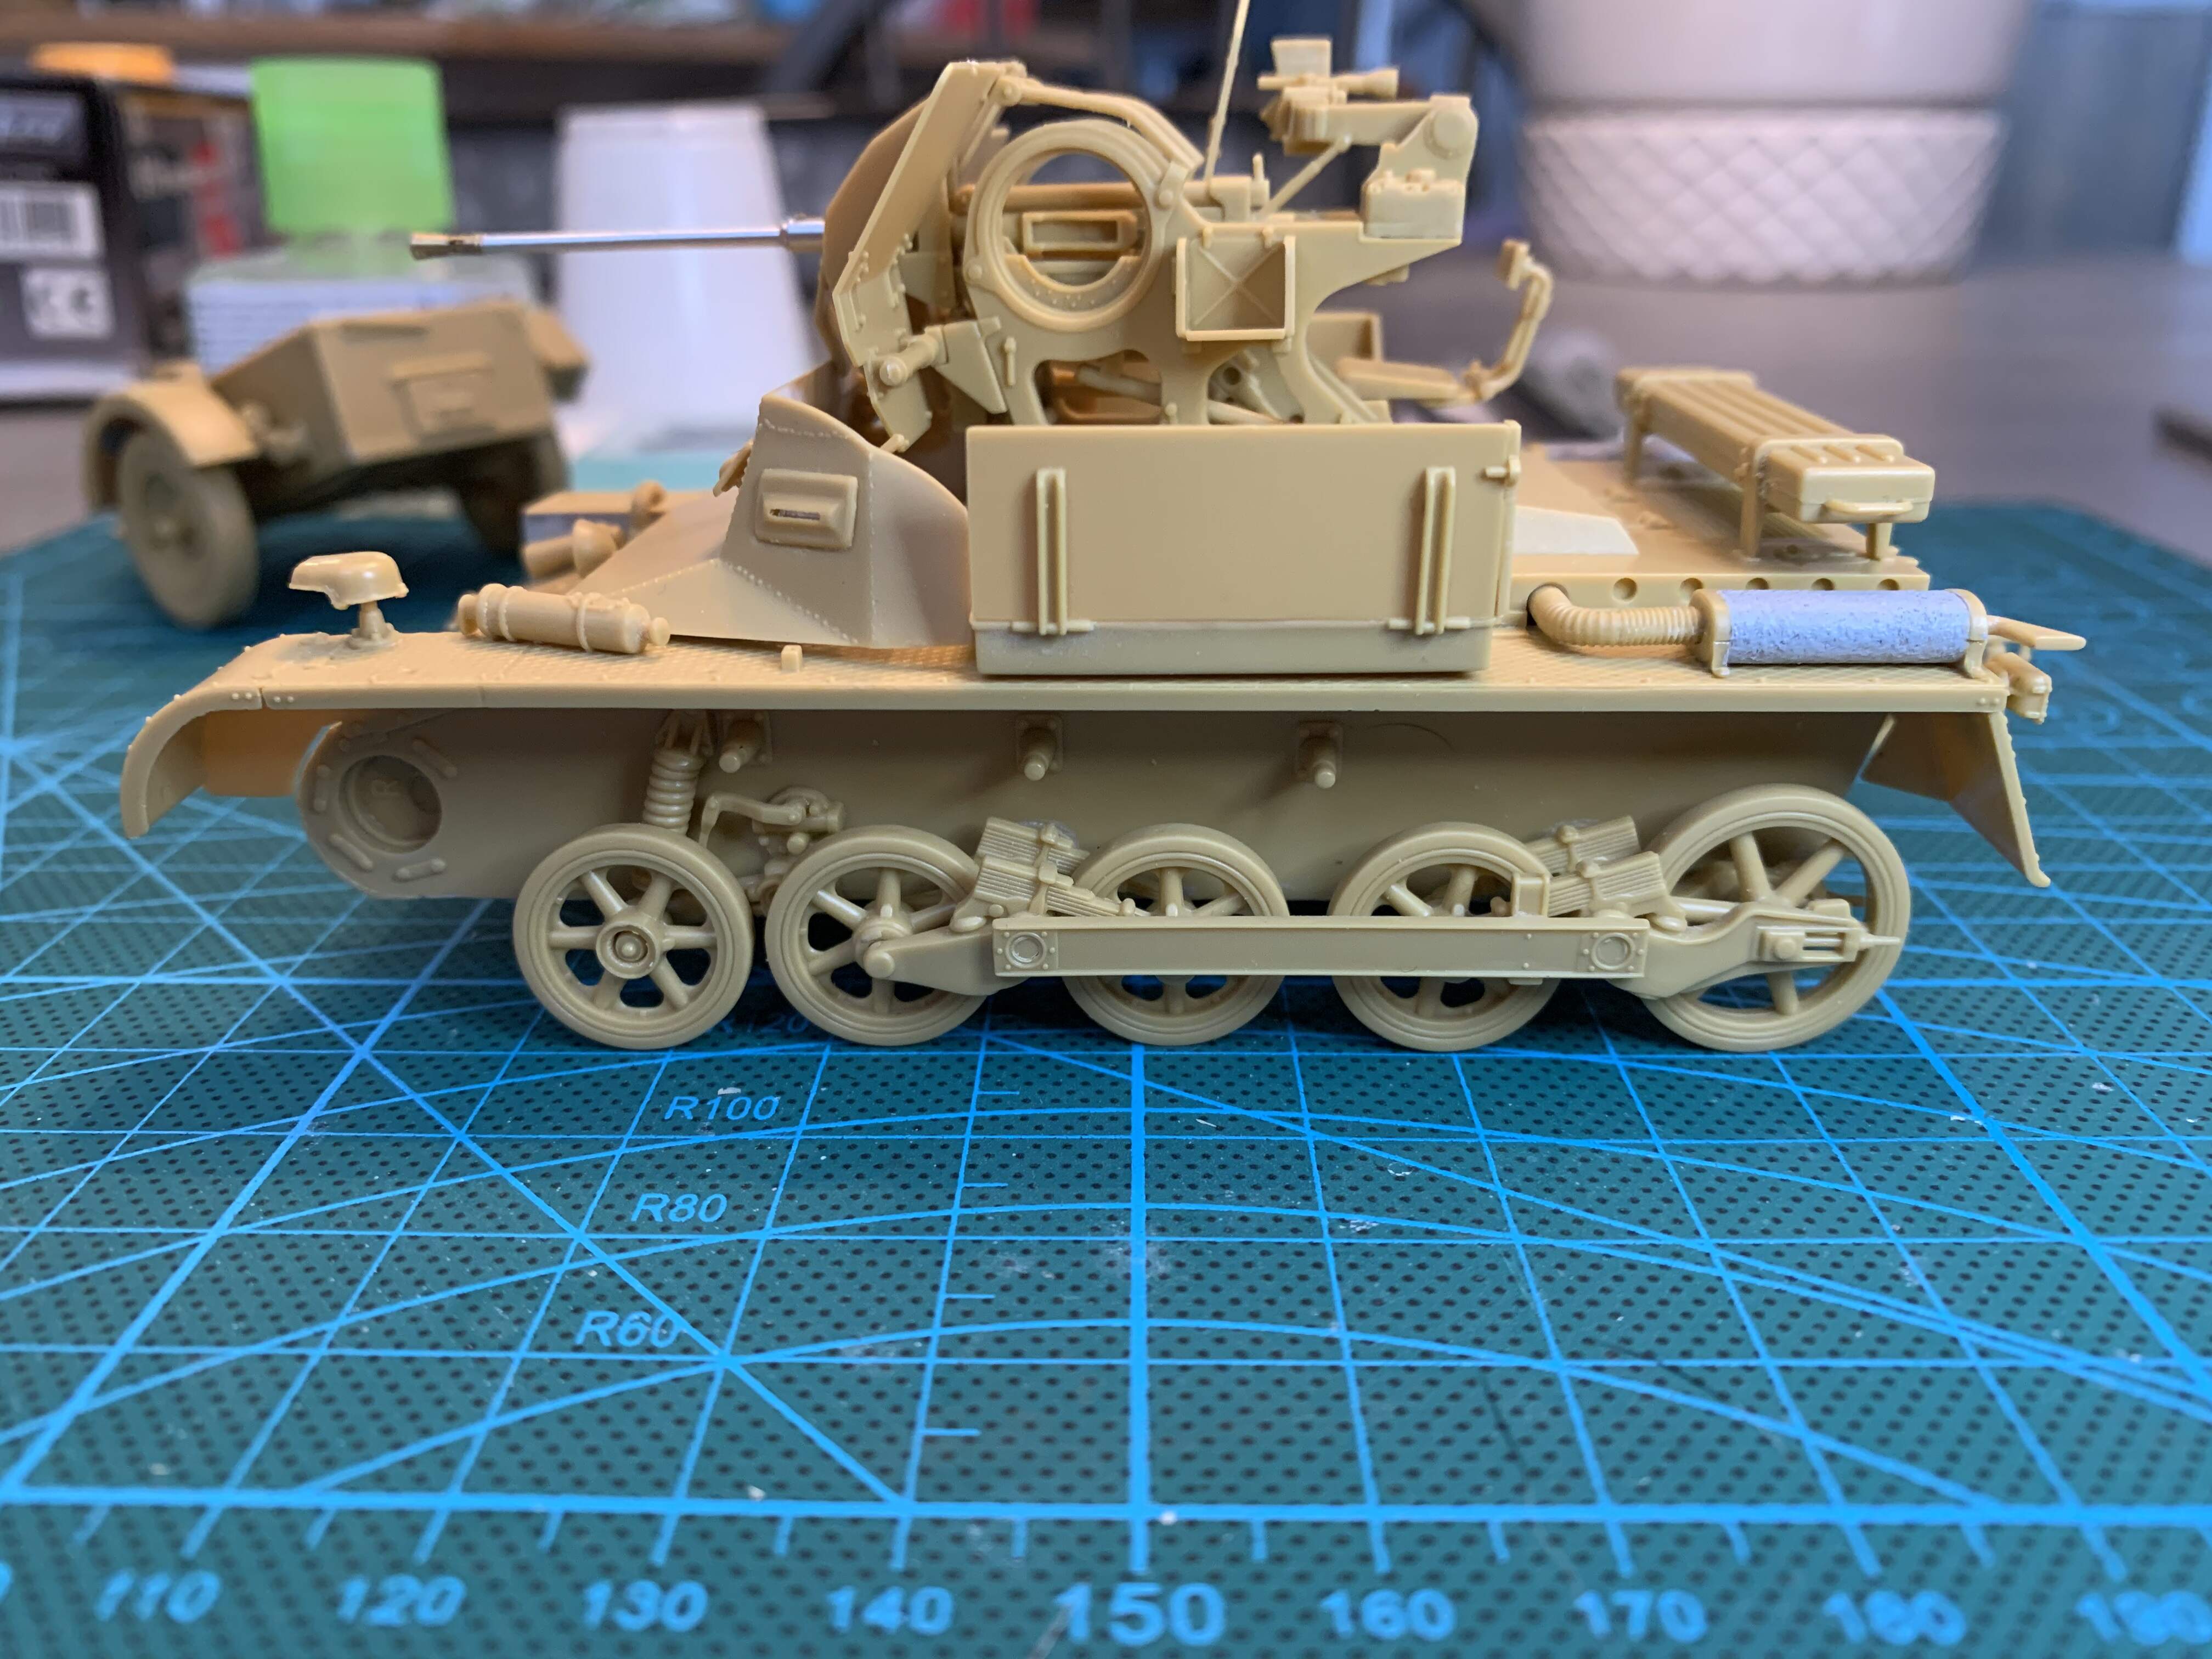
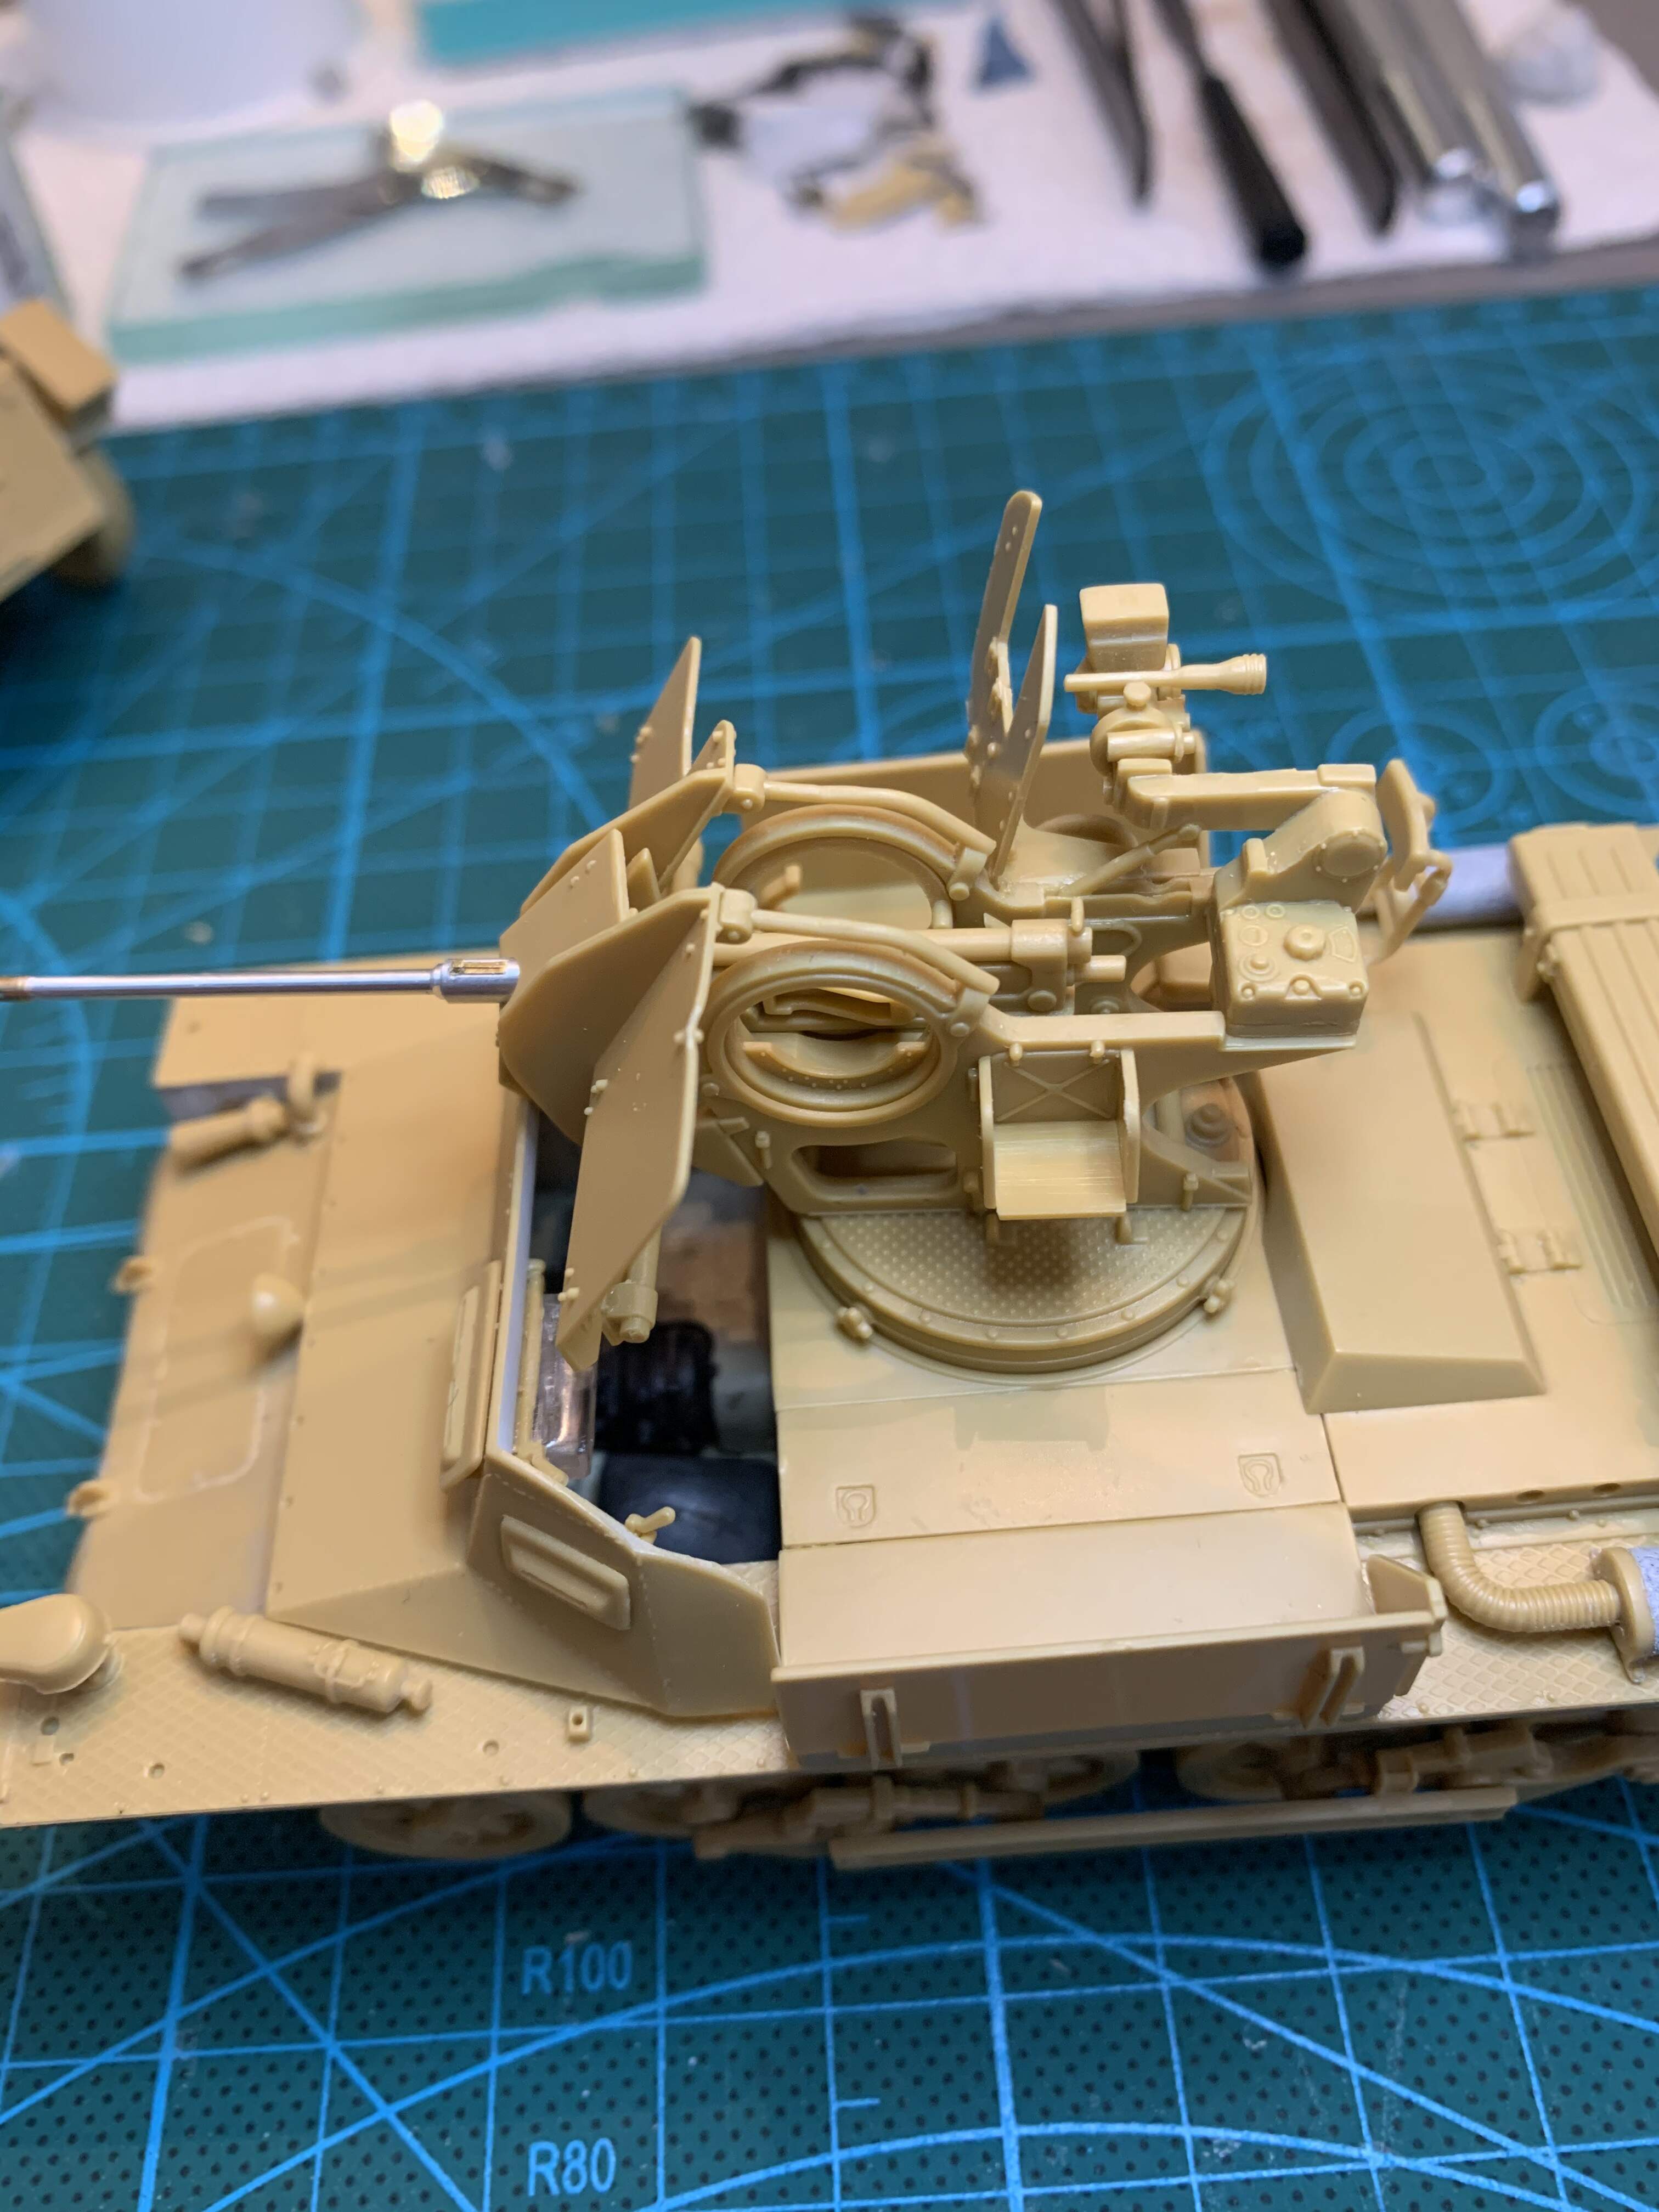
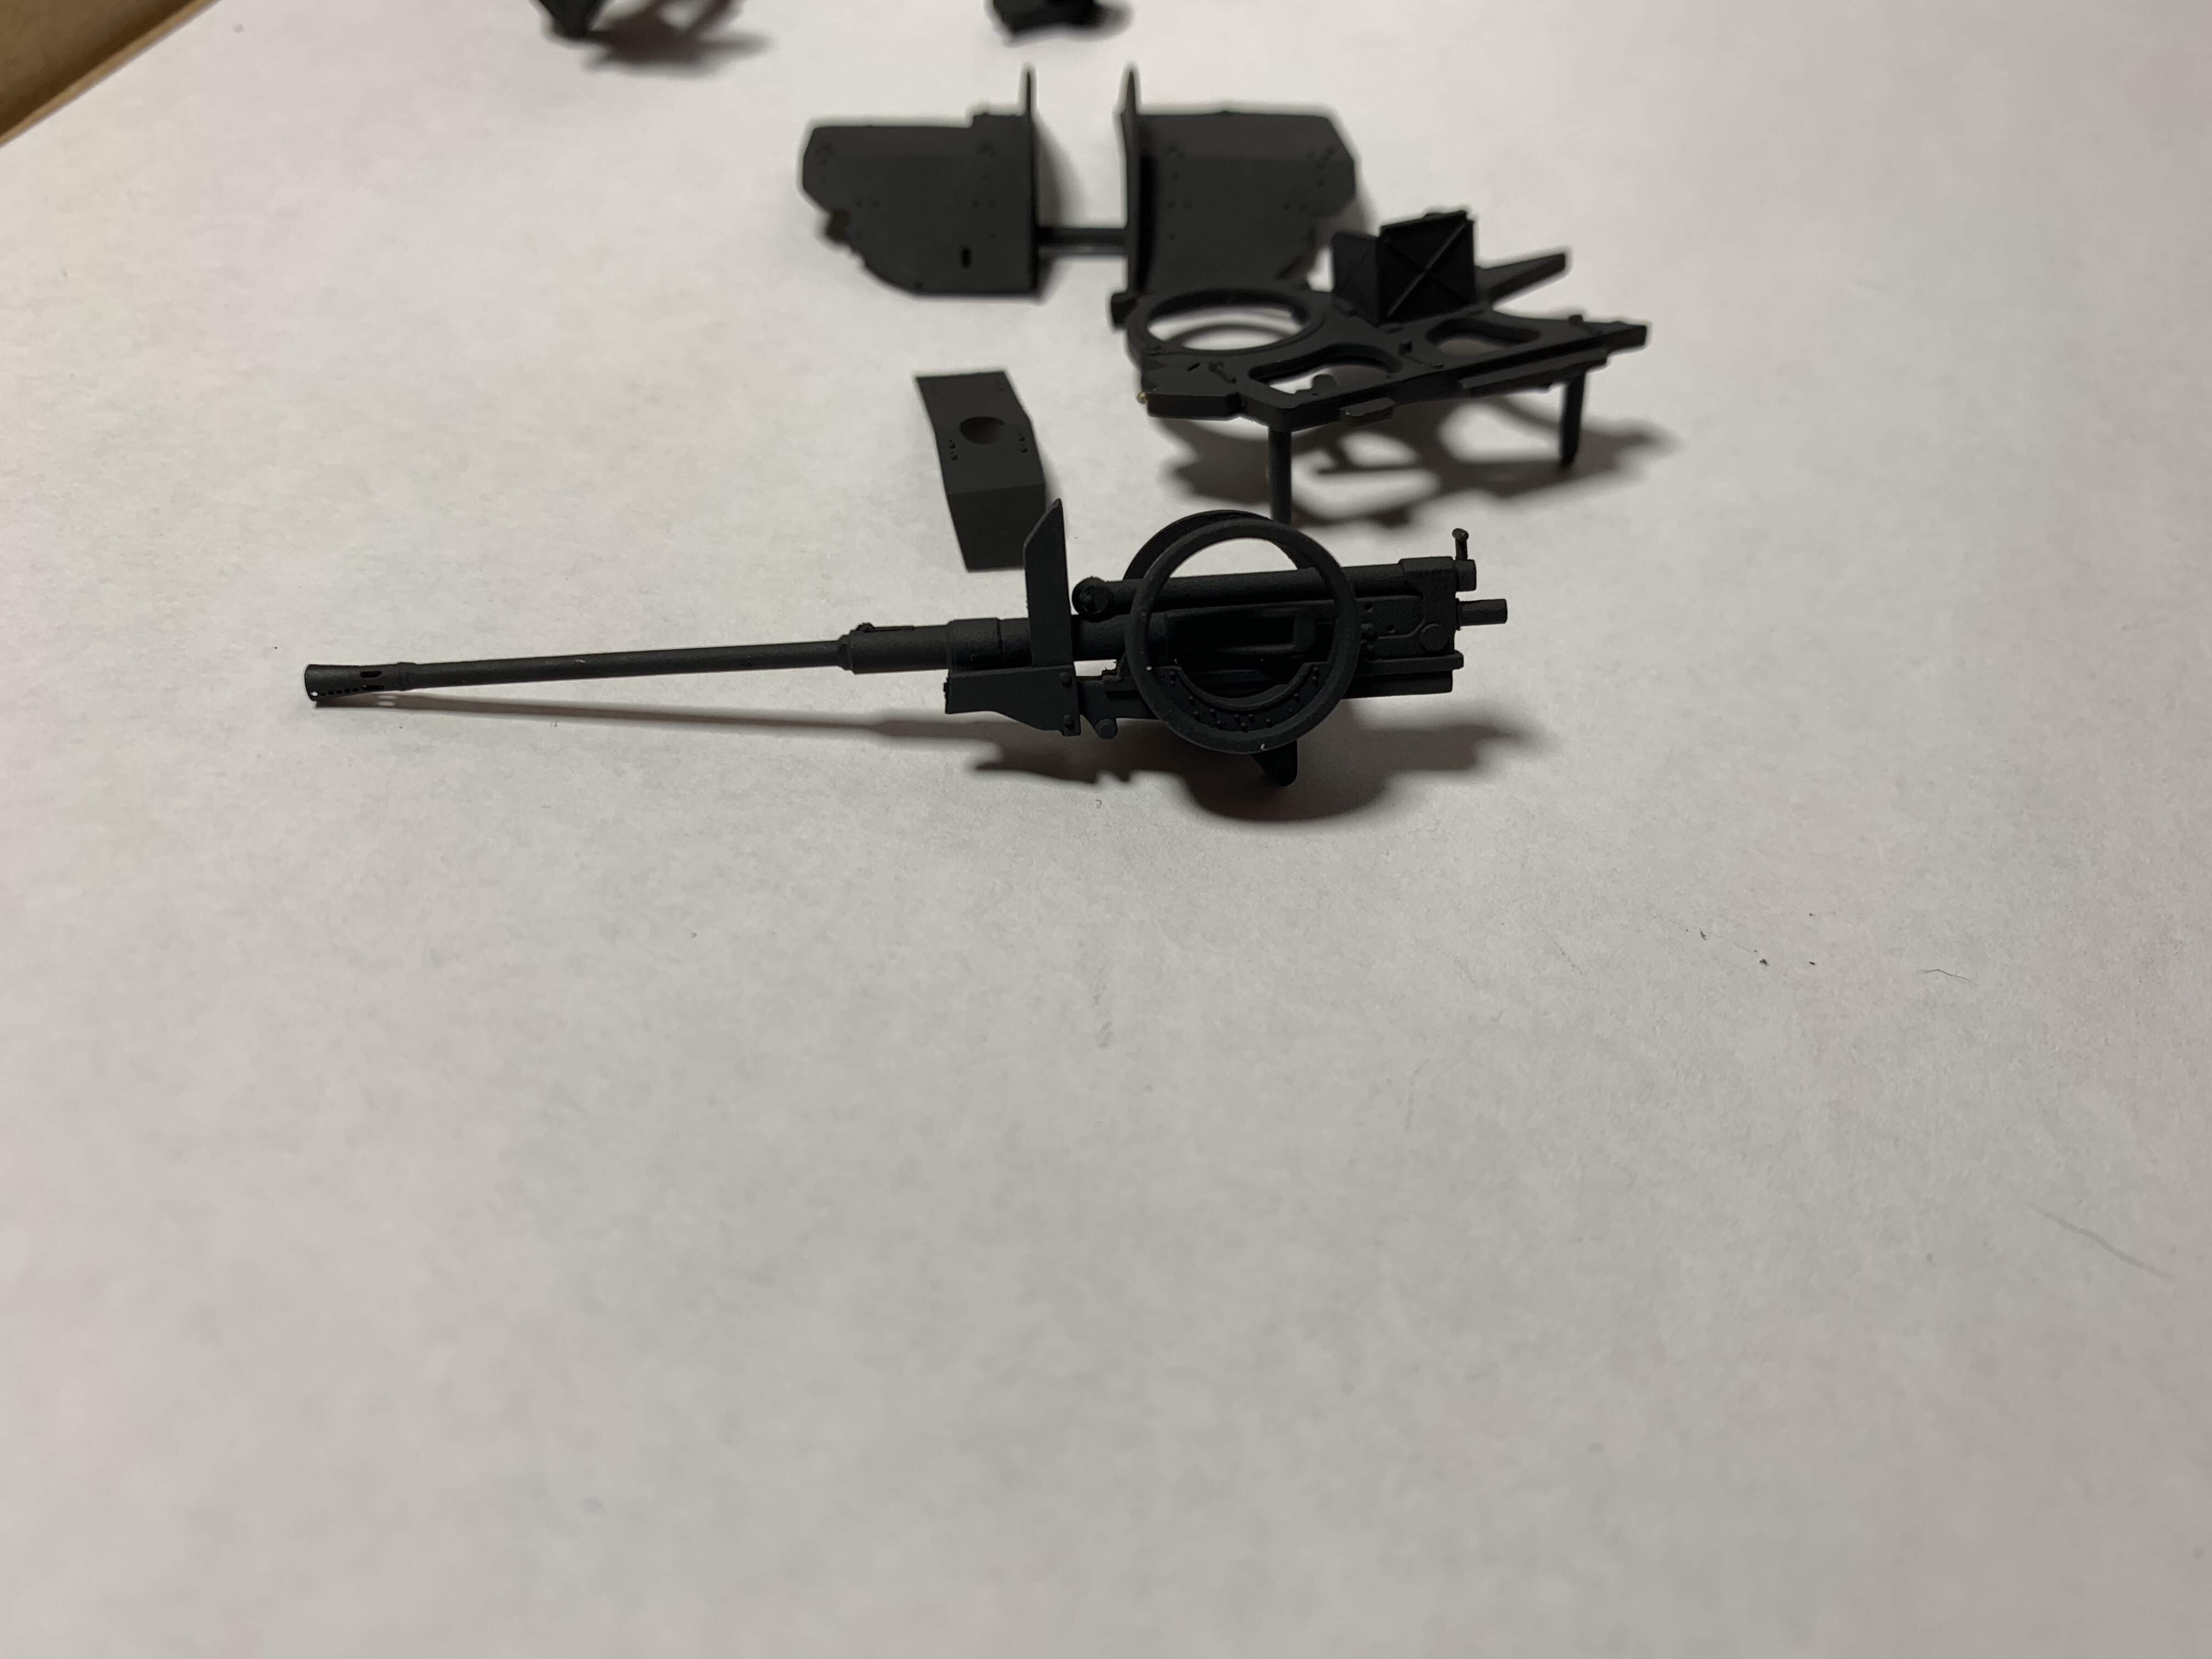
Started, work on the gun . All tracked out for the moment after just finishing the Indy tracks on my T-54. Overall the kit detail in the gun looks great and all the parts are smartly on one sprue. Only think I swapped out was the barrel for a RBM barrel. Overall the kit barrel was good but the flash hider detail was soft and the end didn’t have a hole. (Ignore the gap between barrel and housing) I cut the housing a tad short, the gap is filled with CA glue
4 Likes
Looking very good!
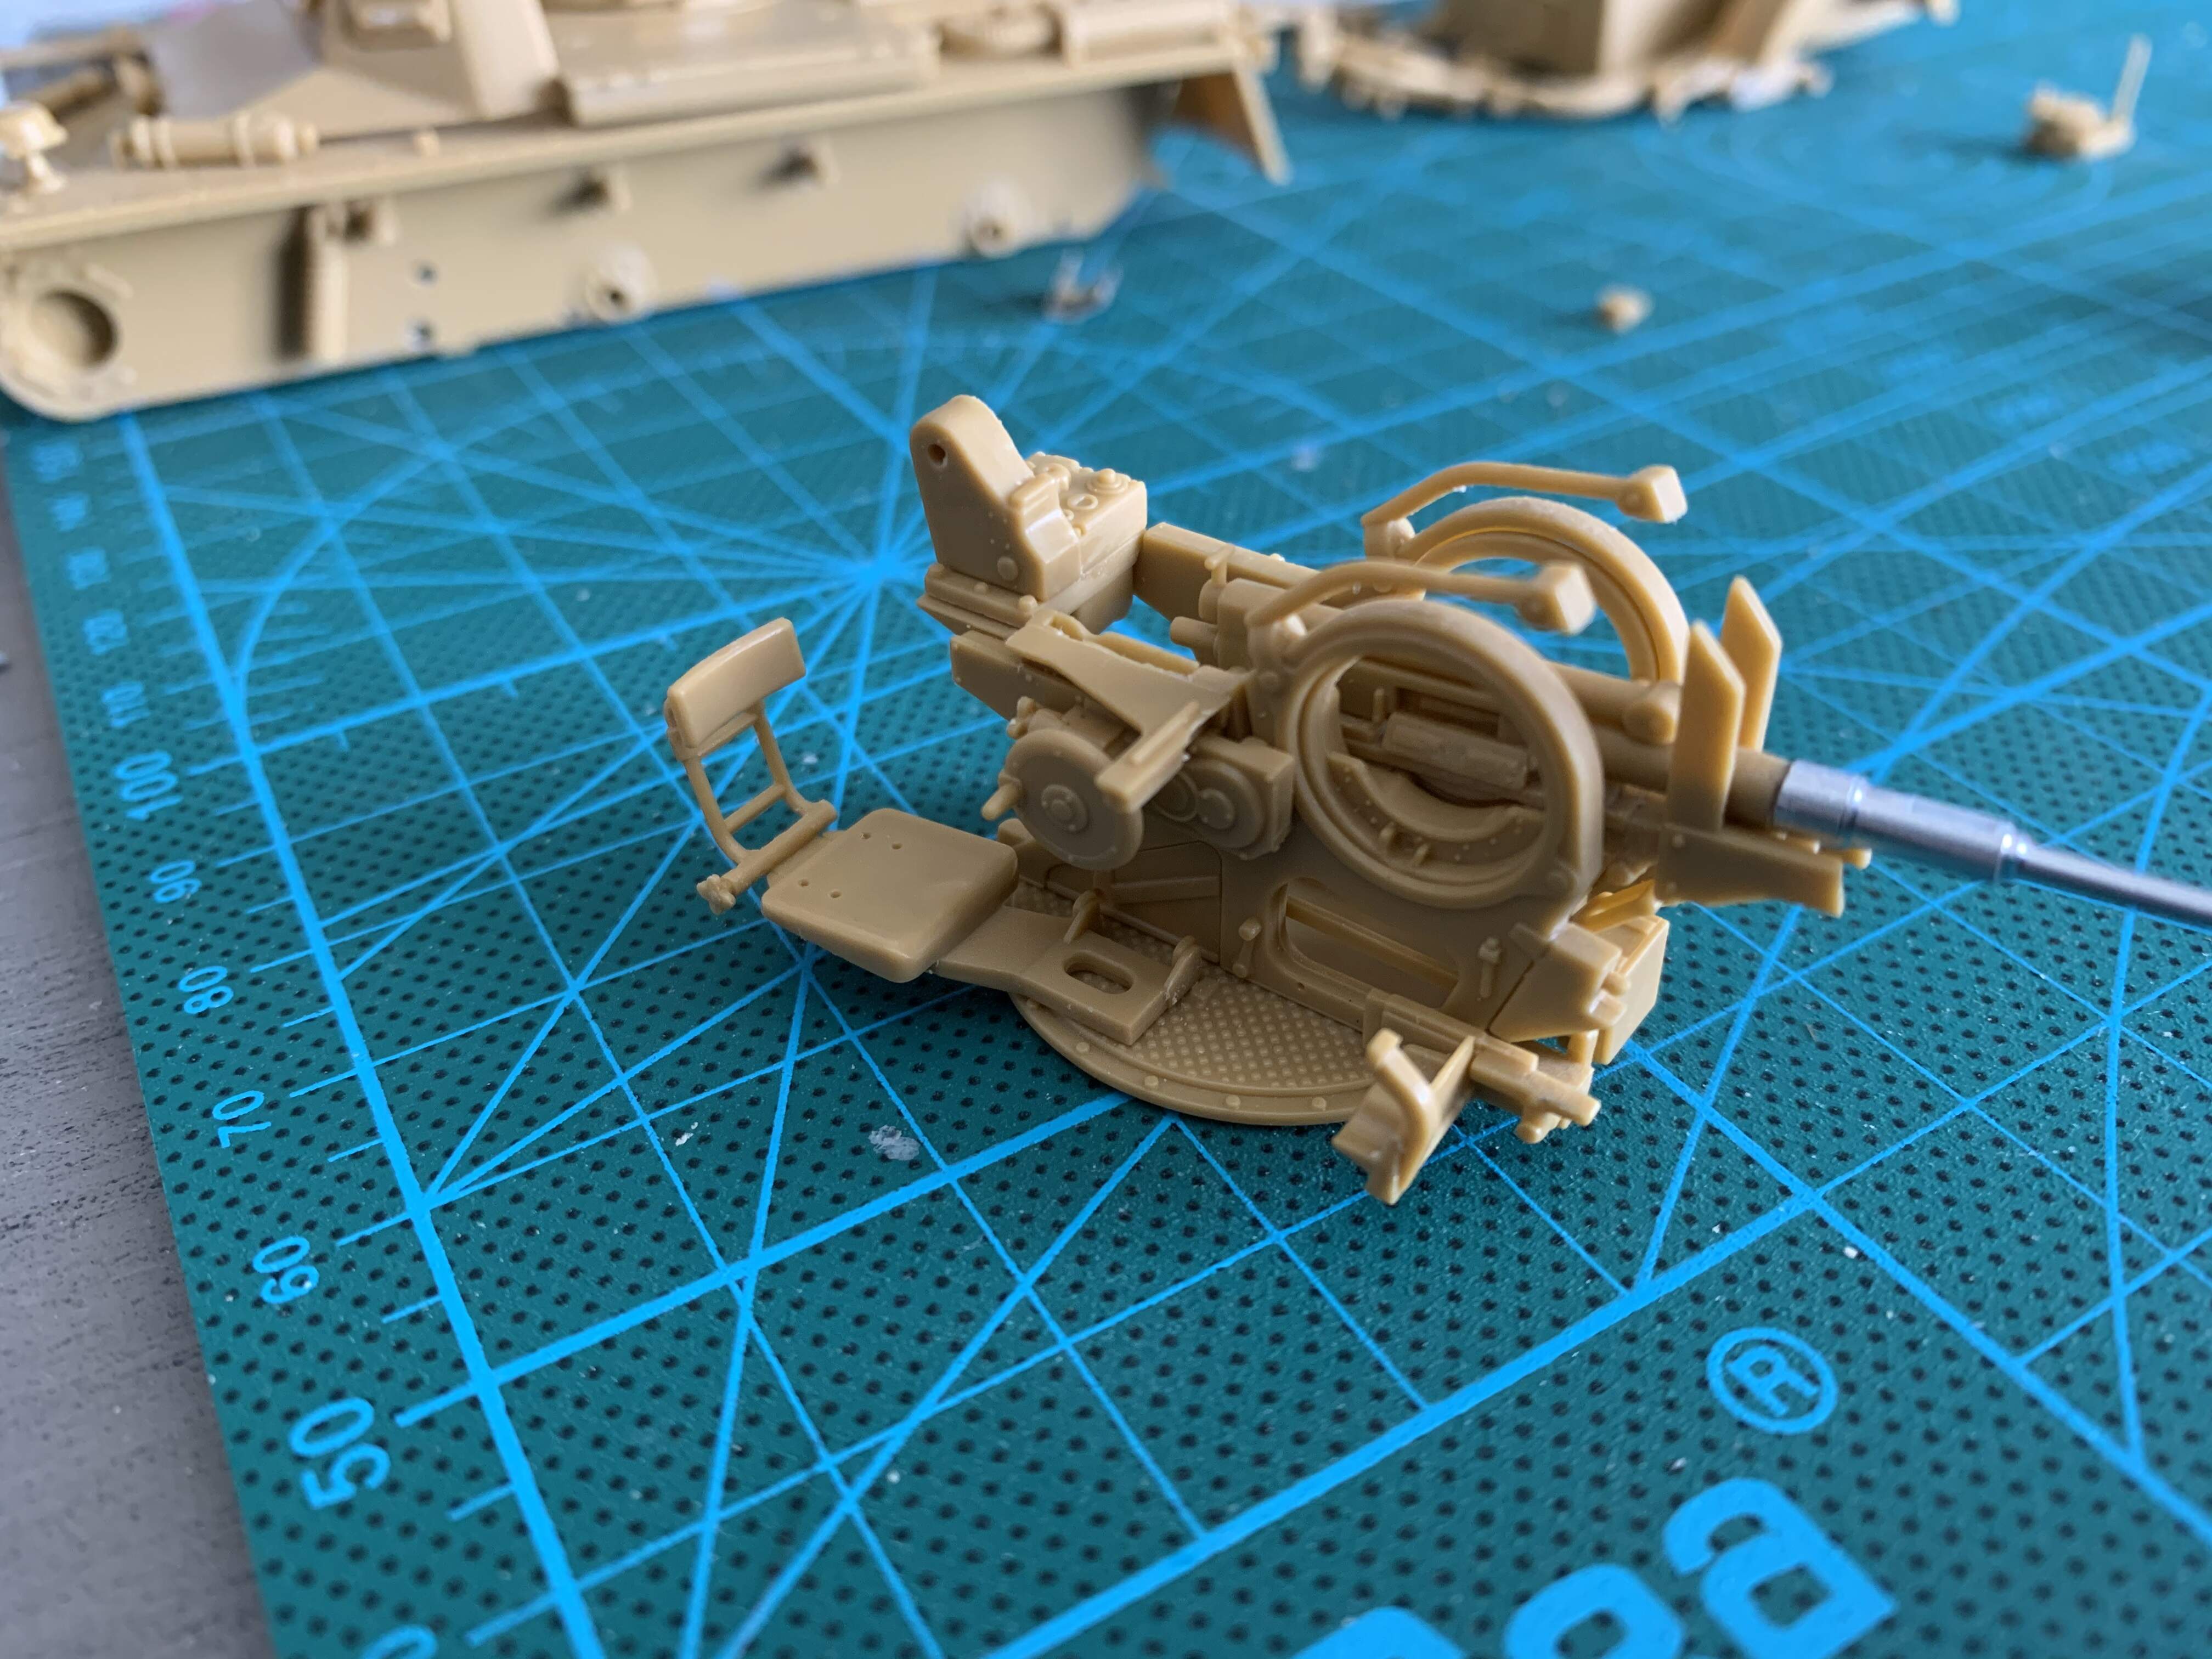
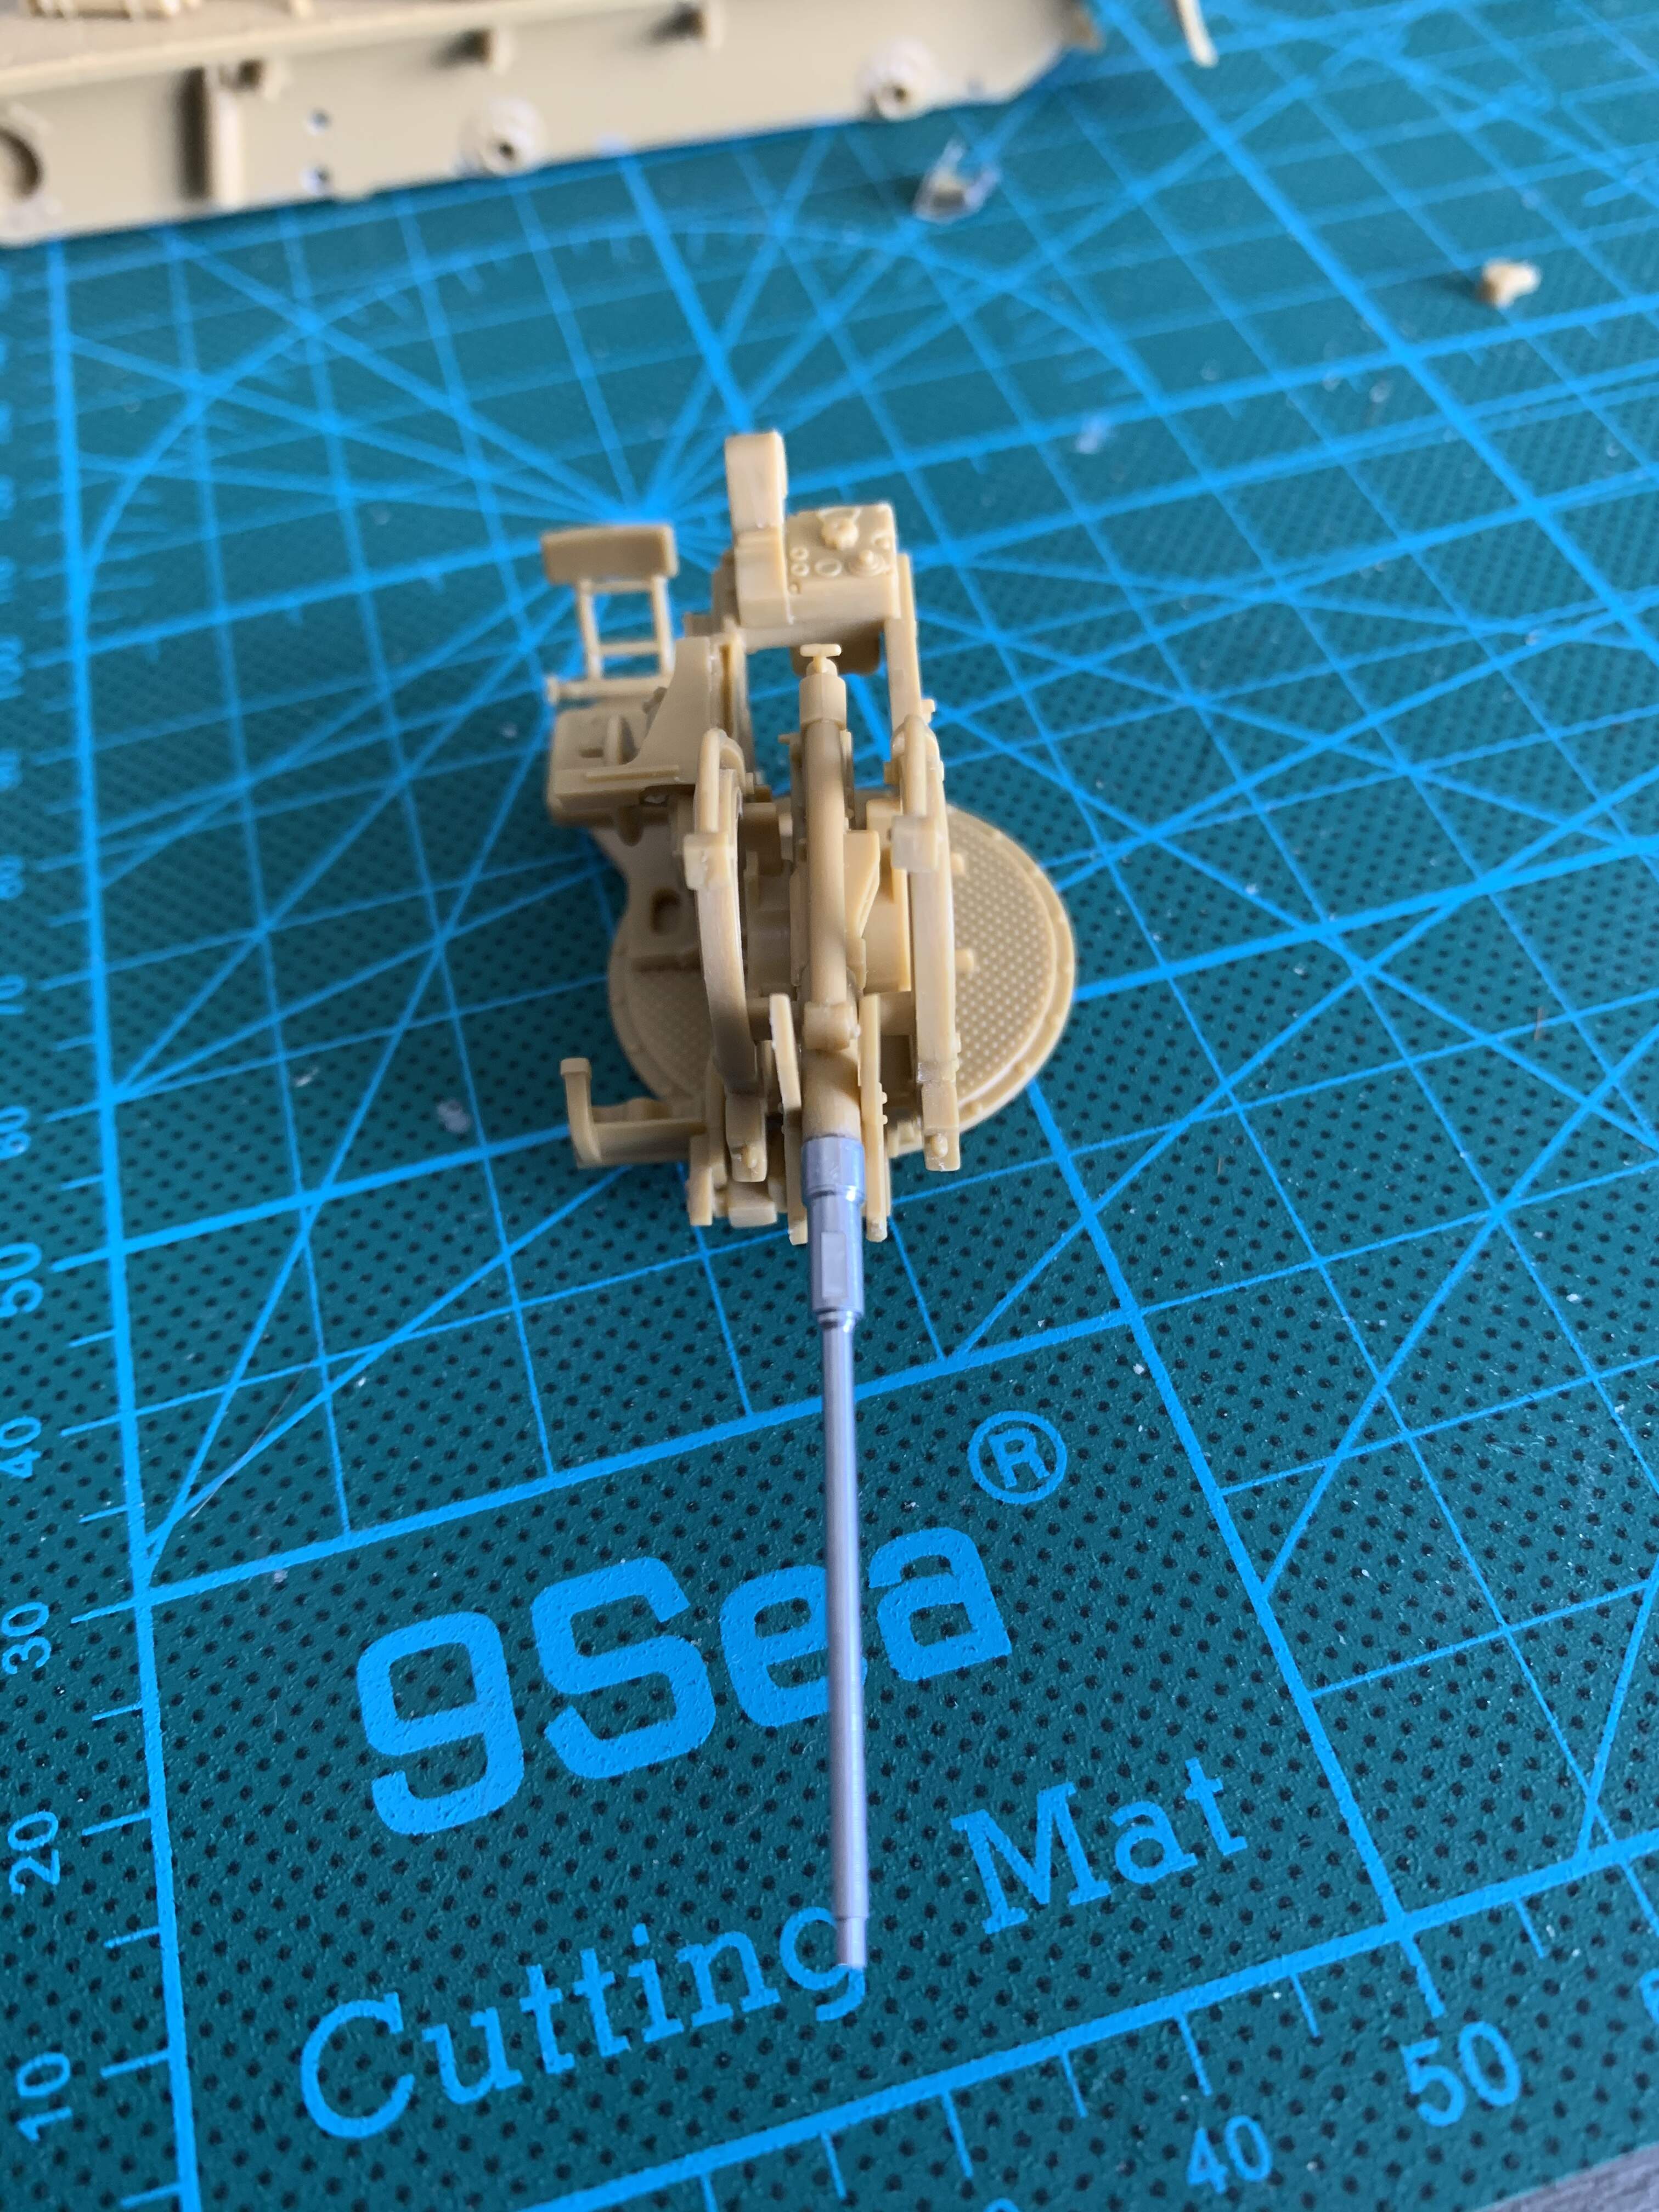
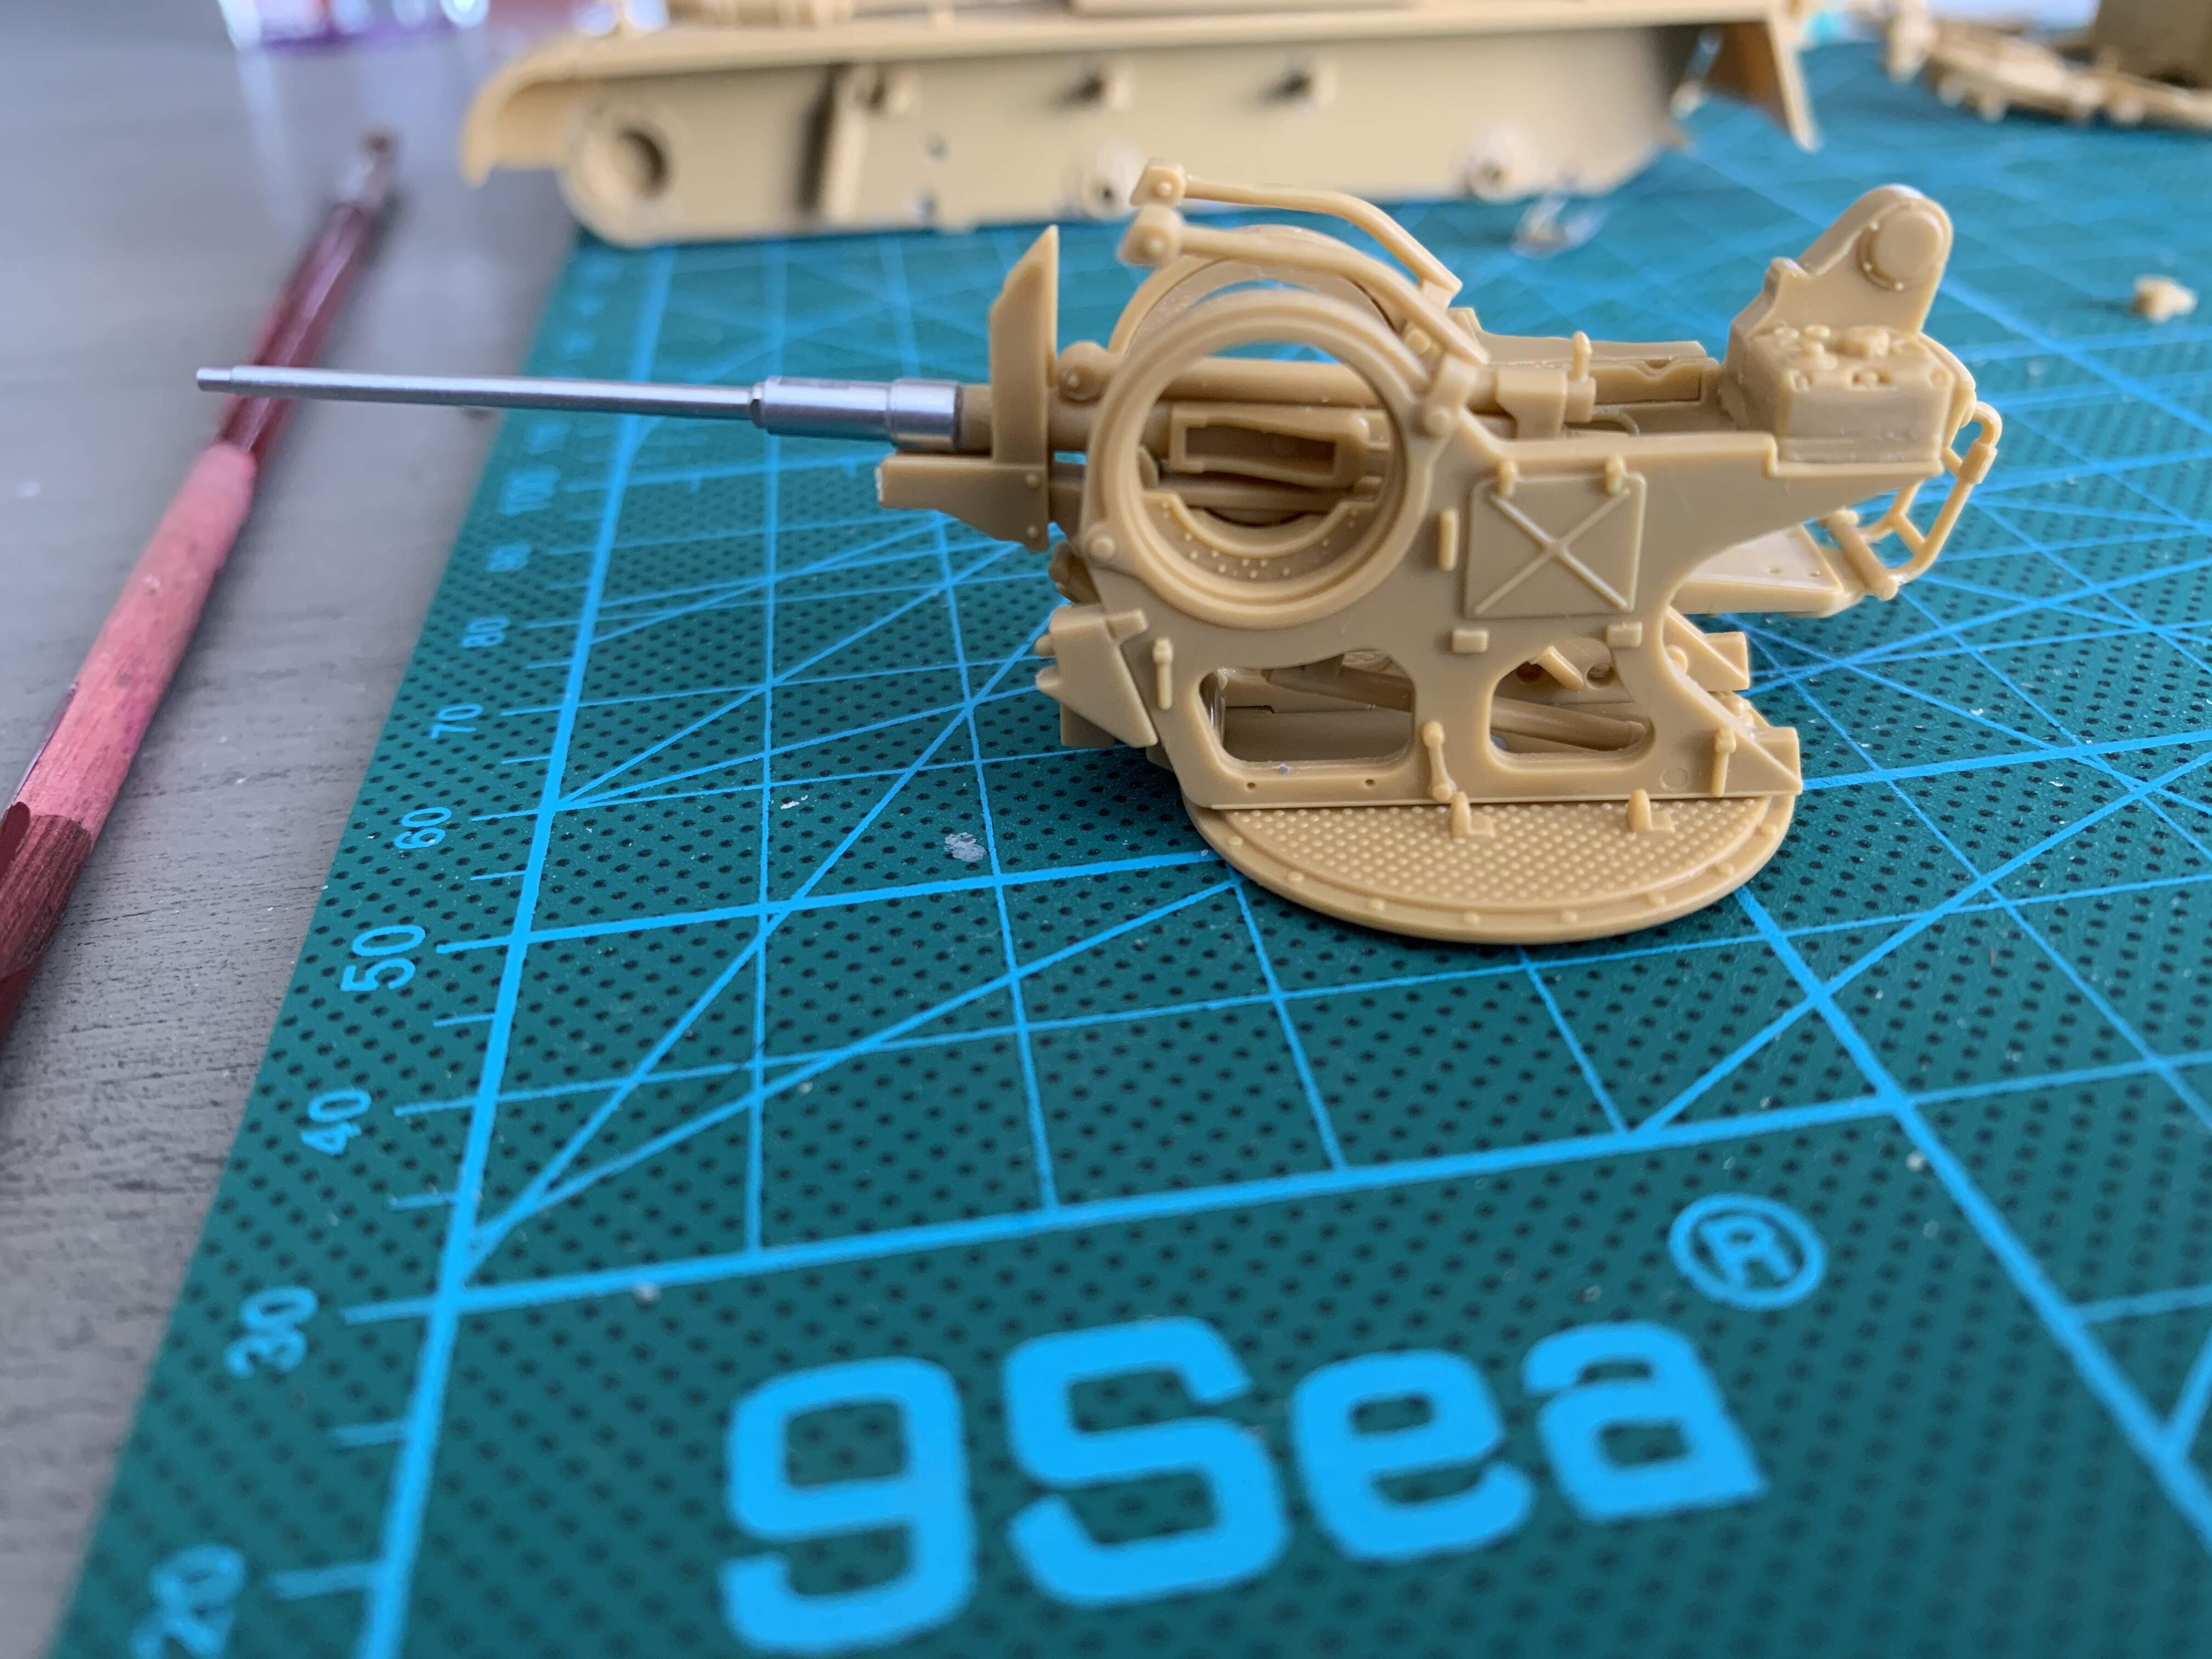
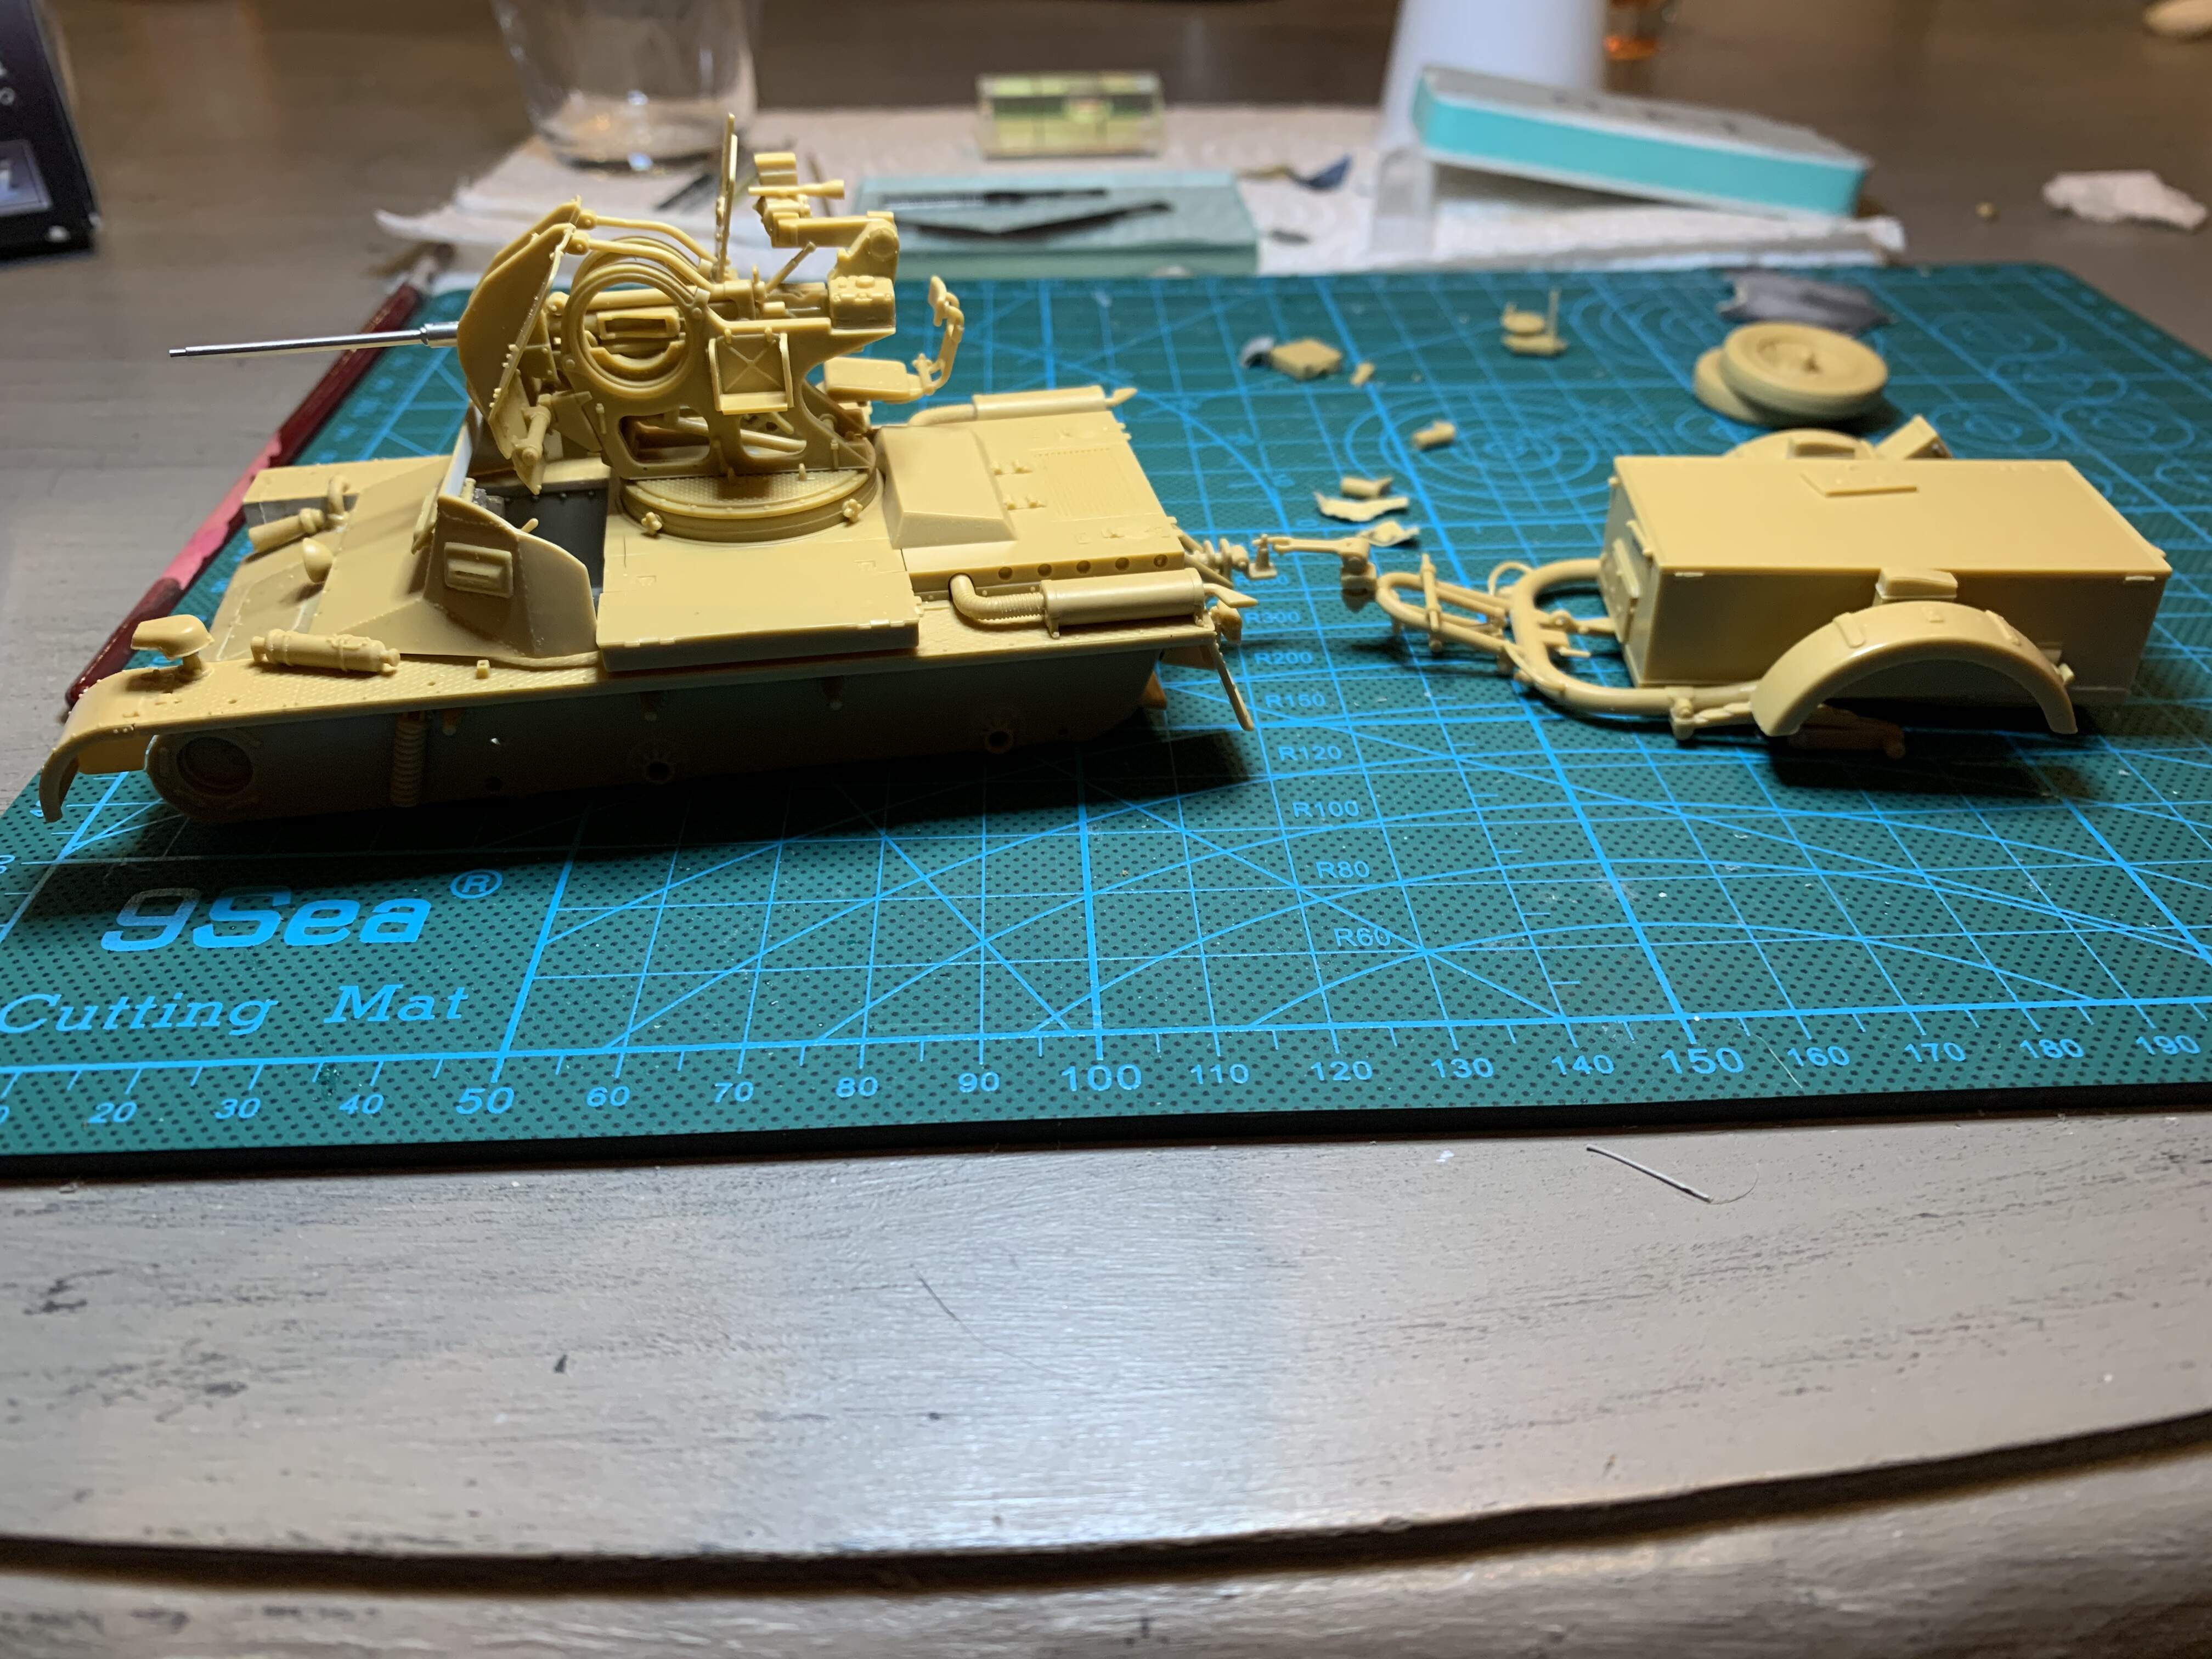
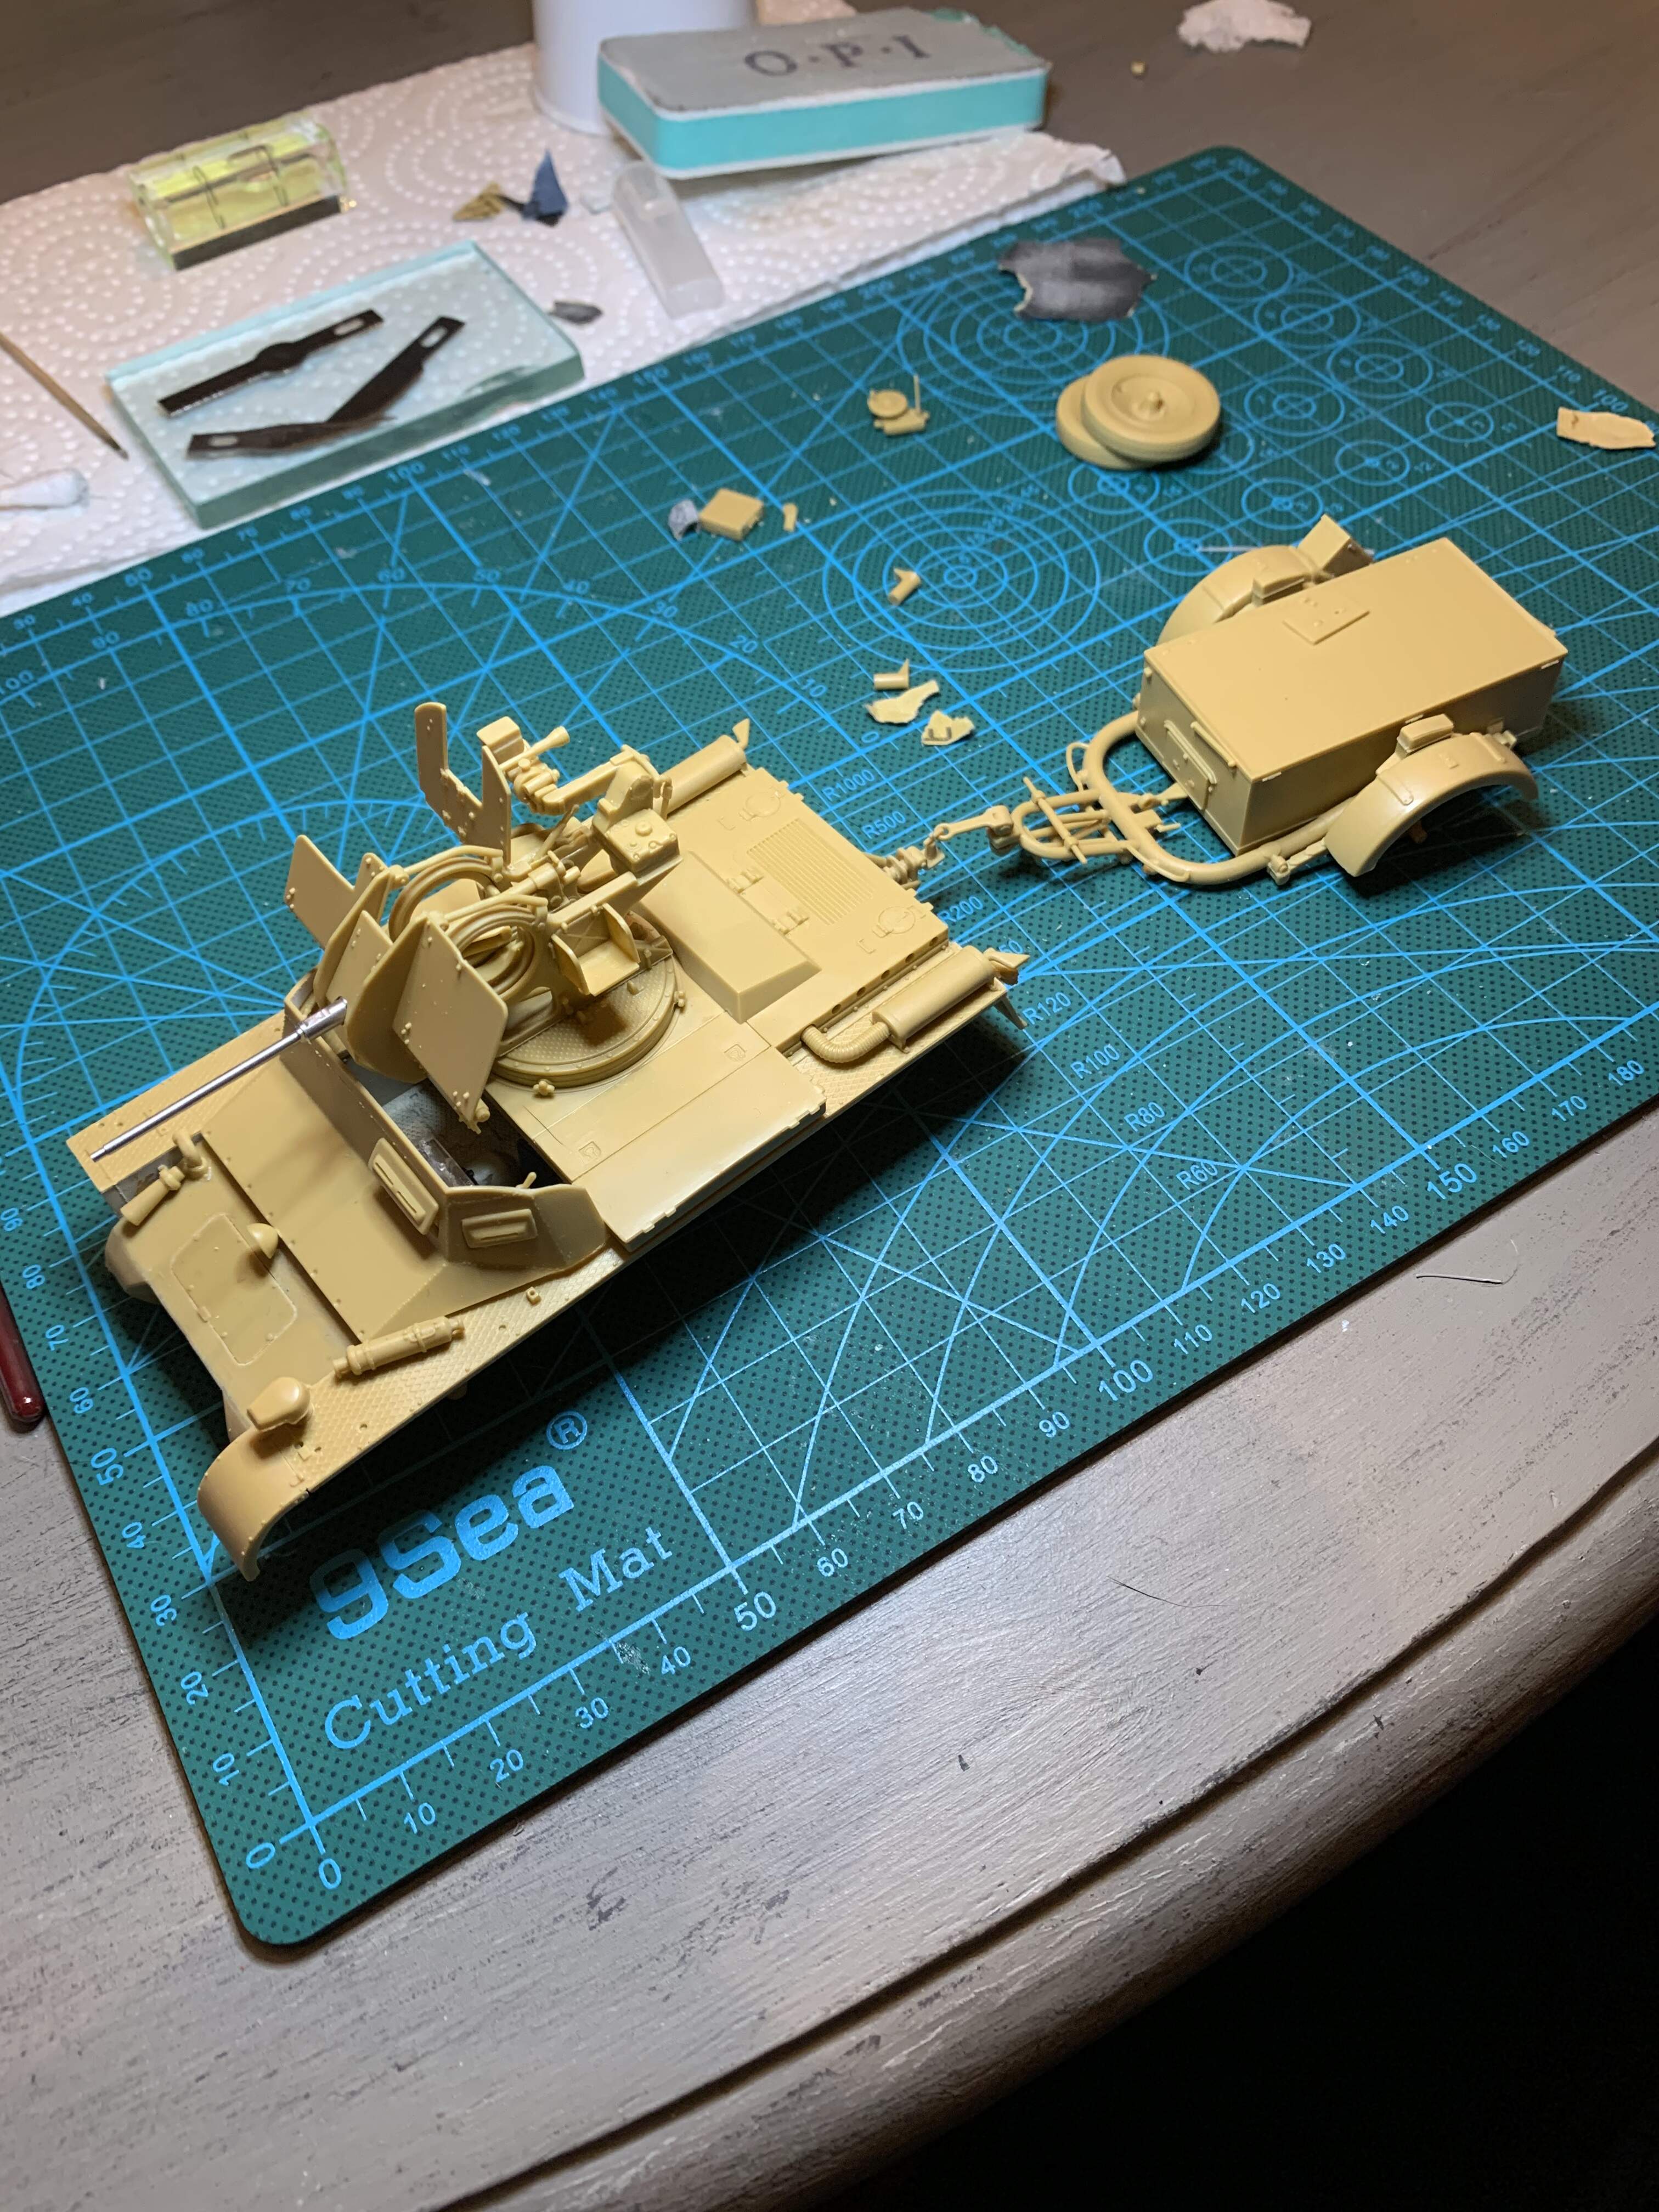
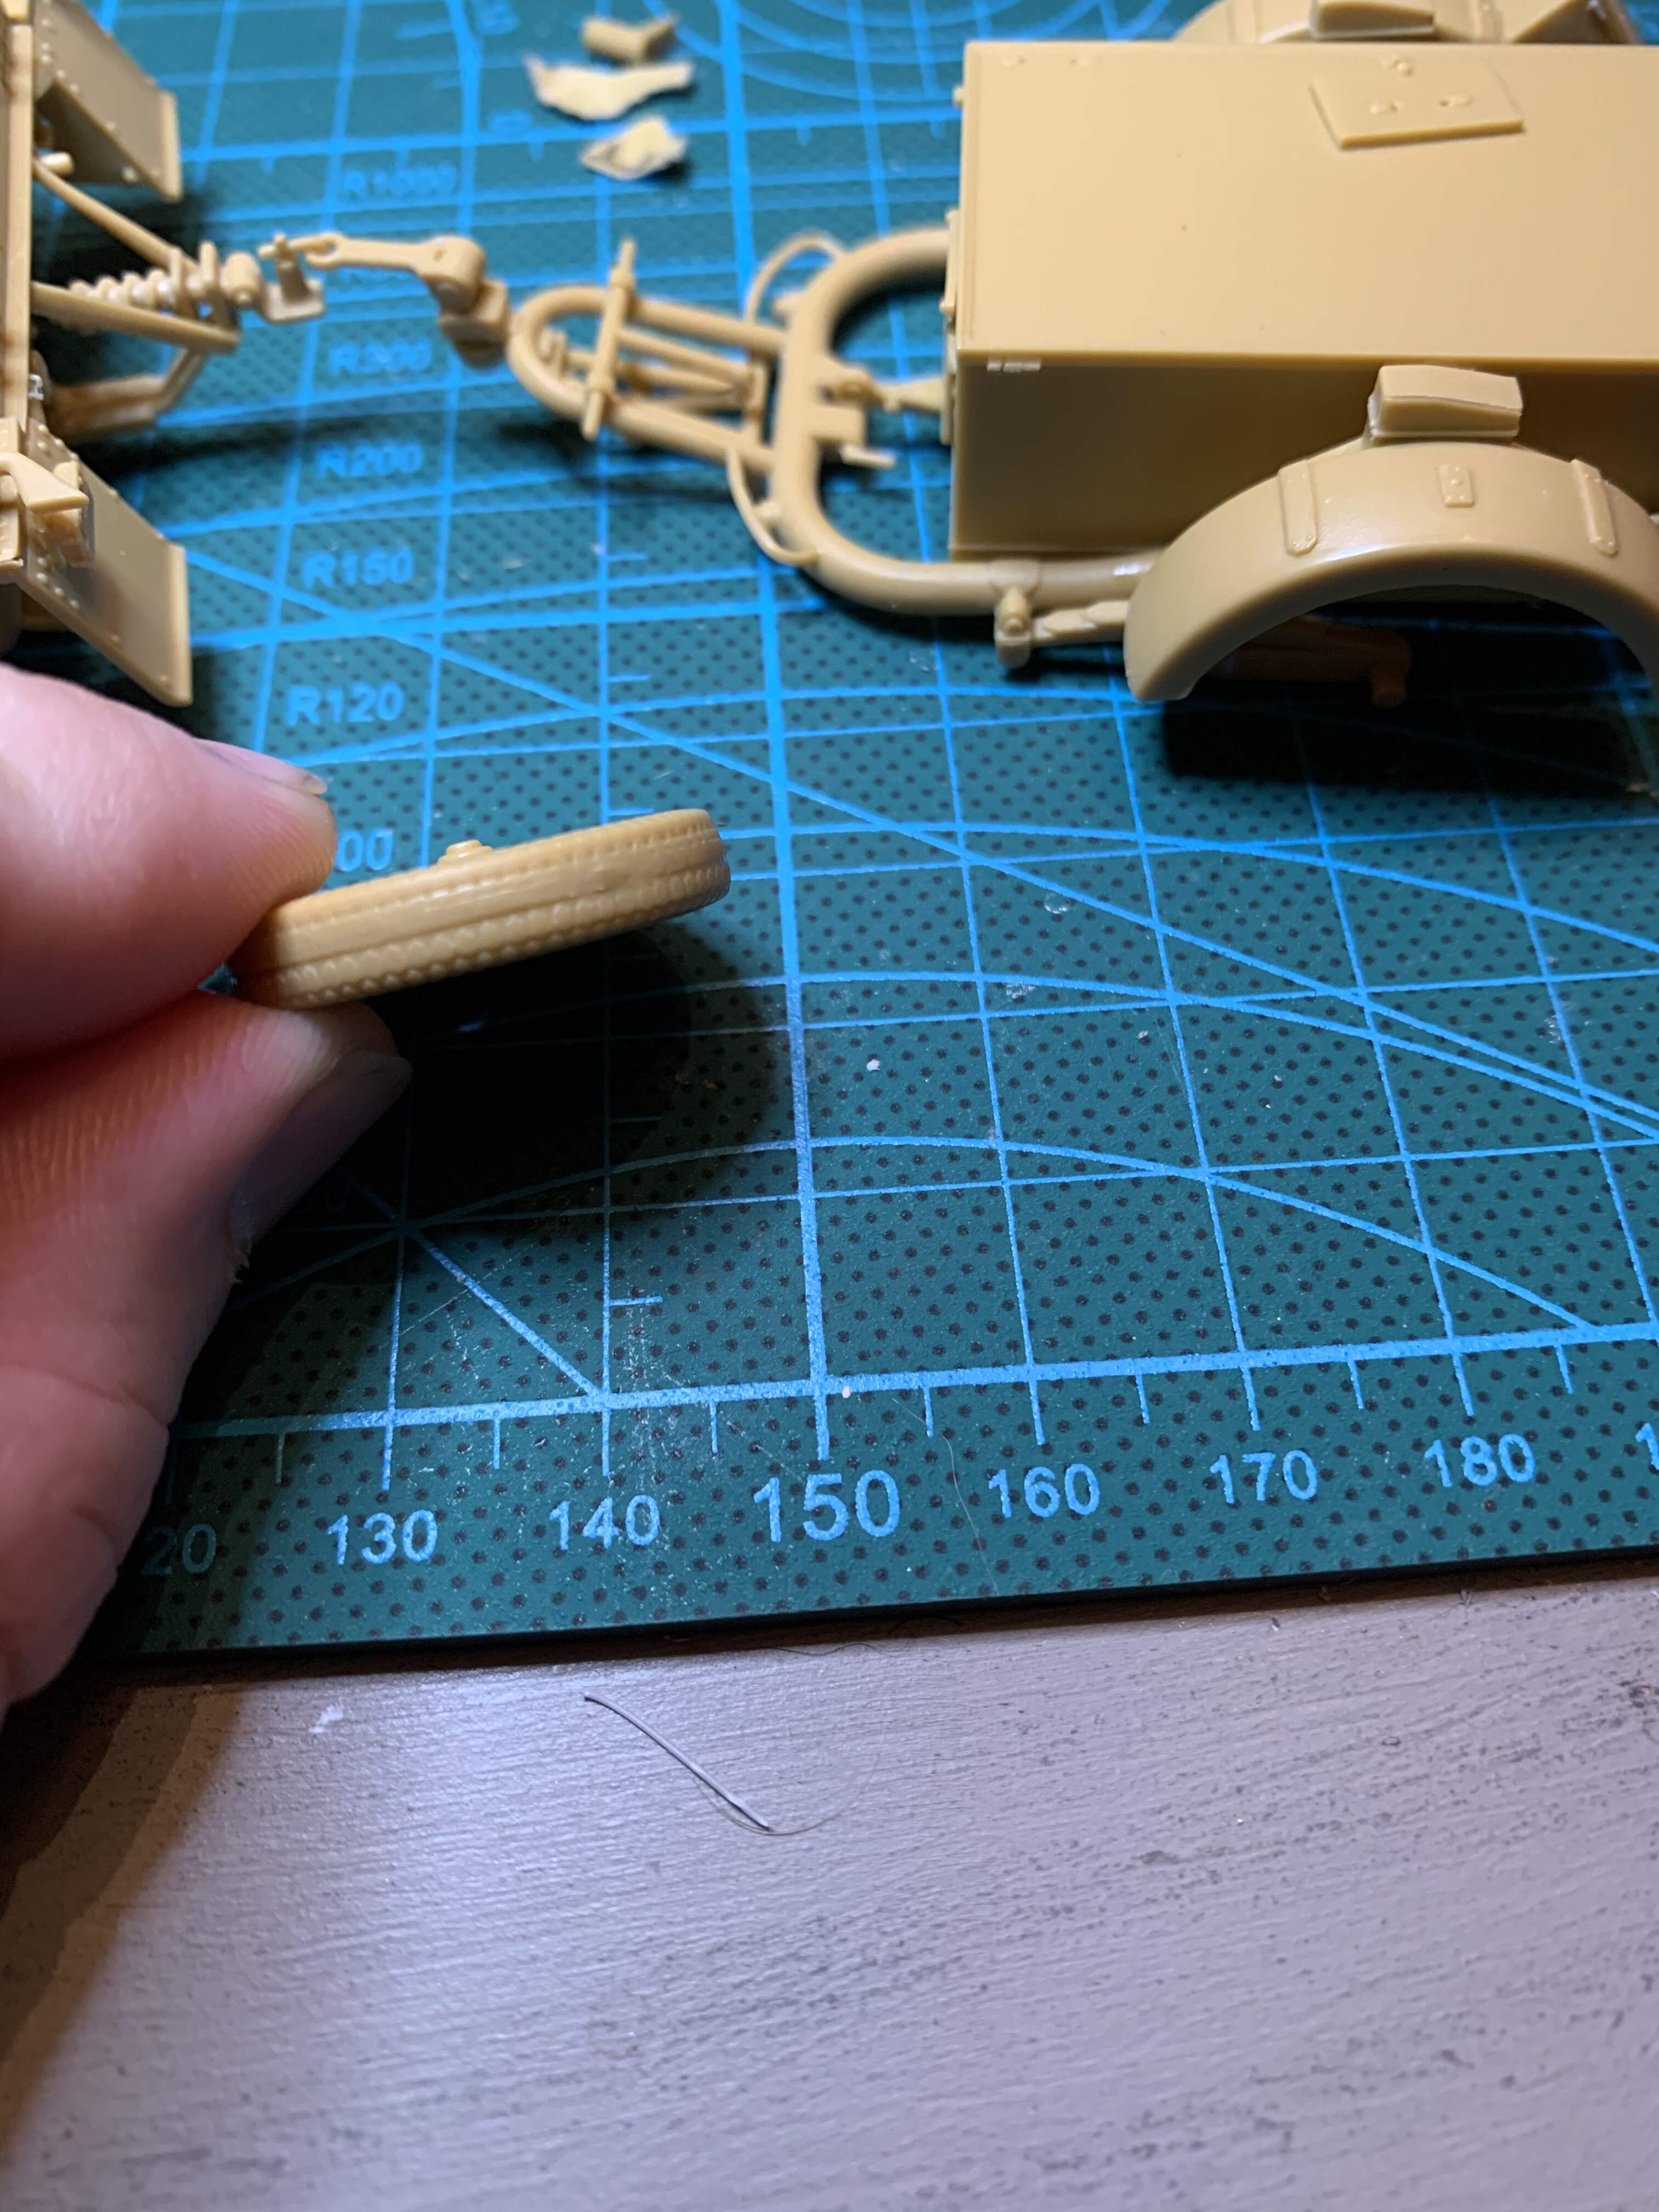
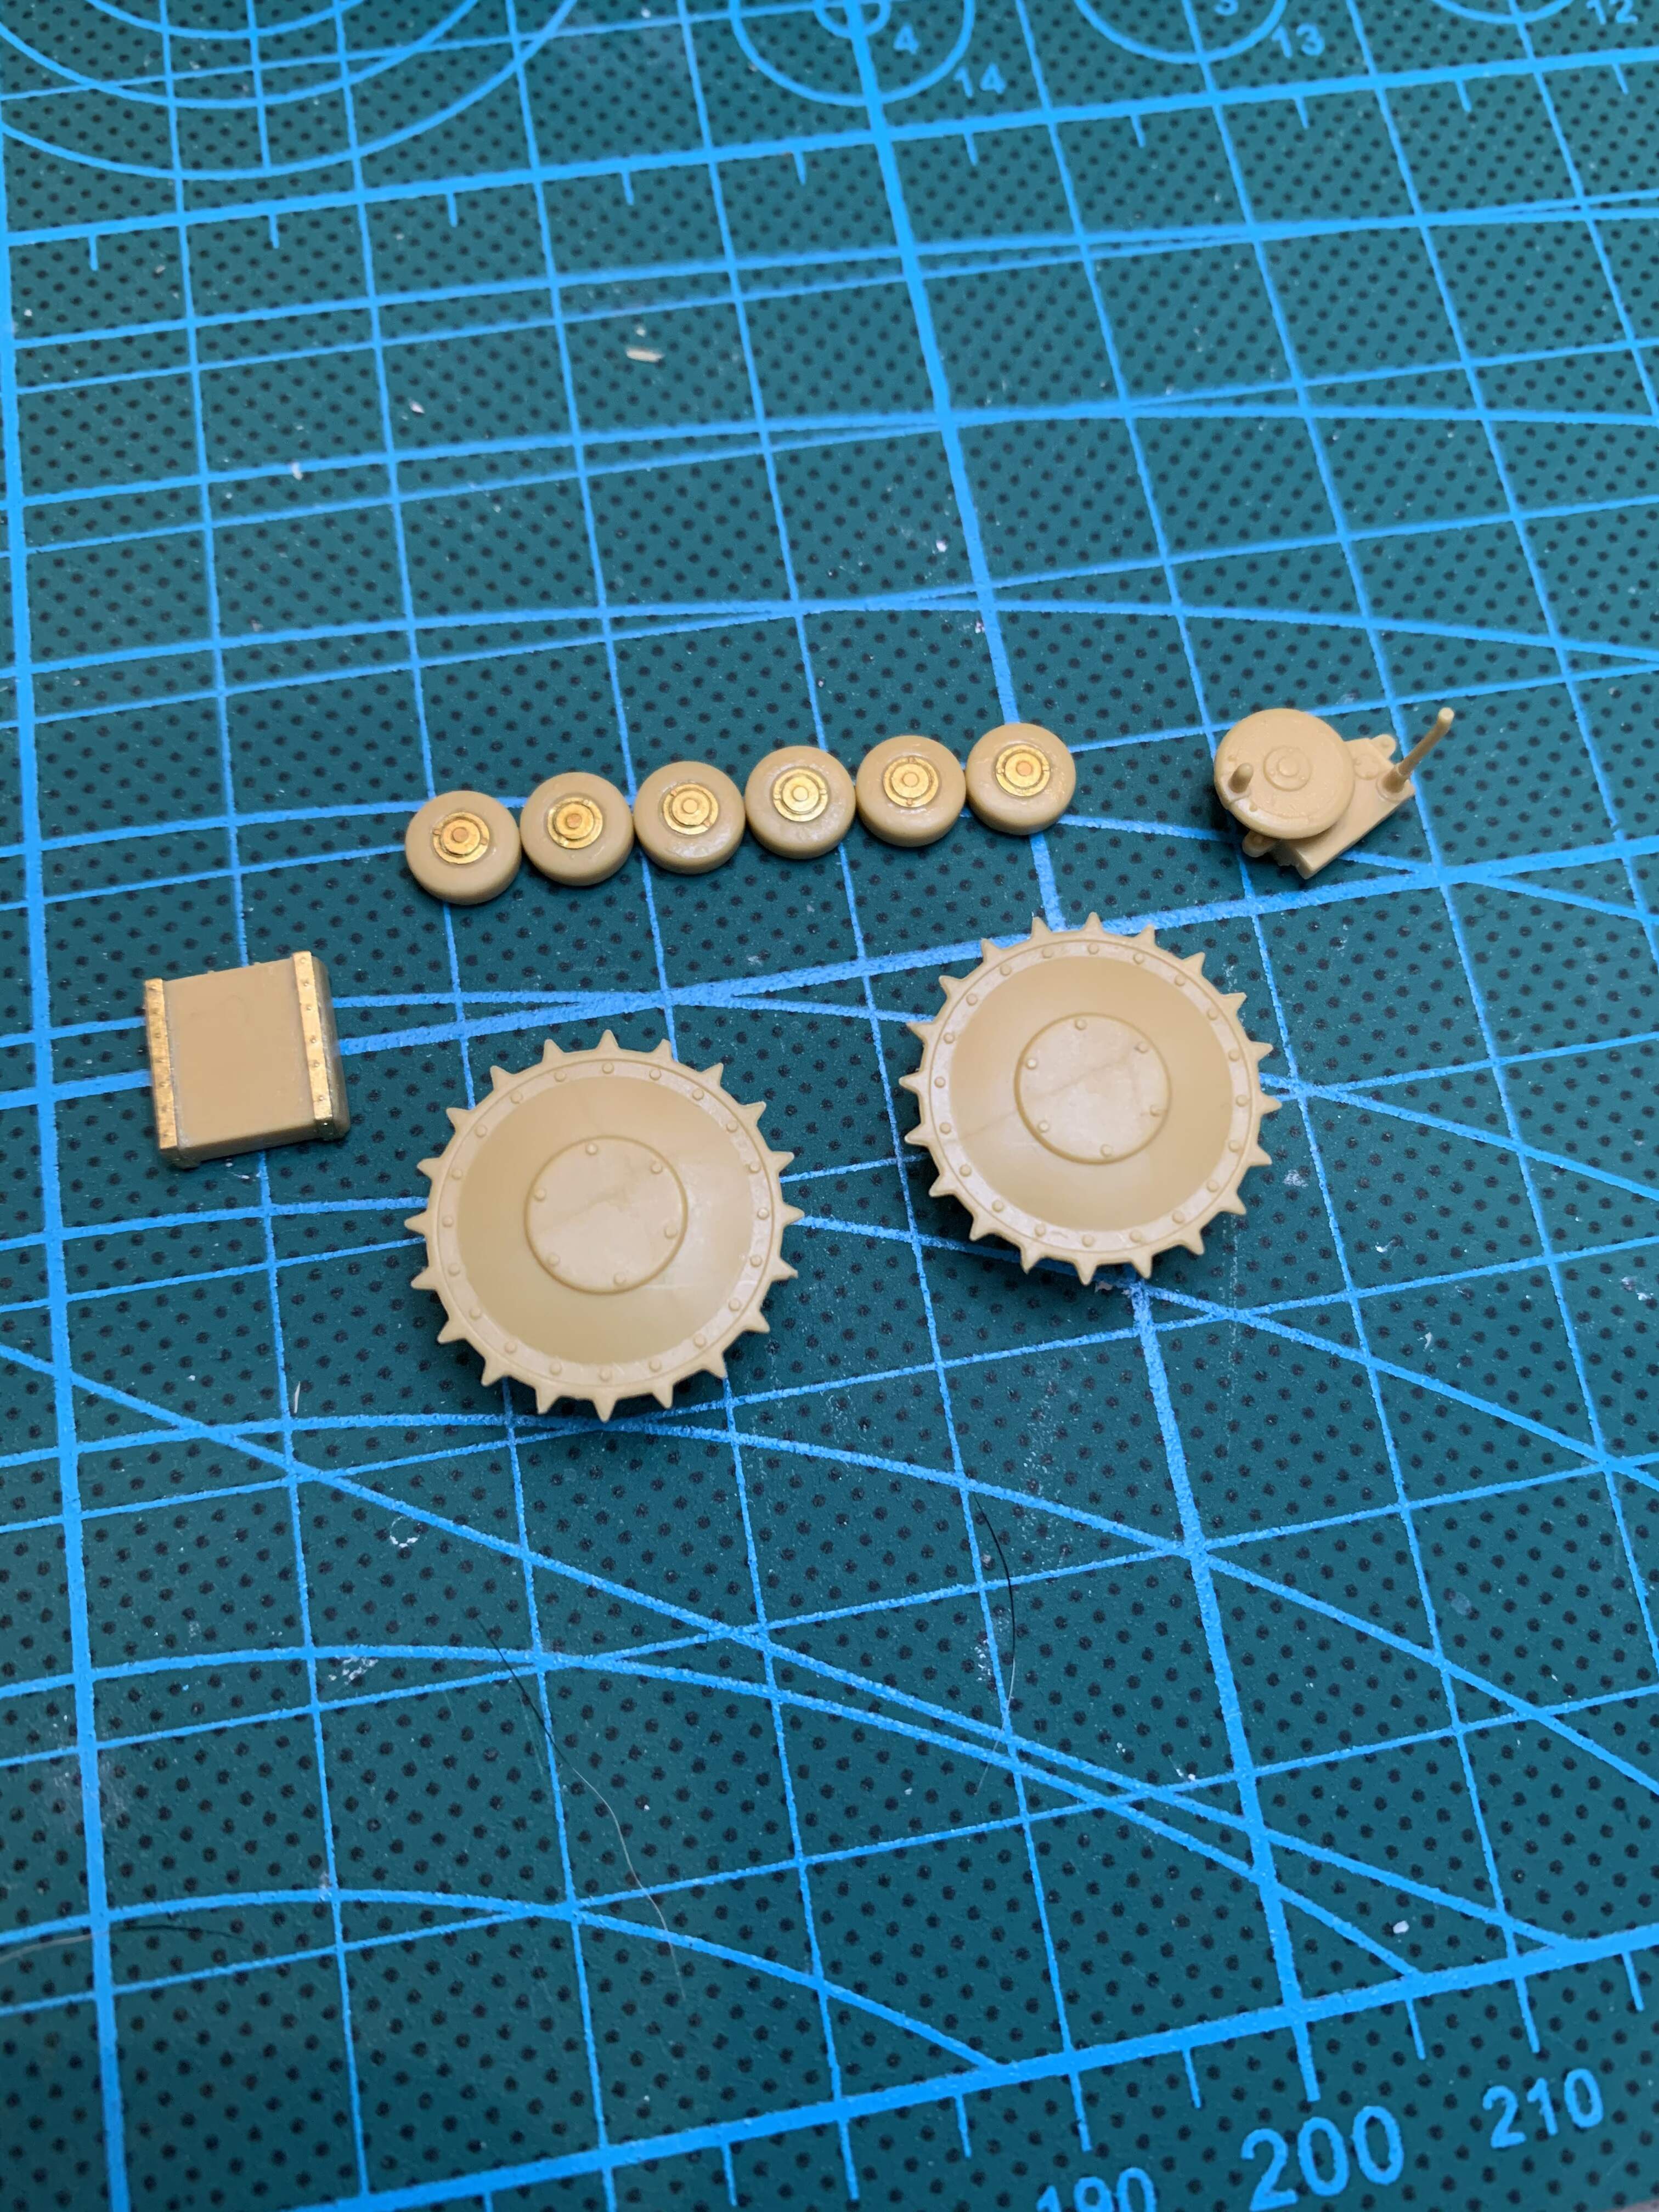
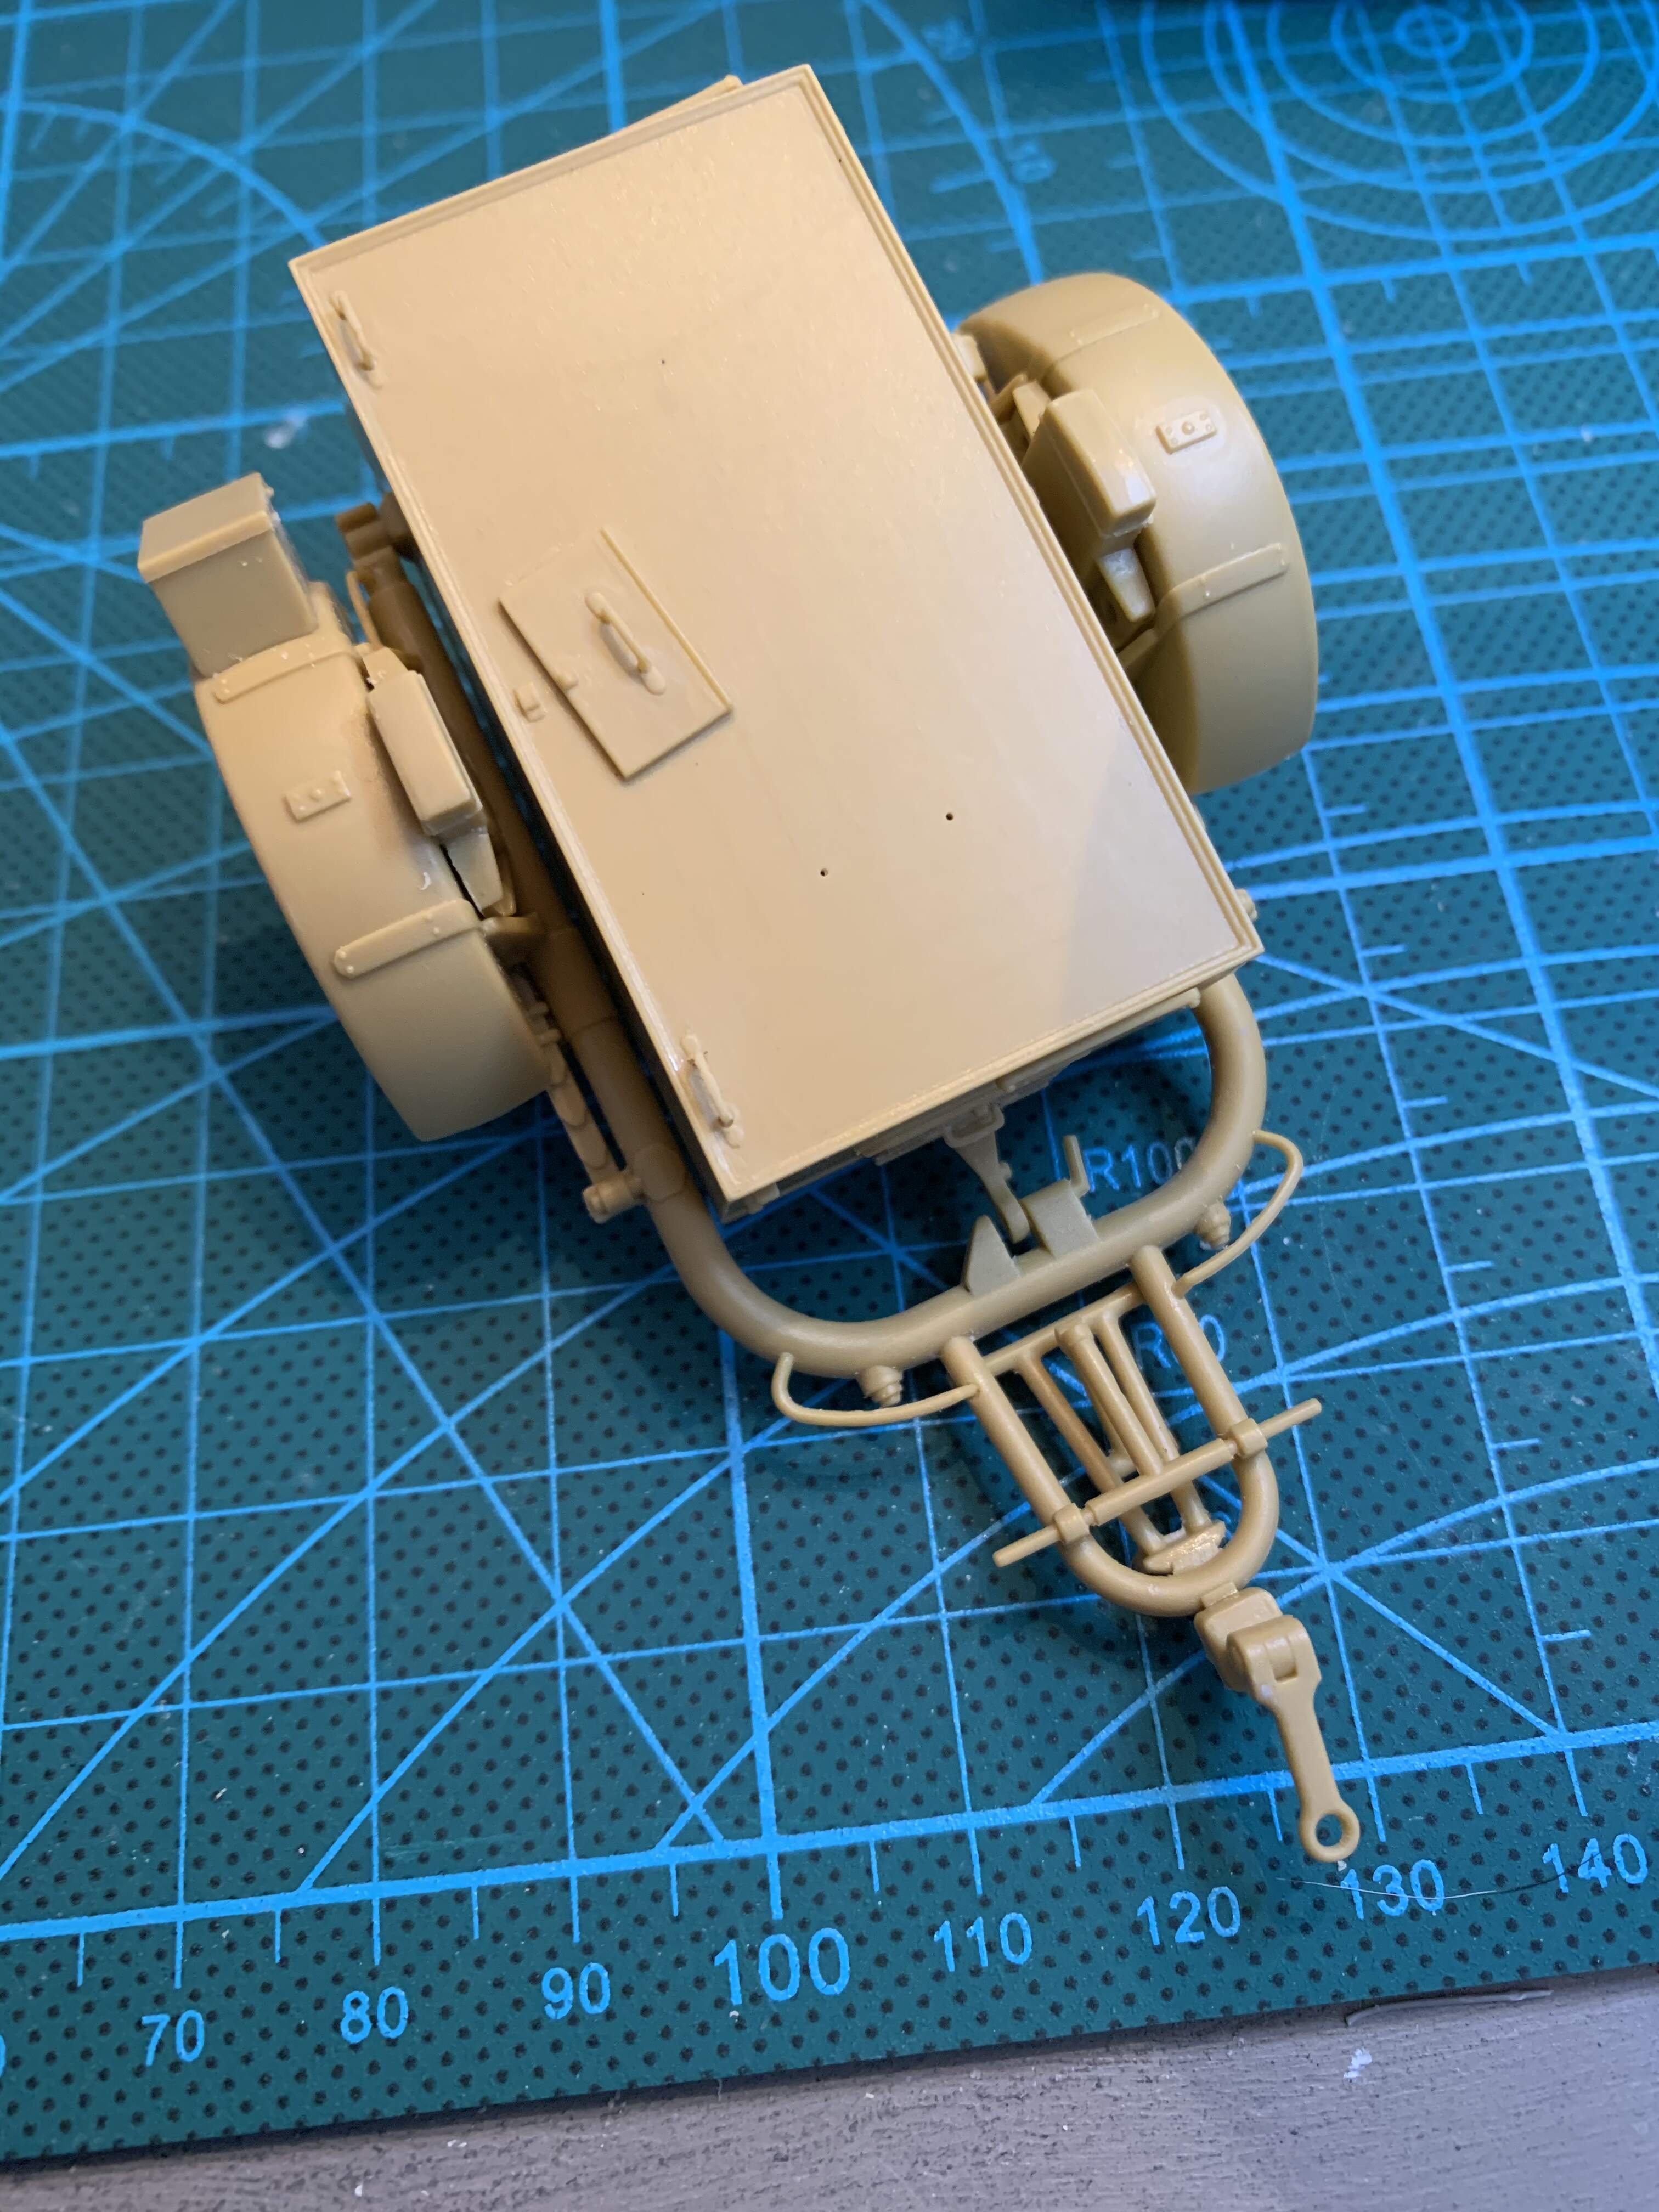
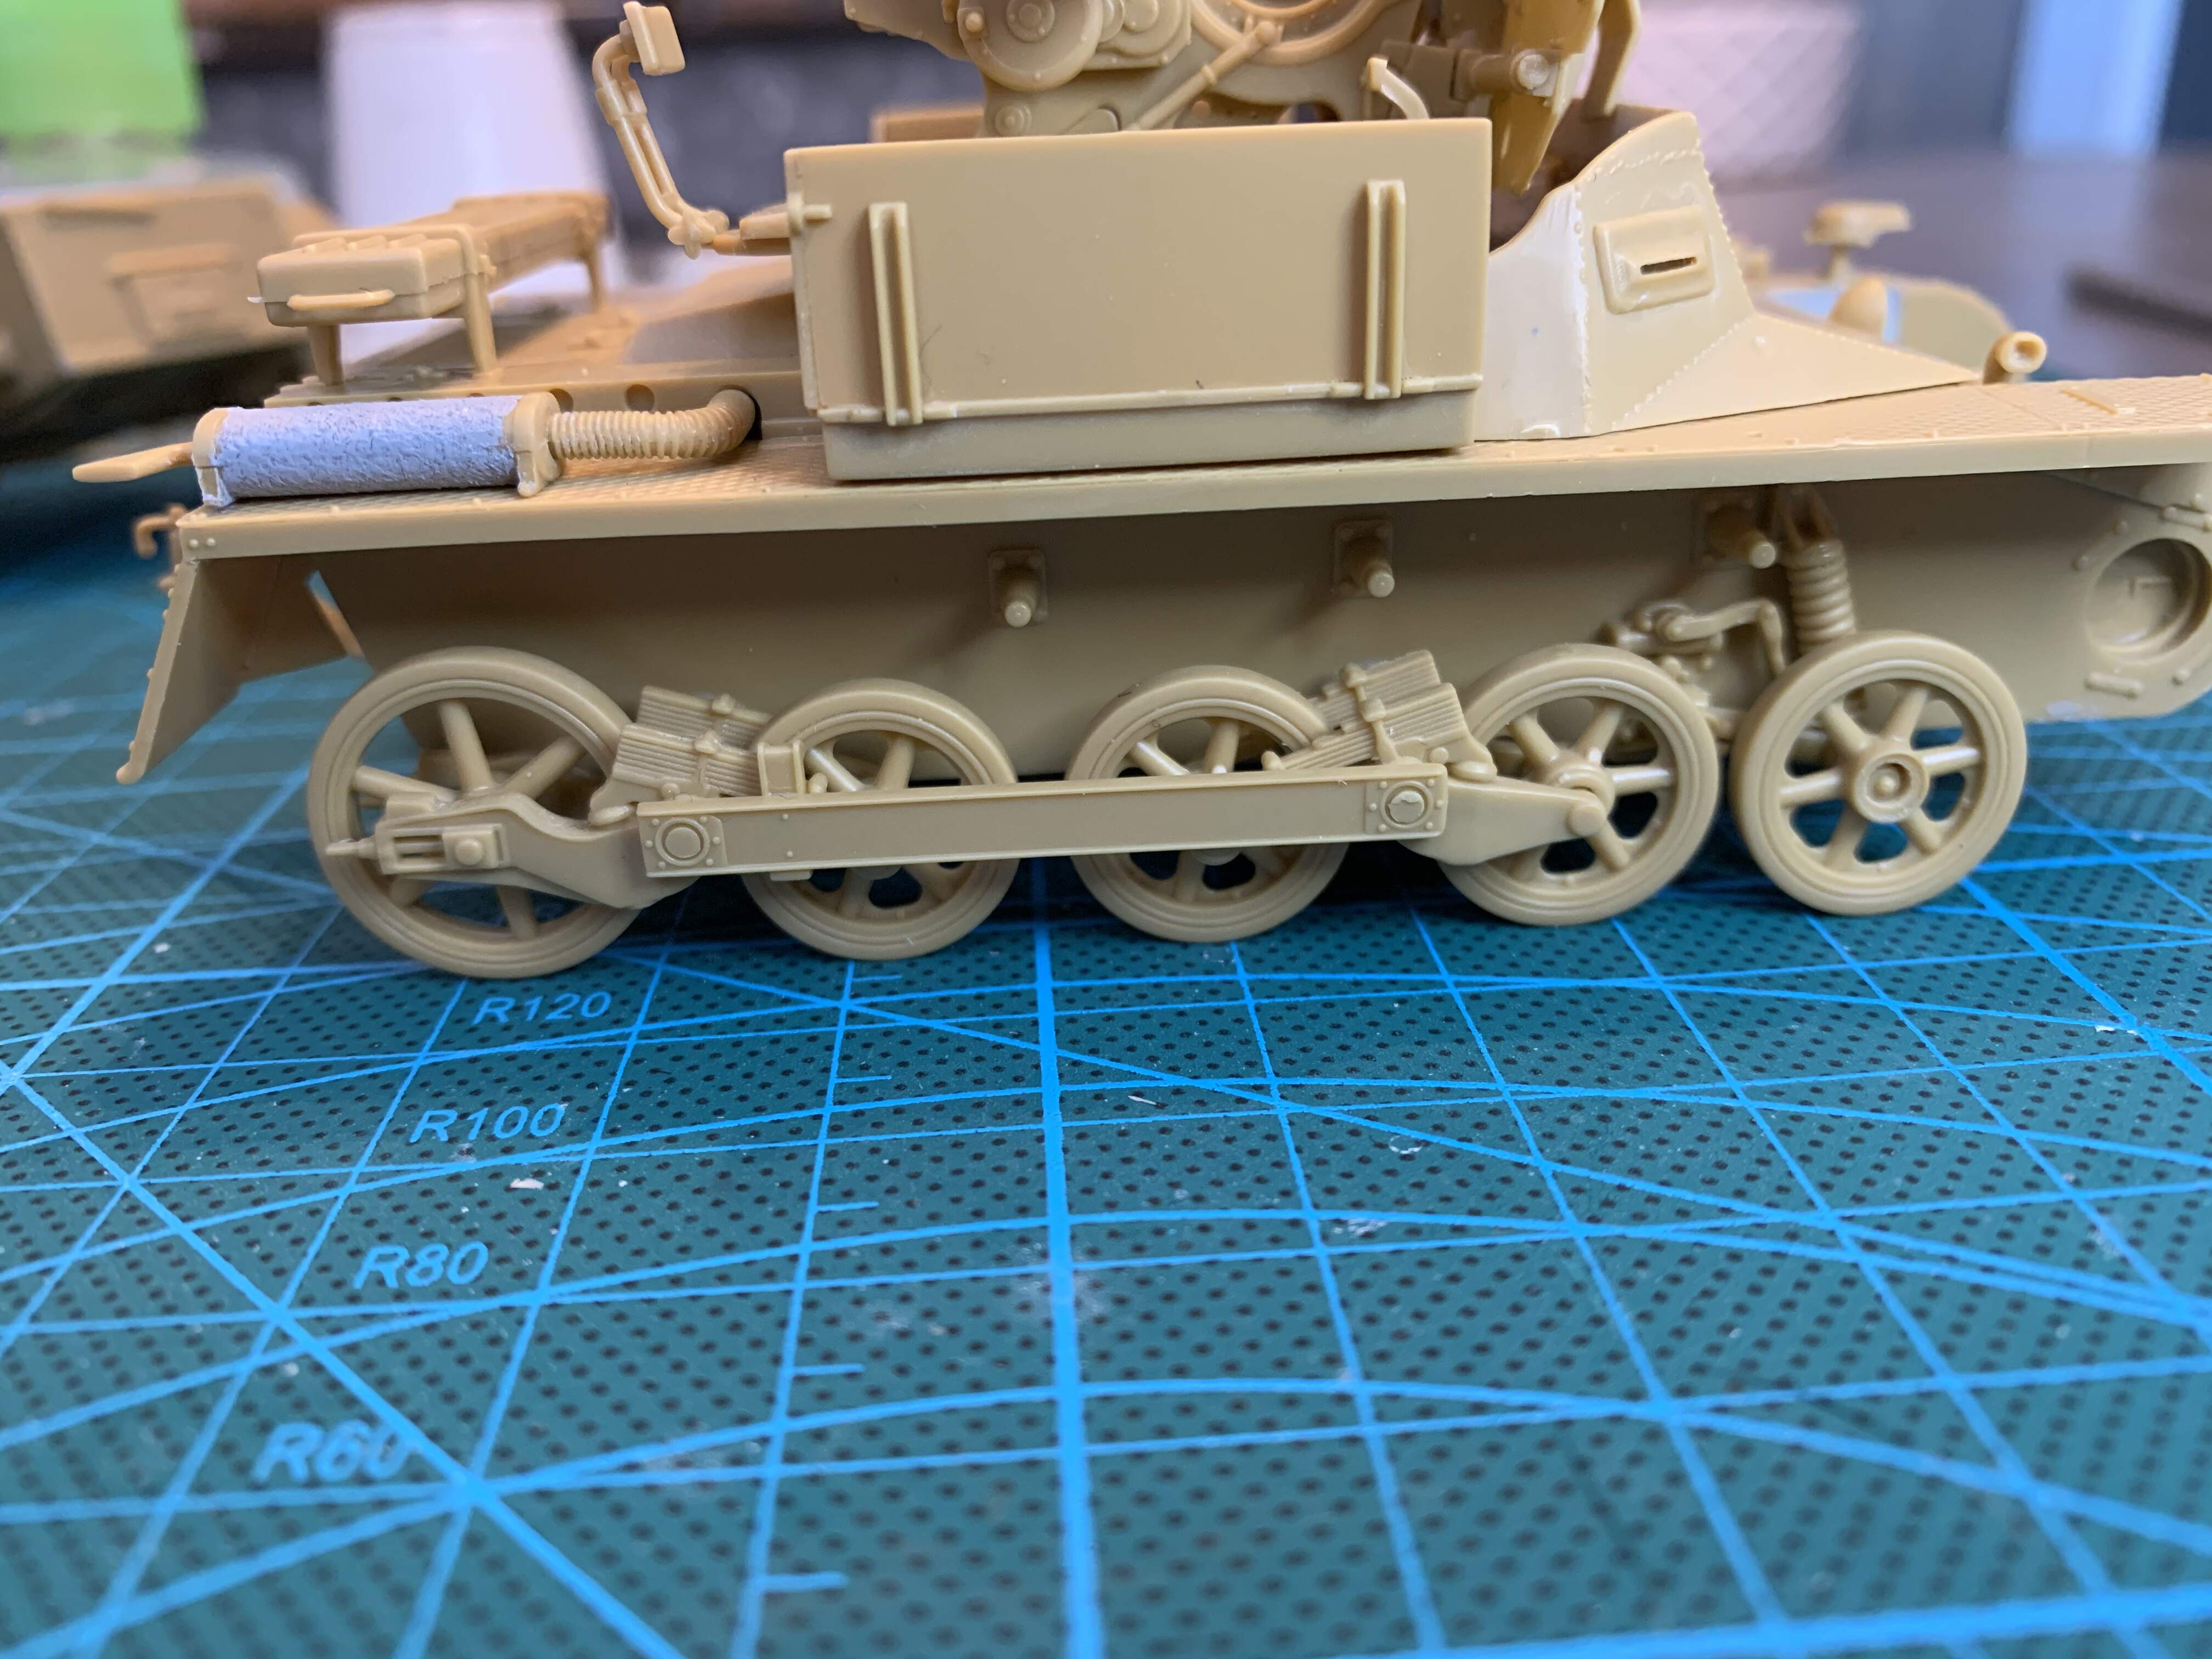
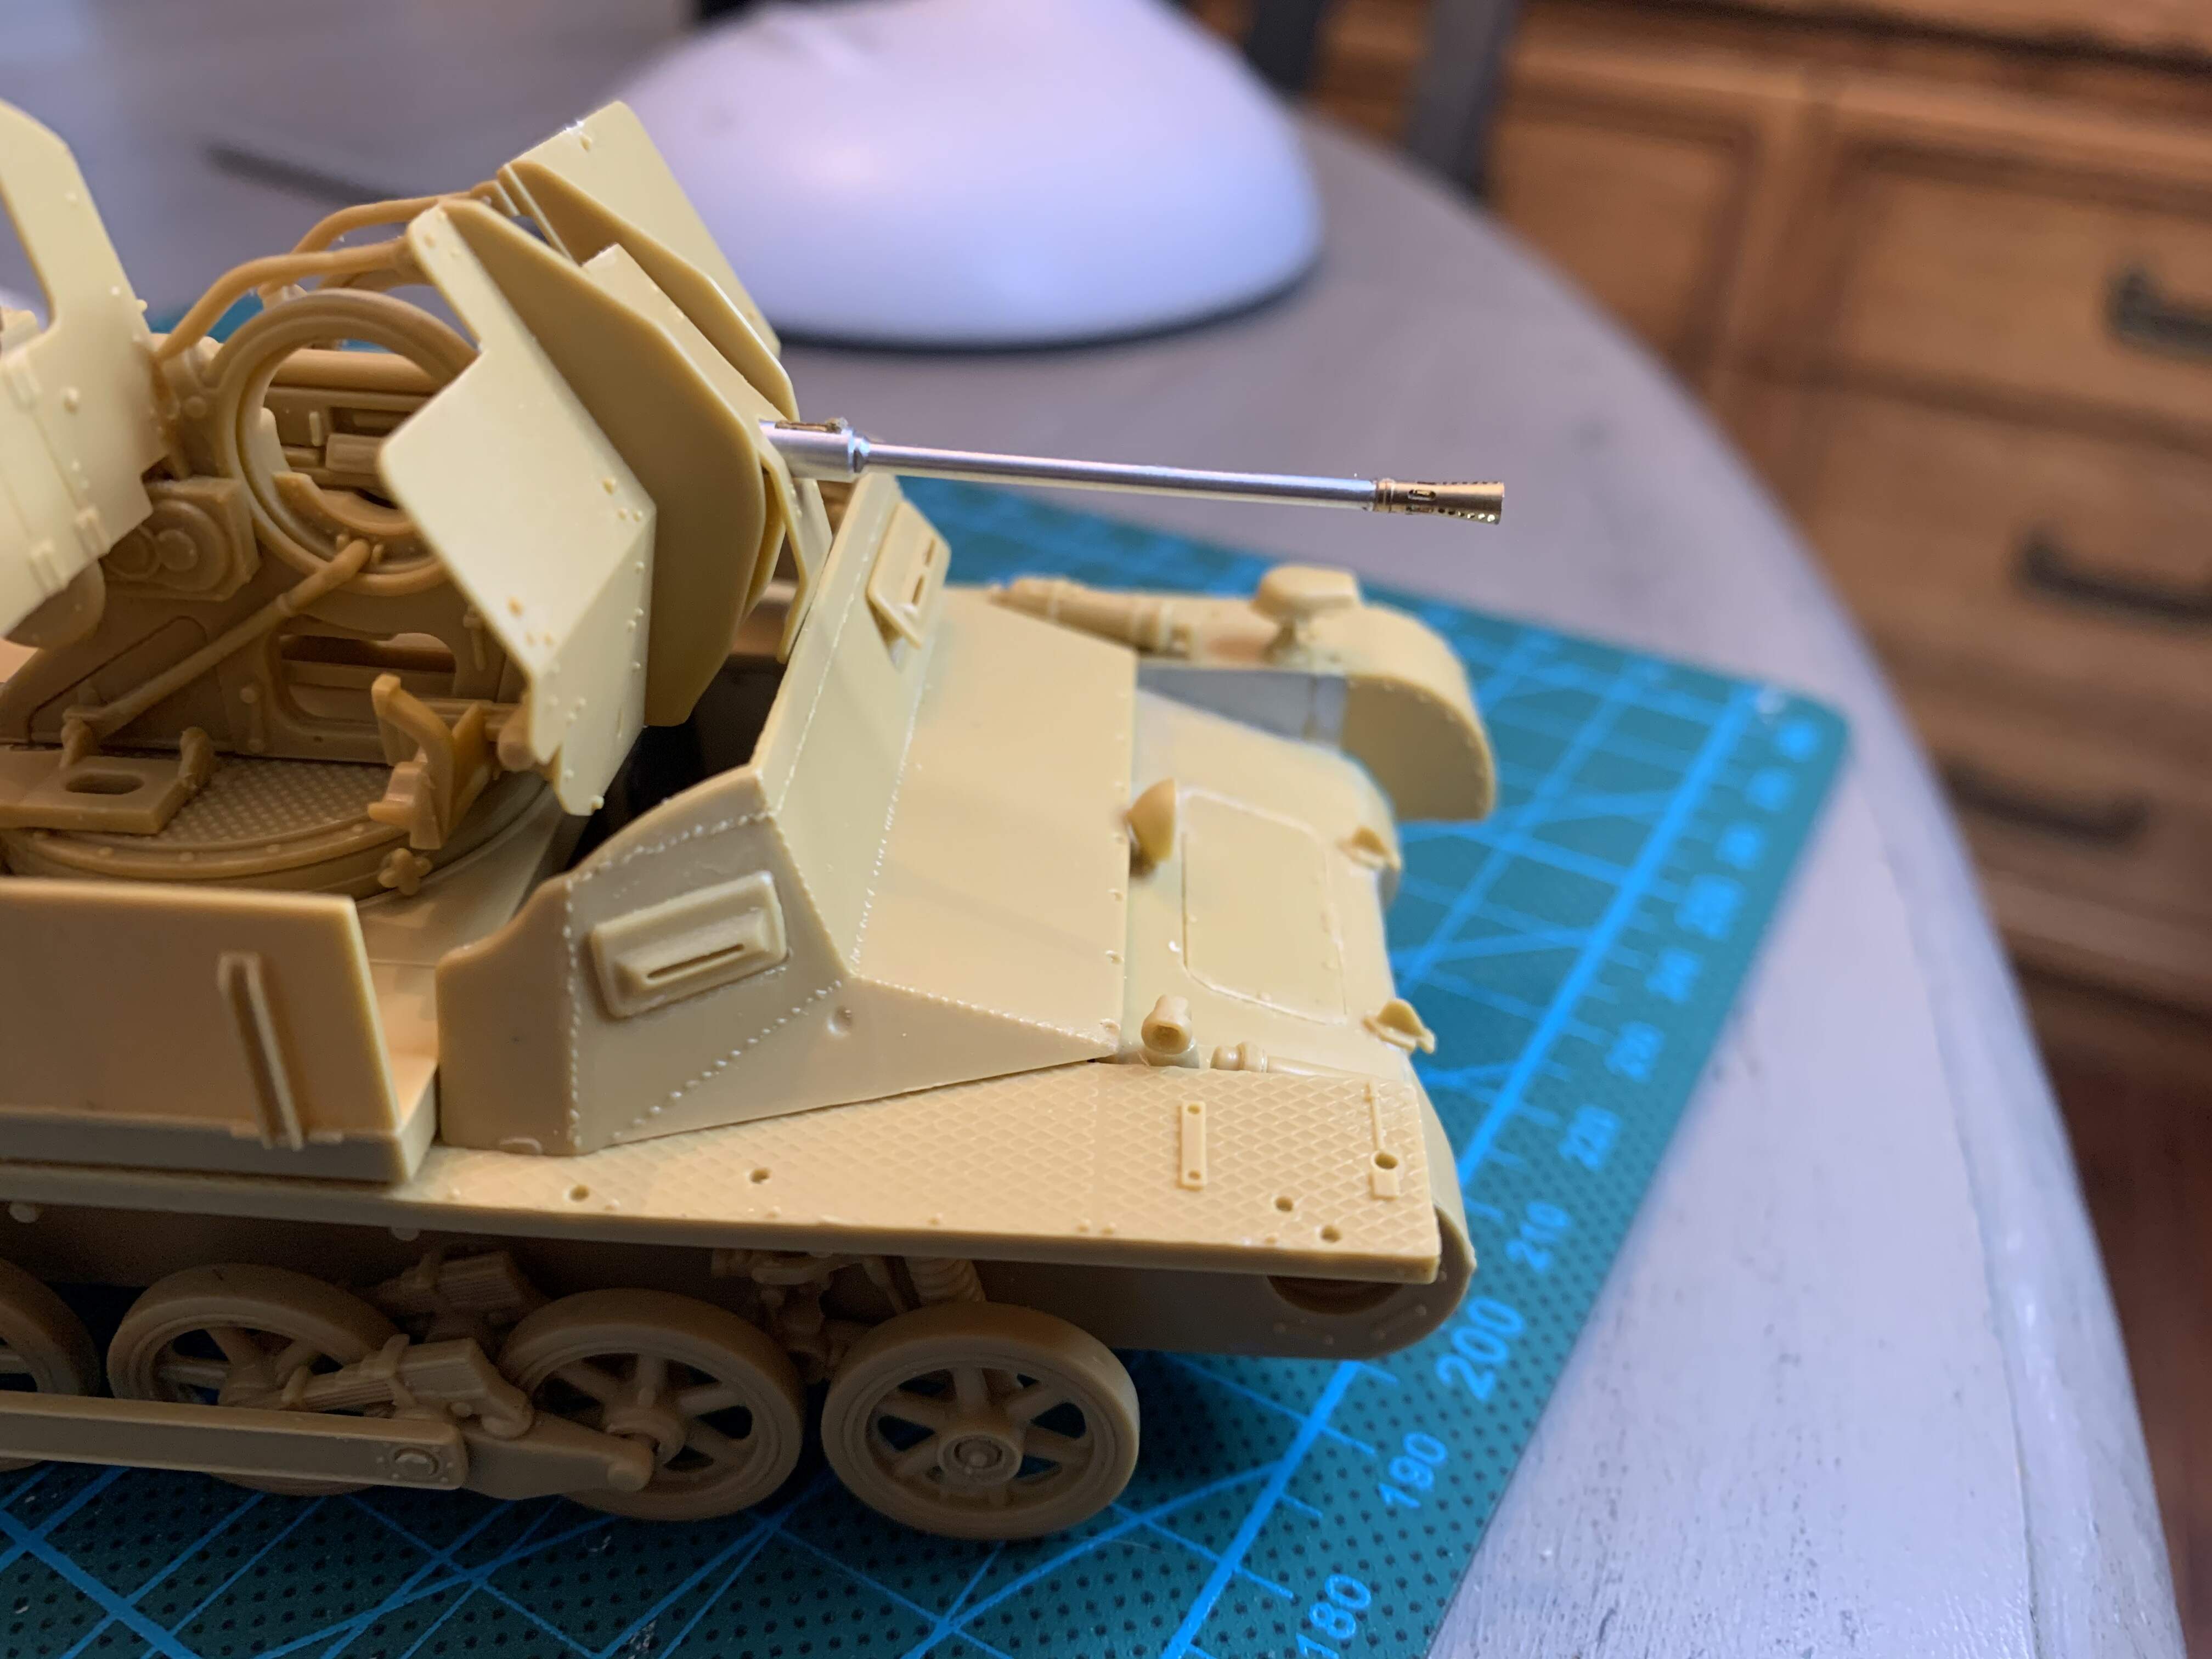
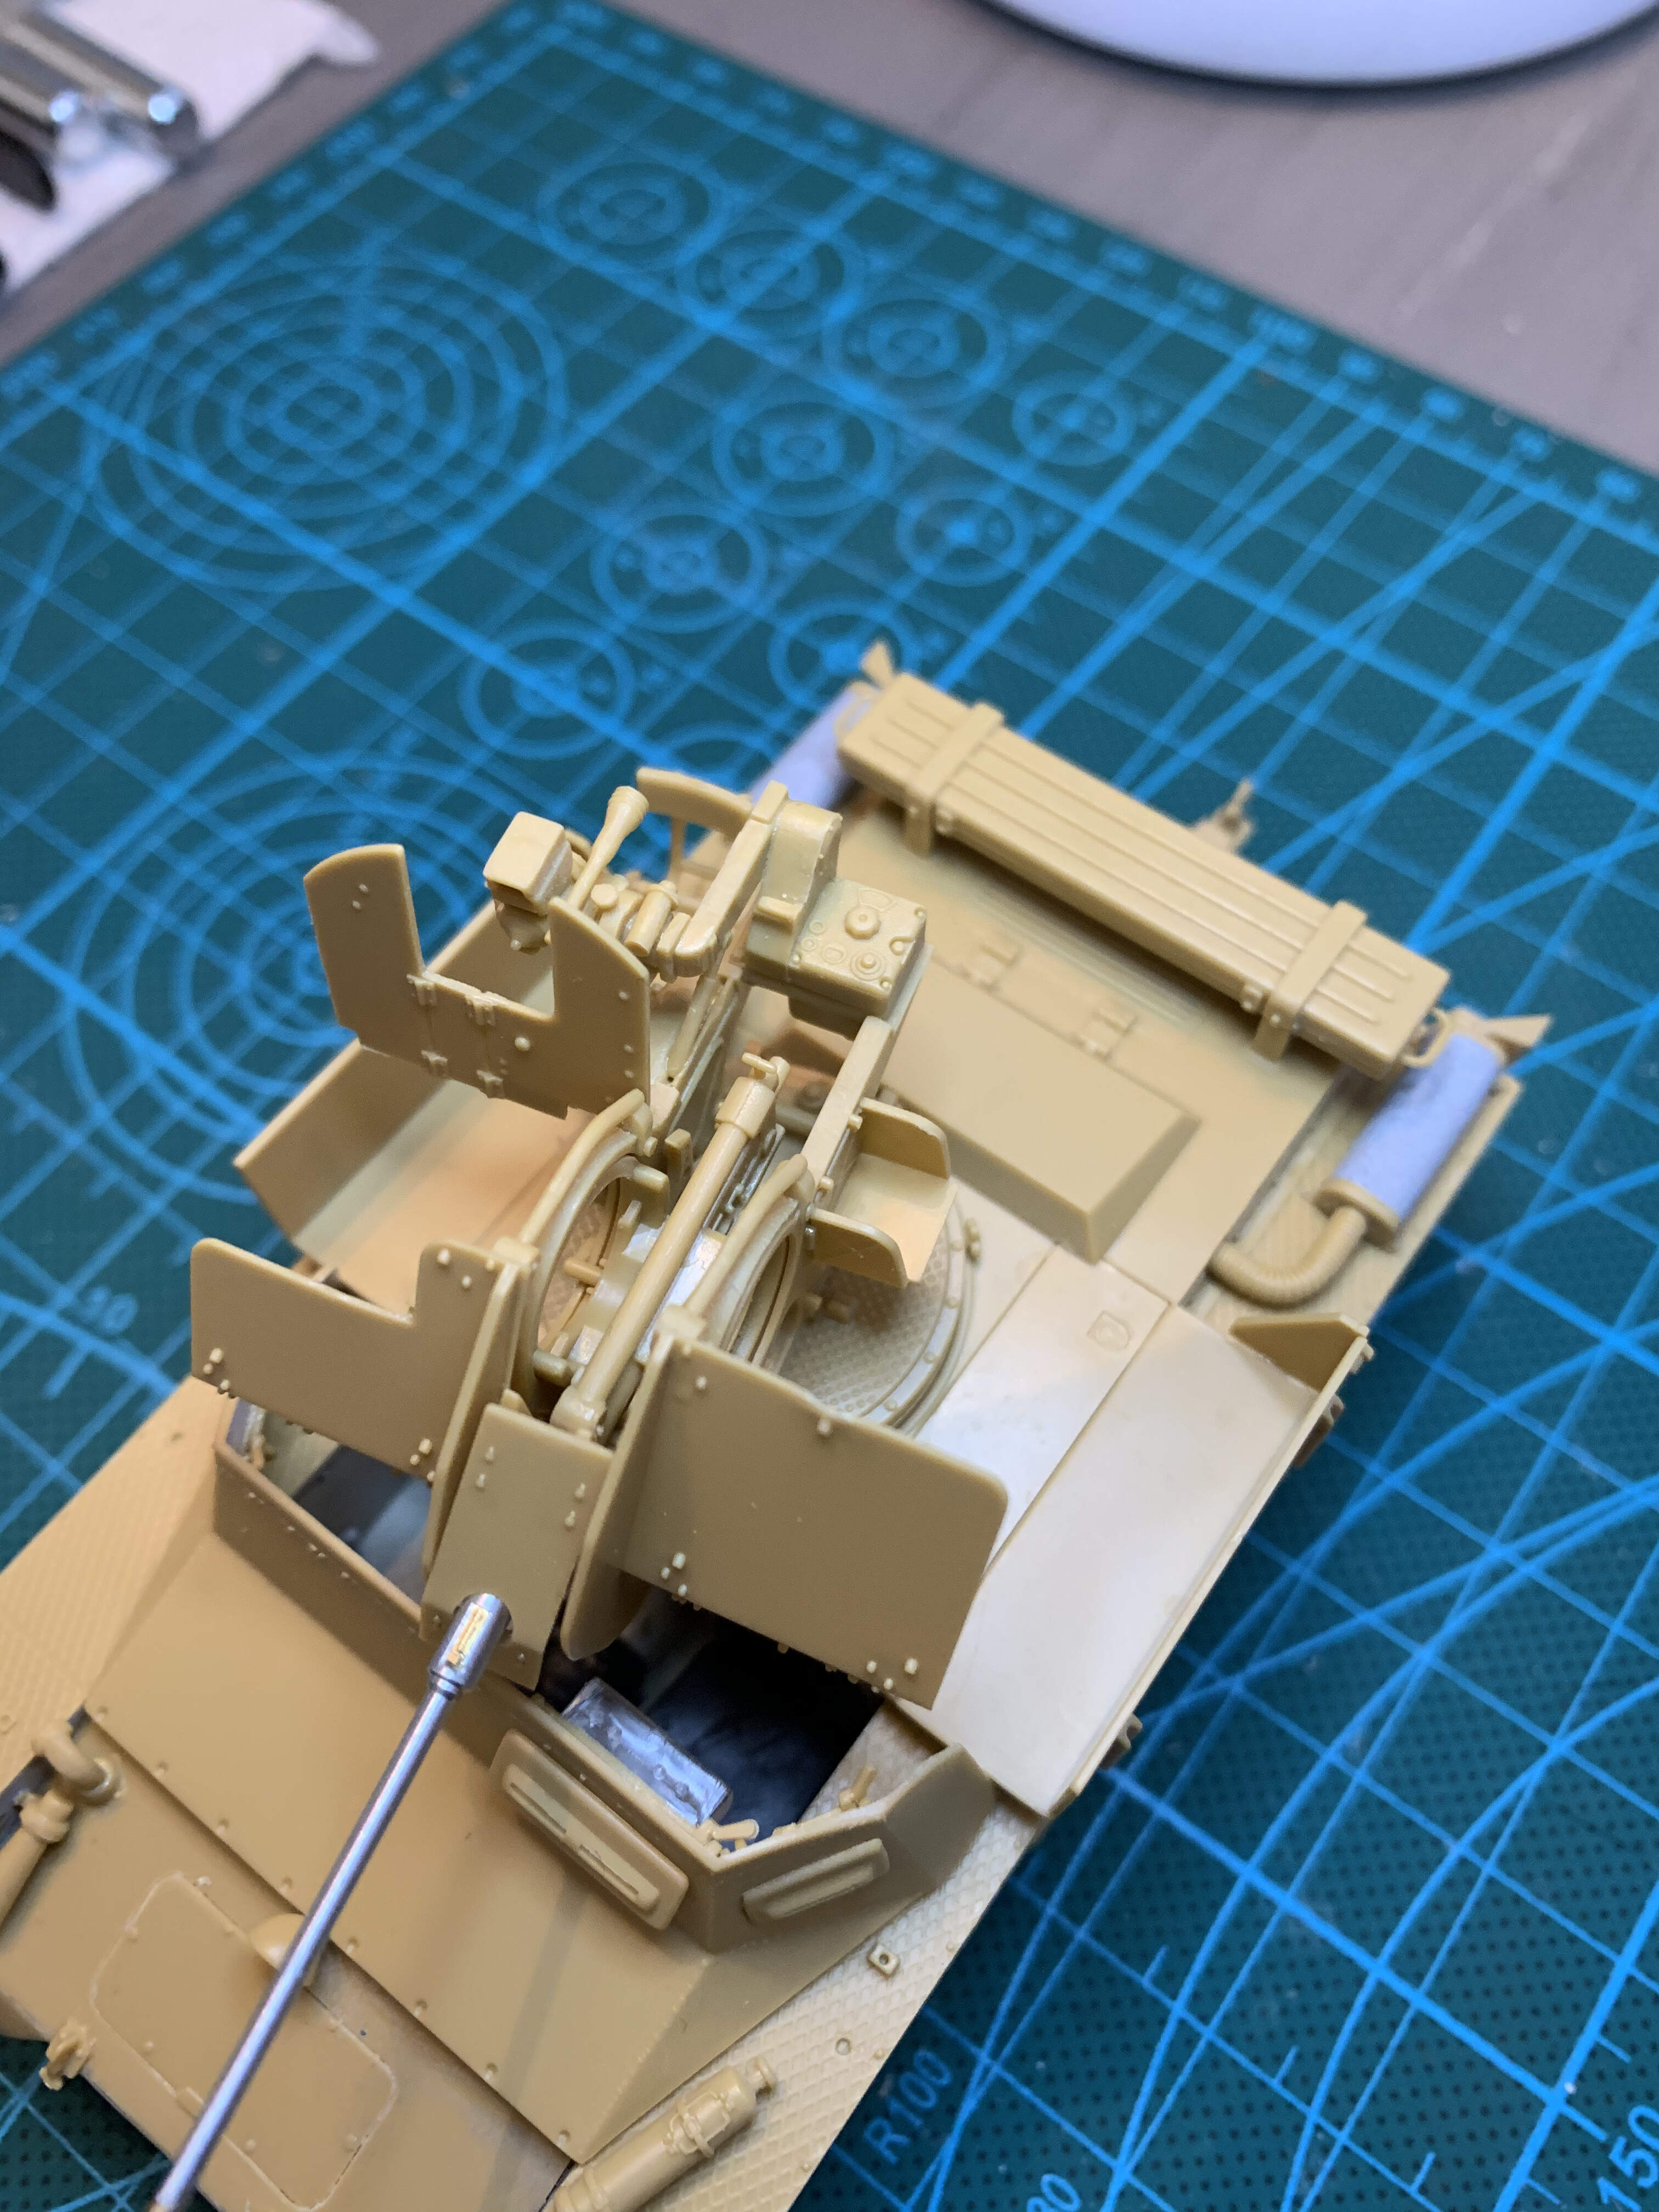
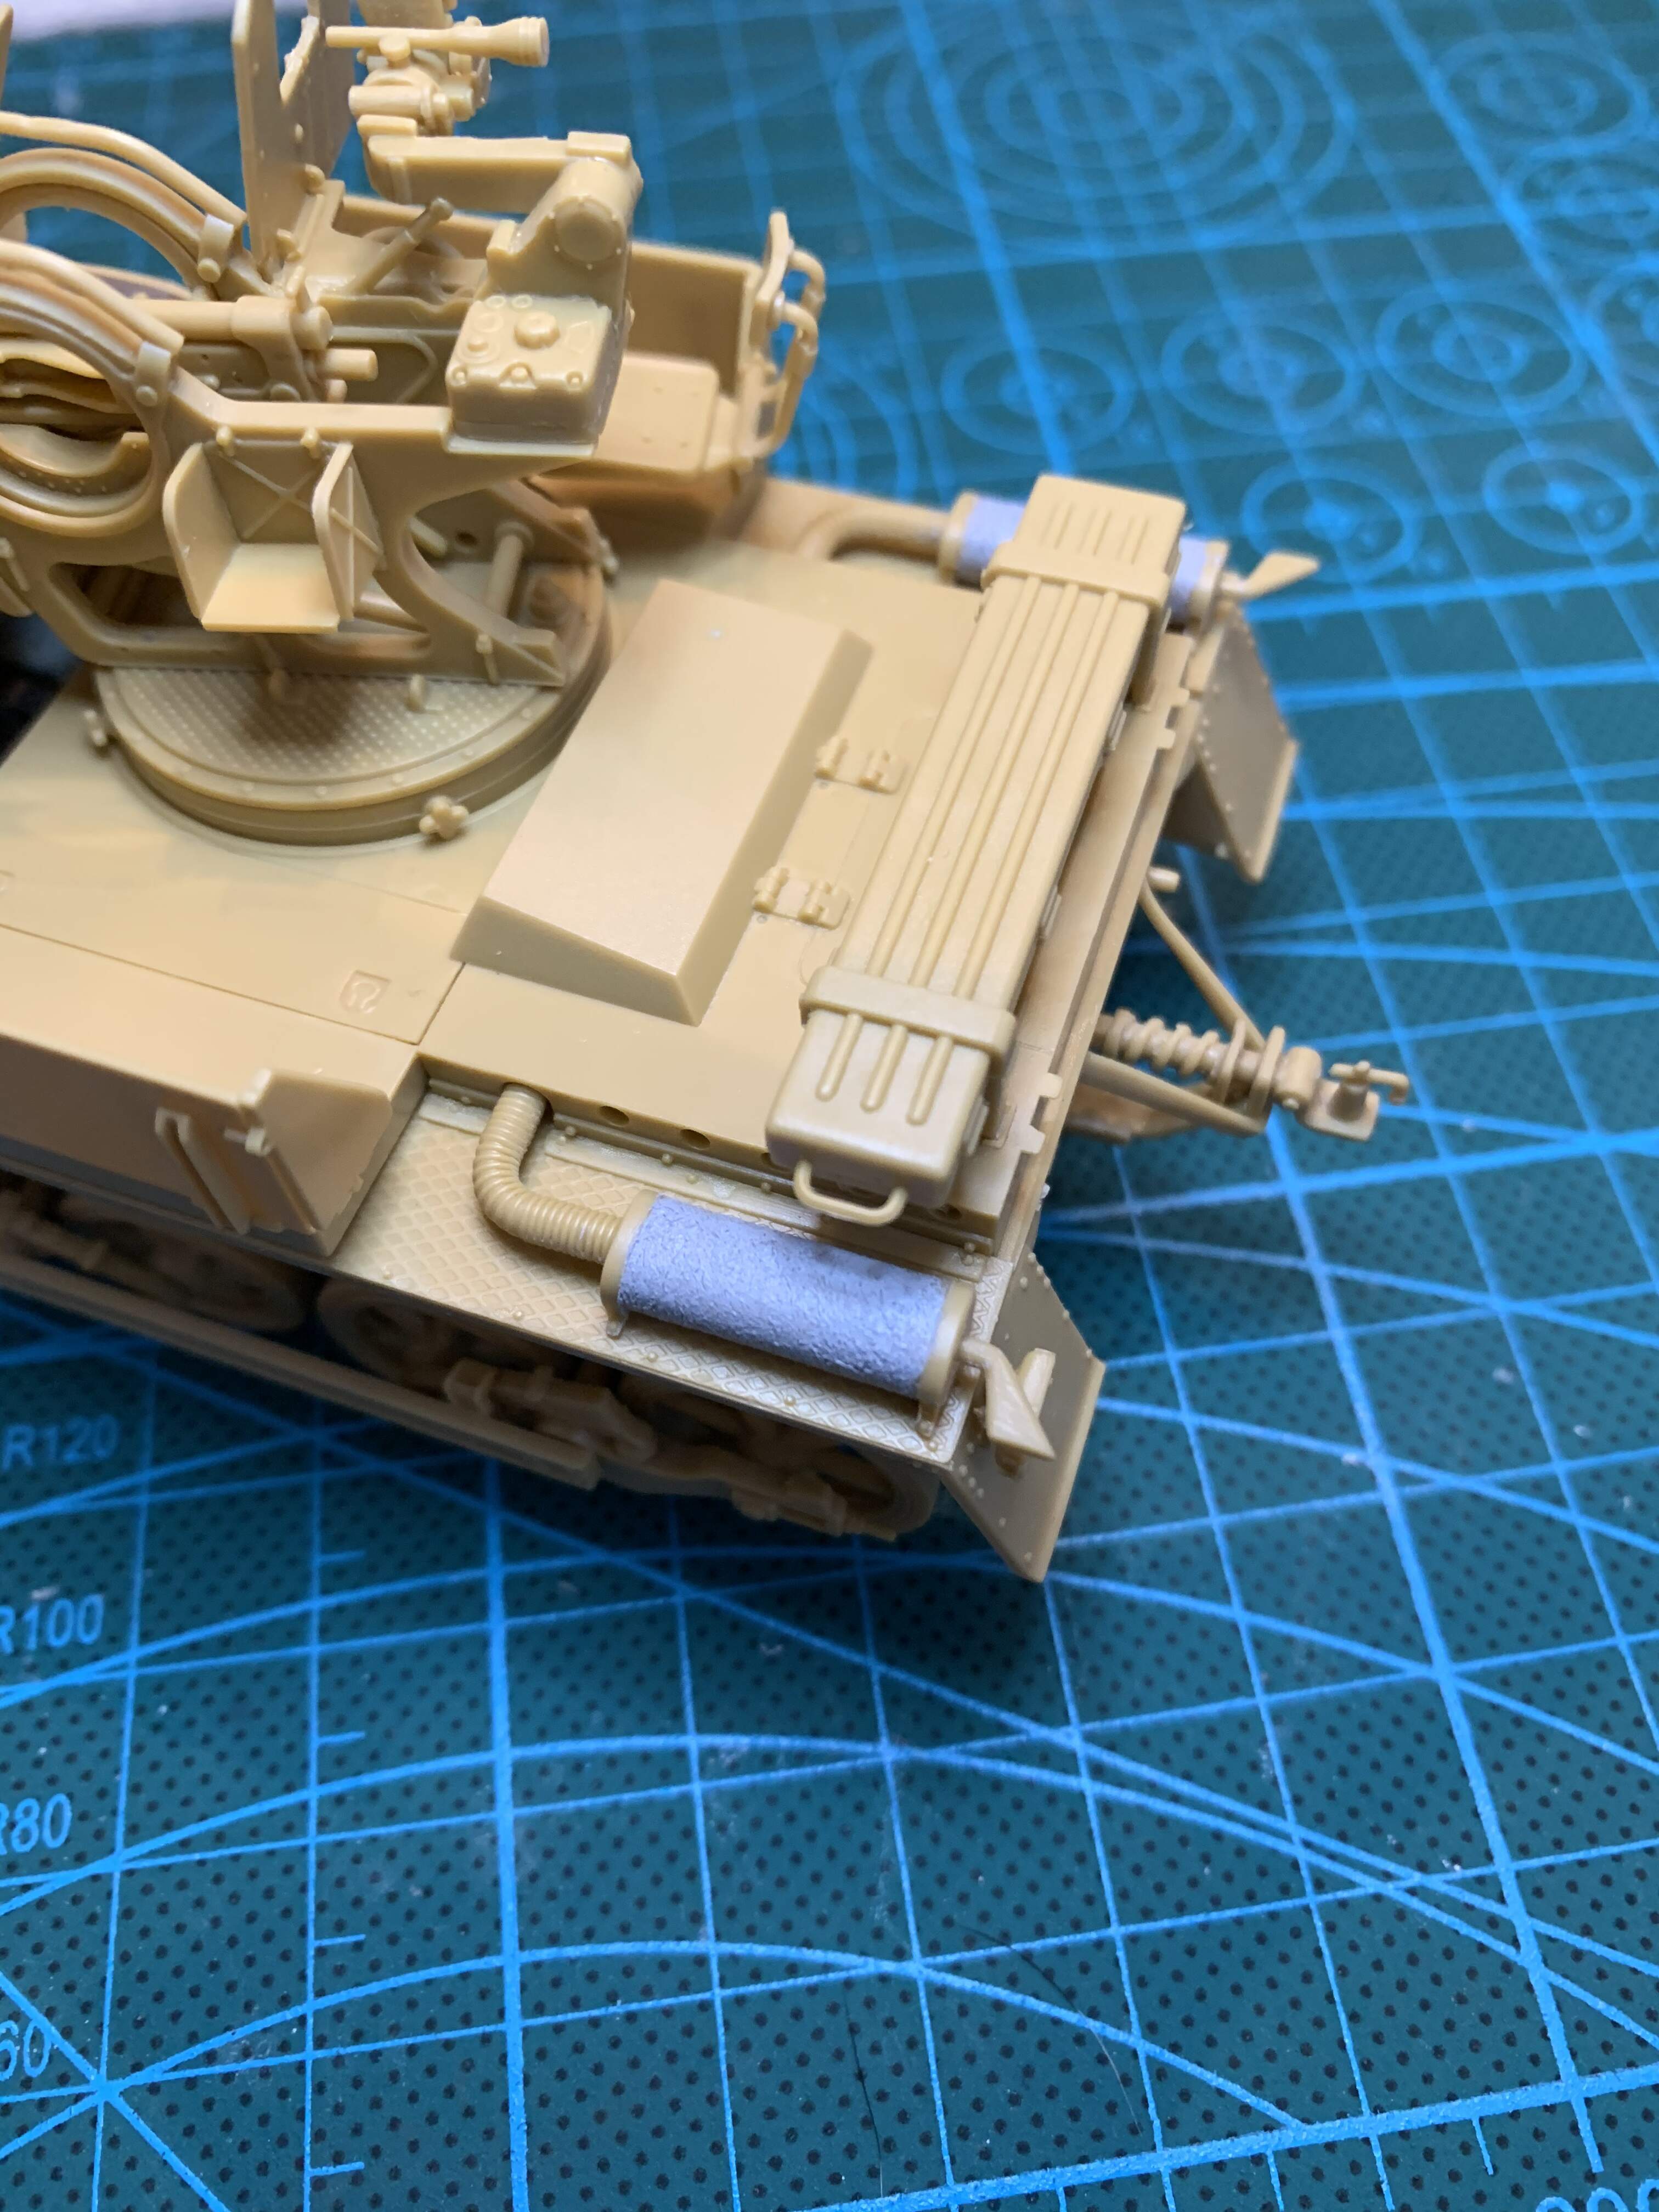
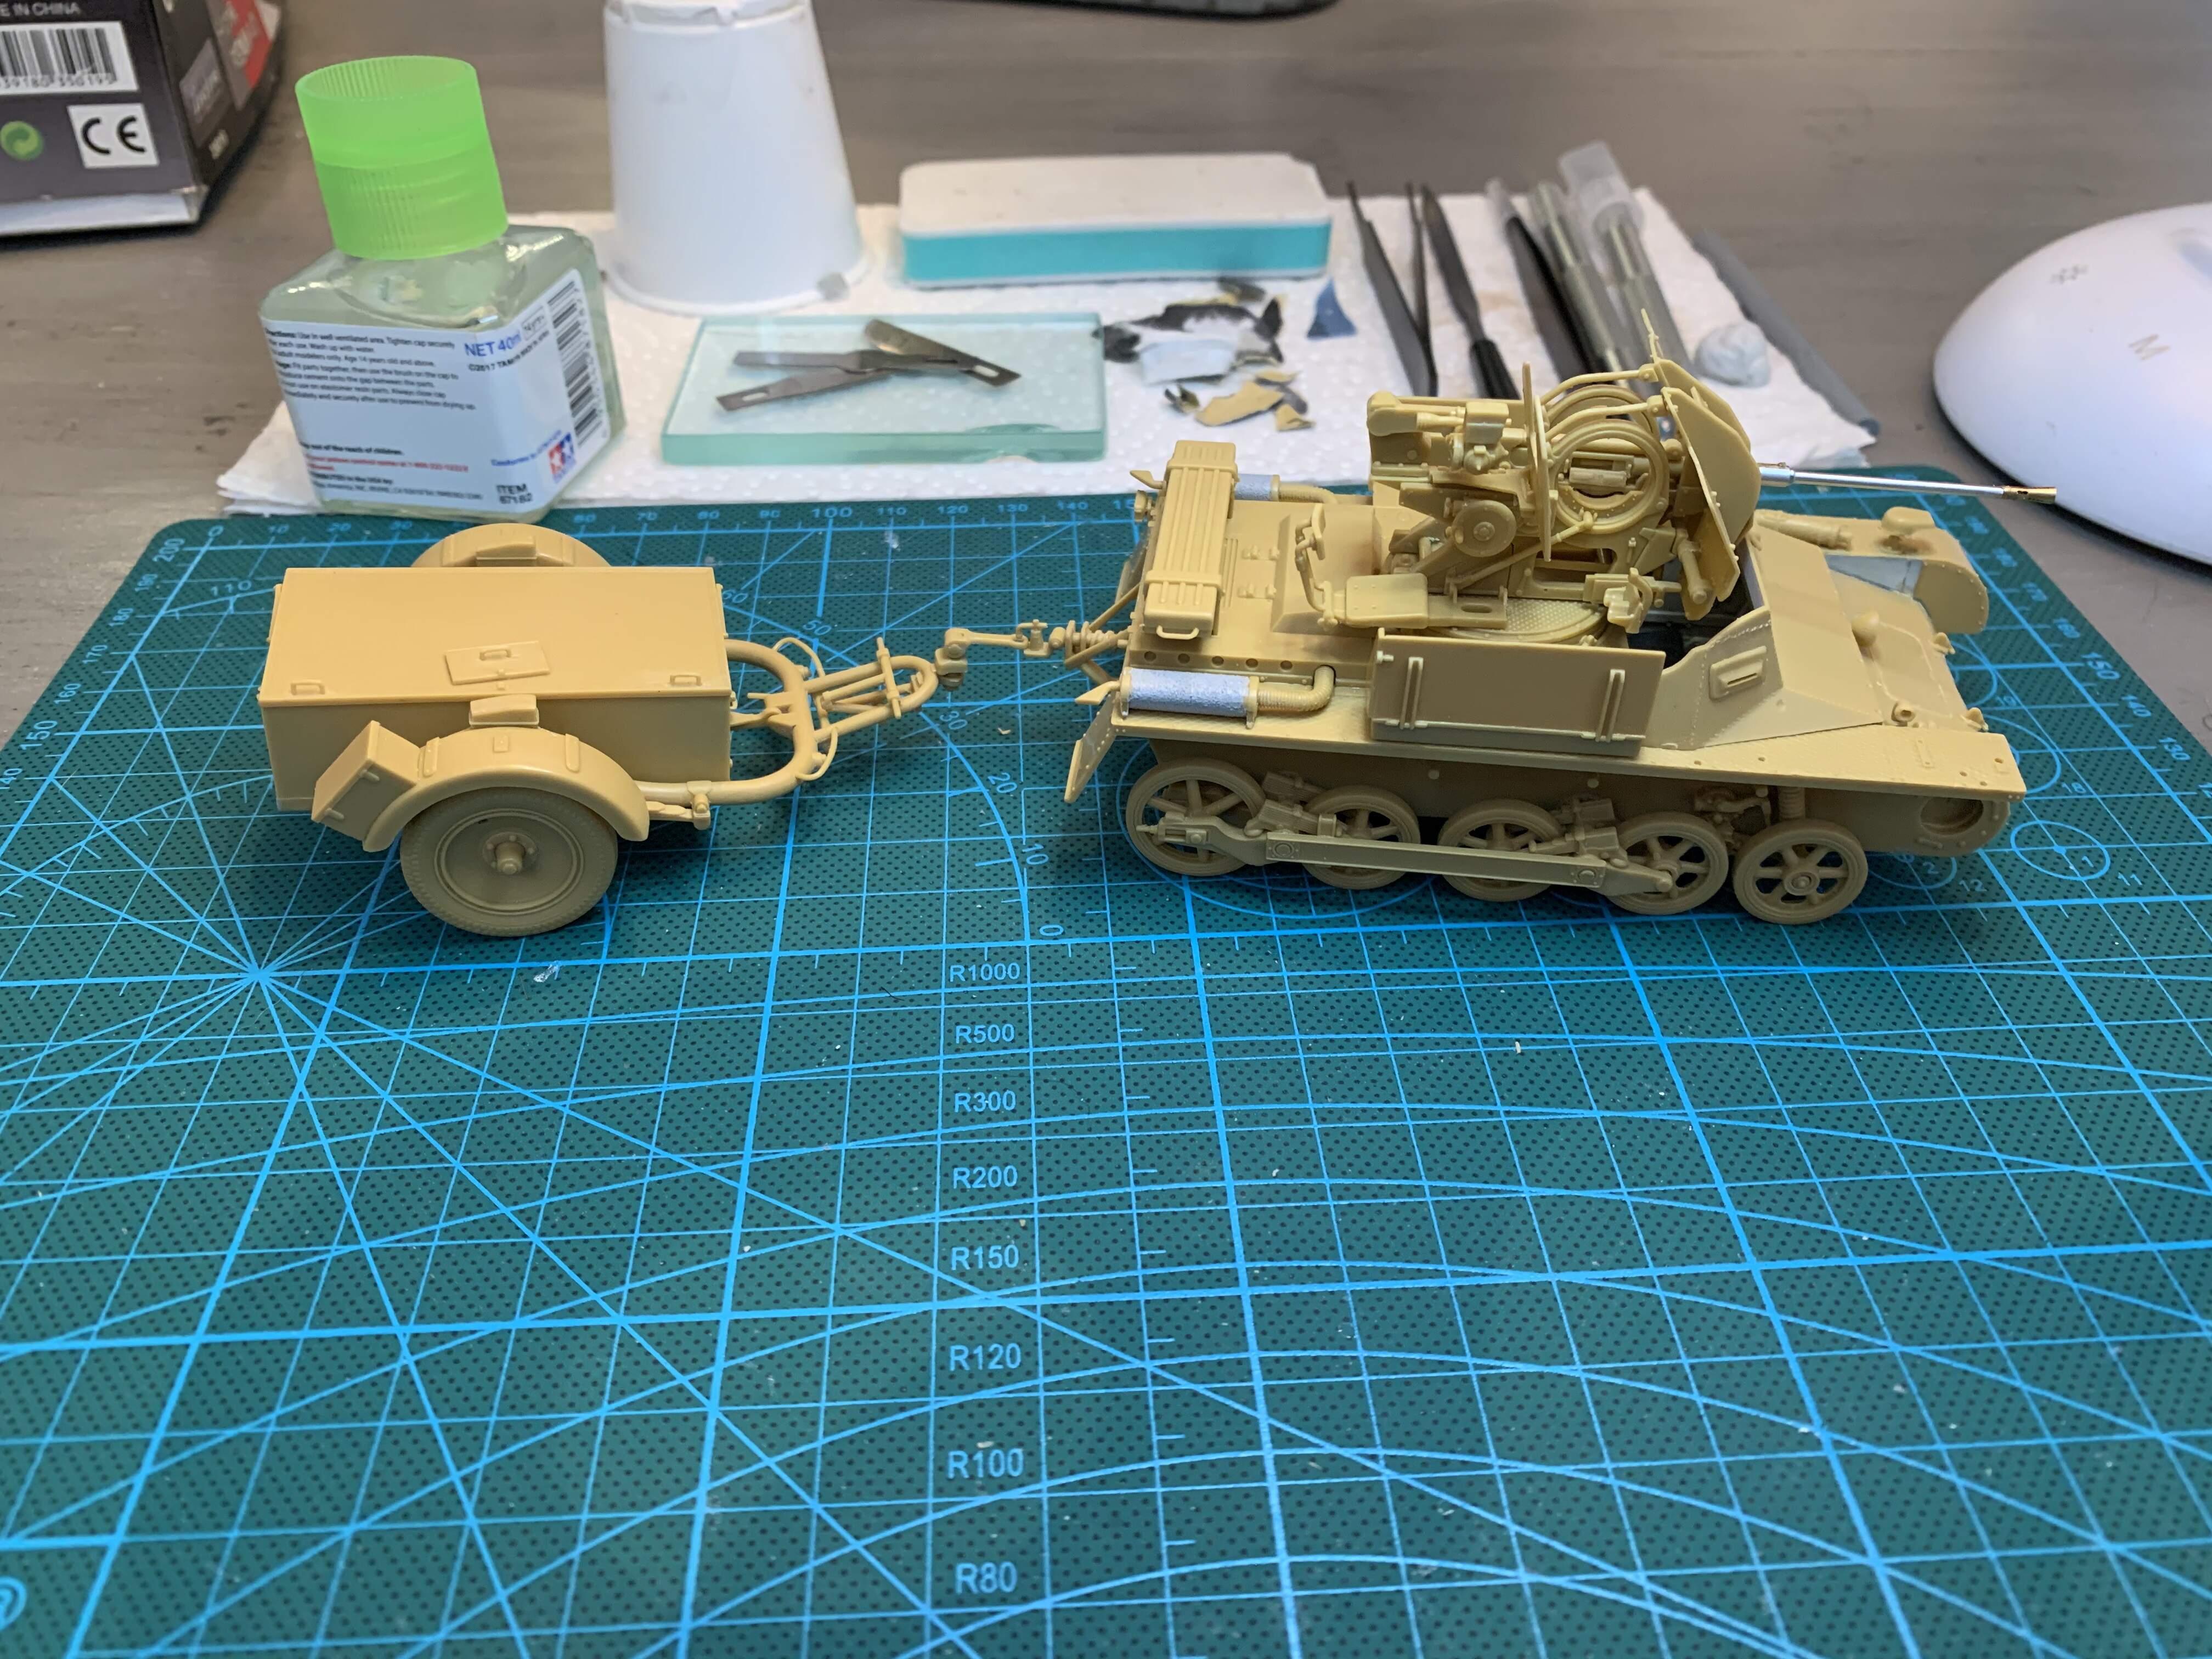
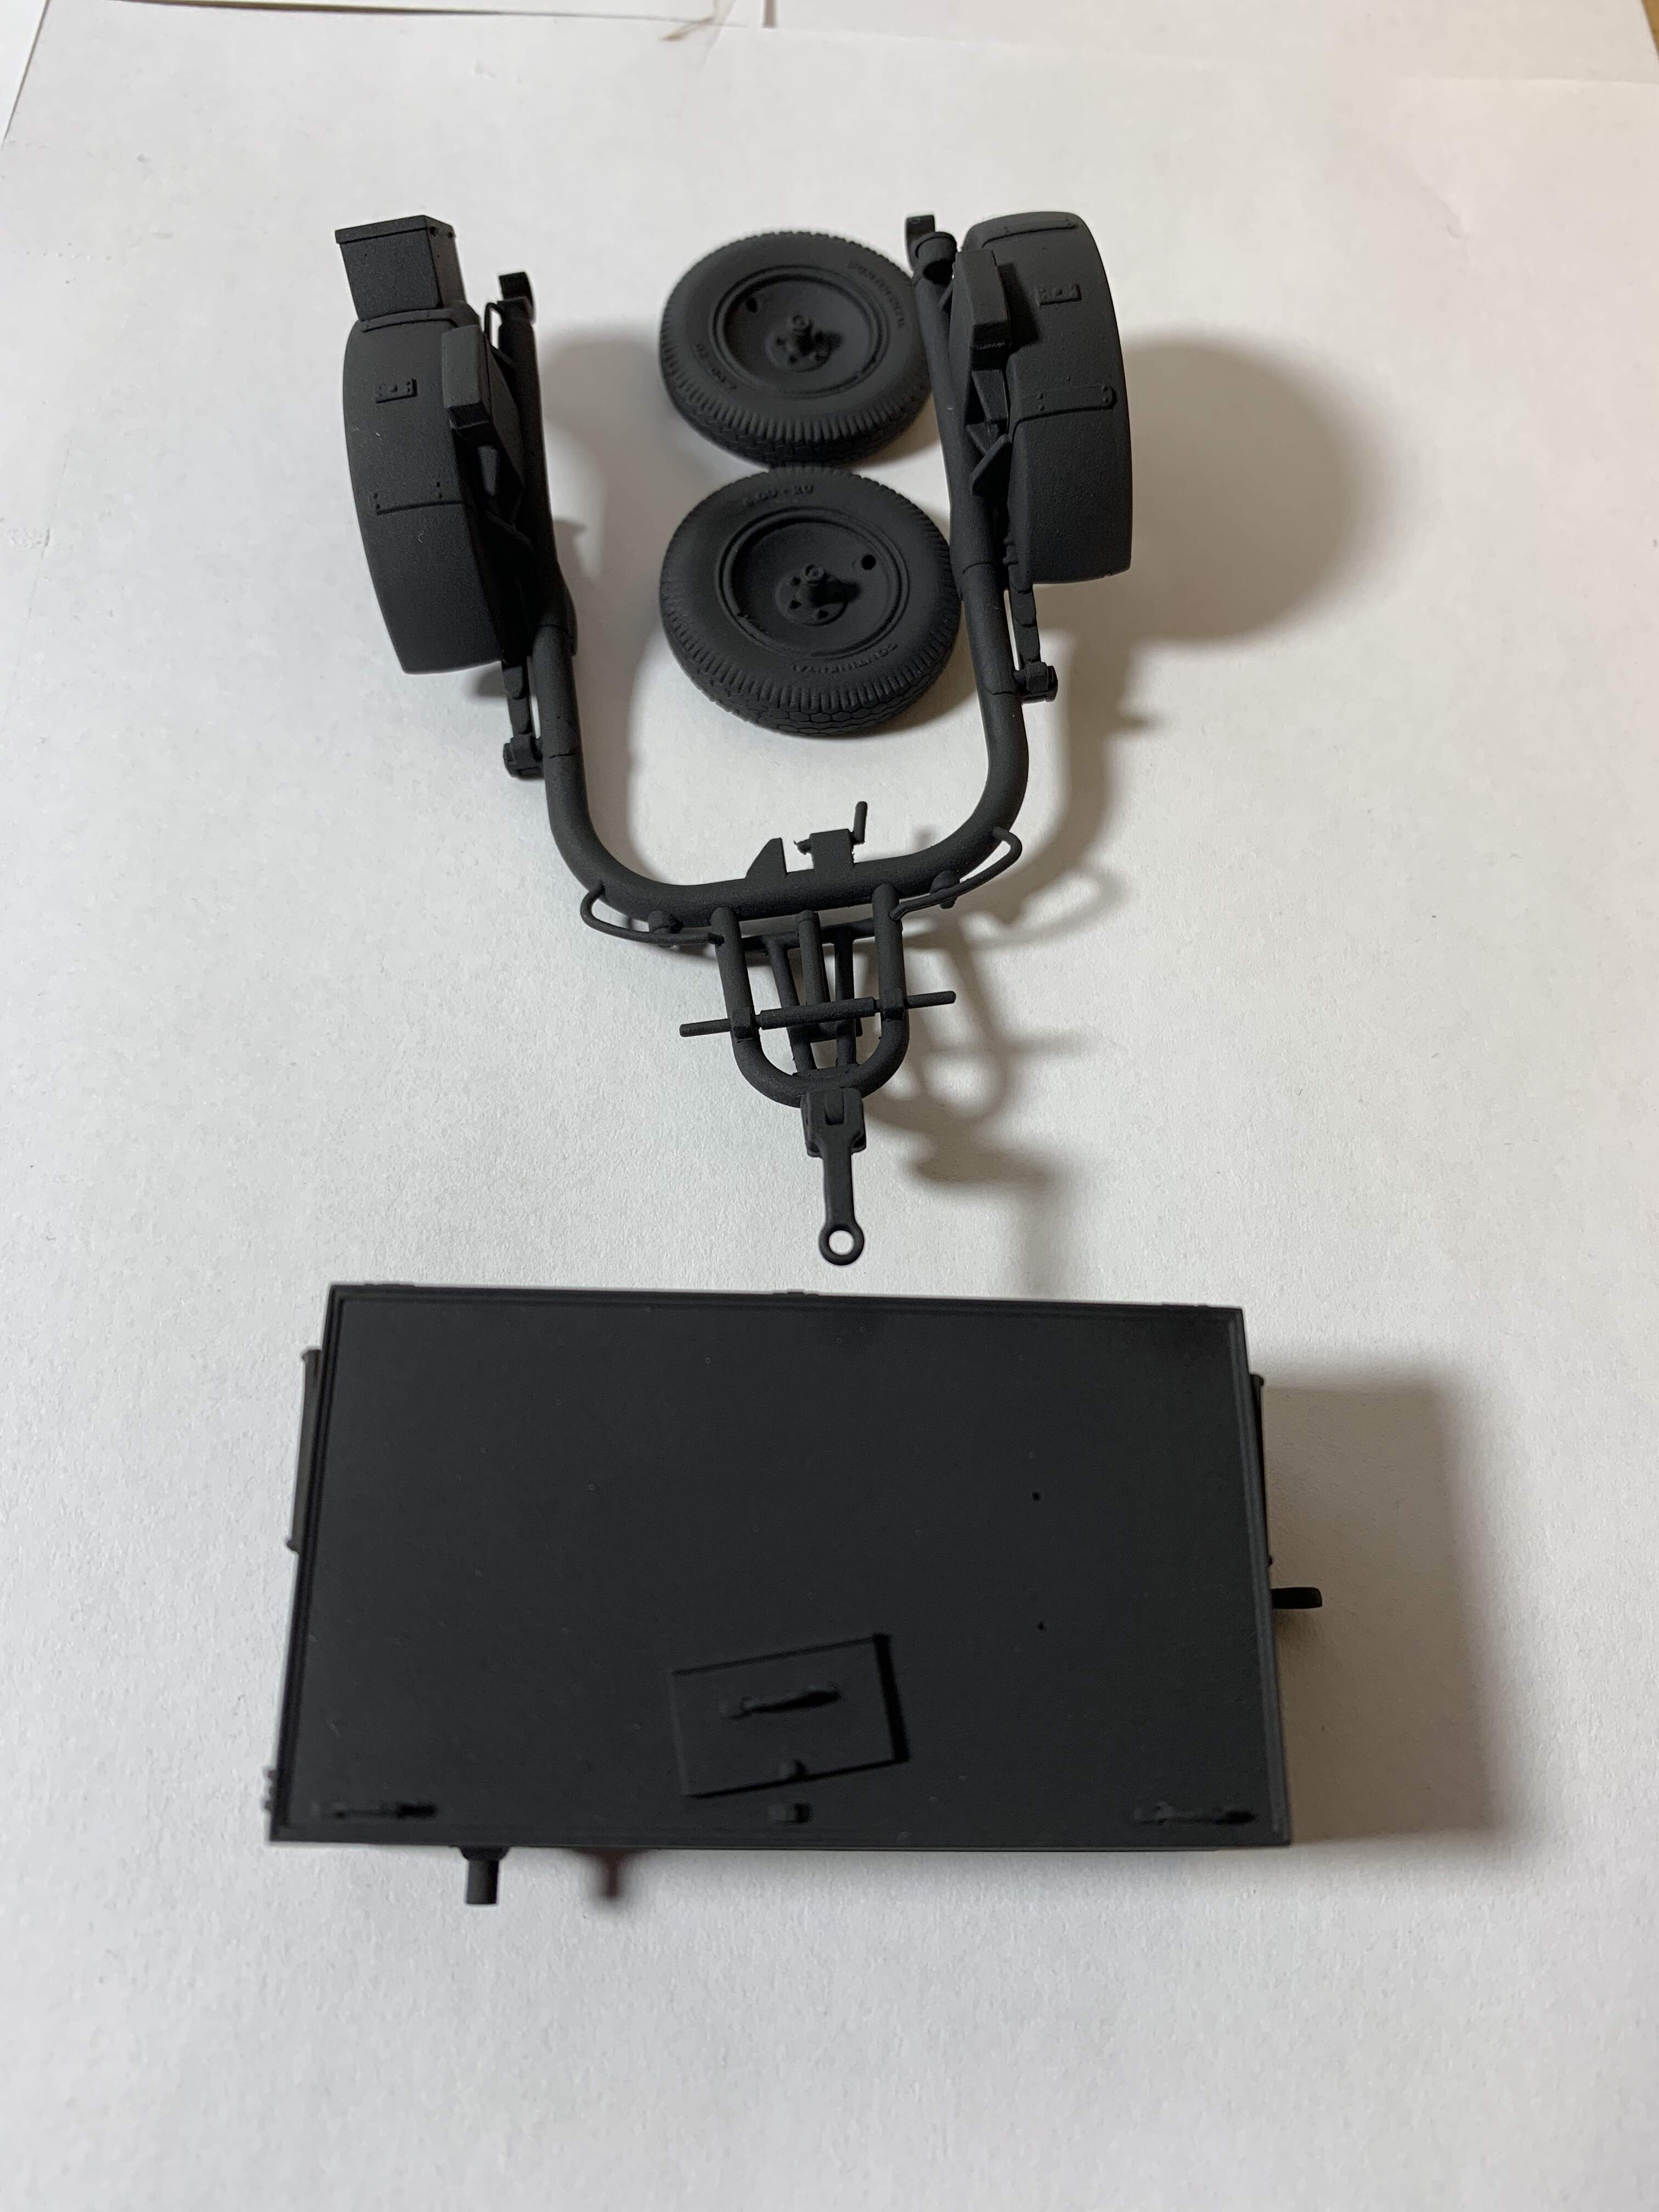
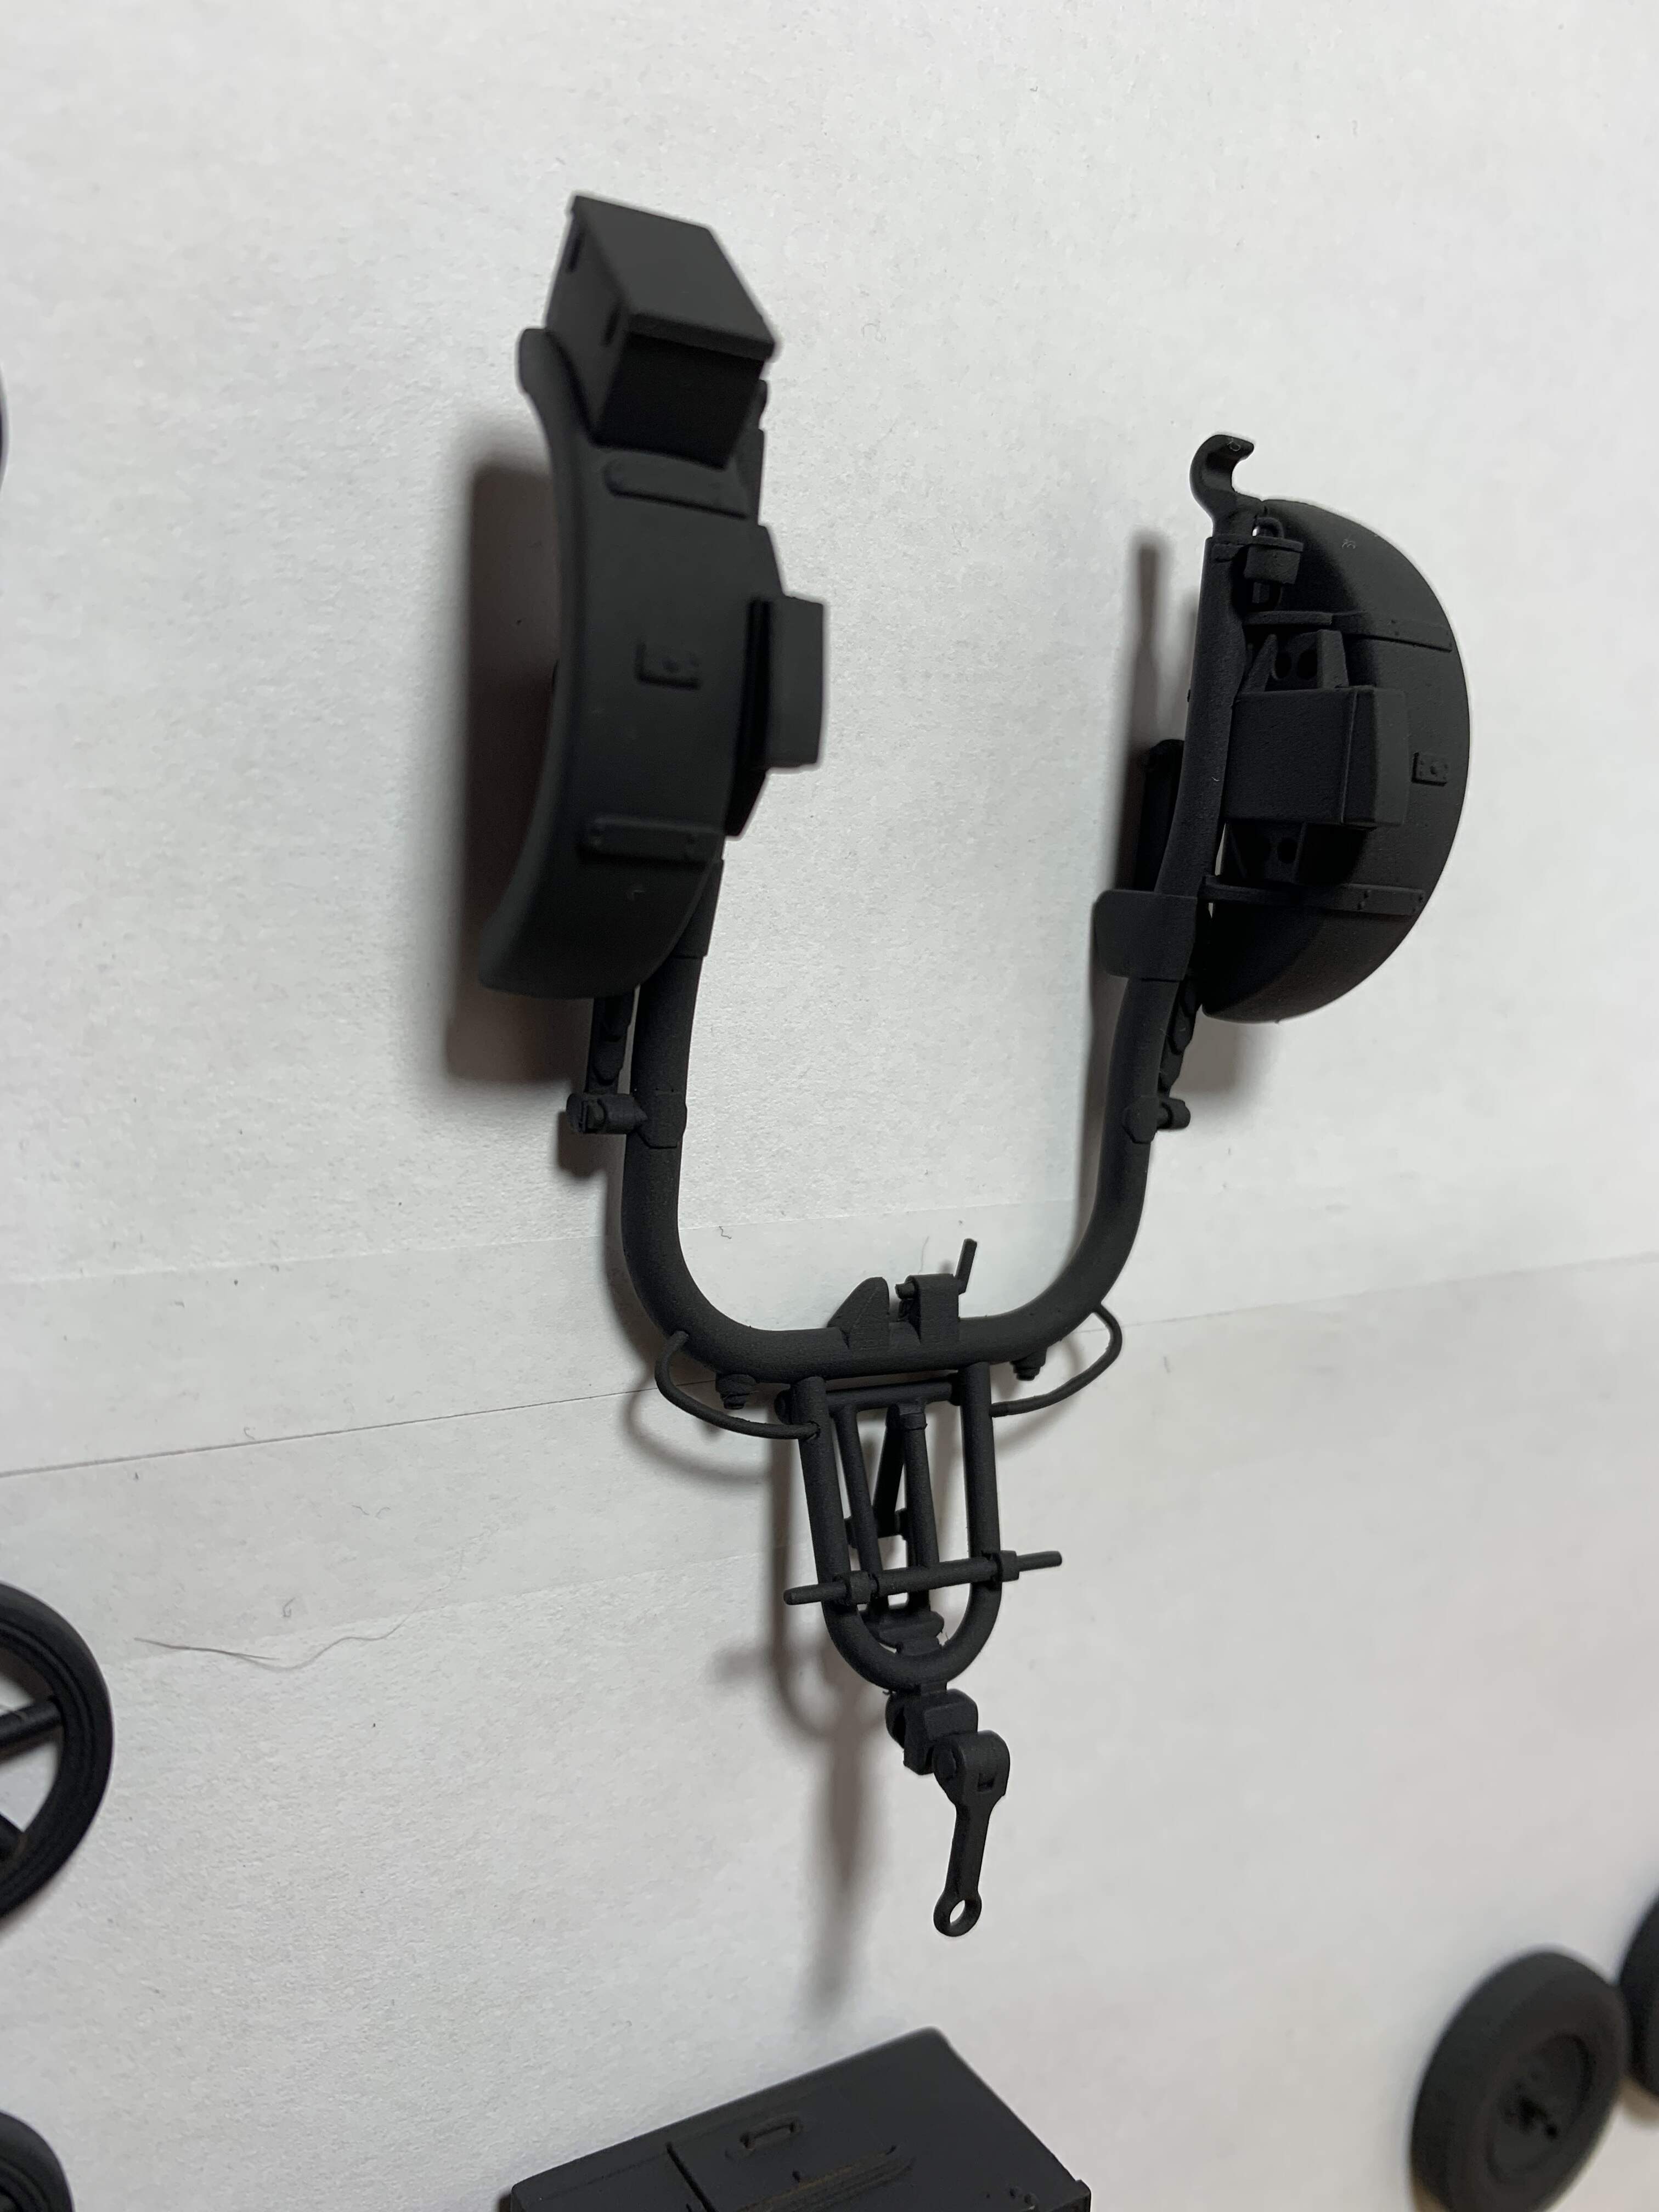
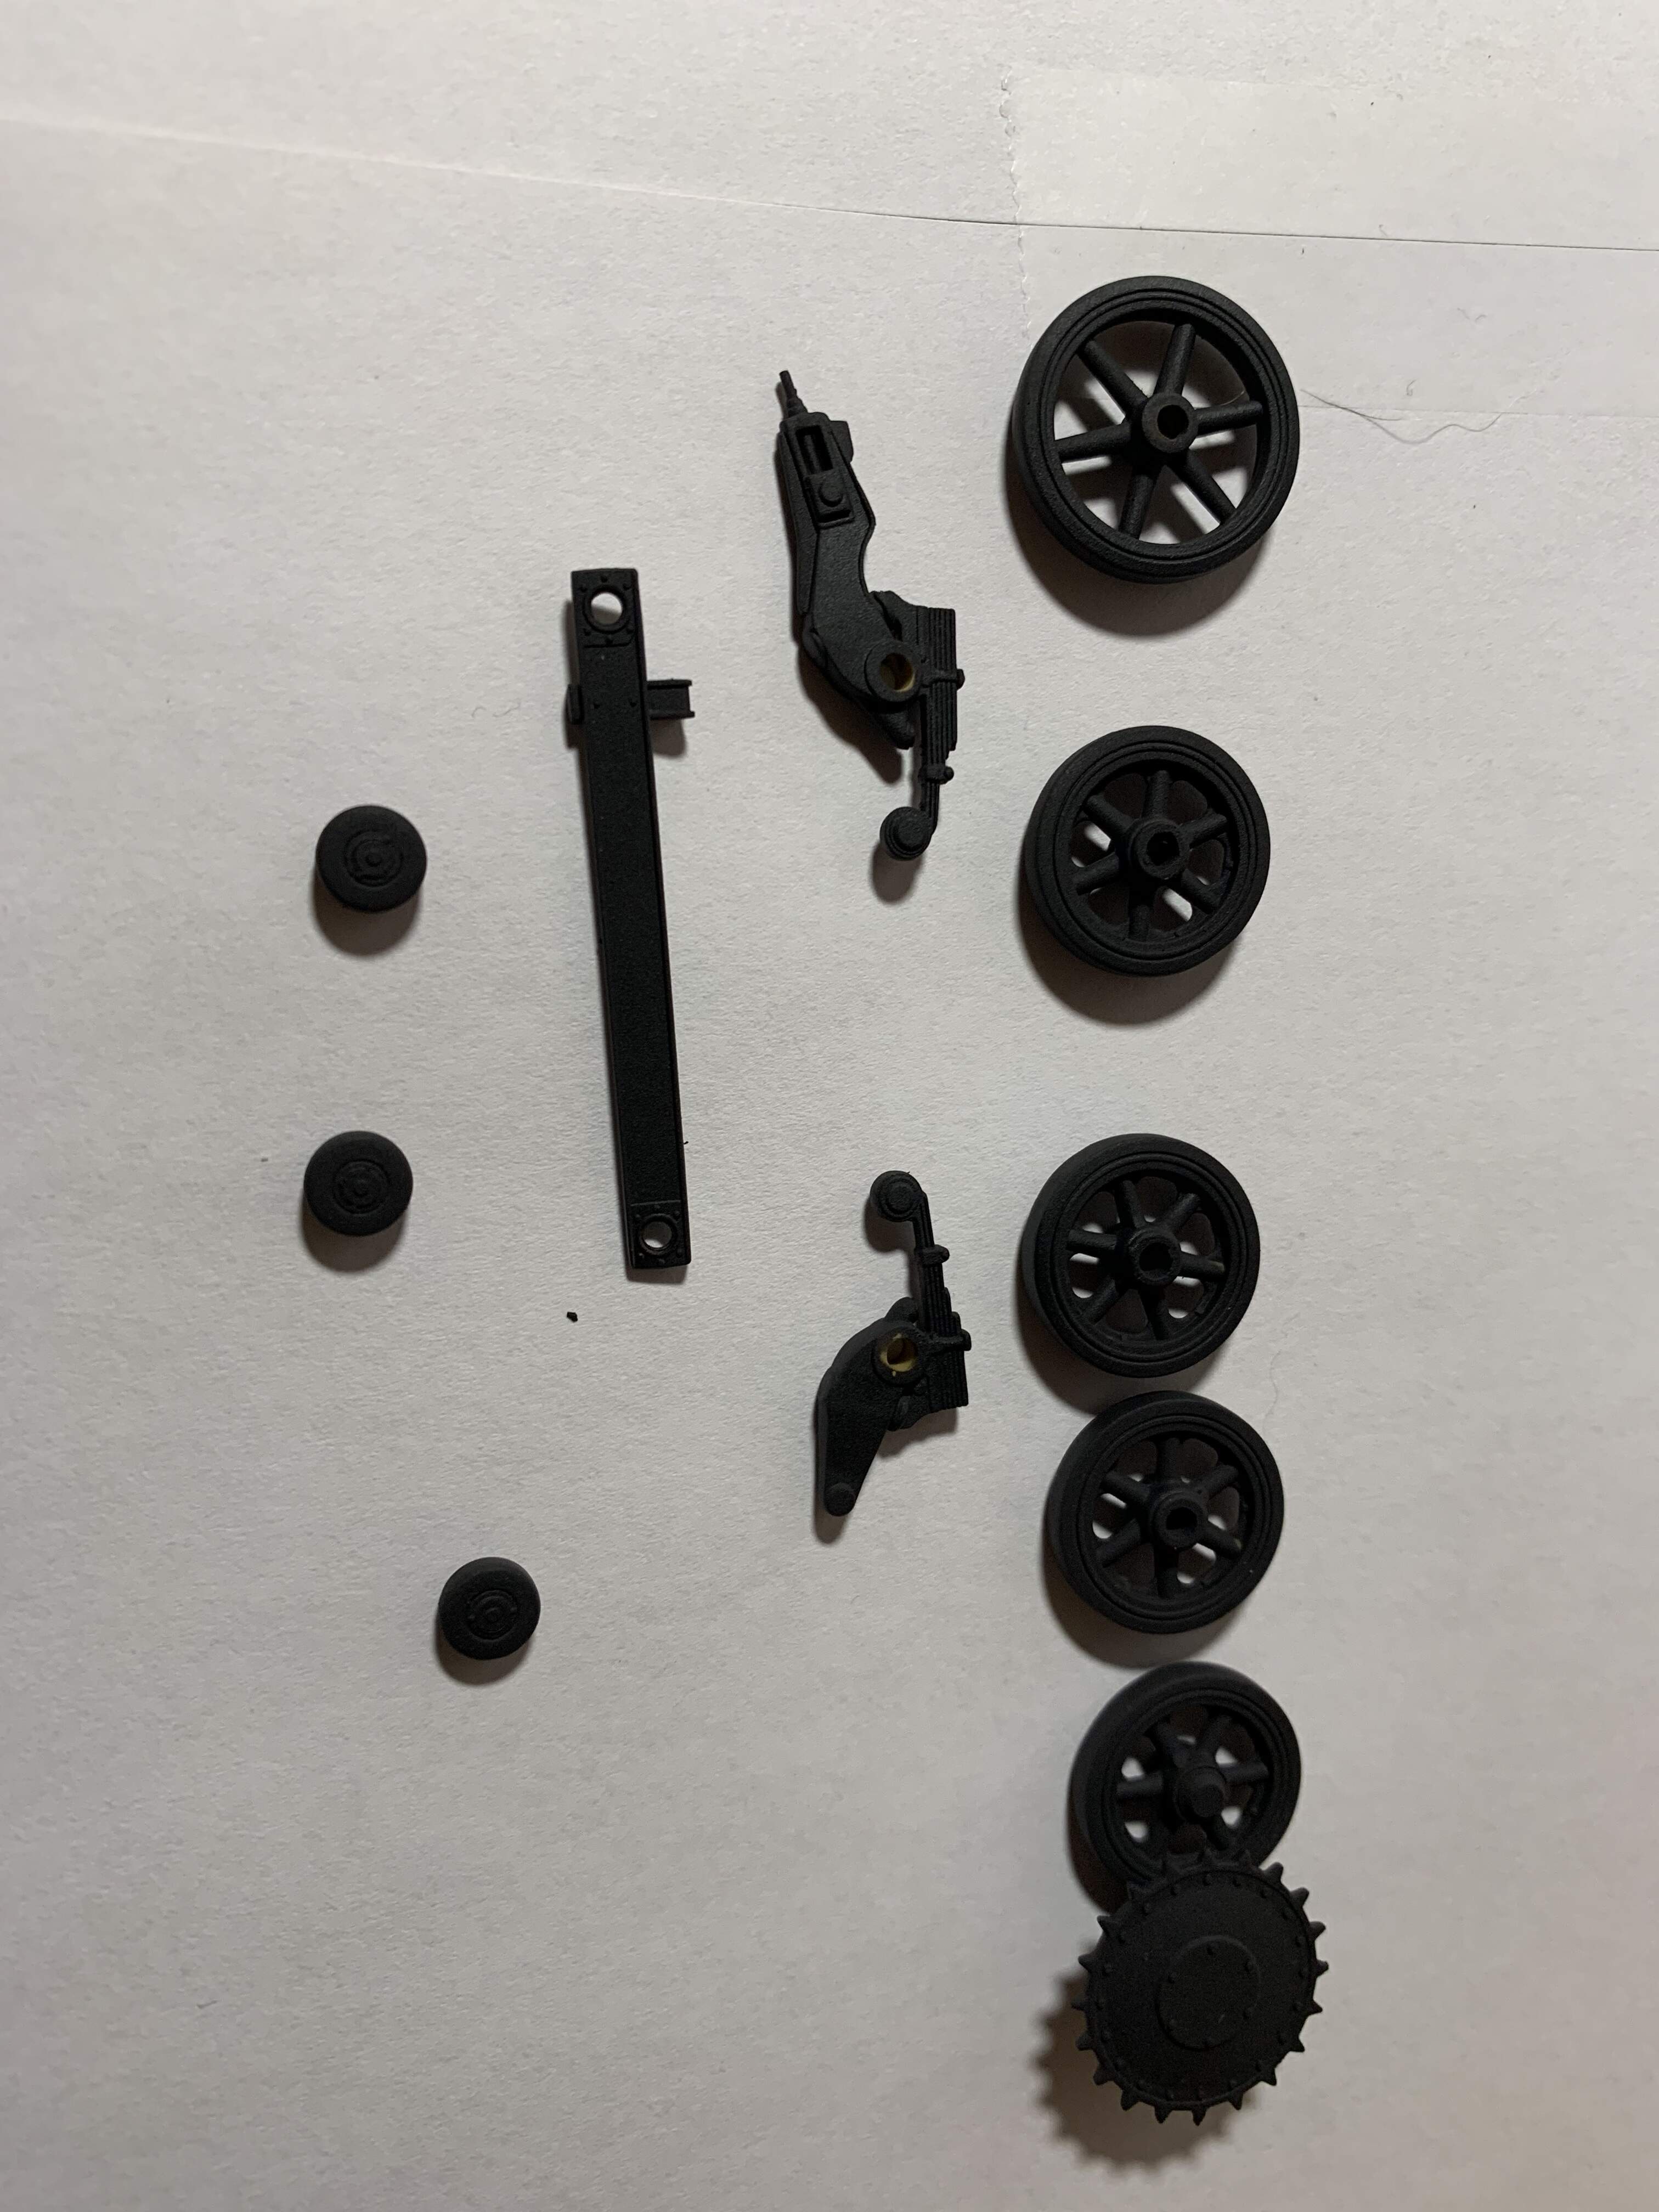
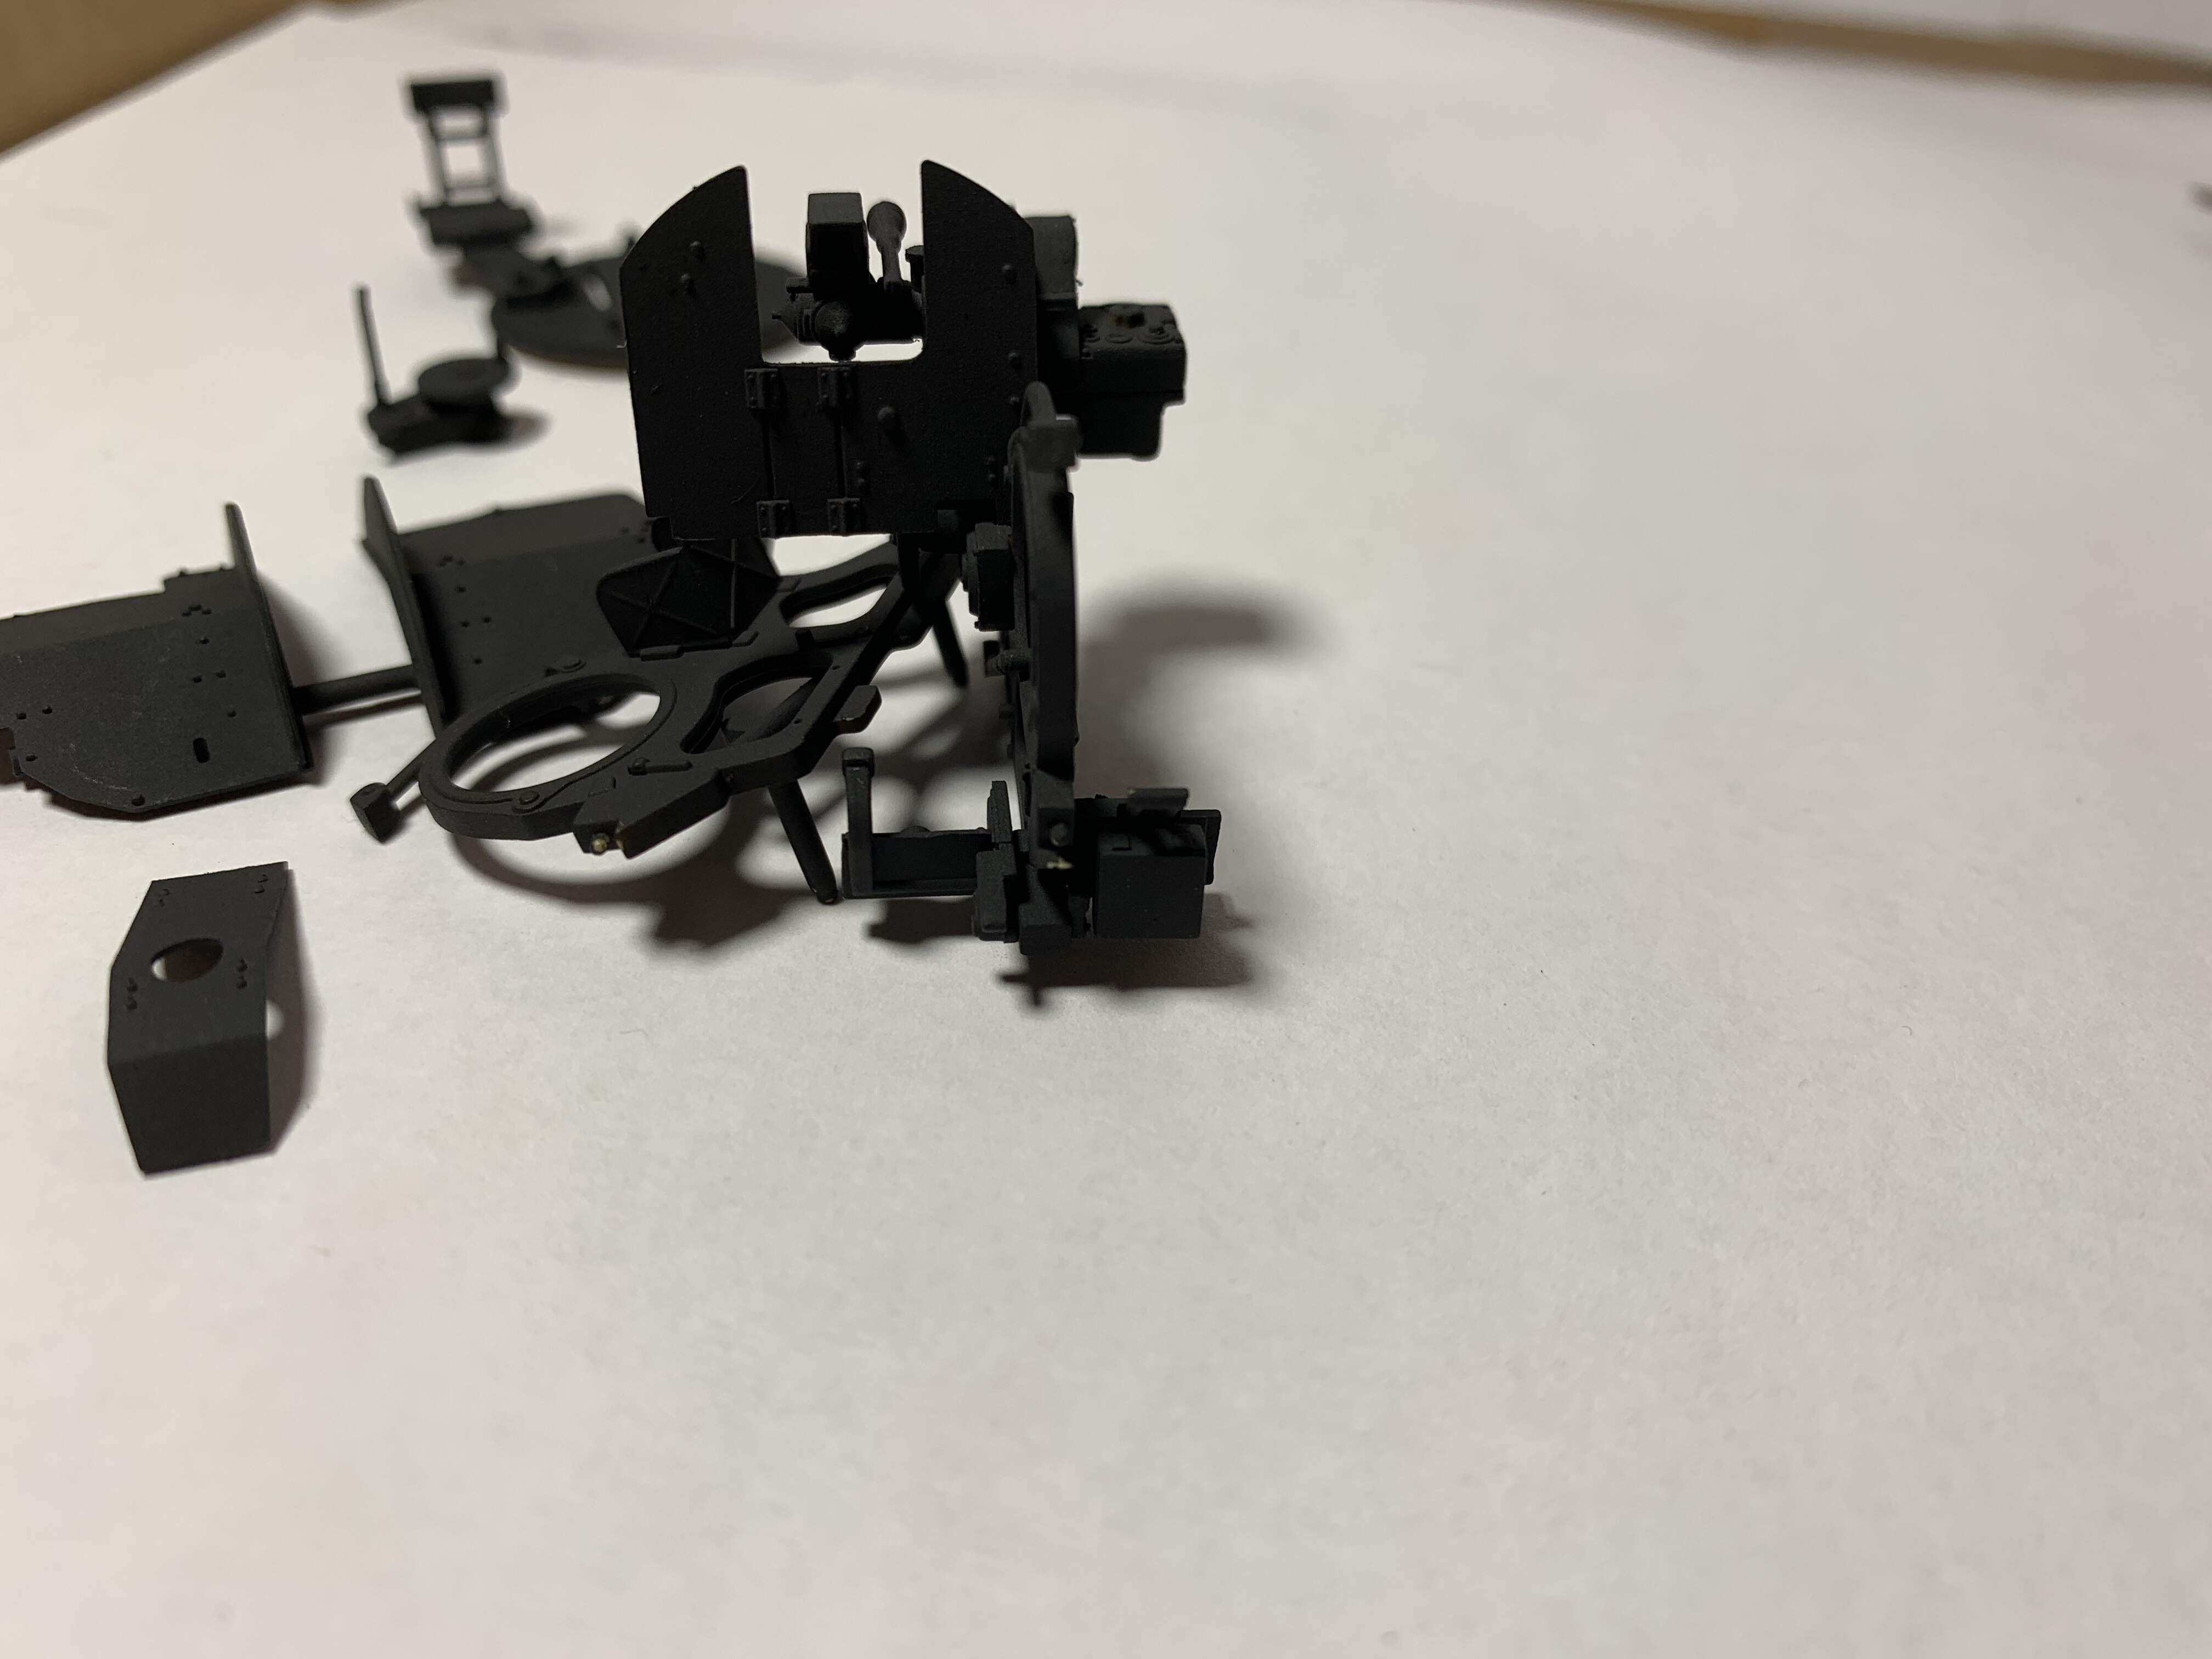
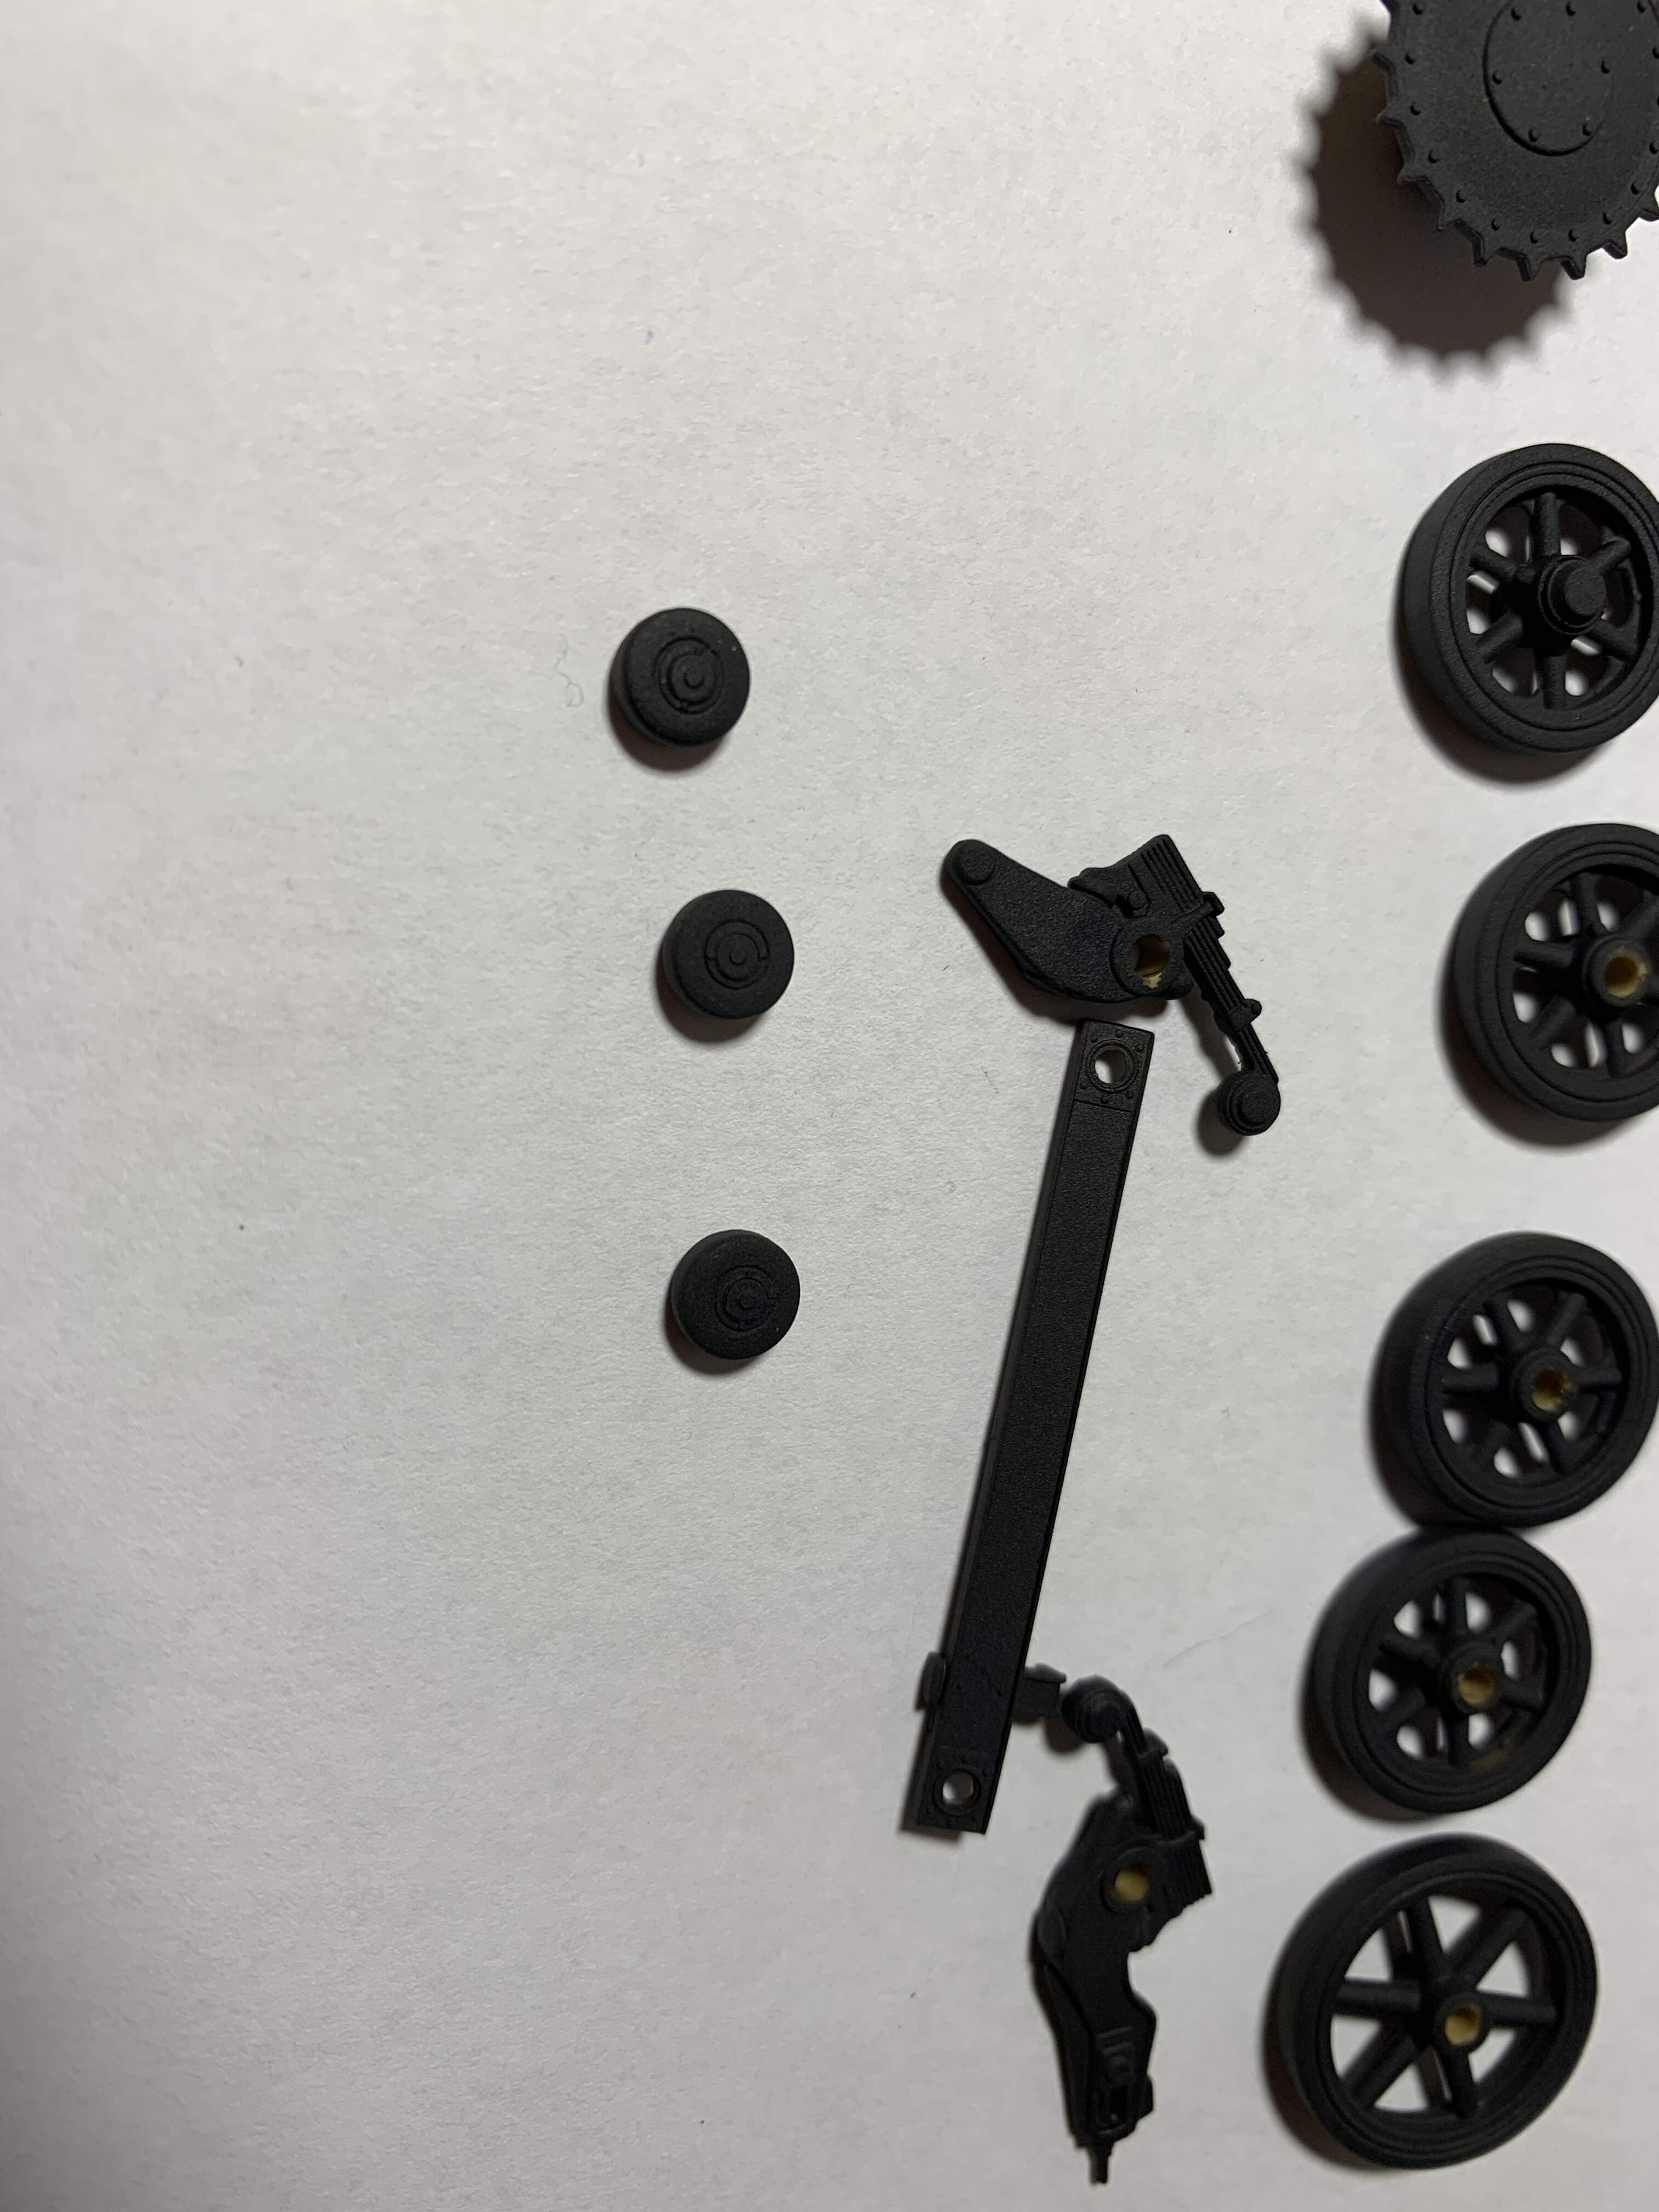
Just about done! A few parts to add tomorrow and the suspension parts then painting. The gun is mostly dry fitted. Tristar did a great job on the Flak 38, went together well with great detail and fit. The gun shield is super thin for plastic. I’ve ordered new resin wheels by Hussar for the trailer as the kit ones have a nasty mold seem.


6 Likes
Looking great!
Always good to see a nice build of a Tristar kit.
Will the paint scheme be Panzer Gray, winter white wash or something else?
Thanks, it’s actually a fun little kit. I like their plastic much mode than Miniart, a lot more rigid which makes the tiny parts much harder to break I found.
For paint Im not sure. The scene I will portray is one that was abandoned after an ambush/quick fight. I will be using these figures
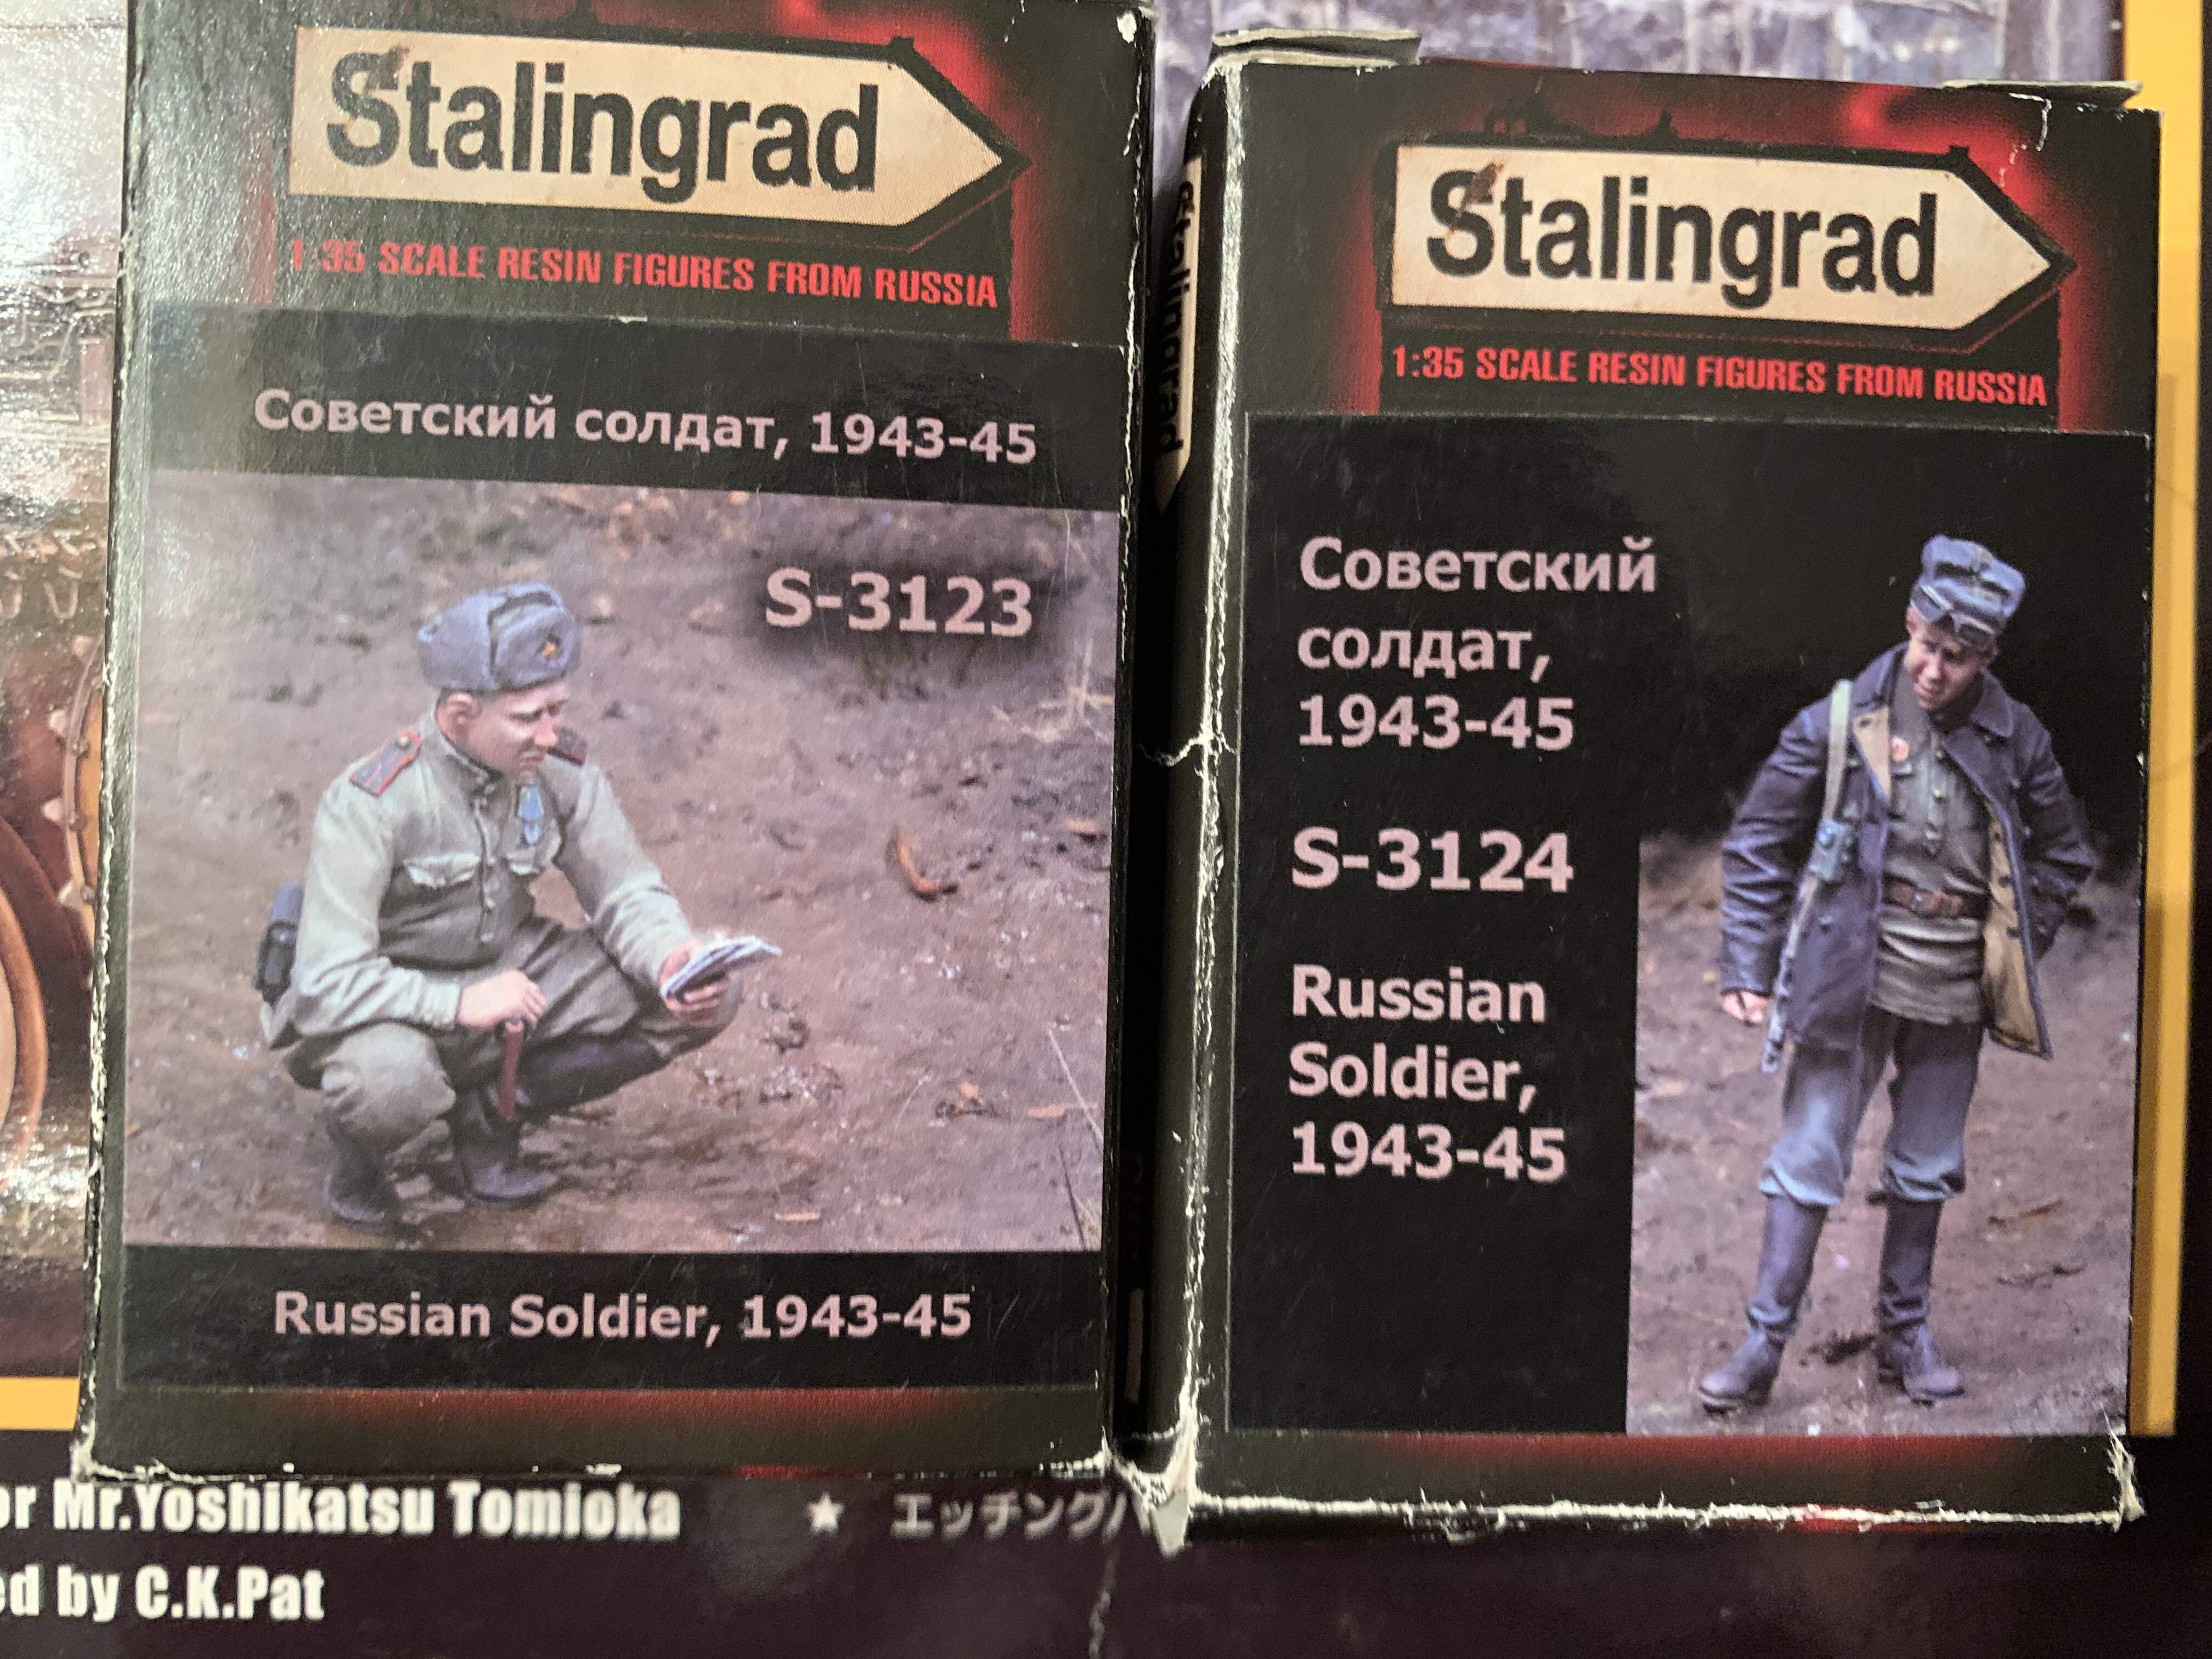
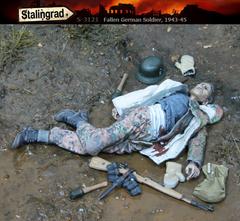
I also have some shell casings from the flak 38. I think the figure work equally well for late fall early winter. My two thoughts were to do a muddy scene in late fall with a panzer gray paint scheme. Or a early winter where I would have frozen puddles and a light dusting of snow with a white wash scene. I’ve never done a white wash before
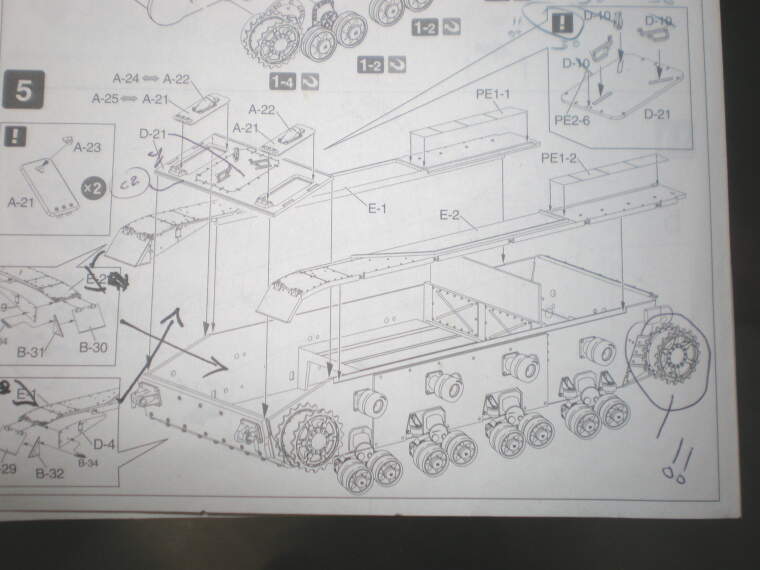
Great kit & a great build too, looking really good. Tristar’s Sturmpanzer IV (early Brumbar) is a great kit too but the Instructions not so much…
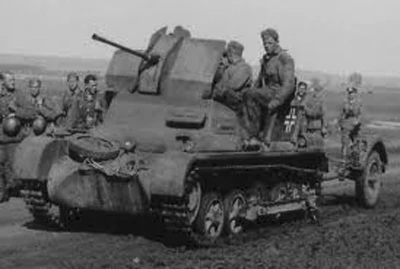
To ward off a possible Diorama Police raid & only because you’re clearly interested in the history, a friendly caution. If this unit was wiped out at Stalingrad late ’42/early ’43 (when everyone was in full winter gear) you’d be right to place your scene no later than early Russian fall - the Russkies are at least wearing warm hats. So if say September ’42 latest, they might not be wearing the right uniforms. The pack says 1943-1945 for a reason, you’d have to research it to be accurate but from memory the tunic changed sometime in early ‘43 and the earlier war type had no decoration, no epaulettes, etc. But hey I’ve used those Stalingrad guys & they’re excellent so just go for it - even if I’m right you might only need to shave off the epaulettes 
1 Like
Thanks for the information! I’ll do a little bit more research. Hopefully I can make something work. I too was thinking fall around September. The Russians aren’t in full winter gear yet but wearing fall type clothing.
I agree, my biggest complaint about the tristar kit is the instructions. They are absolutely terrible. Often they only give you one view of a part, and then parts disappear from step to step. It makes it very hard to discern the orientation and fit of parts. I find myself going to google a lot to try and figure out how a part fits but pictures of this vehicle are very rare
1 Like
Yep & then there’s poor or zero location points - there’s a certain company that specialises in butt-joints only, in the end I couldn’t contain my displeasure with their version of this car…
Apologies I’ll stop photobombing your blog now, hope it all goes well
2 Likes
Haha no worries. Glad to know I wasn’t the only one having a tough time with their instructions. The lack of locating holes is super frustrating and unnecessary most of the time
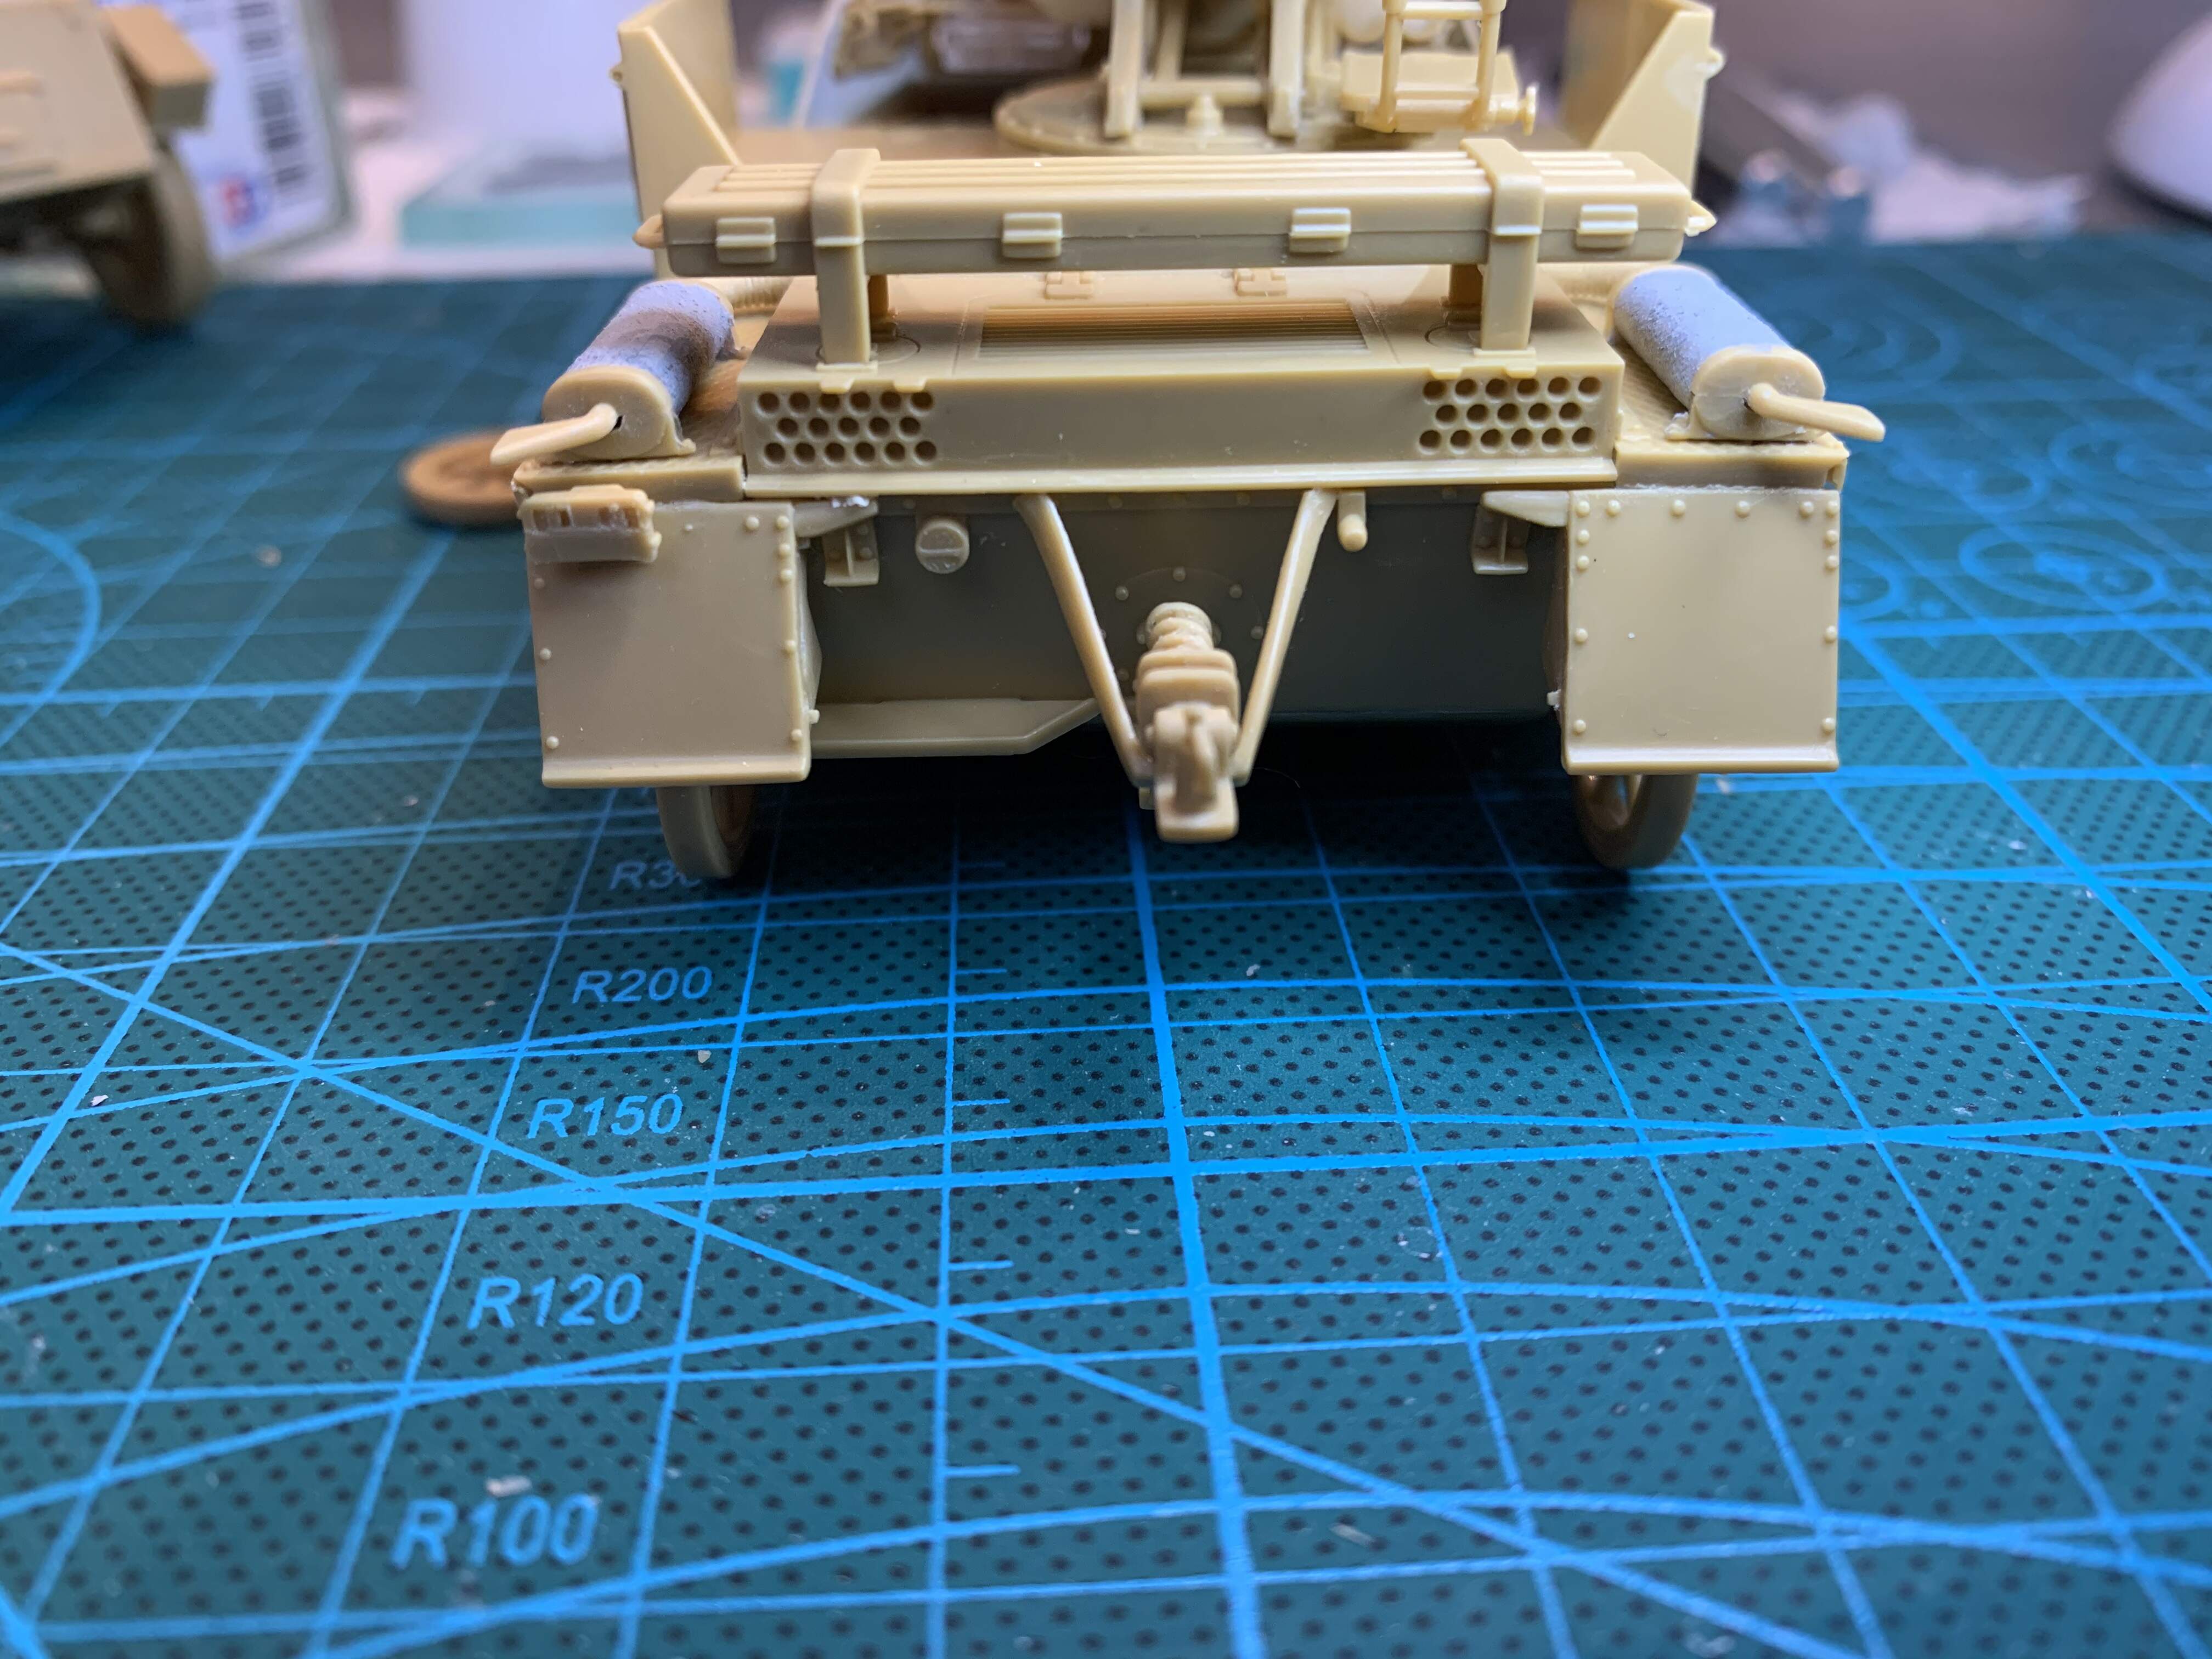
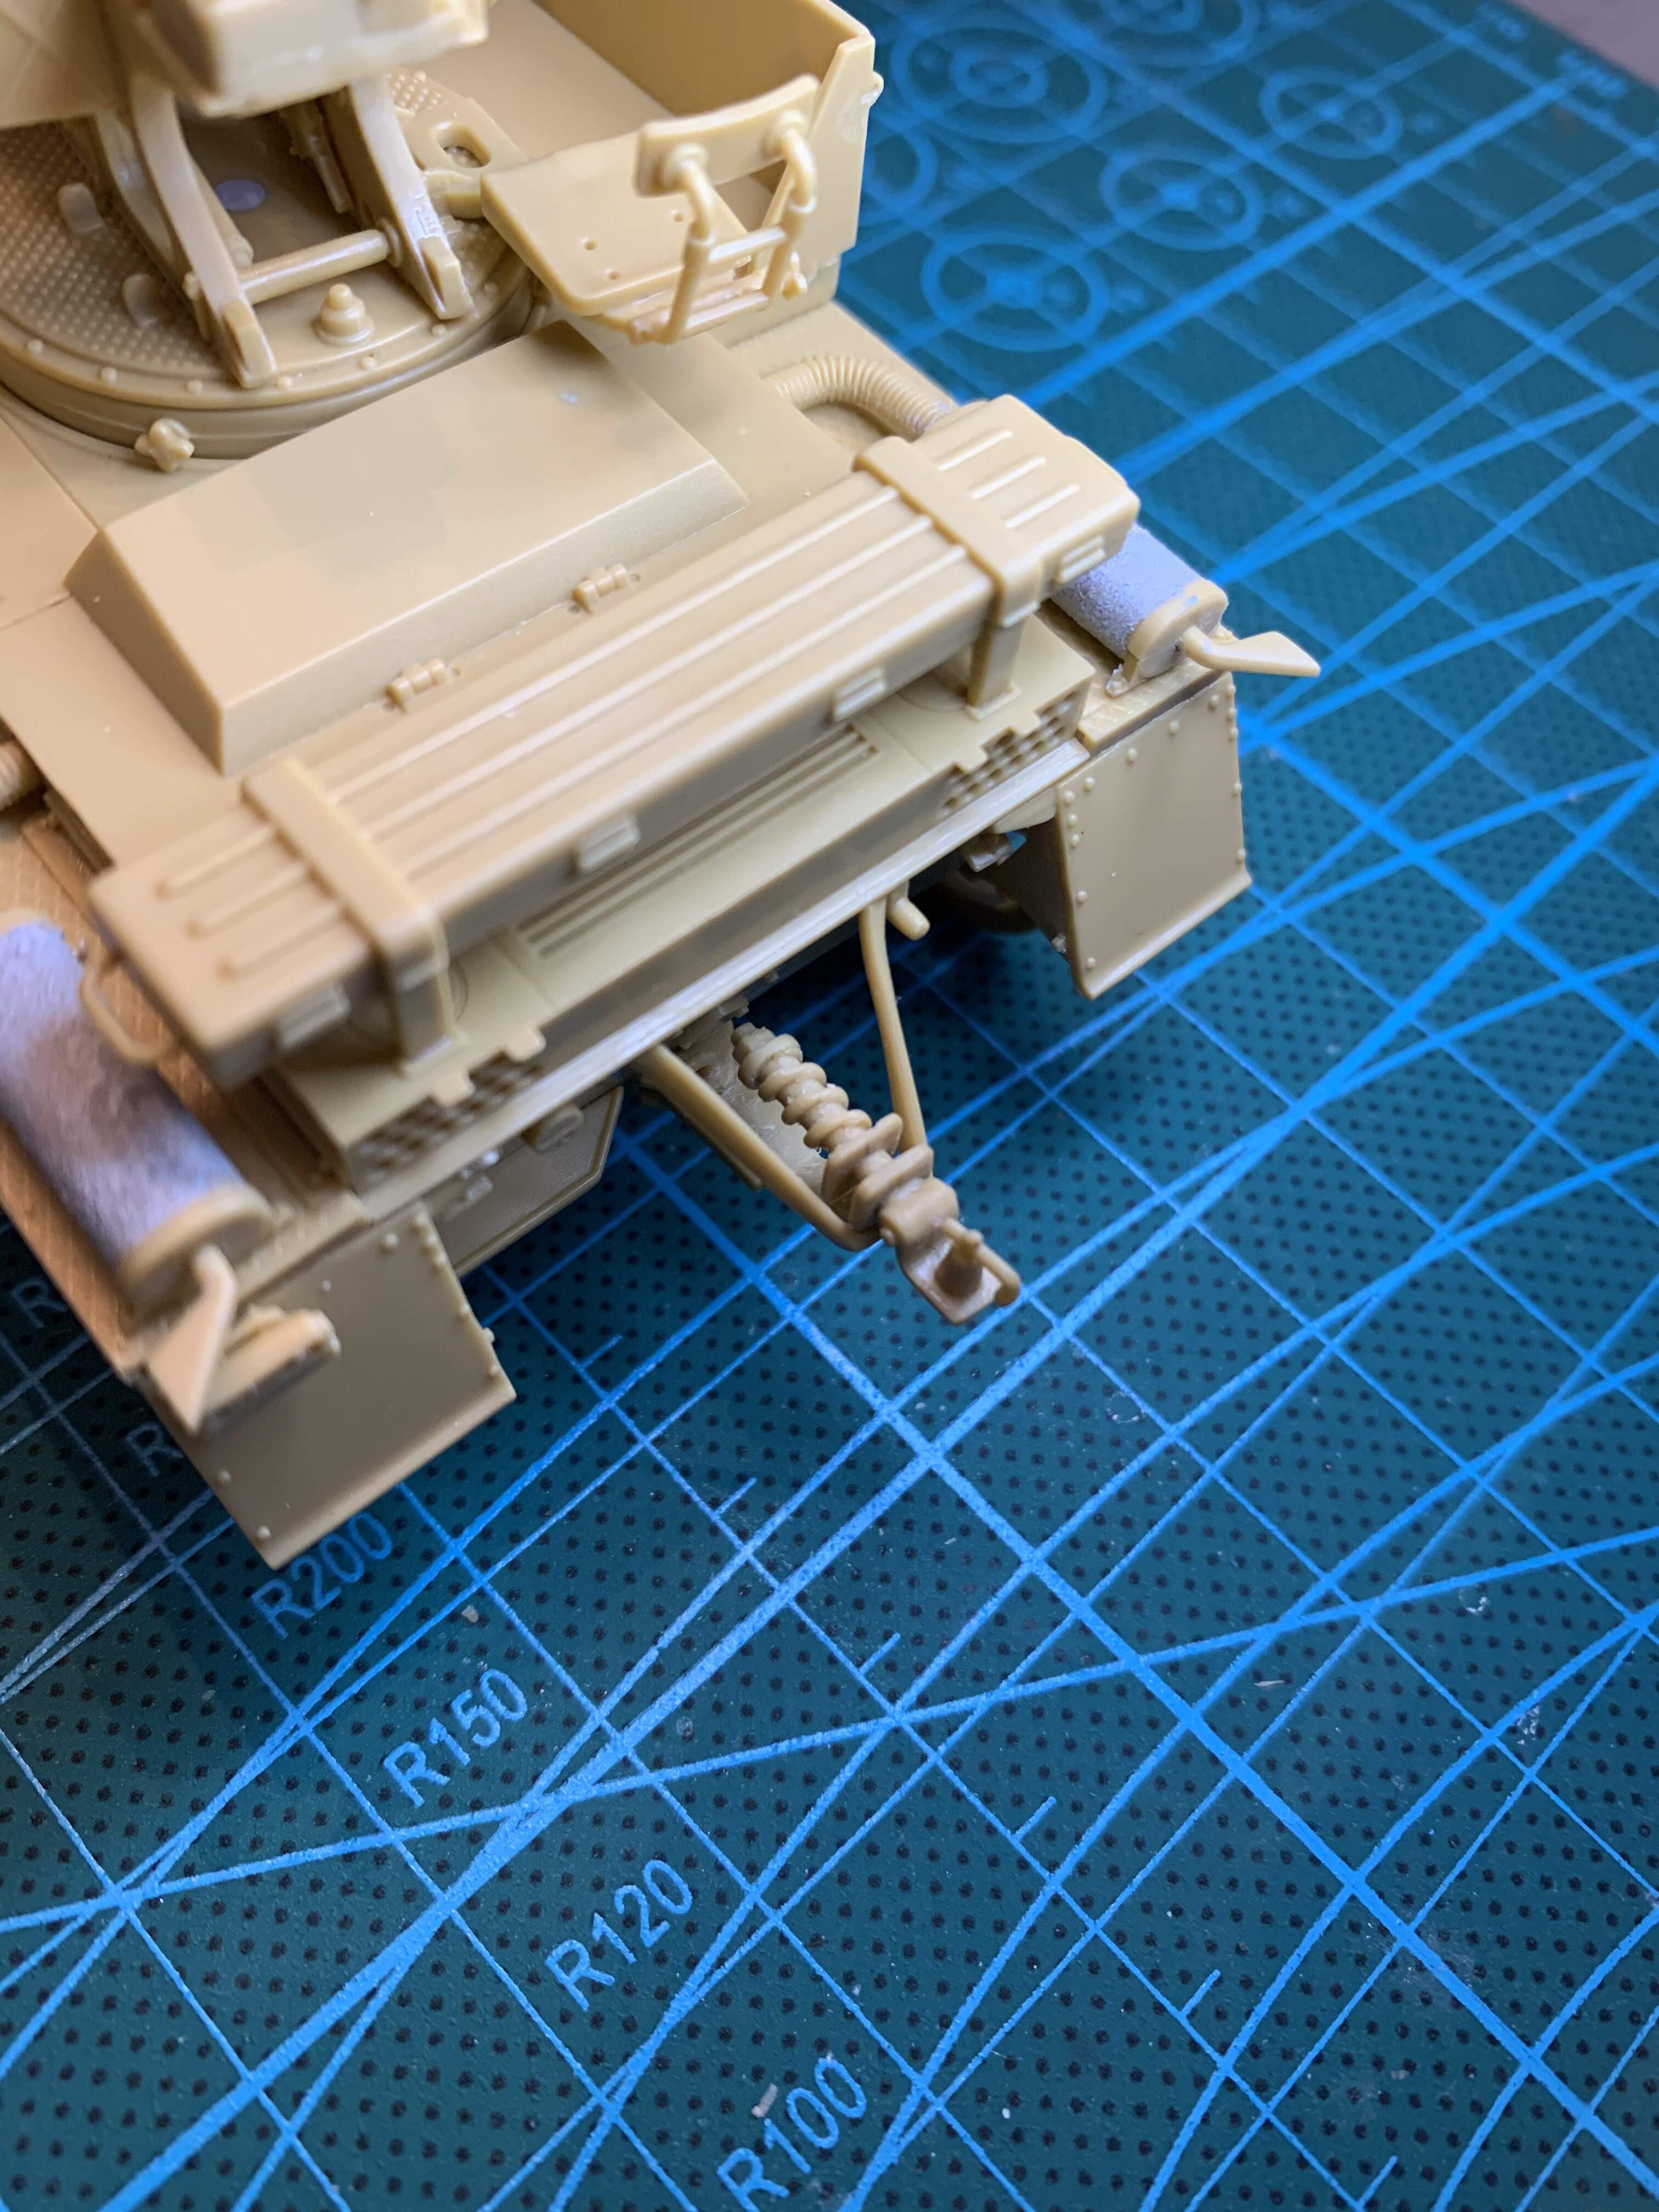
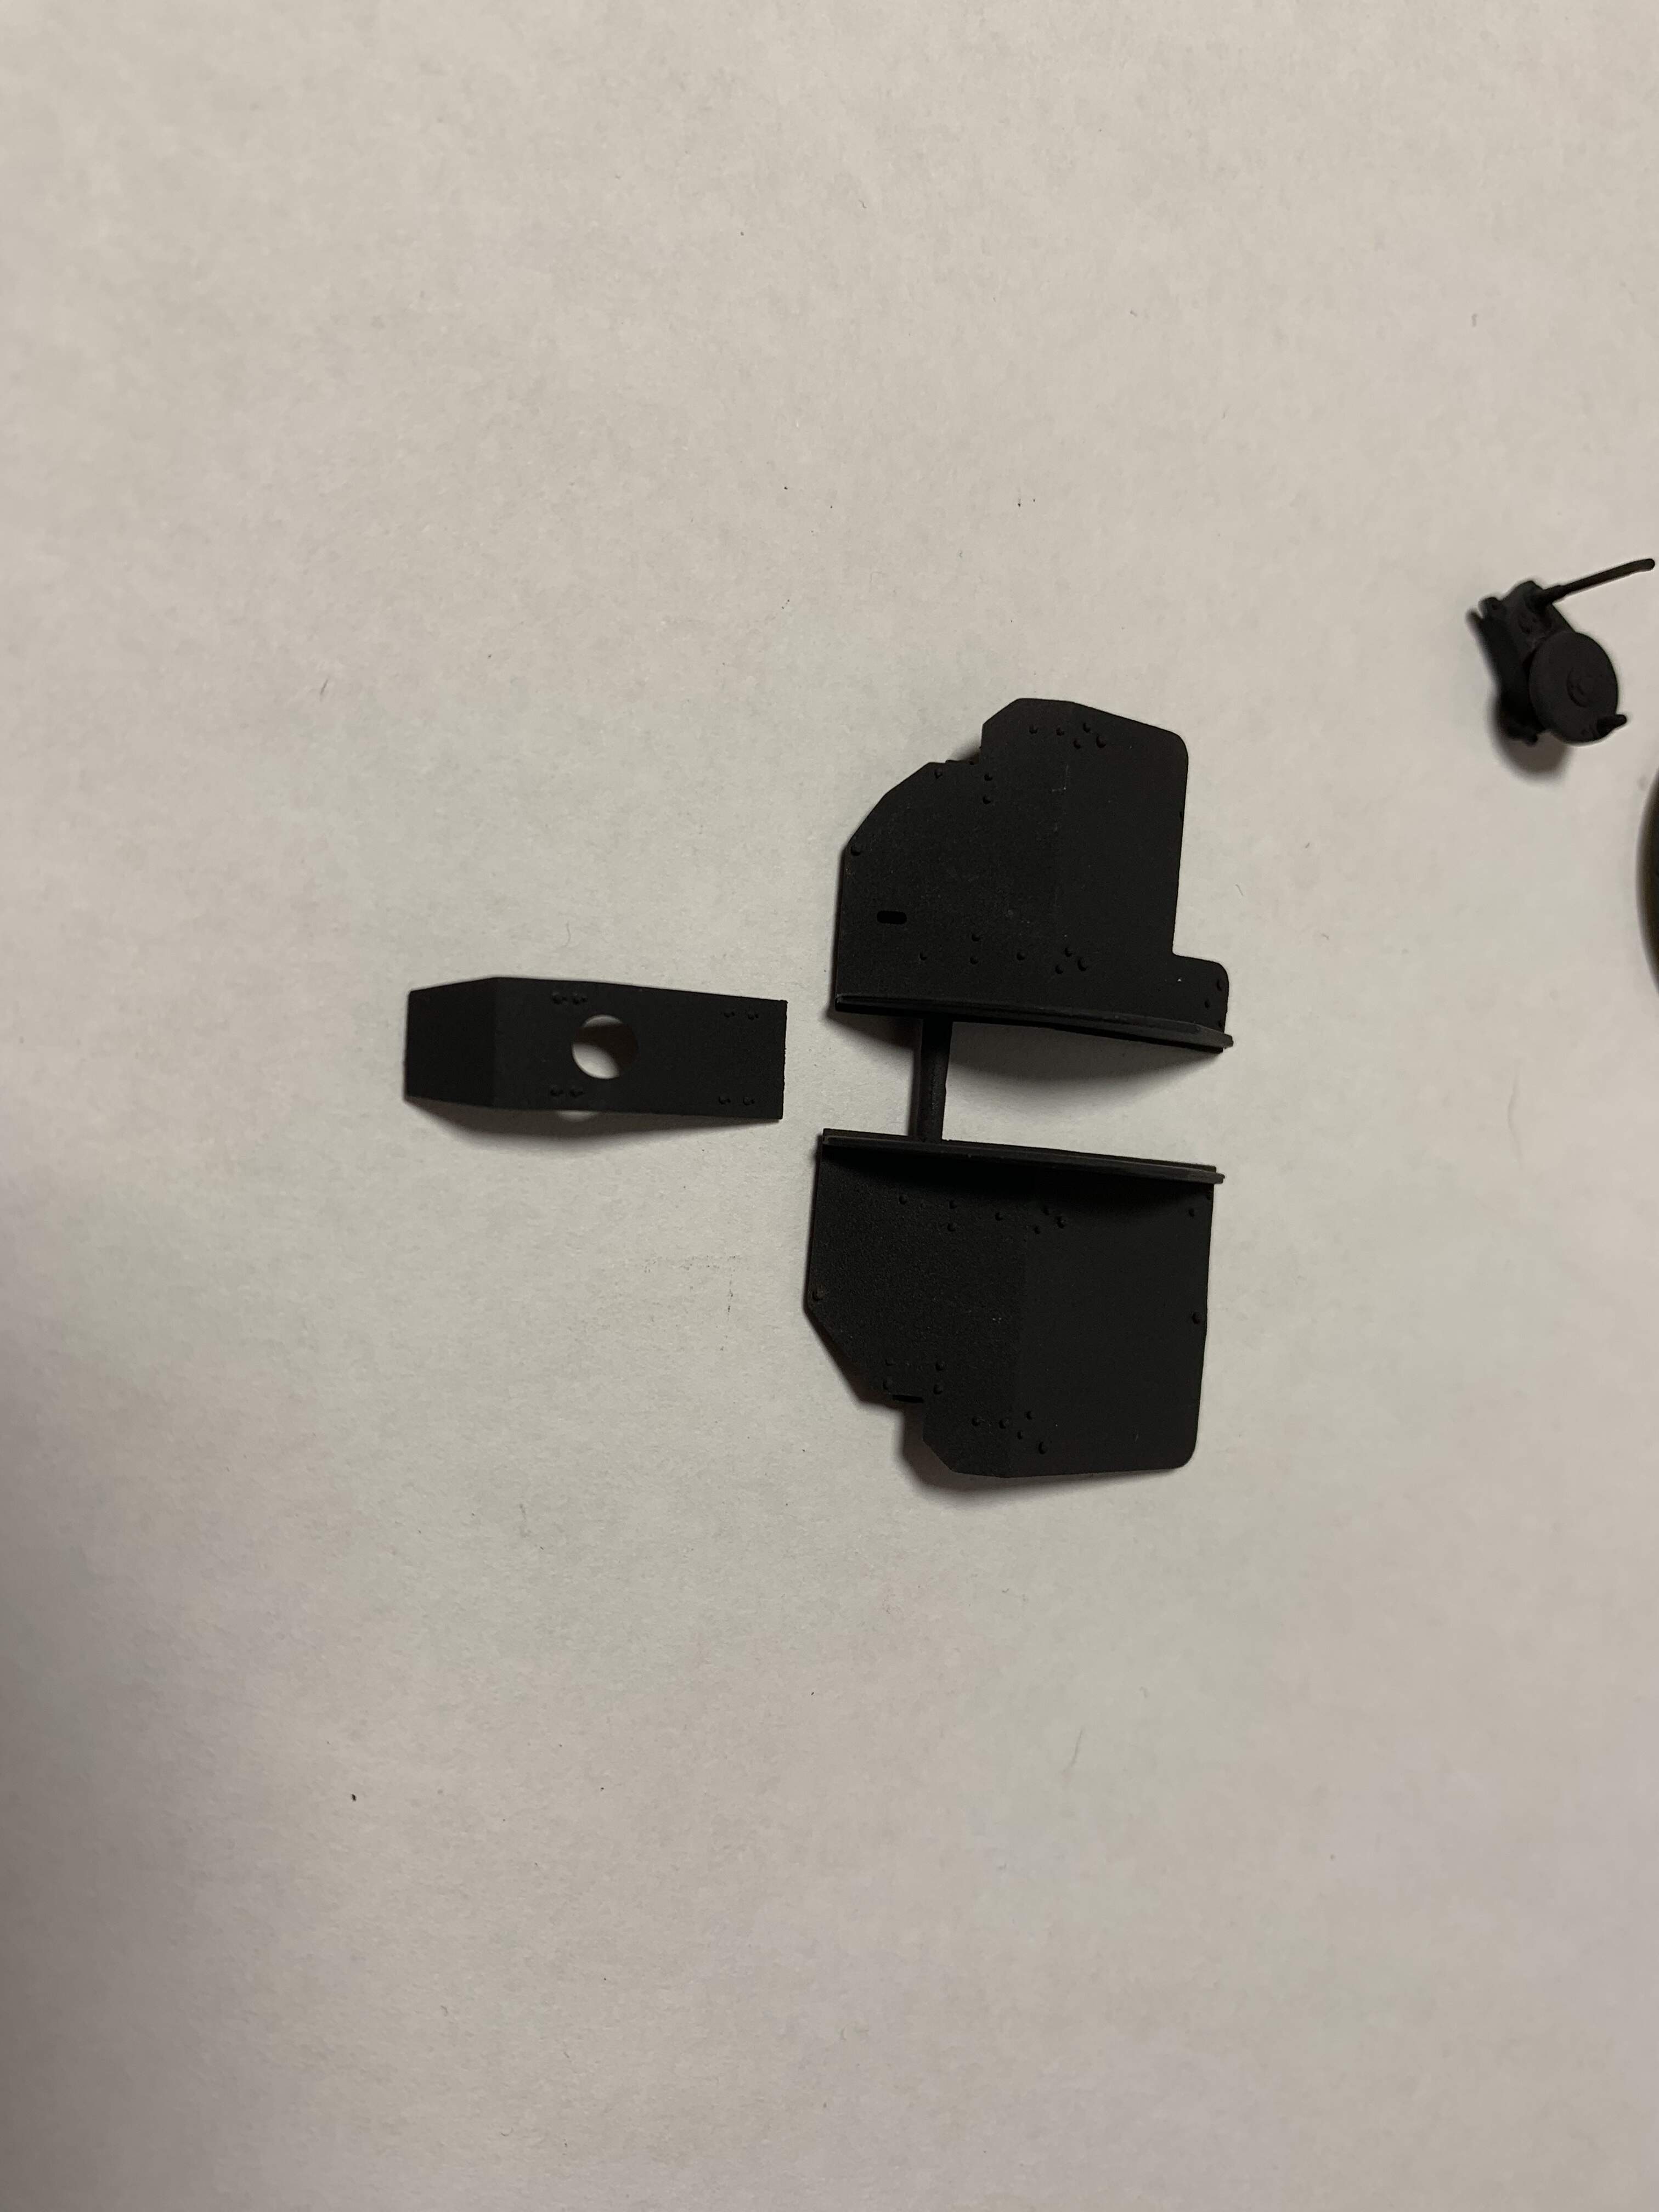
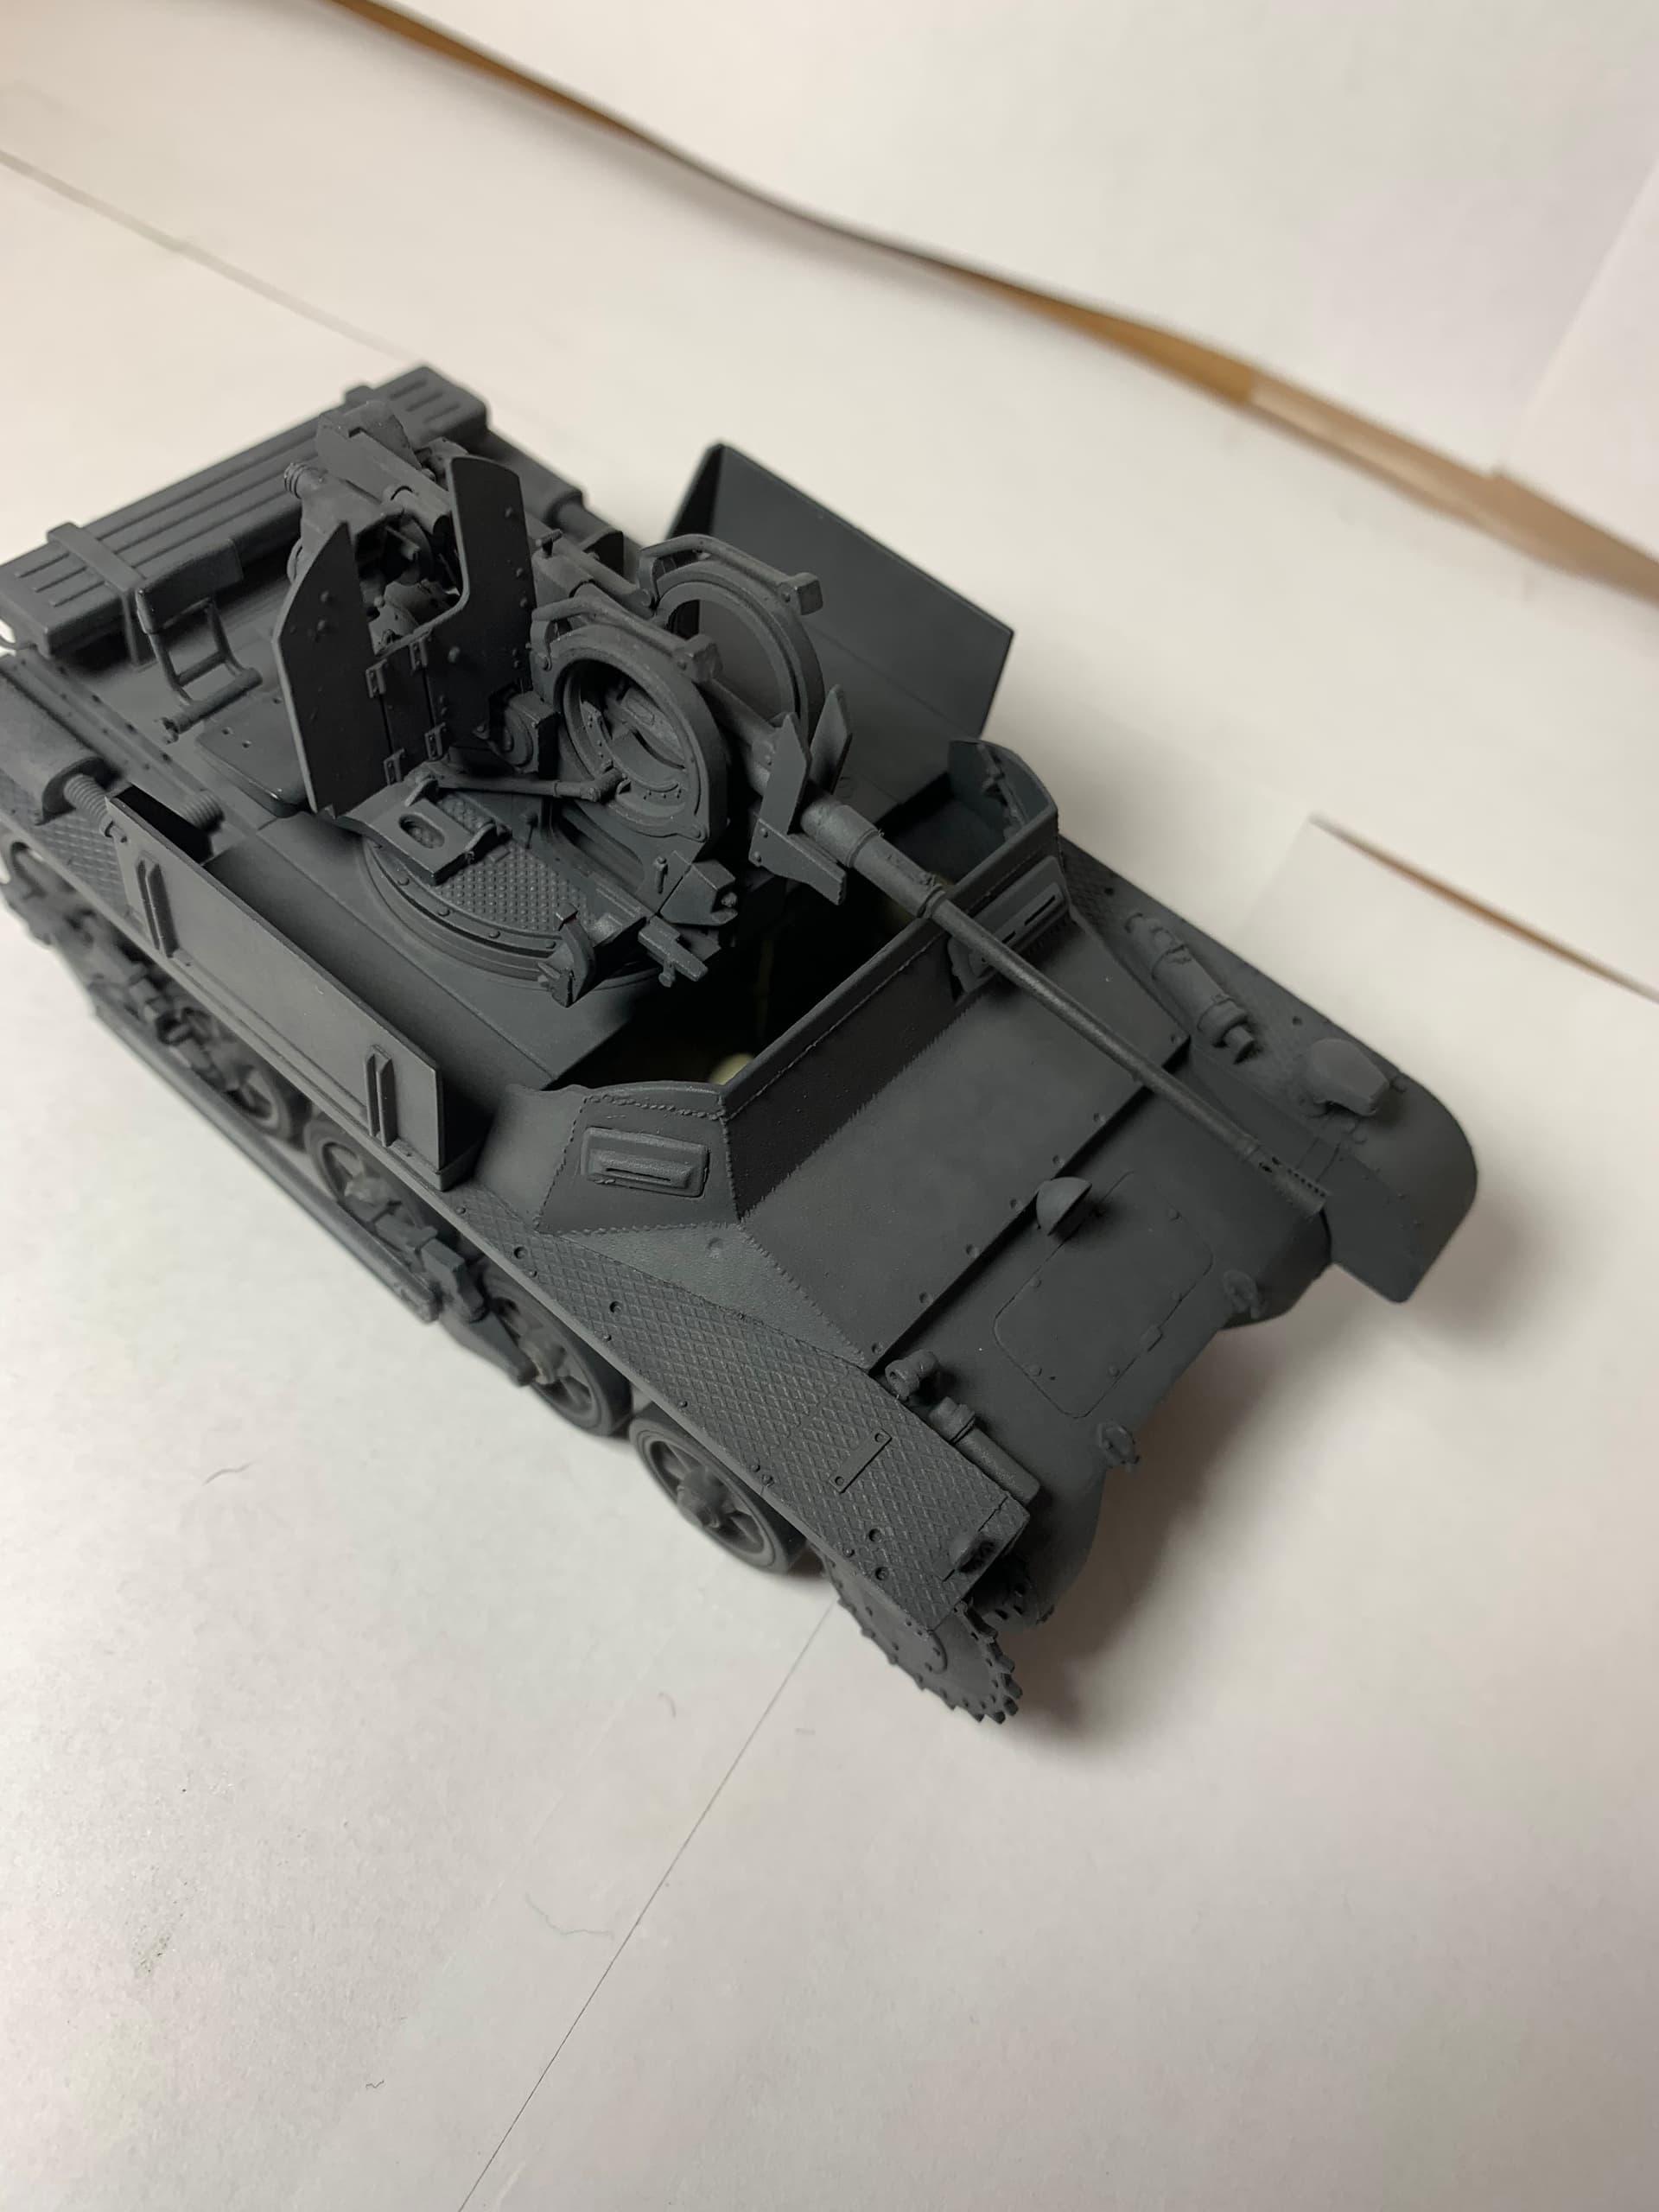
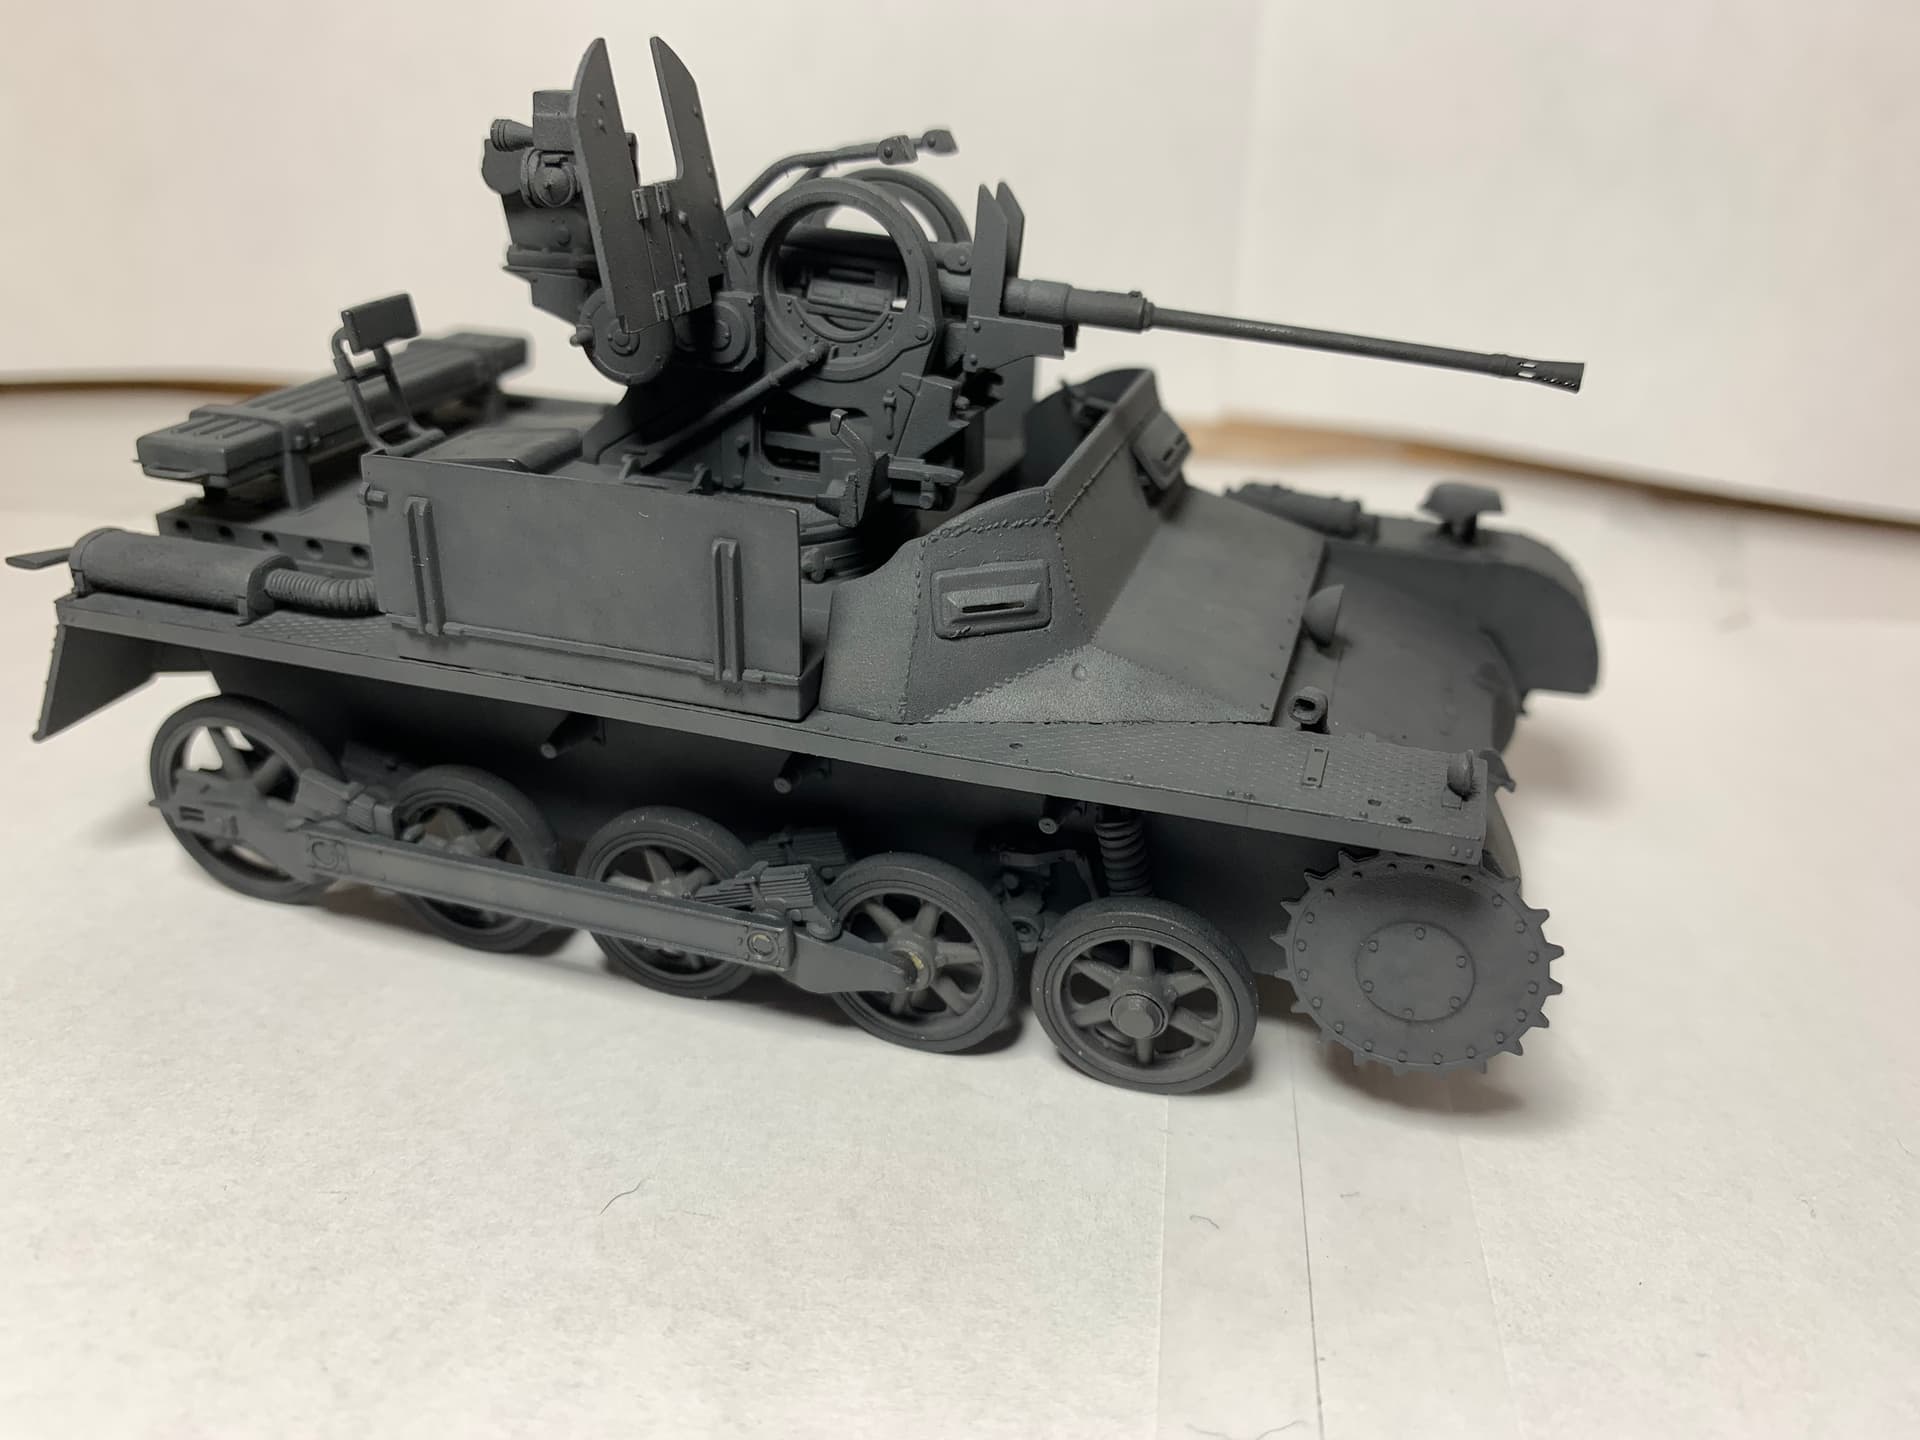
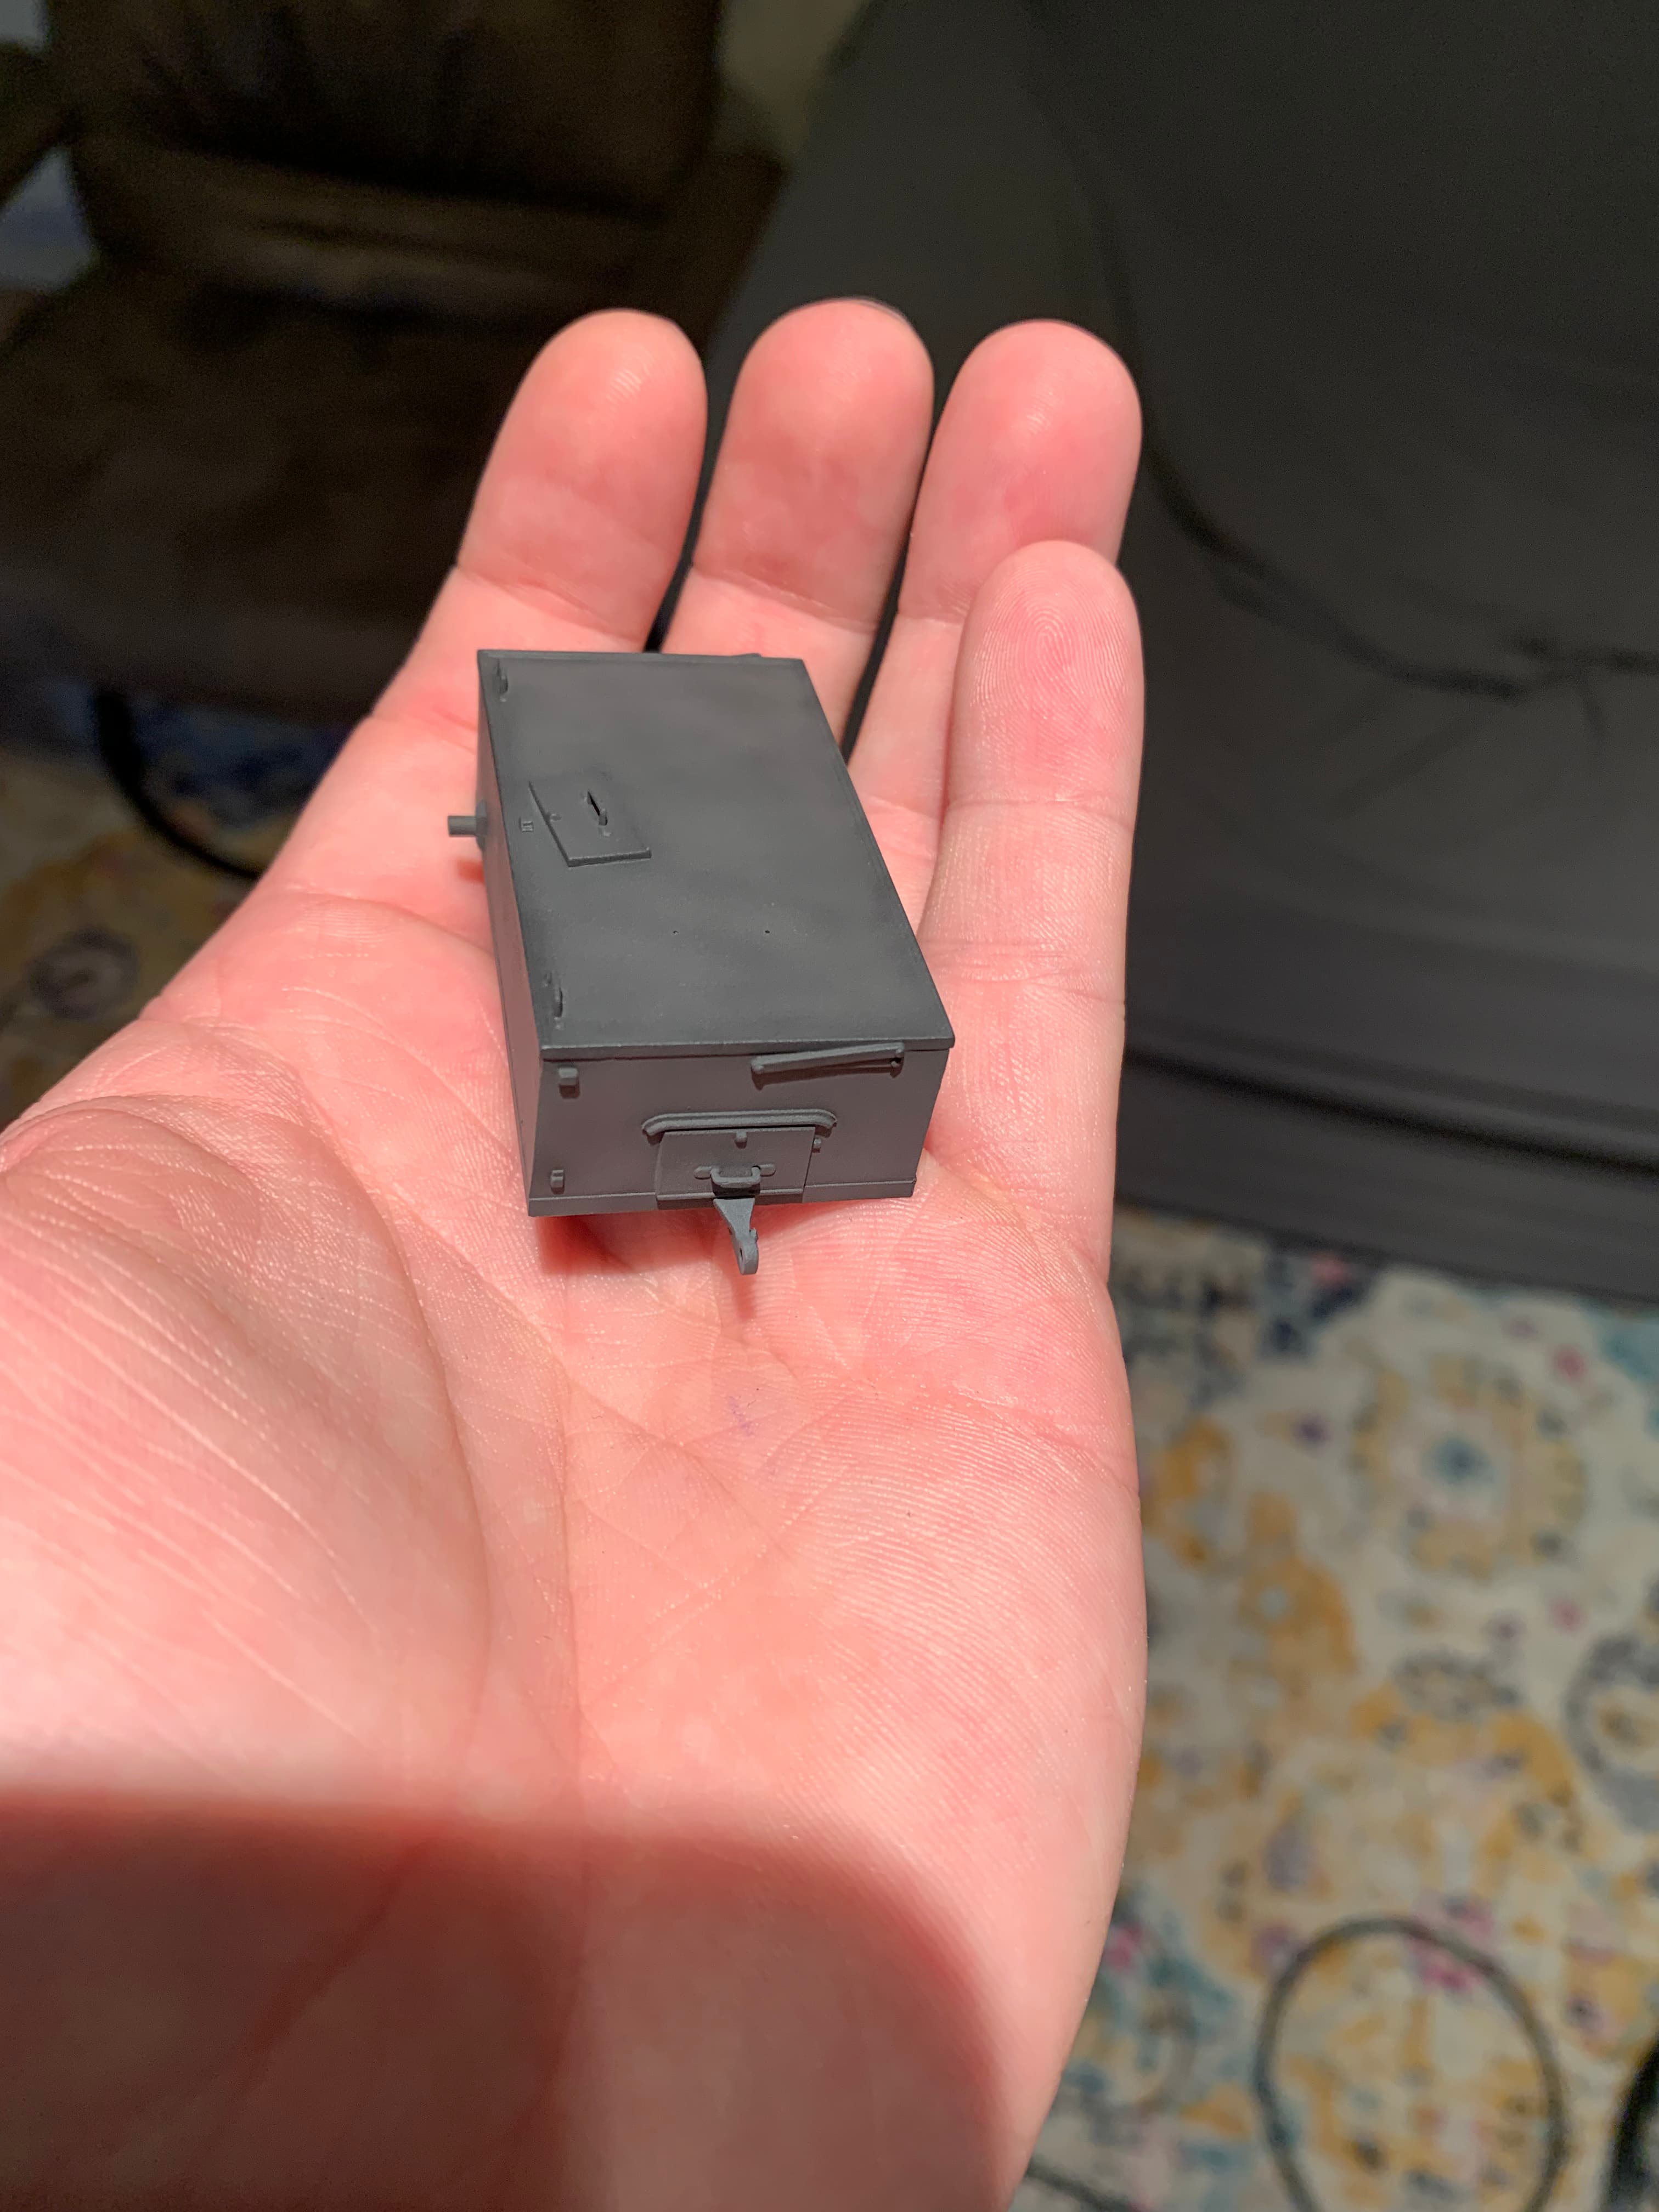
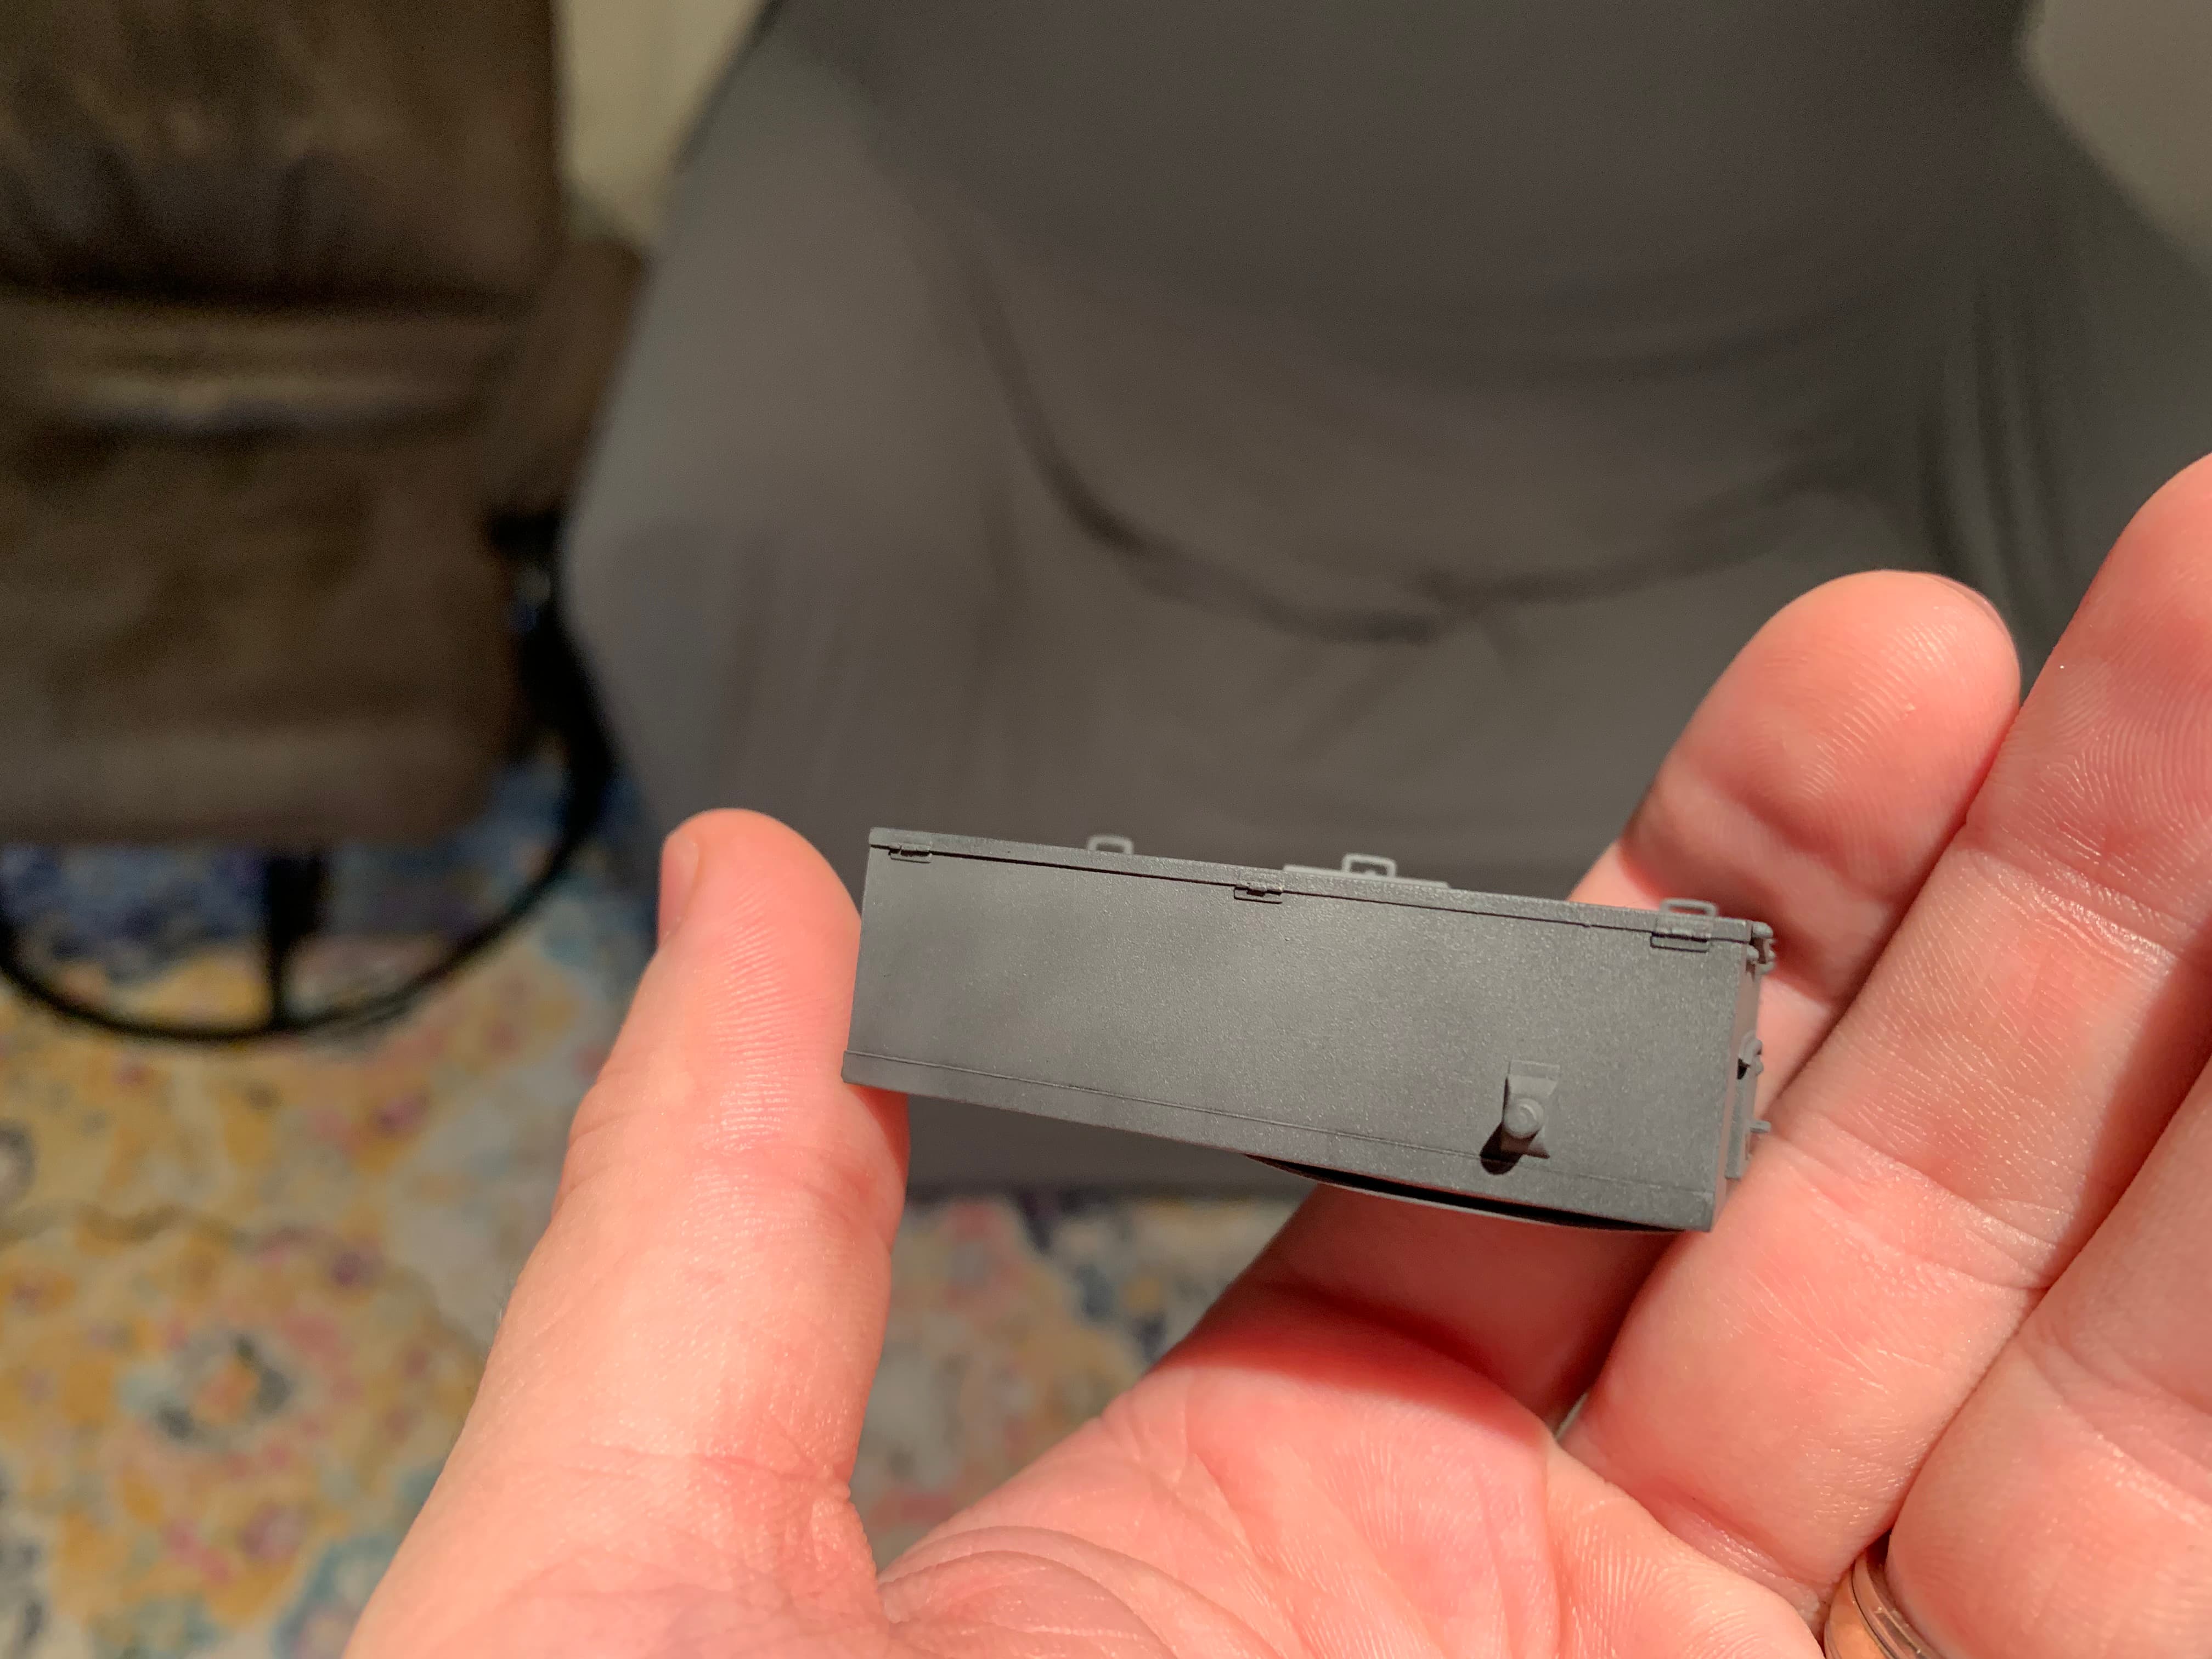
Build is all finished. Had fun with this one after the hull issue. Aside from the hull being challenging and needing gap filling, the rest of the build went smoothly and was fun. This variant of the panzer I is really eye catching to me, though I wouldn’t have wanted to be assigned to one. I have a few things left to finish painting on my t-54 but this should hit the booth sometime this week. Everything right now is mostly dry fitted. It will be in about 20 pieces for painting.
7 Likes
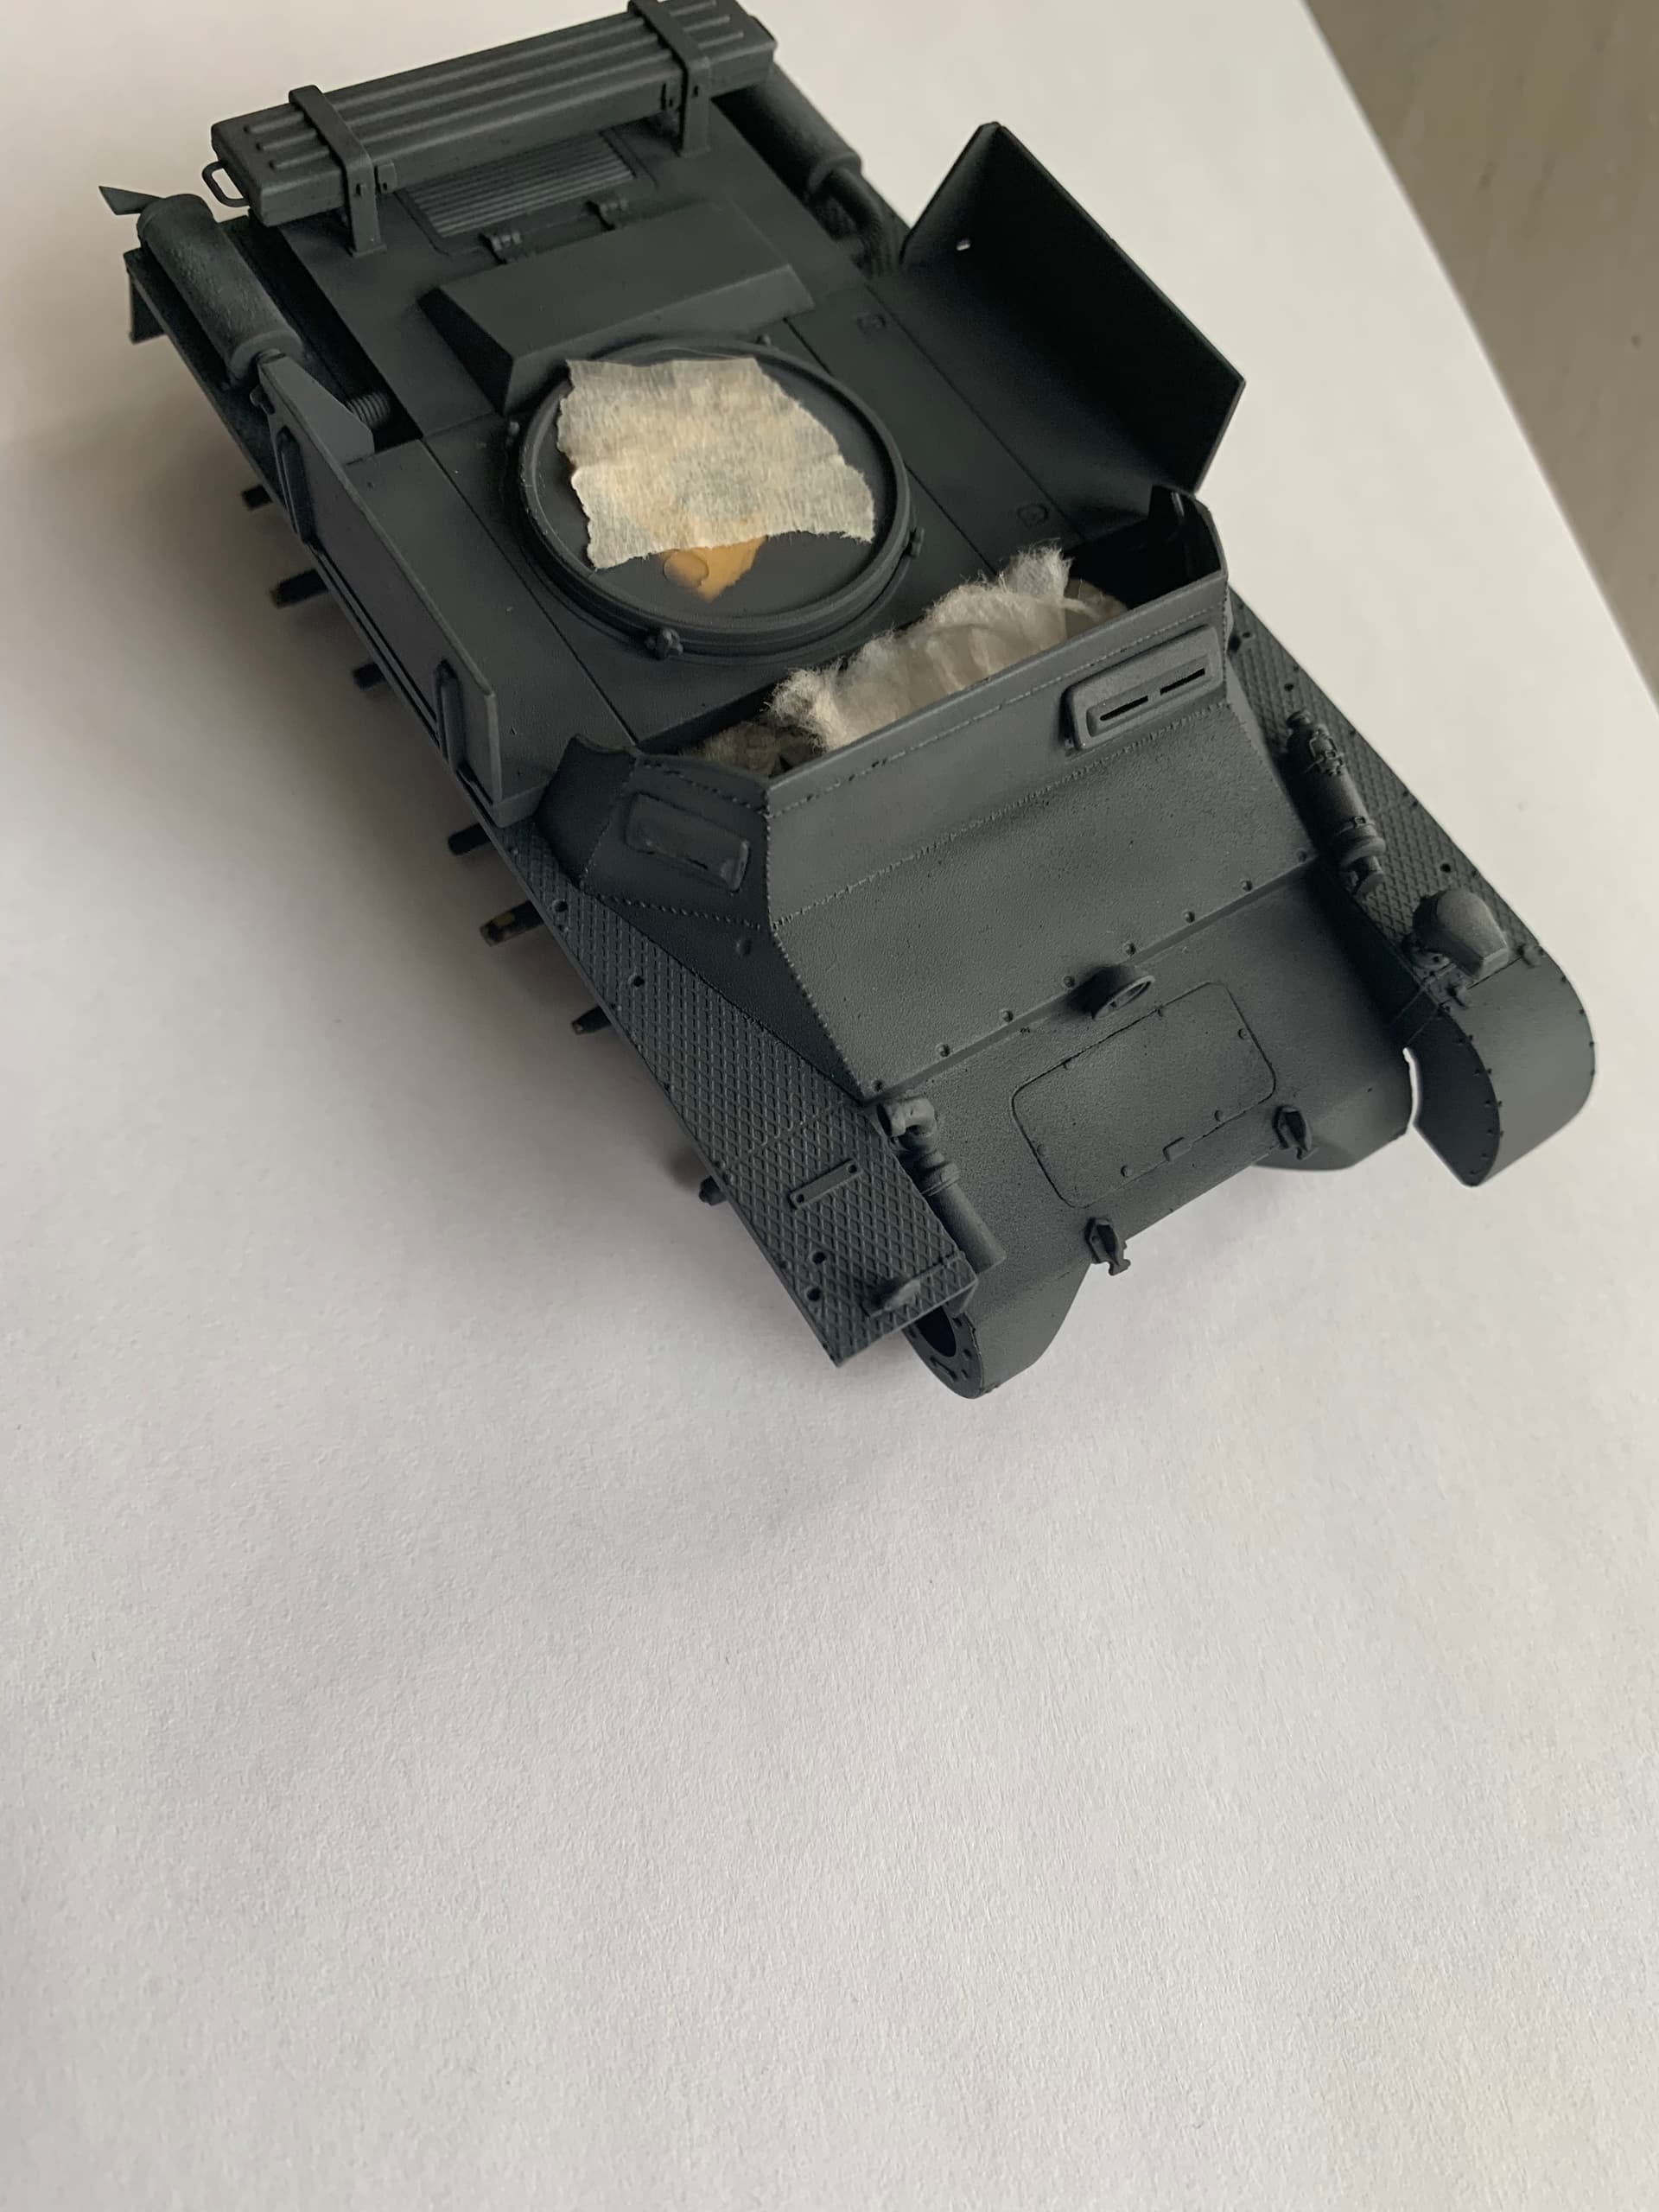
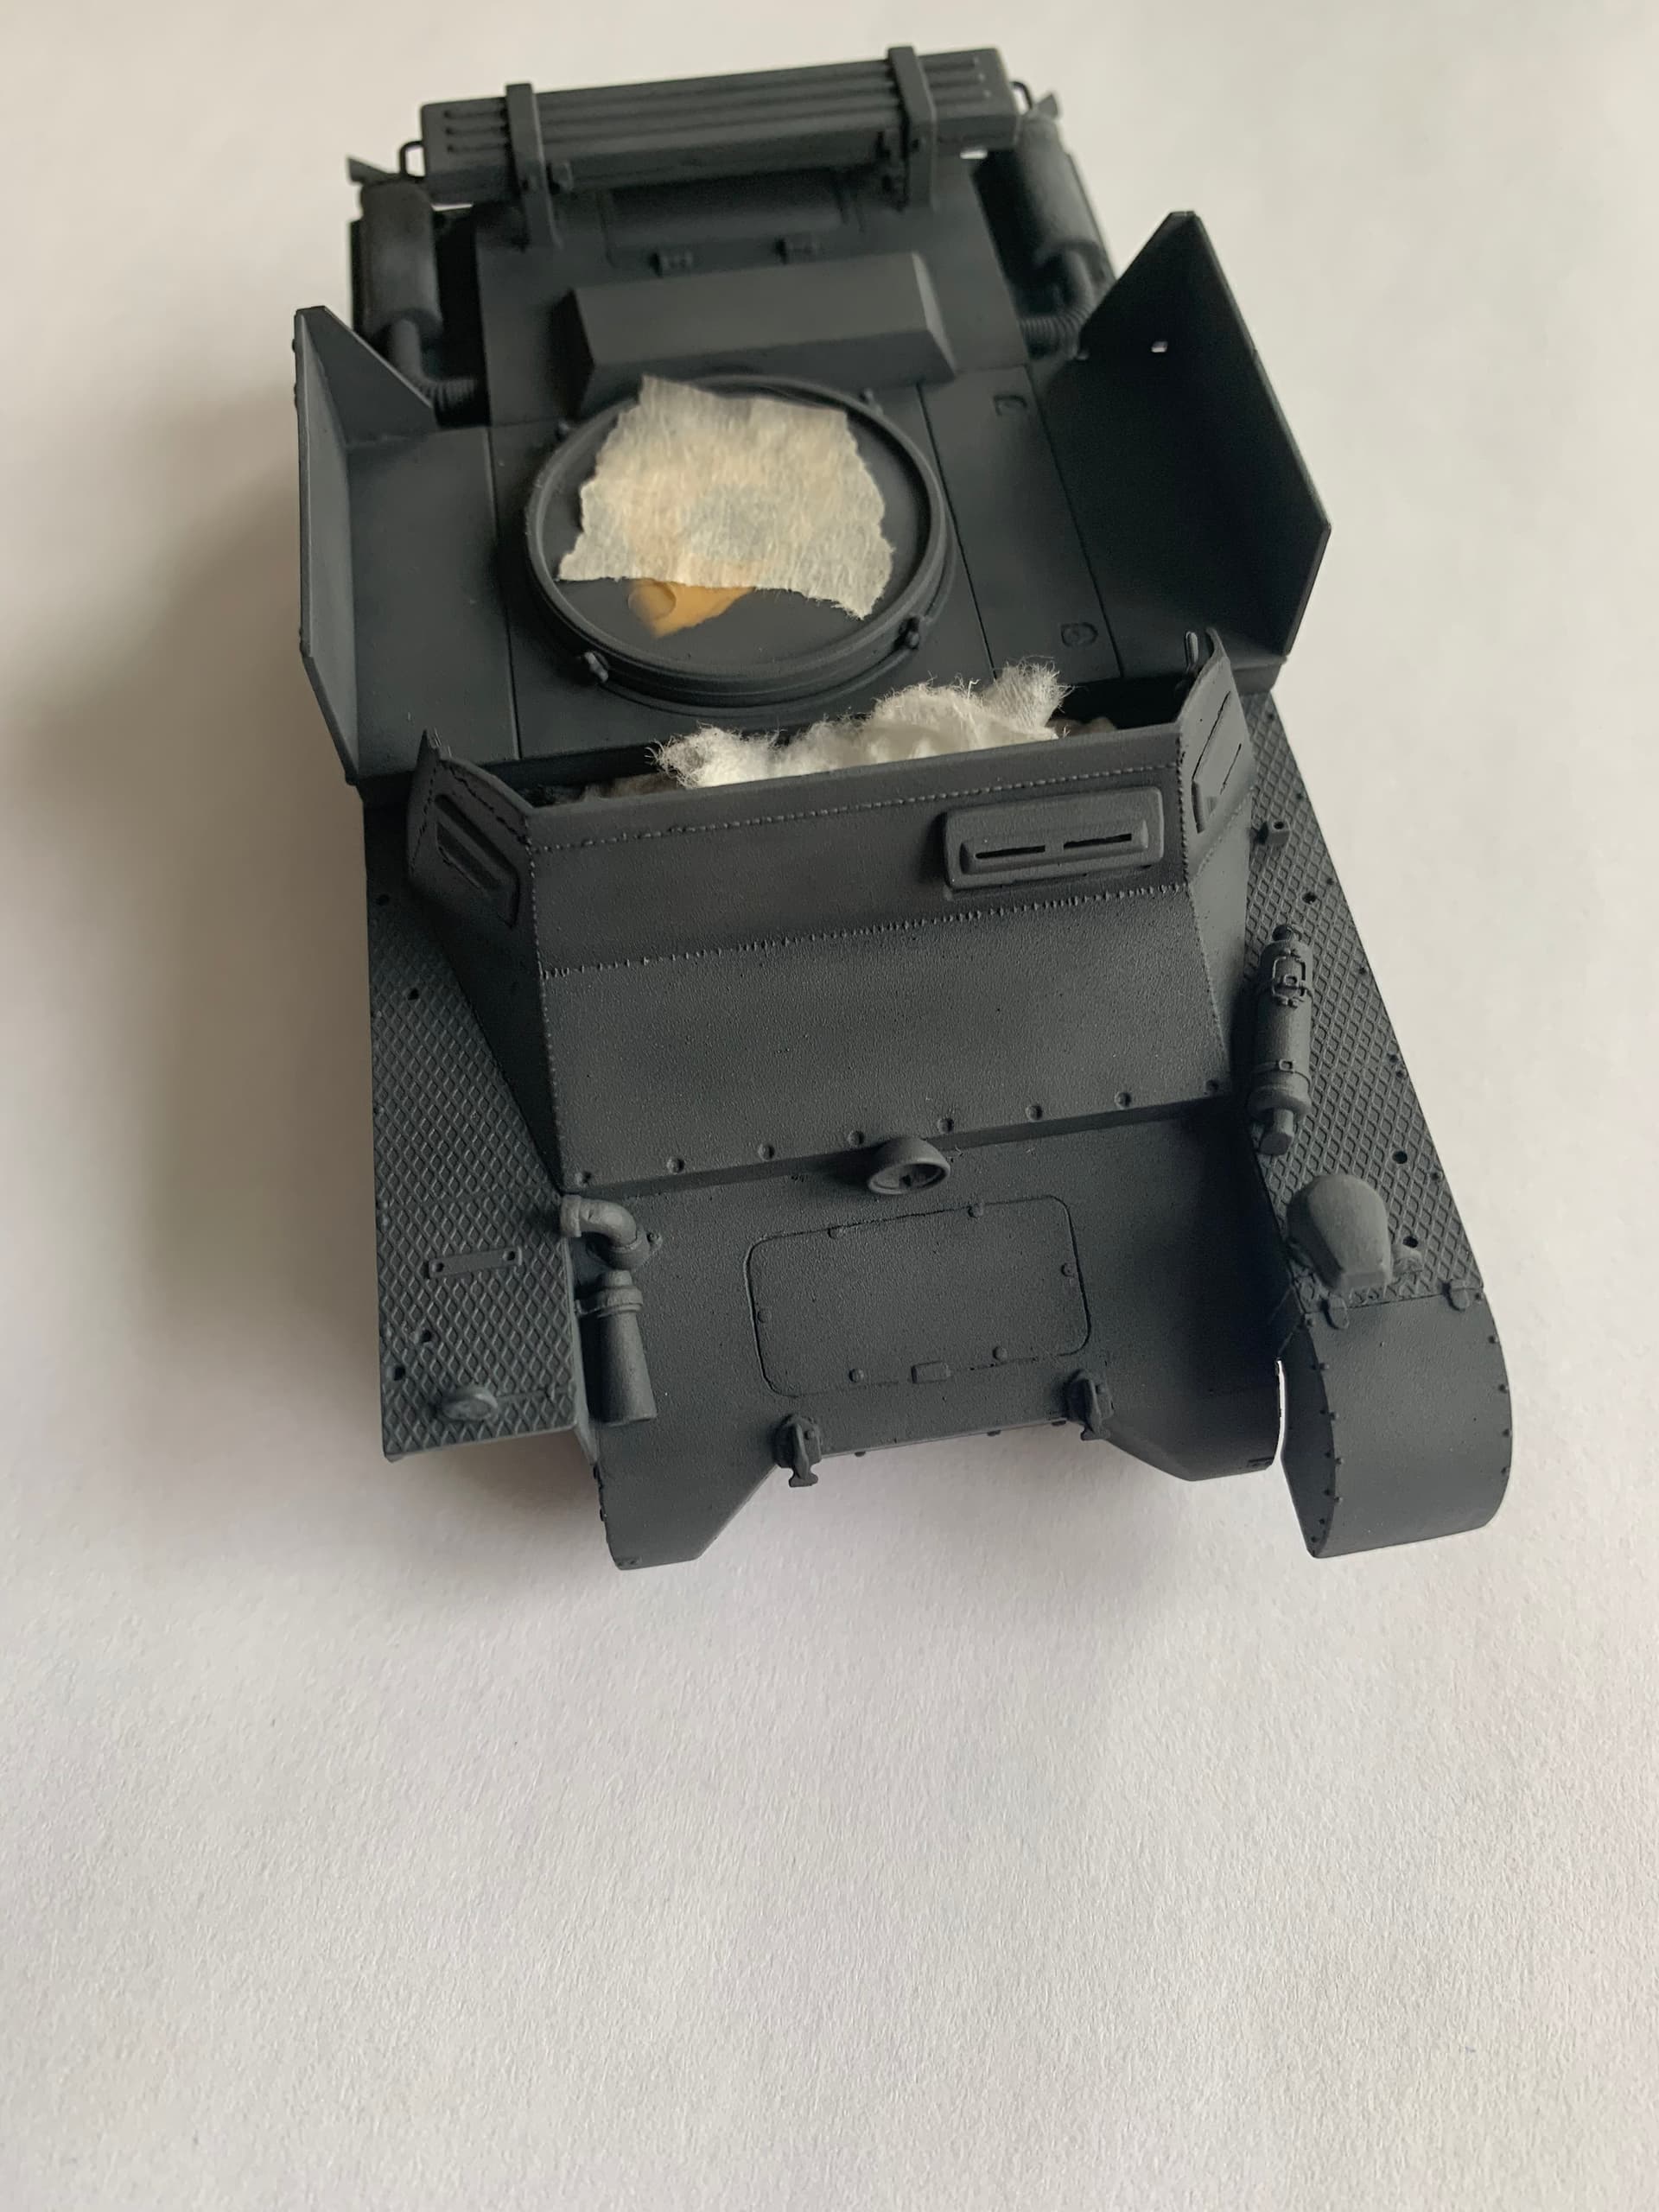
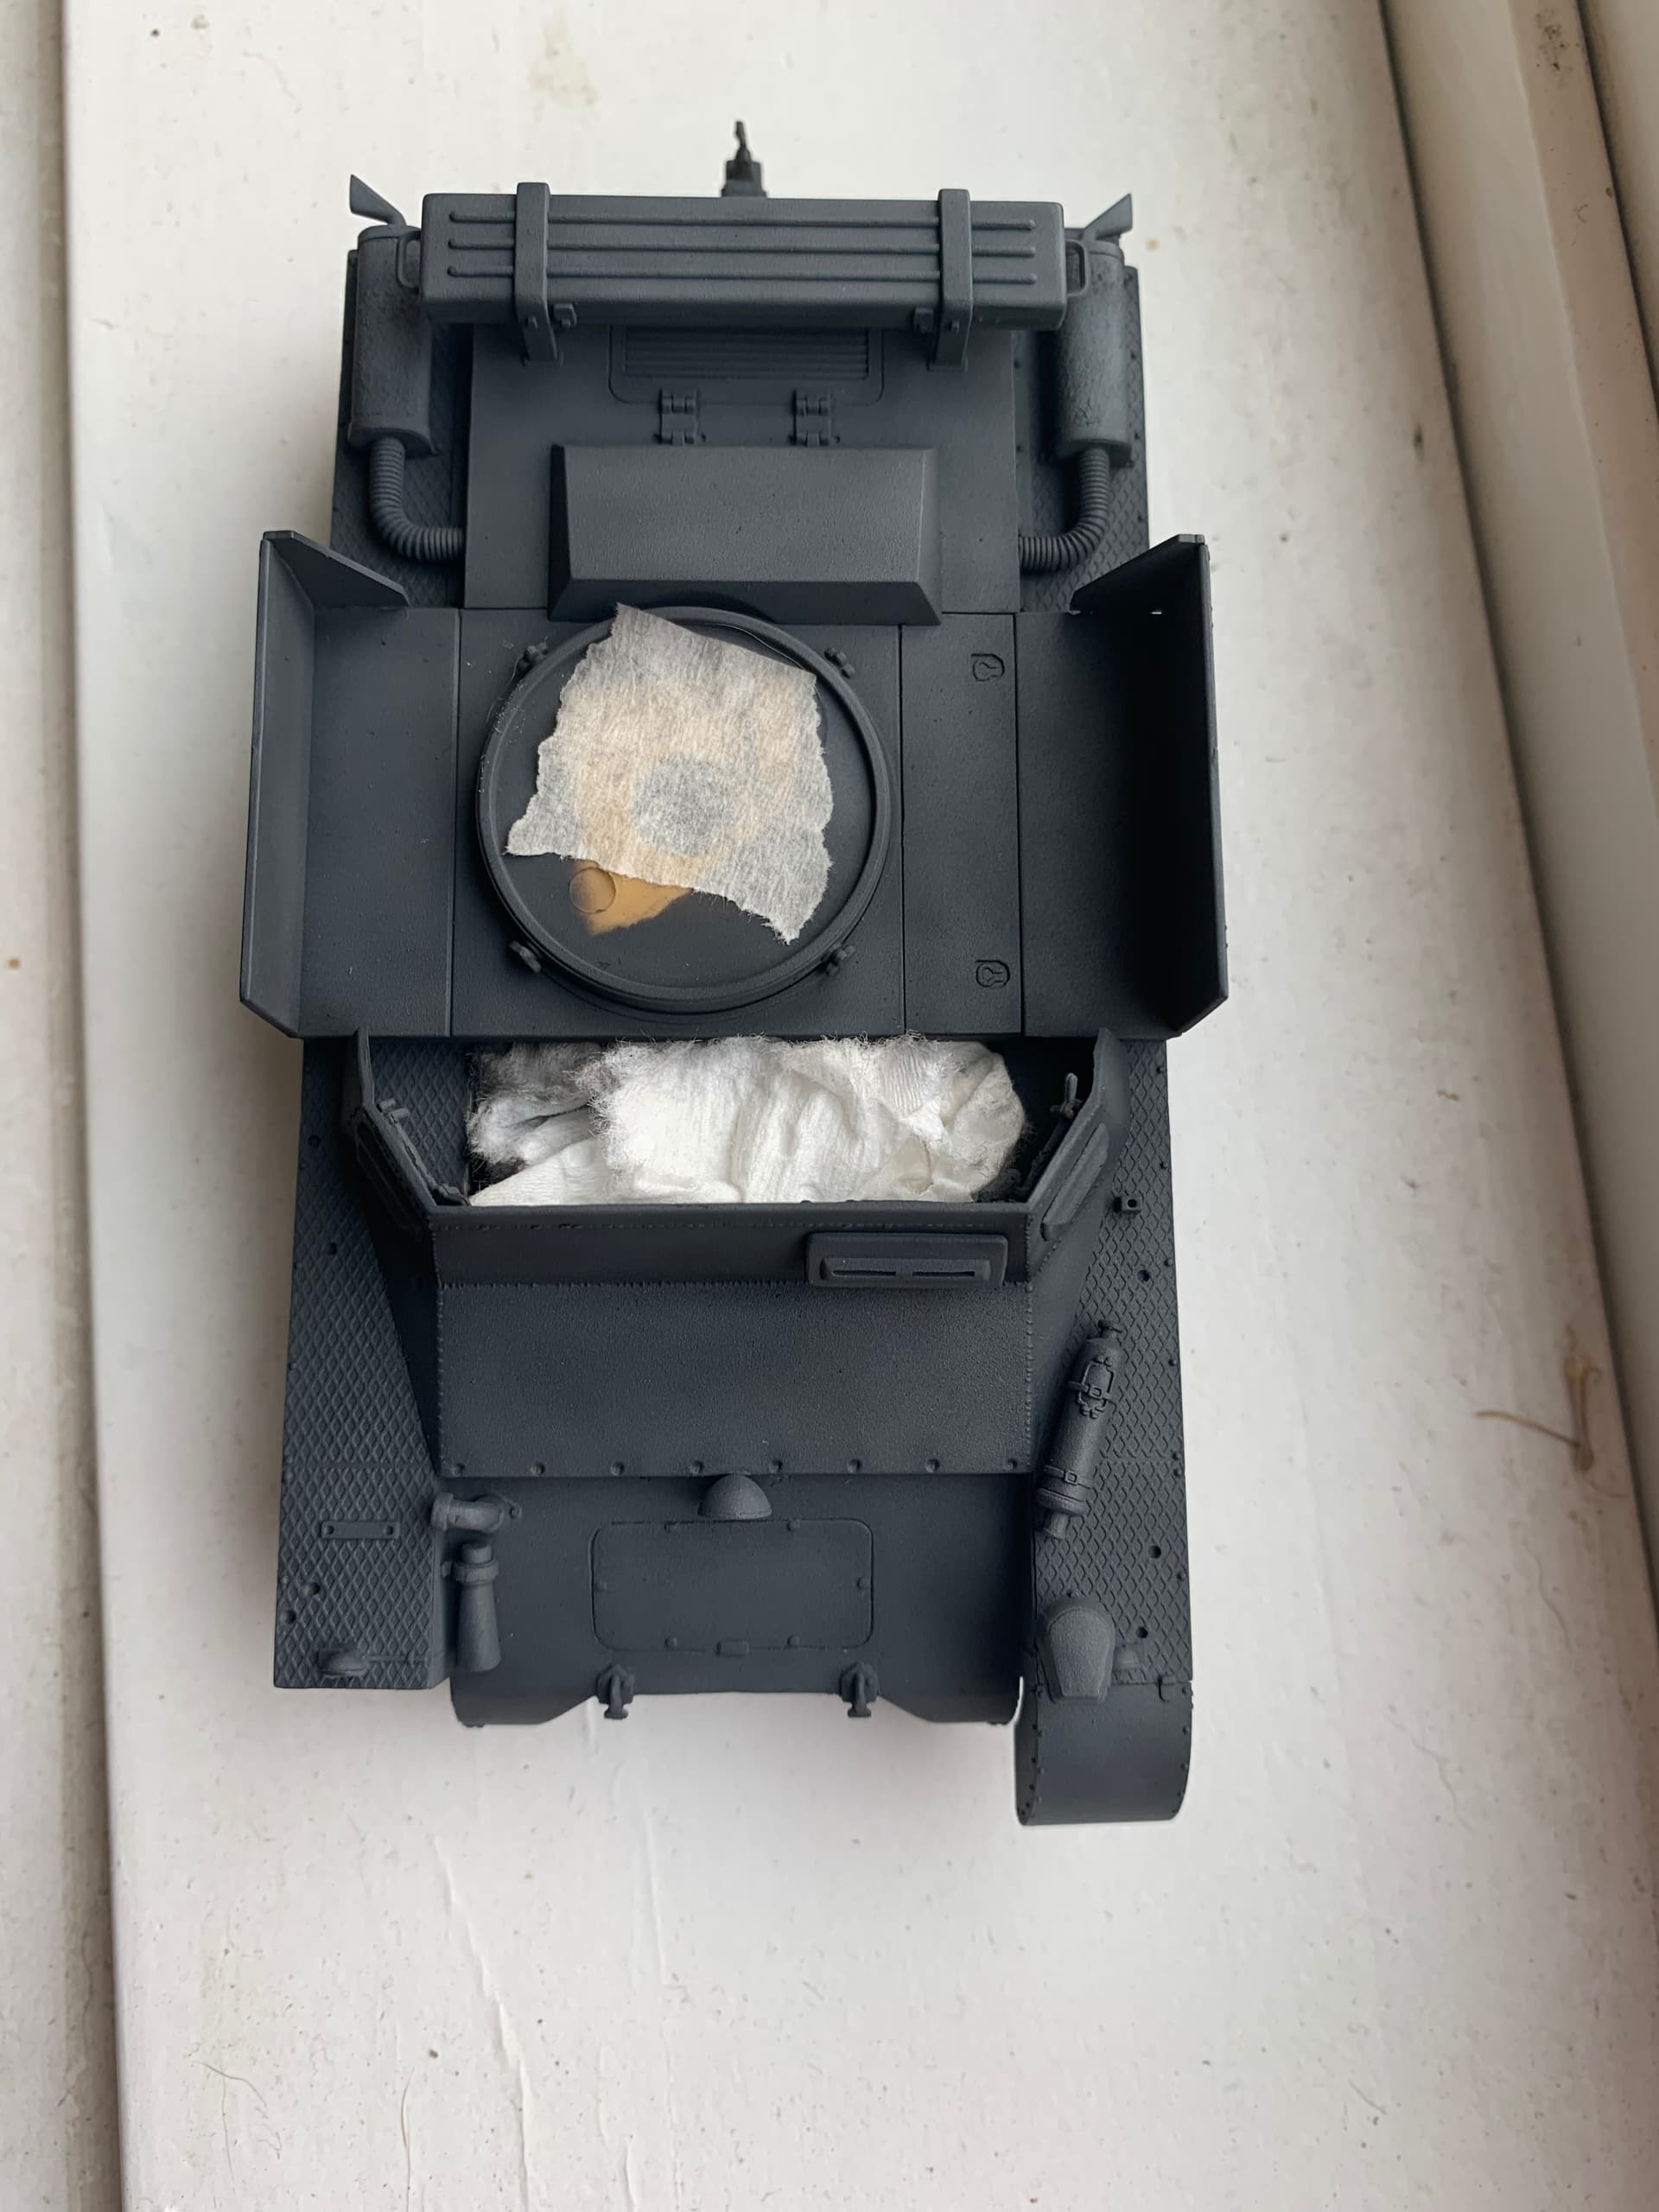
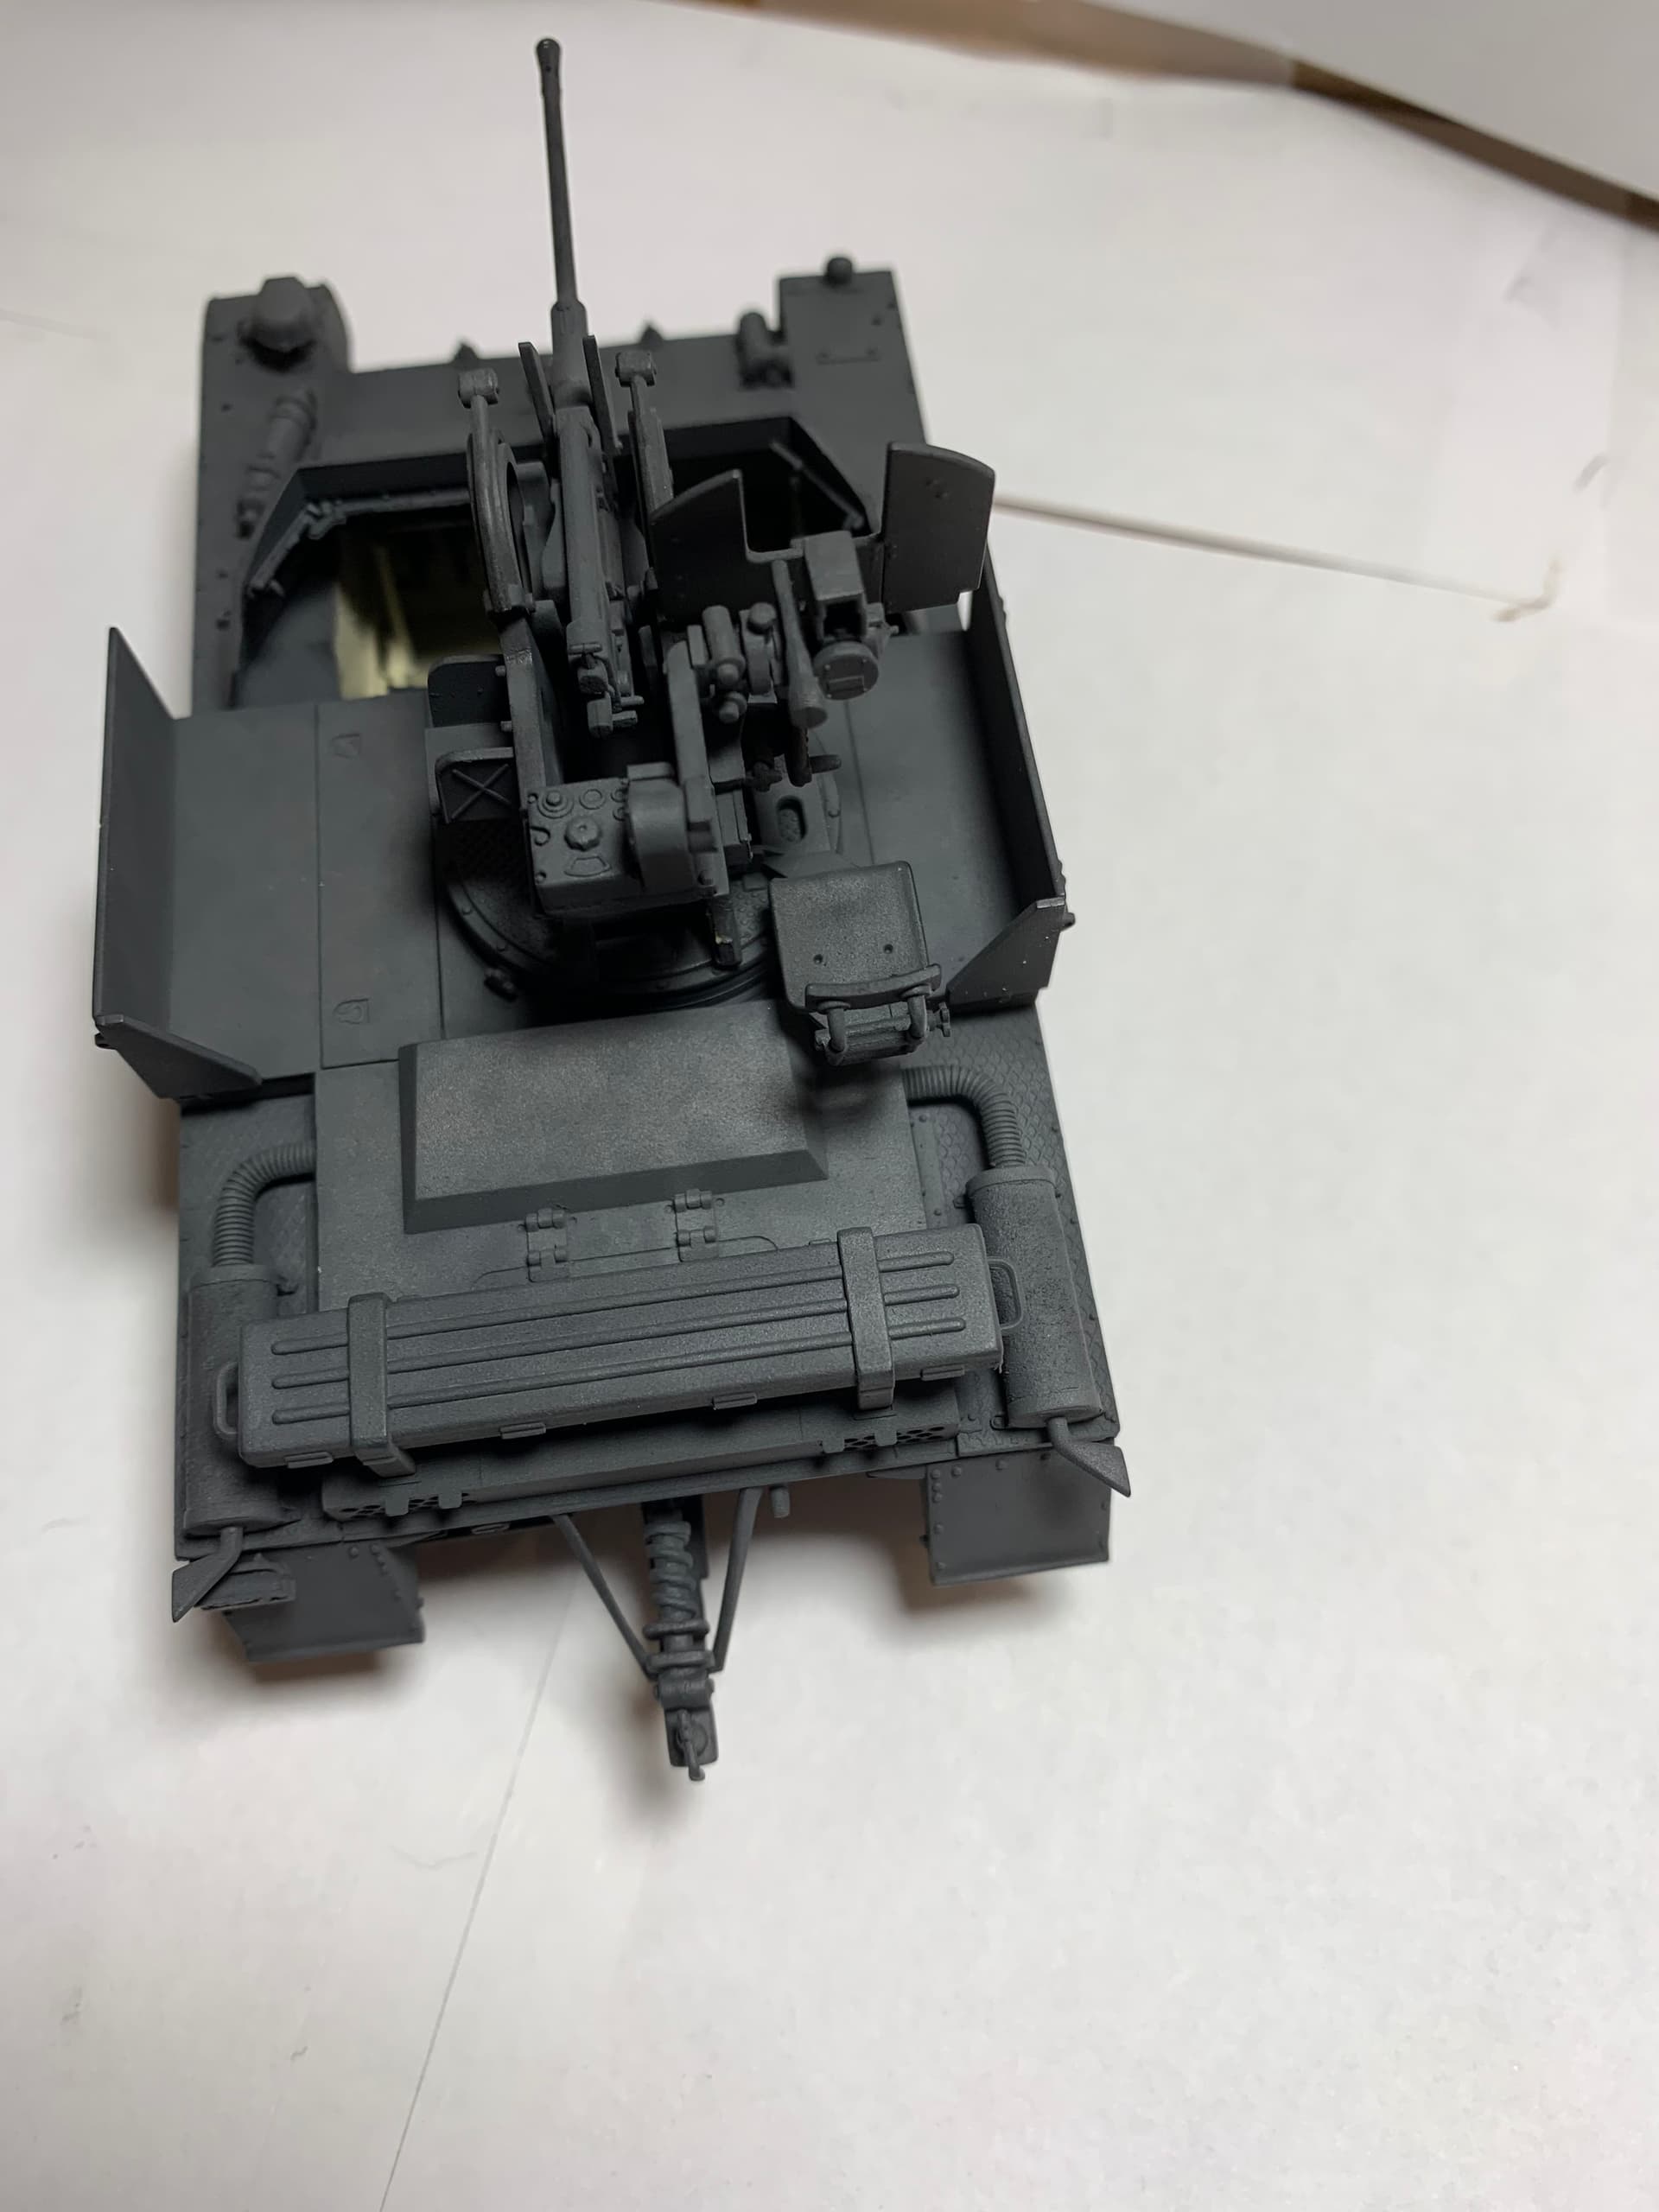
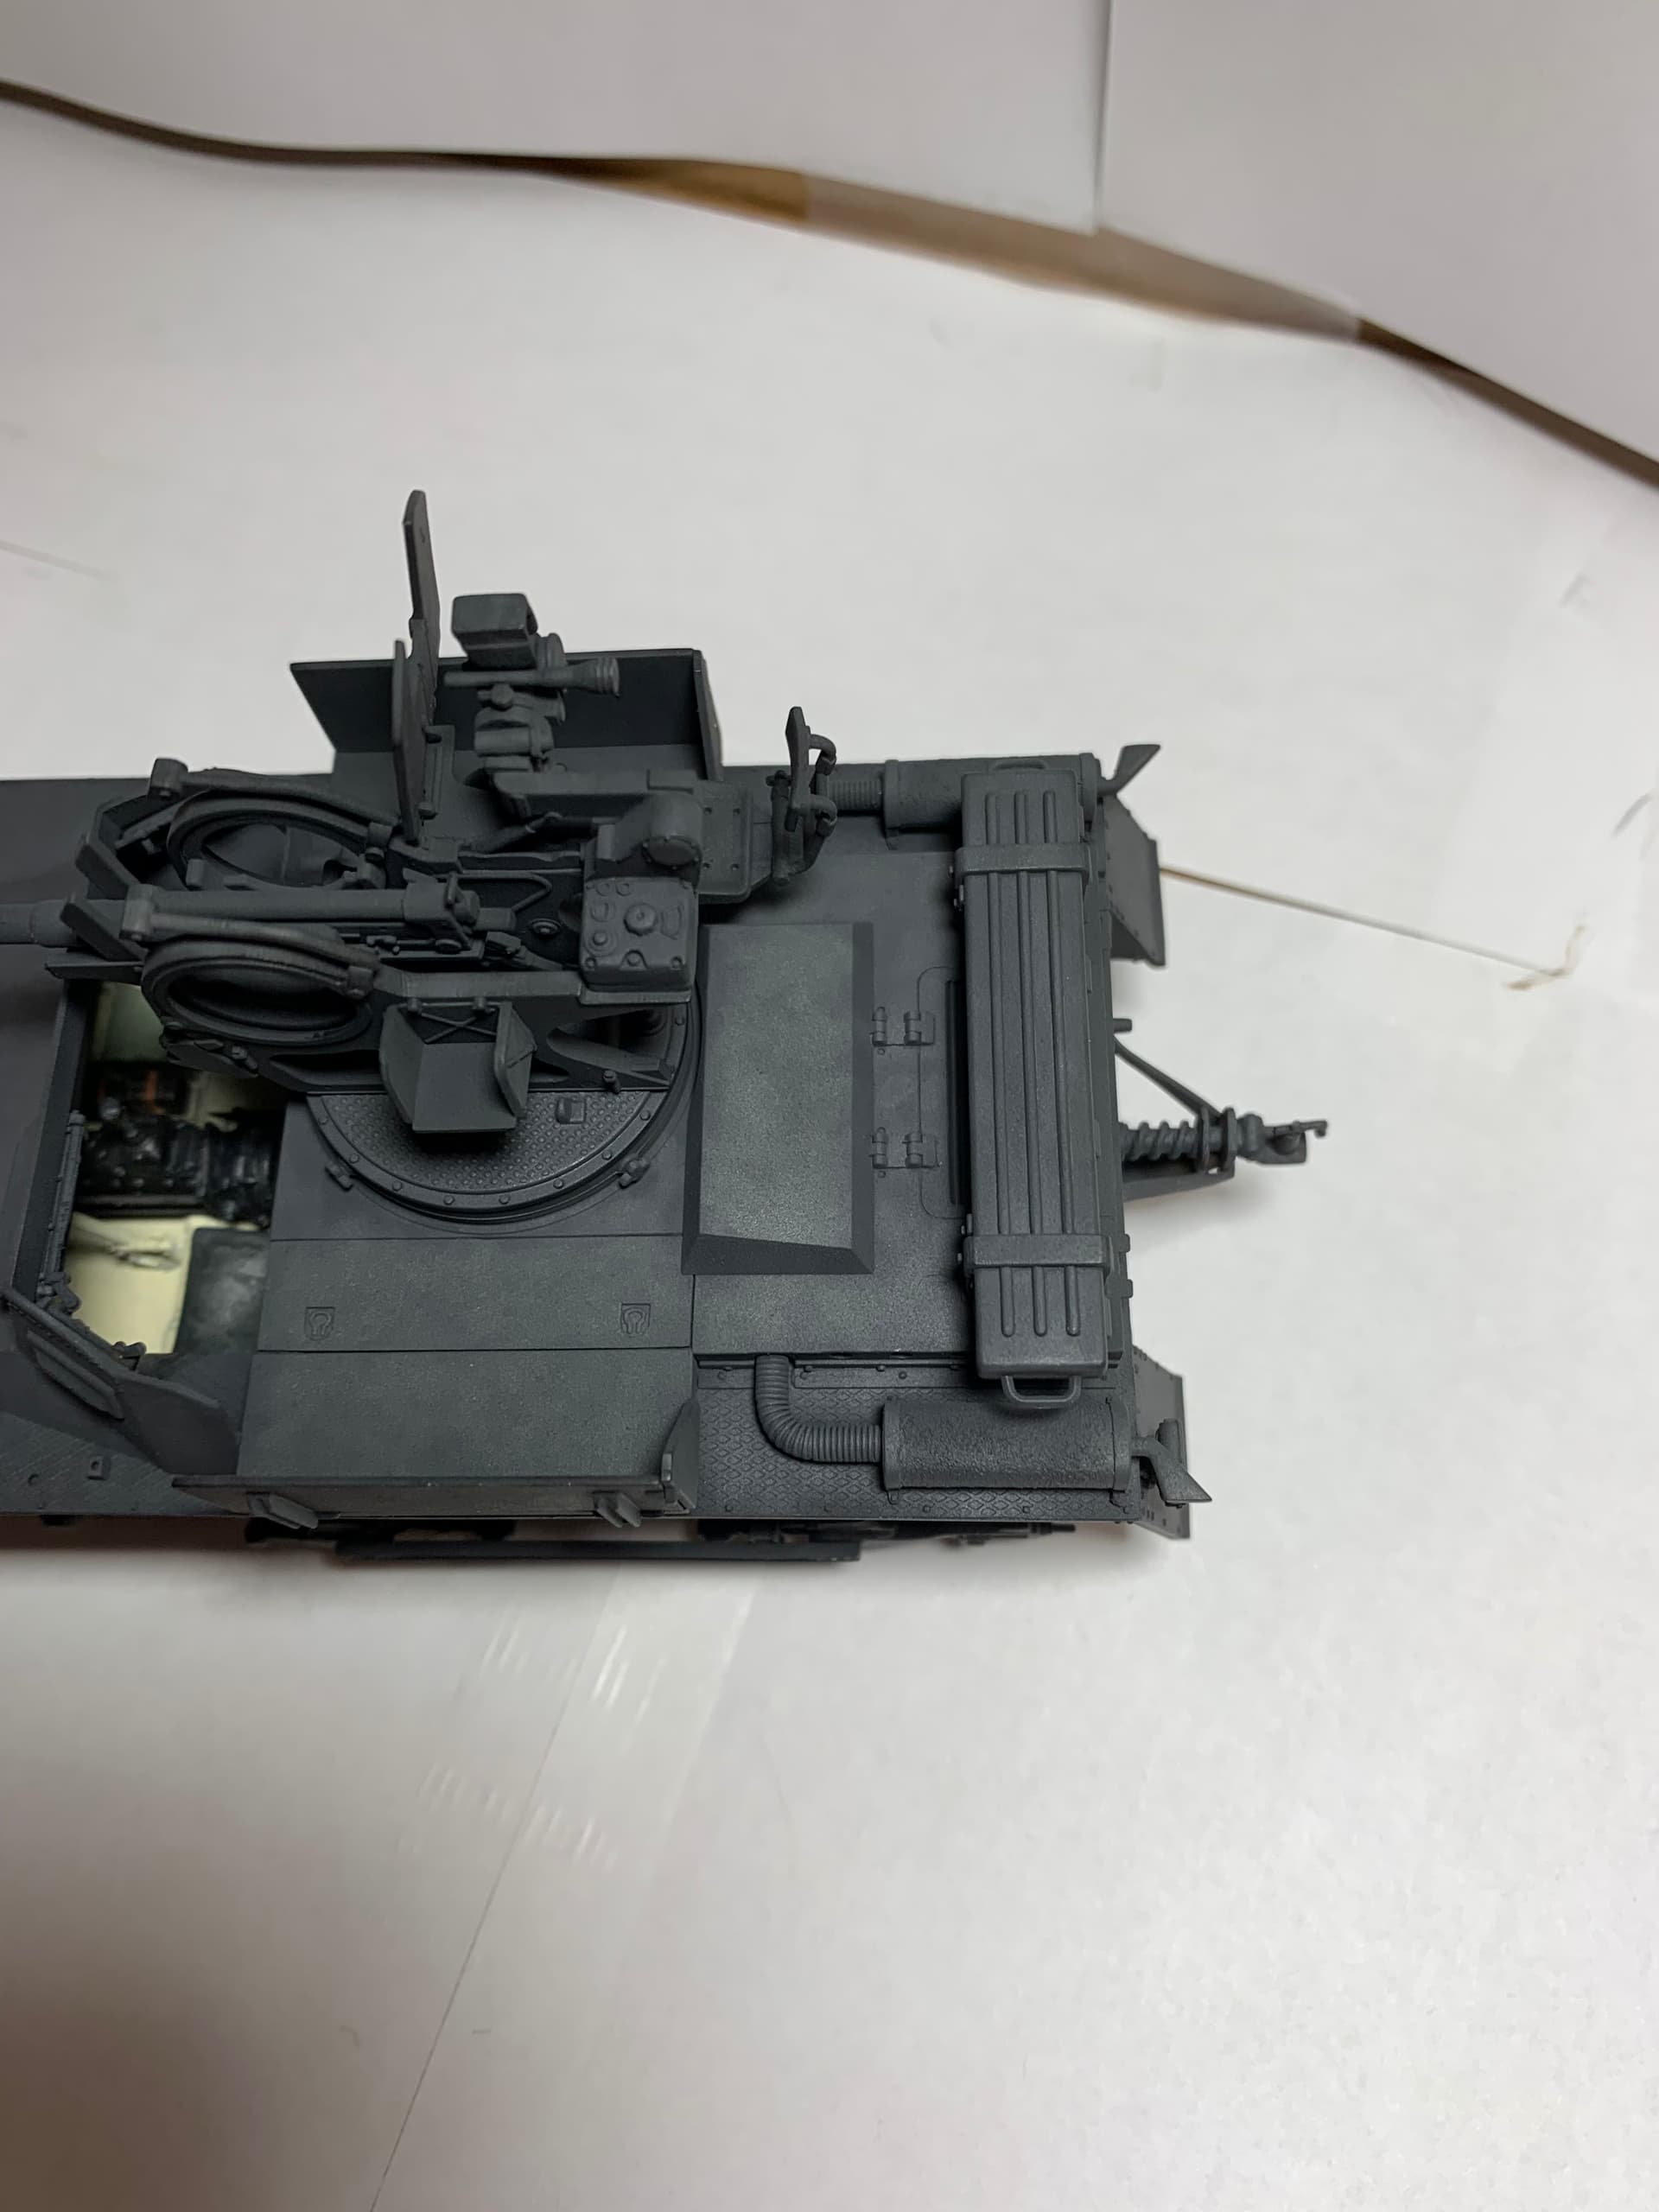
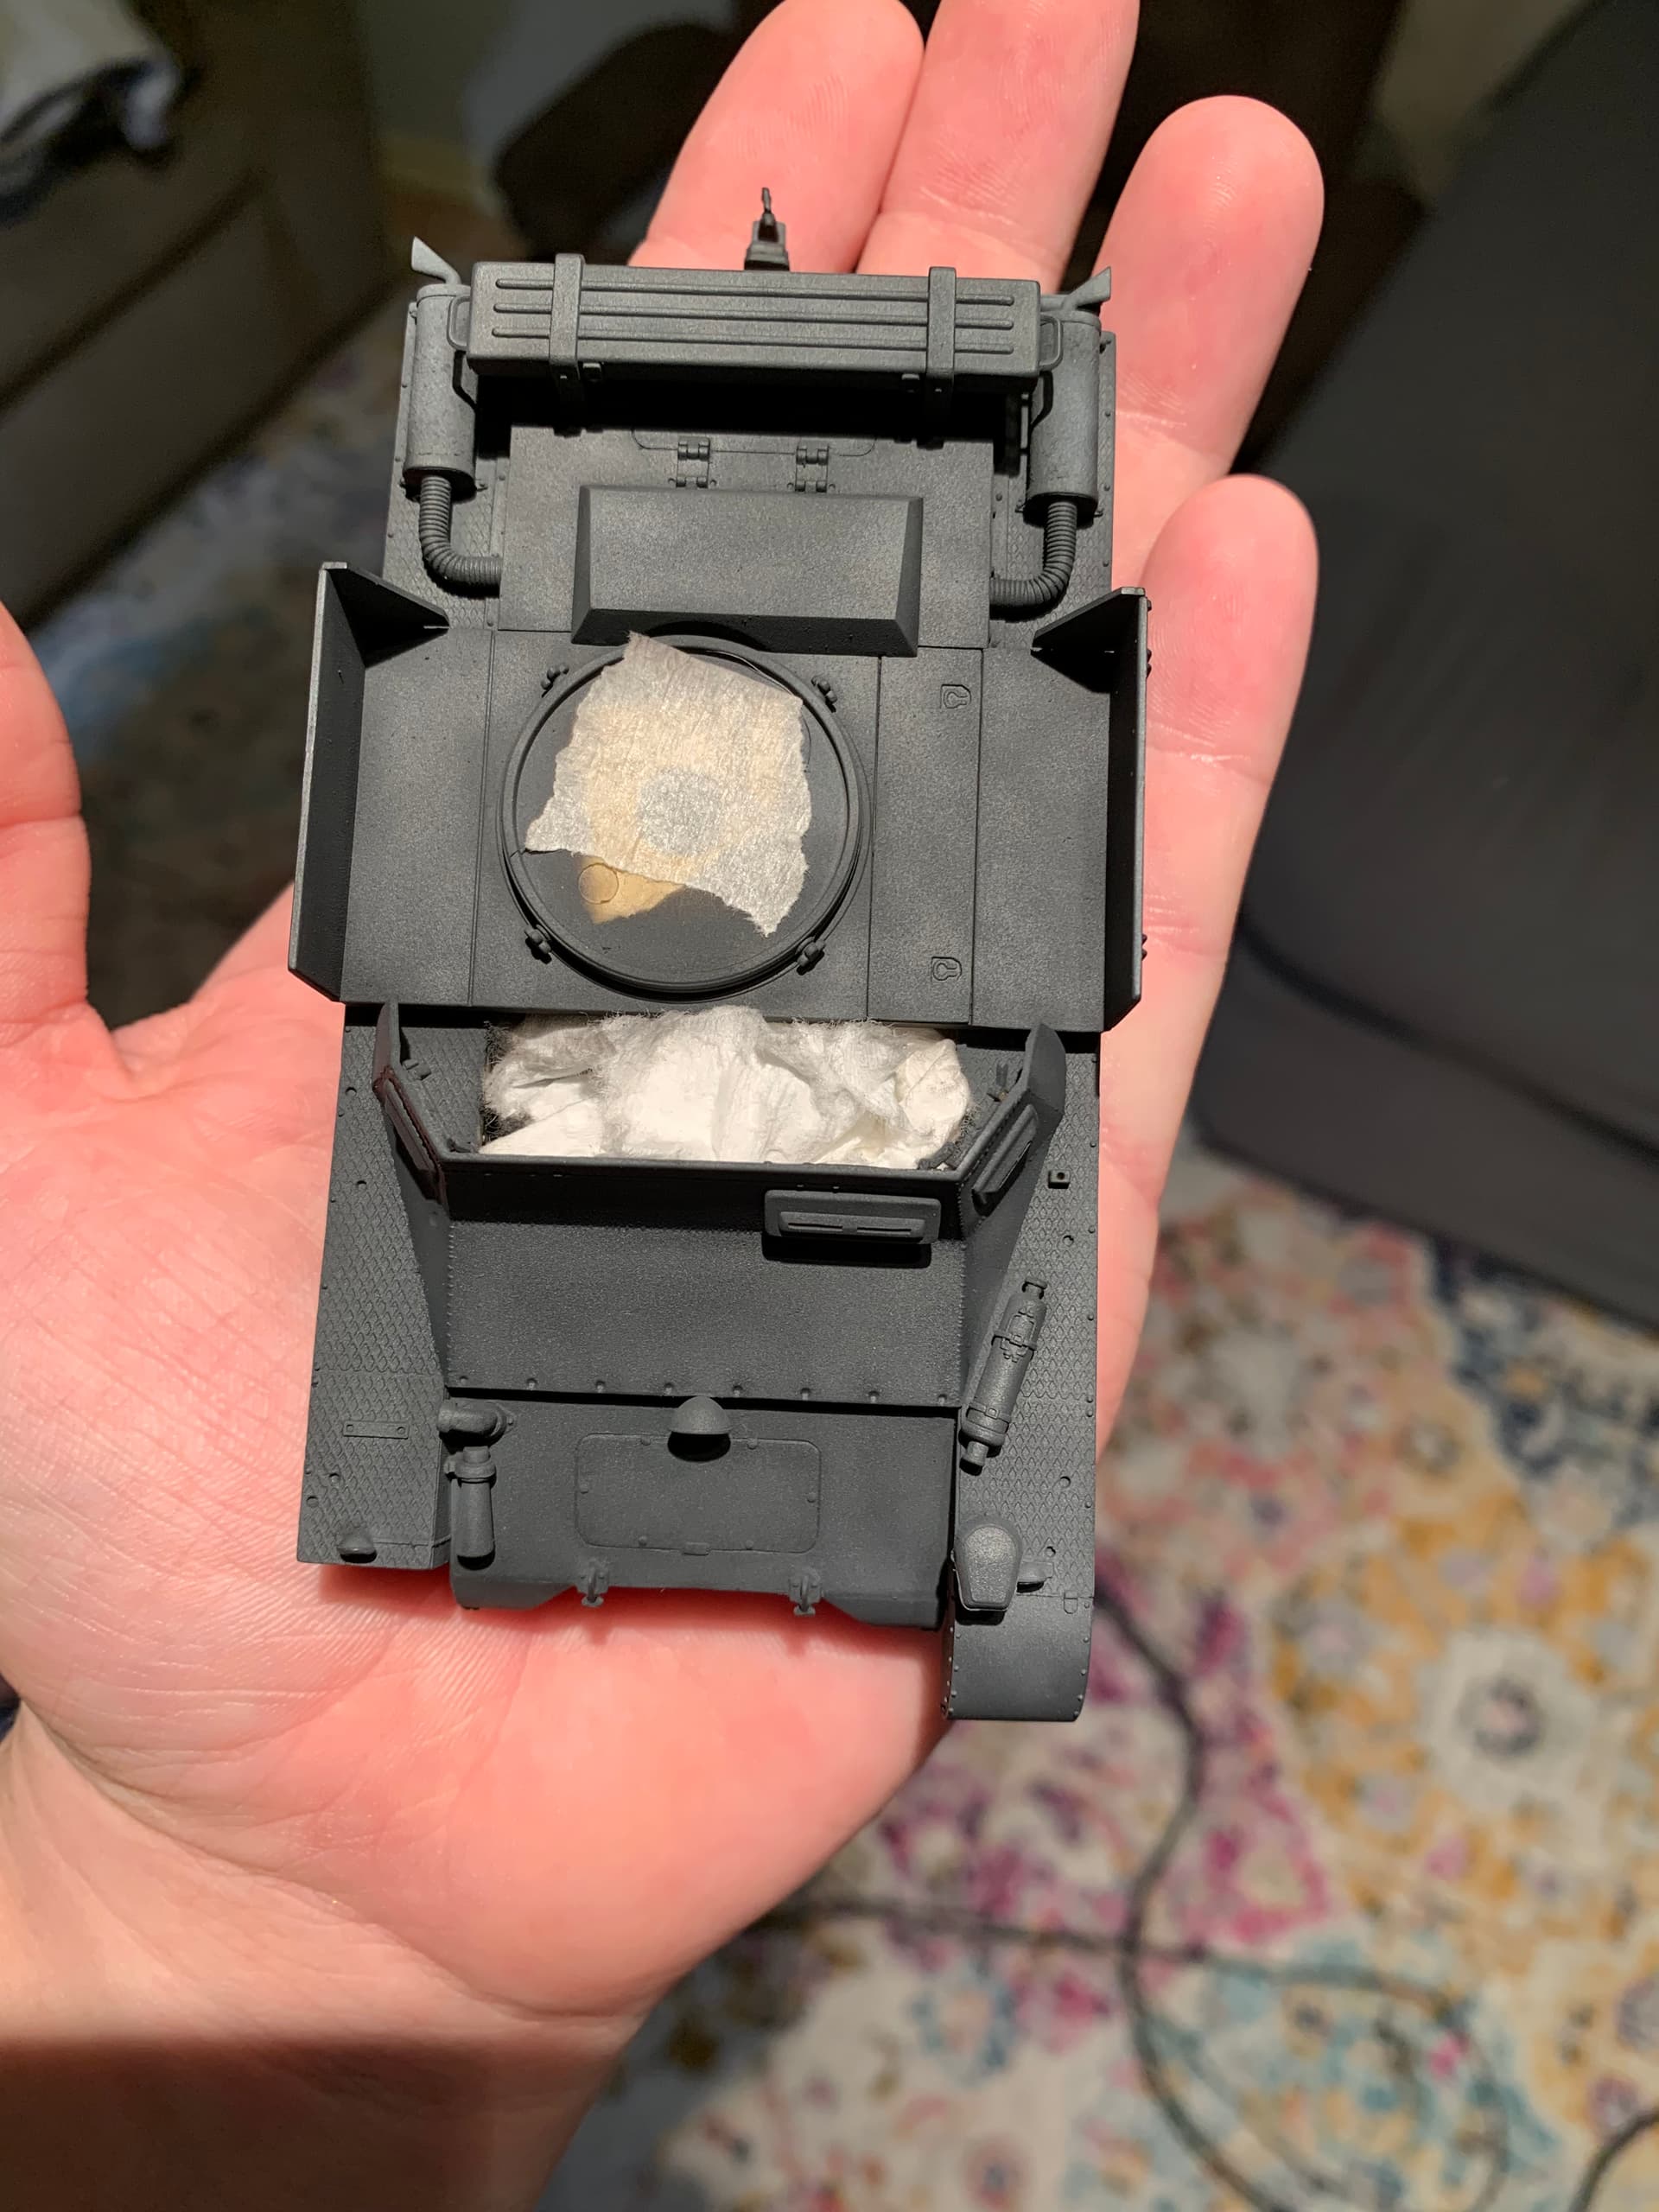
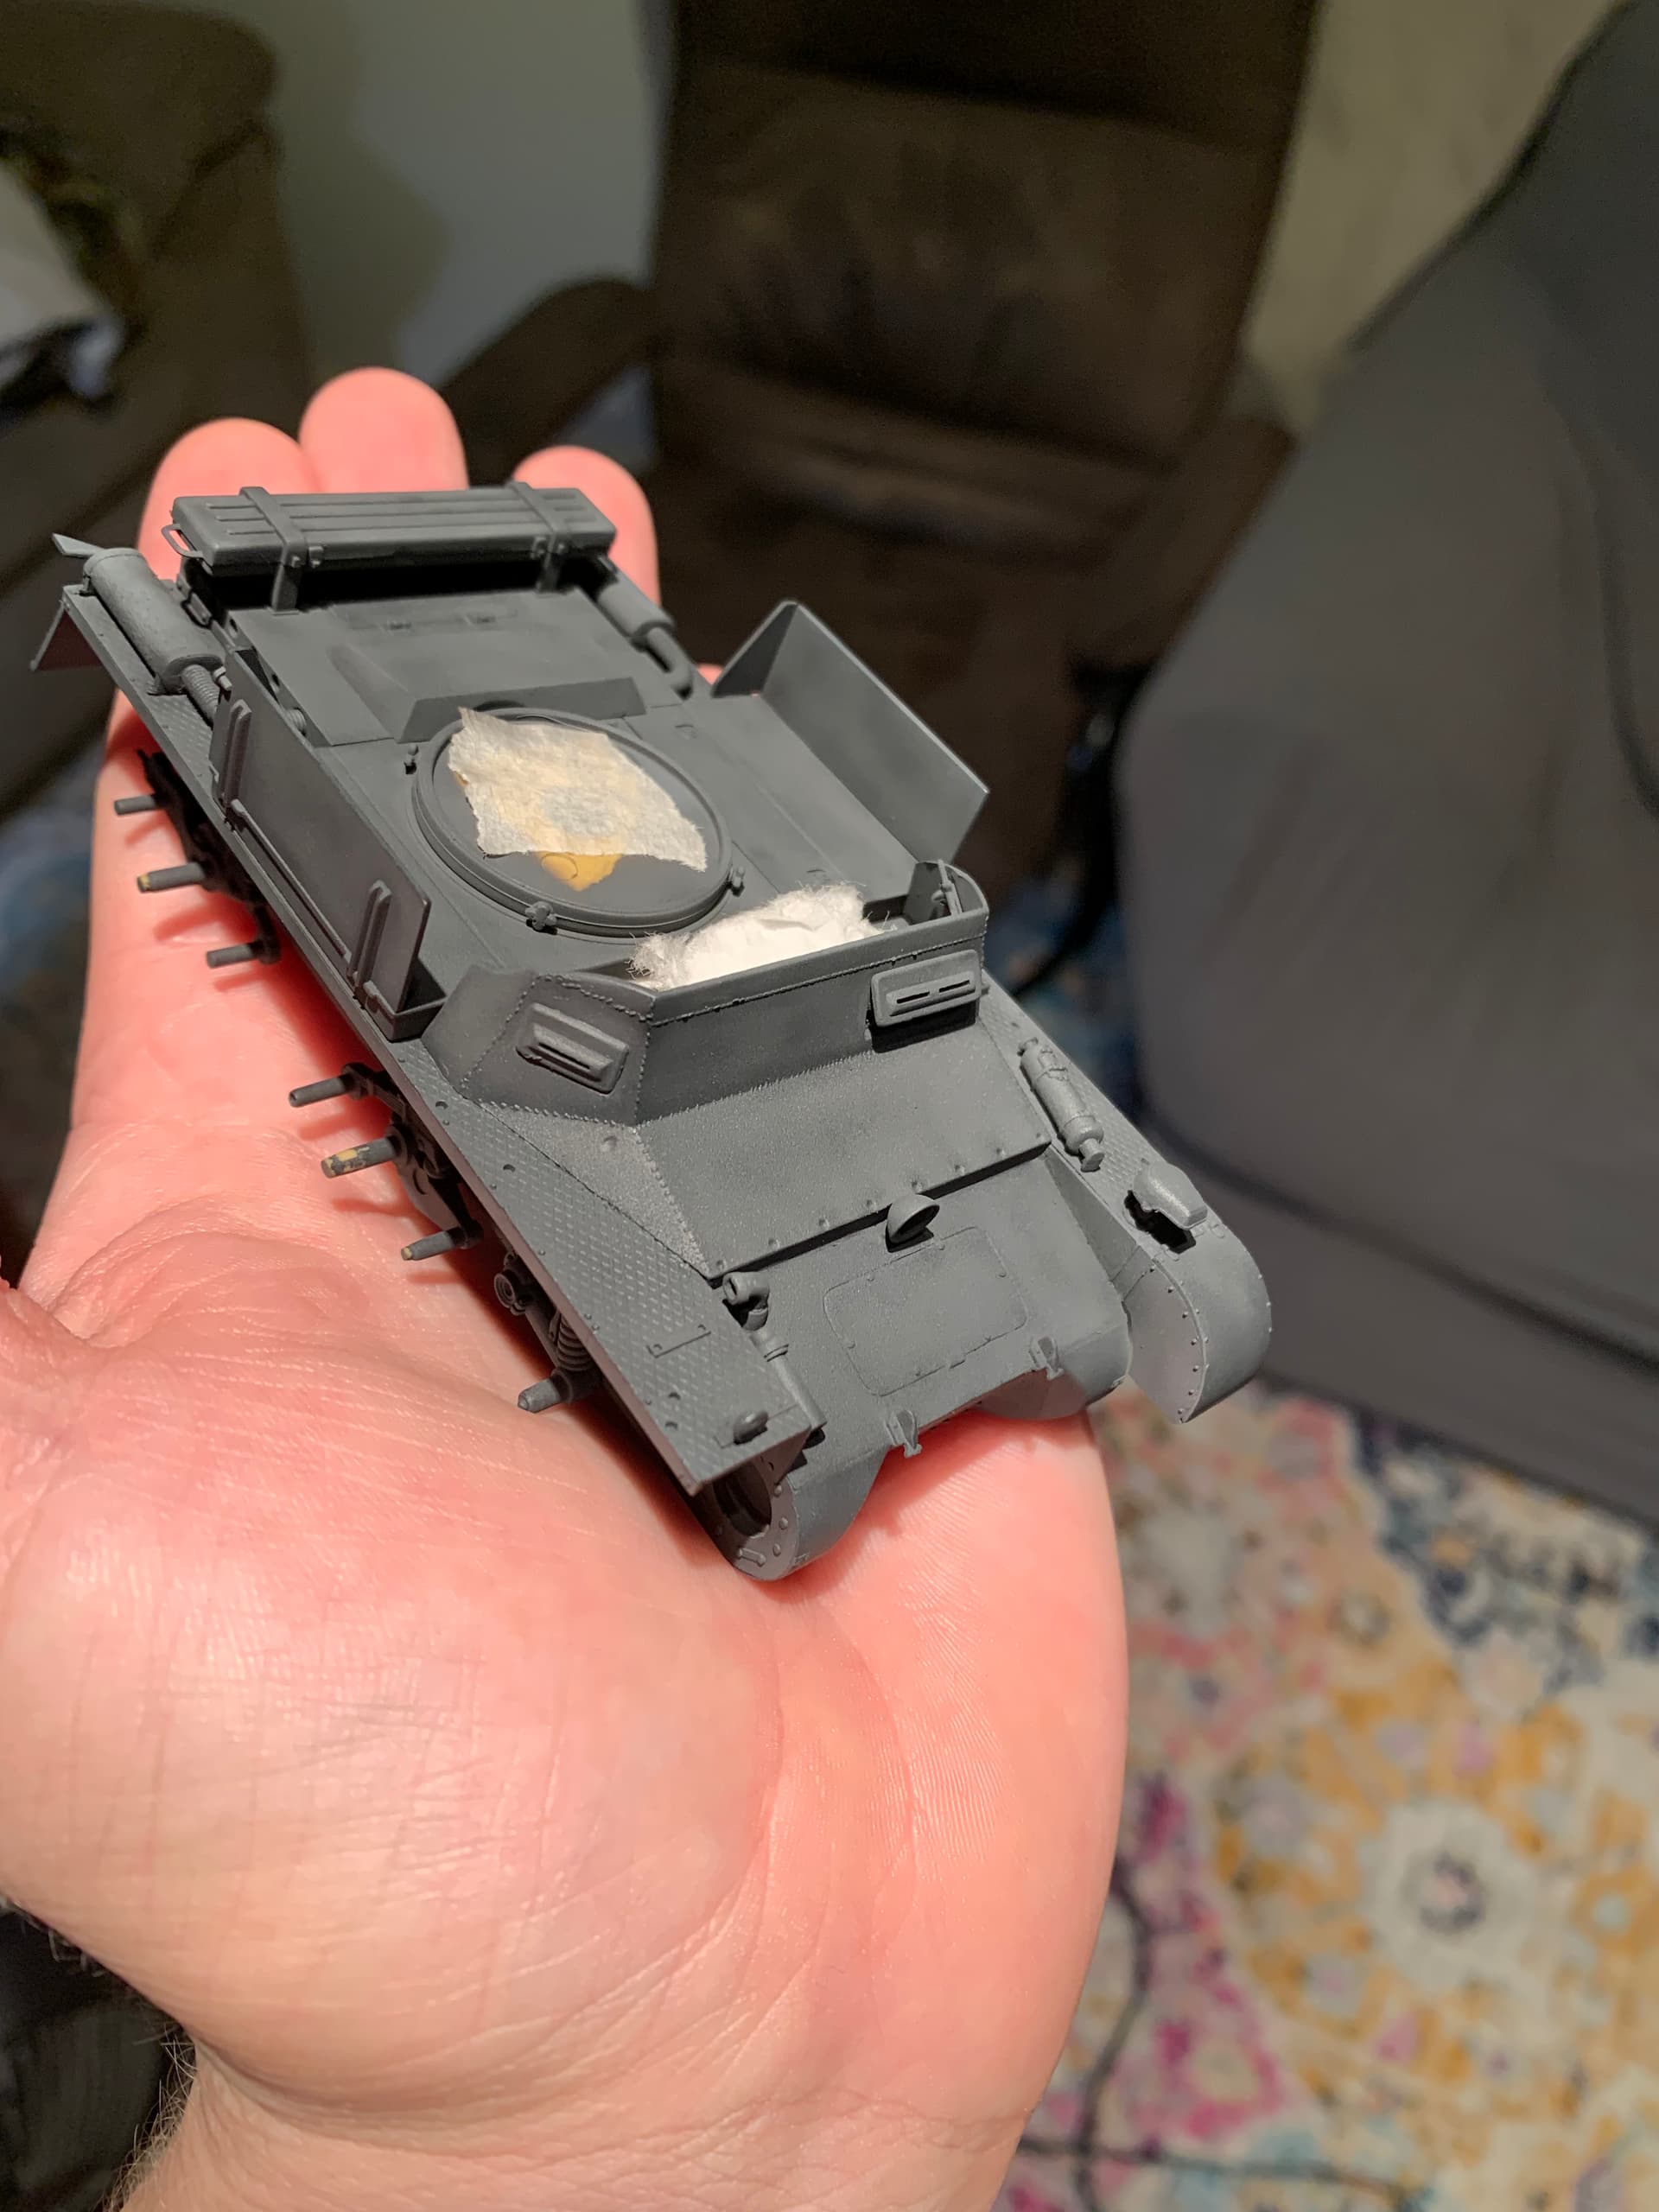
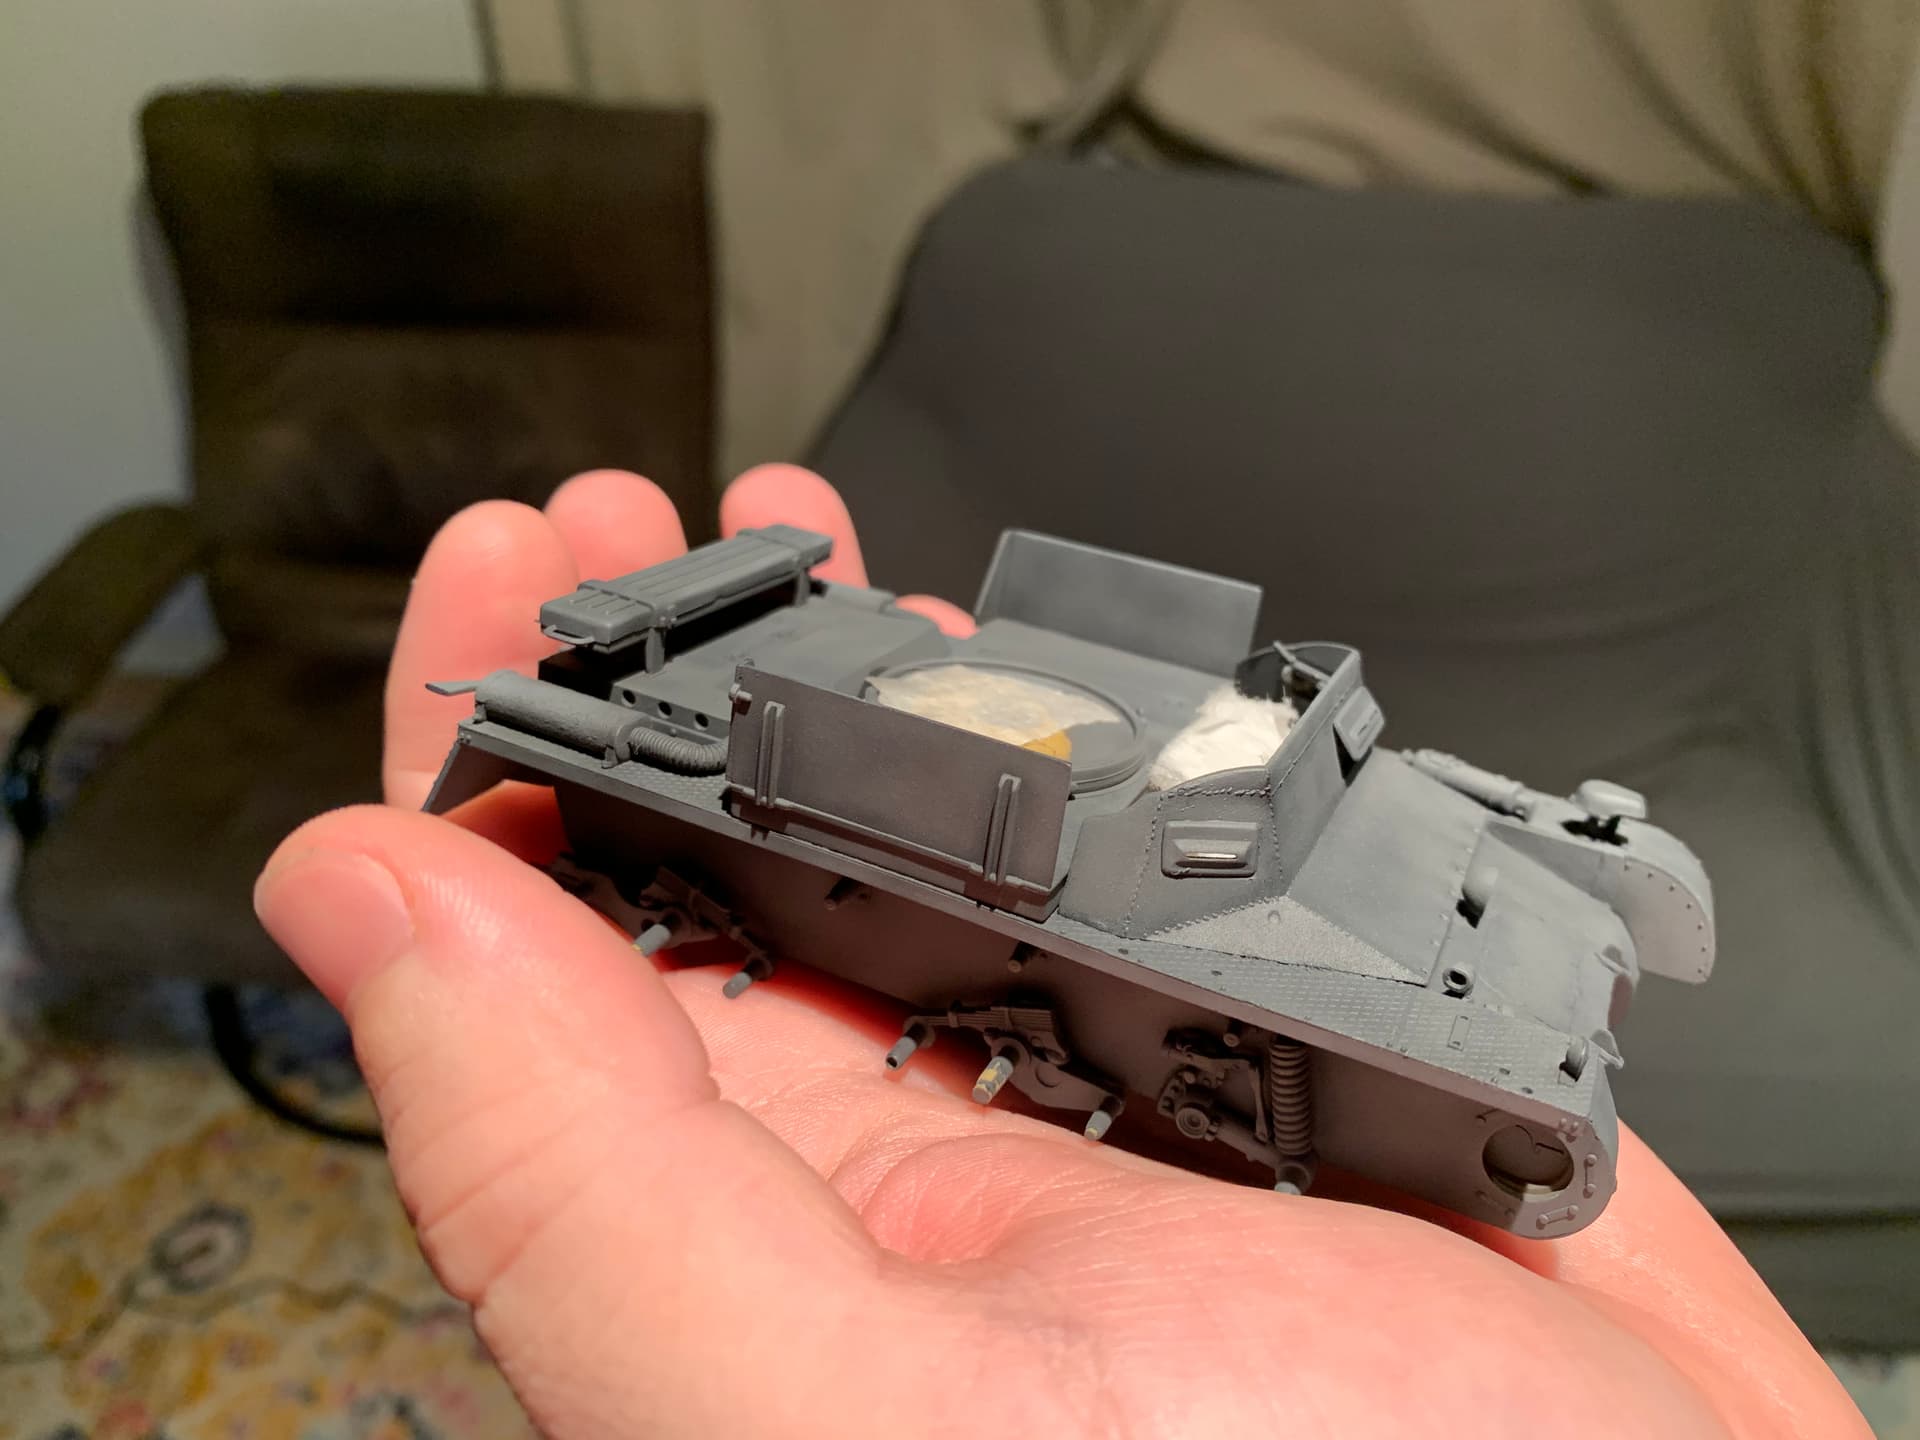
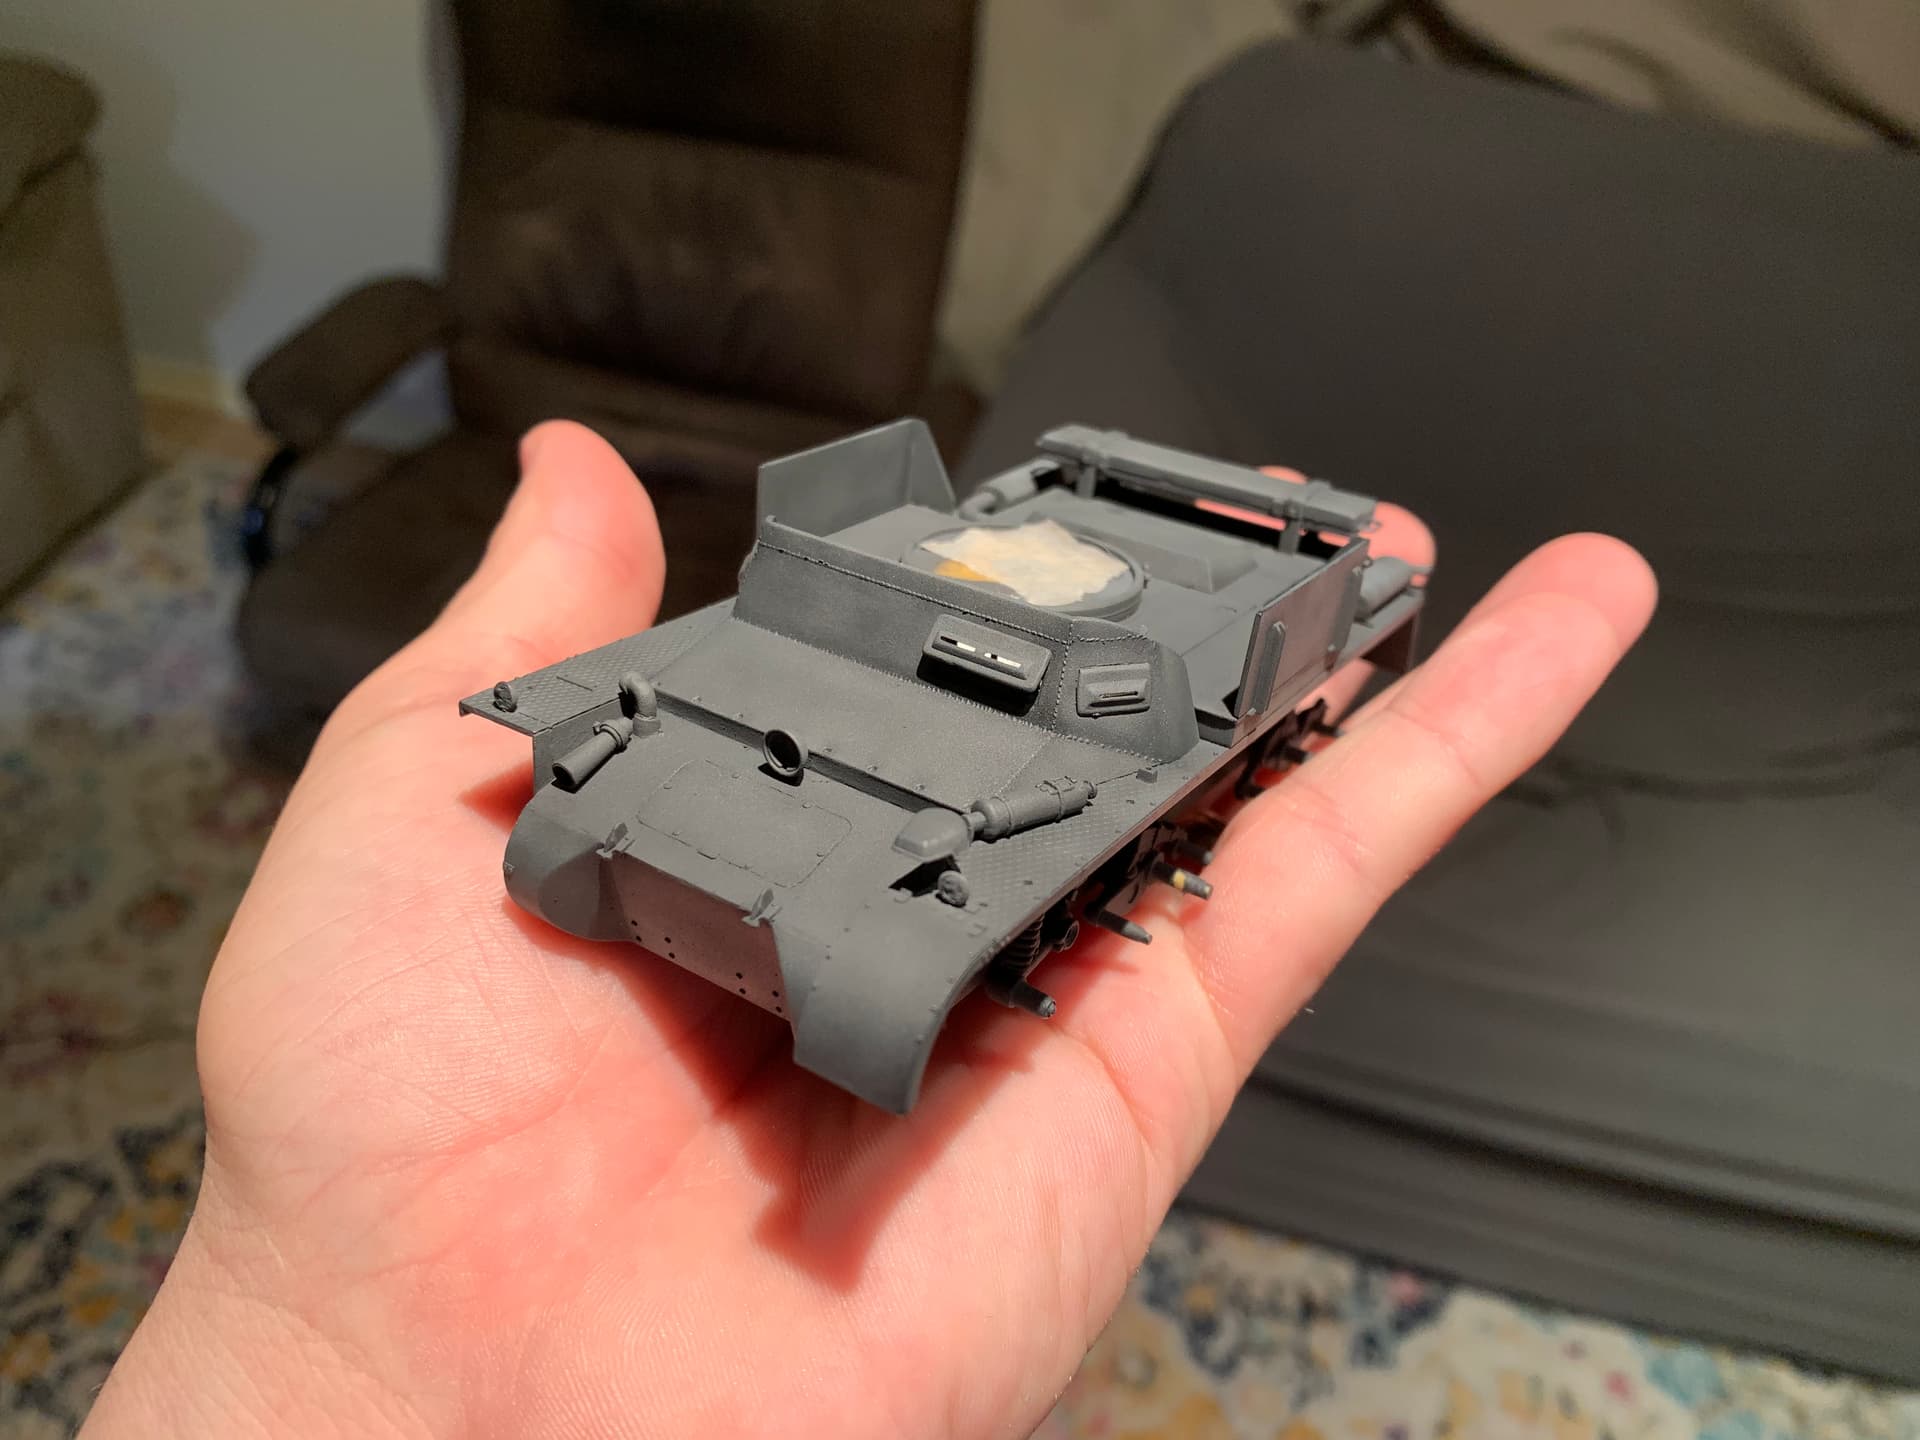
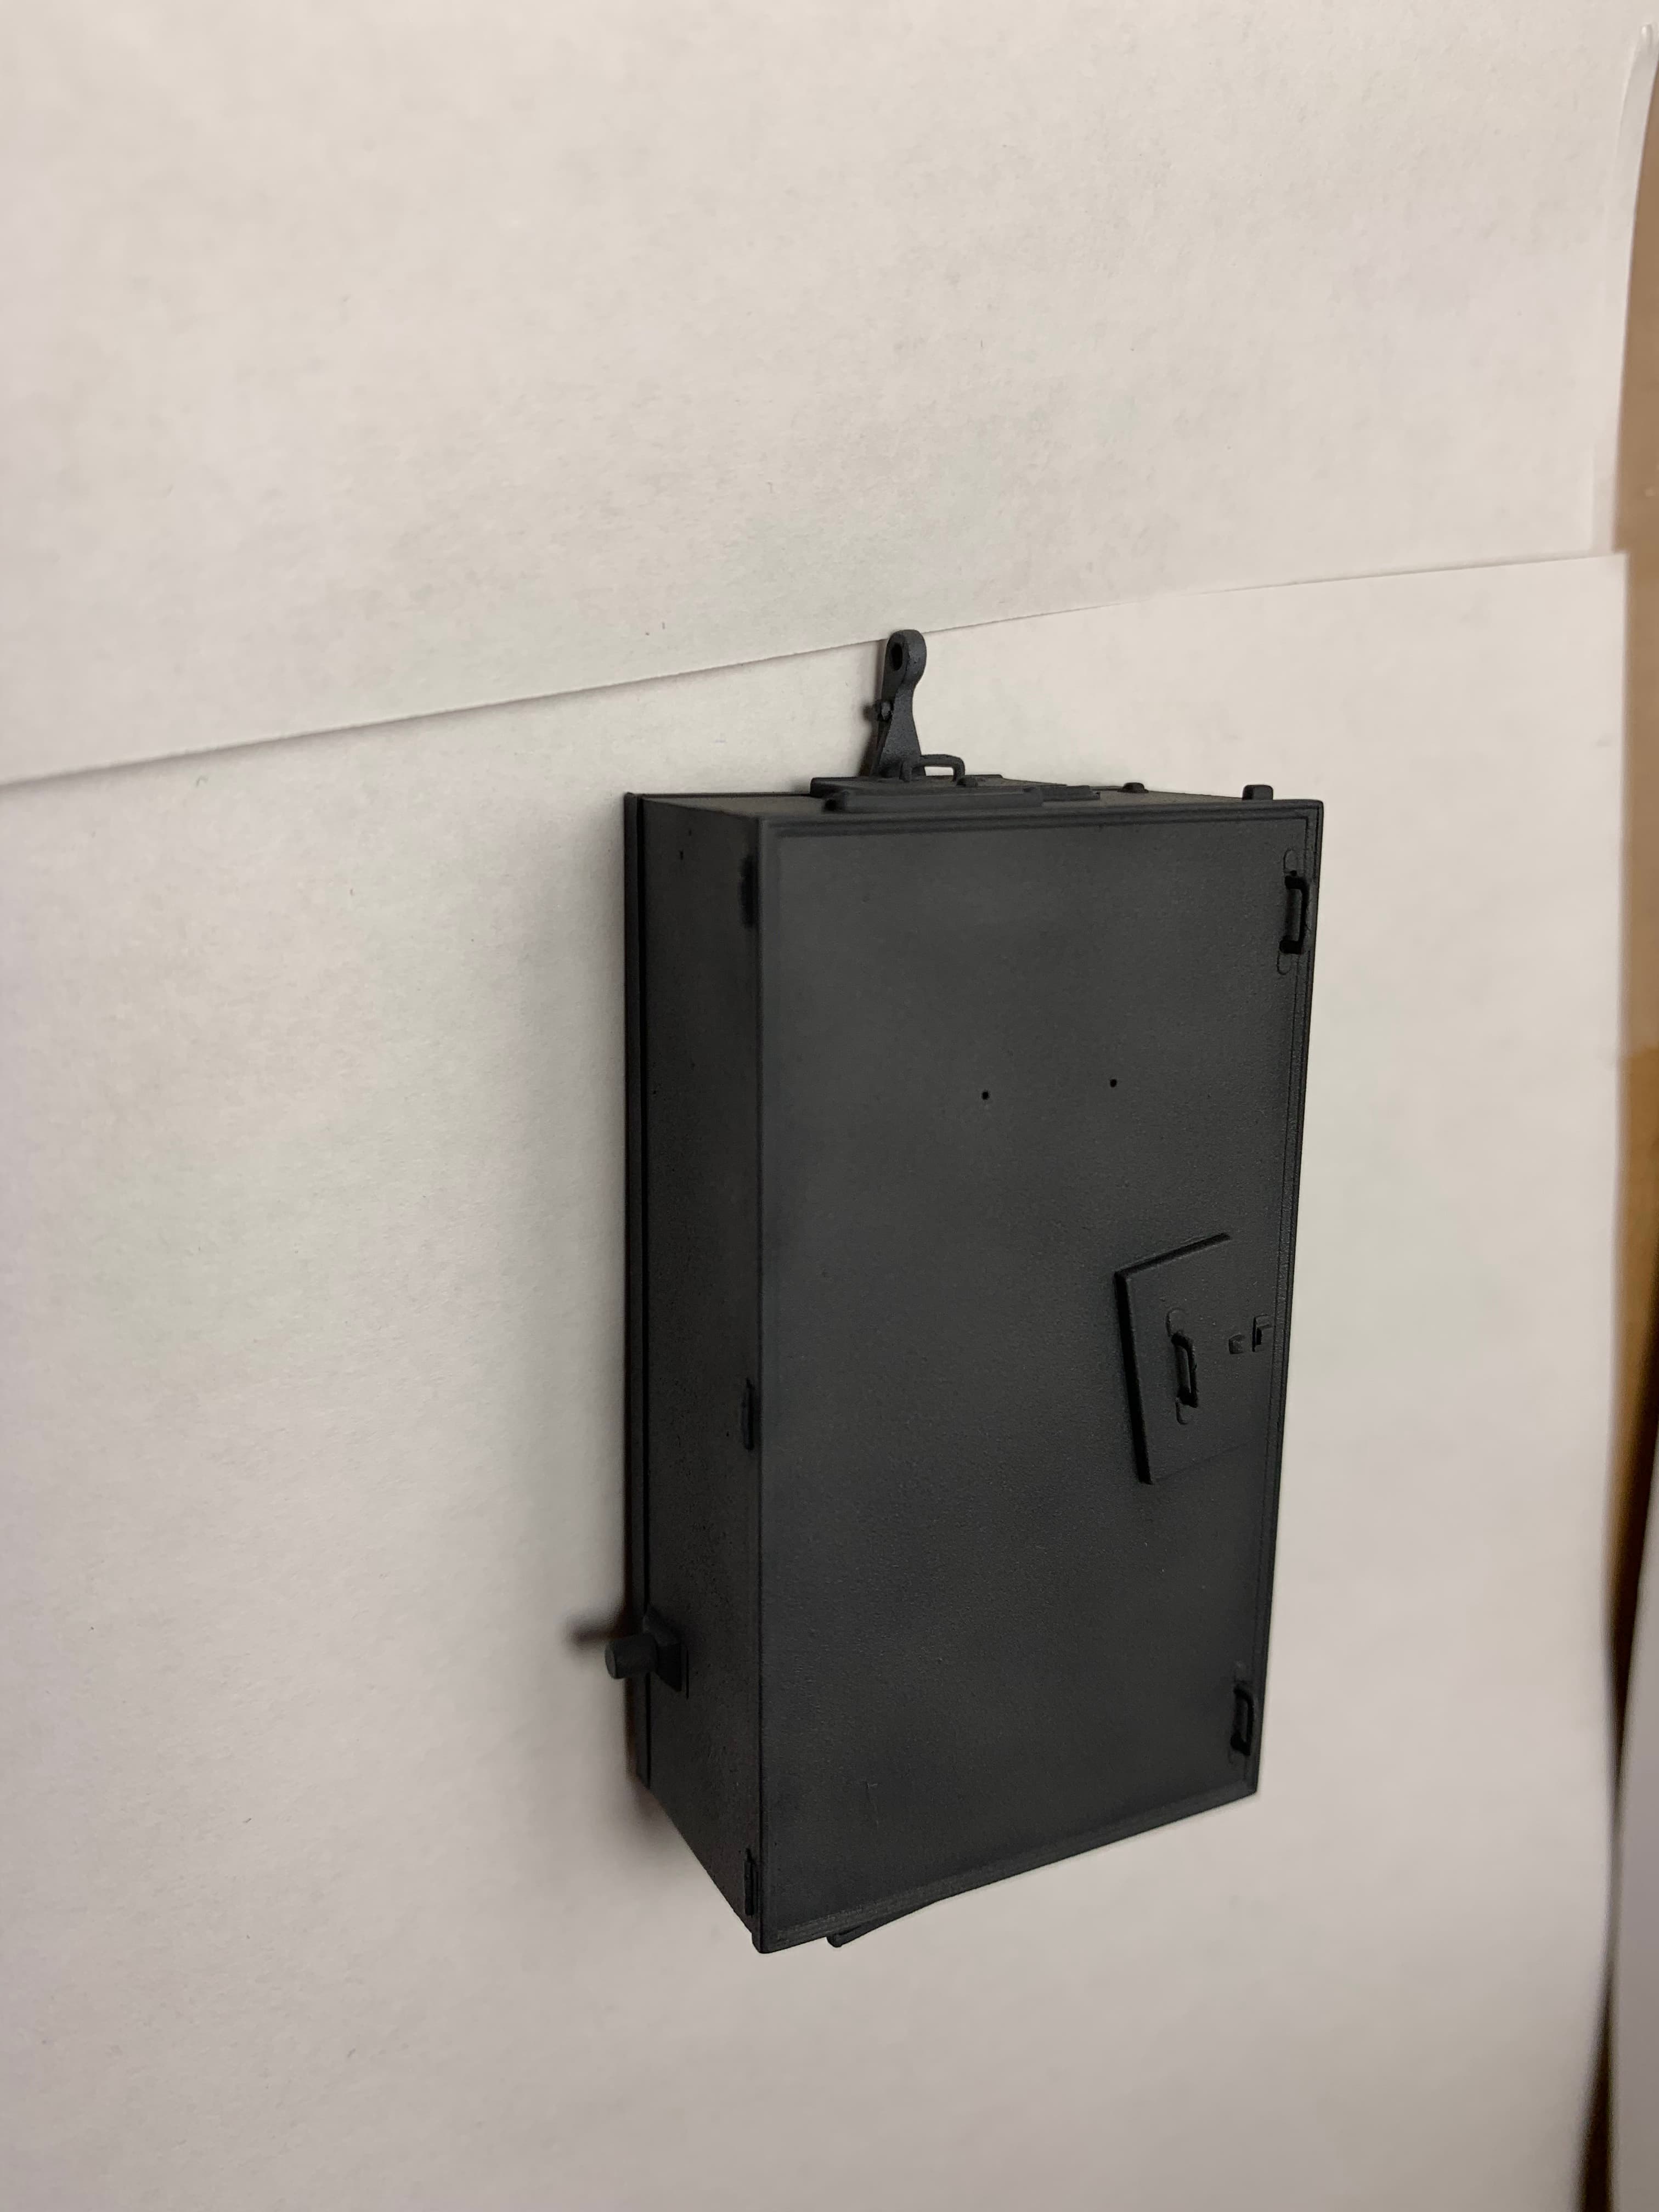
Alright, I’ve been neglecting this build for too long. With my T-54 done and Churchill slowly churning along I’ve returned to this one. Primed it over the last two days. One of my least favourite tasks. Stnylrez hates my climate, constant rip dry and drying on the airbrush cup making it hard to spray. This one was royal PITA to prime. Especially the flak 38 even though I left it in 7 pieces. Lots of nooks and crannies that were hard to each. It should be easier to paint. Being primed in black if I can’t reach the the nooks then I get free shadow! But I was very thorough priming so no yellow plastic showed.
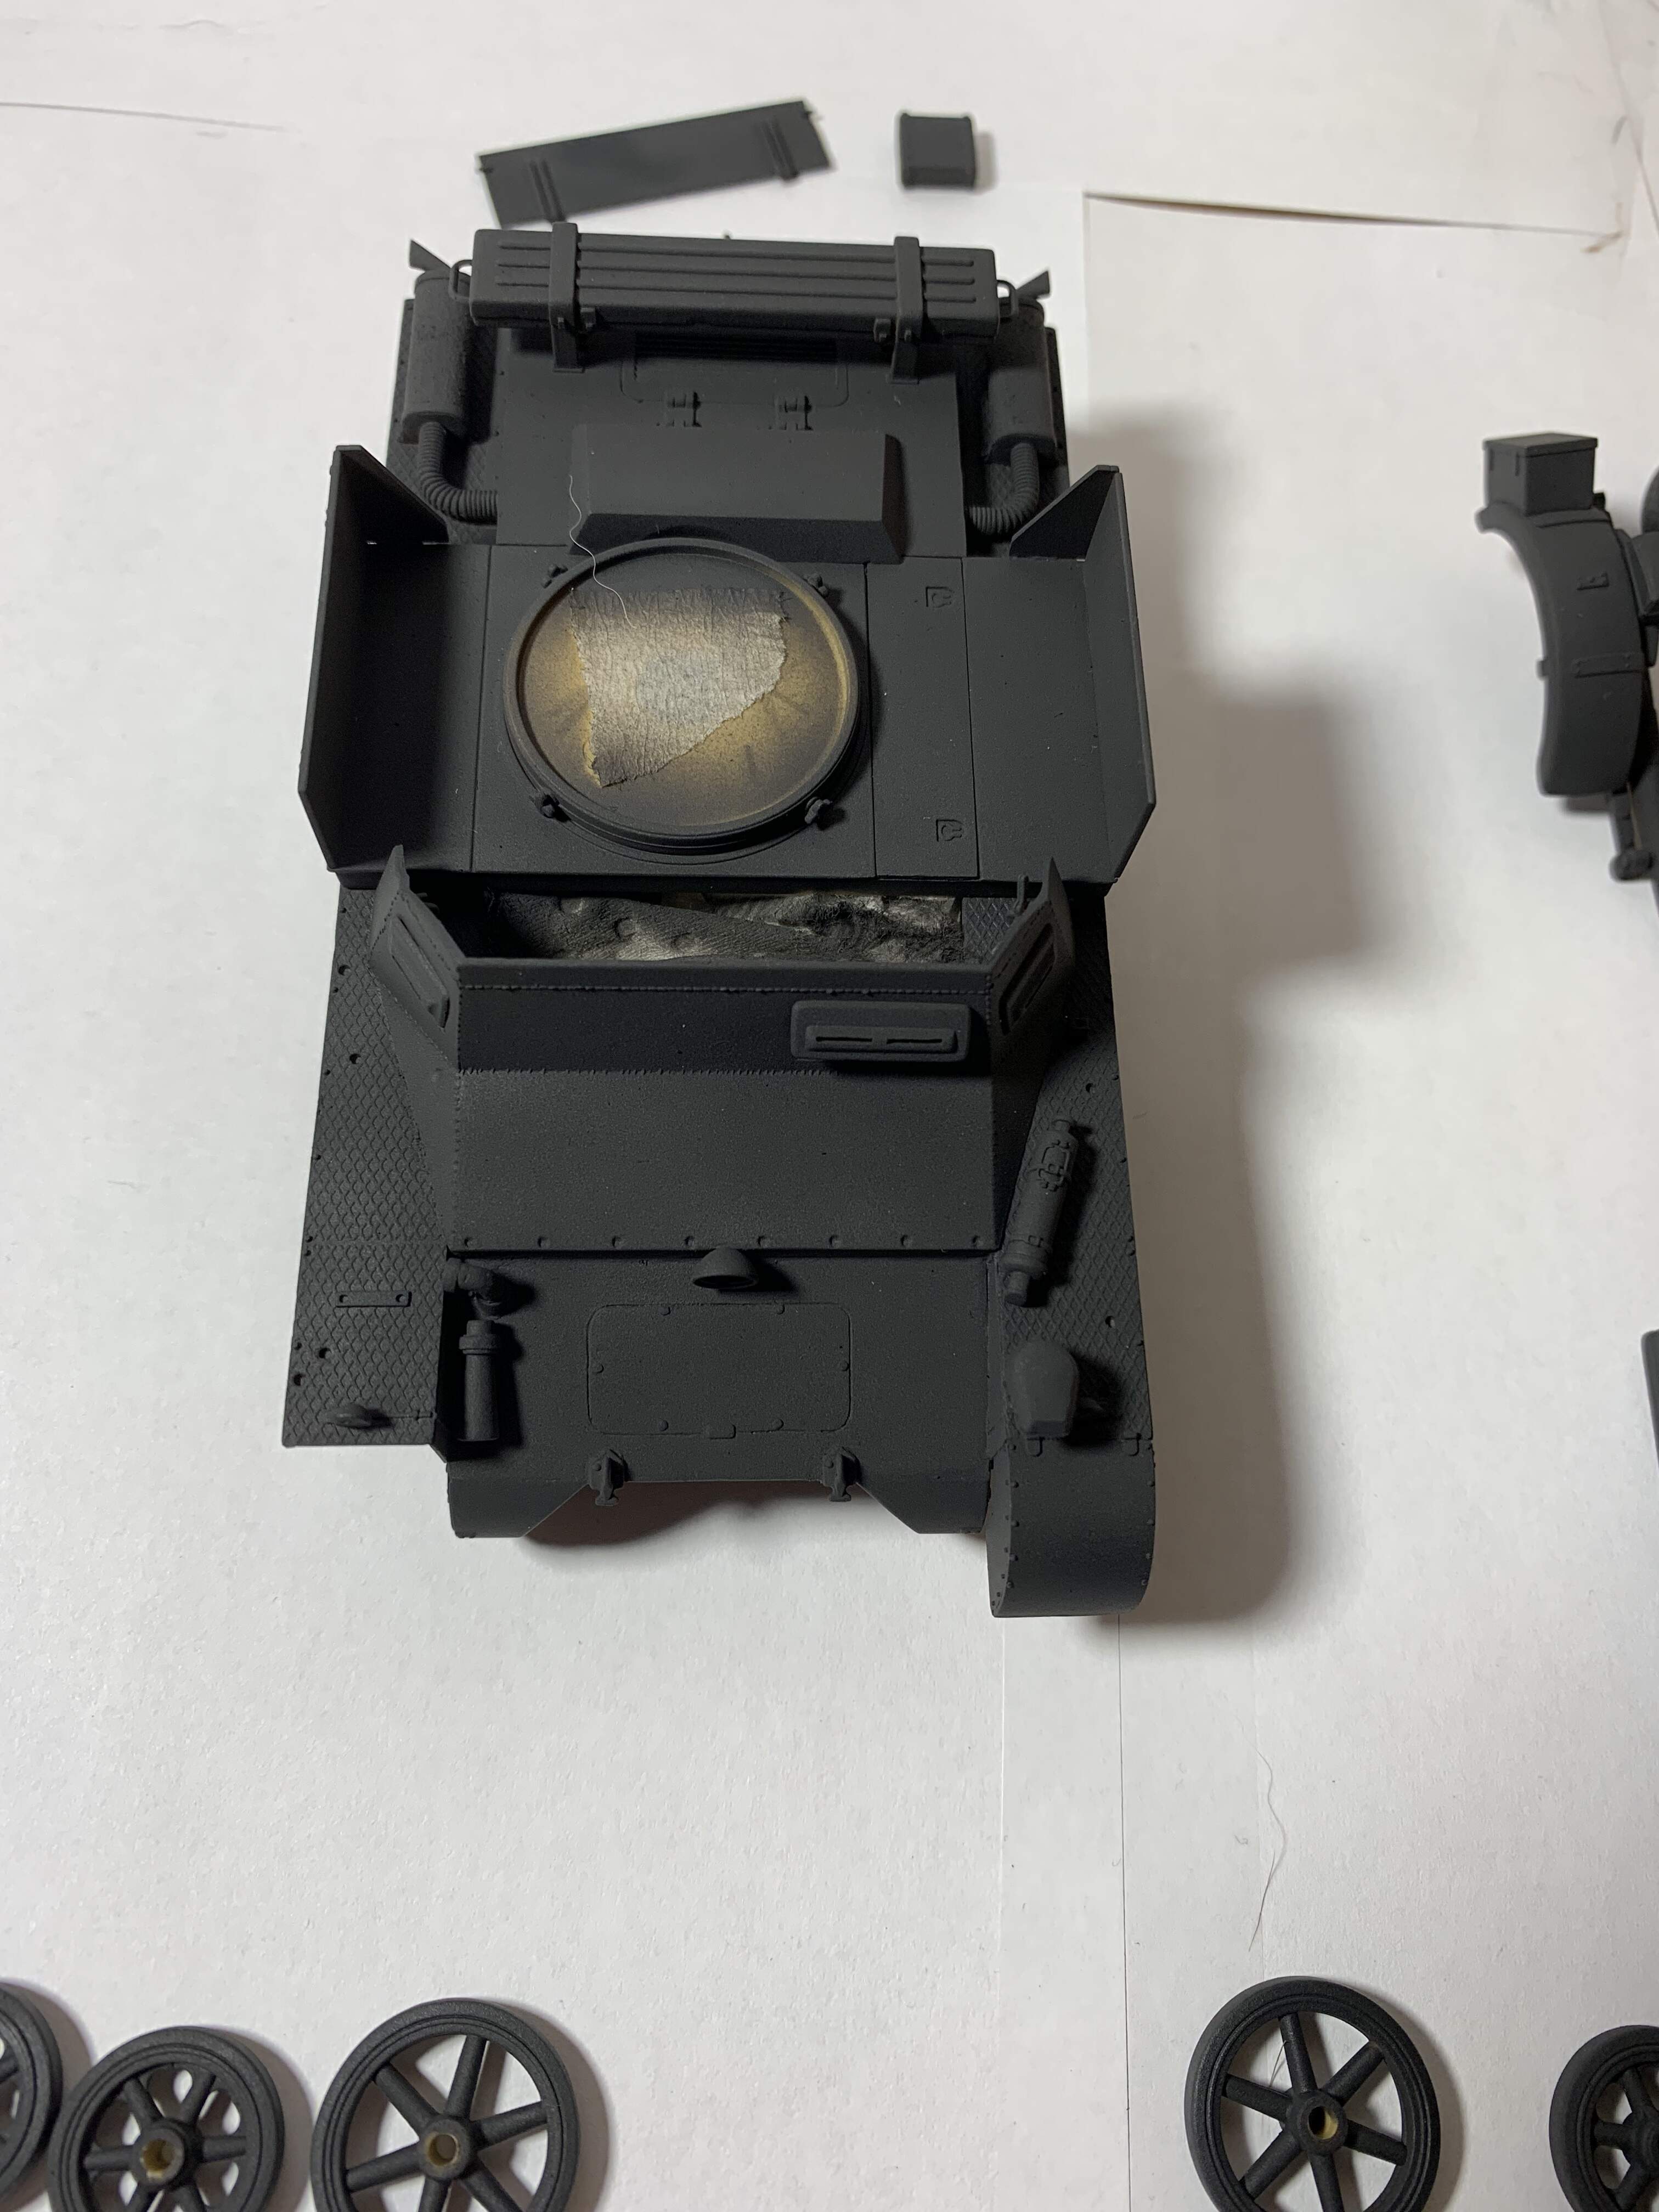
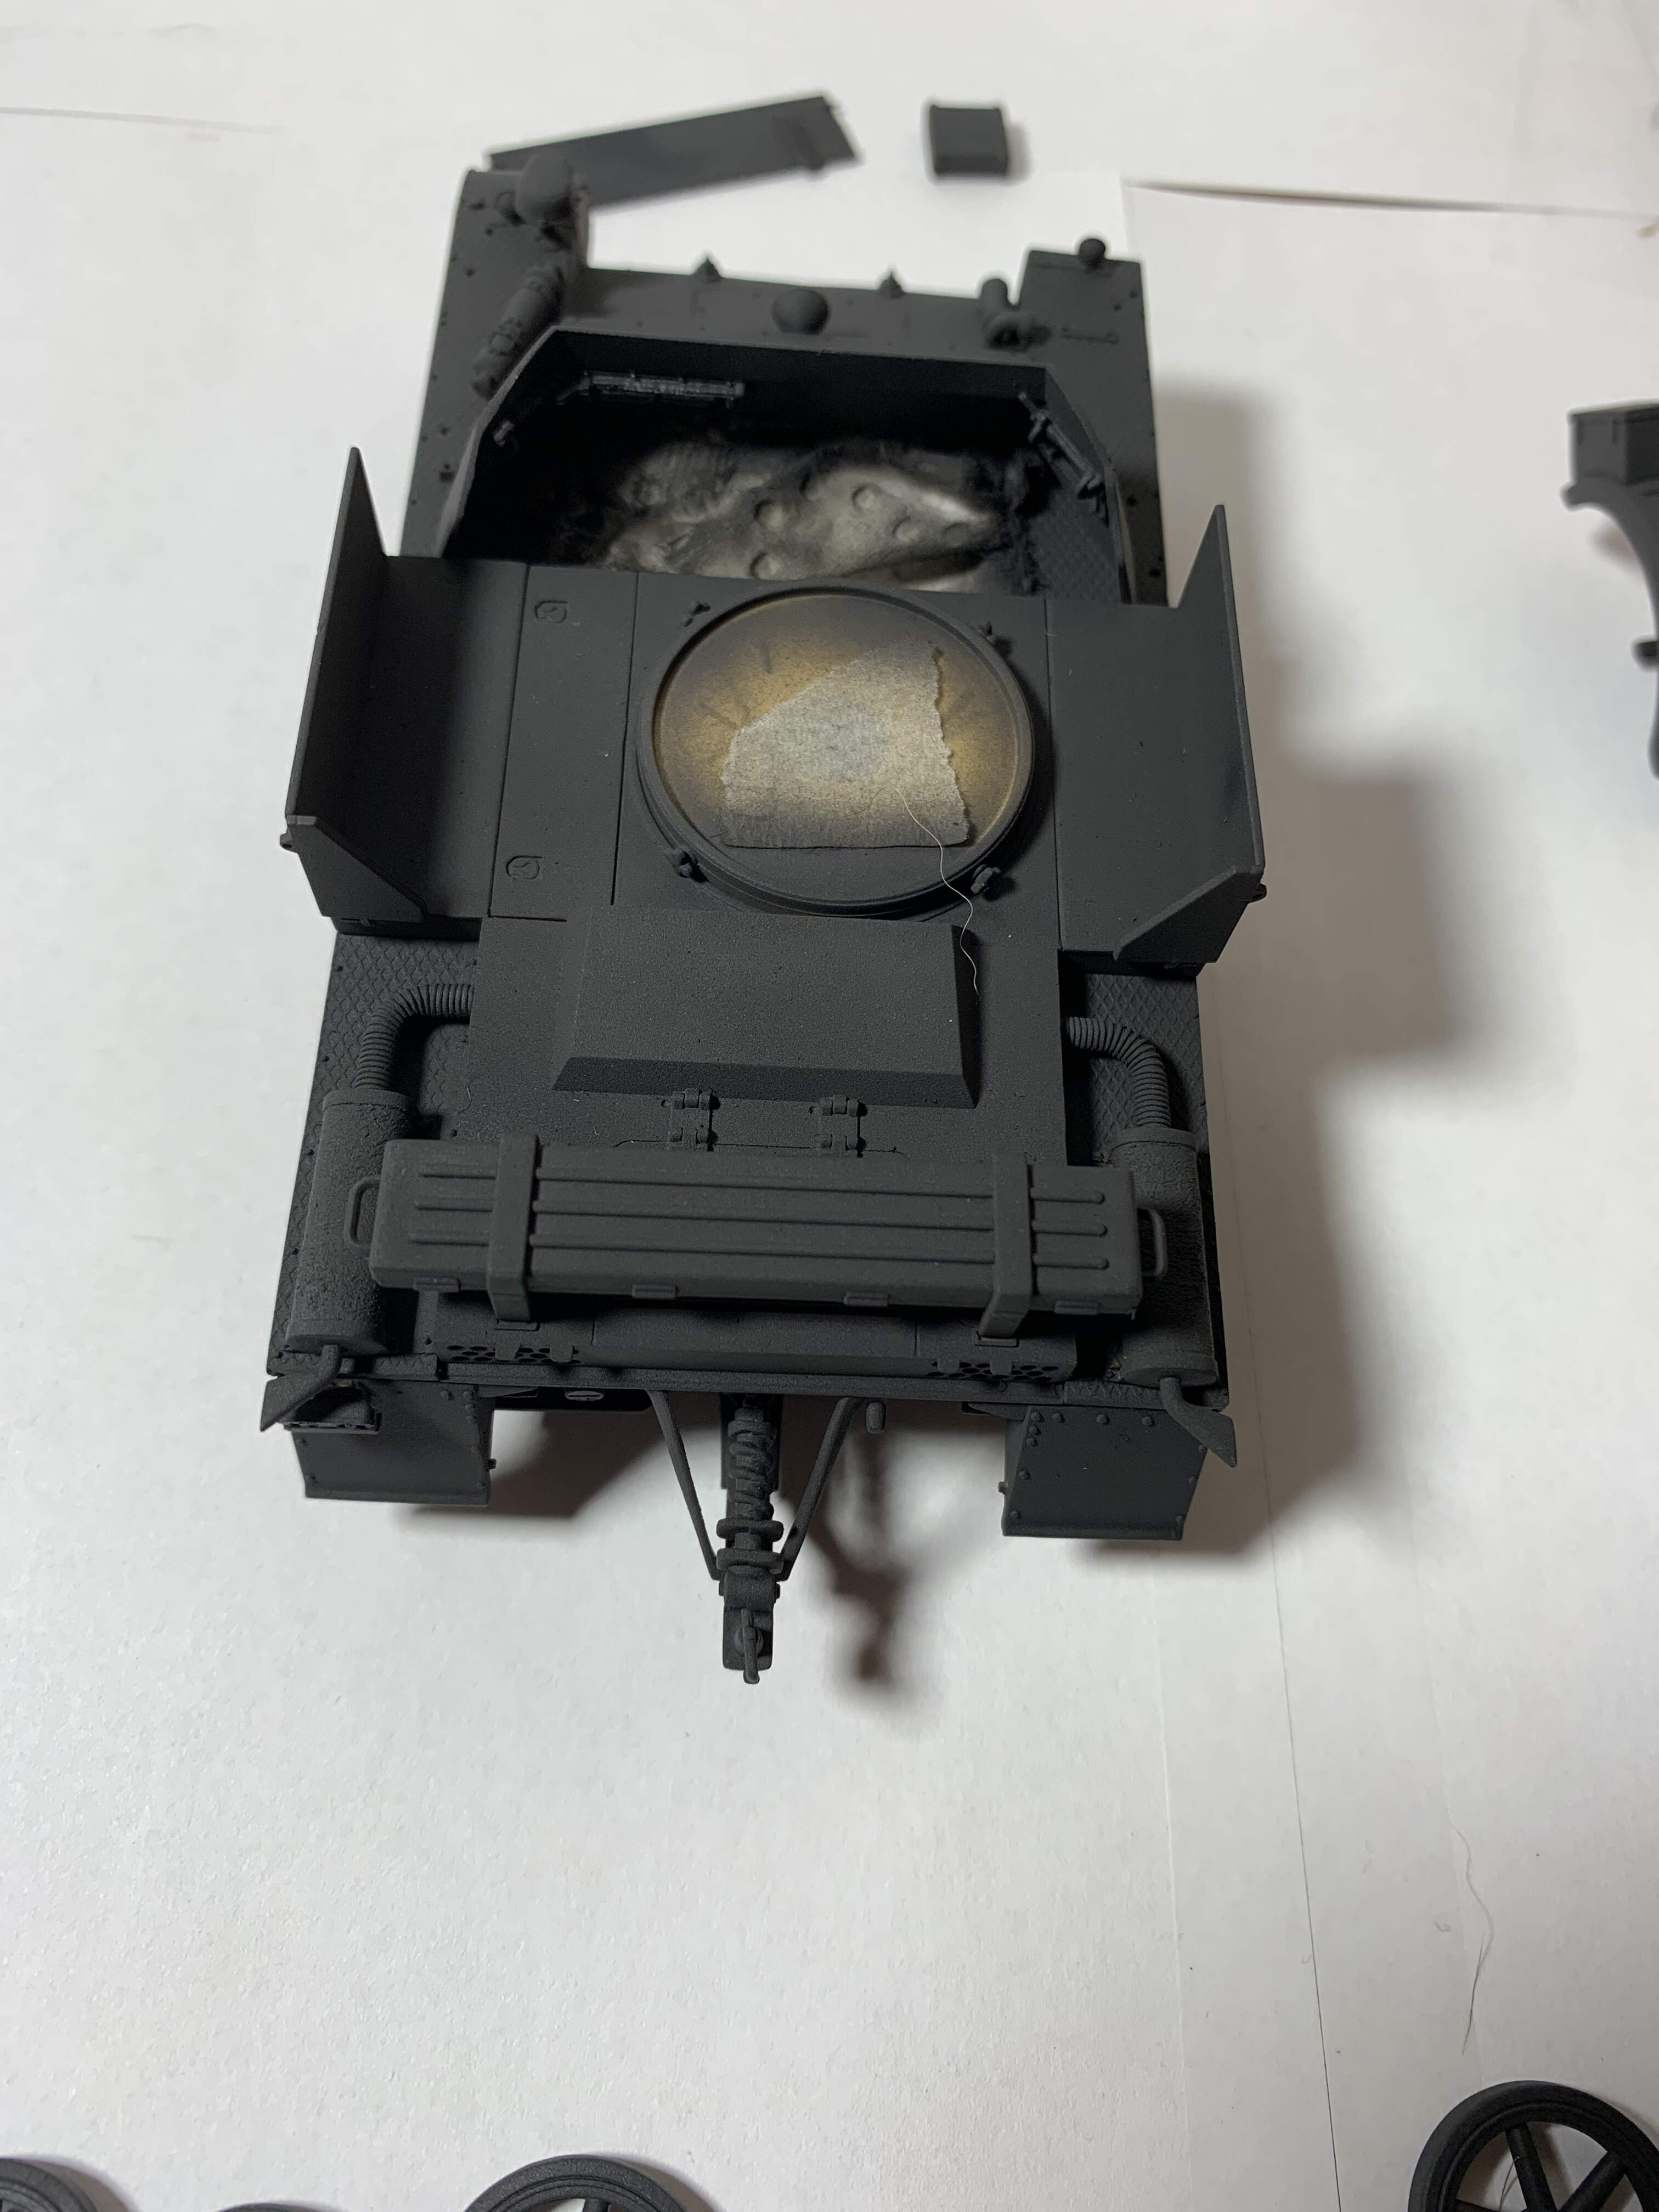

Still a bit of touch up to do on the priming in areas I missed but almost there. I hope to paint this weekend
8 Likes
An excellent build! I missed this one. I like Pz. I vehicles, this one is really cool, though I agree with you, I wouldn’t want to crew one. This is looking really great!
Thanks! The hull was a pain to get together straight, it’s made up of angled butt joints on both sides and the front and rear panels. This results in small gaps on all the hull connections that needed filler, but after that it went together very well. I really like the tristar plastic. It’s on the harder side but takes glue very well so those small fiddly parts are actually hard to break unlike Miniart, and the joints are rock solid.
Yeah crewing these would be a nightmare. Especially since they were mostly used in the anti-infantry role and not anti-air. Only the driver and gunner really have proper seats everyone else kind of just hangs on. Photos of them being driven looked cramped to seat the least

2 Likes
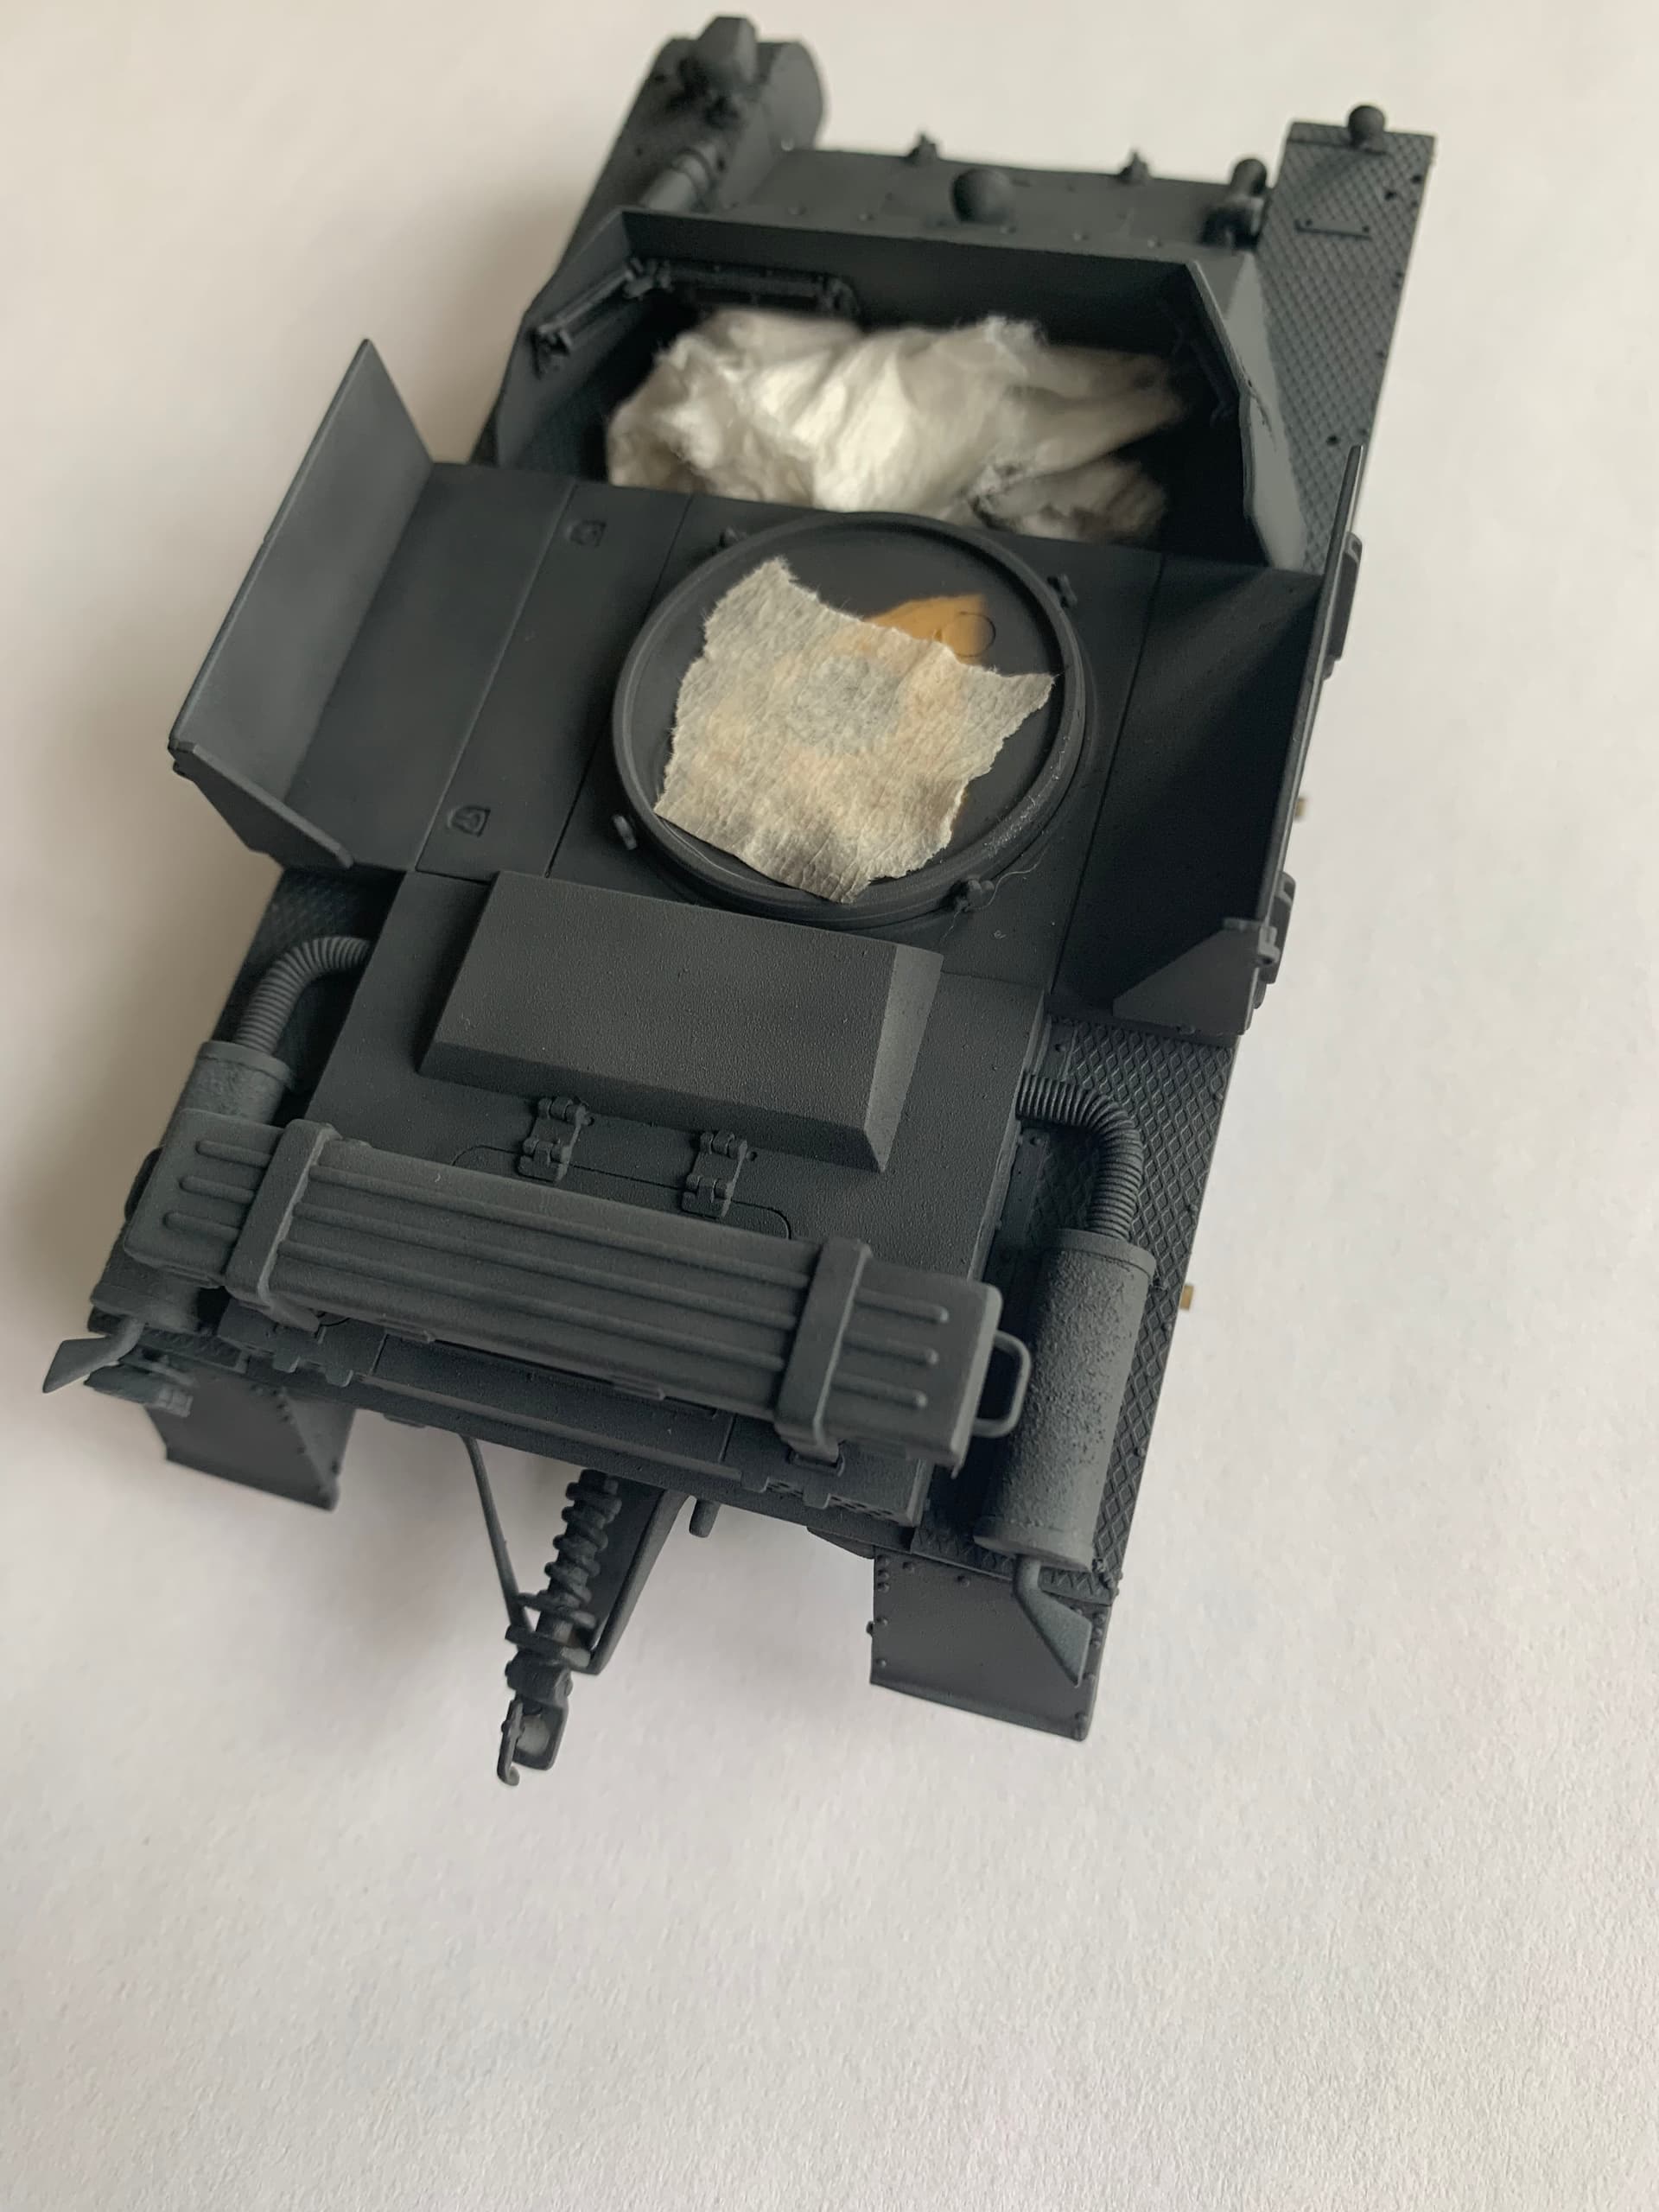
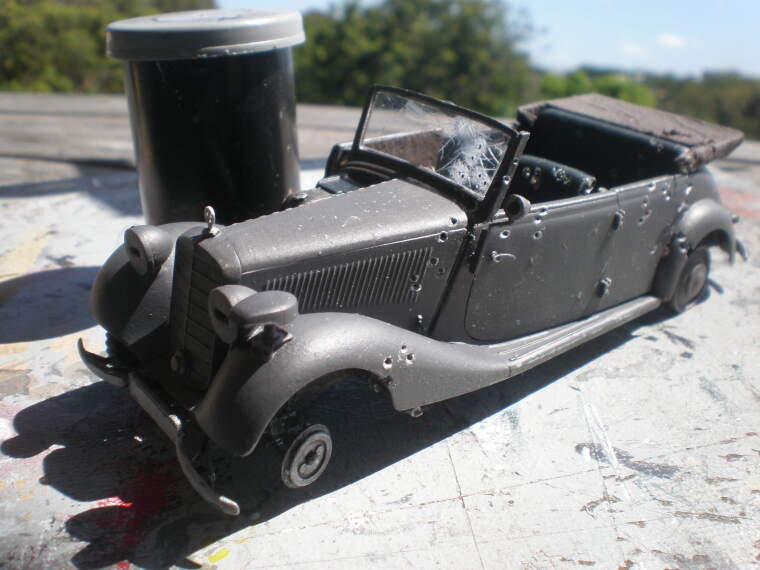
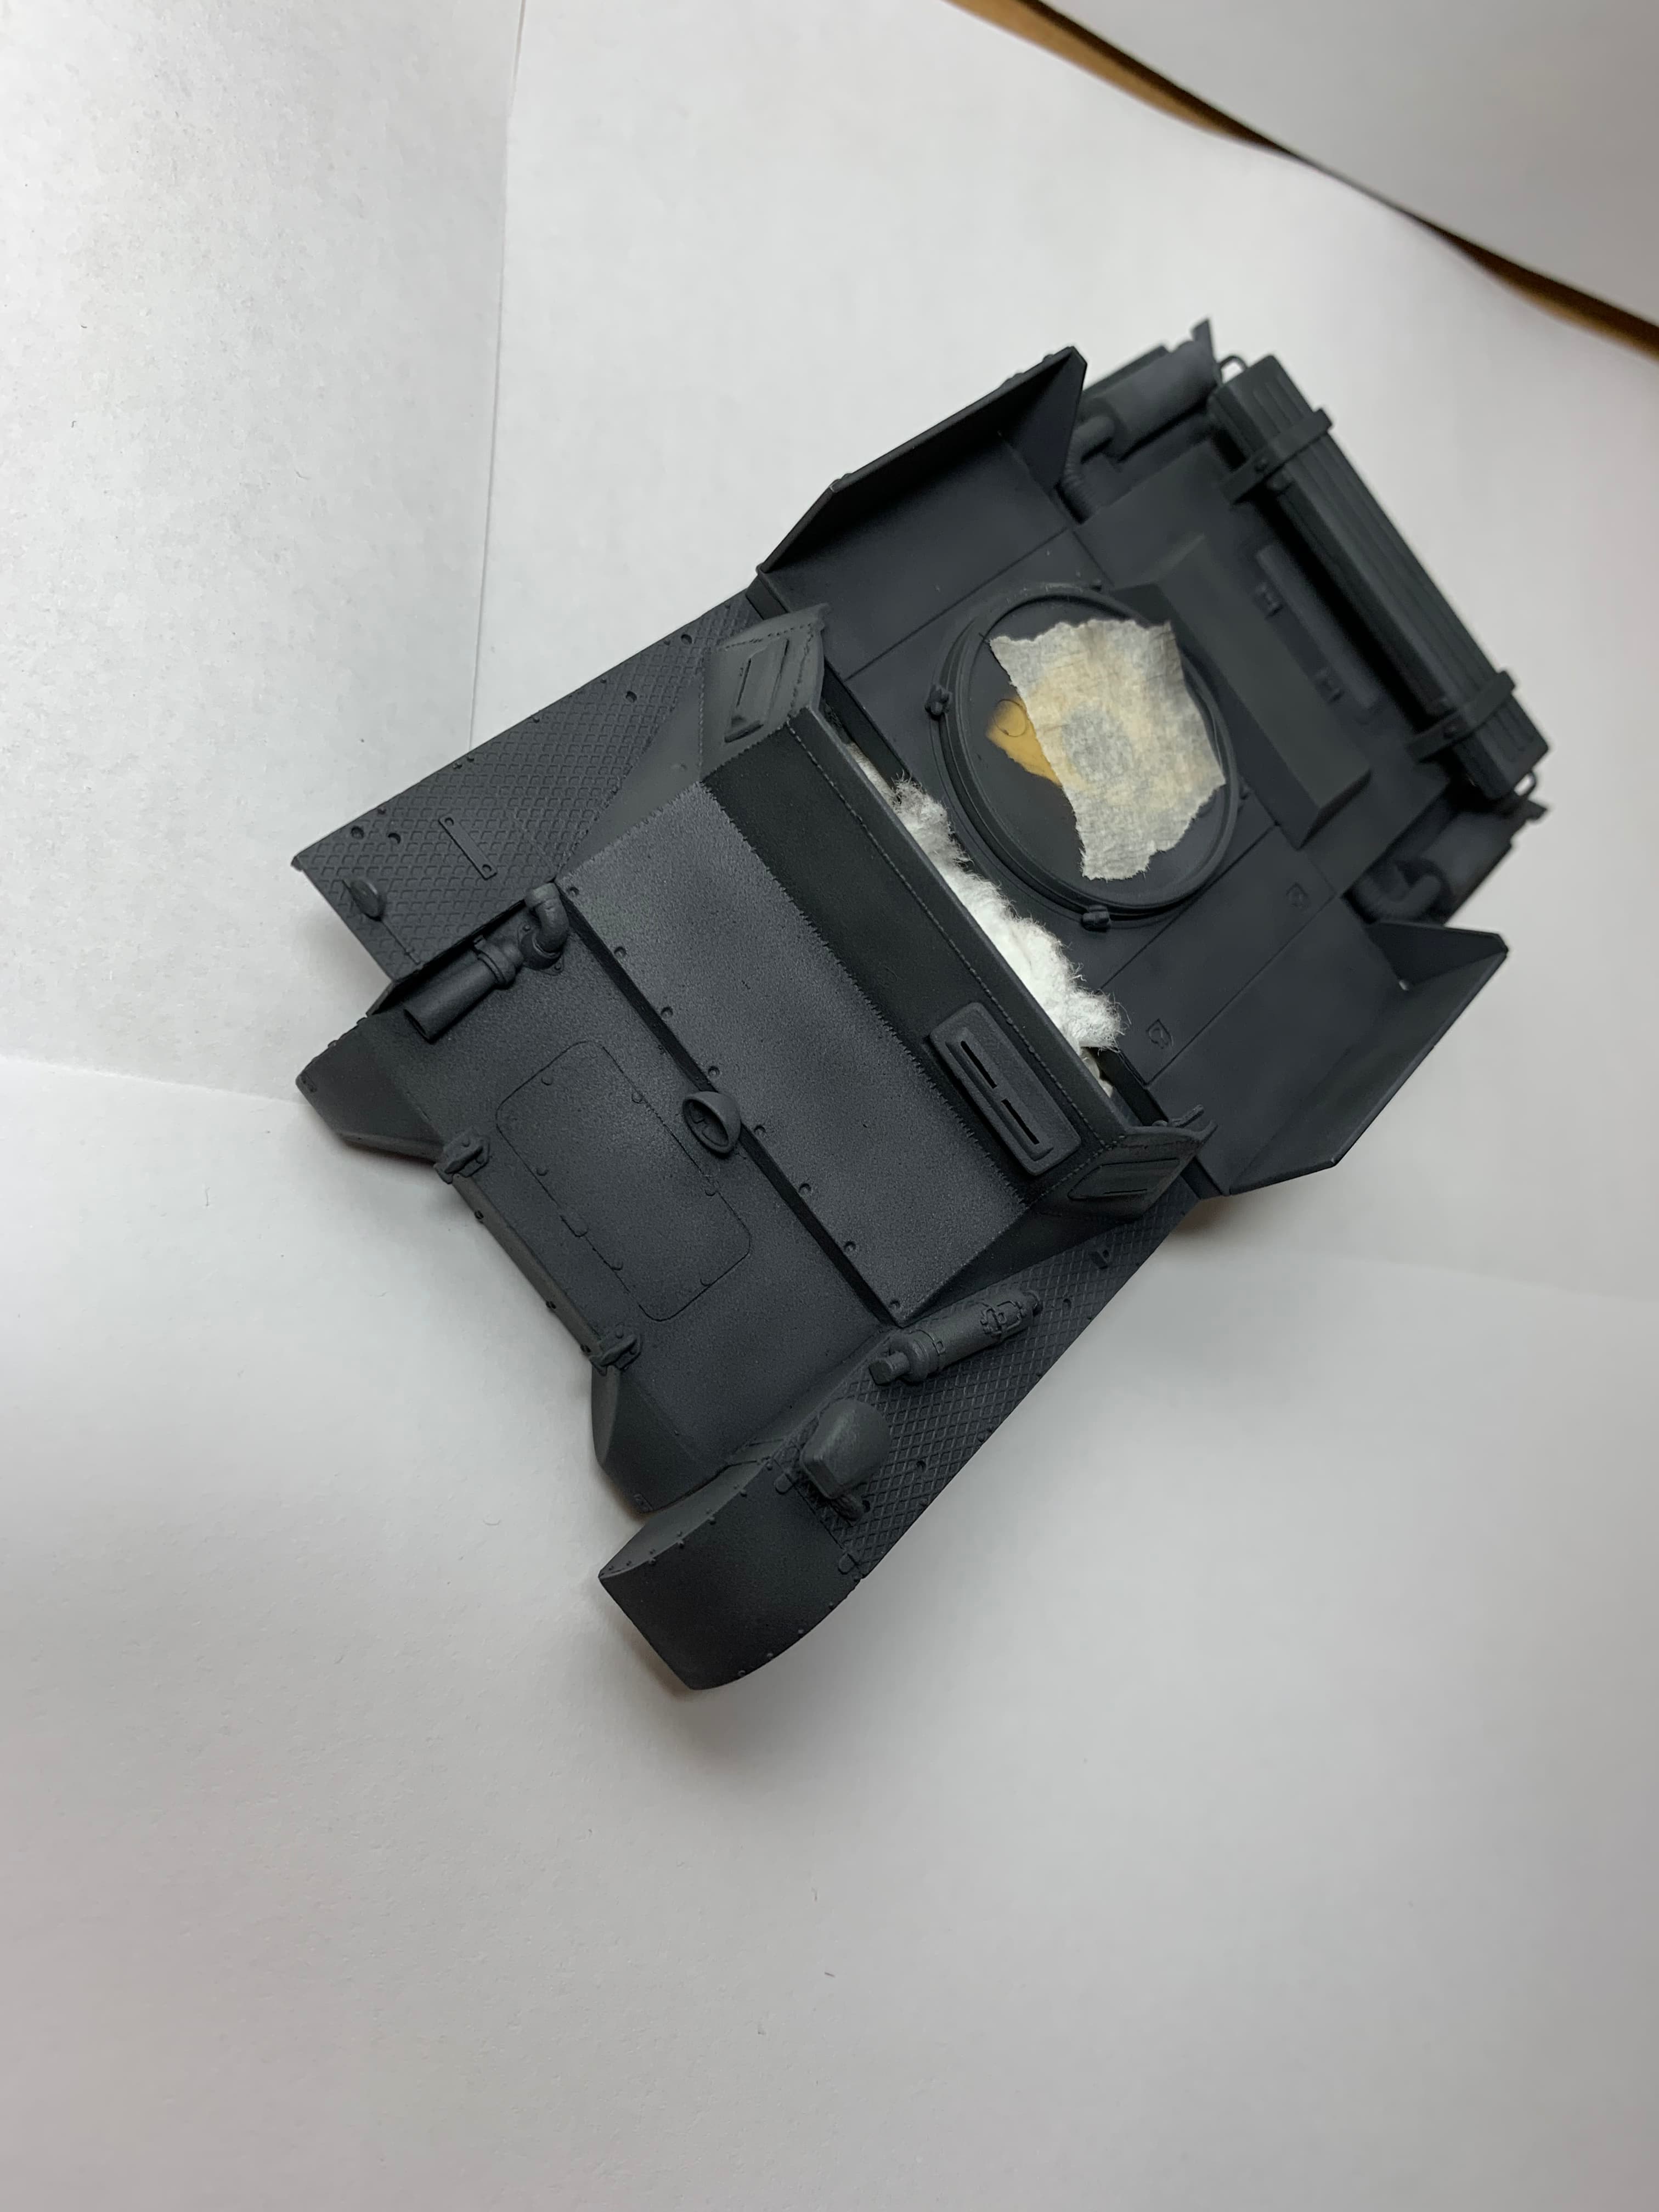
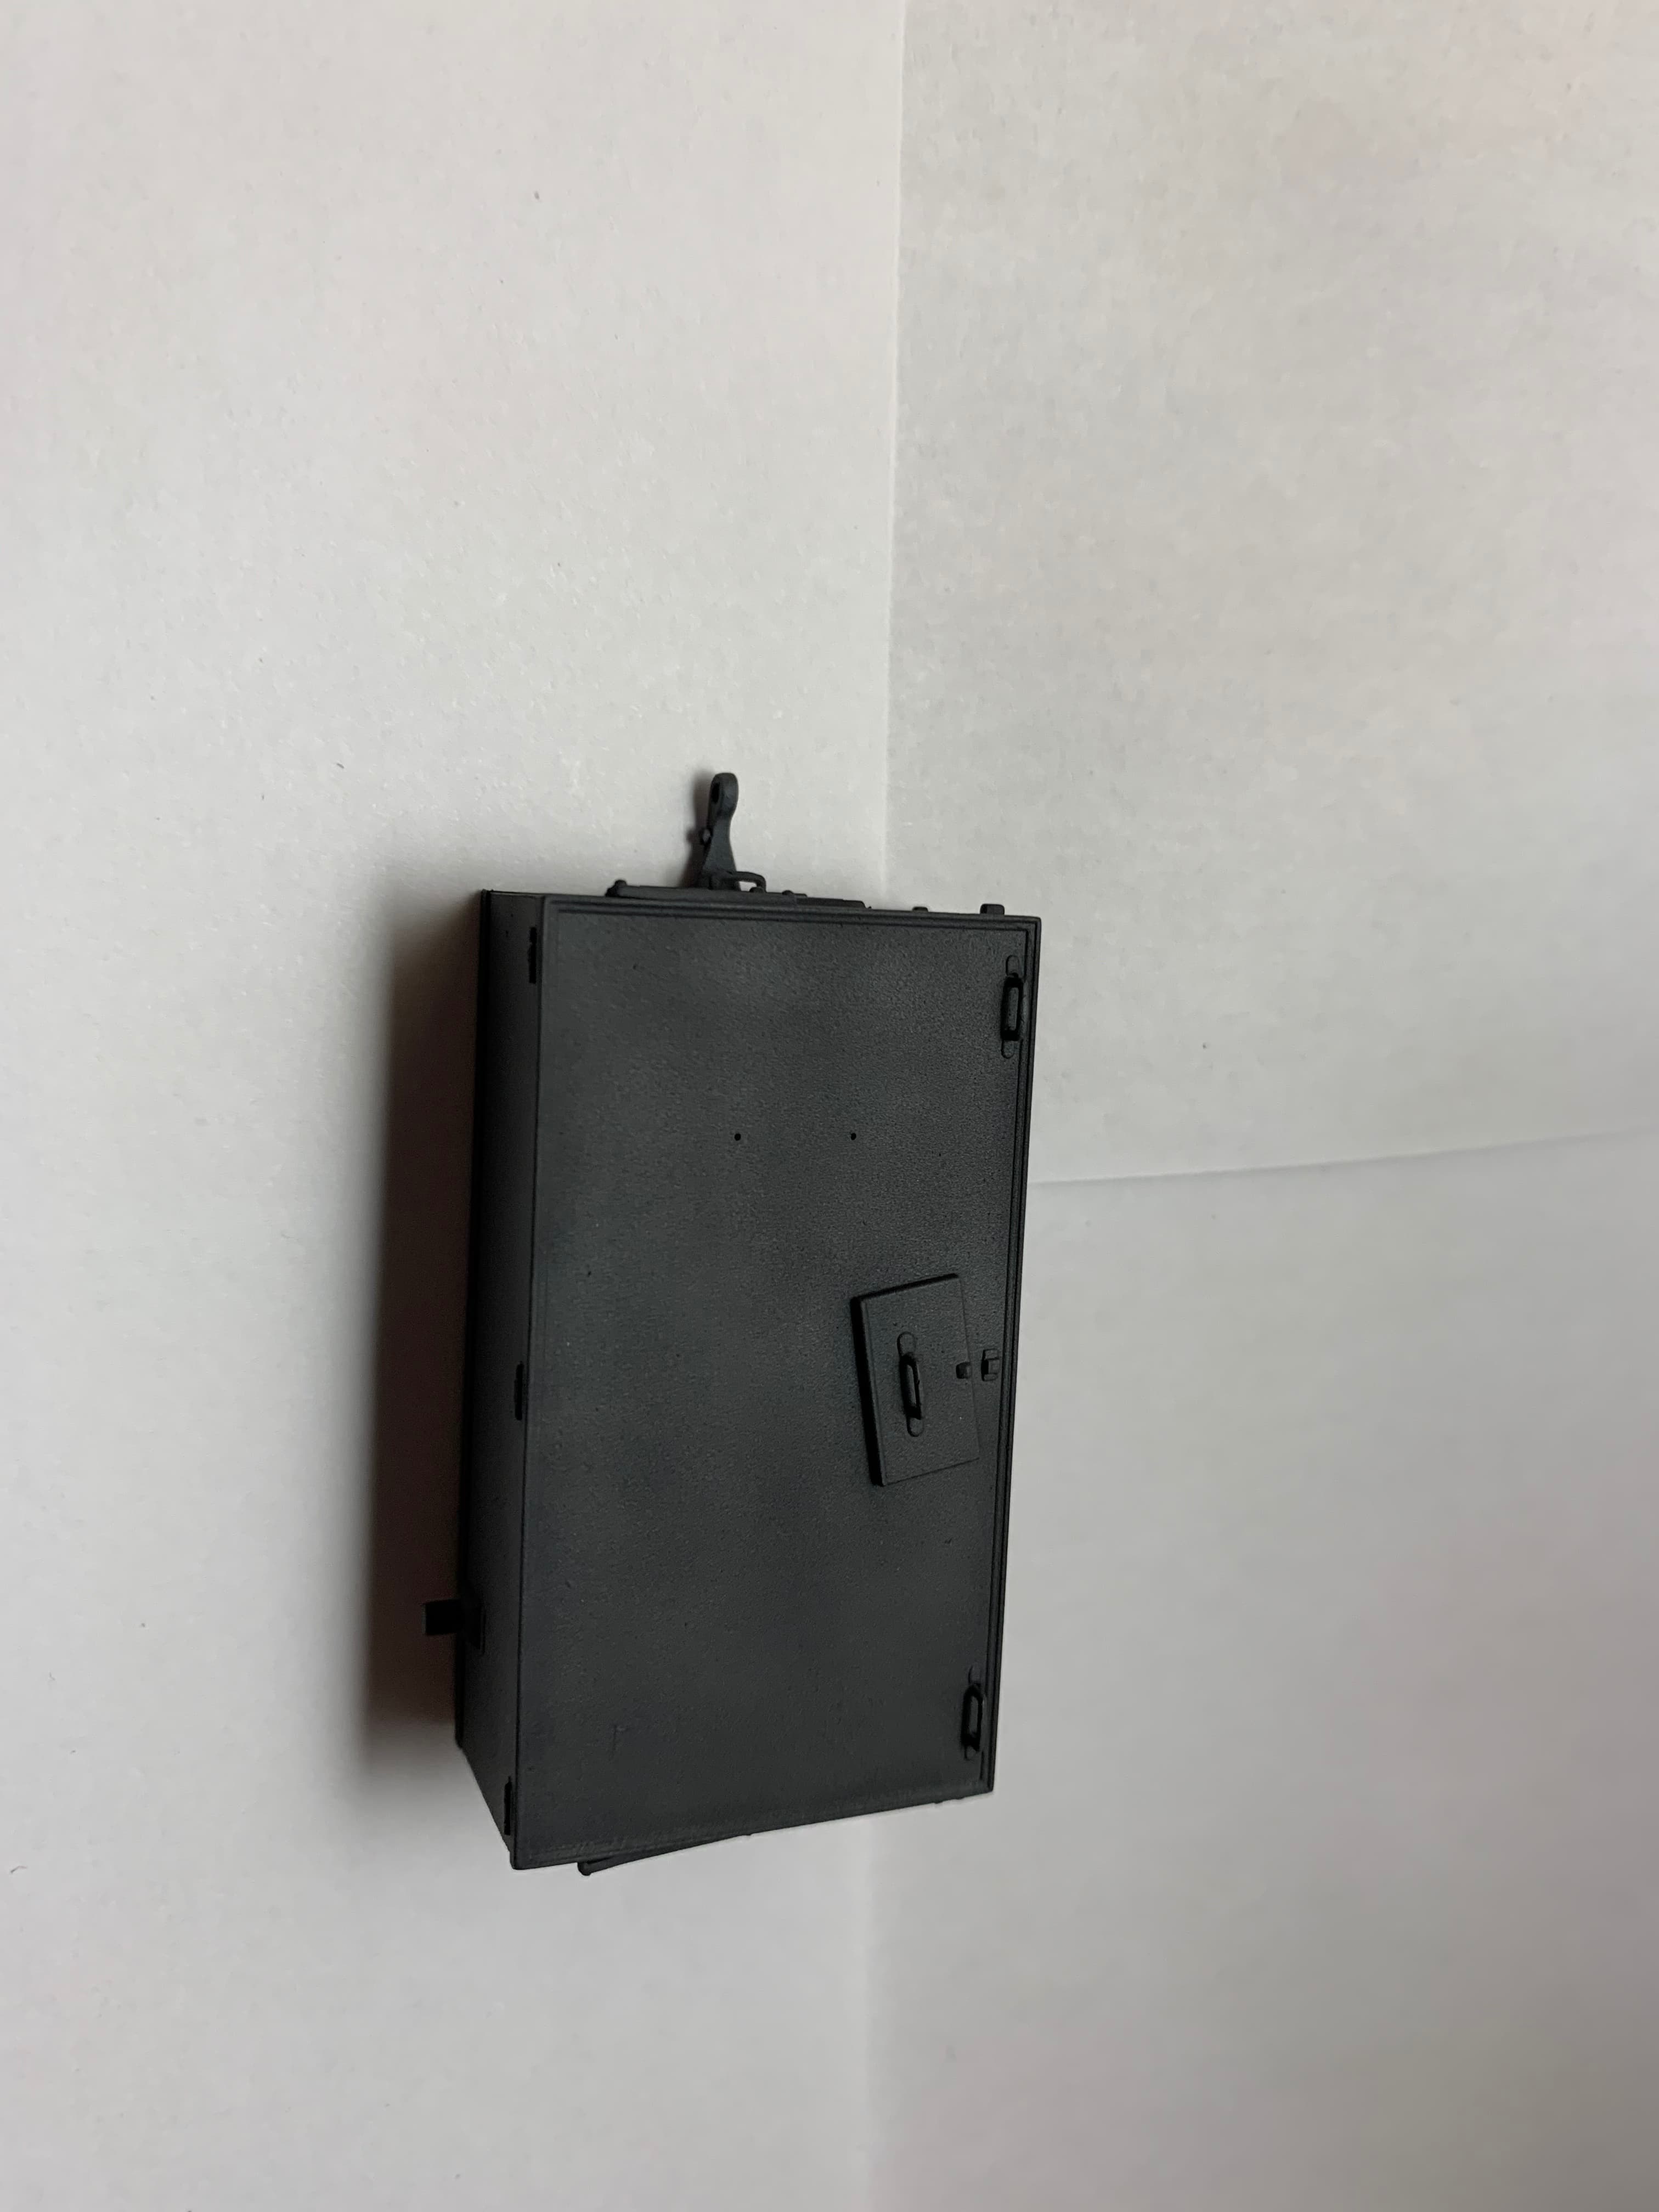
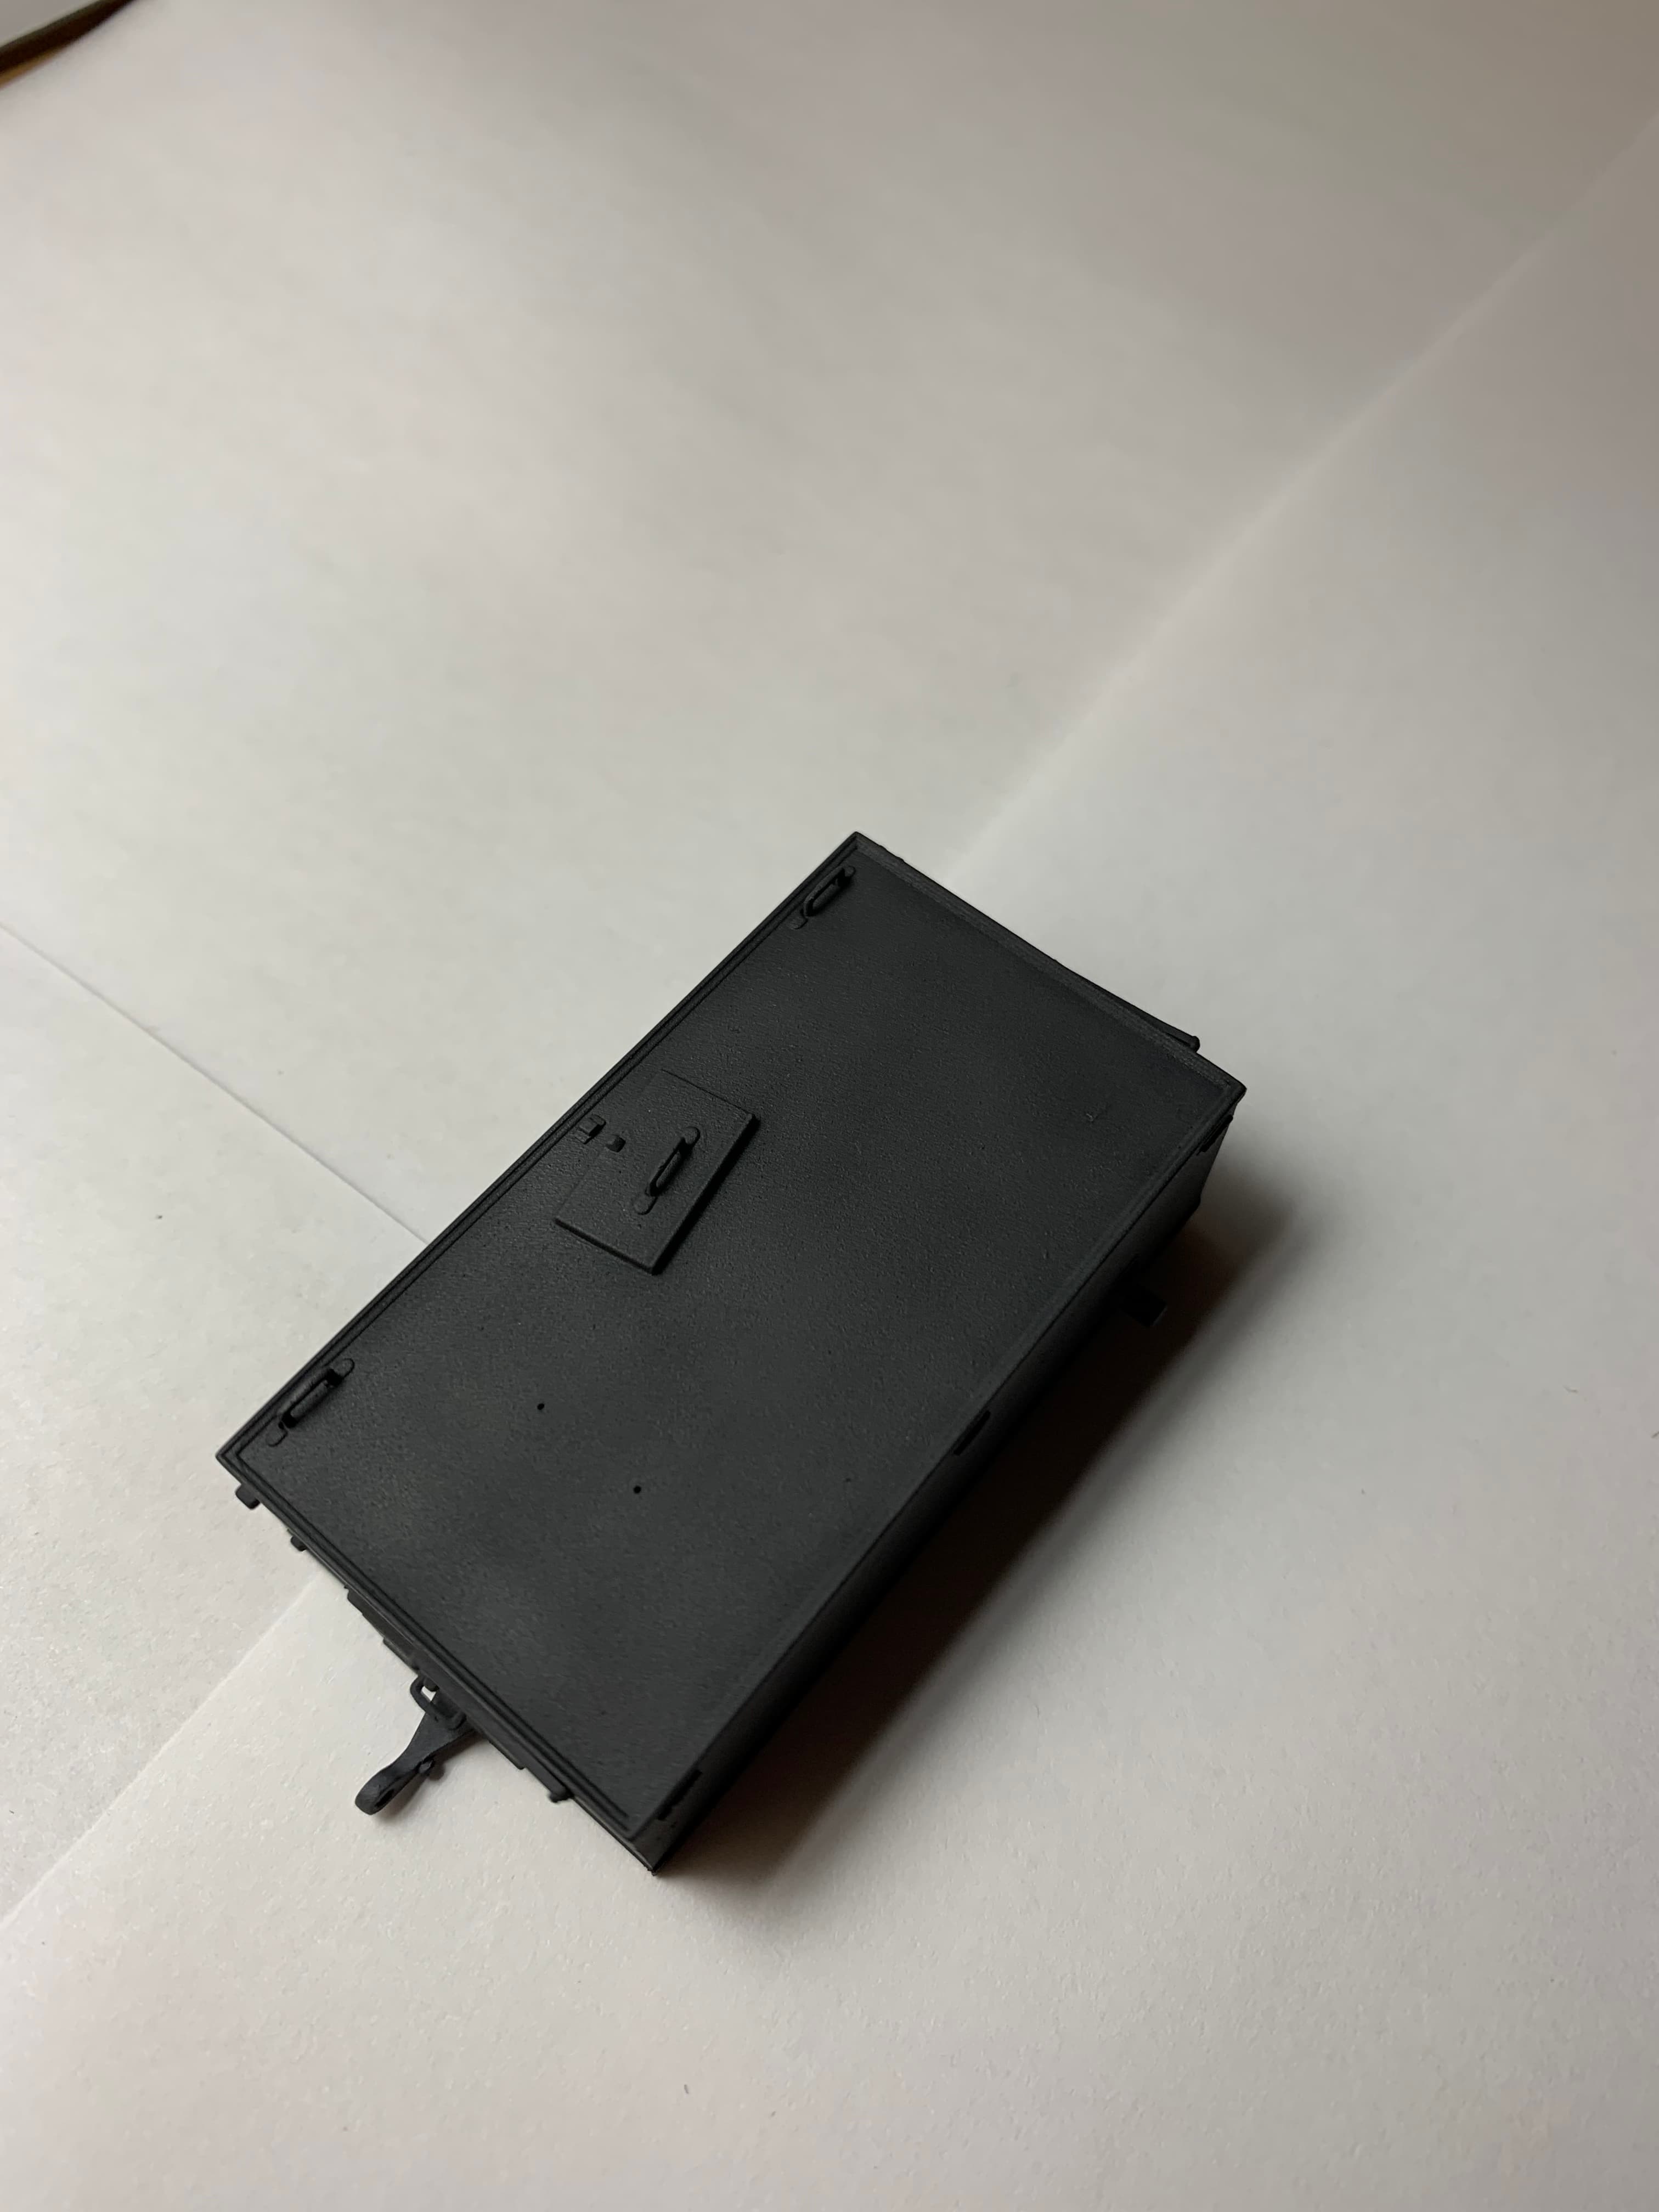
Go the base coating done. For this I used AK real colors schwarzgrau and warmed the color/lightened it with my home brew interior buff I used on the inside. I did a ratio of maybe 80% schwarzgrau to 20% buff. I used the black basing/shadow paint method to build in some tonal variation. This was my first time using lacquer paints and I think I am a convert to lacquer thinners. Got a smooth finish than X20A!
Hopefully the pictures do the tonal variation justice
6 Likes
Sweet paint job! Looks Fantastic. Excellent. Welcome to the wonderful world of lacquer paints. Tip dry, clogging, and gritty finishes are history.
1 Like
Thanks! It’s the happiest I’ve even been with panzer gray. The real colors is a nice shade. It was way smoother than my last x20a application!
Only thing I found is it’s kind of semi gloss in some areas? Shouldn’t be an issue as the gloss coat should blend that but I don’t know why it occurred
1 Like
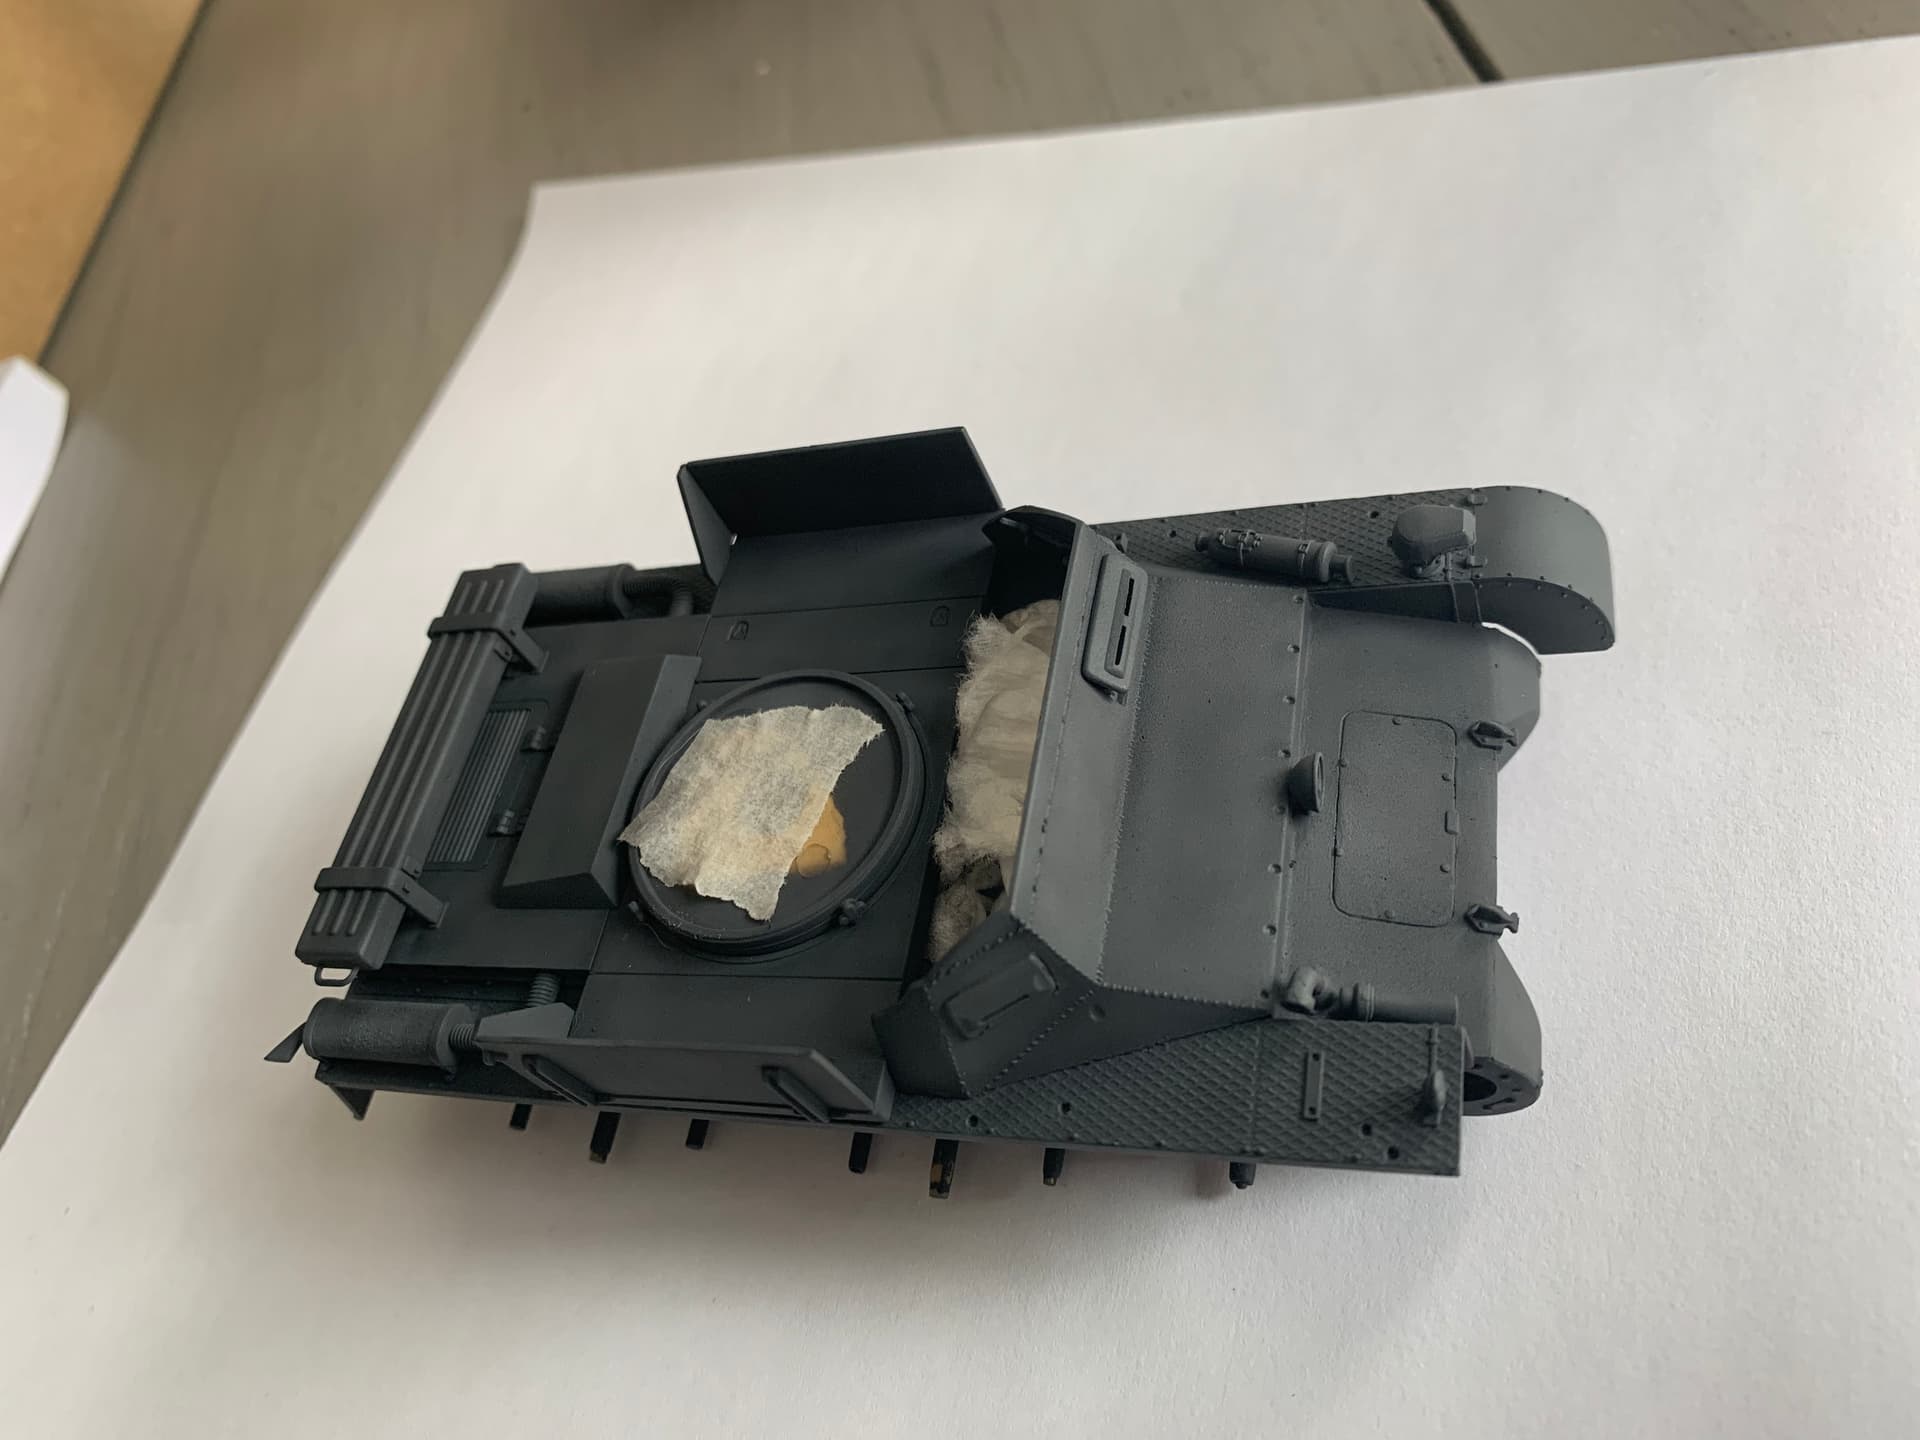
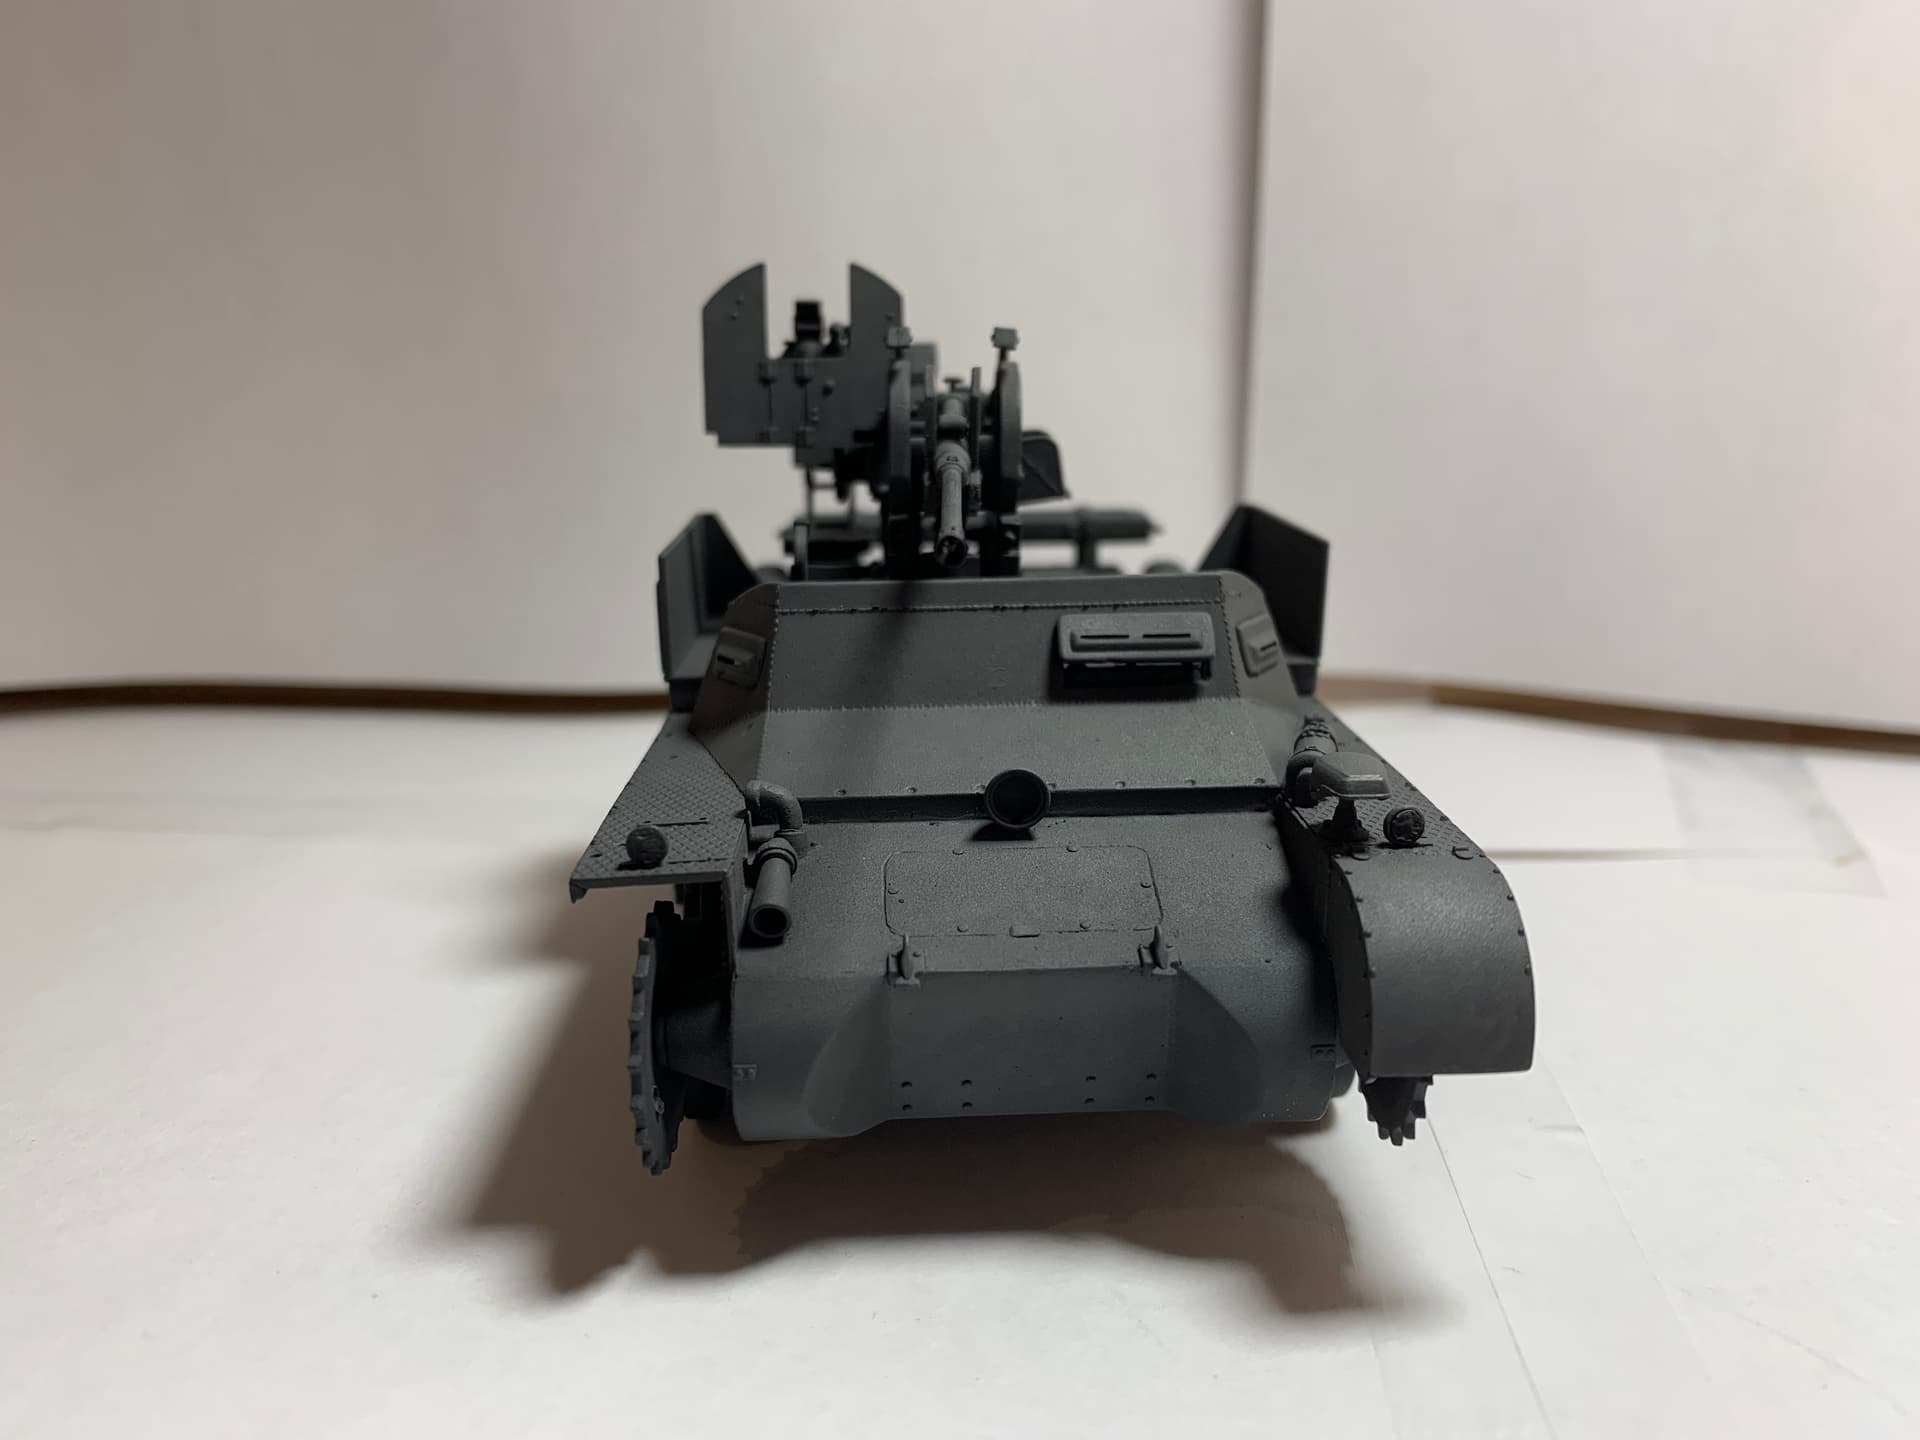
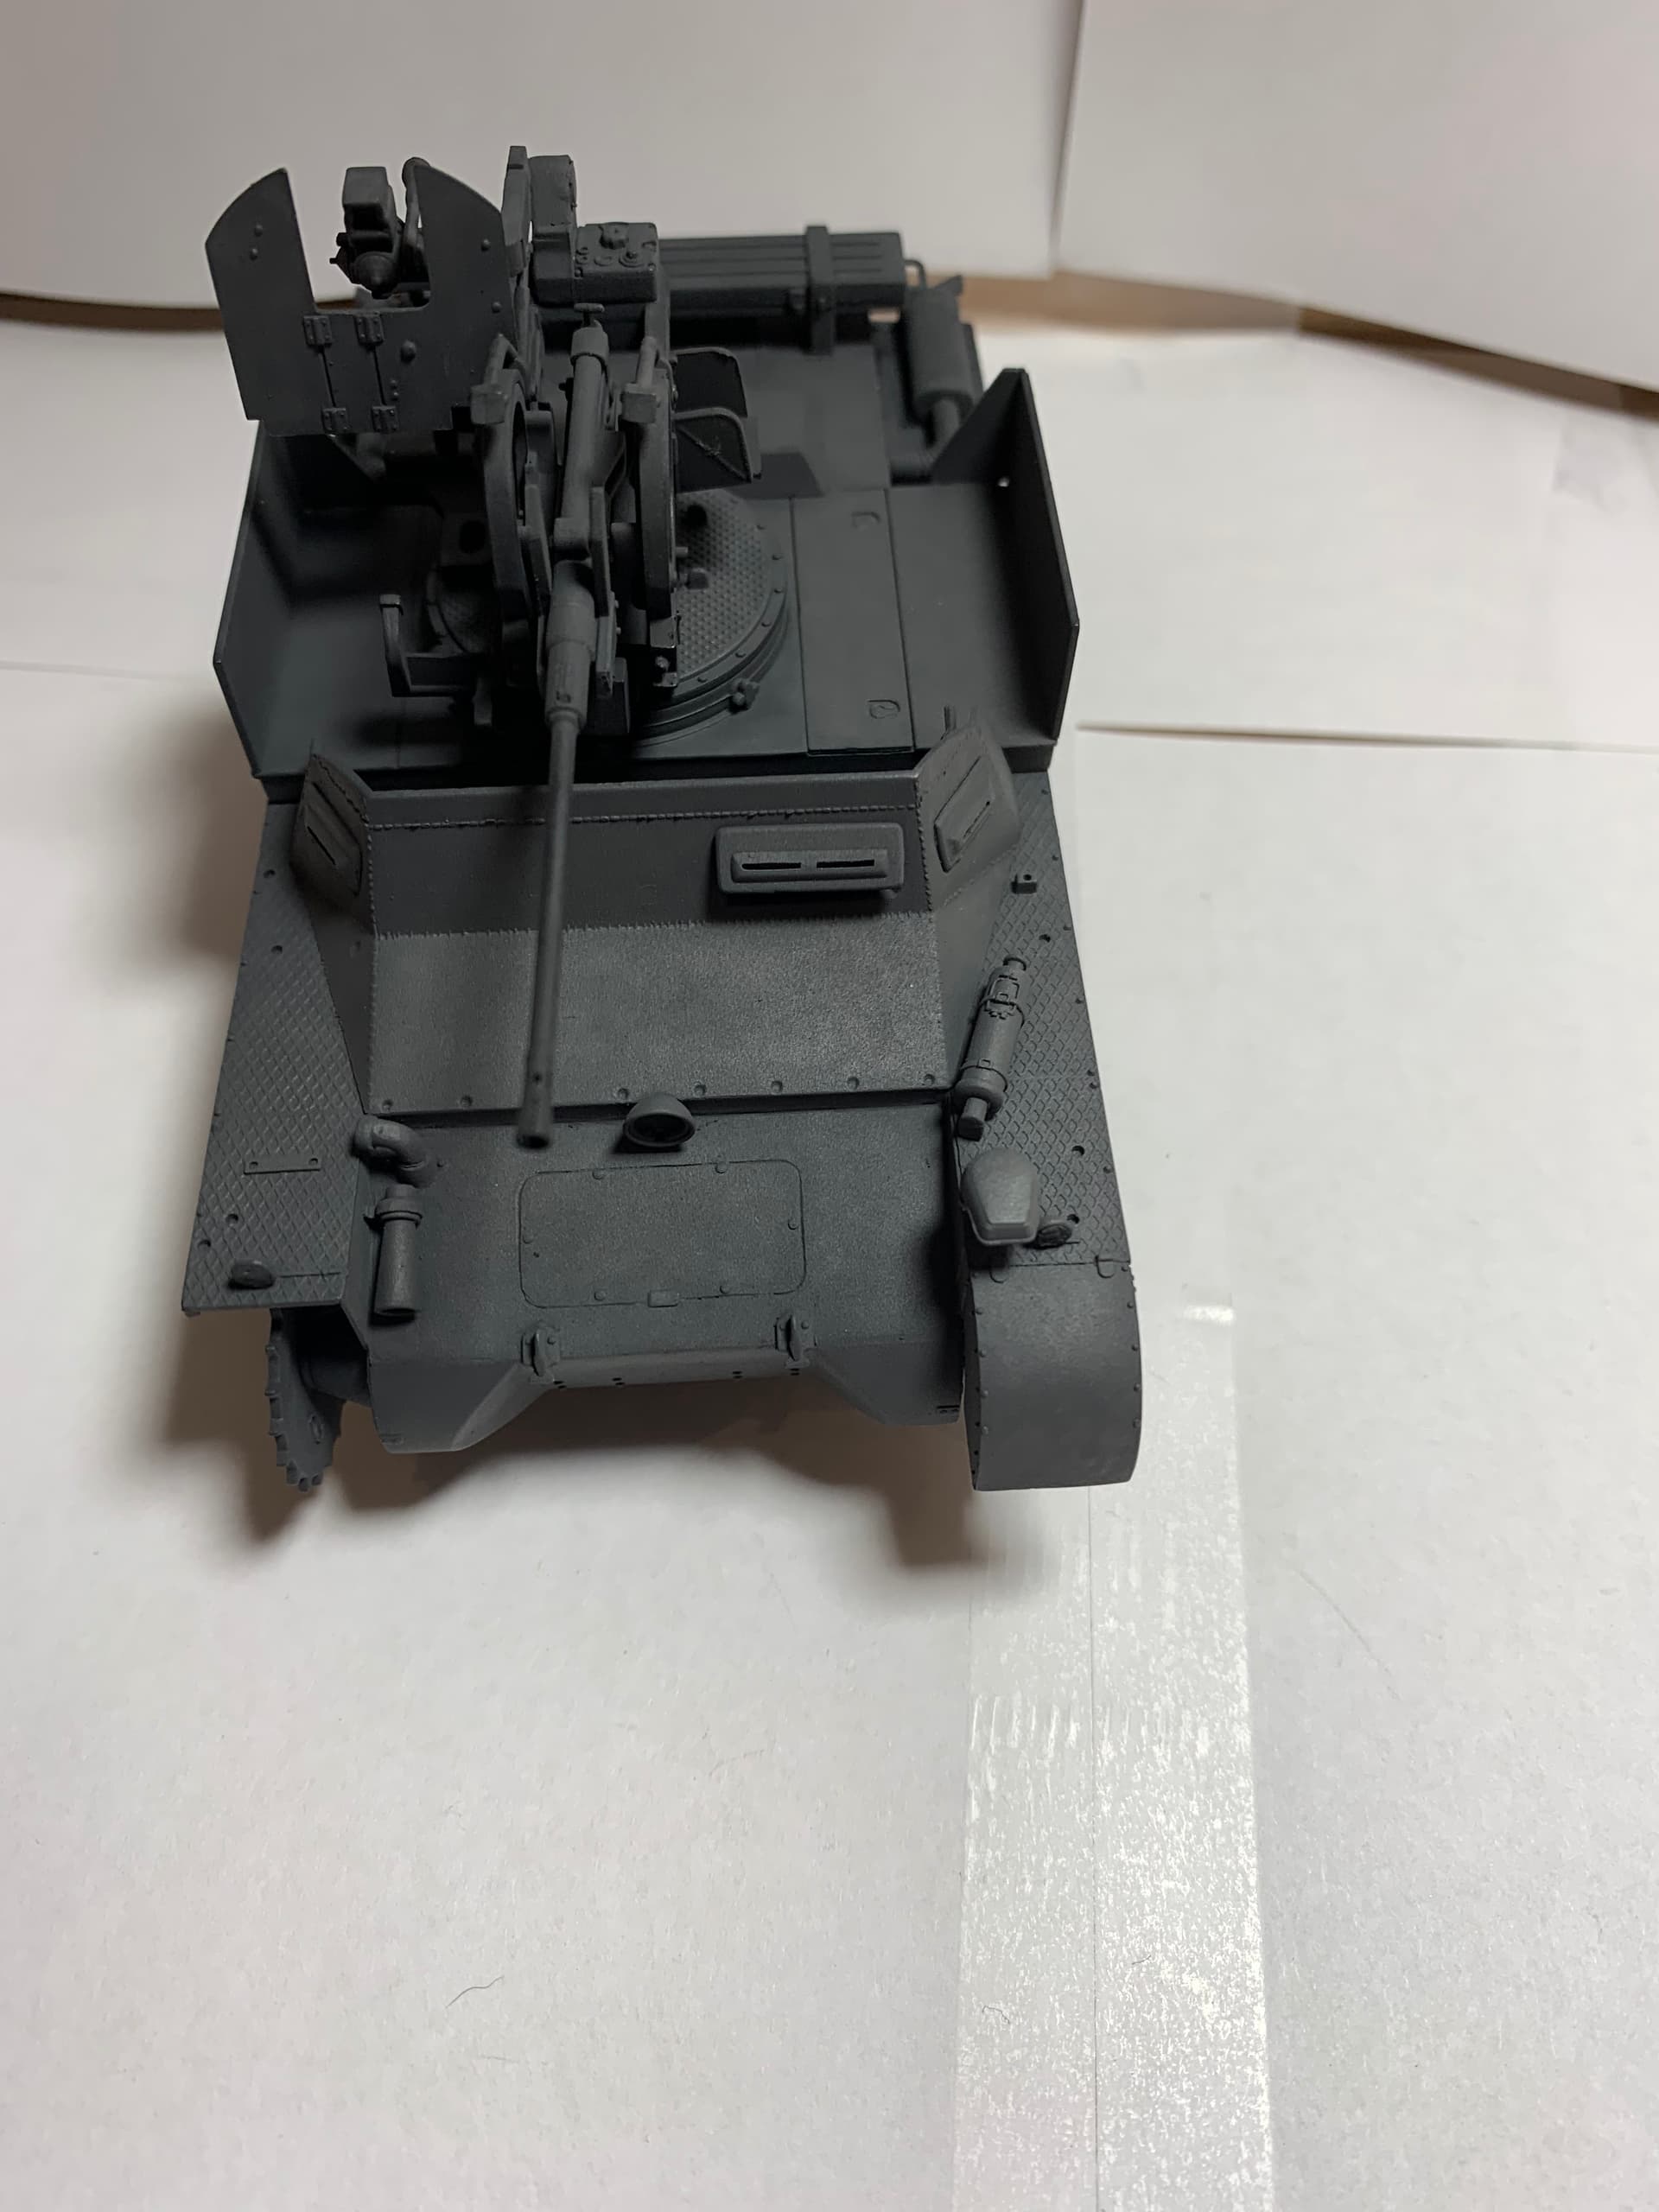
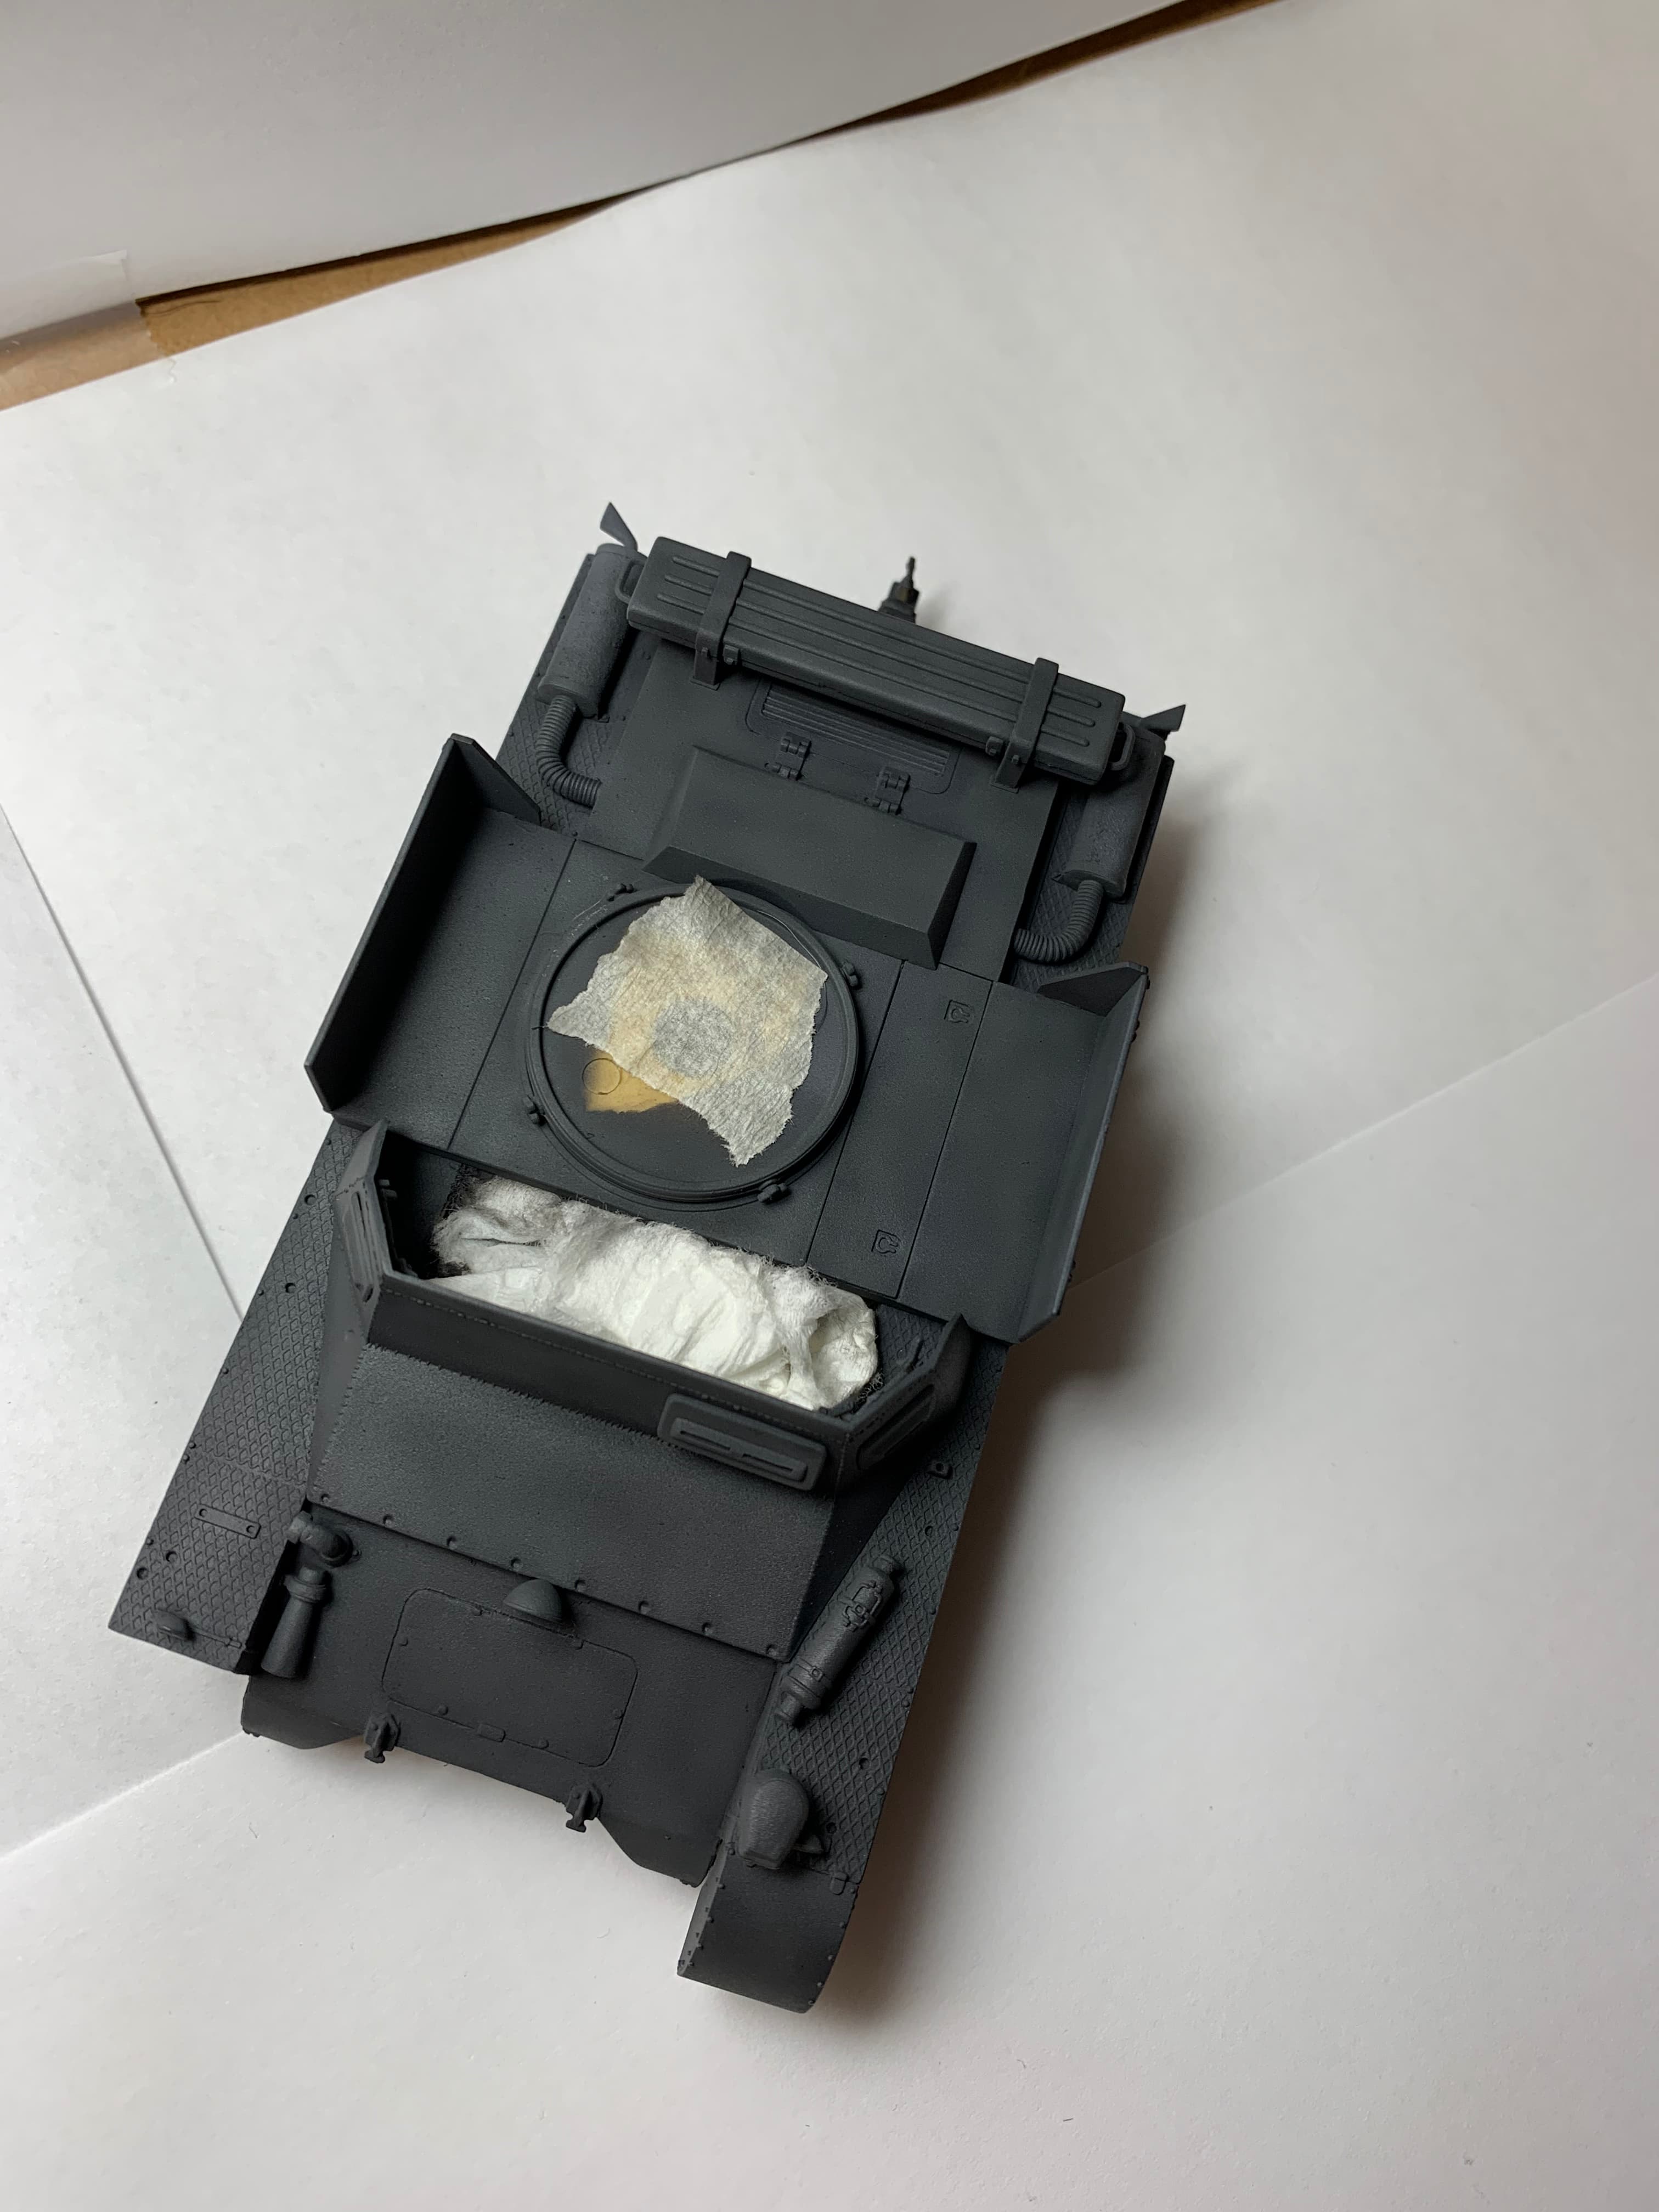
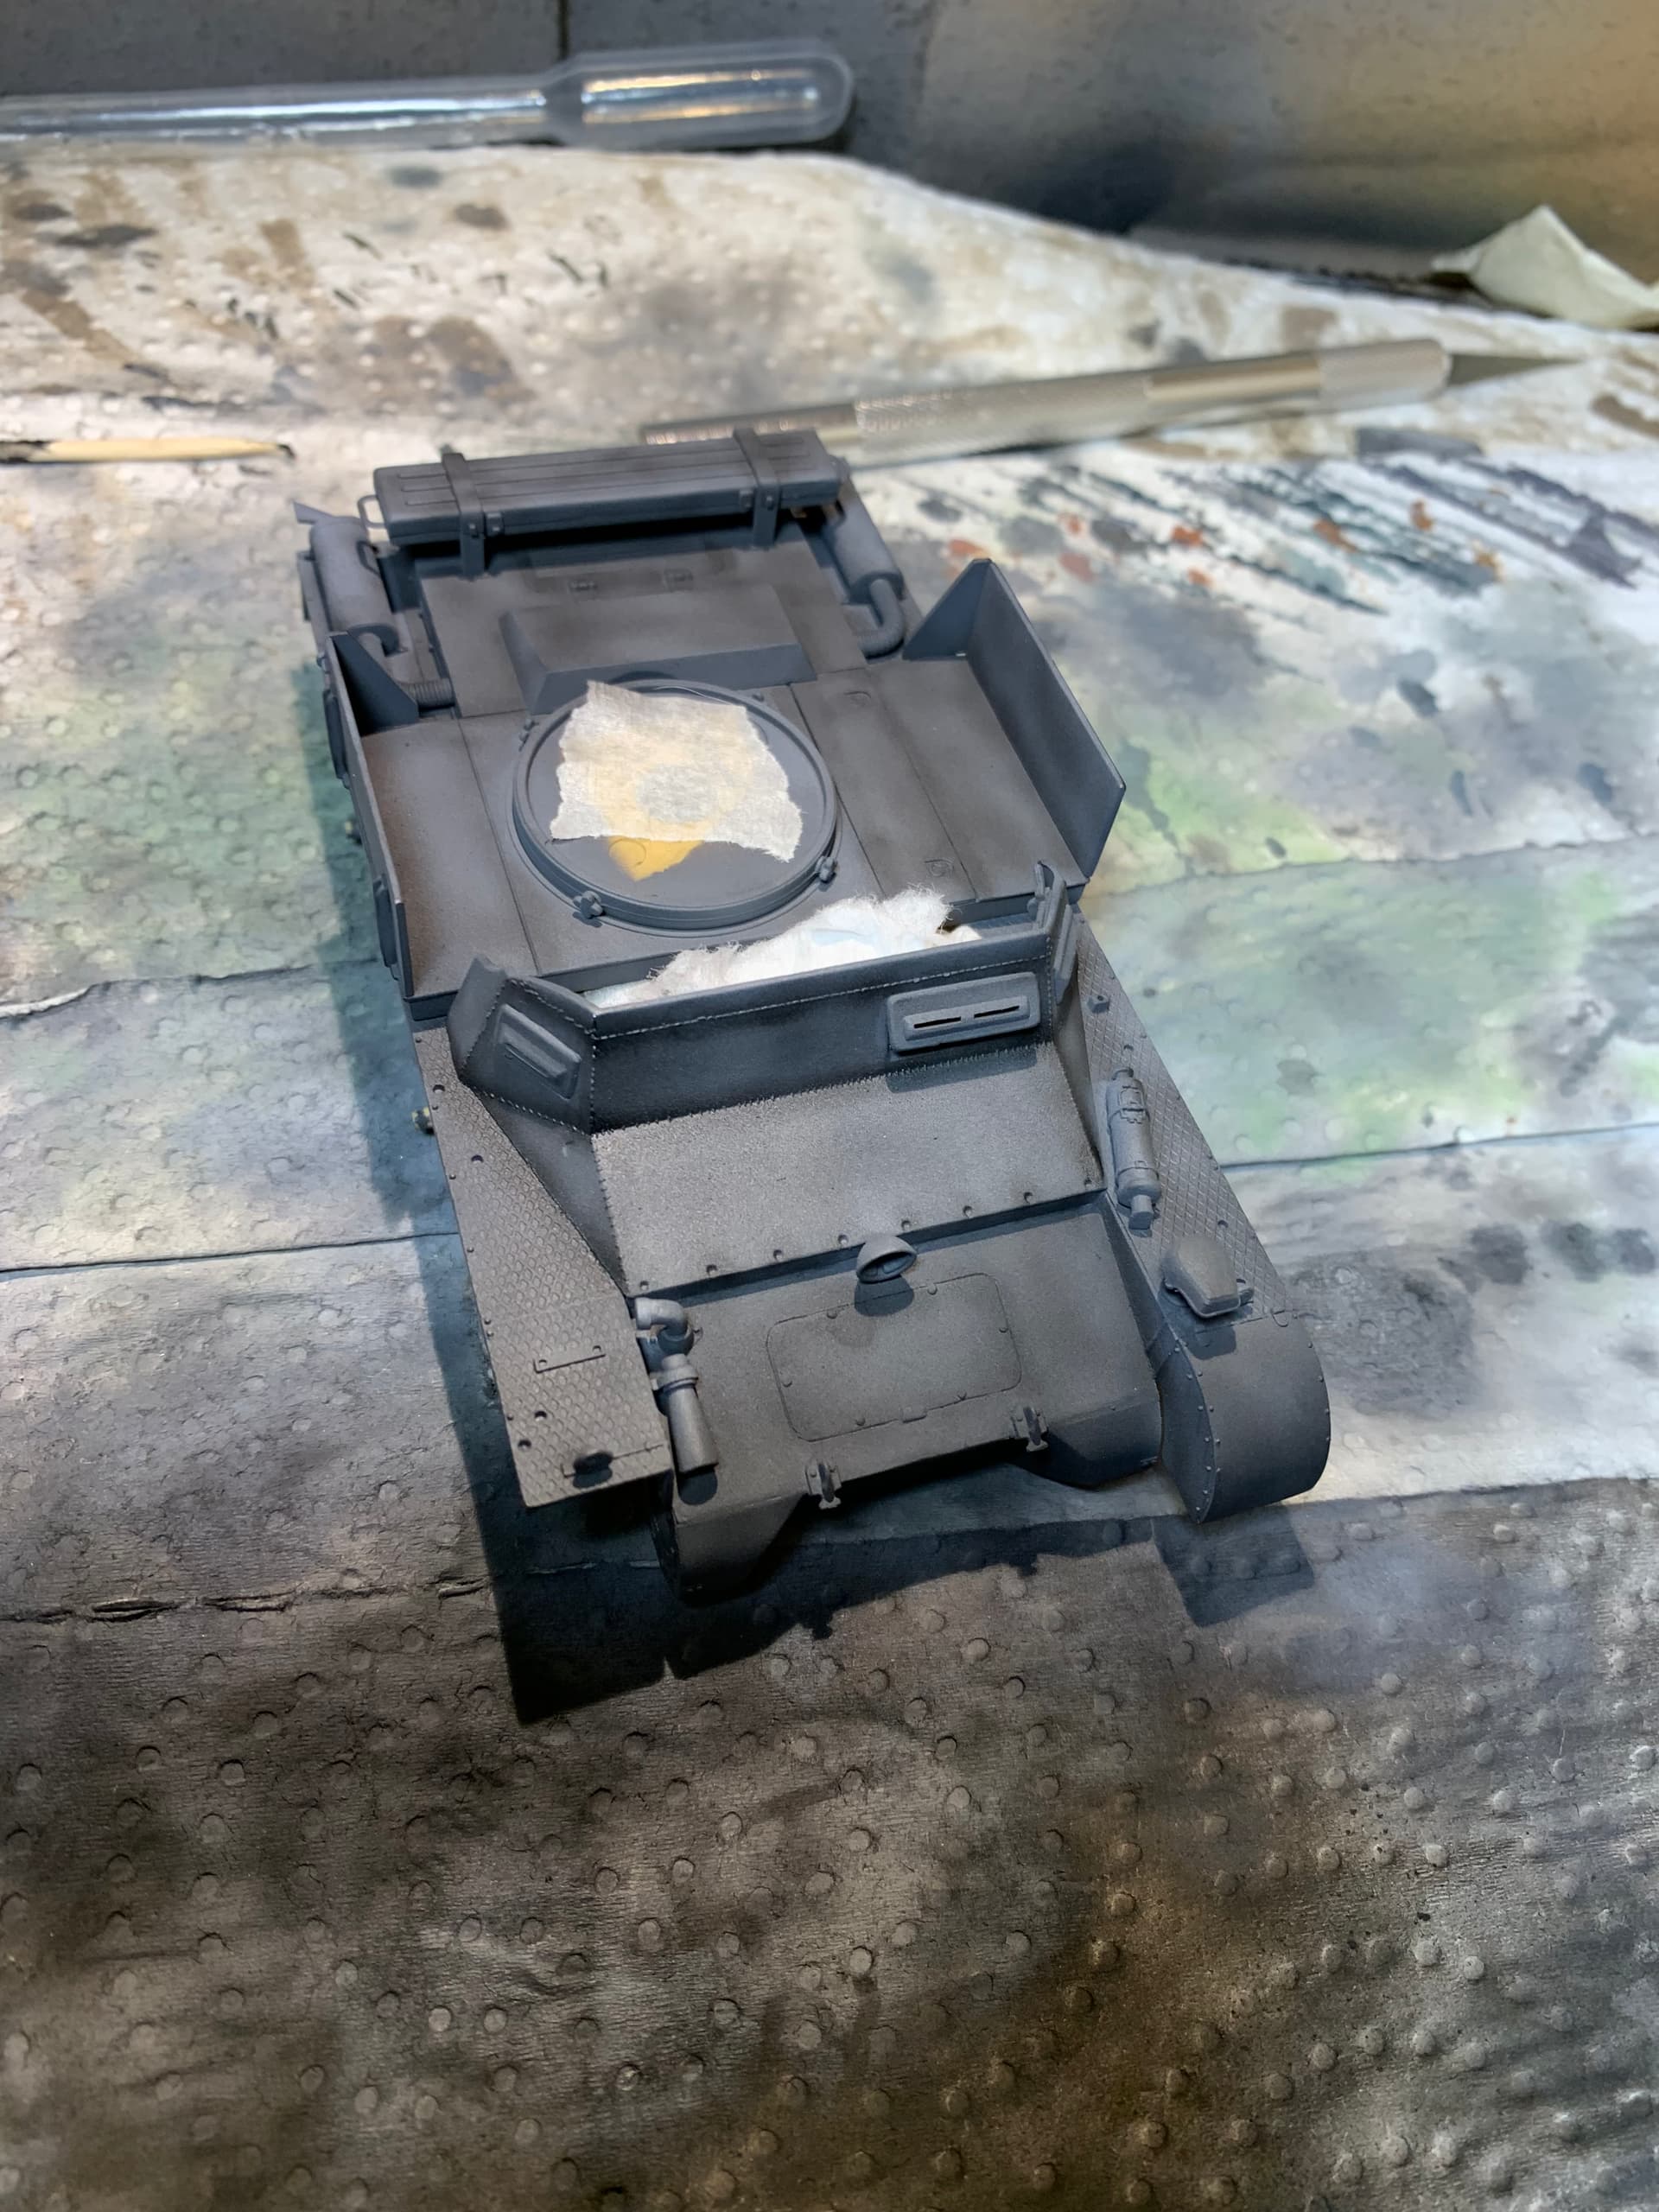
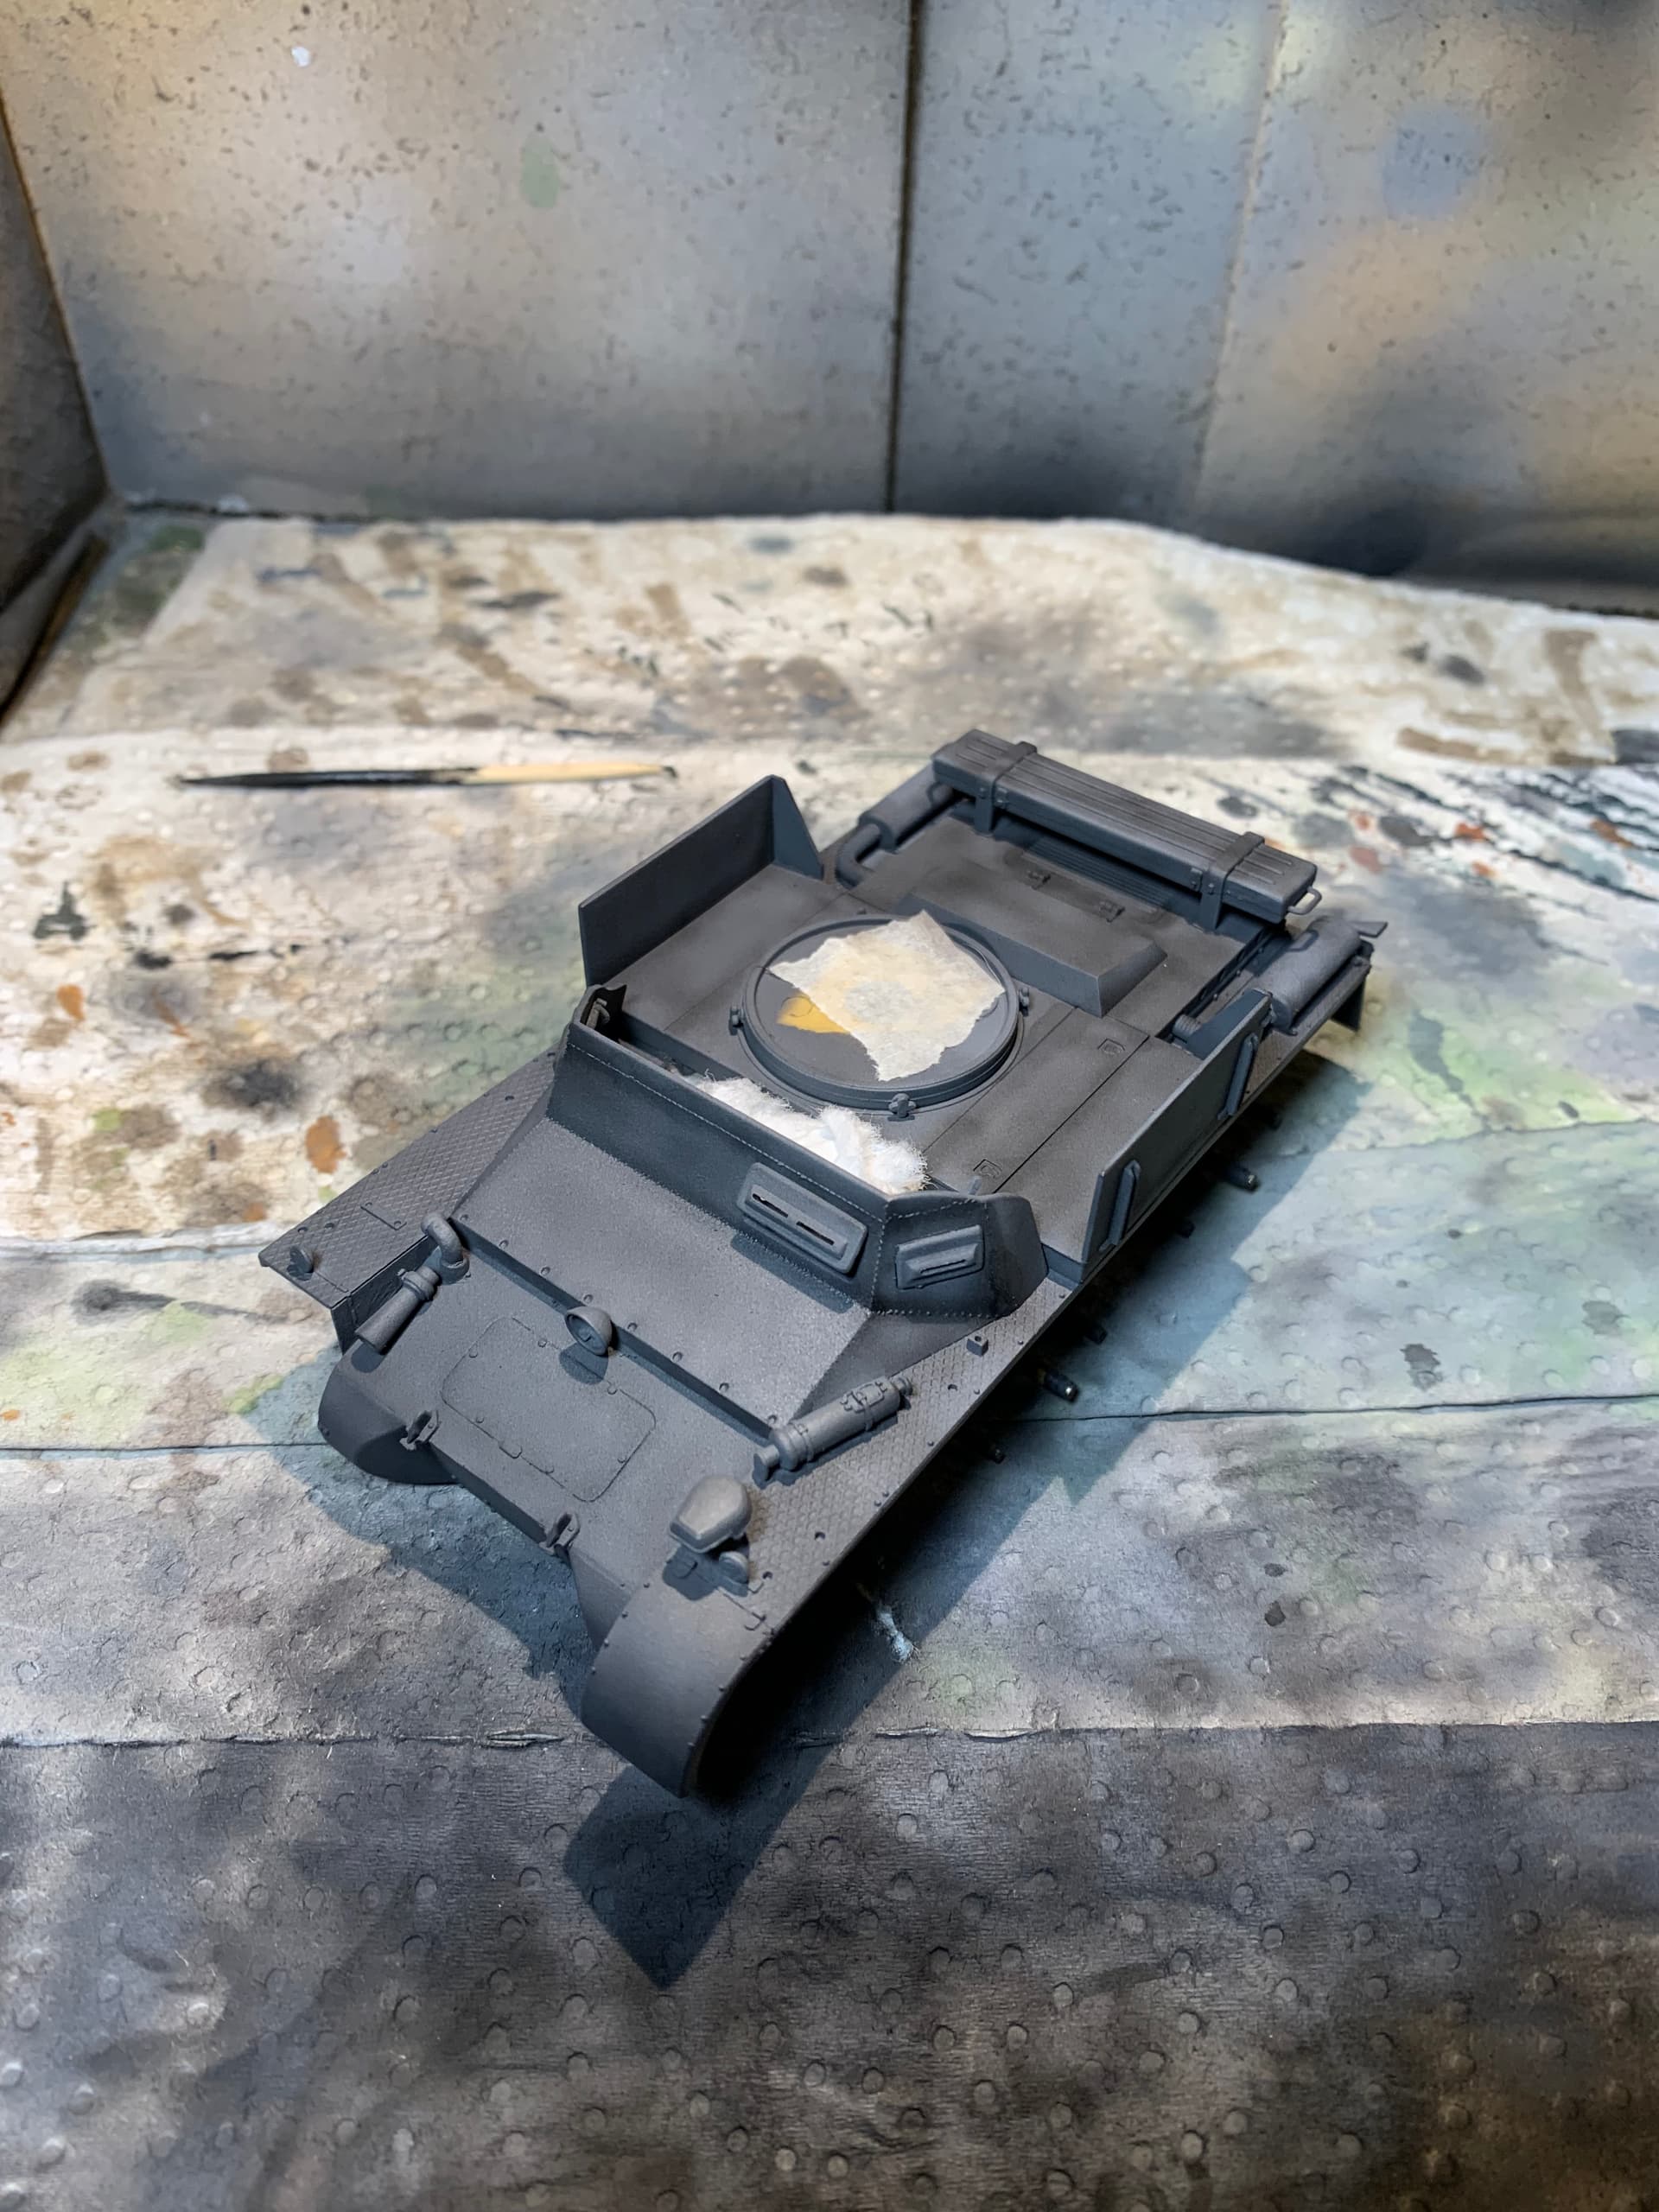
Alright. I wasn’t super happy so I repainted and I am way happier now. I used a hybrid of preshading and black basing/shadow painting. I learned this technique on my spitfire interior and loved the result. I primed in stnylrez grey then did a typical preshade with Tamiya flat black. I then filled in the panels with a random cloudy pattern with the black. This adds some interest to panel centres and cuts the stark transition between gray and black. I then sprayed a semi random pattern of the lightened schwarzgrau focusing more on panels and less on the oreshade areas while blending! I’m still learning how to take pictures but I hope these do it justice. I now have much better and more natural tonal variation
The first two photos are in progress where I had finished the front hull but not rear:
6 Likes
Outstanding!