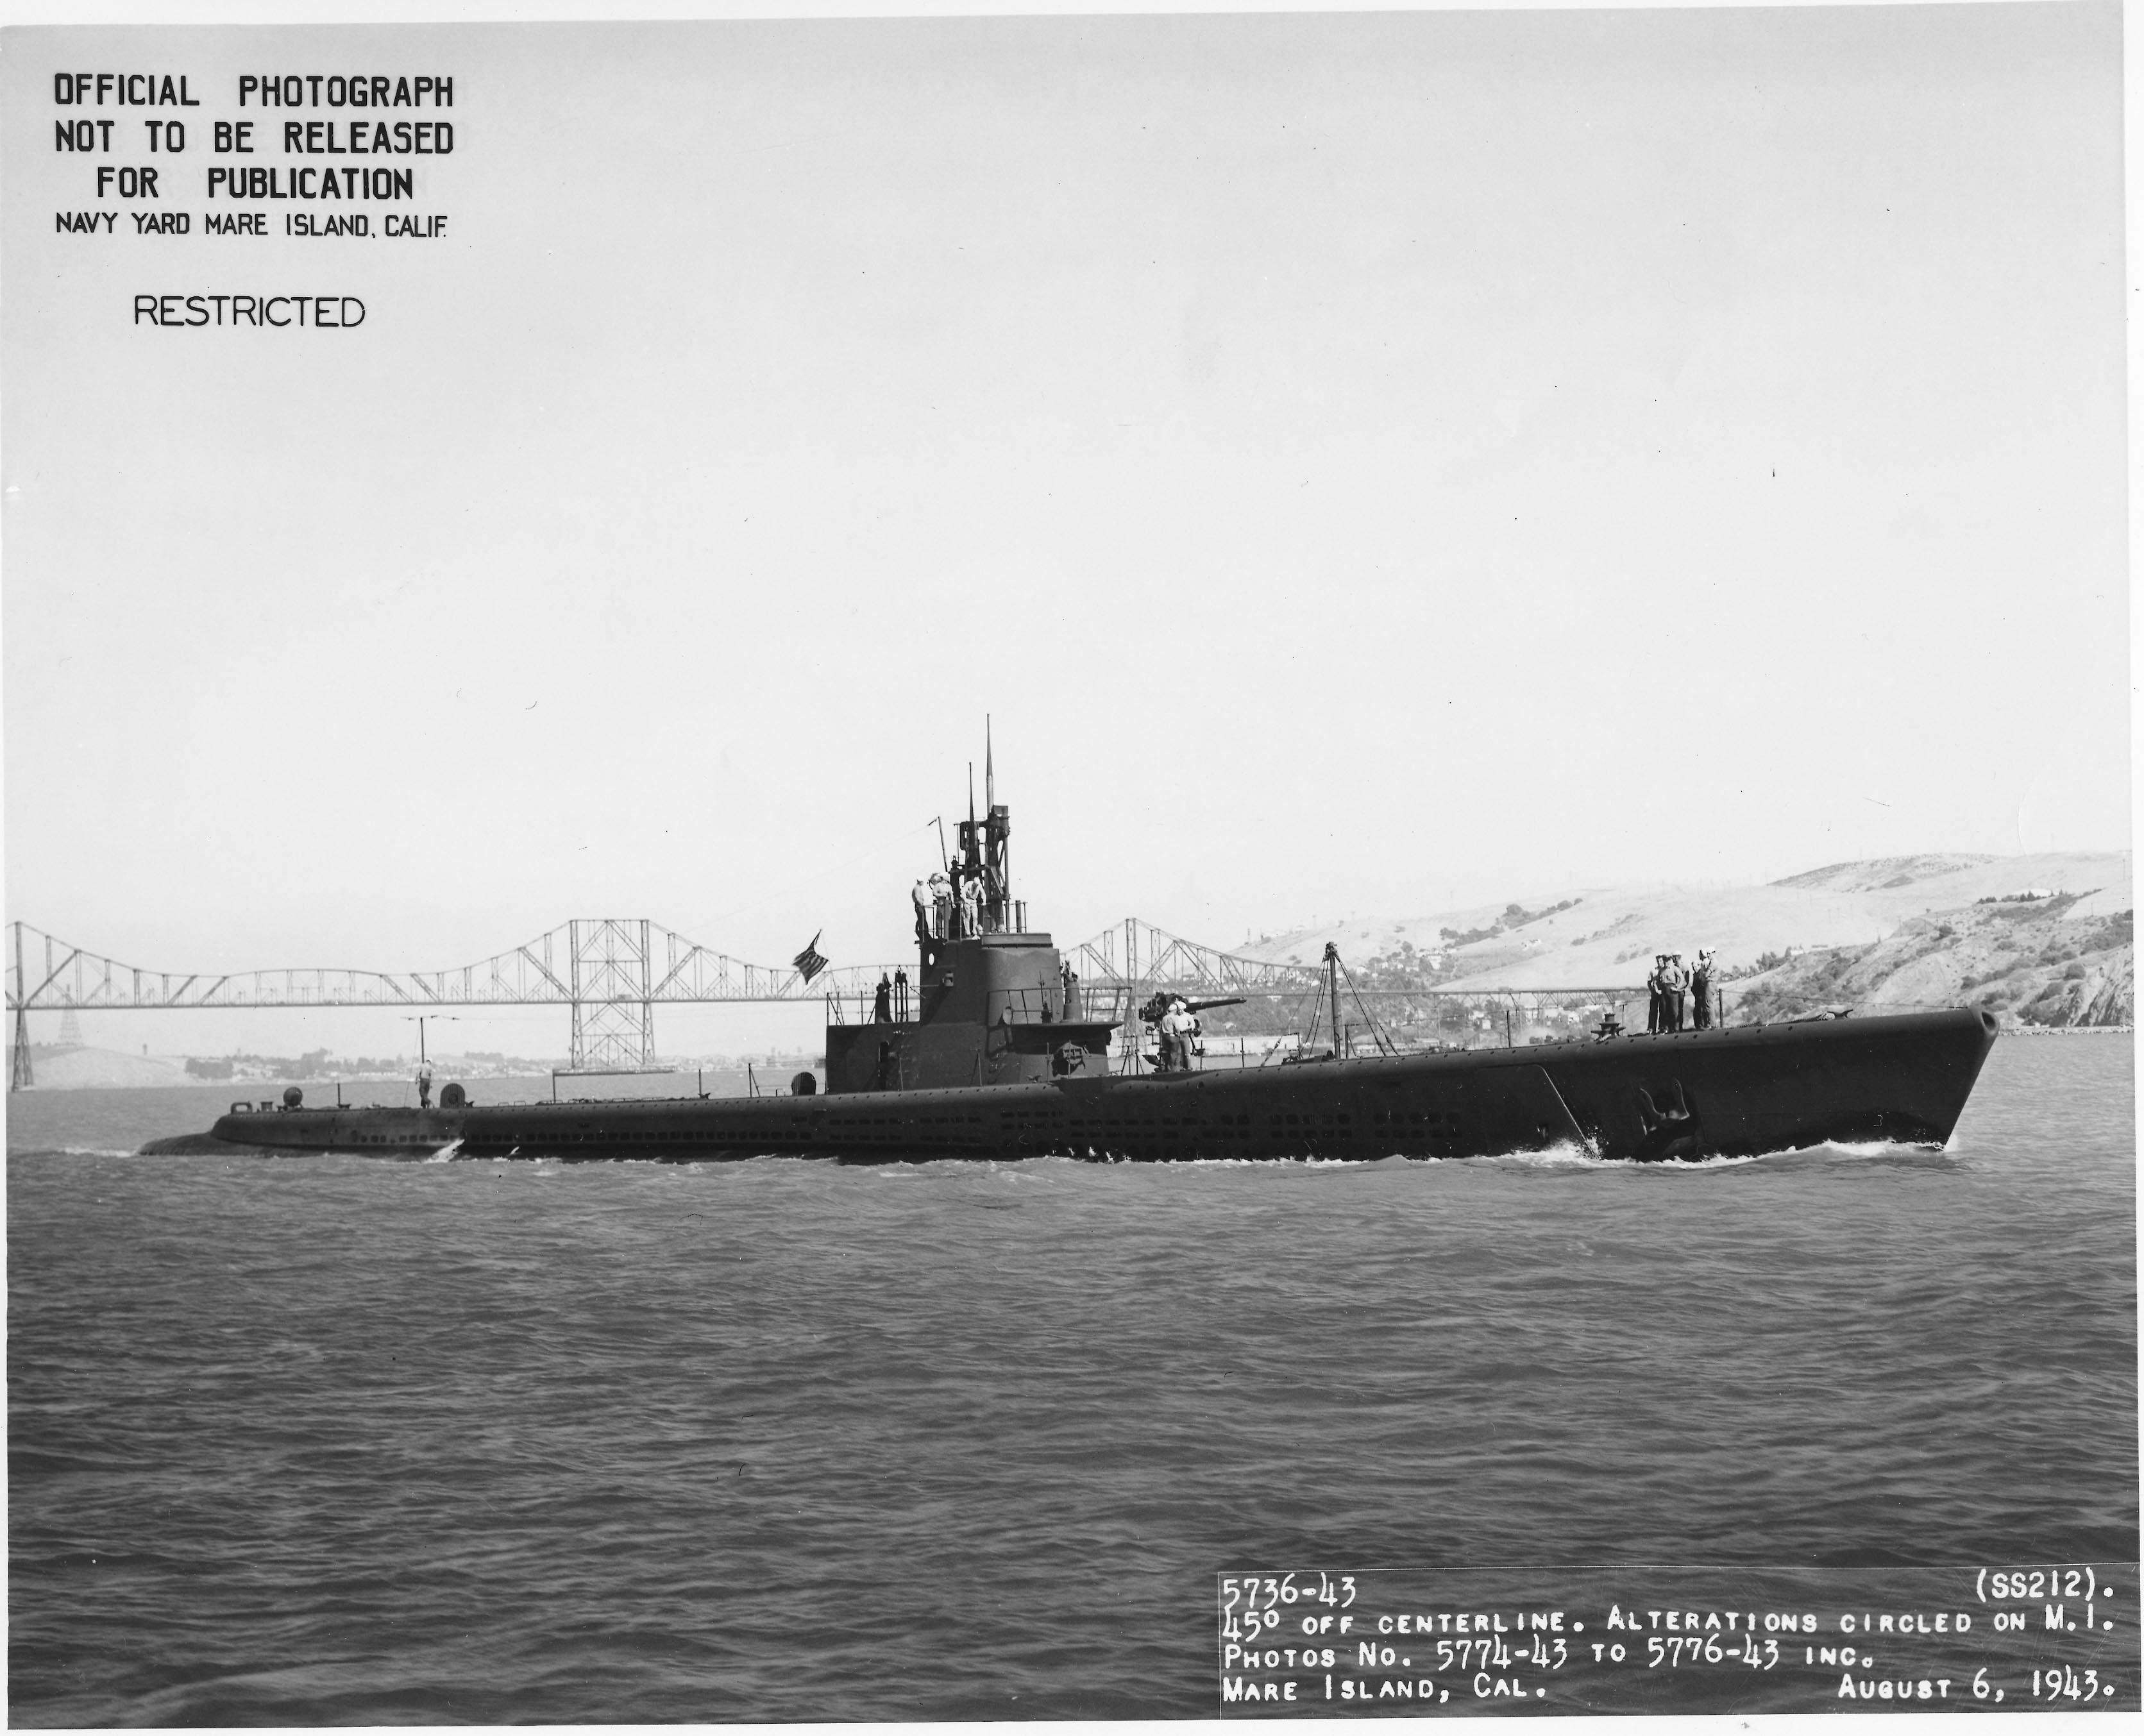
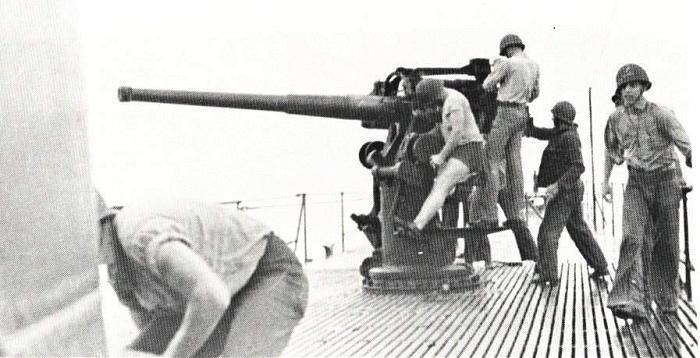
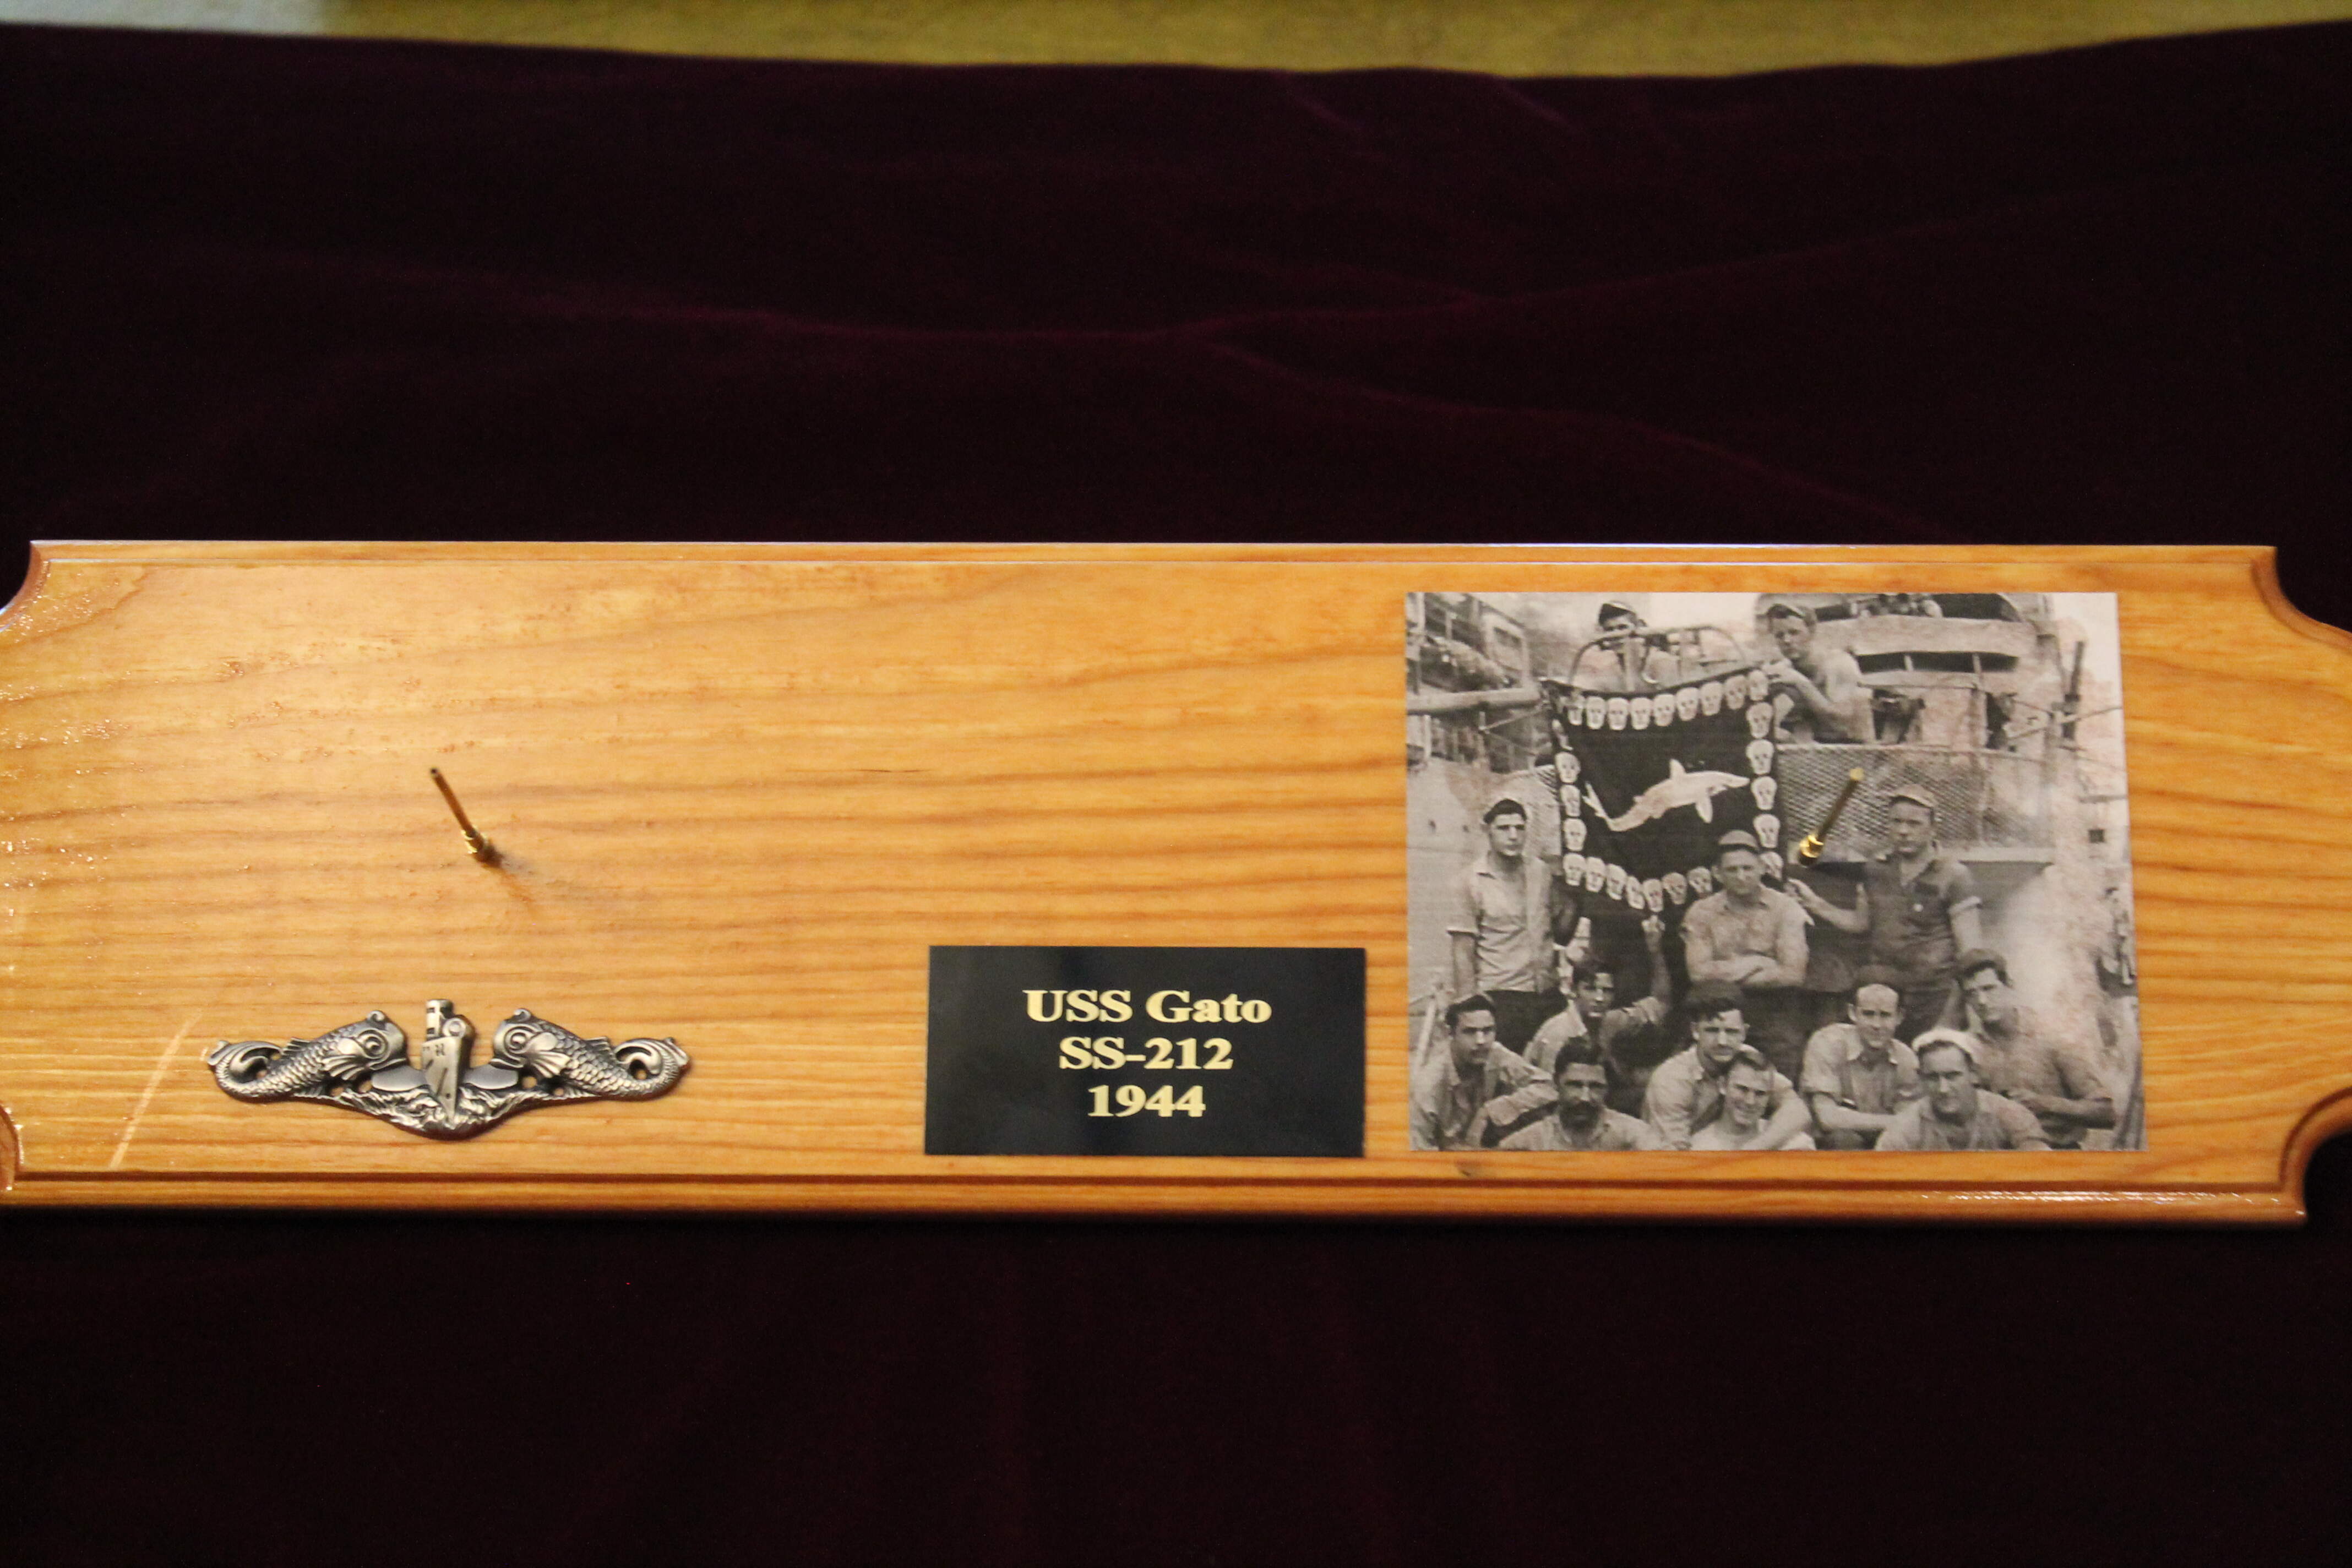
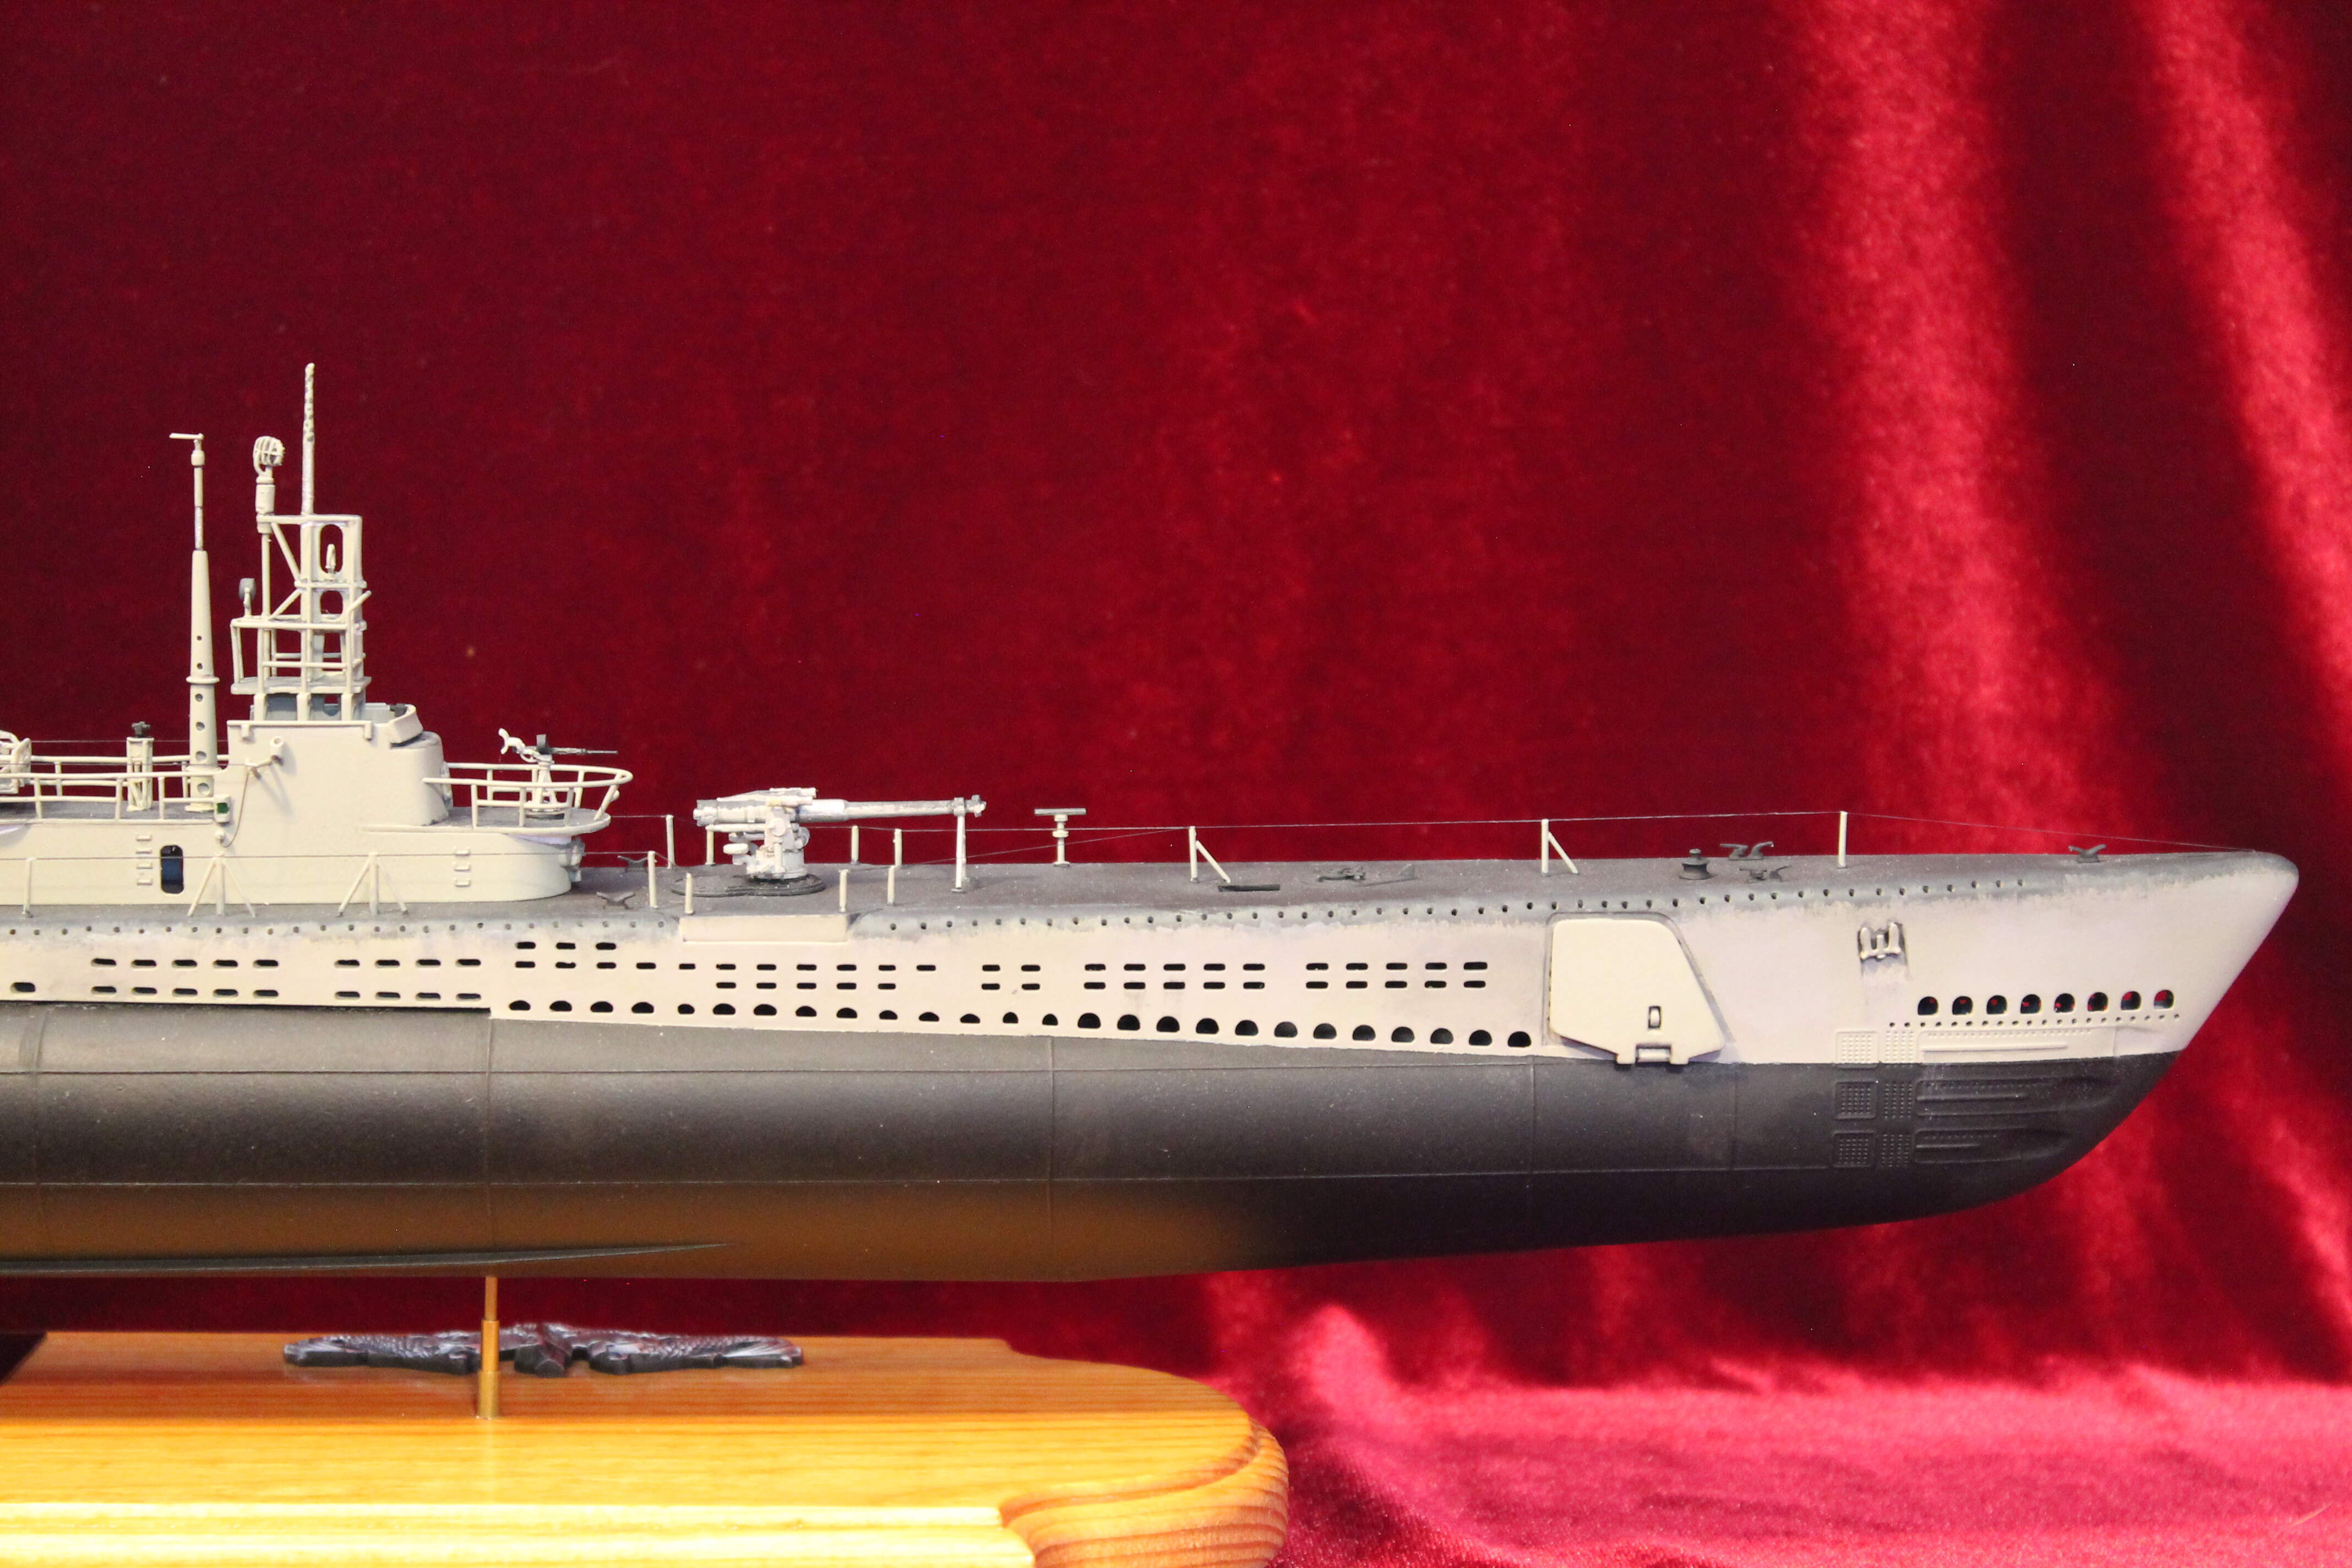
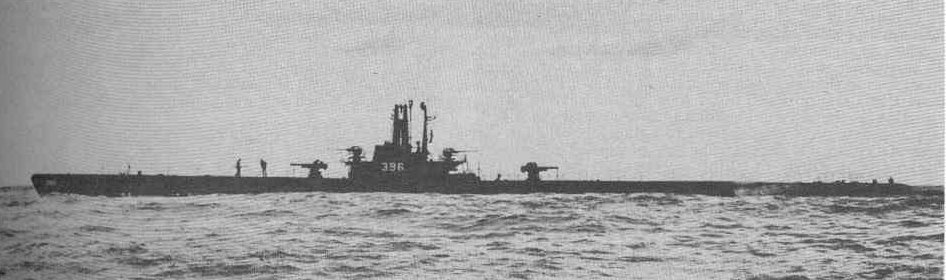
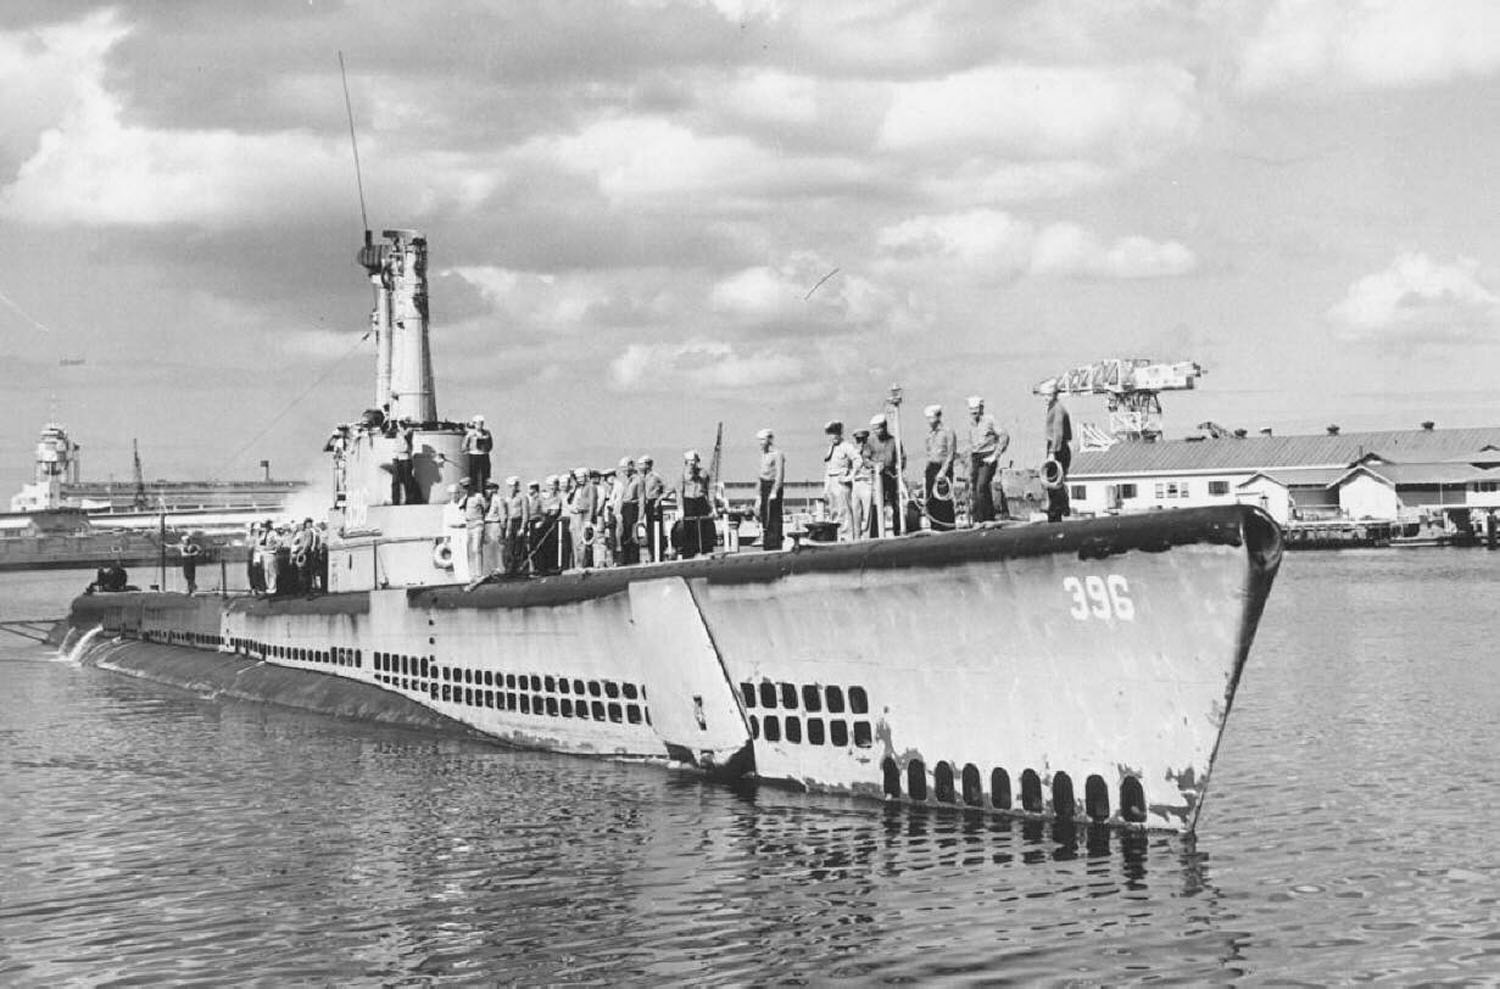
Trumpeter lists this kit as USS Gato 1944, but it is more correct for the way Gato looked in 1943, before her second refit, as seen here in the first photo. The Fairwater had been cut down and two 20mm Oerlikons added, as well as an SJ radar in front of the periscope shears.
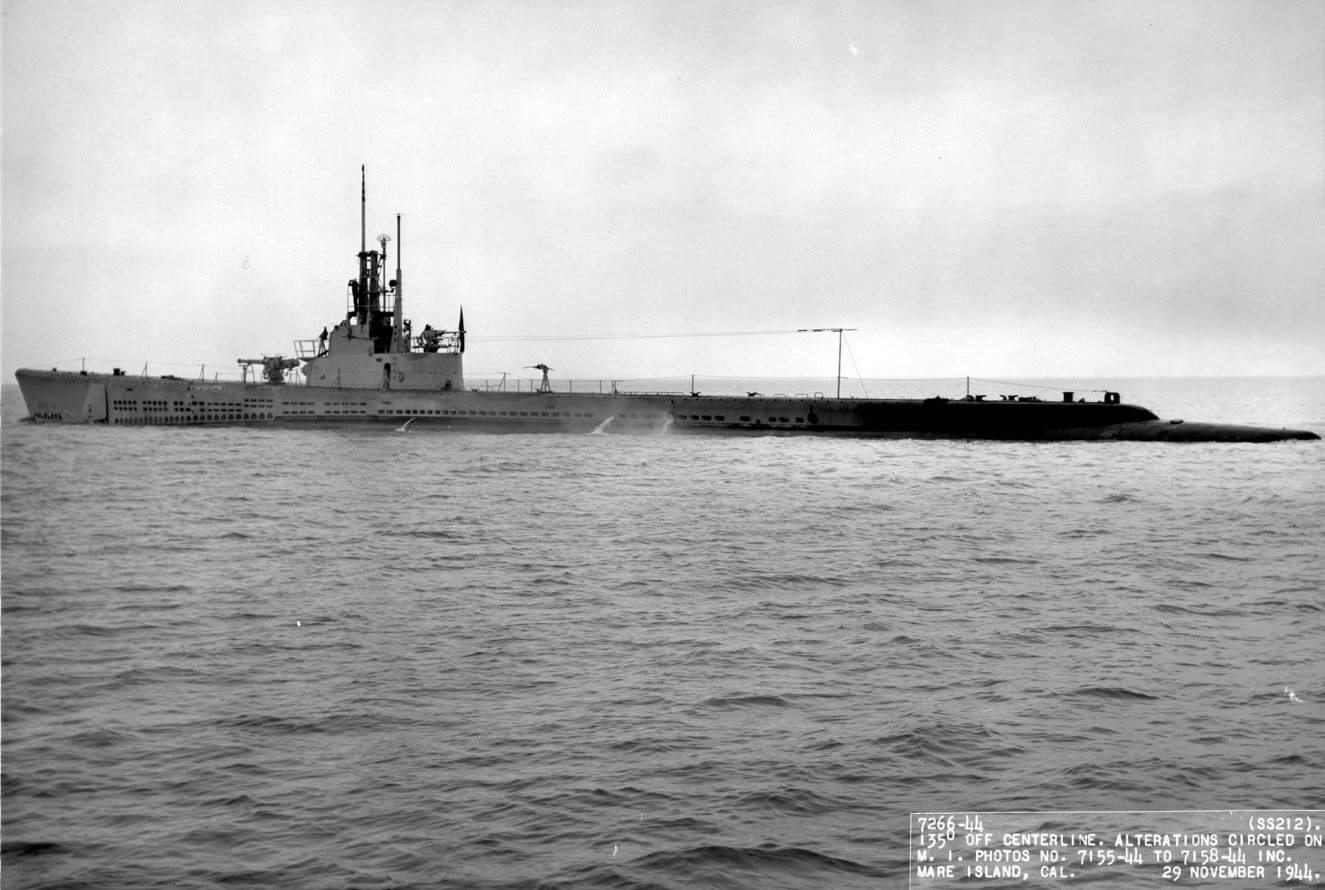
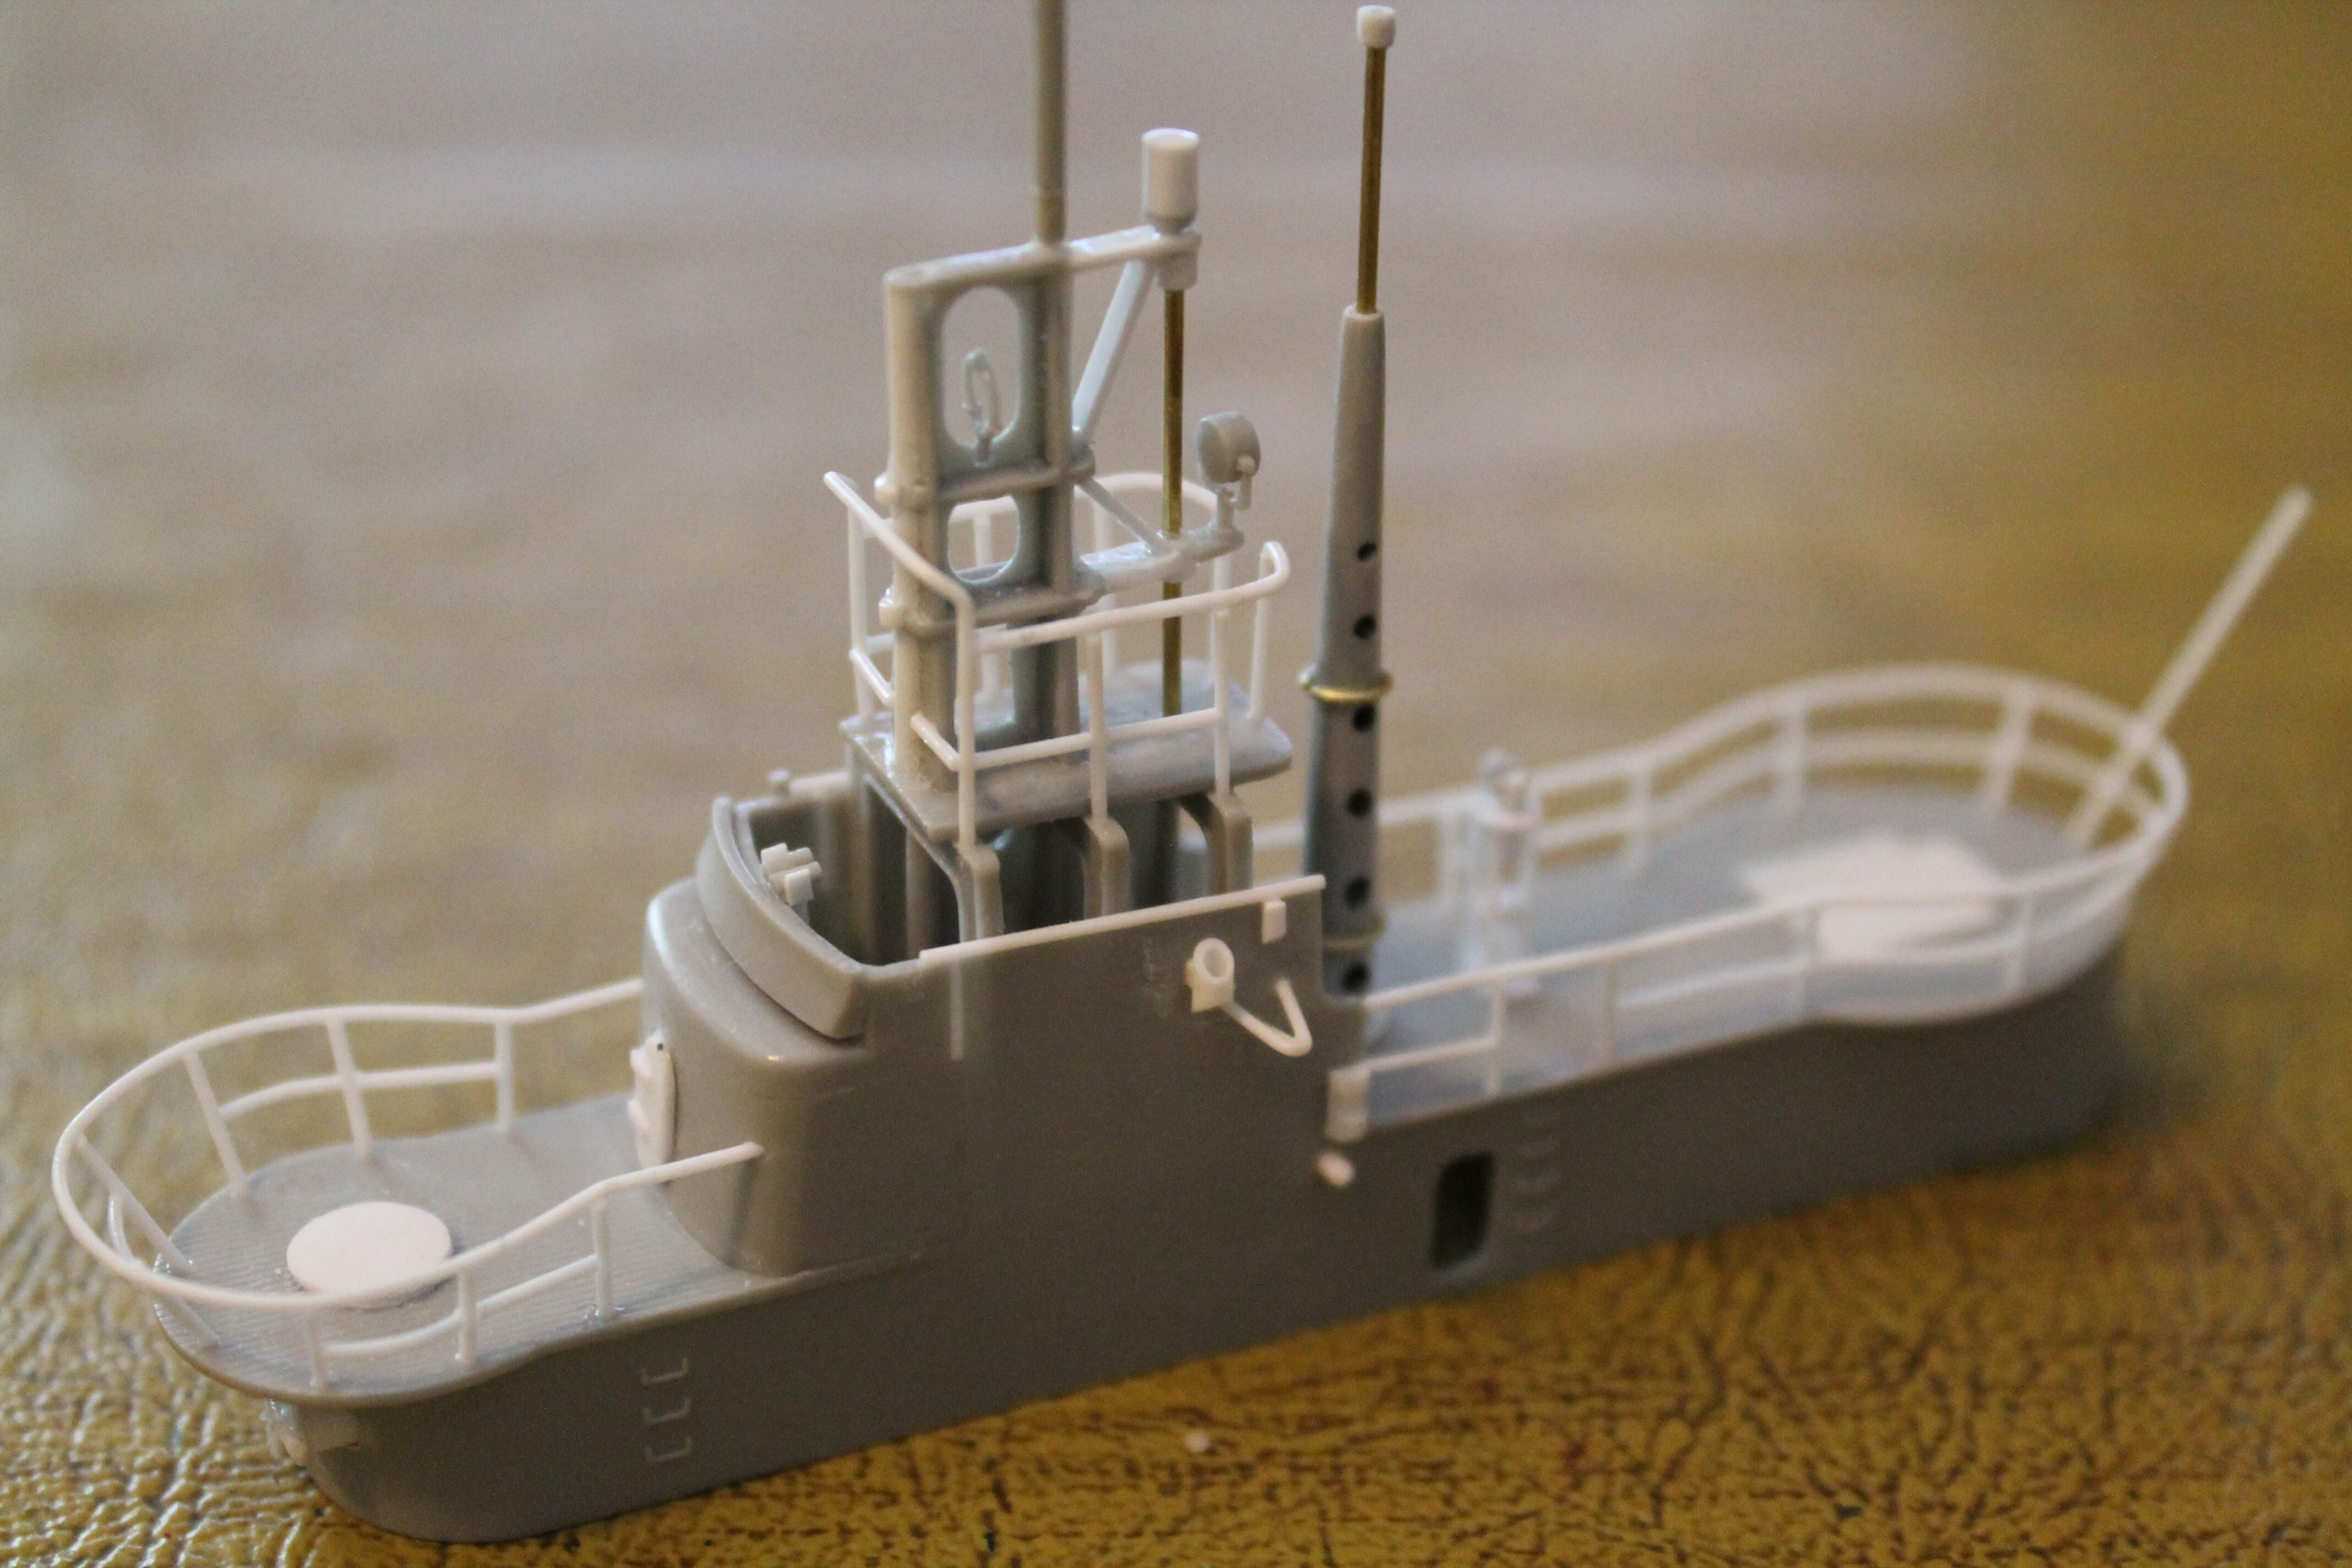
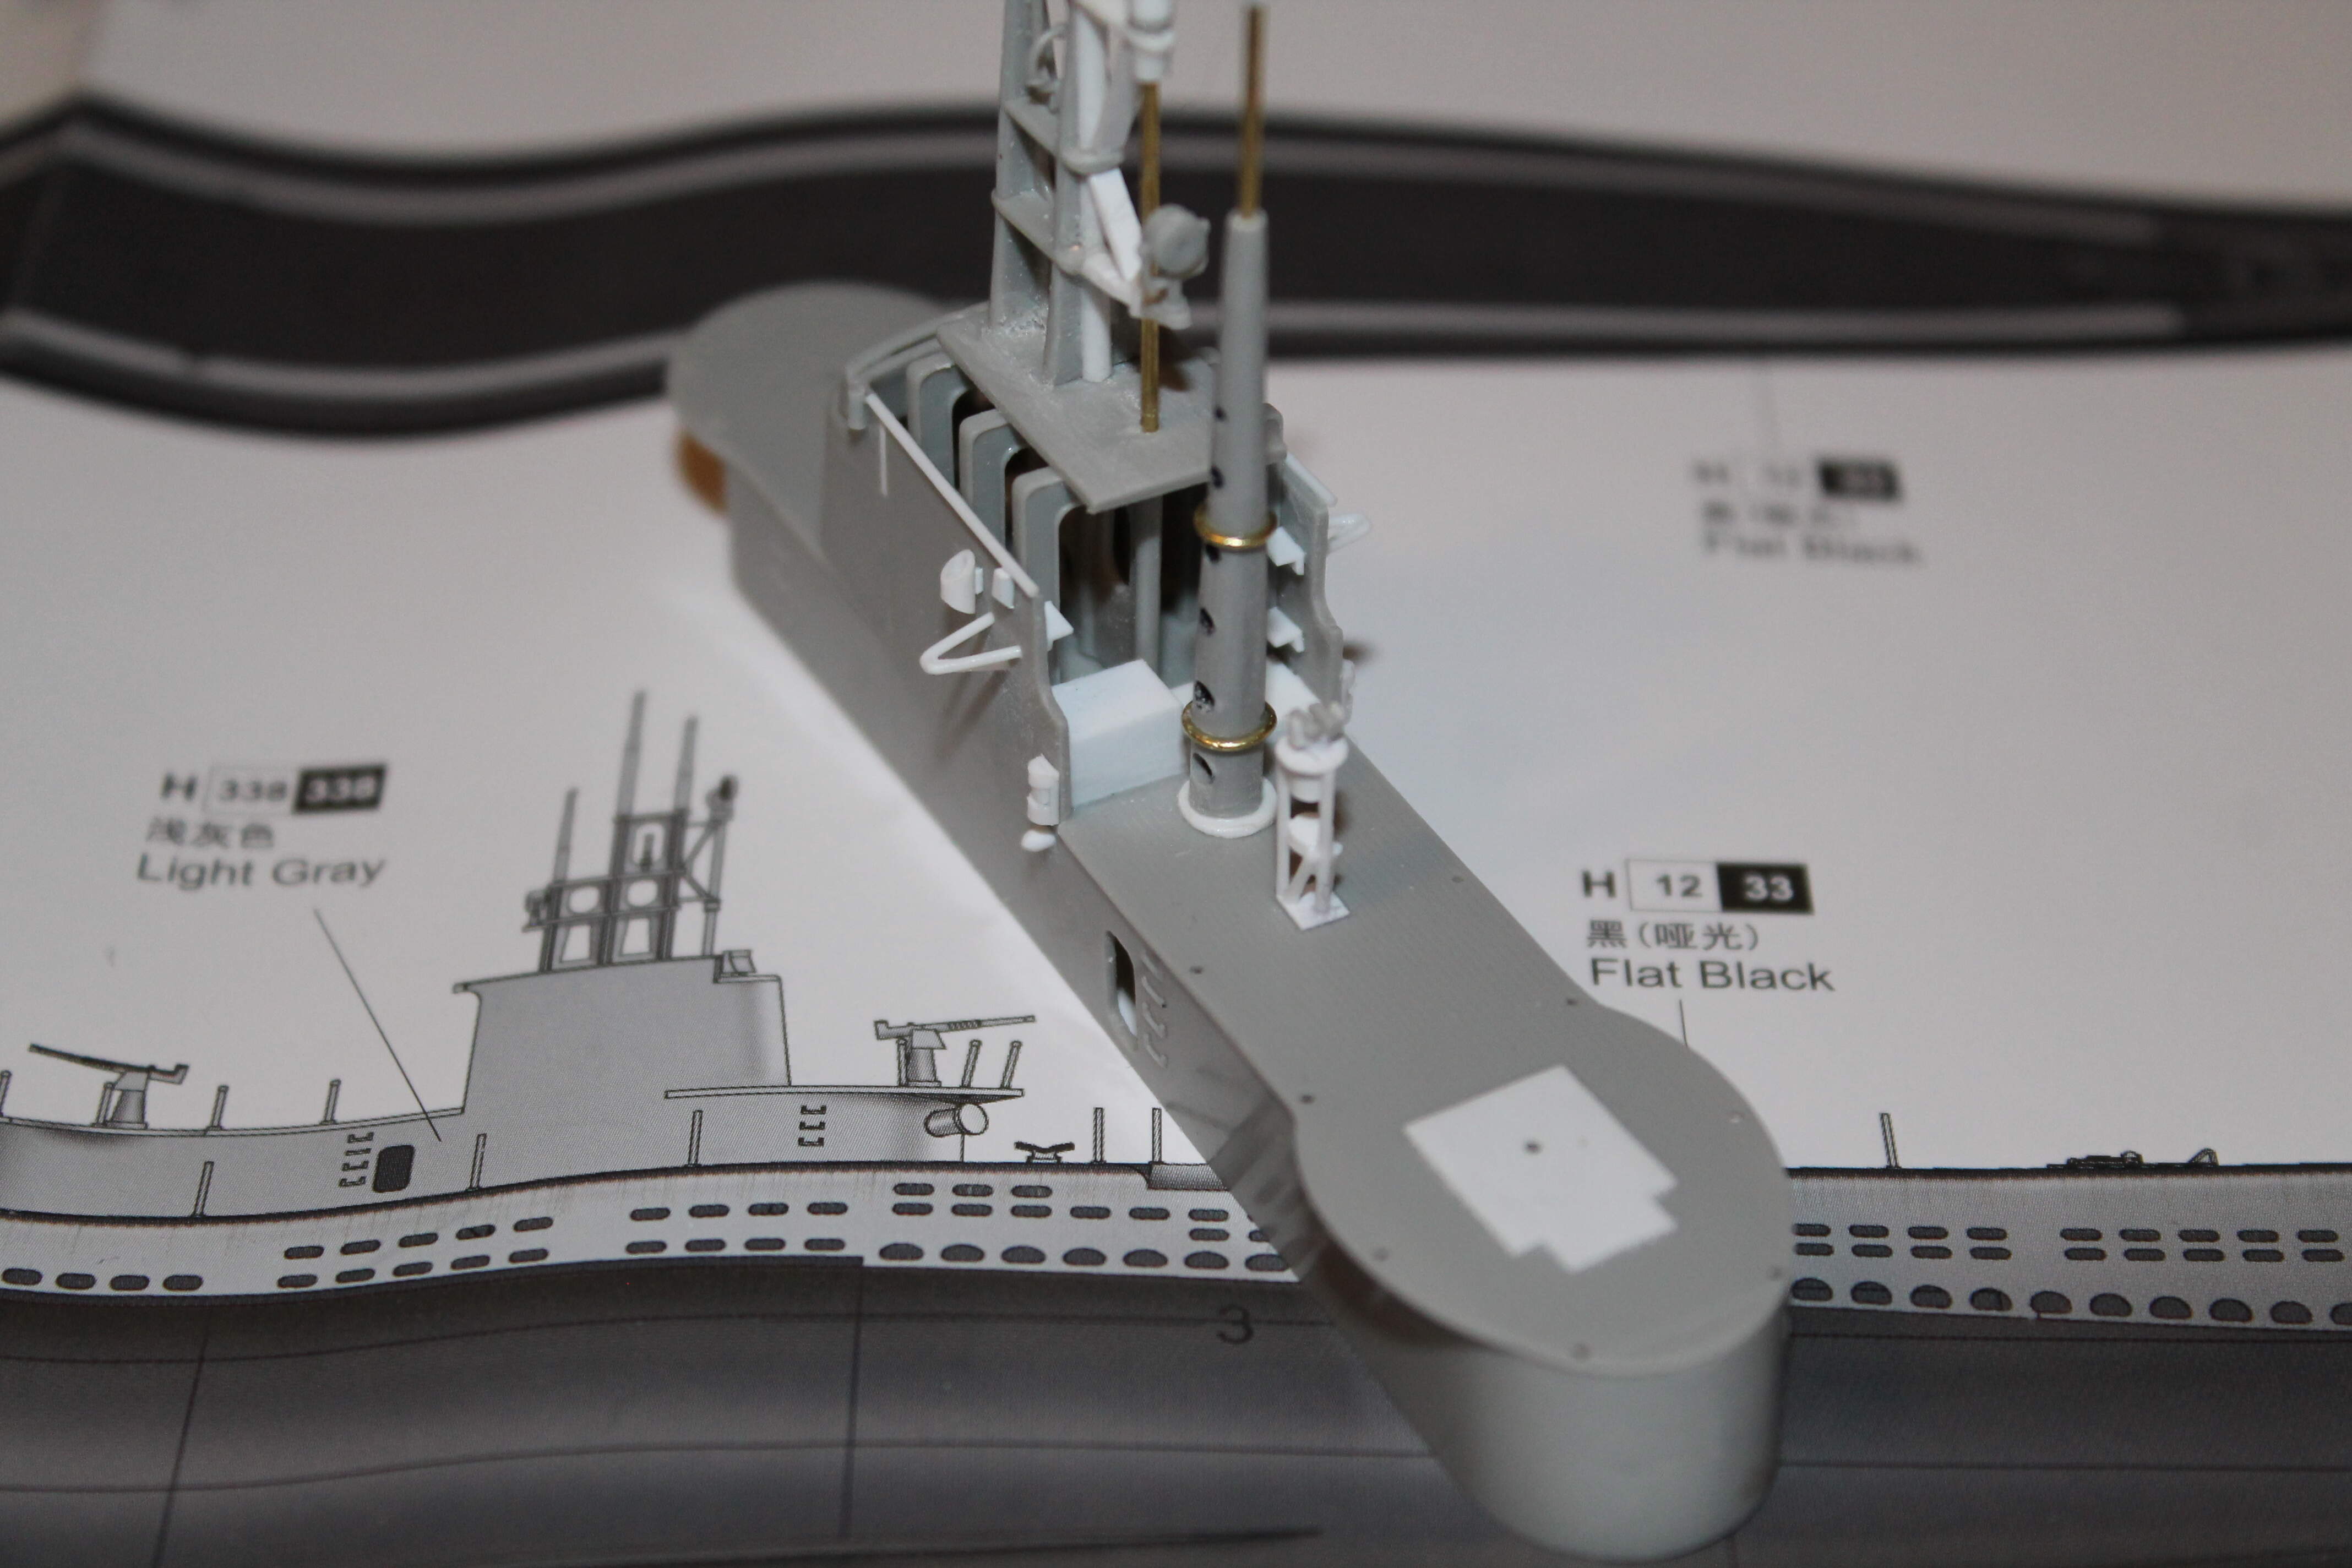
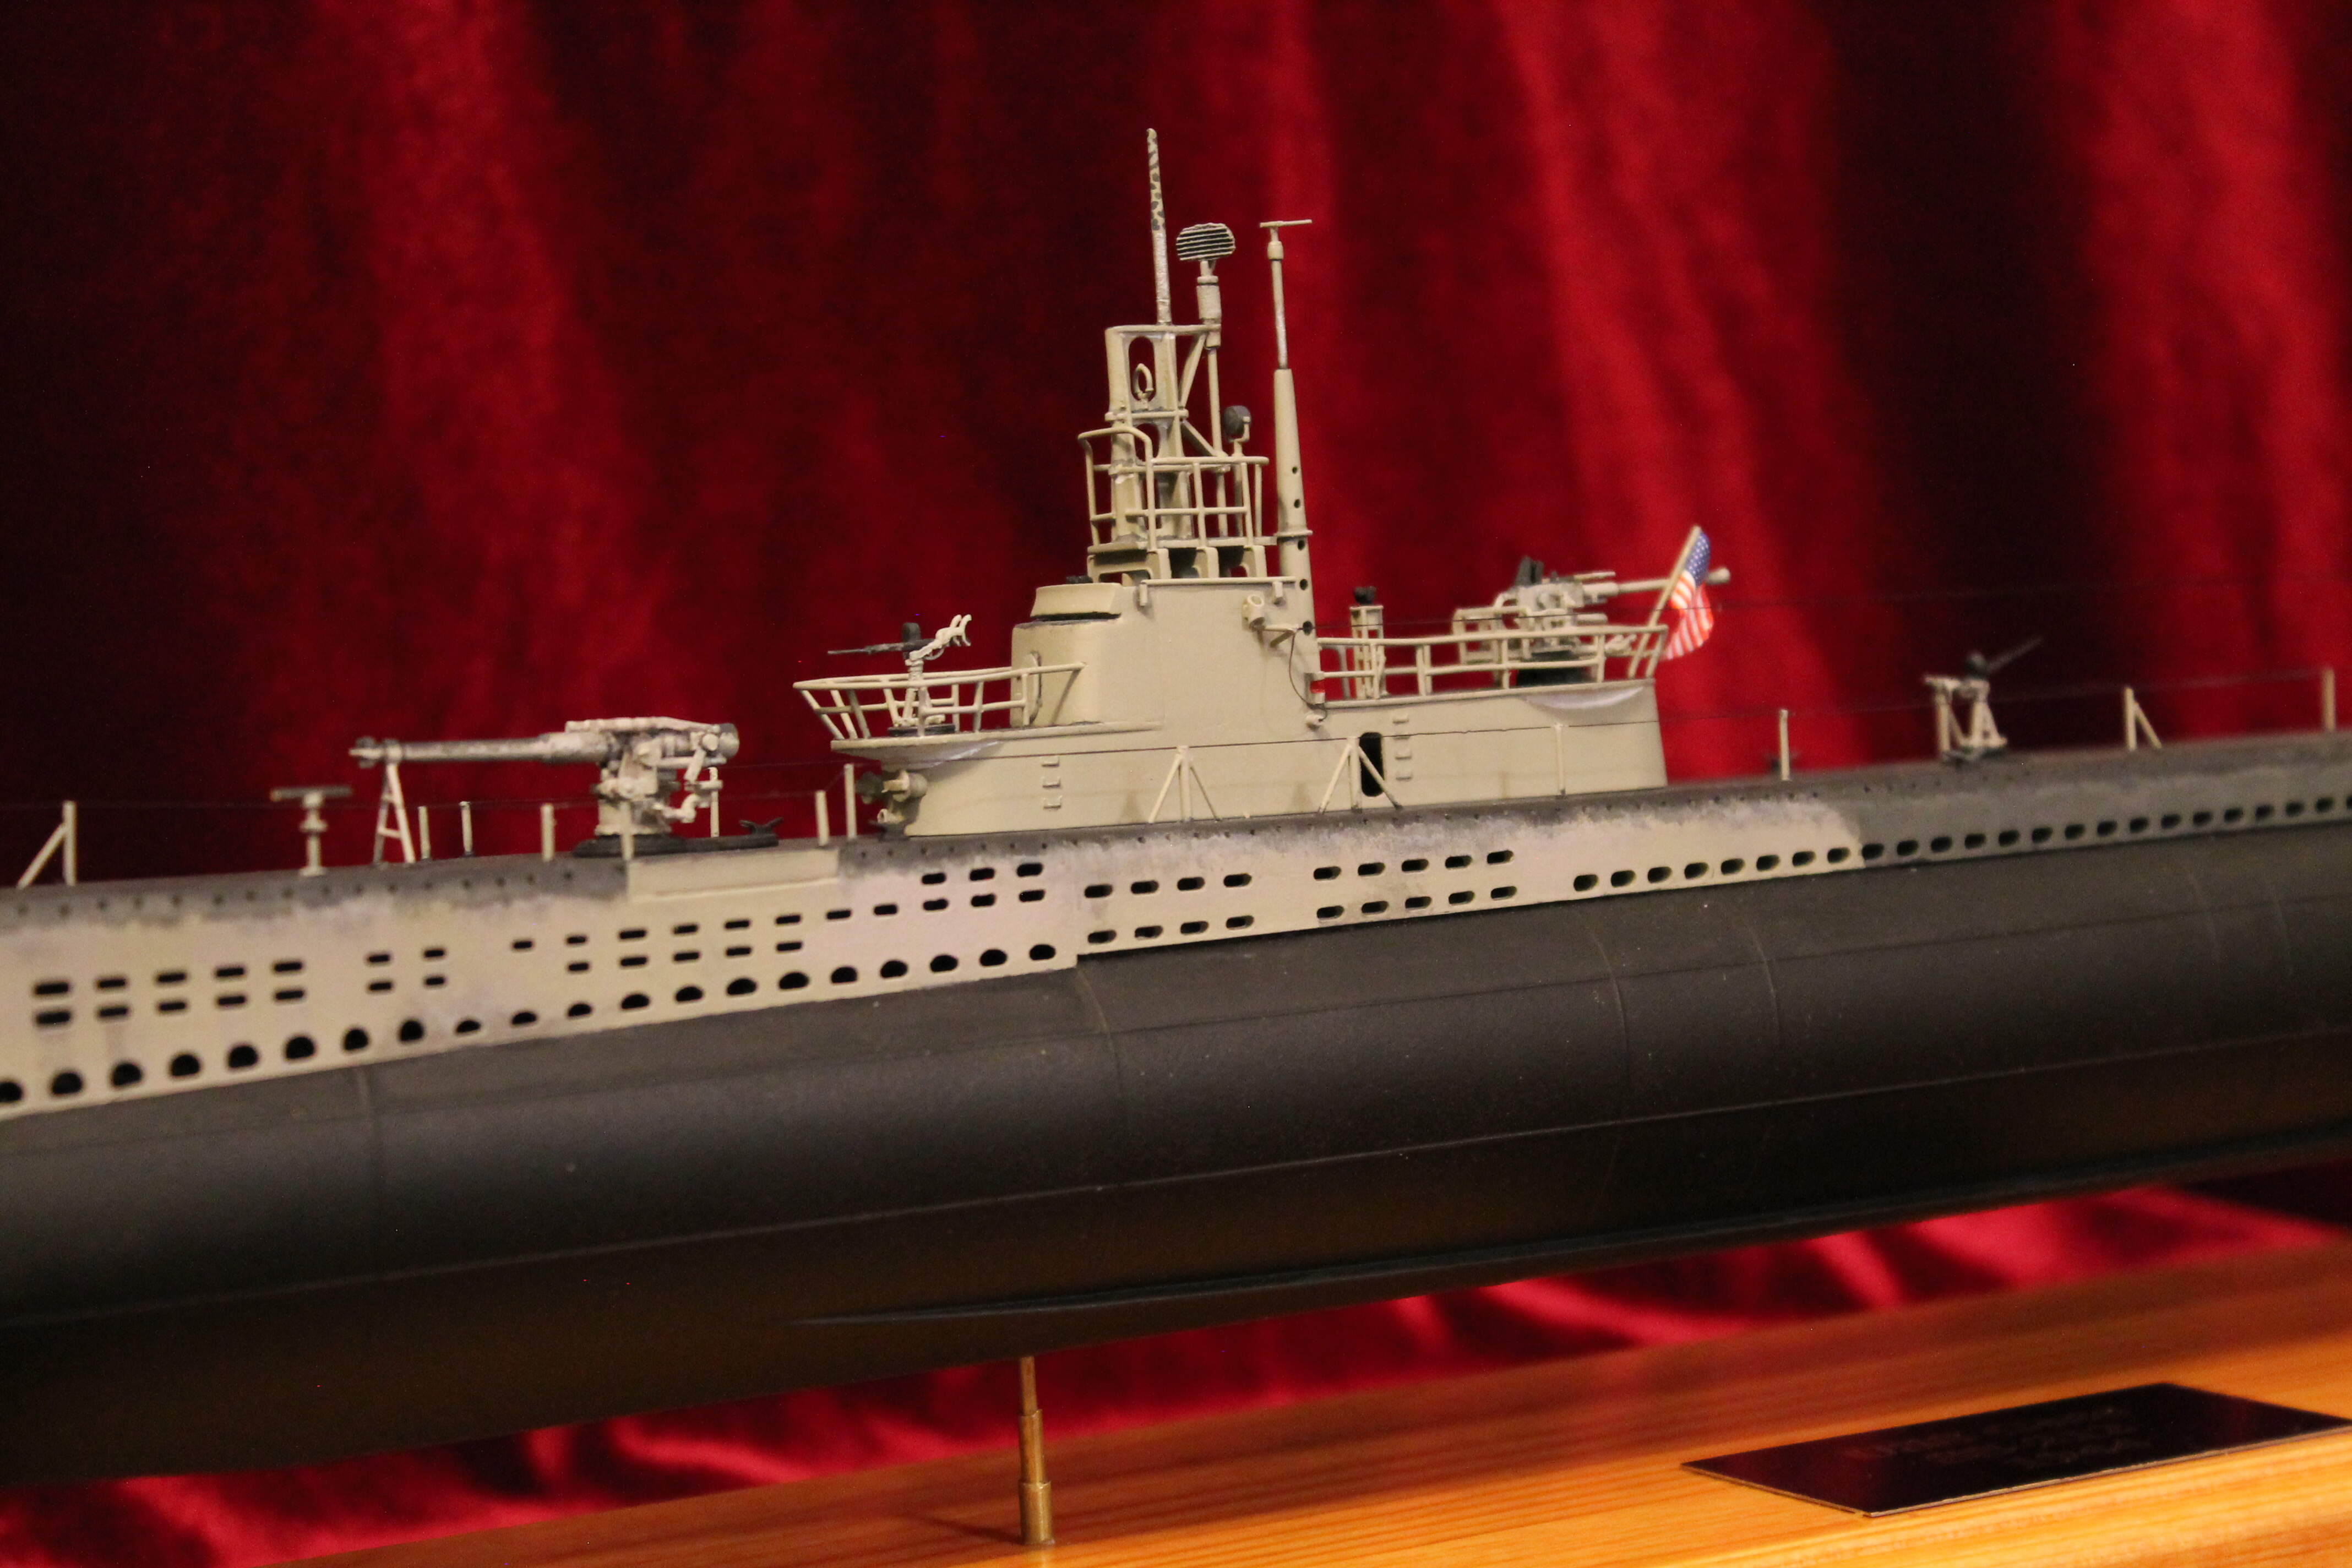
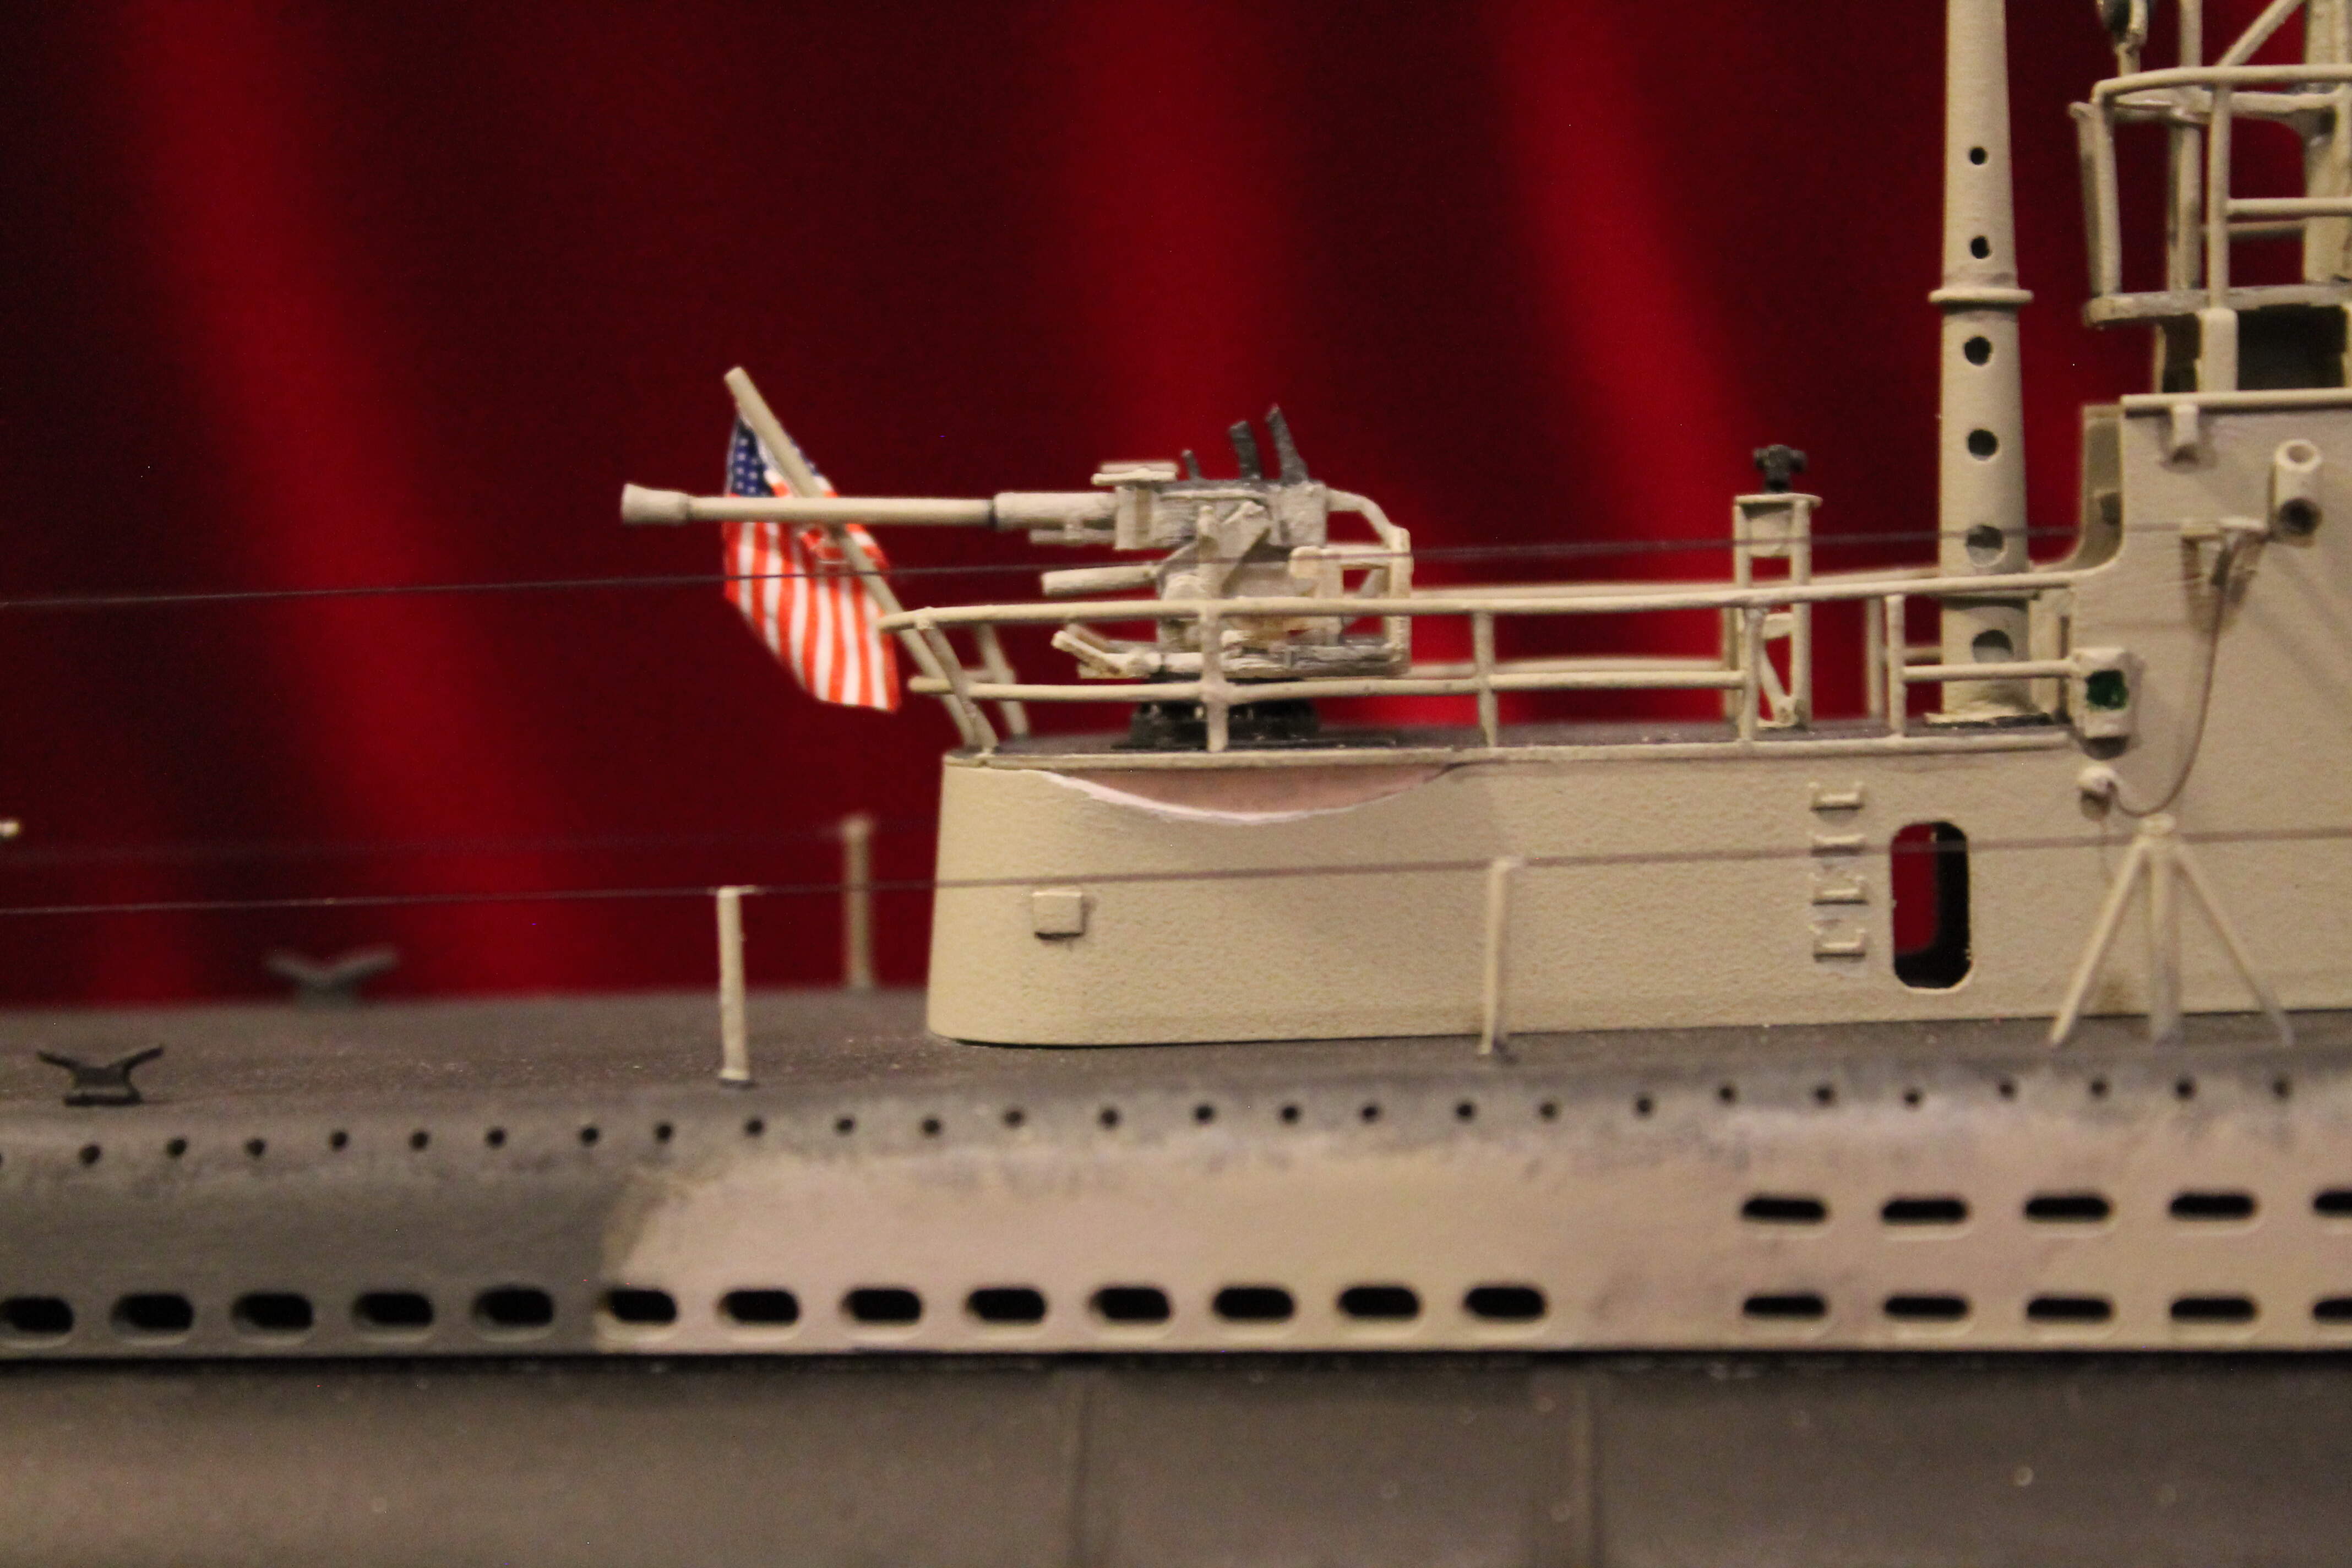
In this configuration she was painted in Measure 32 and the Fairwater was cut down even further. The SJ radar was moved aft of the periscope shears, and the SD radar was given a separate tower. Her armament was also upgraded, the original 3" main gun was replaced with a 4", and a 40mm Bofors was added to her pair of 20mm guns. Most of my work was involved in modifying and detailing the Fairwater.
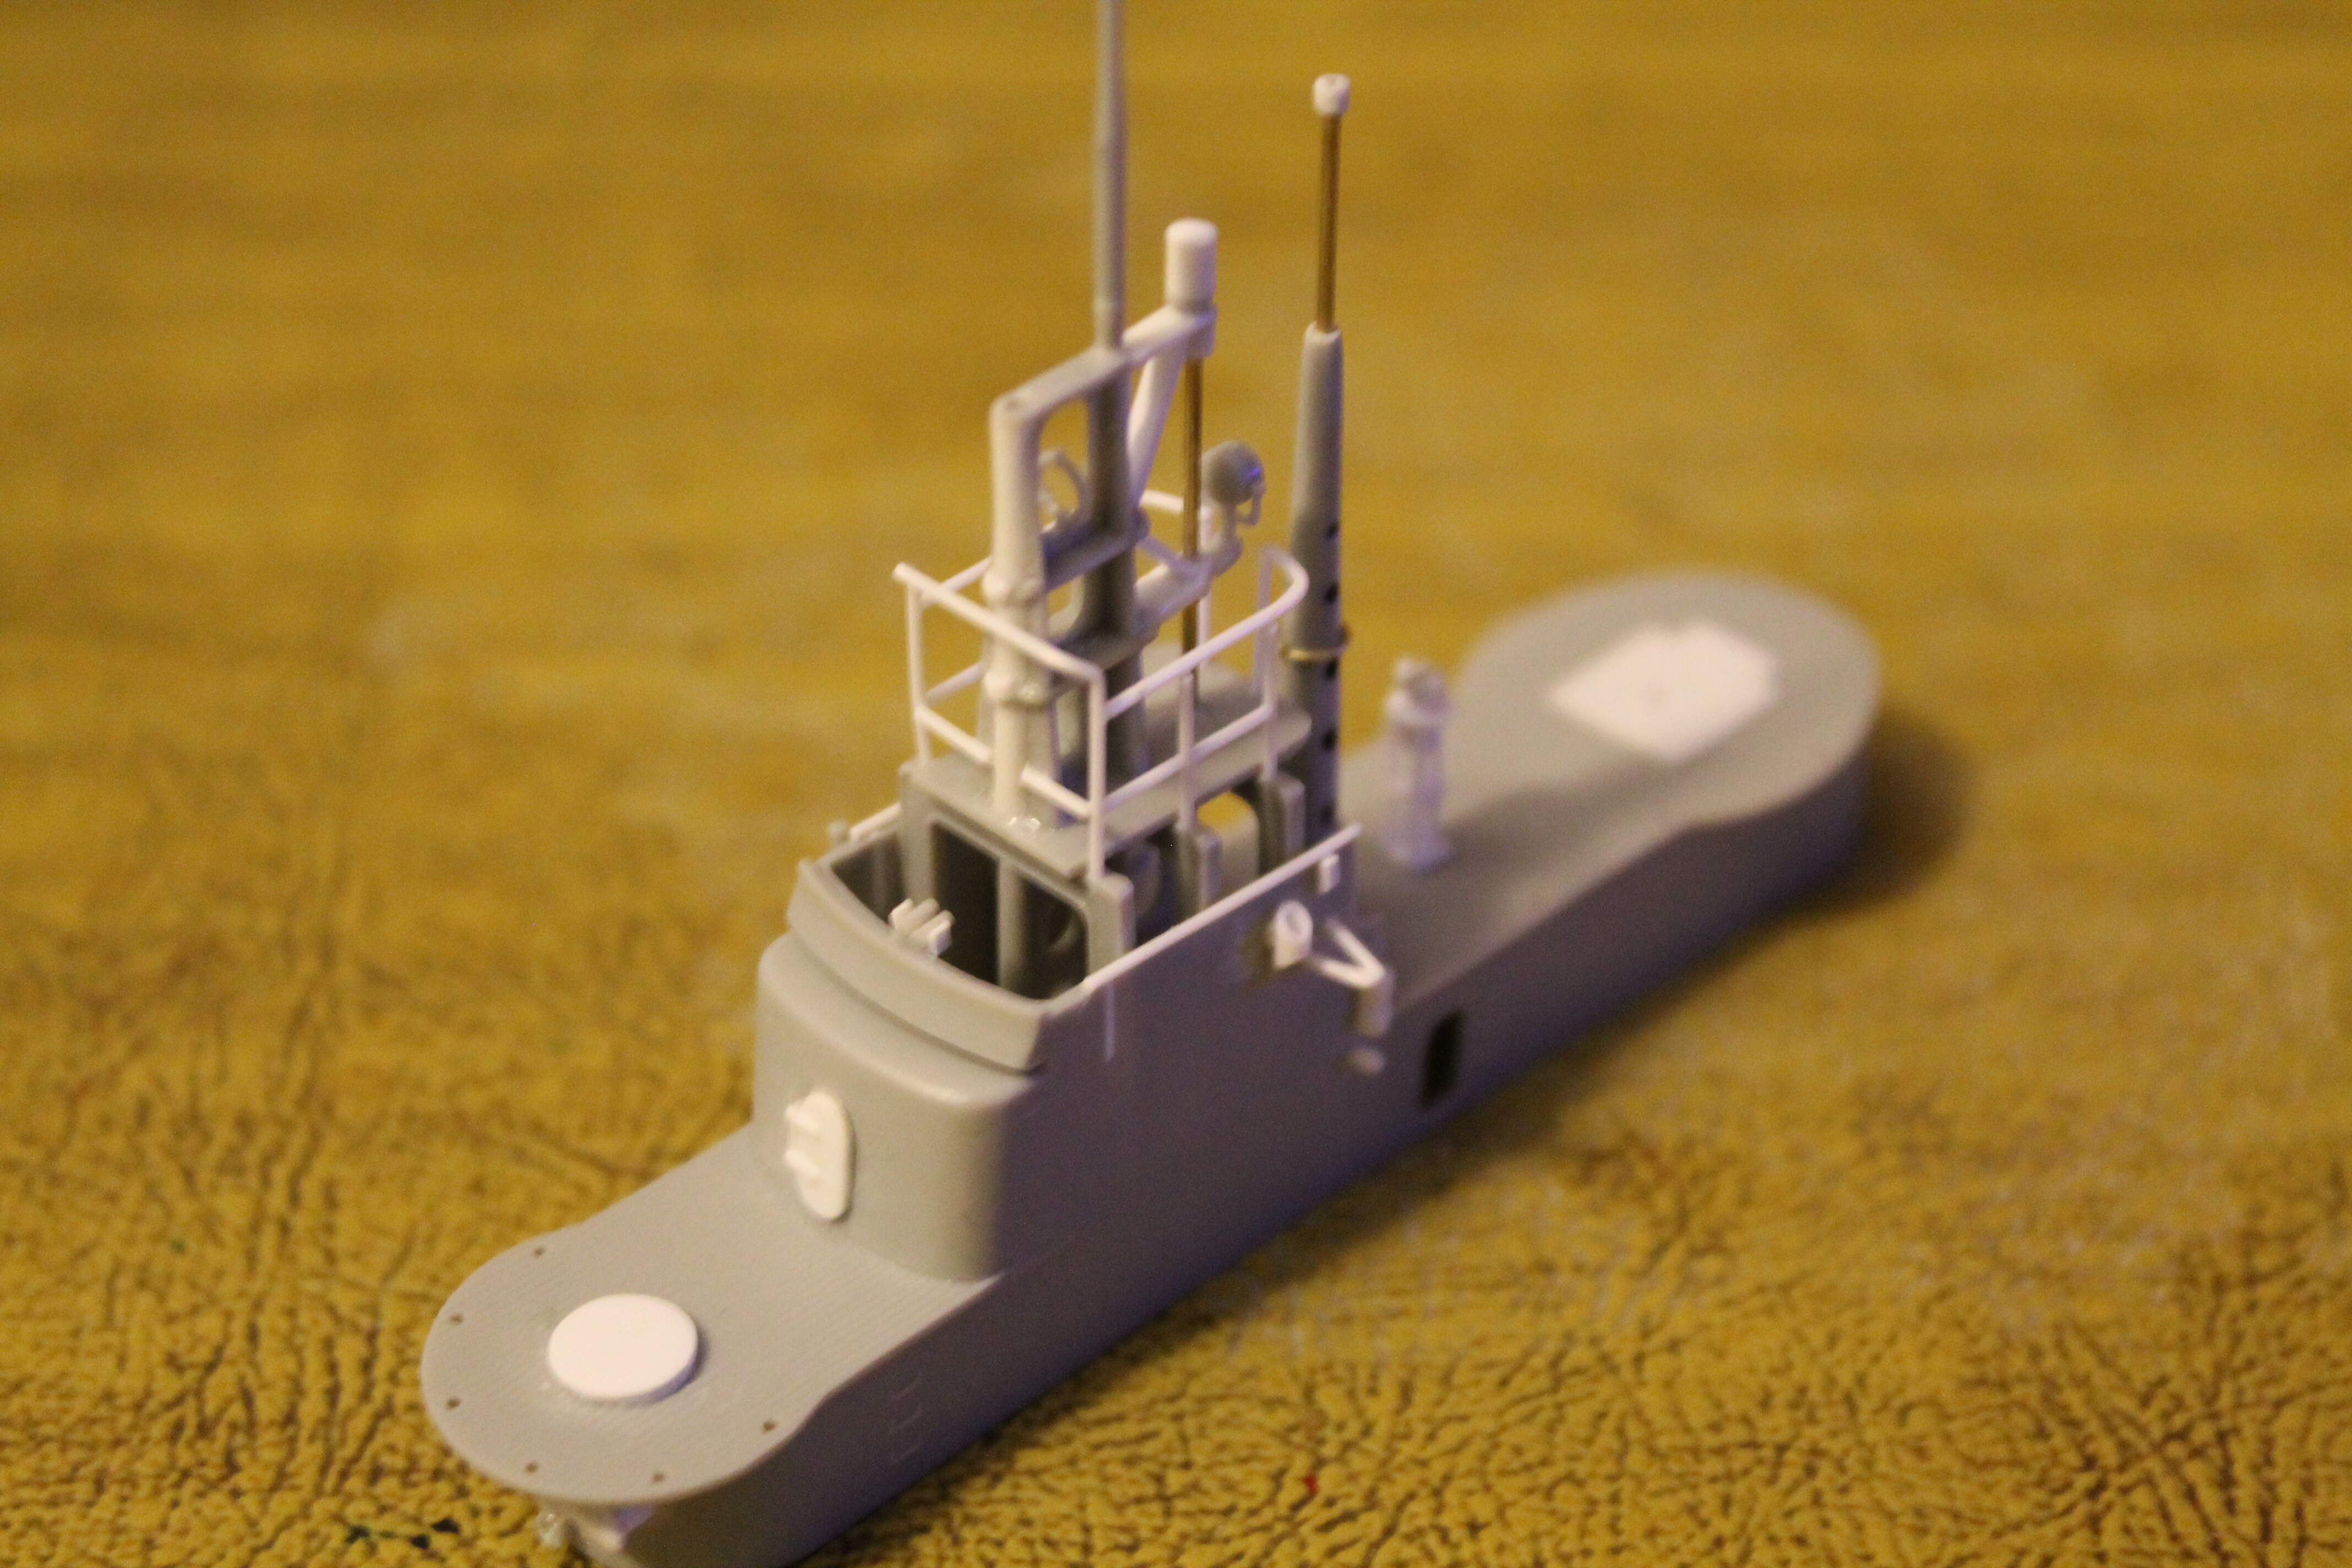
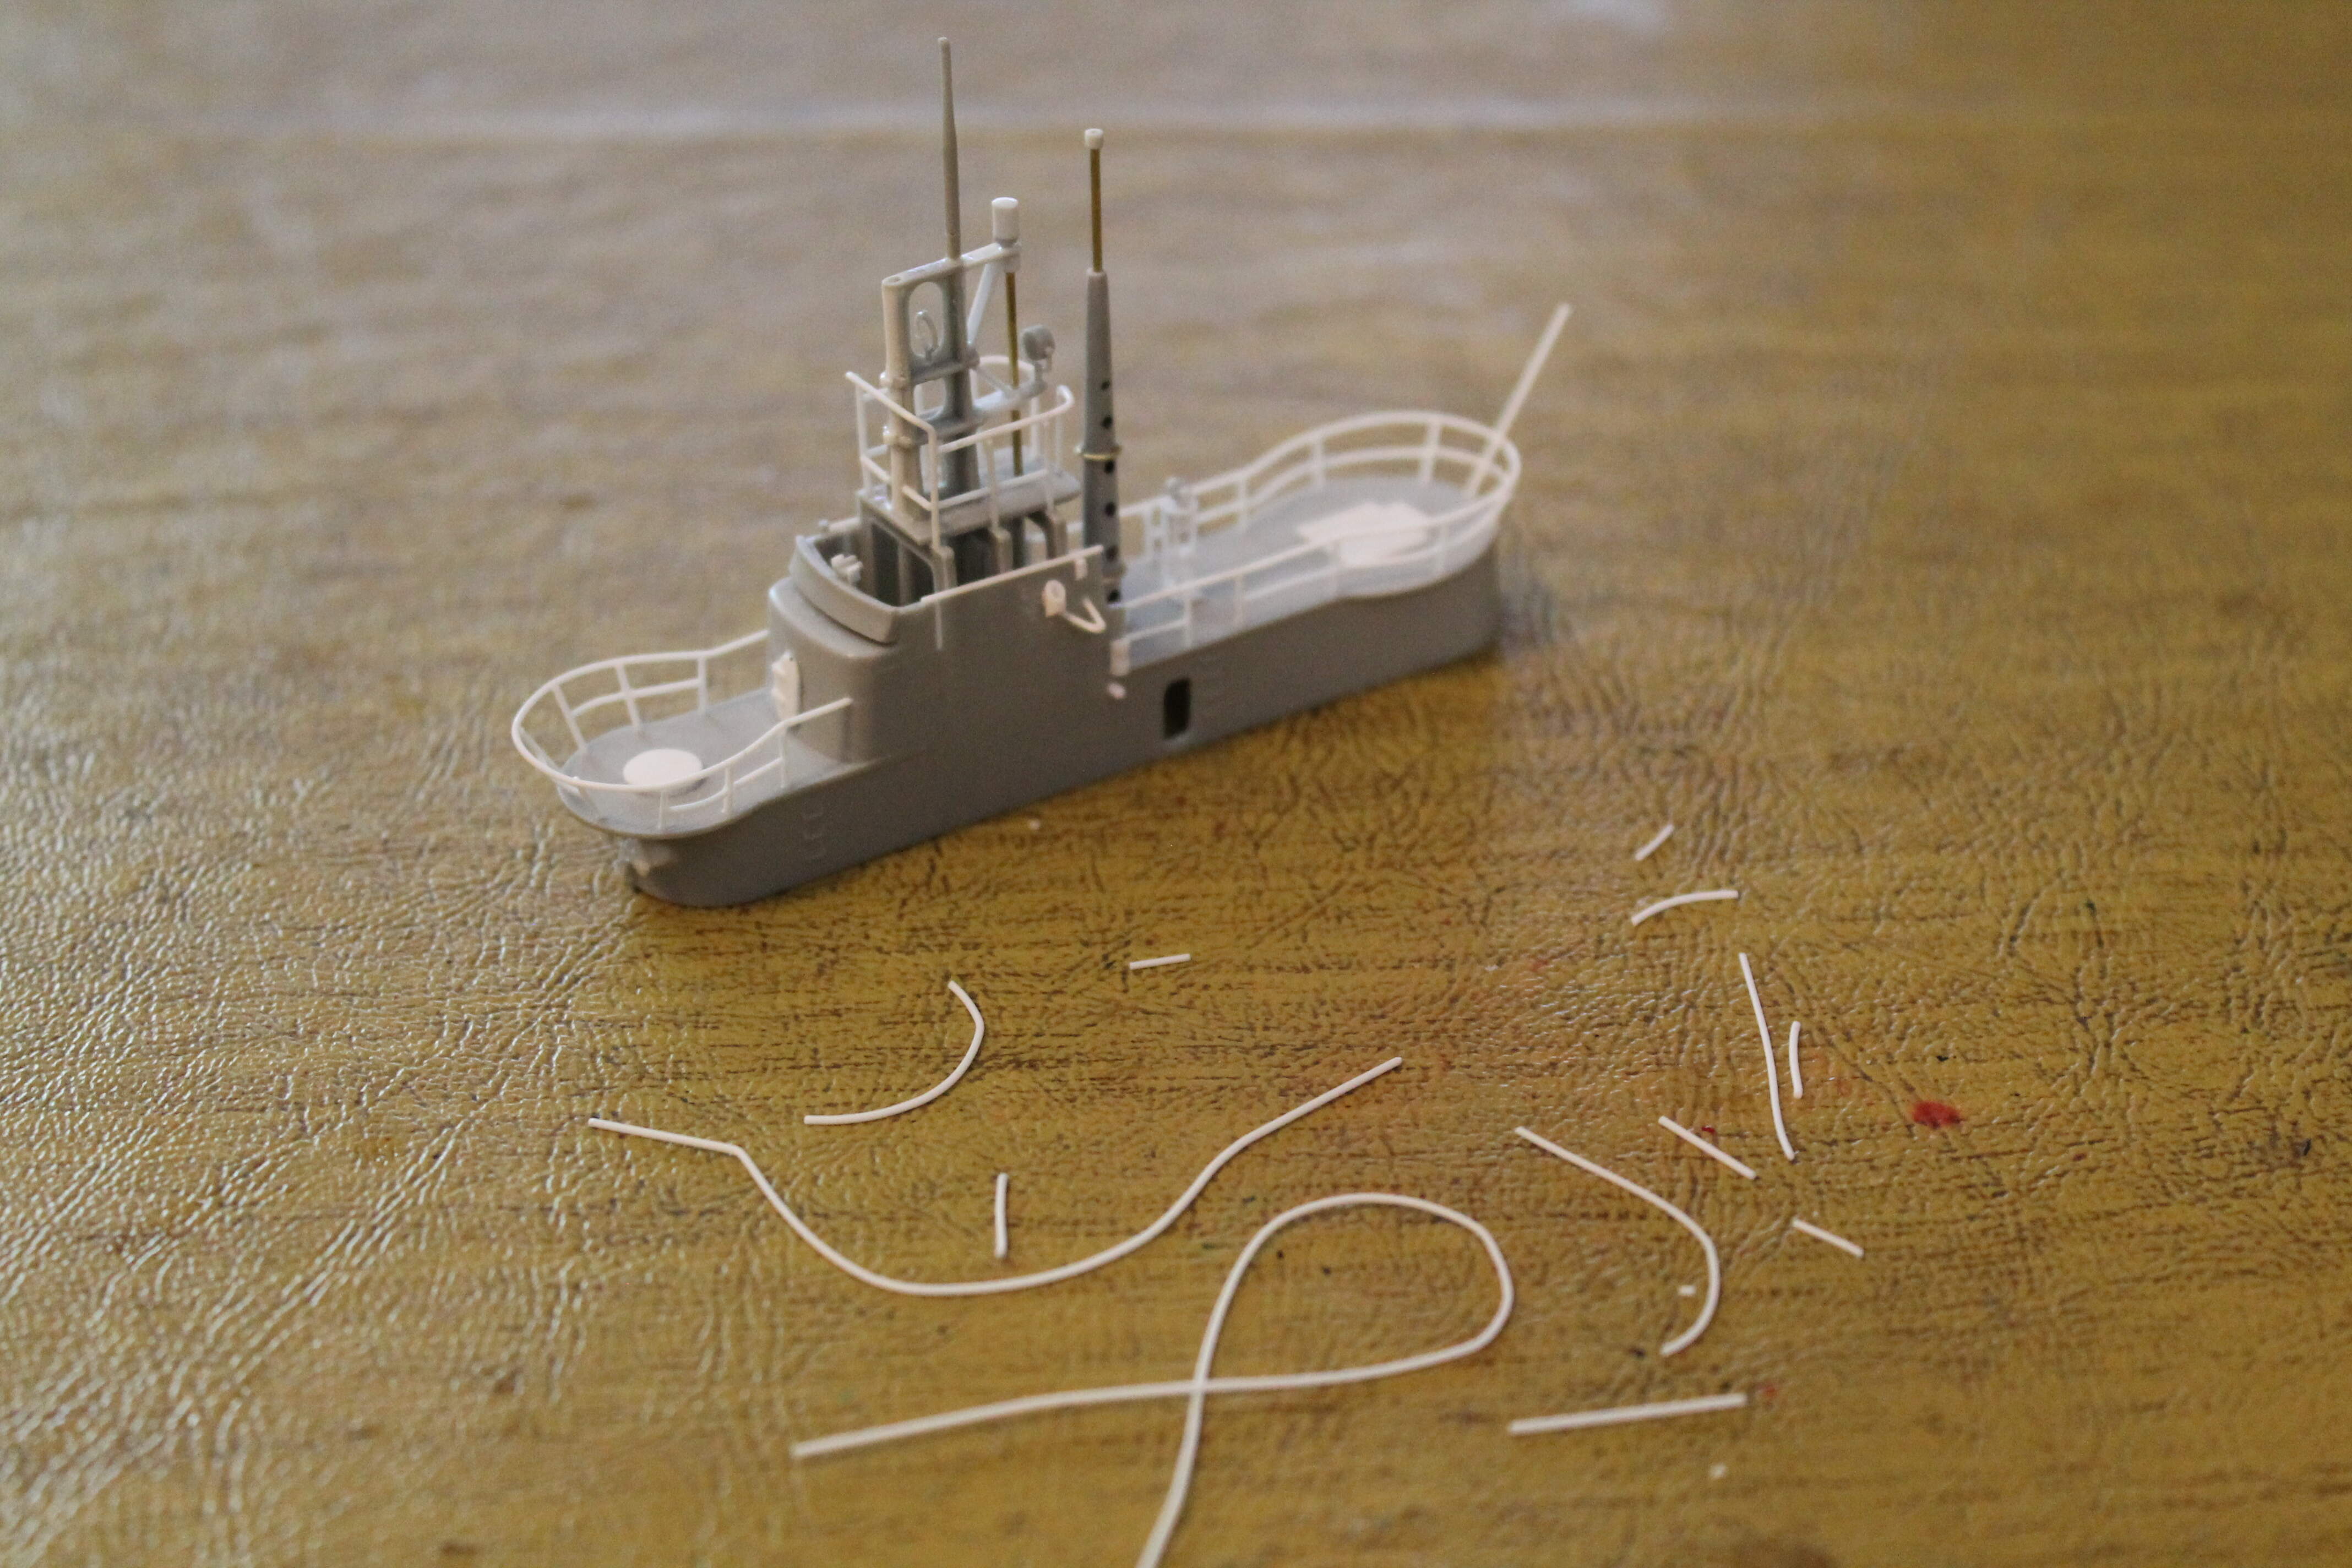
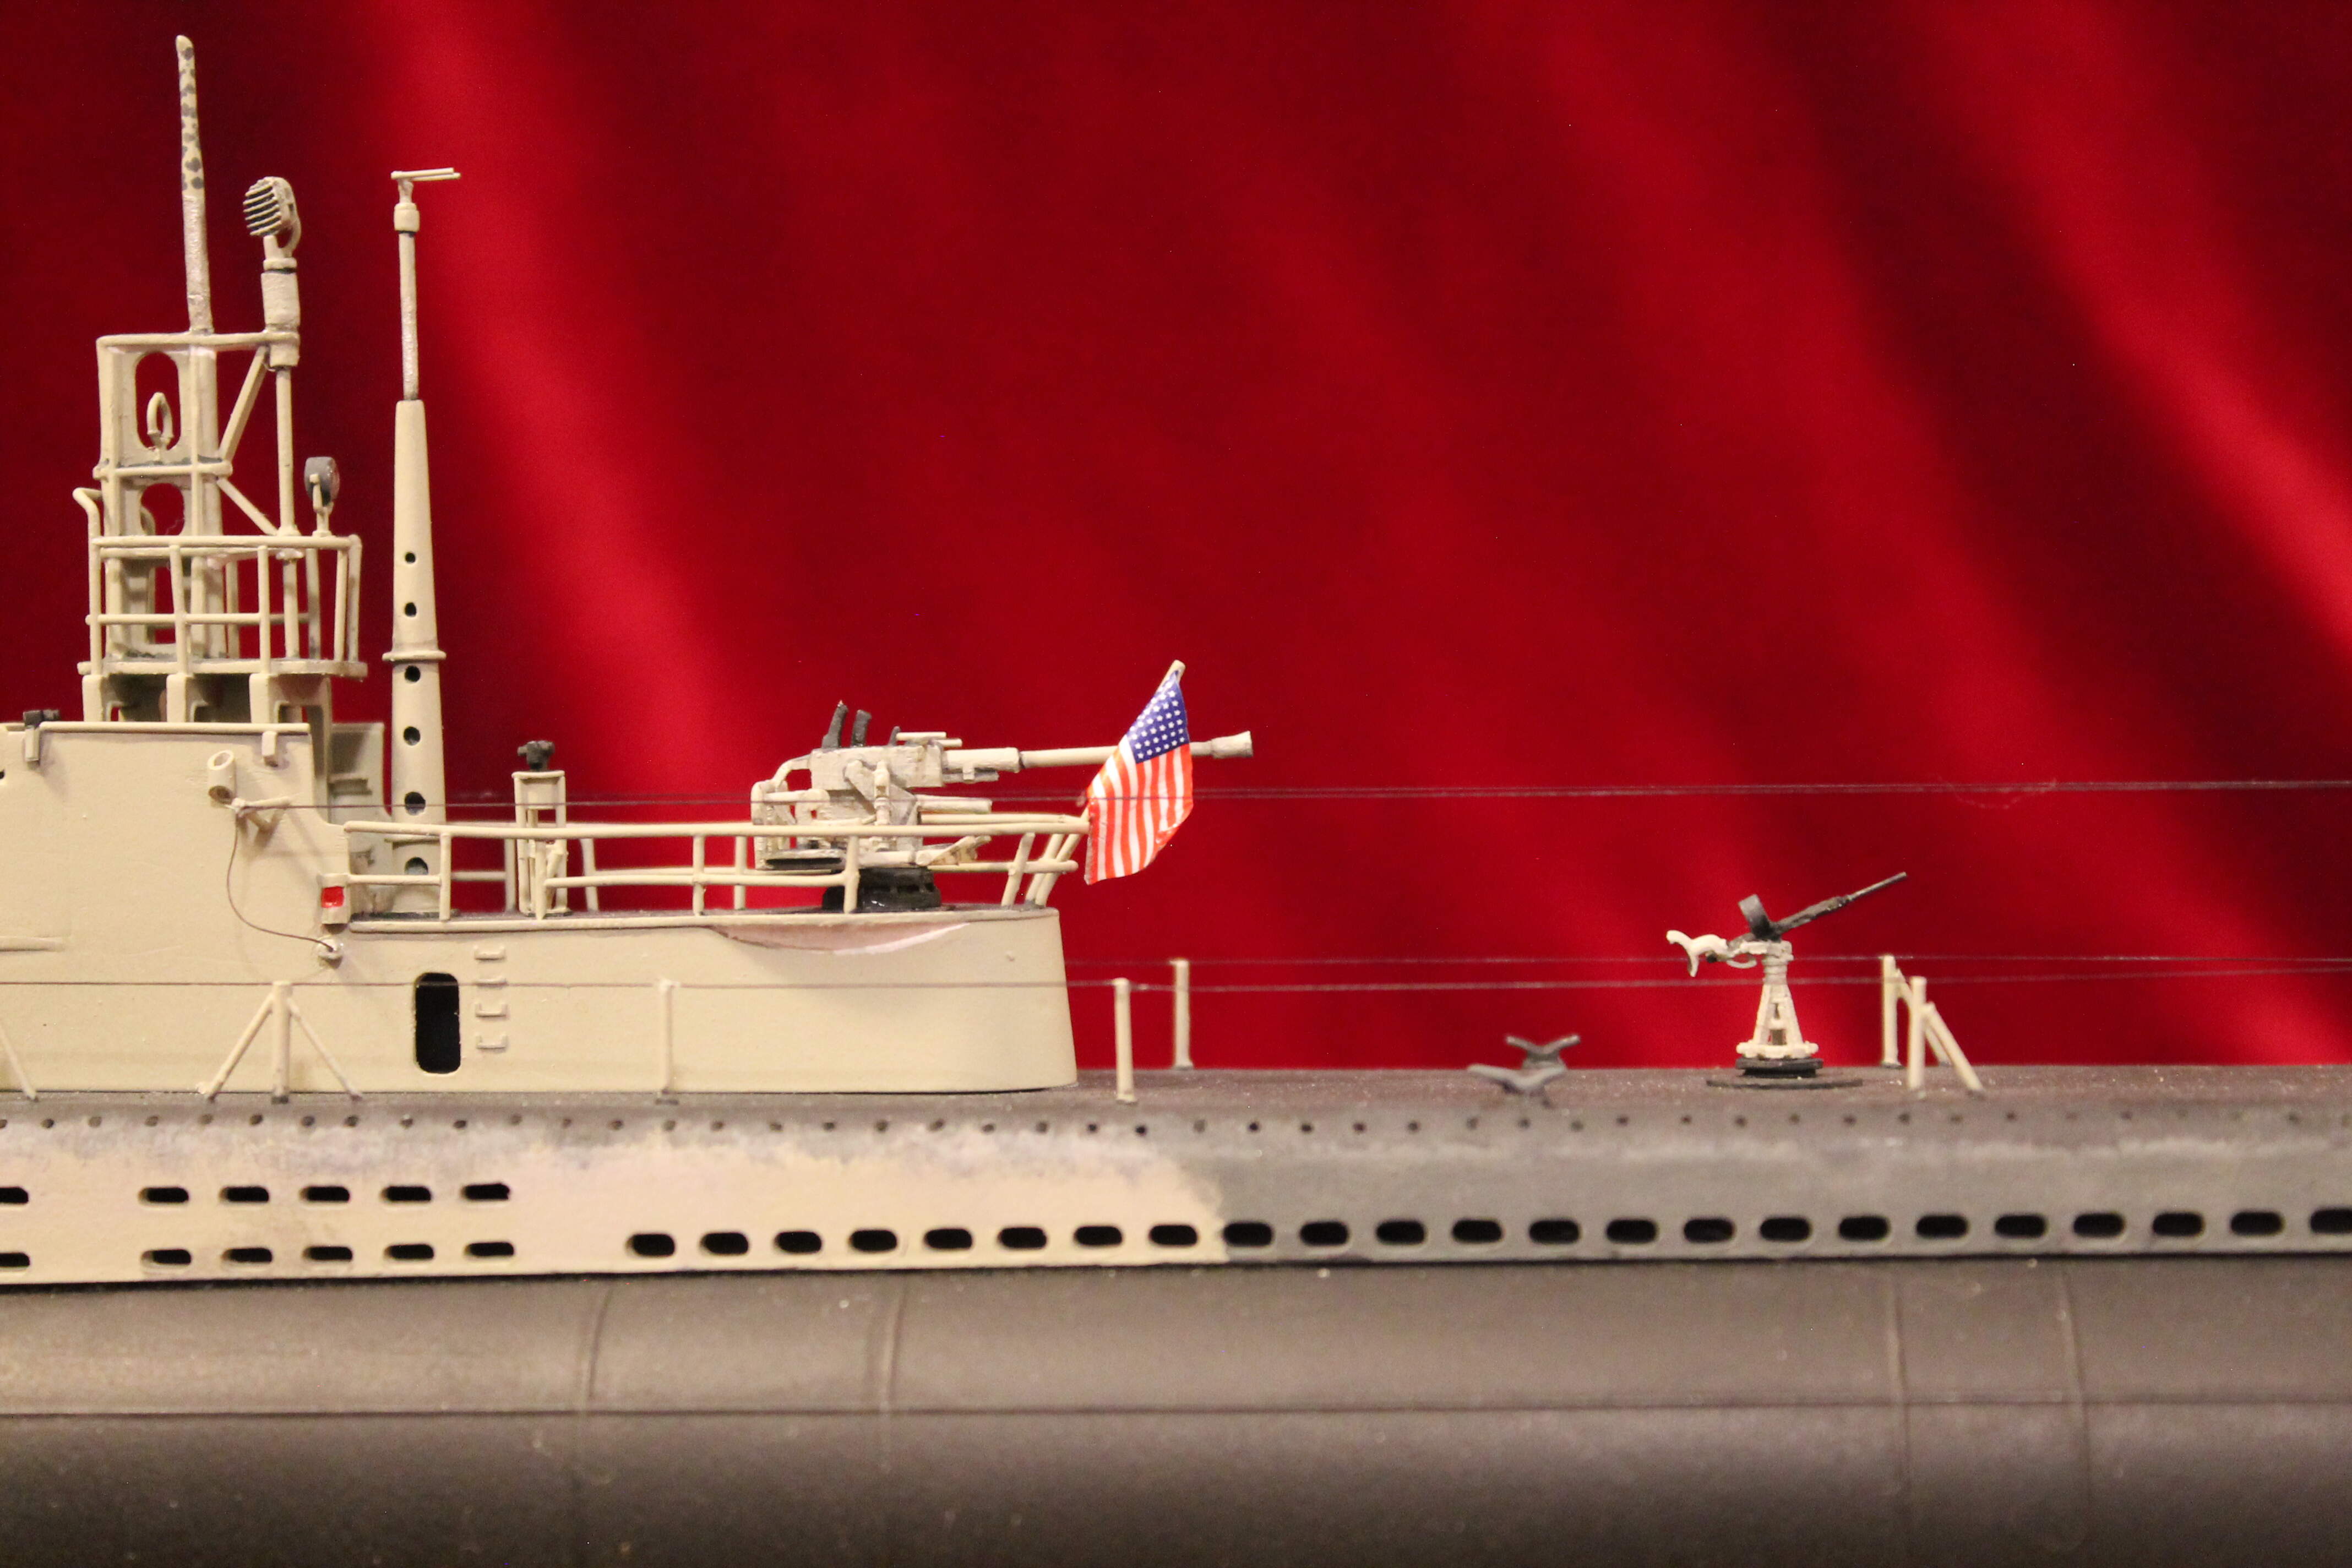
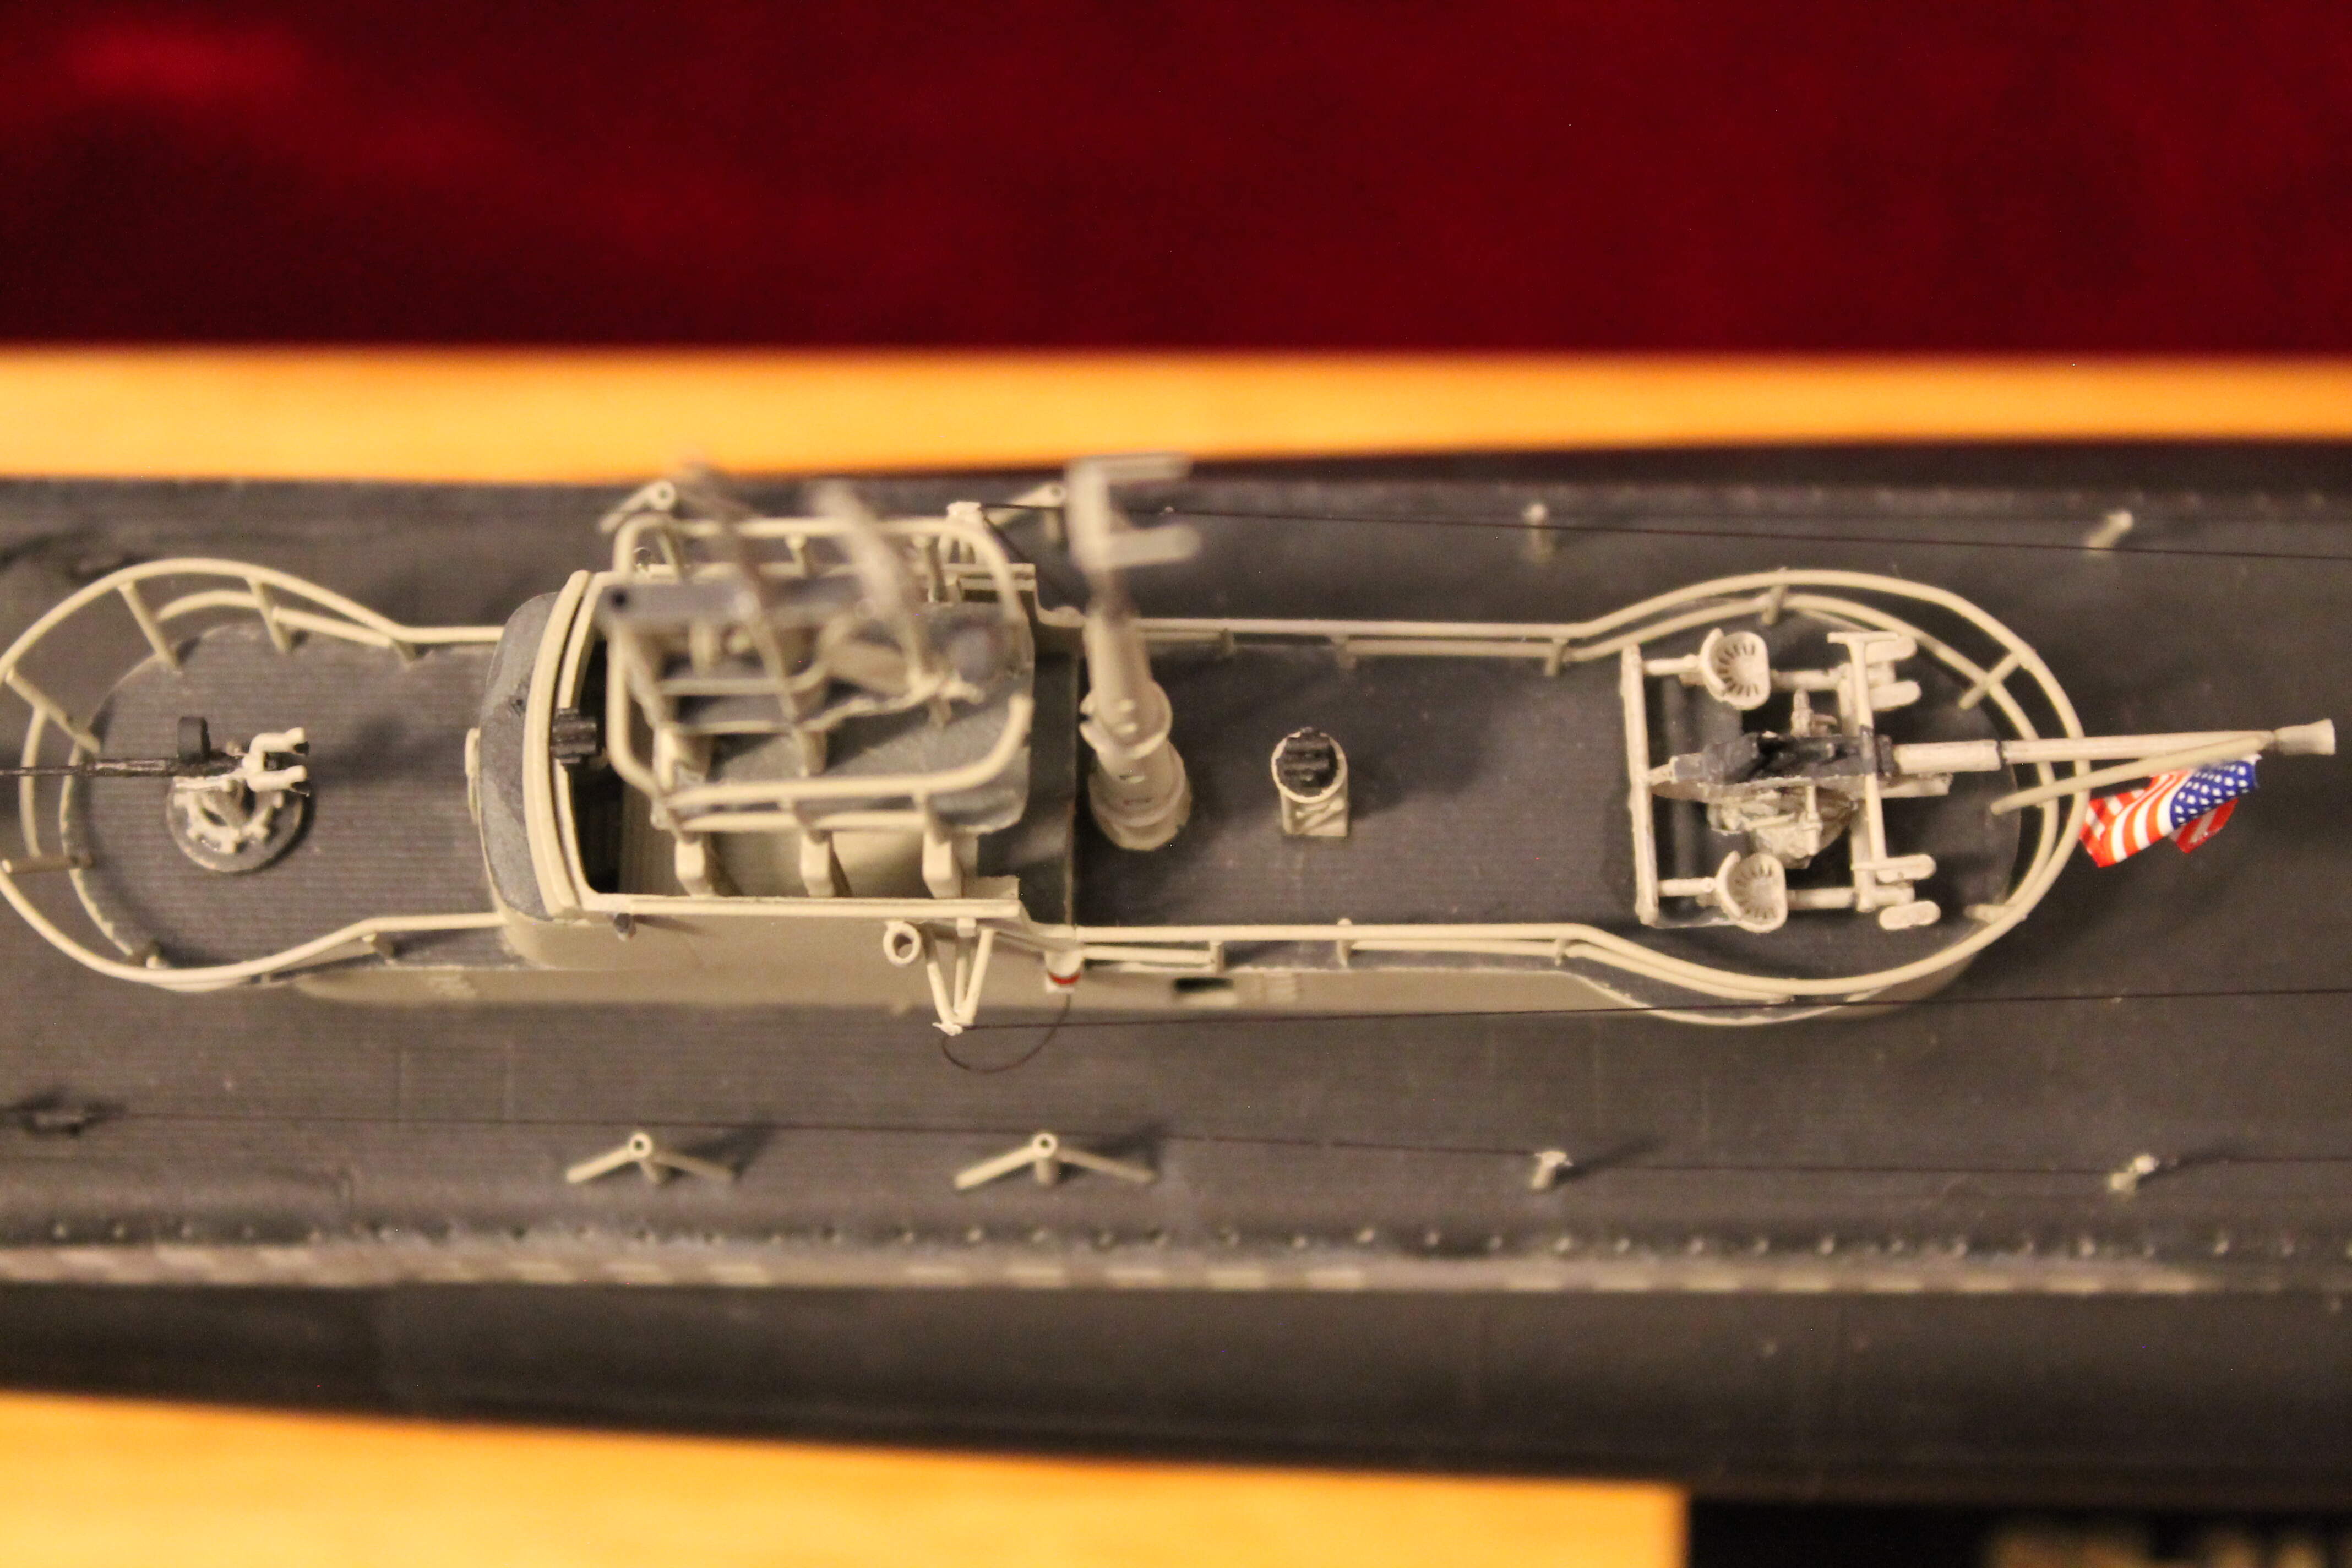
The last photo shows the Fairwater just test fitted to the hull. I painted it separately before cementing it into place. In the photo you can also see that two of the deck stanchions were replaced. These were mounts for .50 cal. MG’s. The railings were the biggest challenge and took a lot of trial and error.
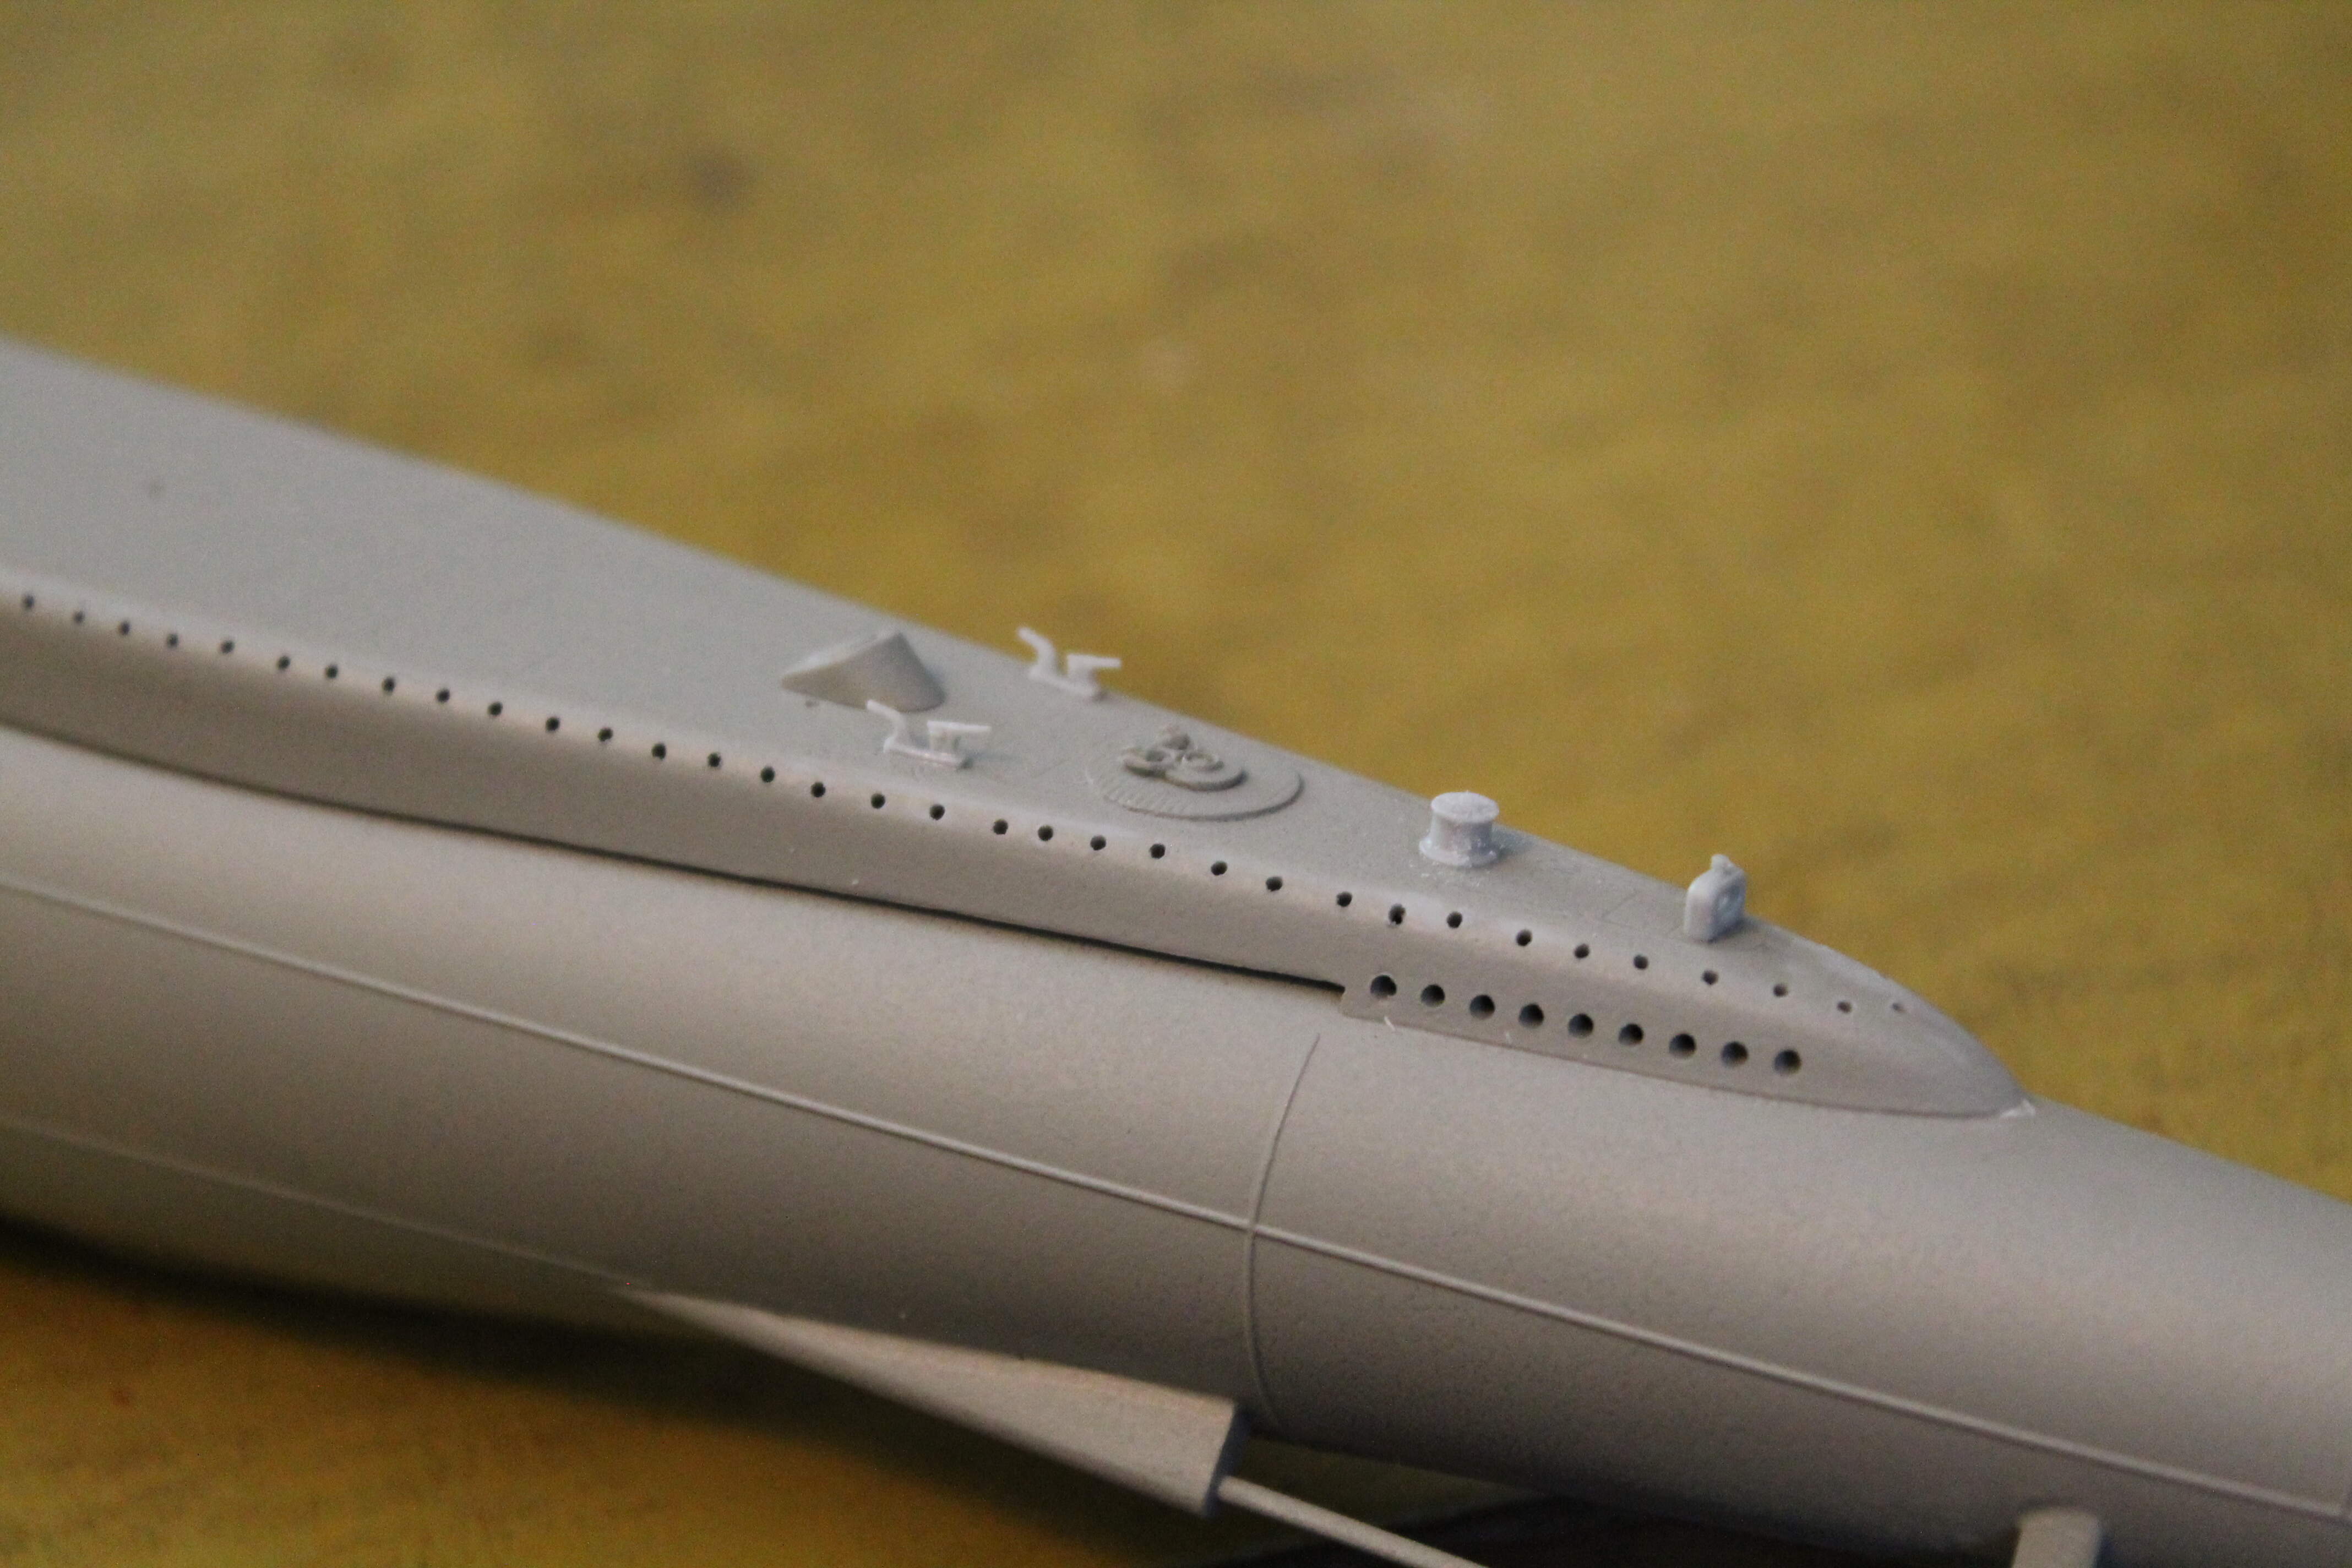
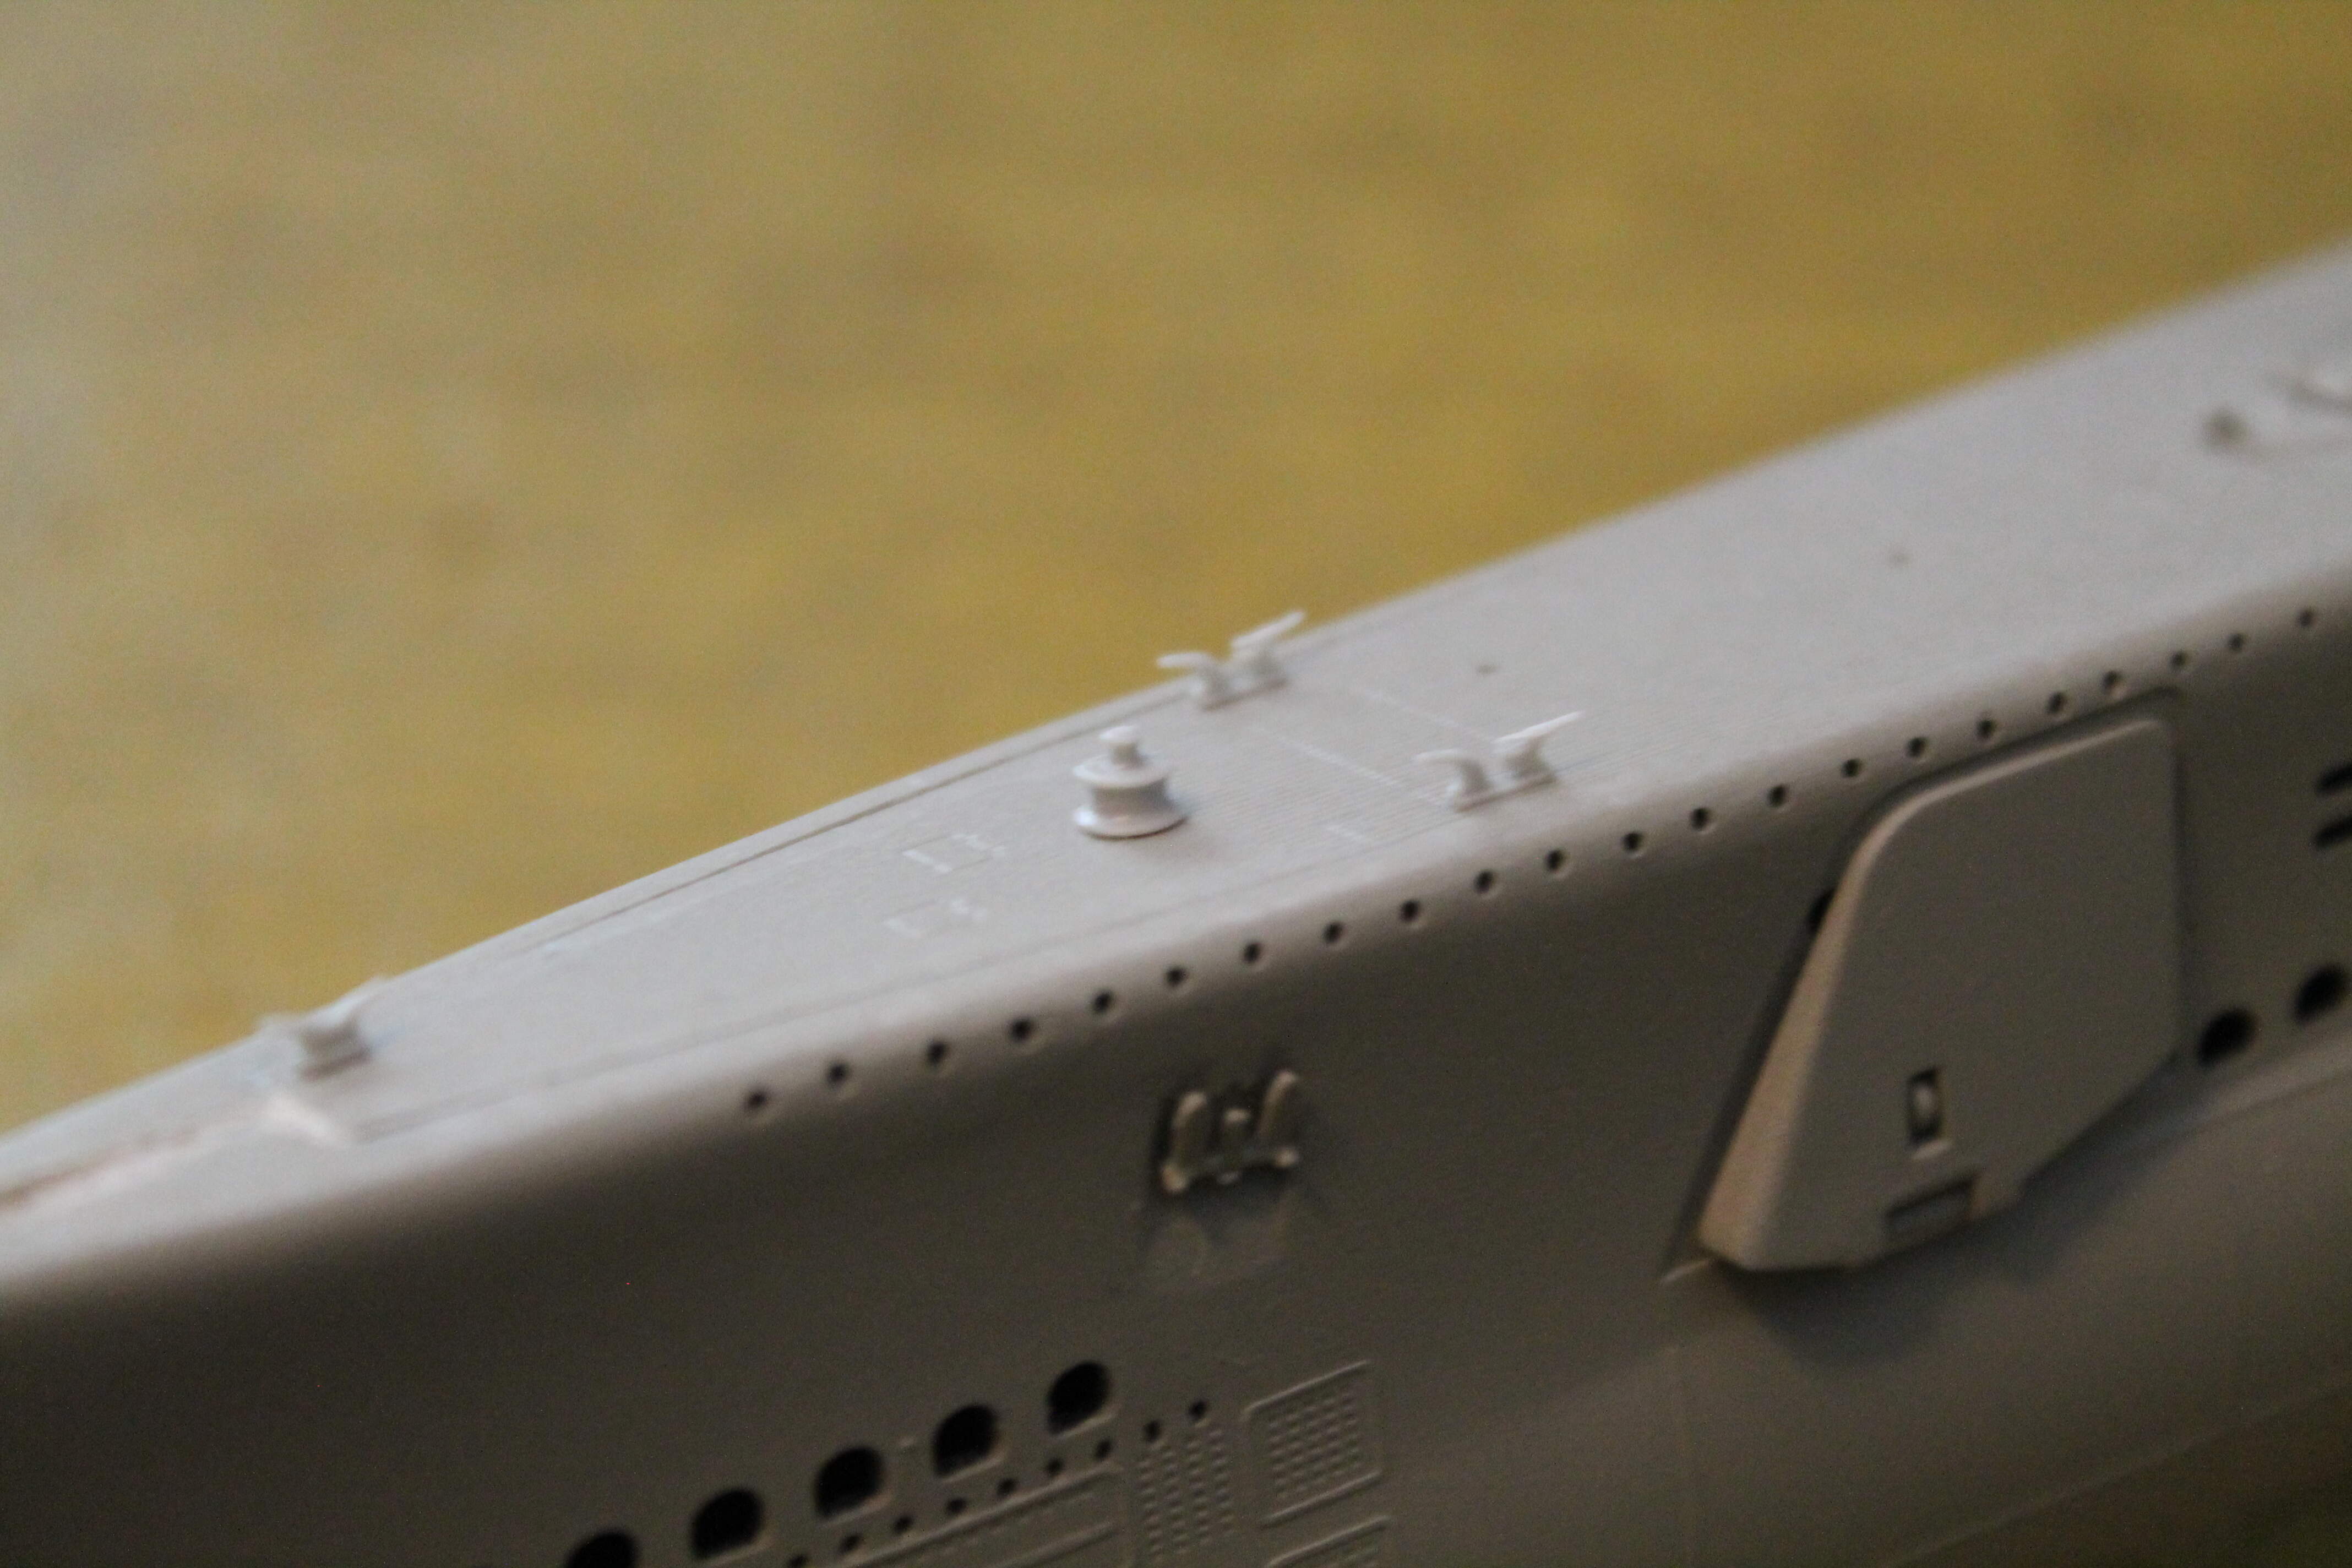
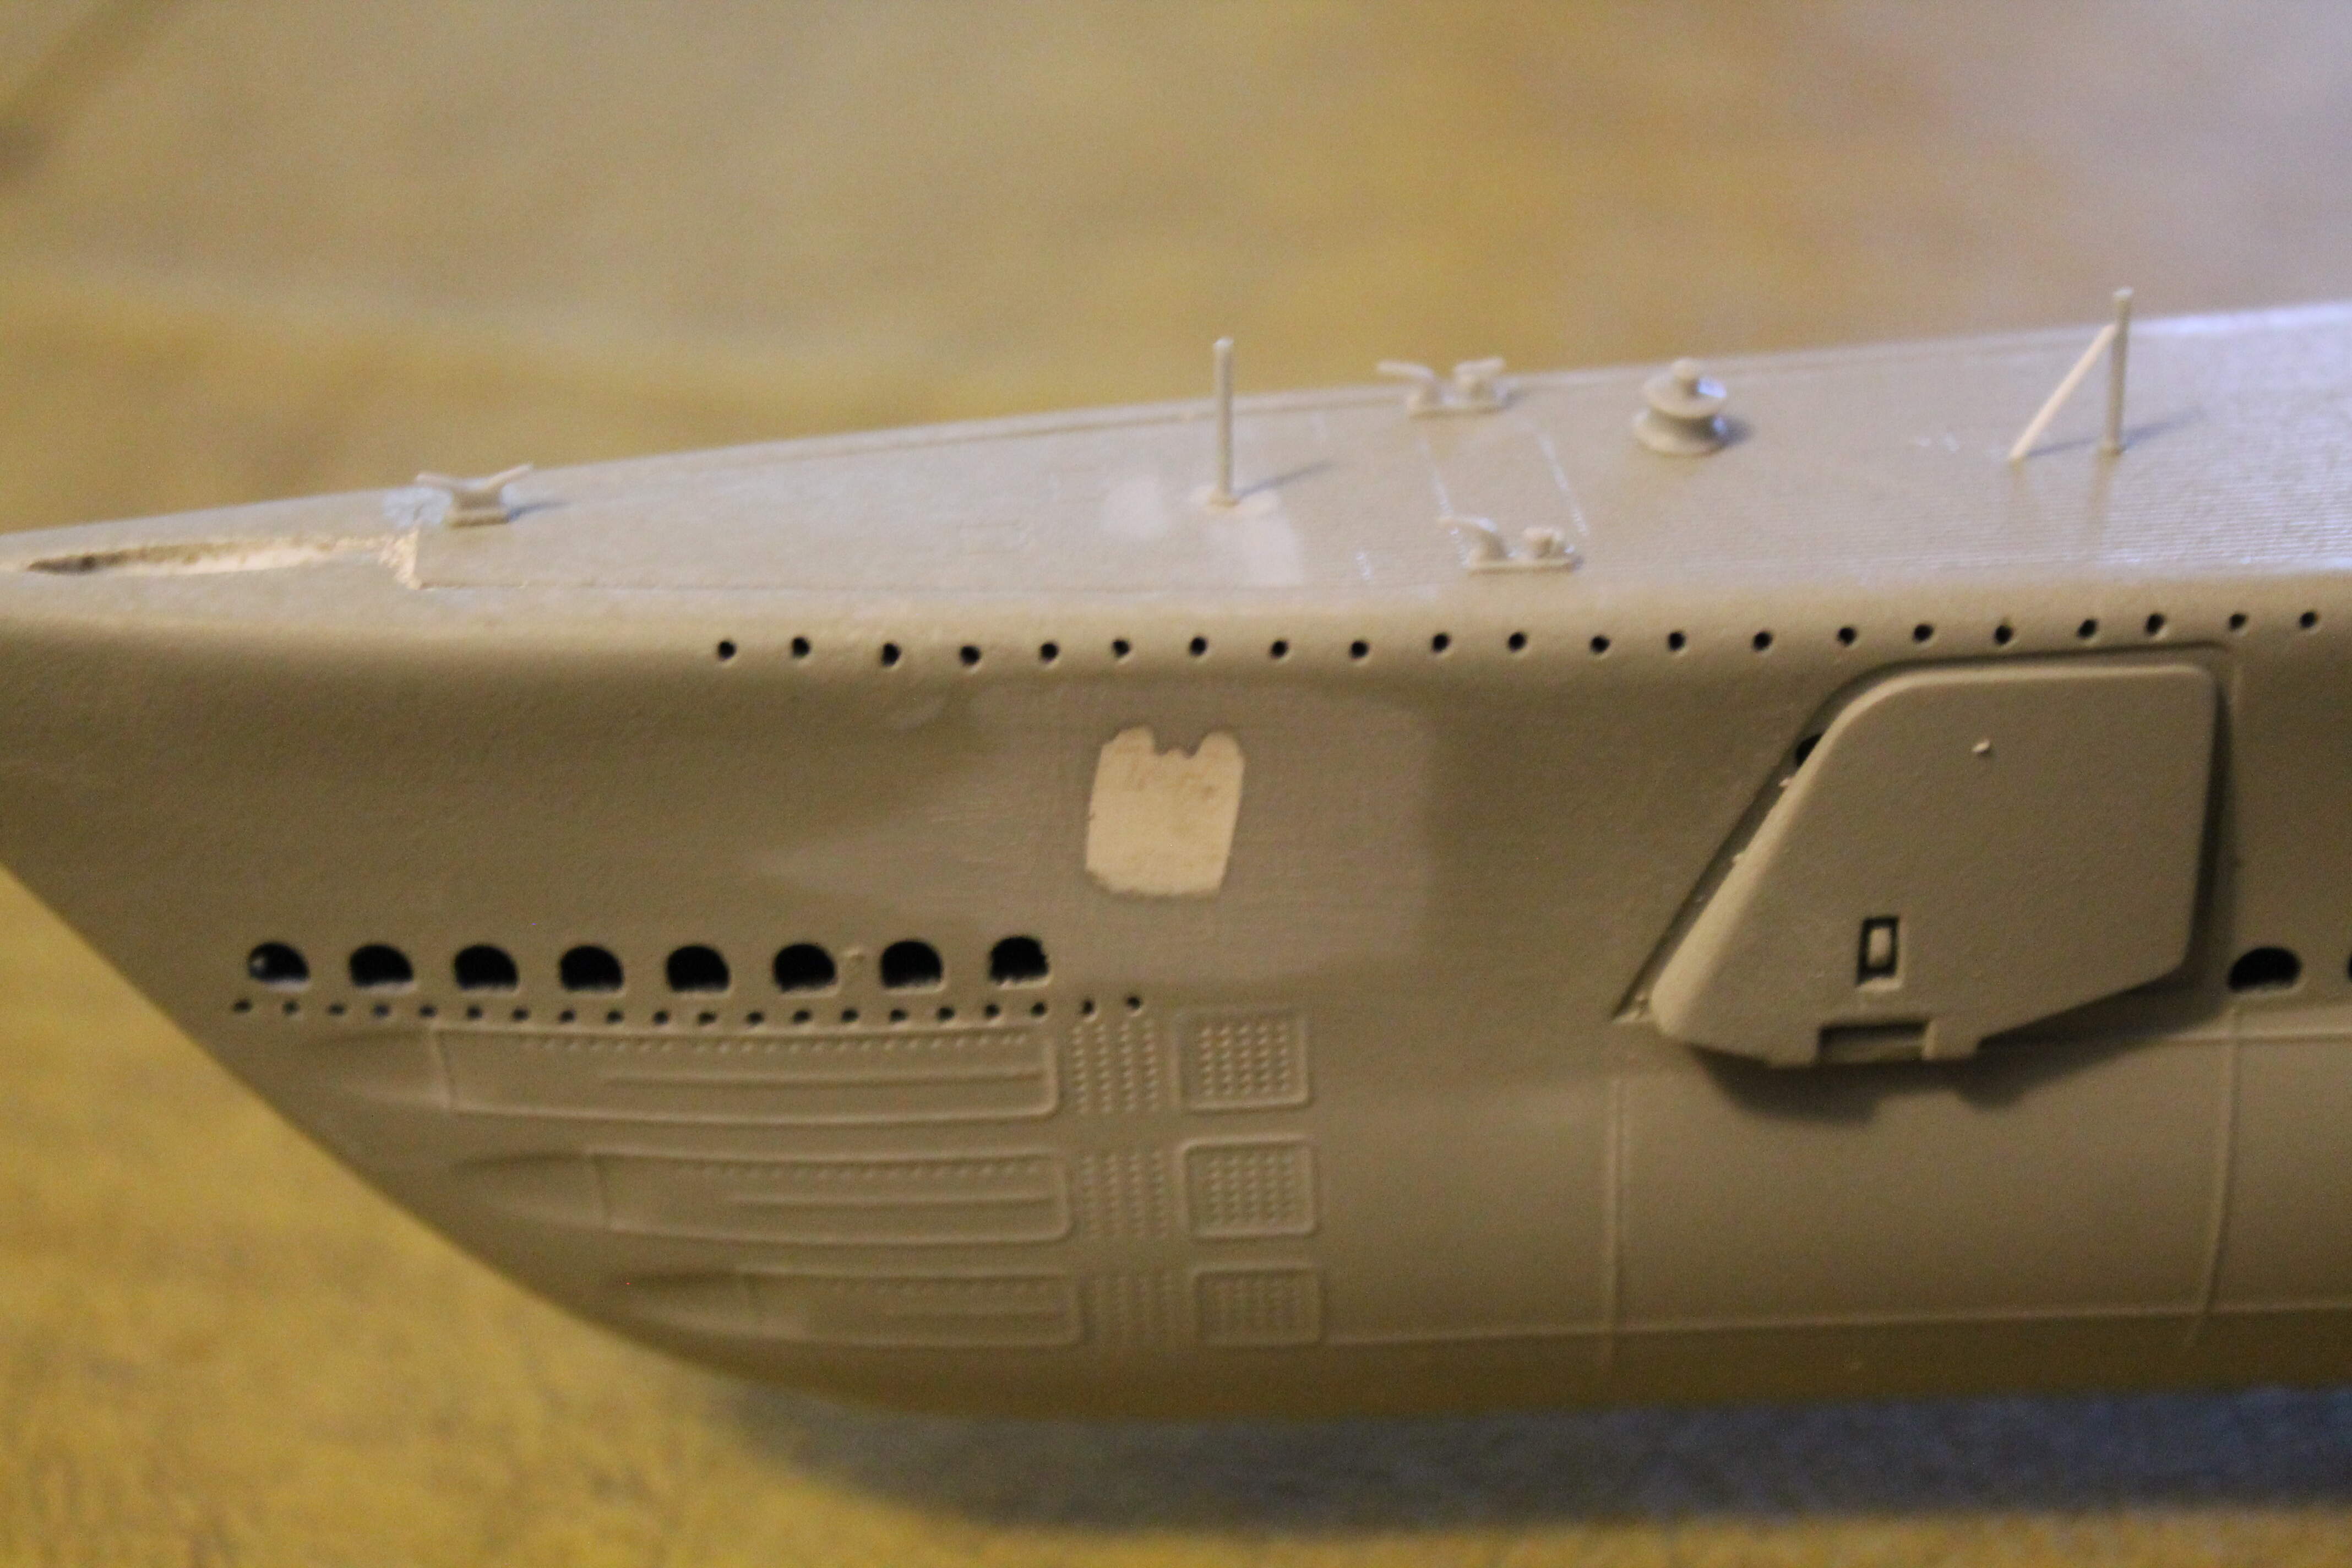
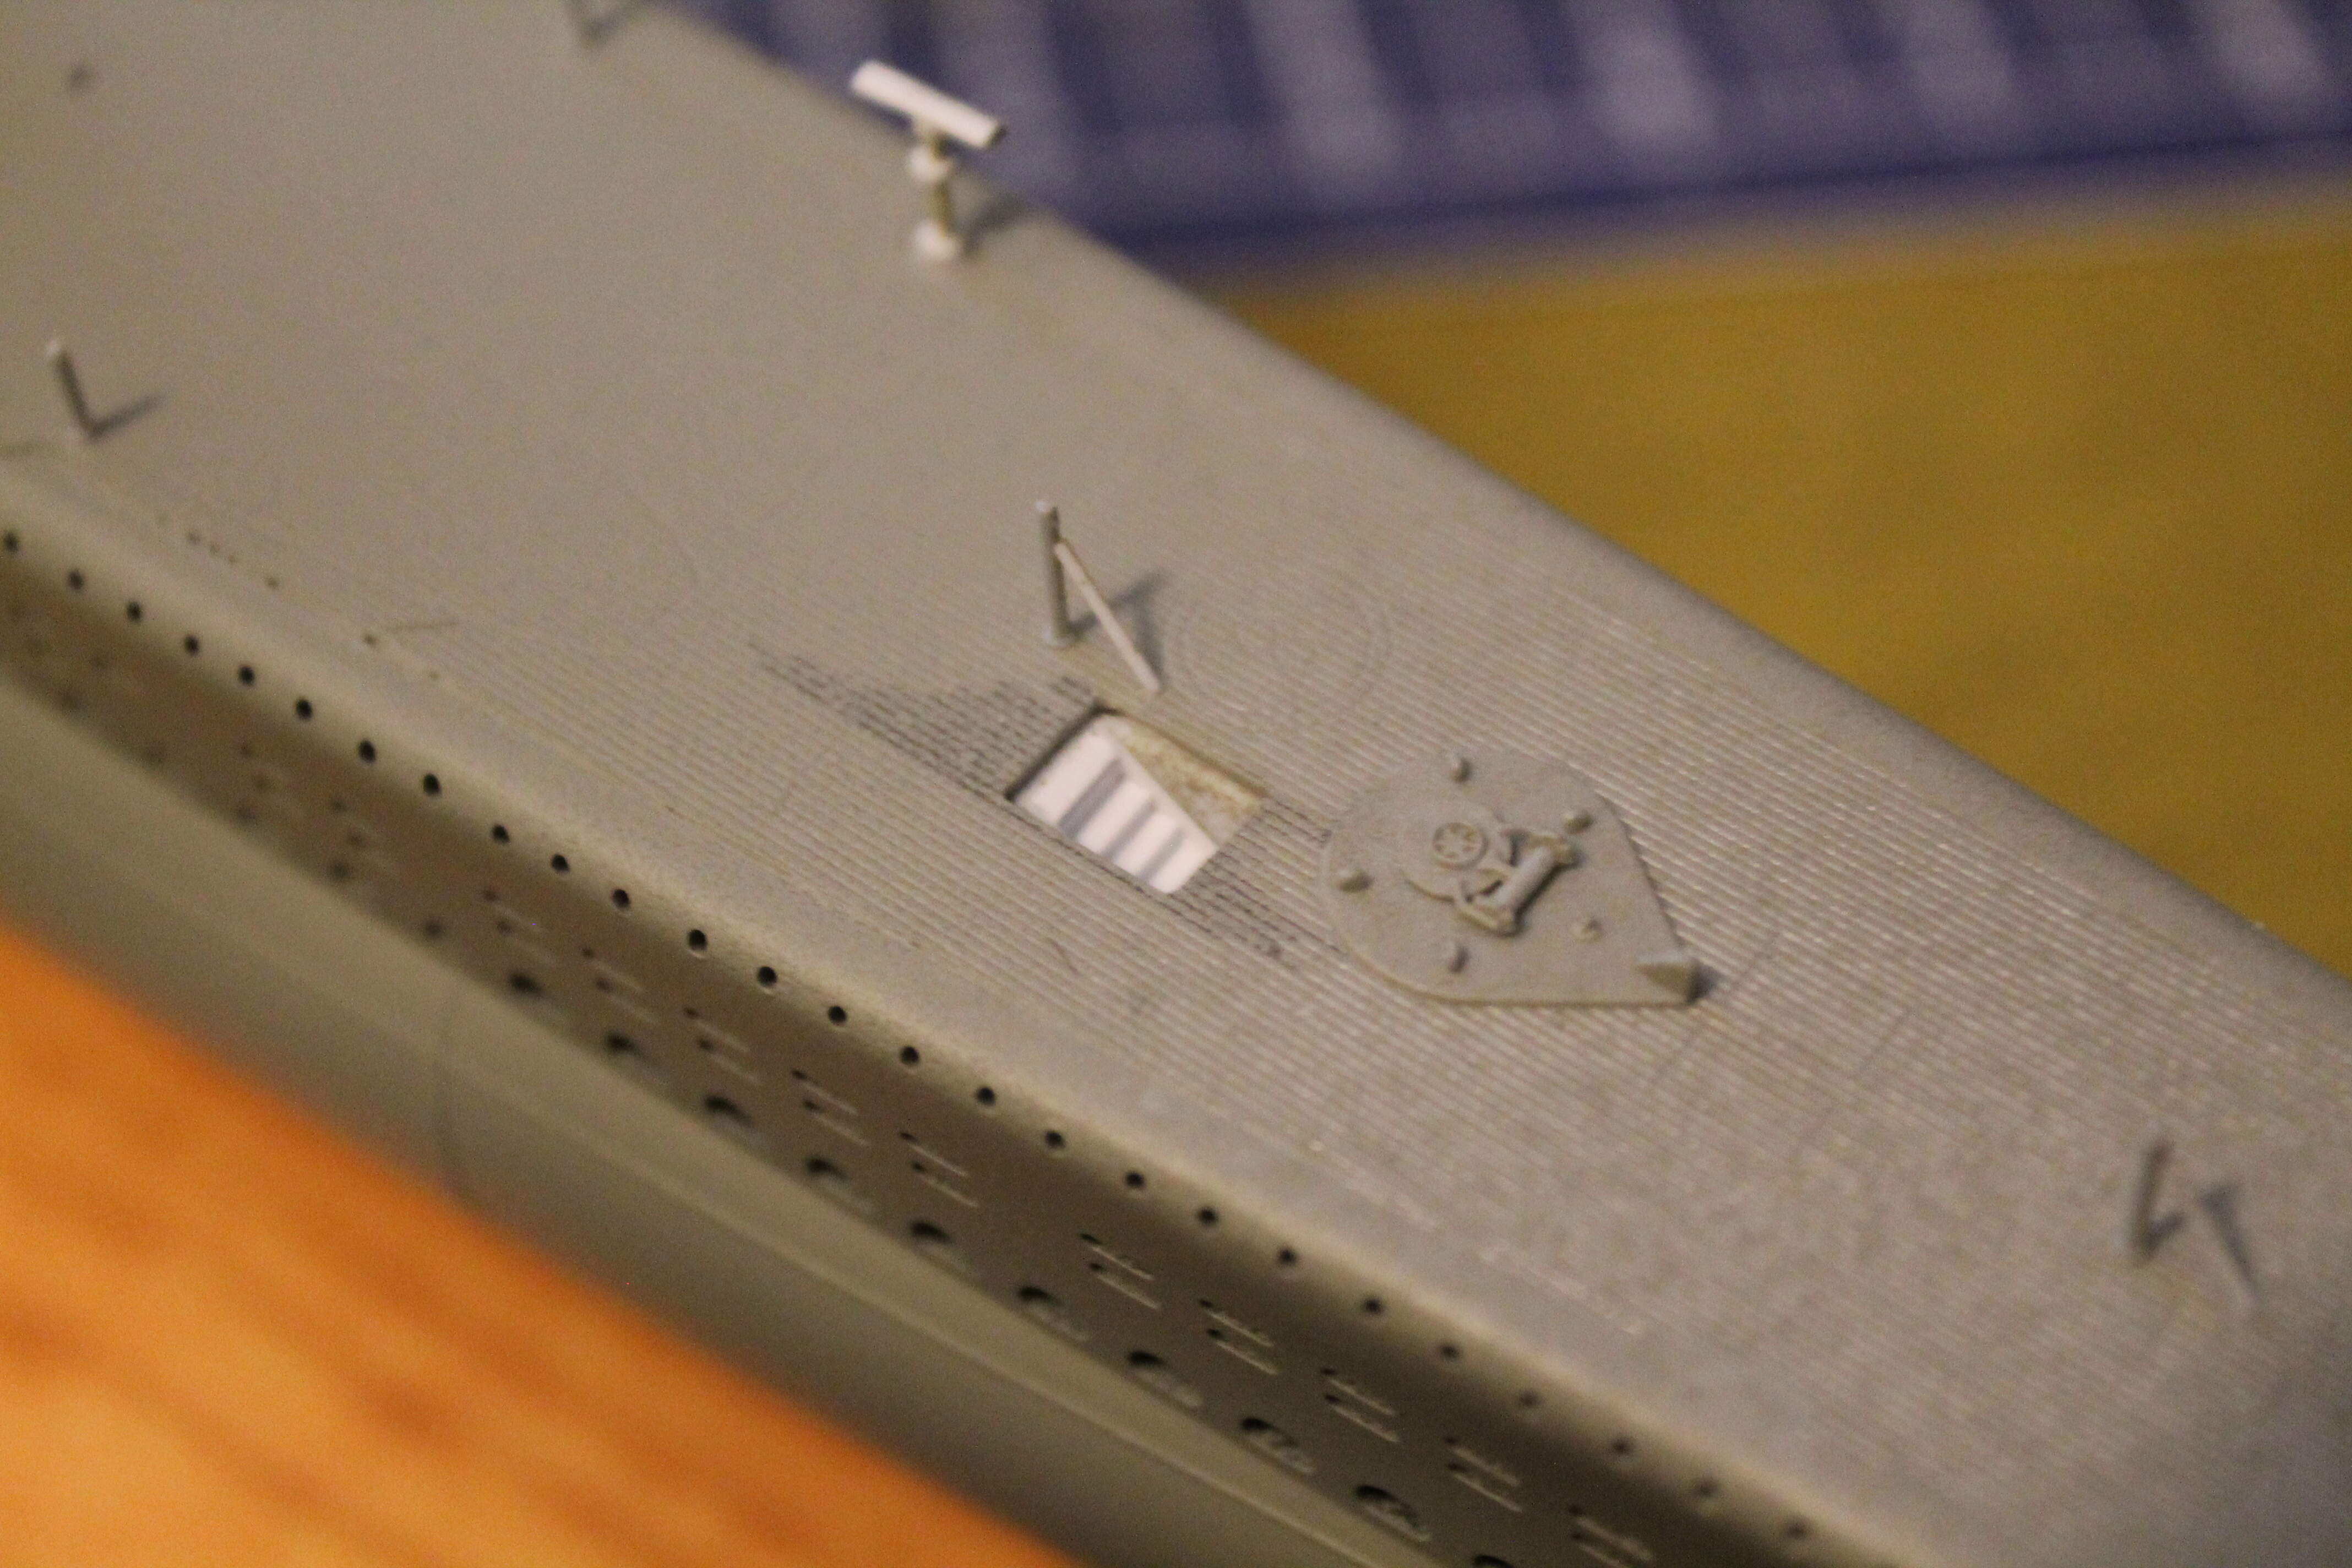
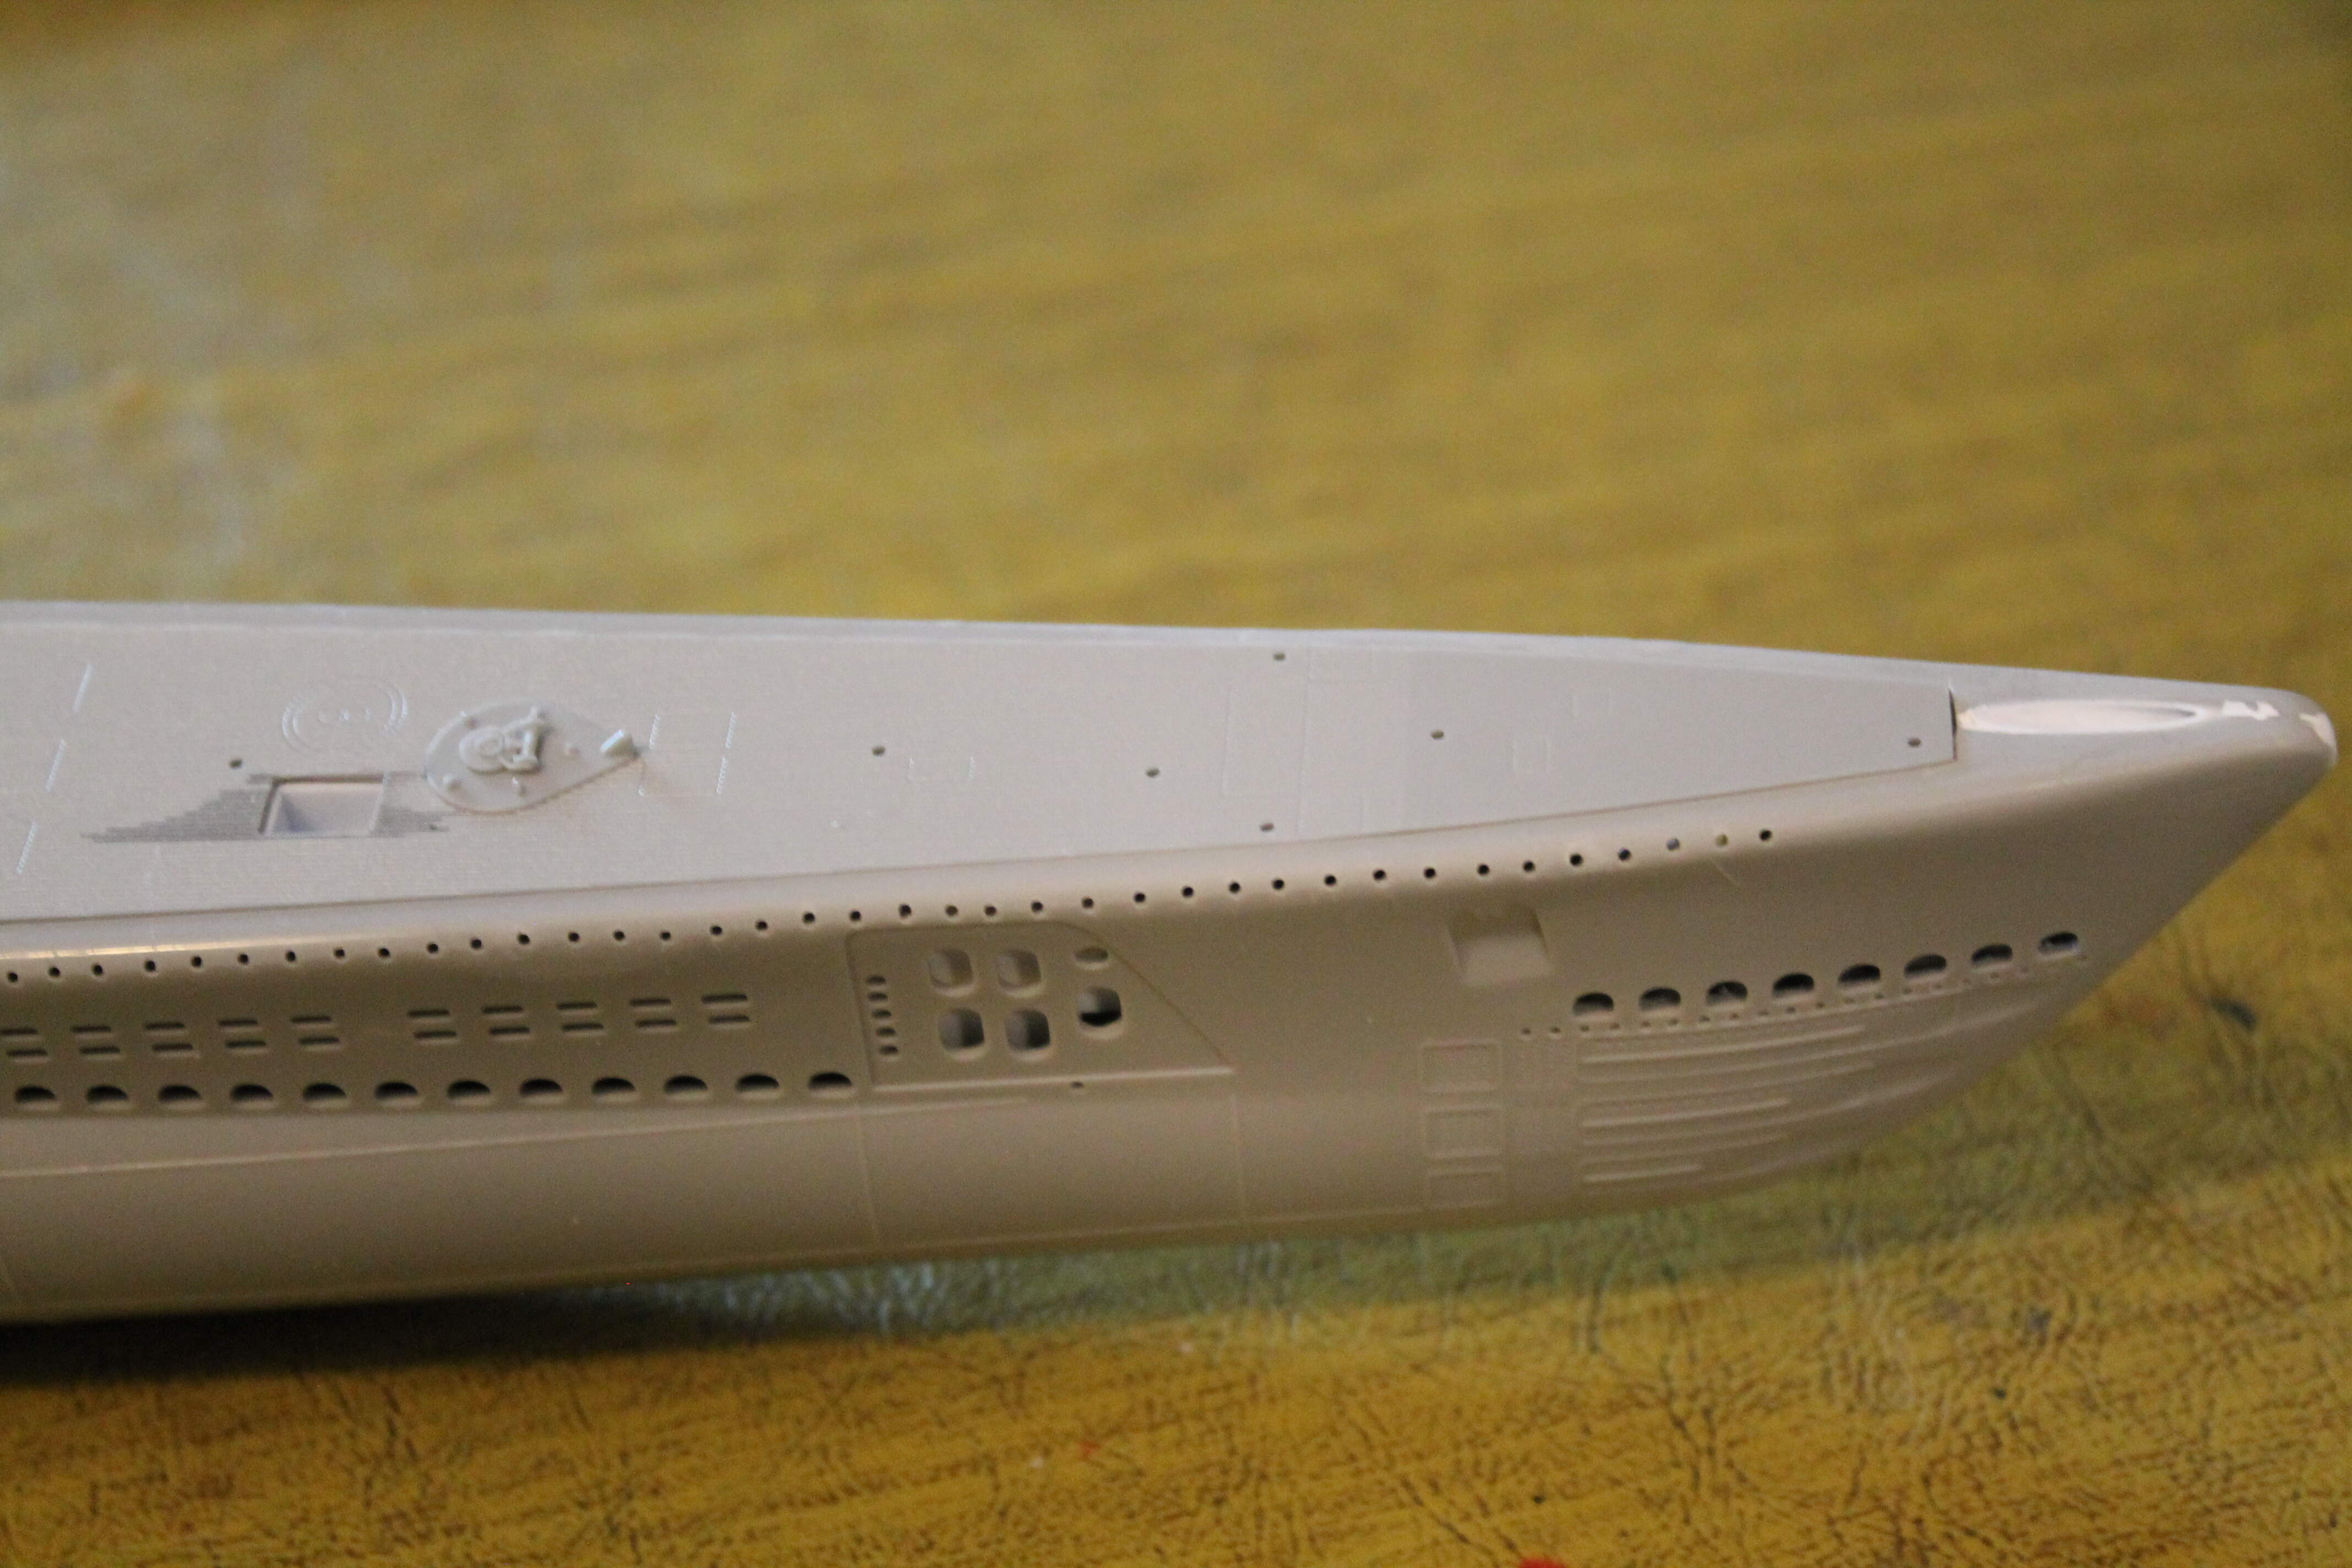
The hull received a few modifications also. The most taxing one was drilling well over 300 free flooding holes in the deck edge. Some needed to be plugged and re-drilled of course.
All of the boats were different and many didn’t have them. But if you wanted to build Gato, even as she looked in '43, you’d need to add those holes. And though originally equipped with two anchors the portside one was later removed. I don’t don’t know if that was done in her first refit, or the second one.
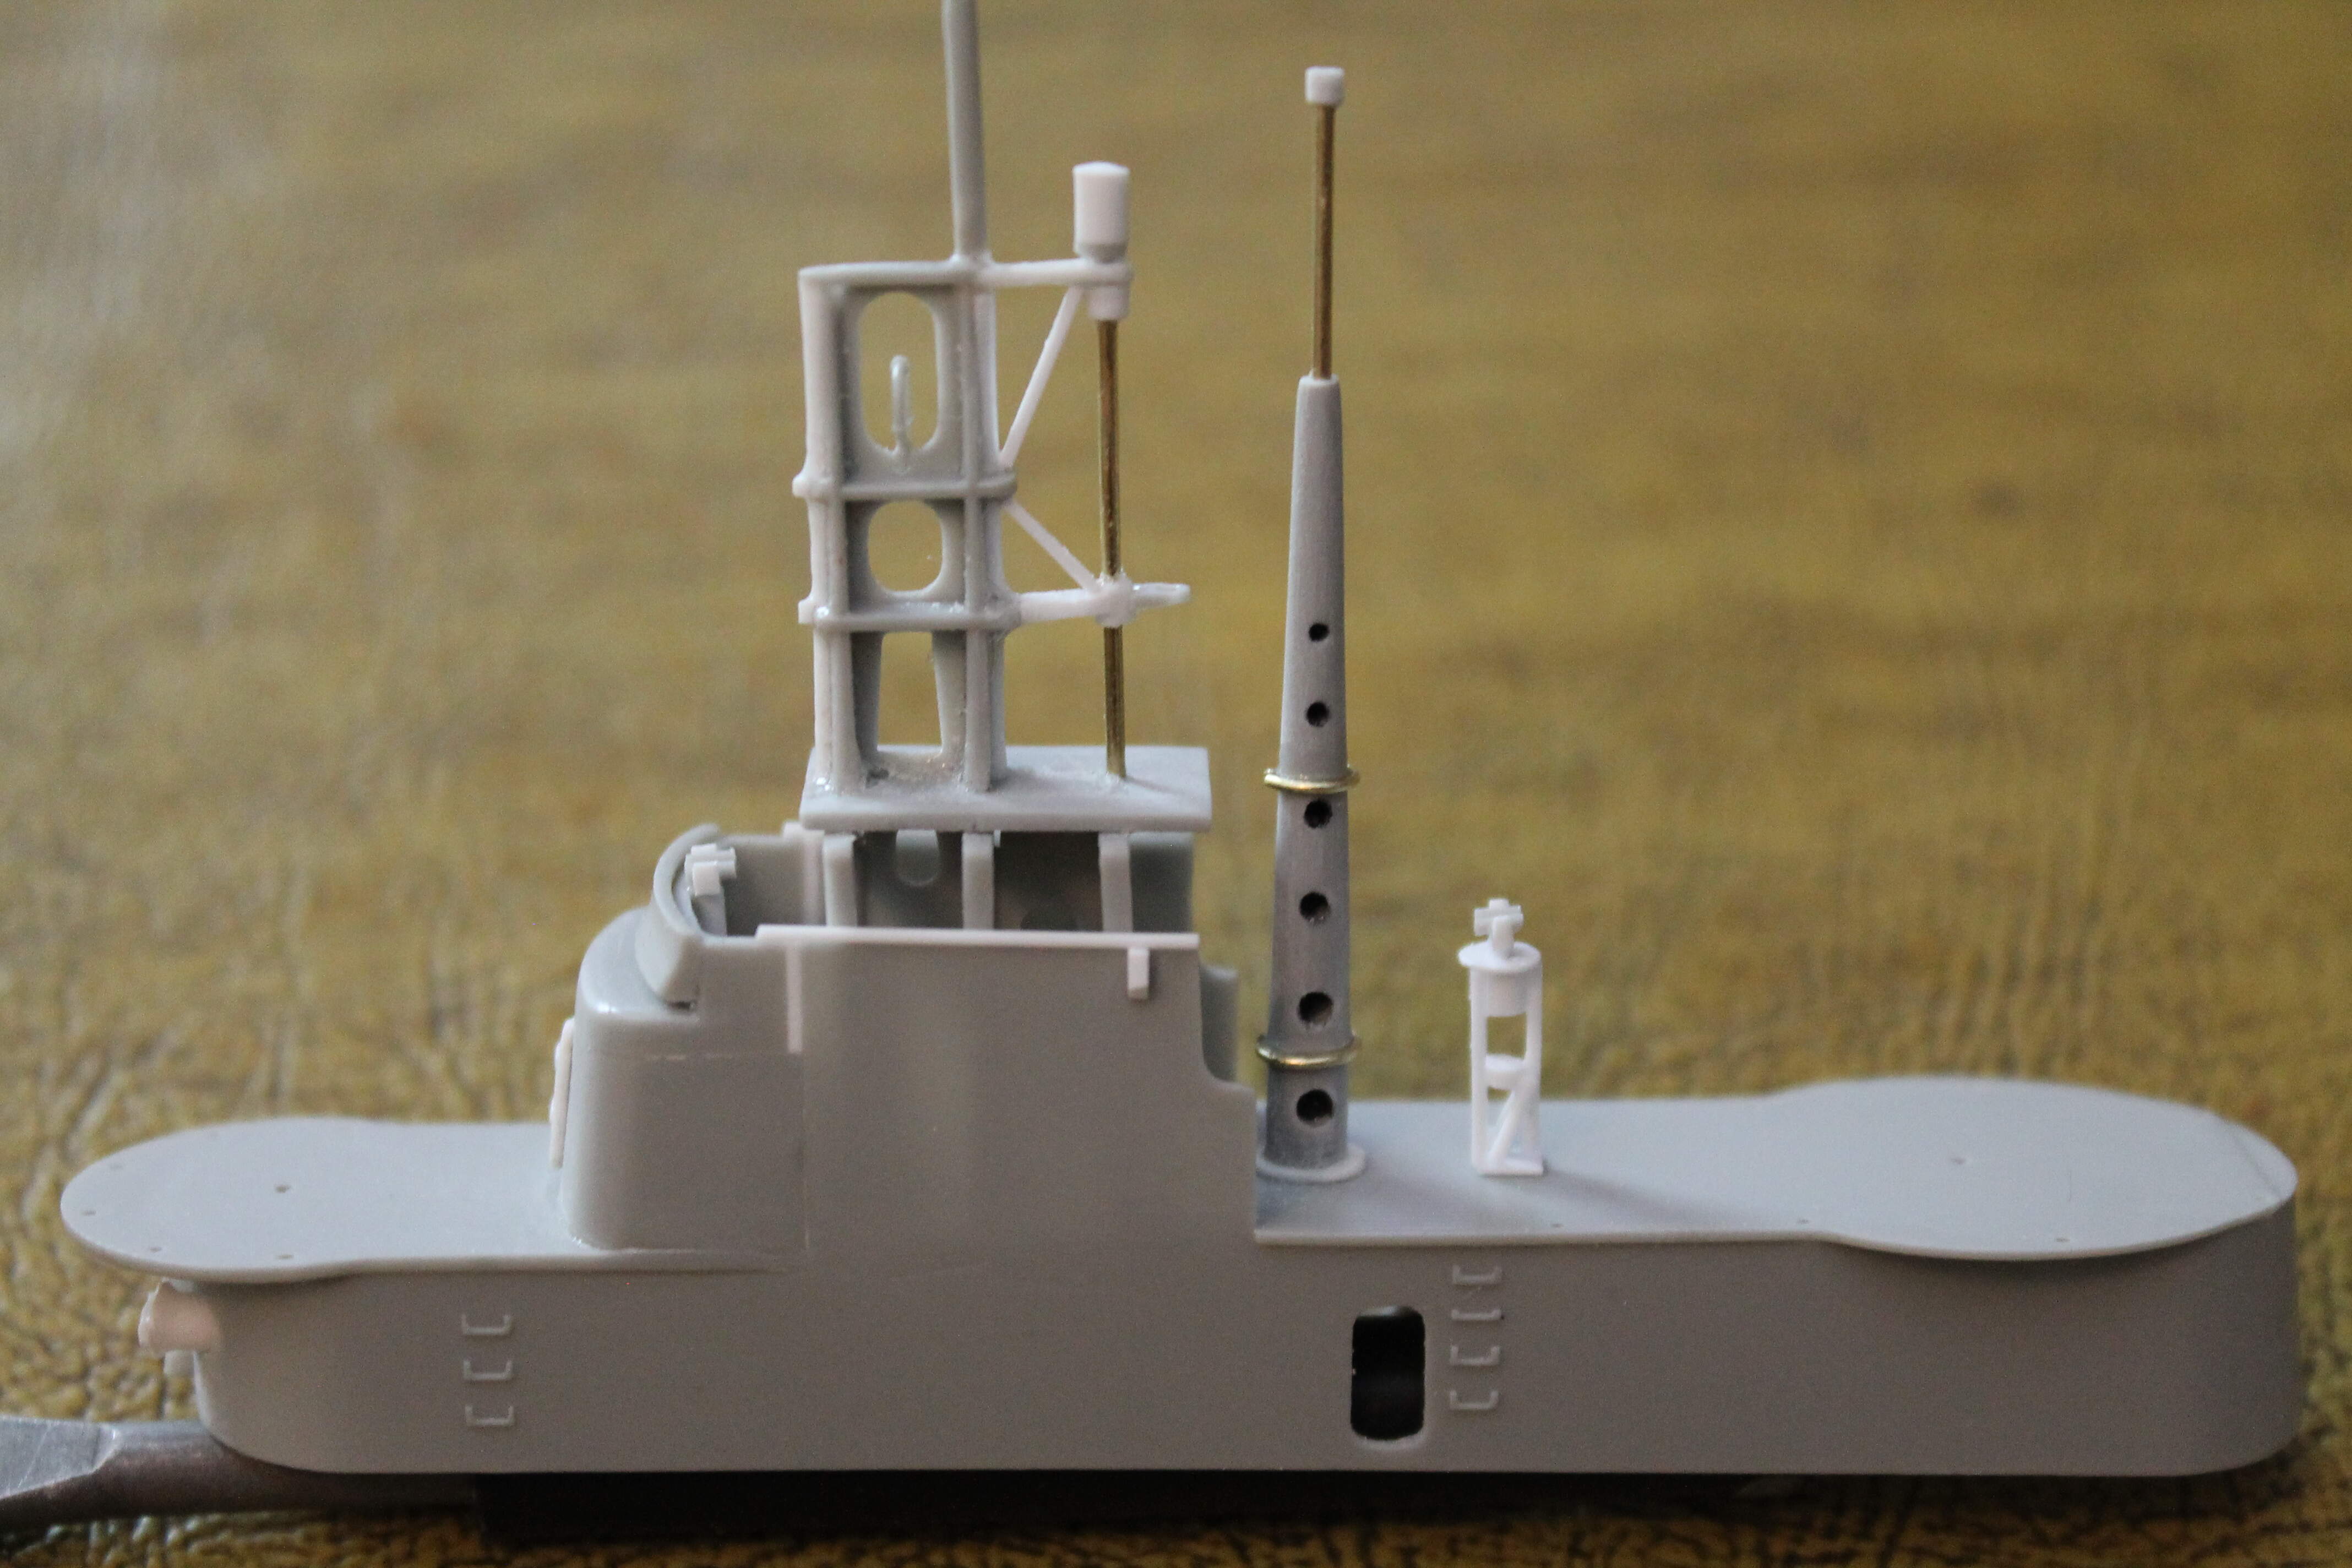
To be completely accurate, the after portion of the fairwater should have been shortened. But that would have involved removing and re-scribing a portion of the main deck. Which I felt was beyond my capability to do well.
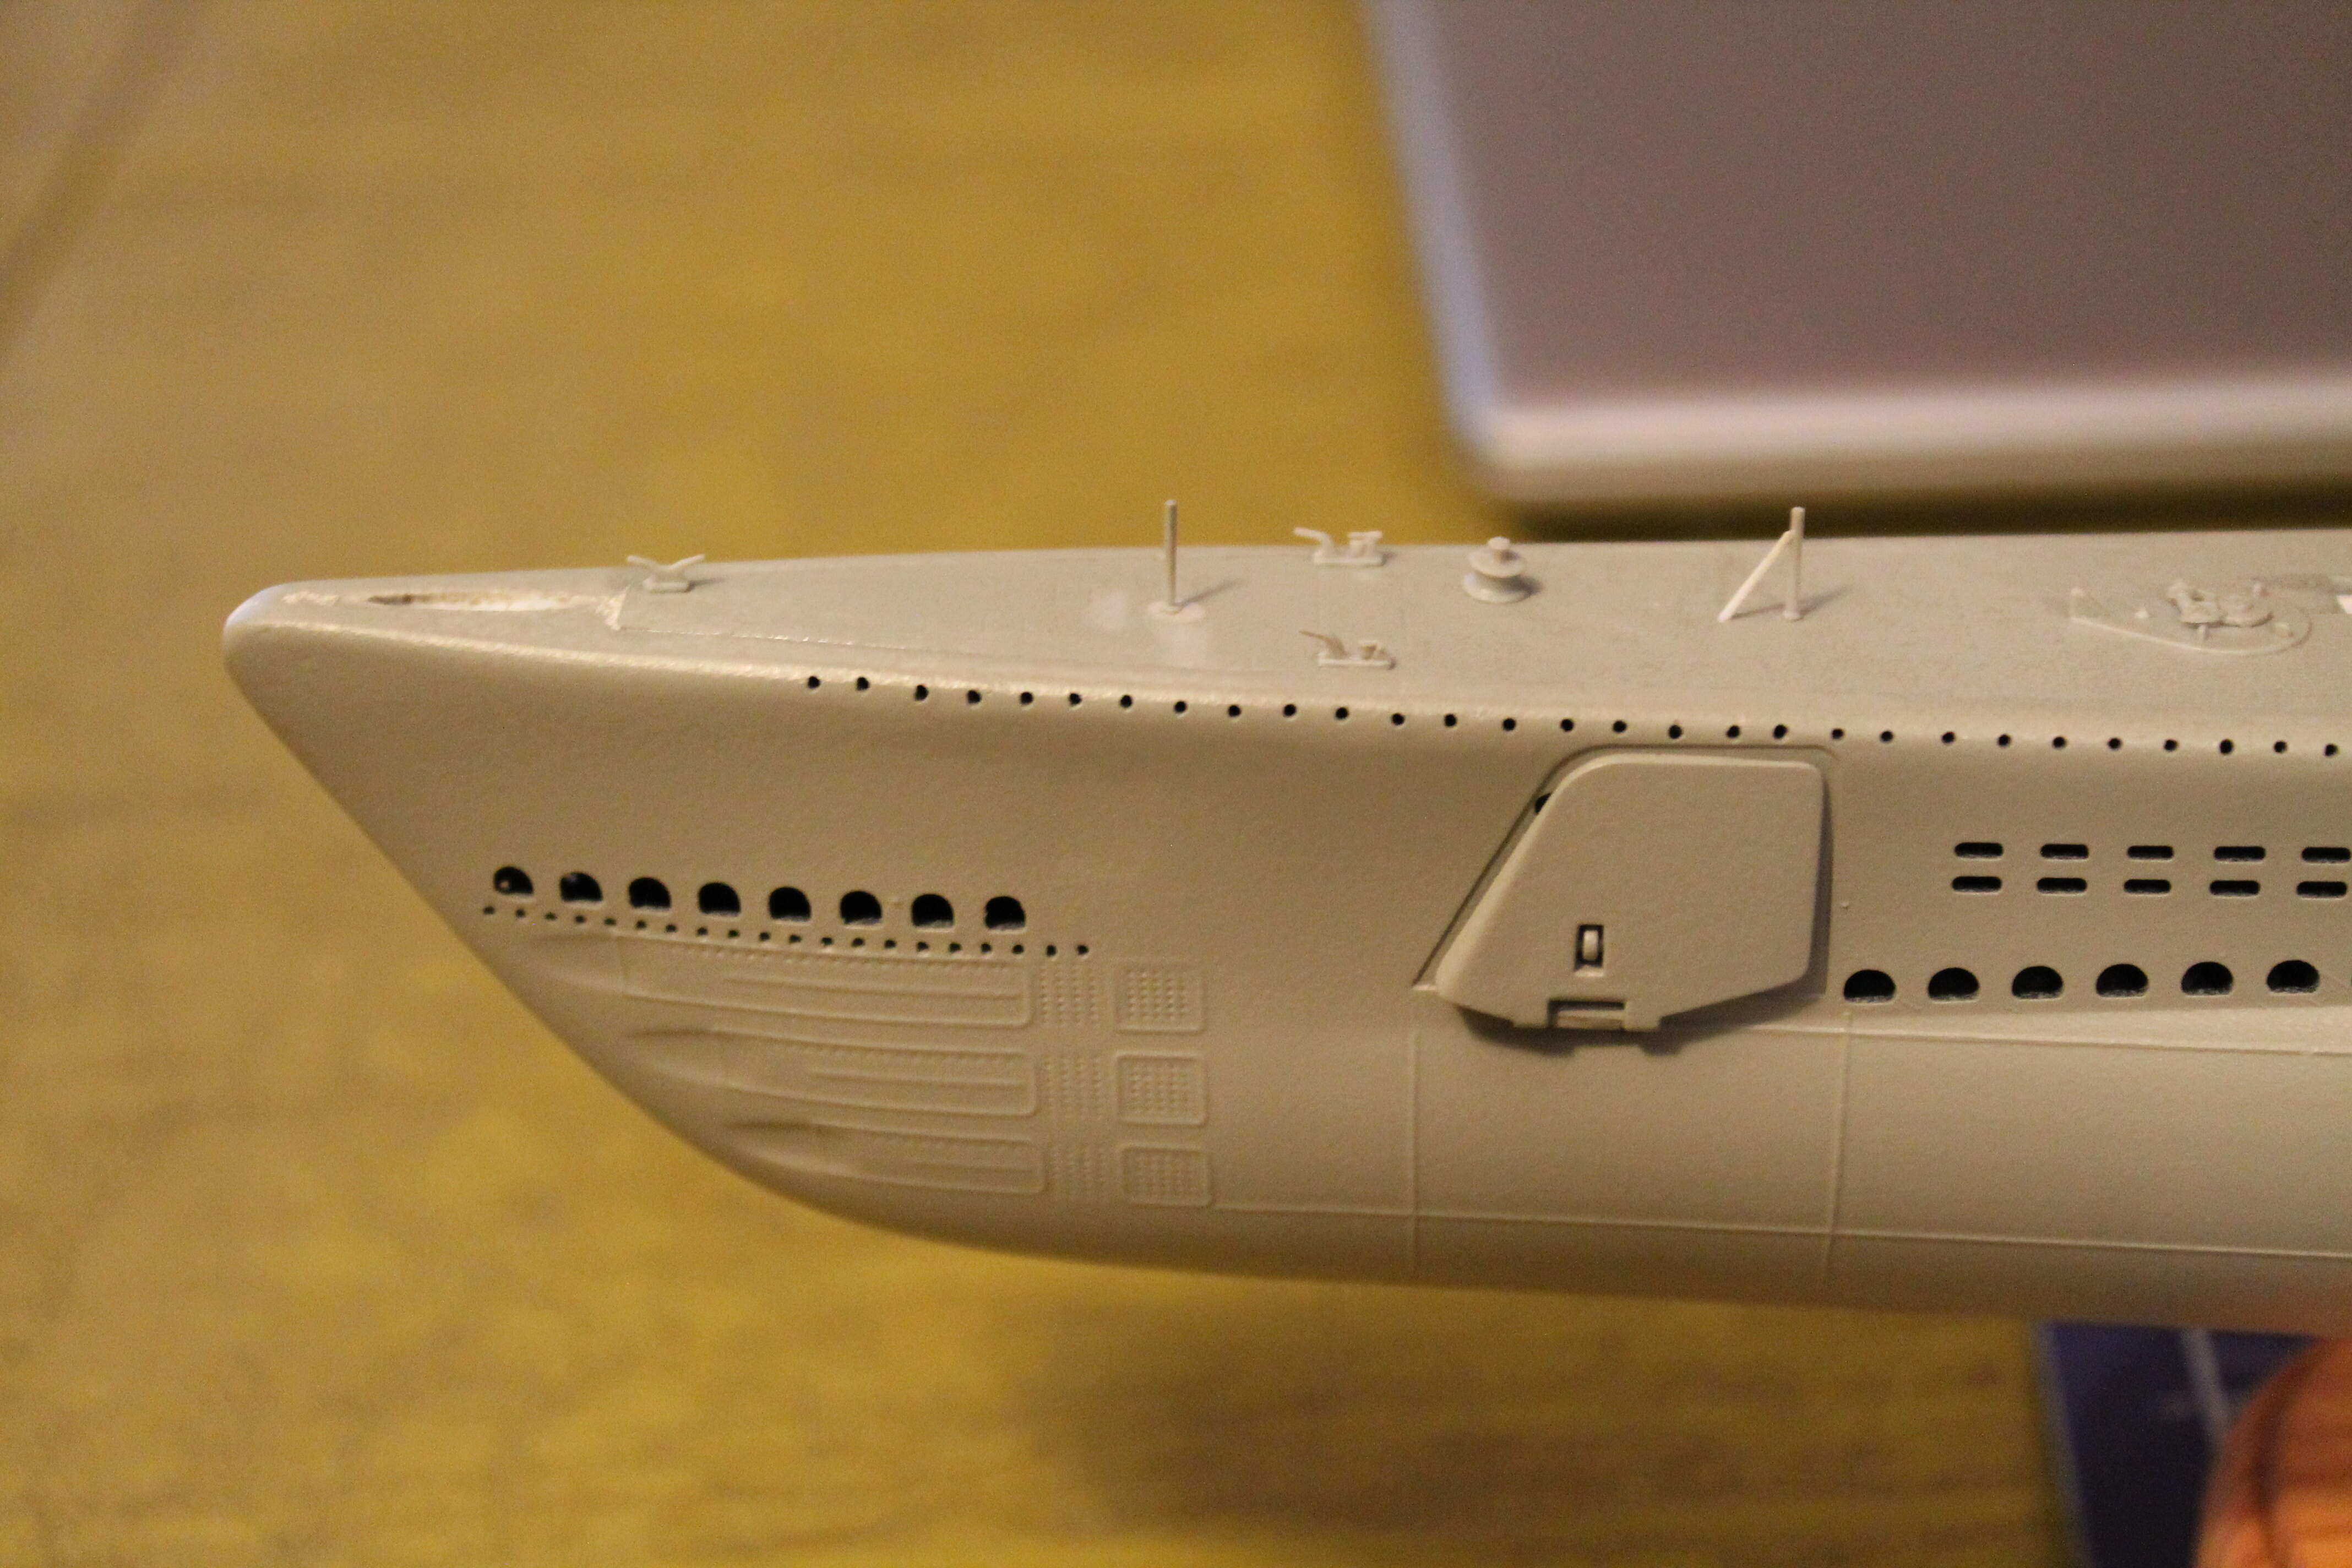
The hull was molded in two halves, plus the deck, which included a section of the hull sides. When I joined the two halves, the fairlead, that hole in the bow, had a large gap, so I drilled it out and replaced it with a section of plastic tubing.
Other than that, the fit was very good. A little sanding and filling was needed to blend the deck to the hull at the bow. The only other putty used was along the hull’s bottom and that wasn’t much at all. The kit included the pressure hull which adds strength and rigidity to the hull as well as avoiding some of the see through look of the flooding holes. I did add some styrene behind the holes in the recesses for the forward dive planes. The dive planes are meant to be hinged but the fit is sloppy and they need to be cemented either up or deployed. I finally chose to have mine stowed. Thanks for looking.
Thanks, Joe. Doing the railings was quite a stretch for me. I had actually bought a White Ensign PE set for this kit. It included various railings for the main deck and fairwater, except the one for the lookout’s platform. That omission left me no choice but to scratch-build them. I ended up not using the PE at all.
Al,
It was a wise decision as I think PE rails in 1:144 scale would not have looked
right. PE rails are good on the smaller scales in my opinion.
Again, great job! and looking forward to seeing it painted.
Have a great day!
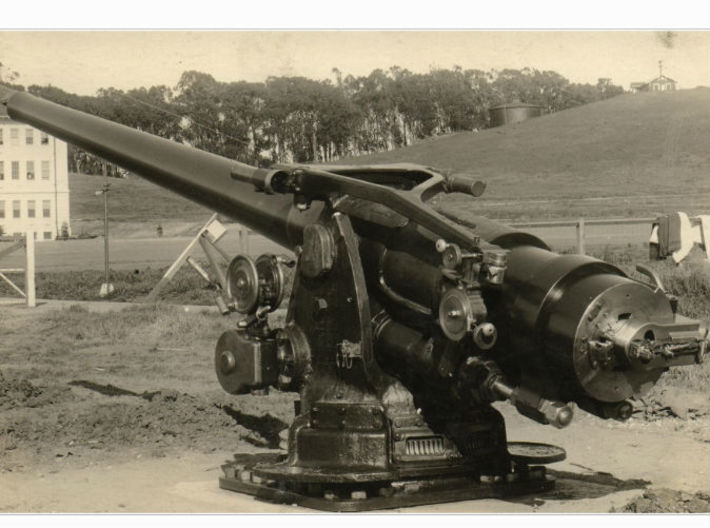
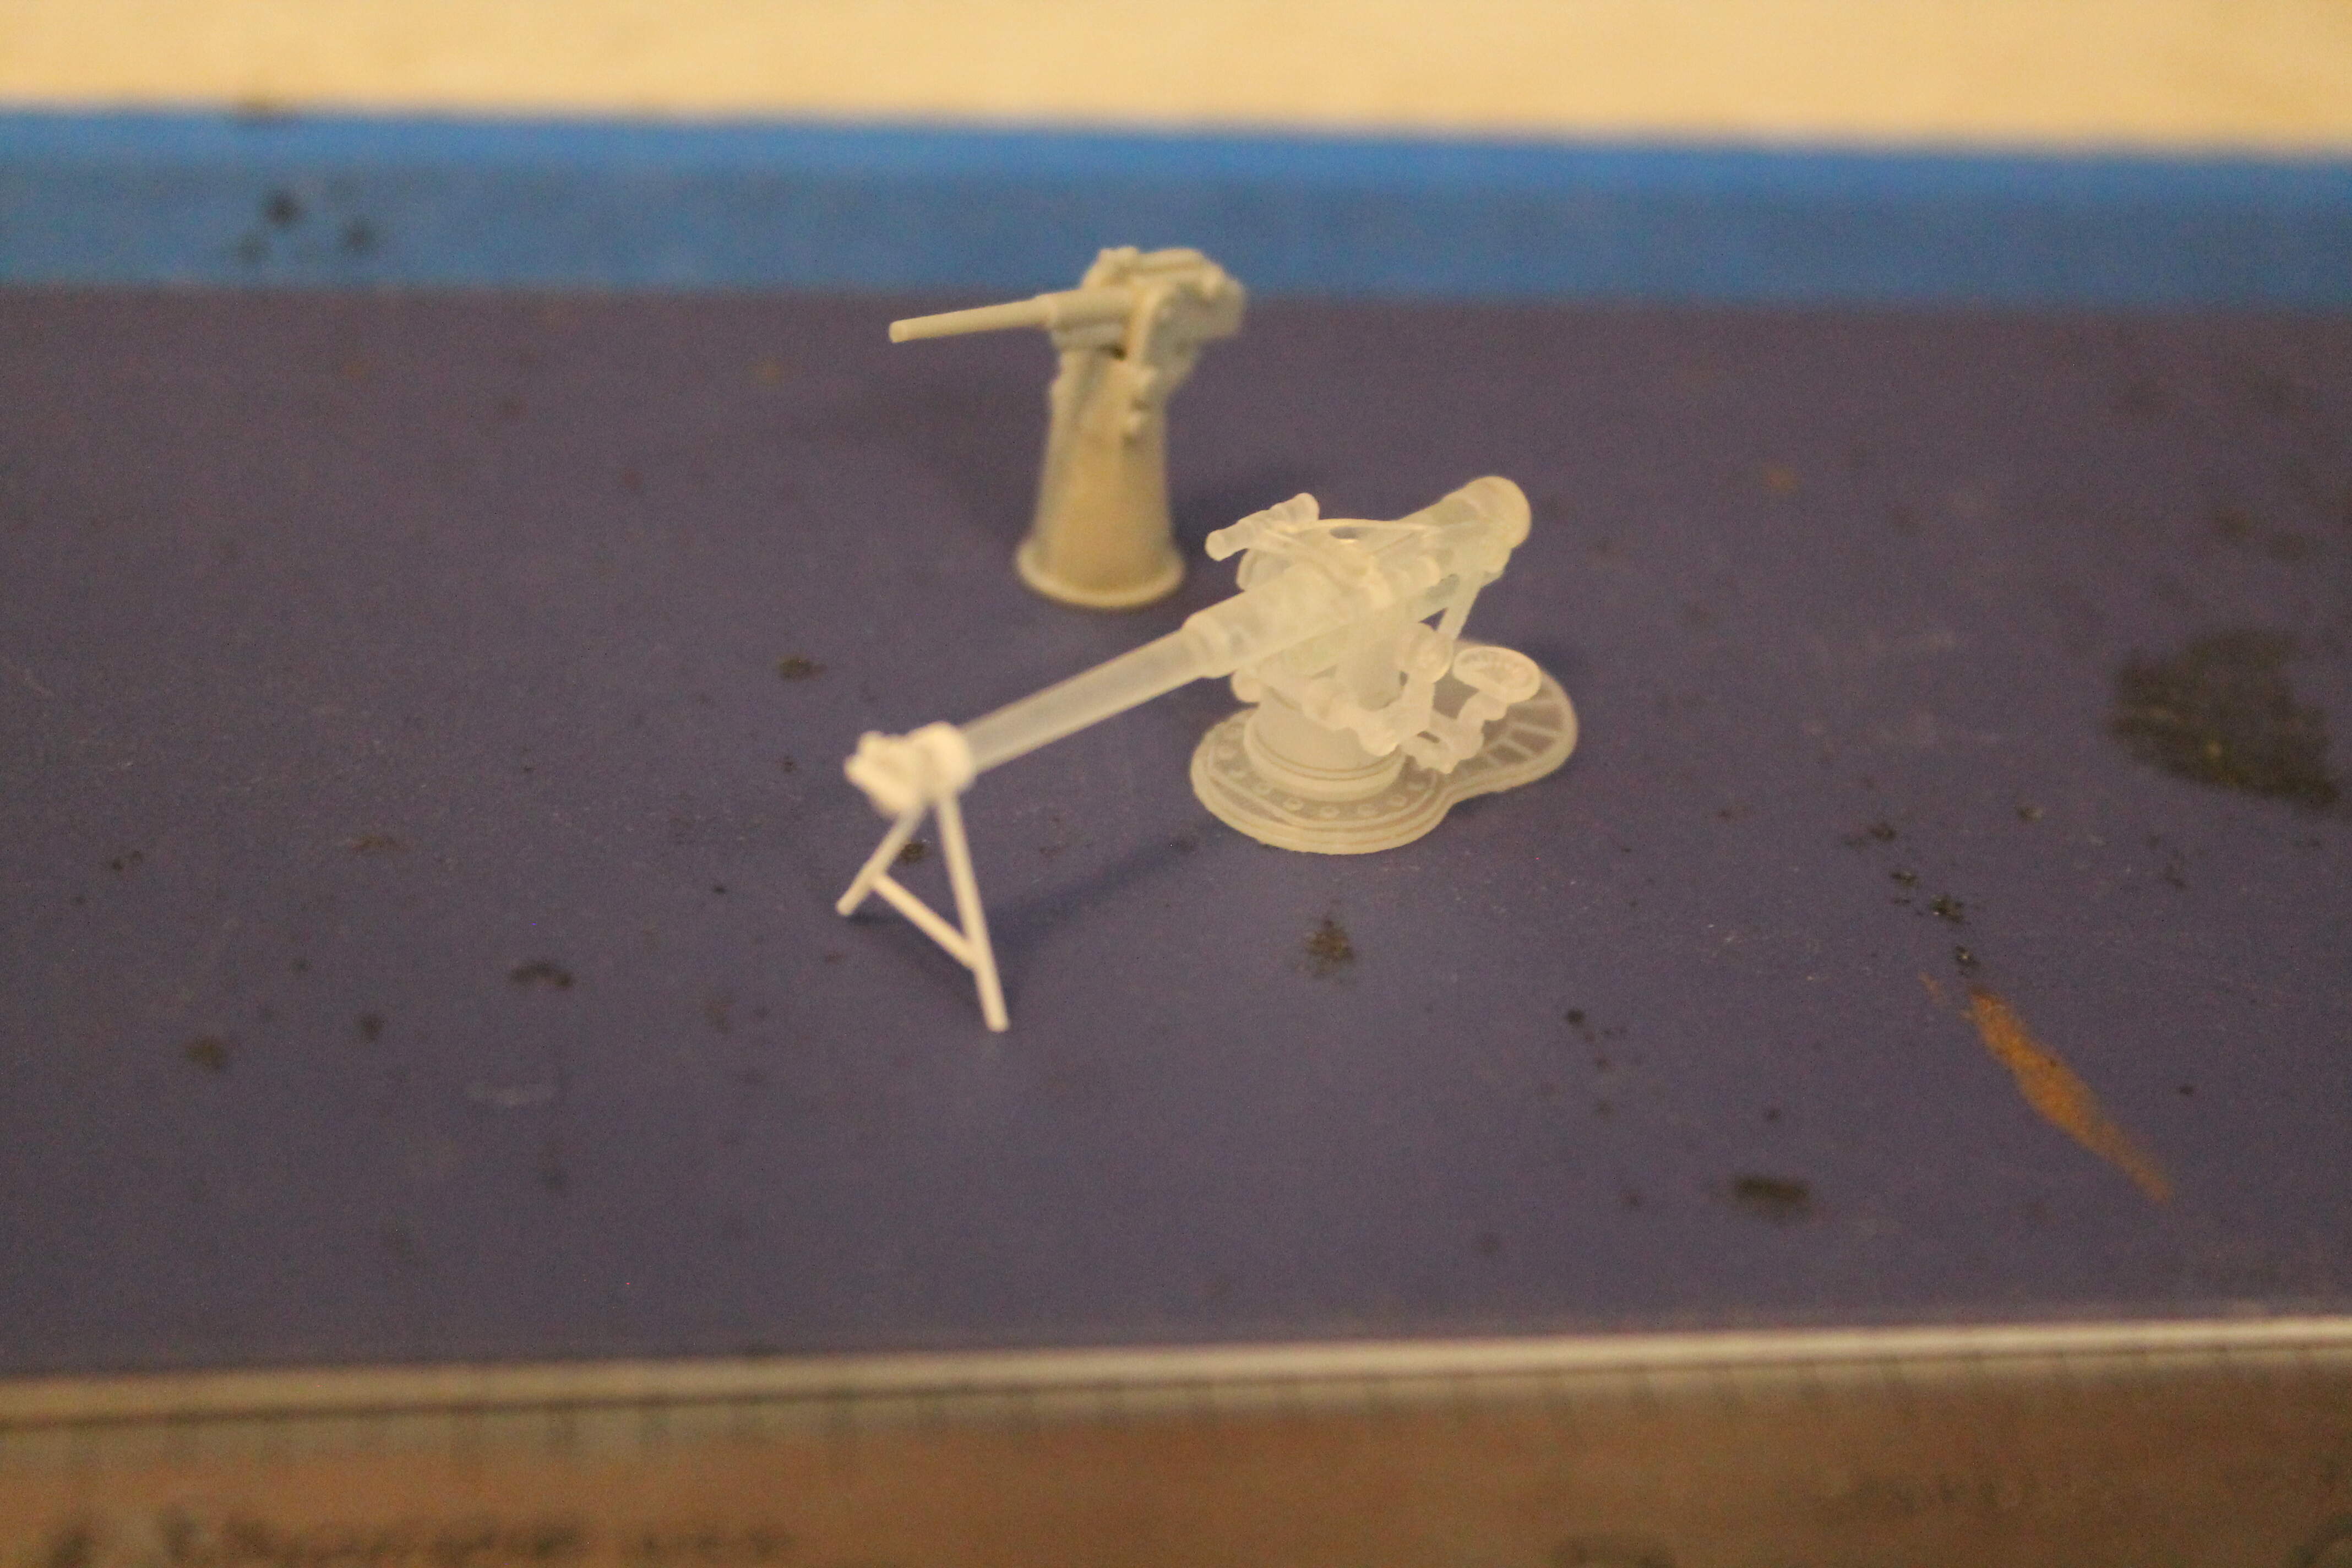
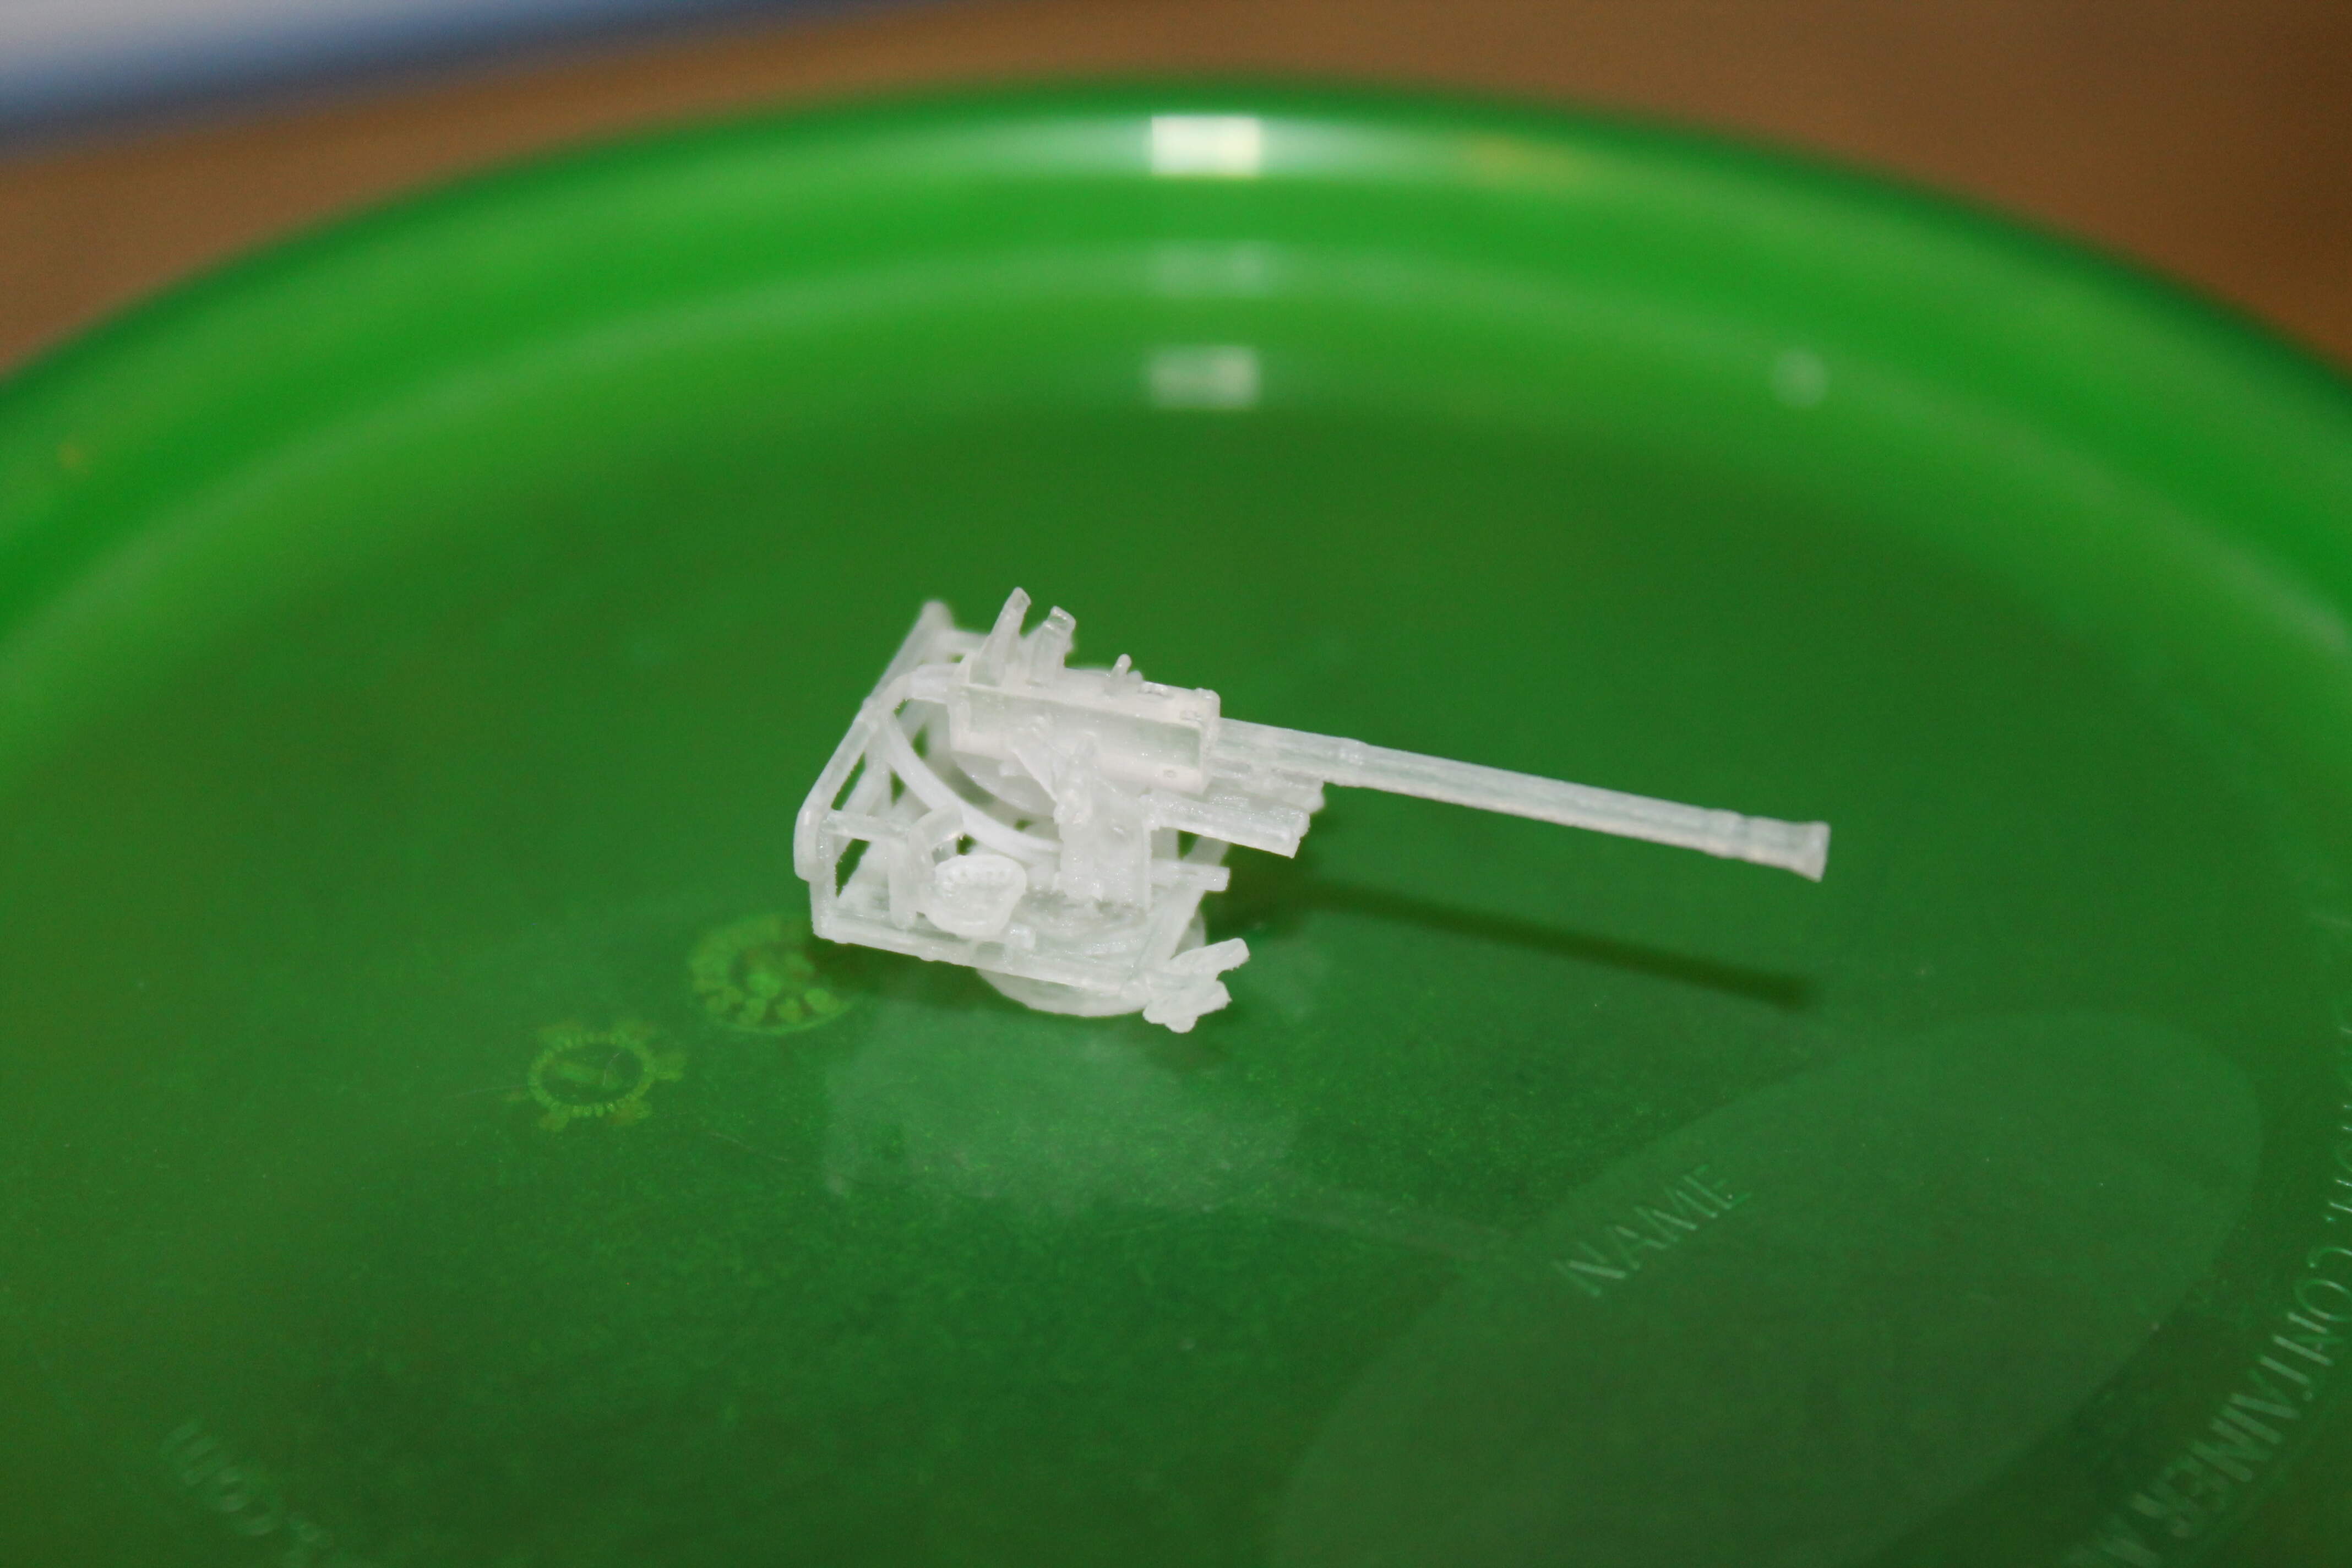
The weak point of Trumpeter’s kit are the guns. Luckily, 3D printed replacements are available from Shapeways. Though a little pricey for their size, I think they were well worth it. In the first pic you see the kit supplied gun next to it’s replacement.
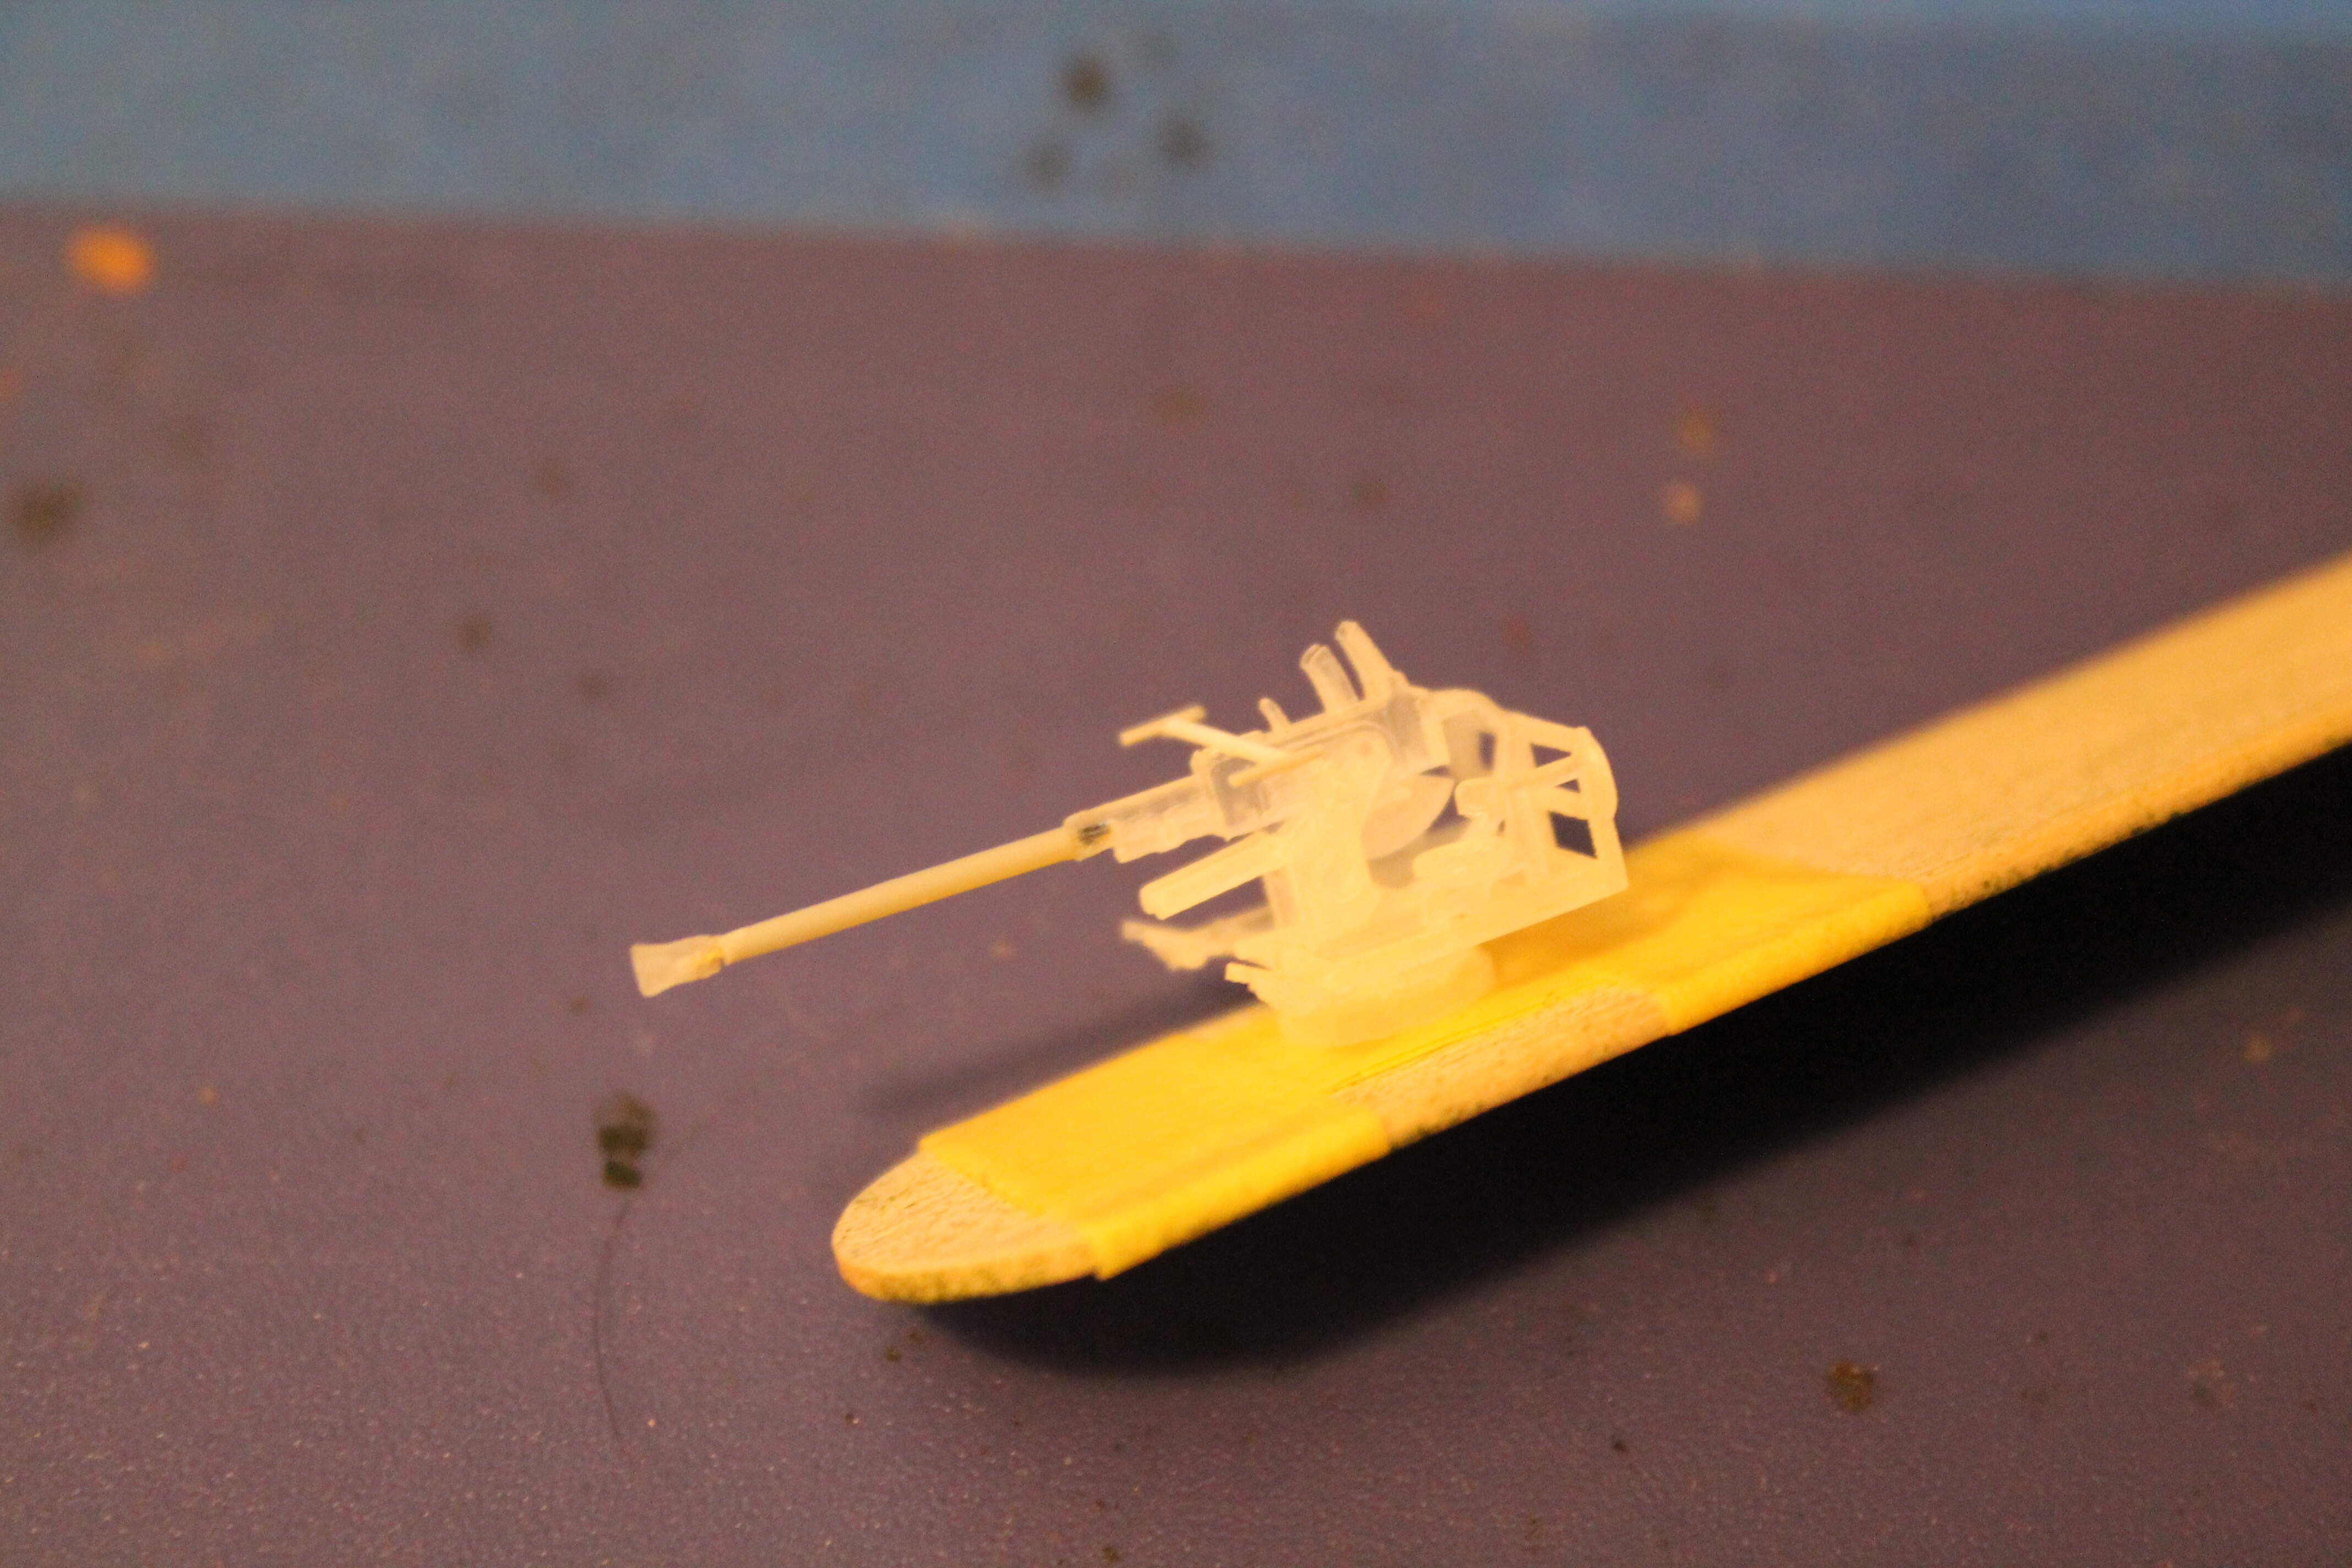
The detail is amazing, though I added the travel lock and barrel plug. For those wishing to build the earlier version, a 3D printed 3" gun is also available. Next up is the 40mm Bofors.
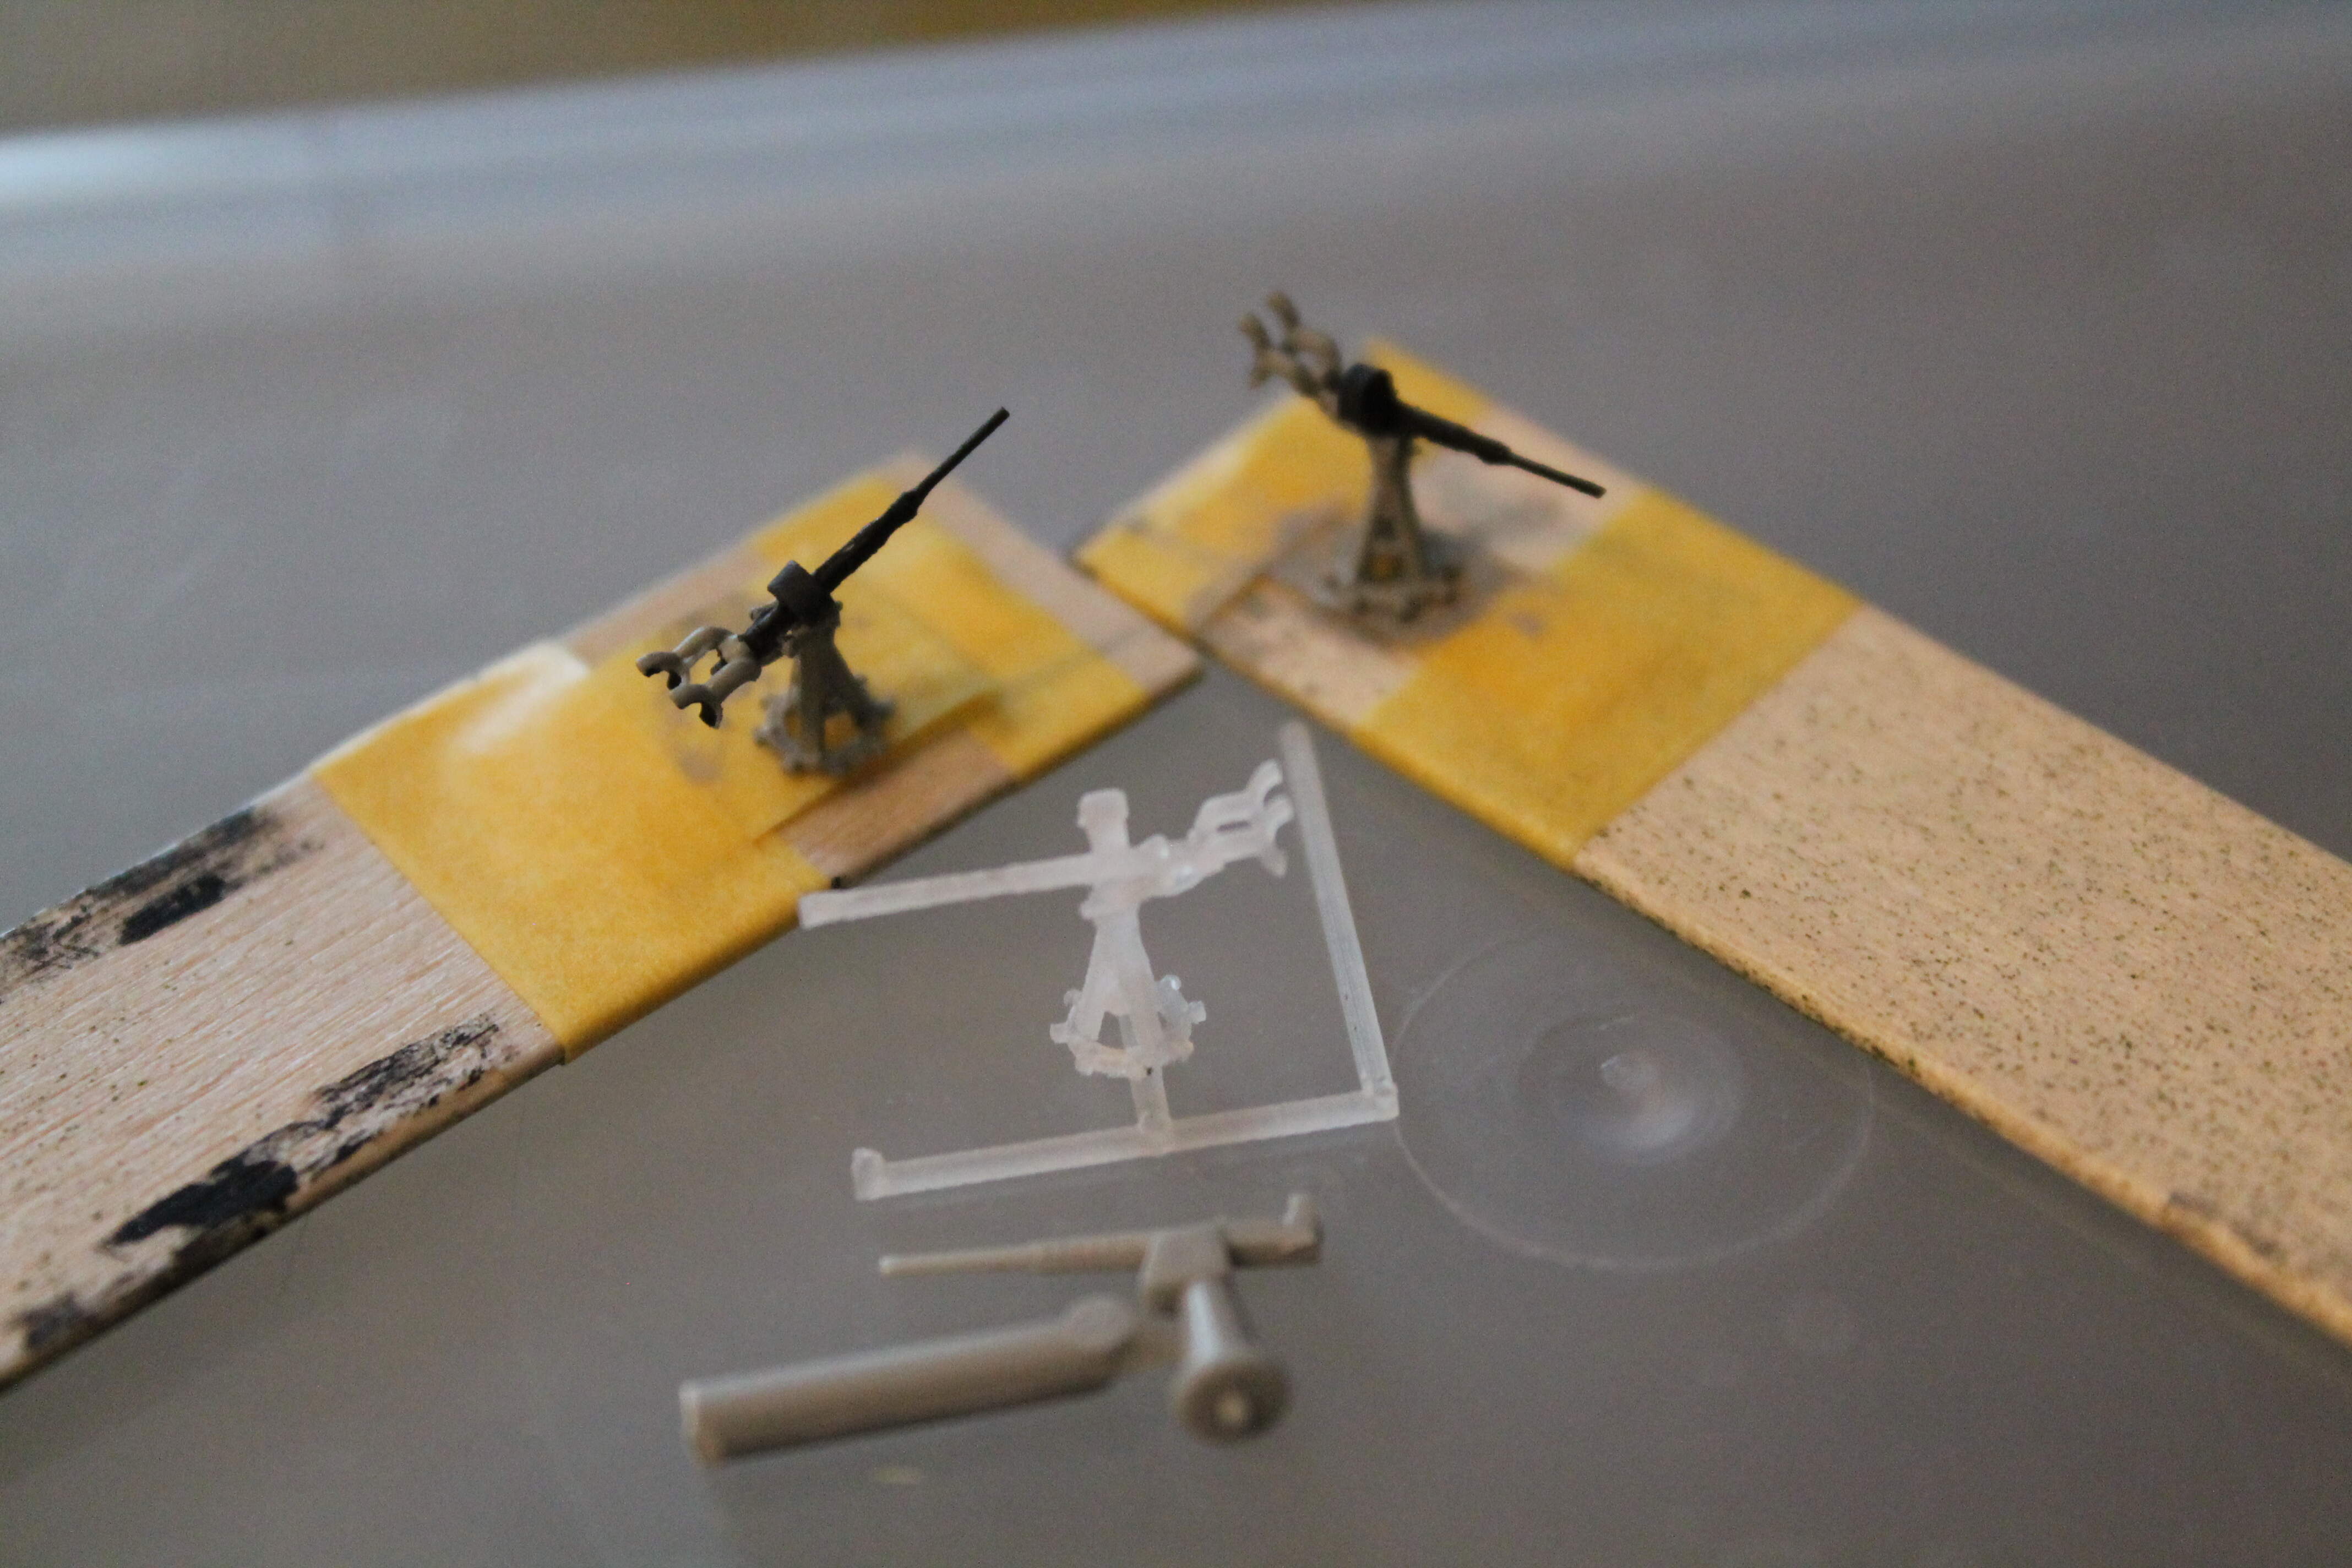
I also added the bar that the sights were mounted to. You can’t see it in these photos, but the seats actually have their lightening holes. And last but not least, the 20mm Oerlikons. They came as a set of three and again I thought the barrels too thick. I also felt the ammo drums were undersized. So I cut the barrels back halfway and used stretched sprue for the new sections. Slices of styrene rod served to replace the ammo drums. In the photo you see the kit supplied gun, one of the 3D printed replacements, and my modified guns.
A word about the 3D printed parts, while very nice and very well detailed, they are quite fragile. Care must be exercised when handling them. I broke off and lost one of the foot rests on the main gun, but was able to make a passable replacement. I also broke one of the 20mm’s but was able to repair it. As always comments and questions are welcome. Thanks for looking.
My compliments on the sharp, clean work on your Gato! I especially appreciate the work on the tower. Like most US fleet sub kits, Trumpeter’s interpretation is a bit of a mixed bag, but your boat is gonna look great!
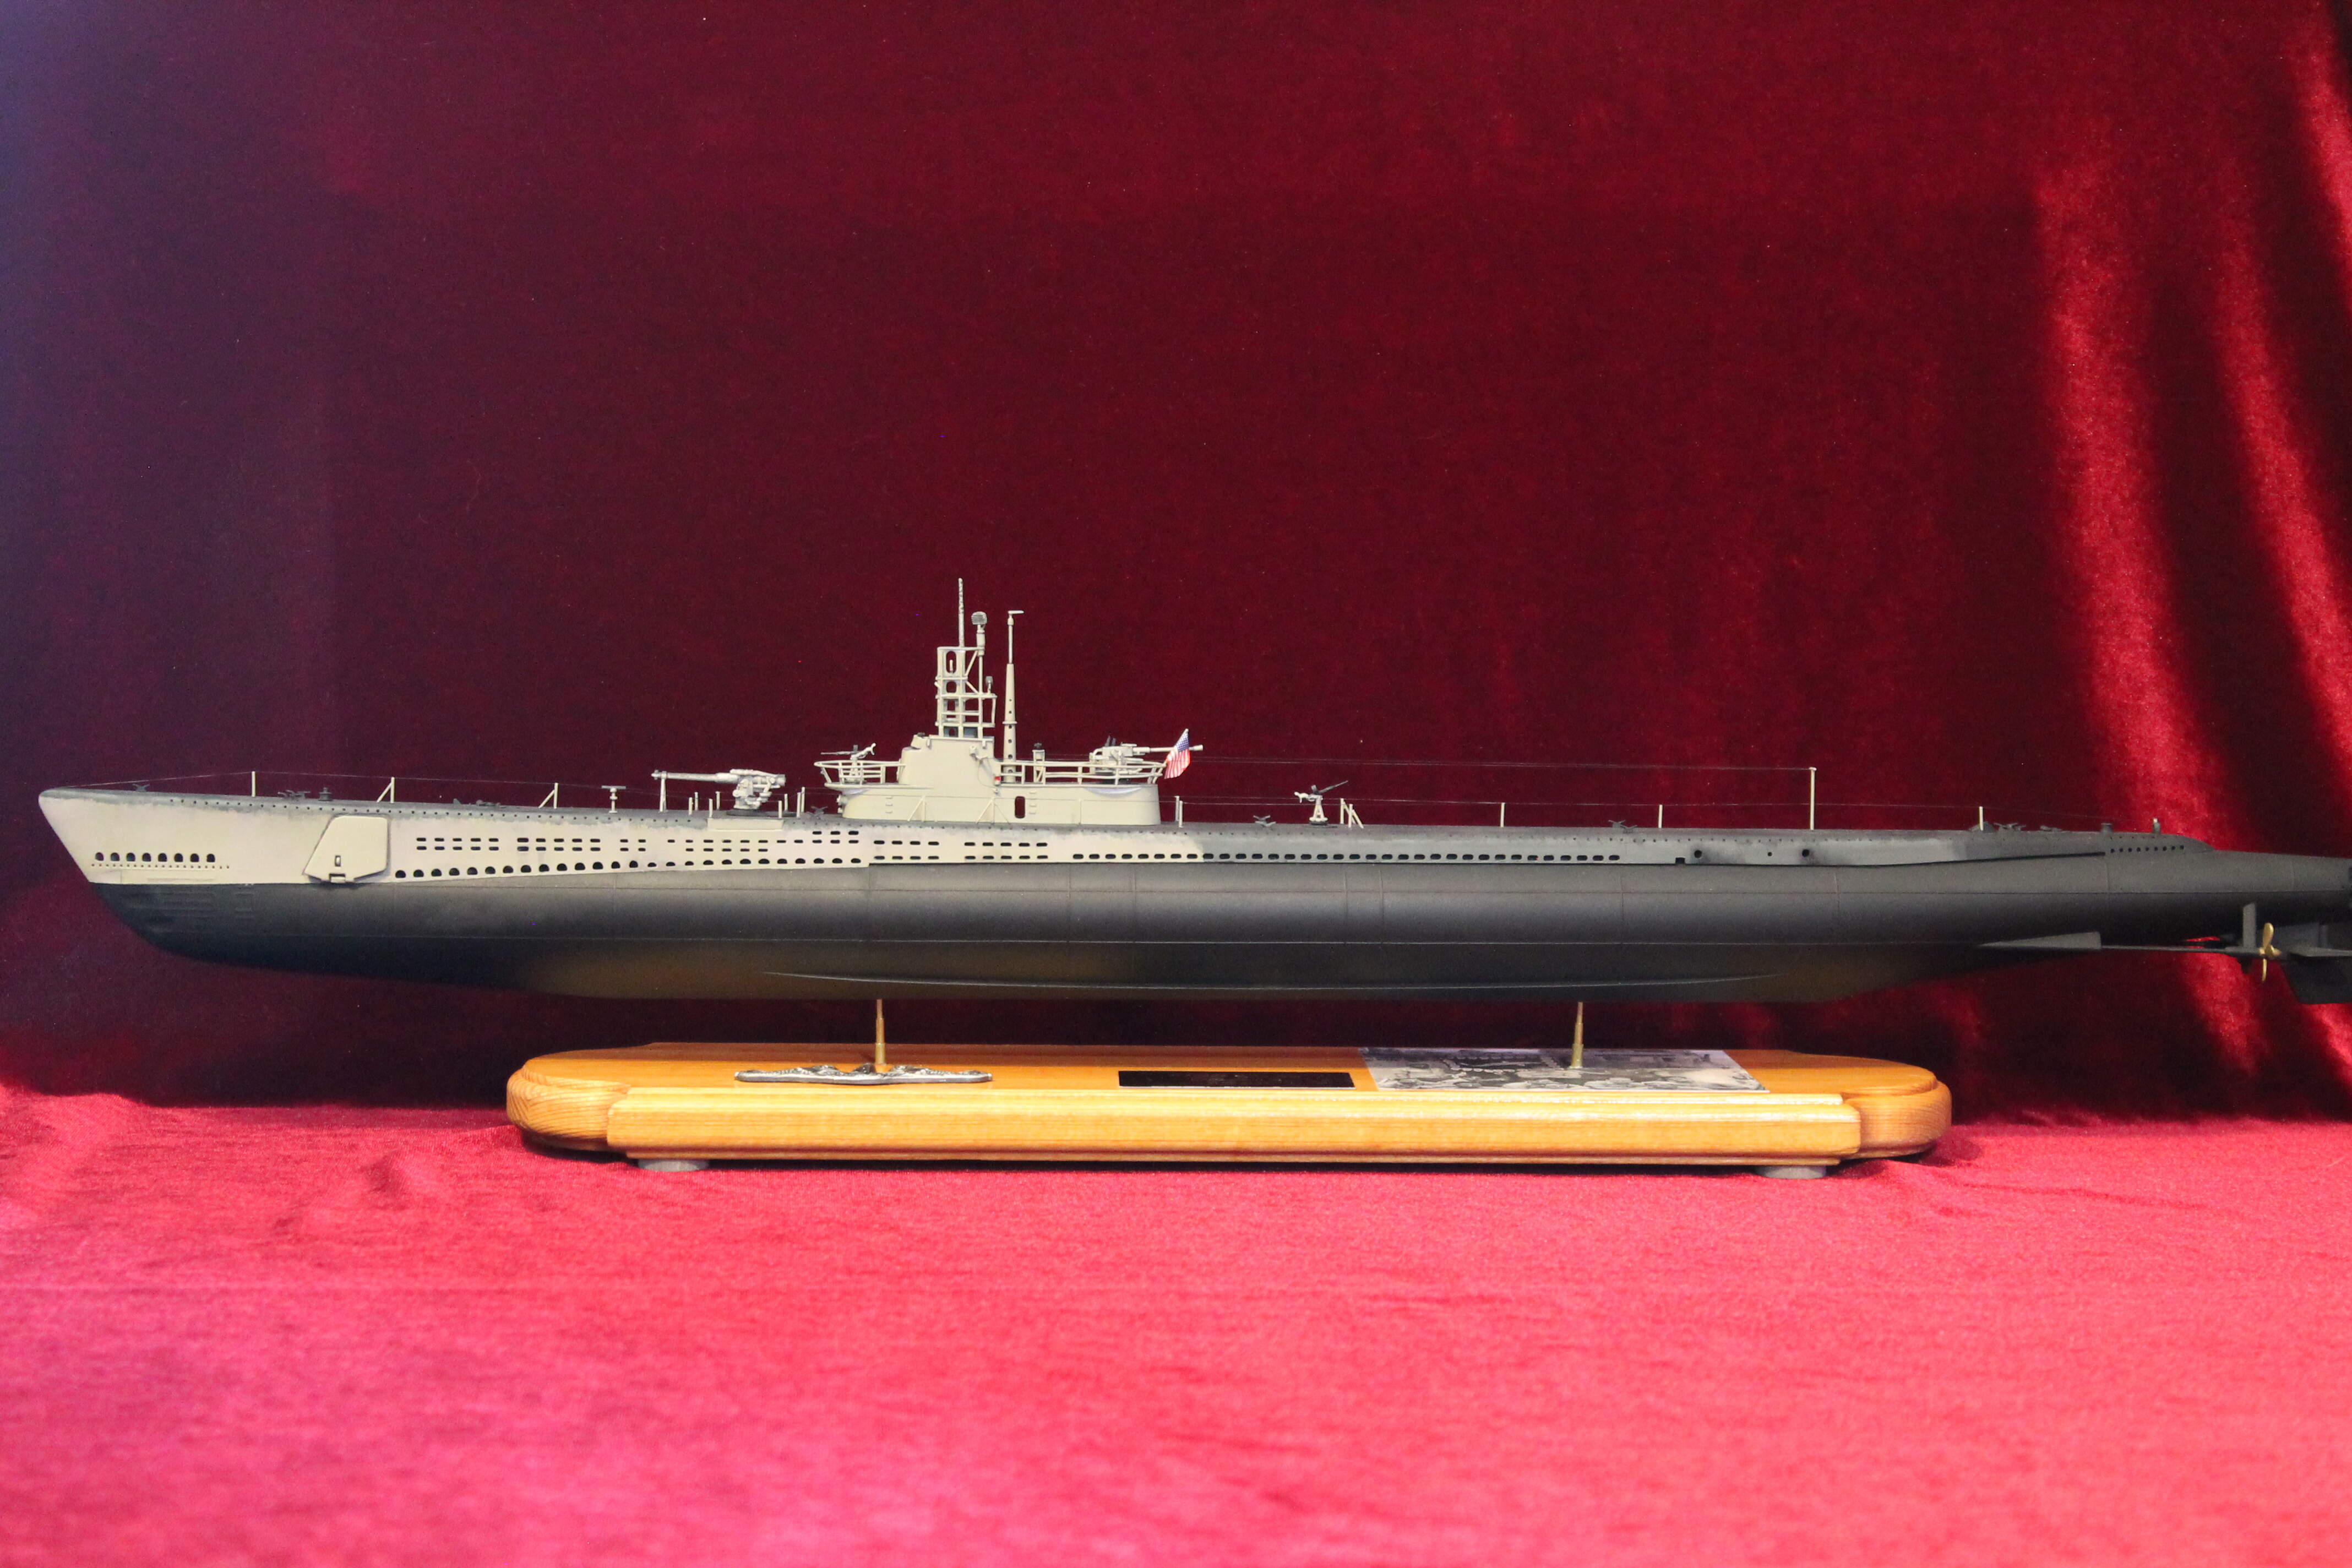
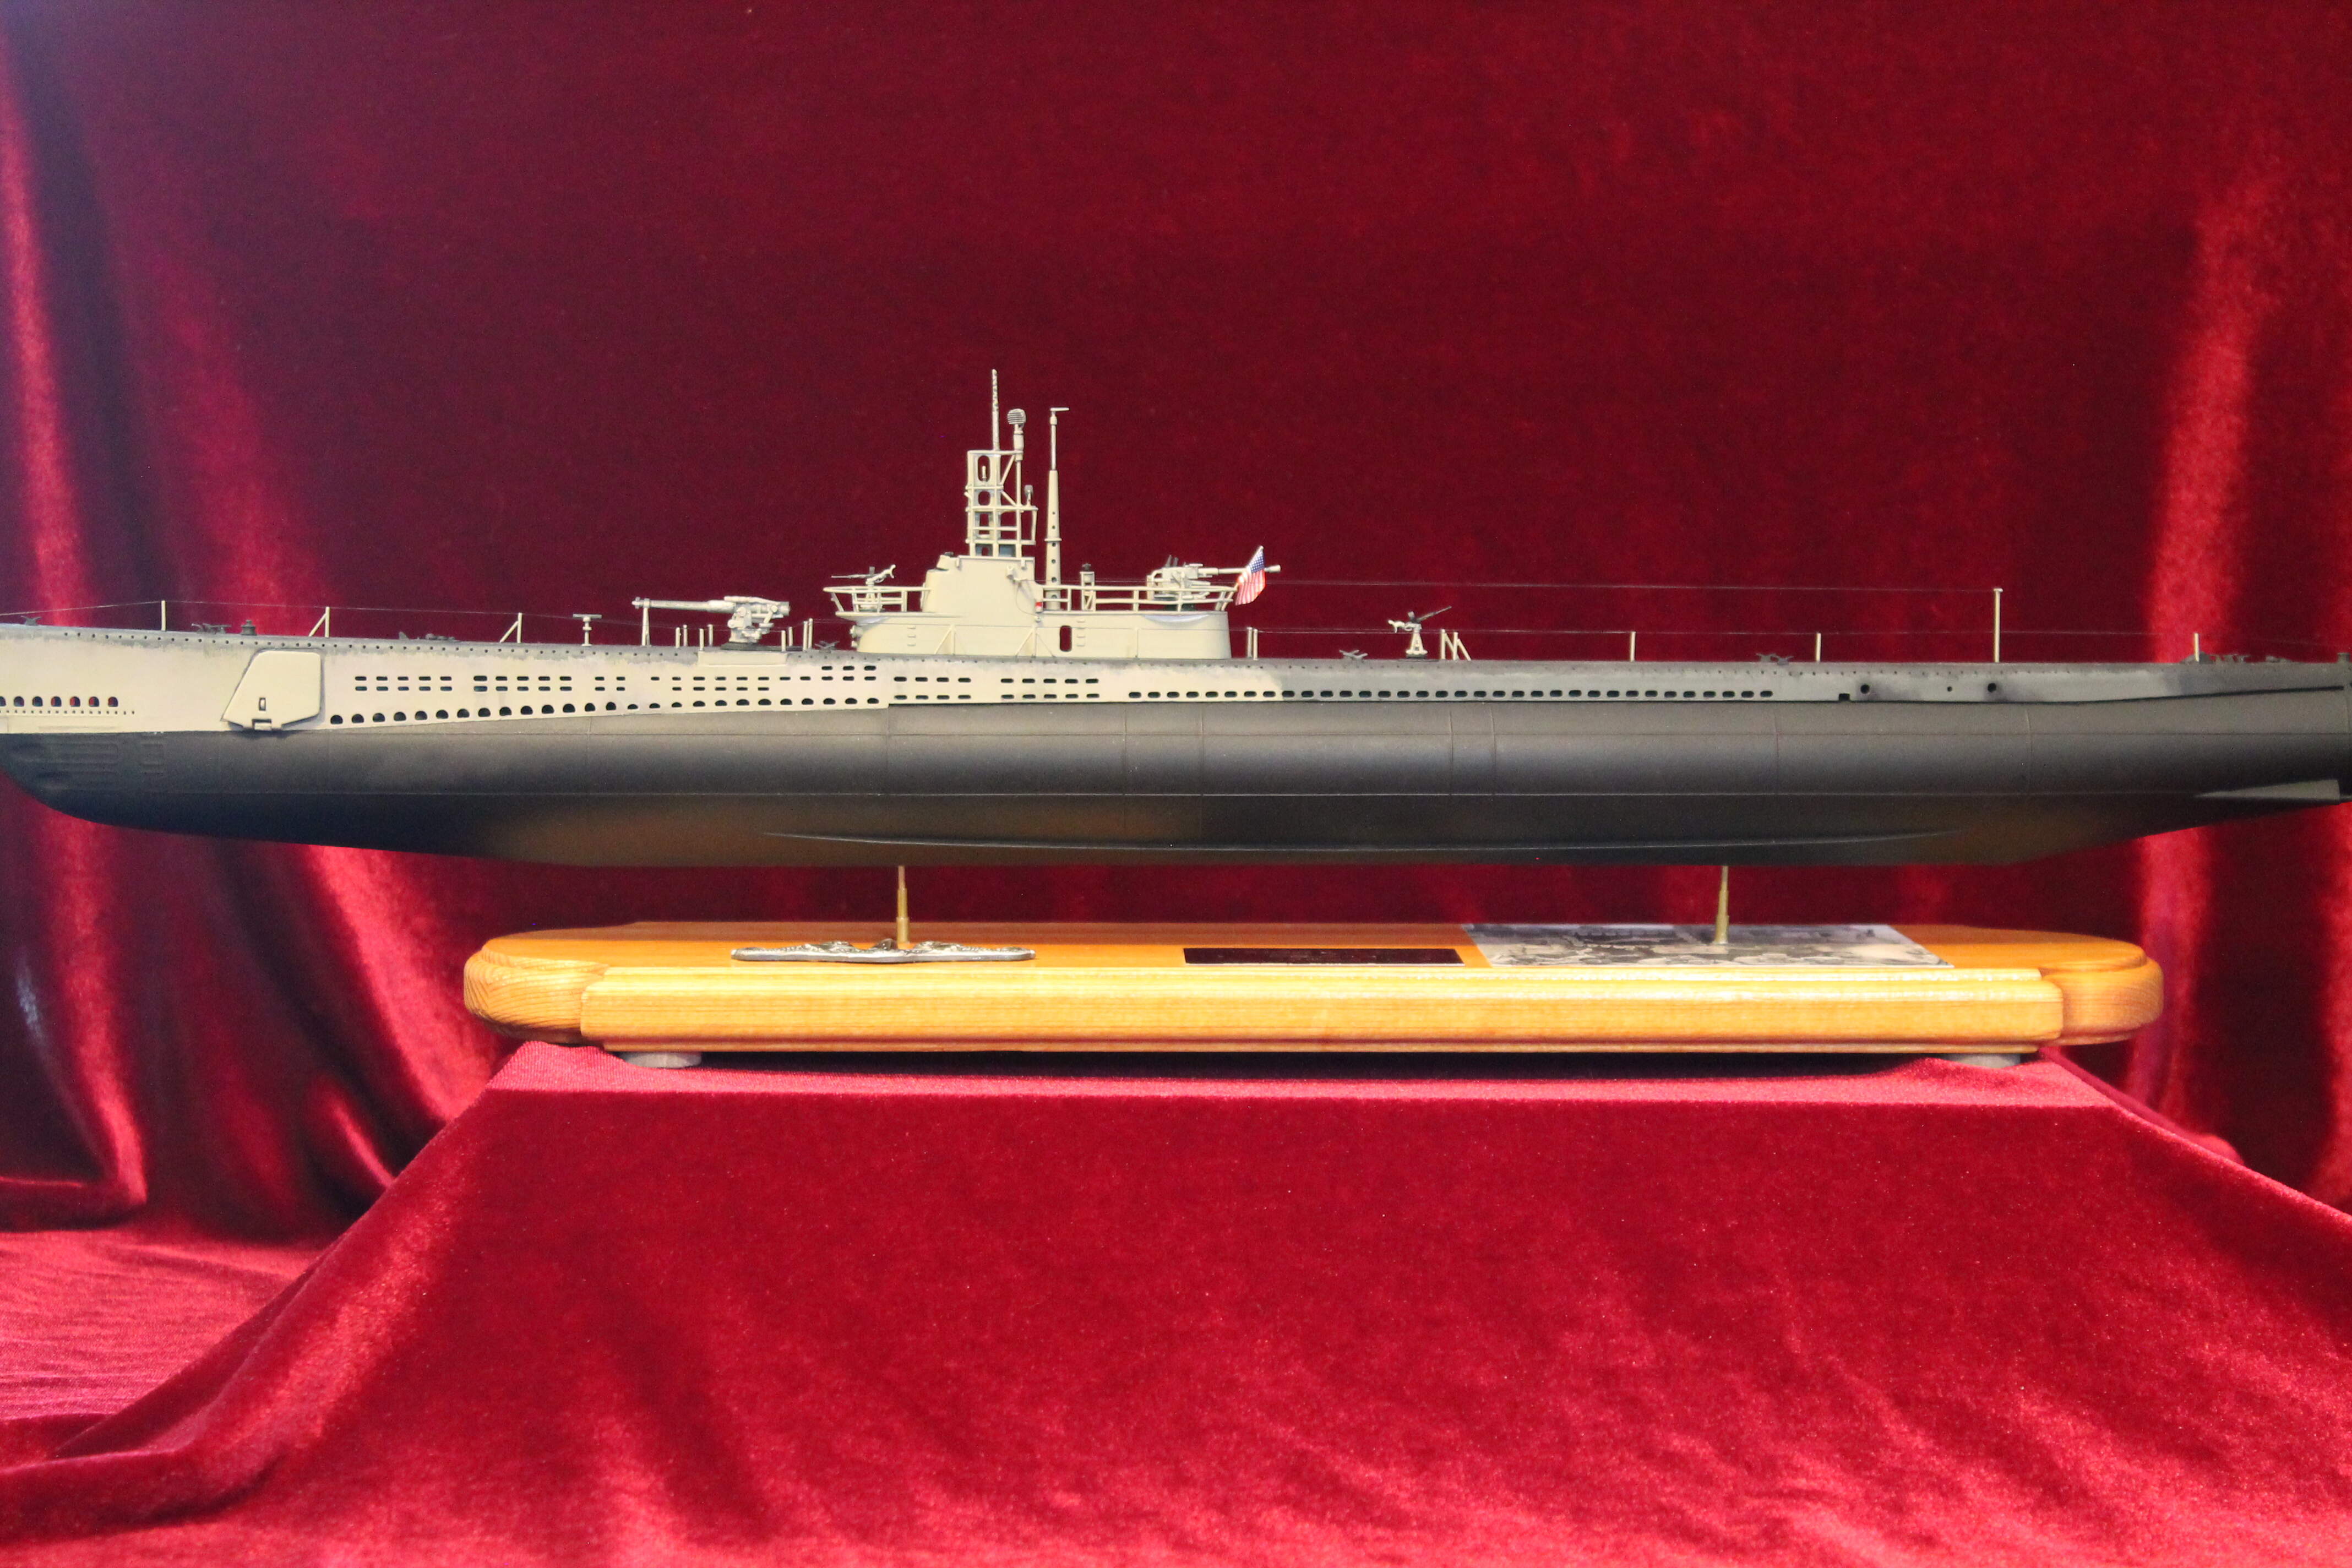
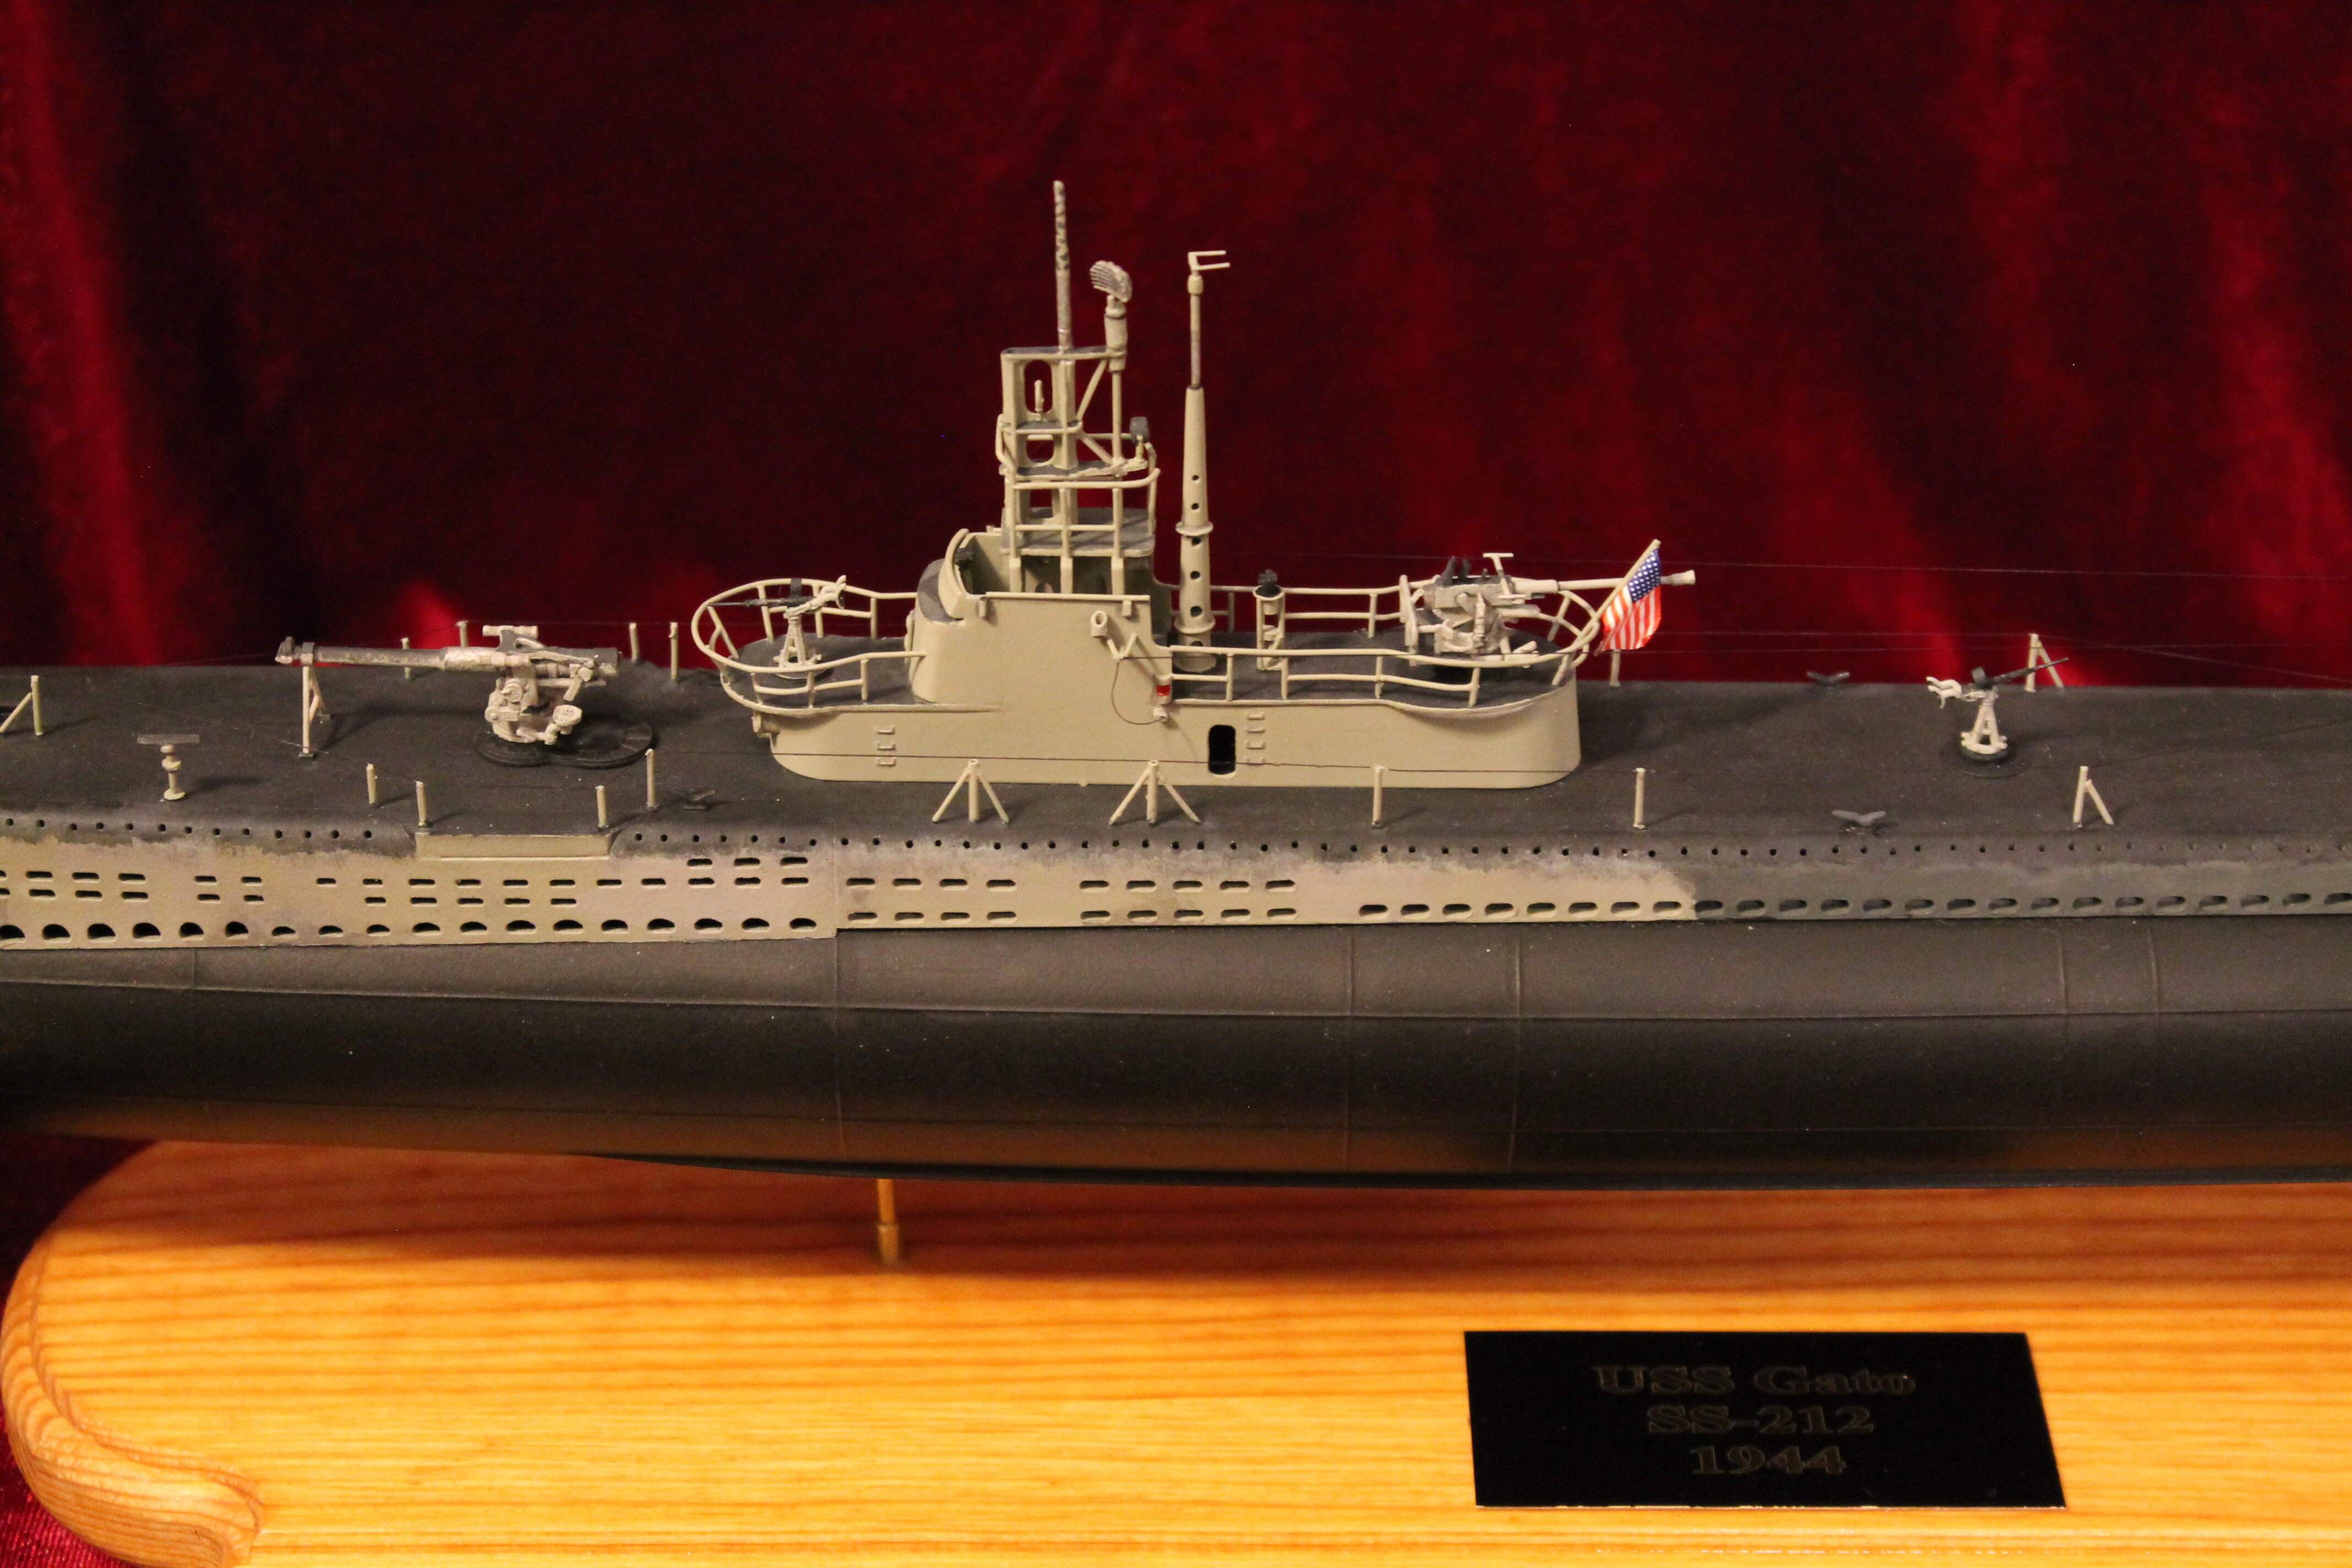
I actually started this build several months ago but just recently started posting pictures. So here she is all finished. Some of the pix were taken before I added the final touches to the base.
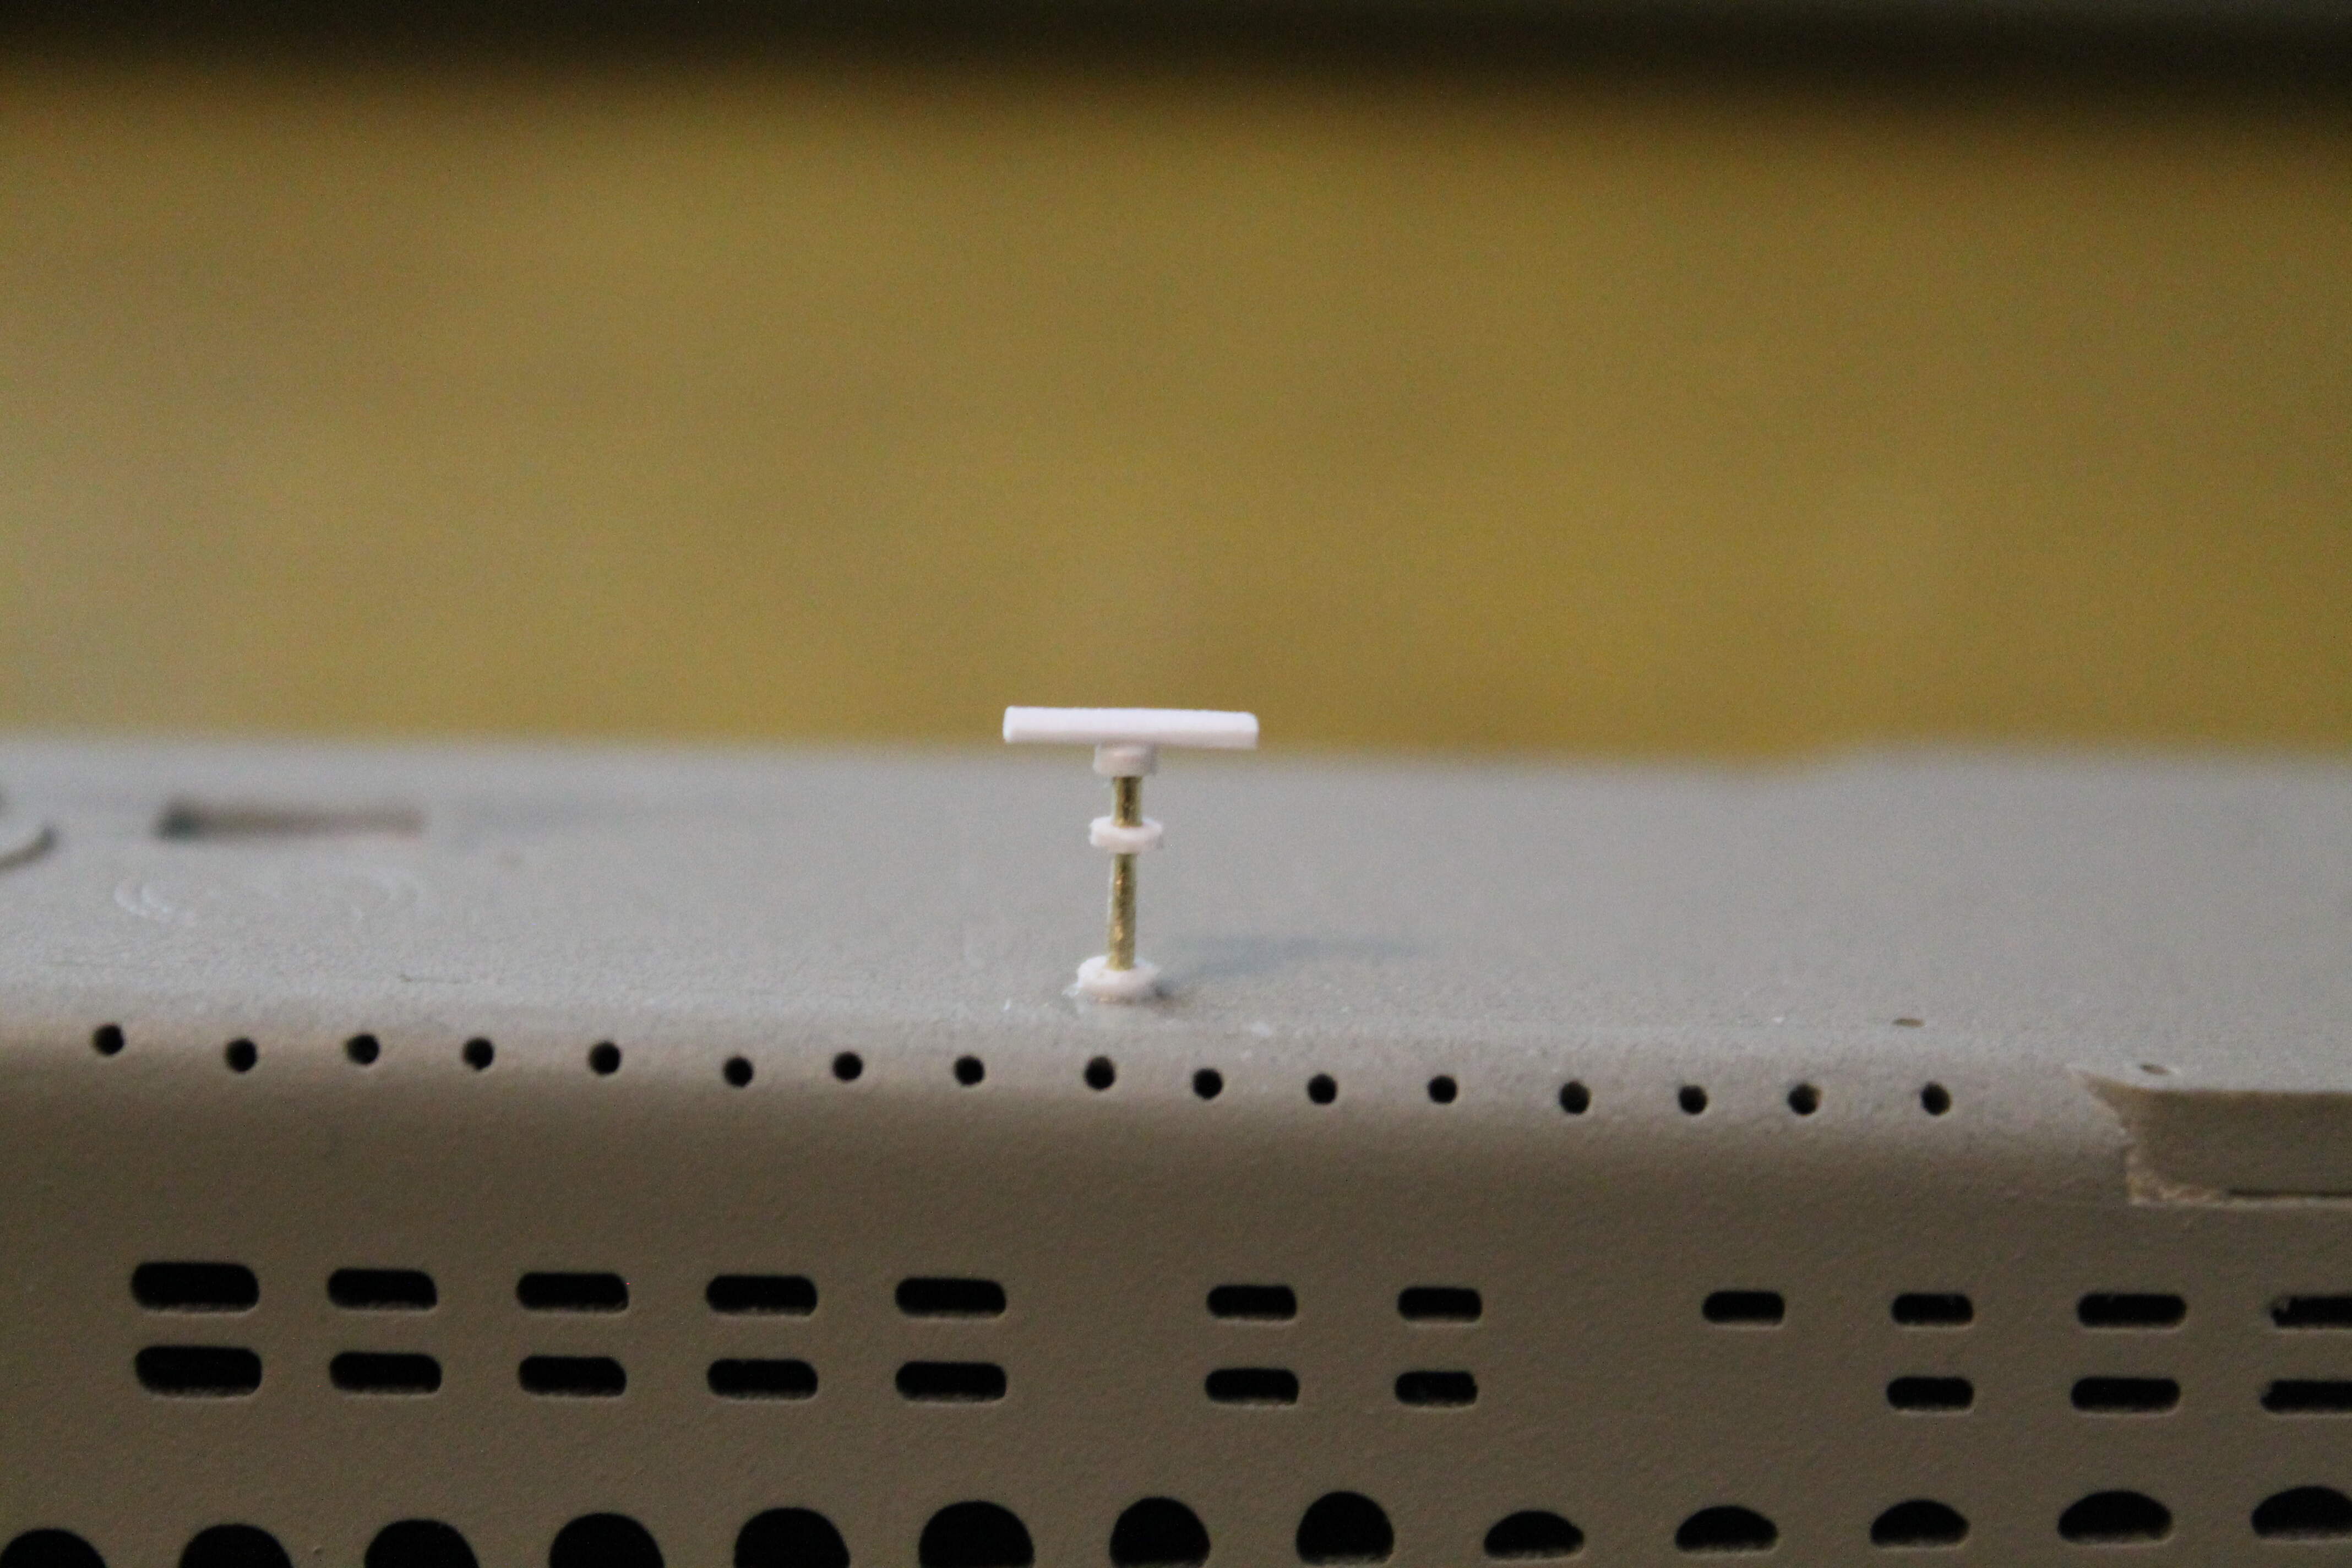
The flag is a kit supplied decal folded around a primer coated piece of aluminum foil. This allows me to shape it any way I want. I used EZ-line for the life lines and antenna cables, a first for me. The kit was missing the ‘T’ shaped mast for the antenna so I made one from a piece of brass rod capped with a piece of plastic rod. Once again, thanks for looking.
Thank you, Joe. Much appreciated. BTW, This morning I noticed a section of the lower rail by the 40mm went missing somehow. This battle damage has since been repaired.
A couple yers after your excellent build. . . luv the care & research / homework you did on modifications and detailing . . . my current project ( a couple of Trumeter’s Gato’s are down the pike ) is a 7:72 1946+ Balao SS396 USS Ronquil . . . Current question . . . did you eyeball them or do you have the measurements for spacing the free flood holes on the edge of the deck ?
If you ever do another sub & either have the capability to 3D print (getting cheaper & easier every day) or know someone who does . . . for the price of a couple of guns from shapeways you can get an entire gato stl file from C G Trader ( it’s 1/72 , but you can print them in any scale ) complete with 5" 25cal, 40mm boors & 20mm oerlikons ( $49, & got mine on sale for $32 ) & print them for pennies. Cheers, Ed