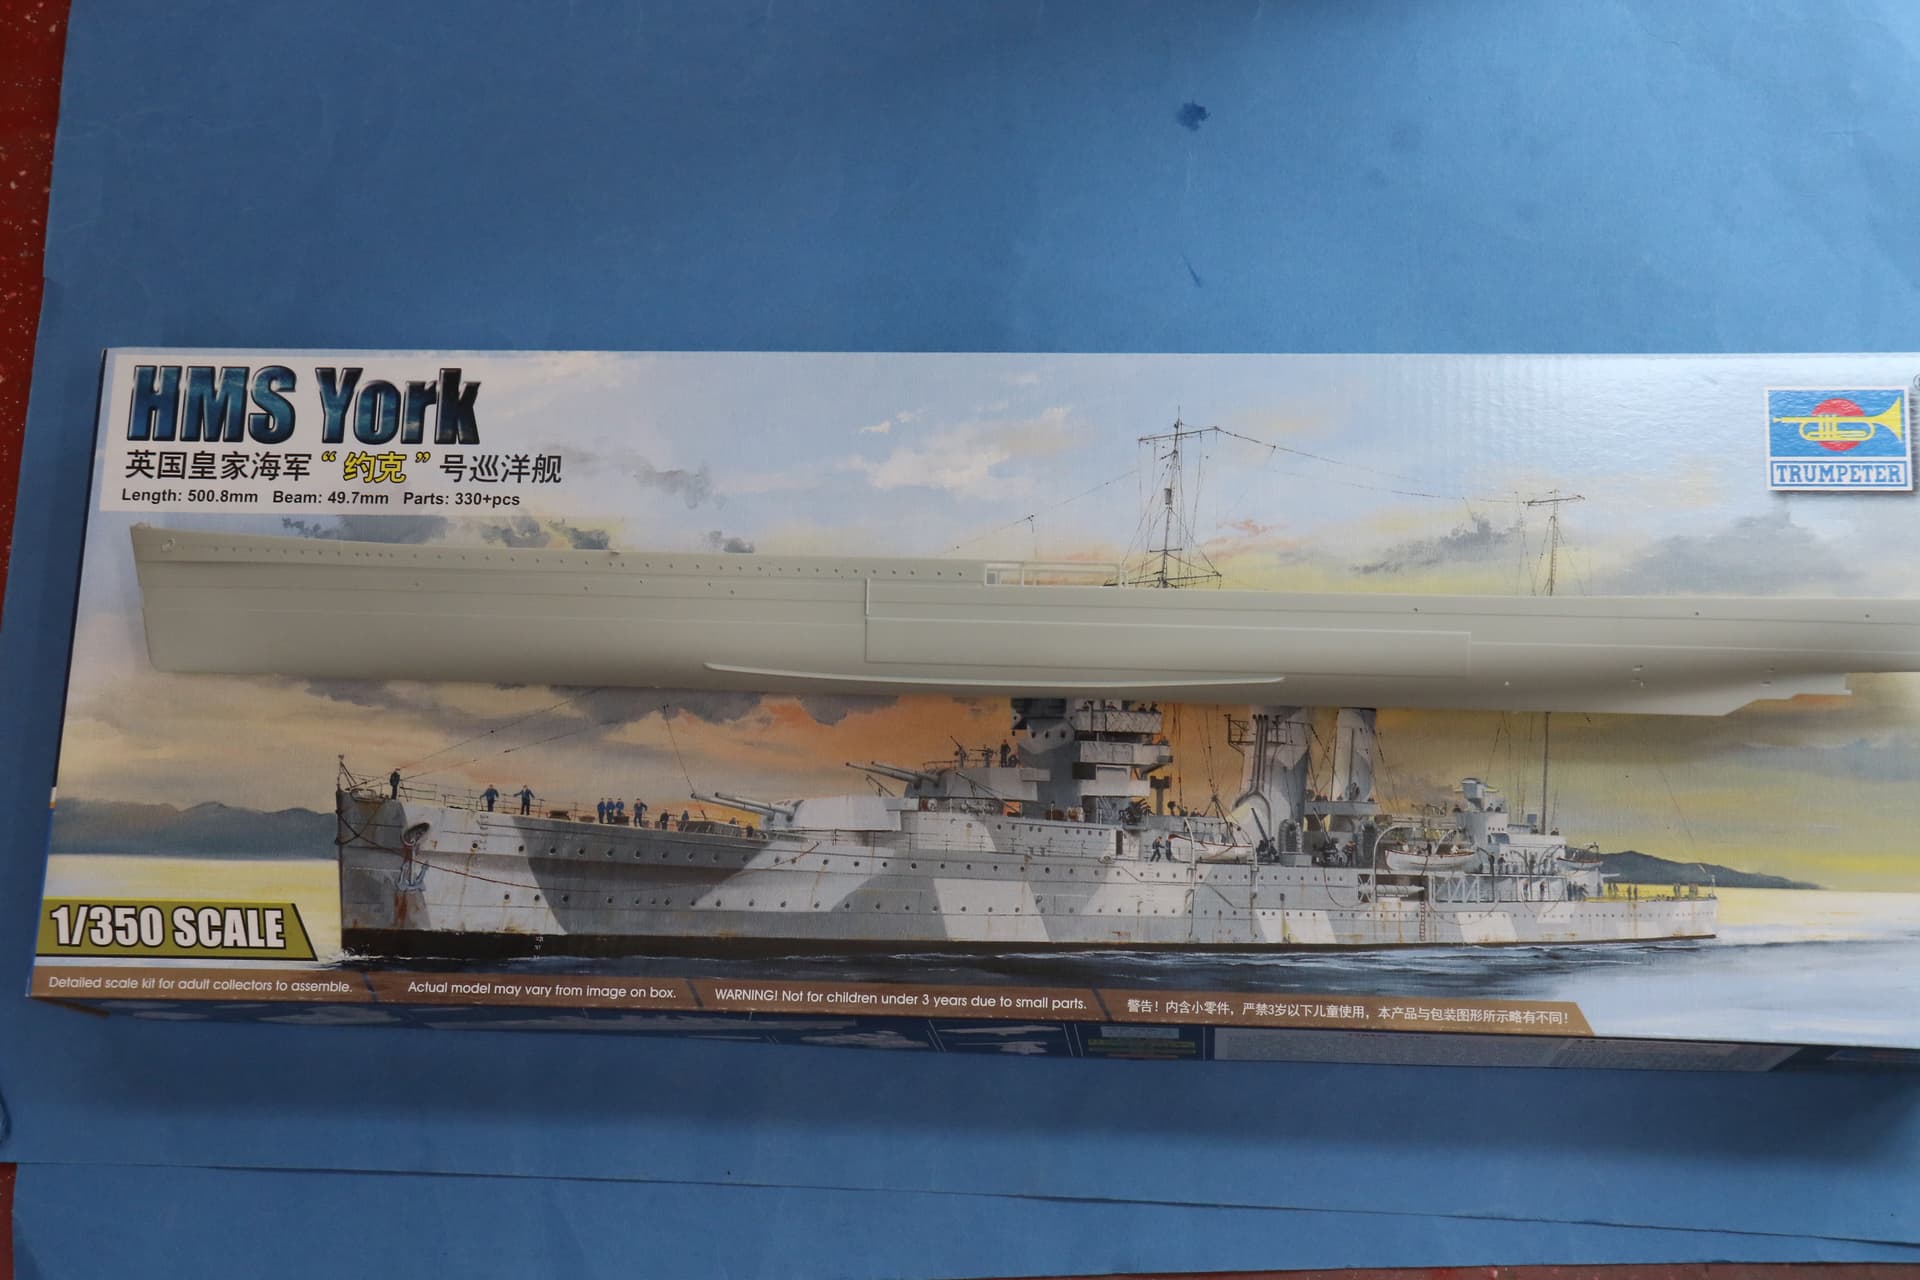
Having actually finished something for the first time in almost a year, I pulled this project out of the stash because I had all the aftermarket, and I wanted something a bit simpler.
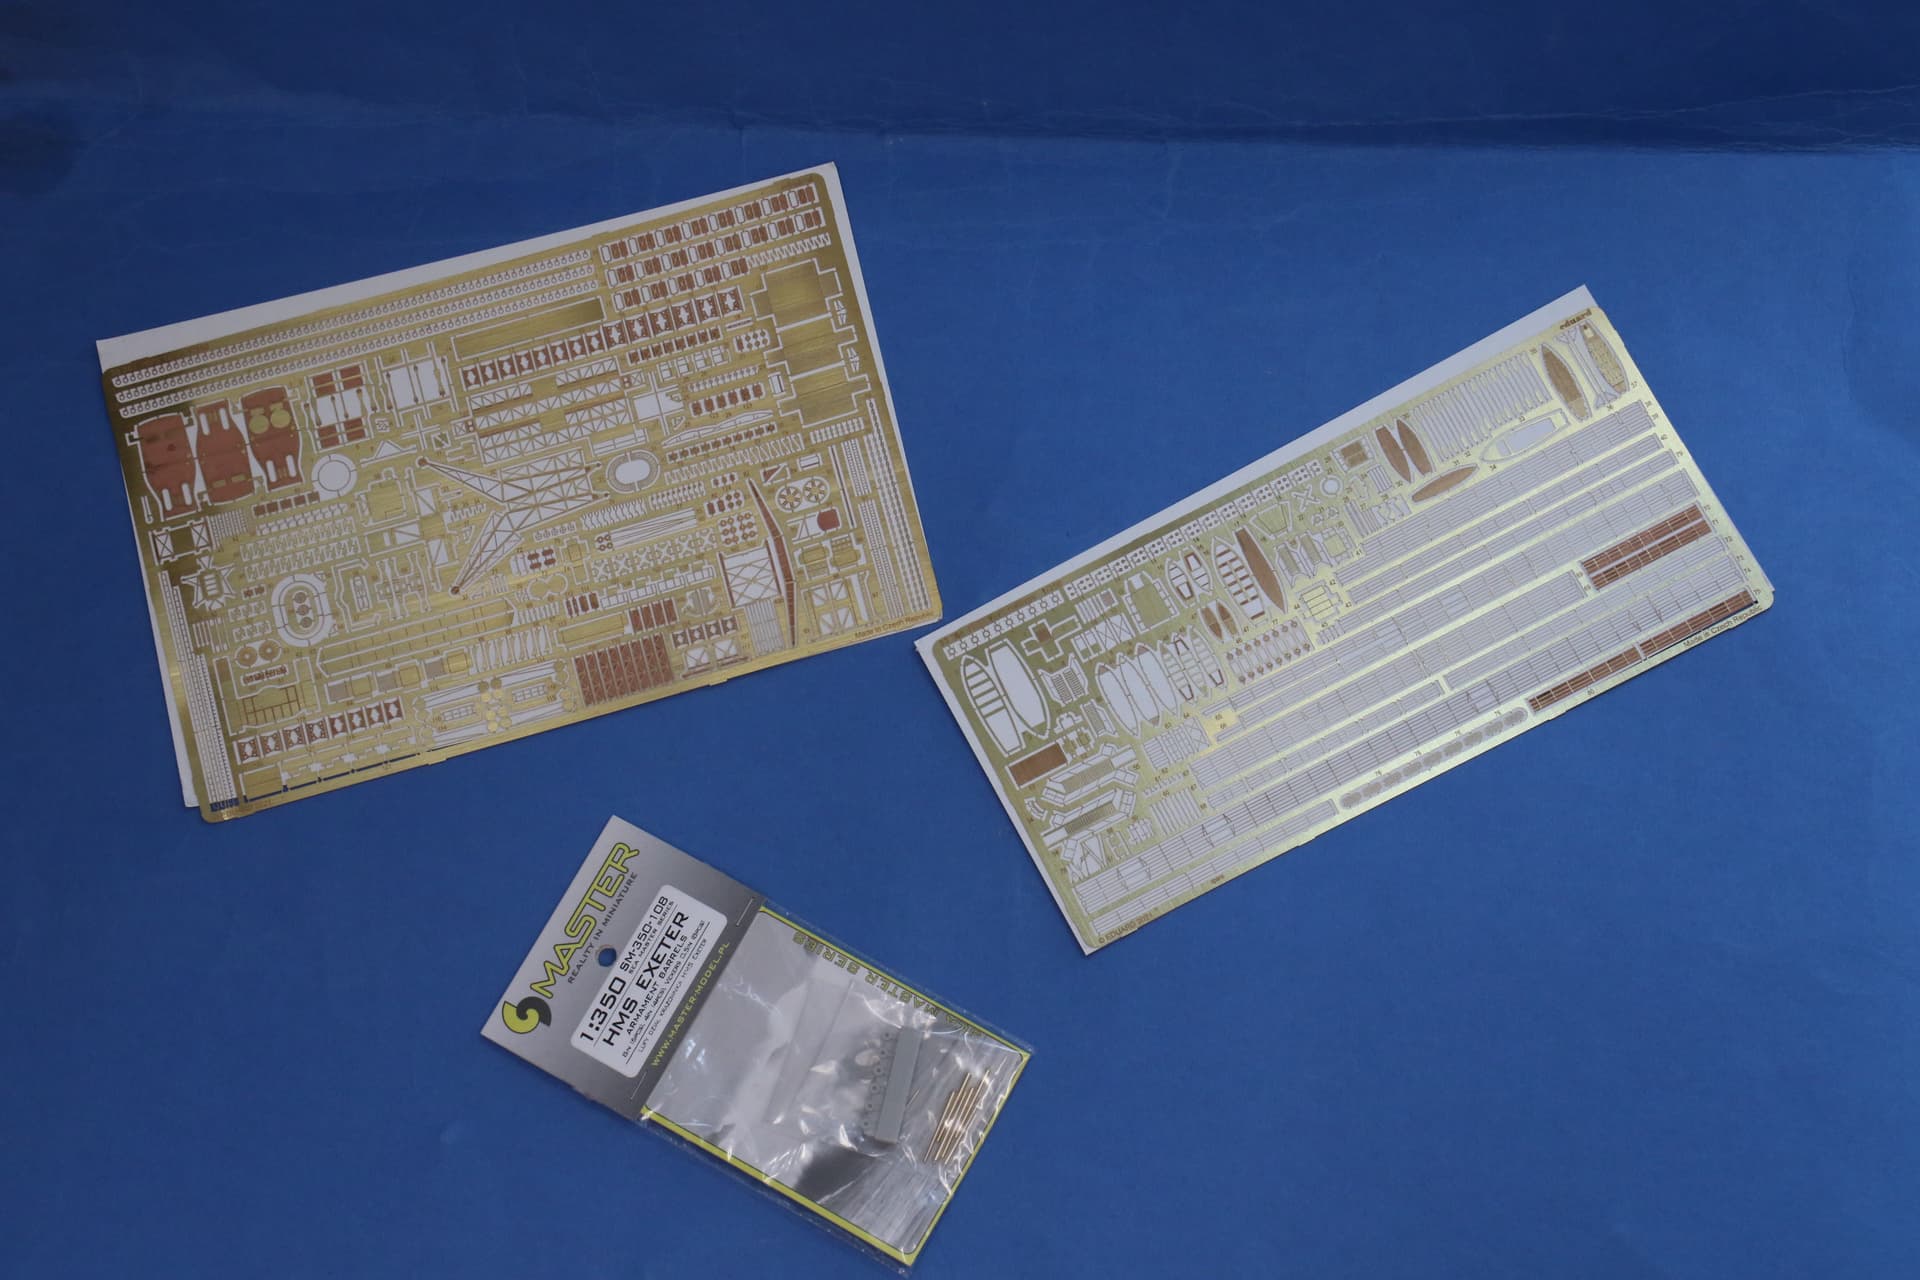
The aftermarket, Eduard’s two sets, and Master barrels, the back says “Exeter”, but the 8" and 4" are the same,
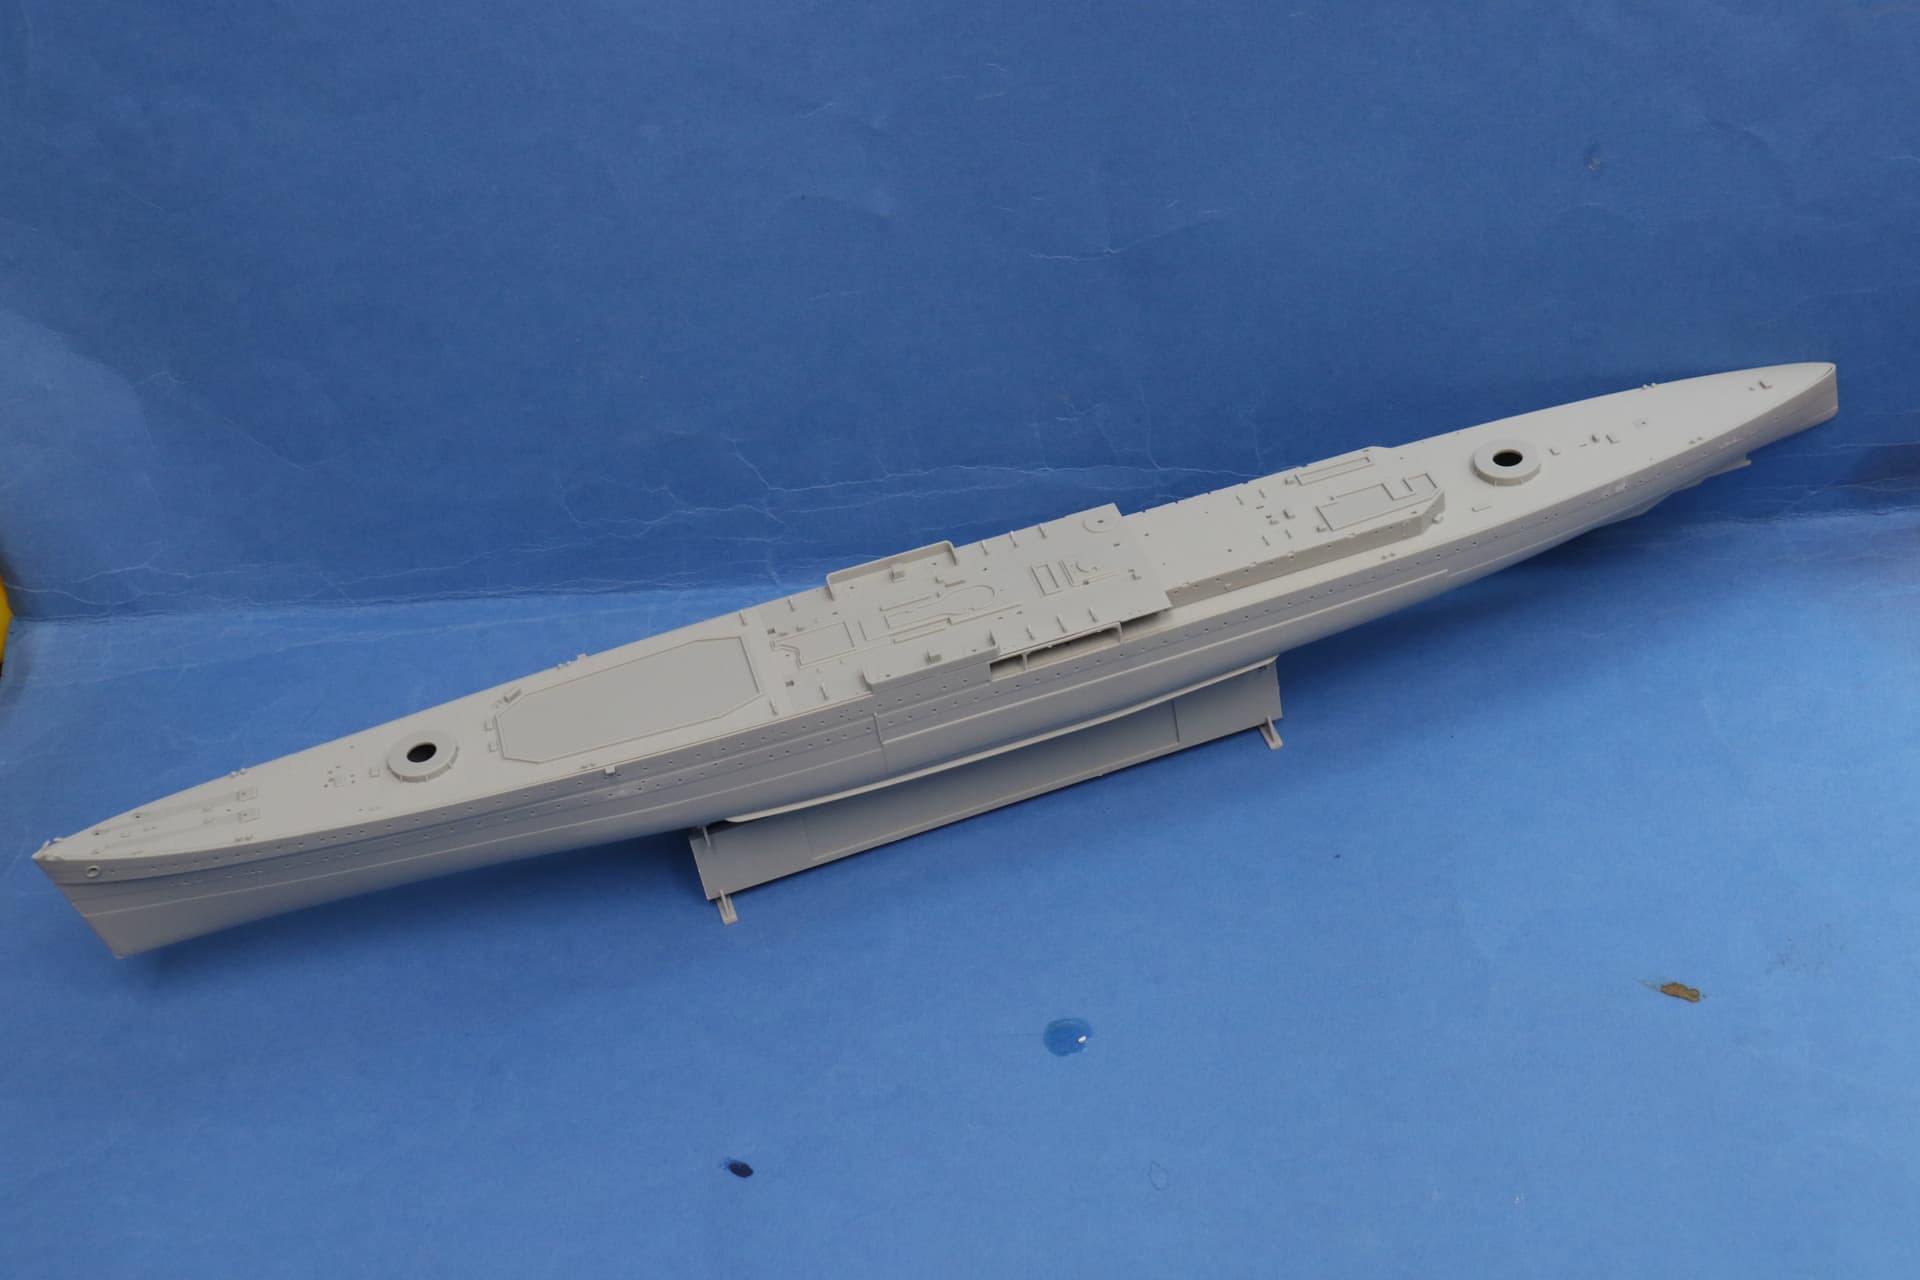
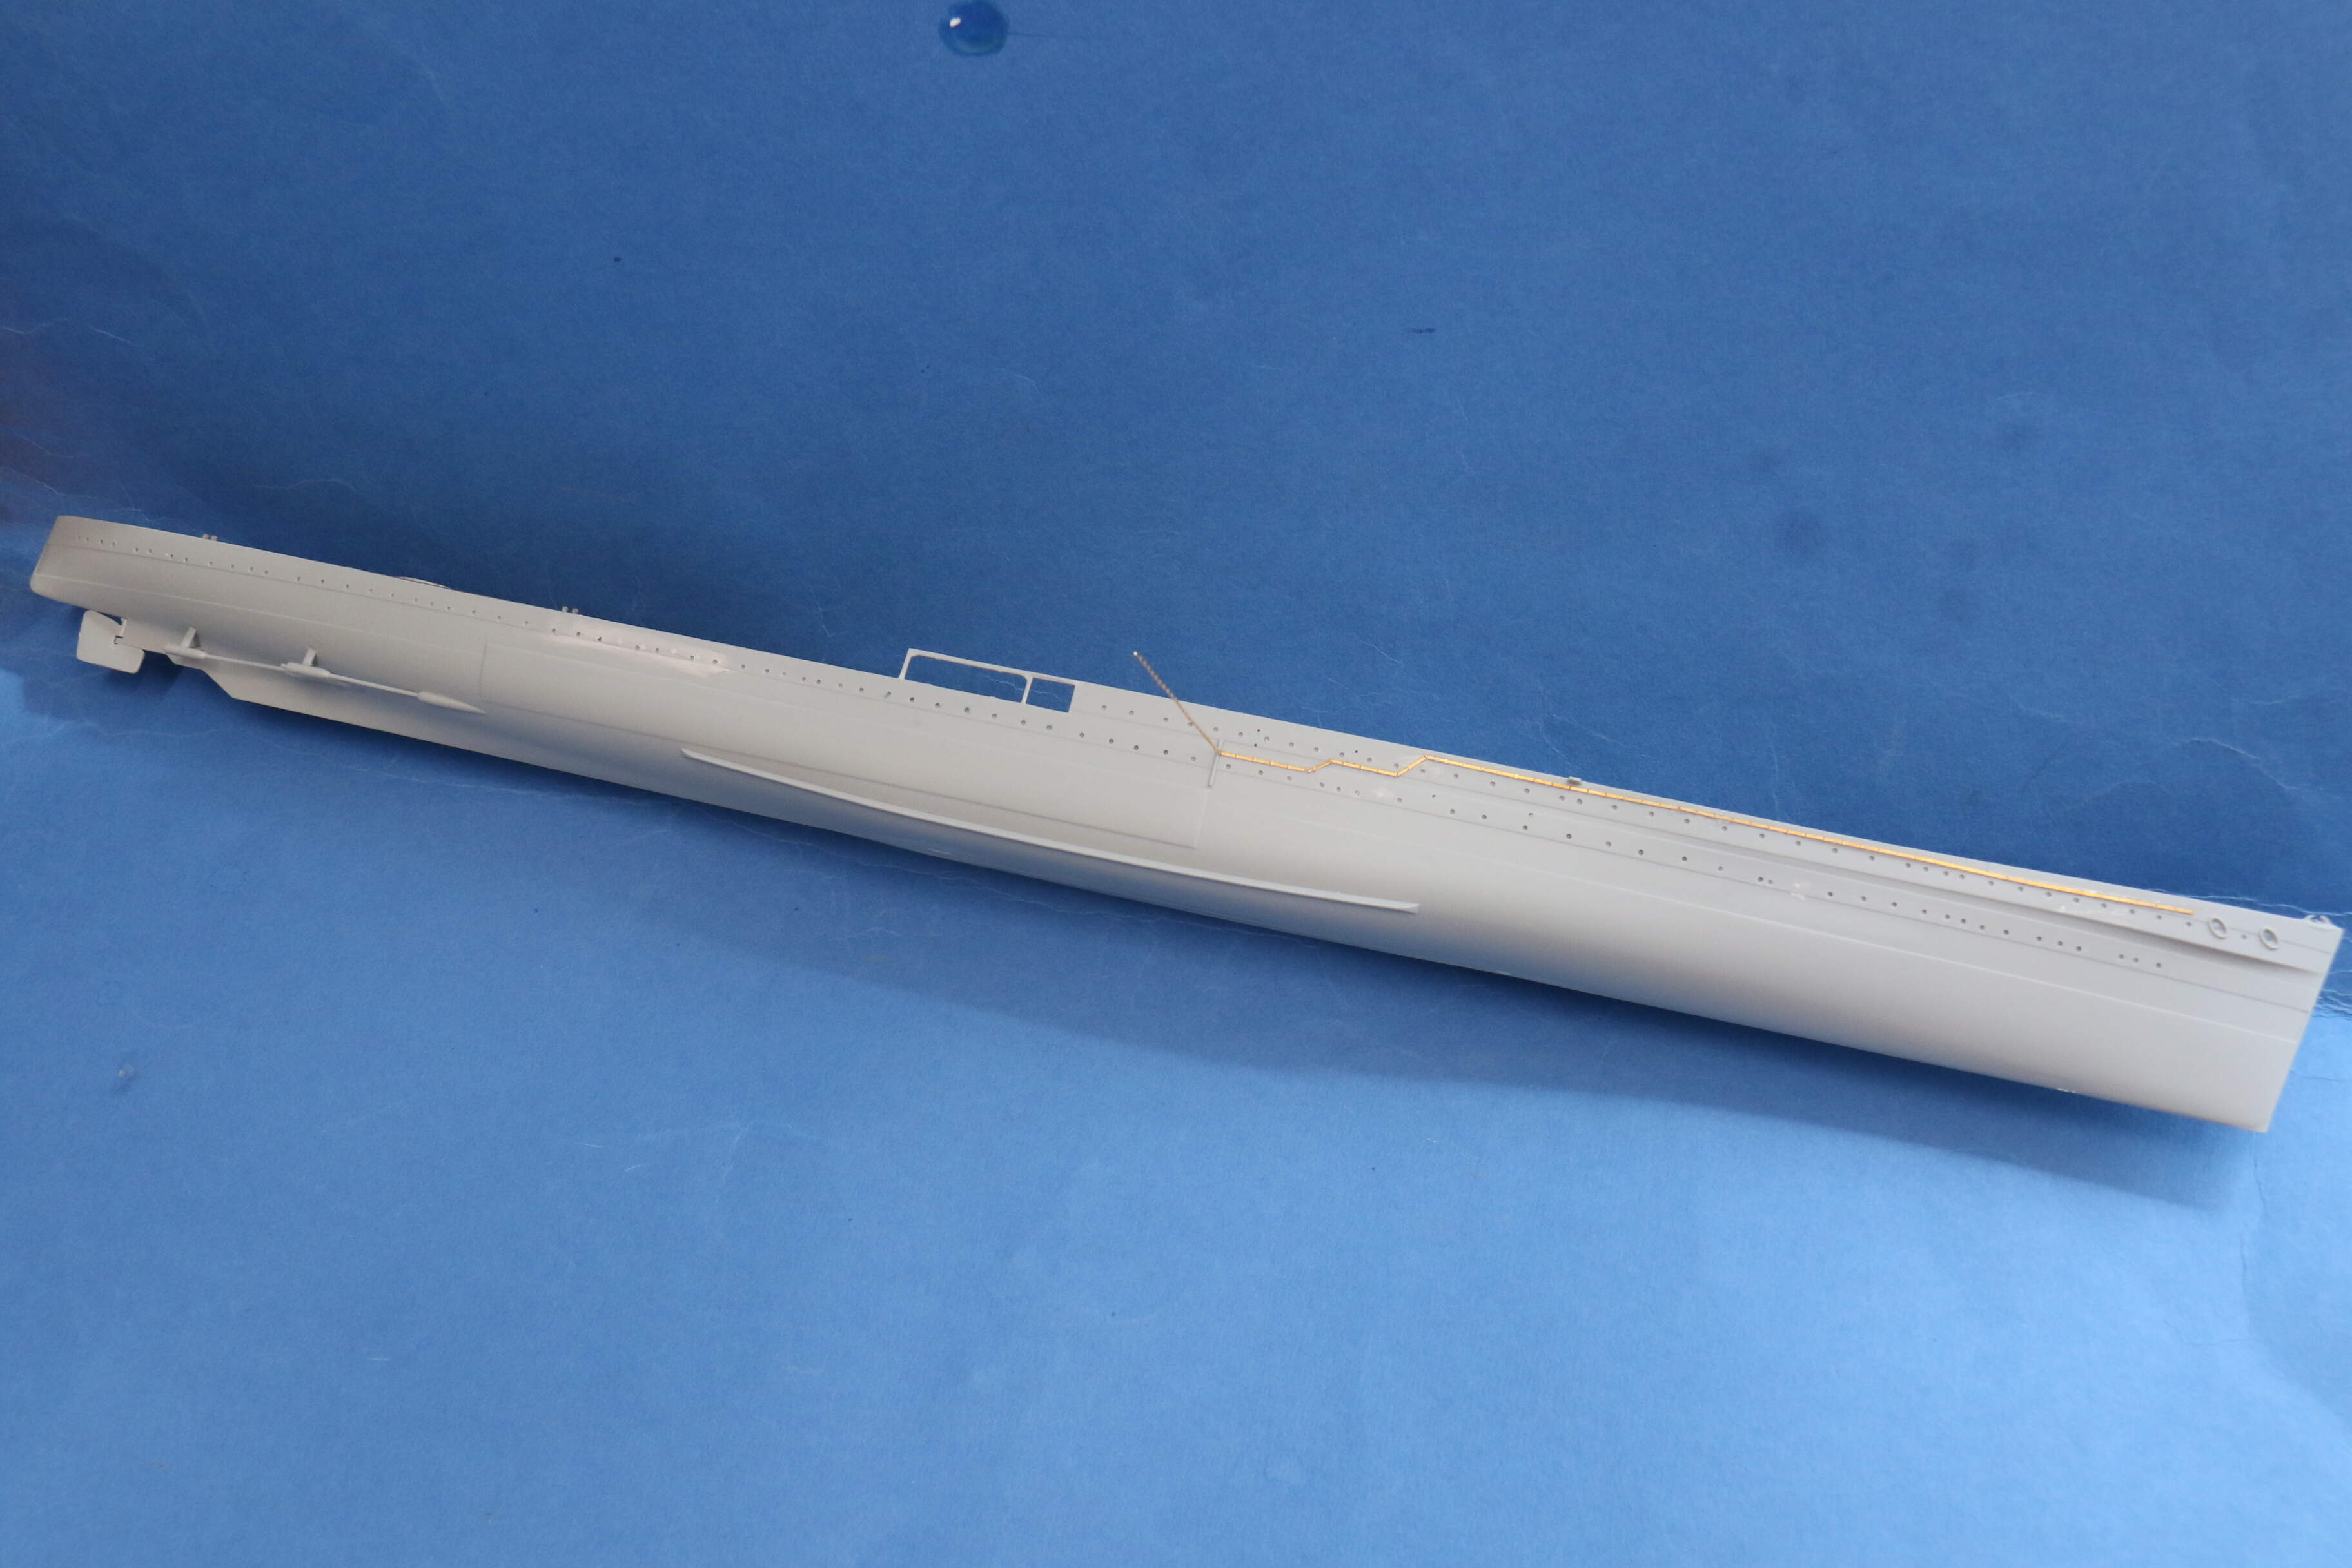
This is the point where the project became less simple. Firstly the Eduard and Trumpeter disagree on the light AA Fit, Trumpeter, and the Kit disagrees with the box art. The kit has four single 20mm, one each on the roofs of B and Y turrets and one on each side of the after end of B gun deck. Eduard have two 20mm on the roof of B turret, and presumably the other two at the after end of B gun deck. The box art shows two 20mm on the roof of B turret, and Quad 0.5" on the after end of B gun deck. Checking through my references and on line the clear photograph I can find of the ship in her final colour scheme matches the box art, This lead to two more issues, almost all of the lower row of portholes is missing, and also there appears to be an external degausing coil, not on the kit hull.
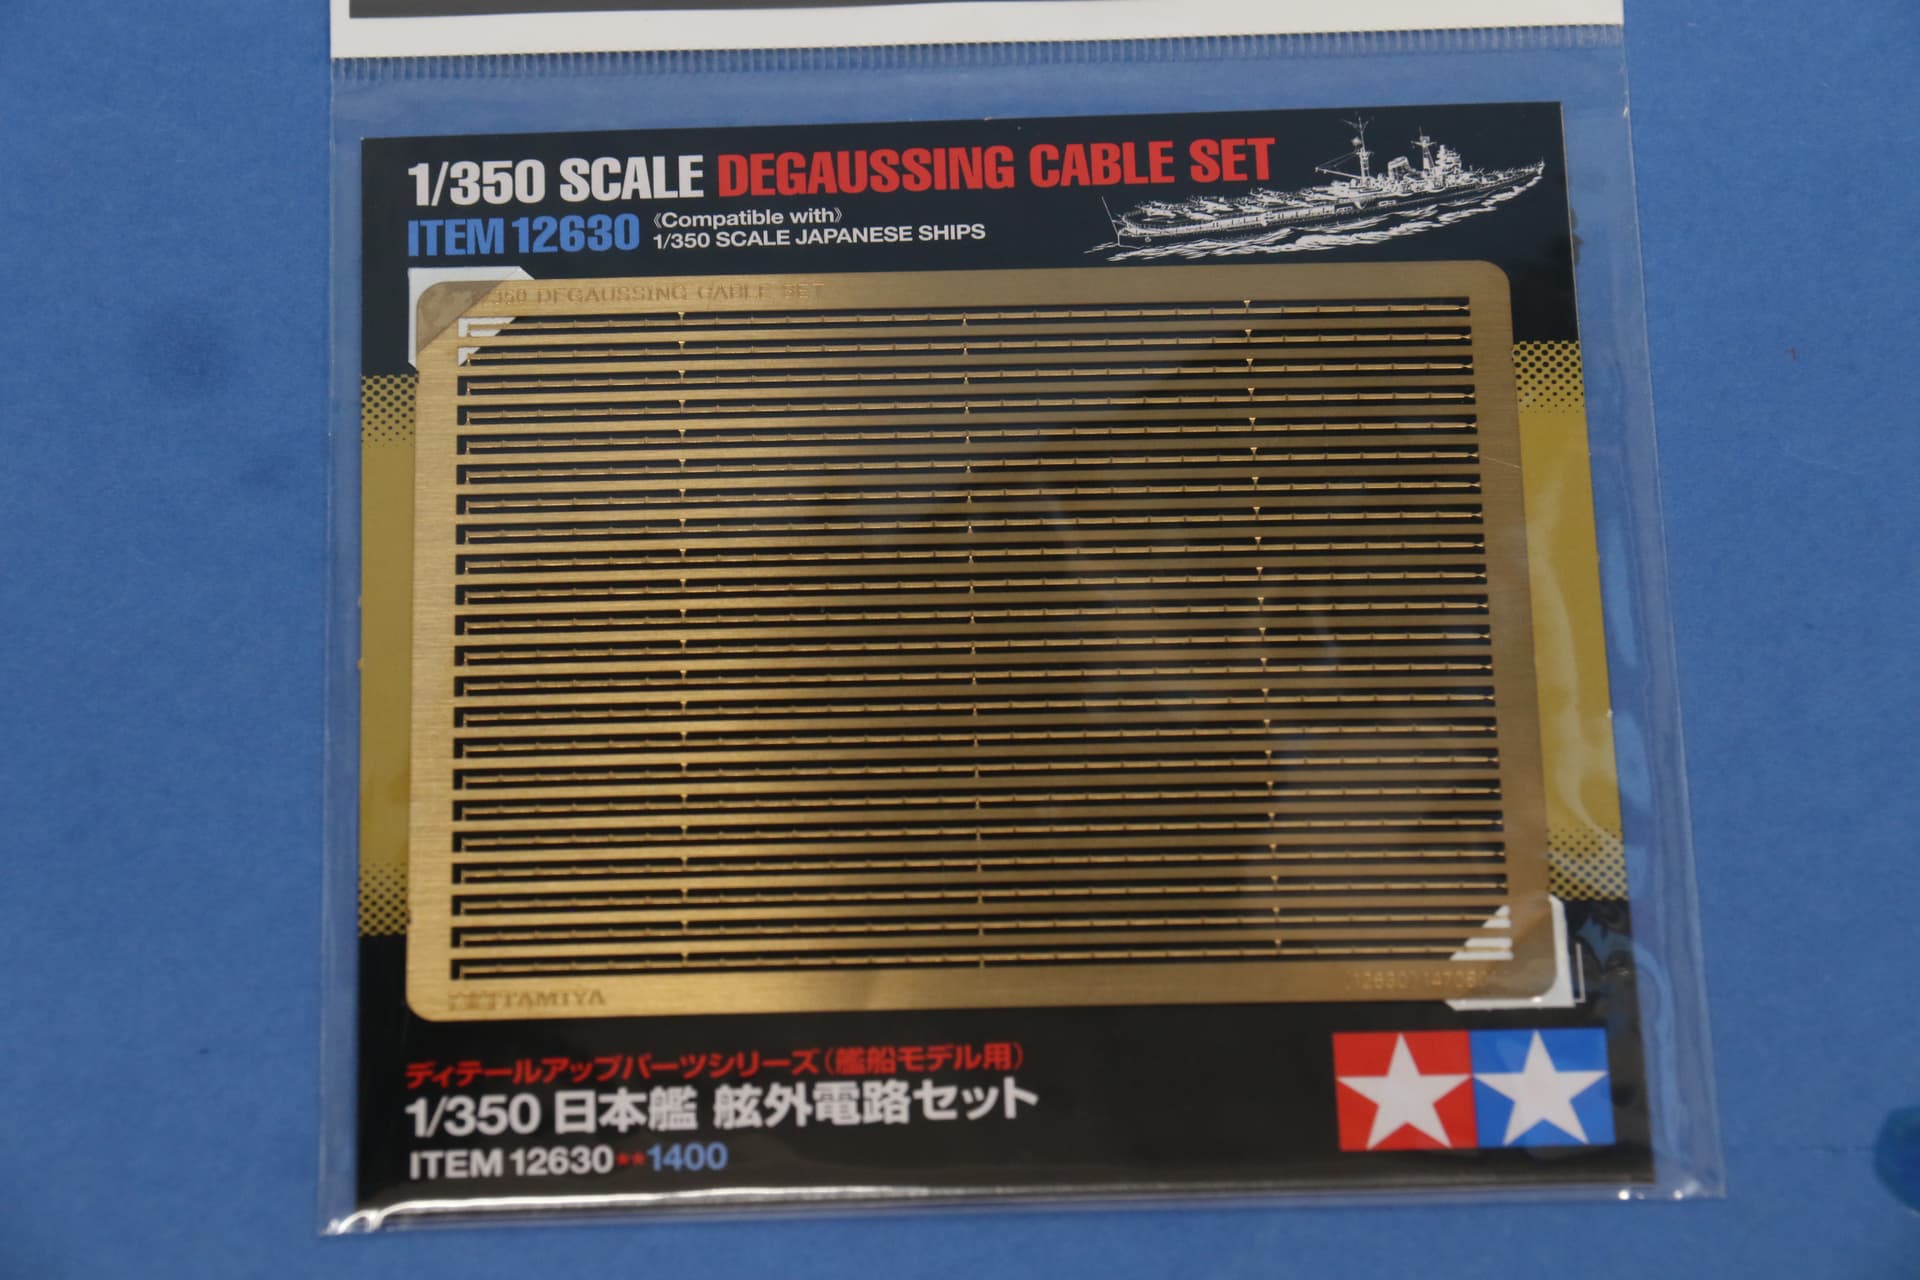
I have started drilling out the missing port holes, using a line of tape to get them lined up.(well nearly). I should have something in the spare etch for the degausing coil and I do have some spare quad 0.5".
More soon.
Cheers
Si
12 Likes
Great to see you back at the bench, Si 
Watching with interest to see how this one builds up! 
1 Like
I agree, great to see you back at the bench, Si!
I’ll be following this one. Are you going to do the cool two-tone camouflage?
1 Like
Excellent choice Si and welcome back. I am watching this with big interest 
Cheers
Thomas
1 Like
Russ, Tim, Thomas
It’s good to be back and blogging a build again. I will be doing the camouflage on the box, that is the final scheme before she went down in Suda bay Crete on 22 May 1941.
Glad to have you guys along for the ride,
Hope to get the port holes done over the weekend, and maybe the degaussing coil on,
Cheers
Si
2 Likes
A little bit of progress over the weekend.
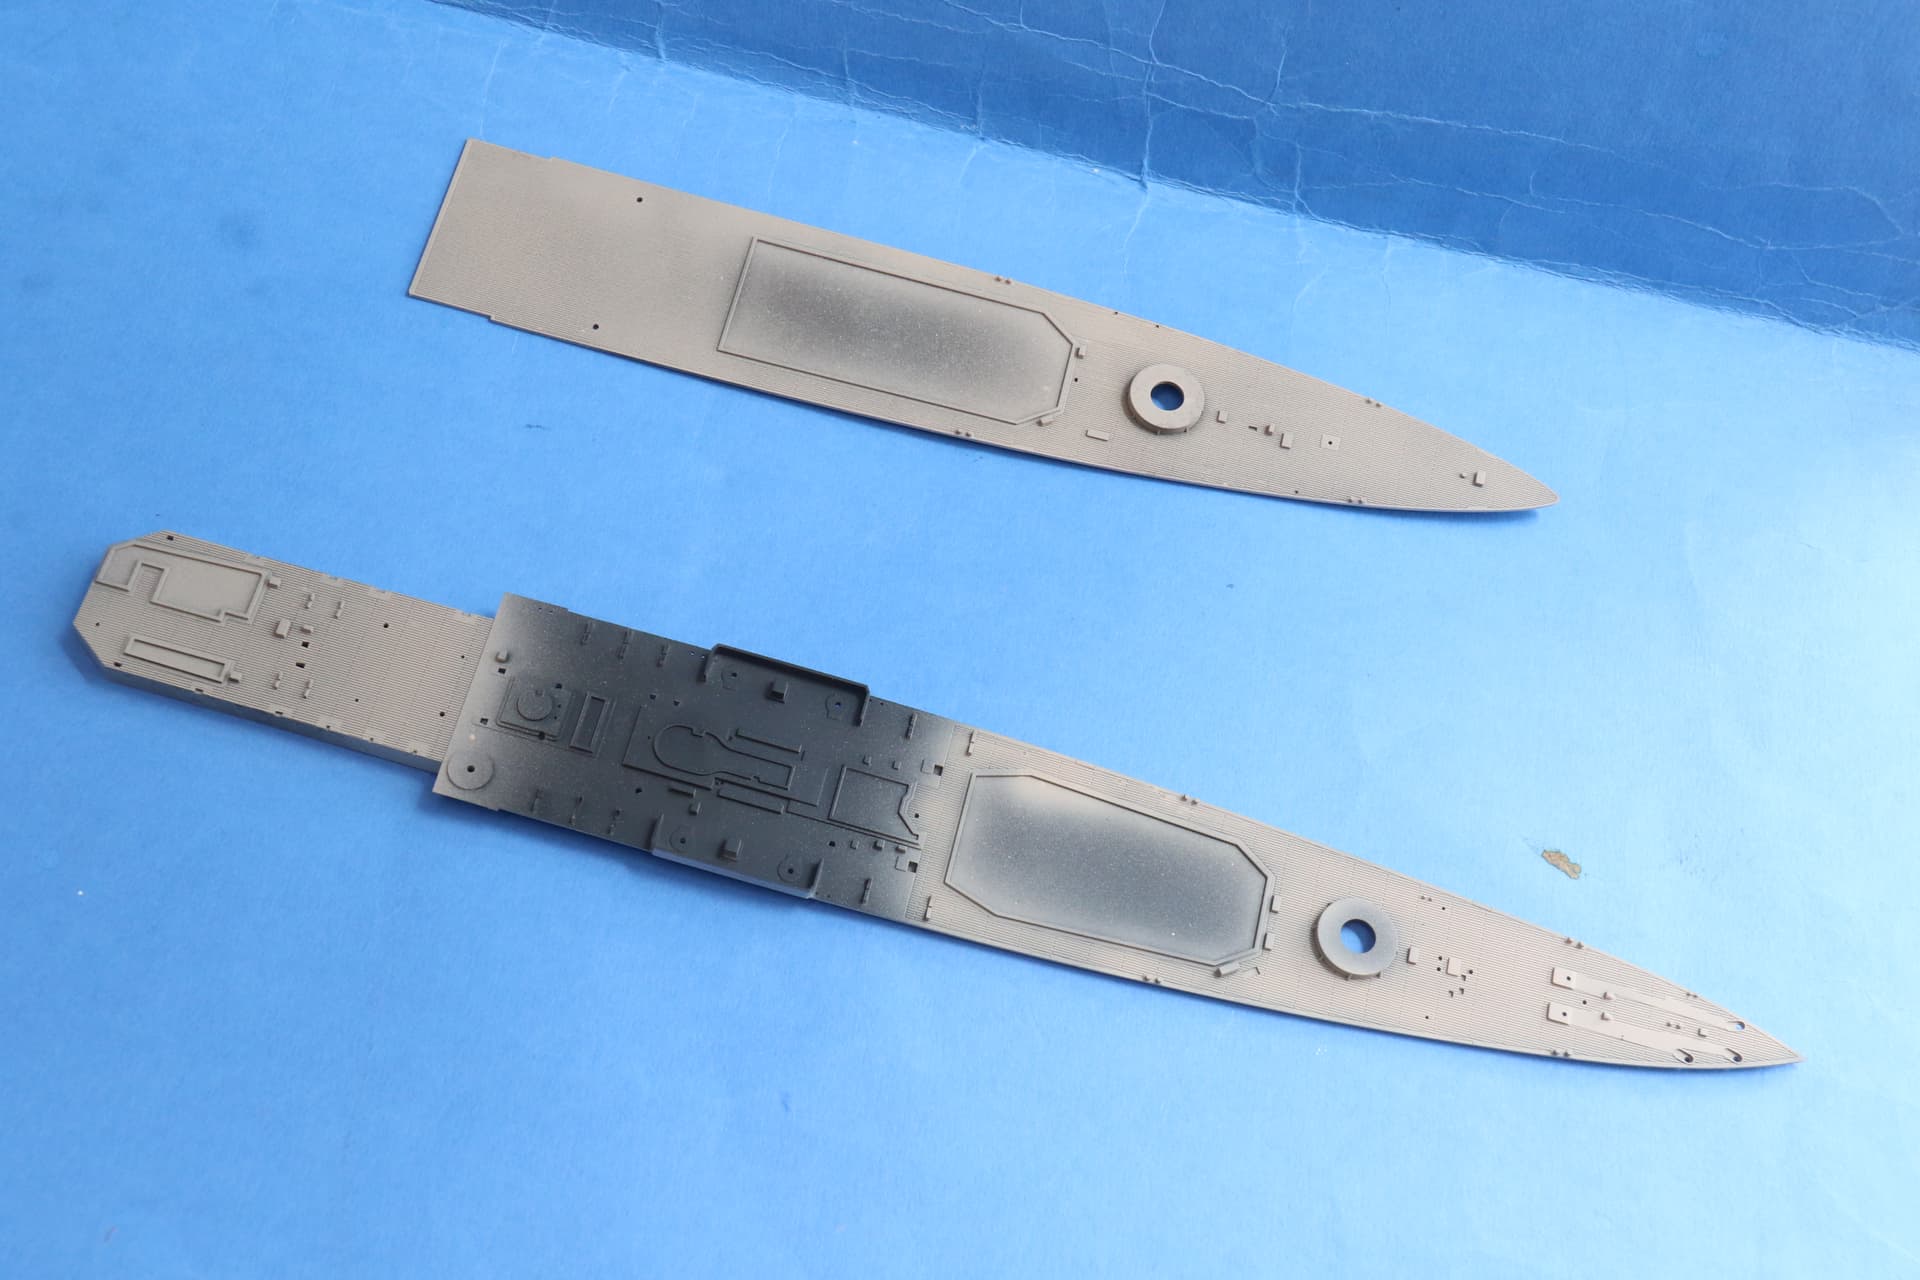
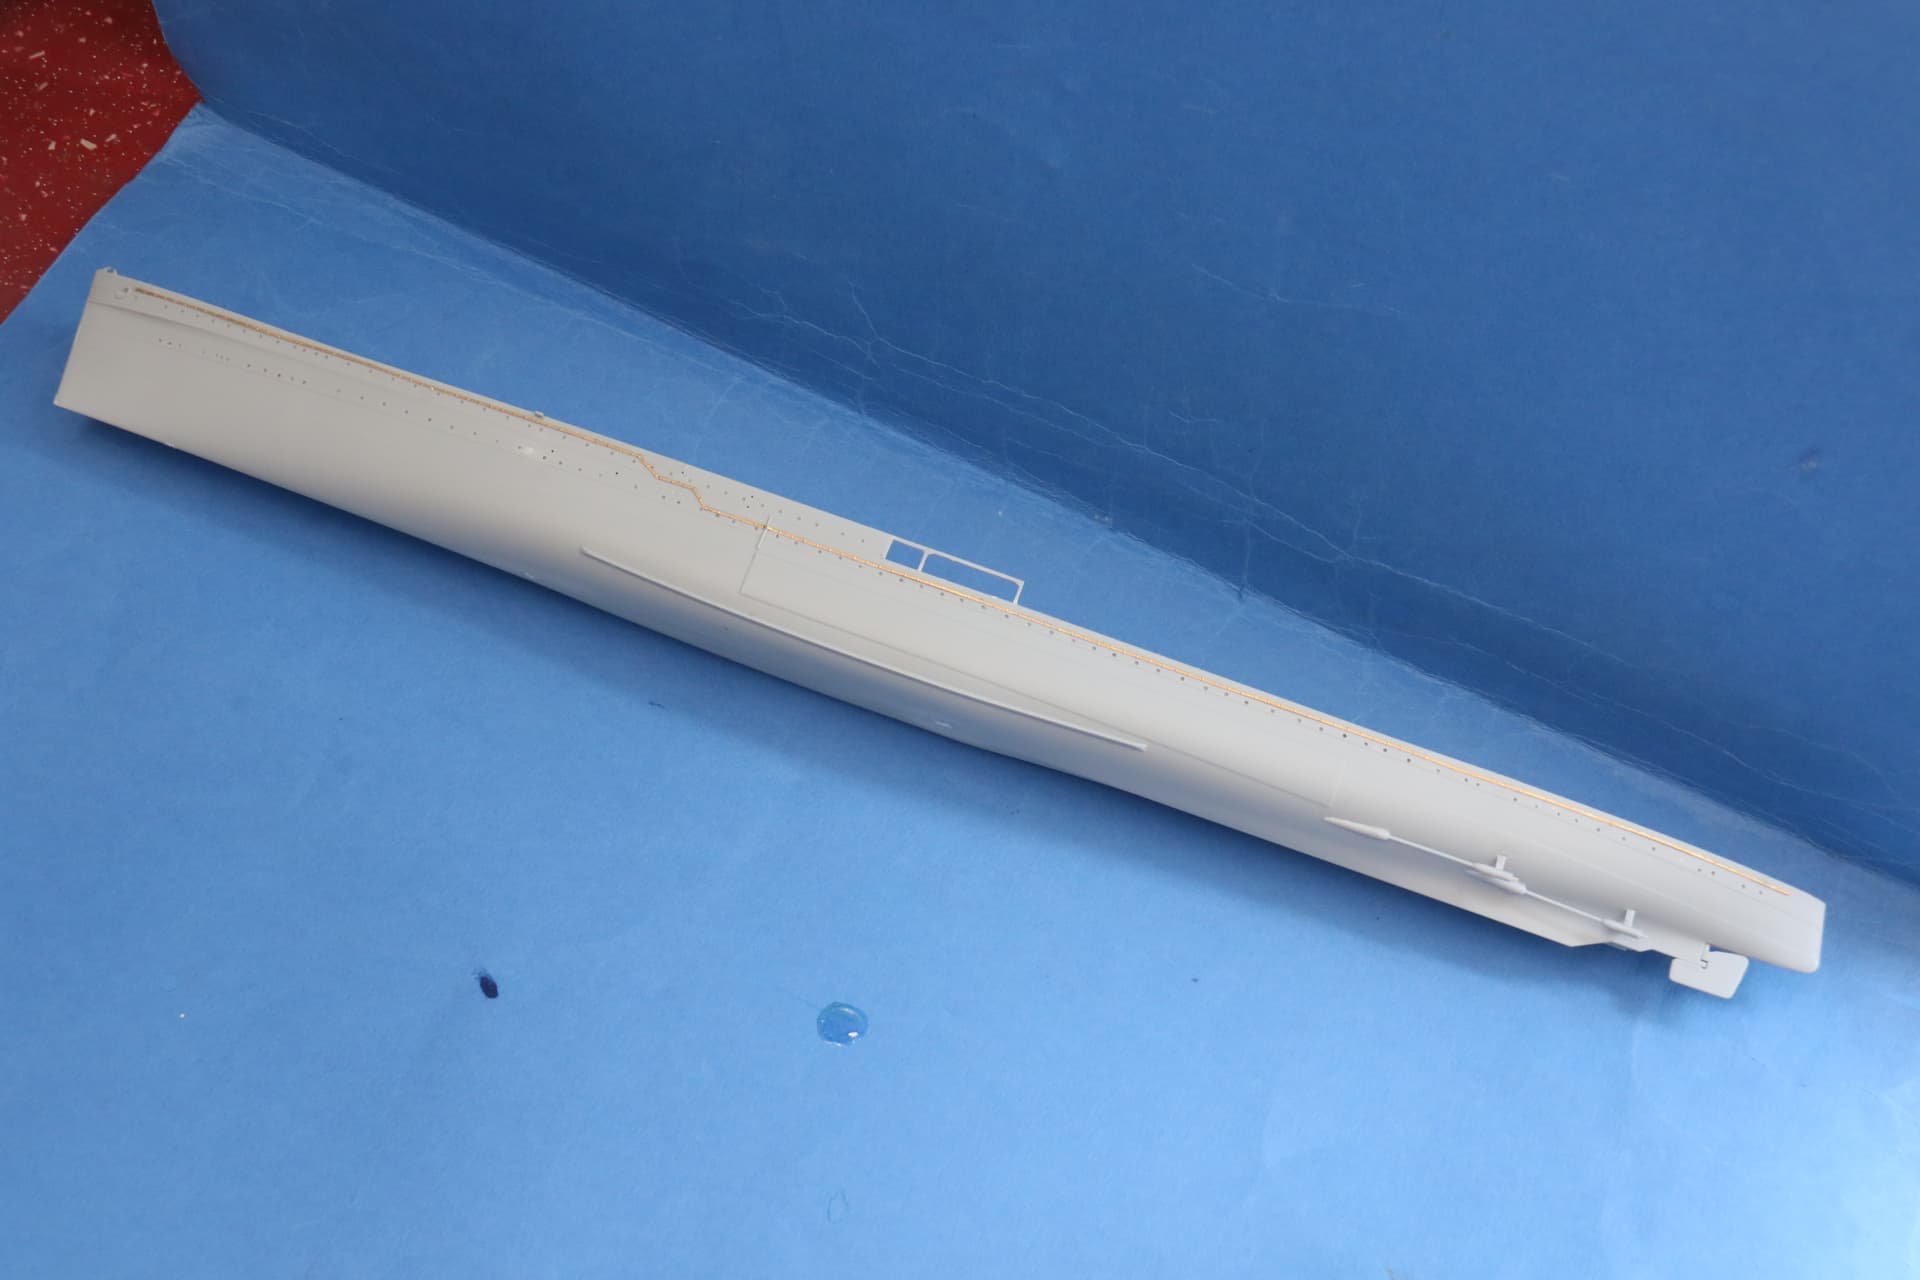
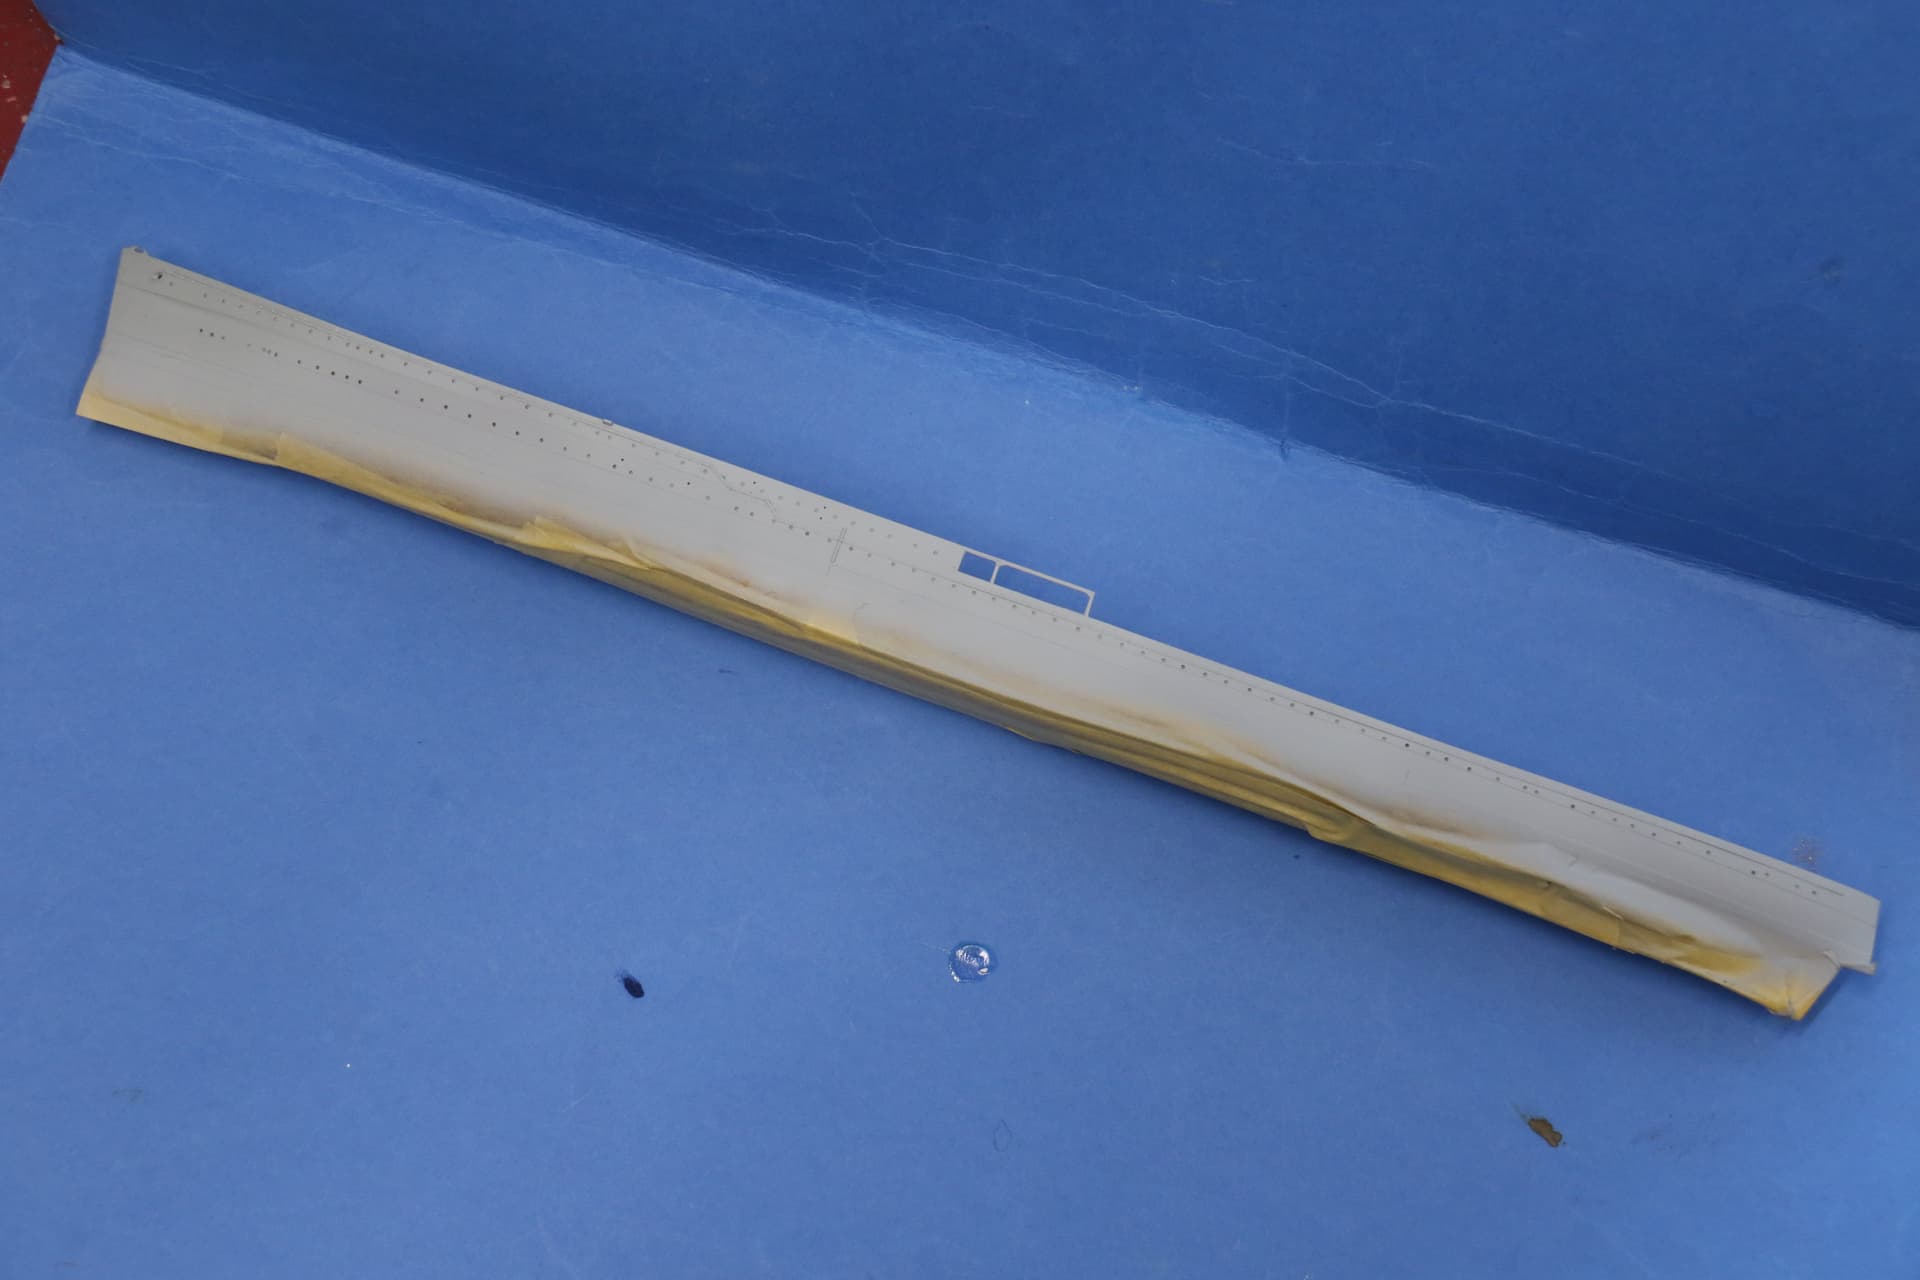
The port holes drilled out, not very clear, but all done. I did have to fill and redrill a few that were too far off line.
This one might look a bit weird, but I have base coated the deck black, This is mostly for the wood areas, which I will mist coat a light tan over until it builds builds a slight dull version of the top colour.
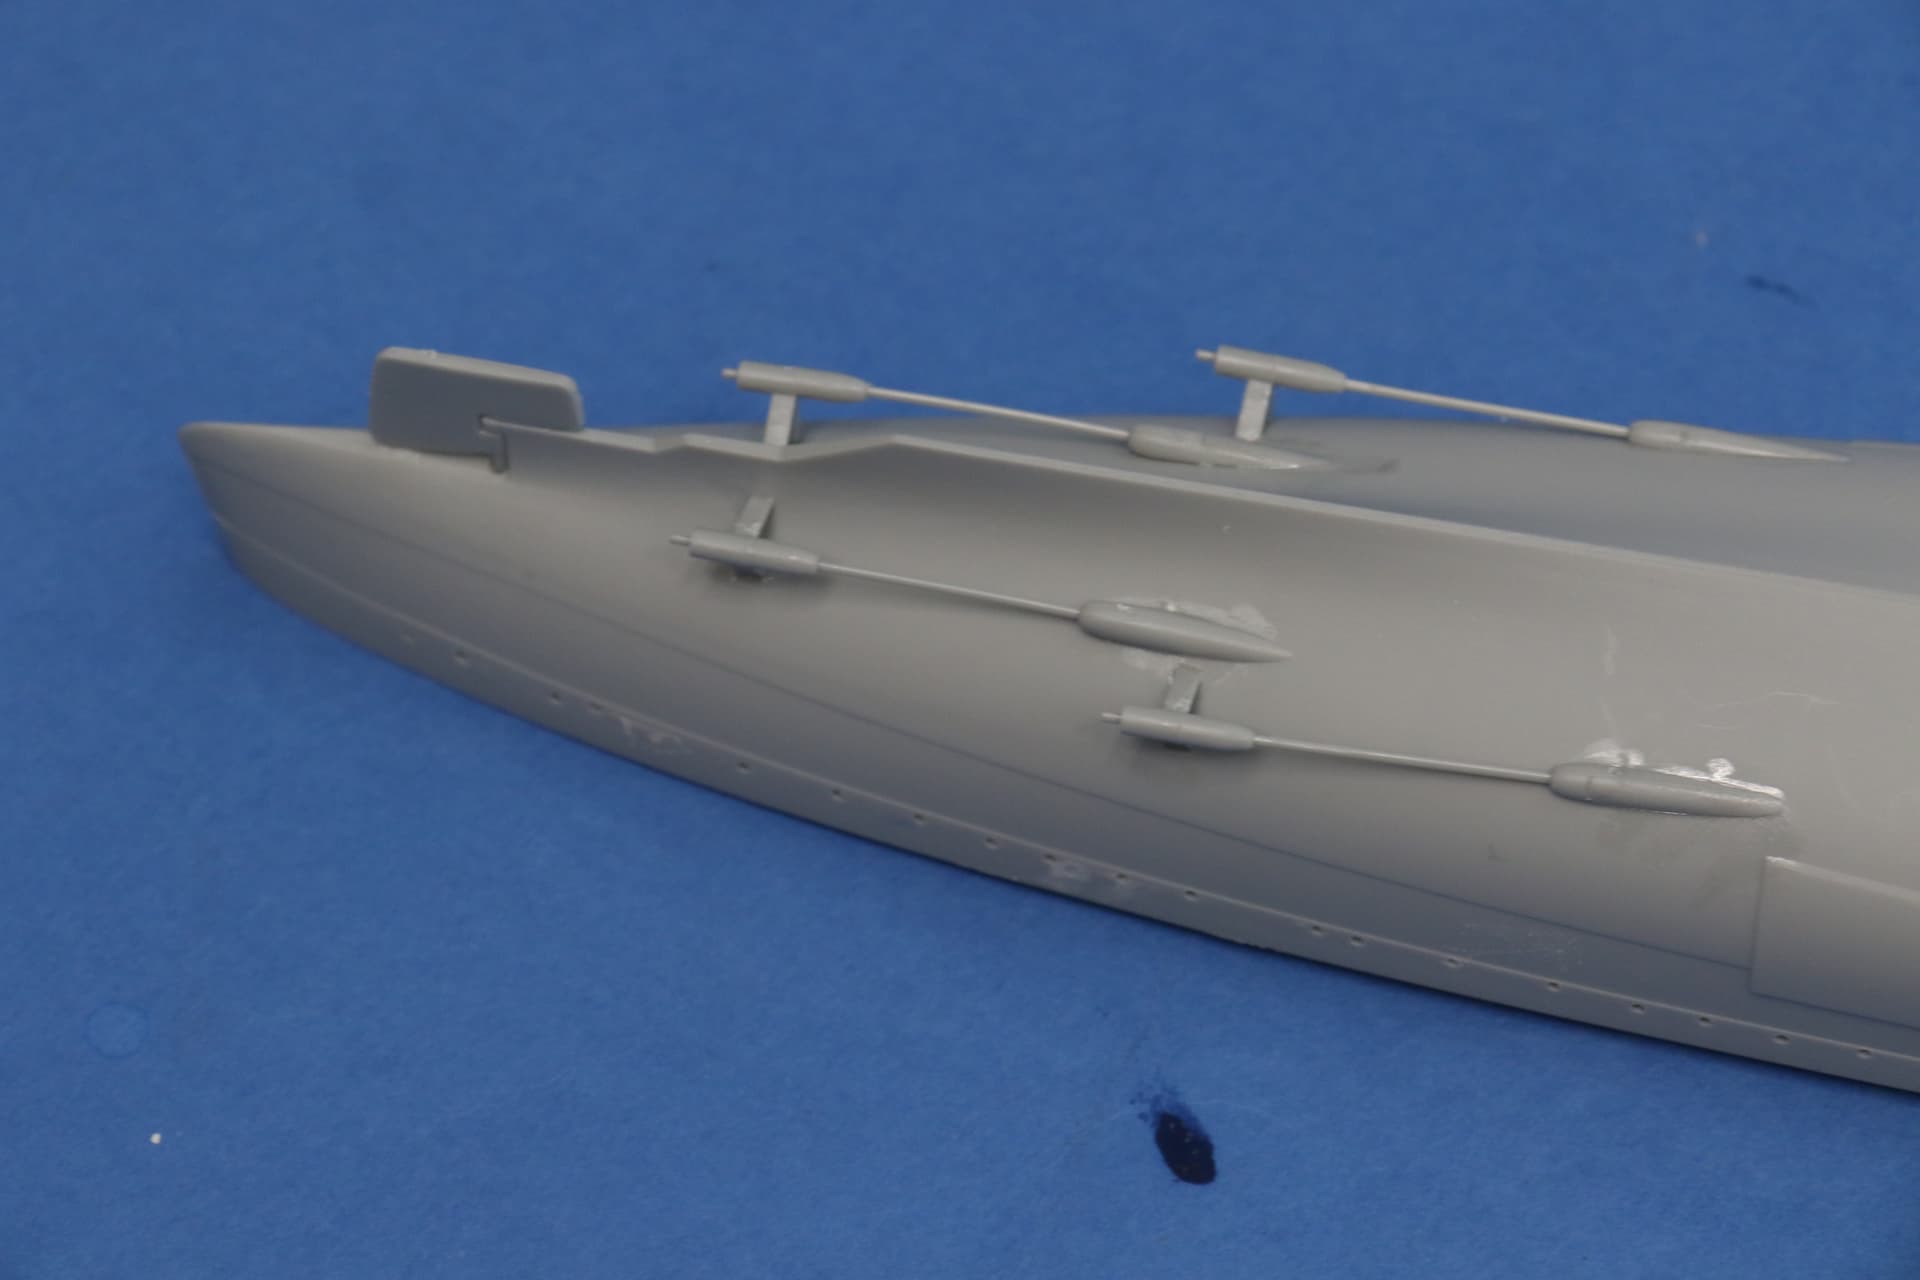
The prop shafts added.
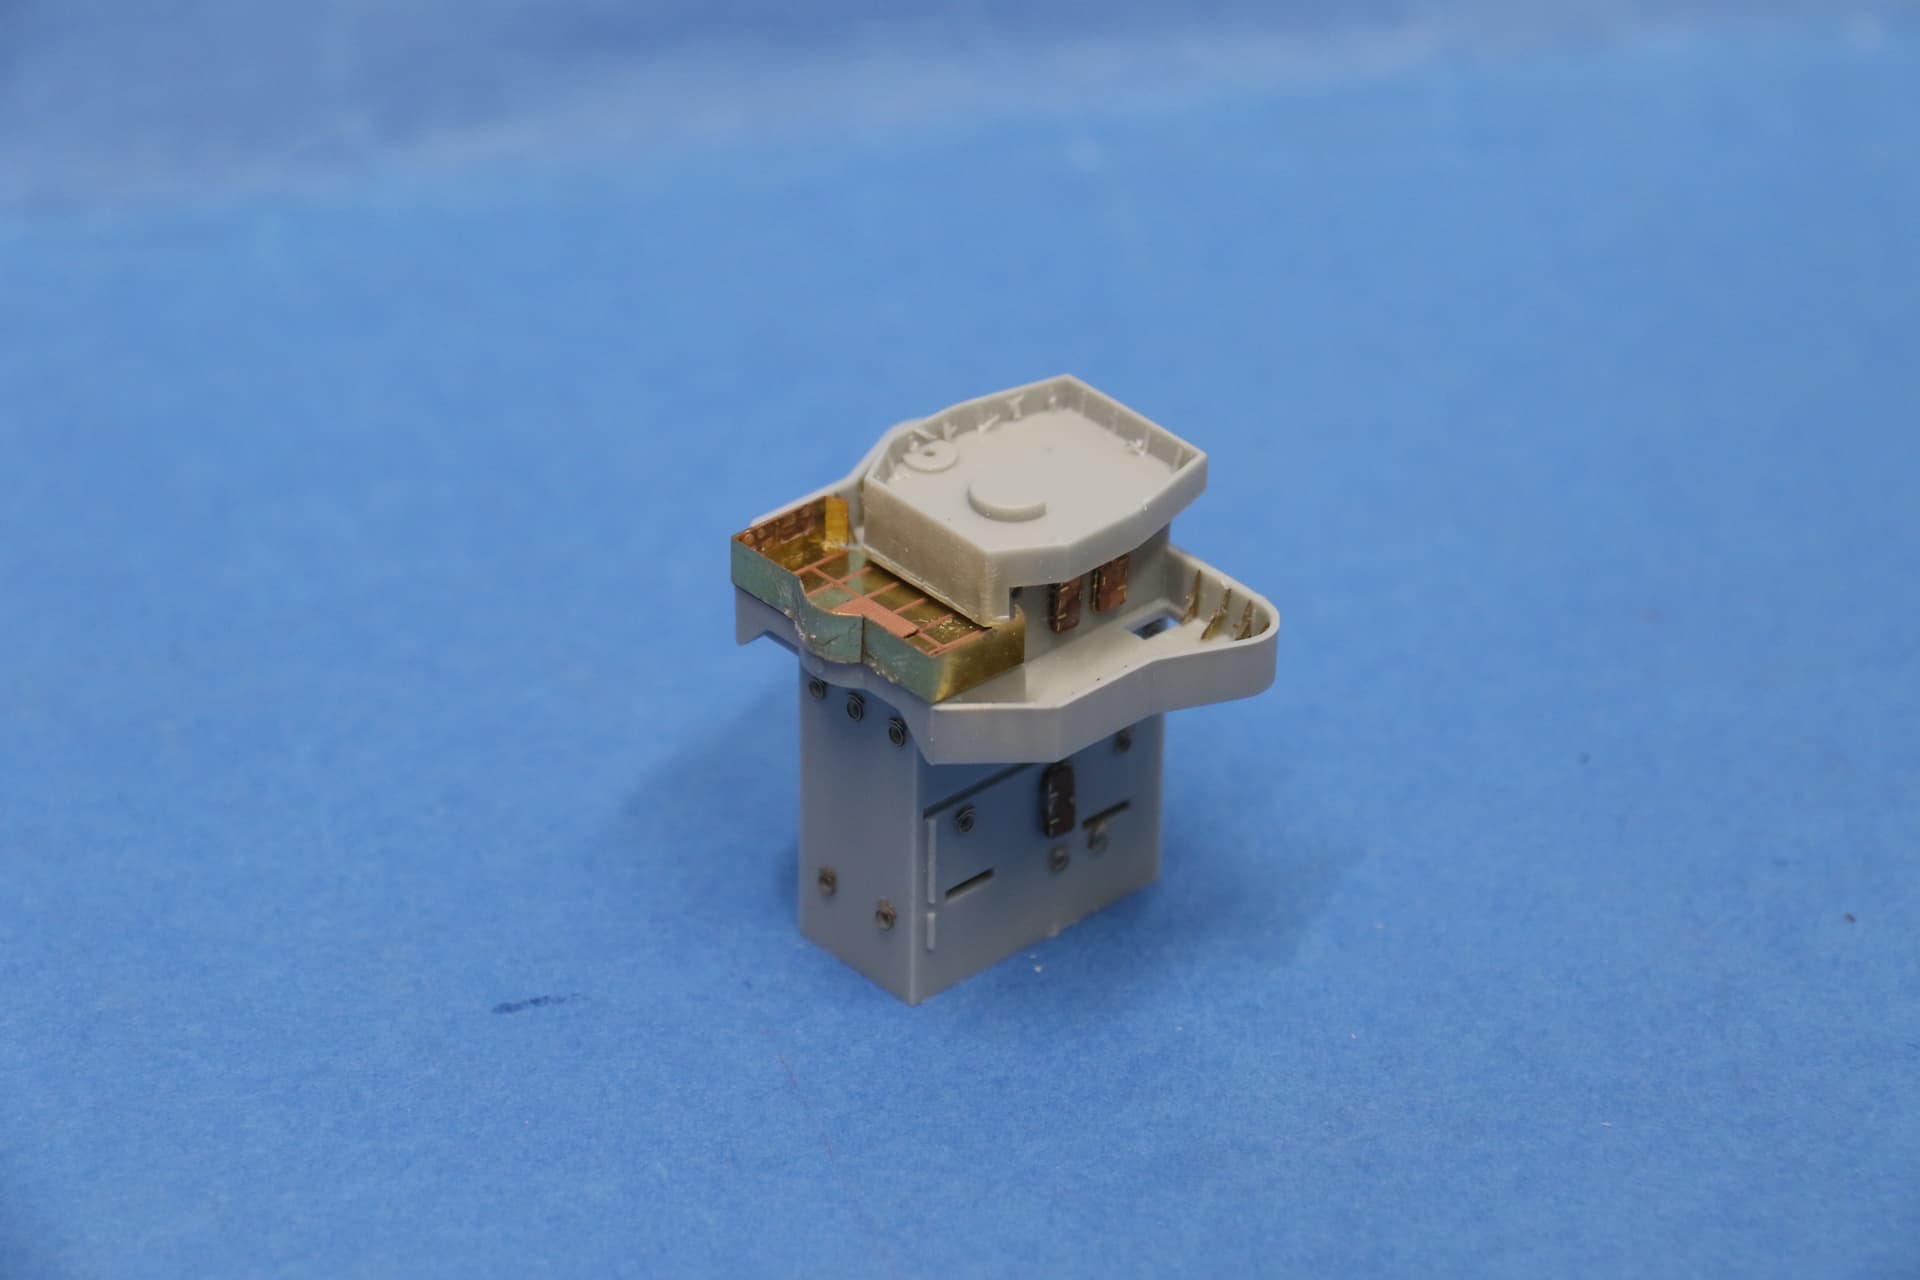
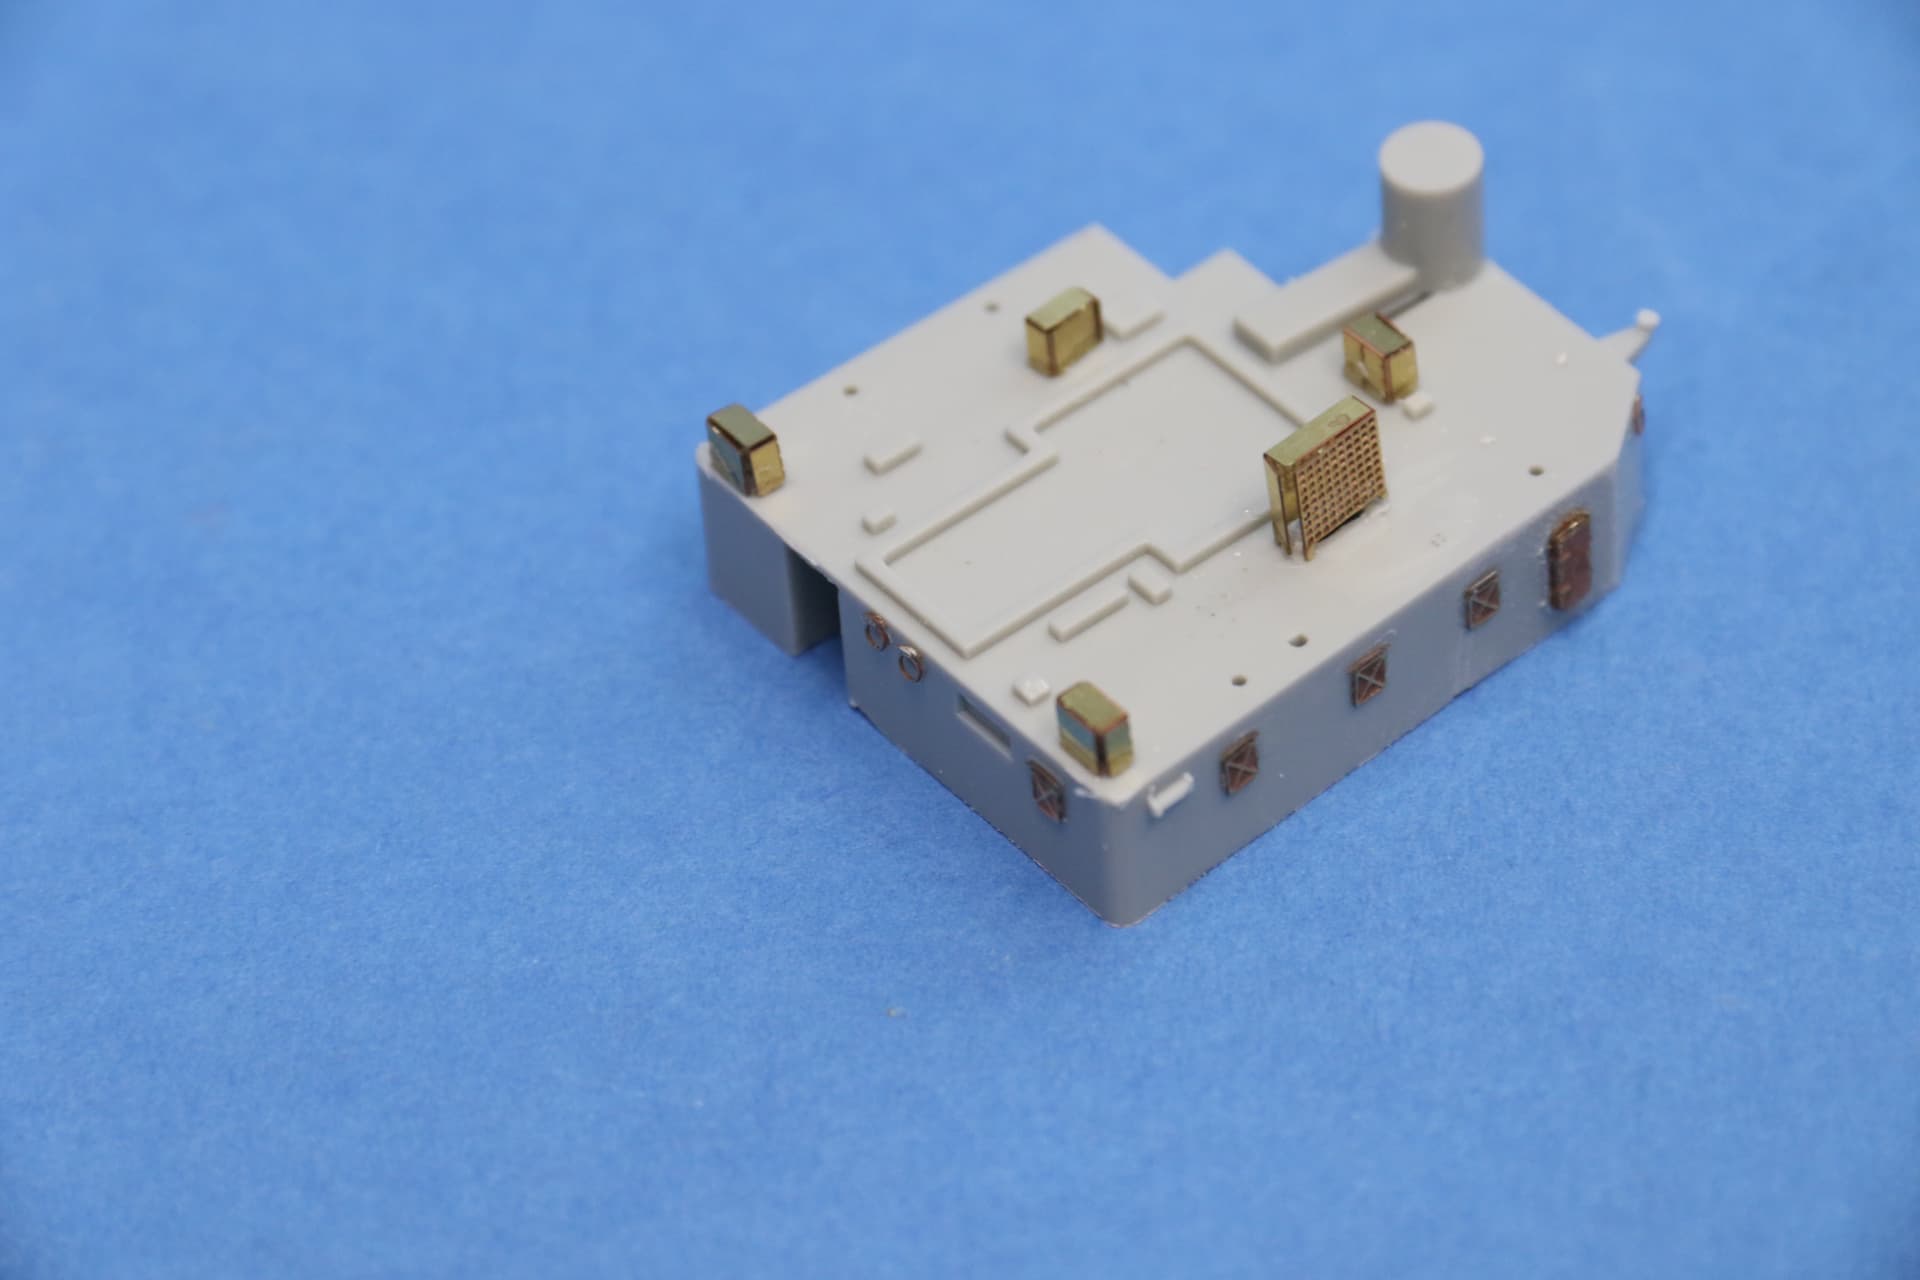
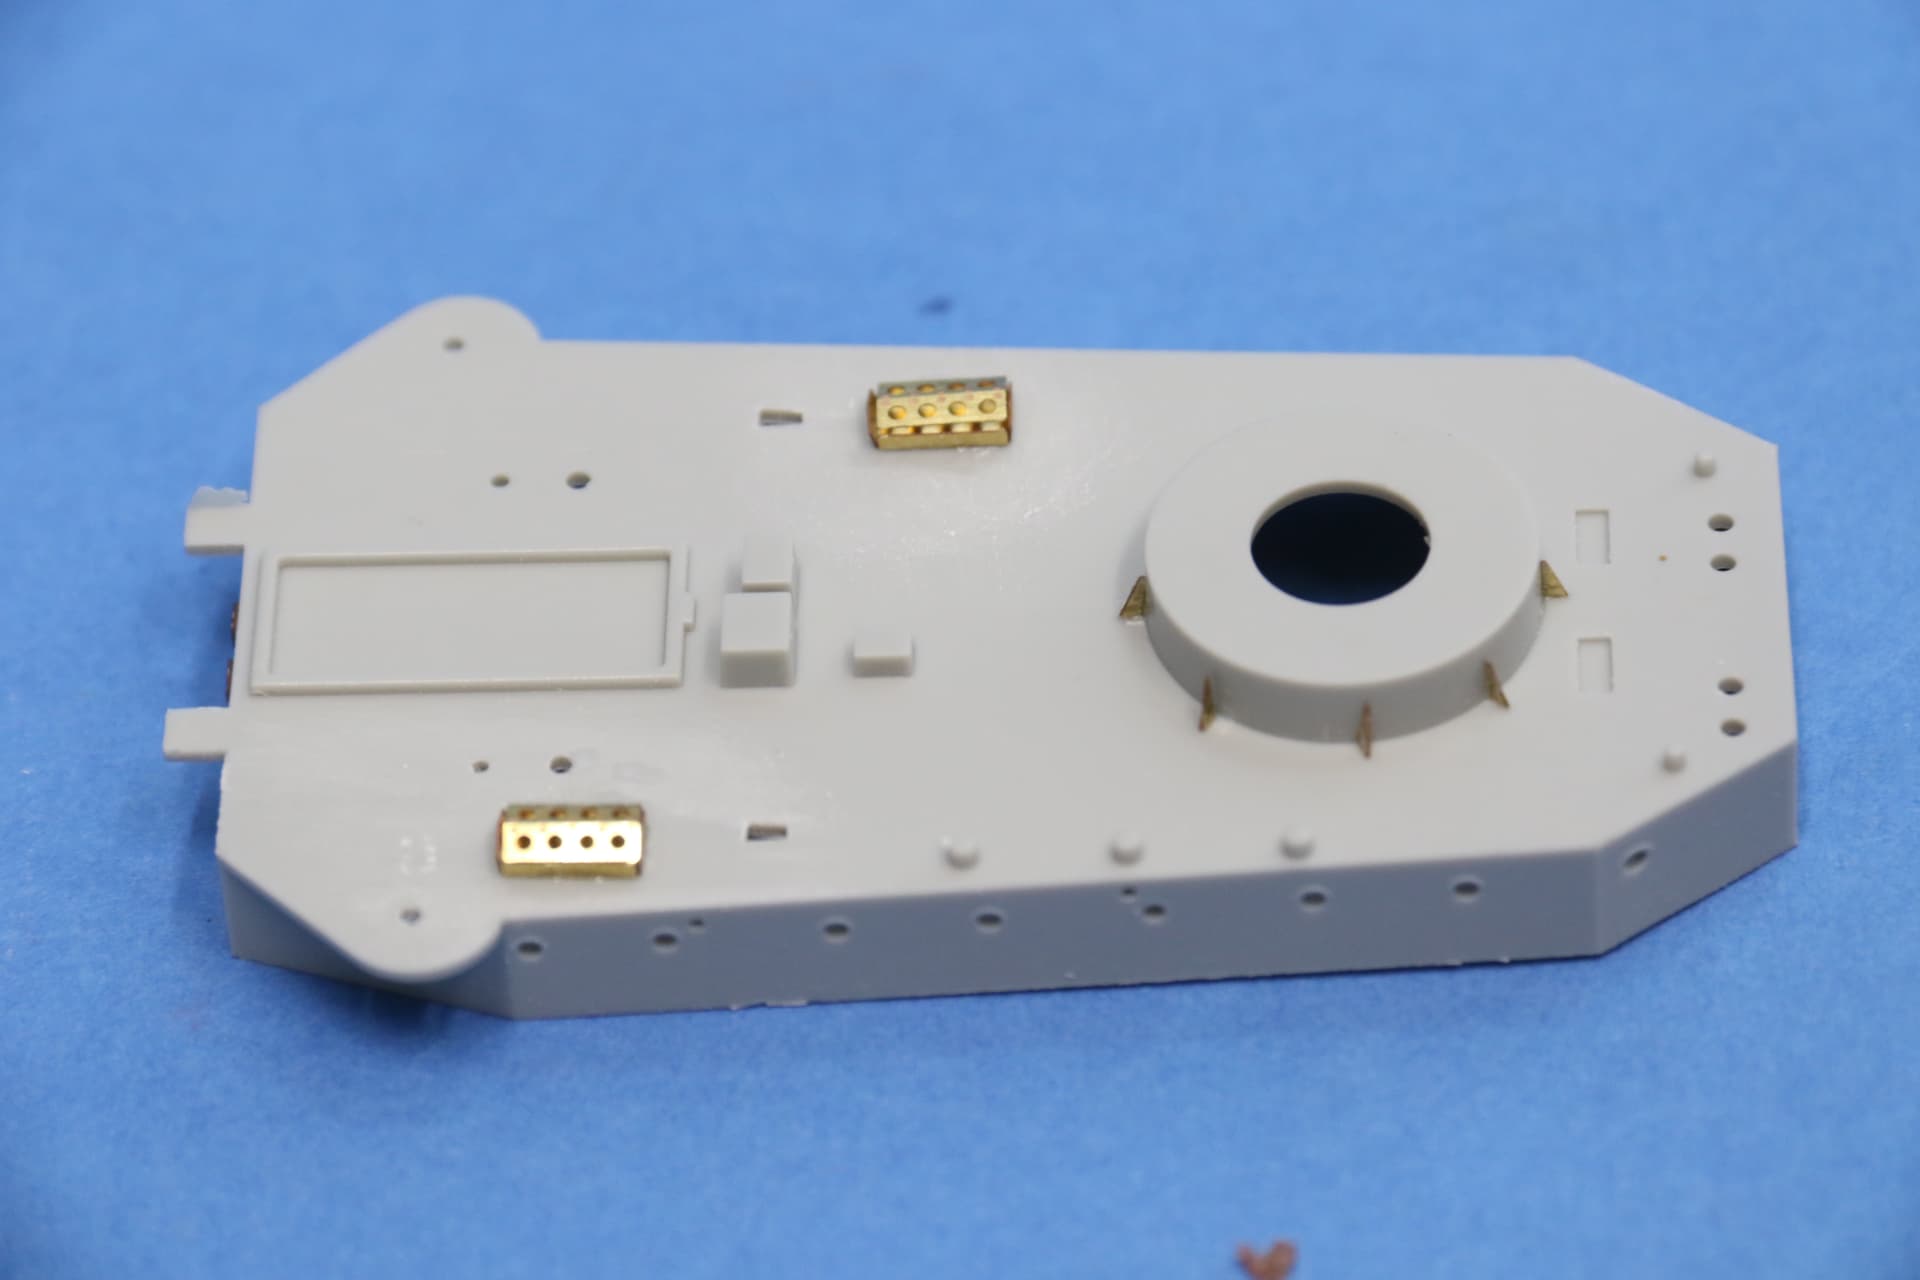
Finally, started on the basic bridge assembly eduard etch added to the upper platform and the doors and portholes. There was an extension to the rear of the platform, but I could not see that on any photos, so I left it off.
Couldn’t find any deguassing cable in my spare etch, so have ordered the Tamiya fret as that was the easy one to find.
More soon.
Cheers
Si
5 Likes
Thanks Russ,
She is coming on, waiting for the etch for the degaussing cable to drop through the letter box.
Cheers
Si
2 Likes
Busy weekend, but a little progress.
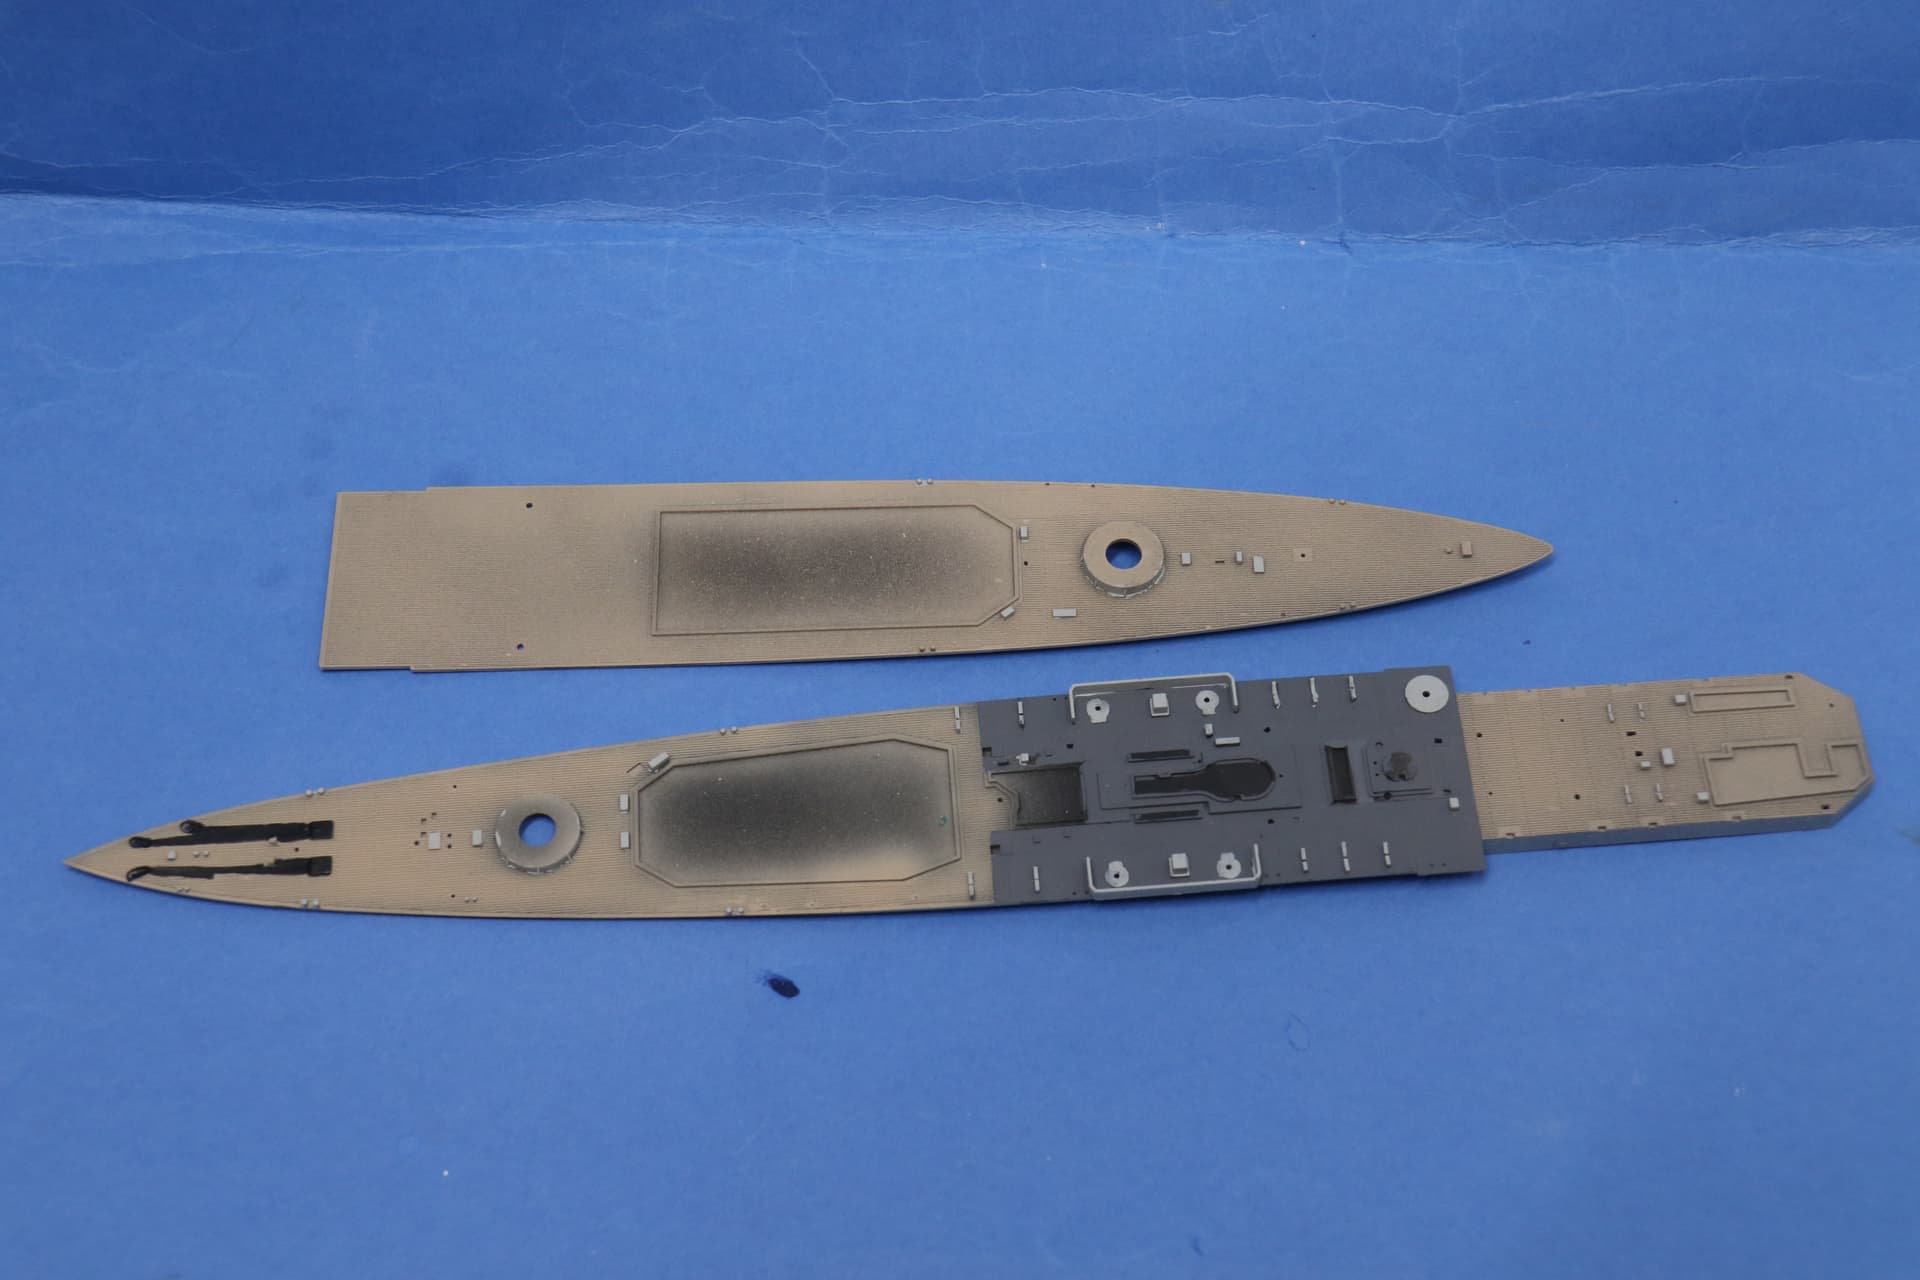
the wood areas on the deck sprayed with Tamiya buff toned down with a little light grey.
The steel decks and the details picked out.
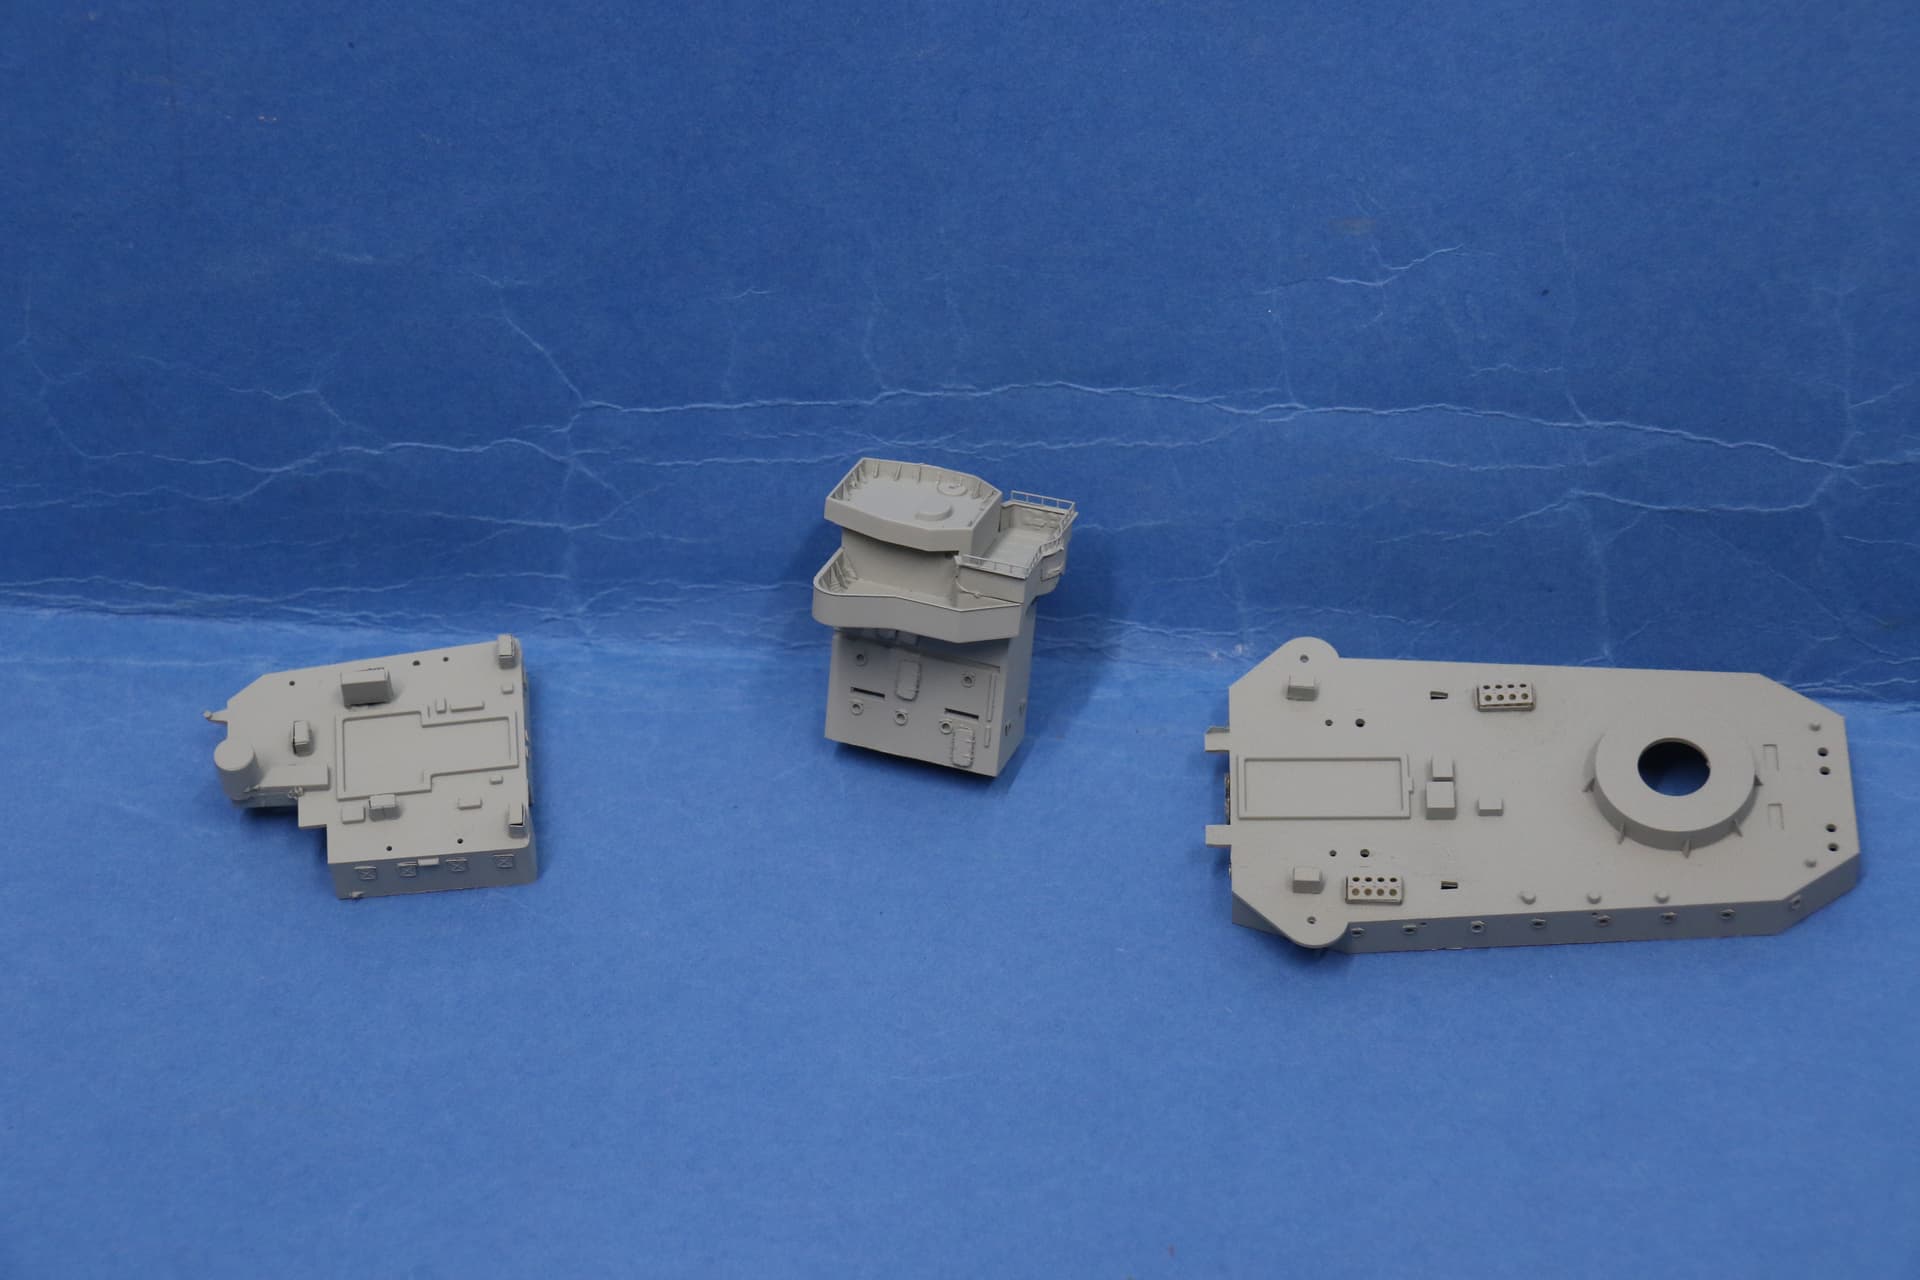
a bit more work on the bridge structure.
Finally the degaussing cable dropped through the letterbox…
With a bit of luck might get that on at the weekend.
Cheers
Si
7 Likes
This weekends’ progress,
Getting the degaussing coil fitted.
I did like the Tamiya etch, the long thin parts were sturdy enough to make handling easier, but flexible enough to fit without too much of a fight.and thin enough to cut the angles without deforming.
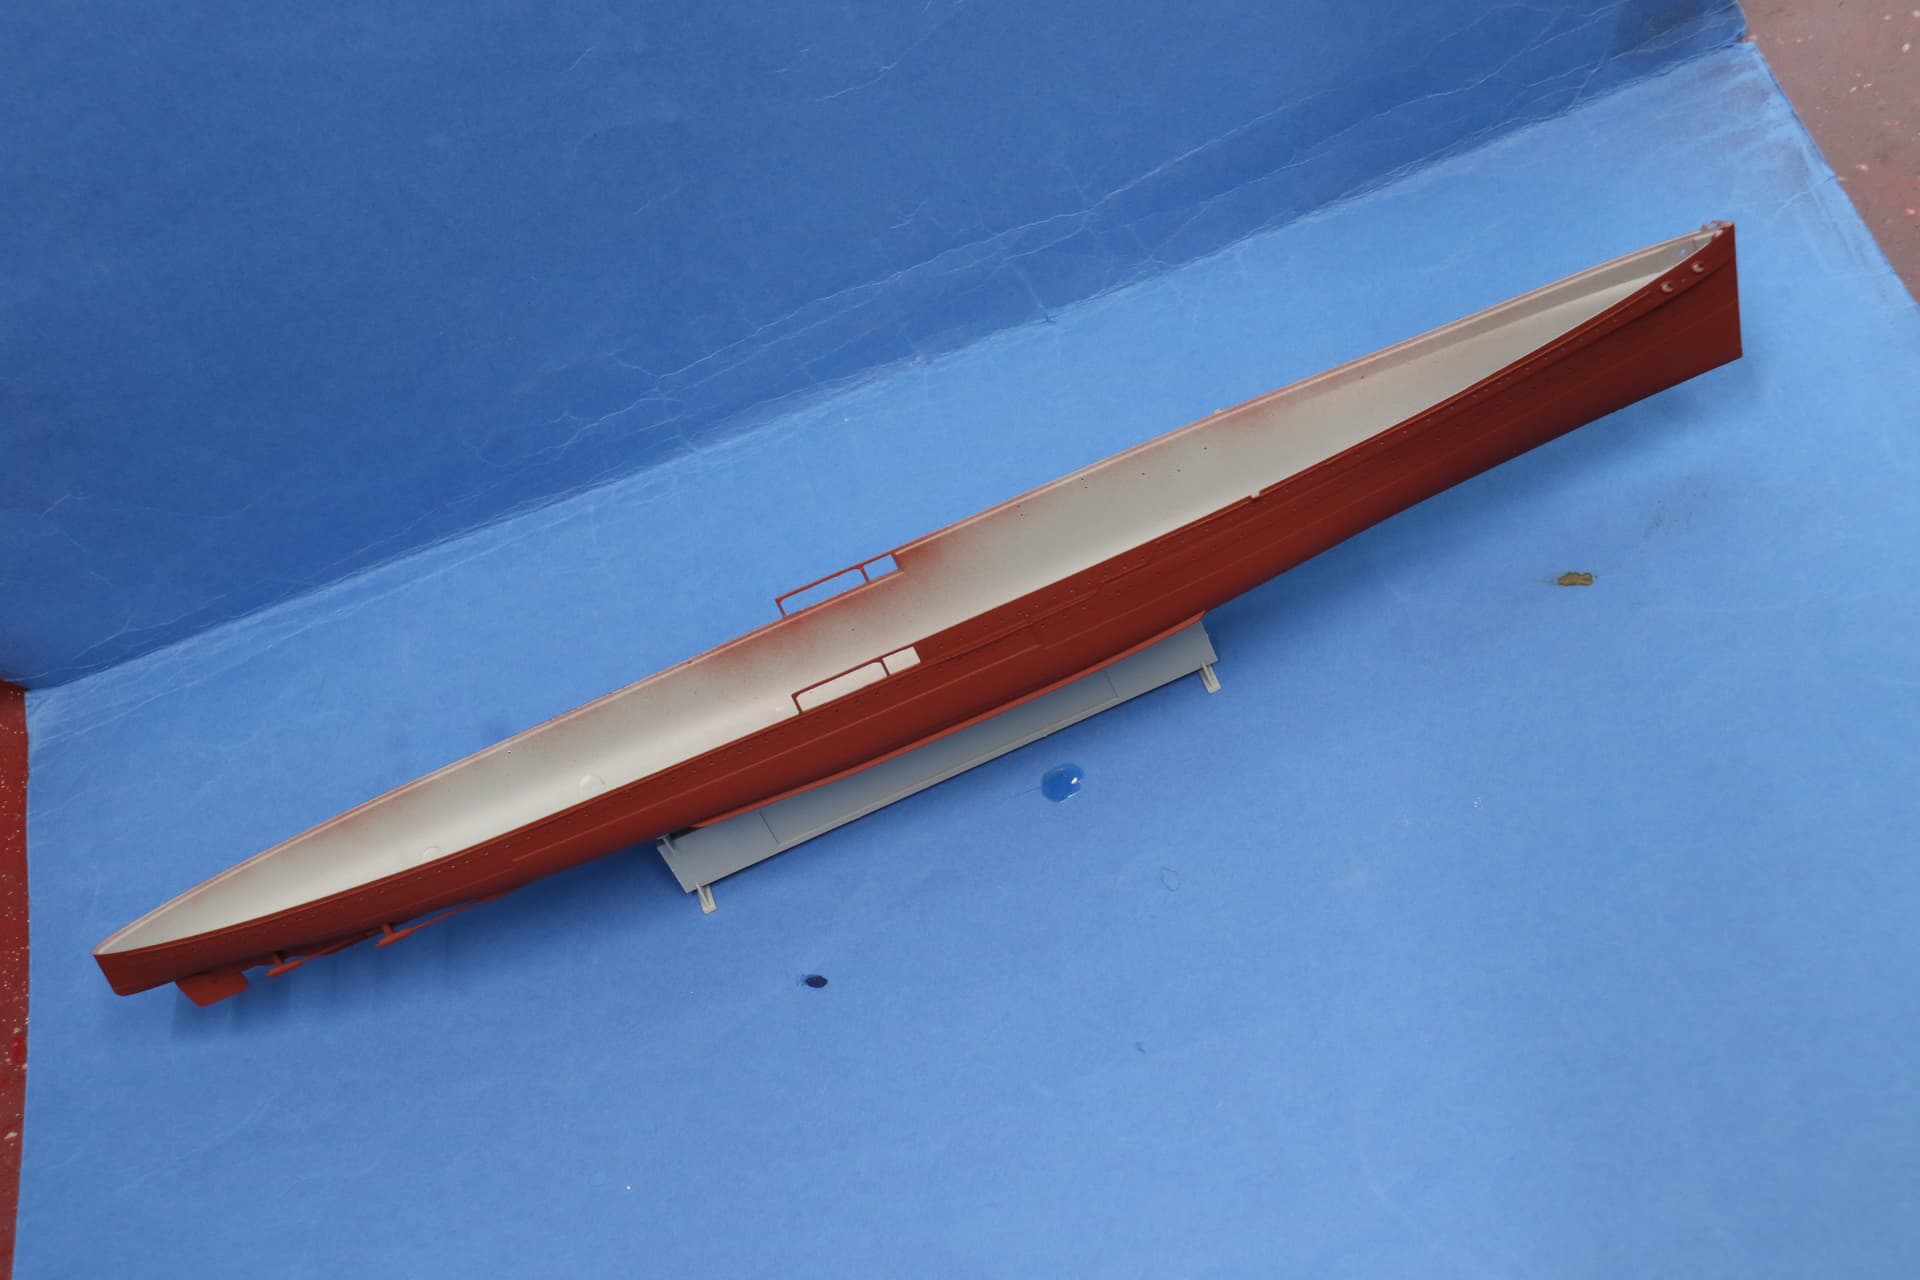
Sprayed good old Halfords red primer.
The main bridge structure etched up.
The after superstructure with the etch added.
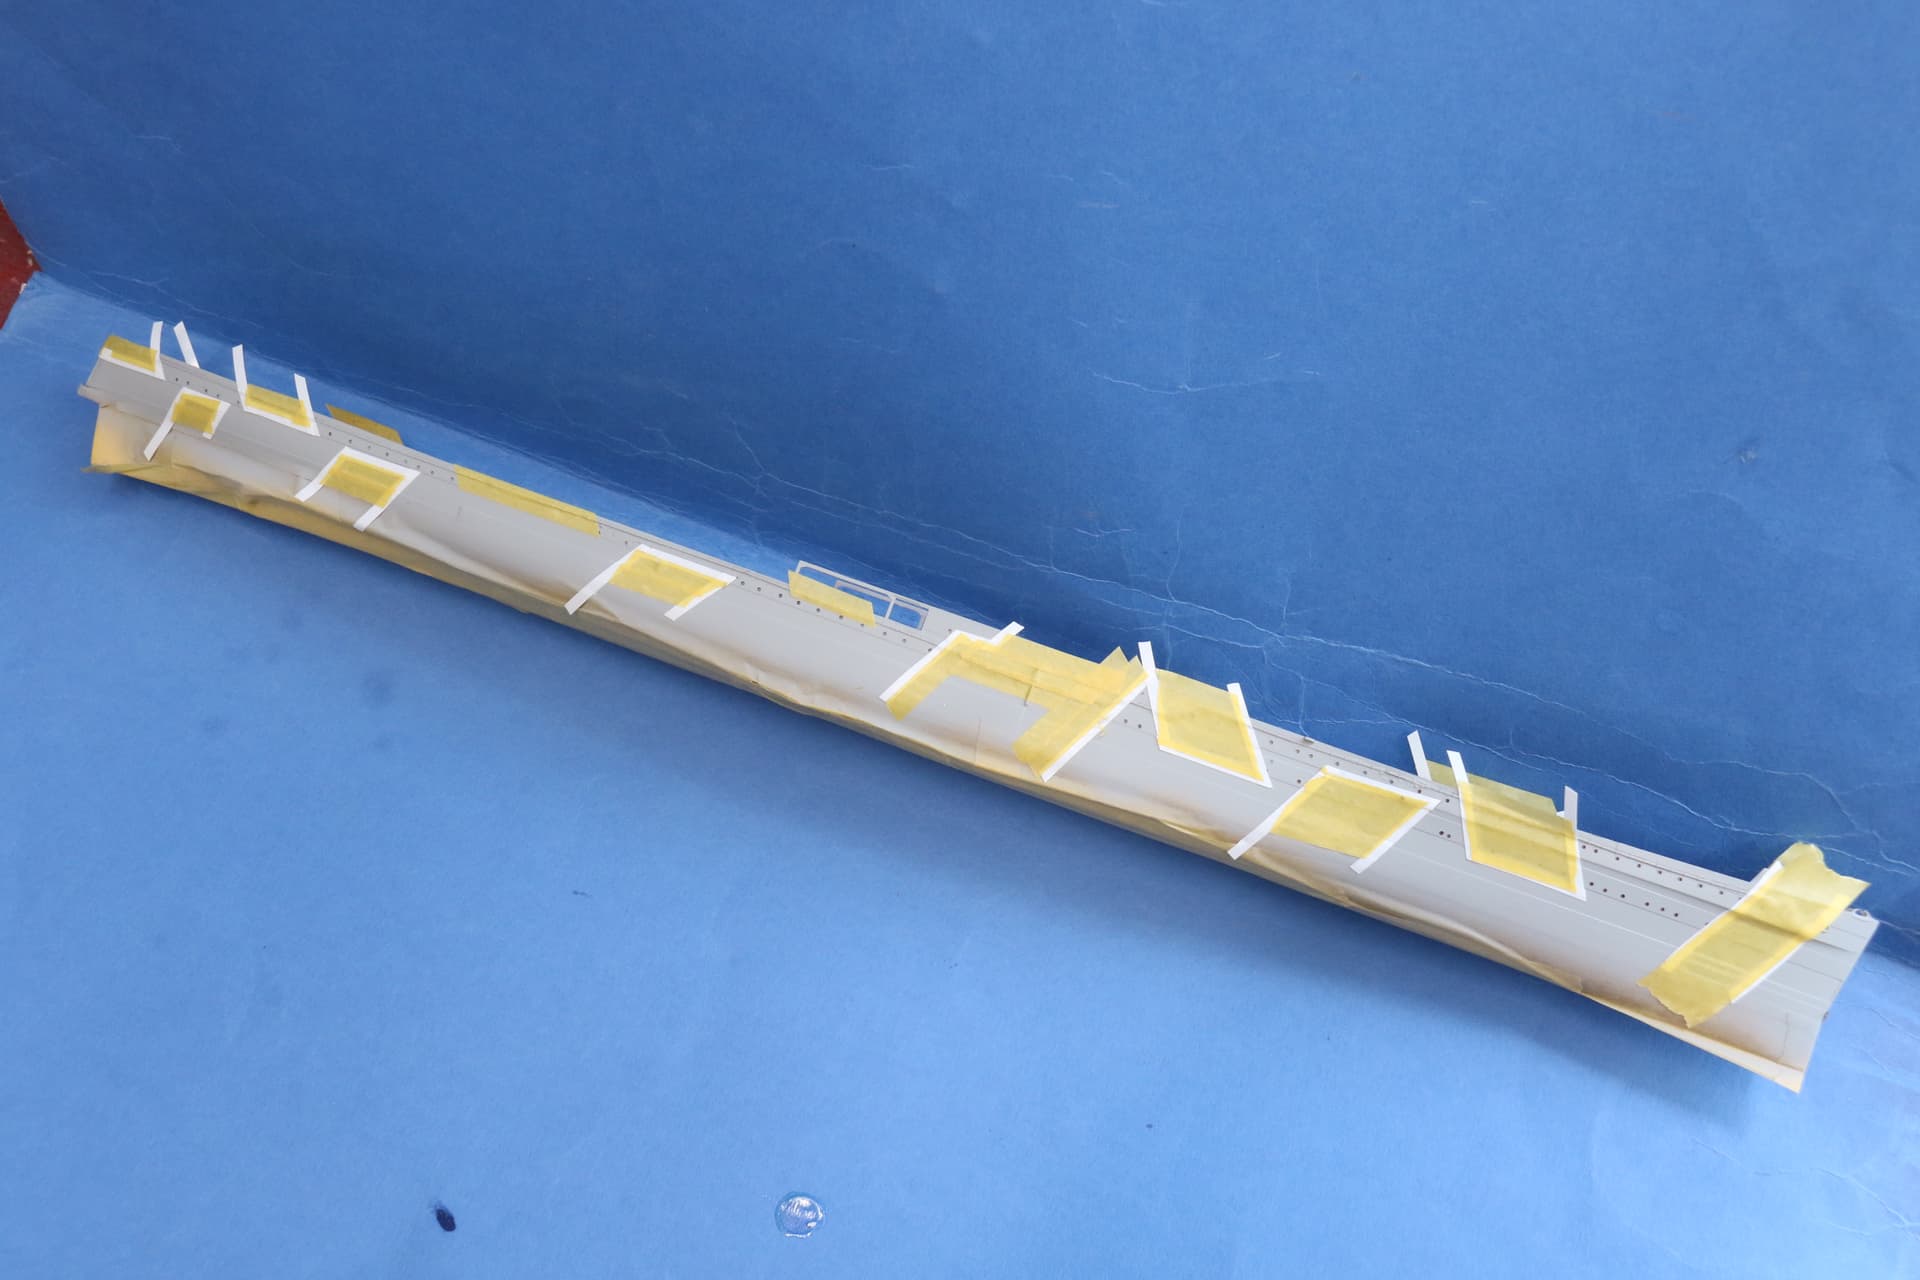
work started on B gundeck.
The porthole surrounds still to go on.
Might be a a couple of weeks before another update…
Cheers
Si
7 Likes
Thanks Russ,
Busy week so hadn’t go round to checking the Forums. Nothing to report this weekend, I have masked the lower hull, but no time to crank the windy stick up.
Cheers
Si
2 Likes
I know the feeling Si: real life has dominated the activity in the Antipodean slipways as well of late and progress has slowed down as a result on the Dauntless 
1 Like
Hi Russ,
Catching up, and got some time at the bench this weekend.
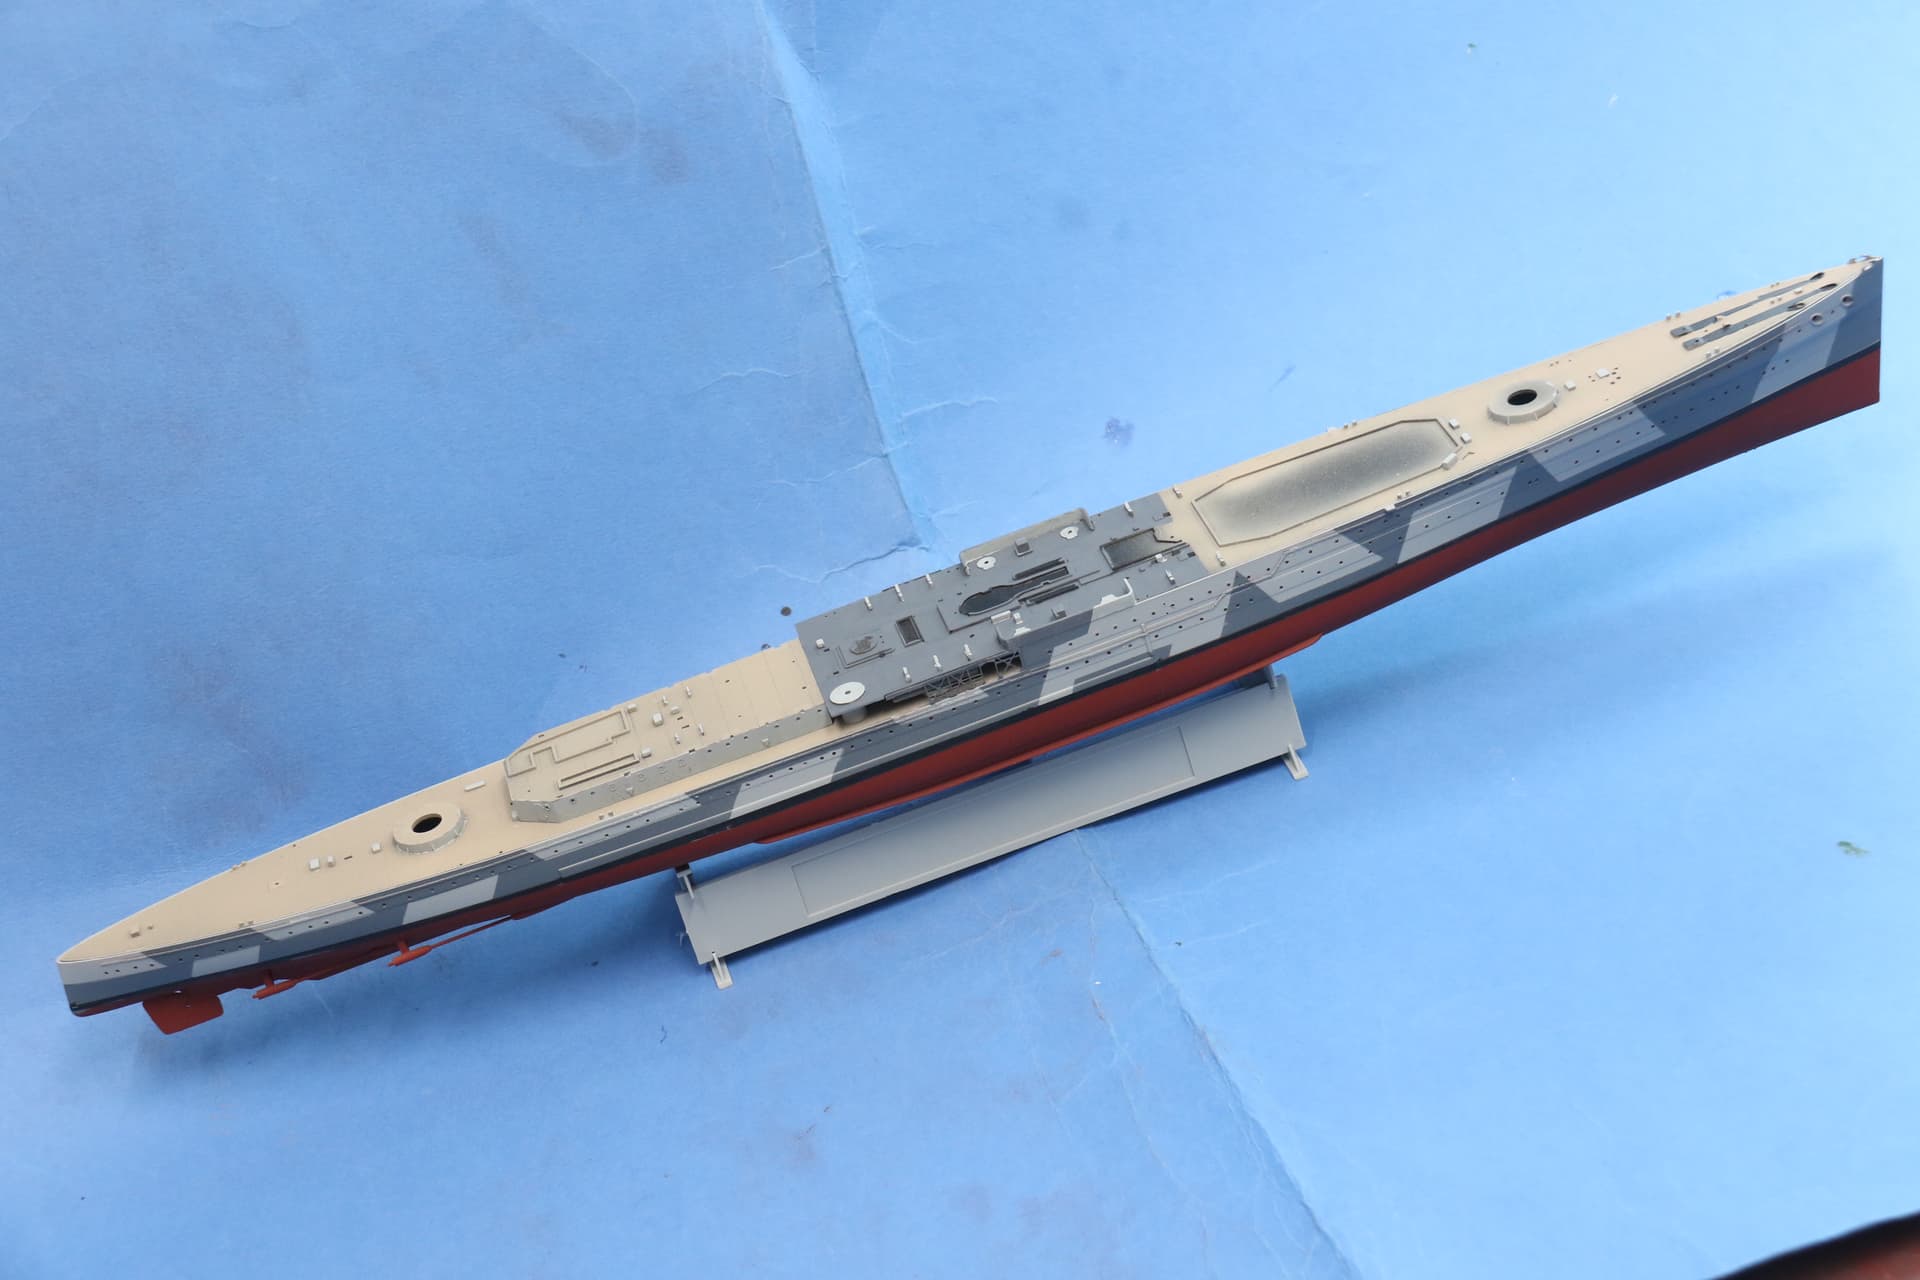
The upper hull sprayed light grey.
Along the the superstructure components.
The camouflage masked.
Spayed, unmasked and the decks fitted.
Hope to get a bit done, but next couple of weekends are likely to be busy.
Cheers
Si
12 Likes
dazzle pattern looks great, Si
1 Like
Thanks Russ,
The masking was real fun. 
Cheers Si
2 Likes
Excellent work as usual, Simon!..I am quietly following along.
Cheers,
1 Like
Thanks Joe,
Glad to have you following along, quietly or otherwise.
Cheers
Si
1 Like
I agree with Russ, the comou looks flawless! (Masking is one of my favorite modeling tasks too).

2 Likes
Thanks Tim,
It did stretch my knowledge of seafaring language! I have did get a bit further last weekend, but not quite enough for an update,
Hopefully get more time this weekend.
Cheers
Si
1 Like