I may never talk to you again !!
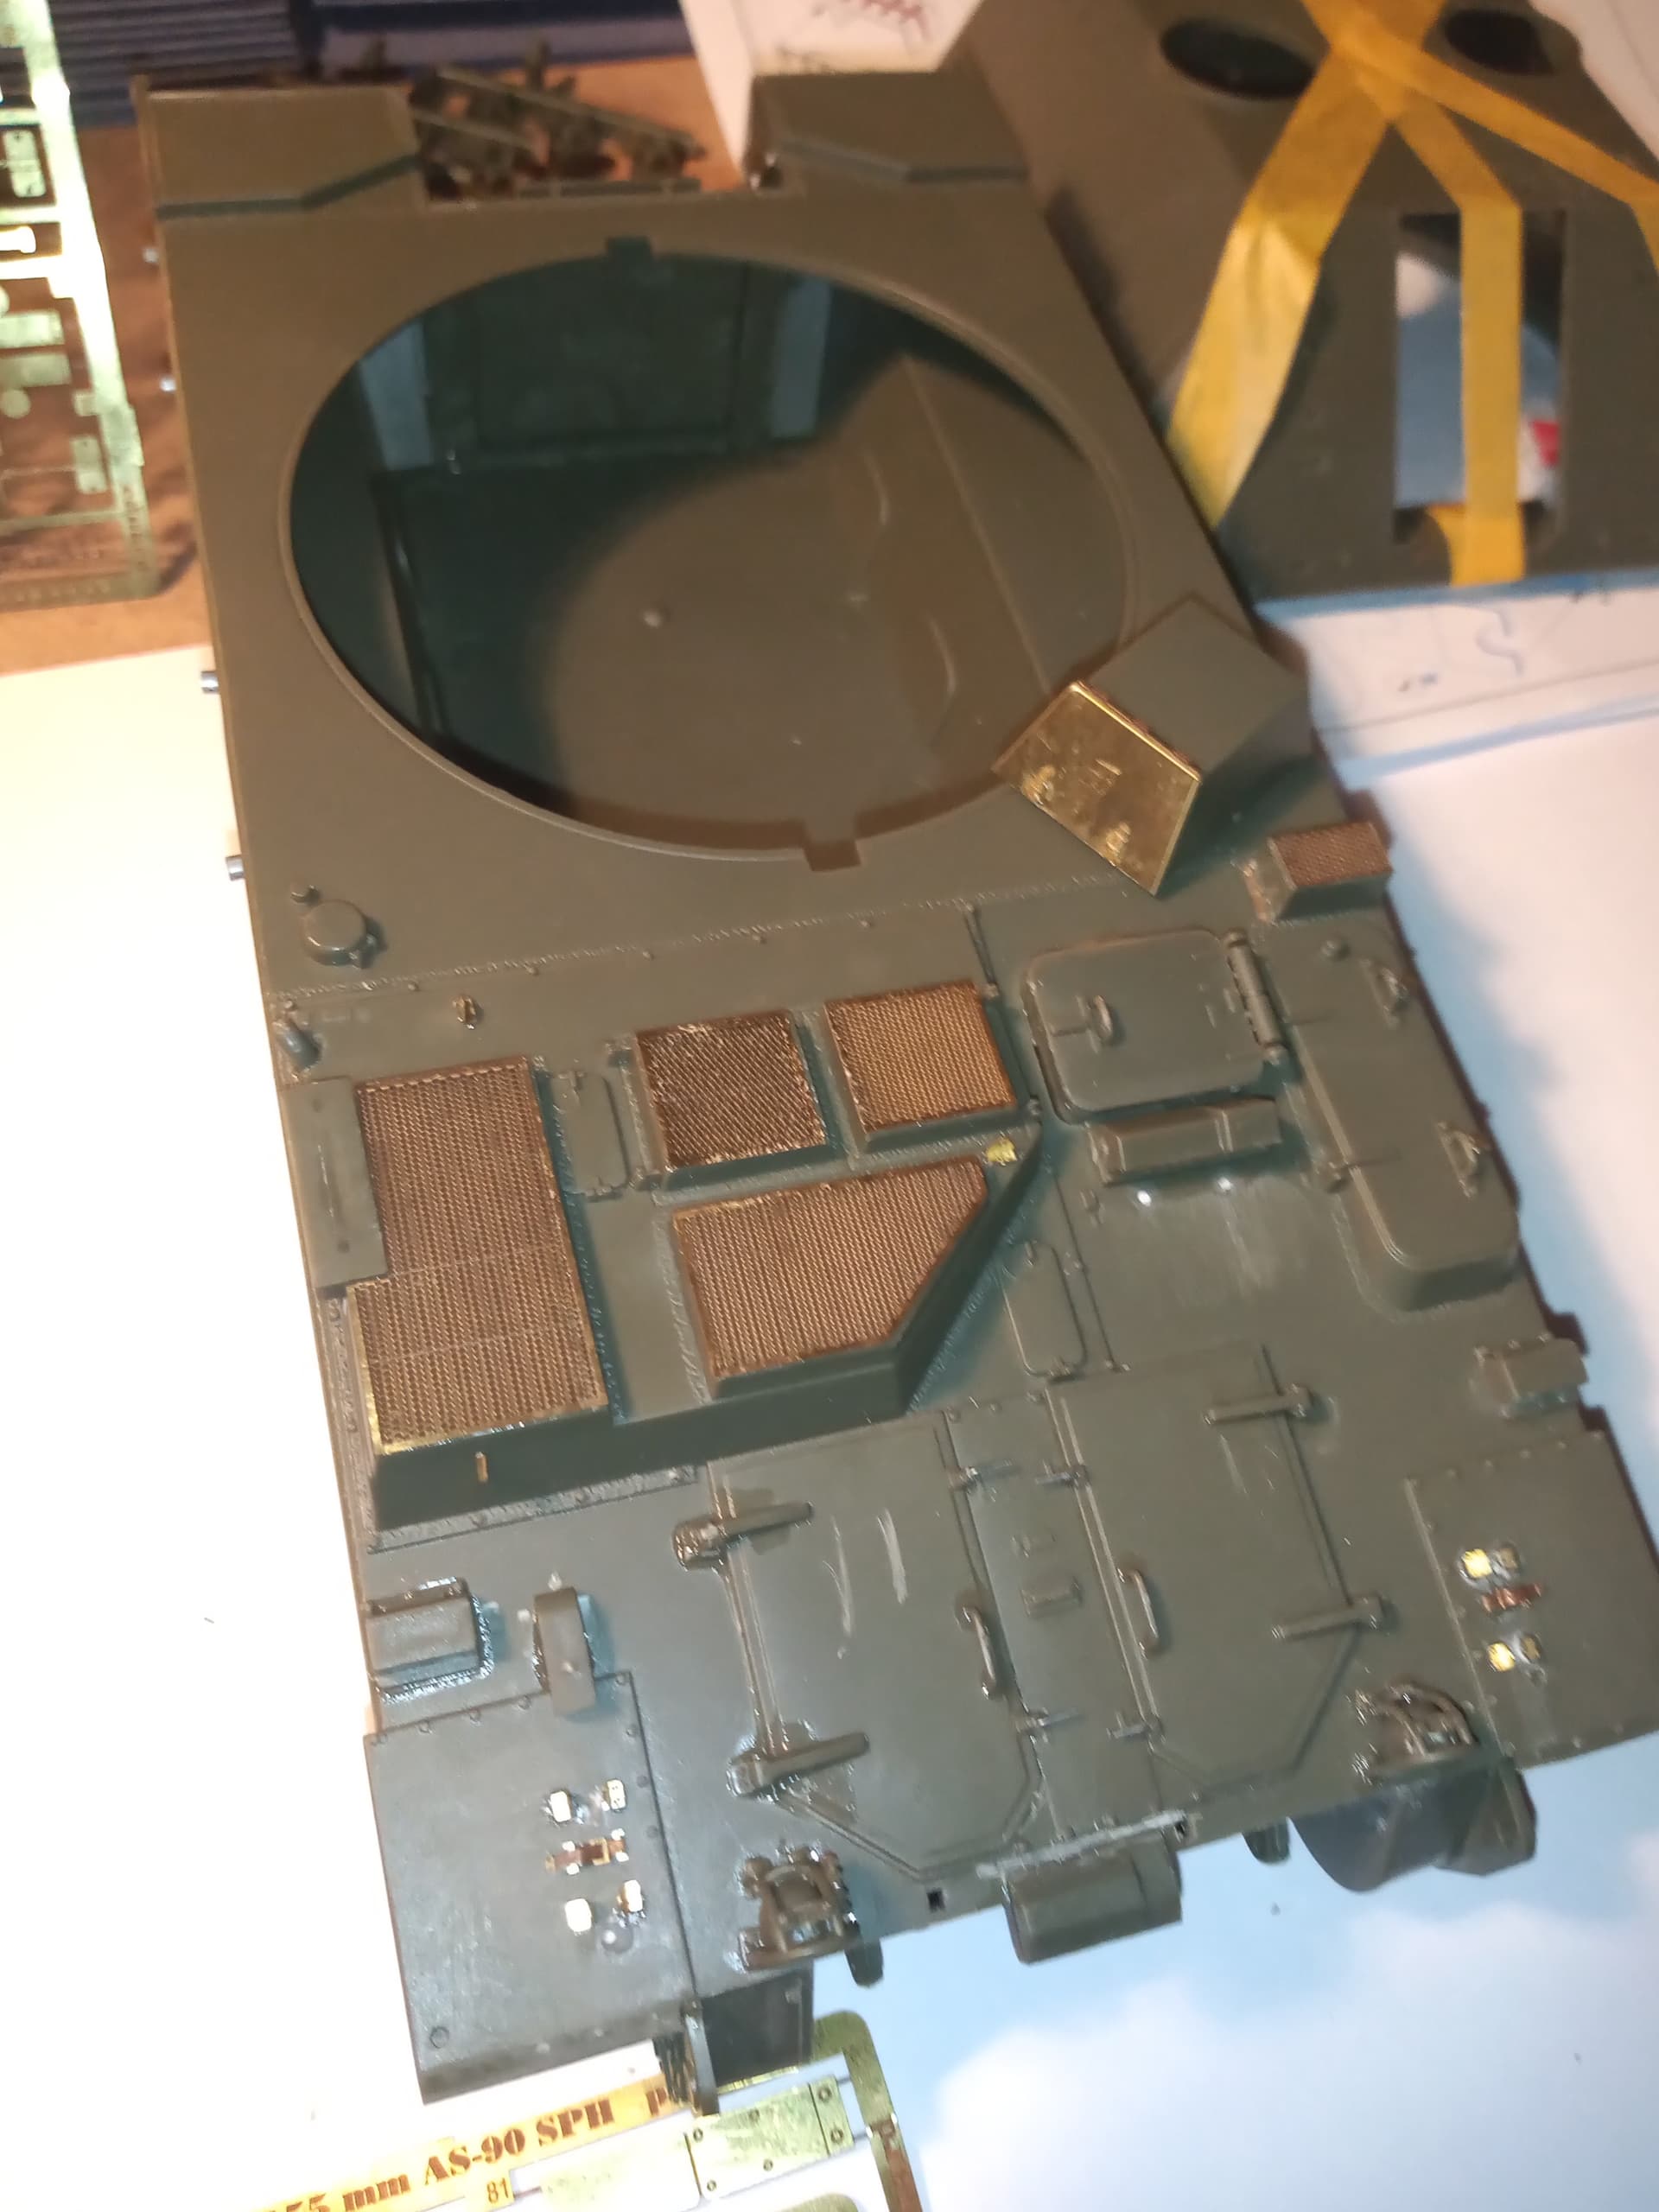
On a serious note… Some more PE added, namely the grills and put the headlight bodies and guards on, put the turret shell together and made one side bin up with the PE lid, hinge and clamps.
I may never talk to you again !!
On a serious note… Some more PE added, namely the grills and put the headlight bodies and guards on, put the turret shell together and made one side bin up with the PE lid, hinge and clamps.
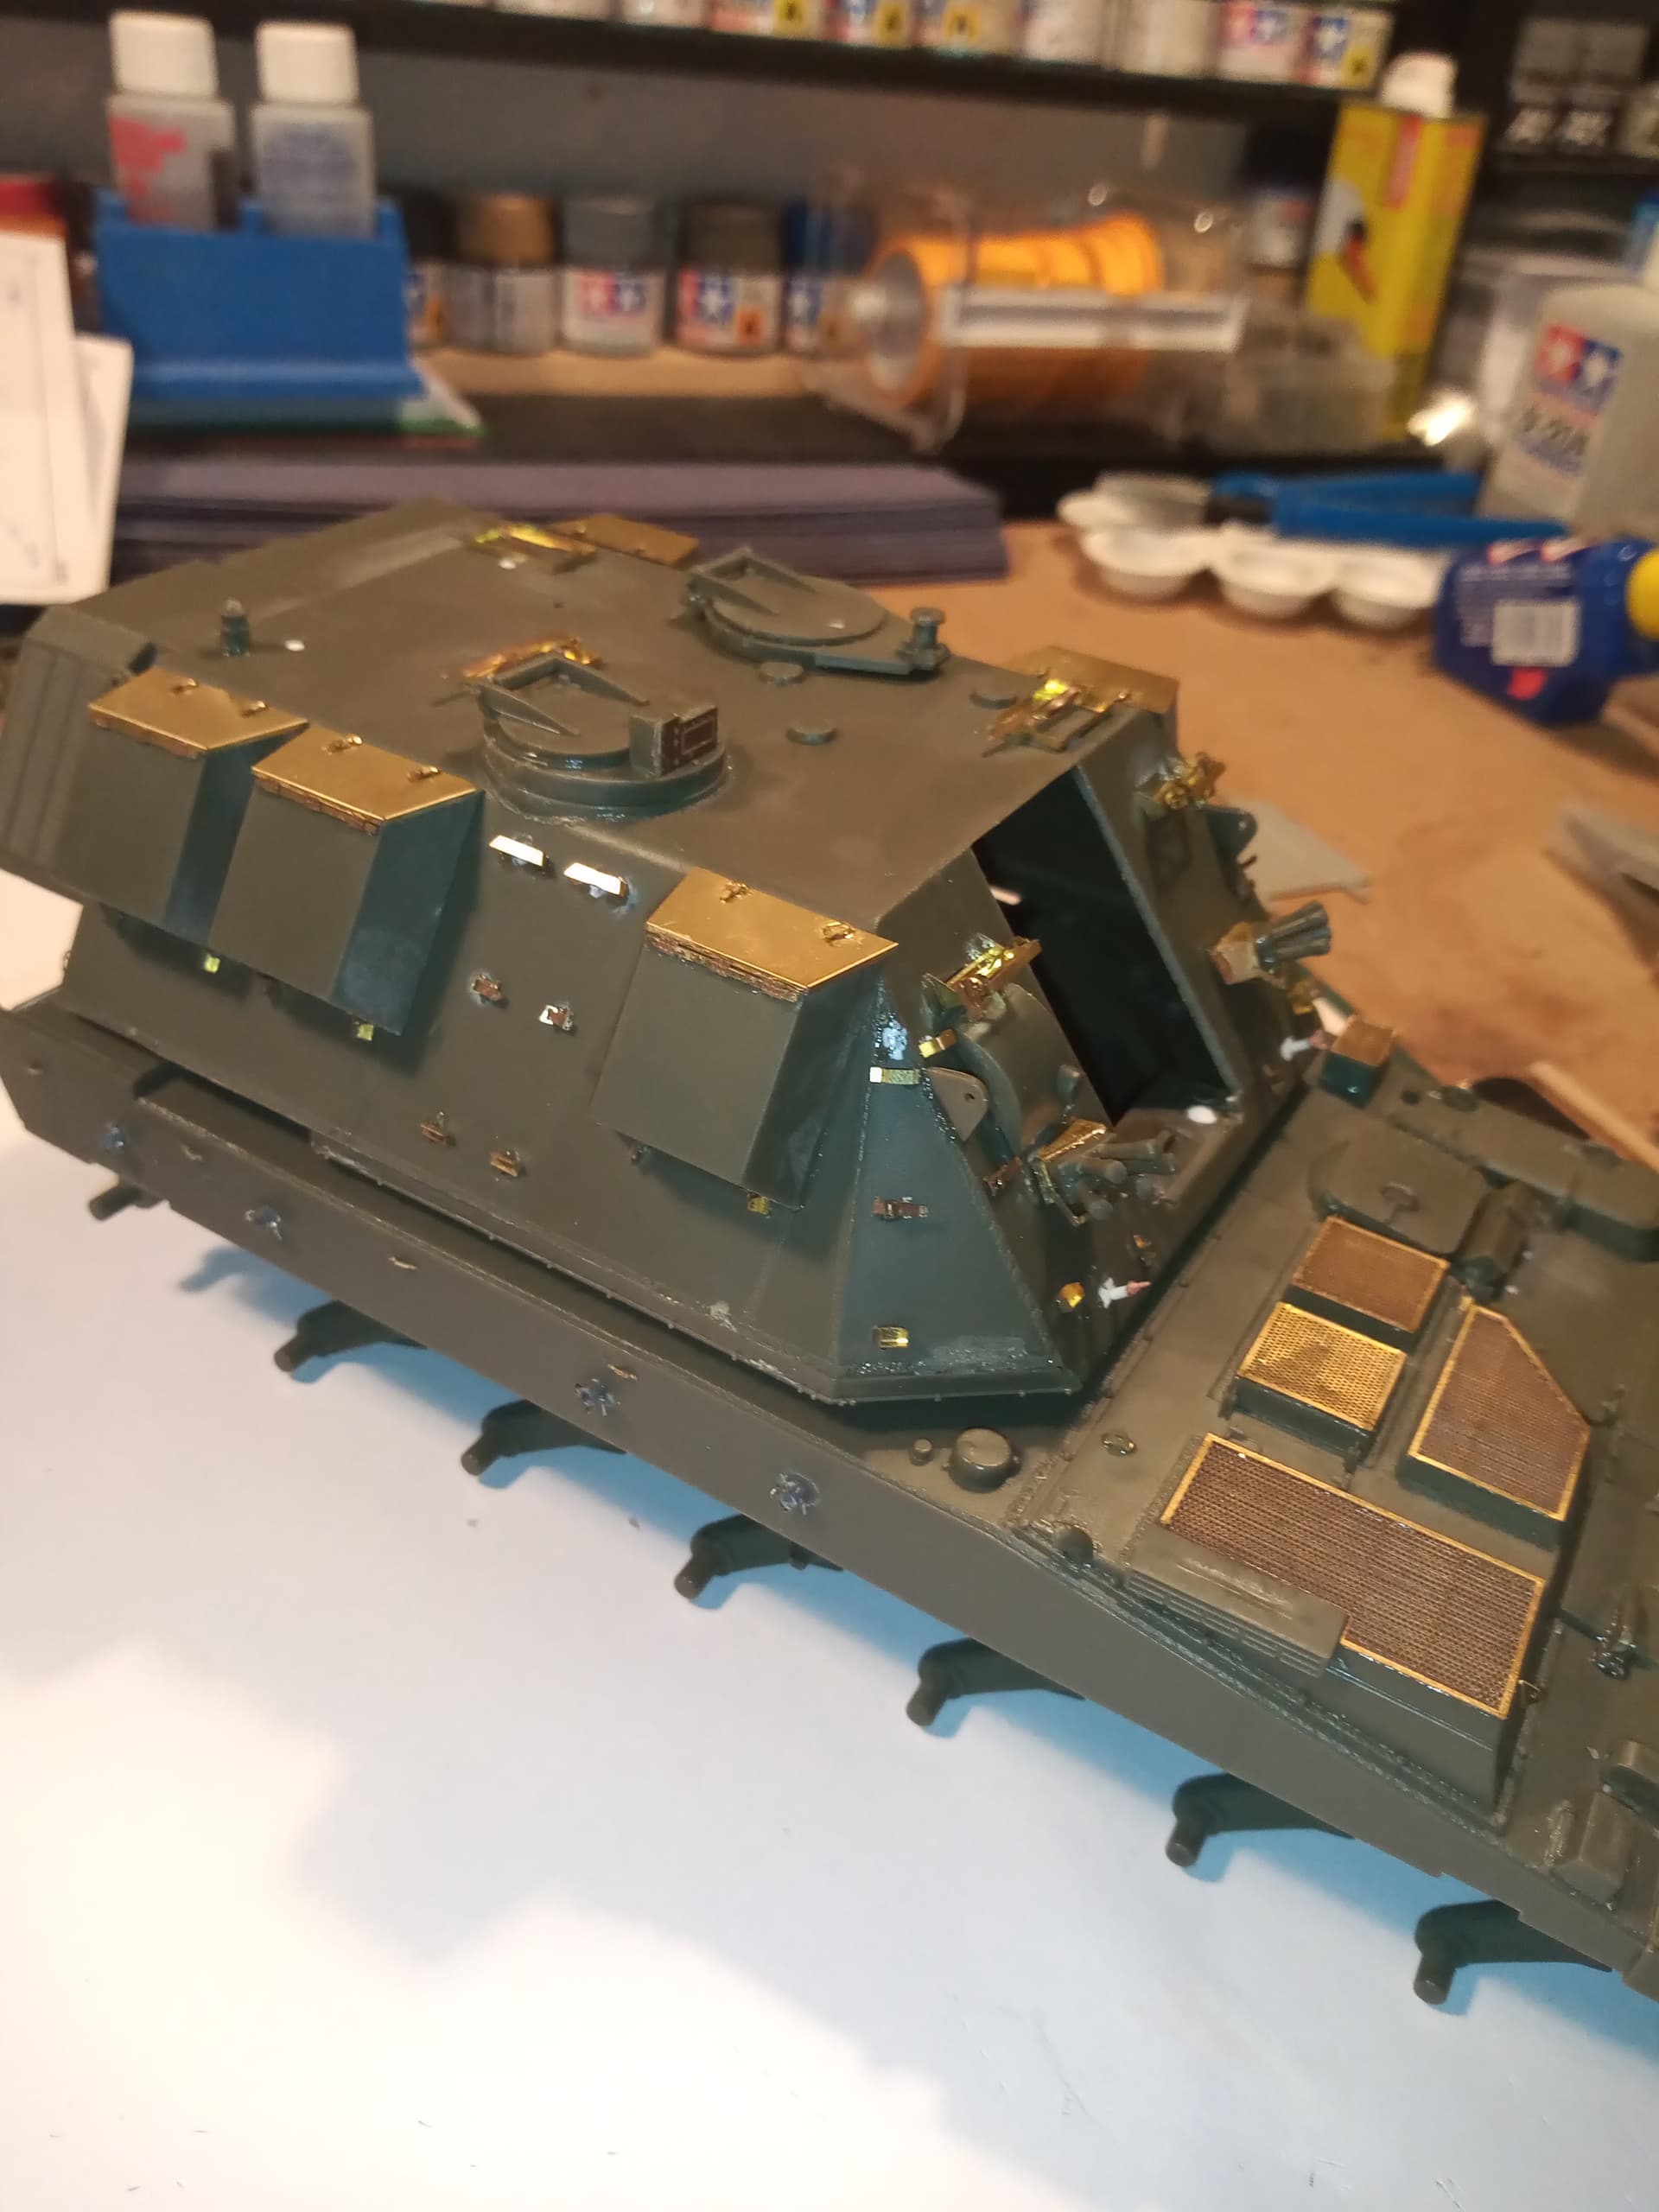
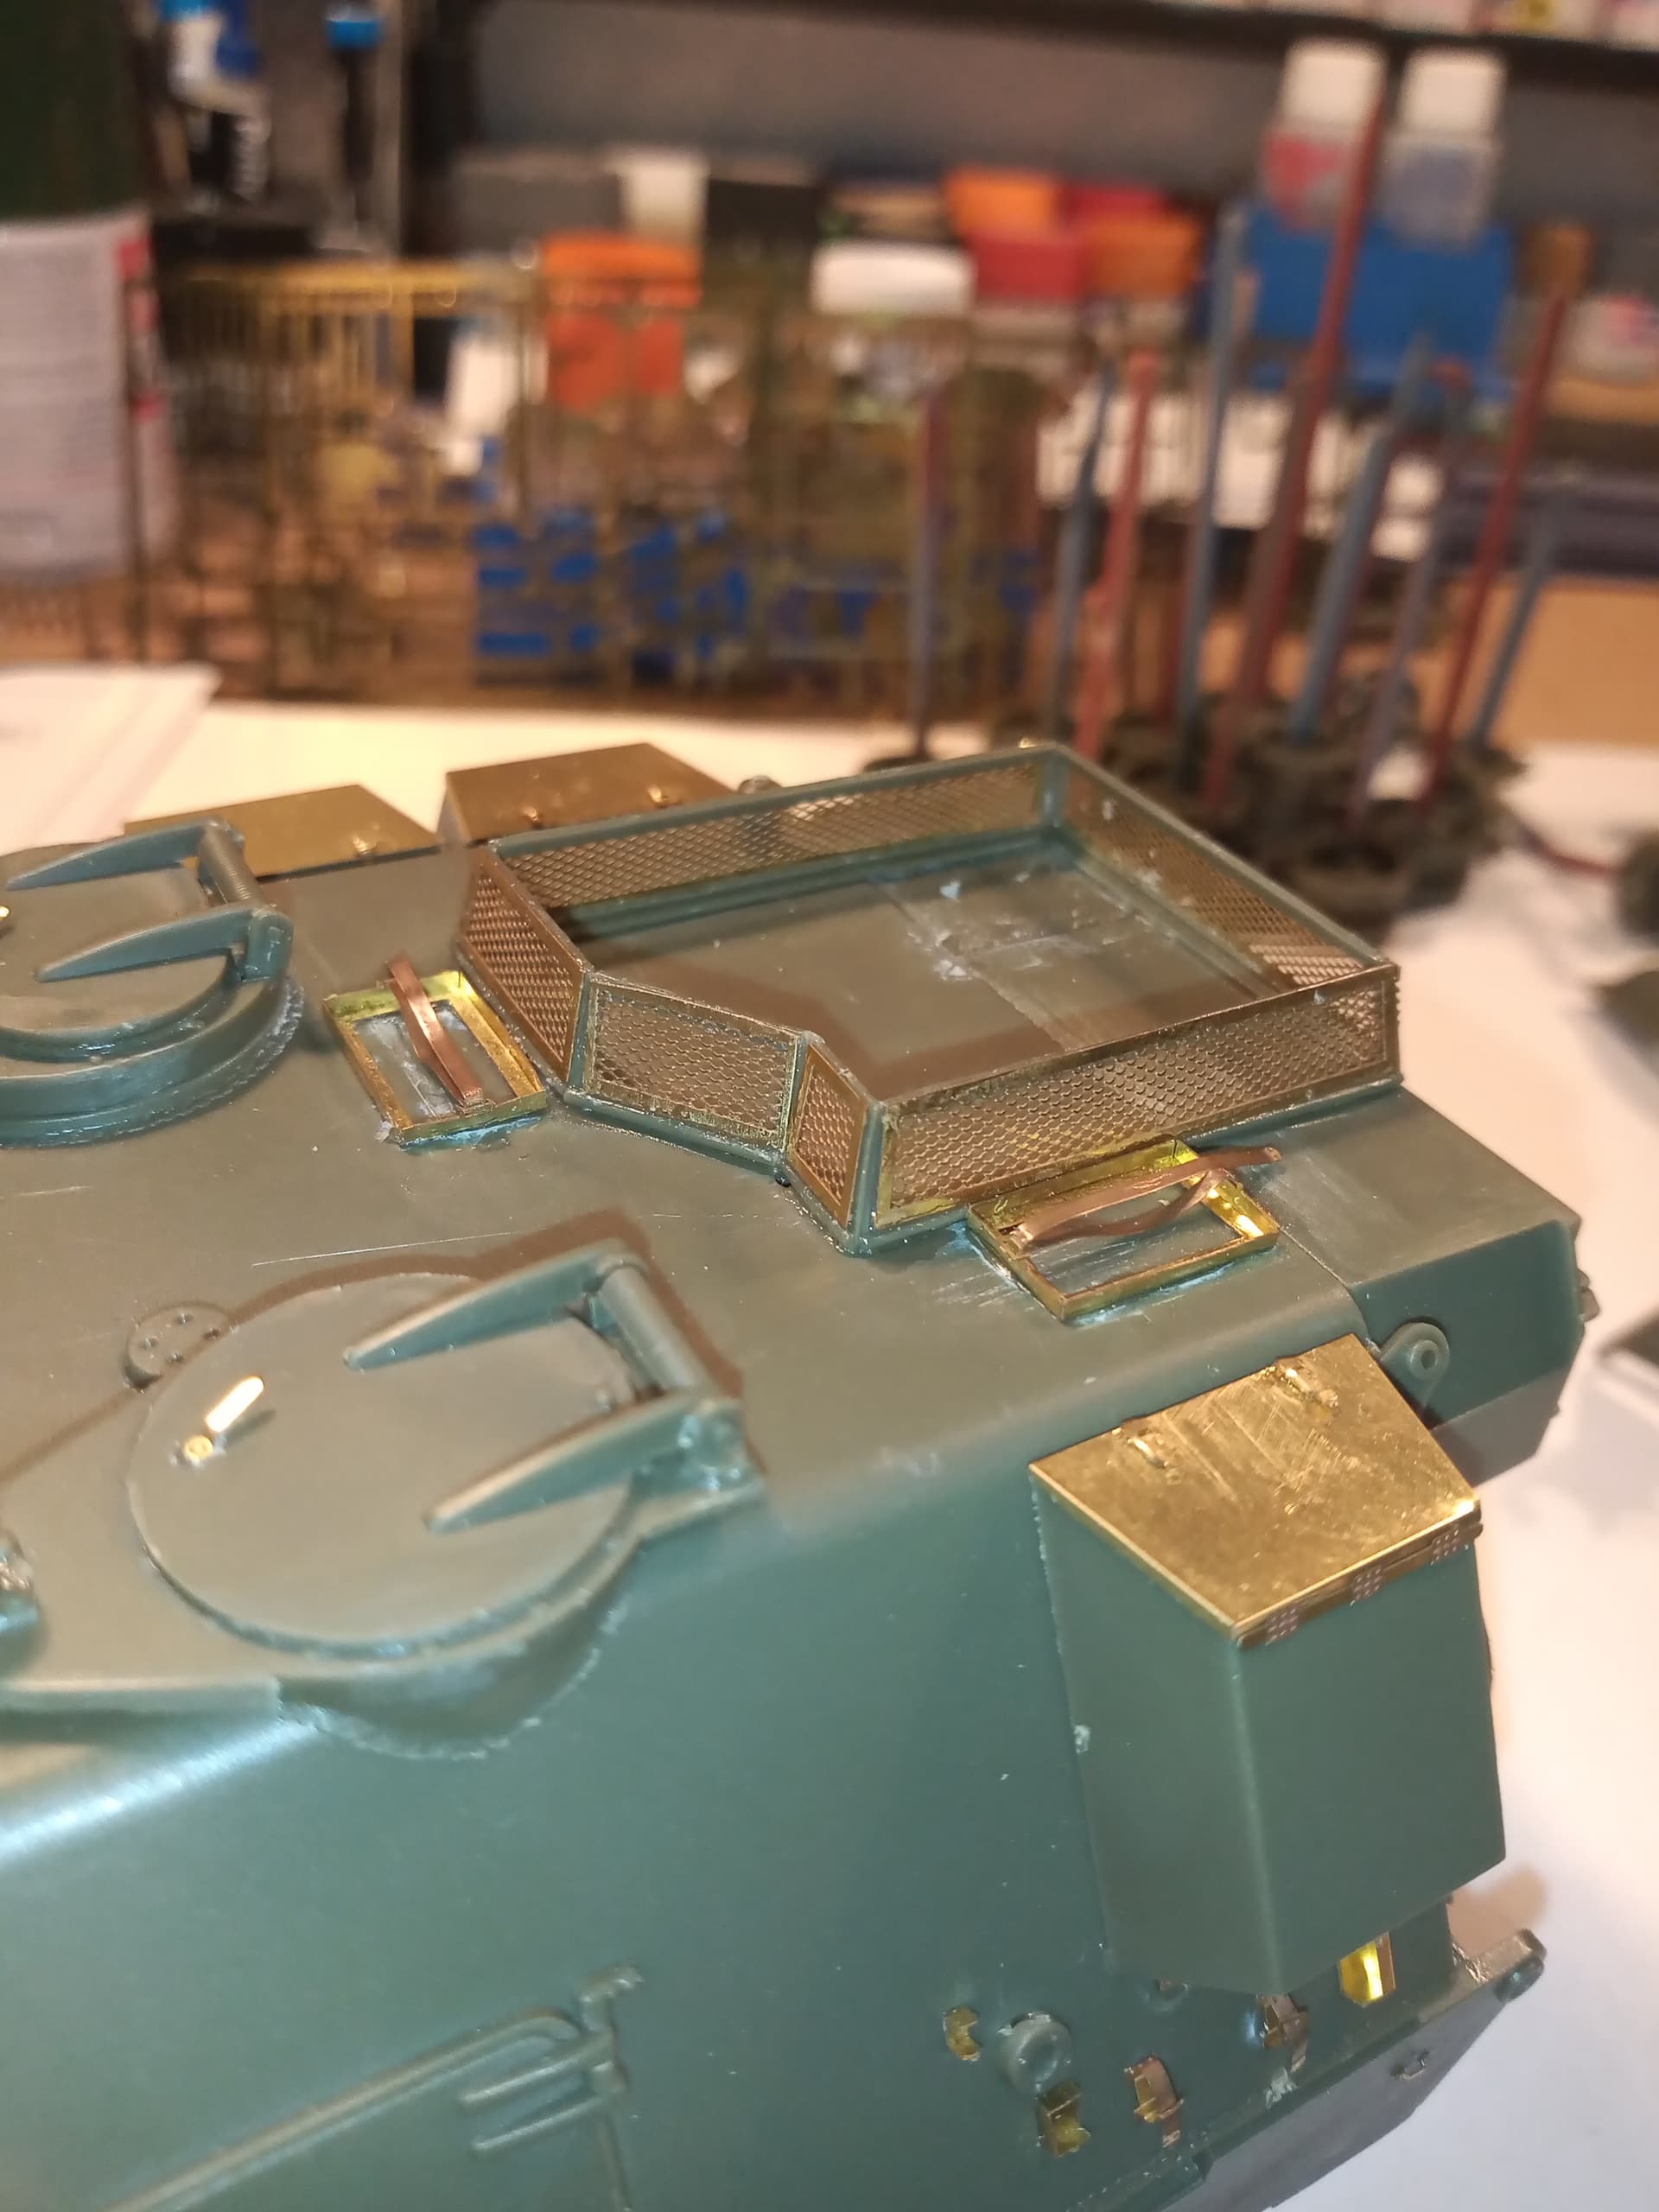
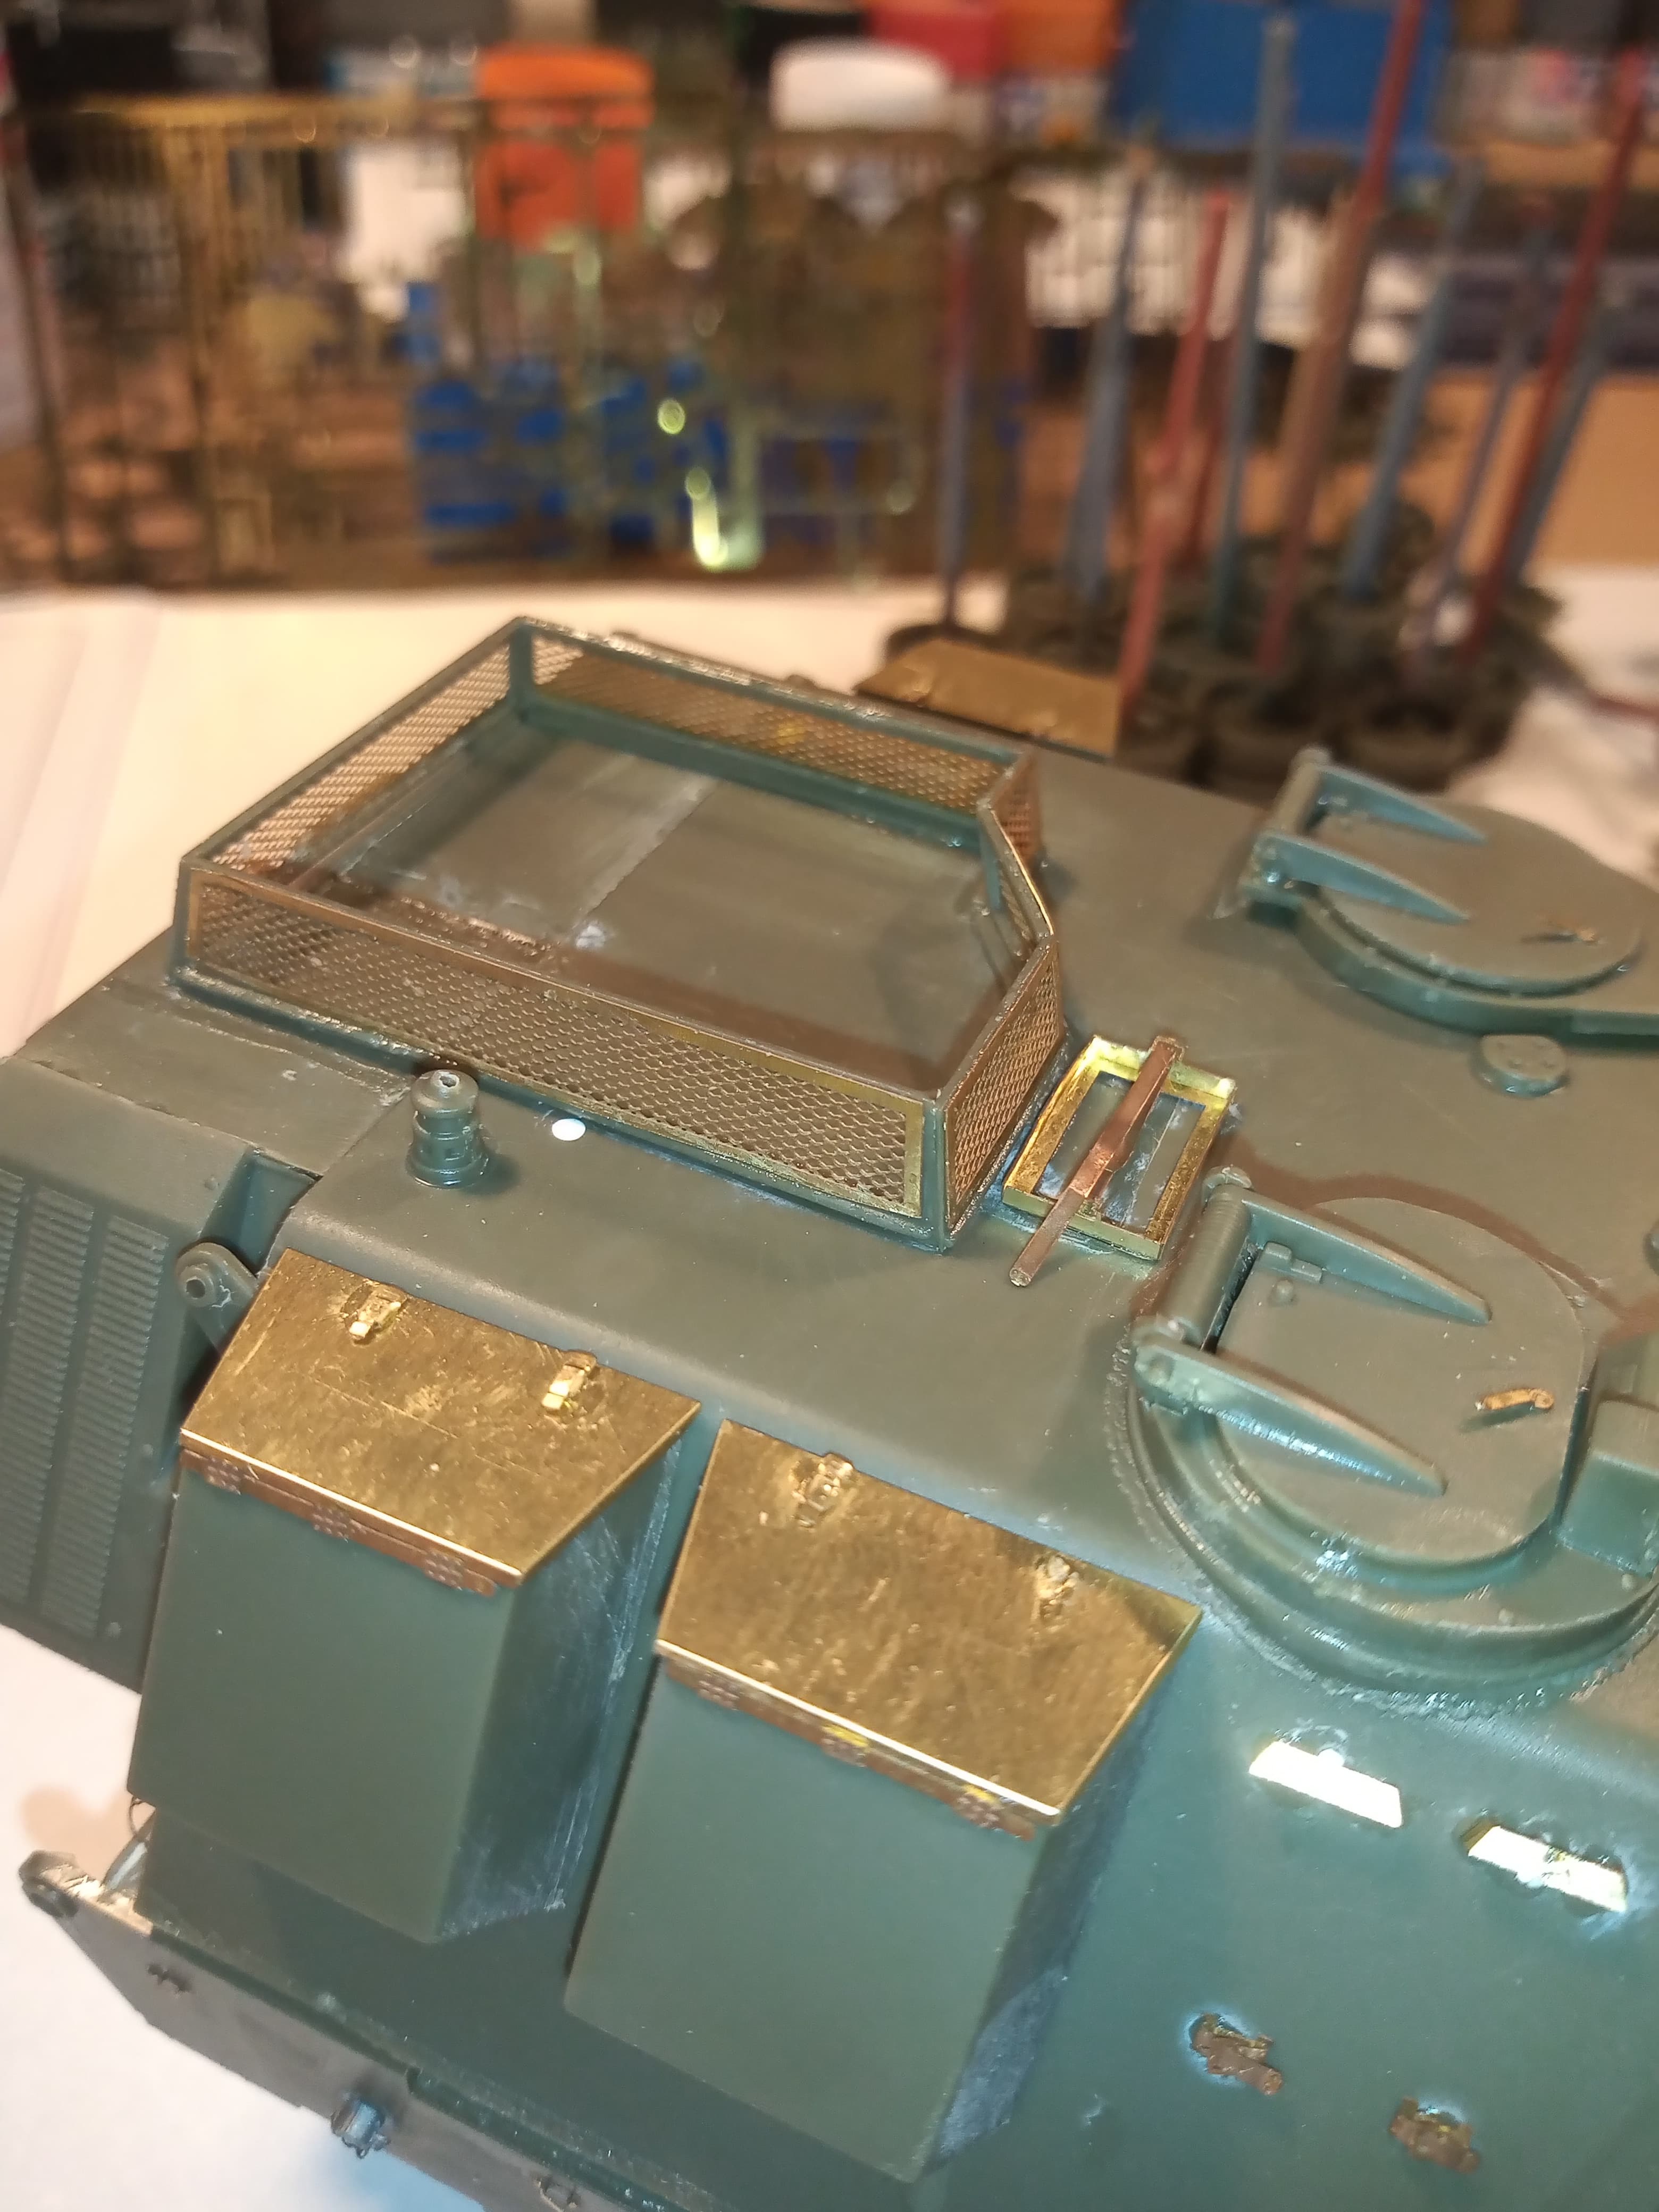
Turret side bins are on along with the roof GPMG ammo box storage racks.
All the PE lids have a separate PE hinge and 2 locking clasps on top.
Each bin also has 2 bottom mounting brackets … On these, I have just attached the front ones as I wanted to see how easy they were to bend.
Making it a real super detailed piece again, will fit great with the Commander ![]()
Again that’s some serious detailing ![]()
Olivier
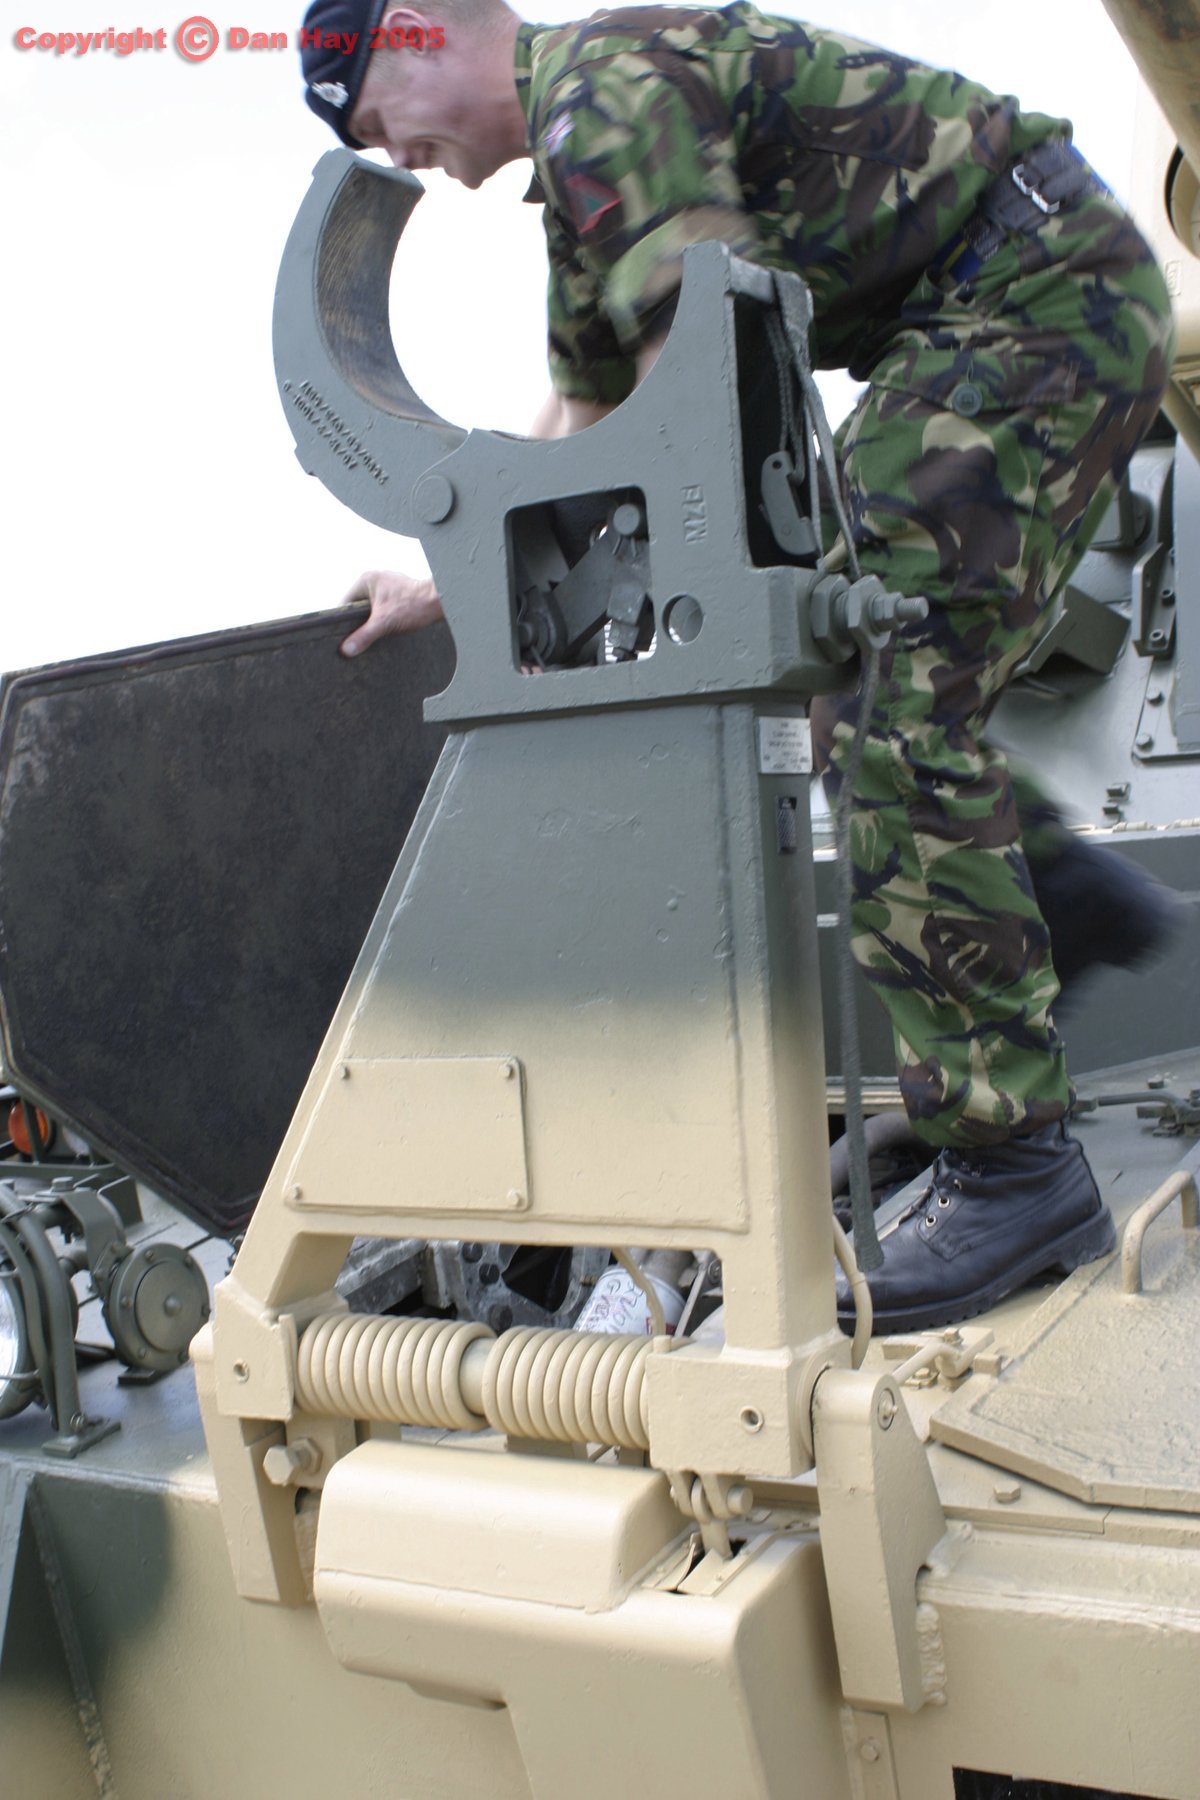
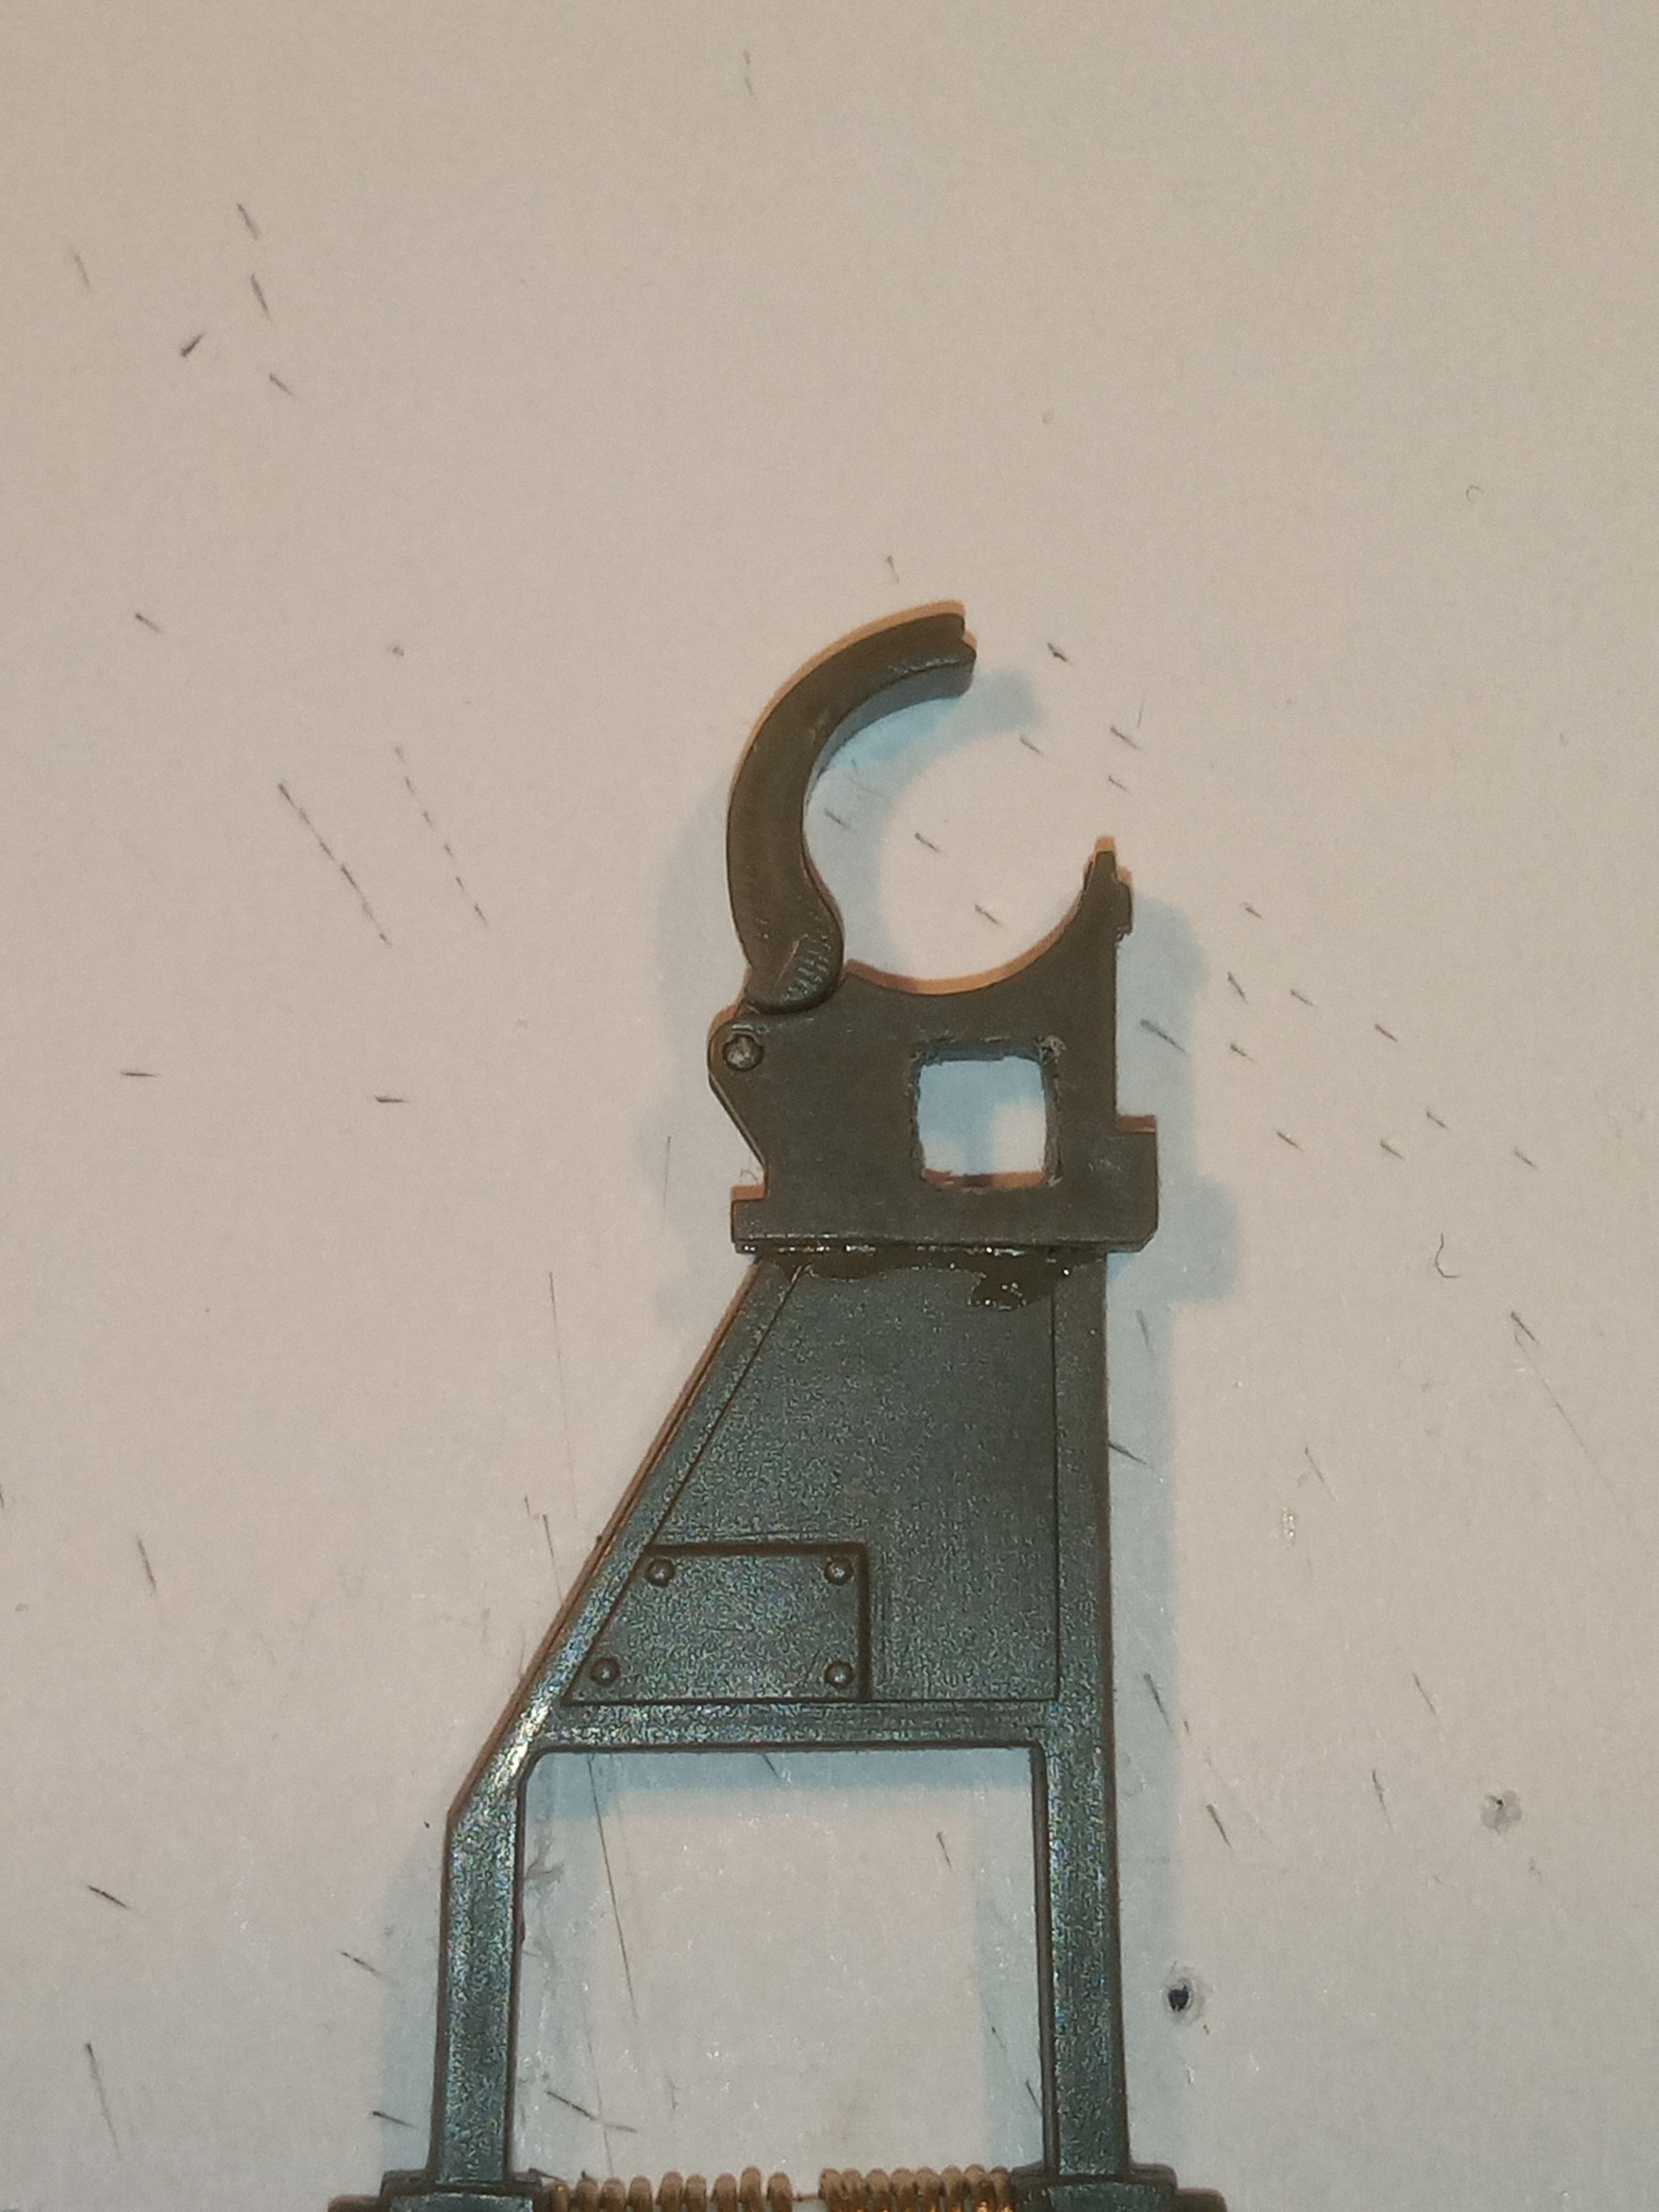
This looks awesome, very detailed. but. the barrel clamp needs to adjusted, the kit one is for the 52 cal barrel. here’s the standard barrel clamp.
Darren explained about it on his build review of the kit and showed a picture with dimensions of what needs doing. I saved it to refer back to when I finally build mine. AS90 Build Review
Thanks Bert & Olivier, this time round, I will be using pretty much all of the PE in both sets as there will be no tools on the vehicle, so its taking a bit longer to get all that done.
All in hand, I was deciding how much detailing to do on the clamp so was leaving the reshaping till a bit later ![]()
I had that saved as well mate, just not got around to it yet … and I will be cutting out the center square to add some detailing in there as well ![]()
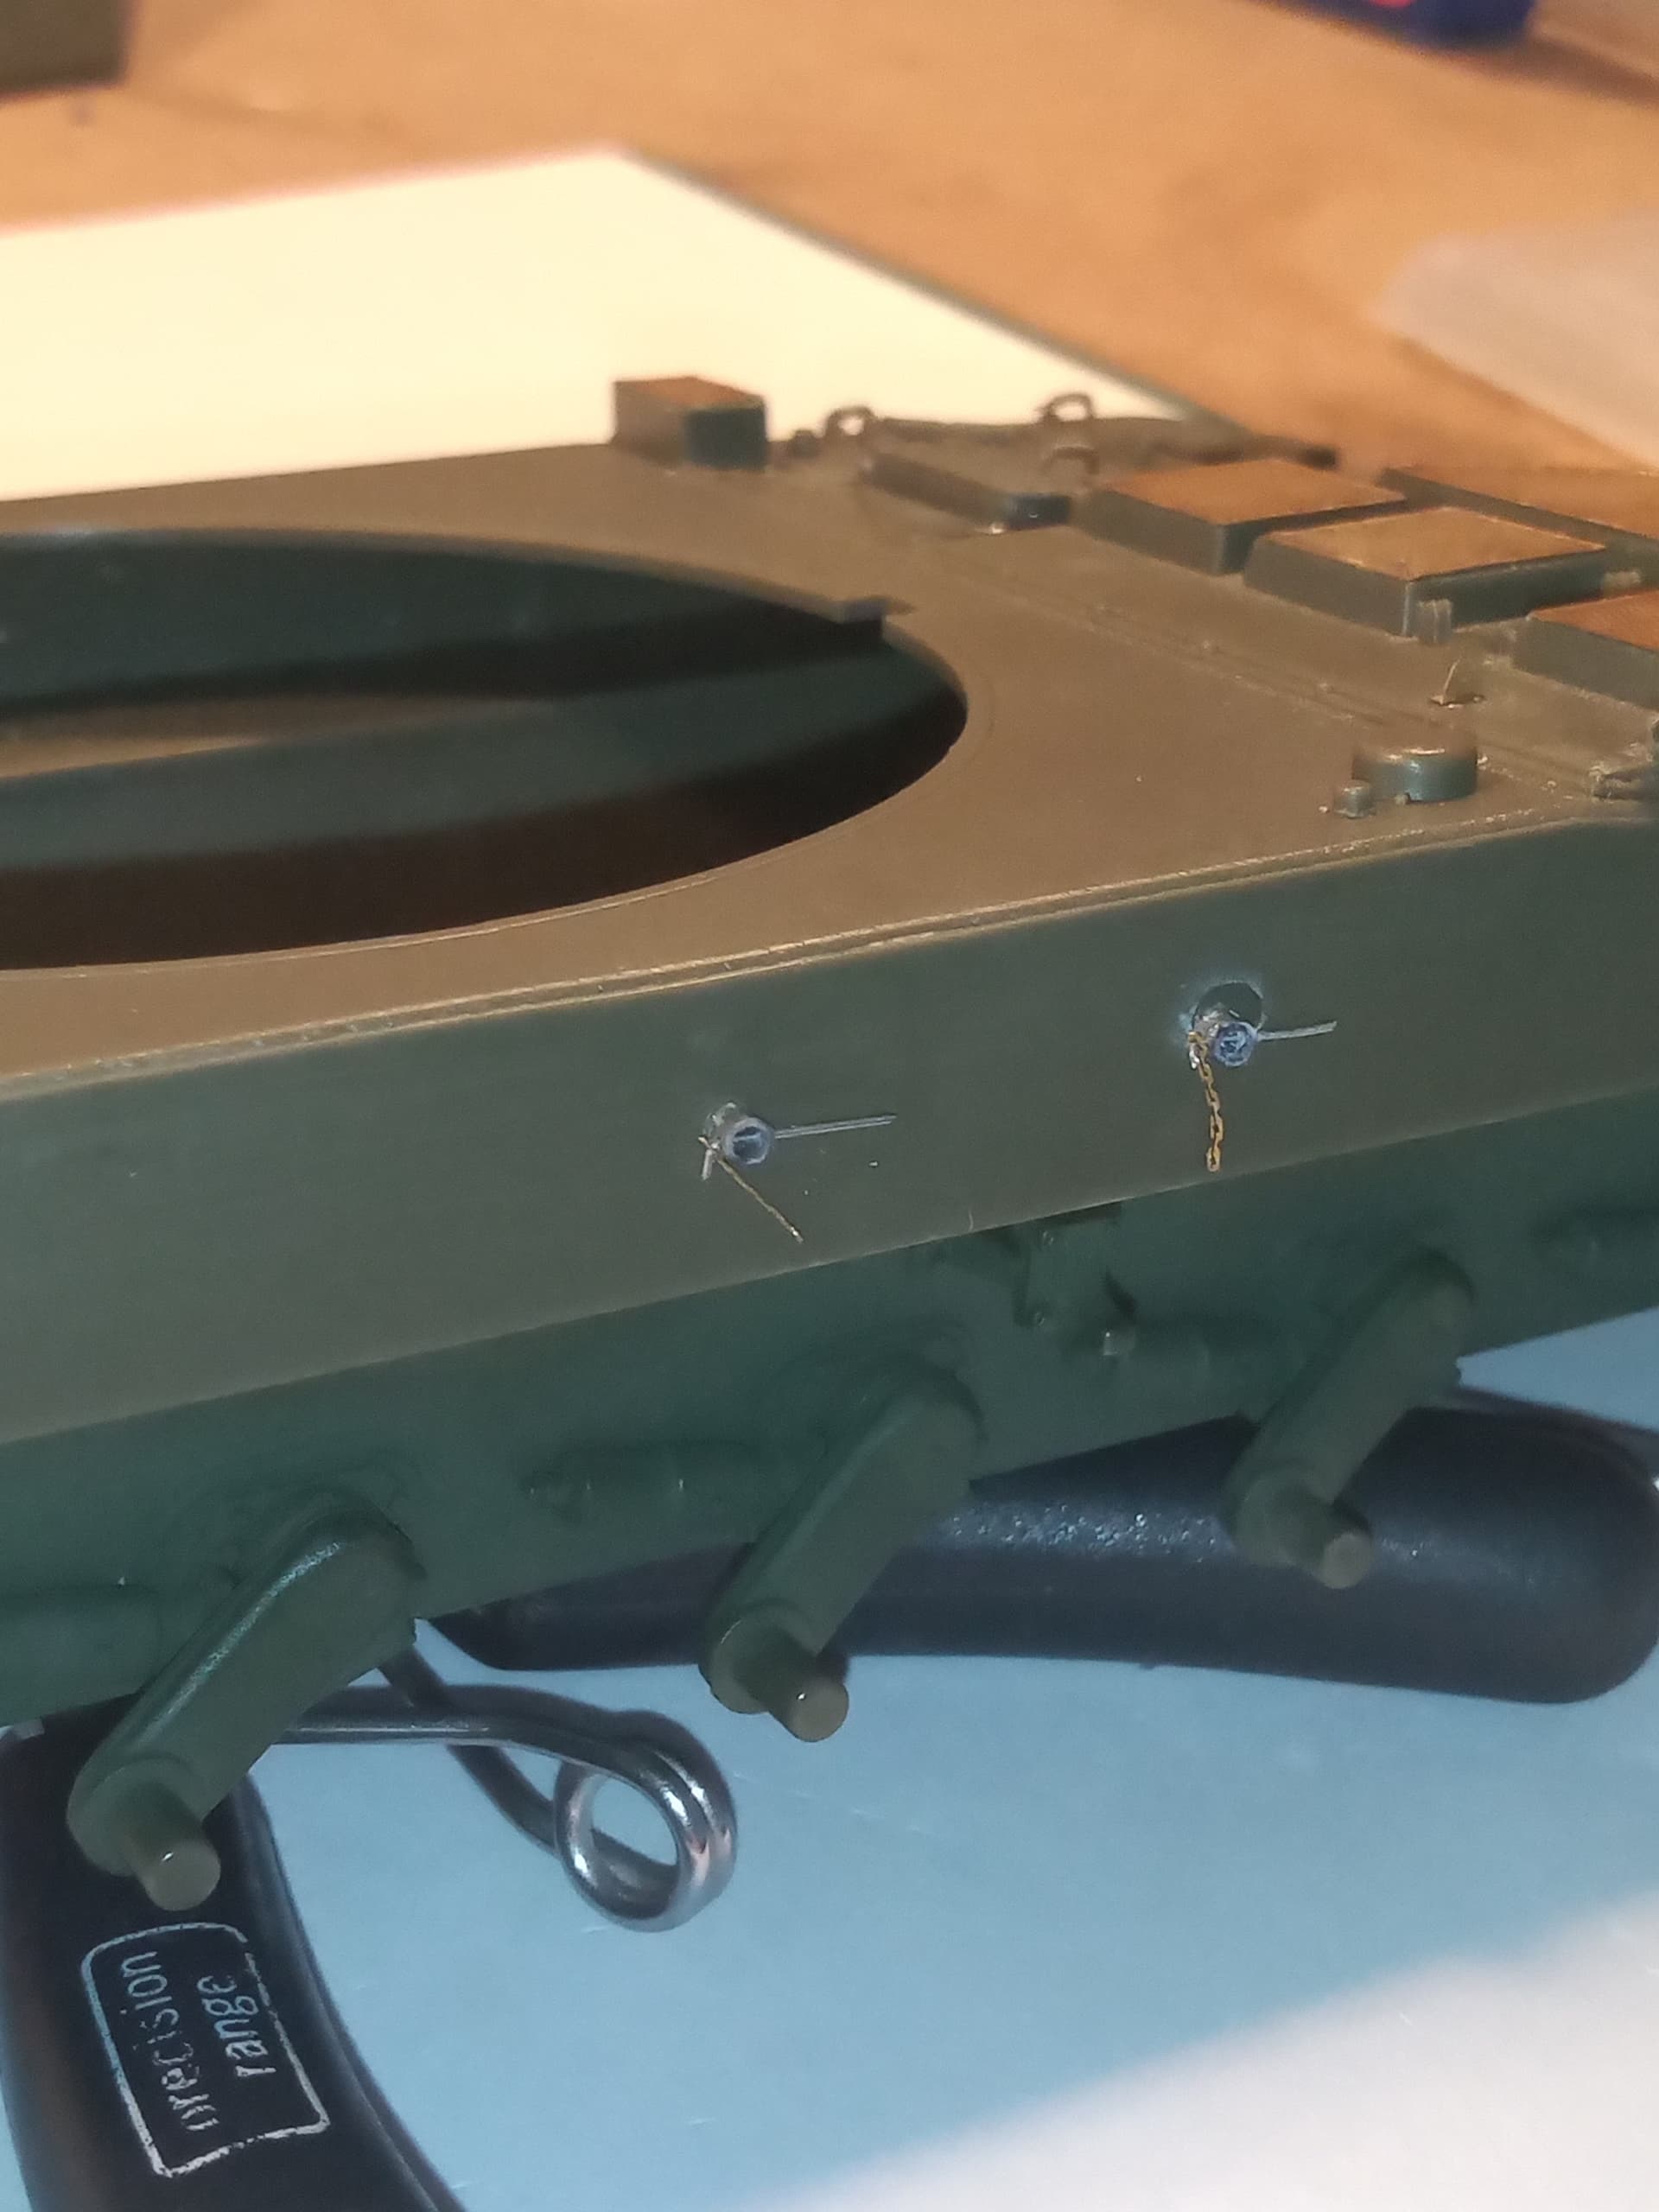
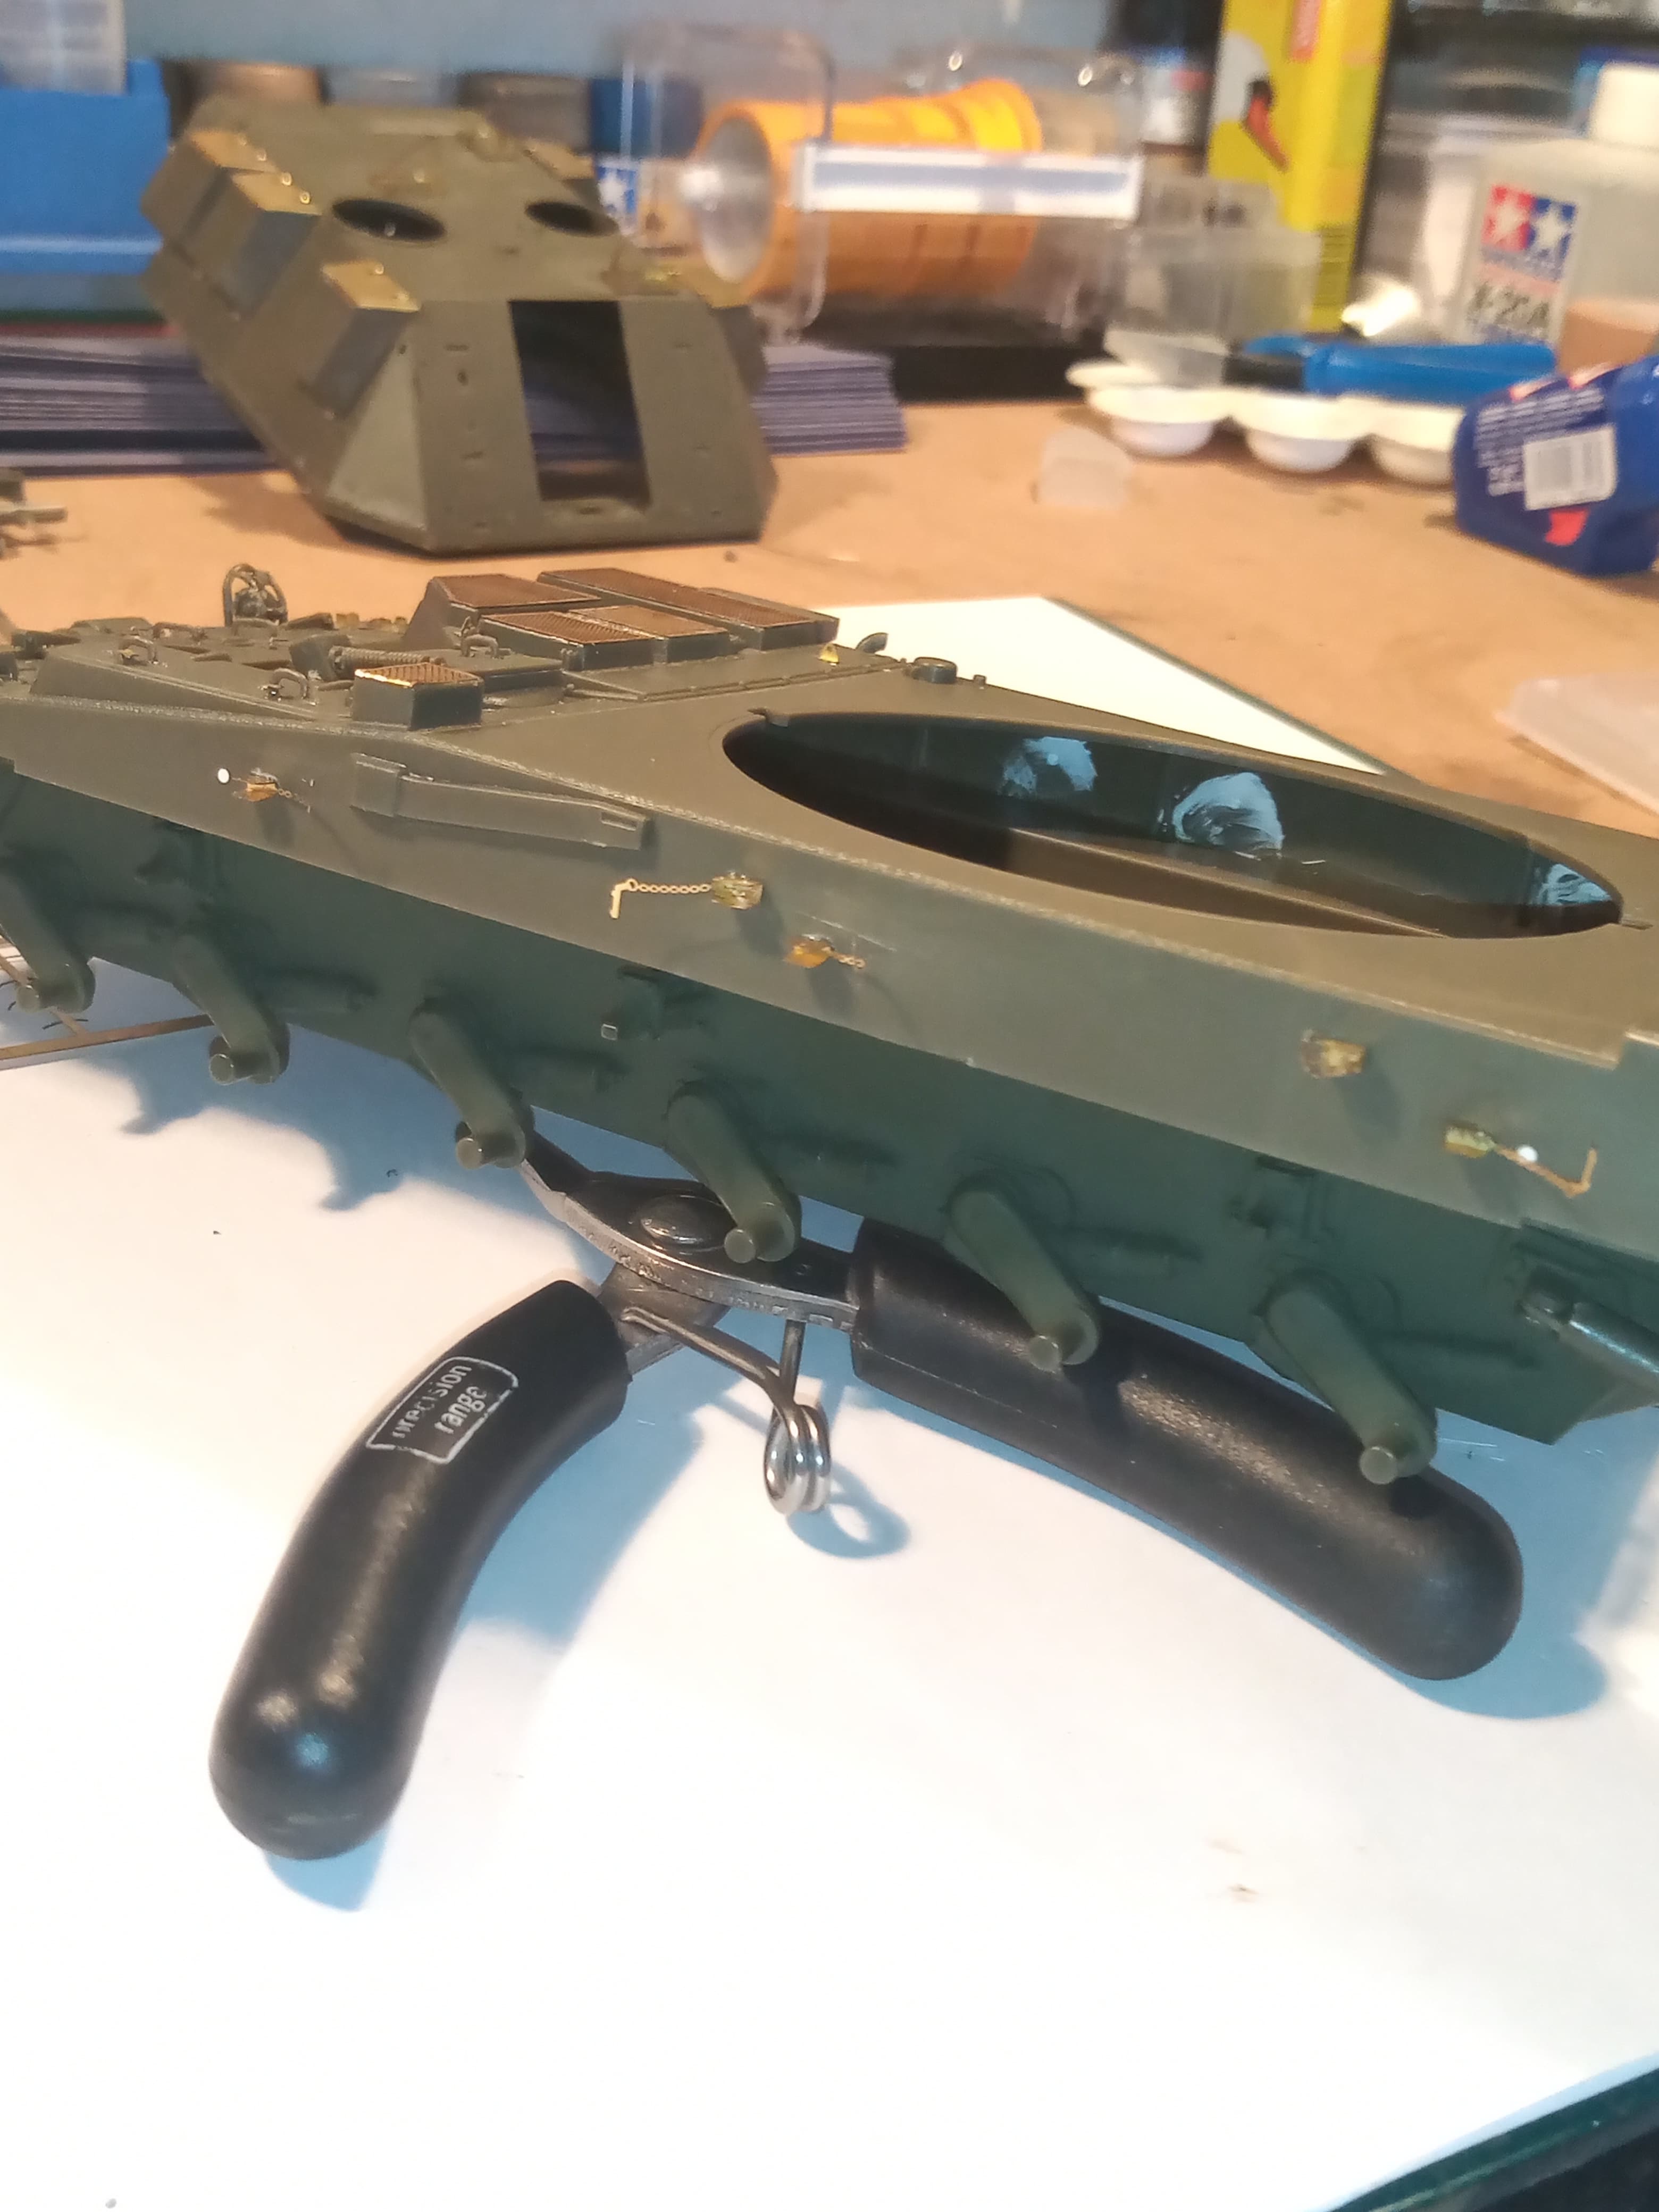
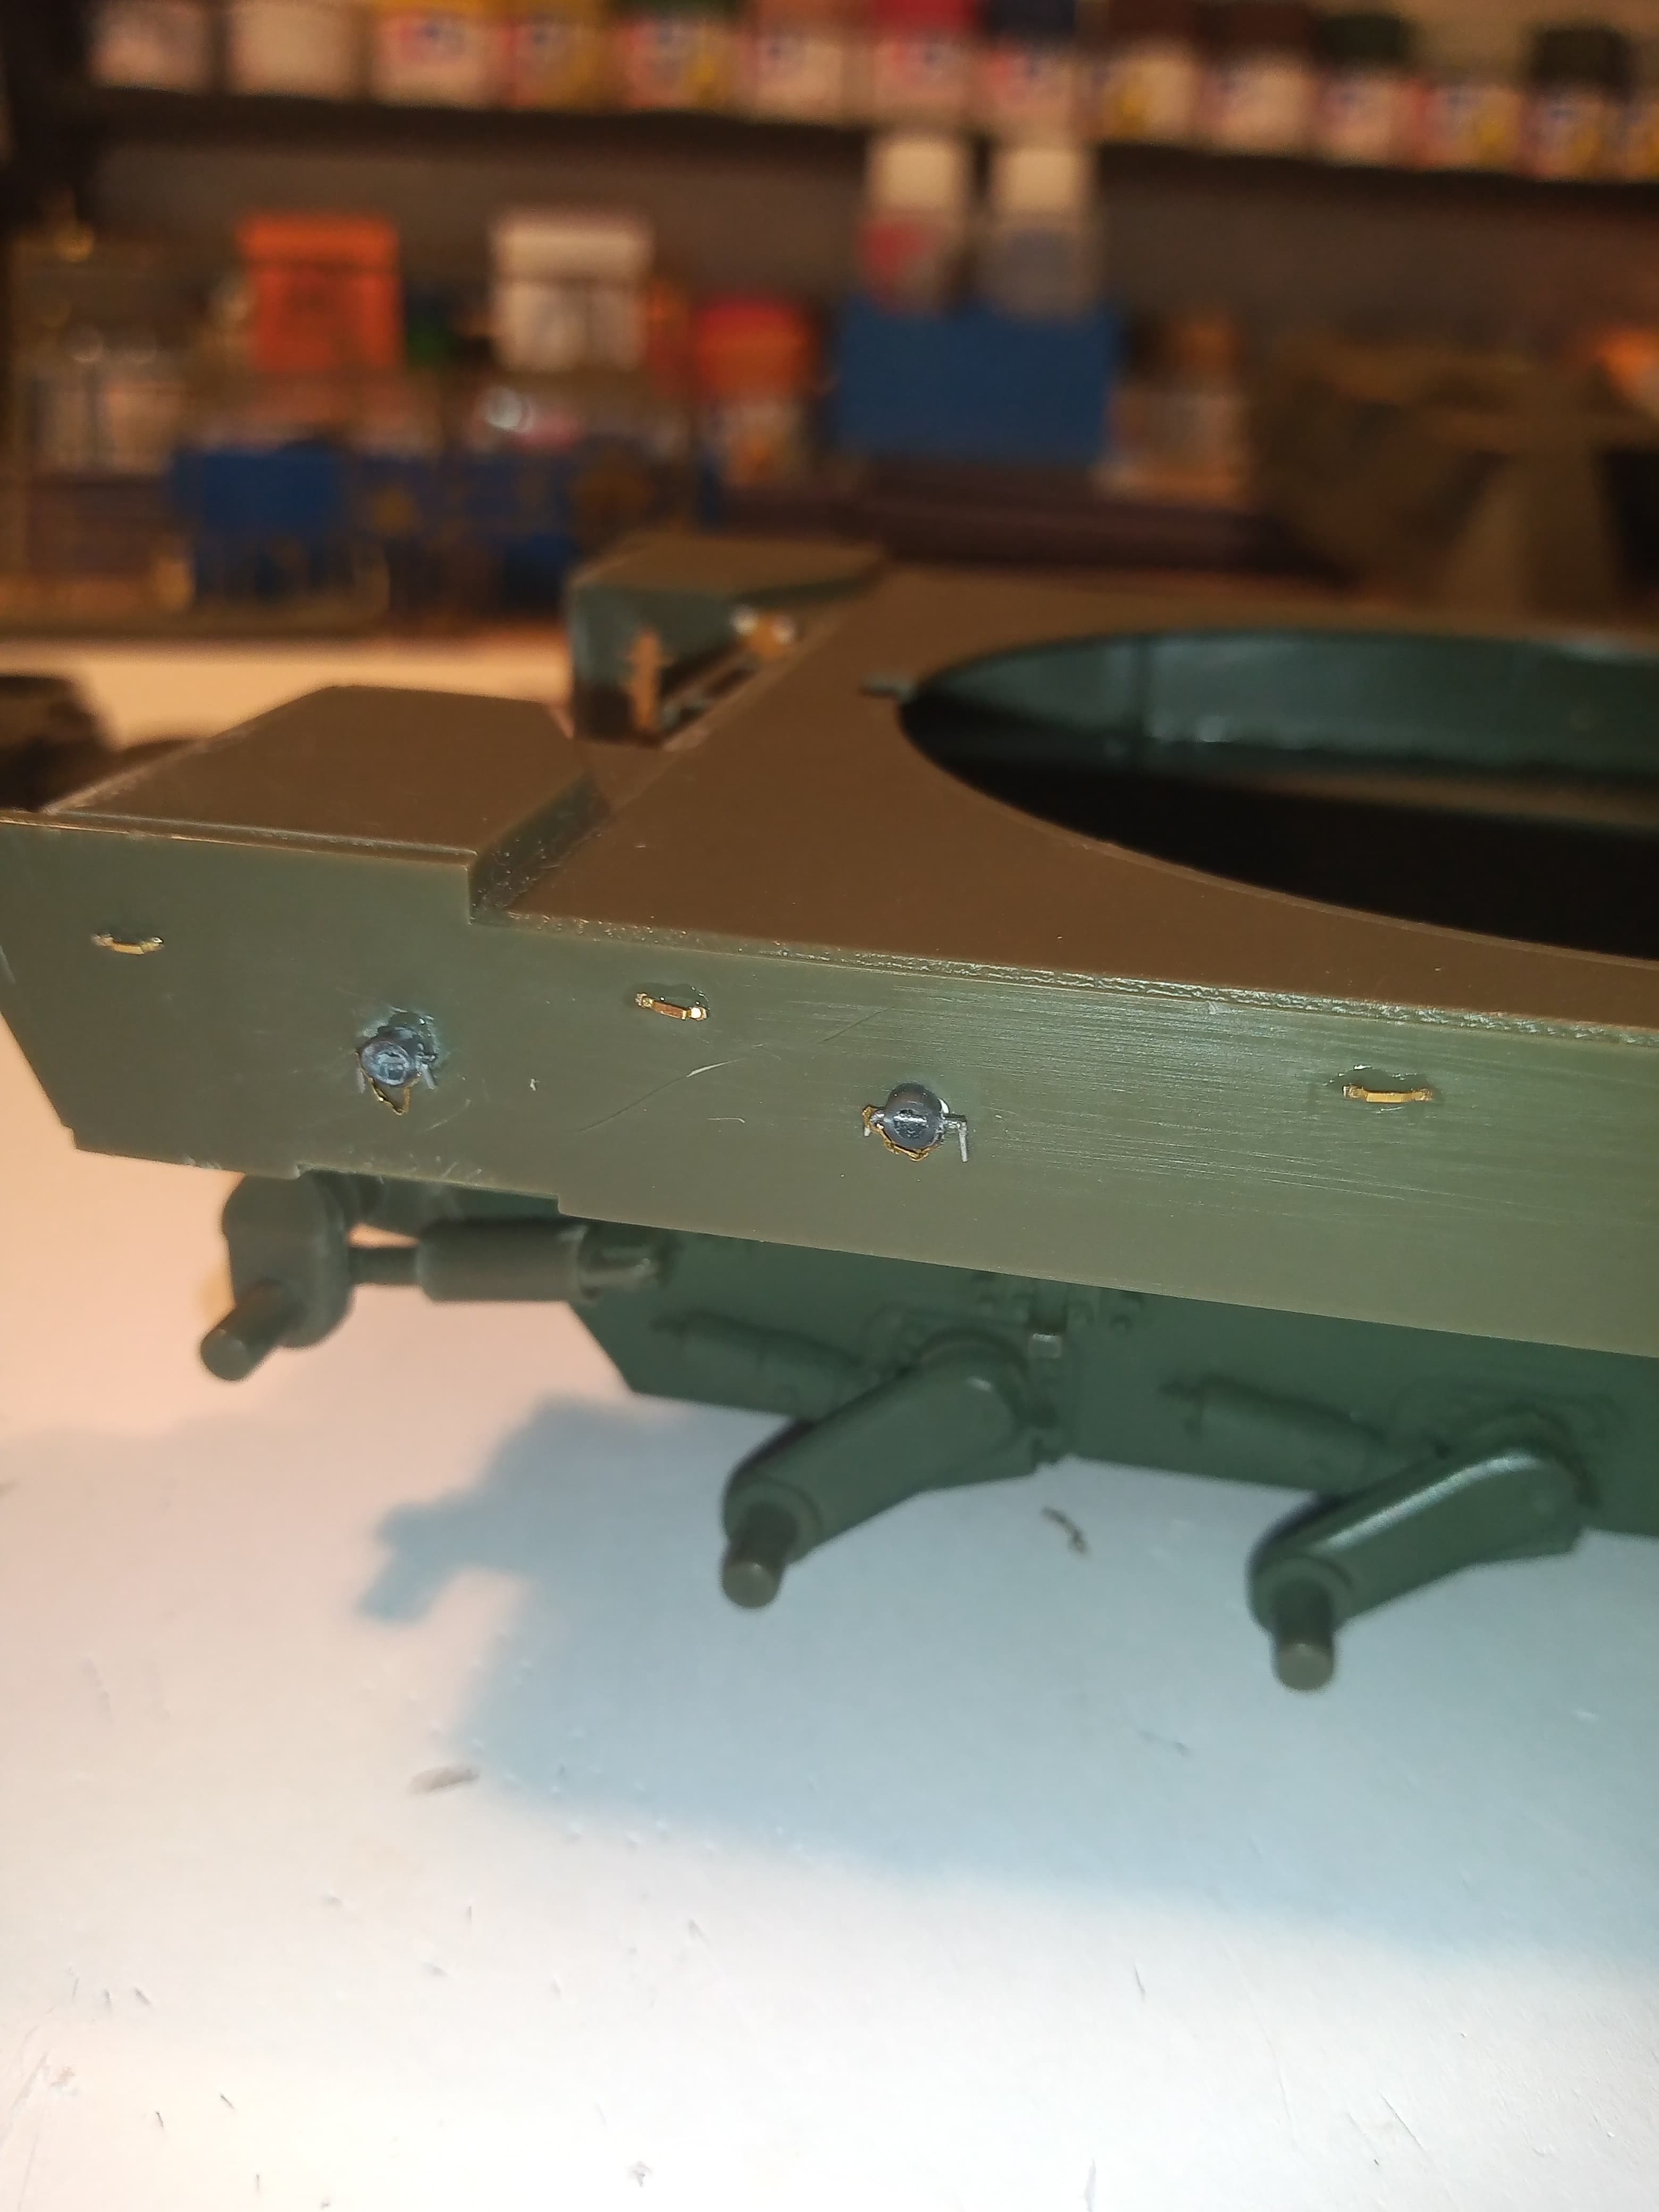
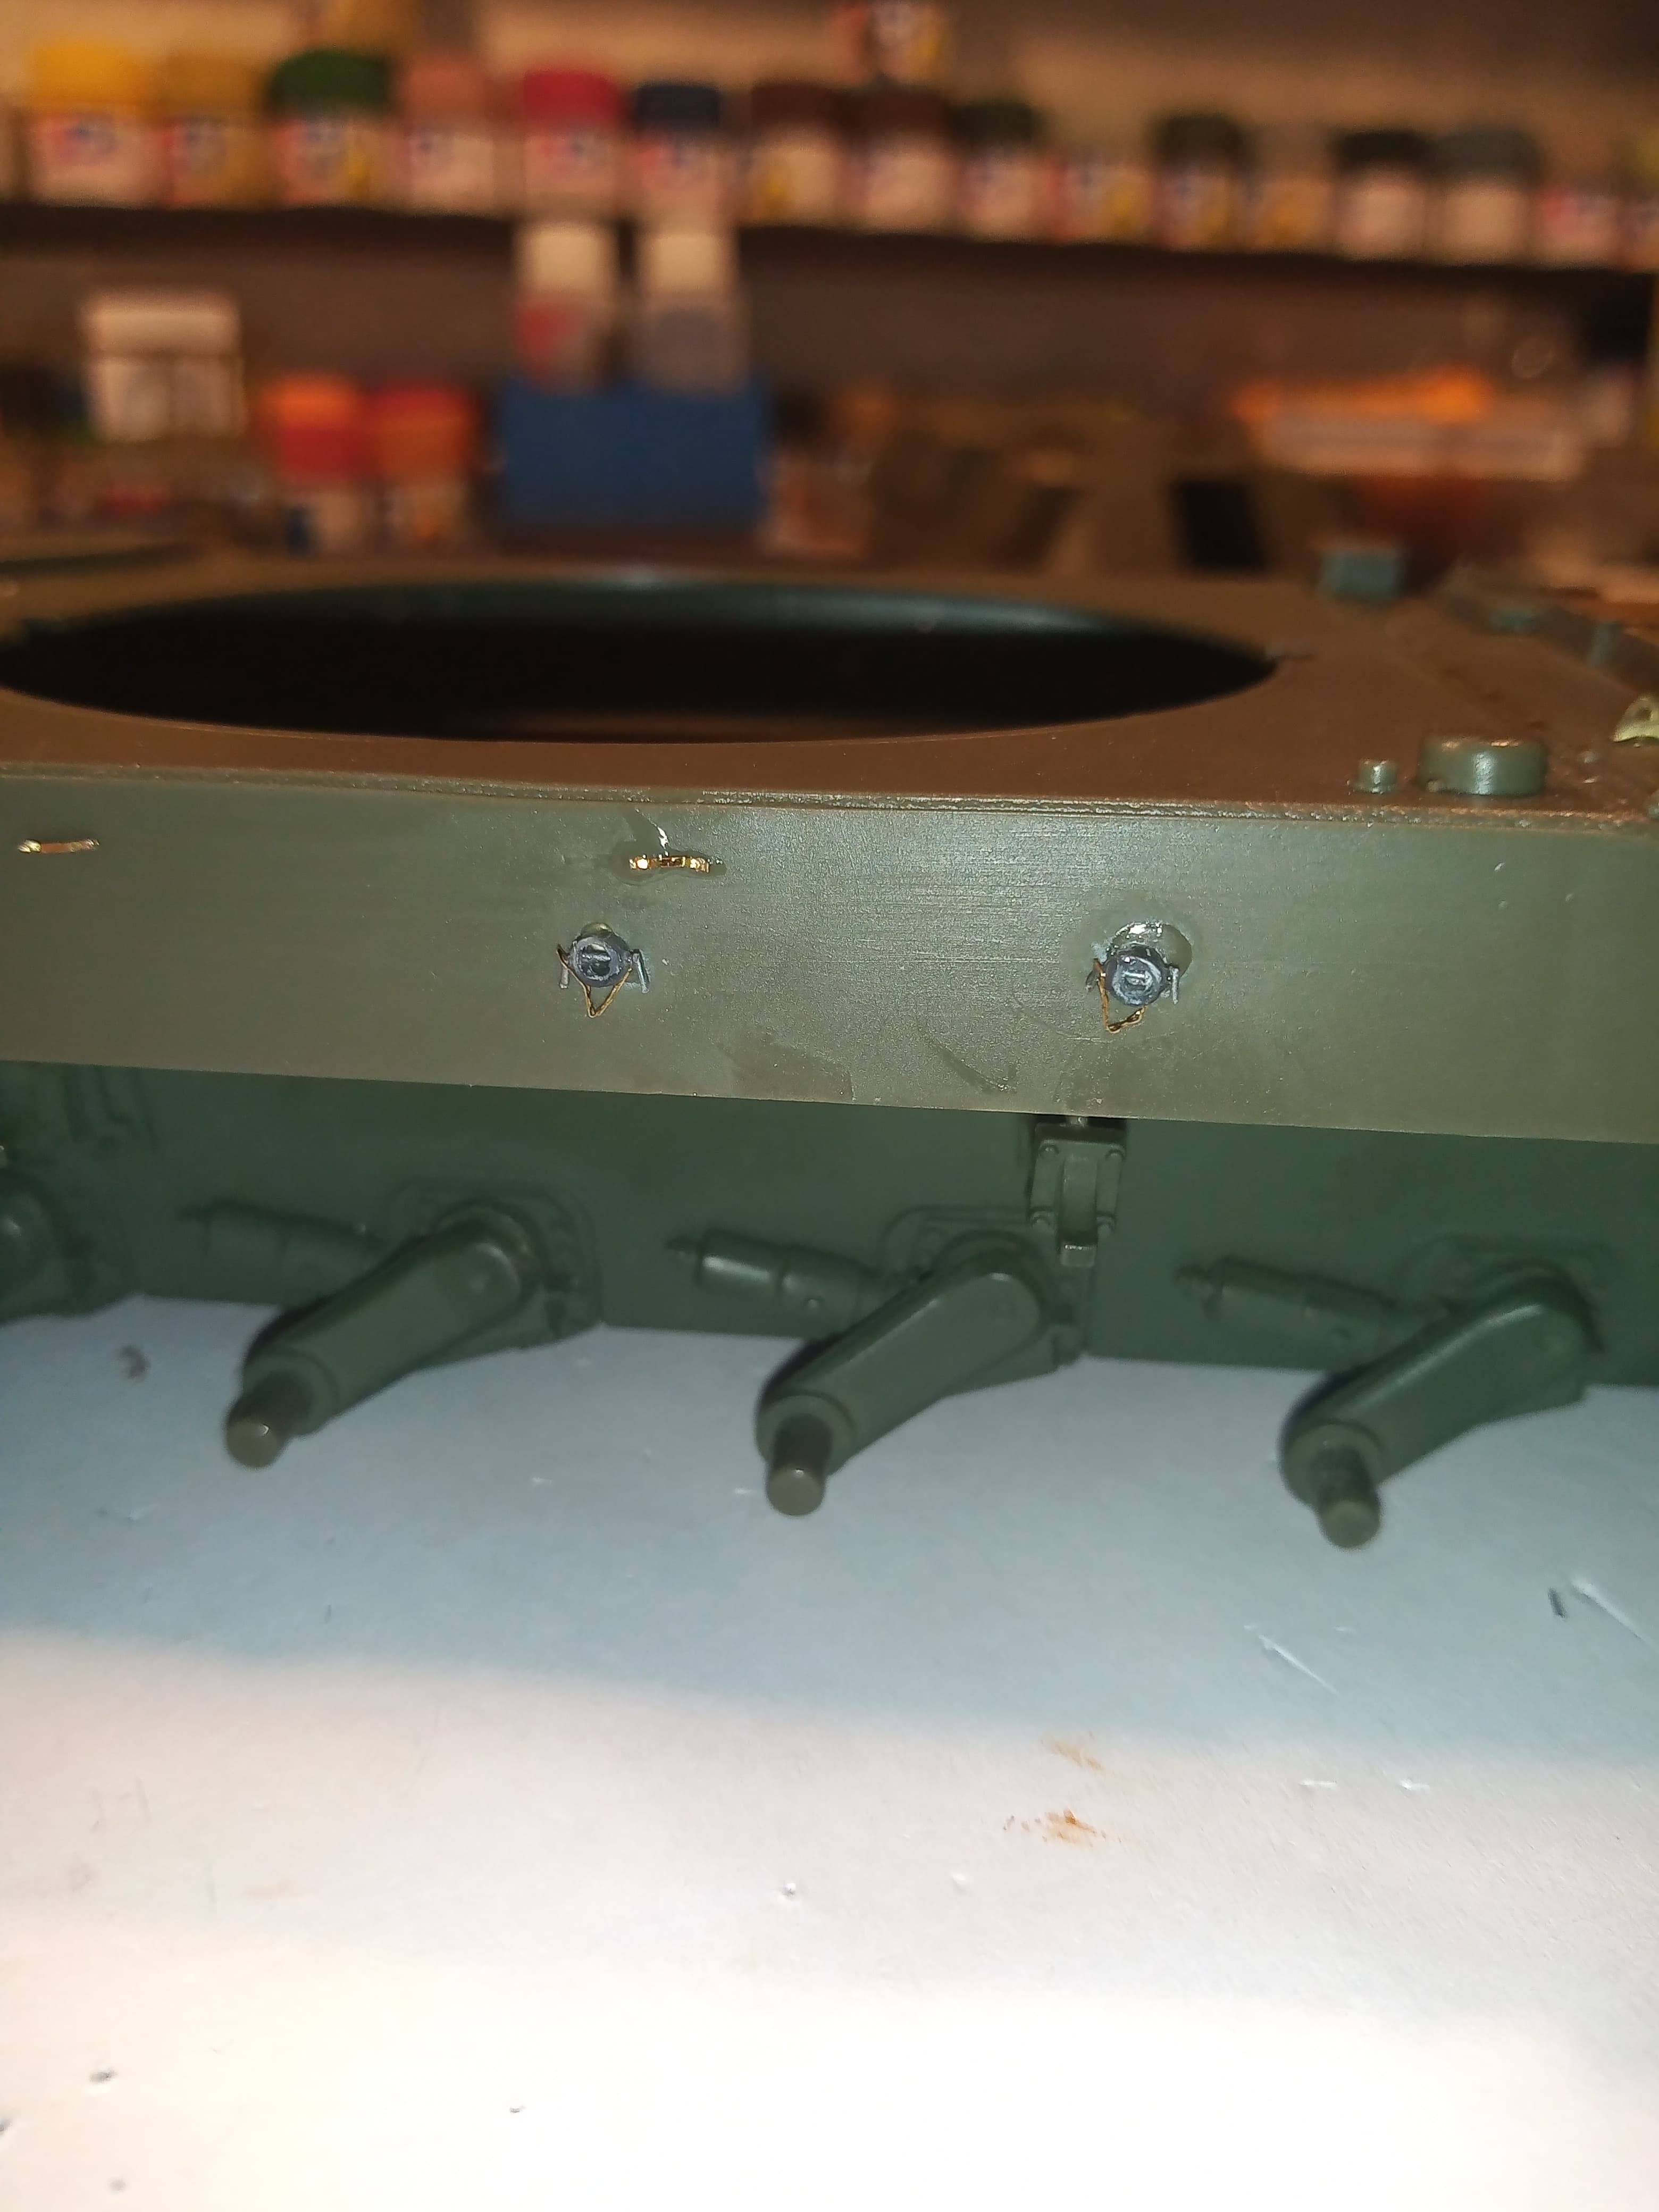
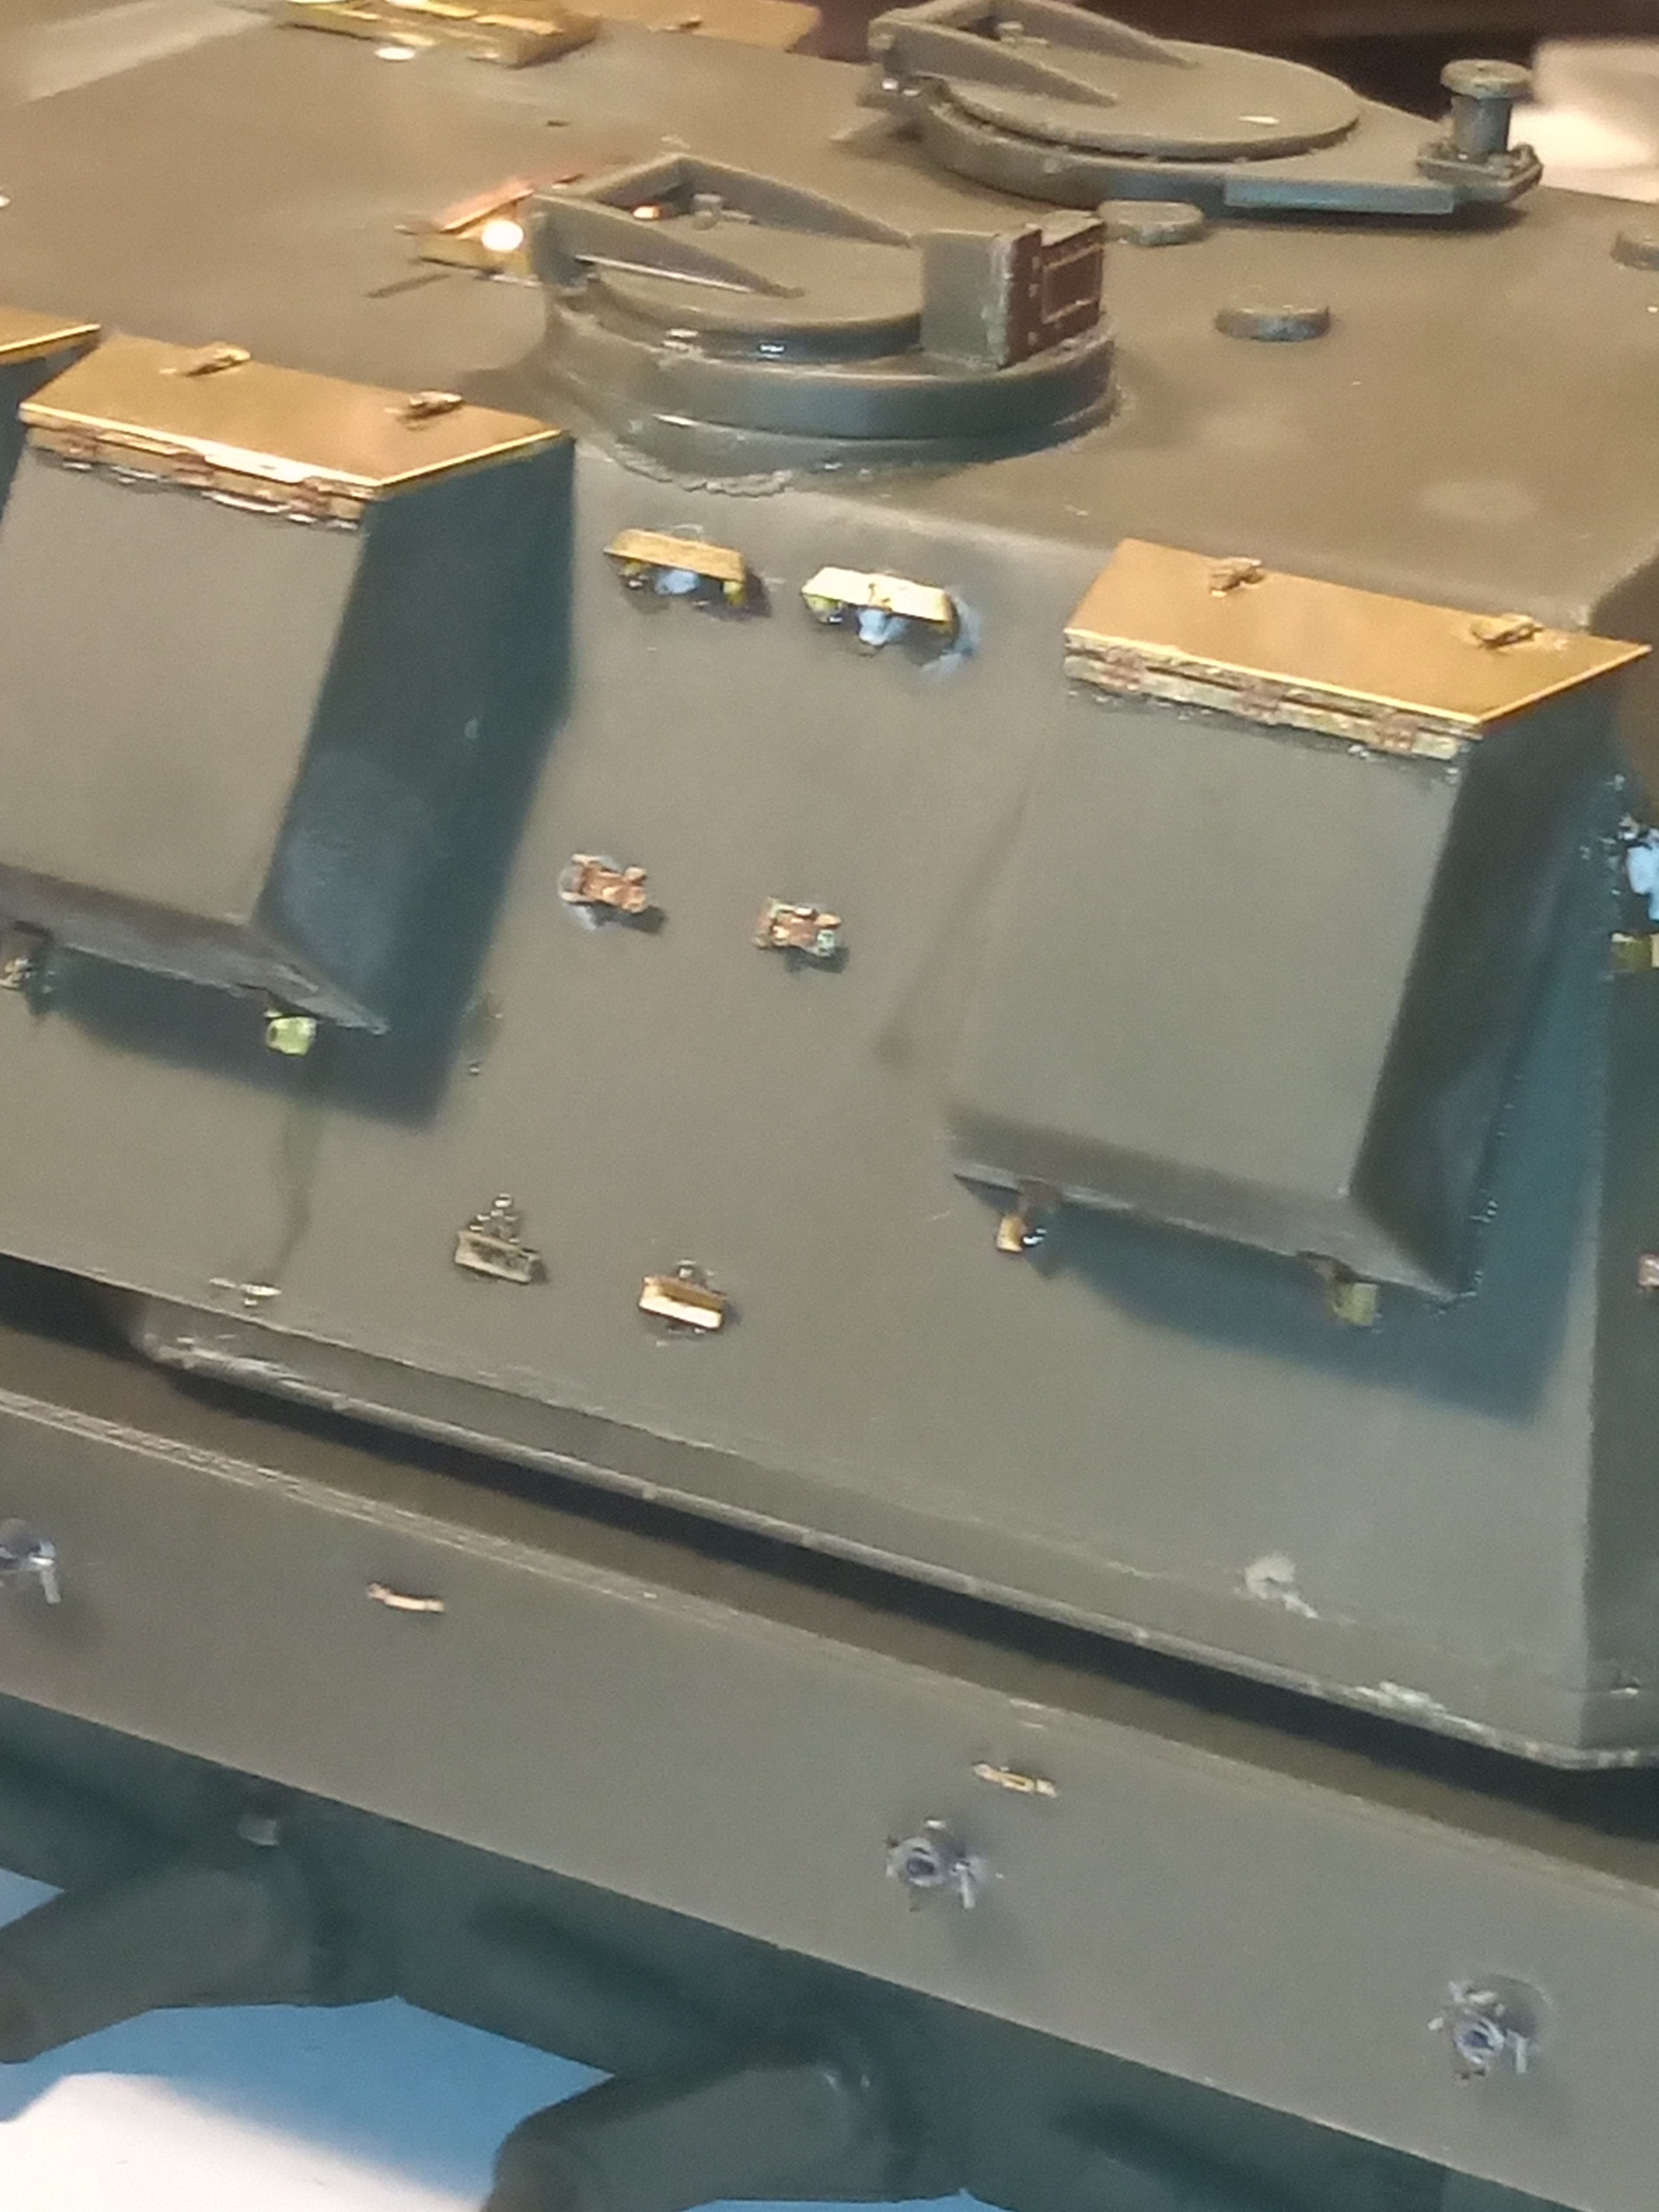
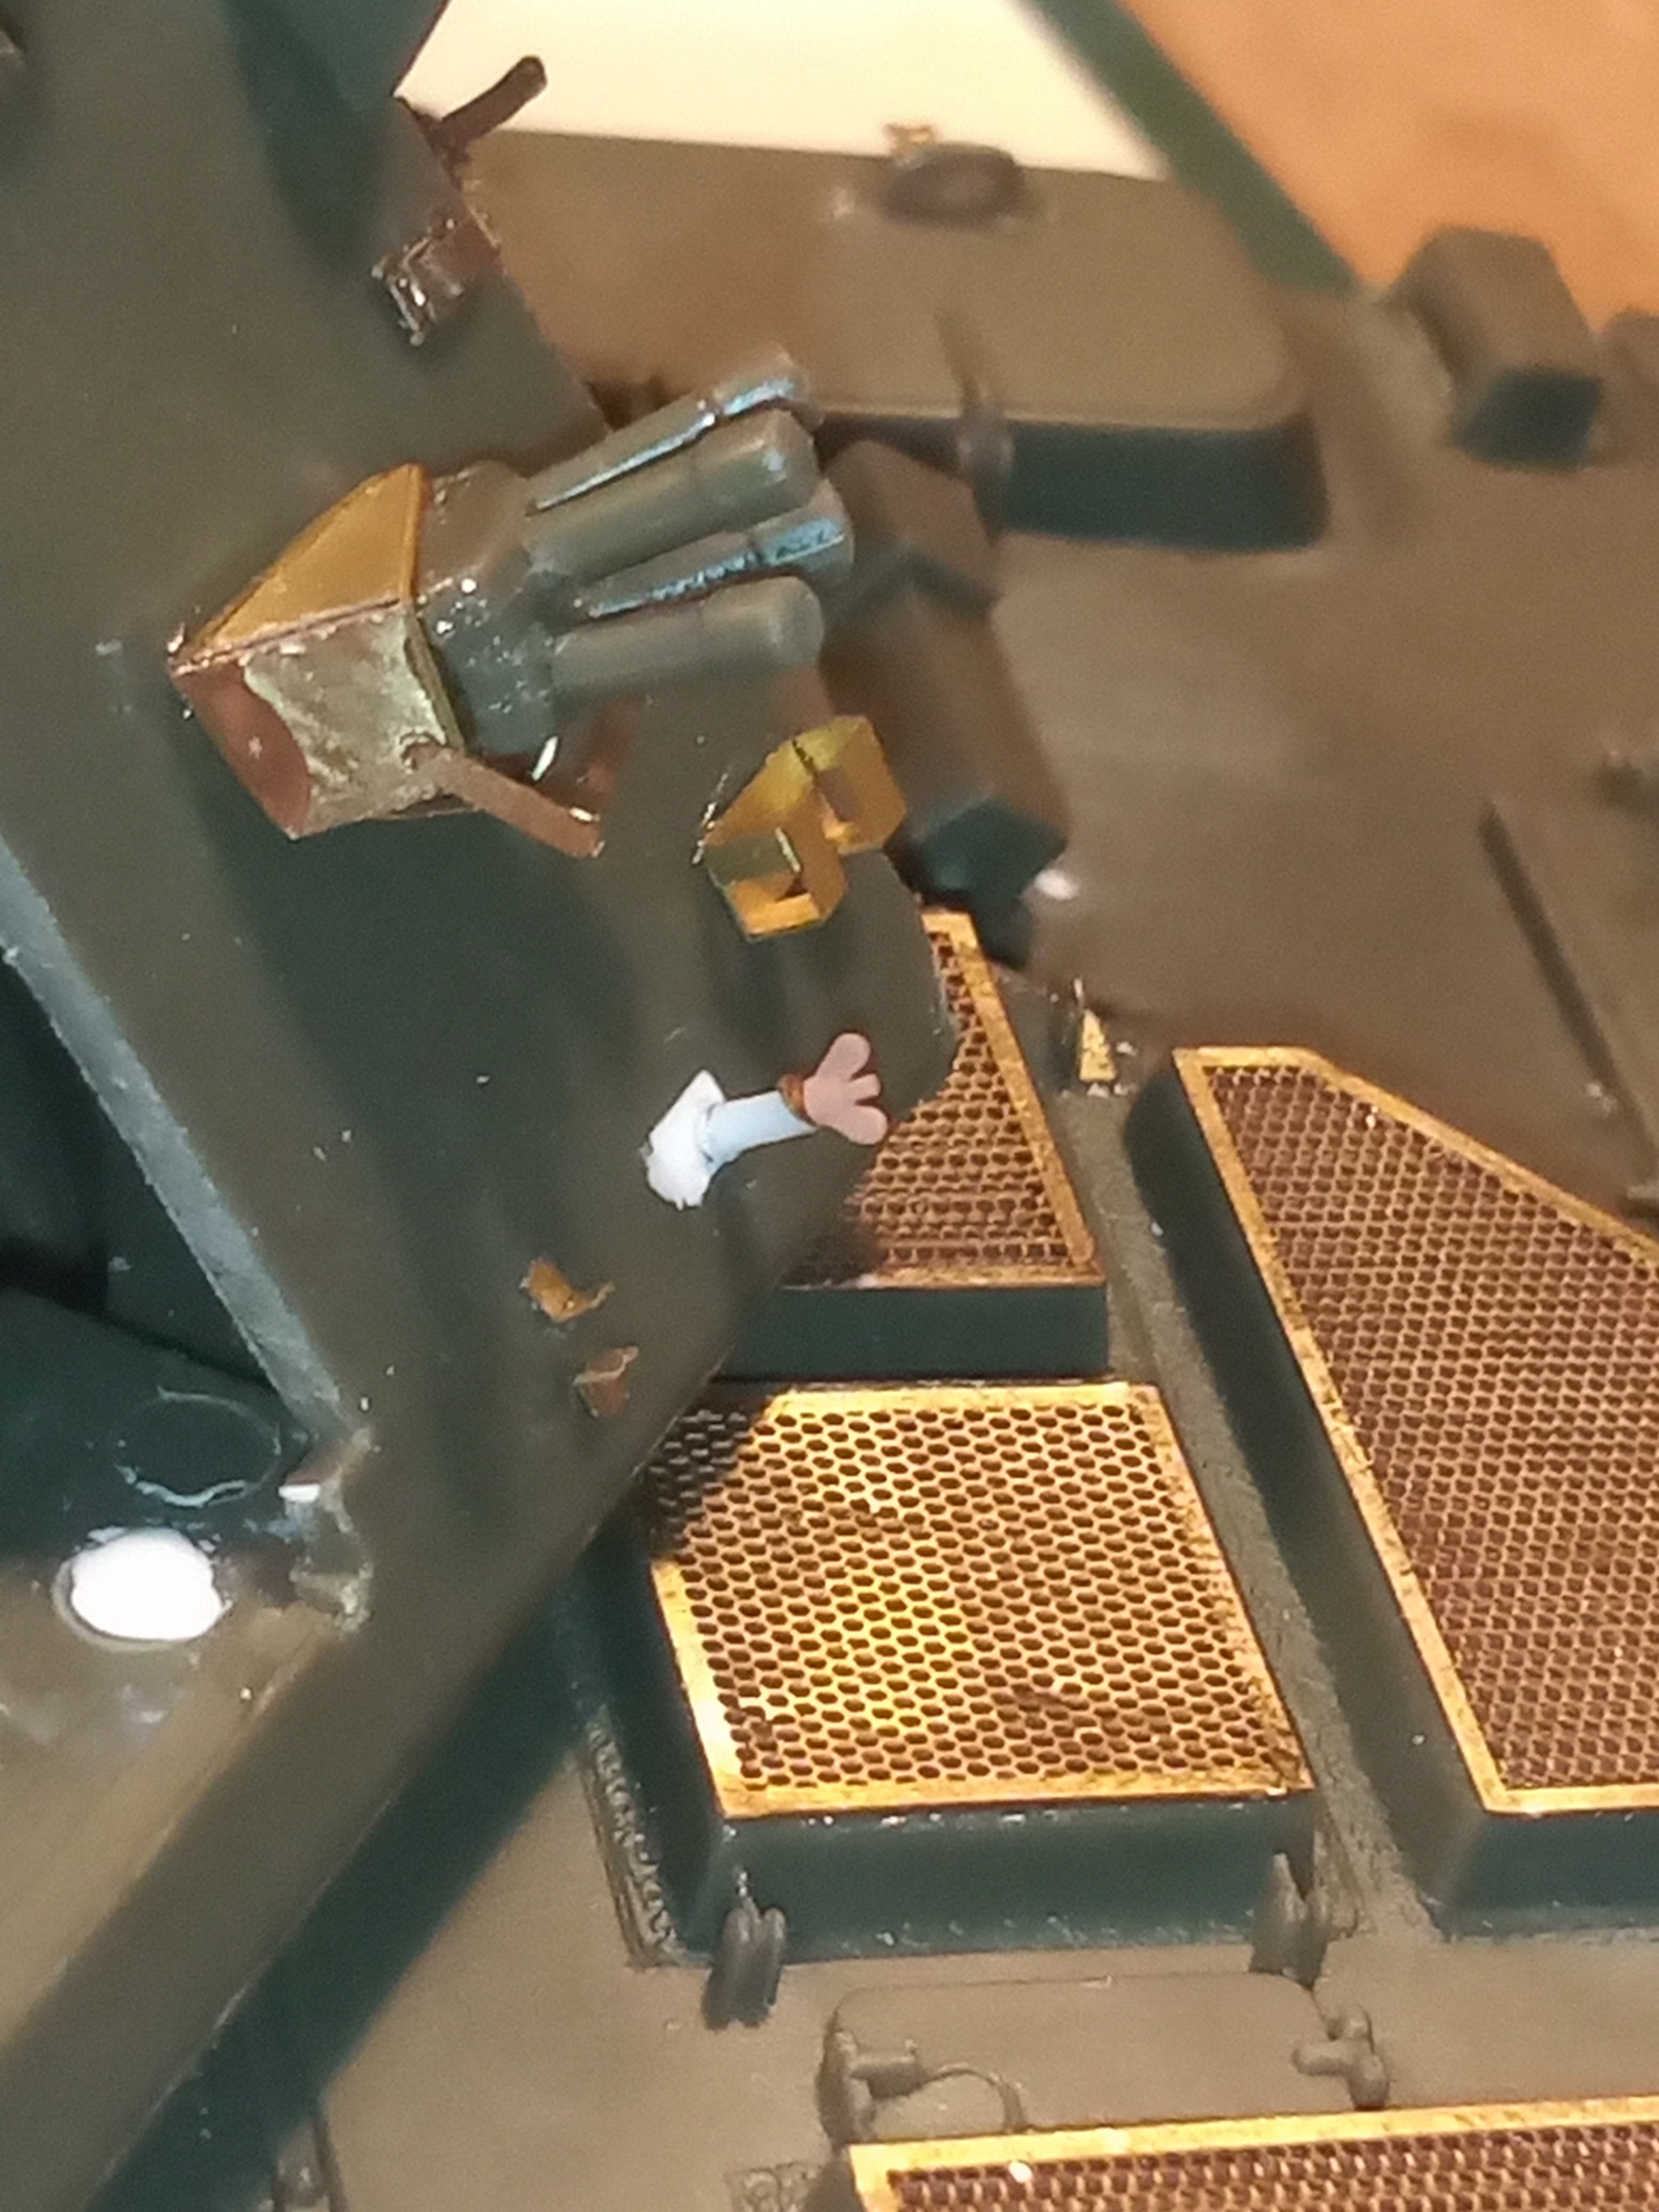
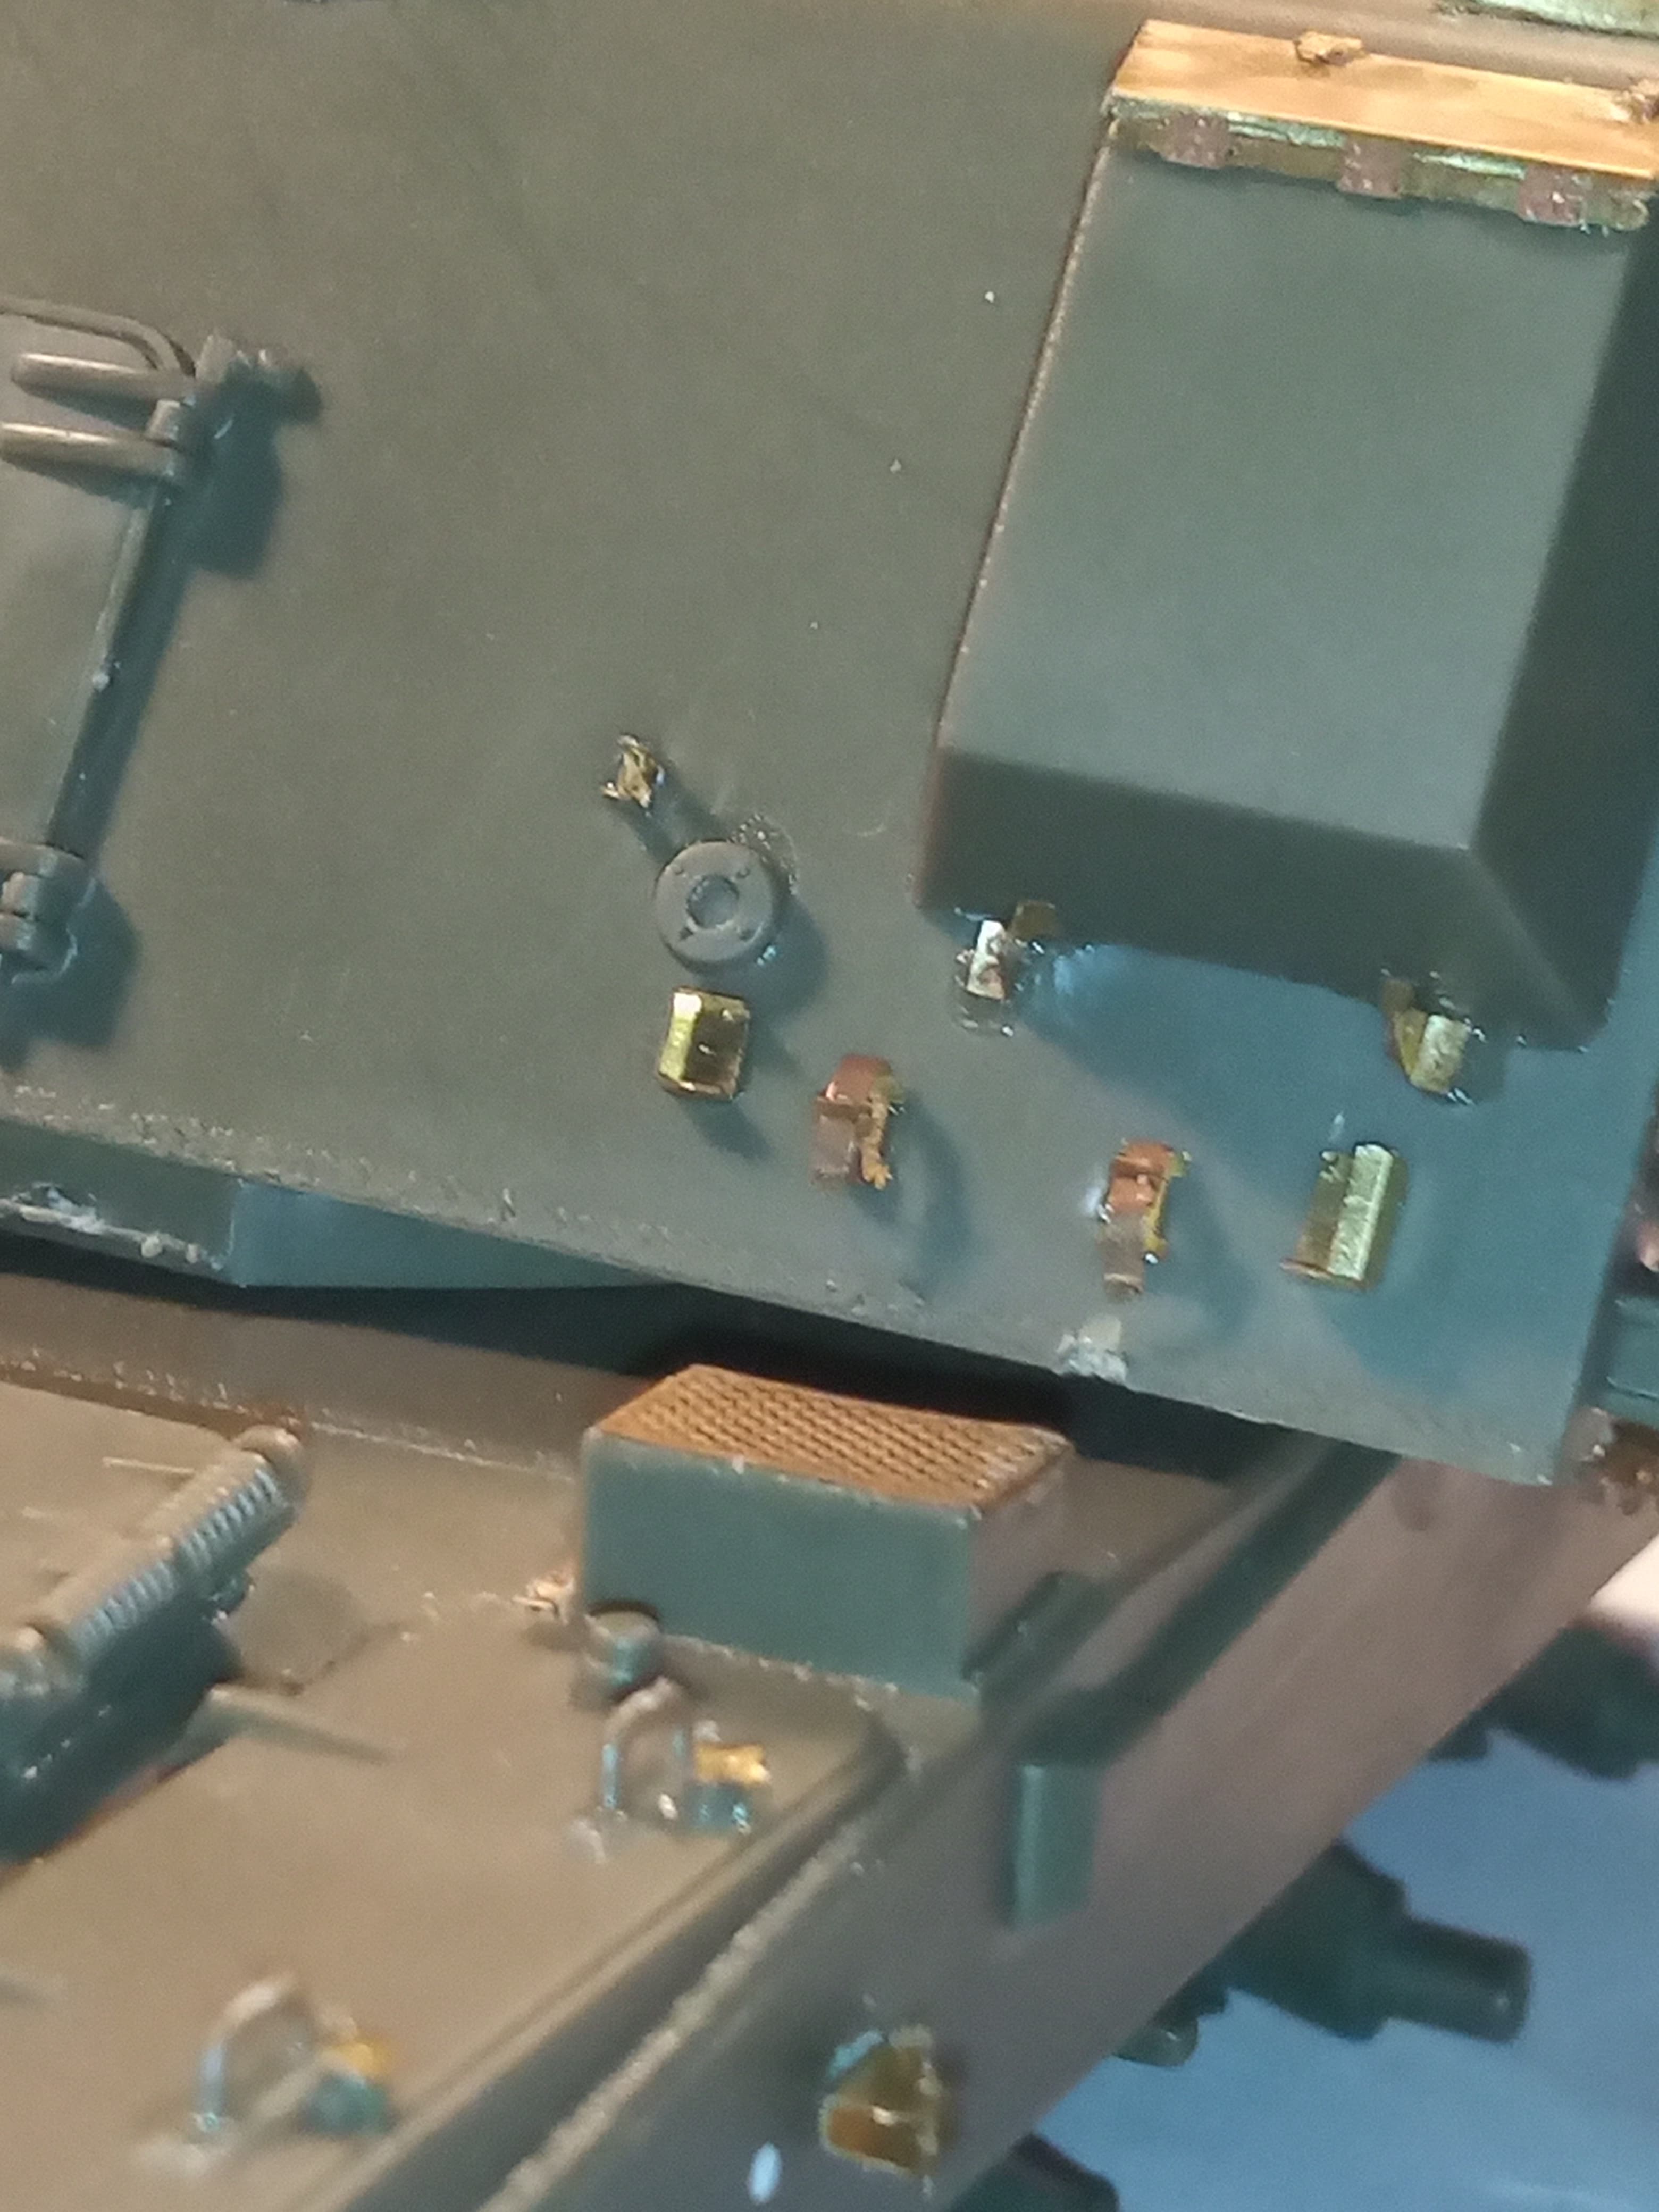
While looking at the round stowage mounts on the RH side of the hull, I wasn’t happy with the Panther locking pins I used, so I pulled those out, and had to remake 2 of the circular mounts and then make my own locking pins, and added cut down chain
I also added the recovery cable mounts and some tool stowage mounts to the left hand side.
And with the pins fitted and chain secured, I also included the locking T bar at the end with some cut down wire.
And all the pins and chains secured on the LH mounts.
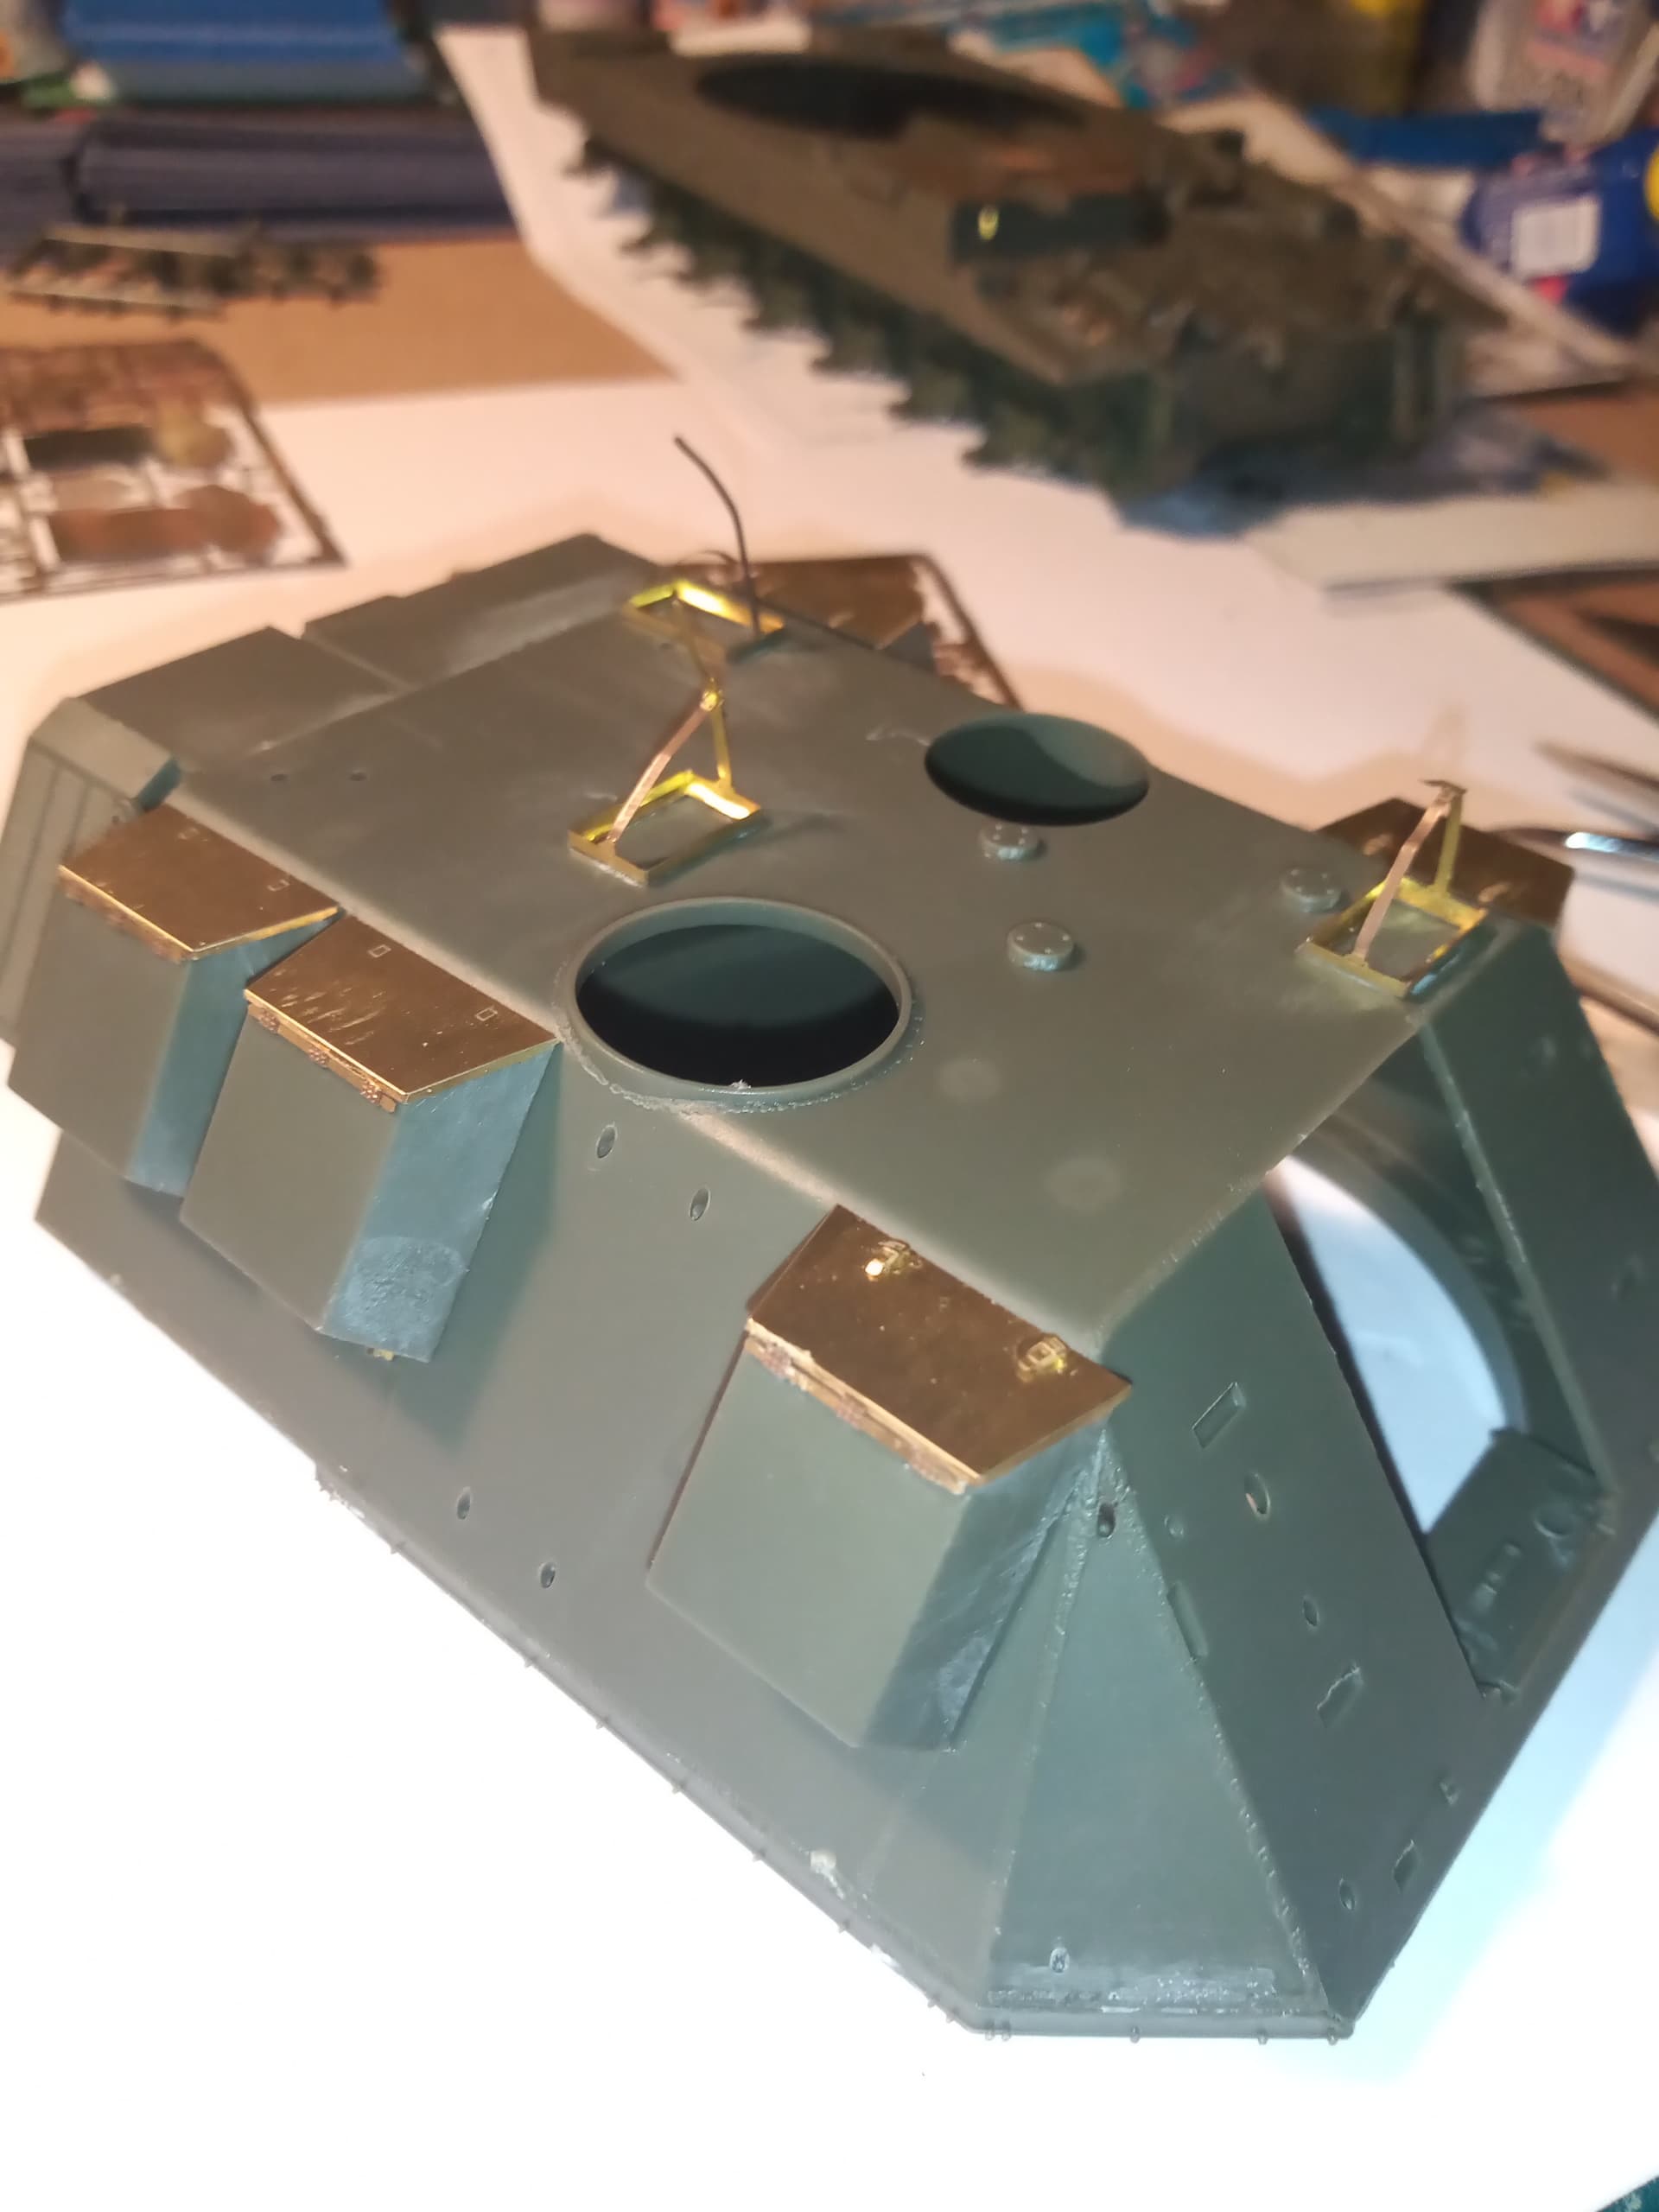
After I did that, I started building up the turret with kit parts or PE replacements which I will work on again tomorrow as a few areas needed filling to hide massive location holes for parts that won’t be used…
Coming along well ![]()
Thanks Jacko ![]() … Spent a productive few hours getting pretty much all the turret PE added.
… Spent a productive few hours getting pretty much all the turret PE added.
Bear in mind the finished look will be for a vehicle going on a show or demo, so no turret or hull tools fitted.
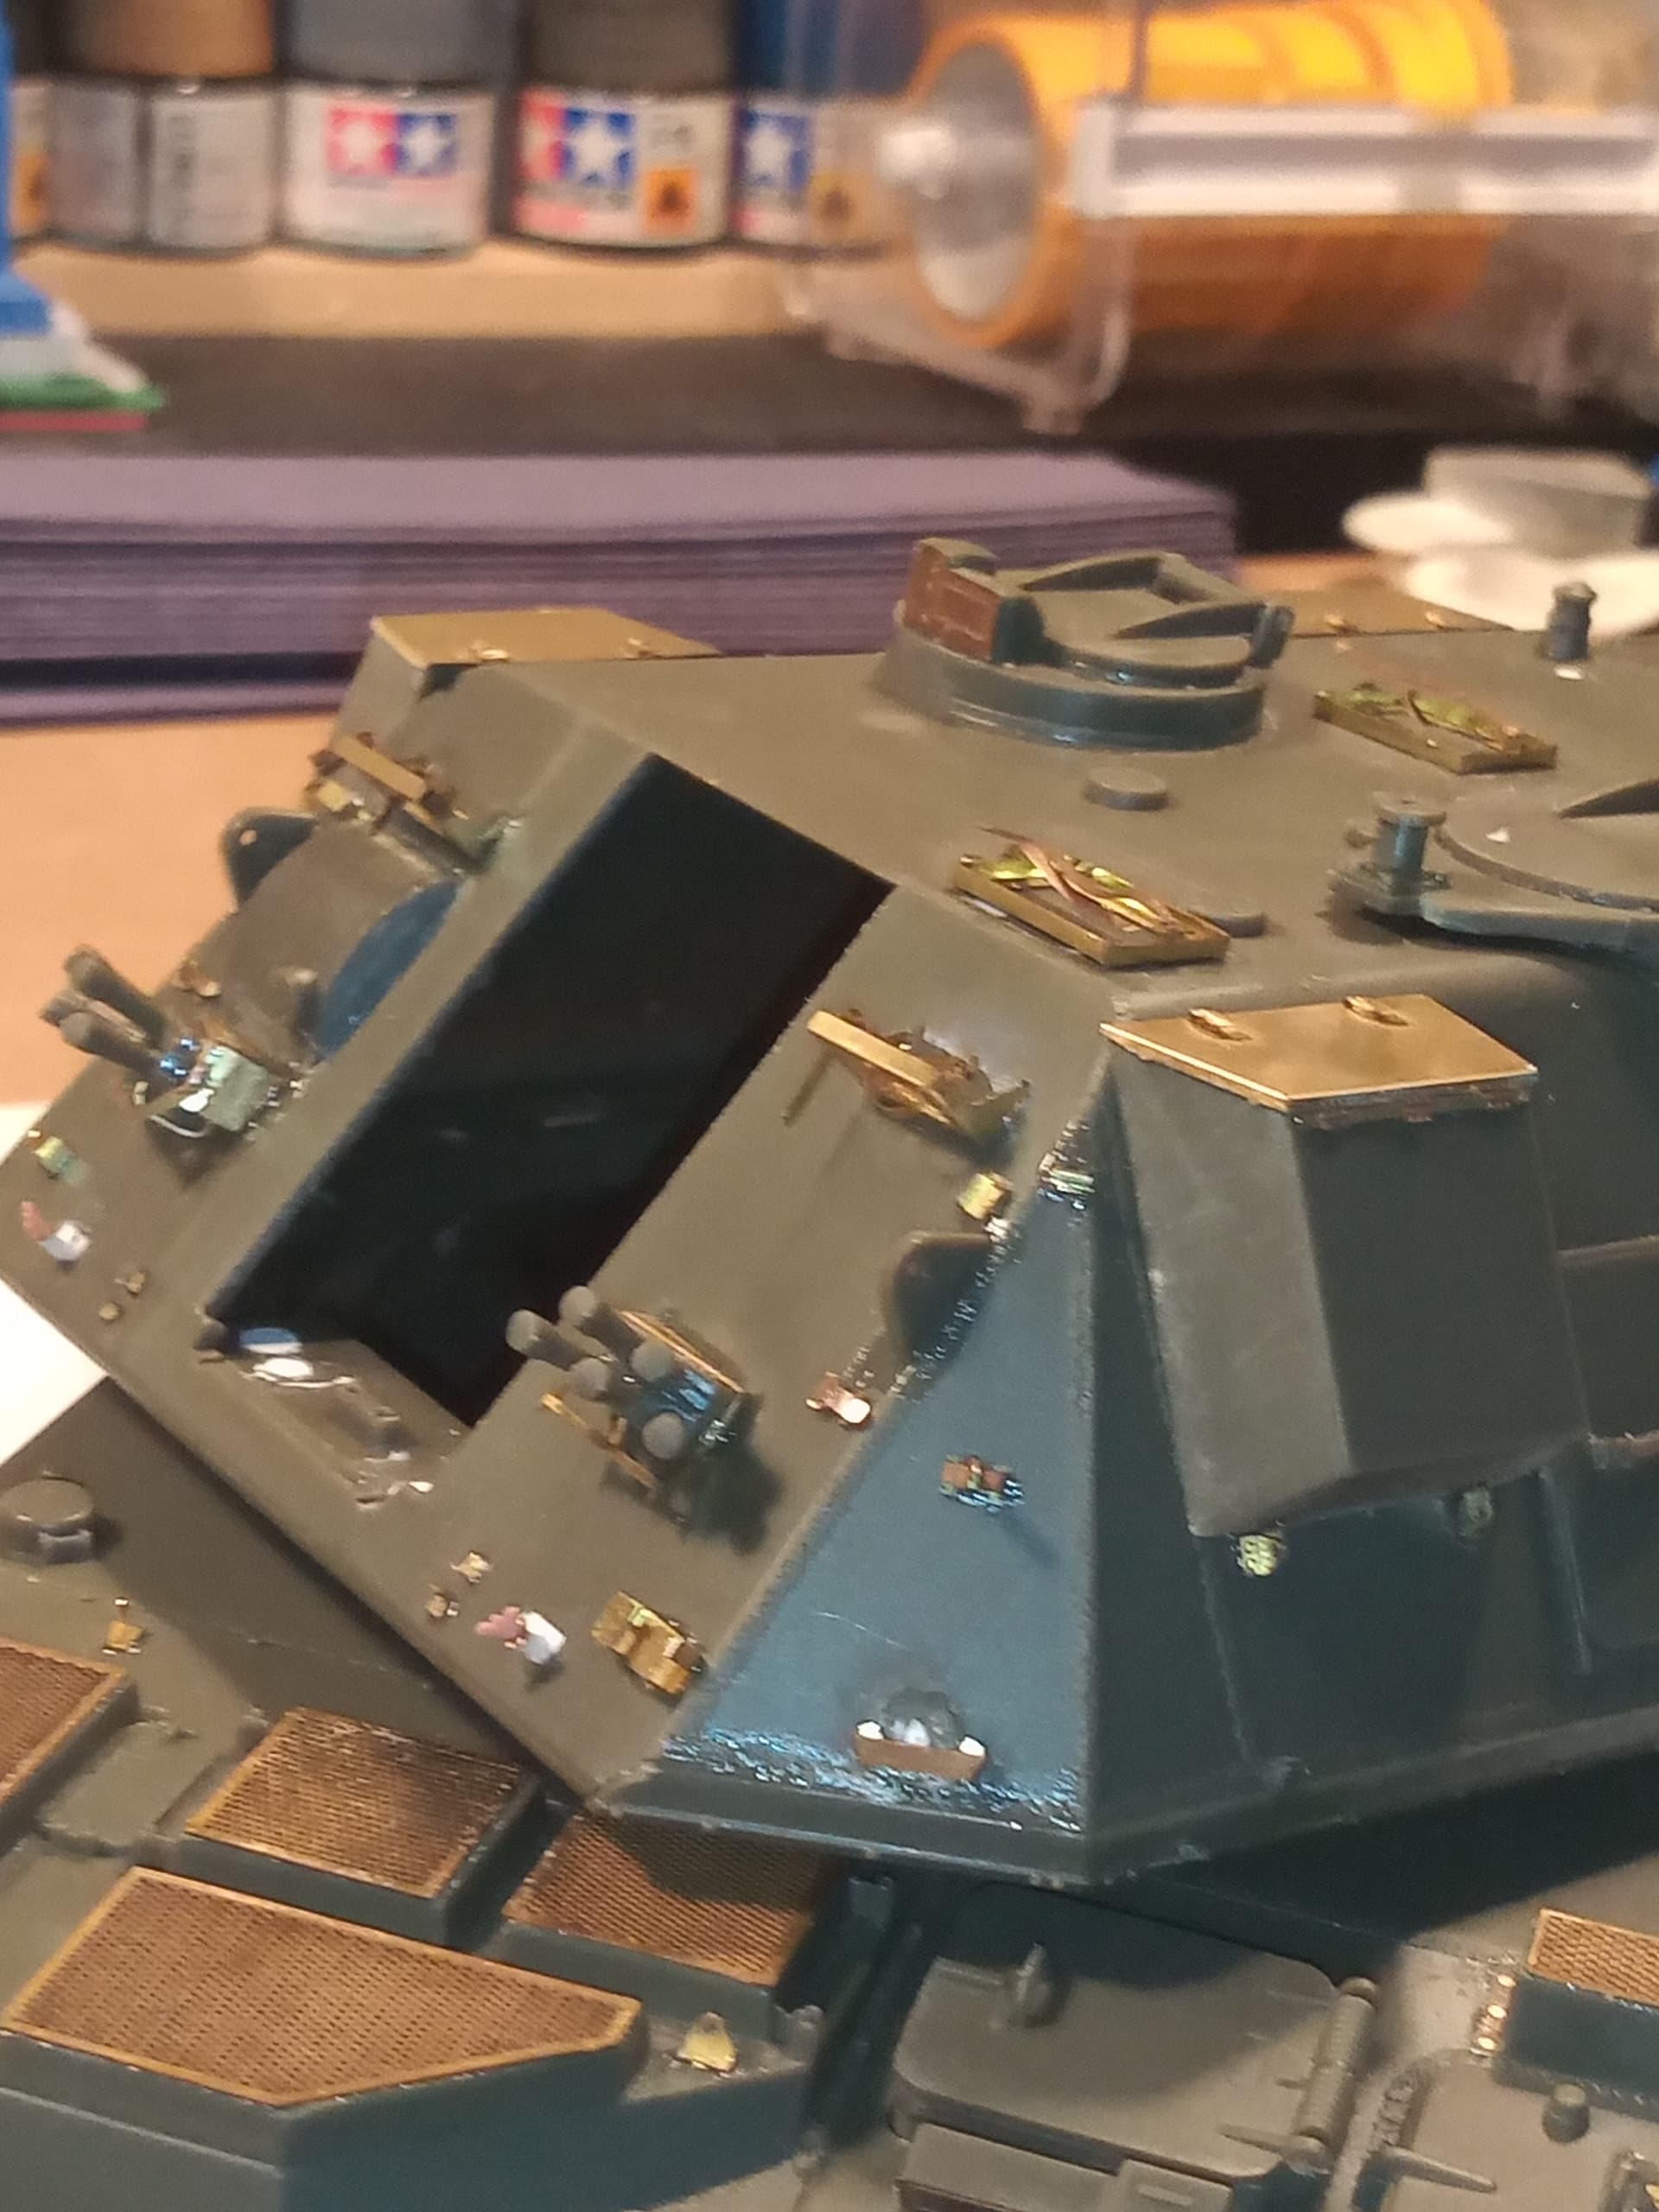
No real order, just a general feel of what I did today…
Overall view and the 2 shovel mounts on the RH turret side.
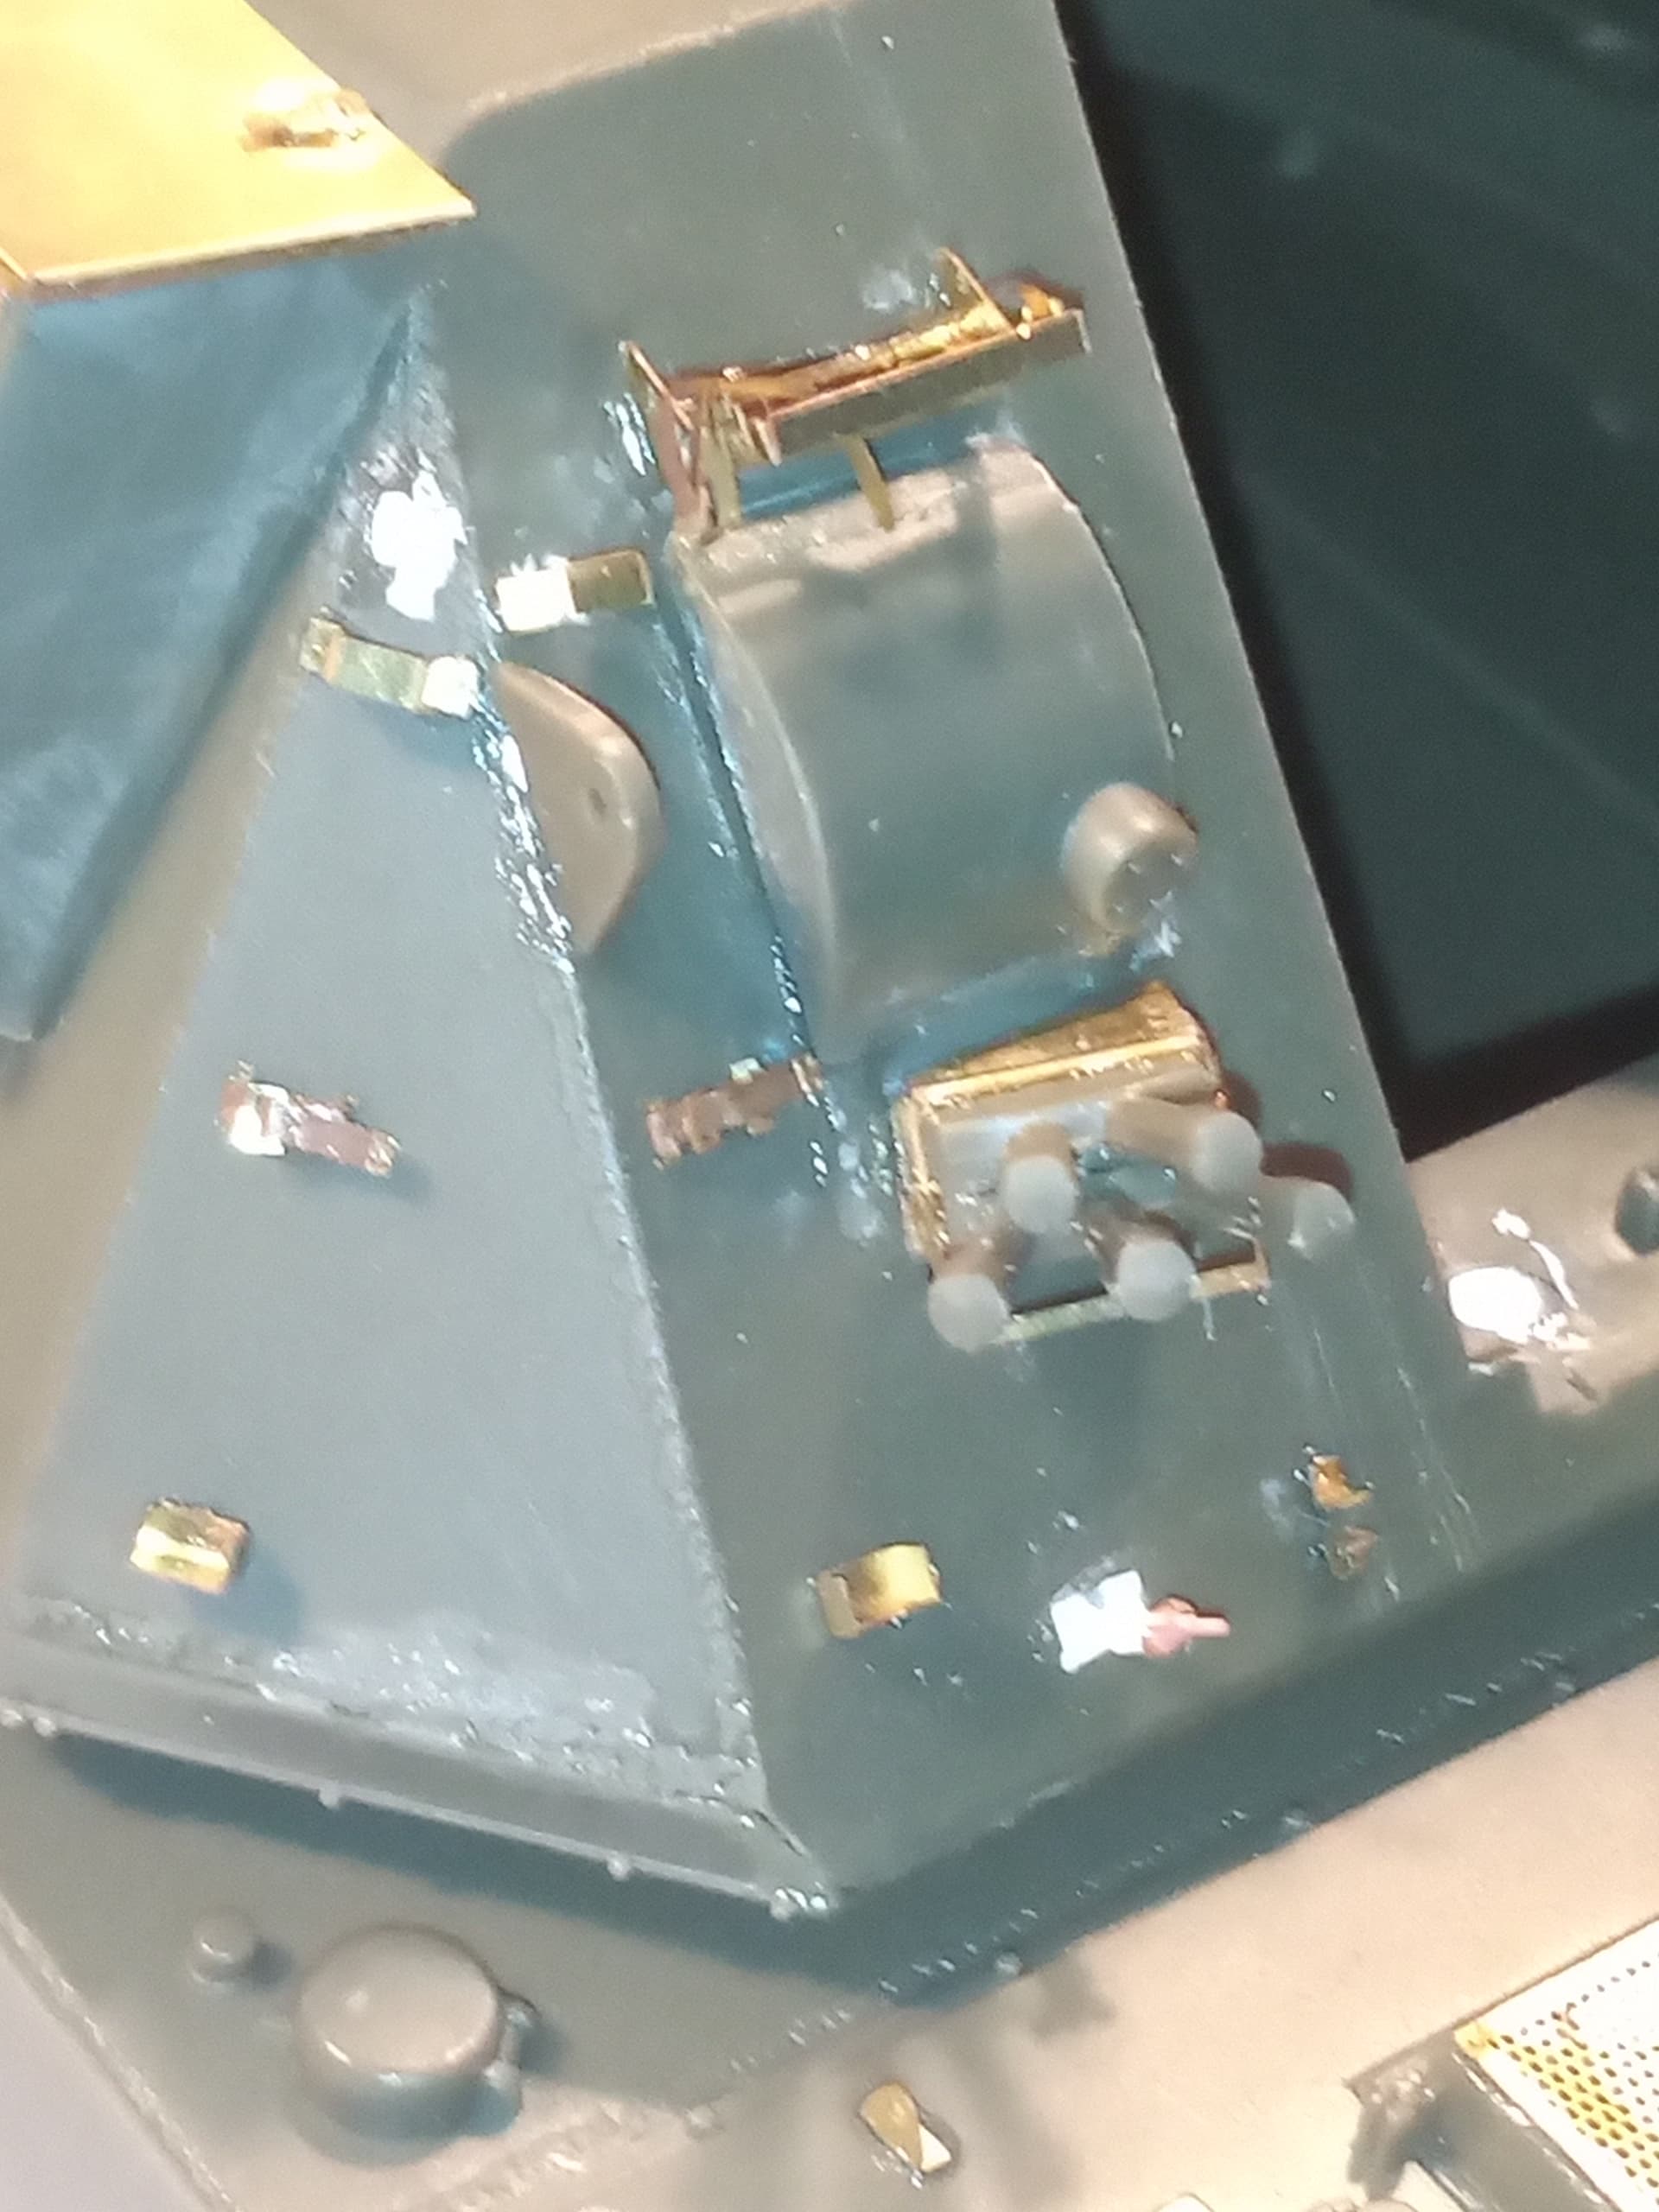
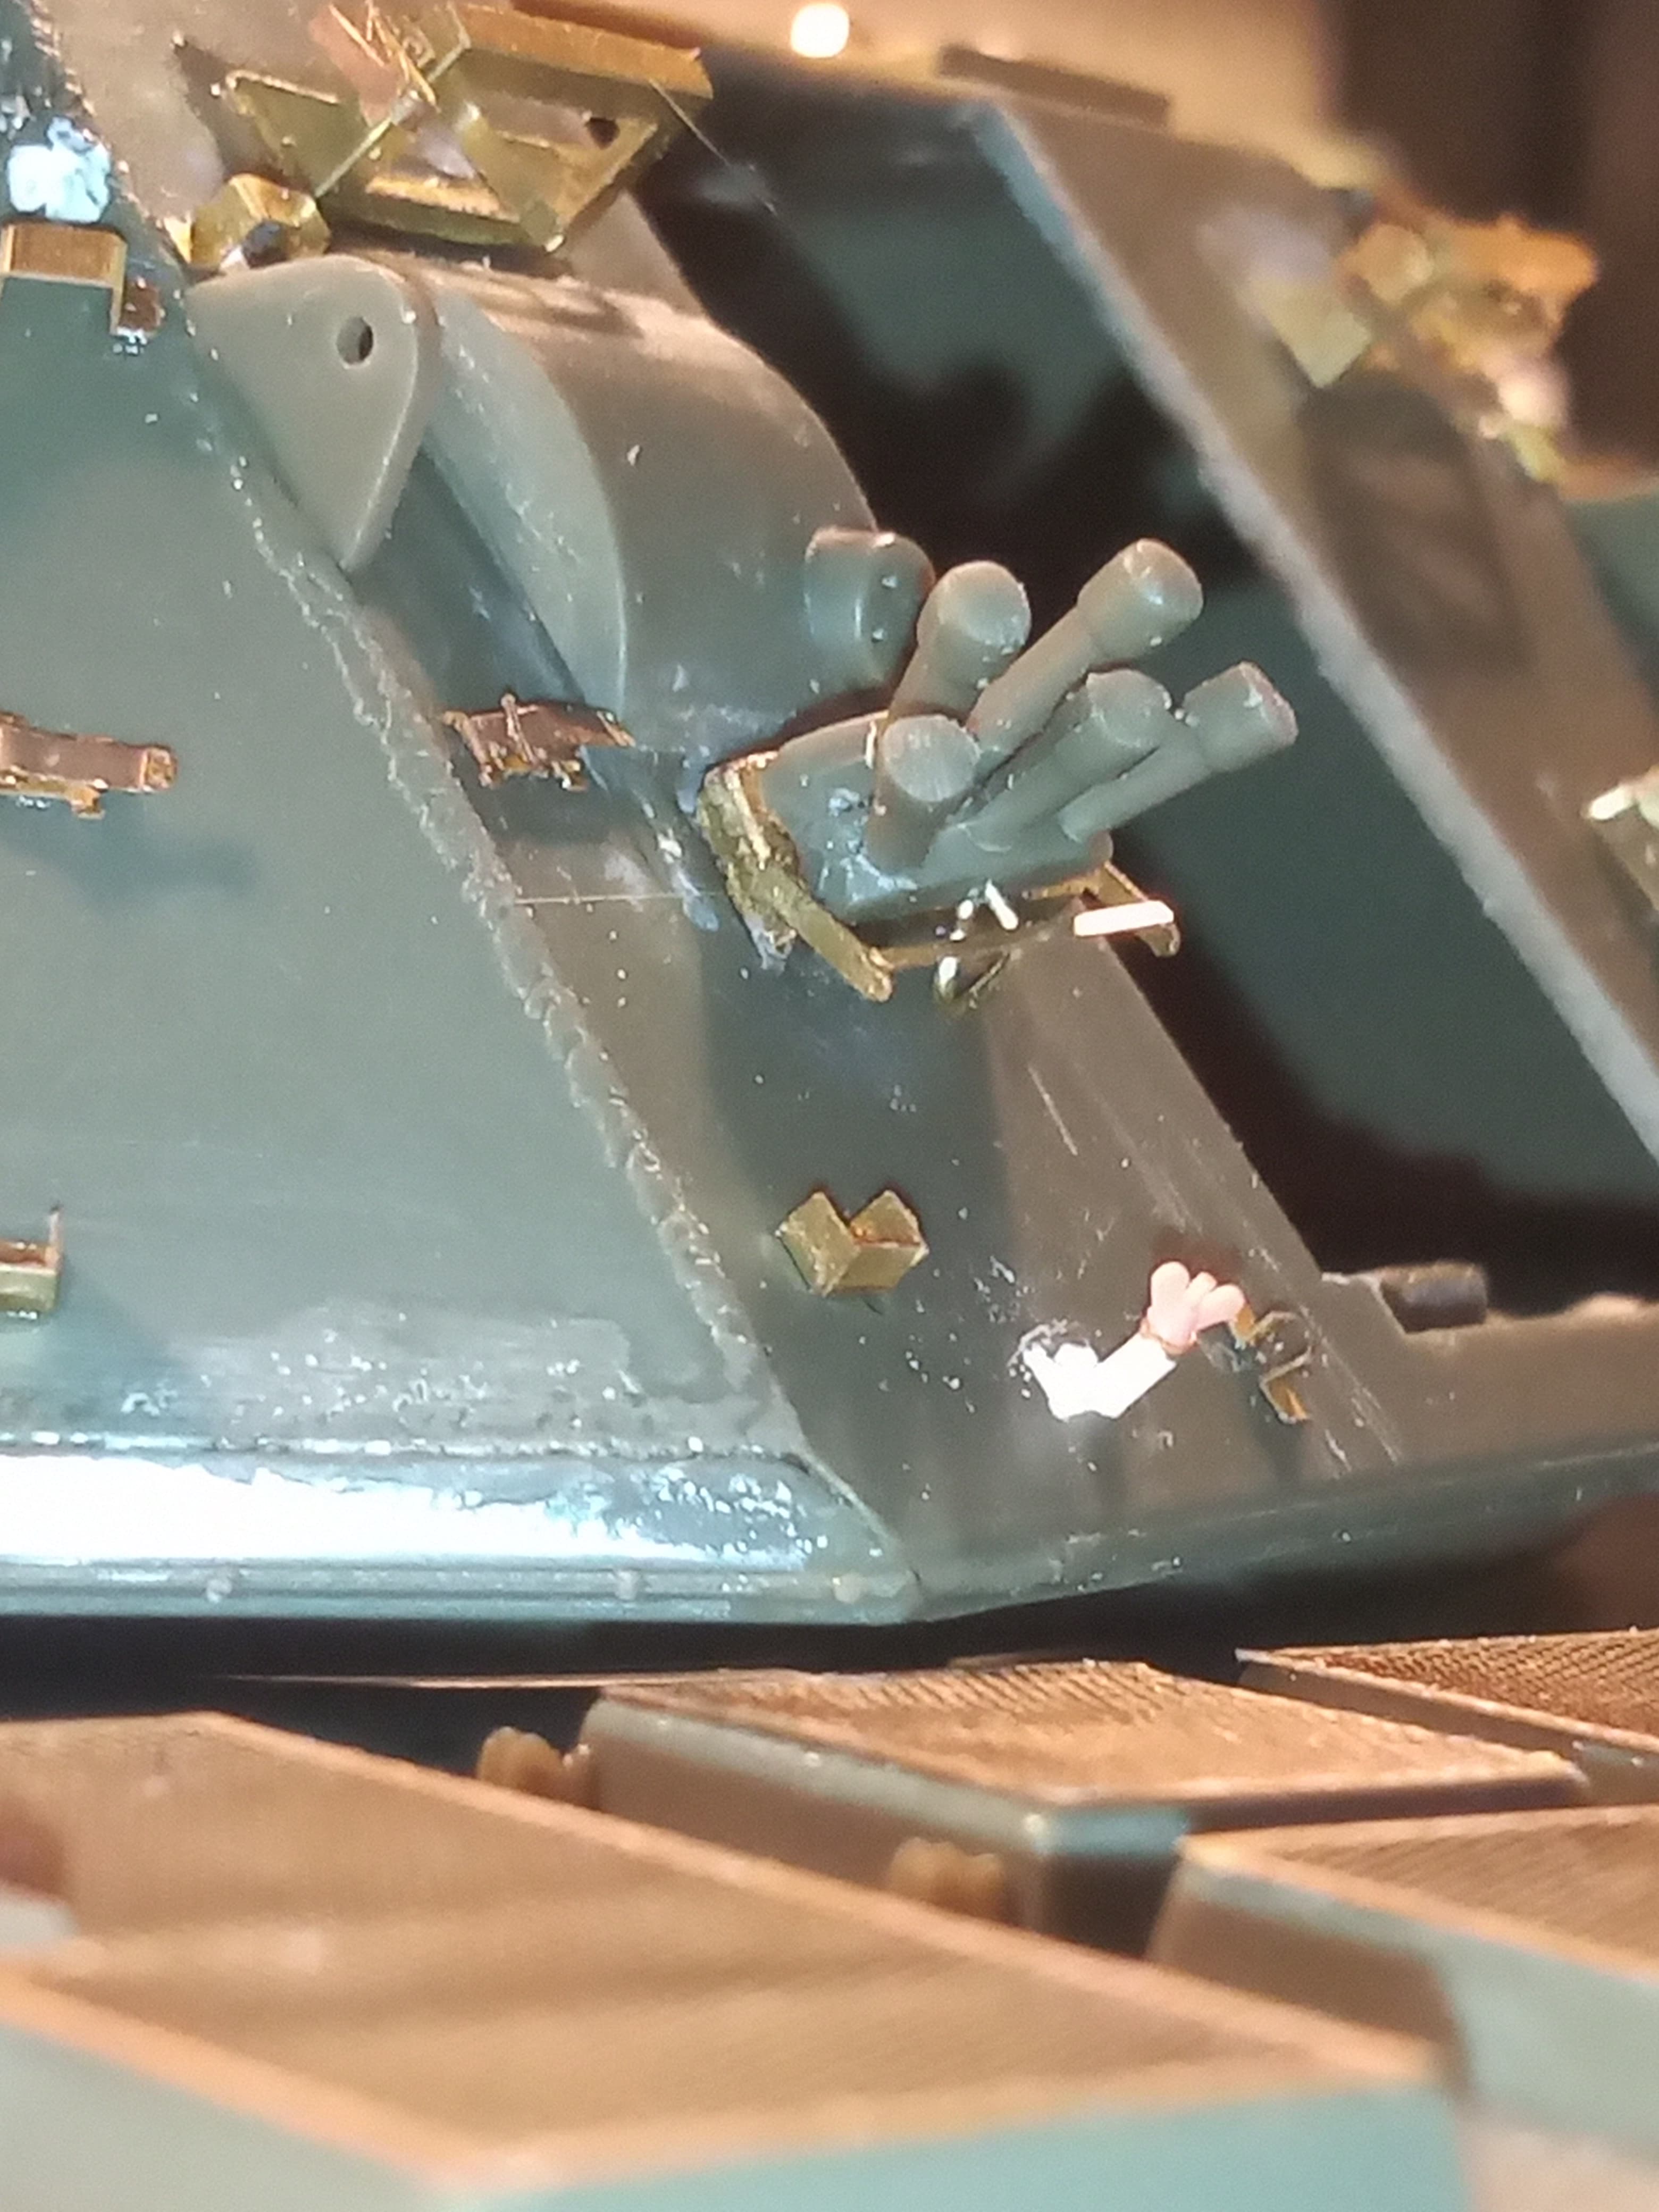
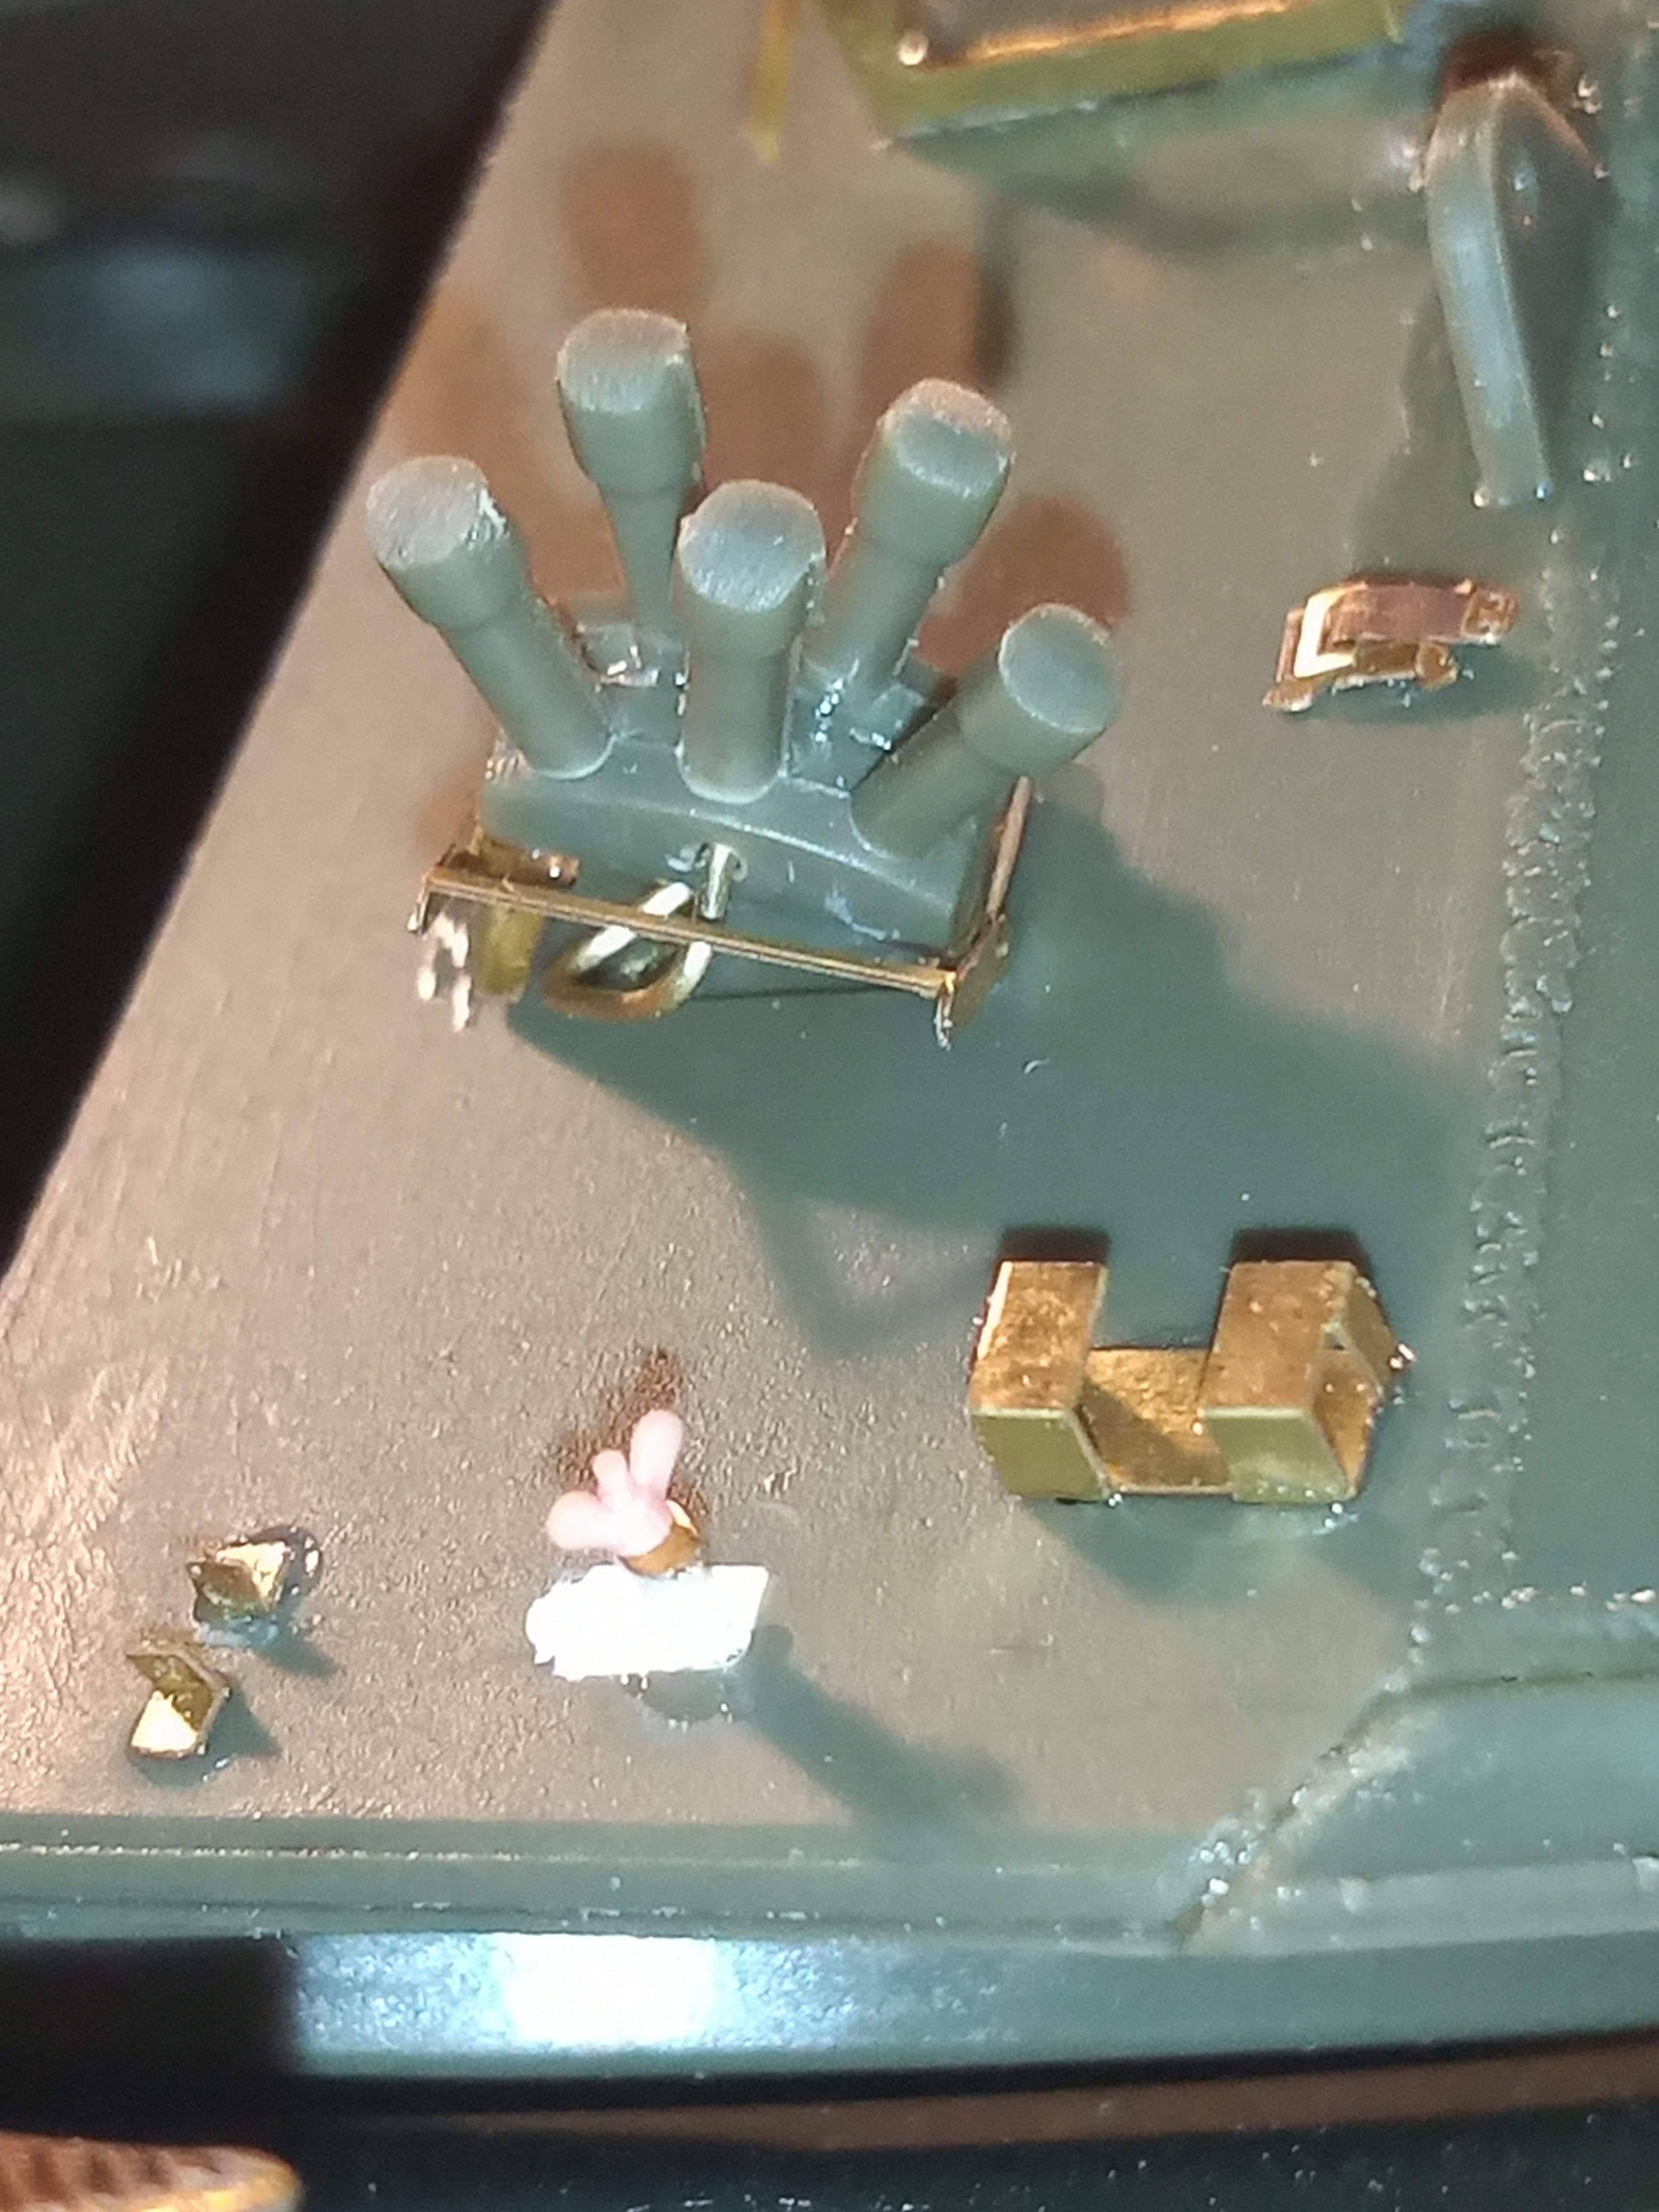
Front RH with the PE MBSGD mounts fitted which gives the proper angle. I didn’t waste any time worrying about the dischargers being not perfect, they will work for me and I did sand down the rounded ends on all of them.
LH front and tool mounts, I also added cabling for the MBSGD banks
Looking down on the front RH showing the empty tool box mount and straps (1 on each side)
Few general areas of the turret
I was going to use the whole PE parts for the turret top basket but looking at it, it really looks very thin to what it should be. So will use the kit basket frame and sand it down a bit to tidy it up, then add the PE mesh as that looks good and more realistic…
Also, made a start on the barrel clamp.
The bottom spring section has been removed since I did this pic.
Going good there Johnny, those wingnuts look on the shovel mount familiar!
Cheers mate and well spotted !! I use them whenever I get the chance ![]()
They really do look the part and there is huge scope for other run of the mill items to be printed in 3d. Even though there are a lot of things in etch they can be a bit 2d. Someone needs to pick up where AA left off.
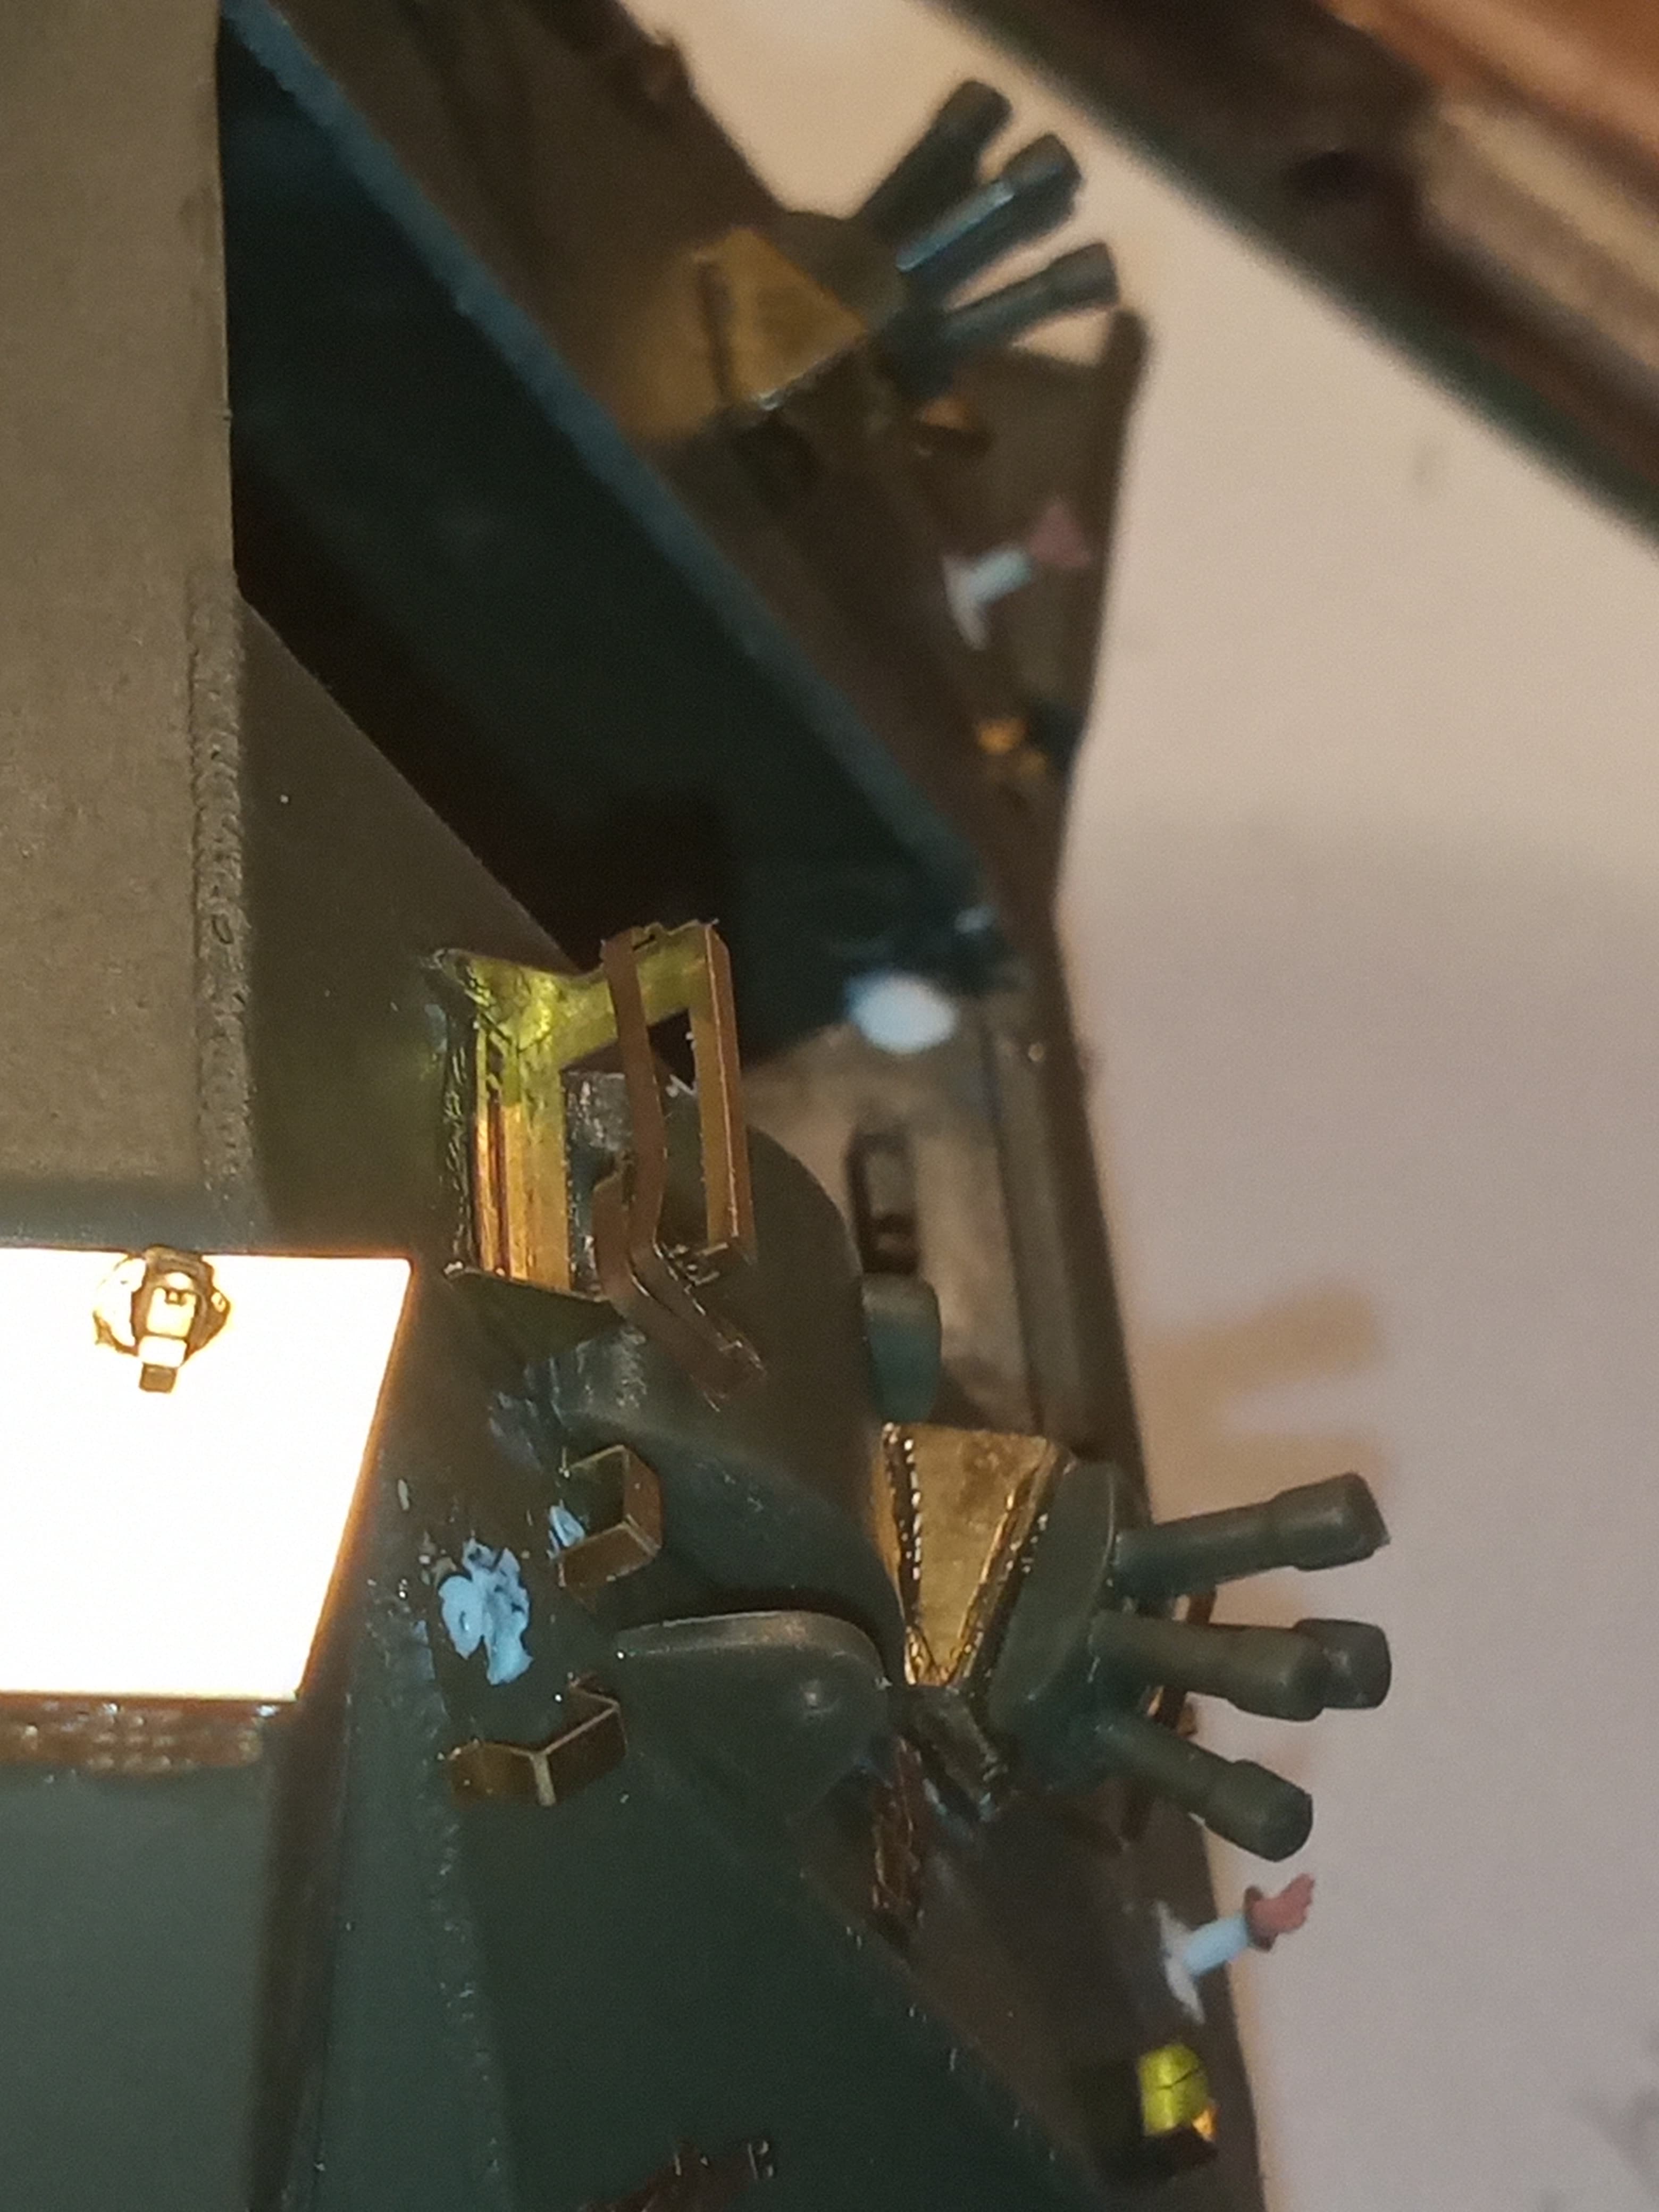
Some turret basket and clamp update info…
Pleased with how the roof basket turned out, using the kit frame and the PE mesh was definitely the way to go. Still need to add the retaining straps.
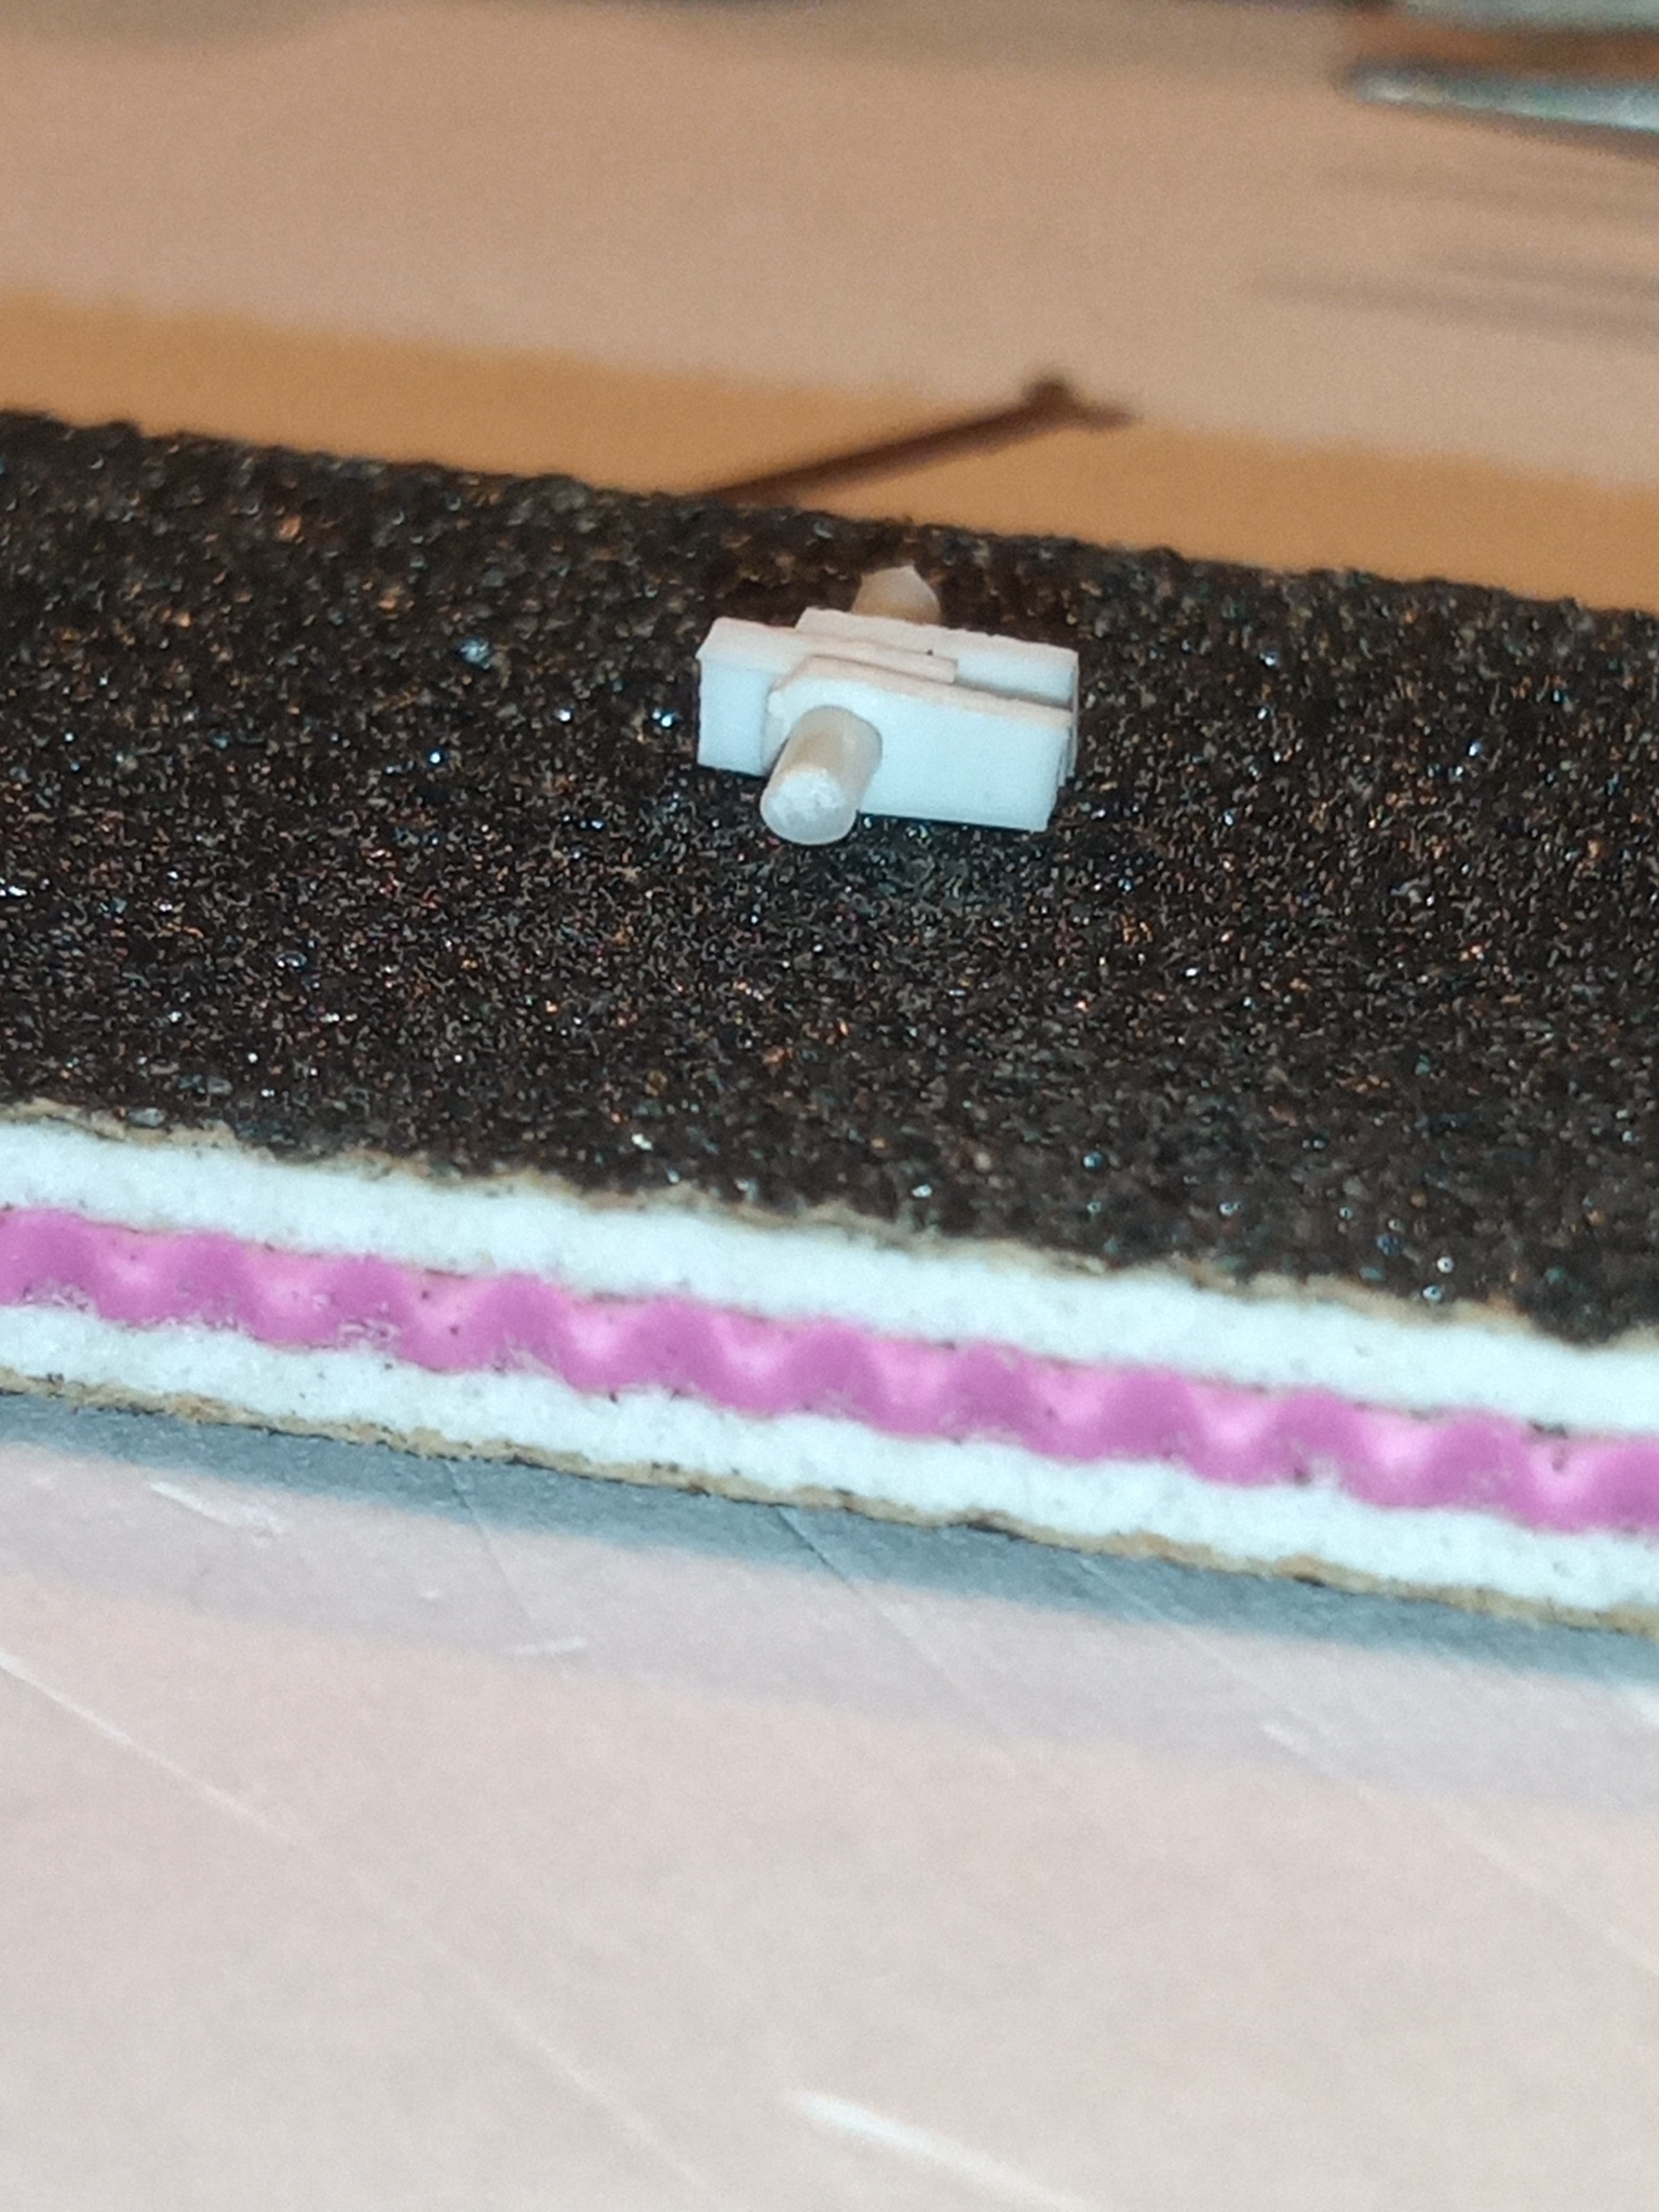
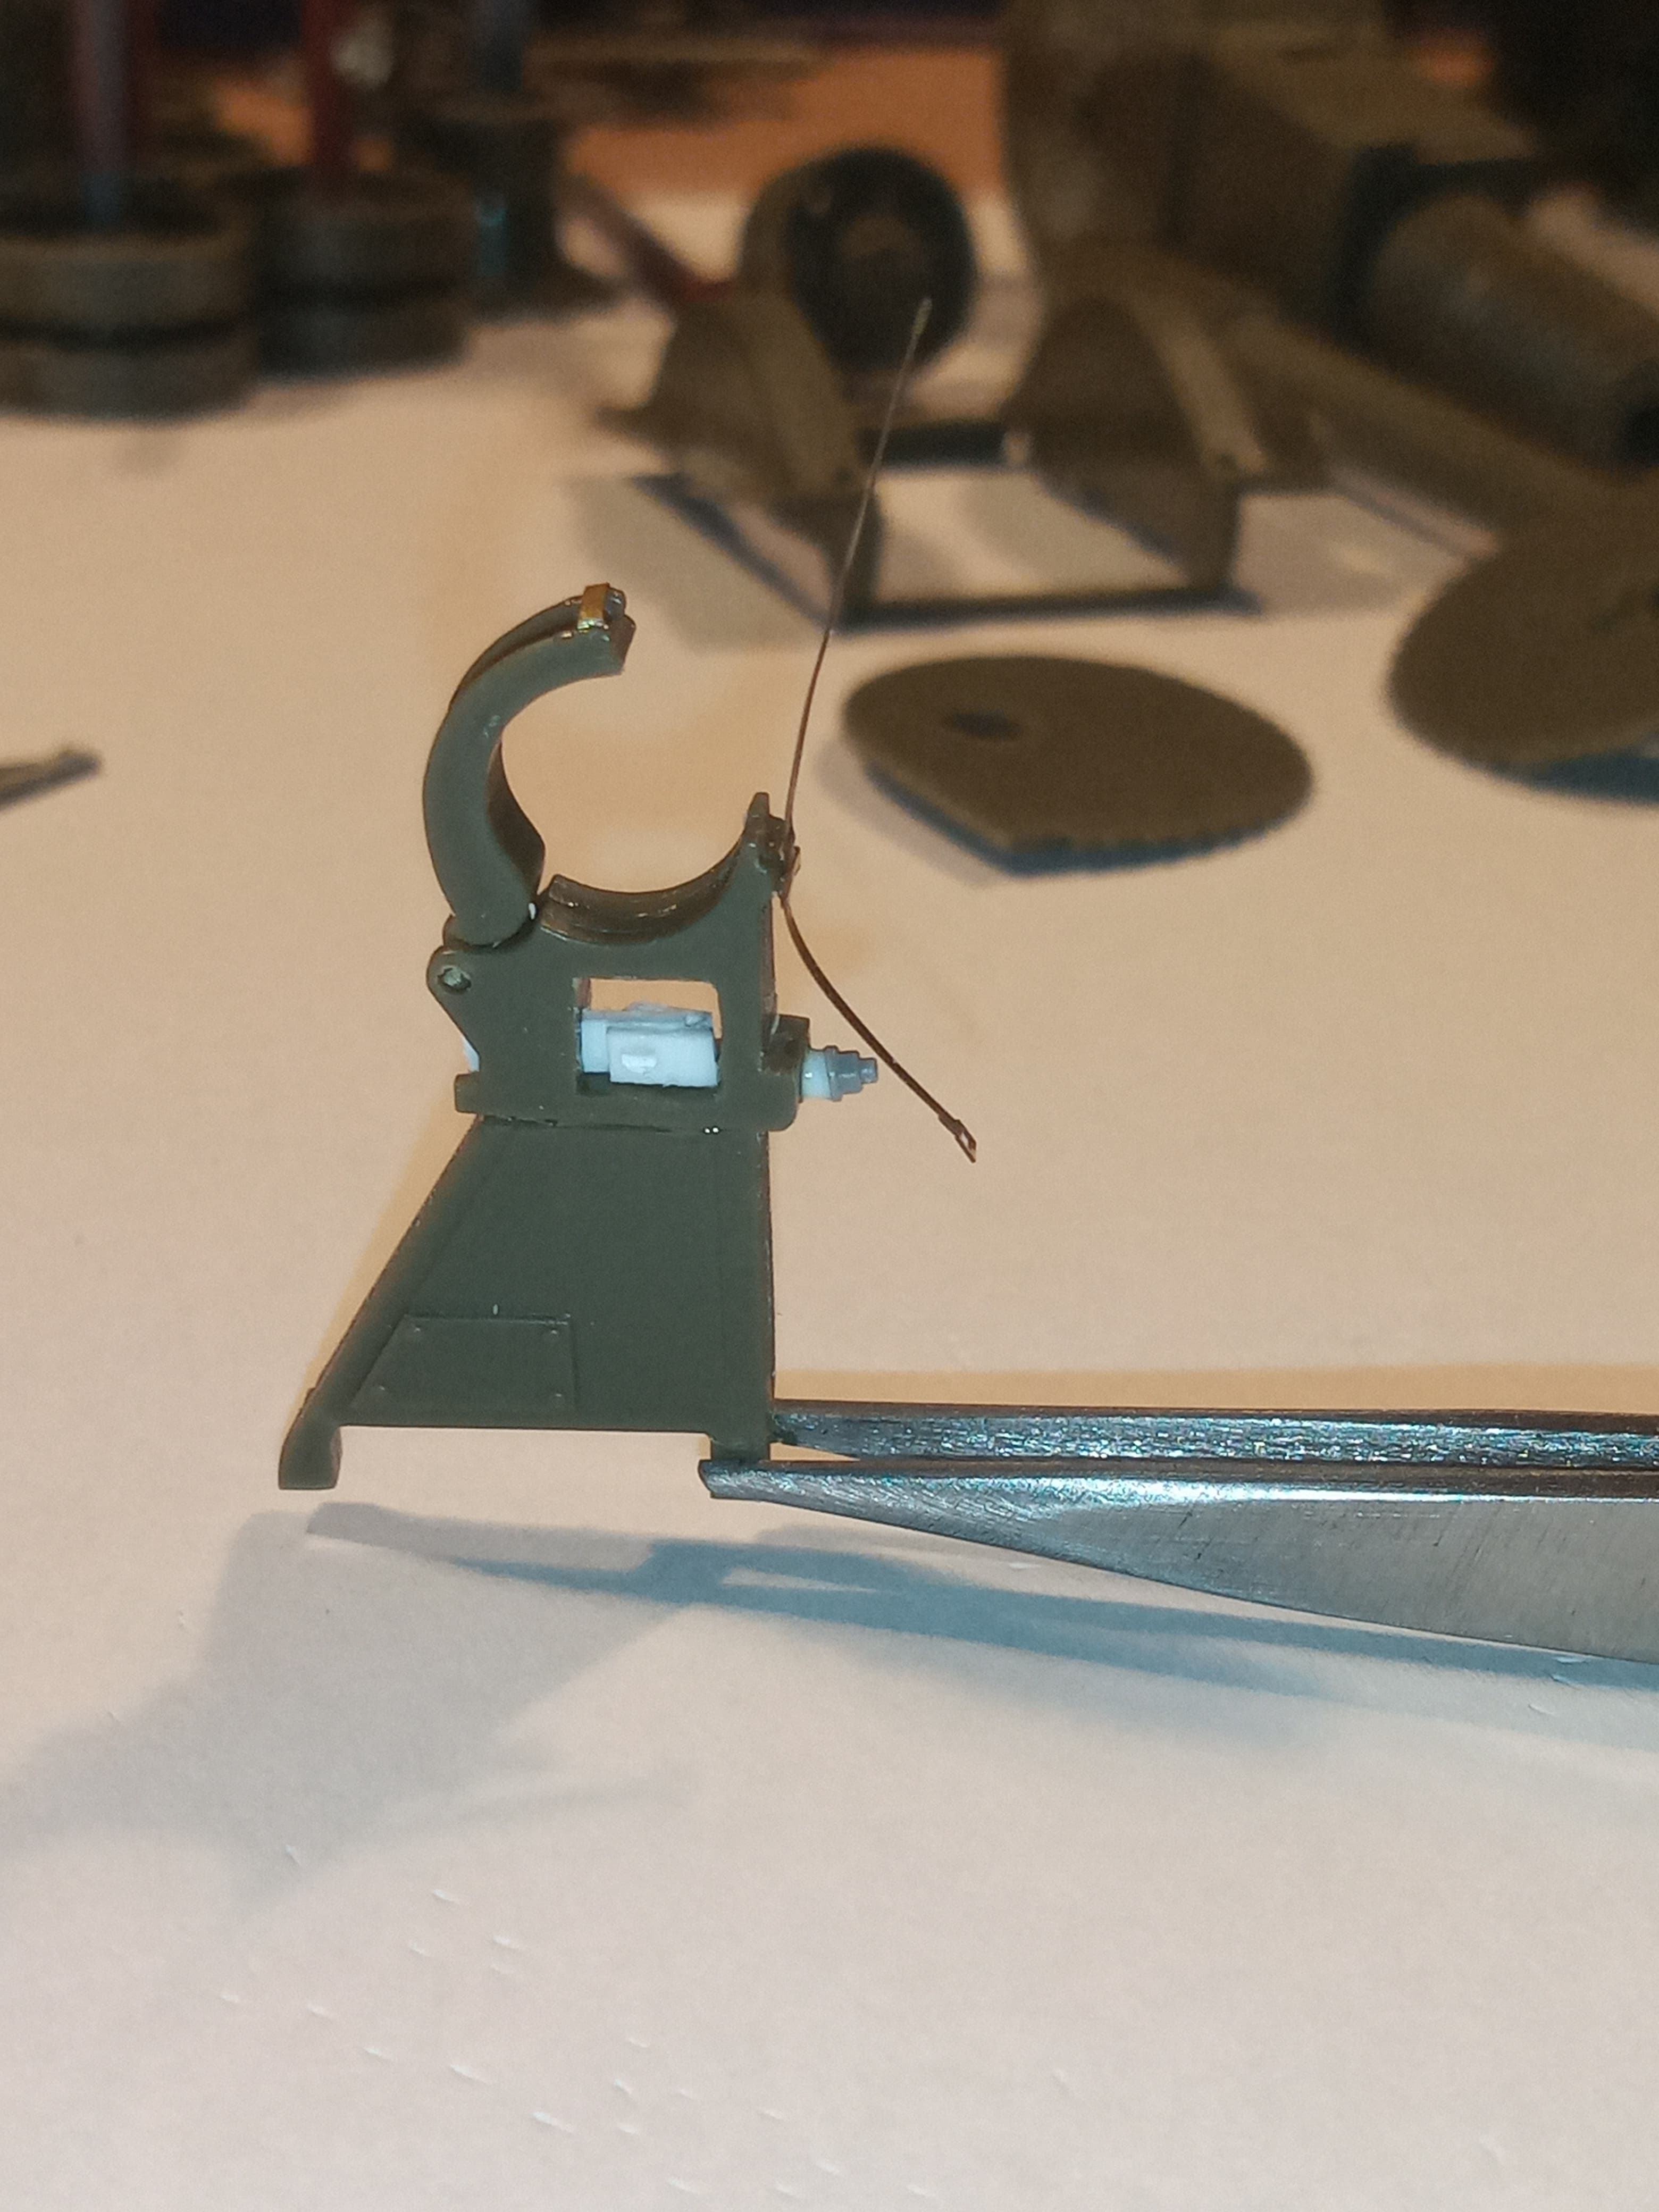
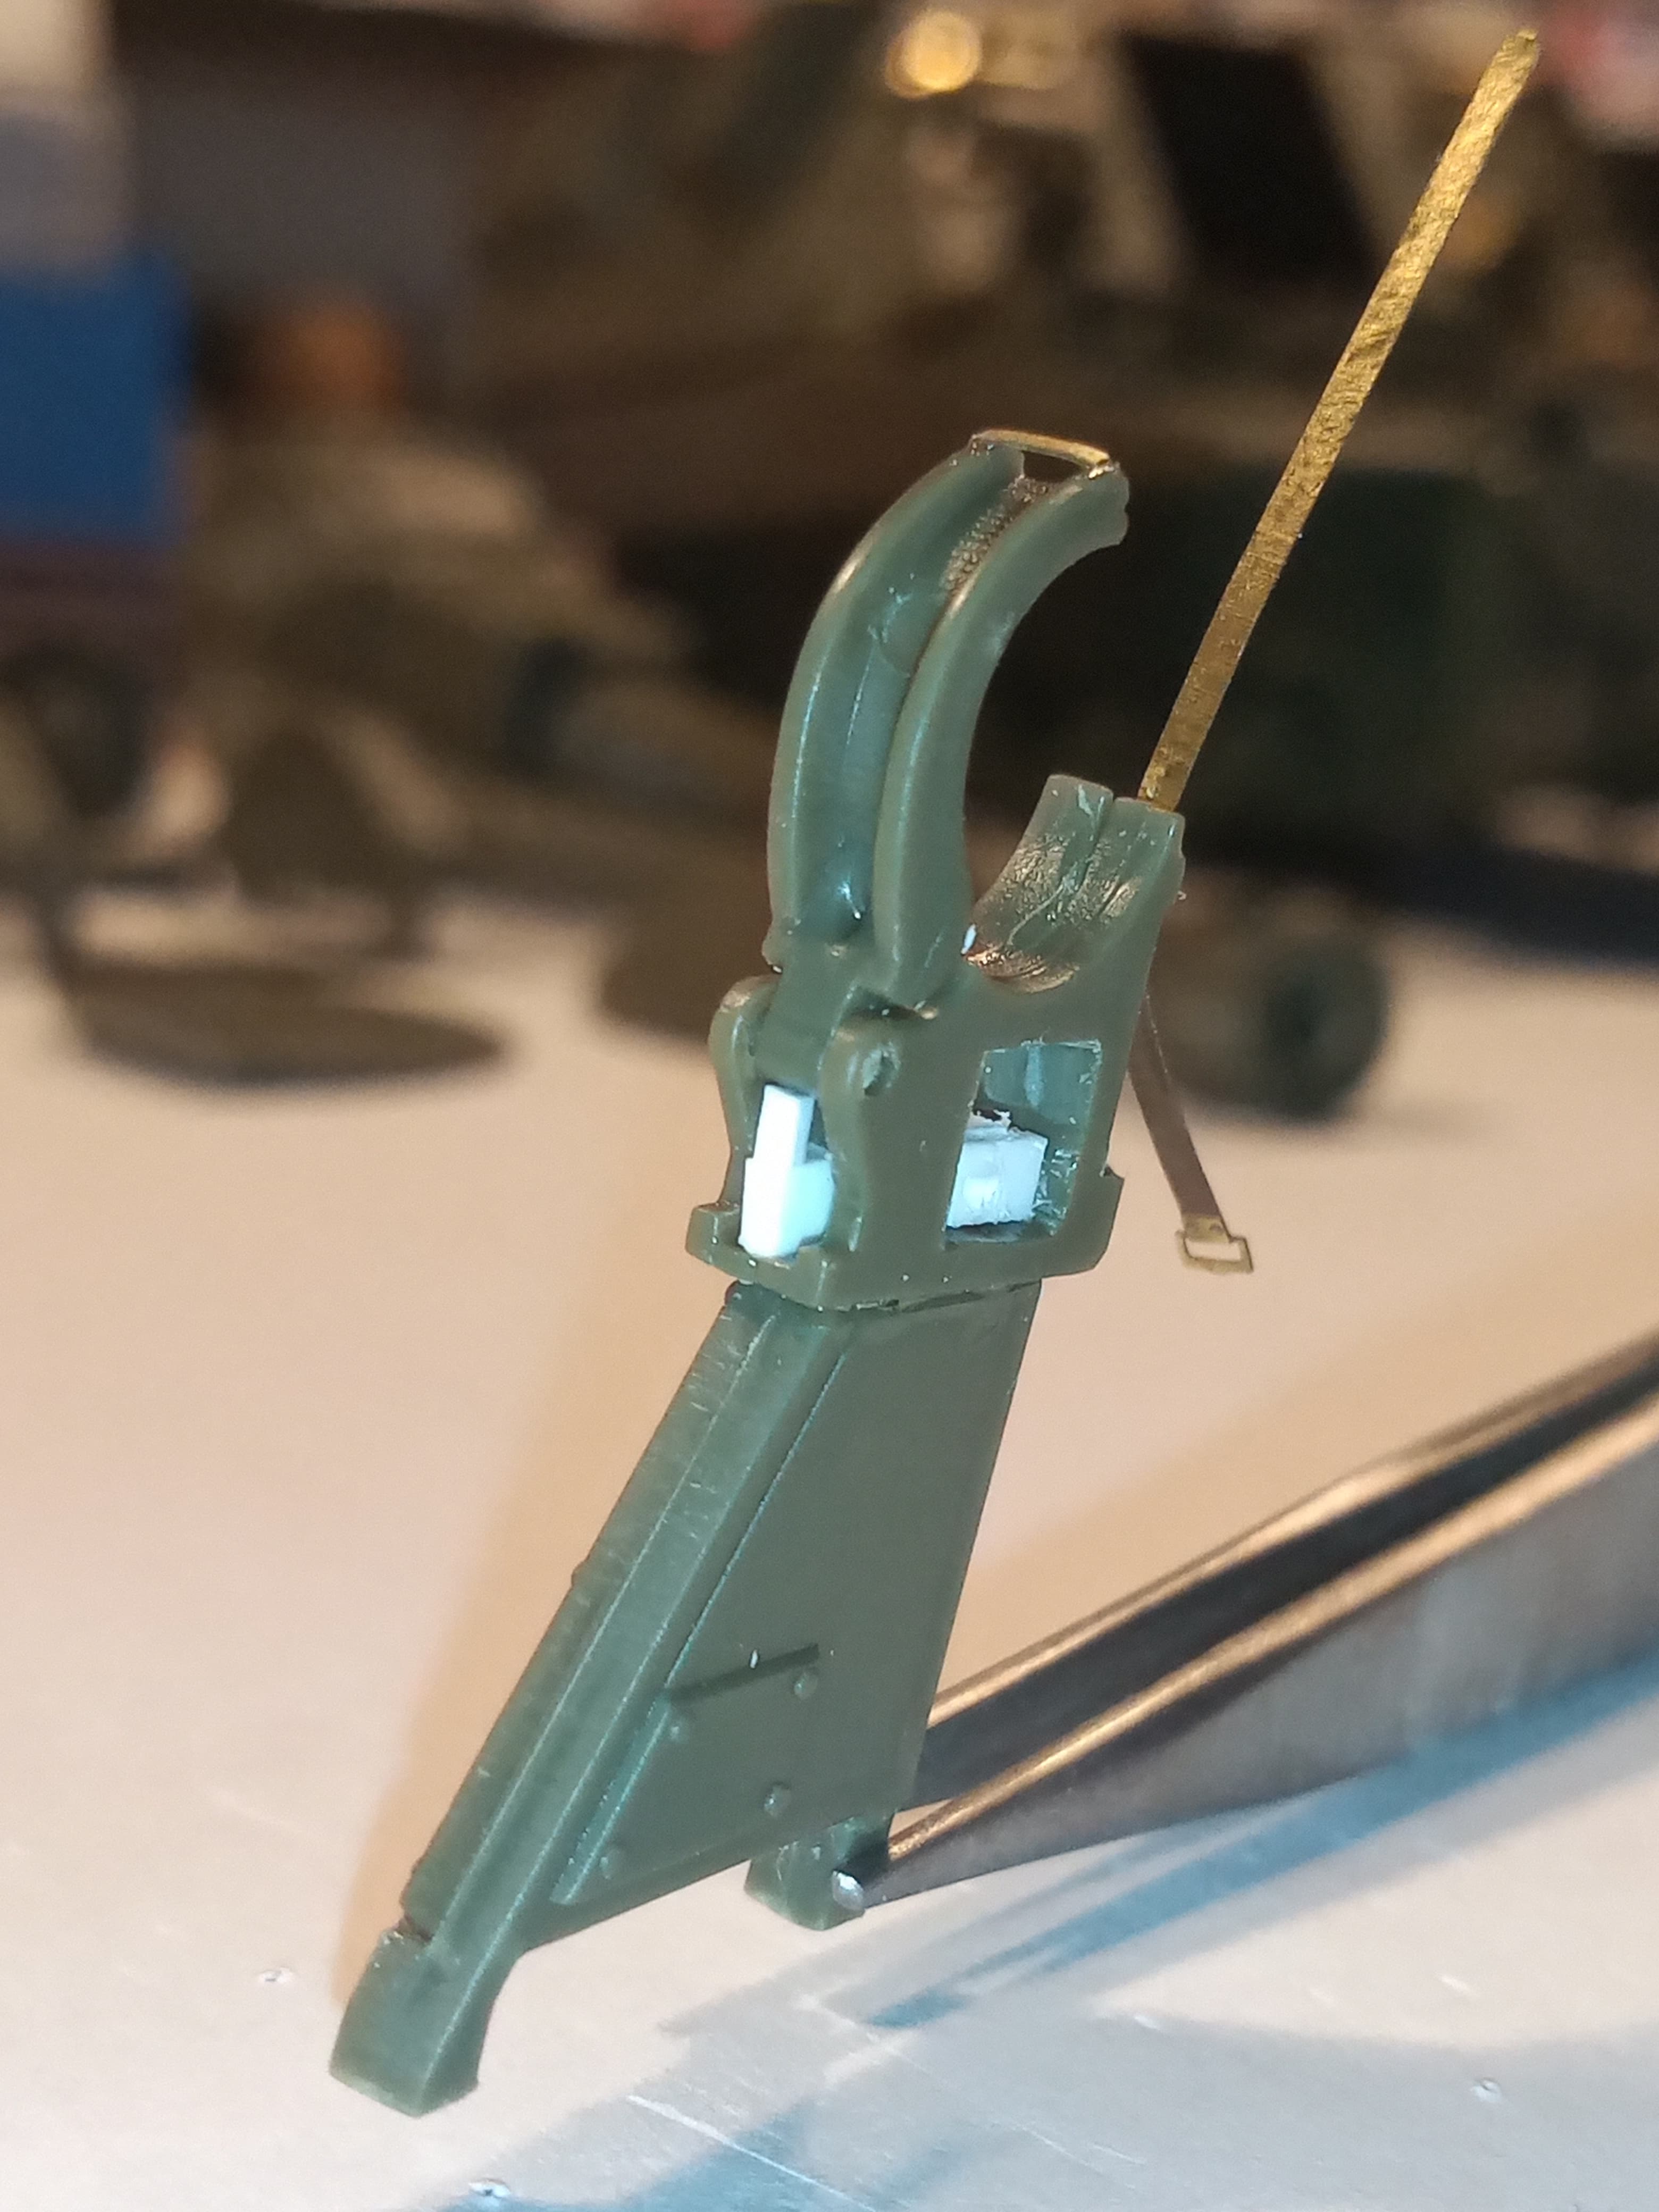
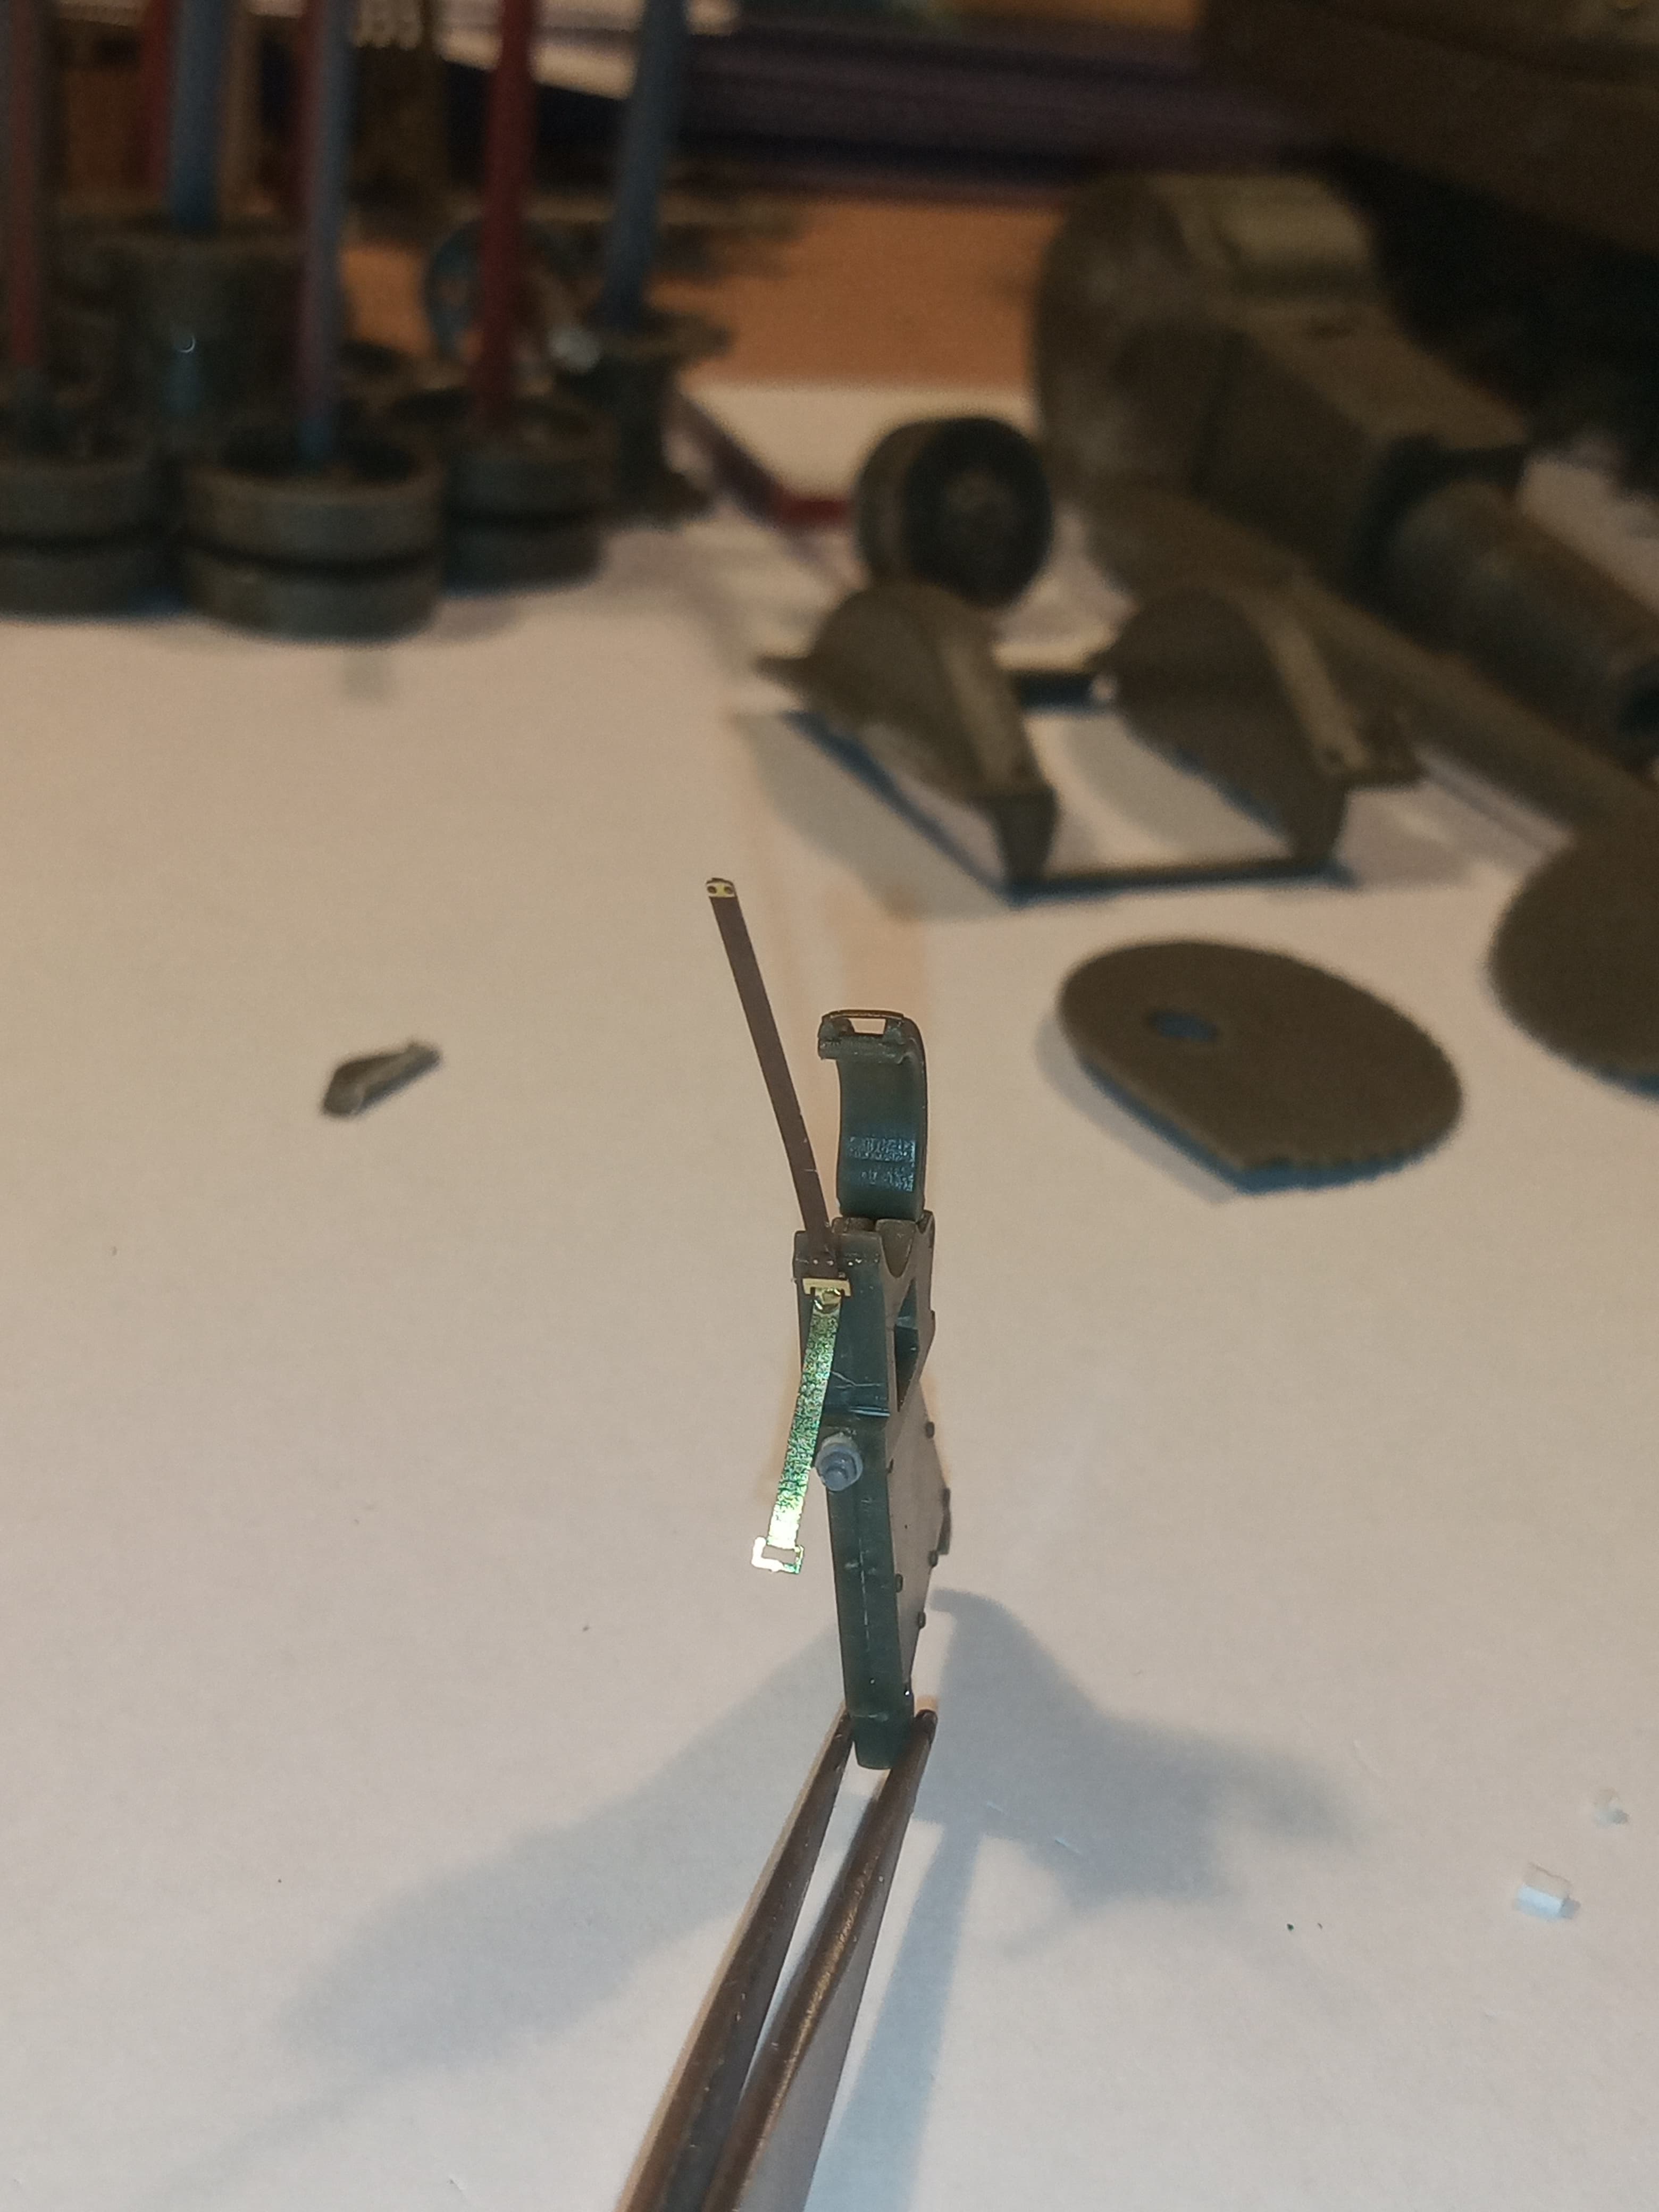
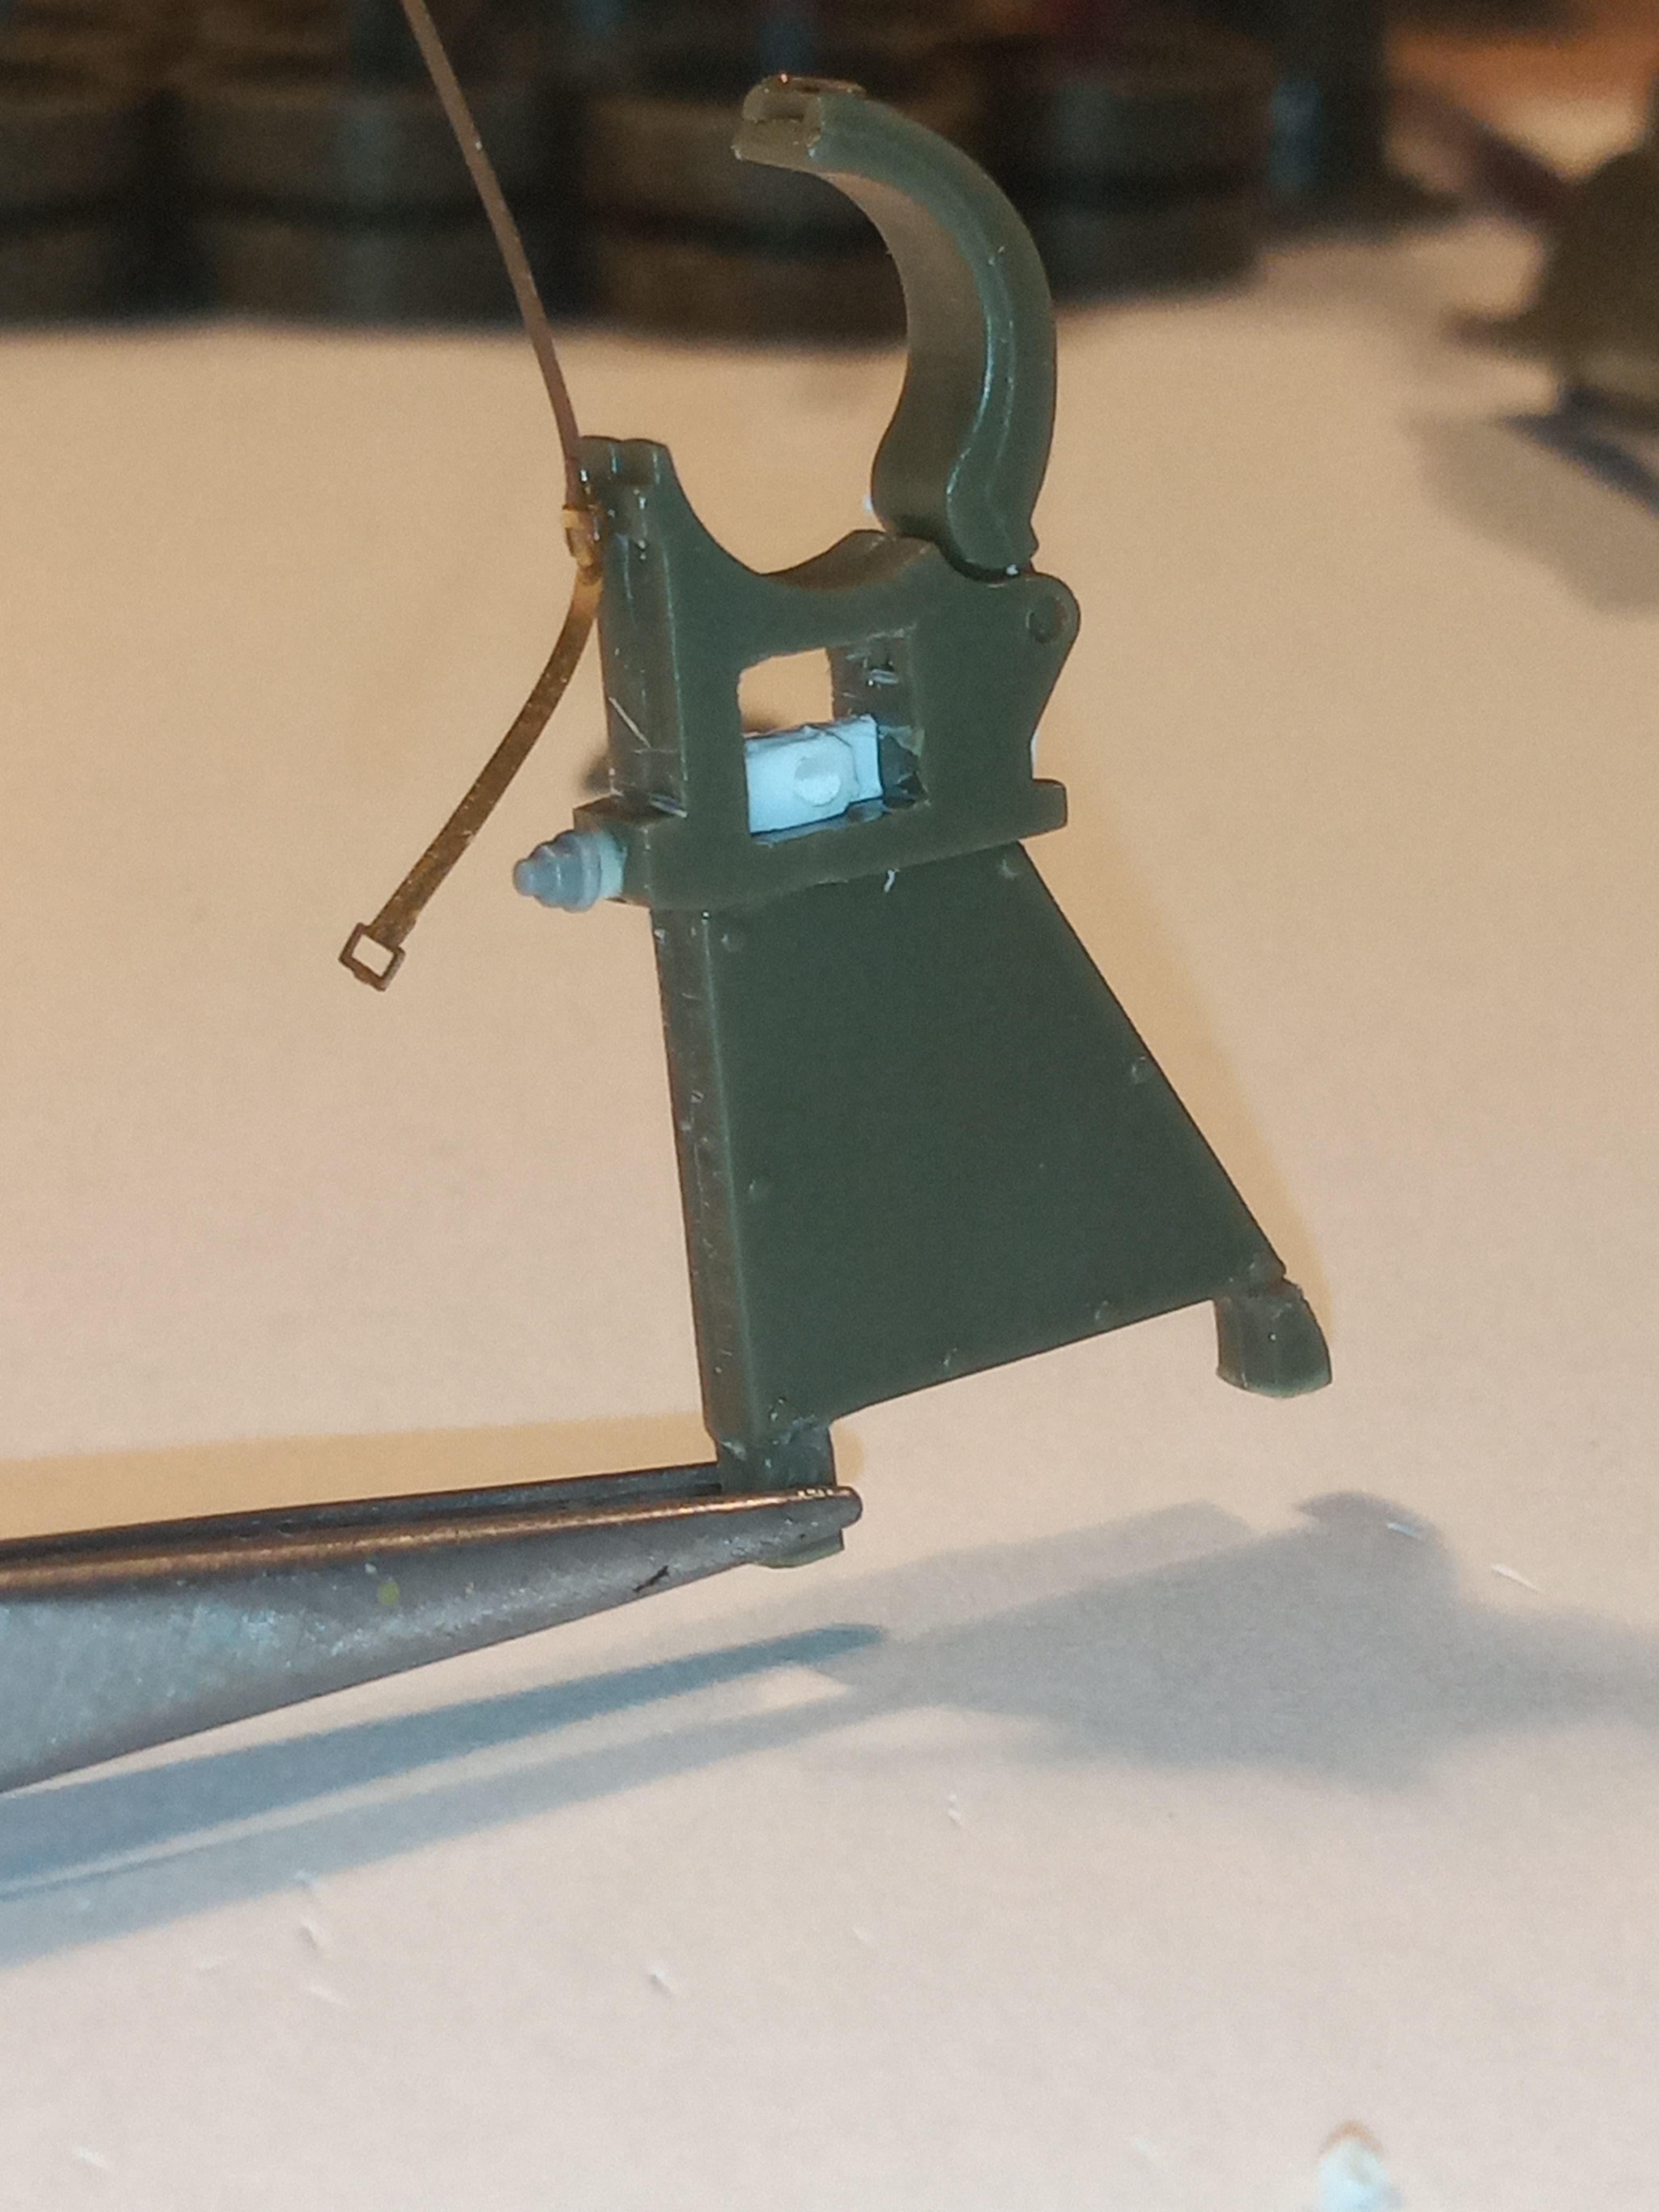
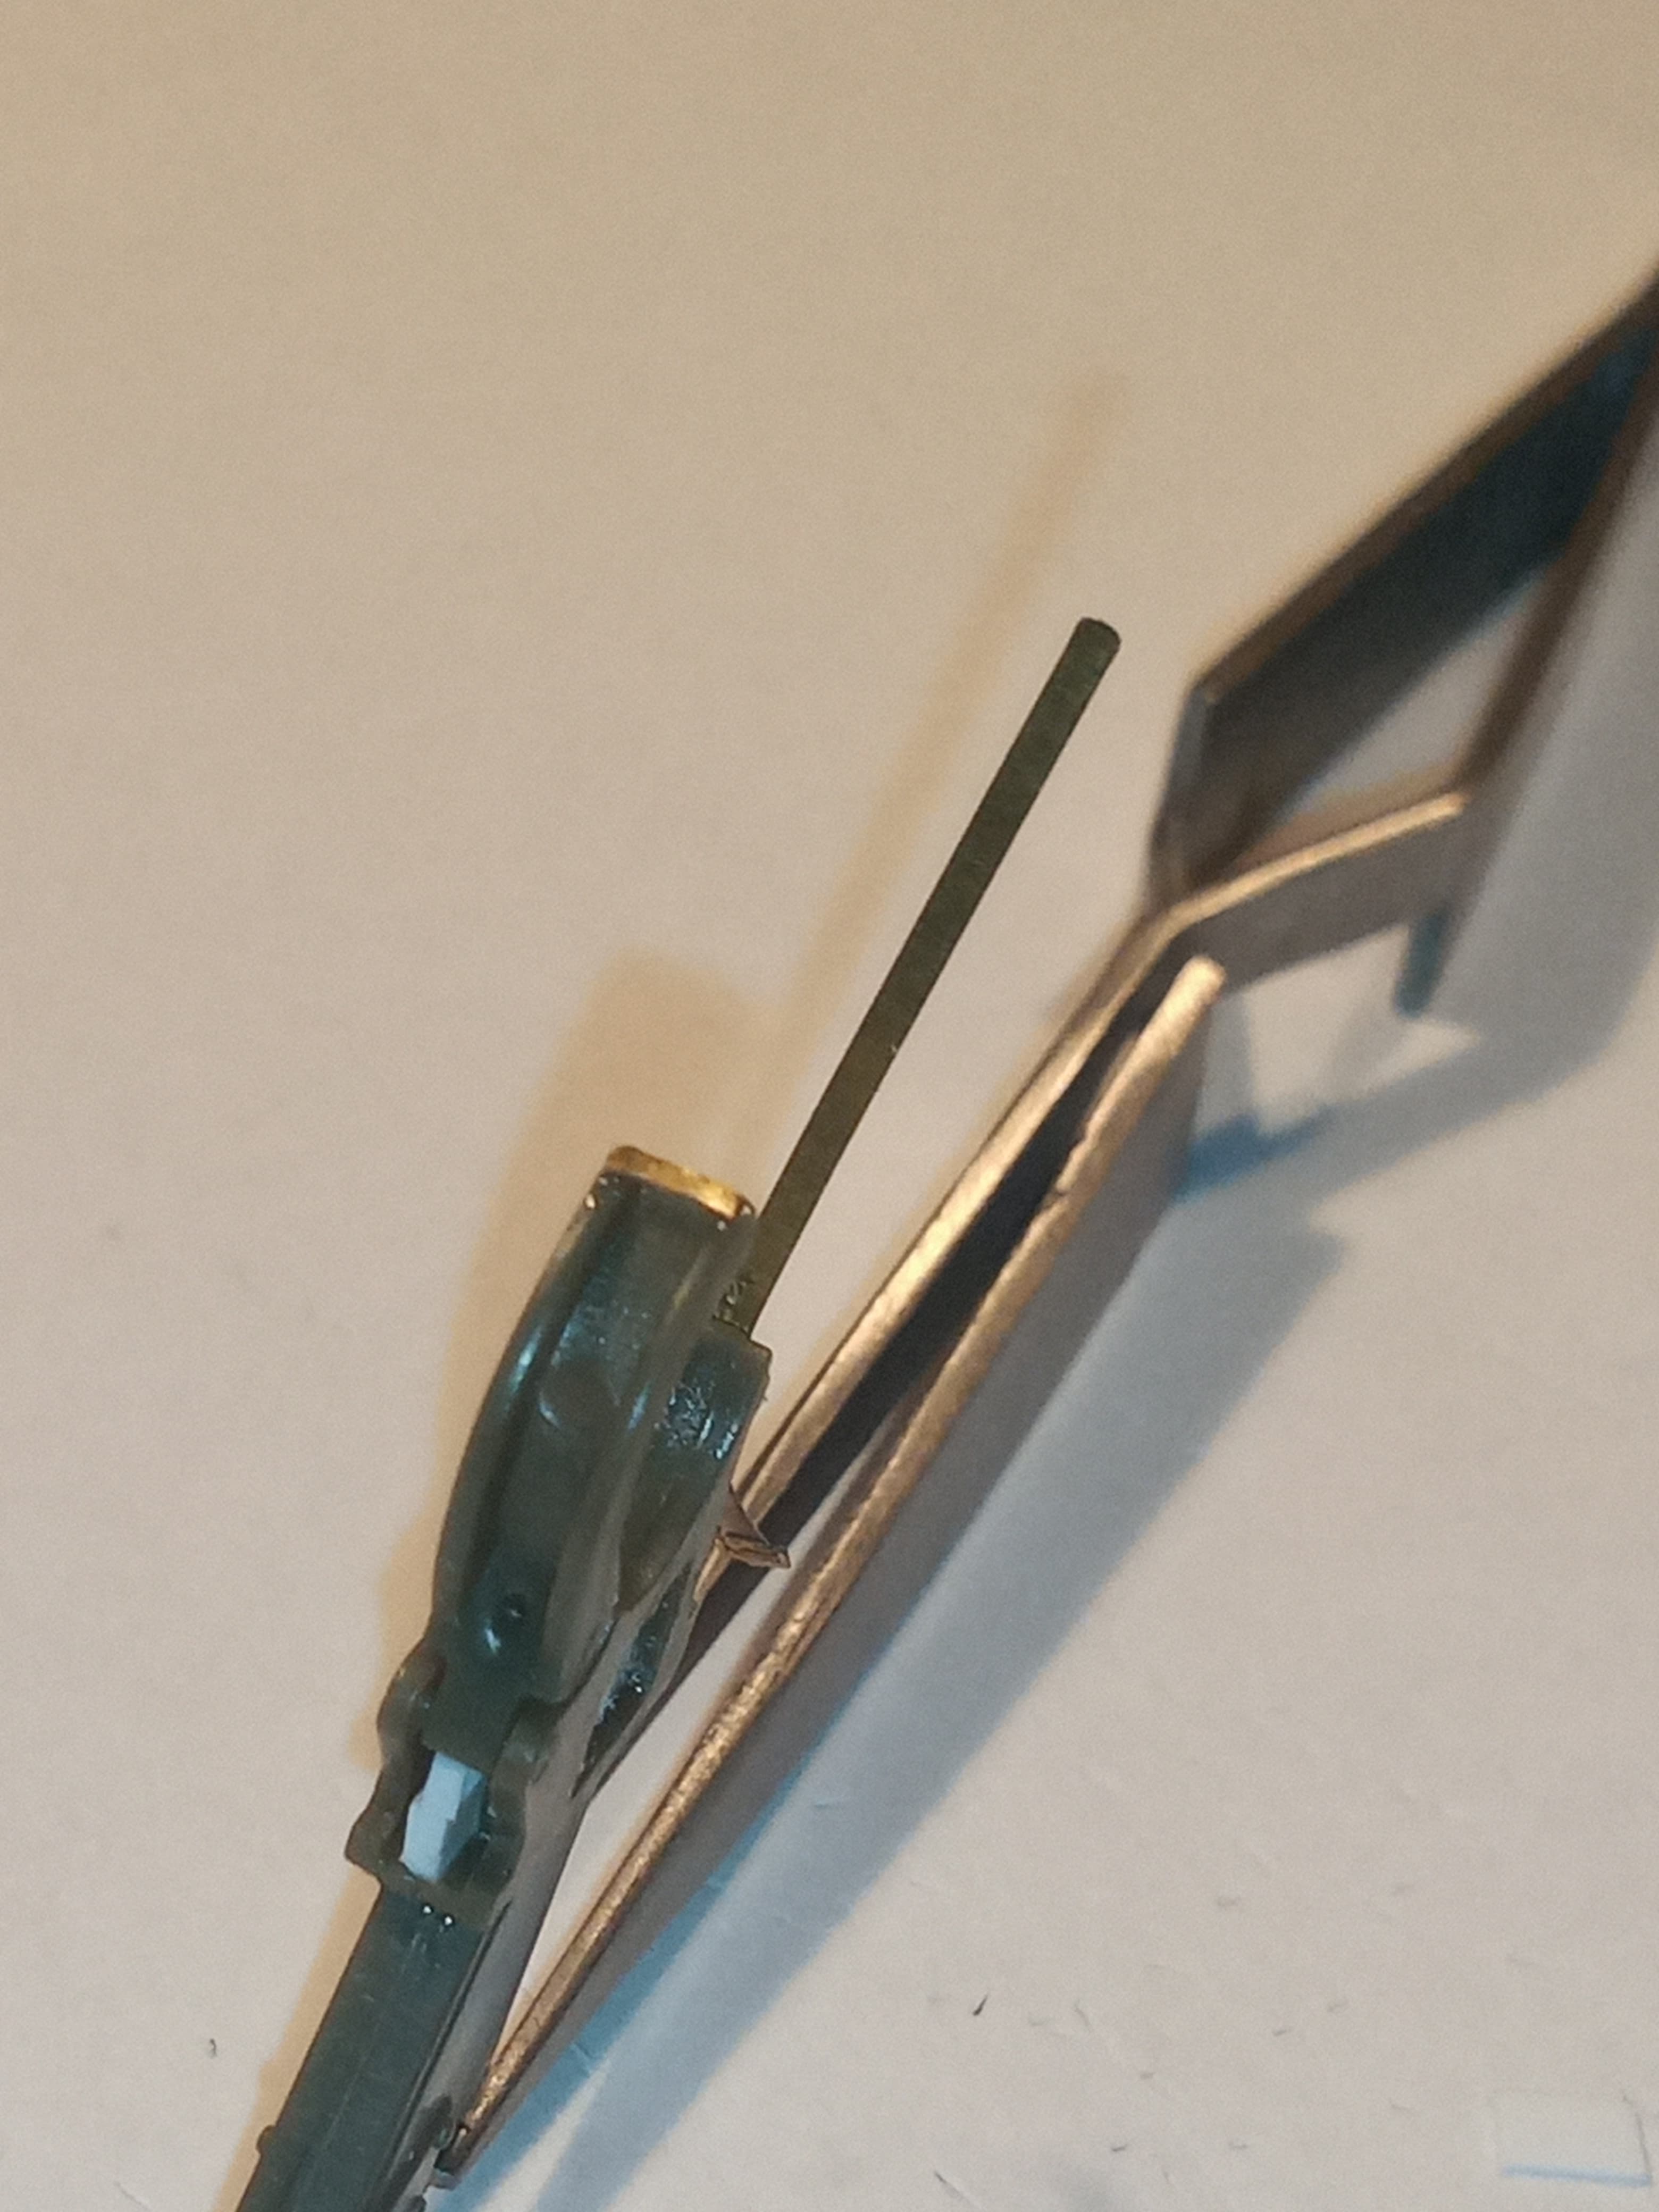
Started making the mechanism for the clamp internals, a piece of rod and 3 small cut strips with a .6mm hole drilled in each then slotted together…
And fitted inside the square which I enlarged
The end section which would connect to the moveable curved section.
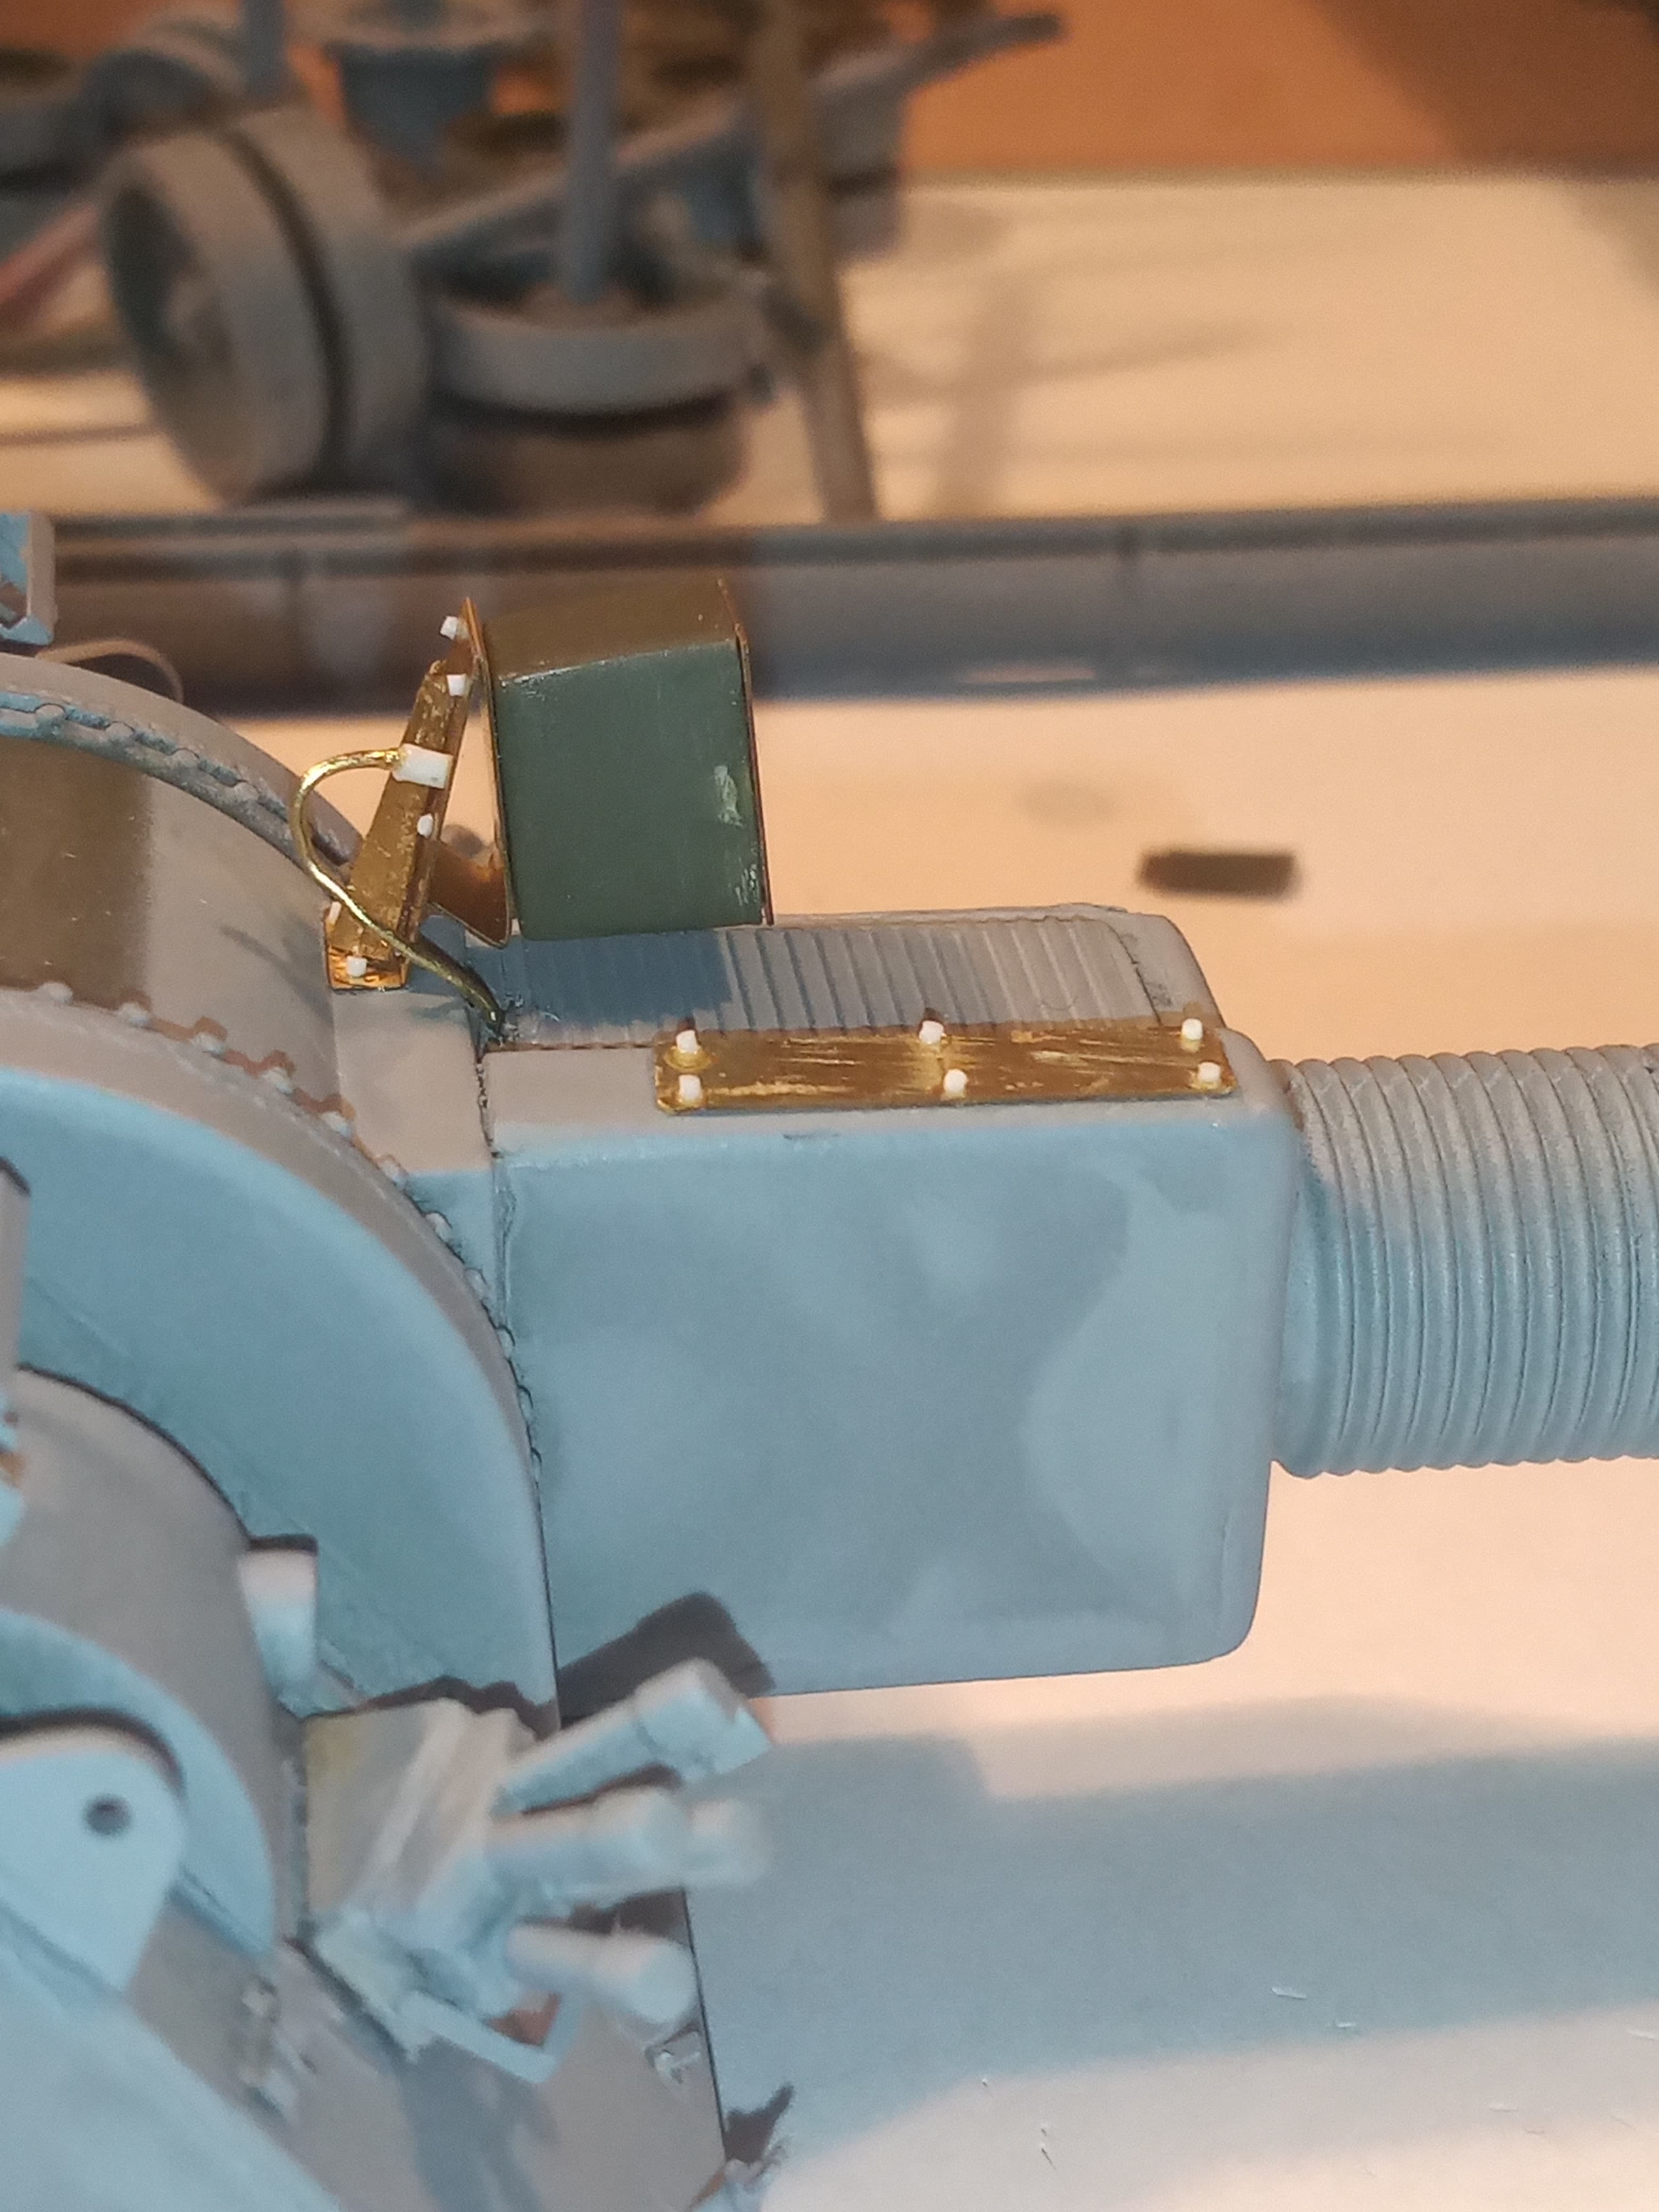
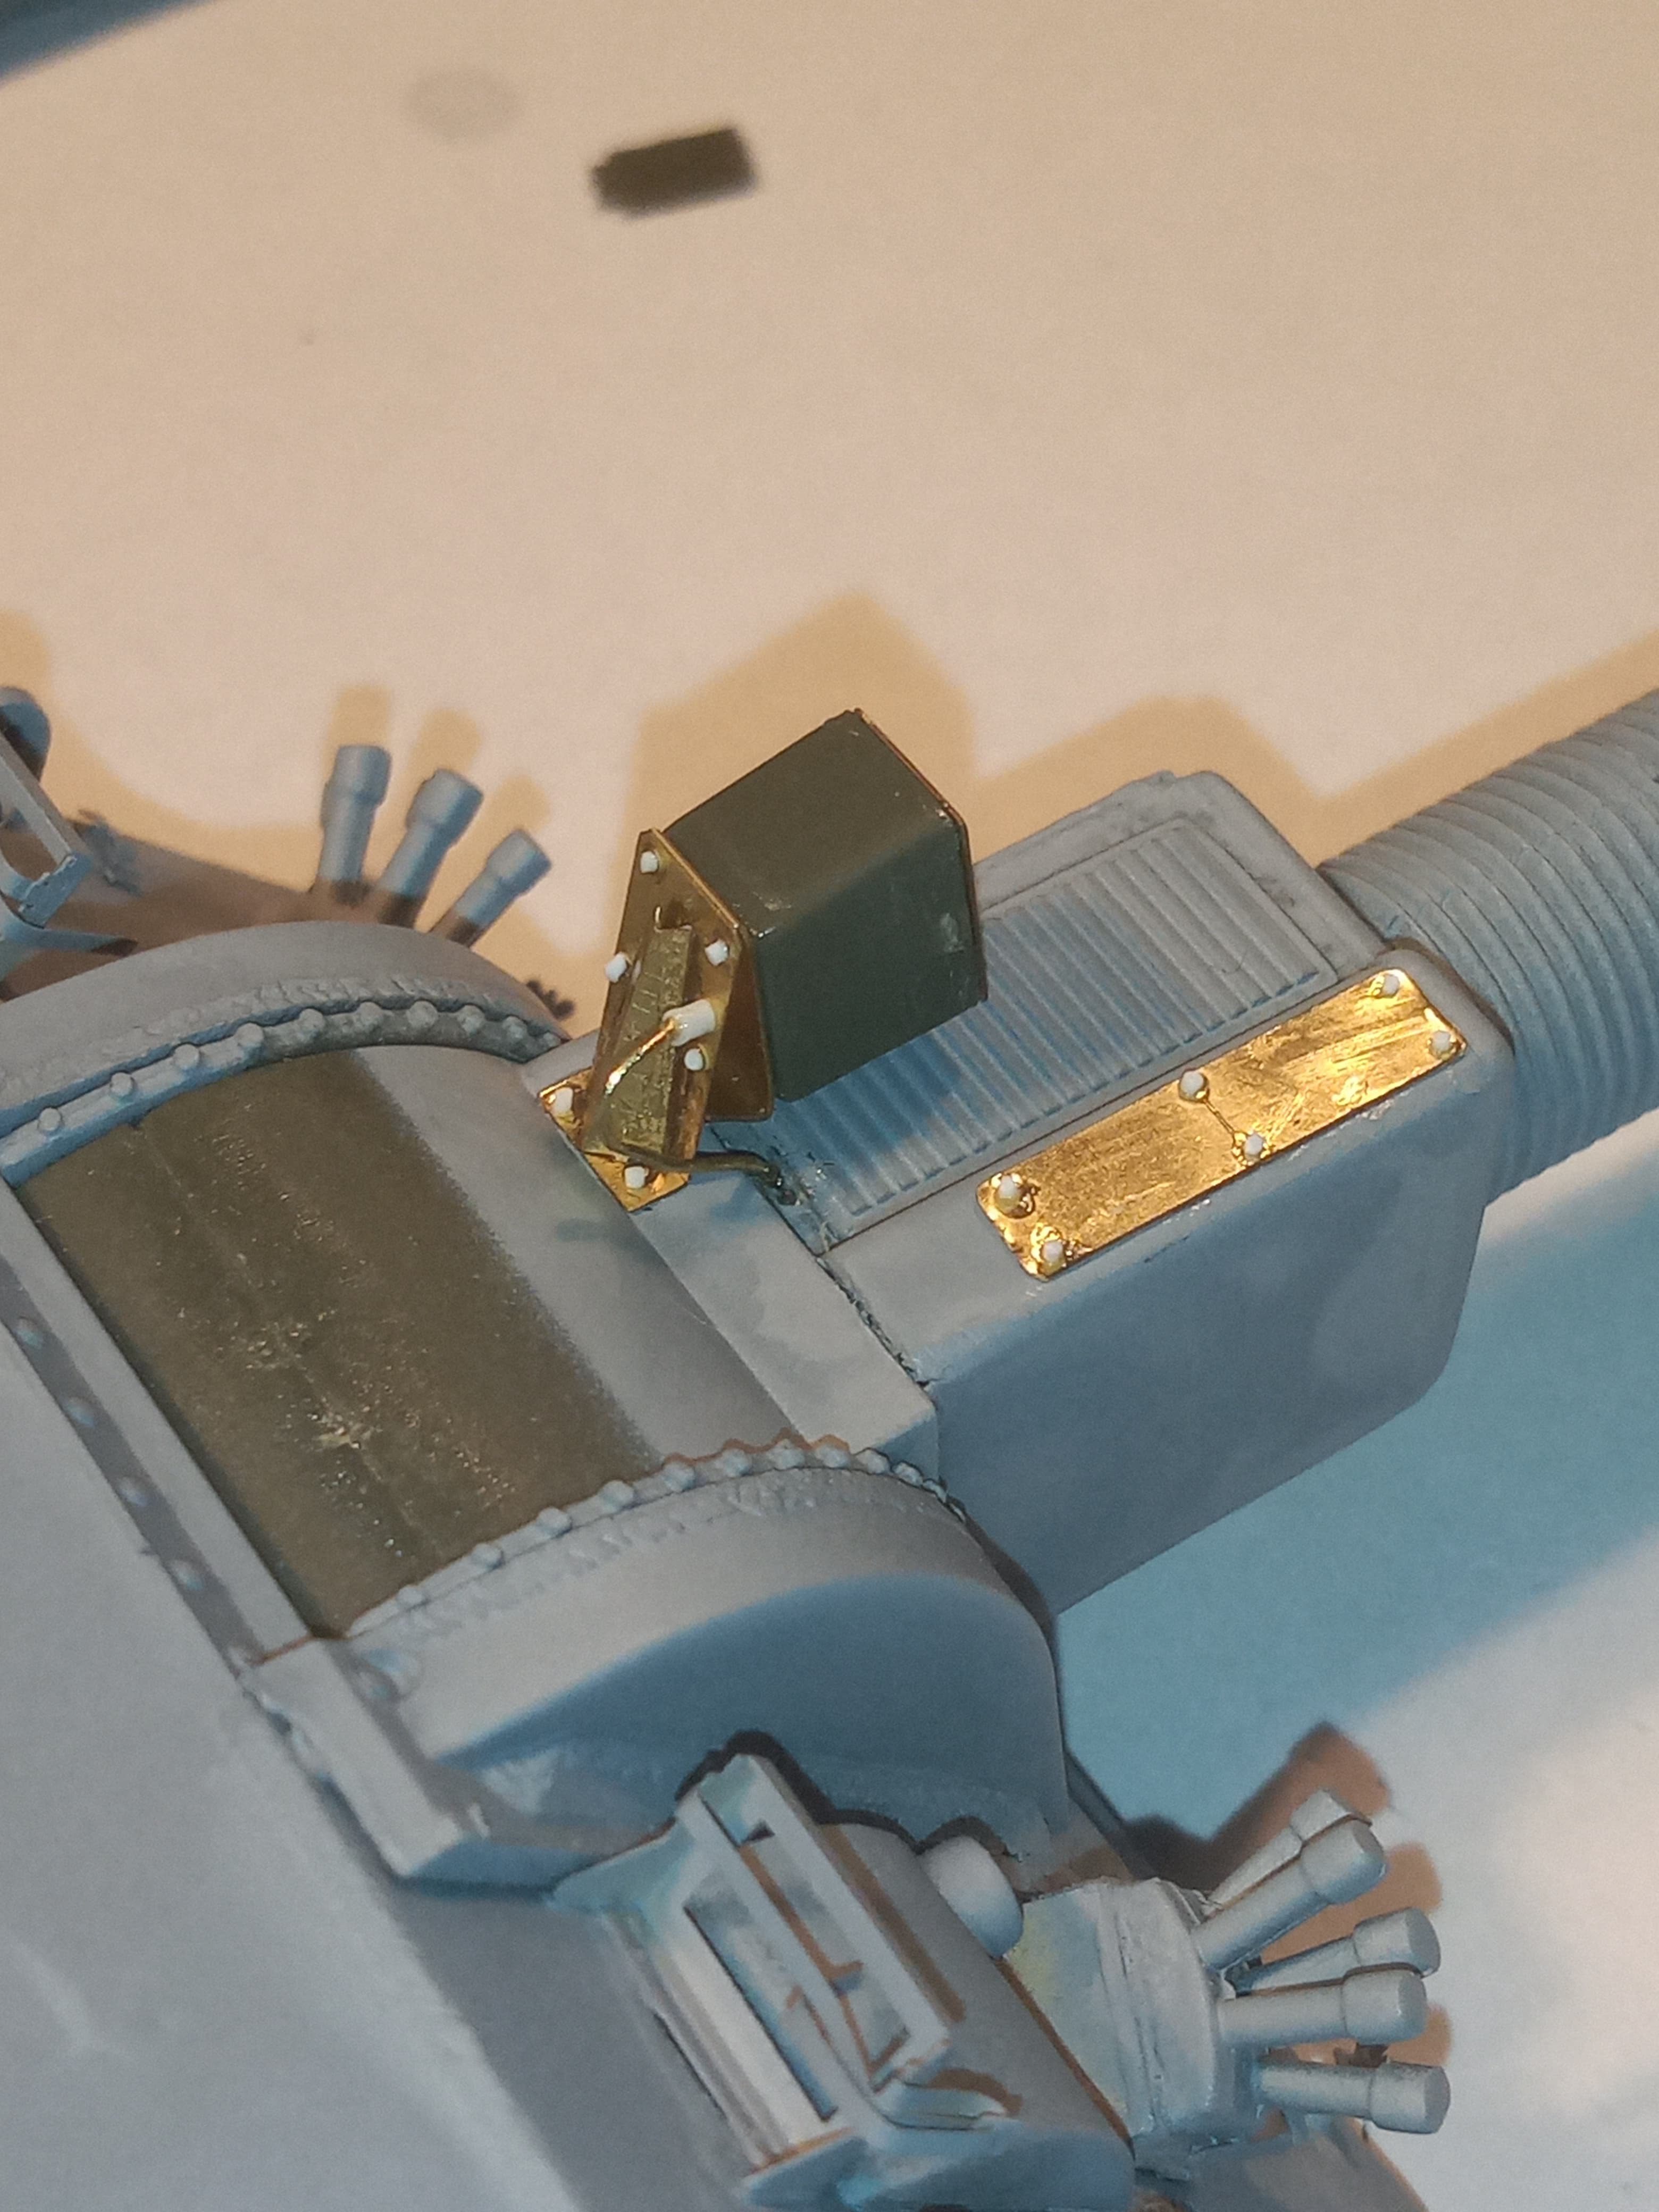
The securing straps and meng bolt head and the thin piece of scrap PE strip on the curved section where the strap slots through.
I wasn’t going to go in this much, but once I started and kept looking at the reference images, I decided to try and do as much as I could … Pretty happy with how it looks now
That looks so fantastic… ![]()
would almost want to add that each time there’s a gun mount on a model… ![]()
Thanks Bert, now I have done it, I am pleased with how it turned out.
That has been a very productive session. ![]()
Olivier
Thanks Olivier, appreciated ![]()
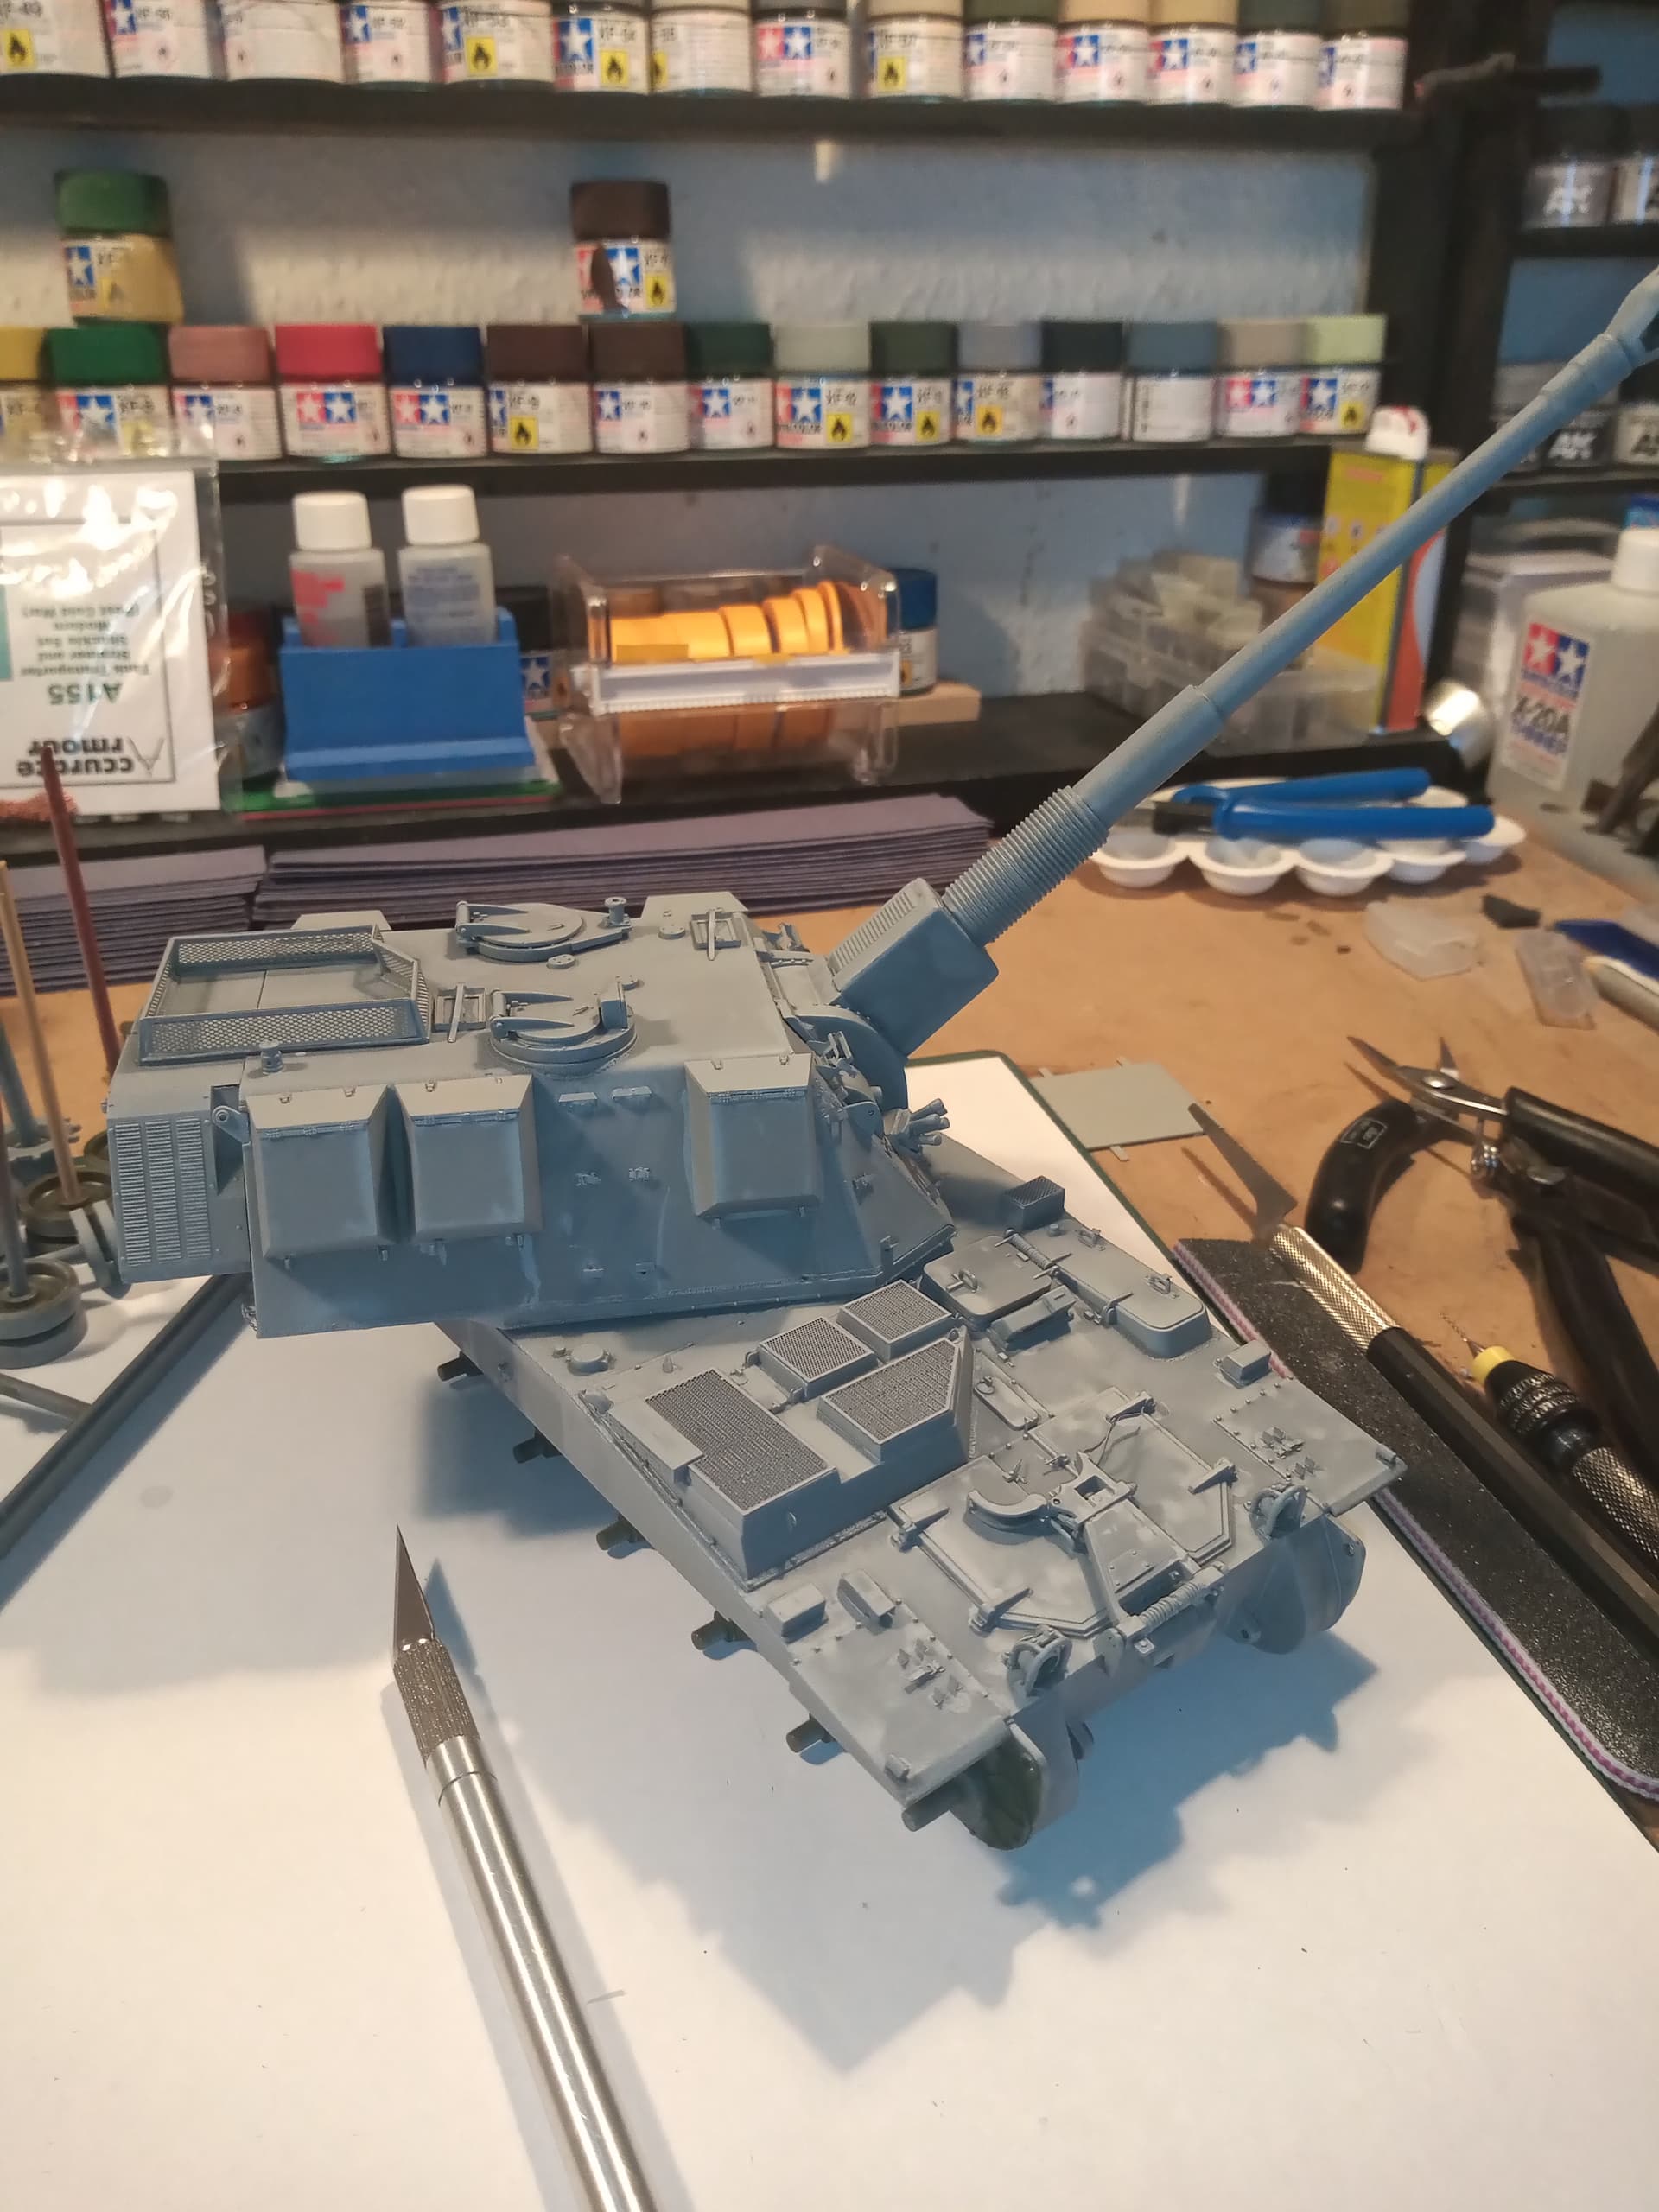
Primer time …
And I think this is the last major external part that had to be made and fitted. Added the cables to it, and the oblong PE part on the barrel block ( admission here, I put the block on upside down ![]() , so that detailed part is underneath and not visible… Schoolboy error
, so that detailed part is underneath and not visible… Schoolboy error ![]() )
)
Remaining parts to go on are (prepped and primed) are wheels, front and rear mudguards and the side skirts.
Next on the to do list is paint tracks and wheels and fit …
Wow John, been gone 5 days and you got this kit finished! This all looks spectacular. Excellent work on the gun crutch. Seems you are enjoying retirement.