Cheers mate … hope you had a good five days … its getting ready for paint now … fingers crossed for green going on tomorrow morning.
3 Likes
Super job mate👌
2 Likes
This is coming along well mate great effort
2 Likes
Thanks Terry, its never going to near your great build for detailing though, thats an epic mate … but its close to where I want it to be for the Scammell load …
and thanks Ivan @Jacko464 — appreciated 
2 Likes
Most kind mate ….
1 Like
Somehow missed this thread. Lots of good work and worthy of a load on your truck. Keep up the good work.
4 Likes
Cheers Ryan…
Was able to get a green coat on… Looks nice… Used the Tamiya rattle can TS61…nice even coverage
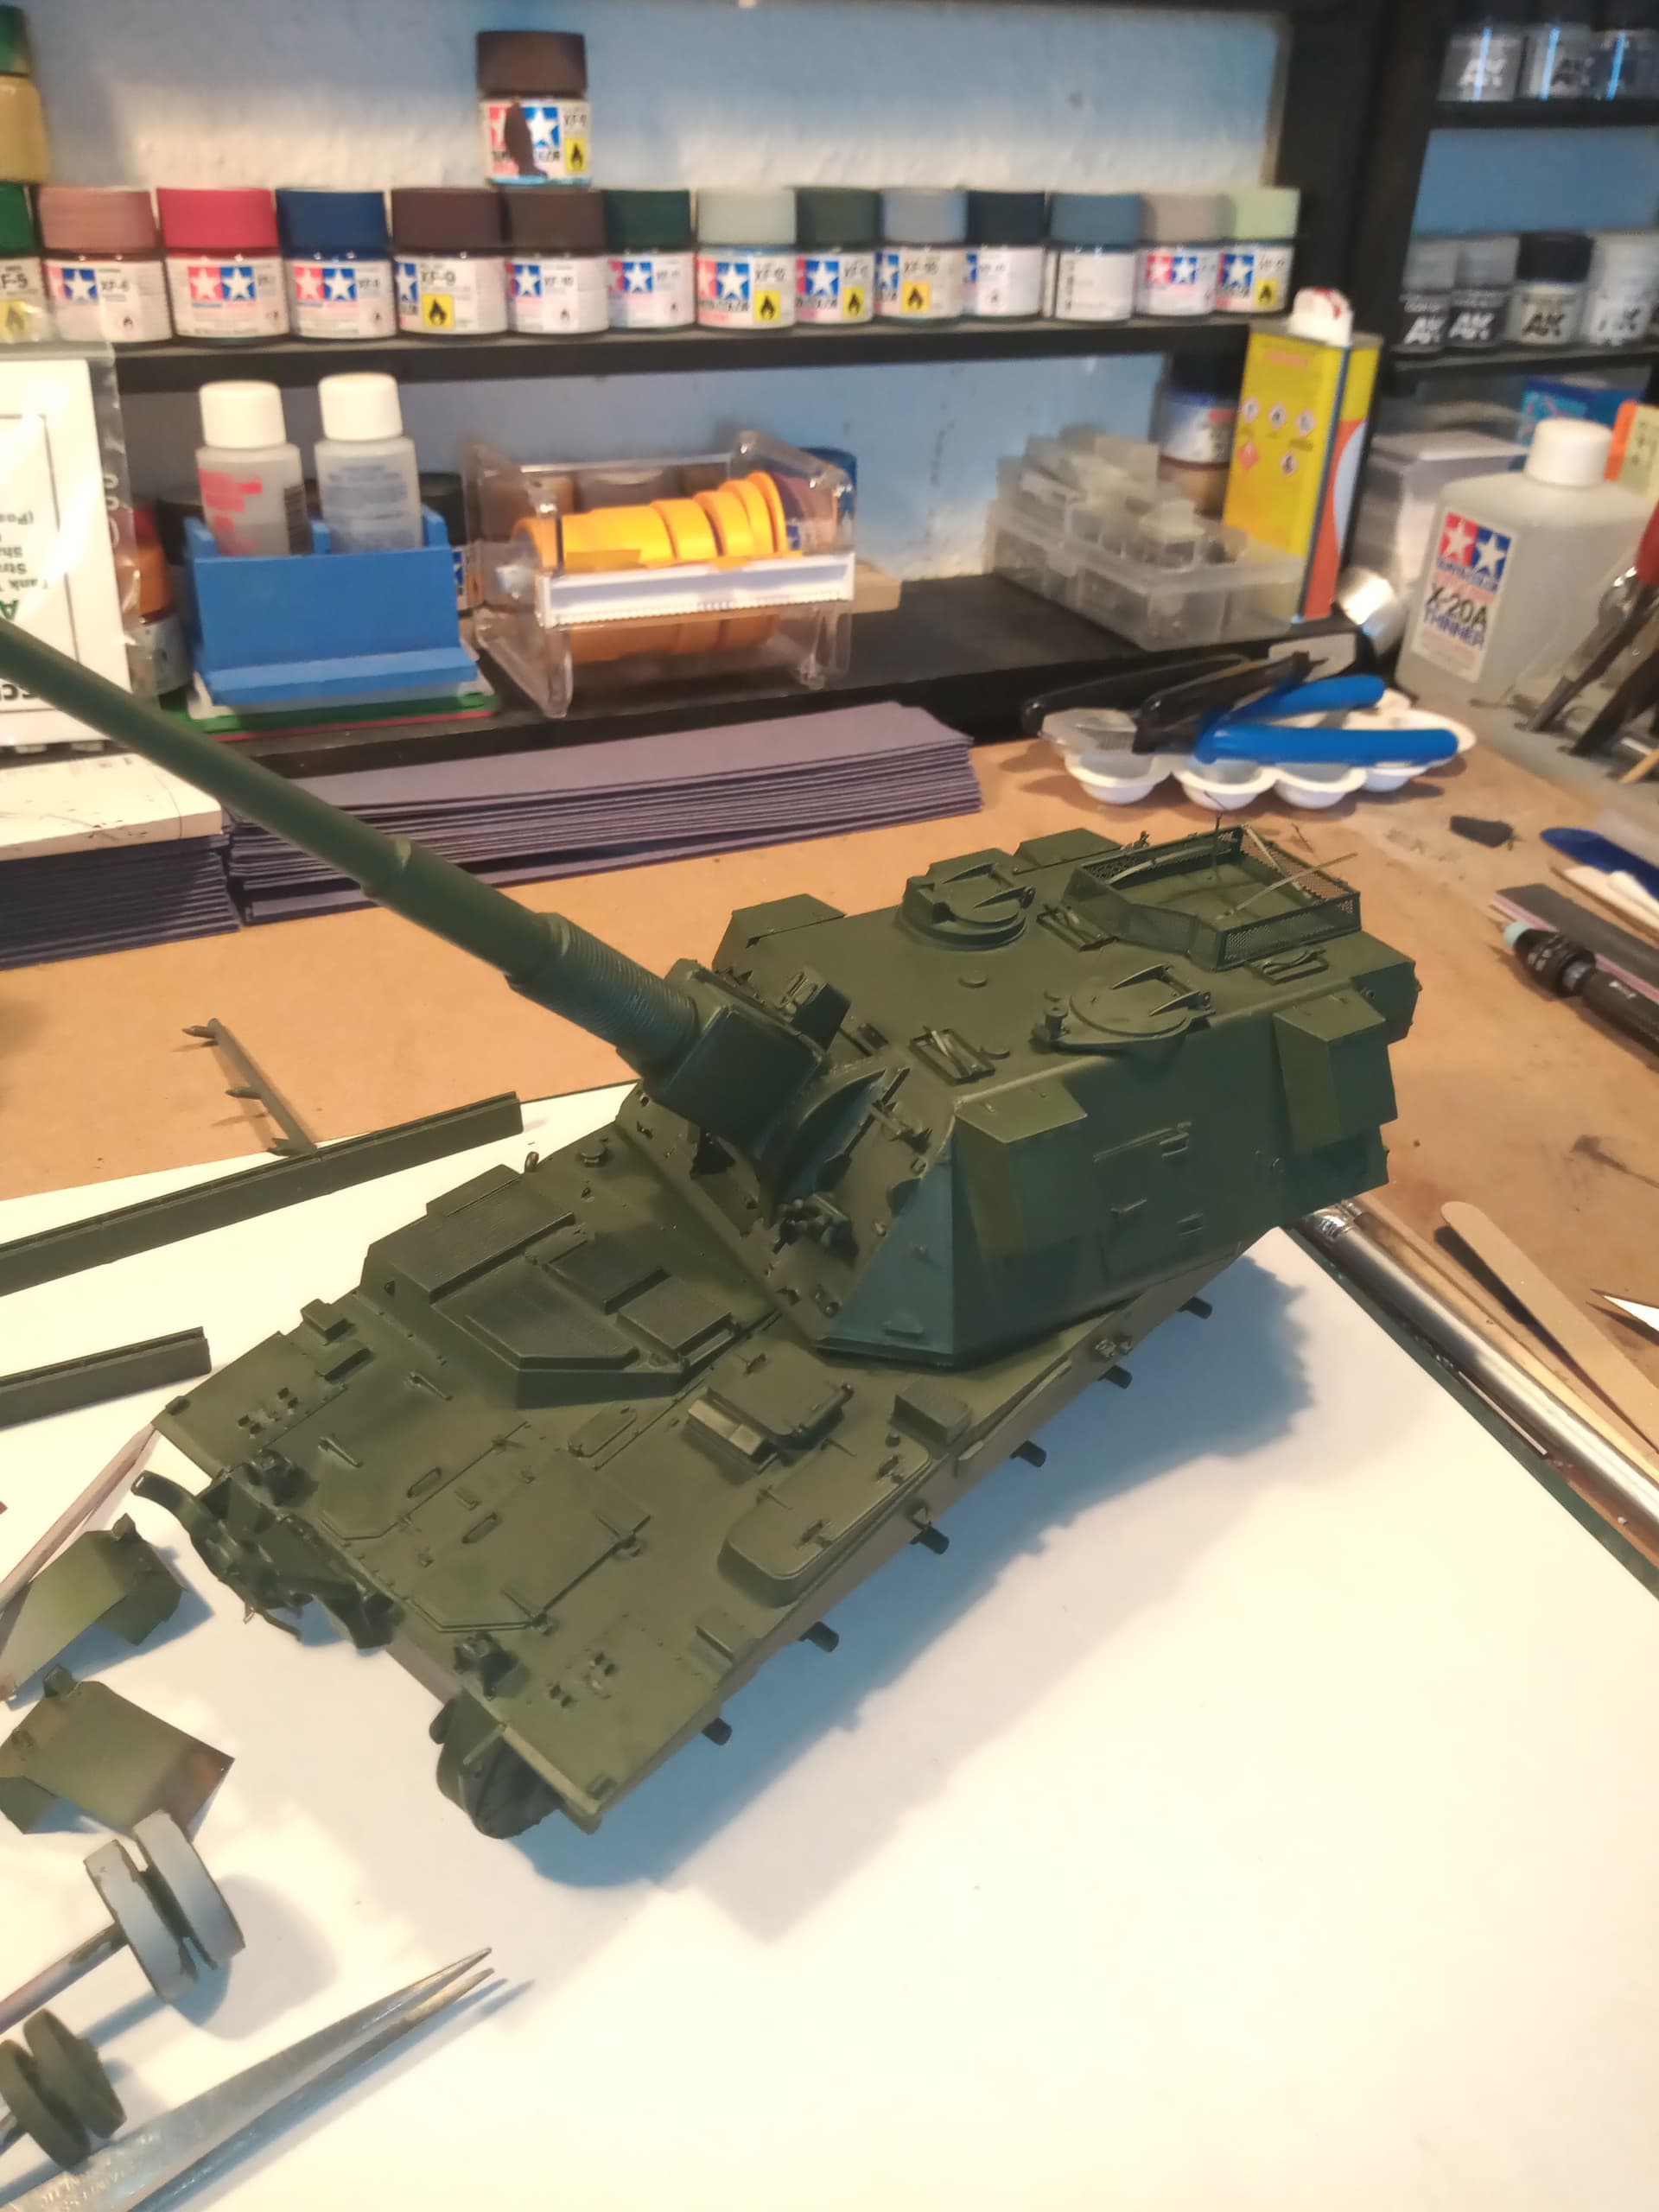
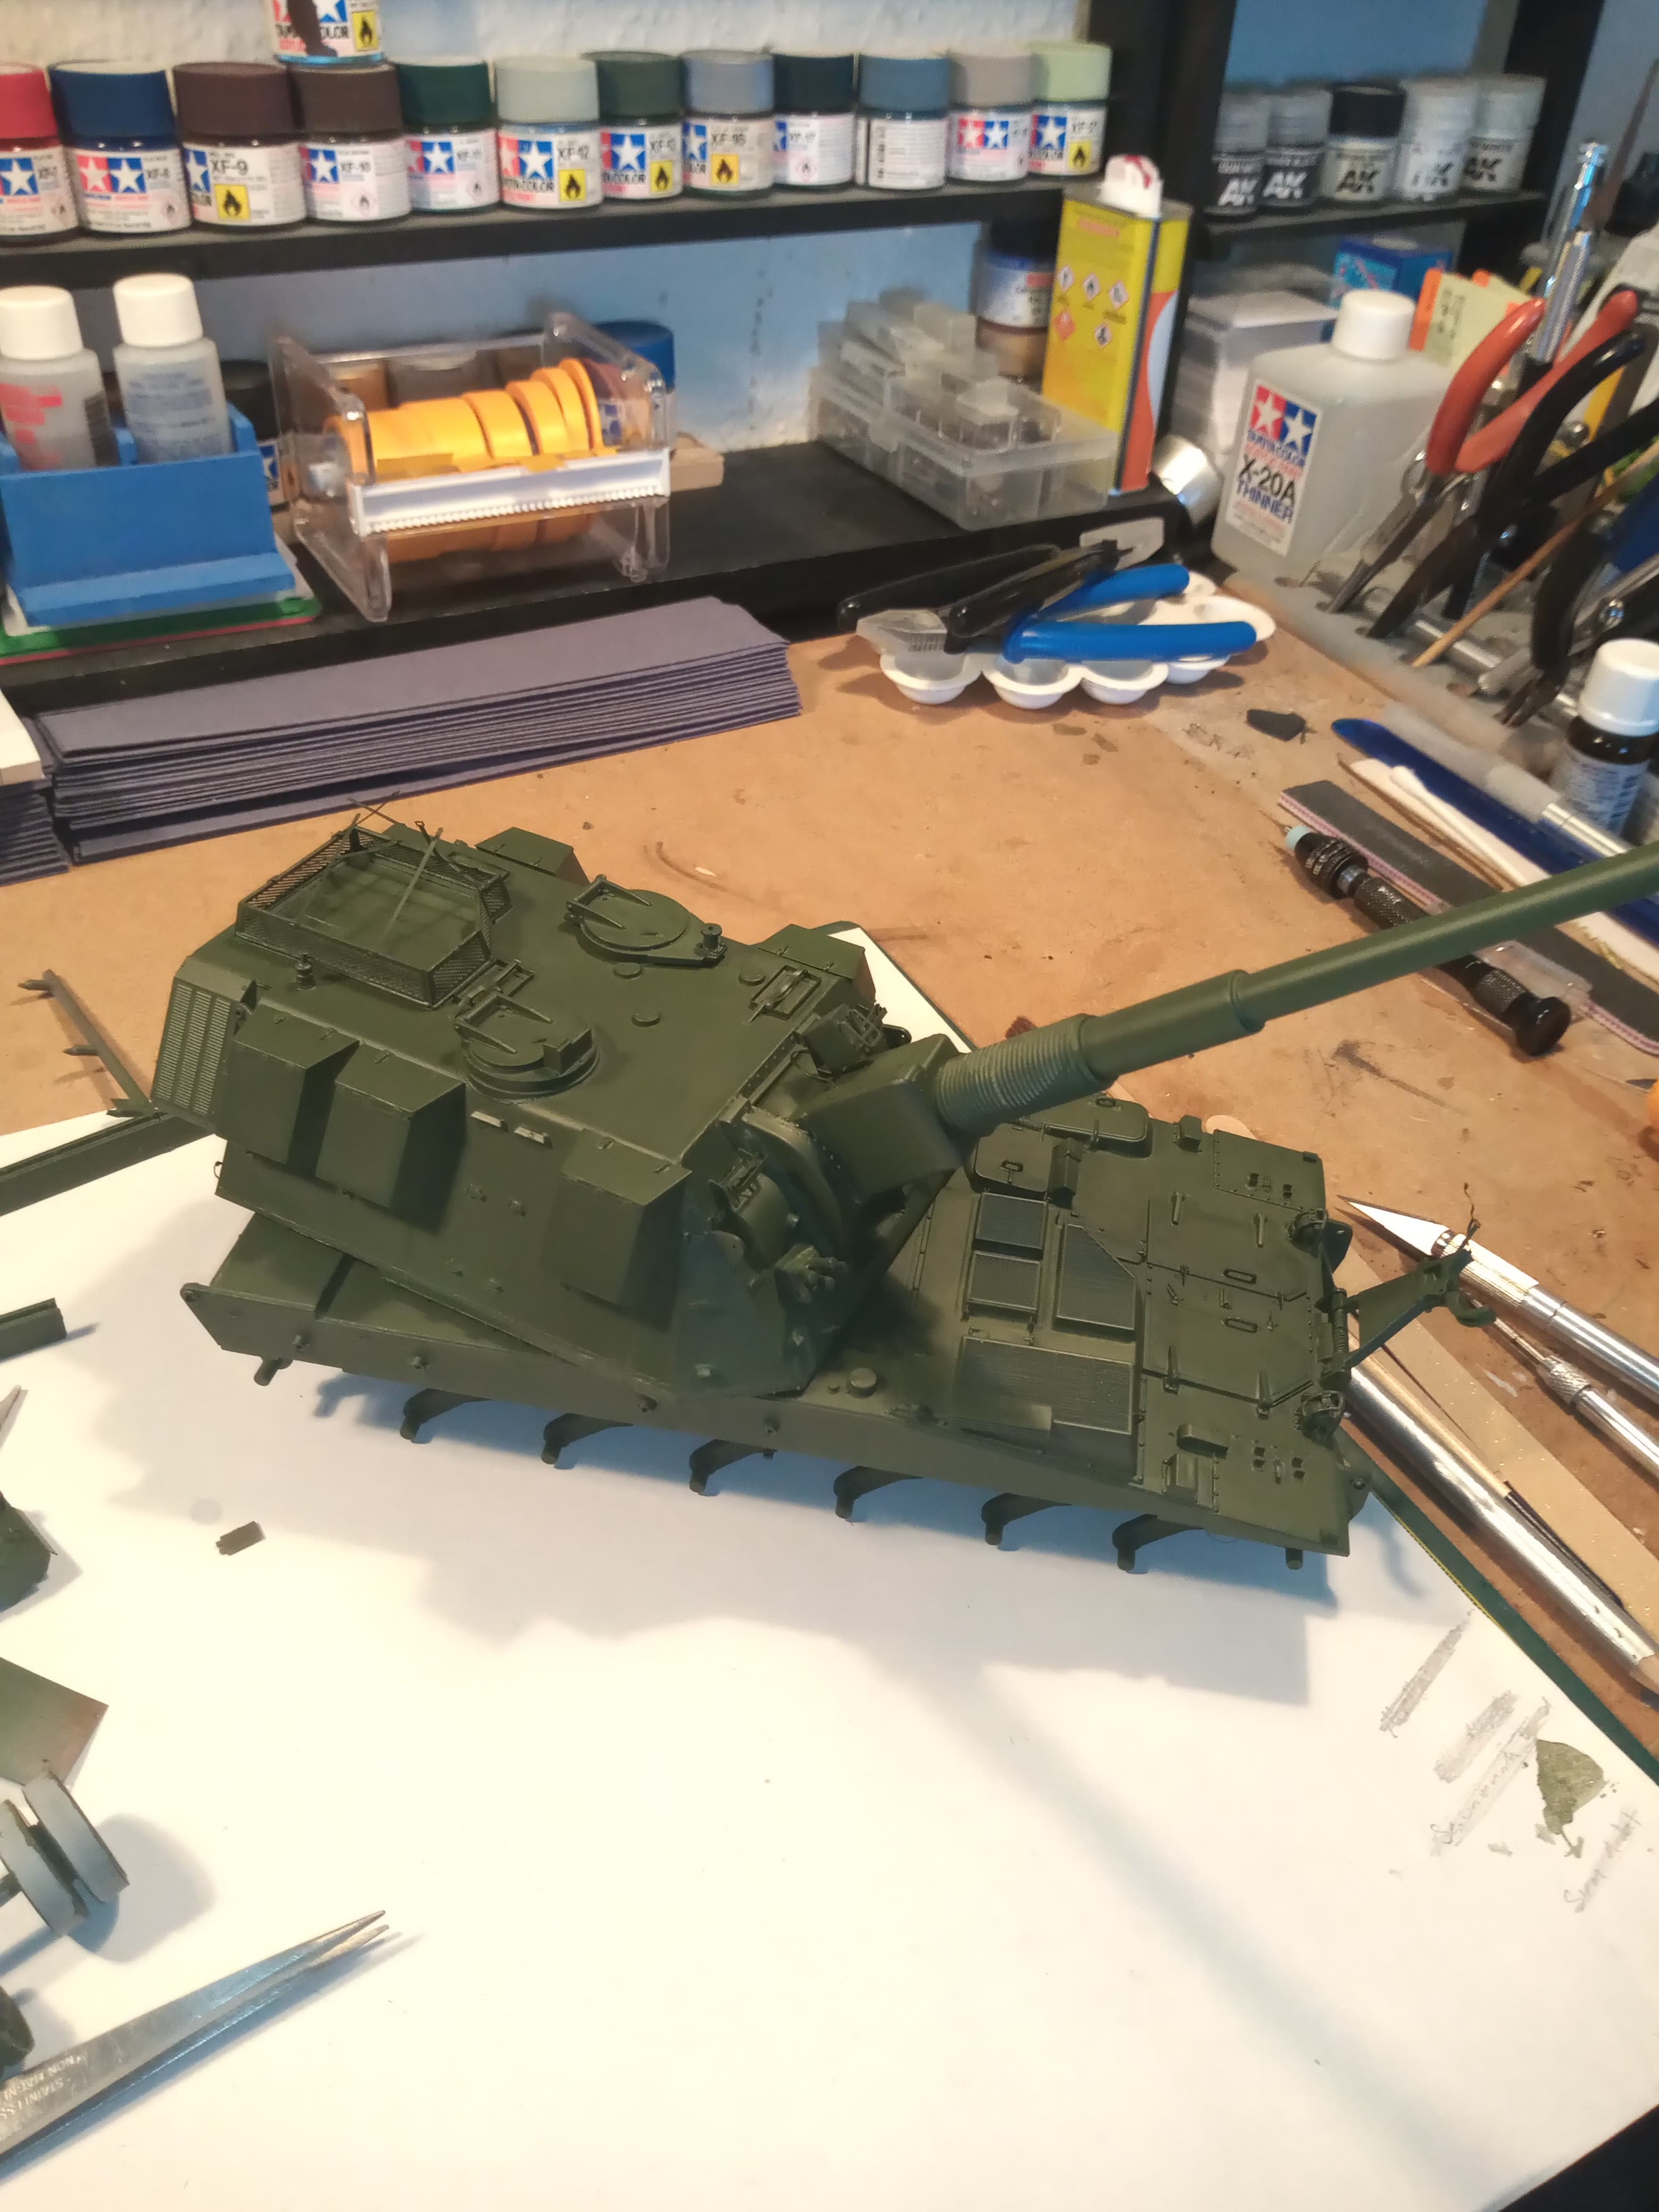
Will start on the wheel rubber and tracks next.
12 Likes
Just did the wheel rubber with the AK marker in record time … what absolute godsend they are for detailing like this. Also did the idler running service and the same on the final drive sprockets.
2 Likes
I assume they make a nice worn steel color that’s not too bright? I might have to look into it.
2 Likes
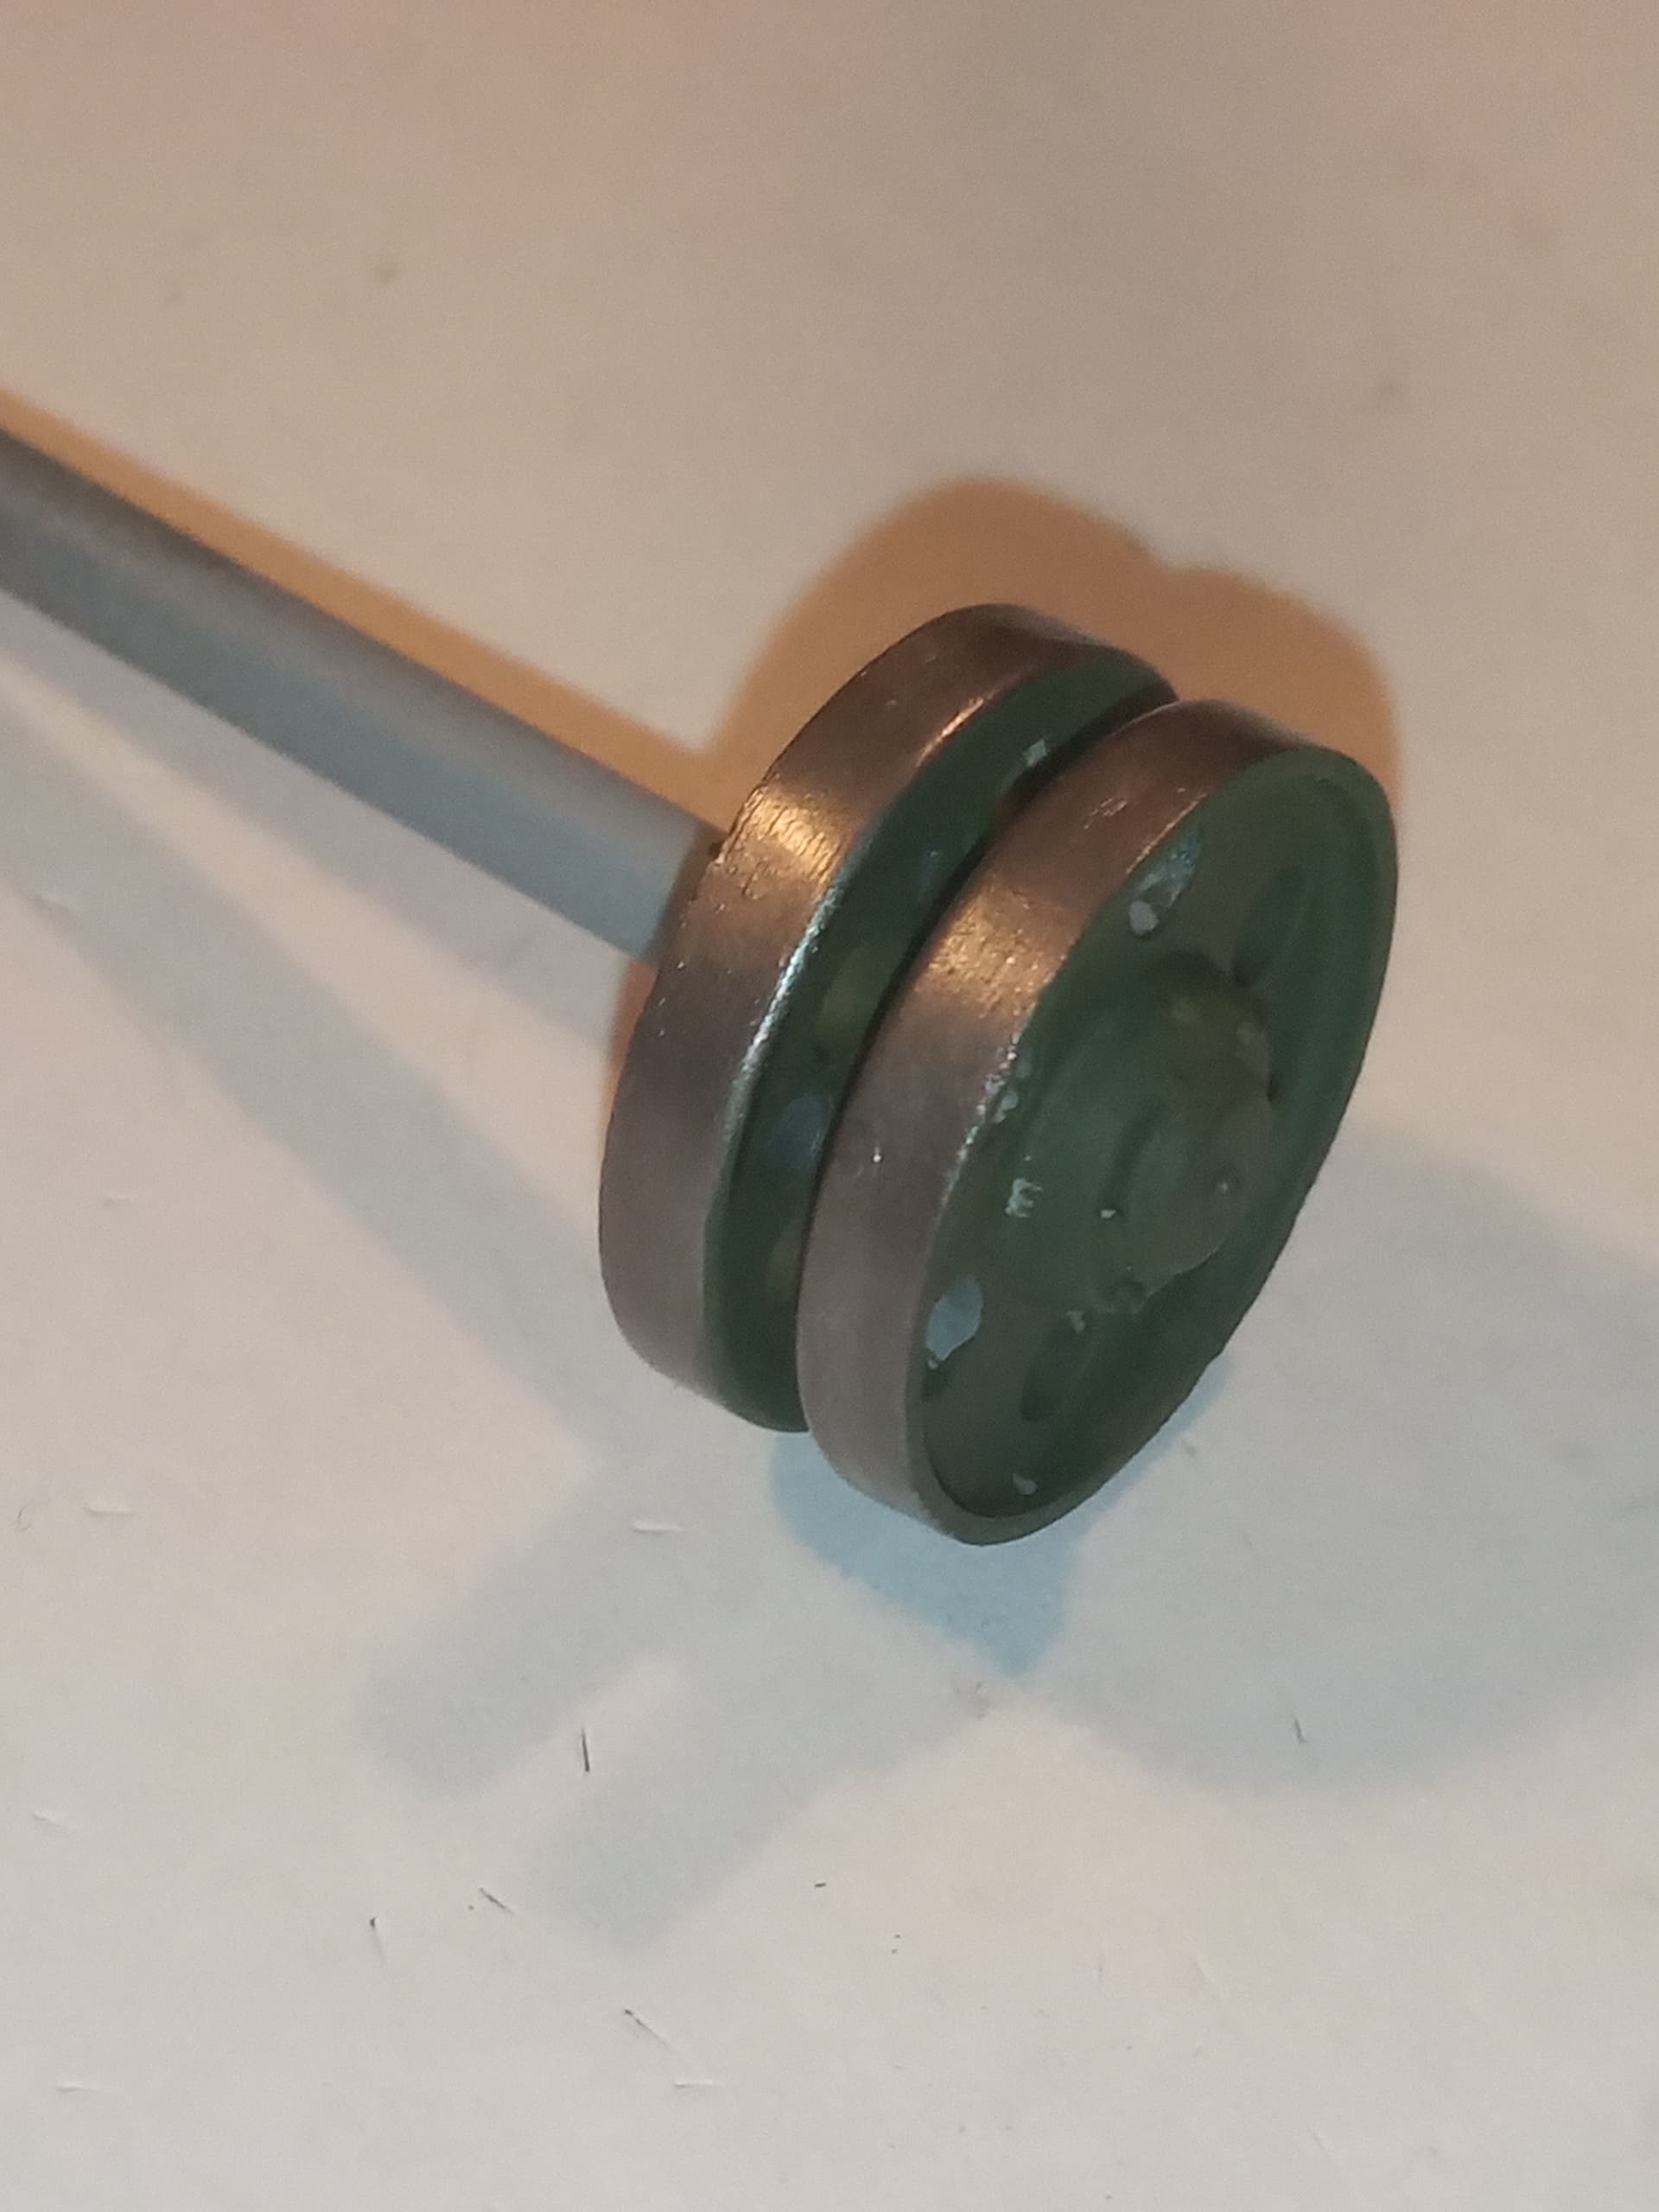
That’s a nice Nato green colour and I’m liking the AK pens more and more after seeing the results people are getting after use.
1 Like
I am really impressed with the Tamiya rattle can … it has great coverage, dries quick and it is very good for handling once dry. The marker pens were a revelation … all 24 roadwheels and the 6 return rollers took seriously about 10 minutes to do with the rubber black marker, precise, great tip for the wheel rims … going to be a go to accessory from now on
5 Likes
Is it more of a grey black? I use Vallejo Panzer Aces dark rubber for my roadwheels.
1 Like
I would say its a dark grey black
3 Likes
I’ve gotta get at least the black one to try. I HATE painting rubber tires.
4 Likes
very much worth it
2 Likes
Was able to do a few more bits and pieces ..
Tracks are done and on, kit ones fitted fine and didn’t need any work. They were painted Matt black, then the guide horns done in the AK marker dark aluminium and the metal outlines on each track link were done using Vallejo oily steel and a very fine detailing brush as the marker tip was to thick. I then gave the visible areas of track a very thin wash of Tamiya buff to pick out some parts. Will do better pics over the next few days of those.
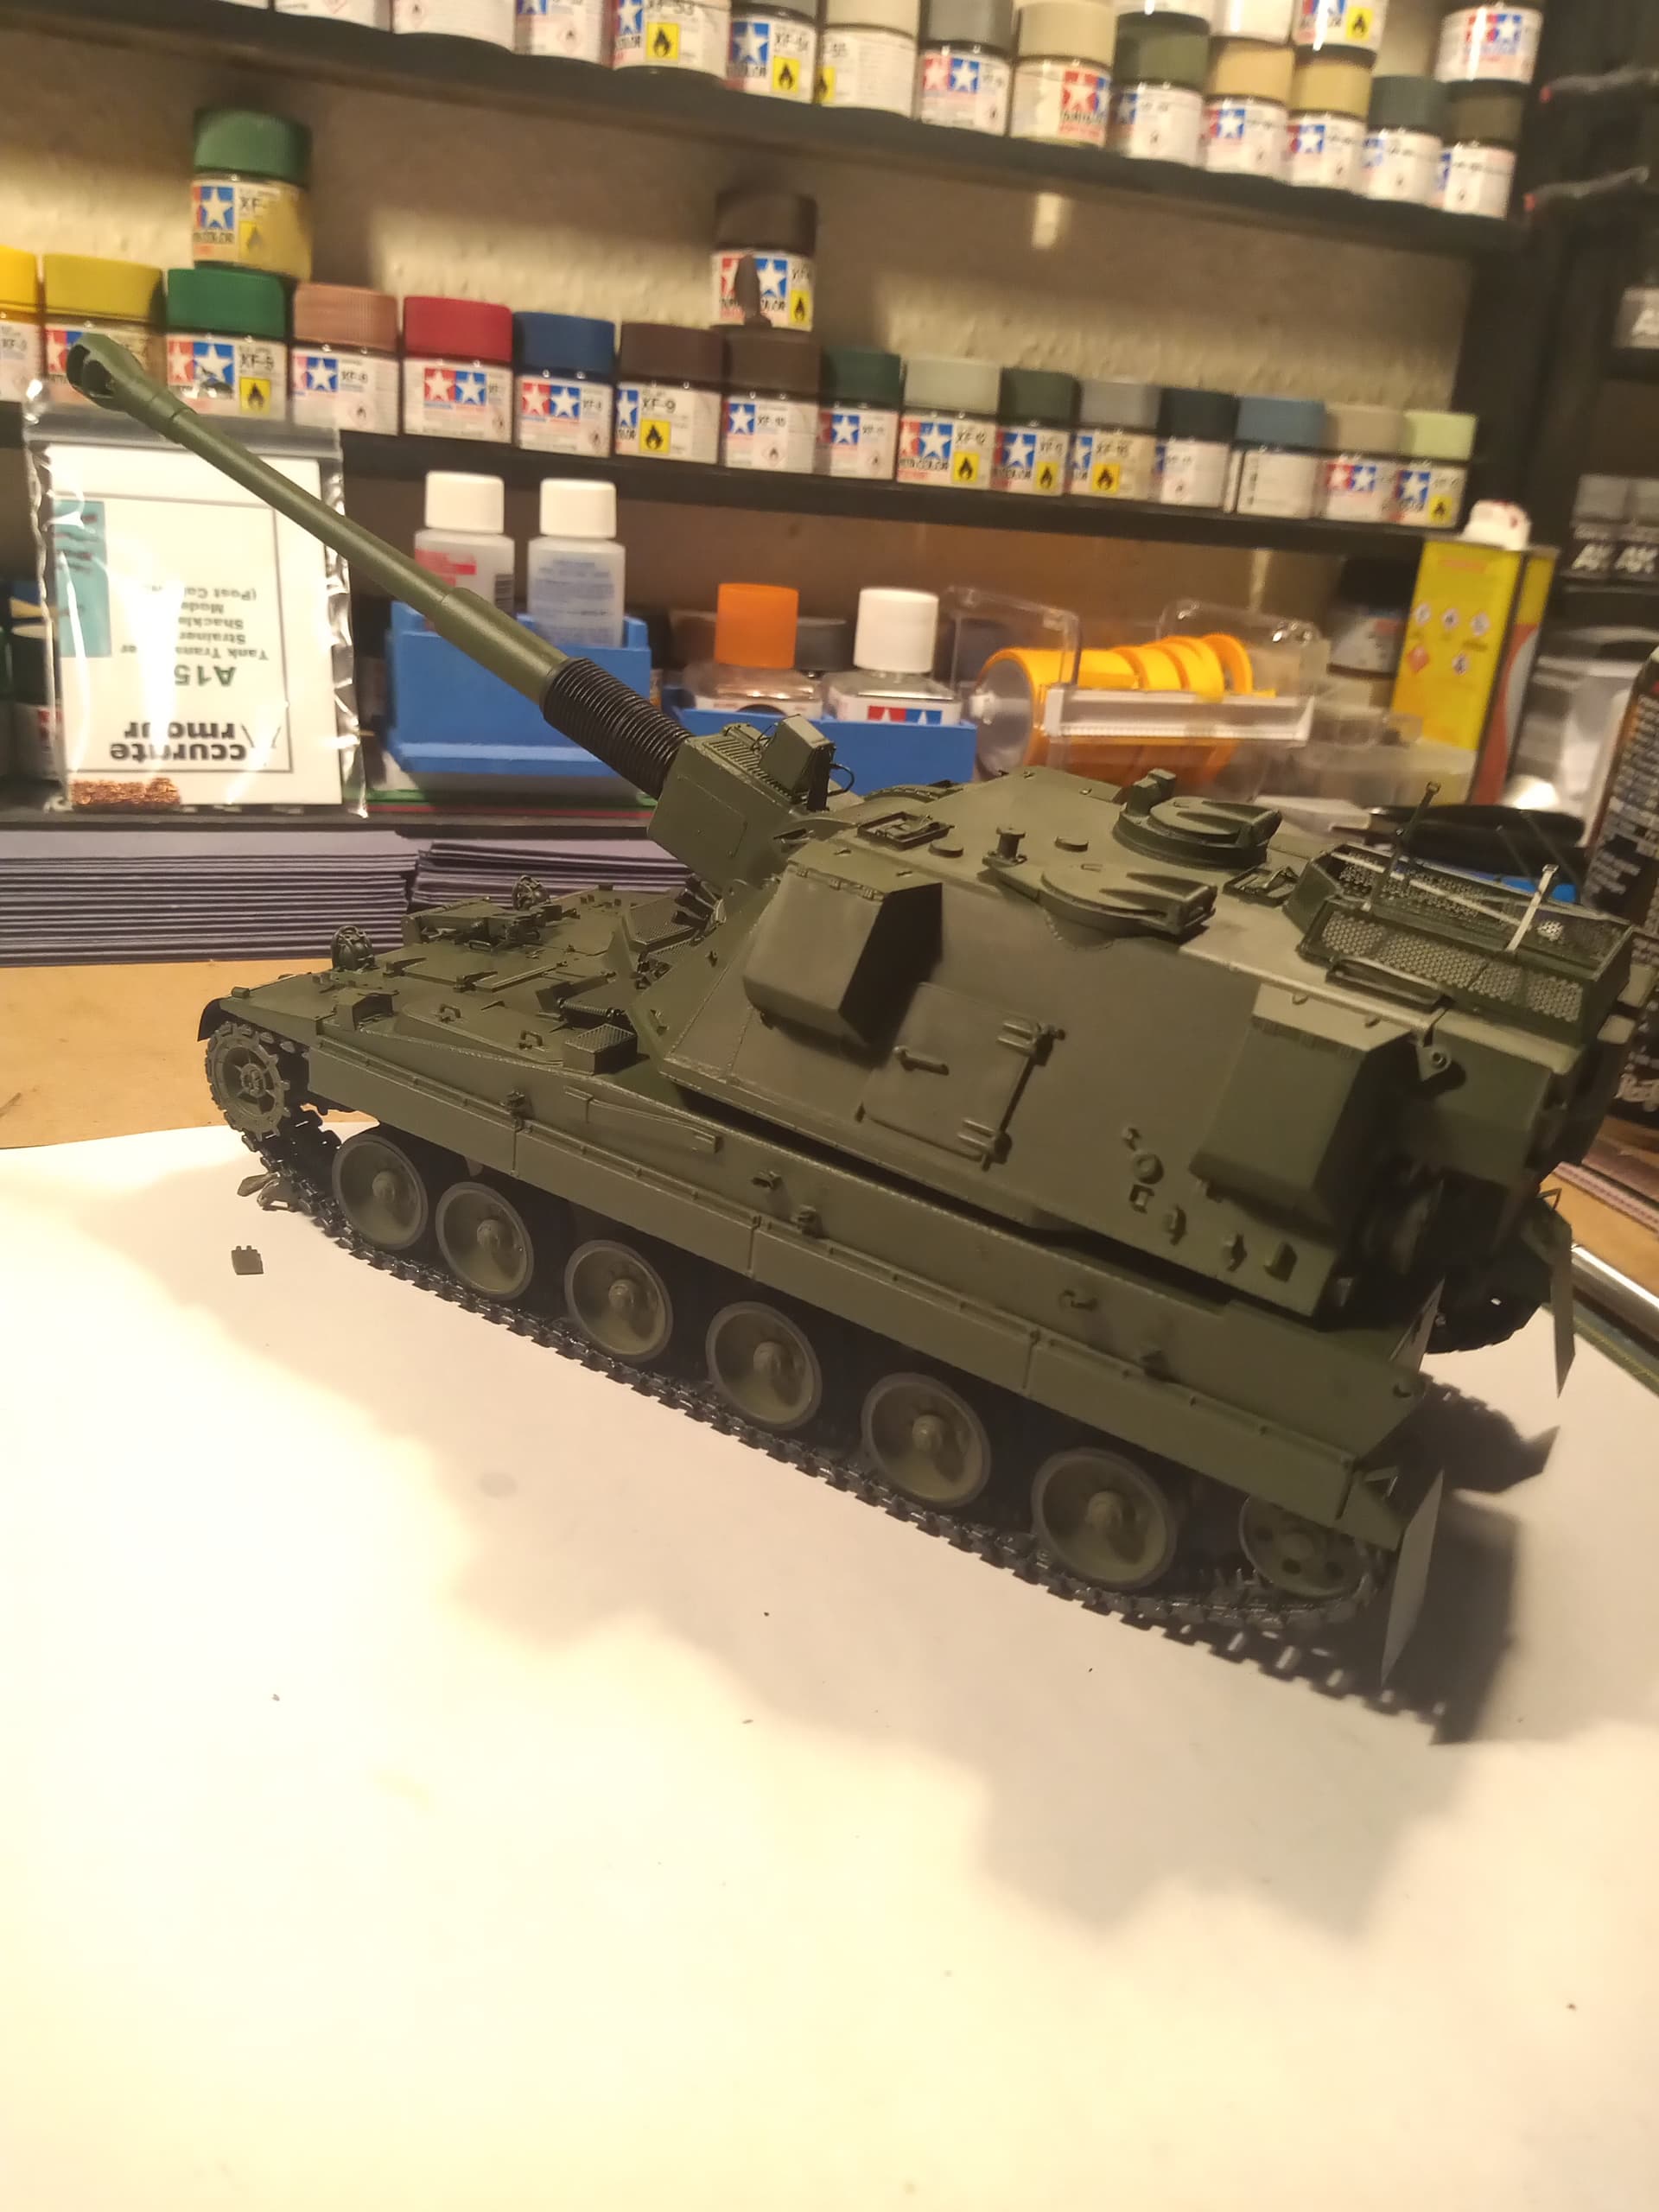
Have also added the front and rear mudguards… The rubber flaps still need to be painted.
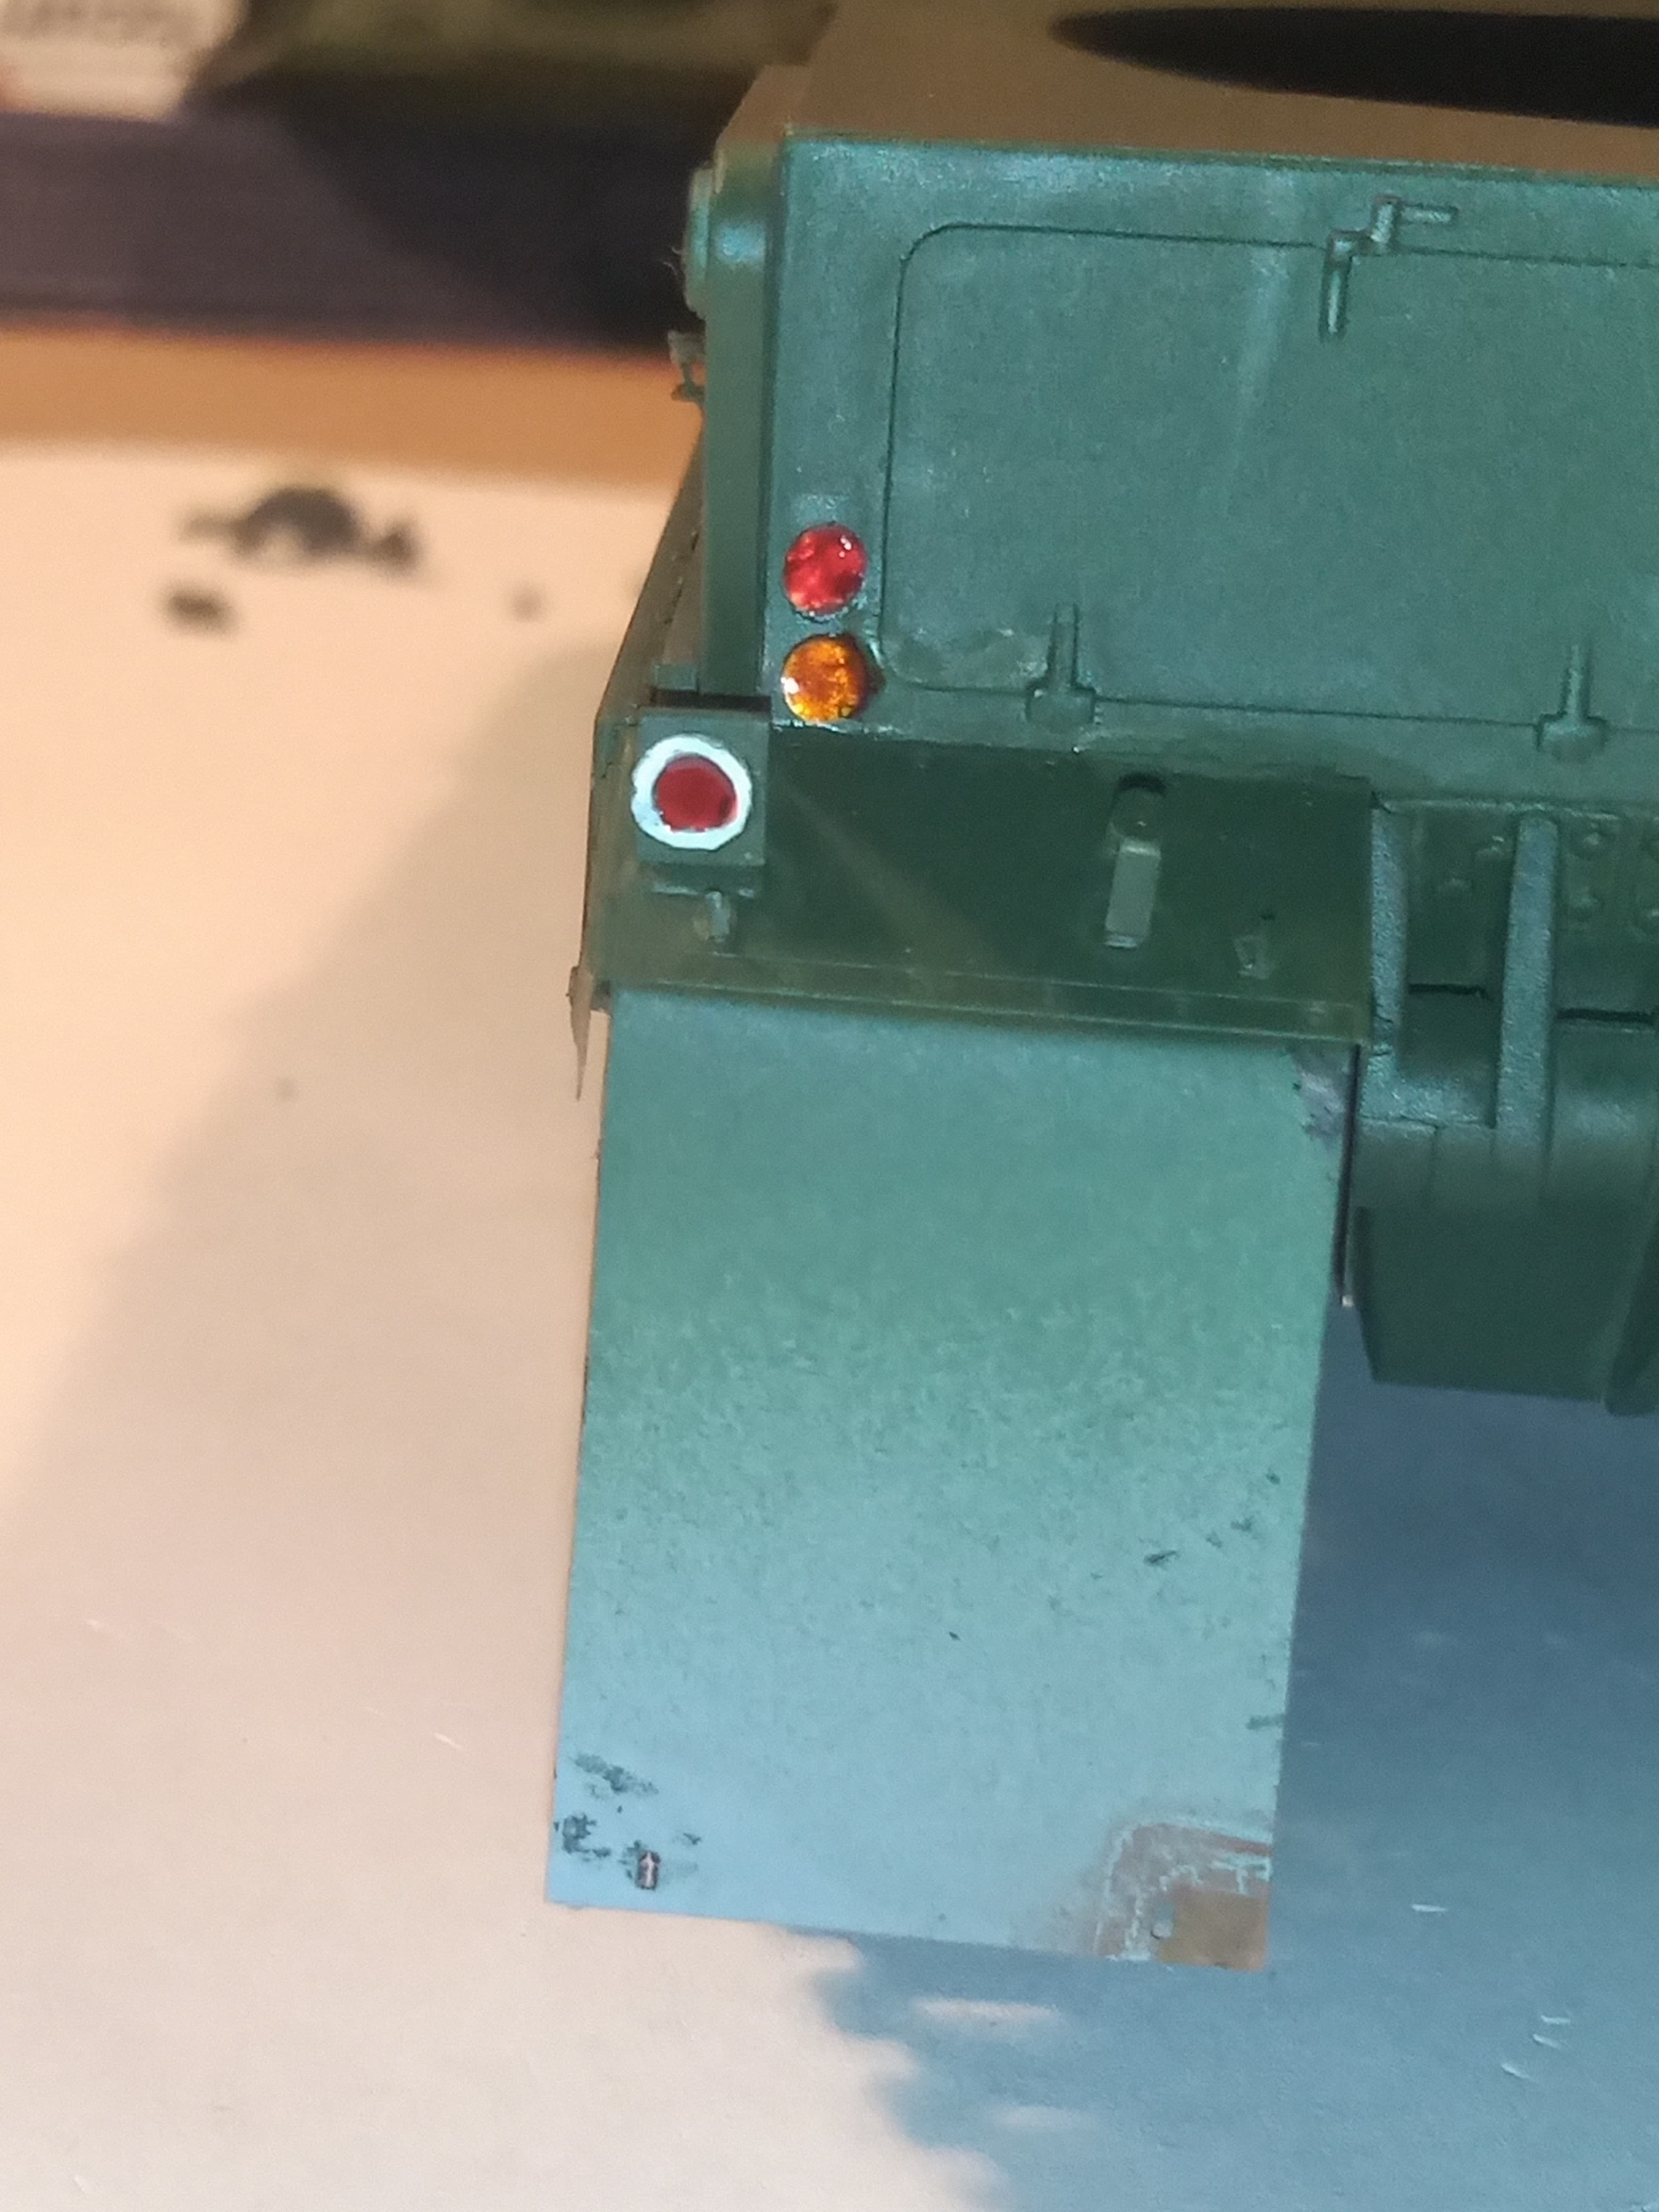
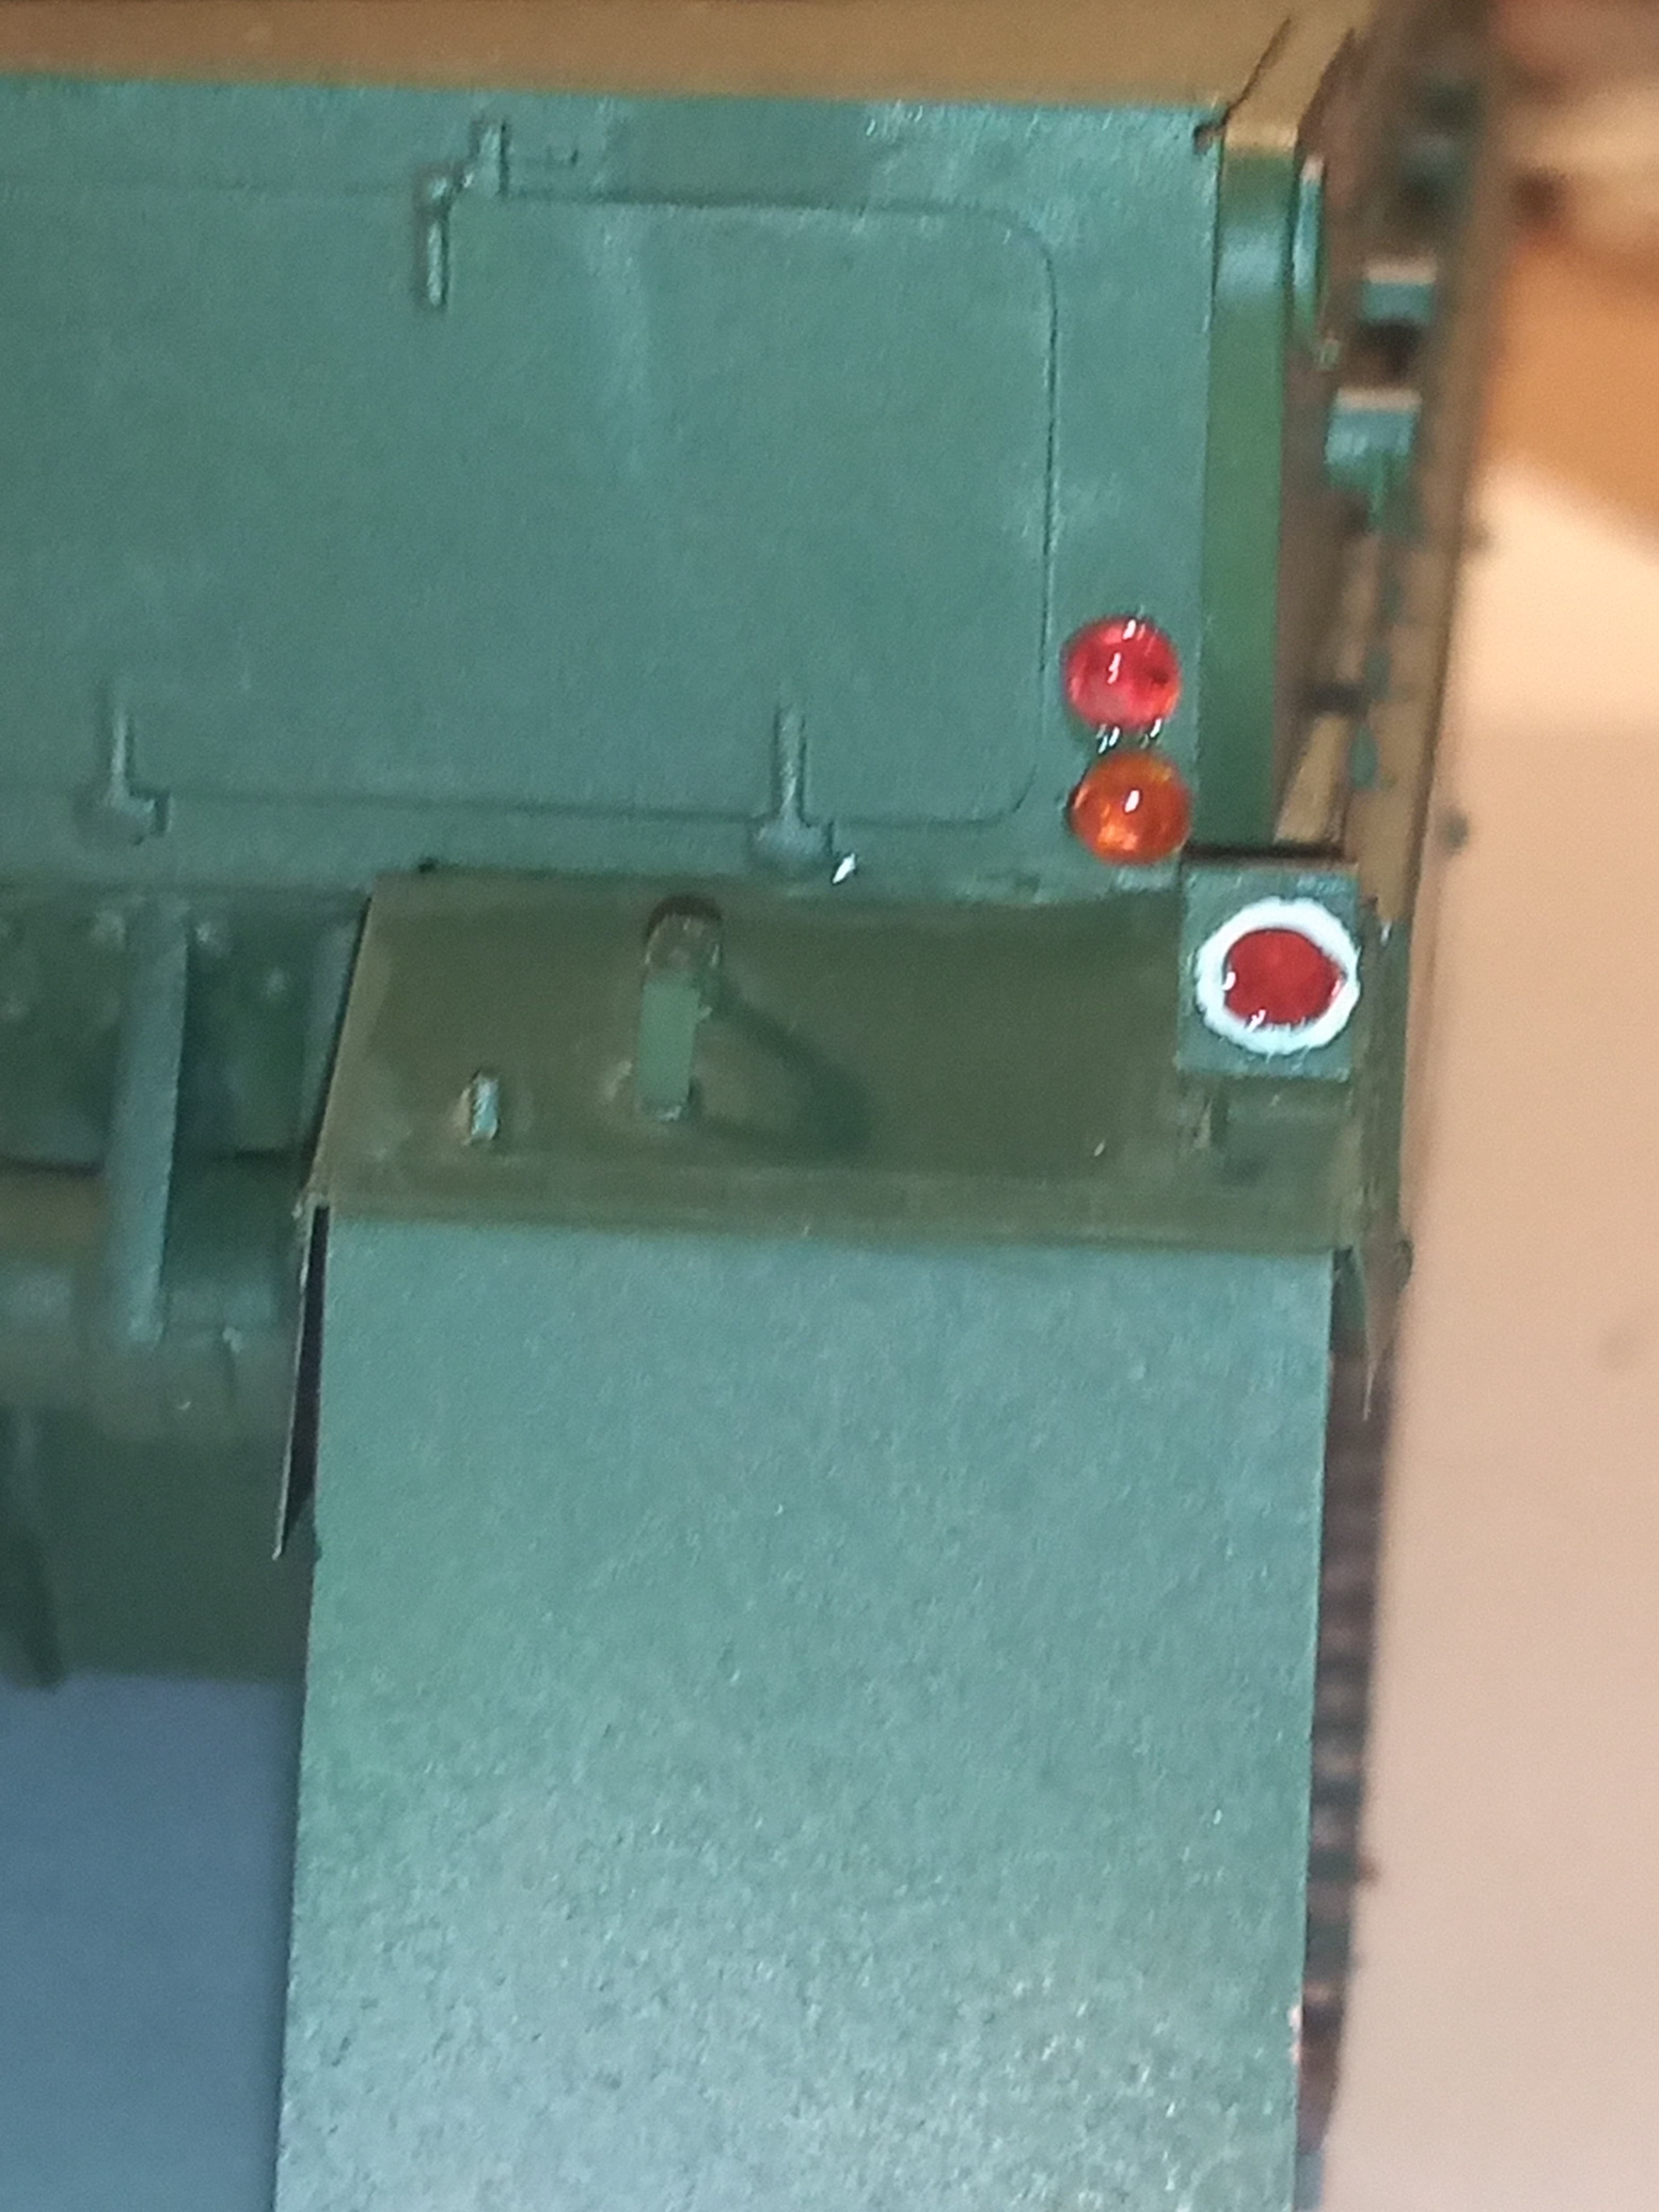
Fitted the side and indicators and tail lights.
I had sliced off the kit ones, so used spare indicator lights on the front and spare clear lenses for the side lights. Not the correct ones, but under the guards they look fine, and the guards still need the last front piece of PE to be fitted.
Used Molotov chrome pen for the insides of the headlights… Lenses still need to be fitted.
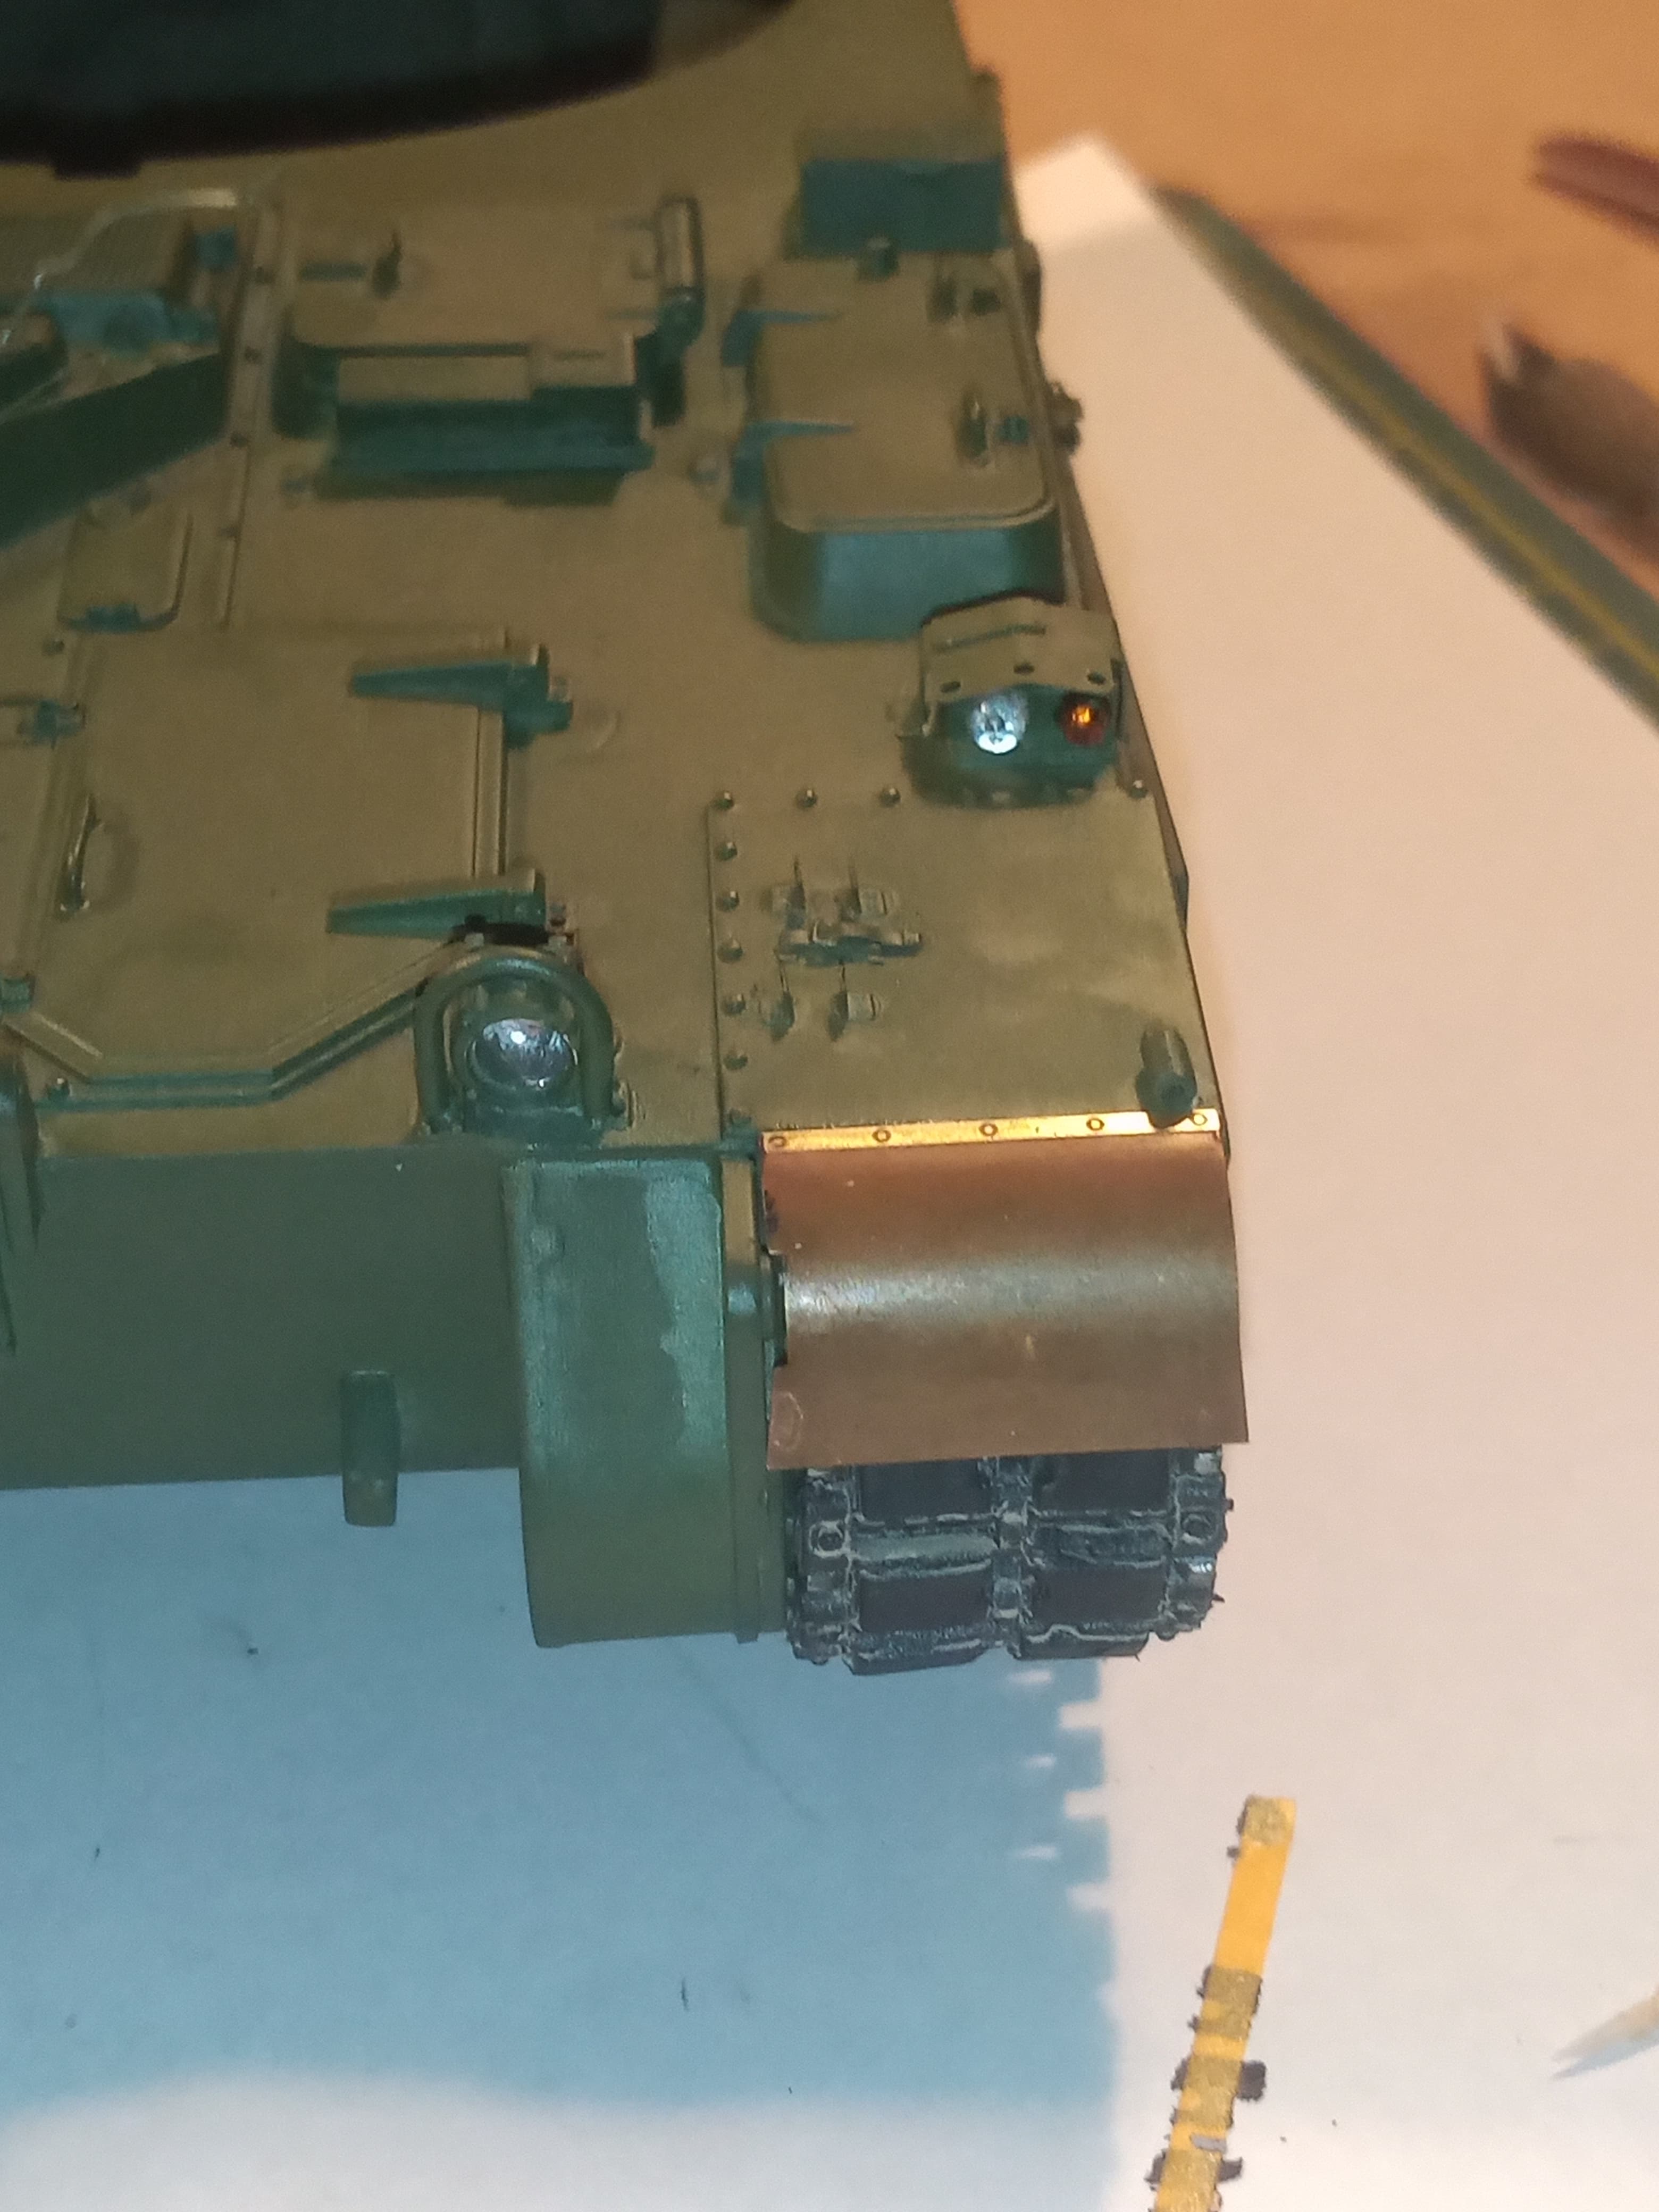
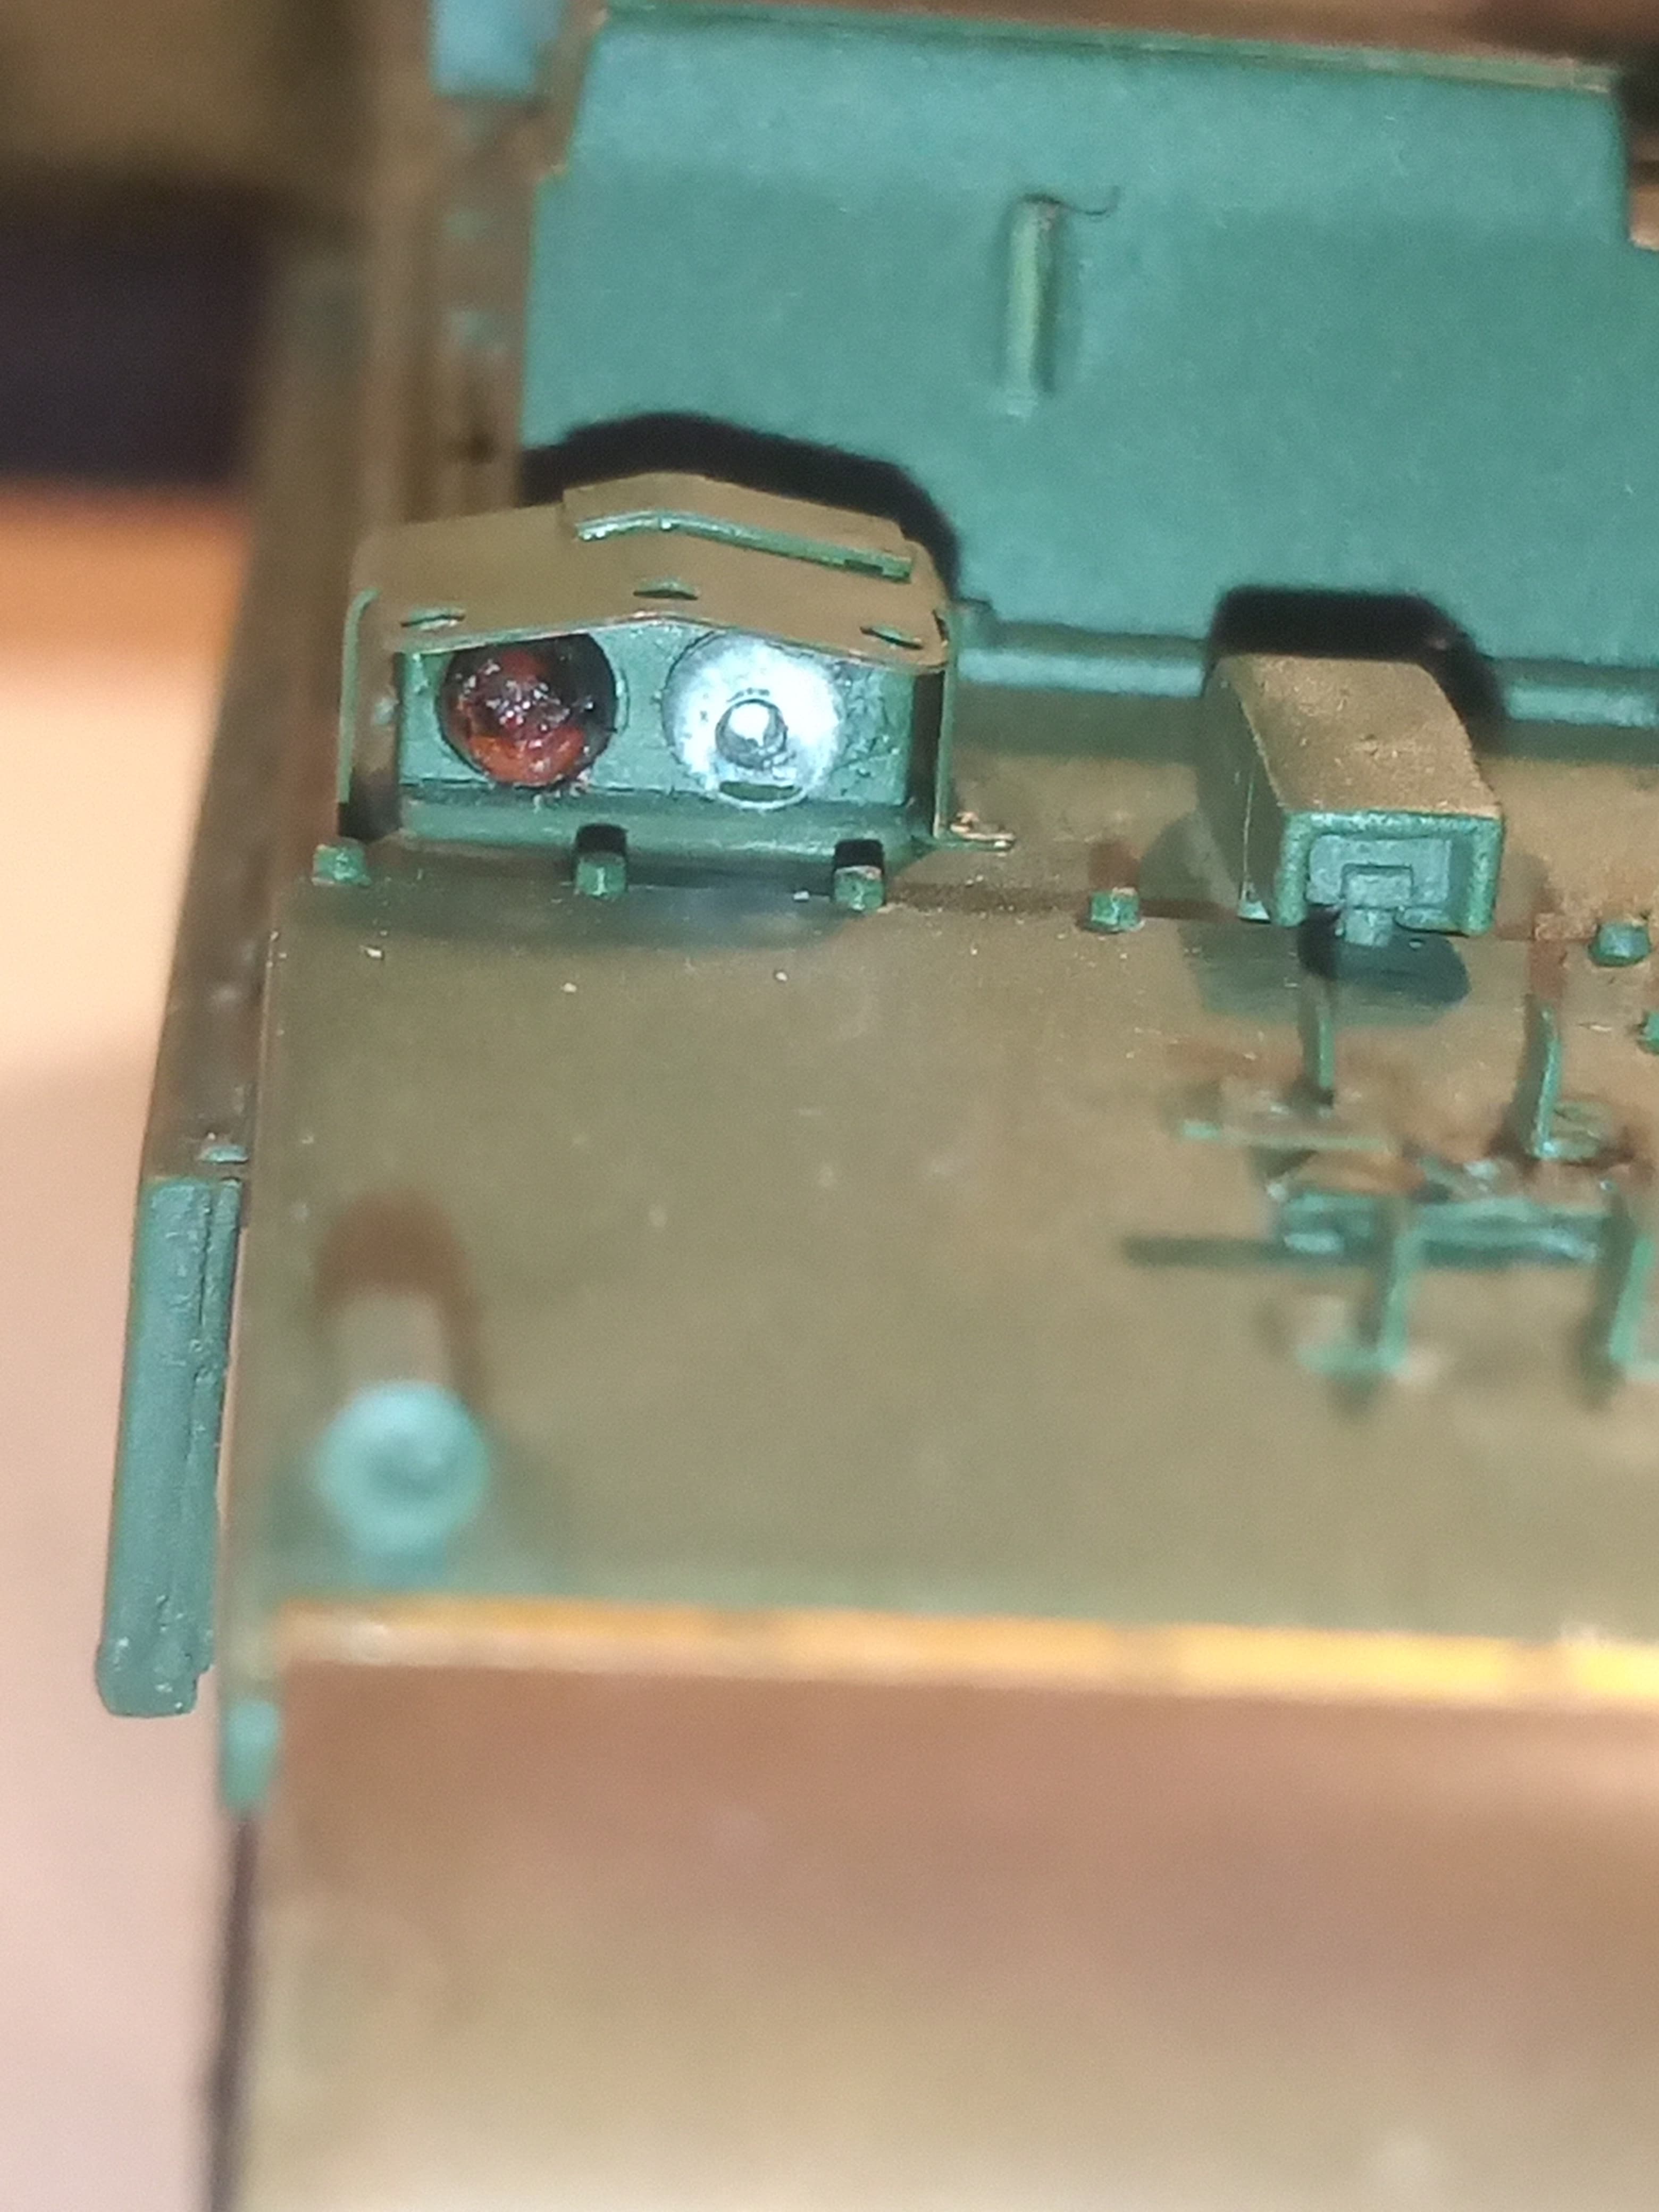
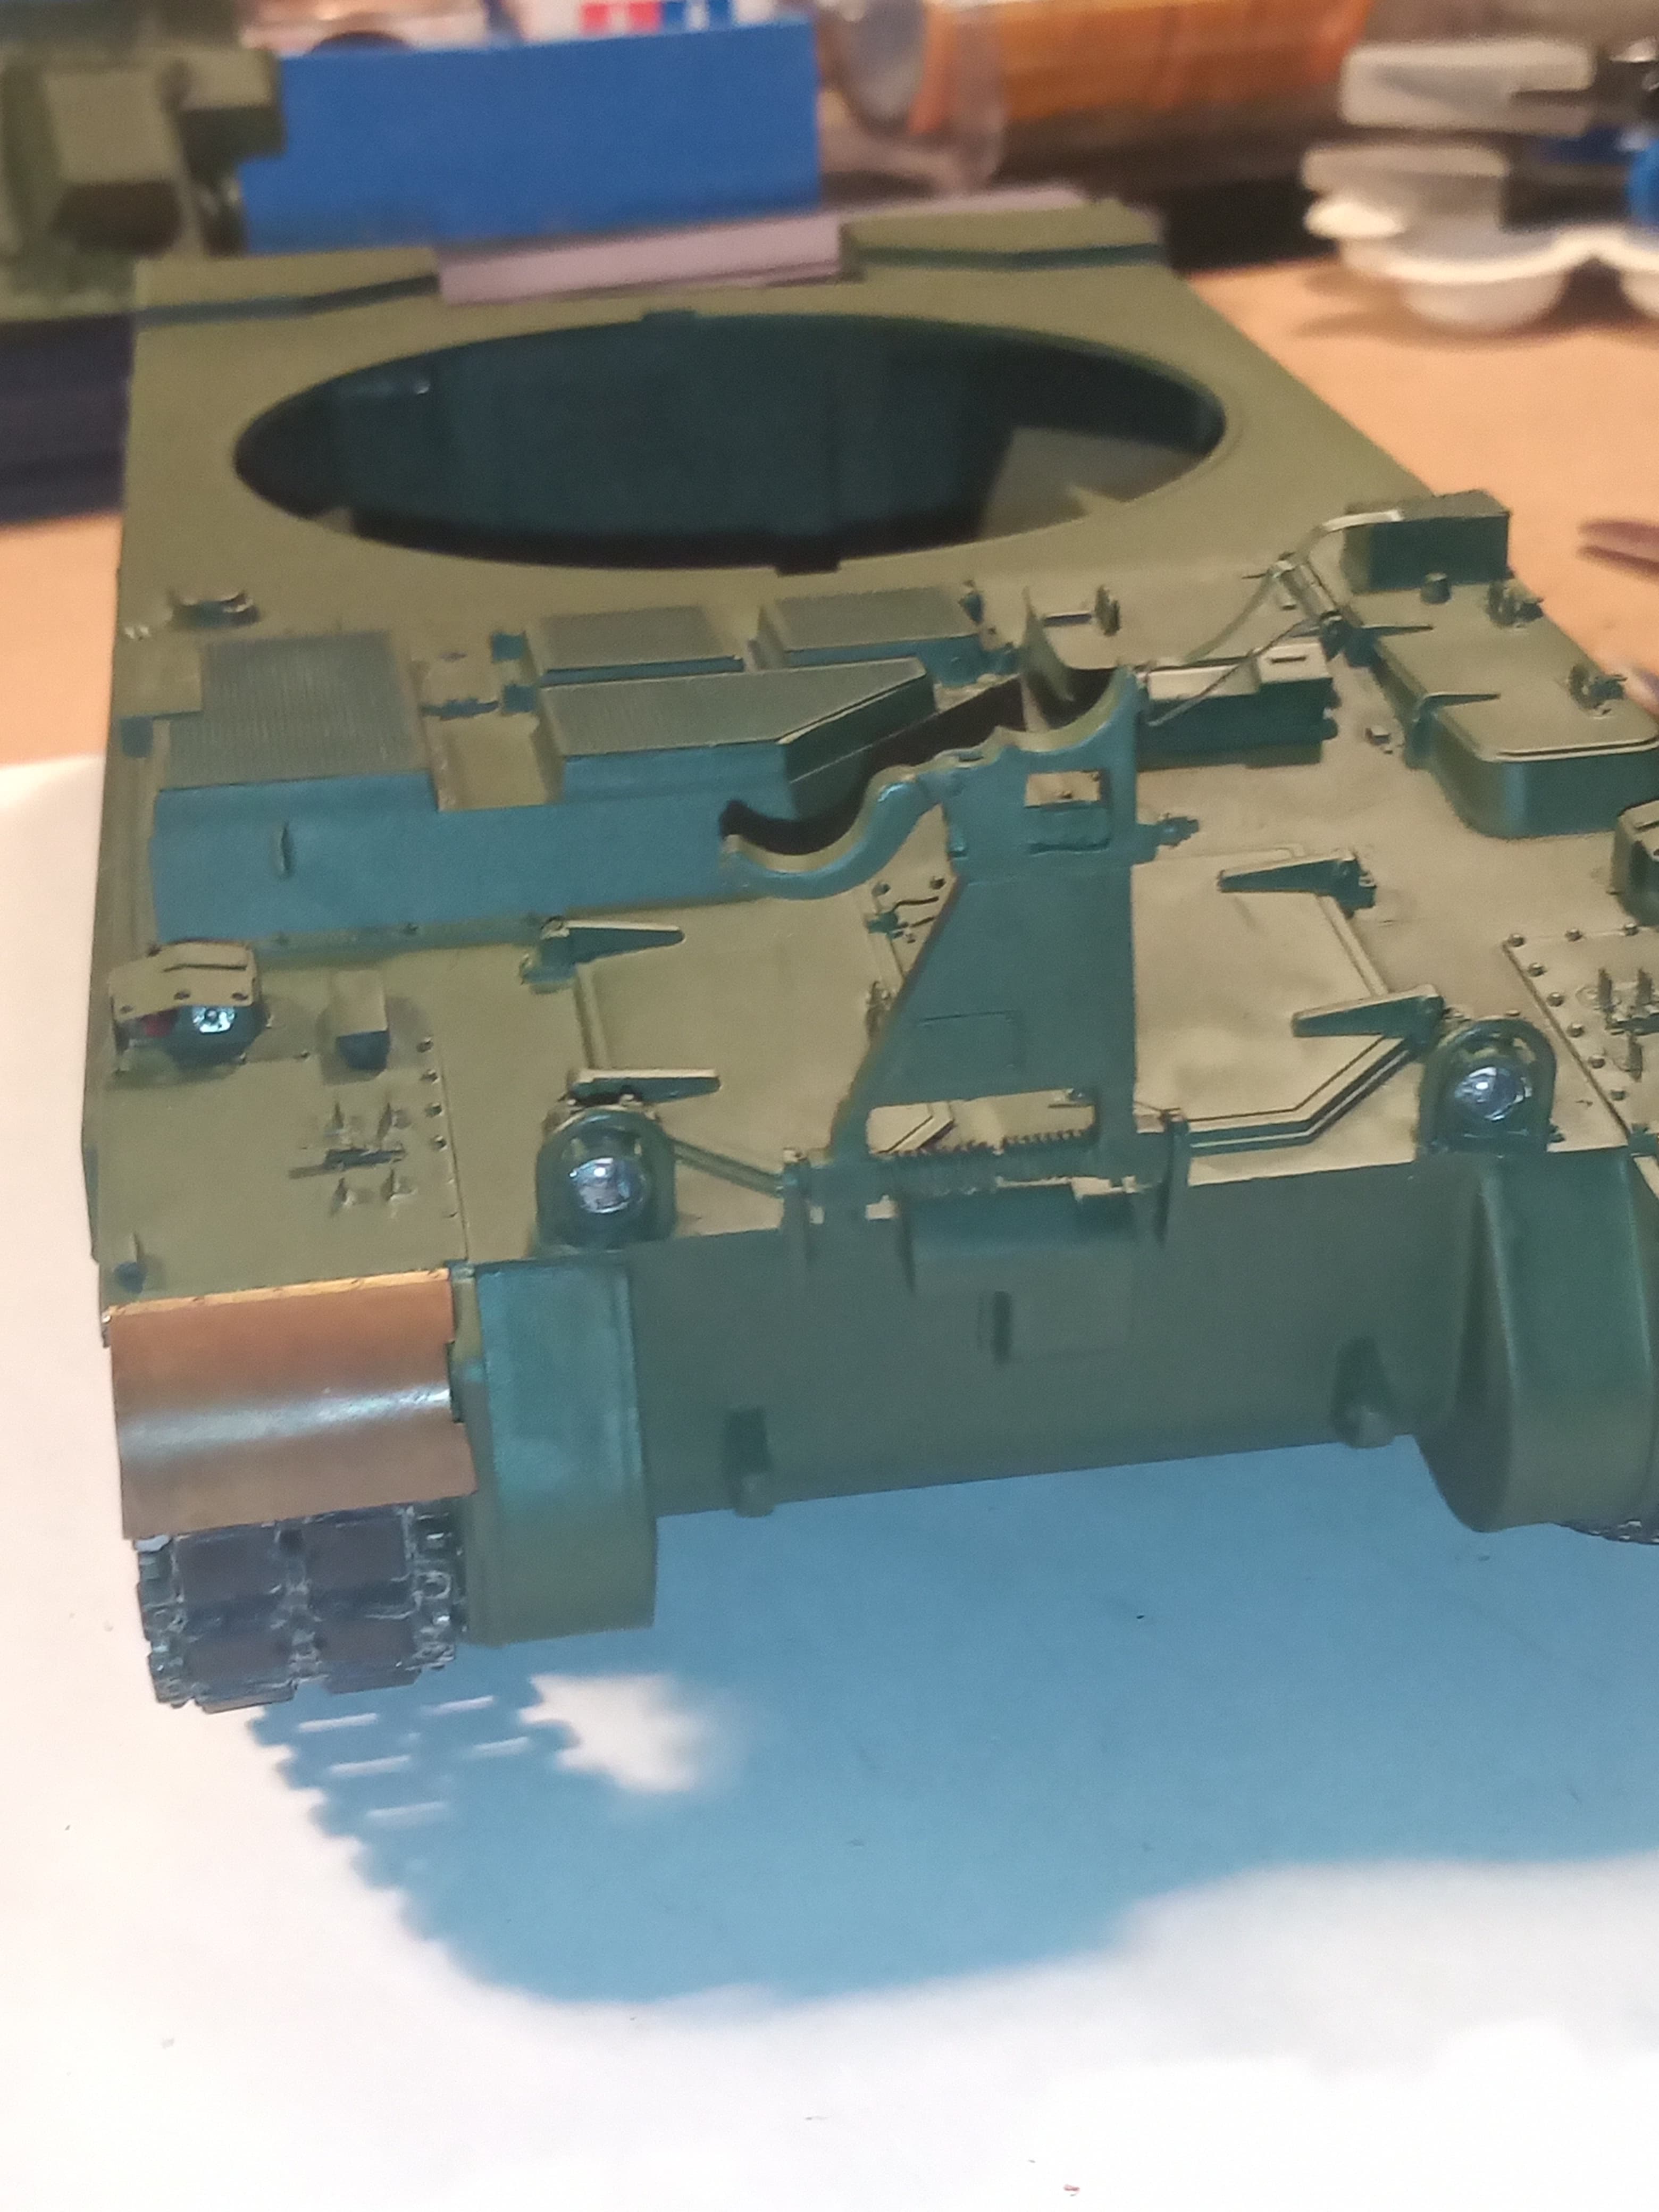
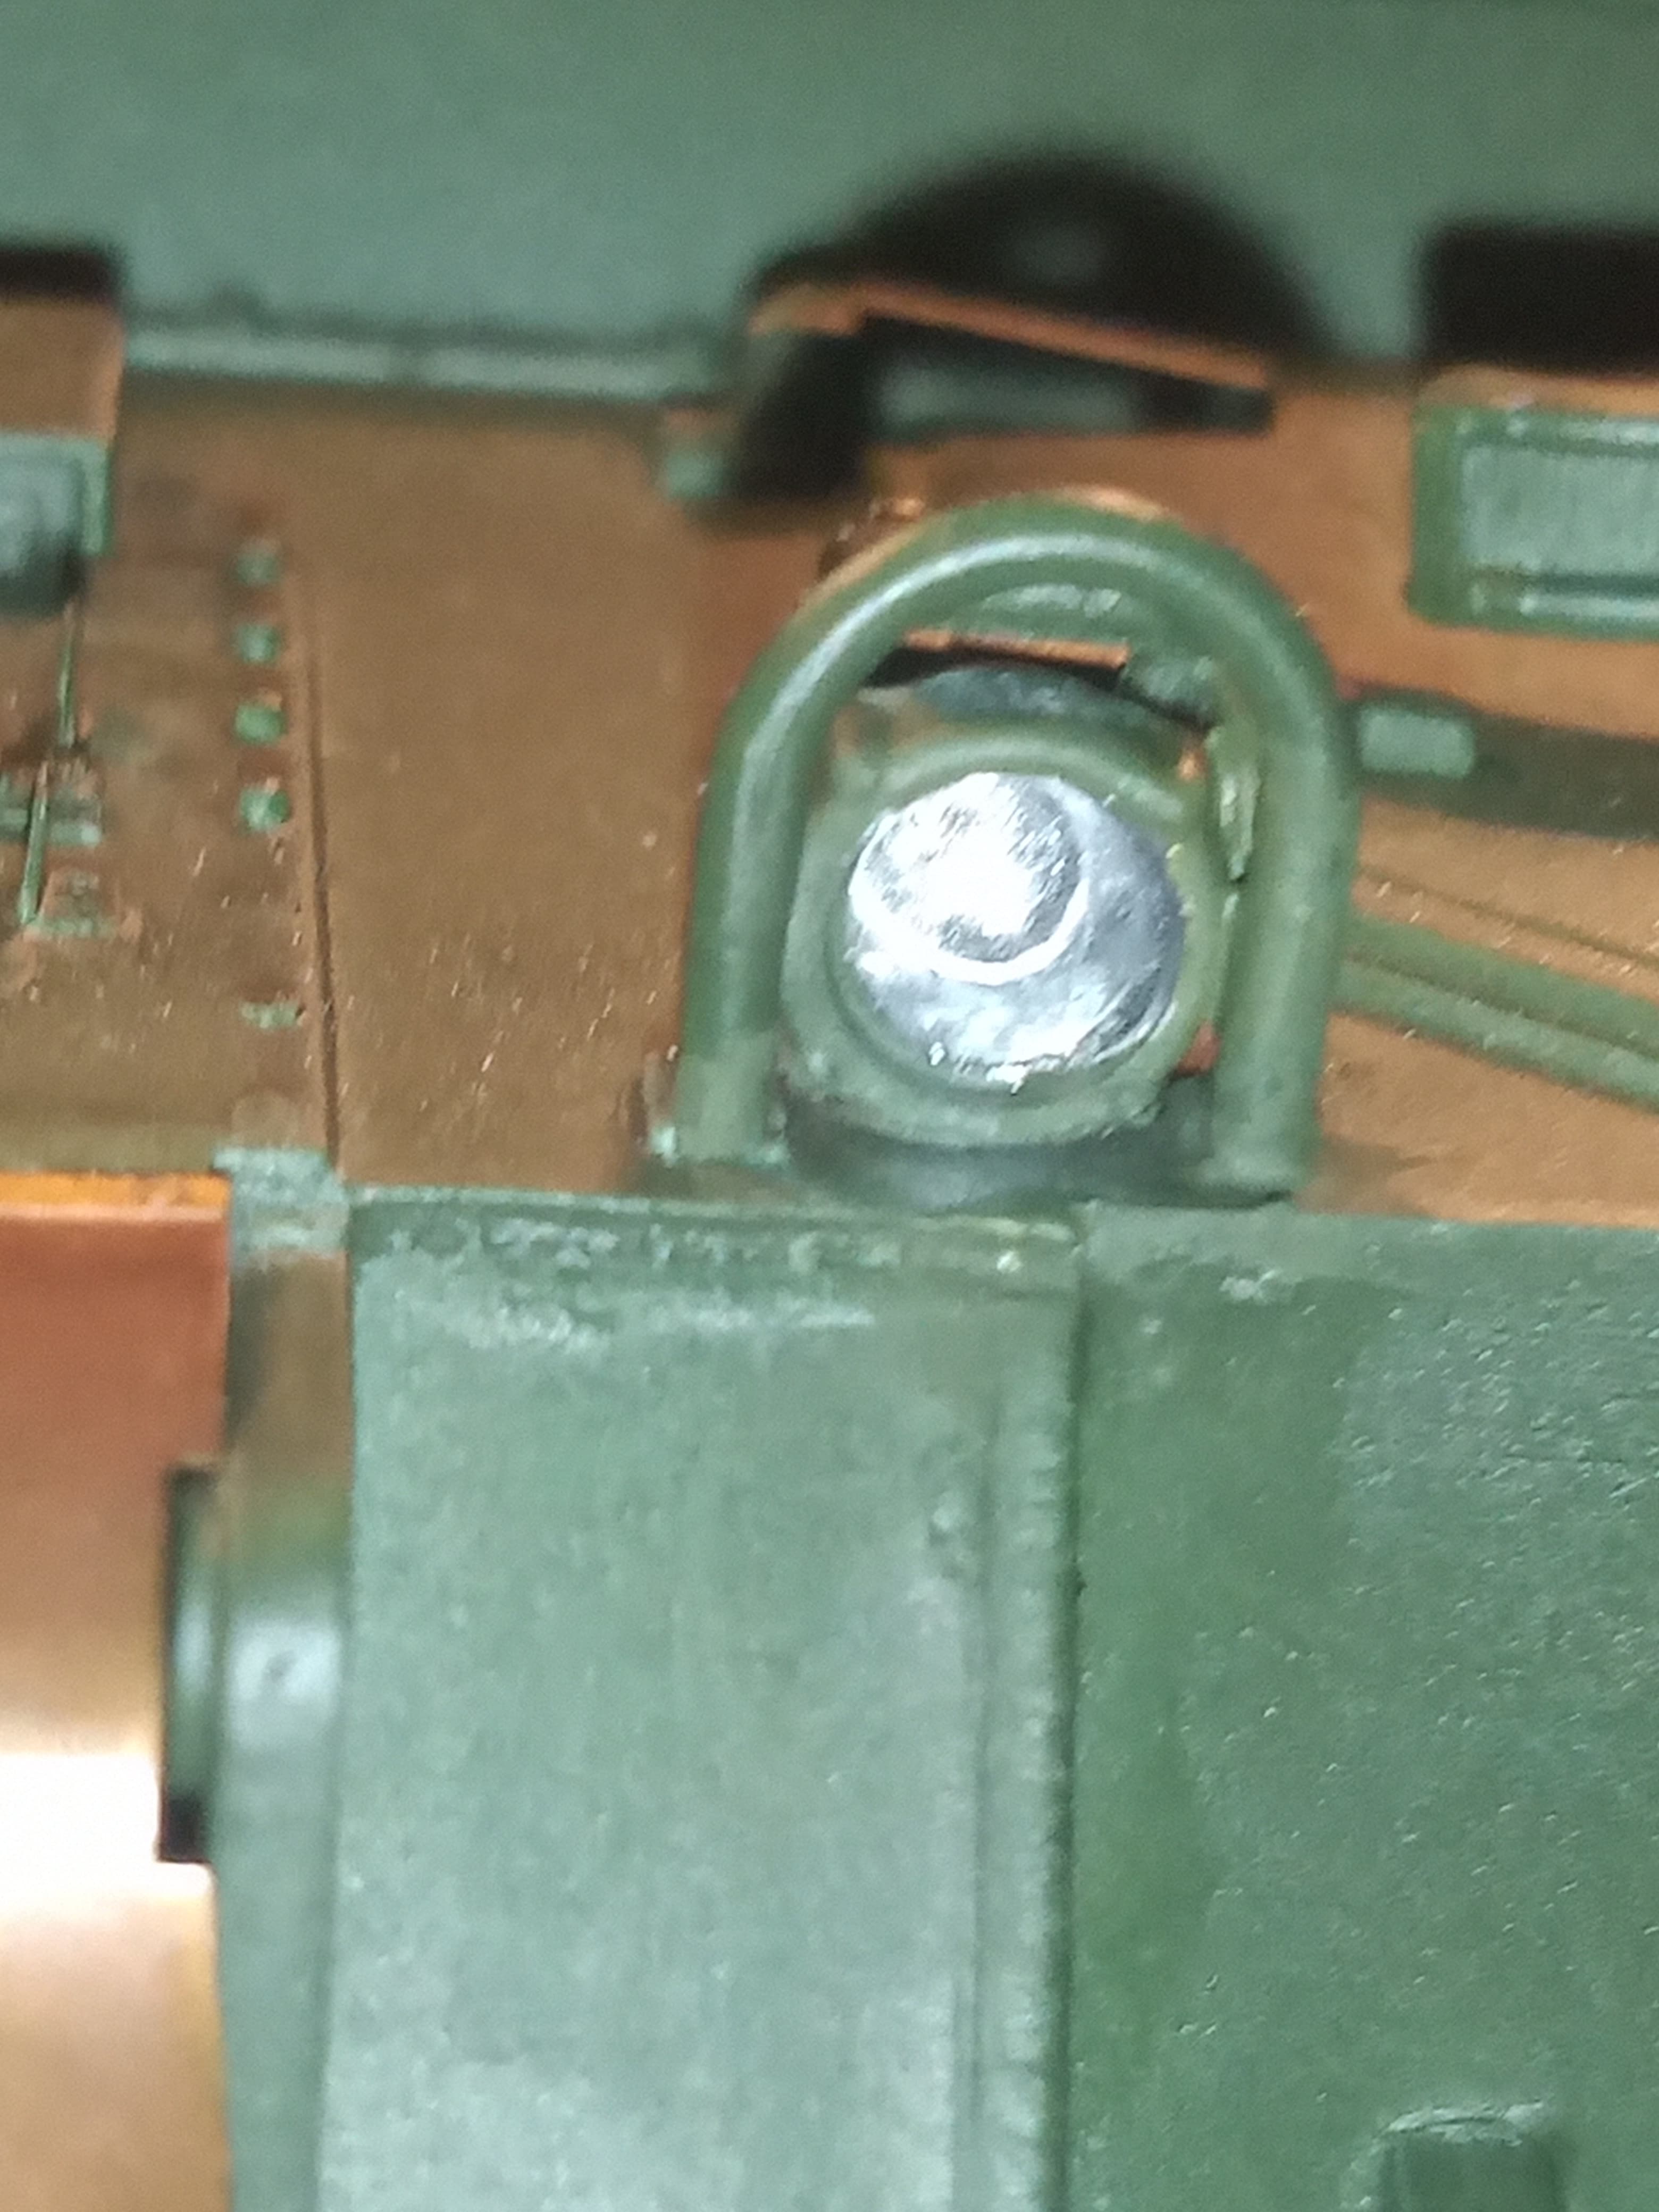
Reflectors are from the PE set, and tail and indicators on the rear were cut to size bits from sections of a clear wine/water bottle from the RFM M1A2 kit. Colour is from Tamiya clear red and orange…

Have also decided to make a muzzle cover and fit that. And do the mirror arms.
13 Likes
Looking the part now👌
2 Likes
I like all the little details you add John. It’s really come together splendidly. Looks fantastic.
2 Likes
Thanks kindly to Ivan @Jacko464 & Matt … always appreciated guys
3 Likes