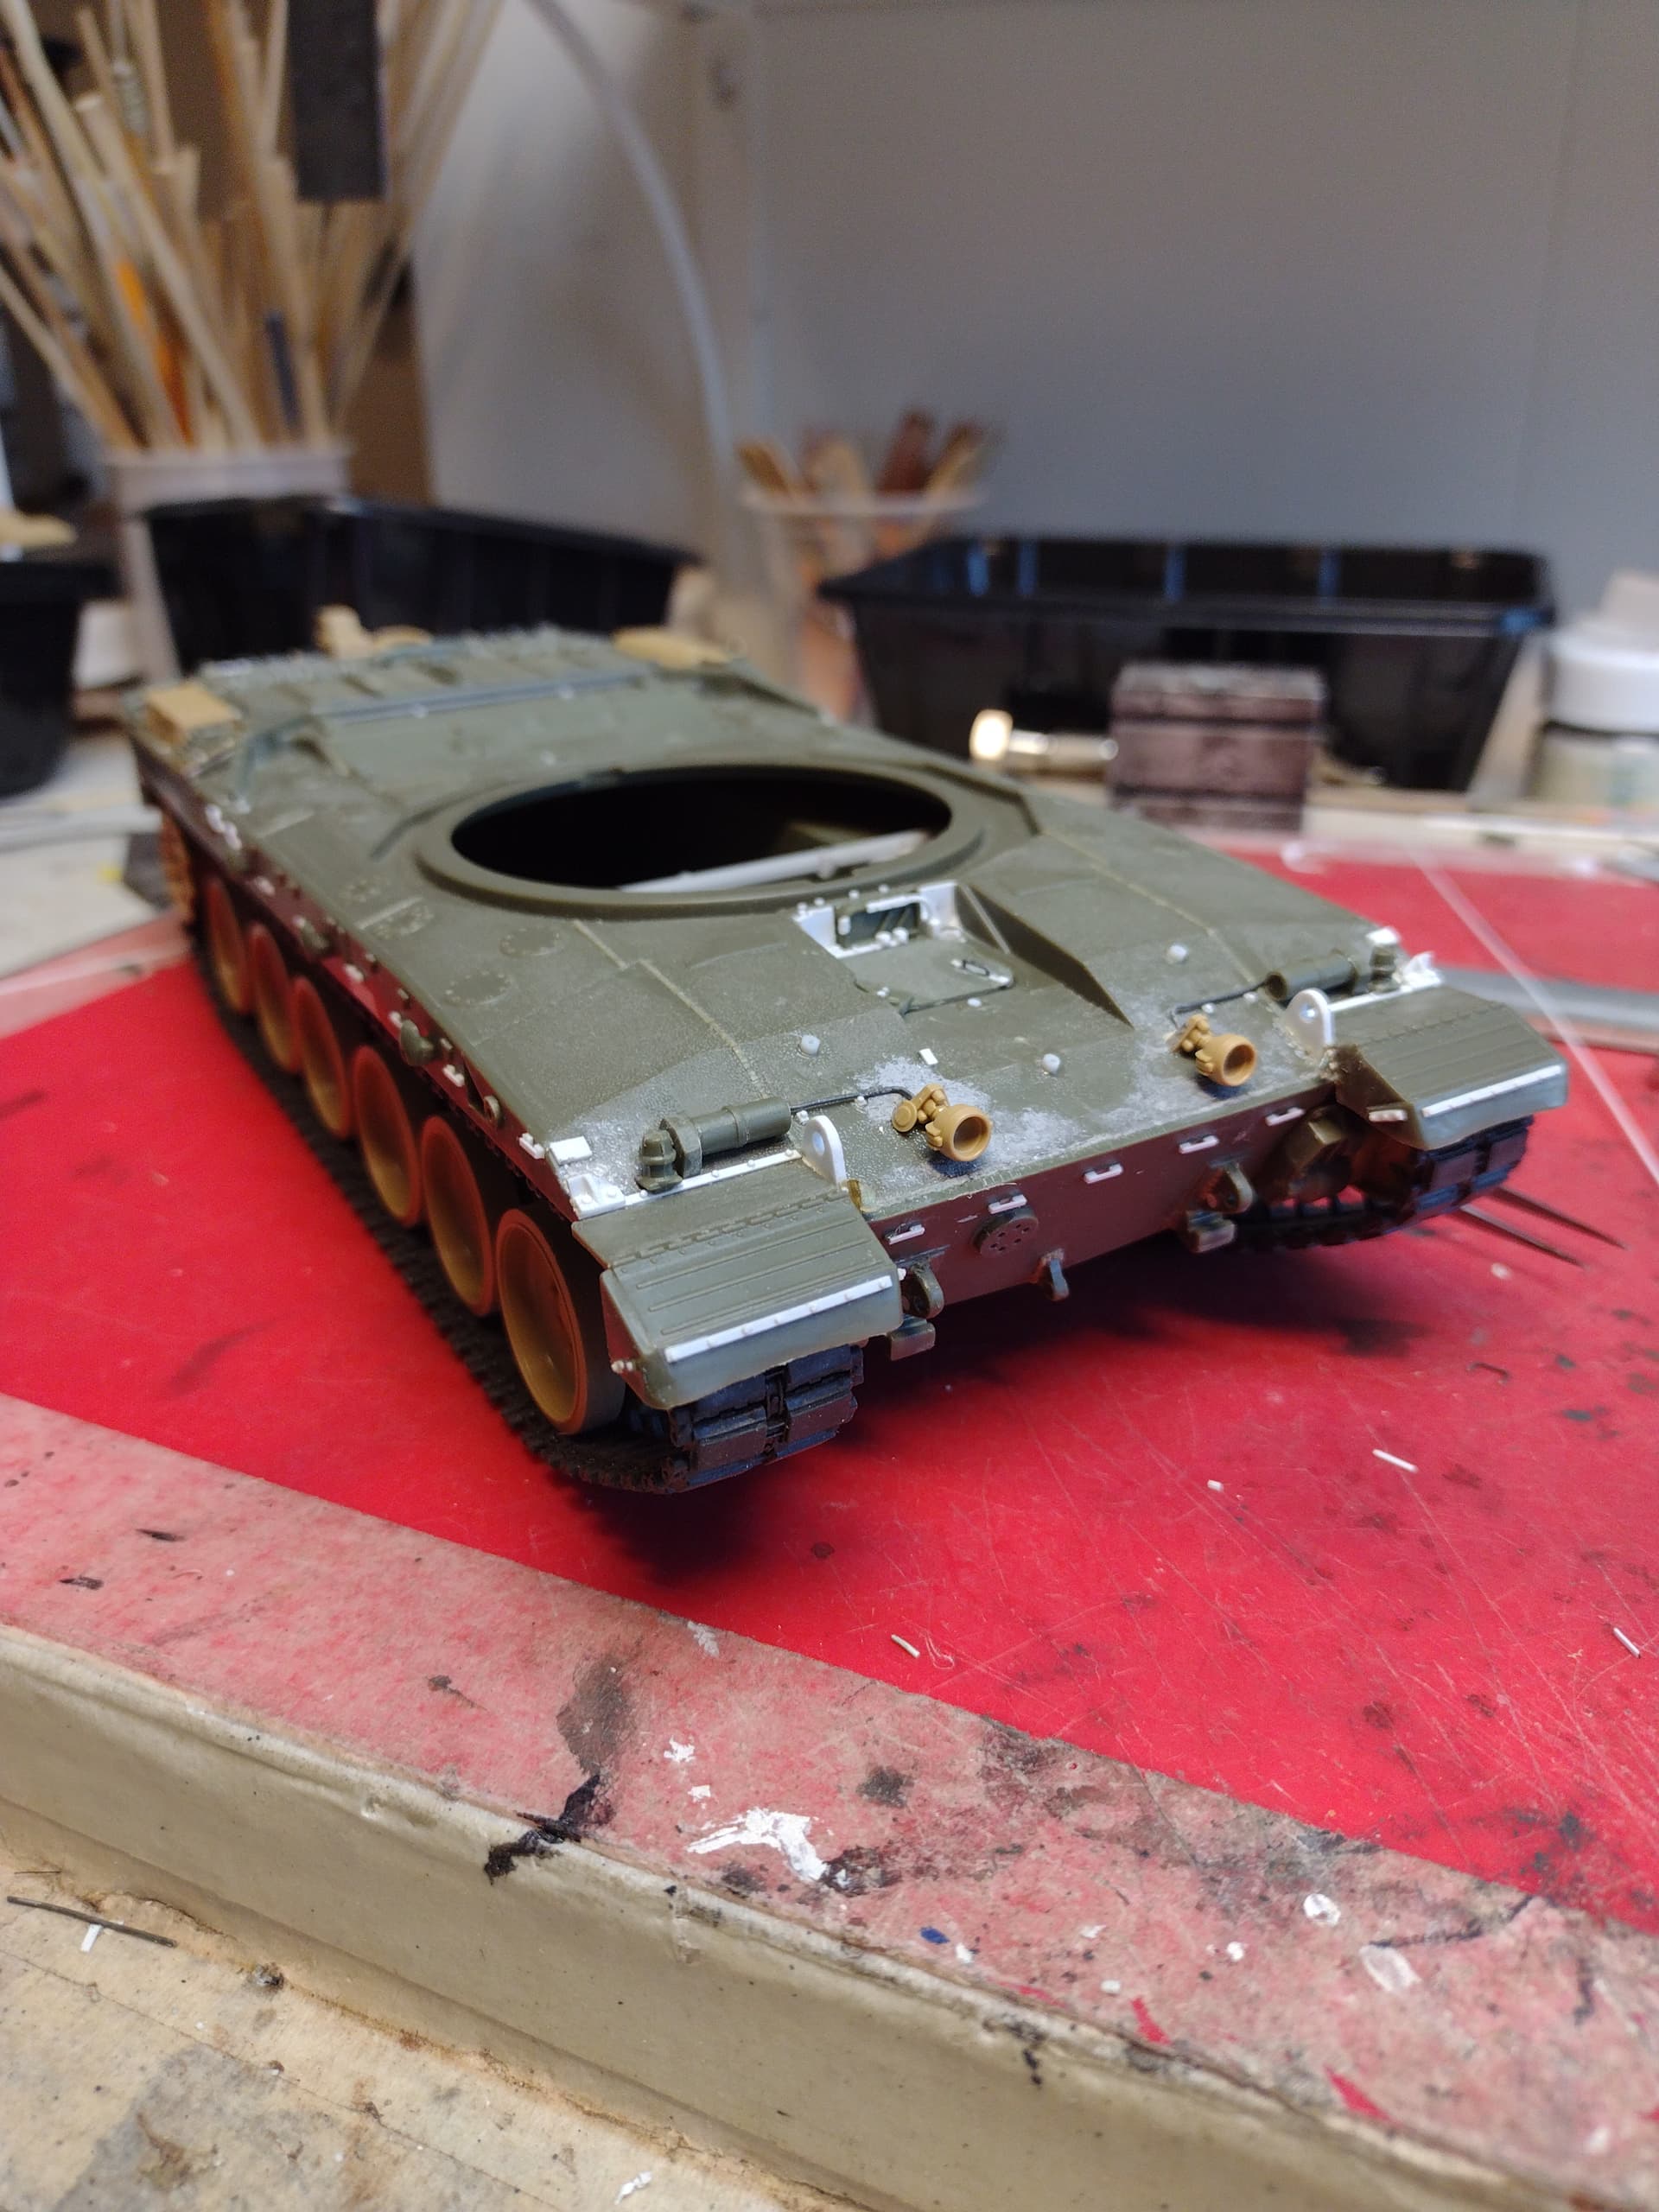
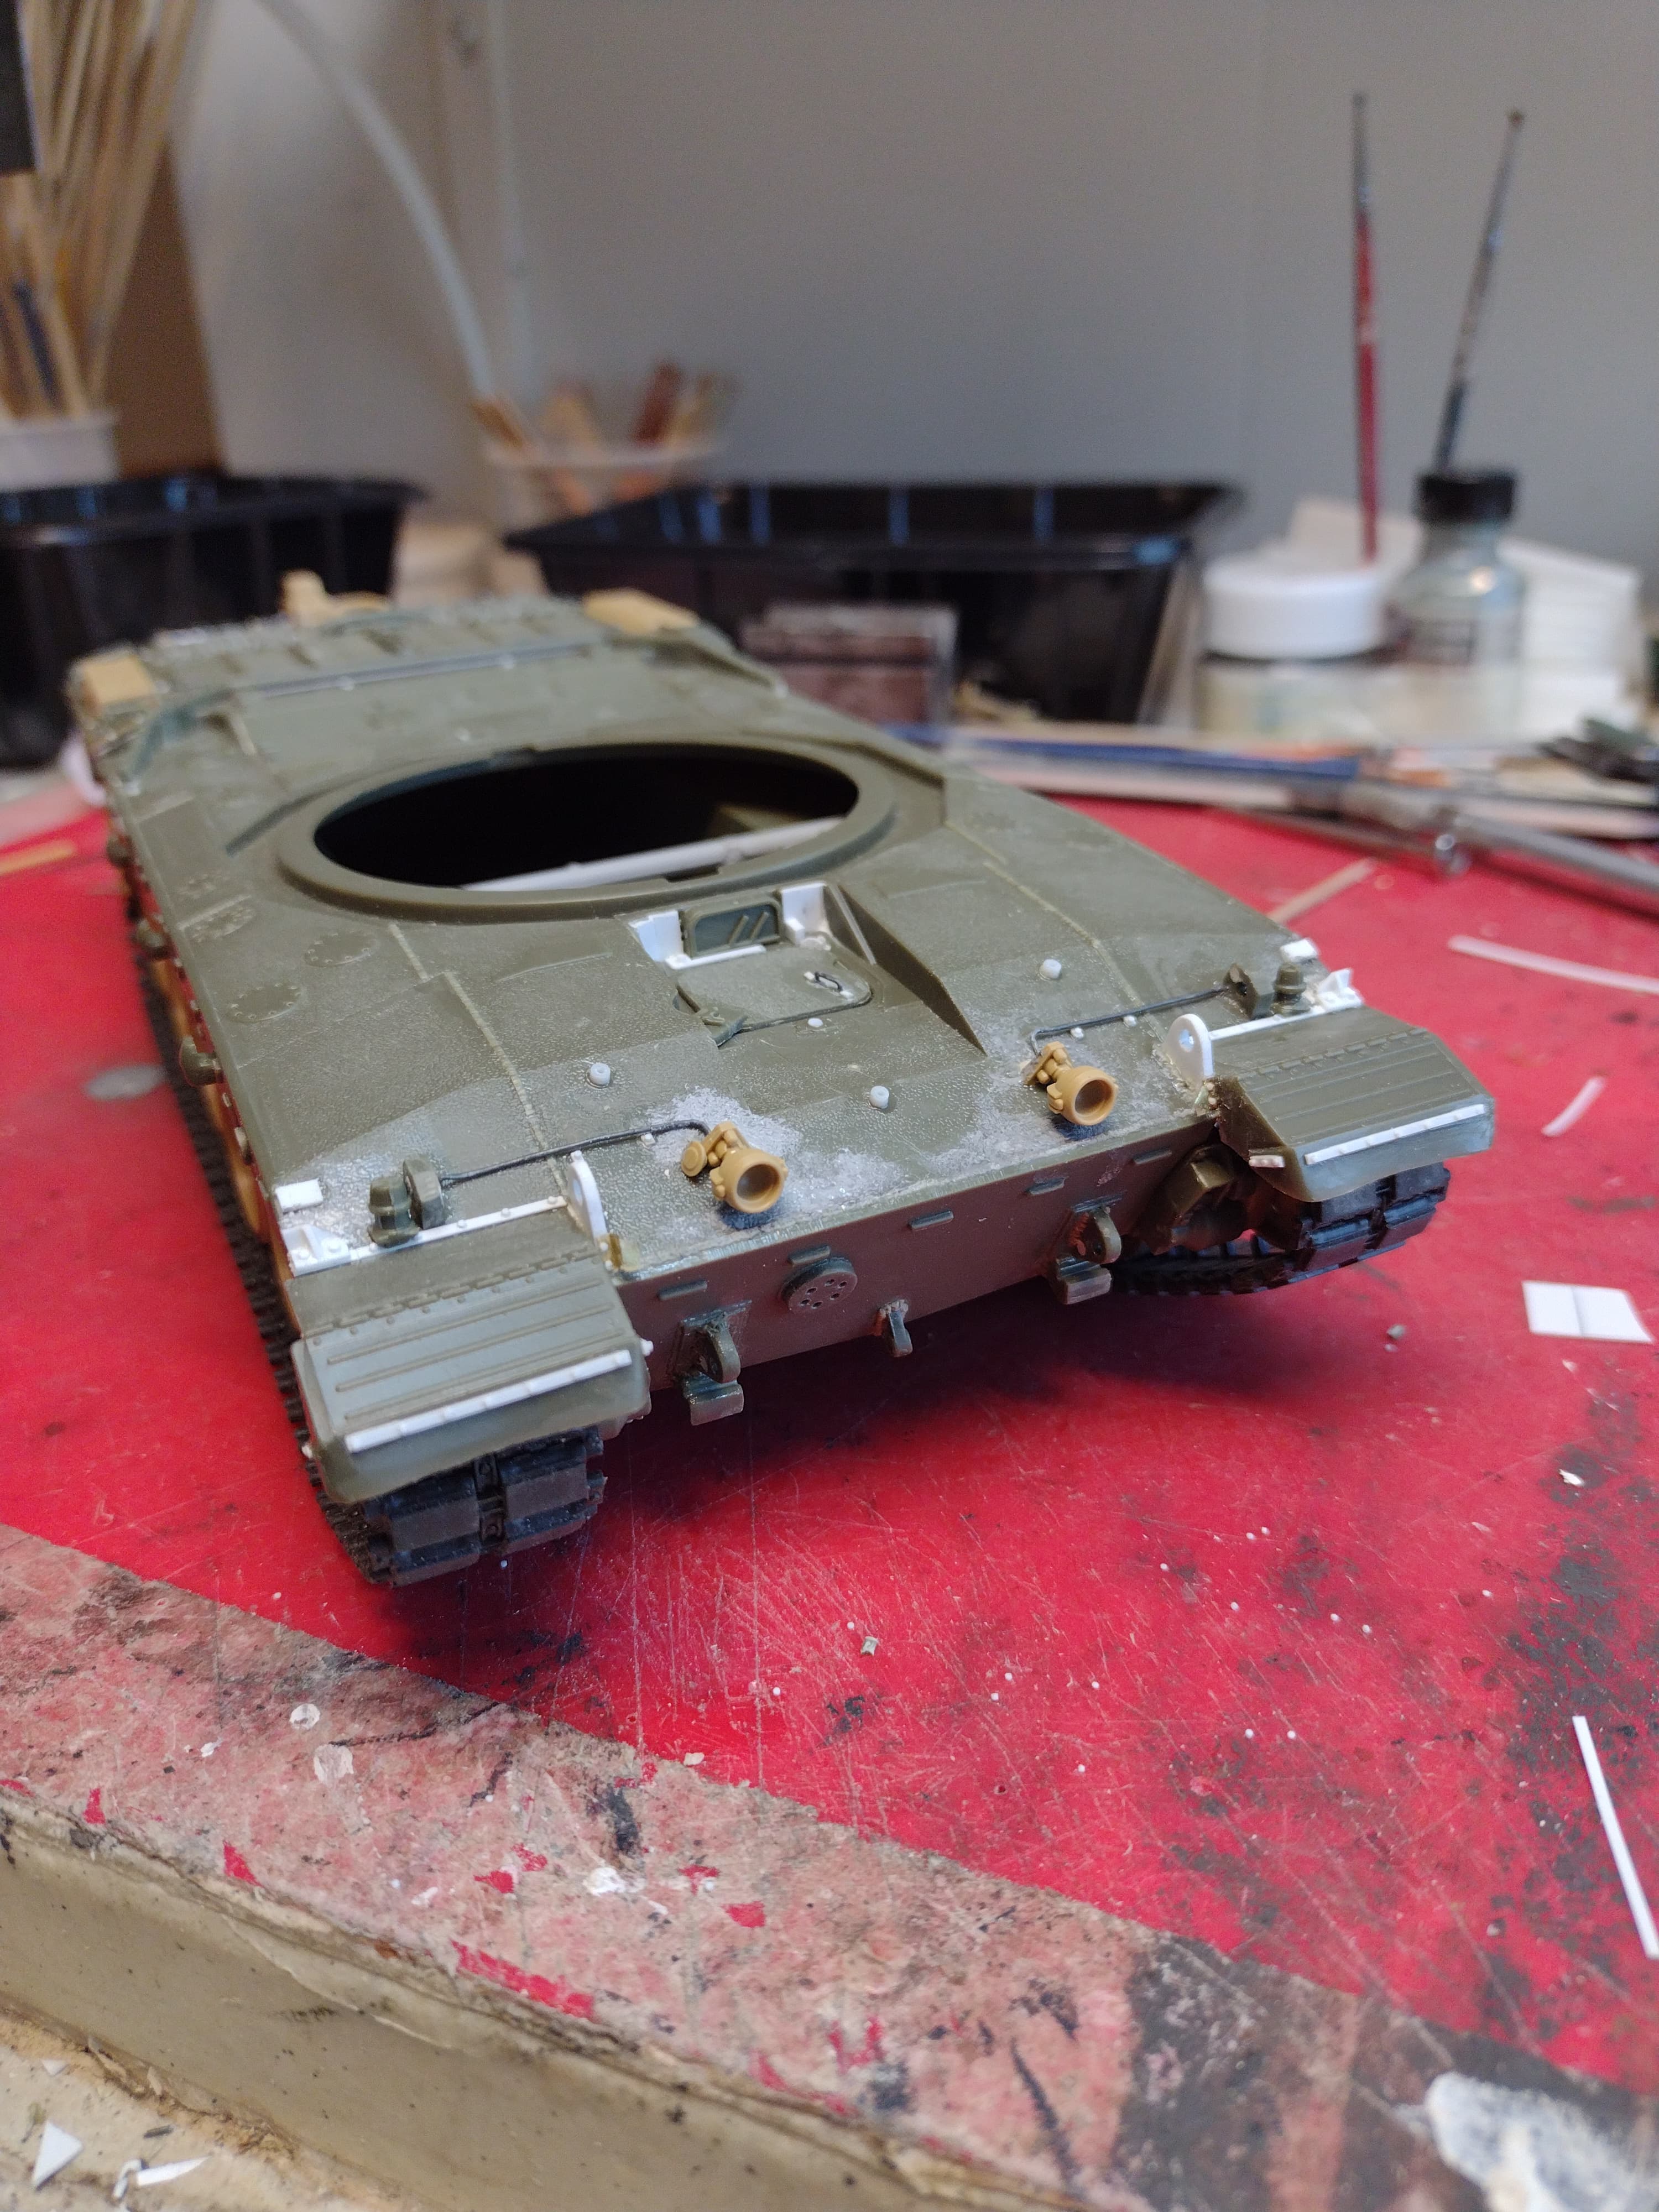
Finished rear:
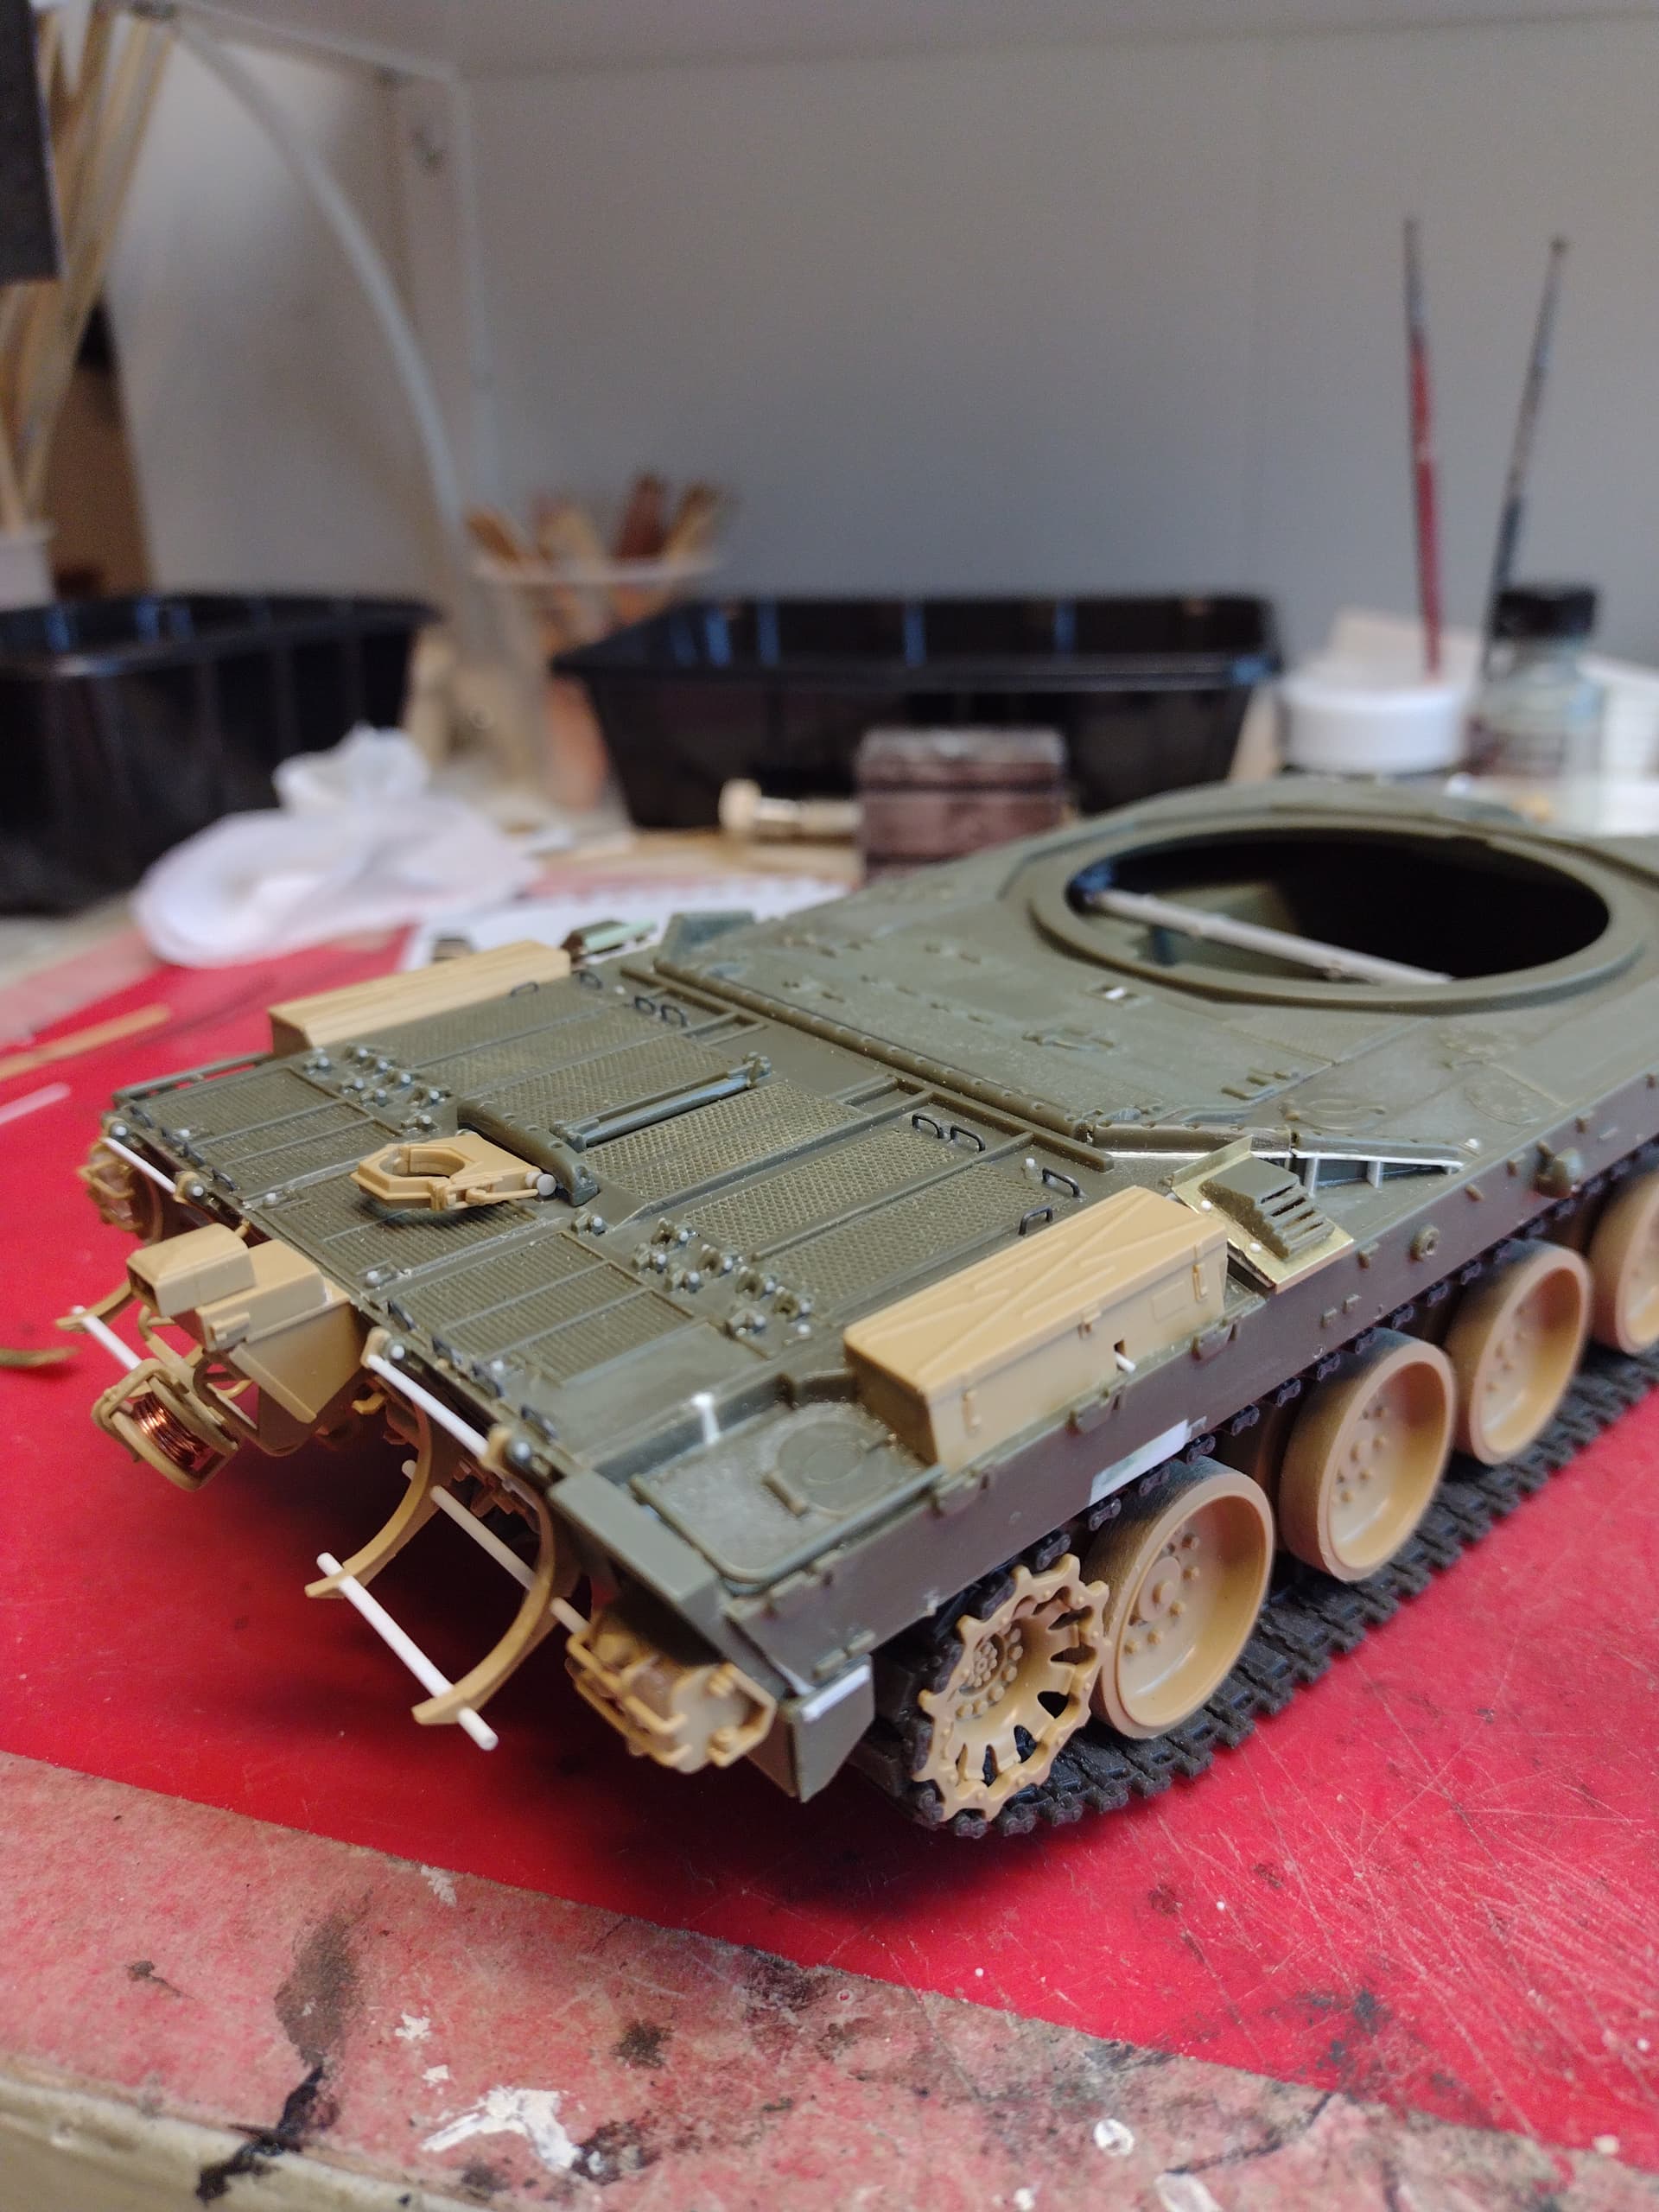
And the front, coming along:
I still haven’t decided if I want to use the blade or not.
Finished rear:
10 out of 10 for the work you’re putting in on this one Russ… Blade could be a good addition, something to make it a bit different from the norm…?
Thanks. This will be the last time I mess with a Trump Challenger, for sure.
Would the blade be fitted on a tank without the additional armor in Kosovo?
As far as I can remember without checking my books, is that all armoured Sqn’s deployed to Kosov had the up armour skirts fitted.
Or did you mean the front armour pack ? If so, I dont think it is fitted with a dozer. The belly plate add on is probably fitted.
Did you mean the skirt armour or the front armour pack ? Im 99.9 % sure all the wagons had side skirt armour, but I dont think the dozer fits with the front armour pack fitted. I would have to check.
Outstanding extra work on this one Russ. All of this is really going to show even when it’s all painted and done. Really sharp detailing. I bet your next Challenger is going to be from Rye Field Models, though!
My mistake: I have a Star Decals sheet with one Challenger 2 in Bosnia, 1st RTR with SFOR, no additional armor. I meant no nose armor and no additional side armor, just plain skirts. Neither are pictured with a dozer blade. I do understand the dozer would go on in place of the nose armor.
Ah got ya … I would do a generic SFOR wagon then with the dozer fitted.
Hmmm… I just finished doing some work to the lower glacis, hull sides too.
Trump bumps, I like that one !
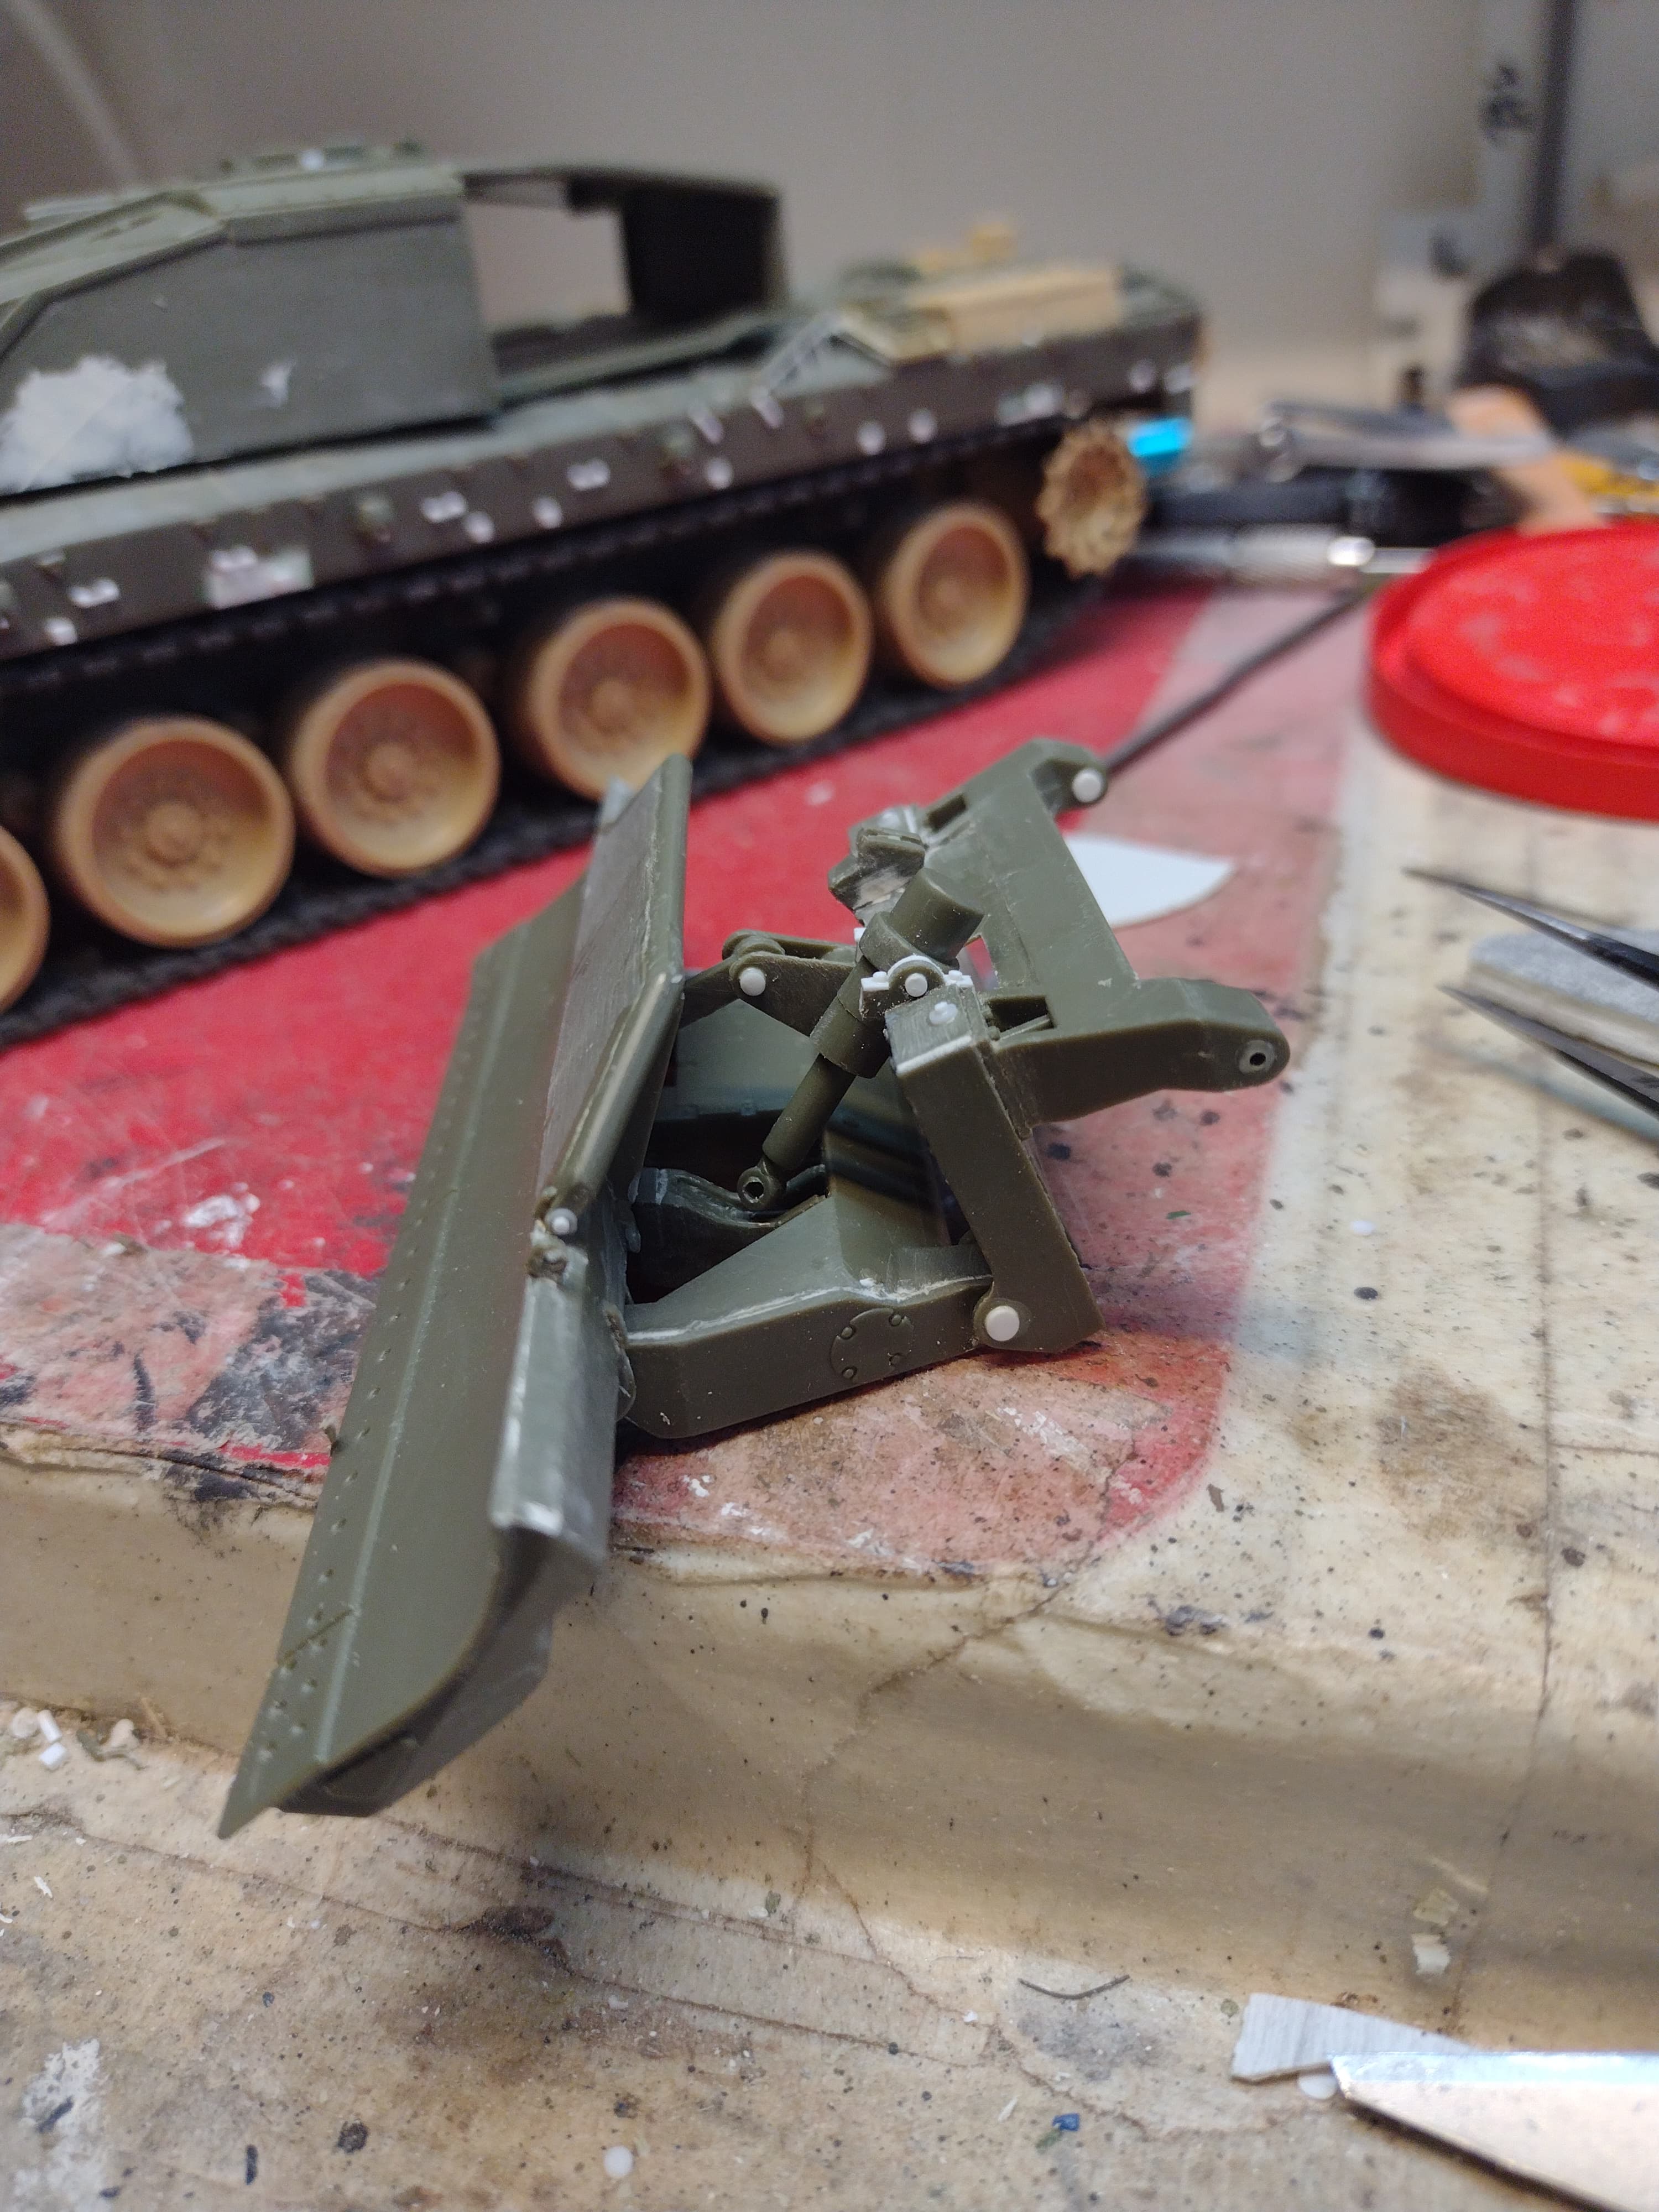
I’m still piddling along on this, making up more grab handles on the skirts and goofy stuff like that, but I went back to work five days a week, dang it all. I did build up the blade assembly, and boy is it “basic”. If it’s the same unit as fitted to the Challenger 1, I have a couple of pics, otherwise I’m in the dark, but it’s clearly missing a ton of detail. I’m adding lots of sliced rod for the ends of the clevis pins and such and have used up a couple of sanding sticks- not what I’d call Trump’s best effort.
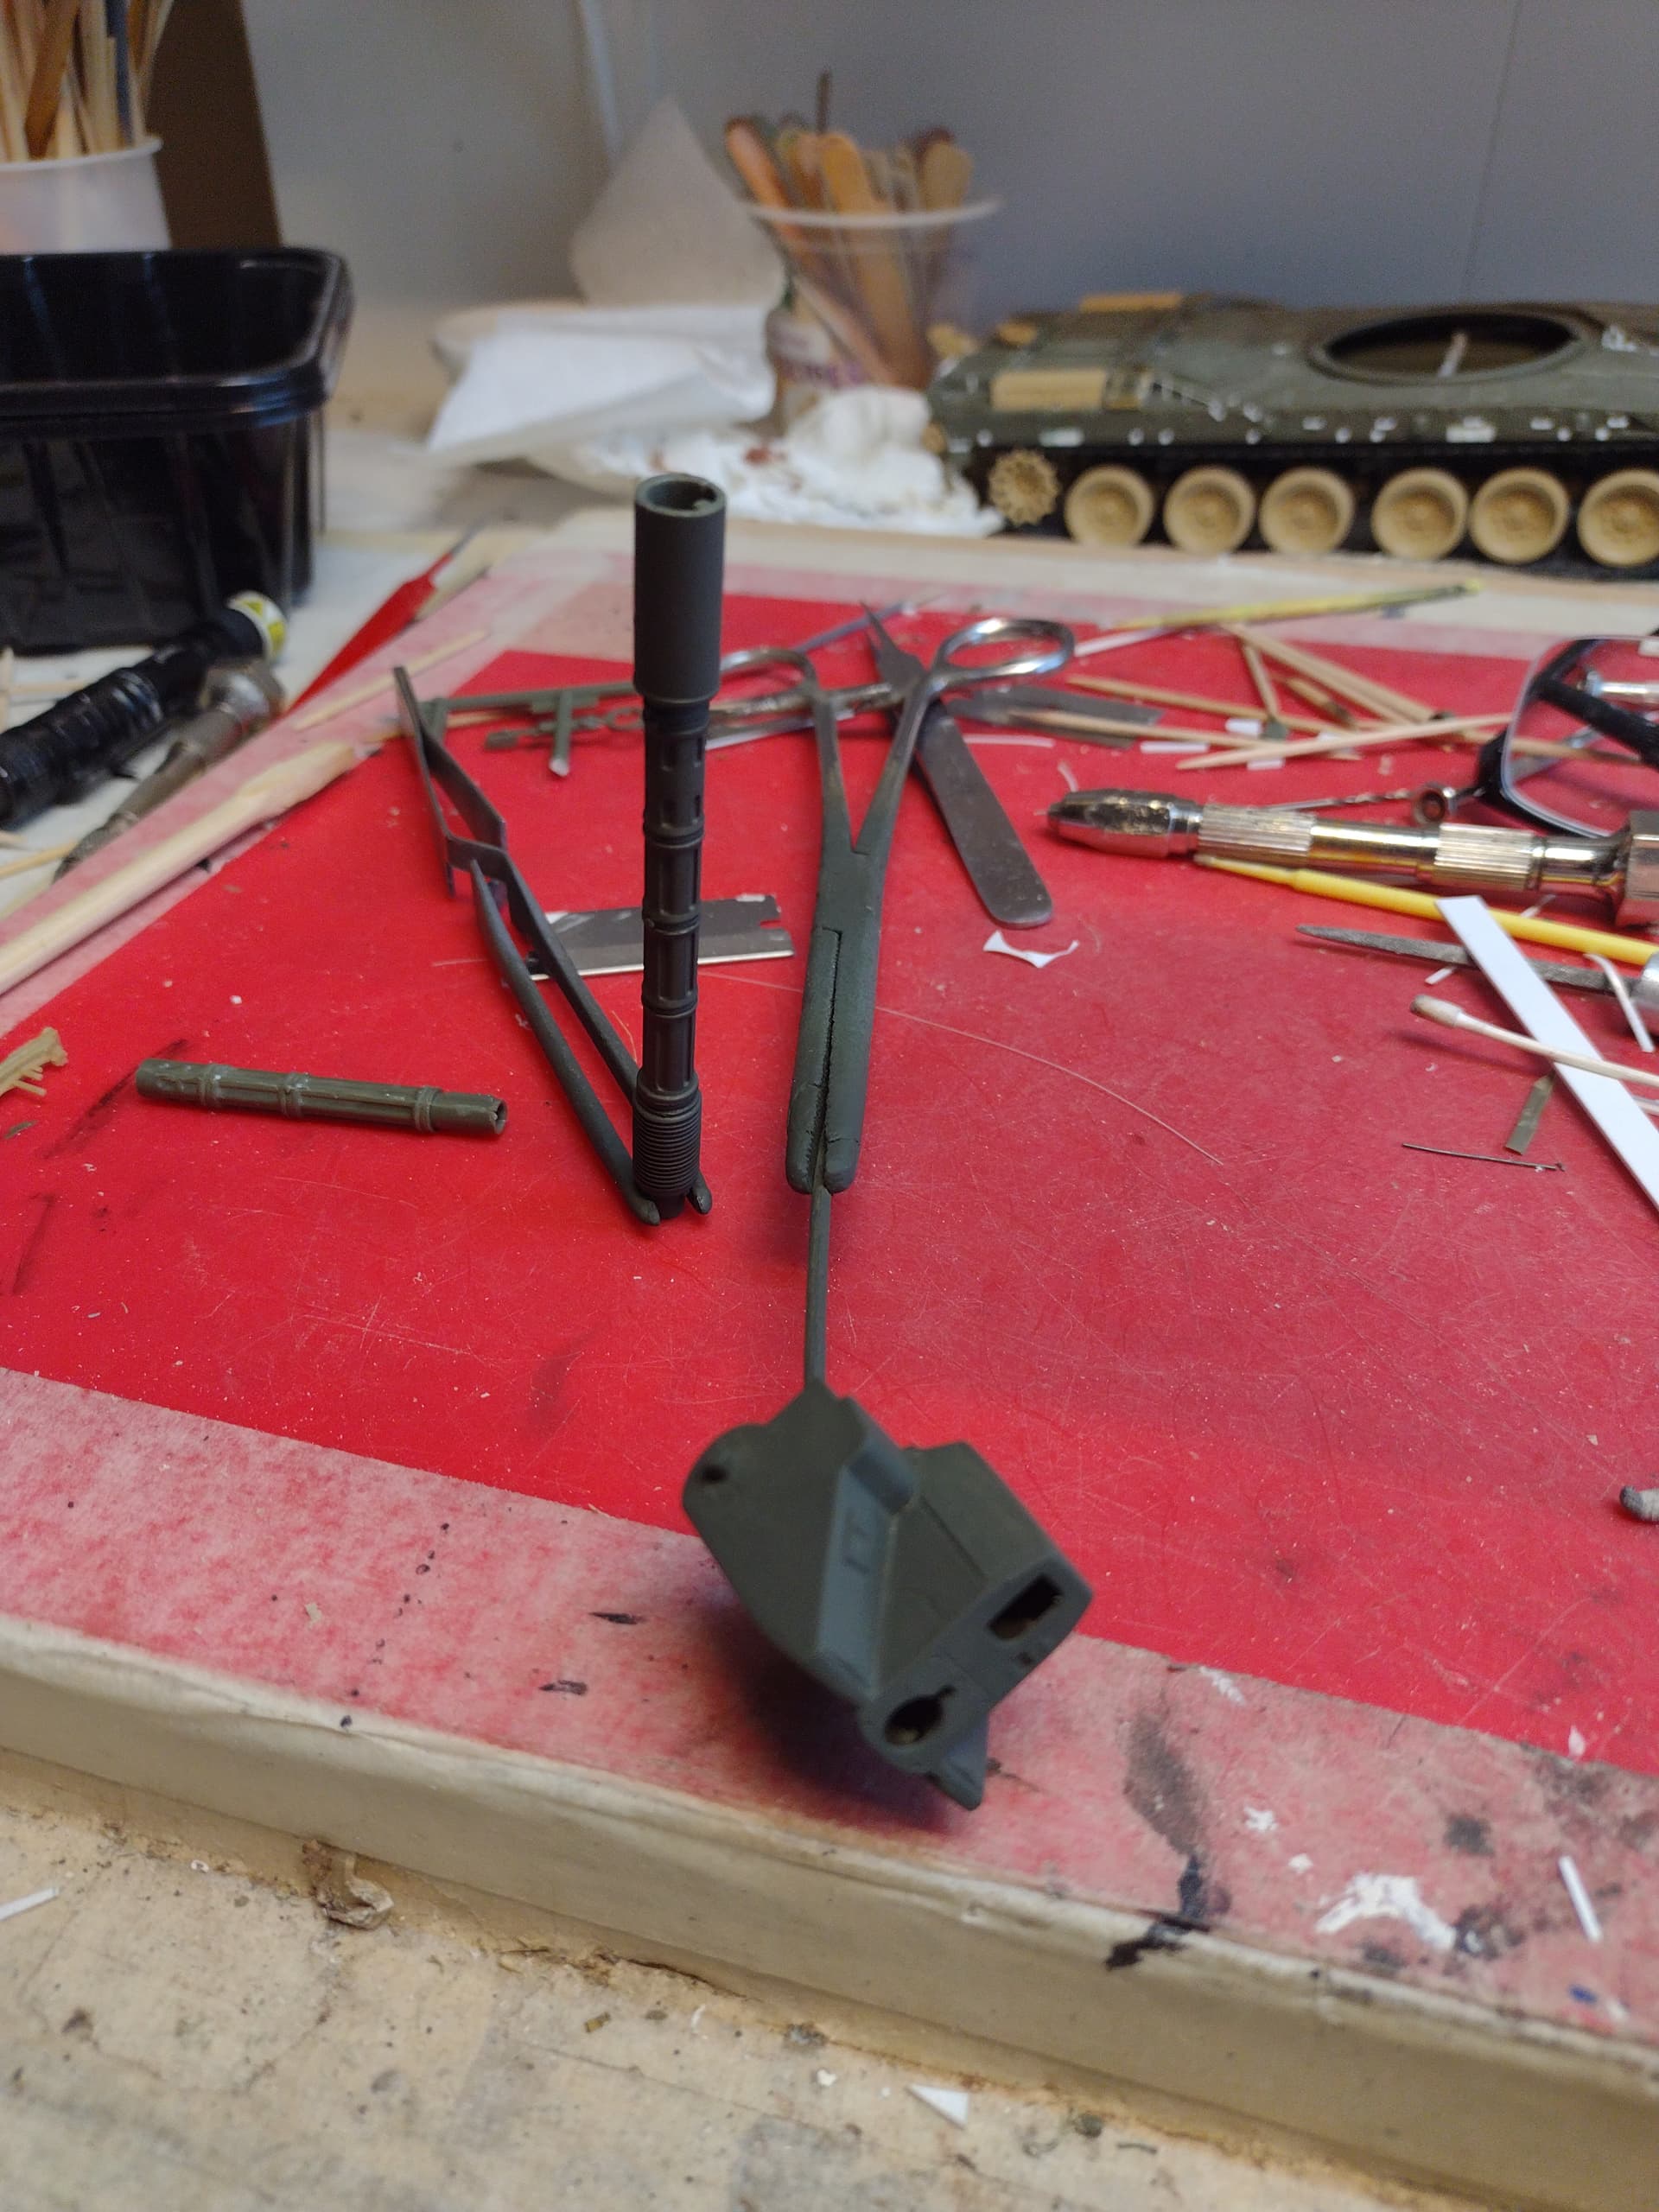
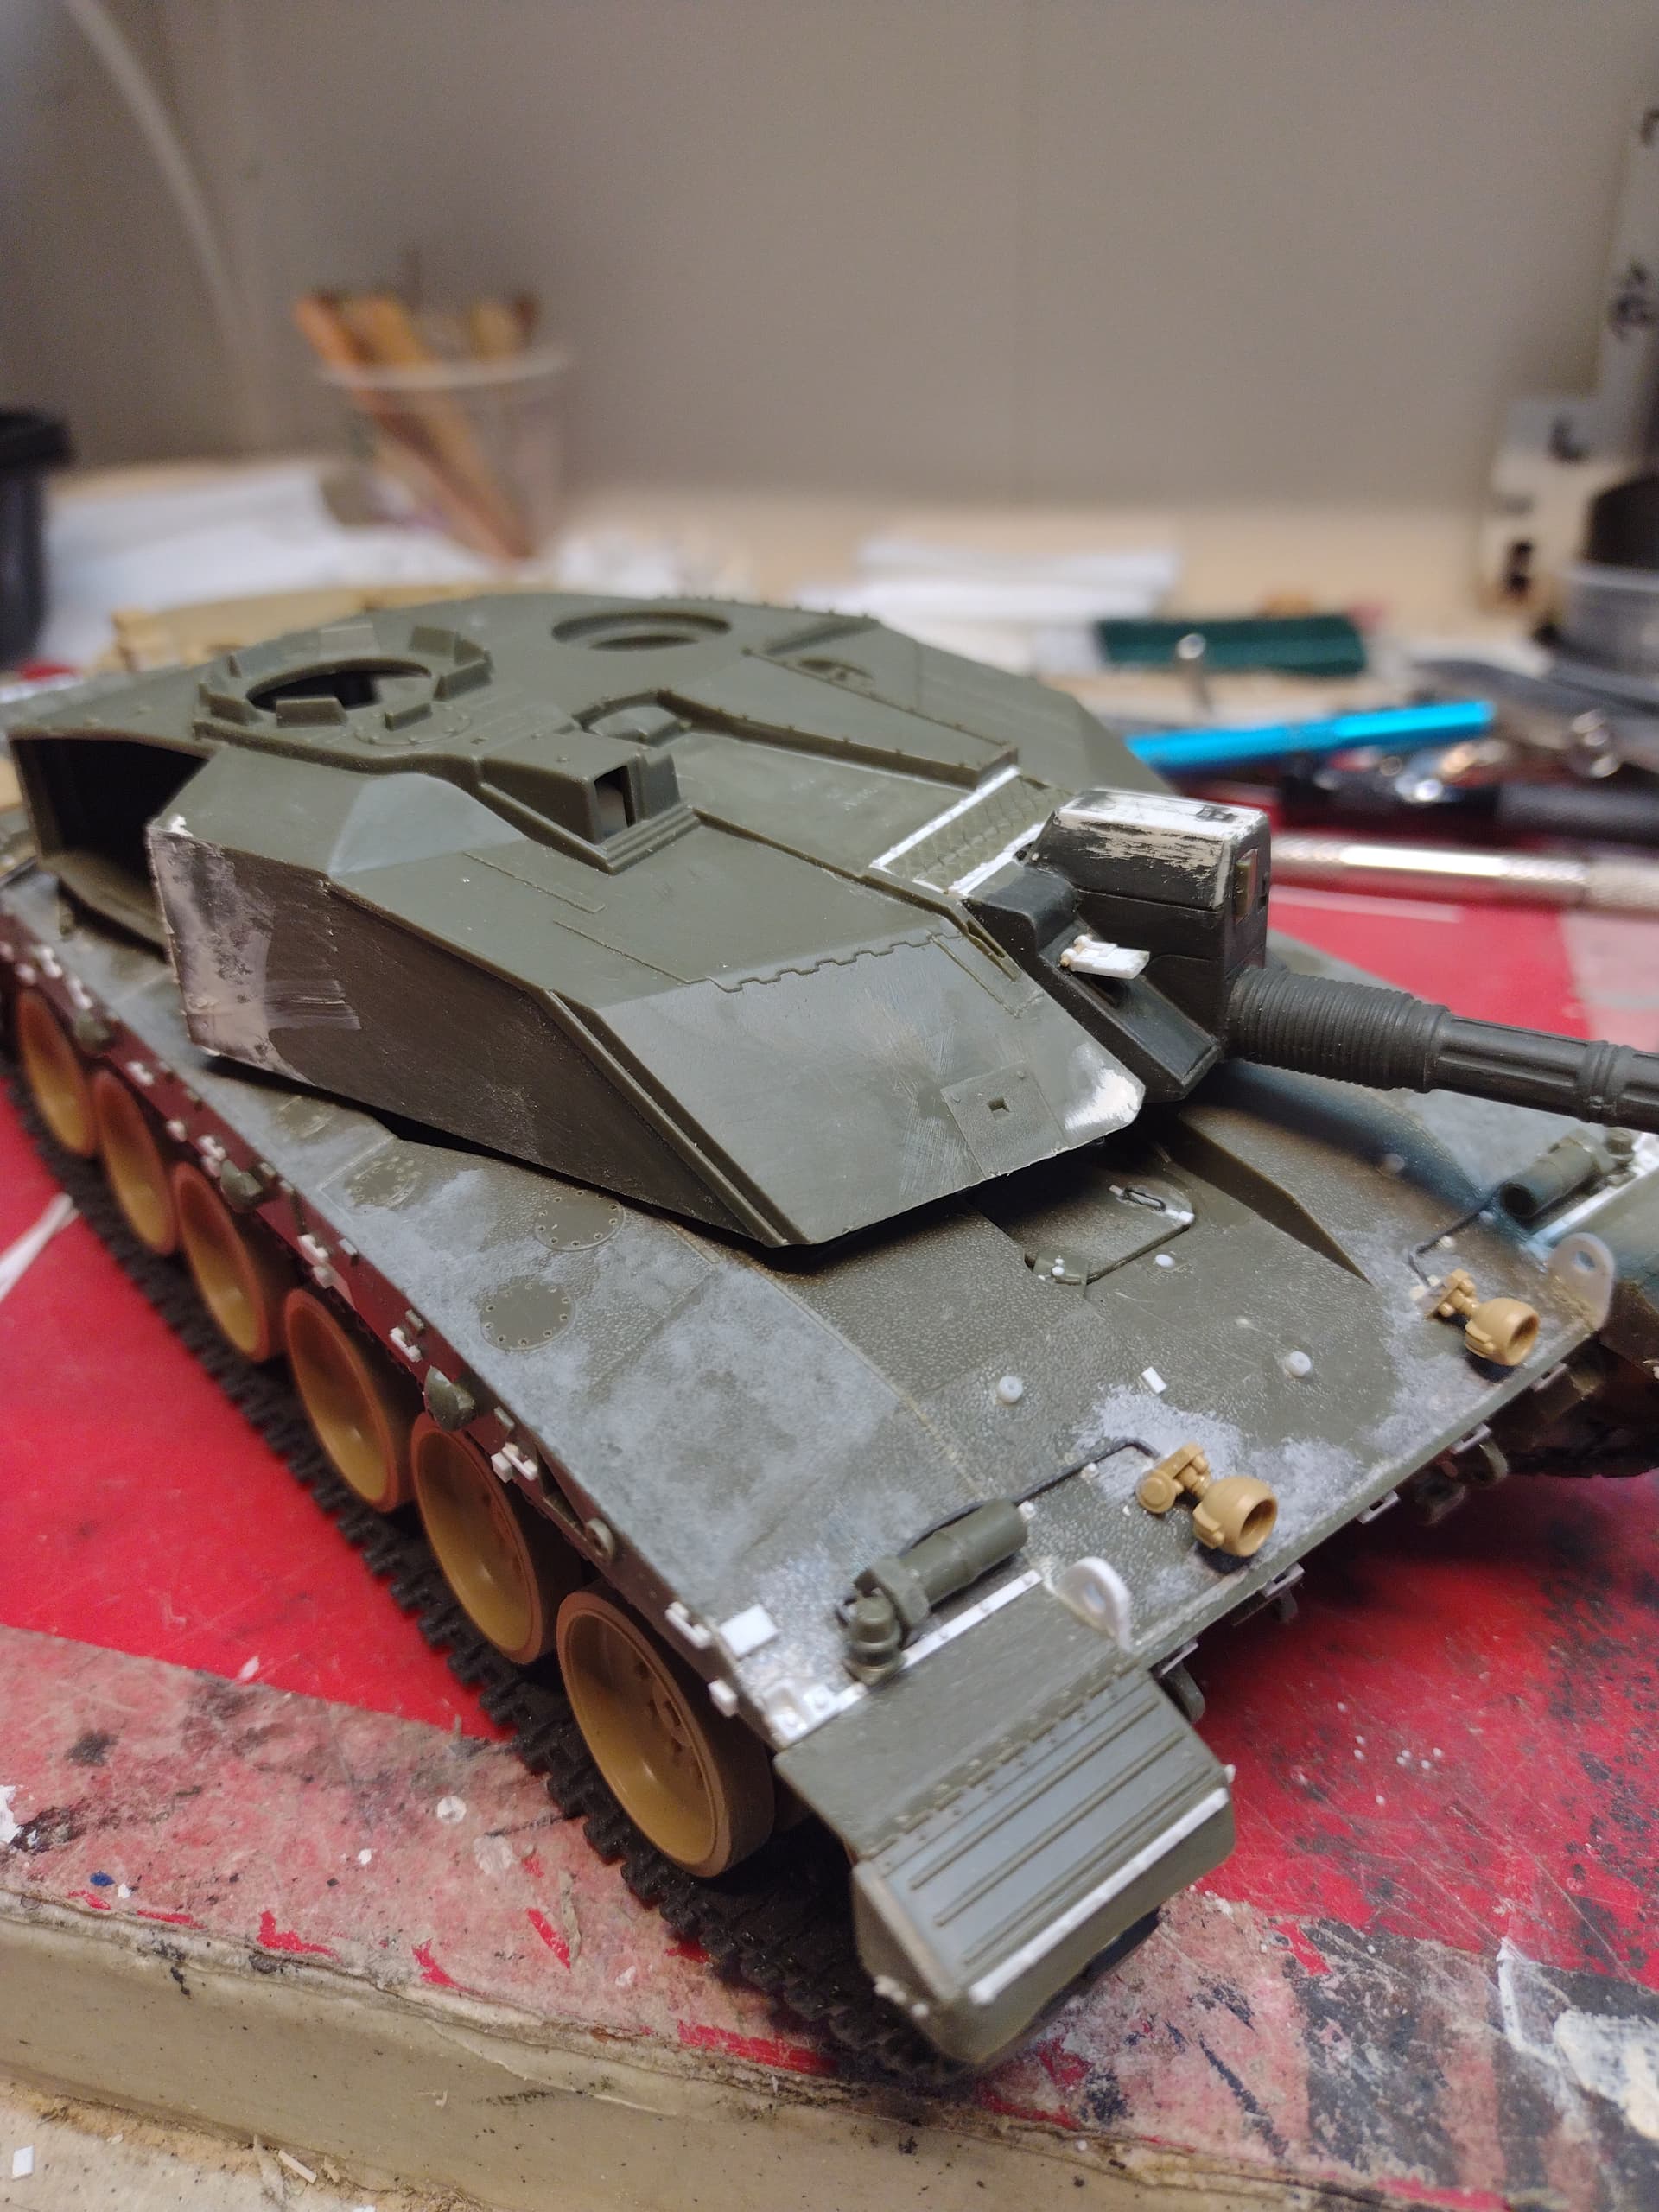
I got a start on the turret today, beginning with the mantlet and gun tube. While the fit of the tube was okay, molding is iffy. So far I have the back half in primer to check for flaws. The mantlet however is a different story. Fit of the seven pieces was poor, and the shape of the TOGS housing was wrong. Rather than a tapered top, the housing is vertical all the way up. I scored the sides at a panel line, bent them in slightly and adjusted the front and back pieces to compensate. I just used stock for the top and will add details later. If this is indicative of what the rest of the turret is like, oh boy.
Adapt and overcome, right ? Looks good !
Your efforts now make me not want to build any Challys. It’s like you are the god of Challengers and I am but a puny mortal. ![]()
![]()
I guess when you have first hand knowledge of these beasts its hard to overlook what’s missing or what’s not quite right. Glad I’m ignorant. ![]()
![]()
Good effort Russ, Trumpy should be hanging their heads in shame… I’m 100% only bothering with the RFM Ch2 from now on…![]()
Heck, I’m just copying from books is all… and comparing parts to Tamiya’s Cr2 when I can. I have zero first hand knowledge of the Challenger, but a lot of people here do and they’ve been very generous with that knowledge.
Just for grins I pulled a super shelf queen down, a Trump/Tamiya Abrams that I started 10+ years ago, something I’ve always wanted to get back to but have been hesitant to since I’m largely ignorant of the things. I thought it might be a nice break before I start the Tamiya Cr2 I have waiting.
Crackin work none the less. Think I must have confused you with someone else.
It’s happened before, no worries. ![]()
Lots of “basic” modeling going on now: fixing big gaps, correcting errors as best possible, filling sink marks and fixing tooling marks.