Be warned, I found several dozen Fennek pics on my HD. ![]()
![]()
3 Likes
Thanks for the pictures. Those posted by Hans-Hermann at Prime Portal show totally different colors for the interior. For instance the white parts are now light green.
When did the Bundeswehr repainted their interior that way?
Olivier
1 Like
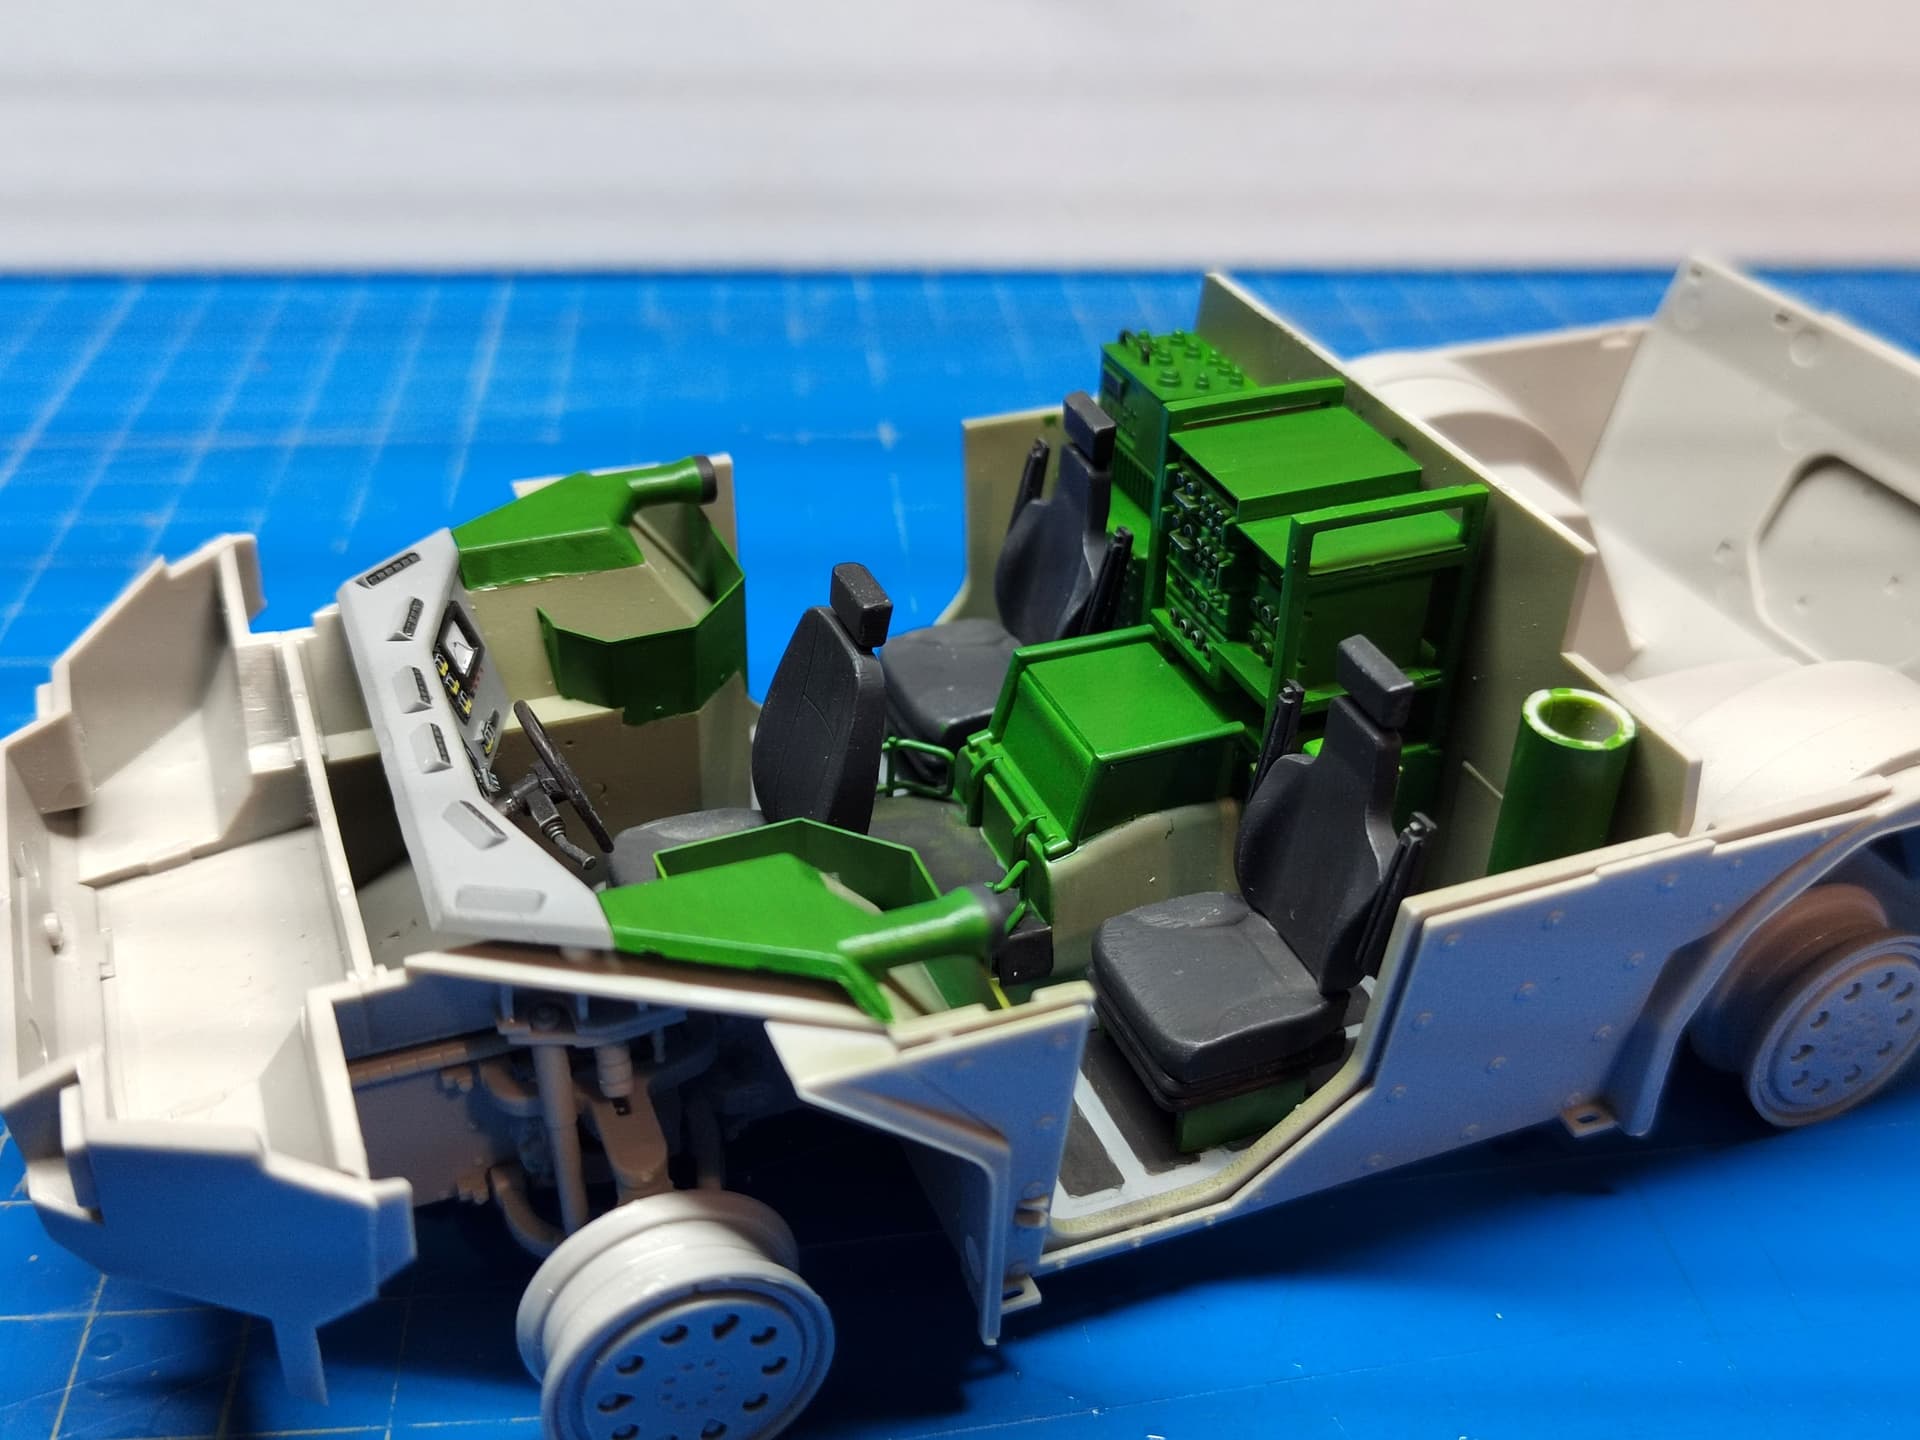
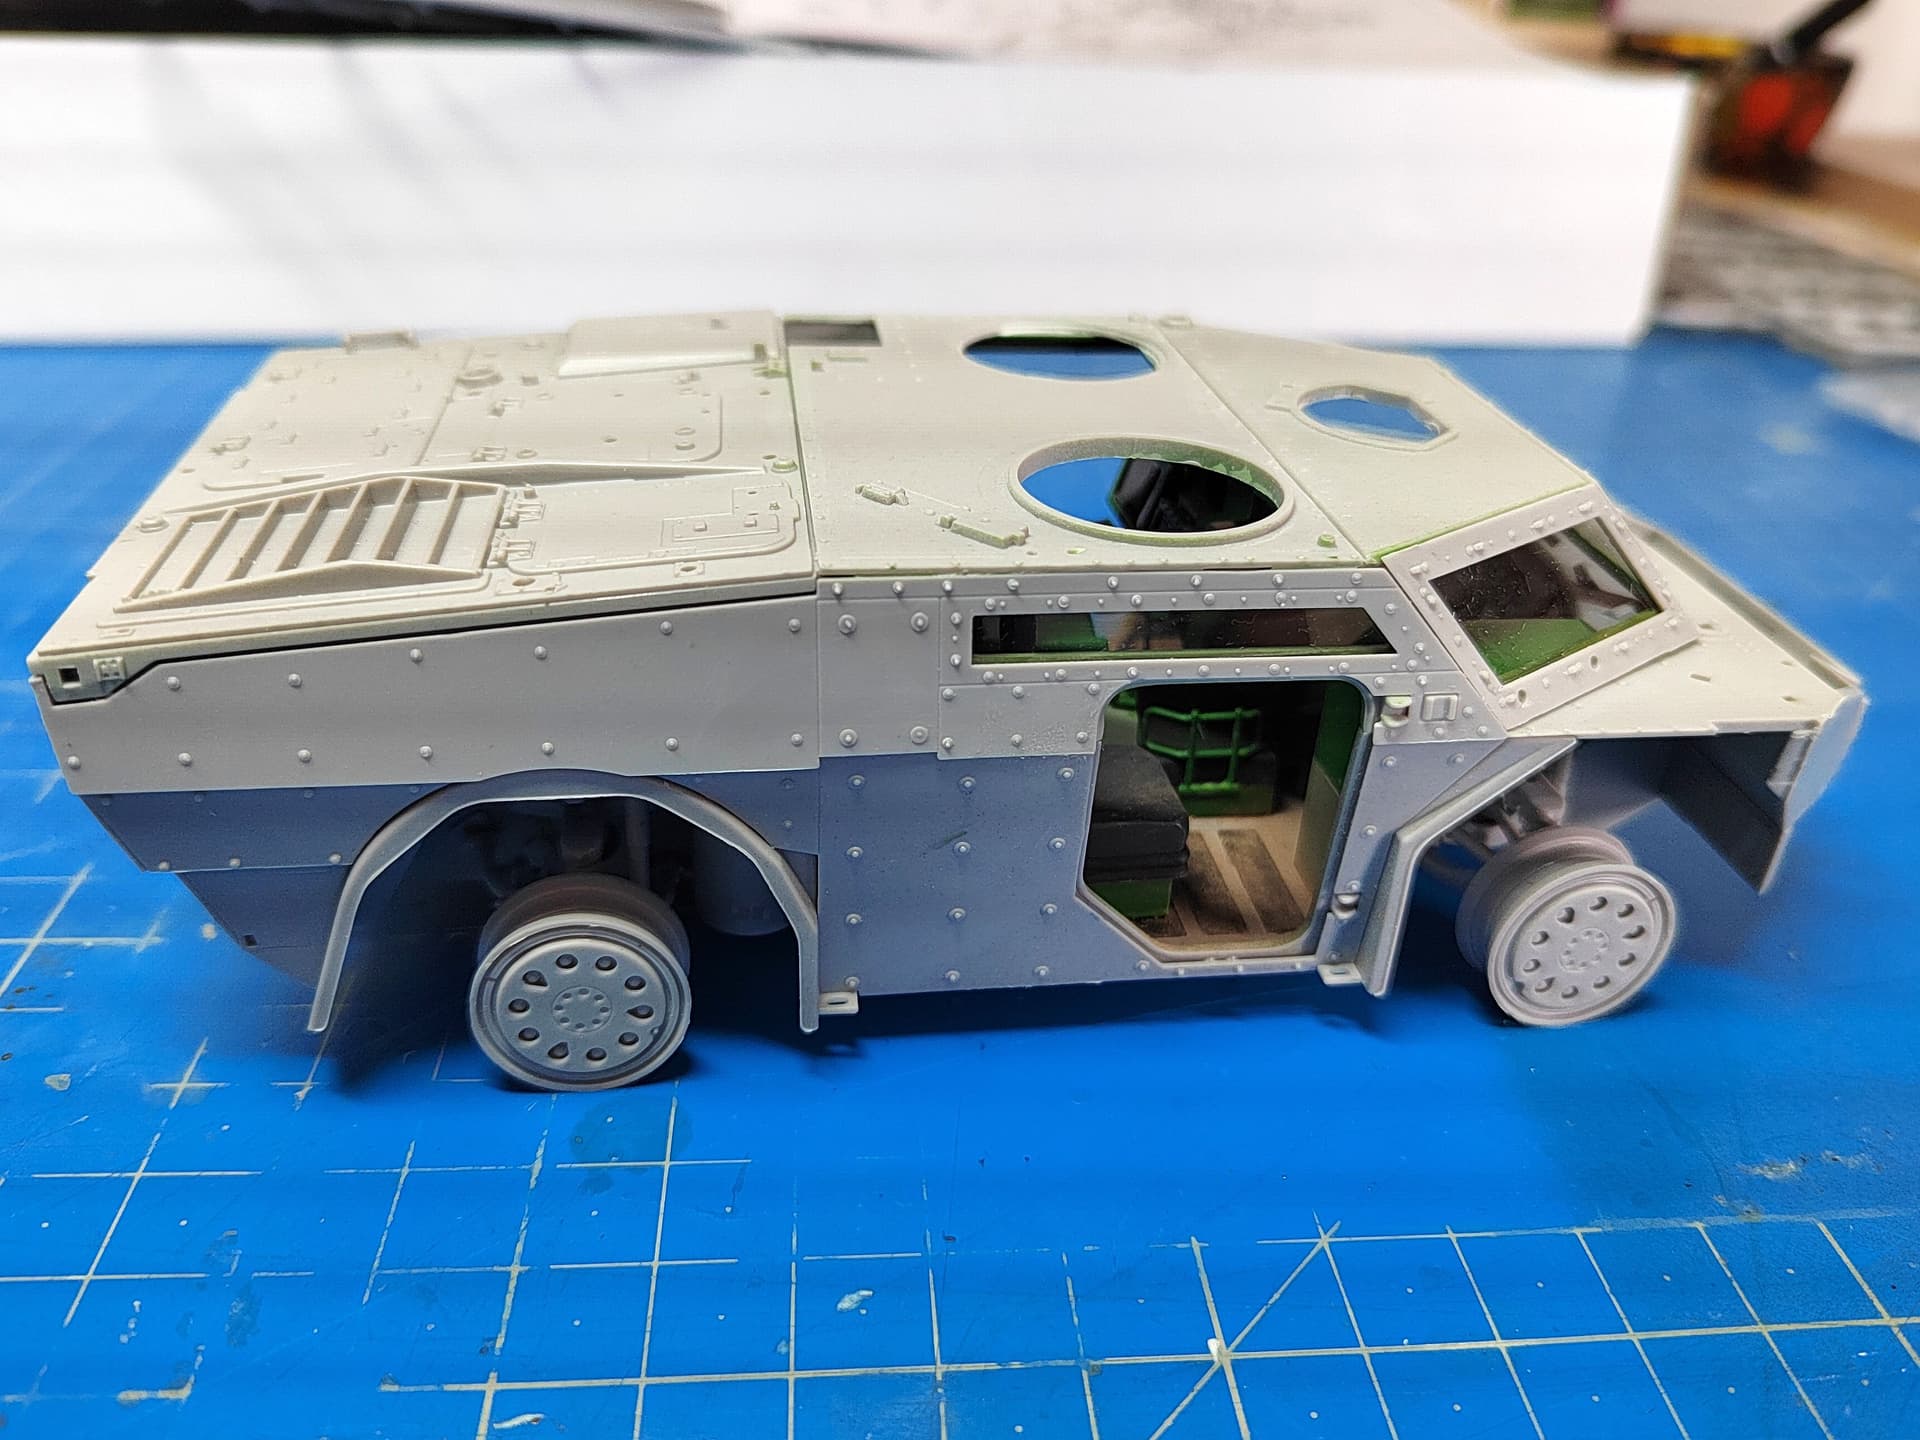
I painted the lower hull interior parts and glued them in place. The colors are voluntarily brighter than the actual ones as few will remain visible. I also drybrushed most of the parts so they can still show up when the hull is complete.
The decal for the dashboard has been cut in several parts to help fit over the raised details.

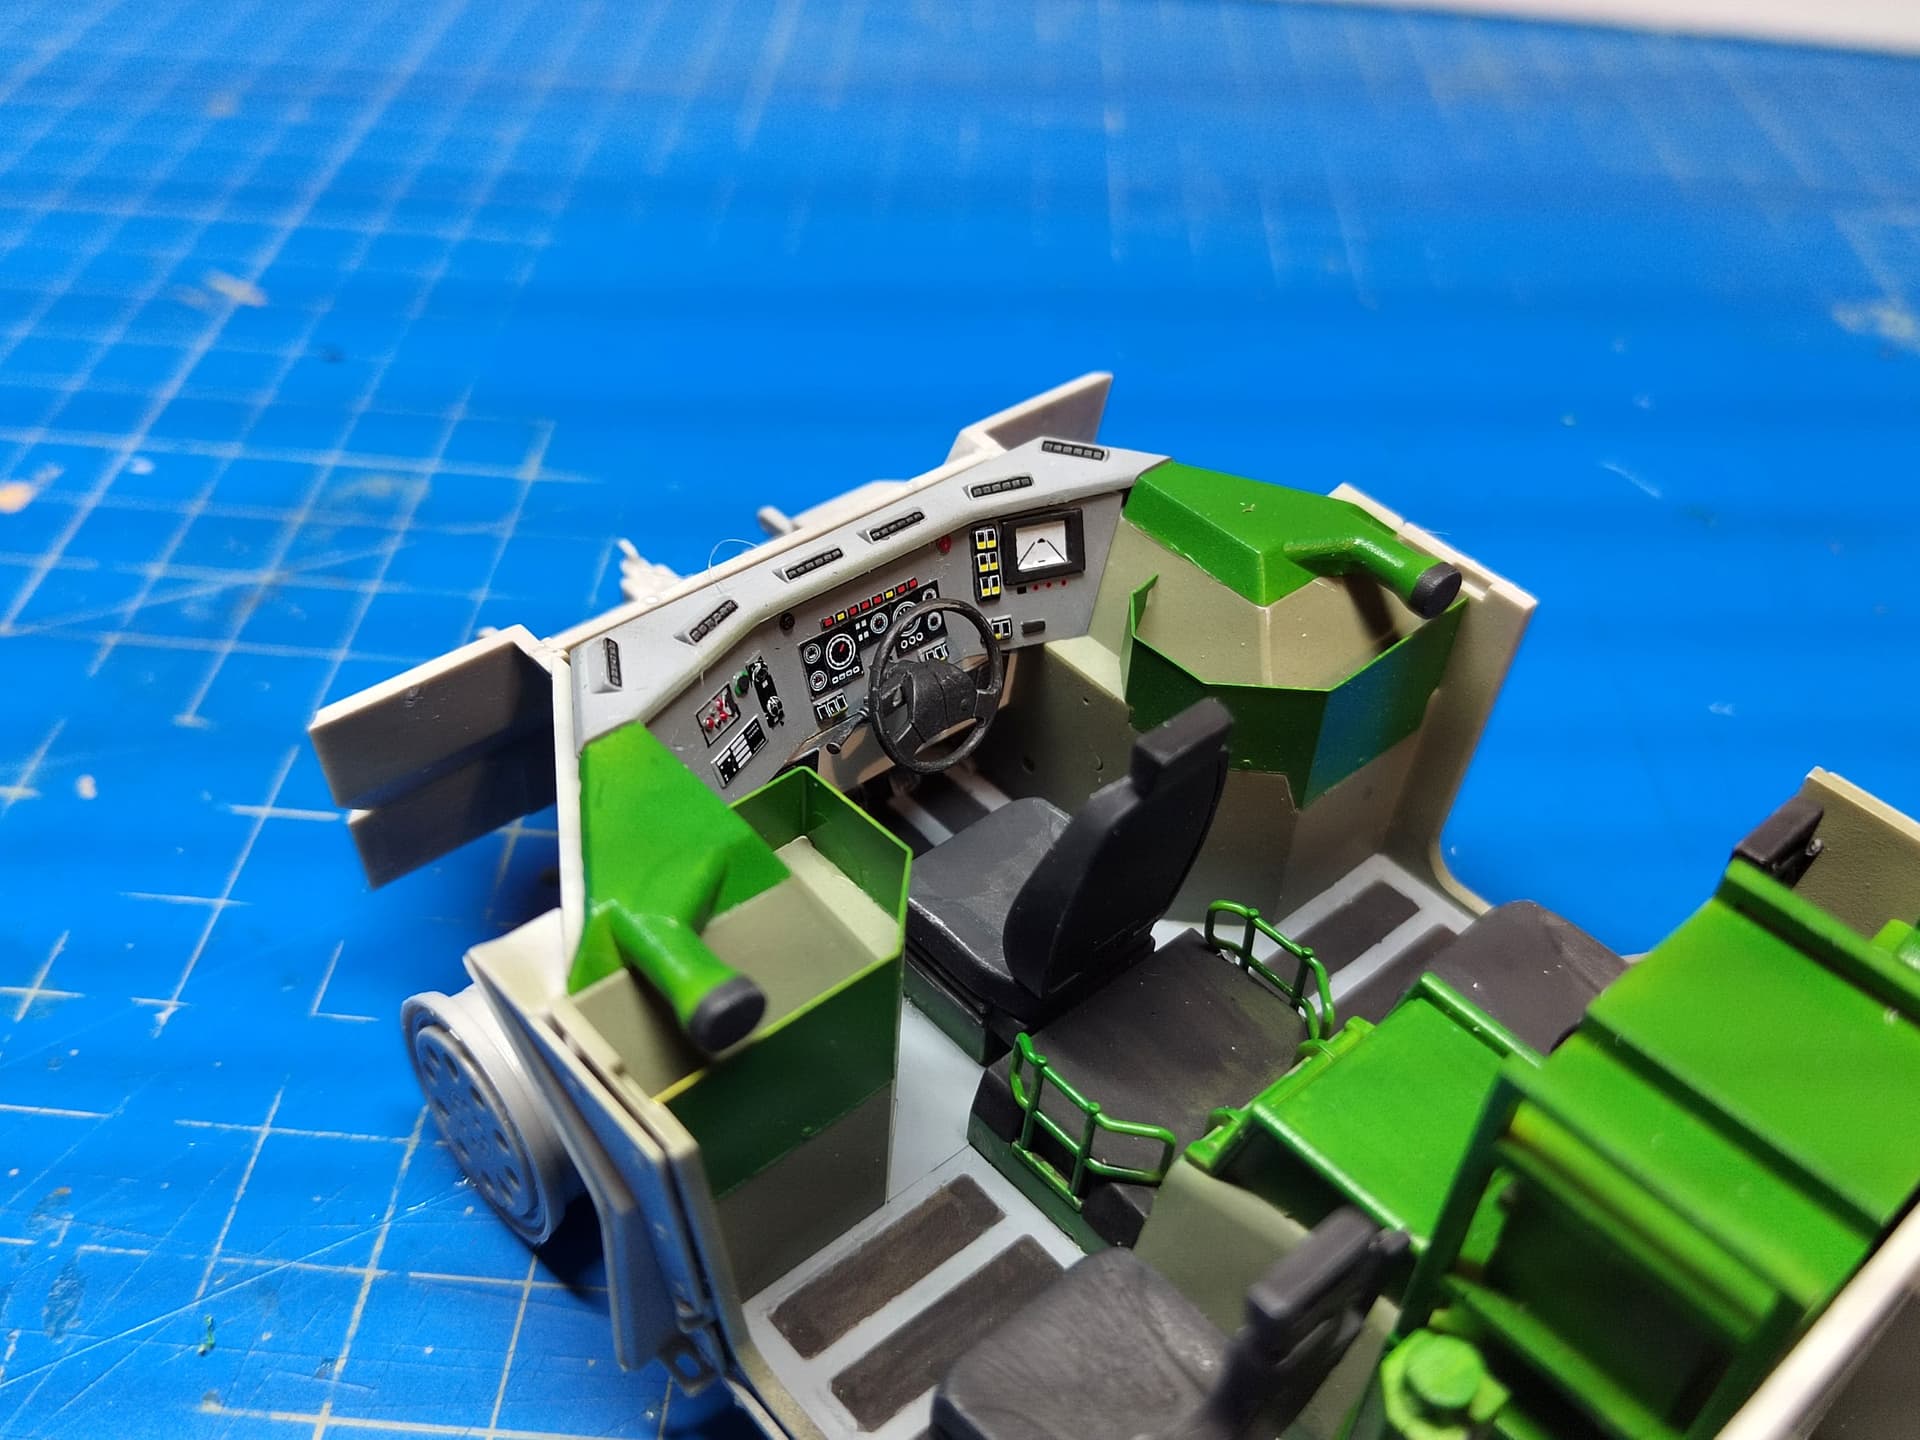
With the upper hull very few remains visible.
Olivier
10 Likes
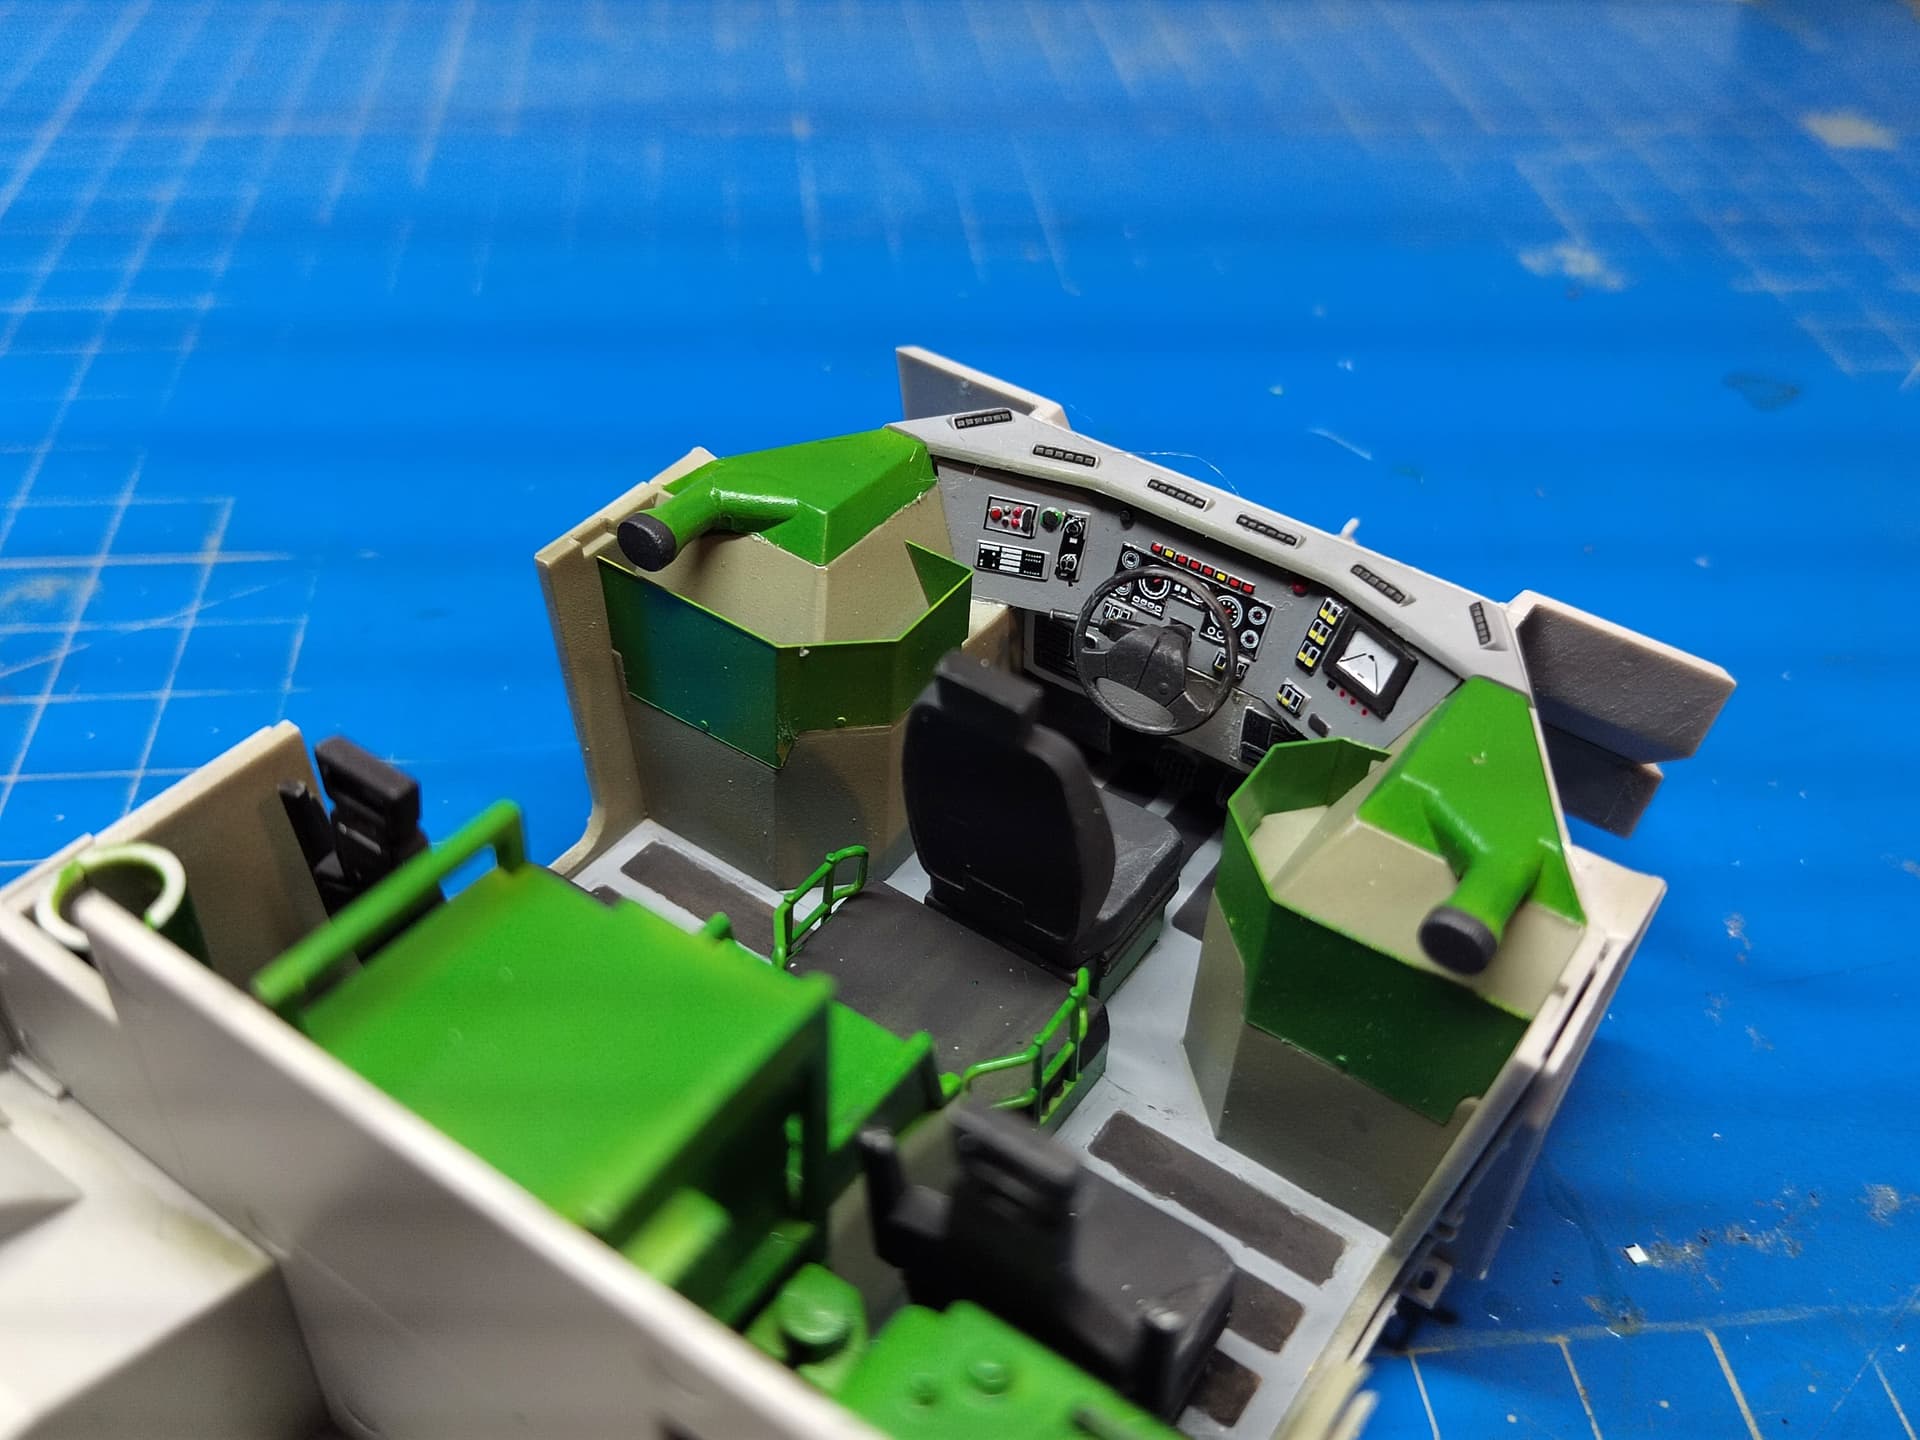
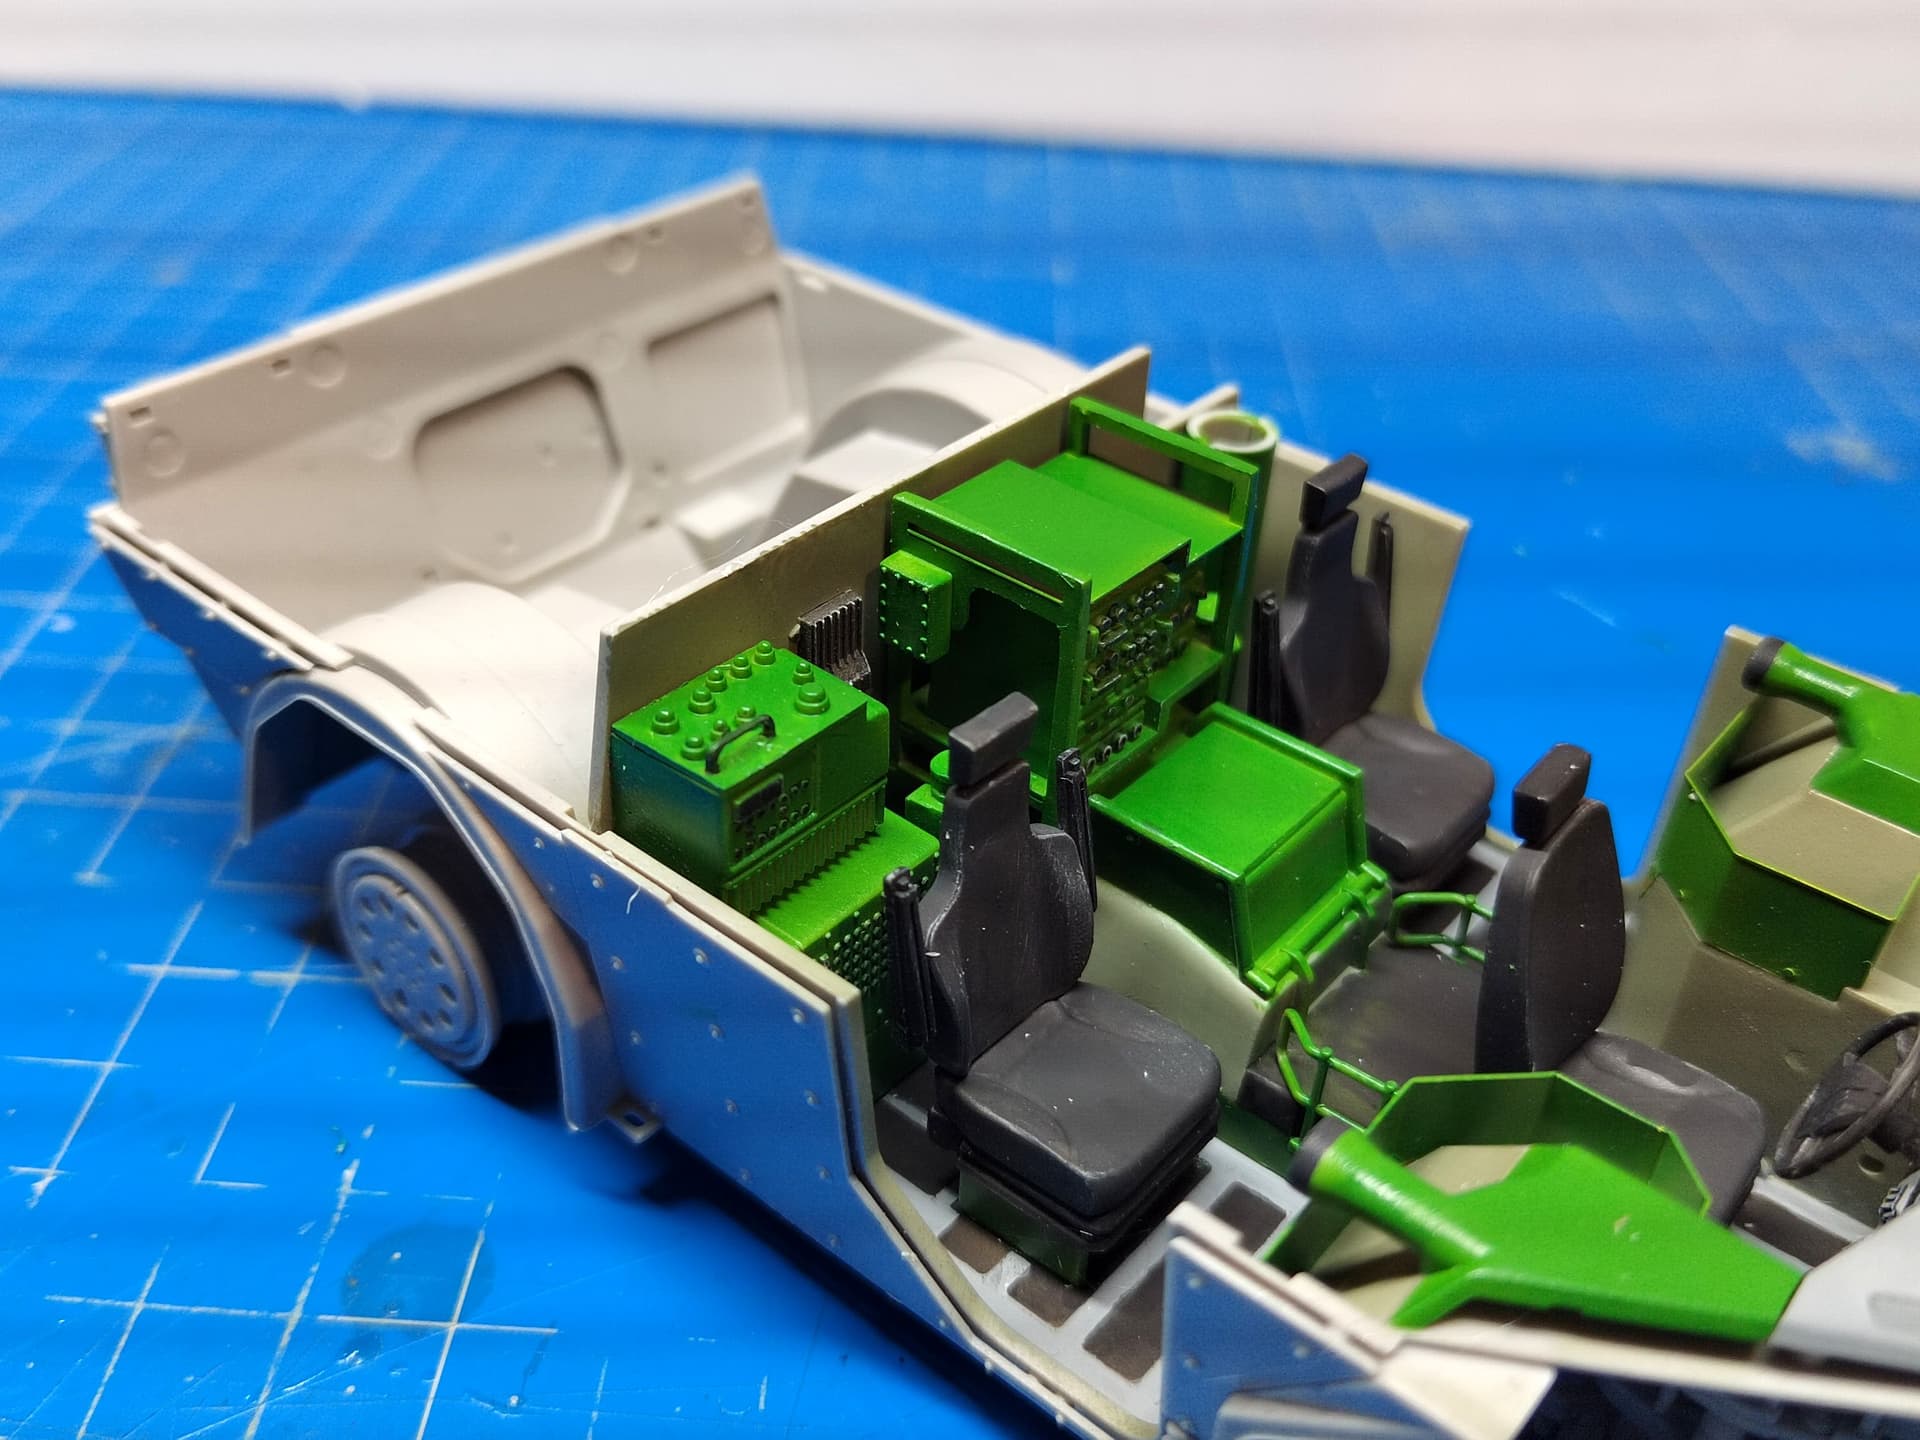
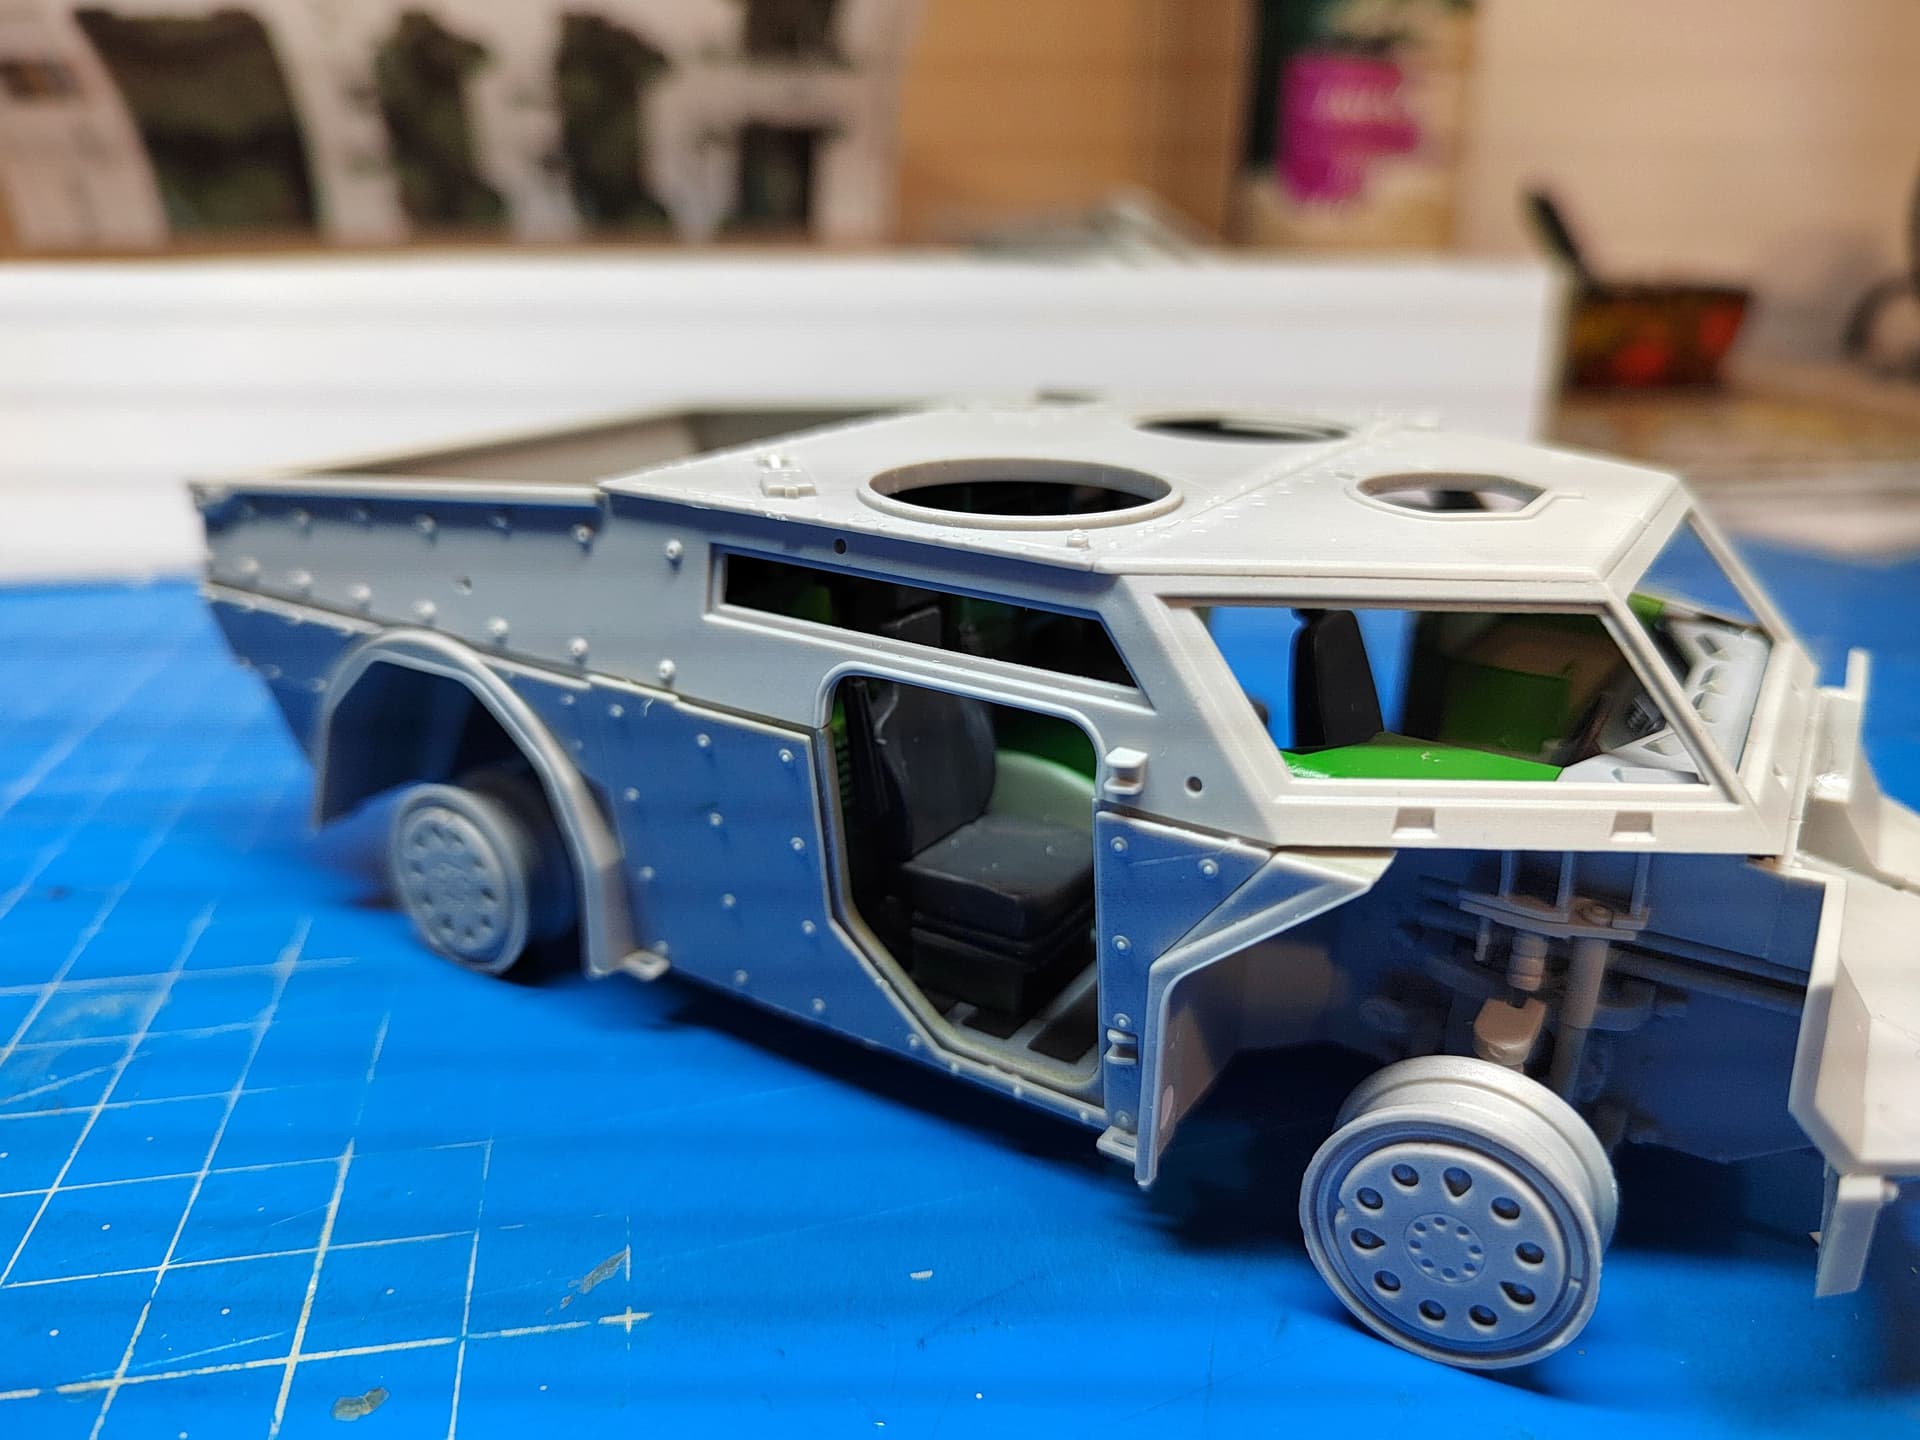
As the green was too bright, I toned it down a bit. I’ll probably have one access door open and maybe one roof hatch so some of the interior will be visible.
A light weathering will be applied before I glue the upper hull.
Olivier
7 Likes
Fennek in action.
https://www.youtube.com/watch?v=oV9KfkIGaiQ
2 Likes
The interior is coming along well- I remember it as being quite nicely detailed out of the box and you have brought those details out well. I’m pretty sure I left either both or one of the doors open to show off my interior but once the roof and doors are on there is not much visible inside!
2 Likes
That is a sweet looking interior…the dash decal worked out great as well…
2 Likes
i built this before even with the big windows on ther front yiu still dont see much
1 Like
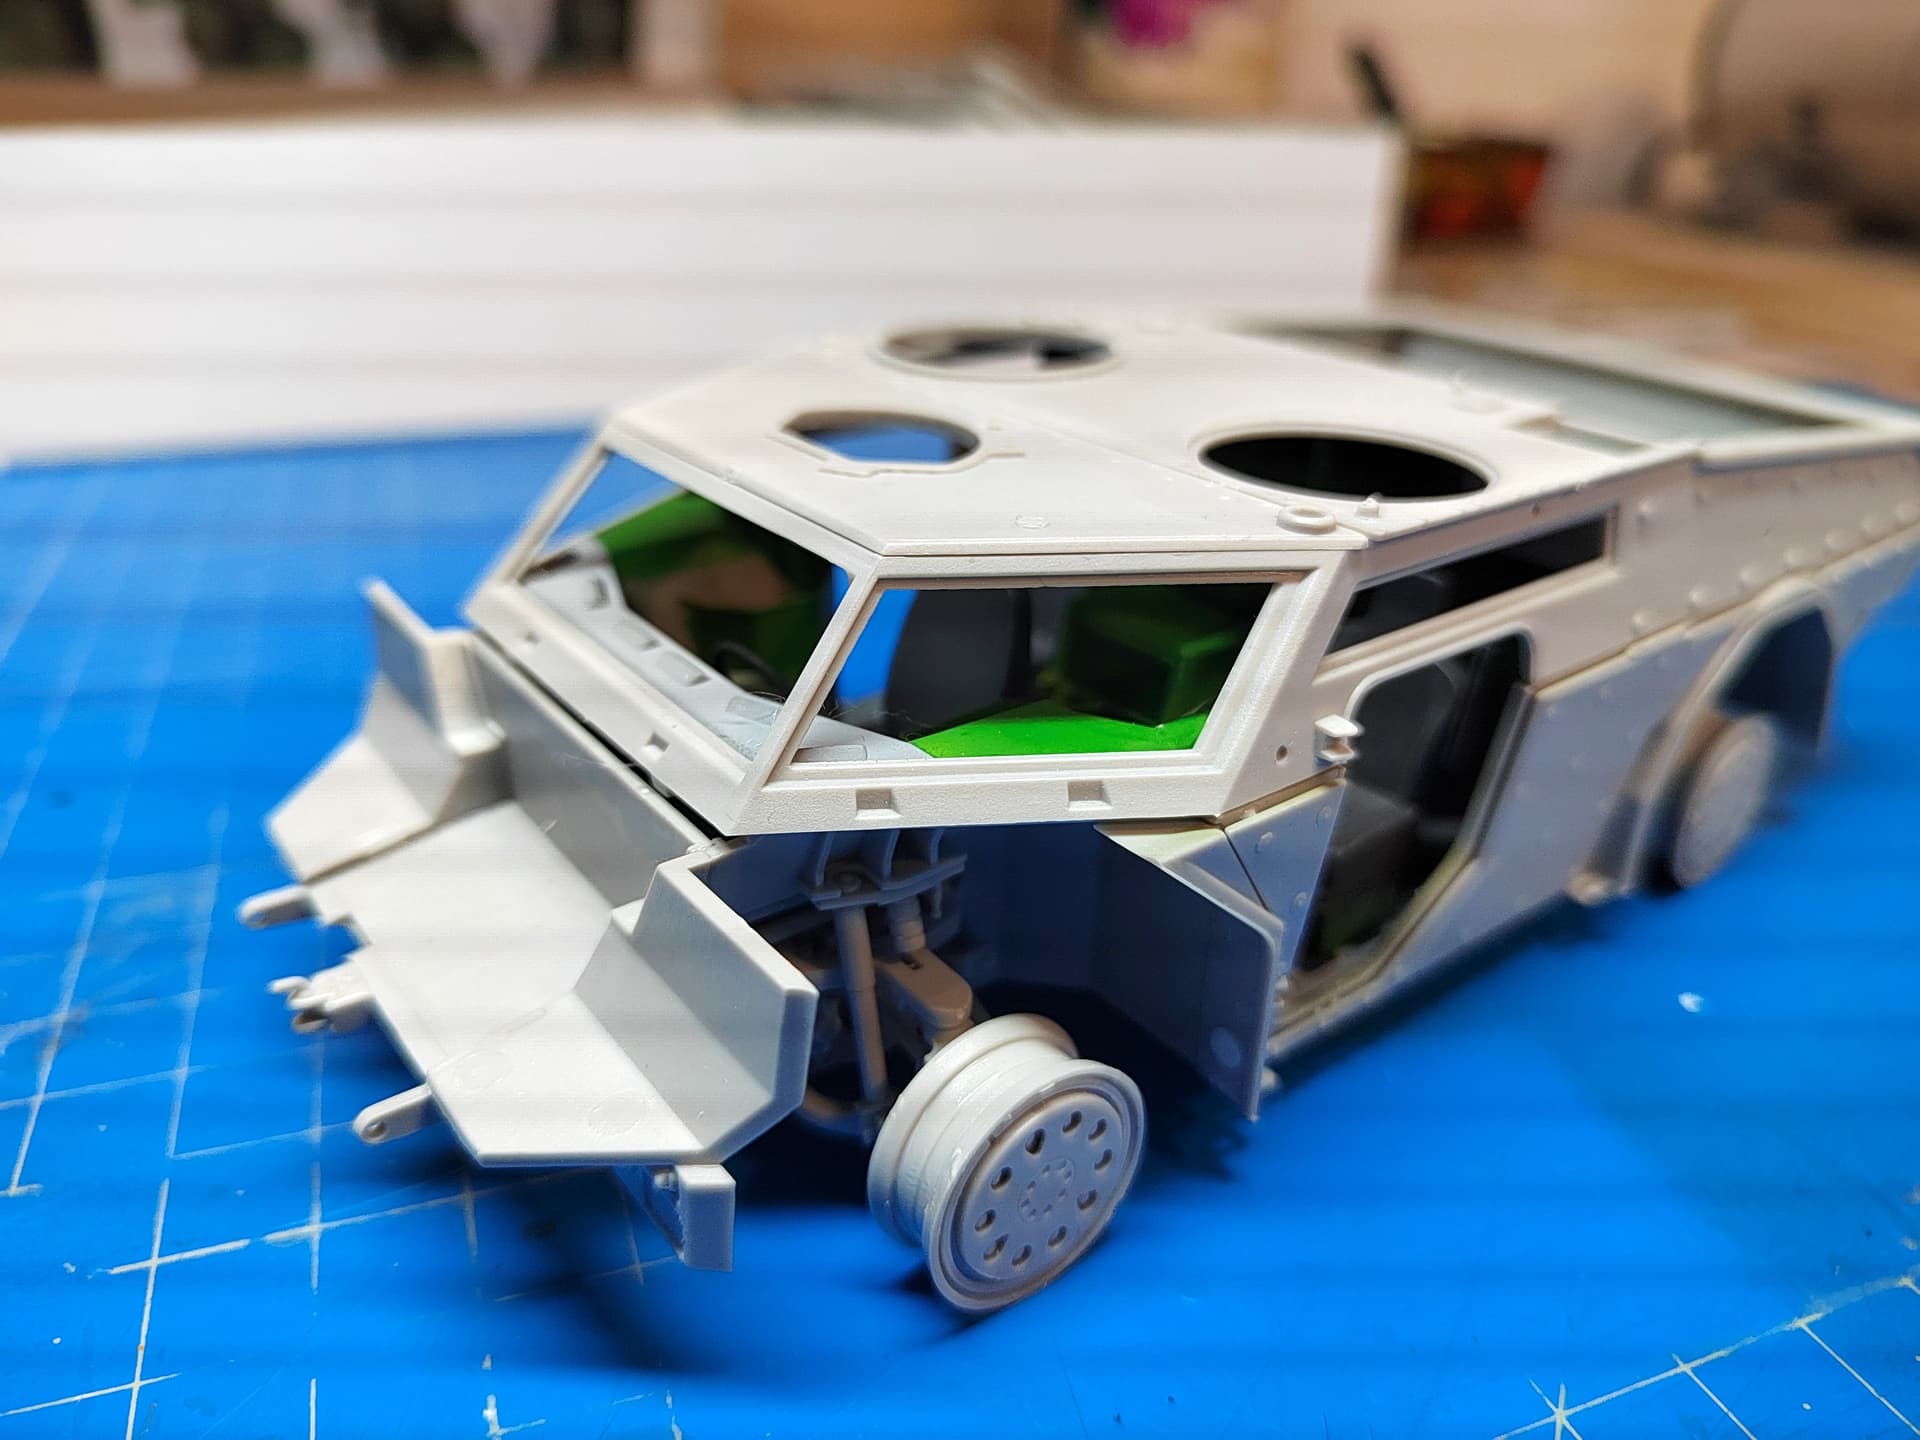
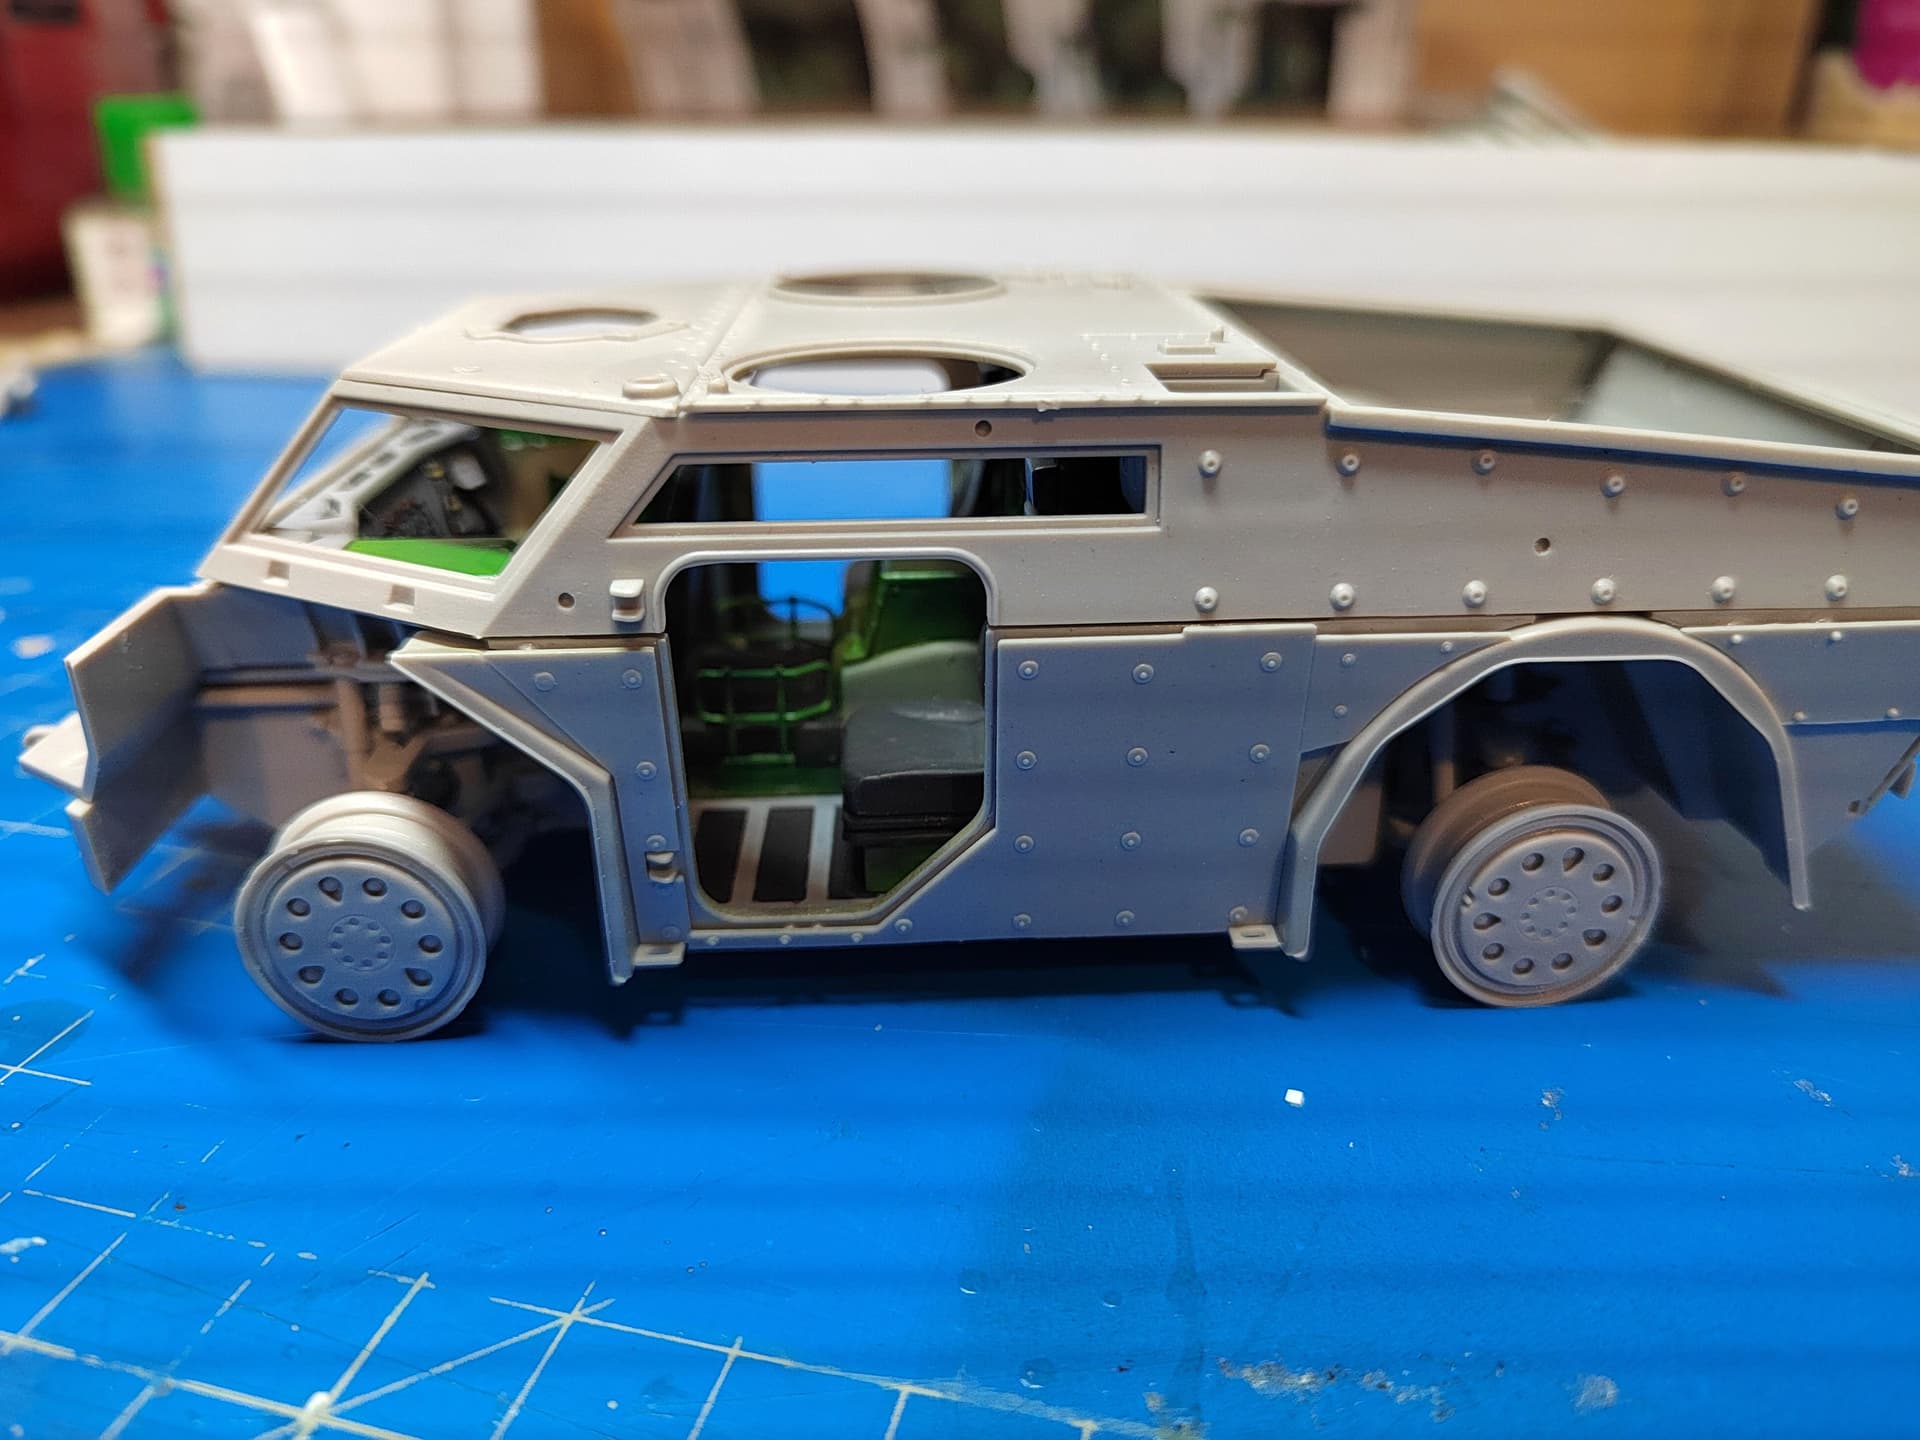
After having slightly dusted the interior I closed the hull.
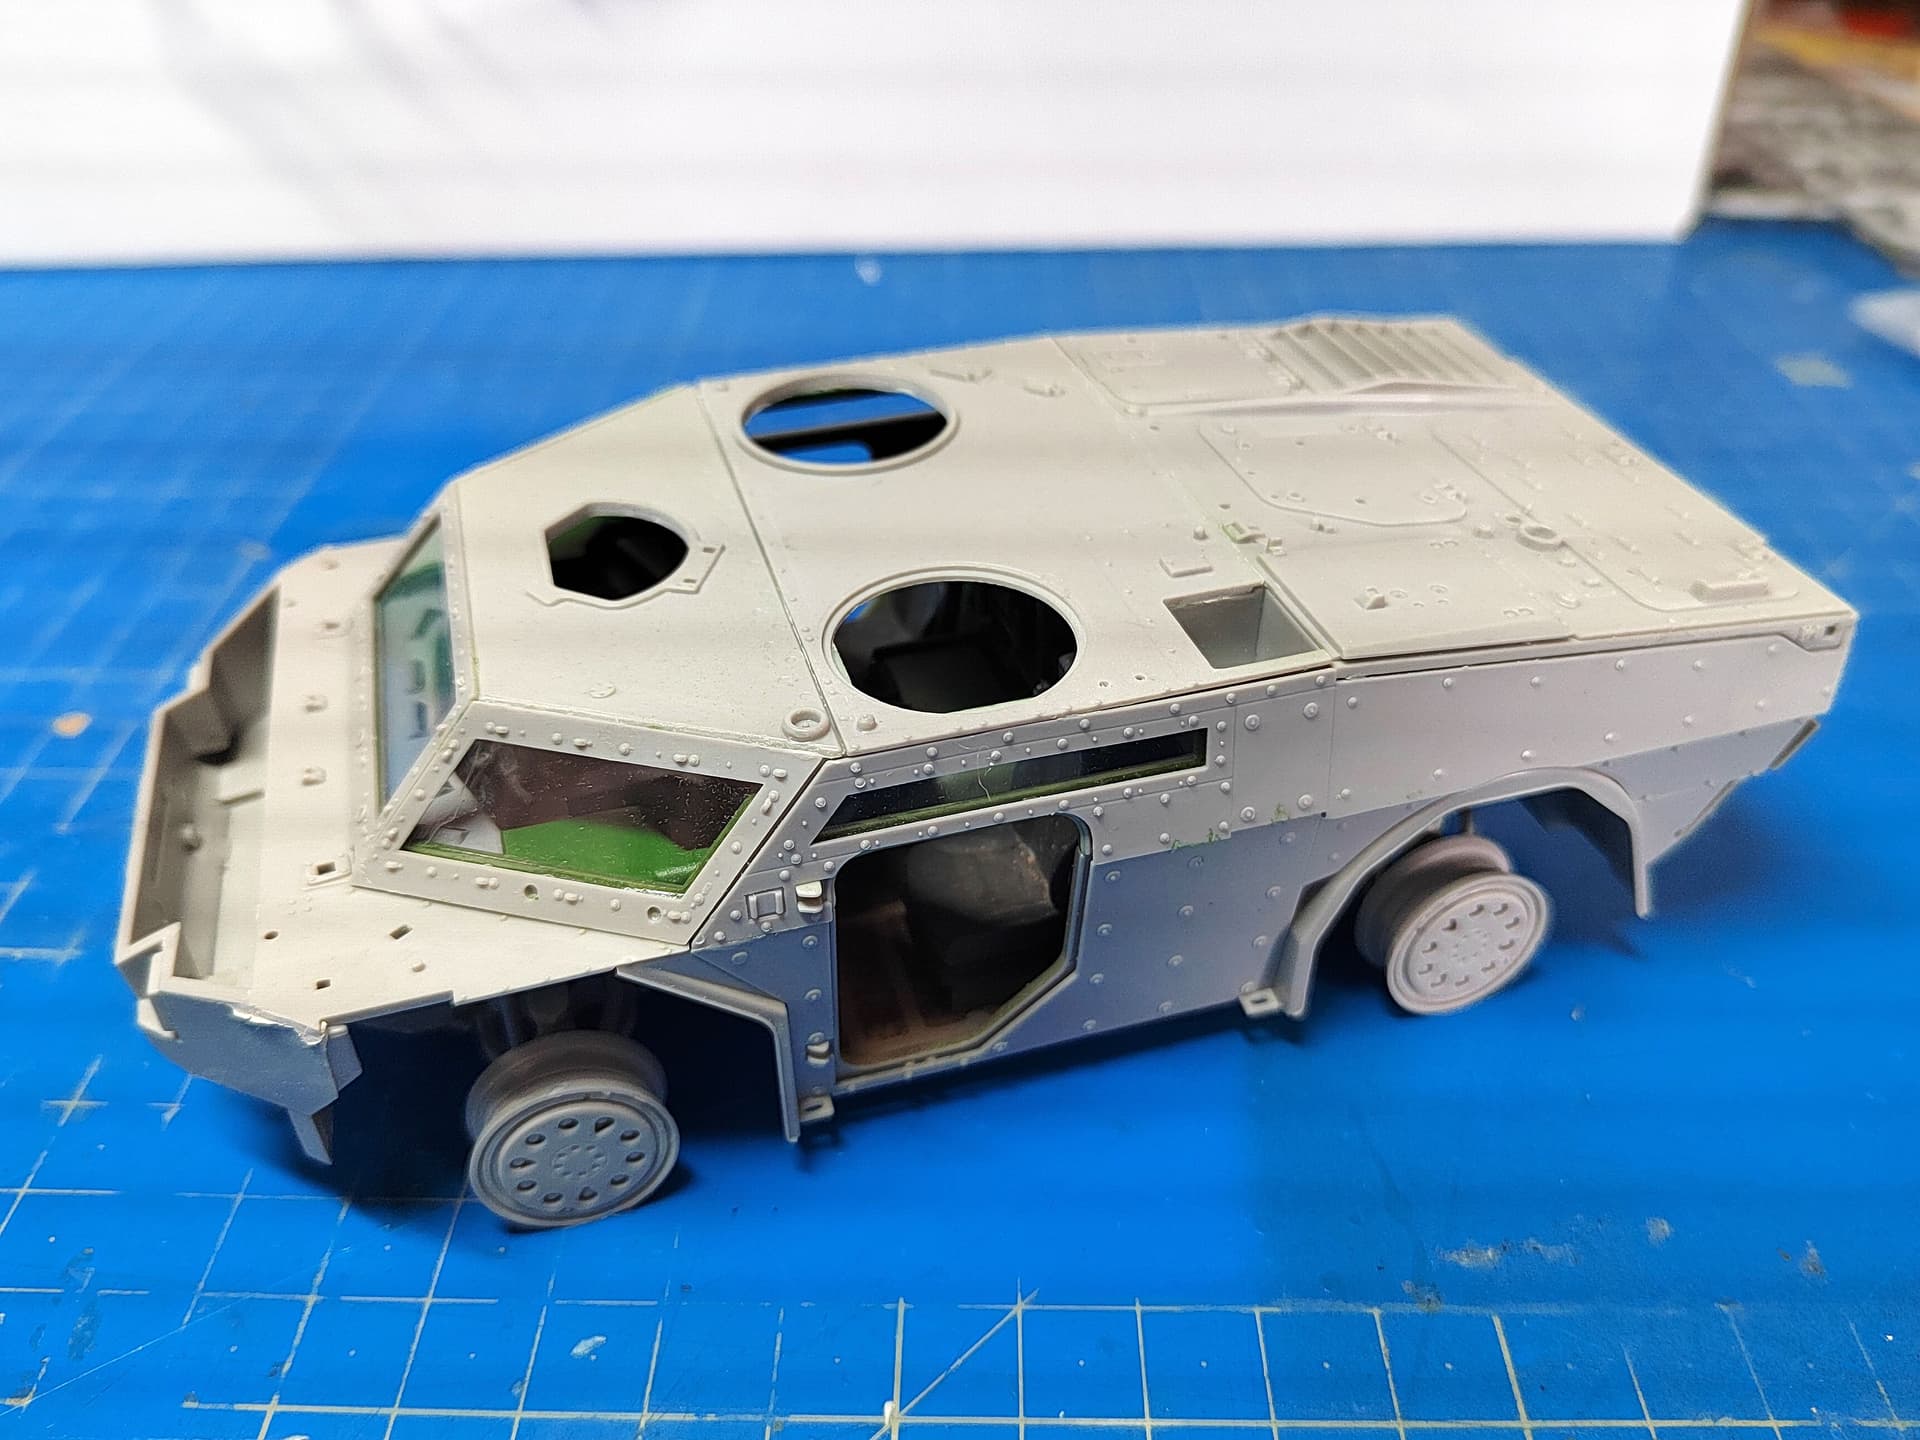
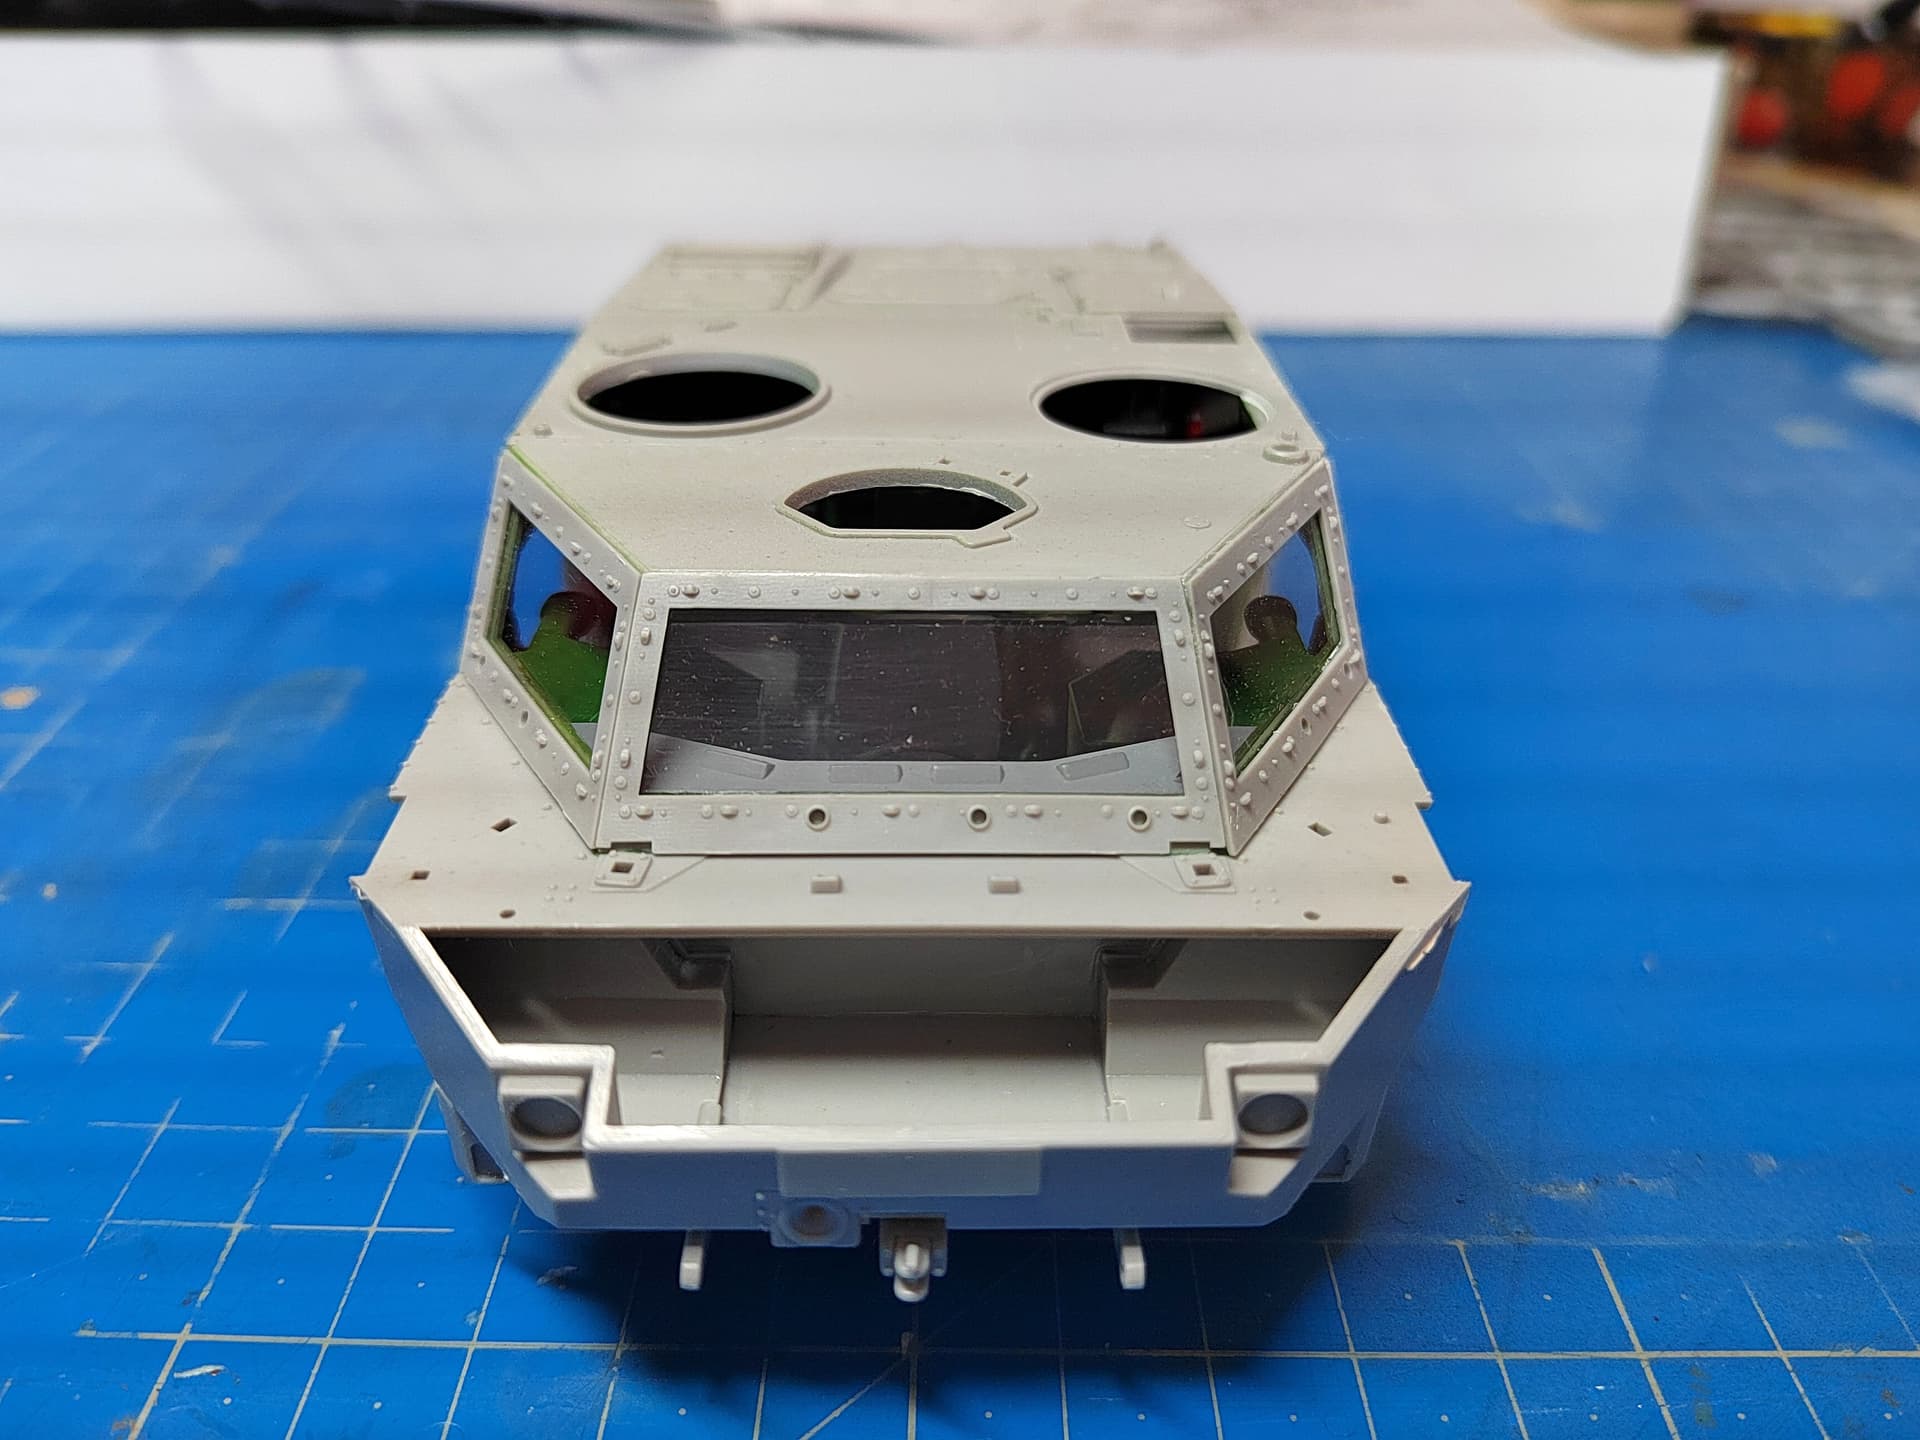
Then I added the windows. The outer frames allow you to secure the clear parts without glue on the latter. The alignment of all the parts (windows frames and side add-on armor plates) is not perfect if you follow the instructions sequence. You’d better start by the side parts and used a slow curing glue to have time to align the parts.
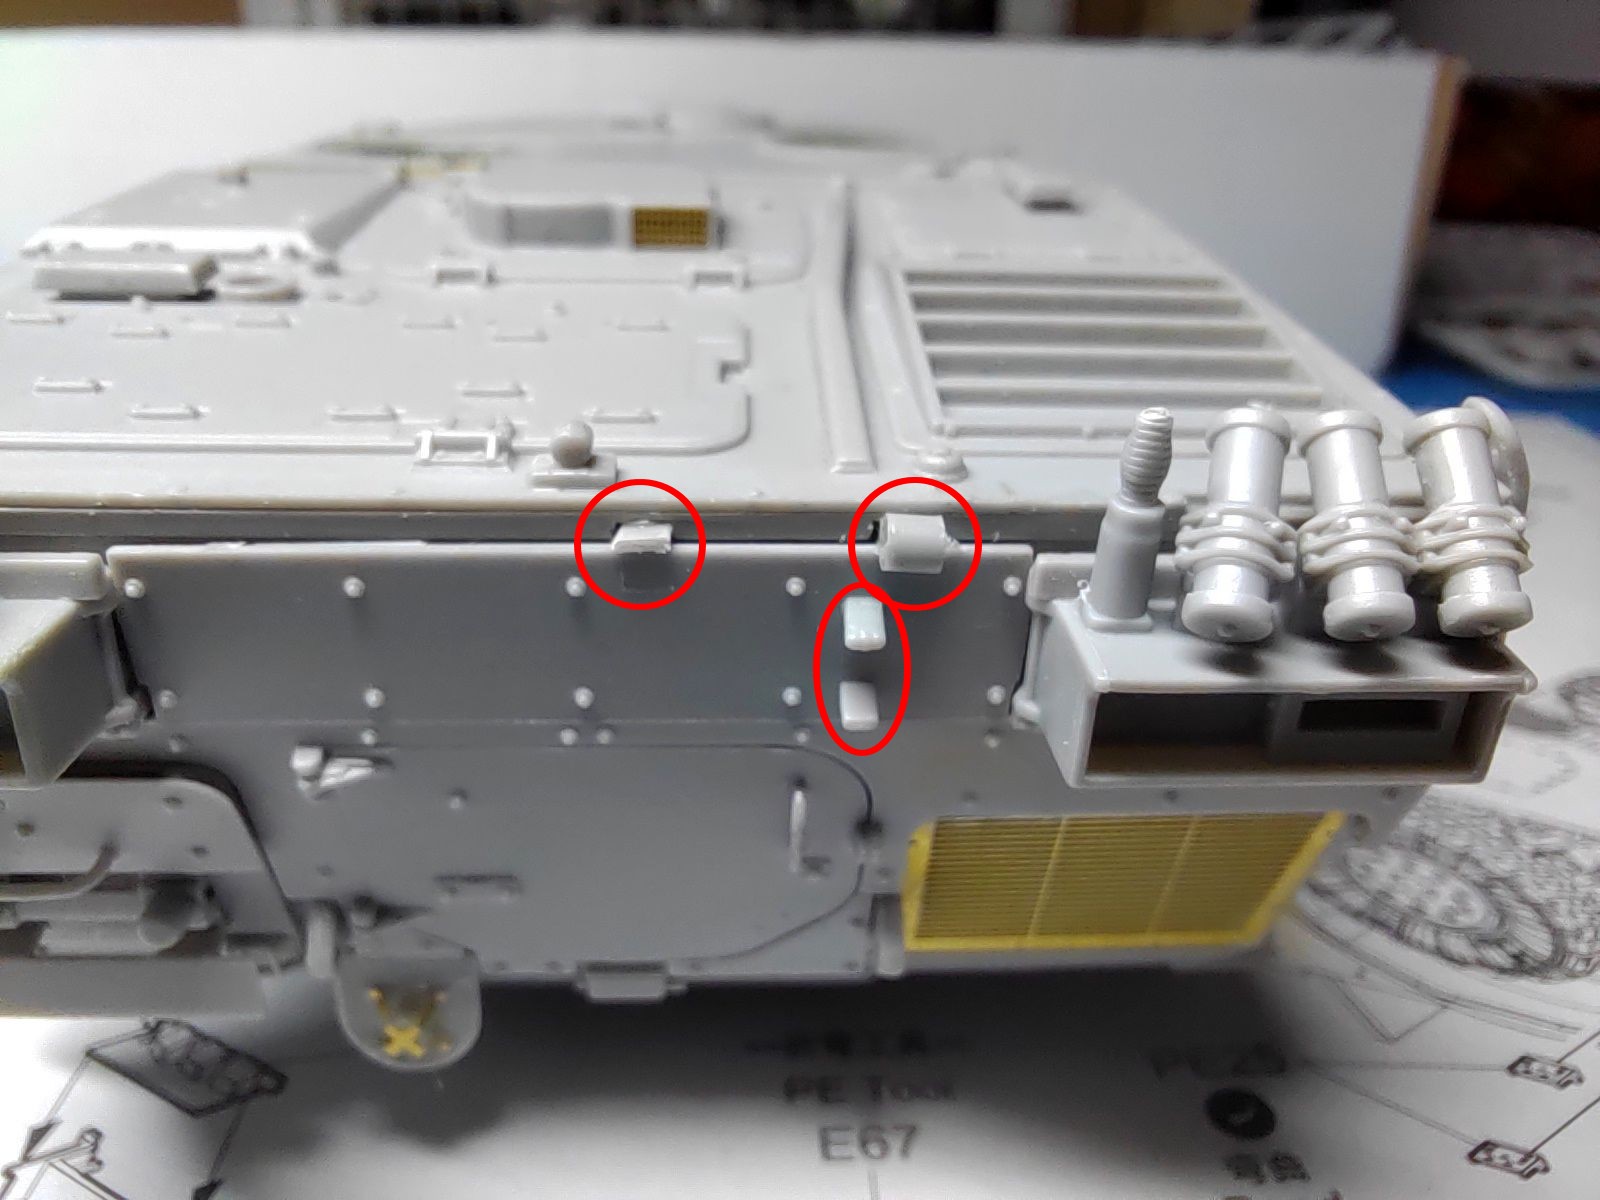
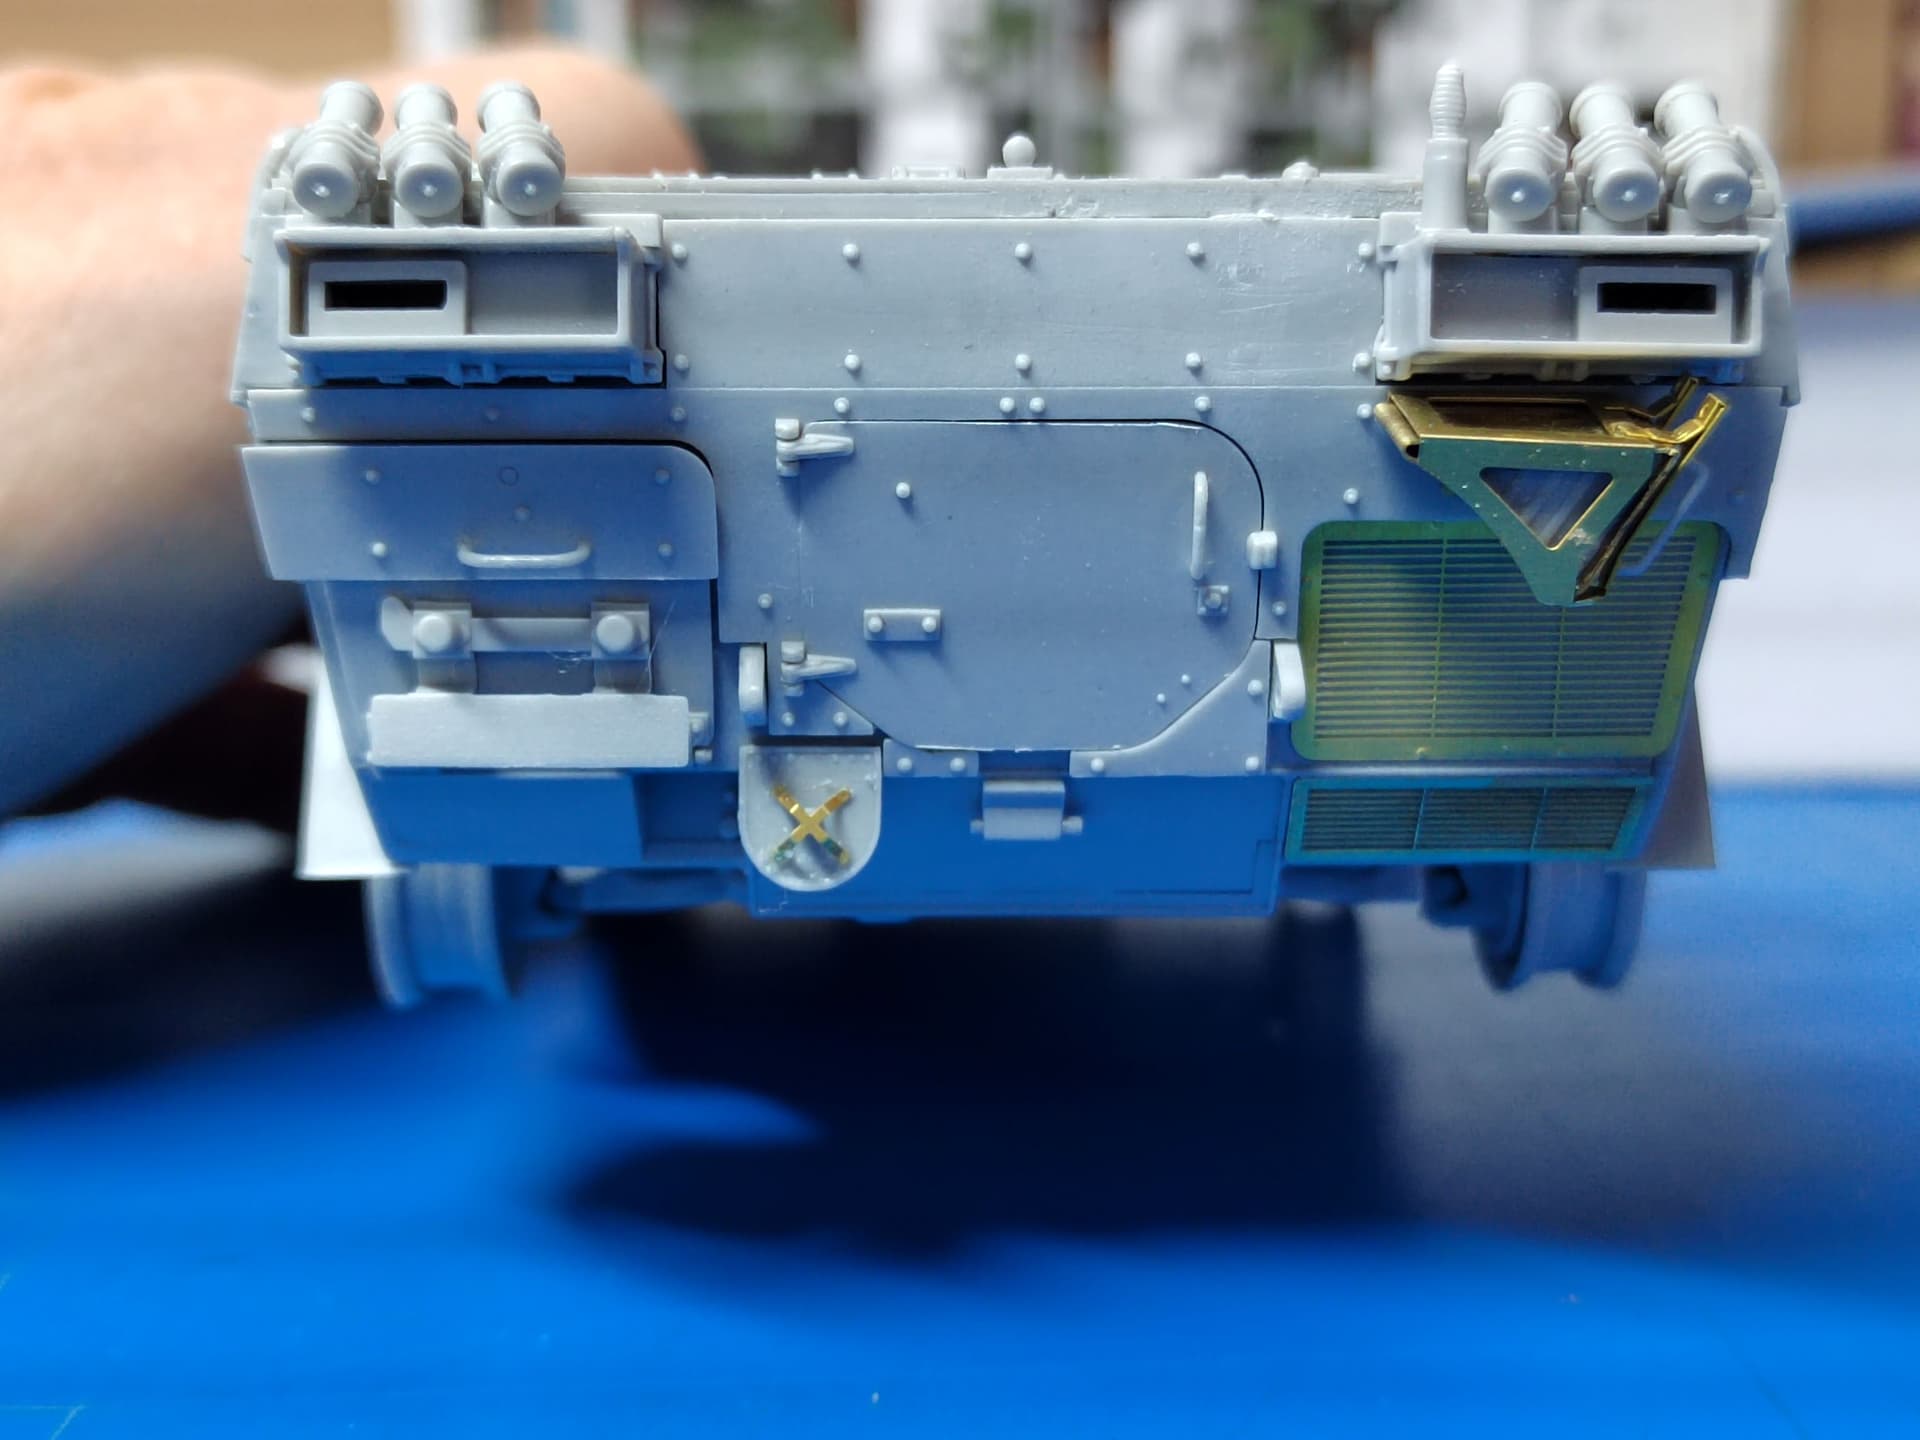
The rear wall has 2 holes you need to fill. Trumpeter tell you this at the very last step. In the circles you can see bits of sprue I used to fill the hole. In the oval you have brackets for the spade. This is for the Dutch version only so you need to remove them which Trumpeter omitted to tell.
I started to add details to the engine deck and the rear plate. The wheel shock is made of 13 parts (9 PE and 4 styrene). Considering what you see in the end and the lack of precision of the instructions, I think it’s just insane.

Olivier
11 Likes
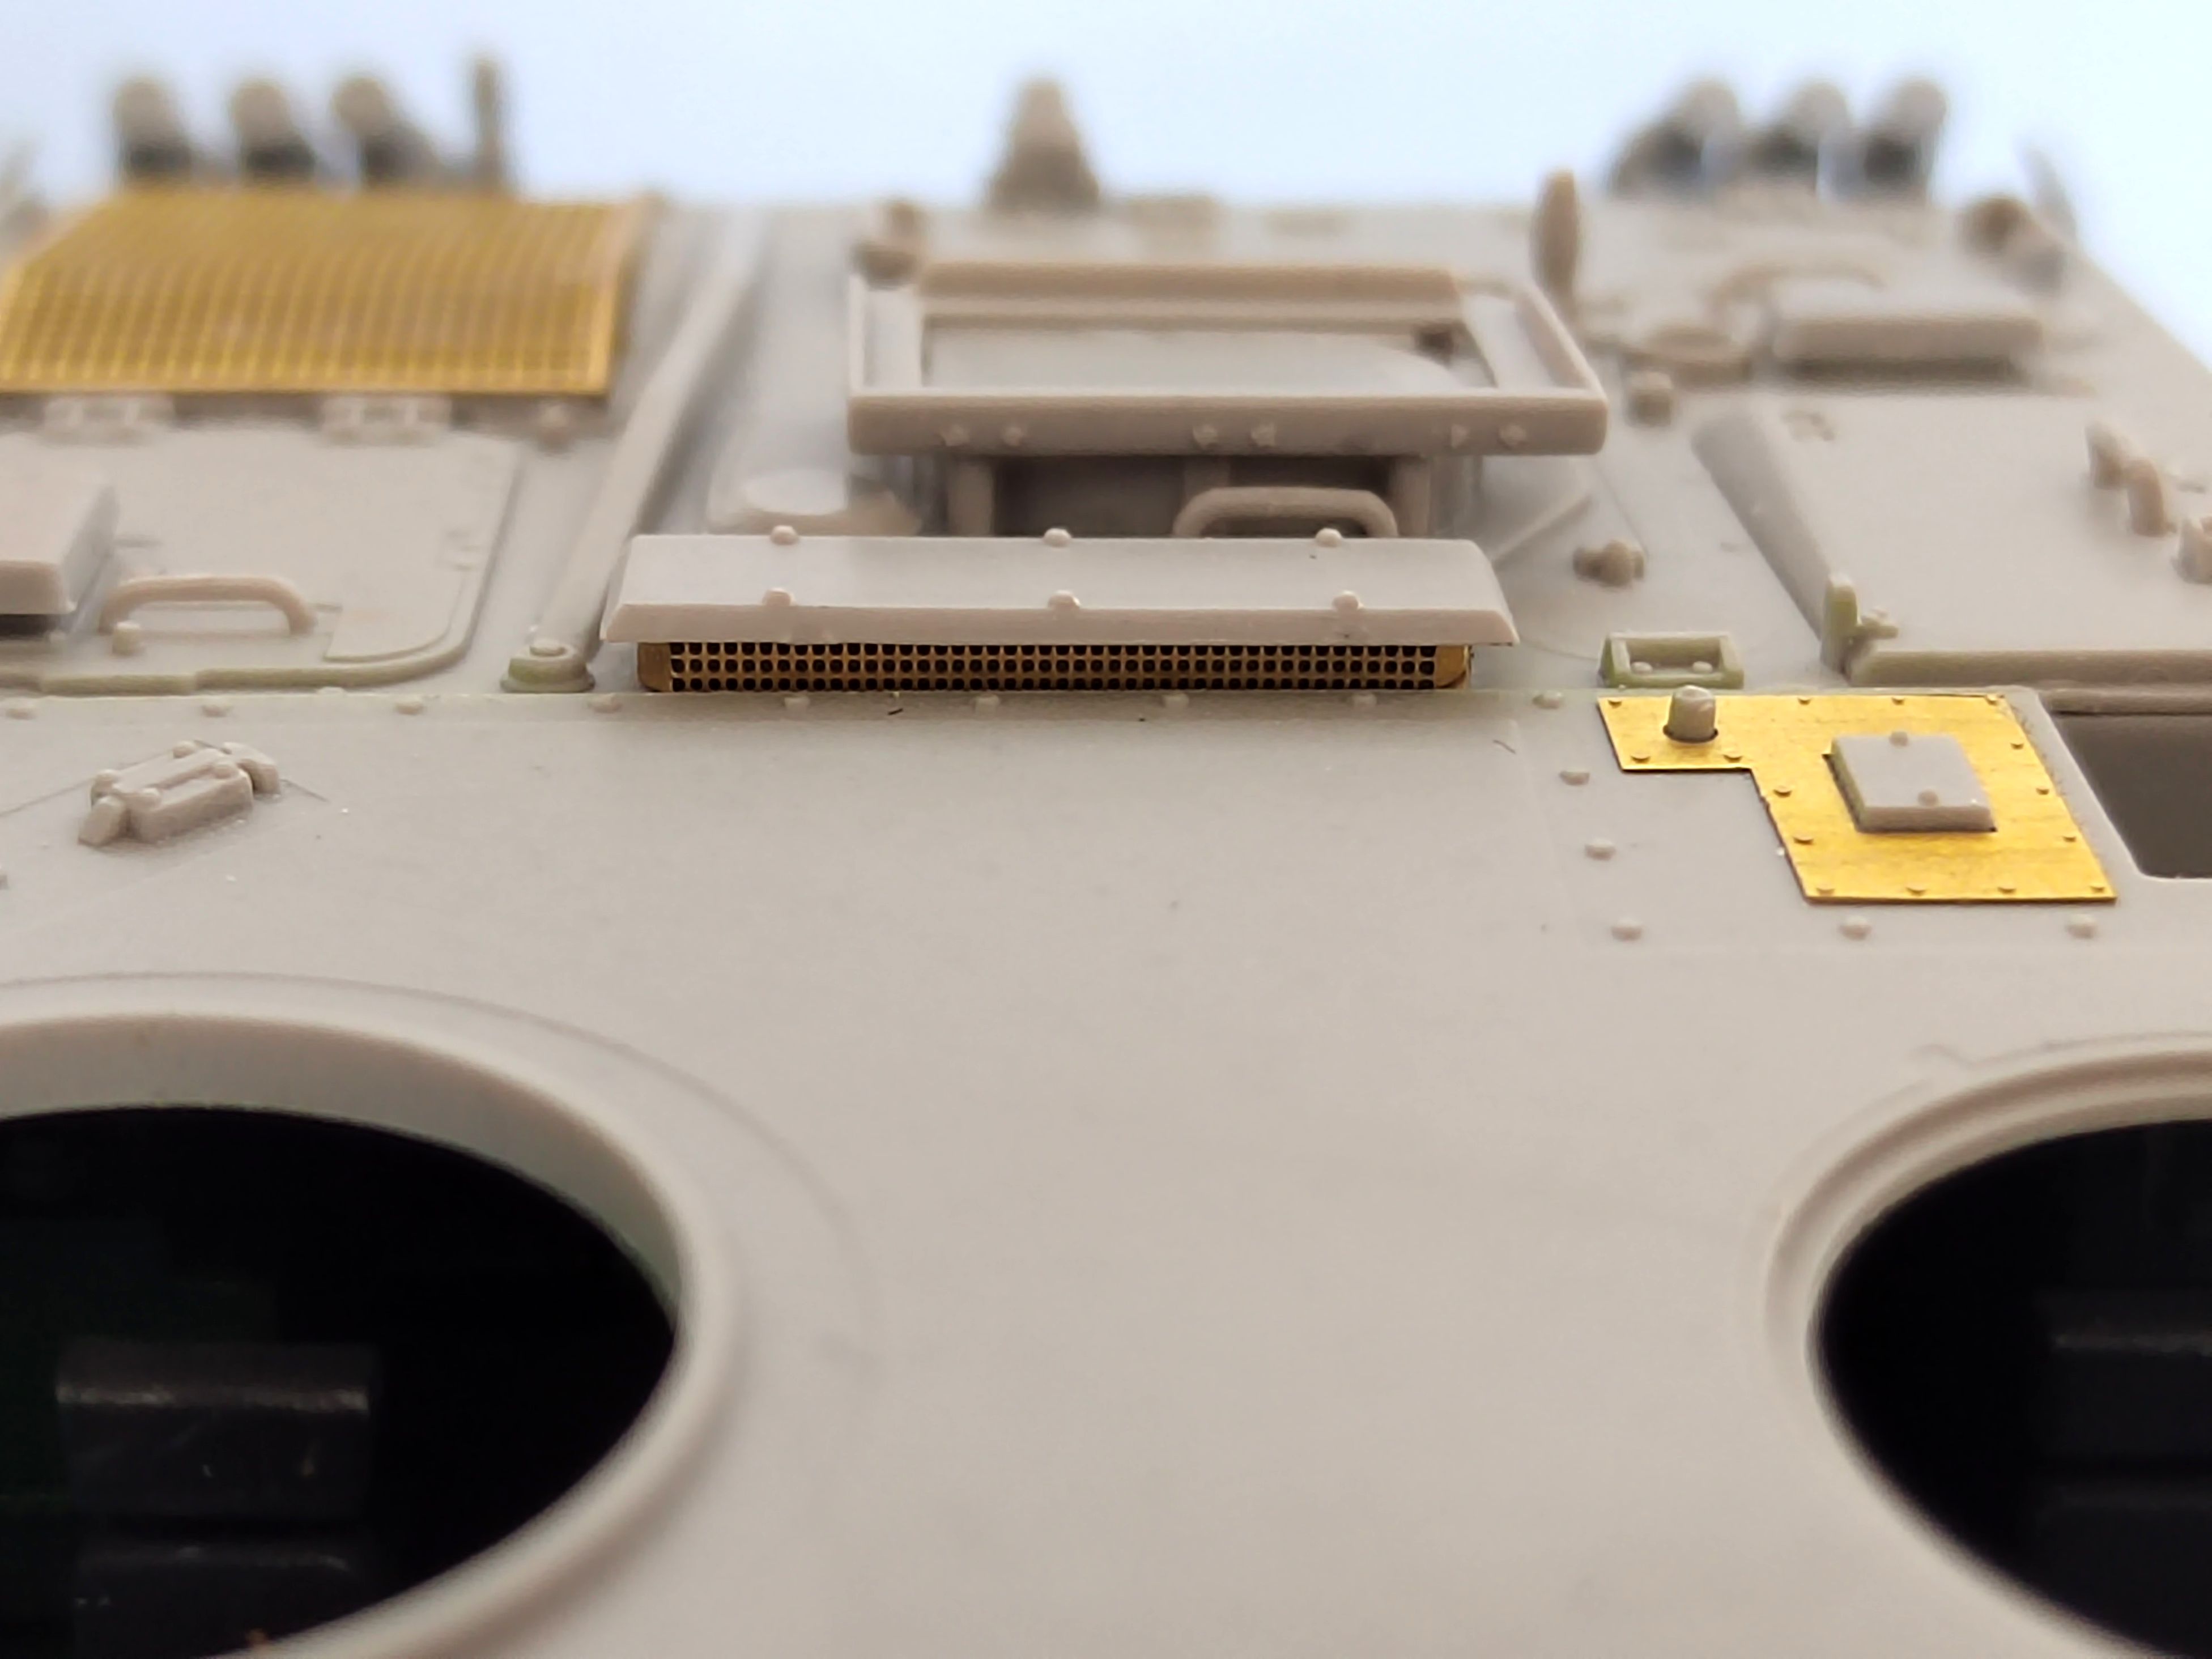
The engine deck is complete with some PE parts to enhance realism.


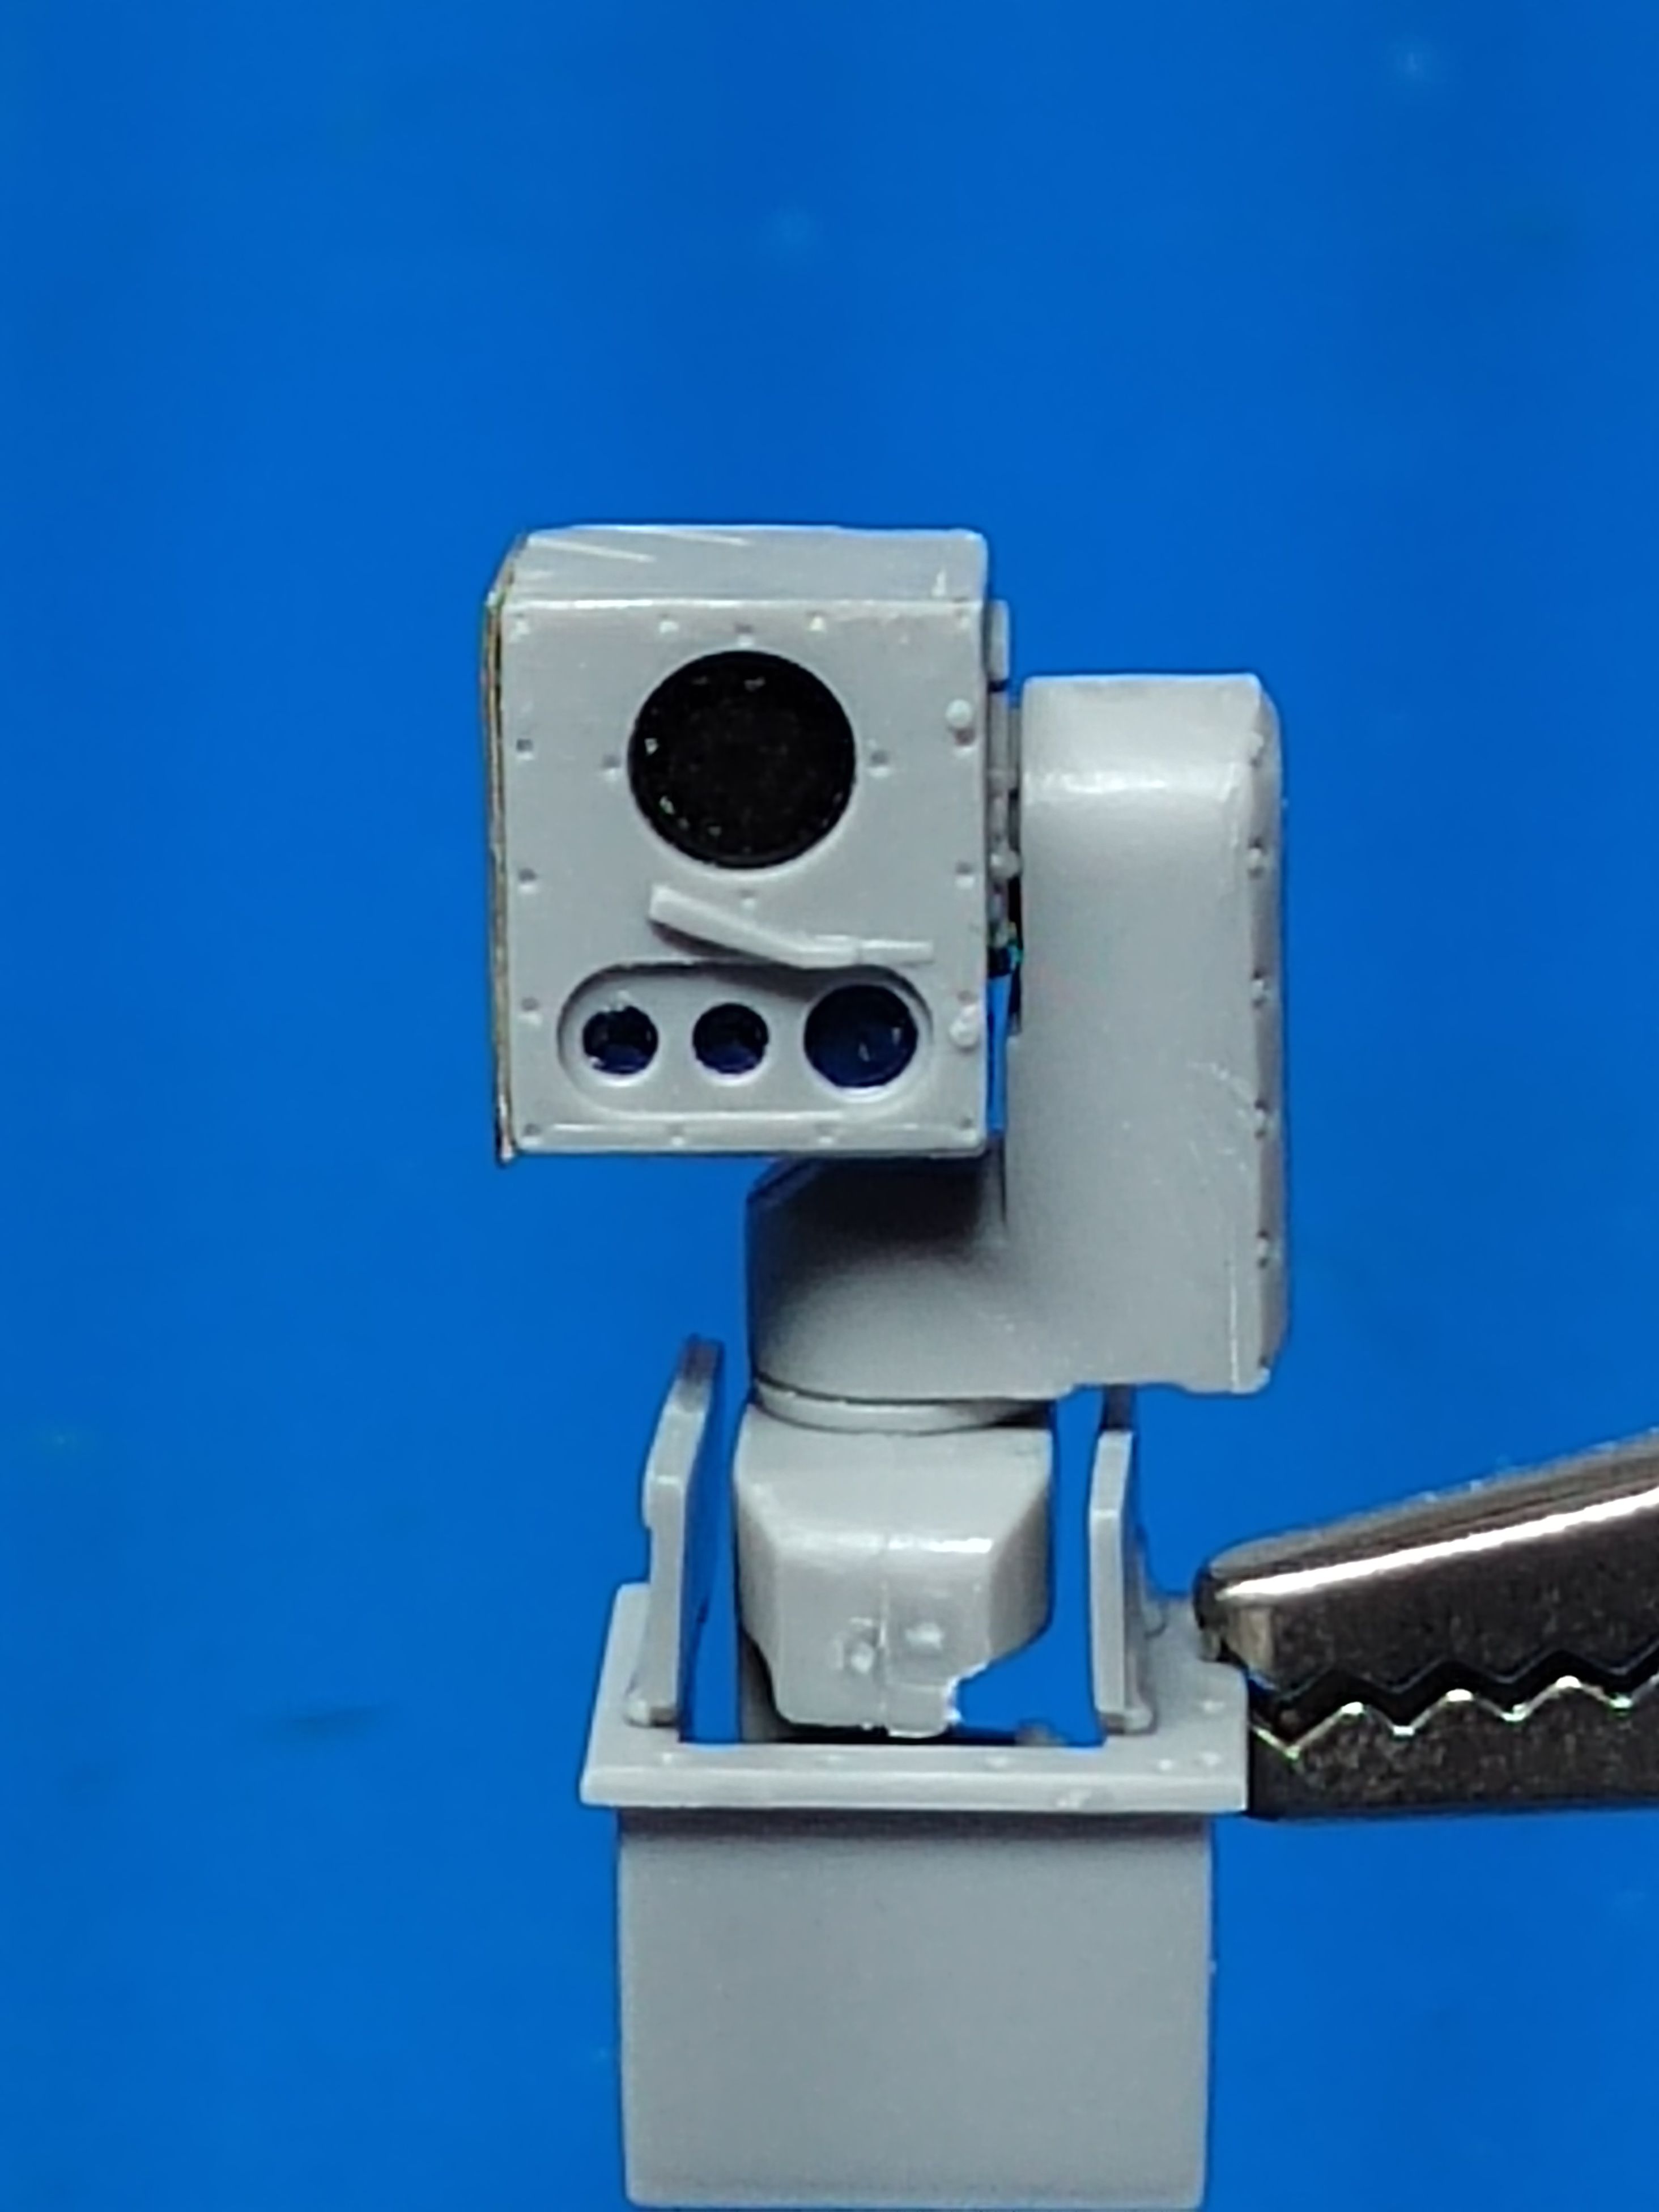
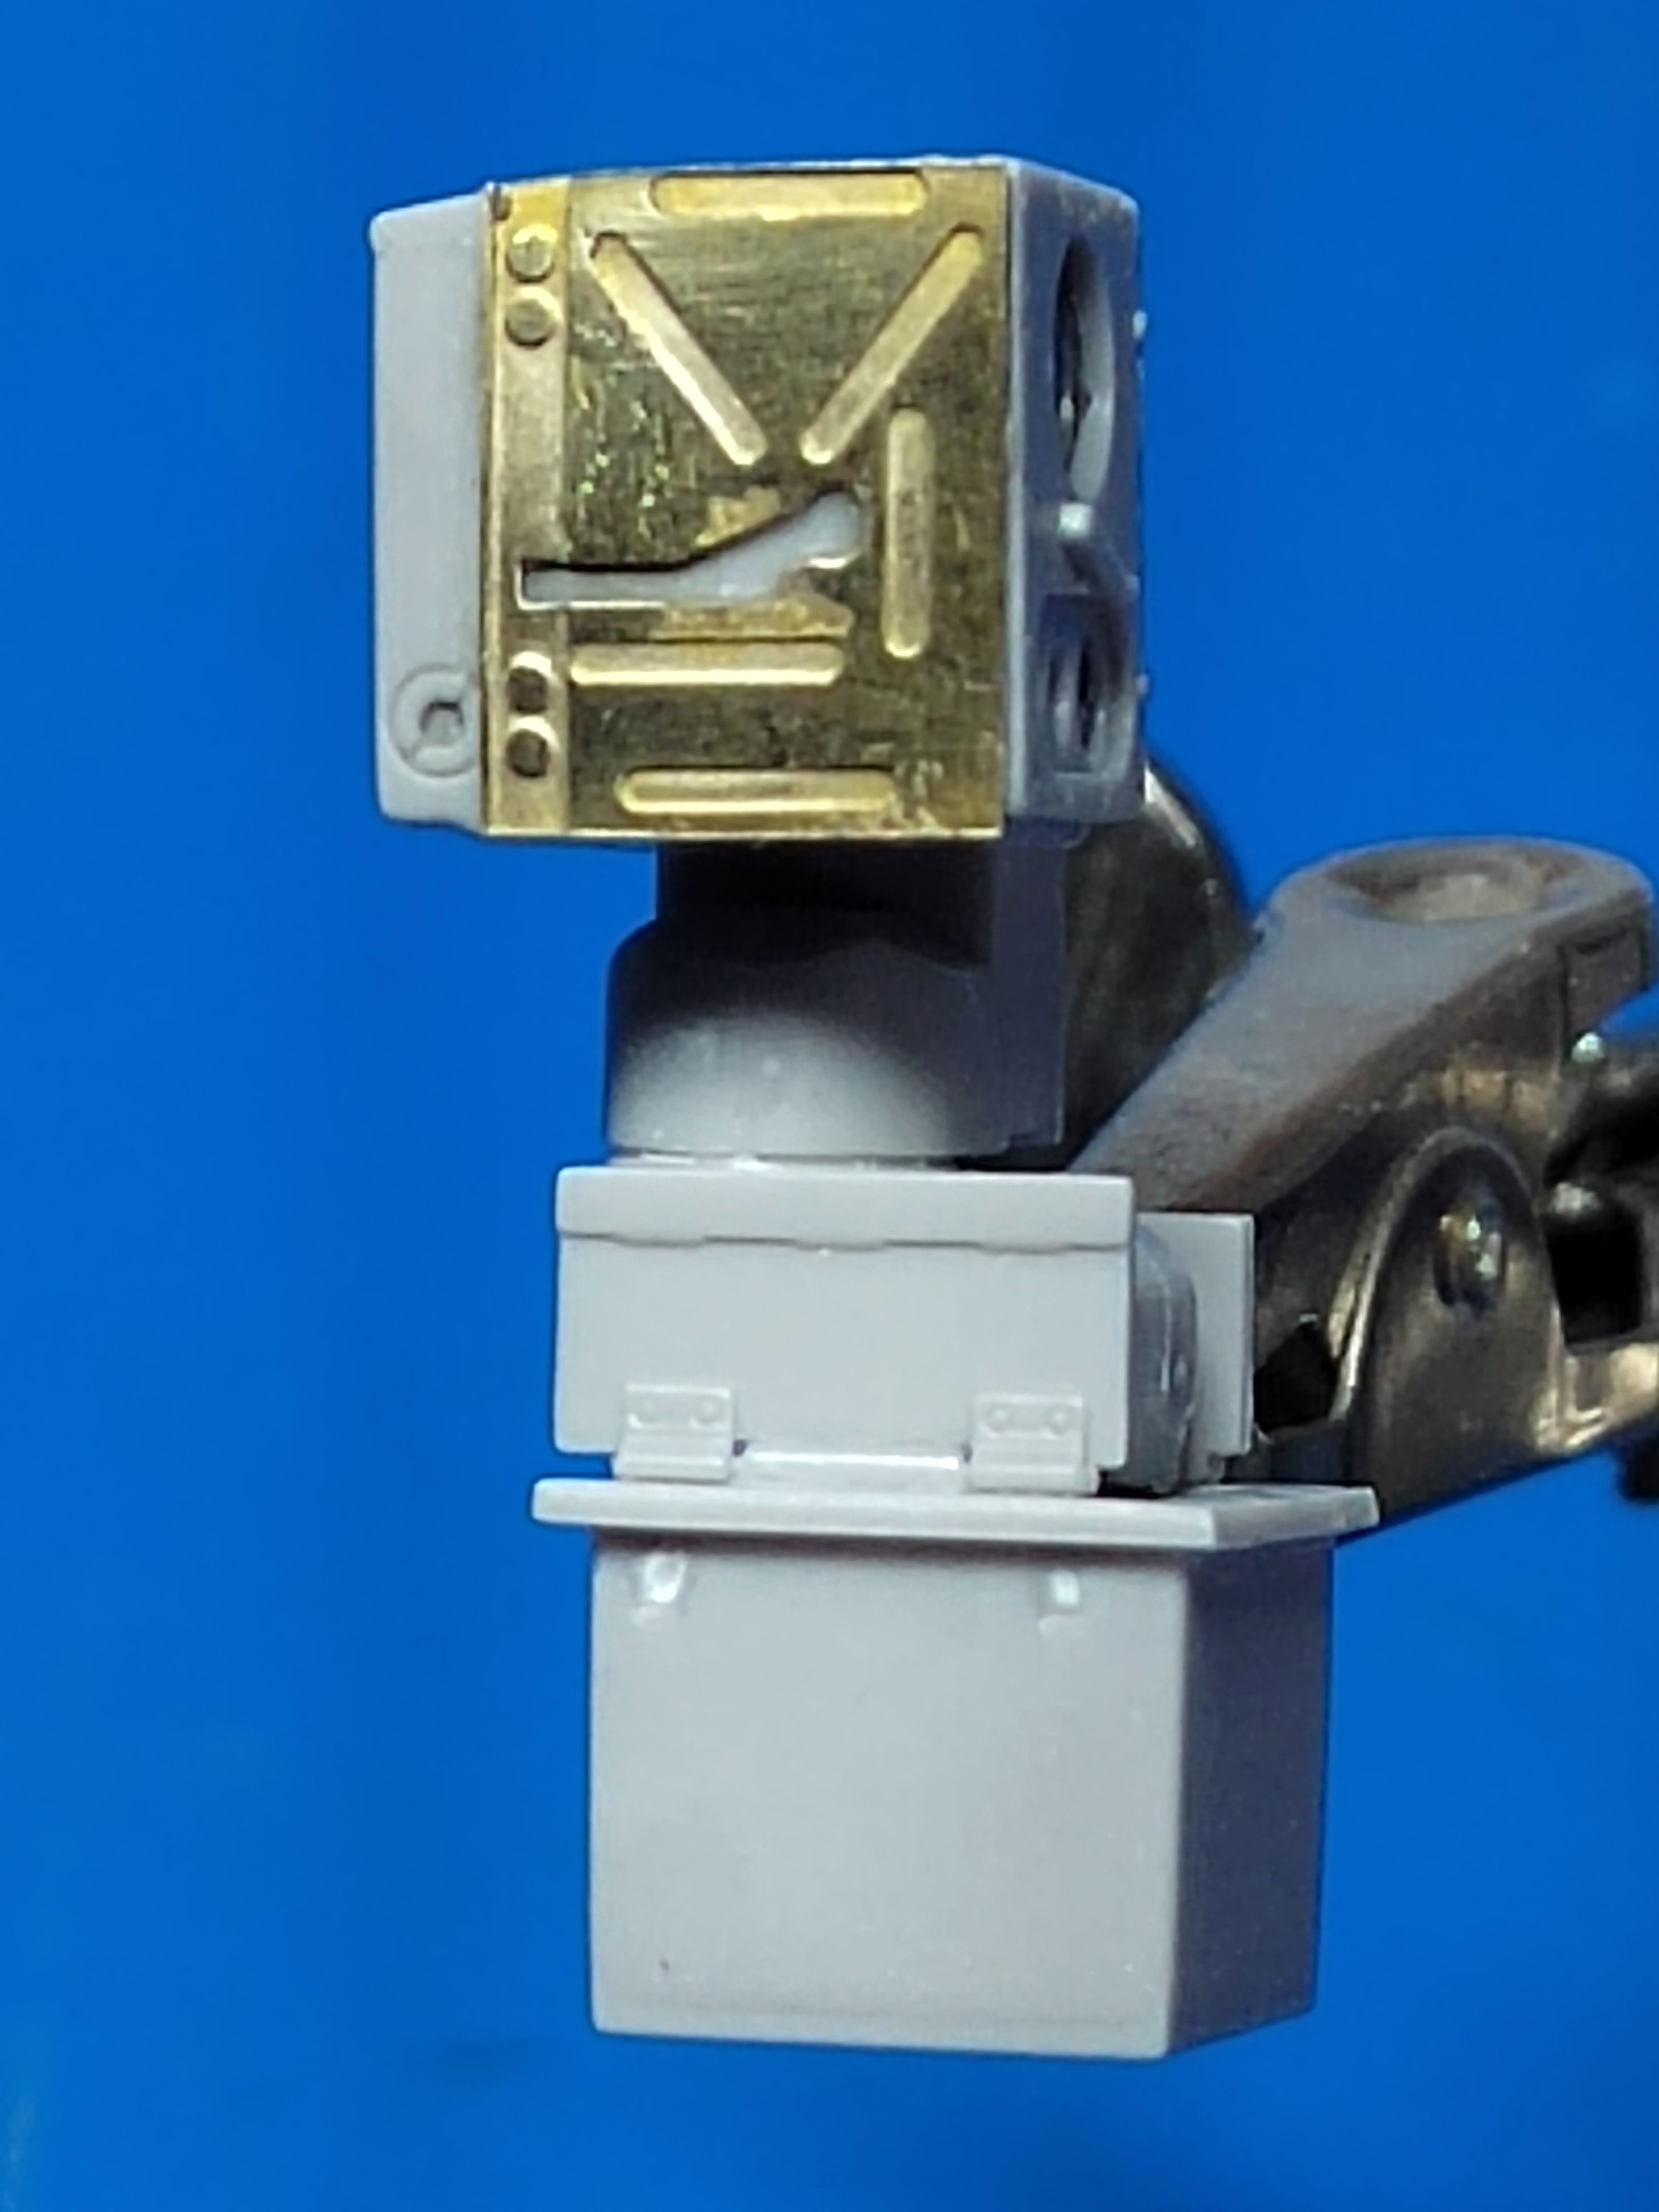
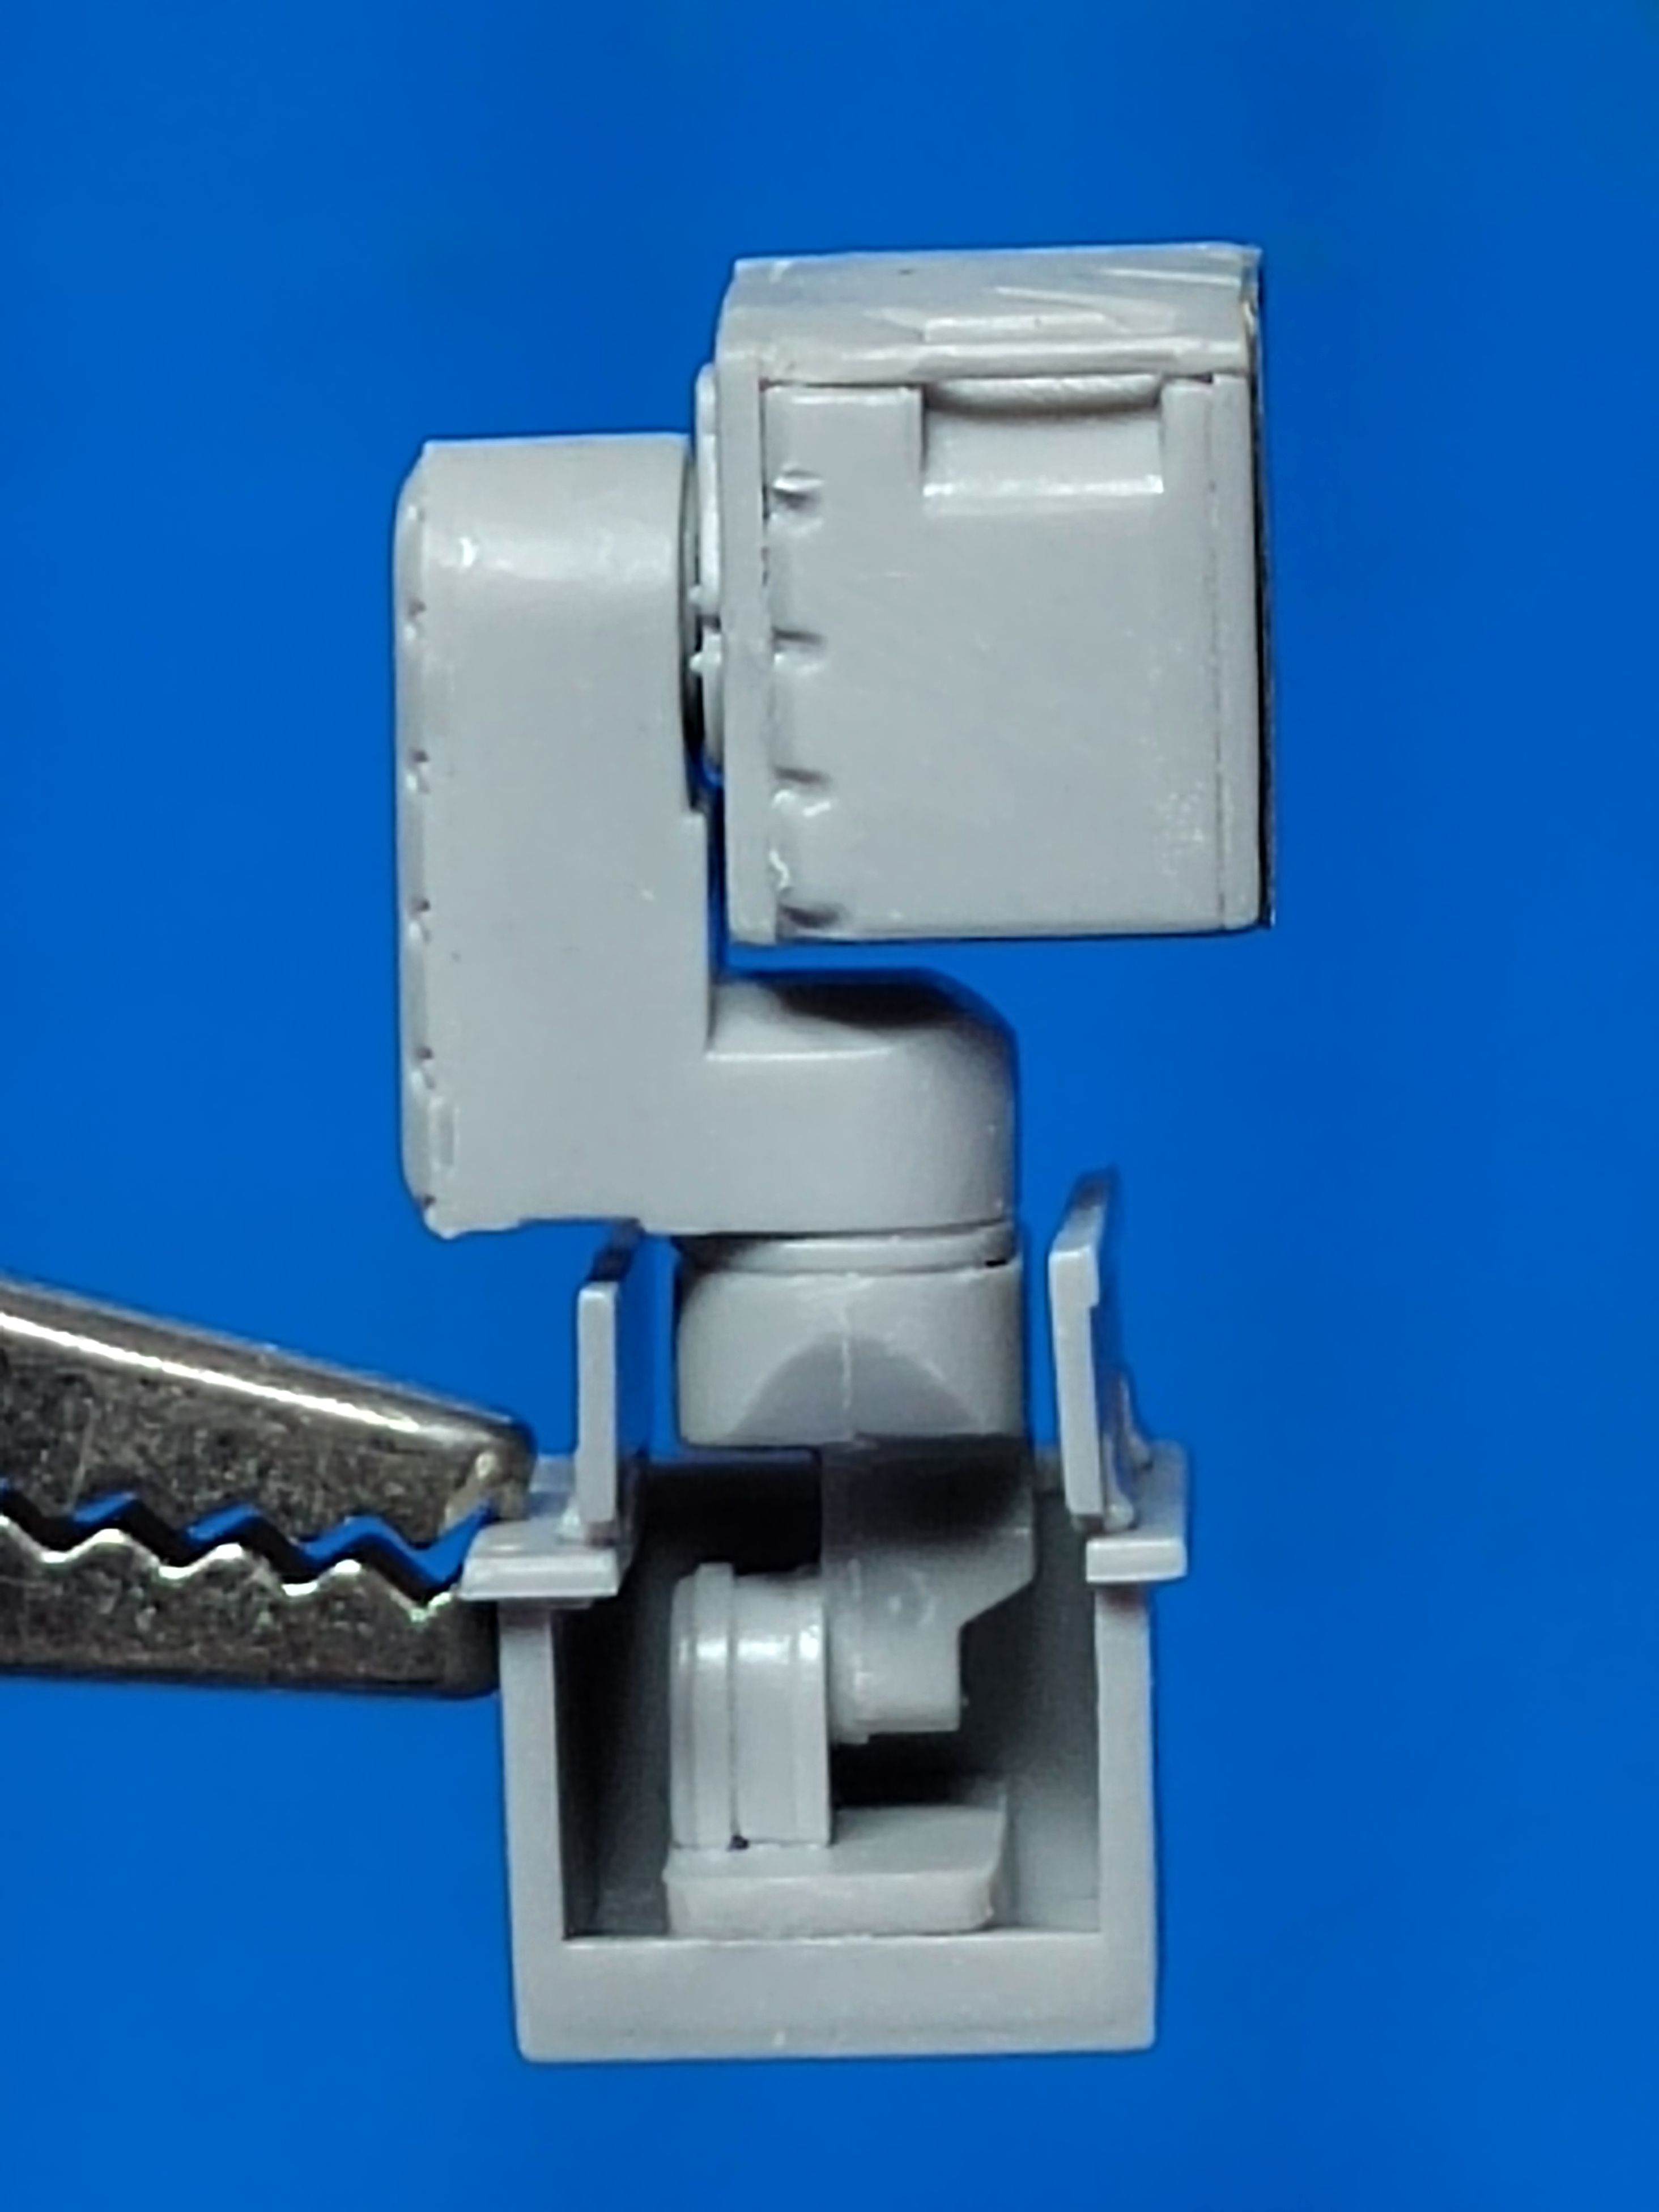
The weapon station is complete as well. It needs to be painted inside prior to being glued. The gunner hatch will remain open so the AGL controls are visible.

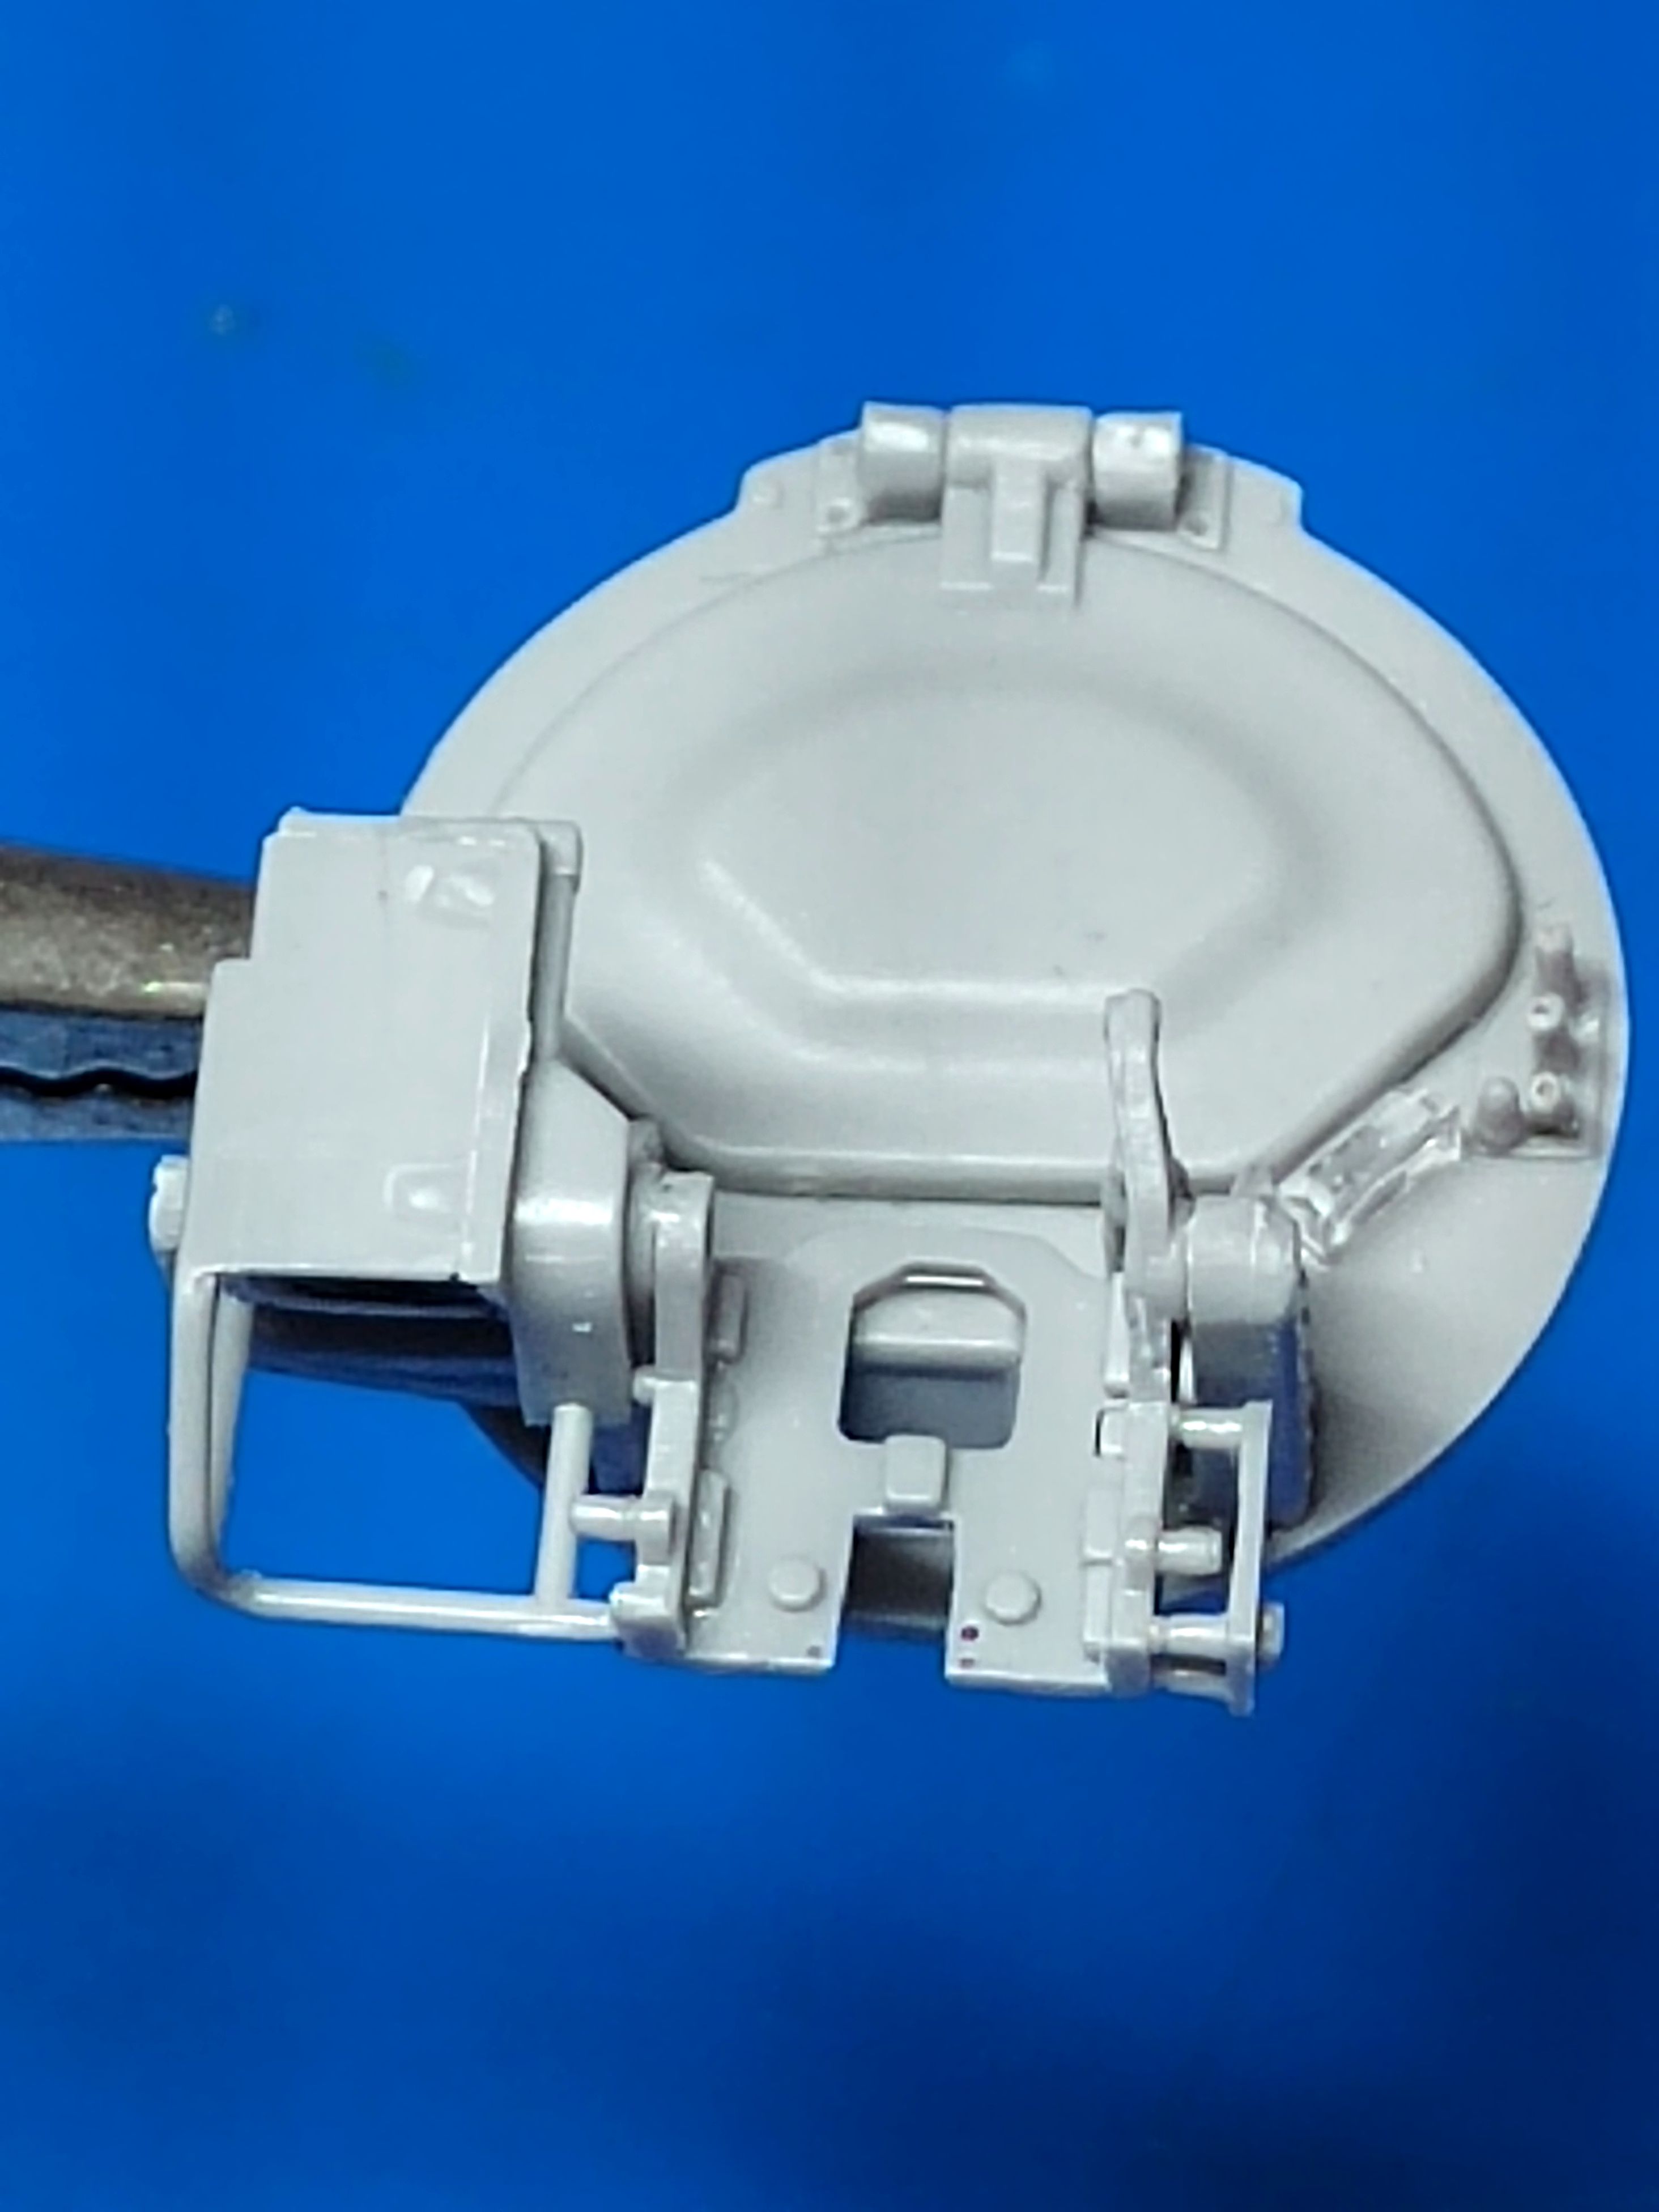

The observation sensors are assembled too. I decided to represent the travel configuration without the mast fully raised. The PE shutter on the side is too flat and misses the hinge at the front. I’m sure a plastic part would have been better.
Olivier
7 Likes
Lovely detailing Olivier, looking really good ![]()
2 Likes
Salut Olivier, “travel configuration” means that the optics is fully retracted. If it´s over the hatch, you will not drive the vehicle. Otherwise the optics can be damaged.
2 Likes
Thank you for the explanation. In the instructions Trumpeter tells open and totally open.
Olivier
1 Like
That is really nice detailing.
3 Likes
Might just be a case of awkward translations, of course.
1 Like
Or maybe Trumpeter simply don’t know what they are talking about.
Olivier
4 Likes
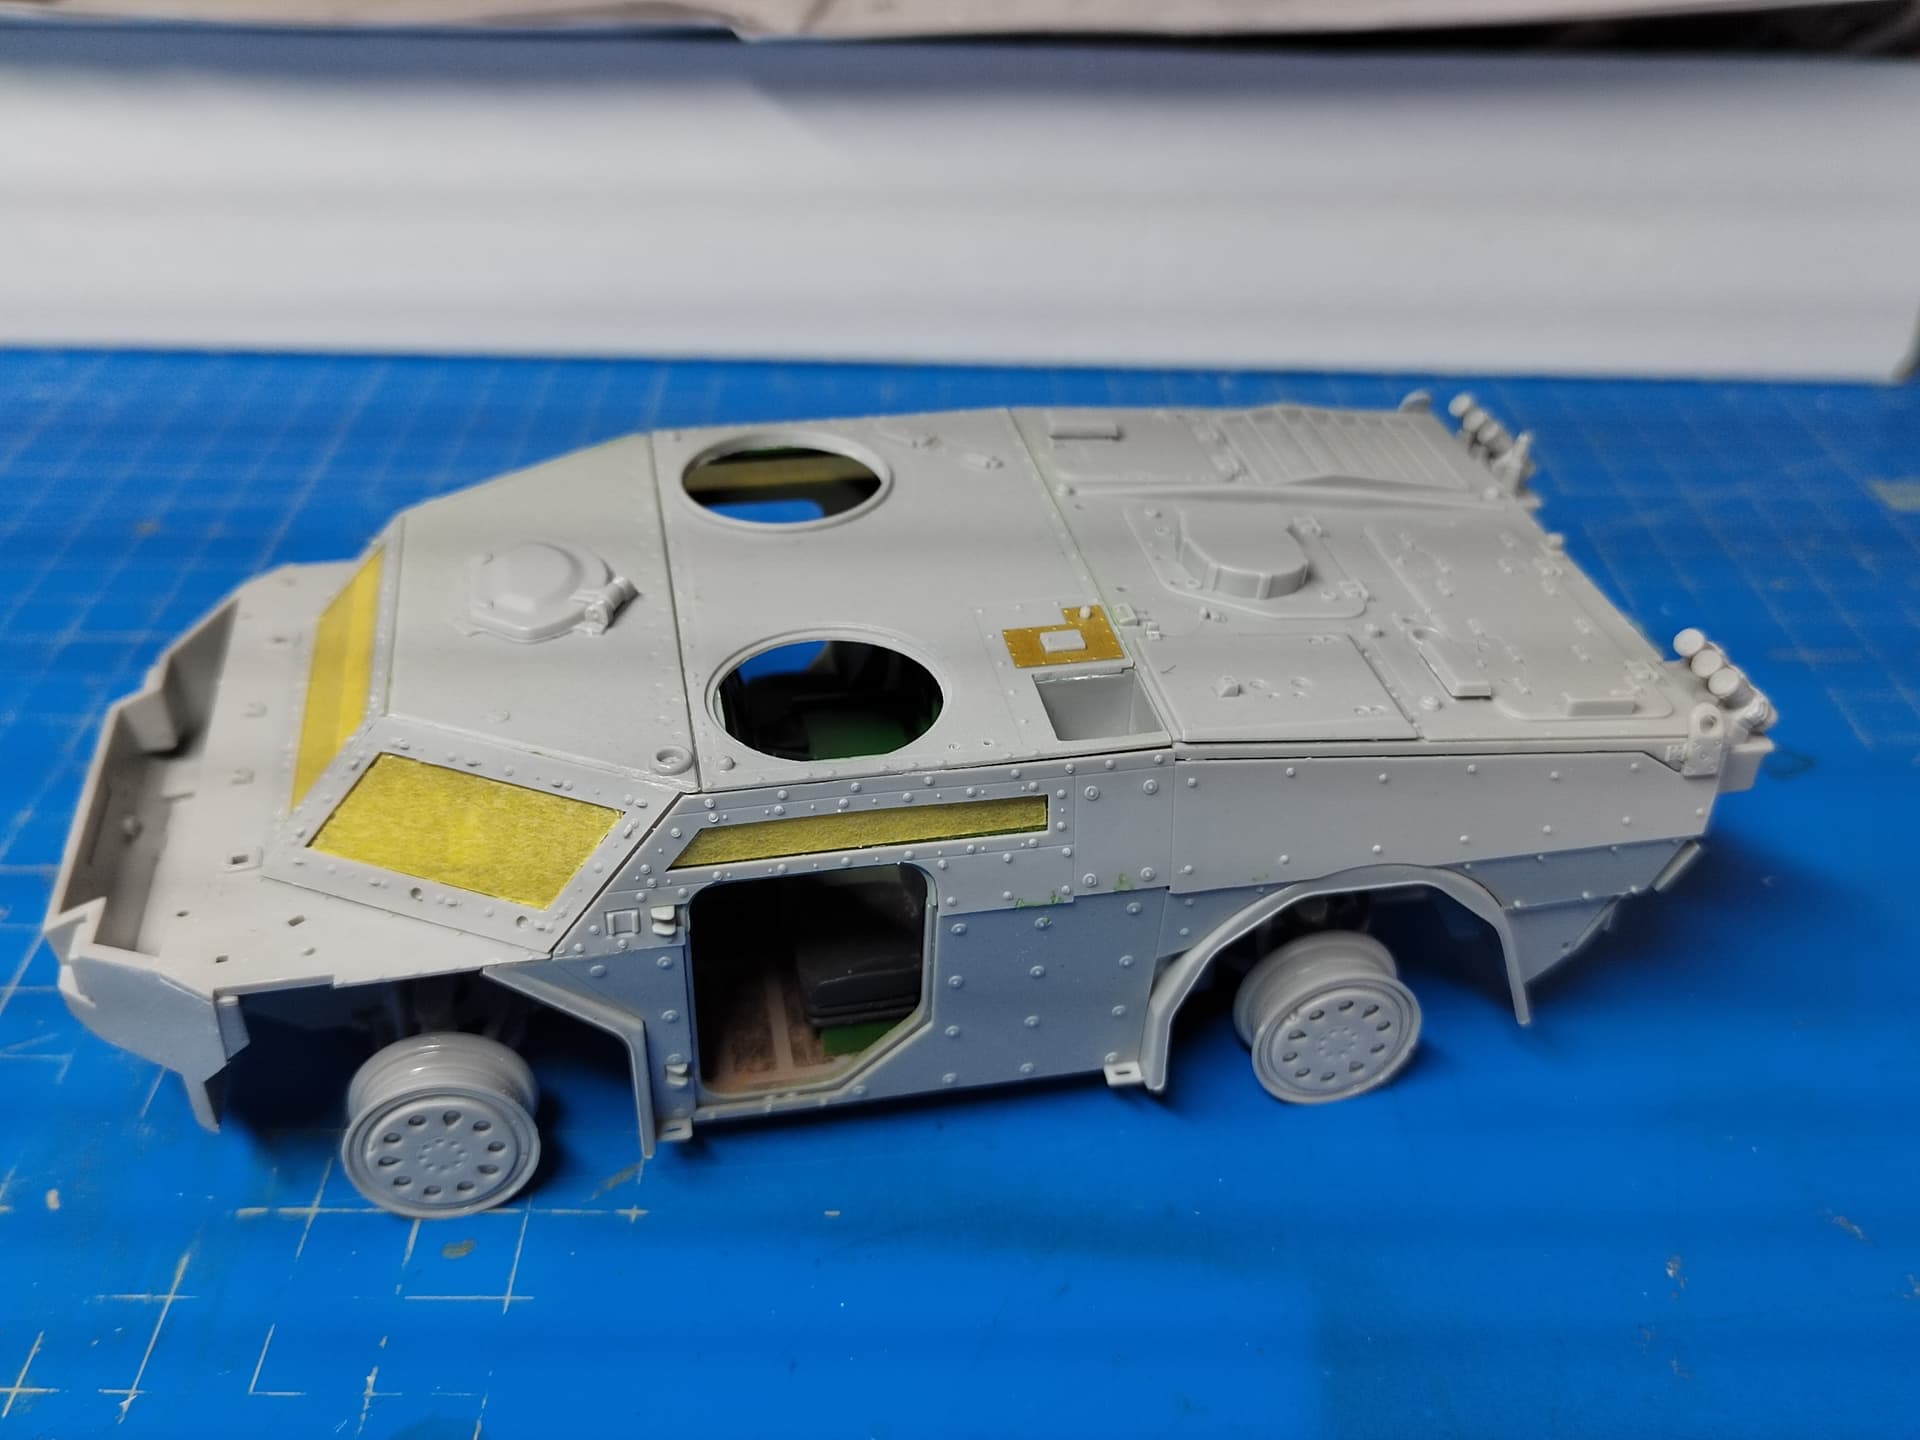
Today I tackled the bags attached to the inner face of the doors. There are 5 bags, 4 types and 3 sizes.
I used some 2 mm thick plastic card bits that I sanded to give the basic shape and then engraved to create the relief and the flaps. I think I’m not too far from a realistic look. They are not glued yet.
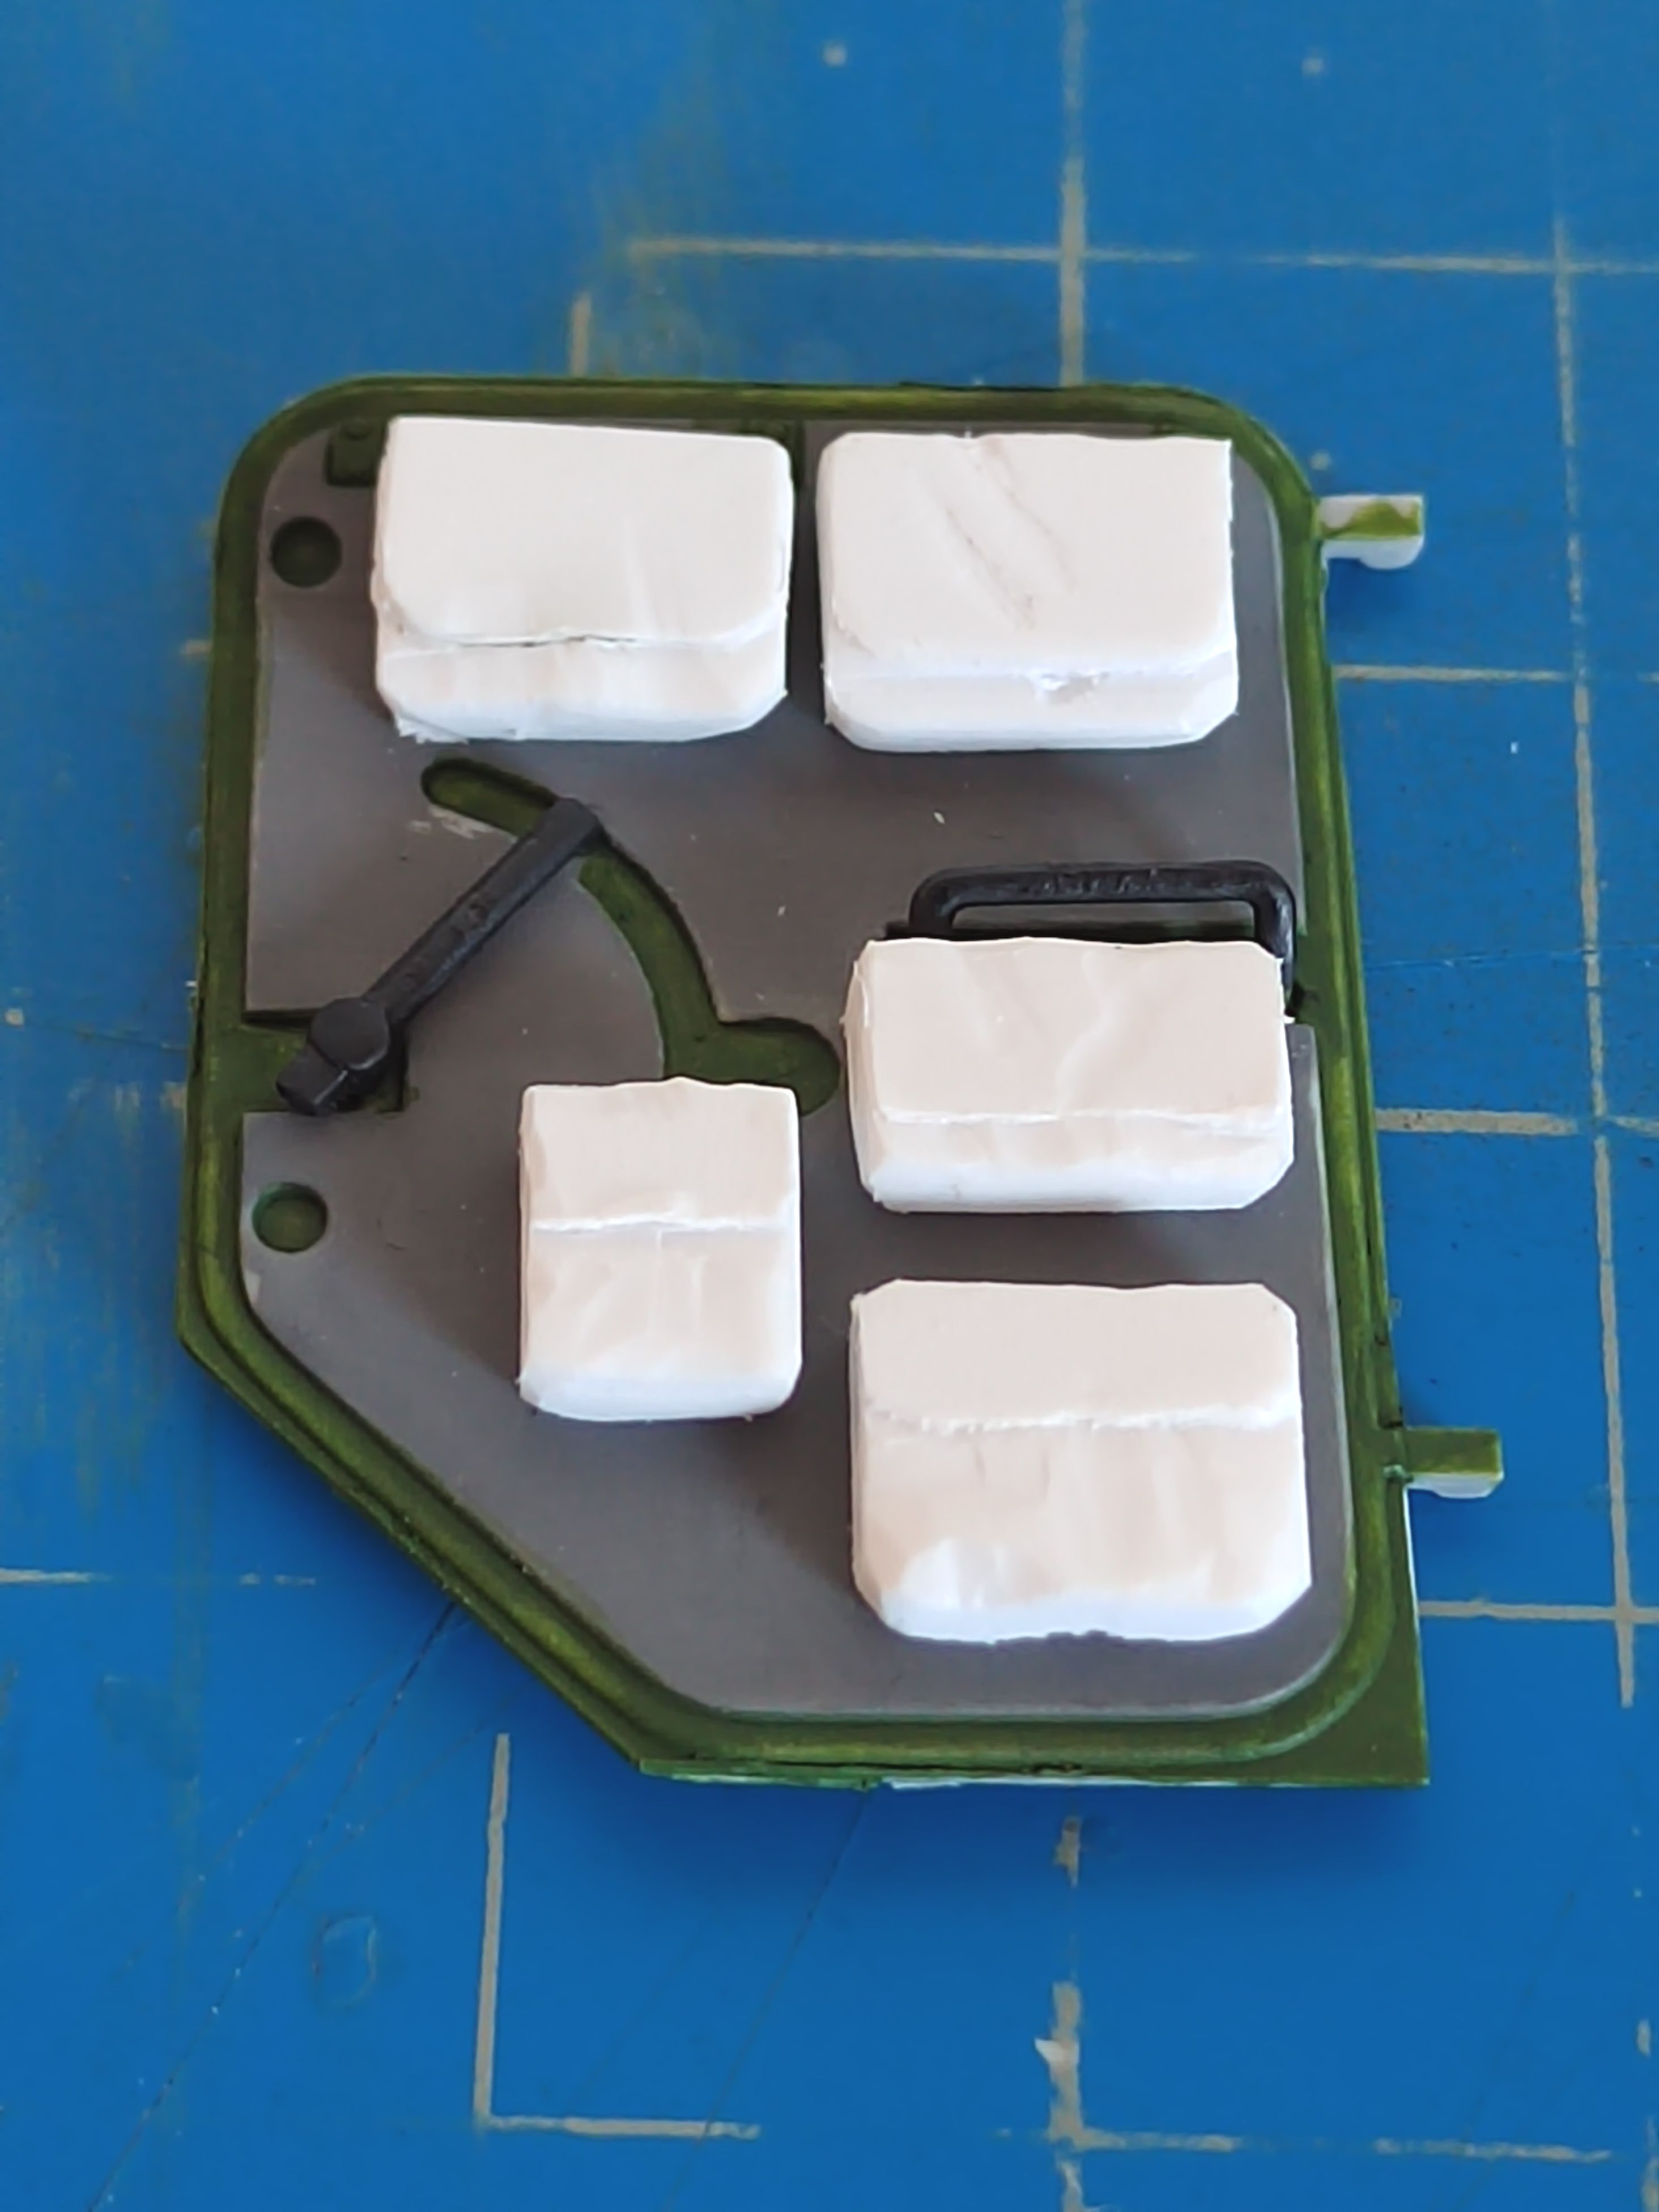
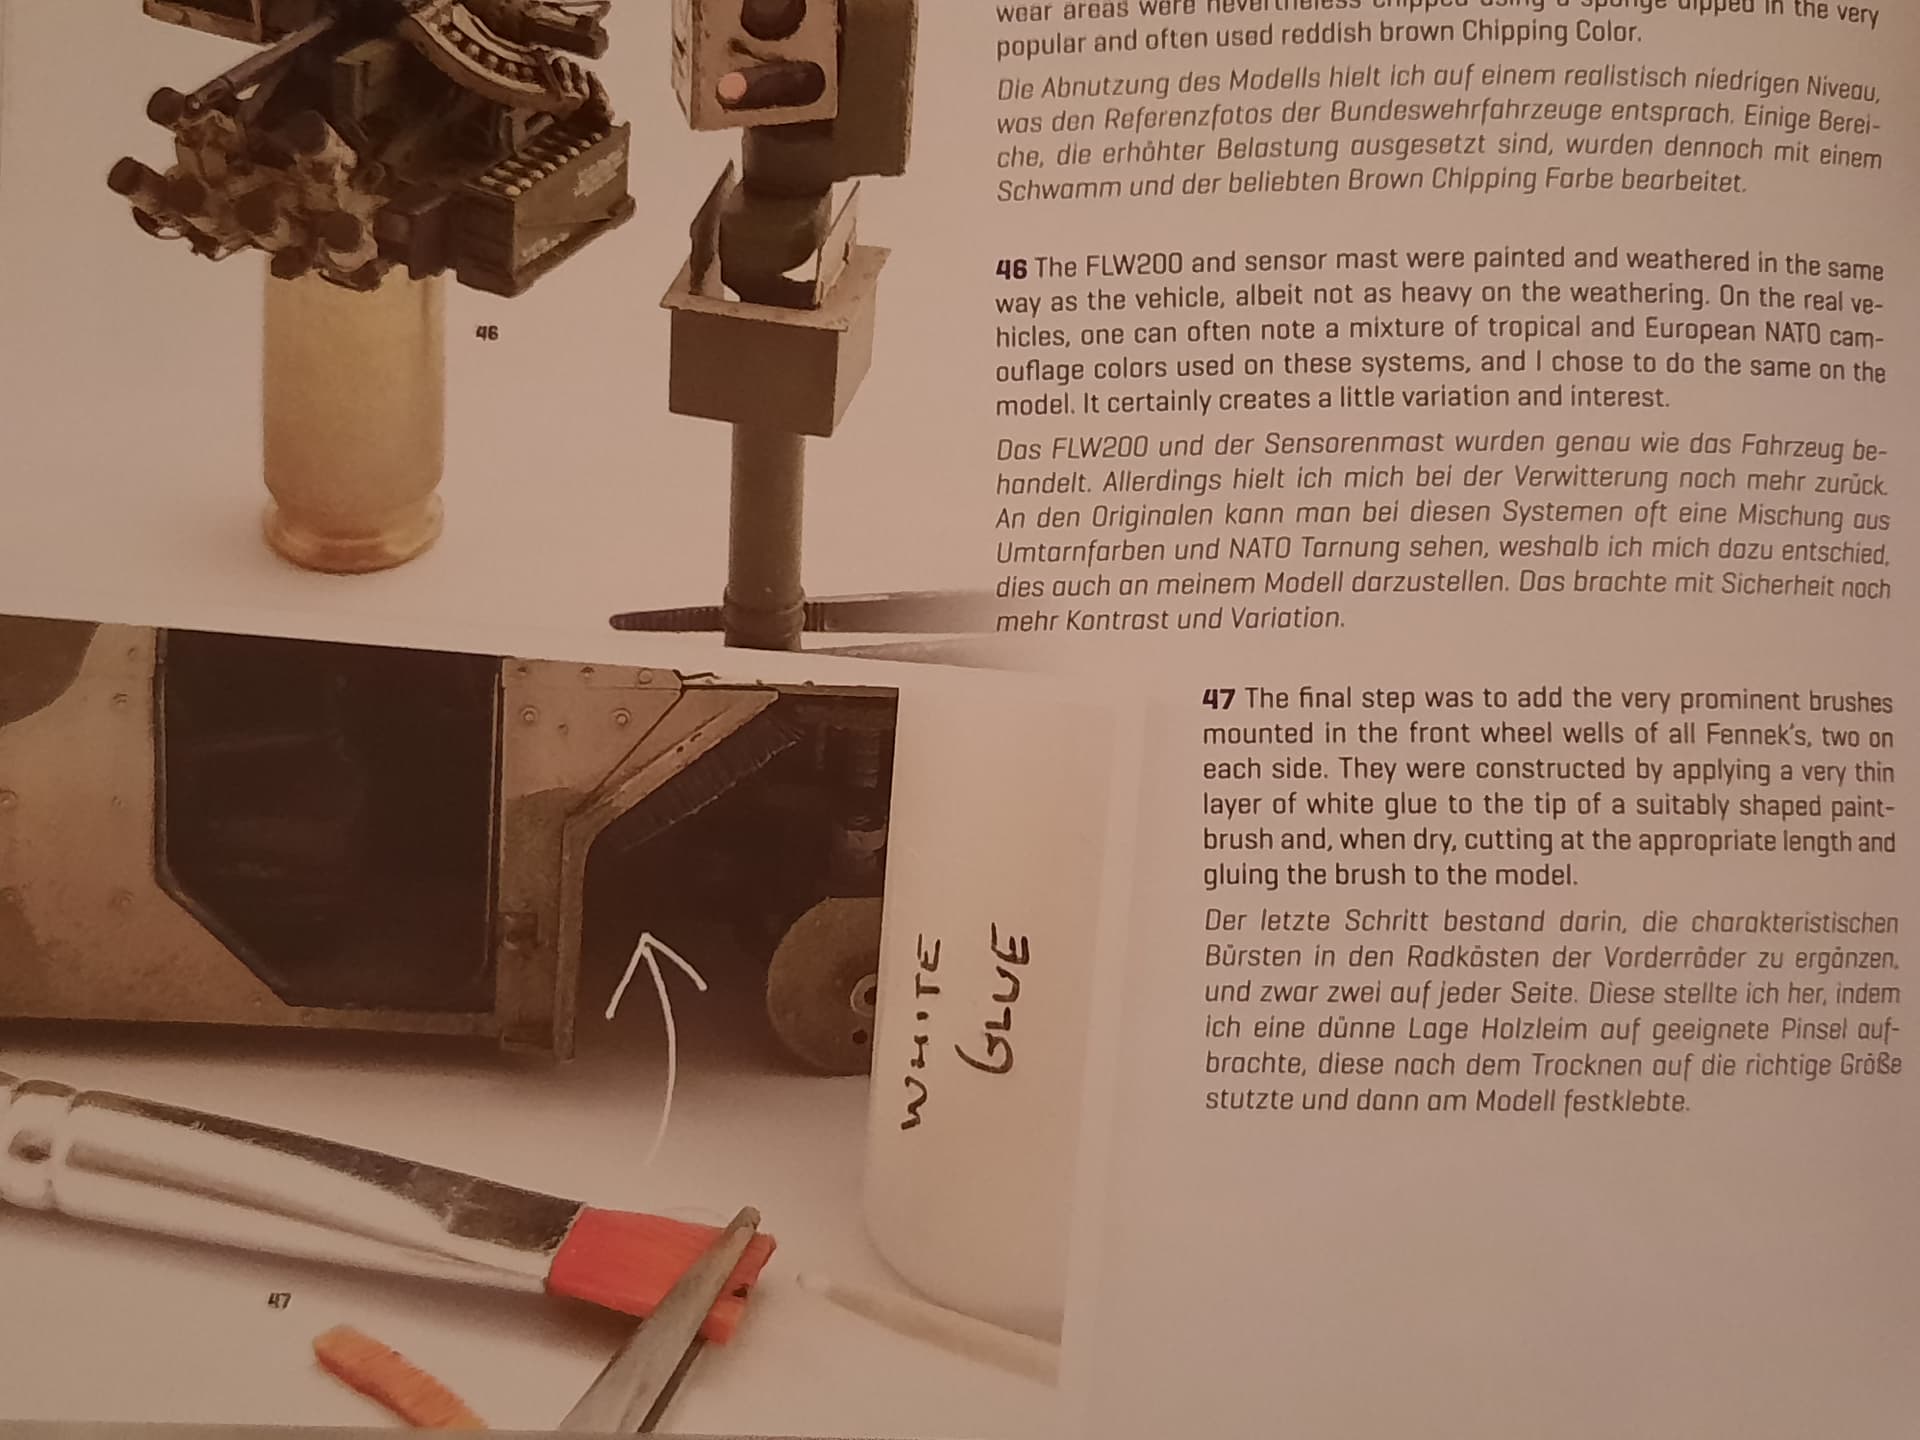
Next challenge is creating the “brushes” under the front wheels arches. Any help/suggestion would be appreciated.

Olivier
6 Likes
Competence is not one of Trumpeters strong points. Their 2S3 “early” is in fact a 2S3M.
1 Like
Glue some 0.3 mm rod to a backing materrial?
2 Likes