That’s shot together really well Mike. It is a neat little kit. Can you get the other type in the rear on the box art ? I think you said you were going to try ?
No issues at all, only time consuming and this is my fifth trumpeter kit with this type of tracks.
1 Like
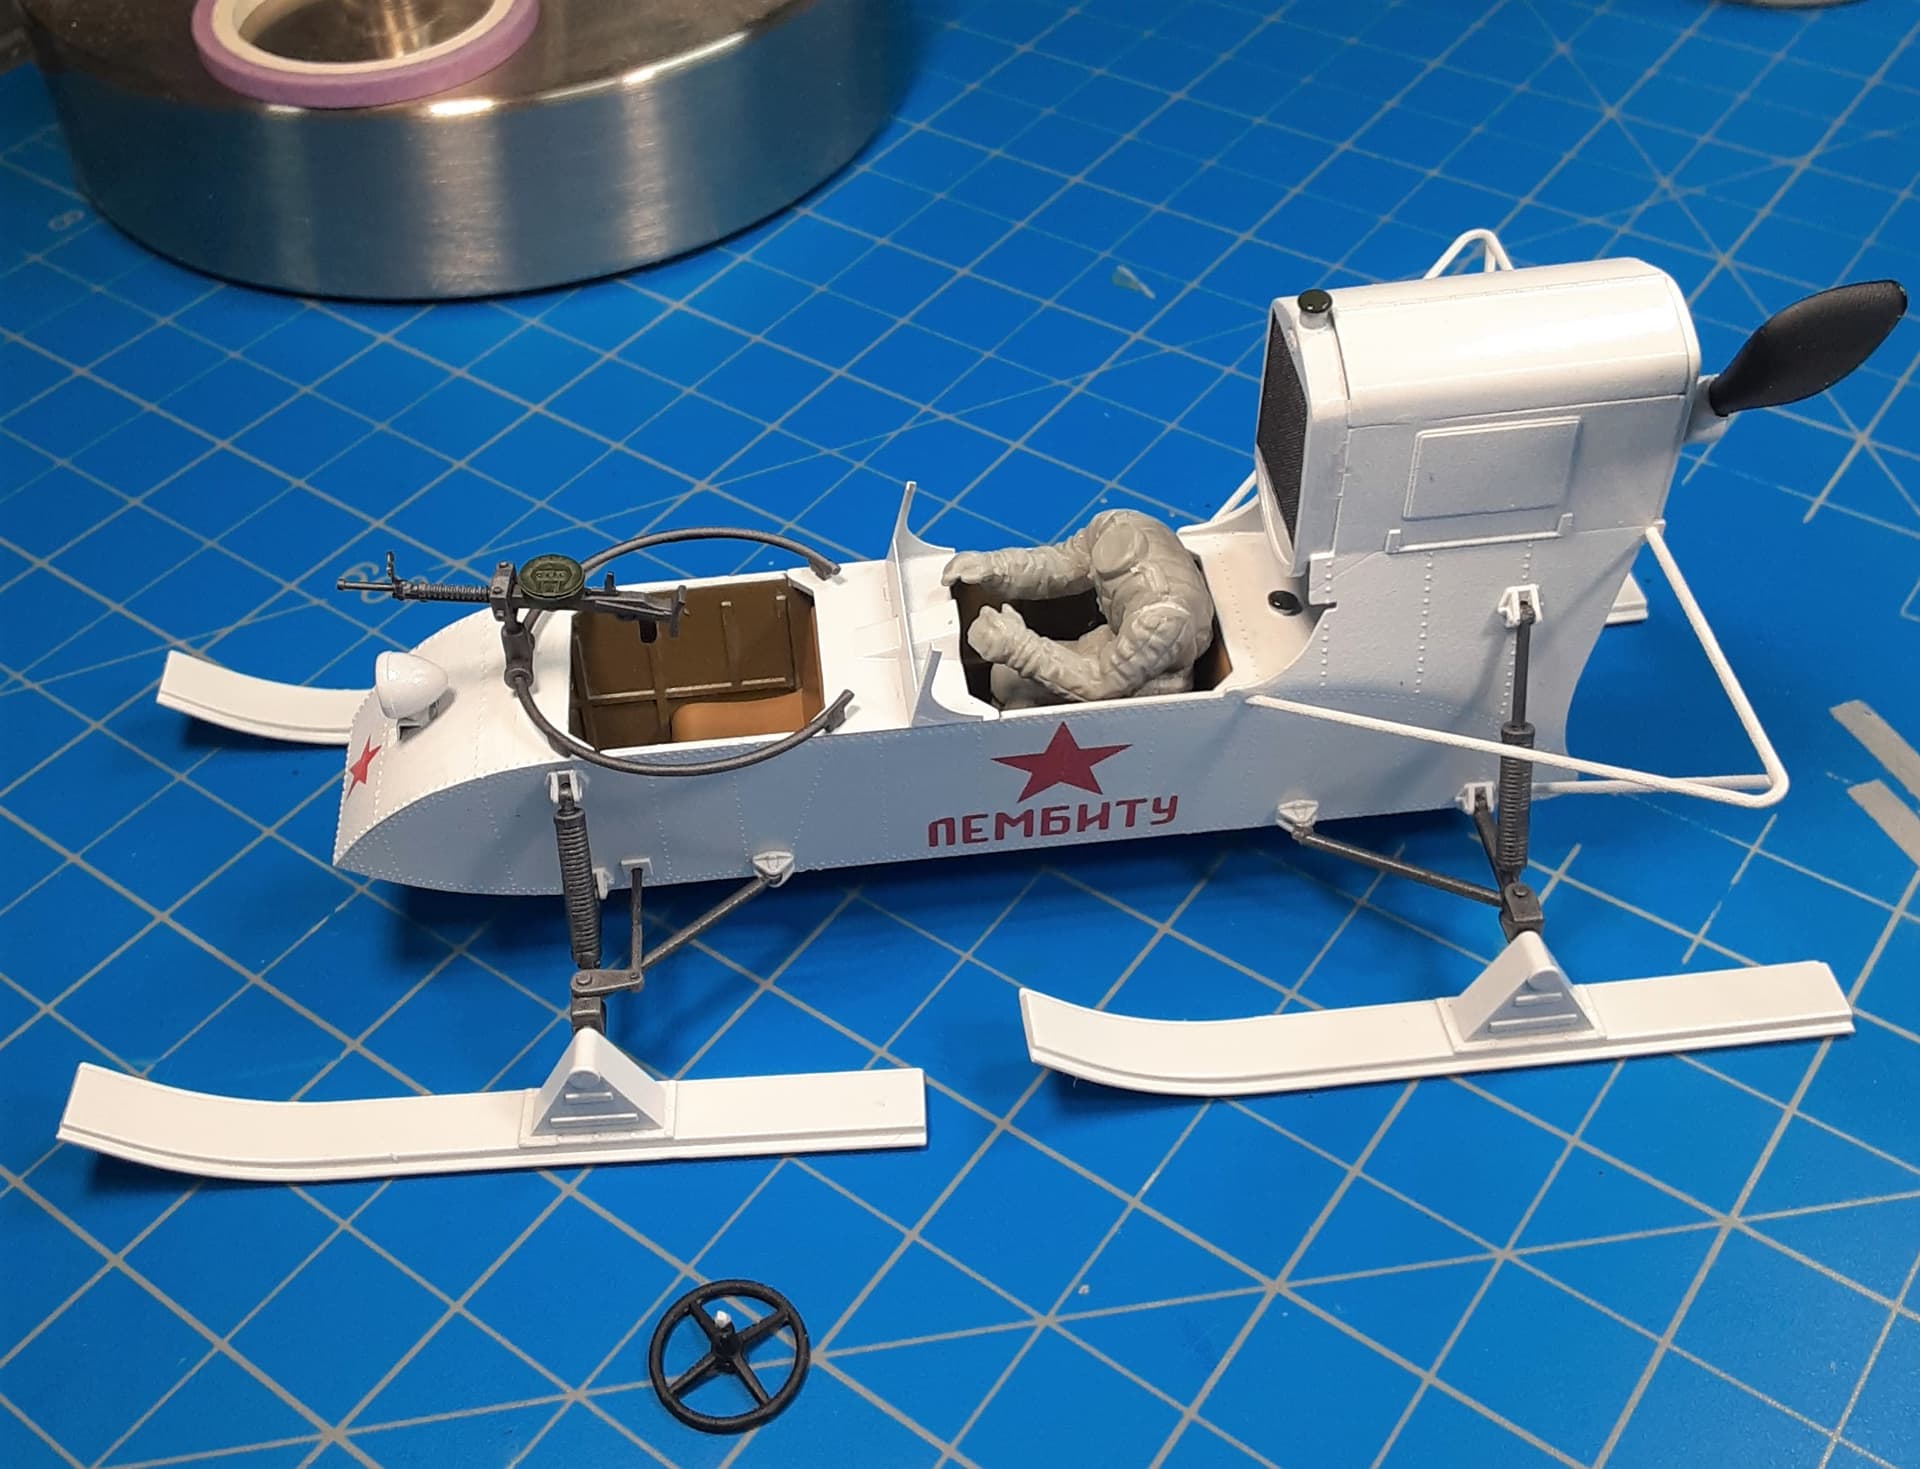
Decals on, MG and rail on, prop on. I’m not sure how well the figures will “fit” to the steering wheel or MG. They may well be left off. Weathering and a flat coat is about all that’s left - then the windscreen and headlight lens can be added.
Mike
7 Likes
One’s on the way. 
Very different from this one which will be nice. I may do it in a Russian Green with a white-wash (which I’ve not done yet.
Mike
1 Like
That looks great Mike. The weathering will give it that final touch. I really do like this little kit, small but very interesting and very unique.
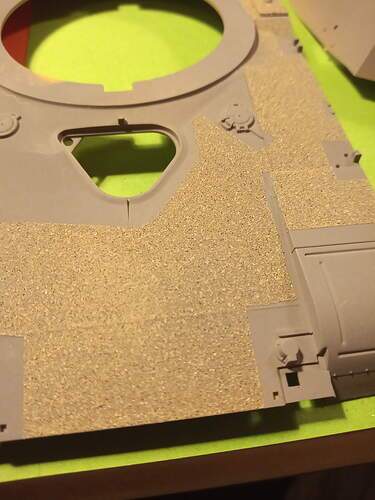
I have to get on with the LAV AD now, and get the upper hull anti slip on, and then prime.
1 Like
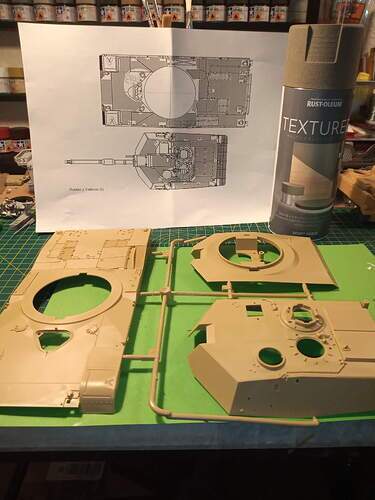
Is the anti-slip you’re using a paste, decals, homemade, or? I have Dragon’s M1A1 AIM that’s been in my stash since it came out and I want to build it as one of the 1/64 Armor tanks that (along with a platoon of Bradleys) bailed our butts out during the 1st Gulf War. It’ll require anti-slip and I’d like to see options for doing it.
Mike
I used Rustoleum - I think thats the correct spelling - Gino put me onto it and also the mask of the anti slip areas that he put in one of the threads. I found a stone/sand one that is perfect so I had to get it, they also do a green one which is very close to basic tank green. I used it on my M1A1 dozer for the 1st Gulf War campaign . I will try and find a few pics from the build posts I put up. It is very good and the look is spot on to my tired old eyes lol …
1 Like
Mike, some masking shots and after I applied it.
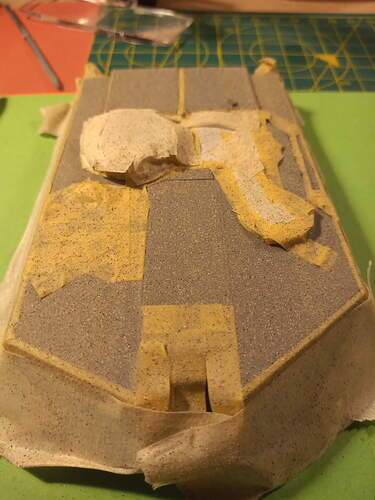
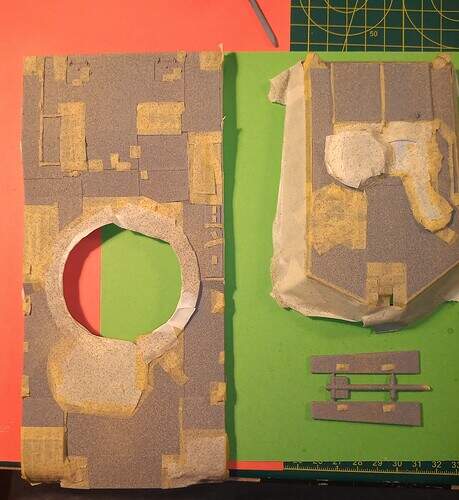
Hope that helps Mike.
5 Likes
Great work everyone! Your skills make me want to crawl back into my mancave and never see the light of day. In a good way of course.
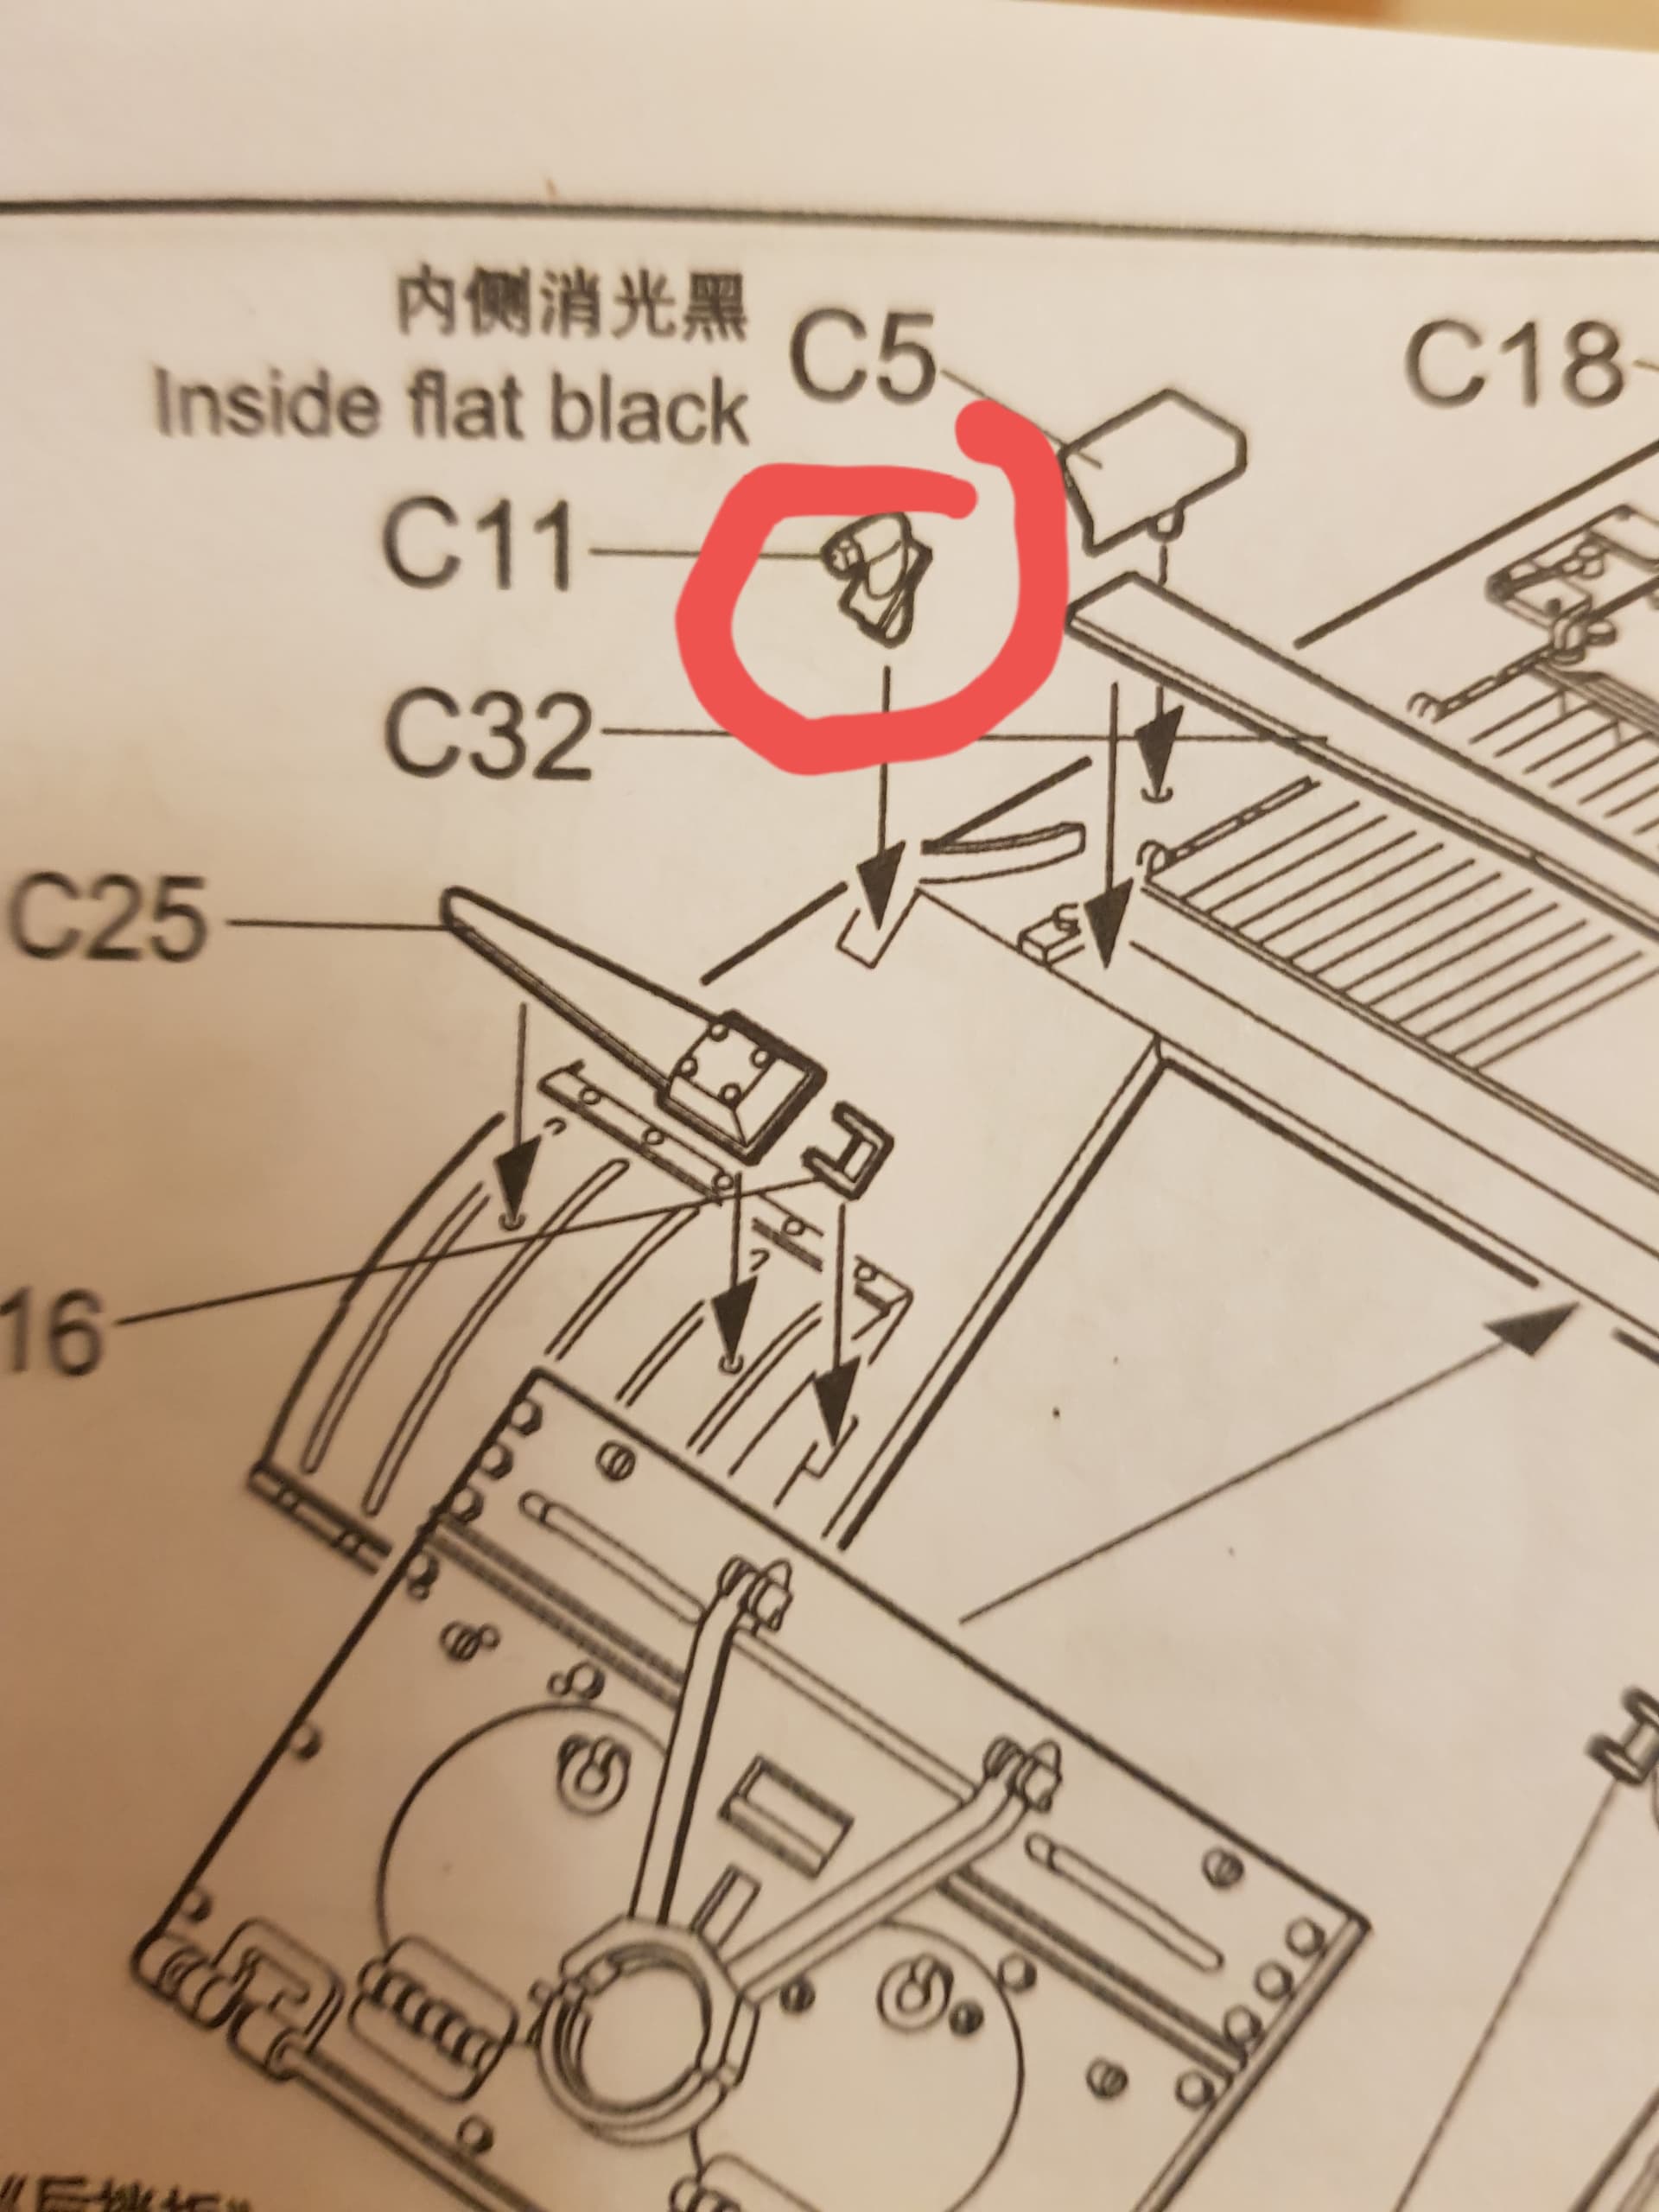
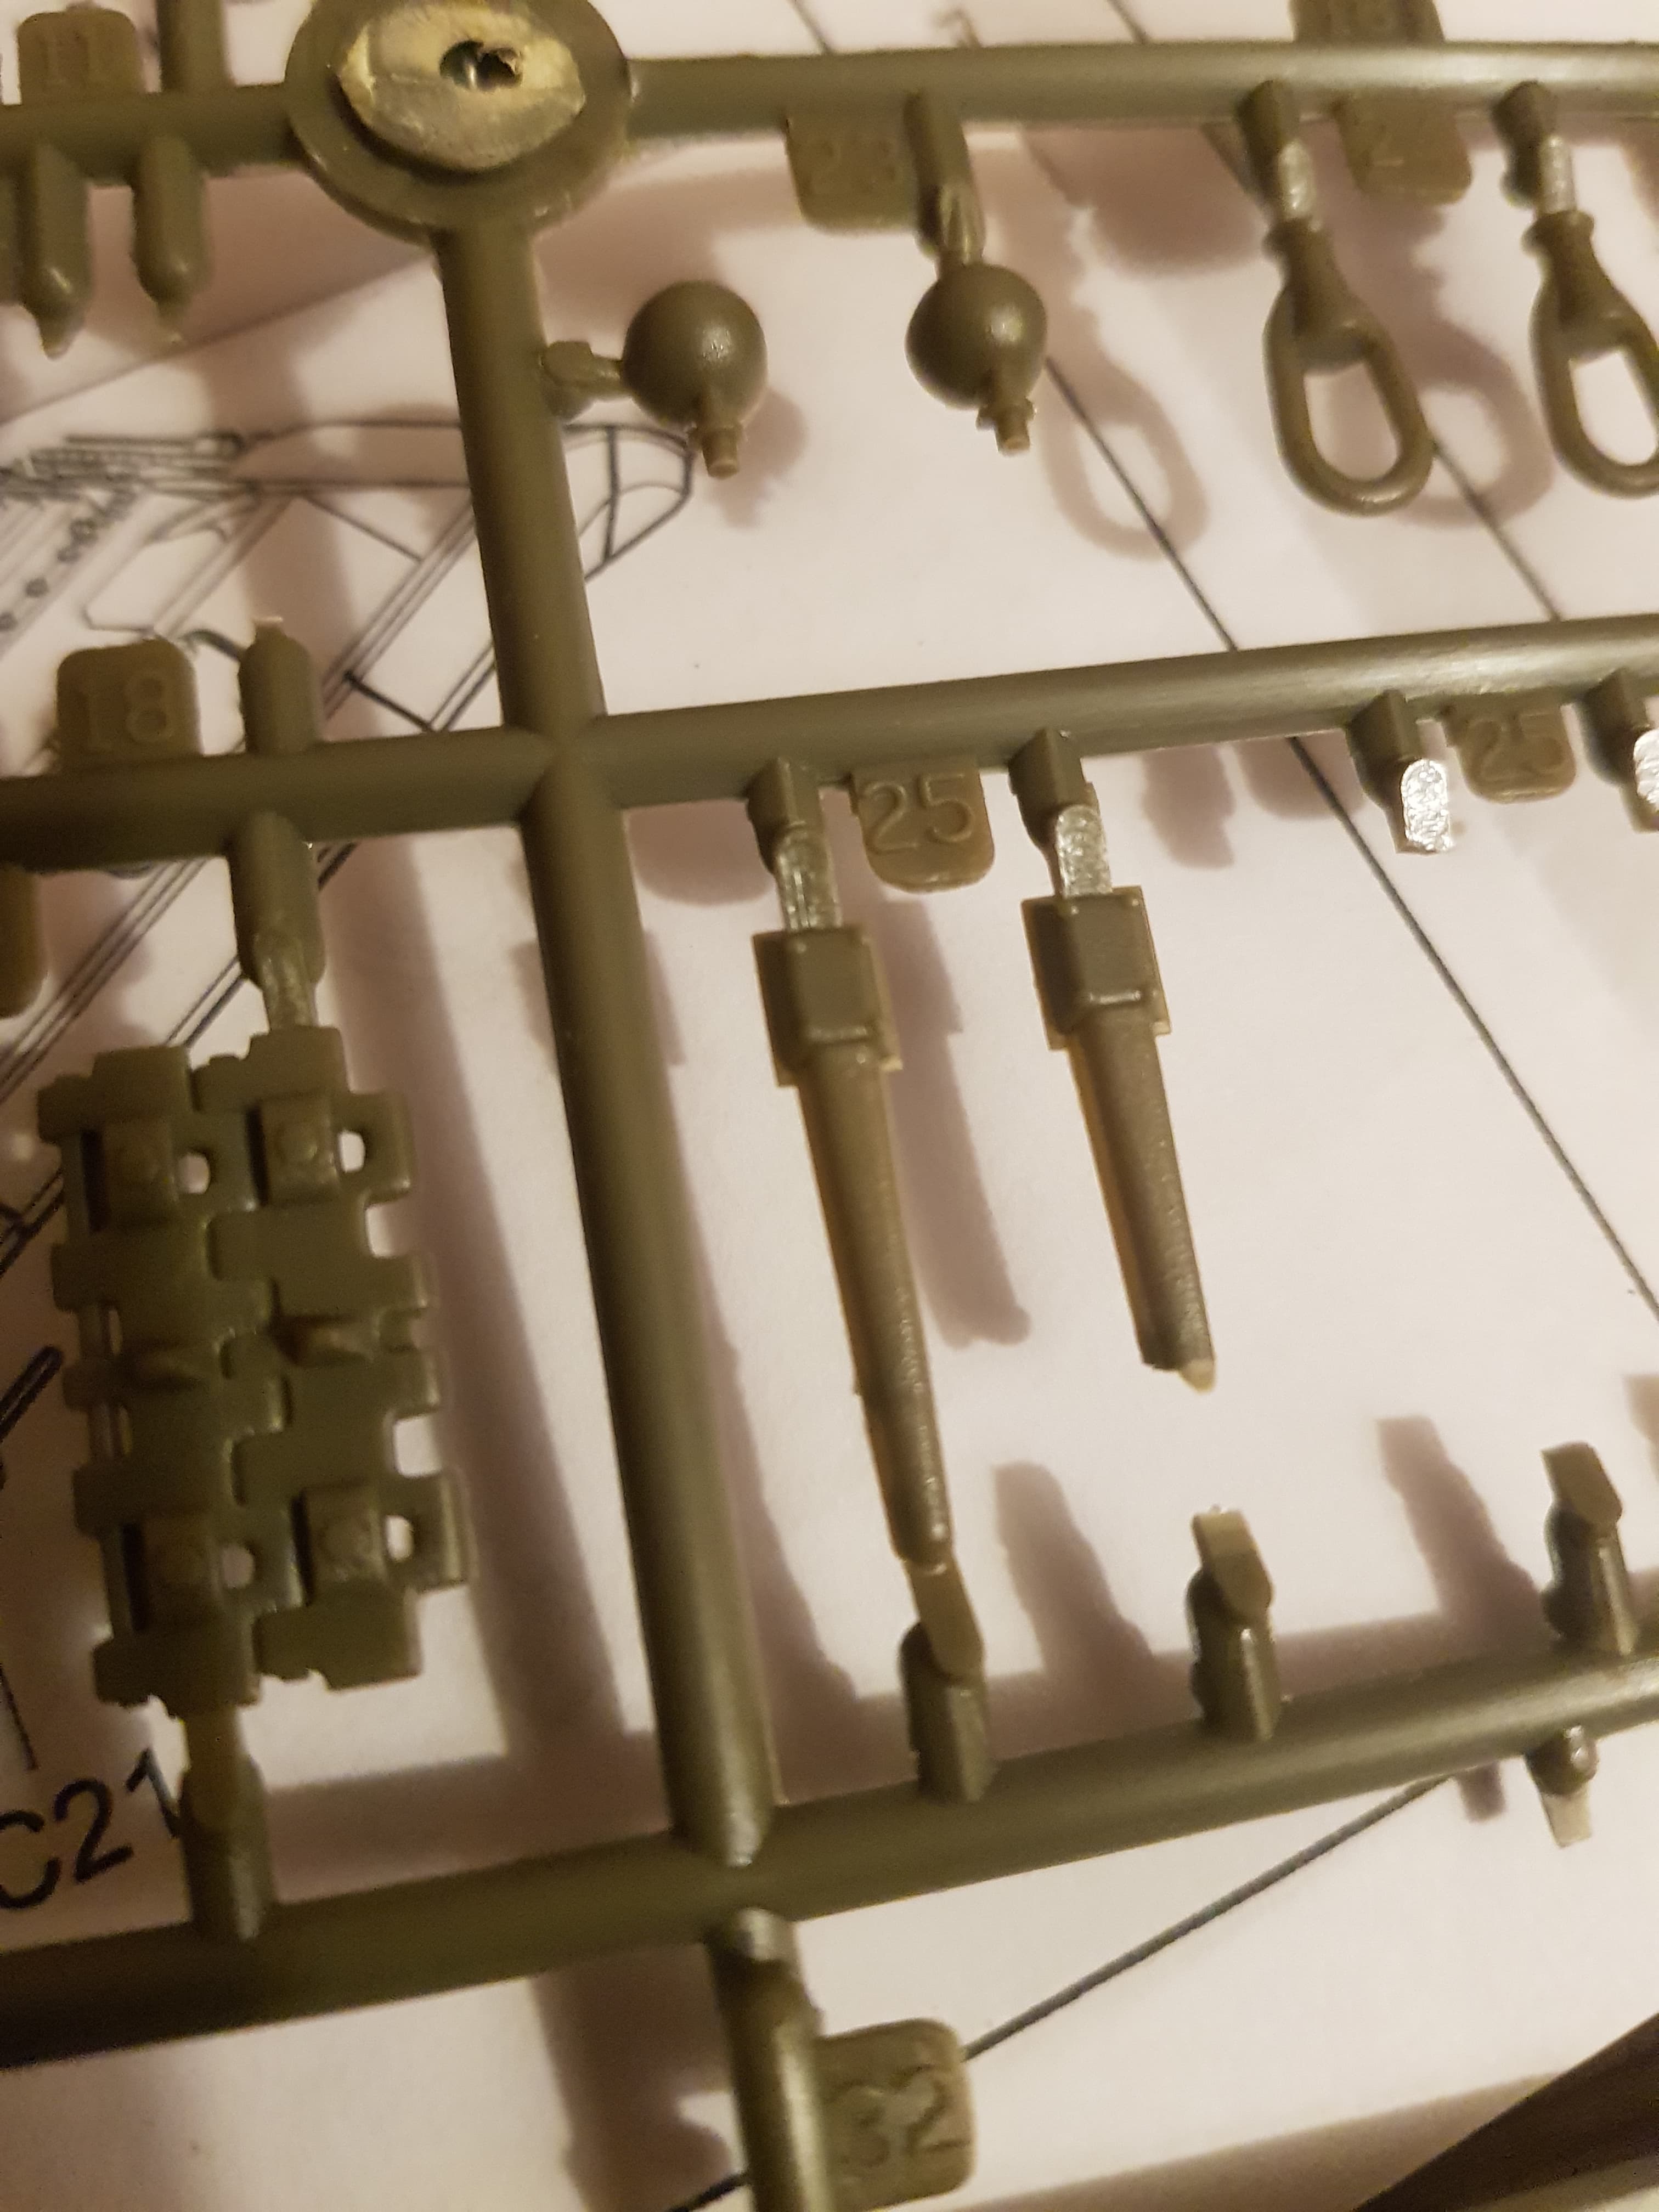
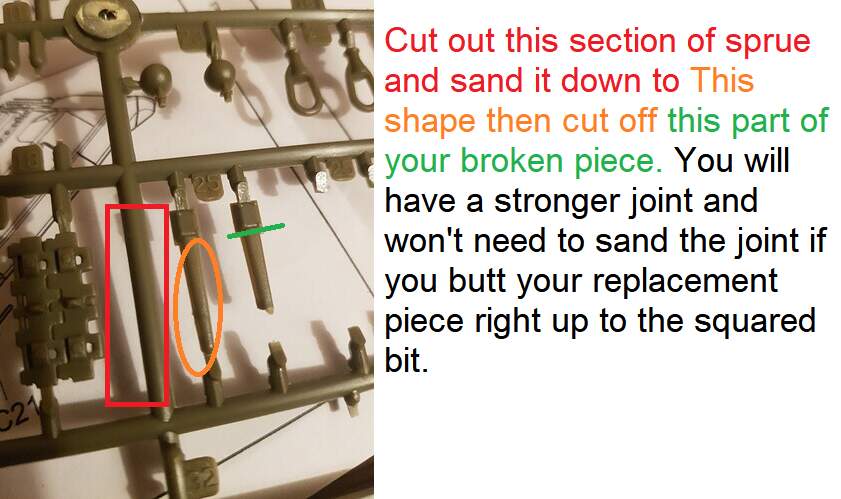
My JS3 is not a good kit. It has fit issues, molding issues and vague instructions to boot. Also I managed to lose this part here:
To the great swedish carpet monster.
I also noticed that this part here:
Is broken and I do not know how to fix/replace it.
I will soldier on!
/ Emil
2 Likes
You could try making the tapered part from some square styrene rod or even some sprue offcut. Cut off the broken section from the squared part and glue on the new tapered section all in one piece, not a piece just to fit on the end.
Also, if you have any white silicon bathroom sealer ( the type to water proof joints, not the paintable gap sealer - it does not stick to styrene like the translucent or other coloured ones). you could use it to make a mould of the other one, then use two part putty to make a replacement. Put the good one on some tape or glue on some plastic card with a little PVA (so you can easily remove it later) and slather the sealer over it, making sure no air is trapped between and it is fairly thick so it will hold its shape later. I suggest testing your silicone on some sprue first to make sure it releases.
2 Likes
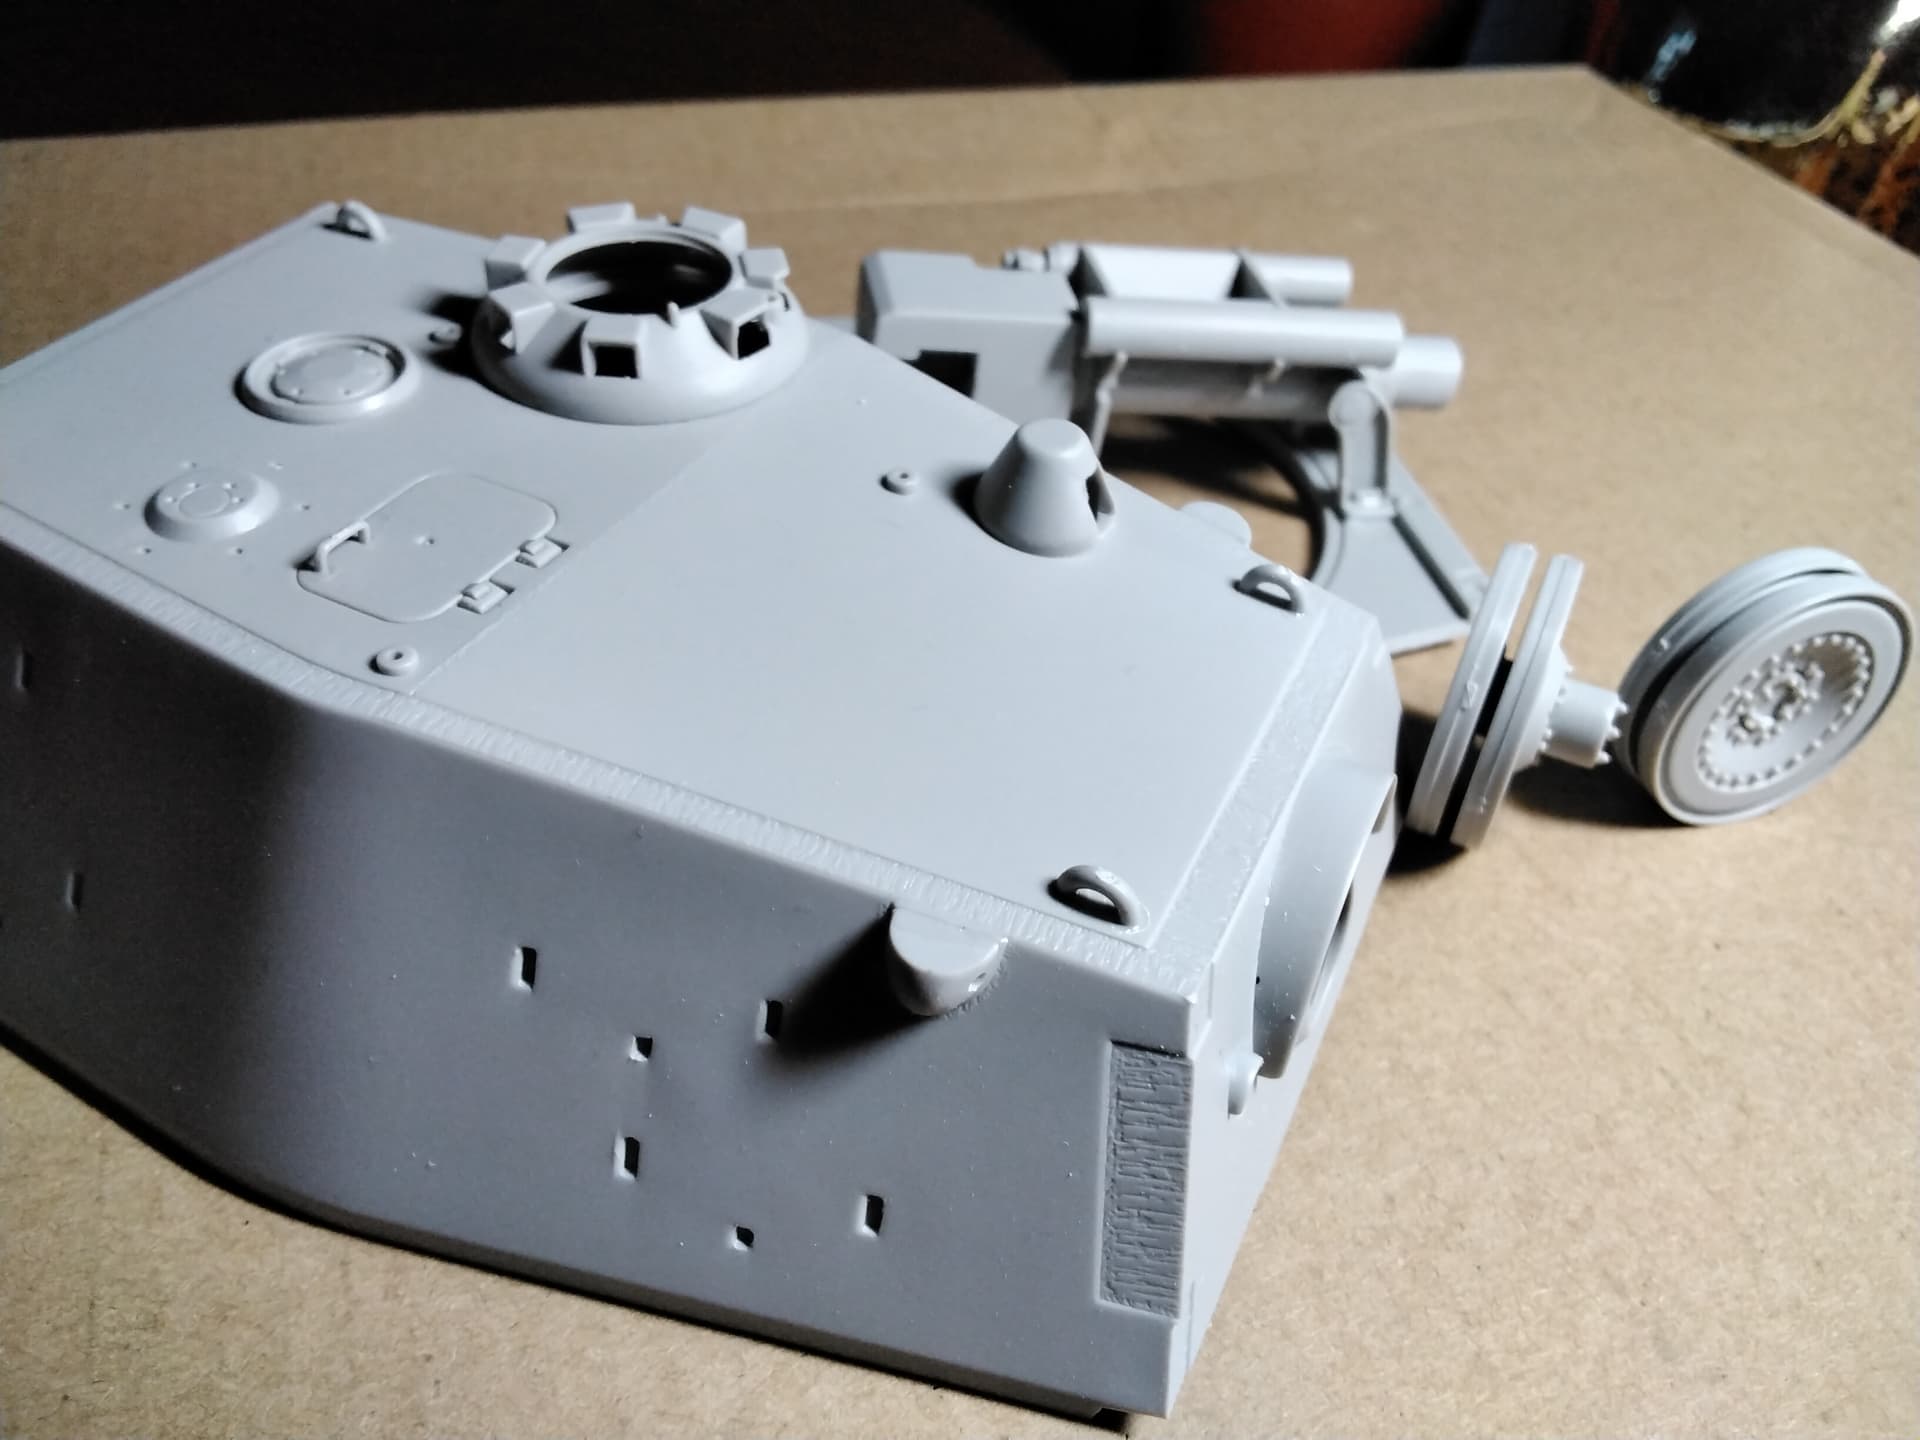
Running gear completed and primed.
Only thing I dislike on Trumpeter T 80 and T 90 series are tracks.

3 Likes
Thank you, I’m not sure that I understand the first tip but I will try the second one. Into the fire…
1 Like
You may dislike doing it Igor, but they look very nice on the wheels…
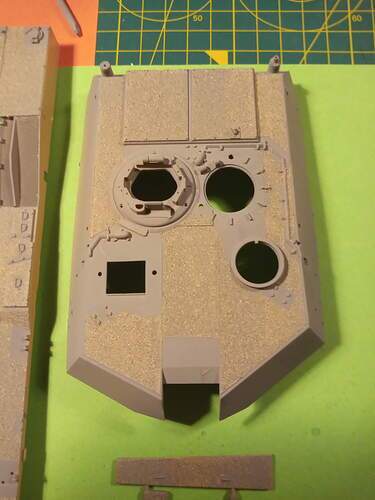
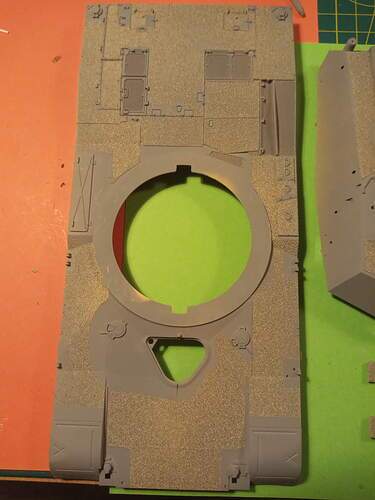
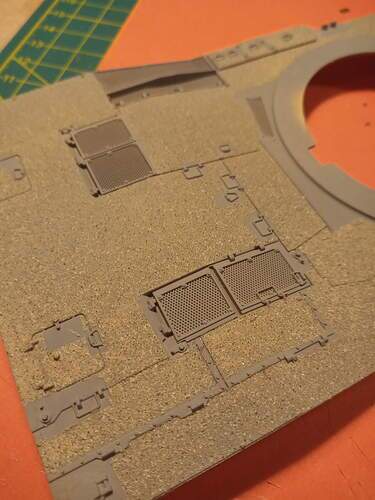
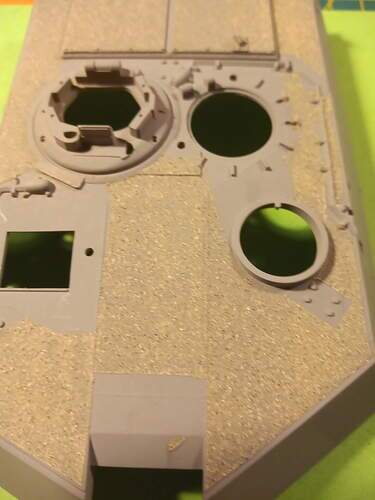
I did a base prime in grey over the upper hull and lower rear and front, but left the bottom black to give it a bit more shadow when the green goes on.
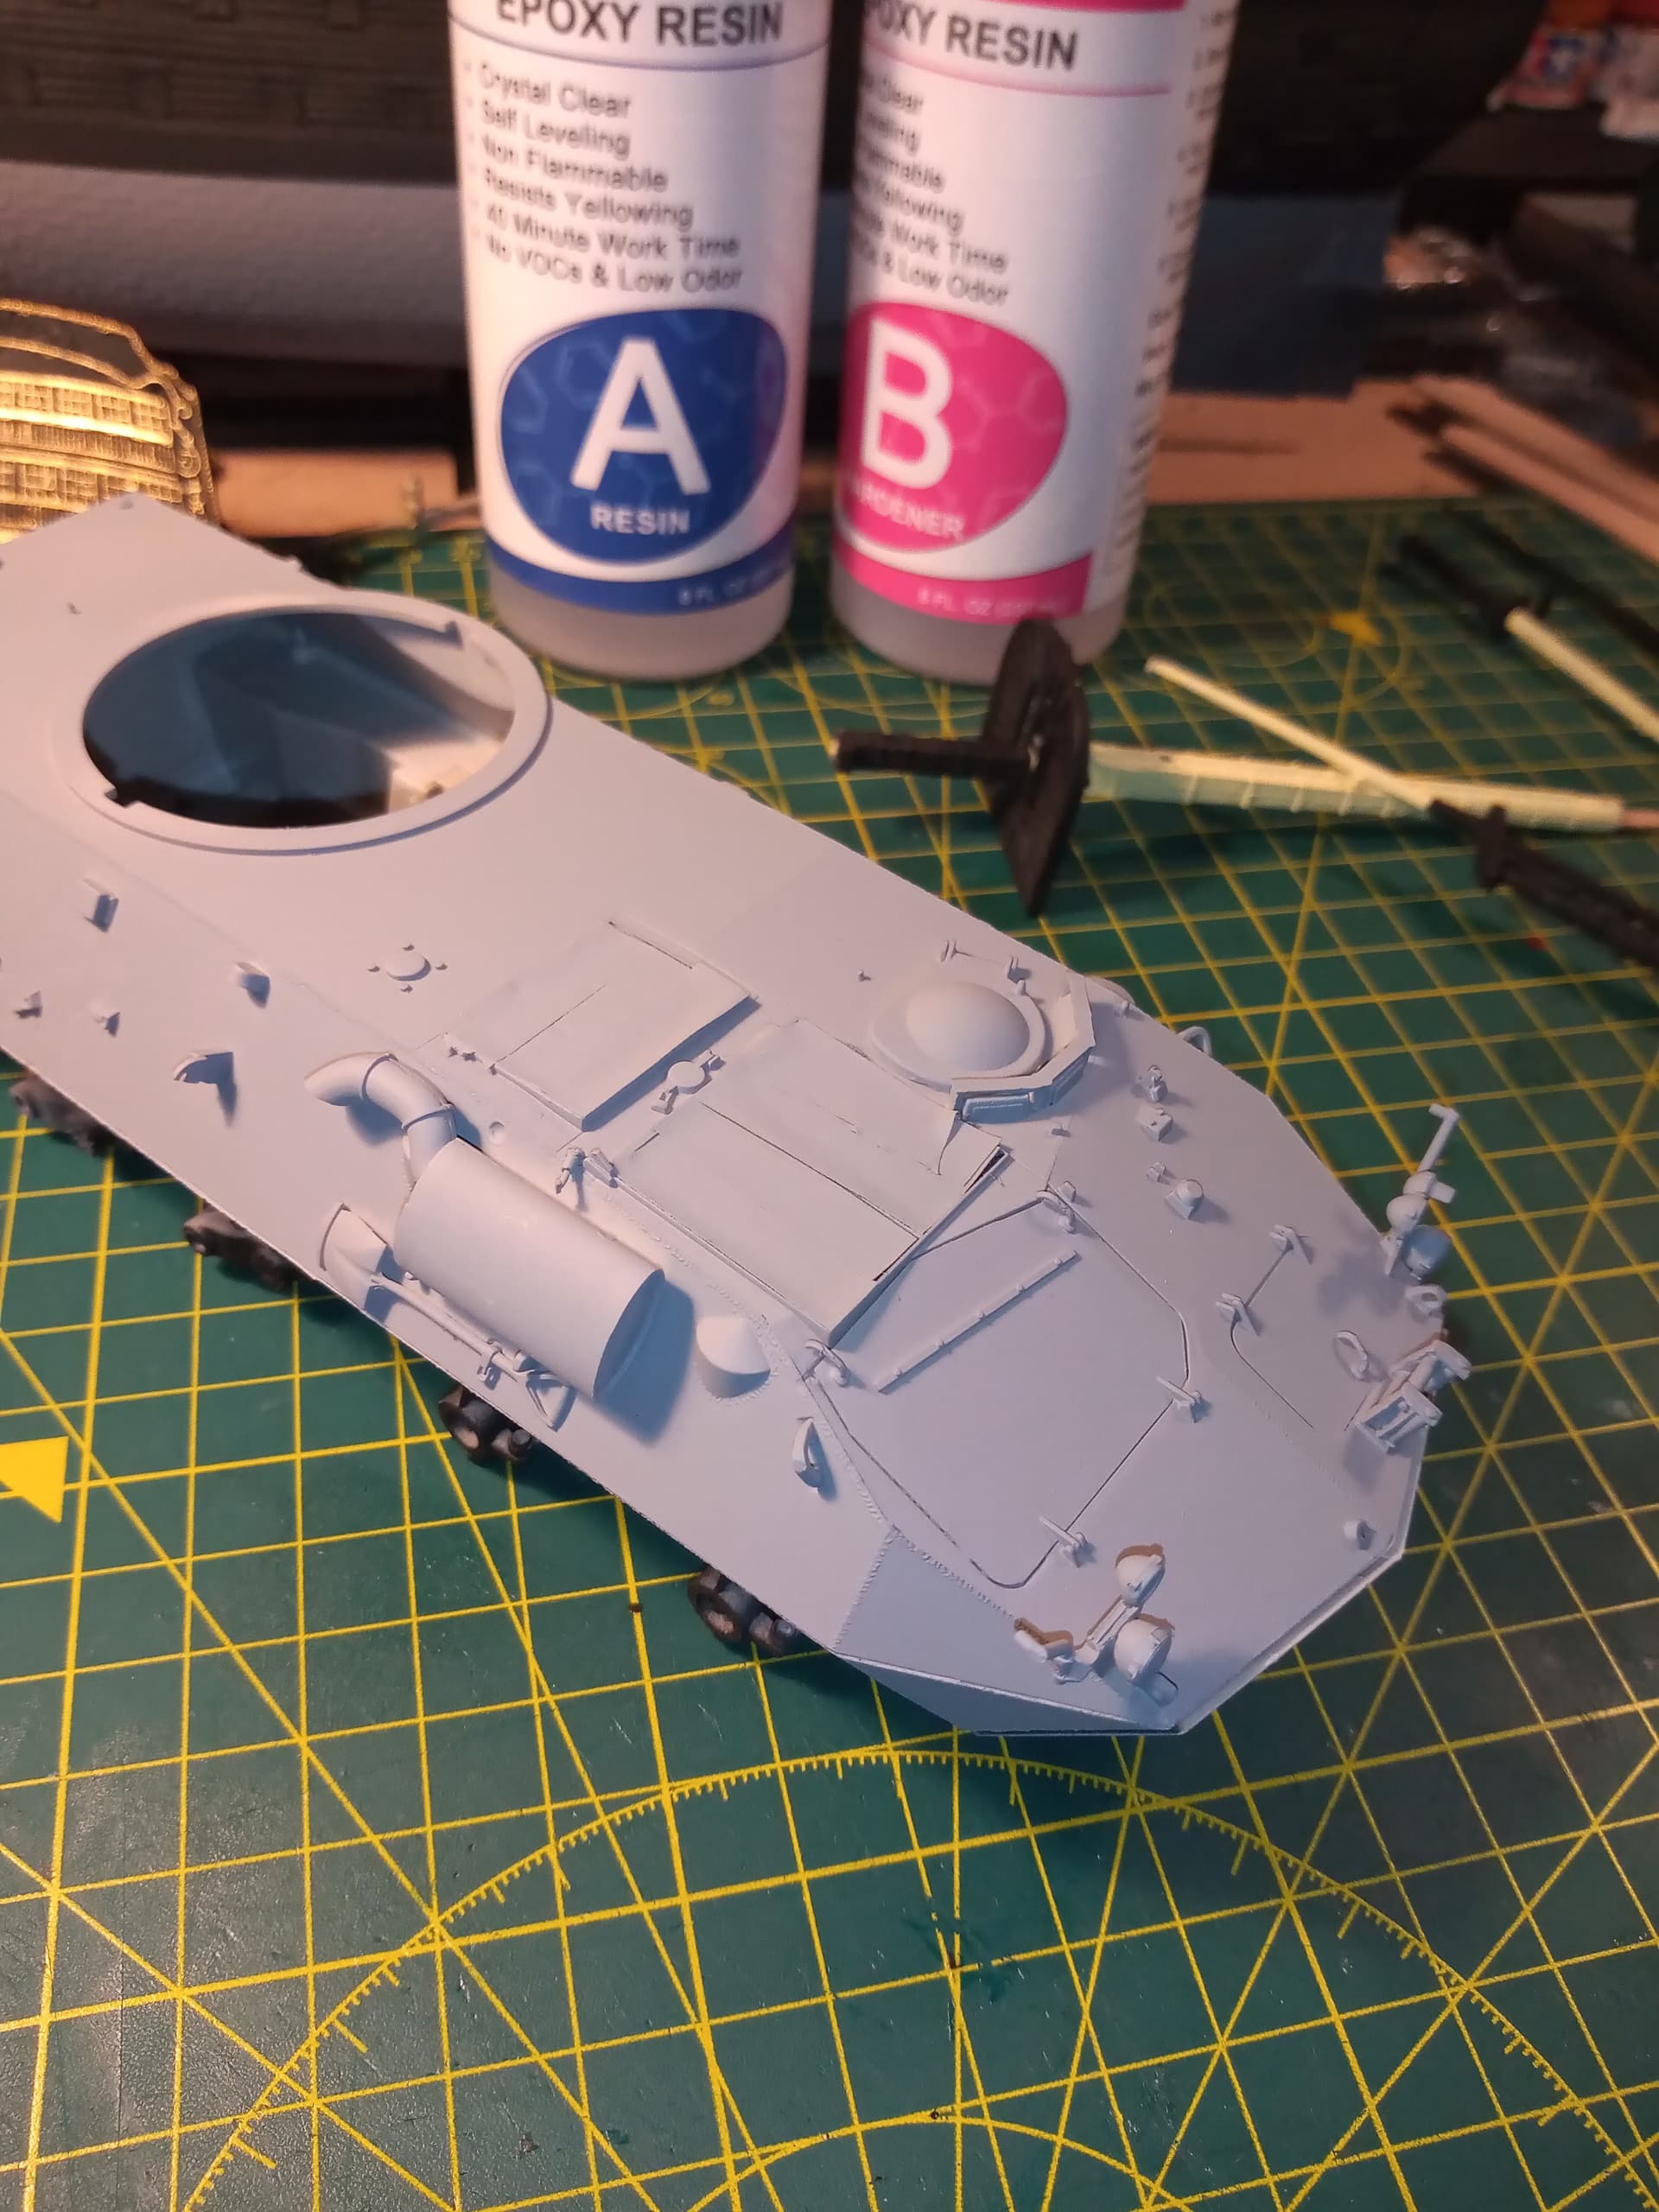
I also primed all the turret parts and weapons on the sprue and will start painting and assembly of that tomorrow.
Will also mask off the areas on the upper hull where the anti slip isn’t needed.
4 Likes
Not sure on camo yet Jesper will try to do something different .
Thanks John go on do another you know you want to !
Love that anti slip look
Progress so far. Worst part so far was cleaning wheel mould lines up other wise noce simple no fuss kit.

1 Like
I’m constantly looking on evil bay … as there is no rush for it i may dip my toe into the chinese market and try an order from them. Will put a few images up later of the one I did last year or year before… I was quite happy with it.
John, here’s what I did with mine a while ago …
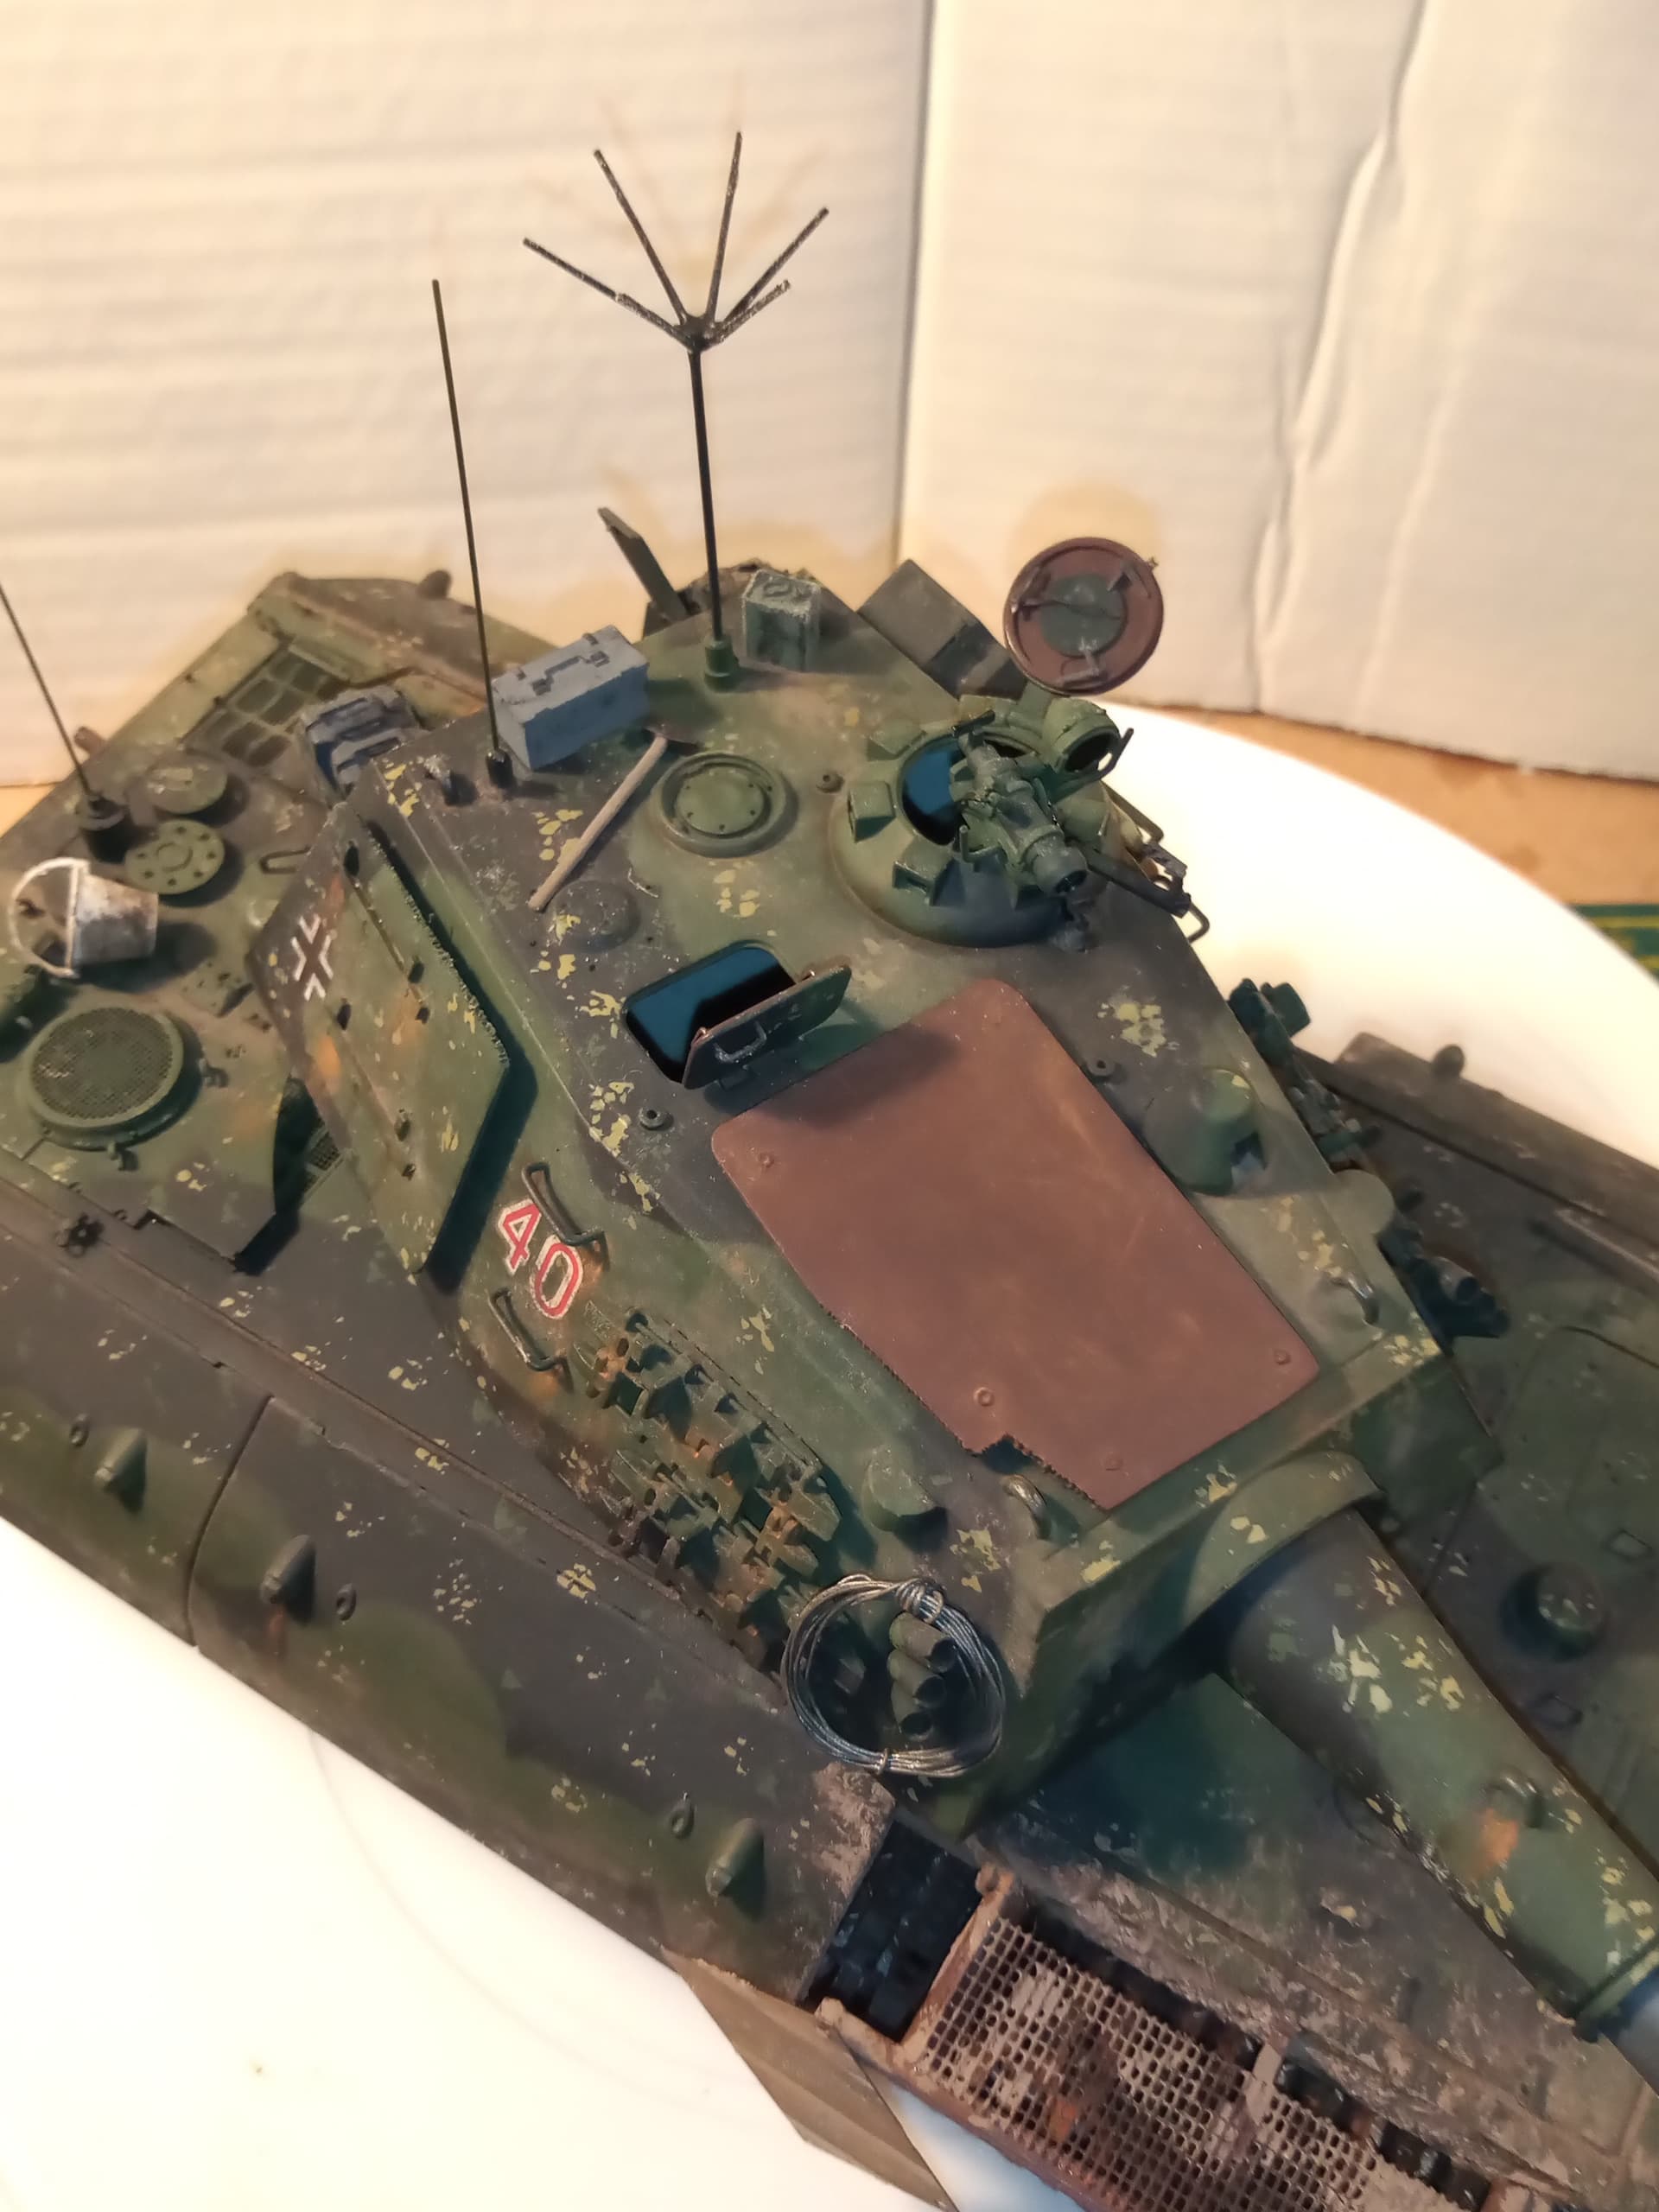
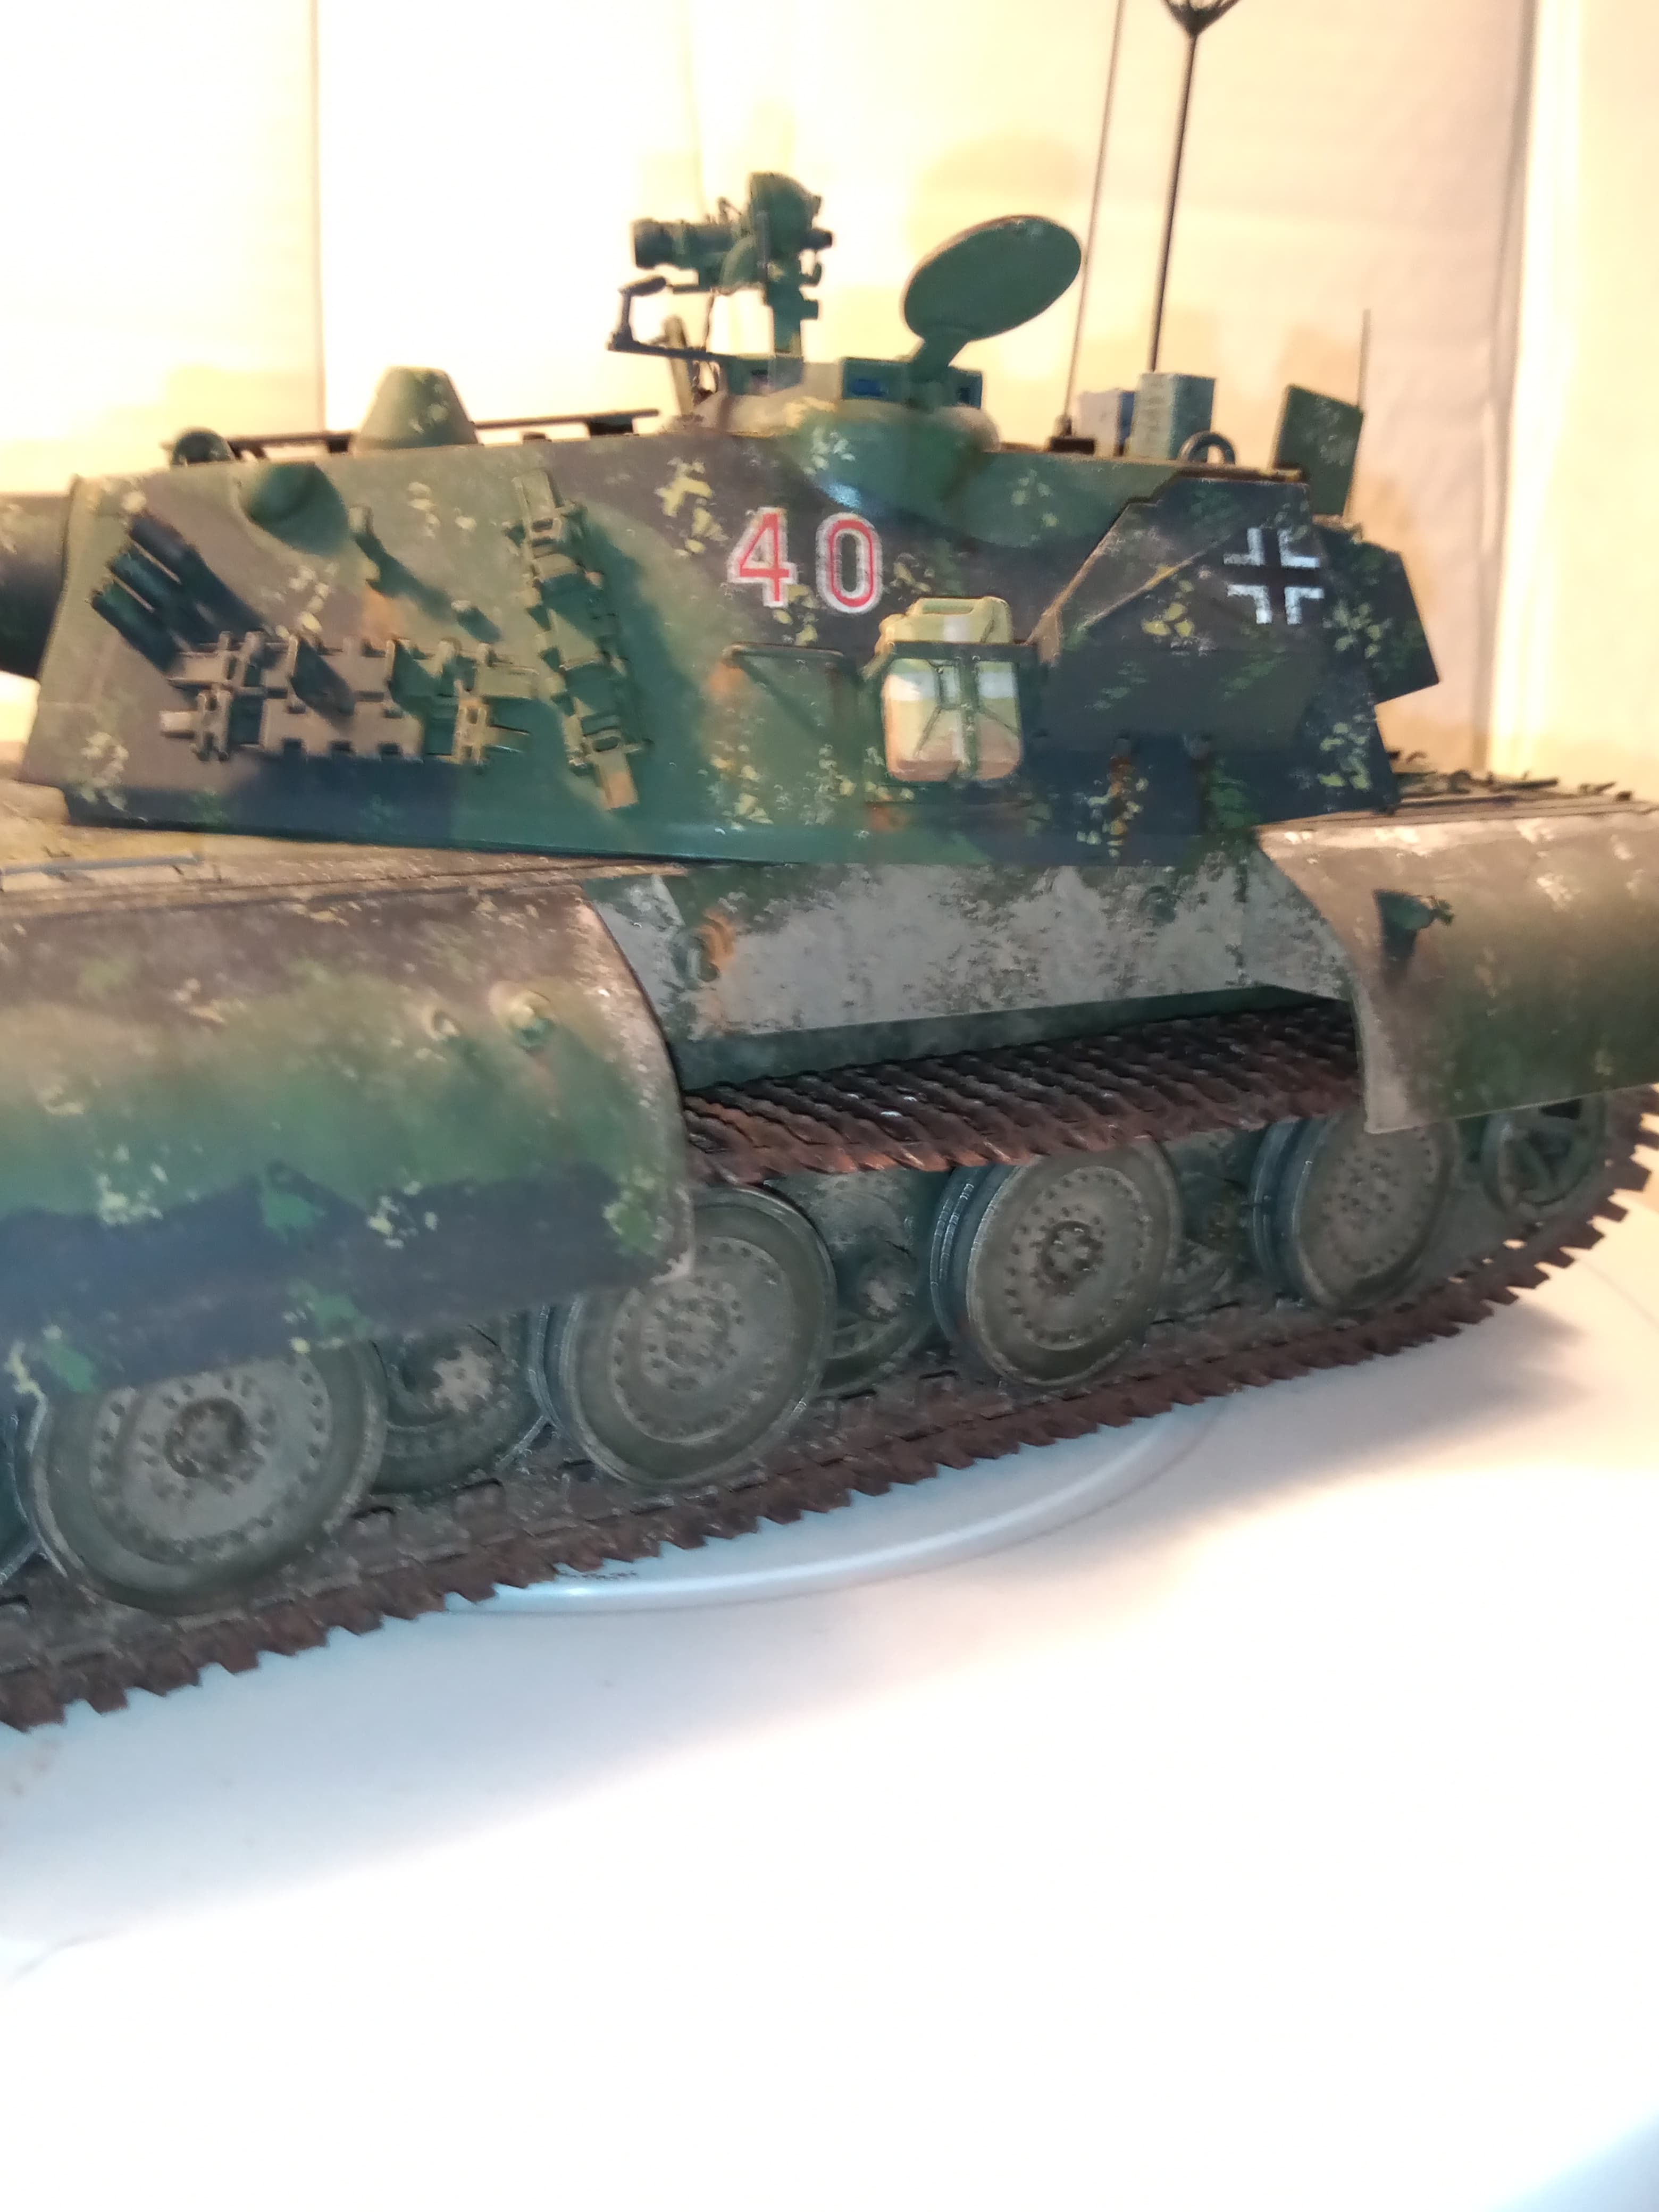
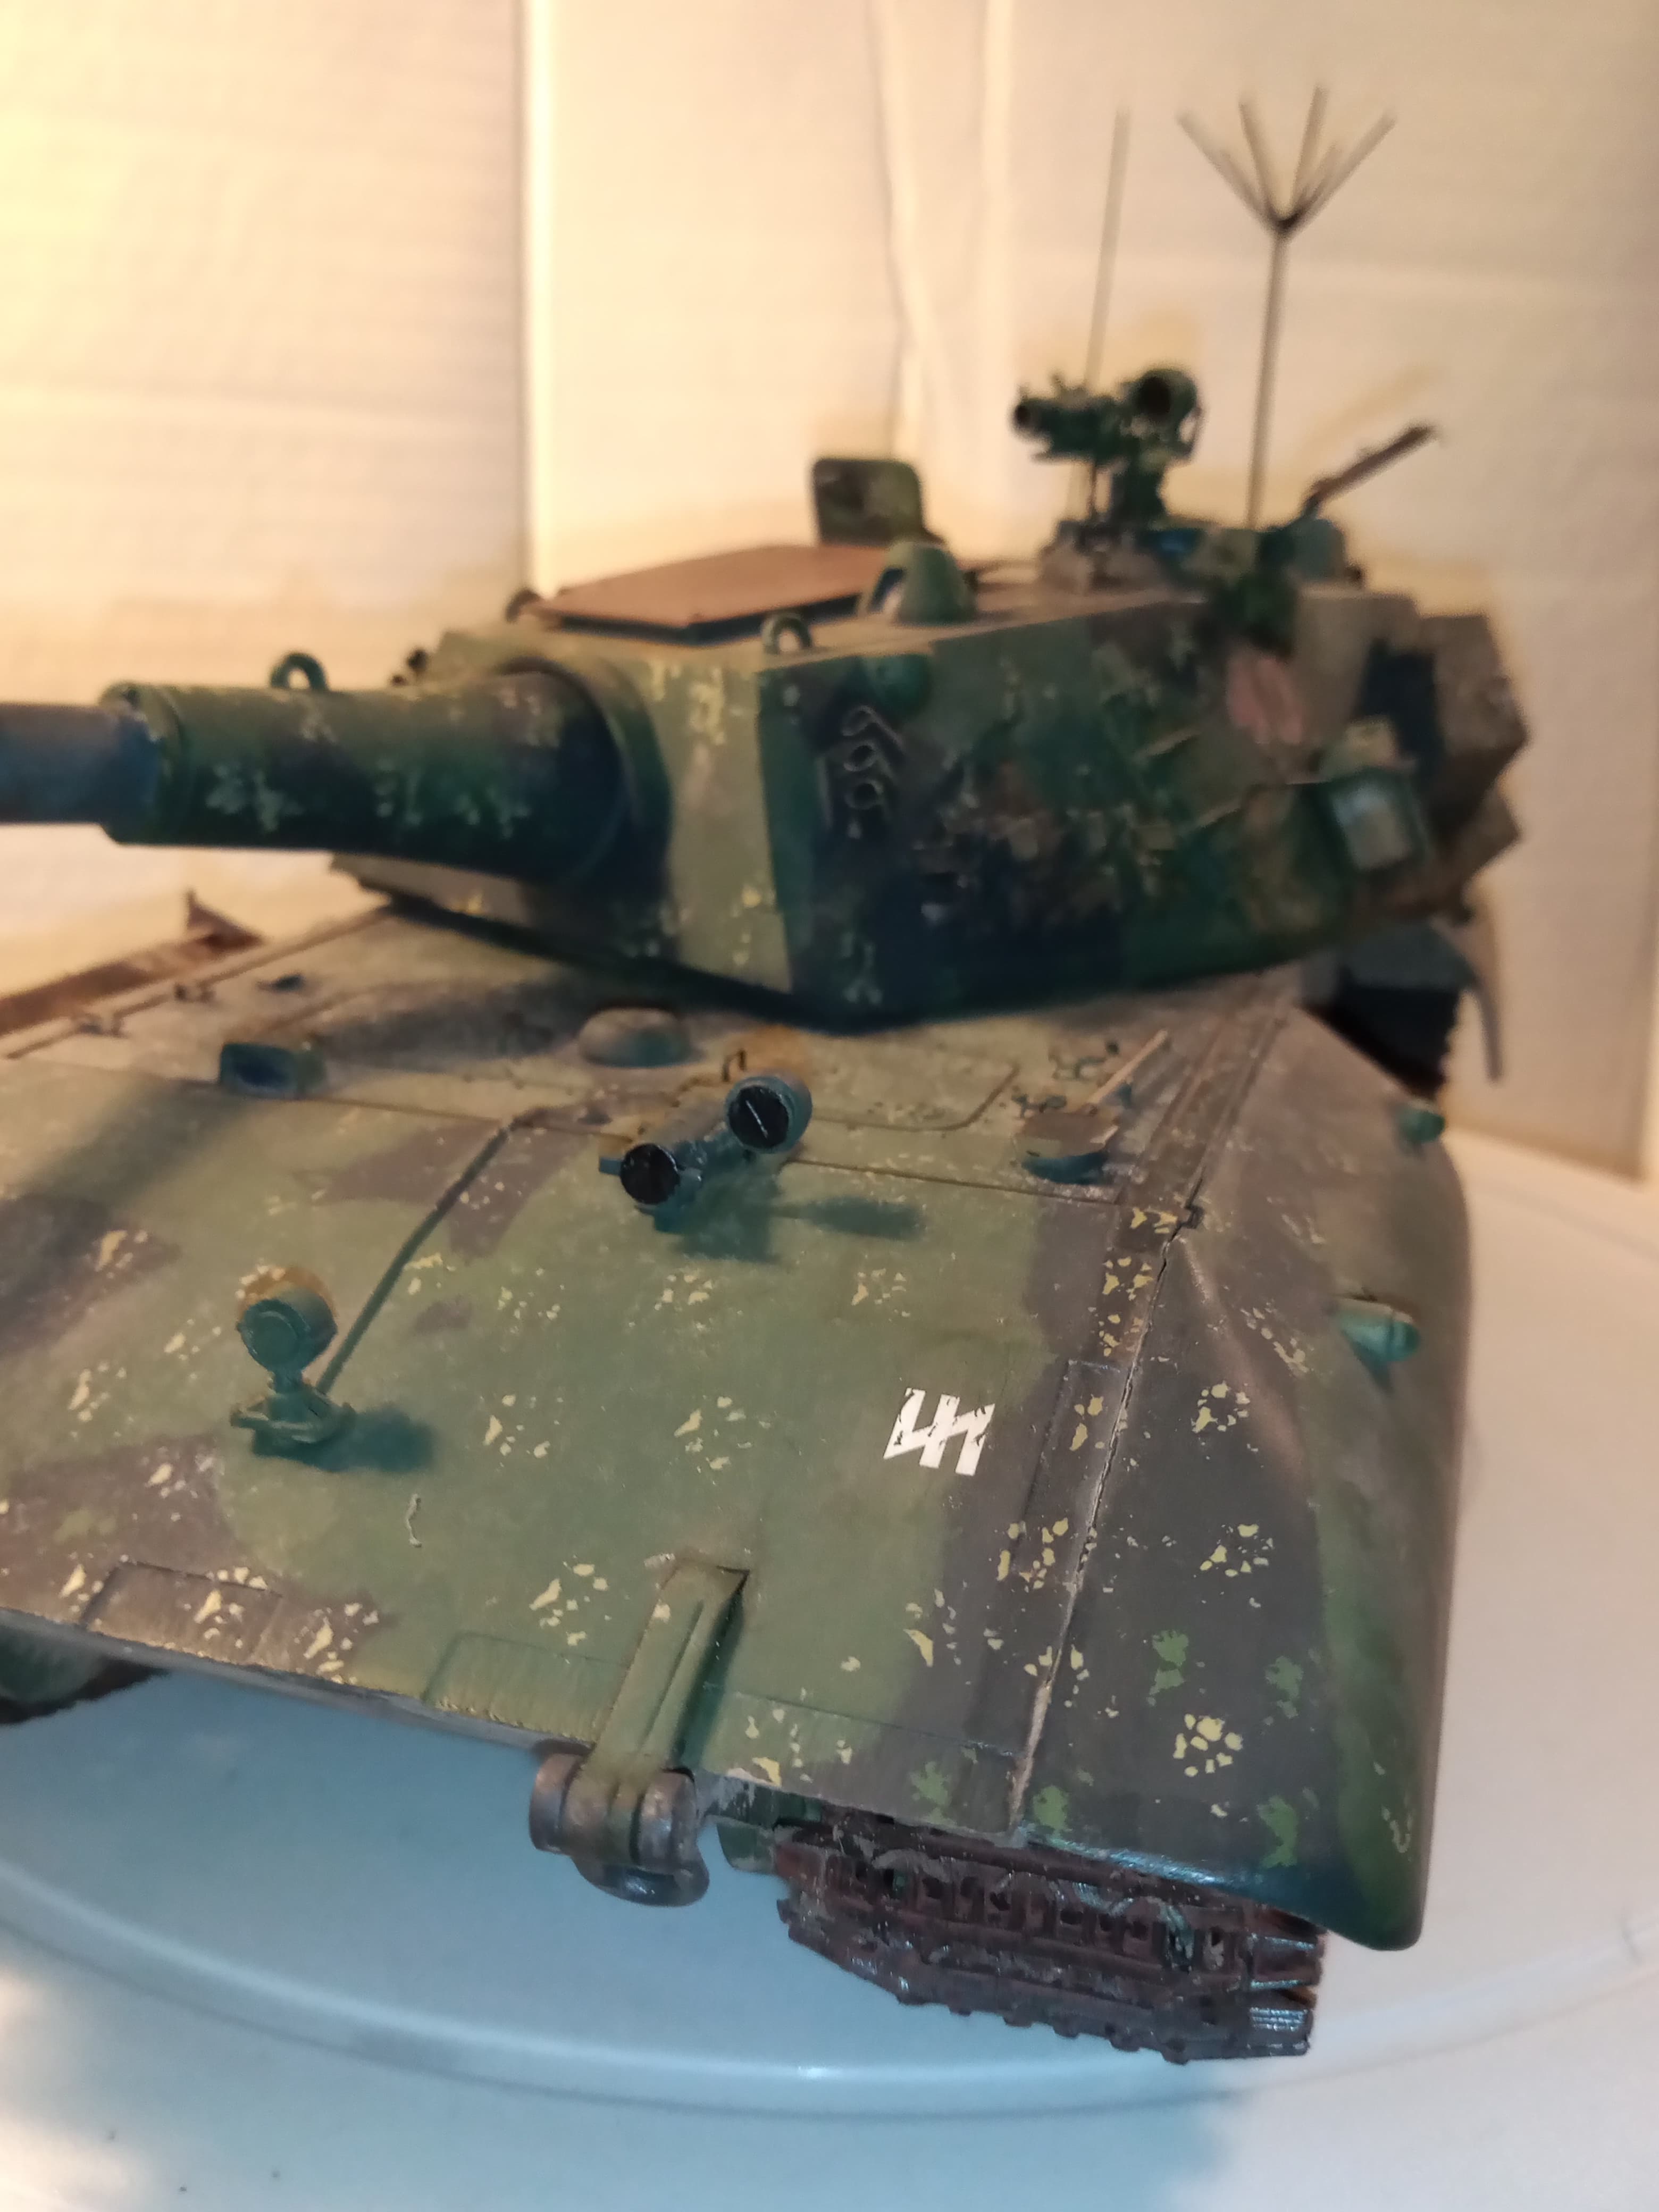
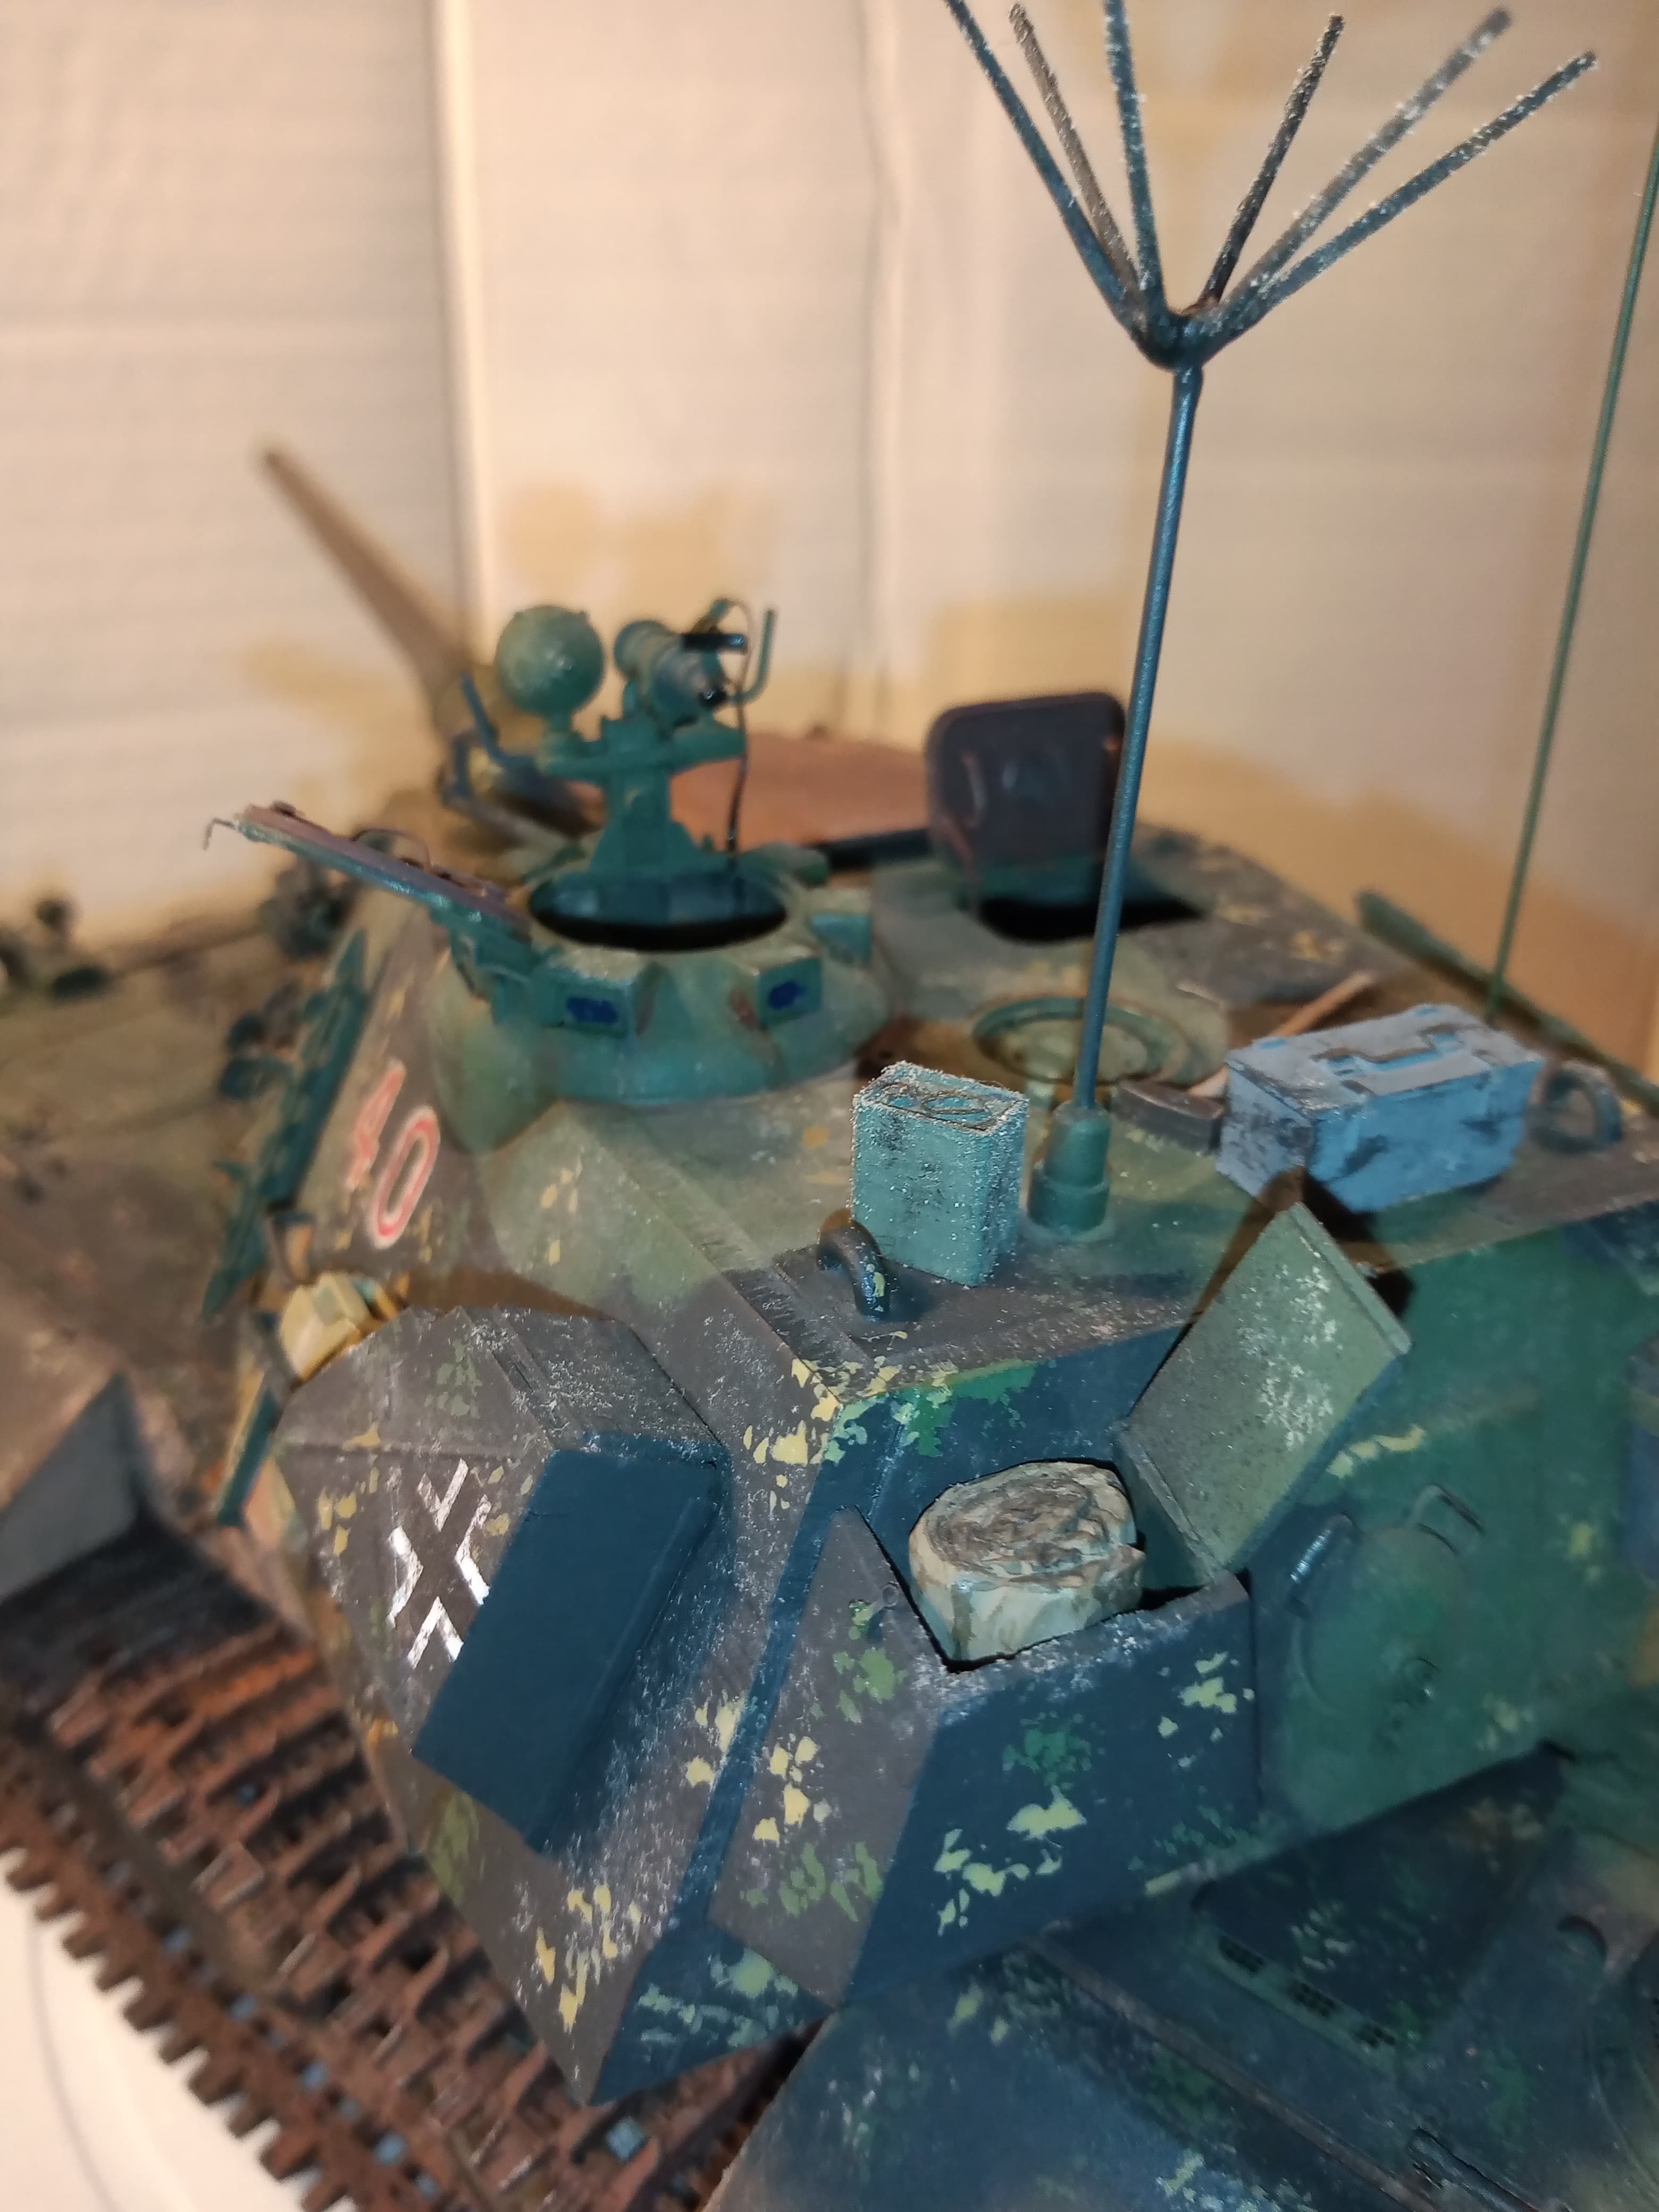
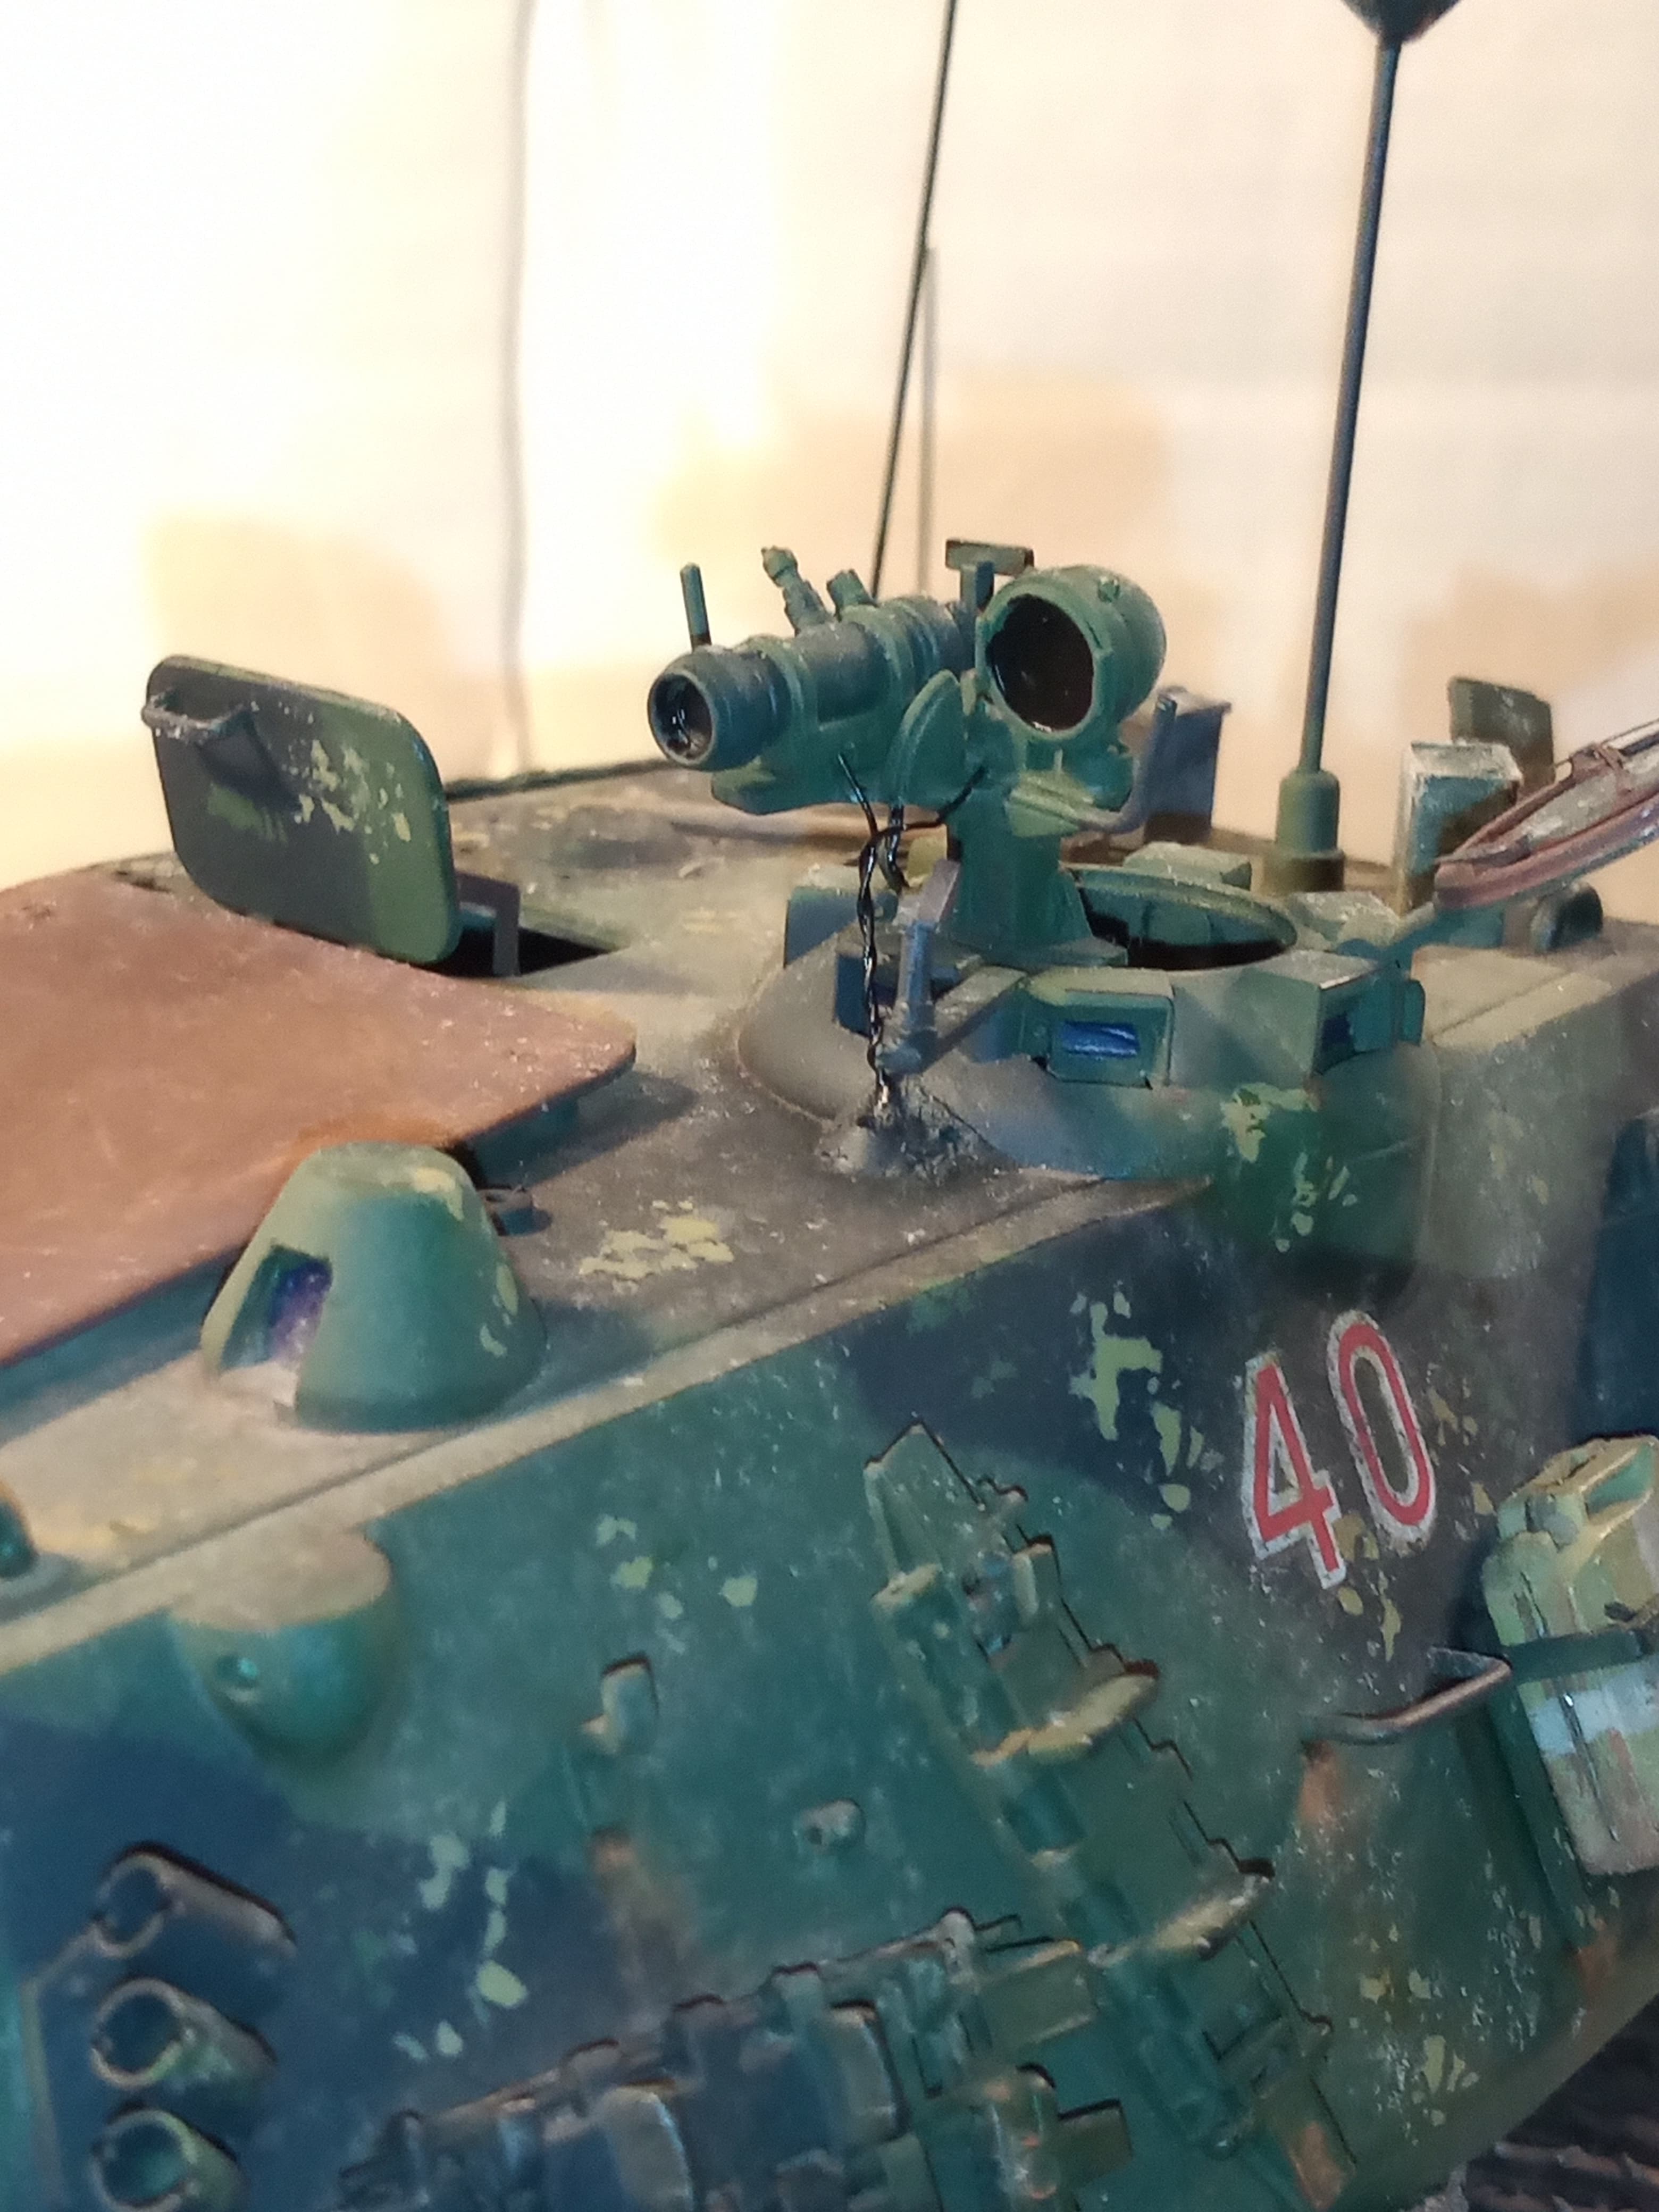
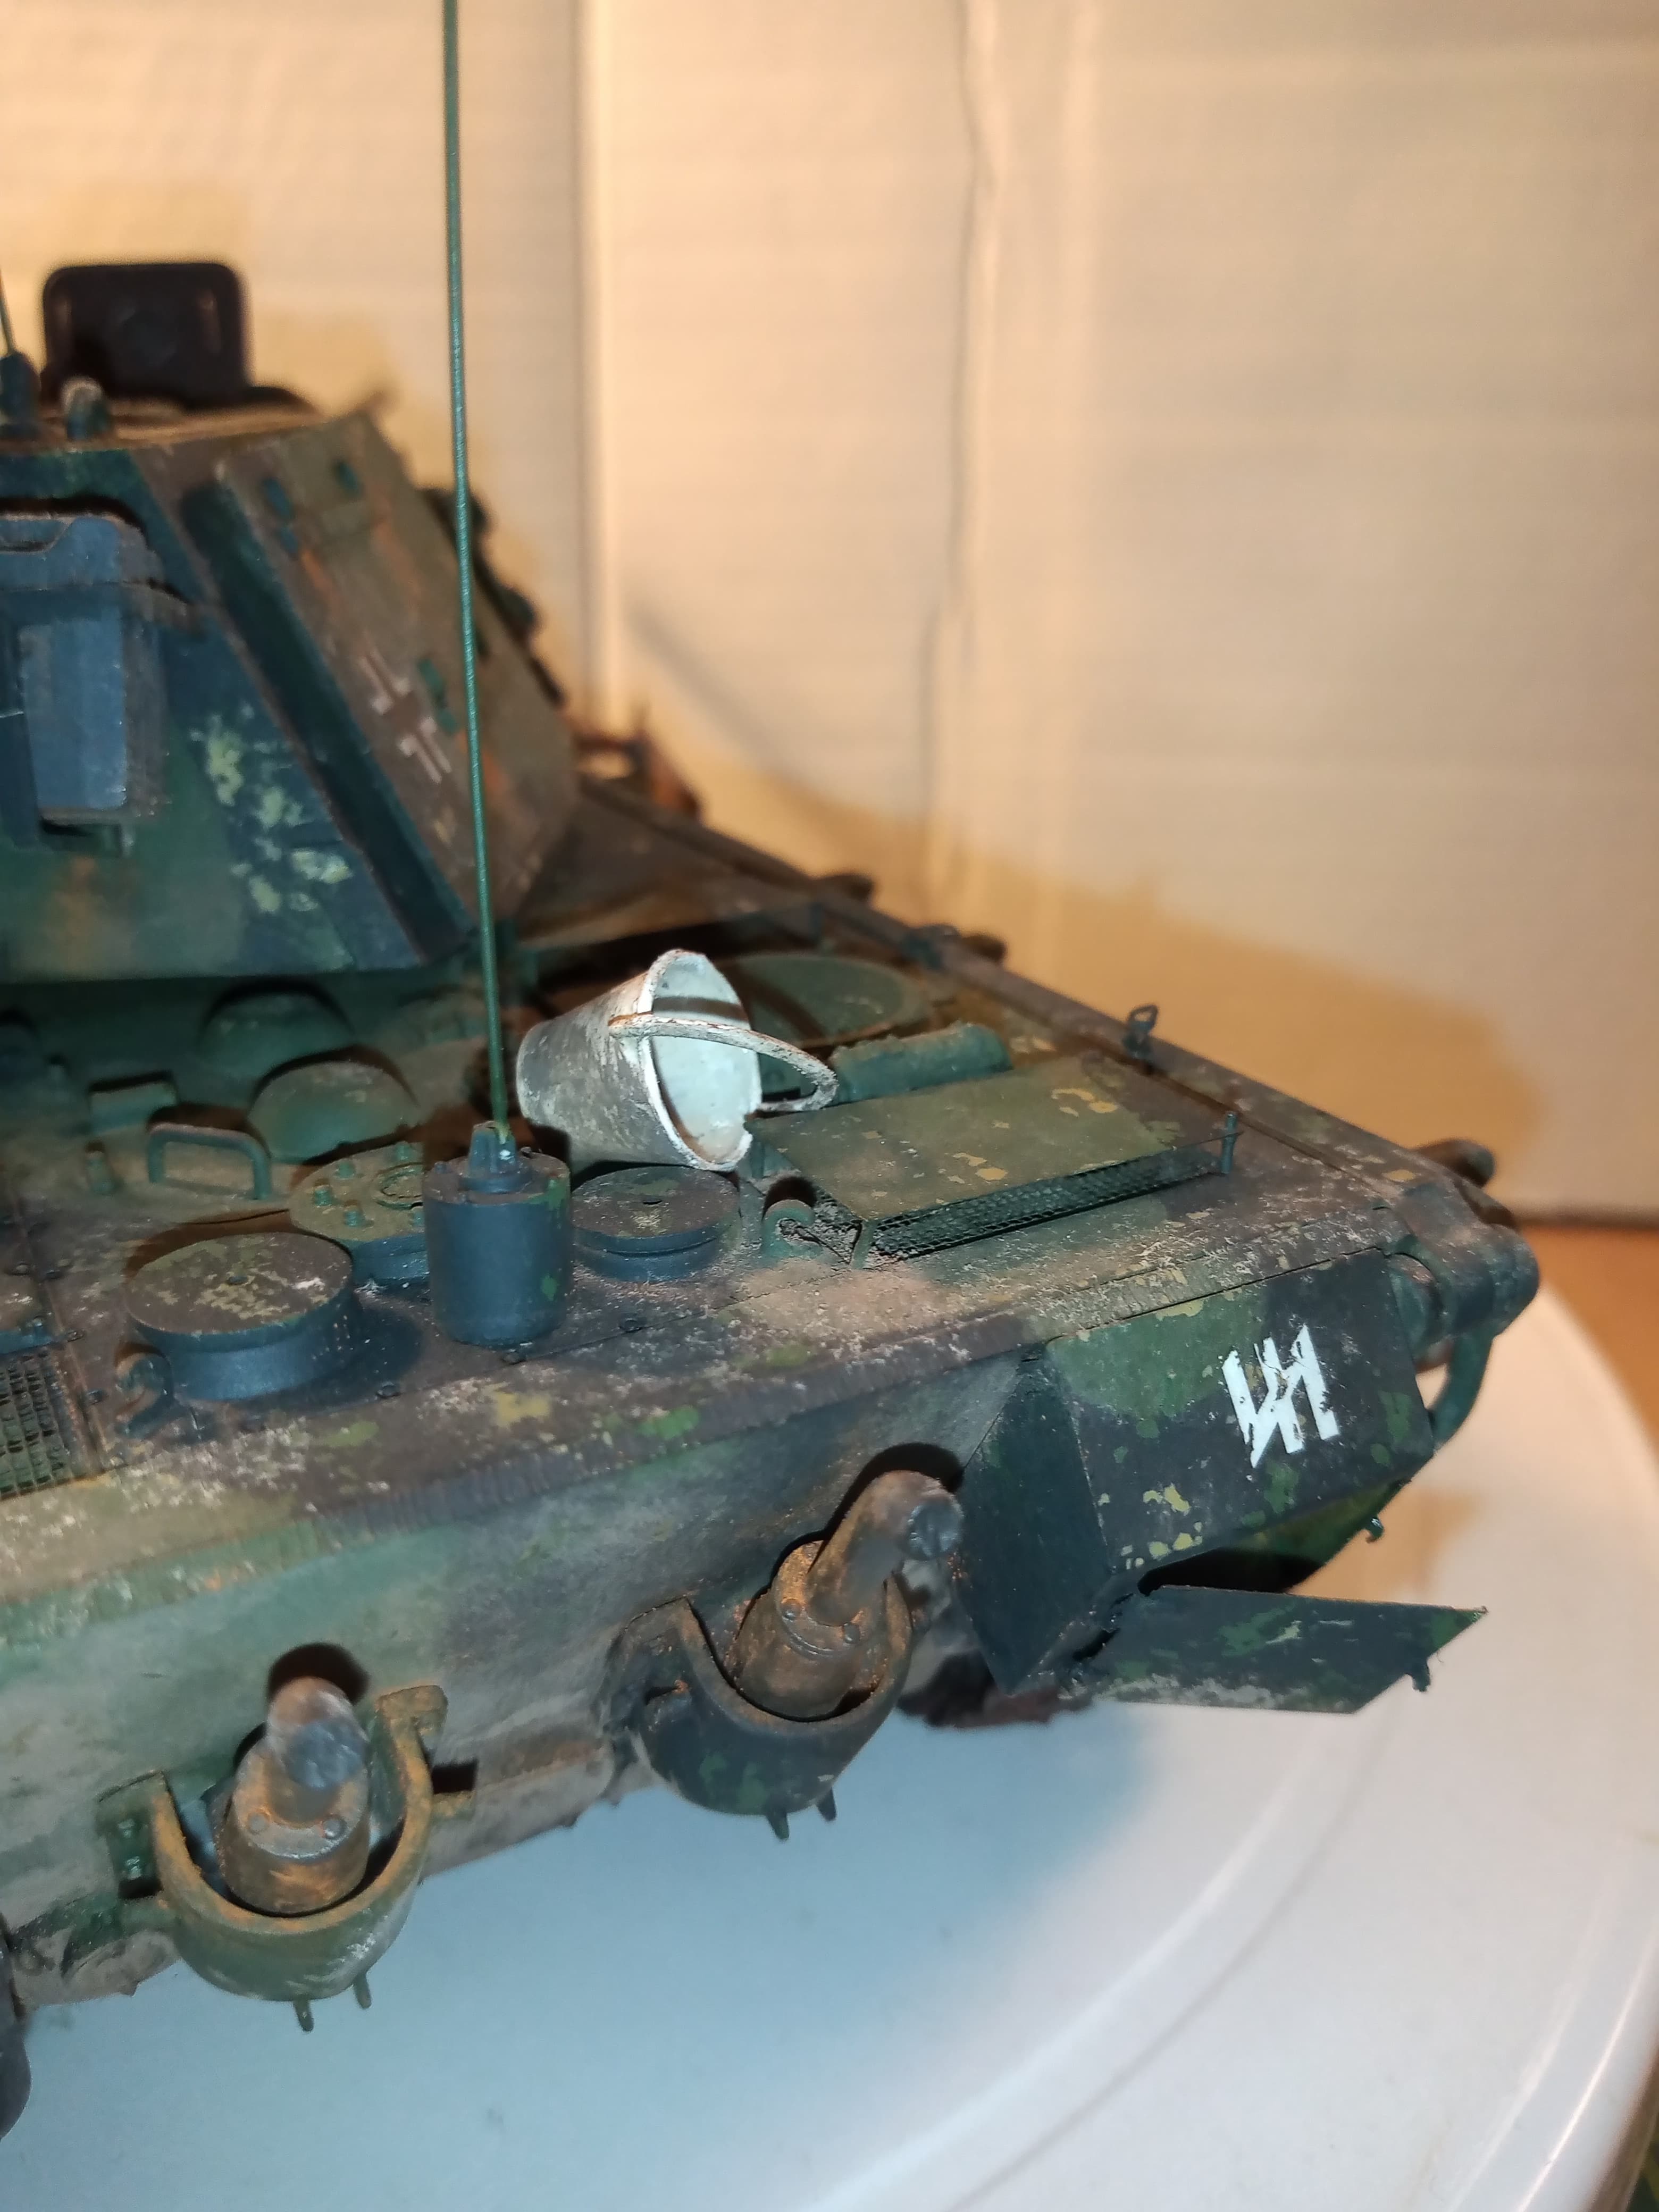
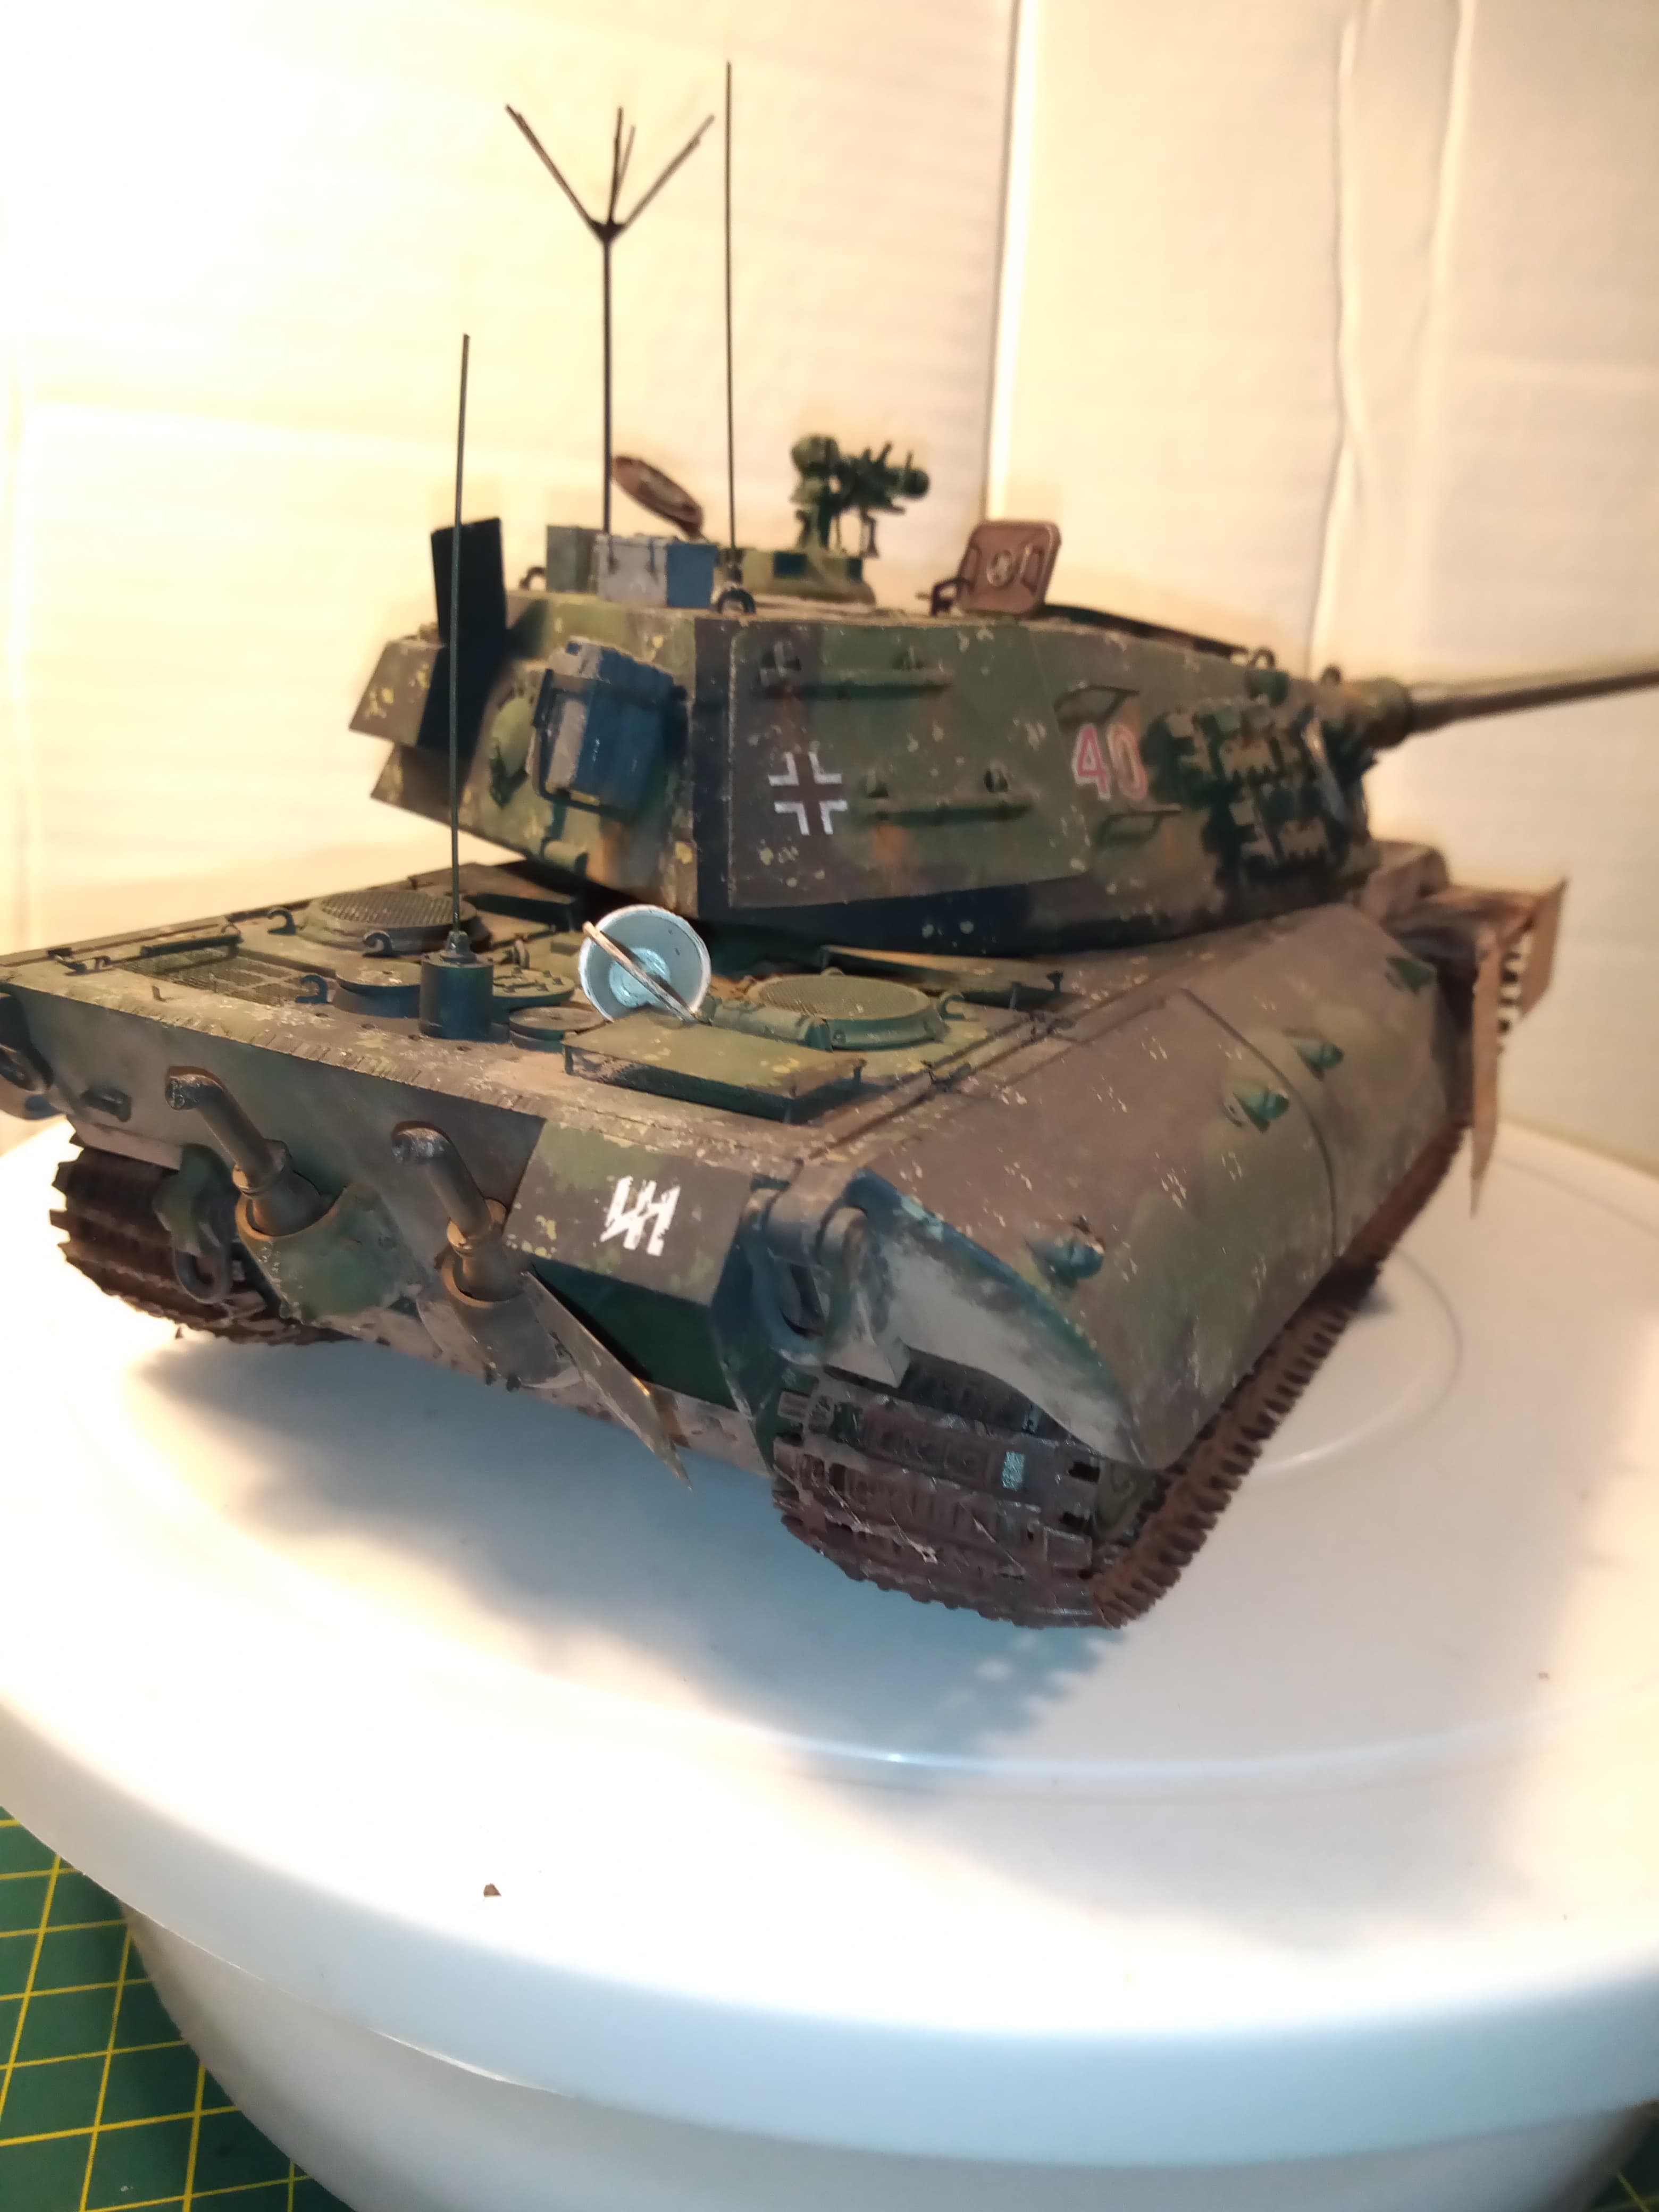

I did a fair bit of extra scratch or additional bits like the Panther side skirts, both IR sights , scratch built anti air armour and turret side army and turret steps , antennas, bins etc…
Now I’m definitely going to get another lol
6 Likes
Like that John. Great finish .
Like how you’ve tied it into its past evolution.
Was going to ask you guys how best to paint the infrared lenses…
Started on turret added hinge for back hatch and extra handle plus a catch to loaders hatch. A sight guide to copula and top of armour sight .


2 Likes
Nice start John. Are you using the AM PE set for it ? I used the Voyager one on mine, well parts of it.
Ref the IR lens, I do mine either x18 semi gloss black or flat black and a thin coat of clear red on top of that.