yeah the lettering should be hidden by the ammo carousel ammo wheel when it goes in
1 Like
assembling 14, 40mm quads. Four parts to each
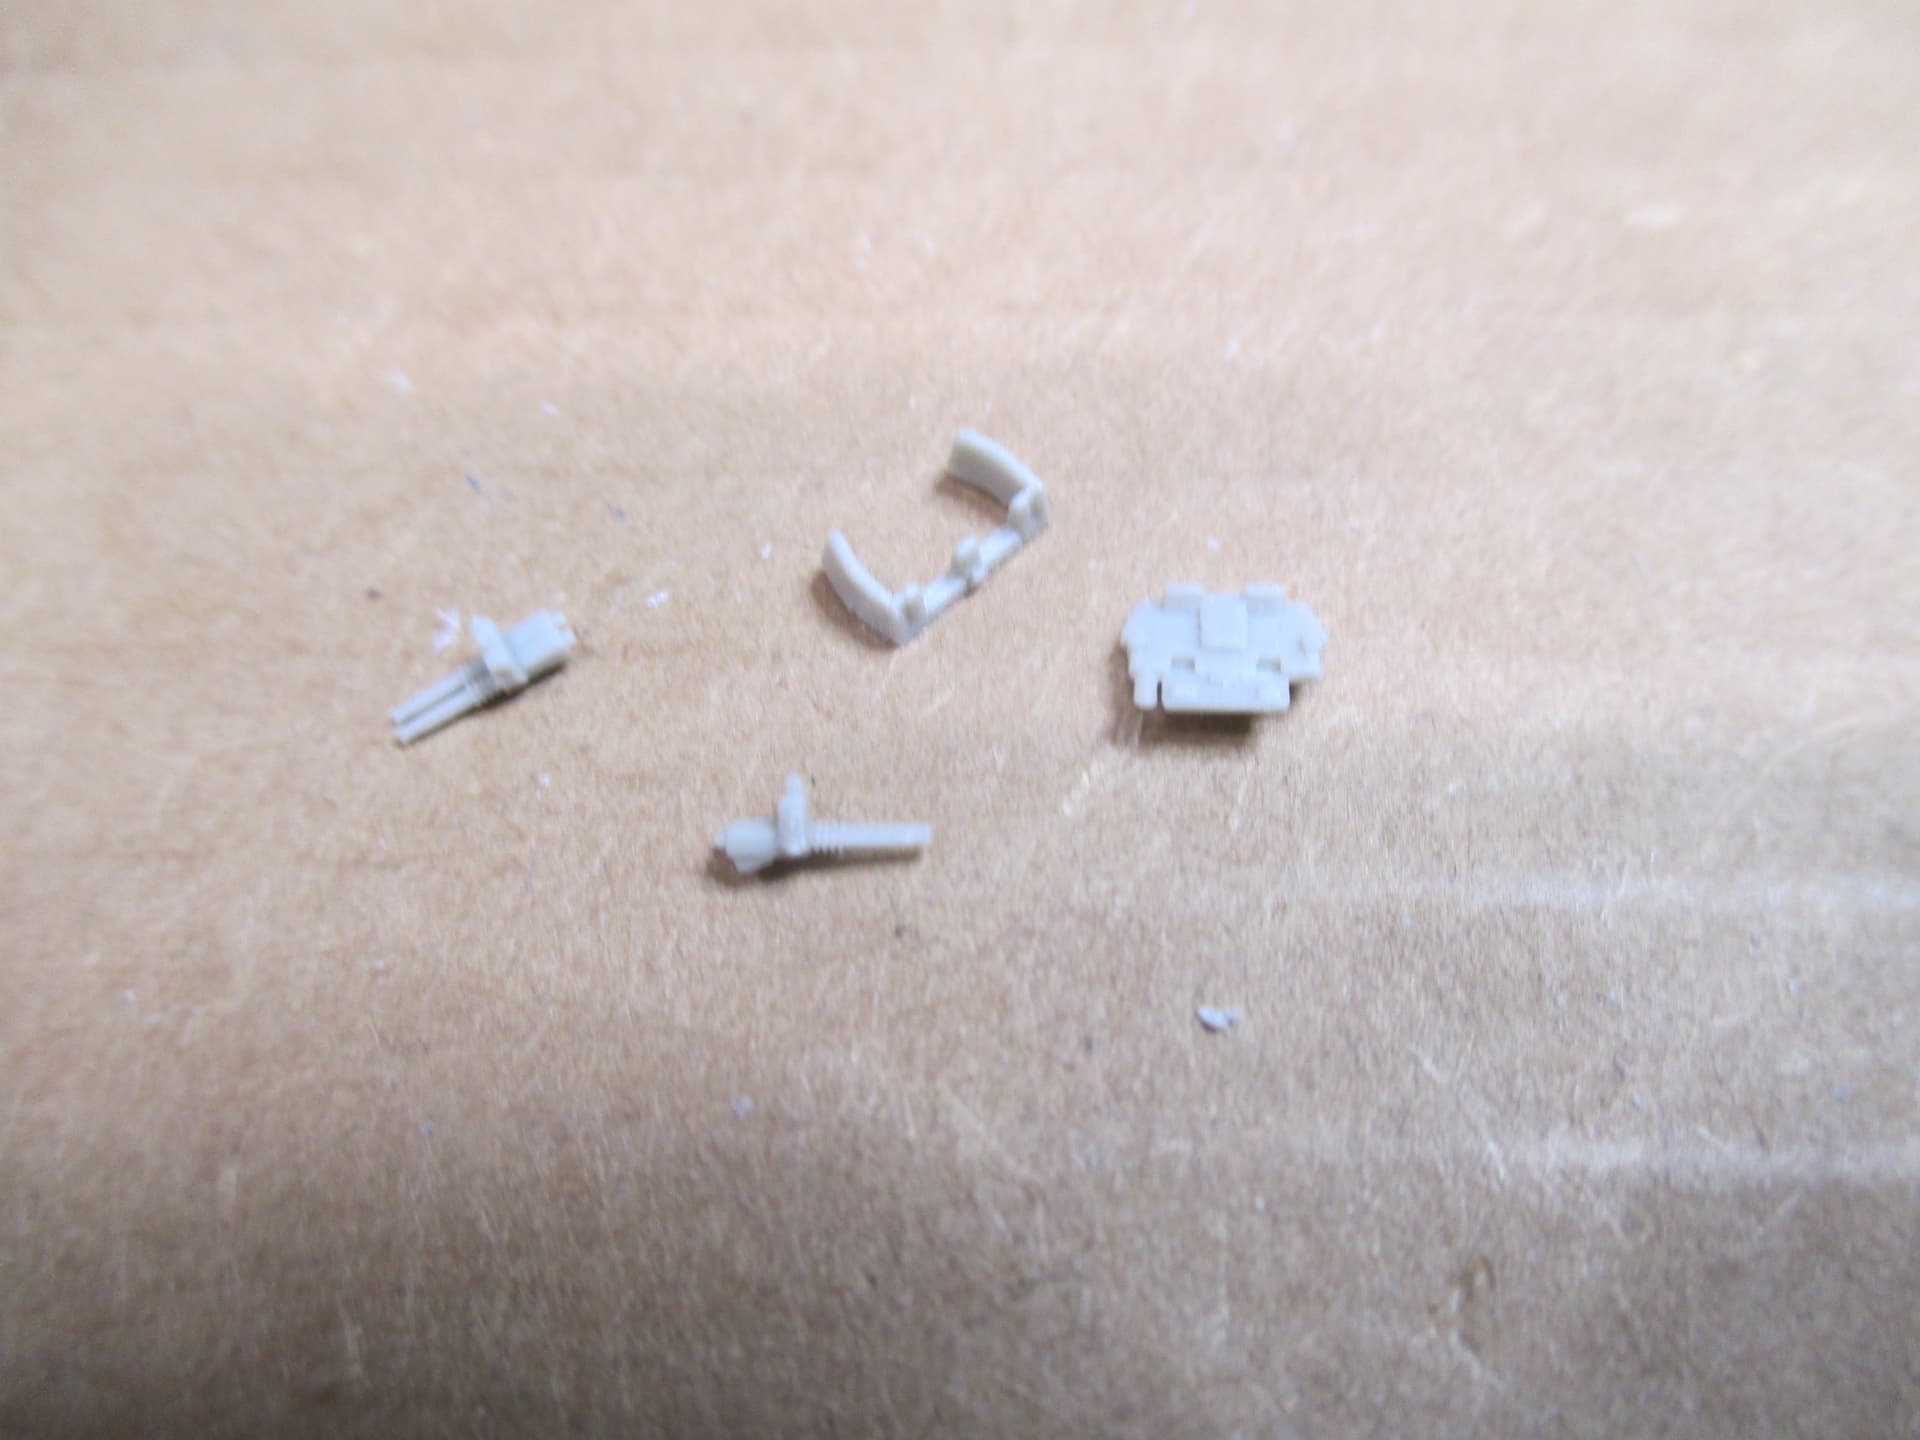
when putting the shield to the base I was seeing a gap at the front. I didn’t think it was correct until I looked at the USN gun catalogue and it is correct

http://archive.hnsa.org/doc/guncat/cat-0020.htm
5 Likes
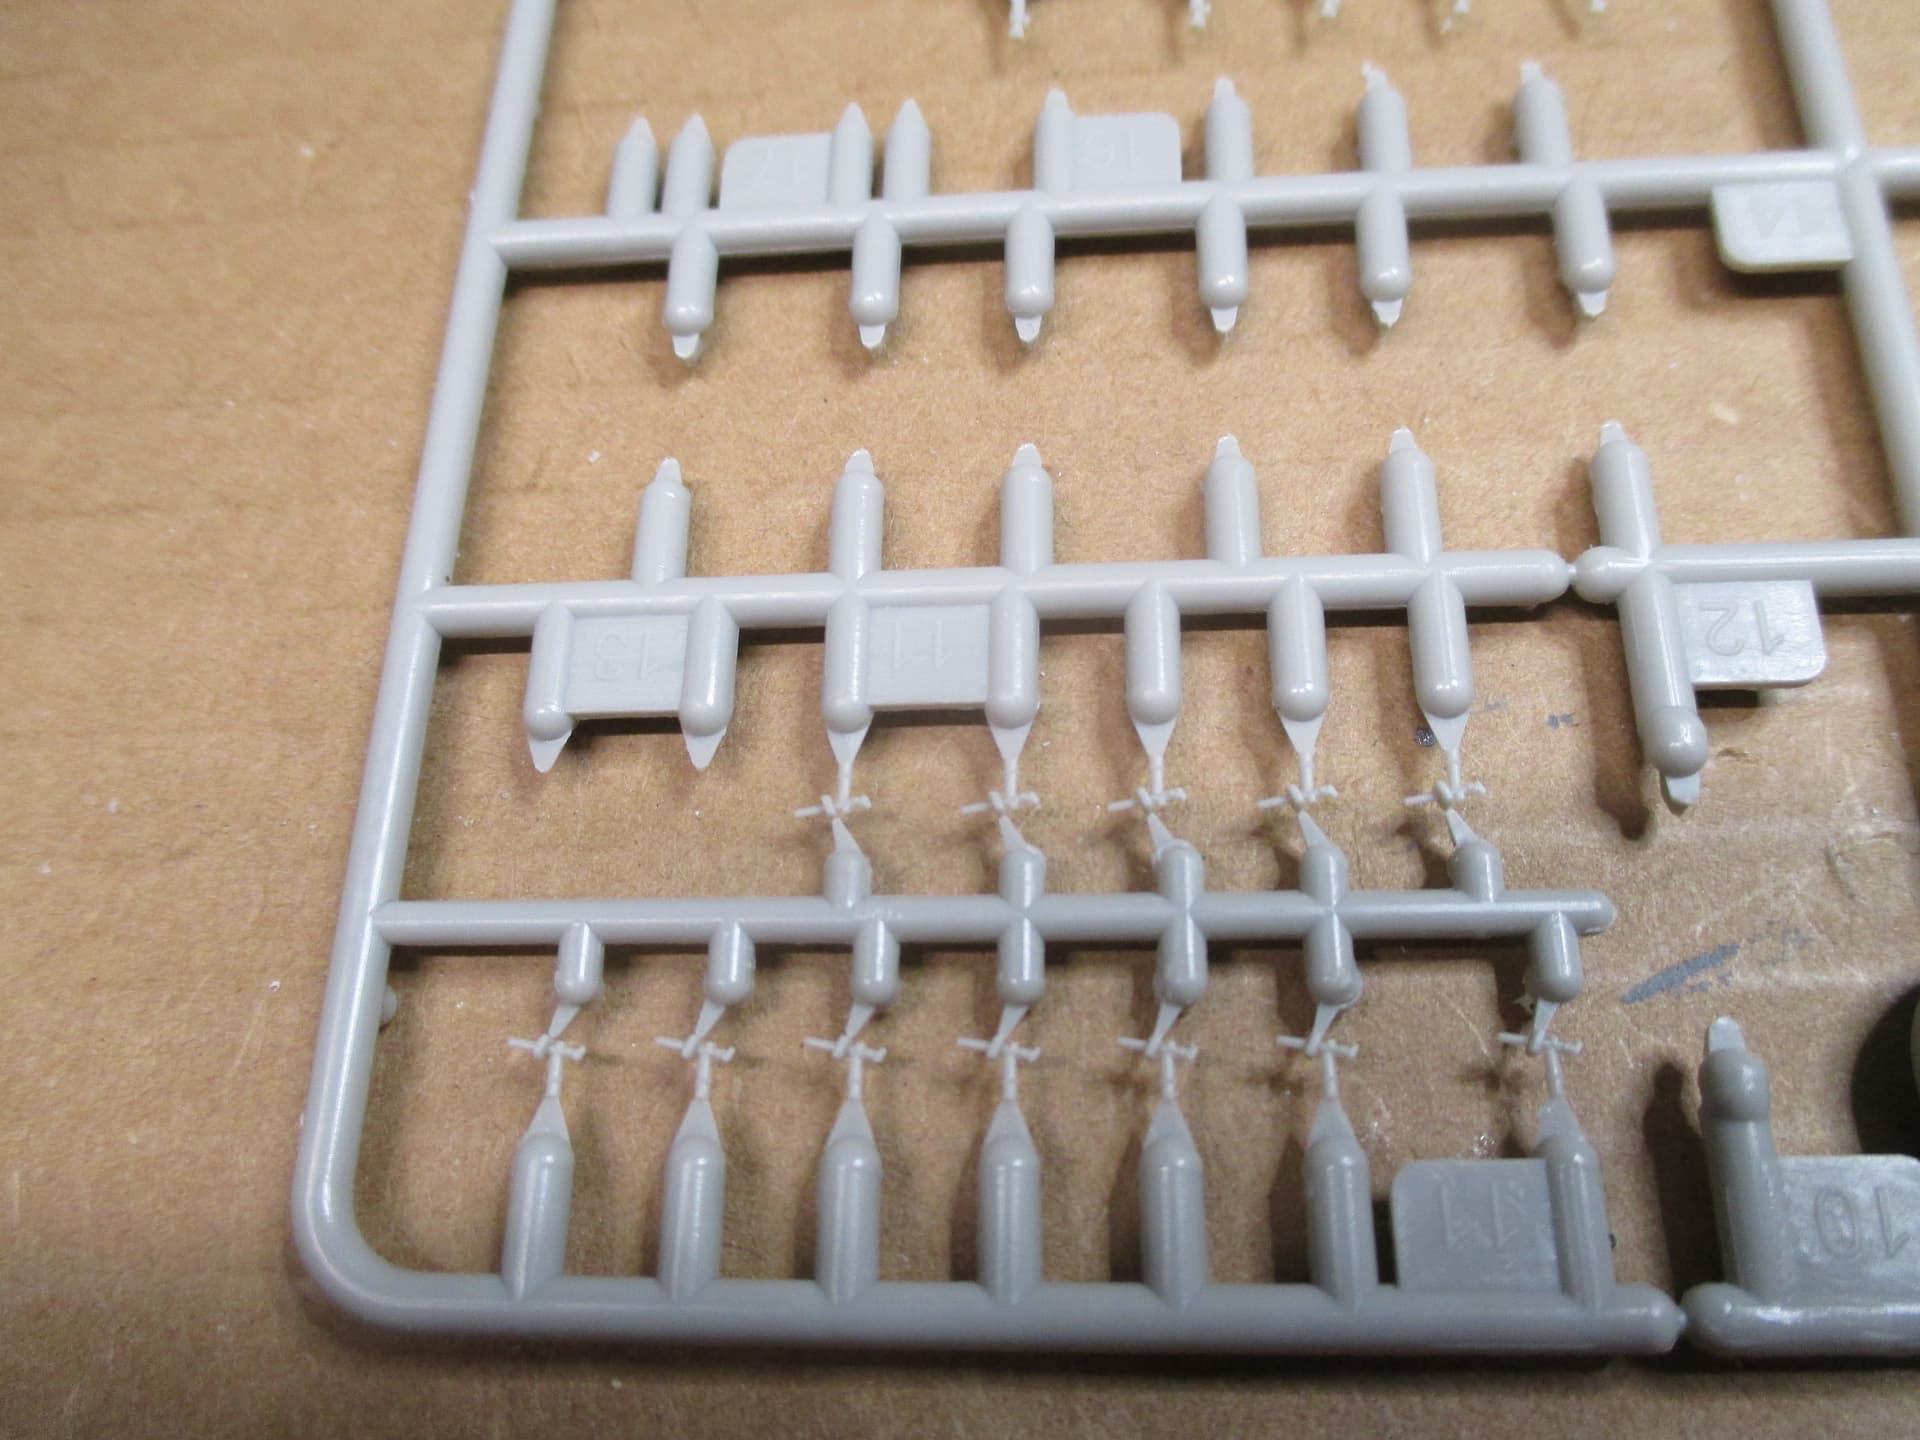
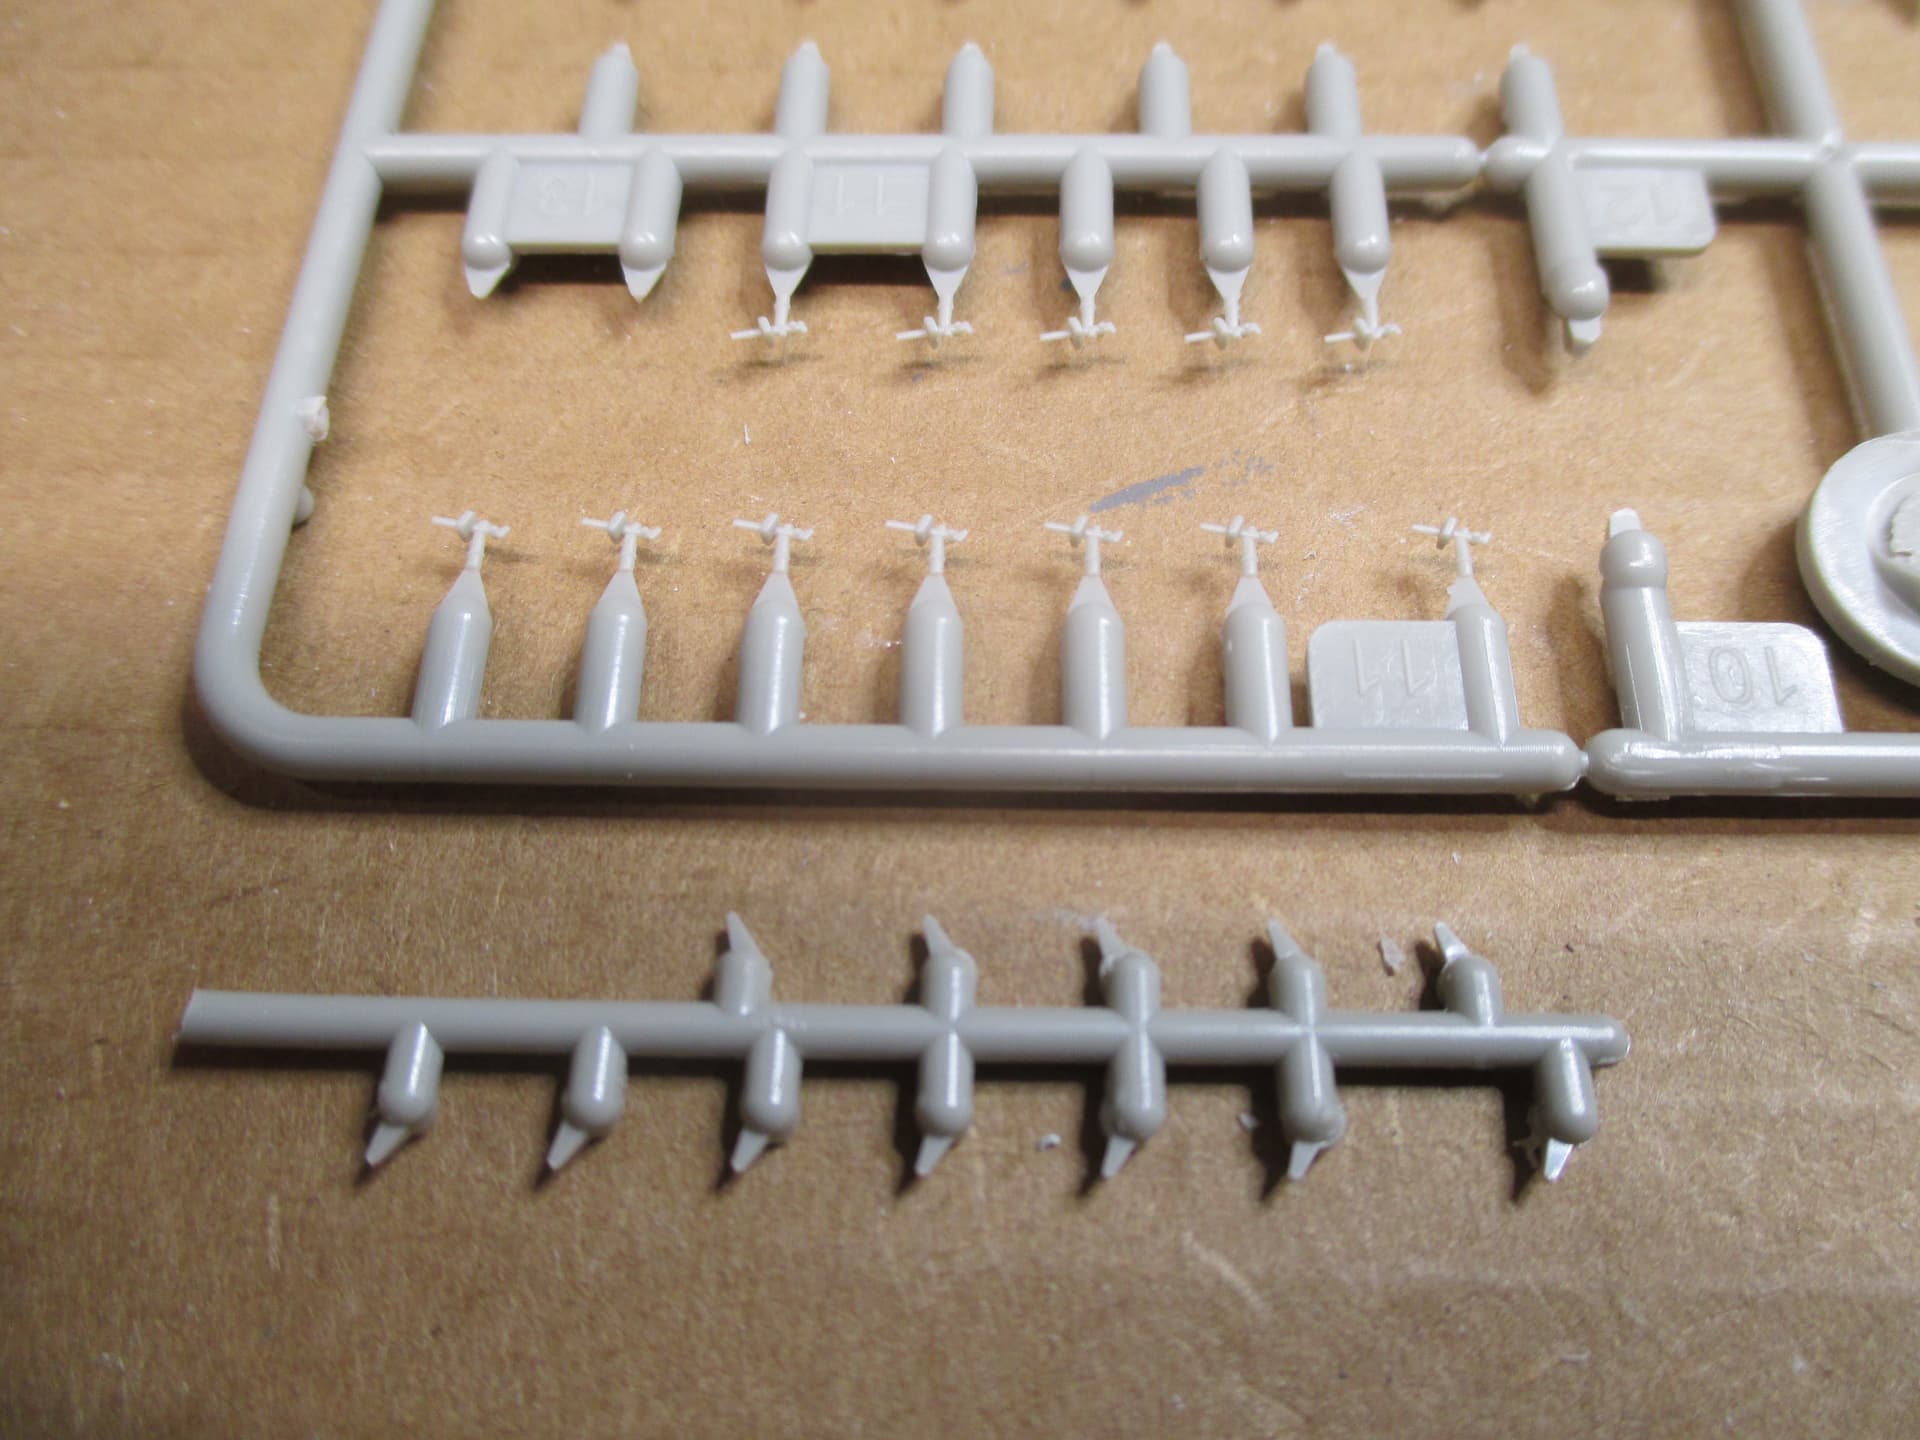
the 20 mm guns have two gates, one at the top and one at the bottom. I like, if possible to paint
small parts on the sprue so I cut them at the top gate and broke out the center sprue to make them easier to paint
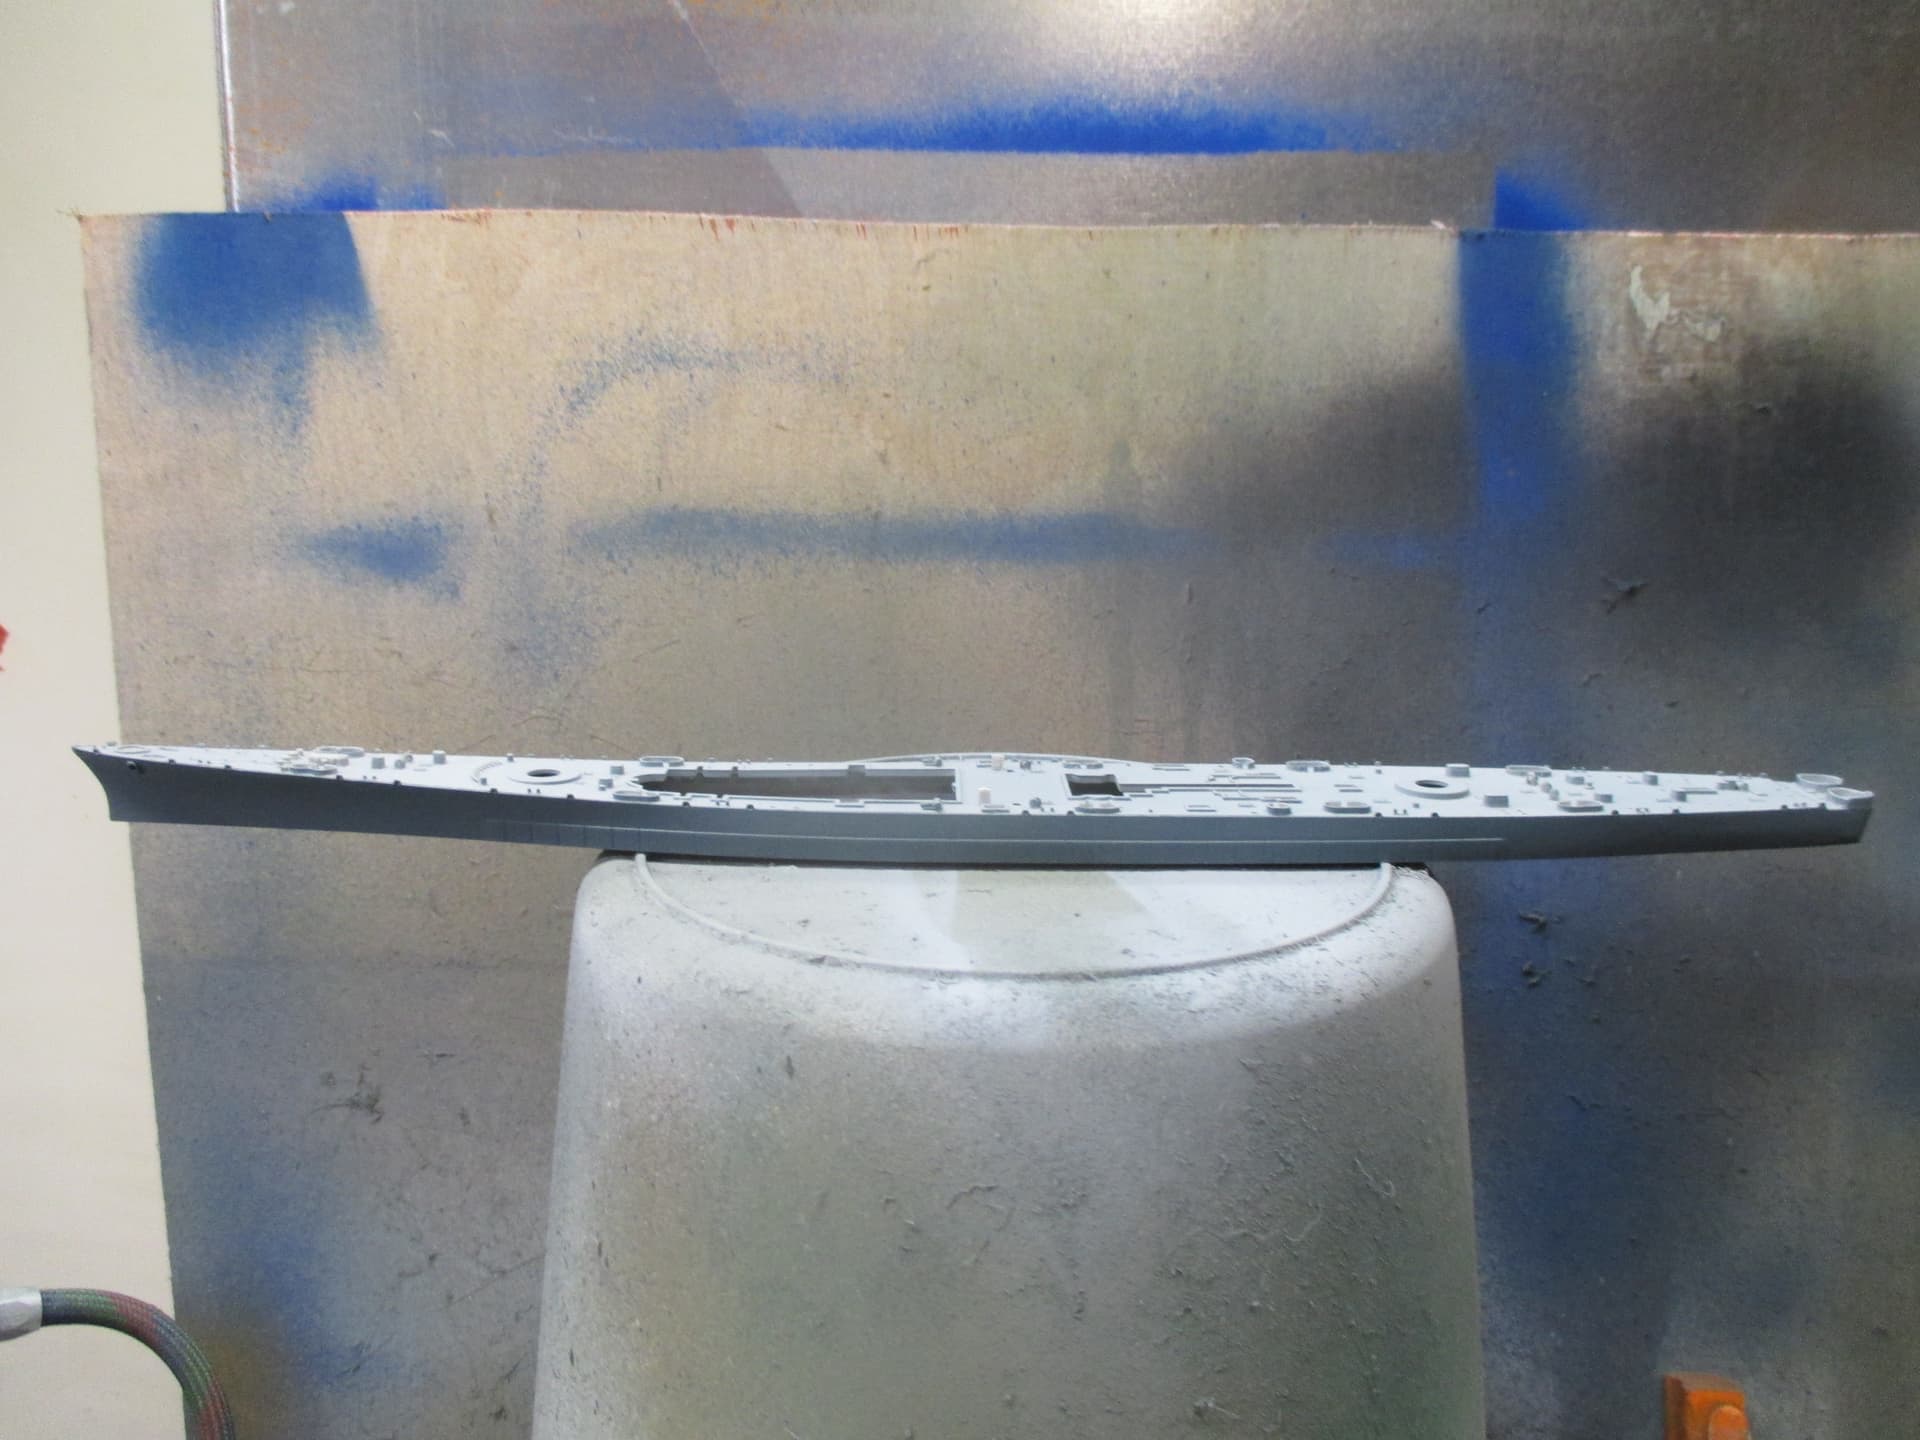
sprayed the first color on the hull
6 Likes
Looking good! Glad to see another floaty thingy in this campaign ![]()
Great tip on the 20mm. ![]()
Nice looking hull, very sleek. Those 20mm look very delicate and fragile … I can guarantee I would break half trying to get them off the sprue.
1 Like
a couple of dreary and rainy days so got a few things done
the main turrets. easy to build.
the rear superstructure less the PE which is tomorrows project

always liking to have a plan B, I primed the PE and photo copied it in case I need a template
to replace the PE with scratch built parts
5 Likes
Thats a good idea about photo copying the PE fret. ![]()
3 Likes
this is what I use to remove small parts from sprues. it’s from Micro mark I find that it’s a lot easier to use than other nippers
It gets in close to the part and allows me to hold the part I’m removing

2 Likes
And keeps the carpet monster at bay …
Nice little compact turret compartment @Klaus-Adler ![]()
1 Like
I find on the small parts like that, to back with tape if using nippers but have stopped that in favor of a micro saw. There is no/ a lot less tension on the part with the saw to prevent lift off to the beyond. My $0.02.
1 Like
I too switched exclusively to a micro saw! I’ve had zero broken parts since and and clean up is faster
1 Like
Nice. How did it go together ? Any fit issues or bad parts ?
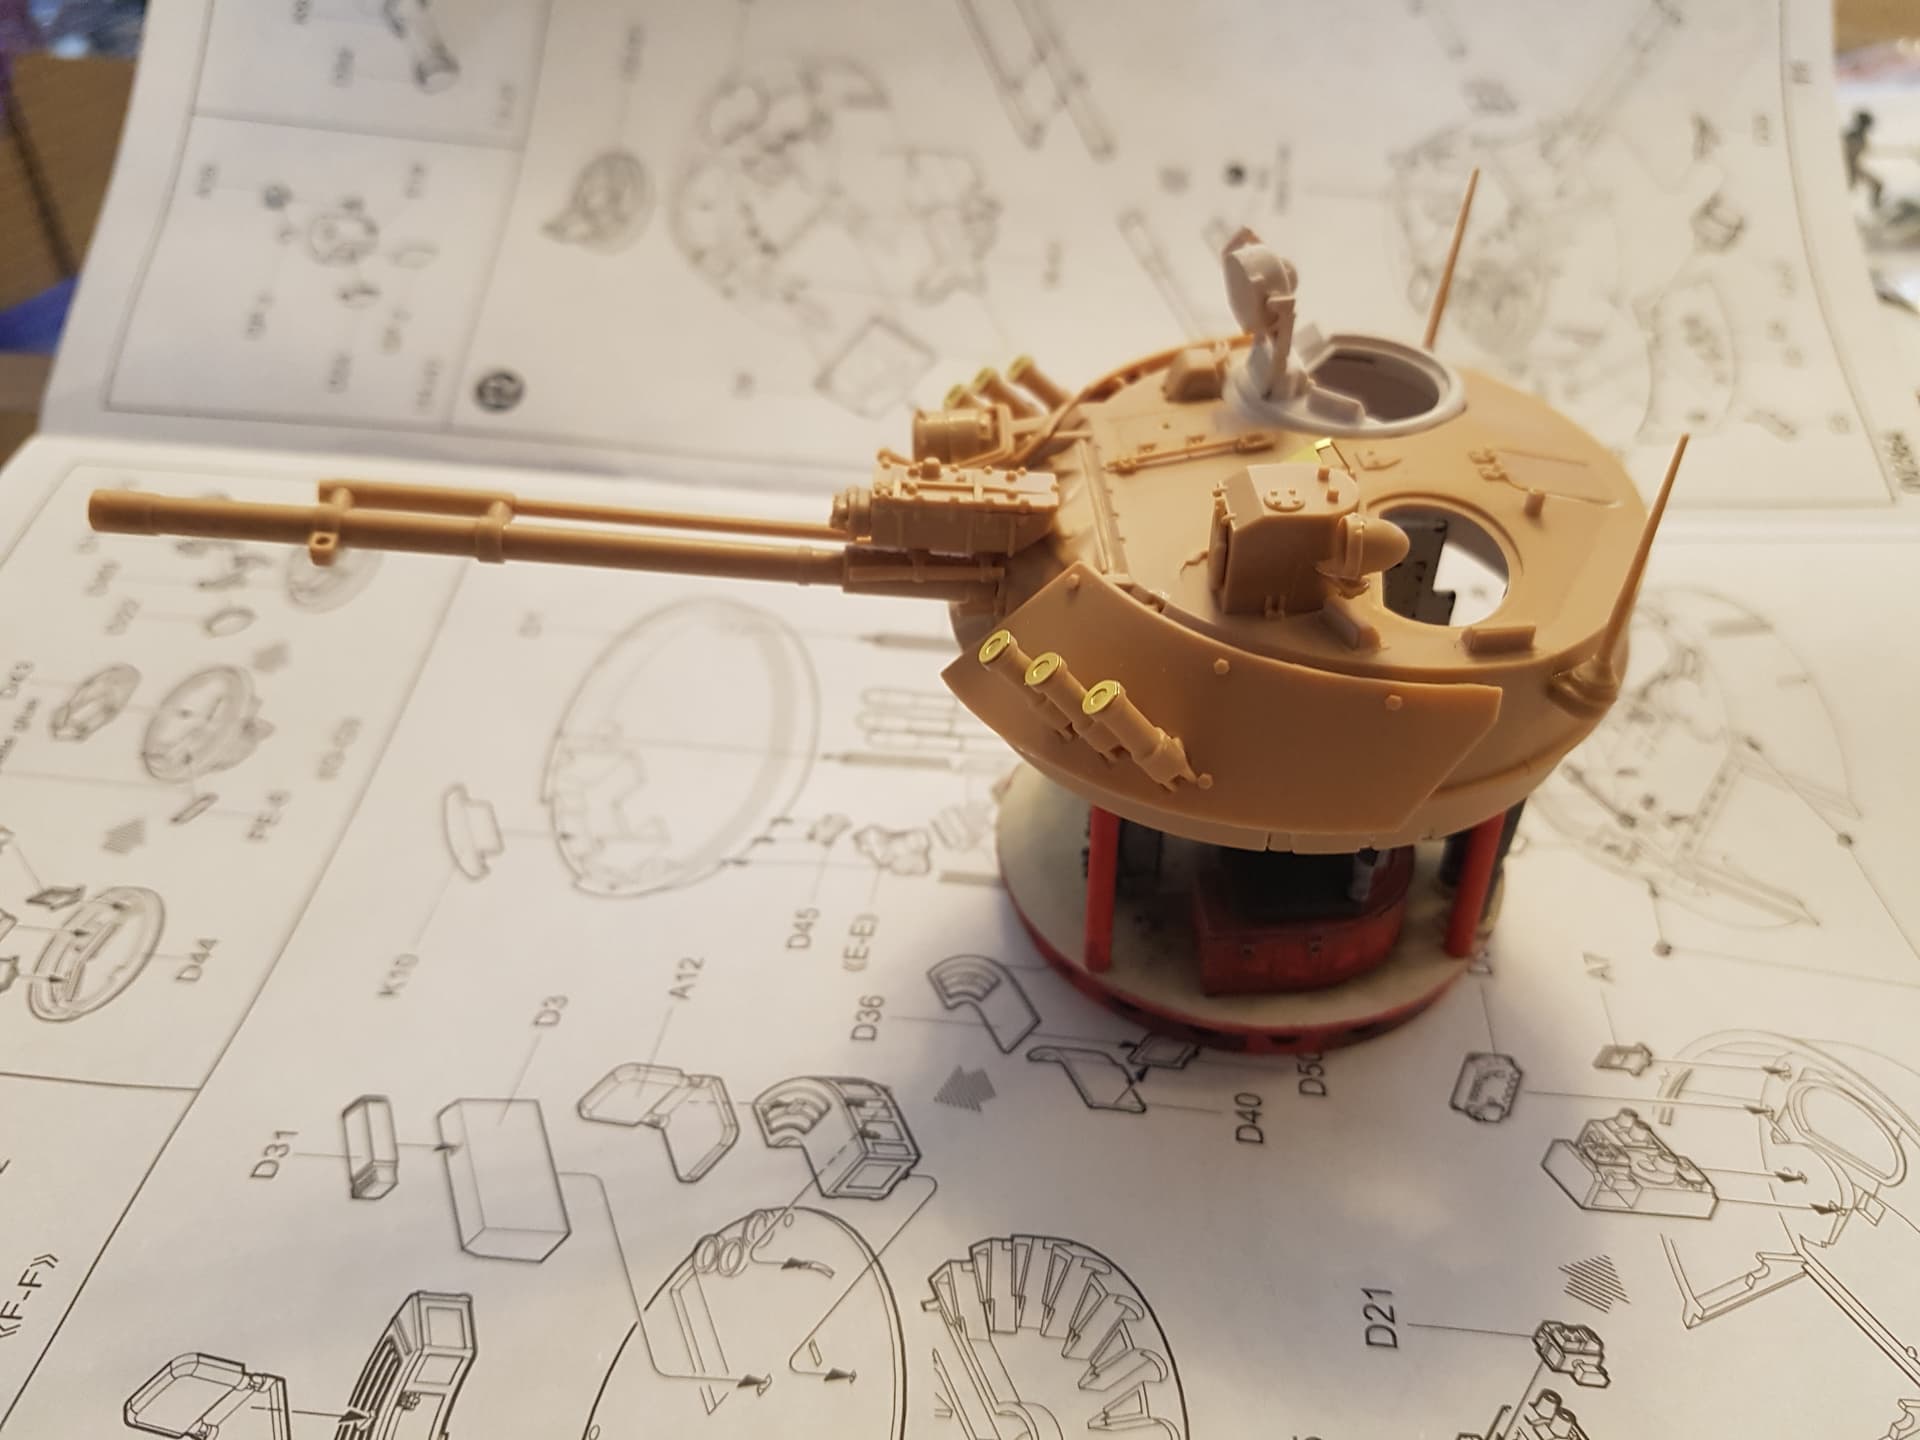
went together well the light on the commanders side of the turret and its support was a little annoying but it could just be my fay fingers and small parts not liking each other.
1 Like
Okay, nothing but rain for days here, so painting projects on hold. Therefore I have started my build for this campaign - Trumpeter’s Rooikat:
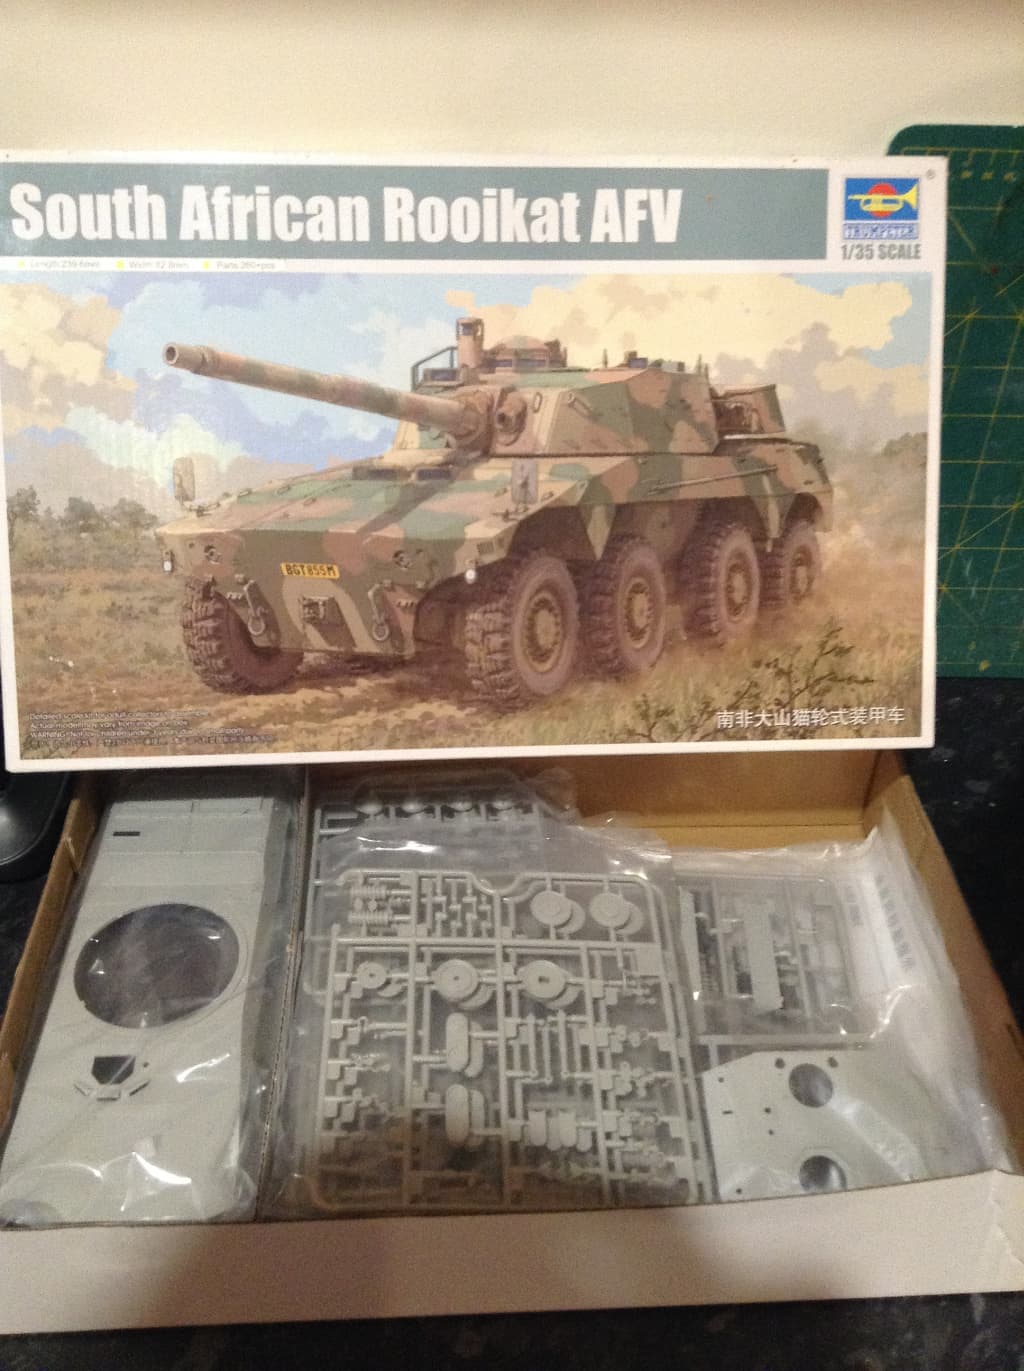
and where I am at:
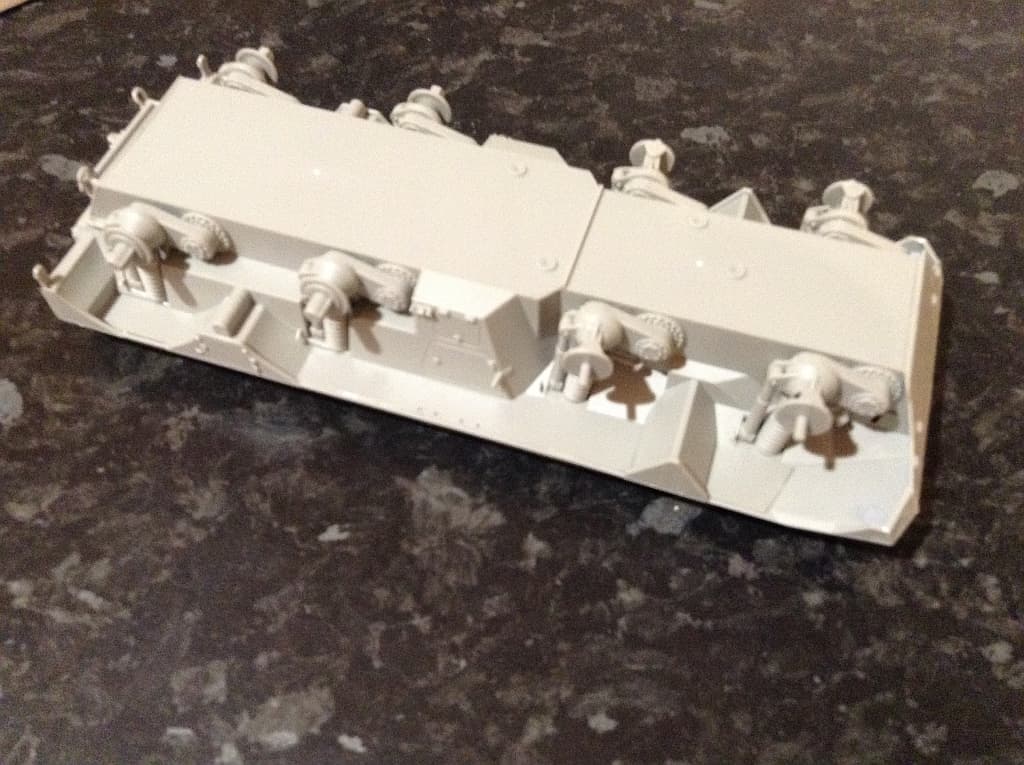
Suspension
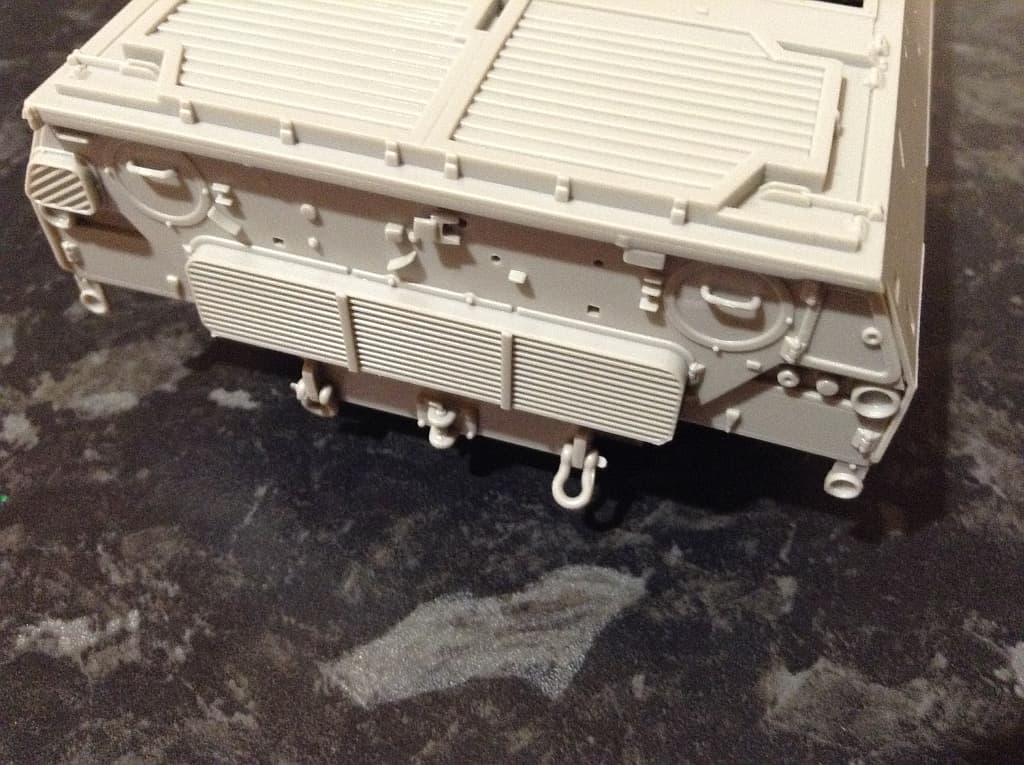
Rear plate. yes the handles still need to be sanded smooth.
Fit of the suspension is poor. Locating slots had to be opened so the bottom shock absorber mount was the right angle. The spring sections are two part, the upper spring and the lower spring mount. The hole in the spring needed to be drilled out wider so the lug on the bottom section would slide in. The shock absorber is a little too short/ spring is too tall. This means the hole in the tab on the mounting plate, for the section the wheel fits onto, does not line up with the pin on the hull. A lot of finessing to get it together.
The fit of the hull top to bottom and the front and rear plates is very much the opposite - a perfect fit. Go figure.
PS sorry about the crappy pics. Used an old Ipad…
4 Likes
Nice start up shots Peter. Olivier @Bison126 is doing this one for the 8 Wheelers build, and he pretty much highlighted the same issues. Will be good seeing both these get built up…
Edit…I just read your post in the 8 Wheelers build underneath Olivier’s post lol… Doh !!
1 Like
Started my LAV-AD last night while playing Uber drive to my last kid. ![]()
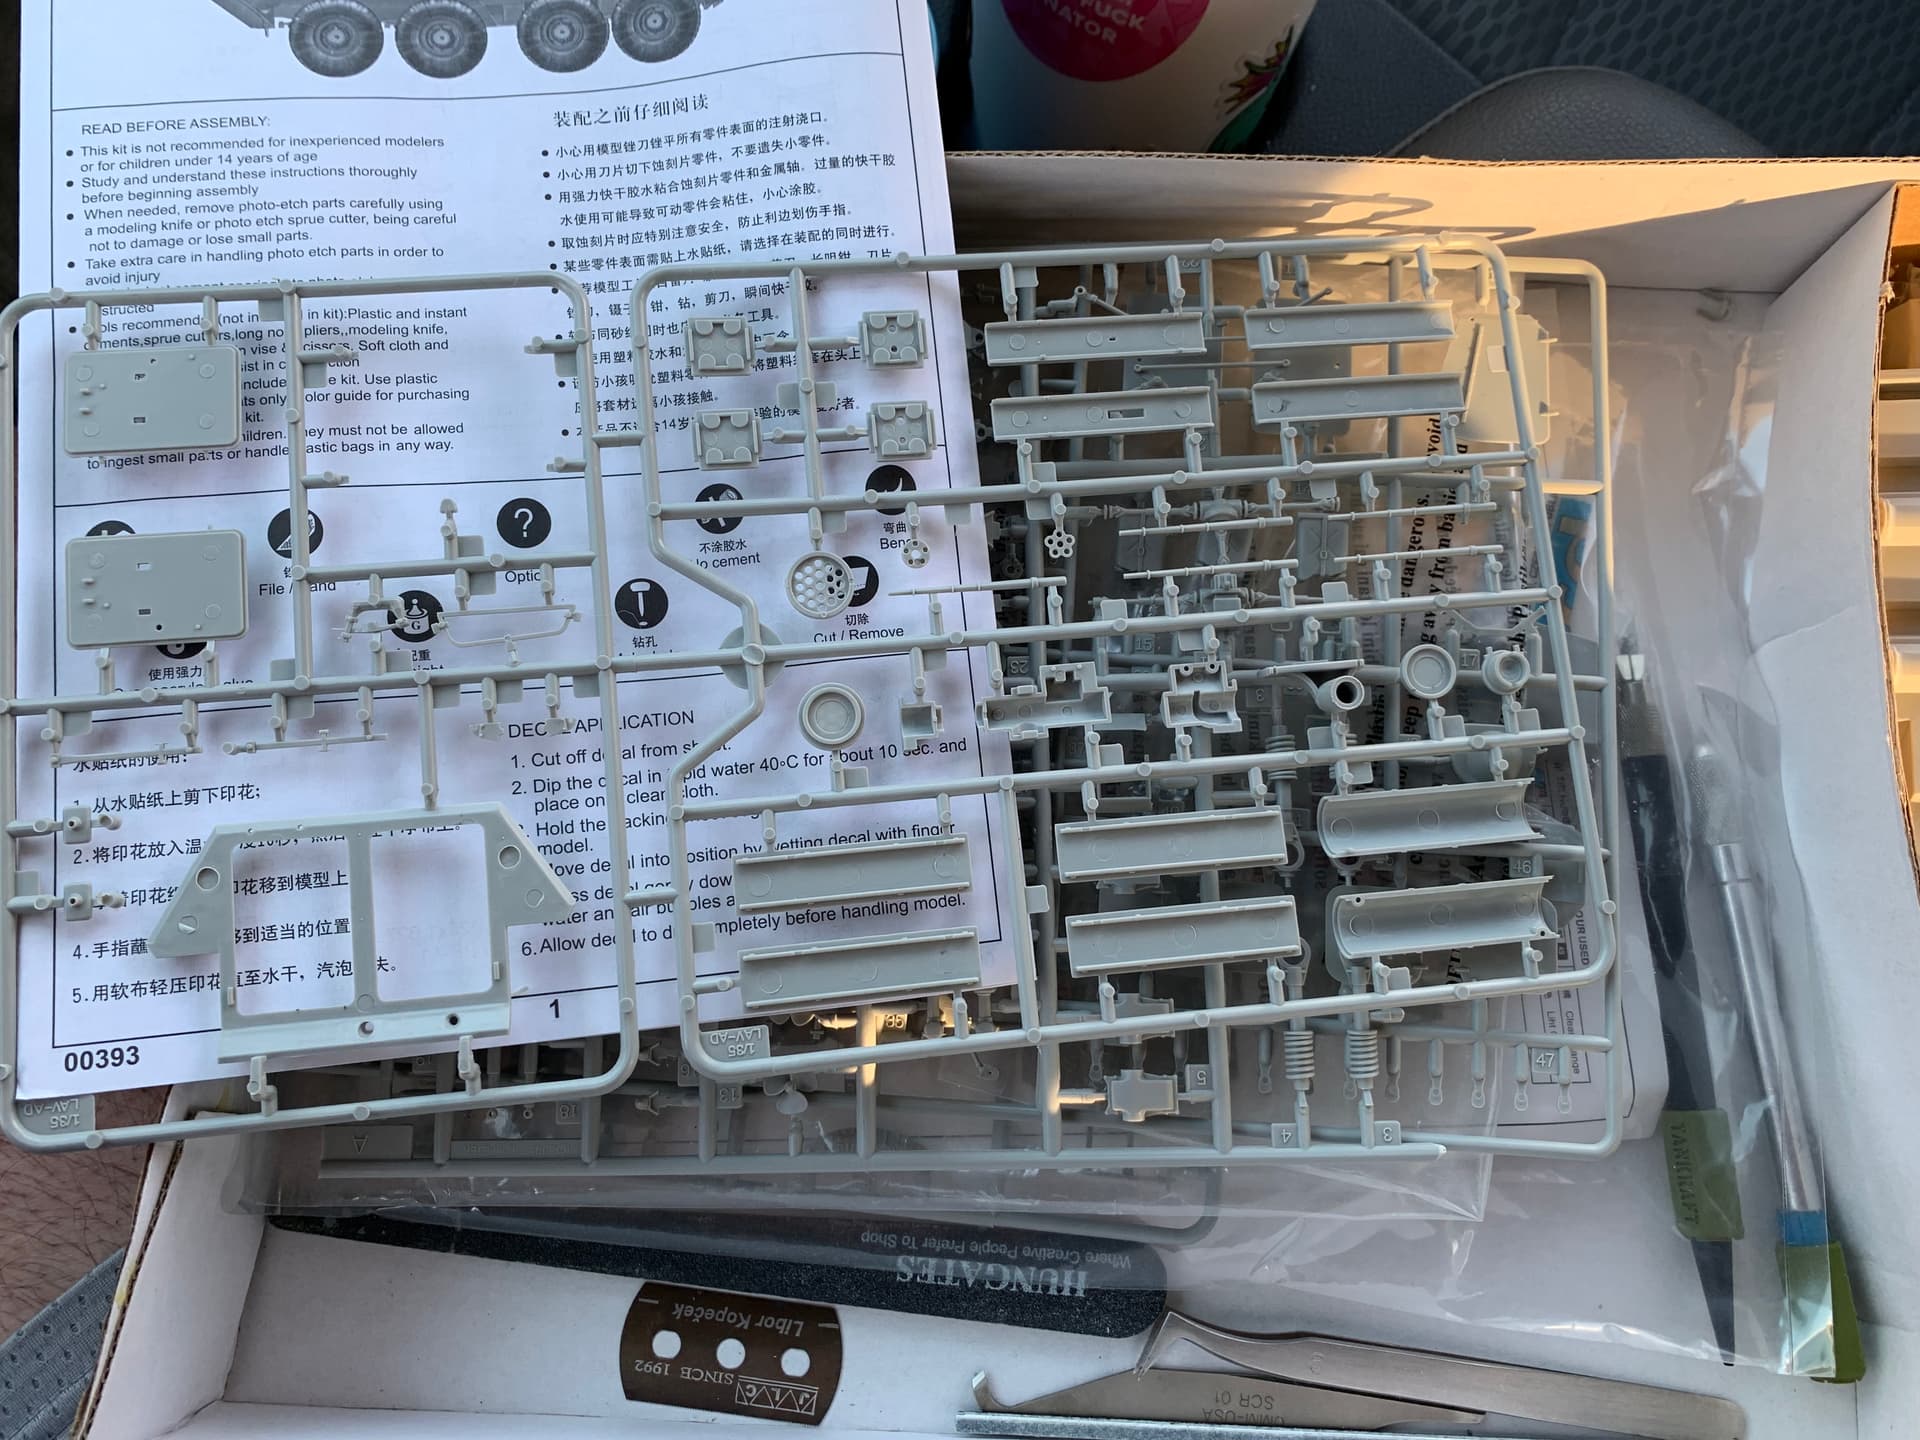
I have some more truck modeling scheduled for this morning. Will probably continue working on cleaning up the suspension parts.
2 Likes
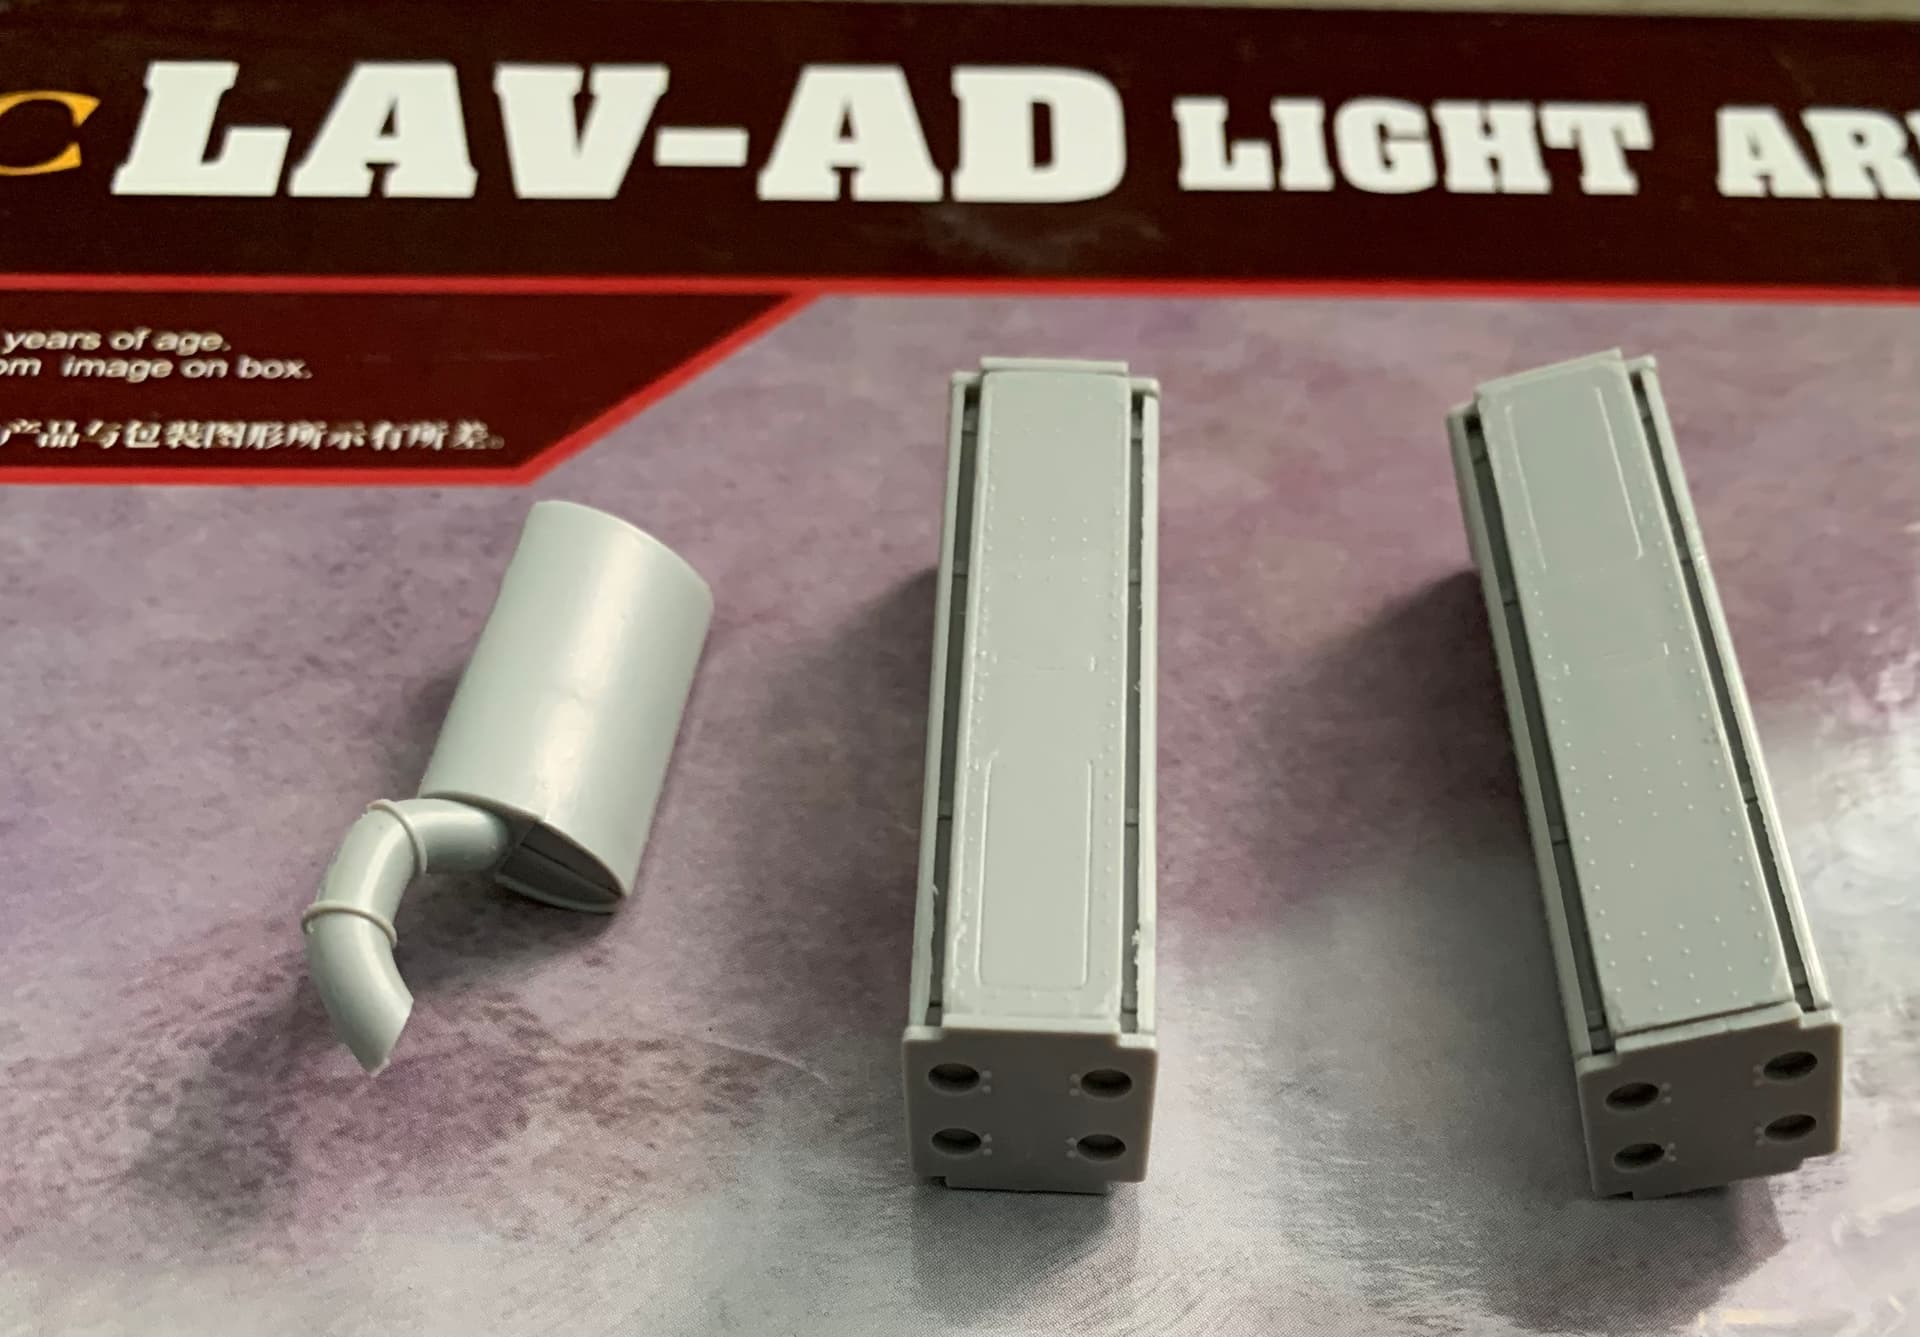
you going for both stinger pods or one with a rocket pod ?