Two pods to attempt to replicate this photo.
Plus it will be different from yours. While looking your build over again, I just remembered anti skid is needed. ![]()
Two pods to attempt to replicate this photo.
Plus it will be different from yours. While looking your build over again, I just remembered anti skid is needed. ![]()
Wait, you’re modeling while driving? Isn’t that more dangerous than texting? ![]()
Yes/No….it’s only modeling if your looking at my good side otherwise I am not that skilled to do both. ![]()
![]()
No, sitting in my parked truck waiting for the crumb cruncher to finish whatever.
Ah, been there, done that, got the wrinkles to prove it.
Recently did the same for my wife. She has been training for an endurance bicycle race and wanted to do the course before hand. It was in another state and up a mountain range where there was no phone reception. I dropped her at the start then drove 10k and waited. When she rode past I’d leap another 10k, and so forth. Whilst I waited in the car, I managed to clean up almost all the parts in two kits and an indy track set by the time she eventually got to the finish line 8 hours later. Now that I just tested positive for the ‘Kung Flu’ and have to isolate at home, I might get time to assemble them.
Way to find the silver lining. Hope it passes quickly.
Thanks Ryan. Fortunately just the pounding head and cough at this stage. Fairing a lot better than others have at my age.
Time for an update
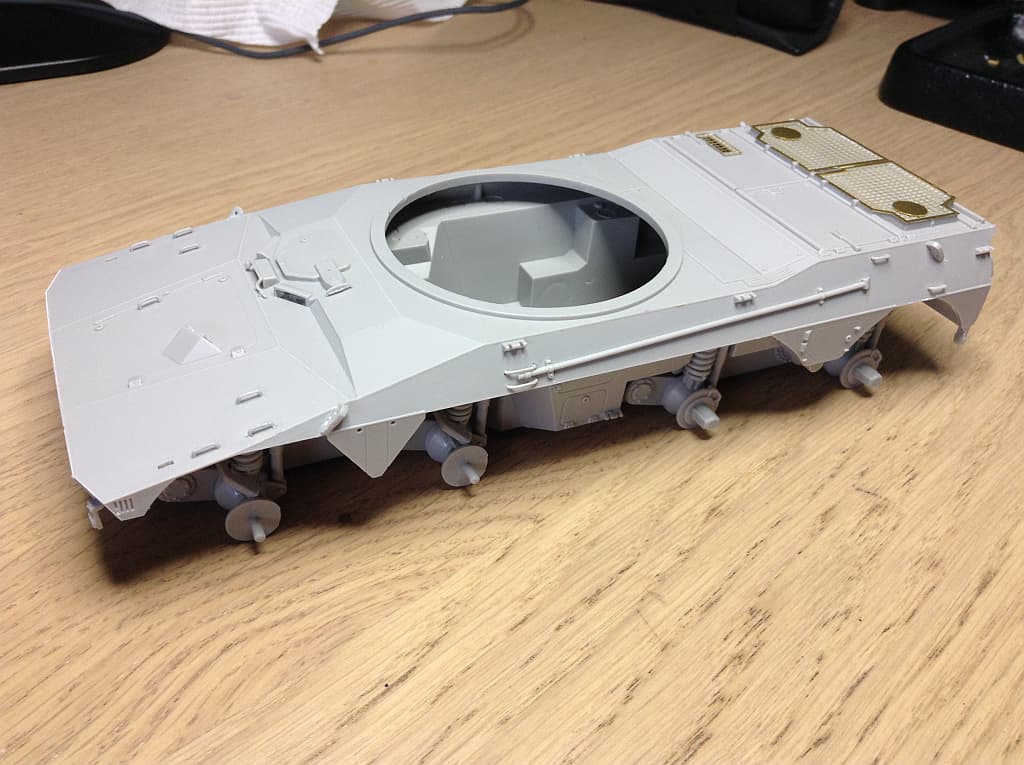
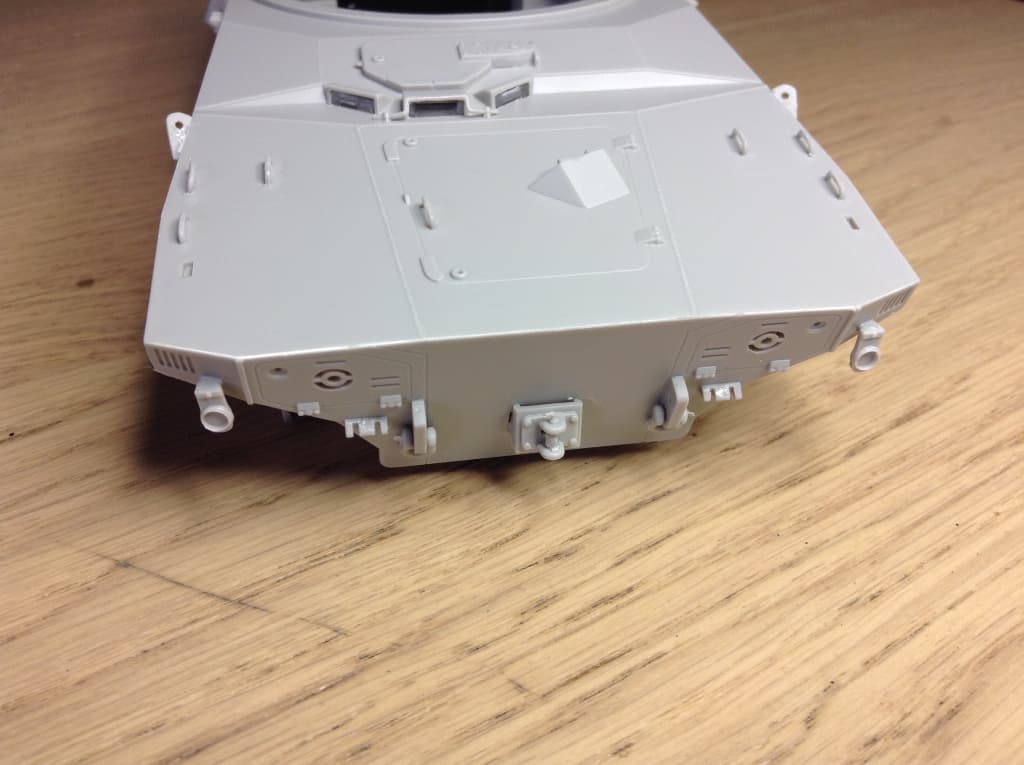
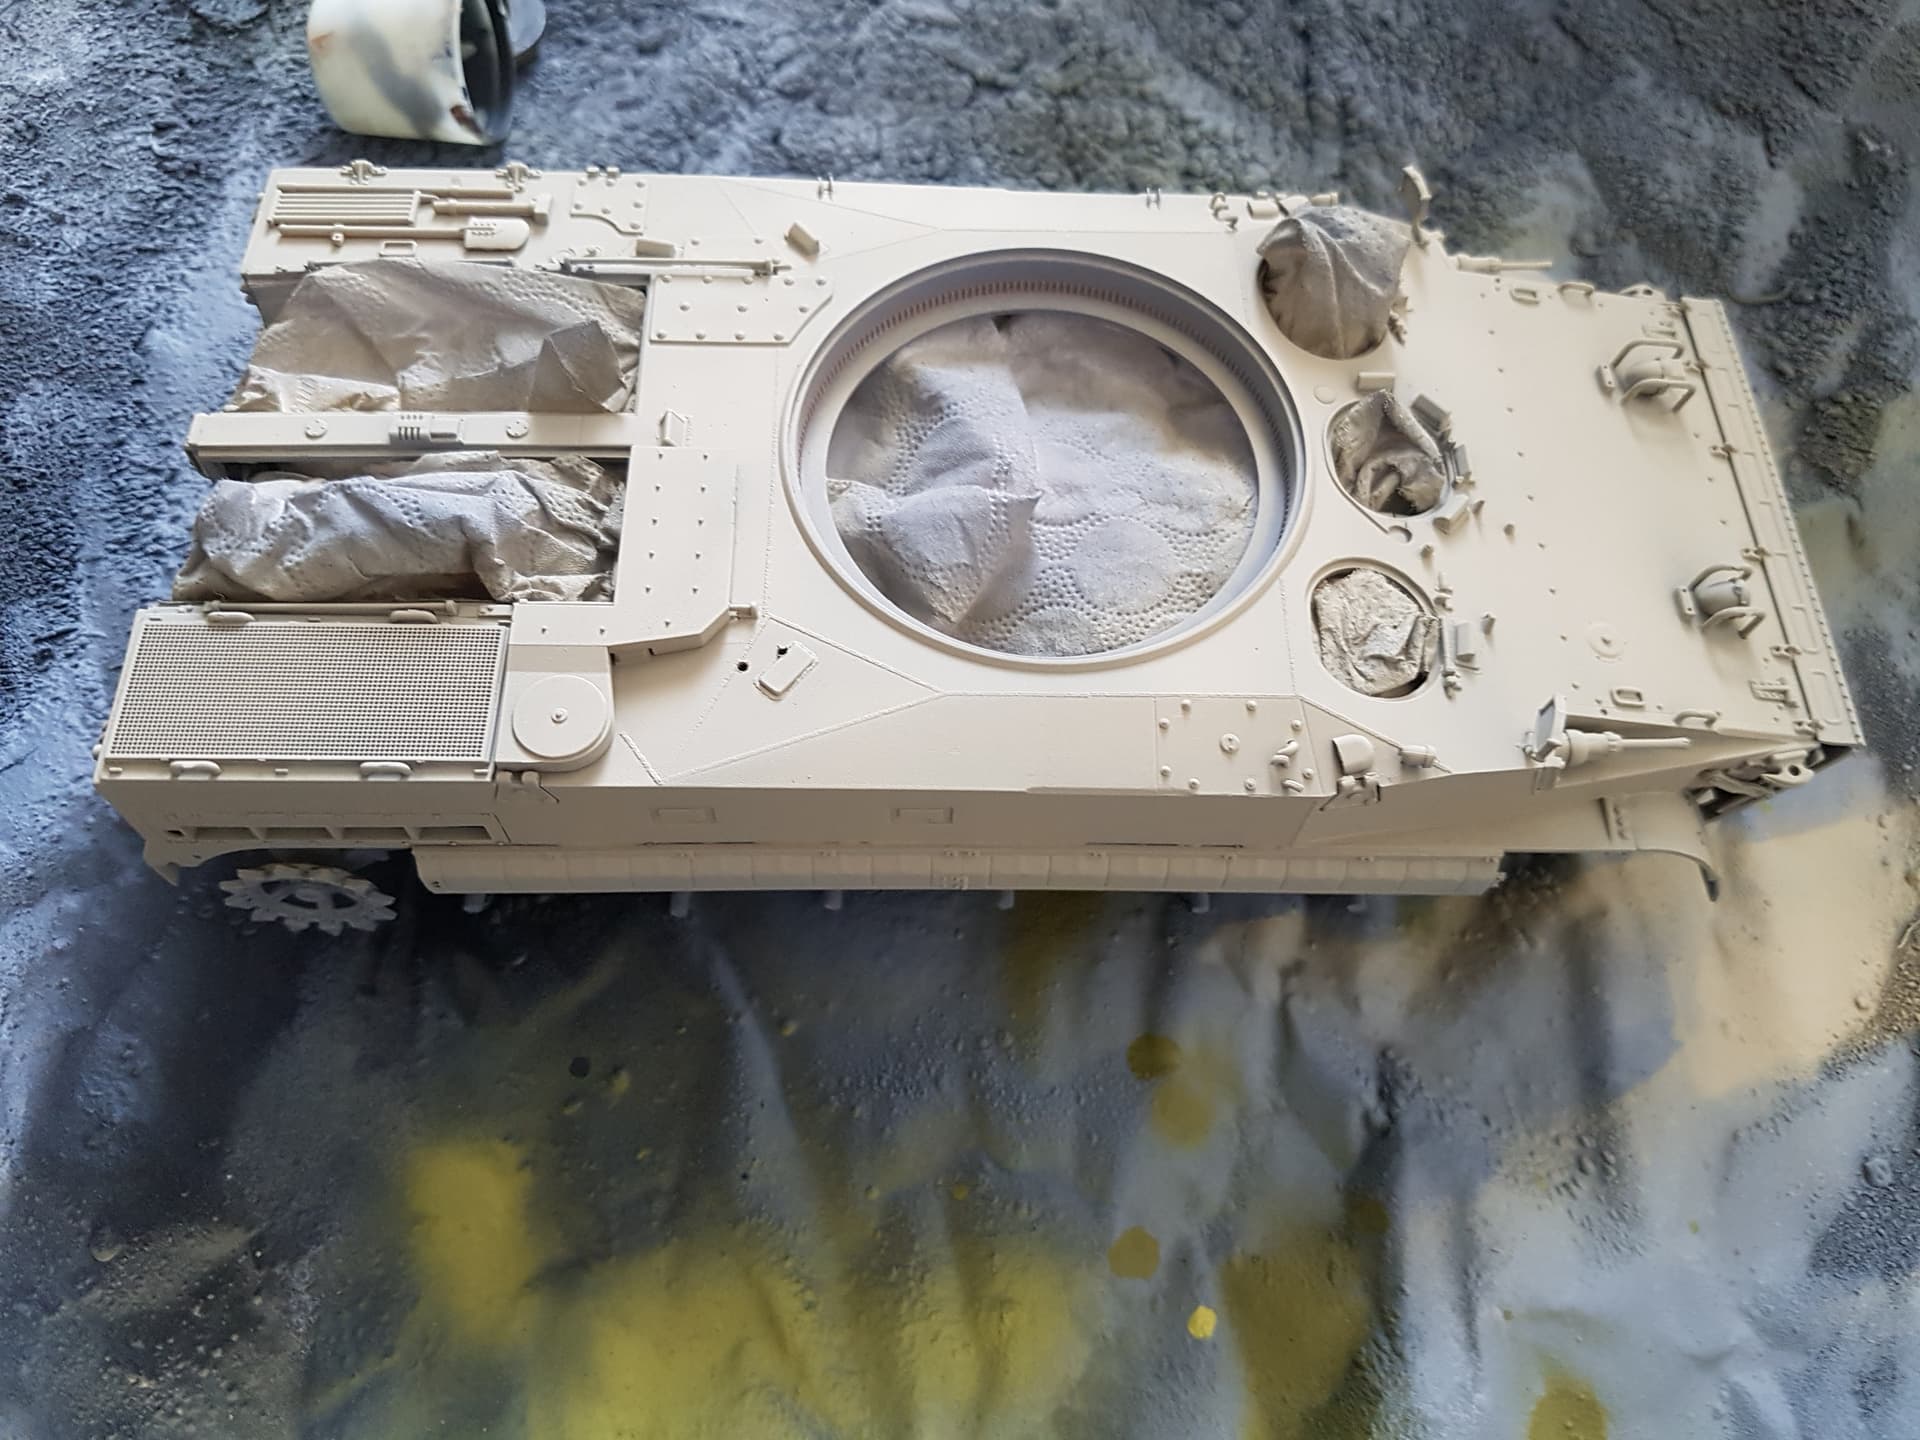
Hull basically done, just a few grab handles to apply and a couple of holes to fill in a side bin. References show no holes. Fit here was generally good, although a lot of flash meant a lot of test fitting and clean up, so maybe I was lucky. I have read others have not been so lucky.
Test fitting shows tools can be gently placed in their location on the rear after painting, so that is my chosen path.
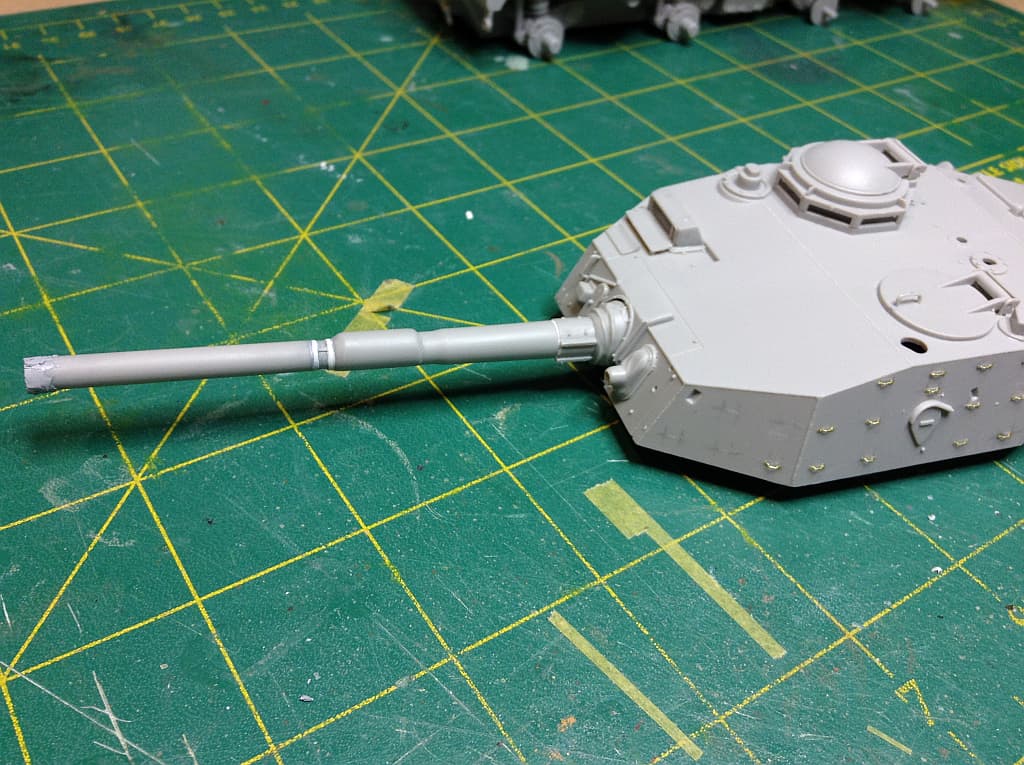
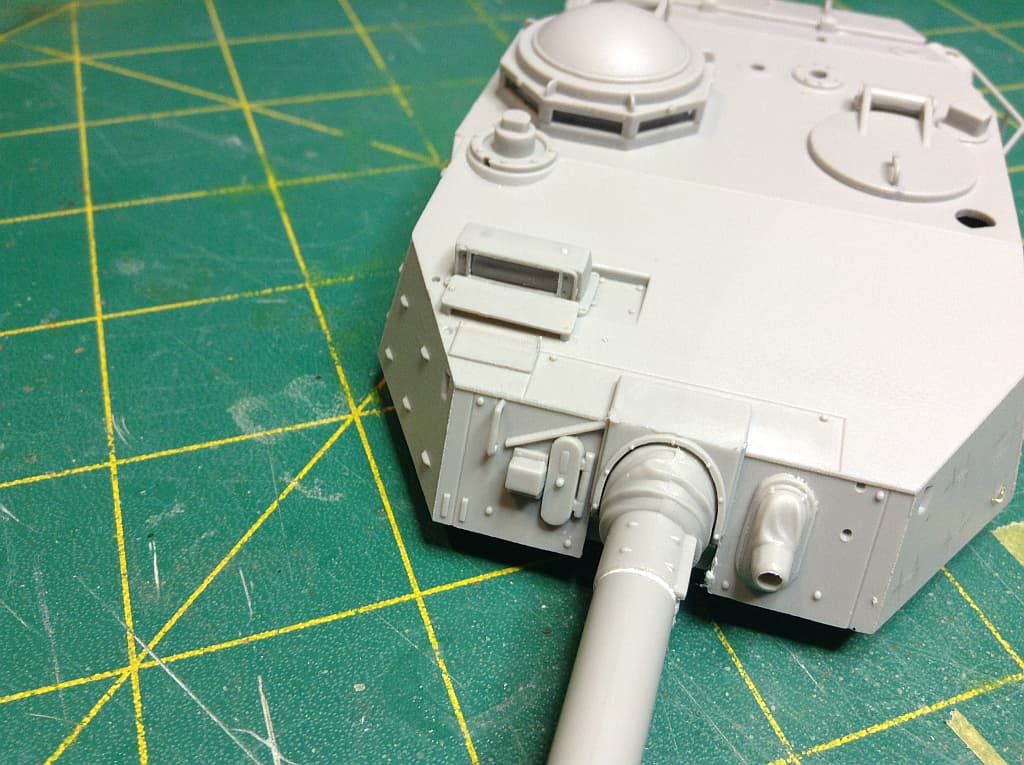
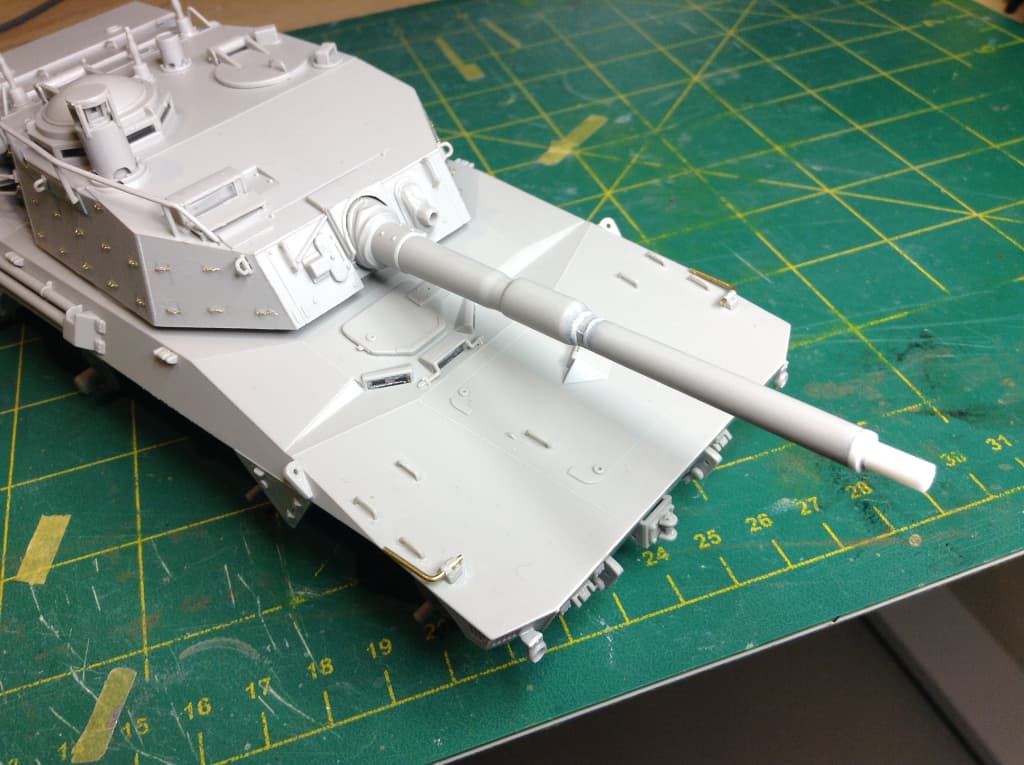
I am currently working on the turret. Kit barrel is very poor. You need to remove the locating pins to get the fume extractor and barrel flare right, but you end up with a gap on one half at the barrel butt and a gap on the barrel tip on the other - badly misaligned if you fit so the ends are flush. Also the area between the barrel and and fume extractor is way too wide and missing the recess and connecting rods. I end up closing the gap with .10 x.20 strip and added stretched sprue. A little filler required as Trumpeters parts are offset as I mentioned above. I have filled the barrel end and will sand that when dry. Trumpeter has this area as a truncated cone shape when it should be a cylinder with a notable demarcation. They also give a barrel end that is too short and too fat. I will scribe the join after sanding, or I may even saw off the end and replace with a disk.
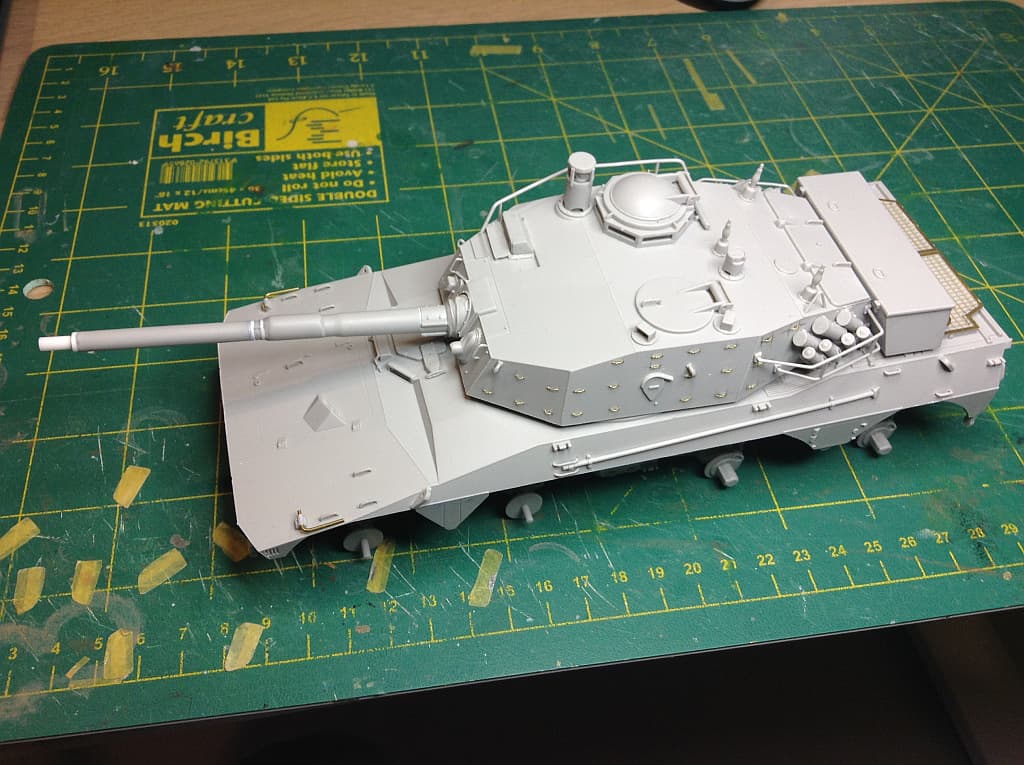
As you can see, I took the route of replacing tie downs, which I now regret. I should have gone the smart way Olivier did with his for the 8 wheeler build. I still have the other side to do now… ![]()
The clear parts on this kit just do not fit like they should. They need sanding as a minimum, or in the case of the largest single block, being cut down. I cut the rear off the large glass vision block and sanded the bottom and sides, and it fits fine now. No way it was going to fit otherwise.
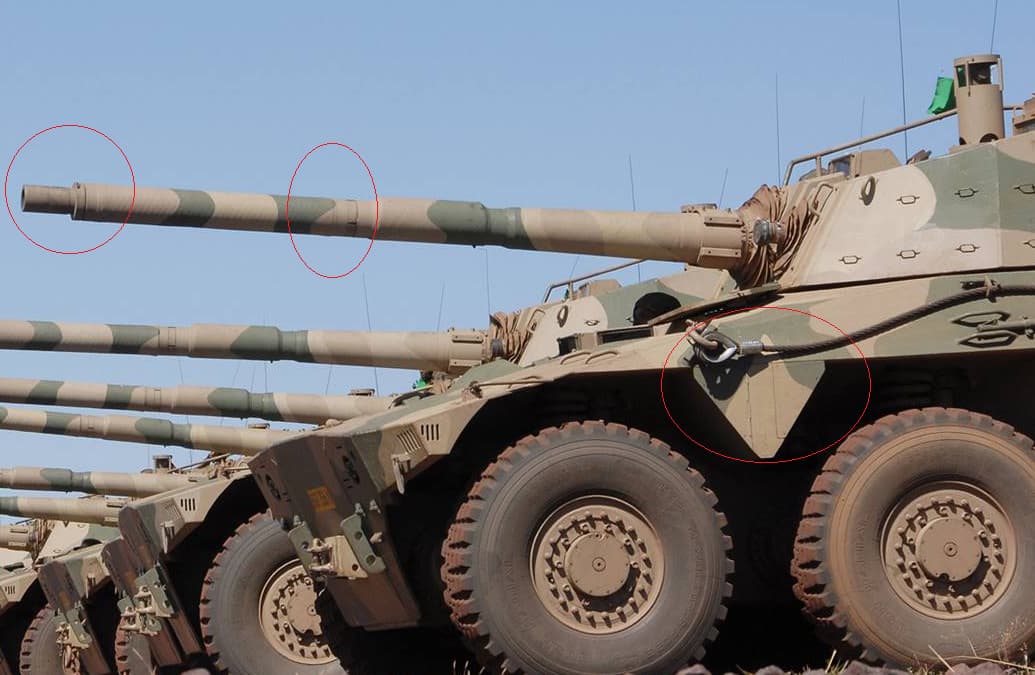
Pics for reference:
Another kit fault is the grab handles. Trumpeter gives you ones where the legs of the ‘U’ shape are 90 degrees to the base of the ‘U’ shape, where the pics show the legs should be played outward… I decided to let that one slide…
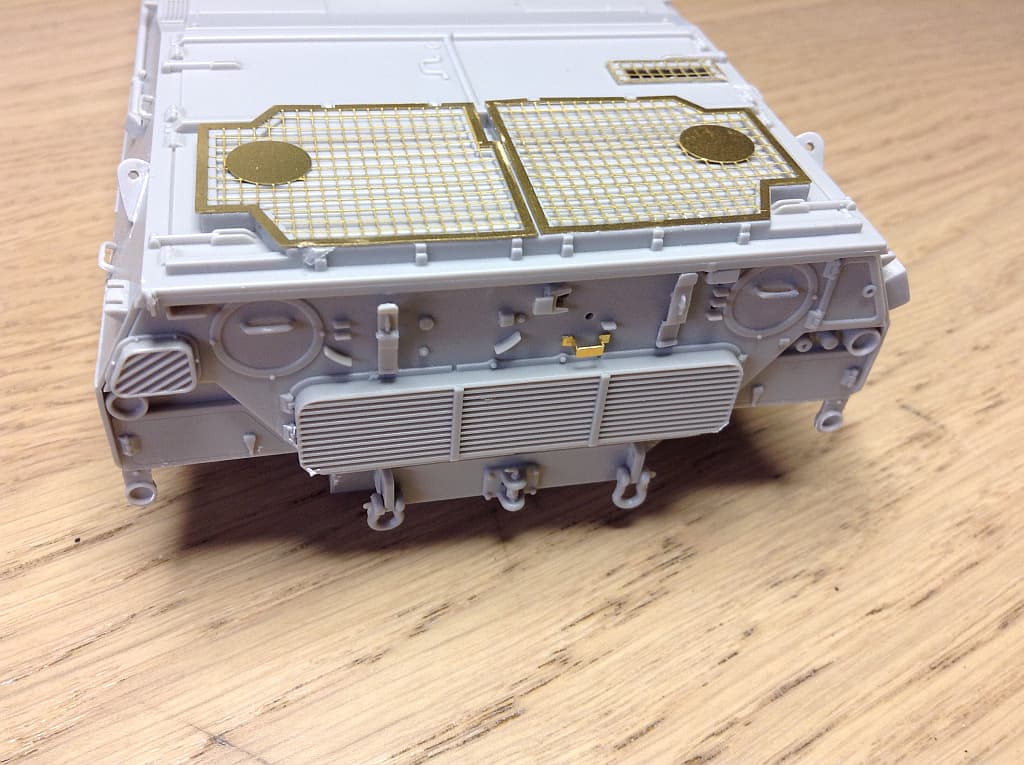
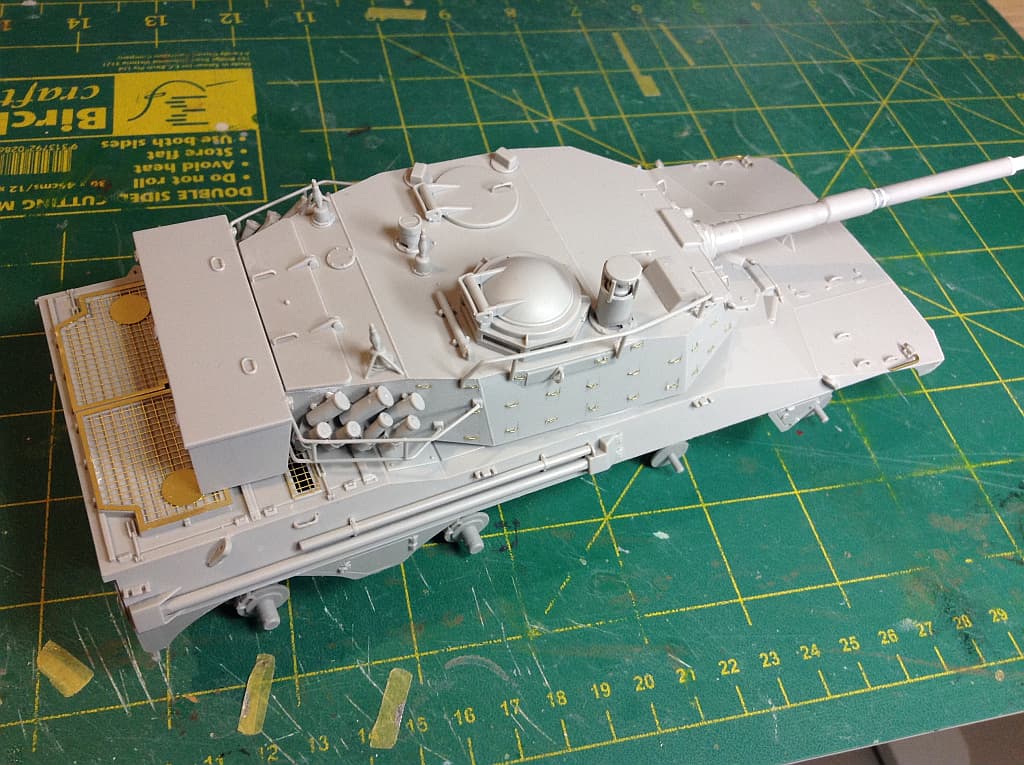
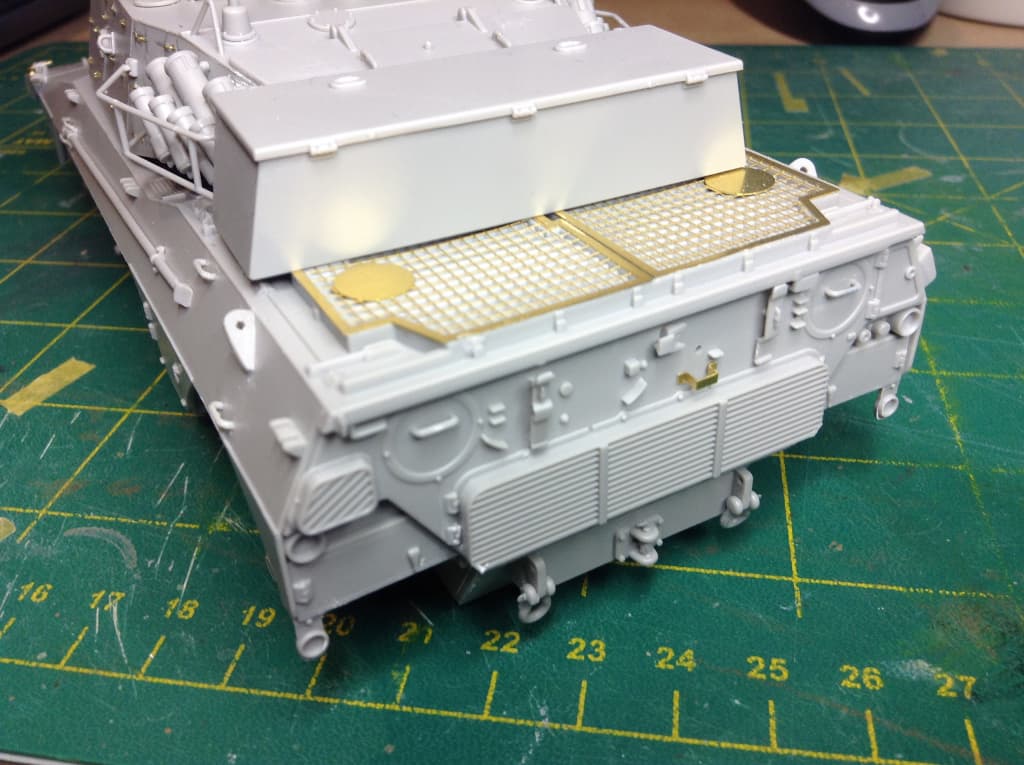
Mostly done with the main bits. Need to look for some shocks or borrow some from a trashed Italeri kit. Most of the turret bits are just held in place. Needs paint and pe before moving to the next part.
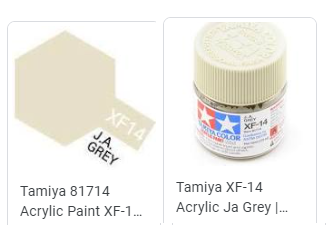
i’ve primed my BMP-3 and begun the painting process. since Tamiya doesn’t make the cream colour i needed i had to make my own, which consists of the following tamiya paints: buff, deck tan, desert yellow and flat white.
@petbat 24 hours to late mate cheers
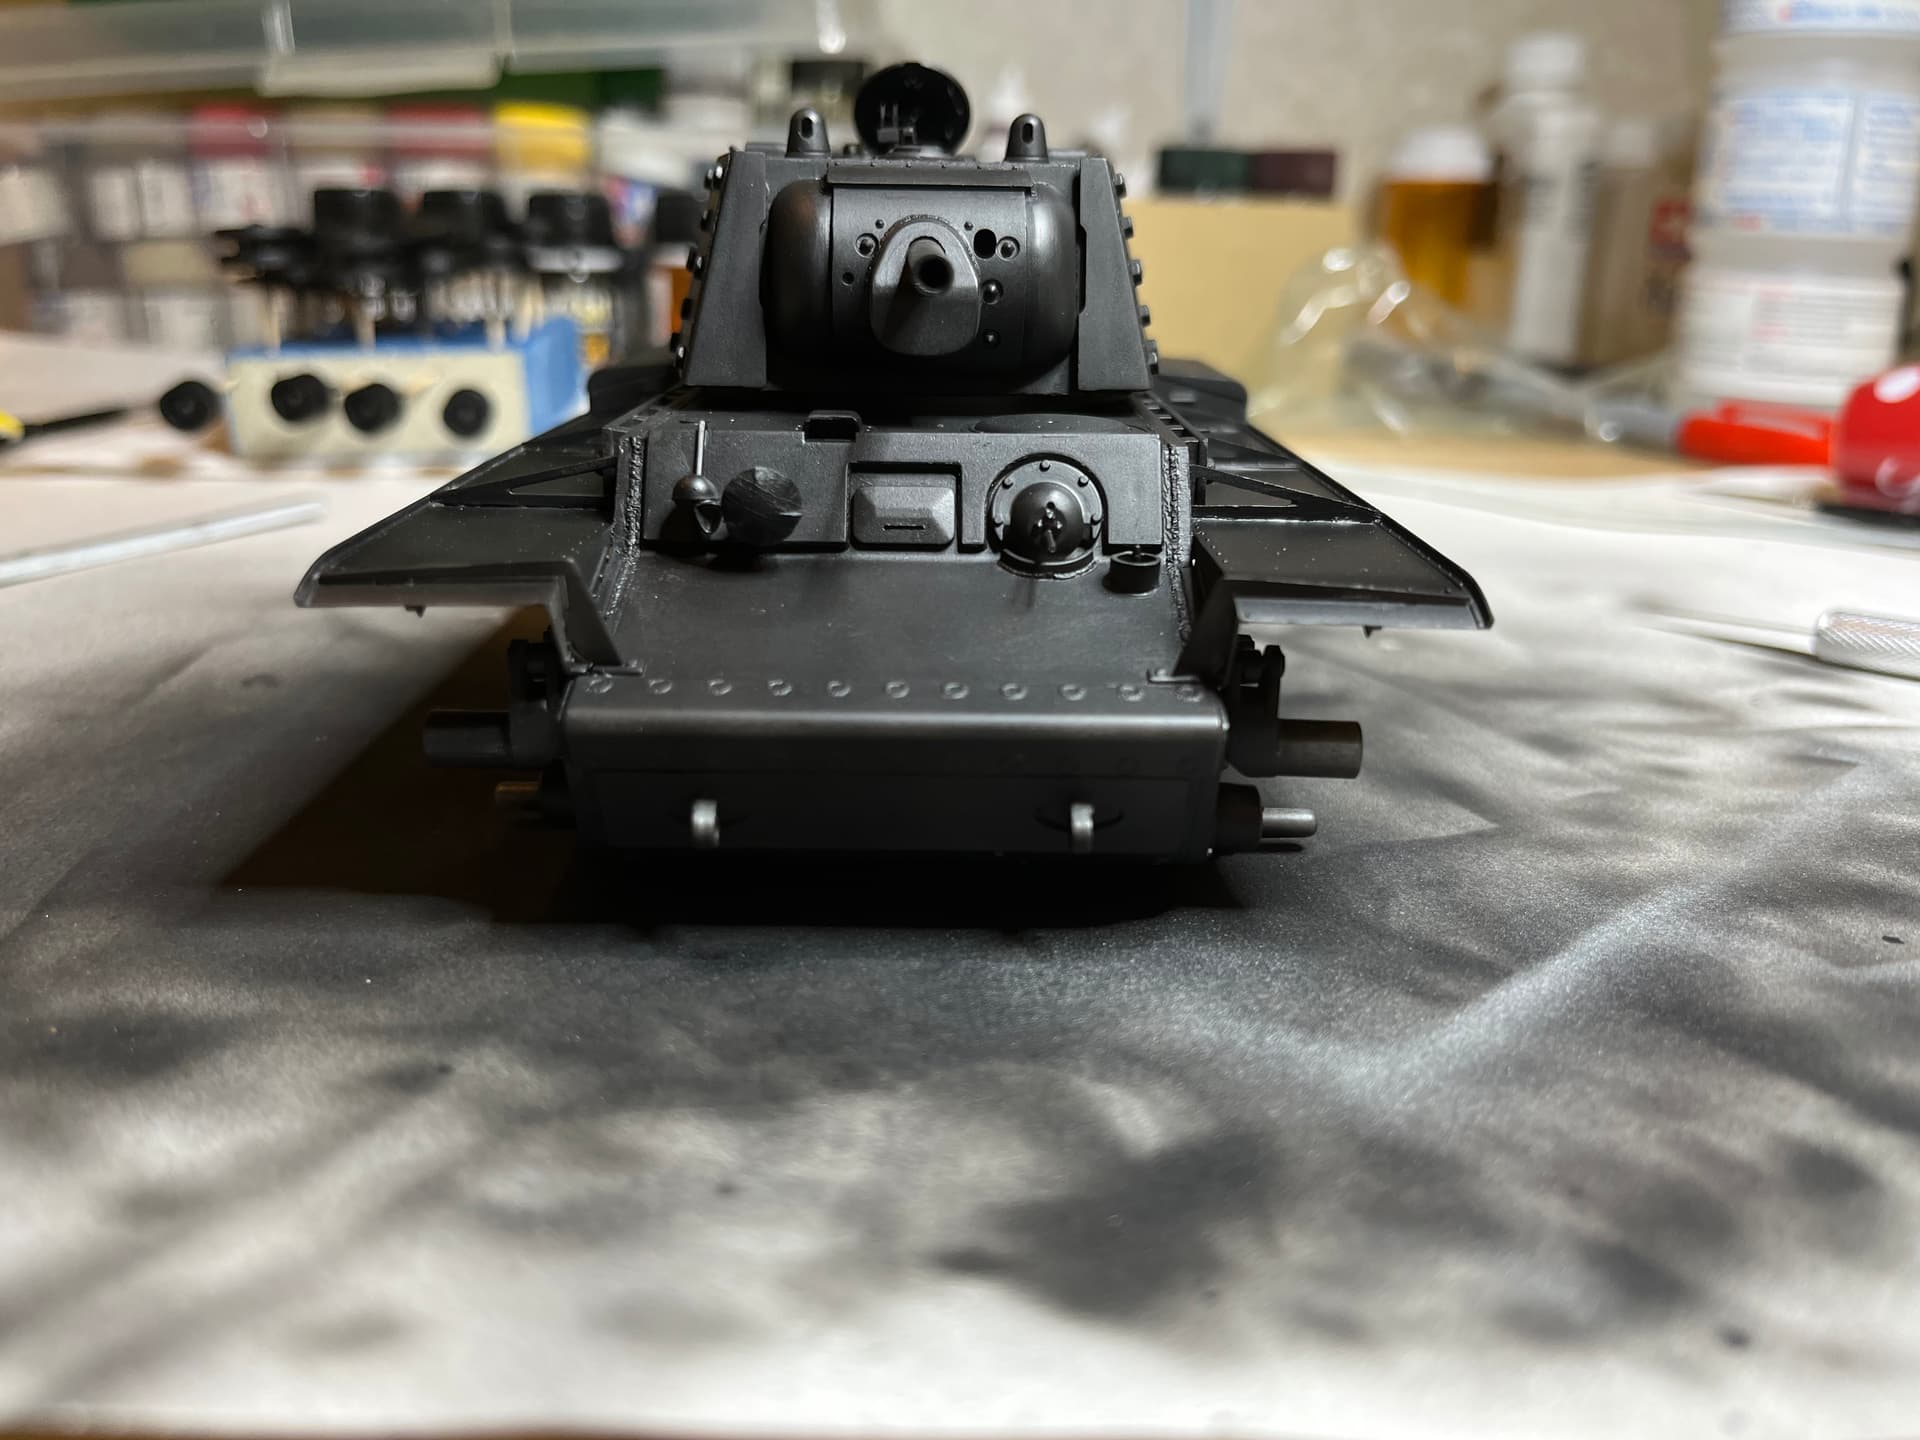
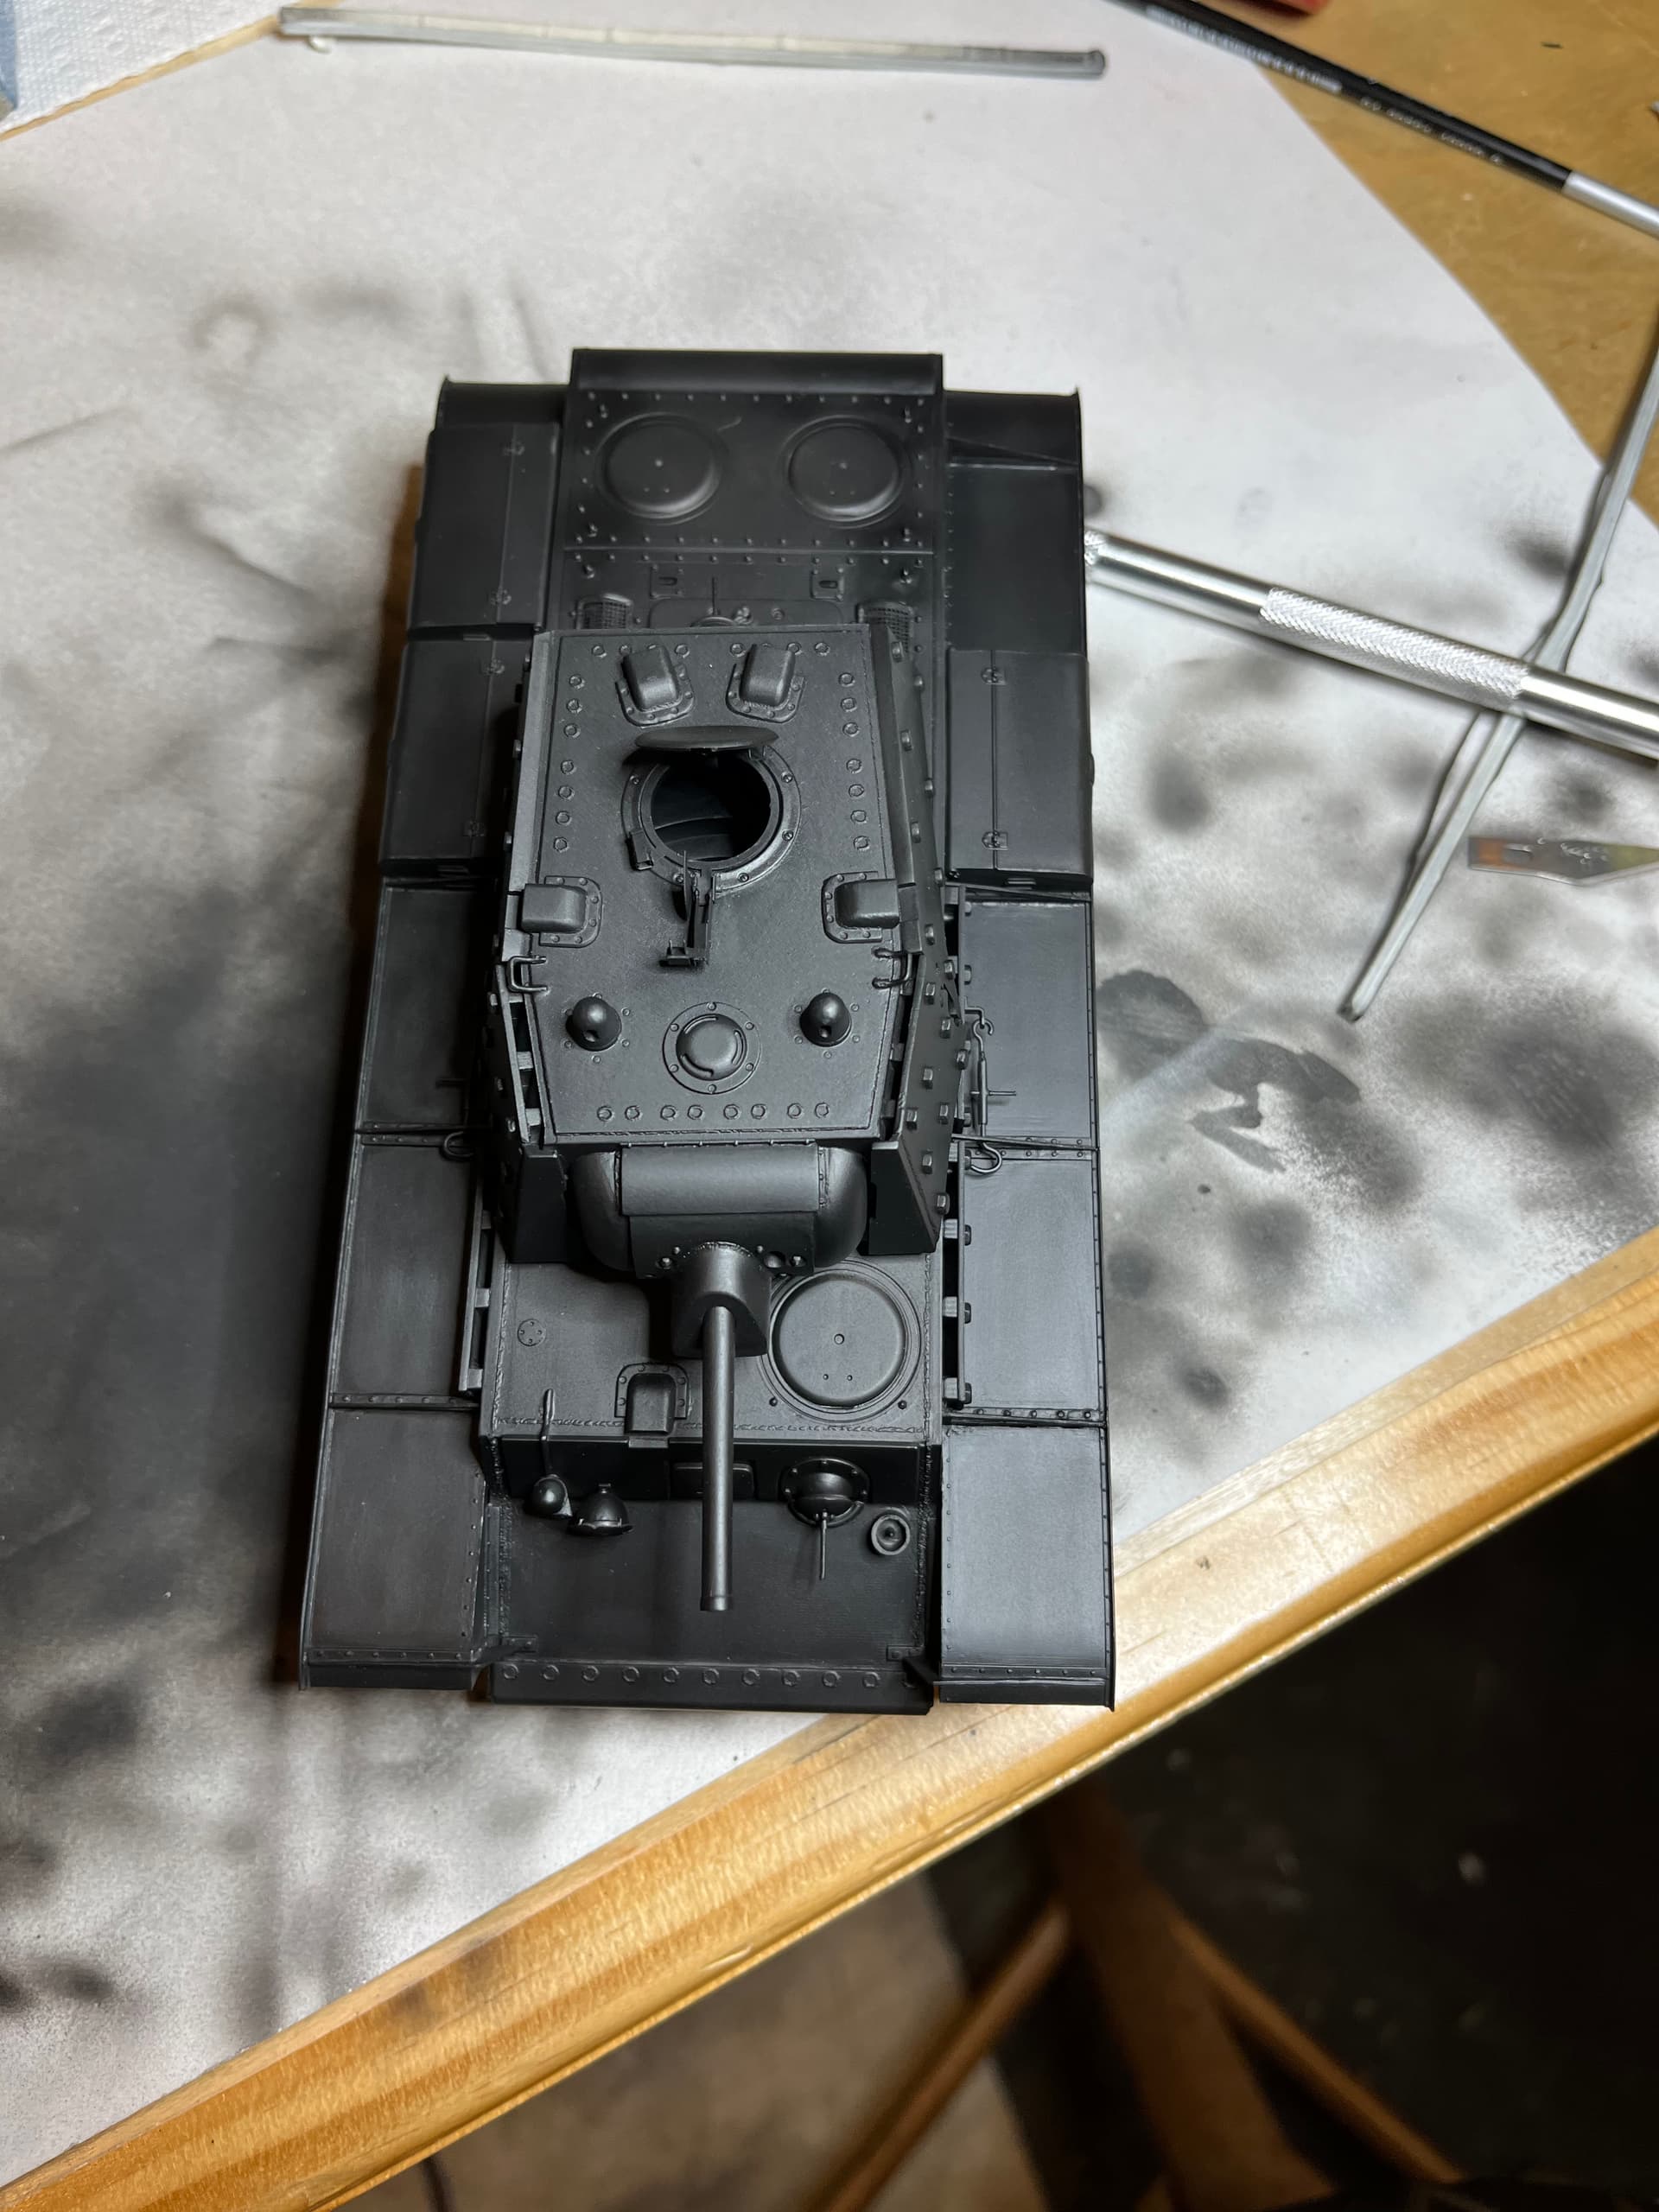
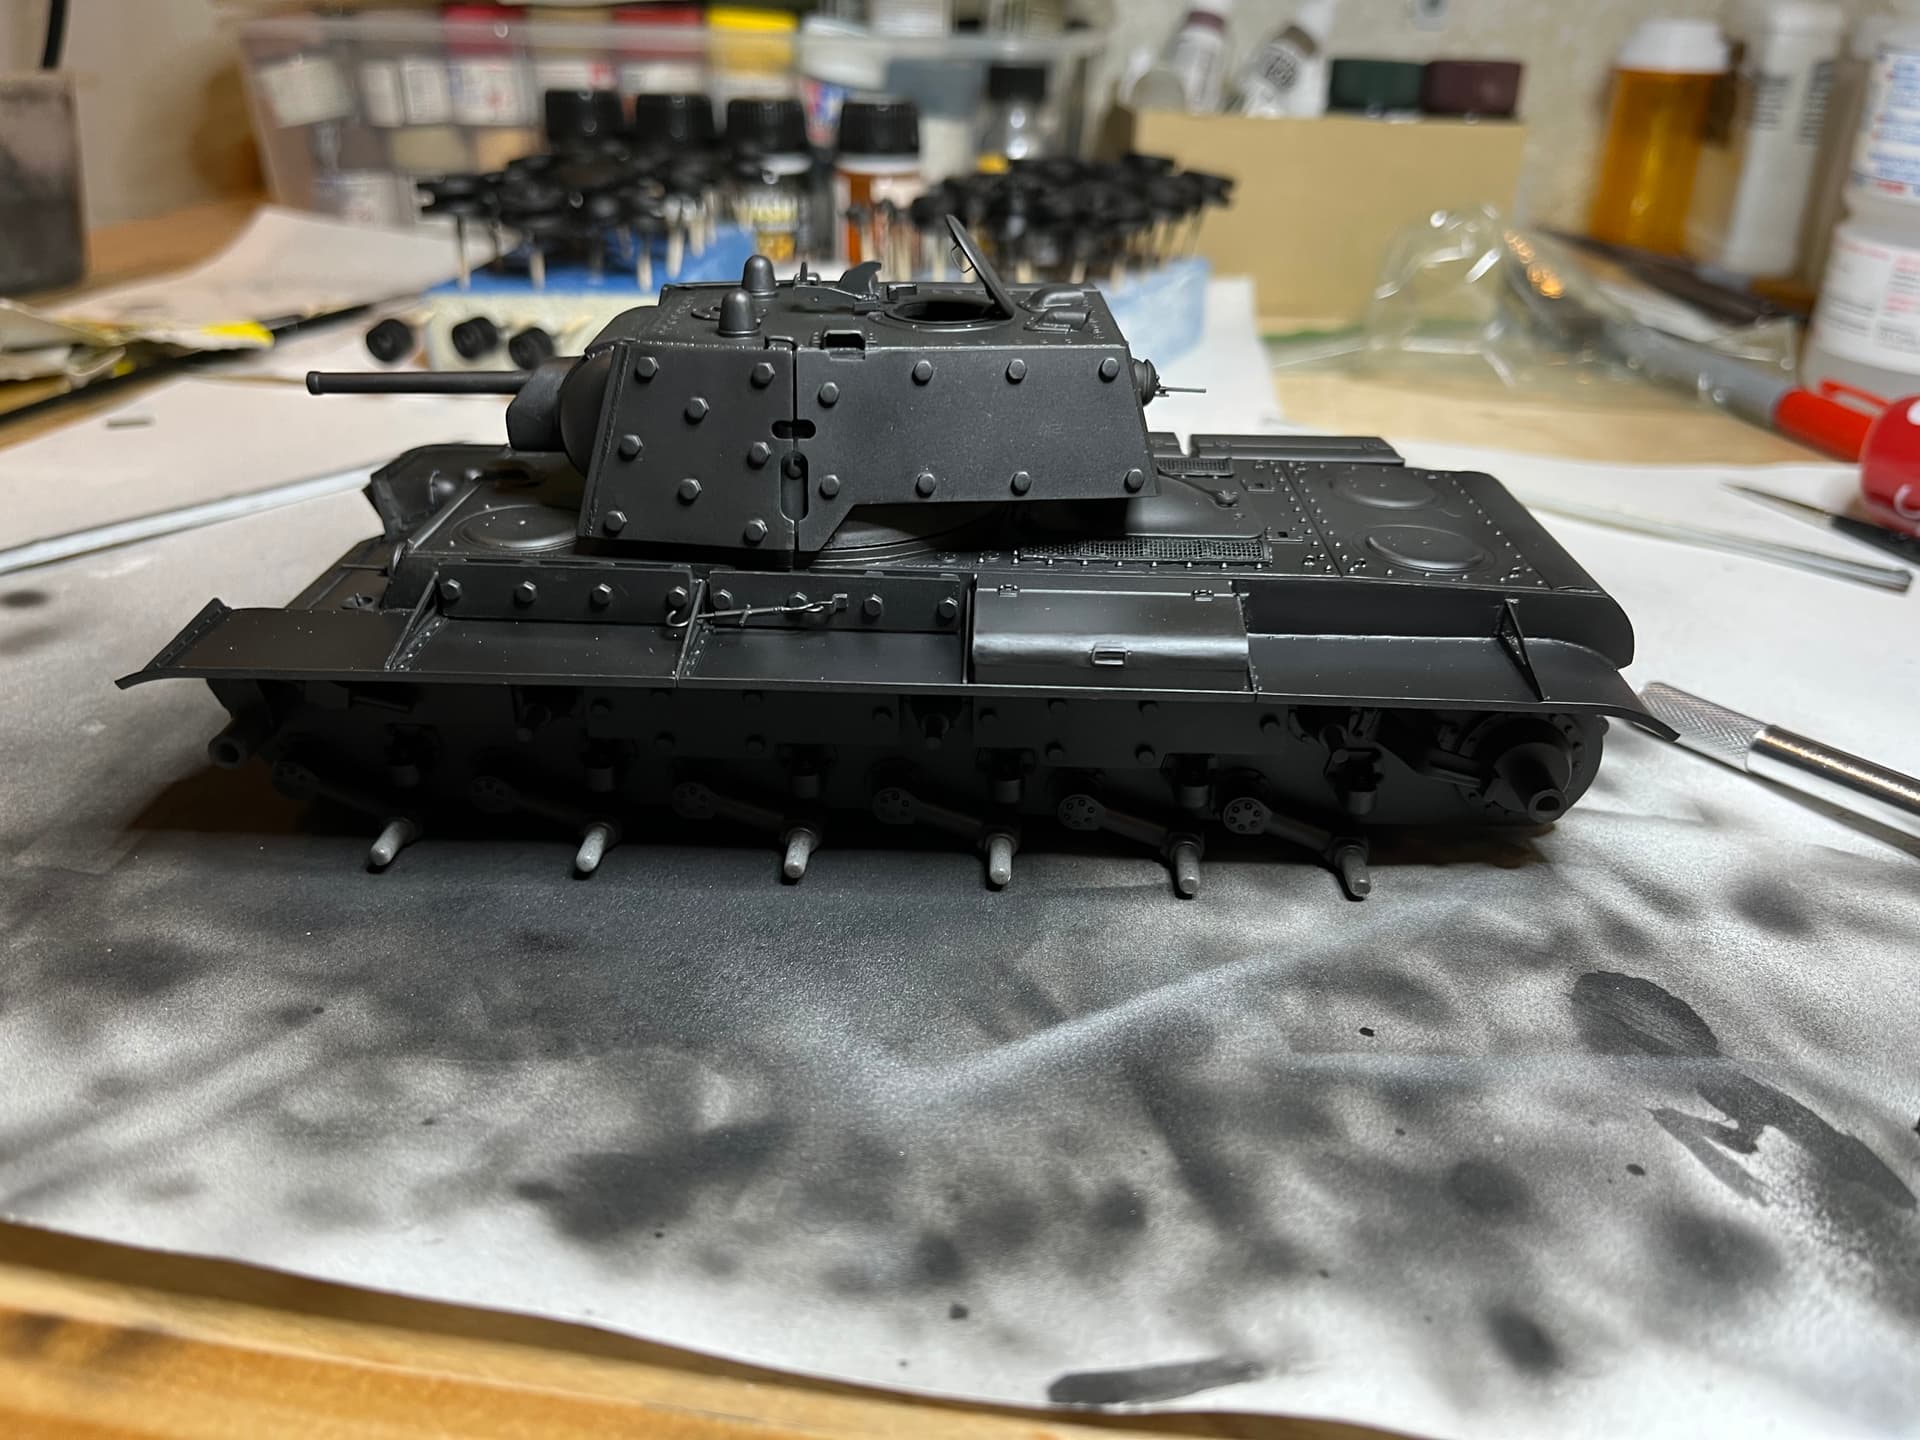
Okay, today was a day for finishing of builds. The Trumpeter Rooikat is now ready for painting: Barrel end replaced, barrel detaing added, all the tie downs, etc.
That’s looking great Peter. You have a very nice looking Rooikat there …bring on the paint ![]()
Very nice looking model, starting to like those Rooikats… will you be doing a brown one like Bison did or a multi color pattern?
I’m going to try and do the 3 tone camo Bert, for something a little different. Although Olivier’s build makes the overall BS381C:450 BS Dark earth one very tempting.
Ready for base paint! Had it primed about 2 weeks ago and noticed deep sink marks running down the length of the fenders and on the add on armor on the turret. Lost my mojo but finally got back to filing them with super glue and then sanding them smooth.
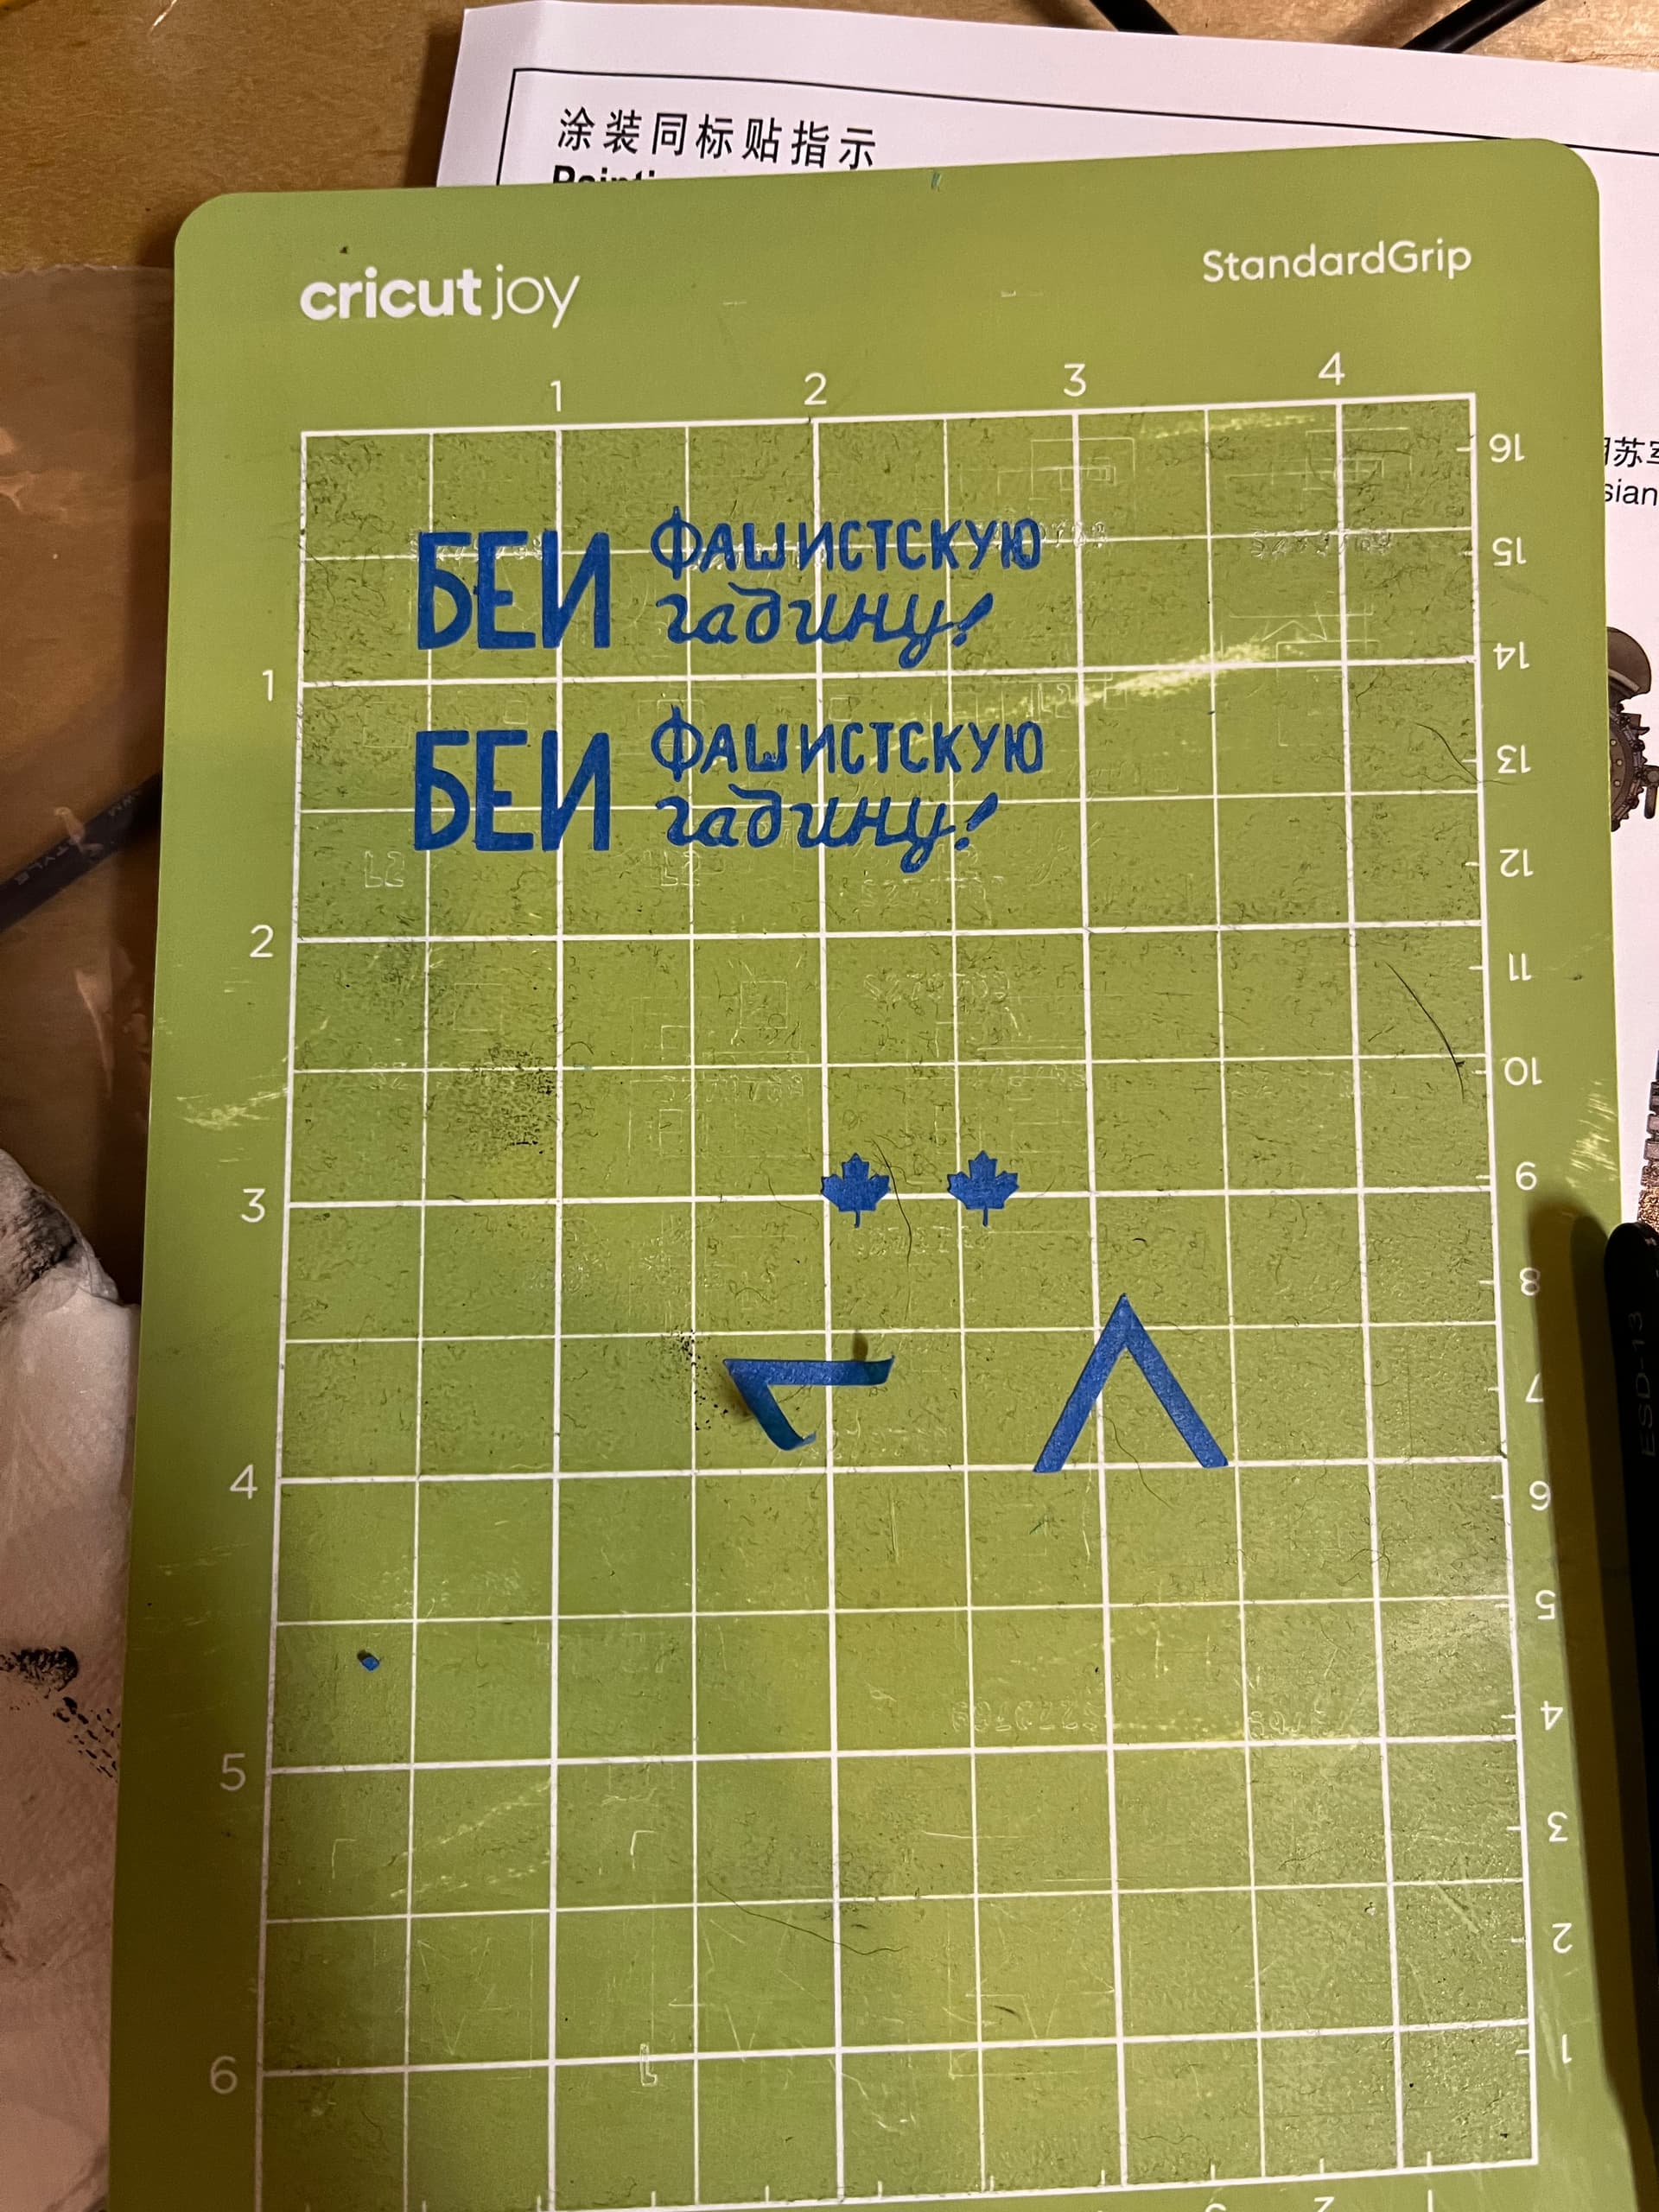
Also cut out some stencils for the turret slogan
Maple leaves and chevrons will look great on her… ![]()
![]()
Don’t you hate it when the primer reveals flaws. I’m interested to see how the stencil slogan comes out. That is some fine threads holding all that together.
Nice work @Mead93. Those stencils look pretty delicate but nicely done. Should great when they are on it.
@petbat, without trawling all the way back through this, did I ask you if you could do a medal ribbon ![]() for this one and the 8 wheelers build ? I need to plough through both at some point and list those who have completed builds so far …
for this one and the 8 wheelers build ? I need to plough through both at some point and list those who have completed builds so far …
Don’t ya know that maple leaves are period correct for a 1941 KV-1?!?
The part I’m most worried about on the stencils is the massive bolt heads on the add on armor. Not entirely sure how to navigate those. But I’d have had the same problem with decals too.