Nice progress Jesper. Finish is due on 10th Jan, I was going to go for a 7 day extension, but can try and stretch it to 14 days nearer the time ok ![]()
1 Like
Thanks a lot, Johnny. Two weeks would be much appreciated!
1 Like
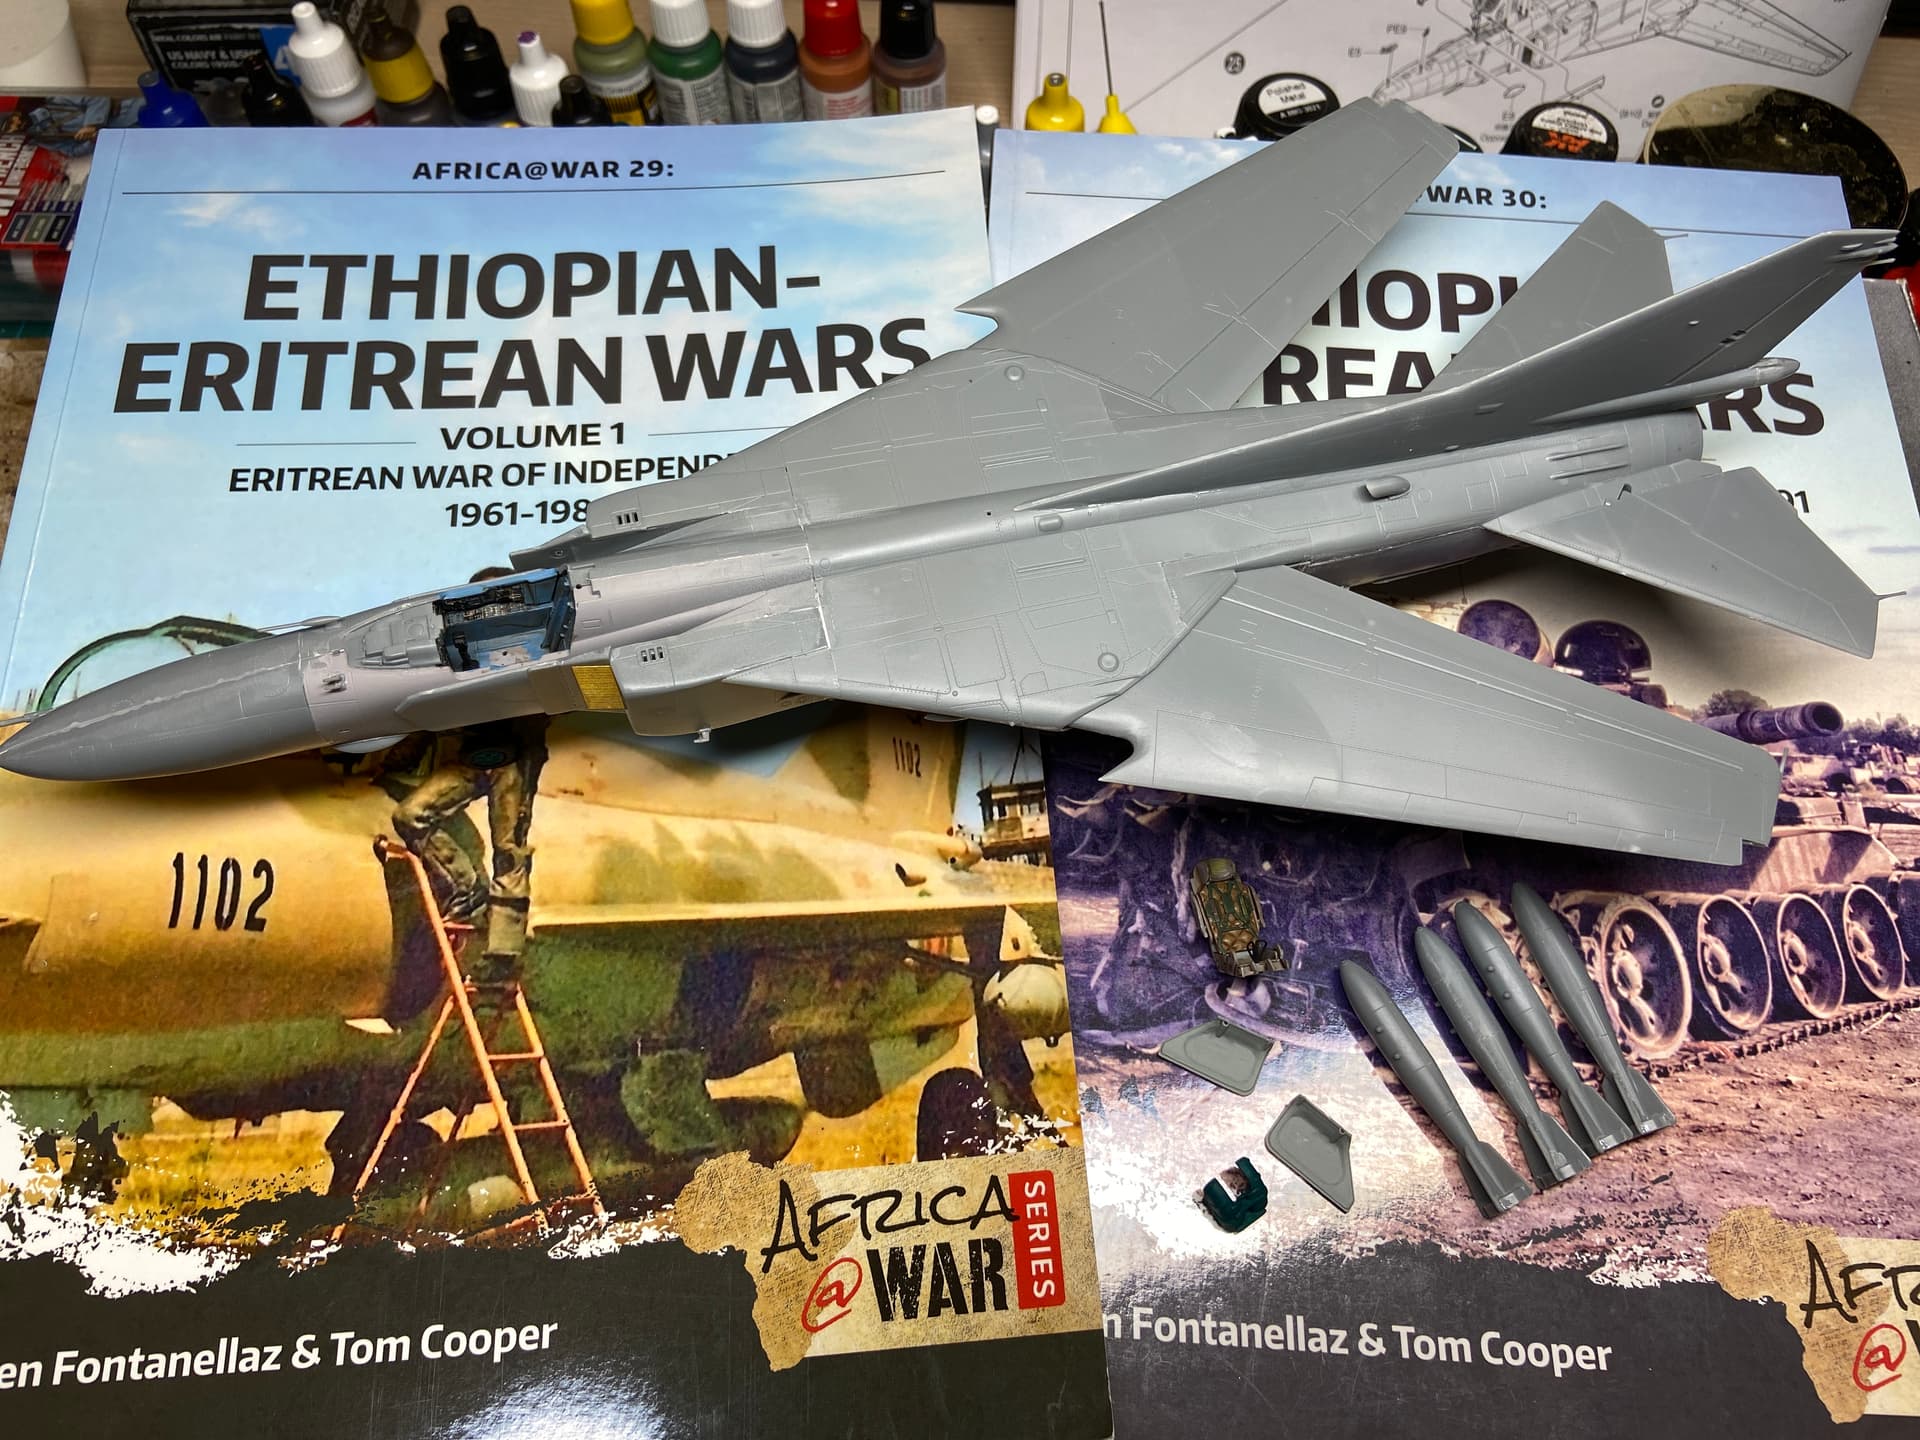
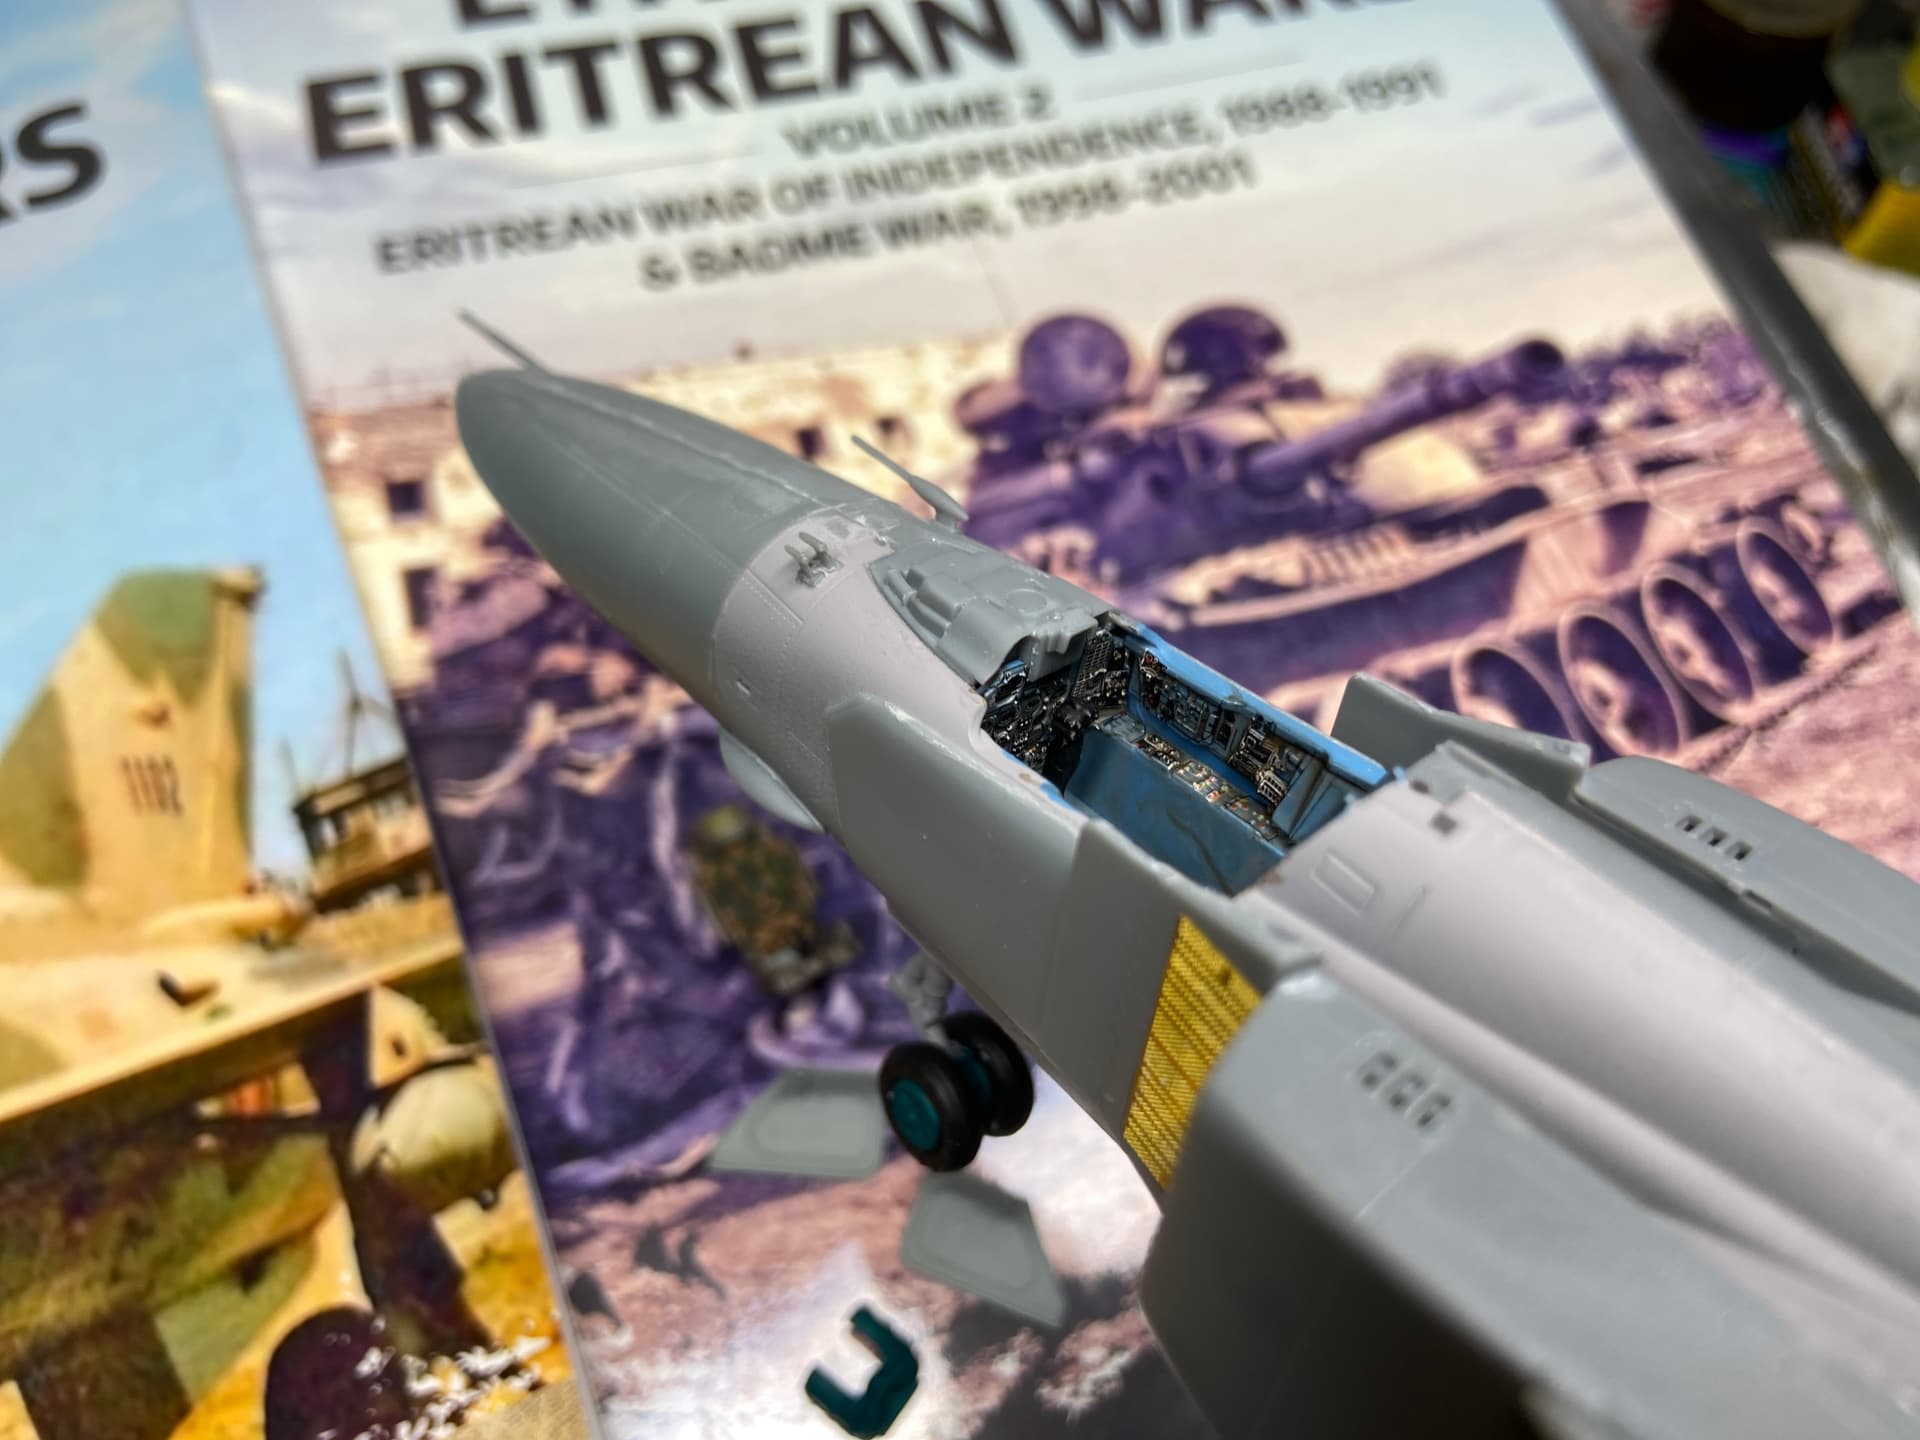
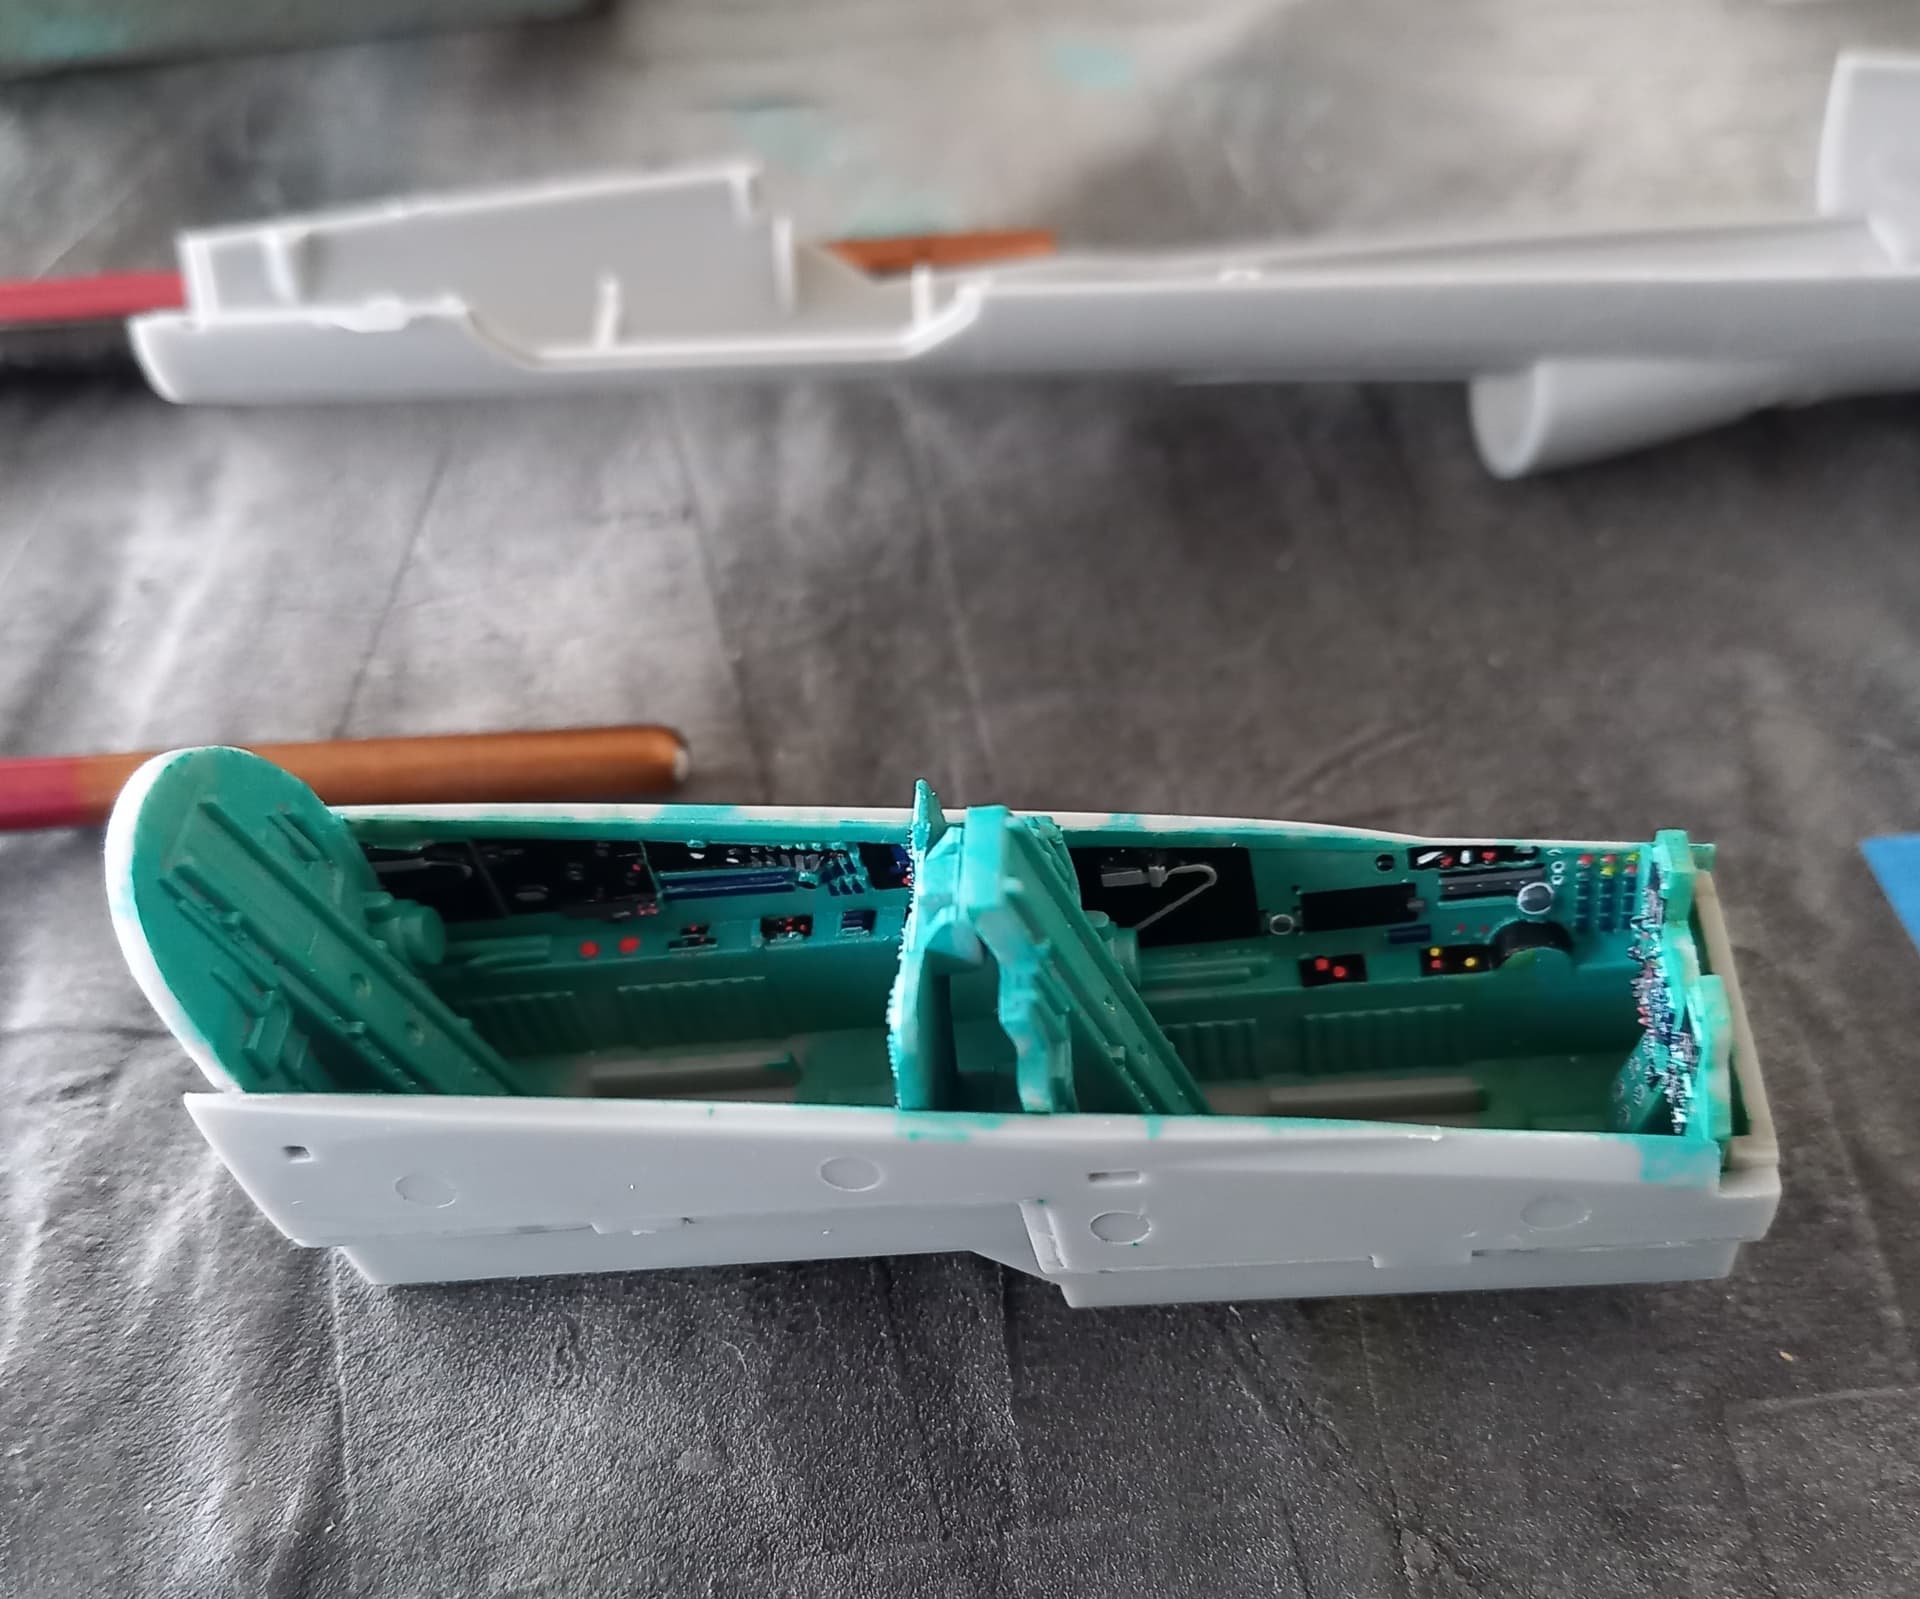
Consrruction done. The decals on top of 3D plastic actually looks ok after a bit of weathering and lots of decal solvent.
Base coat to follow. Then the camouflage goes not.
4 Likes
Thats looking good Jesper and you are certainty getting there … the decals really make the cockpit stand out and give it the needed depth for a very nice realistic look ![]()
1 Like
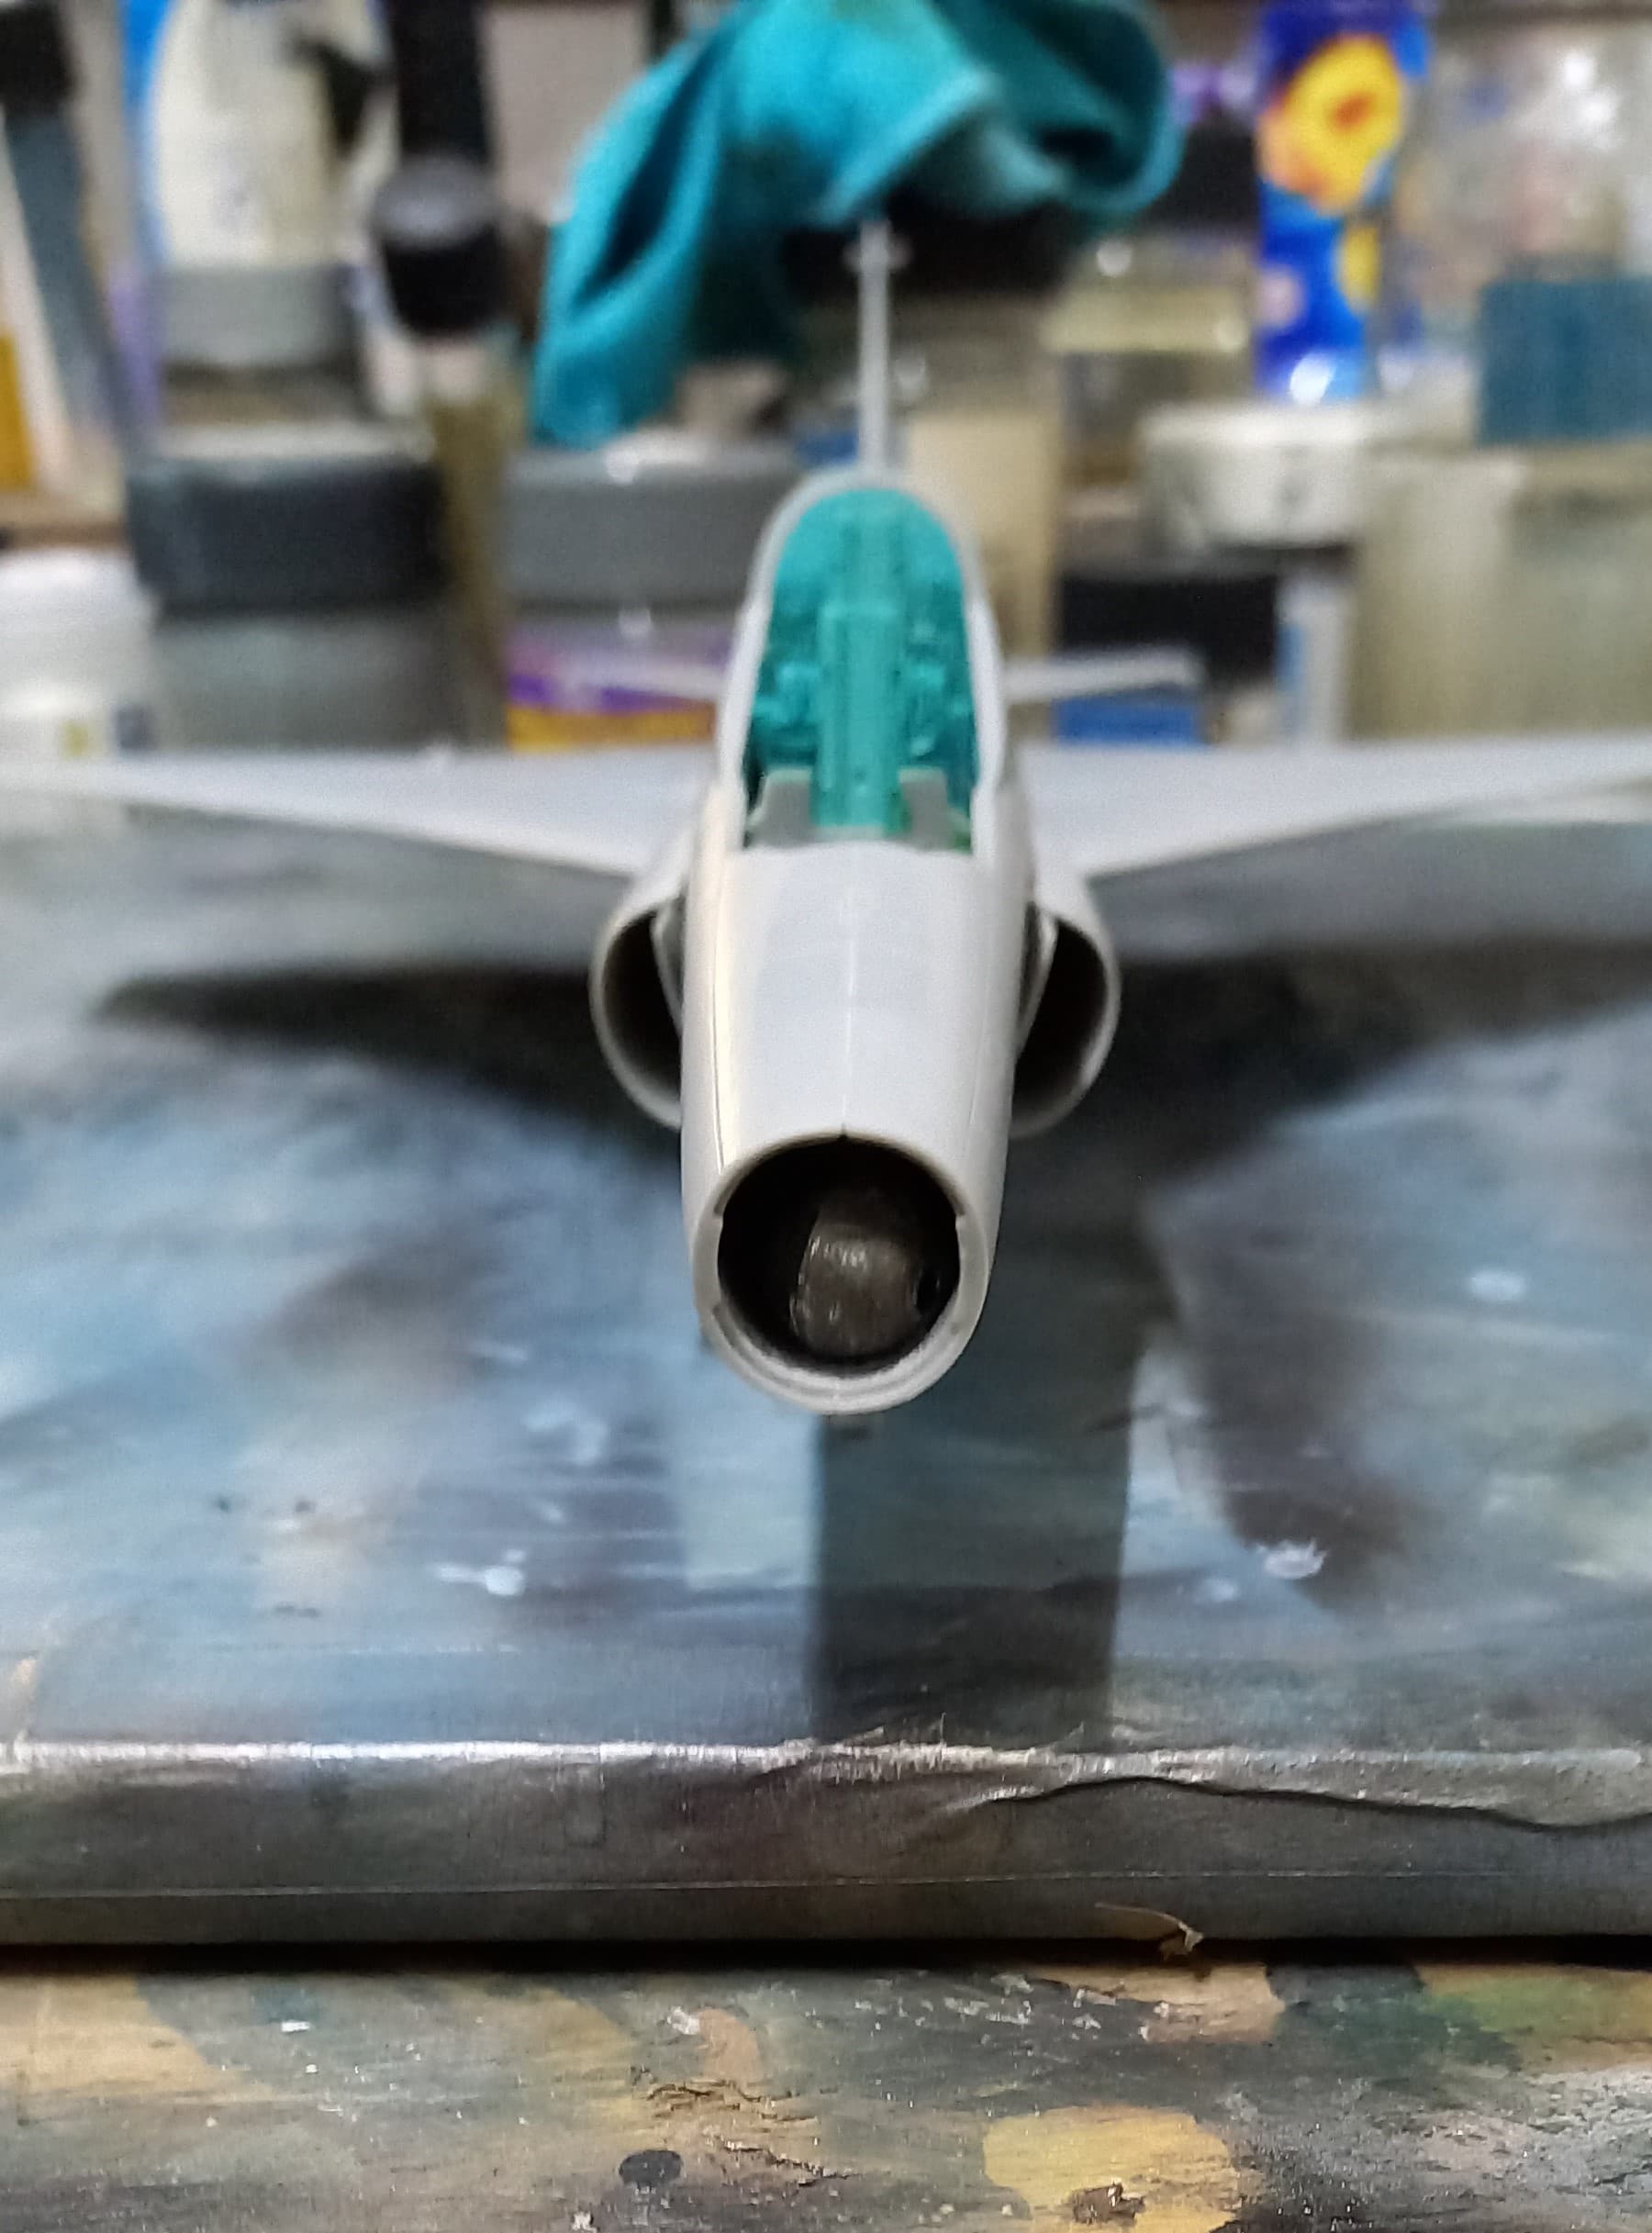
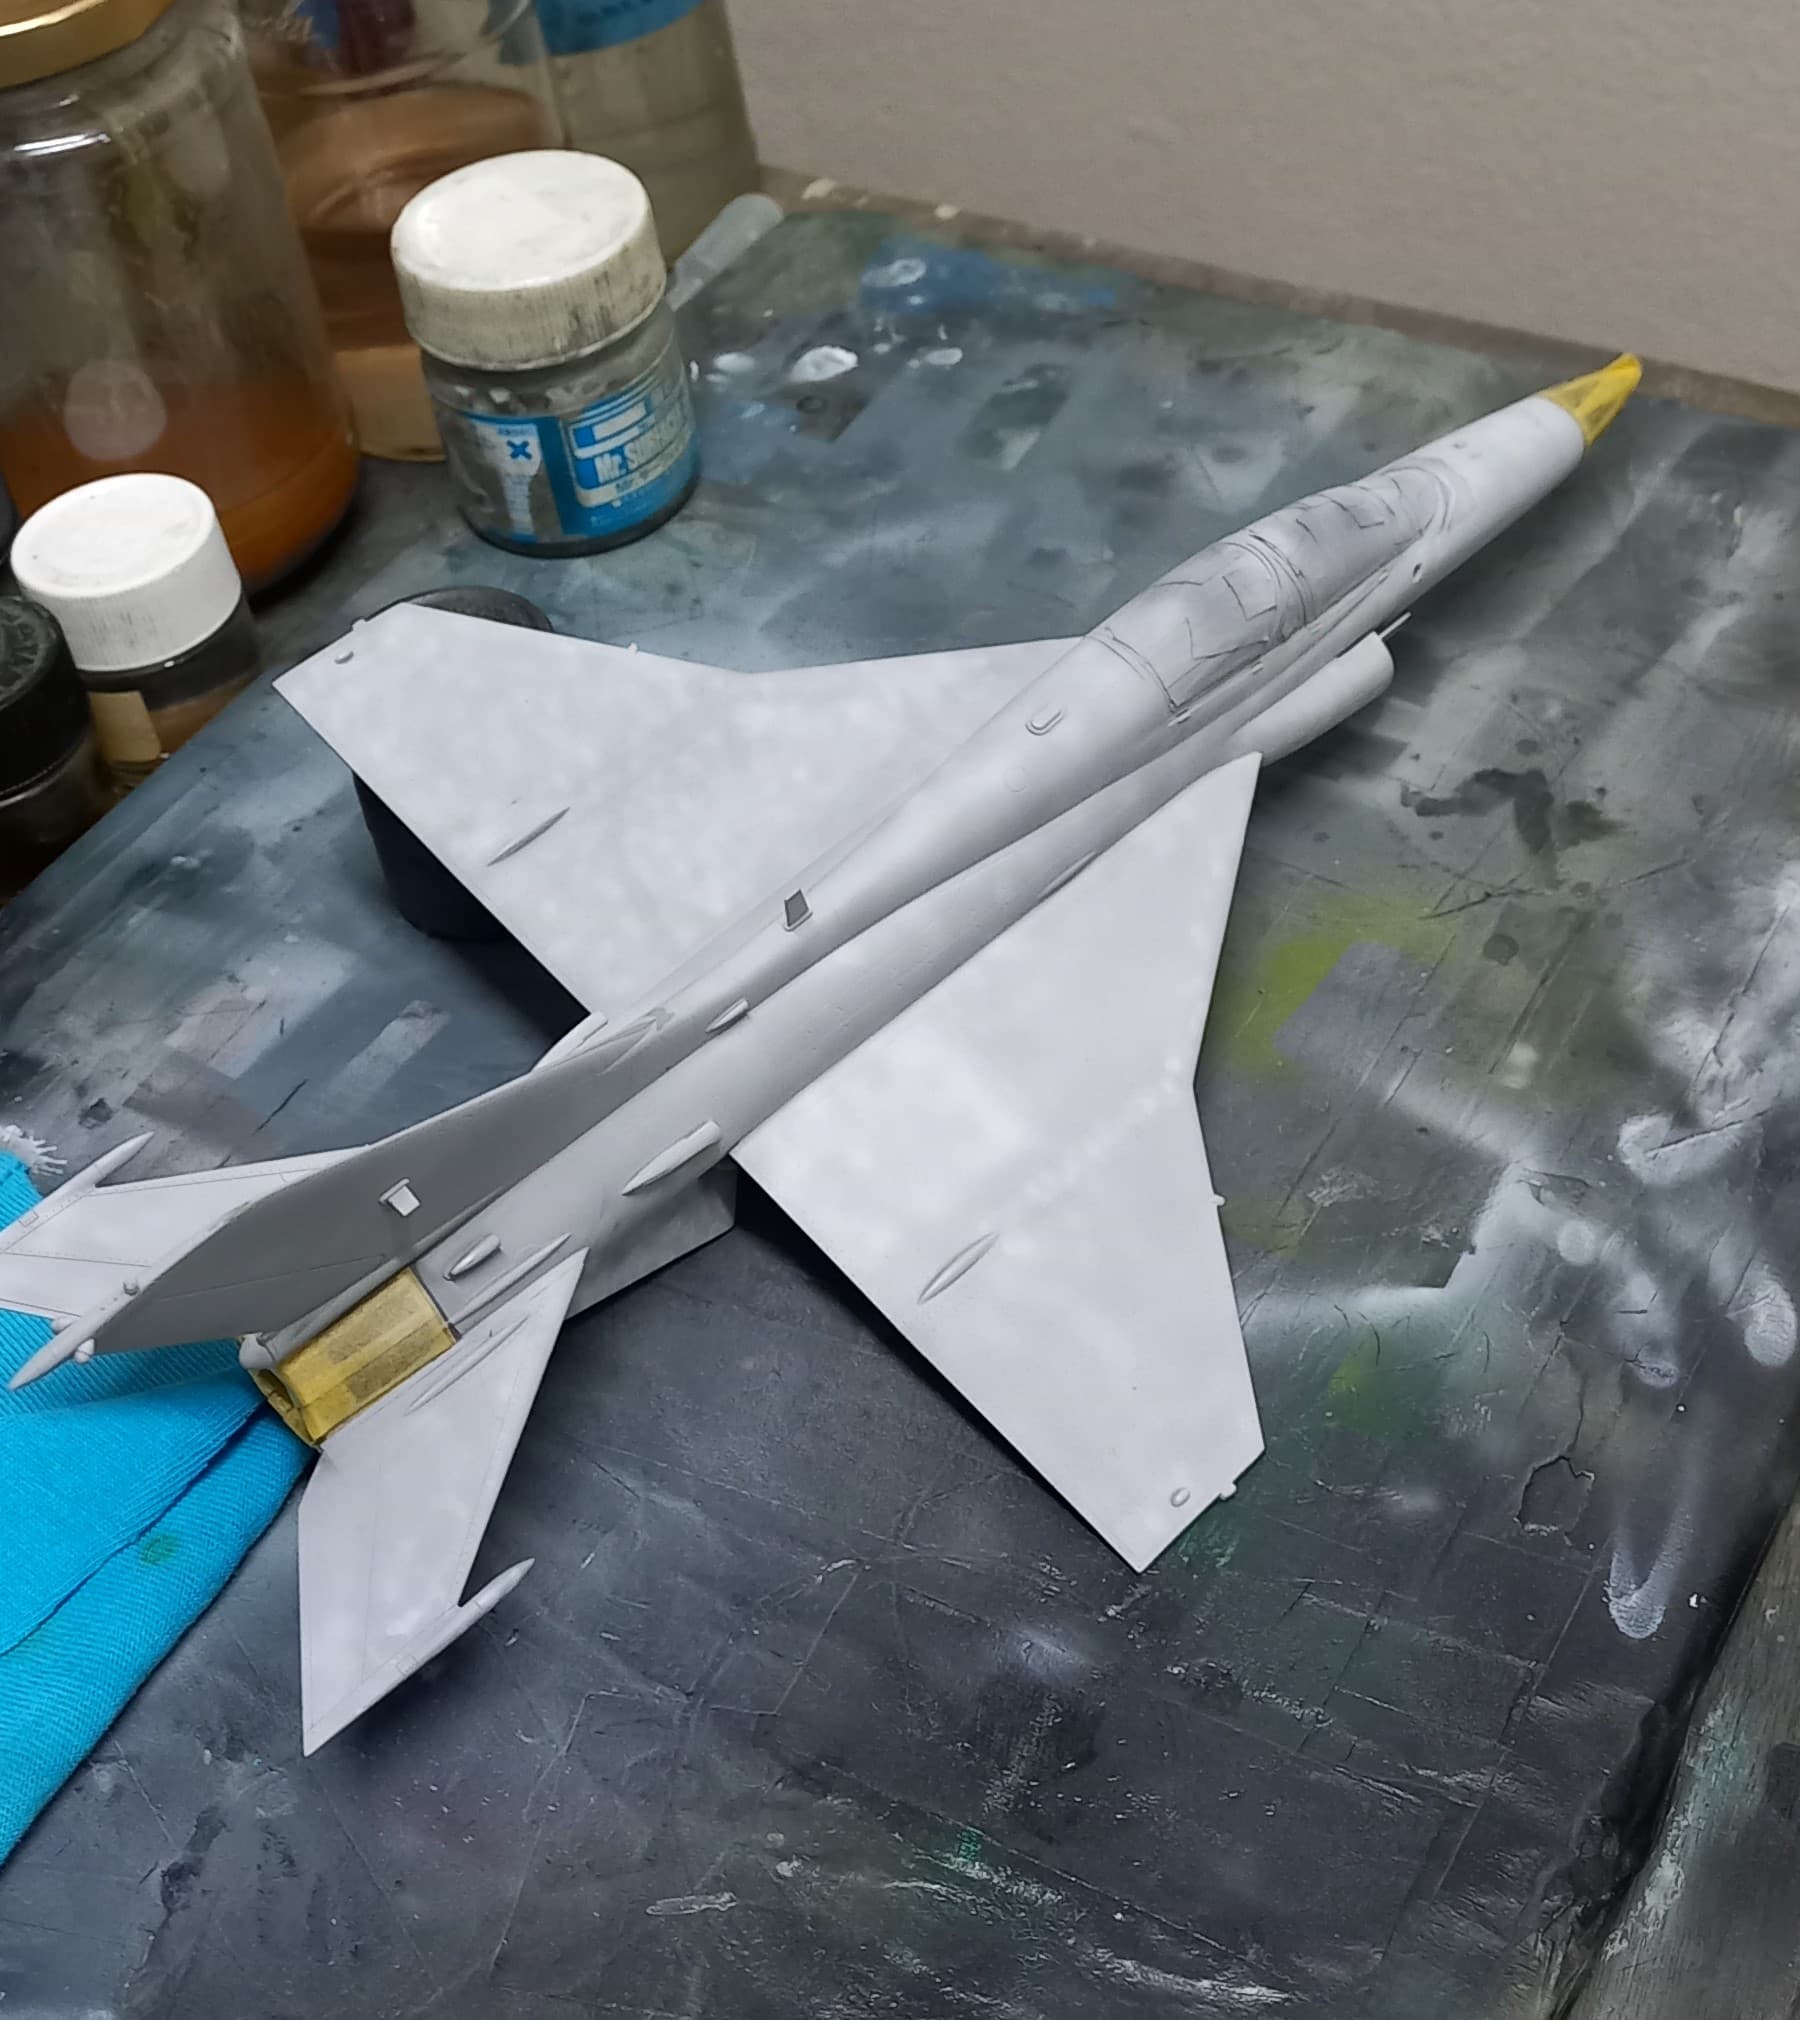
I have given the kit the first base coat. A lot of nasty seem lines to clean up - especially on the top of the long nose. more to follow soon.
2 Likes
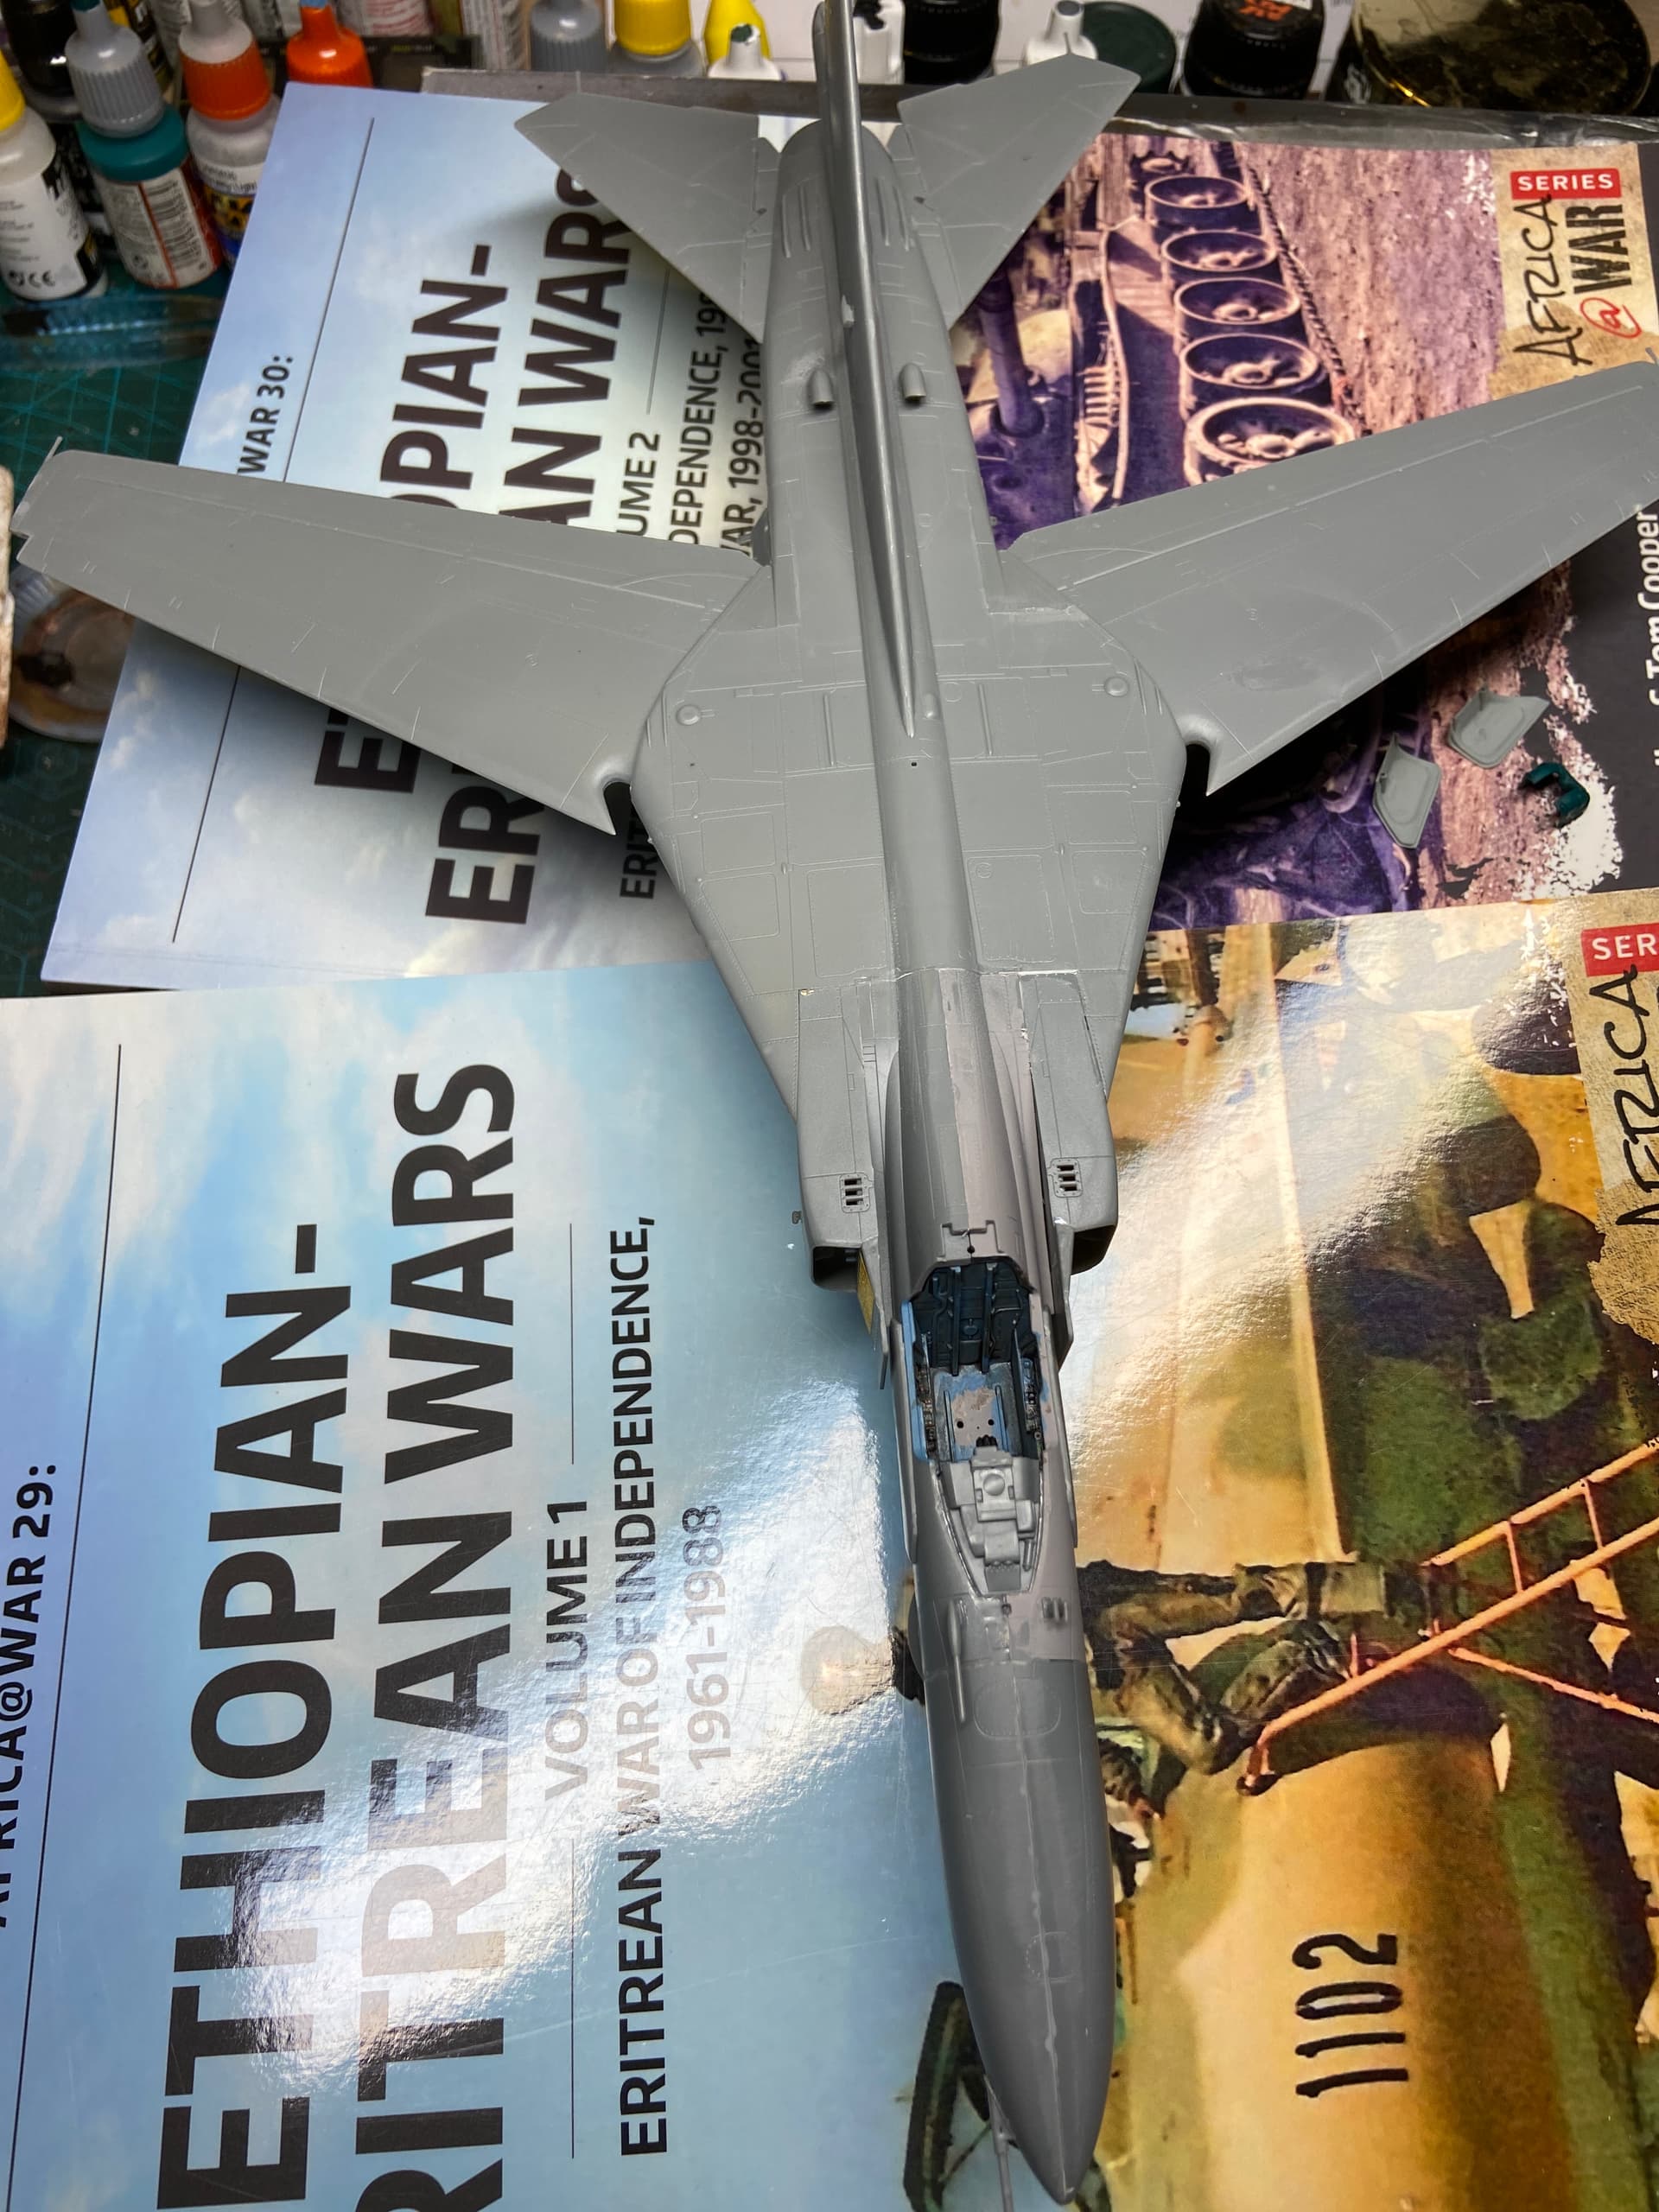
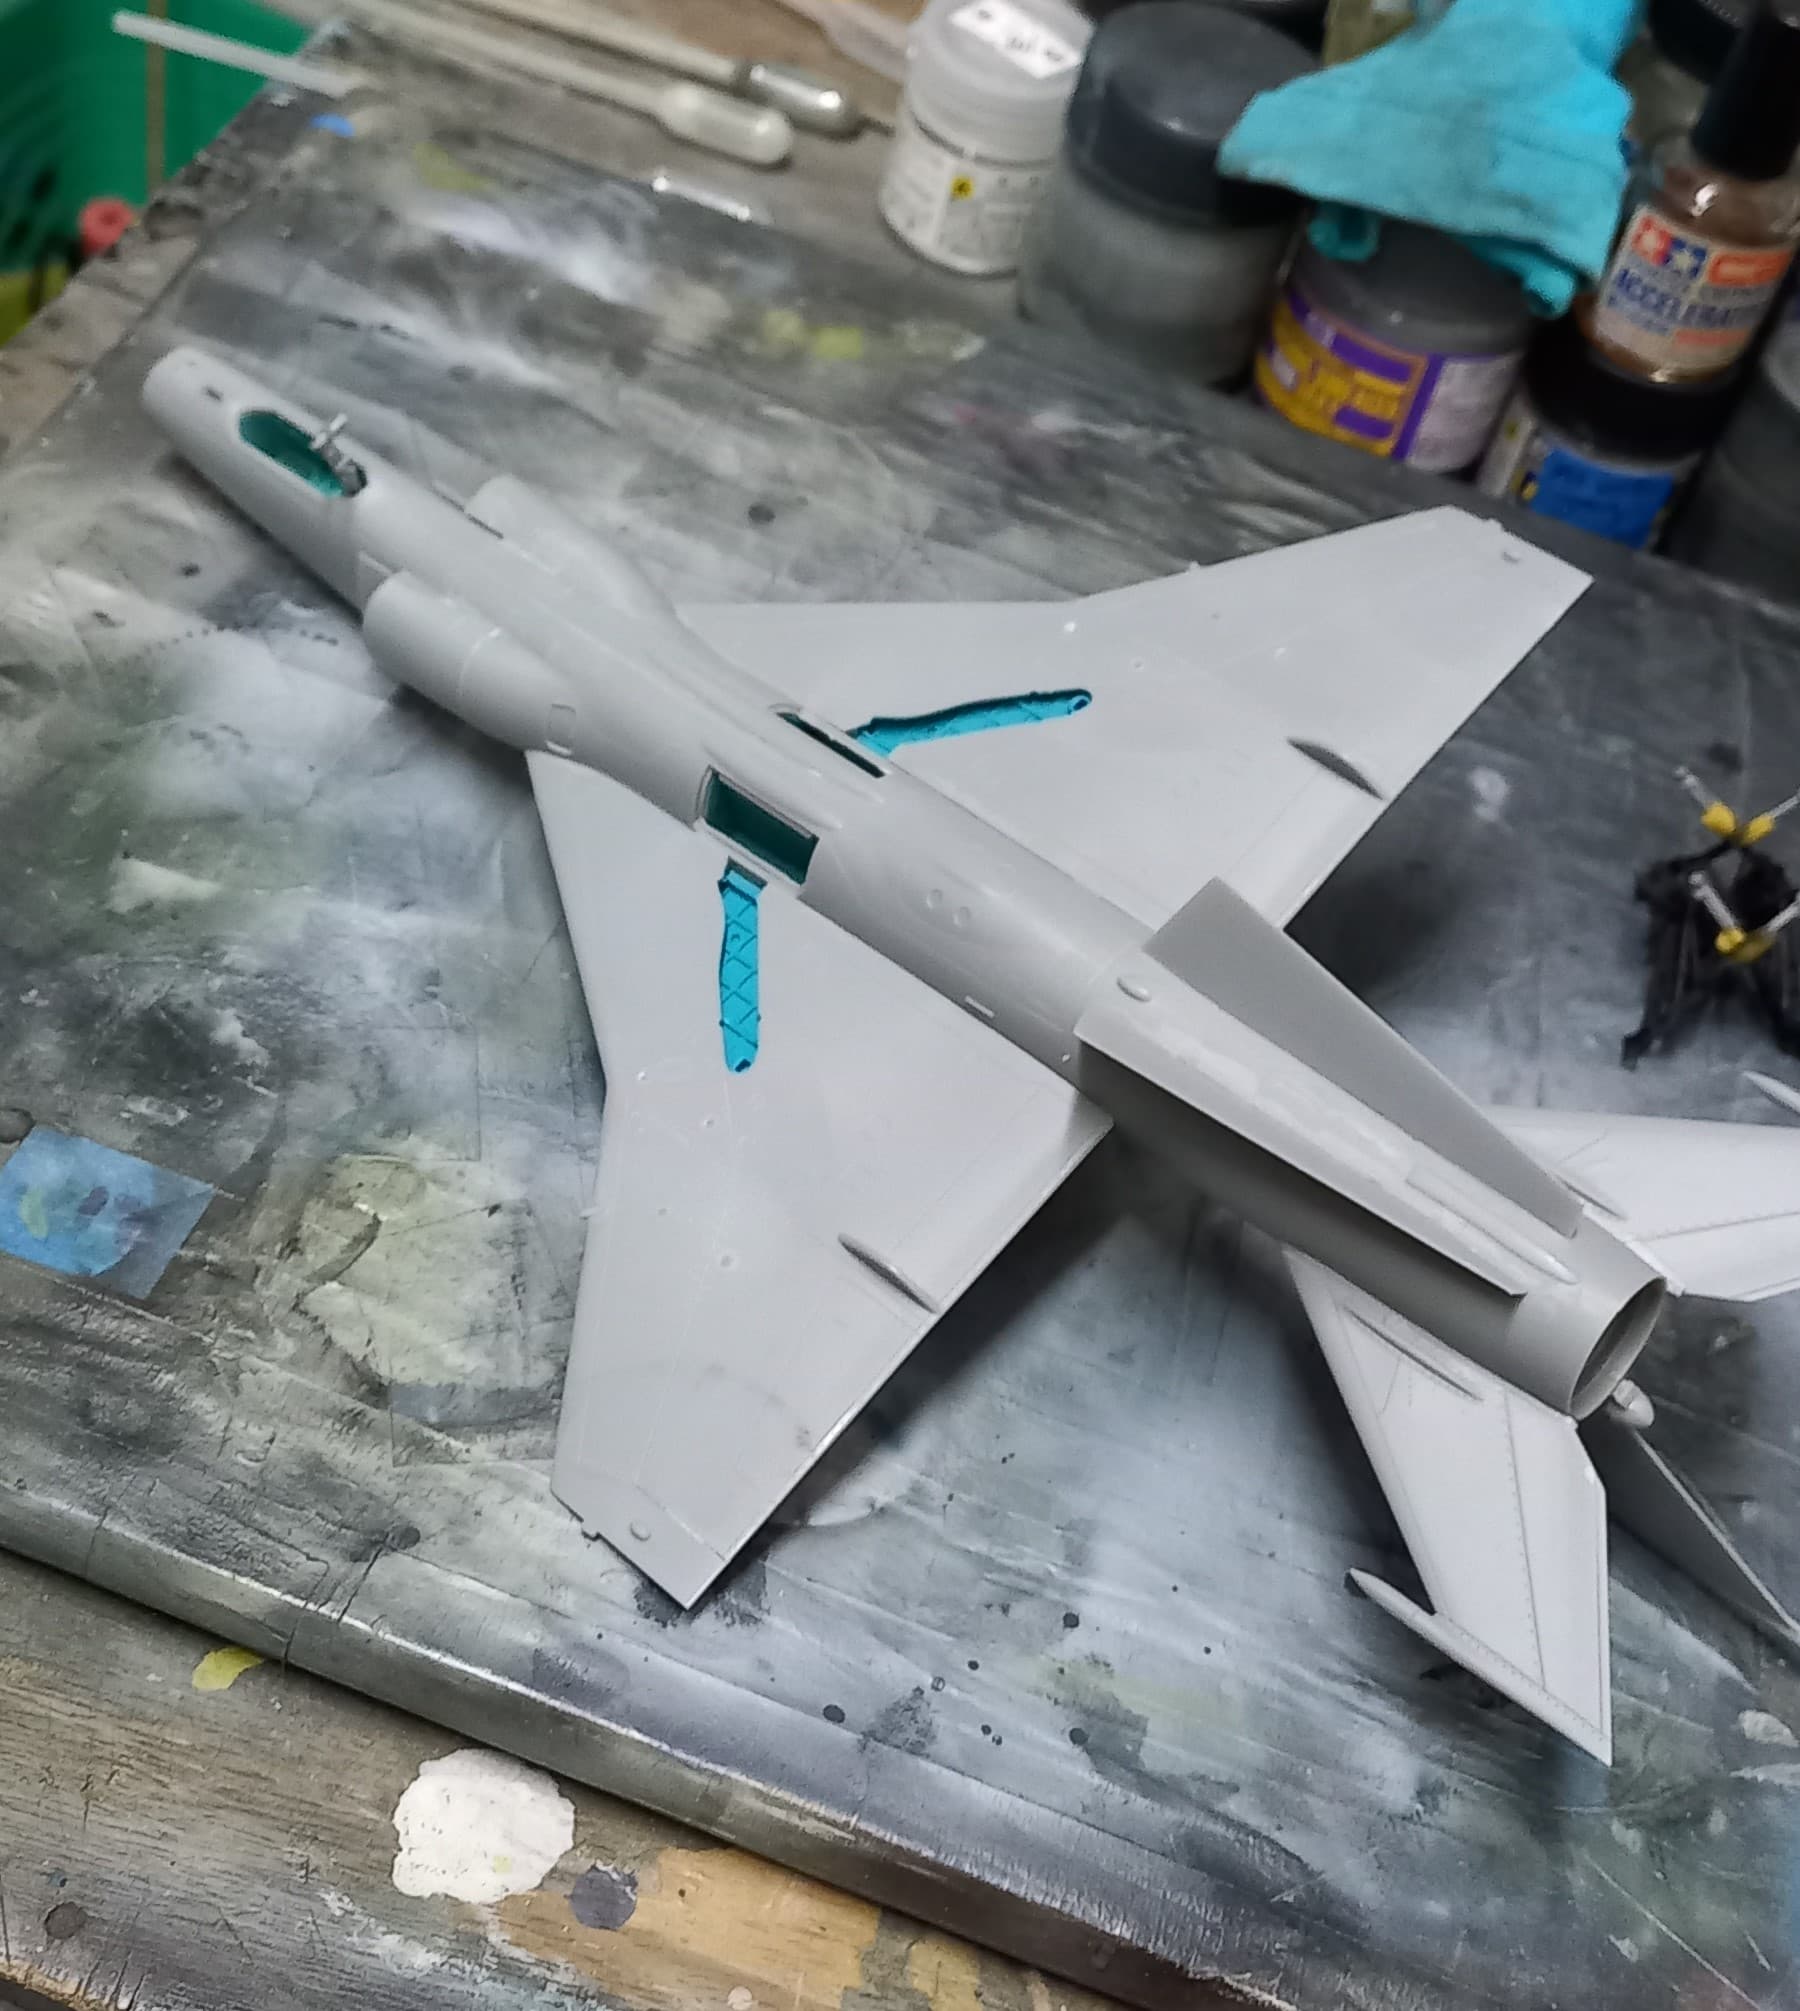
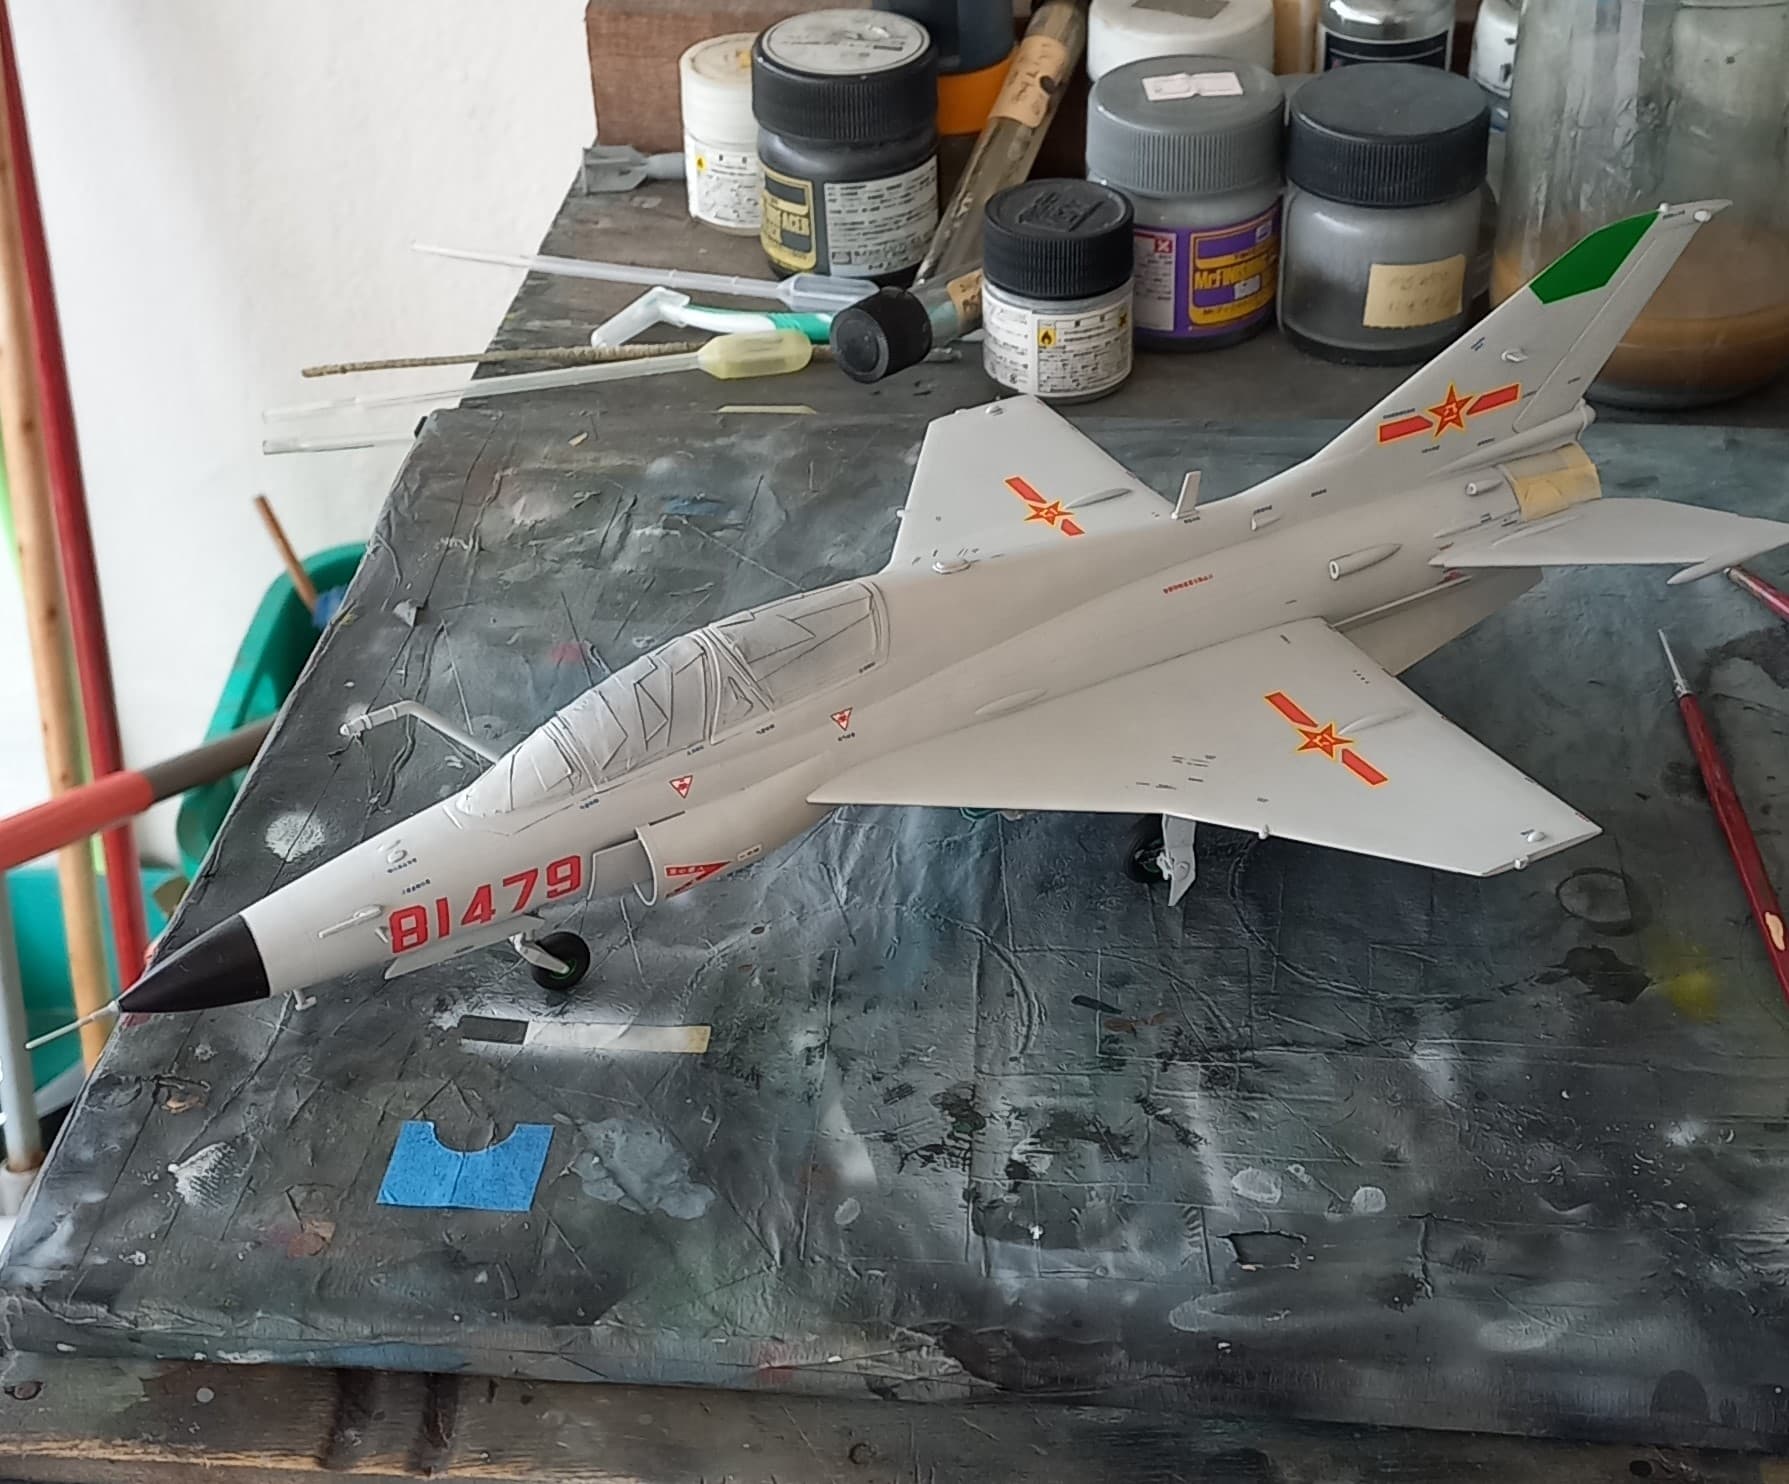
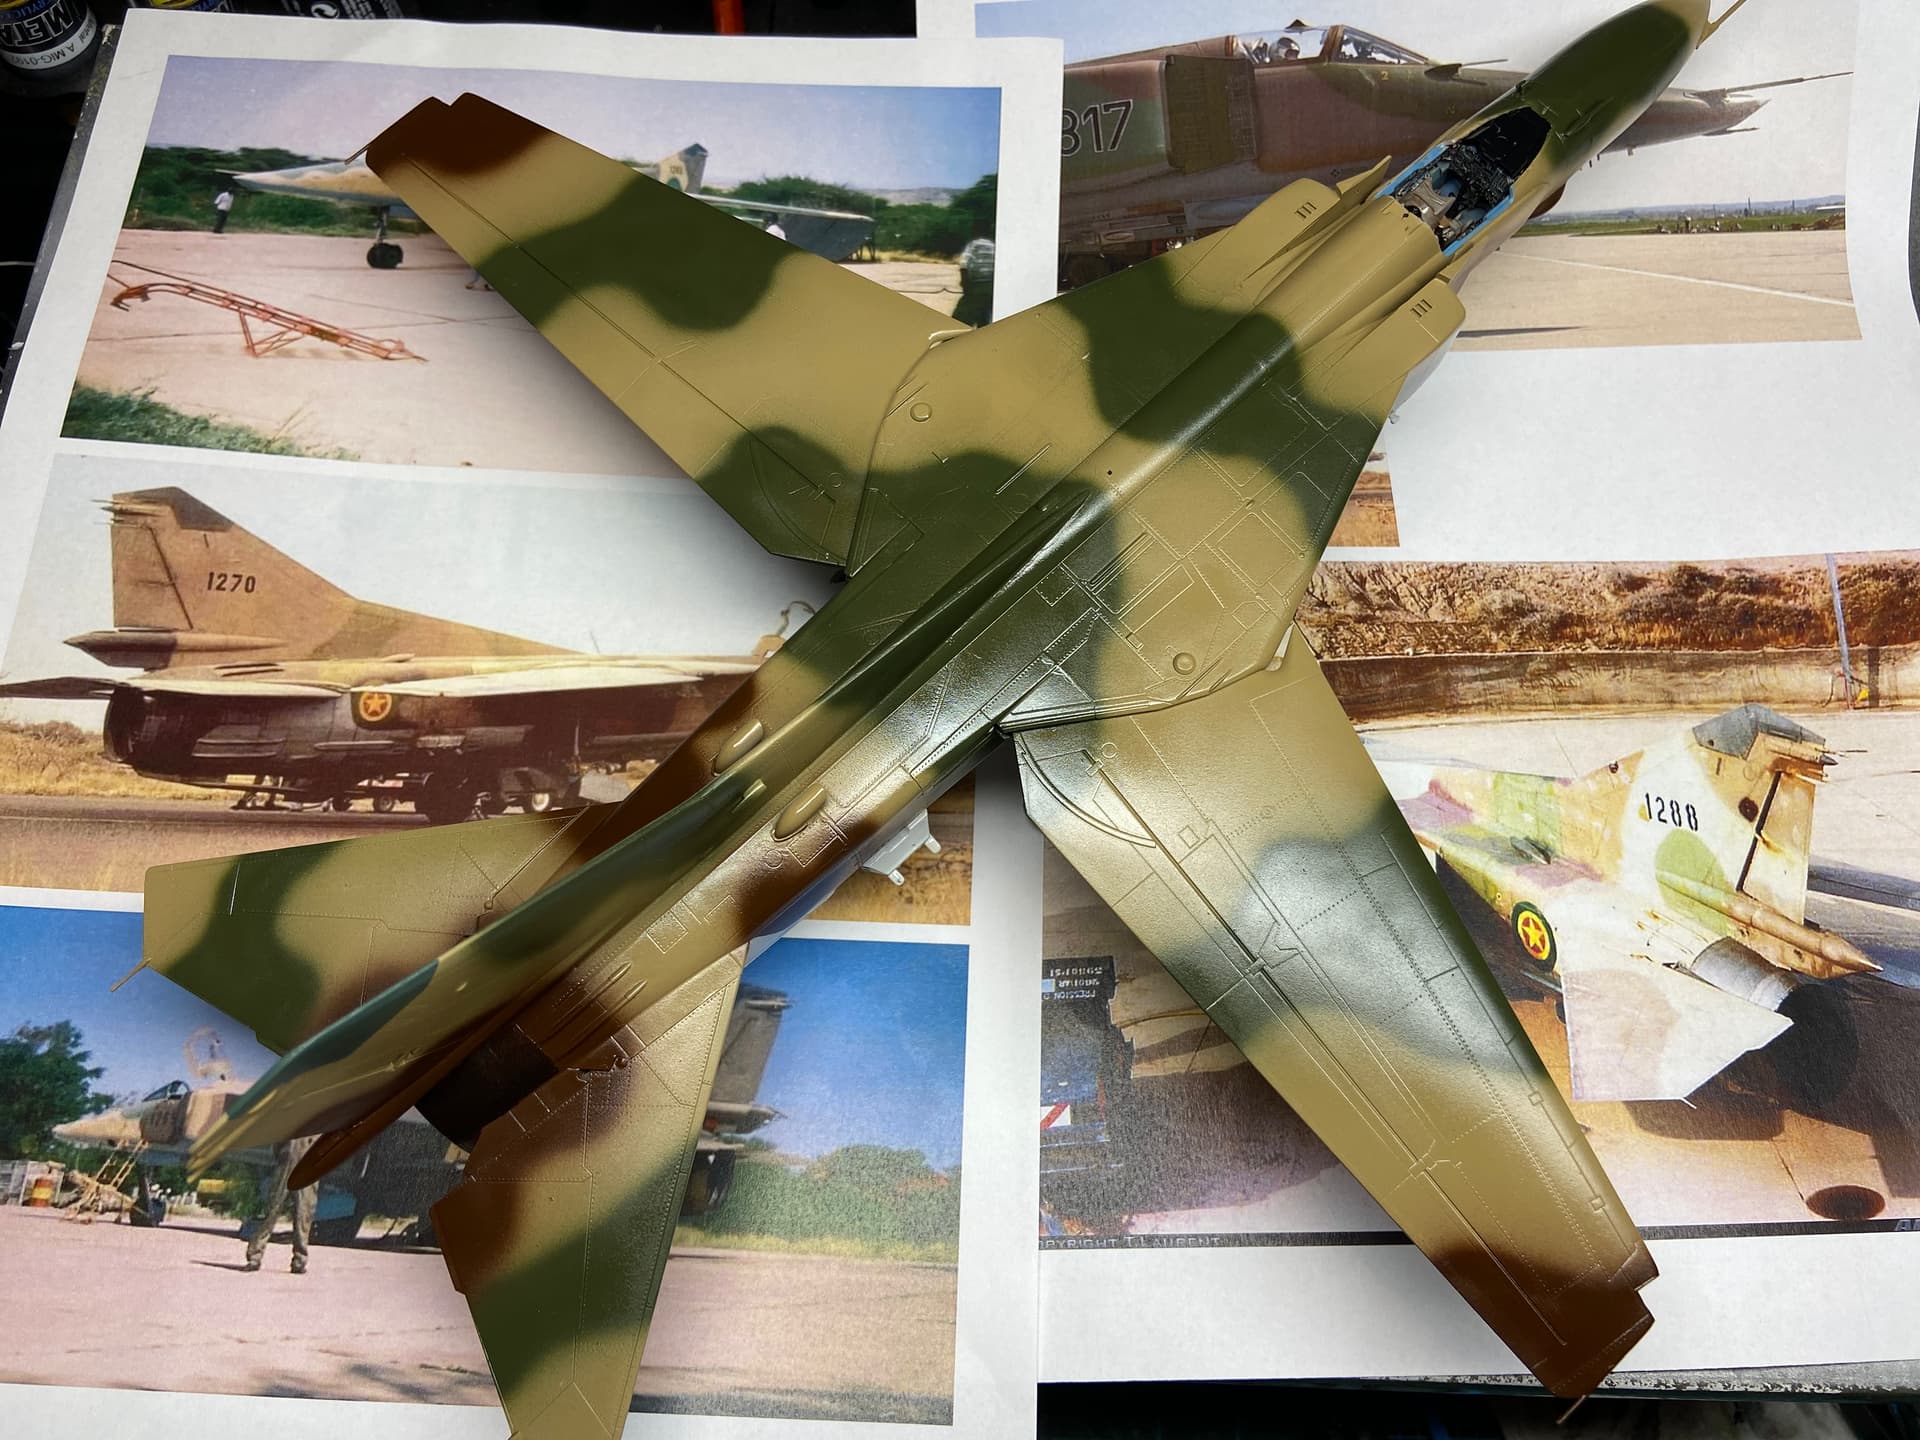
Basic camo is on. Still quite a lot of touch ups to do and then of course all the details.
More to follow ![]()

7 Likes
Looking good with the colour on now Jesper… Very nice ![]()
1 Like
Happy New Year Everyone!
I’ve not made an update to my build at all, and since posting the initial picture, I’ve gone and completed the JL-9. So, here goes!
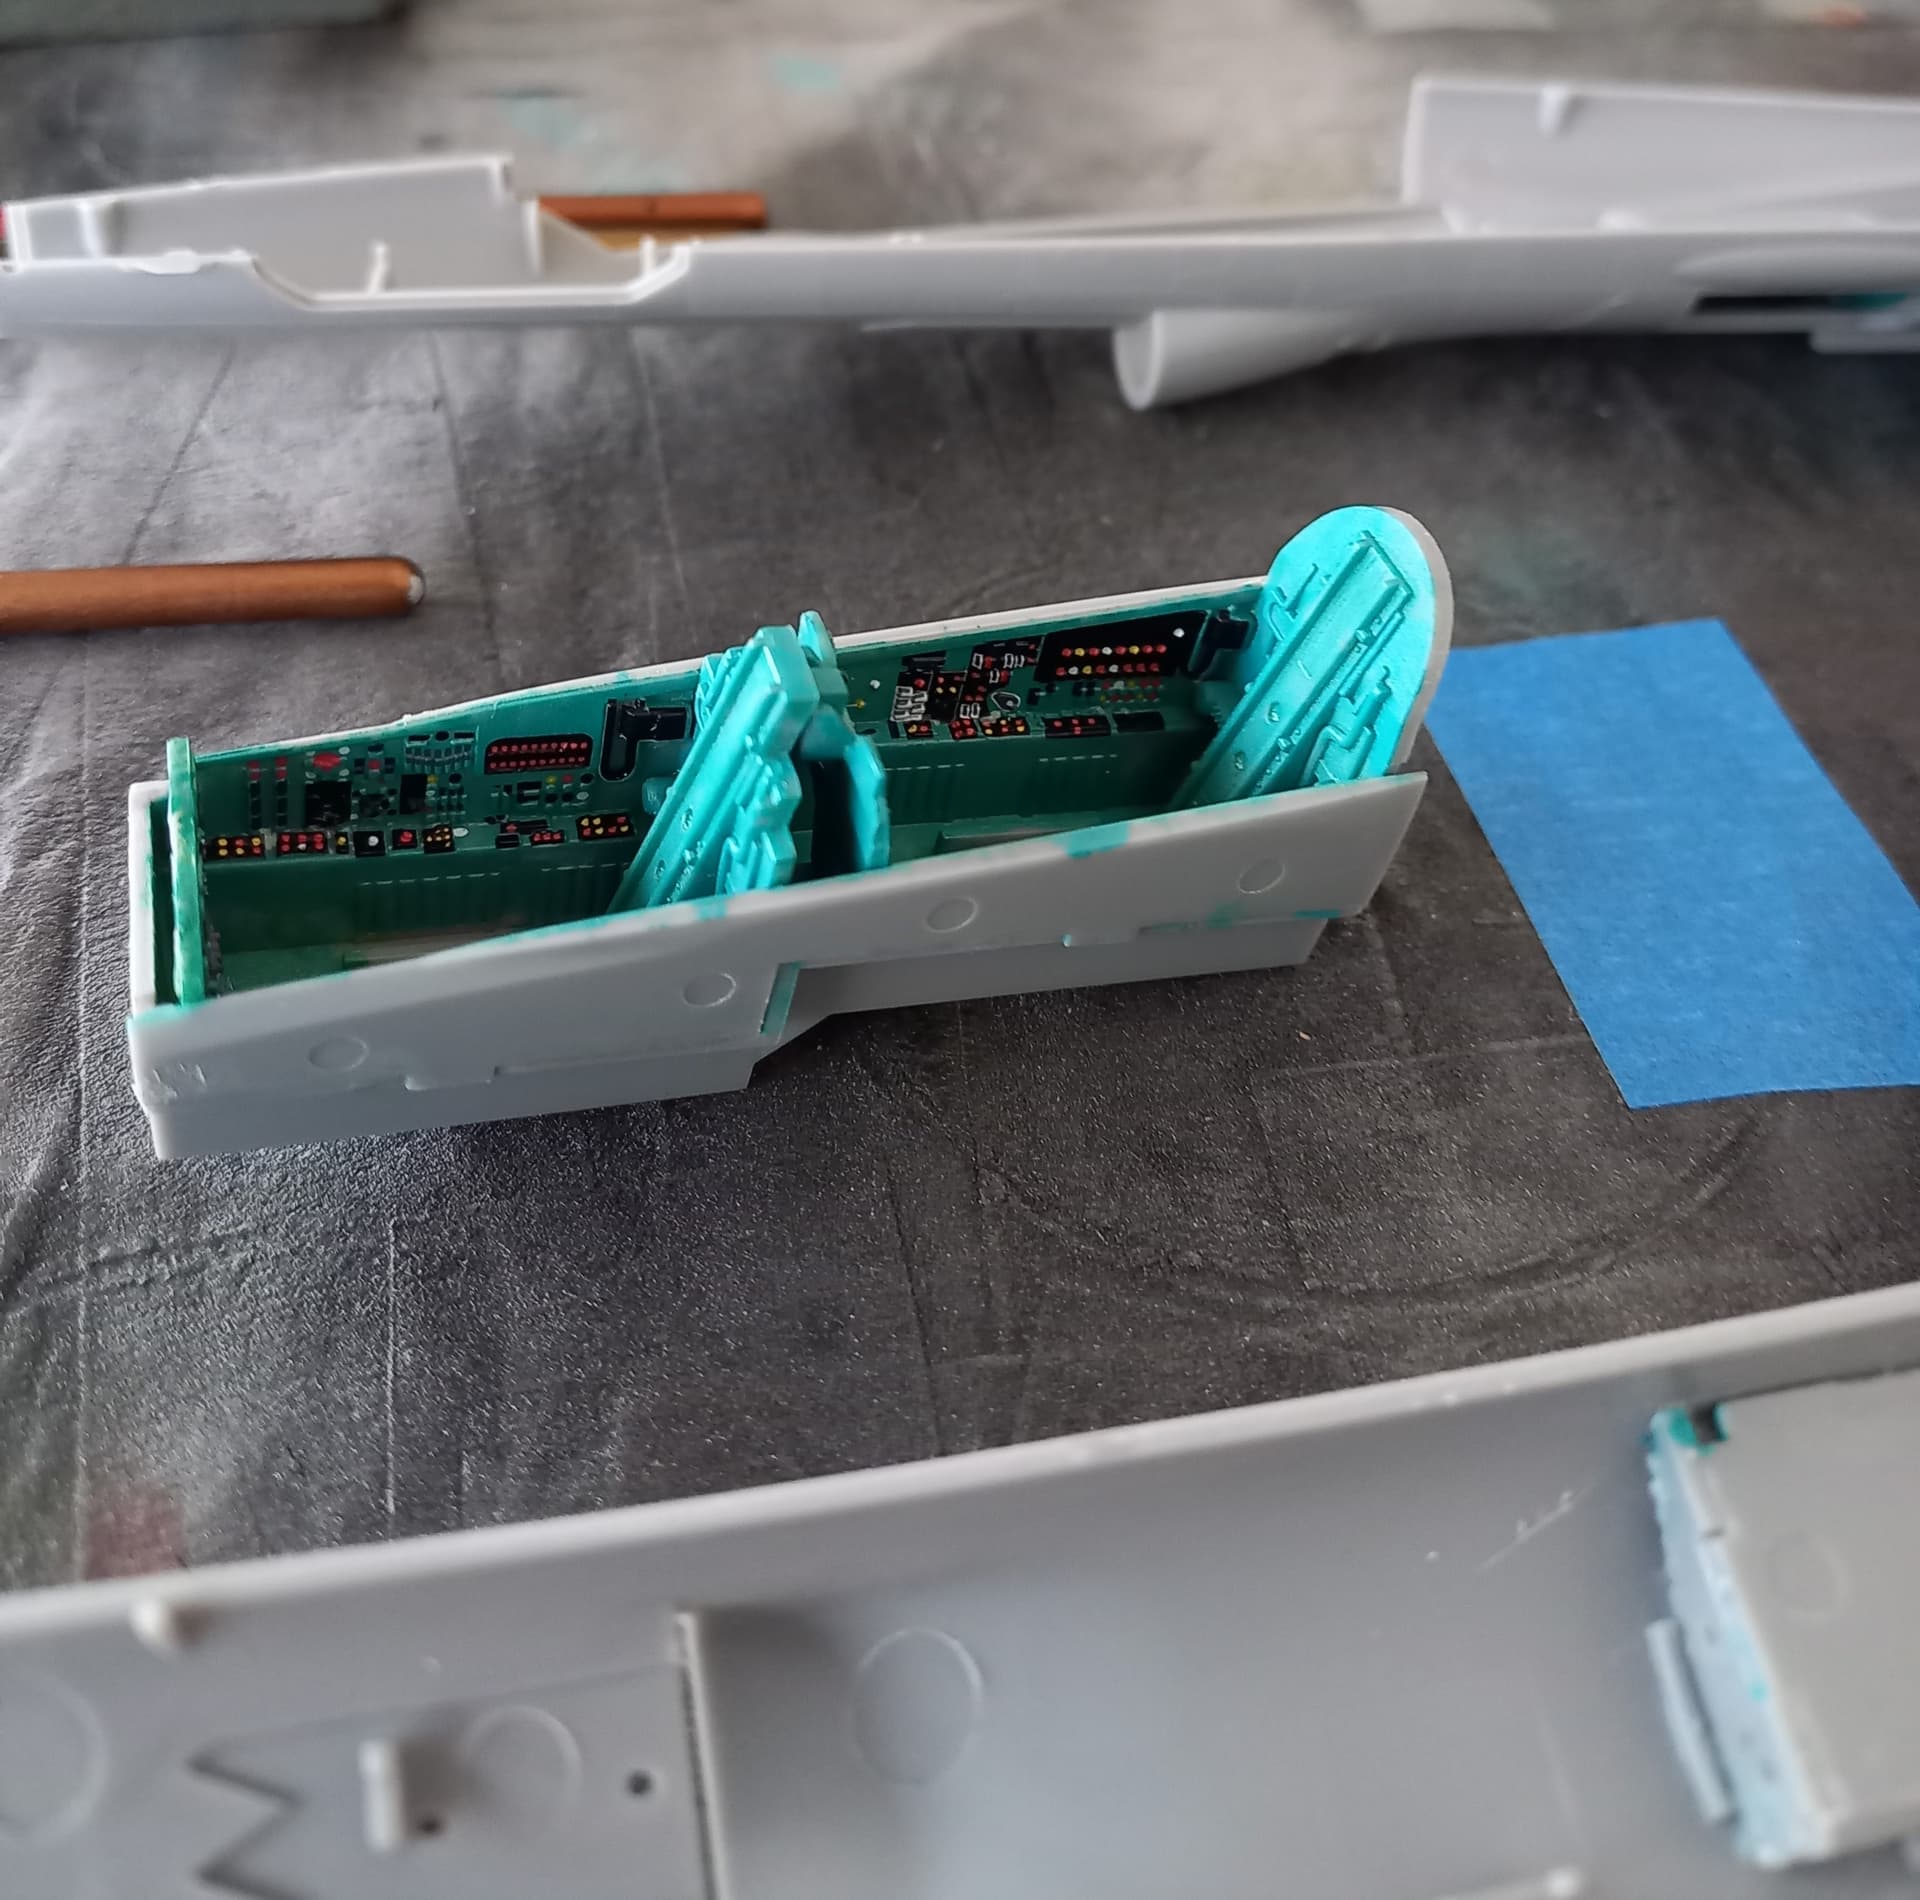
During a trip up to the capitol, I packed a couple of kits to work on during my down time. This included painting up the interior of the cockpit and doing a bit of research. I decided to go with the blue that ironically looks like the Russian interior color. Once dry I used the kit decals and was pleasantly surprised that they fit and looked pretty nice once they settled down.
Following up with that the fuselage went together just fine, and suddenly I had an airframe. One thing I did do was check to see if this would be a tail dragger, and it was. I added a fishing weight to the nose (~5 g), fortunately I hadn’t closed the fuselage up entirely!
I then did seam cleanup and added the little scoop and antenna things.

Satisfied, it was time to paint this bird. I gave the whole thing a primer coat of Mr. Surfacer 1500 grey diluted 1:4 with Mr. Leveler thinner. Checking again for any seams, there were a couple, which were easily dispatched. While the instructions would have you either do NMF or white, the actual color isn’t white, it’s a very light grey. So, I based the bird with white and then chose to use Mr. Color 338, pale light grey FS36495. This color seemed to match up to the color I found on the web, which there is surprisingly little out there.
Prior to painting, I did paint the nose black and exhaust with burnt iron, and then masked these areas for painting.
The white base goes on.
Then the light pale grey.

I followed this up with a triple coat of Mr. Color clear, given that due to humidity and temperature my Future mix was not acting quite right. I was pretty satisfied with the results and moved onto the decals.
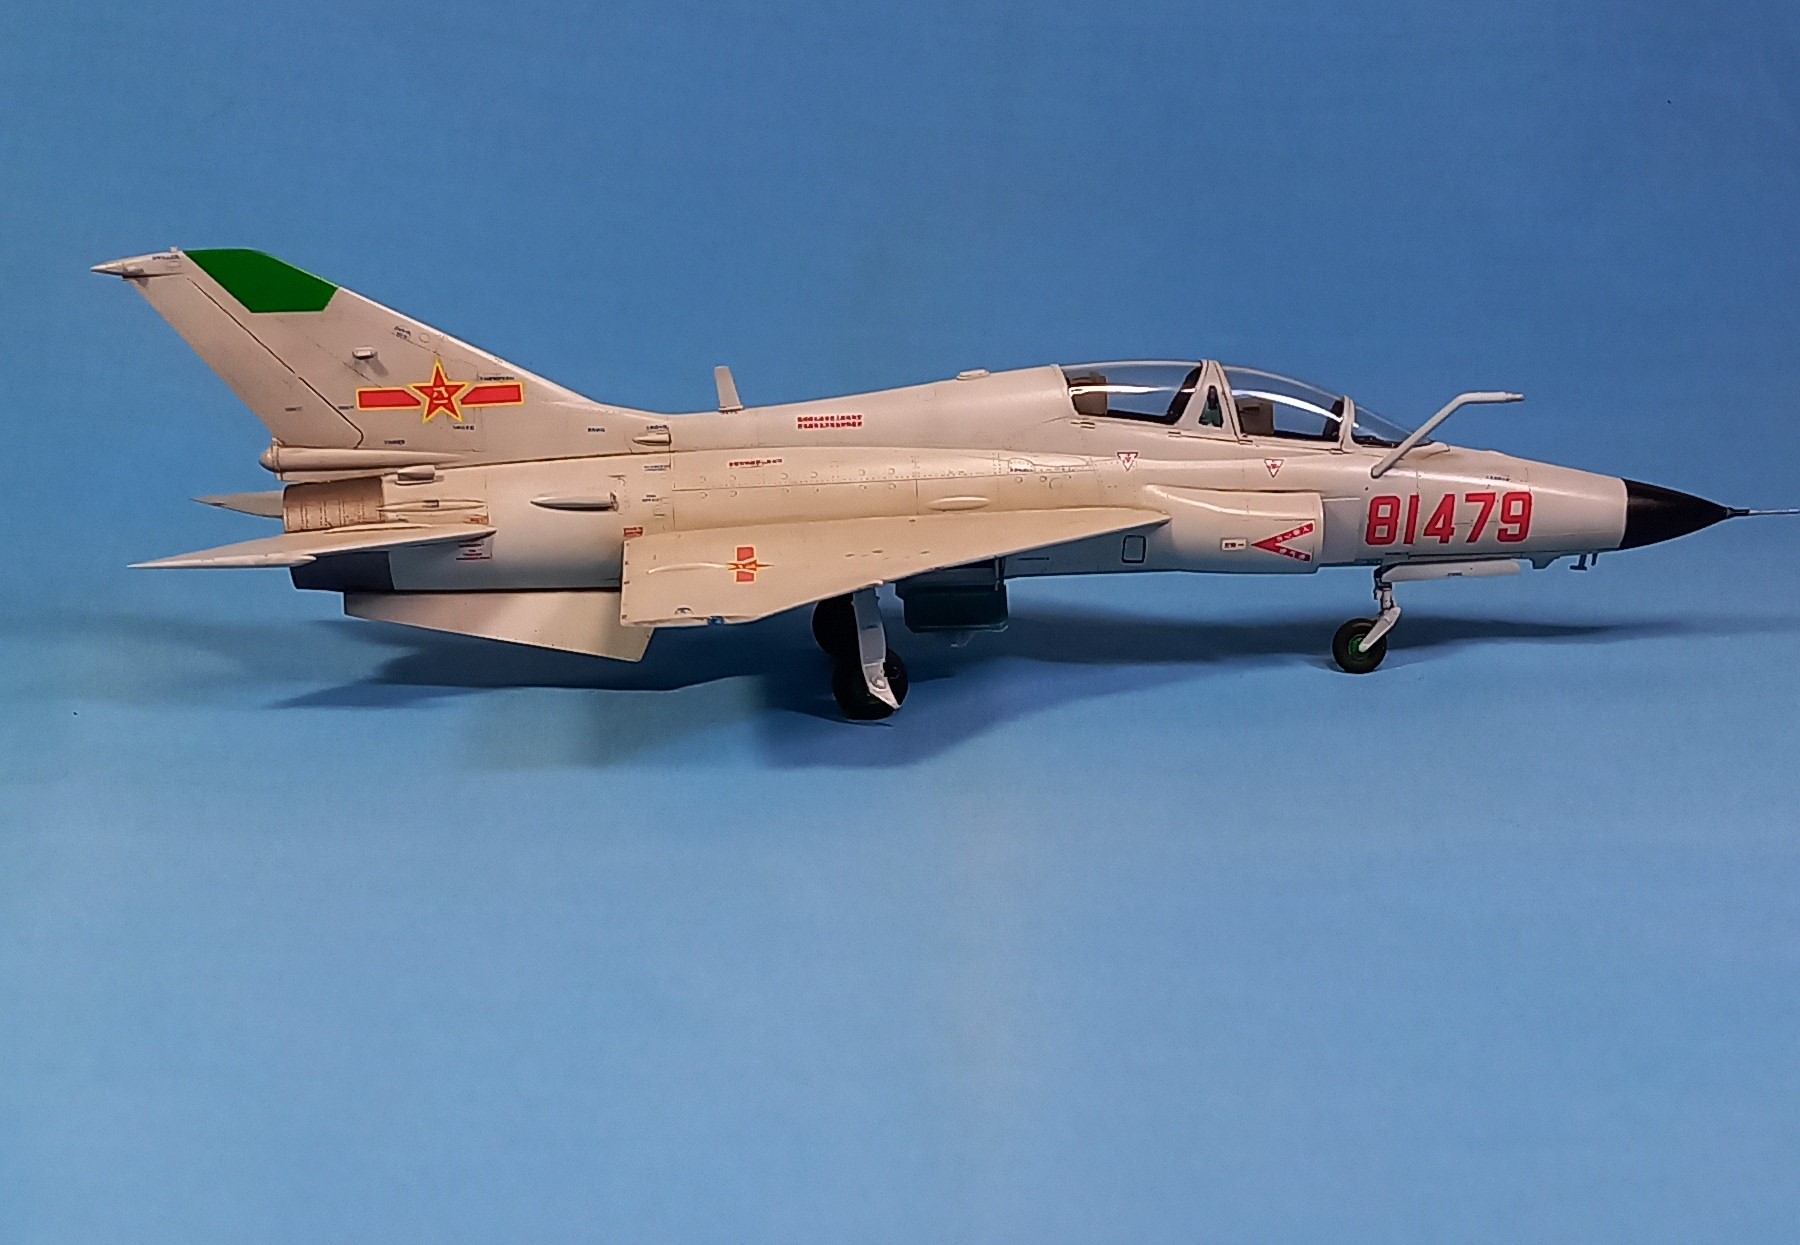
The kit decals went on without a hitch and look pretty good. I realized while putting on all the stencils over the course of three days, that there’s a reason I prefer building less modern planes!

Next came a clear coat and then a flat clear coat, followed by some light weathering using burnt umber oils mixed with spirits. I thought the underside turned out much better than the upper, but as they say practice makes perfect.
So, here it is!

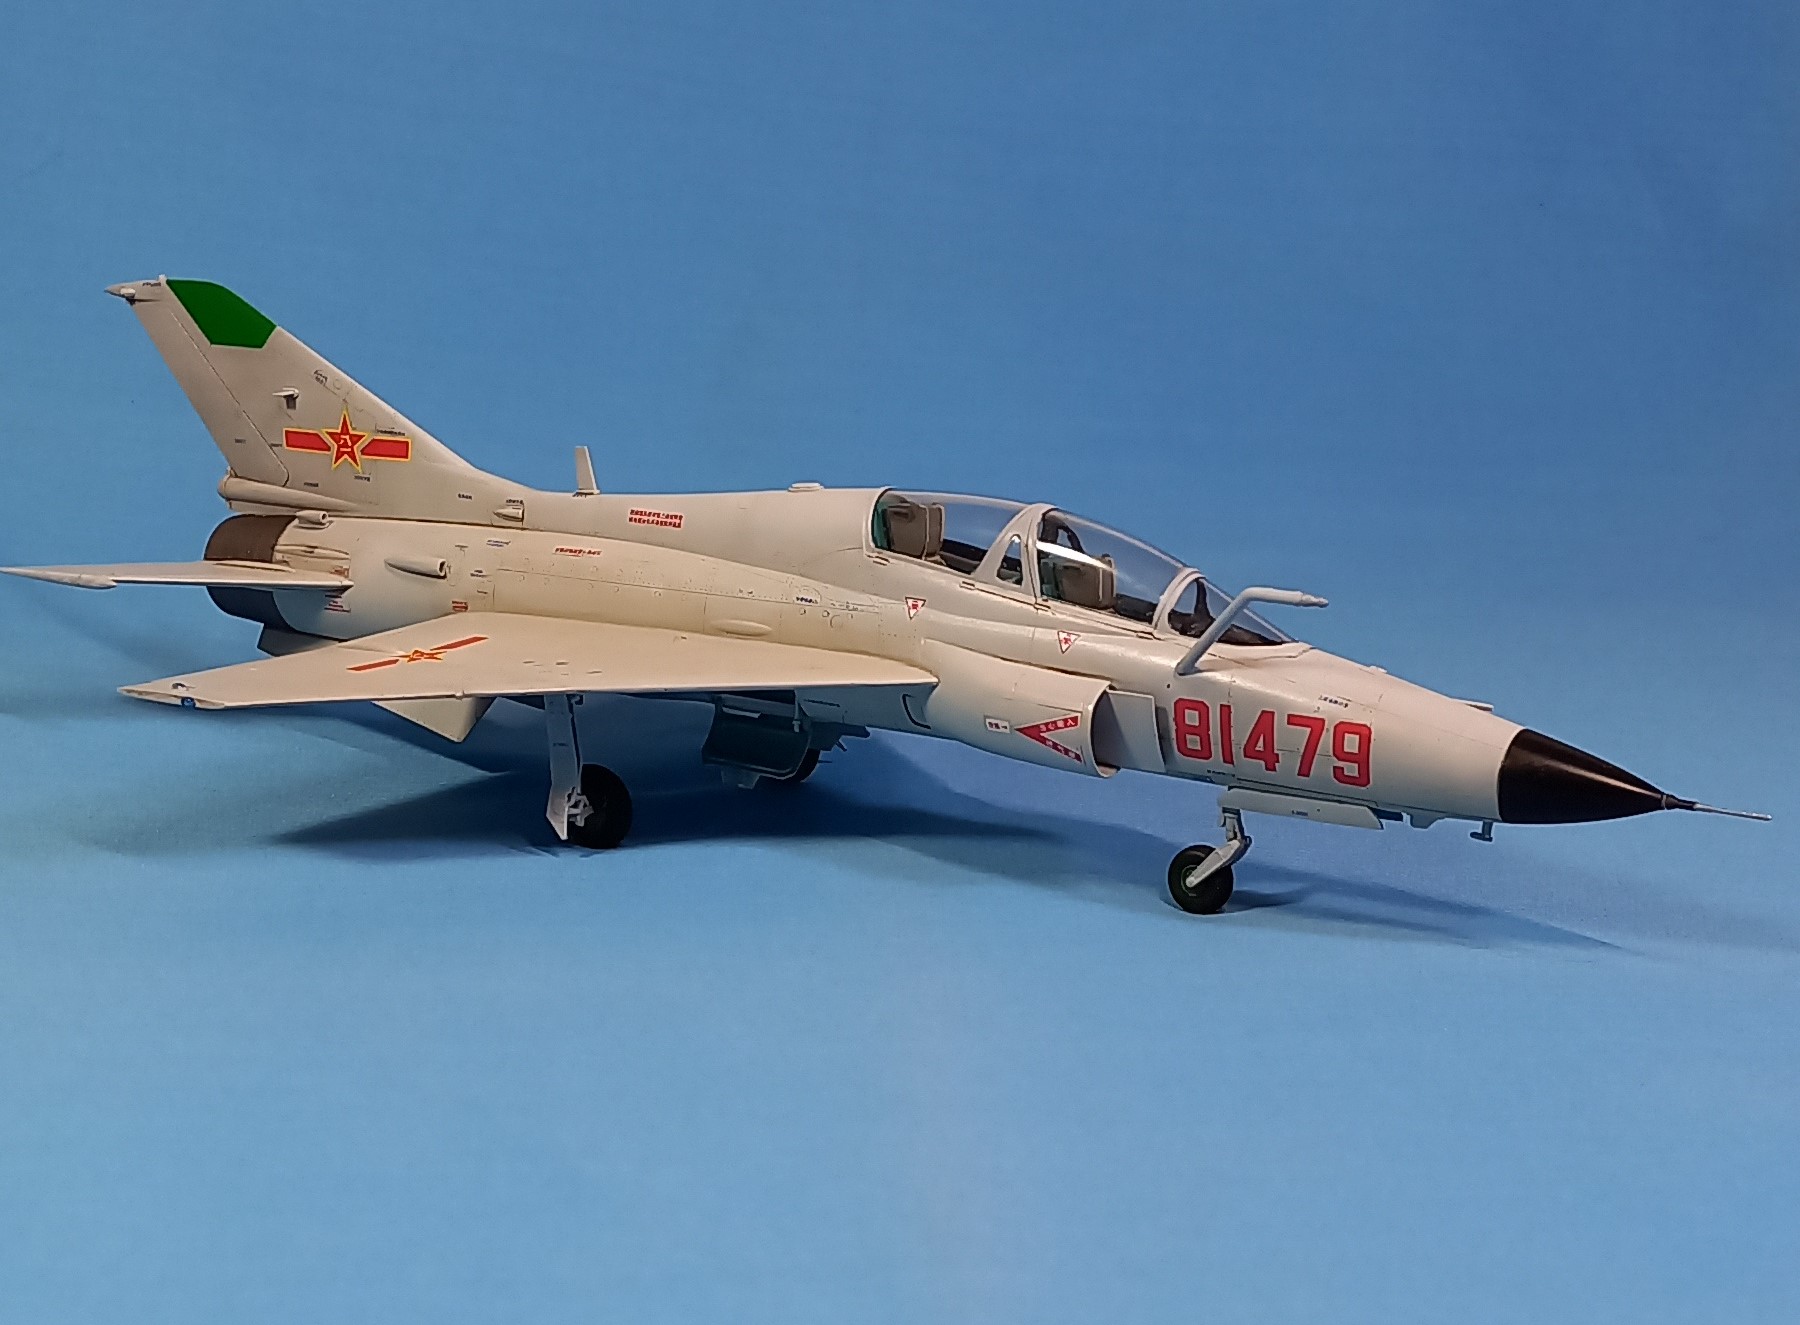
Overall, my experience with Trumpeter kits is 33% horrific (Vigilante) and 66% pretty darned good! This falls into the pretty darned good category. Fit is very good, detail is exquisite, ease of construction is a breeze, decals are well done and at the end you get a JL-9, the first jet designed and manufactured by the Chinese PLA, granted it’s a MiG 21 with a split intake and an extra seat, but hey it still counts. I’m pleased with the end result and have an unusual bird on the shelf. My phone also has been reprimanded for bad behavior. Thanks to all for a wonderful campaign, it’s been most enjoyable. Stay safe, enjoy the new year and have fun modeling!
7 Likes
Nicely done John. Interior came up really nicely and the finished paint scheme looks great… Lovely finish to end 2022 with👍
1 Like
Thank you. A good kit helps!
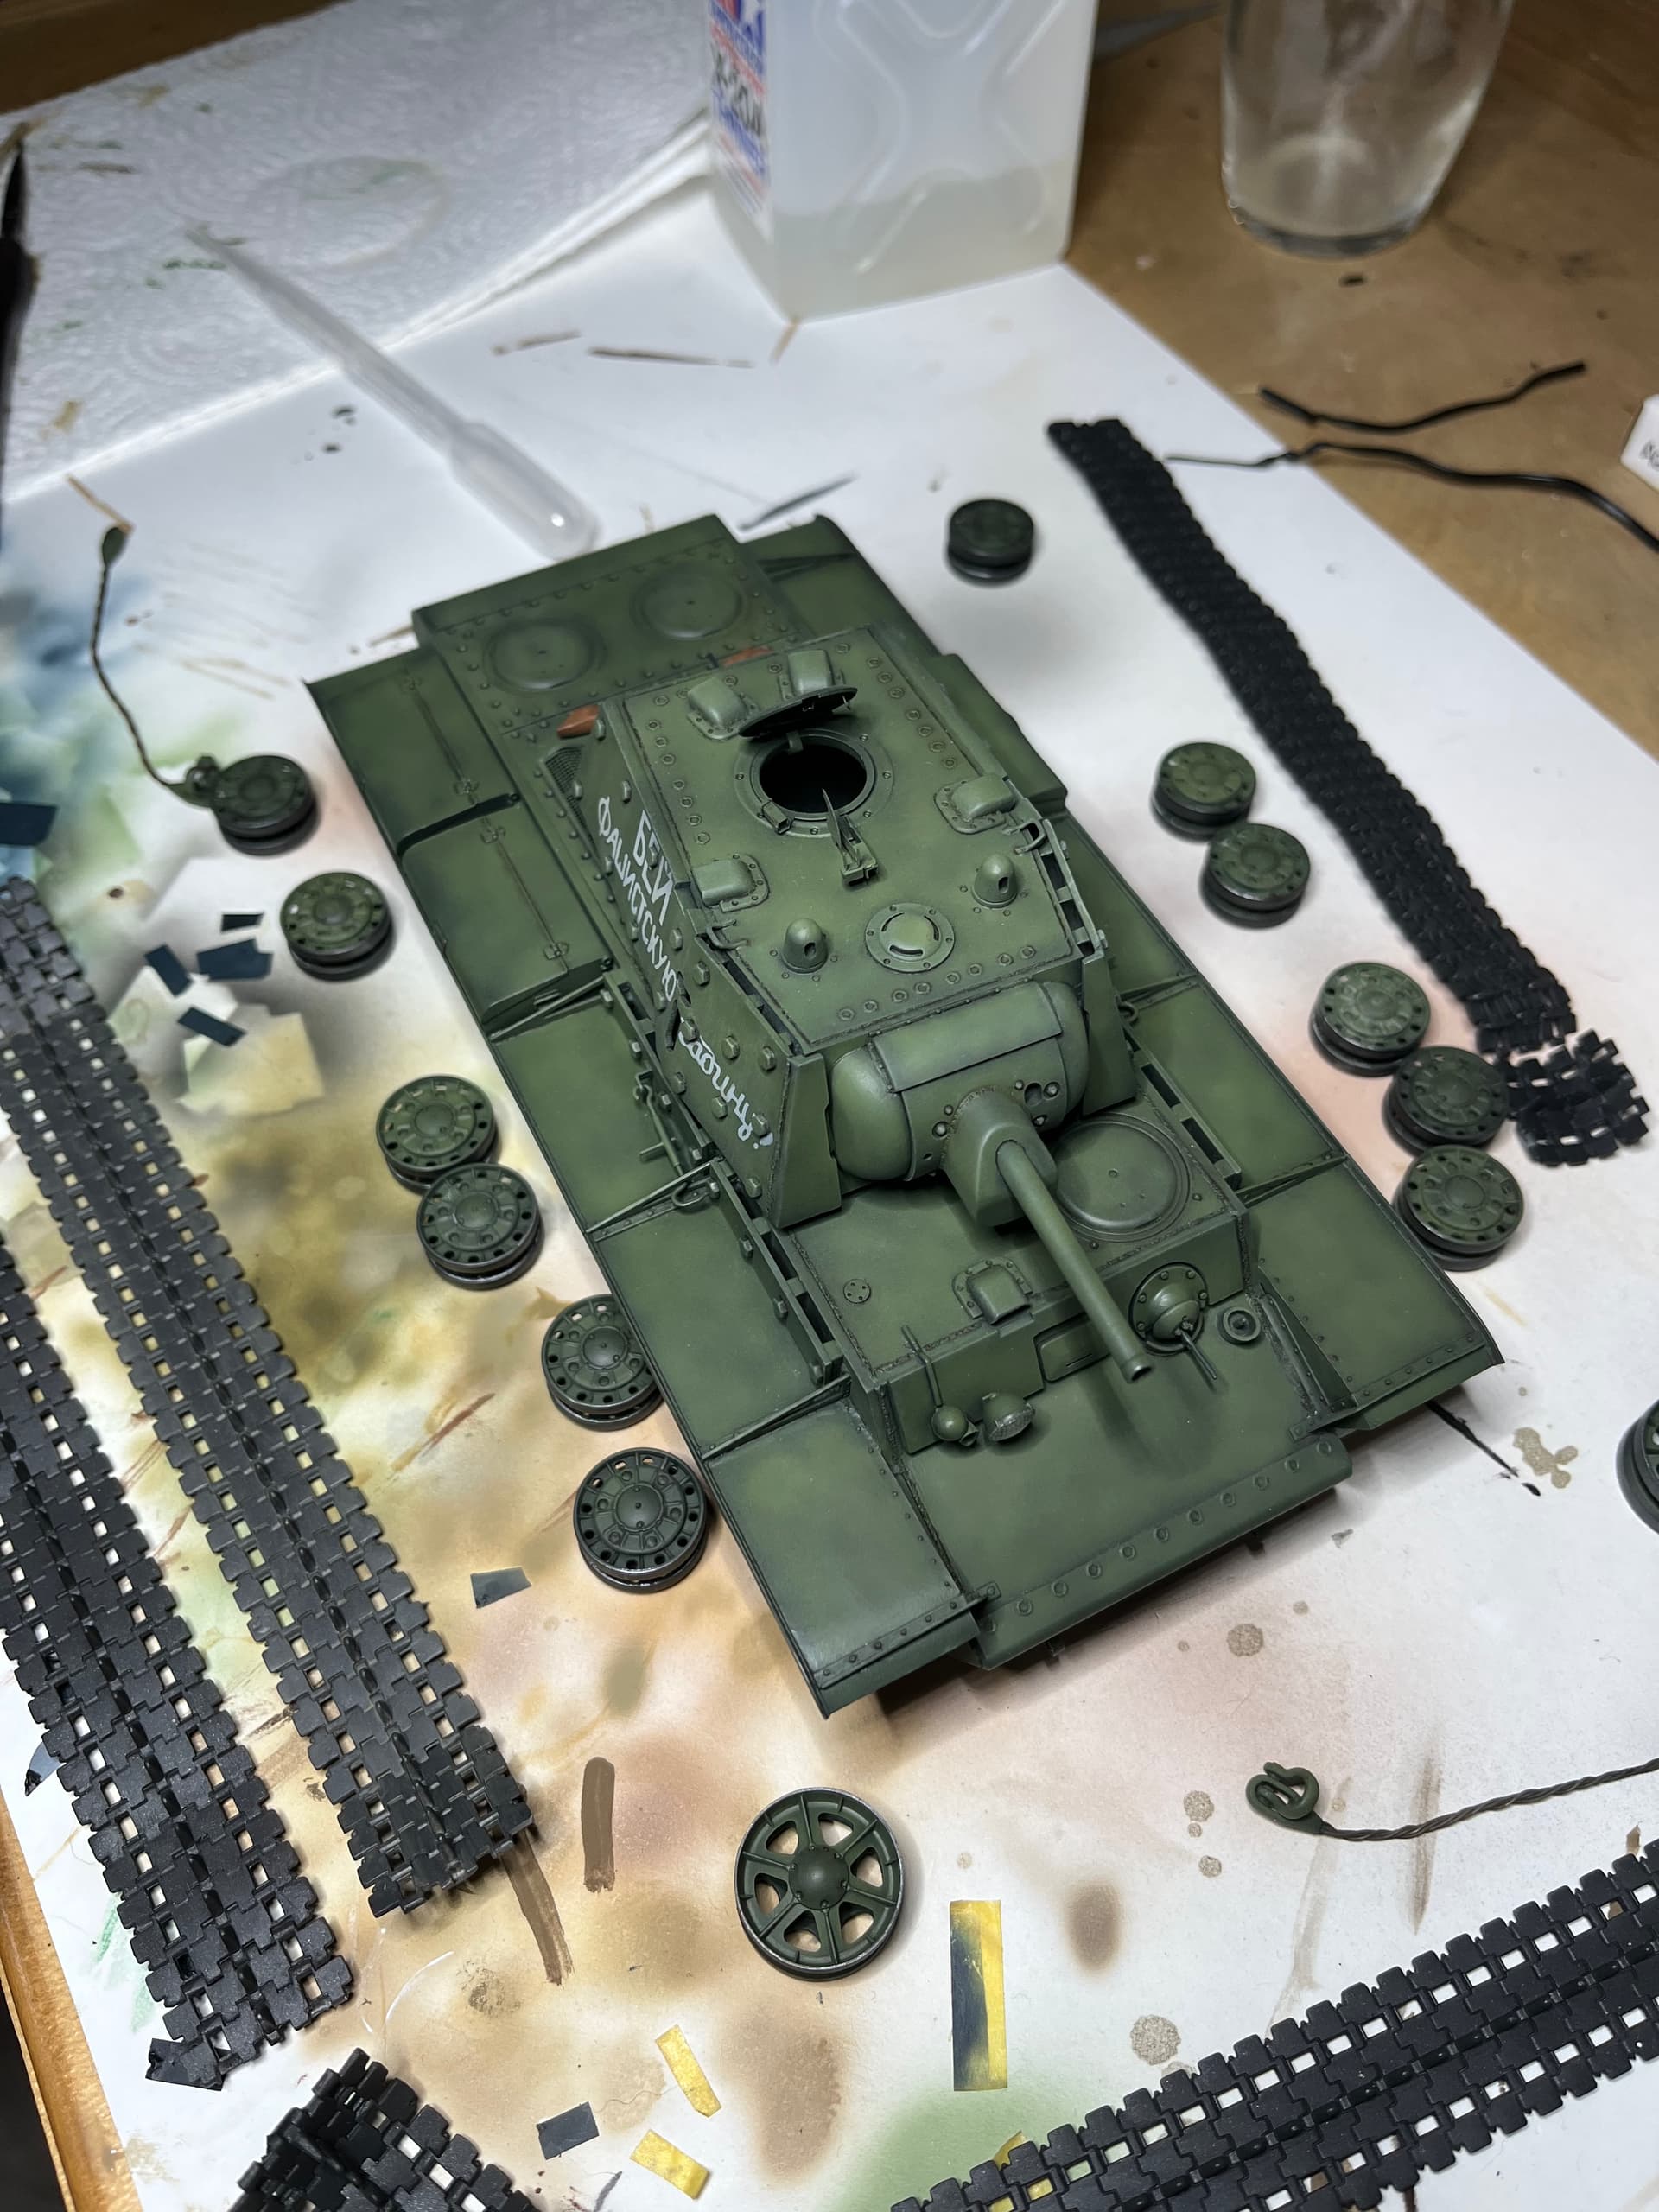
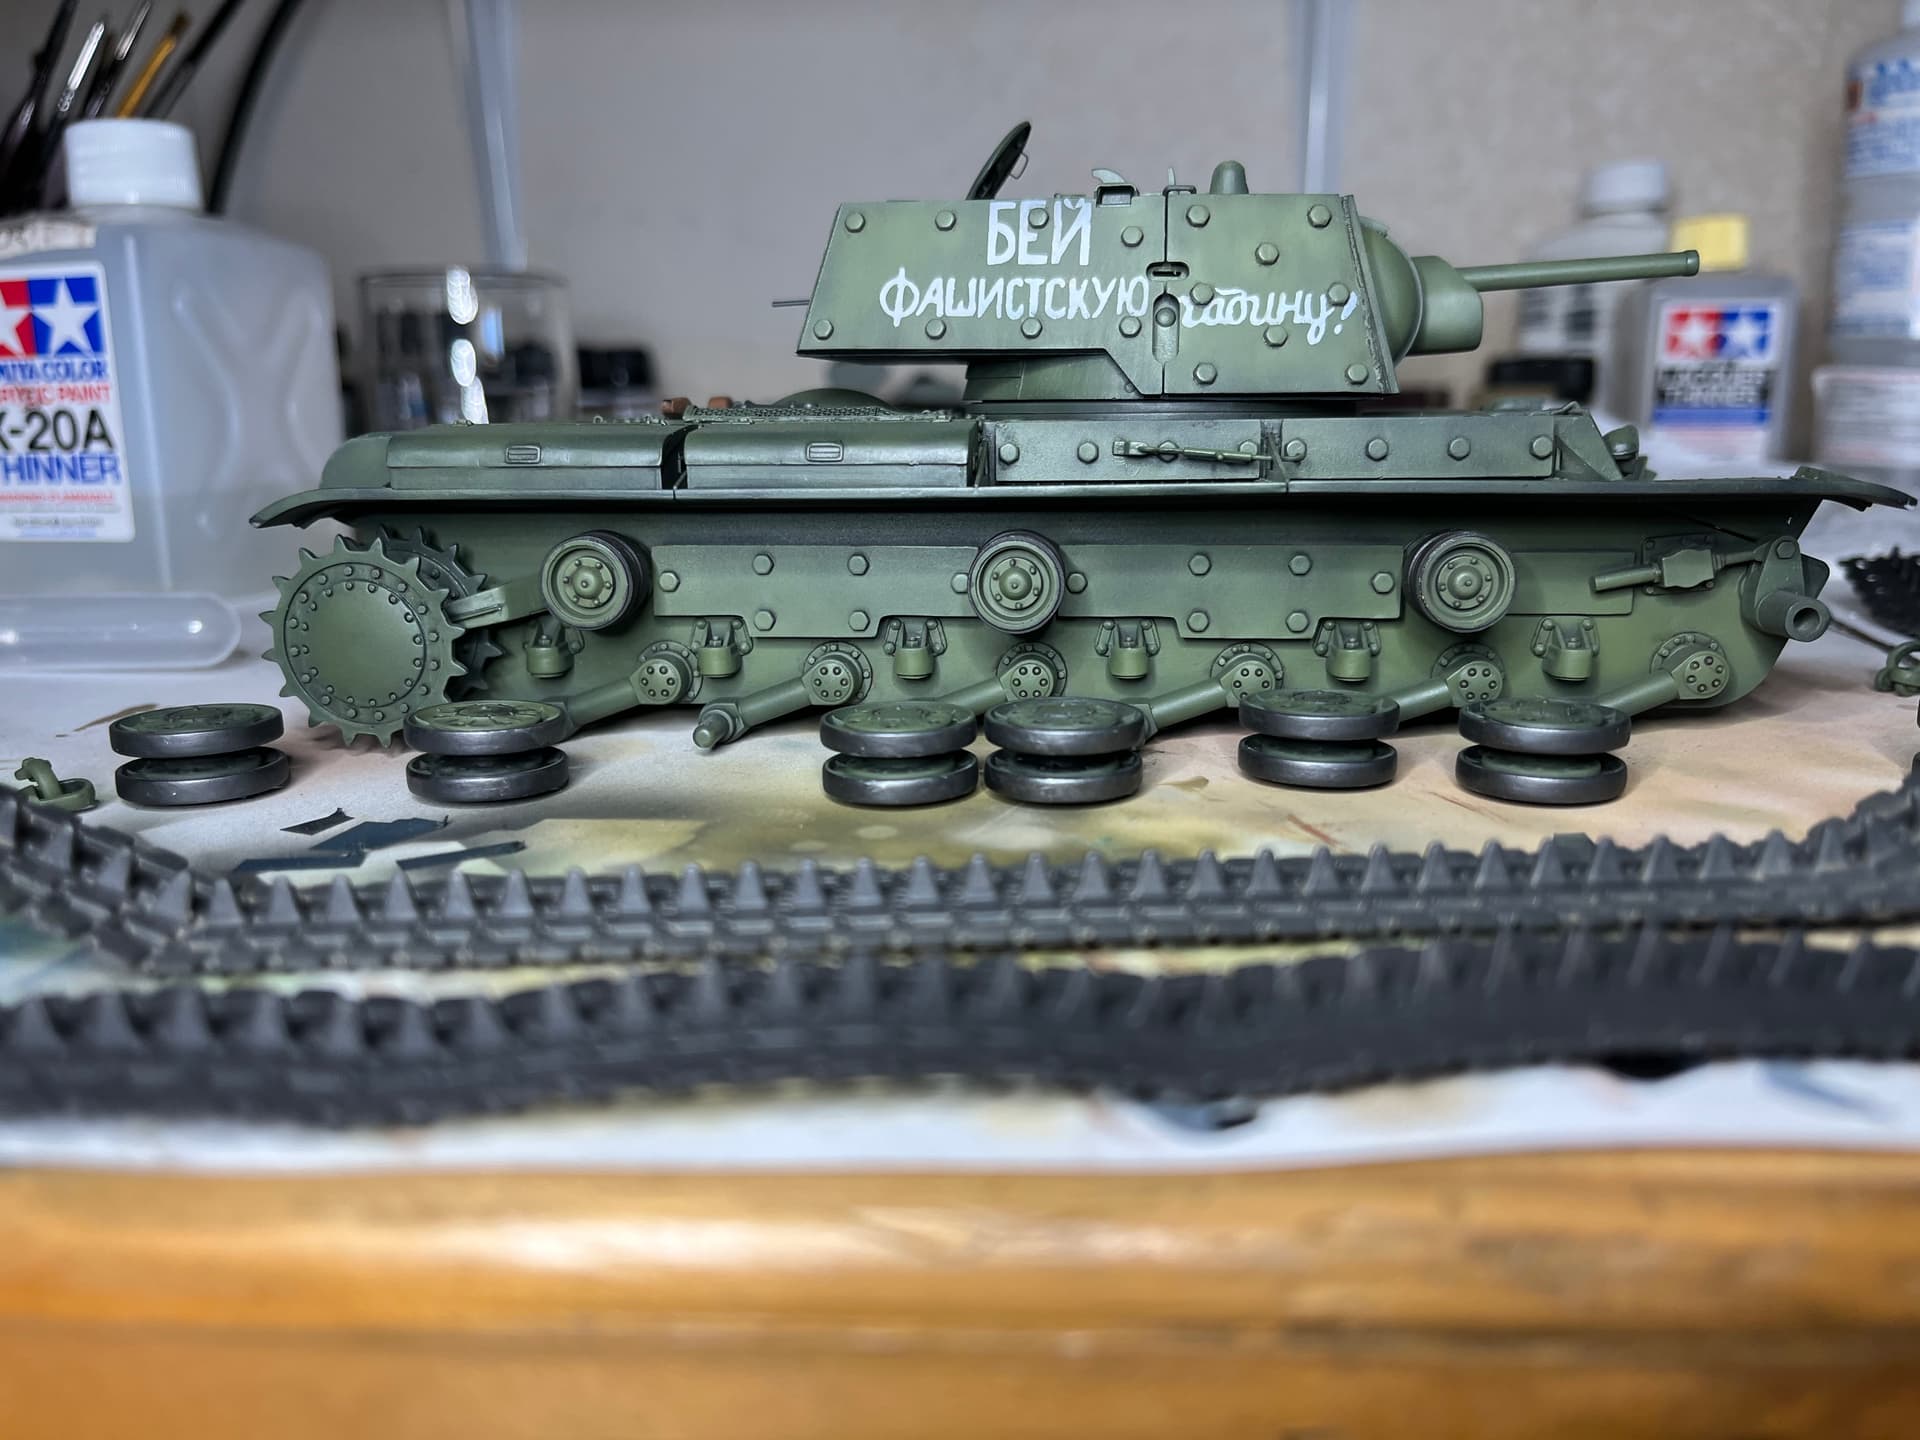
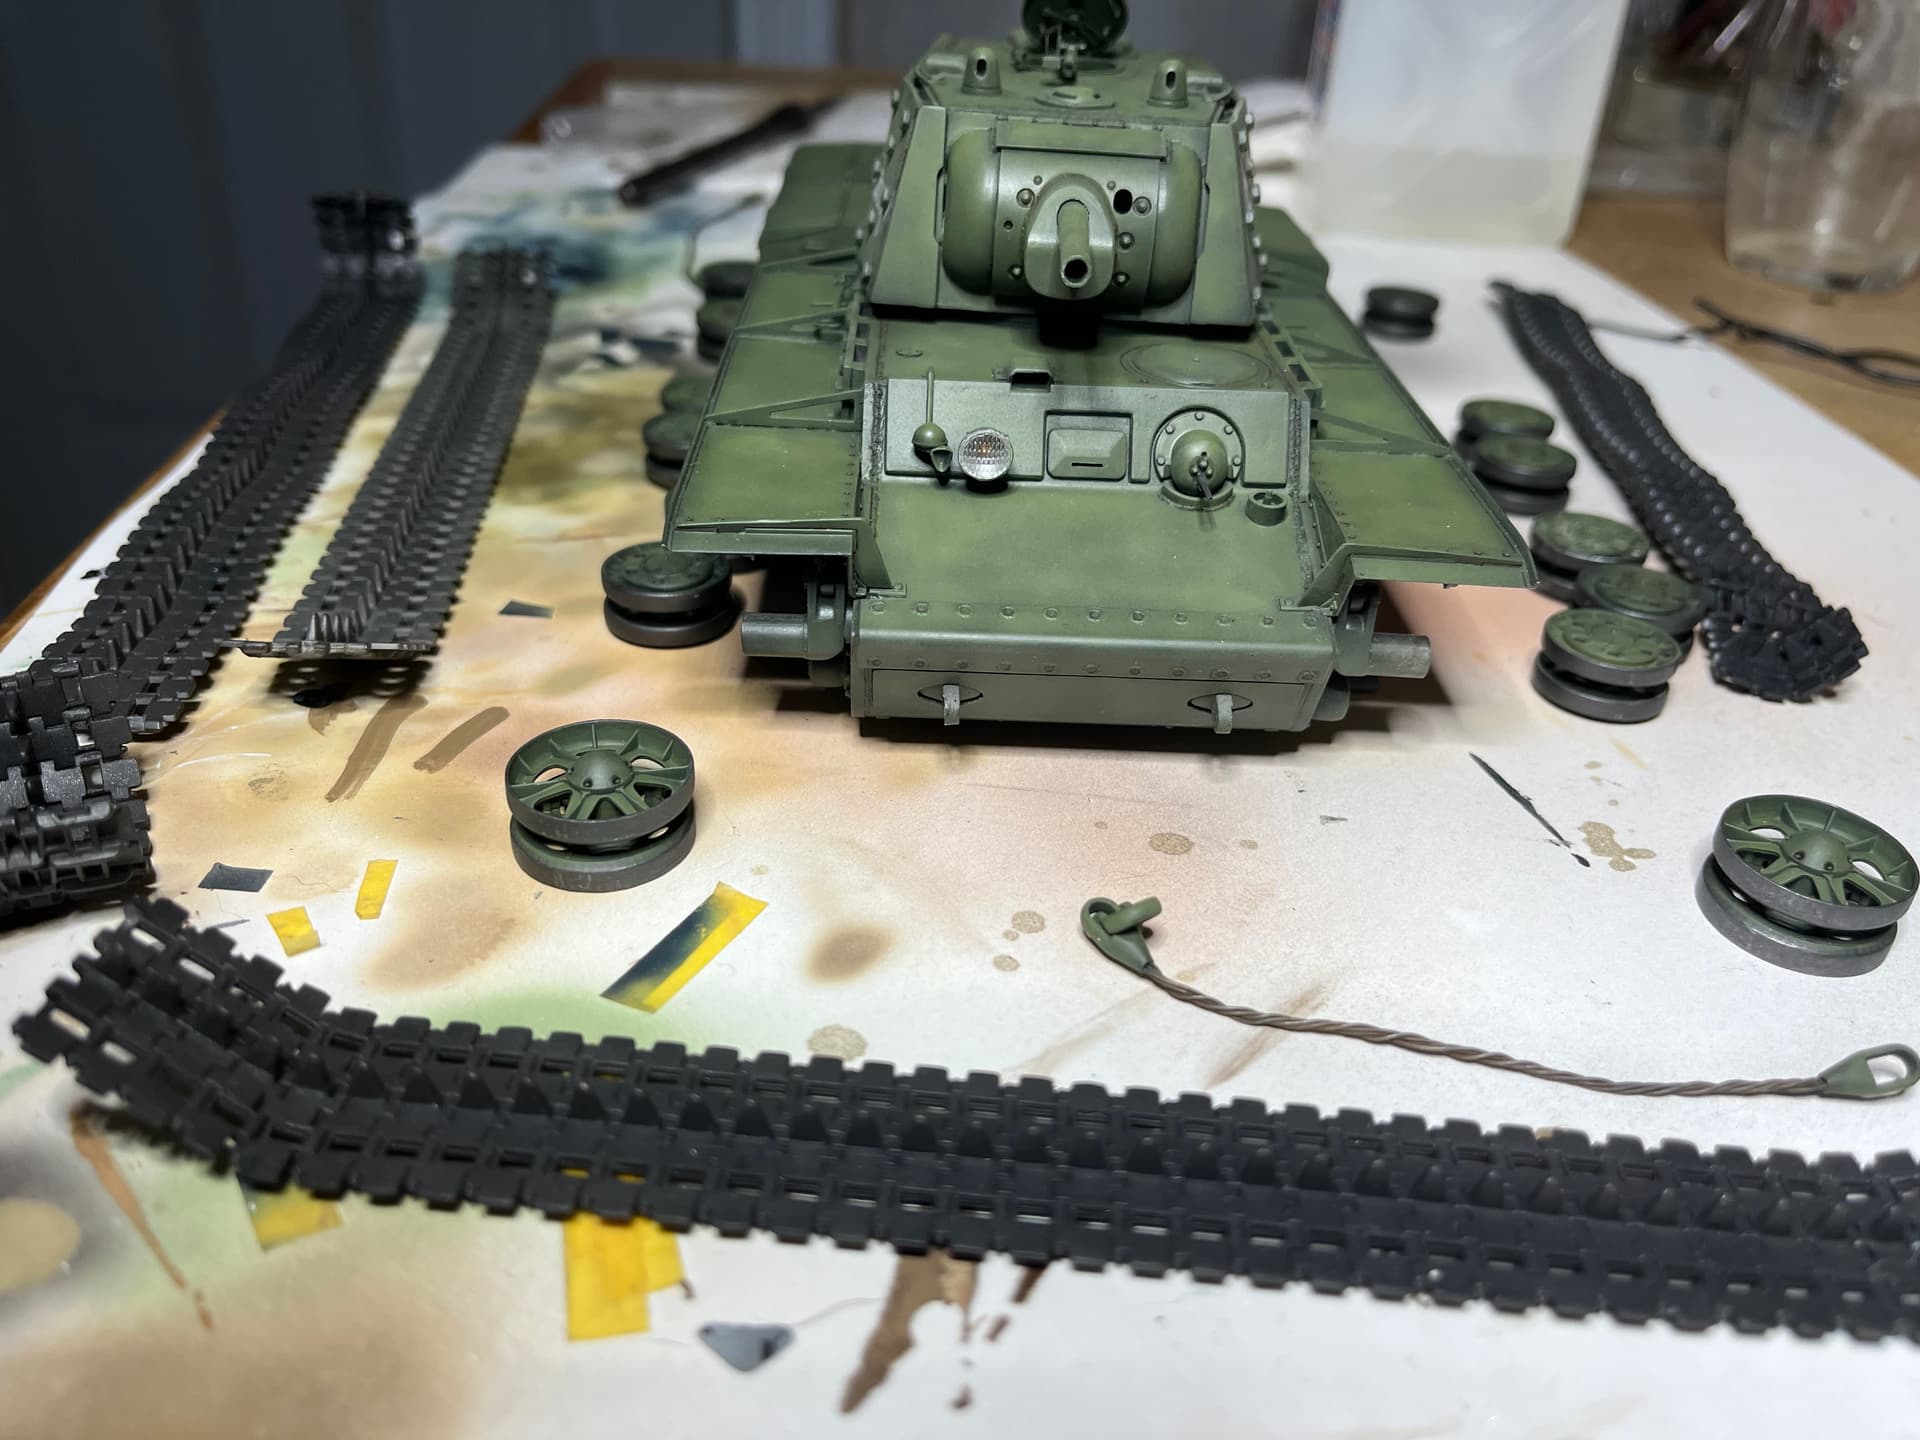
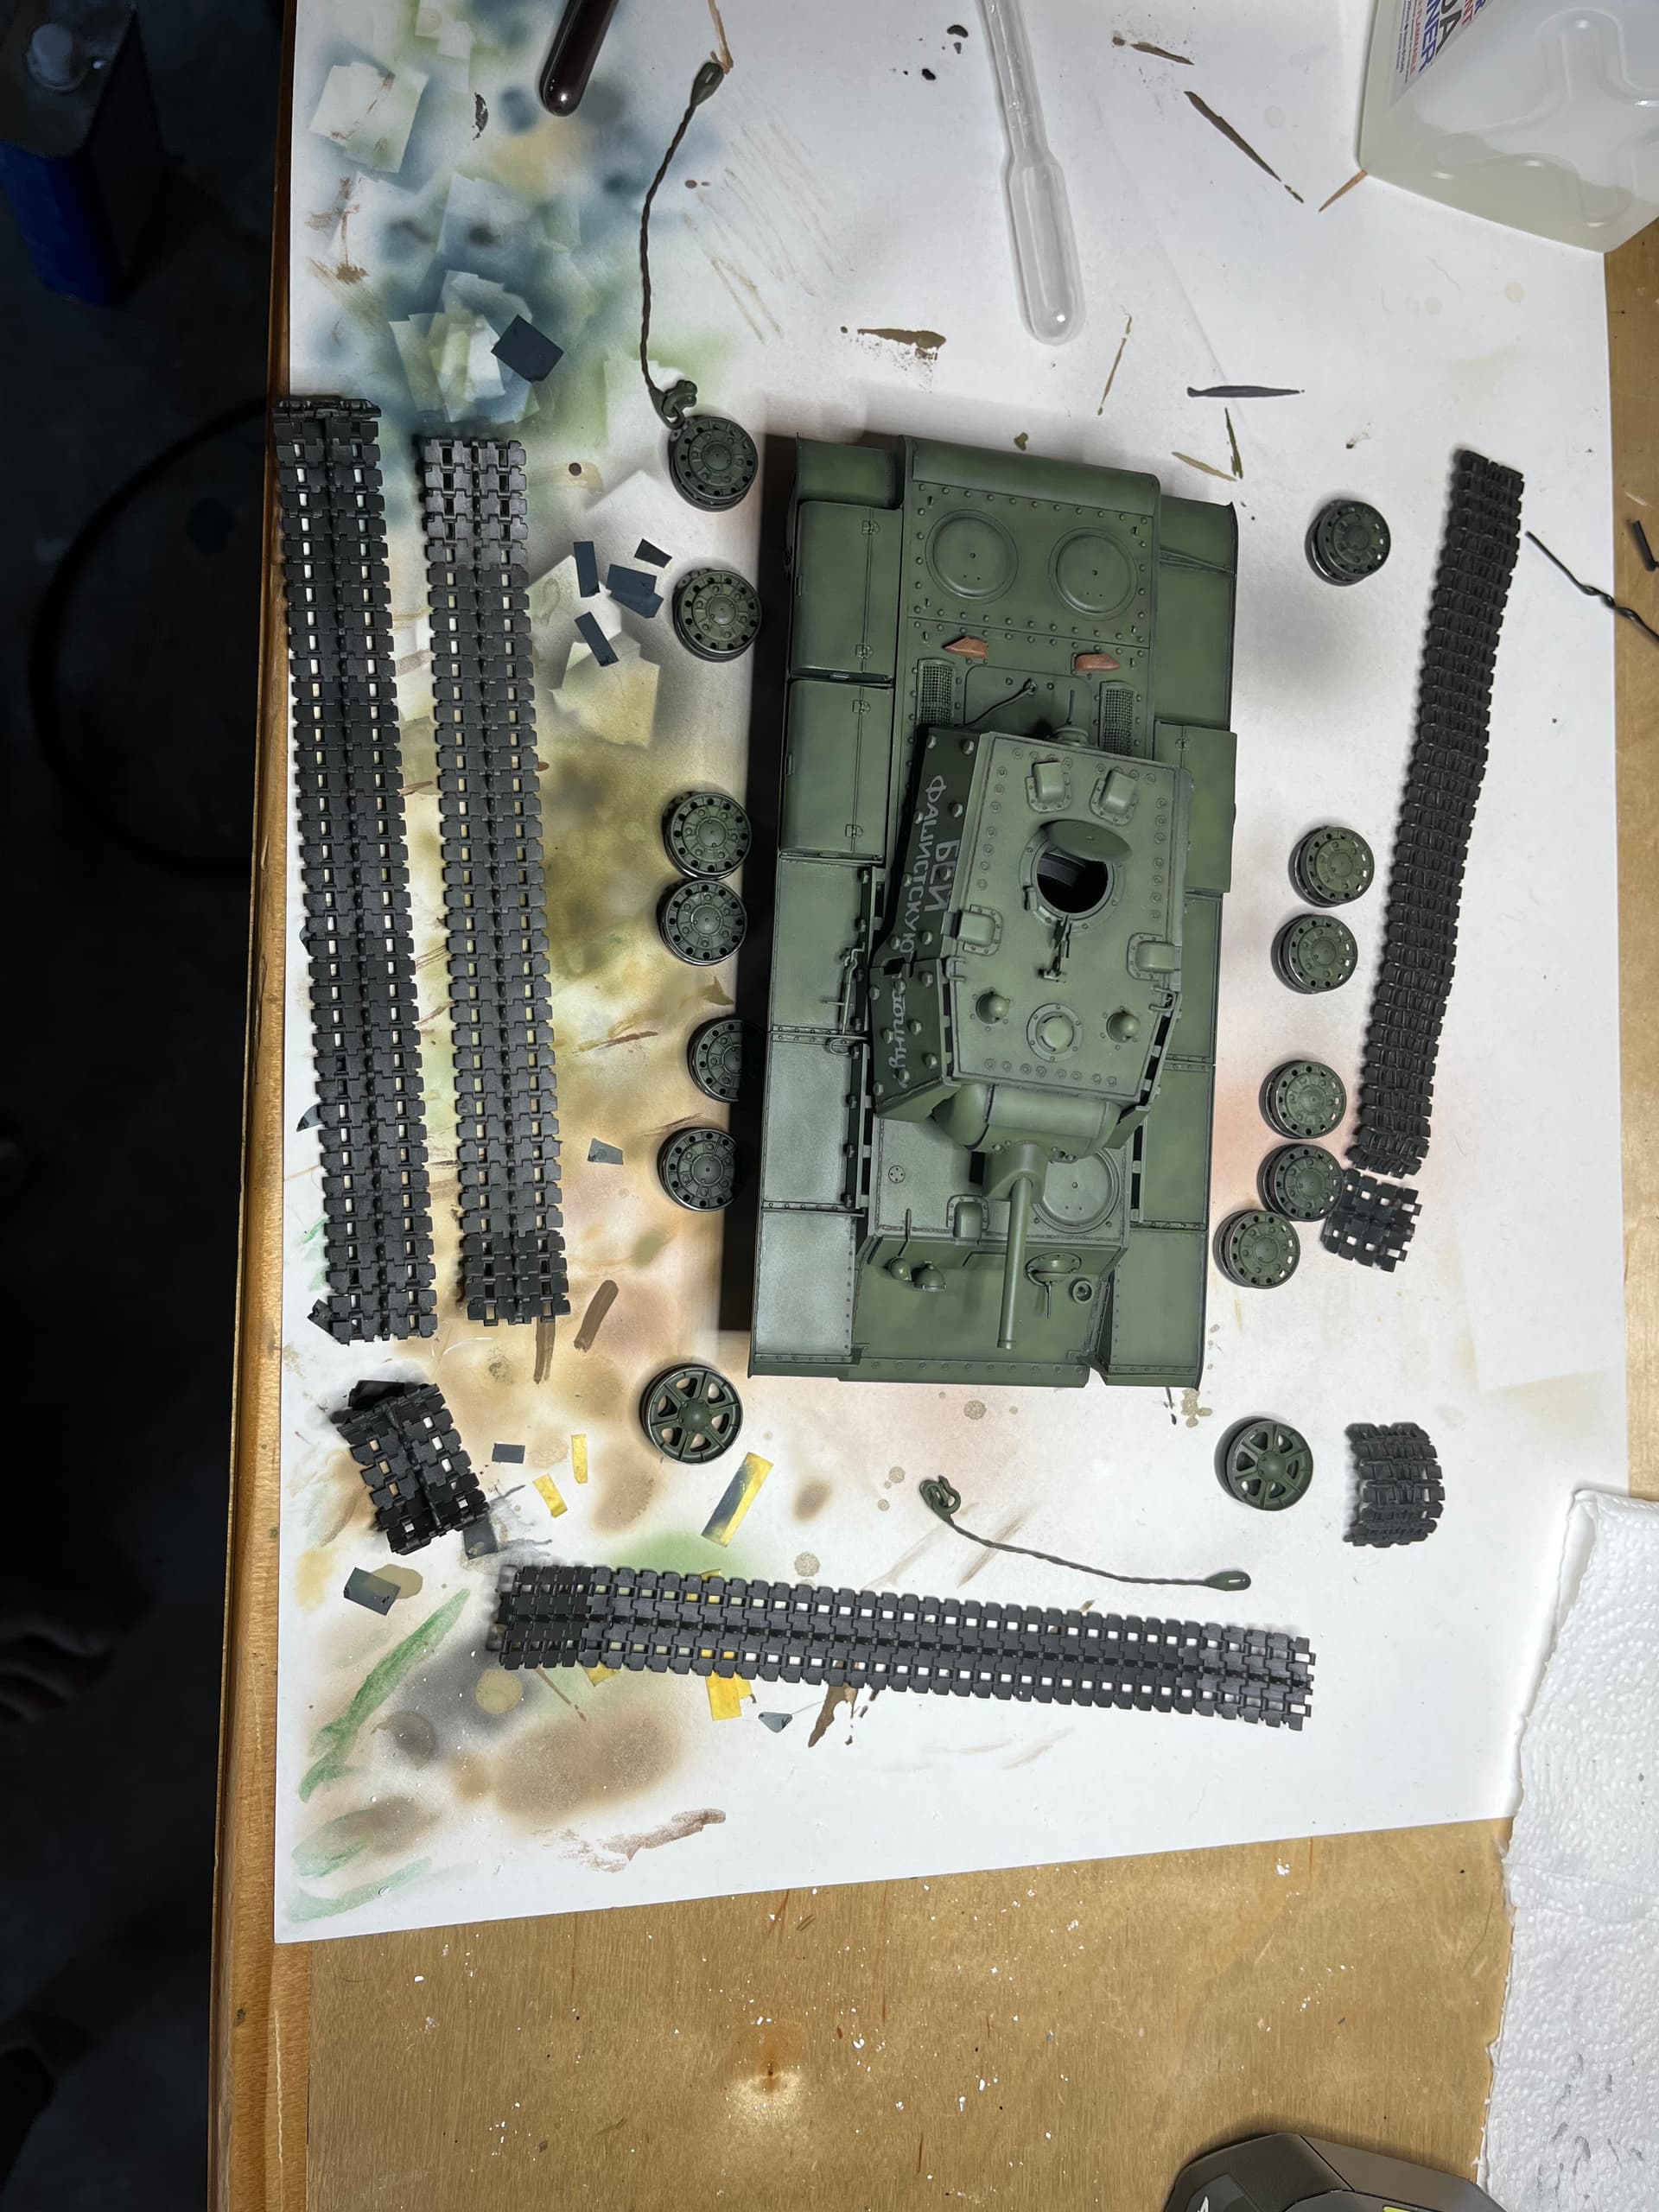
Nearing the finish line on the KV-1. Finished pin wash, dry brushing, and some fading on turret sides and hull front recently.
Up next is some pigments on the lower hull, running gear, and tracks, followed by some light dust effects on the fender and upper surfaces. Should have it done in a couple days

9 Likes
Looking like another great build Mead! Nice effects!
1 Like
That is looking great Mead @Mead93 - you have given it some fantastic tonal variation … looks superb and the turret decals are still looking terrific.
Cam has come out really nicely Jesper @SGTJKJ … nice edging on the colours and all matches up really well. Was it a straight gloss coat before the decals ? (something I always forget ![]() )
)
2 Likes
Thanks for the comment, Johnny. Seems like the camouflage was not the same pattern on all aircraft, so there is considerable artistic freedom. I went with the Trumpeter pattern although I doubt they have views from all sides.
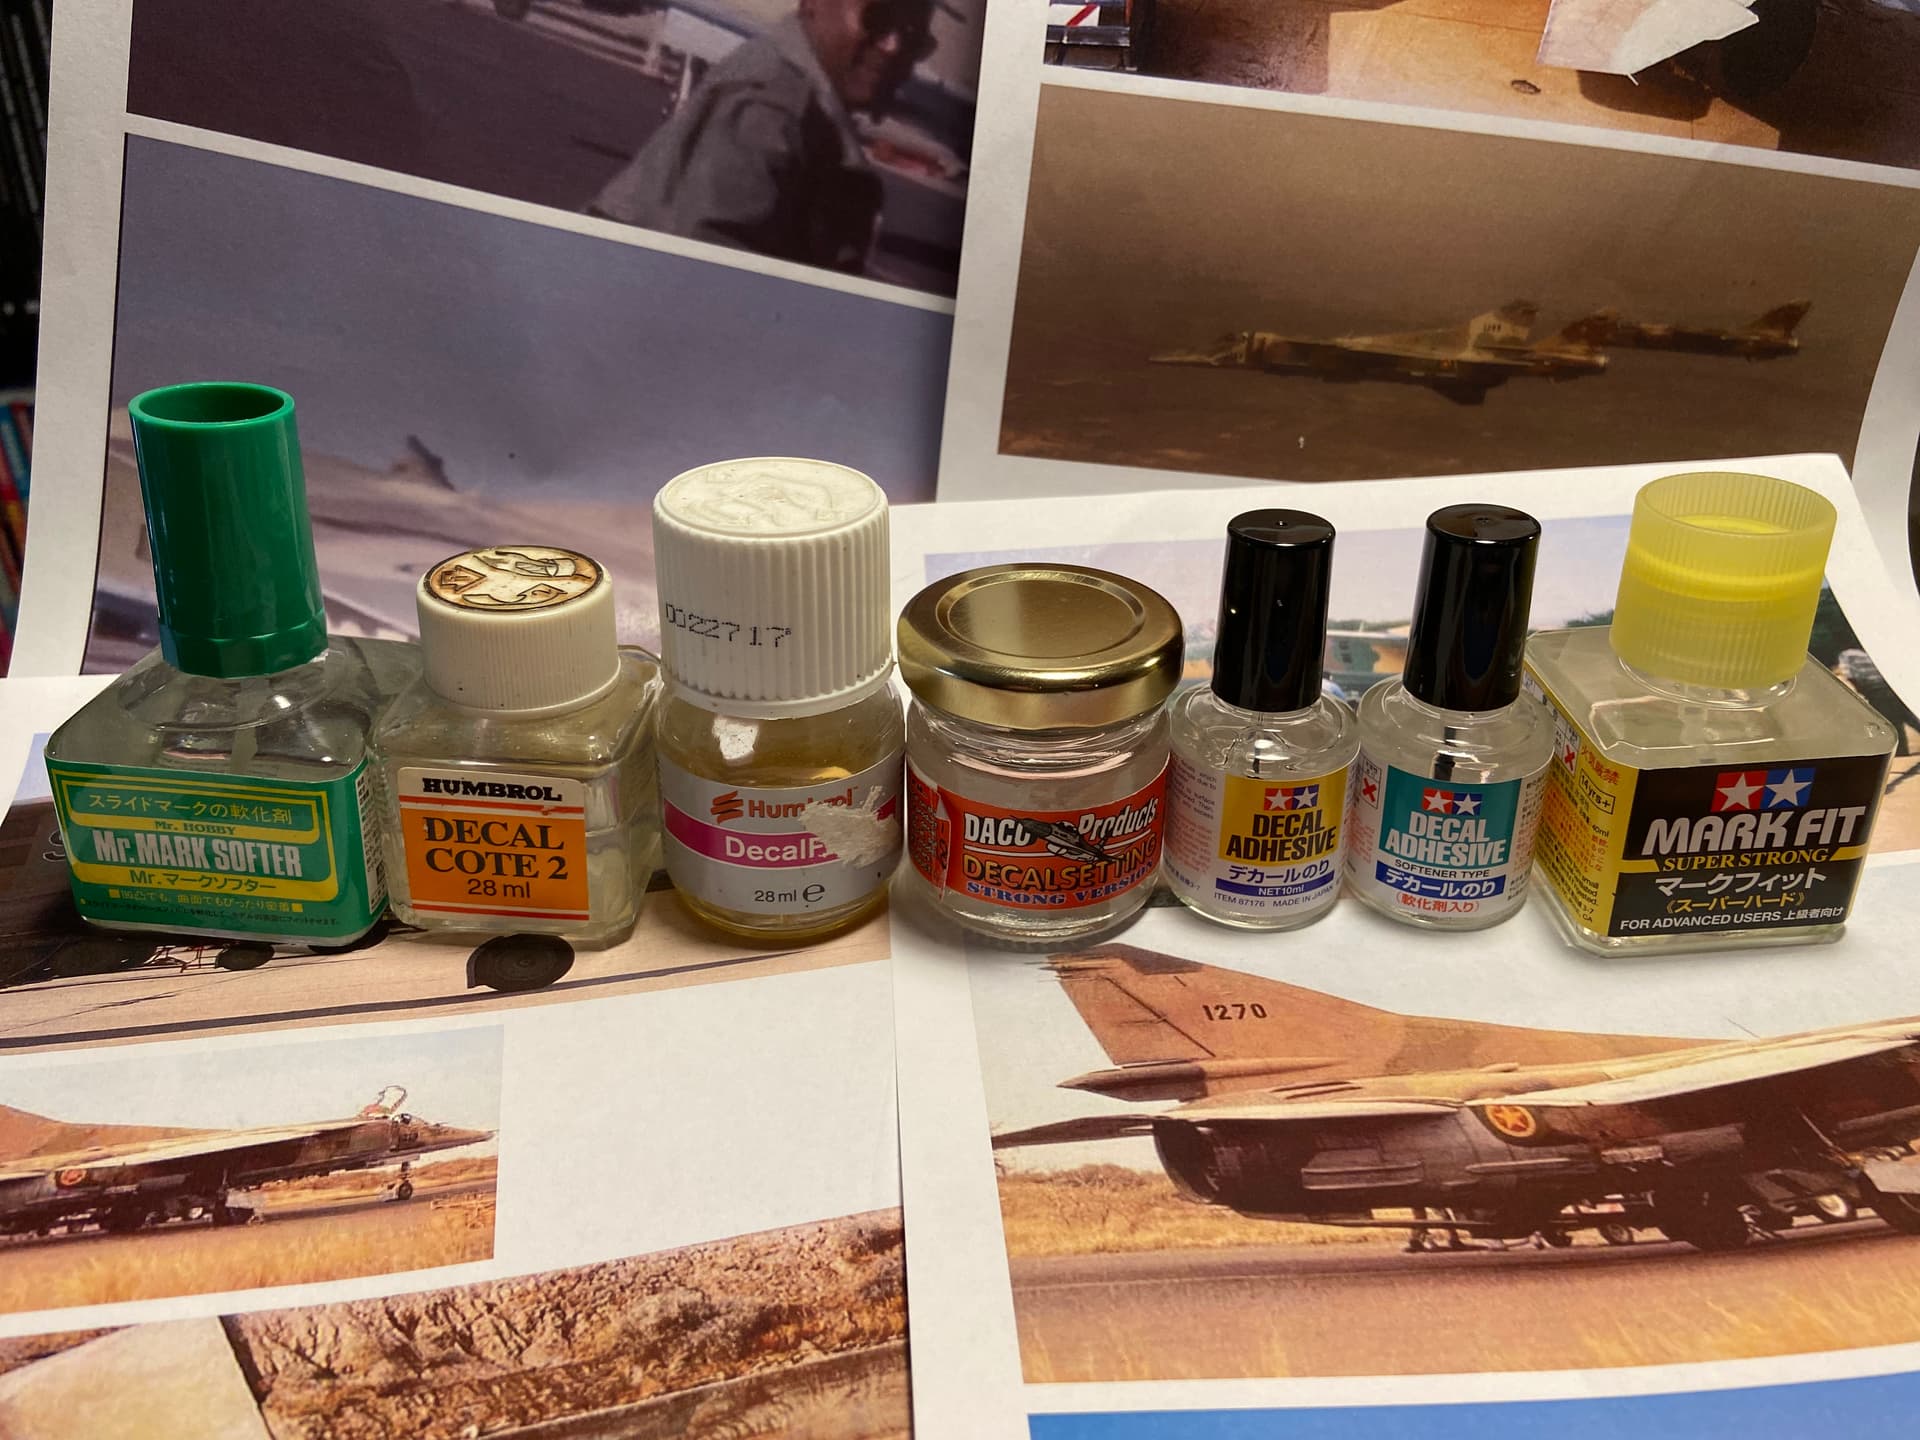
Yes, I gave it a gloss coat before the decals. There are a lot of stencils, so good to have a good base to work on. Also the trumpeter decals are quite stiff and prone to bubbles, so a number of decal setting coats are probably necessary.
2 Likes
Matt @SSGToms , can you do me yet another fav please buddy. Can I get a 14 extension on this one … It’s due to finish on the 10th, but if I can get it squeezed out till the 24th that would really help some of the guys out who are nearing the end… Thanks in advance ![]()
4 Likes
Done.
2 Likes
I could use the extension too. Planned to finish this weekend, but life got in the way
Excellent… Thank you kindly Matt ![]()
2 Likes
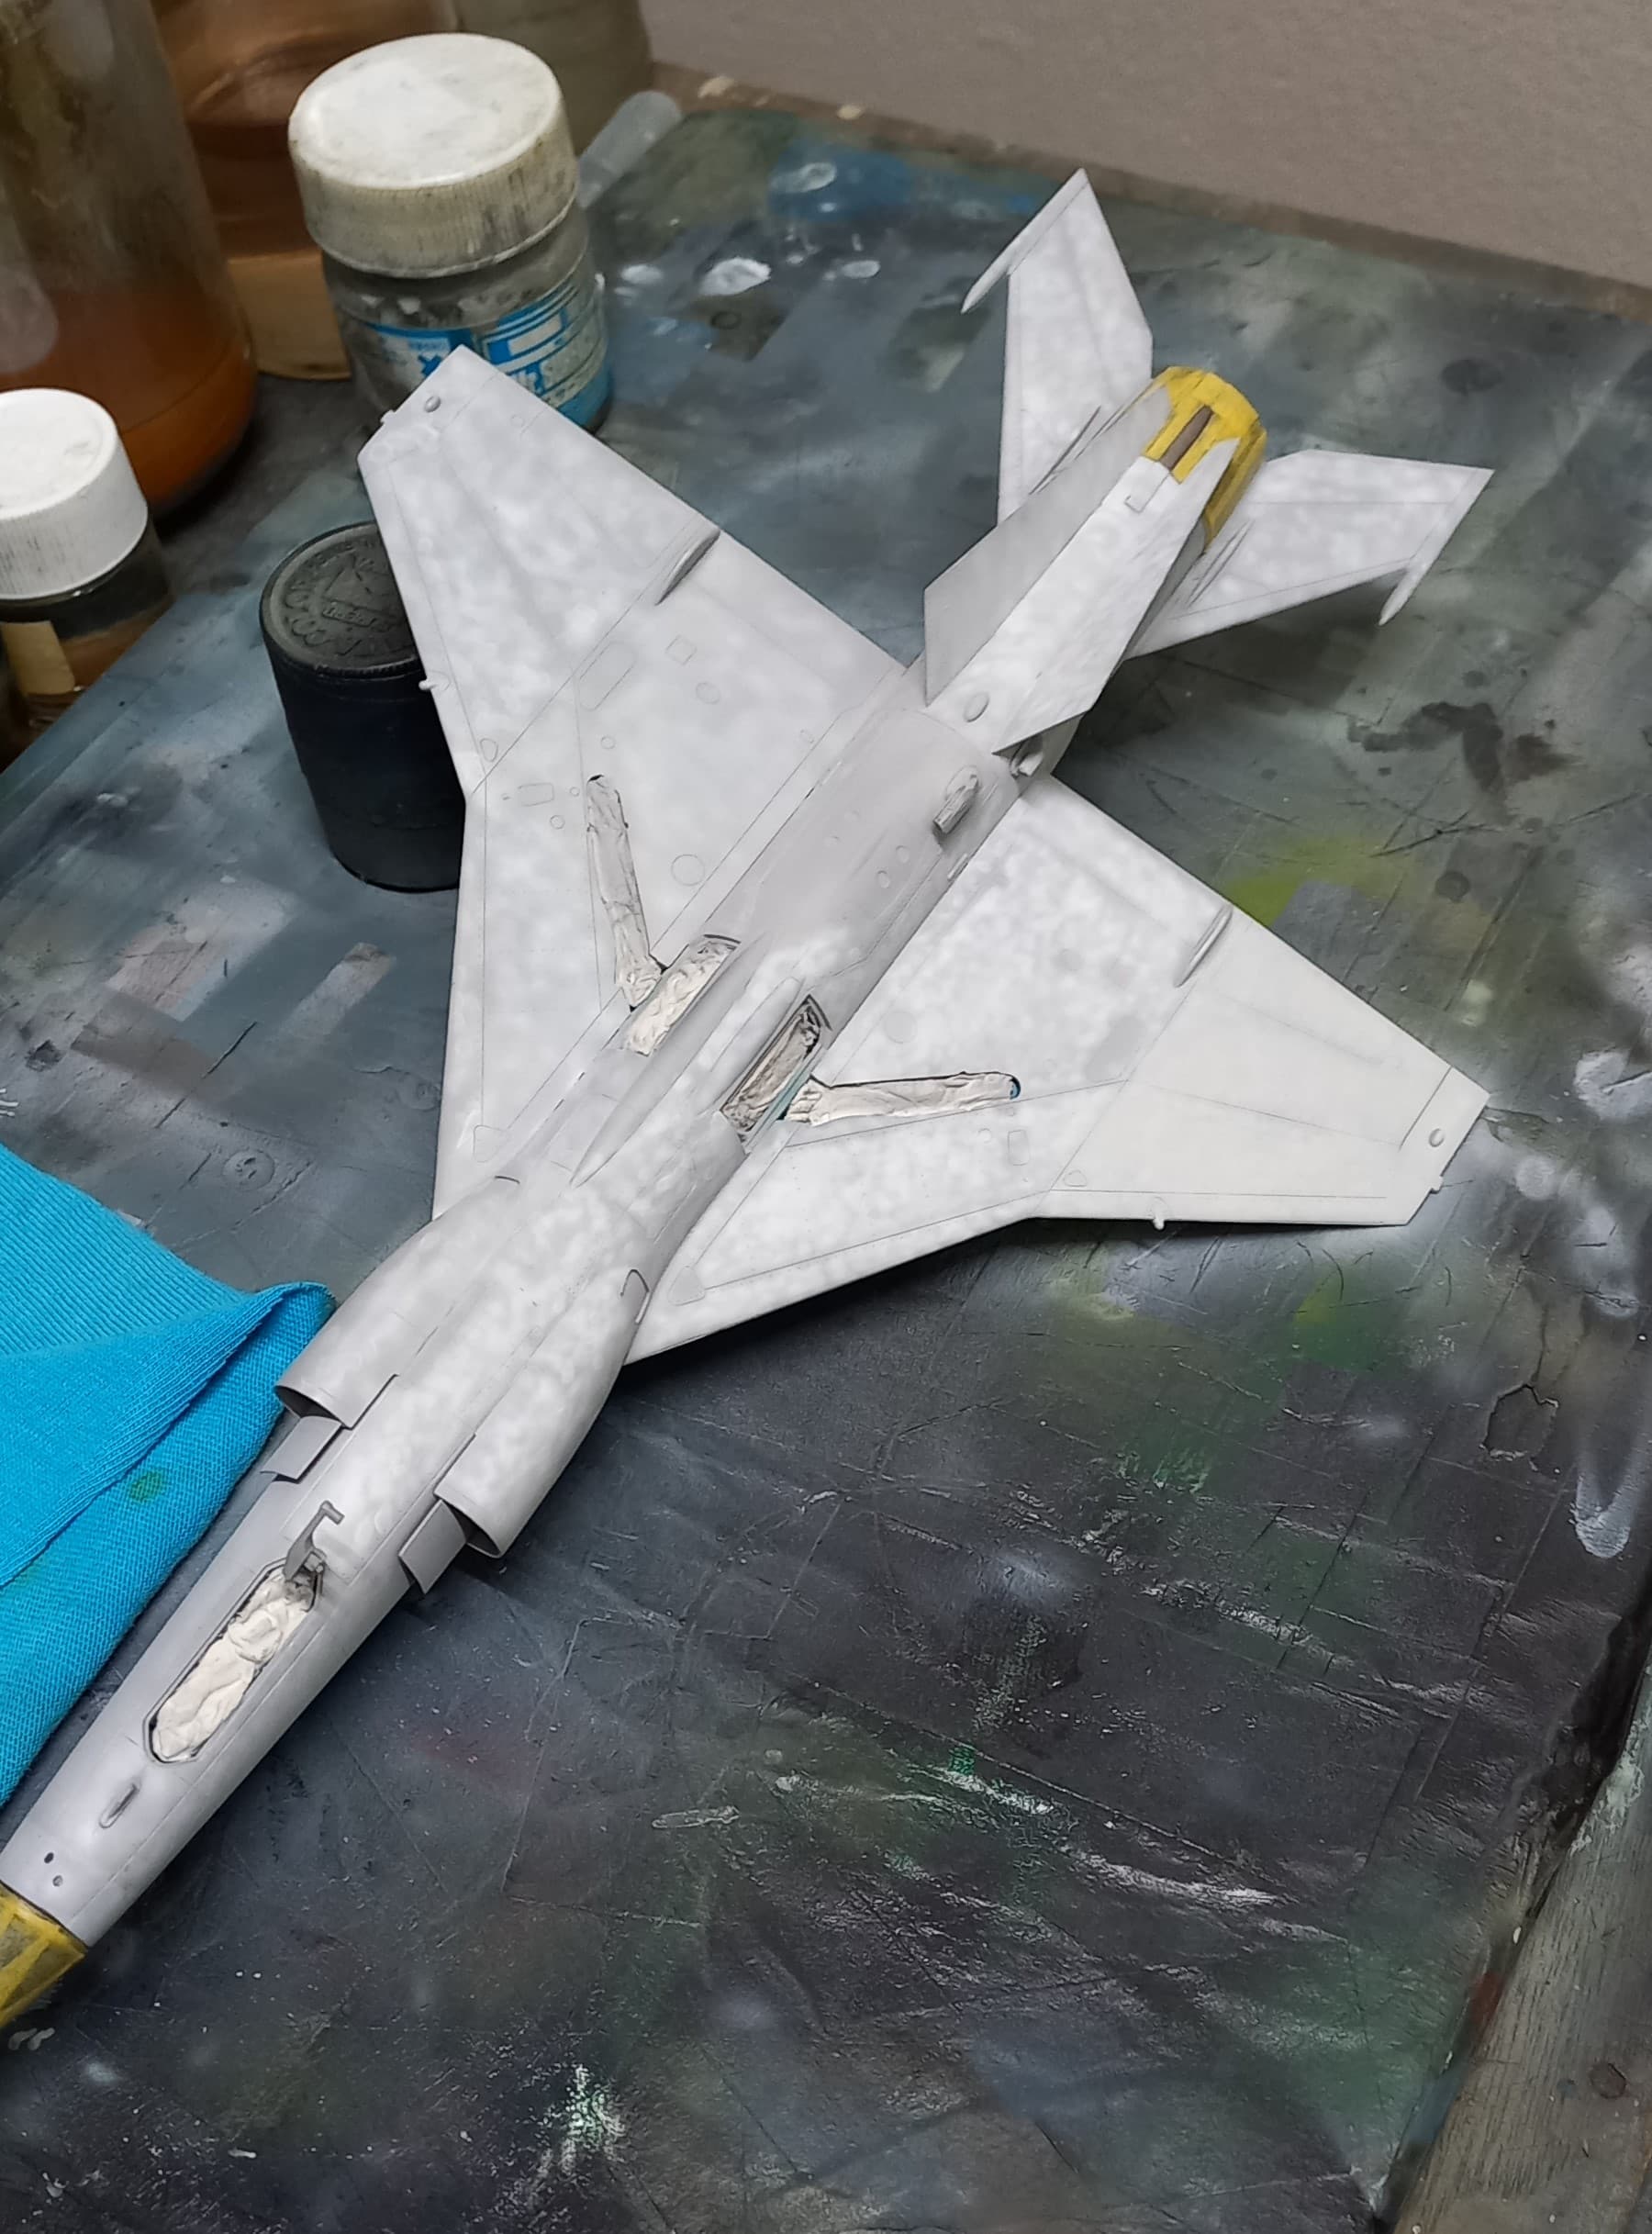
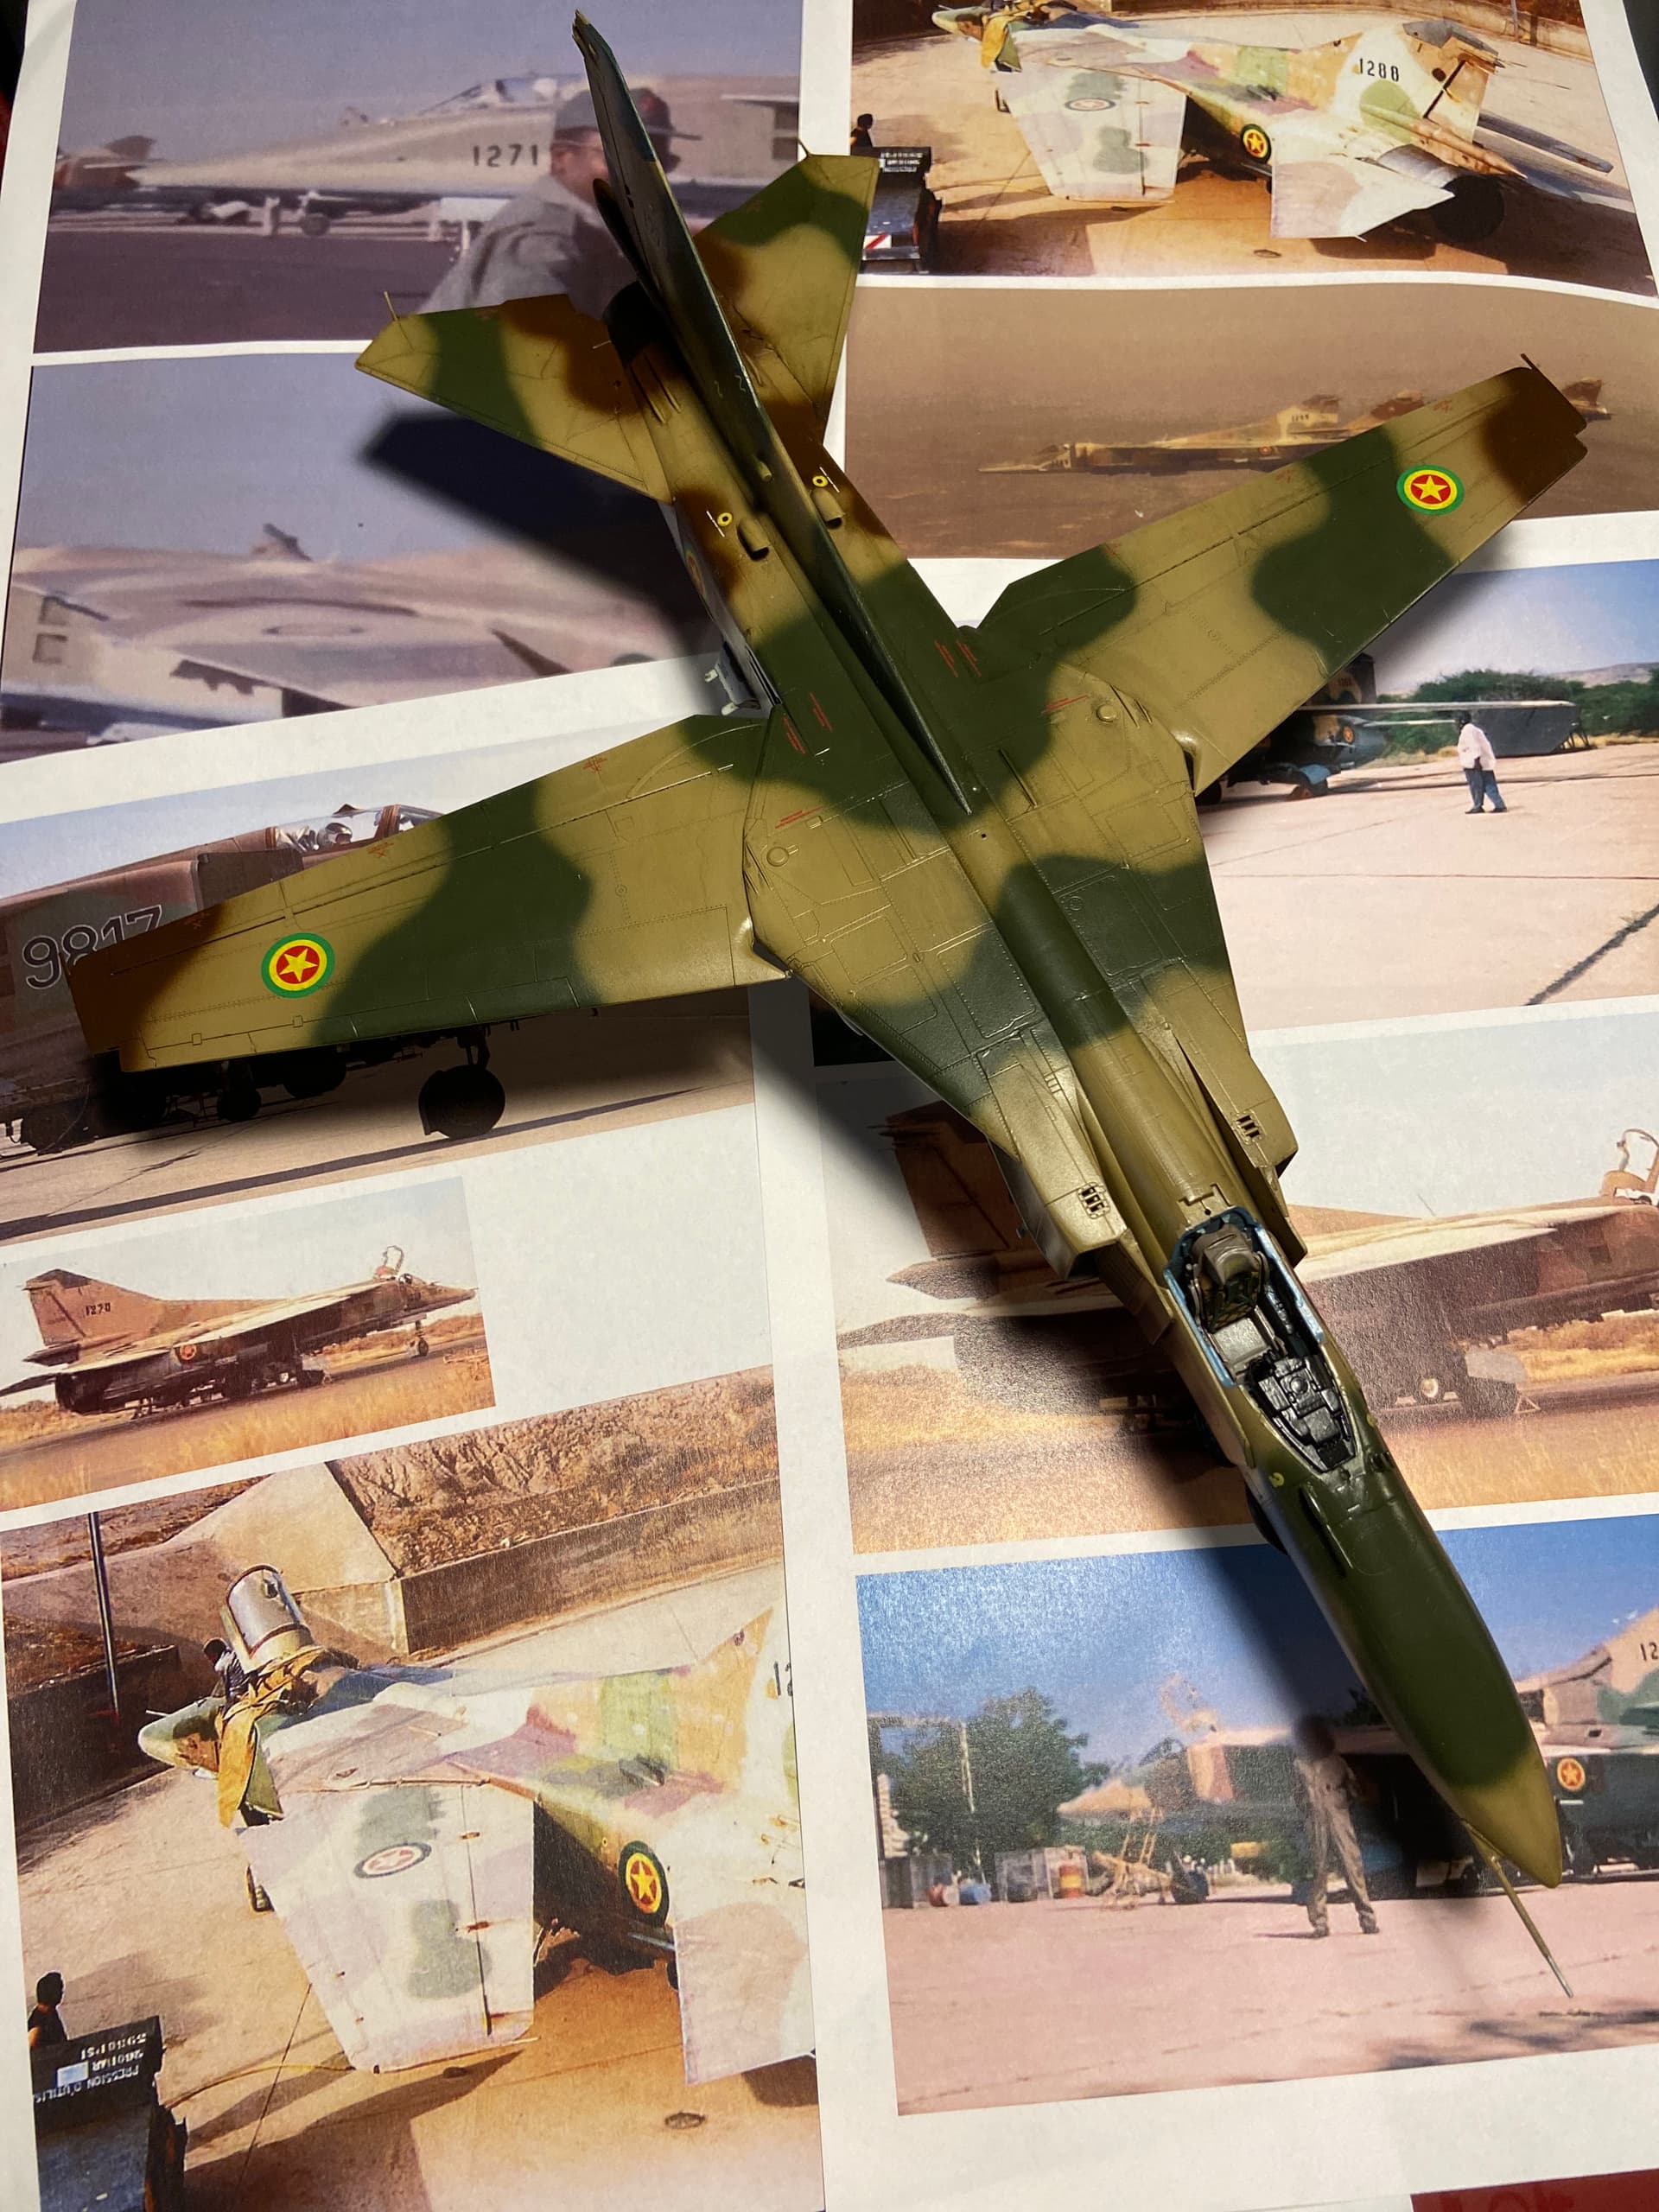
Decals on - really stuff and refuse to setttle well. I went through my entire line of decal settings, but nothing worked 100%.
Also gave it a couple of coats of washes to bring out the fine details - pretty satisfied.
Next a semi gloss coat to settle everything in and then the details: cockpit glazing, bombs, small antennas and final touches.
More to follow ![]()

4 Likes