Thanks Mate!
1 Like
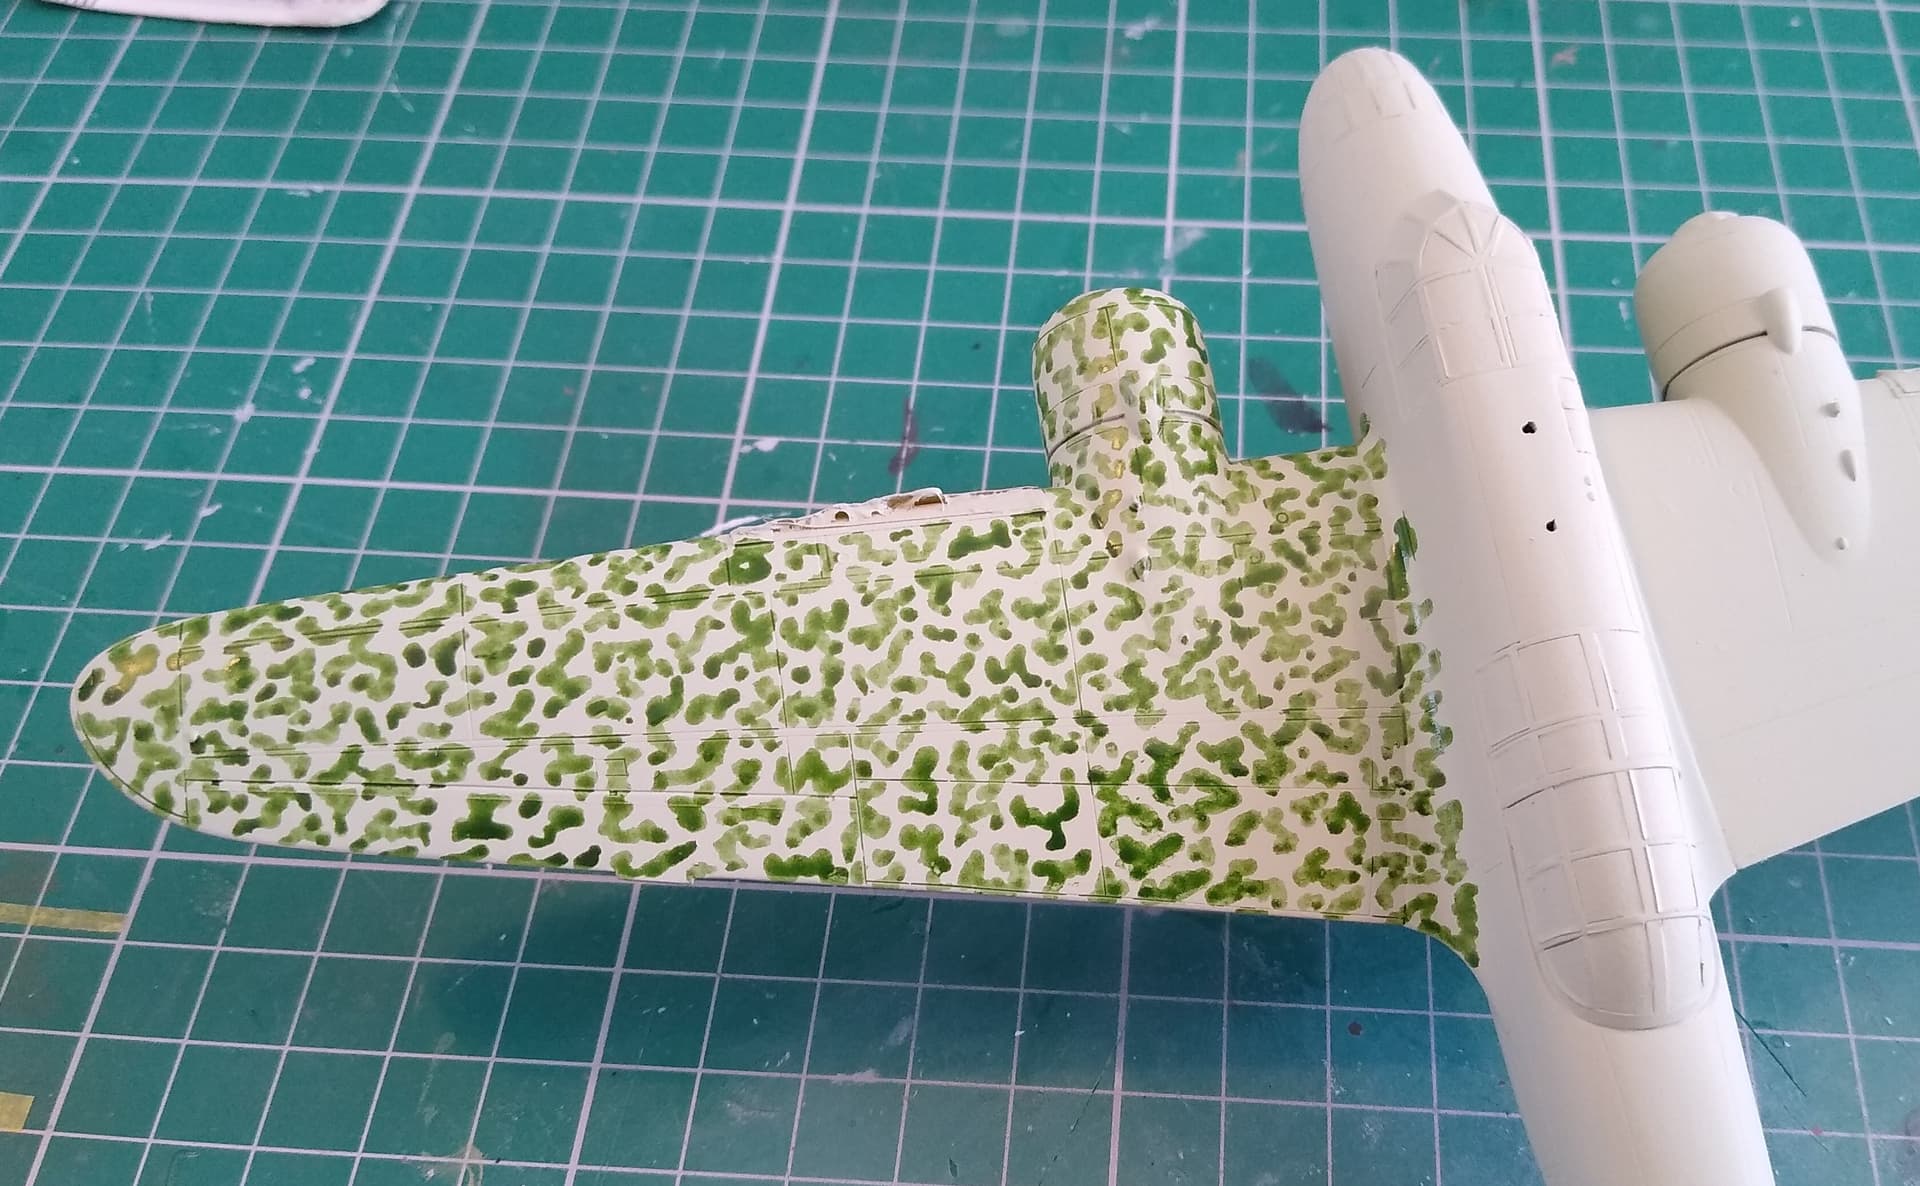
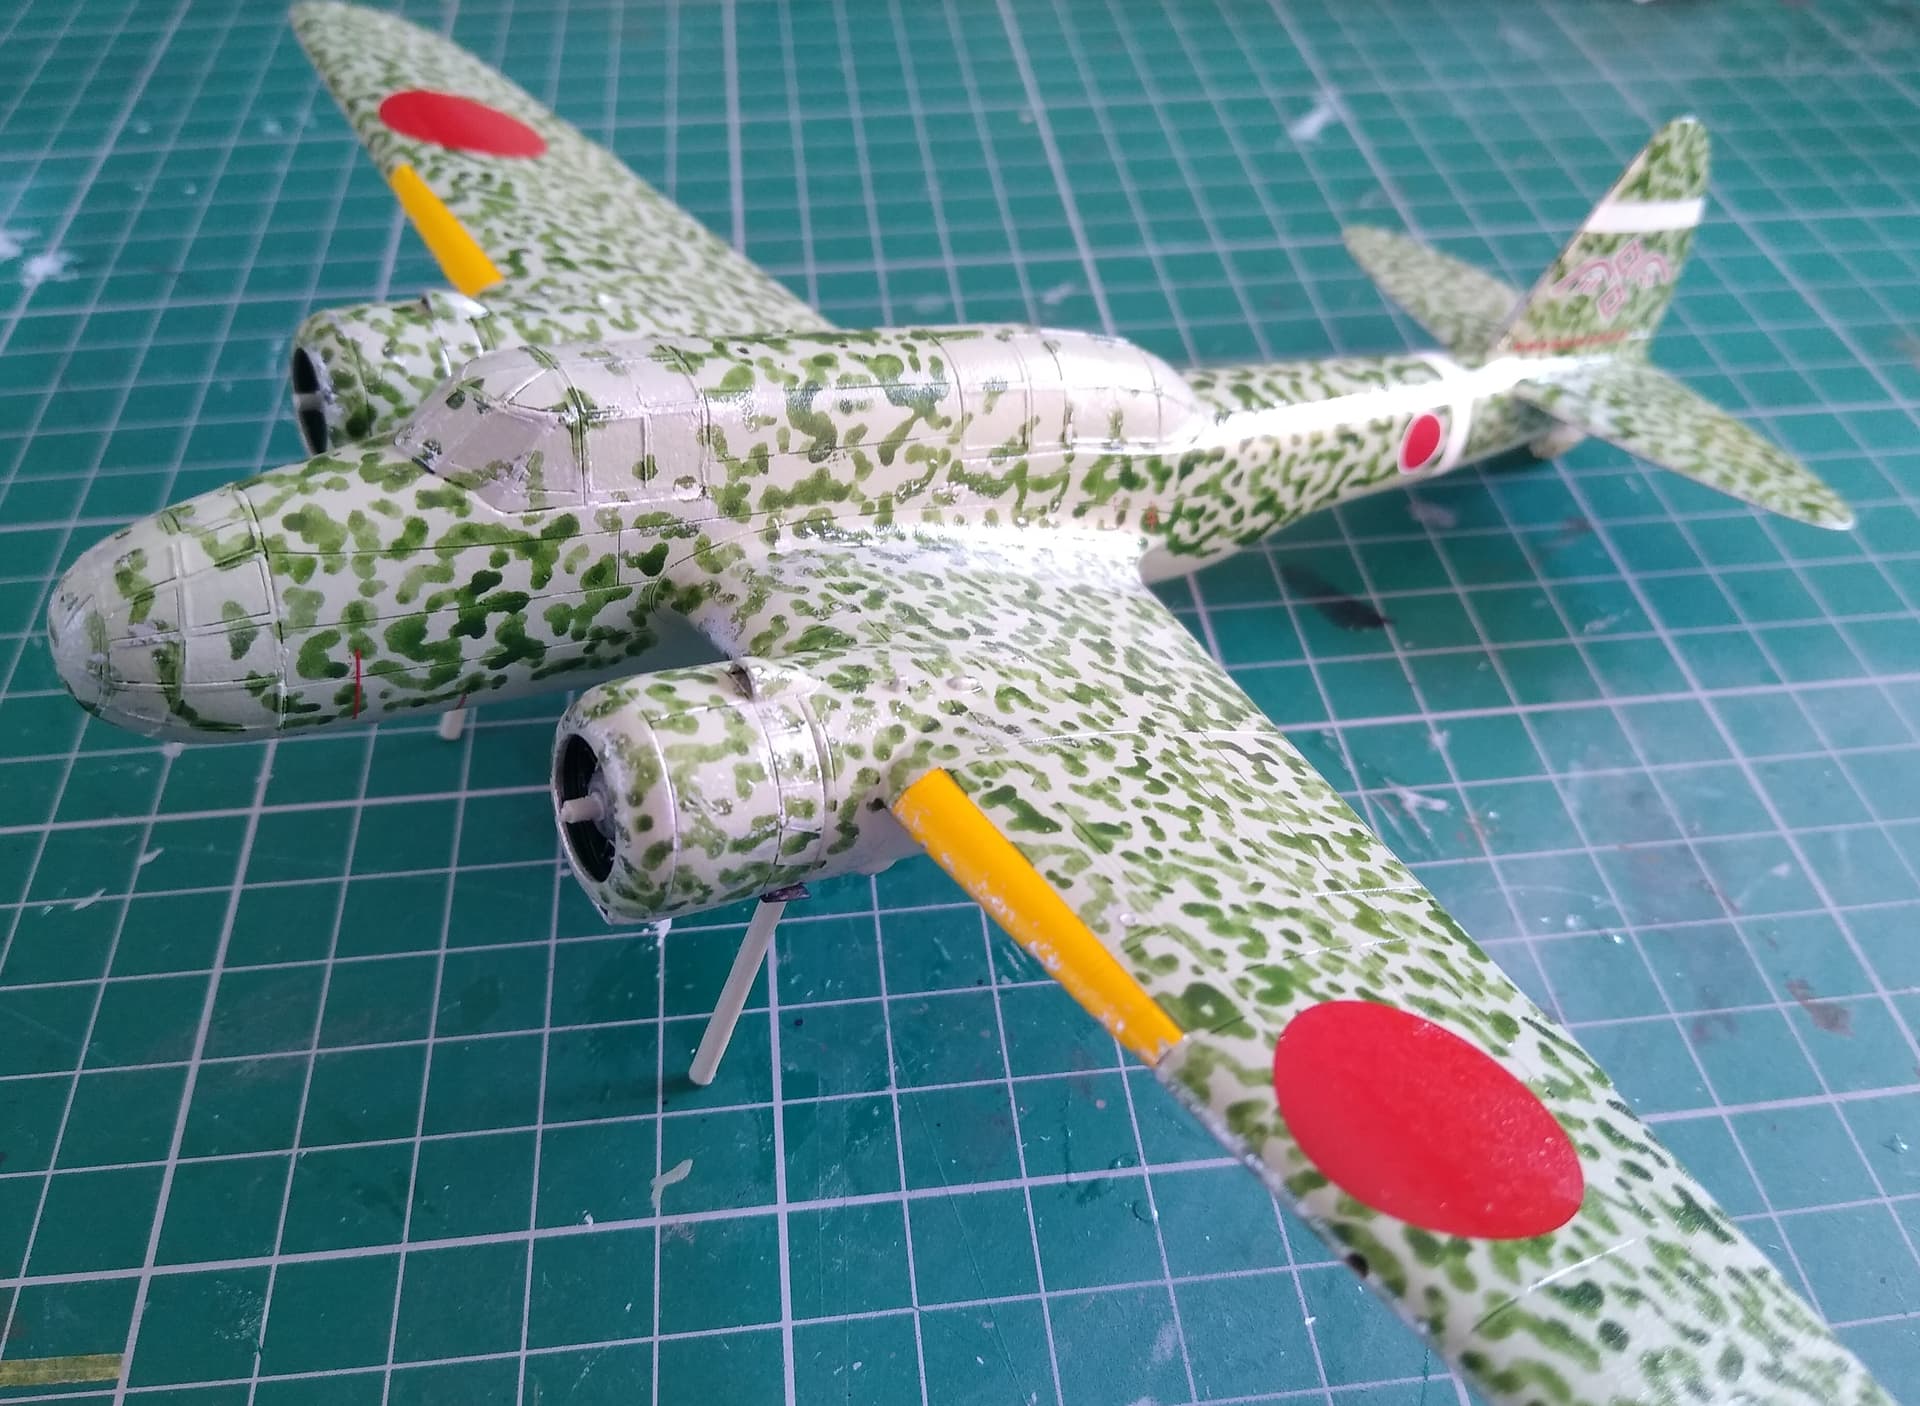
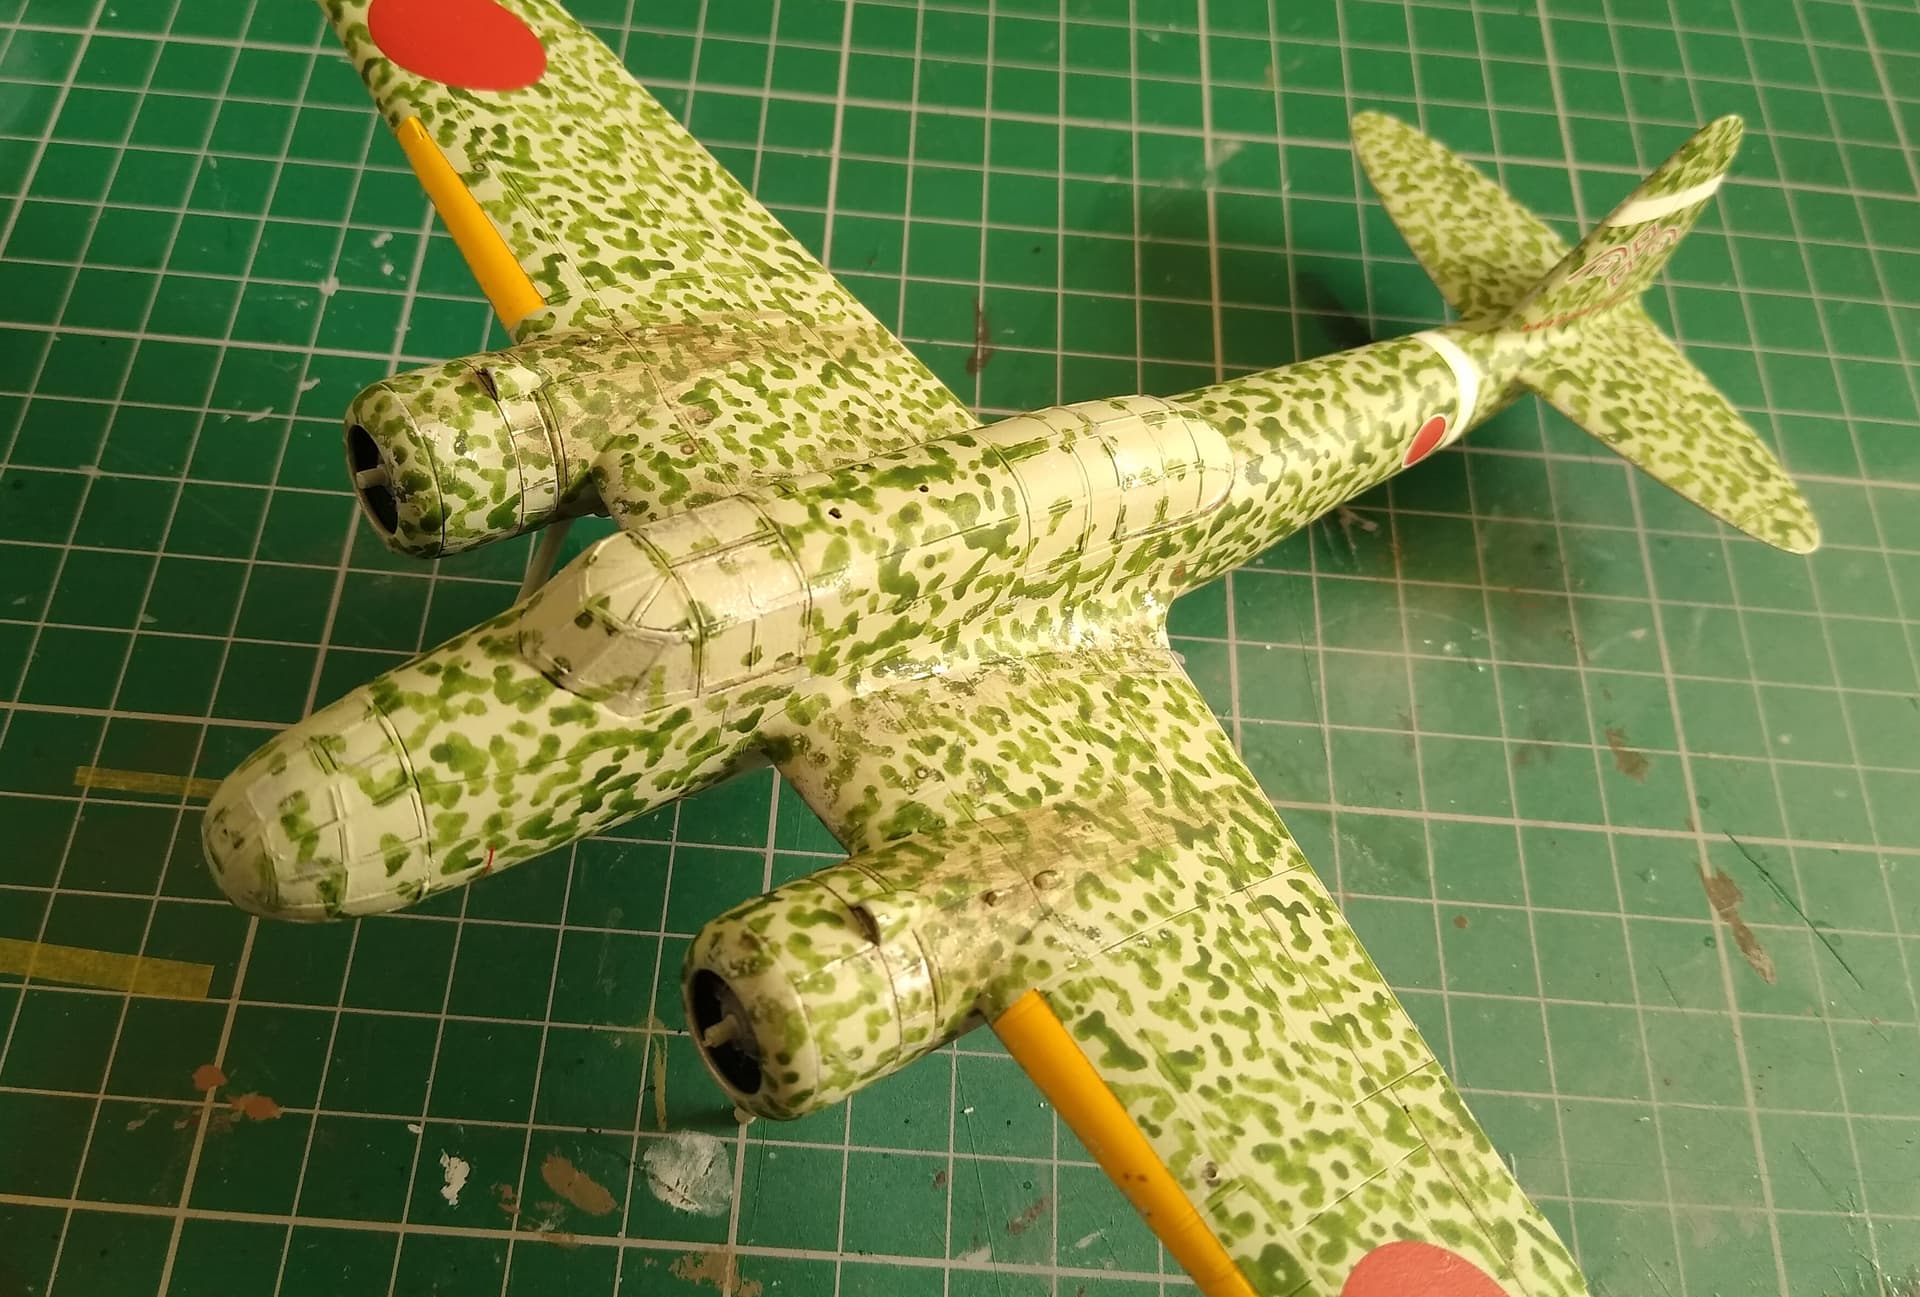
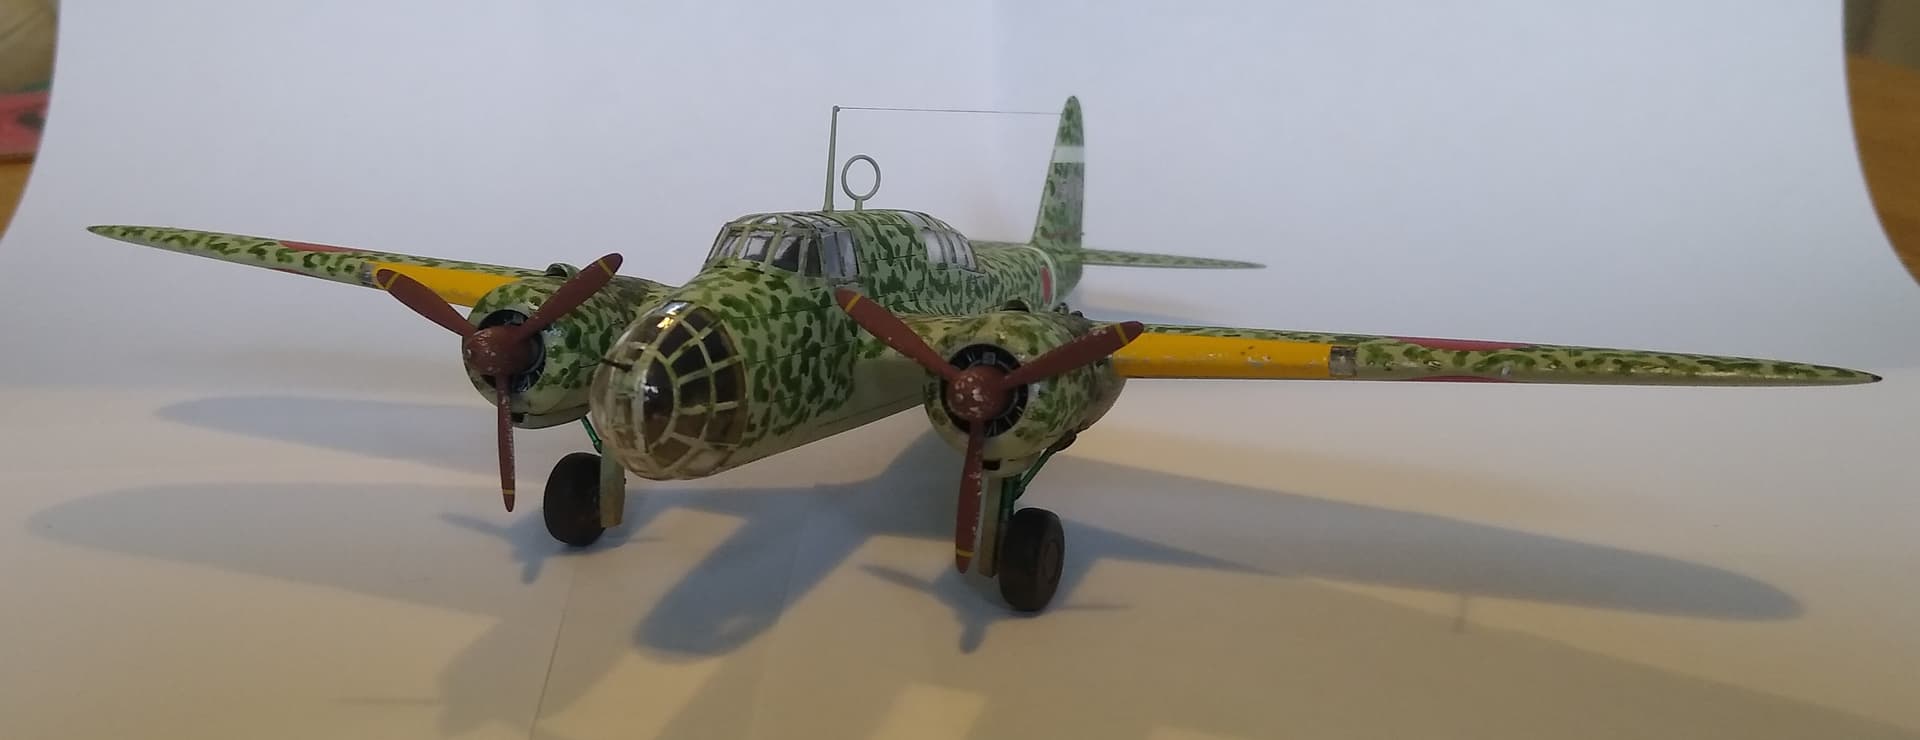
Made a start on the green mottle today.
Rather than go with the IJA Dark Green, I decided on the IJA Midouri Green. Seems to work better.
1 Like
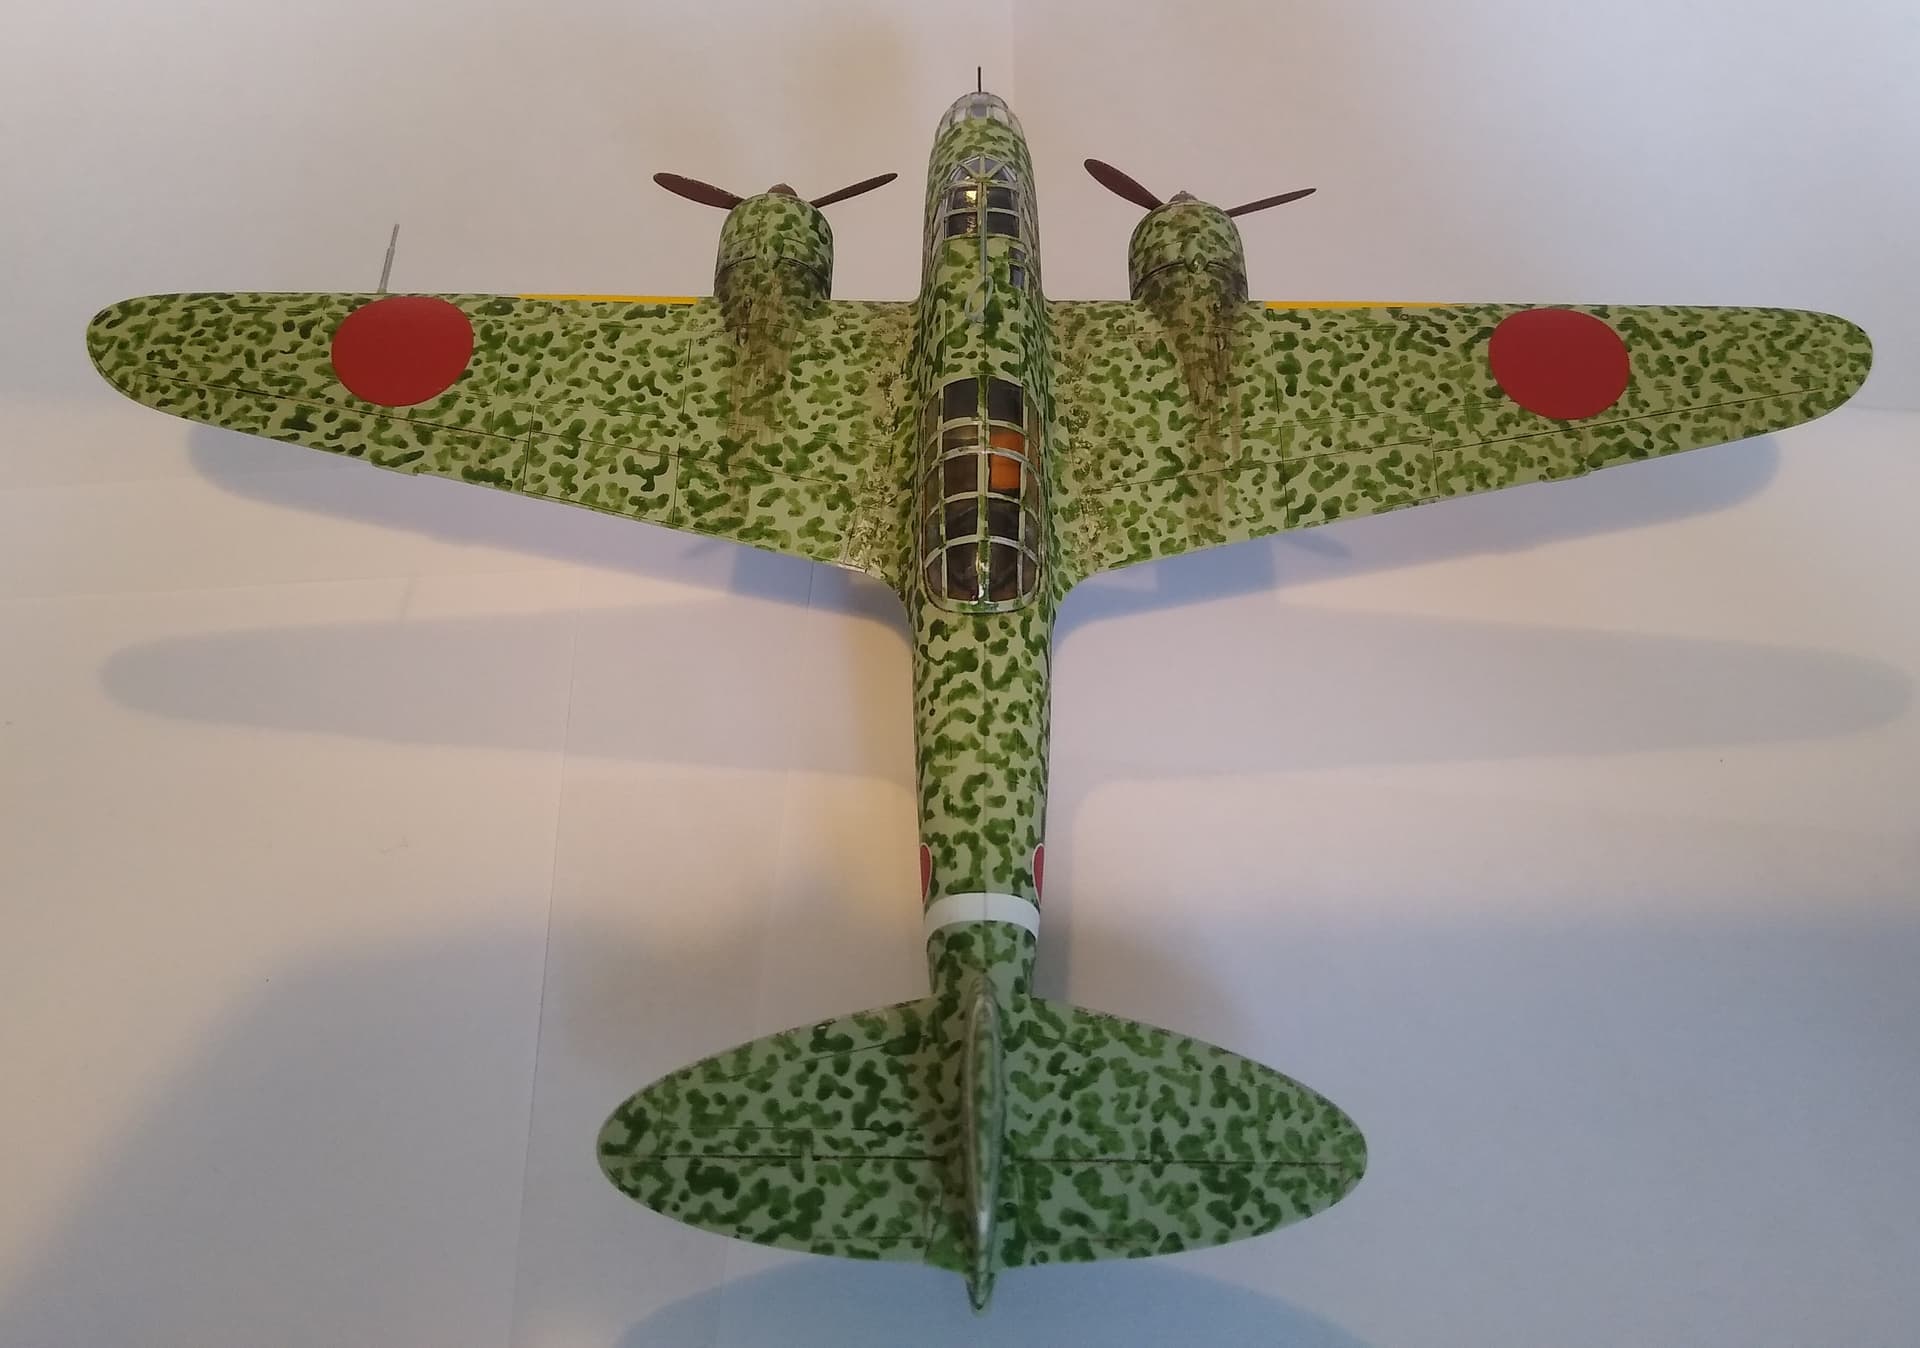
That’s the wing and tail done.
Doesn’t look bad from a few feet away.
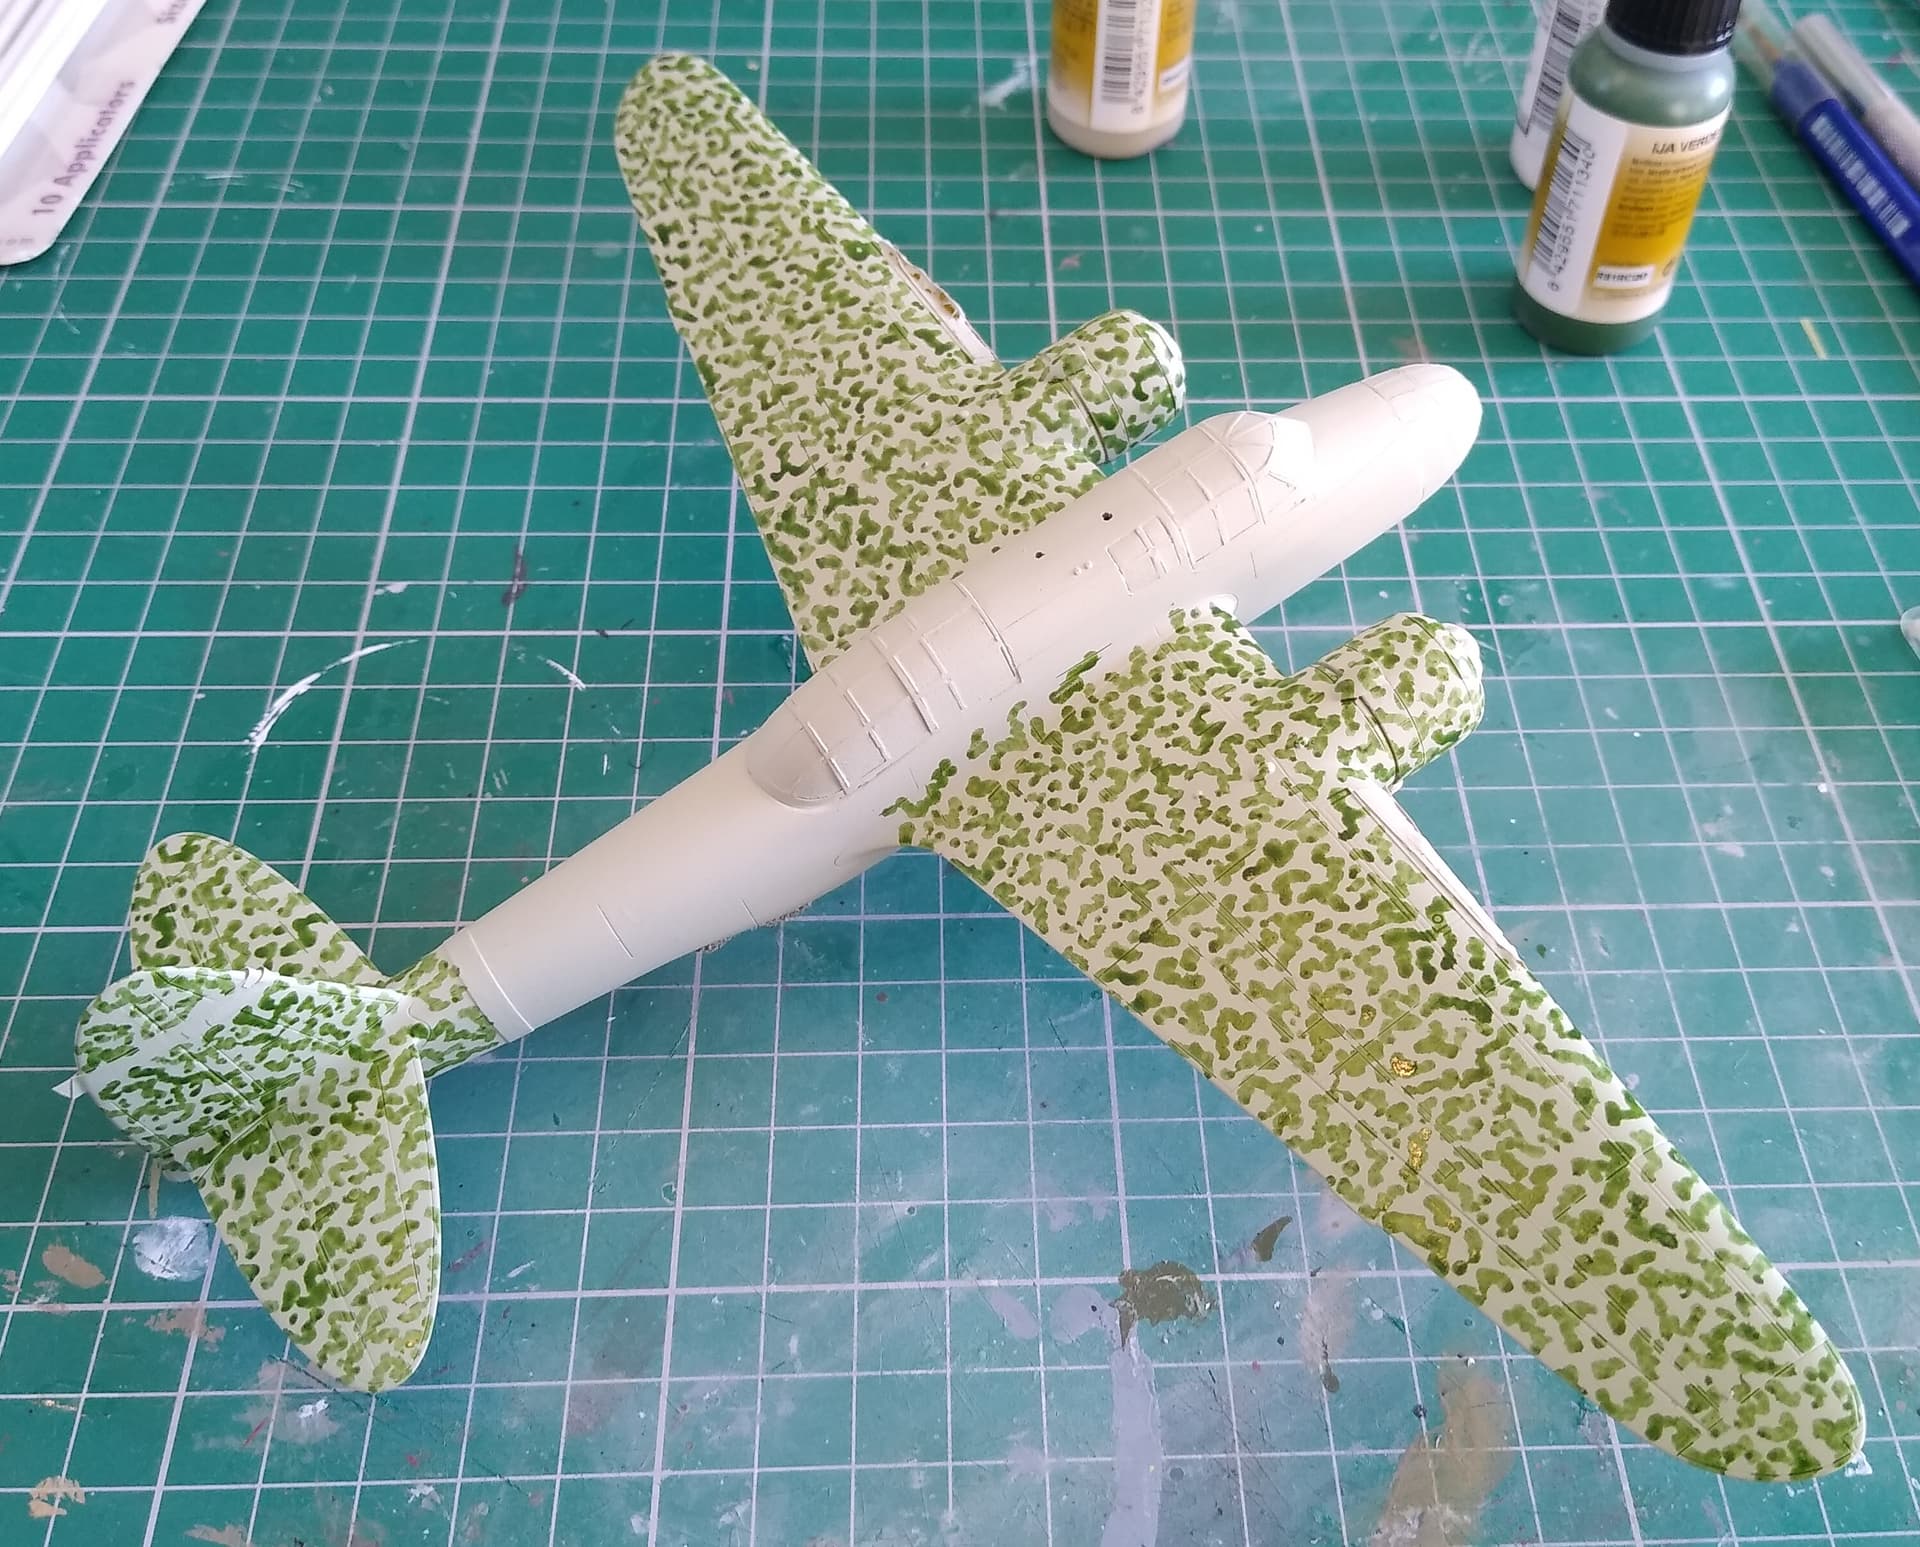
Need to wait for this to dry before I do the rest of the fuselage as it’s getting a little tricky to handle without smudging the paint.
7 Likes
Already looks amazing! ![]() …
…![]()
![]()
—mike
1 Like
Thanks Mike.
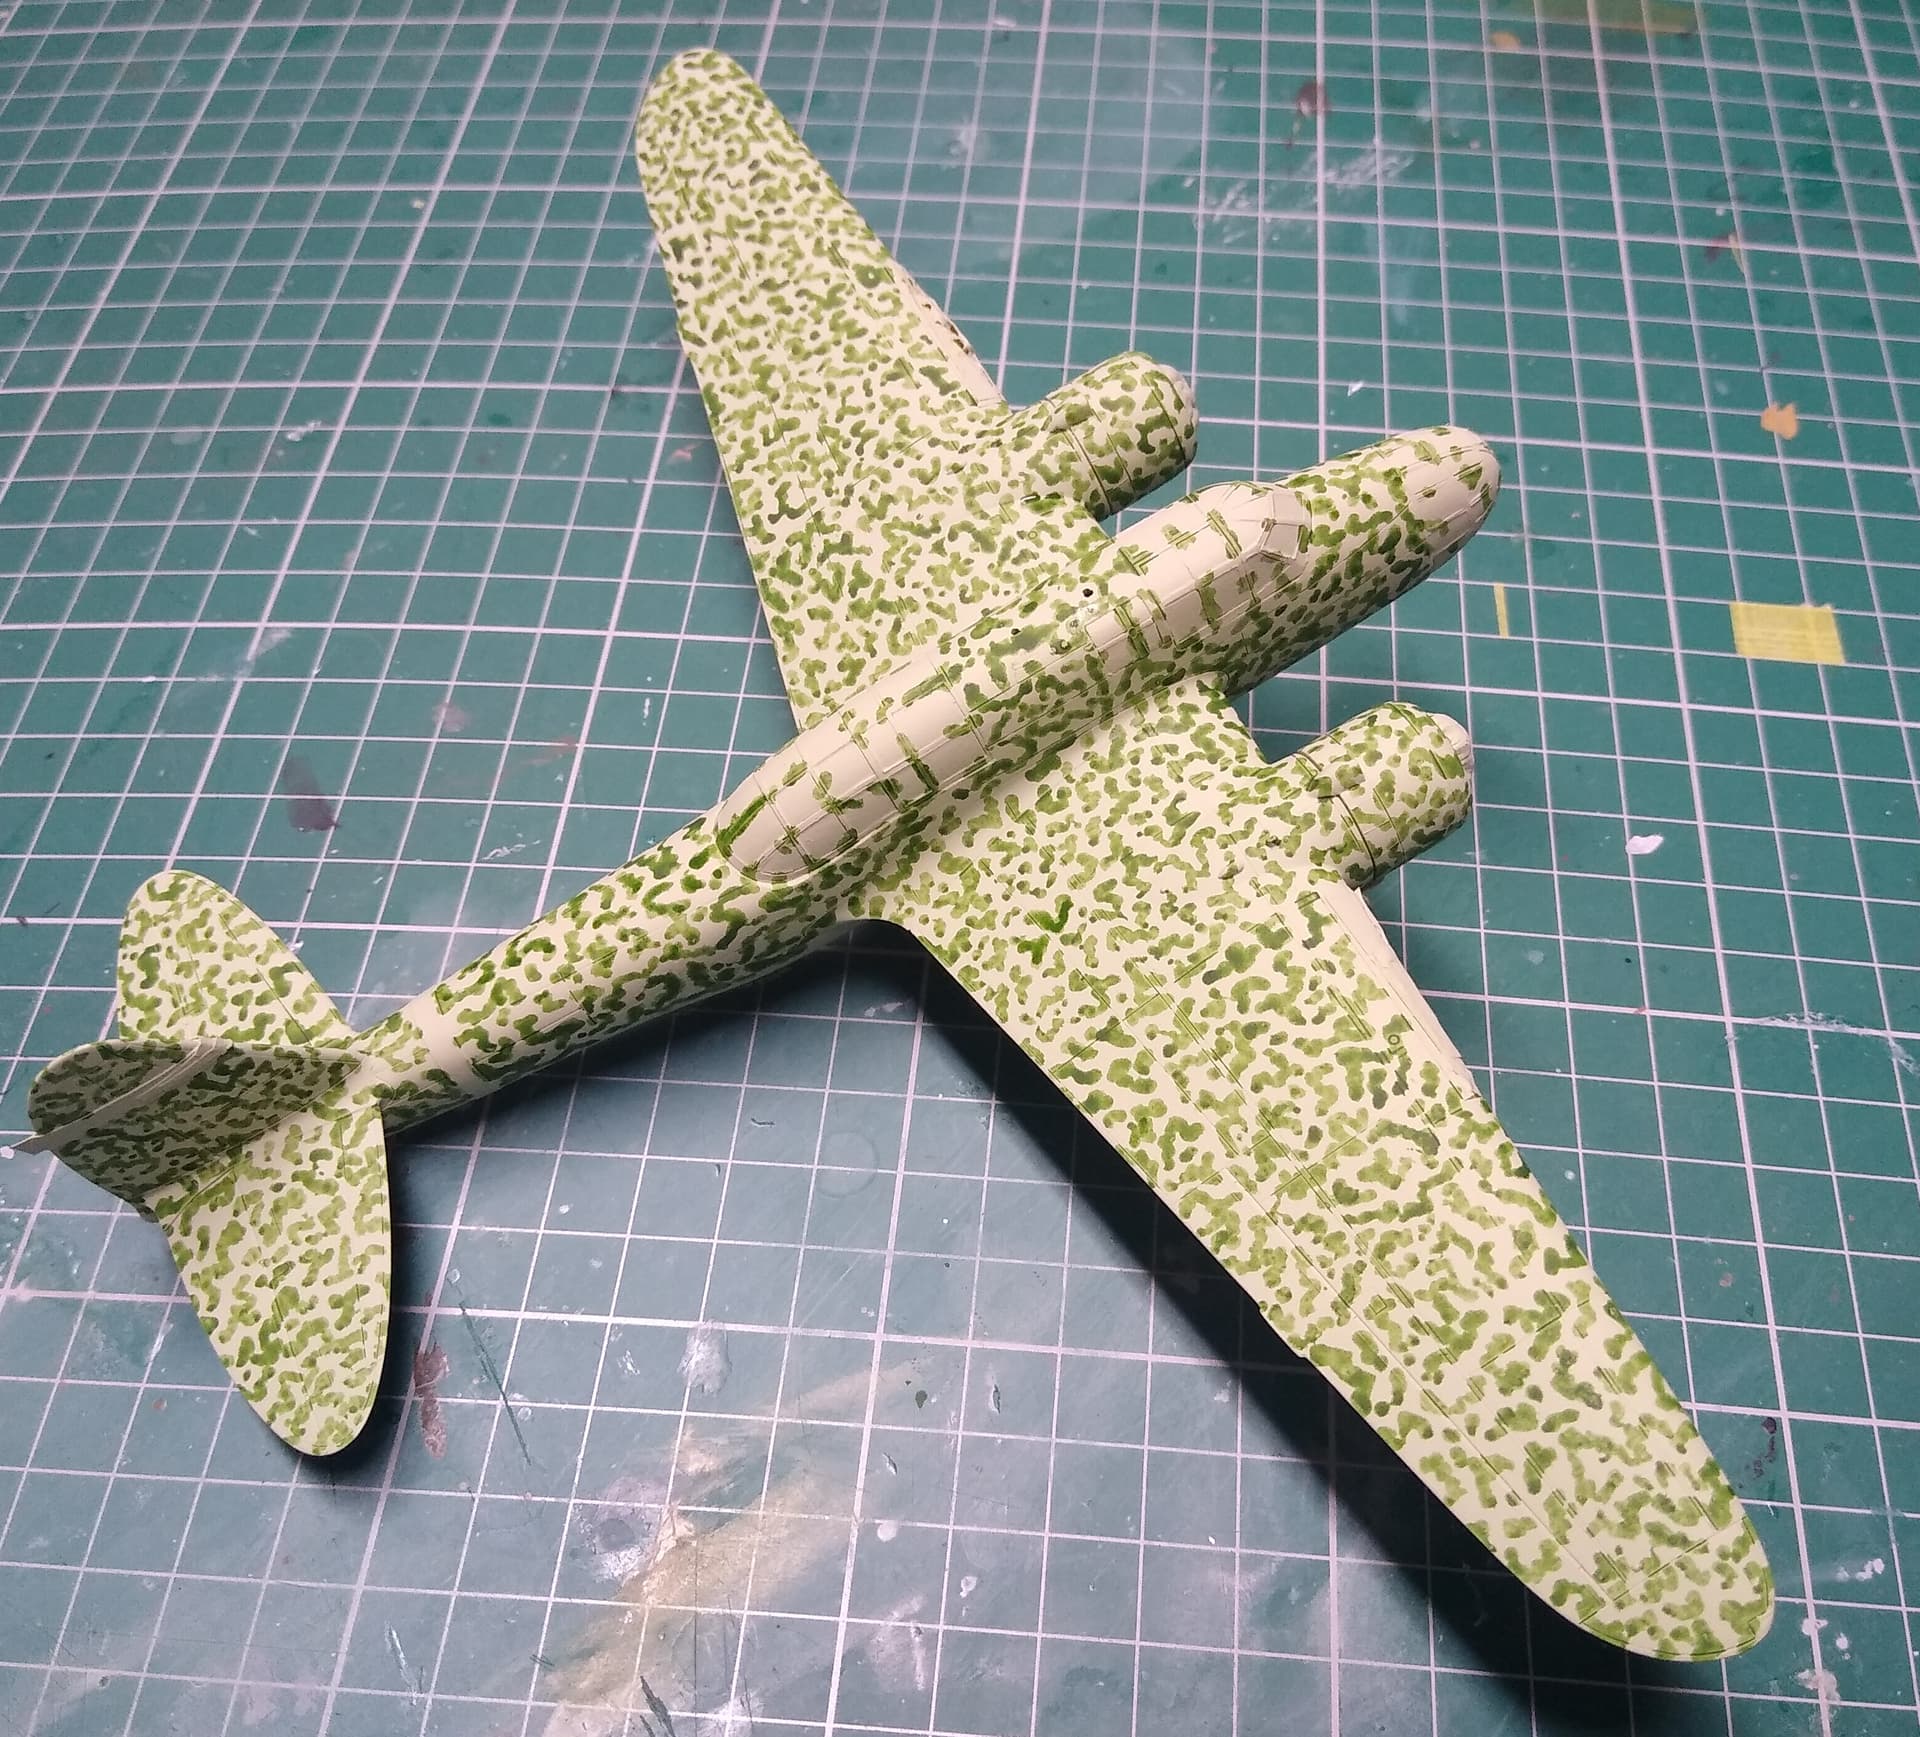
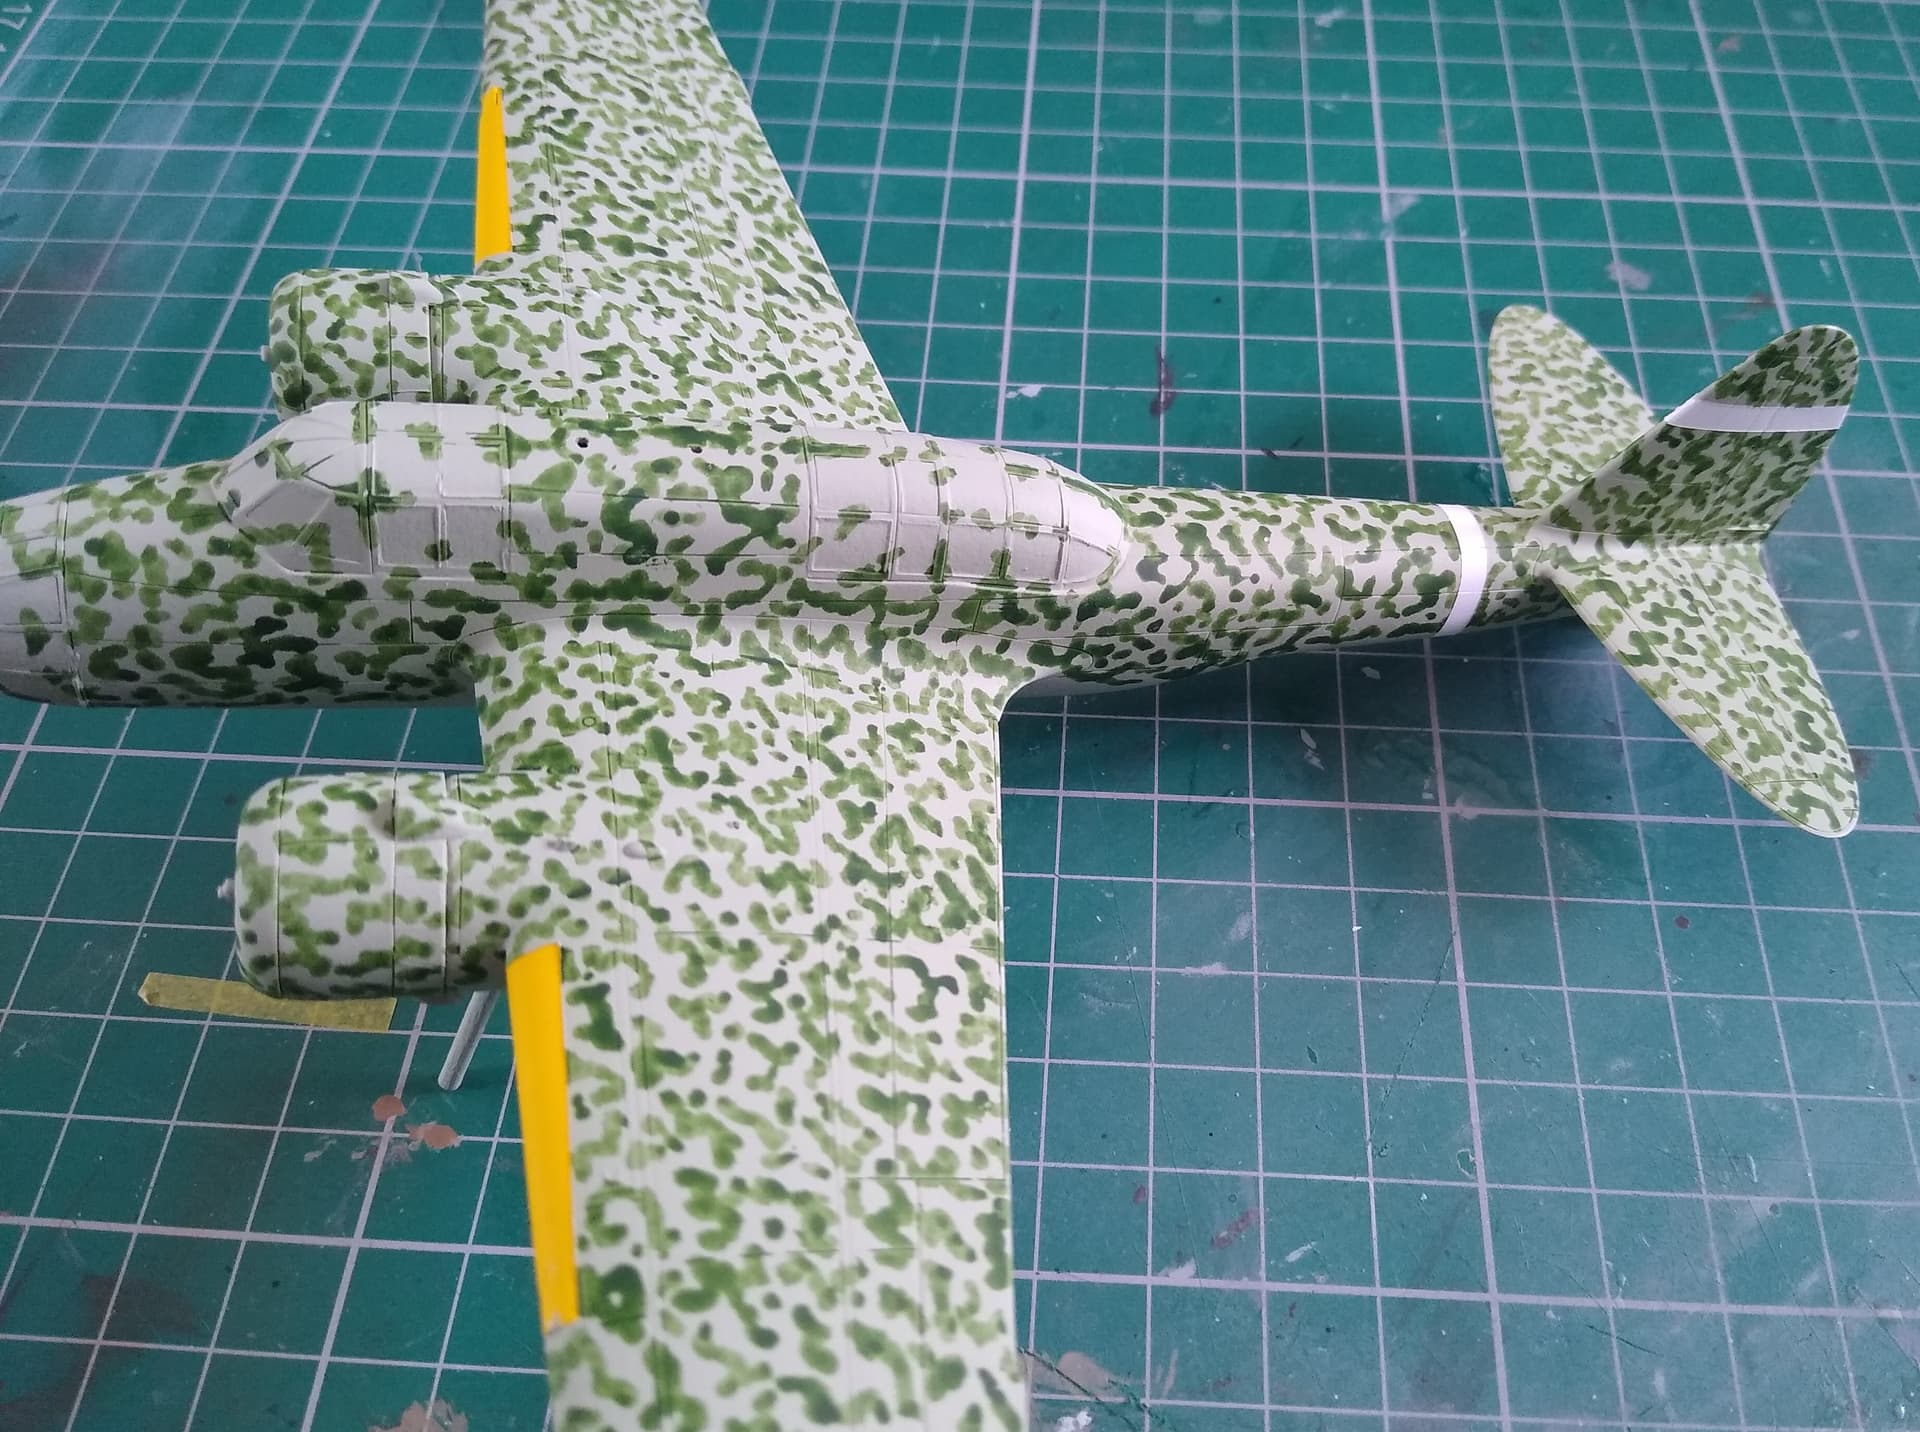
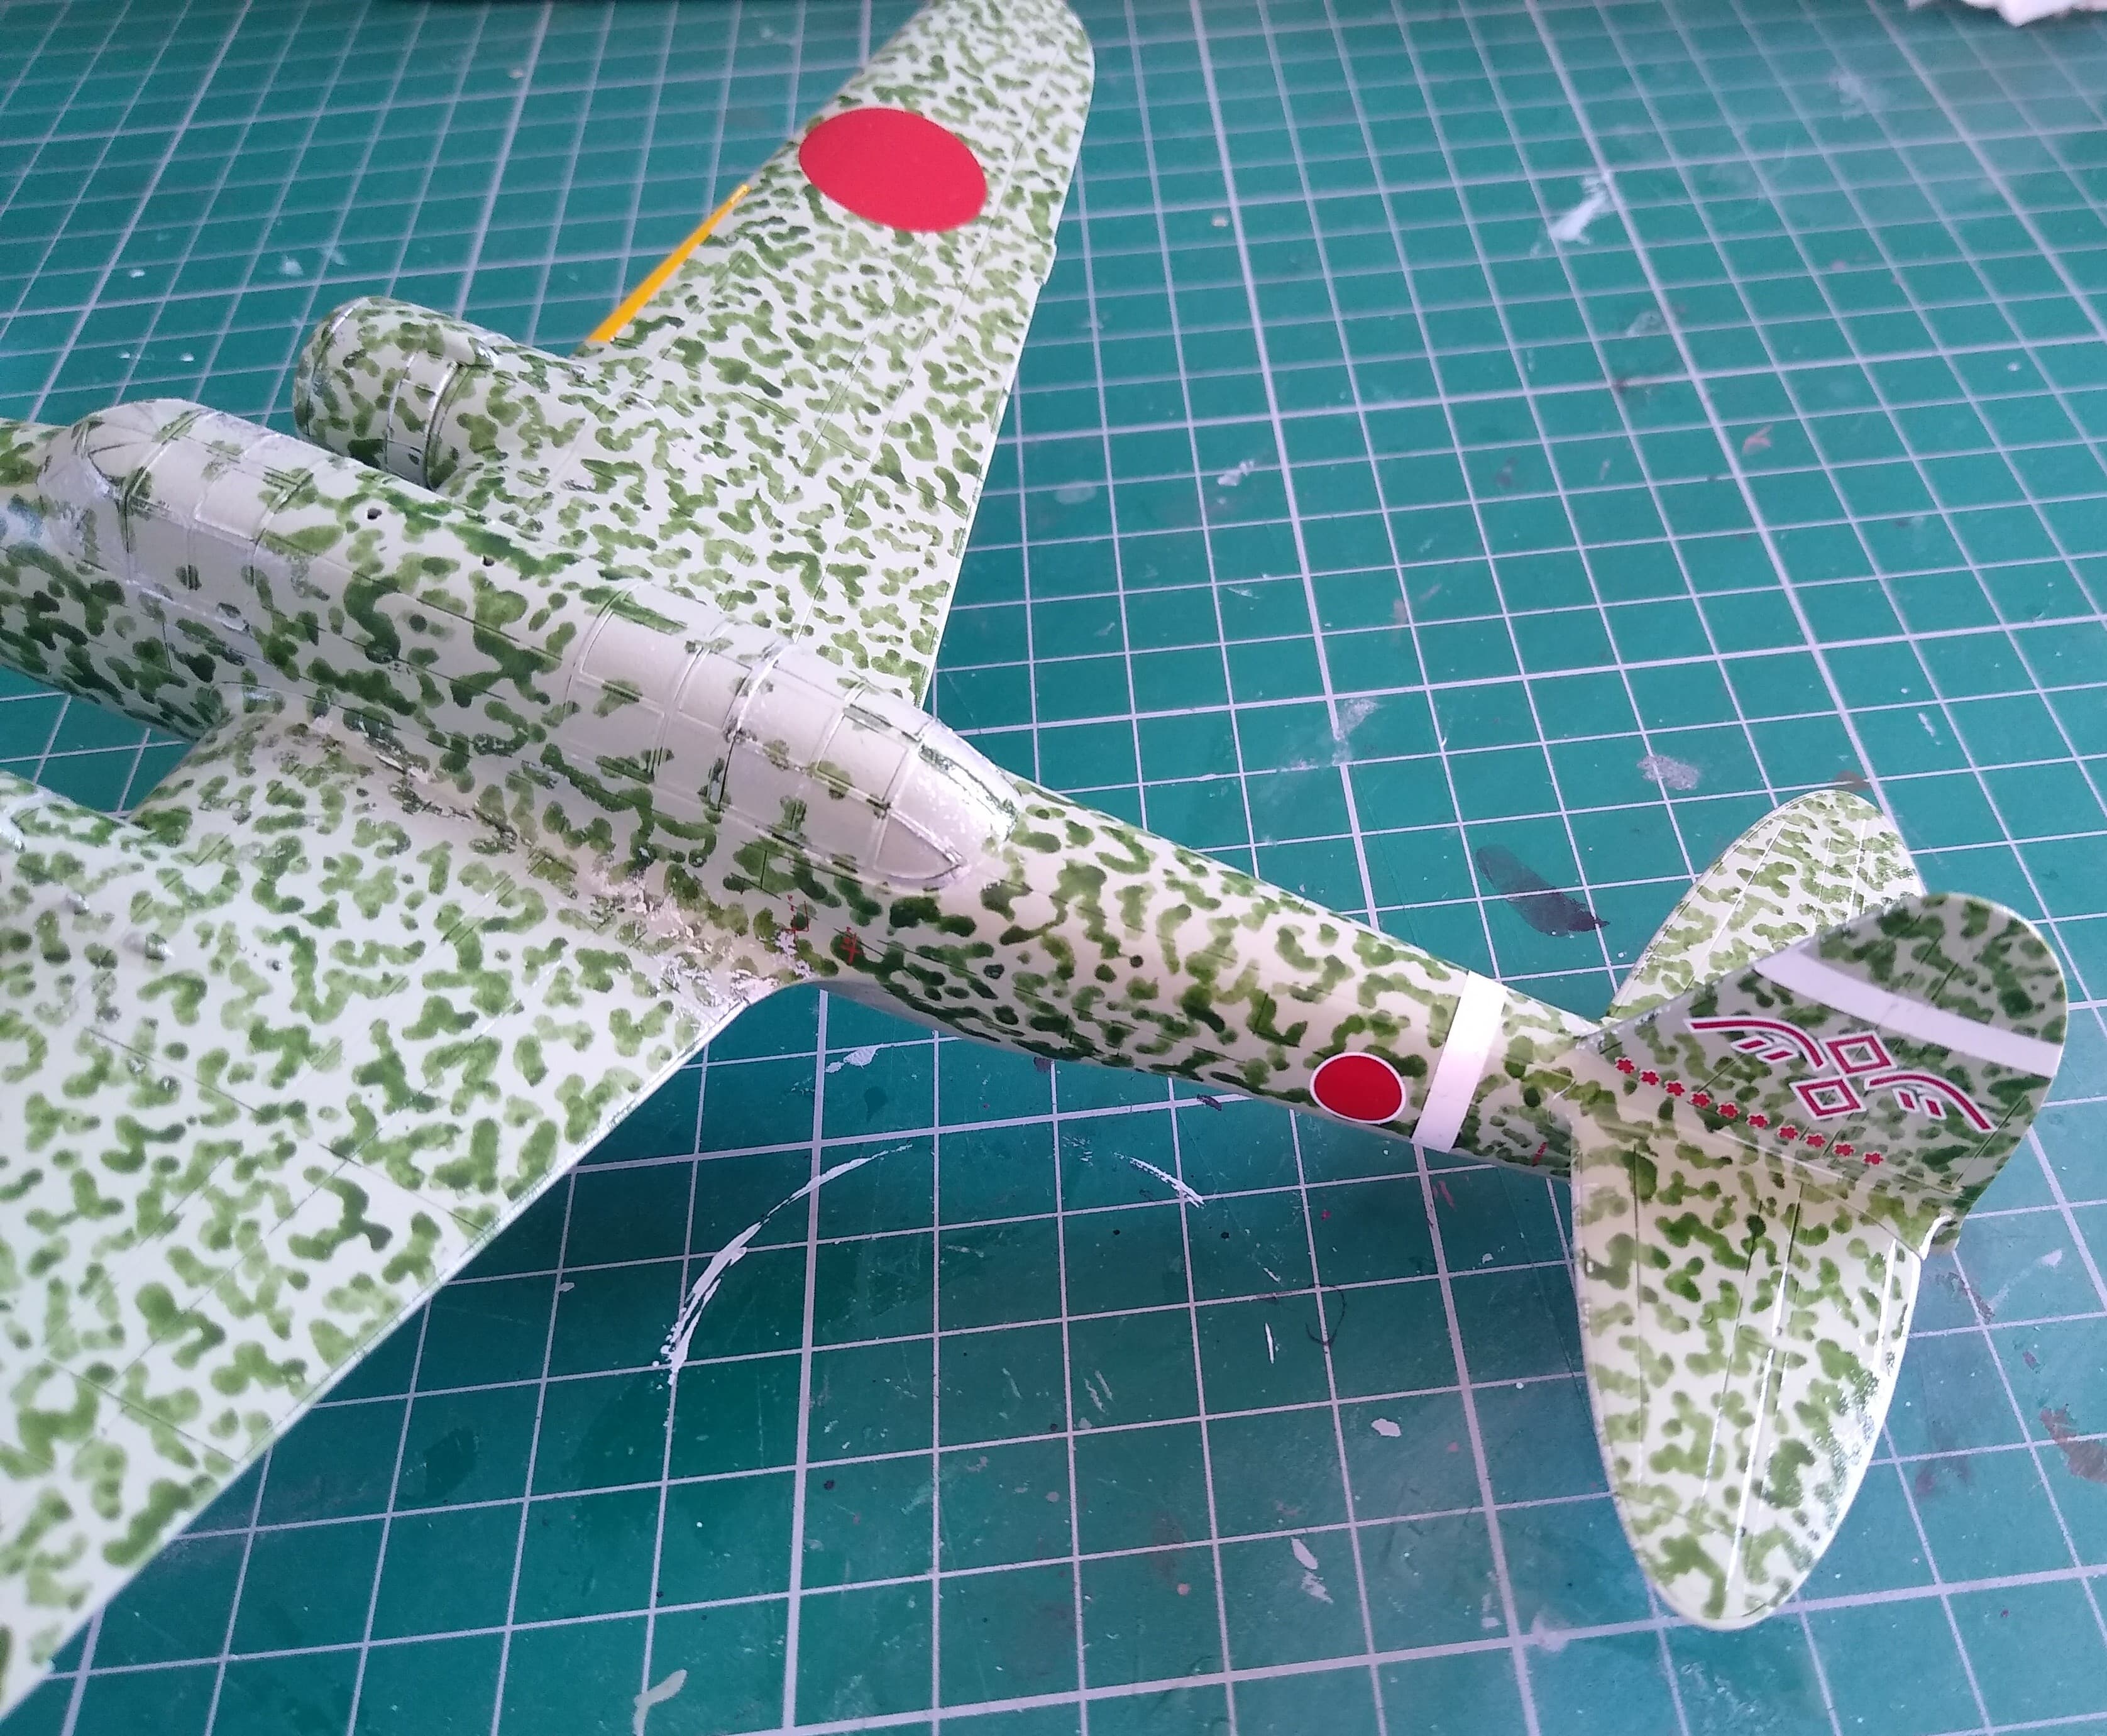
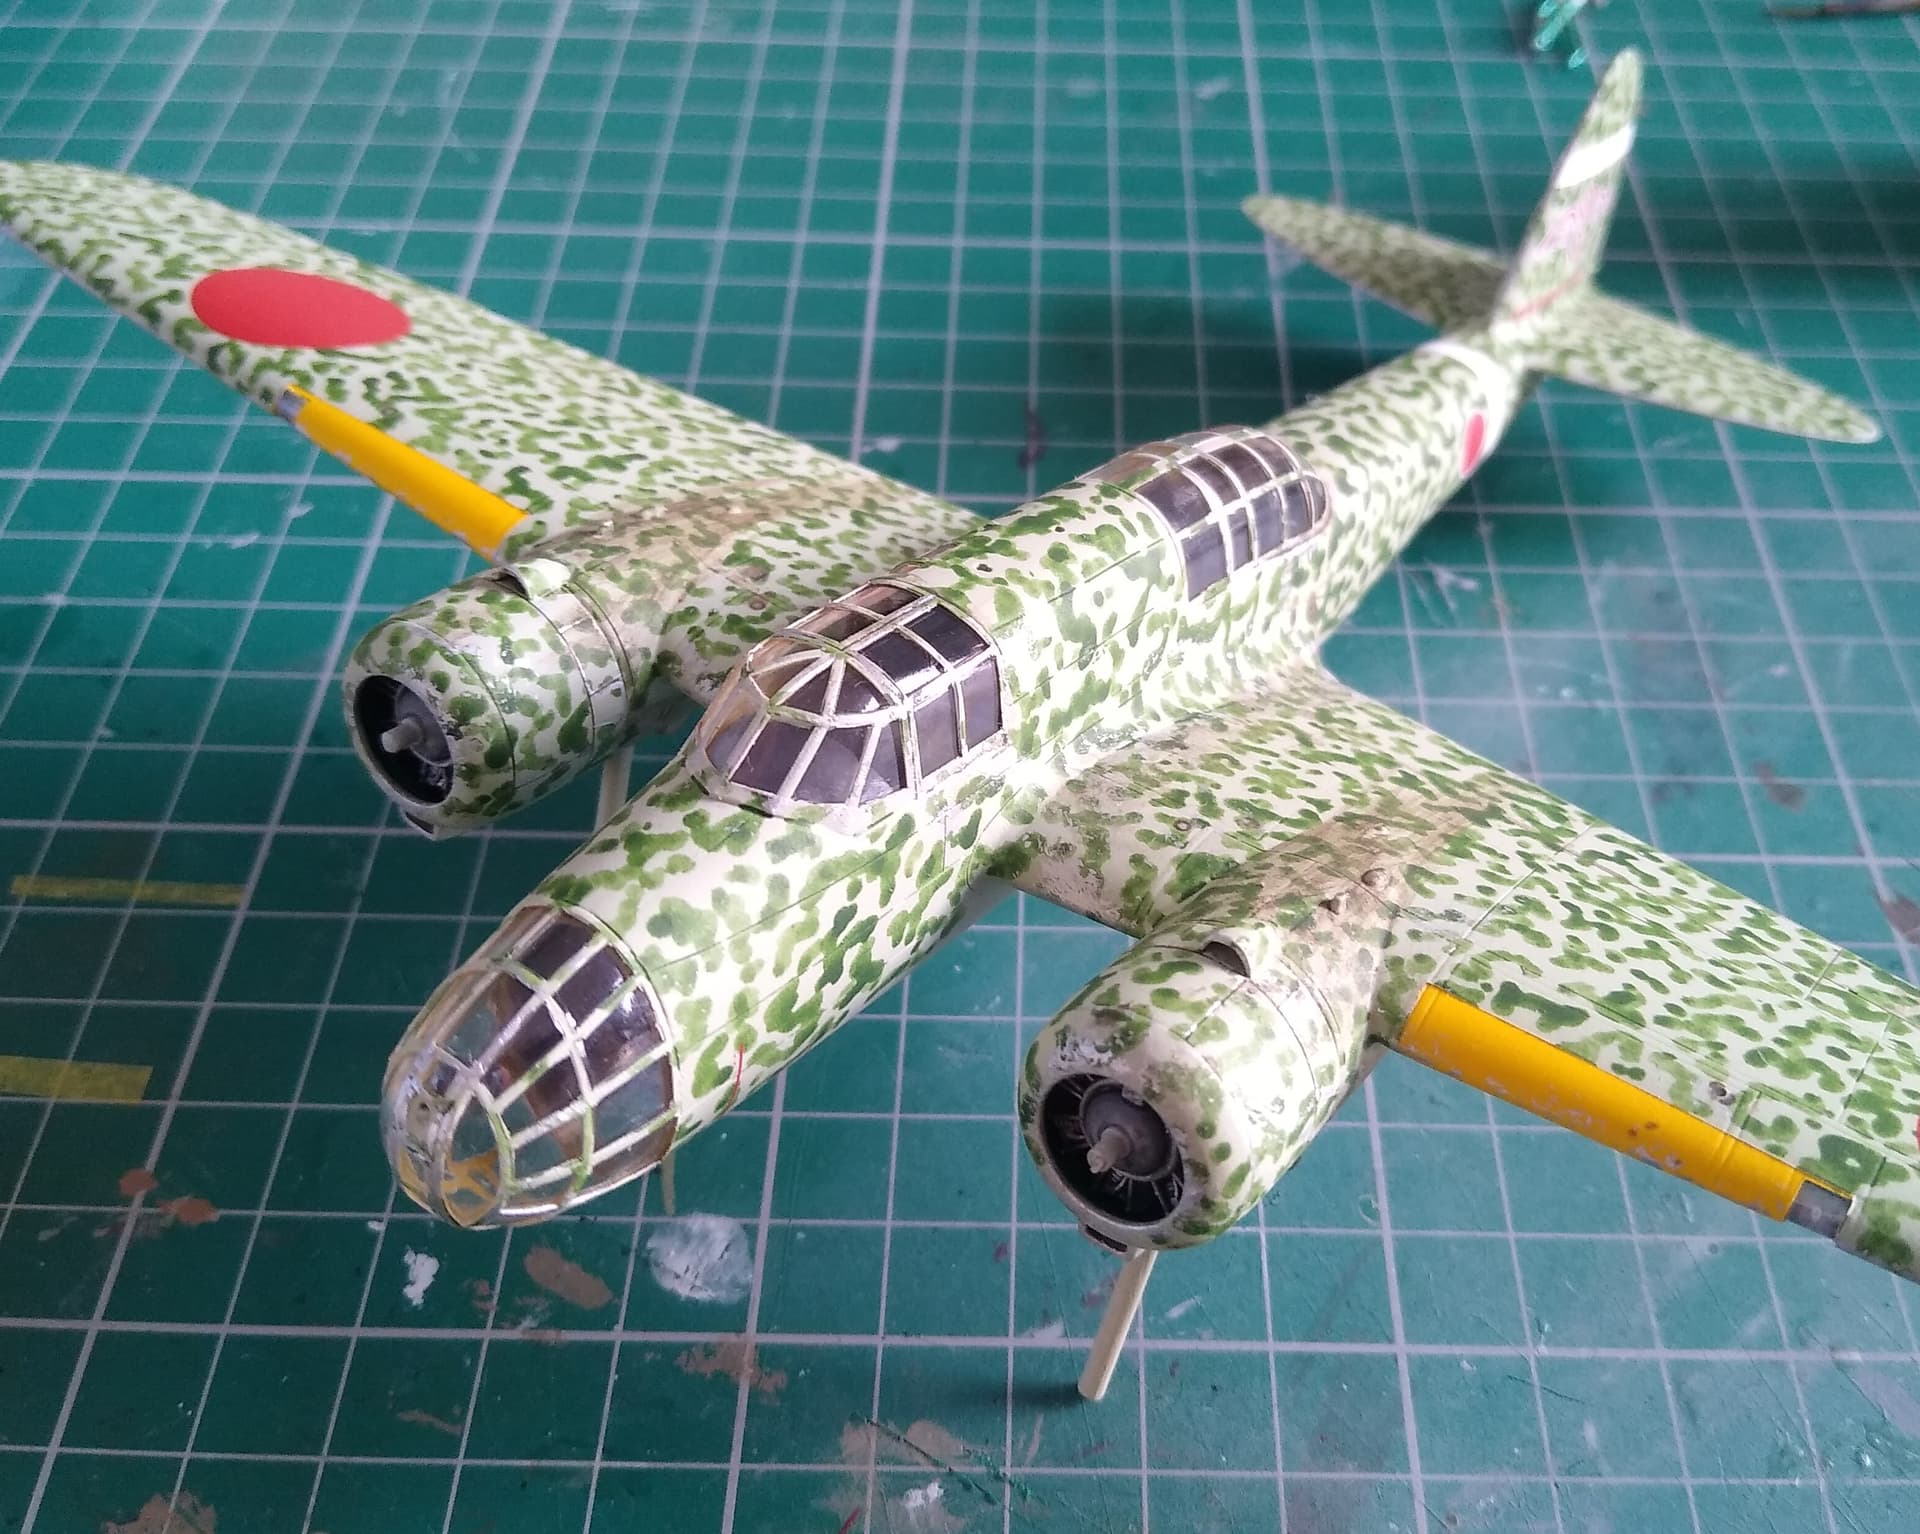
I got the fuselage finished up not long ago. Going to leave it all to dry and see how it looks with eyes in the morning.
Hopefully should have it all decalled and finished up by the end of the week.
1 Like
Stephen, looks great so far!
1 Like
Thanks John.
Doesn’t look half bad. Would be better airbrushed but I just want to get this done now.
7 Likes
Looks quite realistic to my eye, Stephen. Looking forward to see more ![]()
1 Like
I’m taking a seat to see the decals! ![]()
![]()
![]()
1 Like
Thanks guys.
Removed the masking on all of the stripes today and they’ve turned out really well. Little paint bleed under the leading edge of the rudder, but that was to be expected as it’s an awkward angle for the tape to stick to. Little bit of white soon sorted that. Did some paint chipping around the wing leading edge, cowlings, canopy hatches and a few other areas. Will leave most of the weathering until it’s decalled.
4 Likes
Made a start on the decals today. Well printed and good colour density, but they do need a good long soak to come off the backing paper. Haven’t noticed any bad reactions from Microsol and Set, which is good.

10 Likes
That’s all of the decals done. They worked really well, H-Models decals get a thumbs up from me. The only complaint I have is that they did the stencils on a separate sheet, requiring you to buy both. Considering how few there are, they could very easily have put them on the main sheet.
The yellow stripes on the props came from a set of yellow stripes from Xtradecals.
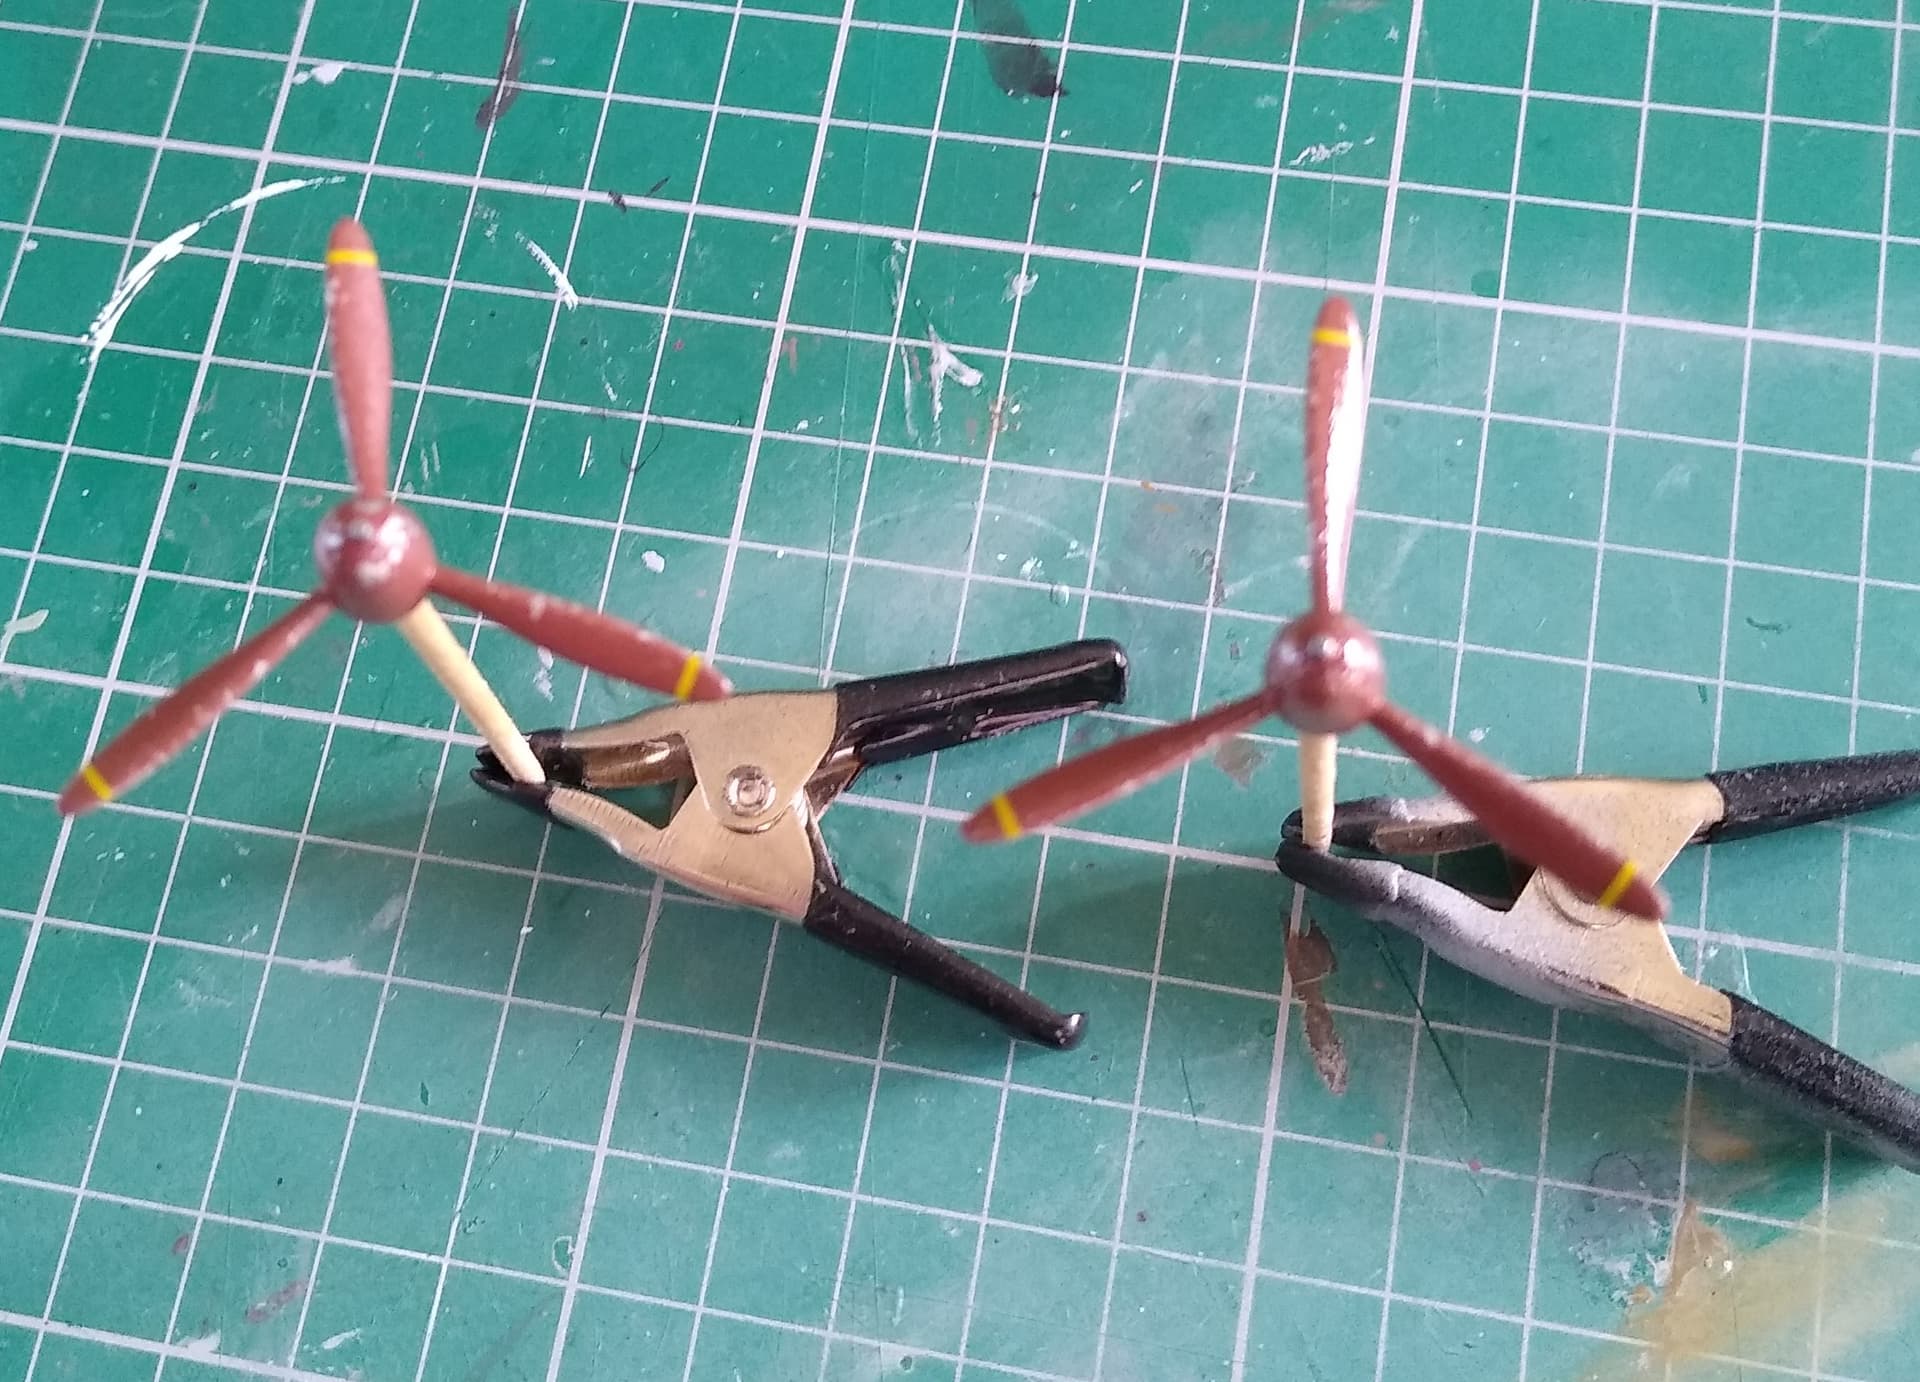
Took a bit of care to get them all in the same place, but worth it in the end.
So, just a final coat of matt clear and then all the fiddly bits to attach.
8 Likes
Ok, she’s had a bit of weathering and a final coat of matt clear. Now for that moment that can make or break all the work. Removing the canopy masks.
Pretty happy with that. There were a few frames needing a little paint touch up where it peeled off, but no paint bleed which is the important thing.
Just last few bits to do now.
10 Likes
Very good! ![]()
1 Like
Thanks Peter, it’s been a really enjoyable kit.
That camo is really impressive and is a credit to your patience.
Looks really smart, you’re doing a really top job.
Watto.
2 Likes
Thanks for all the encouragement guys.
And better late than never, she’s done!
So here we have it, the 1973 vintage Mania Kawasaki Ki-48 Type-99 Sokei ‘Lily’ bomber, finished in the markings of 8th Hiko-Sentai, Burma 1944.
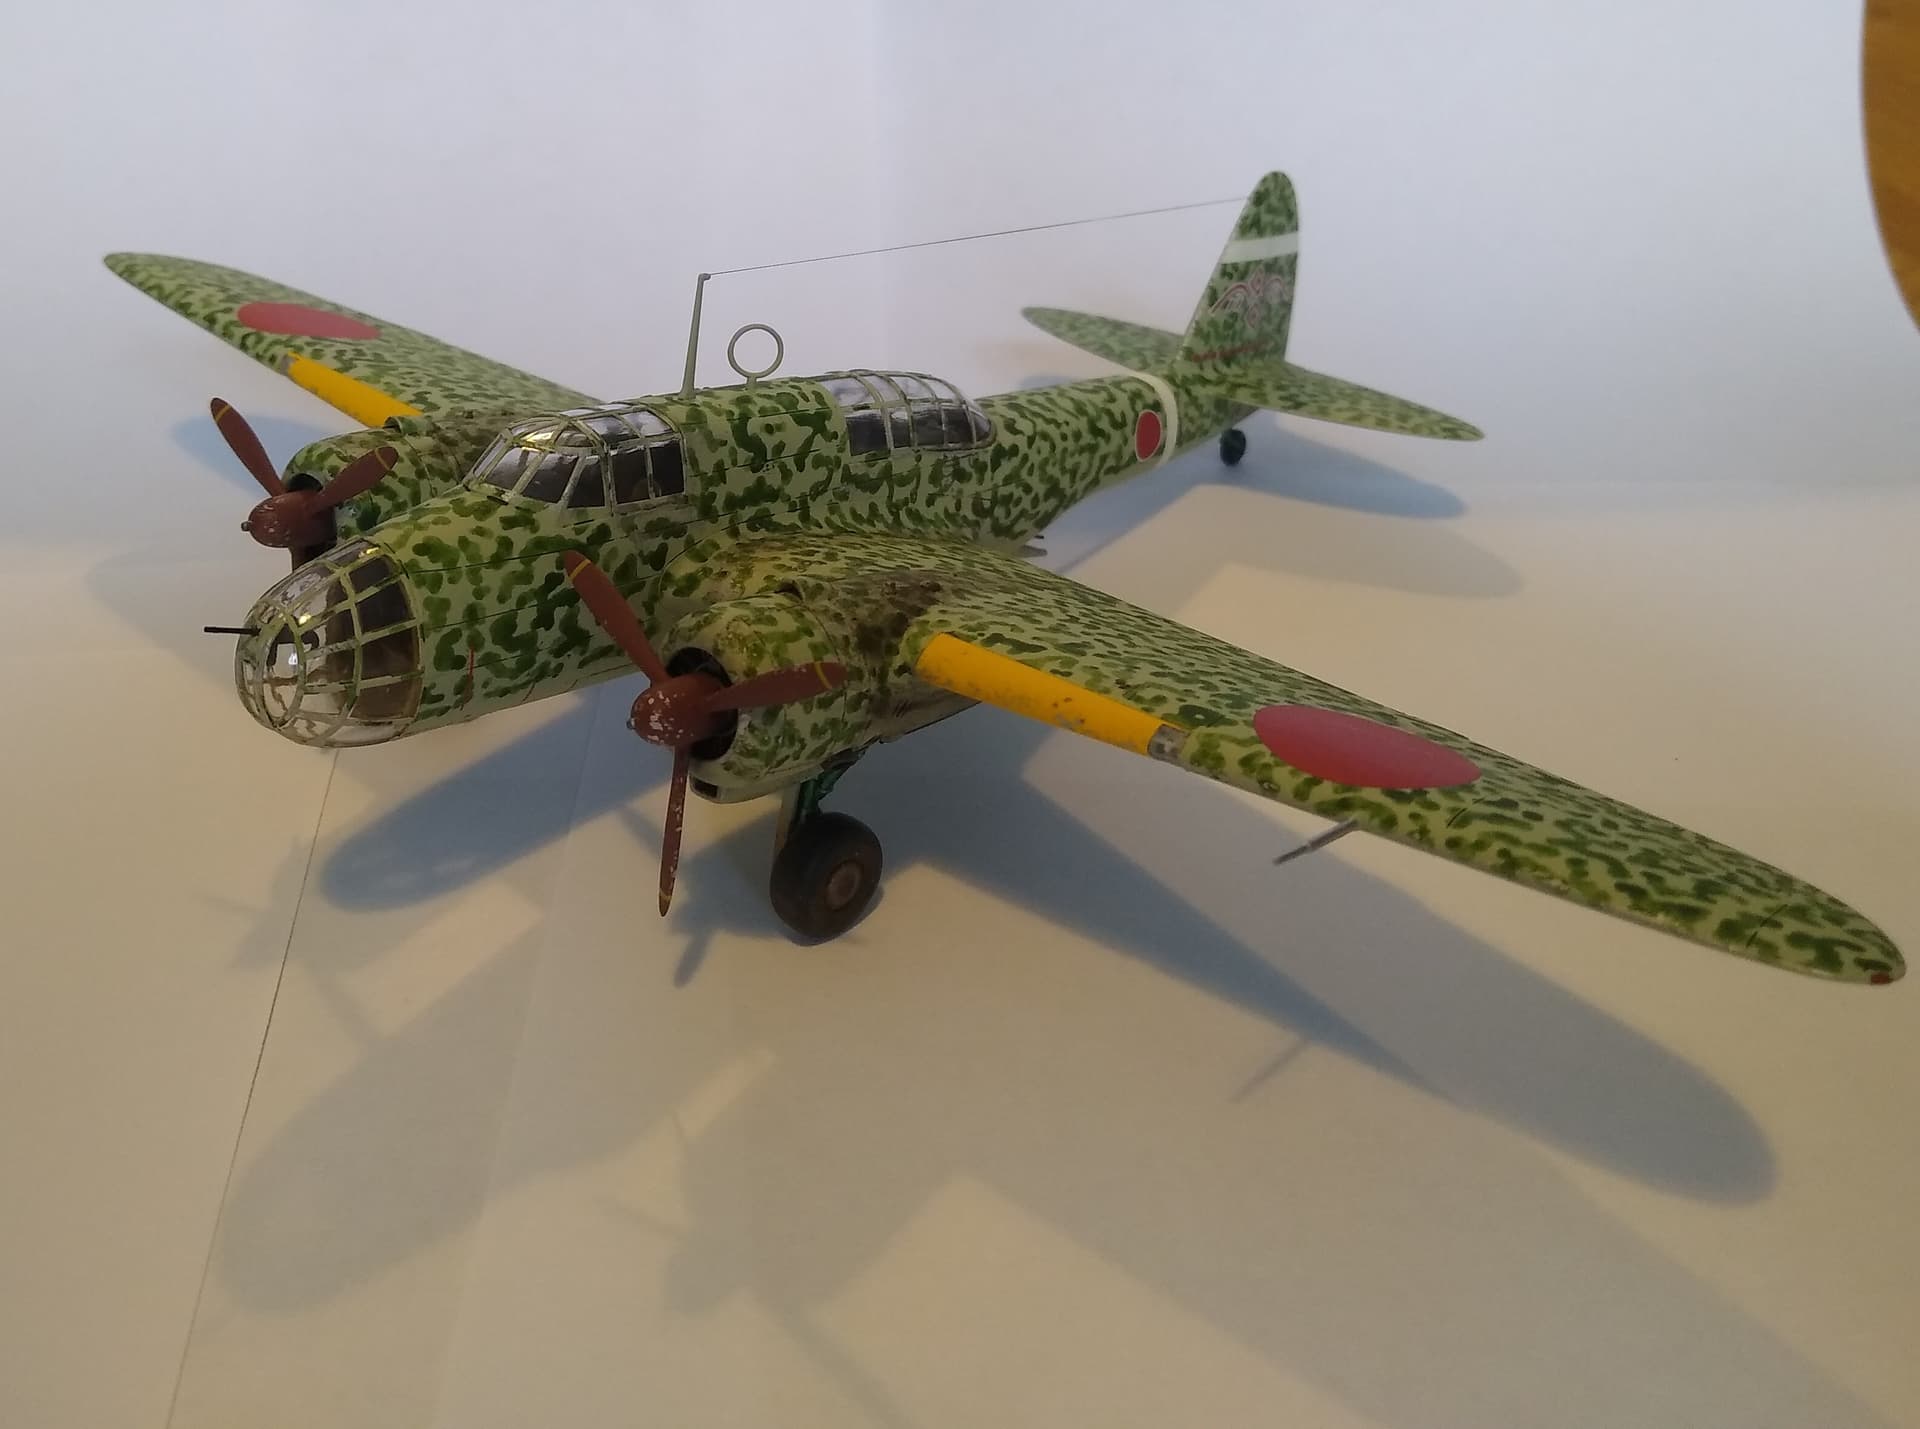

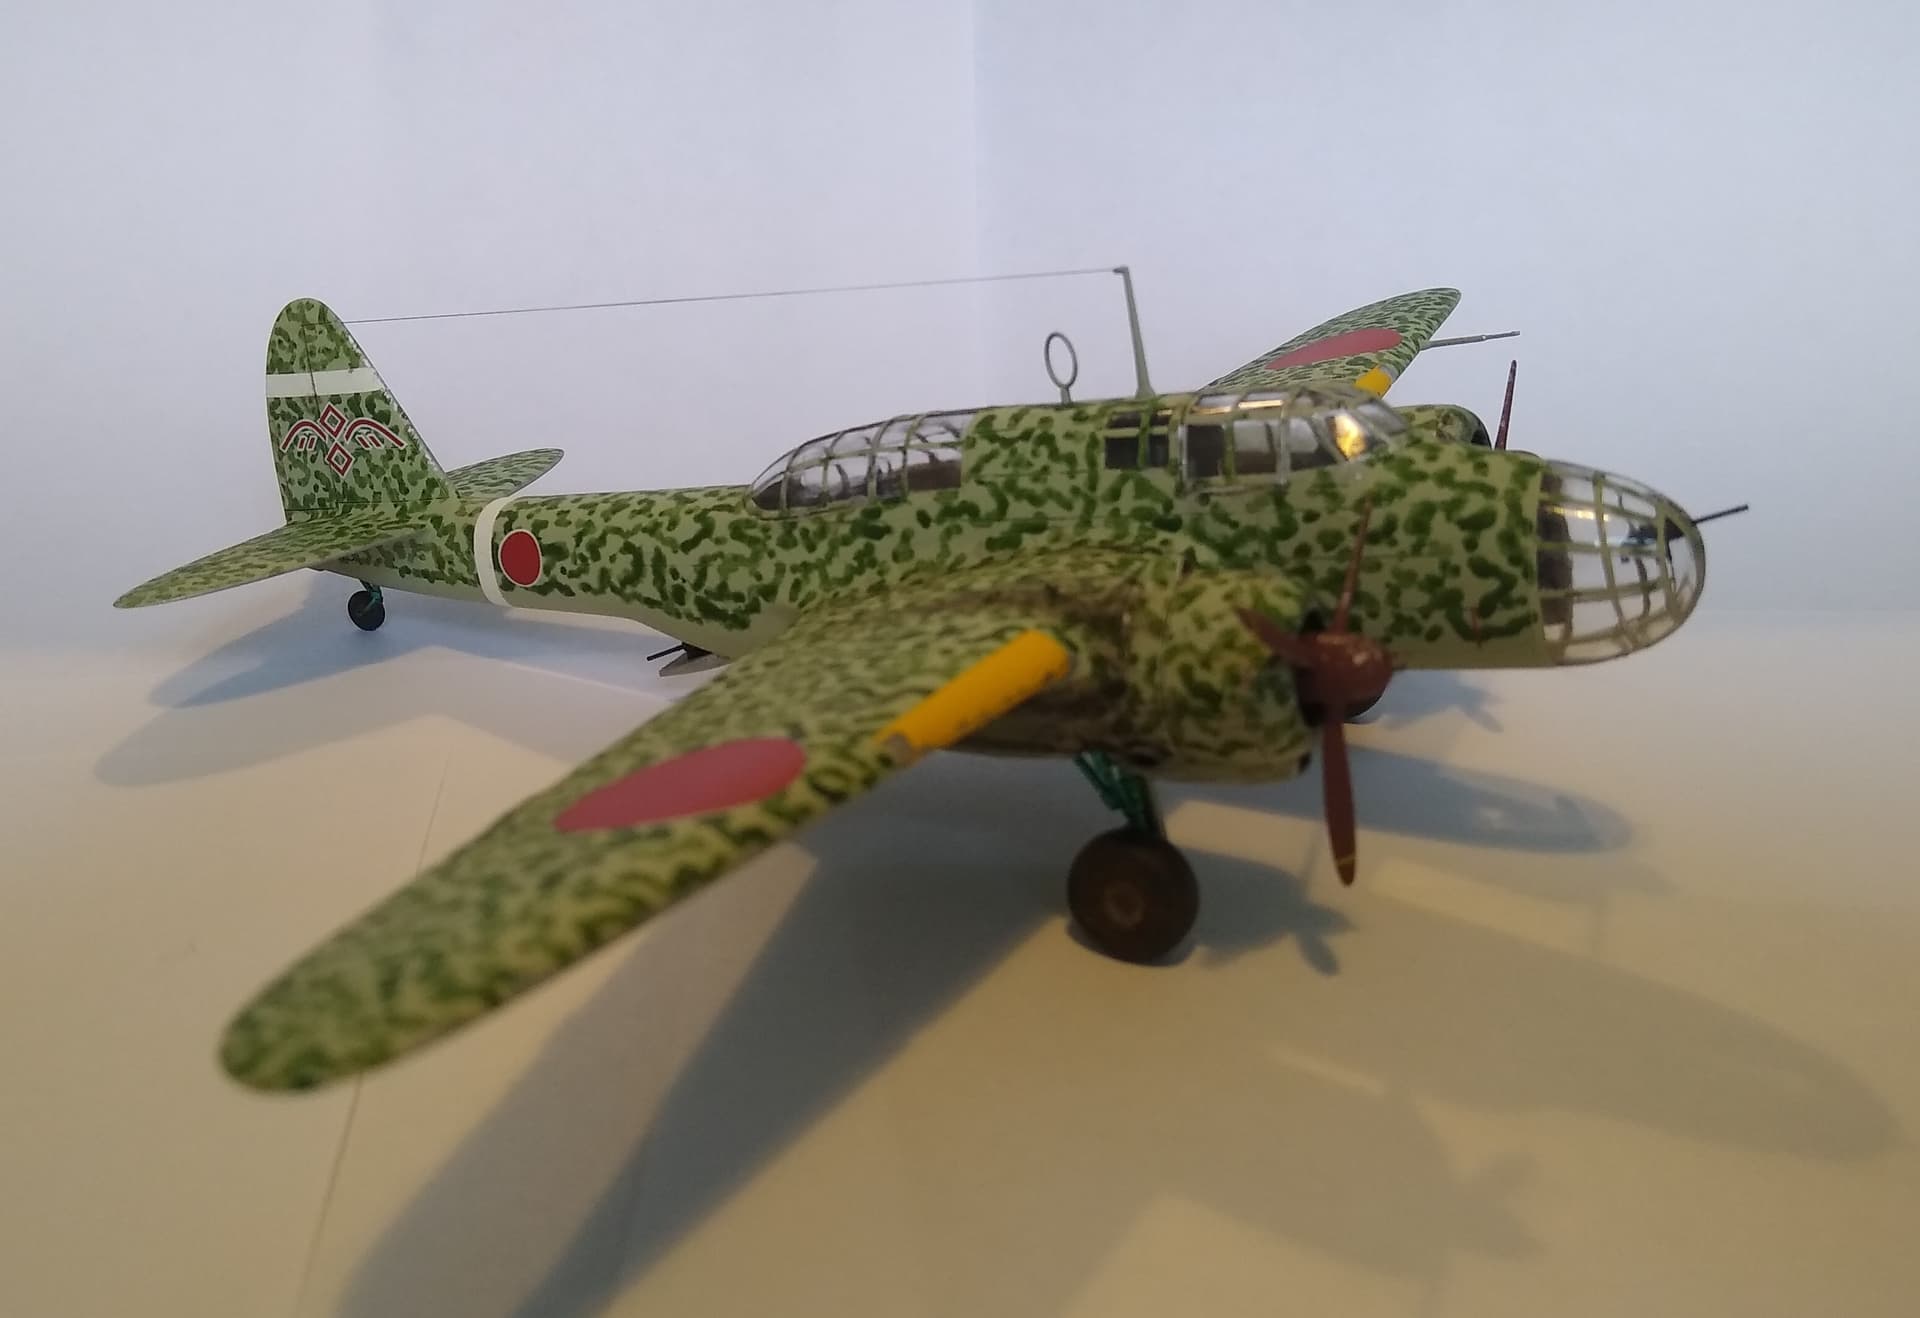
A really nice, easy kit to build and it looks good. Nicely detailed considering it’s vintage too.
Great campaign.
13 Likes
Very nice, Stephen, well done ! ![]()
![]()
1 Like
Looks superb Stephen. You have done a great job on her.
1 Like
Thanks guys. It’s good to get this one finally finished.
Not the last Japanese bomber I’ll do. Got a Nell, Betty and Ki-109 heavy fighter to do sometime soon.