Two more Sherman A3’s....and a turret swap

Hey guys,

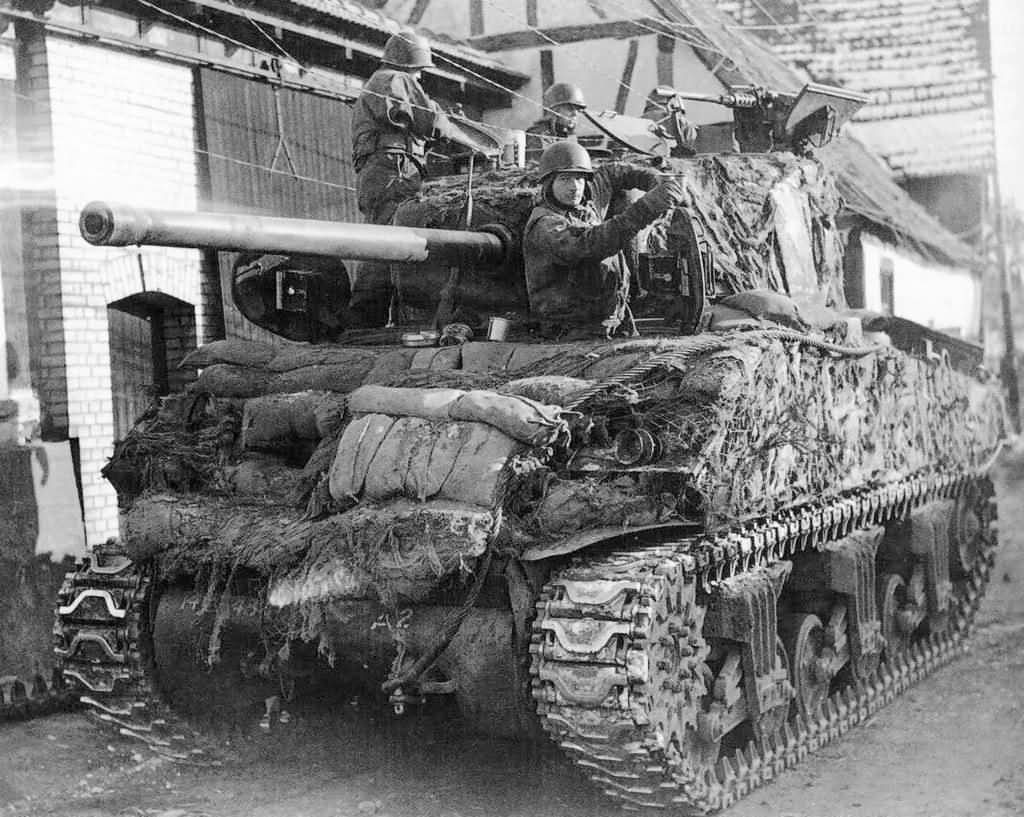
While I’m working on the RFM Easy 8, I had two more ideas spring up. First, a model based on this tank:


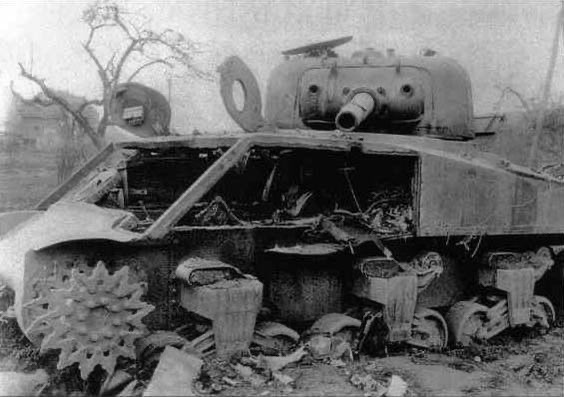
For this tank, I ordered the Meng offering. However, I also wanted to build a tank based on this tank as well:
ASUKA BUILD

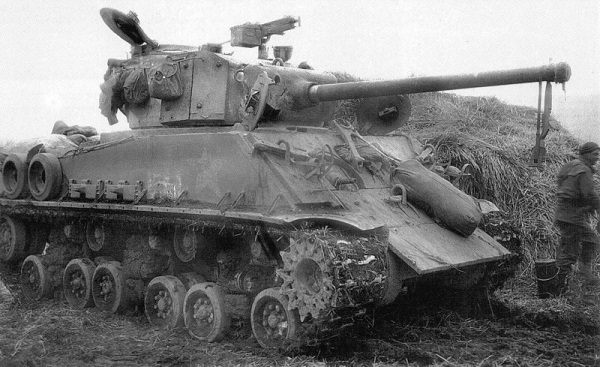
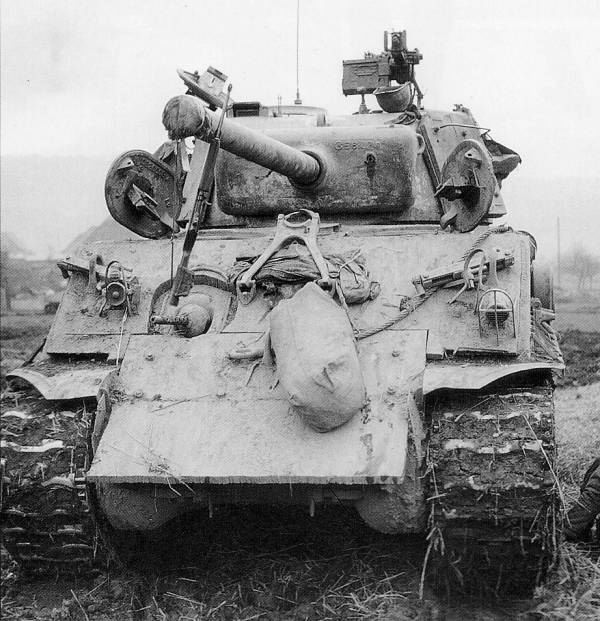
Now my initial suspicions are that the second tank is Flat Footed Floogie AFTER the popular photo of her in/near Worms. A lot of details add up in each photo, particularly the duffel bag strung up on the glacis. Anyway, for this tank I ordered Asuka’s E8.

Now, here’s where I hit a small snag: The E8 has an early T23 turret with a split loaders hatch. The M4A3 VVSS in the first picture also has a split hatch. Asuka’s kit has the oval loaders hatch from later turrets, Meng’s 76 W VVSS kit has the split hatch.

So, because I am complicated, I swapped the turrets. The Meng 76 (w) VVSS will now have an oval loaders hatch, later T23 turret. The Asuka E8 will now have the split loaders hatch. My primary concern was the probability of a 76 VVSS having a T23 turret. Alas, there’s a photo of a “bring back” VVSS A3 Sherman:


These M4A3 VVSS Sherman’s with the oval loaders hatch were solely built by Fisher Body in late 1944, until December. Perfect!

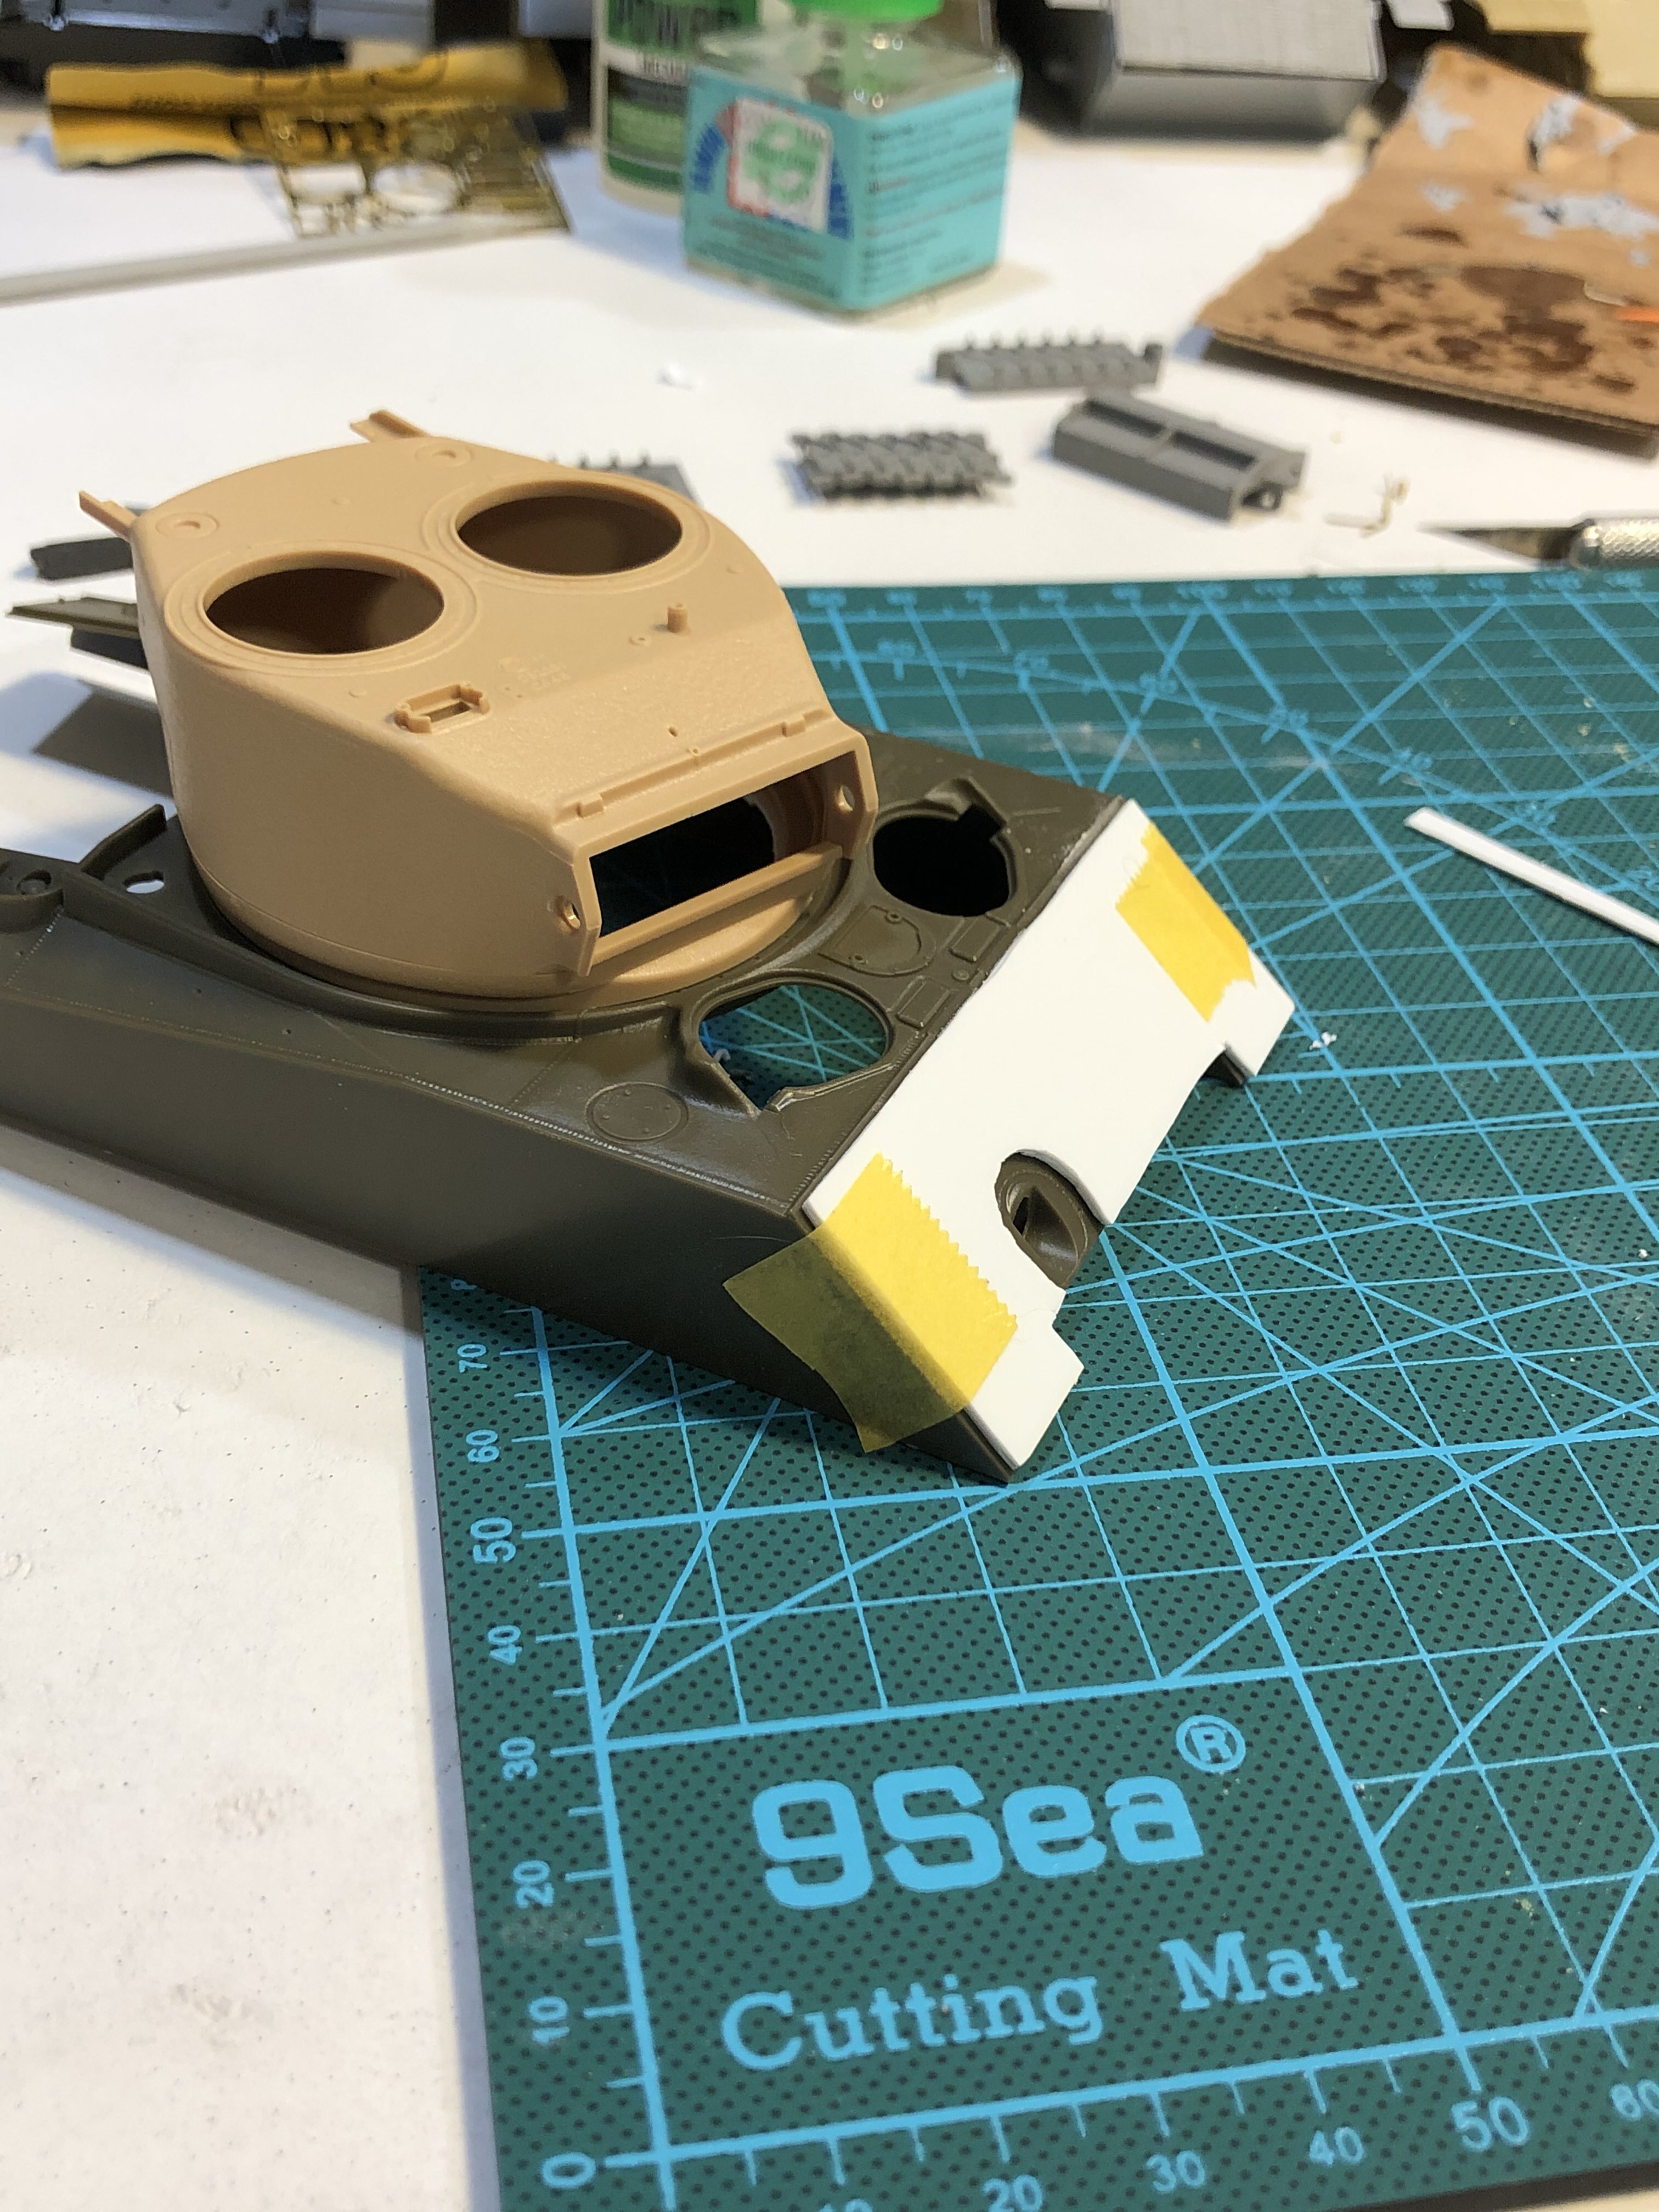
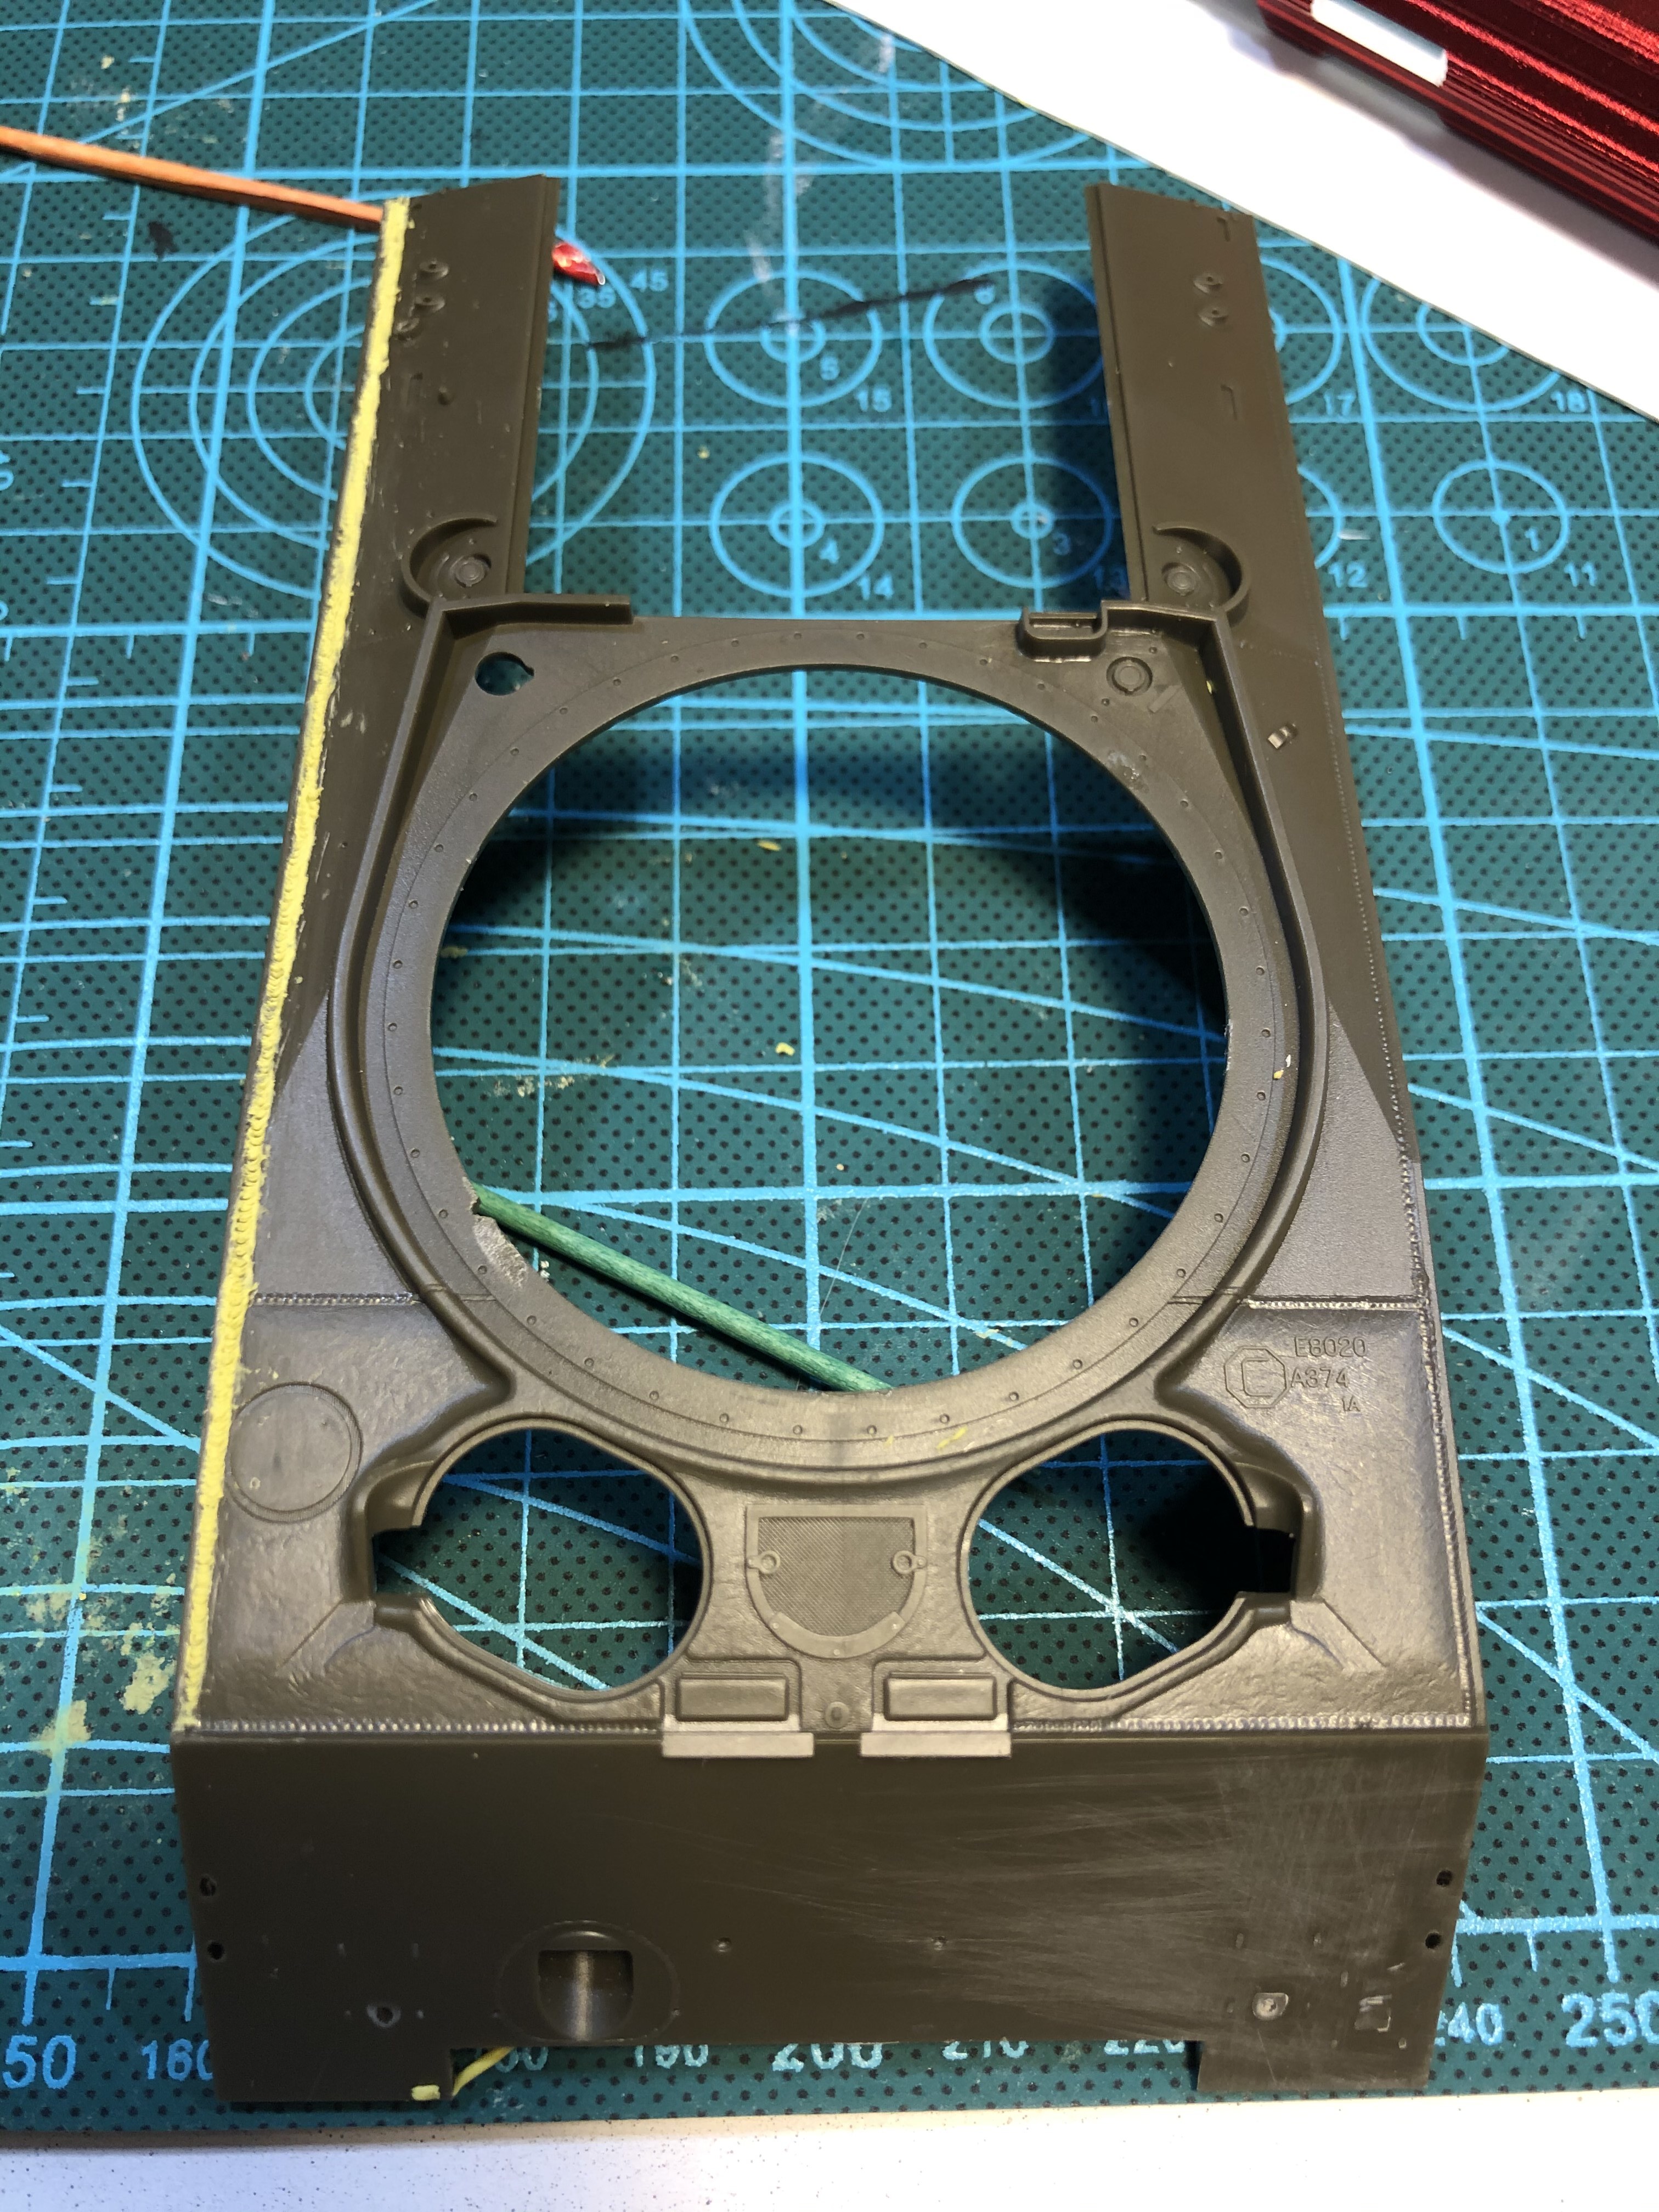
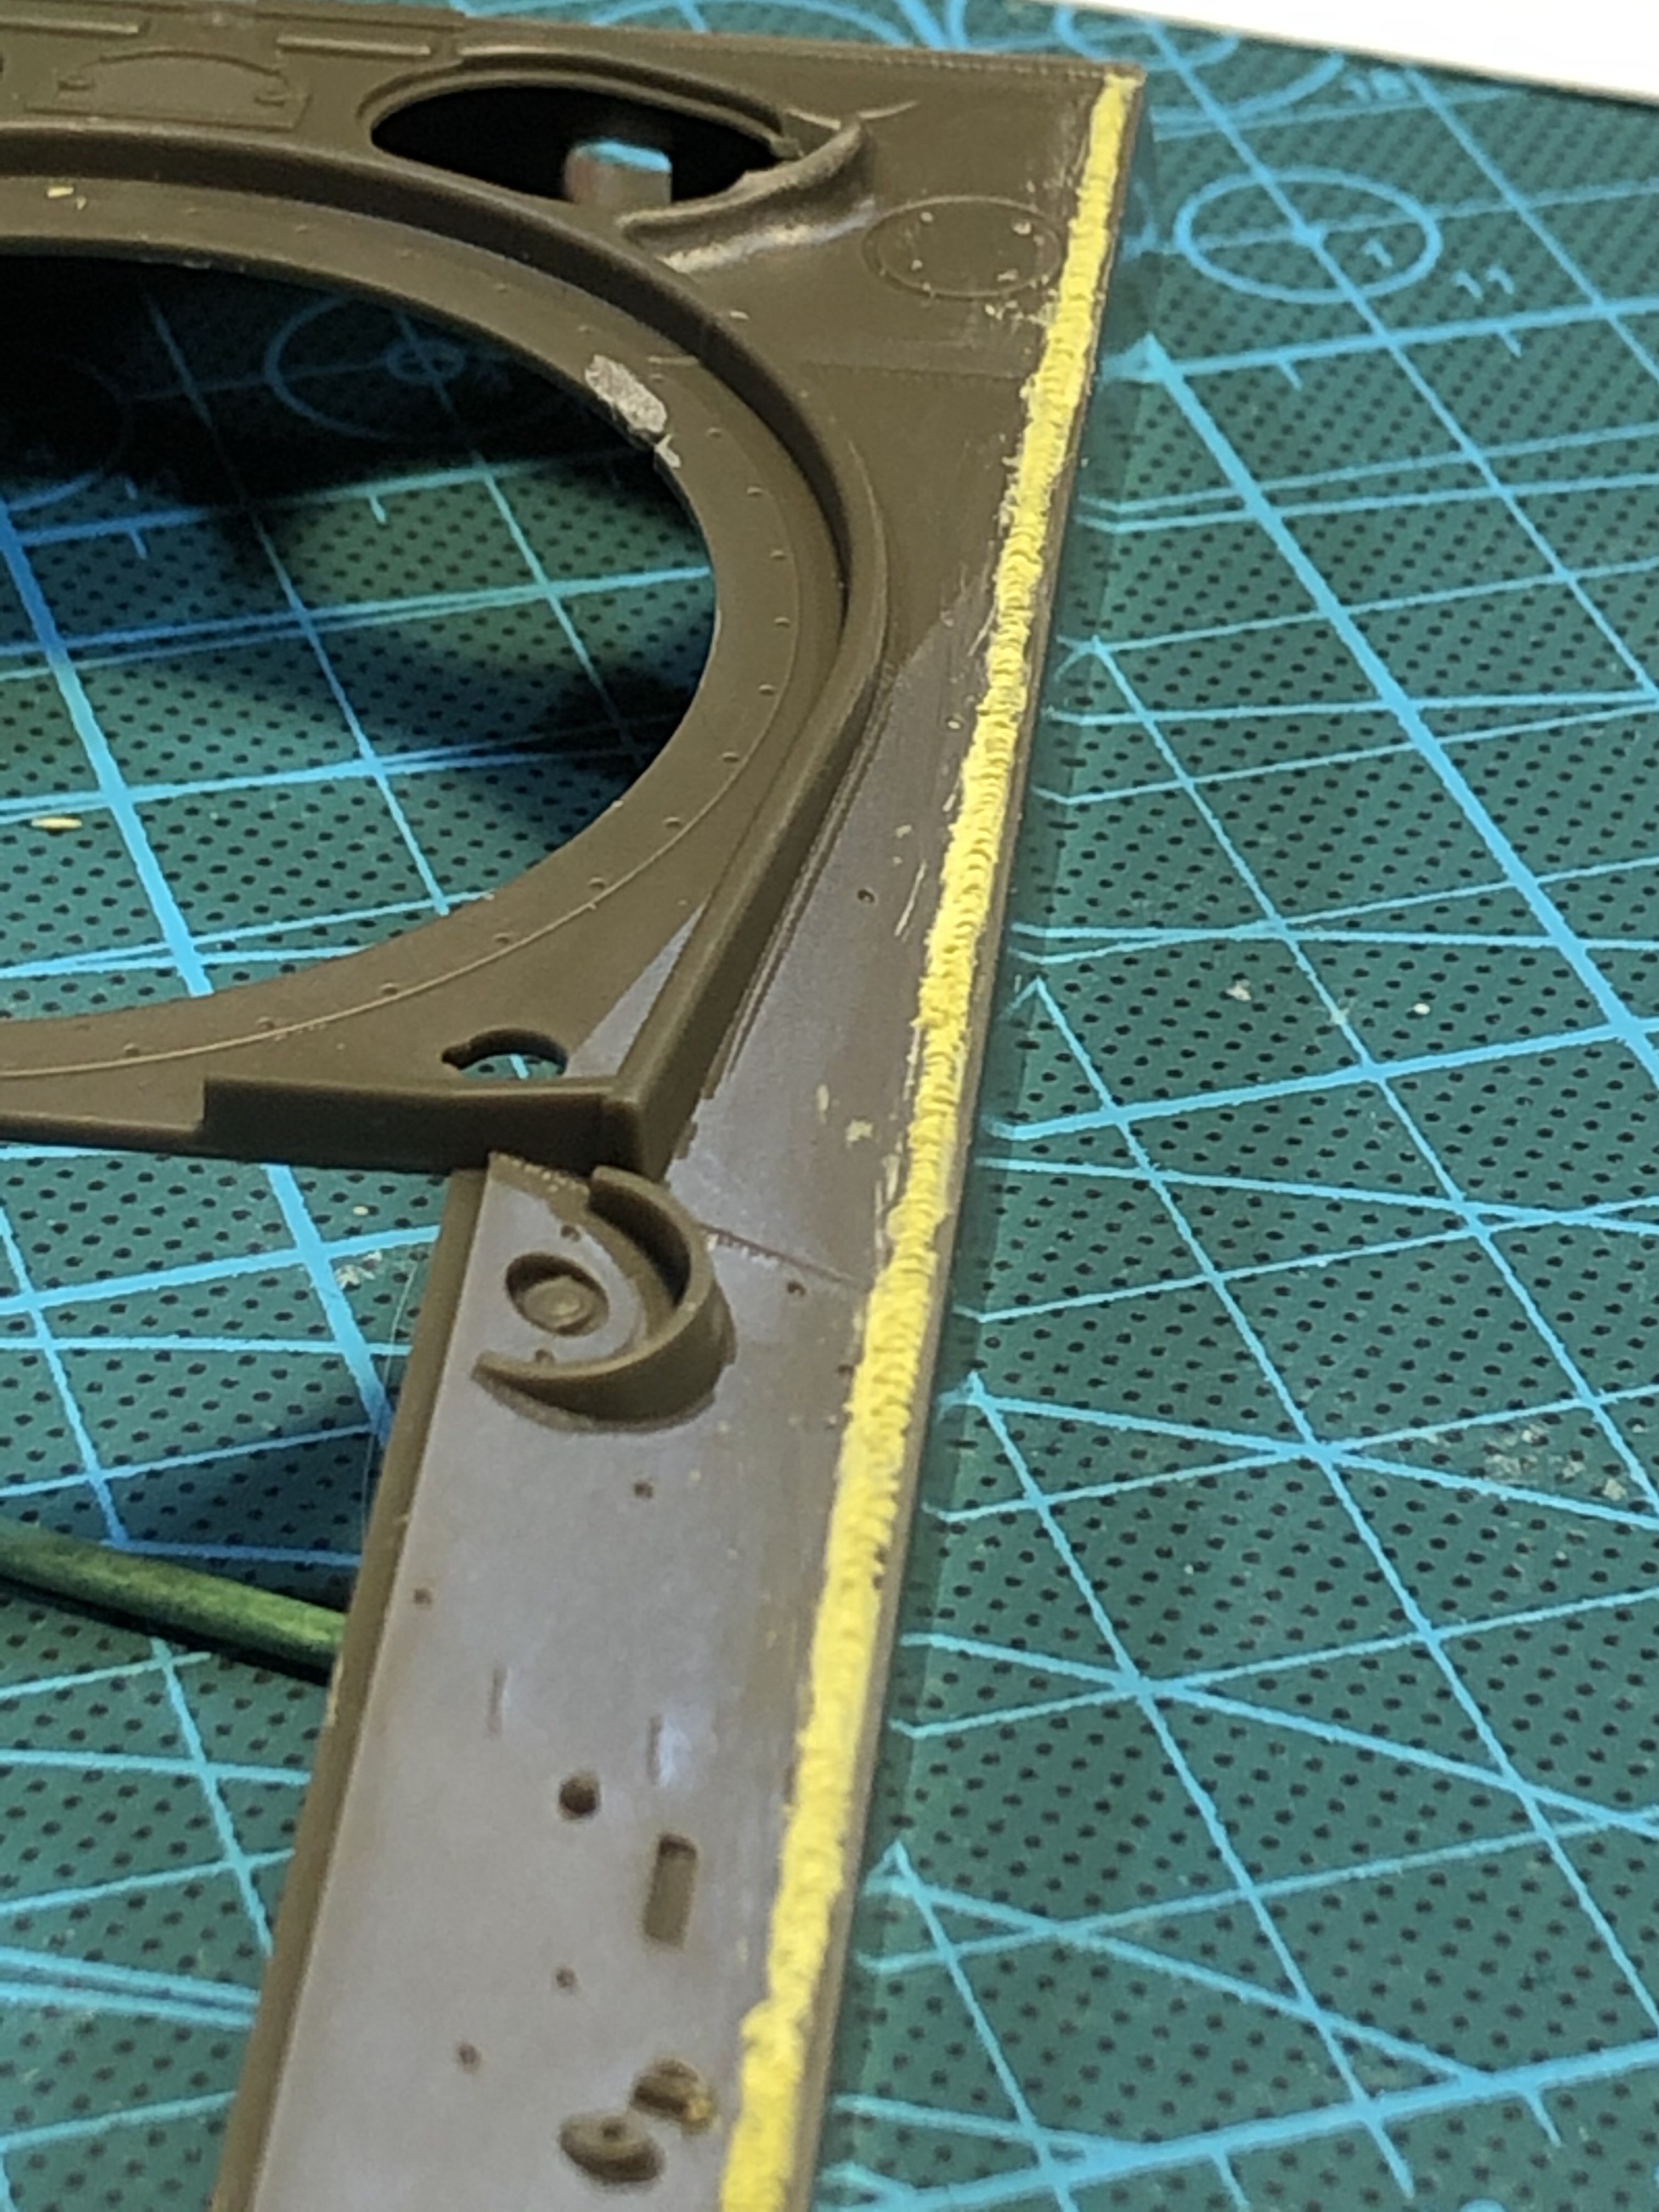
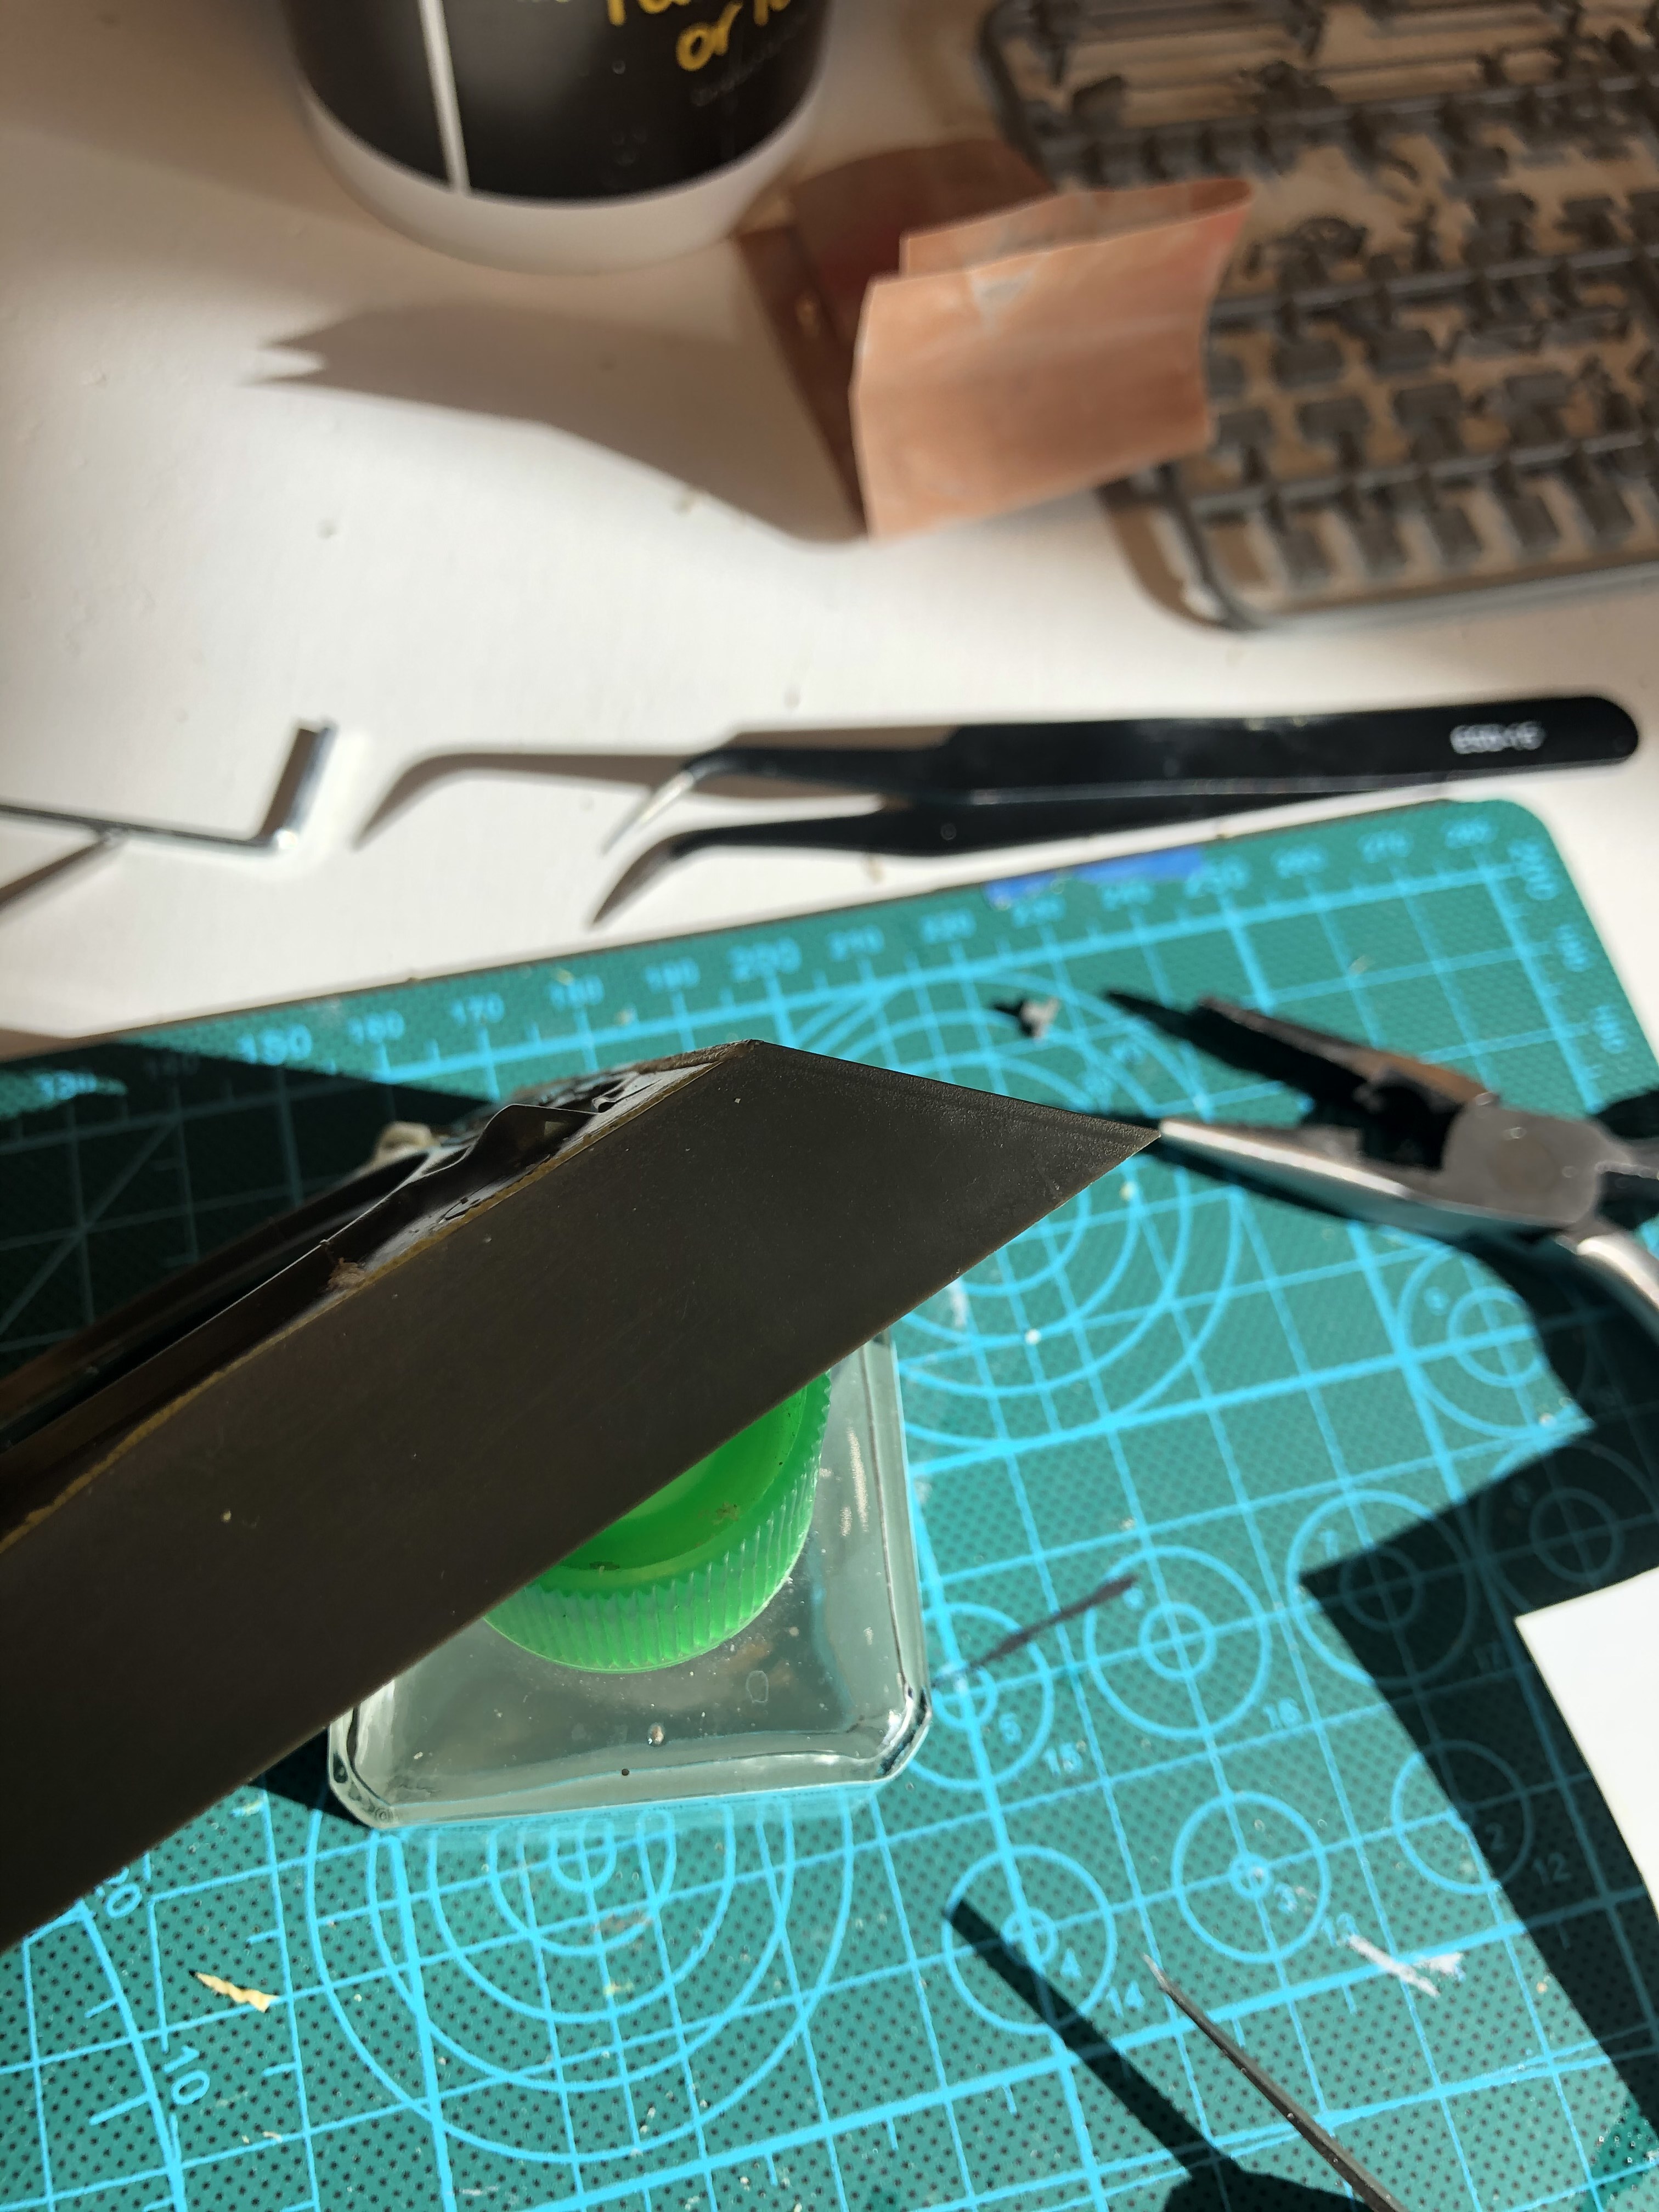
So, here’s some progress of the turret swap. For the oval hatch to meet up with the upper hull I had to cut away the molded on turret ring from the lower turret. That will allow the turret to mate up with the kit supplied rotating ring.

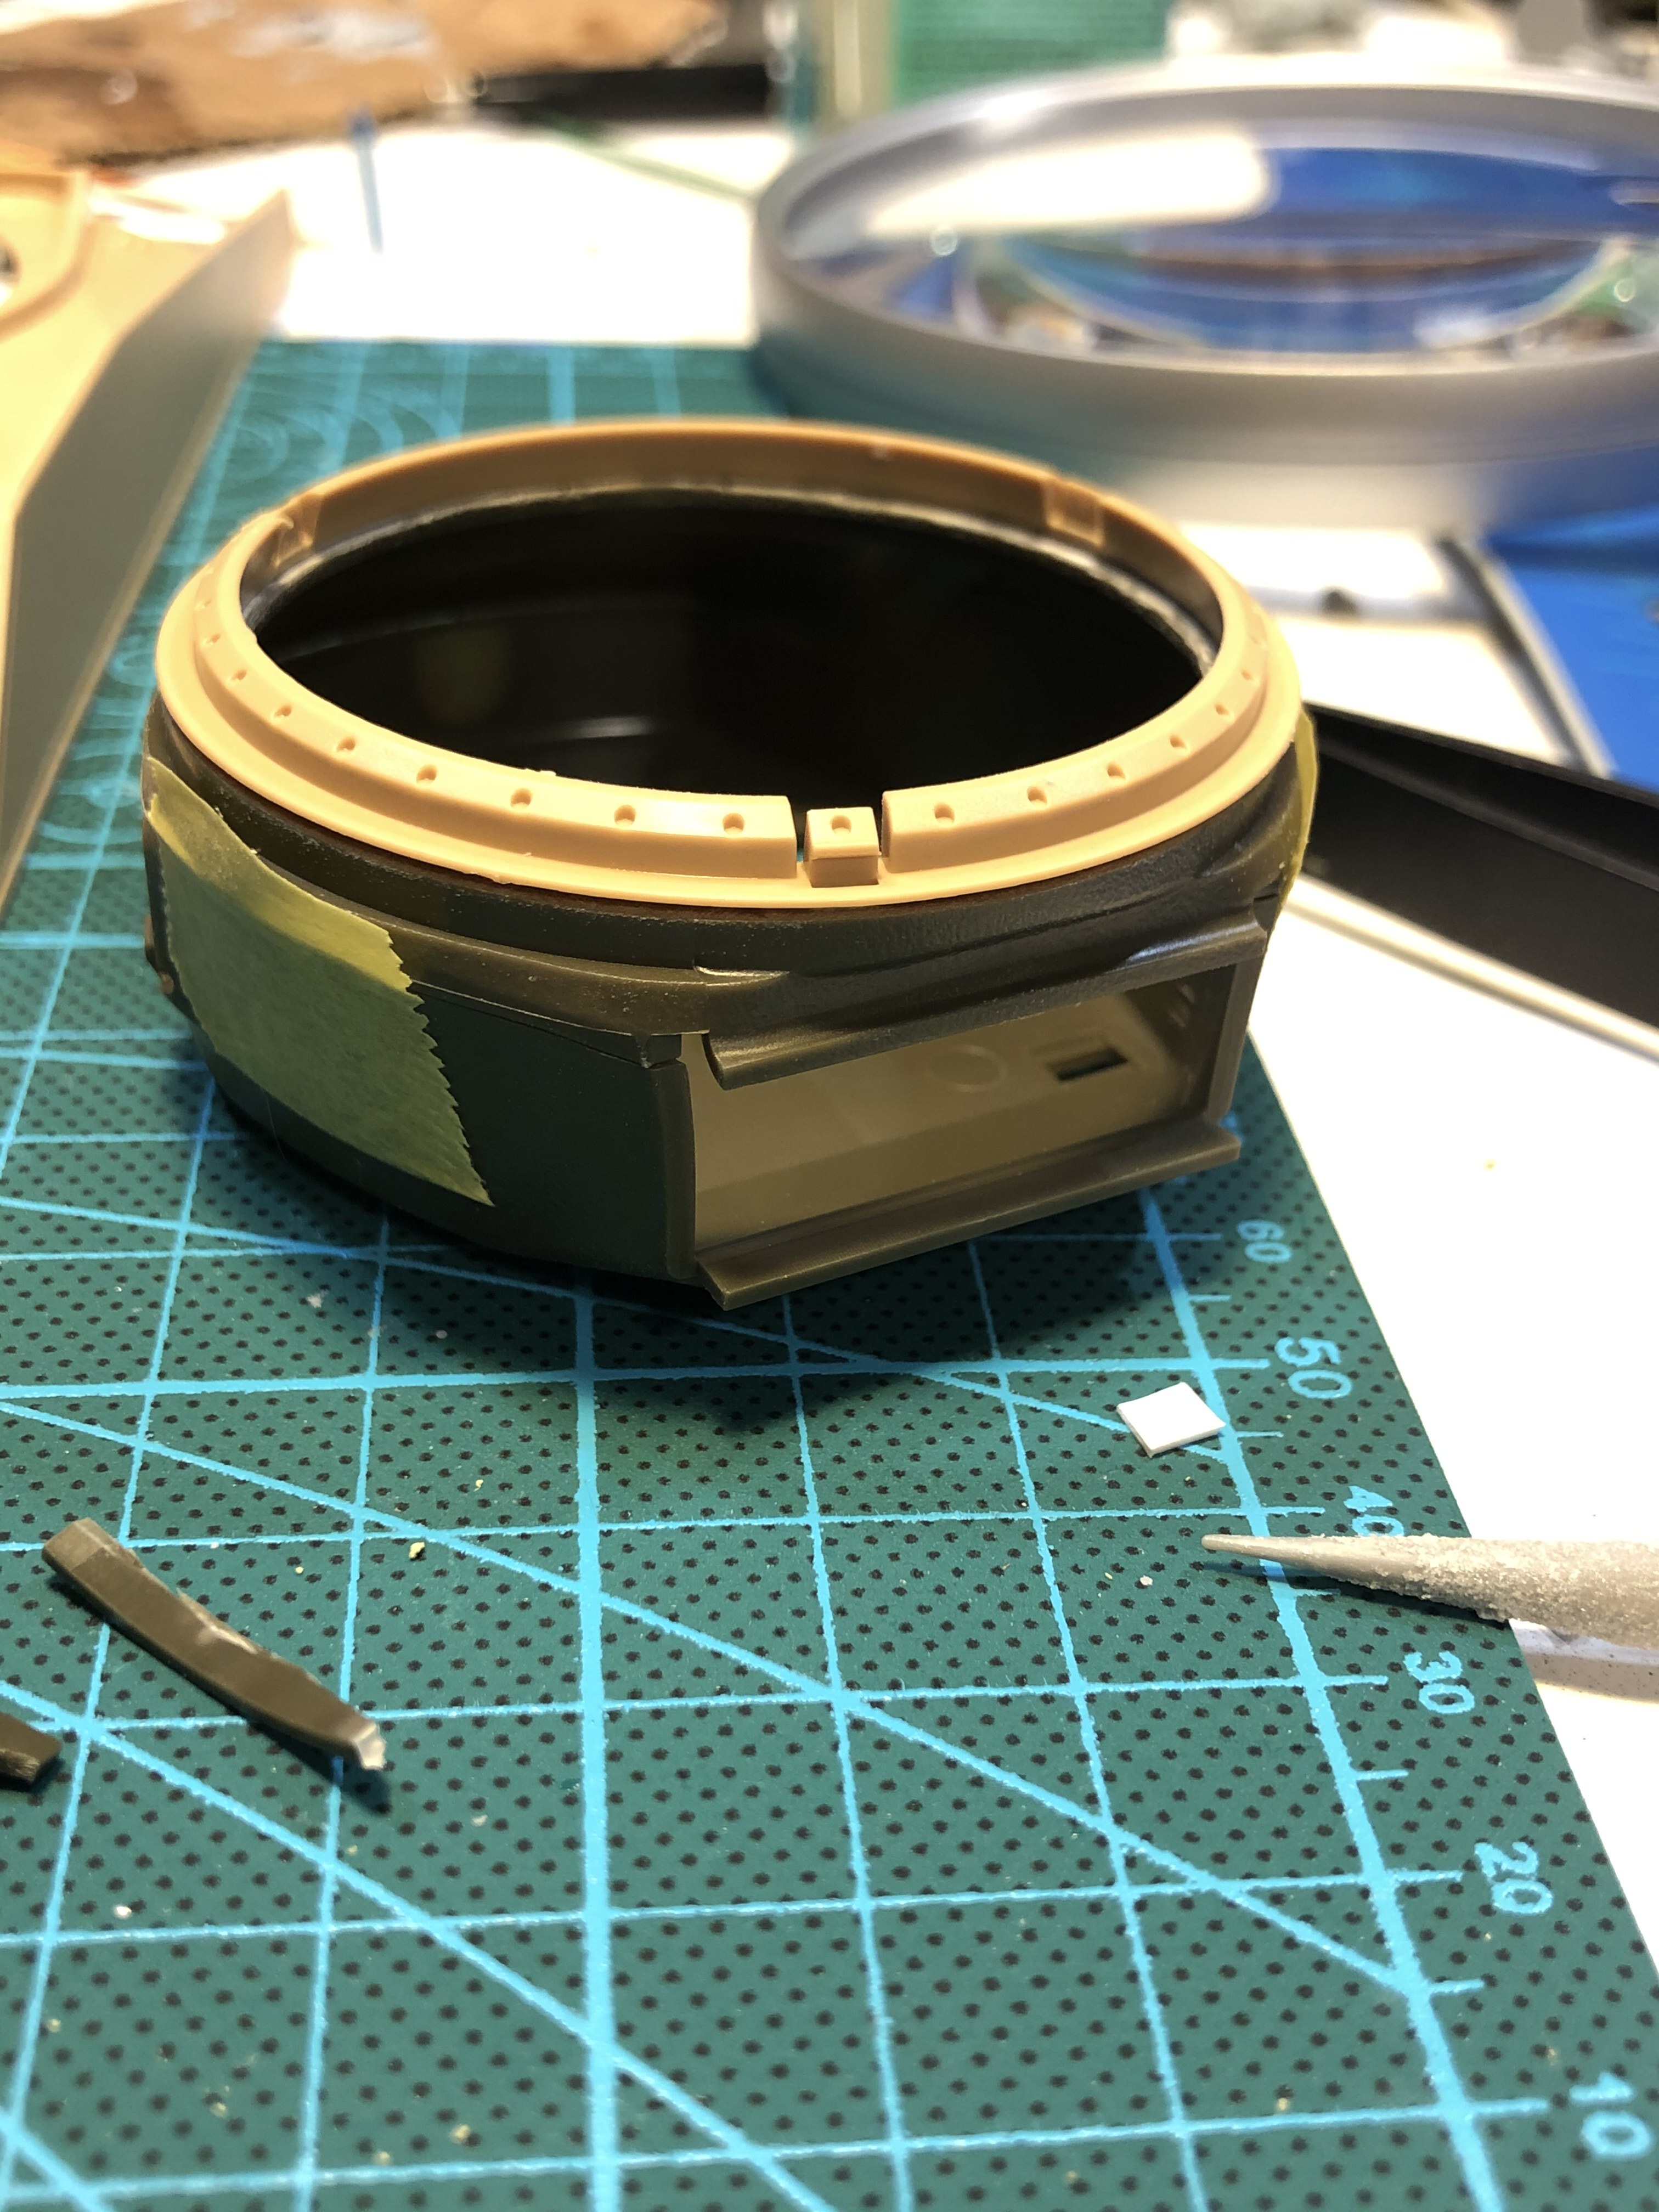
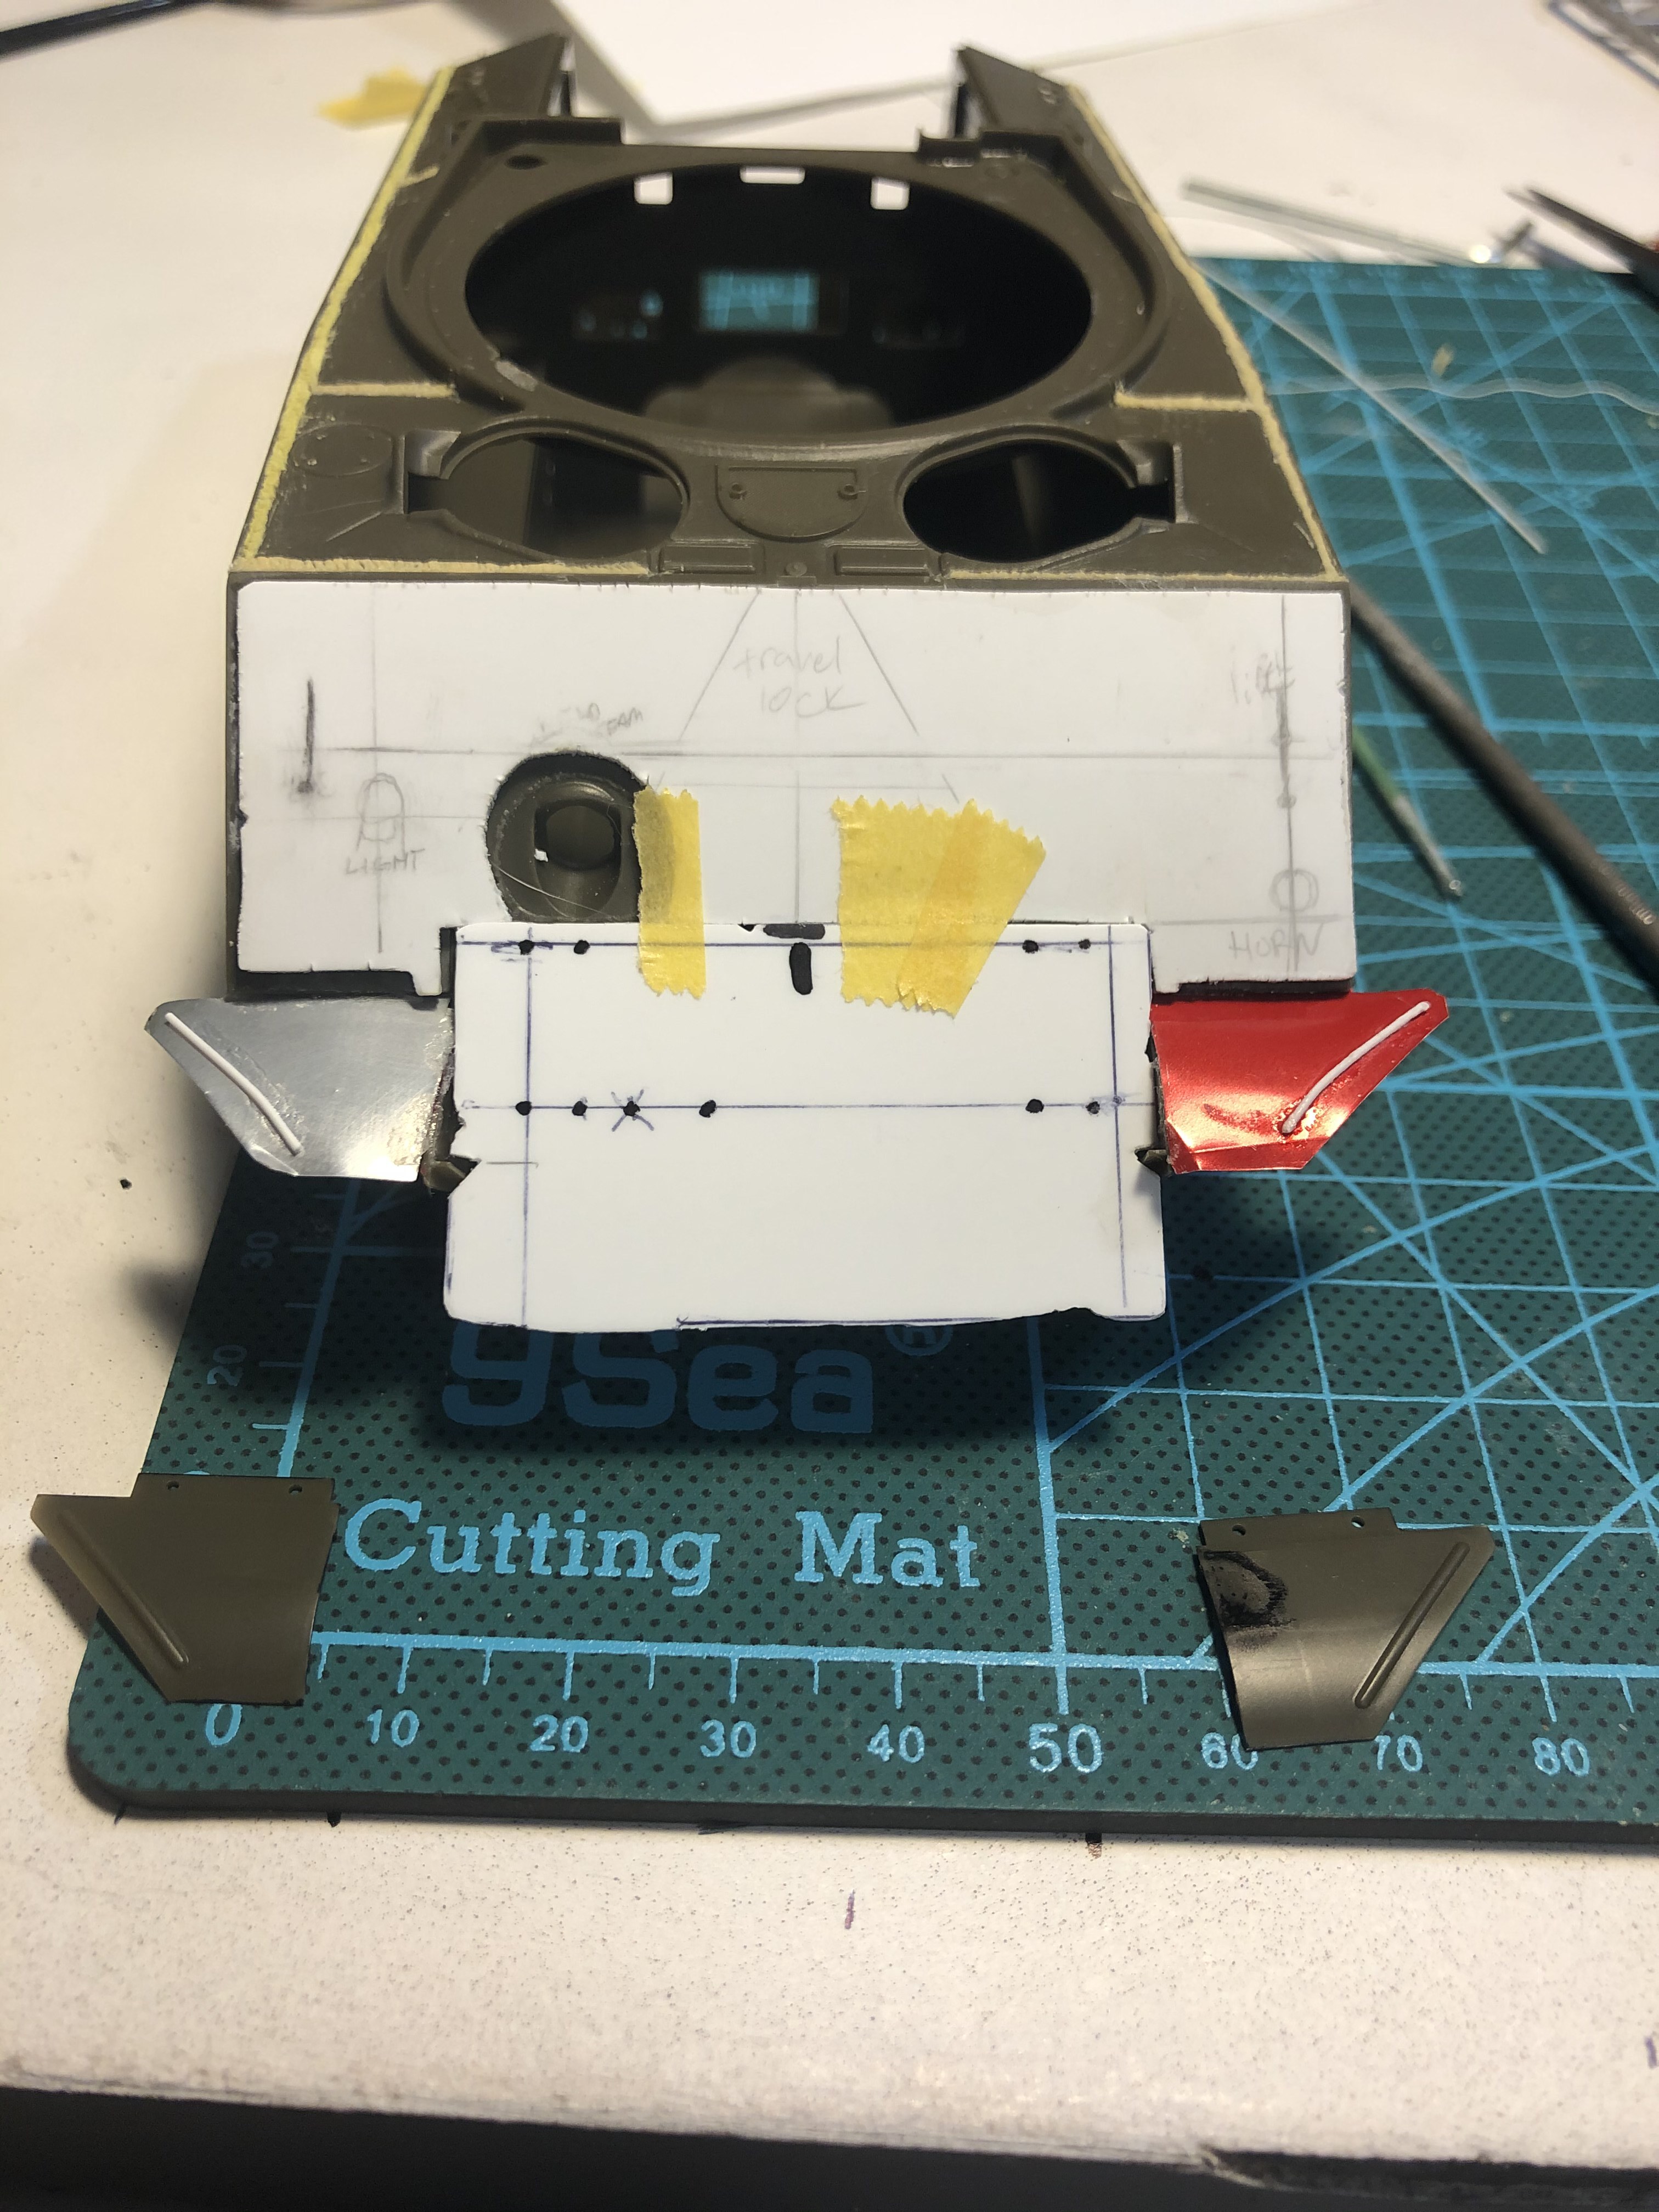
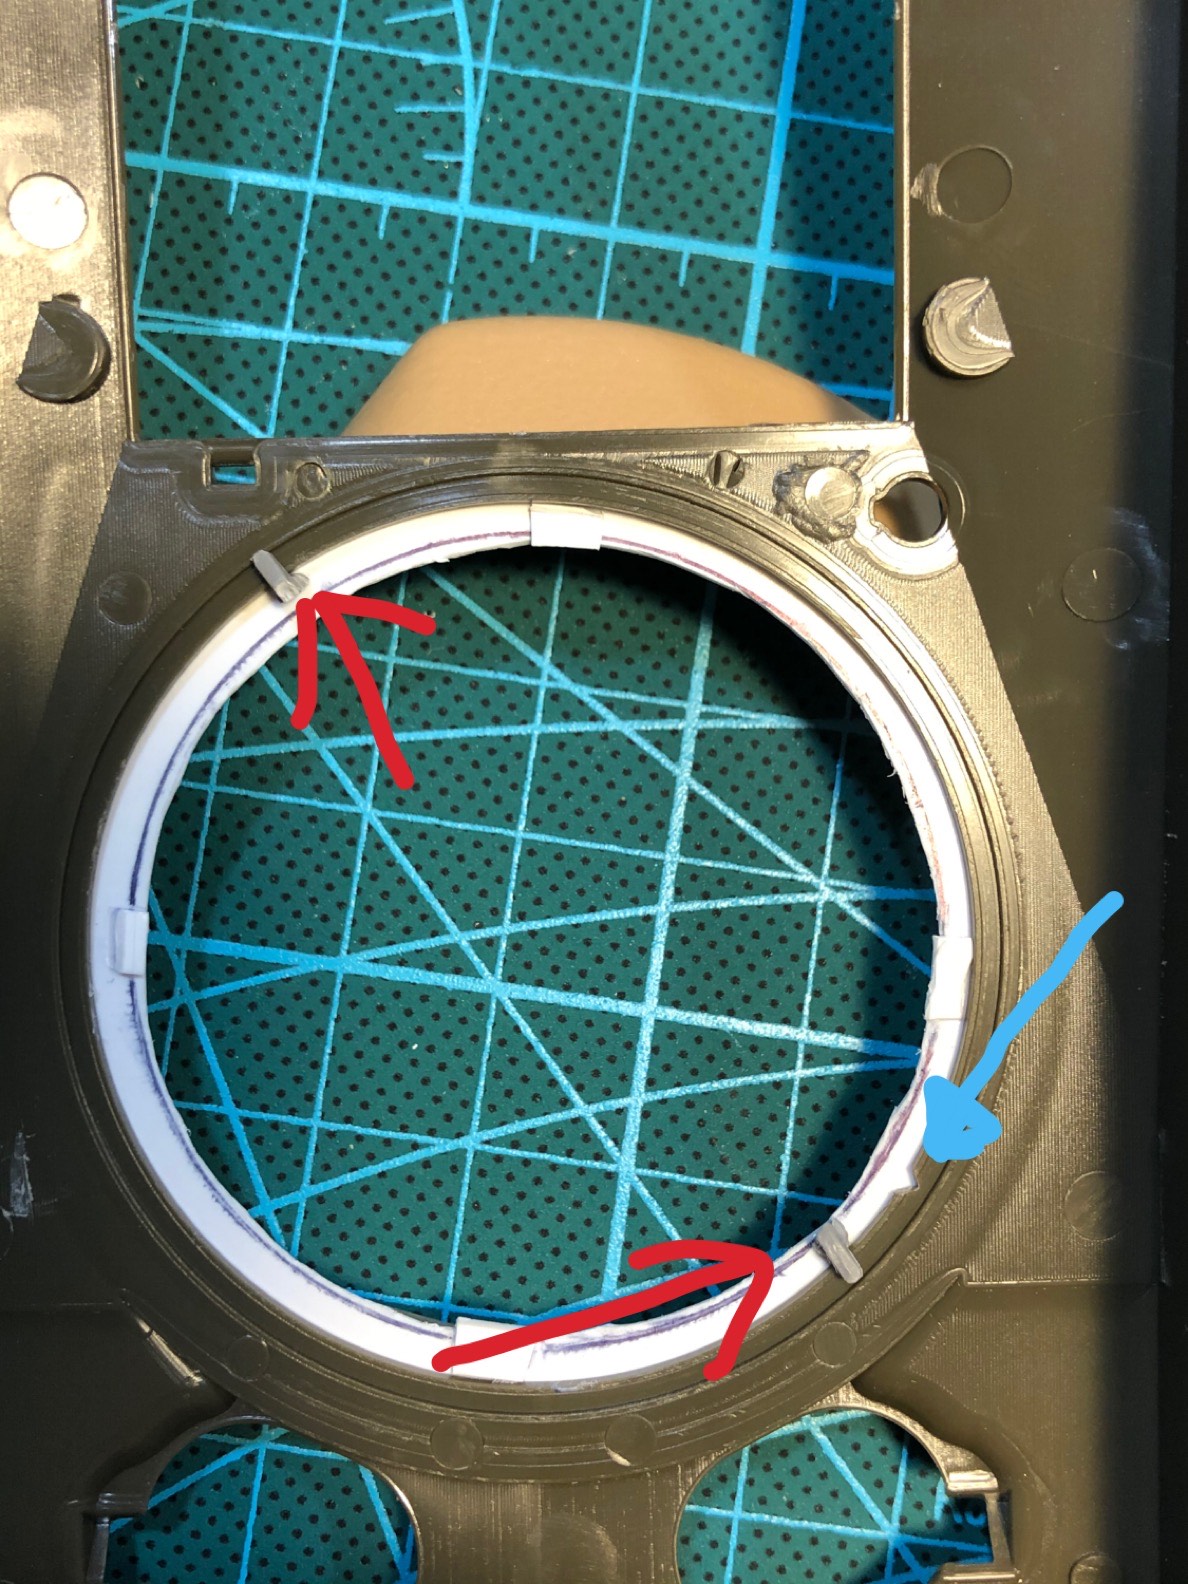
As for the Meng turret, I needed to create my own turret ring out of plastic card. Then ensure it was centered and I created a similar method of turret retention as seen in most Tamiya builds. The red arrows indicate the “hooks” I made from discarded plastic sprue. The blue arrow indicates the small cut out I made to allow the “hooks” to slip into the turret ring.

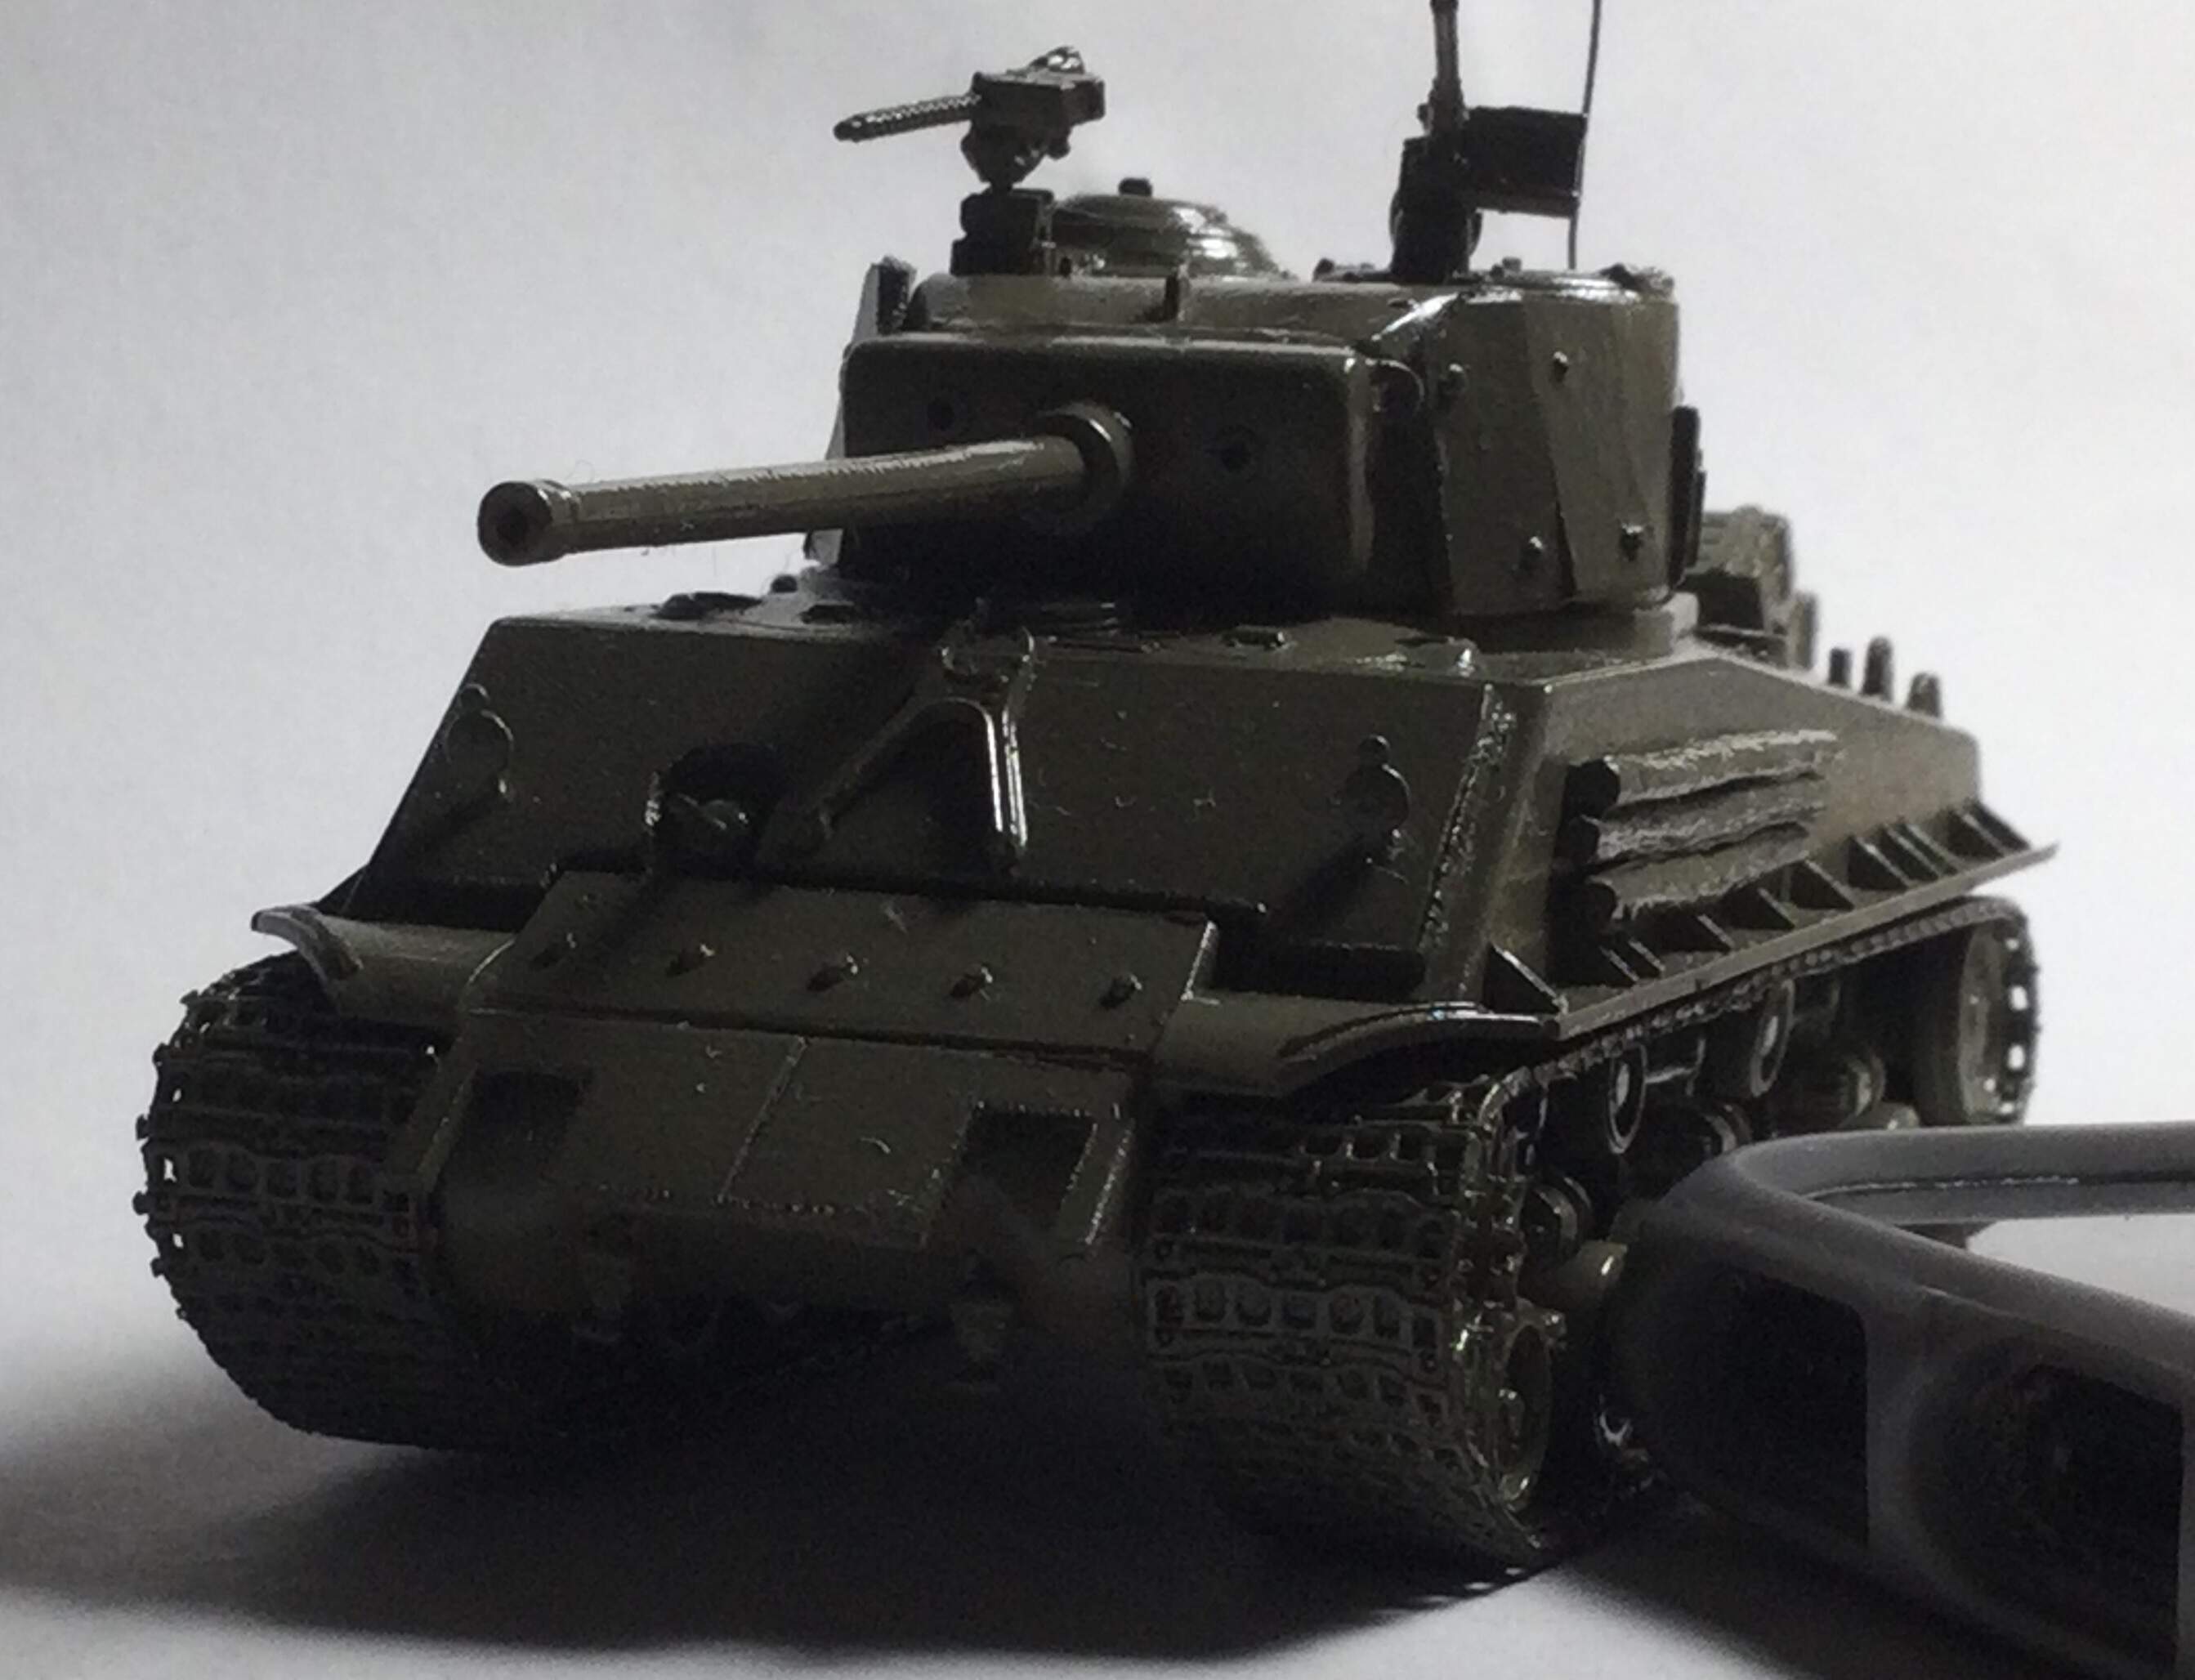
Here they are side by side…


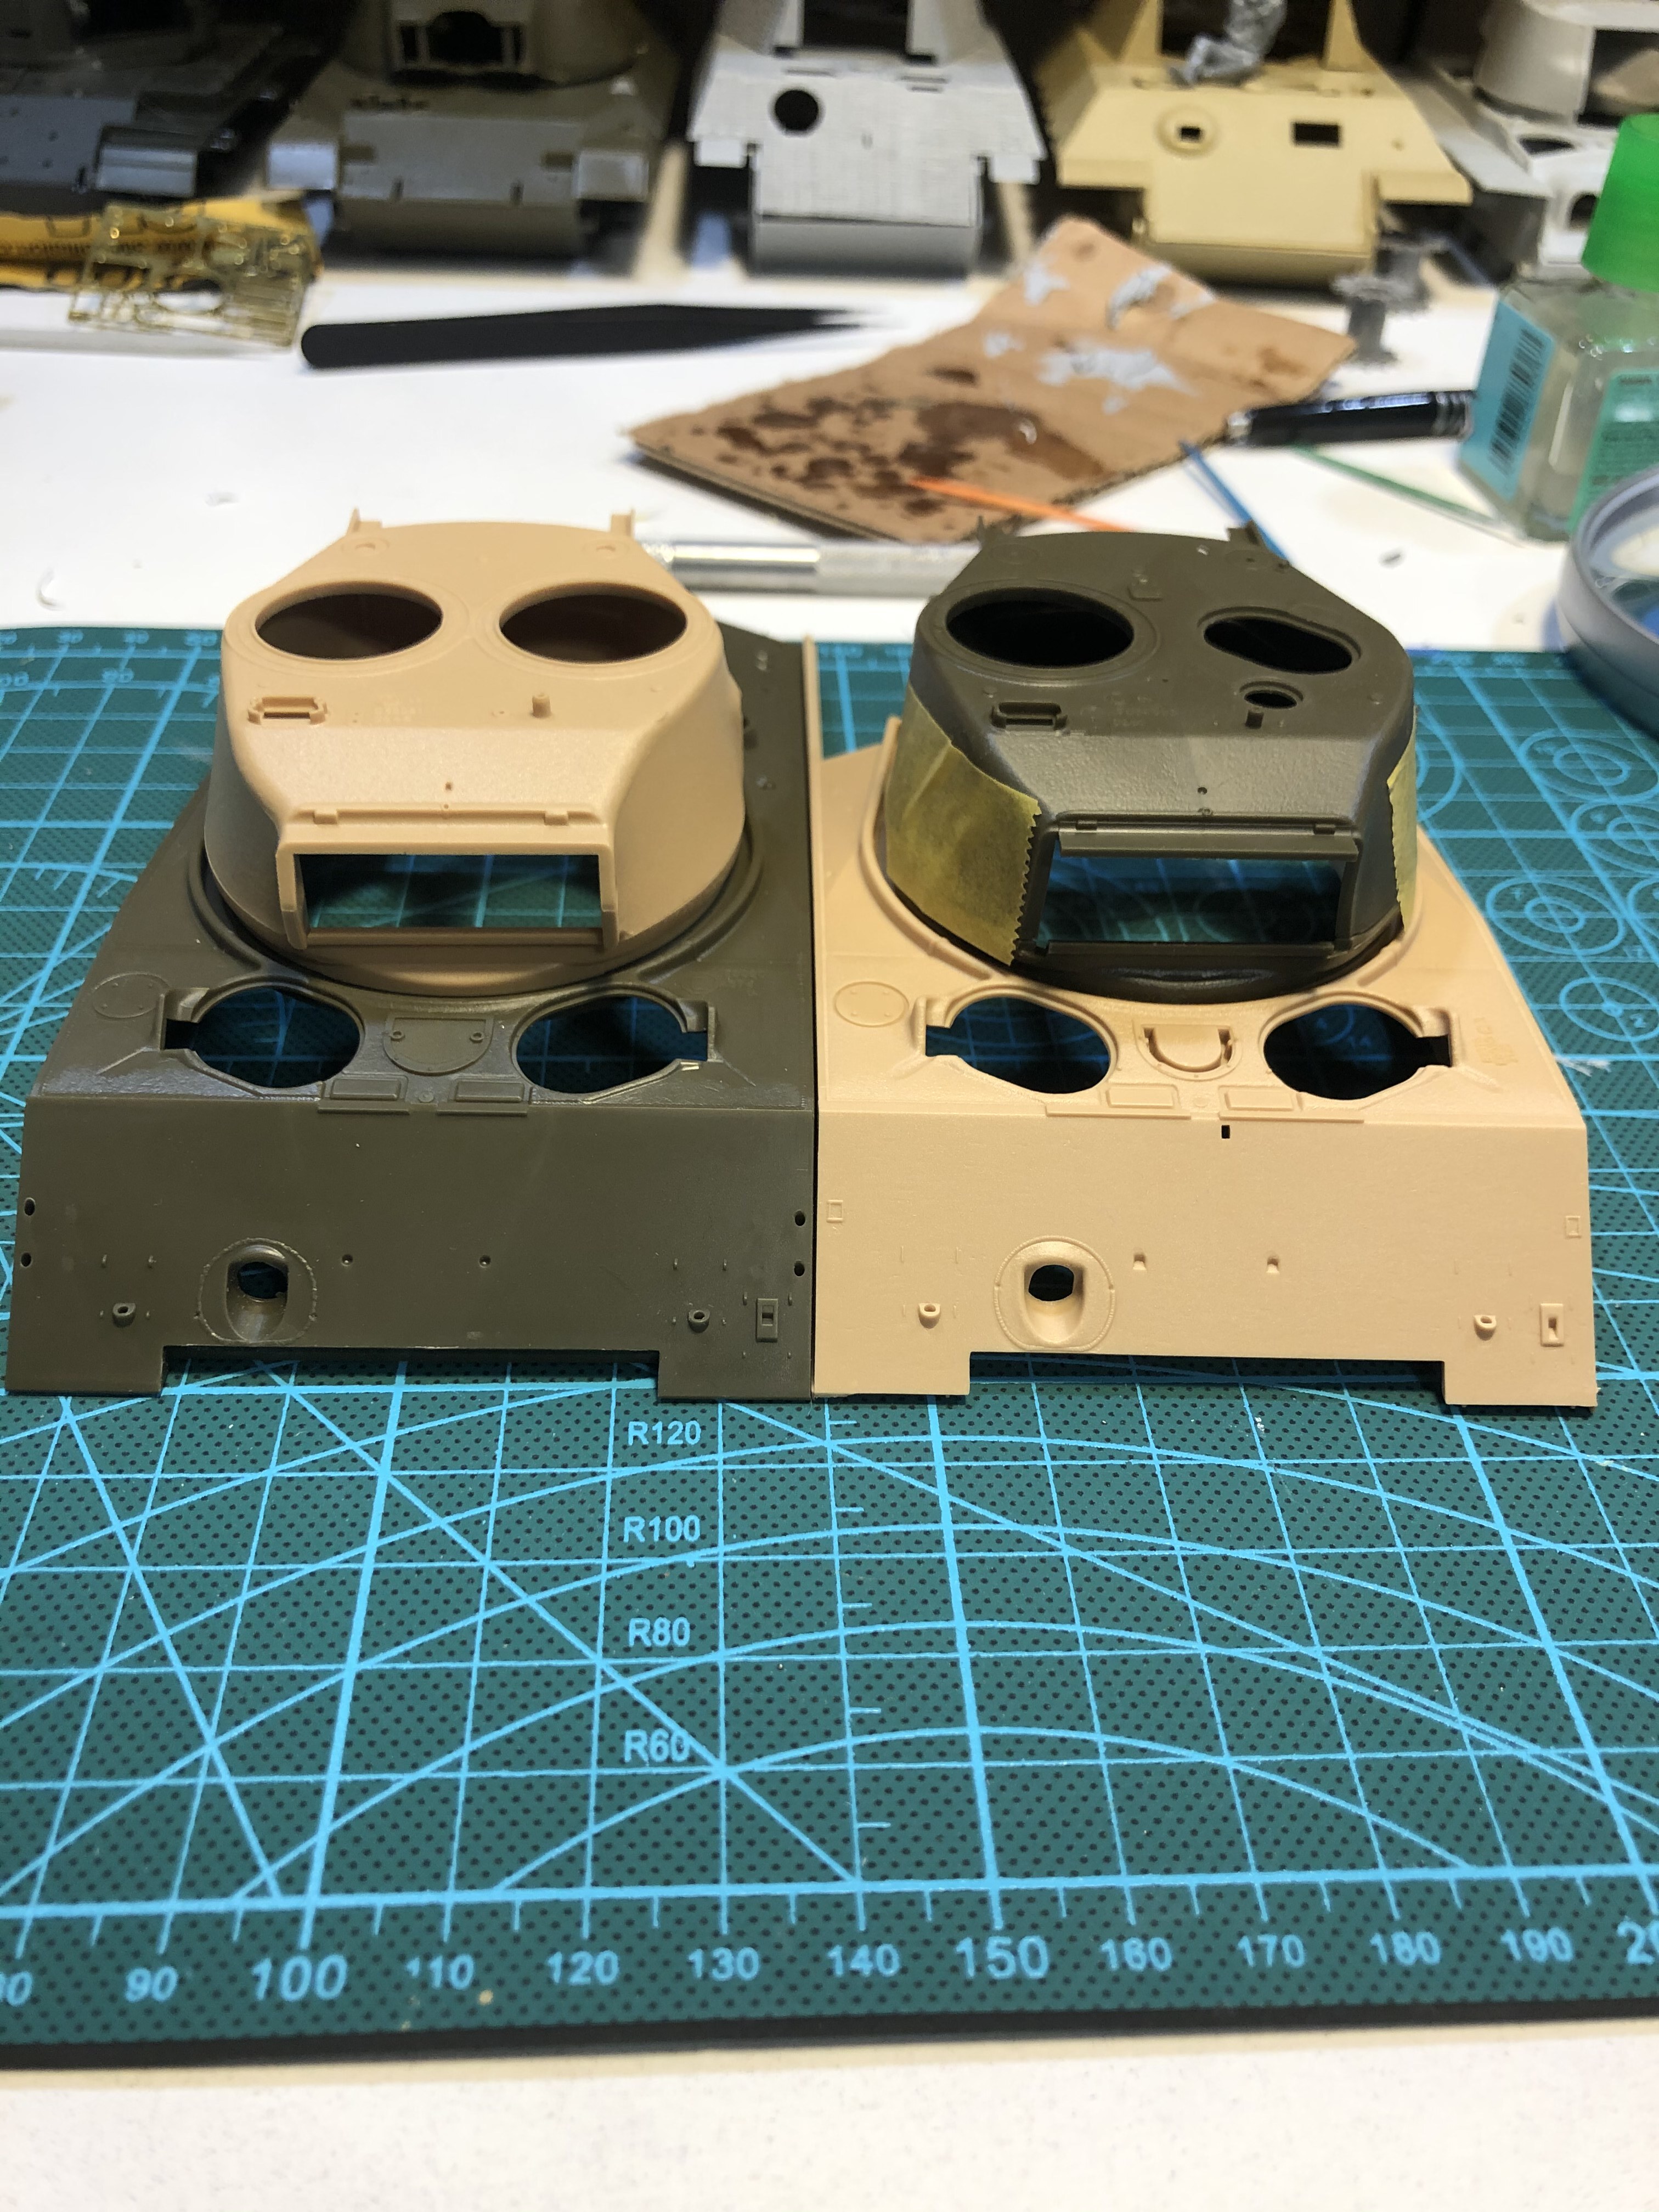
The tank on the right will be the oval loaders hatch, M4A3 76 (w) VVSS covered in sandbags and camo net. A little creative license will be needed as the source tank from the 14th Armored Division had a split hatch.

The tank on the left is the Asuka Easy 8 that will now feature a split loaders hatch and replicate the field added glacis armor.

The entire reason for doing this was simply make an E8 with a split loaders hatch. Not so simple after all…

Stay tuned for more of my Sherman obsession!

2 Likes

Looks very cool! Defiantly following!

1 Like

More sherman madness!

2 Likes

There were M4A3 76 (w) with the VVSS and the late-style turret shell, but they were built by Fisher, not Chrysler, in October and November, 1944. They had the late-style hull, with the “sharp” top edge to the glacis plate (i.e. not beveled flat on the top edge to match the top deck, except in front of the periscopes). The front lift rings were moved to the outboard position, the little u-shaped mounts for the seldom seen rear view mirrors were fitted right behind the lifting rings, and the drive sprockets were the solid type used by Fisher, rather than the scalloped “fancy” type used by Chrysler. The road wheels were usually the concave, bowl-shaped type. Incidentally, this exact variant is also offered by Asuka (except for the rear view mirror mounts). Many had the muzzle brake on the gun barrel as well.

Given the usual four-month turnaround from factory floor to front line, they started to appear in Europe in early 1945.

1 Like

Gerald, thank you for the information! I had no idea about the road wheels. I’ll check those details on the VVSS build. Theoretically it won’t matter for most of the glacis details as those will get buried under sandbags and camo netting.

It looks like you have some projects in the back that still need finished up :rofl::rofl::rofl:

1 Like

Oh just a Centurion III, Leopard A1, Panther A, Tiger II, Pershing Pilot 1, M48A2, and a 75mm Sherman :joy:

1 Like

Shermans! I get all giddy when I see different colored plastic too…

1 Like

I started with the E8’s added glacis armor…


Eyeballing the thickness and it looks about right, or approximately so. I need to add the flame cut texture and then measure out the locations for the lifting rings, light and horn. I’ll also have to figure in the gun lock.

It looks as though the transmission cover armor is bolted on, so I’ll have to work on creating those bolts.

2 Likes

It was the thickness of the Sherman’s front slope.image

Wow! @Dan thanks for that picture! That’s incredible to see!

I was aware of the thickness. That’s why I was eyeballing it off of the front glacis of the model in the one picture.

Thank you so much for that photo, that’s going to help a lot!

This was only done in Pattons’s Third Army, so keep that in mind when it’s time to do unit markings.

1 Like

Yea Patton wasn’t a fan of the sandbag armor that will be on the other A3 I’m working on.

I’m not sure about unit markings at all. I don’t see any in the picture and the one other picture from the right of the tank only has a faded white star.

I just love the way those “expedient Jumbos” look, especially the ones with E8 suspension. I never understood why the actual jumbo didn’t get the wider suspension.

I need to finish this little guy, it’s the hobby boss 1/72, next to my phone for scale.

2 Likes

Worked on the weld lines along the side plates and hull. The stock ones are far too neat and lack any real depth or character. I used a gundam scriber tool to remove the kit weld lines and milliput to fill the void. Then a custom made tool using a small piece of soda can was used to recreate the overlapping look.

It’s still quite rough and this is the first time i’m using putty instead of the stretched sprue or styrene rod method.


I offer a set of improvised Jumbo Sherman front and side plates on Shapeways:
https://www.shapeways.com/product/ZK3ERPVU3/improvised-jumbo-set-for-sherman?optionId=98522600&li=shops

3 Likes

https://www.shapeways.com/product/423XSPM3A/improvised-jumbo-sherman-side-plates?optionId=98523328&li=shops

1 Like

I’m planning on building a Jumbo Sherman next year so I will defiantly be getting these!

1 Like

Happy Holiday’s everyone! I finally have internet back after losing it from the Xmas day bombing. I’ve also taken the opportunity while living in the 90’s once again to make some serious progress on my Sherman’s. Here’s the progress on the up-armored Easy 8…

First off, this Asuka kit is fantastic. The lower hull sports the actual bulkhead for the engine compartment and it goes together maybe better than Tamiya kits. I cannot say enough good things about this kit.

However, I was a bit miffed to see that the weld detail on the upper hull was light and far too uniform for my tastes. I needed to add some character to the build as we’ve seen above. Asuka also completely ignored any weld detail on the side of the tank. So, that was taken care of as you’ll see below. I used 2 different methods and 3 different materials. First I used milliput, then Tamiya Epoxy Putty Quick Type, and third, good old styrene. I used the styrene on the sides due to the fact that the weld lines were much thinner than on top and I’ve found that rolling out and handling a very thin line of putty is a P.I.T.A!

Finally, I took the chance on scratch building some fenders out of soda can. Initially I wanted to use copper but I accidentally ordered a .050 sheet instead of .005, so I wound up receiving a copper plate, not a sheet.

Anyway, without further hoopla, feast your eyes on the progress…

You’ll also see the work up of the measuring out the various items that need to be on the front plate. As well as bolt locations for the lower armored plate. One thing I noticed on the source photo was a third lift hook dead center on the plate so that’ll get scratch built. I have no idea where that would have come from as the plates are cut along the horizontal axis, so the lower plate did not come from the front or rear of a Sherman, so my assumption is these tankers added it themselves as a method of lifting the heavy plate.

2 Likes

Looking great! Nothing beats the look of Sherman’s with Applique armor!

1 Like