Big difference
2 Likes
The redesign has made the project viable. Pretty pumped.
1 Like
I like following along on your 3D printing journey
2 Likes
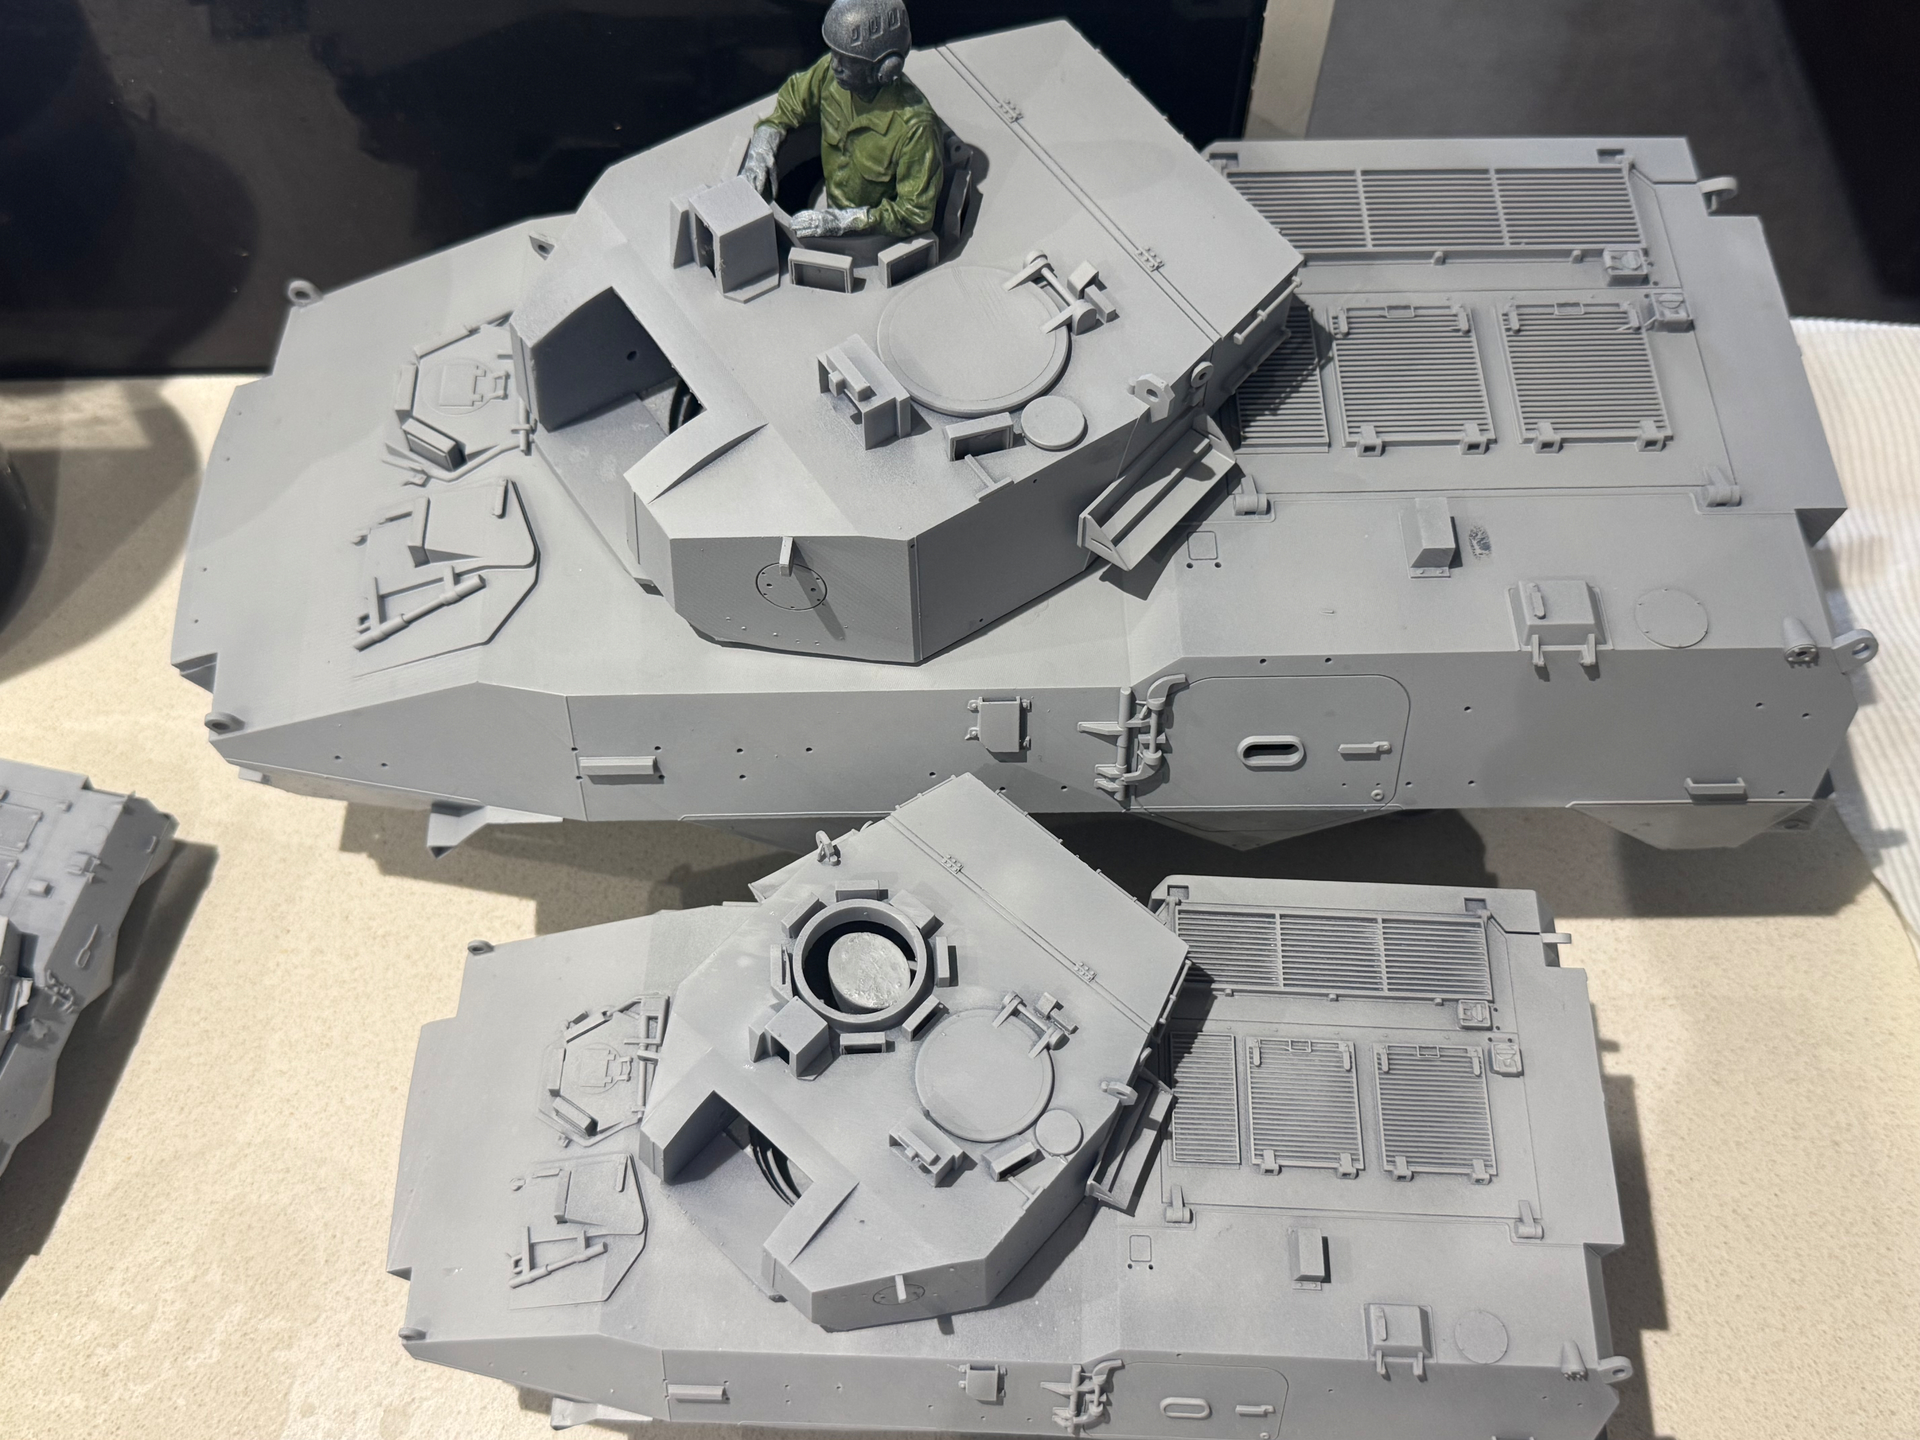
Taking advantage of the redesign that’s intended to make printing viable, I’ve added some additional surface detailing to the turret, as well as the episcopes.

Due to the size of the model, updates are challenging my laptop’s processor, so this is taking a while.
1 Like
The opaque test print of the episcopes is complete. After a quick spray of black Mr. Surfacer, they were test fit to the turret.
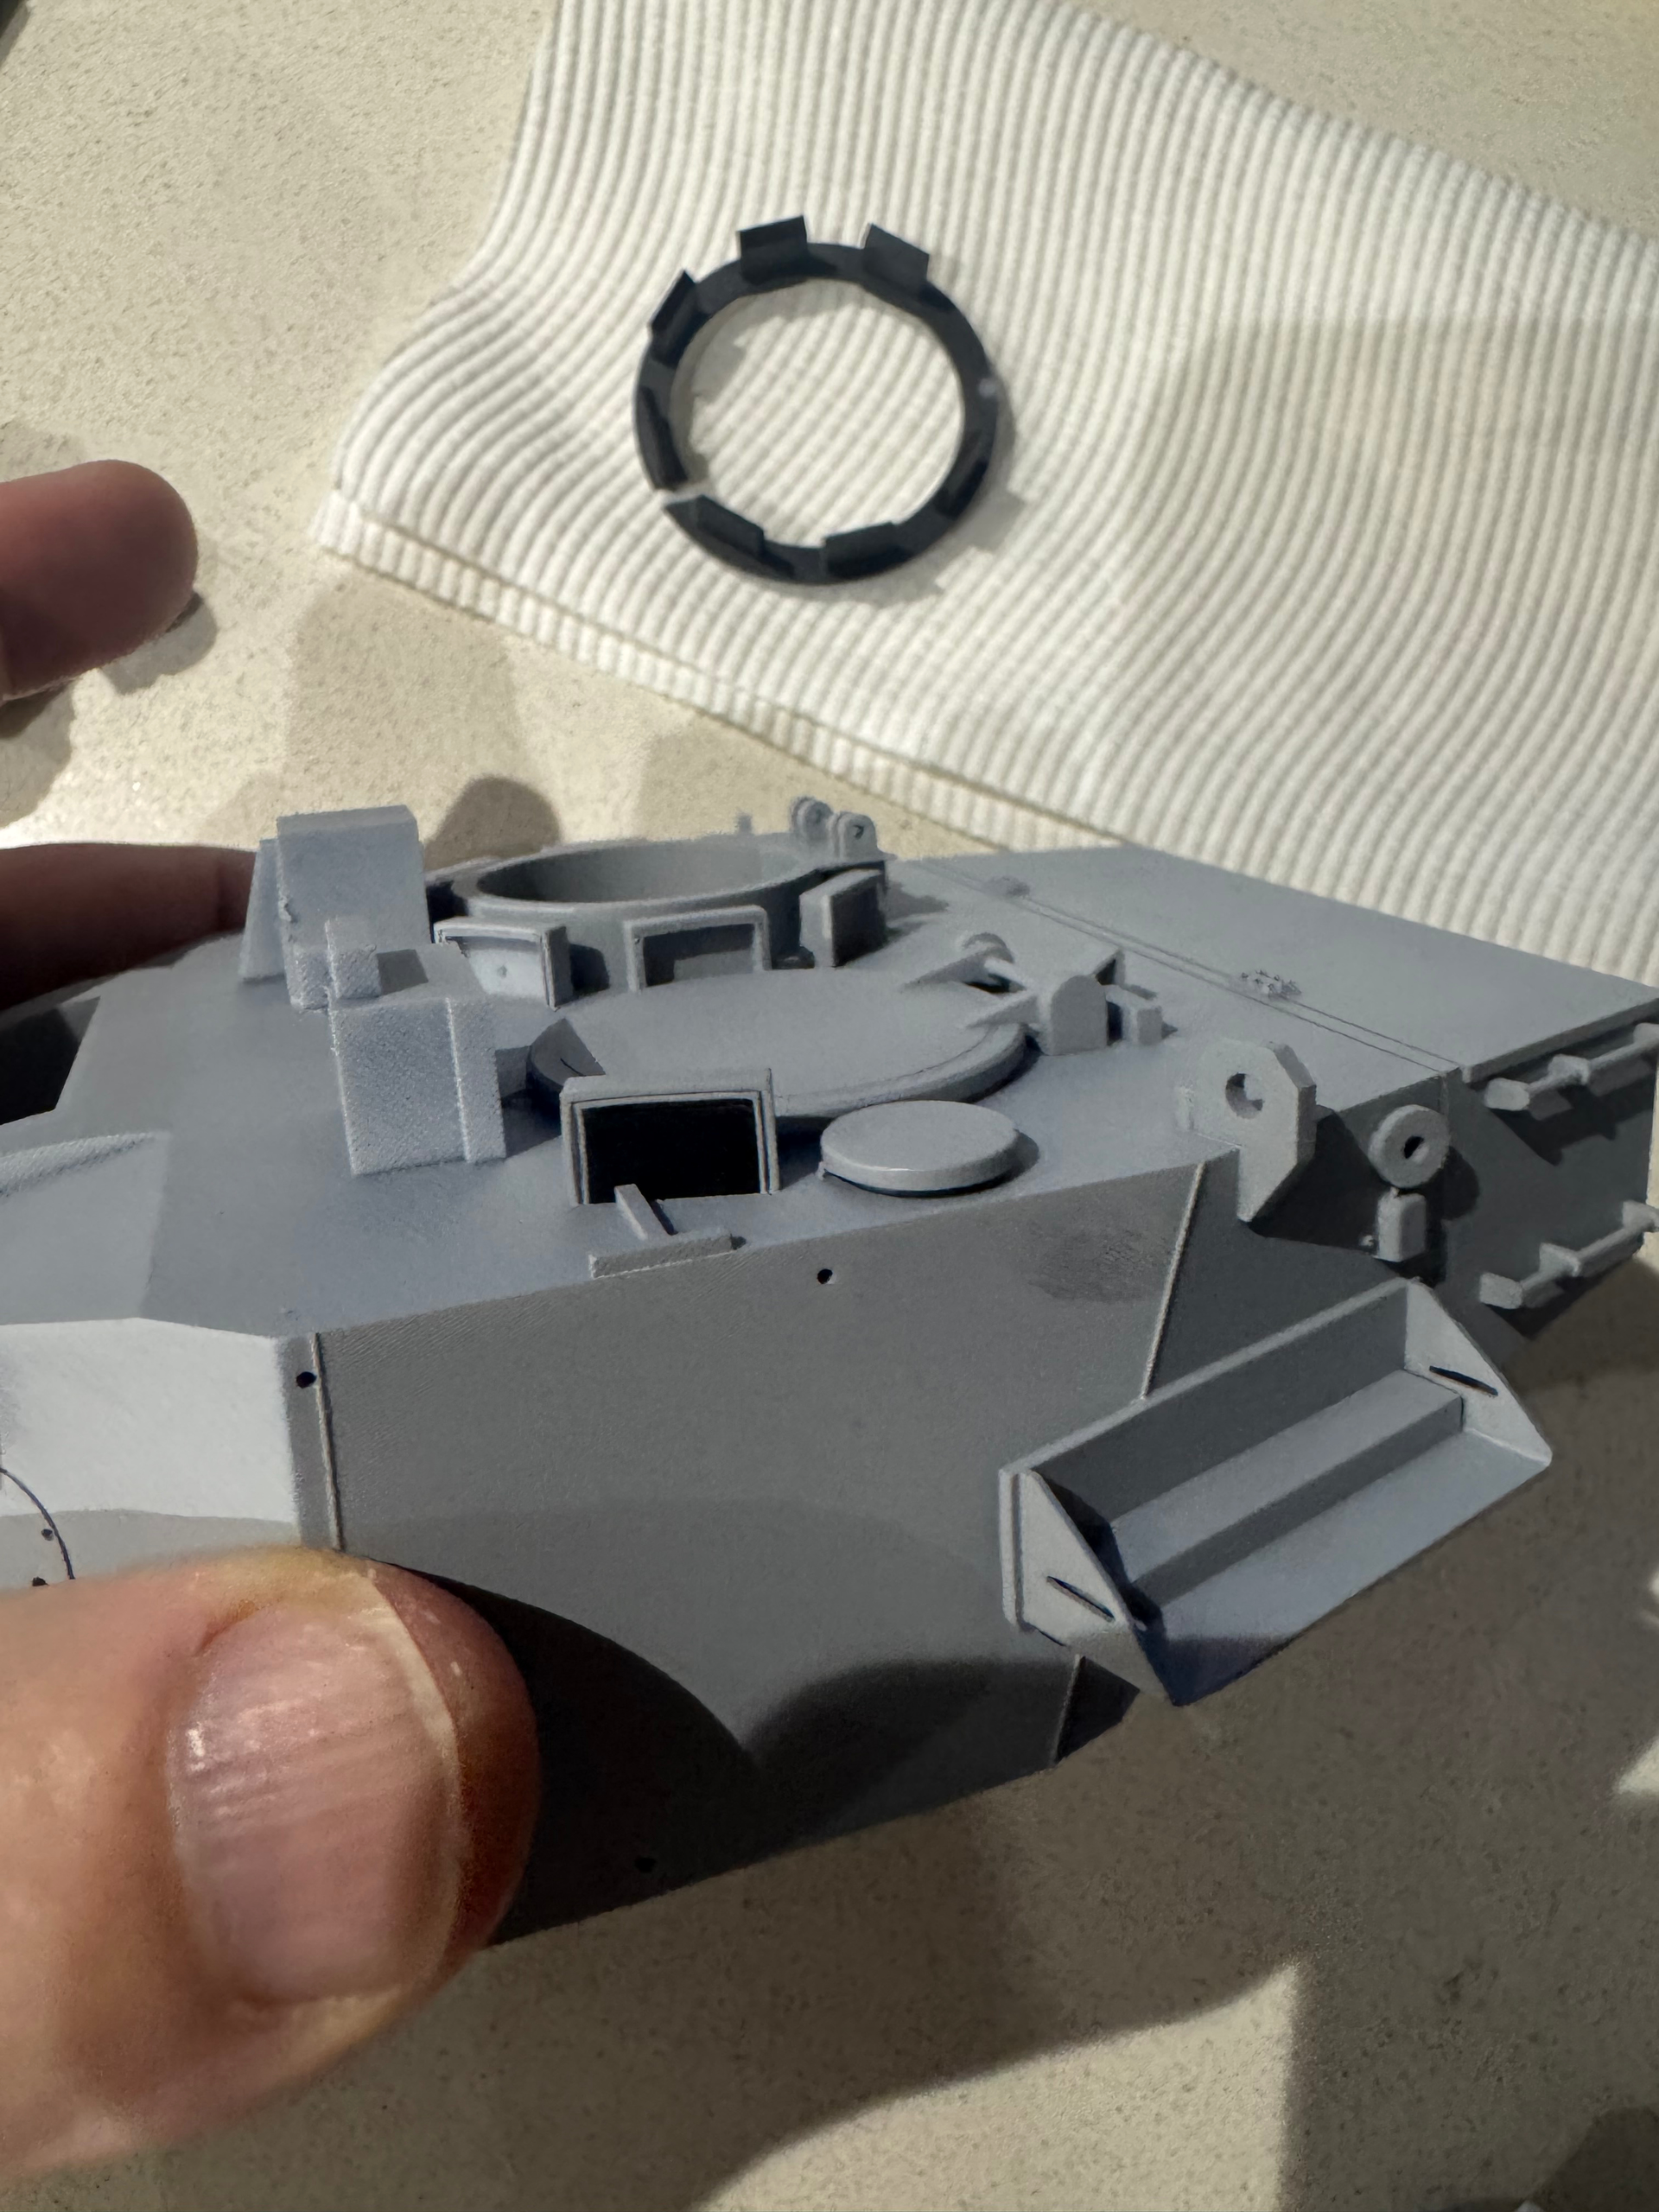
Will print them in clear when the time comes.
3 Likes
Absolutely amazing. You are creating a full 1/16 kit with commercial quality!
2 Likes

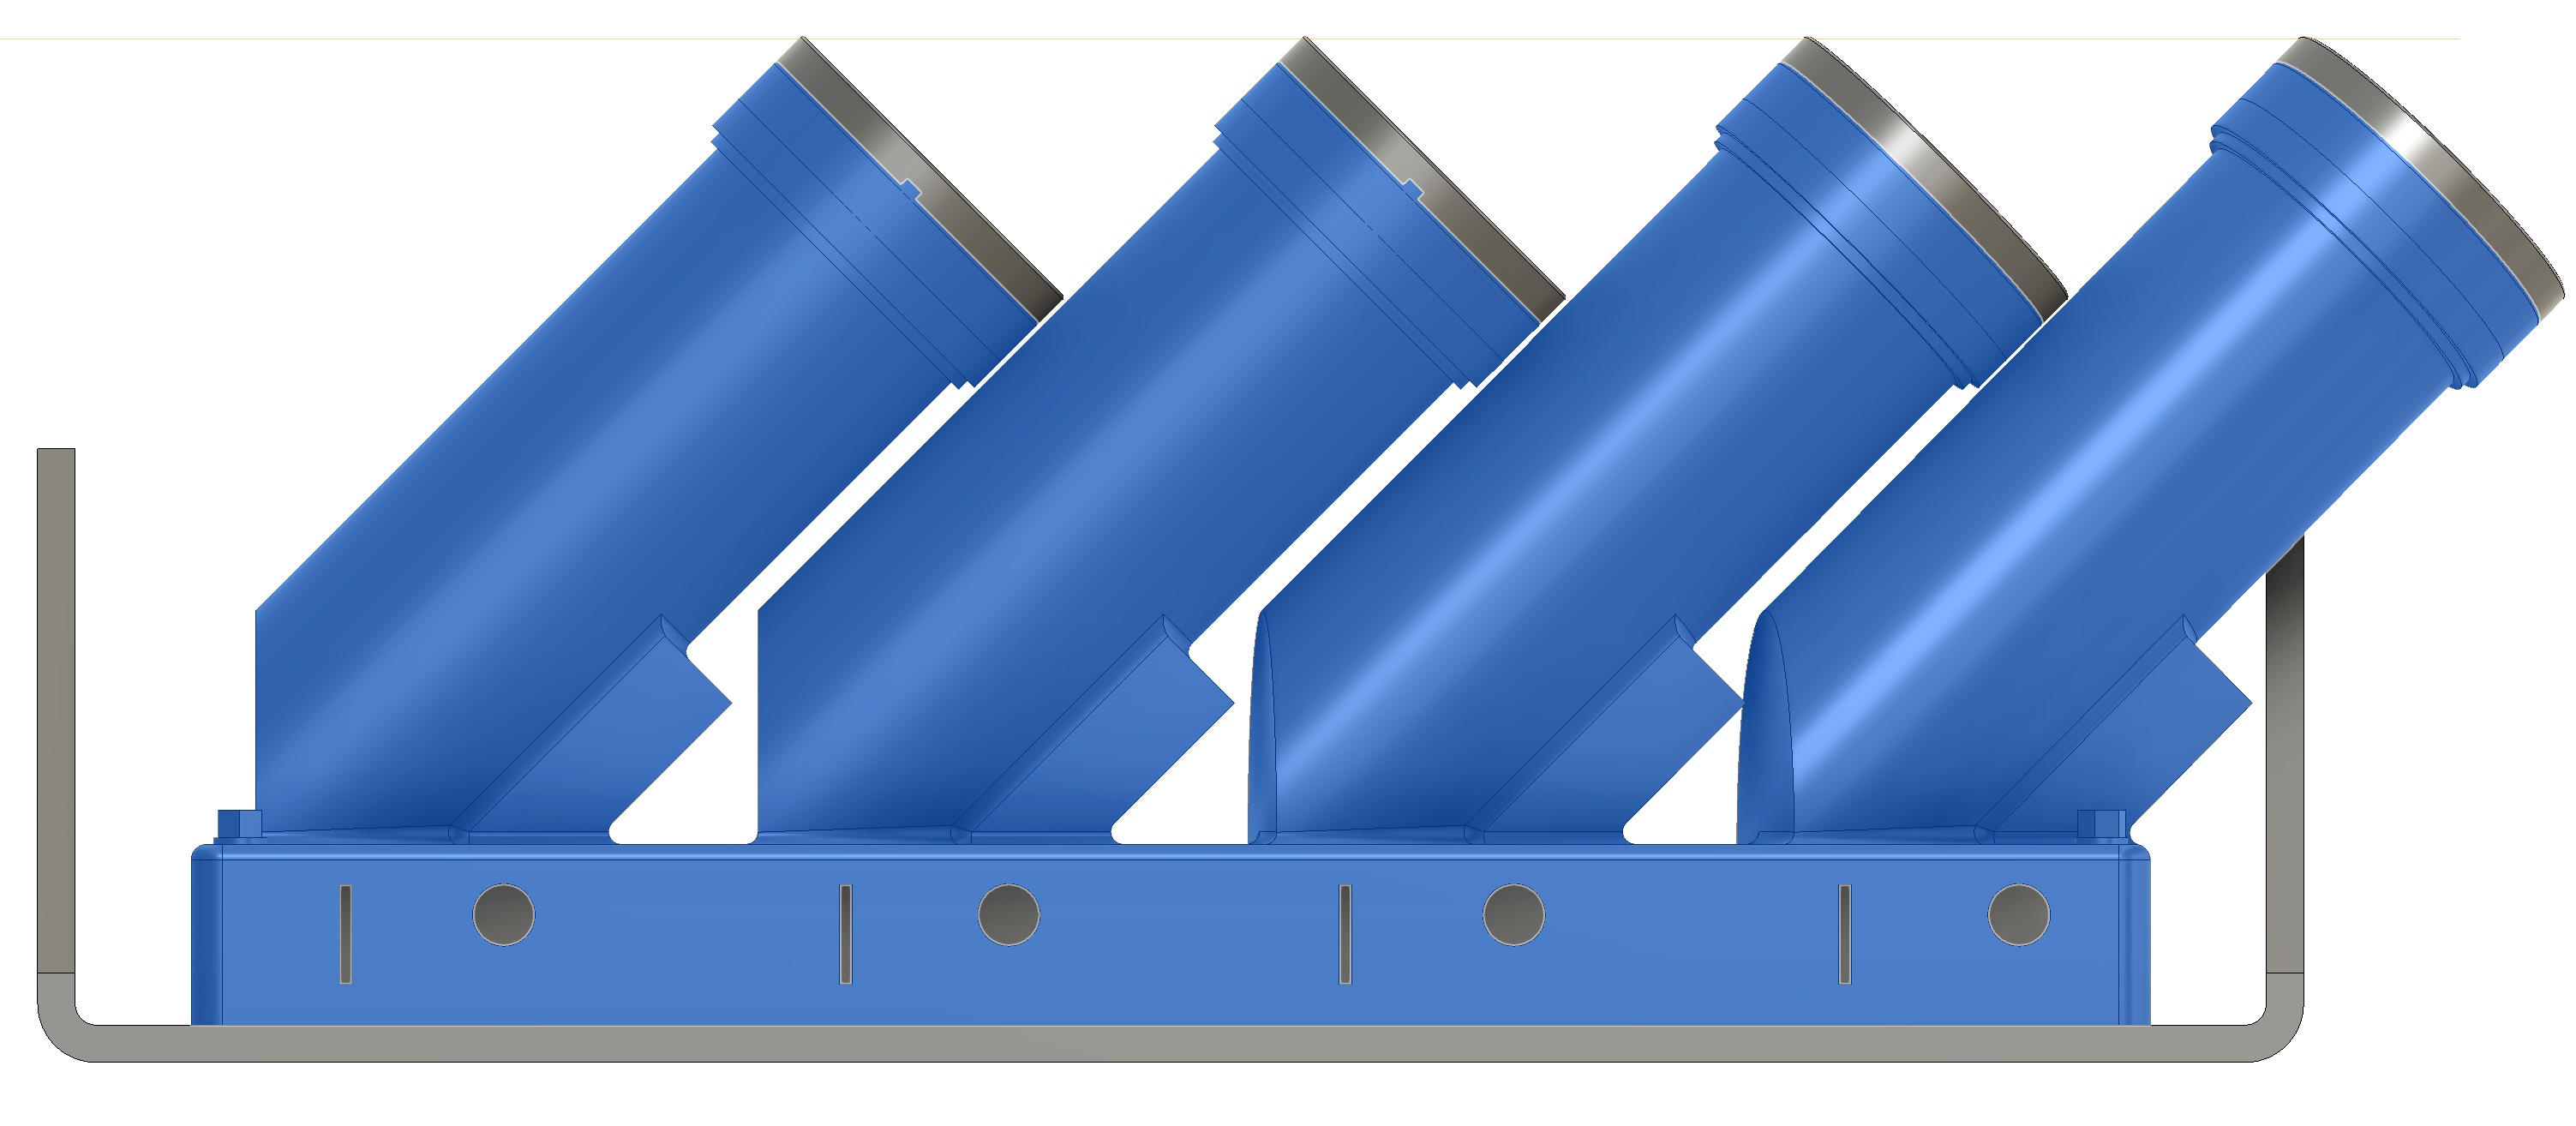
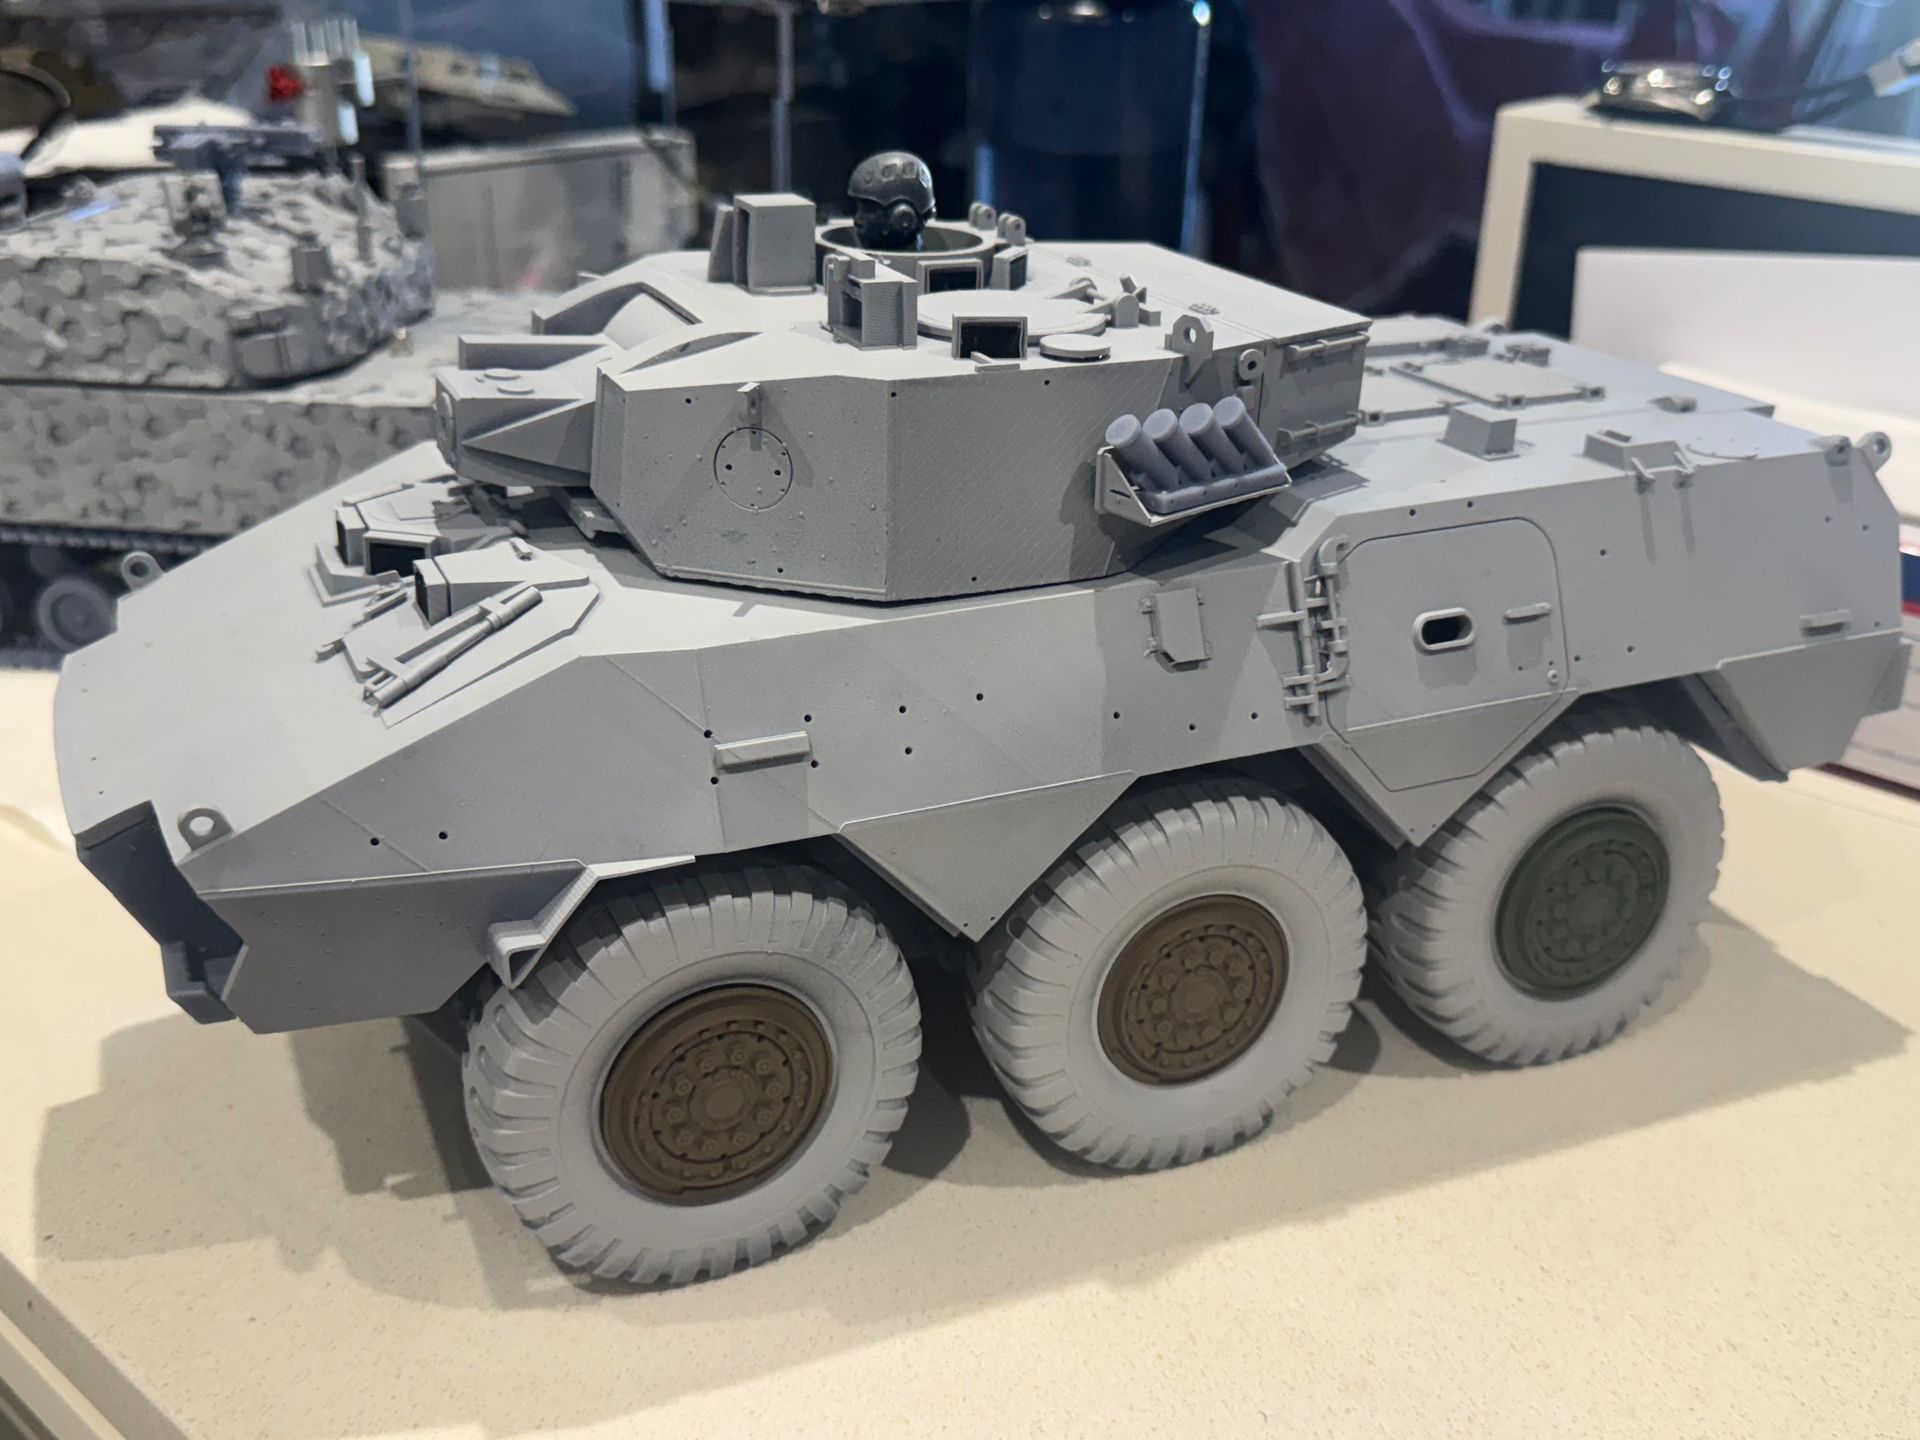
A distinctive part of the 87 式偵察警戒車 are the 76mm multi barrel smoke grenade dischargers (MBSGD). Thanks to parallax, the height of the tubes is a bit unclear, so I’ve created two lengths.
1 Like
2 Likes
A big driver for returning to this project is improving overall fit.
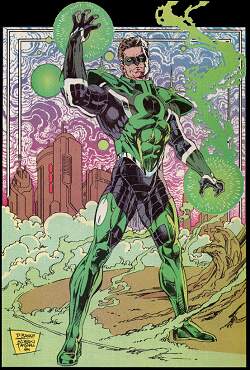
I left insufficient clearance between the front & rear of the original wheel hubs where the front axle support passes through the rear.
Using an old, failed print of a tyre, the structure is visible.
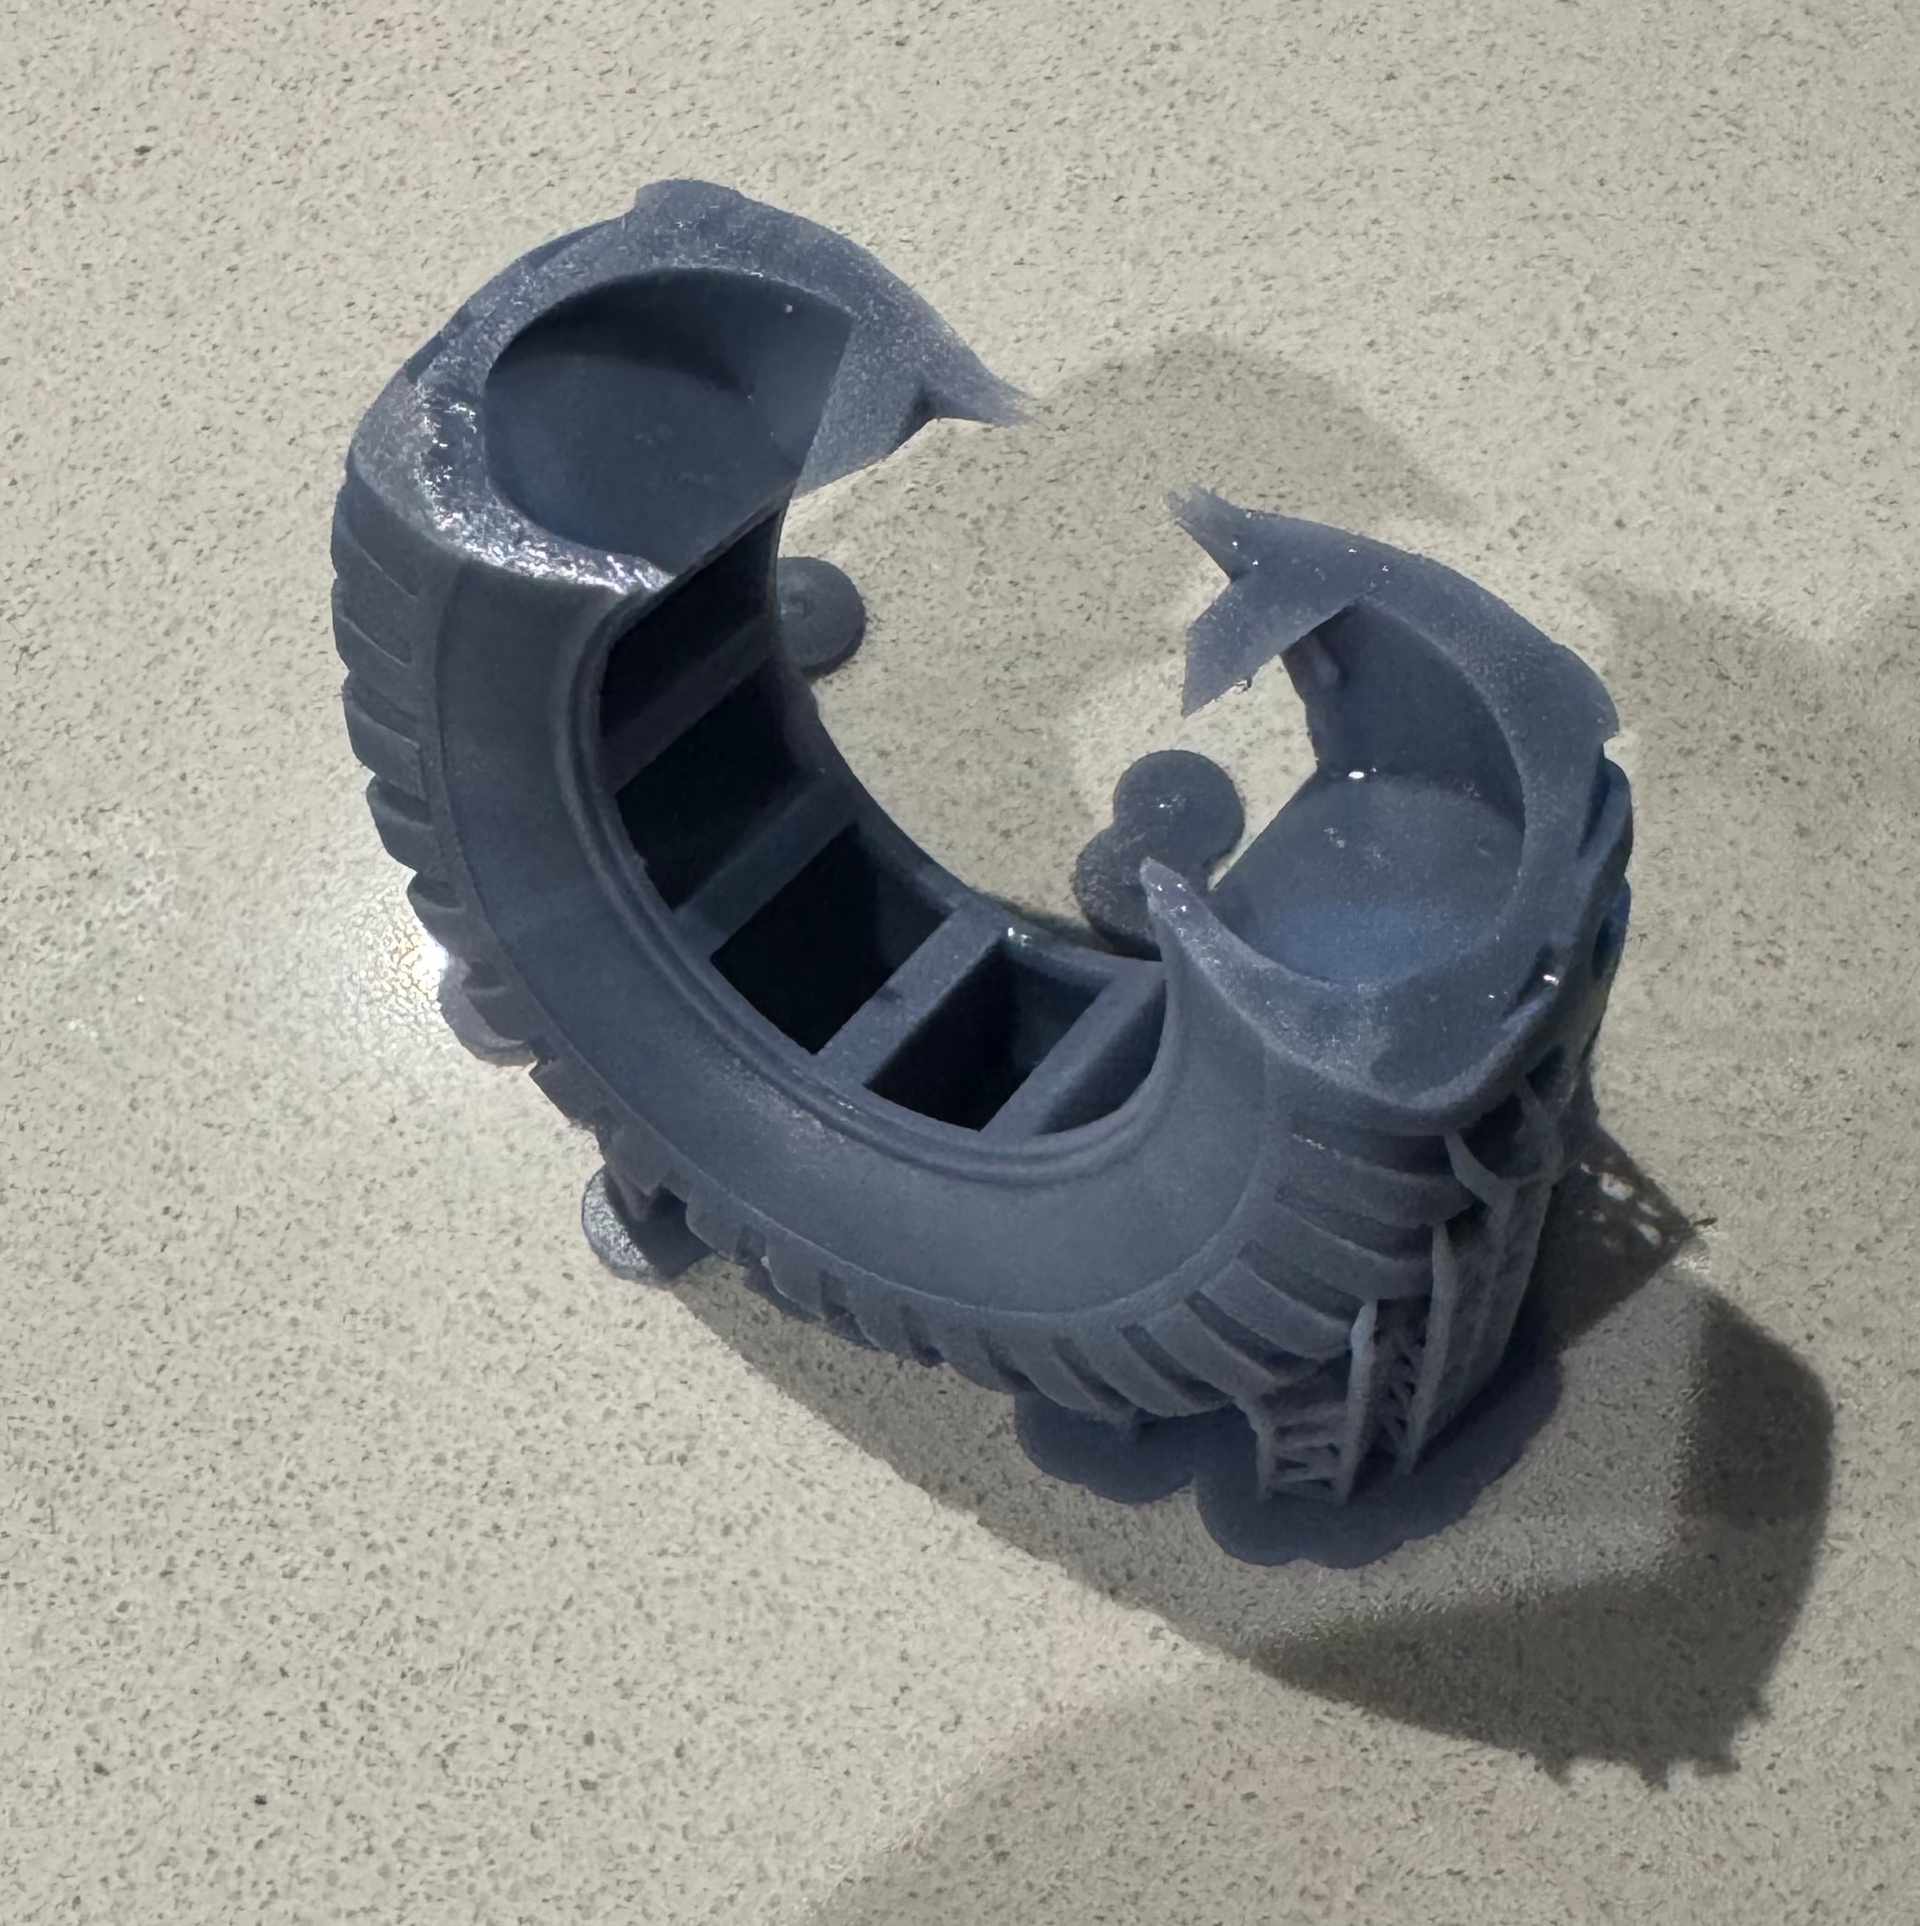
Here’s the front of the hub fitted to the tyre.
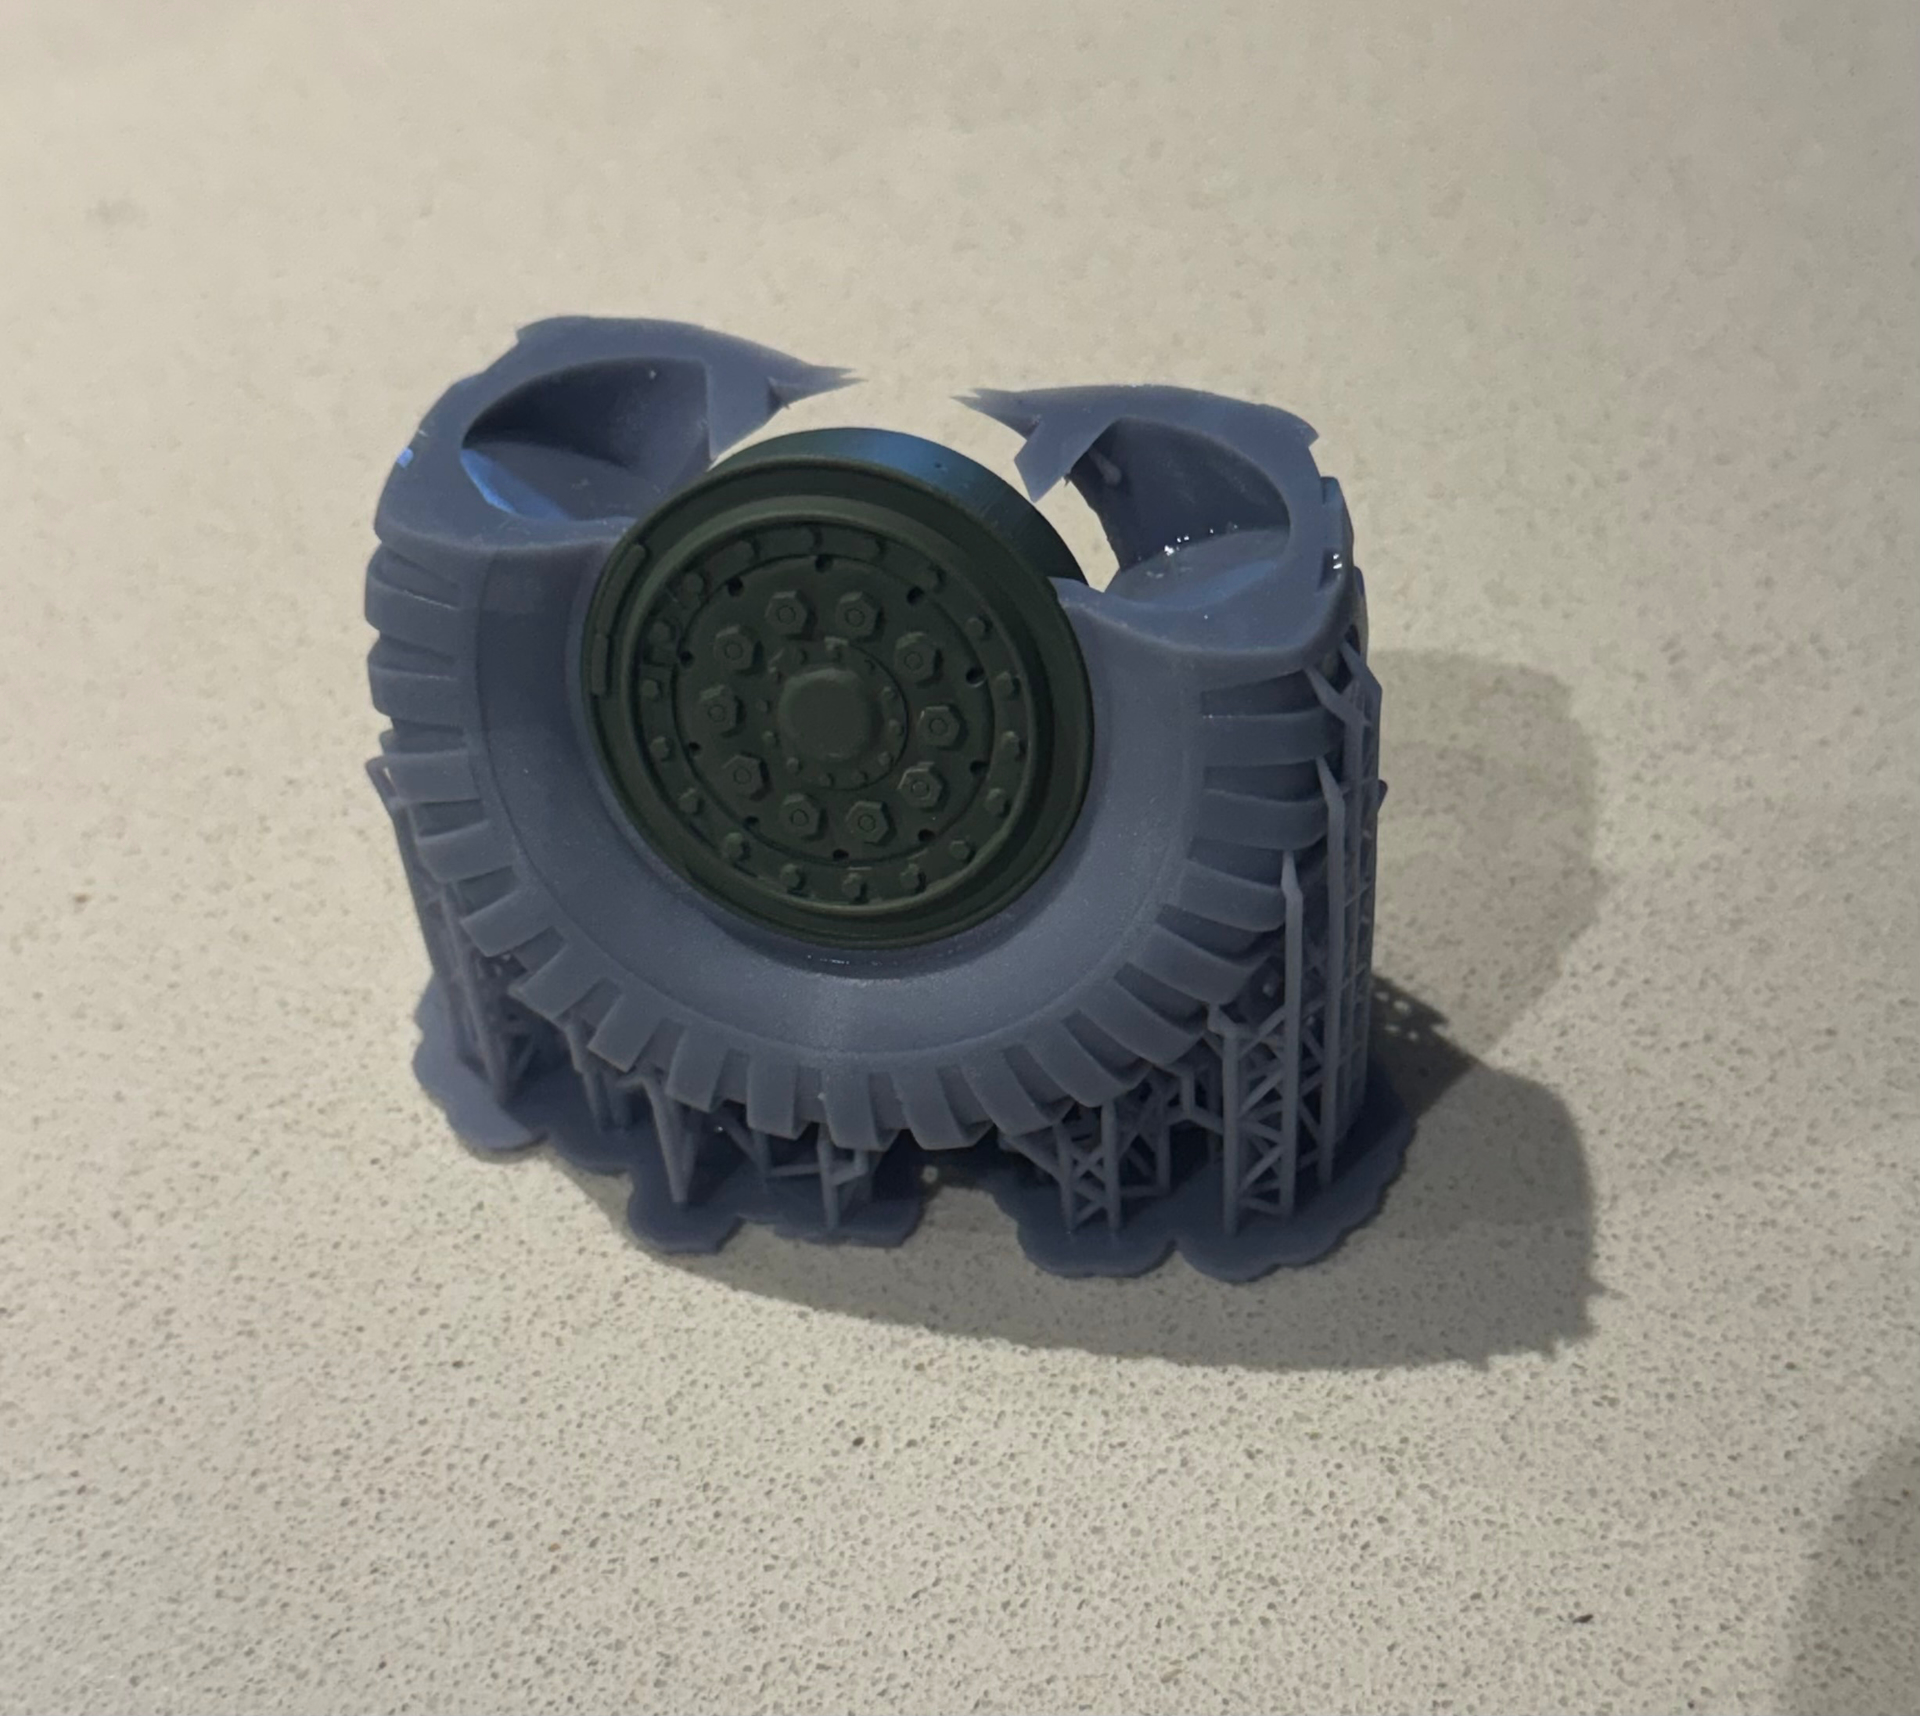
And the rear, showing the (green) axle support from the front hub passing through the new hub rear.
Re-checking the steering fitting showed its anchor point was 1.159mm too high. Always good to check.
1 Like
Some of the niggles I’ve had with fit come back to the design philosophy used at the outset, such as separate files for some sub assemblies. One such part is the steering arm mentioned in my last post.
Here’s the assemblies dry fit with a 3mm brass tube axle visible in the middle wheel station.

1 Like
Last of the hull vision blocks done. Need to draw up the headlight lenses, then I can print in clear resin.
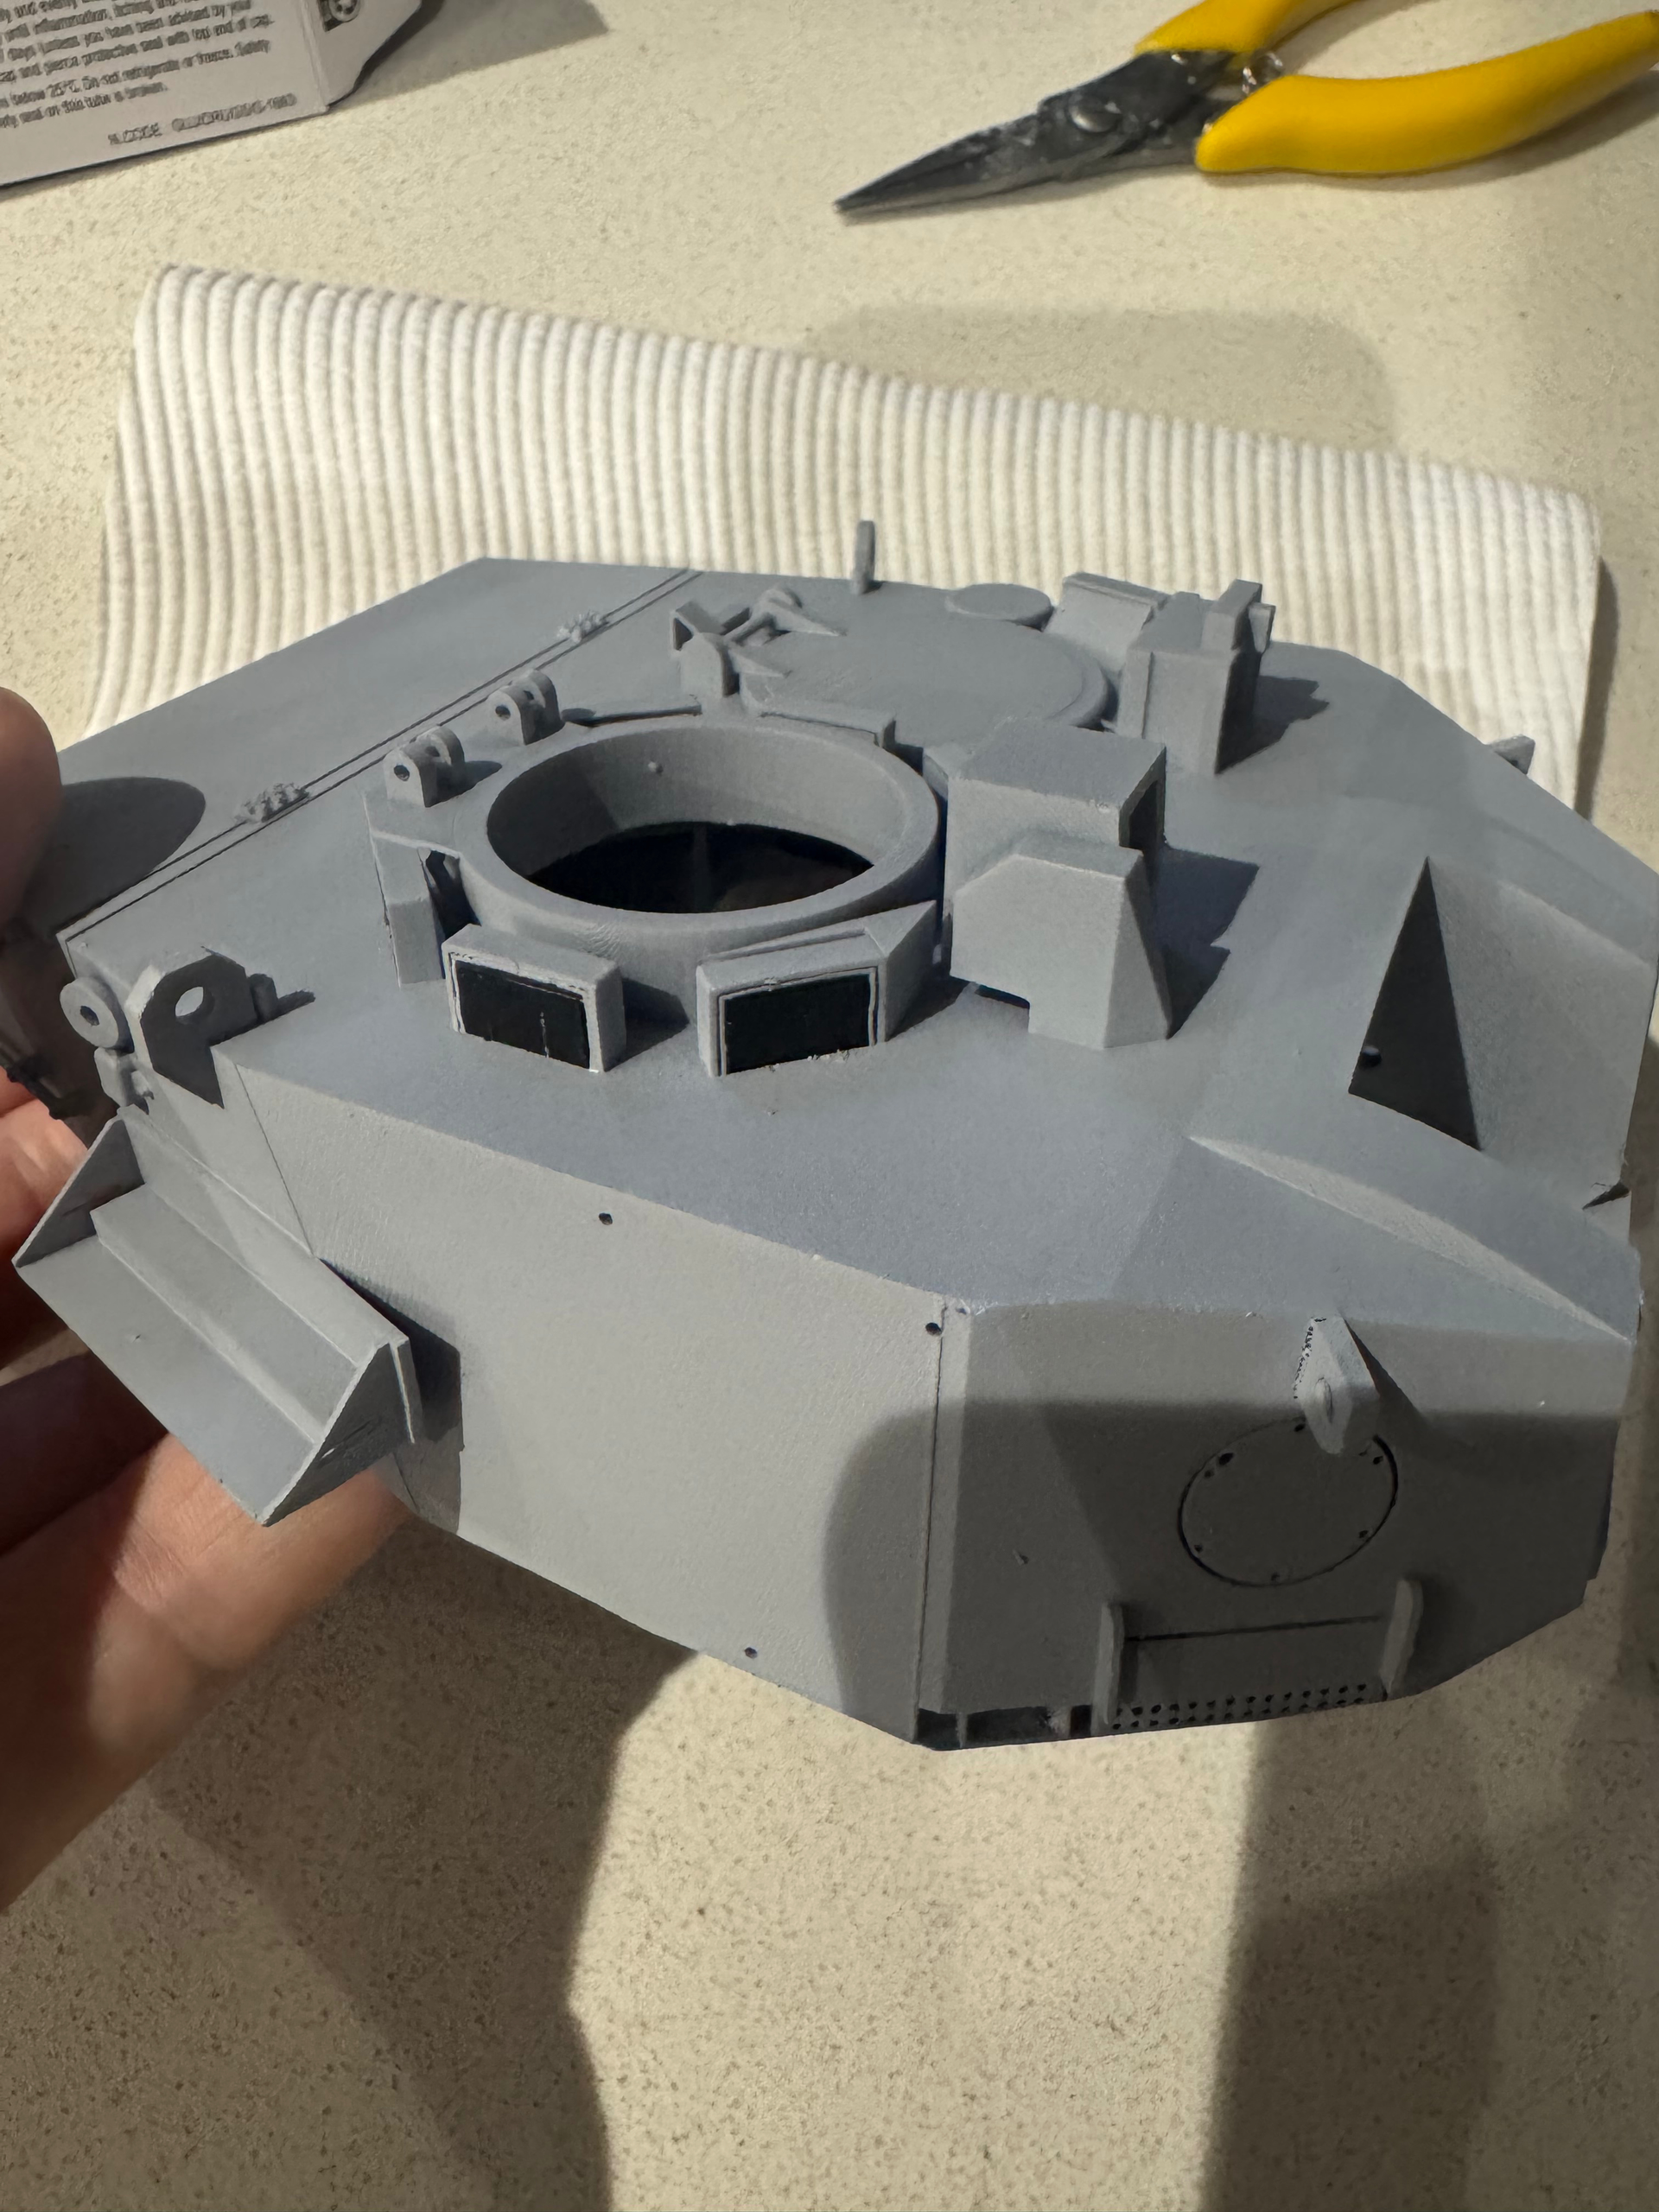
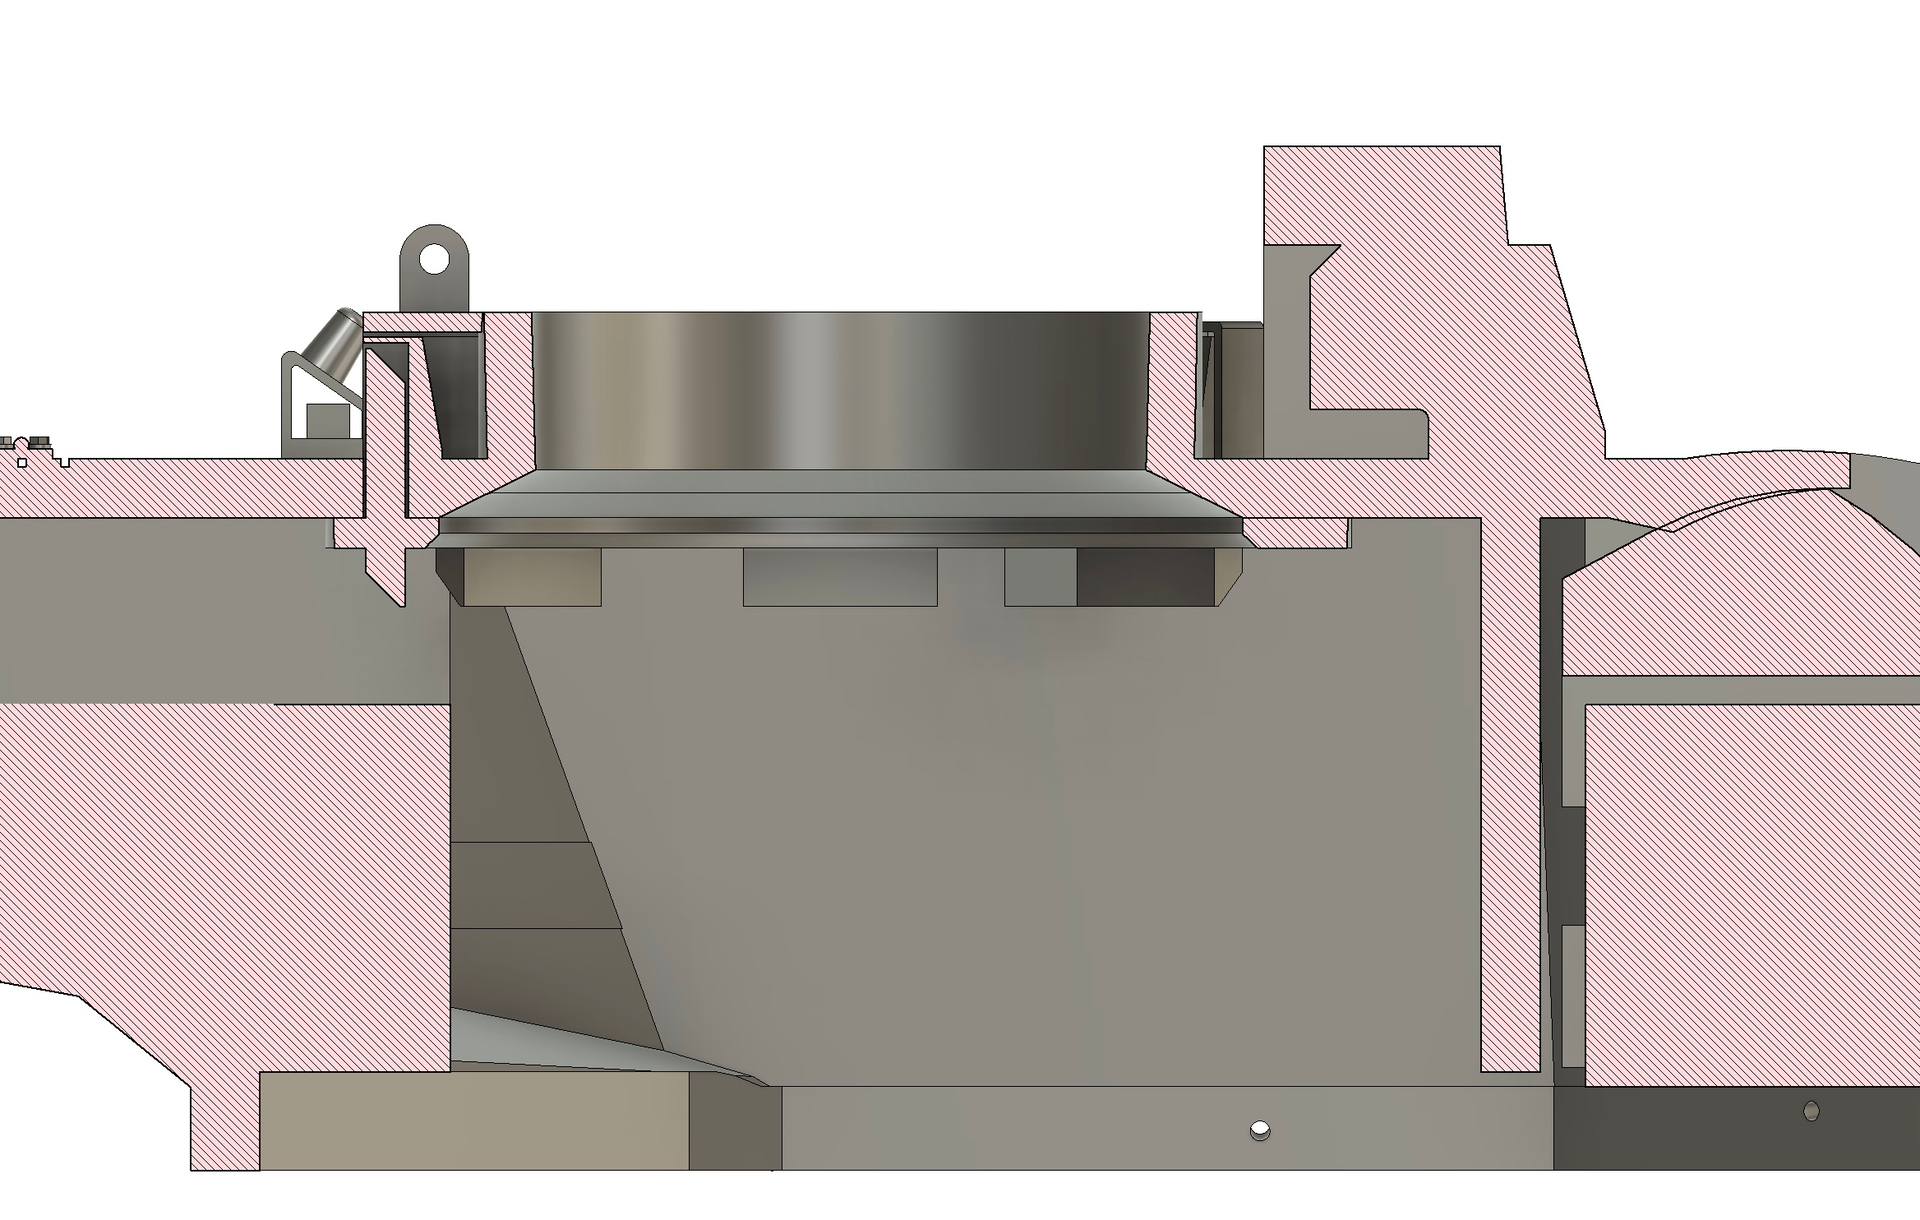
Having checksed the commander’s sight line, I need to find 3mm of room inside the turret.

1 Like
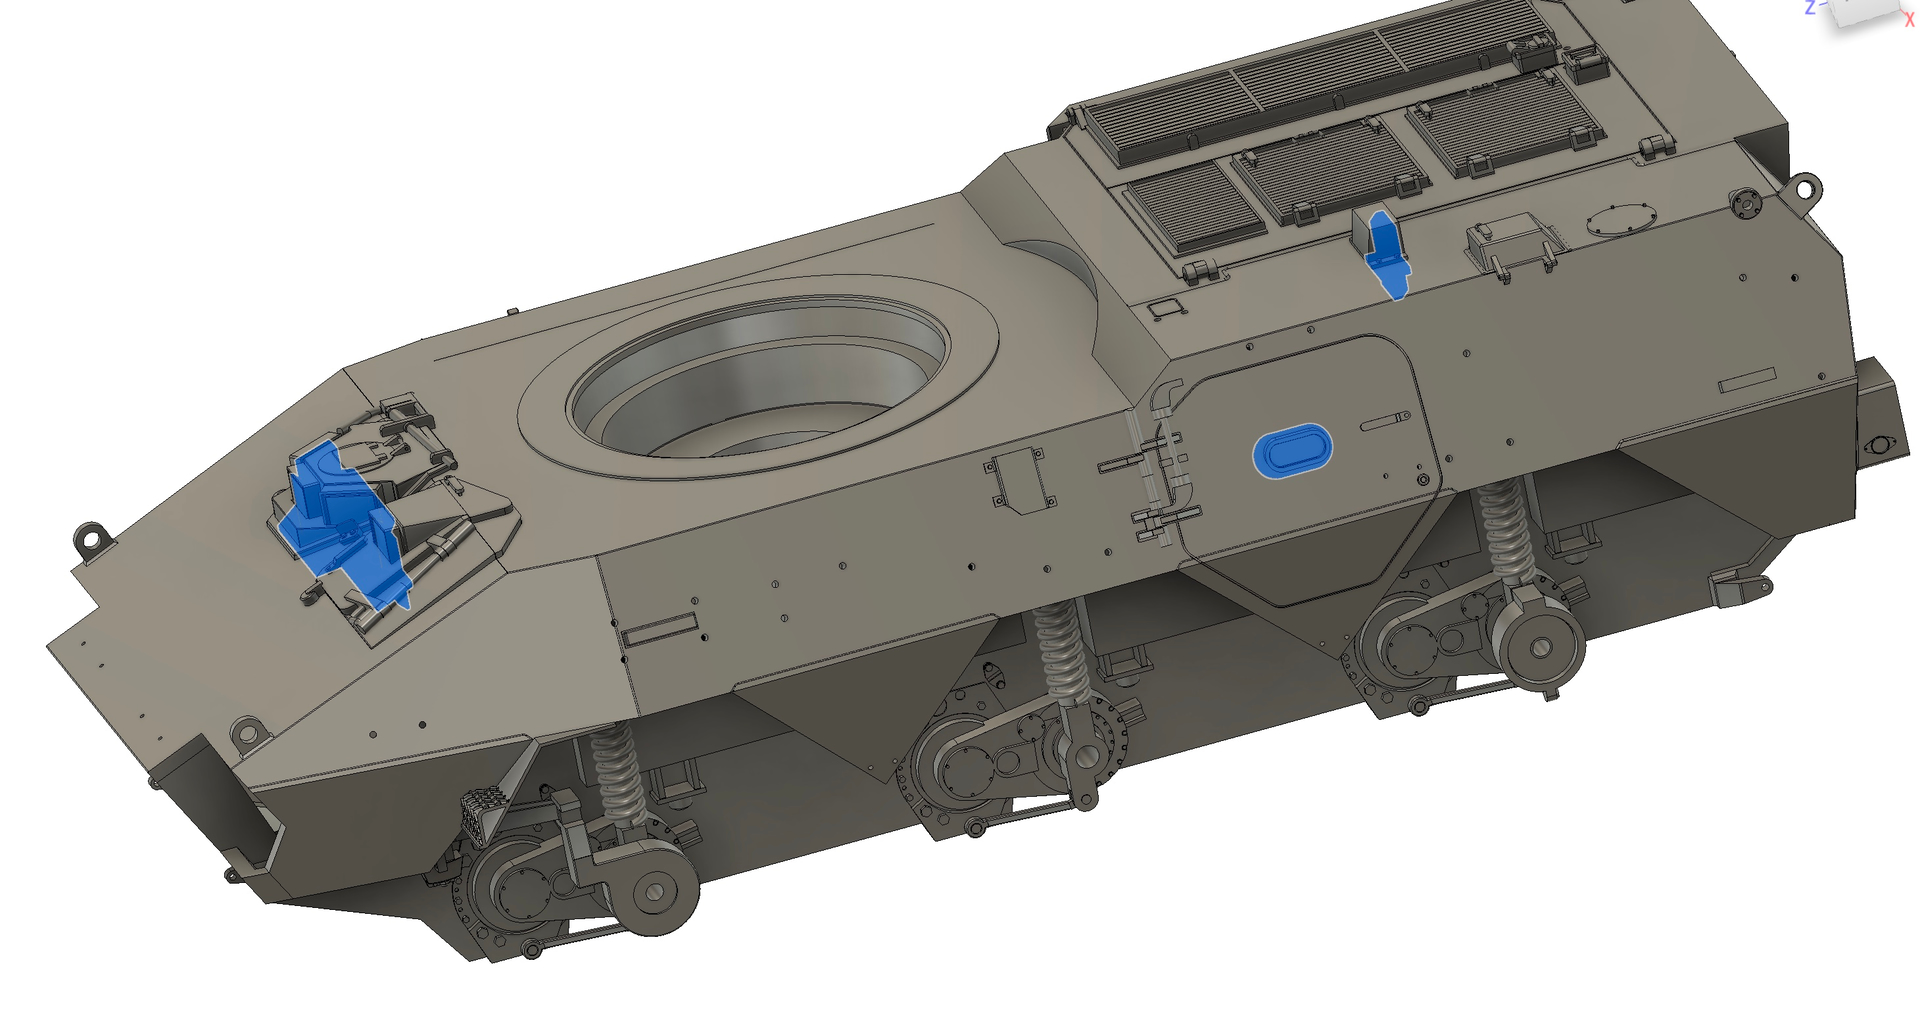
I think I’ve solved the crew commander’s sight line by chamfering the inside of the hatch ring so that it approximates the scale thickness of the hull roof.
I’ve also put the test hull prints - detail is being refined on the product prints - up on the wheels & suspension.
Everything touches the ground!
4 Likes
Still chipping away at the turret, hoping to finish the detailing in the next day or so.
My attempts to give the Tamiya commander enough shoulder room were unsuccessful. I think that’s fixed, now.
I’ve figured out that my vehicle belongs to the 10th Combat Reconnaissance Battalion. Drawing up a mask for the turret insignia will be…interesting.

2 Likes
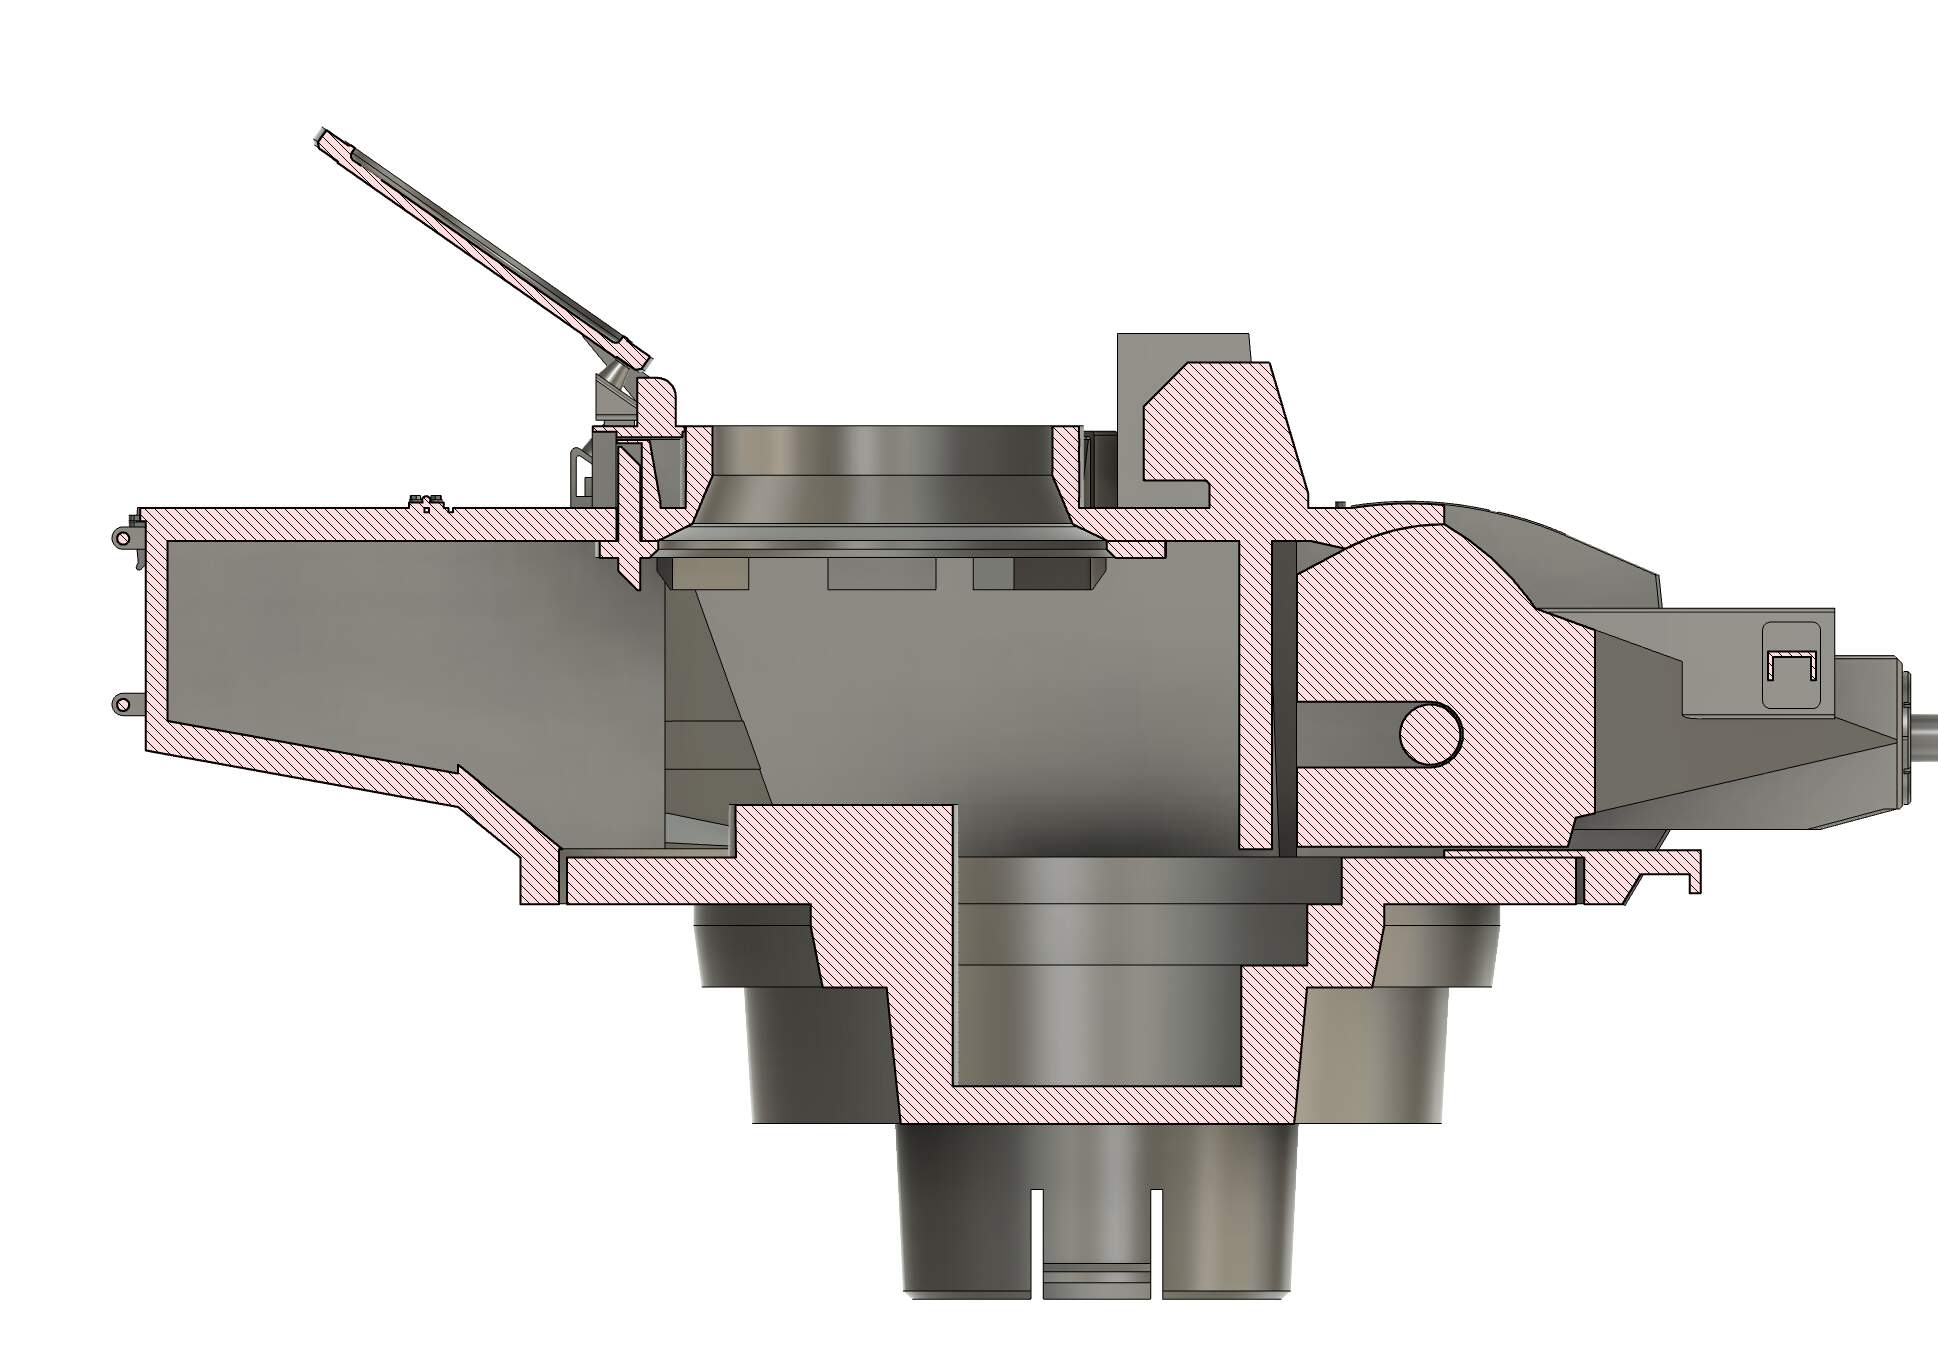
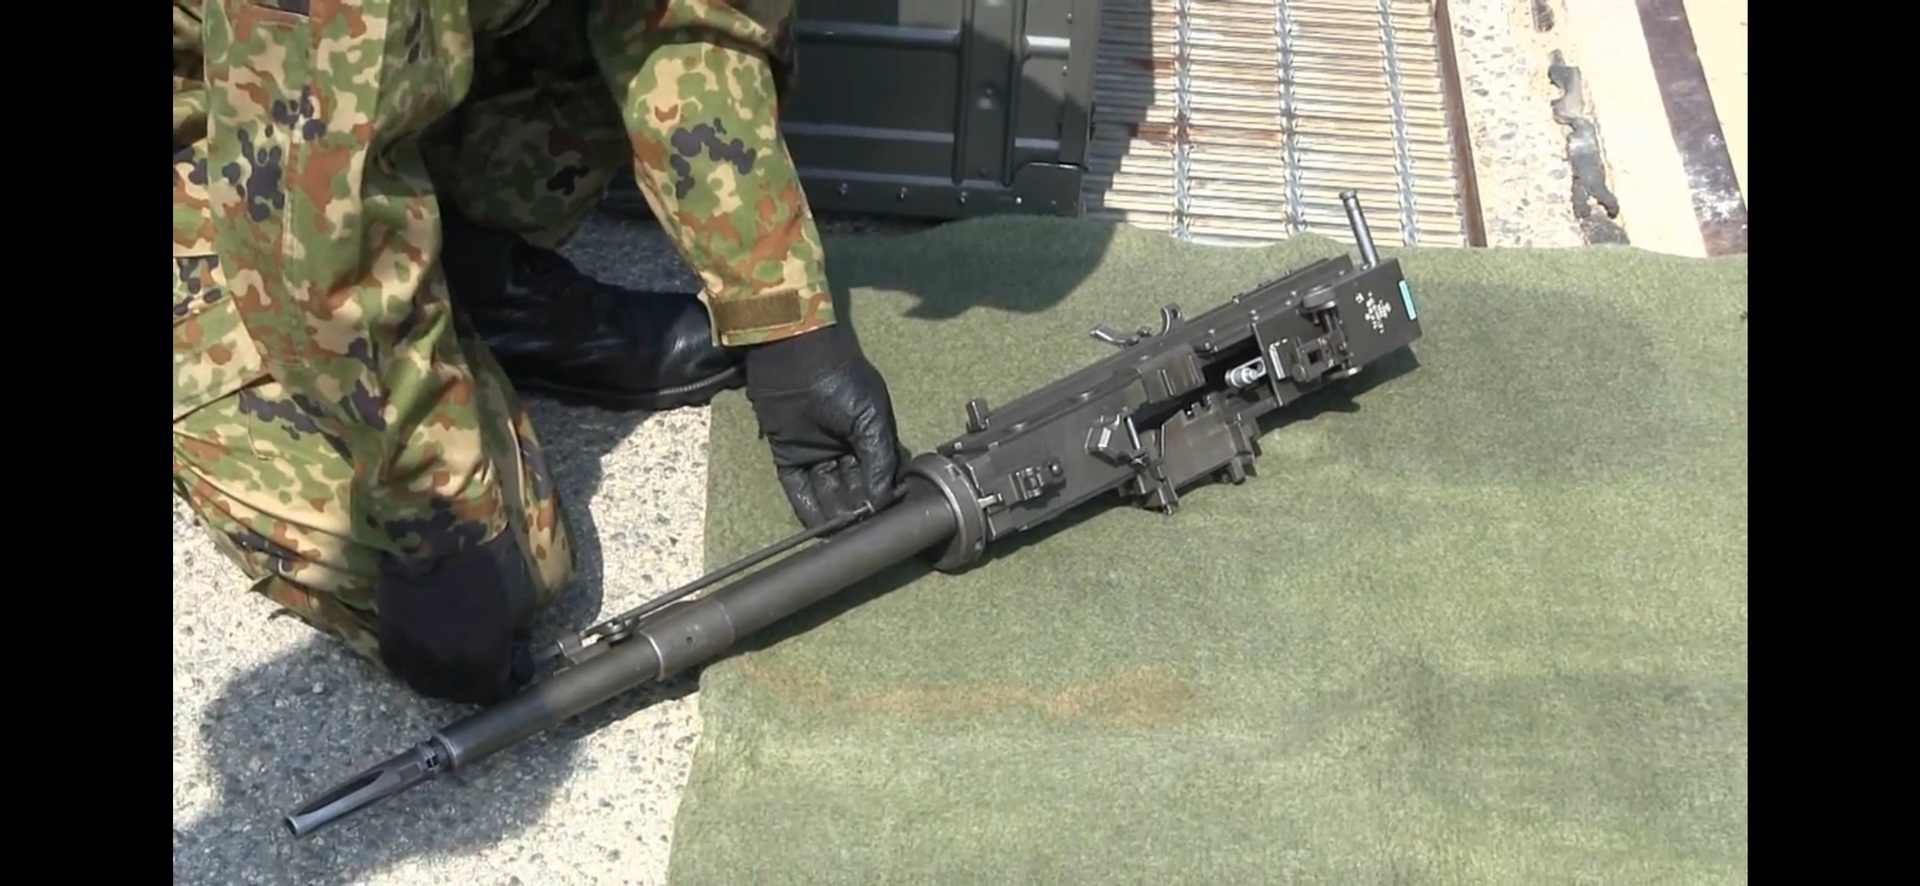
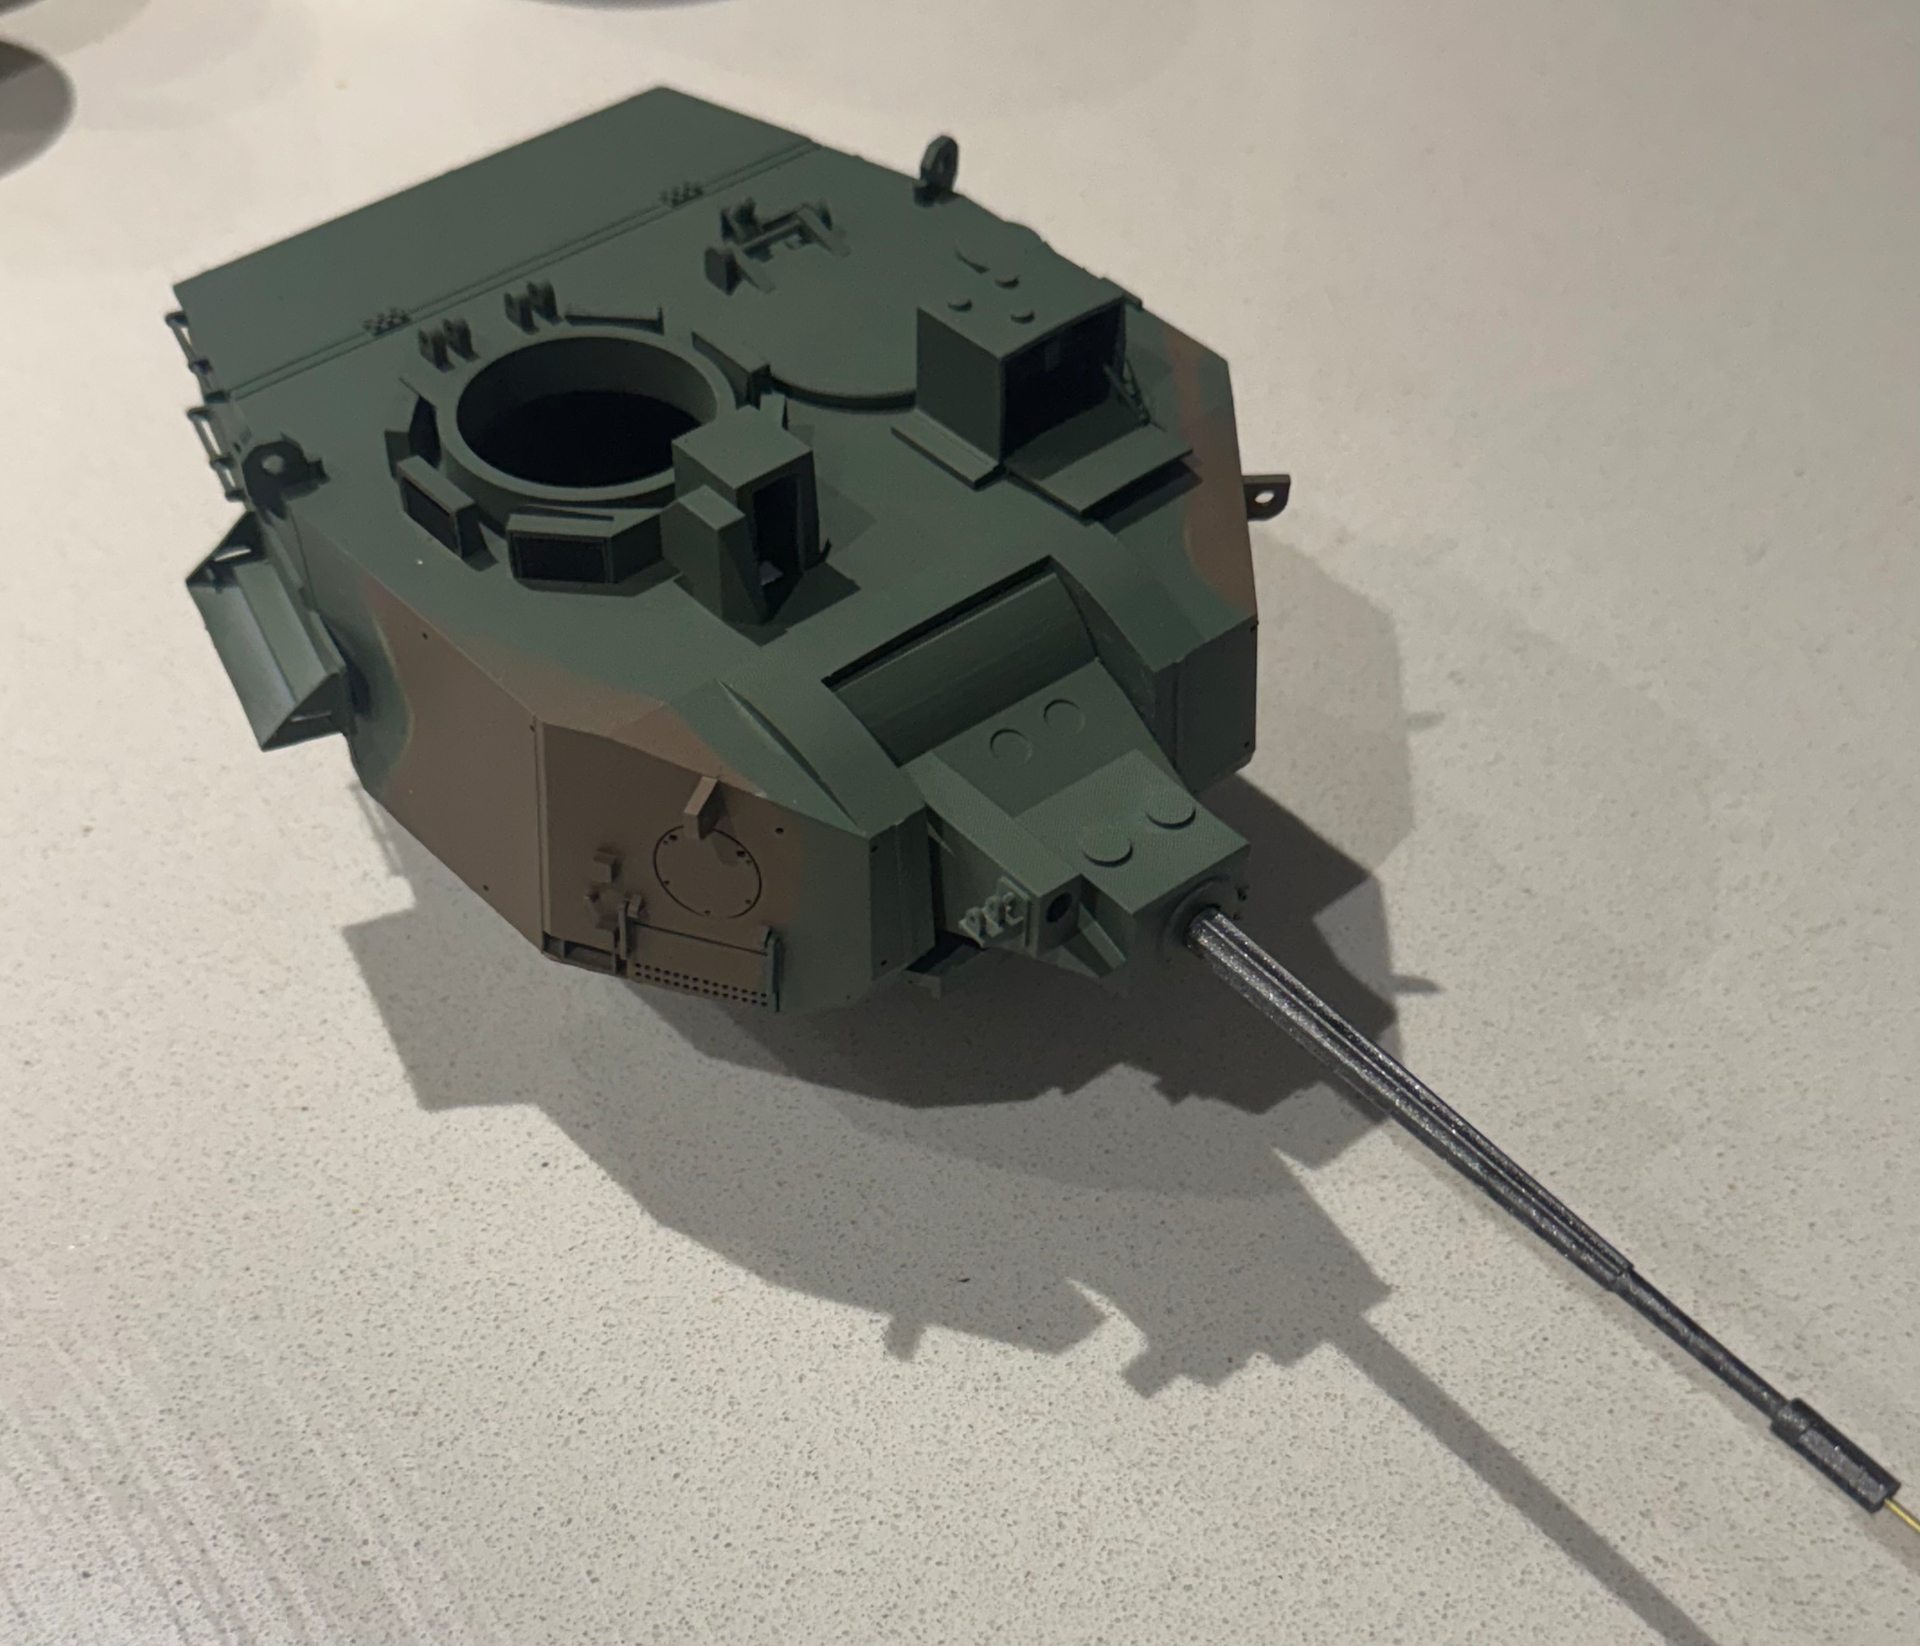
References for the KBA-25 25mm cannon fitted to the 87 式偵察警戒車 are pretty thin on the ground, but a workable representation only took two iterations.

It’s at a scale 25mm calibre, which allows for a 1.5mm diameter metal rod to be inserted to maintain stiffness over time.
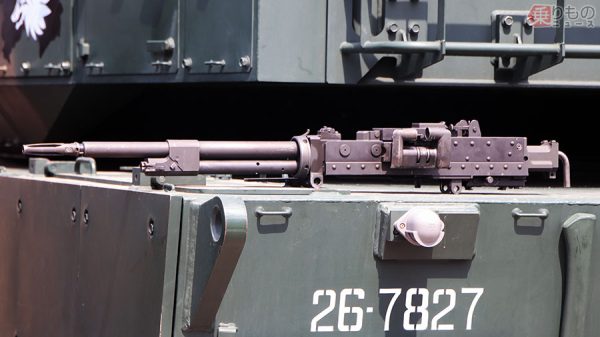
Next cab off the rank is the Type 74 coaxial machine gun. Odd looking gun.
1 Like
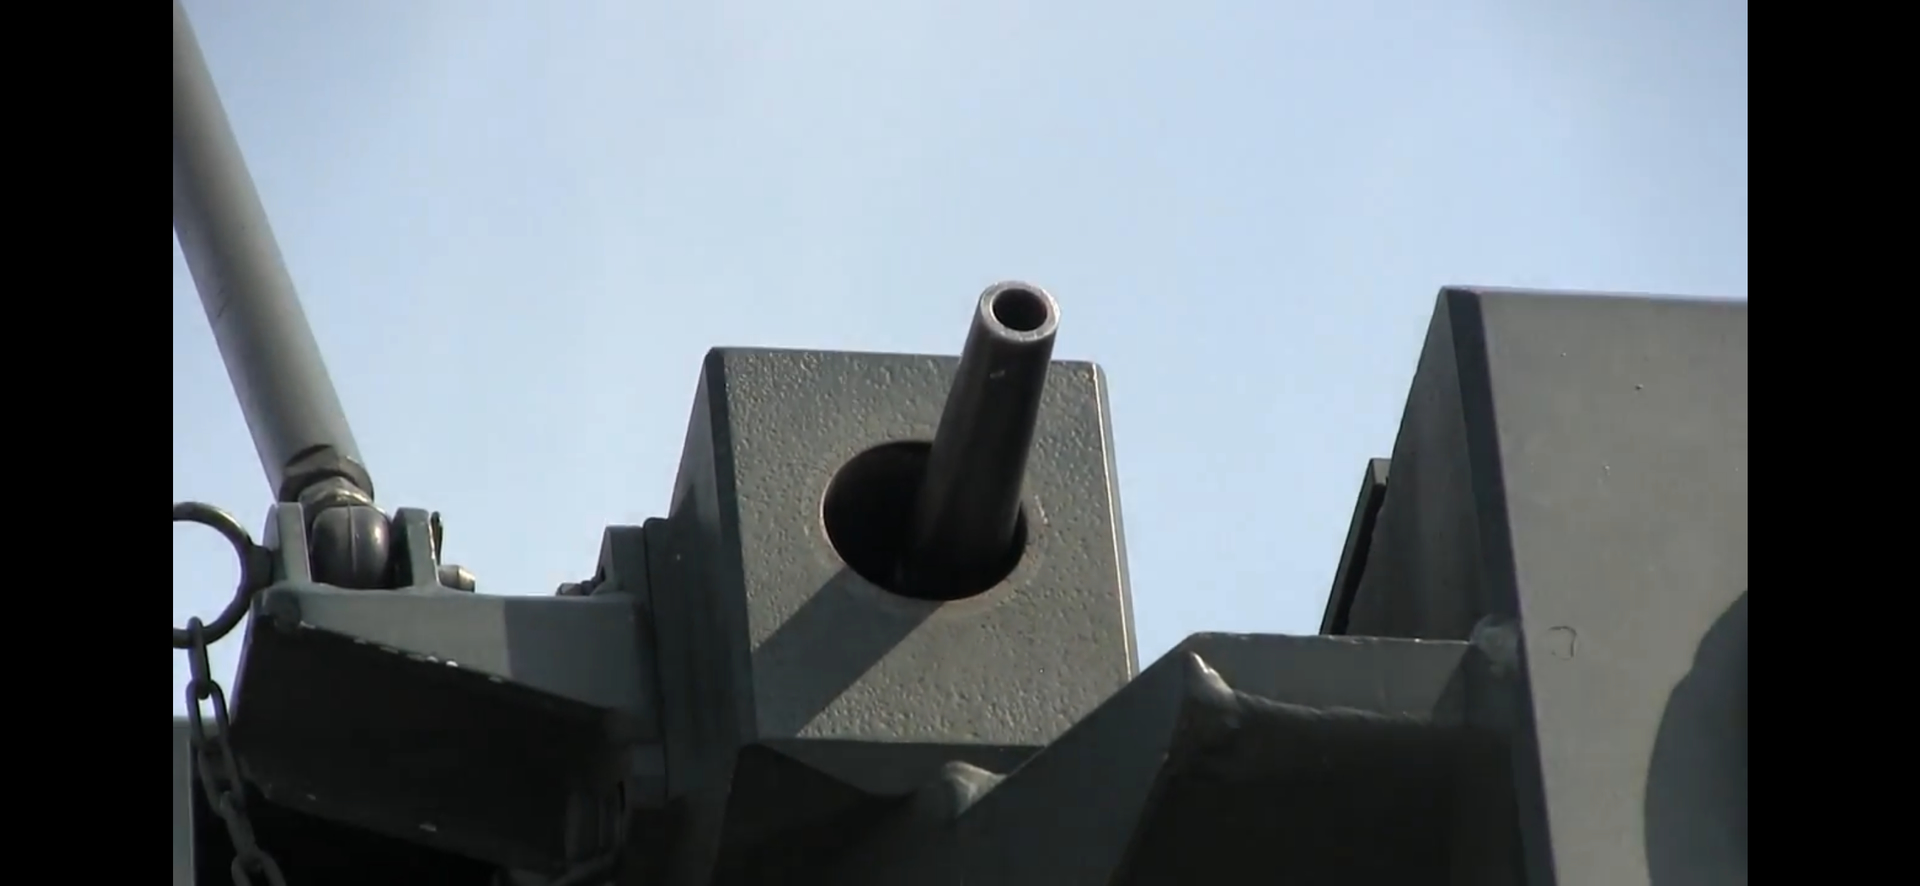
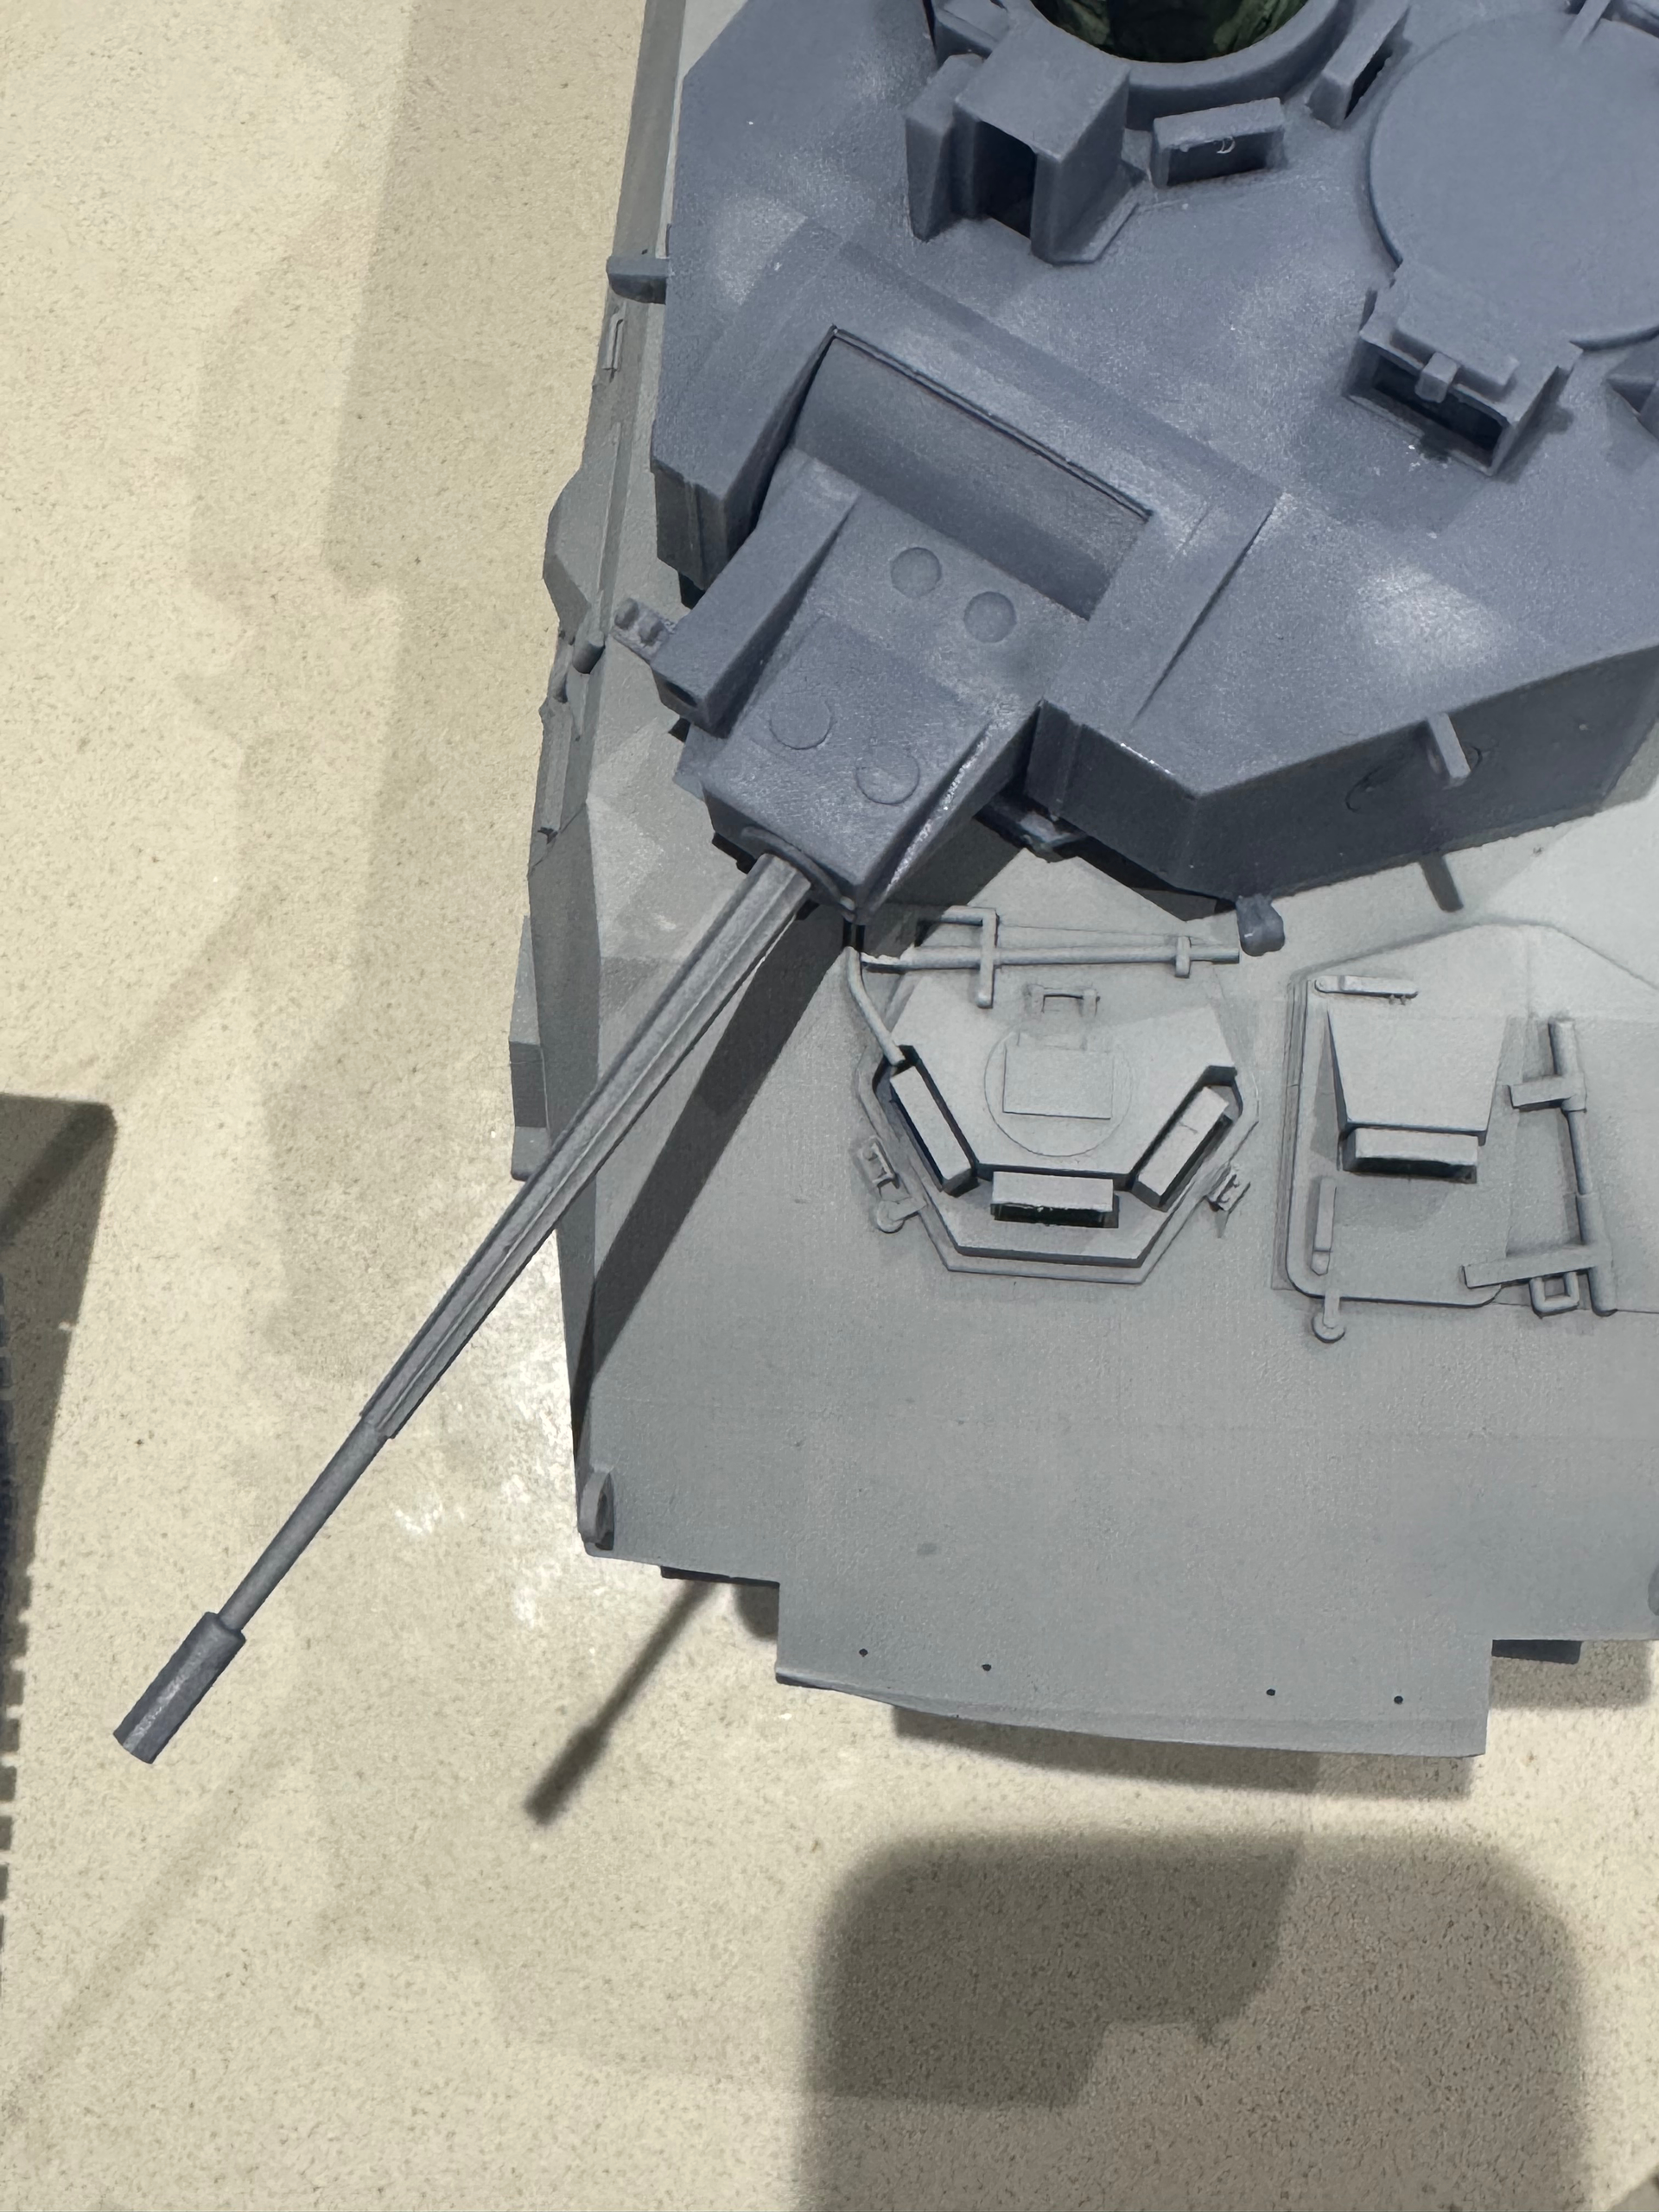
Very happy with the KBA-25 cannon & mantlet. The entire turret is very, very close to being finished, from a design POV.

4 Likes
The commander’s hatch cover test fit went well. Some detailing required & that can be crossed off the turret to do list.

3 Likes
The Type 74 machine gun is fitted as the coax. It’s a bit of an odd one, tbh. The birdcage style muzzle device is replaced with a solid one for blank firing, so a lot of display vehicles have that version fitted. It also doesn’t seem to be fitted centrally.
I modelled it as a plug to be fitted to the mantlet/gun shield.
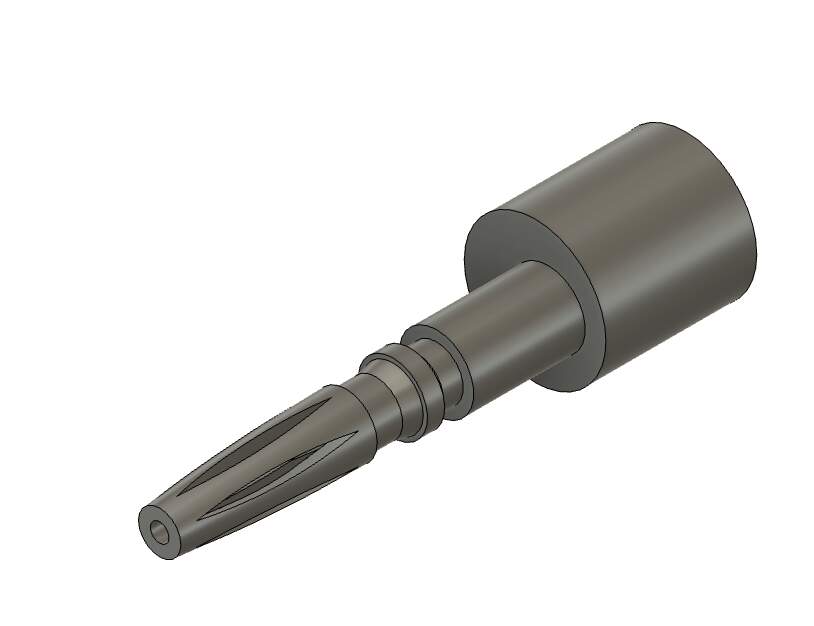

The KBA-25-02 cannon is a gas & recoil operated, dual feed 25mm gun. Its fuller, fluted barrel was a bit tricky to figure out, but got there in the end.

Armament now done, thankfully.
2 Likes