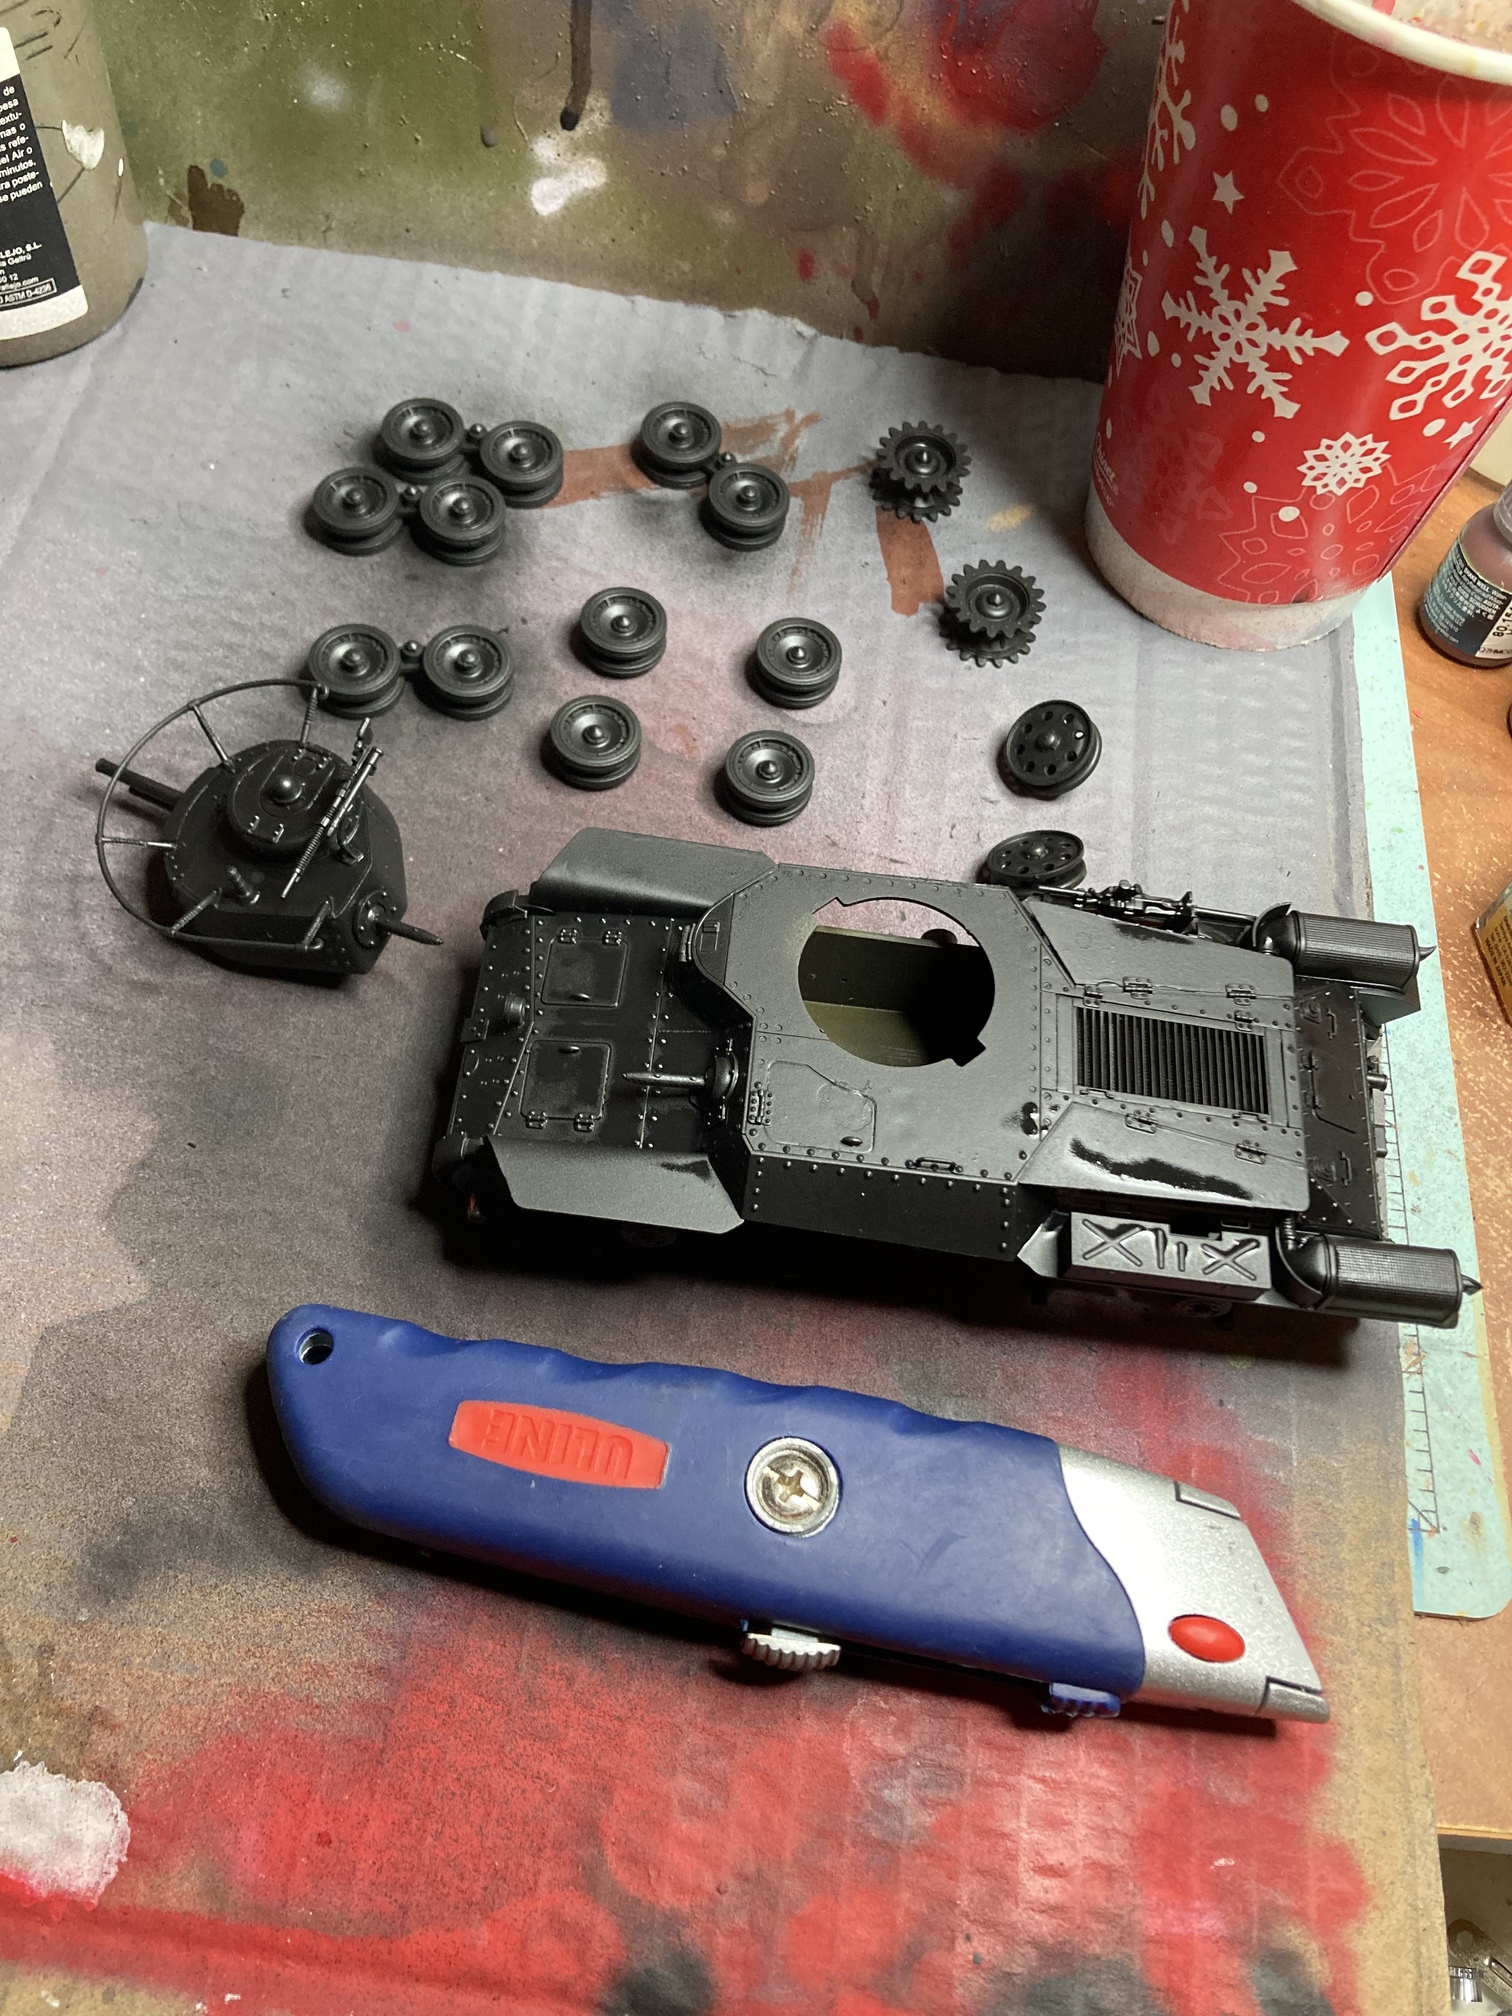
Howdy folks, been a bit since I finished the Ho-Ni, and now I’m onto a 1/35 Tamiya Chi Ha. Was really in the zone and forgot to take any pictures during assembly, but did snag this one once it was primed to show a friend the scale.
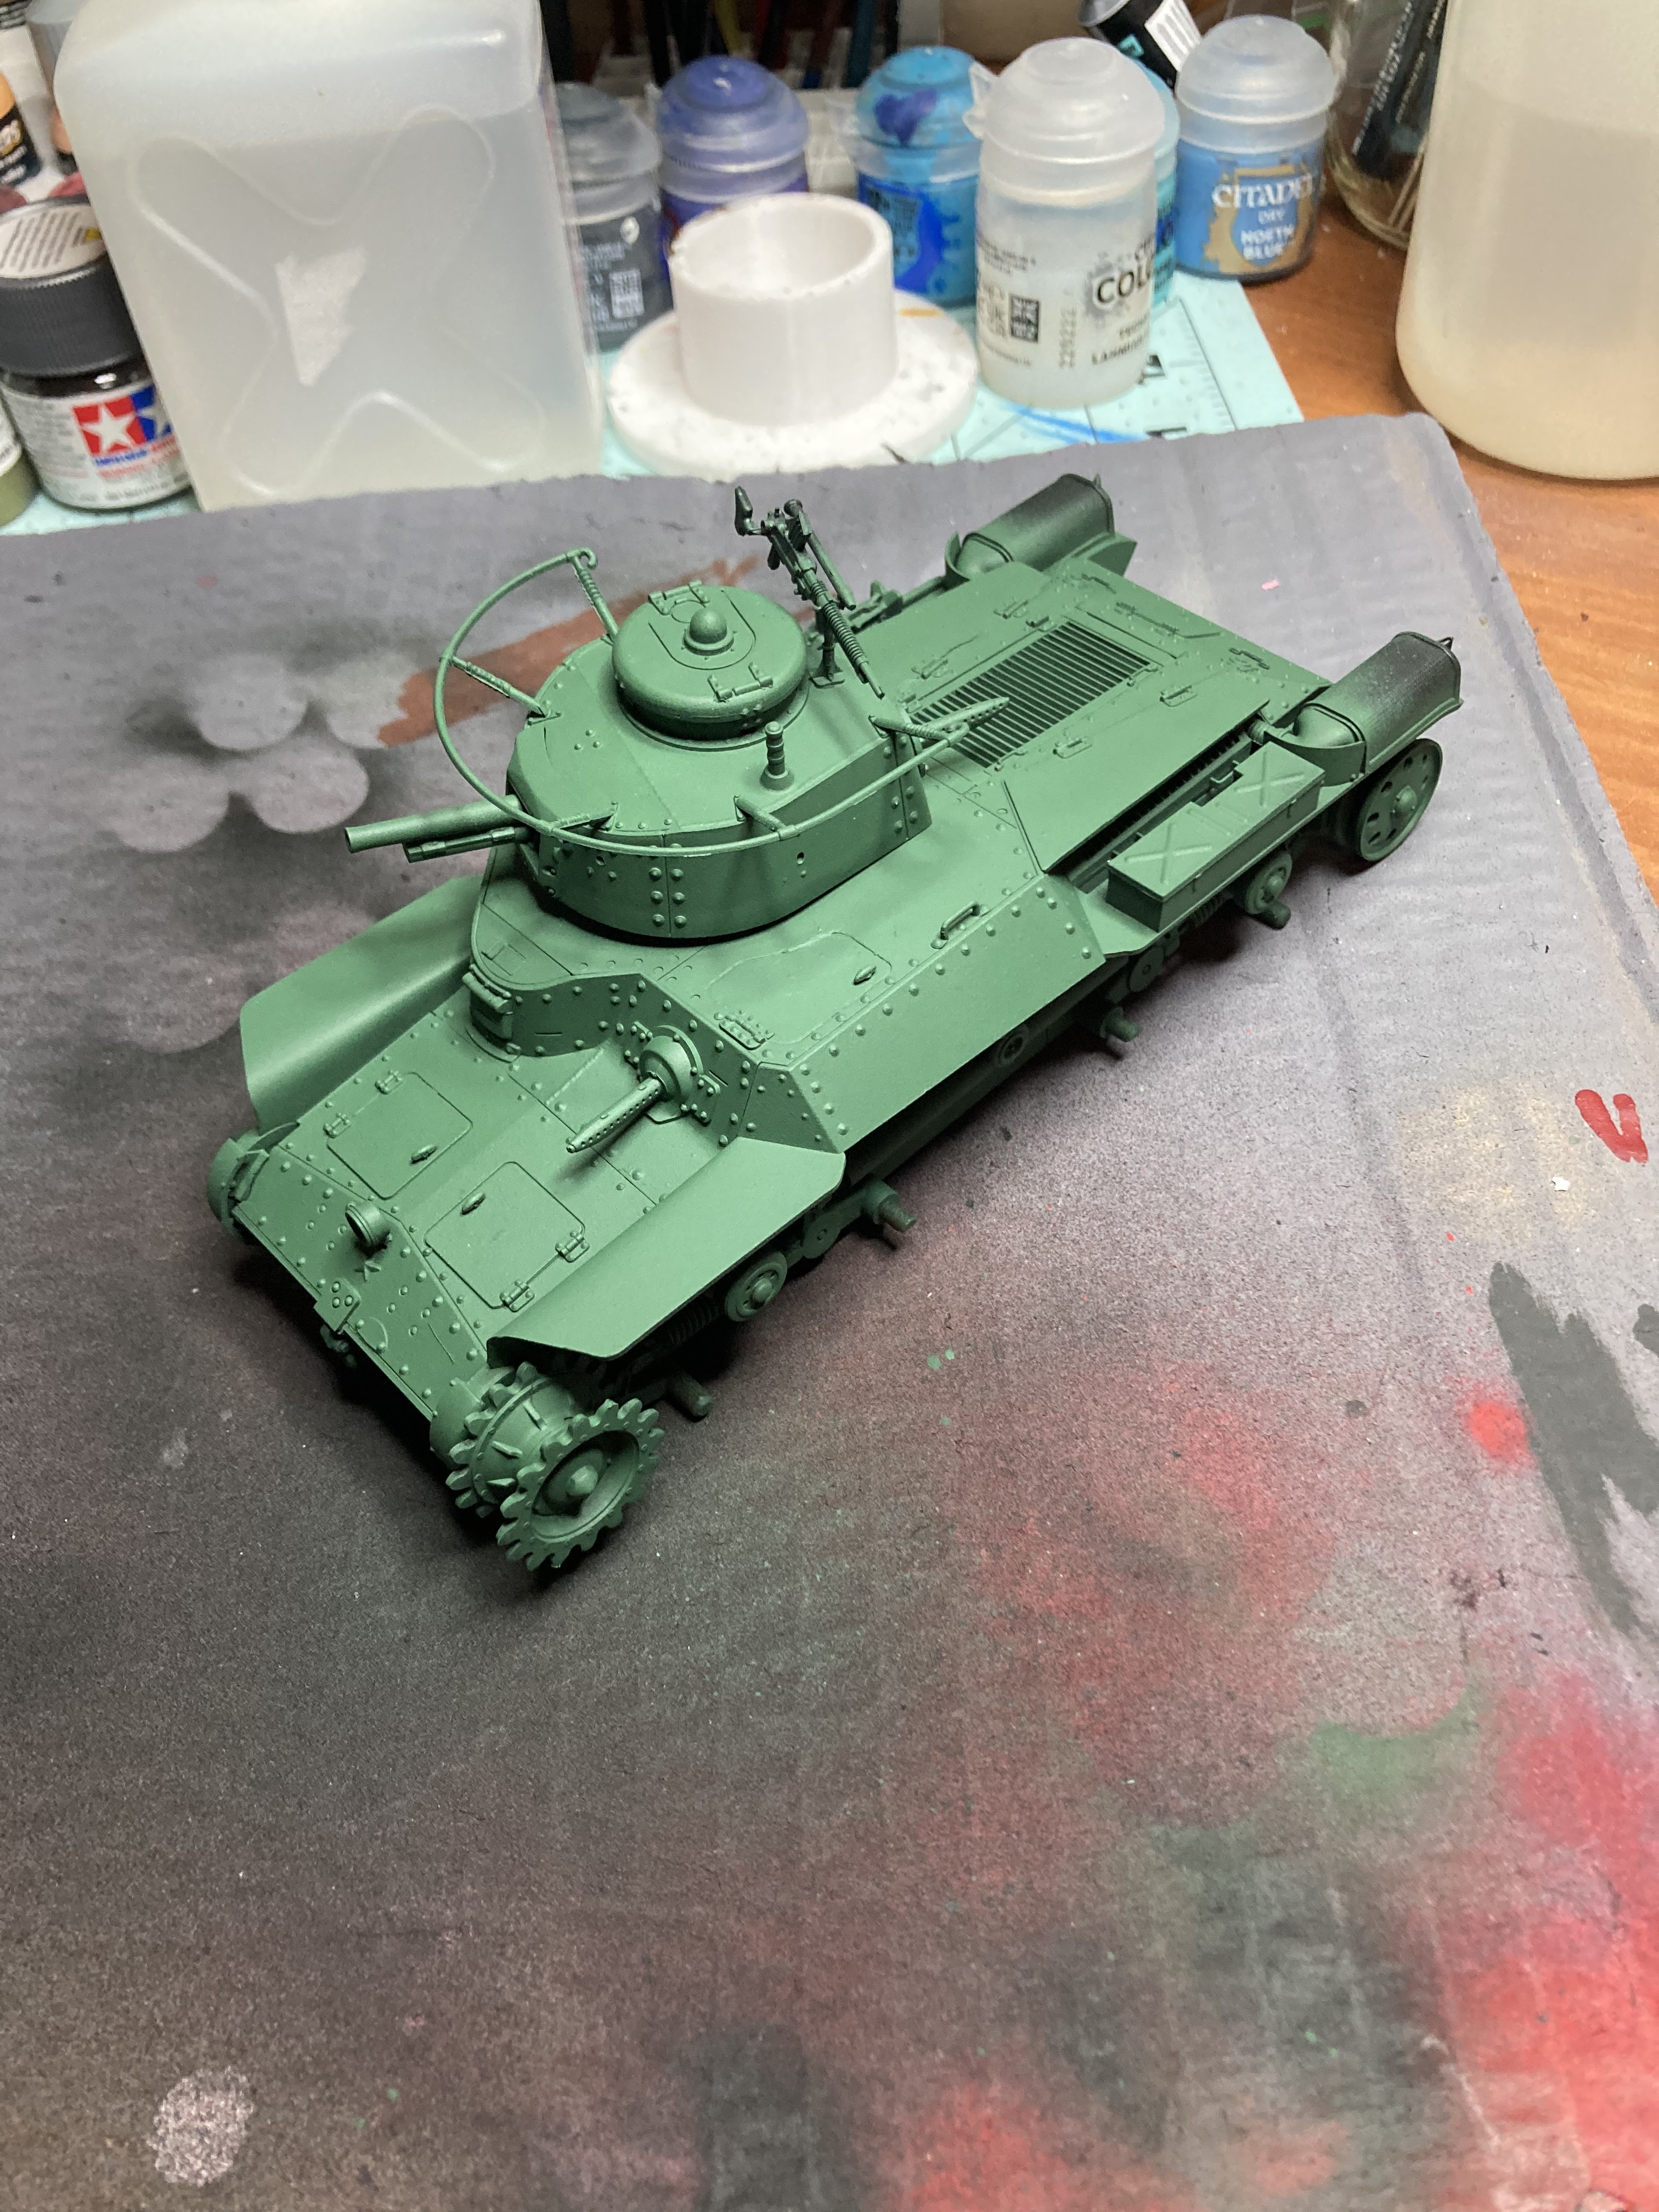
All parts are straight out of the tamiya kit with the exception of the barrel and tow cable. Most recently, I got the green color on the tank. Going for something a little different here, and doing a plain IJA green on this one instead of the typical camo. I attempted some preshading but didn’t really turn out. Not sure if went a little too heavy on the airbrush, or if my nozzle was too wide, or both.
Although the Tamiya Type 97 Chi Ha is a 1975 (!) molding it is still an exemplary kit and even bests the new Finemolds kit in some areas. The Tamiya kits were a special project overseen by Mr. Tamiya himself. Since these were IJA tanks, they had to be perfect. Japanese pride was on the line. No motorization, in an era when all Tamiya kits were motorized, to preserve the kit’s authentic dimensions. Research was extensive and every detail was gotten right. The detail and molding was above the standards of the time. Today the Tamiya Type 97 still stands out and is really the flagship kit of their MM line.
Wow, I had no idea of that. Pretty neat history there. It does make me wonder why tamiya did go deeper into the Japanese armor when compared to someone like Fine Molds and their wide range. I know from history class that japans view towards WW2 is “complicated” to say the least, maybe that was a factor?
Perhaps Mr. Tamiya was no longer involved himself or maybe there was no market to justify developing and producing more IJA kits at the time?
I for one have developed a softspot for those Japanese tanks, especially after doing Finemolds Ha-Go.
Same here. Pacific theater always drew my attention more than Europe, and something about Japans armor intrigued. This only my second scale model and already the backlog is growing. I think I will tackle either another Ho Ni next or the Type 94 tankette
The duplication of kits between Tamiya and Finemolds is very restricted, they are trying not to make commercial war in a niche market.
For what I remember, the overposition is limited to the Chi-ha family (that are the most known and sellable) and Type 61 (the Tamiya offering, good for its time, is obsolete now).
I almost purchased this model after seeing Ron’s build but…vinyl track abhorrence and no cheap replacement option. Many Japanese Type 97 features are similar to those of a Chech Panzer 38(t). They look like they share a common ancestor.
Holy guacamole! Fine Molds makes a 1/35 scale Japanese Type 61 with plastic tracks! That needs to go into the stable with the M24s and M47s.
Yeah, the Friul tracks for the Type 97 are fantastic but they cost as much as the kit. Still, with the tracks and a PE set, you can build a great model.
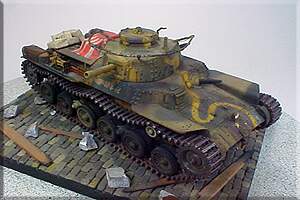
That’s a sharp lookin model! Any more pics of it? I’m looking for stowage ideas.
Also on the Fruil tracks, I’d love to get some but like you said, they don’t come cheap. I did get some resin ones, I believe Vision works was the brand. Can check when I’m home. Was going to use for the Ho Ni but decided to save them
I highly recommend the Tamiya kit and the Fruil track. I built the late model 97 and enjoyed the build. The Fruil track was a great improvement over the rubber bands…
I’d certainly like to get some. I just the vinyls from the Ho Ni, and honestly probably will for this build too, and save nicer ones for when I’m more experienced. I have another one in box
Fruil tracks look fantastic as demonstrated by your excellent model, but when I costed out that option, they were almost three times the price of the kit.
To be clear, I know the vinyl tracks in the kit look perfectly fine as demonstrated by Ron’s fine model. Disintegrating Dragon and Trumpeter vinyl tracks have scarred me for life. twitches
The latest versions of Blender finally includes a snap to grid function allowing very precise drawing control but the revised interface will take some time to master. Once that is behind me, I will simply make my own tracks. In fact, I plan on making my own everything.
Decals have been applied. Did a Matt varnish over the whole model (I saw tutorials saying gloss and some saying matt, not sure how much of a difference it makes) and used micro sol and set. After drying, i noticed the larger black decals had some bubbling. Any tips to flatten it out? I was thinking re-wet it and try to use something like a toothpick to roll the bubbles out.
I don’t know where you found a tutorial saying to lay decals over a matte or flat finish but that’s just asking for trouble. Some guys may have gotten lucky so far and put their decals over a matte coat with no problems, but if you want to guarantee perfect decals you go gloss - decals - gloss. Decals are printed on a carrier film, and need a perfectly smooth surface to adhere to and assure you don’t get silvering or bubbles. So you do a gloss coat, then Micro Set, then decal, then Micro Sol, then you leave it alone for 8 hours, then you do a couple more gloss coats until you can’t see the decal edge. That’s when your decals will look painted on. Then you do a flat coat and\or continue with your weathering process.
For your decal bubble problem - take a brand new #11 blade and cut the bubbles lengthwise, just once. Then apply Micro Sol and leave it alone to do it’s job. The bubbles should suck down and disappear. If they don’t, repeat this process until they do.
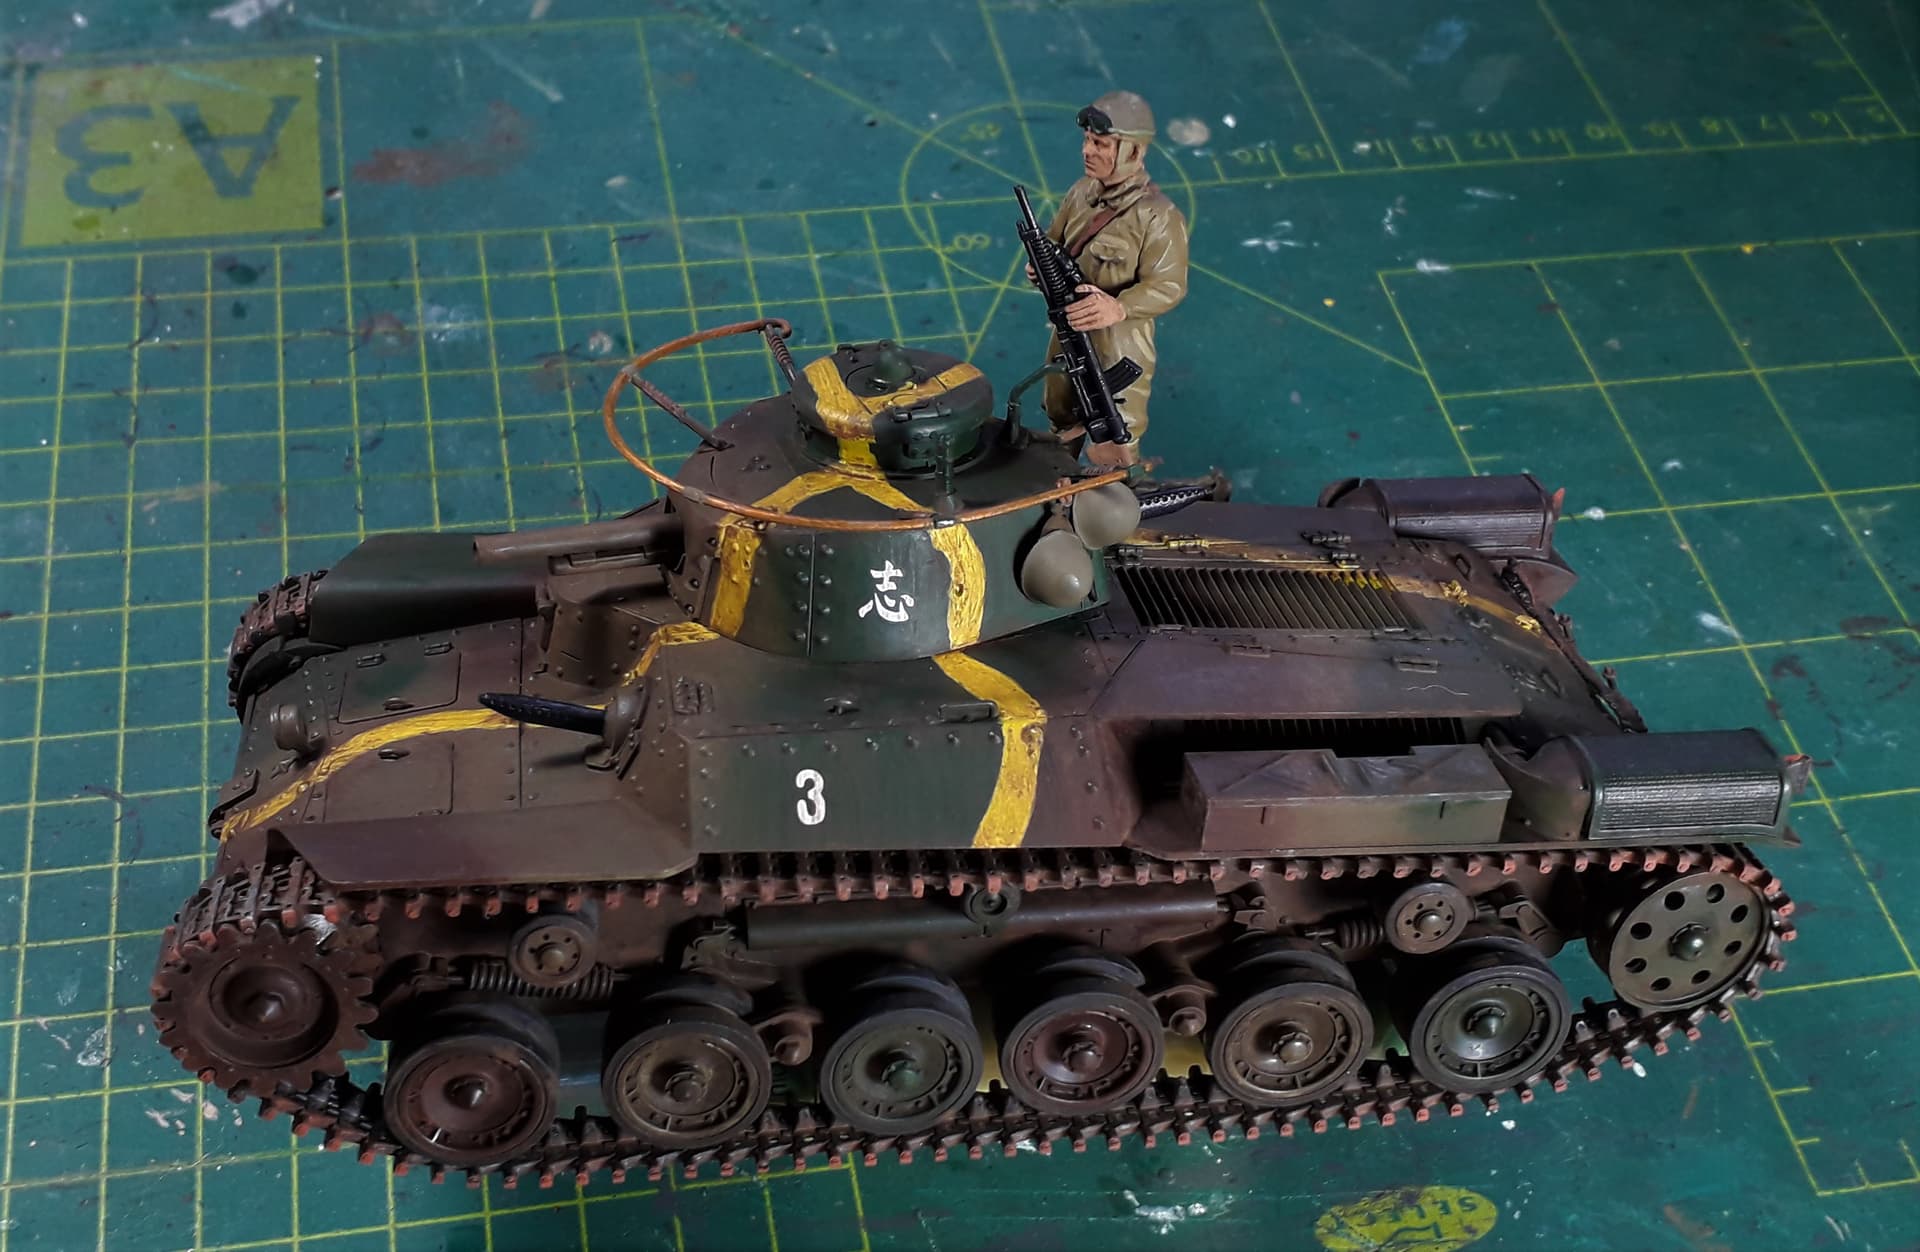
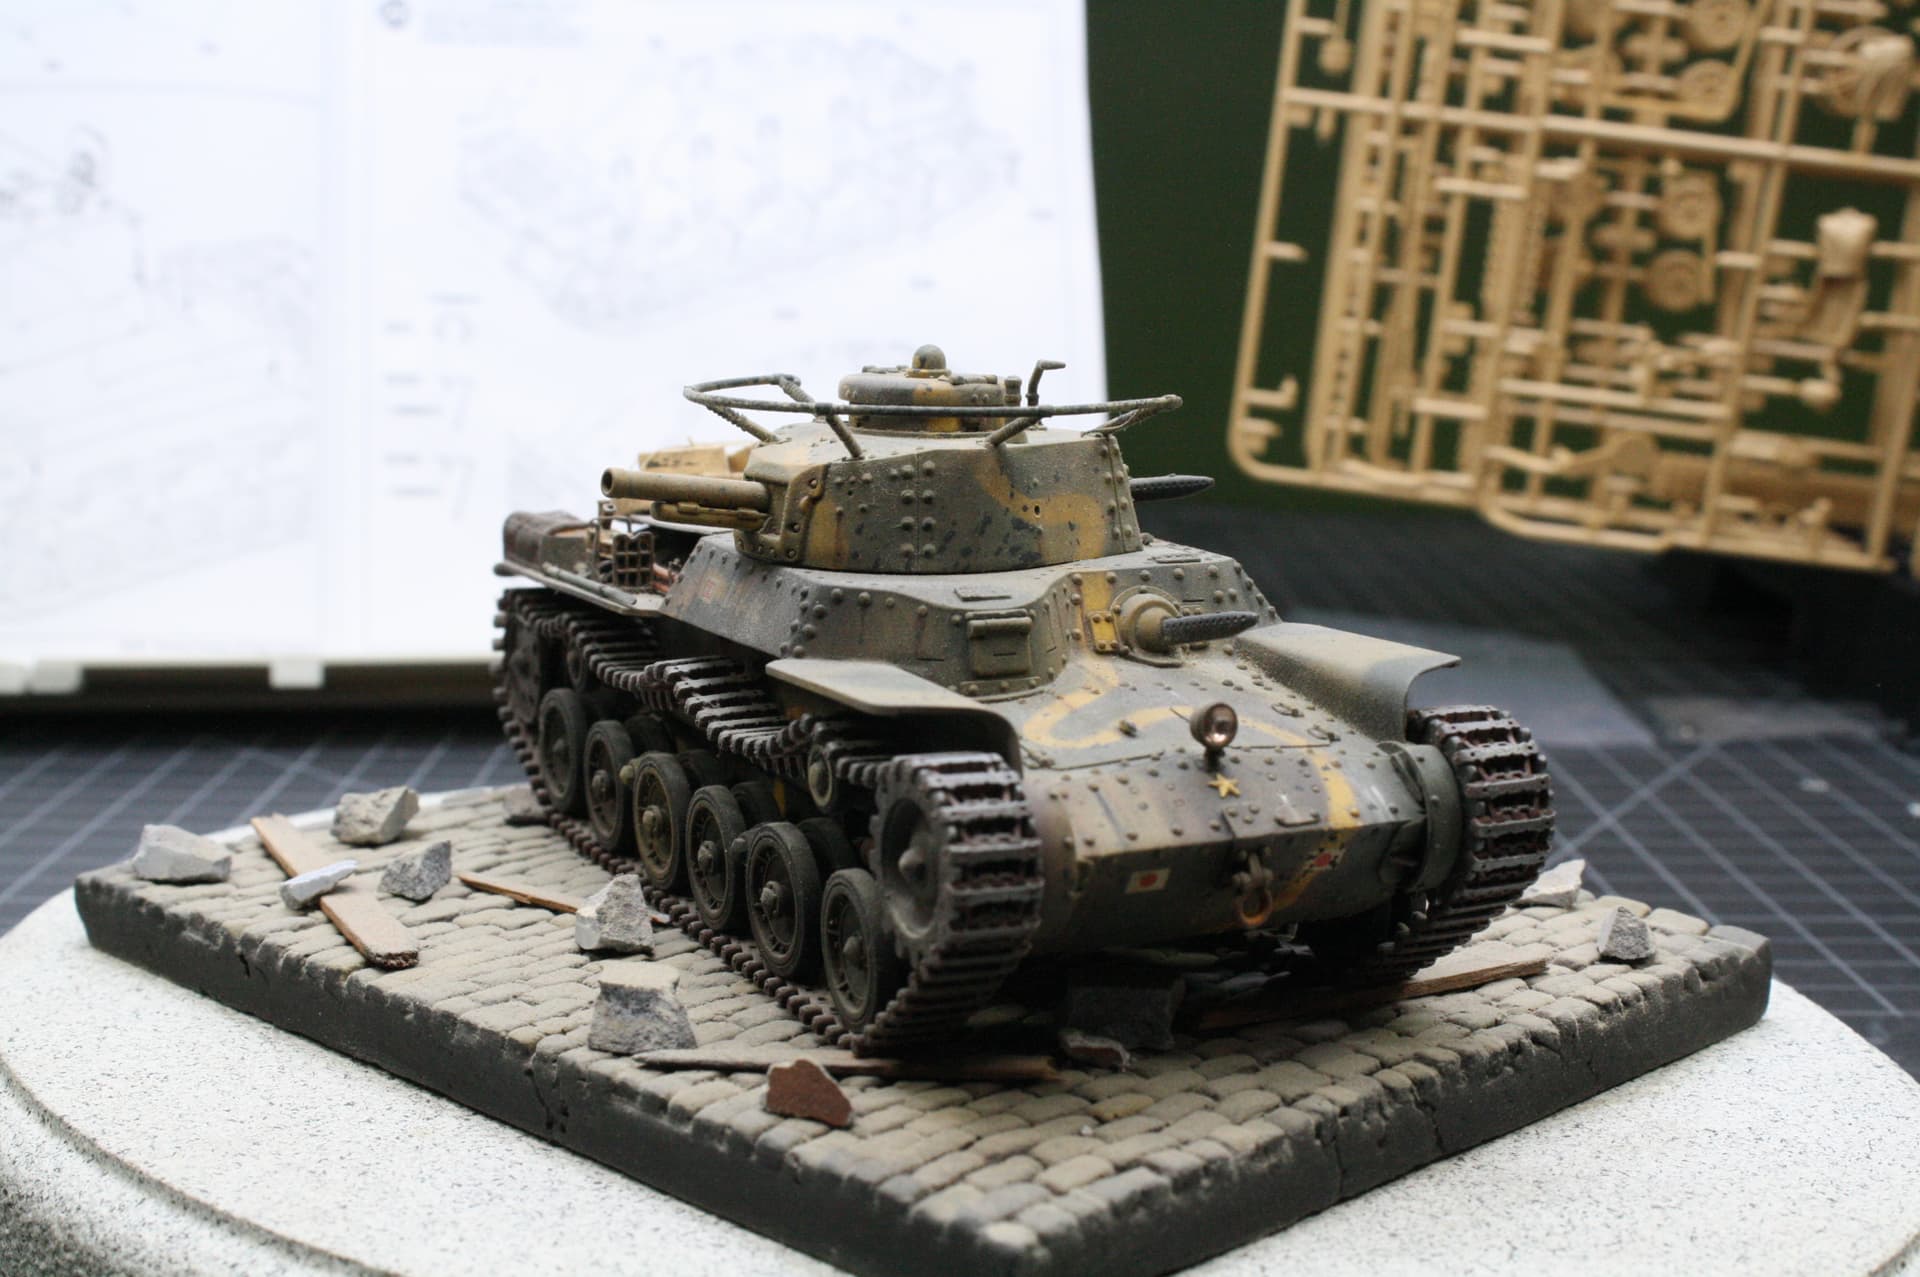
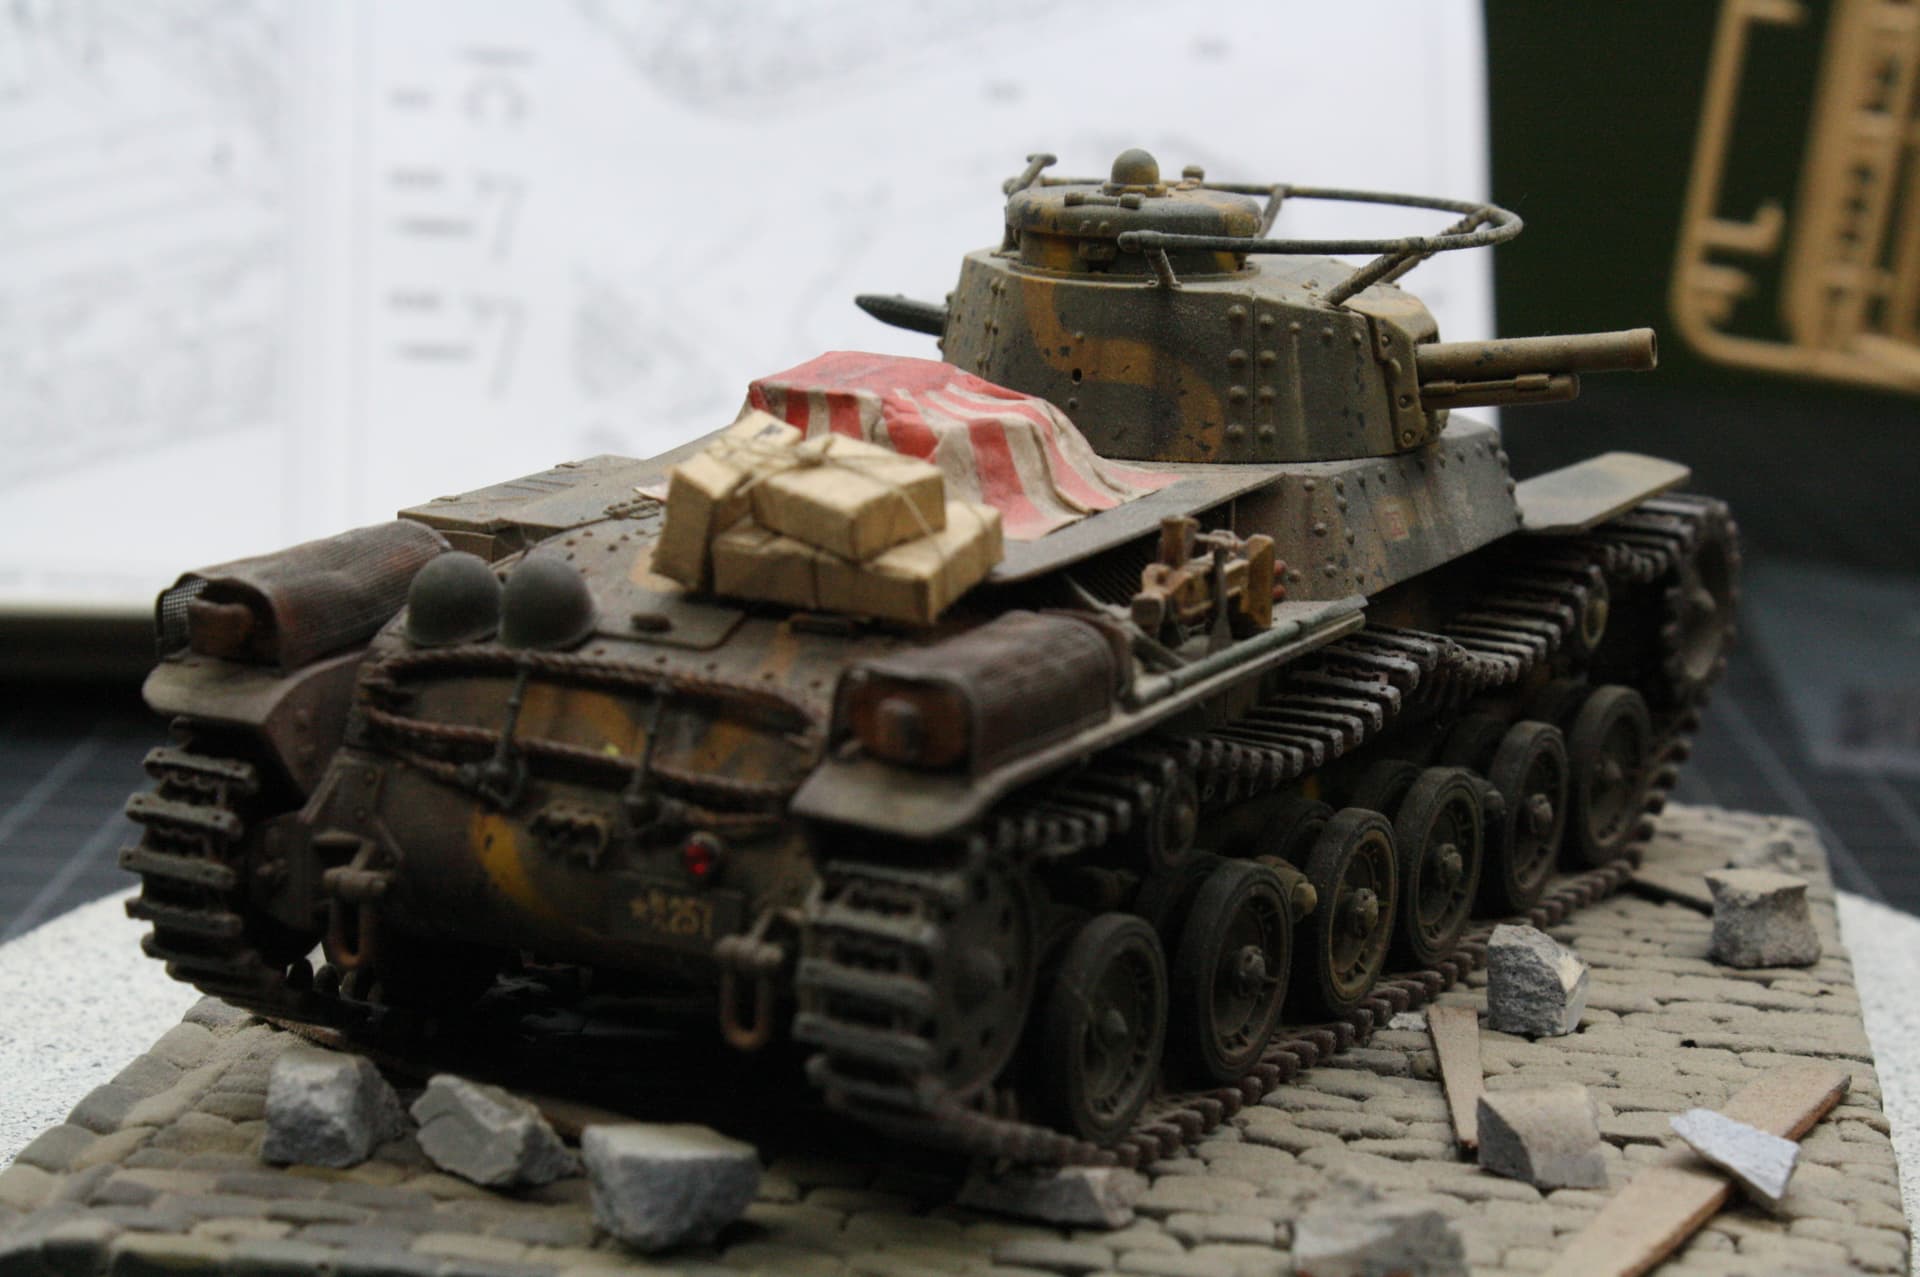
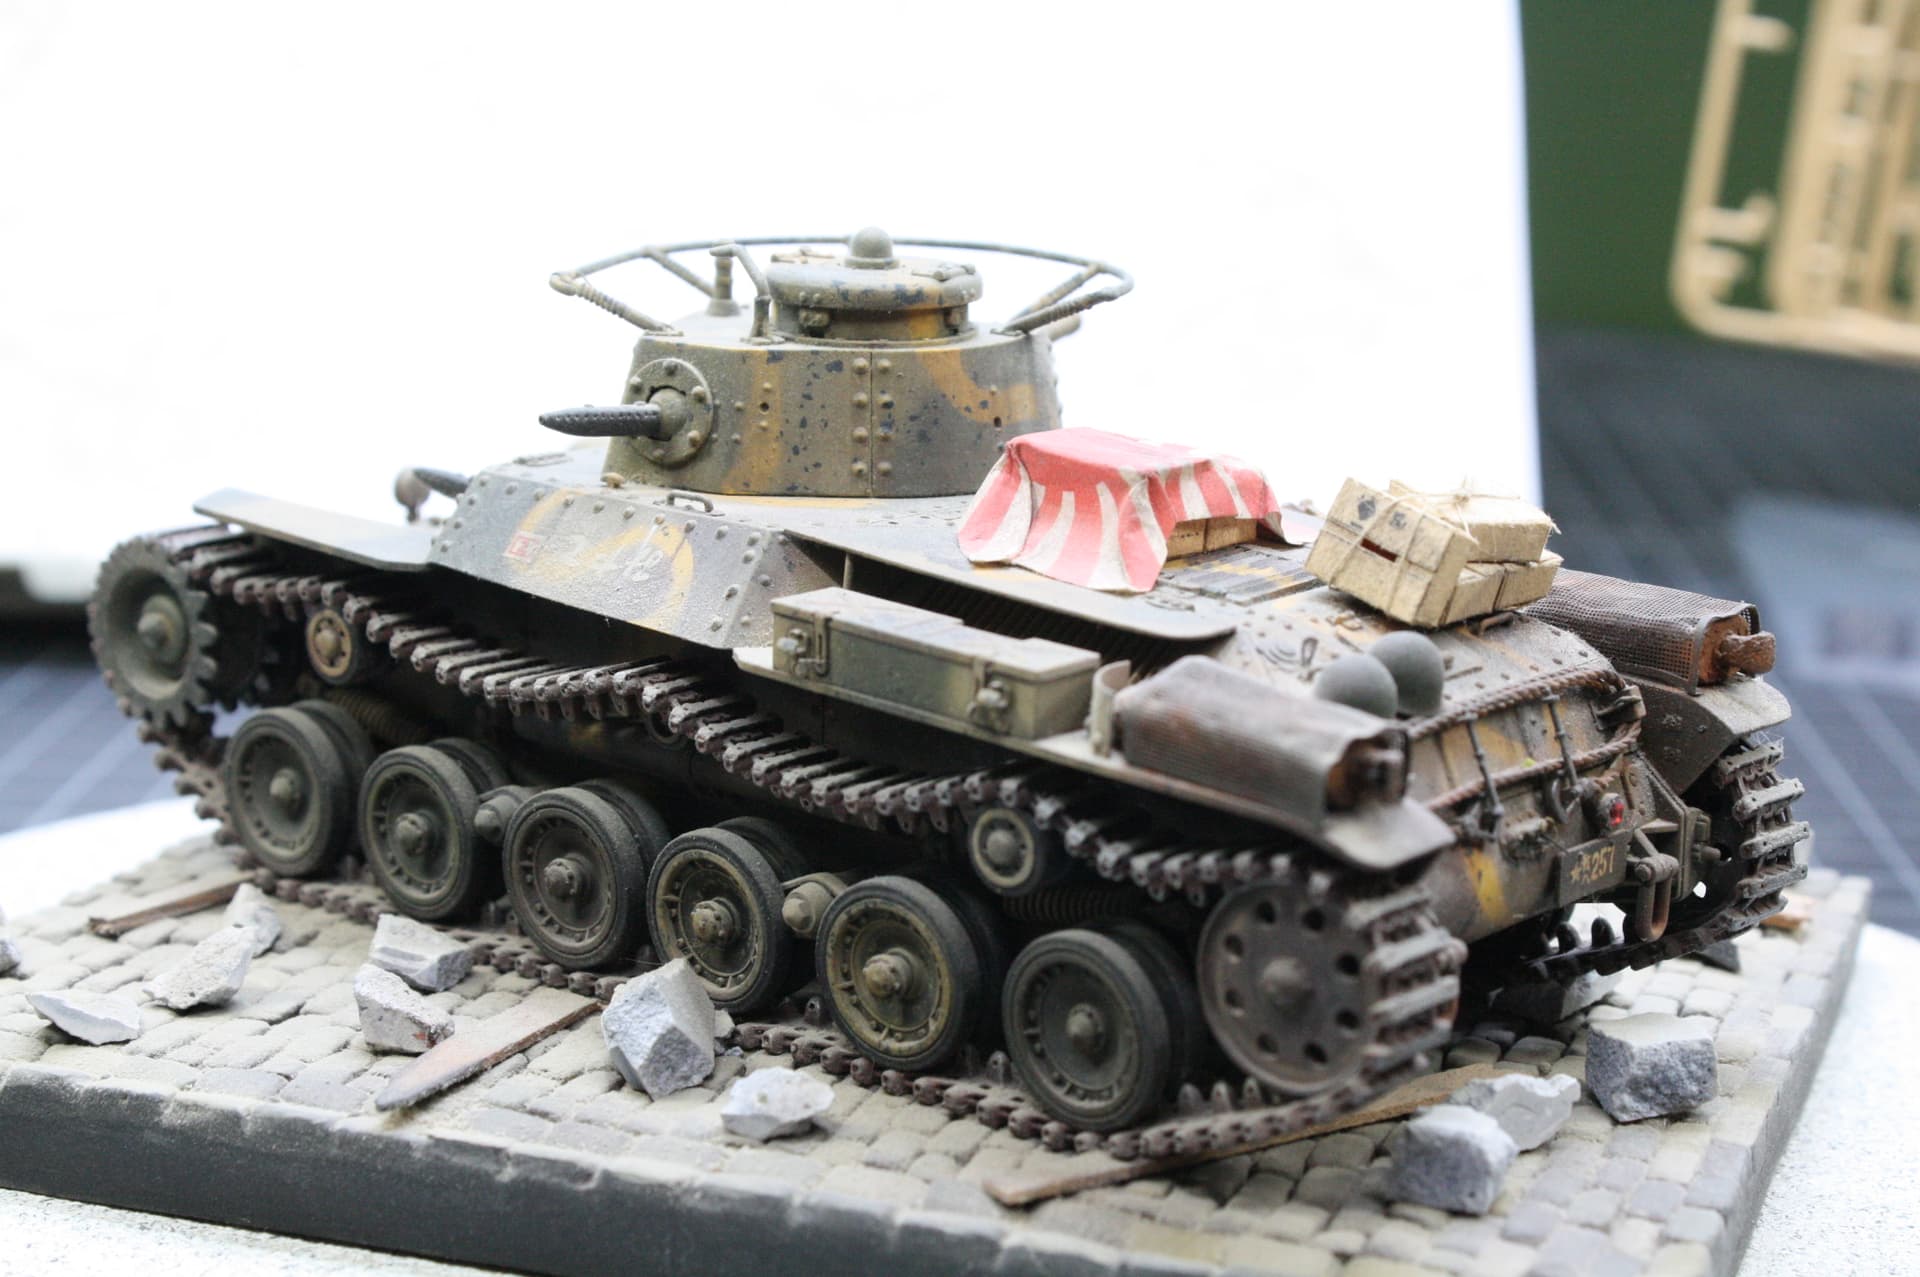
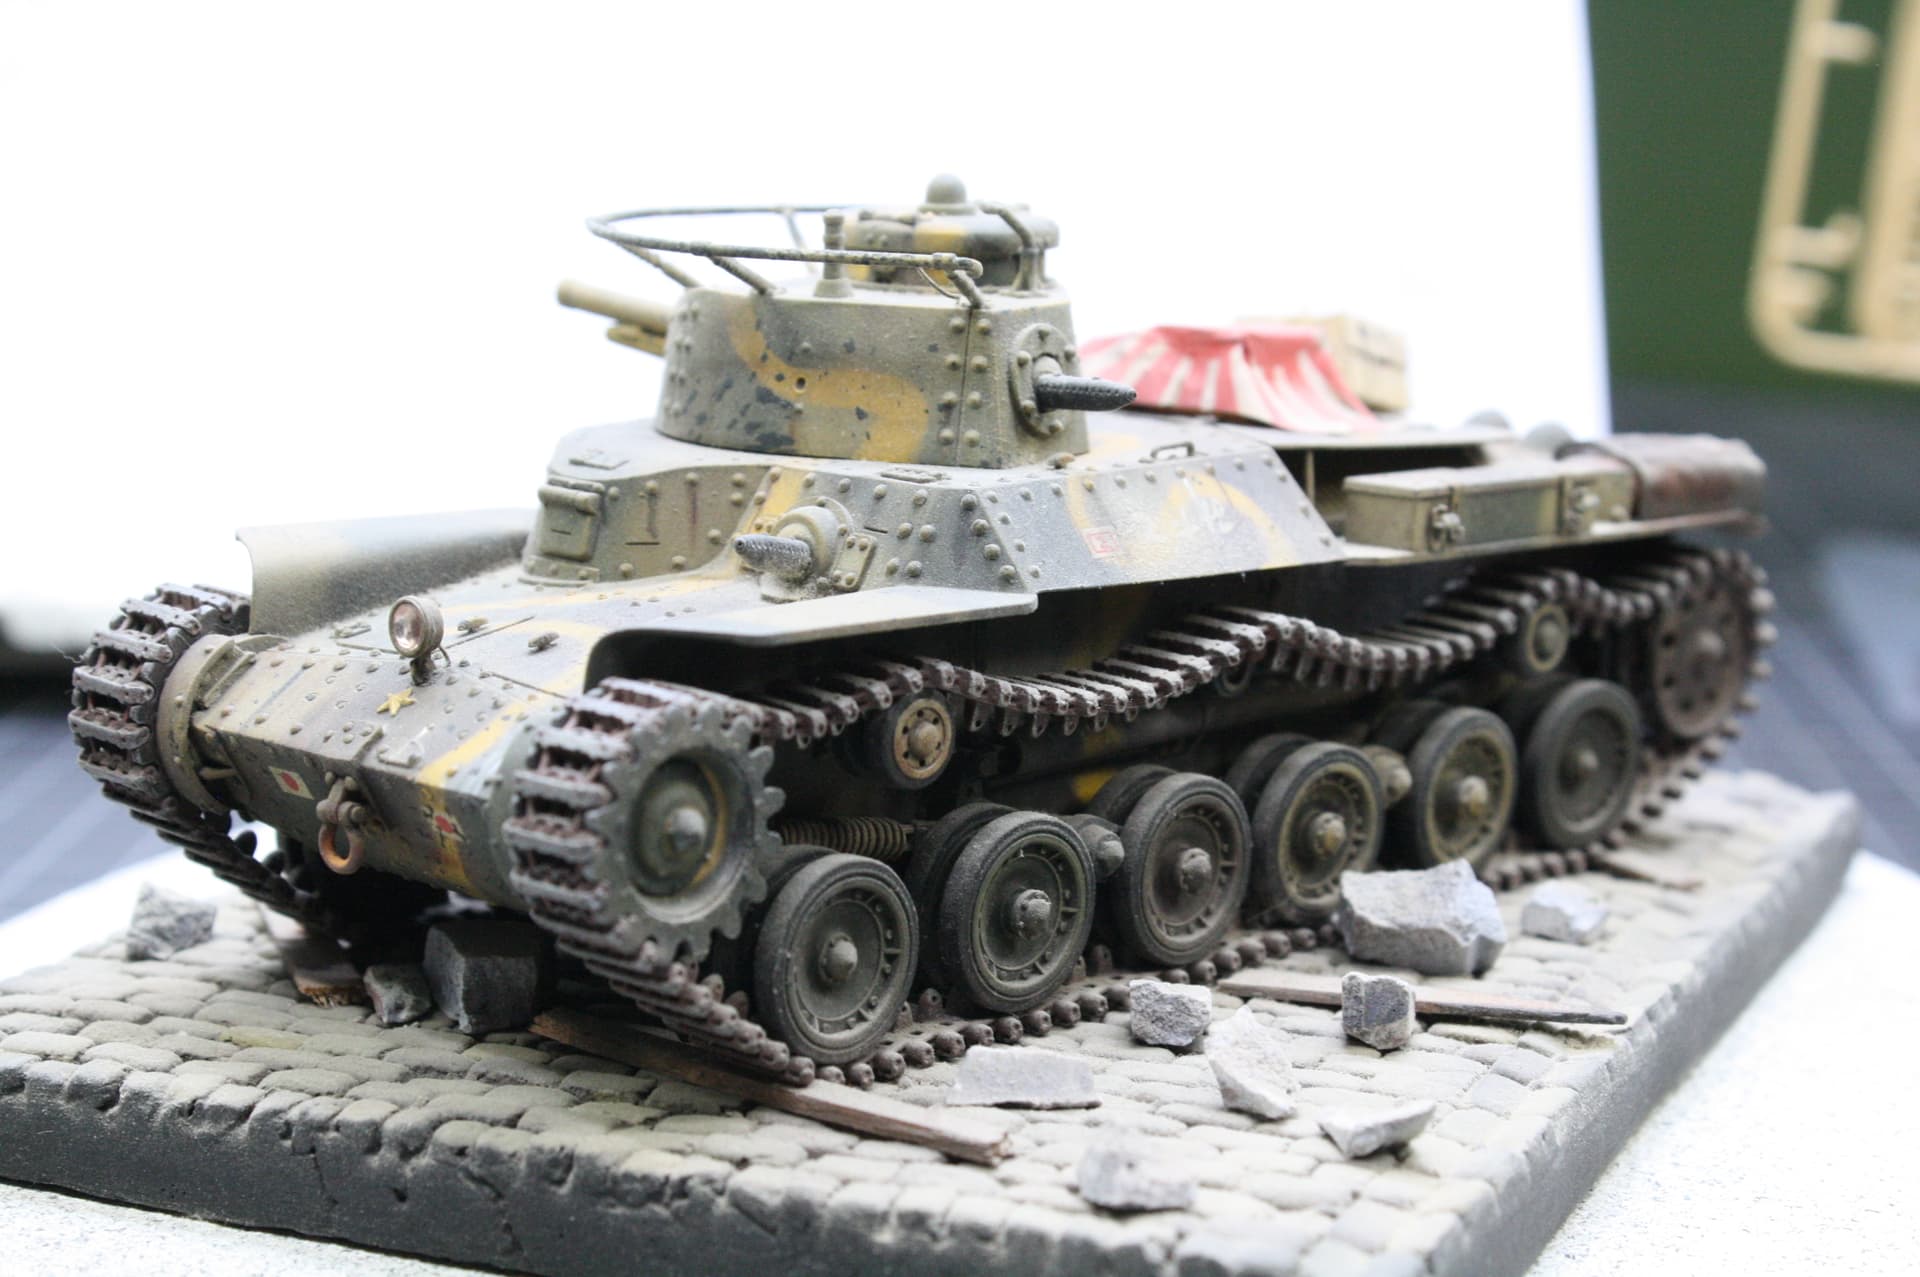
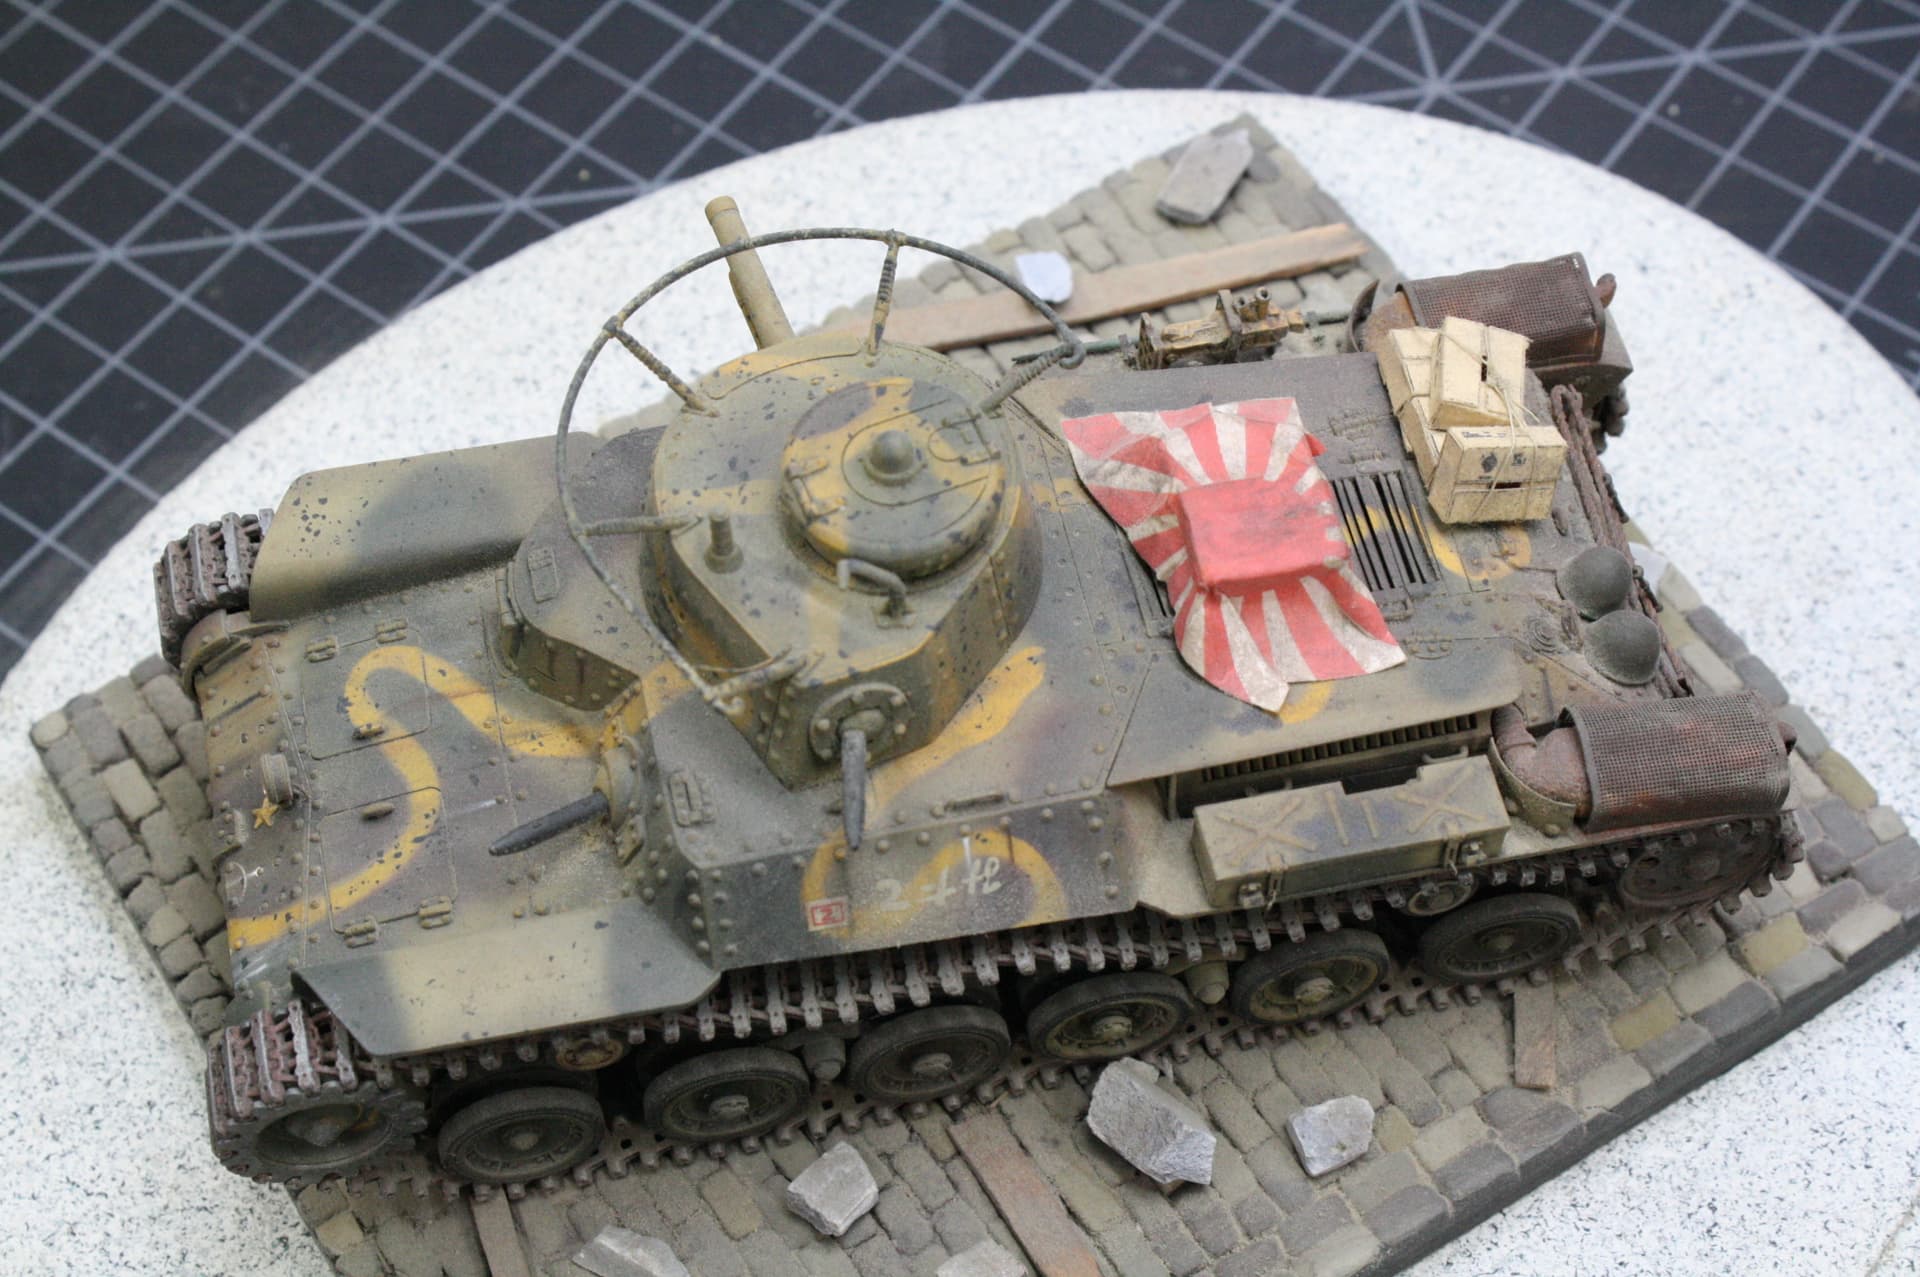
Because you asked, here are some quick shots of my Type 97. I don’t want to hijack your thread. This model scored a perfect 30 at the AMPS Internationals.
Well shucks. Definitely going to remember that for next time. Gloss, decal, gloss, flat coat. So for my situation now, cut the decal, apply sol, then gloss and flat once that’s done. At least it’s salvageable!
That’s a beautiful lookin model right there. Im going to PM some questions your way if that’s alright.