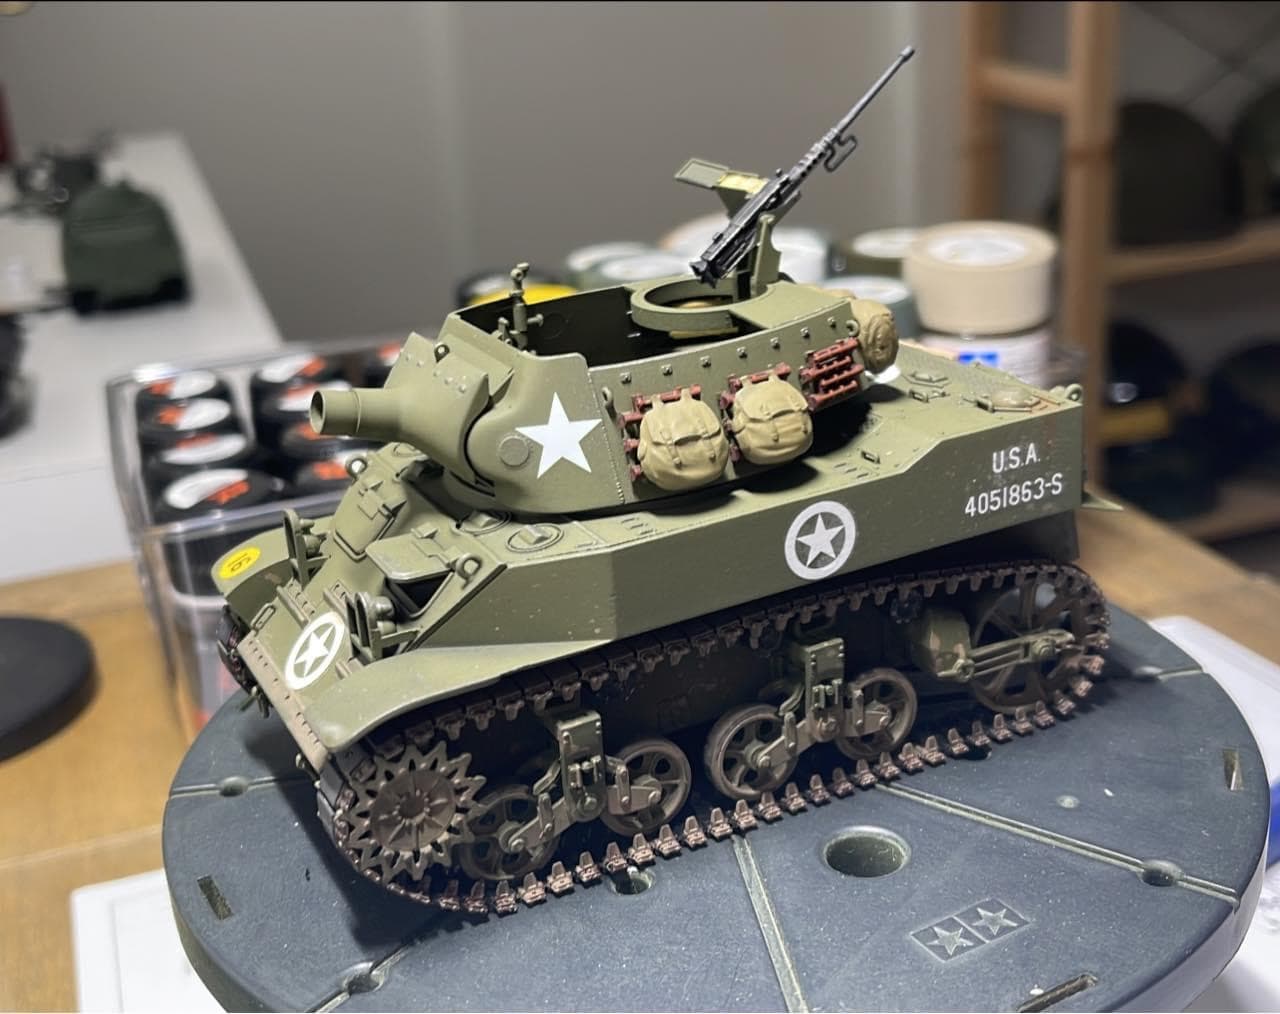
One more question before I get home and back to the work bench. Instead of gloss, is this where I could use the Future floor shine? After the conversation on it a while back I did pick up a bottle but haven’t used it yet (besides cleaning floors, actually ![]() )
)
1 Like
Beautiful model! Quick question wrt the decal process. I have read elsewhere to put Micro SOL on first, then decal then Micro SET which is the reverse of your process. Does it matter? I honestly don’t know and can’t seem to find a reference which explains the difference between the two - hence my question. Thanks / Ian
1 Like
Set first - setting solution hence the name .
Microsol is stronger - a solvent.
1 Like
Makes sense now. Many thanks / Ian
1 Like
Here’s how i do it.
After painting the base color, coat it with satin varnish. Then use any flavor of decal fix liquid to apply the decals; I use Tamiya Mark Fit. After the decals dry and fix to the varnish layer, do the weathering and panel accent you want, then paint everything in matt varnish; I use Mr. Finishing Matt varnish.
There’s a little silvering of the decal on the hull star, but the rest of the decals came out great. it’sll a matter of practicing.
For the decals, you will have to apply more decal set to make sure the decal tightens up and adheres better to the body.
4 Likes
Yes, gloss coat = Future. Or, now available, Future’s replacement - Holloway House Quick Shine.
2 Likes
If you put Micro Sol on first, you’re just going to ruin the decal. It will become wrinkled and mushy and you will lose it. You put Micro Set on the model where the decal is going, place the decal, position the decal, tamp the decal with a cosmetic sponge, and let it dry. Then you go back and cover the decal with Micro Sol to get it to conform to the model surface. Once you apply the Micro Sol, DON"T TOUCH THE DECAL. It will shrivel up and look ruined, but in about 8 hours it will shrink down tight against the surface. You can repeat Micro Sol applications until the decal is tight over all the surface details.
3 Likes
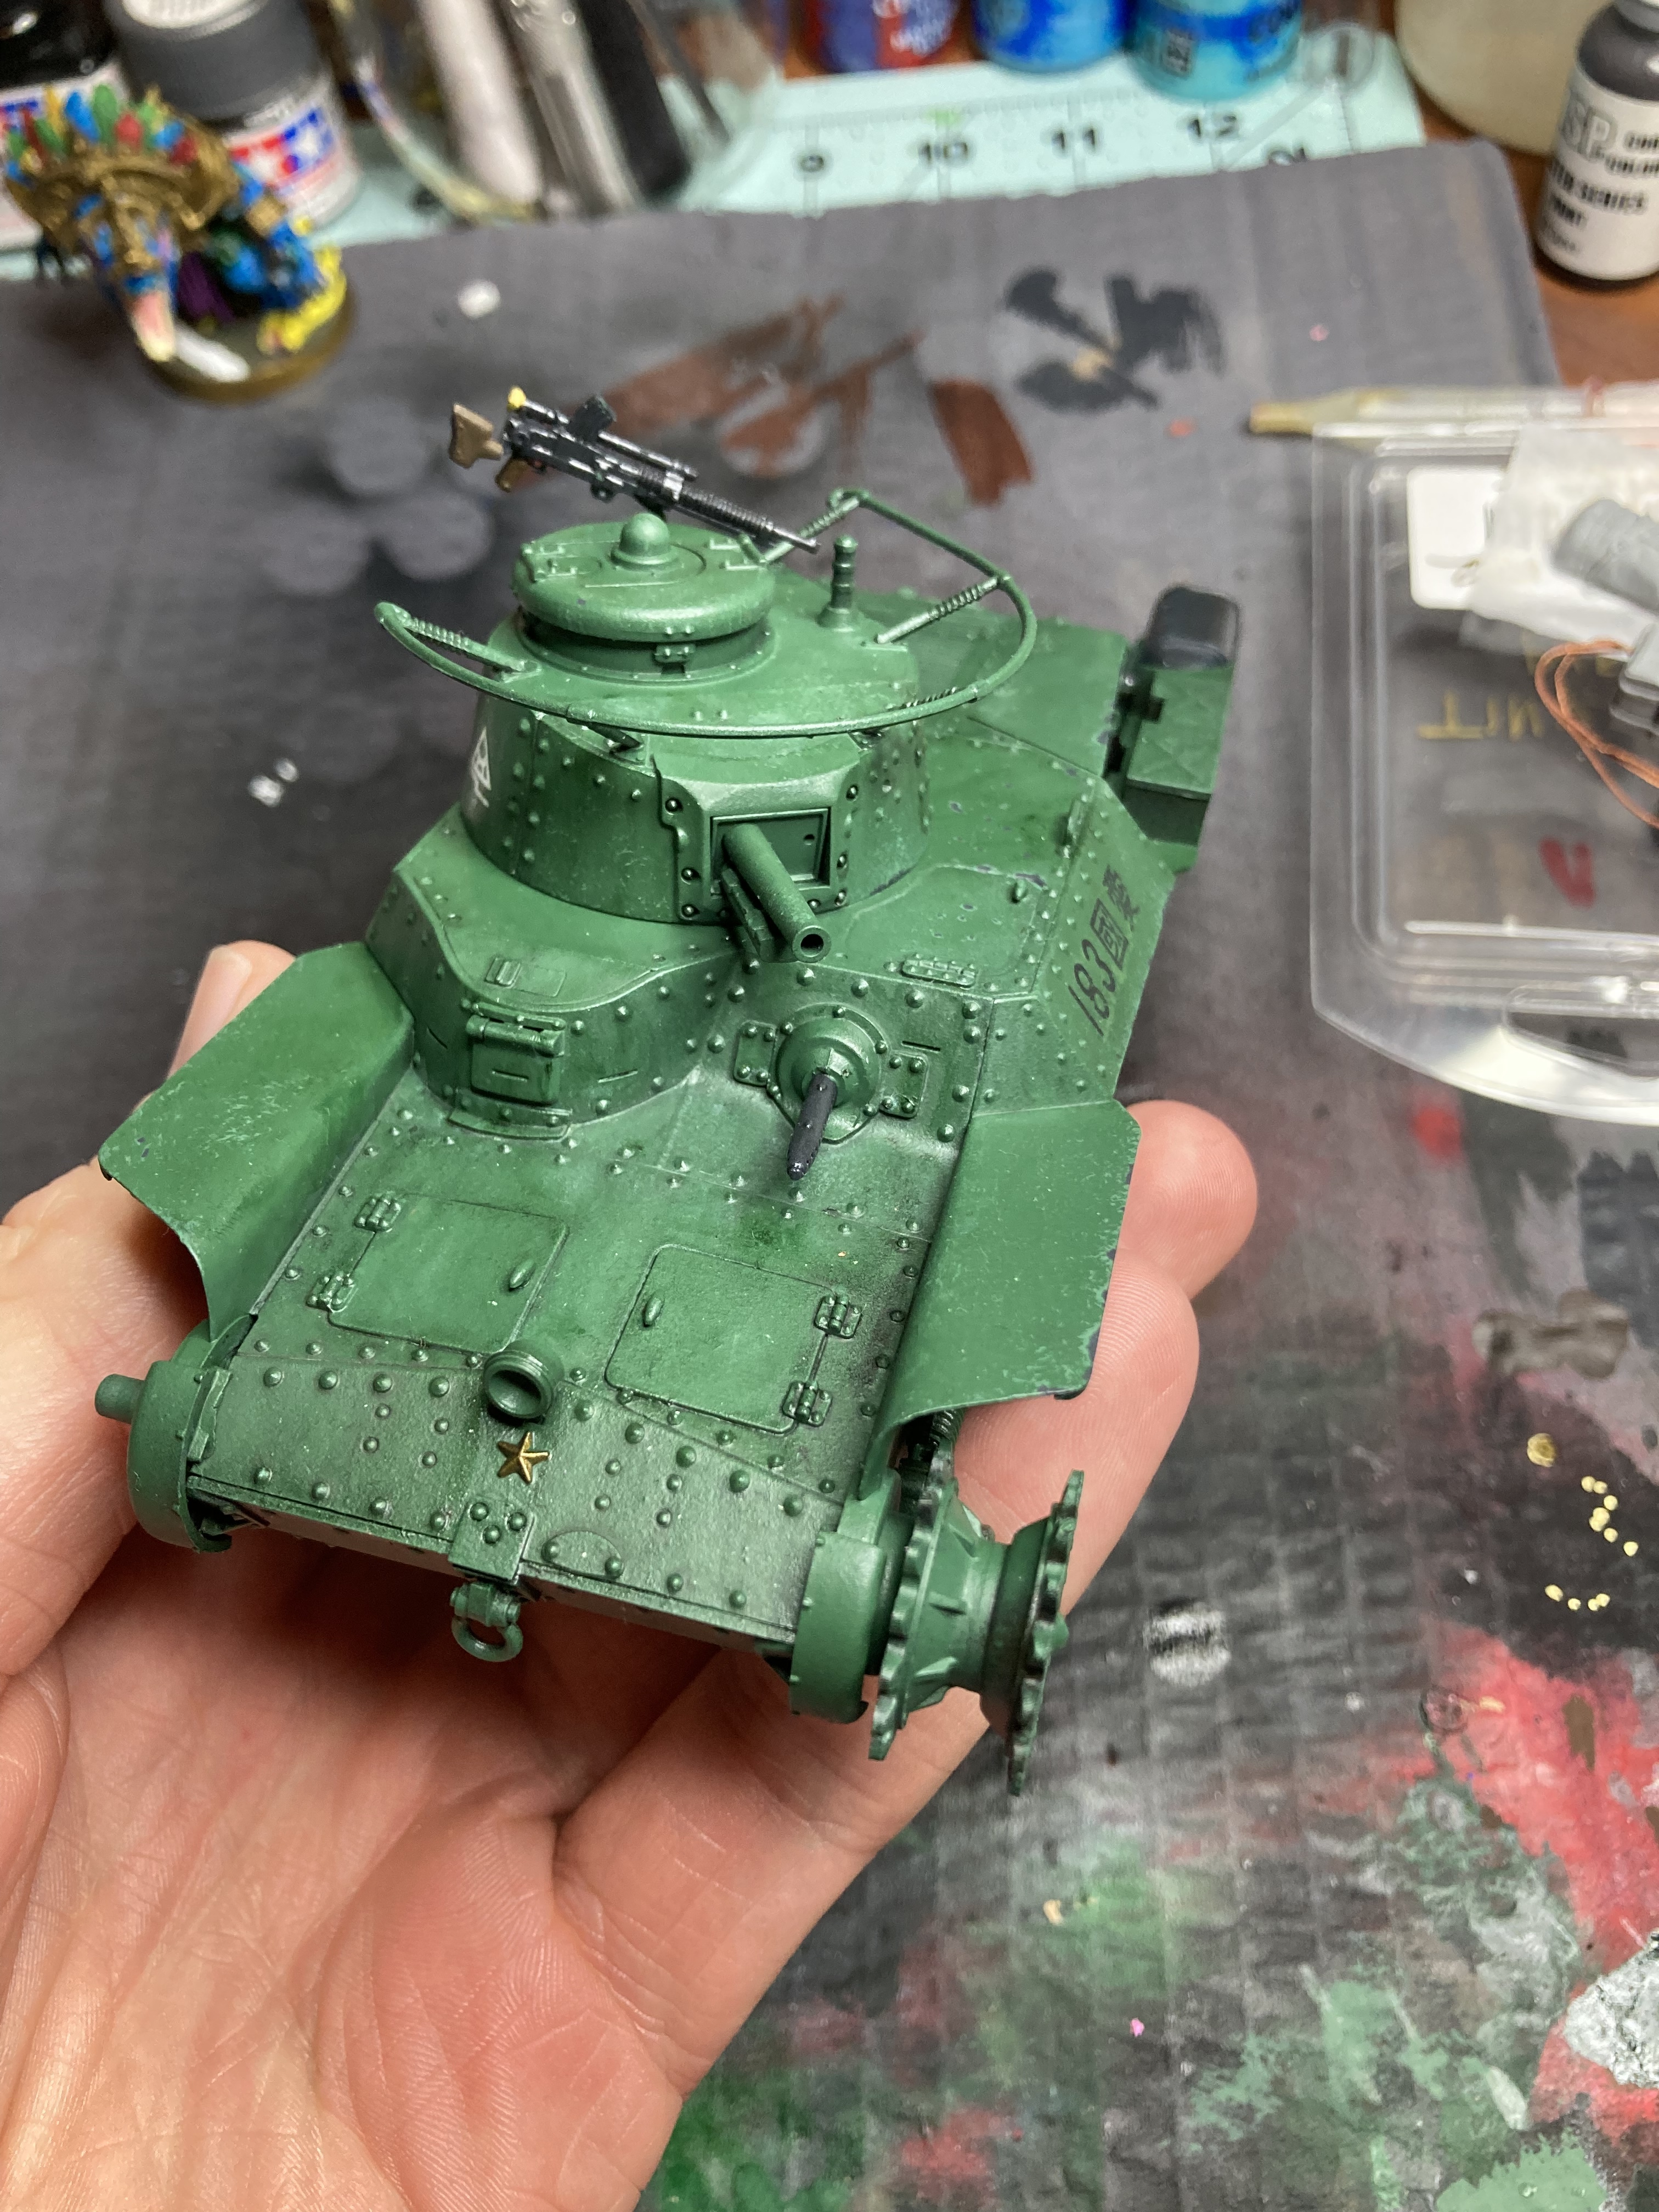
Alrighty folks, so here’s the tank after 2 coats of quick shine. I noticed two things and am not sure if it’s an issue. First was this decal, it looked a little discolored and cracked. Not sure if I should’ve put more micro sol over it, I did put two coats and let it dry overnight before doing the gloss. Will the matte varnish cover that up?

Second, it seems there was some pooling or uneven spread of the quick shine as I sprayed it. Should I apply more or go ahead and apply the matte? Any and all suggestions are appreciated!

5 Likes
Not sure what caused that crackling. That’s weird. Try putting a little Future on it and see if it goes away. I can’t really see any bad pooling in the second photo, but since your decals are sealed you don’t need to do any more coats.
1 Like
I’ll give that a shot tonight and see what happens
1 Like
In a somewhat related note, was doing some cleaning/reorganizing of the hobby space and didn’t realize I’d accumulated this many IJA models. While I know this is modest compared to most stashes, for only being in this for about a year, I wasted no time creating a backlog😅
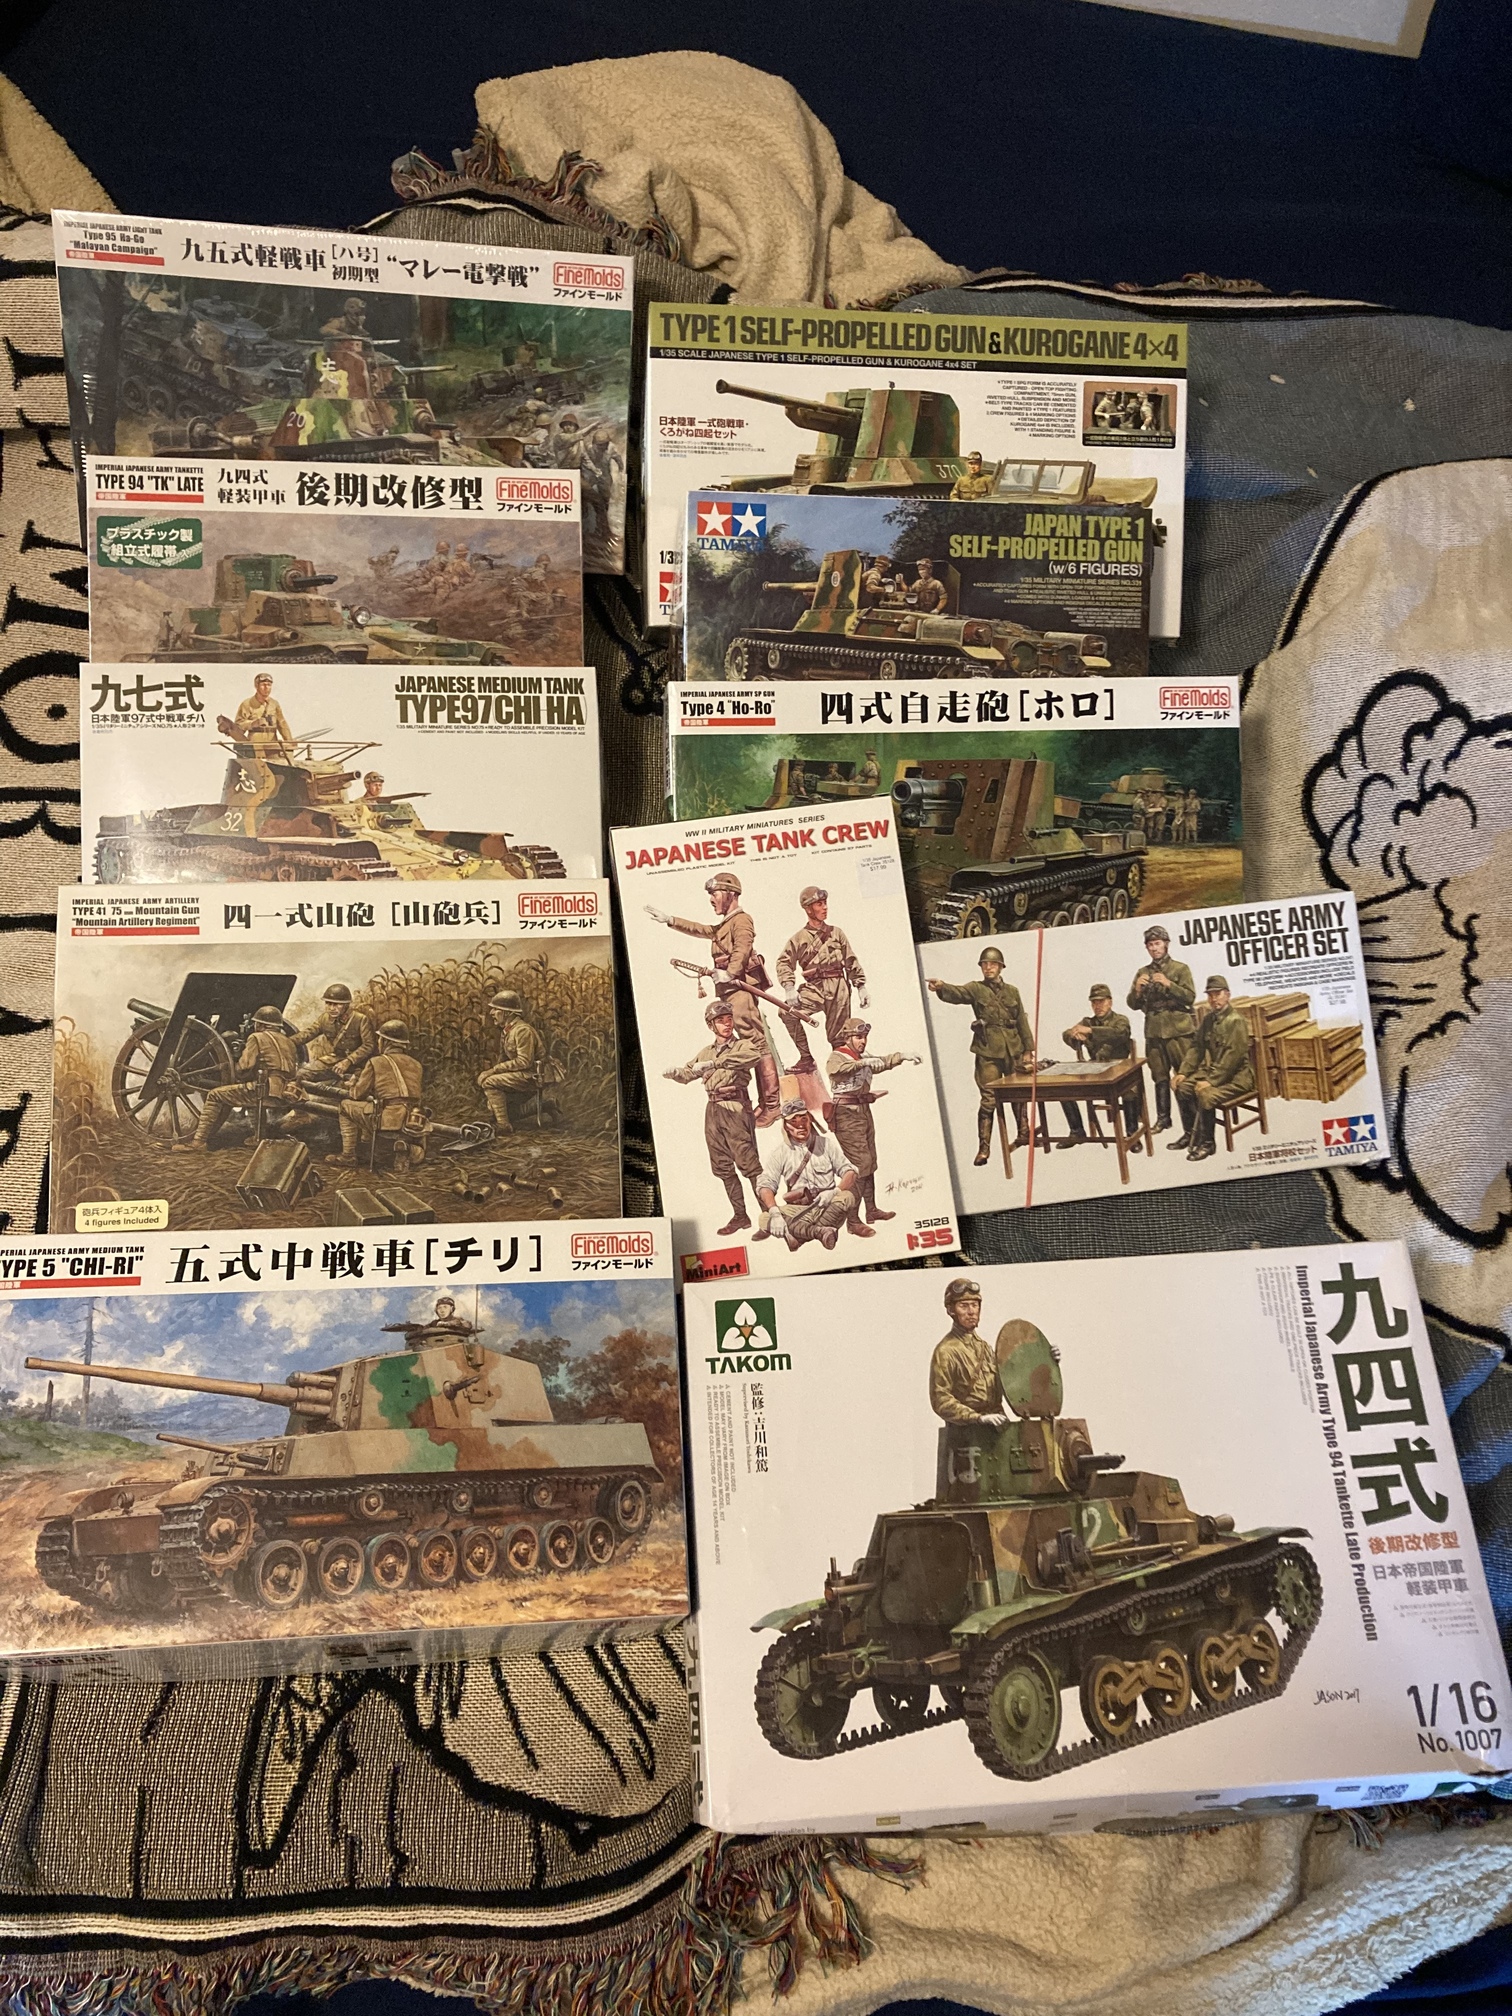
7 Likes
Where is the late type 97? ![]()
1 Like
Got me there! No Shinhoto yet
1 Like
Well an extra layer of Quick Shine did not help the crackling issue, so moved on to matt varnish. Snapped a pic right after, is this too heavy? Too light? Just right? Using AK matte varnish with AK acrylic thinner mixed in
5 Likes
Looks like you got it too thick in spots; see the milkyness around the hatches on the front? You want to do many light mist coats. That will also give you the flat finish.
Last night I actually remembered that being mentioned, lighter further away coats. I tried that out using plain ol Rustoleum Matte varnish. Looks better, still can see the decal lining, wonder if that’s just the way it is since I didn’t gloss first before applying. Lesson learned, now onward!

6 Likes
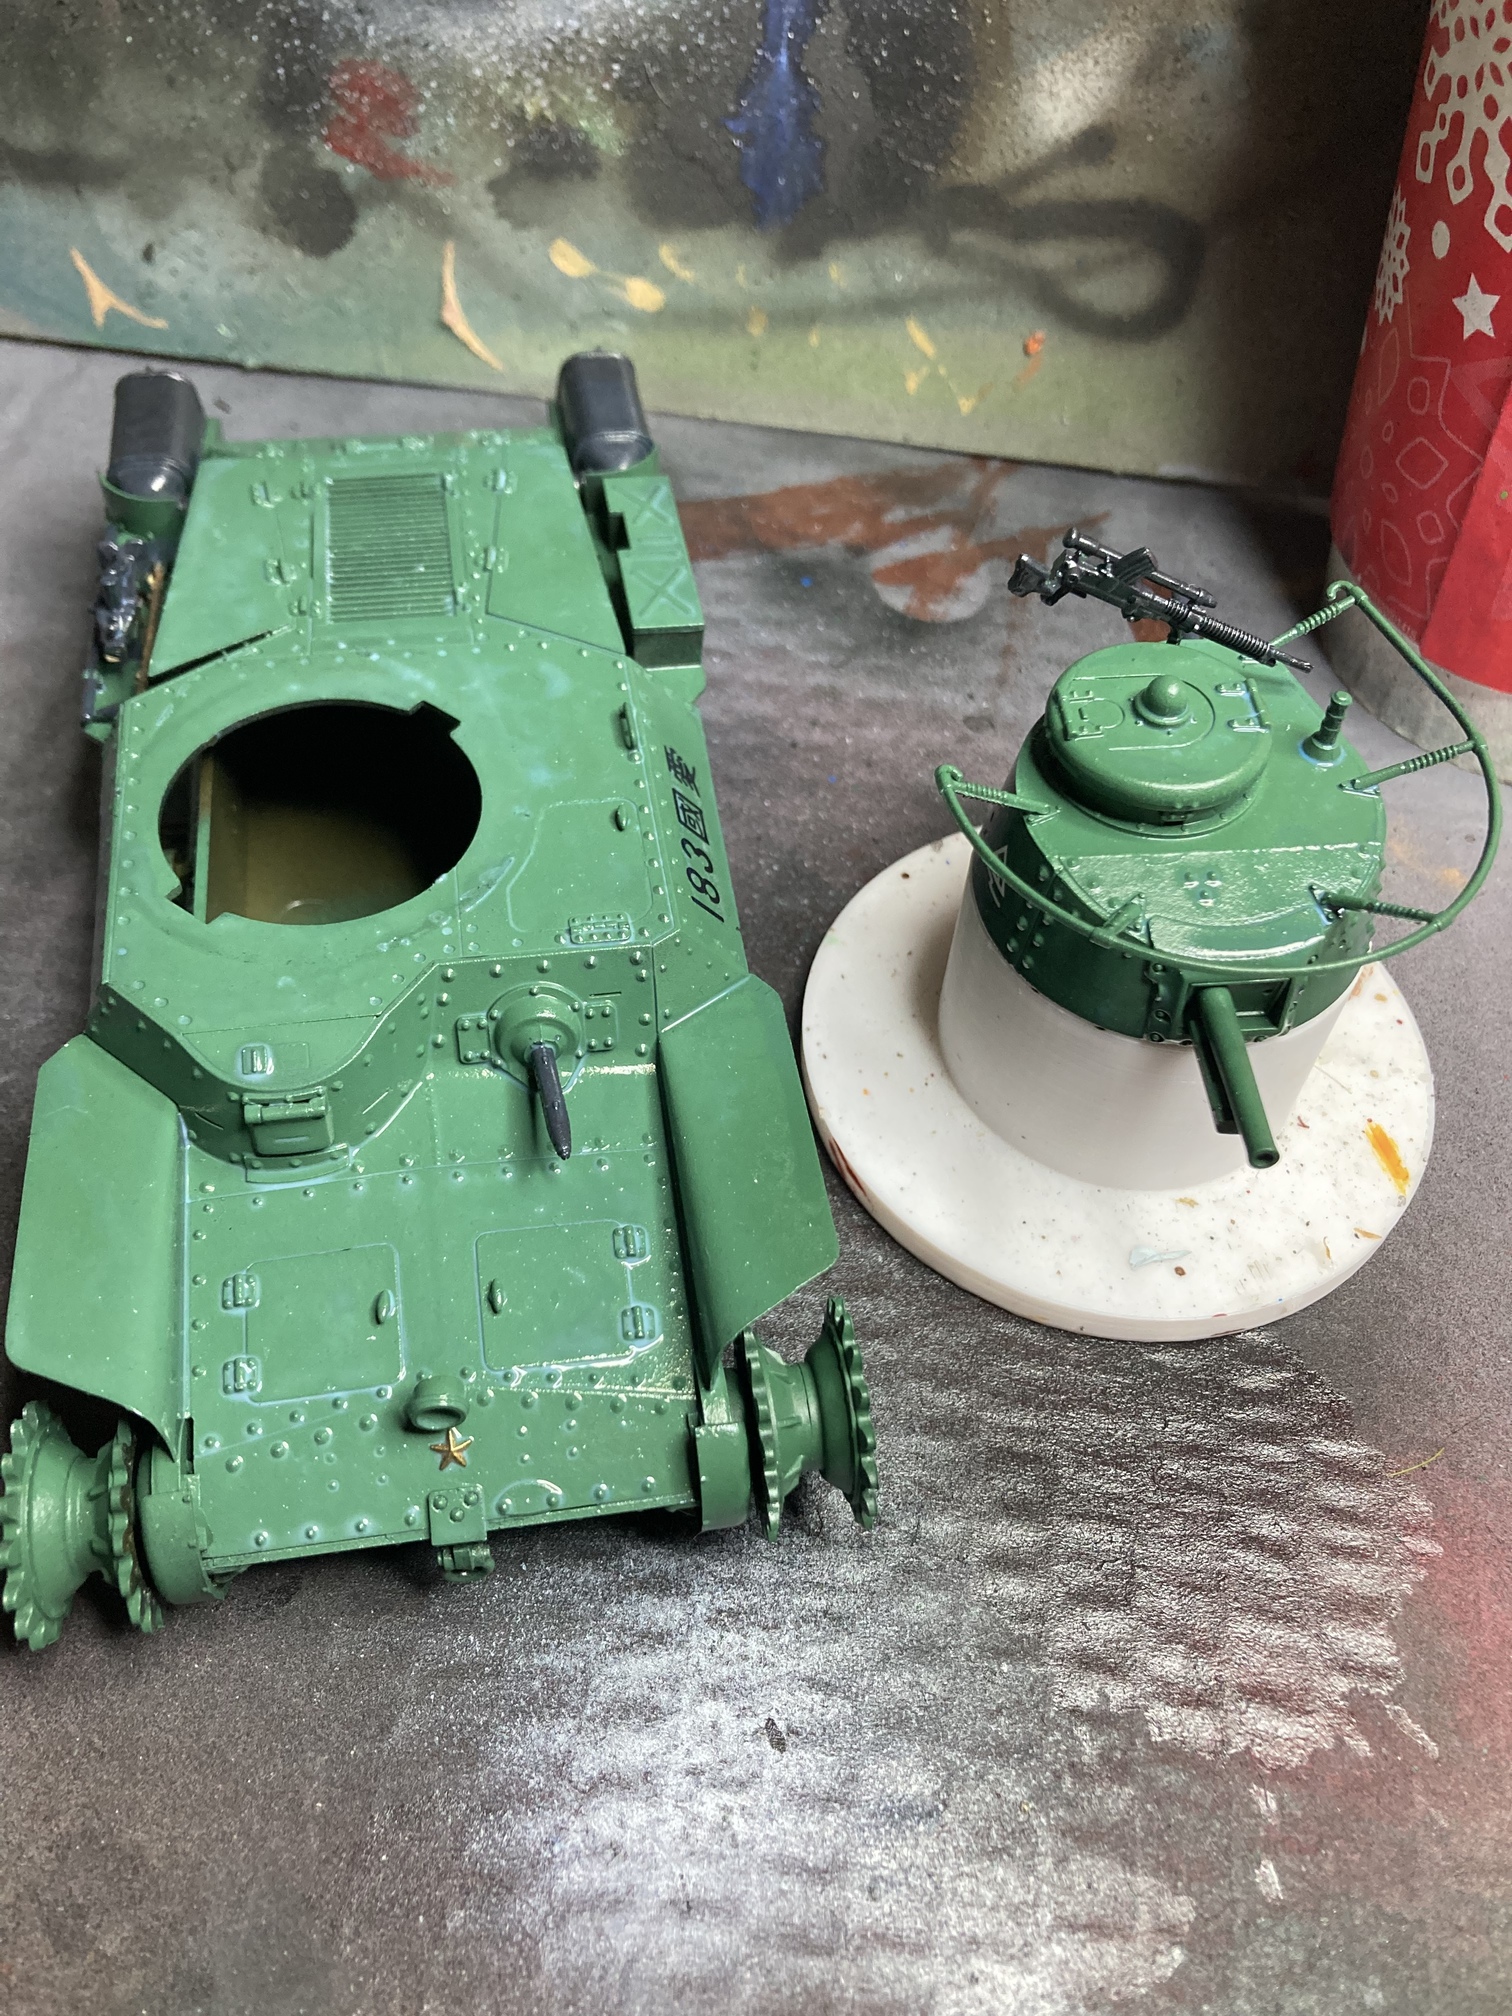
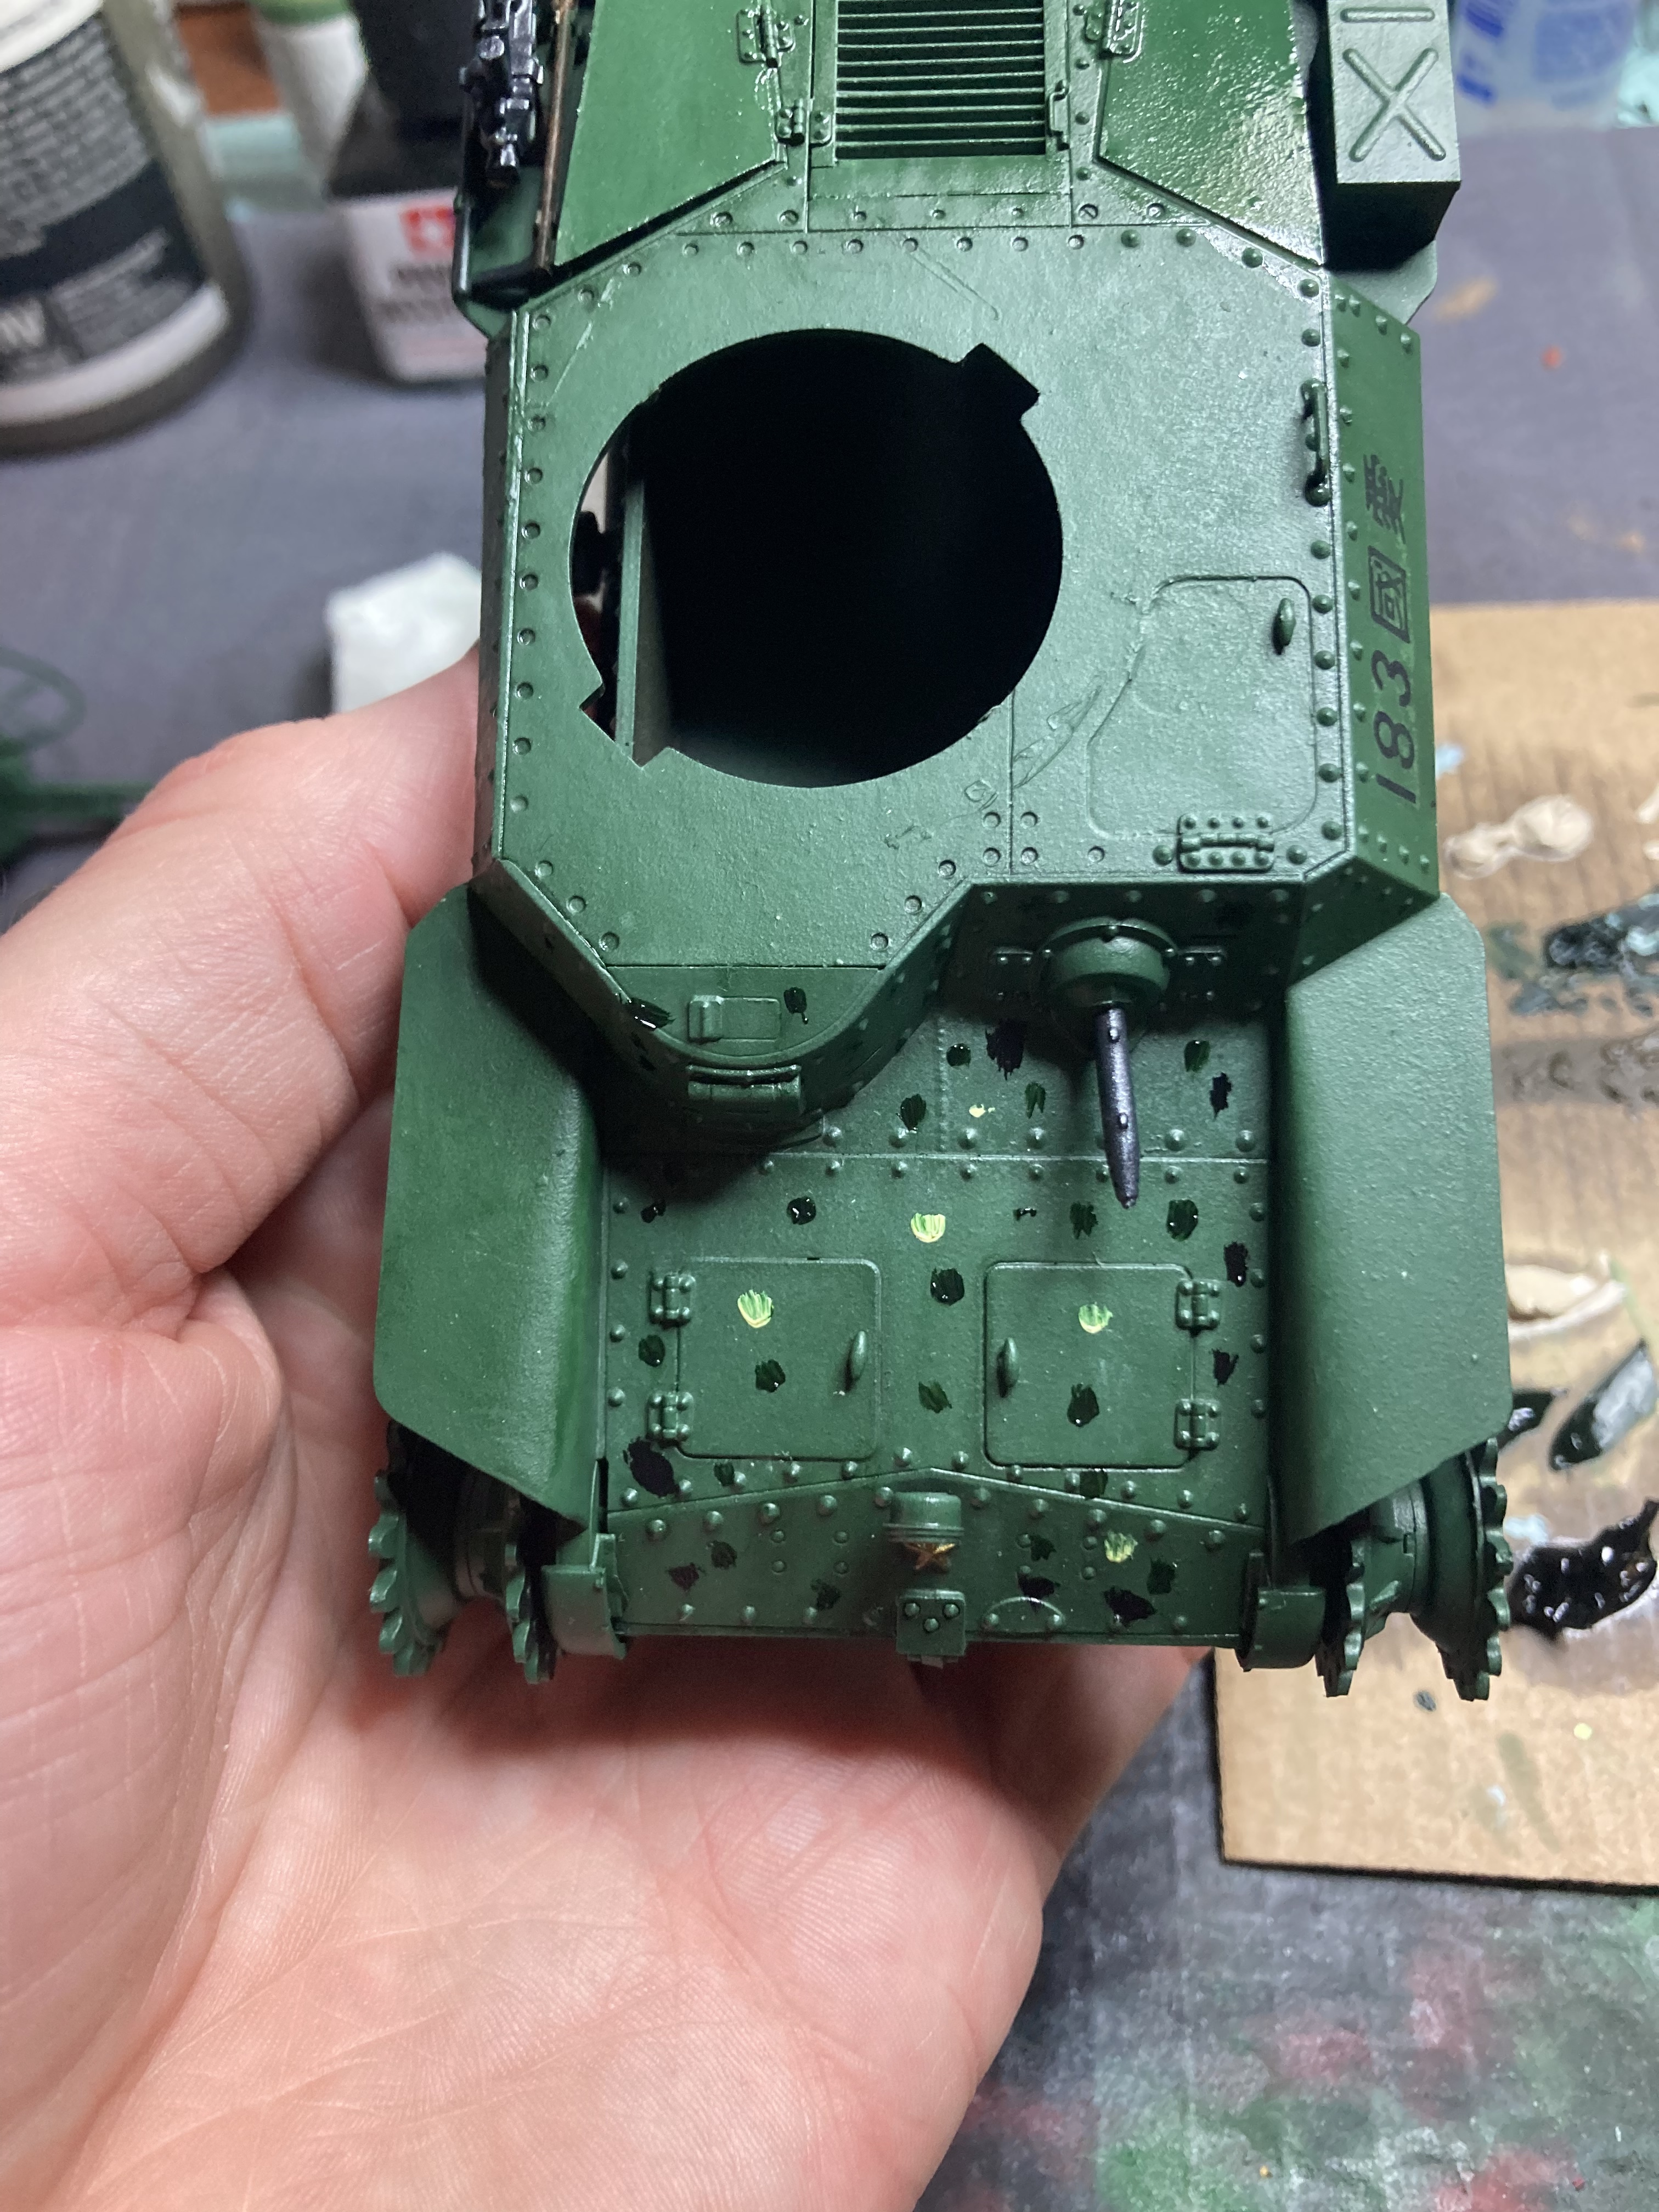
Quick update. Apologies in advance for my lack of awareness to take pictures. I never remember until after. I tried my hand at a pin wash using tamiya panel line, followed up by an oil dot filter. I am…less than satisfied. I followed some videos on YouTube (primarily Night Shifts videos on it) but am not sure what I did wrong. It just seems off.


For colors, i put a dab of each oil paint on a piece of cardboard and left for an hour to draw moisture out. I used ABT light grey (sparingly, it seemed too bright), buff, light sand, faded green (primary color used), and raw umber. I have black and snowy white as well but they seemed too extreme in color. Using the ABT odorless thinner I did my best to blend the dots in by dragging in a downward motion corresponding to the angle of the piece. The flatter parts like the top section of the rear hull I did a swirl/mixing motion and slightly dragge towards the back of the tank, since there is a slight incline. Not sure if I should try to redo, or just move on. Did it Sunday so it’s been sitting for a bit.
One last thing to mention, the area by the front hull MG is lighter, I think that’s because I used a brighter oil paint and didn’t blend enough dark colors in there.


8 Likes
You describe the process perfectly. If you don’t like the results, try it again. You haven’t ruined anything.
3 Likes
Howdy all, happy Super Bowl Sunday (as a packers fan, can both teams lose?)
Some progress pics from what I did last week. I went back and redid the oil wash in some parts and think it looks better than it did.

After that dried for a day or so, I gave chipping an attempt. Watched a few videos, and one thing that stood out to me was talking about the life expectancy of a tank. I figure a chi ha isn’t going to have a long life if it’s constantly going into battle, so I didn’t do a lot of chipping. This also worked as I wanted to test it first anyways. Using the sponge method, I applied AK11902 Midoro Iro lightened a bit with white. Then I went back in the larger spots with German grey to try and make the “deep chipping” look. Only did it in a few spots on one side to test it first. Did it work? Well, I’m happy for my first try.

Also, played around with stowage placement. I totally forgot to assemble the aftermarket tow cable on. The kit comes with it molded into the holding arms, so I’d have to cut the plastic away or scratch build one. Didn’t really want to do either of those, so throwing a tarp over! However I also didn’t want to waste the tow cable, so think I’ll just set it on top.

Want to get some work done on it this week, but have to devote some time to miniatures painting, so may not get much done
7 Likes
I think that looks very good , your aging and washing makes it , I like it !
2 Likes