Howdy all, figured I’d share my progress on Tamiyas 1/35 Type 1 Ho-Ni. This is my first kit at this scale (done a couple 1/72 and a 1/56 for bolt action) and certainly the most care I’ve been taking. Trying to make notes of issues/improvements as I have another one in the cabinet.
You’re gonna enjoy this kit. I built one many years ago and really liked it. OOB it is nice, and if you choose to dress it up with some AM things, it can be a fabulous looking project.
I’m looking forward to it! This one specifically is the kit that just has the Ho-ni, but I also have the one with the kurogane and just found one with some infantrymen for a steal. Love Japanese armor so excited to keep working on it
A small update on the Ho-Ni. Progress has slowed to a crawl due to life, but I did a little more work. After a false assurance from a hobby store employee resulted in a less than satisfying wash attempt on a test model (a 1/48 Shinhoto I got for dirt cheap a while back), I decided to try another technique.
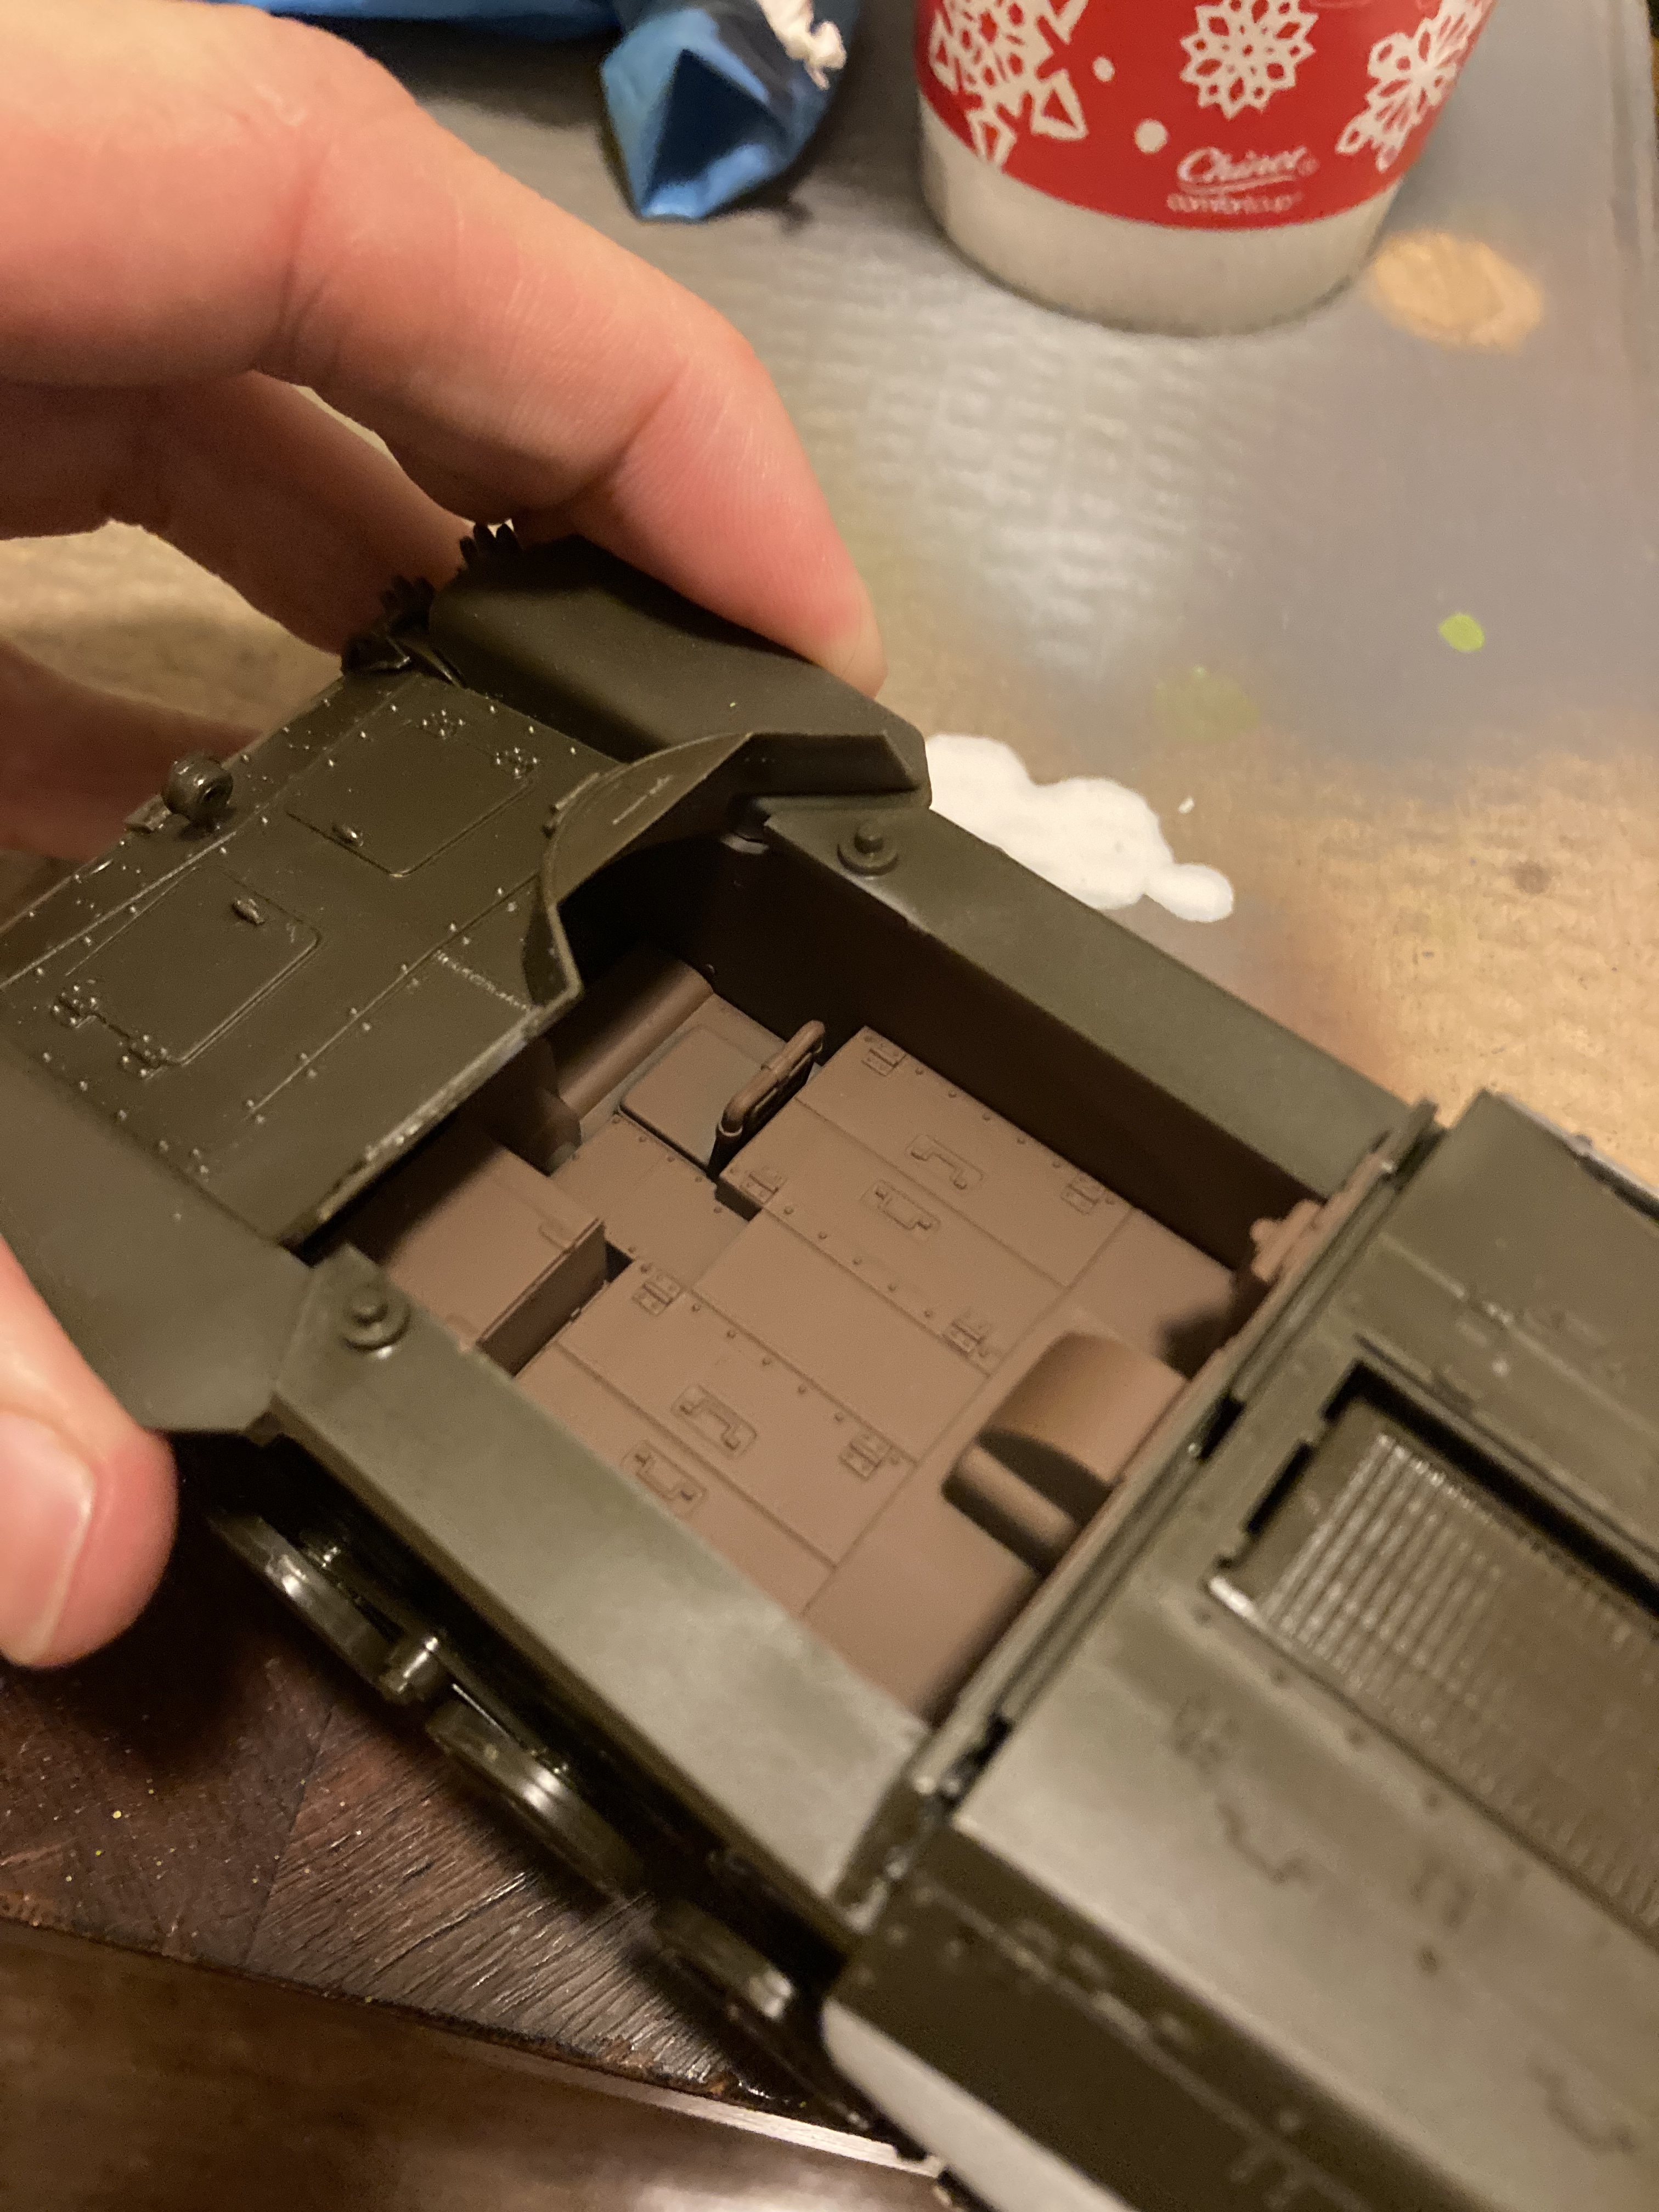
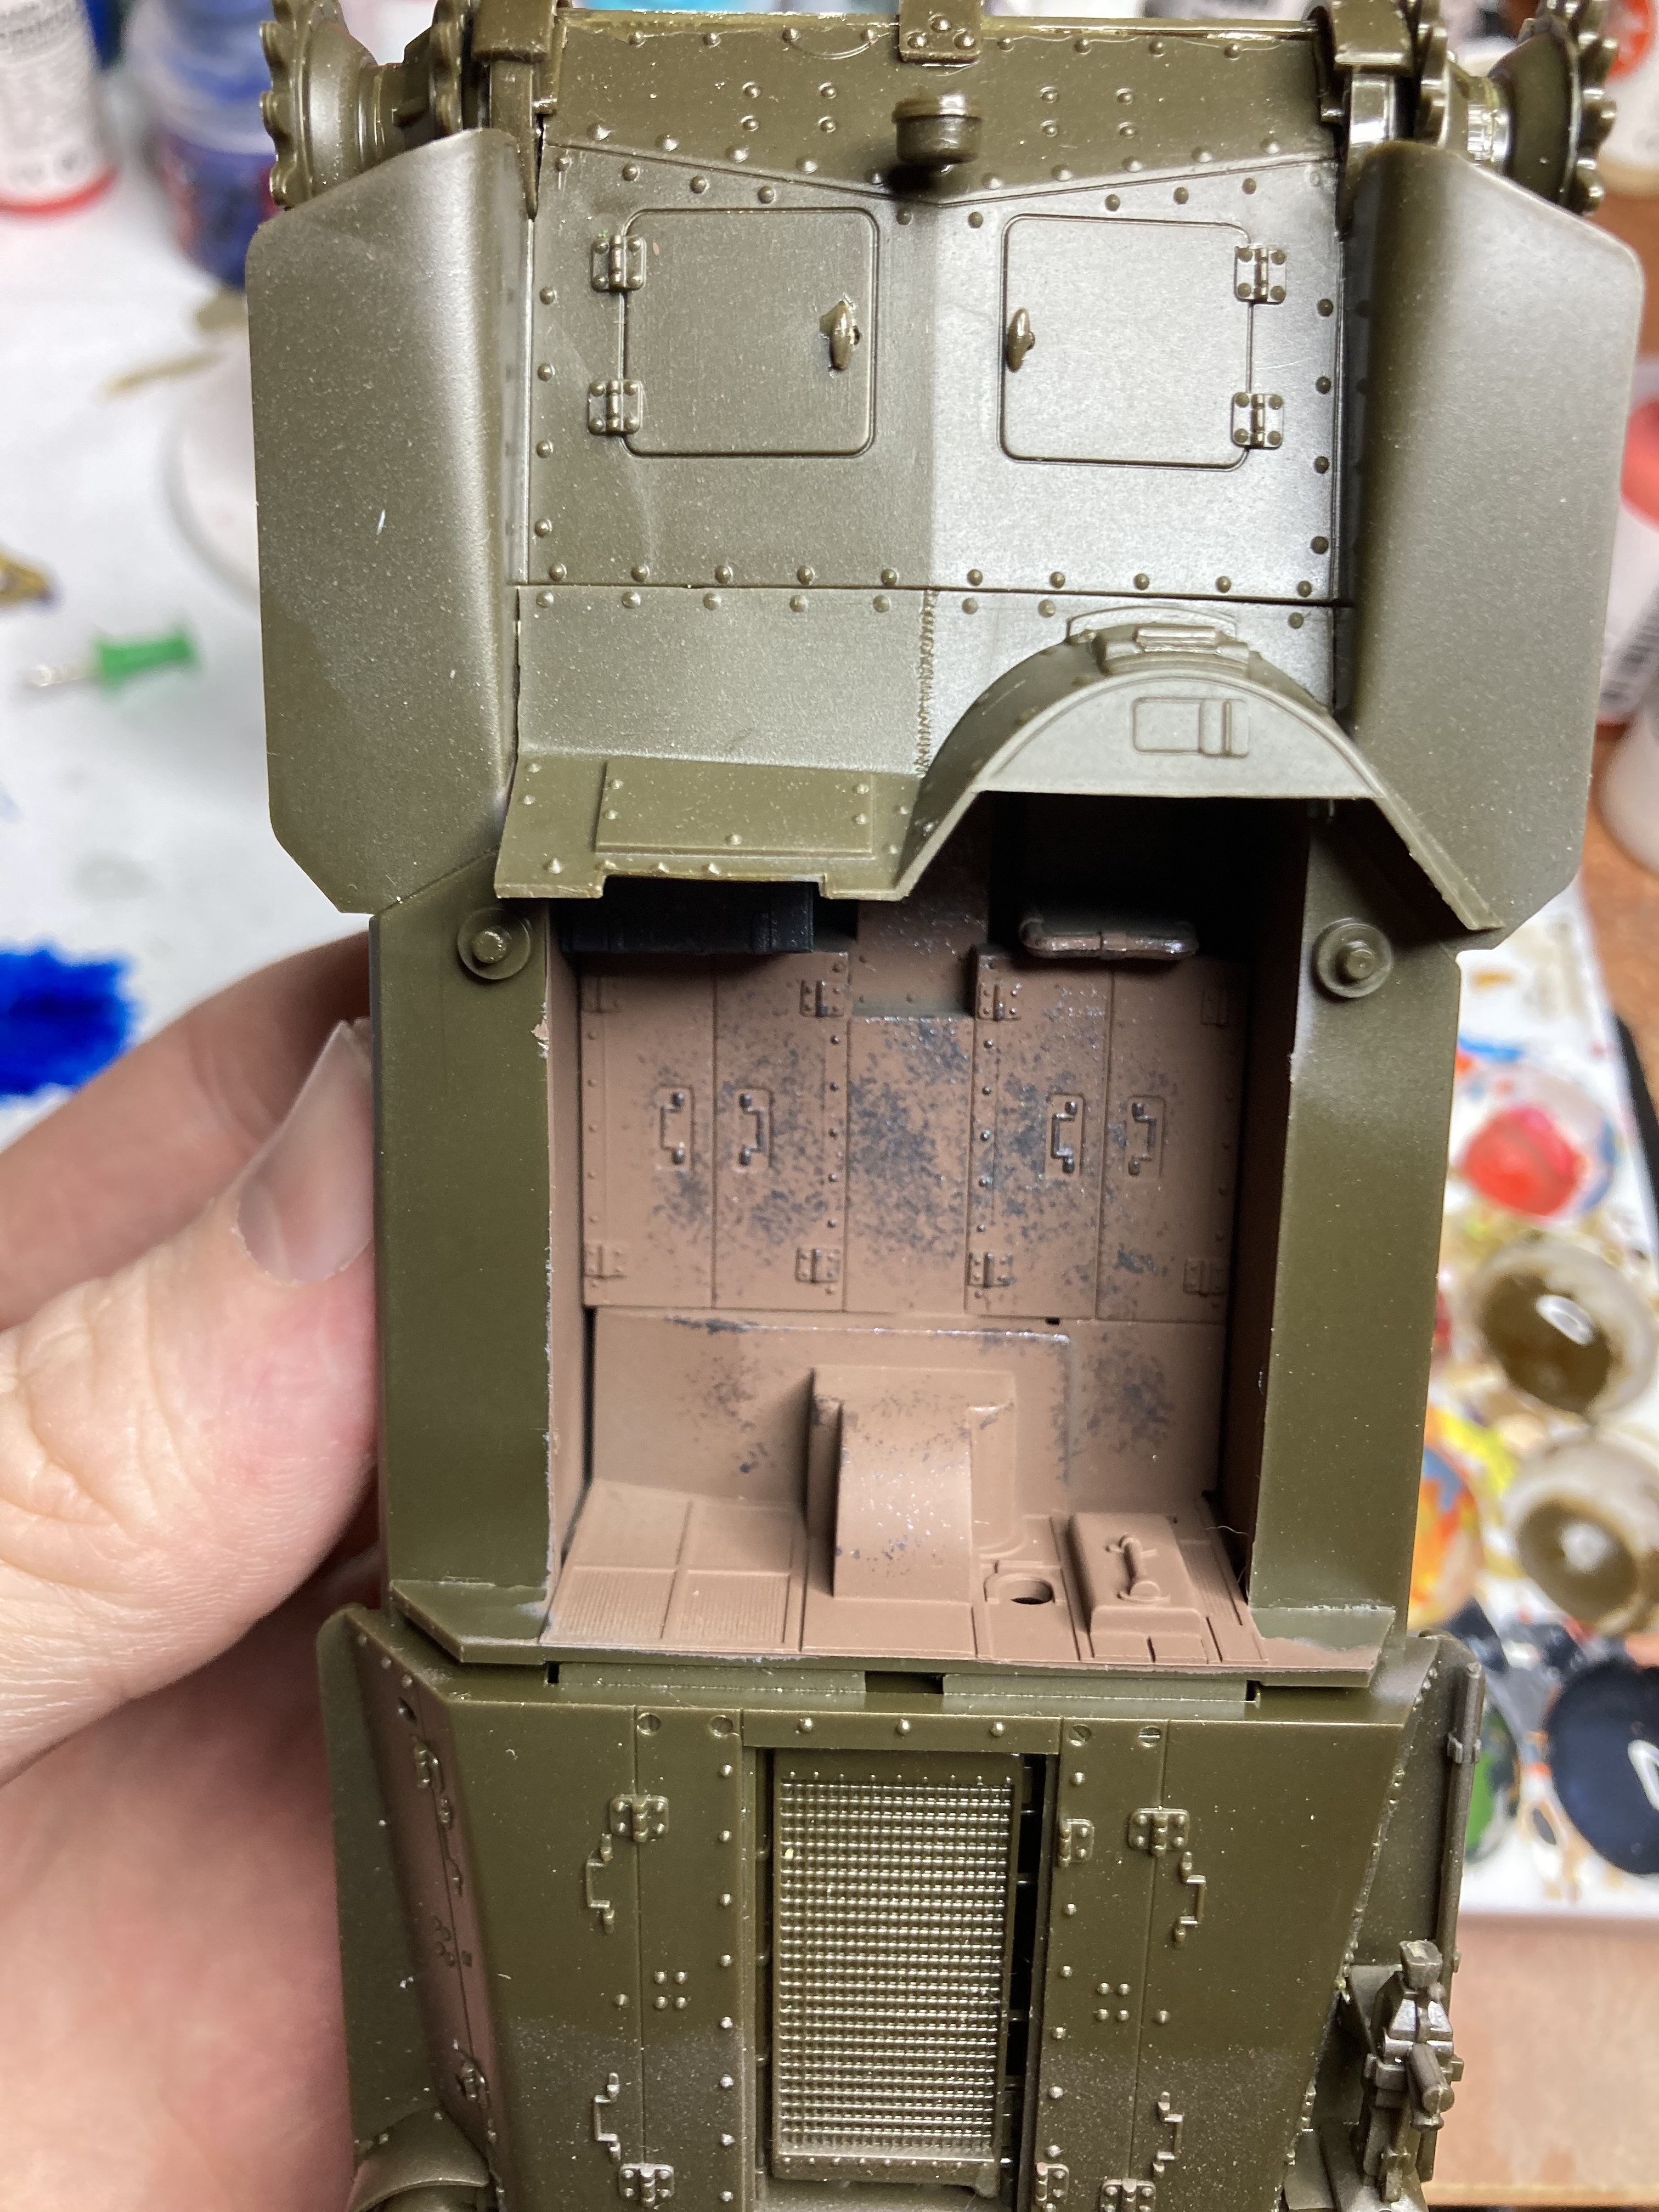
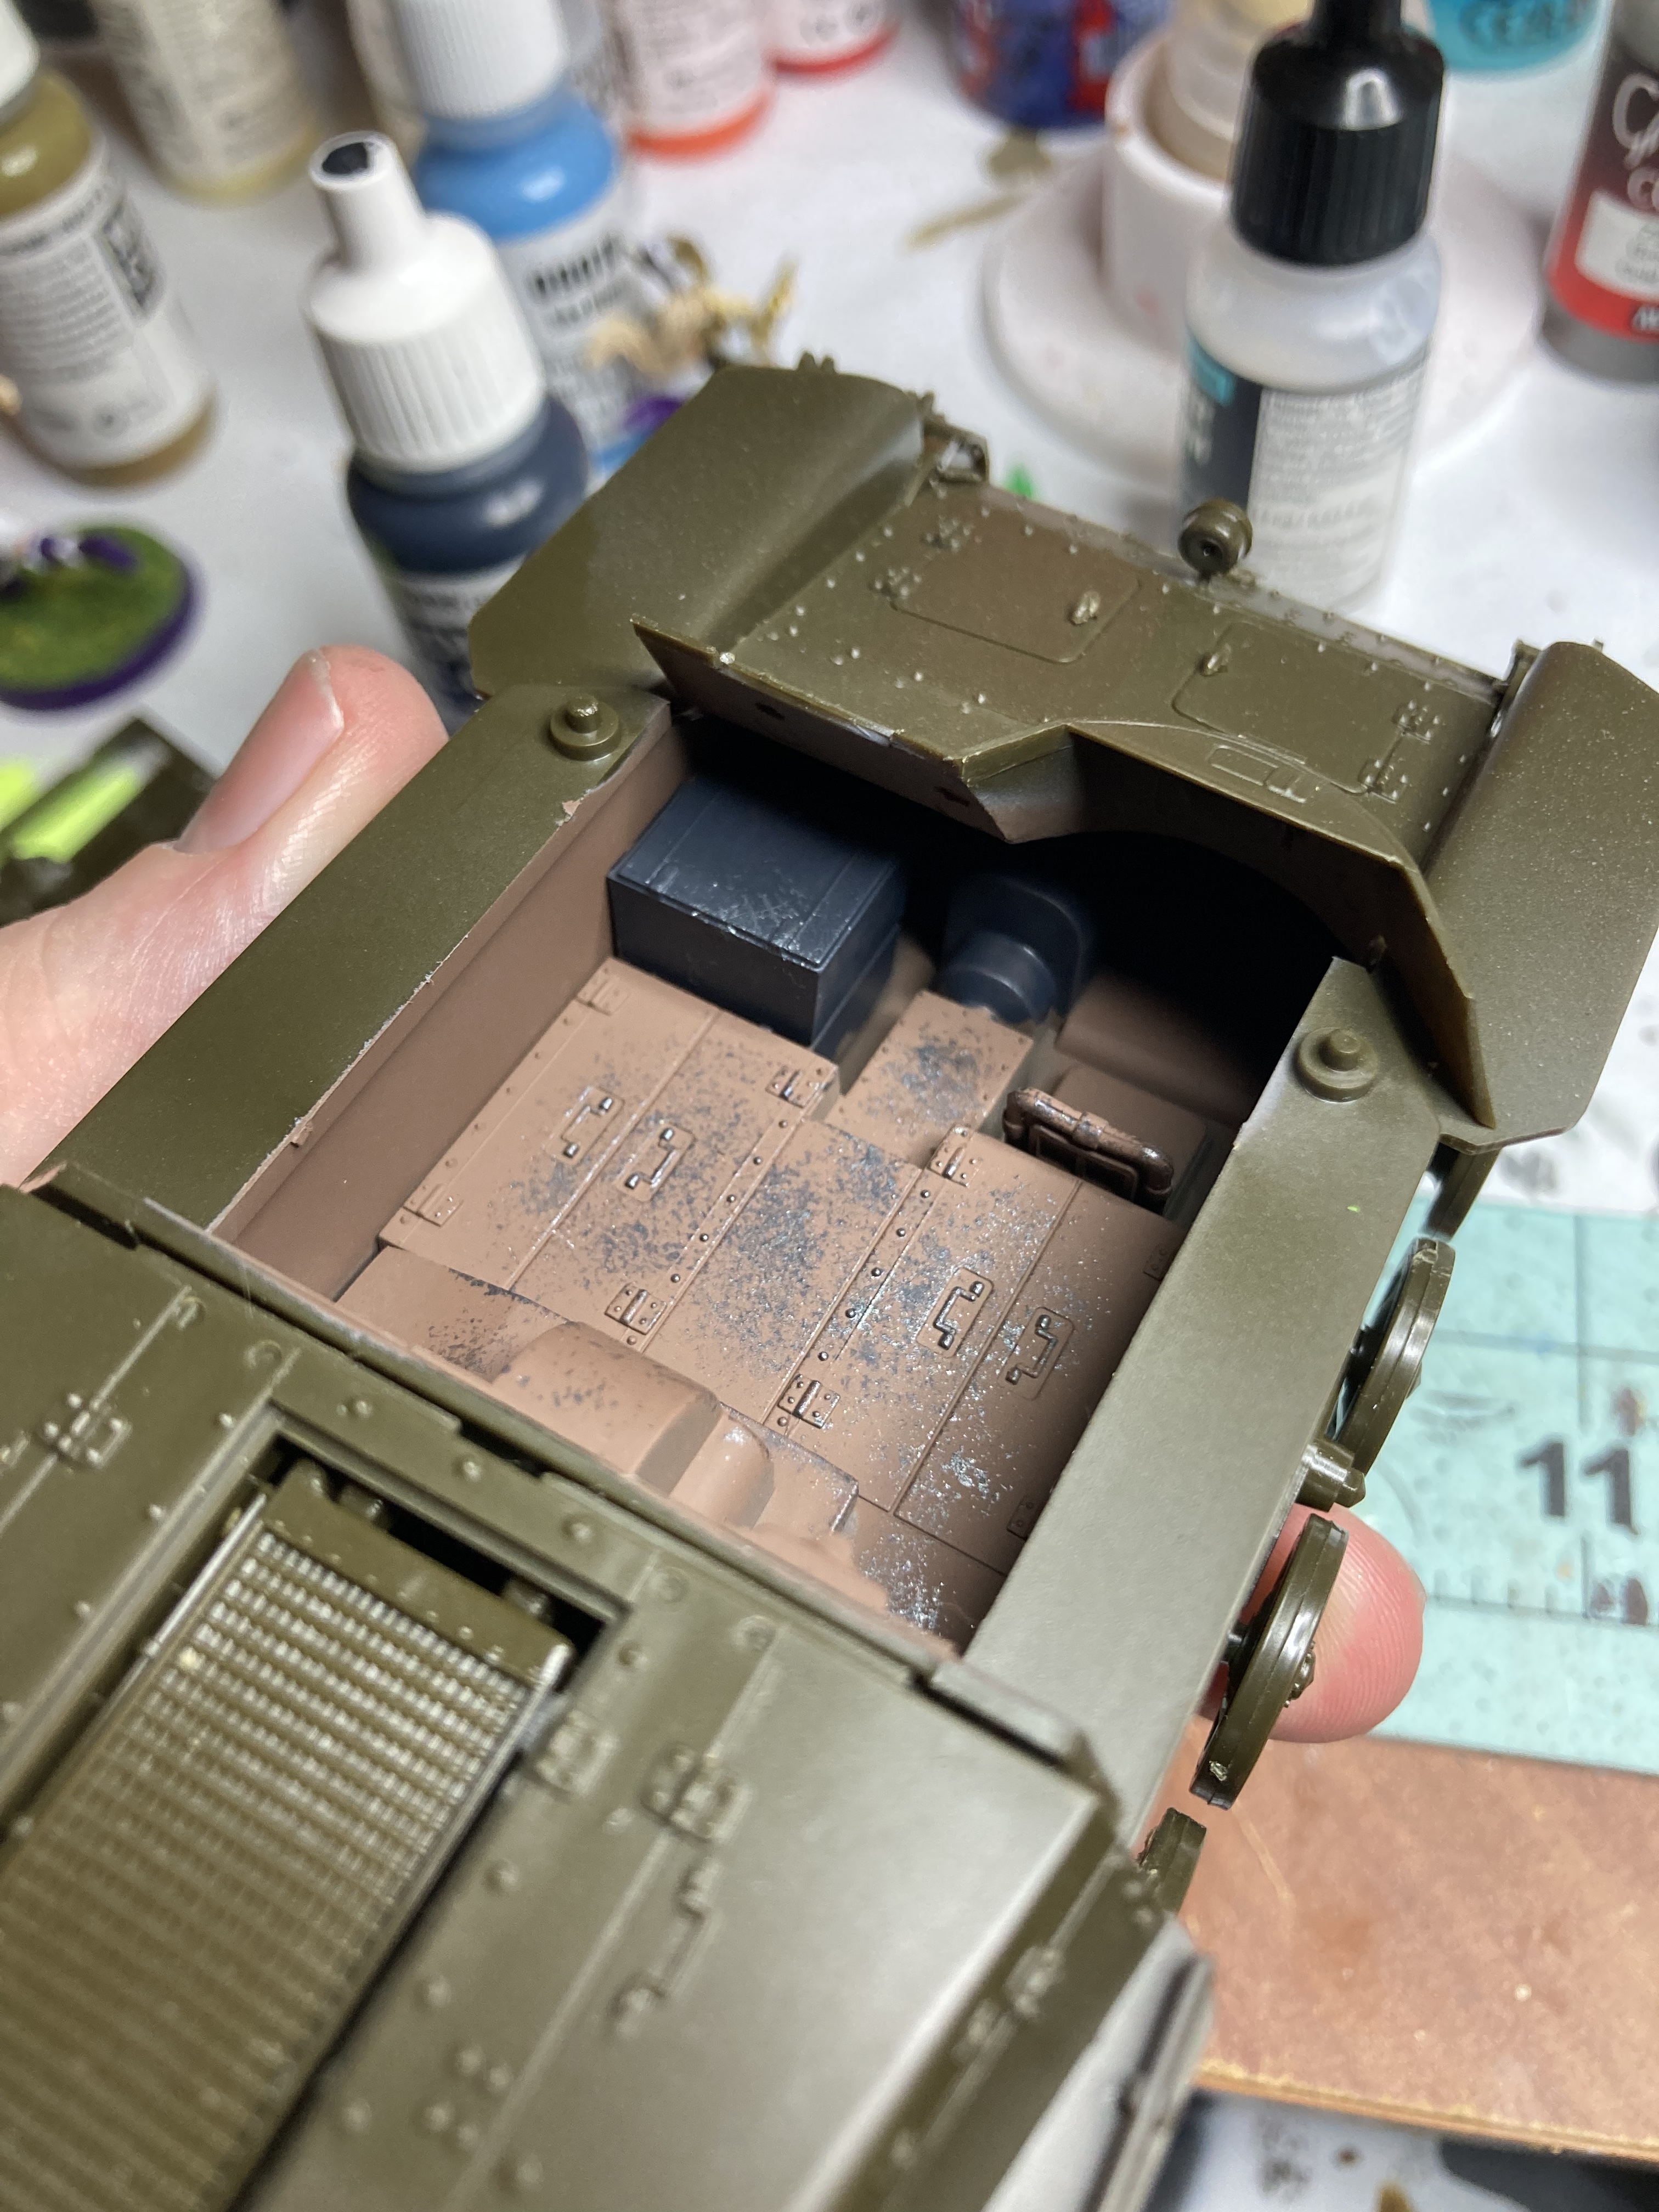
Using the sponge method, I did some chipping on the interior of the vehicle. My thought process being this area would be well worn as the crew was constantly moving around in there. I also painted the small crates tucked in there. Wasn’t sure what color they should be, so I went with a generic dark gray. This is my test Ho-Ni after all
Pic quality is rough for some reason on mobile, but if you click it looks a bit clearer
Interior looks fantastic so far Brock. Chipping turned out just right. You’re going in the right directions - keep at it when you have the time. Remember, this is a hobby, it’s supposed to be stress free. Yeah right?
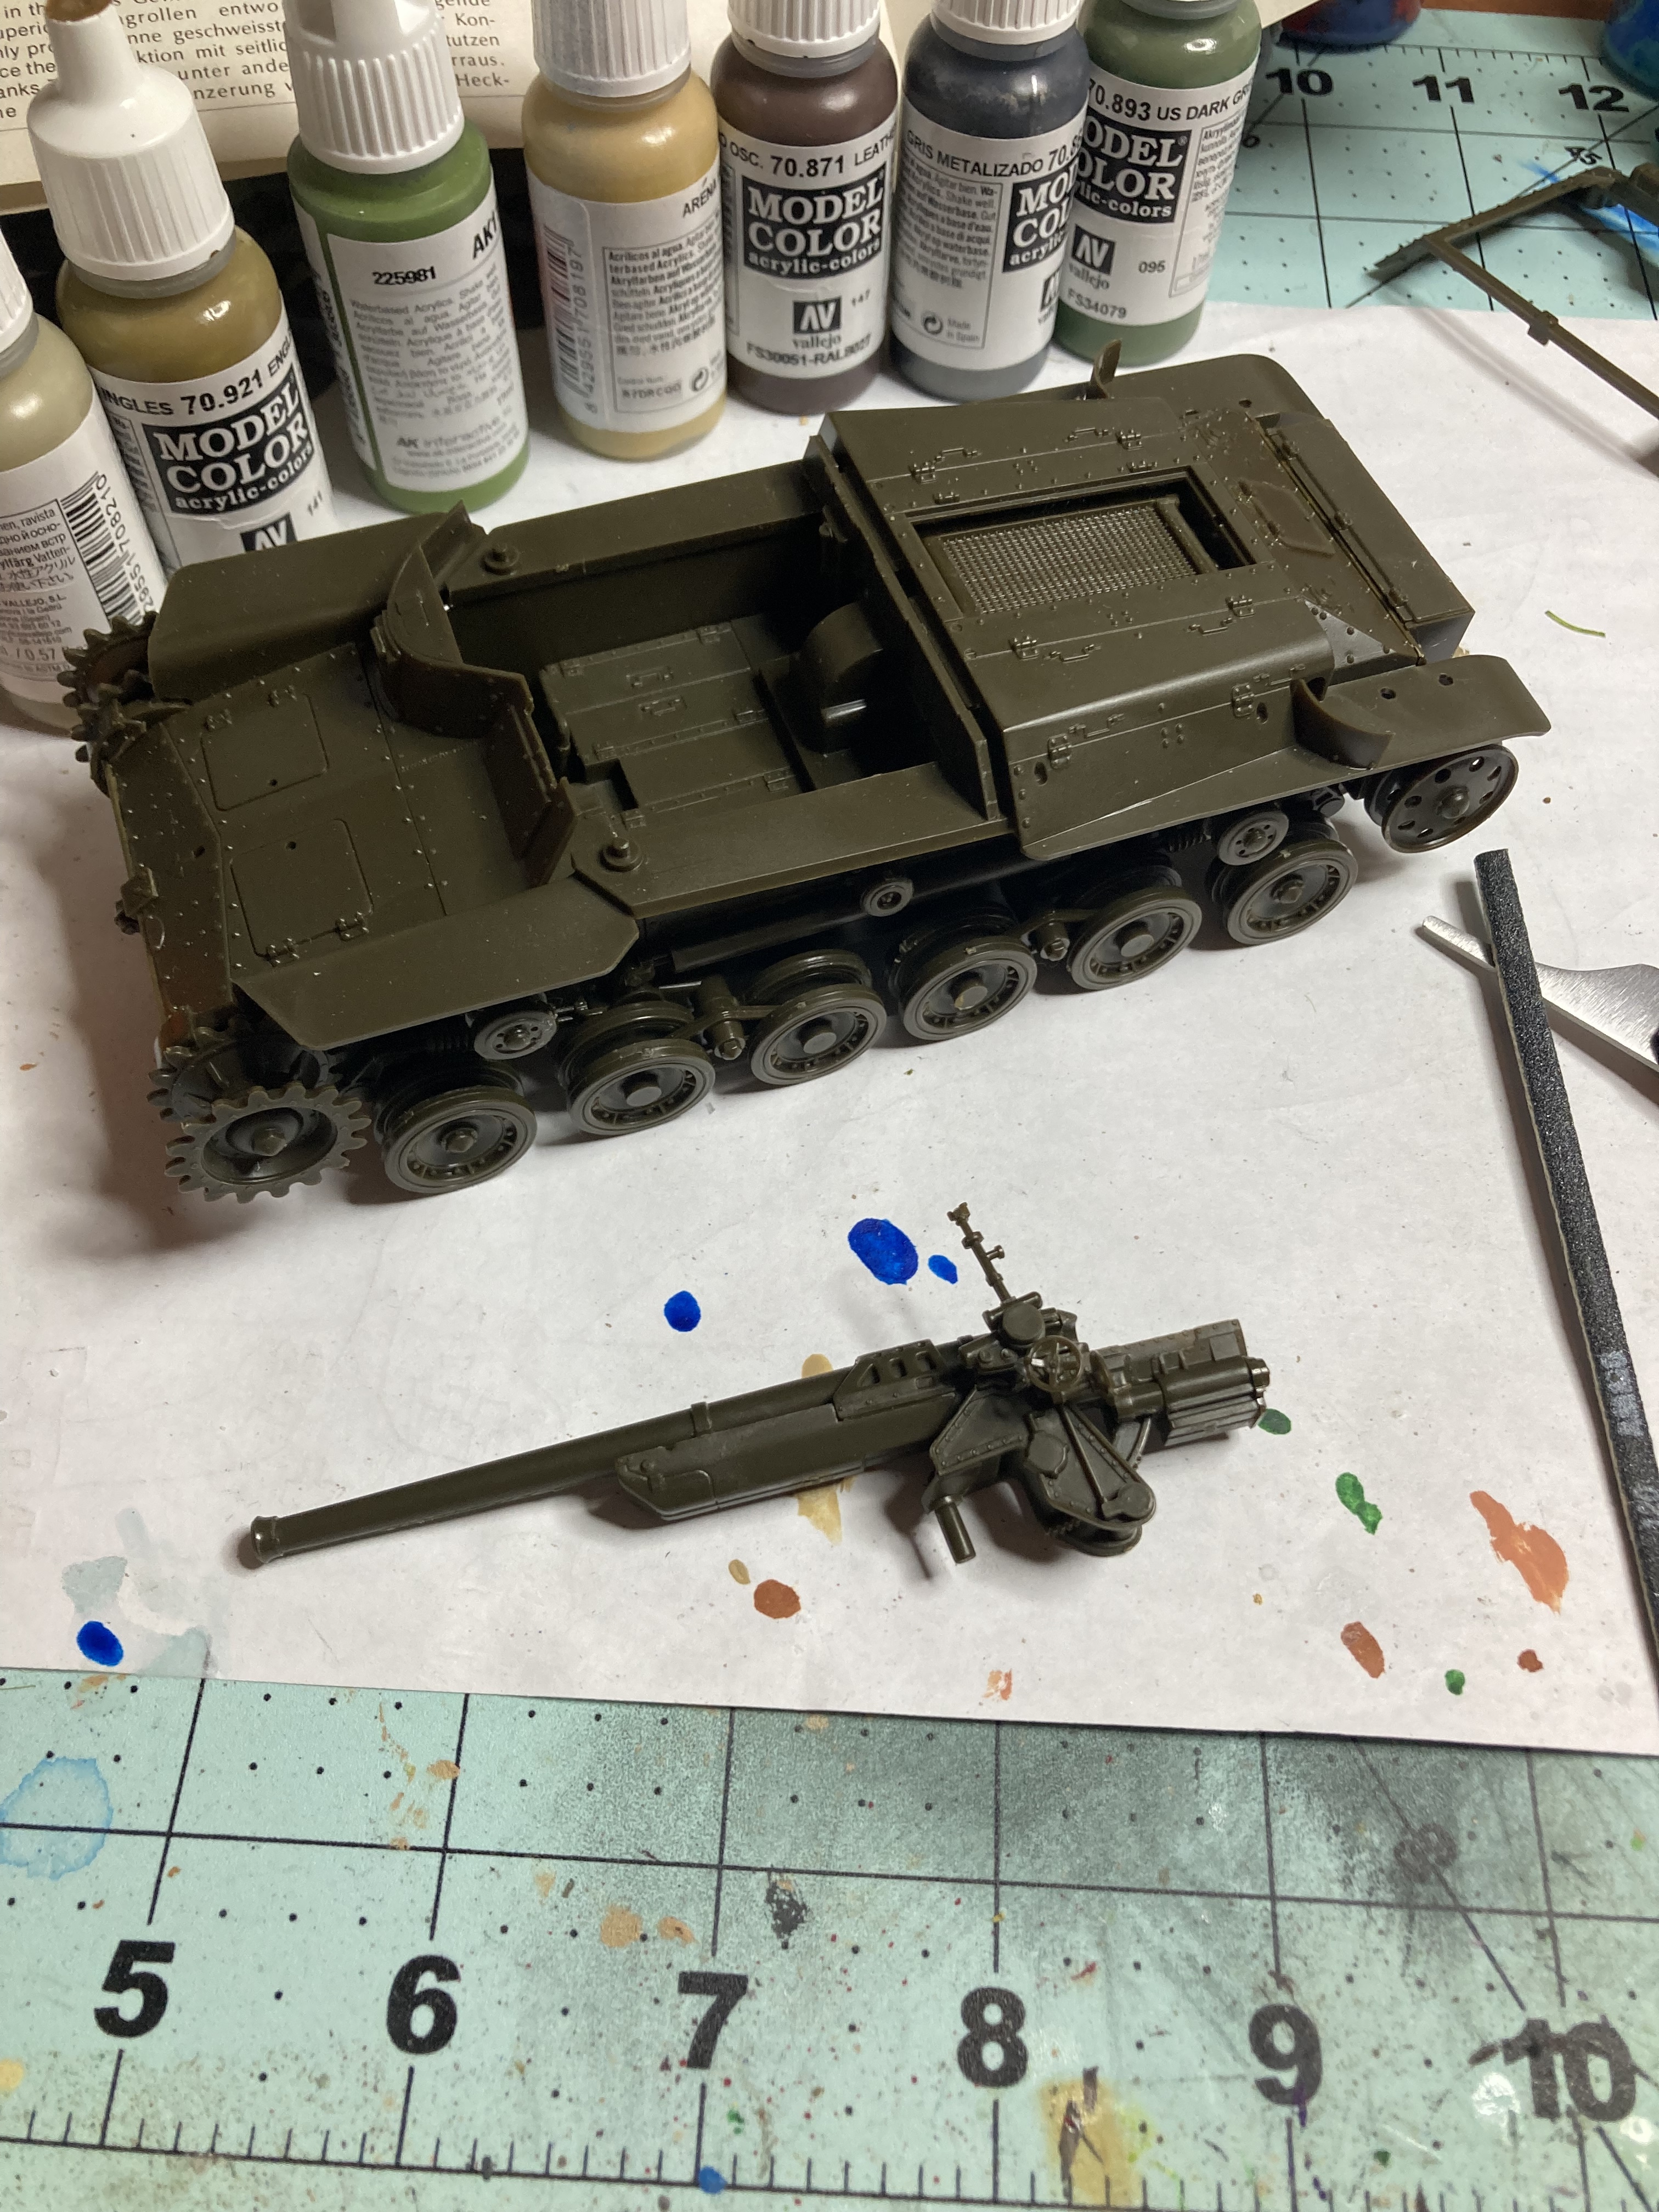
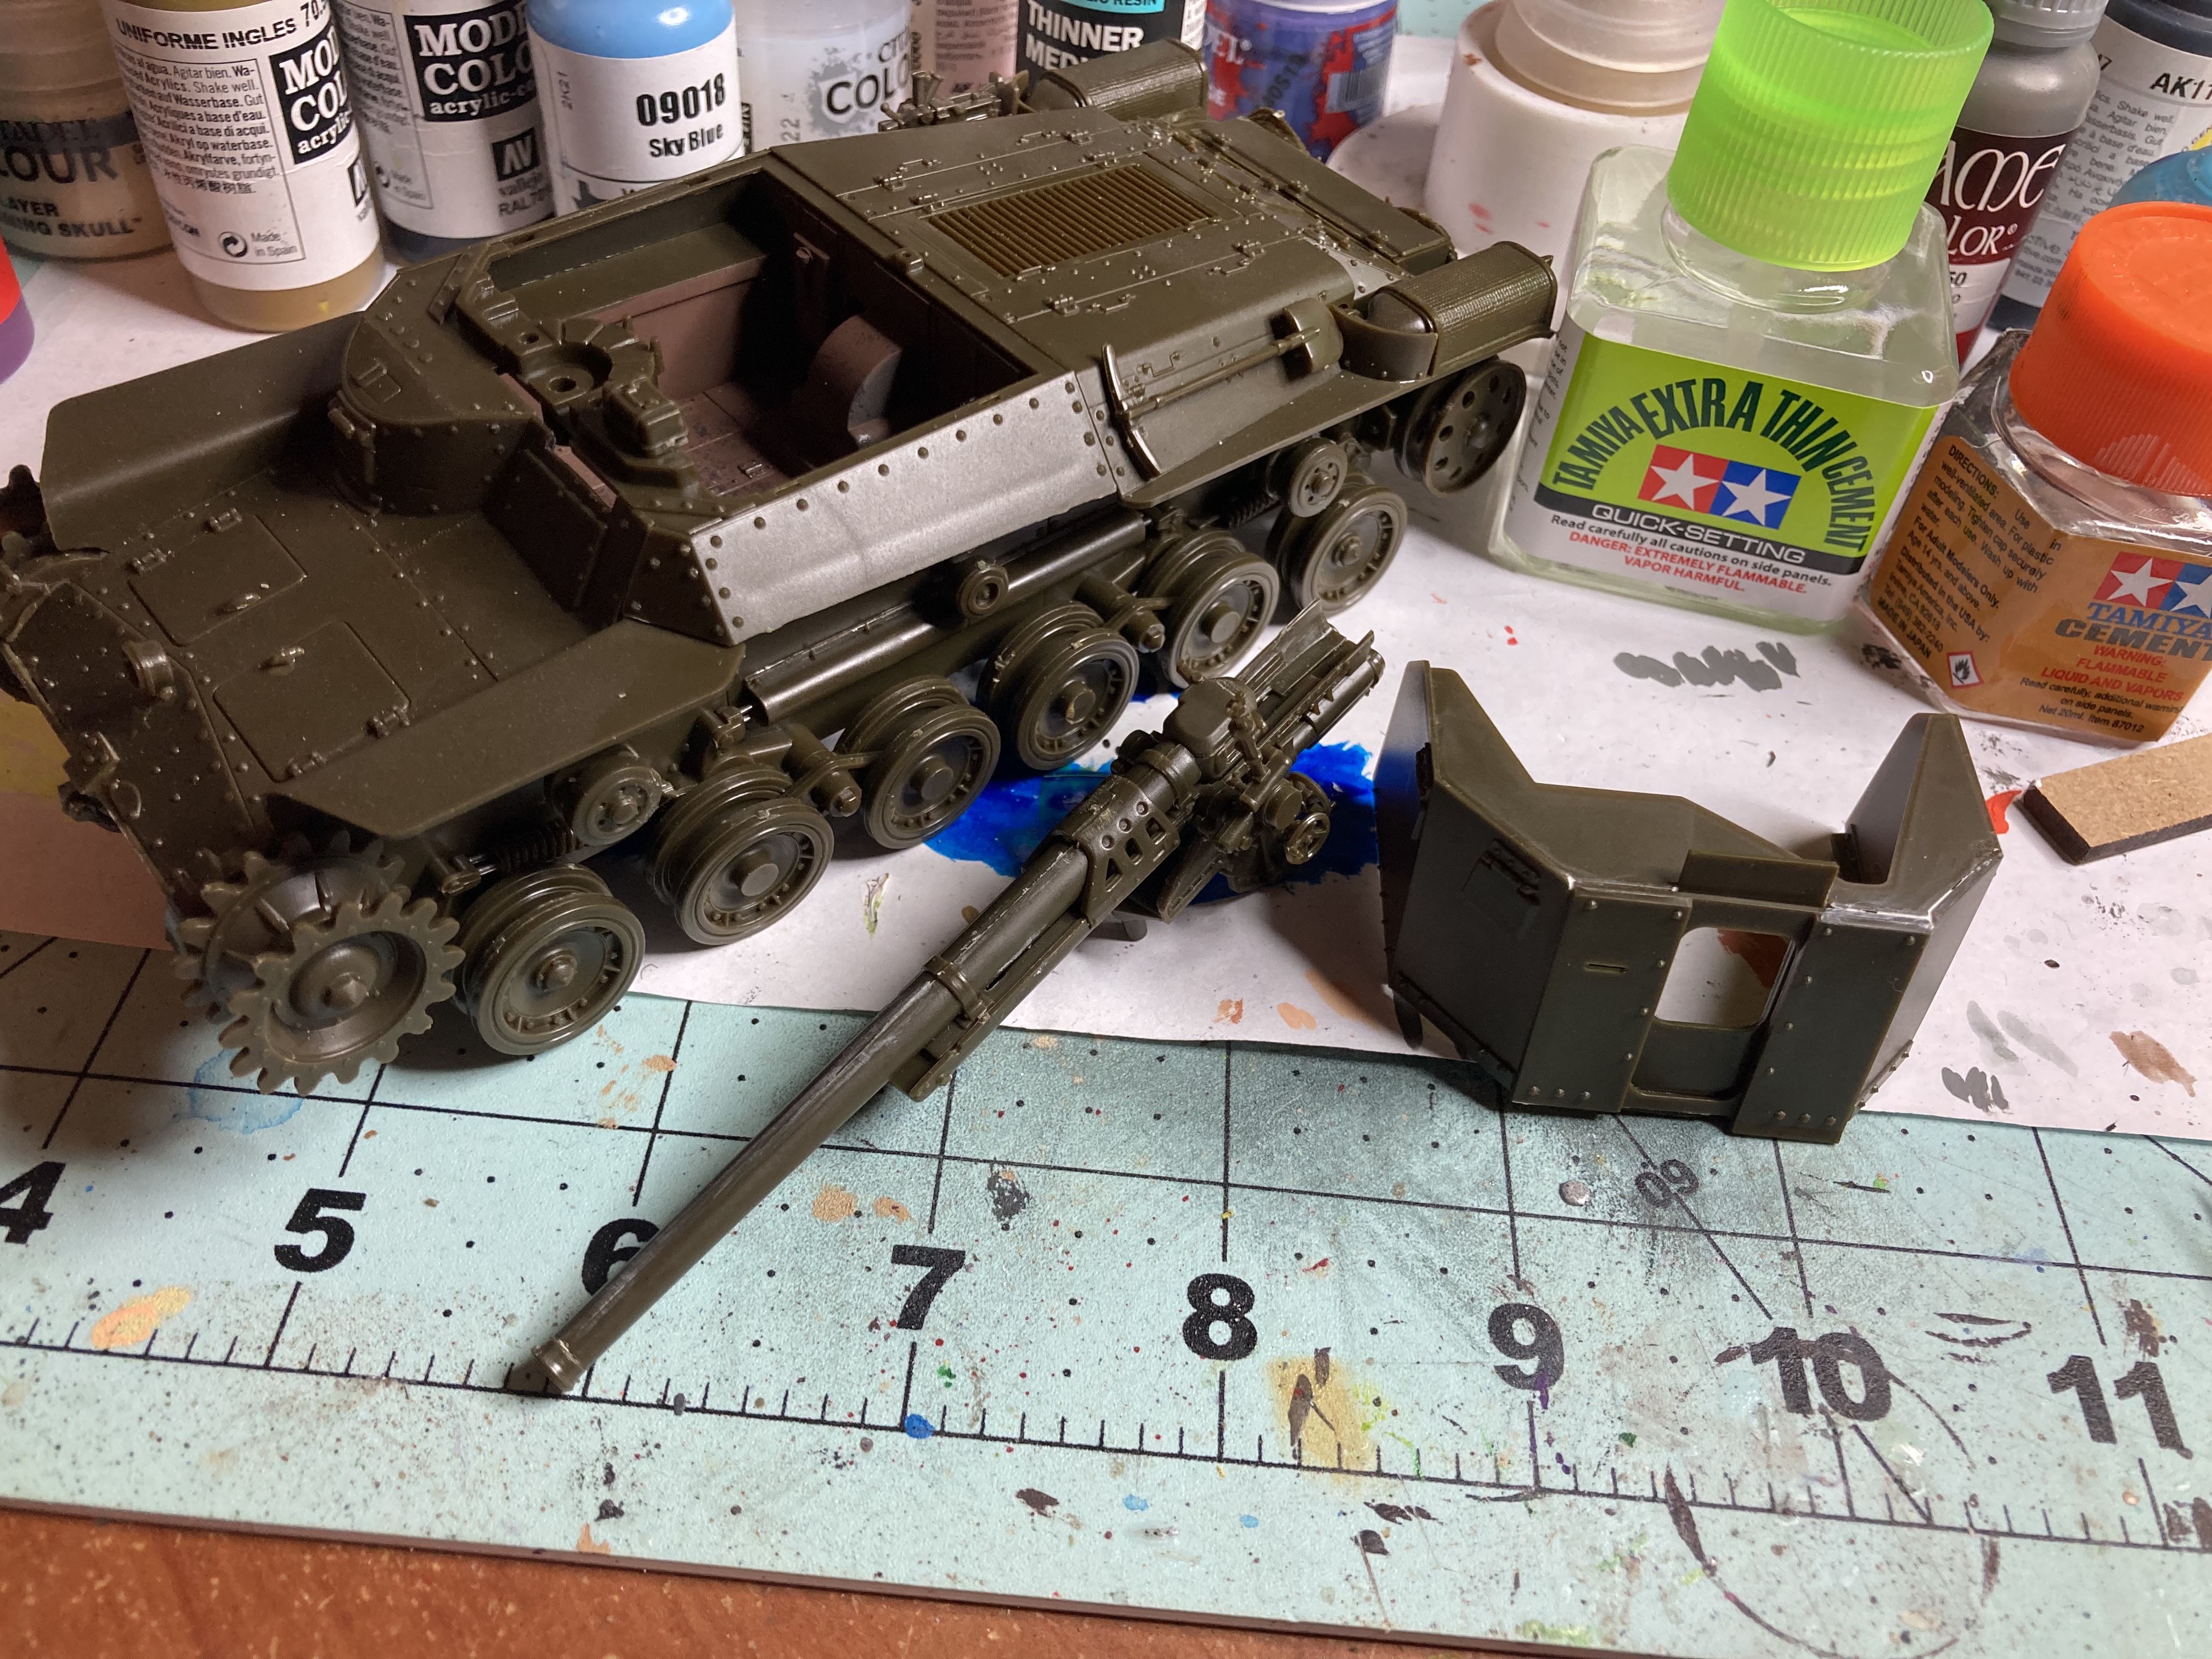
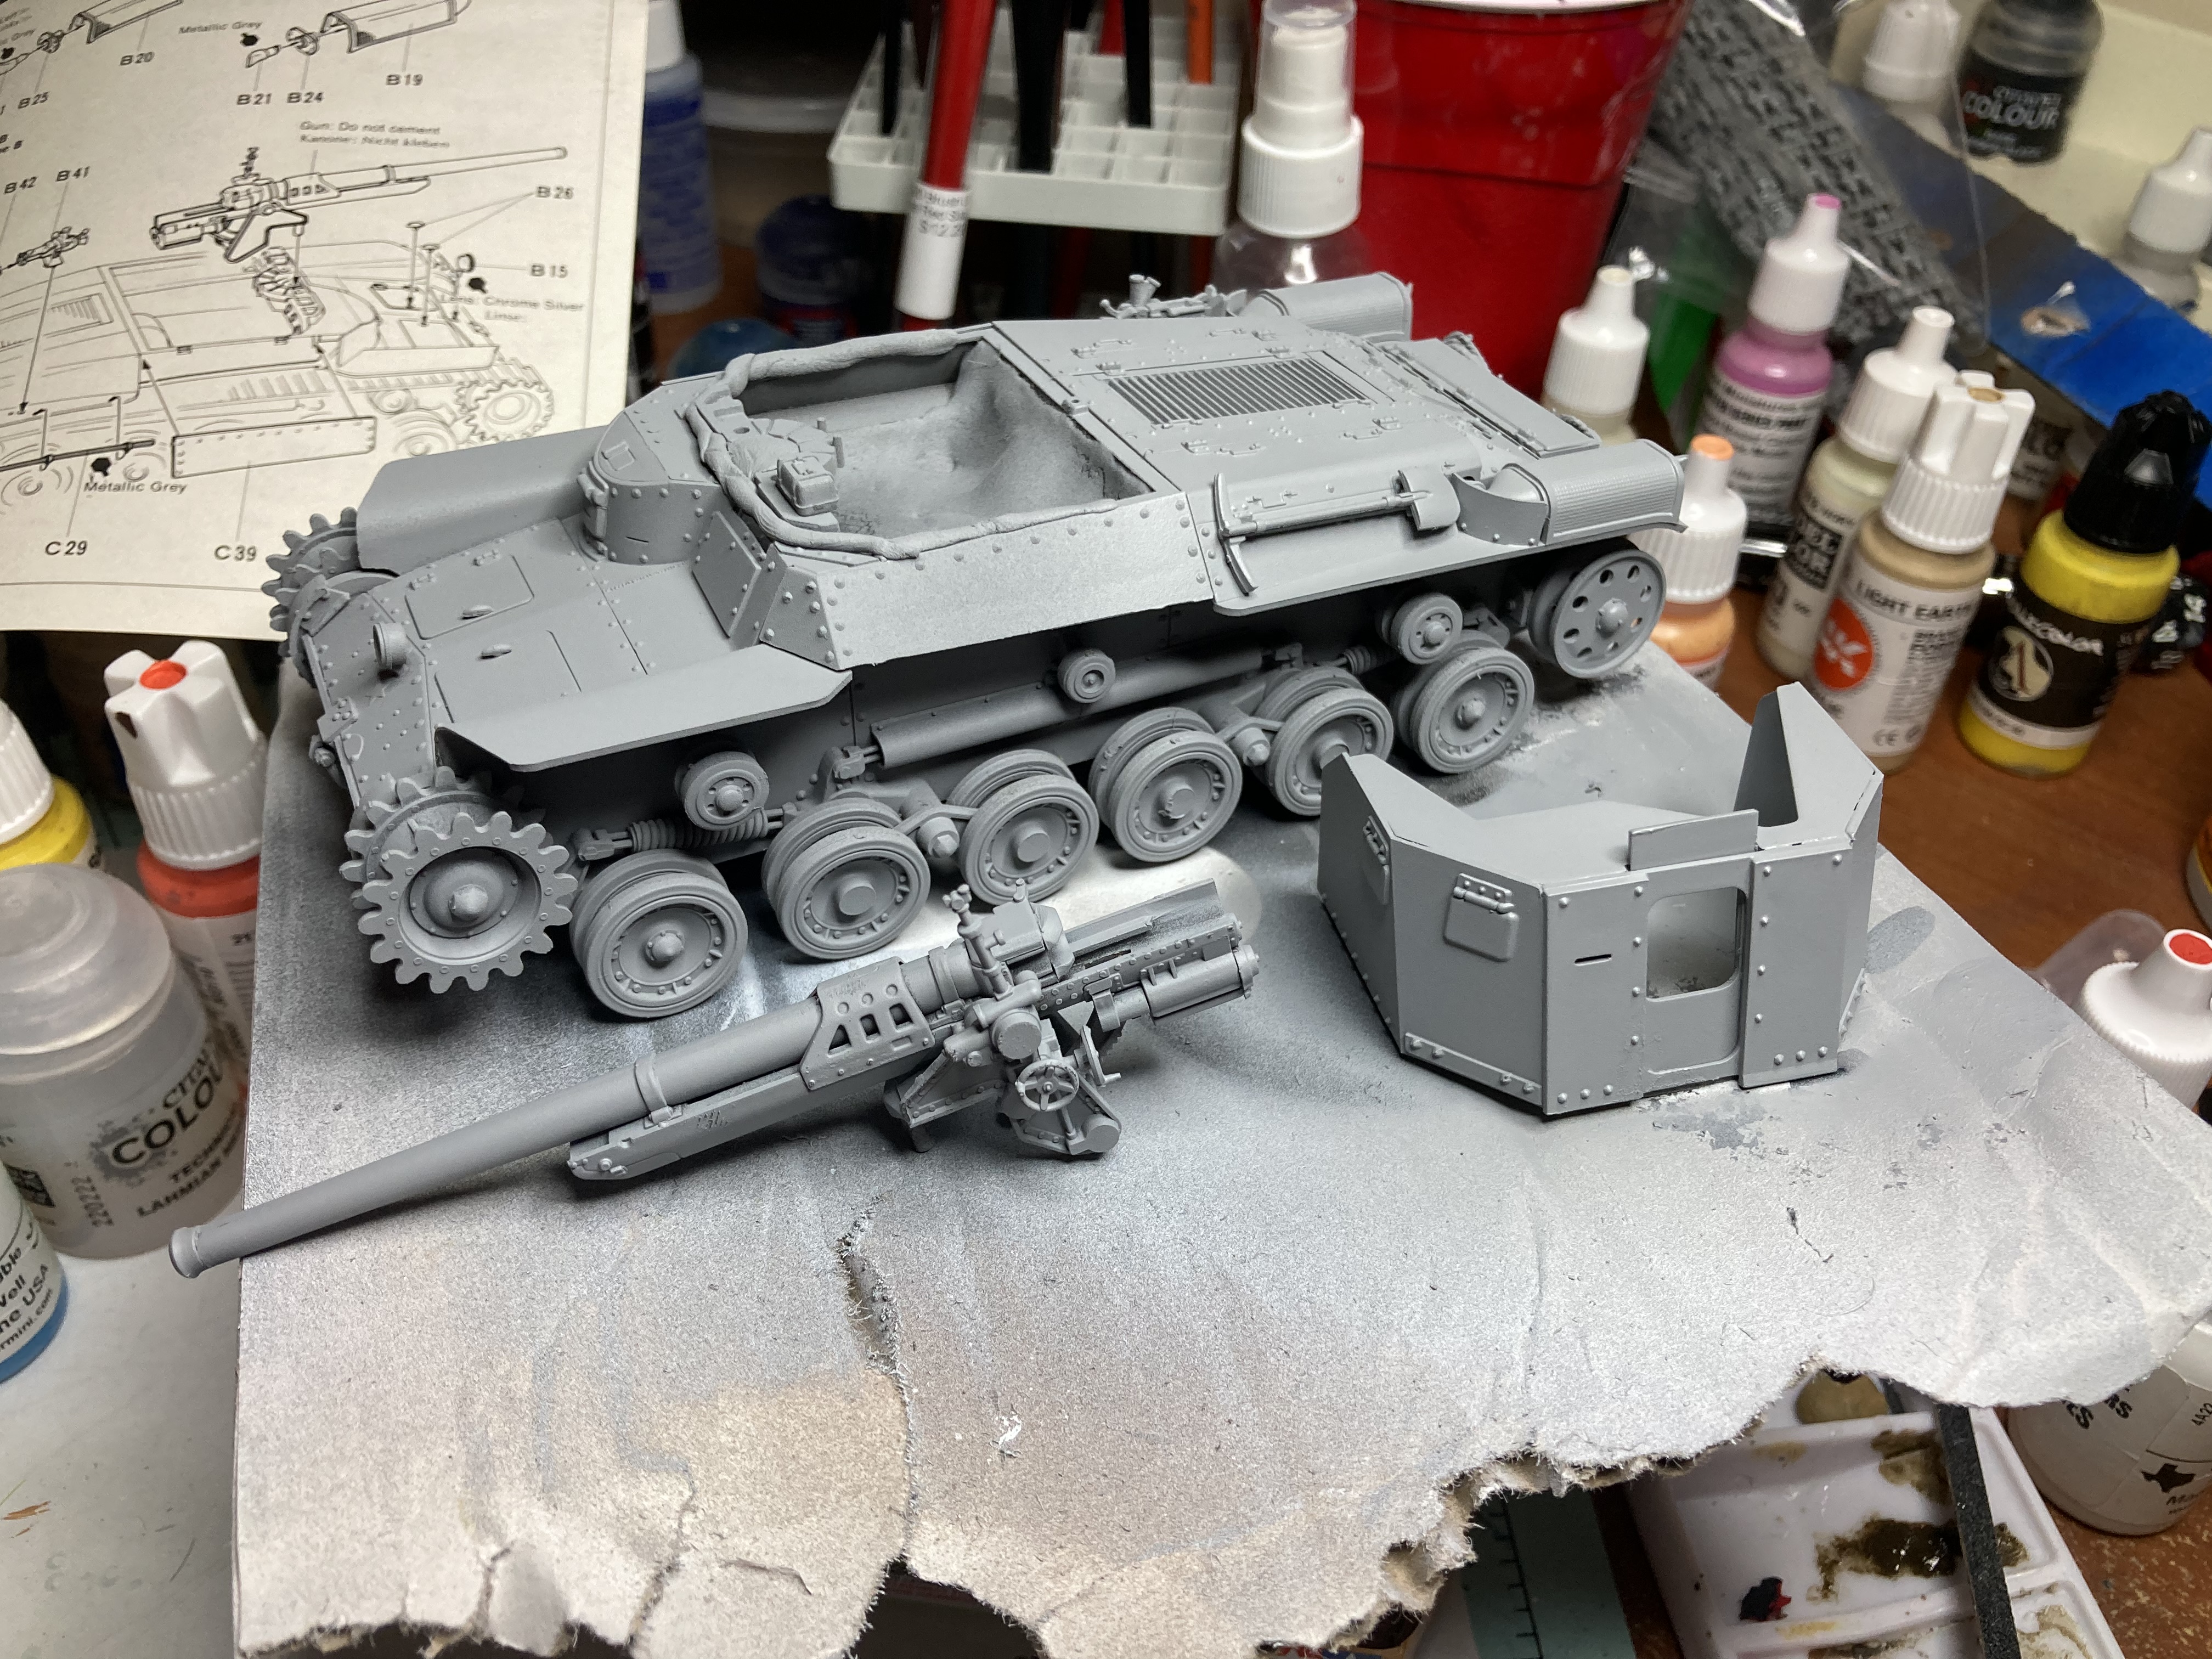
Burning the midnight oil putting together the gun shield and a couple miscellaneous parts I had missed. Finished the night priming it all and hope to get at least a base layer down this weekend. A dry fit of the gun shield showed some gaps, some used some plastic putty to fill it in. Also, I discovered why people like aftermarket barrels. Trying to remove that seam line was annoying.
Another dry fit discovery was that I misaligned the opening in the gun shield, so now the gun is angled high up. Telling myself they’re firing at a enemy tank on a mountain side😅
Another late night post. Had some bumps in the road to get here. Skip to the pictures if not interested.
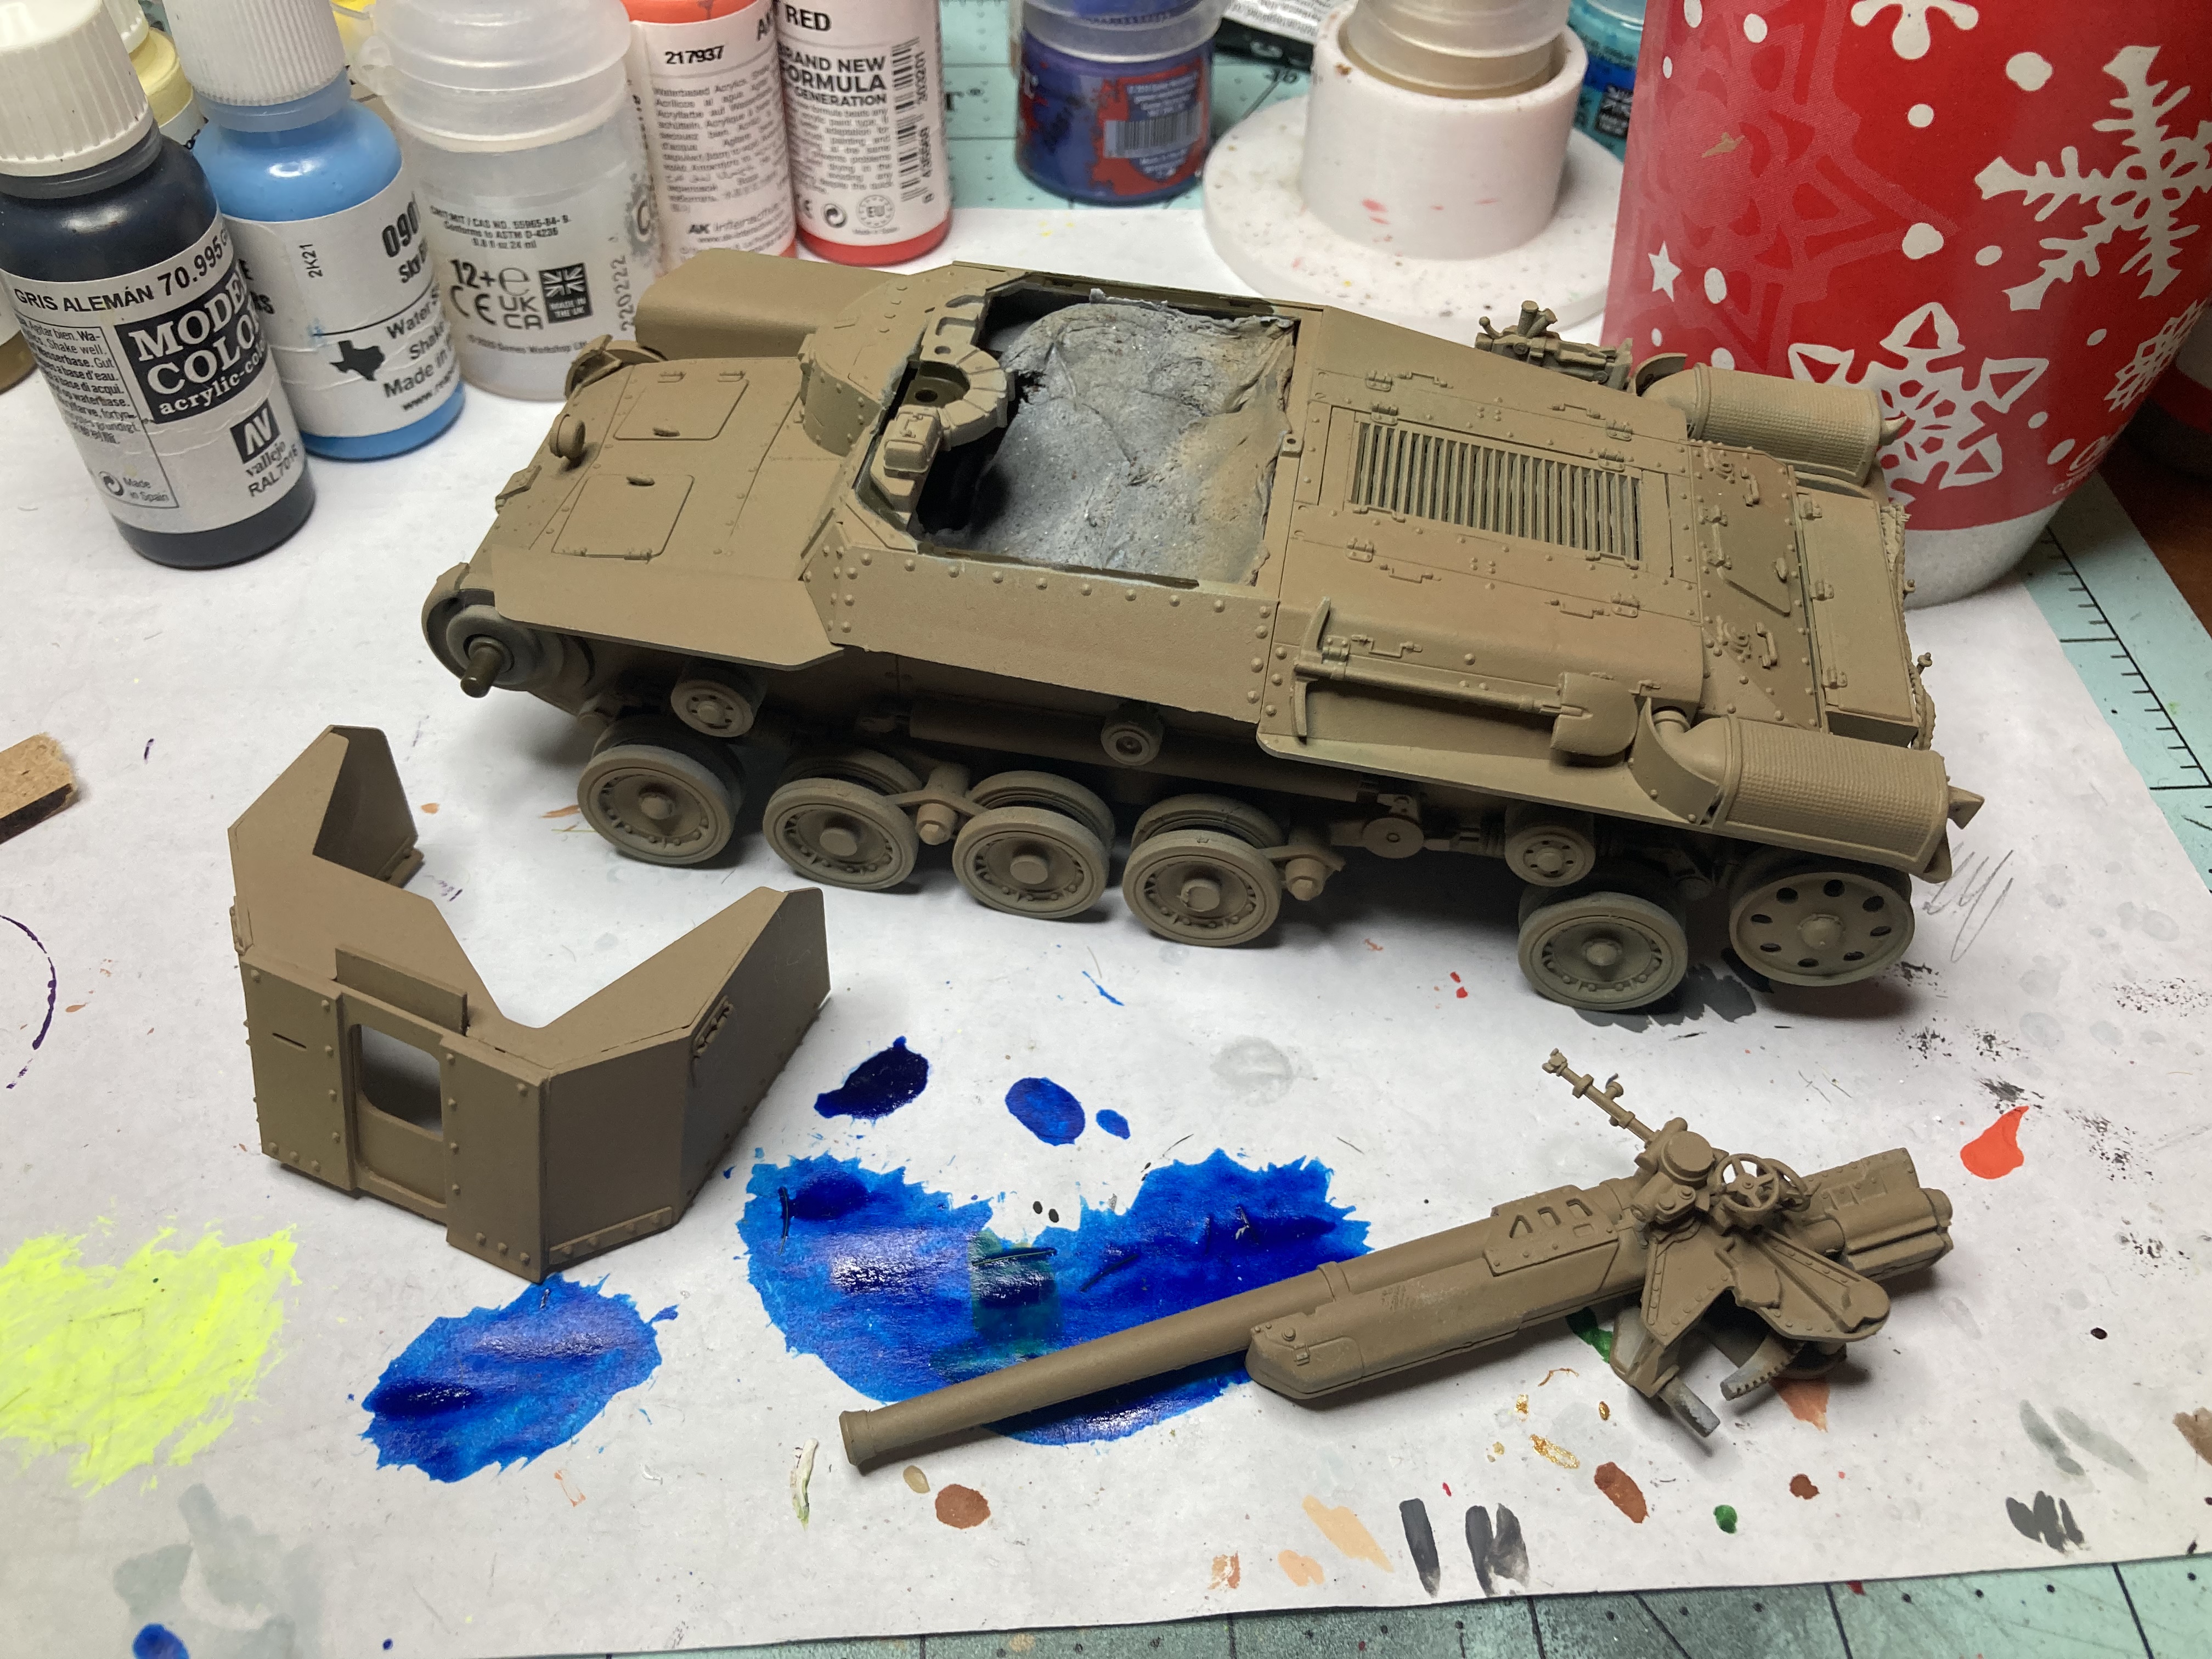
First, I noticed my bottle of Hataka parched grass I was planning to use for the base coat had someone dried up and was unusable. So I tried some Vallejo German Camo Beige as I already had the airbrush all set up and it was close enough to the color.
However despite mixing with thinner and flow improver, I couldn’t get any of the paint to come out. After some investigation and my anger management lessons failing, I set it aside for a few days. Spent about 30 minutes today washing each and every paint of the airbrush. Somehow paint had seeped into the rear of the brush and there was a gummy clog in the nozzle that was a pain to clear. I was able to get it back in working condition and got the base coat down.
Ended up going with Reapers Shield Brown instead of the Vallejo. Think the color is was a bit better and may be a little light but it is still good (it is a practice model after all). Let it sit, came back and hit some light areas, then began sketching the camo pattern.
I followed the generic pattern in the instructions, and left little splotches to remind me what color each section was to be. Got the idea from a really great YouTube video of the same model being done start to finish. Tomorrow I’ll switch to the .02 nozzle and fill in the pattern, time permitting.
Also I forgot to mention, but sure you’ll notice, one of the wheels snapped off. The tank took a tumble and it shot off. I do have it and will reglue it in time
Airbrushes are fickle instruments. Sometimes the stars just aren’t in alignment and they play dead for even the most seasoned veteran. Nozzle clogs are fairly common with acrylics, and when the nozzle clogs, the paint has nowhere to go, so you get blowback, where the paint is forced into the back of the airbrush. What a mess. Or, you get bubbles in the cup. I’m glad you got it all fixed. Just know that these are normal problems in airbrushing, you are not cursed. Your paint job looks fantastic so far, keep at it!
I have a hate/love relationship with airbrushes. I love to hate them and I do not like to use them…
That being said painting those paints with a brush might be a PITA too.
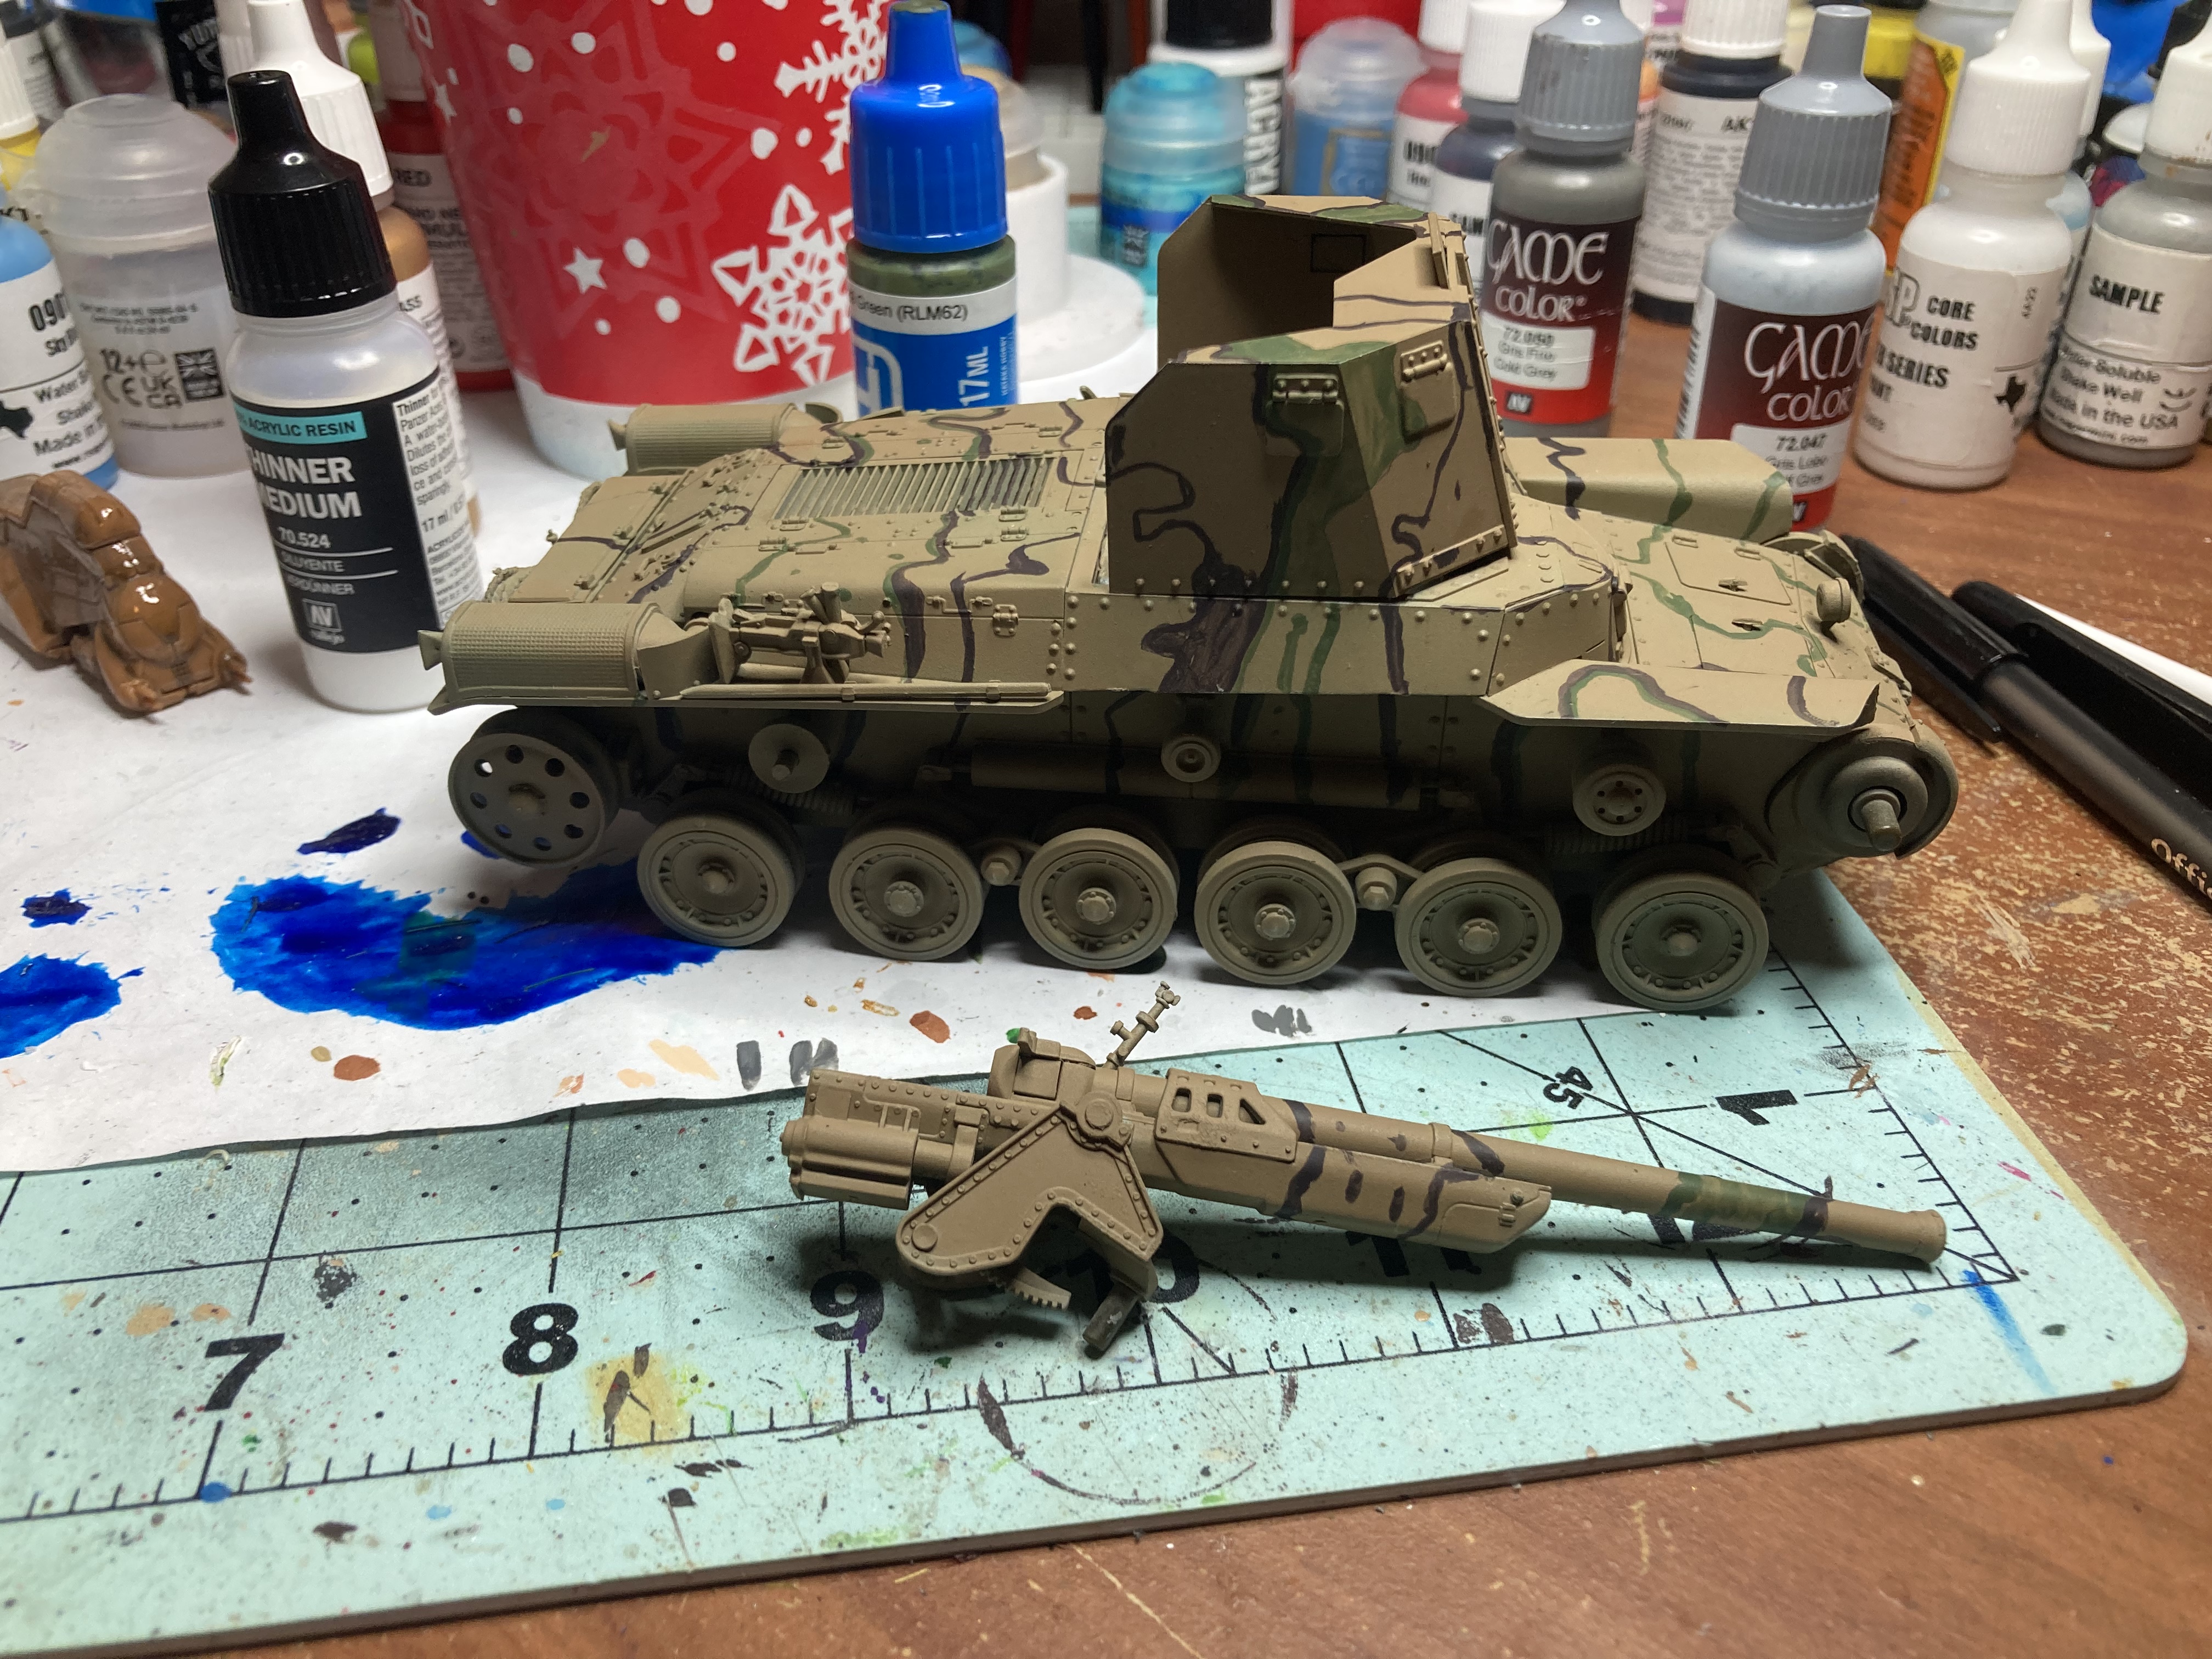
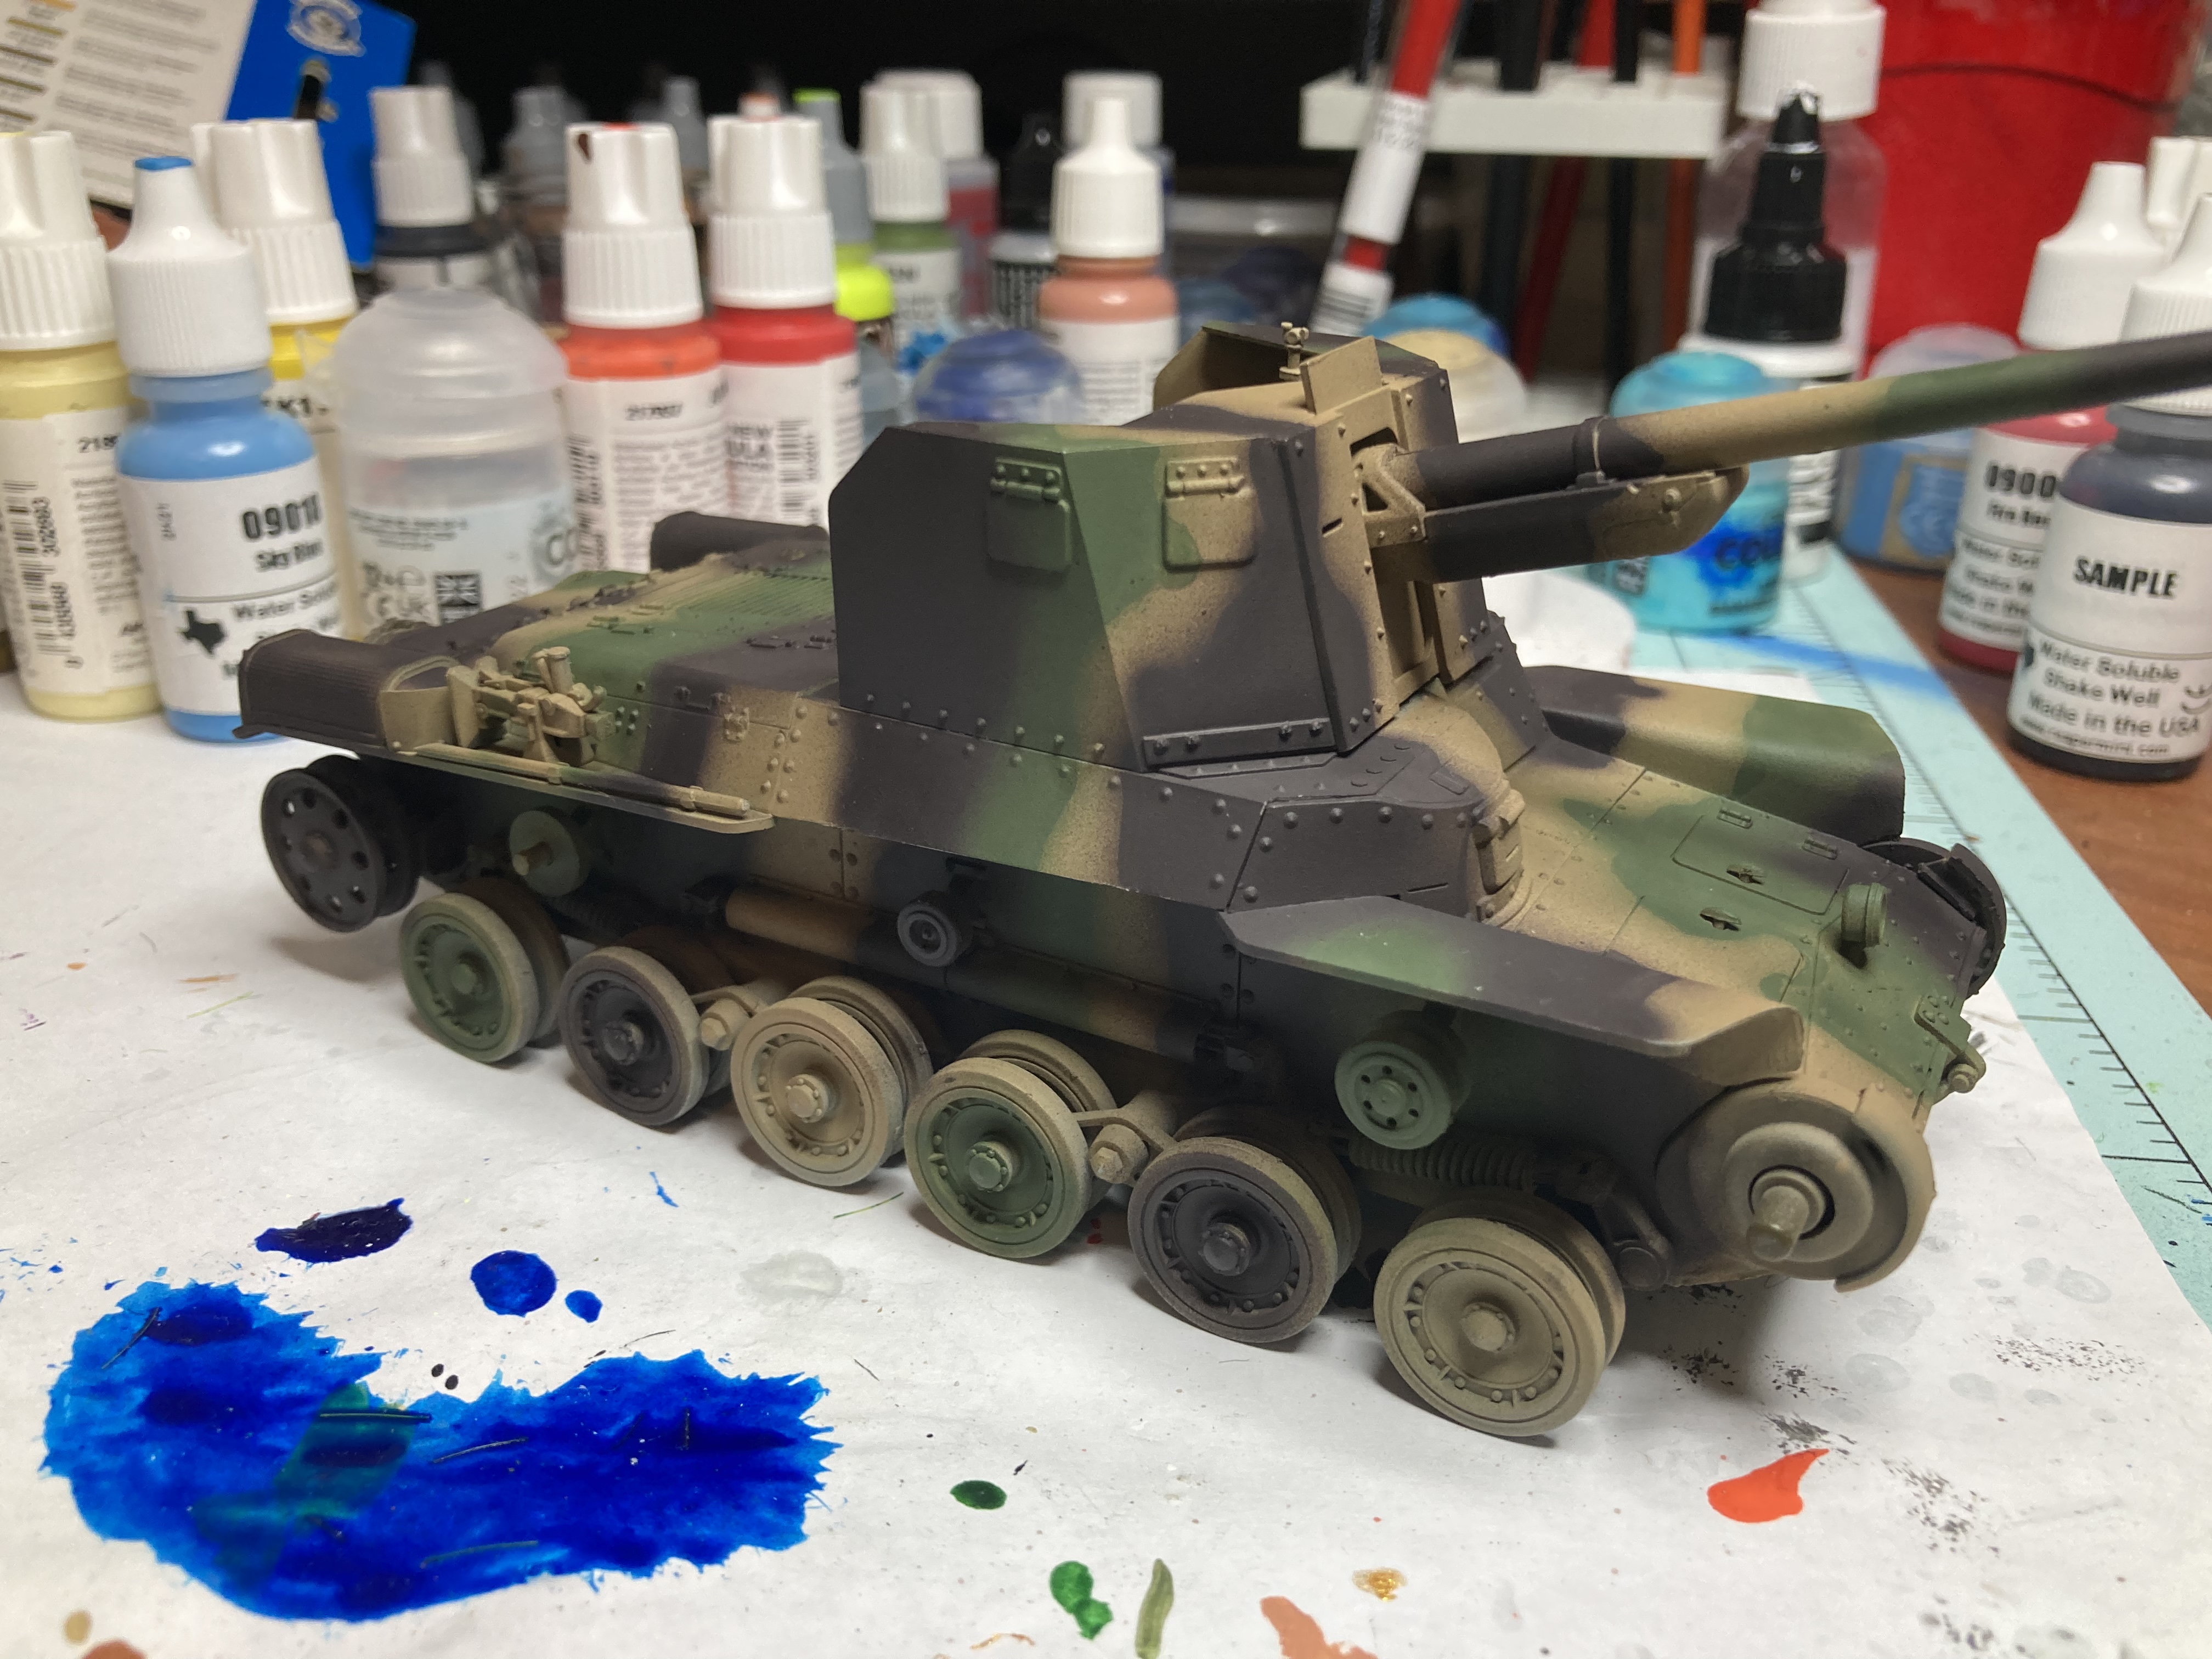
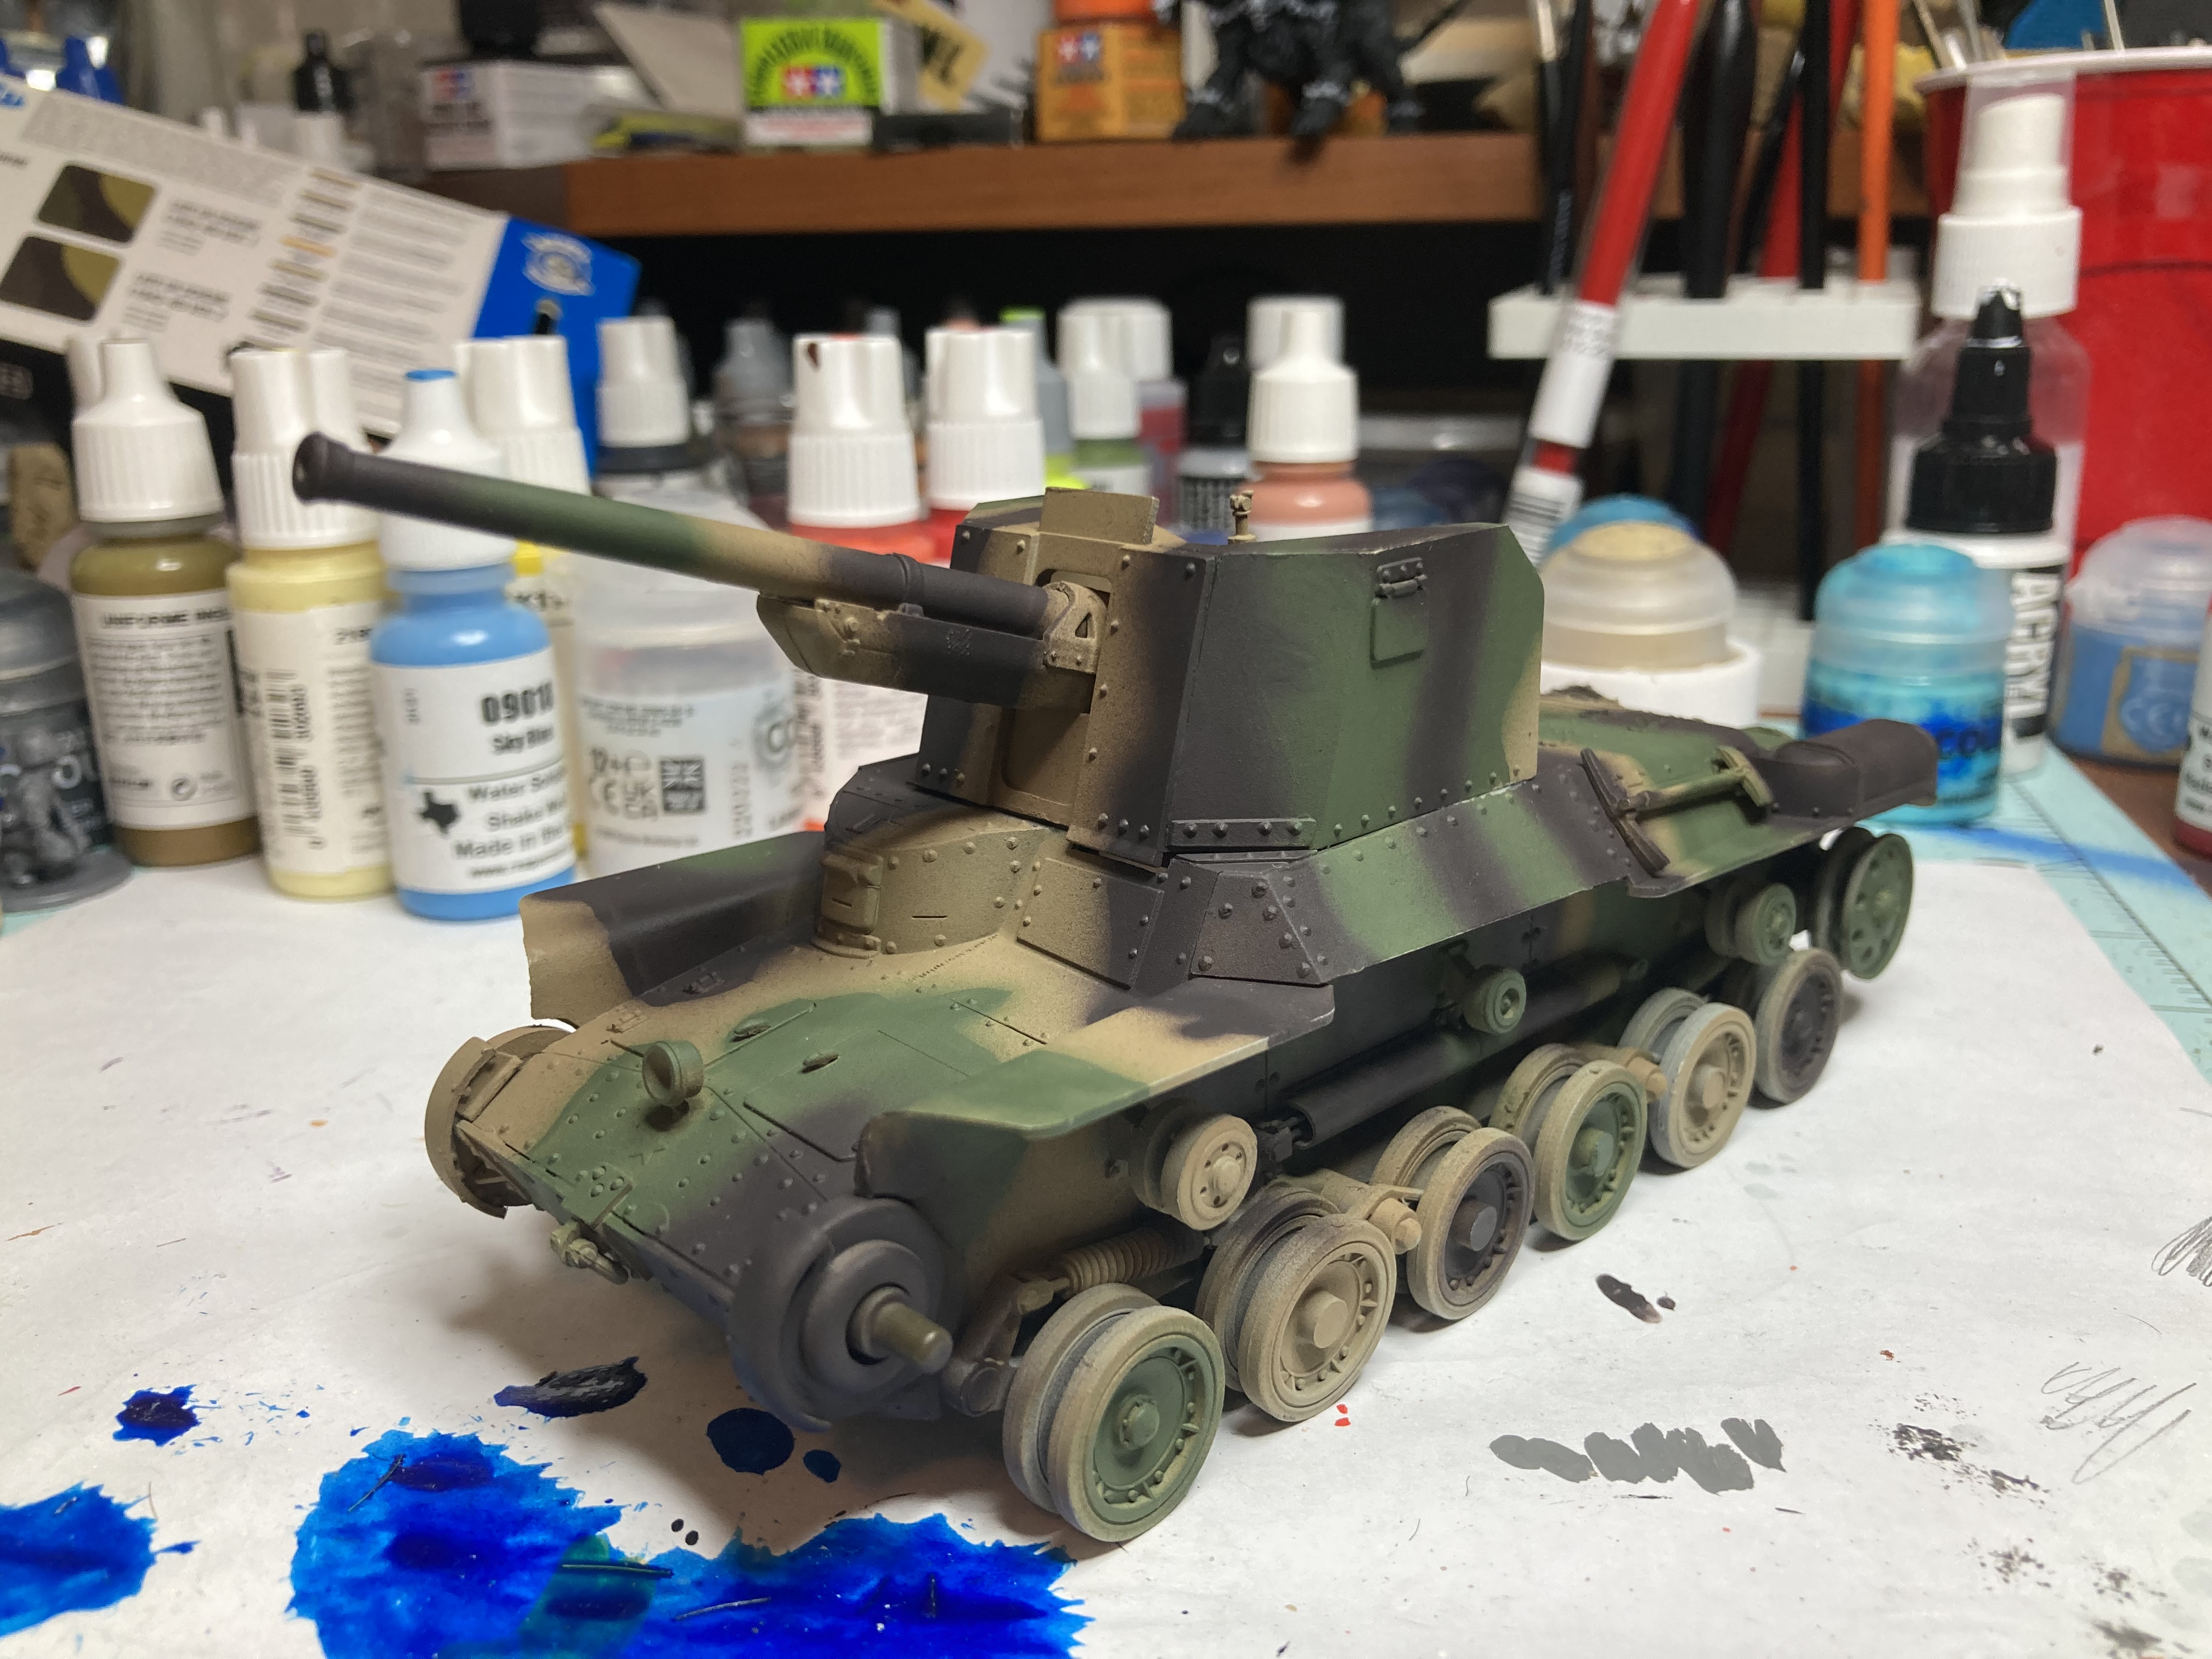
More updates from a productive weekend. Got the camo pattern filled in and the gun and shield attached. You can see what I mean when I said I misaligned the opening and now it appears the vehicle is attempting some anti-aircraft fire. Debating on attempting to make a faded camo look by spraying the patterns with a slightly lighter coat, but time will tell. Next is to look into a wash (have ABT502 oil paint and Mona Lisa thinner to make it) and pin washing (have some tamiya dark brown panel liner)
Brock for a first time that is one hell of a camo job! It came out great!
The more you use your airbrush, the quicker you will get with it and the less laborious it will be. Setting up to airbrush takes me about 30 seconds and stripping and cleaning takes about 3 minutes.
Keep at it, for a test model it’s looking excellent.