Despit what generals and armies say in the real world with the advent of ATGMs, UAVs, drones, and long-range fires, nothing commands the attention and respect of a Main Battle Tank. Perhaps someday with rooftop Active-Defense laser turrets, the tank will make a comeback against ATGMs and drones seeking to destroy it.
I am very sorry for the radio silence for so long. The reason is I was trying to paint the armor with Alclad and emptied one bottle during painting the olive green. I ordered another but the wrong one and started to spray it until I recognized my mistake. I then had to reorder another bottle but exactly this one was currently unavailable at my internet hobby shop. So the mojo dropped and the tank was stored into the shelf of doom…
But recently I finally got the right color bottle and started to work again at the Chally 3 and this time I had a flow again despite further drawbacks…
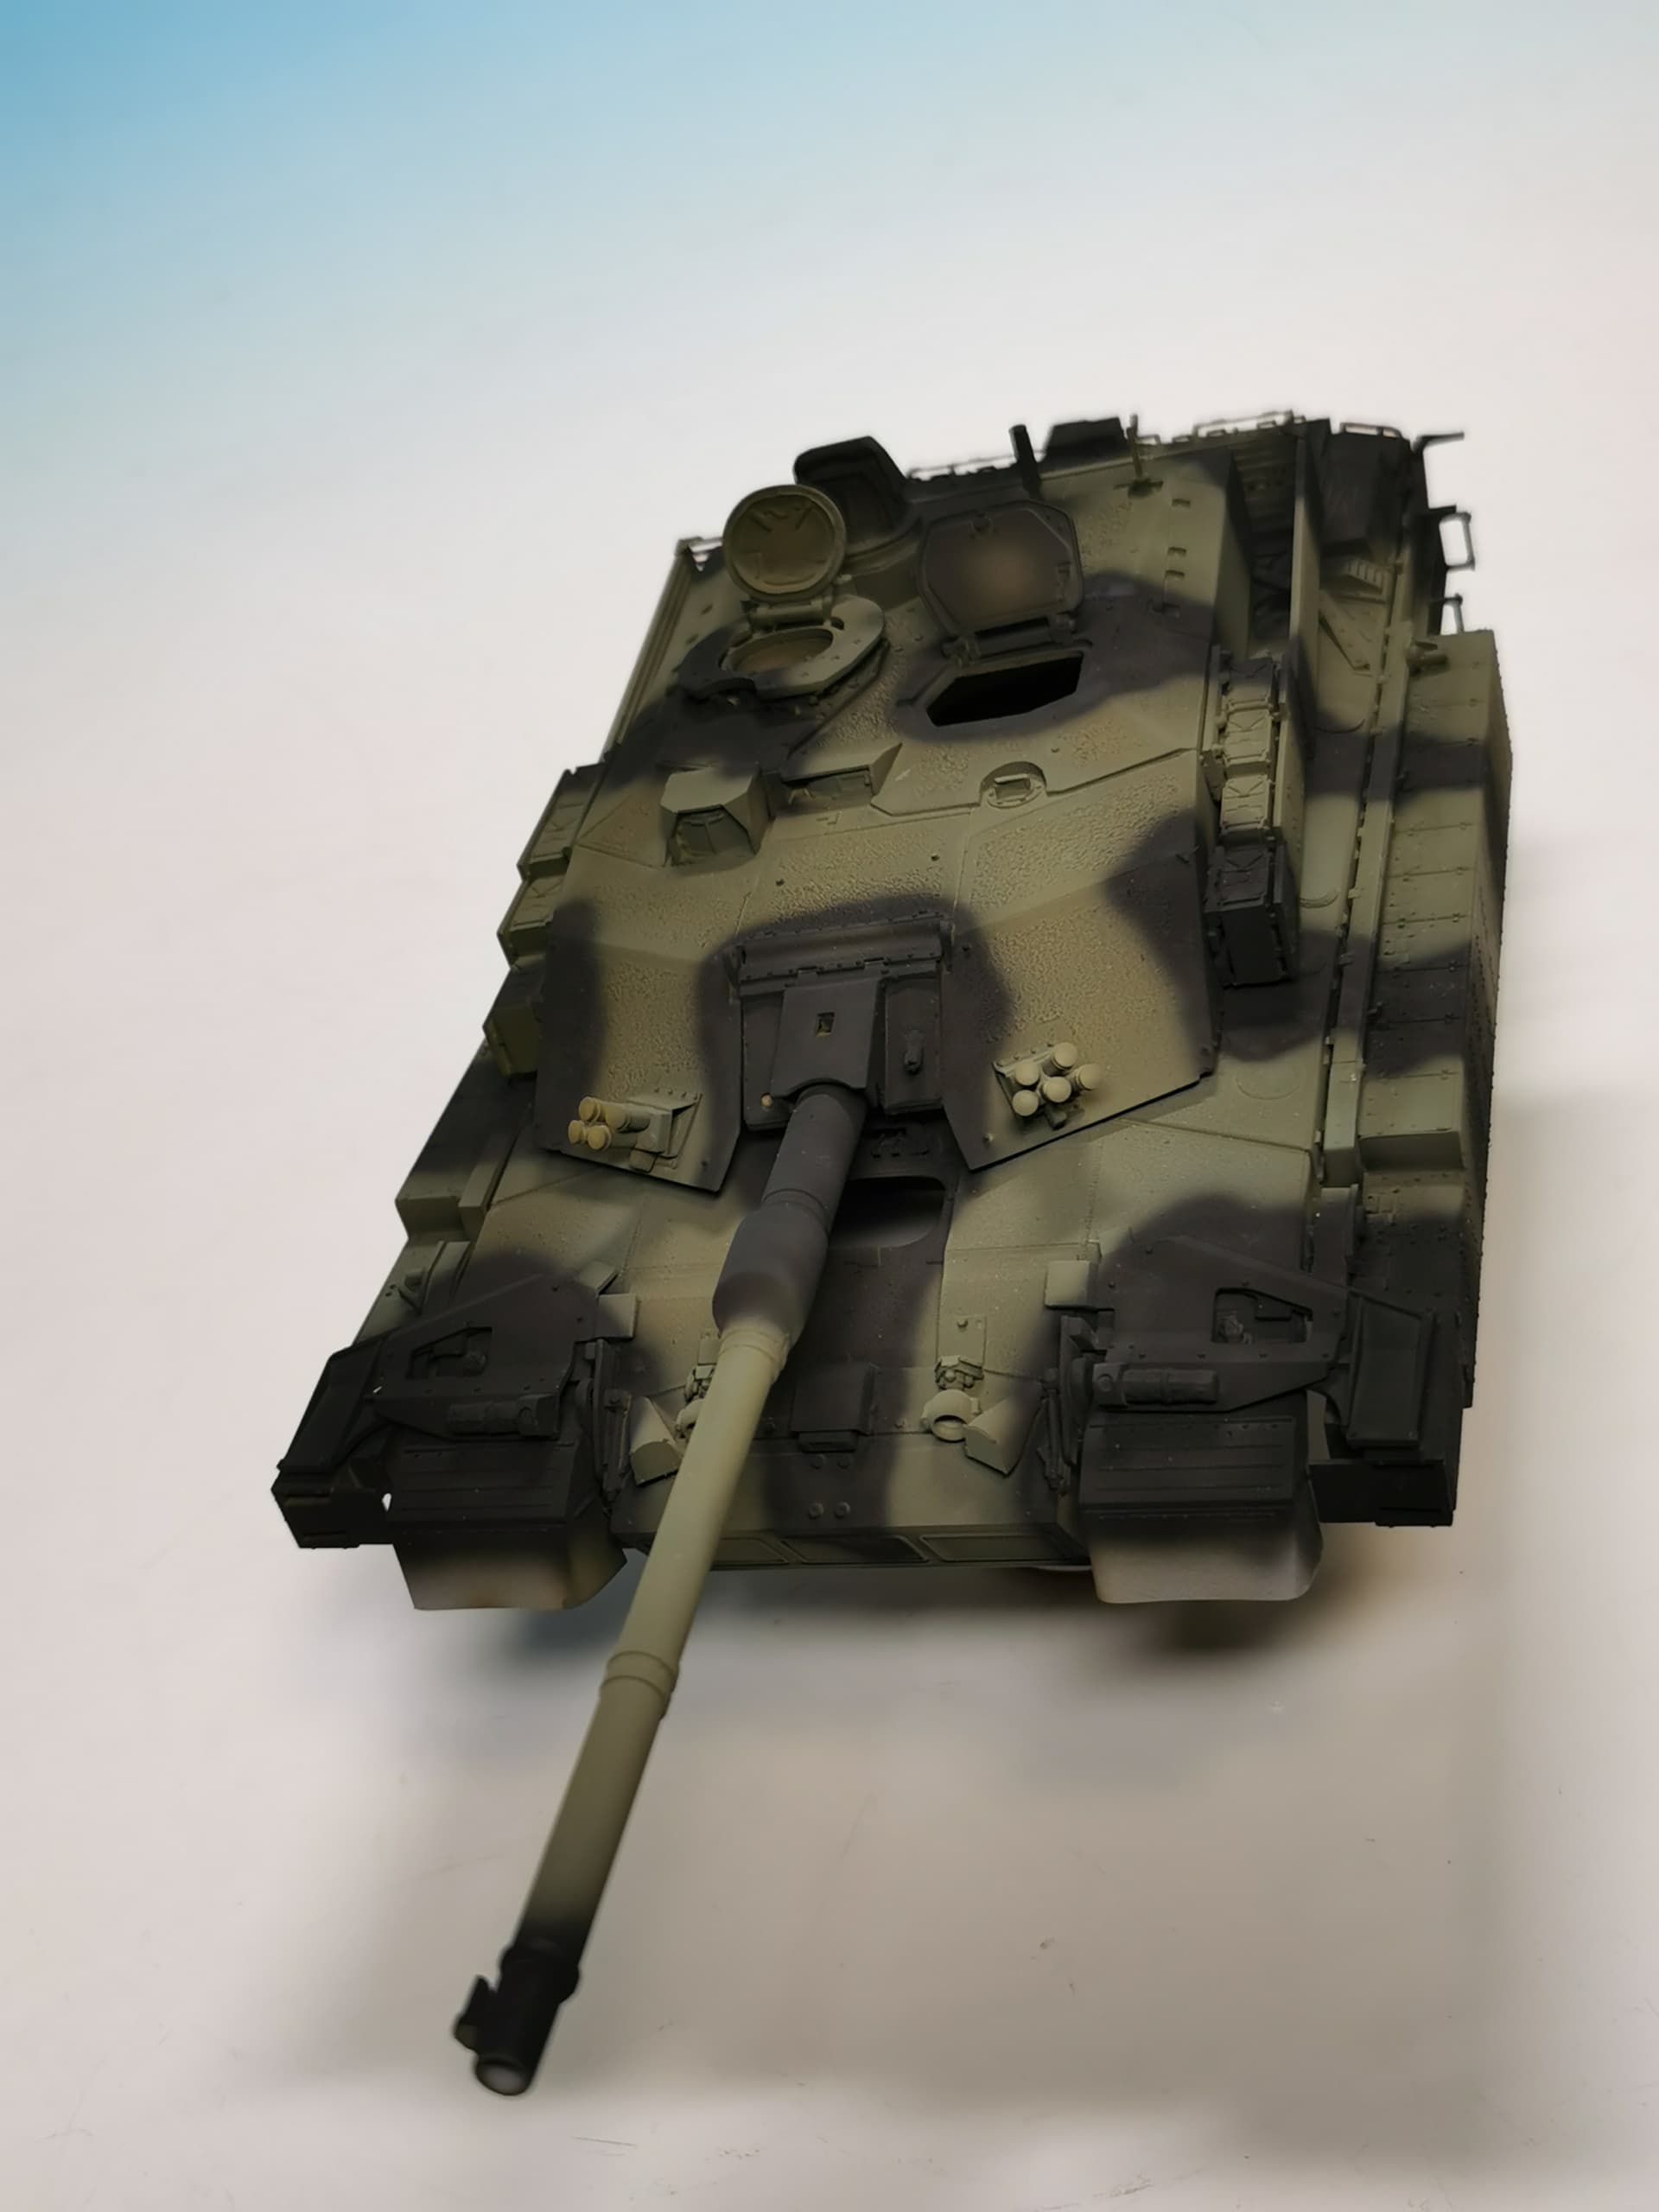
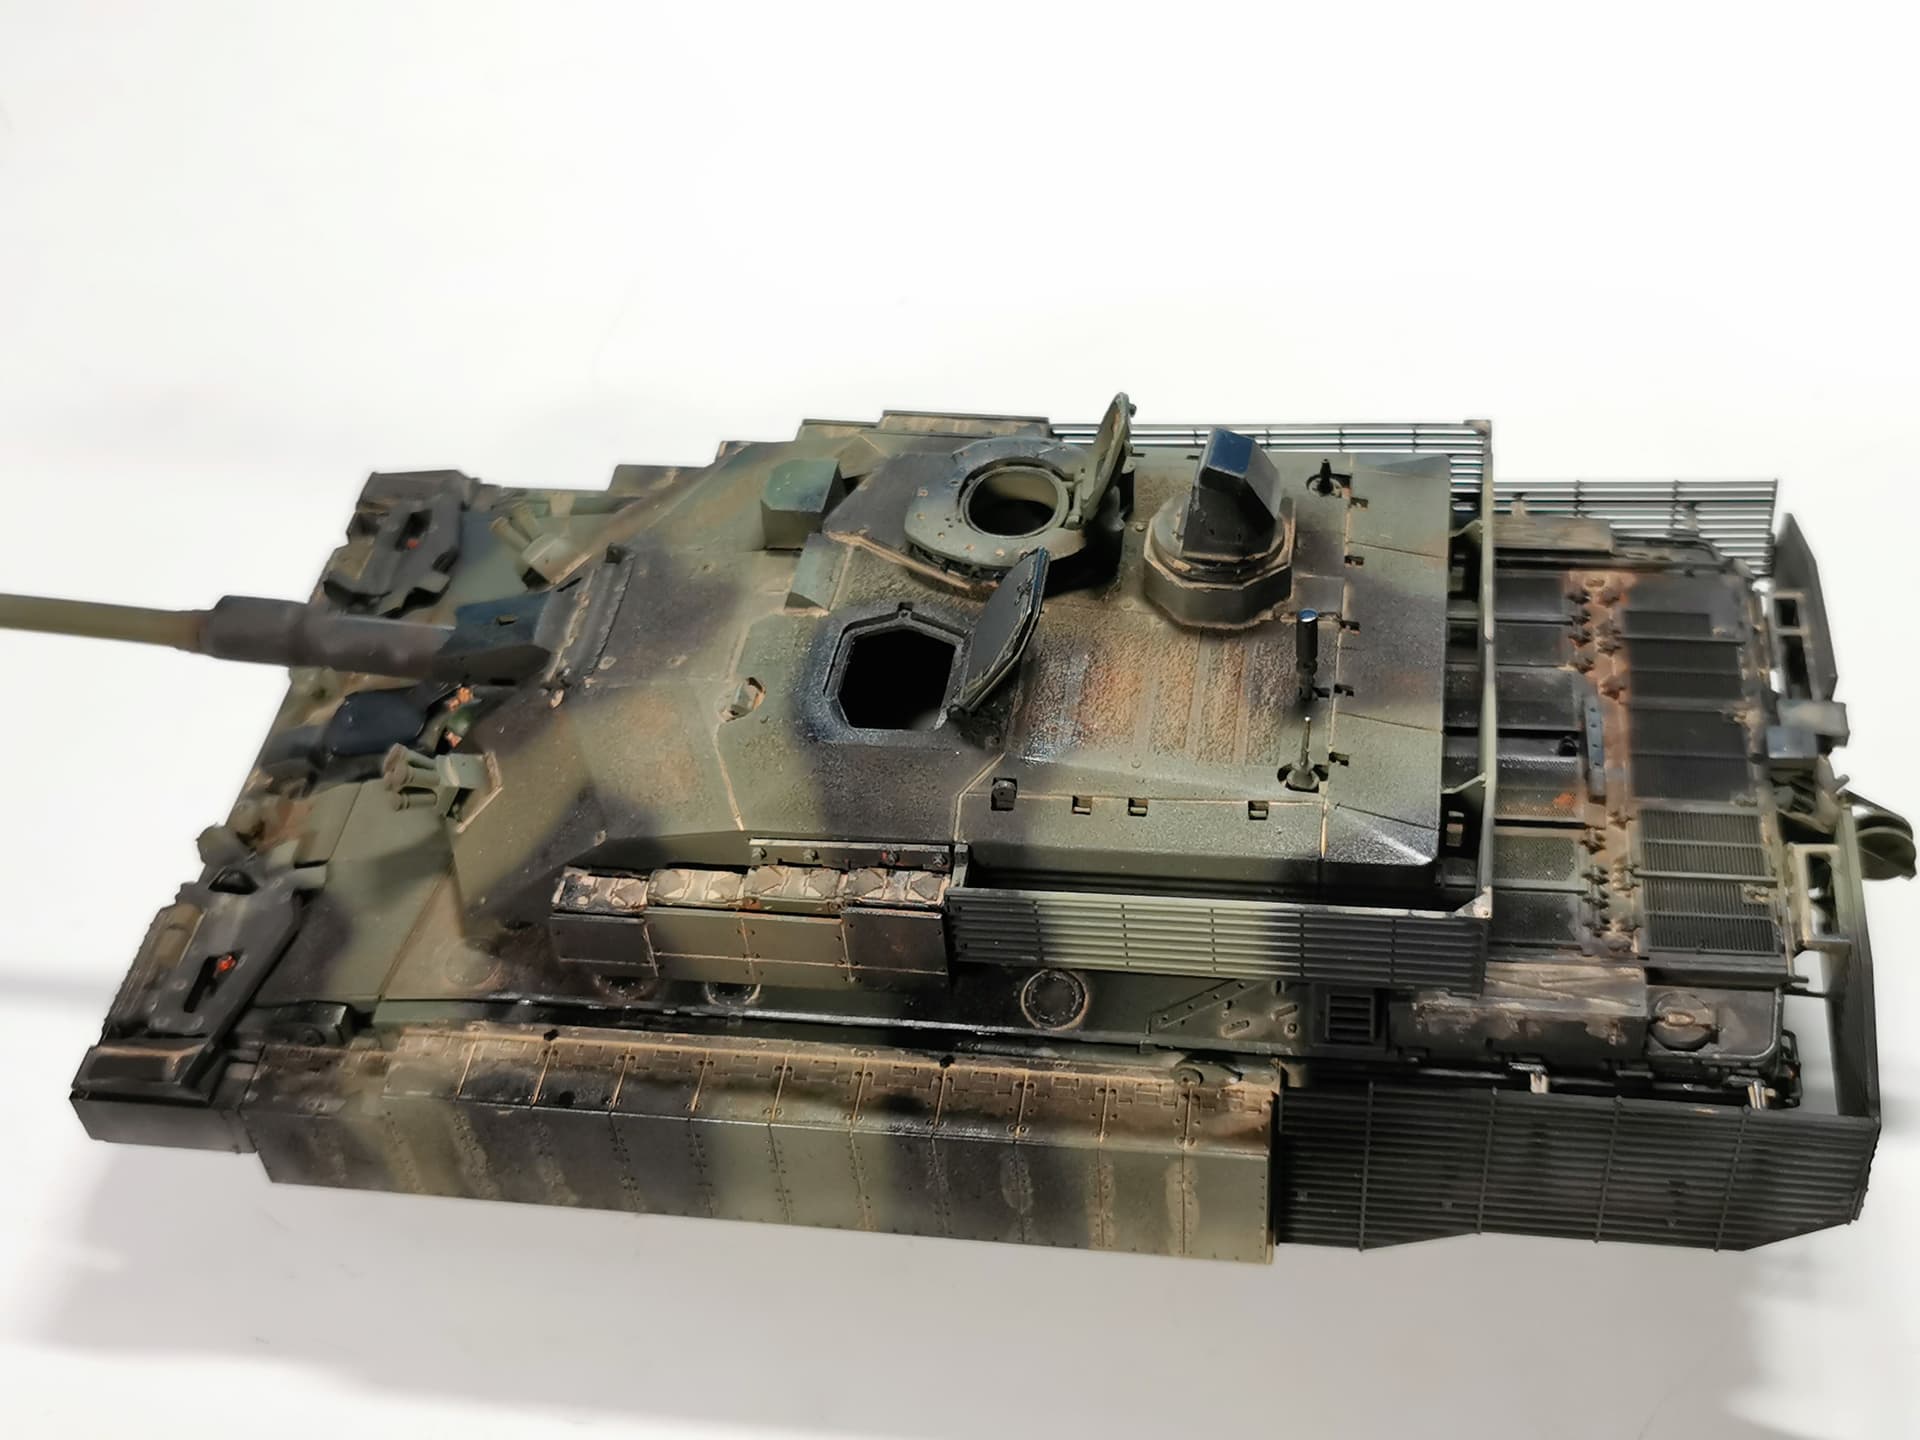
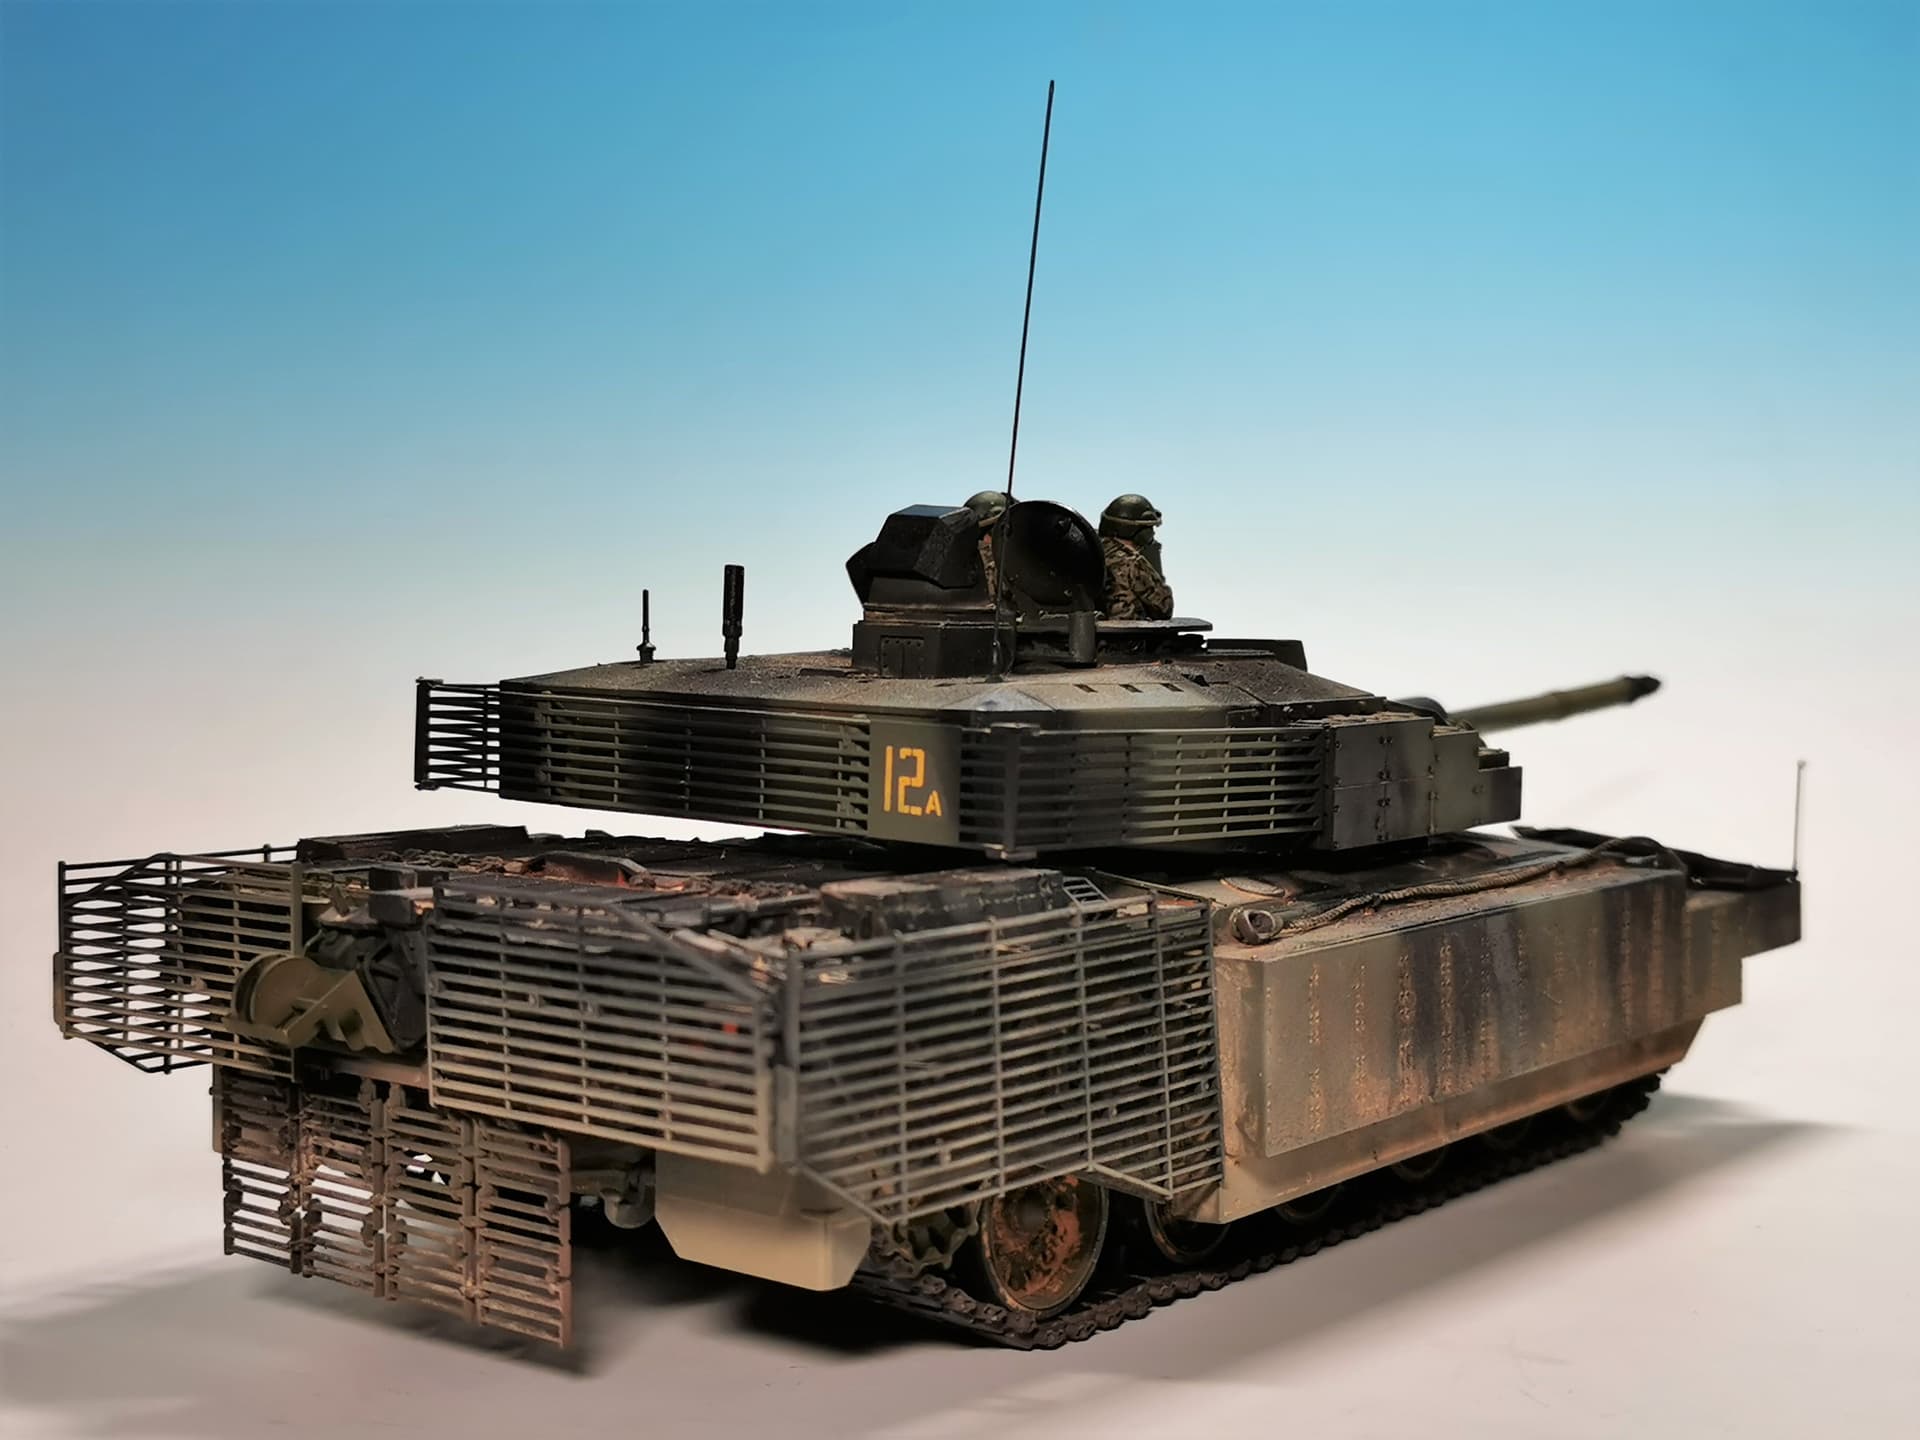
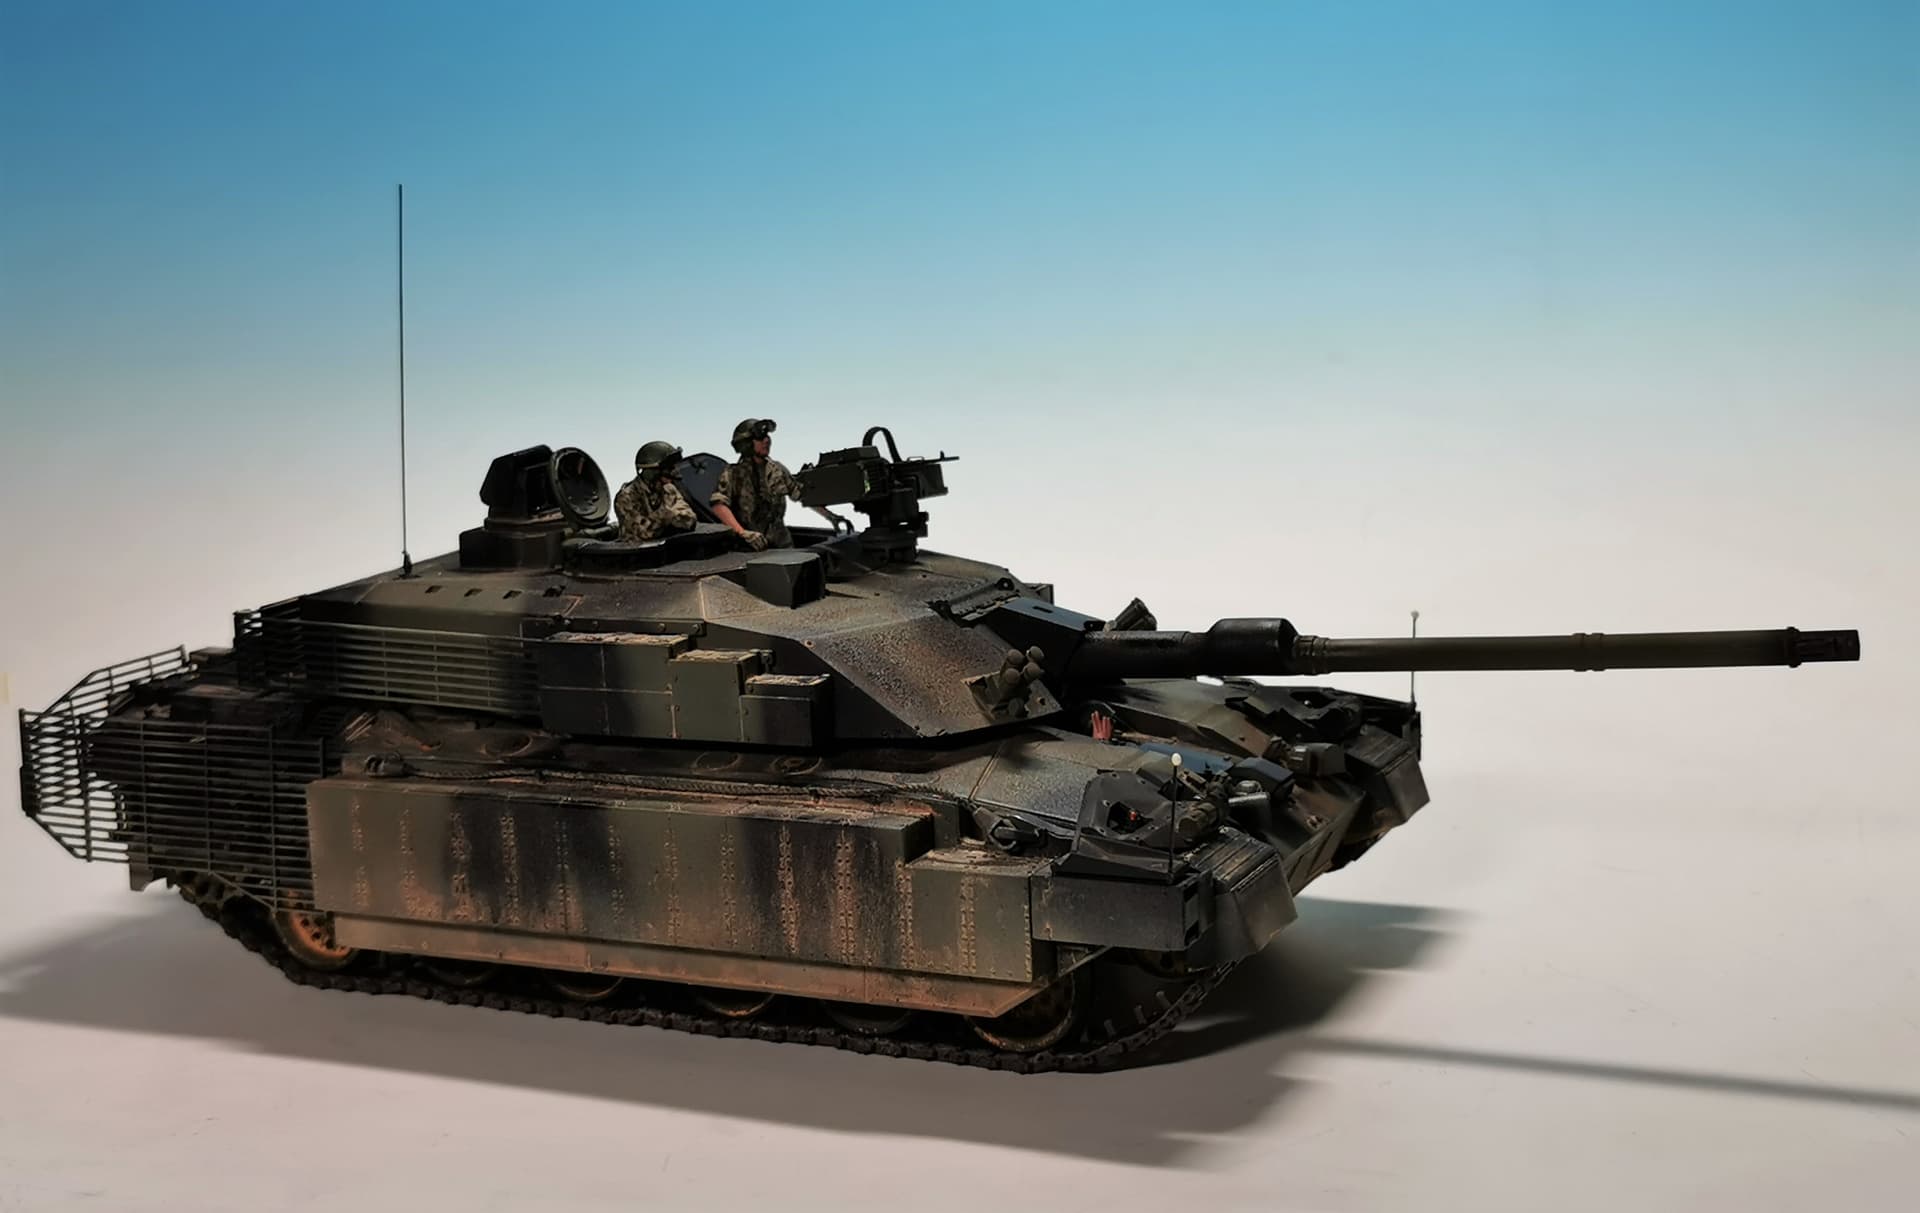
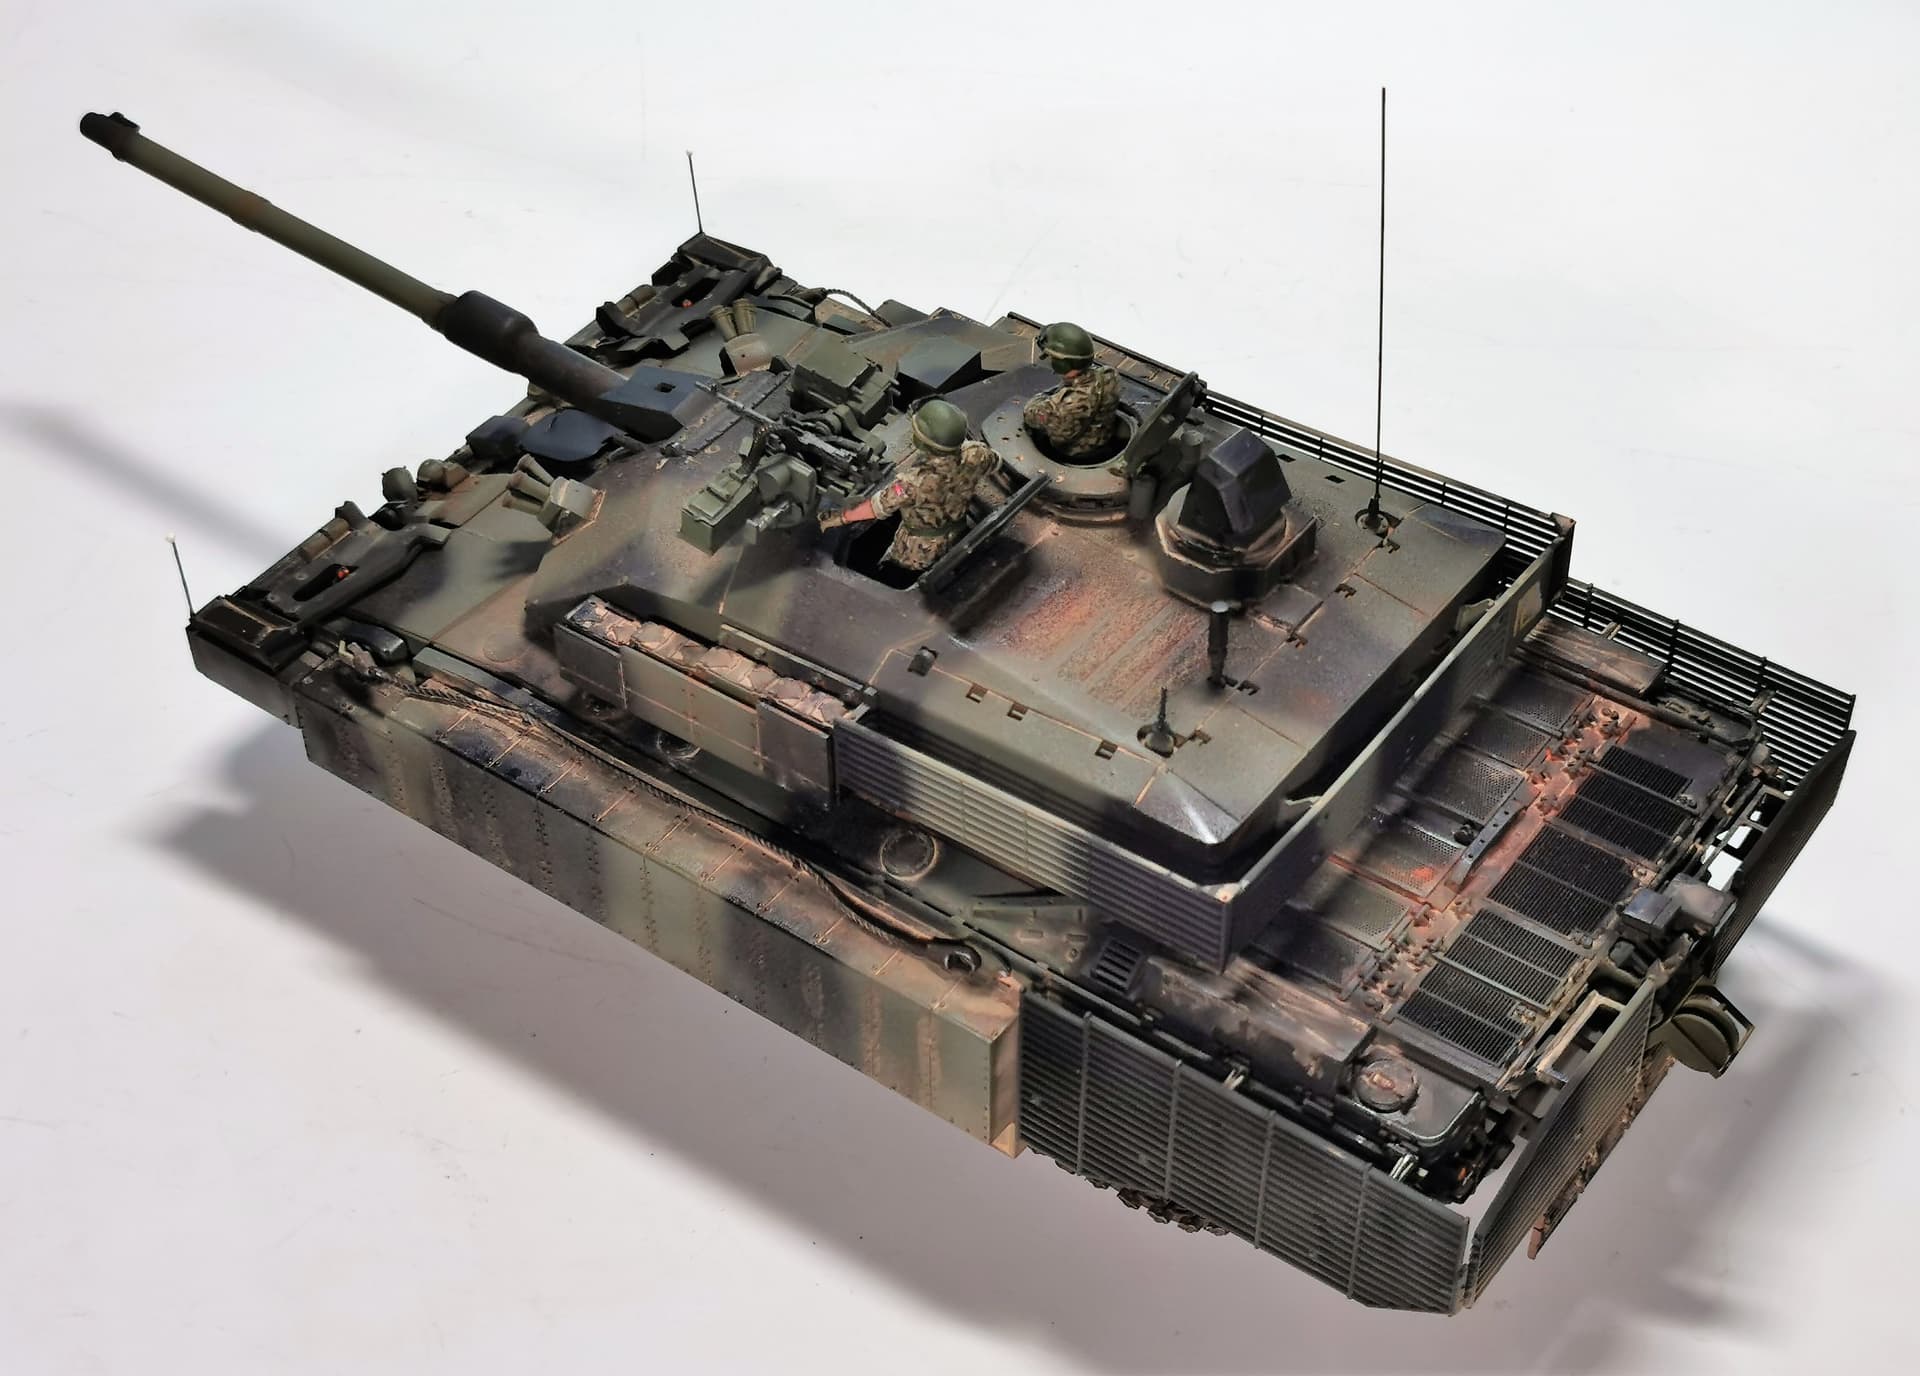
I first repainted the correct green base color again and attached the nato black stripes over the vehicle. I tried to keep them according to the released pictures of the real vehicle. I decided to implement the add-on armour into the camouflage scheme and not to paint them in a separate color.
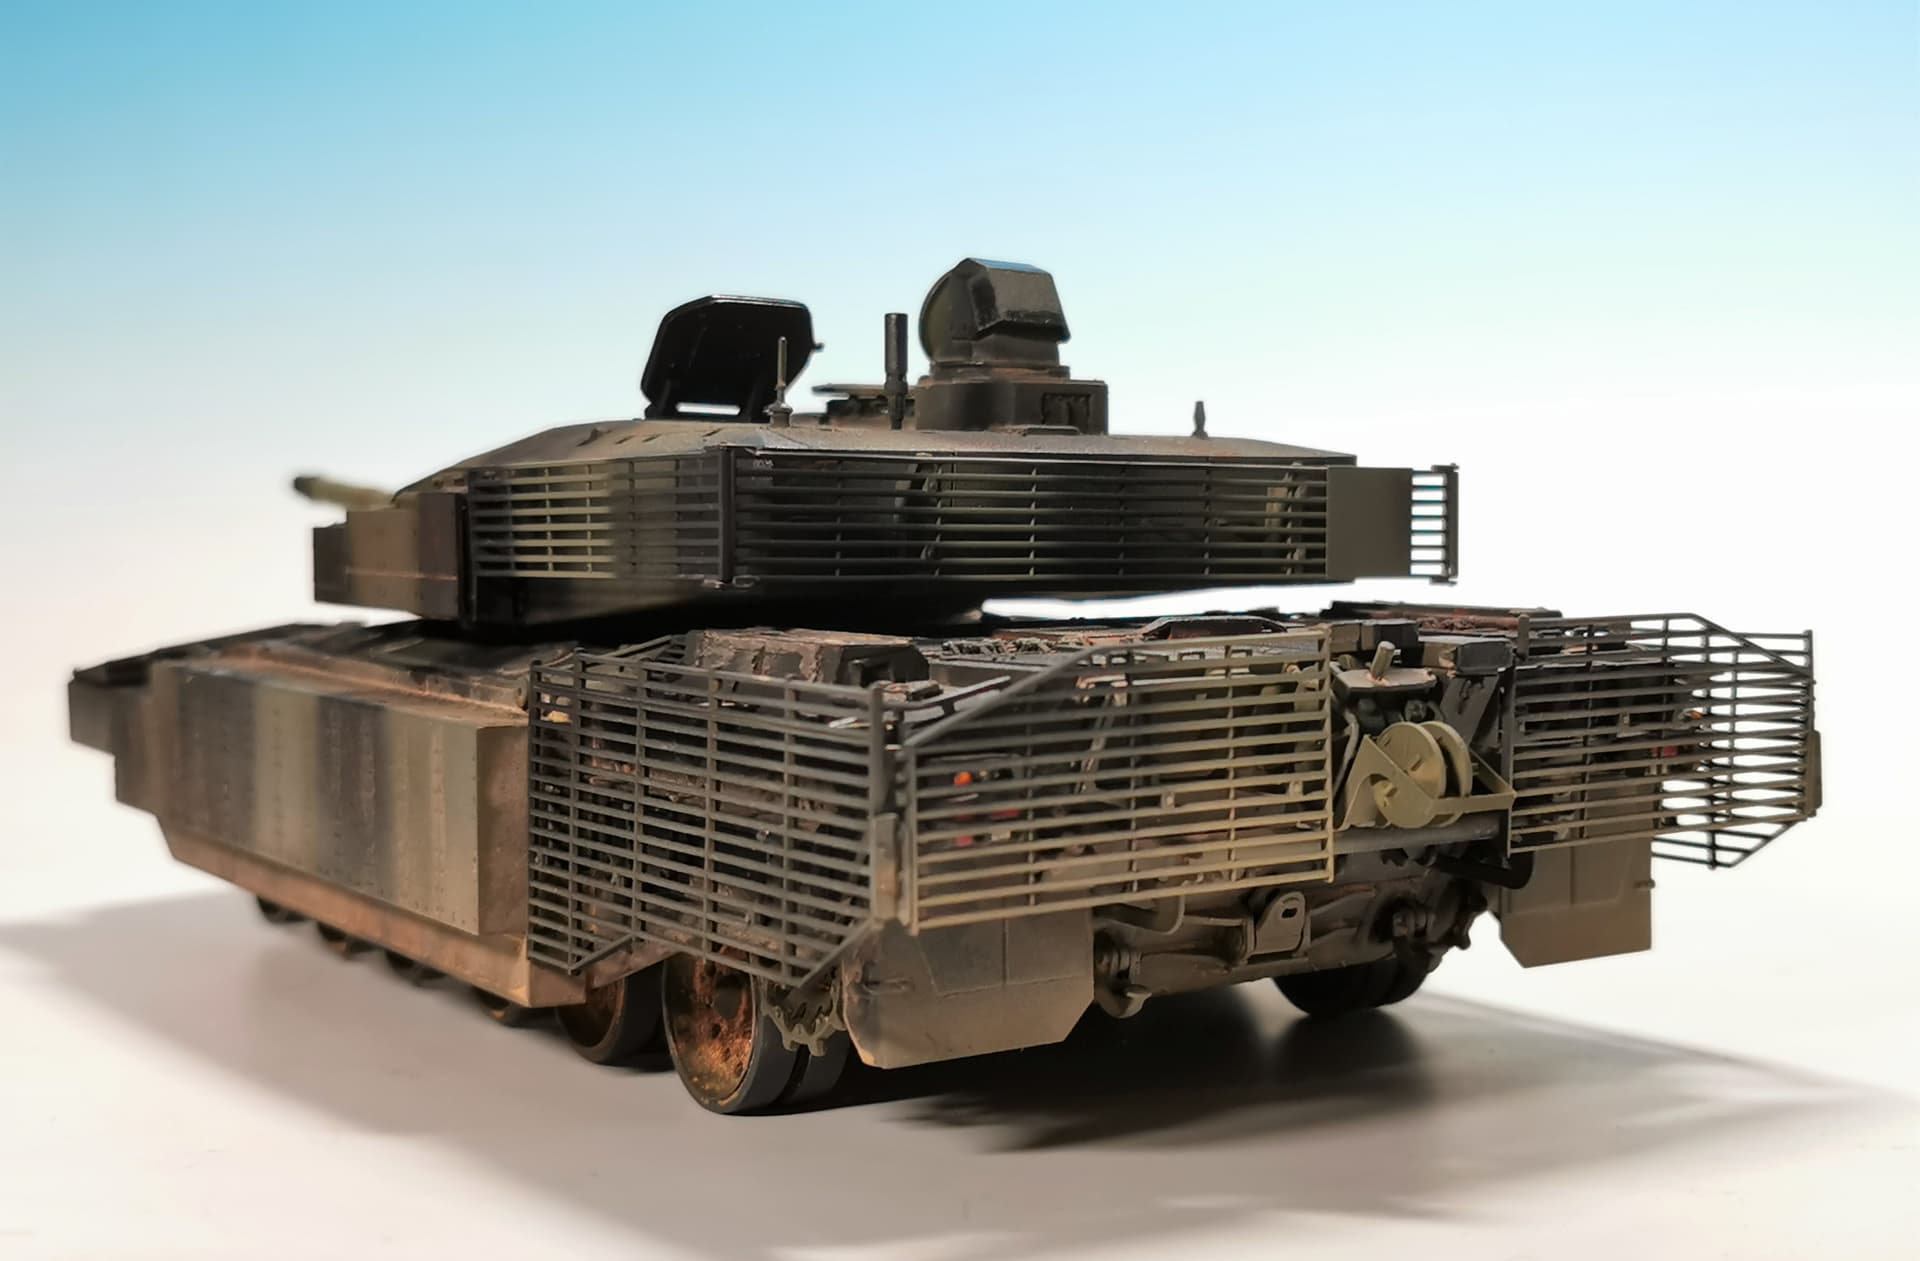
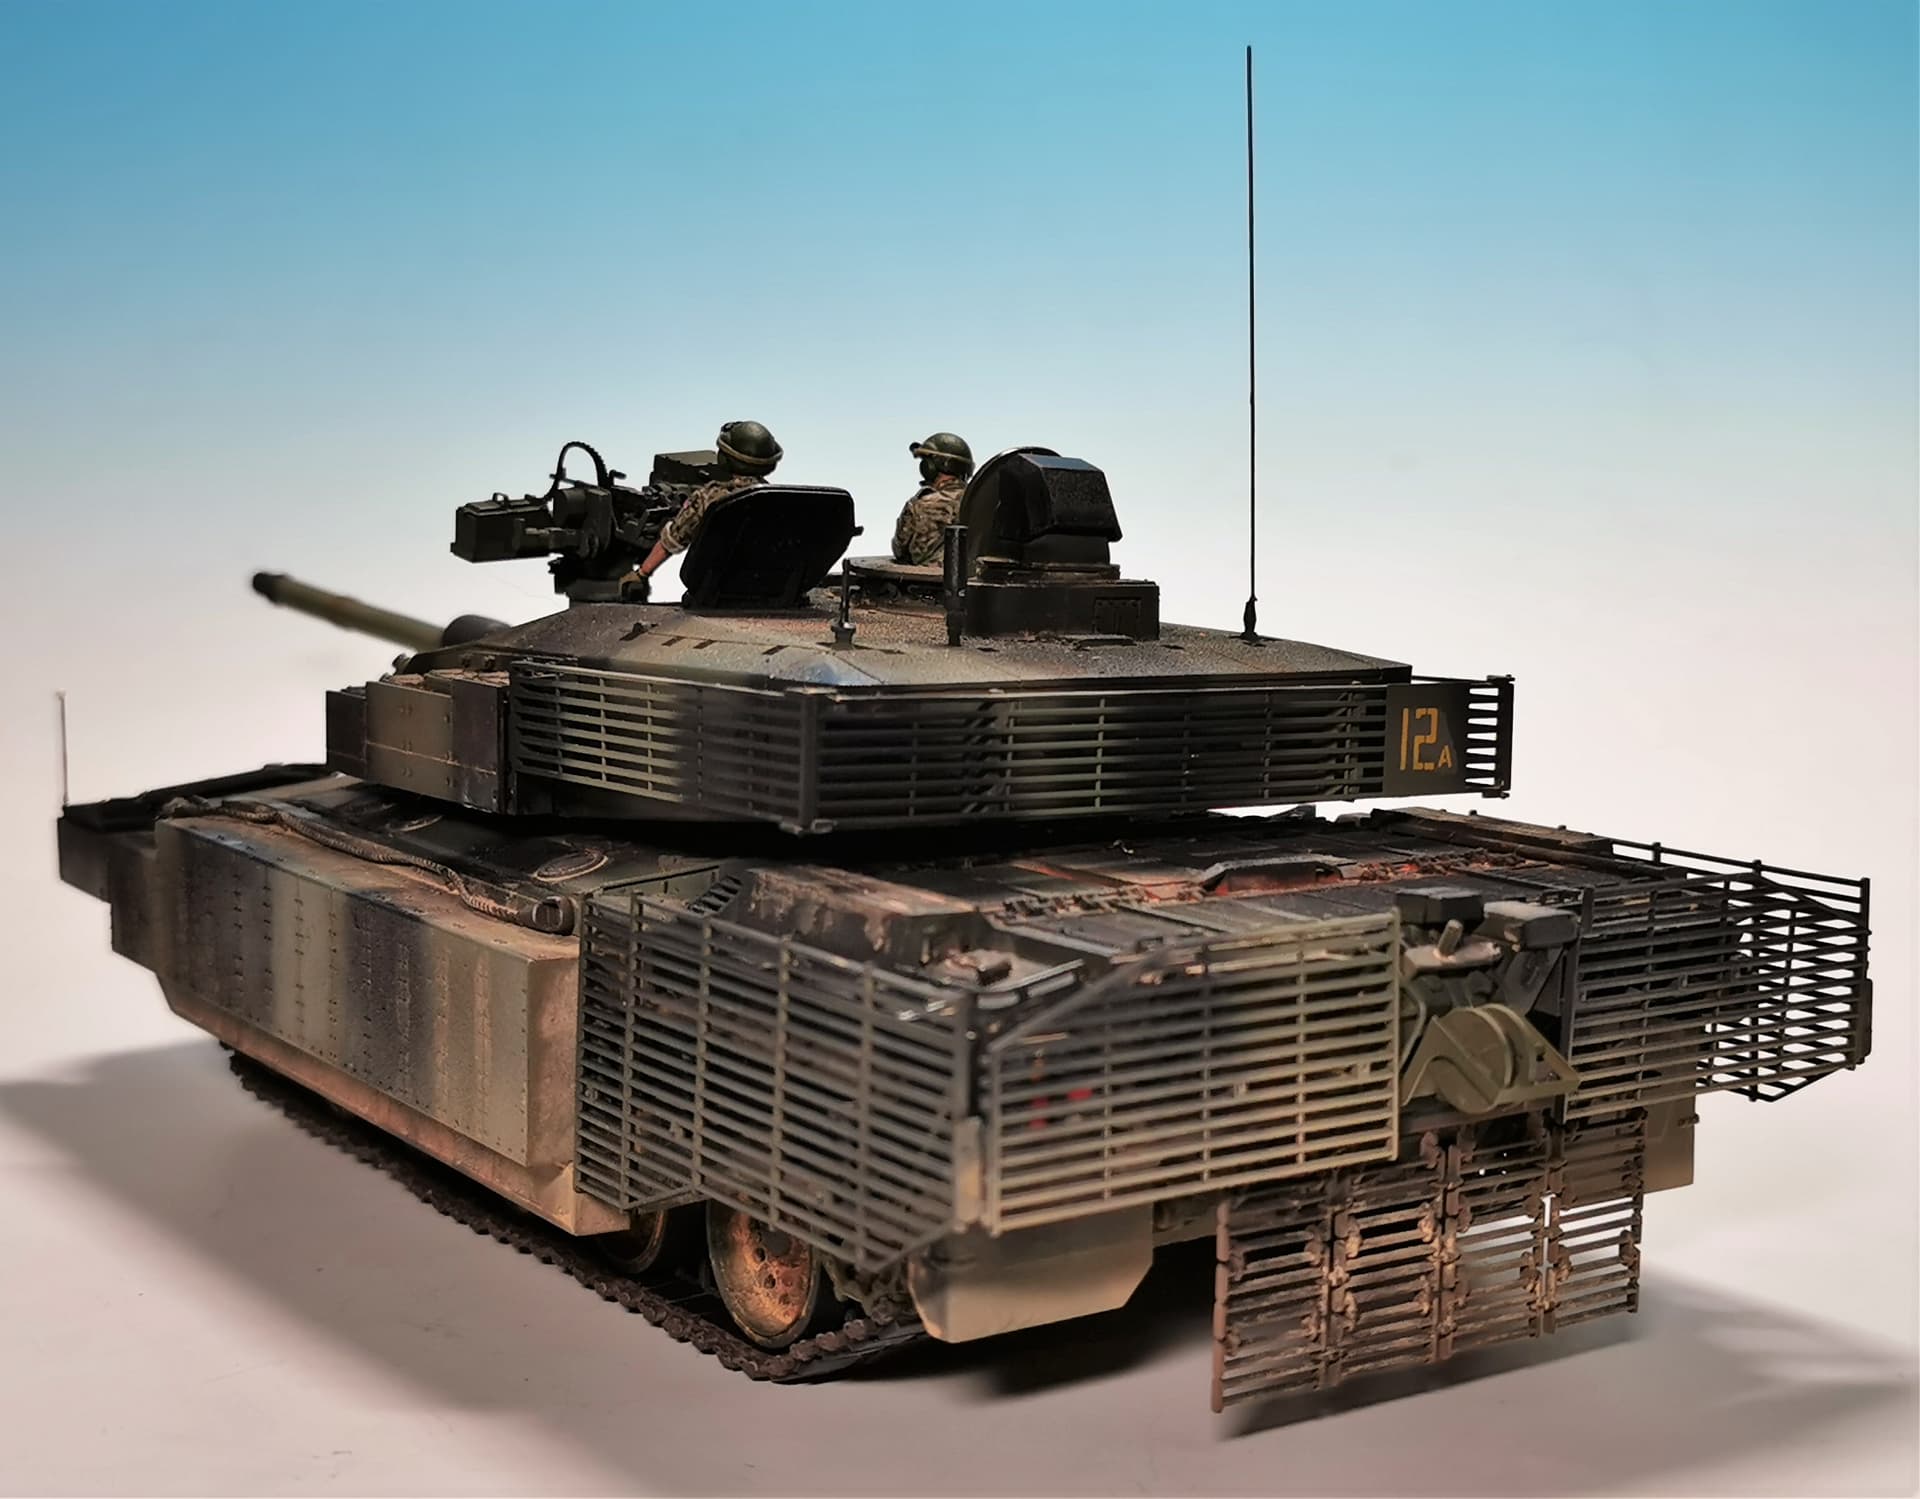
After this I applied a filter from MIG for tritonal NATO camouflage. Unfortunately there remained stark brown areas at some surfaces after this filter dried out completely. I tried to neglect this effects during the apply of pigments for dusting in the vehicle. I used Alclad dust and MIG European earth and North African sand pigments. the lower part of the add-on side armor and the rear cage armor got a cautios spraypaint with Vallejo 7.027 light brown for dust effects, too.
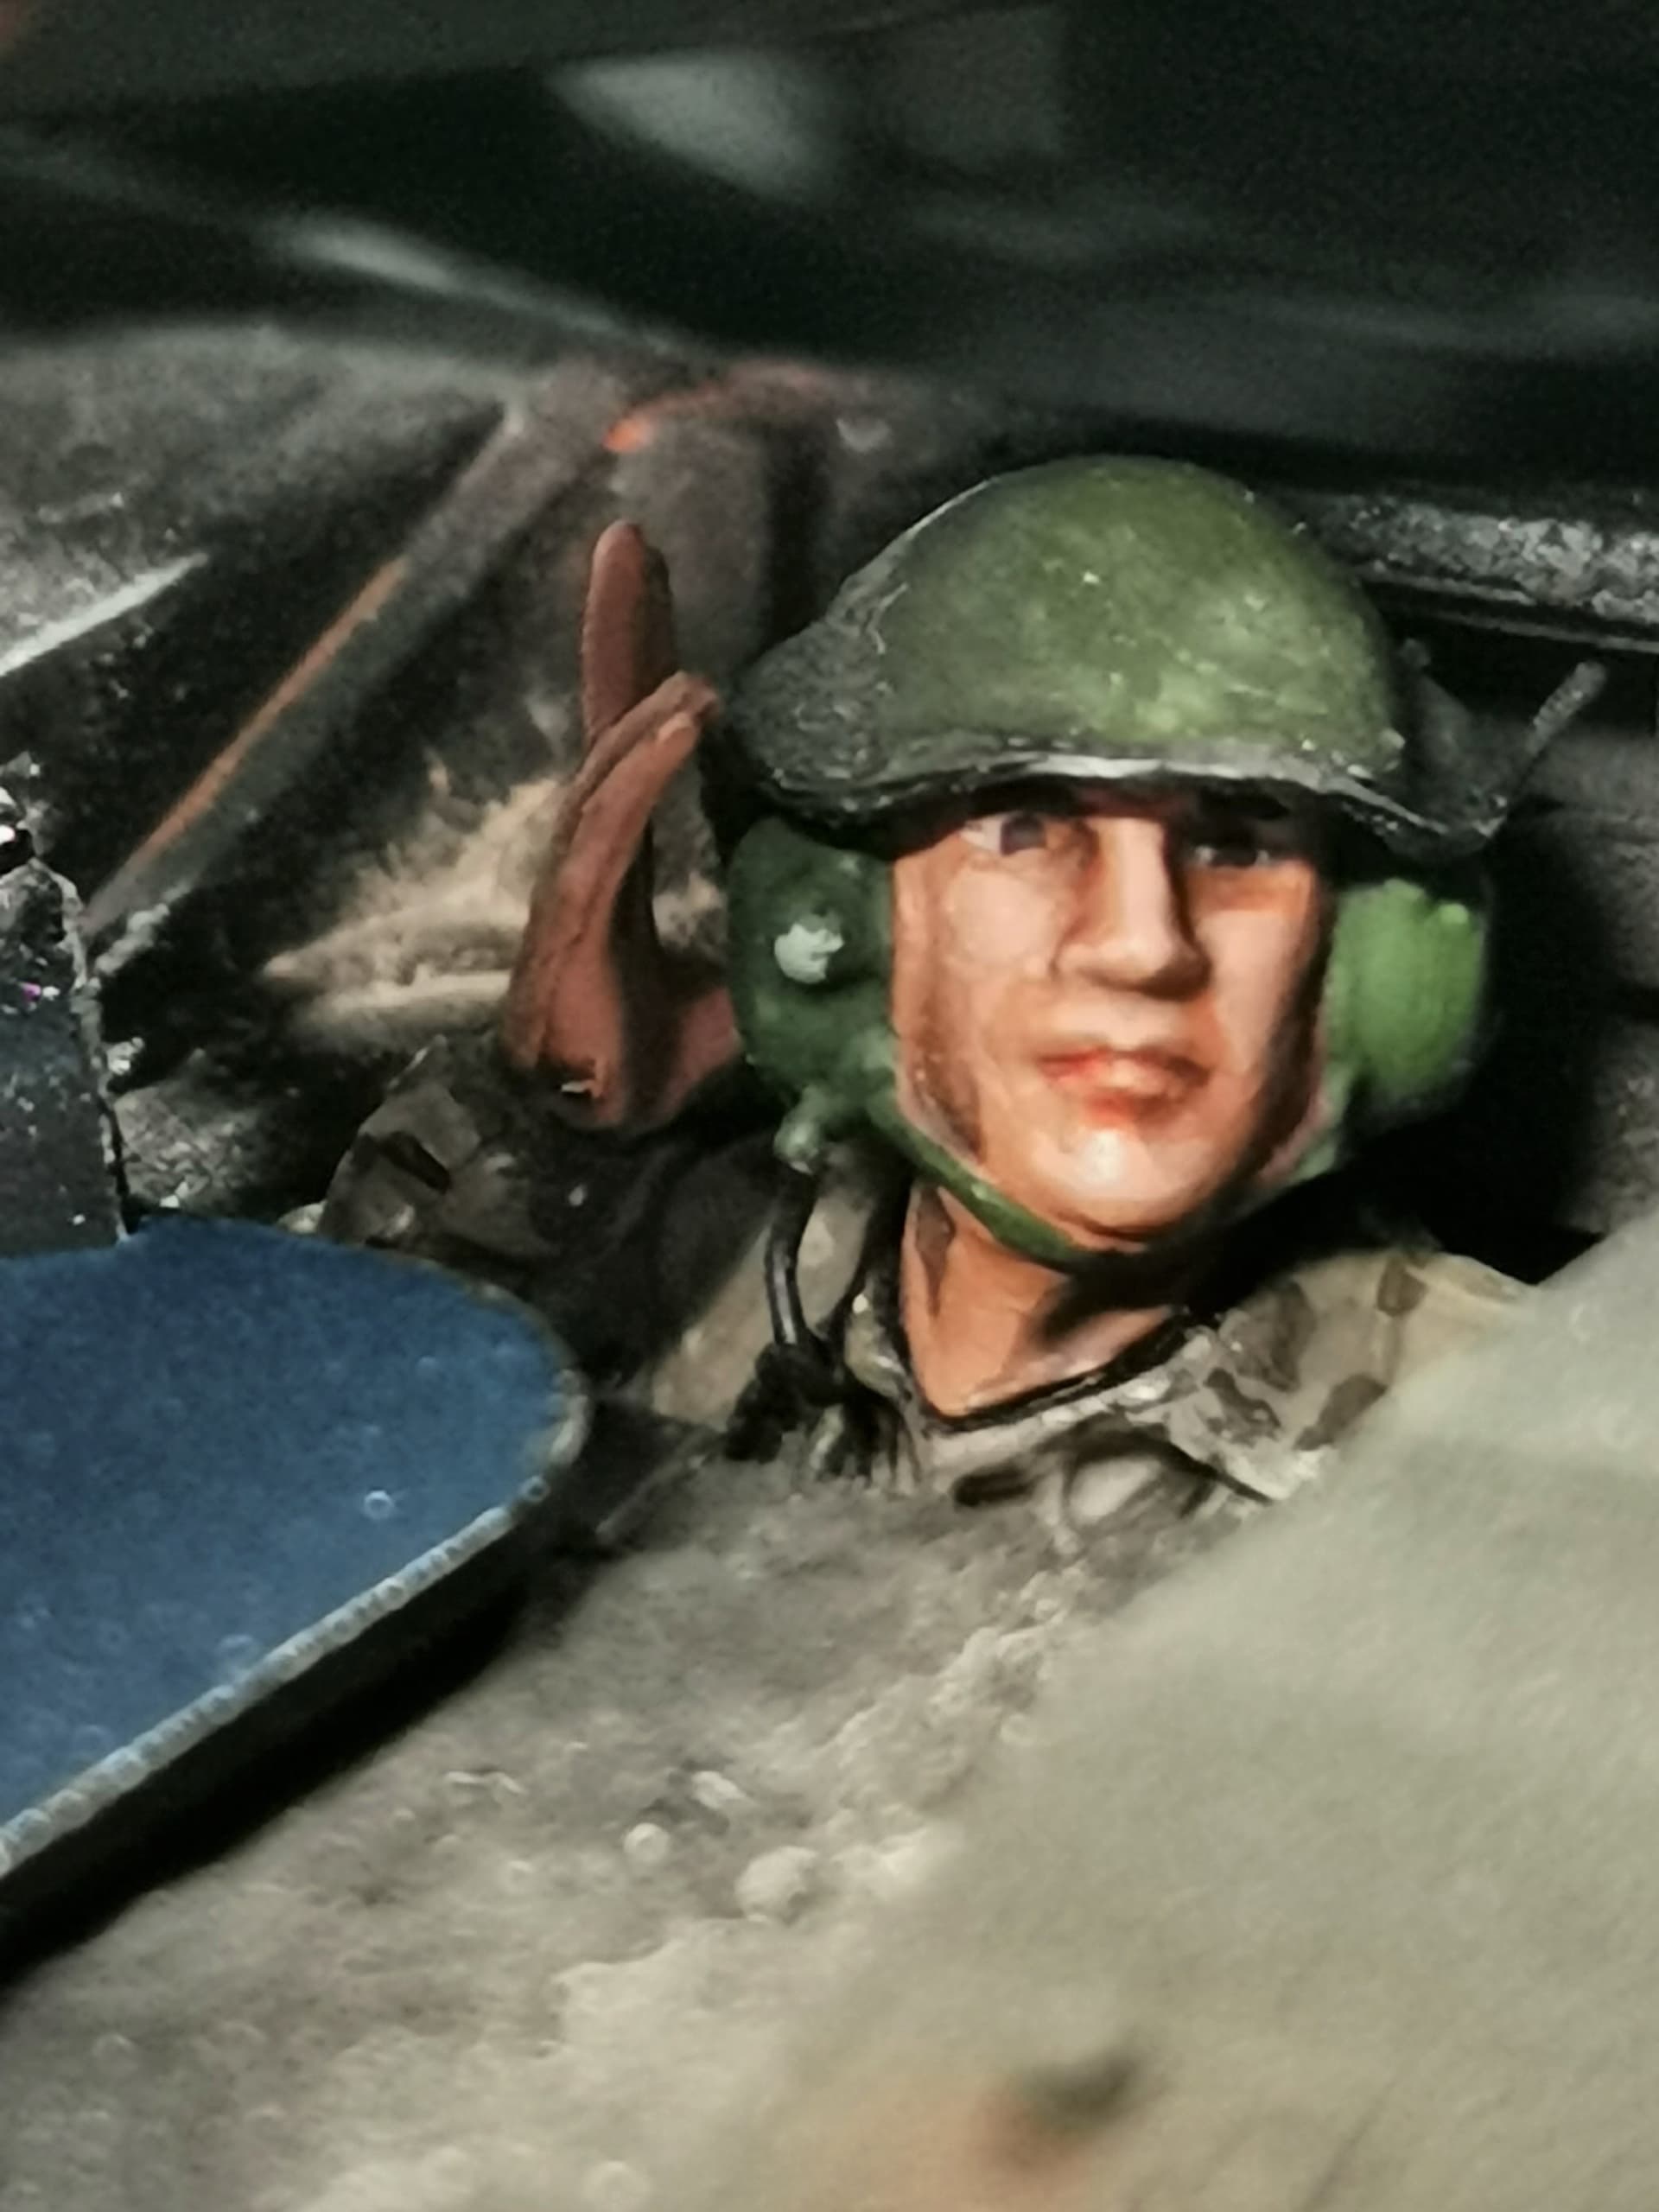
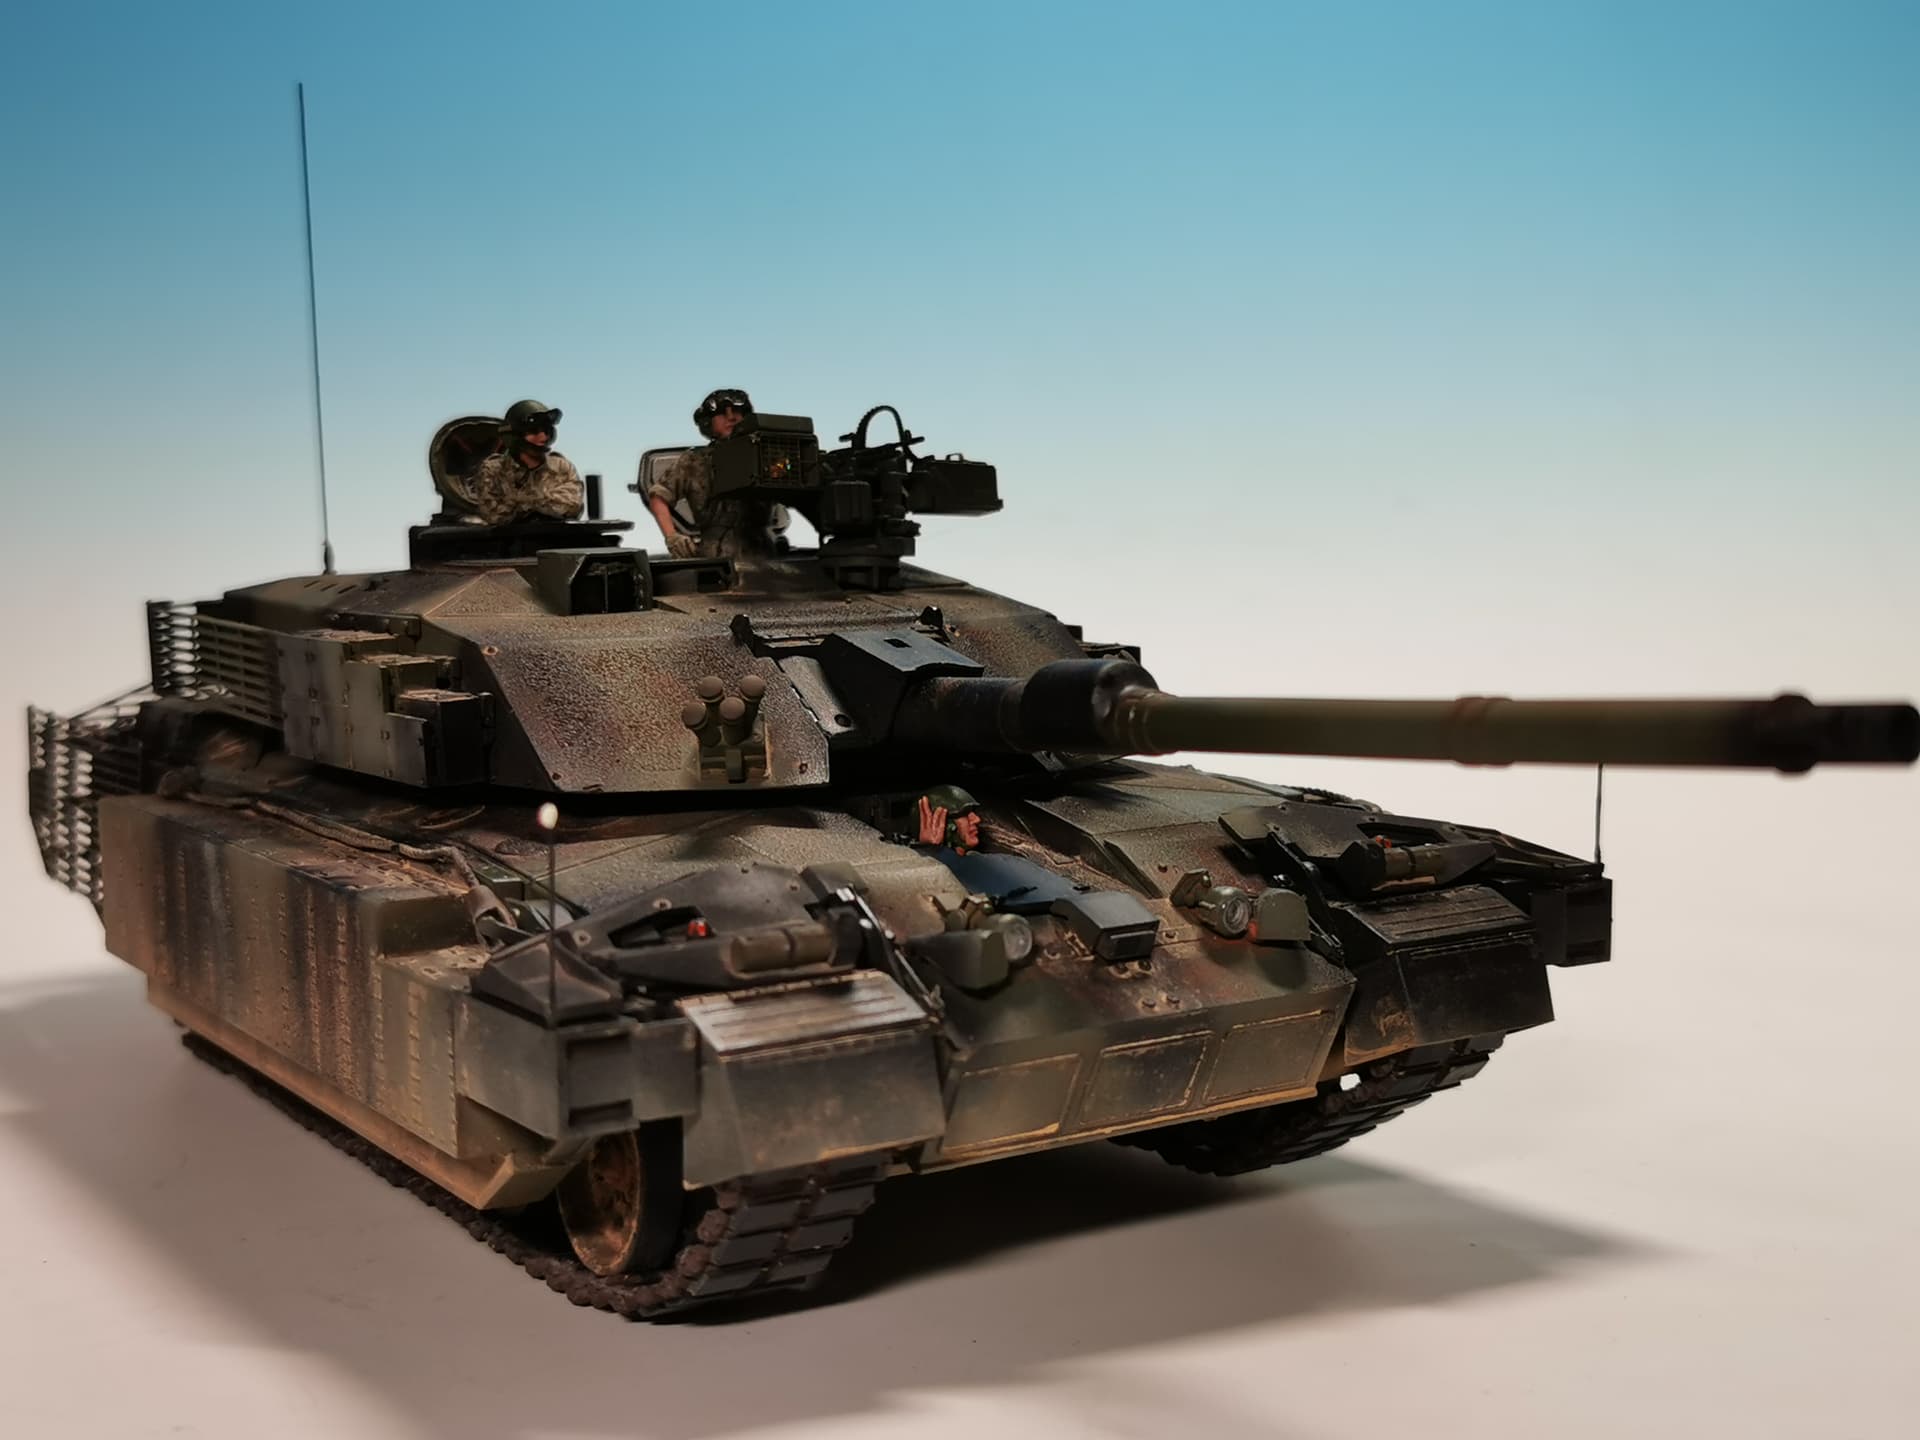
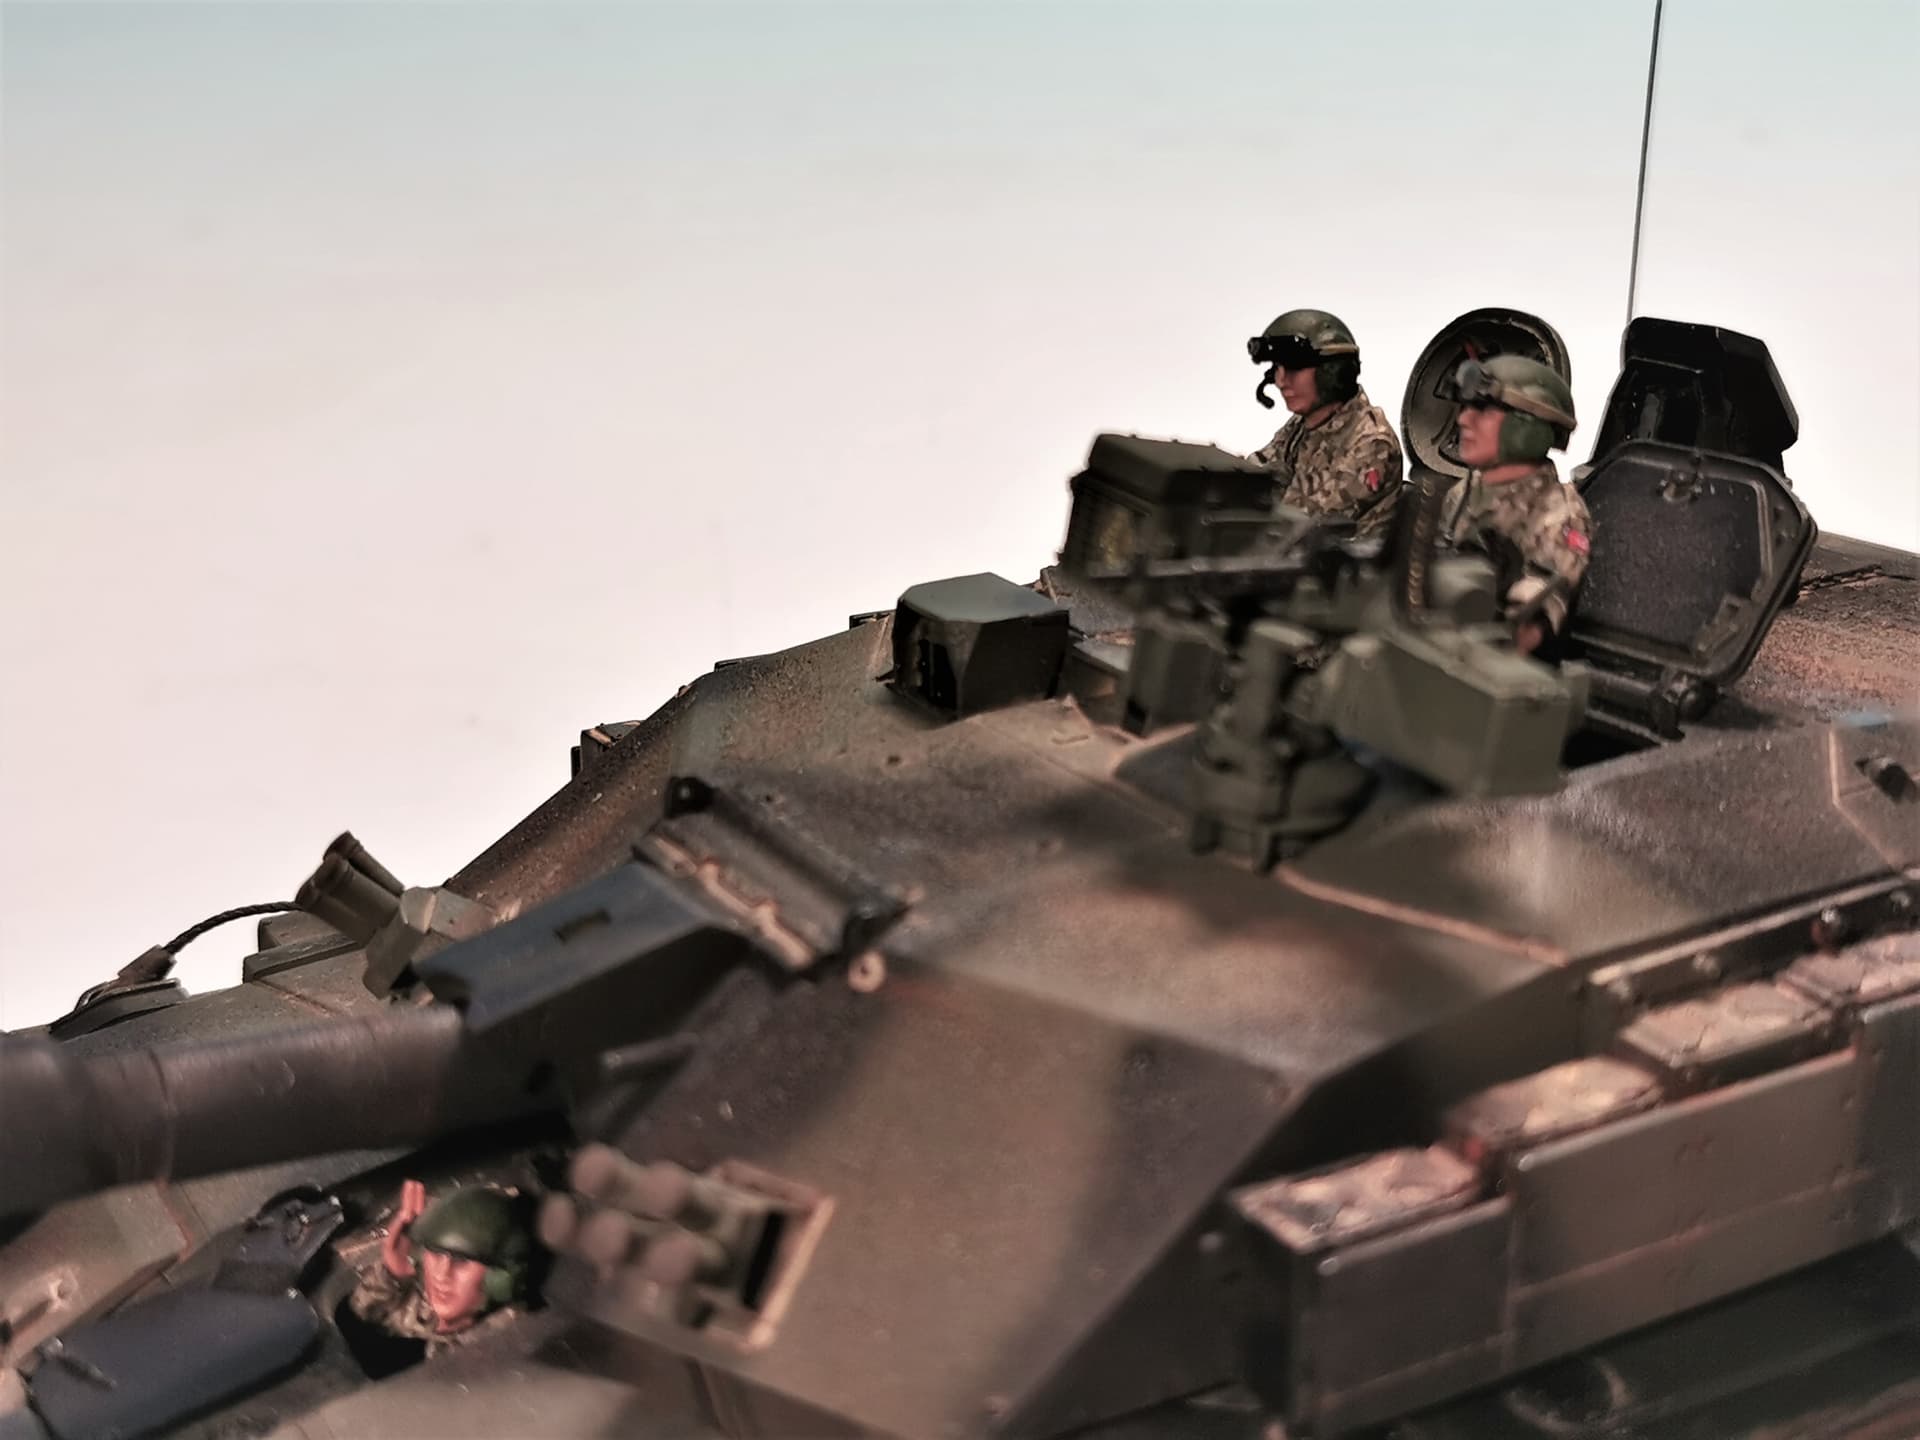
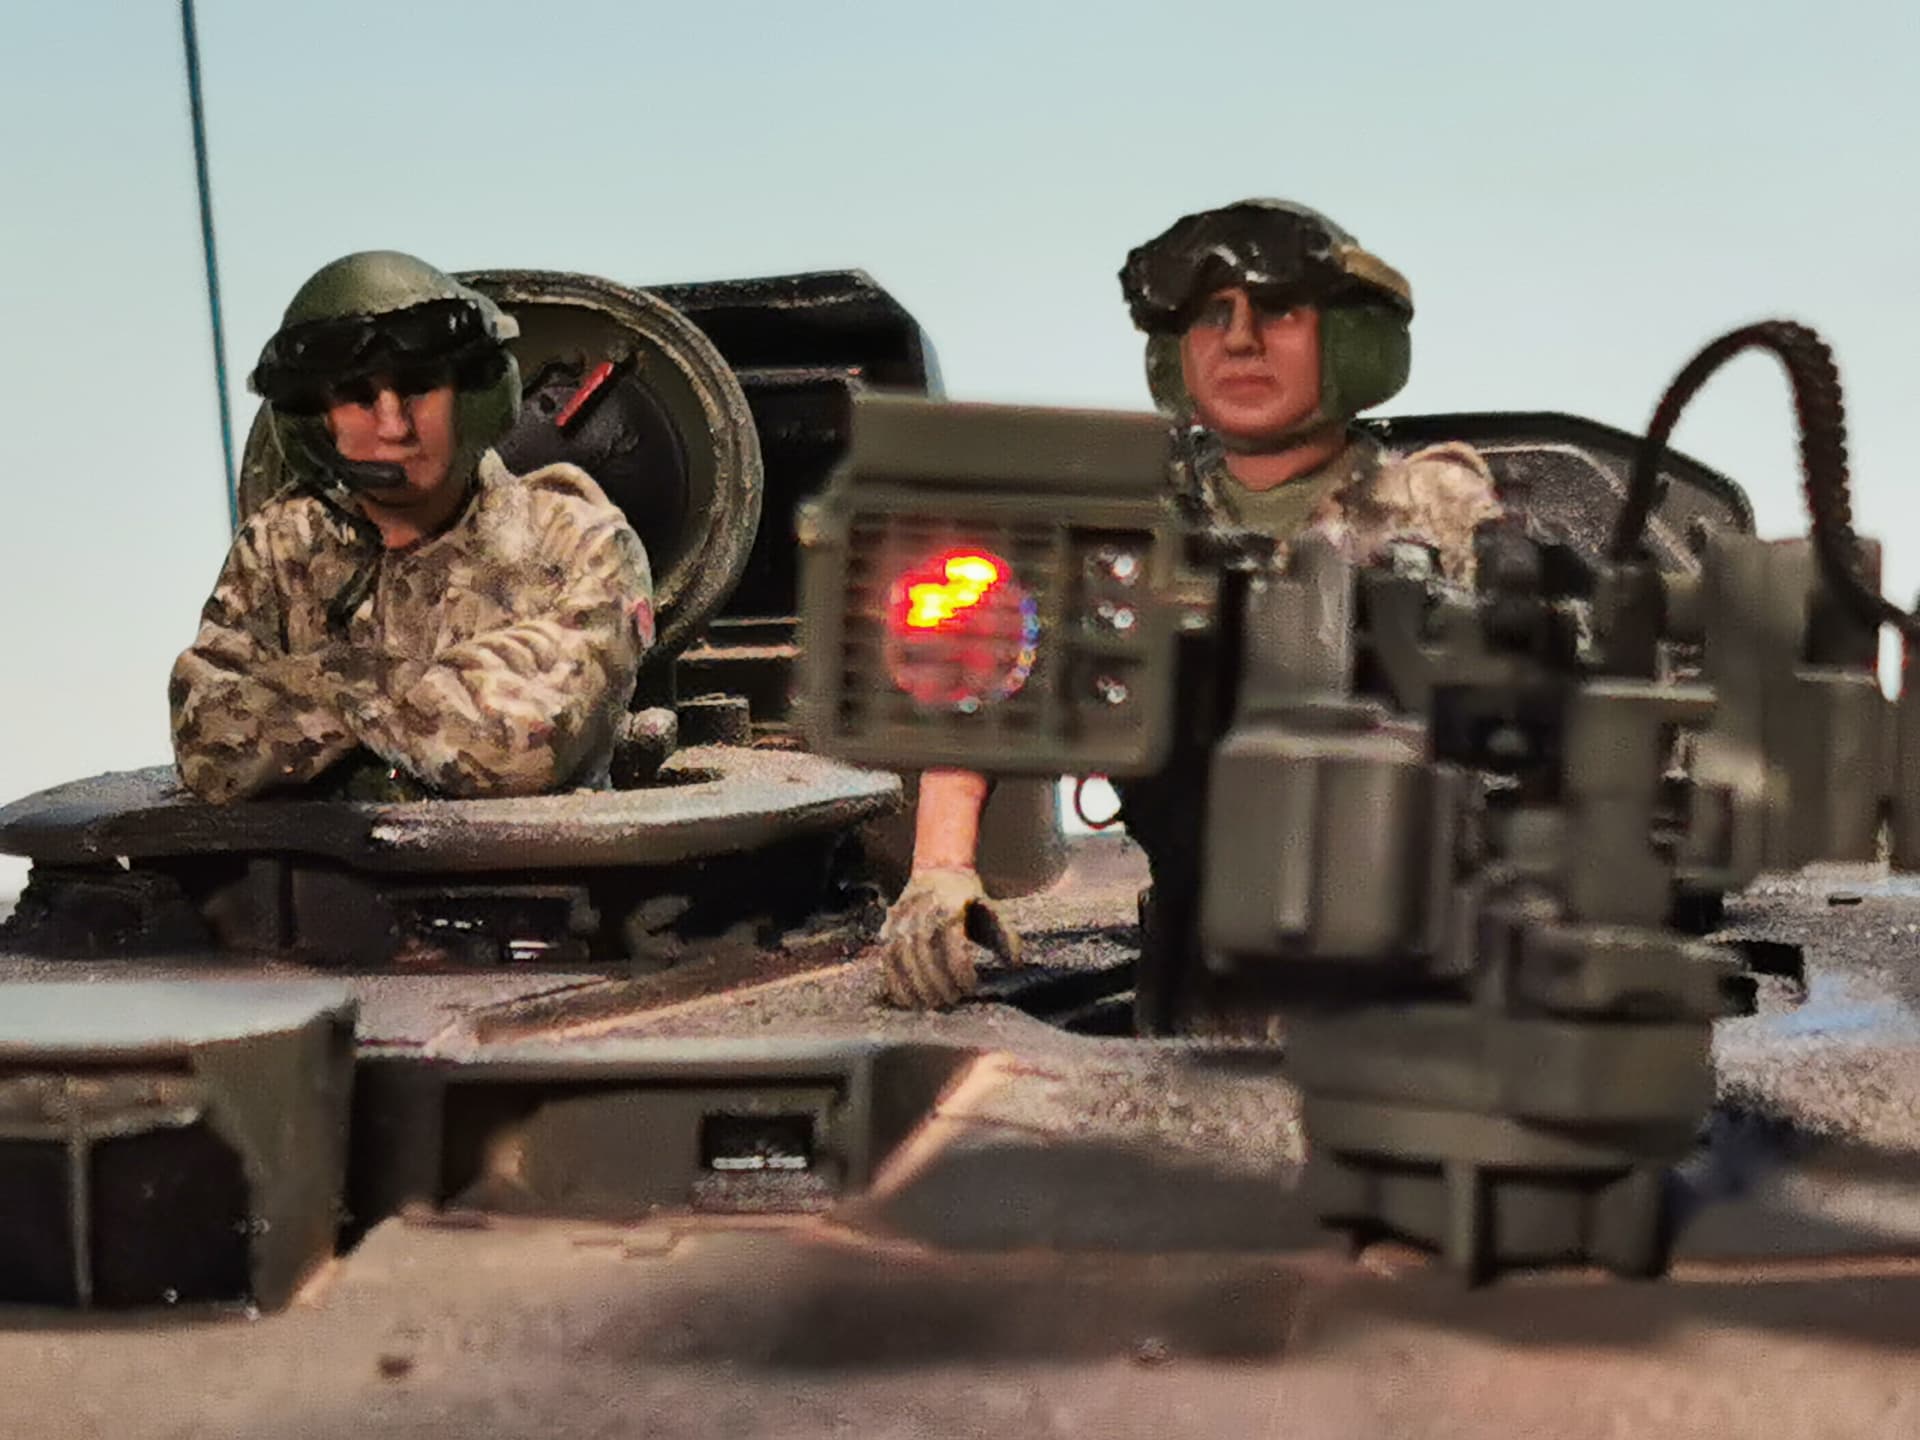
The driver took already place within his future workin station and the fits very good. Regrettably not much of his uniform will be seen of him anymore. And of course the microphones of him and the other crew members broke apart and dissappeared into the carpet monster´s realm. I will need to buy etched spares for them later.
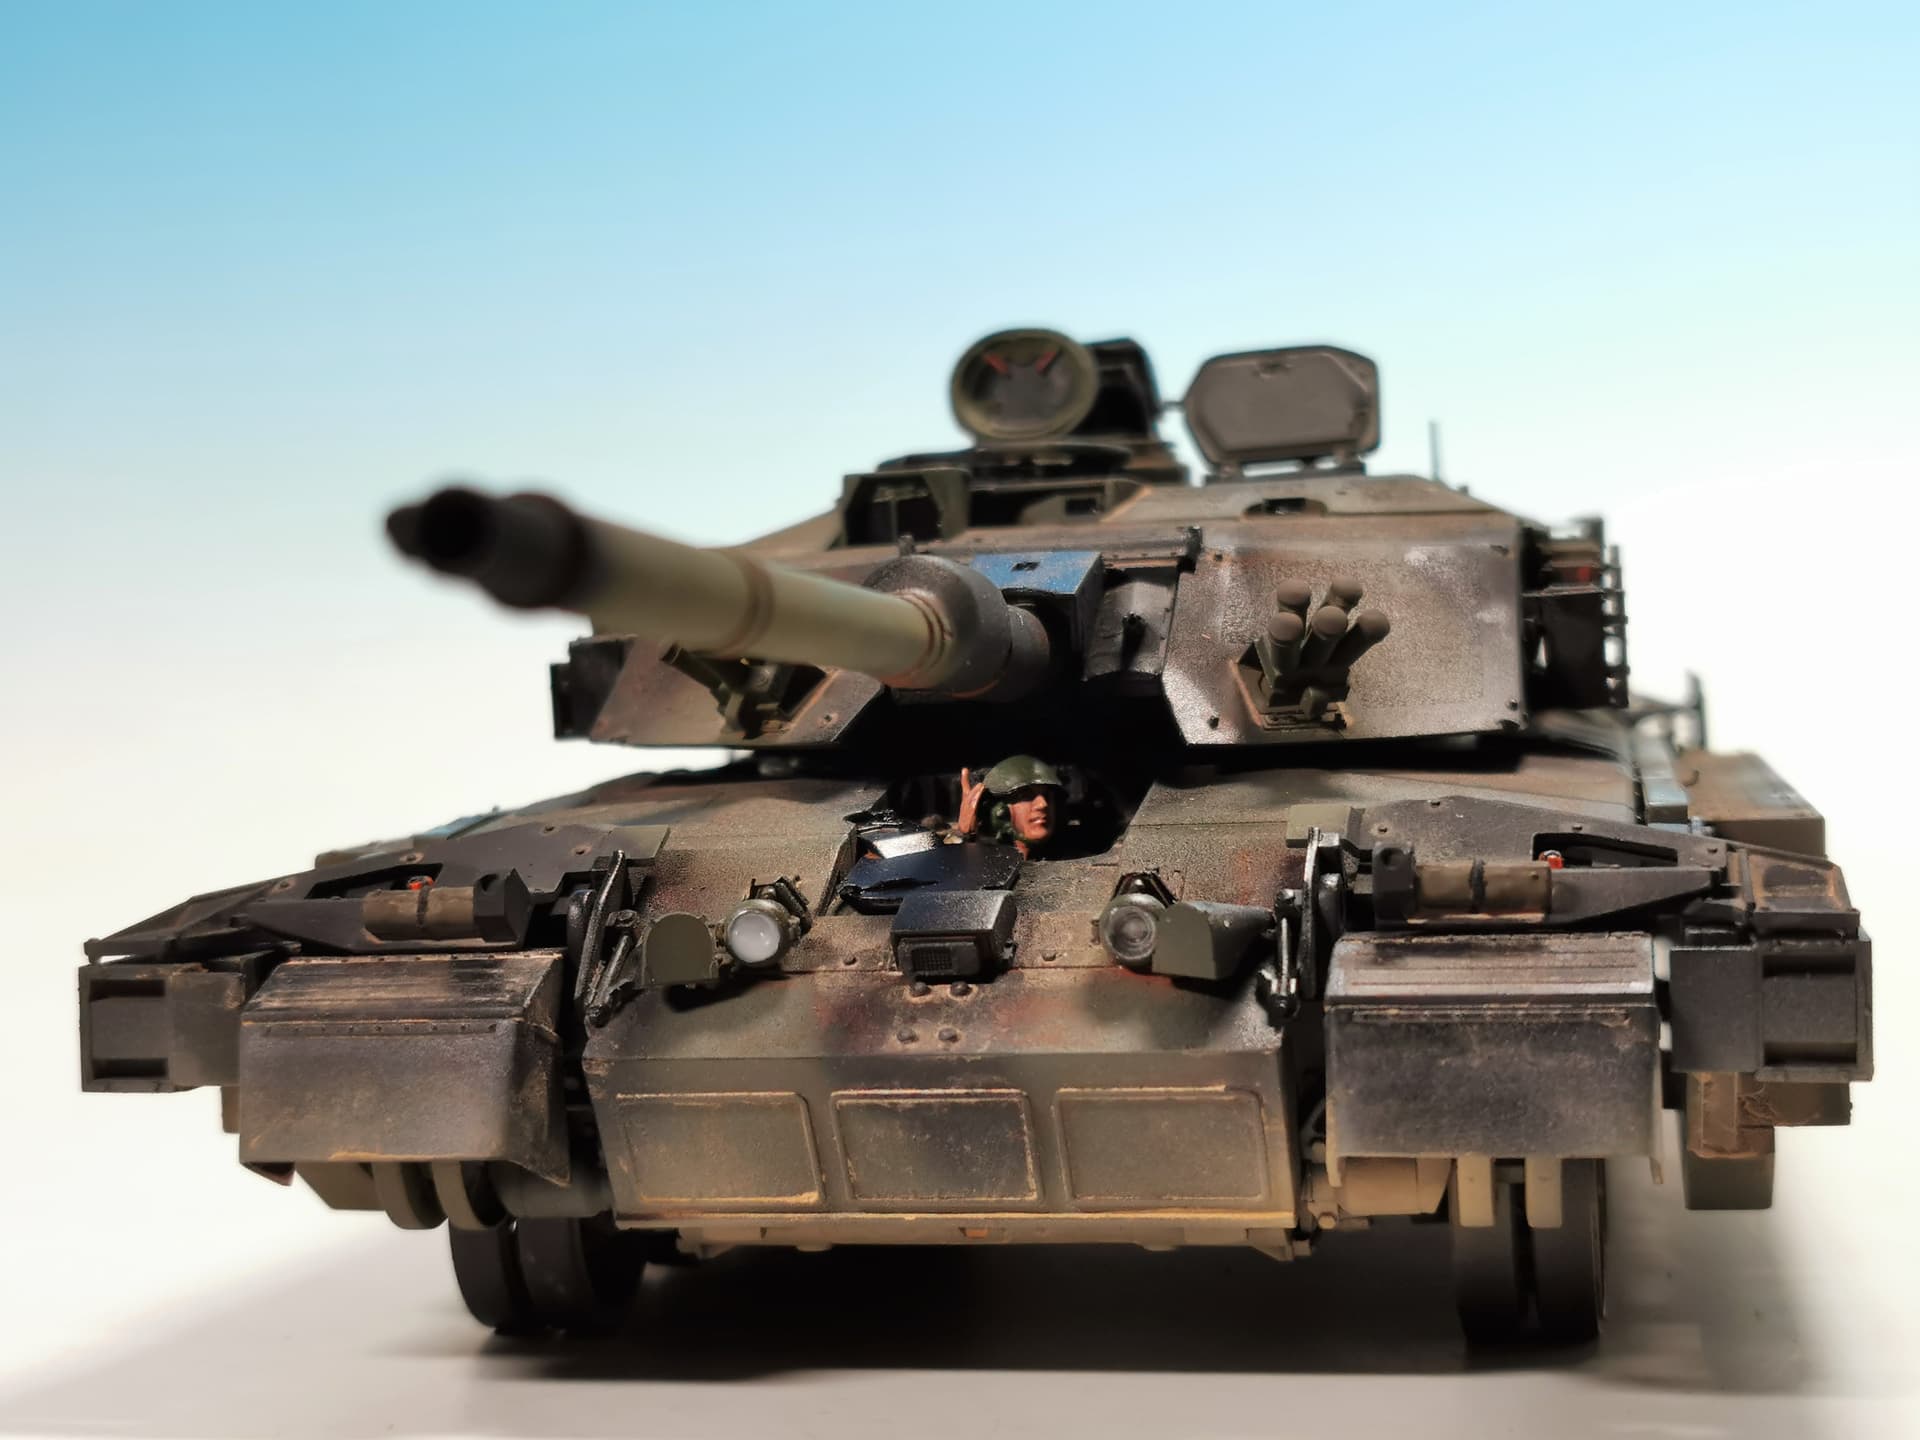
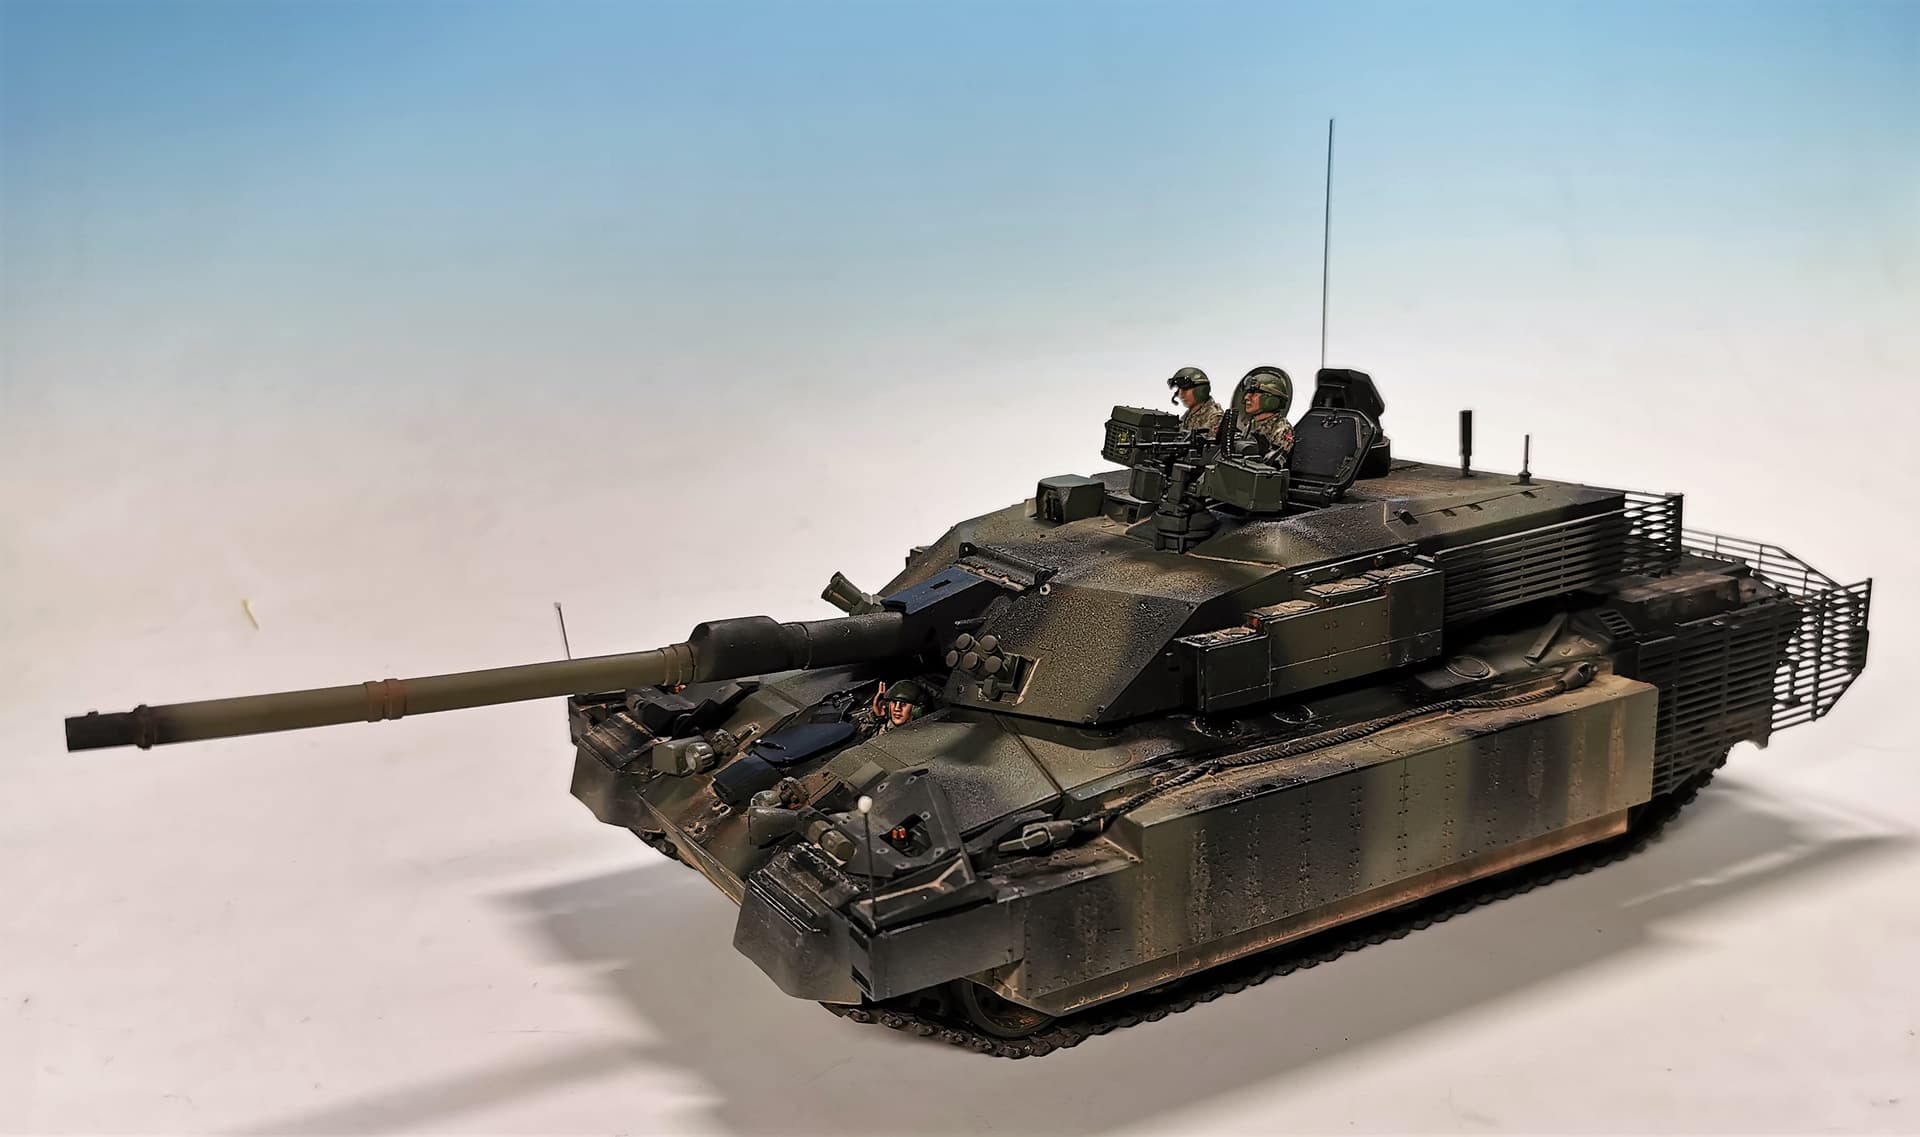
I am not really satisfied with the outcome (this one will surely be not my best armor model so far) but at least it will get finished soon. This is the actual state of condition
Don’t be hard on yourself Thomas, o thi k it’s a cracking job. I really like the cam and how that turned out. I think it looks better with the side armour in the same cam. I also really like the dusting effect on the side armour, very well done with that. With the few bits let to do like you mentioned, I think it is a terrific build …
You know the saying that one persons bad luck is anothers luck? I had missed this topic completely, so very glad you only got round to painting it now and posted something… been reading up and it is a great blog!
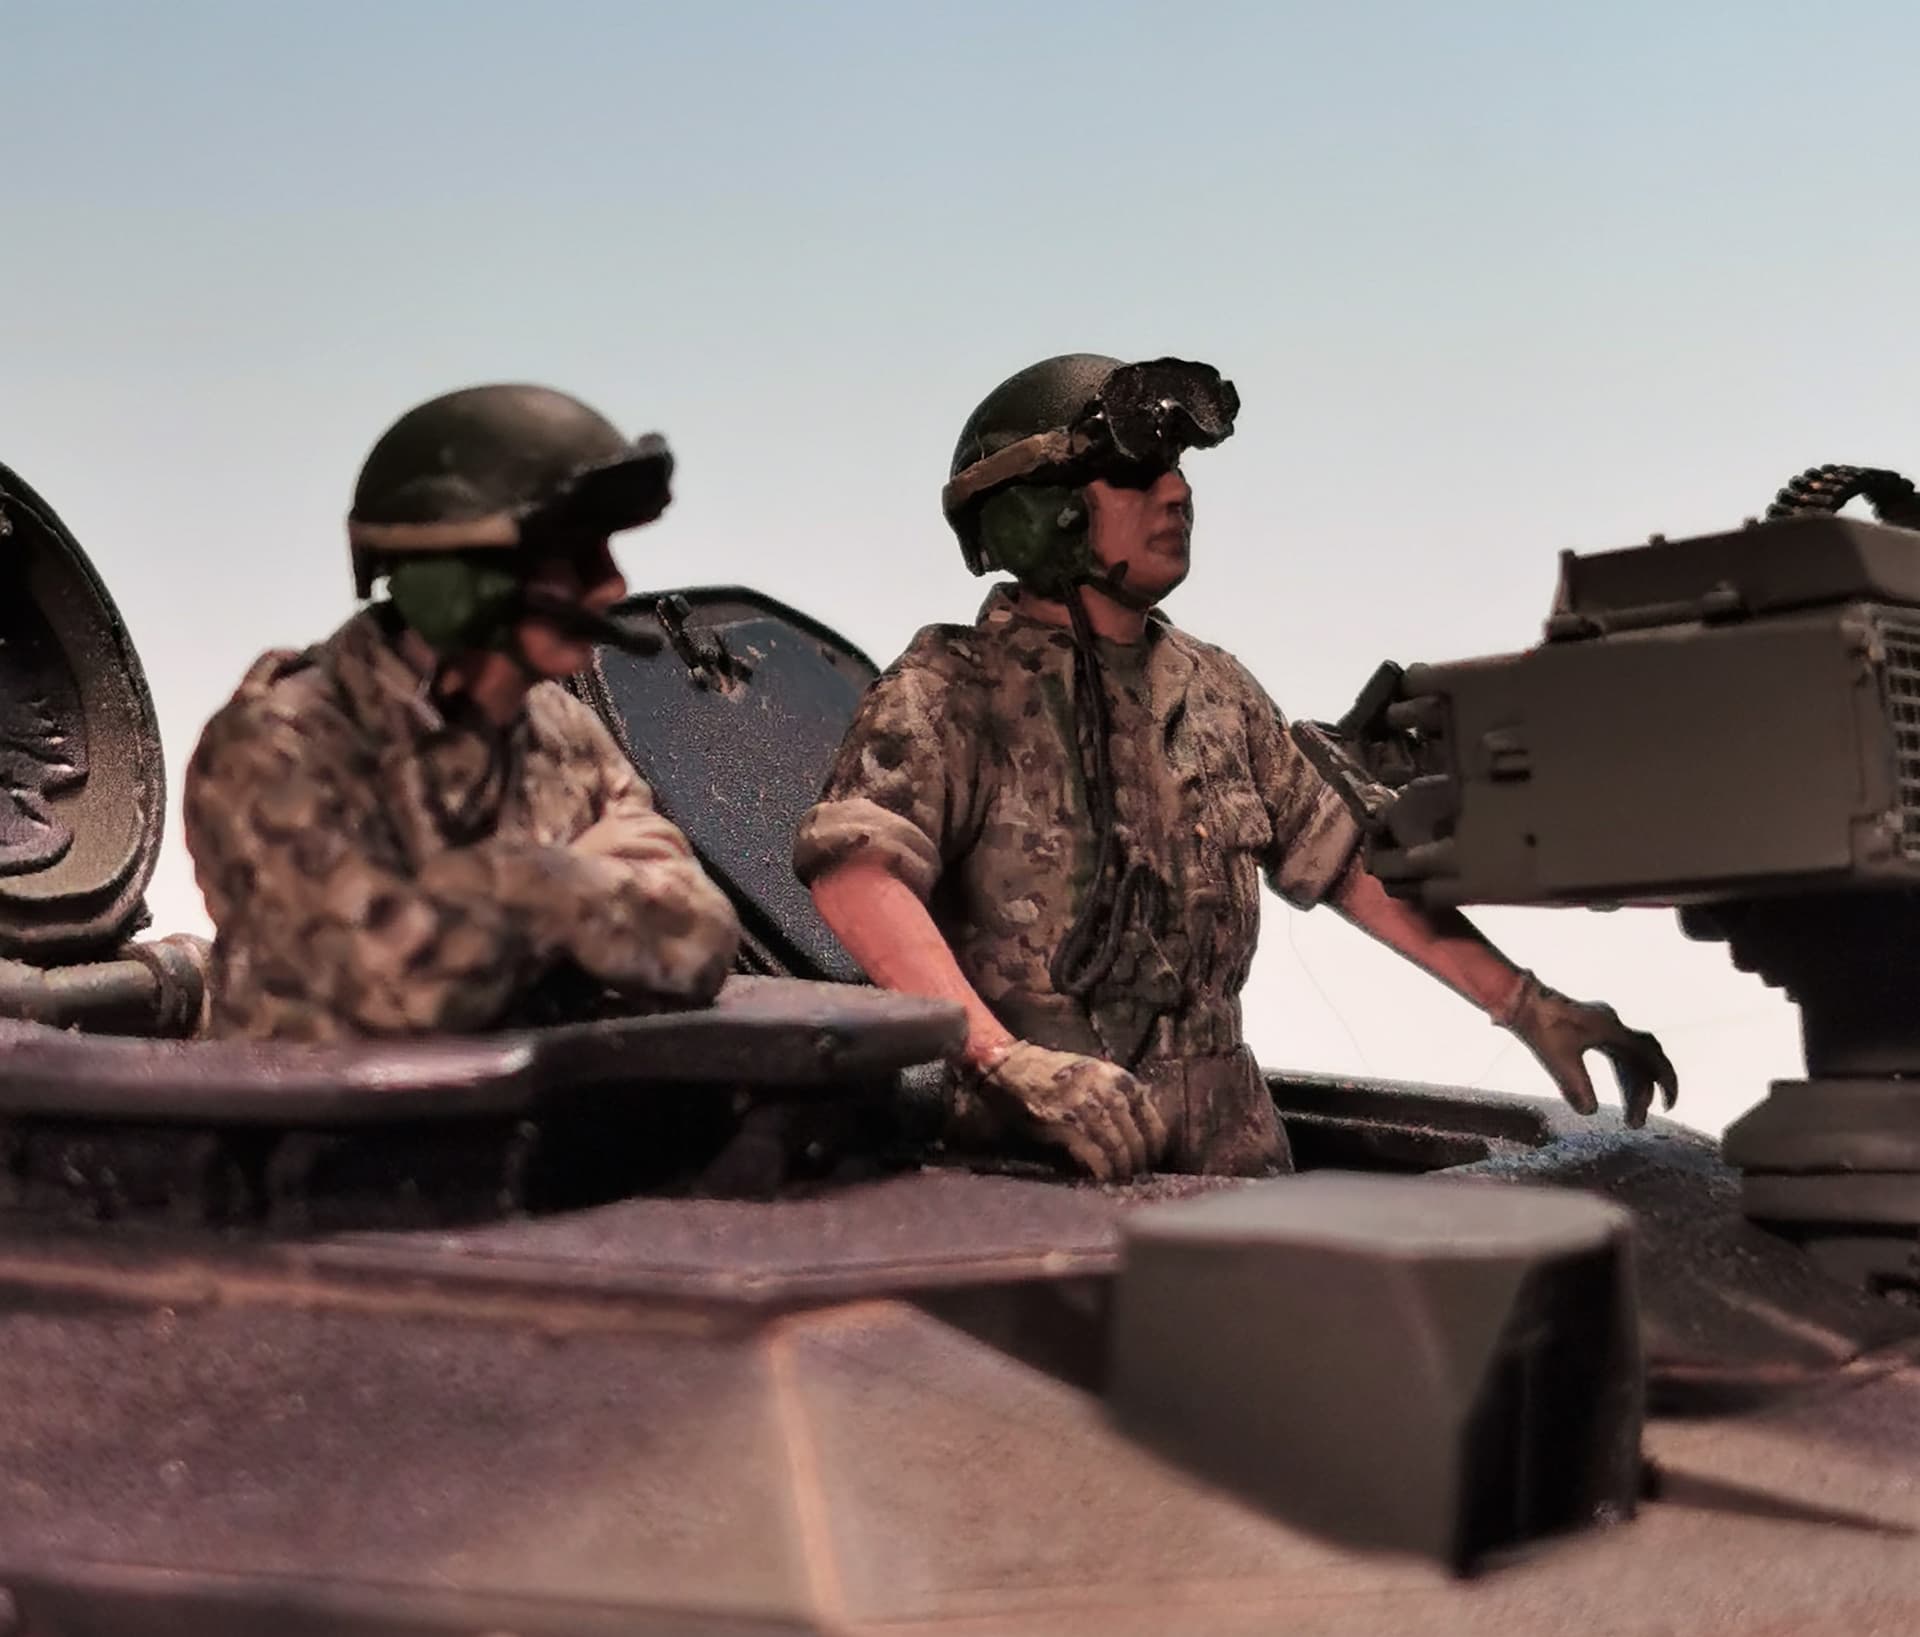
Lovely figures, great monster of a tank, and if this is not one of your best, well… it is far better than anything I produce, I think it is a fantastic model!
Thomas I don’t see what you’re disappointed about at all. I think the finished look is outstanding. The camo is perfect and the dust effect is magnificent. The figures are very well done. I think you have produced an excellent model.
This is one of those instances where I think that what you think is a mistake(the wash/filter that dried out) actually works well. Gives the appearance of ground in dirt on a vehicle that has been on maneuvers for a while. It also helps to tone down the stark contrast between the green base and black camo. I say well done.
Thank you very much for your encouraging comments - now I see it under a different light and I like it
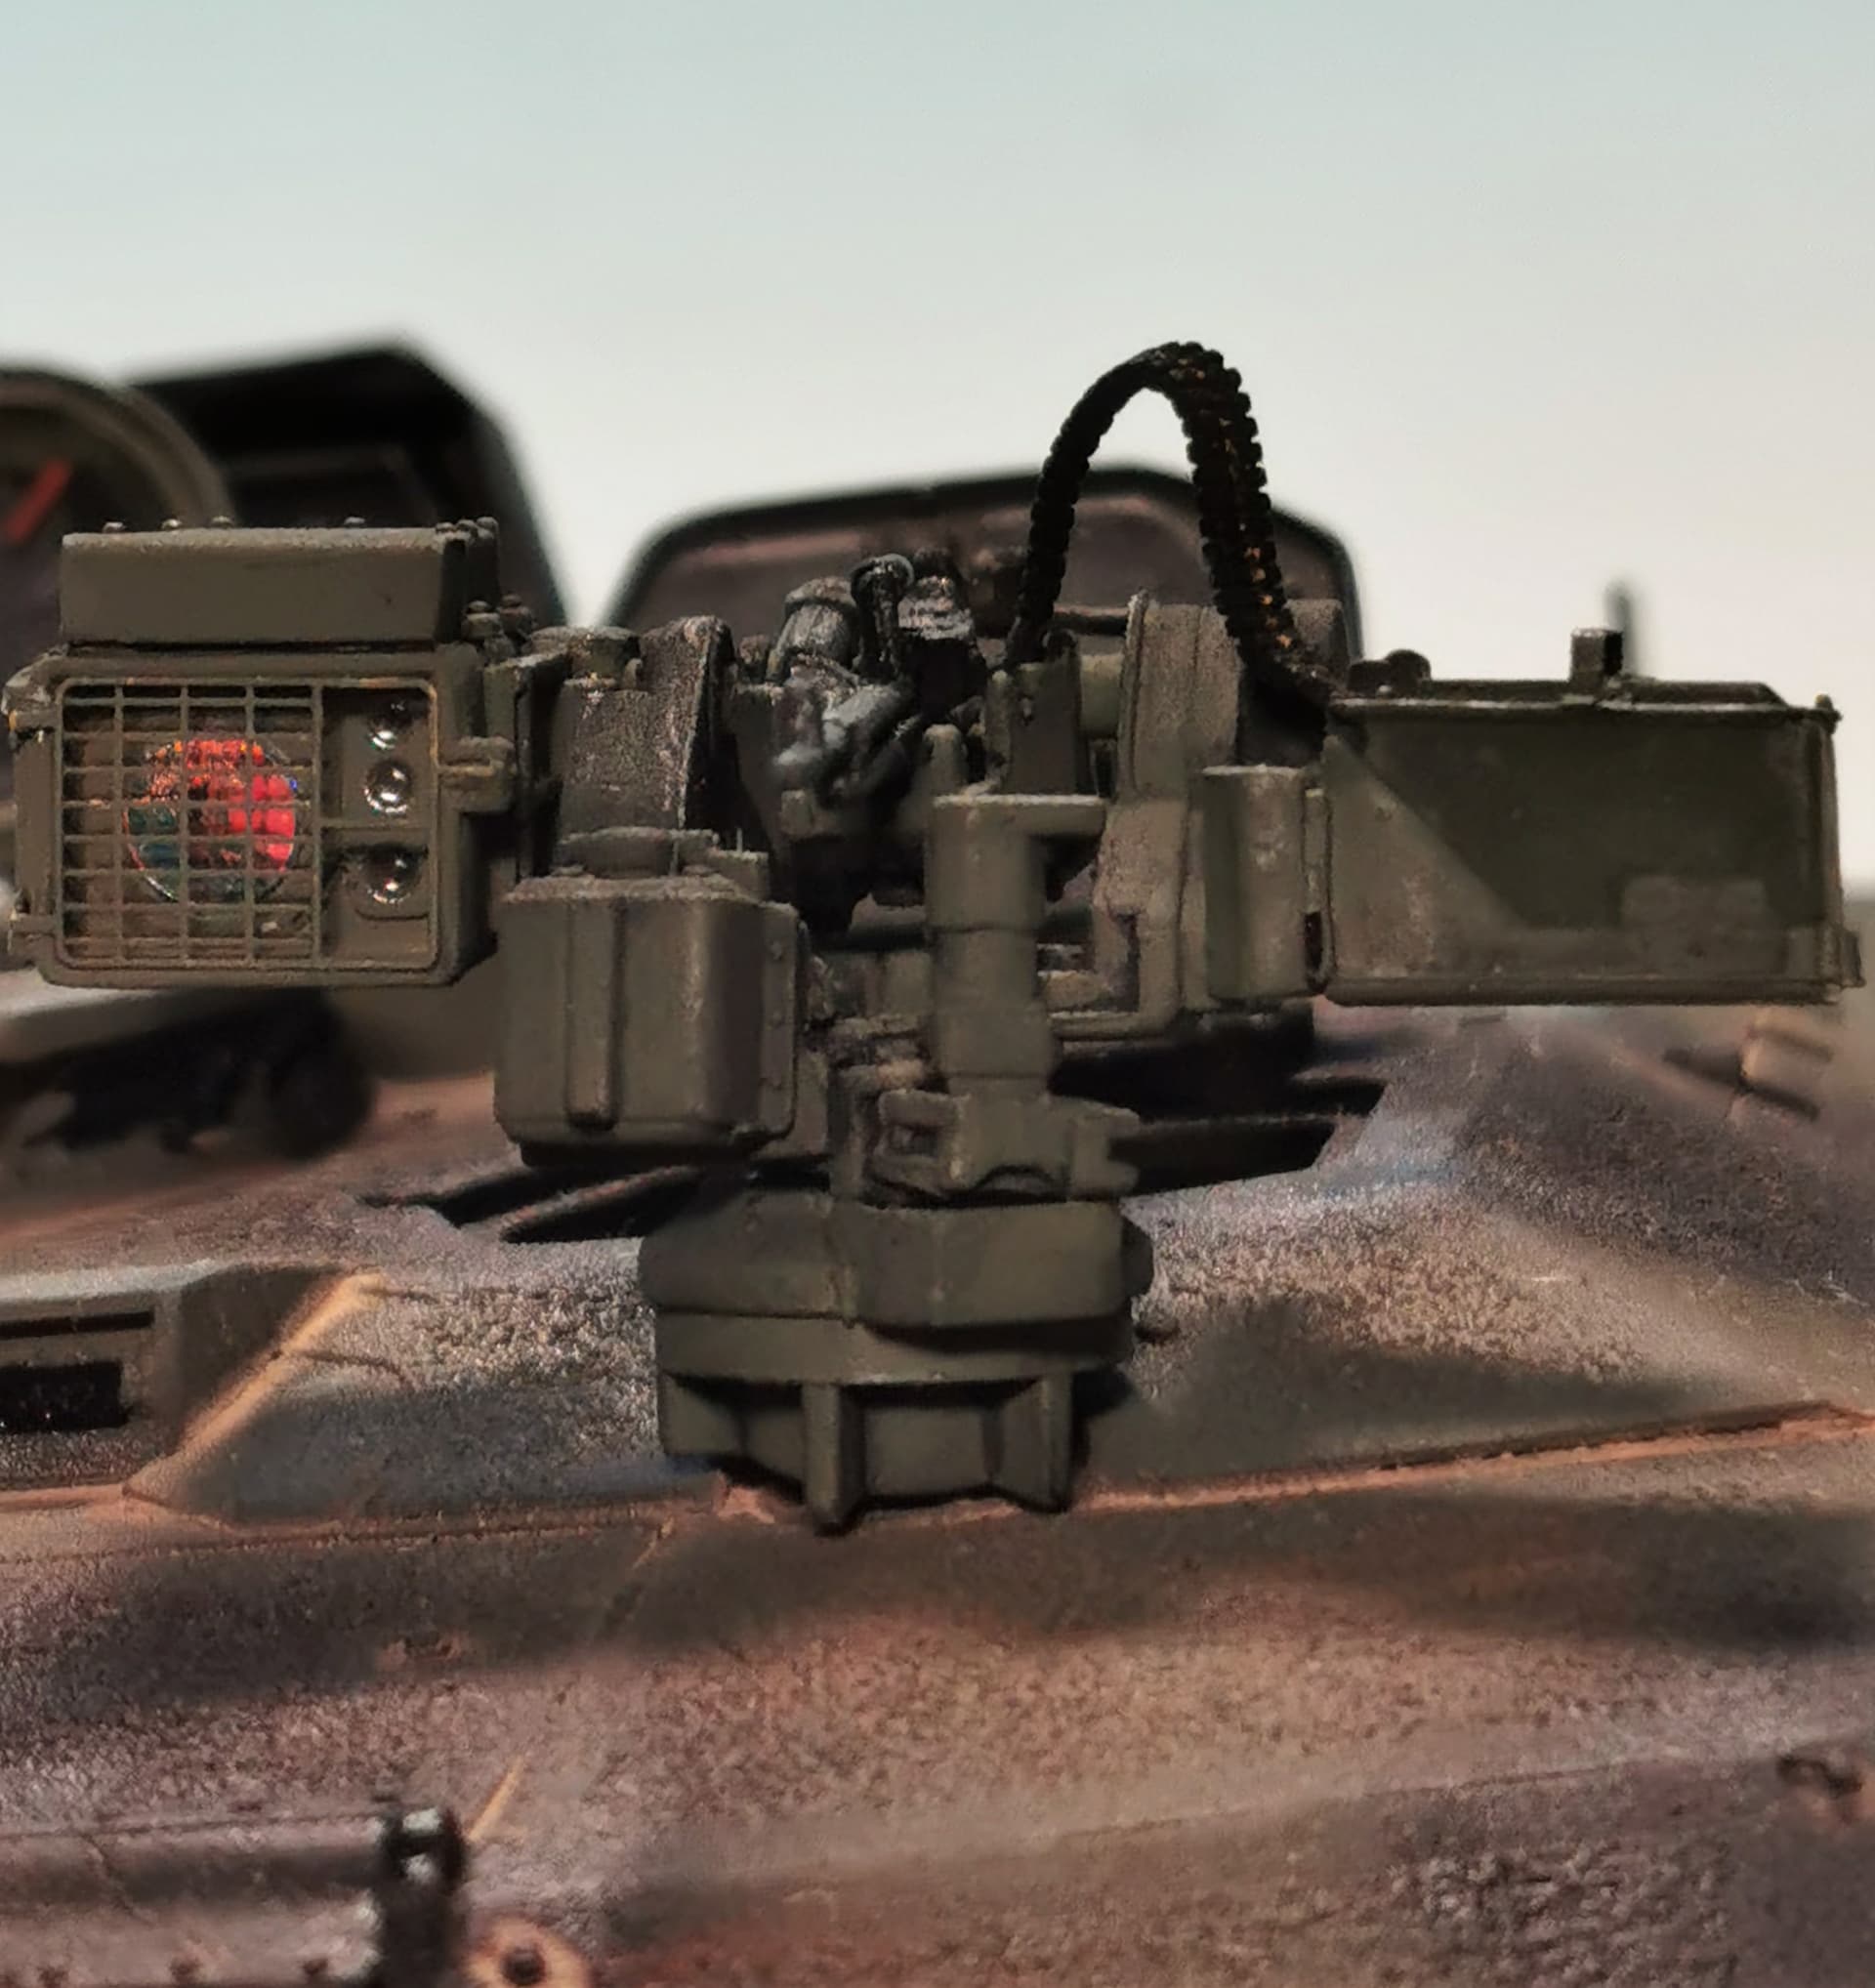
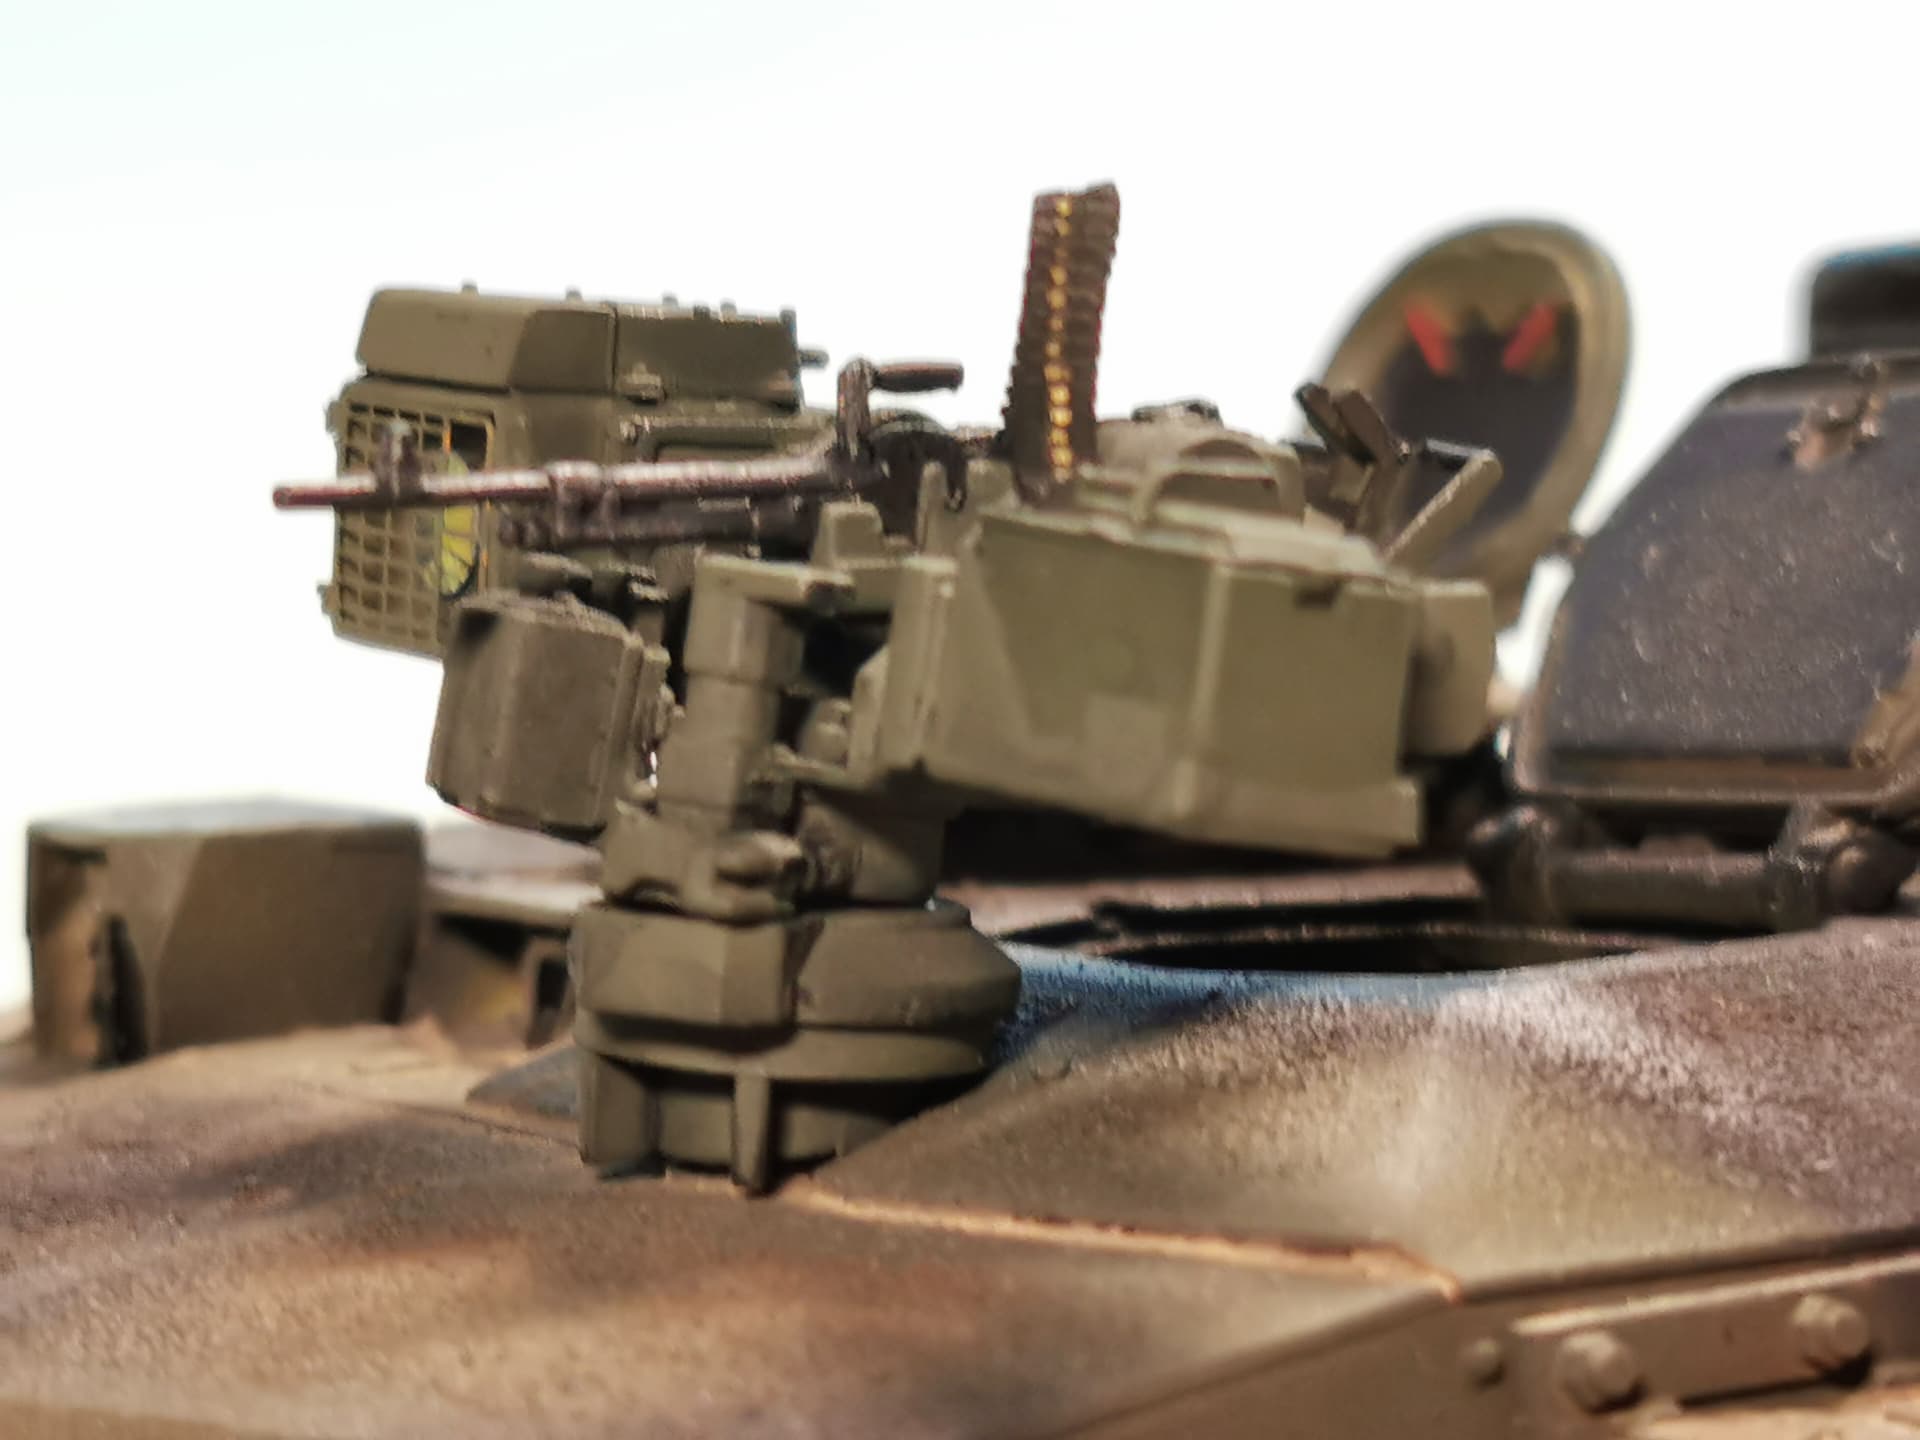
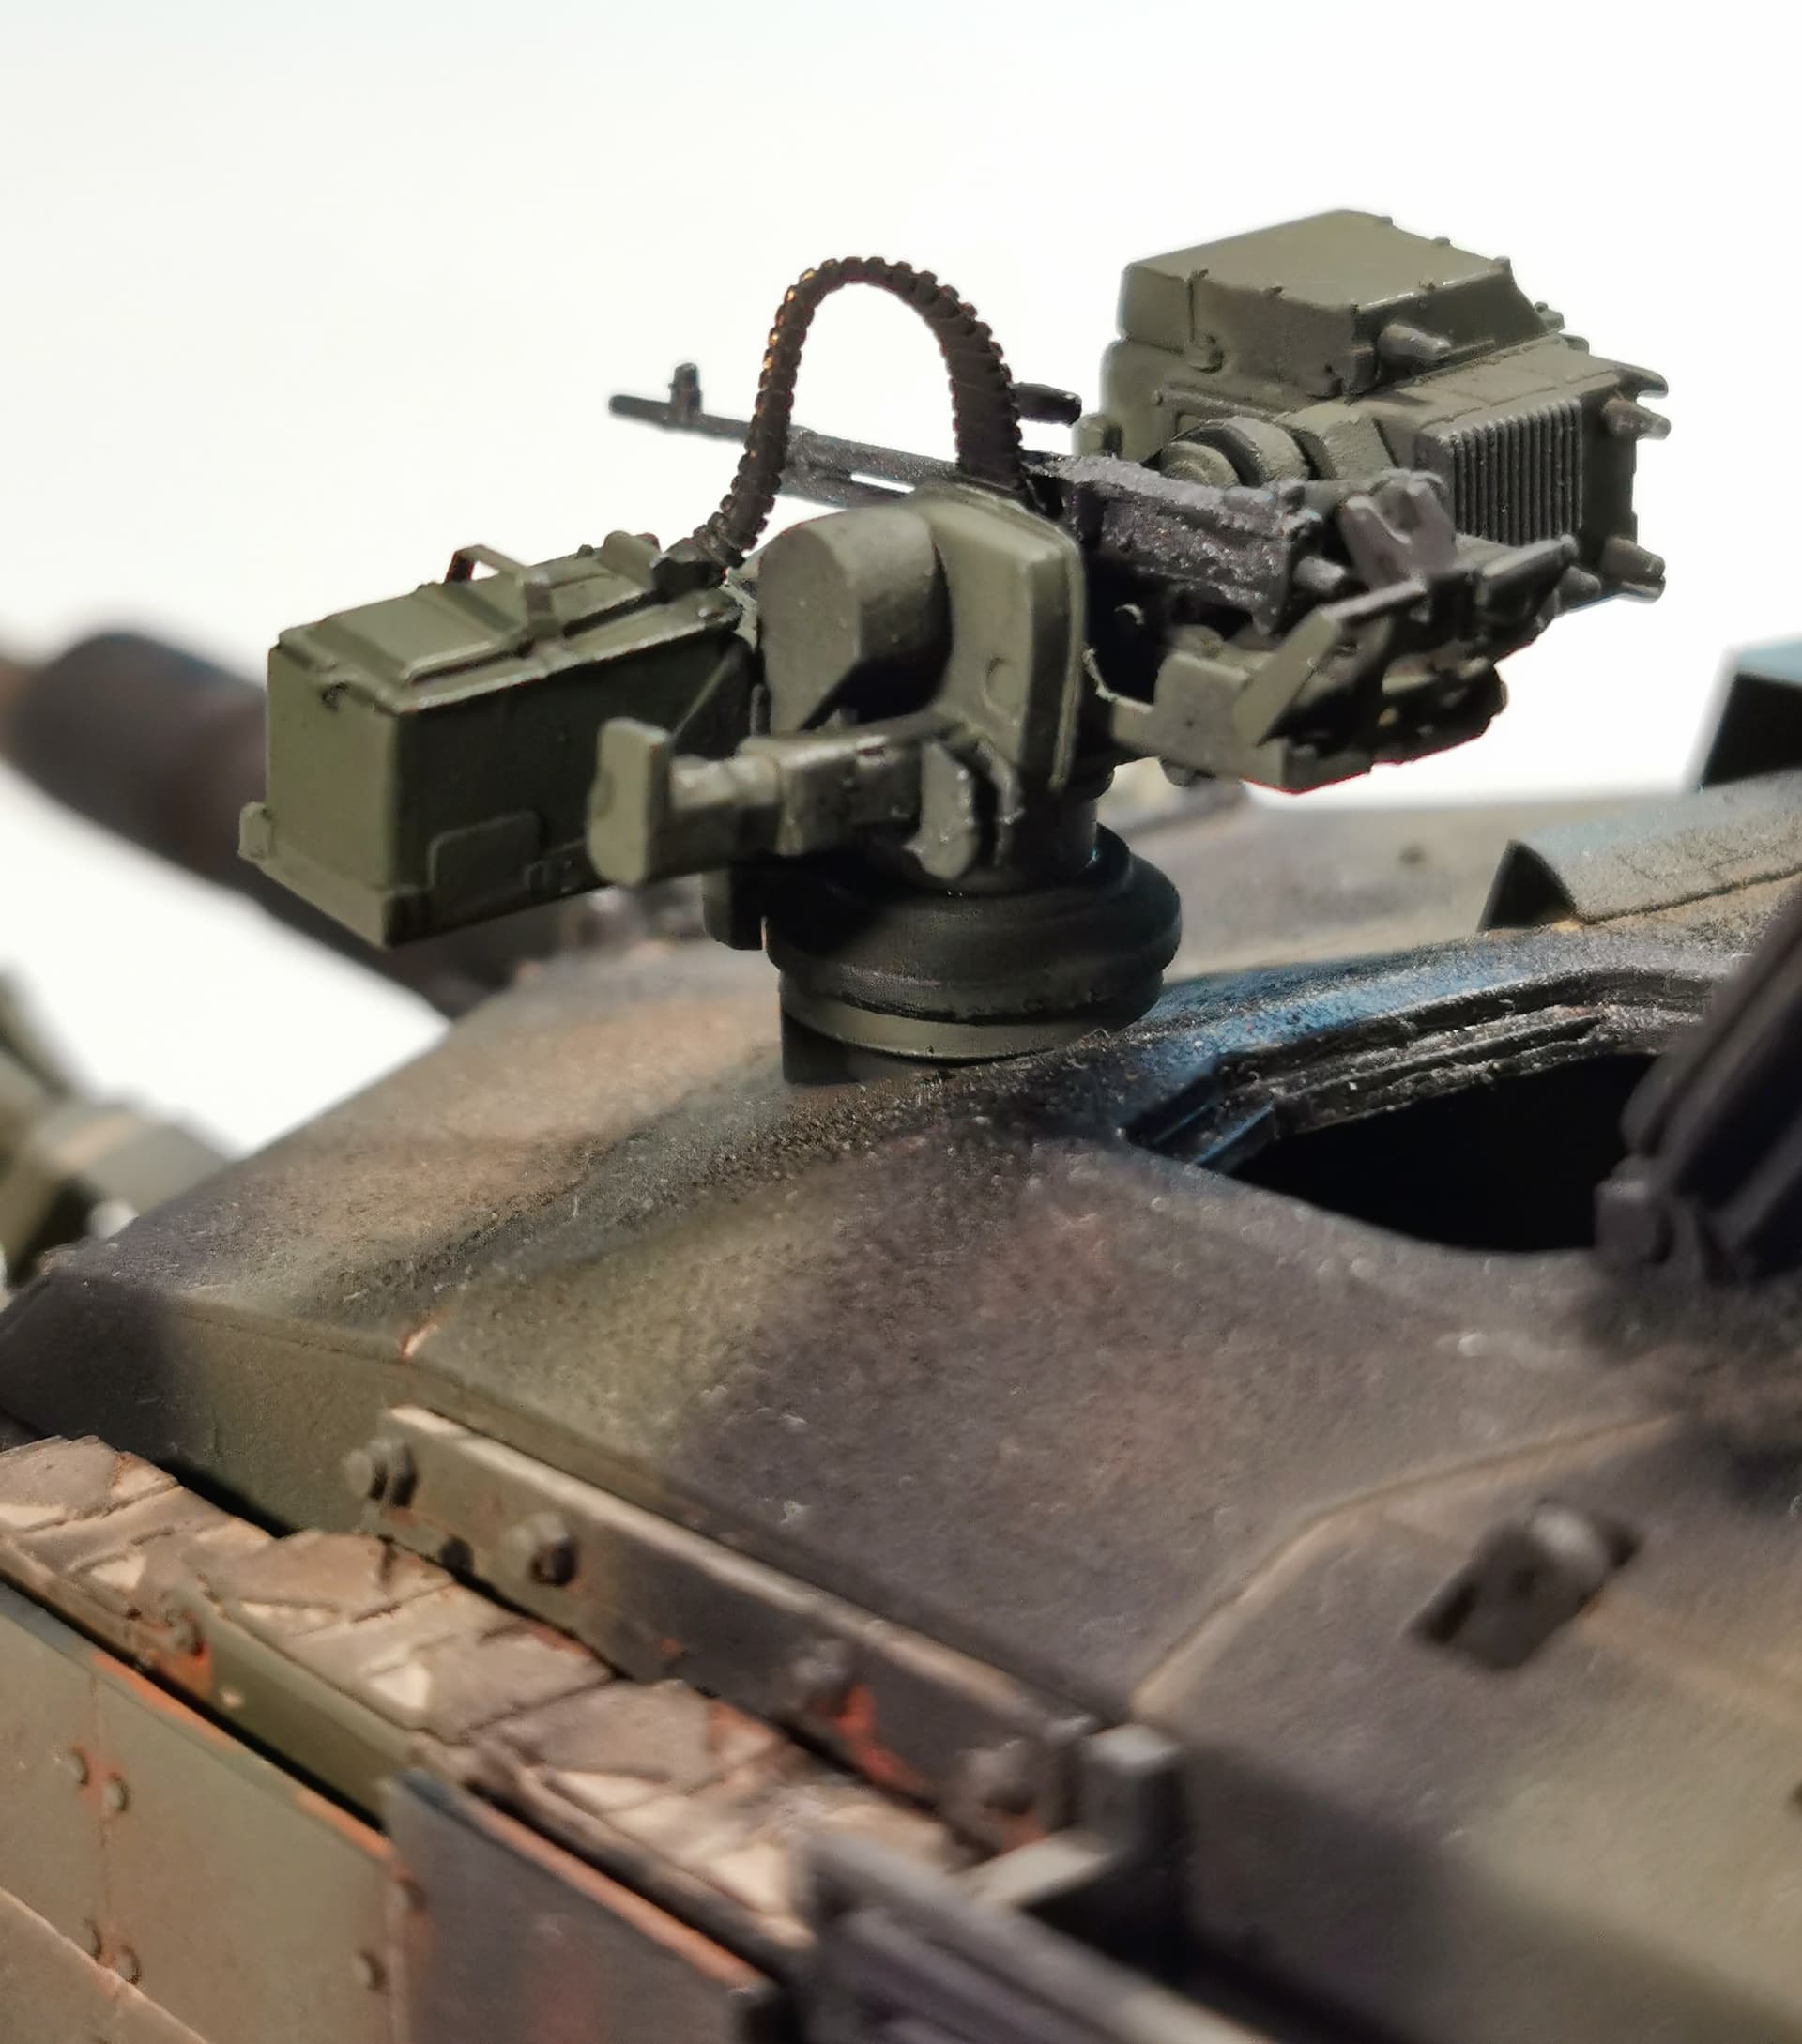
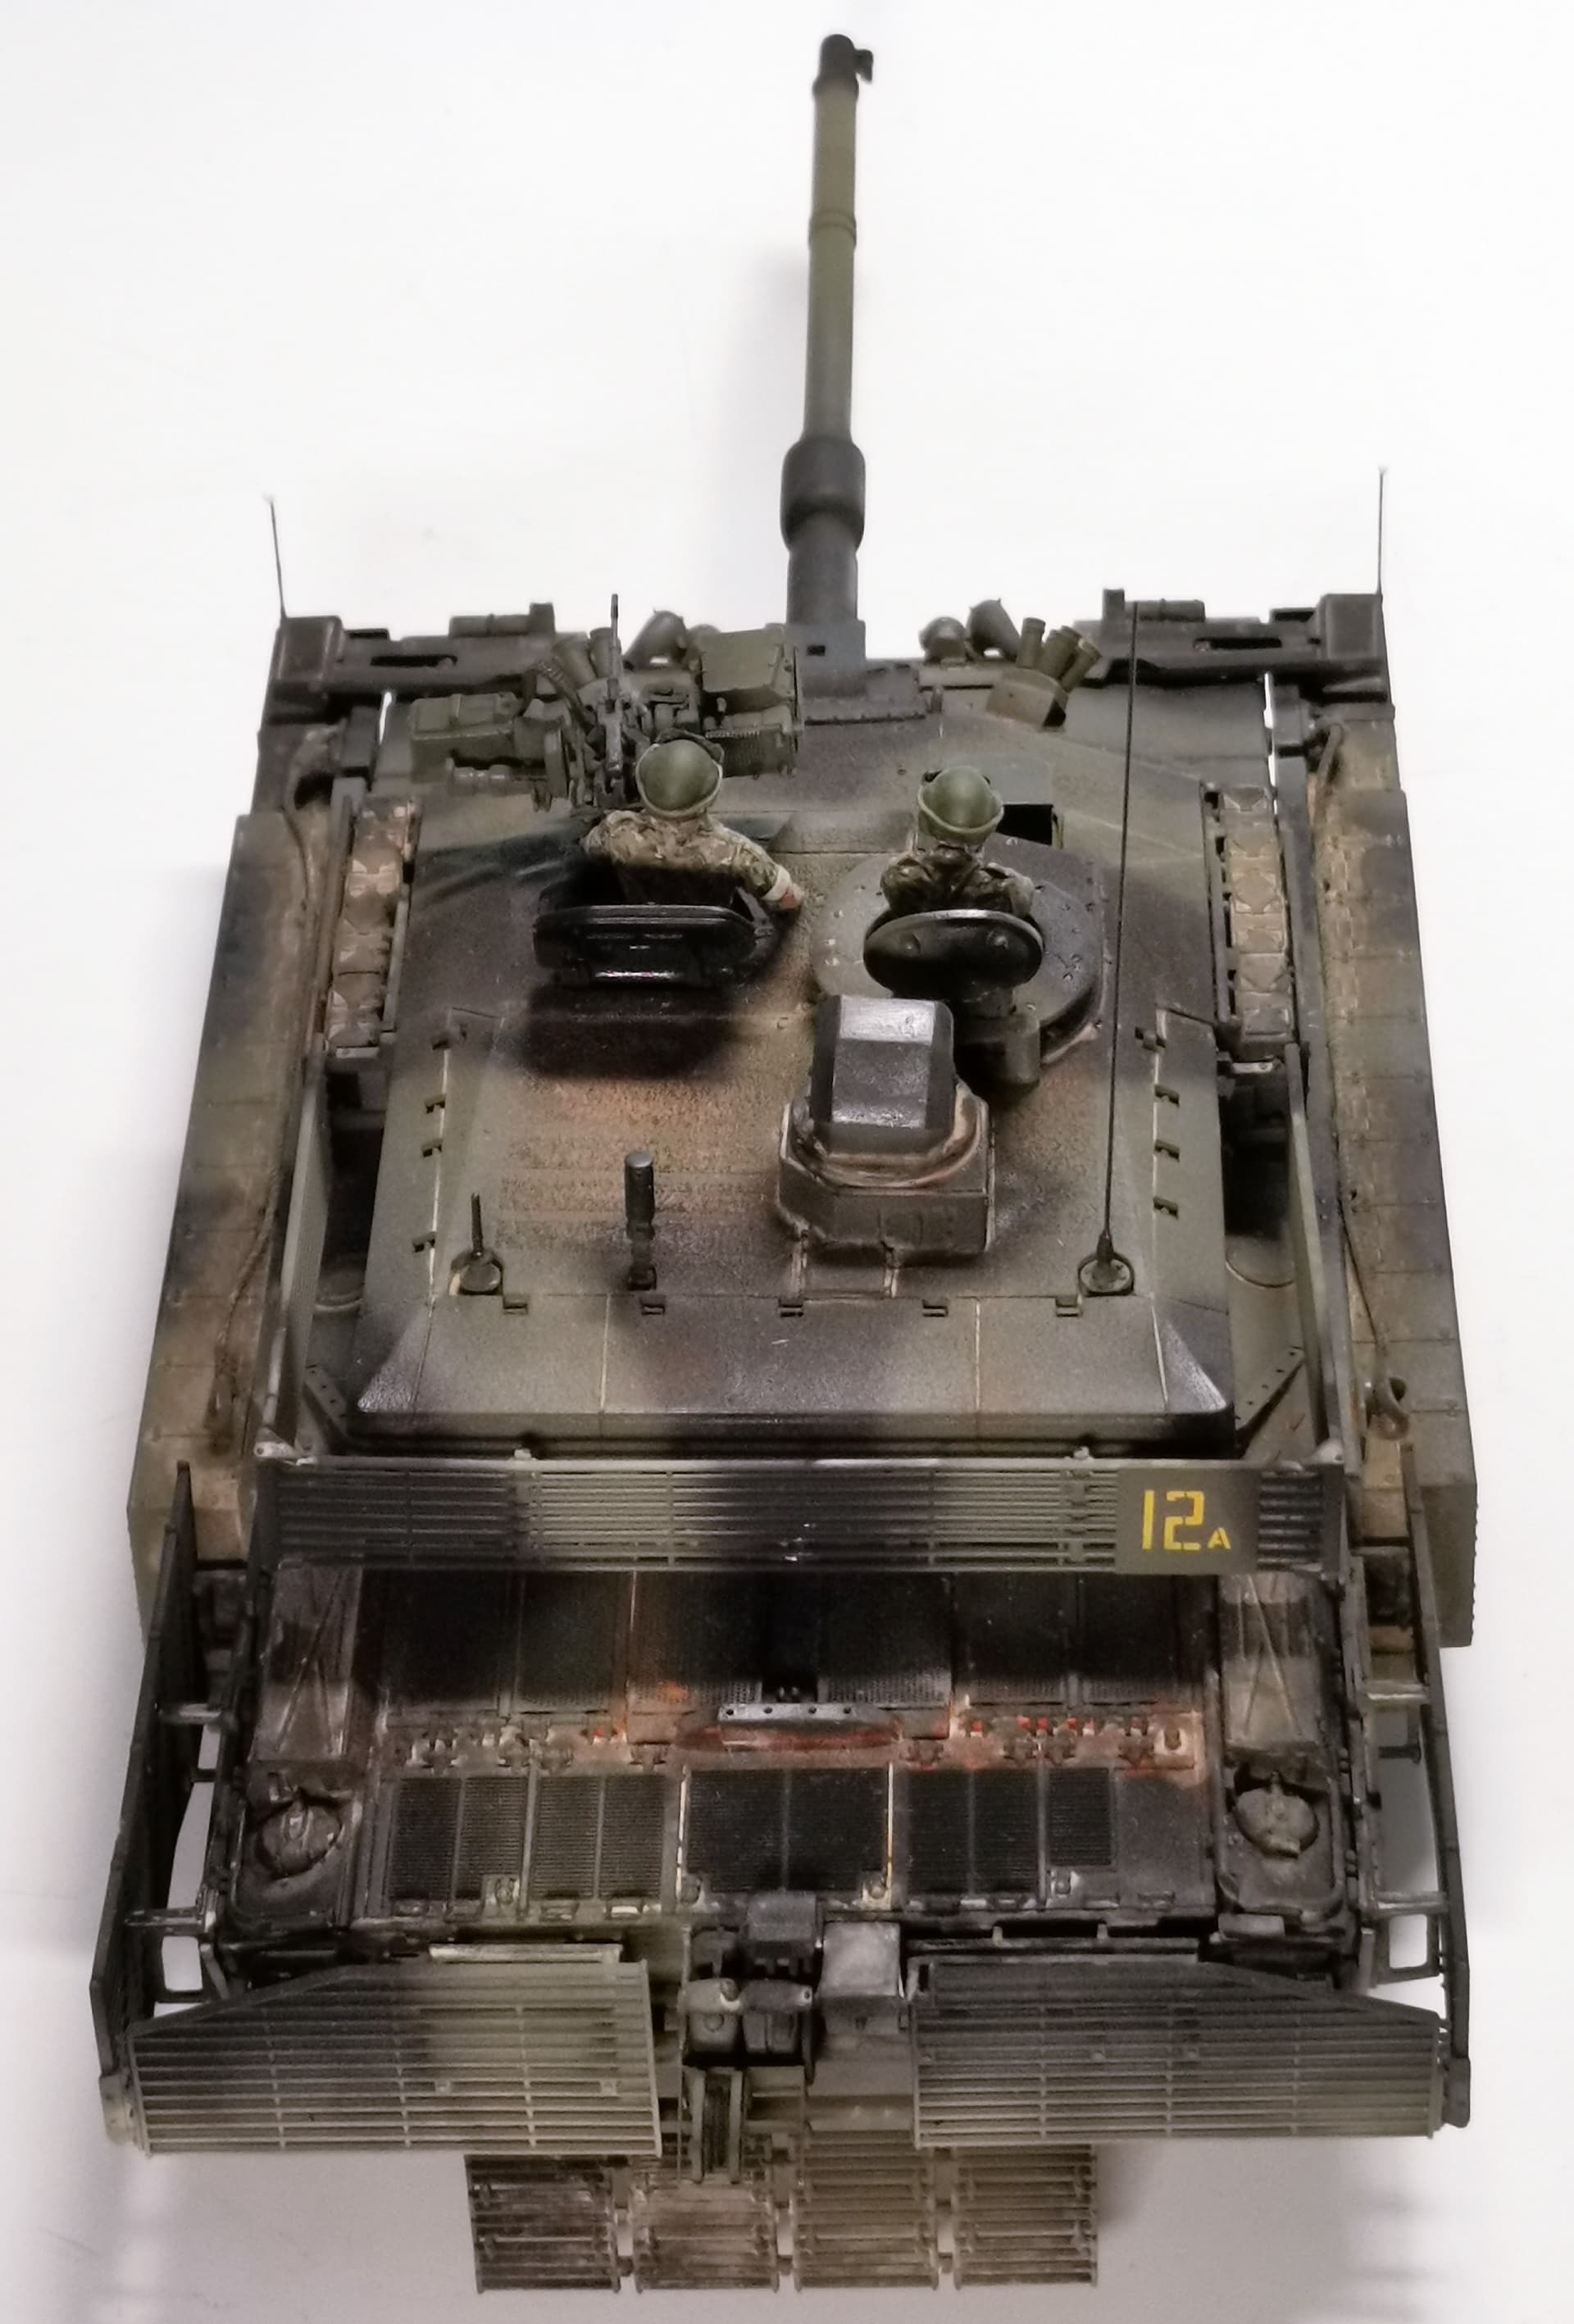
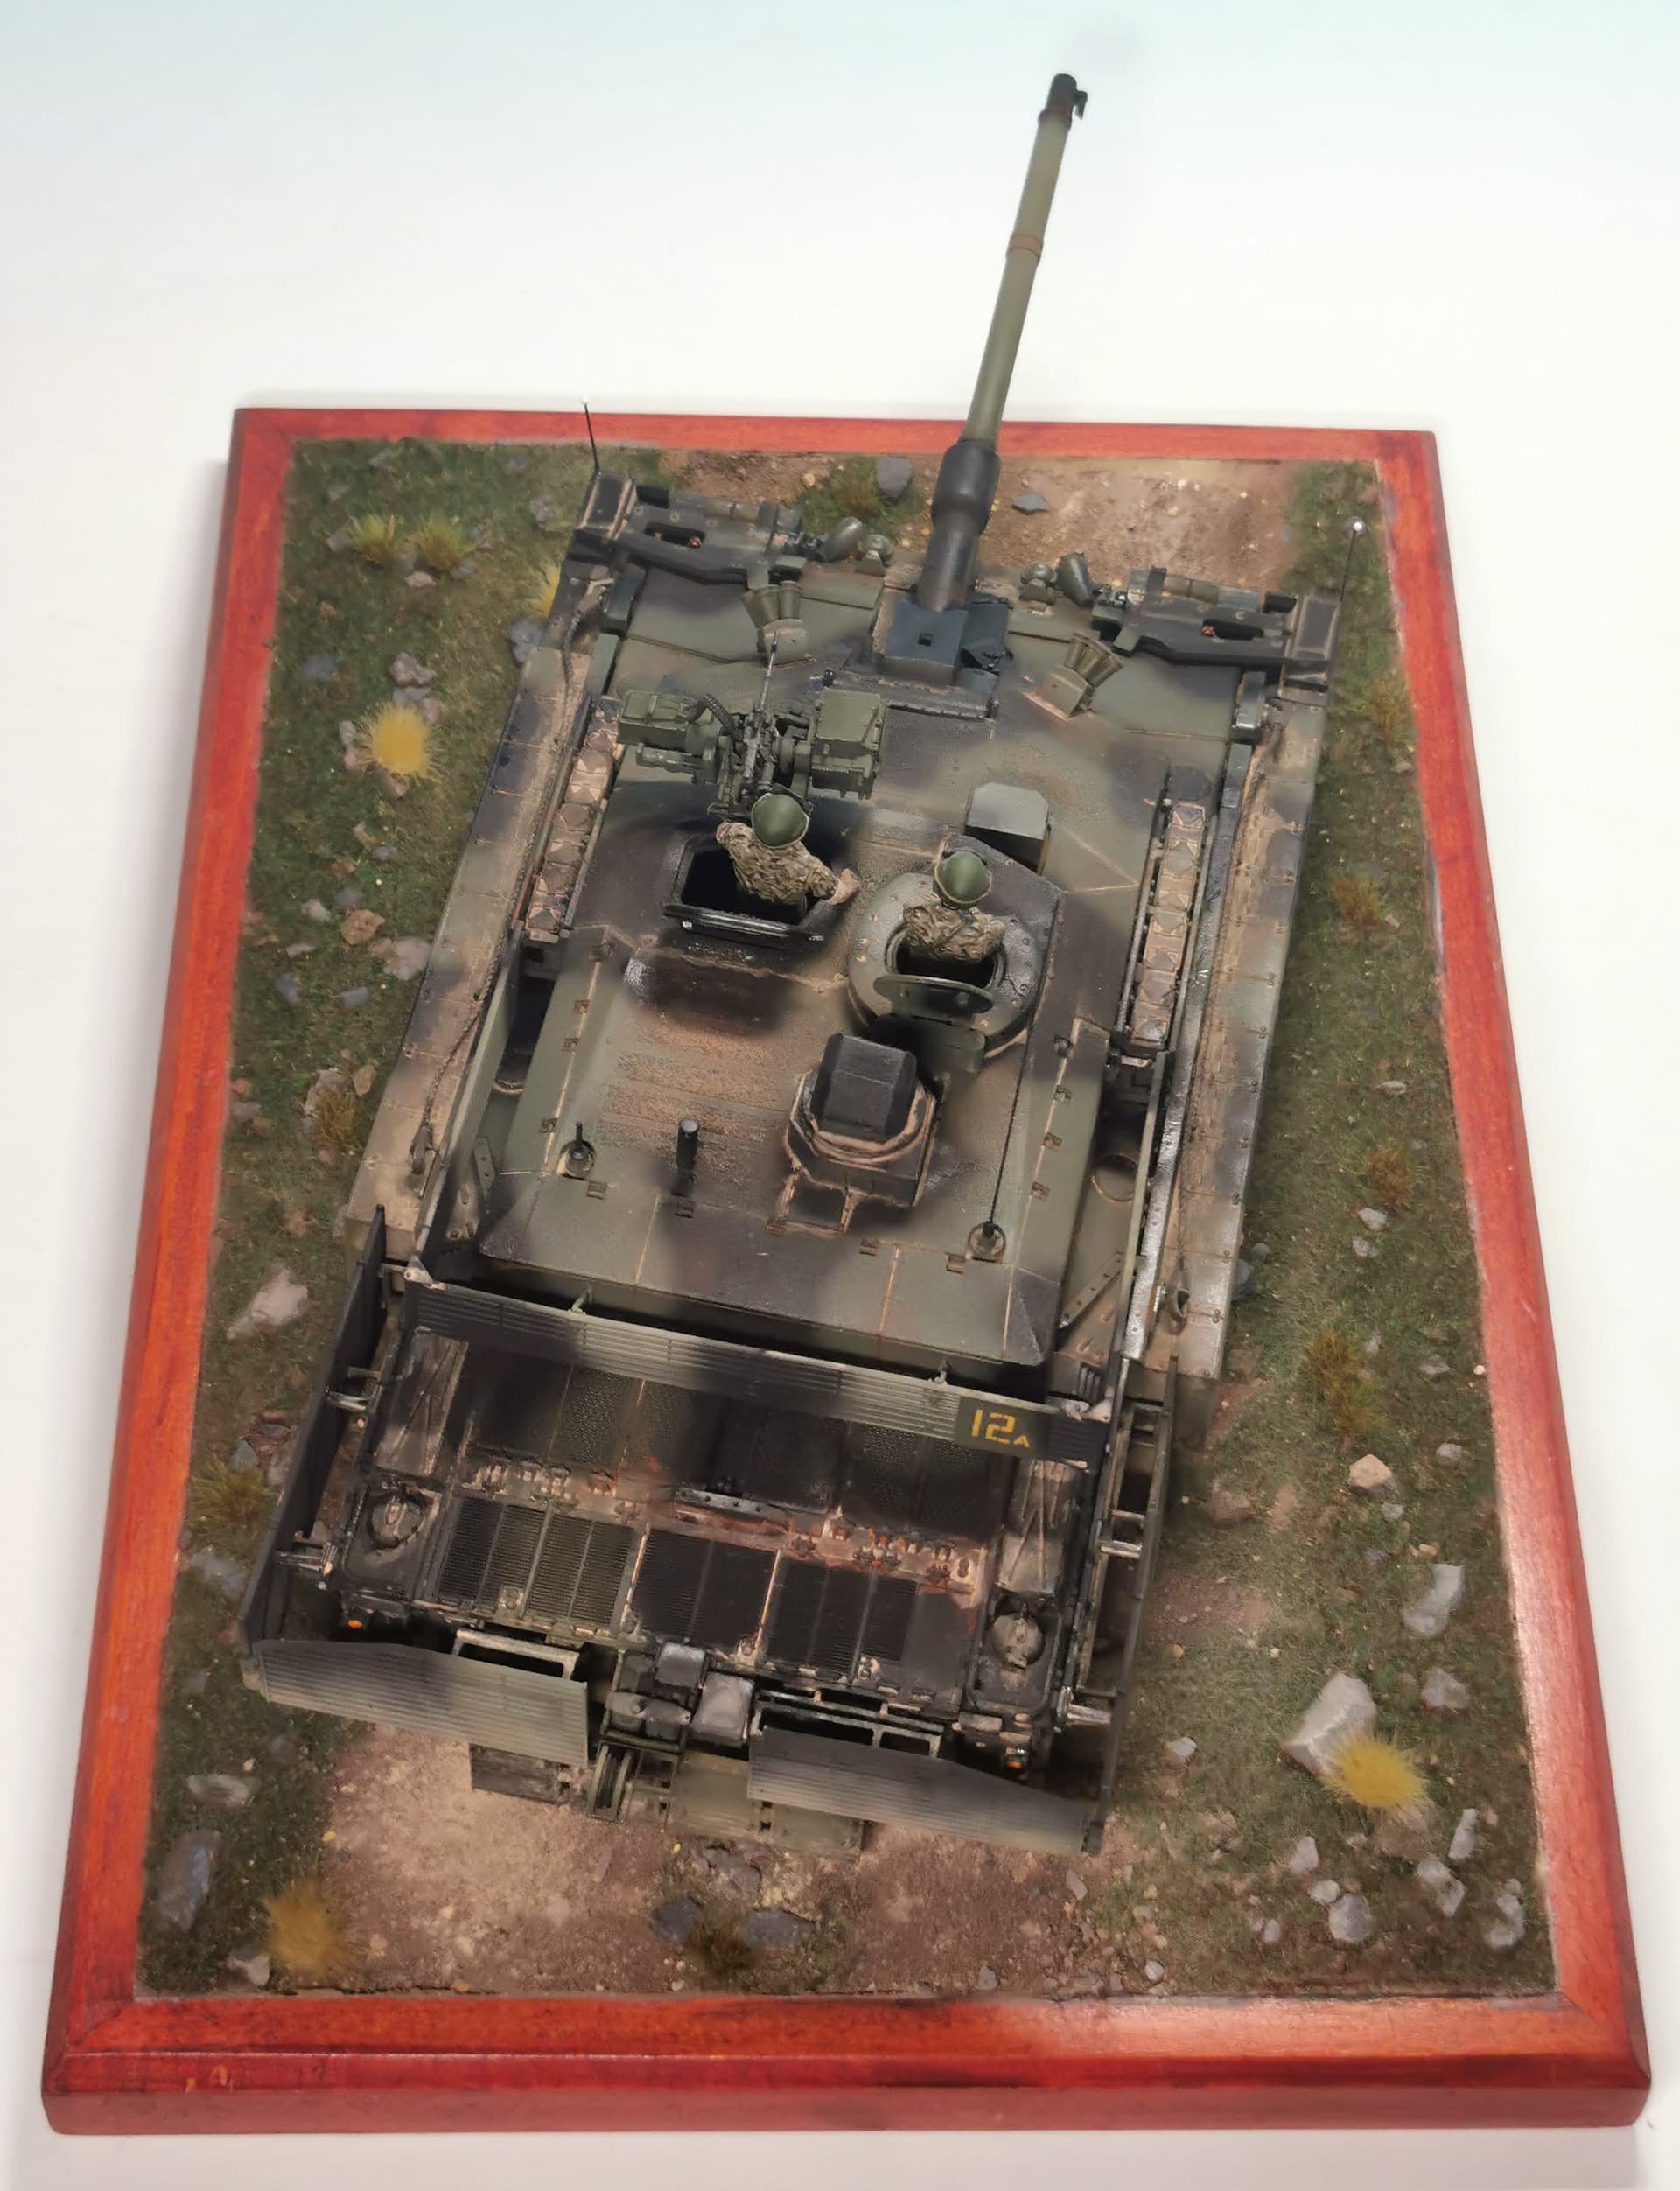
I finished the vehicle today. Maybe a small base for it will follow - we will see. Not much was left to to. I finished the Remote Weapon Station for the loader. The big lense was punched out of a reflective periscope lenses set for the M1A2 from AFV-Club.
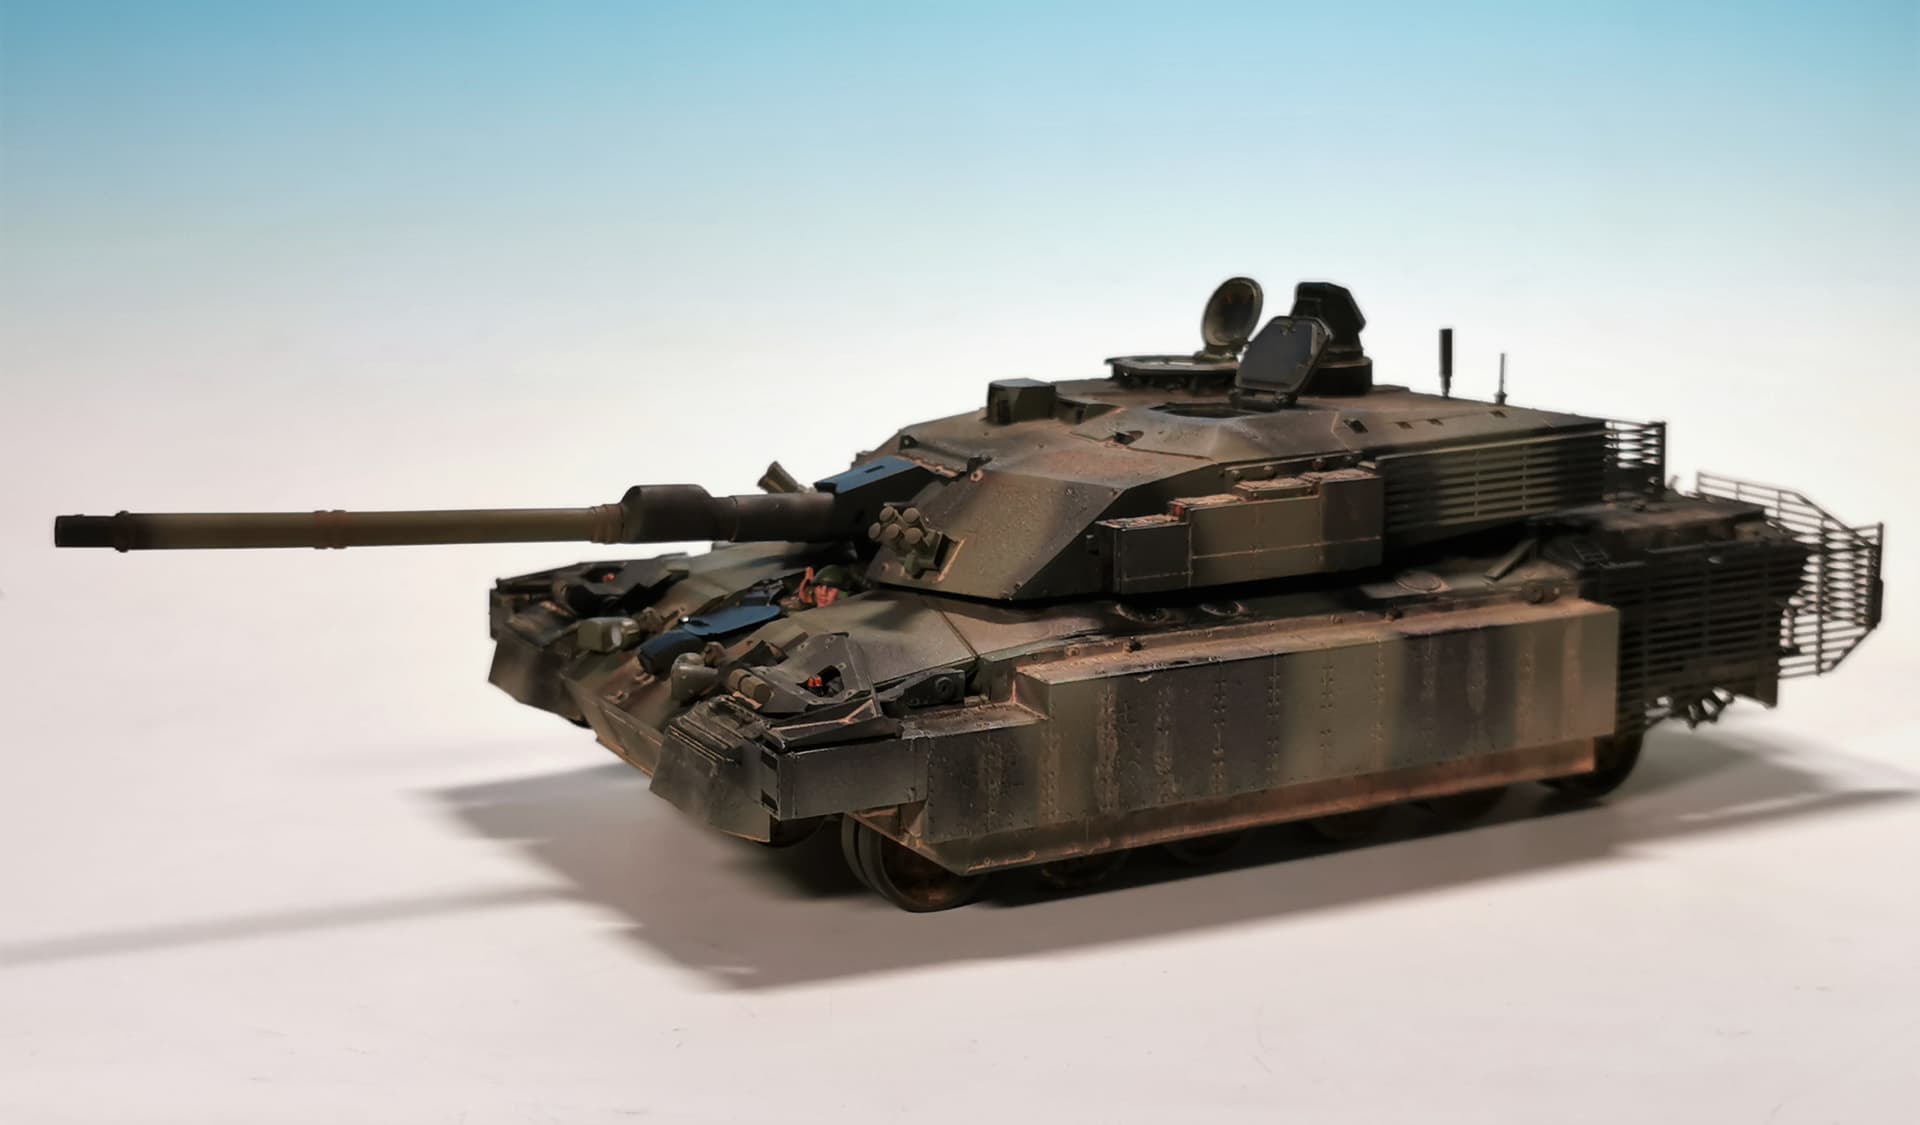
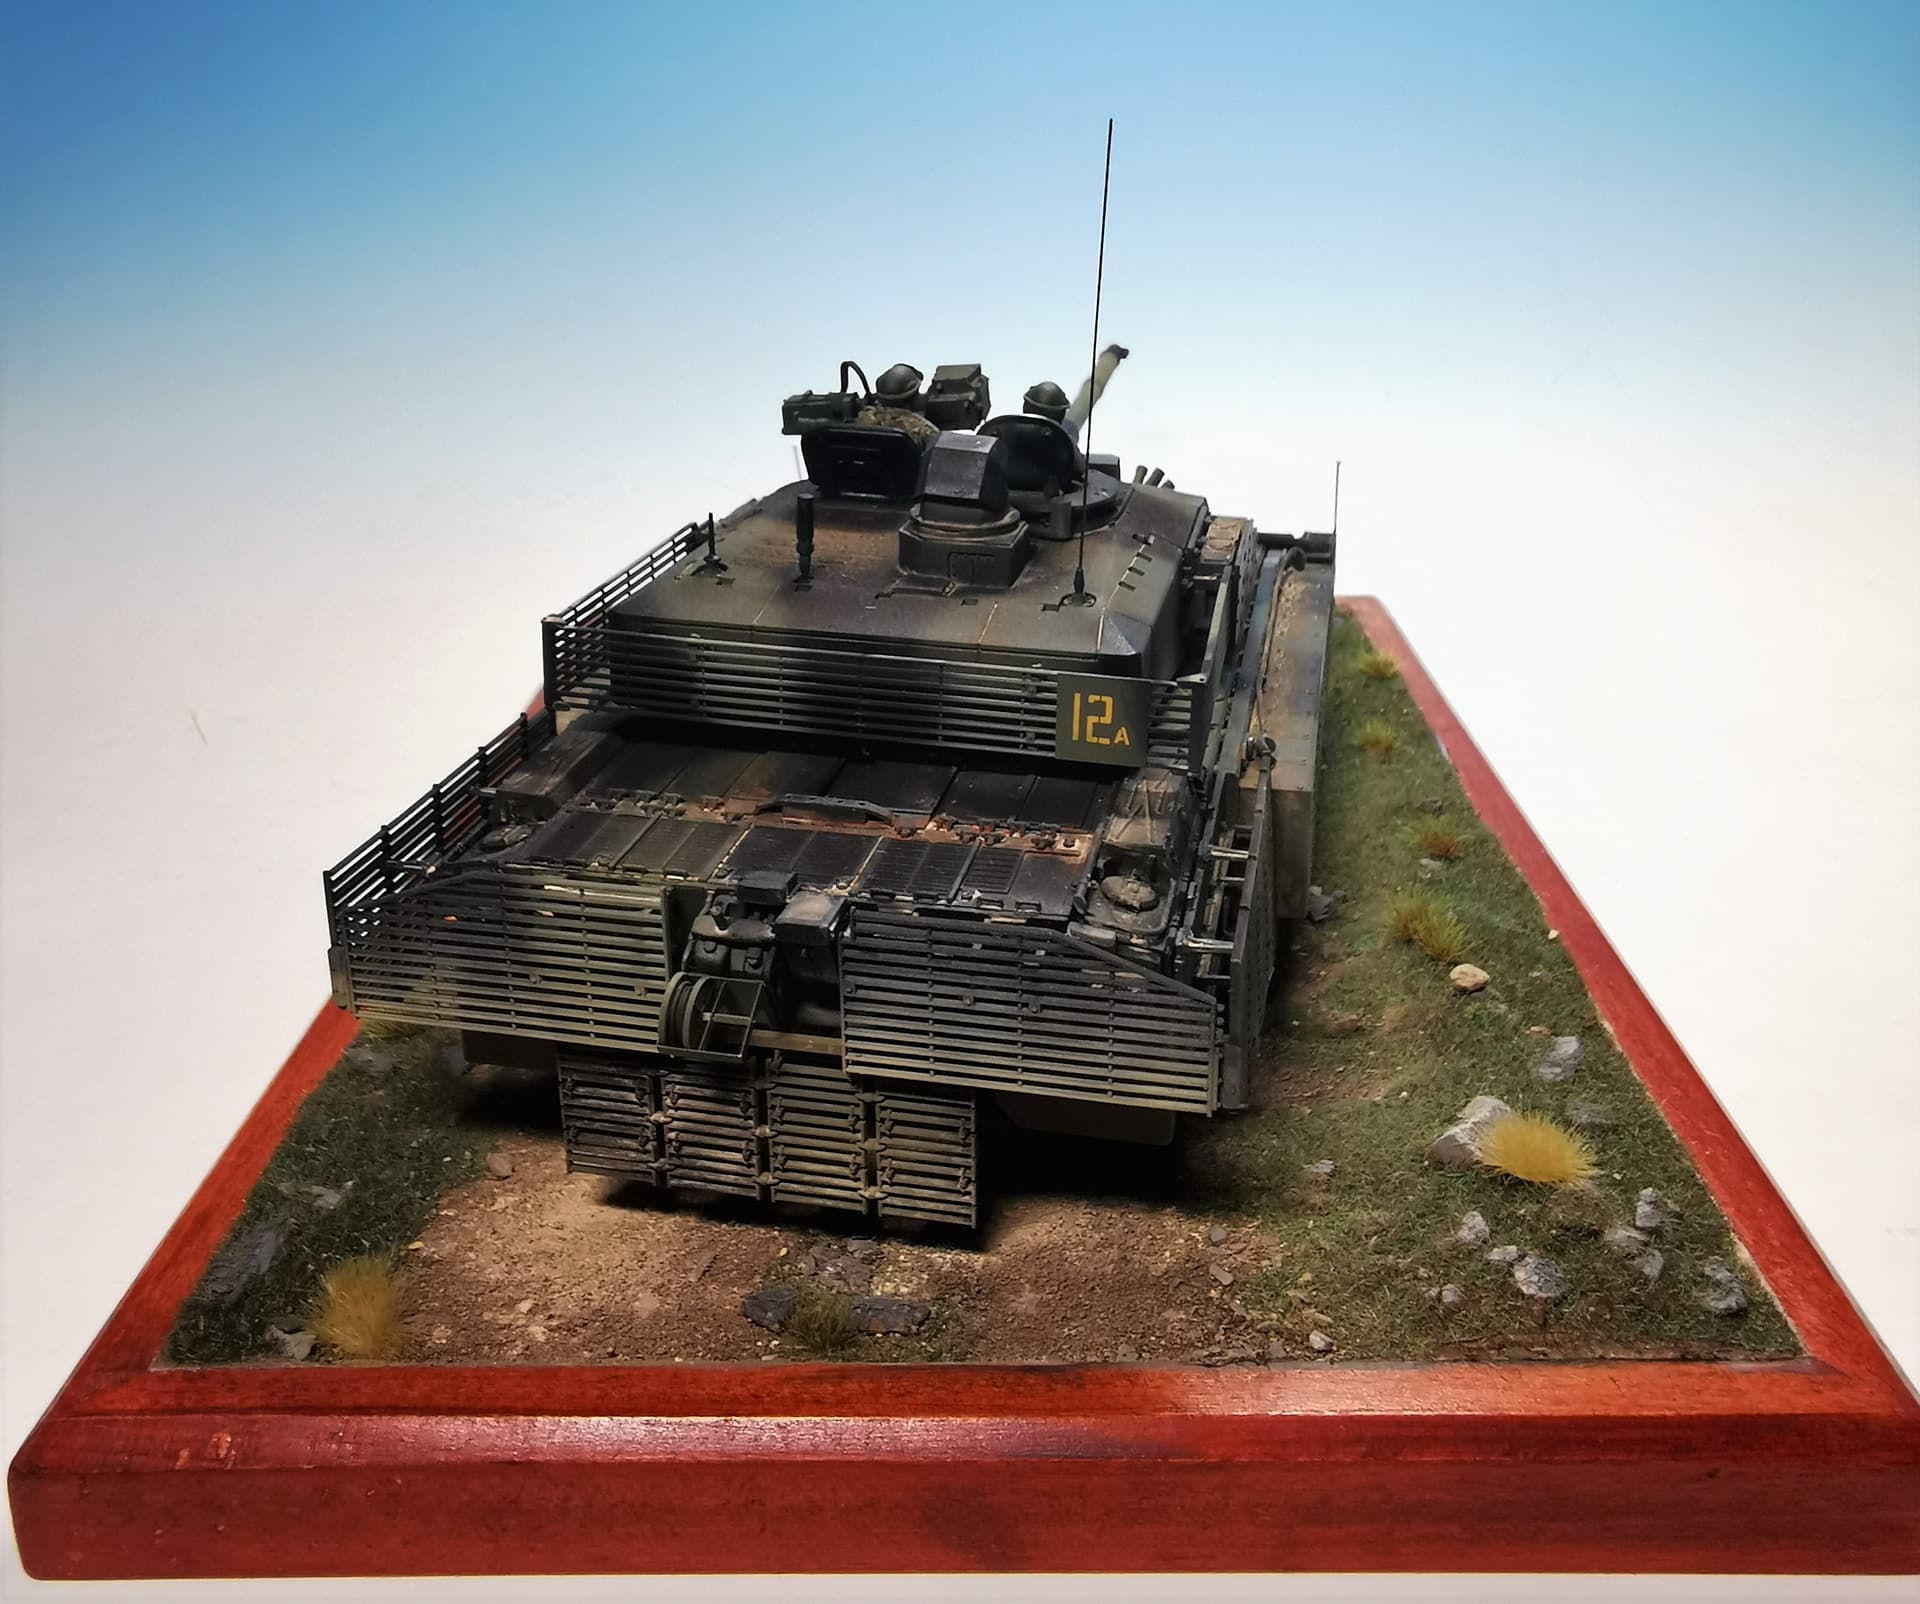
Then there were just the two towcables at the sides, the frontal two distance poles for the driver (made by metal rod and a blob of Kristal Klear), the rear lower cage armor and to fix the commander and loader in their final stations. I switched the loader and the commander as I found them to look better in each the other hatch. The numbering at the turret´s rear cage armor was salvaged from an old Tamiya Challenger kit I believe. It is quite a huge monster now
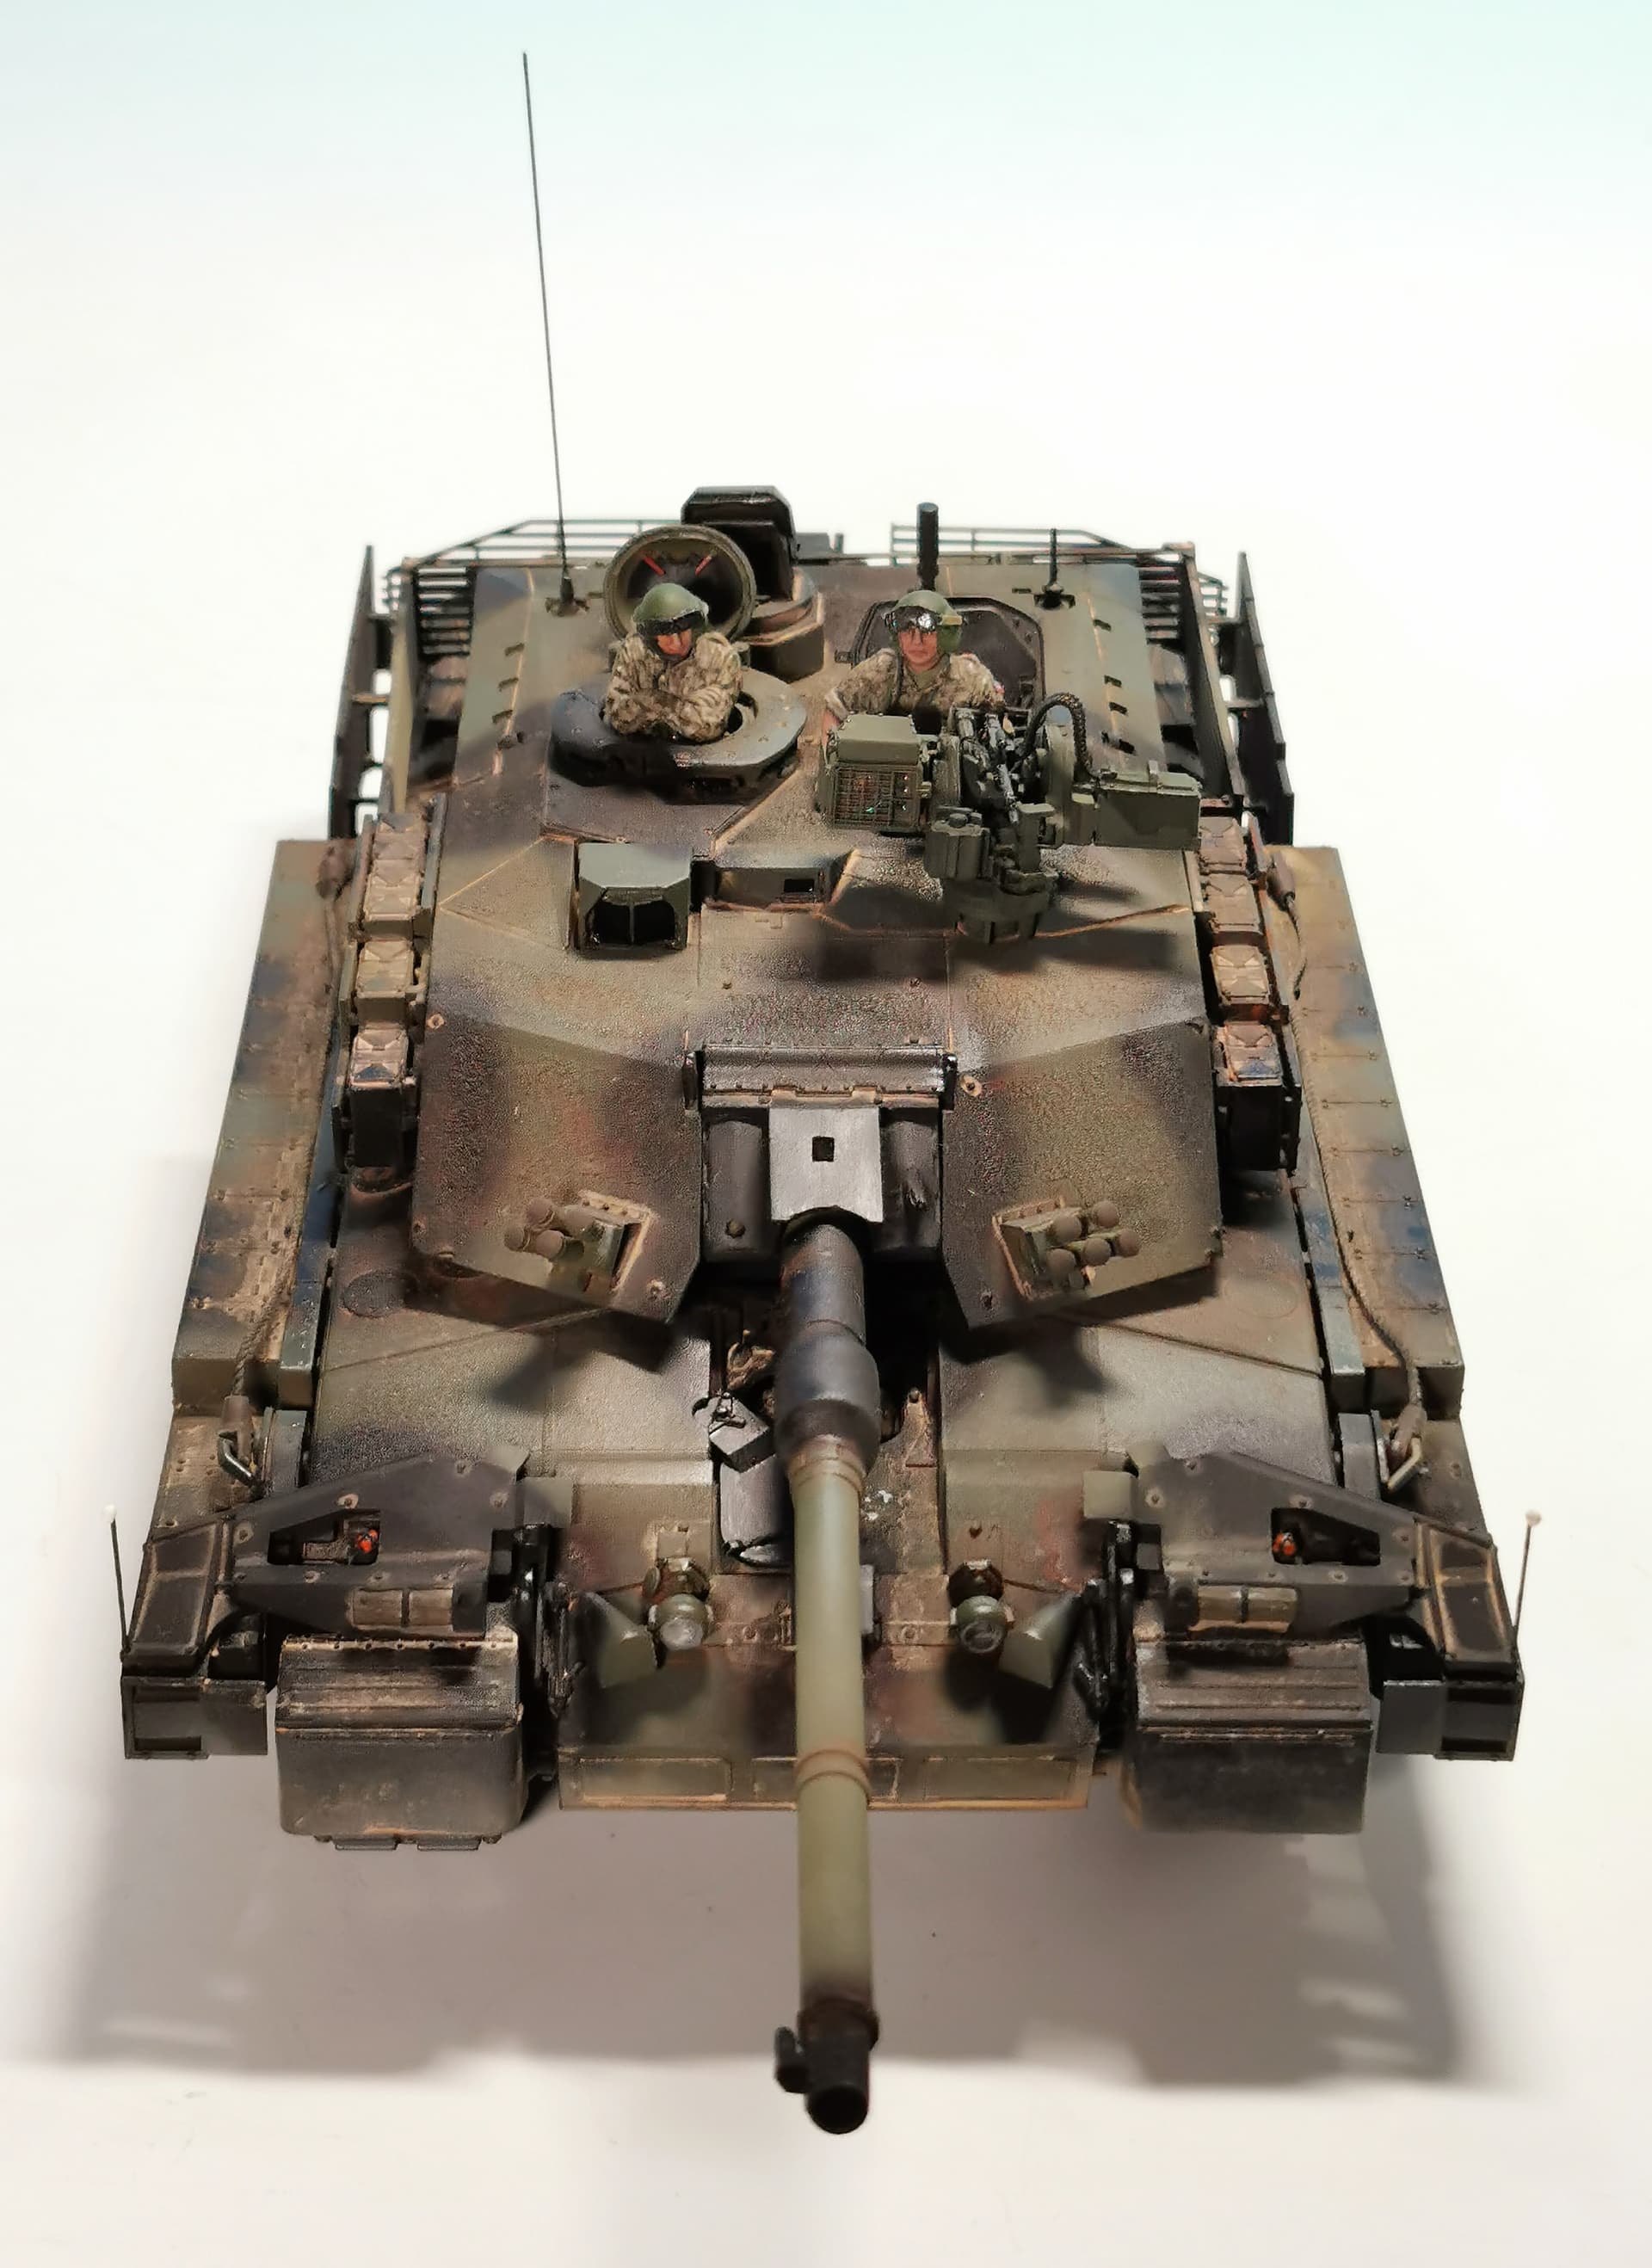
Great build Thomas. Finish is pretty much perfect. Really like the light feathering of the dust as it fades towards the top of the rear hull cage. You should be proud of this one. Very very good indeed
A very impressive and well finished beast you’ve got there Thomas. I like the dual tone camo and the way you have done the weathering is nicely realistic. The small details really shine in this model though- like the tiny, intricate mesh and lenses of the RWS, the aerials and the slat armor- plus the excellent figures!
Great model , I’m in the process of doing the Desertised version and really enjoying it .
Building it with all the etched replacements I could afford and I have thought about updating the tracks to the metal ones but still not decided yet .
Anyway well done again on your build and it can be seen that you have enjoyed doing it by the finish you have achieved and thank you for showing it to us all ( not something I will be doing with mine as I don’t have a decent camera yet ) .
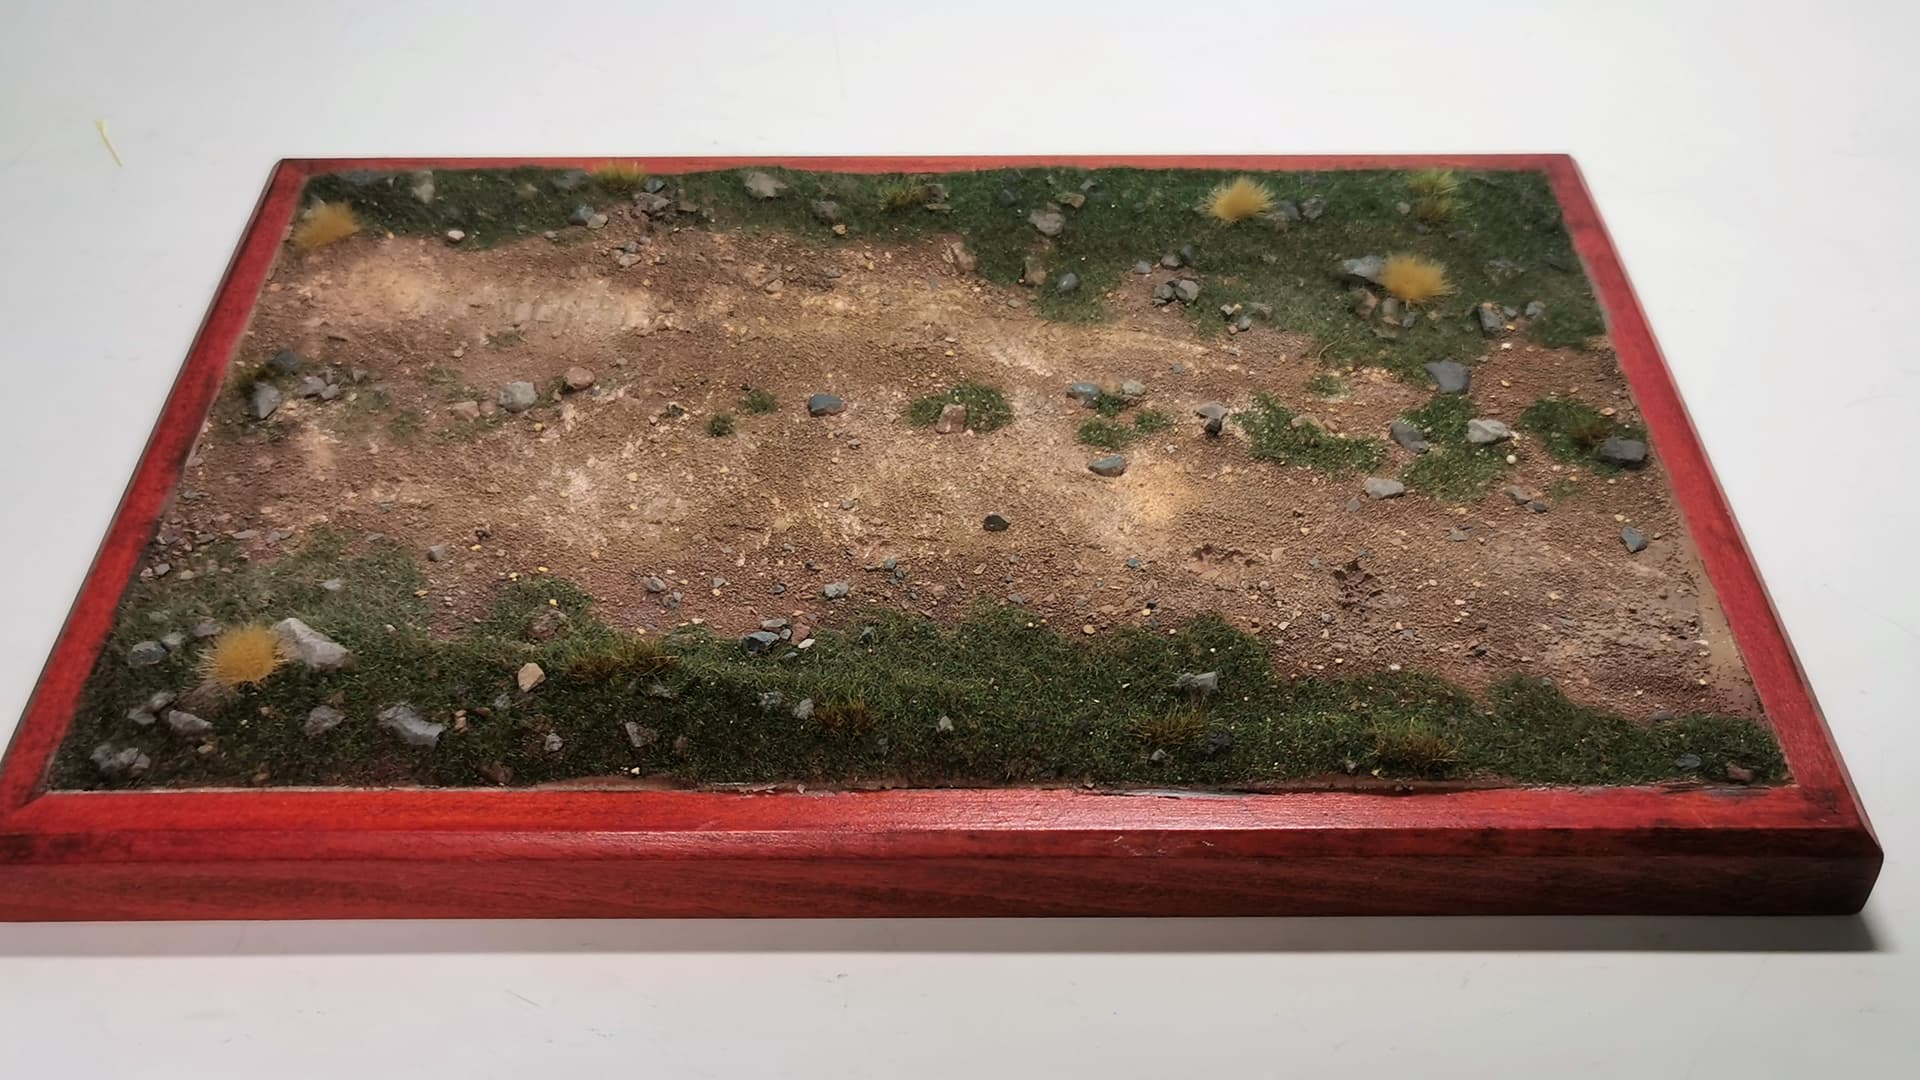
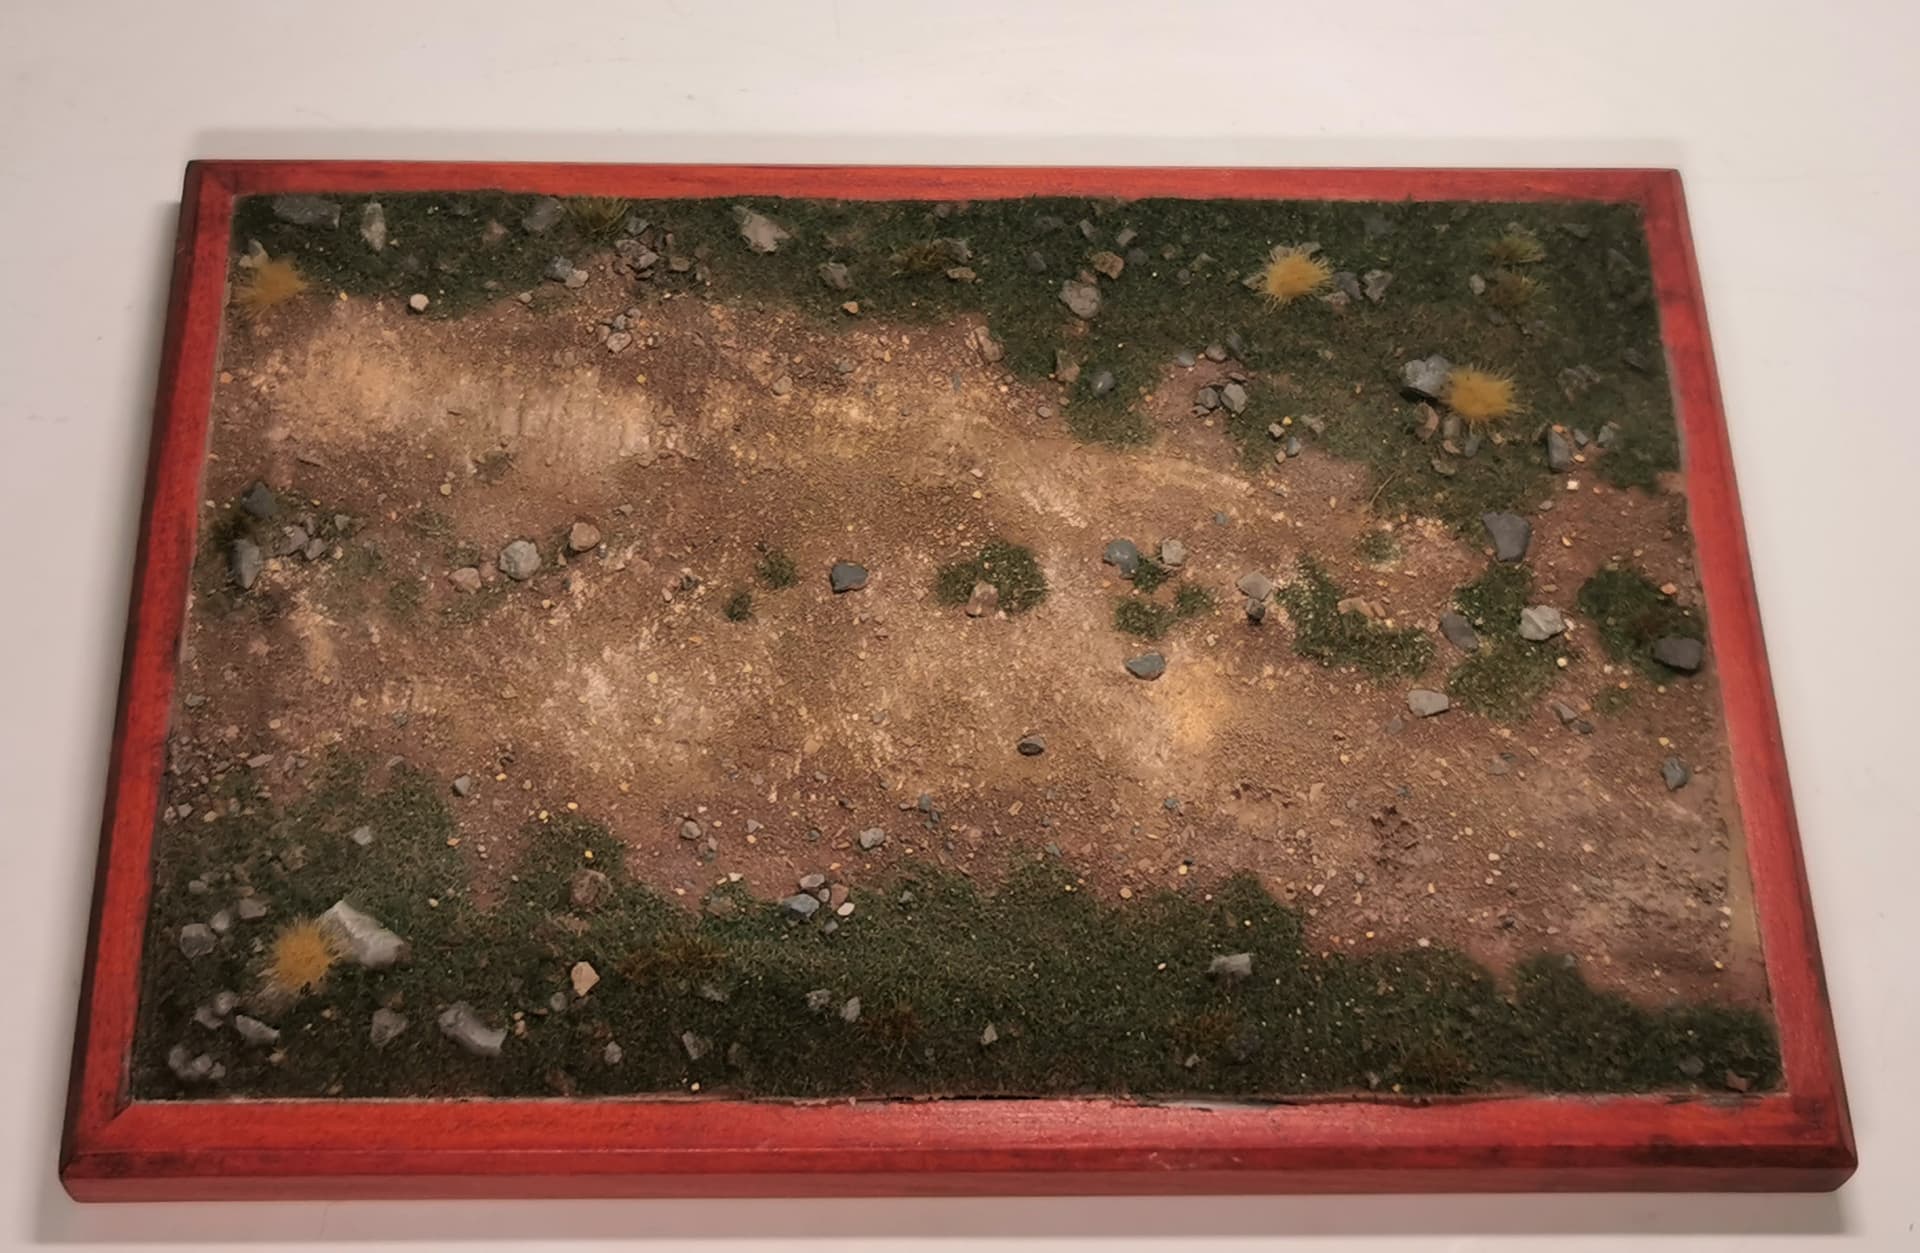
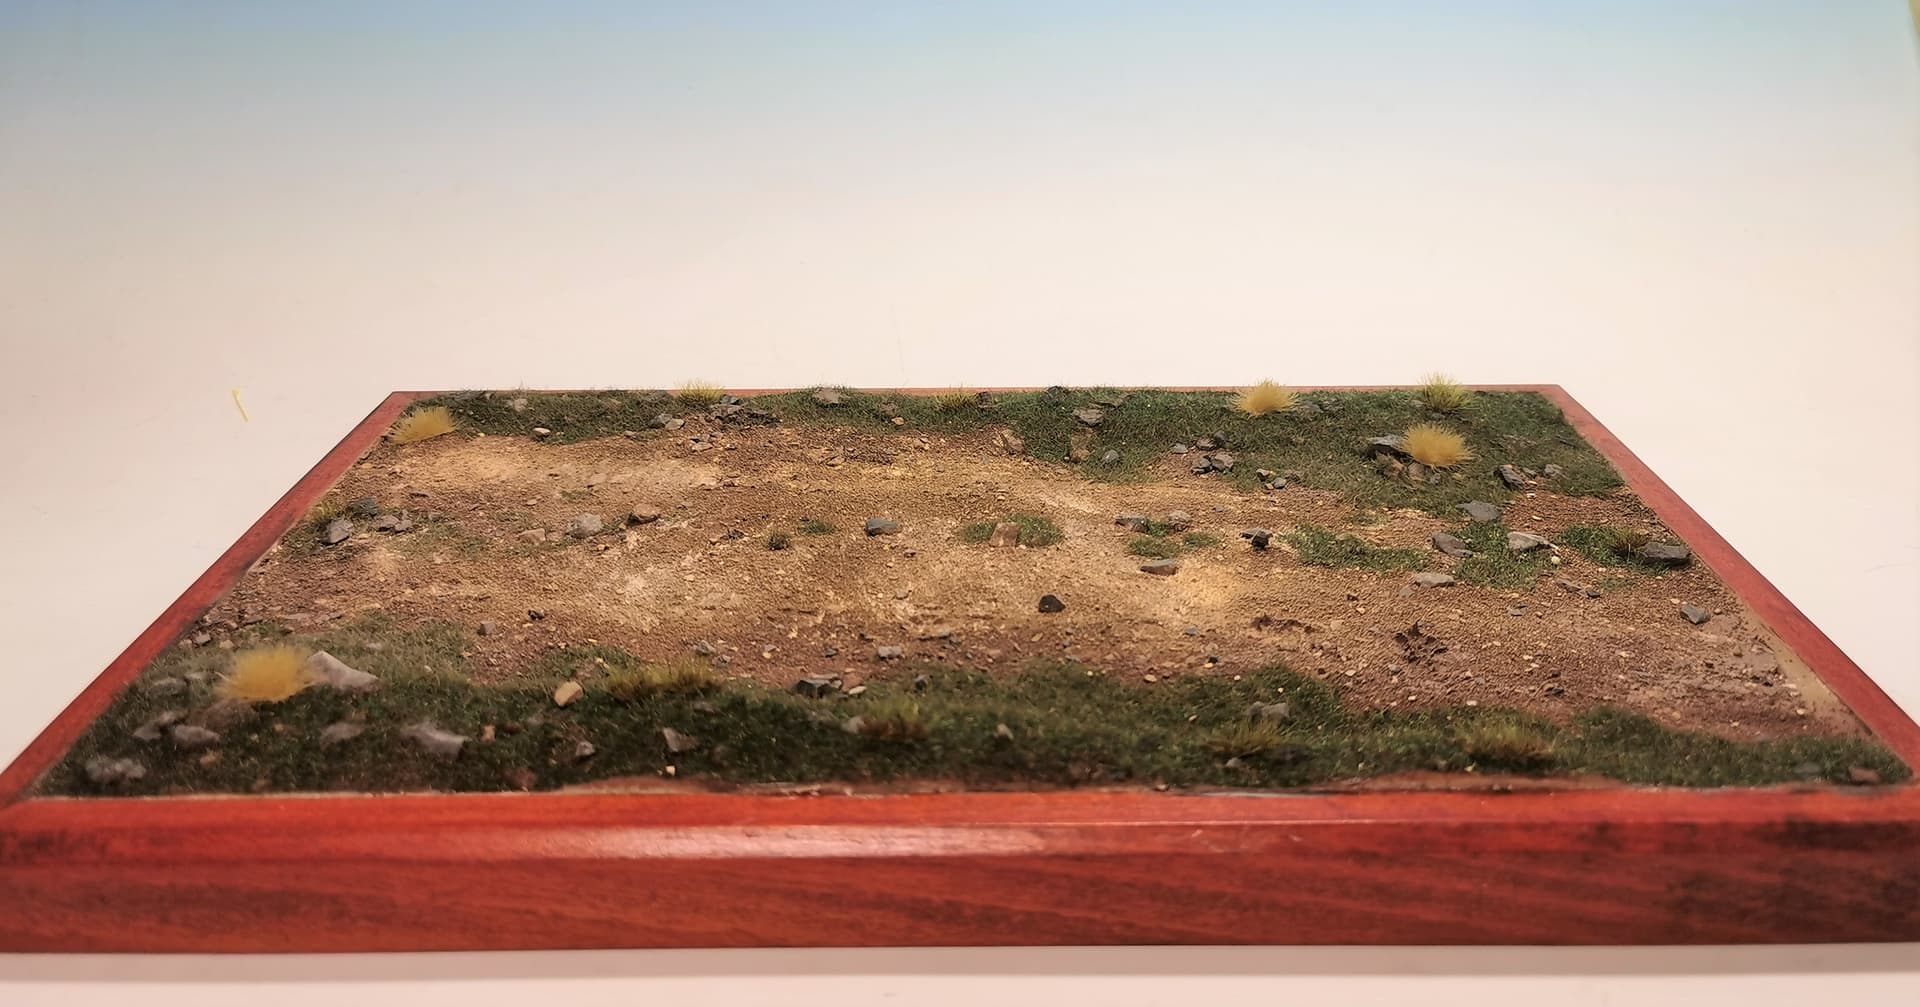
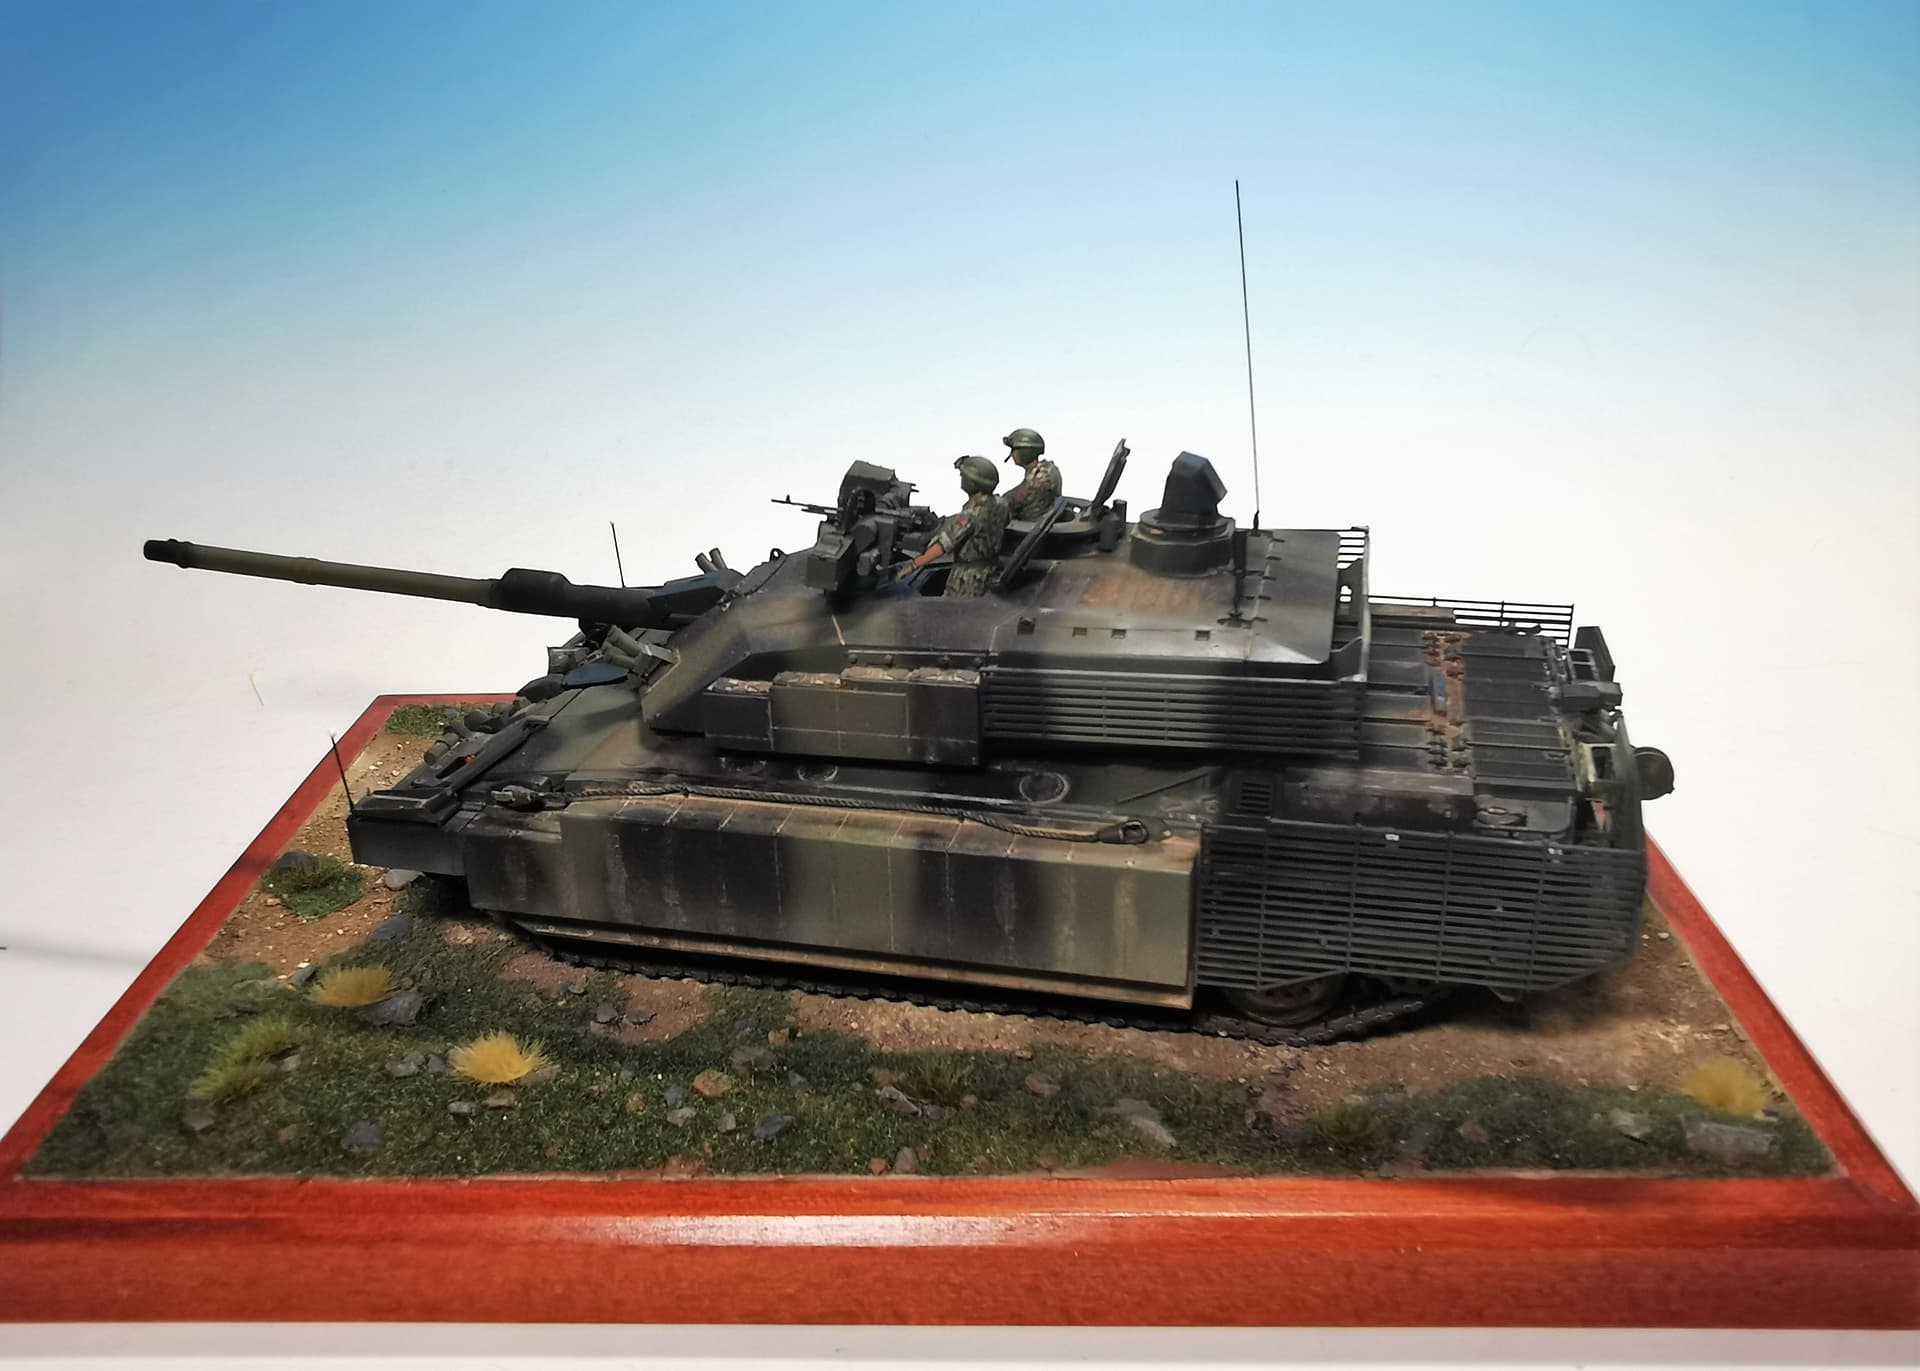
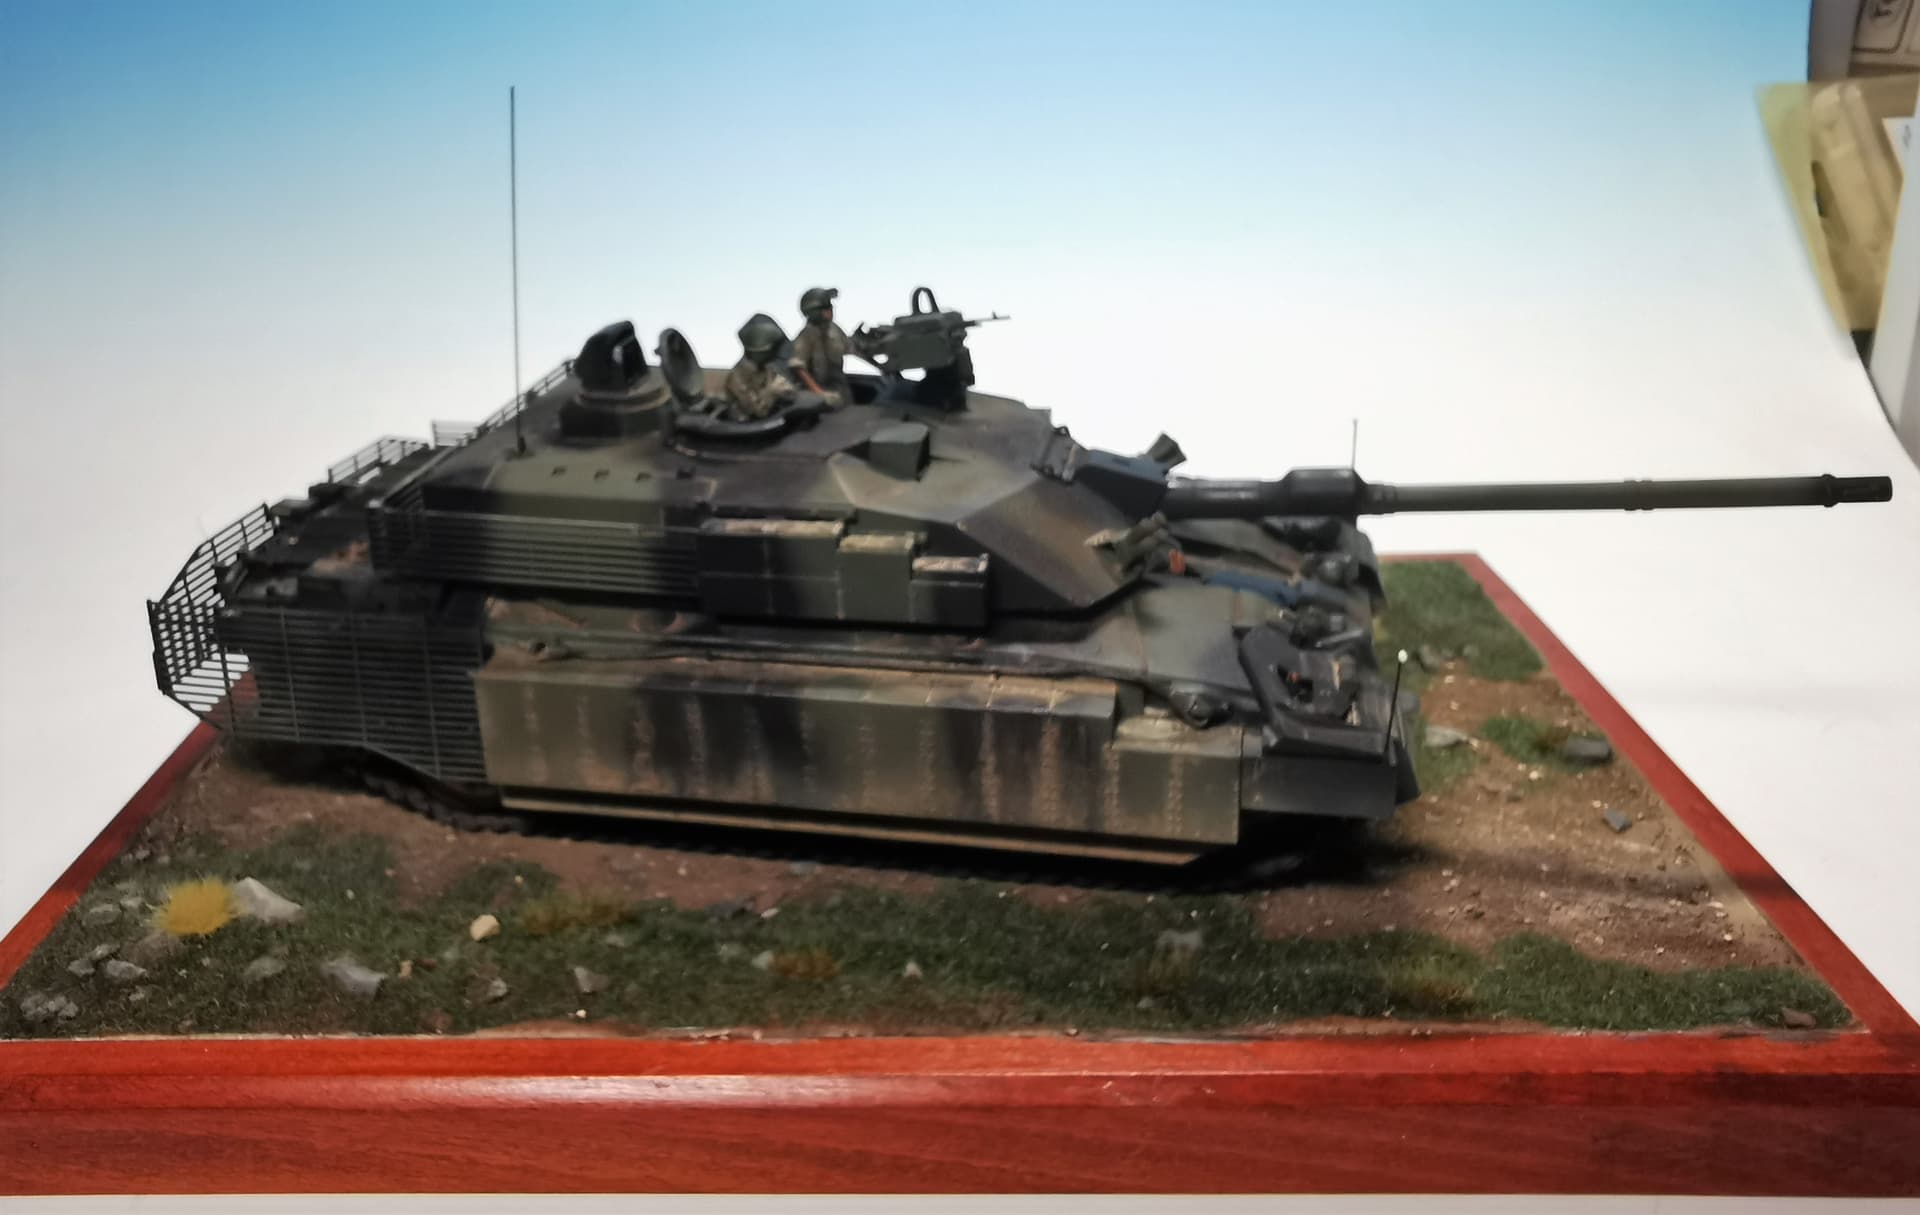
So this is really the last update gentlemen . I finished my small uncomplicated diorama base for my Challenger. I used a picture frame stuffed inside with styrofoam and sculpted a slightly uneven surface with Ovalit paste. Birdsand and small pepples were pressed in as everything was still wet. After all I sprinkled static grass over it and painted and dusted everything carefully. This is the final result:
Very effective base for it to sit on Thomas. It really looks good on it and sets the whole thing off perfectly. Not to complicated, nice simple setting and thats all you need so the Cr3 remains the main star … excellent work