@SSGToms Thanks Matt. Appreciate the very speedy move to live build
![]()
Happy to oblige!
Lets just say no and put that one to bed lol
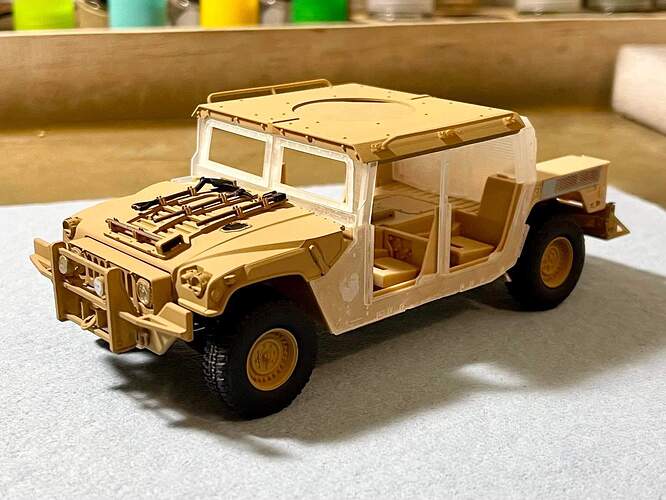
Okay. My submission will be an almost halfway done scratchbuild kit I started last year.
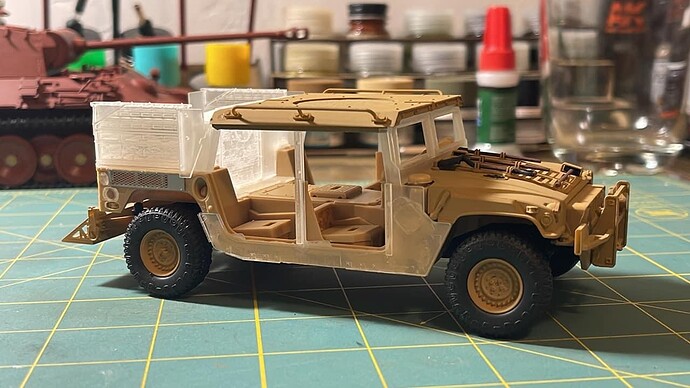
It was supposed to be an M1165 Special Forces GMV, based off the Academe M1151 Uparmored Humvee.
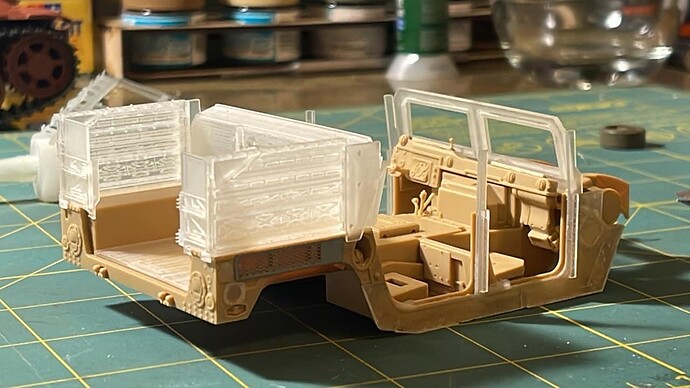
This one was an ambitious goal for me, but with most of of the parts being 3D printed, it quickly got expensive, I’ve invested over $100 in 3D printed parts from Shapeways and it will be completed, however; it has been put on the back burner until I can figure out how I will finish it.
Welcome Reynier. Great to see you have decided to move this one along. Looks like a fantastic project.
Thanks, last thing i did to it was add the SAG II turret and turret ring on the hood, but it still needs the armored window frames for the doors. I’ve already modded the kit doors, but the window frames are still pending.
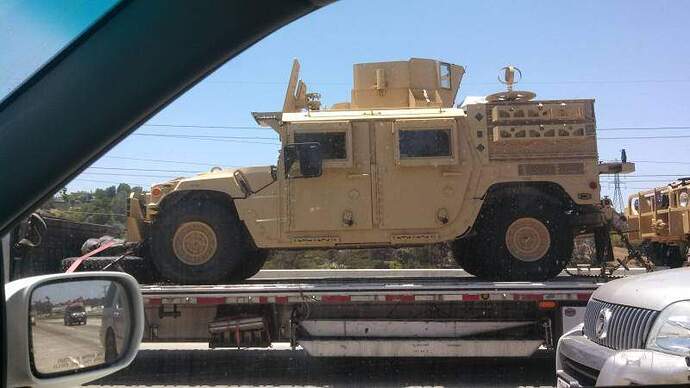
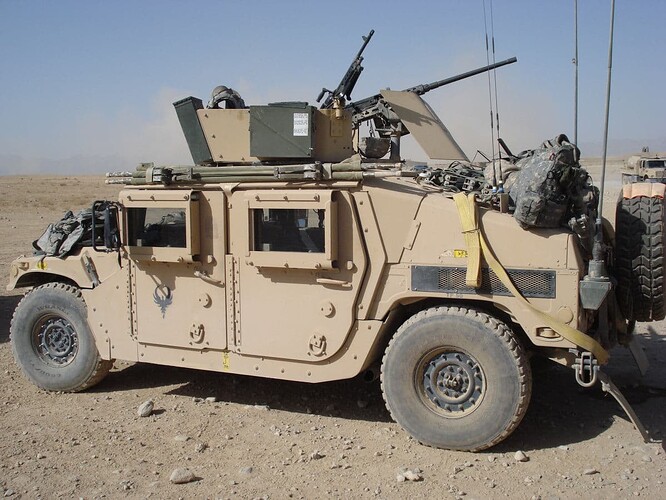
M1165 GMV. Notice the shape of the doors.
In comparisson to the M1151’s standasrd doors.
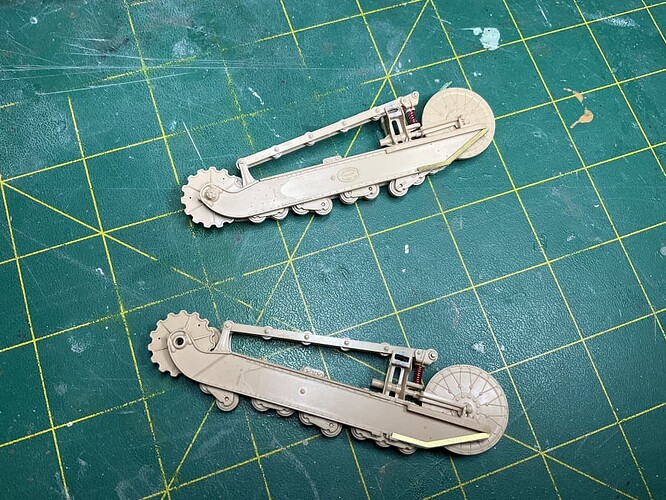
A tiny update. Replaced the kits anaemic spings with beefier ones from wire.
I remember why I stalled on this now. The kit does not have any ammo racks despite having a lot of other interior parts, so I scratch built one. Then I found out the vehicle racks had 4 shelves of ammo, not 3 like I made.
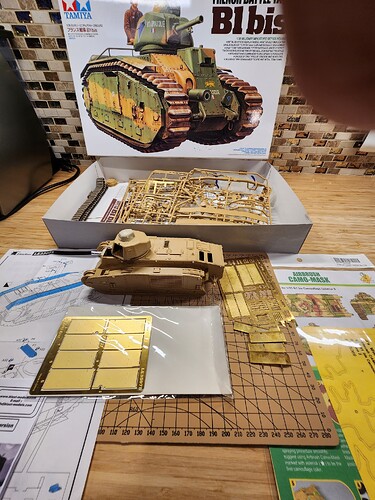
My Start Picture of theTamiya Char B1 bis. I can’t even remember why this kit got put on the shelf of doom, but like Peter I might remember what it was
when I restart it.
Nice one. Welcome aboard.
Brekinapez - A nice kit, I have the same one on my wall of shame after I screwed up the tilt and never got back to it. I did not do the mods that you have done, are you planning to leave the hood open?
On the sides; it will still have the top portion. The wiring may not be totally accurate but I felt I had to attempt something with the engine being exposed.
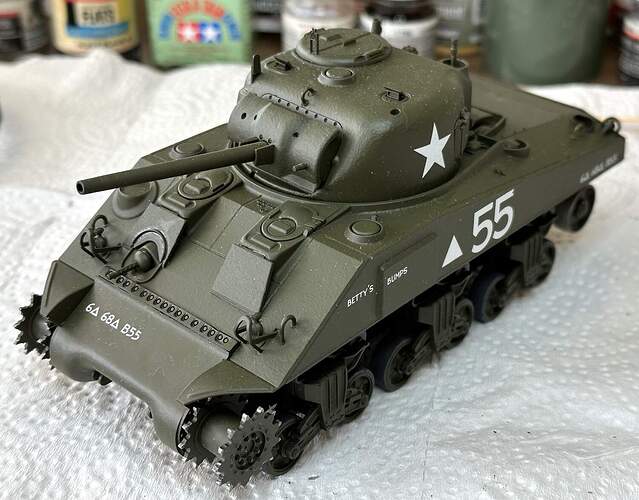
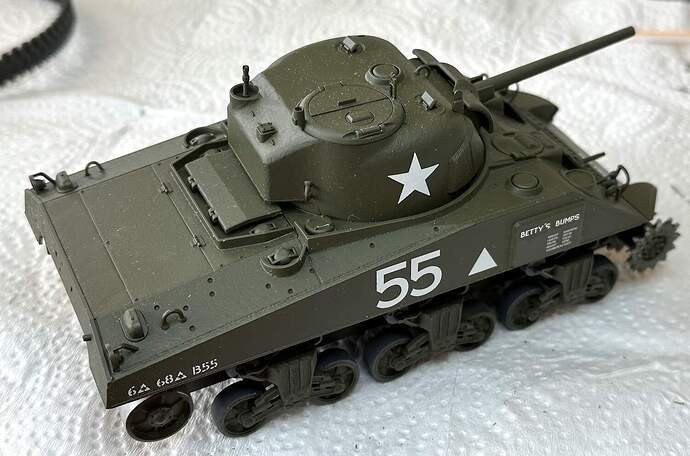
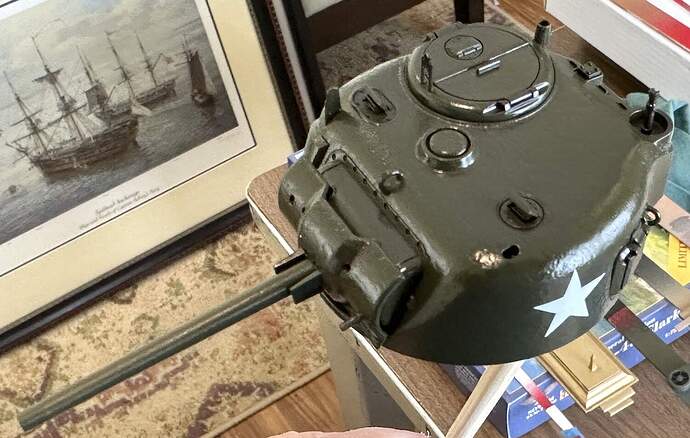
About a dozen years ago I wanted to start building models again after a layoff of many years. Mostly I built airplanes but decided to try armor. At a kit collectors type of show one of the vendors was offering 2 for 1 kits - someone had combined the contents of two kits into one box by clipping all the parts off of the sprues. So I got two Tamiya M4 Shermans for the price of one - or so I thought. As it turned out, whoever owned these kits only kept the parts he thought he would need and disguarded everything else. More on this later!
I started in with great enthusiasm and made a good start. The kit decals were missing so I got a set of Archer dry transfers for Betty’s Bumps and applied them over the flat olive drab paint.
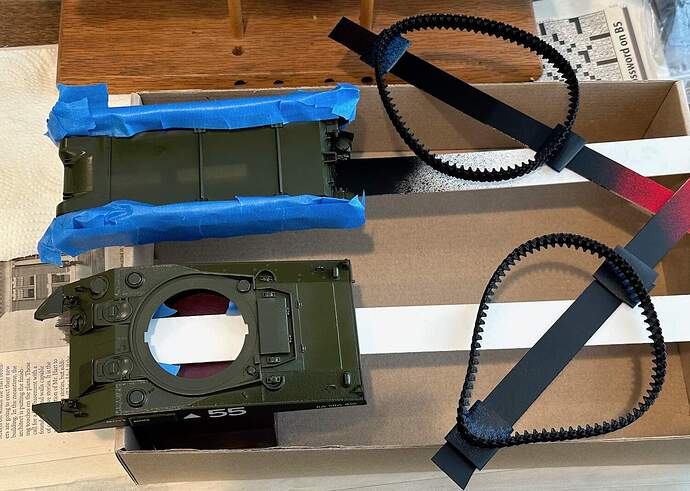
The tracks were painted and set out to dry in the hot SoCal sun where I lived at that time. In less than 10 minutes the tracks were pretzeled and useless and the project got shelved.
Somewhere I found a new set of tracks which were added to the box which sat on the shelf waiting for me to get around to it.
A couple of weeks ago I was at a lull while paint waited to dry on other projects and pulled the kit out again. It looked pretty good, well worth finishing so I started on it again. First was a coat of clear gloss to allow a pin wash. Then all the little detail parts were started, things like the tools & stowage.
This has been fun and I’m looking forward to the next work session.
Paul
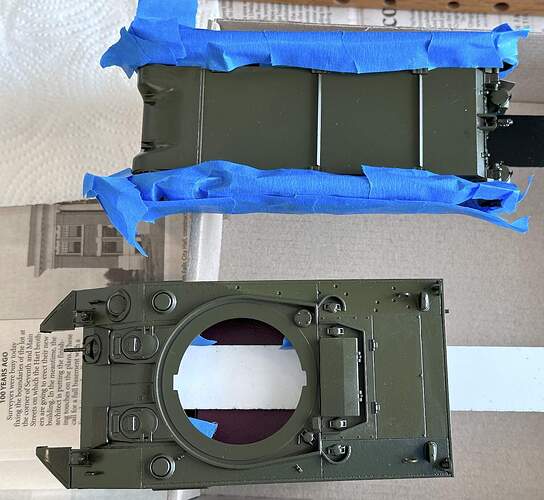
It sure is a build worth picking up again. Did you fill the open sponson over the tracks? Being able to see inside the model by looking over the top of the tracks is the one major issue of the kit.
Yep.
Norm S created a template for folks to use to address the issue.
Thanks for this. Is exactly what many (myself included) need to properly close the sponsons on Tamiya Shermans.
I noticed the hollow but thought it might not be an issue if viewing the model from above. I will give the idea of filling the sponsons some thought. I wonder if plastic card stock could be cut with a laser? I know some plastics can be but others emit some nasty vapors that do bad things to the lenses.
Paul
I am not sure if it an be cut by laser. The sponson fillers would not be too hard to cut with a blade and ruler though.
I would print the pdf, tape it to plastic sheet or card stock and with a straight edge & knife cut out the part.
I would like to join this with a 1/25 Tiger 1 that has been sitting for about two years, maybe 3 as I cant decide on a color for it yet. it still needs more building. I will post how it sits later.
