Looking great!
2 Likes
Thanks Matt and Ingvar … lots of detailing to do now … firstly …the replacement MG mount is finished and will get that and the Bren fitted in due course .
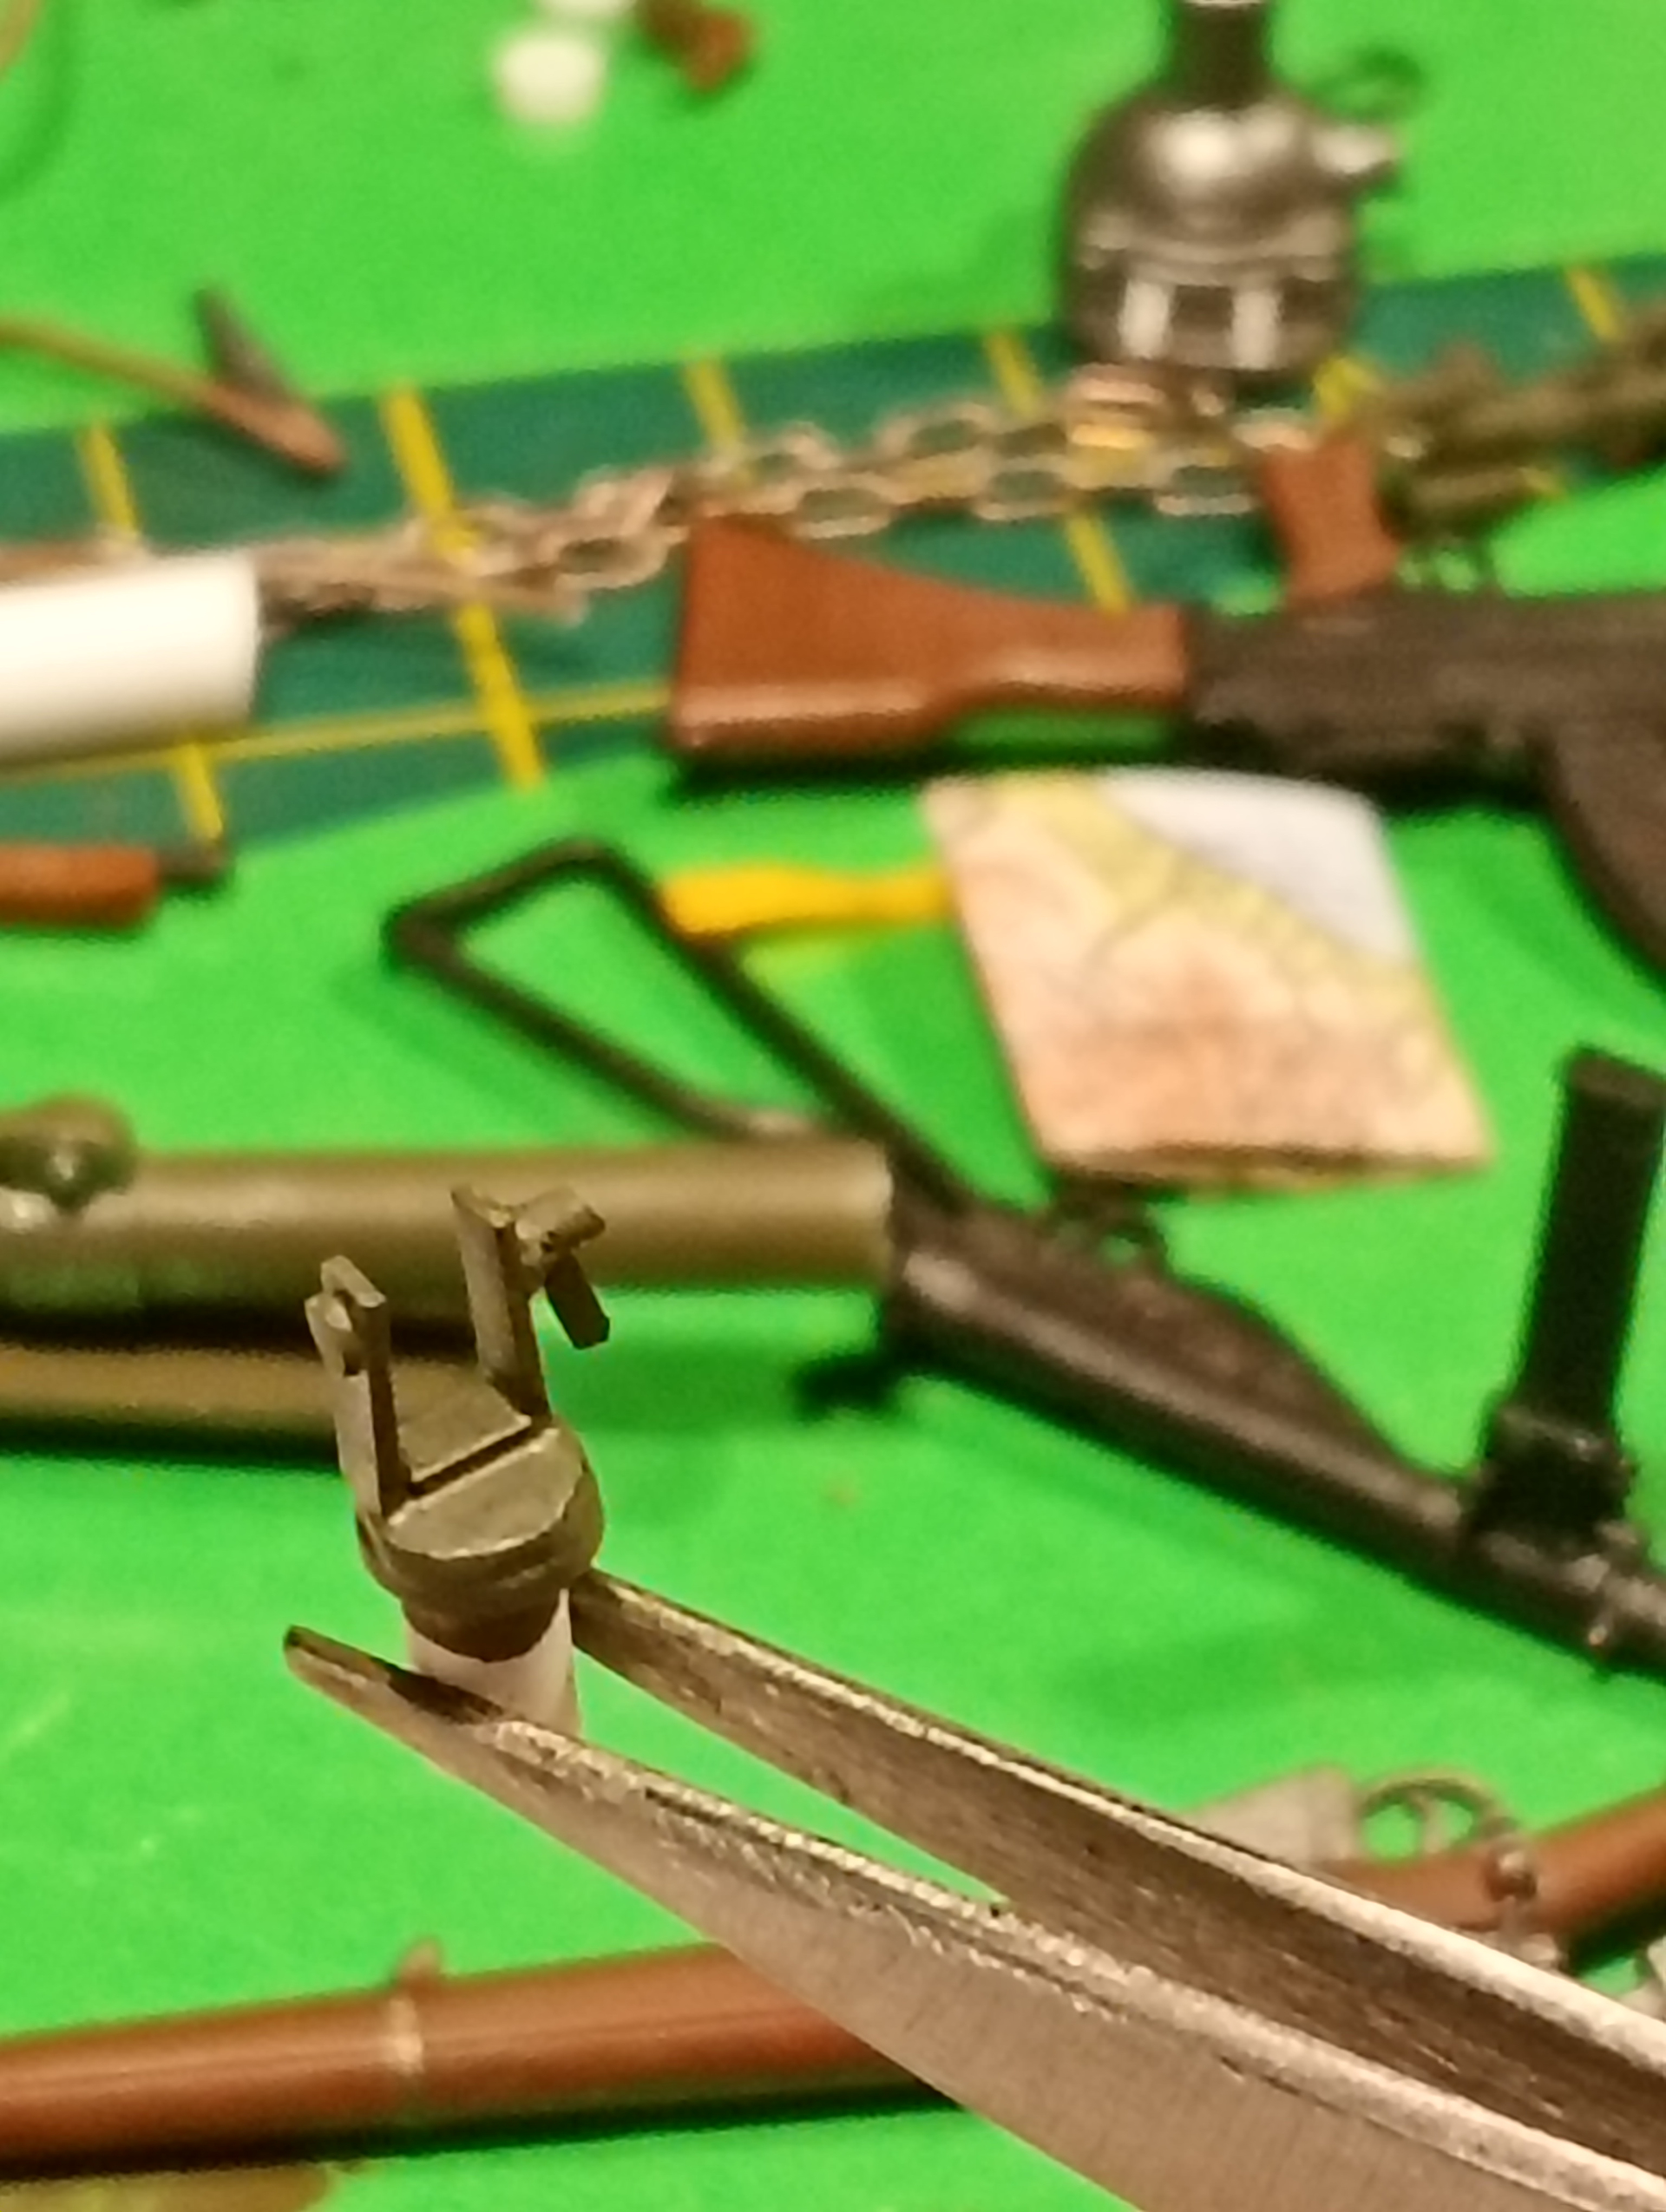
And some weapons … will only be fitting slings to the Lee rifles …
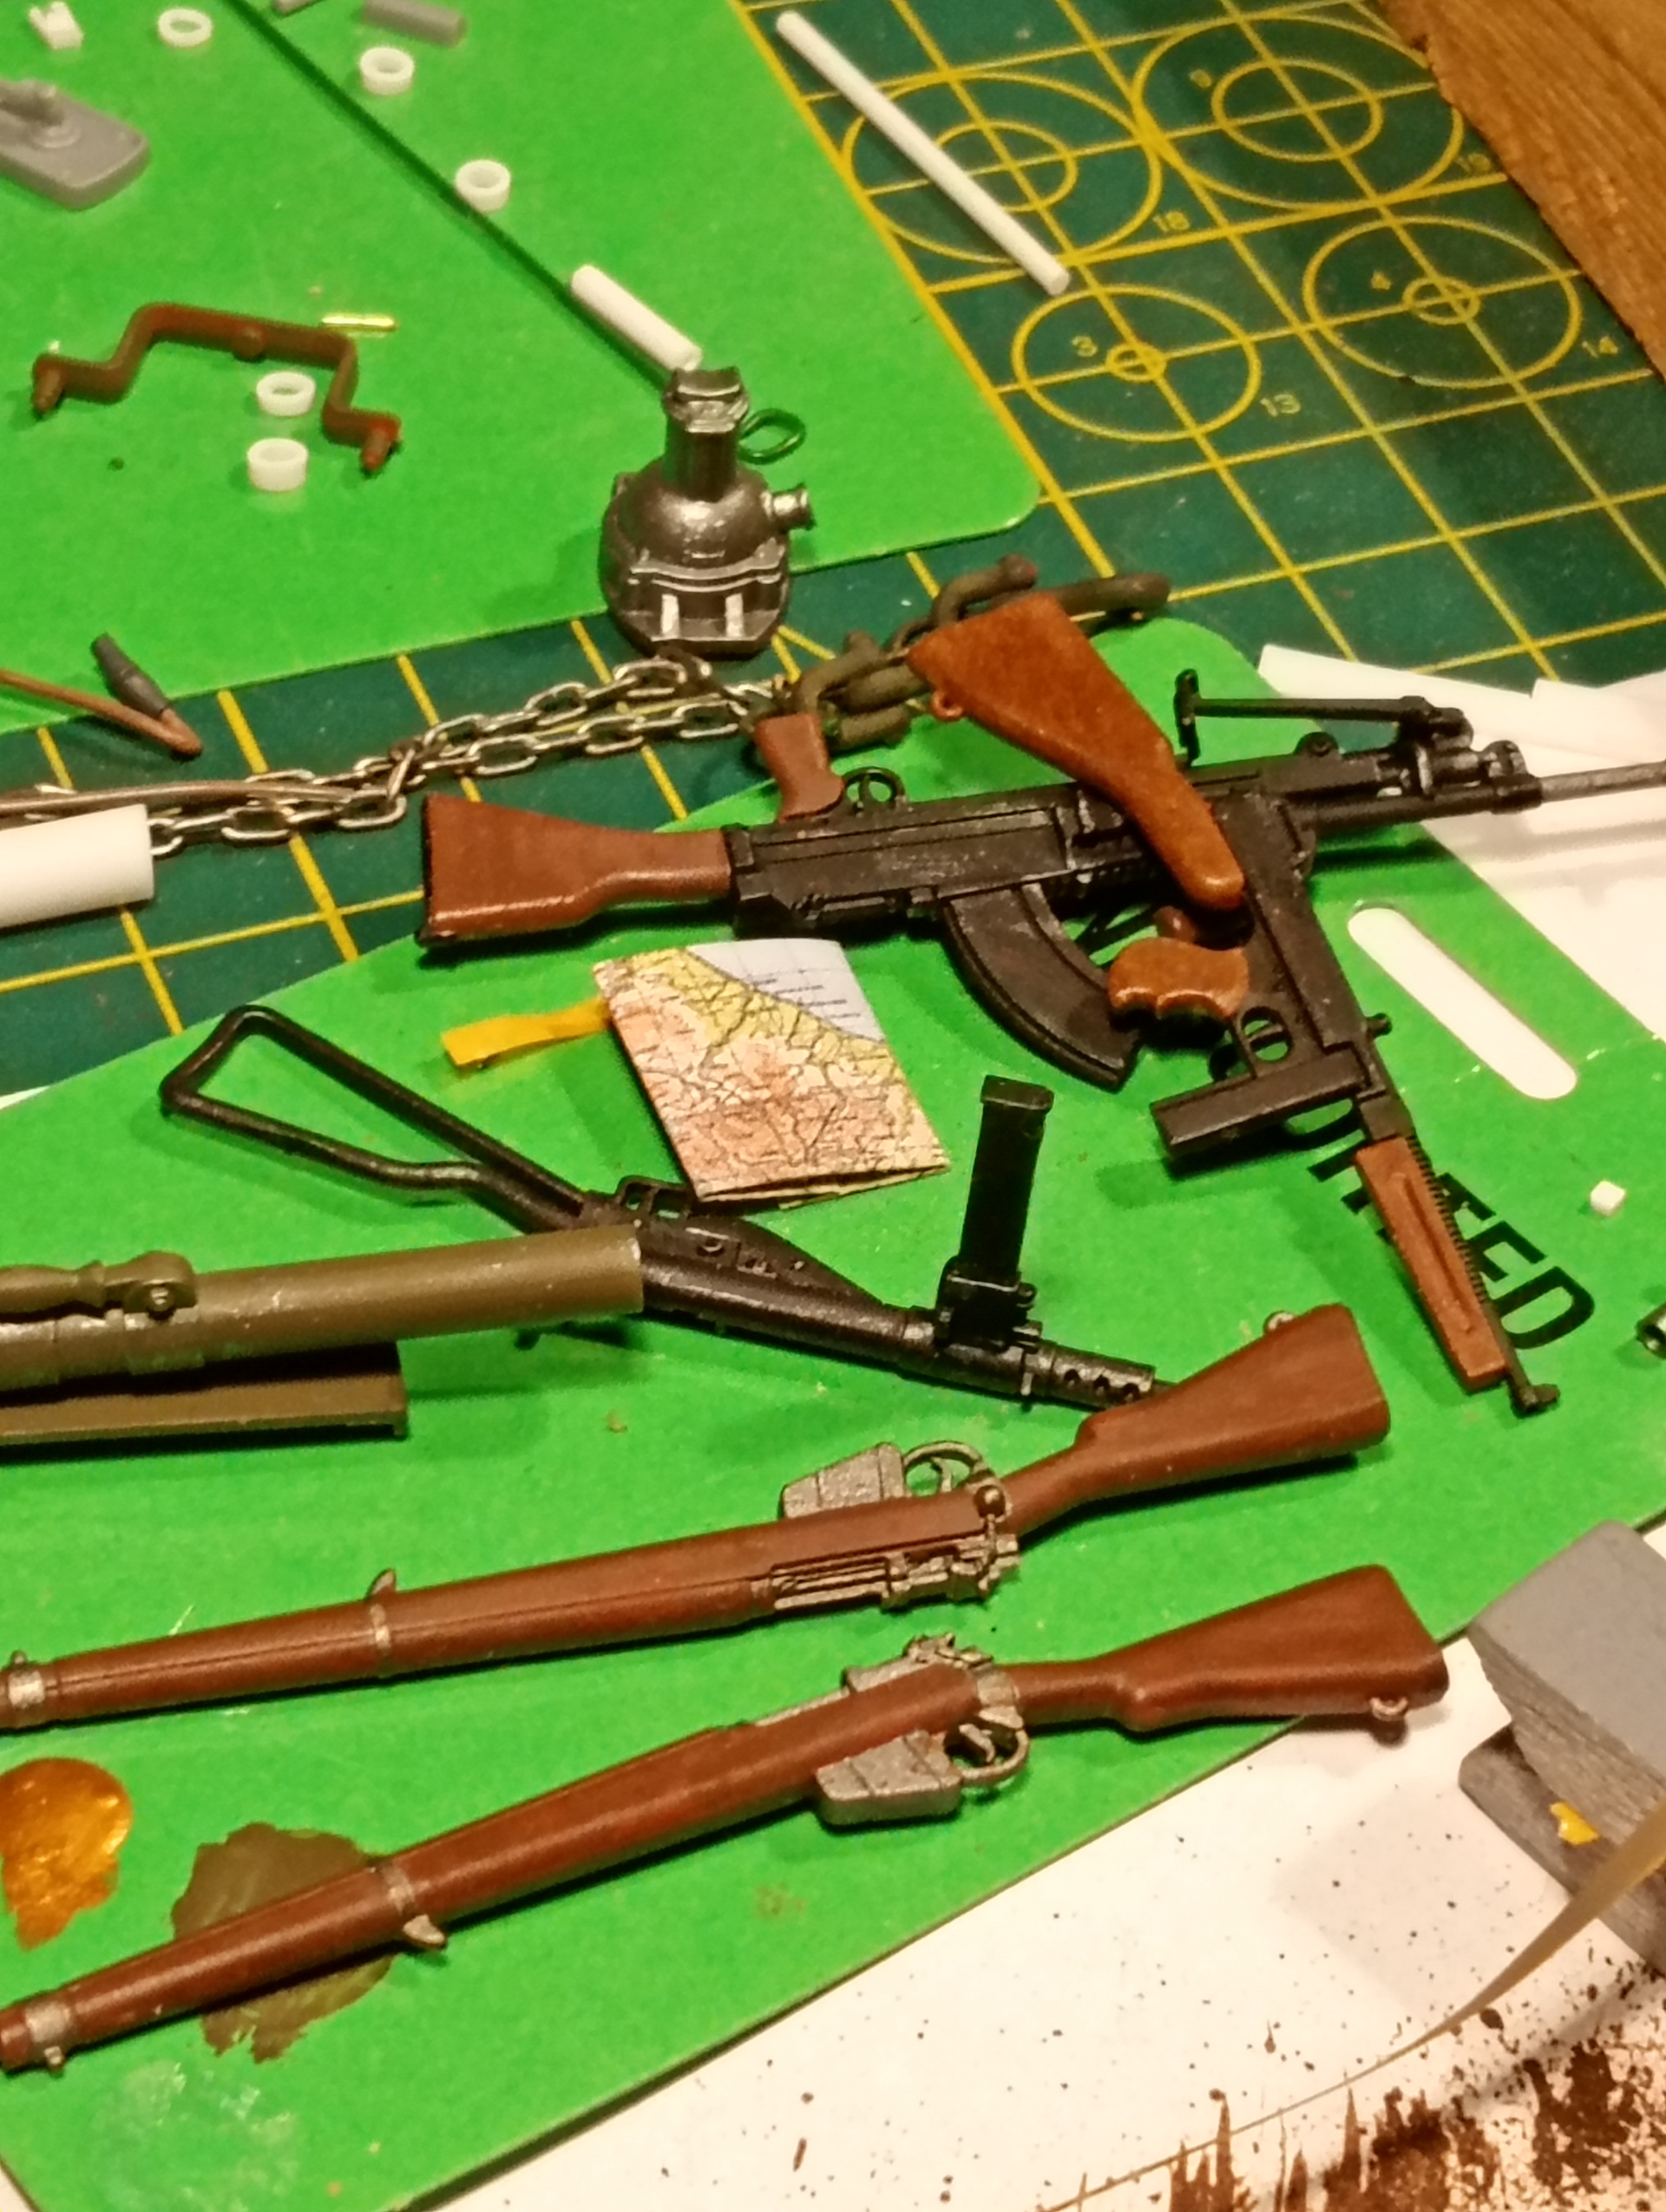
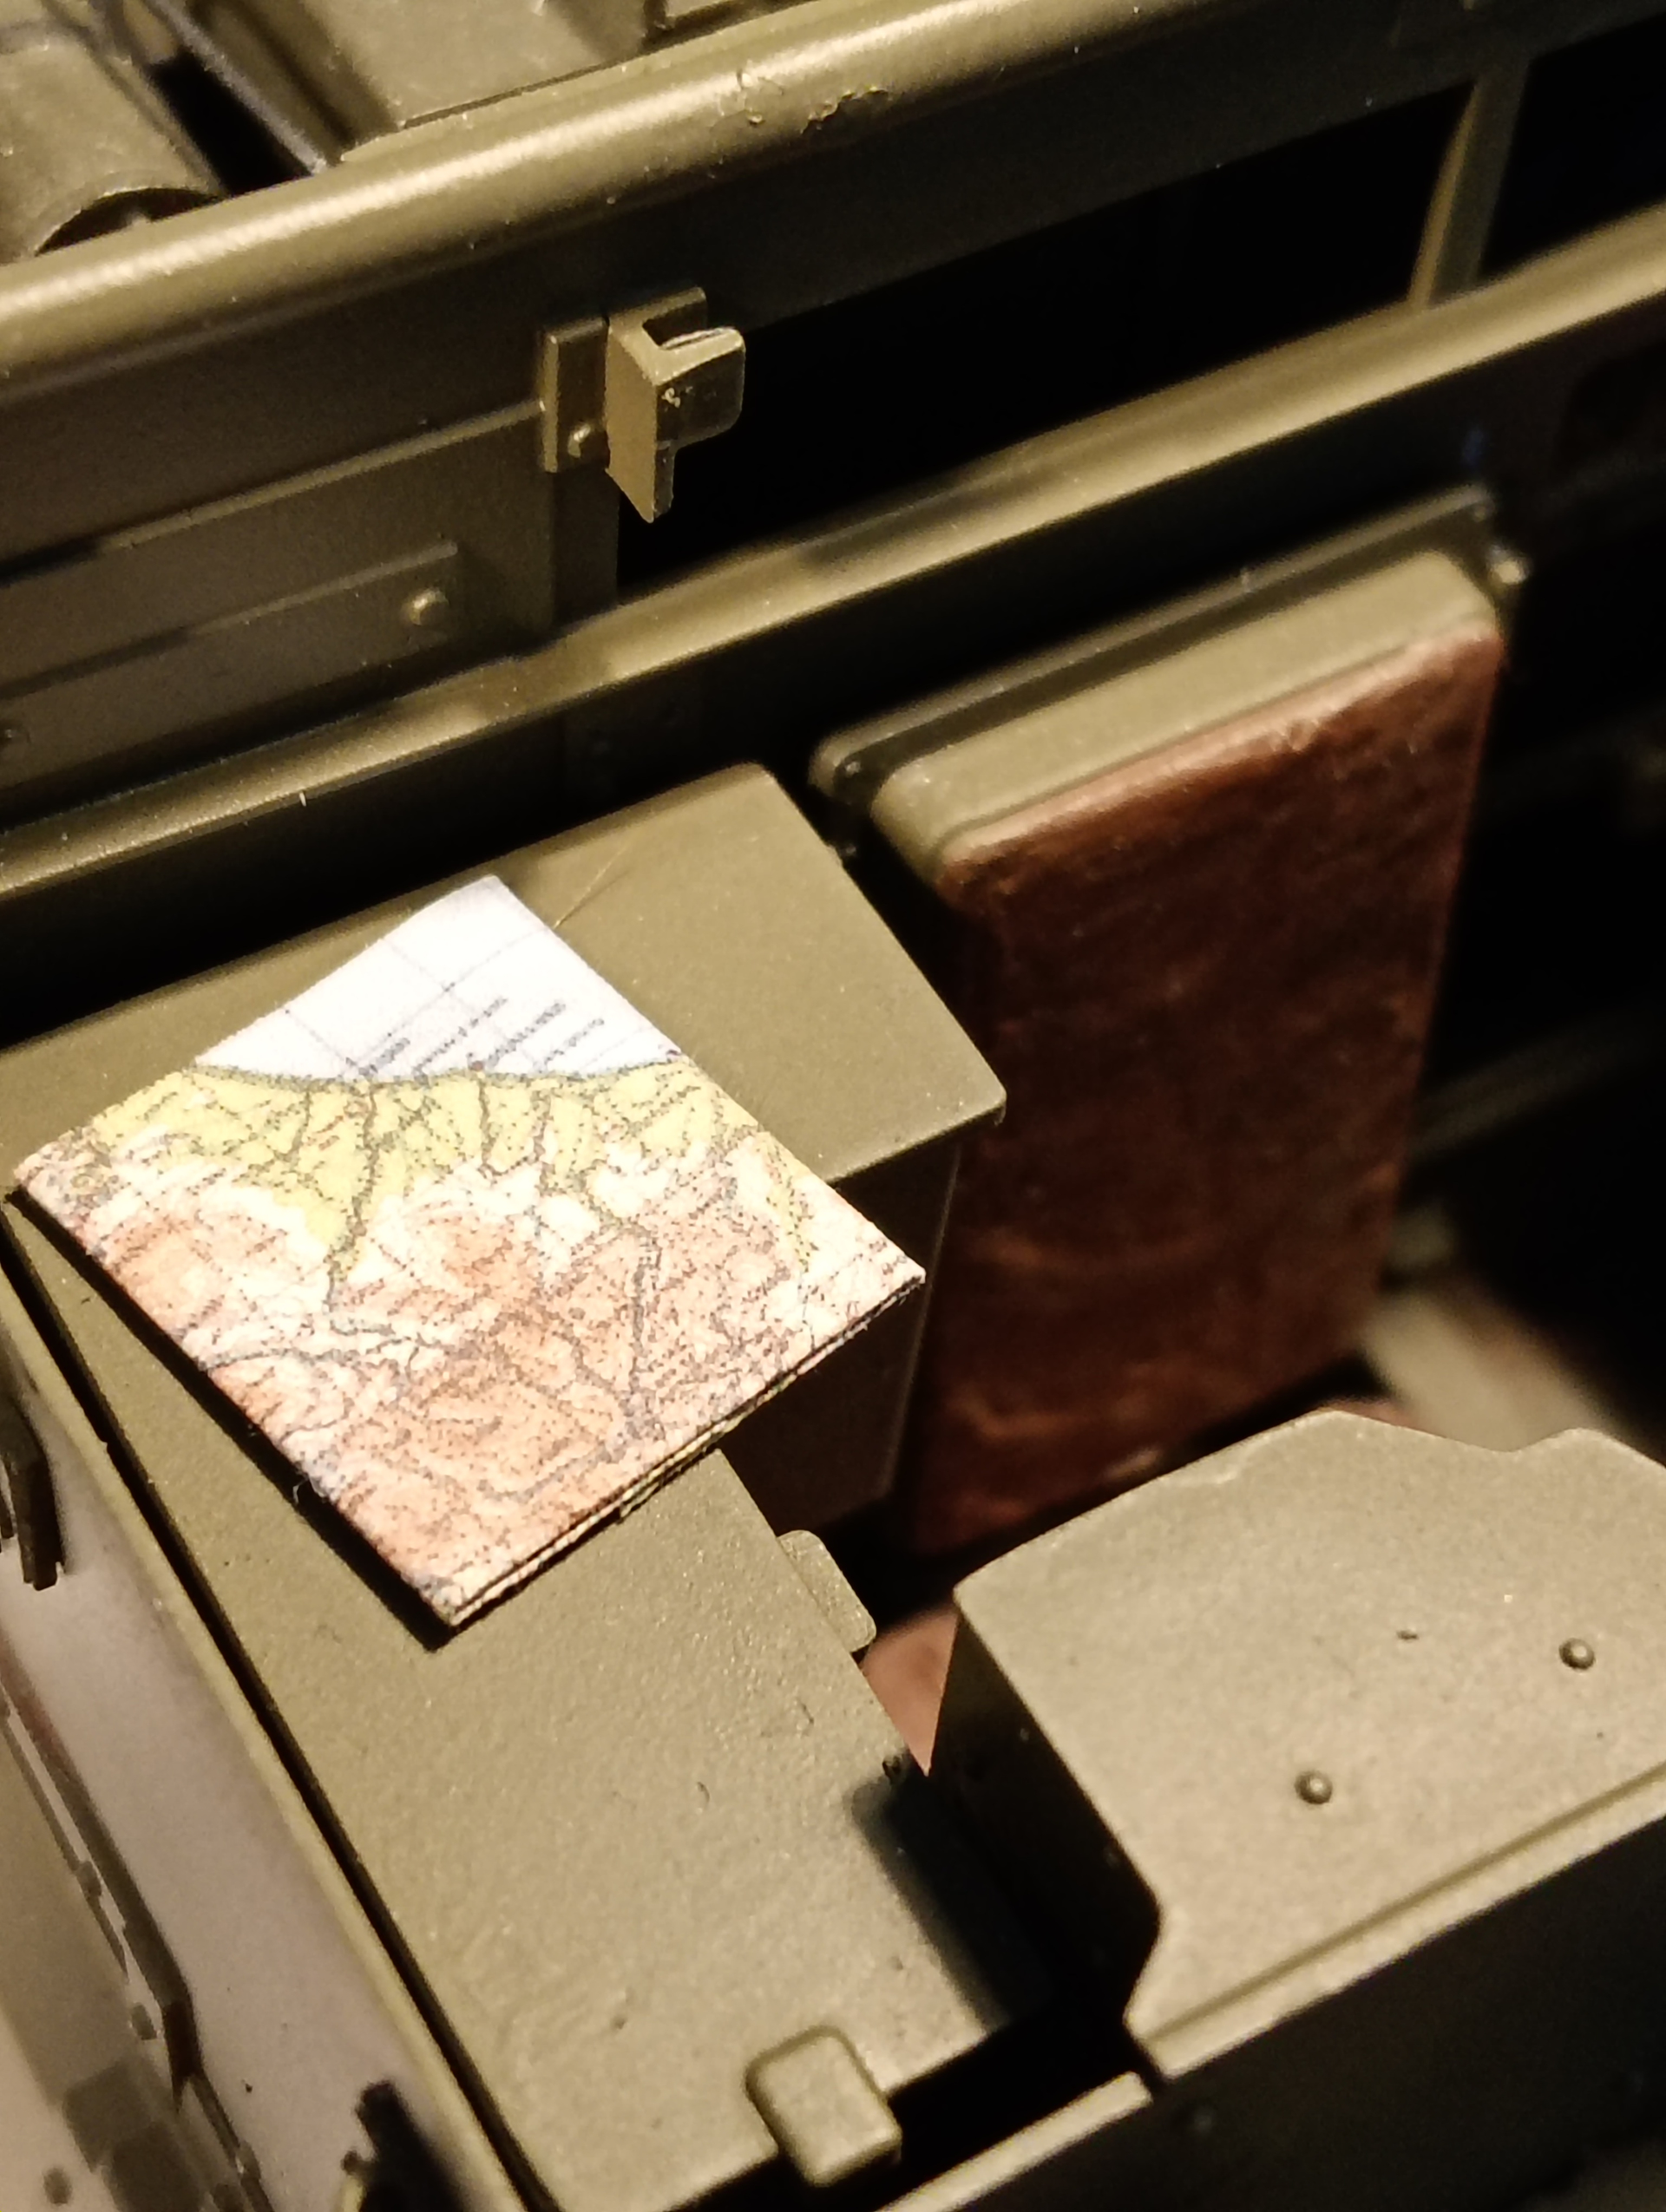
And yes, there is a photo copy of an Italian map from WW2 …scale may be a bit out but it looks nice .
7 Likes
Started adding some stowage to various areas. So a quick update with some images to show straps and how they look holding bits on etc. Everything will be getting a paint touch up and detail paint once all stowage is fitted and I’ve made a few tarps up 
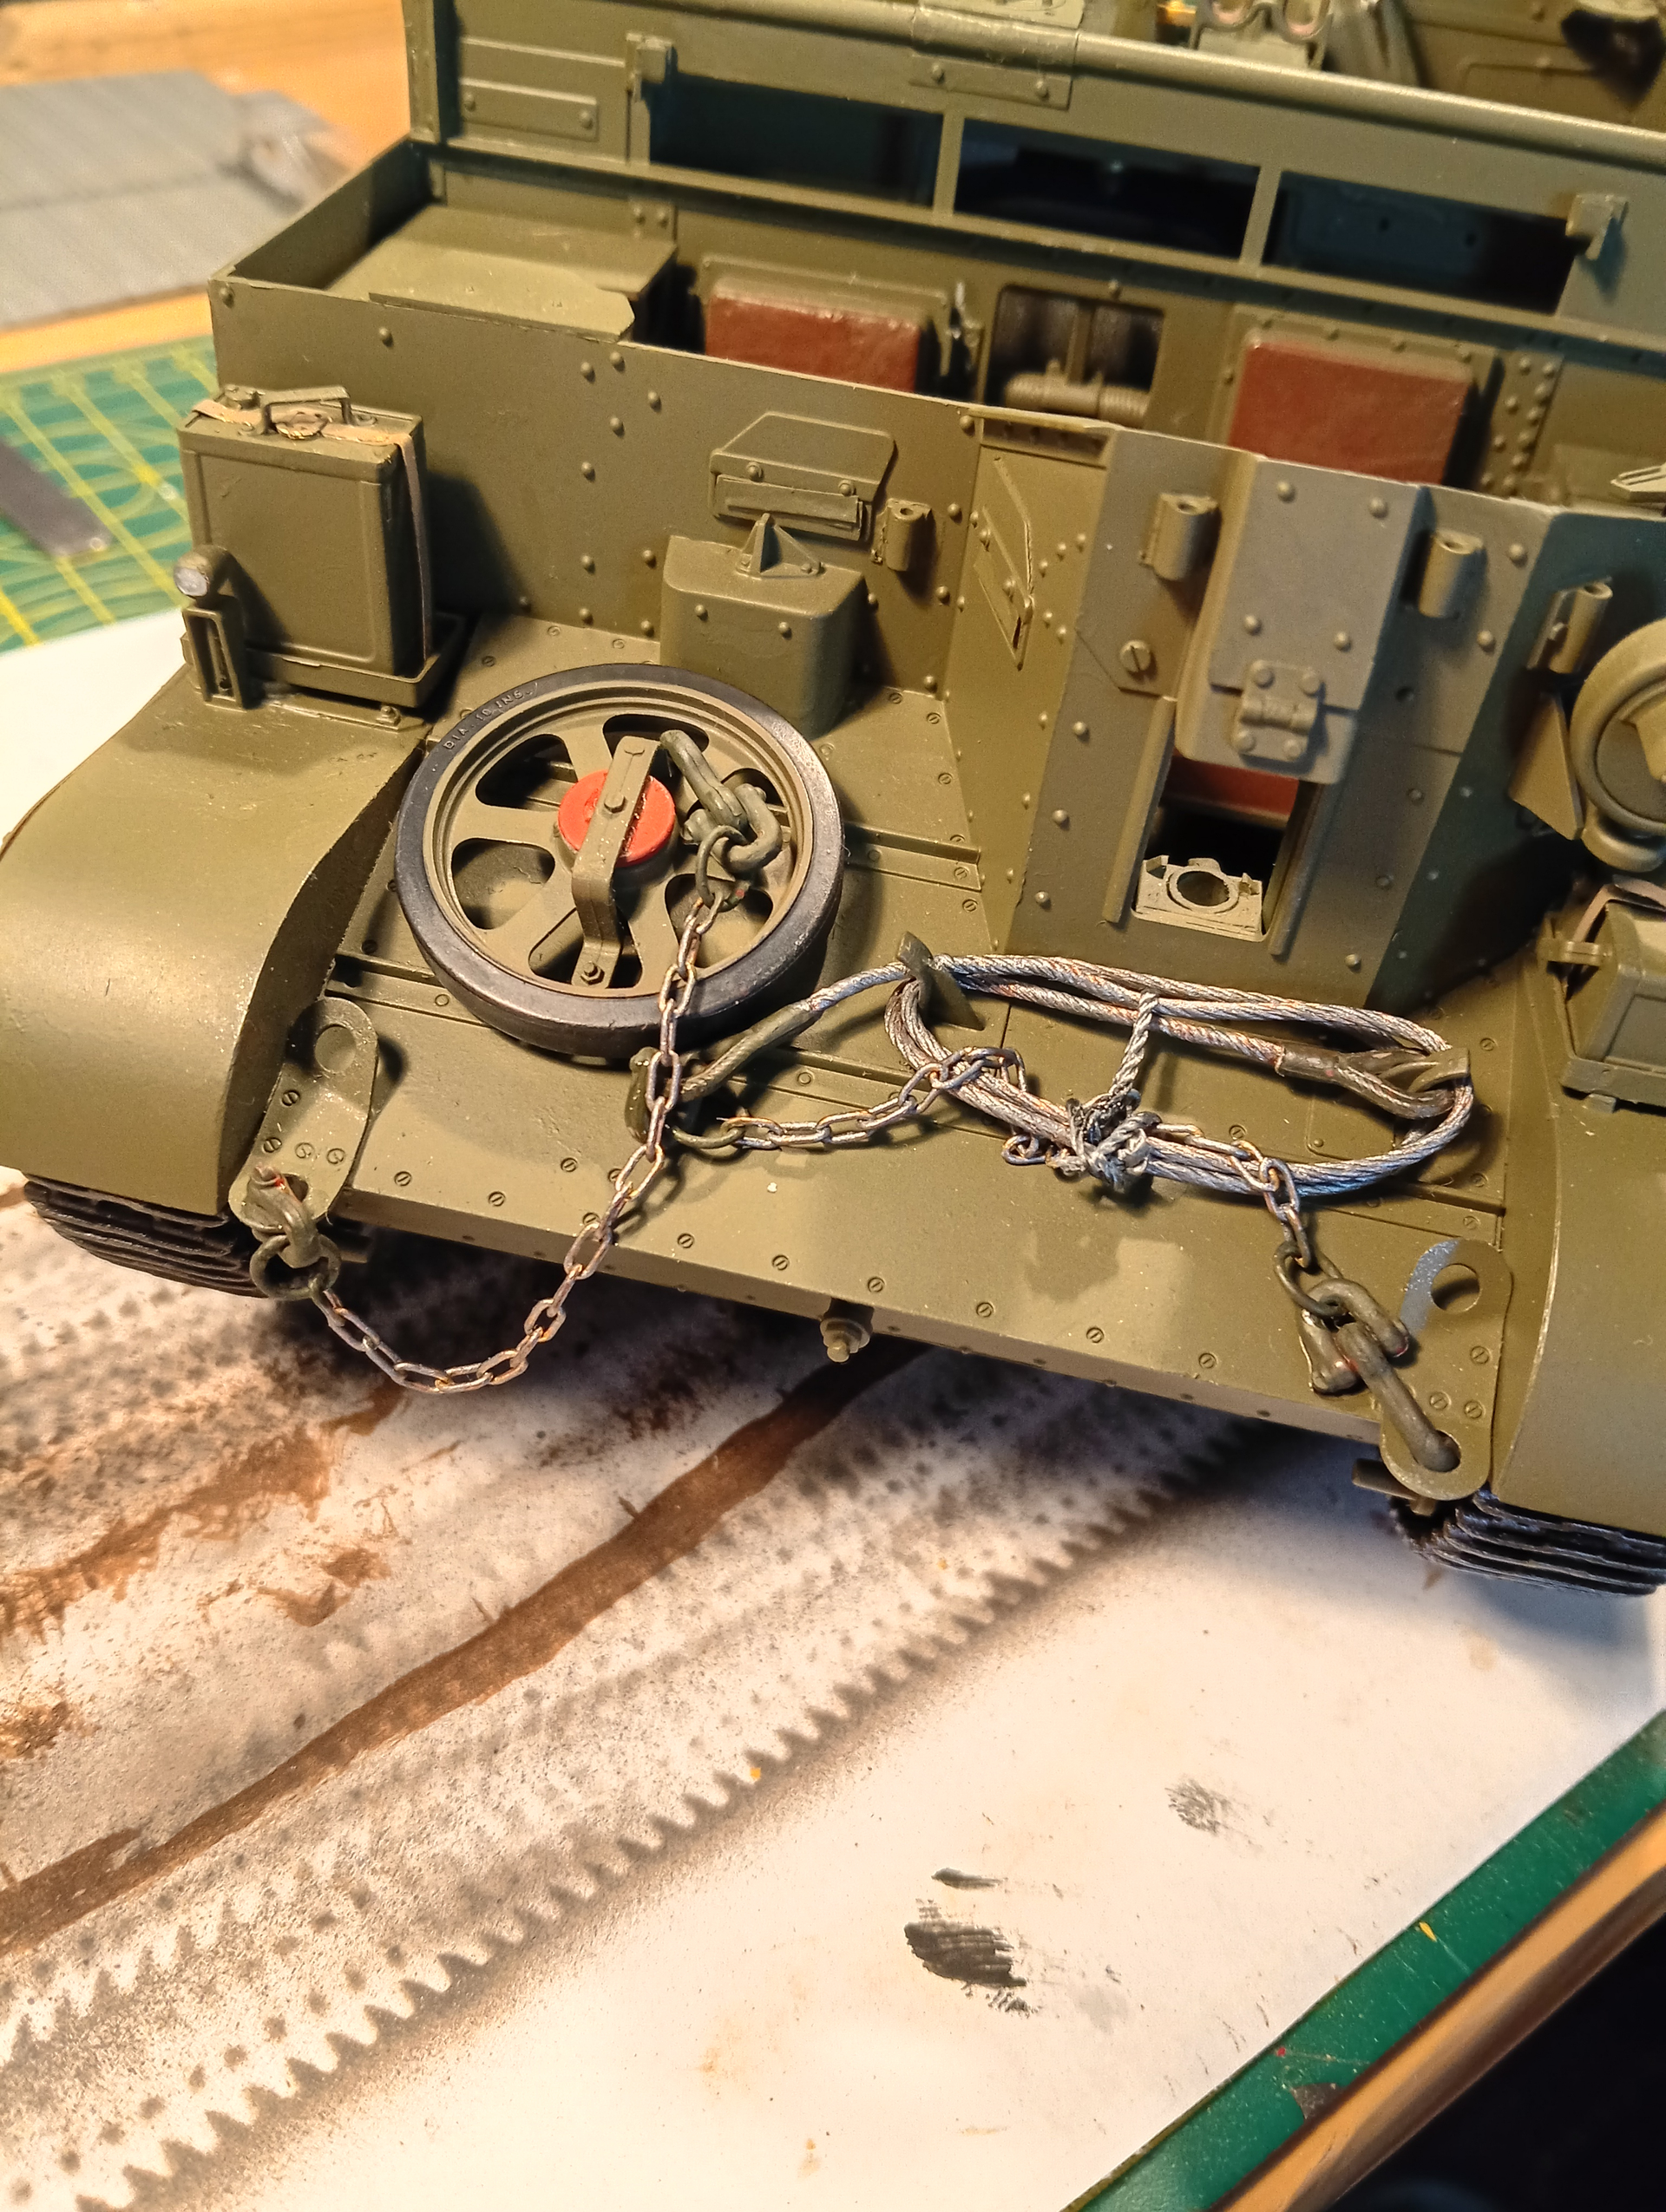
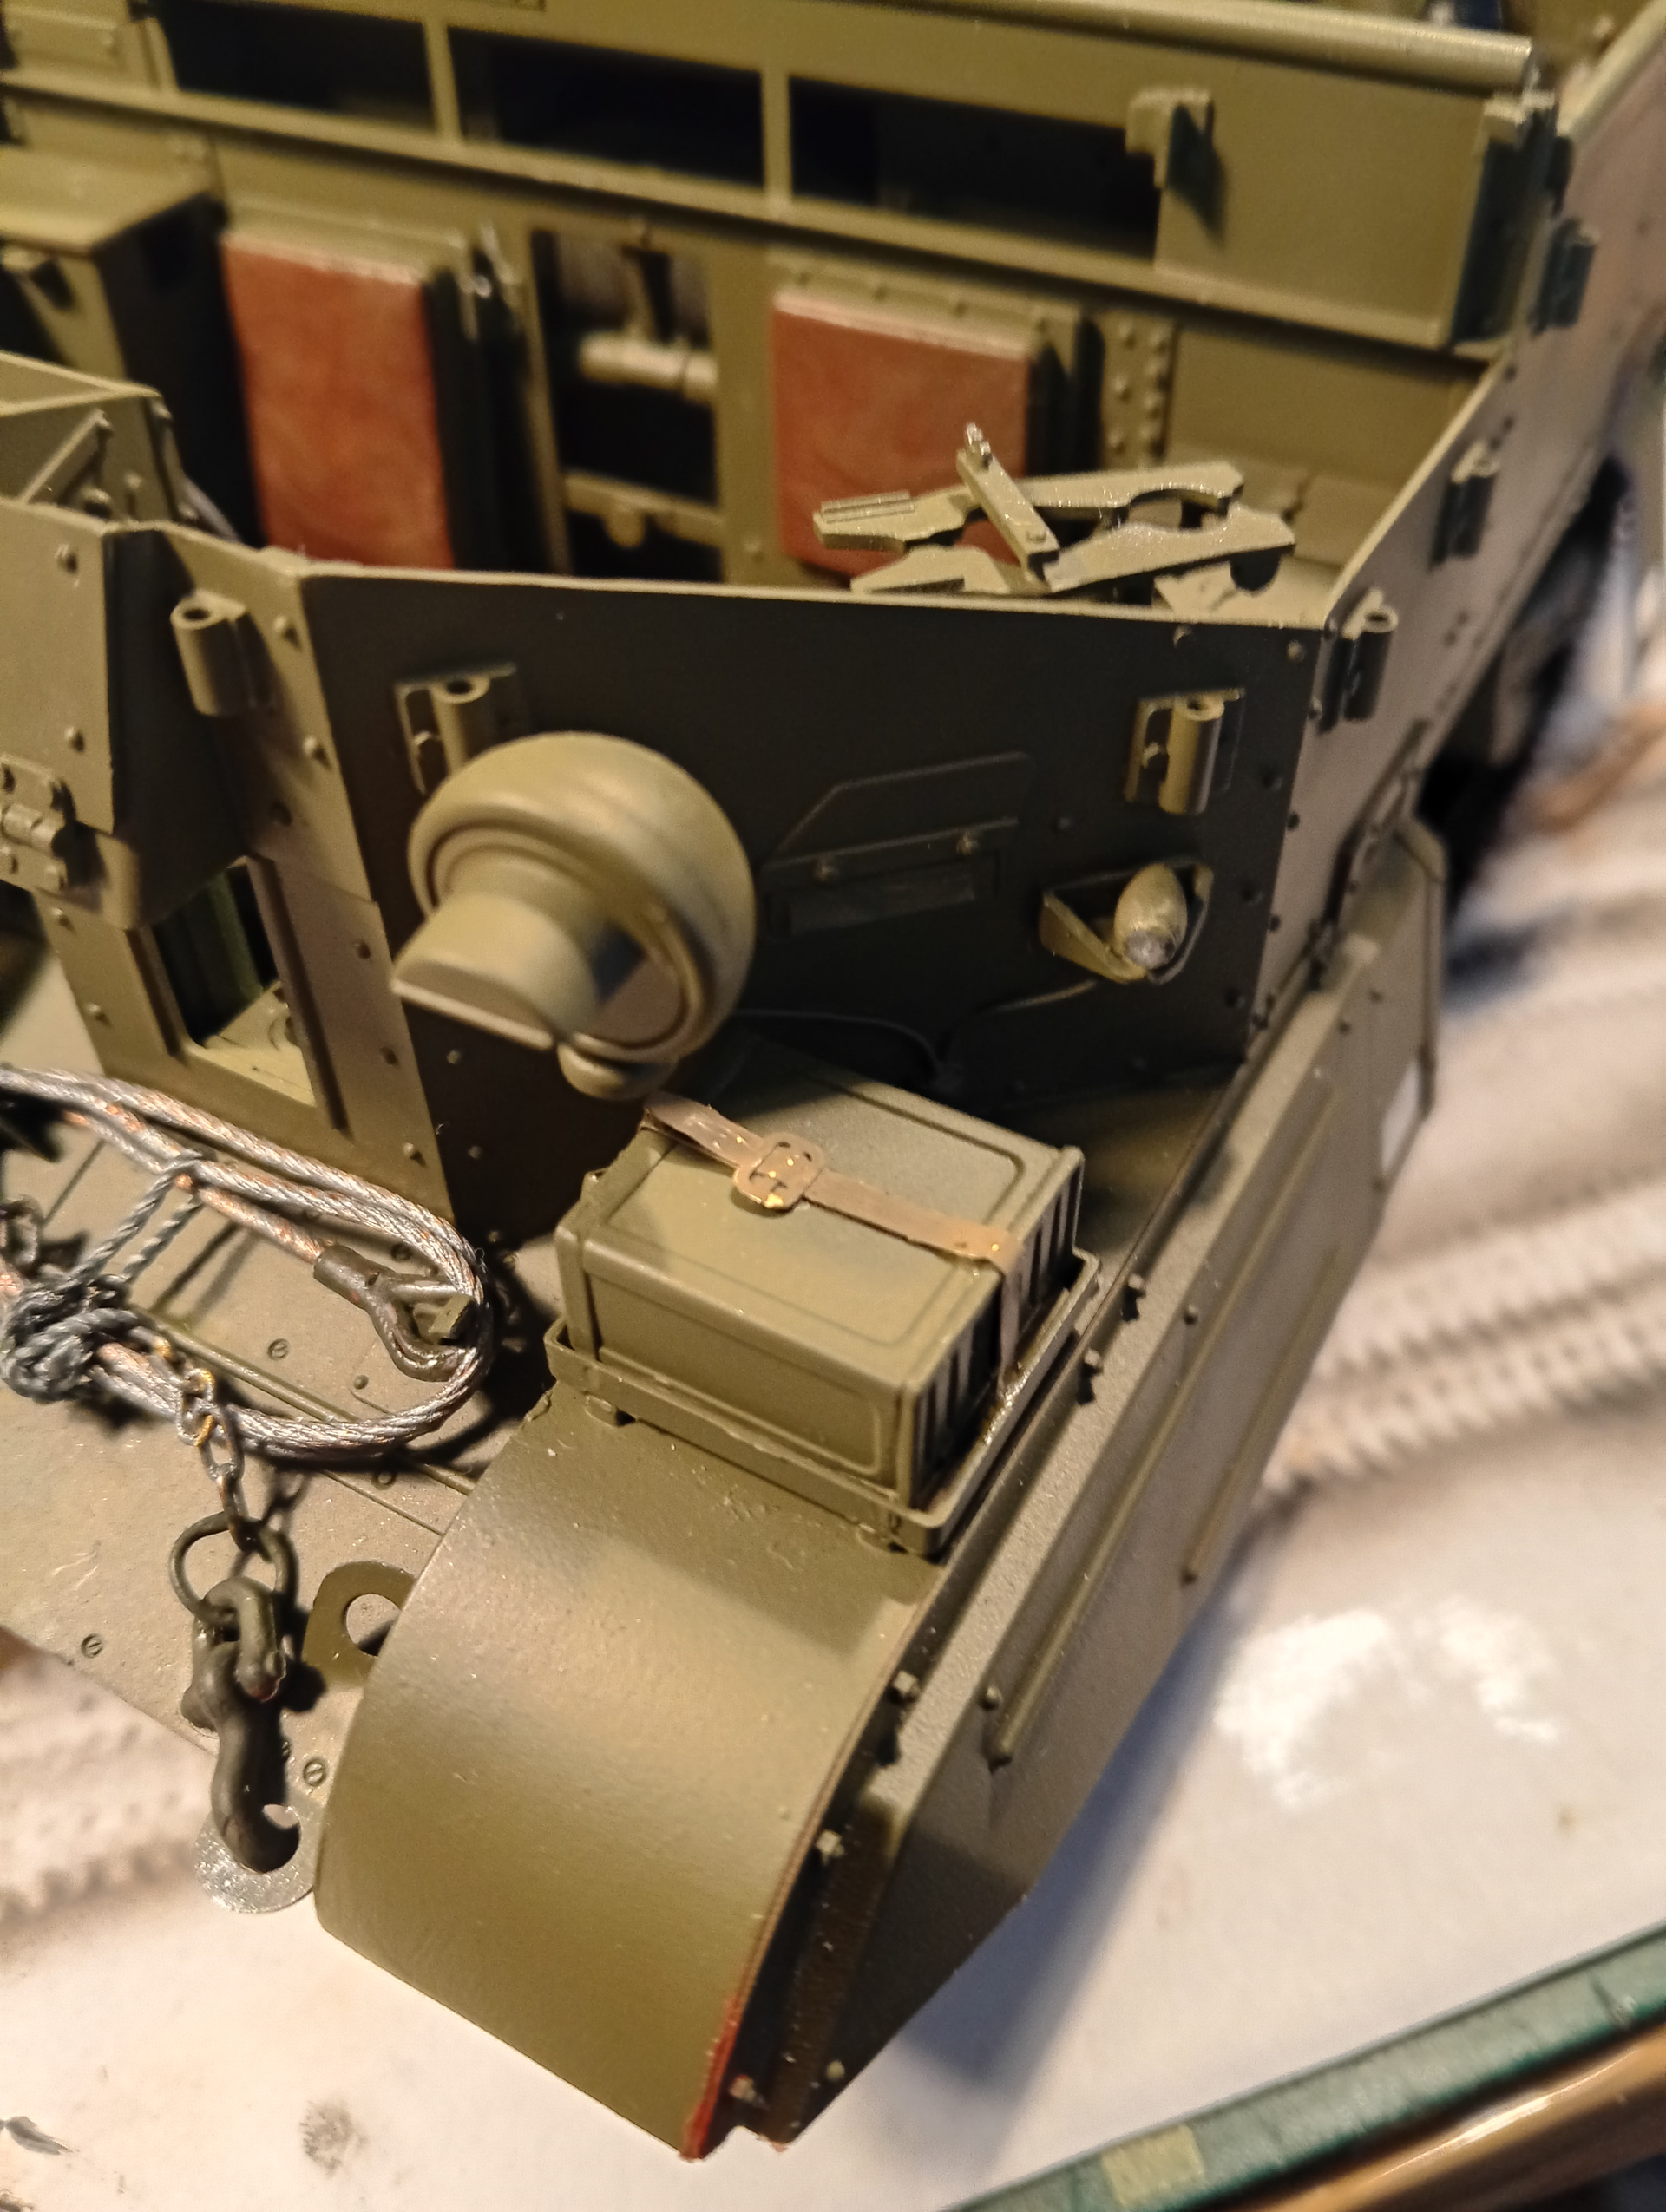
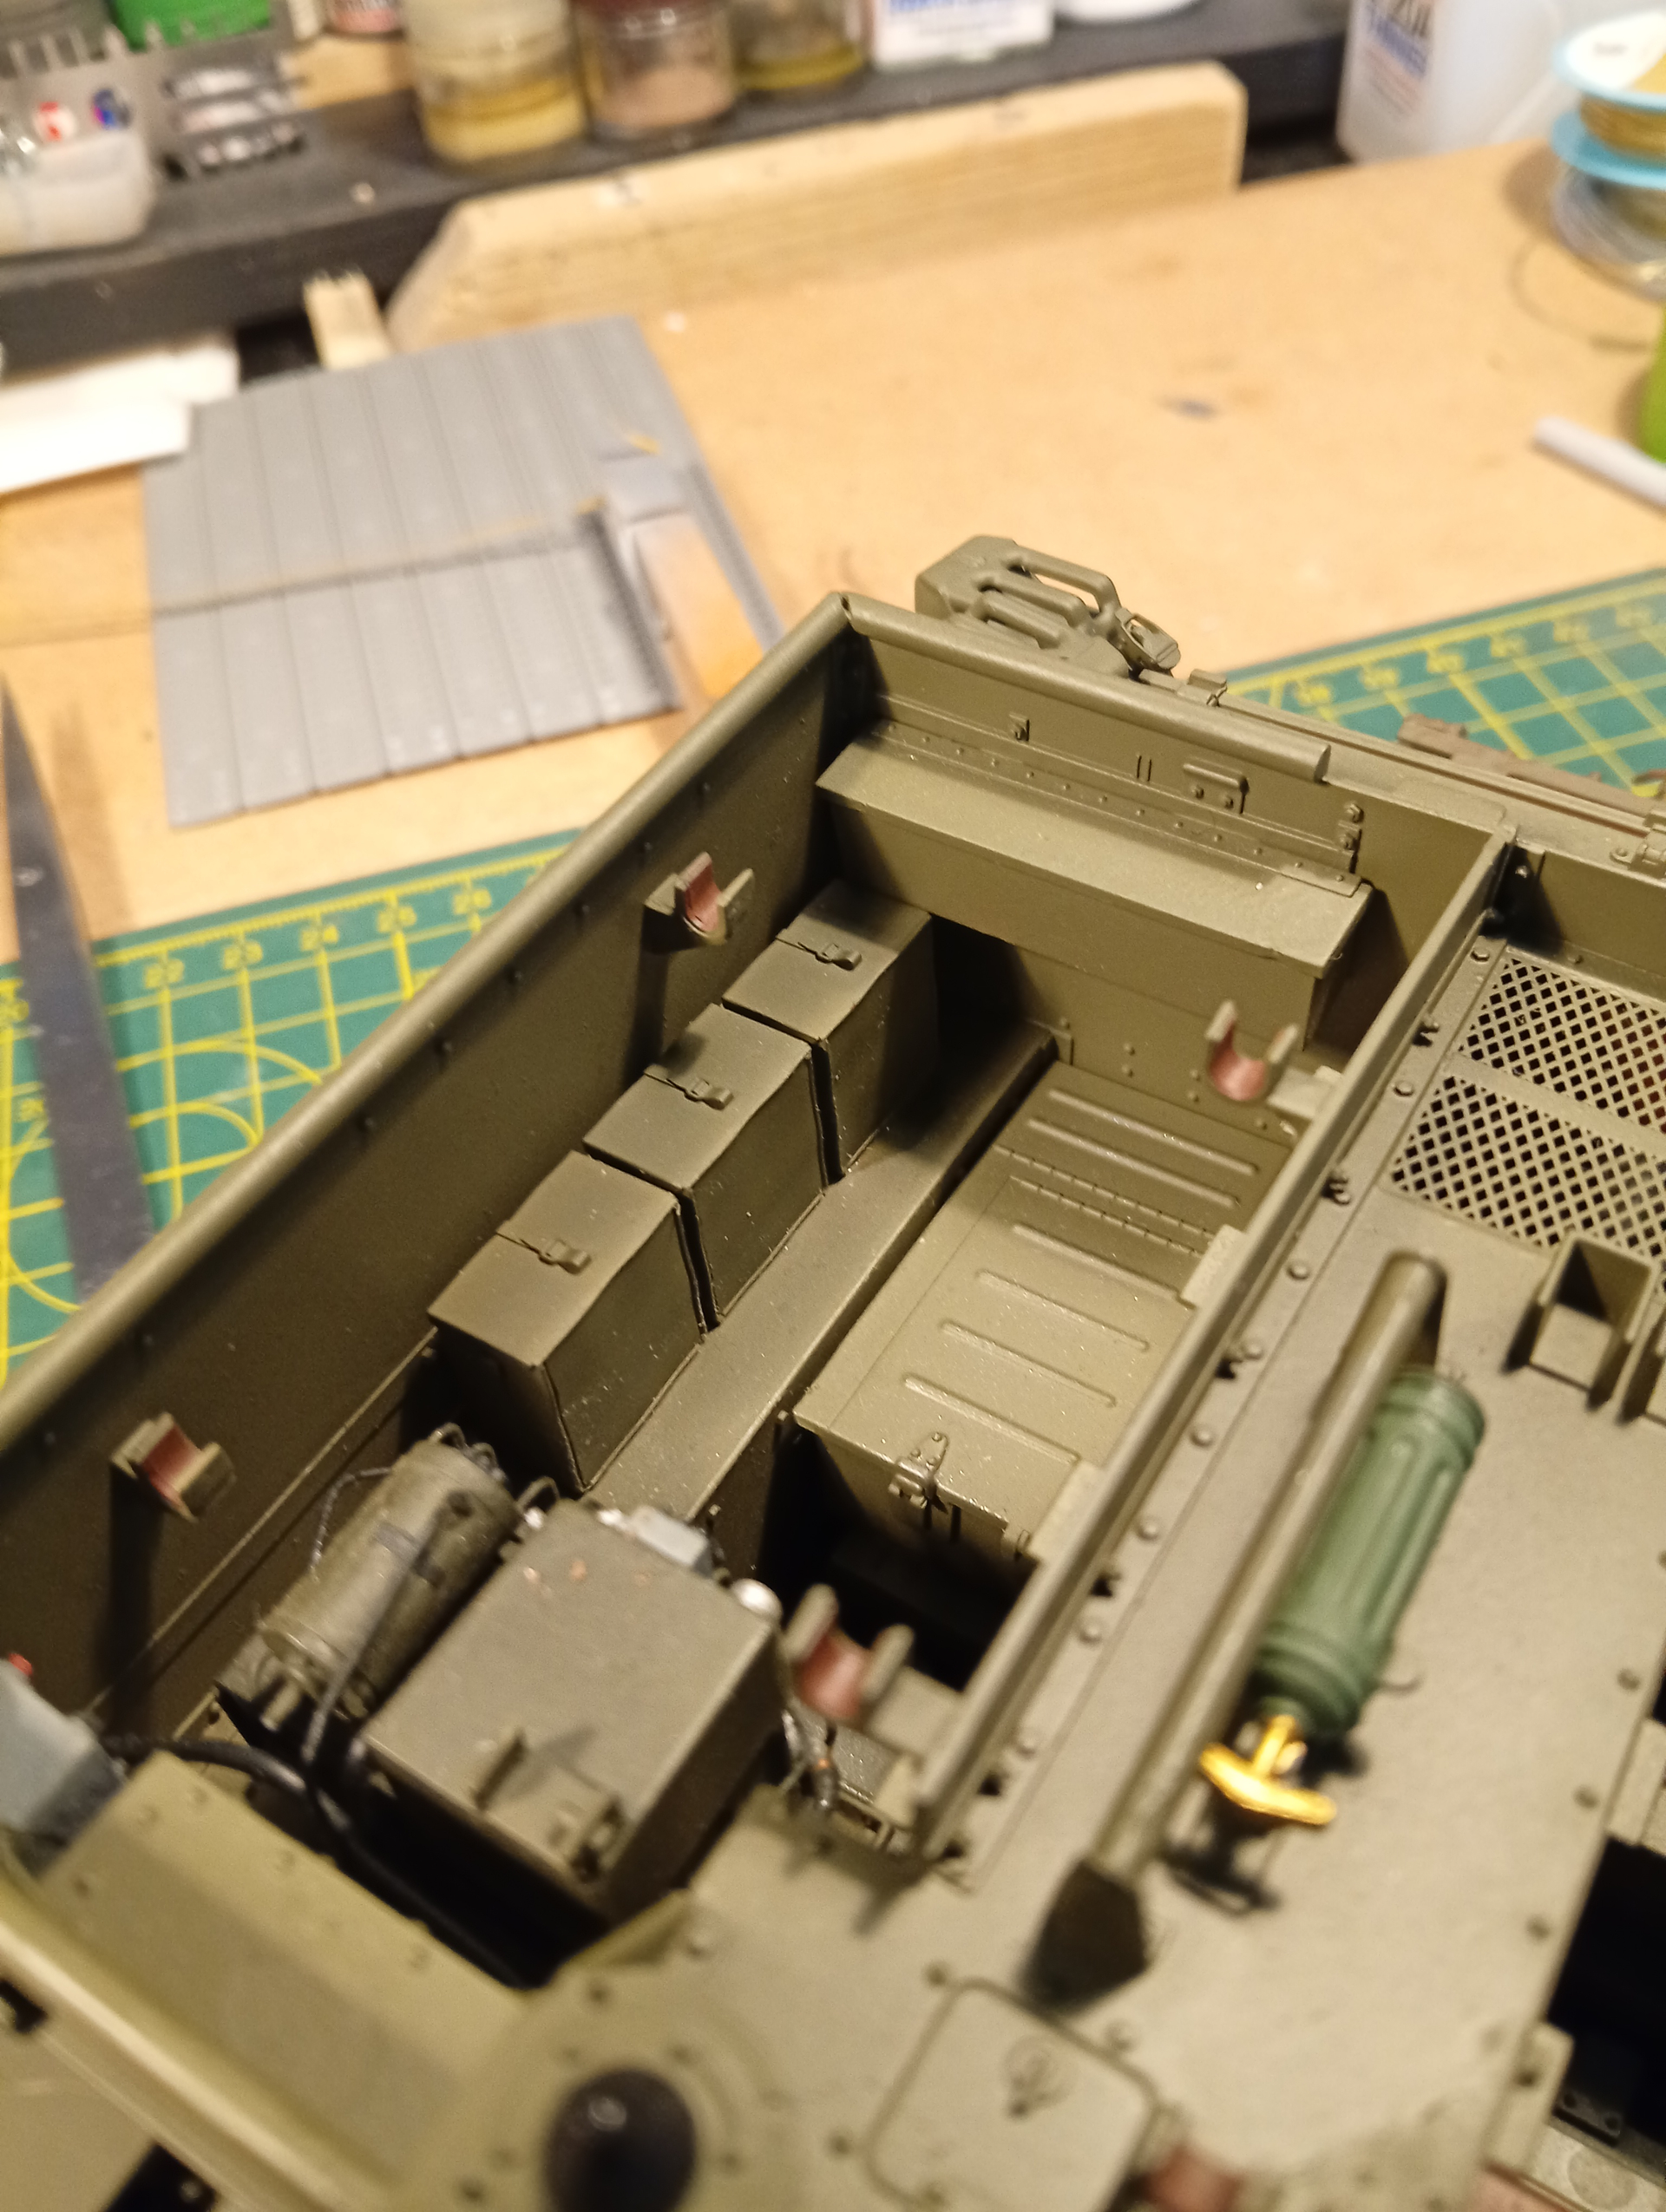
Ammo cans
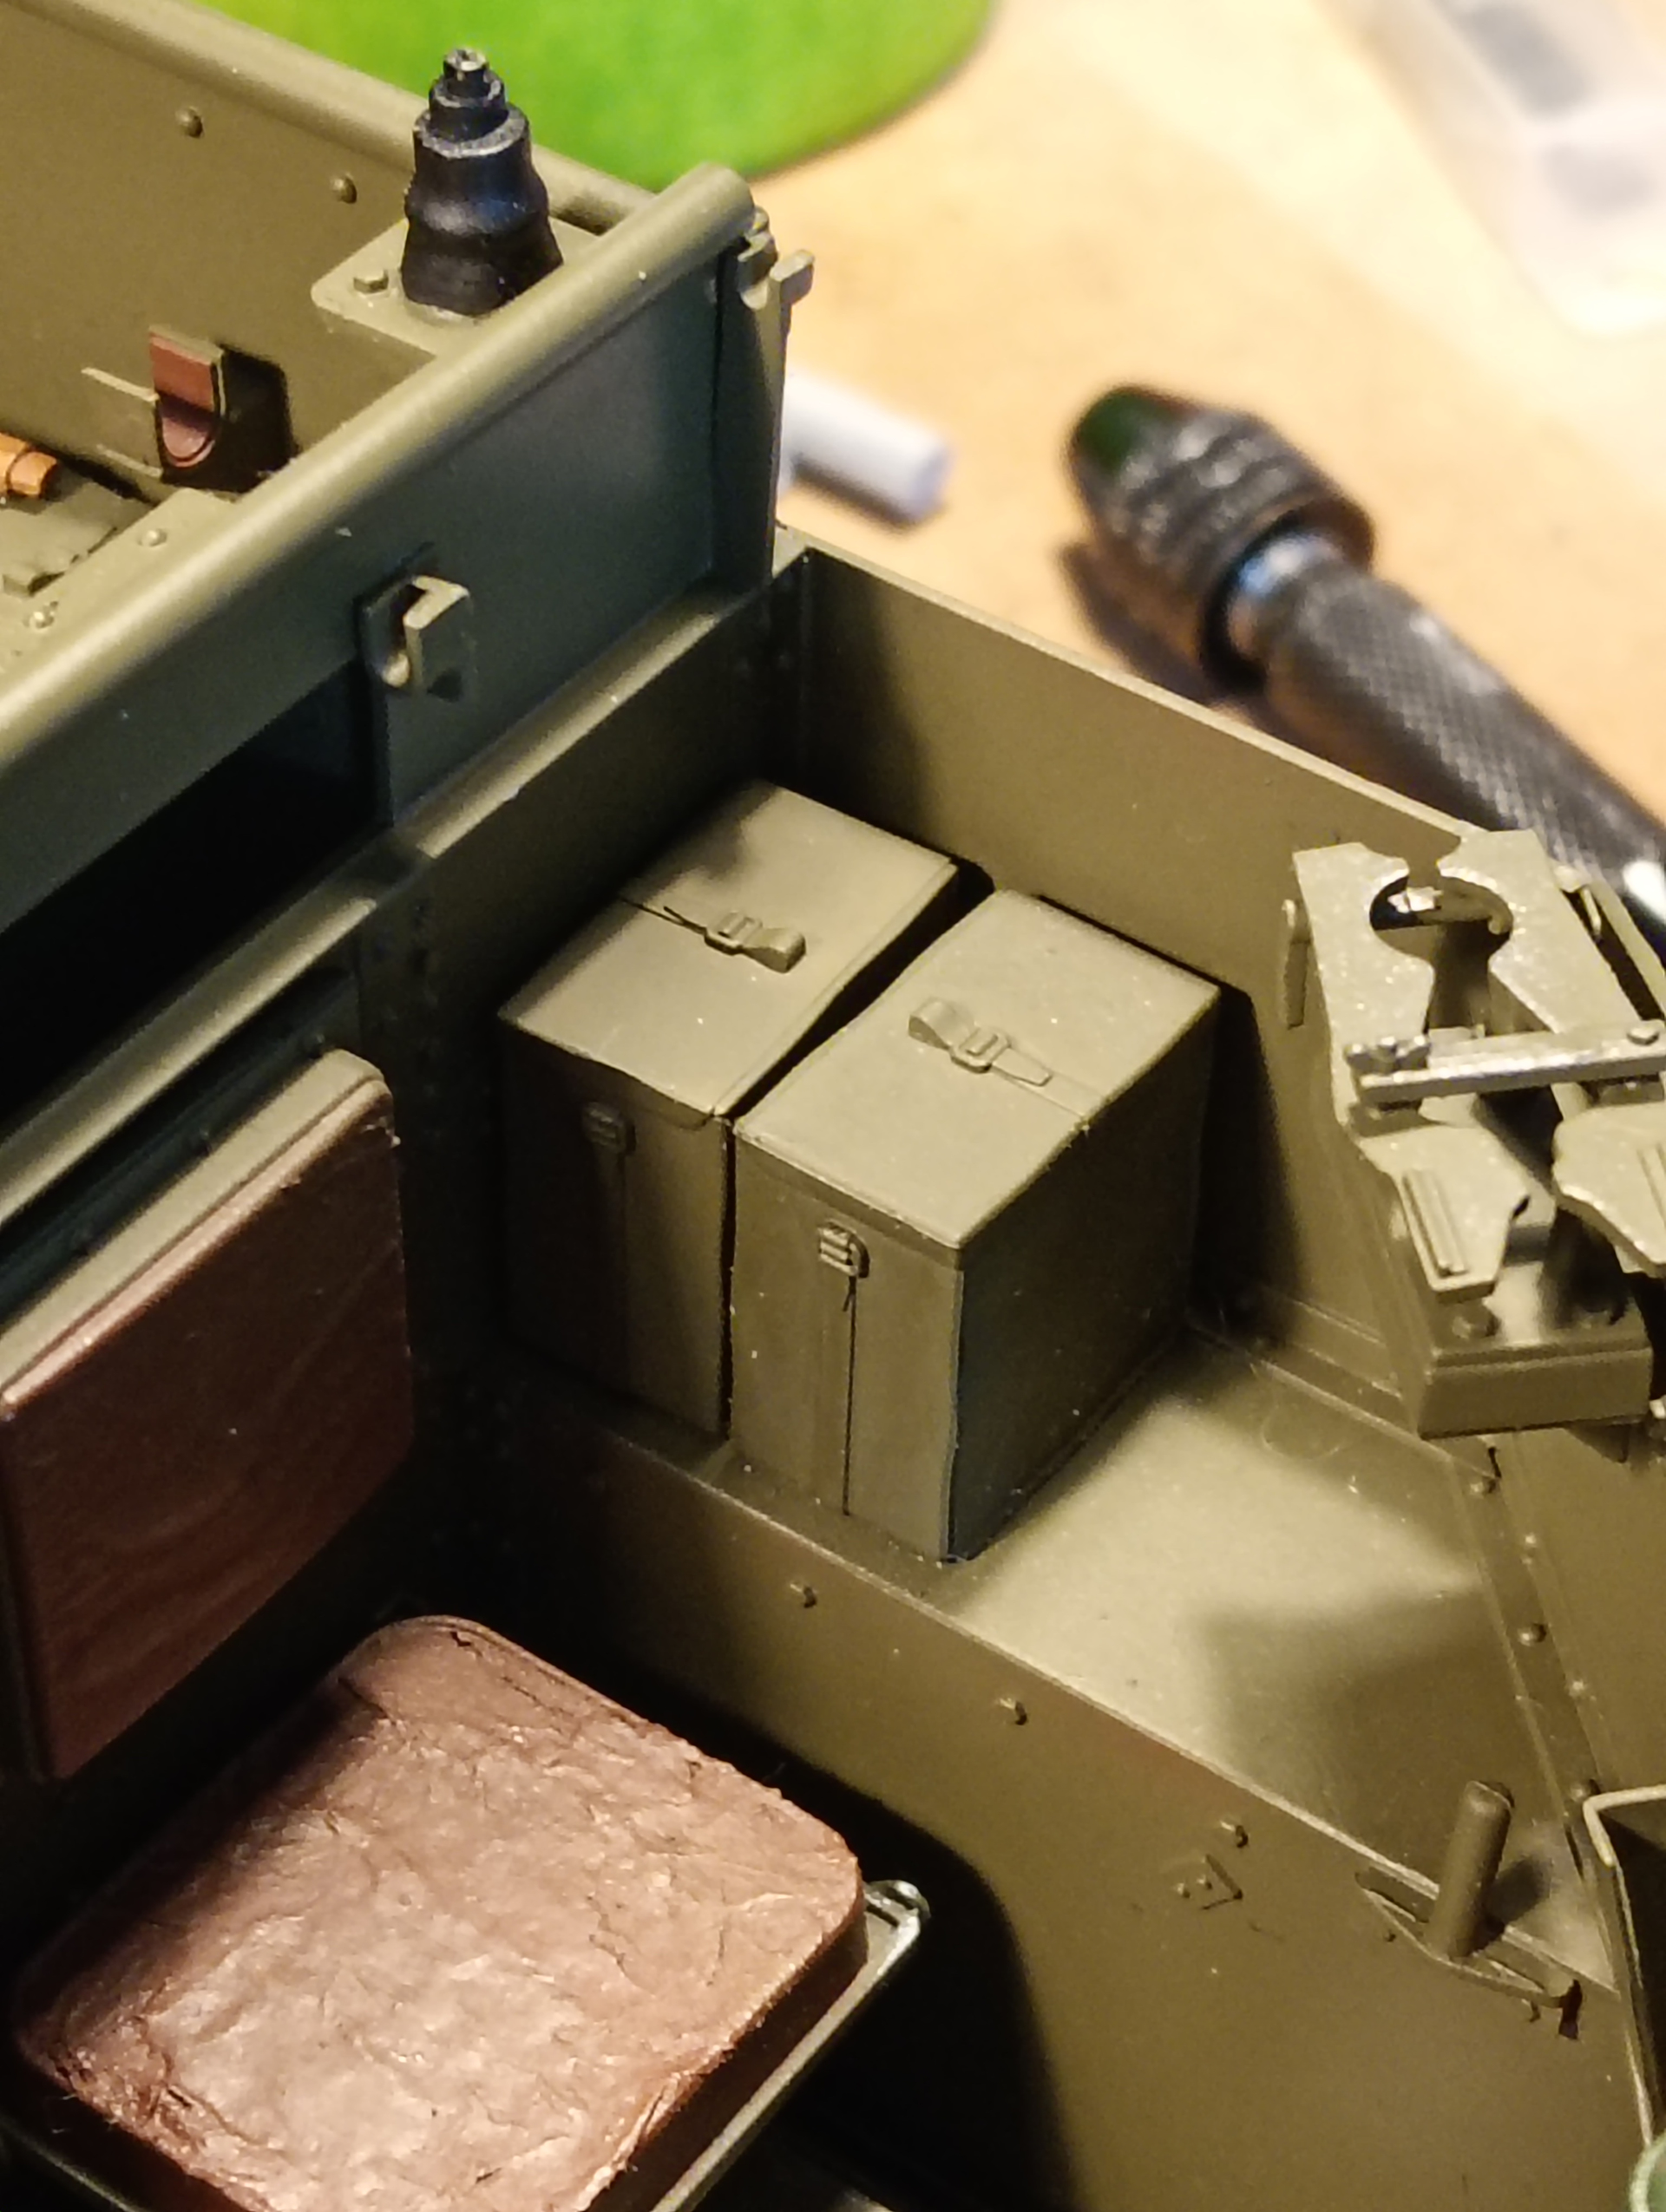
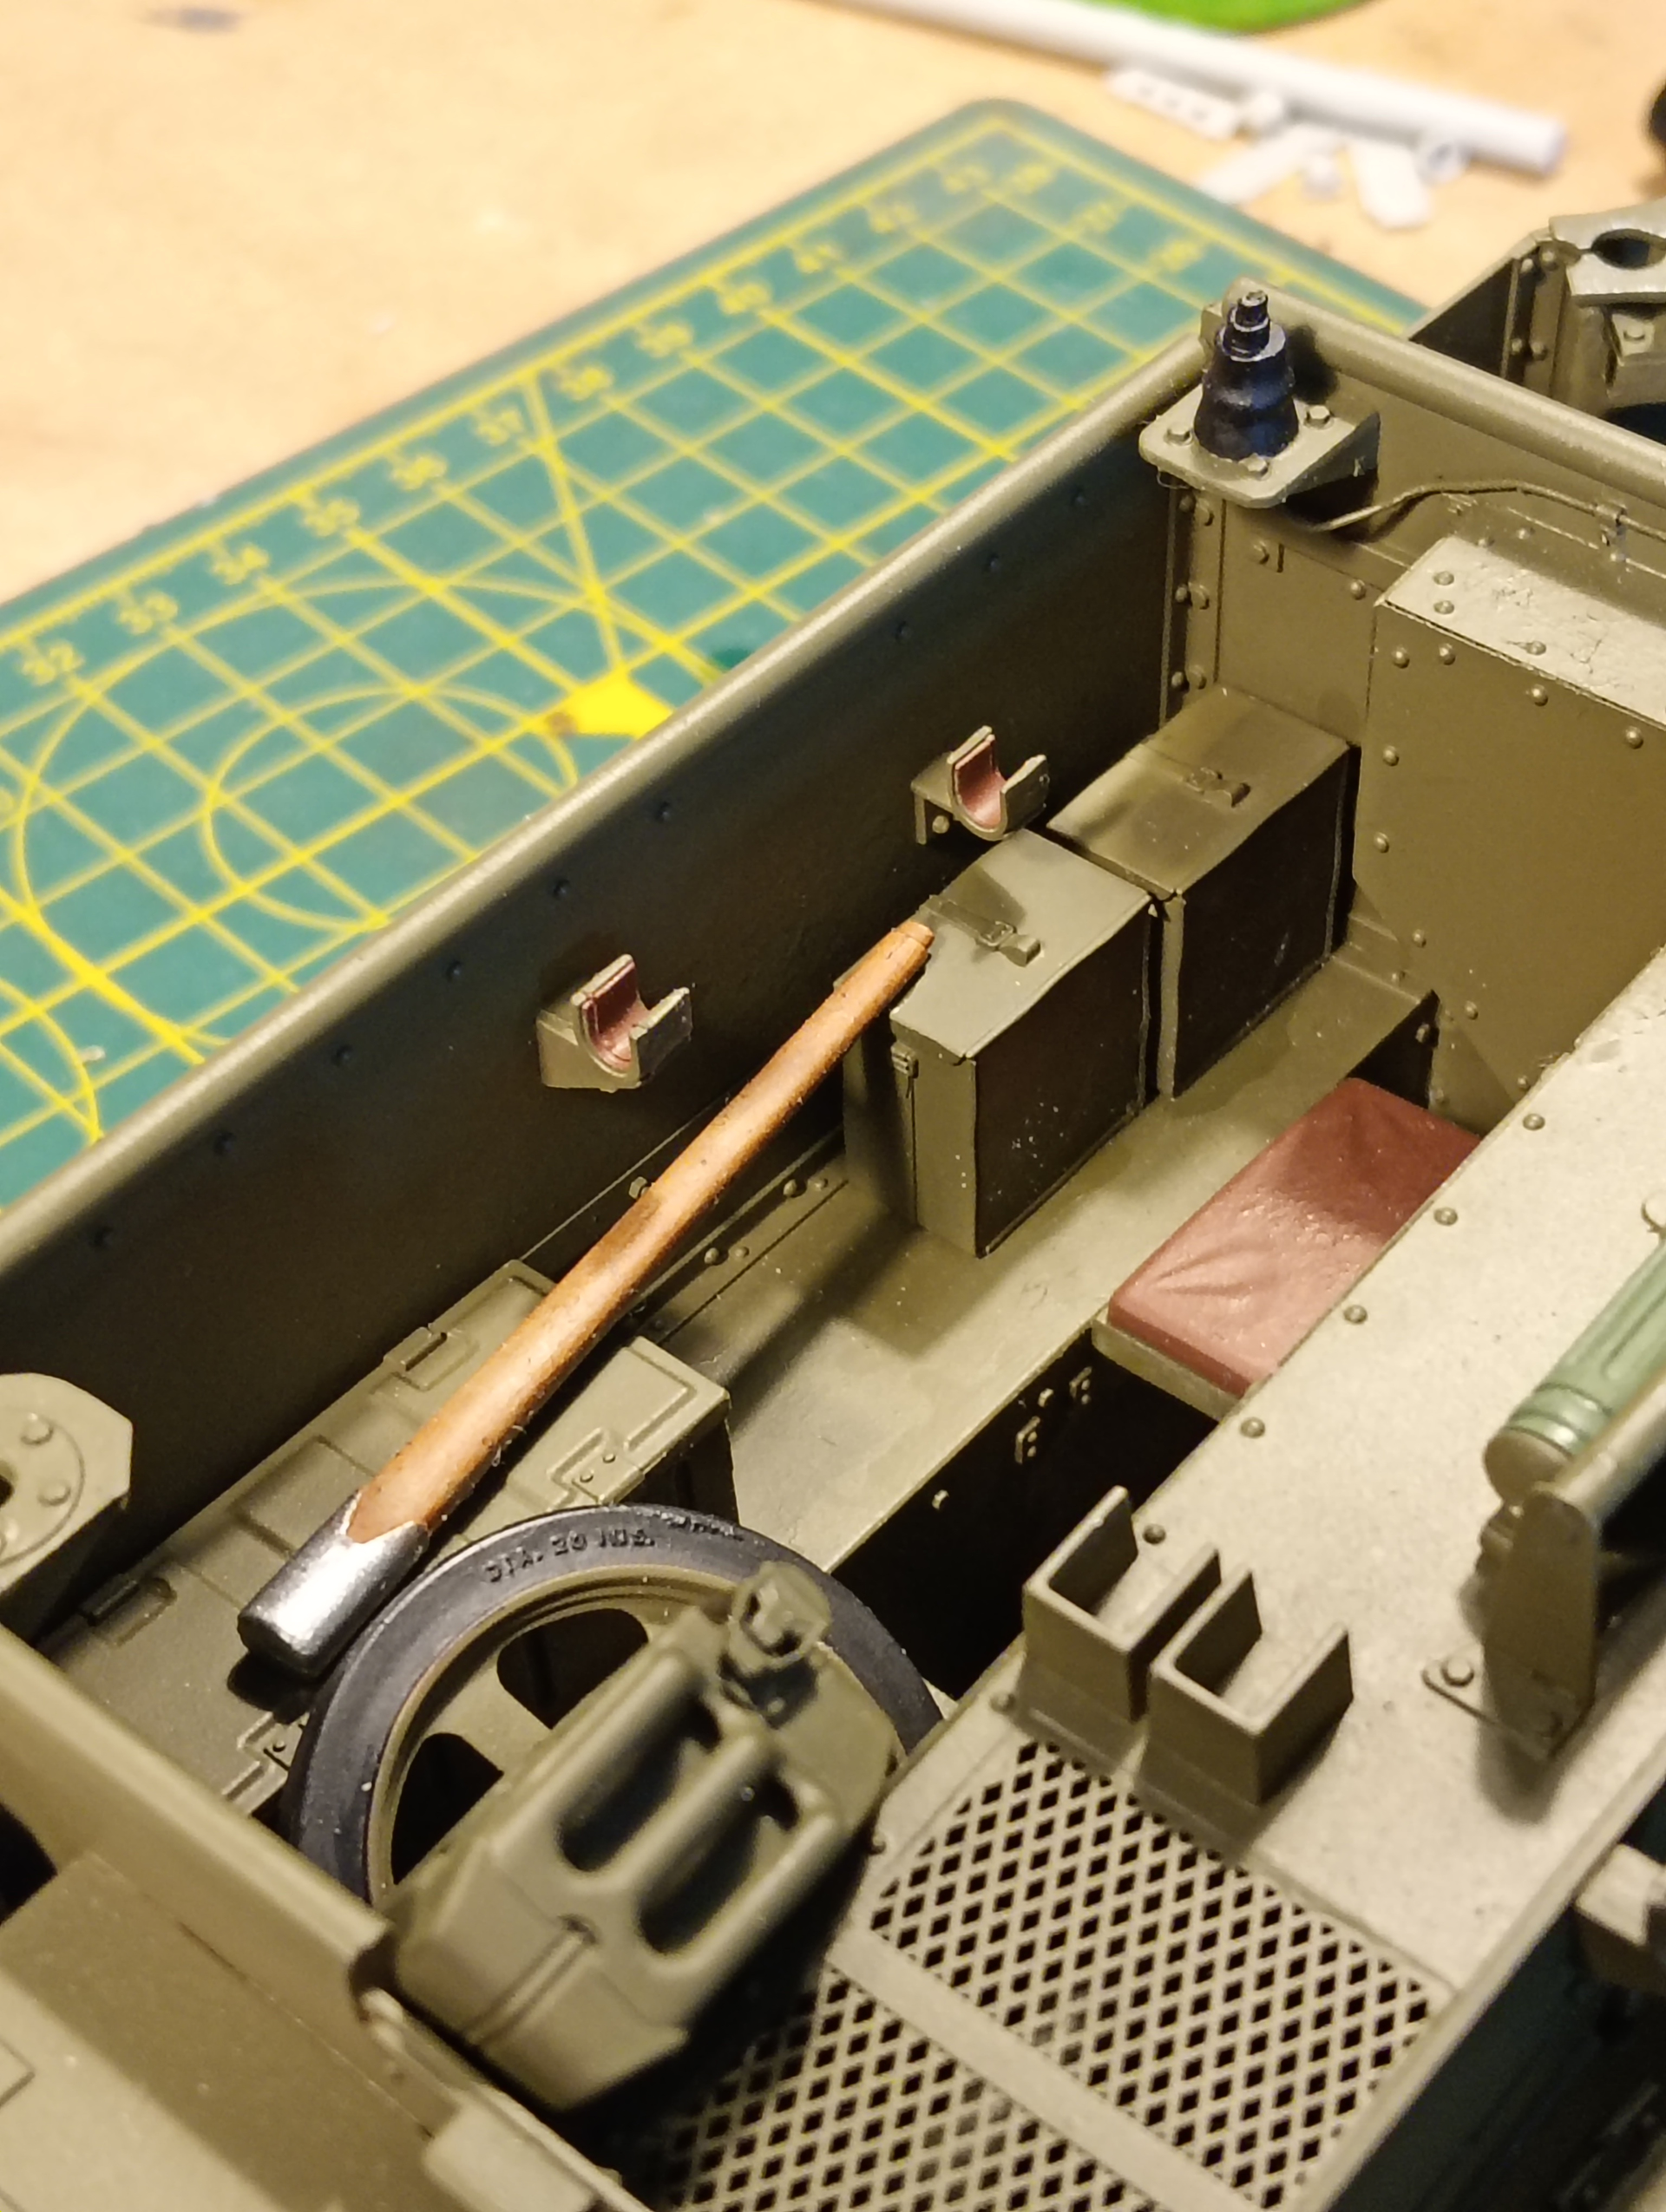
Another spare wheel, jerry can and pick handle, also, the weapon mounts had the leather pads painted.
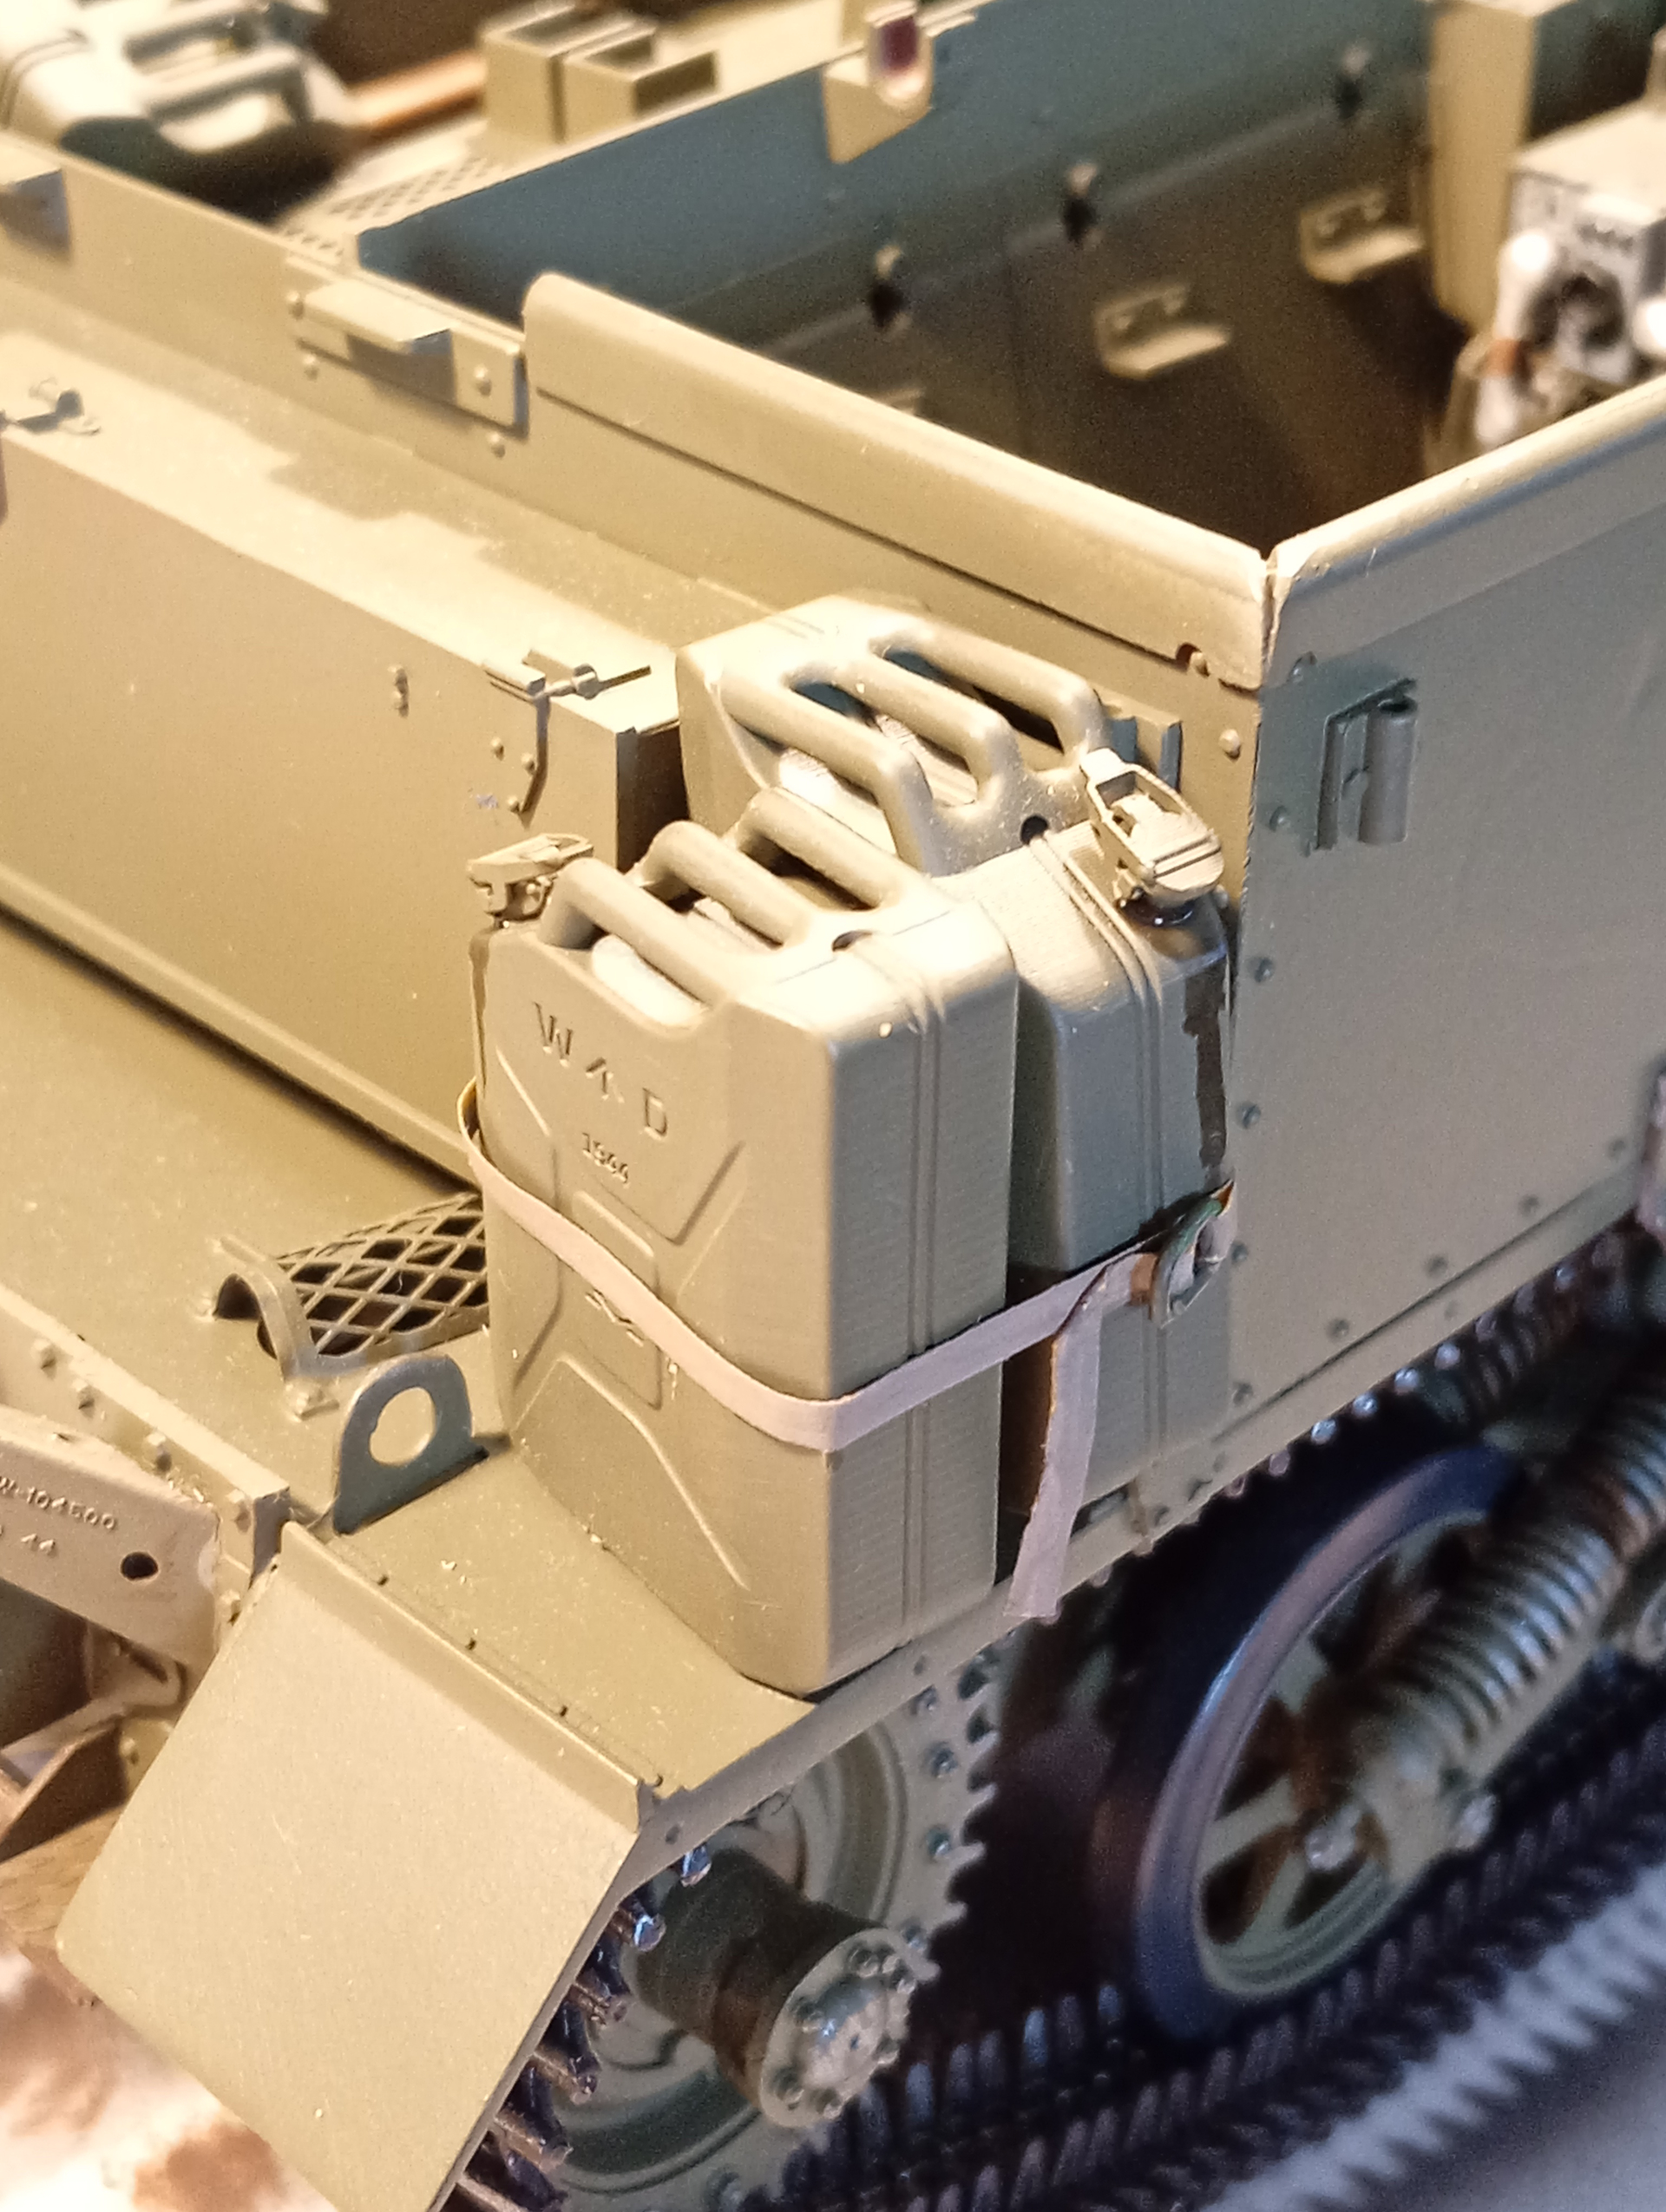
Jerry can stowage and straps.
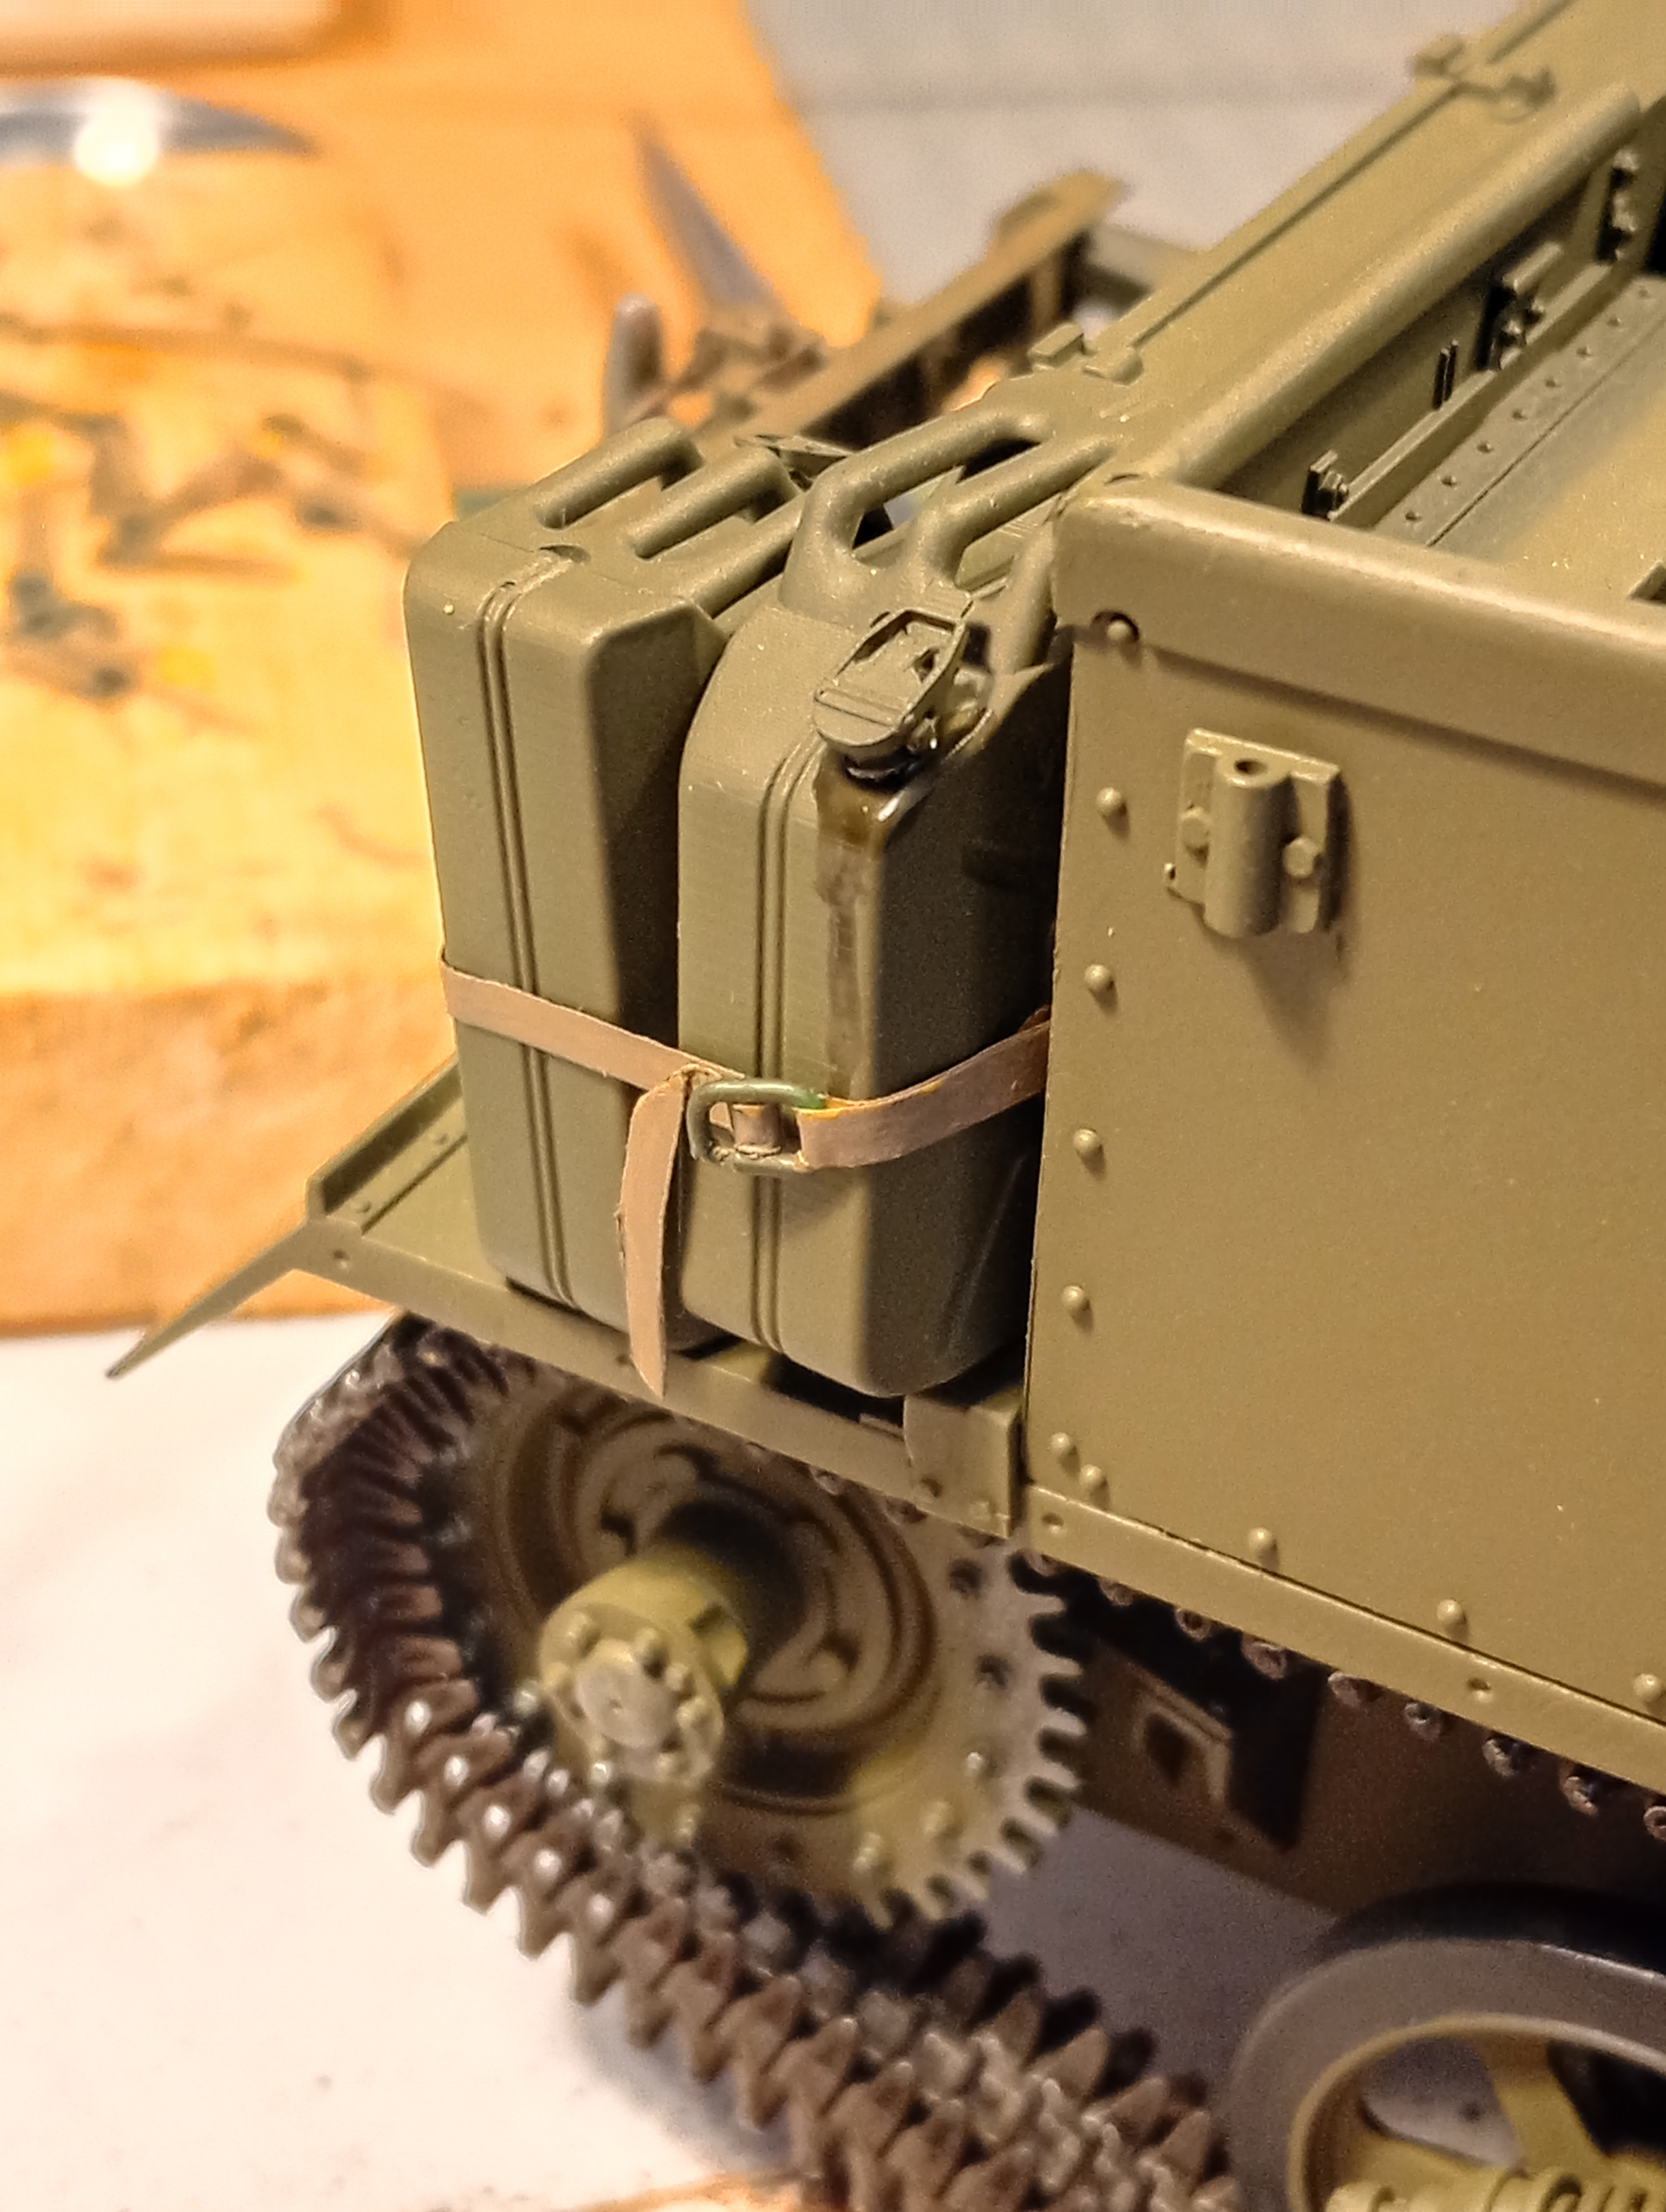
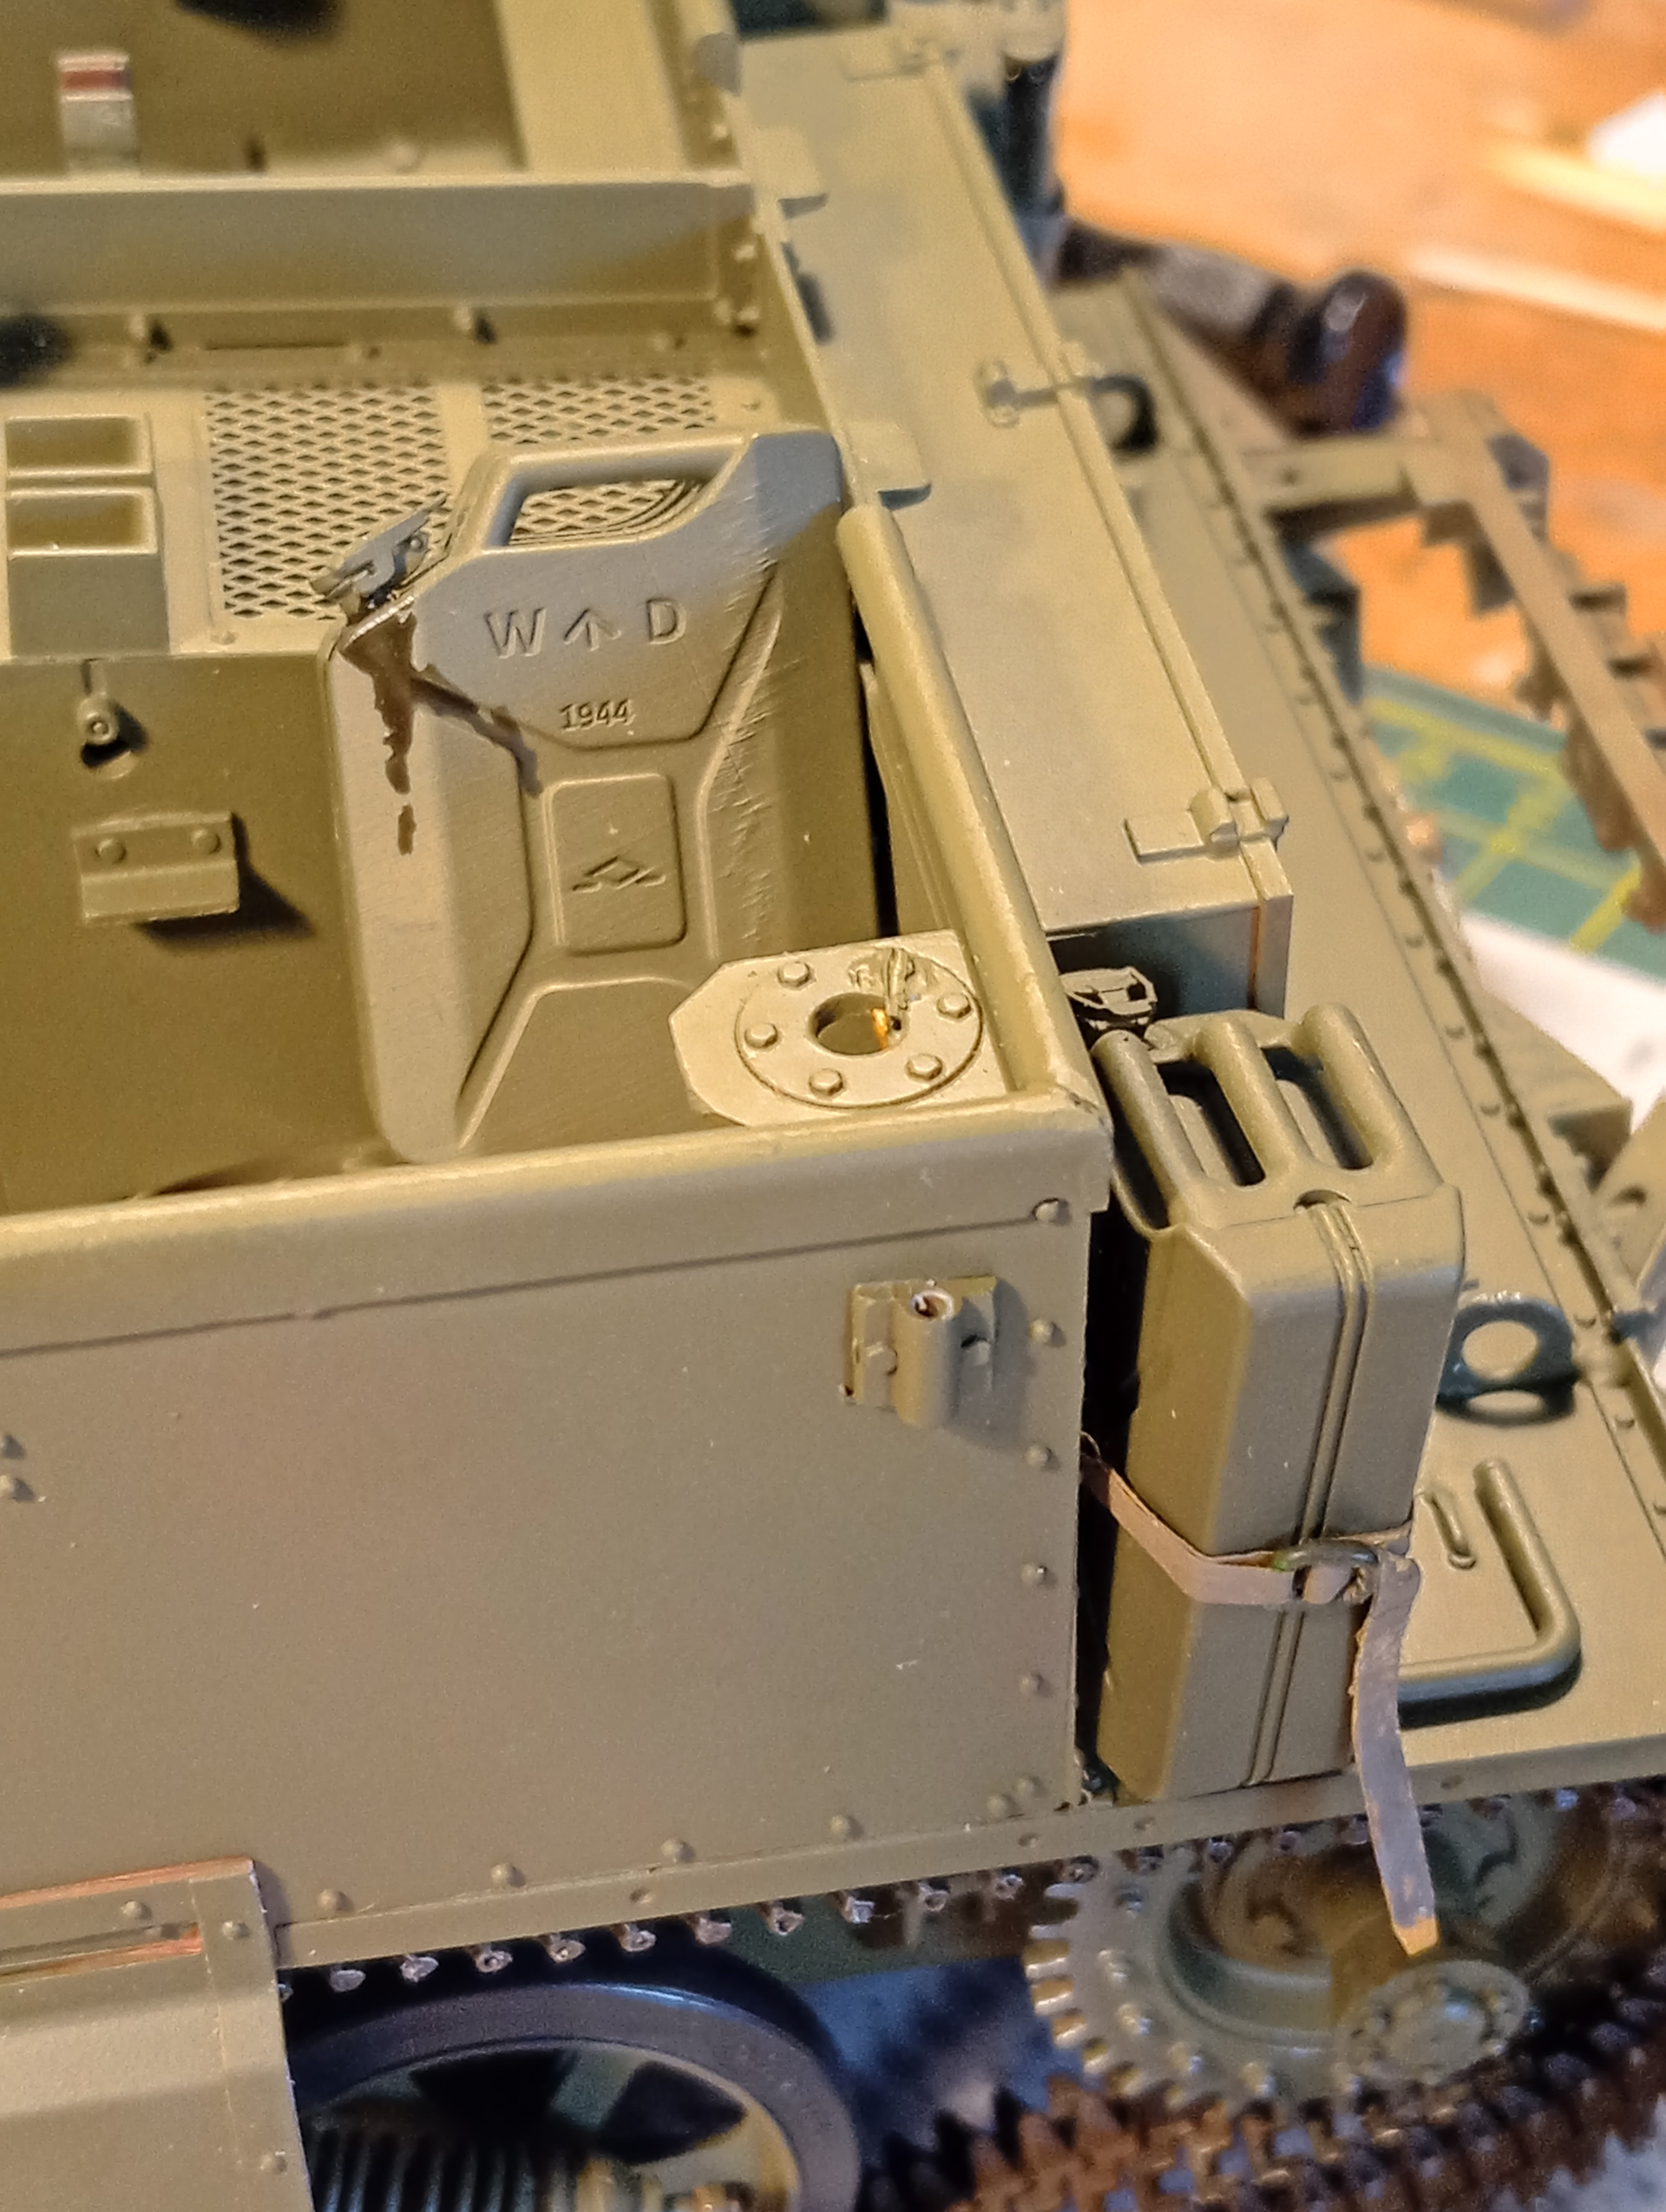
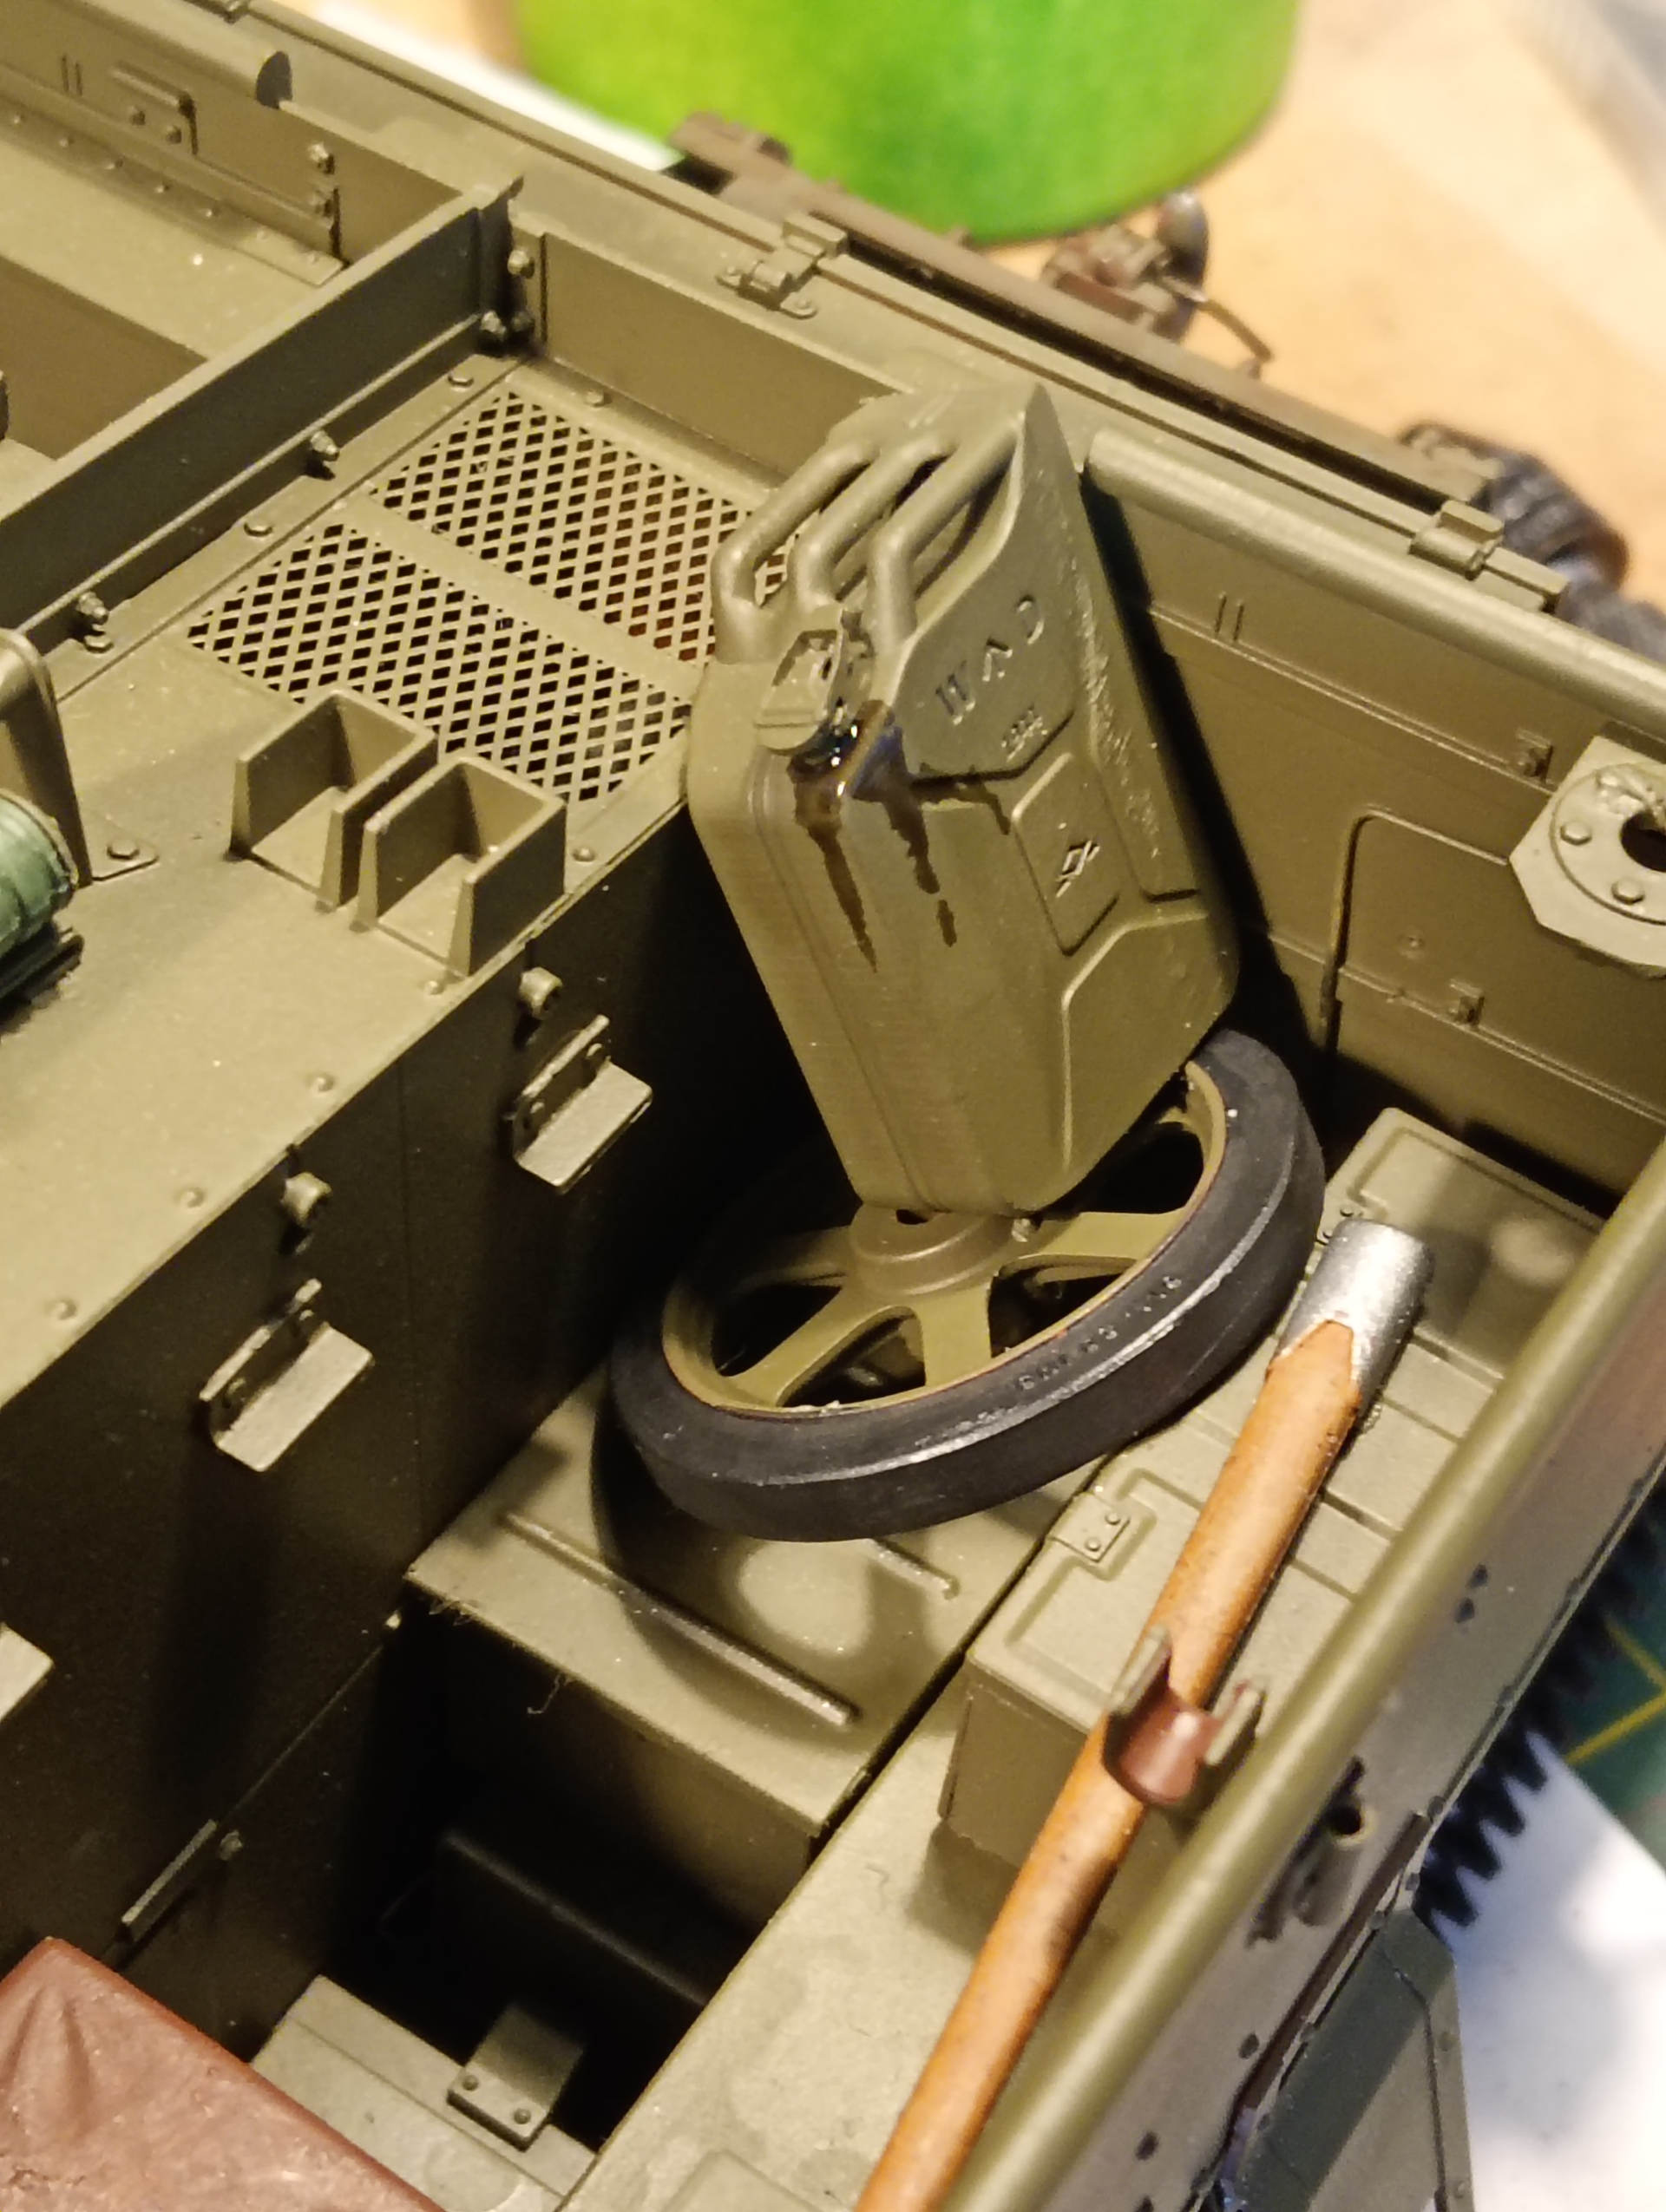
Very happy how it’s coming together and getting towards the end of the tunnel…
11 Likes
Some really nice realistic elements there JC! The chain and cable on the front are both sitting beautifully whilst the strap on the two Jerry cans looks spot on!
Final presentation thoughts? Polished timber board or a photo base?
2 Likes
Very nice looking strapping and stowage
3 Likes
Thanks Sam and Bert @bwilt
Sam, it will be a basic base set up. A photo frame( I think it’s 10x8), then basic ground work of a simple dirt/stone track and grassed areas either side. I will then pass it over to Andy, who is going to get a clear acrylic display case made for it.
2 Likes
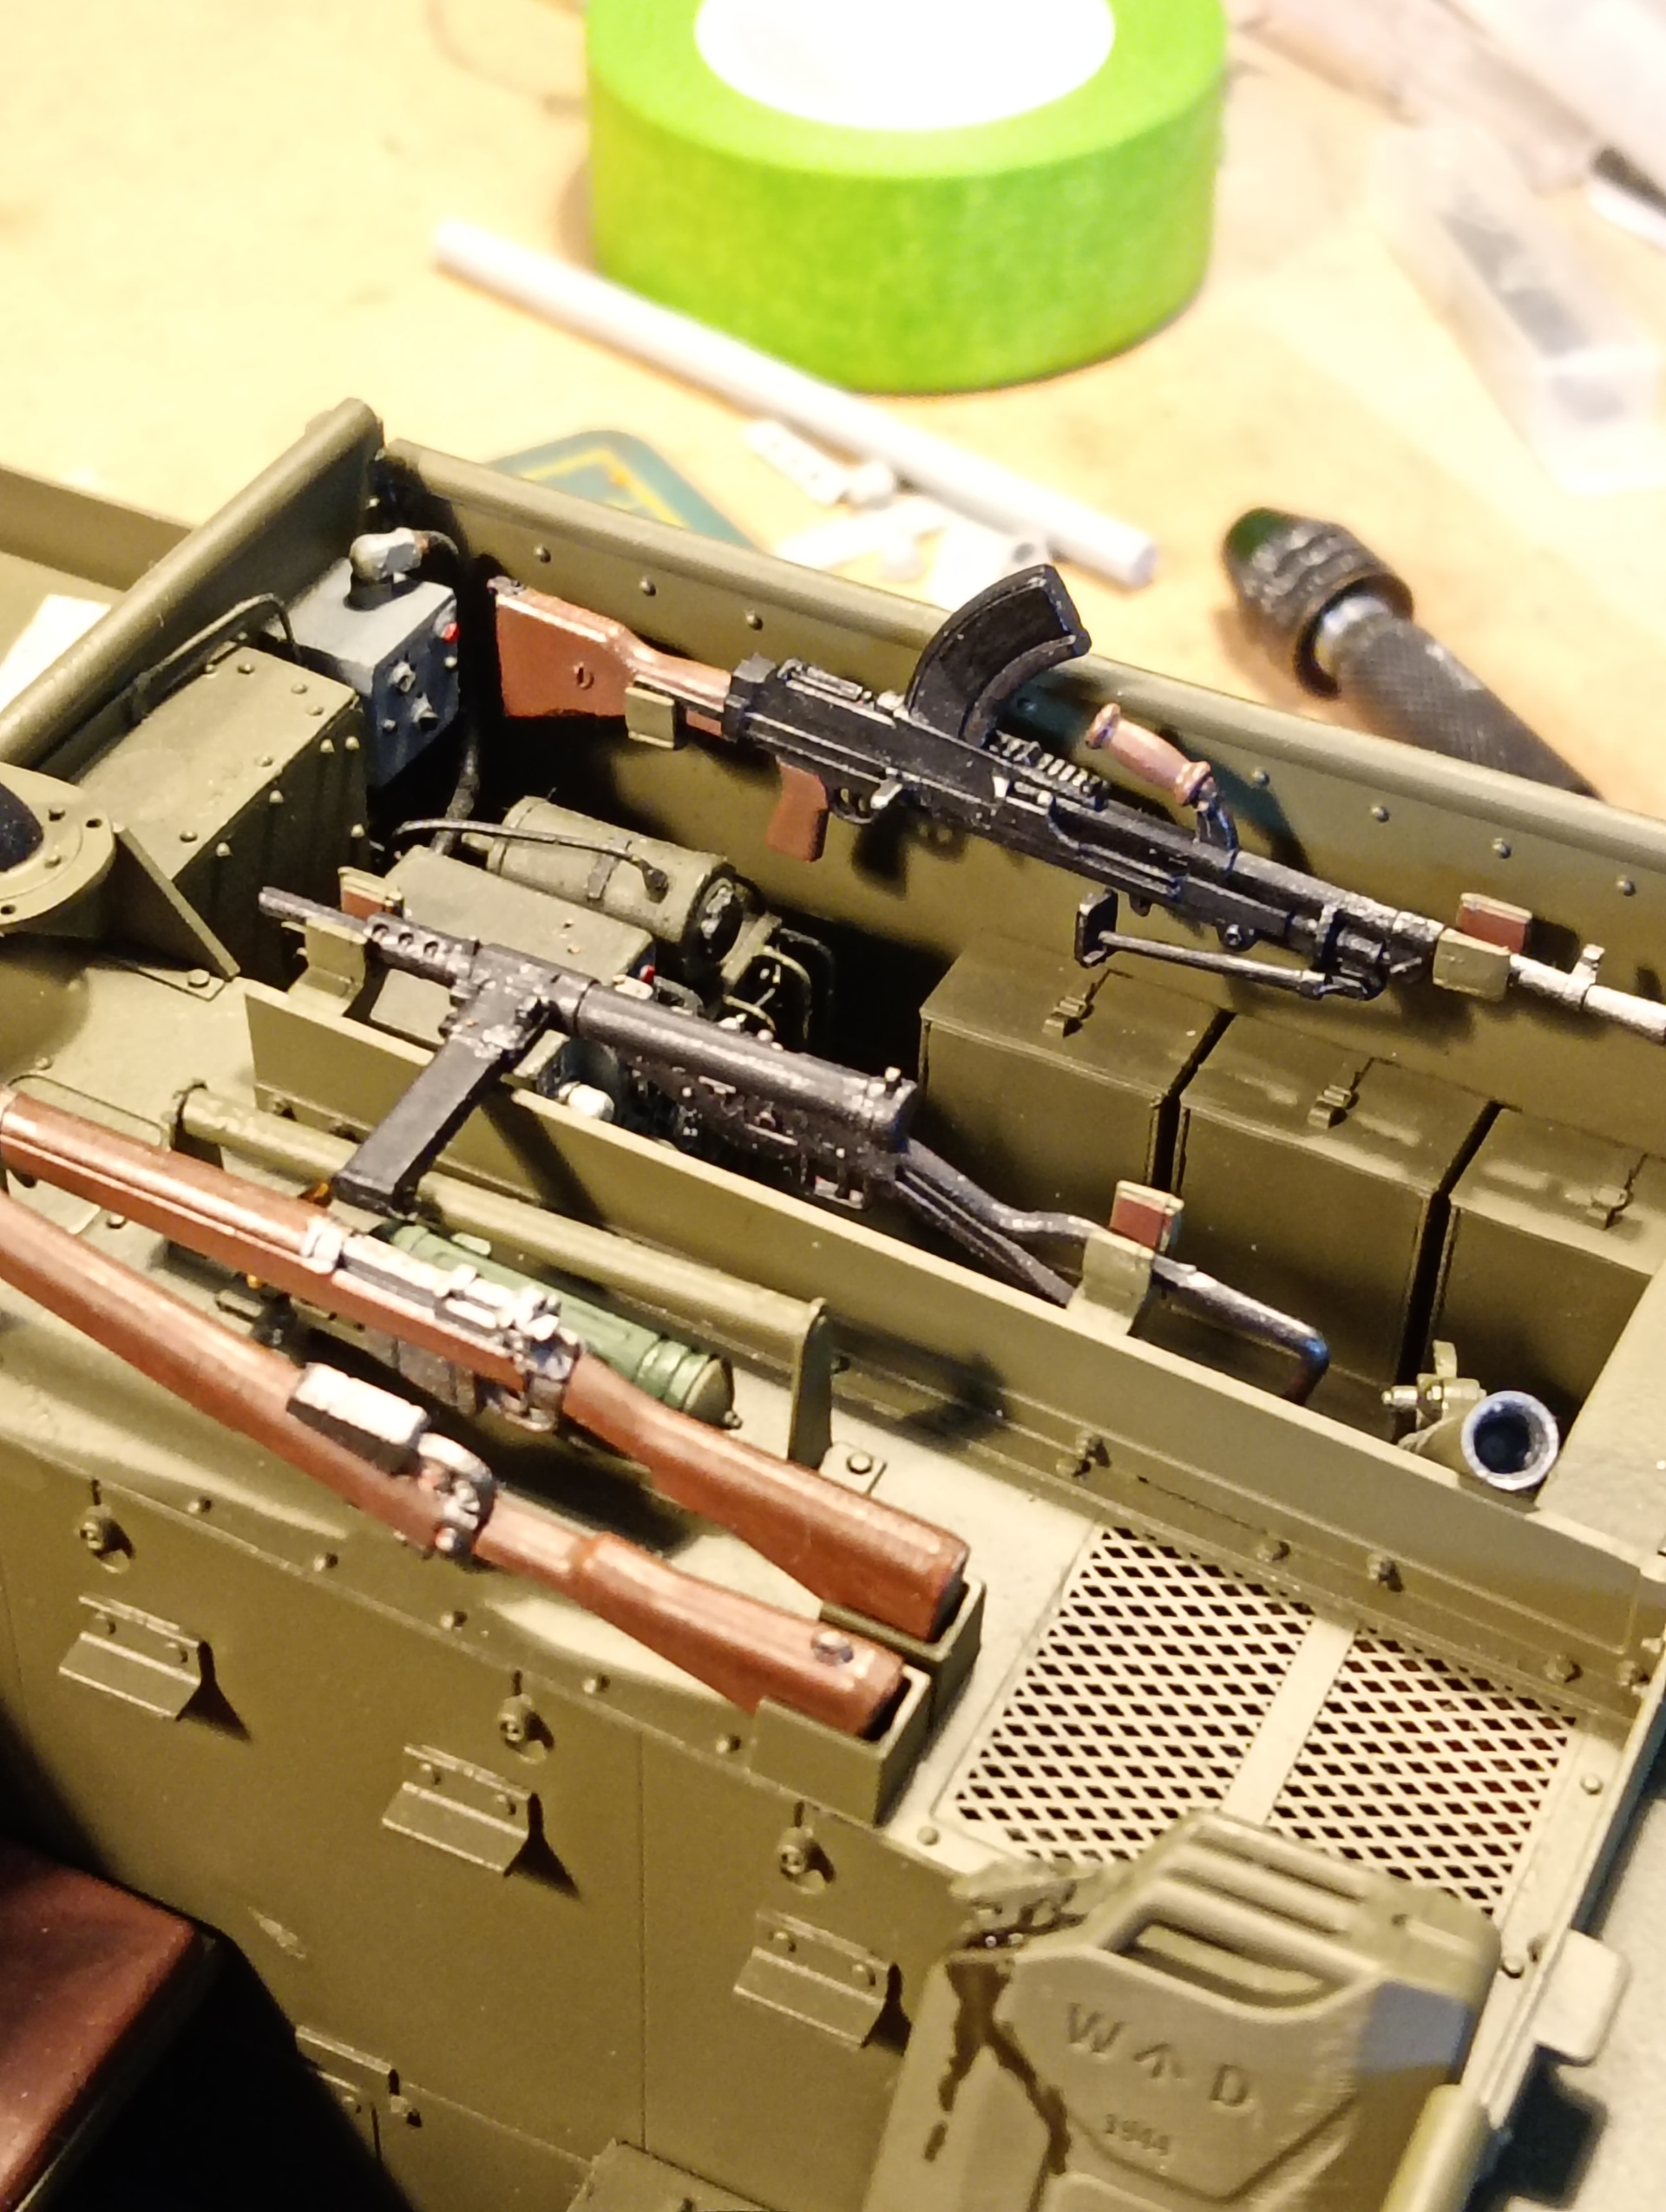
Dry fit of the weapons that will be fitted in the carrier.
I liked doing this Bren mount as it’s not included in the kit, and was able to save some of Andy’s money in the process 
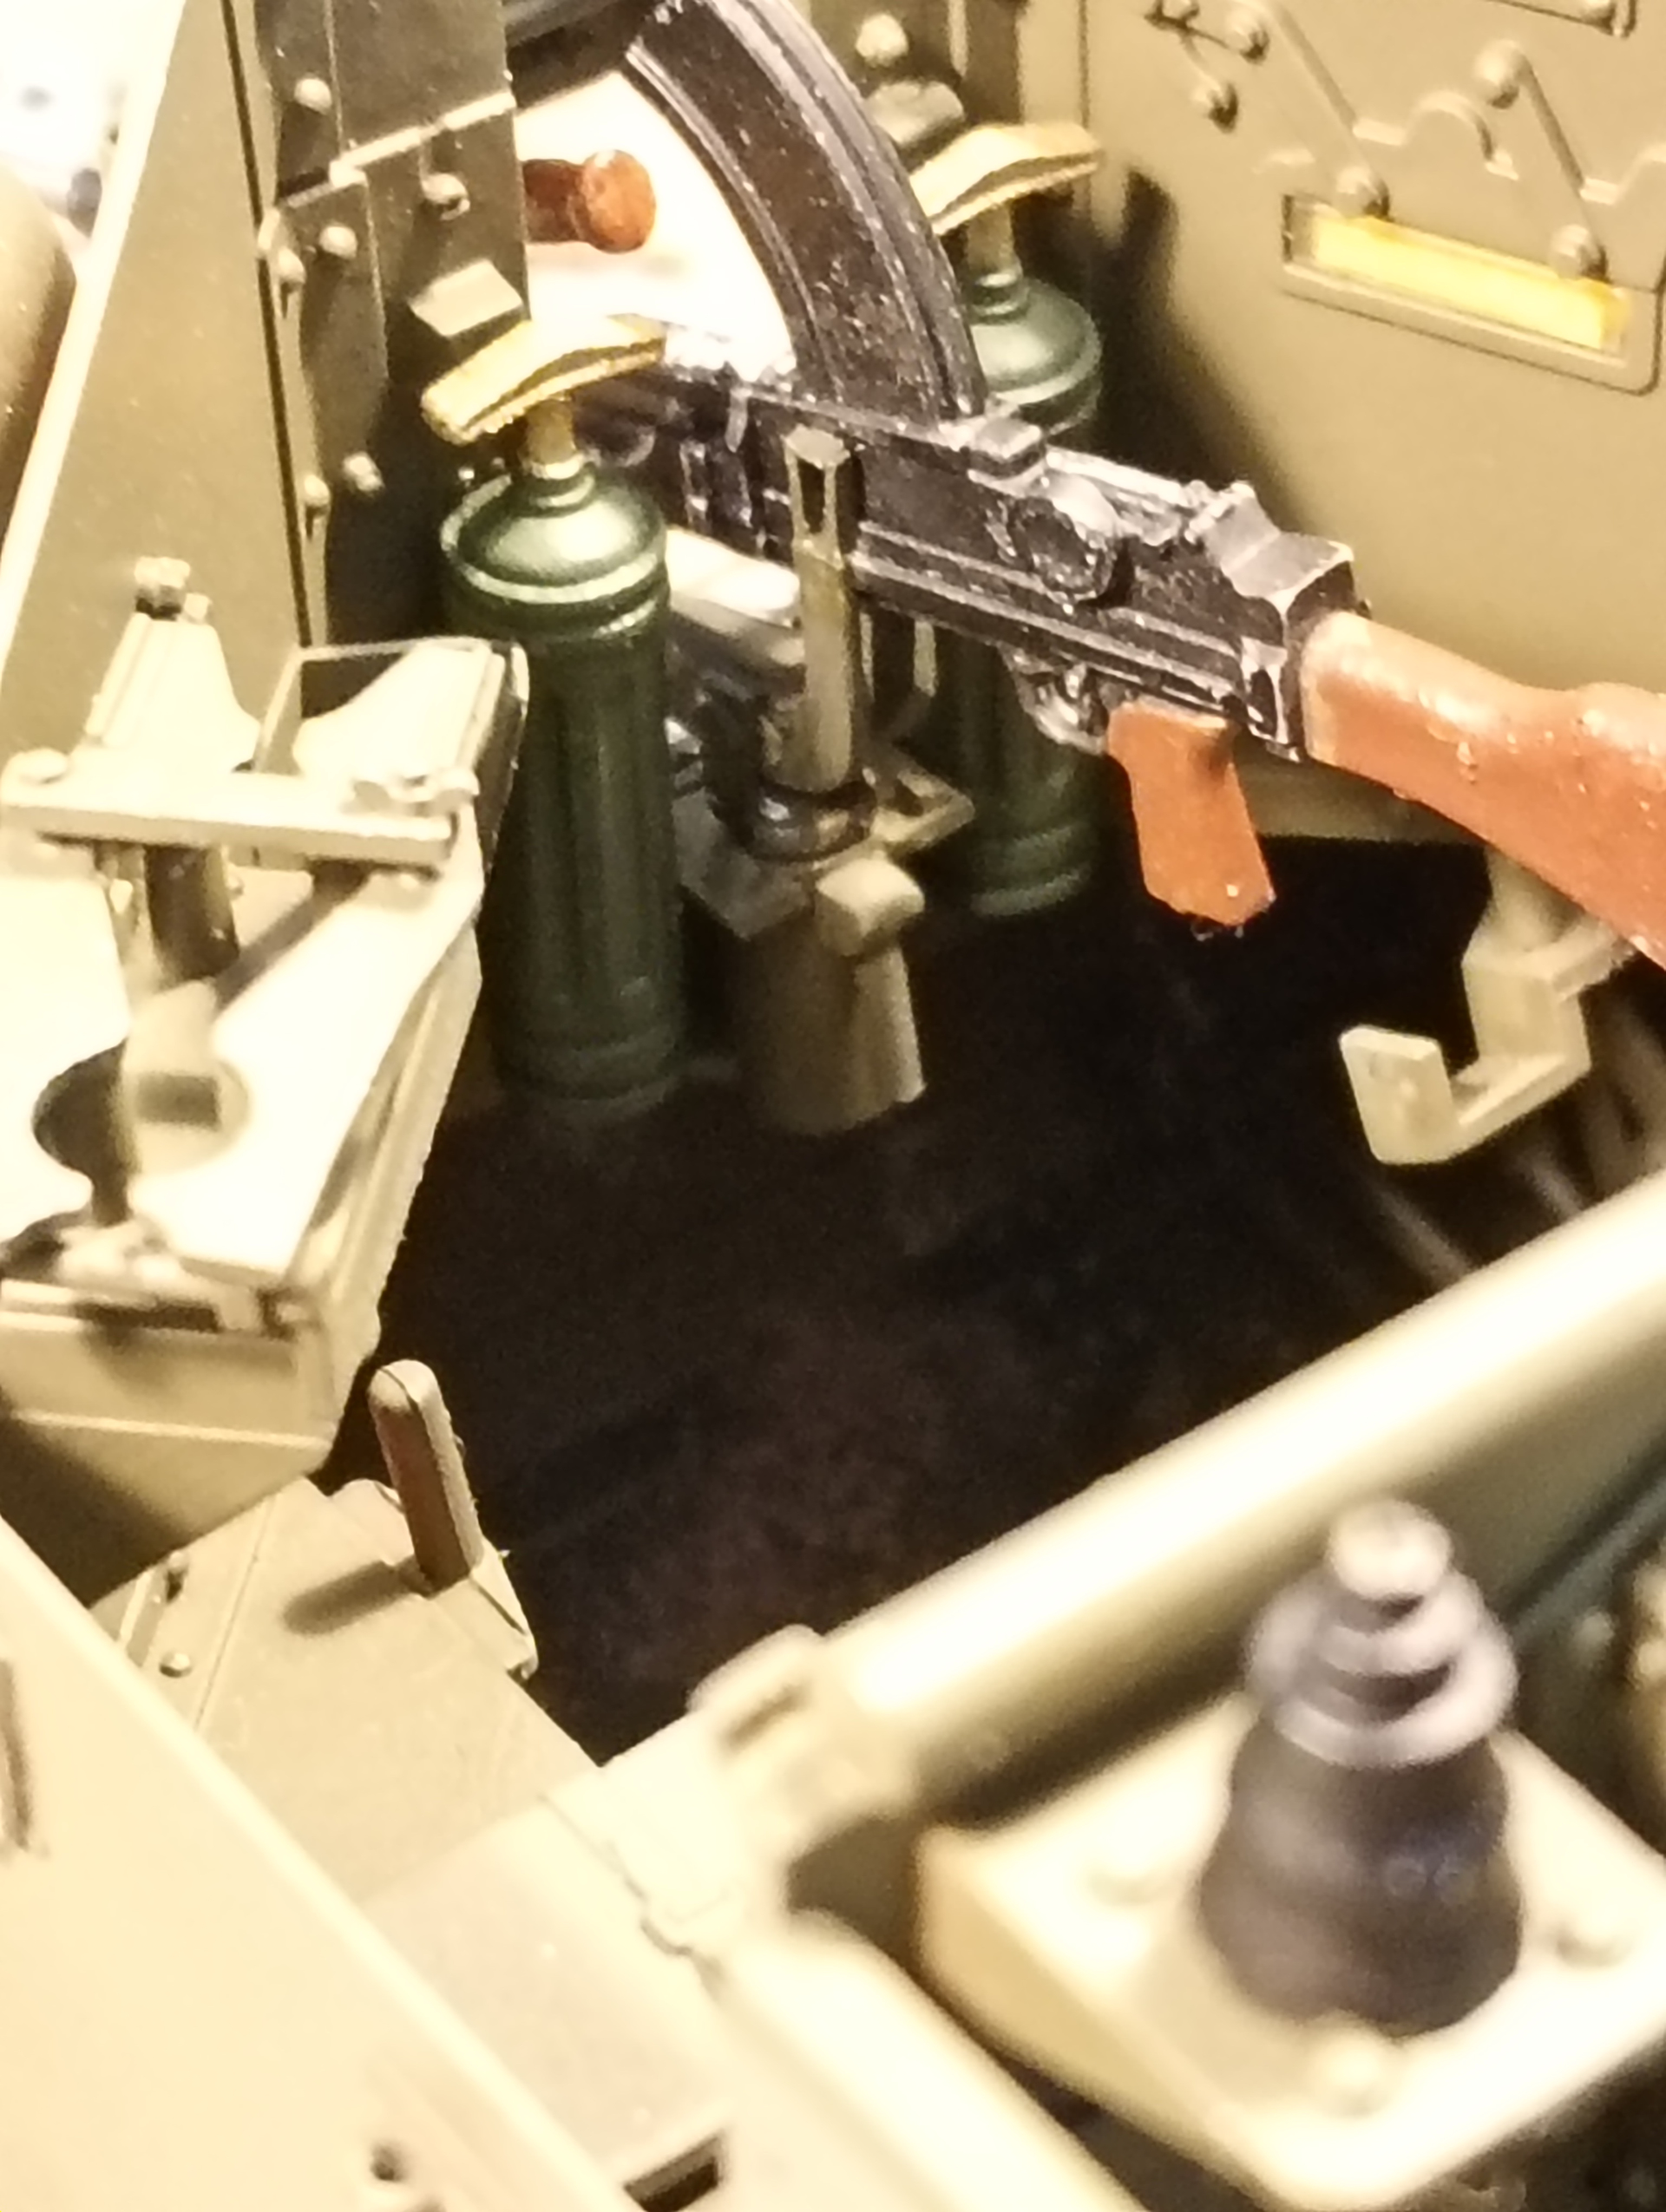
This is just dry fitted and the bipod needs reattaching facing the correct way.
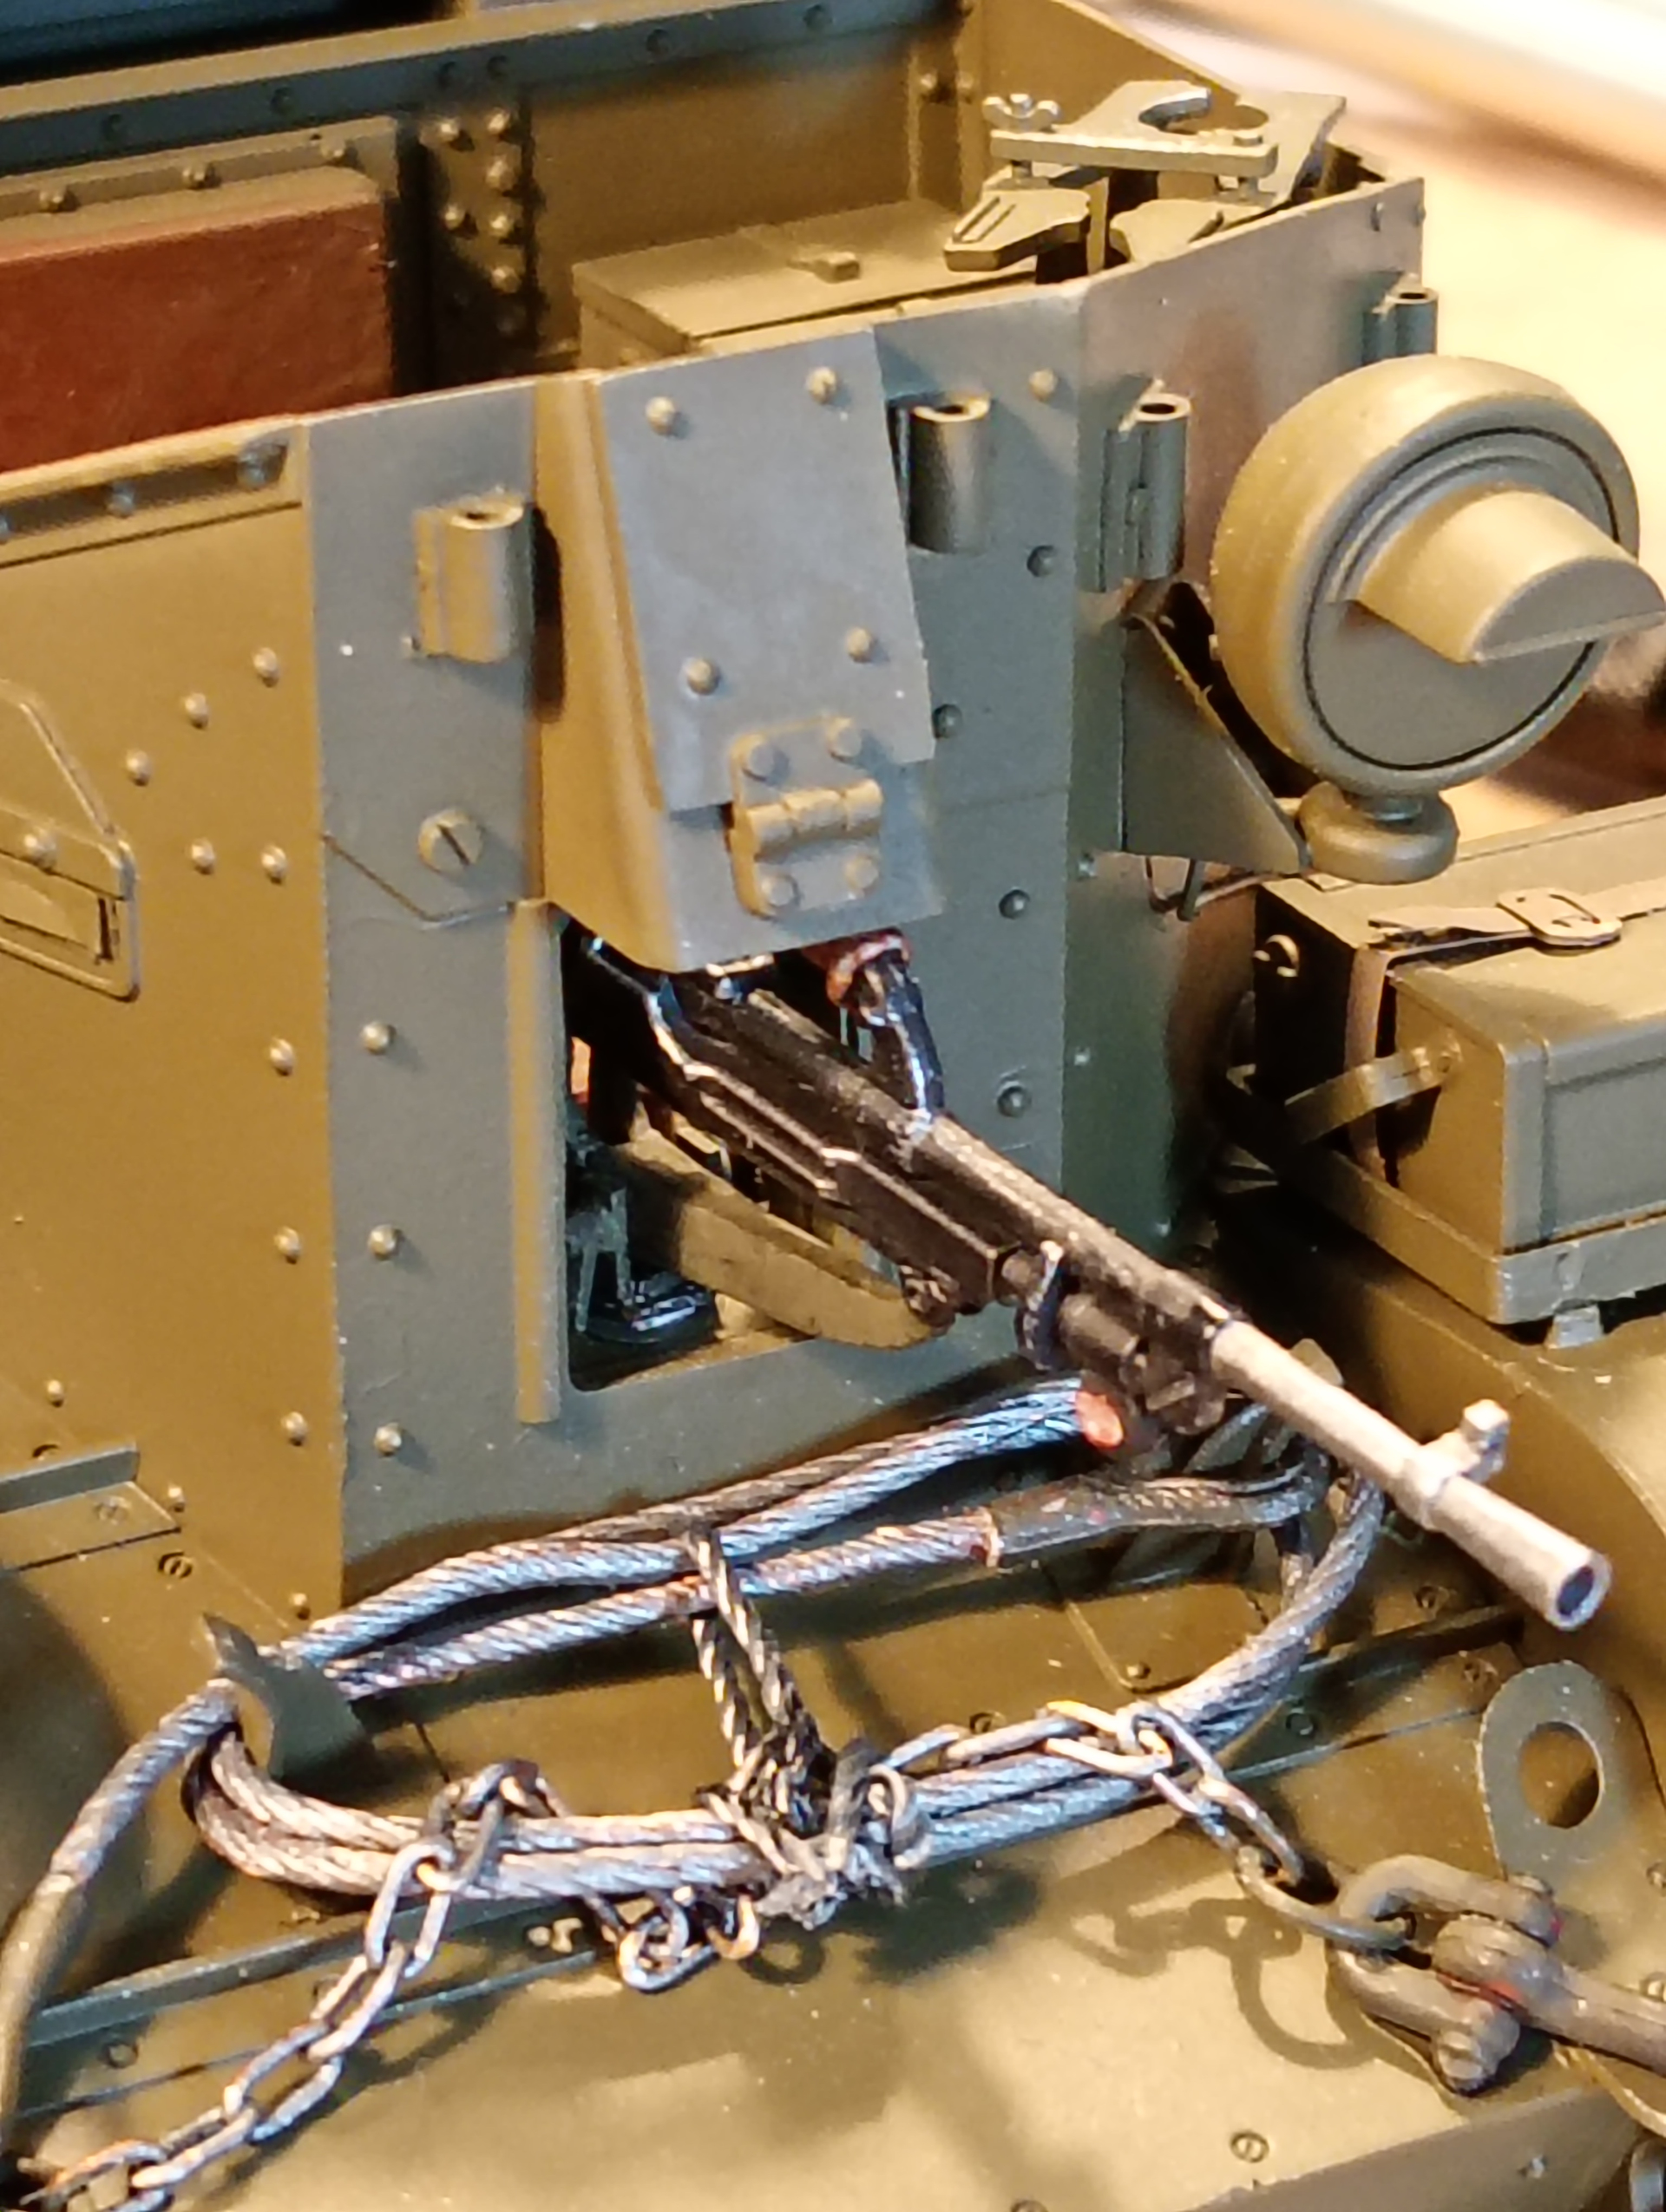
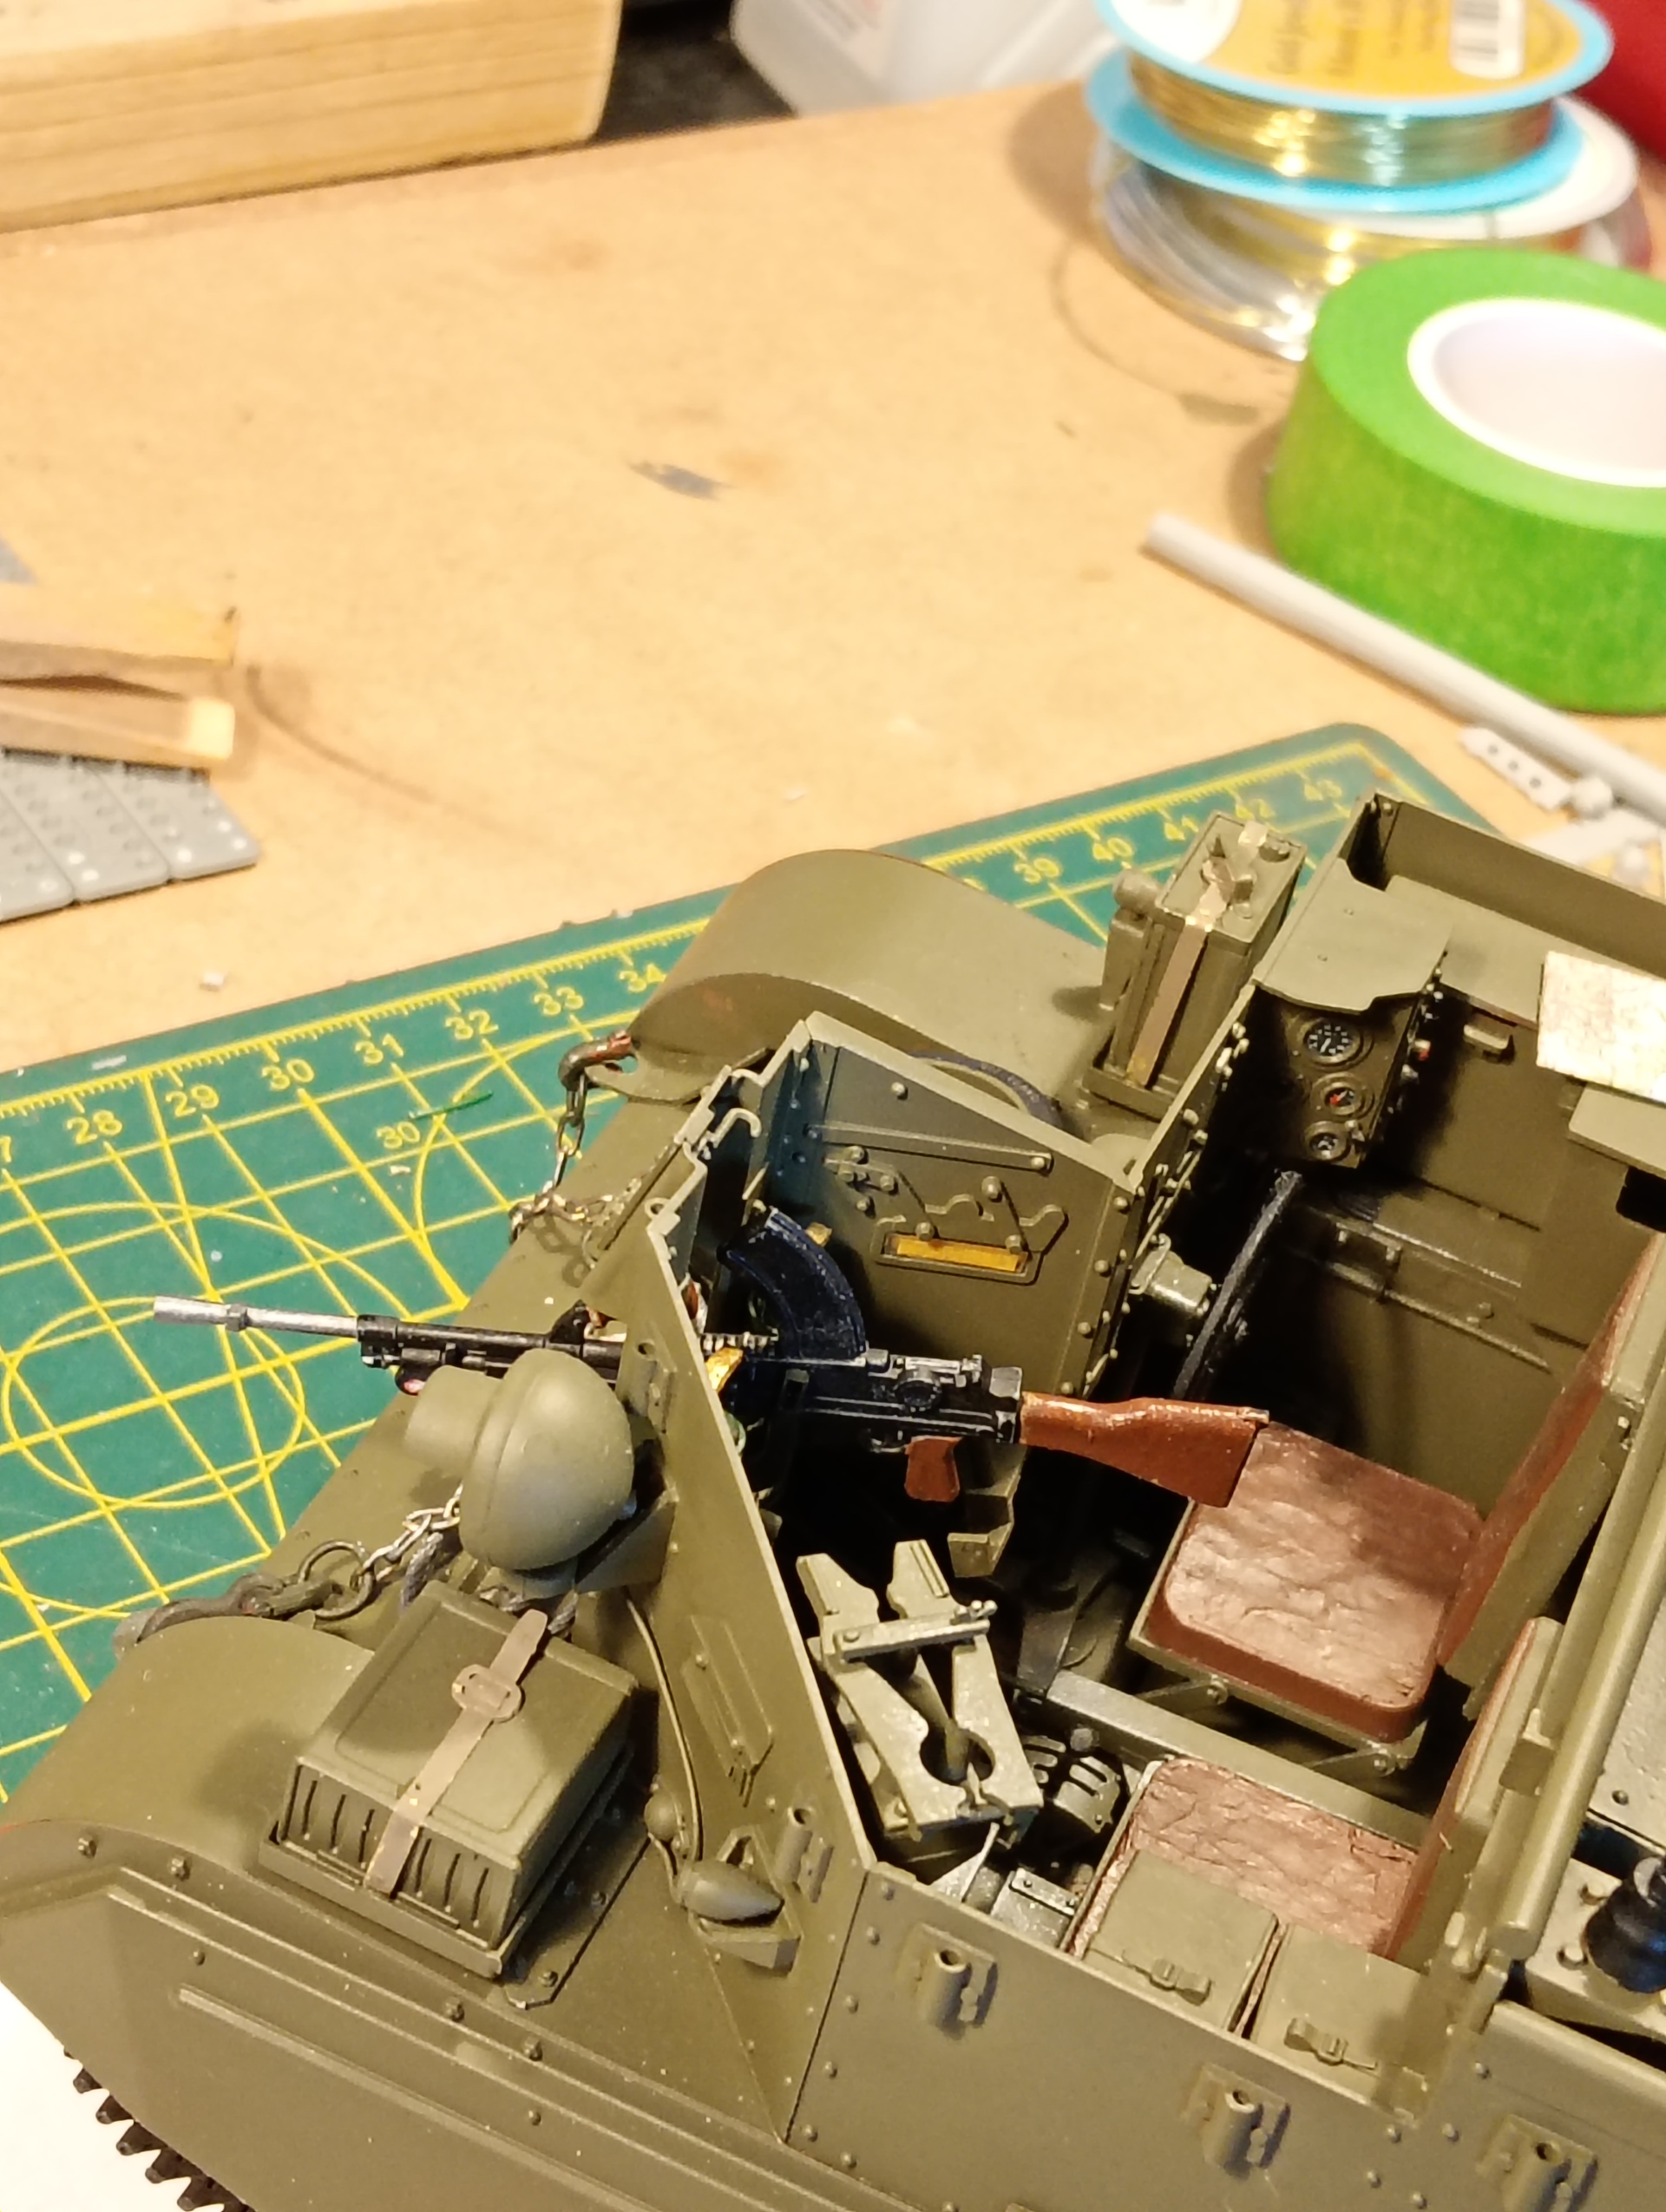
Oh and I put the steering wheel in…thought that’d be handy lol
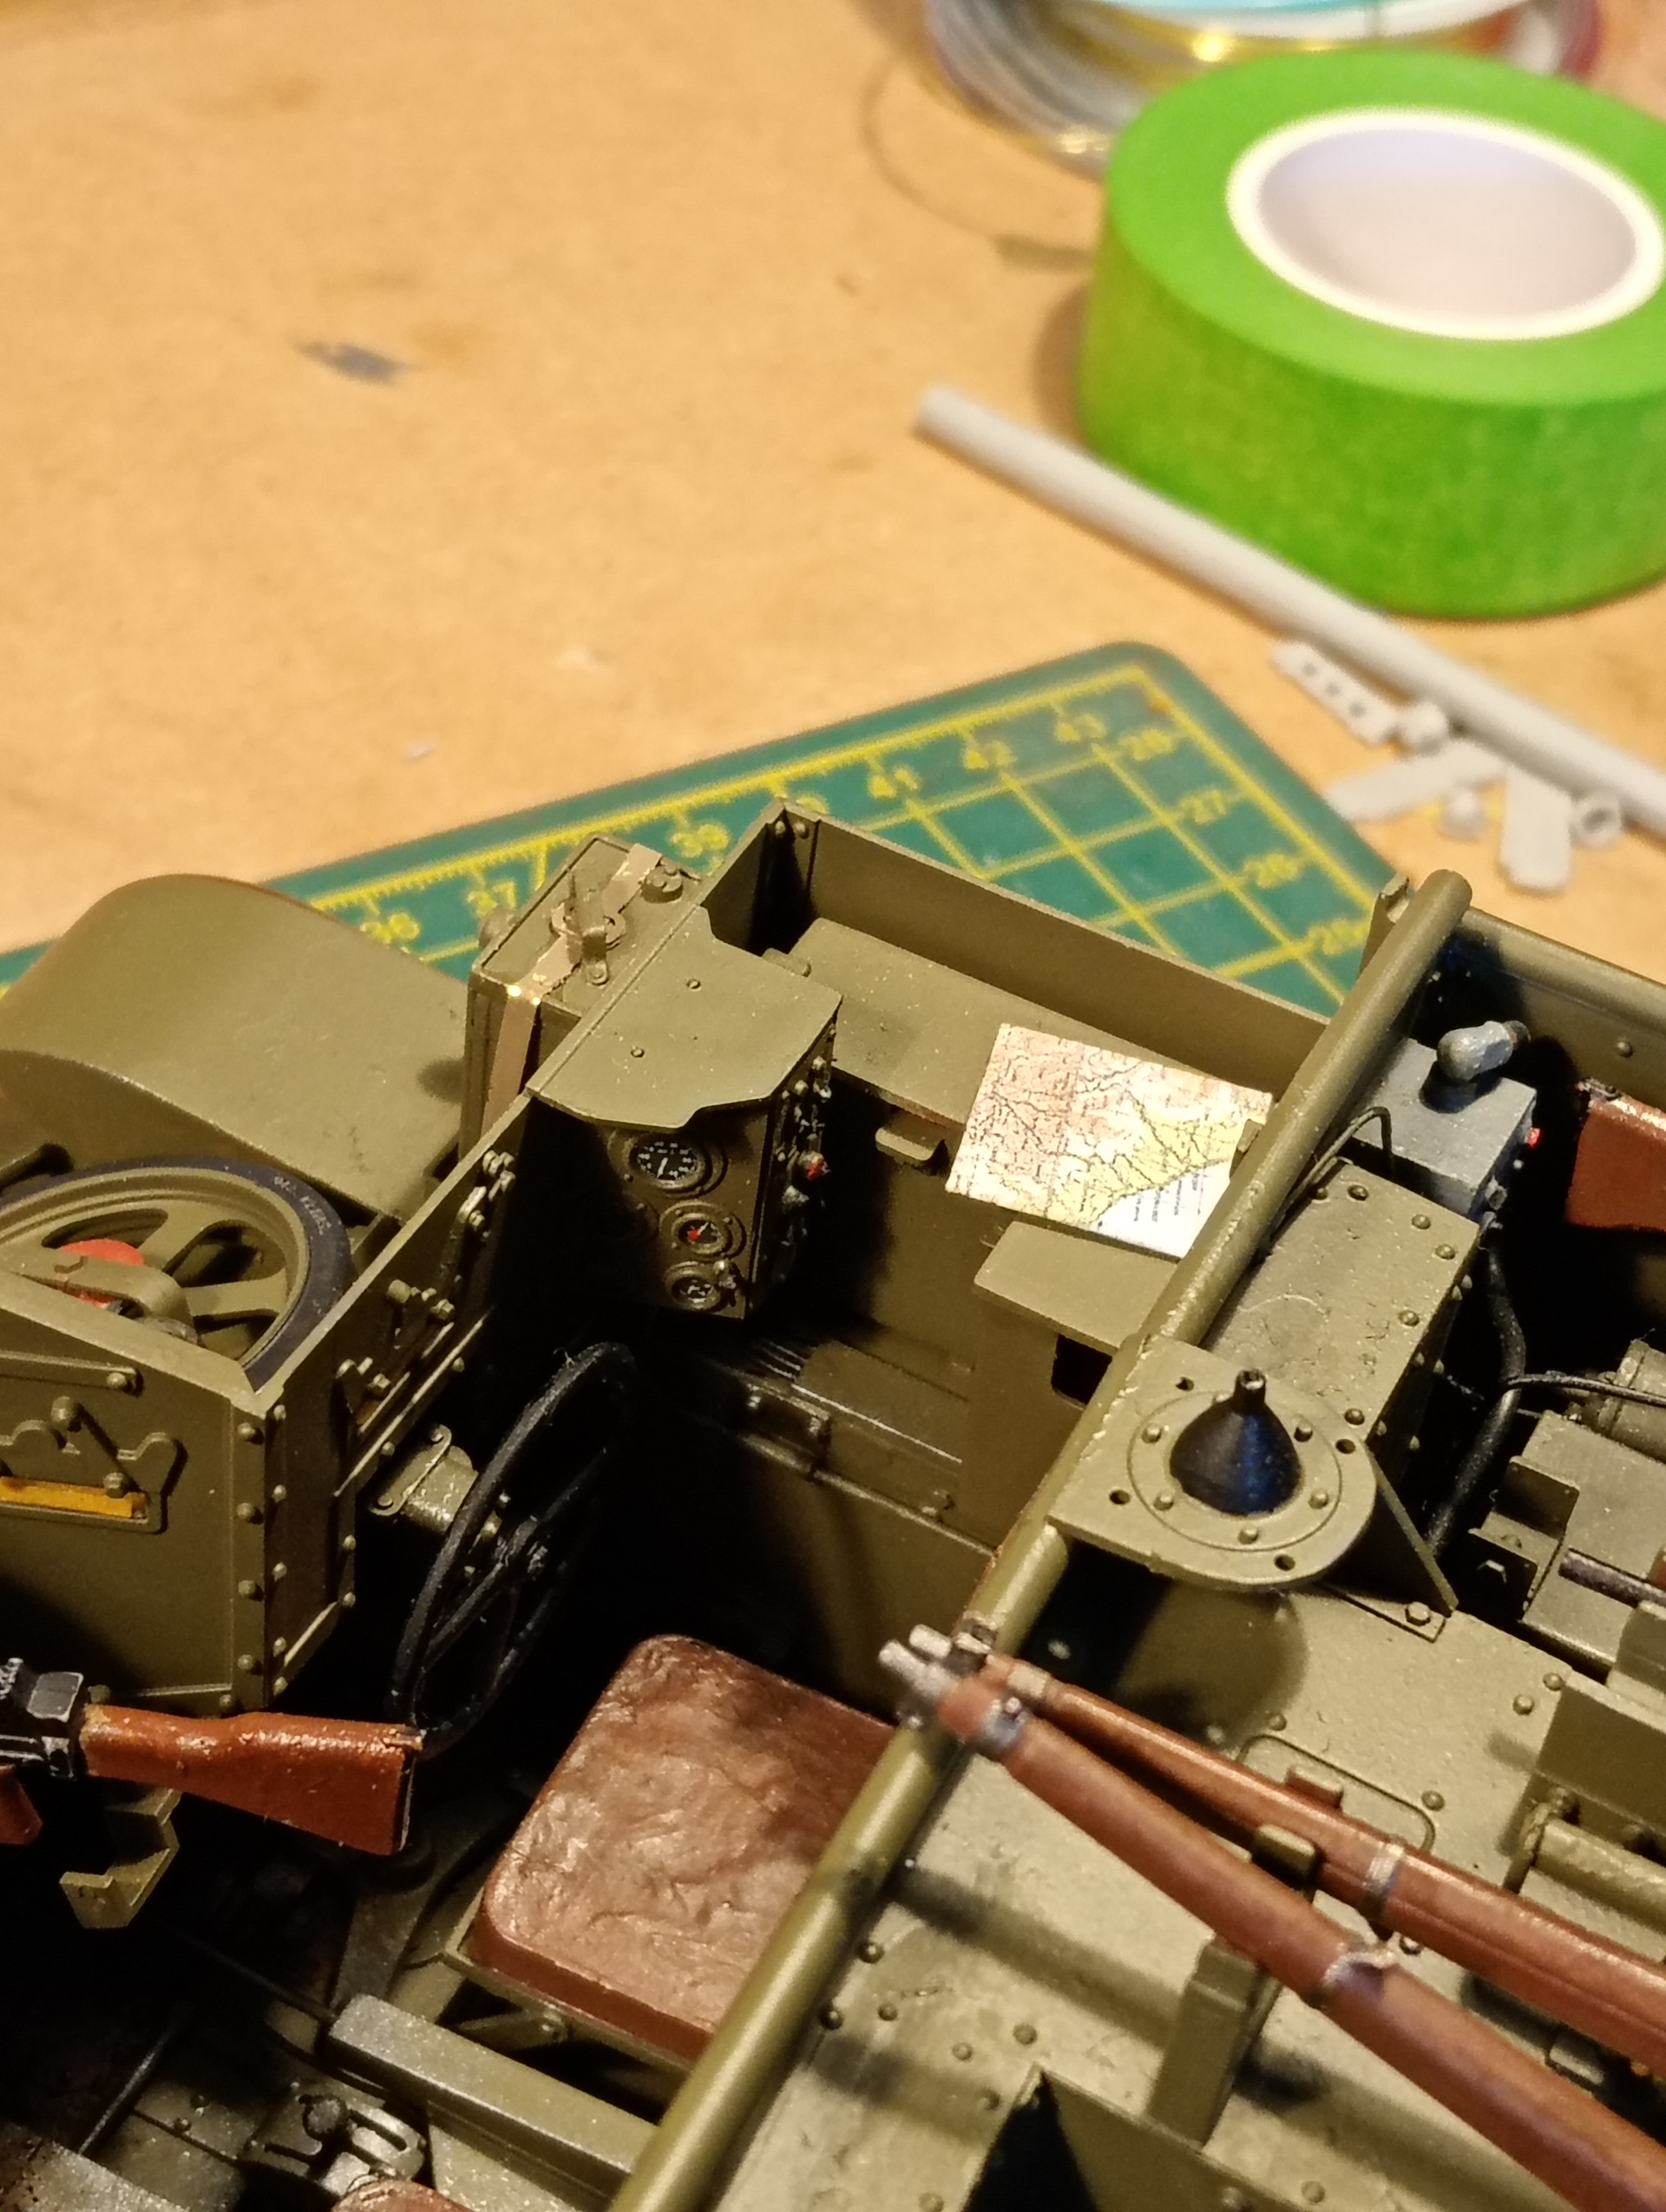
And rest of weapons … (only rifles will be getting slings)
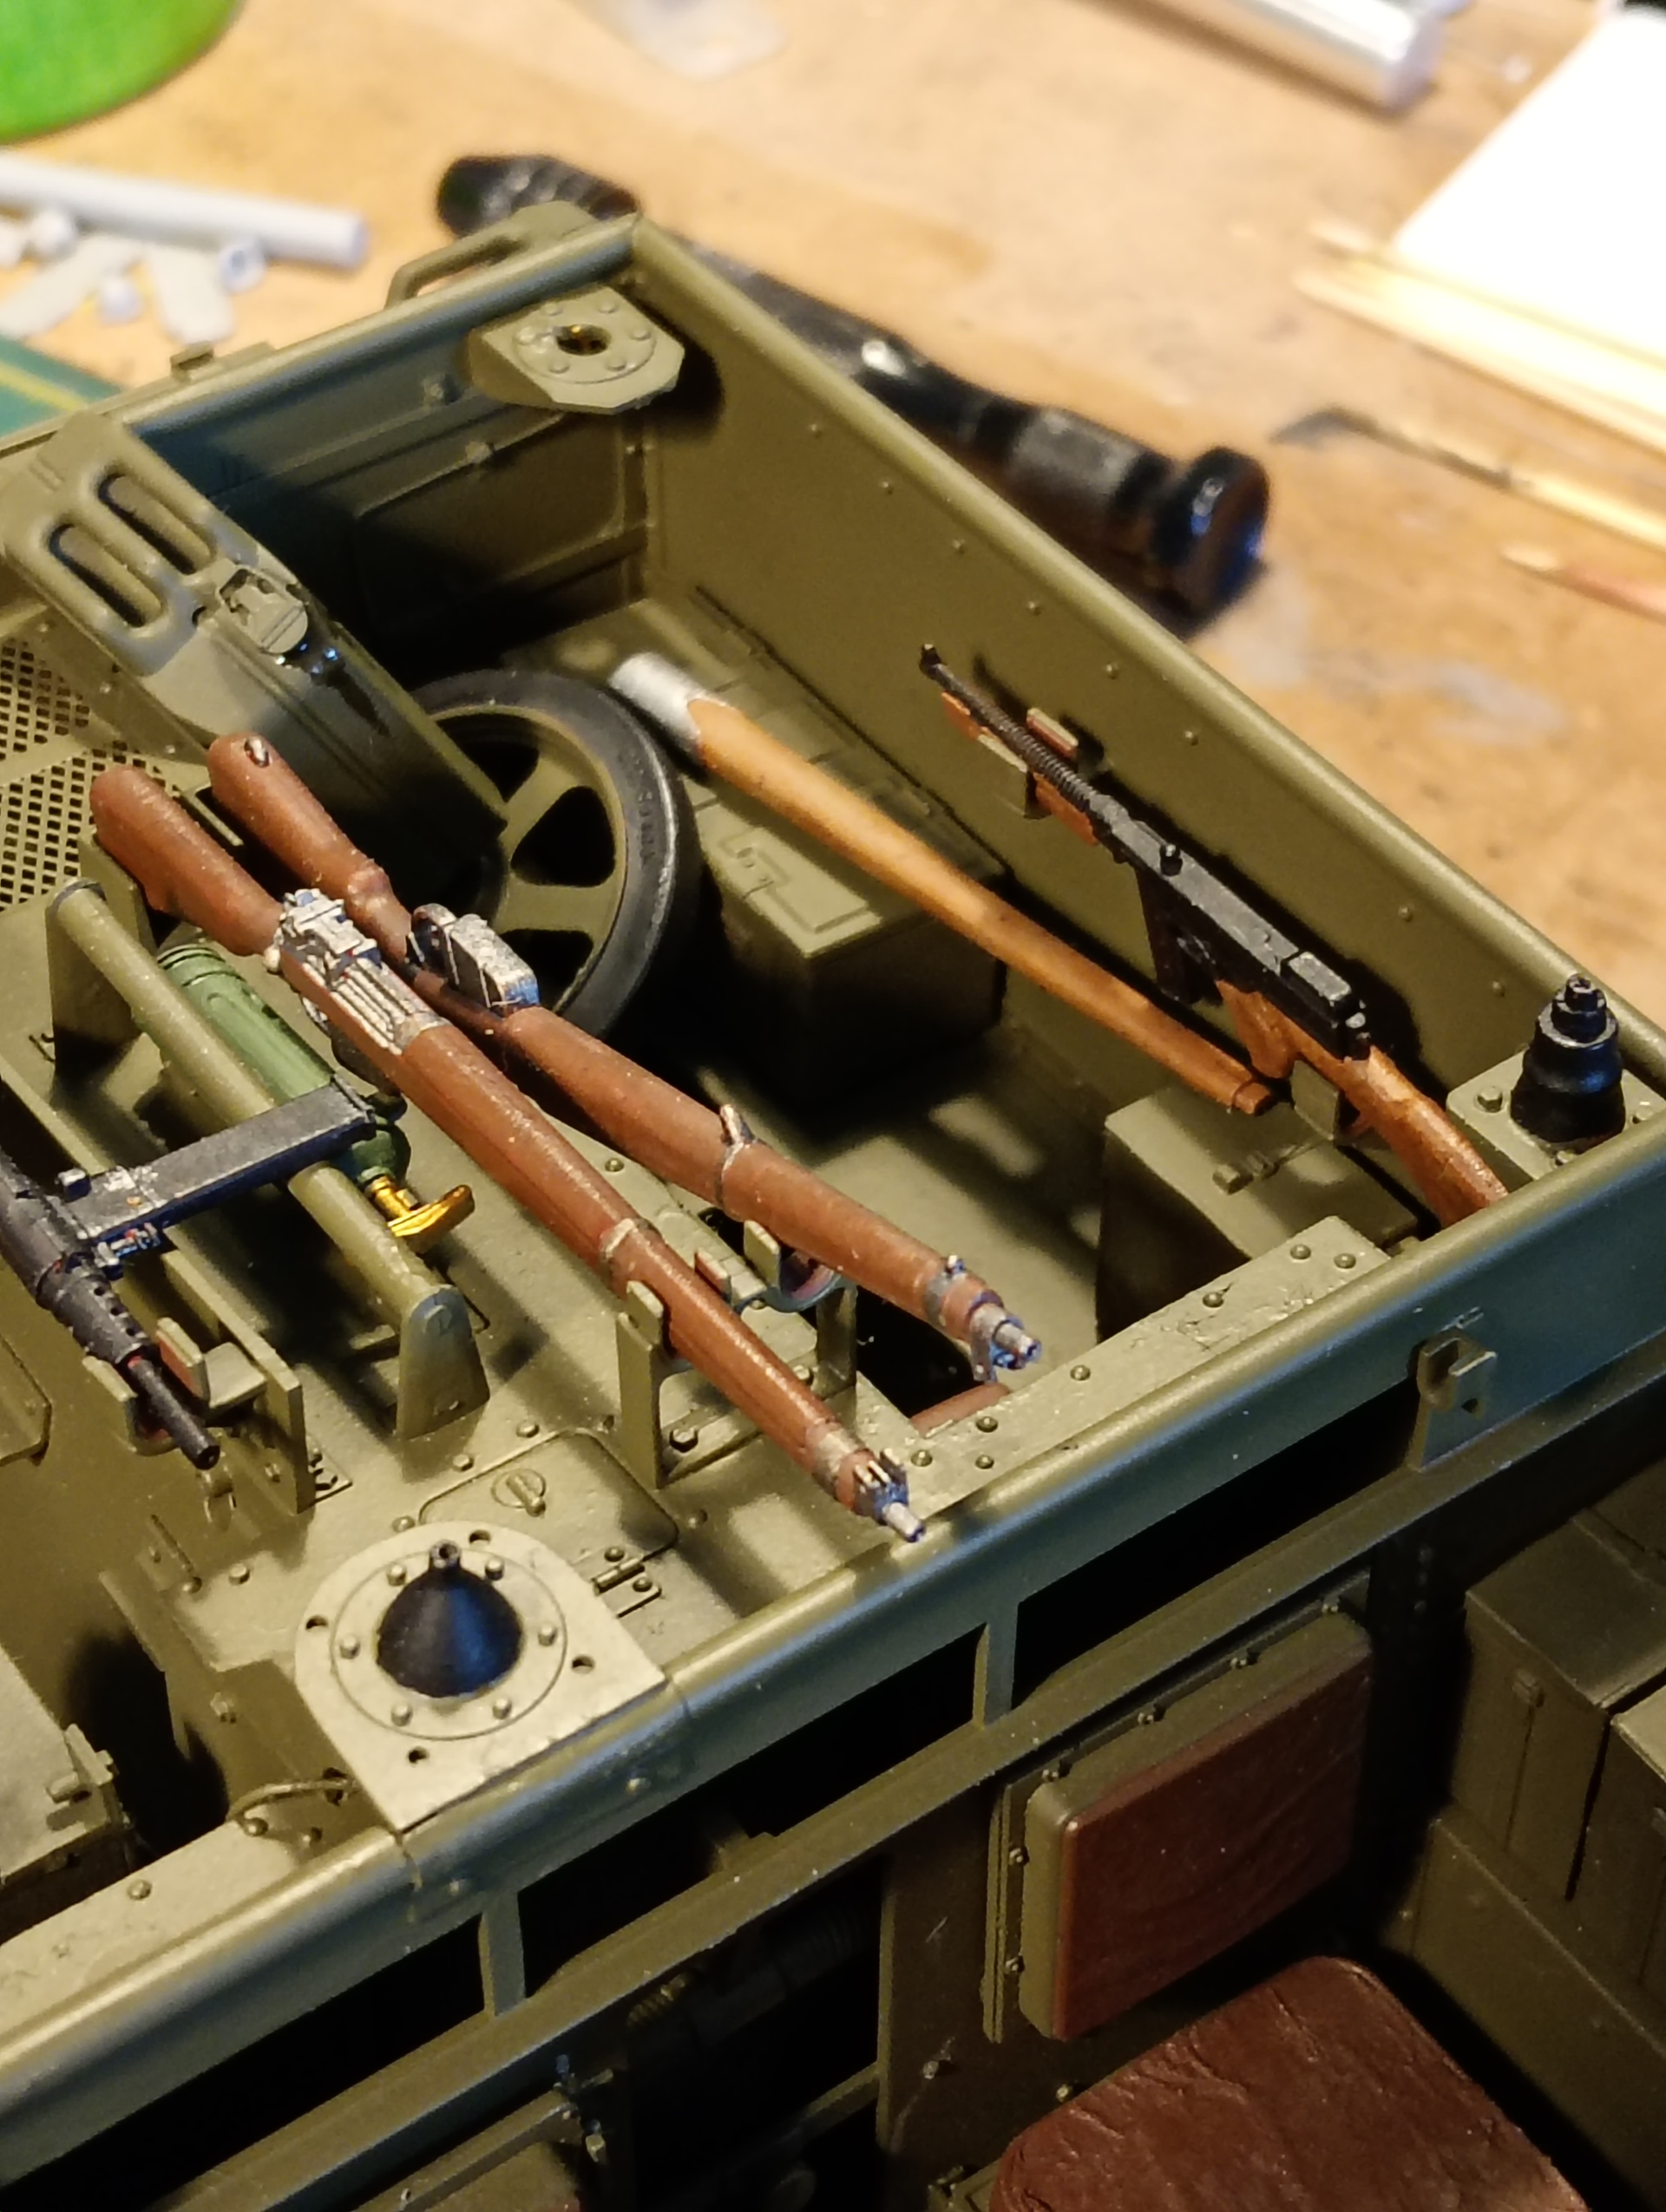
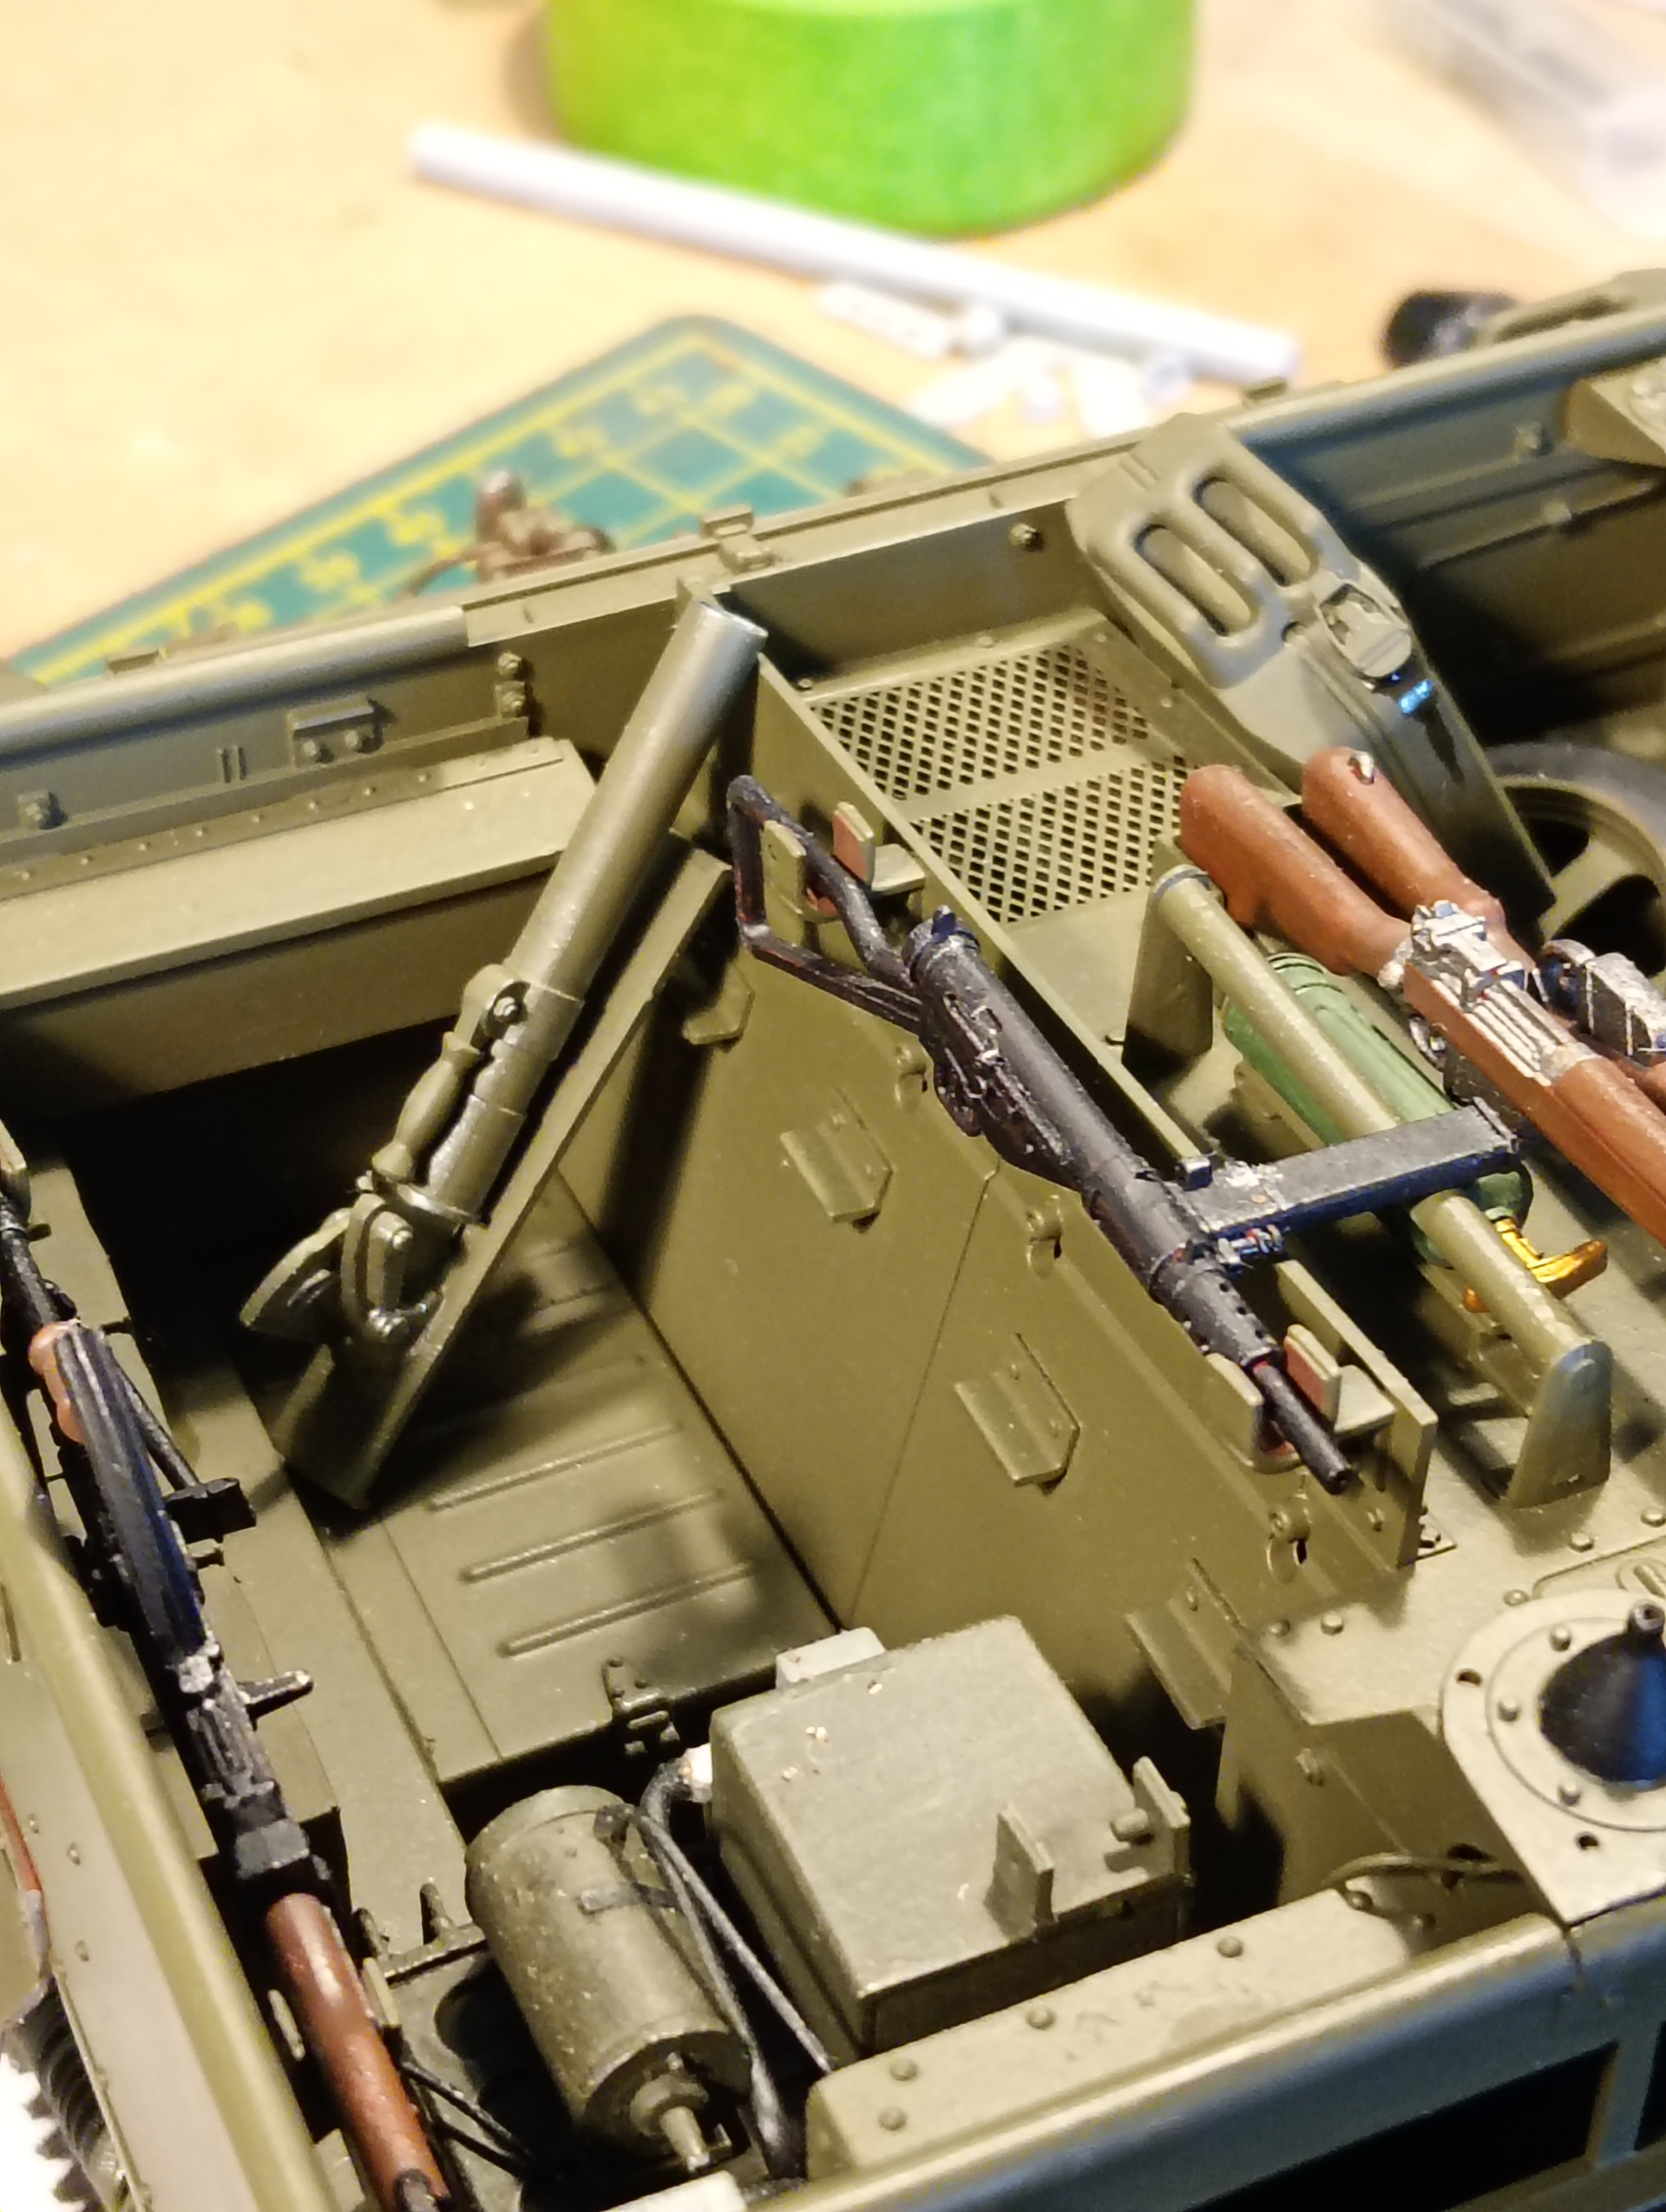
Mortar
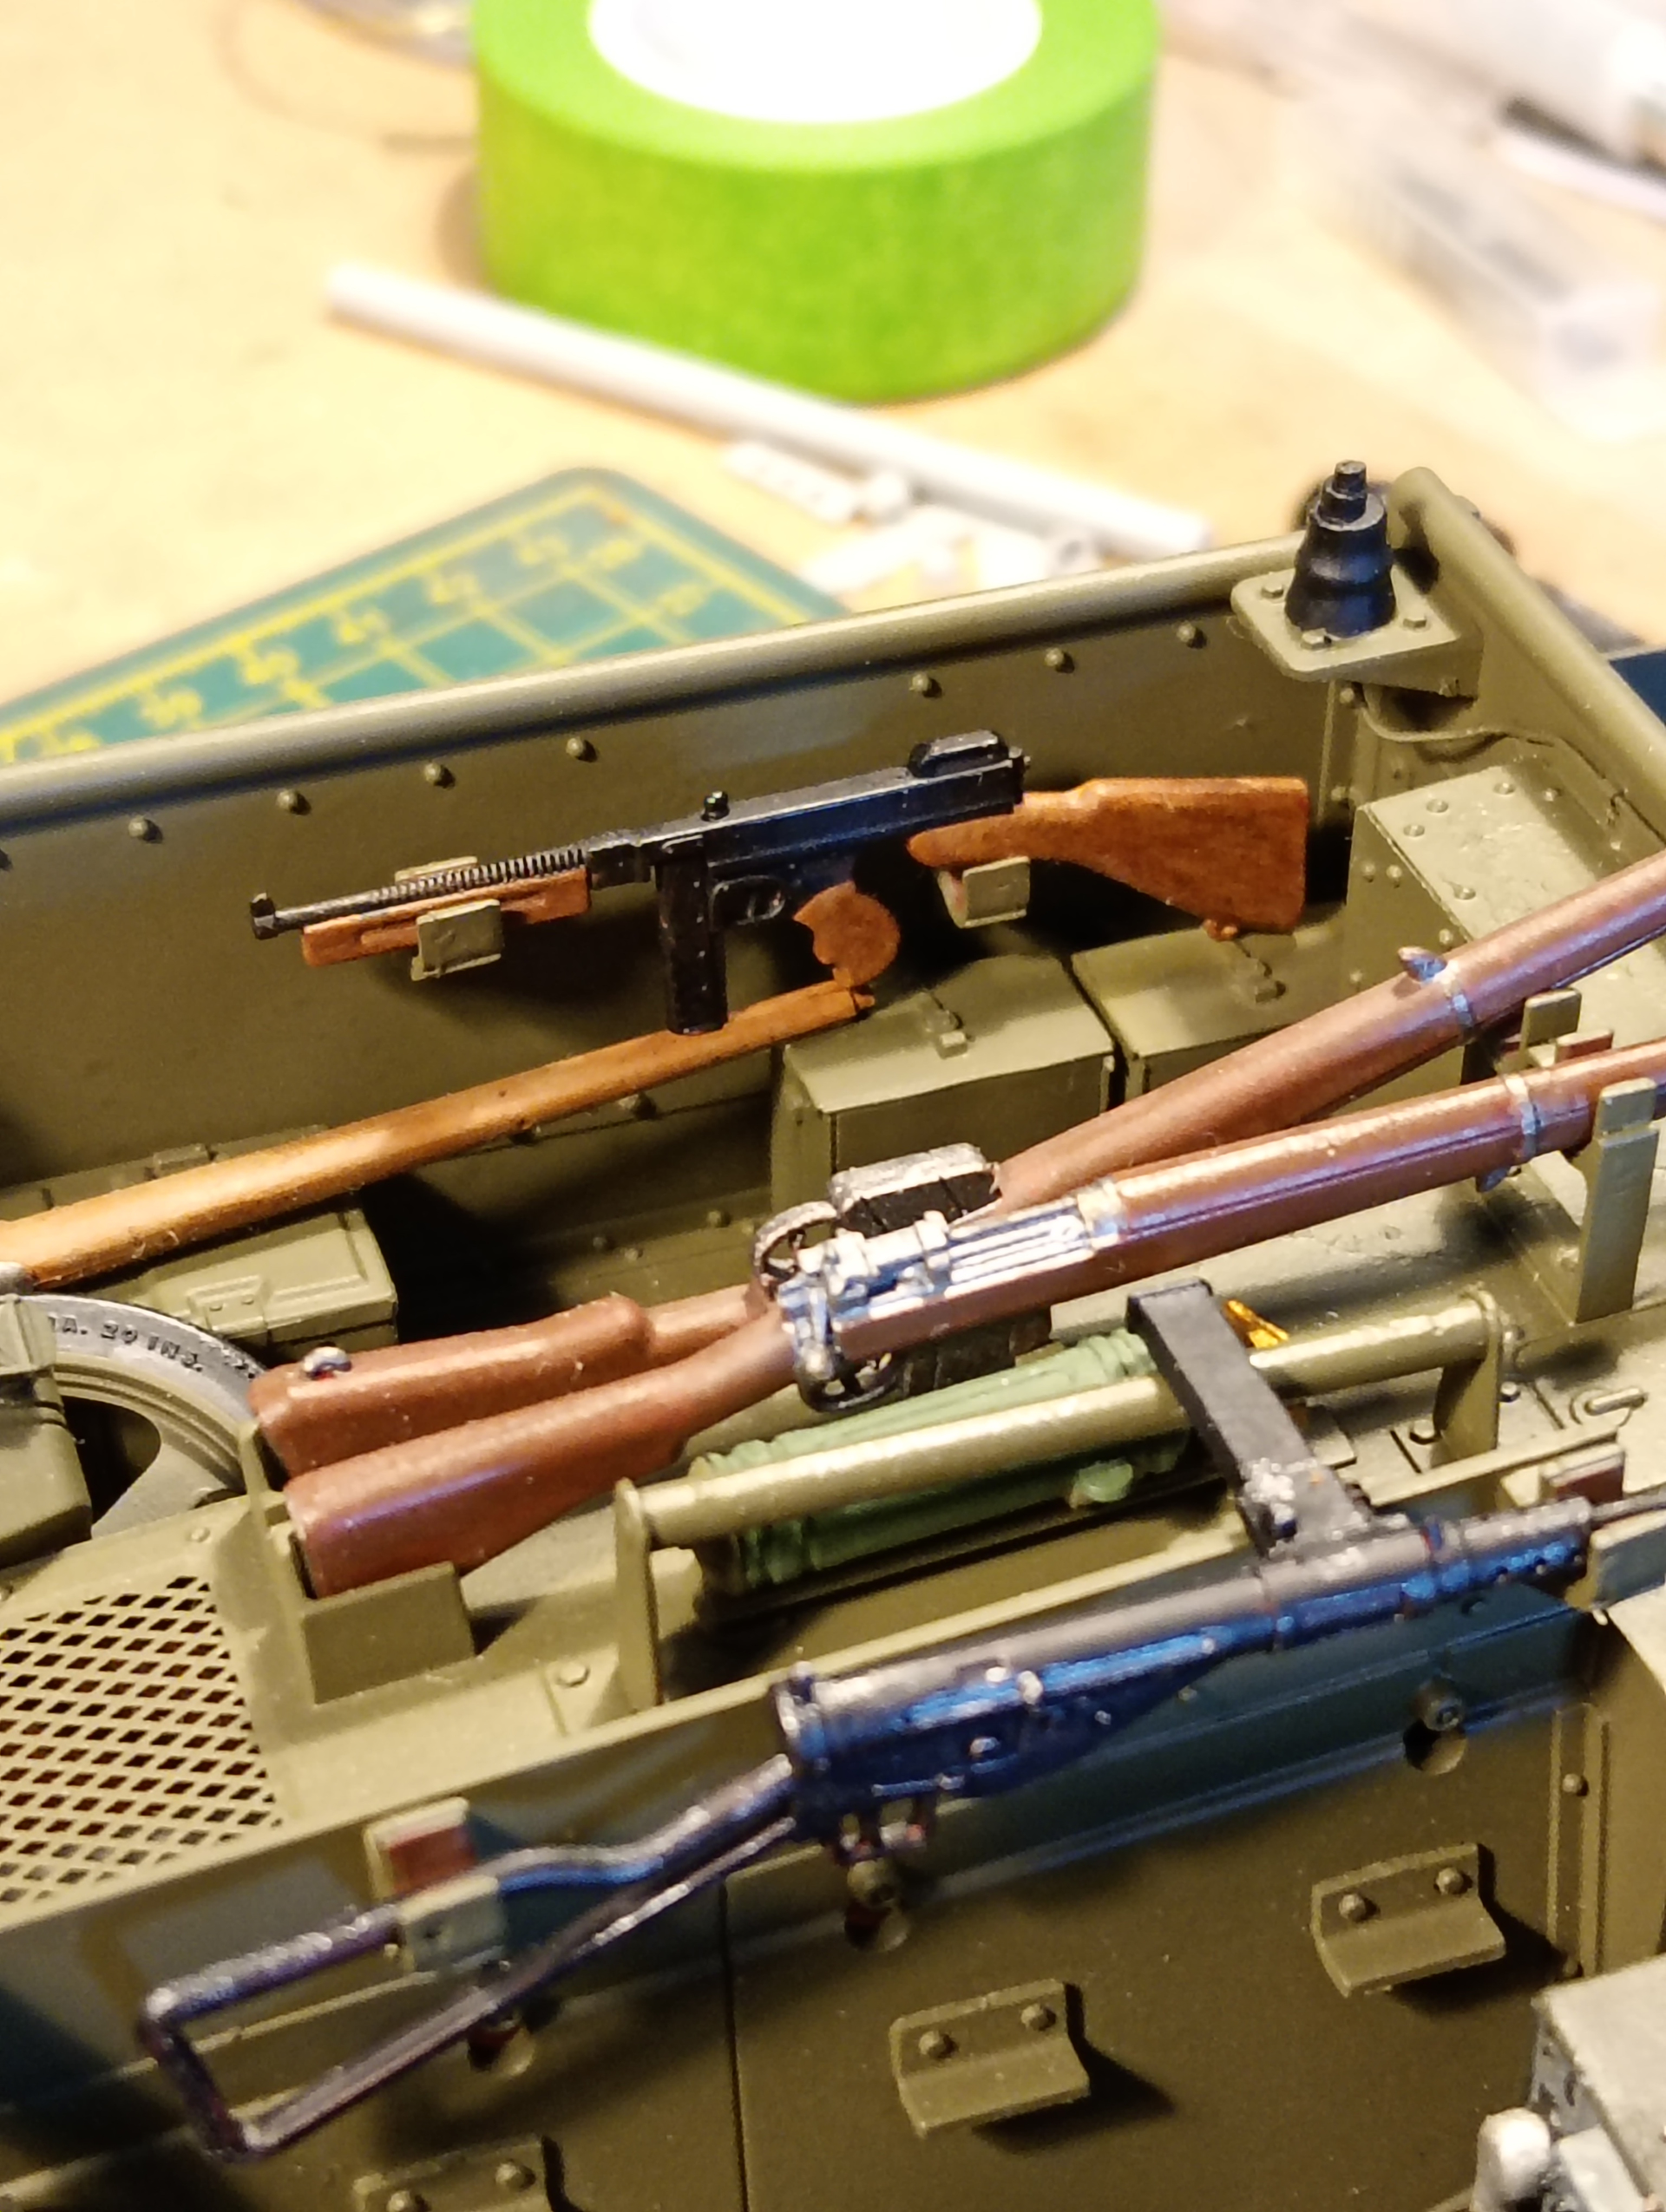
And the map…
Also need to fix in the vehicle jack somewhere and assemble a run of spare track links to fit on the rear along with the tarps once I make those.
14 Likes
Fantastic…
2 Likes
Started on the detail painting and putting the decals on … Made a triangle template for the 1 UK Inf Div, and luckily, 1 Buffs were allocated the 68 on brown, so that was a bonus. Have changed the last 2 numbers around on the Vehicle number, so this just represents a vehicle that my mates Grandad could easily have used on the push up through Italy.
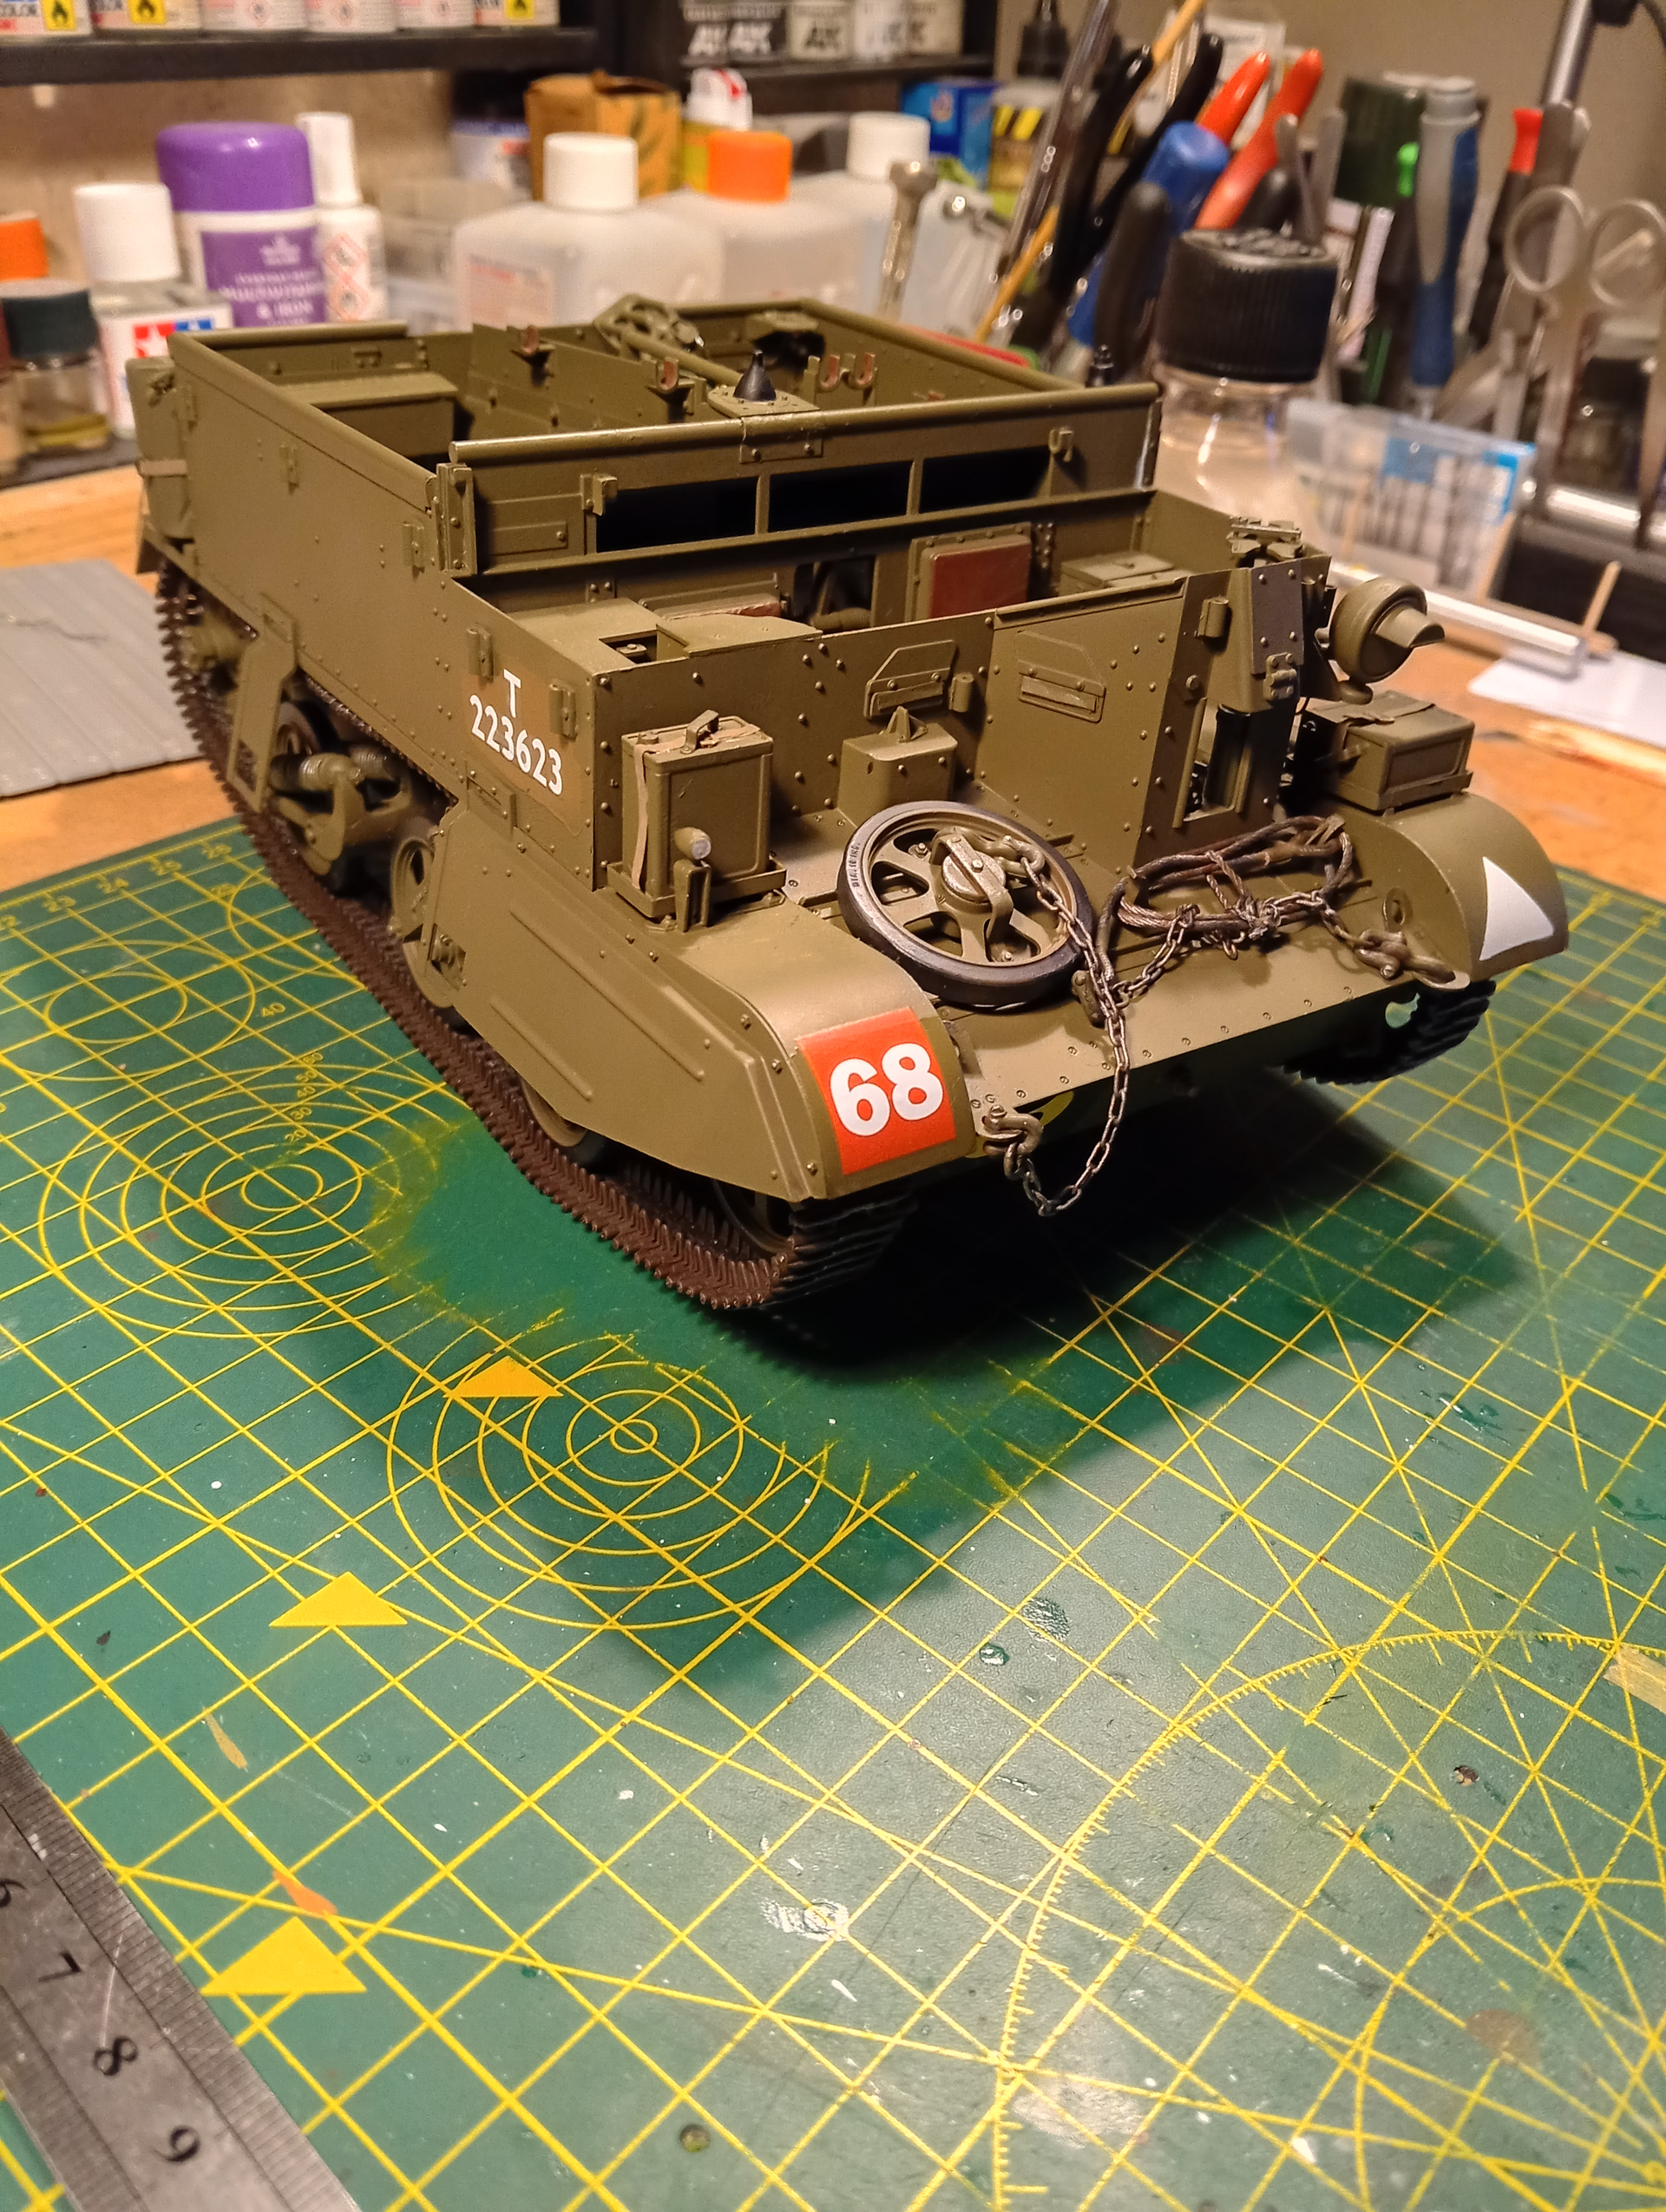
More painting … then a Matt varnish and some weathering … Will be getting the ground work bits I need tomorrow while I’m out house hunting
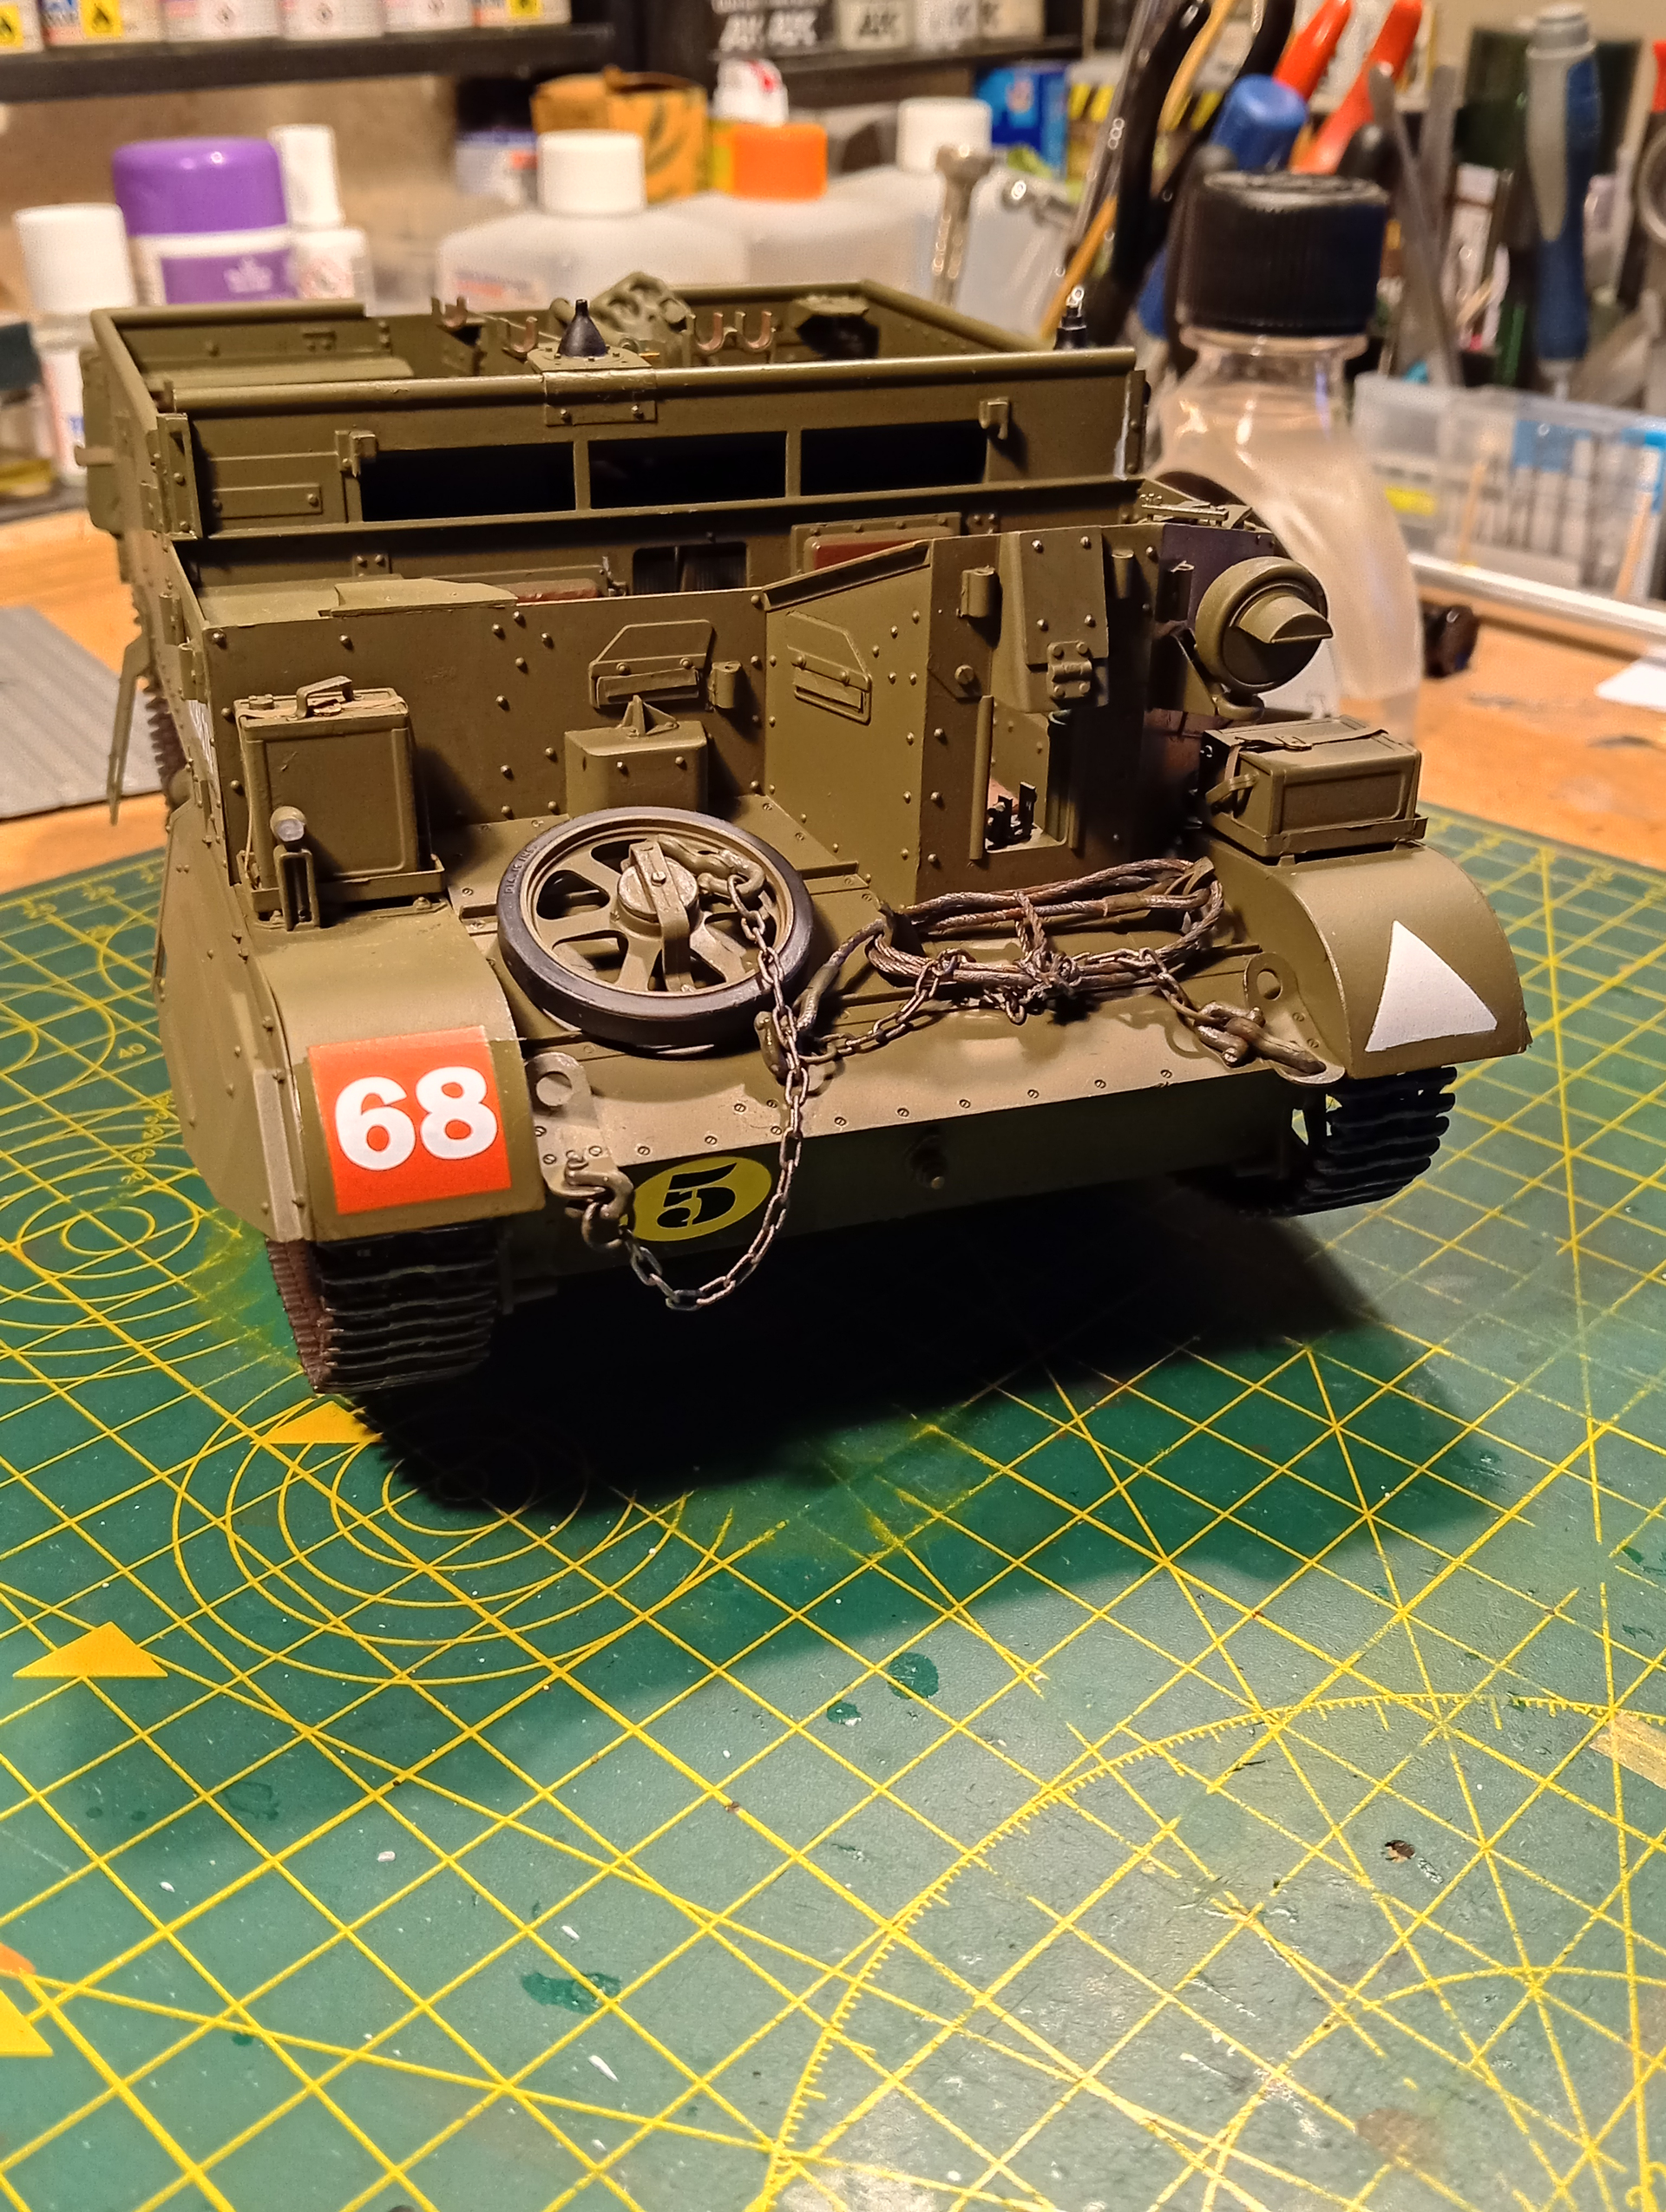
11 Likes
It’s almost too nicely done to weather! A shame to hide any of that great look!
3 Likes
Thanks Sam… It will still retain it’s look as it’s only going to be a very subtle weathering…probably just a very light dusting and a wash to bring up some shadow and gentle pin wash
3 Likes

I love this build - - maybe it’s the big scale allowing the detail to sow? and obviously the great work you’re doing, but it really reads like a real vehcile -
Cheers
Nick
3 Likes
Thanks Nick, very appreciated mate, especially from a detail guru like you !
I haven’t been idle, well I bit lol… Anyhoo…
Weapon straps are on and weapons are fitted…
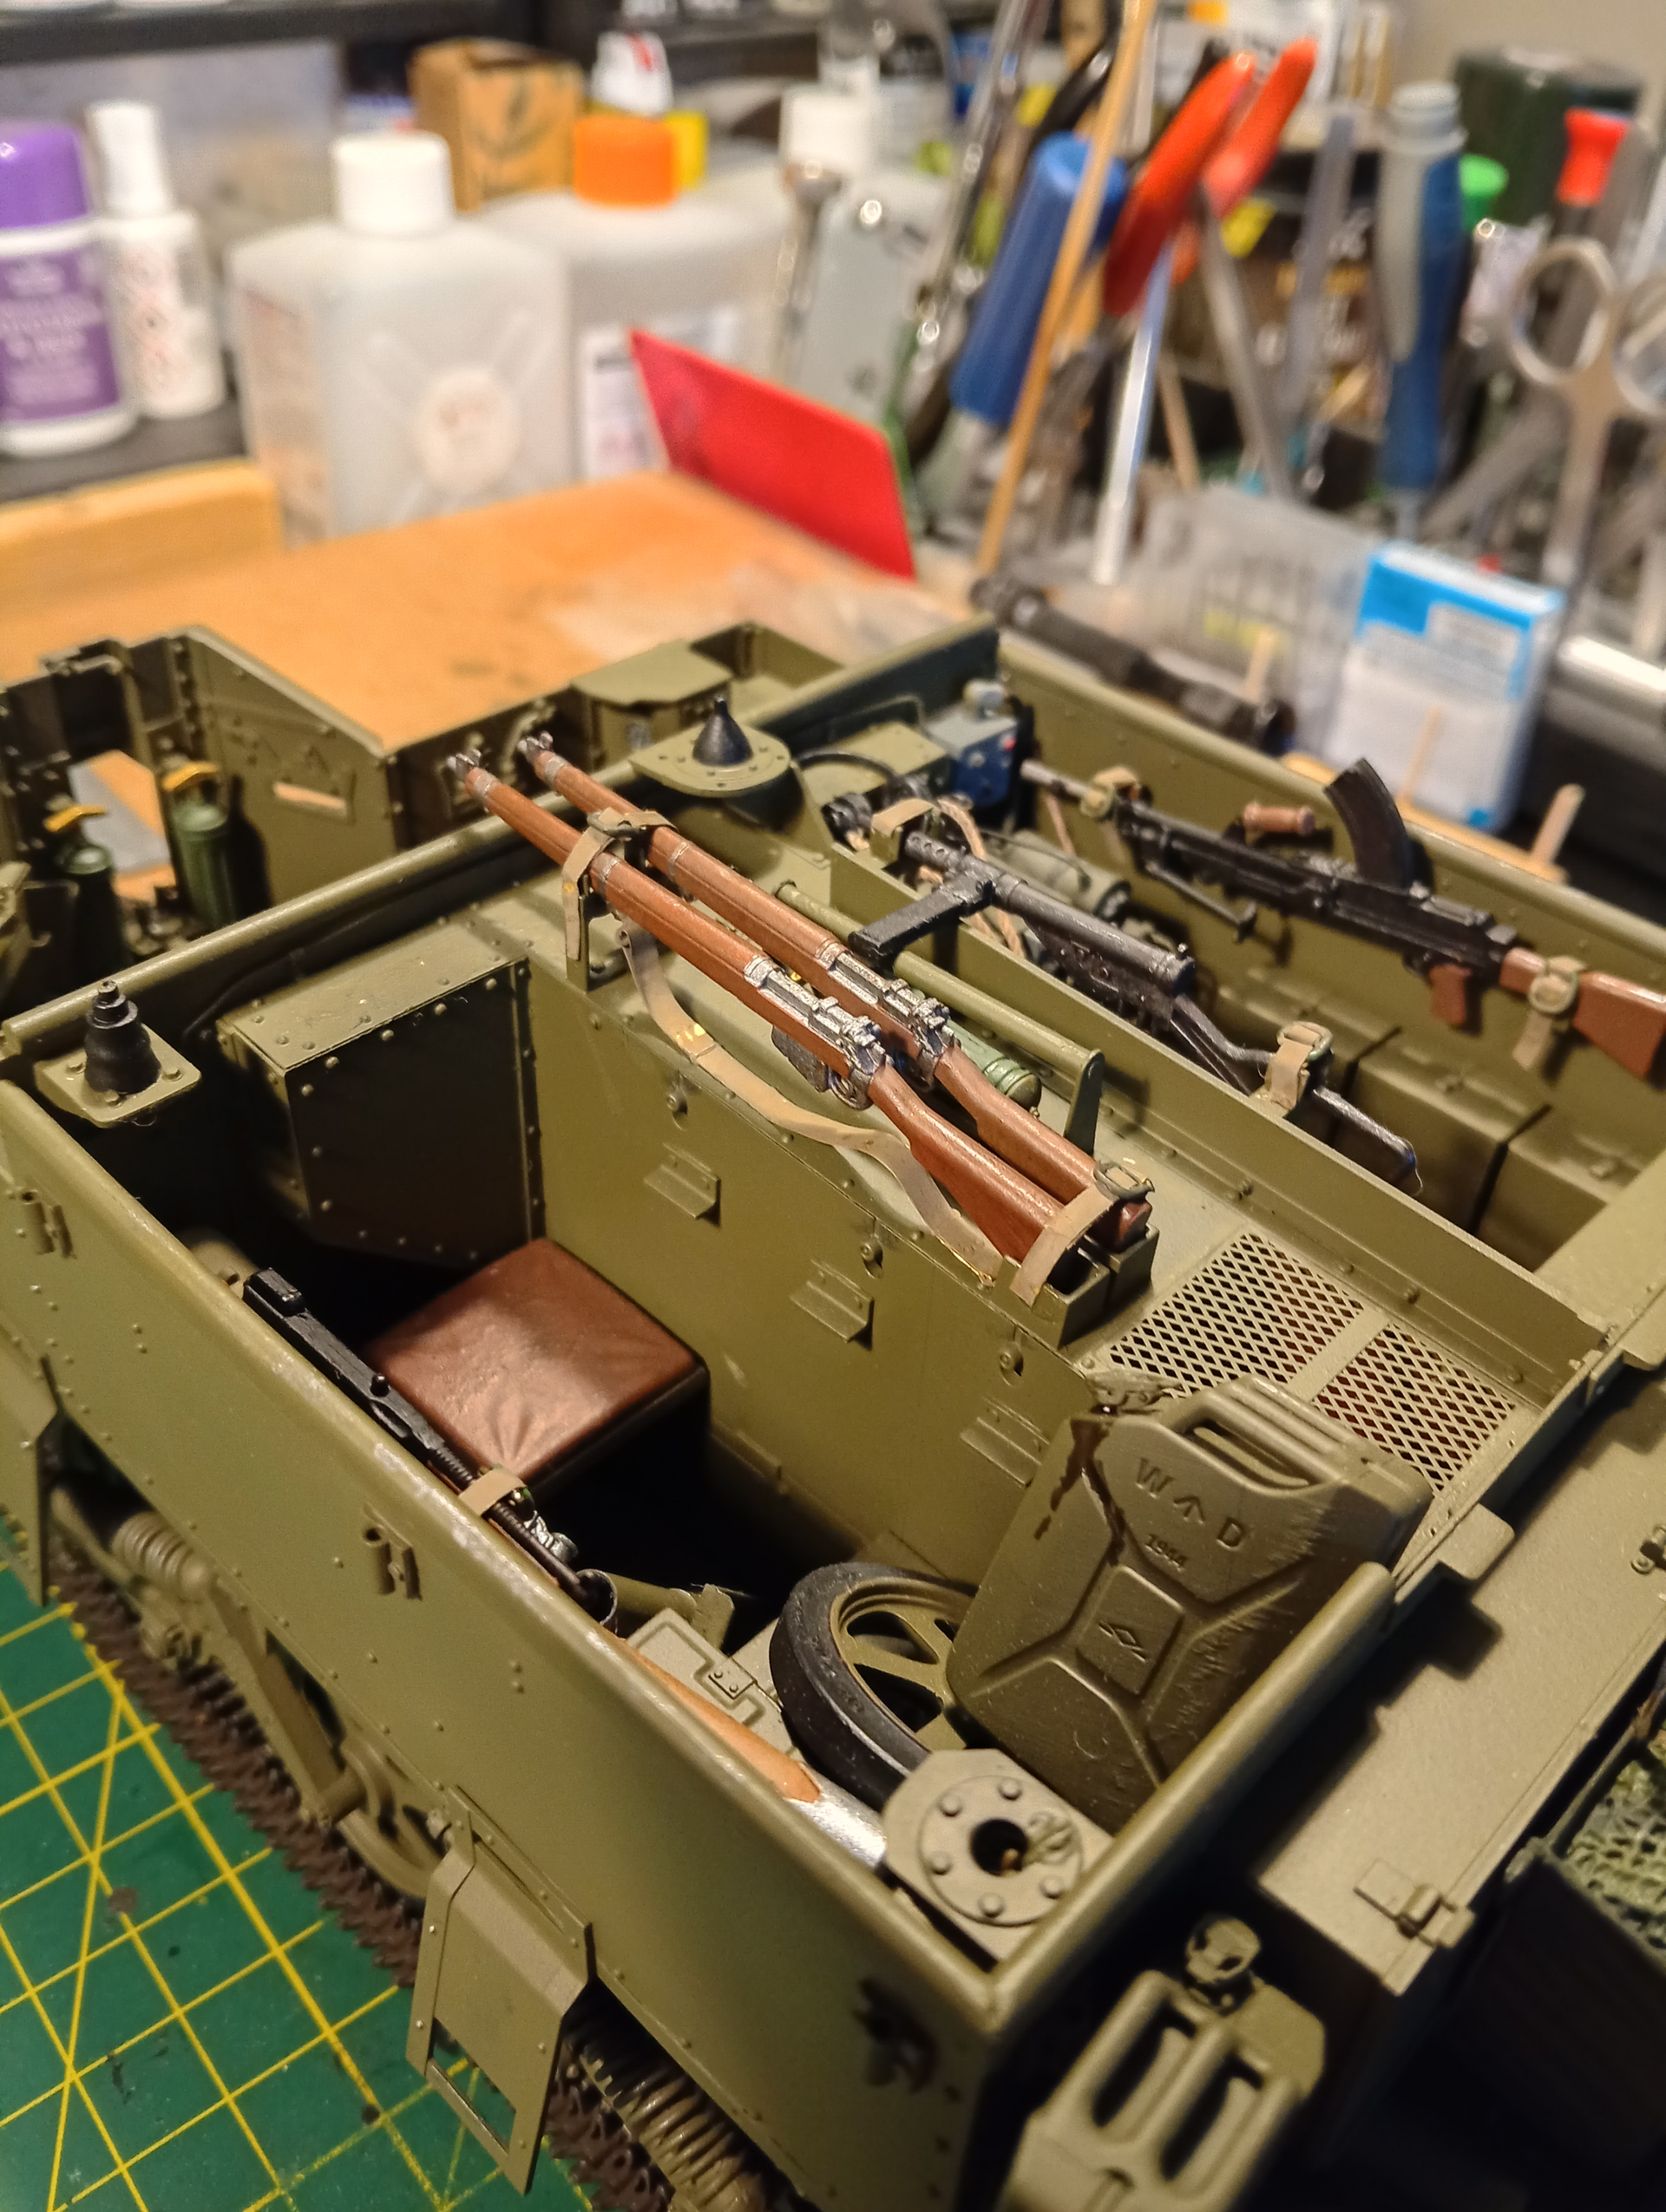
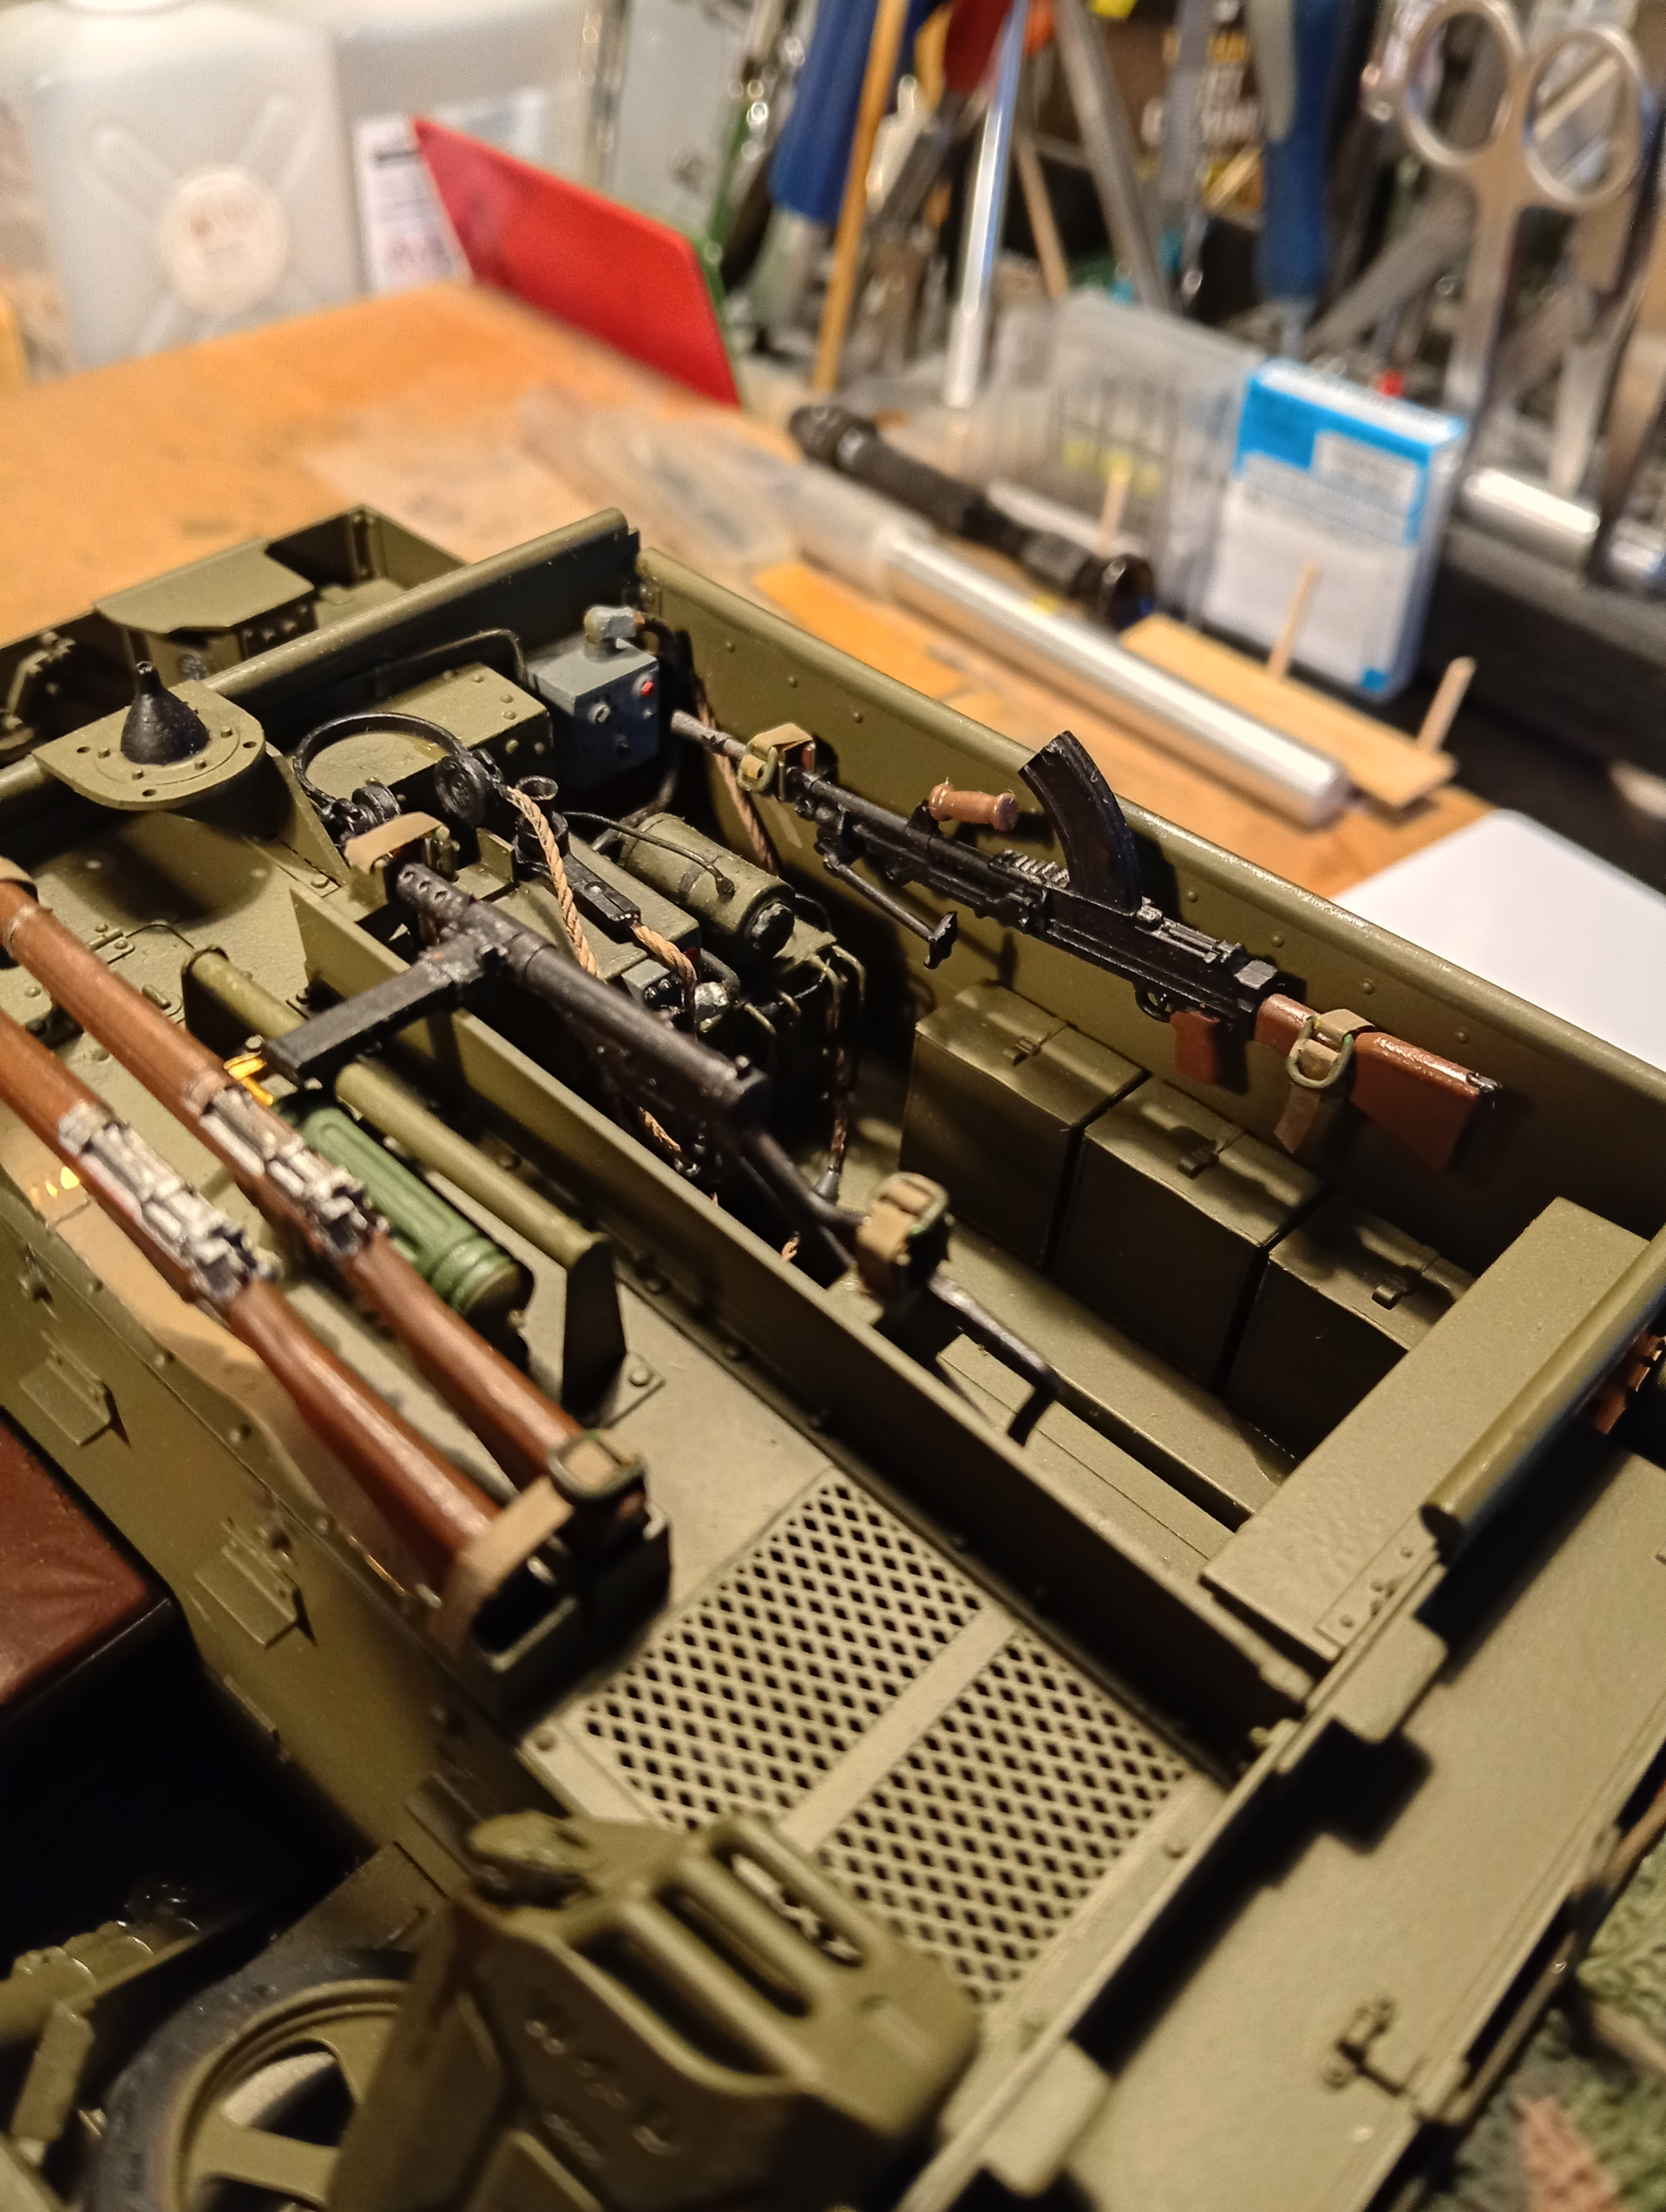
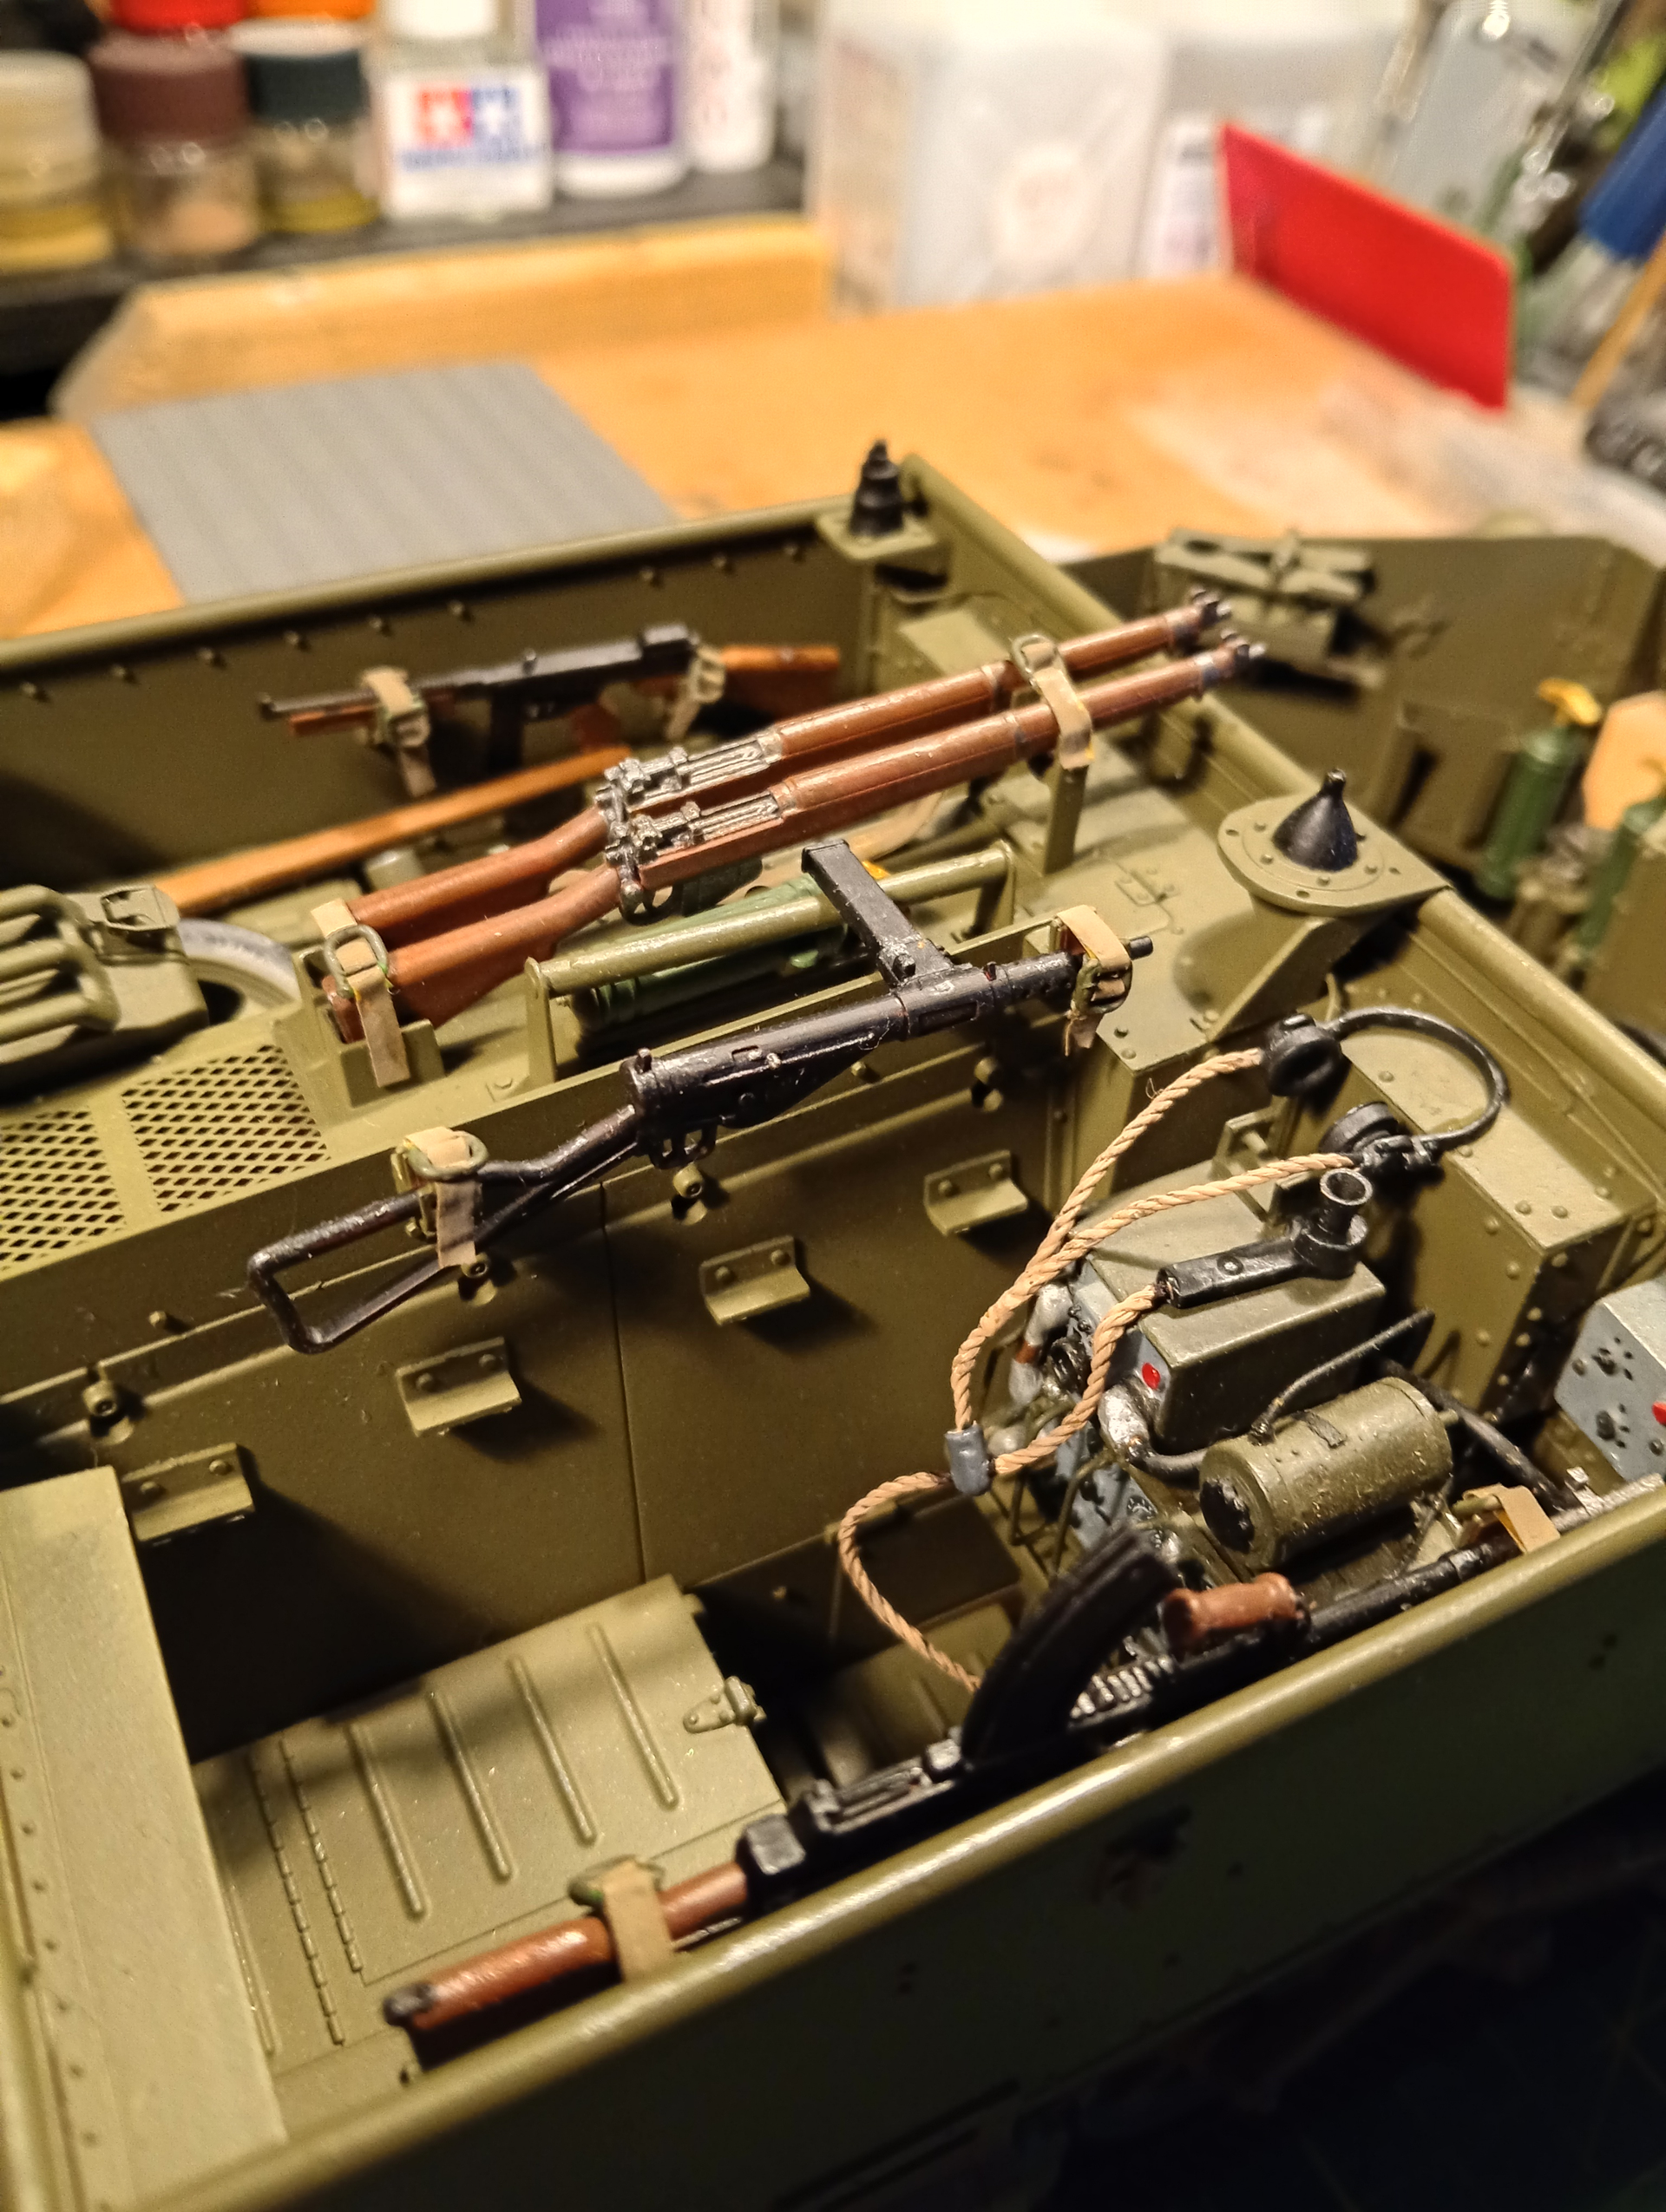
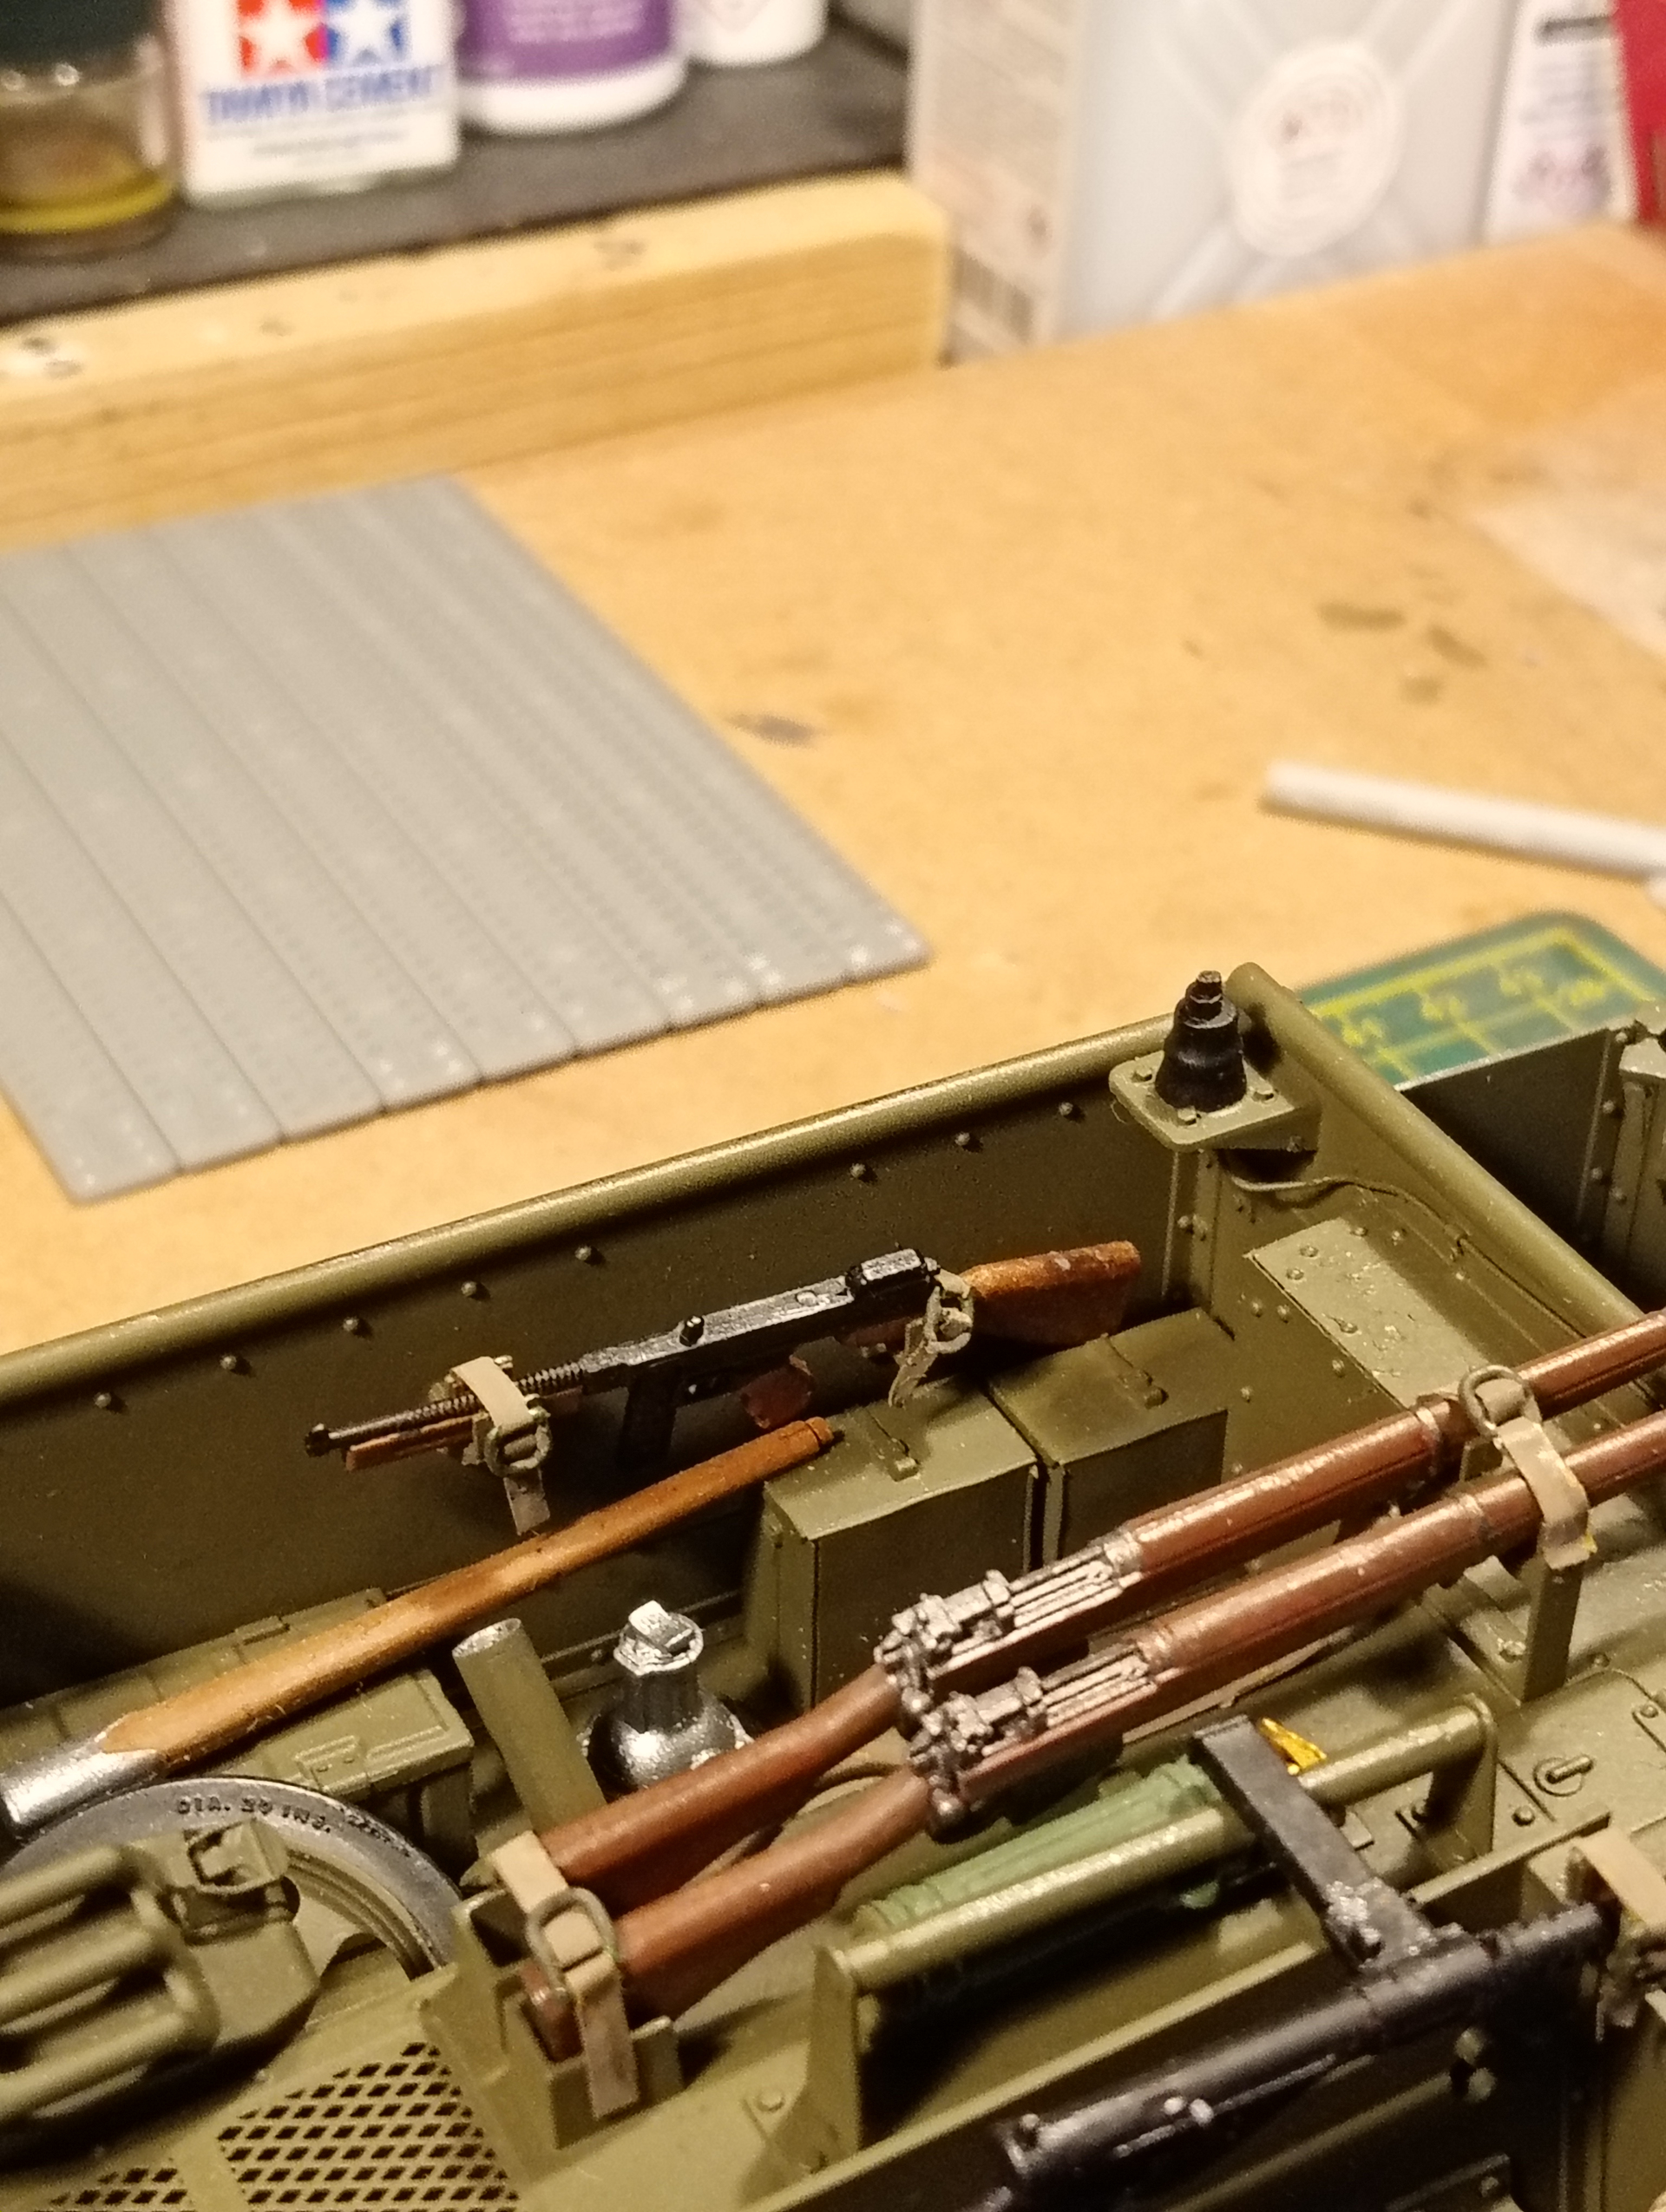
And I did add the kit cam net basket on the rear …
It’s nice they thought about it but it’s easy to improve to give it a better look…
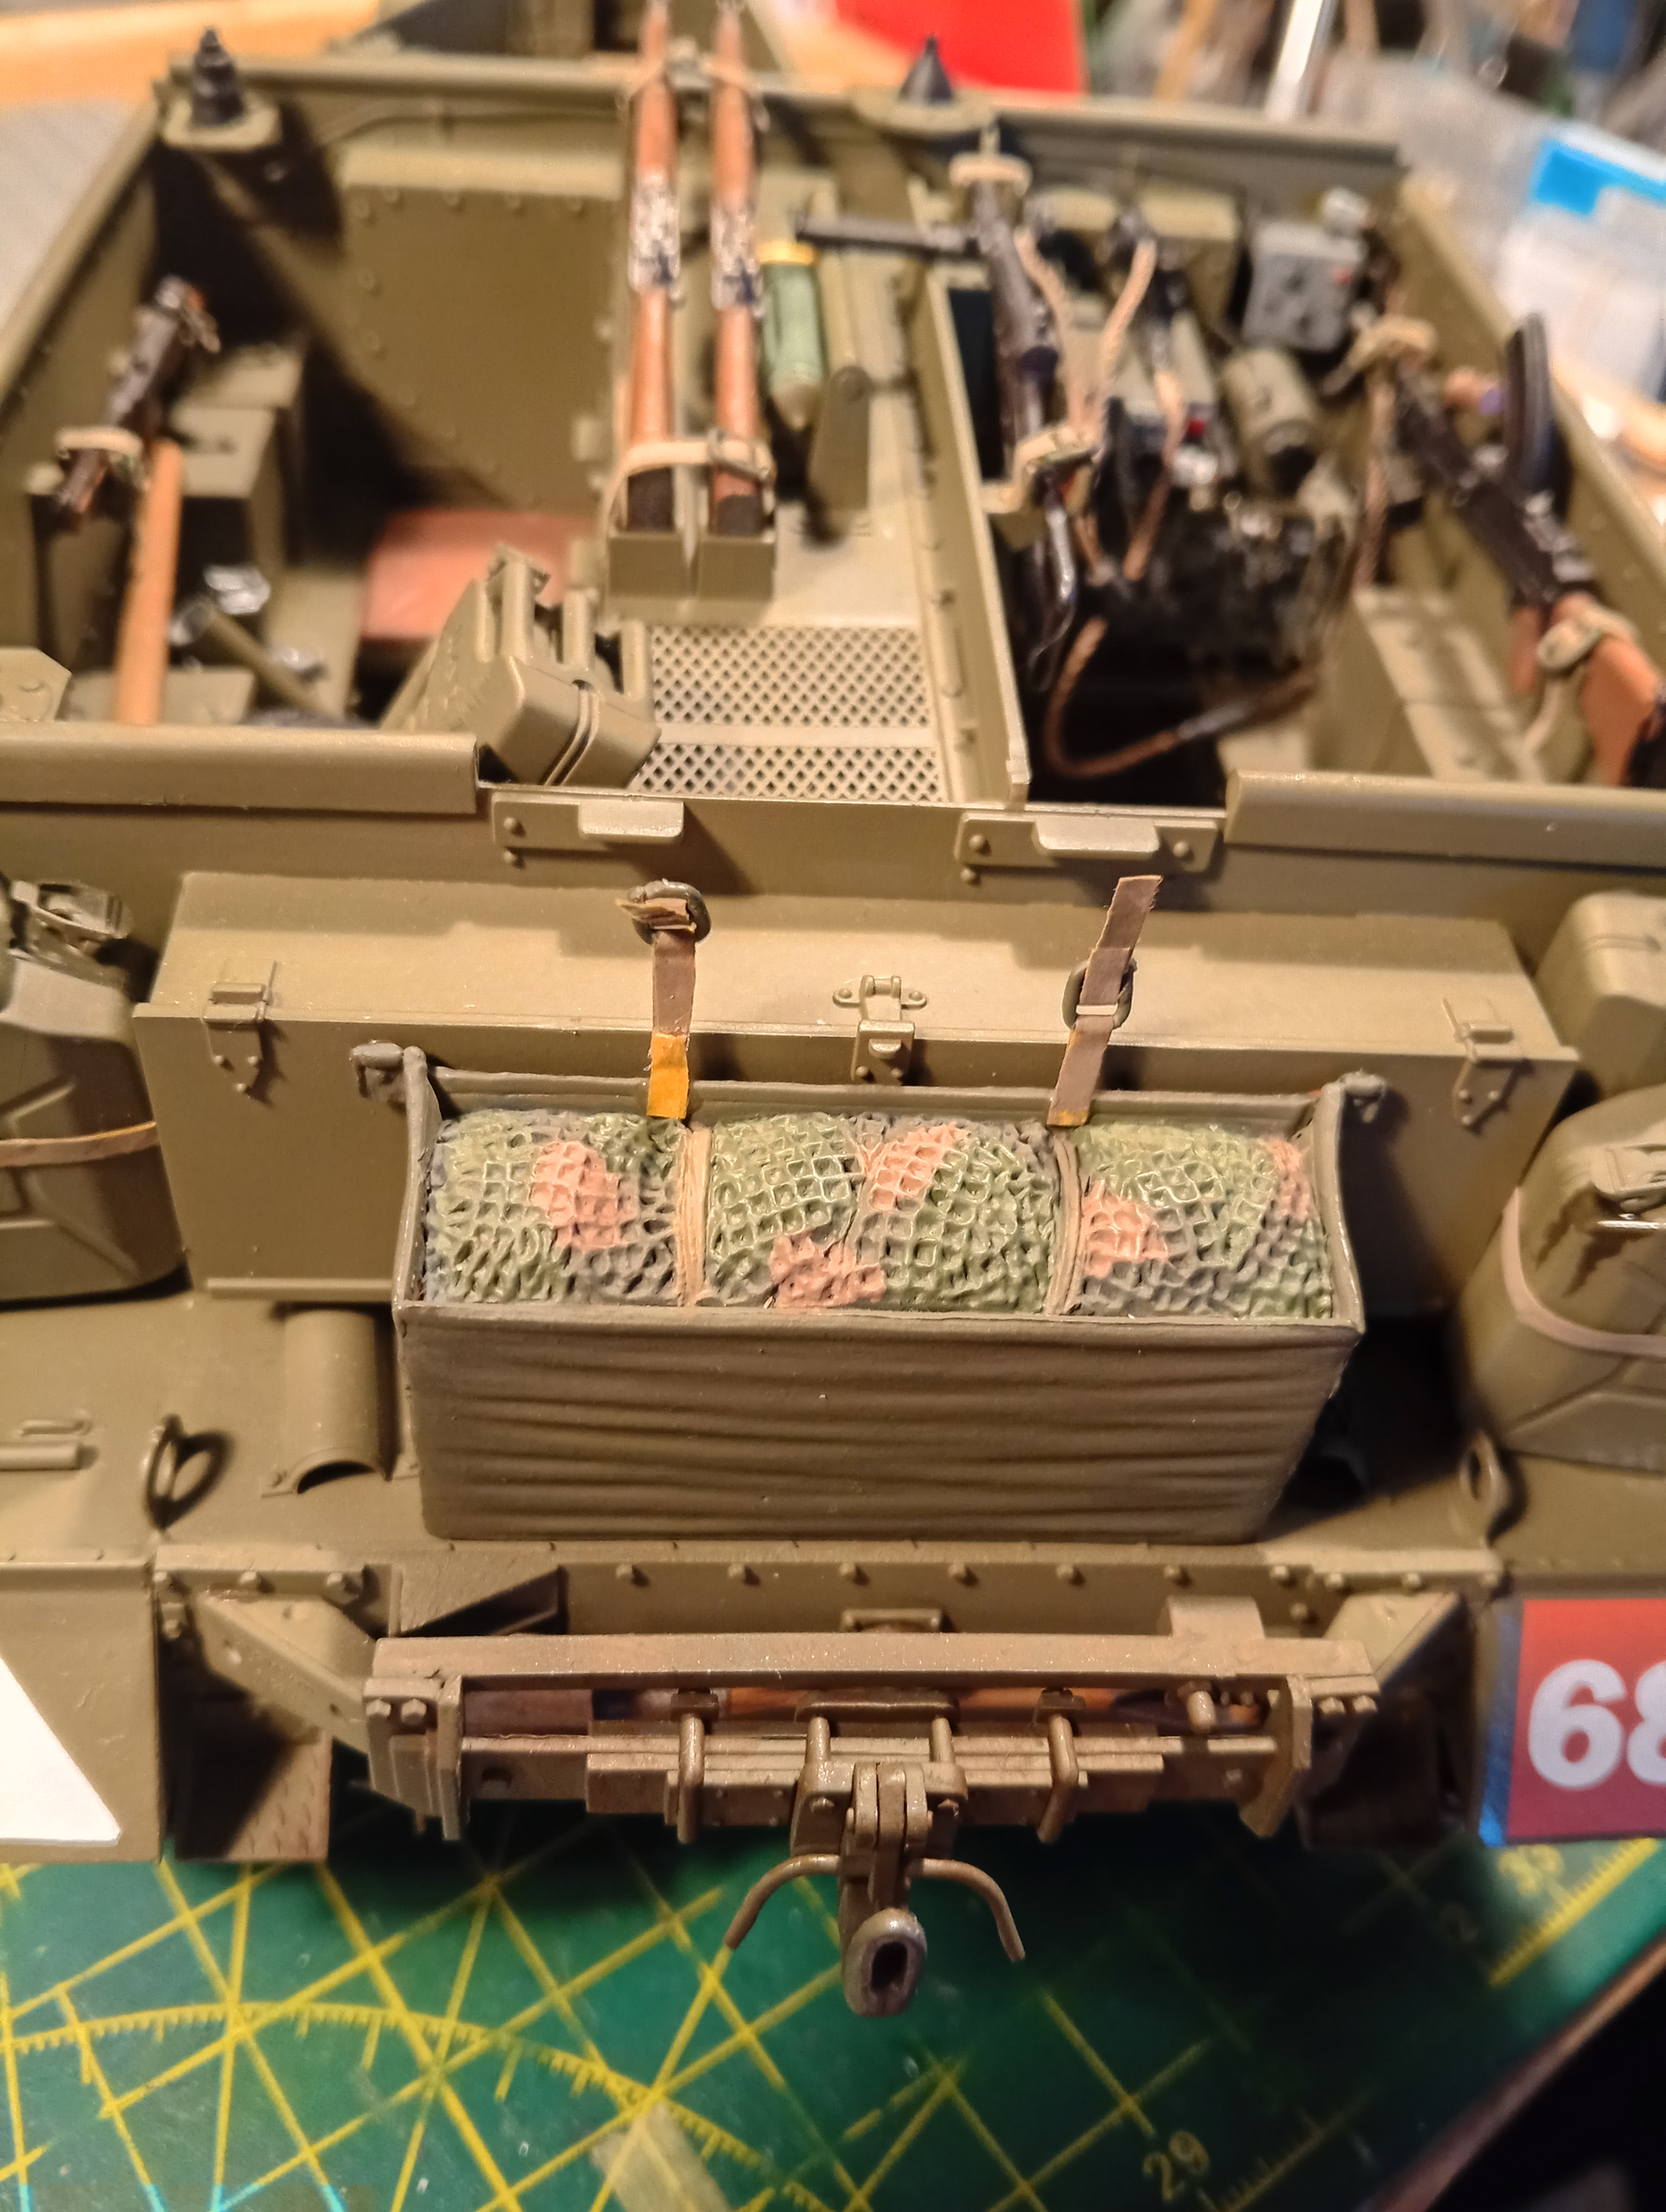
As it is, with 2 new straps added… More to follow
10 Likes
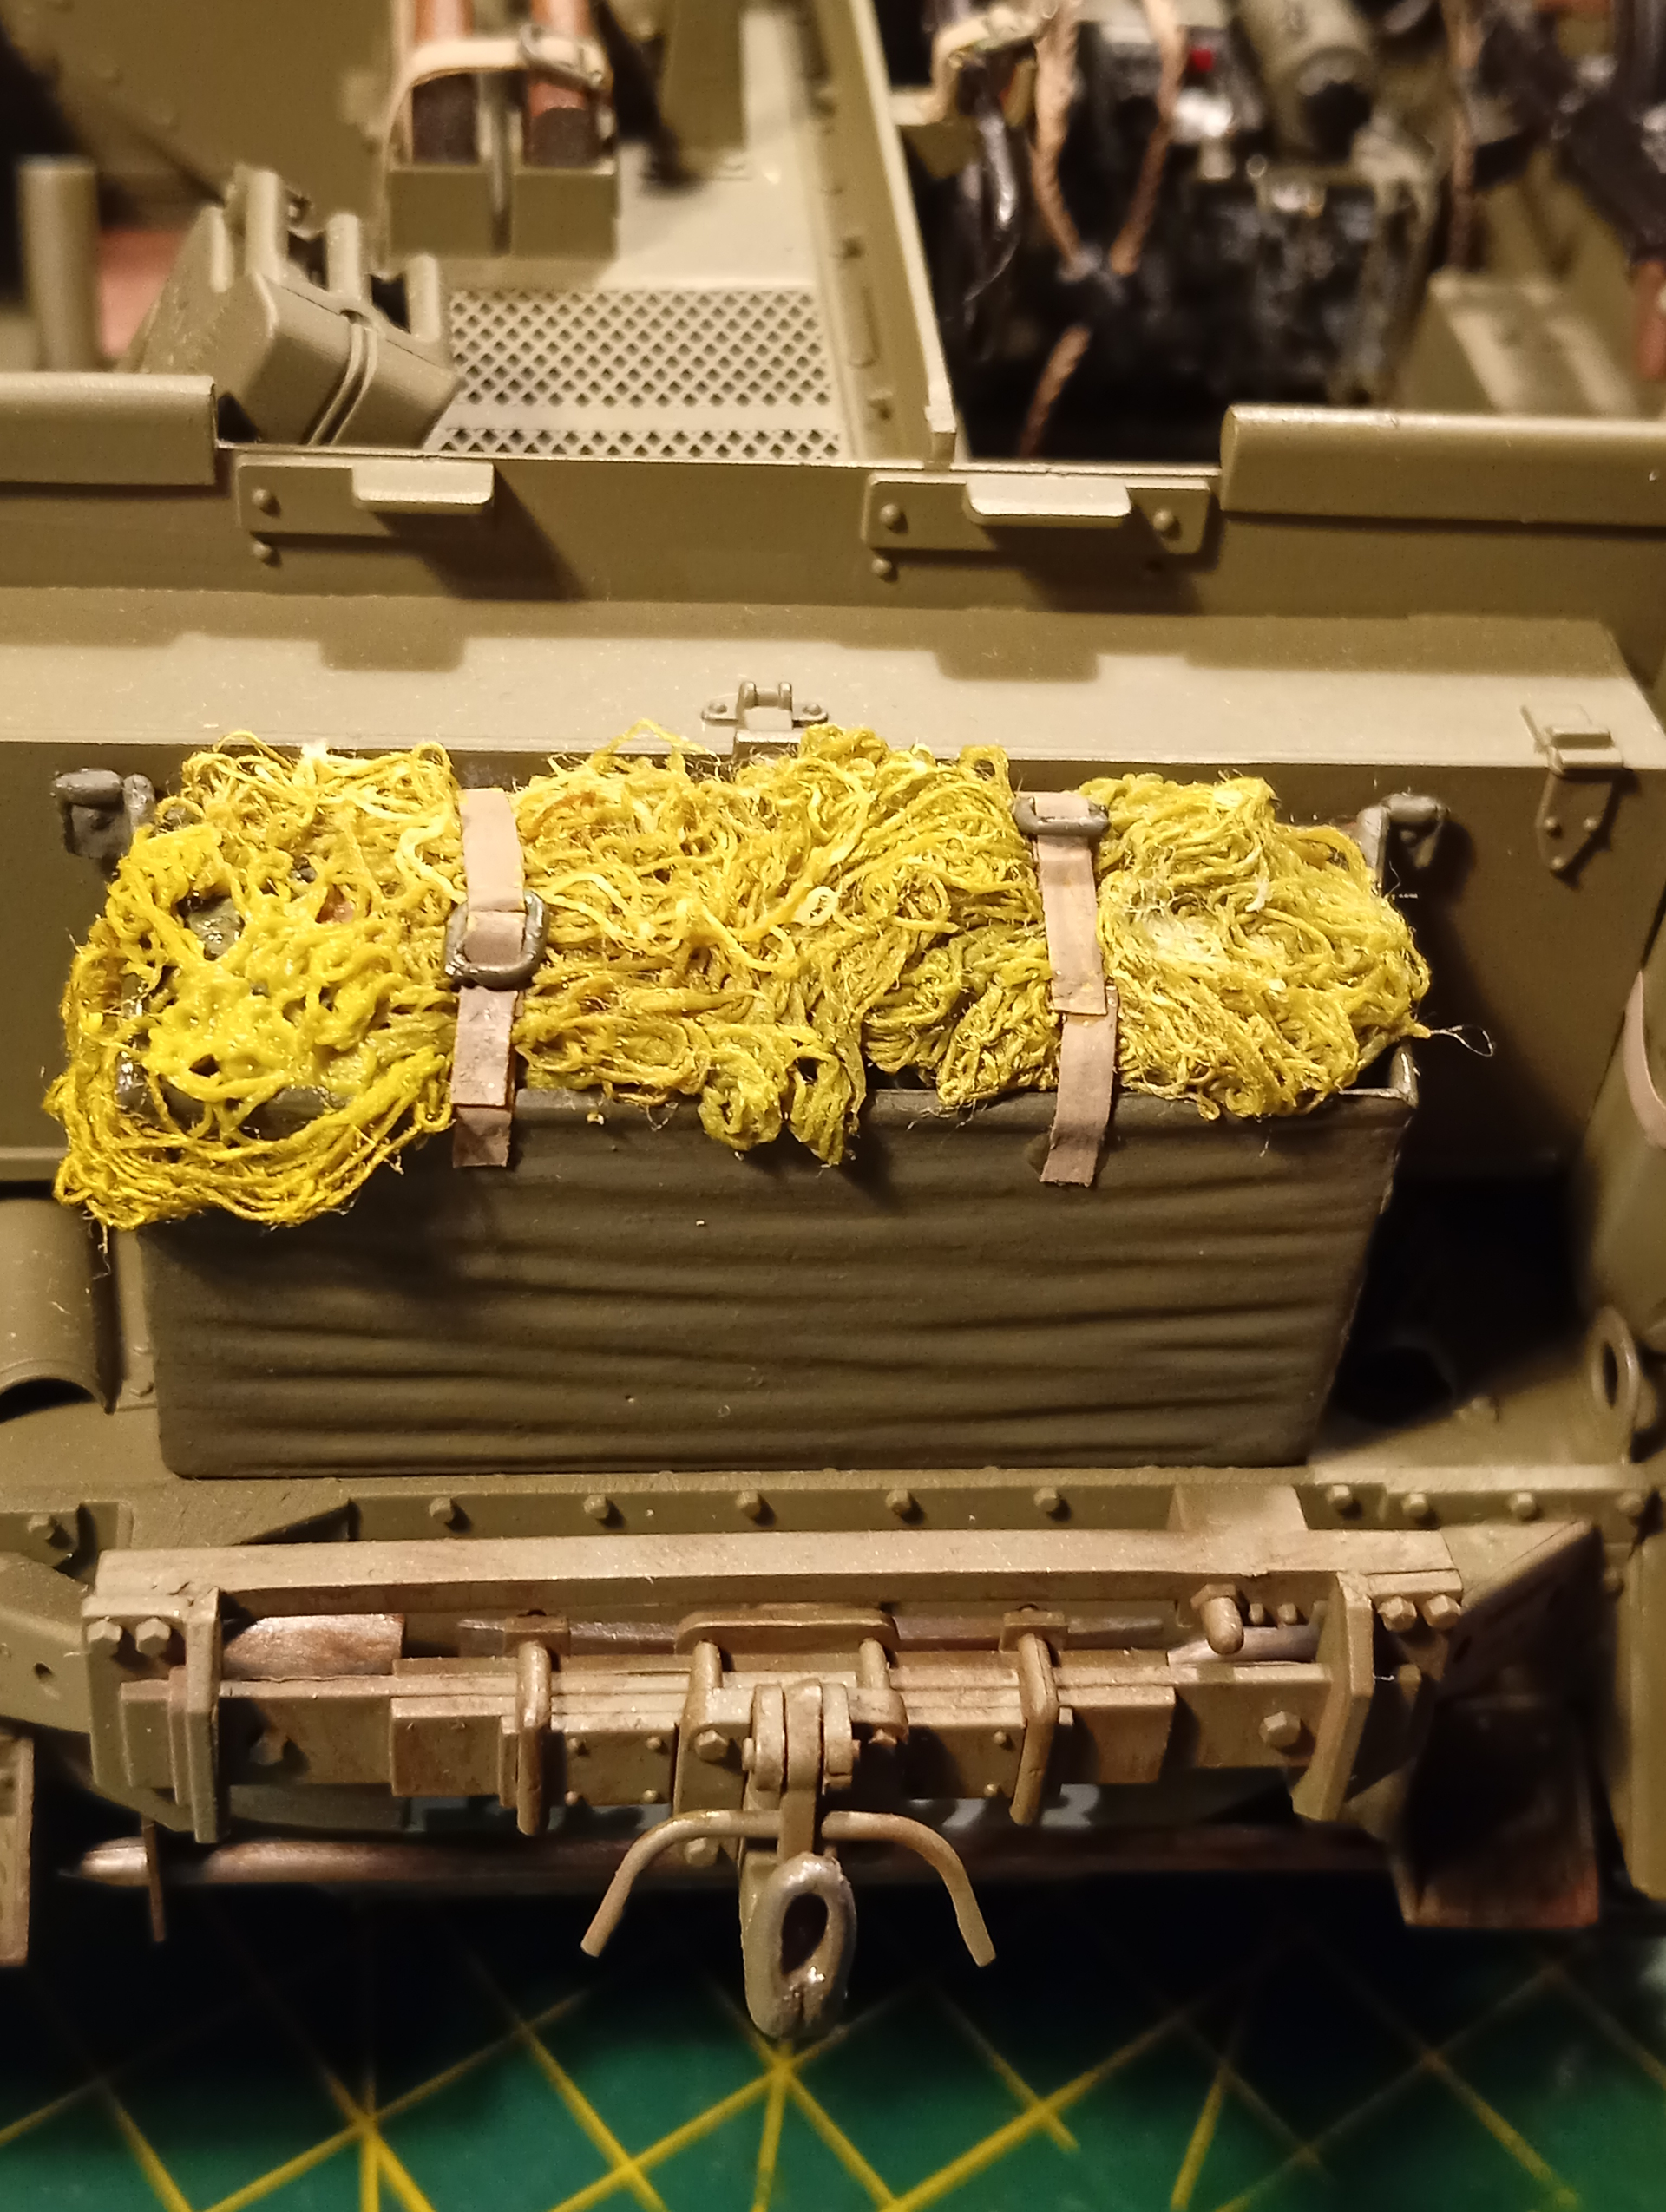
That’s all very well done John; good work Matey!
2 Likes
cheers mate … while you are here and you crewed them ( only kidding) whats a good colour match for period 1944 cam net ?? any idea ?
1 Like
The net will probably be a dark brown - certainly the older nets I cam across in my first posting were nearly all that colour; this of course is the type with interwoven strips of Hessian attached. The Hessian came in two colours (there may have been more) but not in our store. These were green and brown, the latter being the same colour just about as the netting. The stuff came in rolls about 2" wide. One could add a third colour by simply ripping up sandbags or scrounging Hessian sheeting, which back then was an undyed sacking colour, sort of Khaki Drill on my ancient Humbrol Colour chart, which leads me to their “Brown Bess” as their brown was called once, now just numbered as 98. I’m calling out Humbrol colours as I still major in enamels but I know you’ll be able to match them across to whatever medium you prefer.
4 Likes
Did they all have hessian strips ?
1 Like
Sorry John, do you mean as opposed to an ungarnished net? Nets on their own don’t actually achieve very much - they can sort of break up the outline of whatever it is they’re draped over, but the better choice is obviously for a fully garnished net. That said, there’s enough pics around of WW2 vintage (and since) showing nets - and only nets - being draped in use. Some of which were a very fine weave, a bit like Brit Army face veil density - remember those? The Belgians I noted during my time used them a lot, and they seemed happy enough with the concept. Back to WW2 though, I suppose you could just sling a naked net in your Carrier; it would save the ordeal of weaving say, paper strips in and out of whatever mesh you’re thinking of using.
Good luck!
3 Likes