You must have the patience of a saint,![]() …amazing detail though John,
…amazing detail though John,![]()
![]() .
.
G,![]()
You must have the patience of a saint,![]() …amazing detail though John,
…amazing detail though John,![]()
![]() .
.
G,![]()
Thanks G …. appreciated mate.
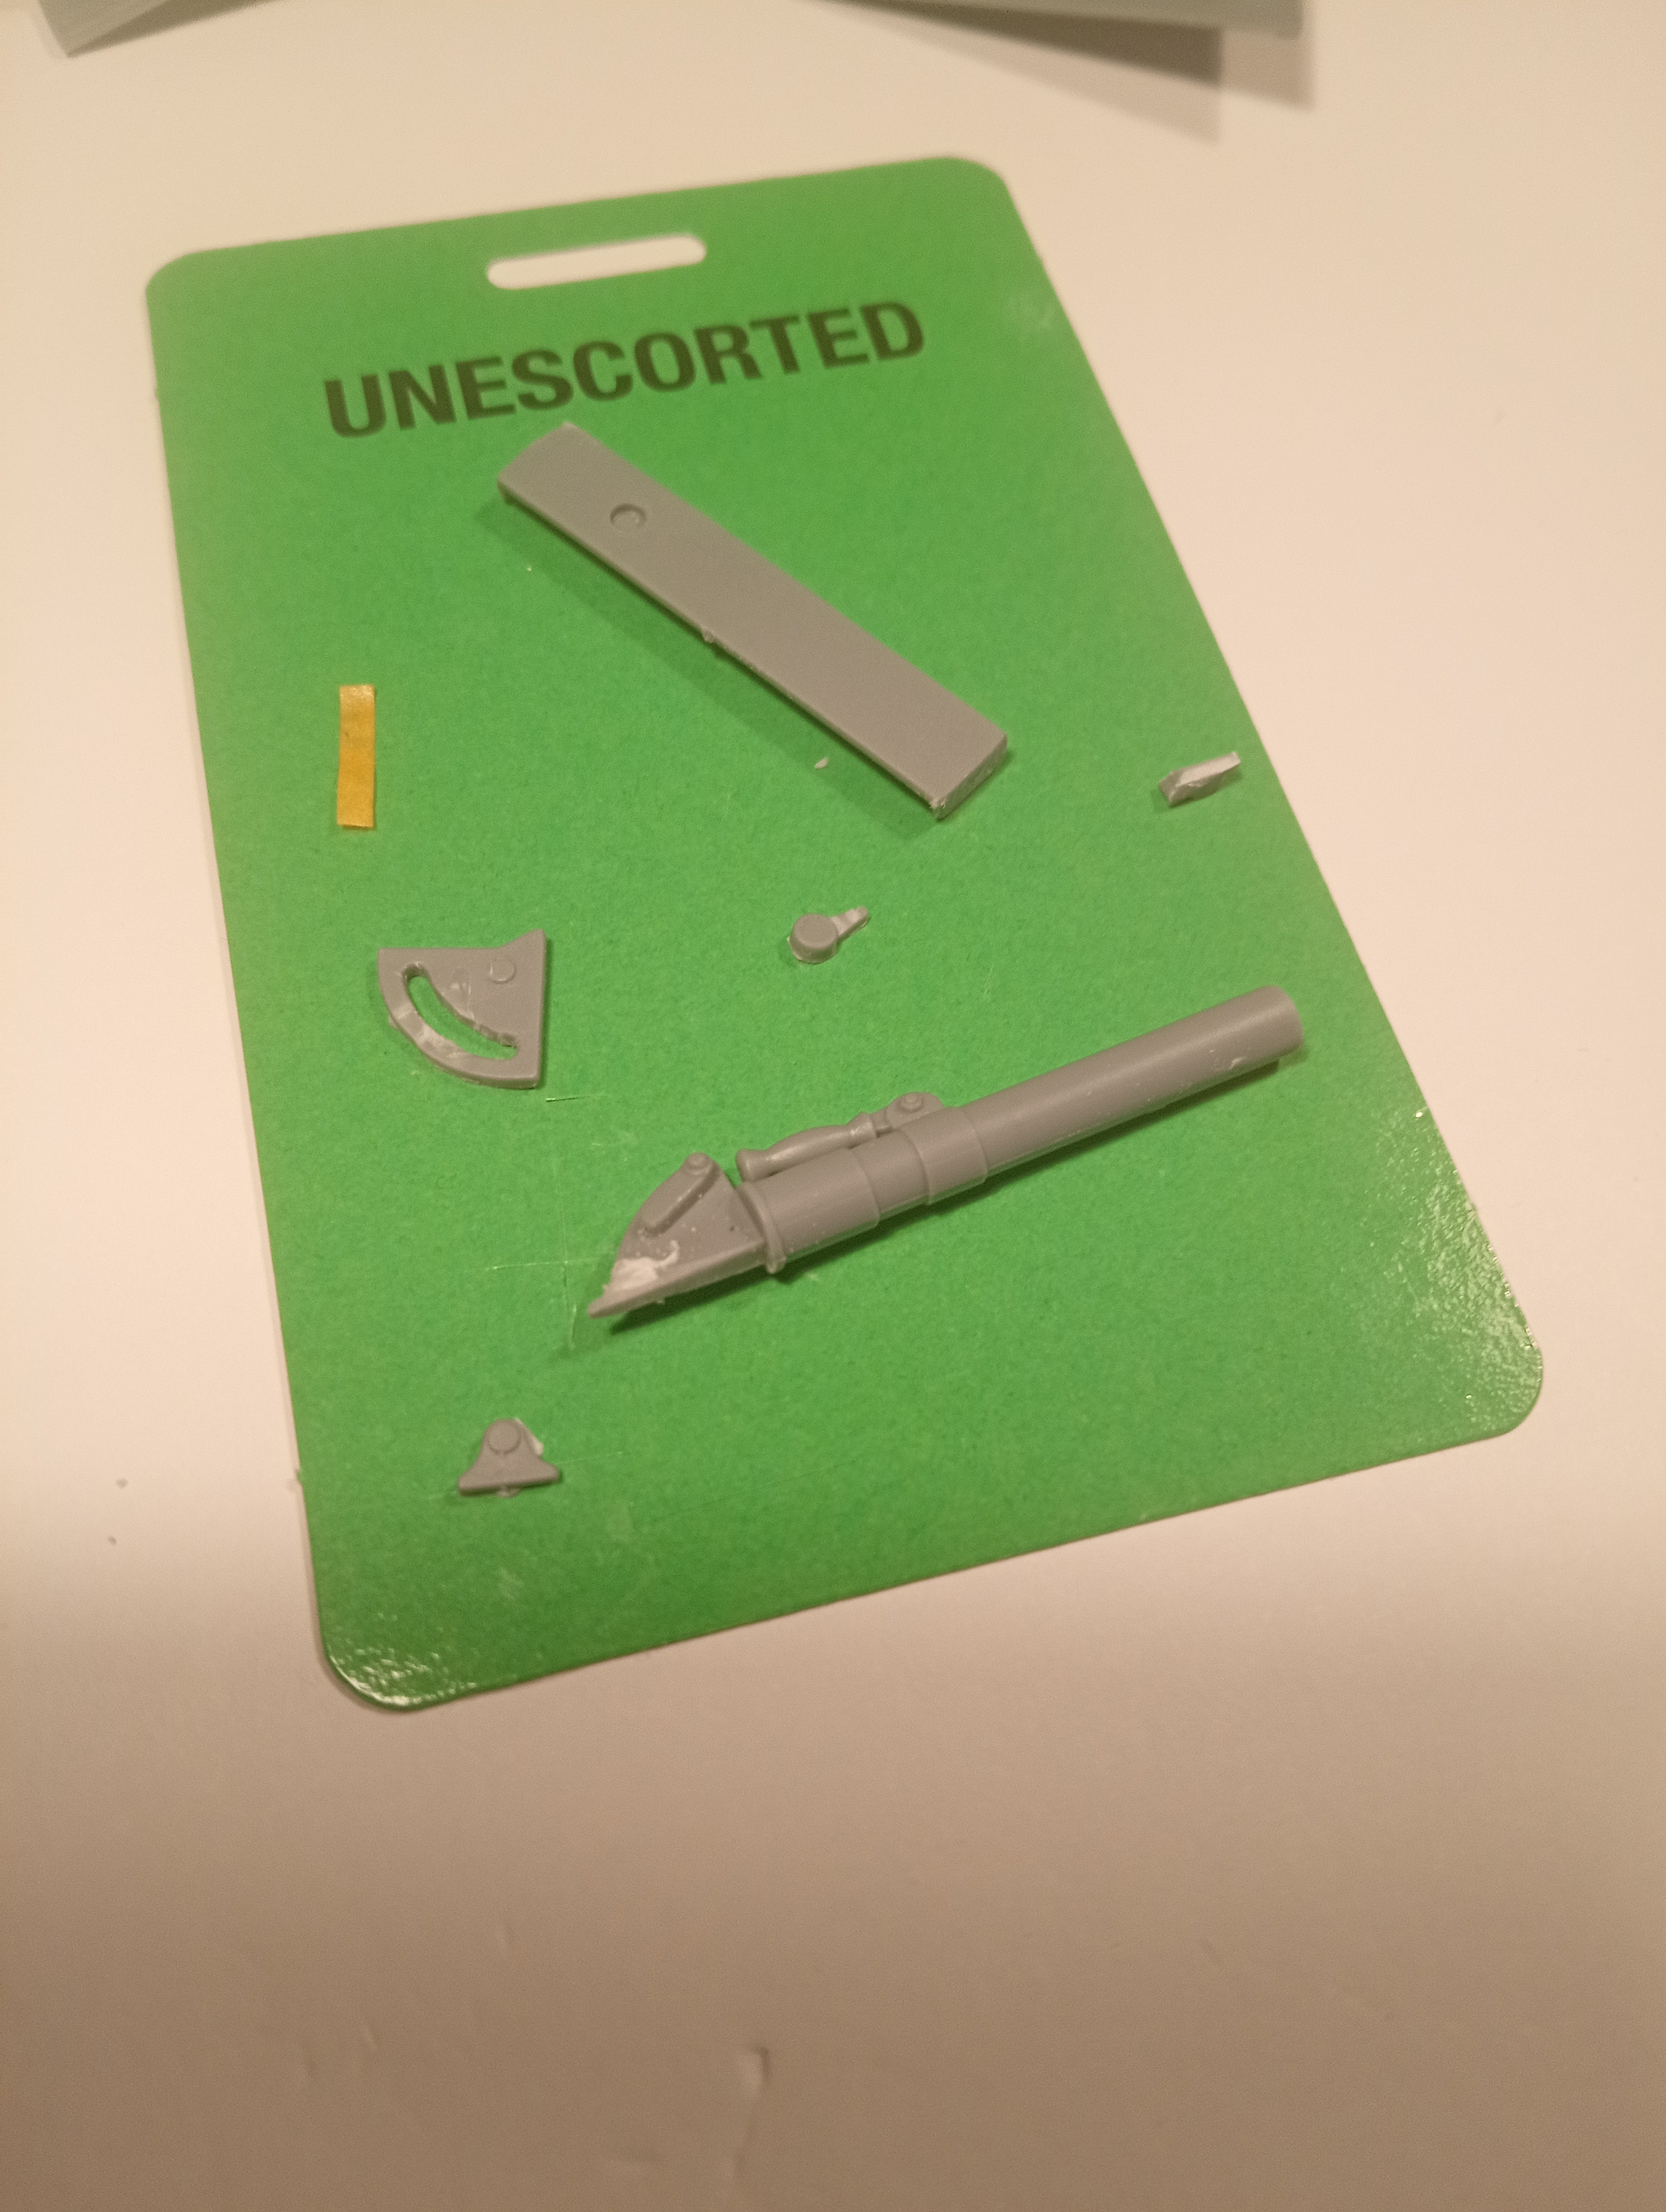
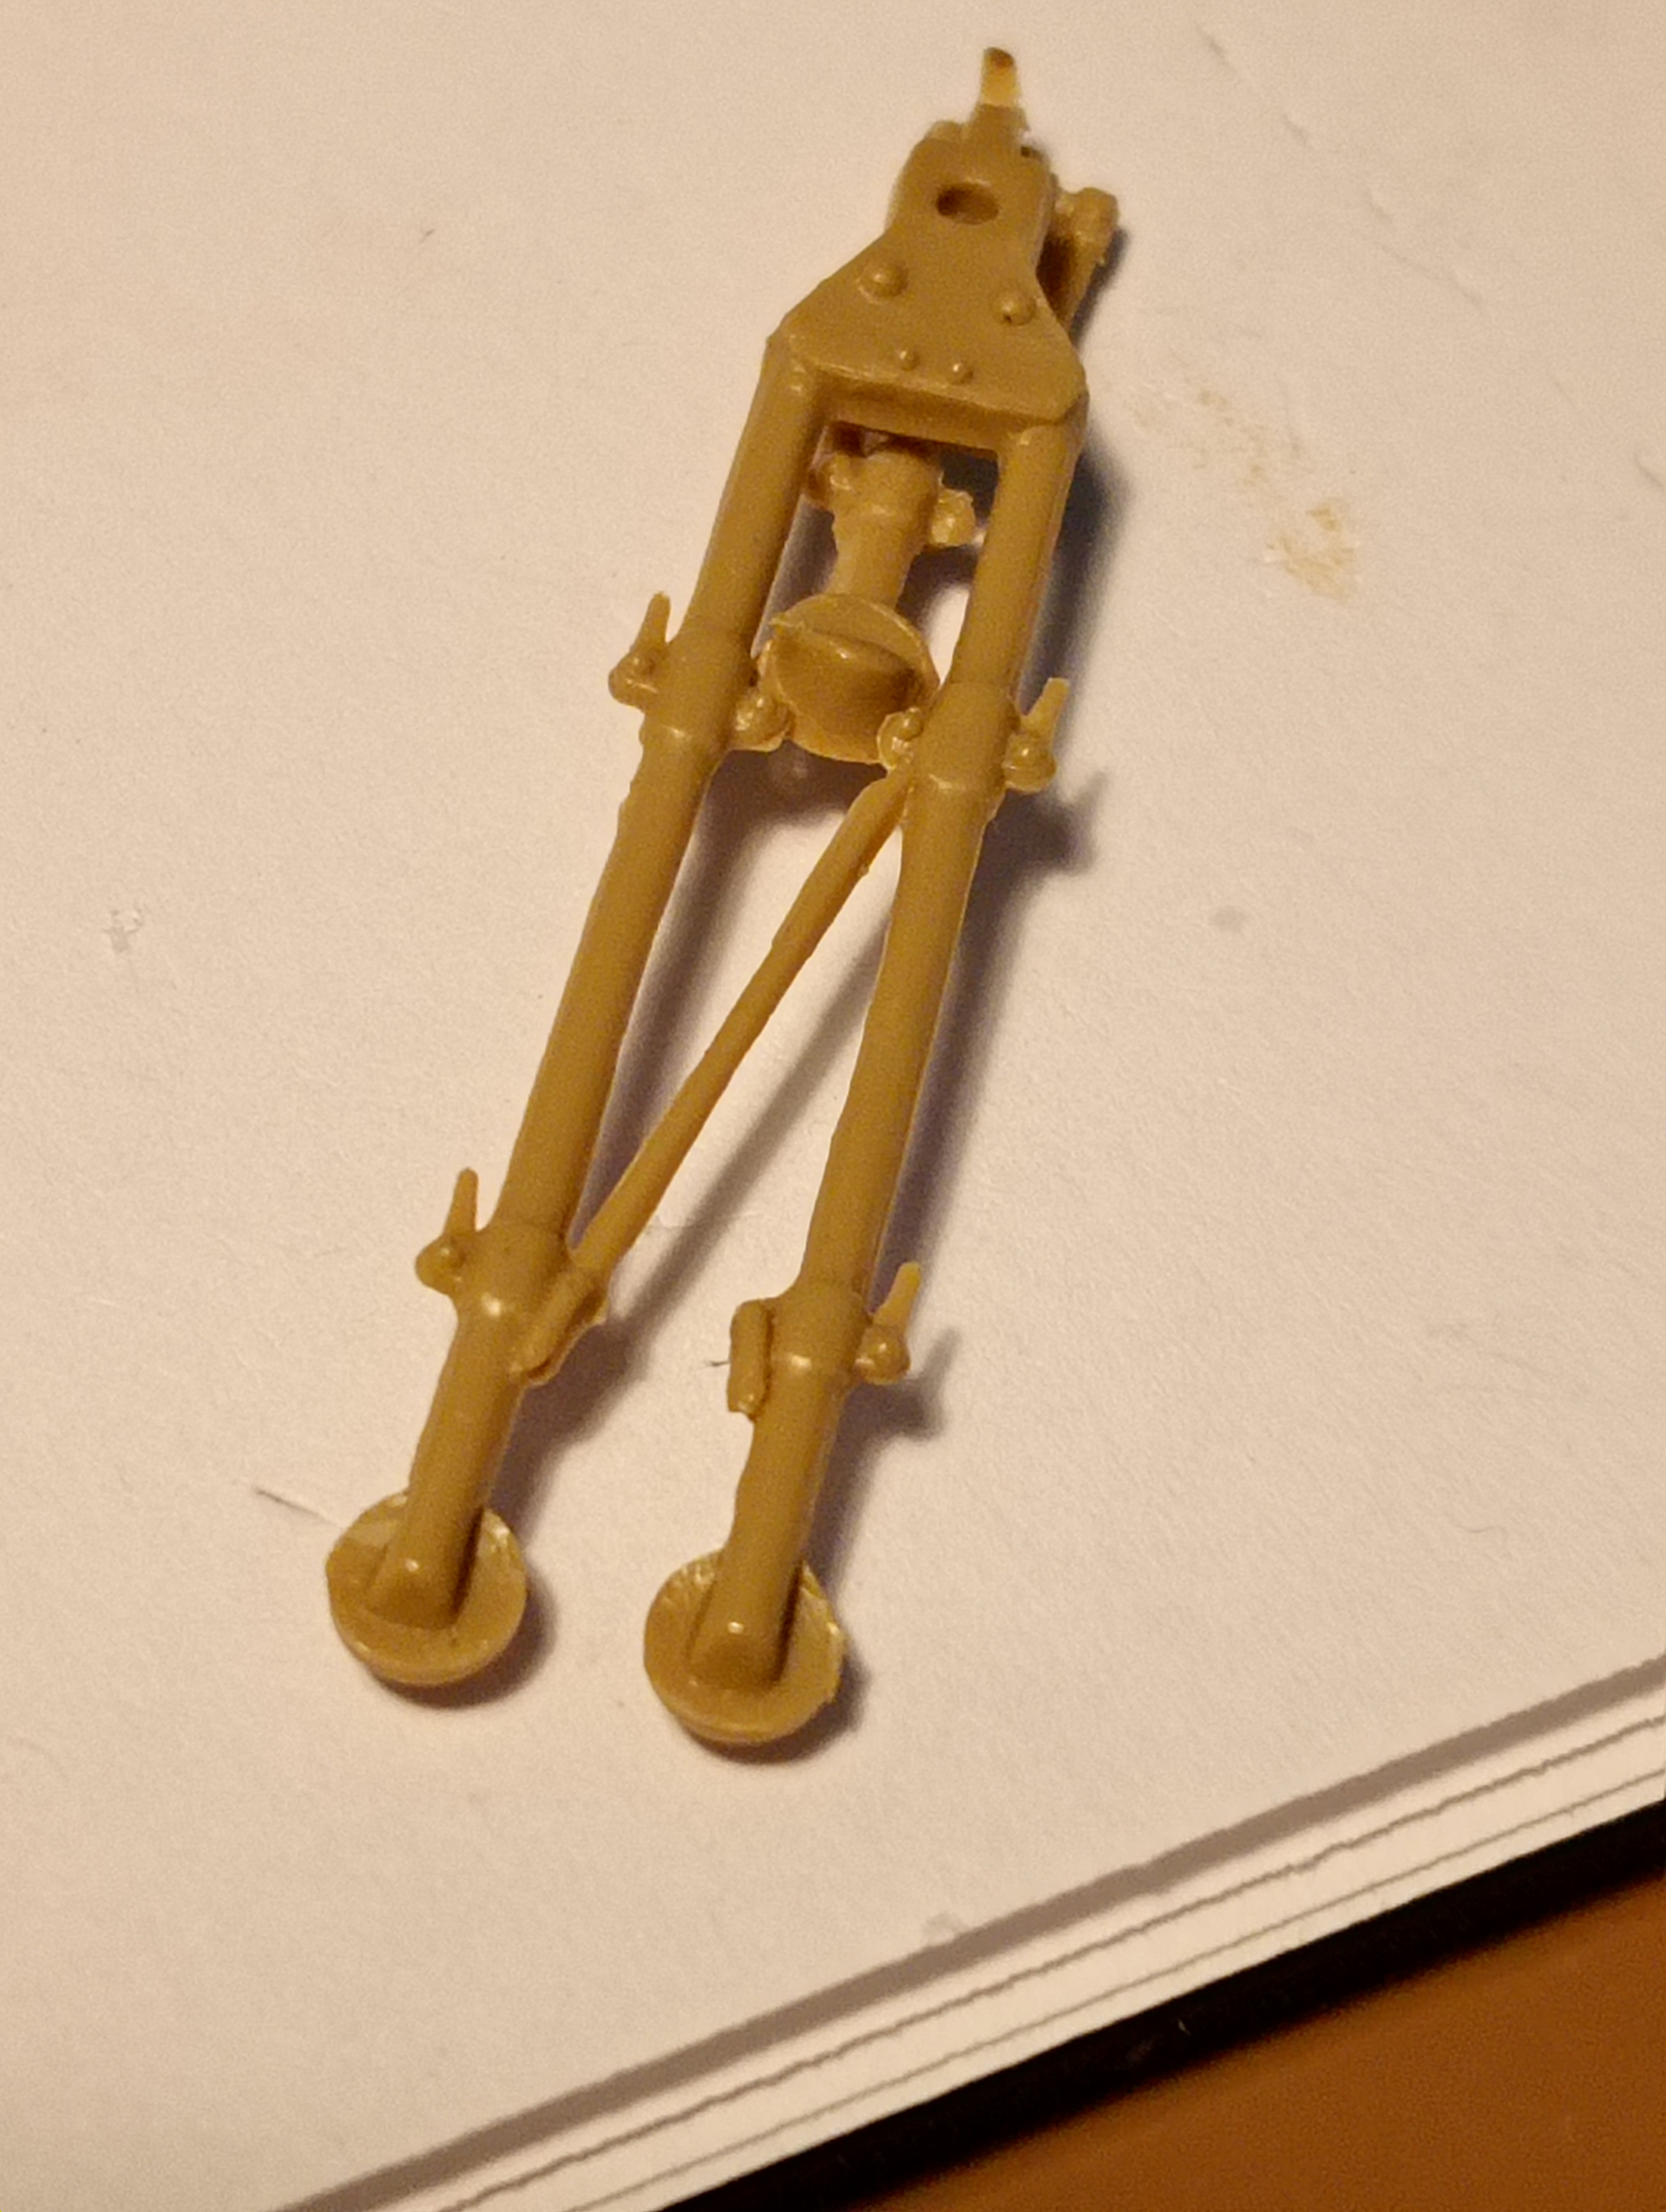
Not a major part of the build, but I wanted to do it as it will only bug me if I didn’t.. the vehicle mortar won’t be fitted on this one as the C/S depicted wouldn’t have had it. But I want to include it, but have it in a stowed area away from it’s mounting bracket in the front.
The problem is the kit part is moulded being at an angle, which is ok, but I wanted it mounted /stowed flat against it’s mounting plate.
So the slicing began…
And the restyled mortar on its plate.
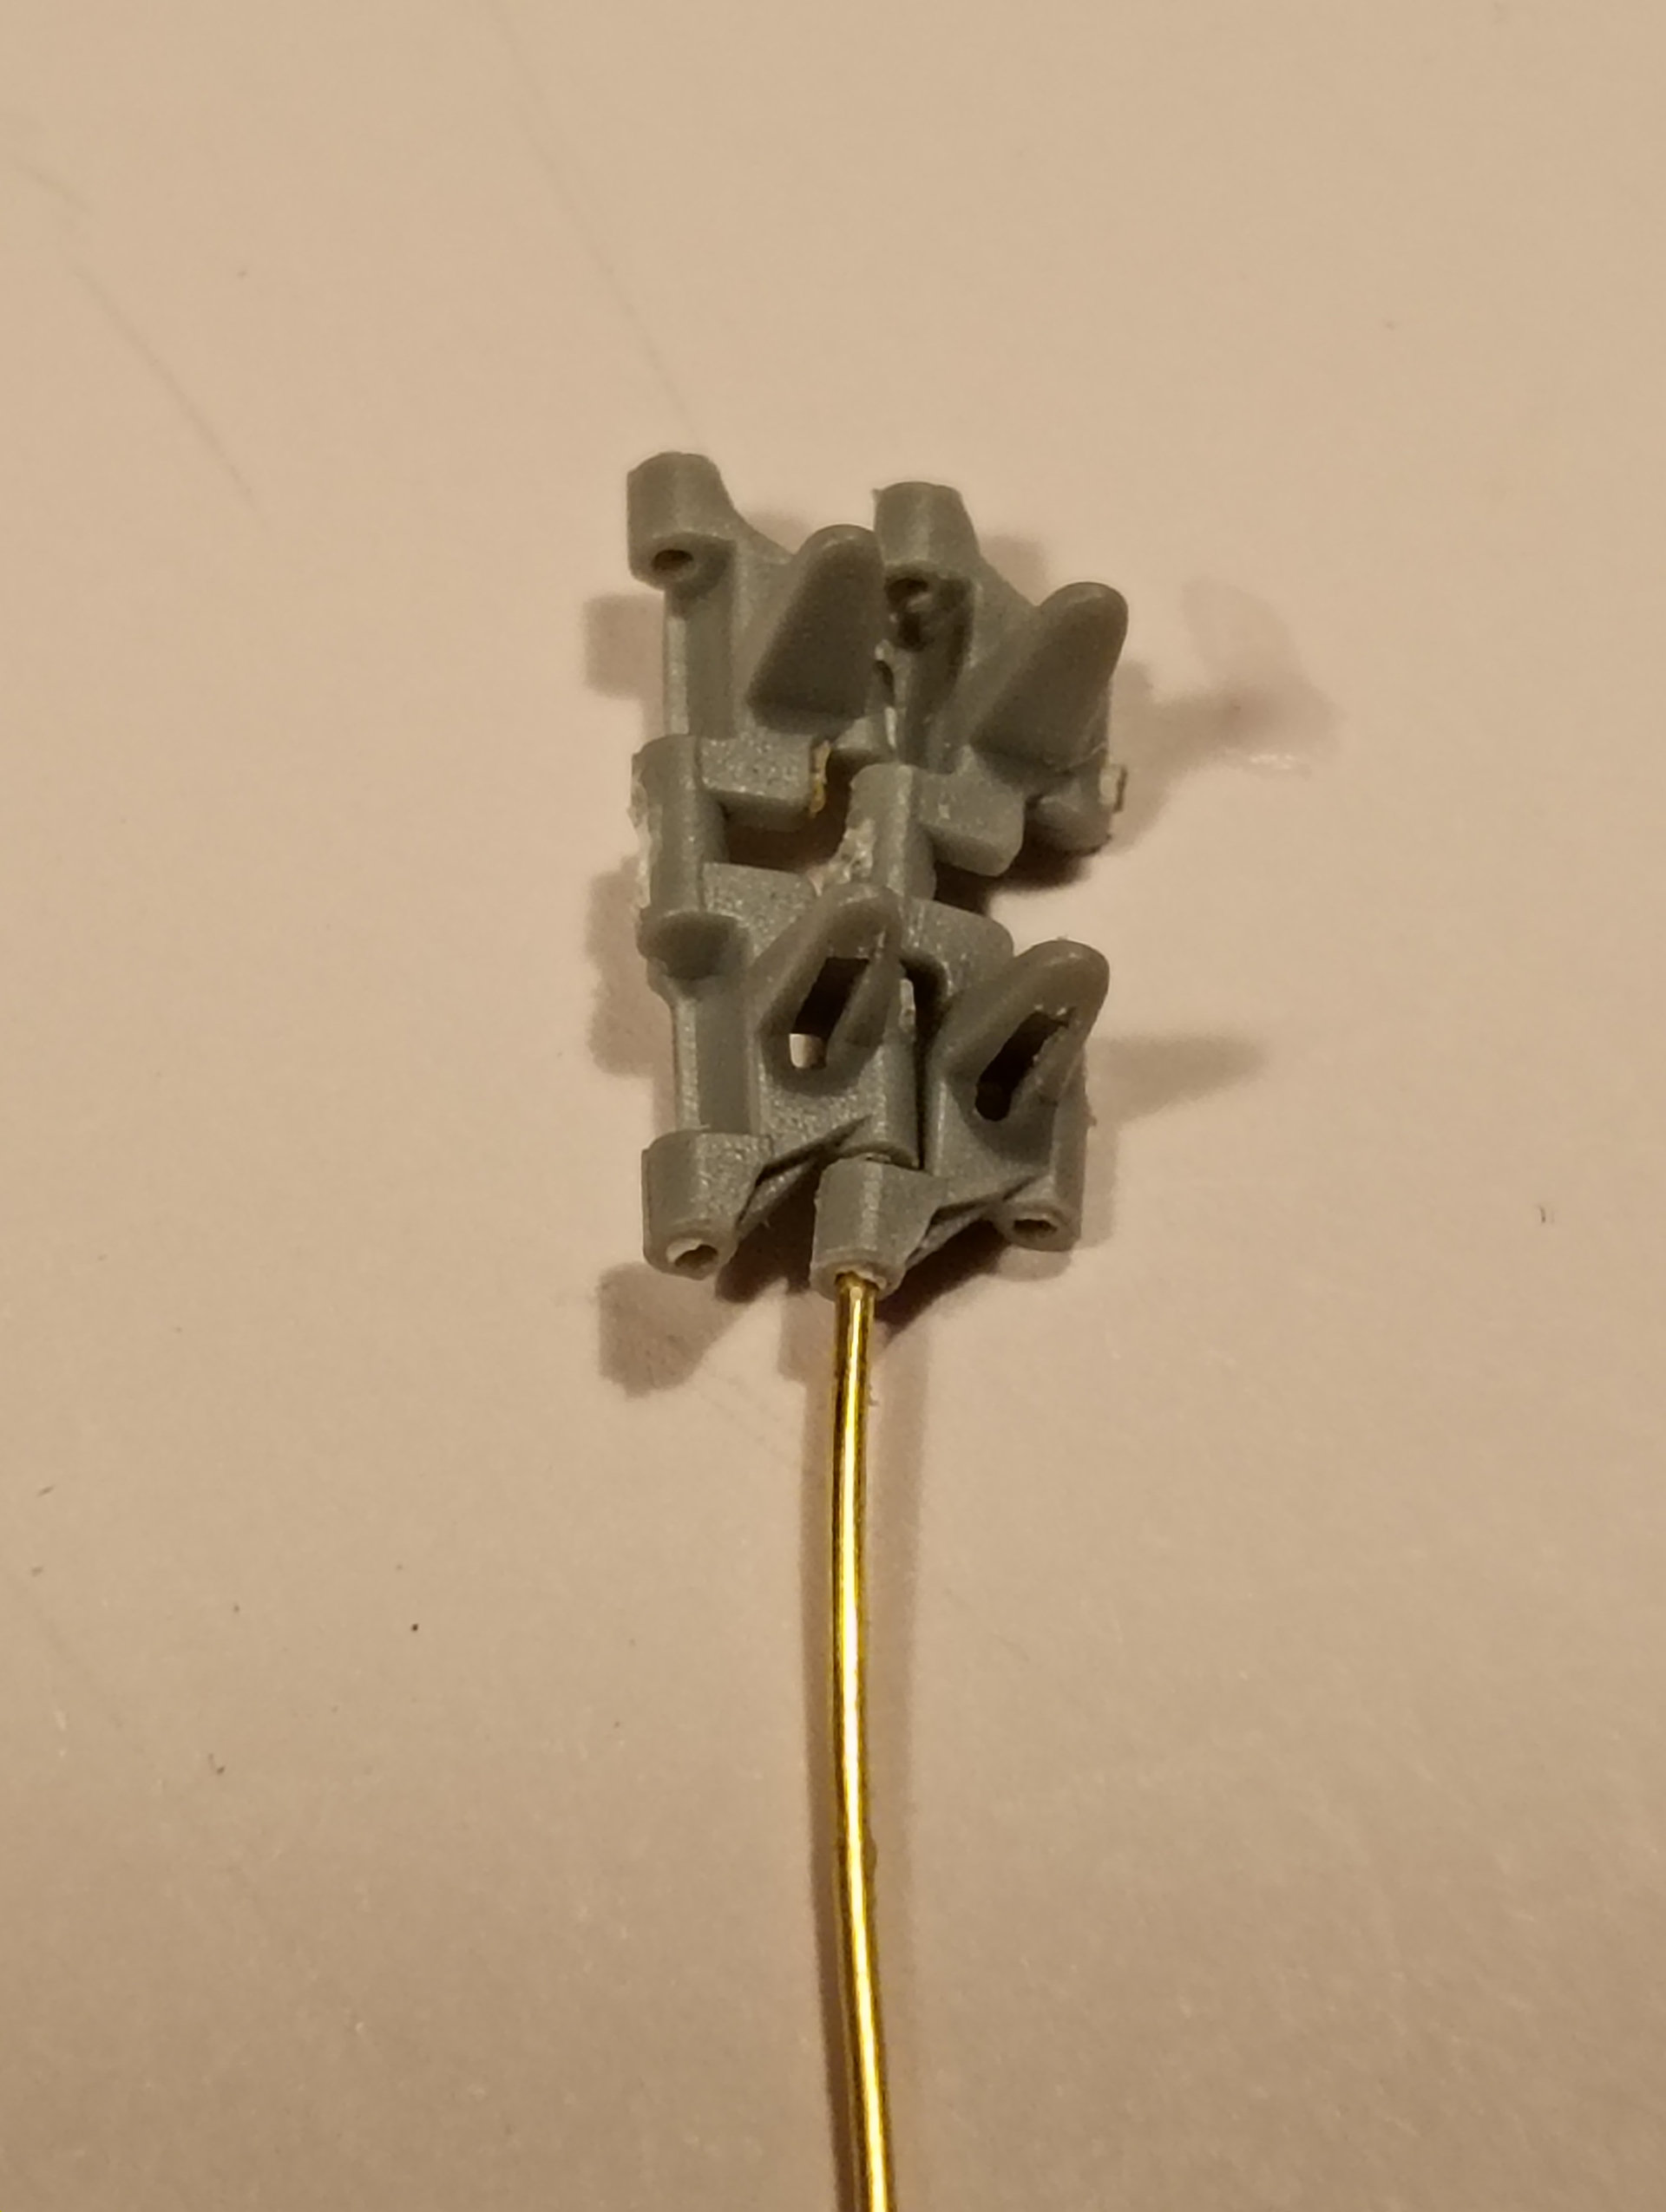
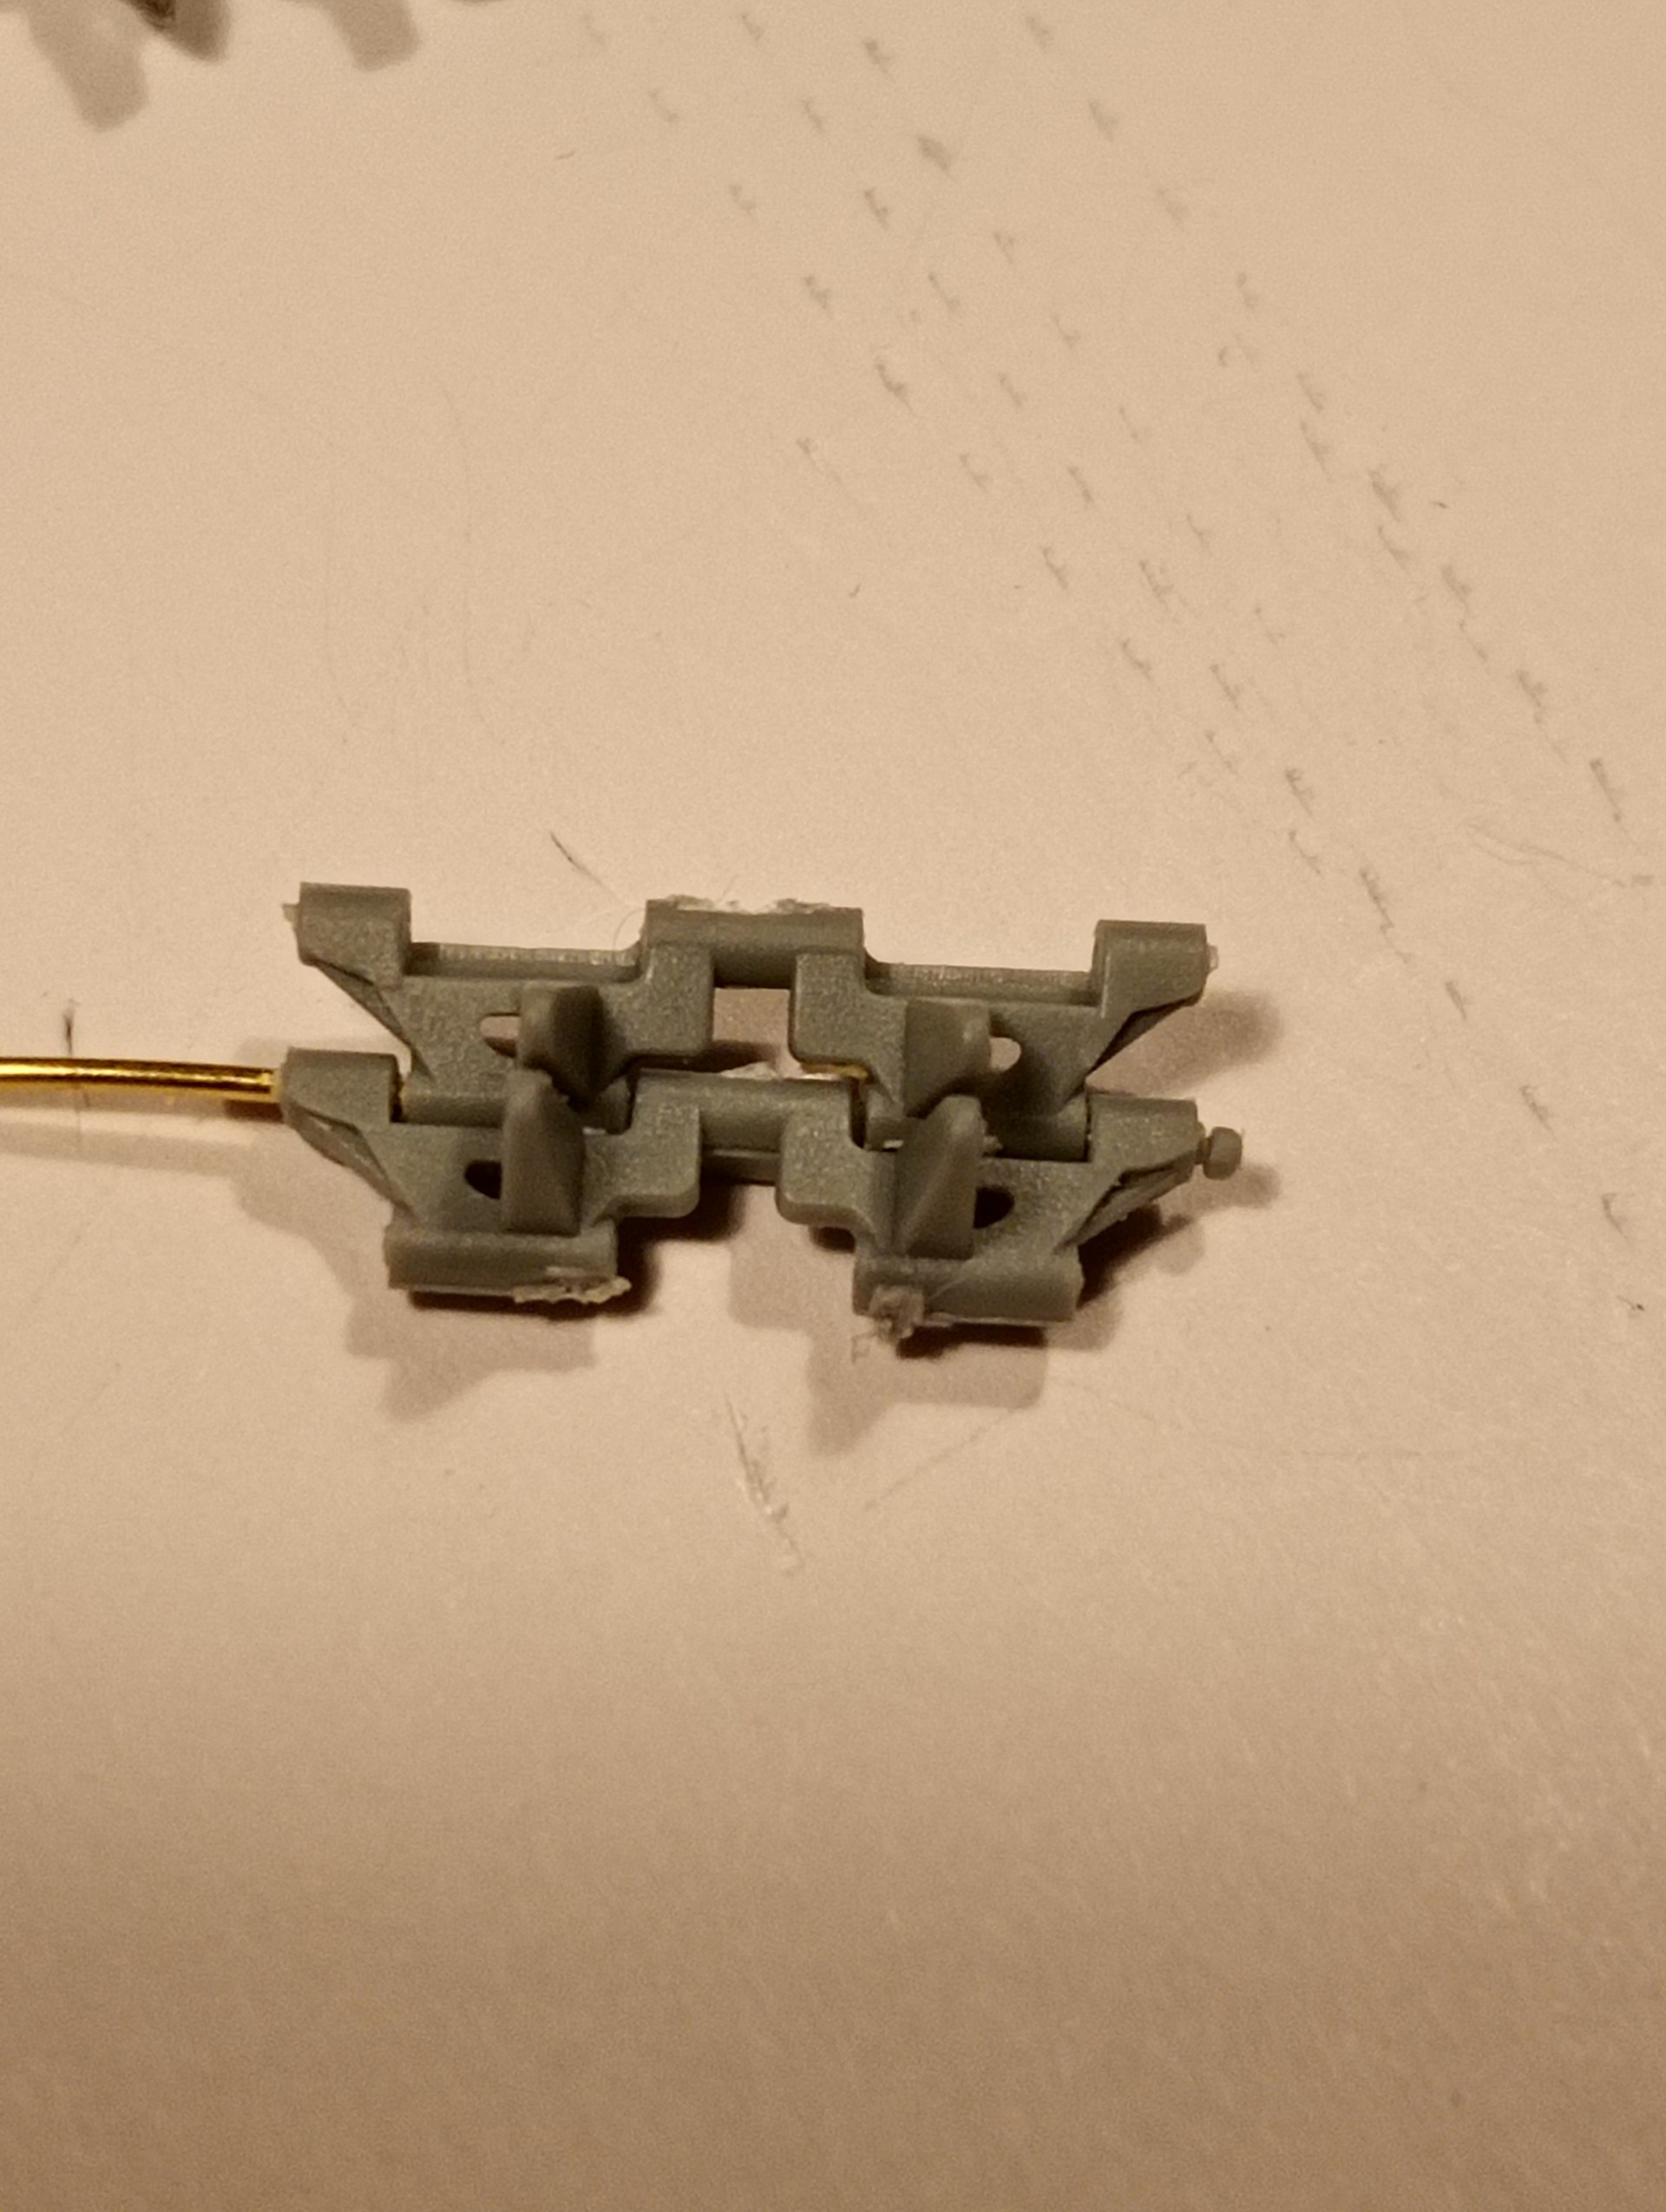
Also started on track assembly….
And with a pin inserted ….
Nice touch rebuilding the mortar in the stowed position John, and a nice heads-up on the track pins and solution thereof, ![]()
![]() .
.
G,![]()
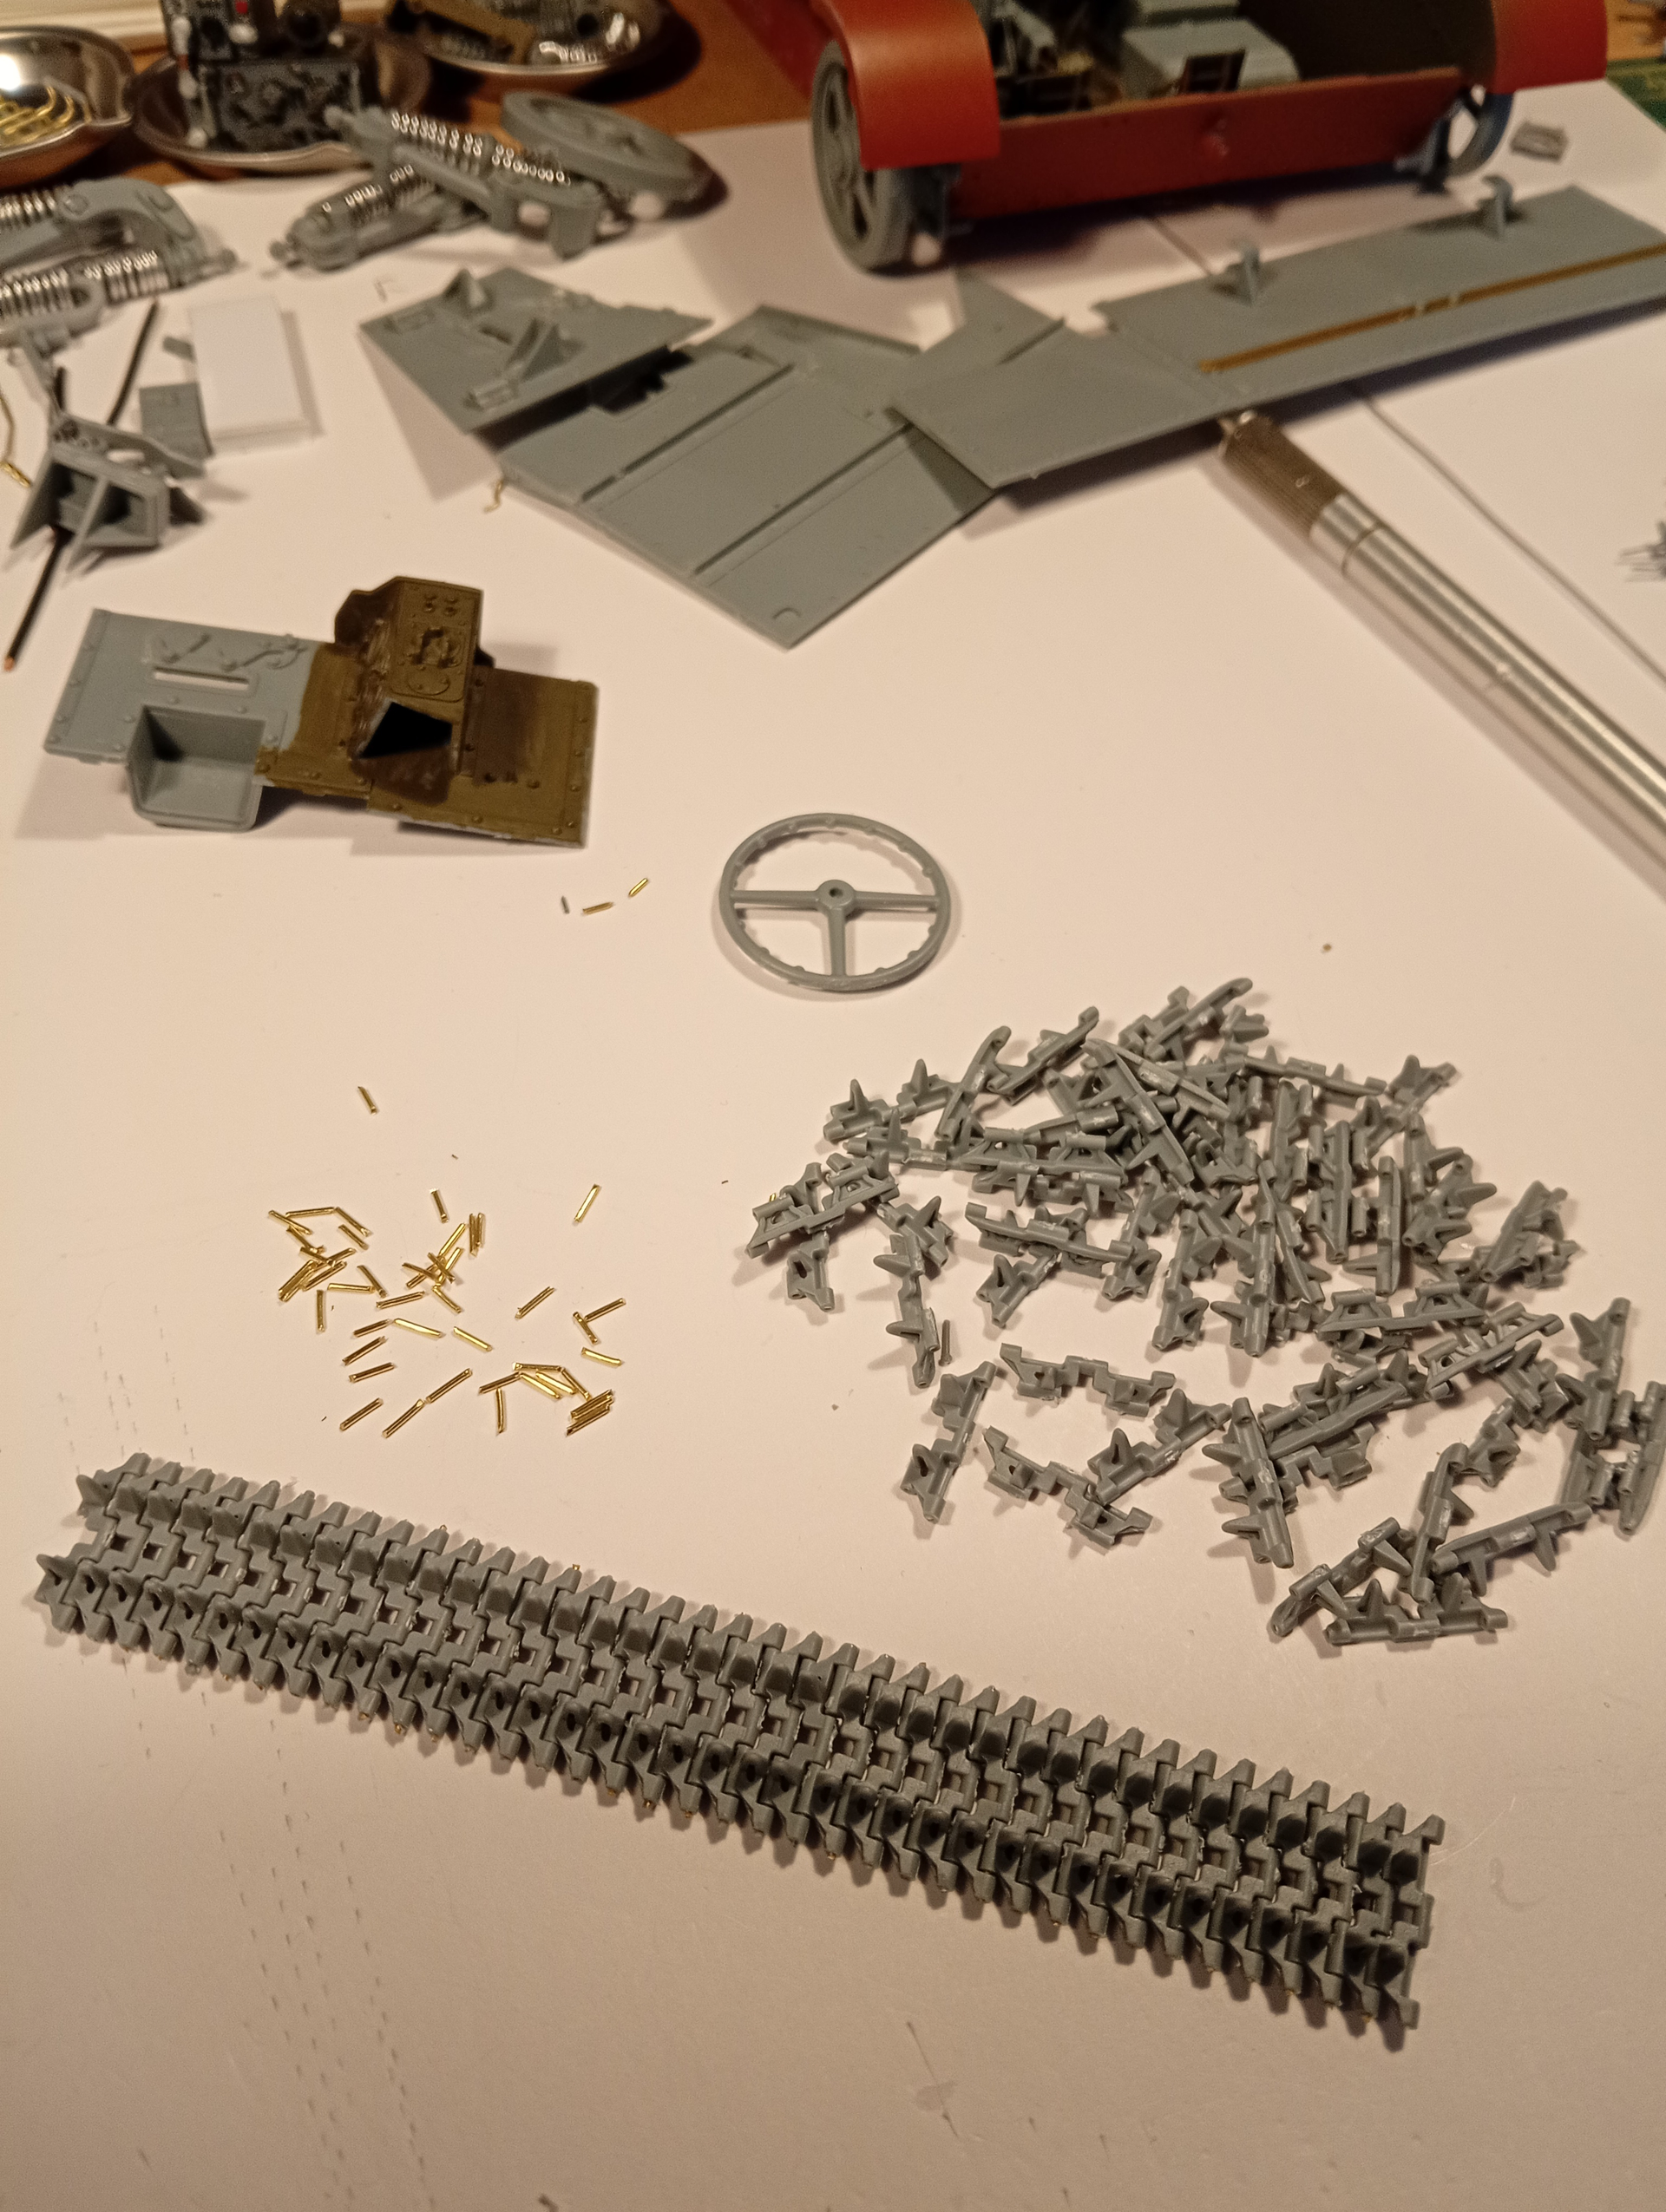
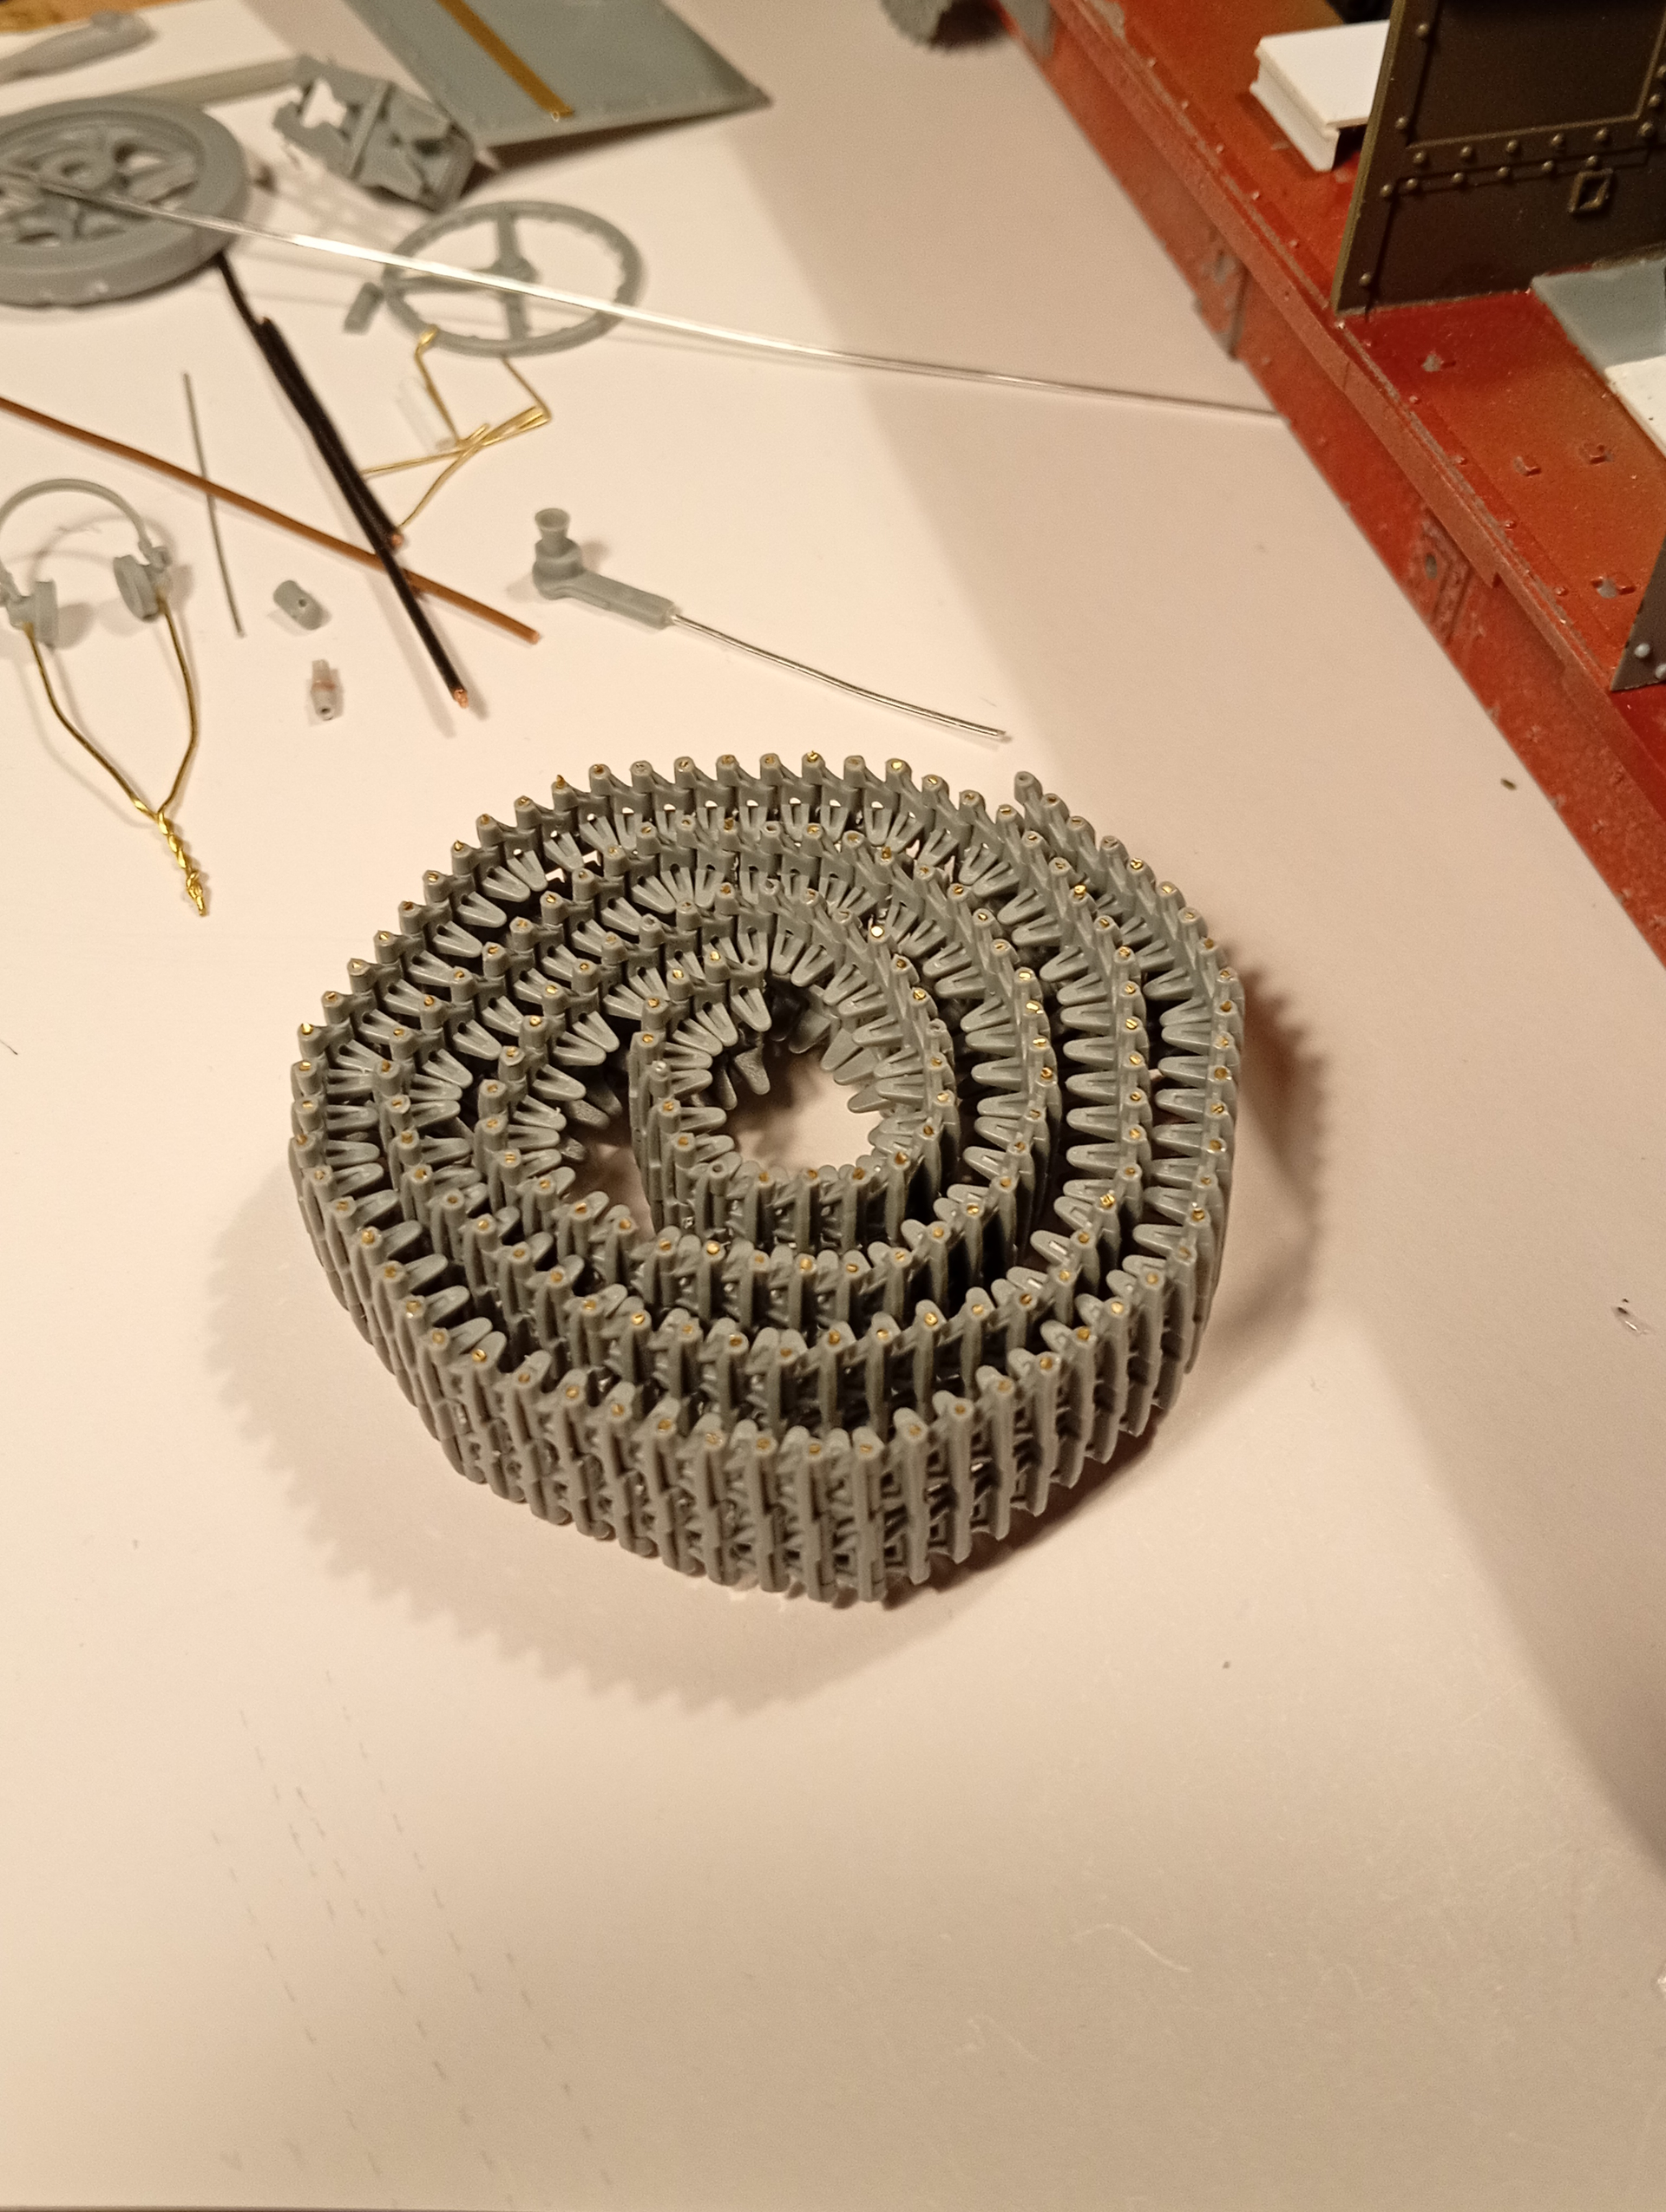
Who said doing indie track links makes you blind, makes you grate your teeth and makes you want to pull your finger nails out lol……
Well they were correct lol…… ok, it’s not that bad, but bloody time consuming….
I was actually using .6mm wire, but .5 will also work, it just makes the link a bit looser …. I’m cutting down the wire to 3mm to 5mm lengths …..
That’s only 38 links for that run …. Took me ages lol ![]()
What build! wow - there is a lot of great stuff going on here - so much to see!
Cheers
Nick ![]()
Thanks Nick ….very generous of you to say so mate, but it is firmly in the shade compared to your epic masterclasses in the dark art of scratch building …. But I’ll take the praise ![]()
![]()
![]()
![]()
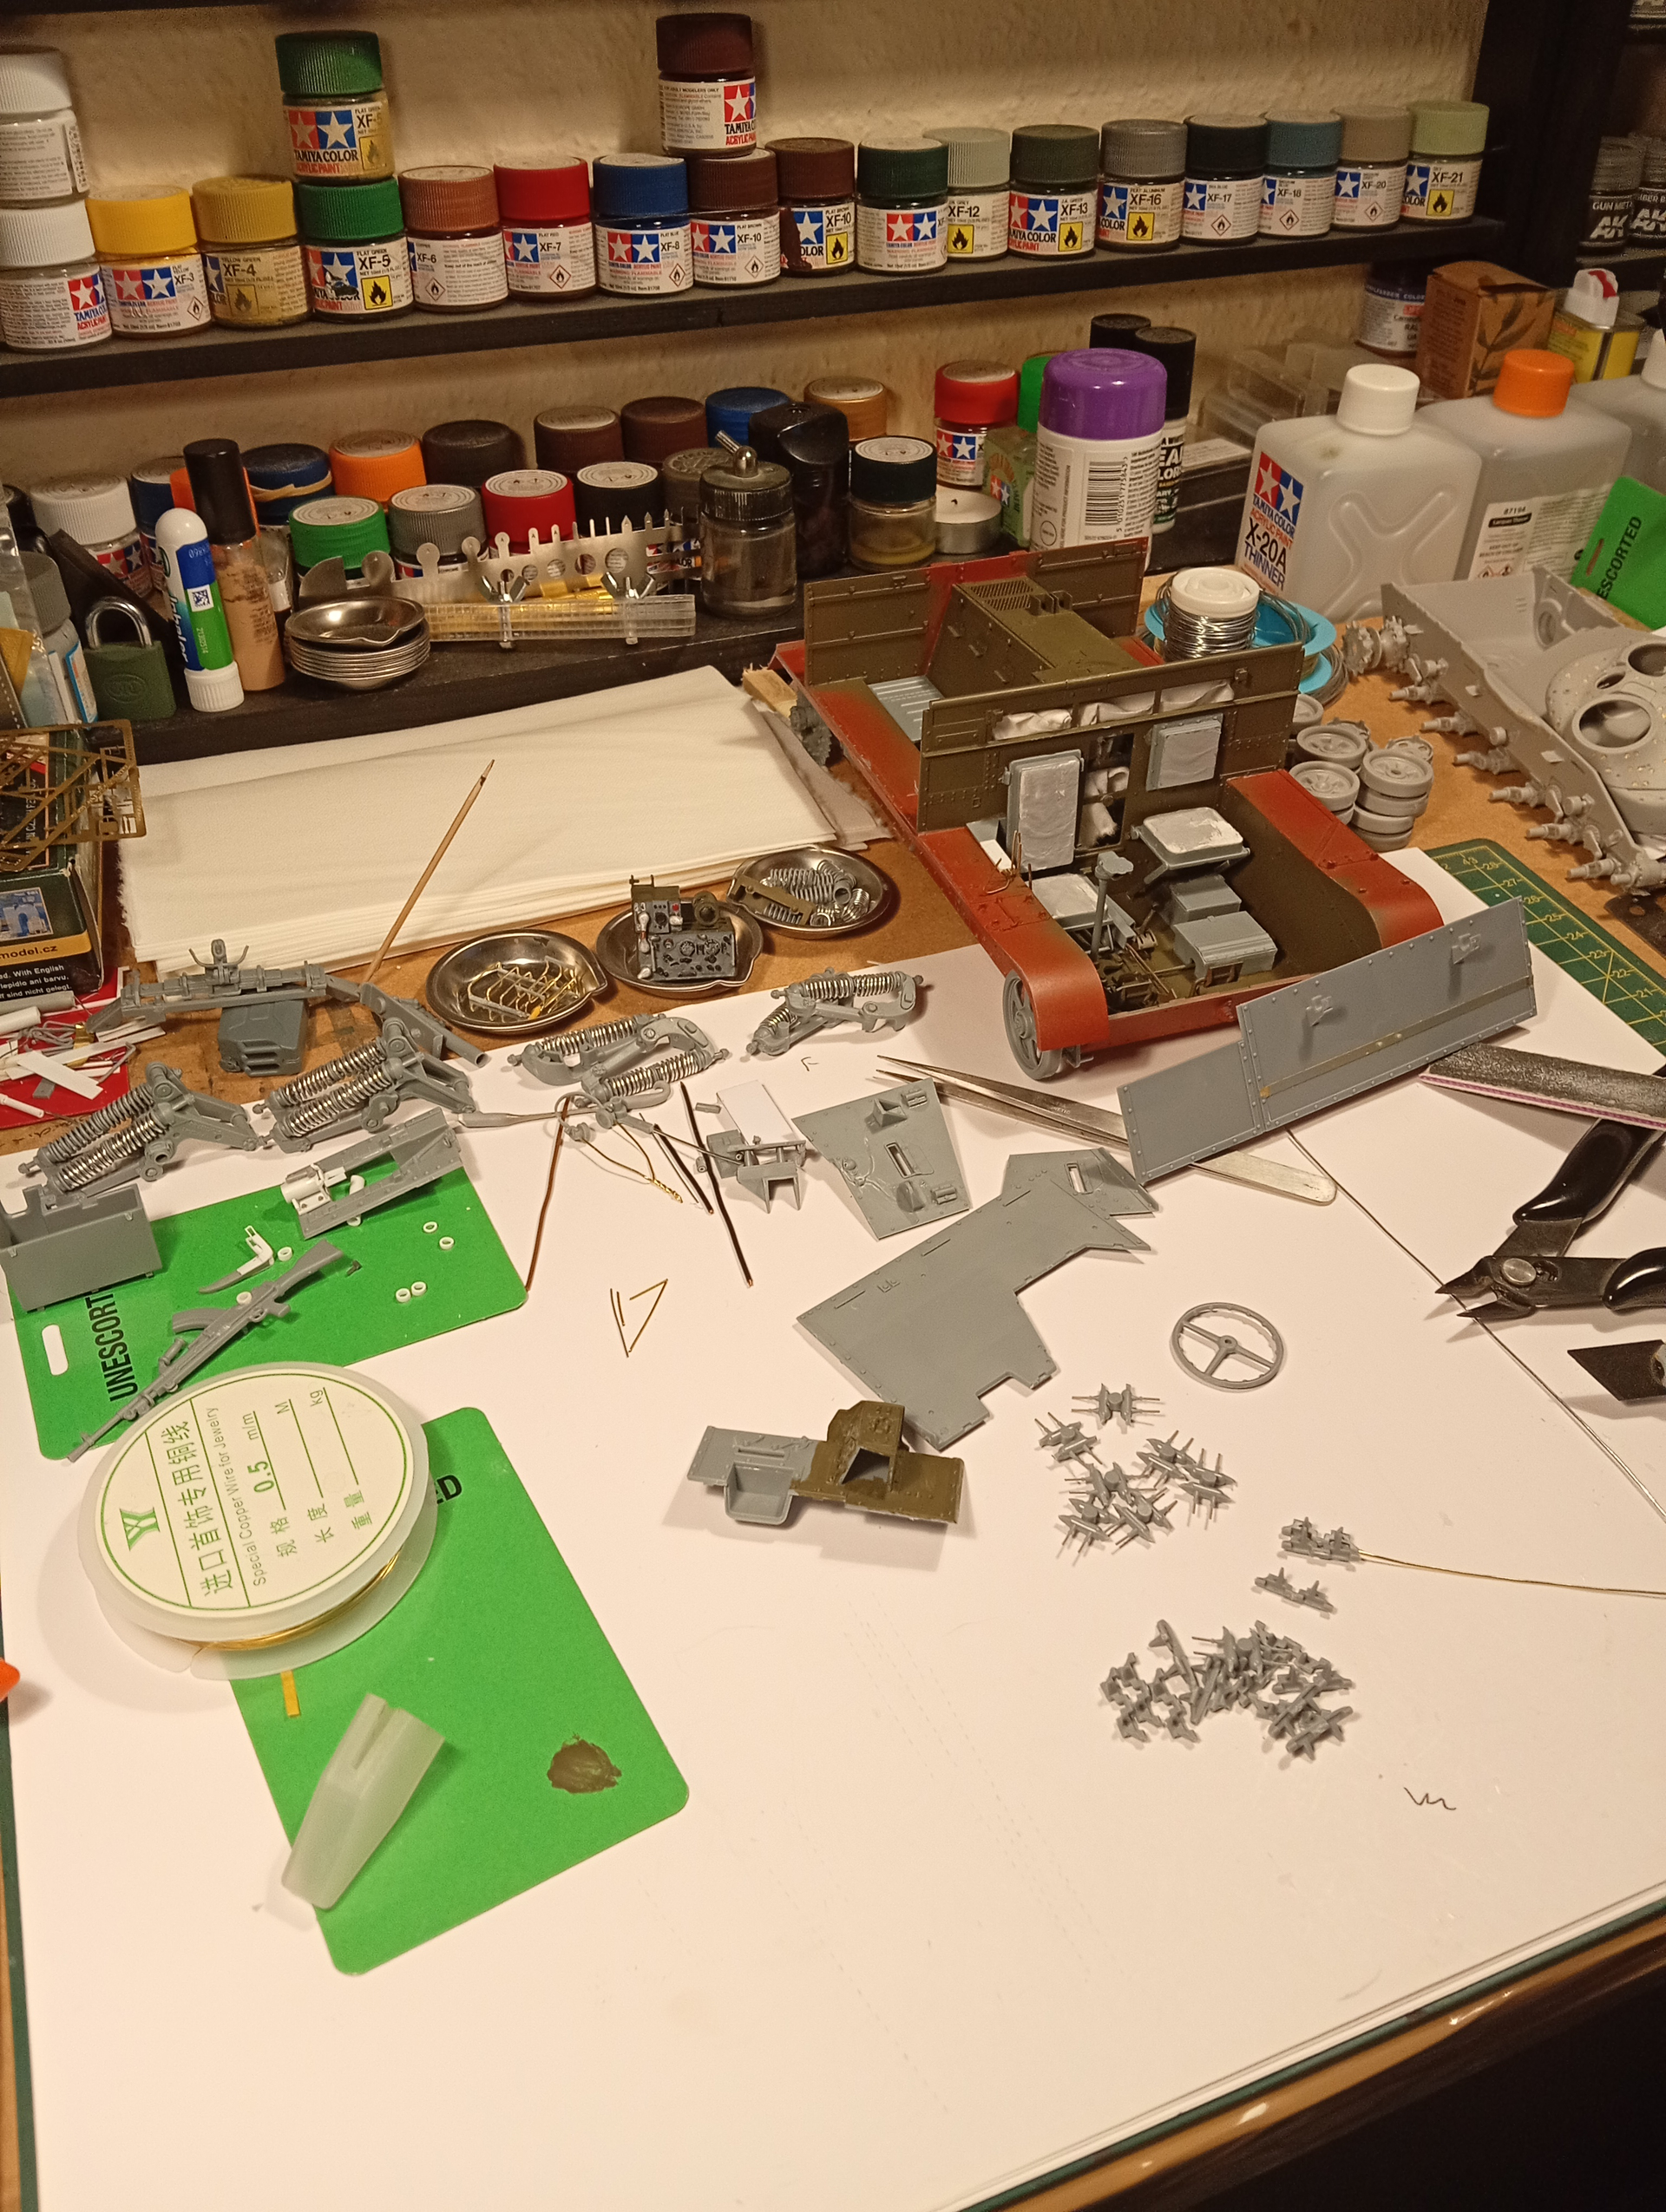
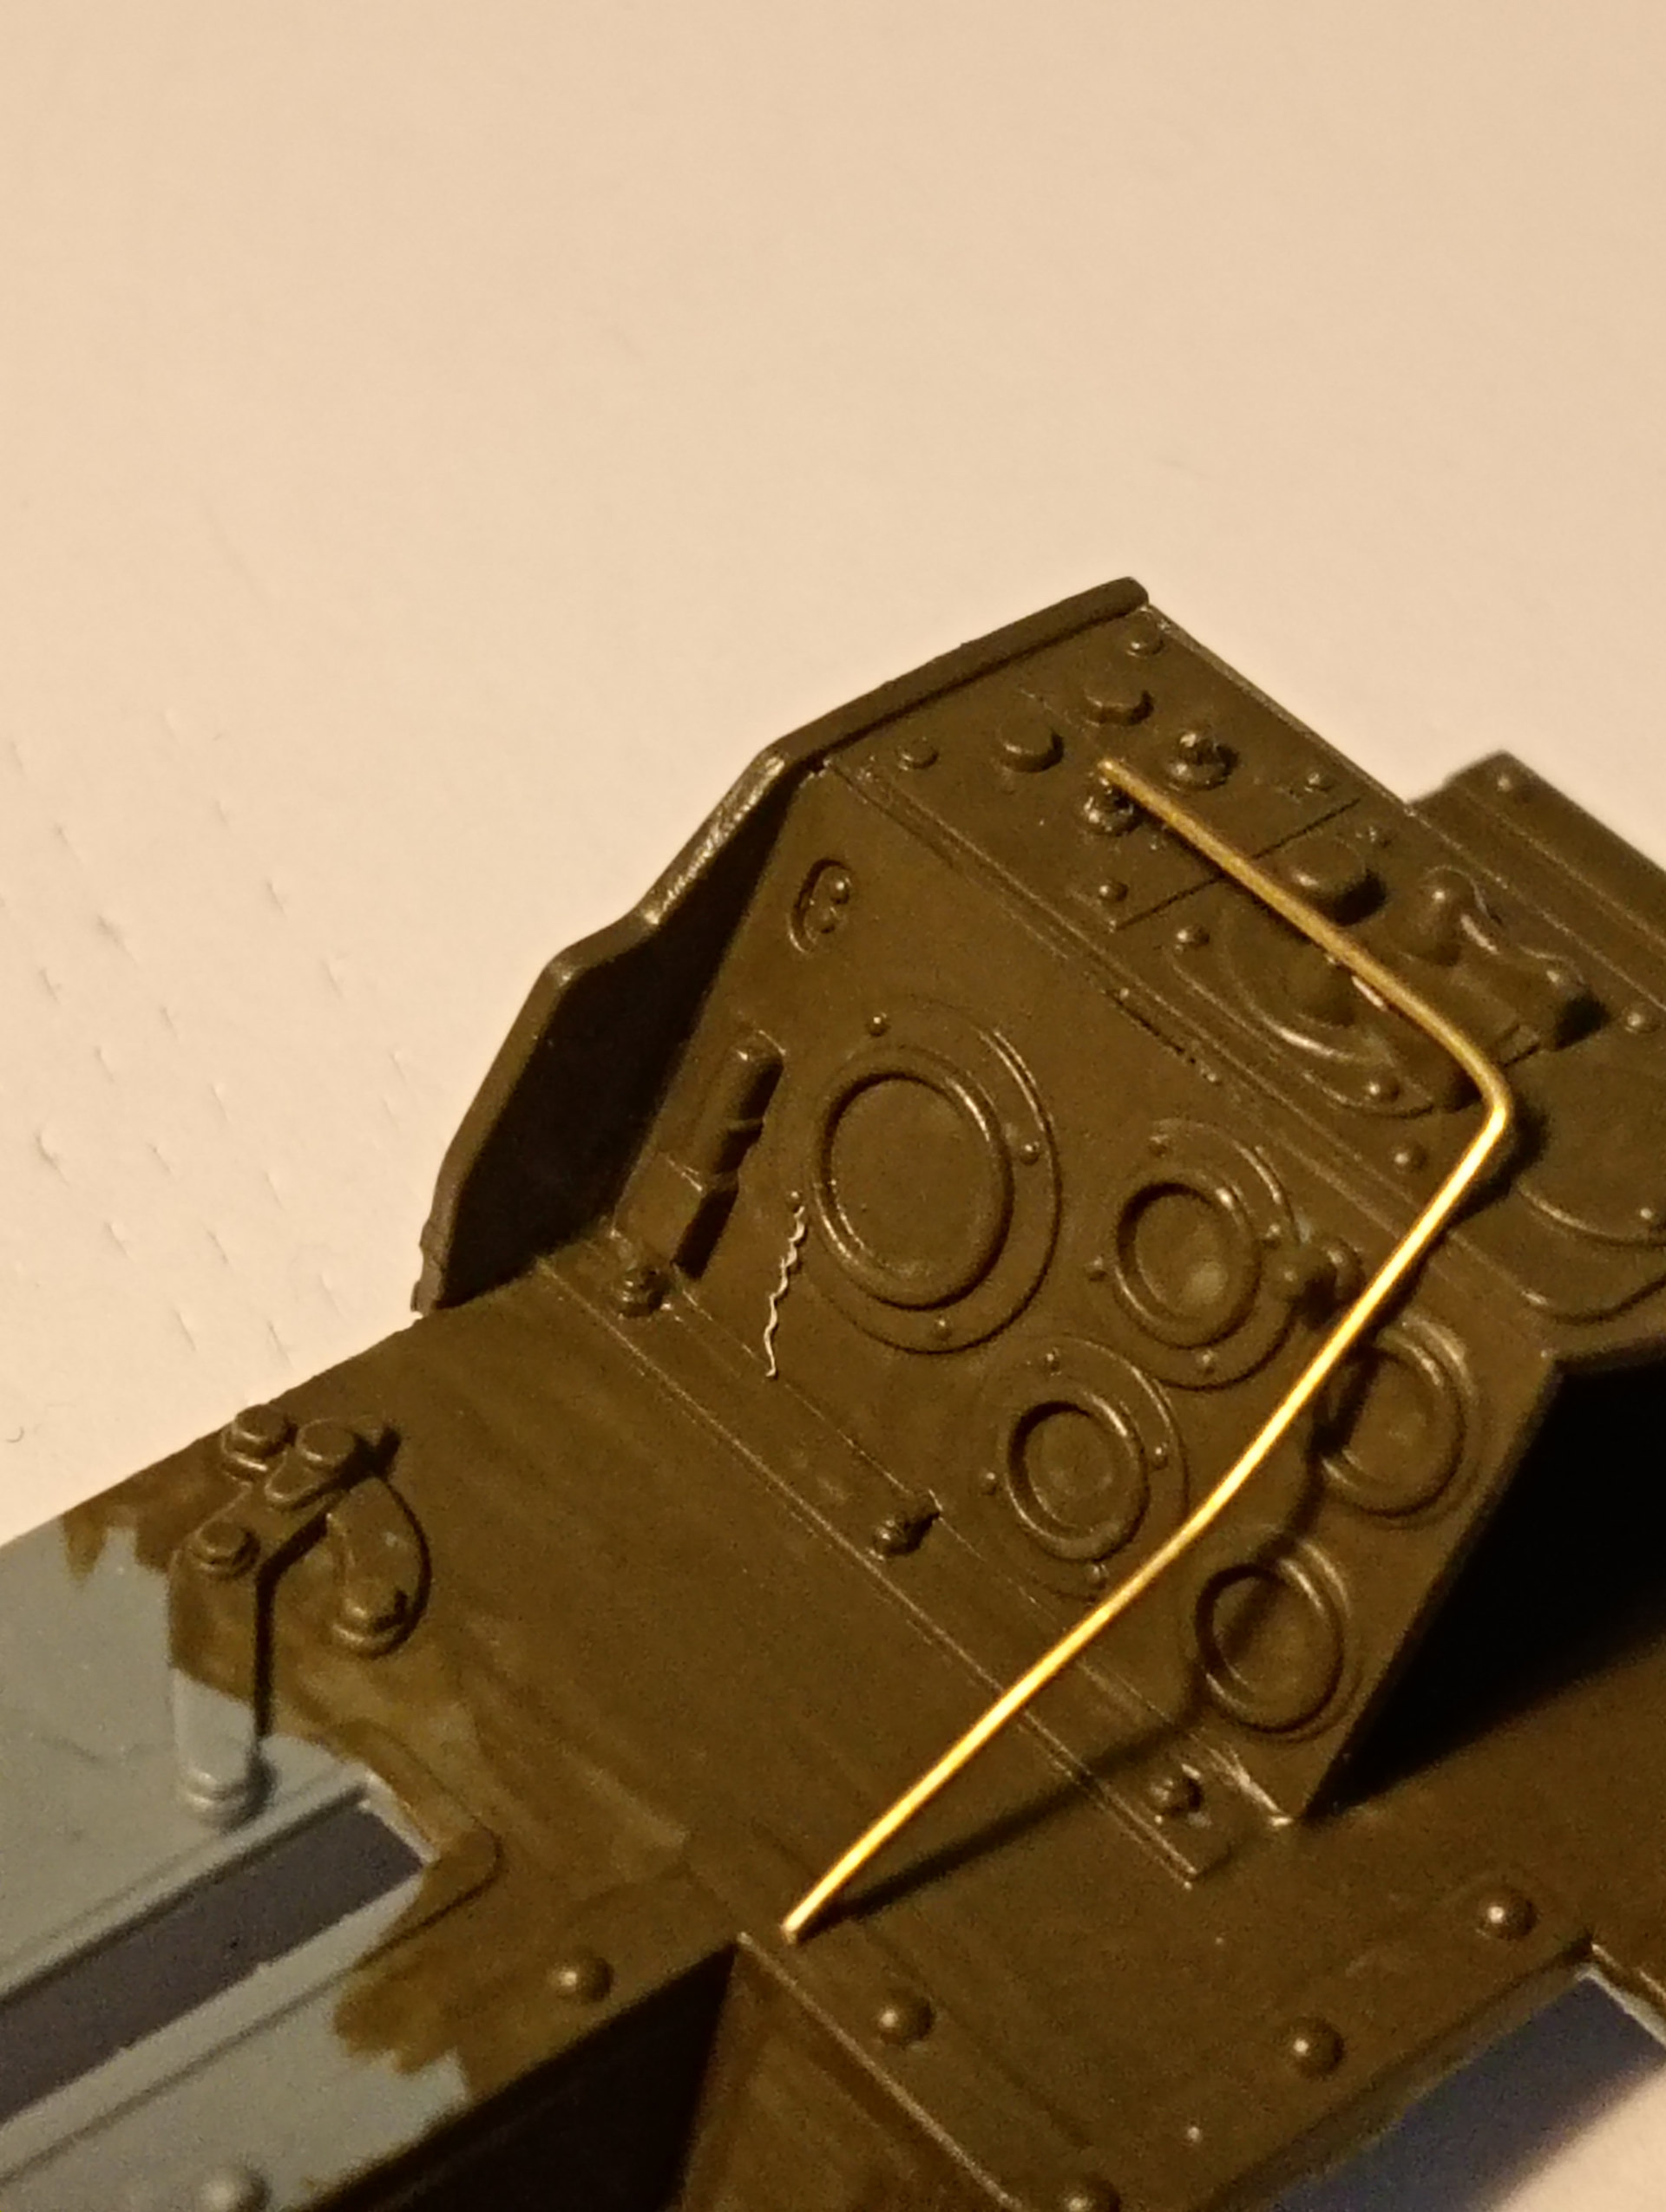
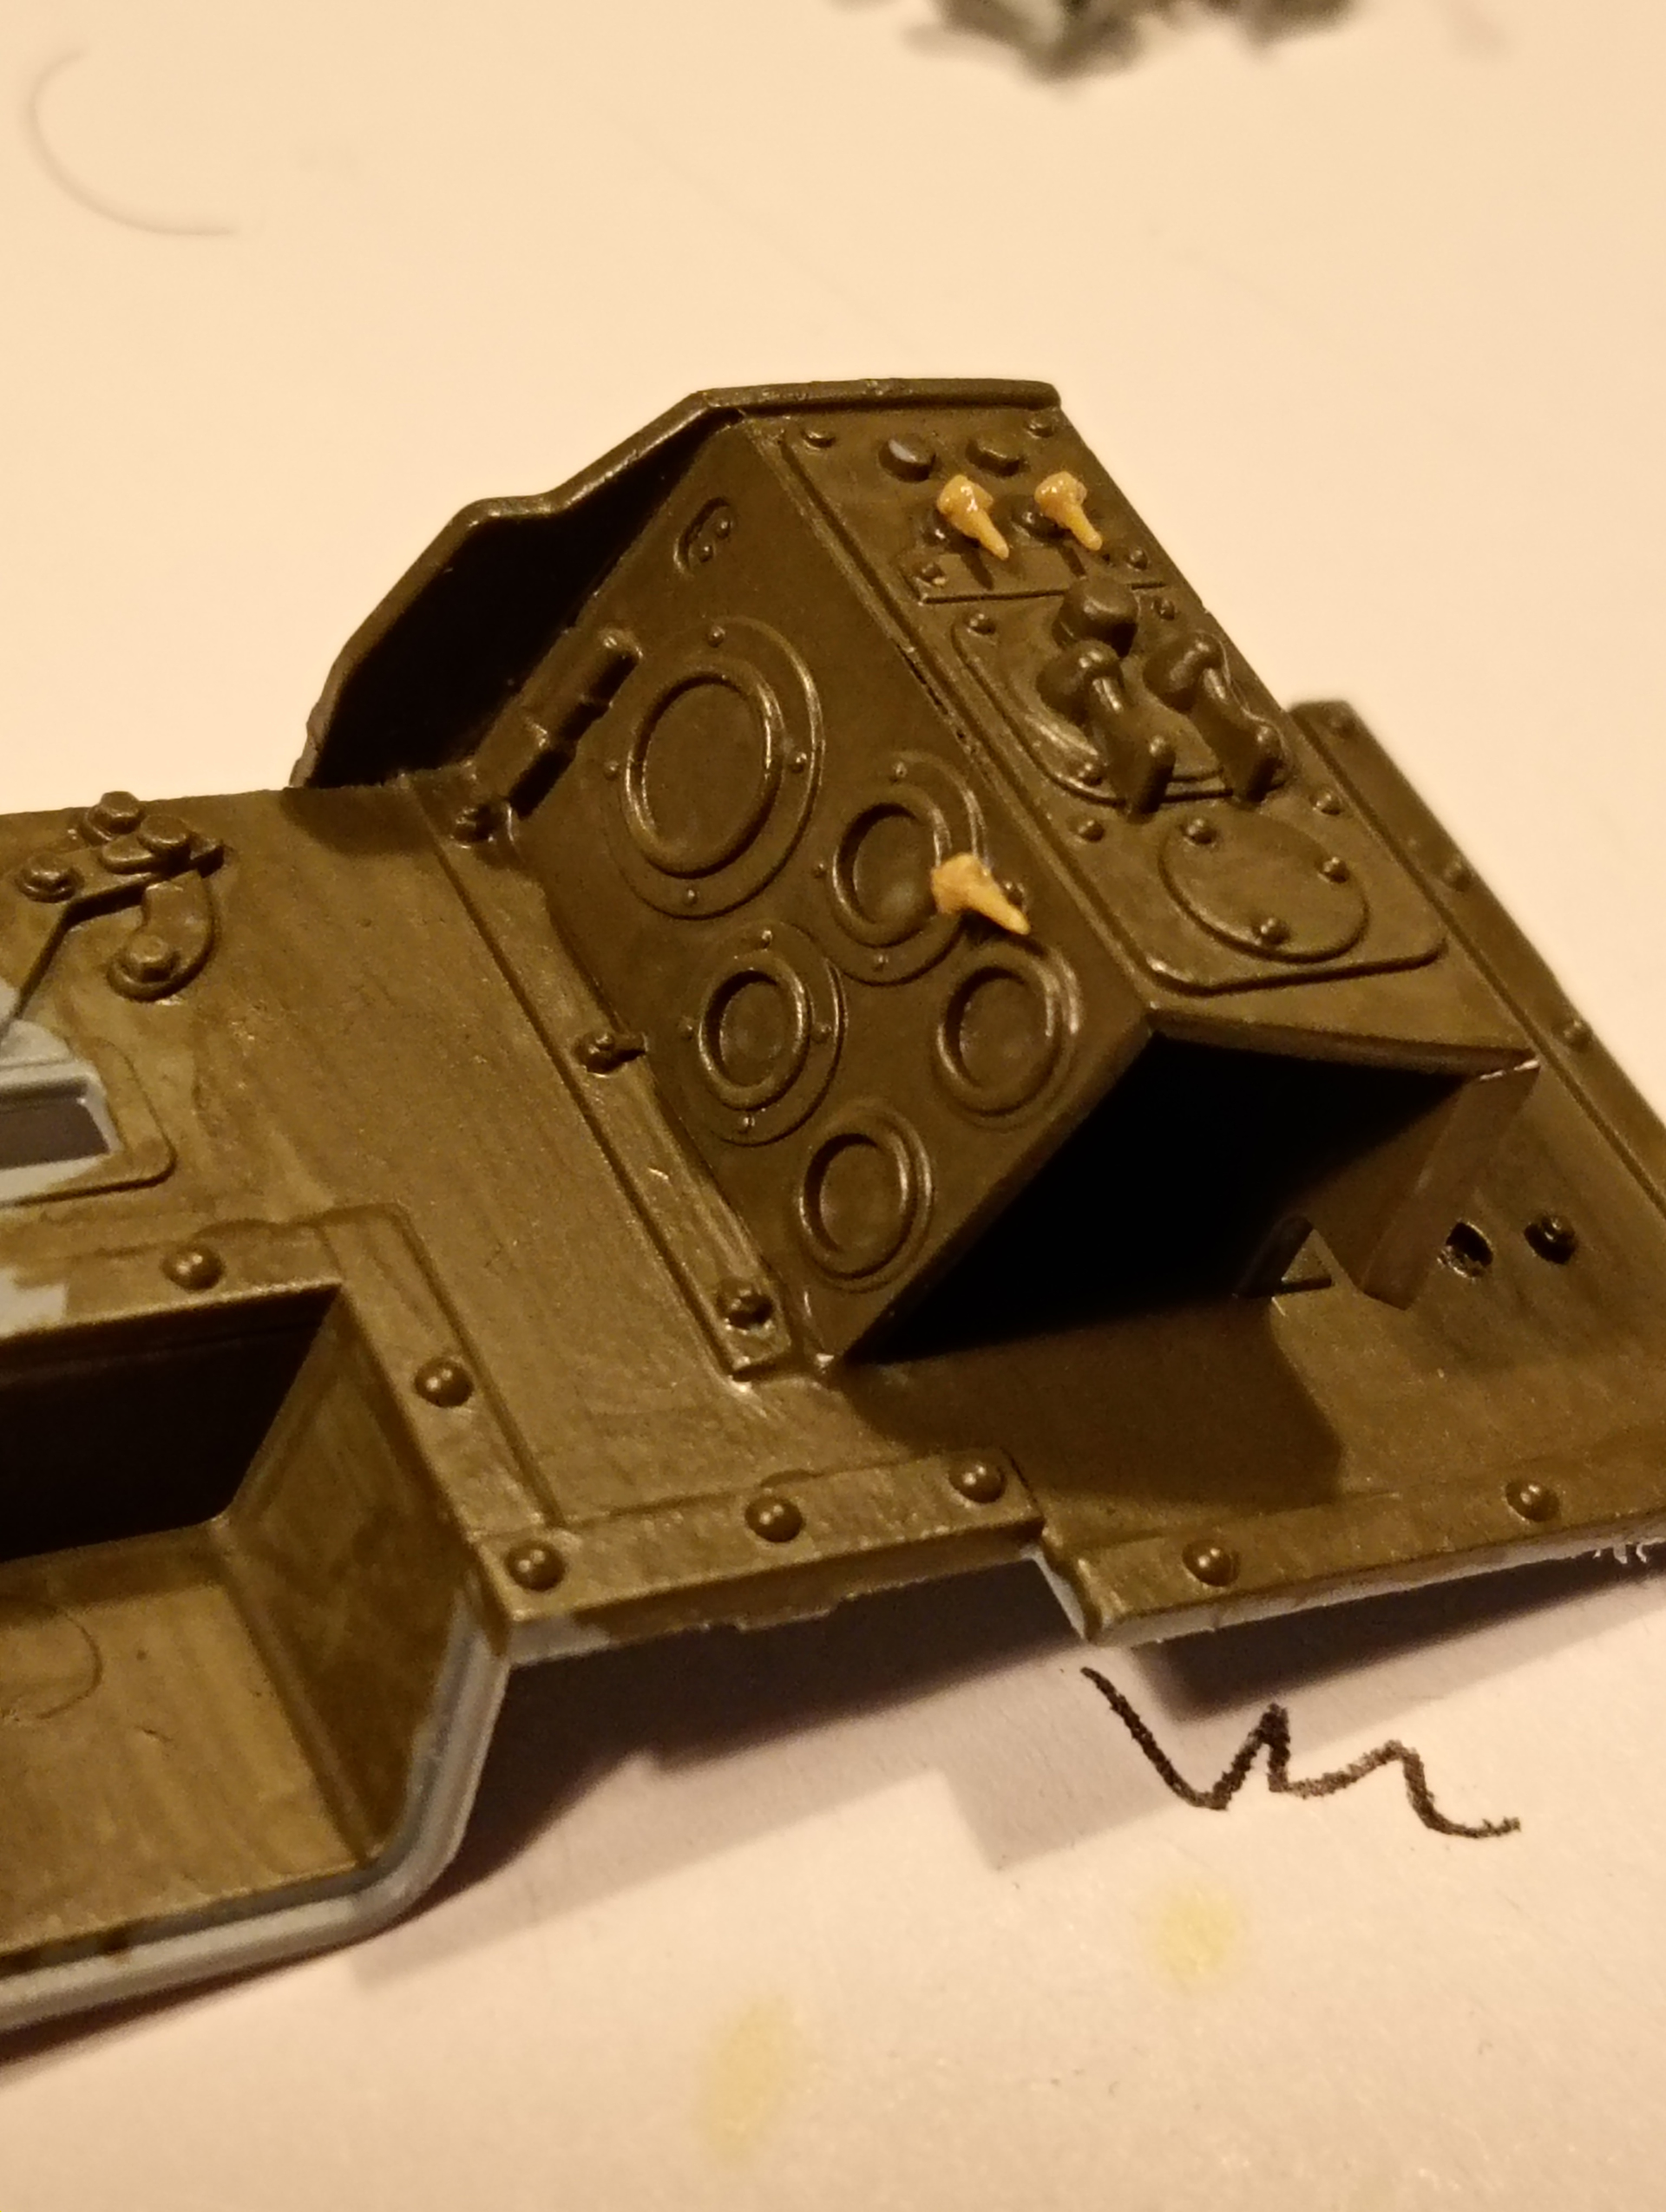
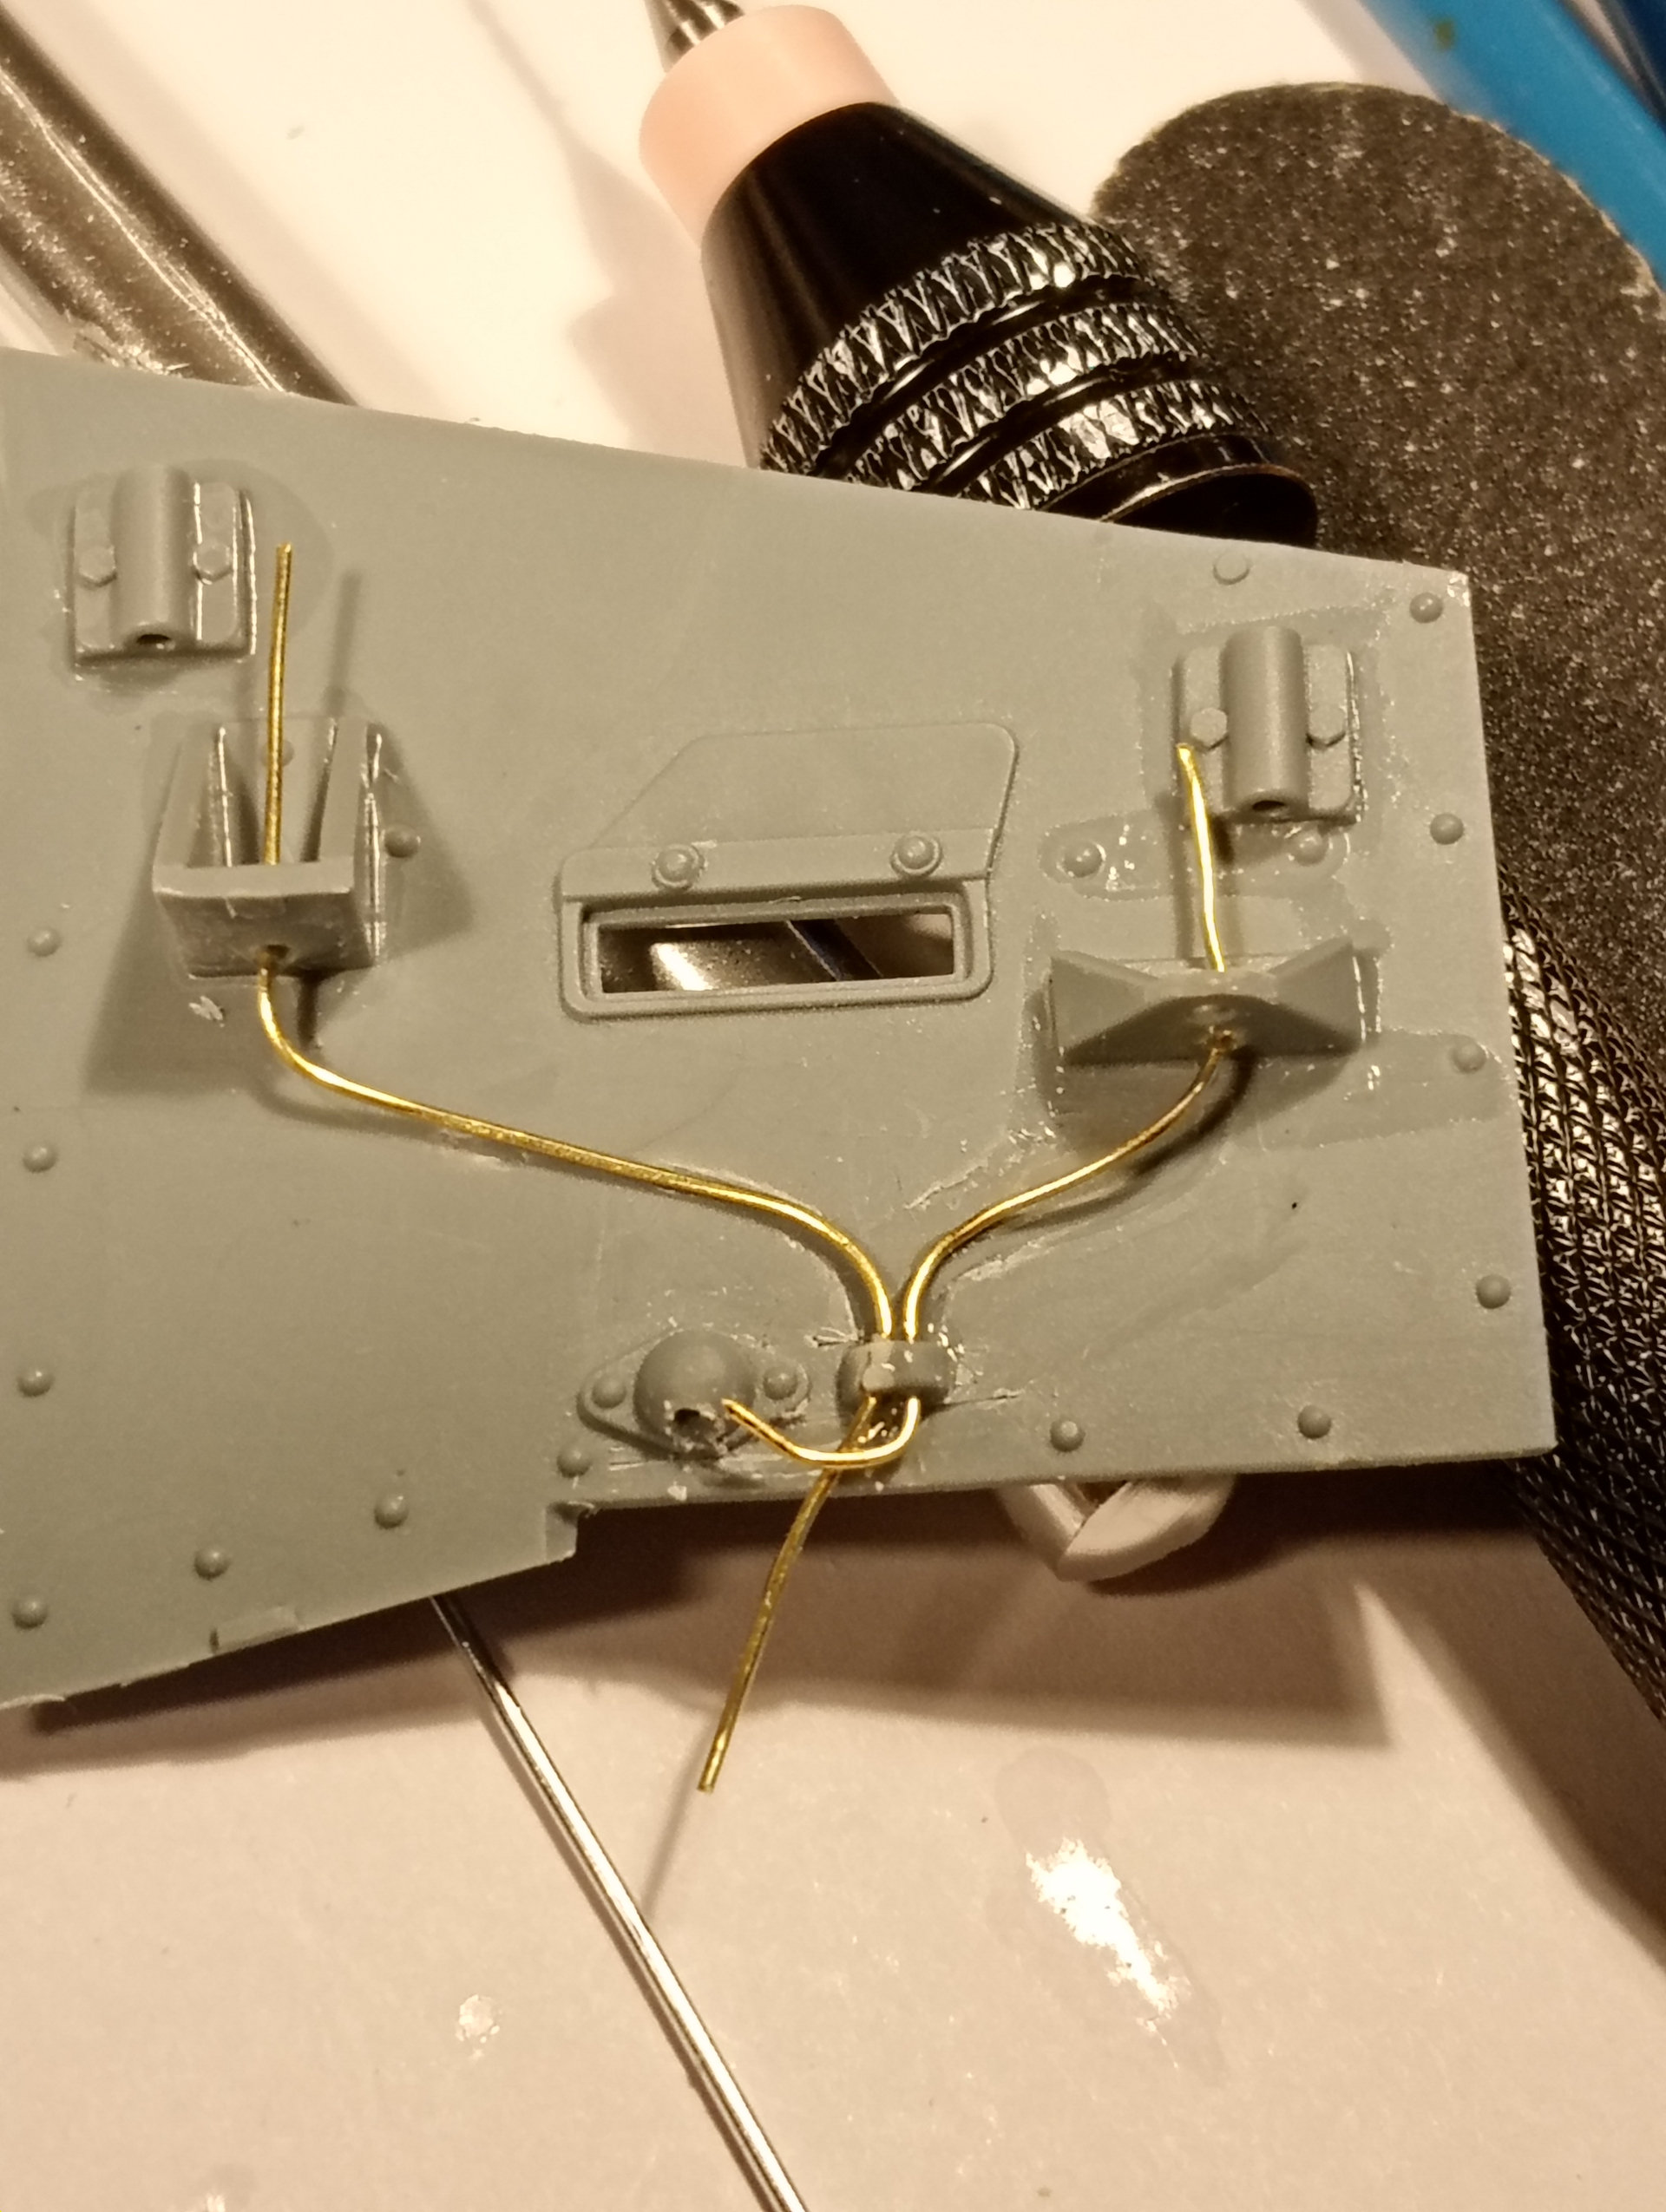
Doing a bit of work with the instrument panel details.
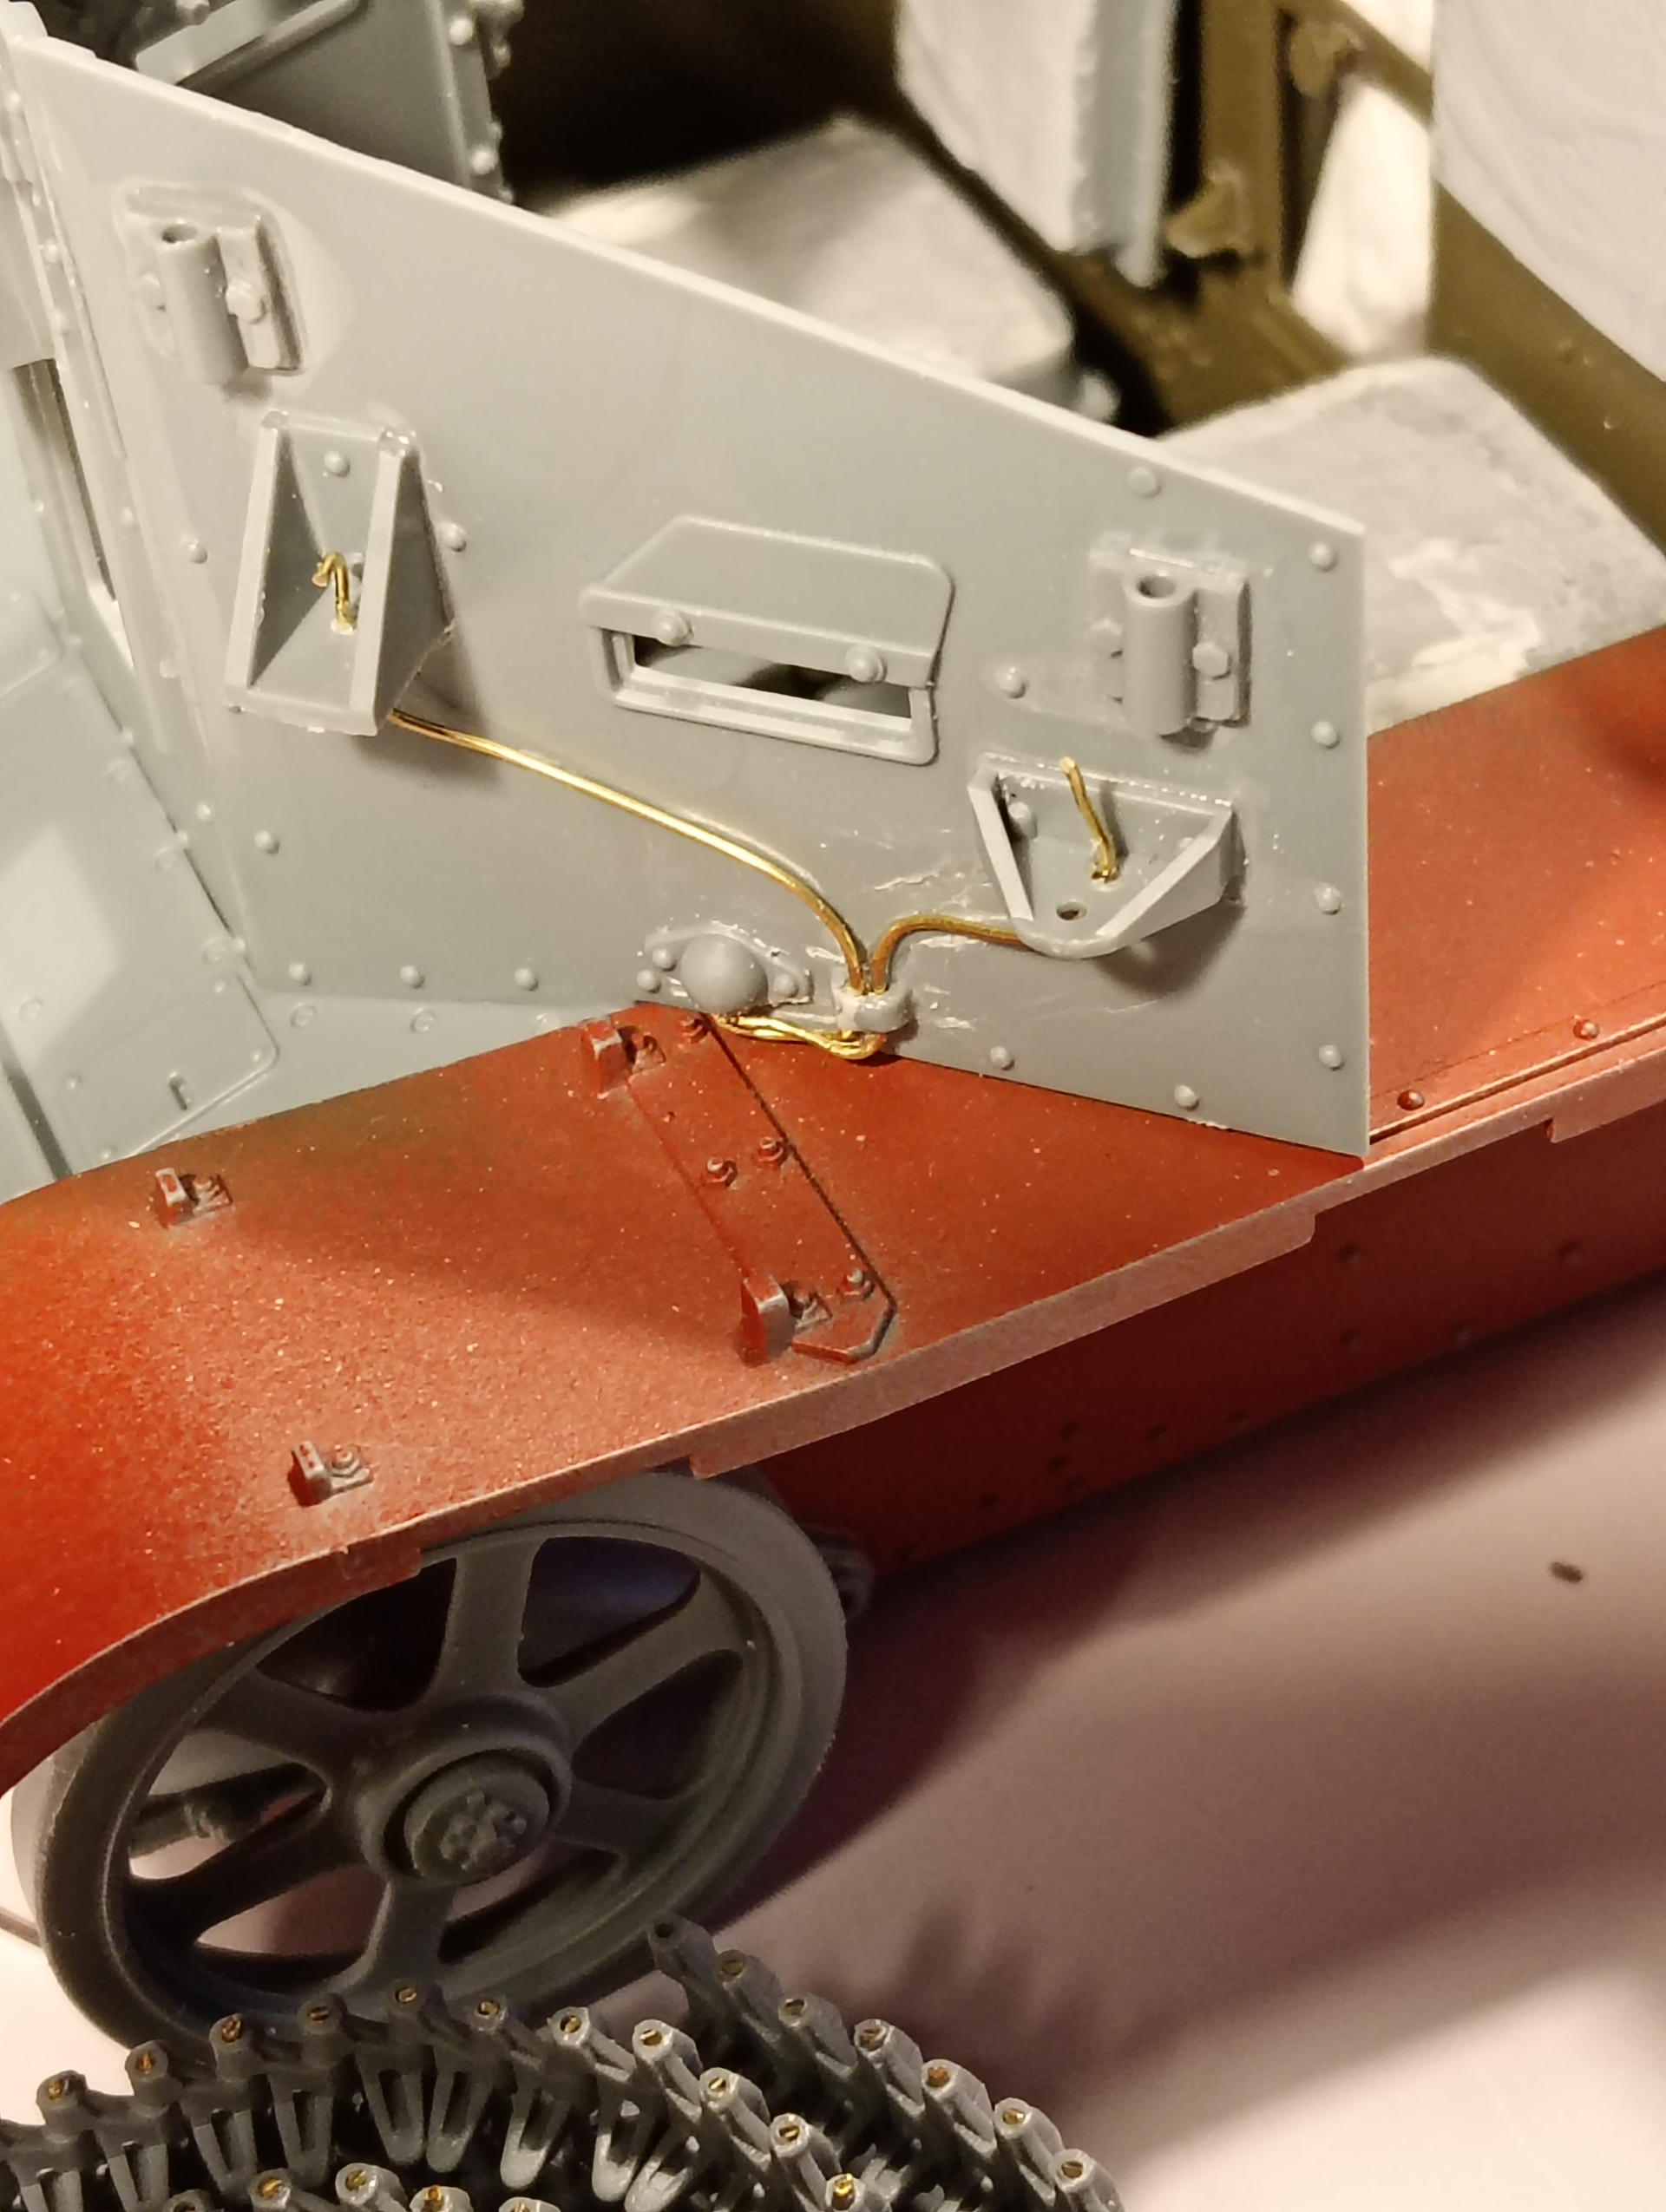
Namely the 3 easily seen toggle switches. 1 on the main dial face located between the bottom 2 RH dials and the other 2 on the facing panel located towards the top. Those are indicated by the end of the brass wire .
Will get the decals on tomorrow and do a bit of detail painting to the dials and switches etc.
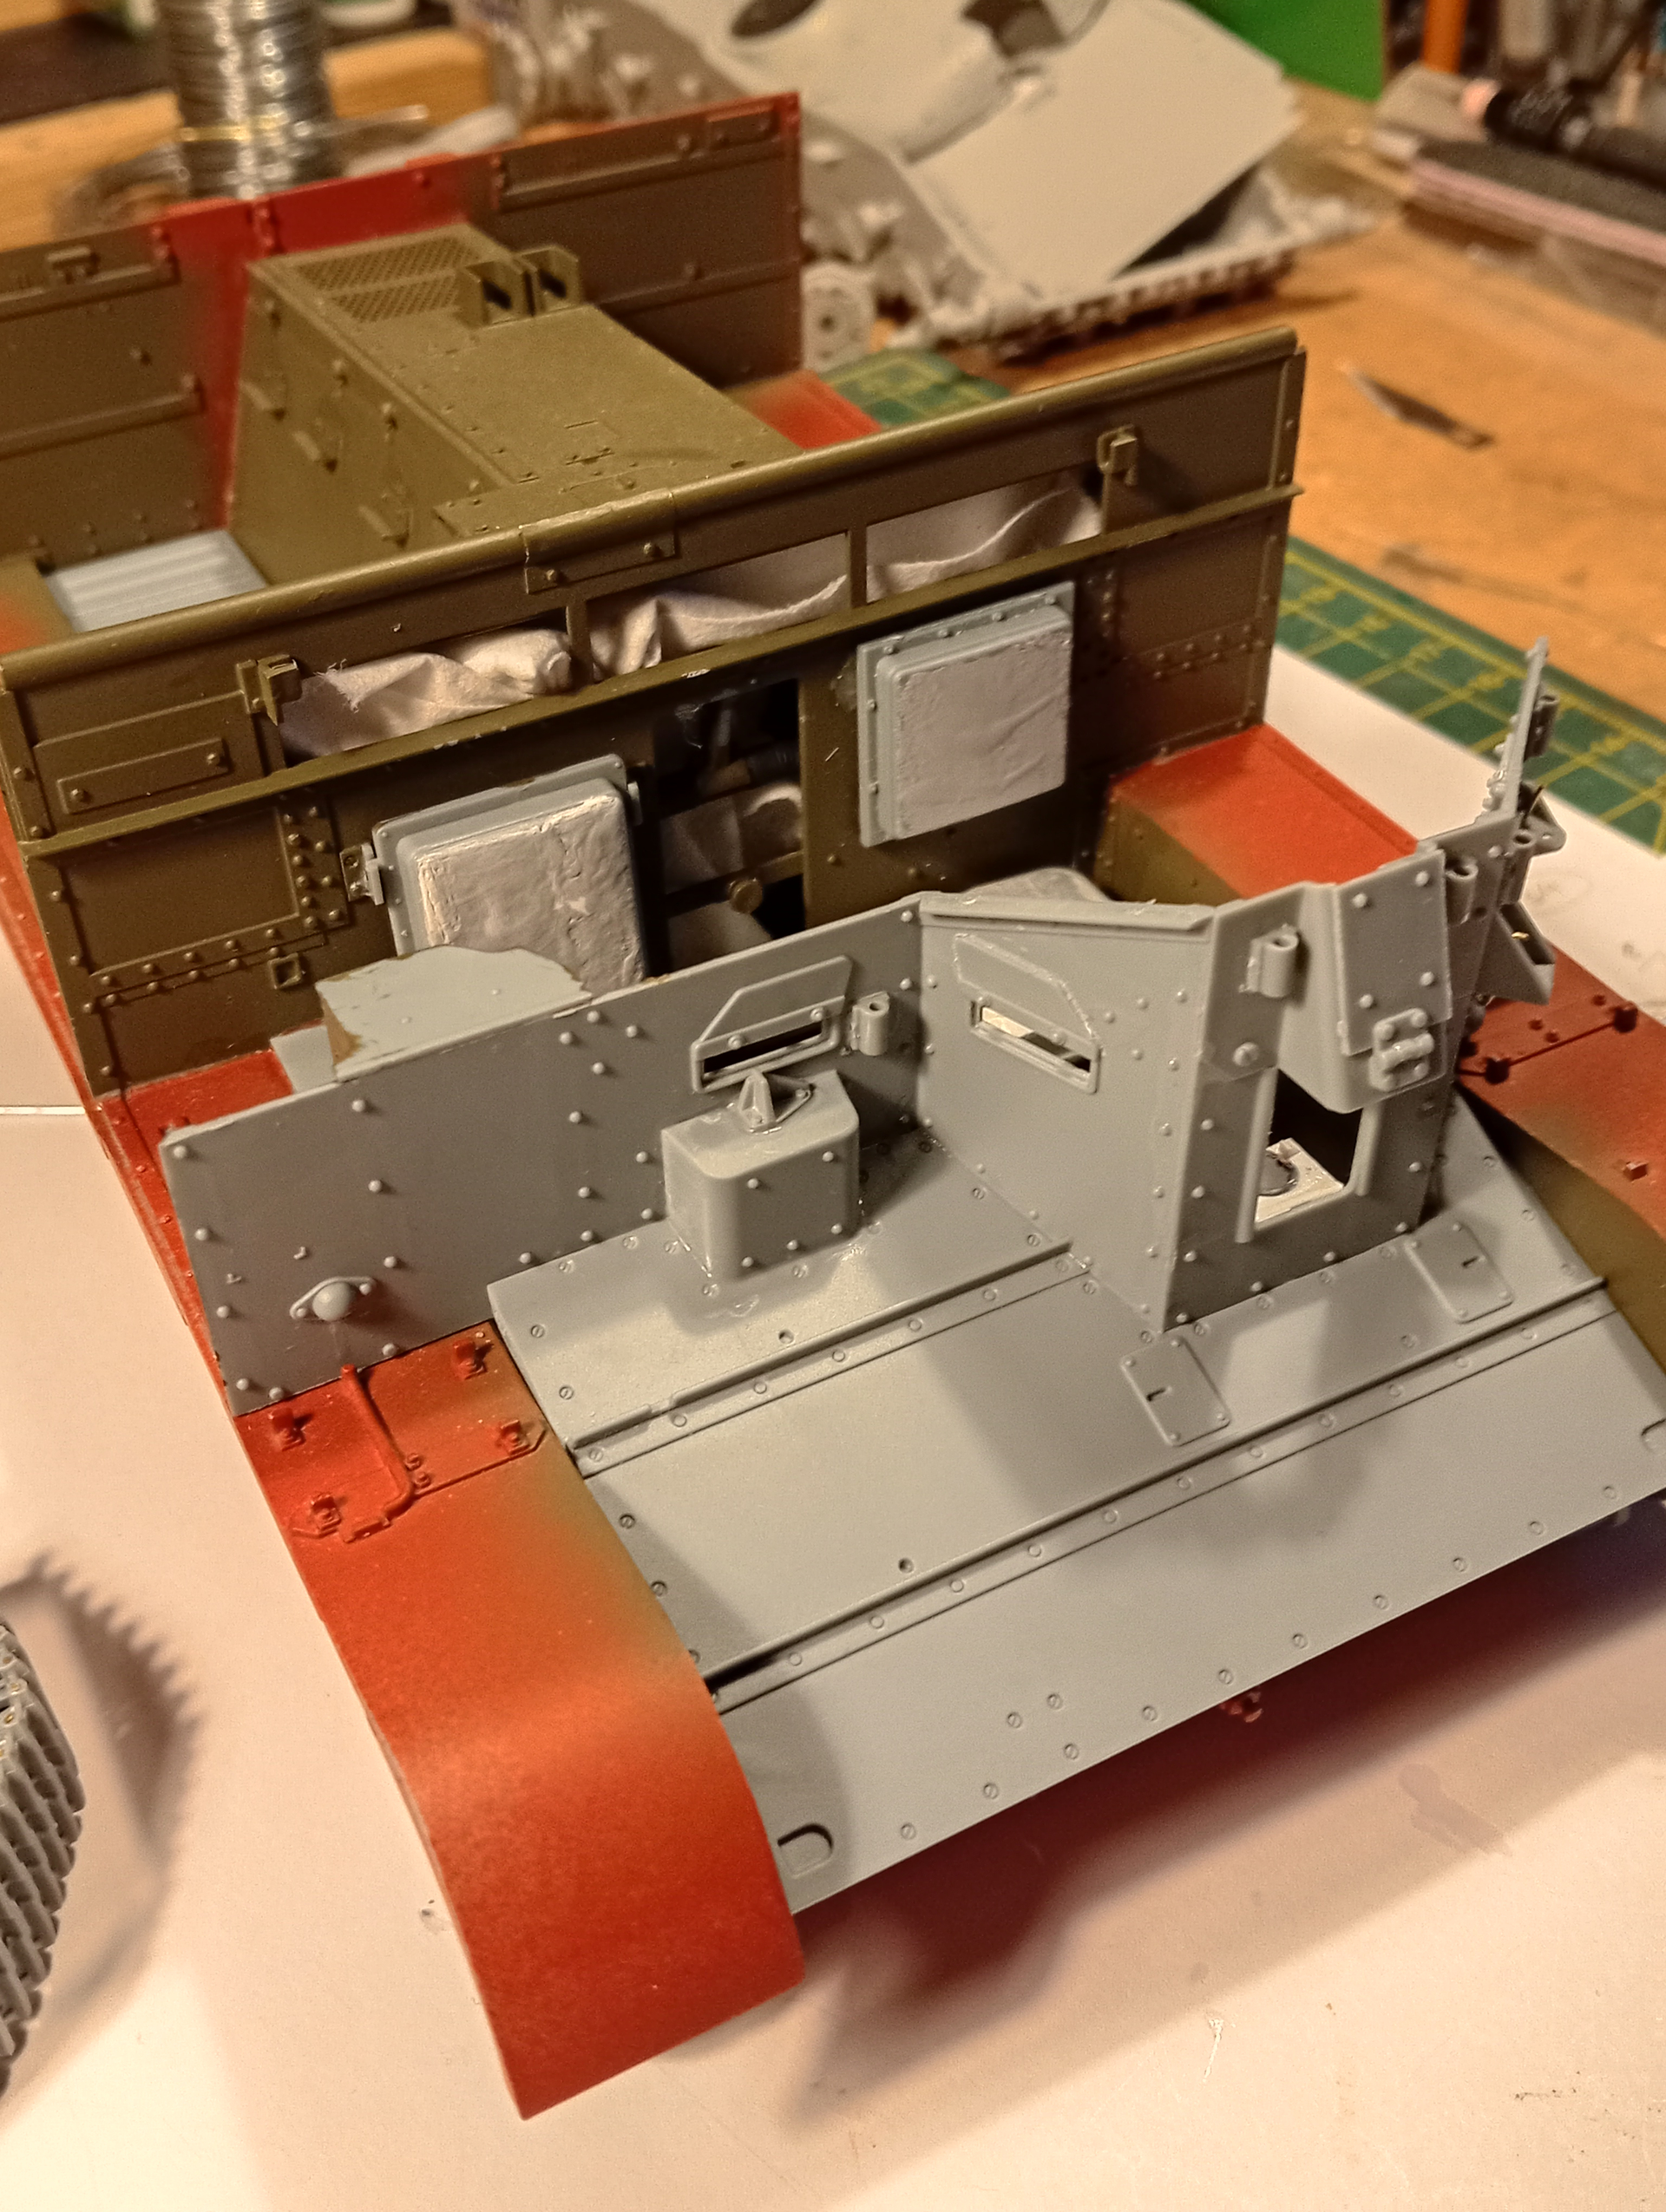
Also added some external electrical cables for side lights and main headlight after shaving off the moulded on offering .
Excellent progress John,![]()
![]() . I hope your mate is following this build as all the super-detailing you’re doing will not be immediately obvious on the finished build,
. I hope your mate is following this build as all the super-detailing you’re doing will not be immediately obvious on the finished build,![]() .
.
G,![]()
Thanks G as always. Yeah, I sent Andy a live link so he checks in to keep an eye on it, and likes how its building up. Have an update on the instrument panel which I will post after I have walked the hound quick.
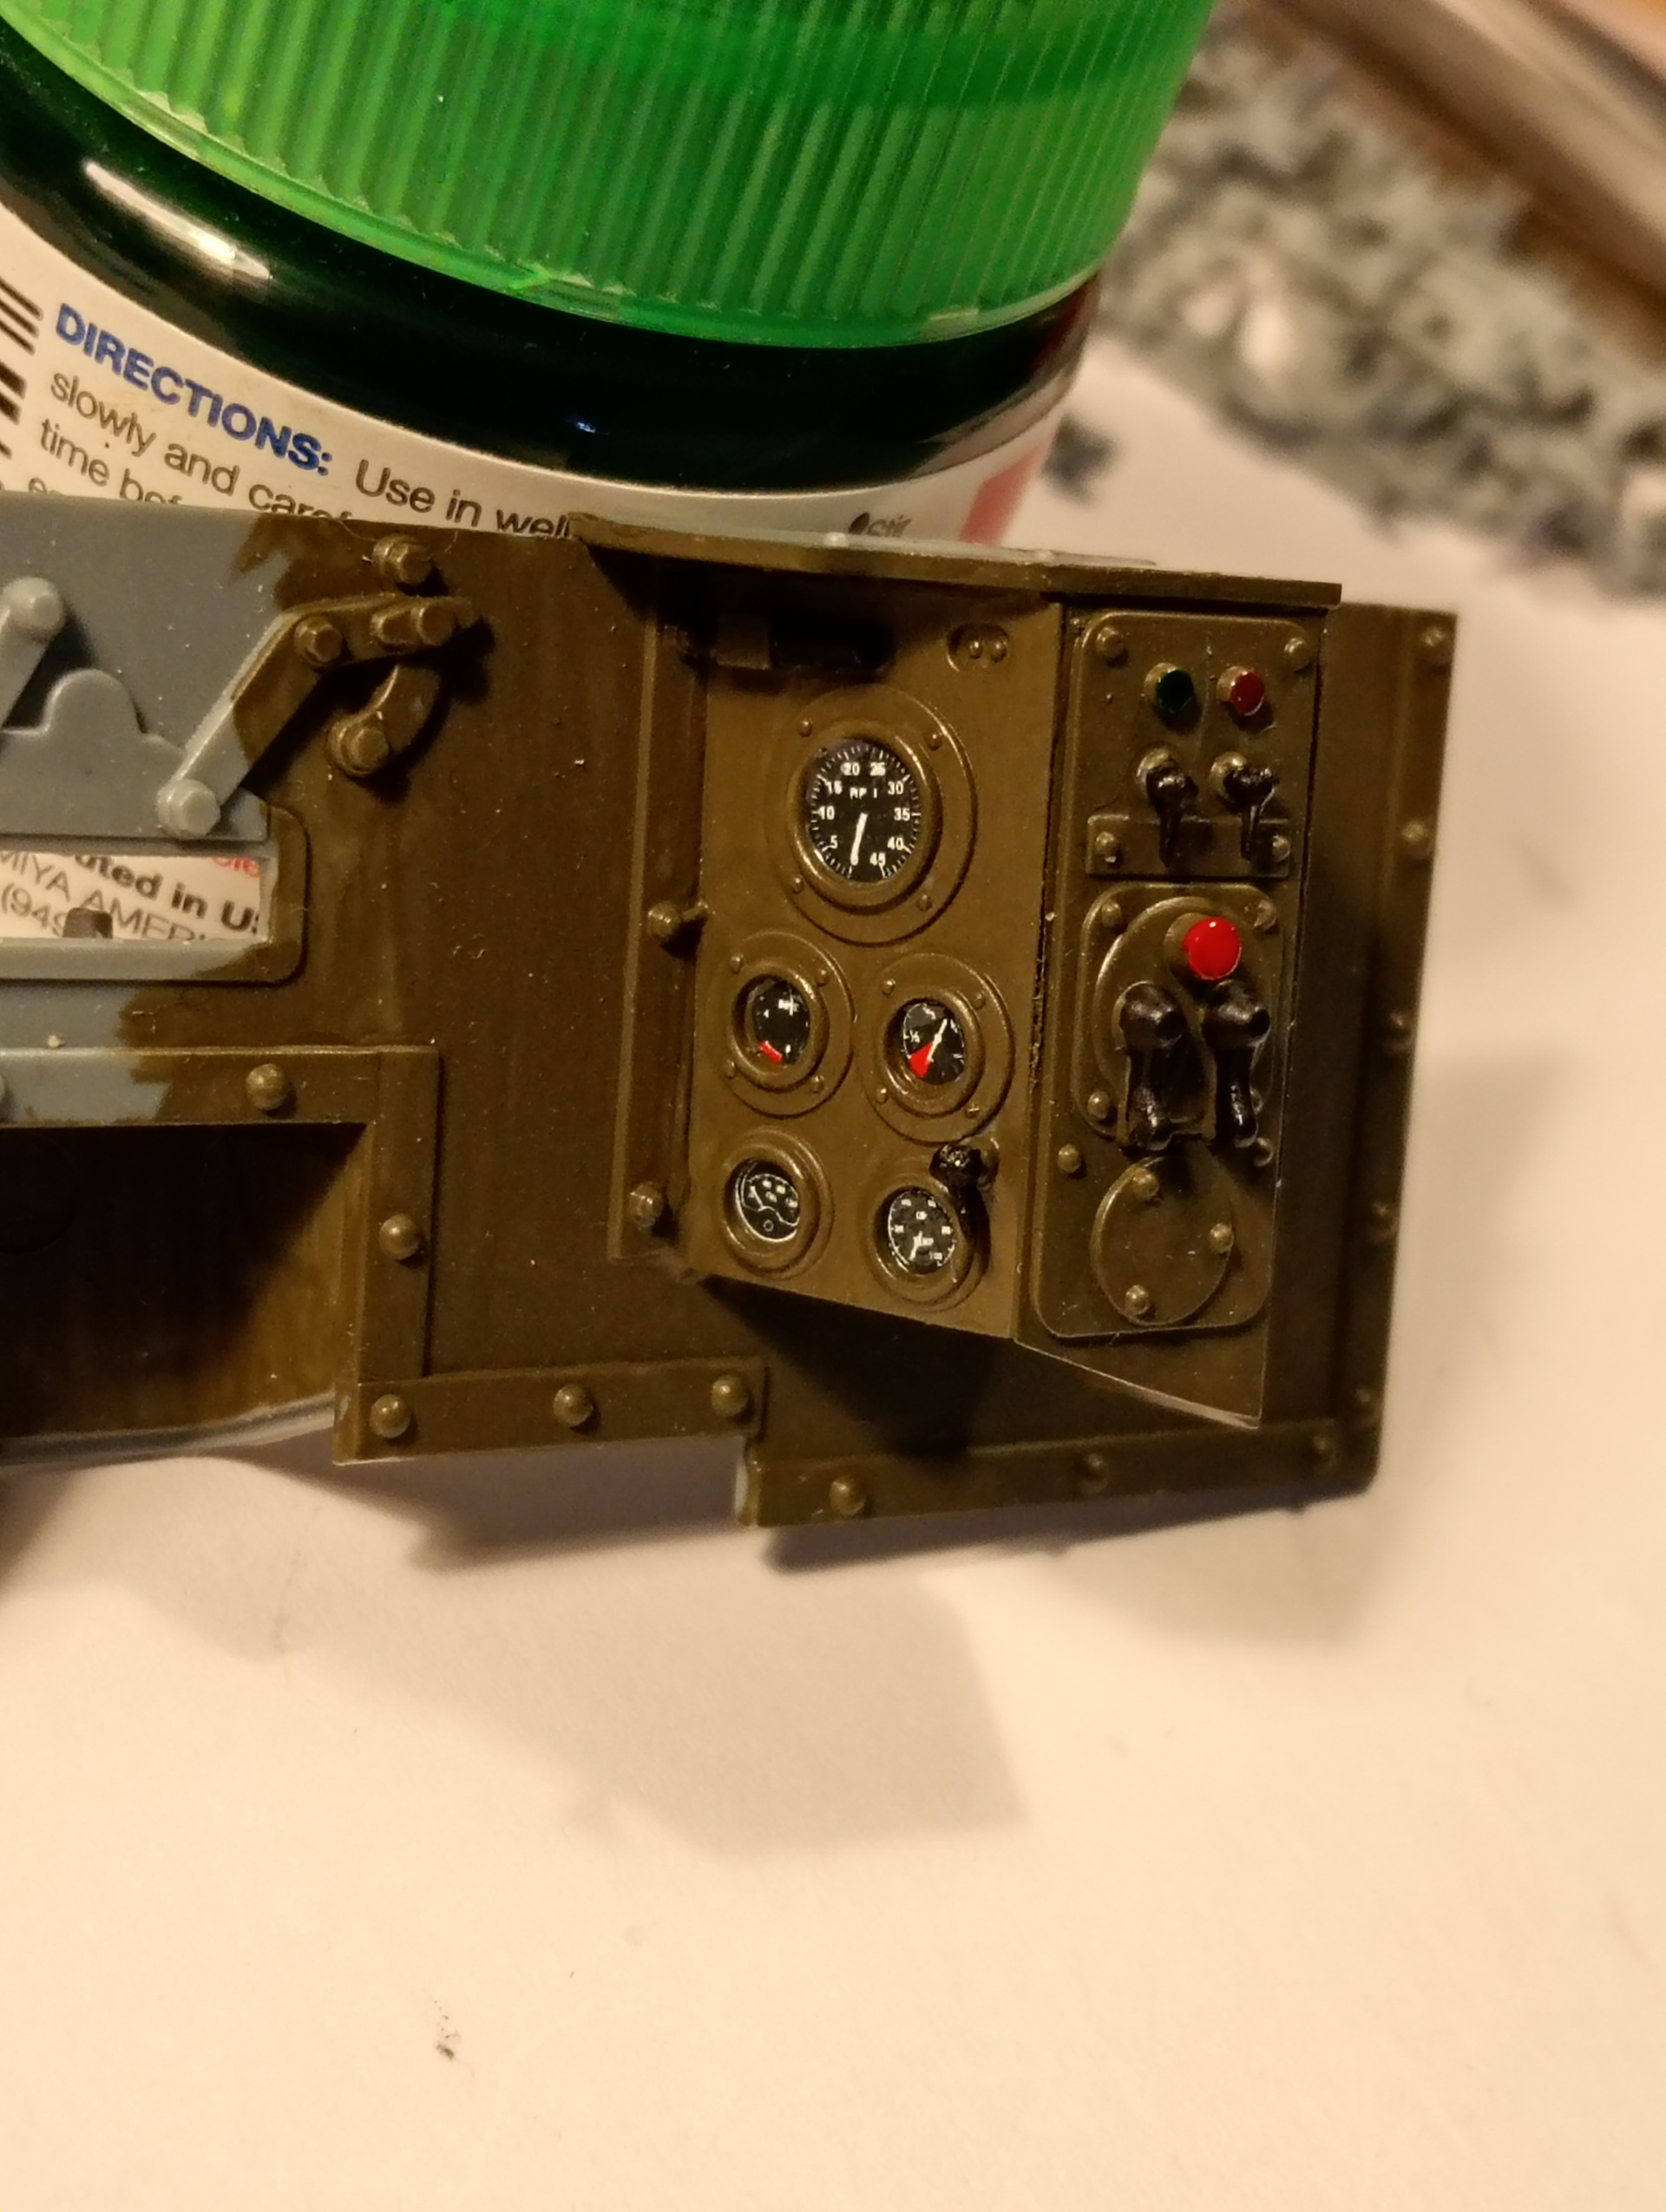
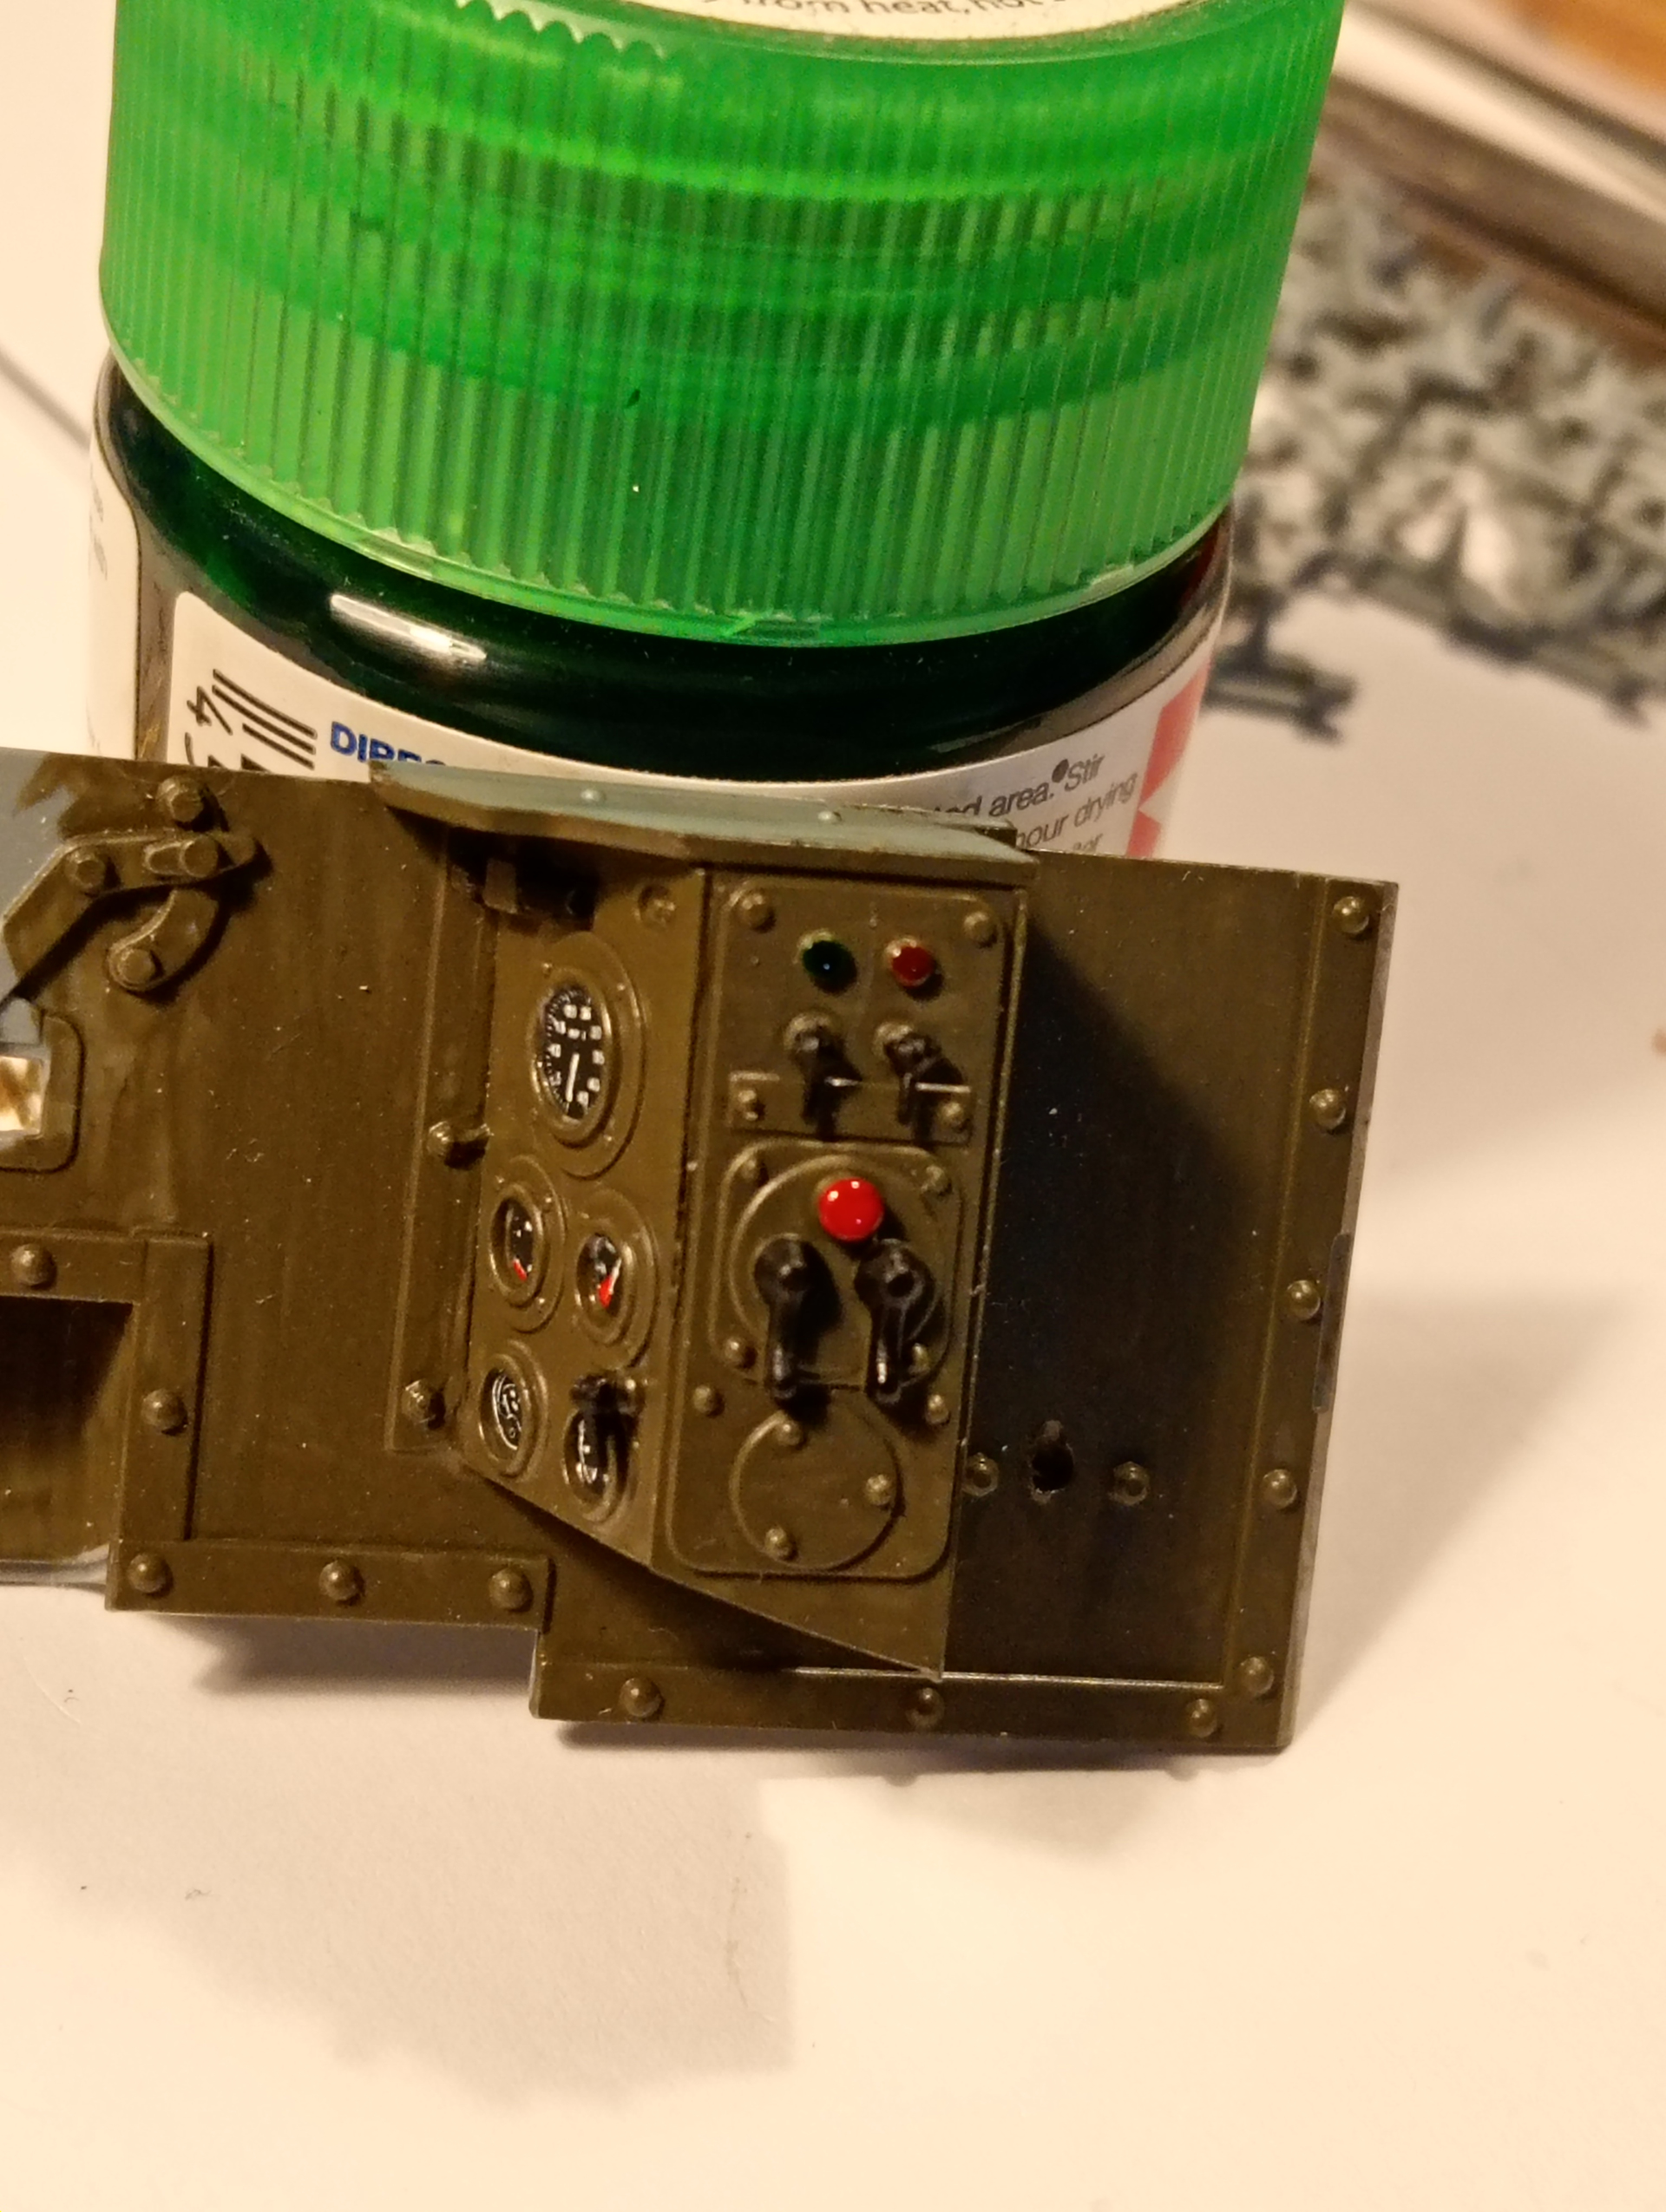
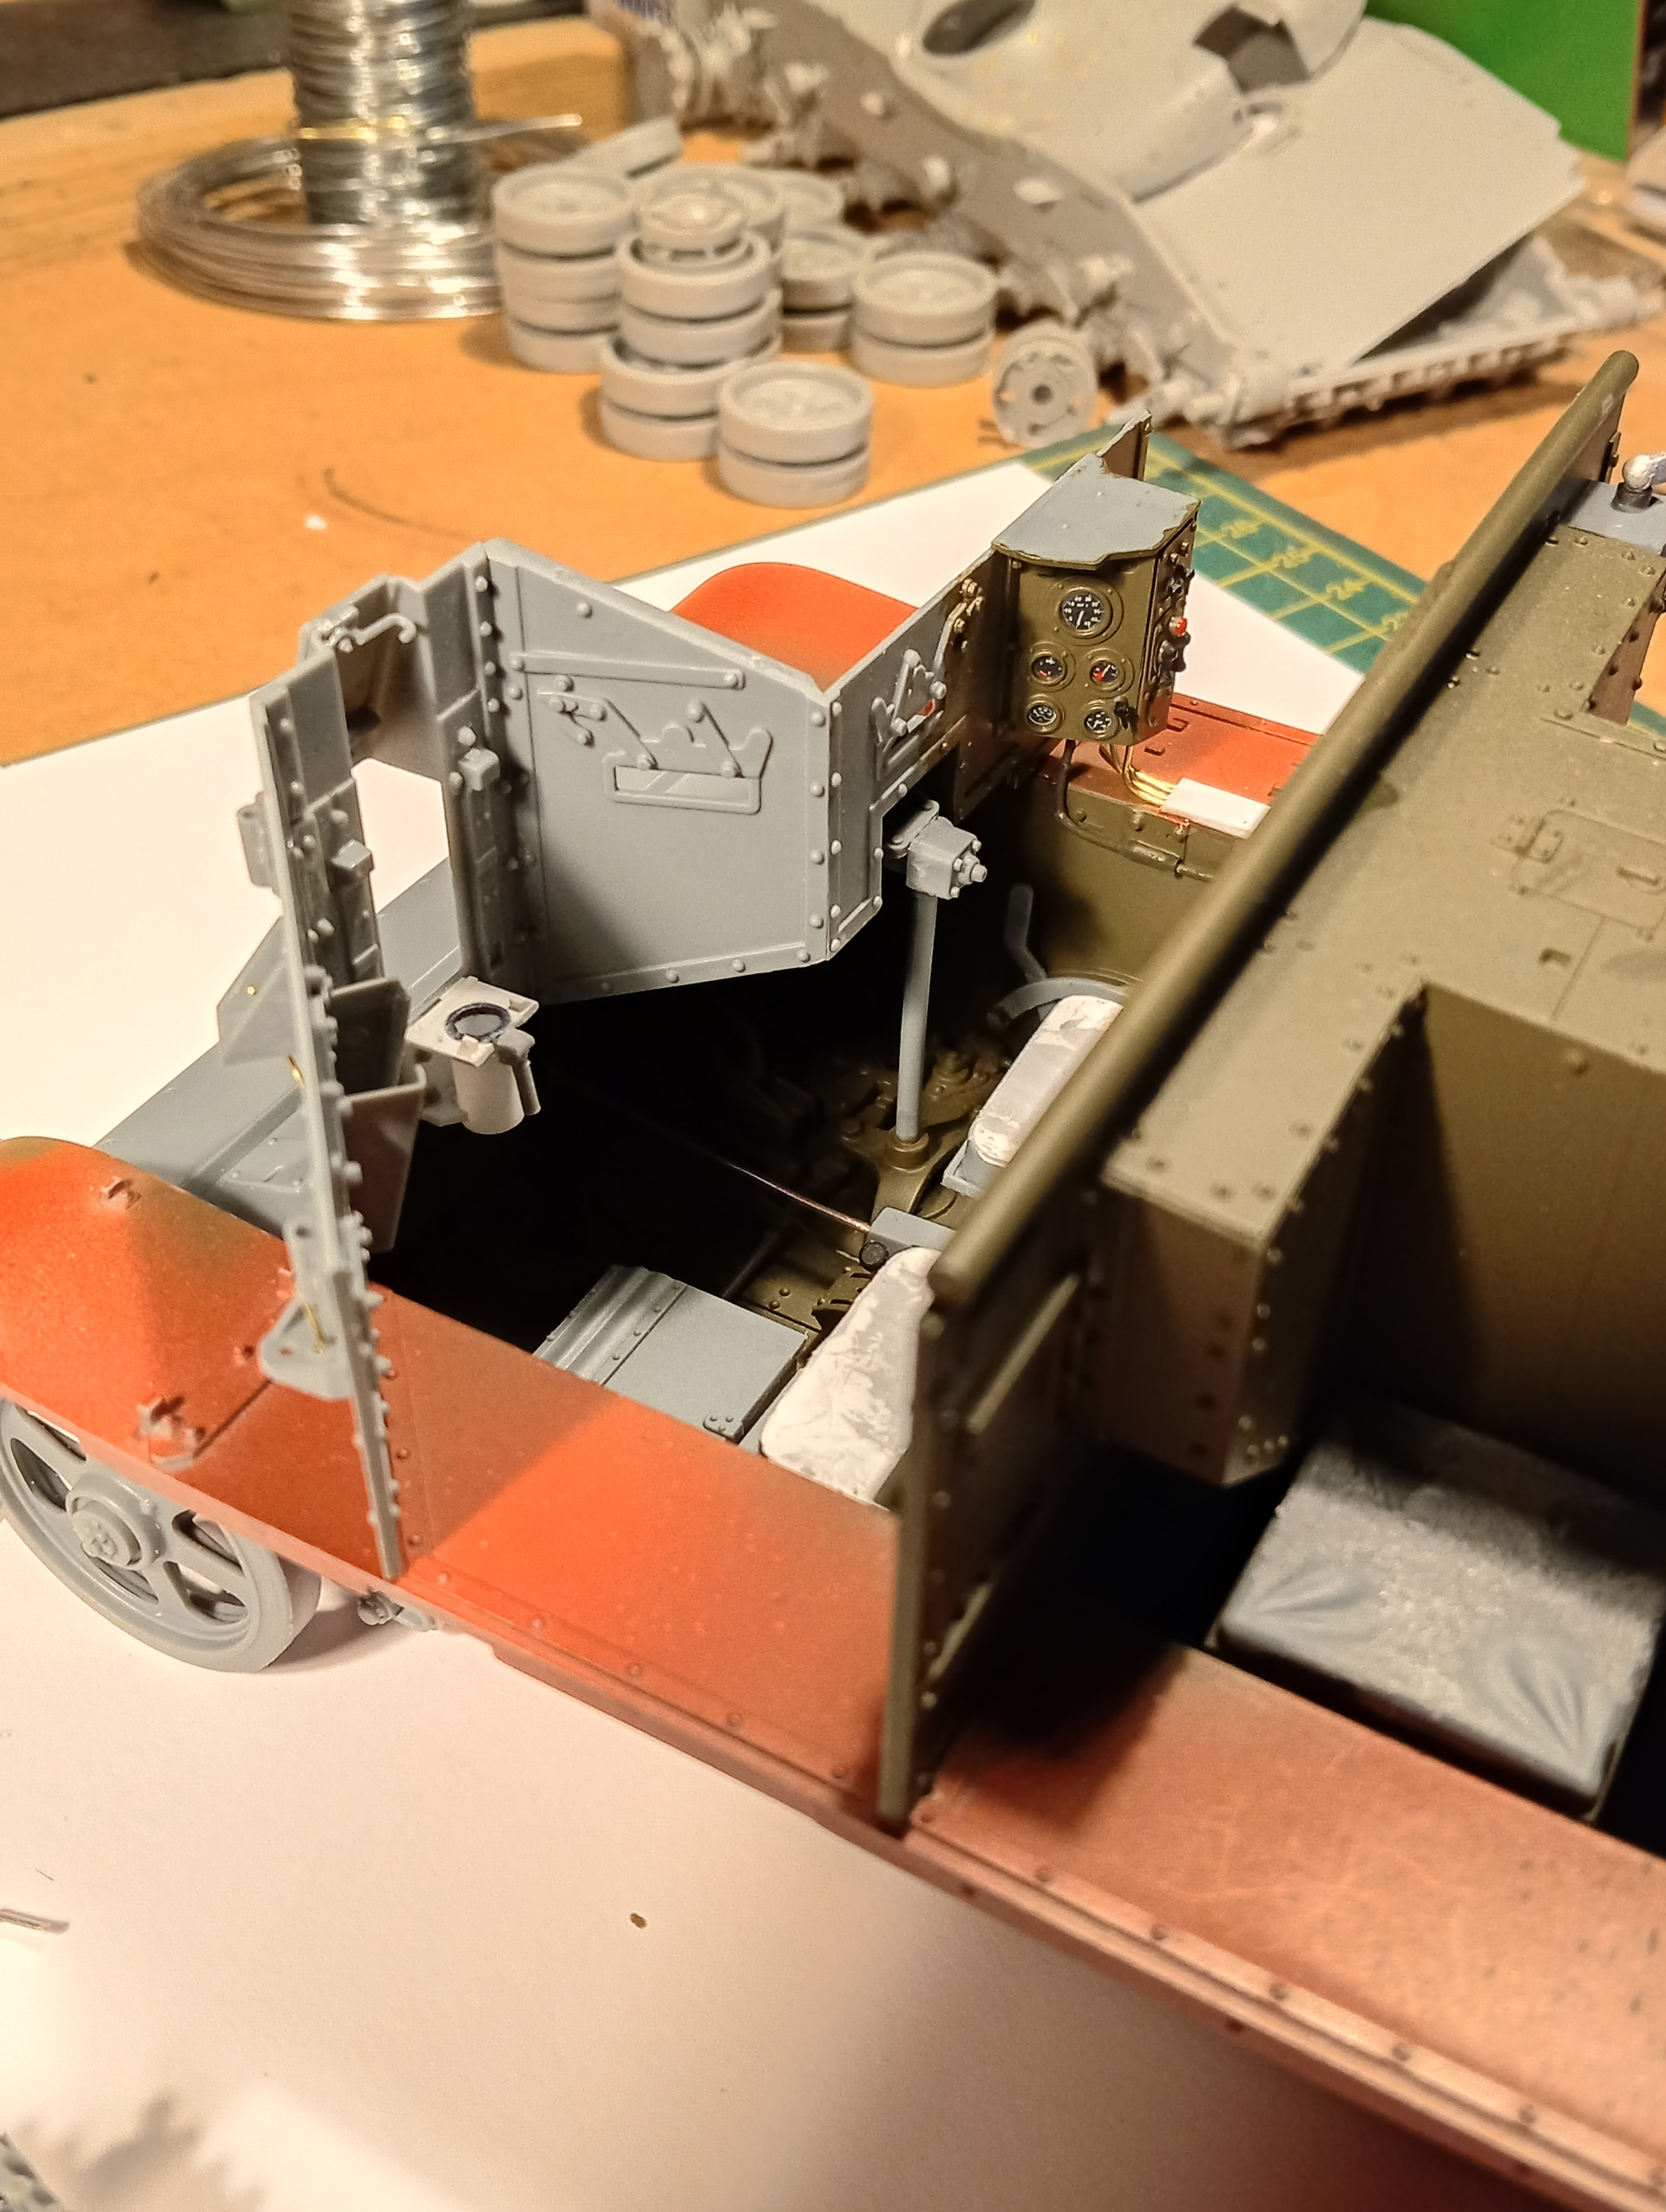
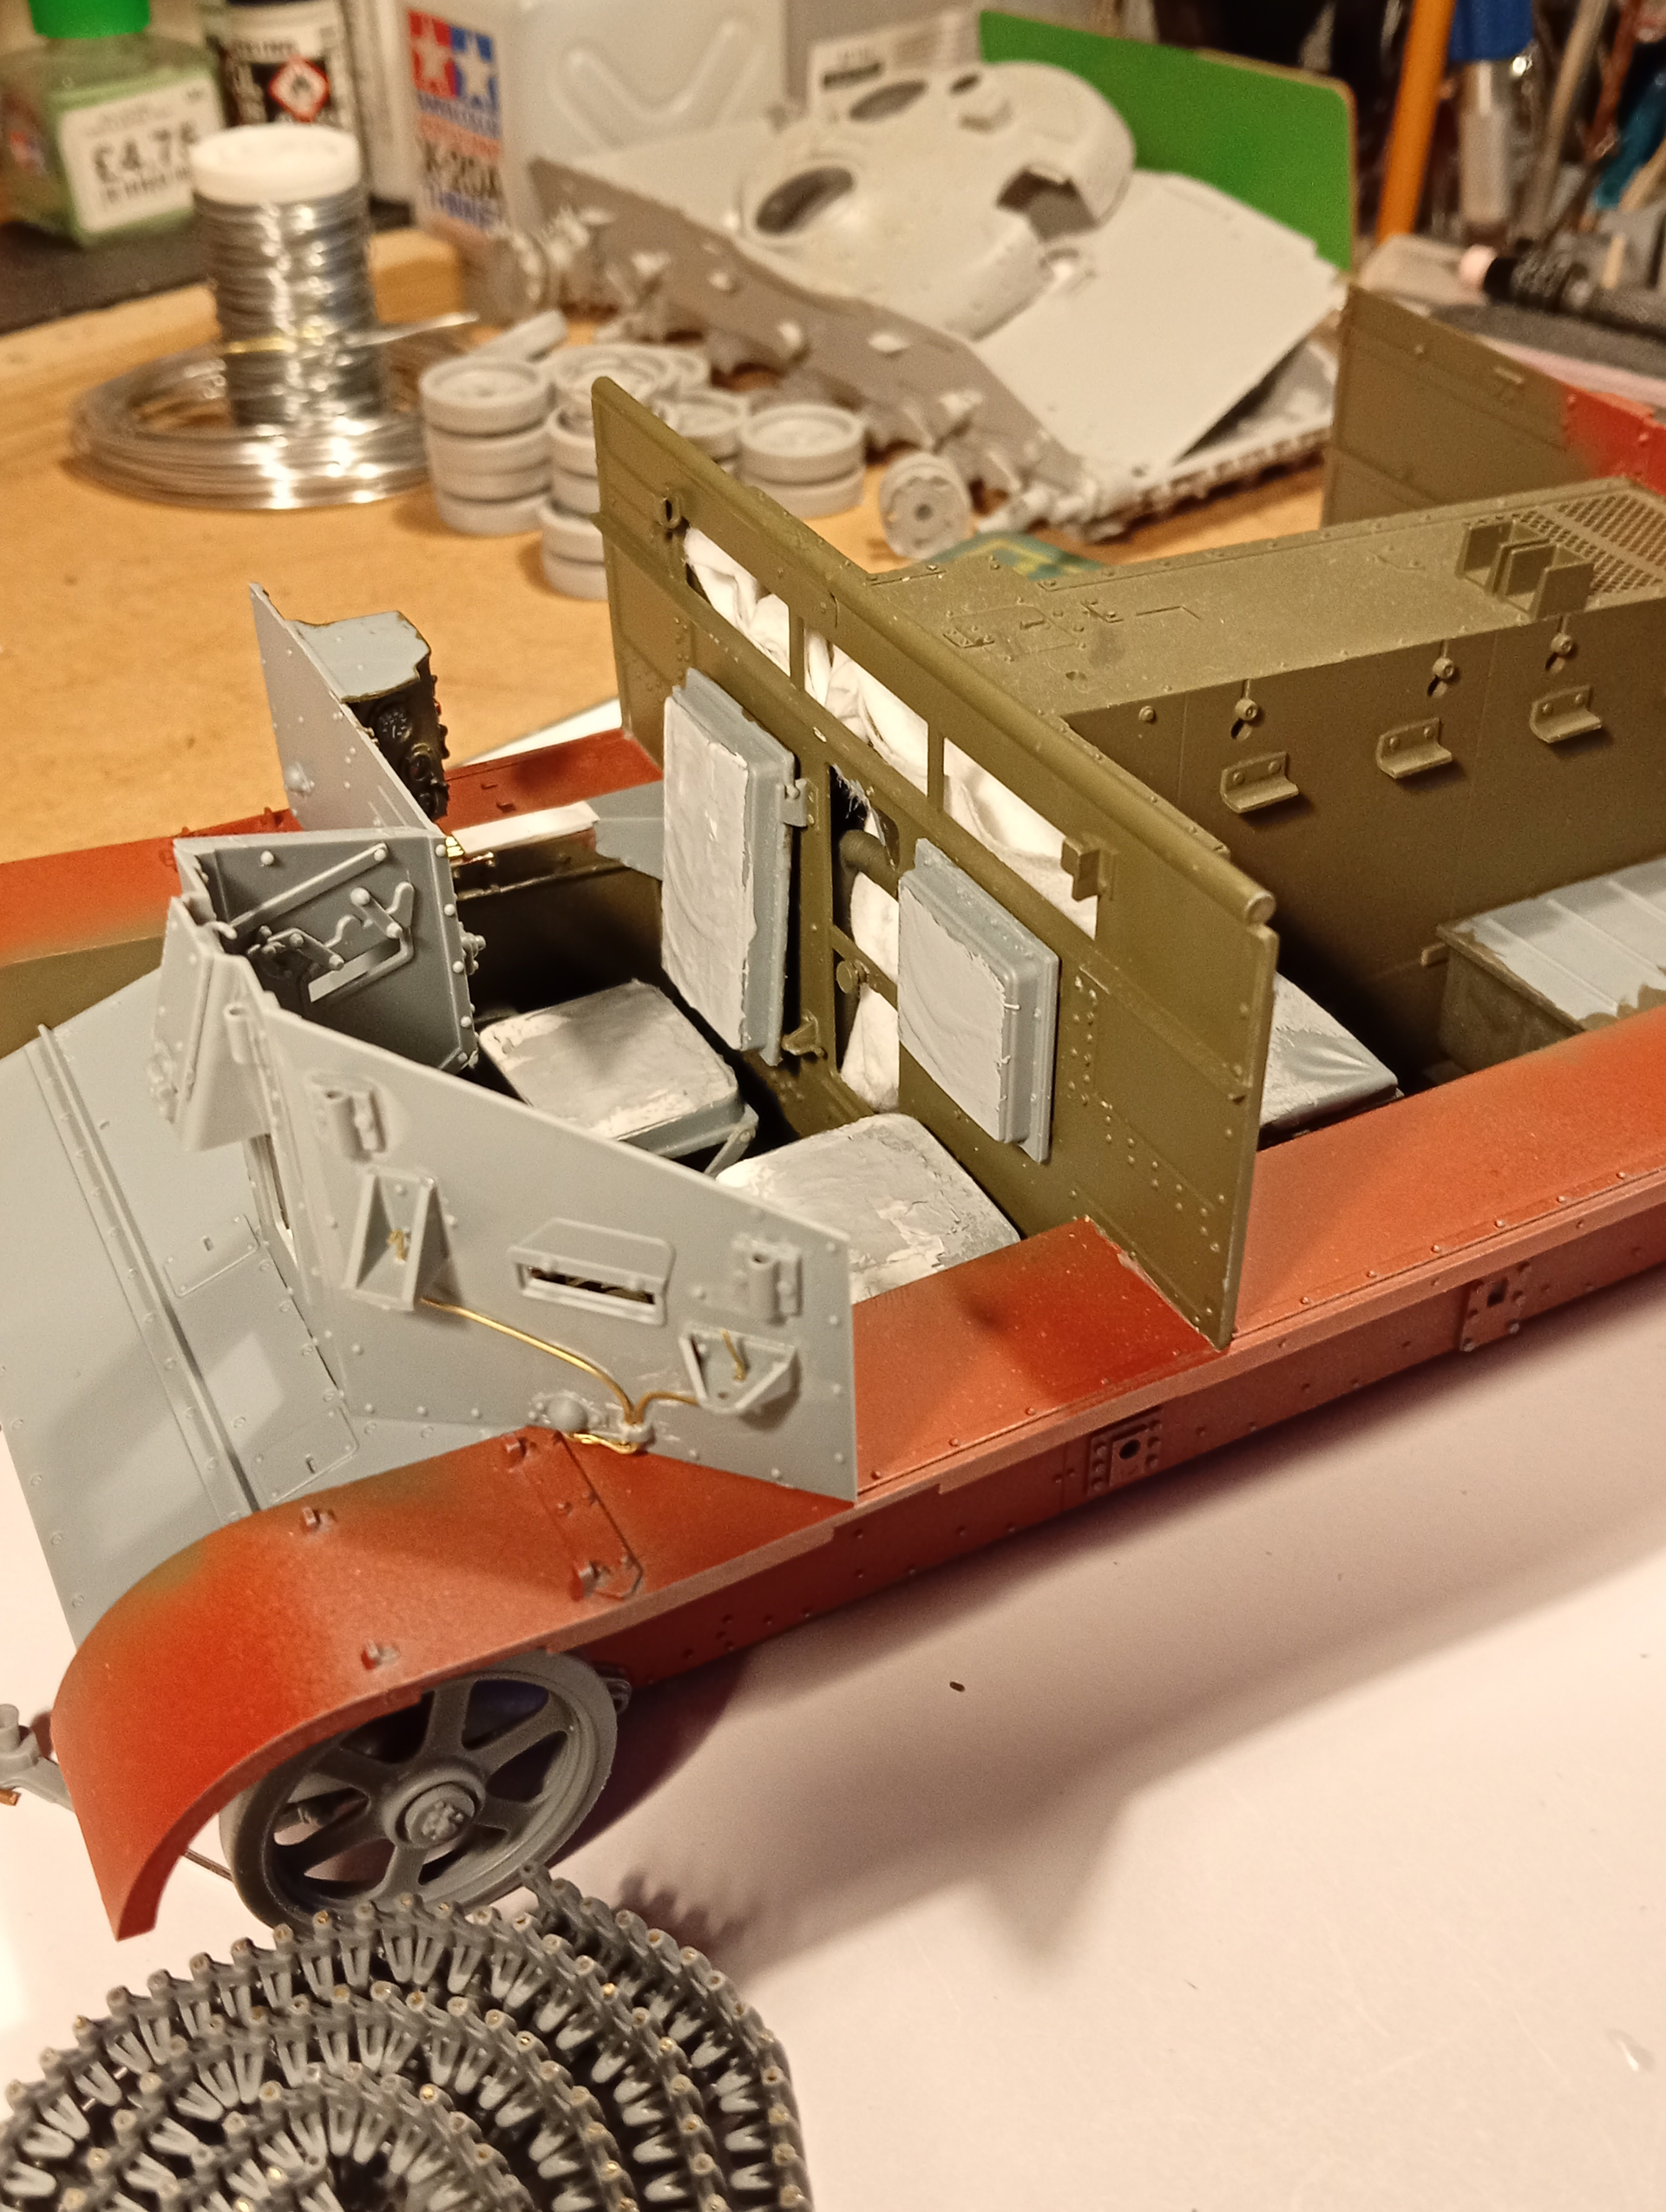
As promised…. Drivers instrument panel update ….
The 1/24 scale RAF decals were such a great find for this. Not only do they add a load of eye candy to the radio which you’ve already seen, and now the instrument panel…. And I’m very happy with it. I initially painted the panel and some of the front plate in SCC 15 as I didn’t want to spray after in case I ruined the decals….
Here you have it ,
Looking good John!
Thanks Alex … glad you’re here tagging along ![]()
That is looking just soooooo goood….
Excellent work on that instrument panel John. It looks fantastic!
Thanks Matt & Bert @bwilt …. after the radio, its my favourite part of the build so far ….. Never thought I would say it …. but the RAF came to the rescue lol.
1 track run finished…… that was emotional ![]() … now I know how fun it is, I will now crack on with hull assembly…
… now I know how fun it is, I will now crack on with hull assembly…
Track run…
All coming together very nicely John, as you say, the instrument panel really zings with those decals and touches of colour. This is definitely turning out to be an outstanding build,![]()
![]() .
.
G,![]()
Thanks G …. I am enjoying this build … it’s a nice kit all around. Gecko definitely missed the mark by not supplying decals for the panel or the radio as well…. They really need them adding to give it a real look.