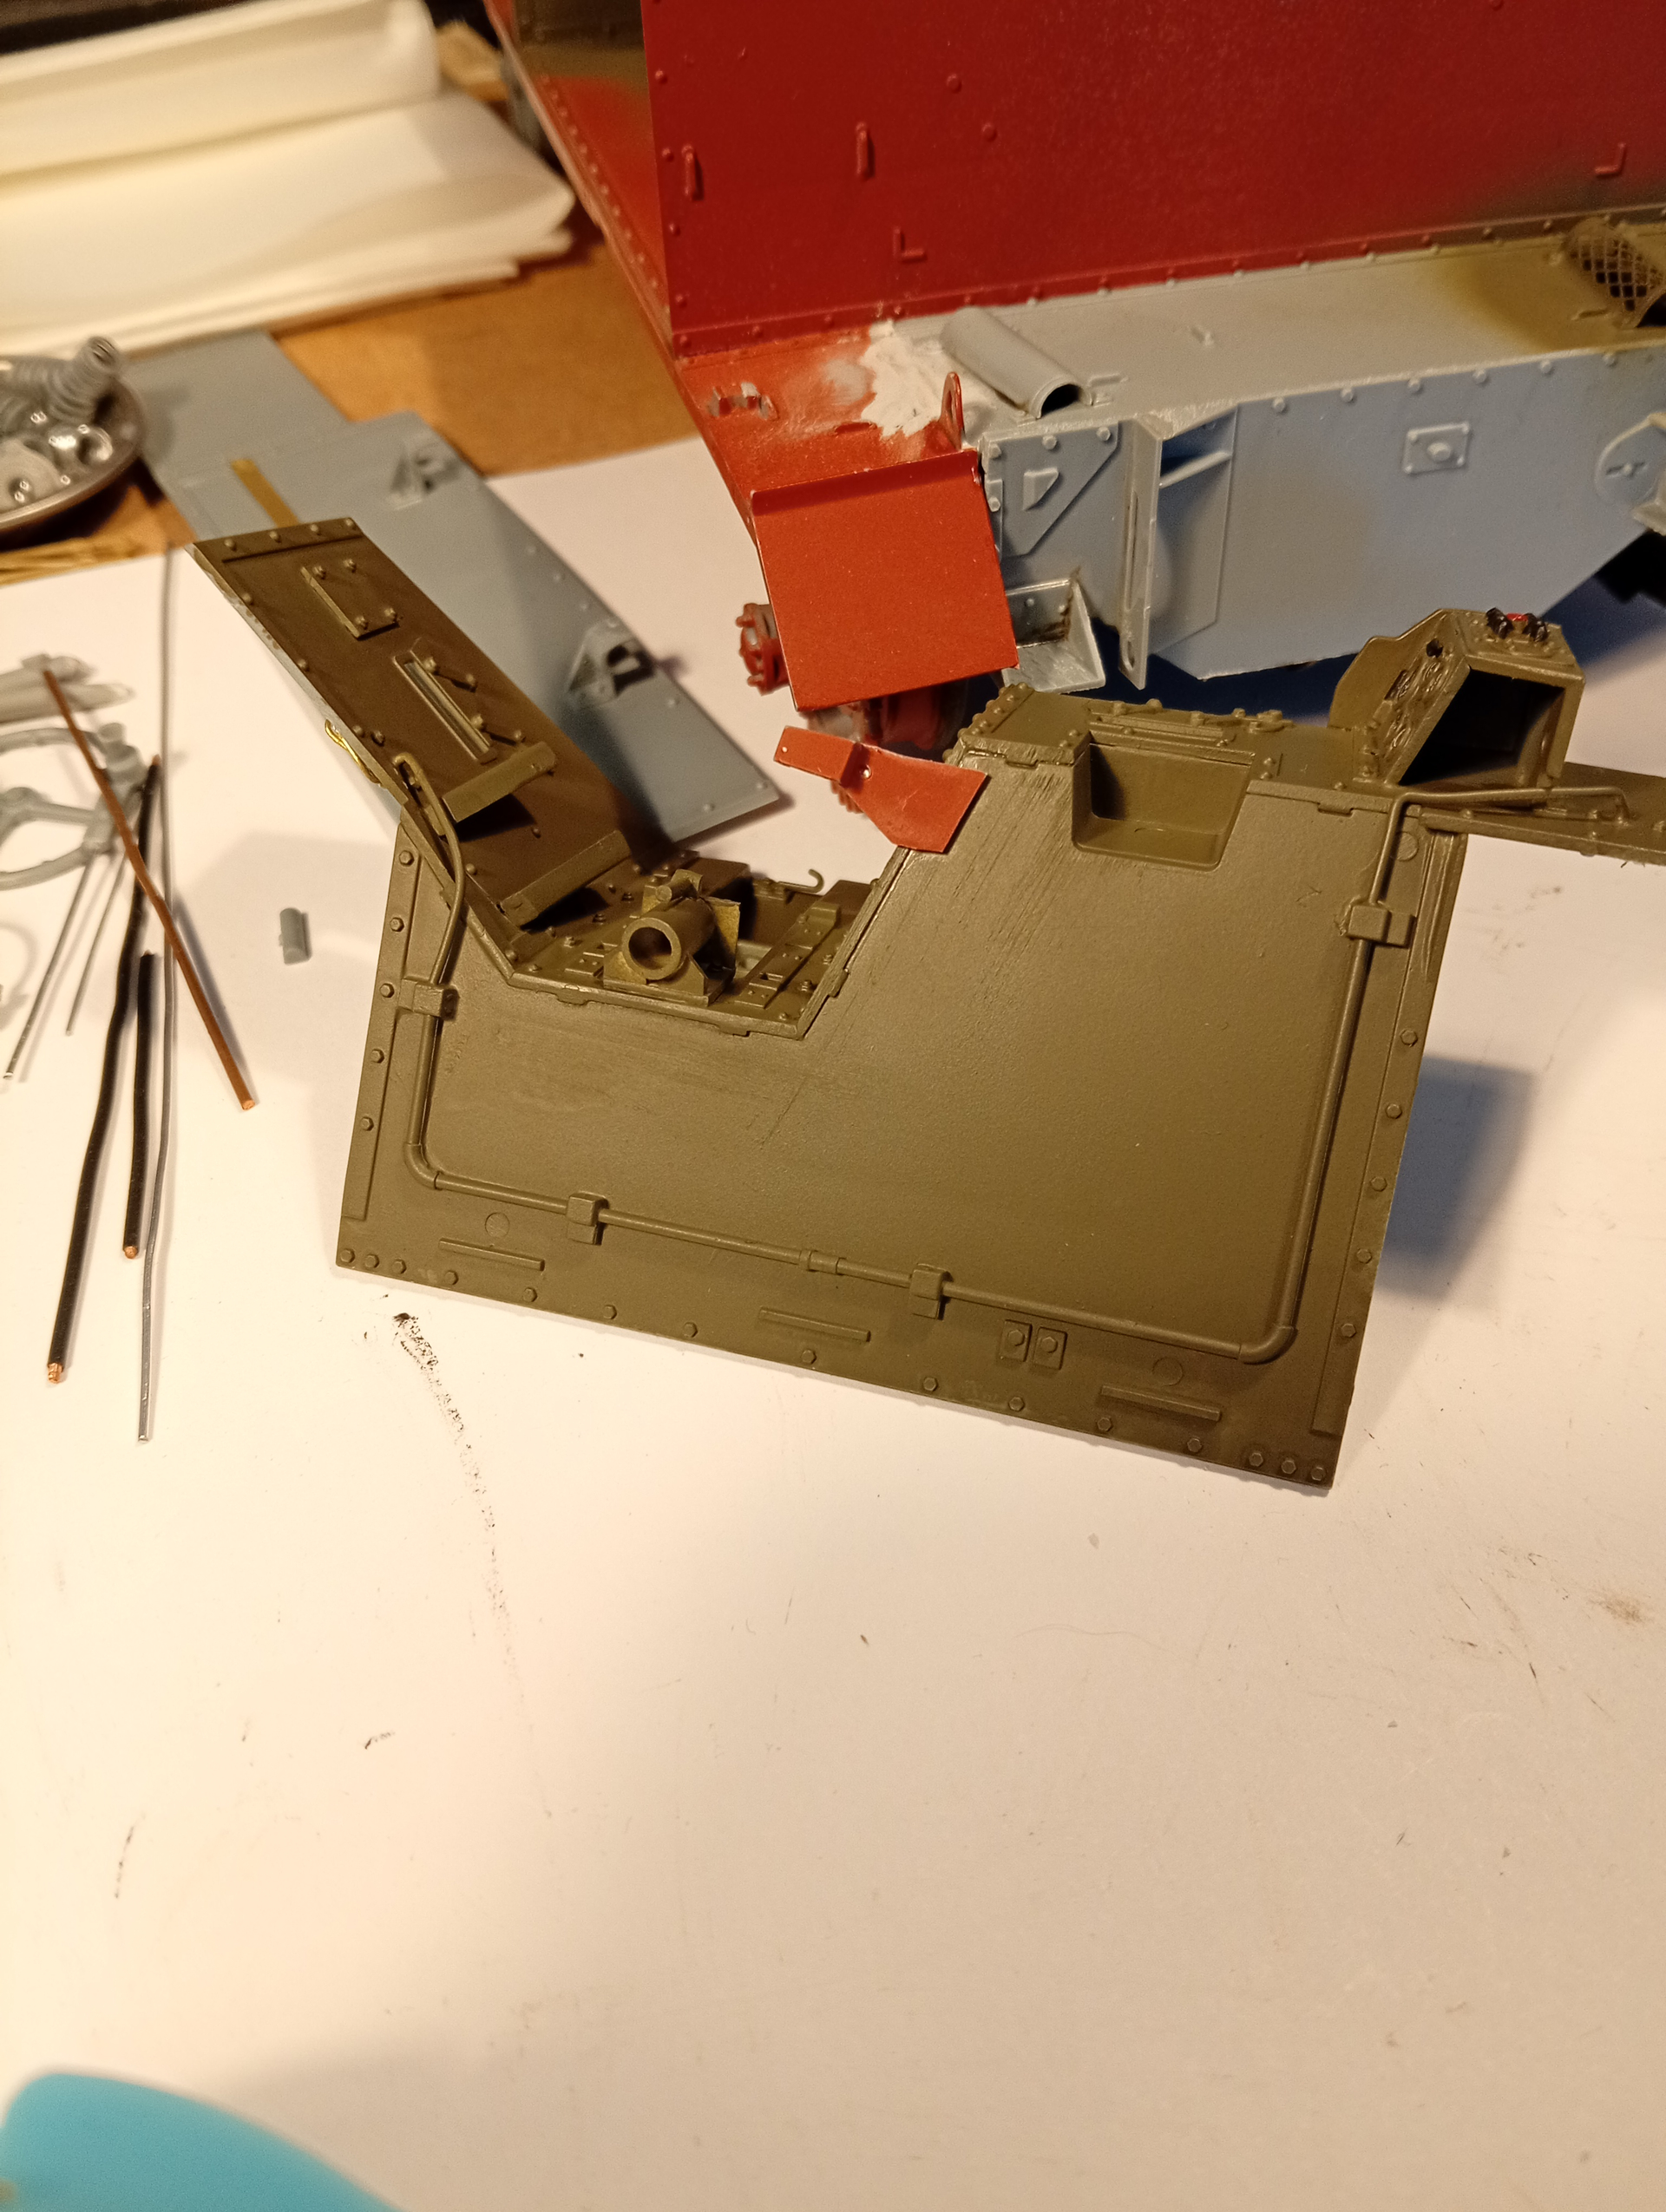
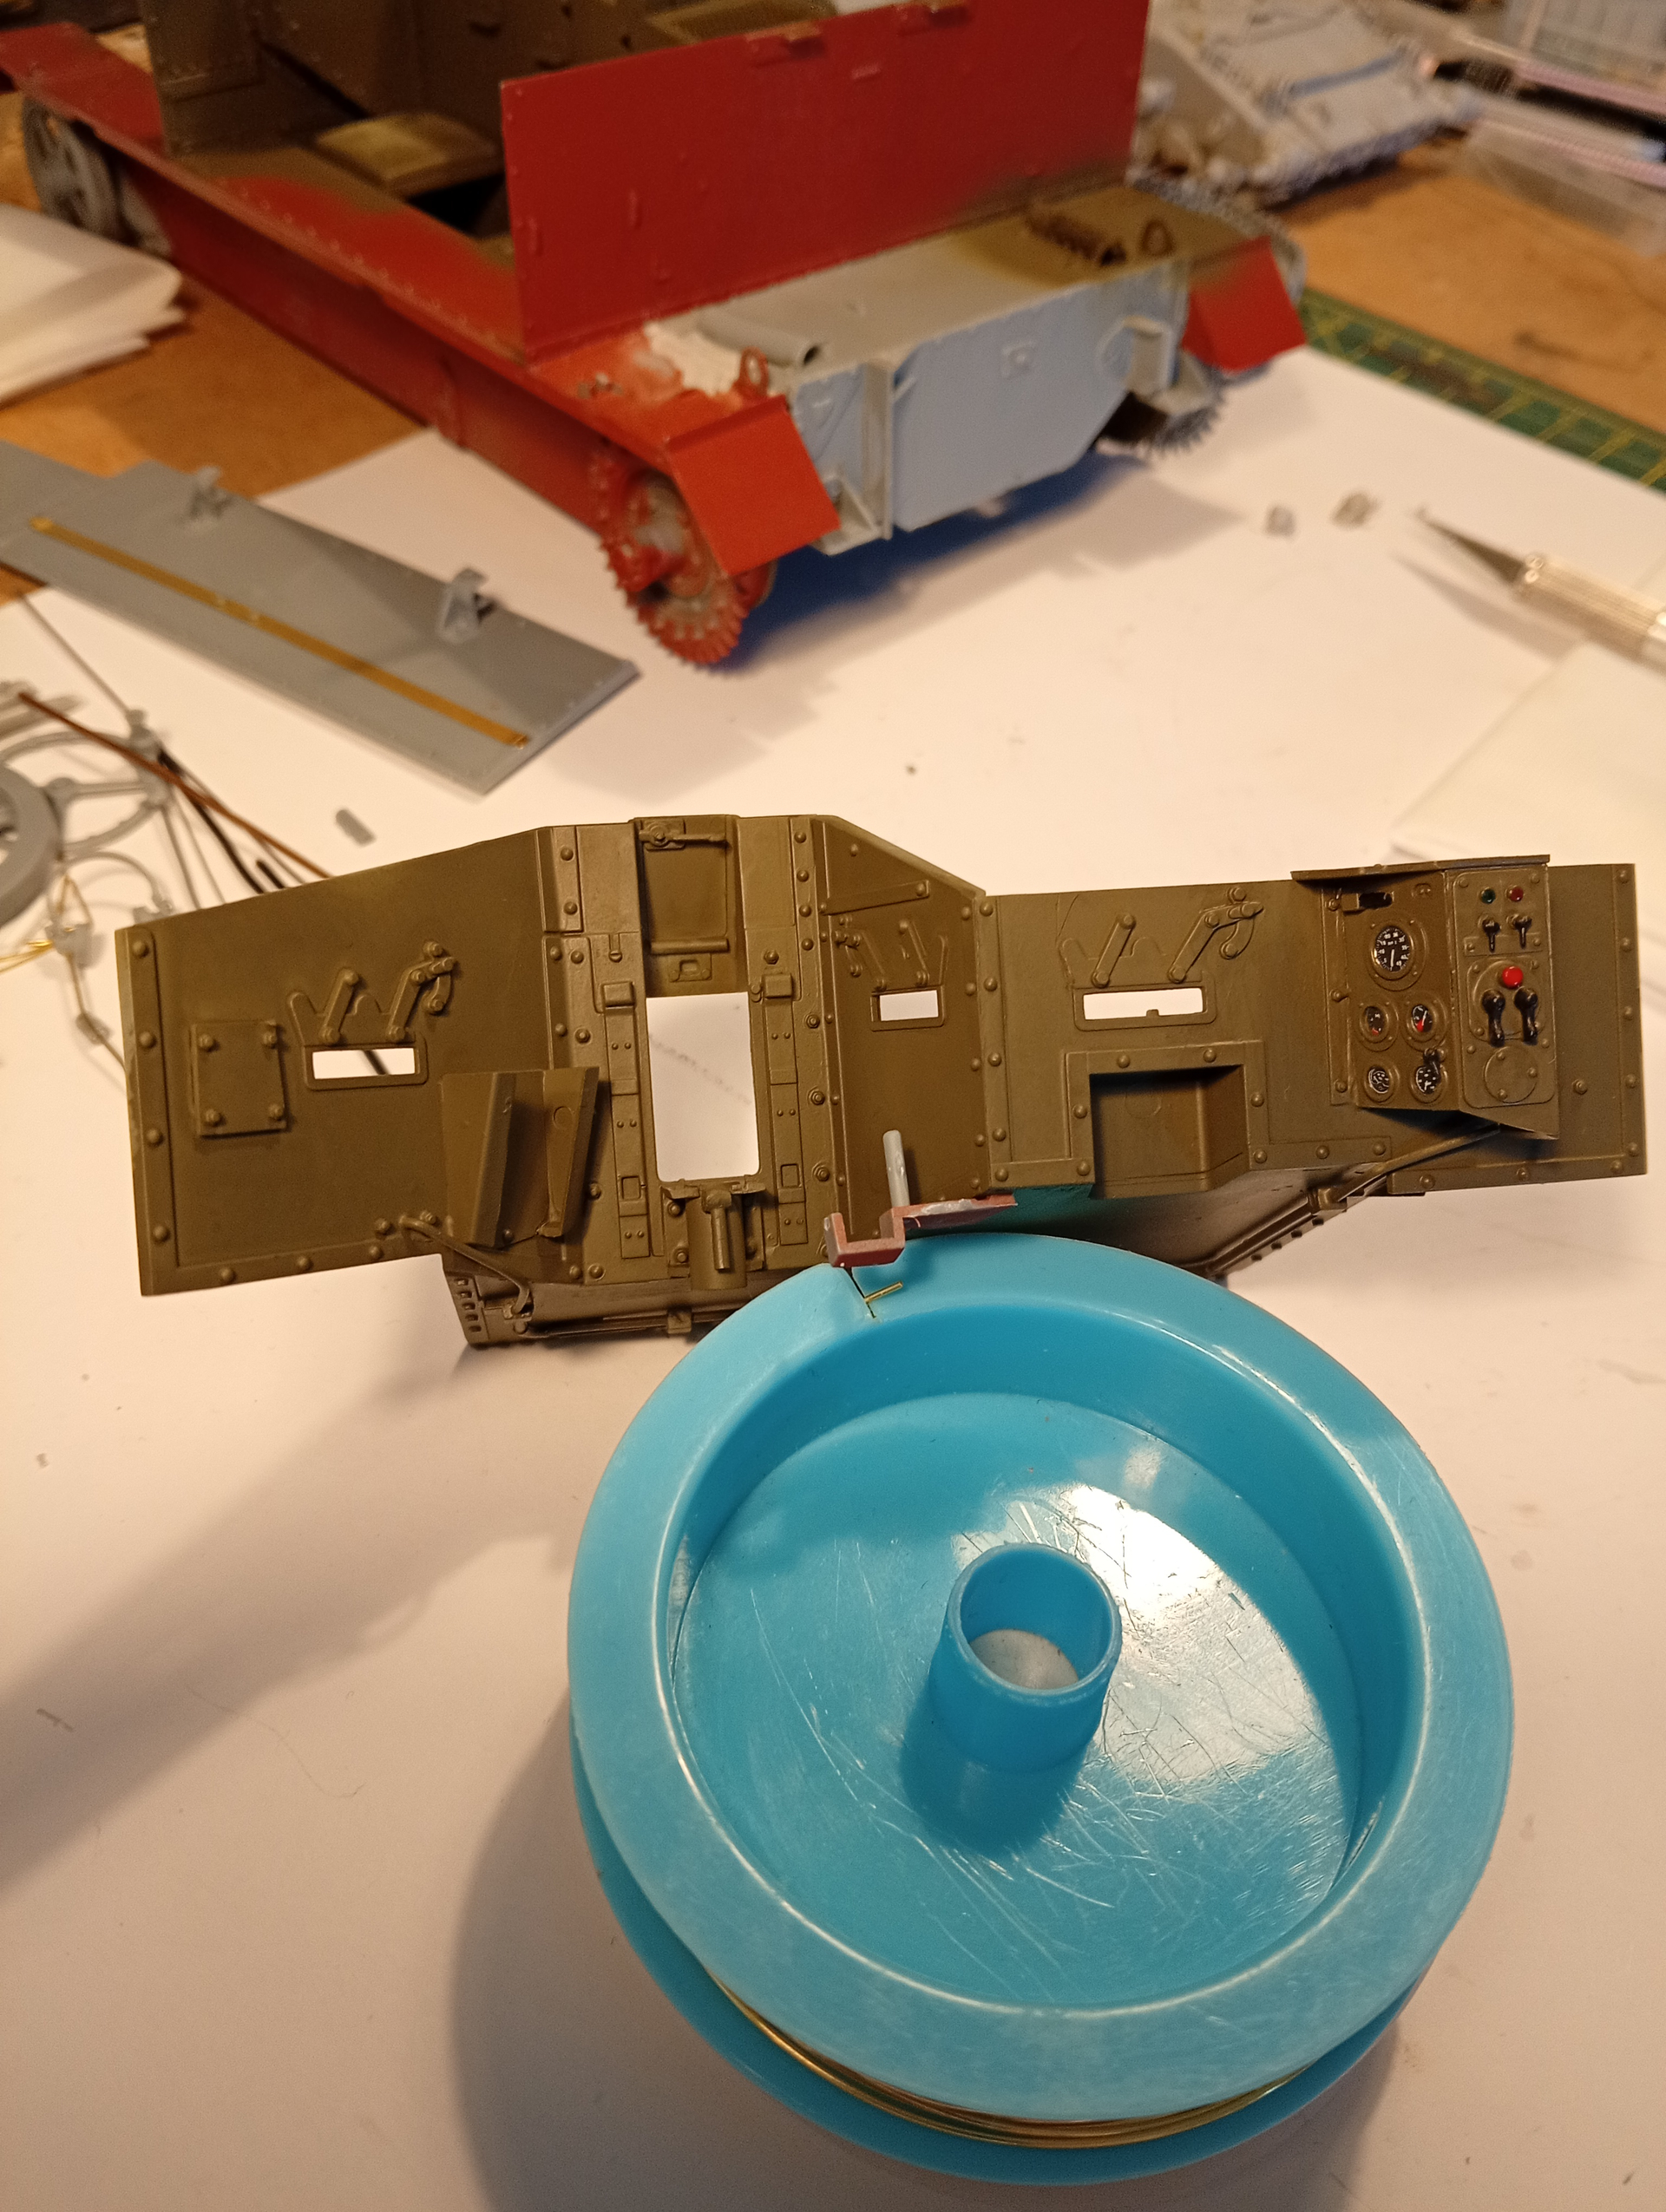
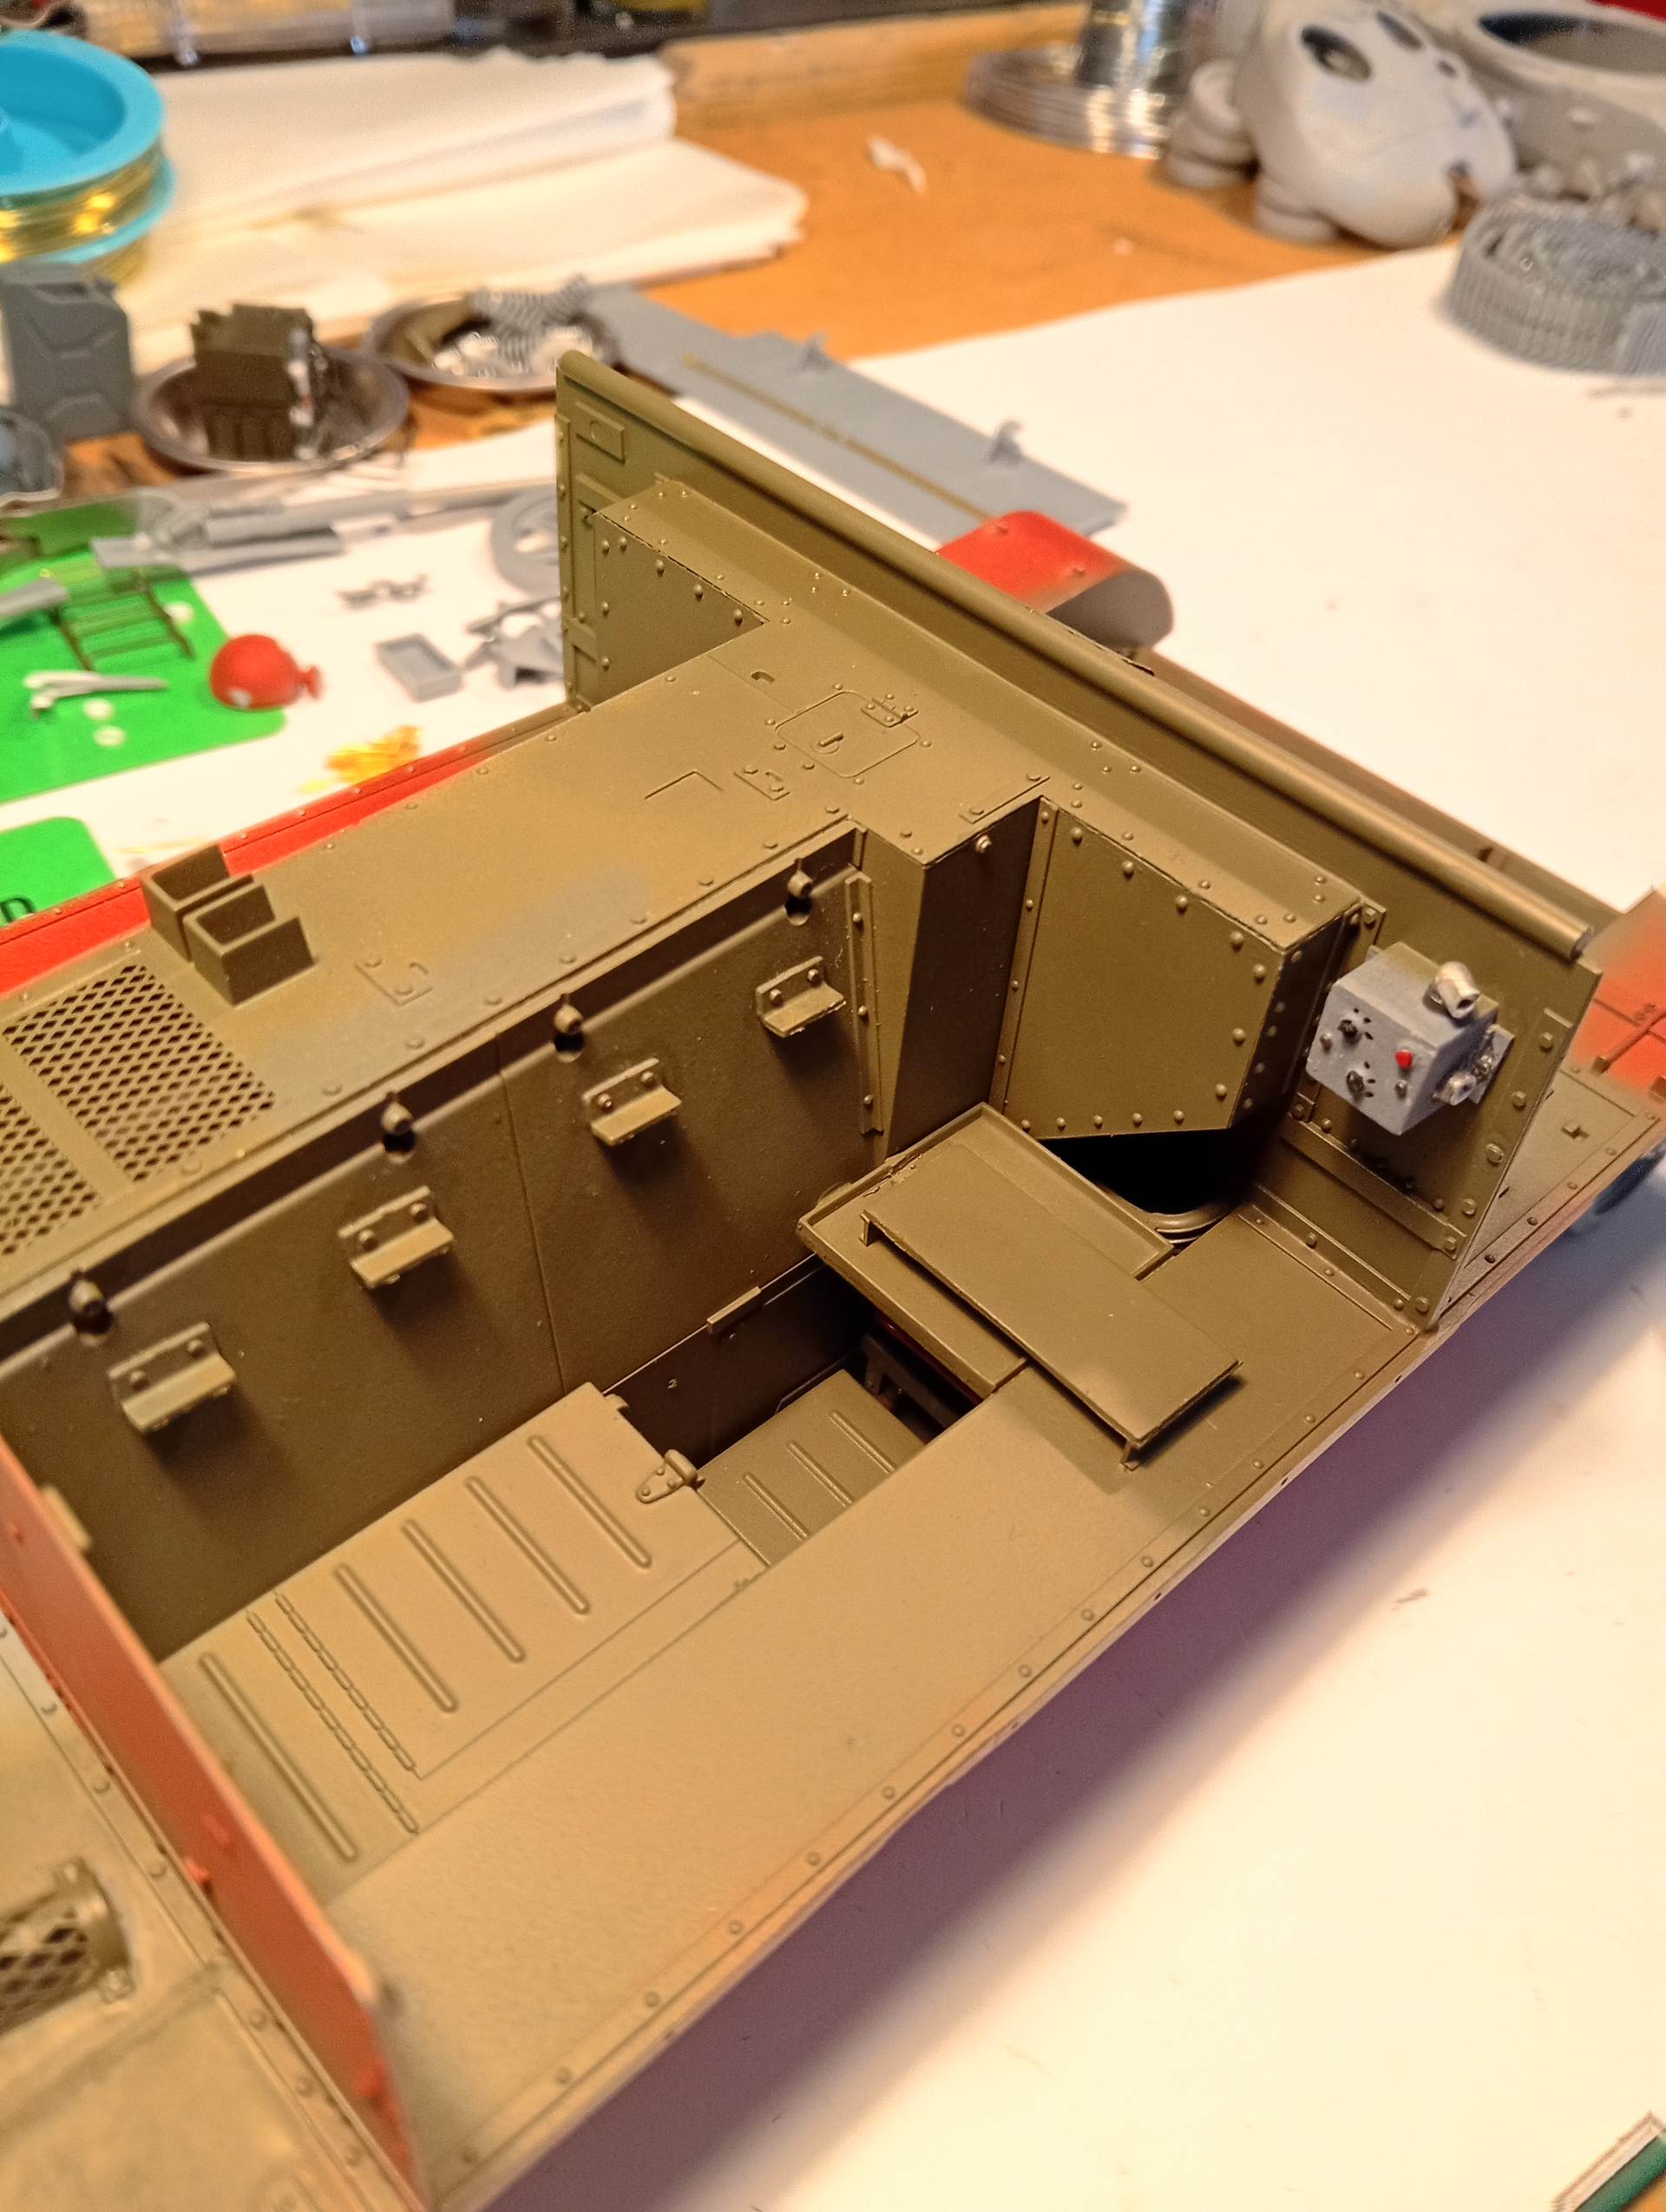
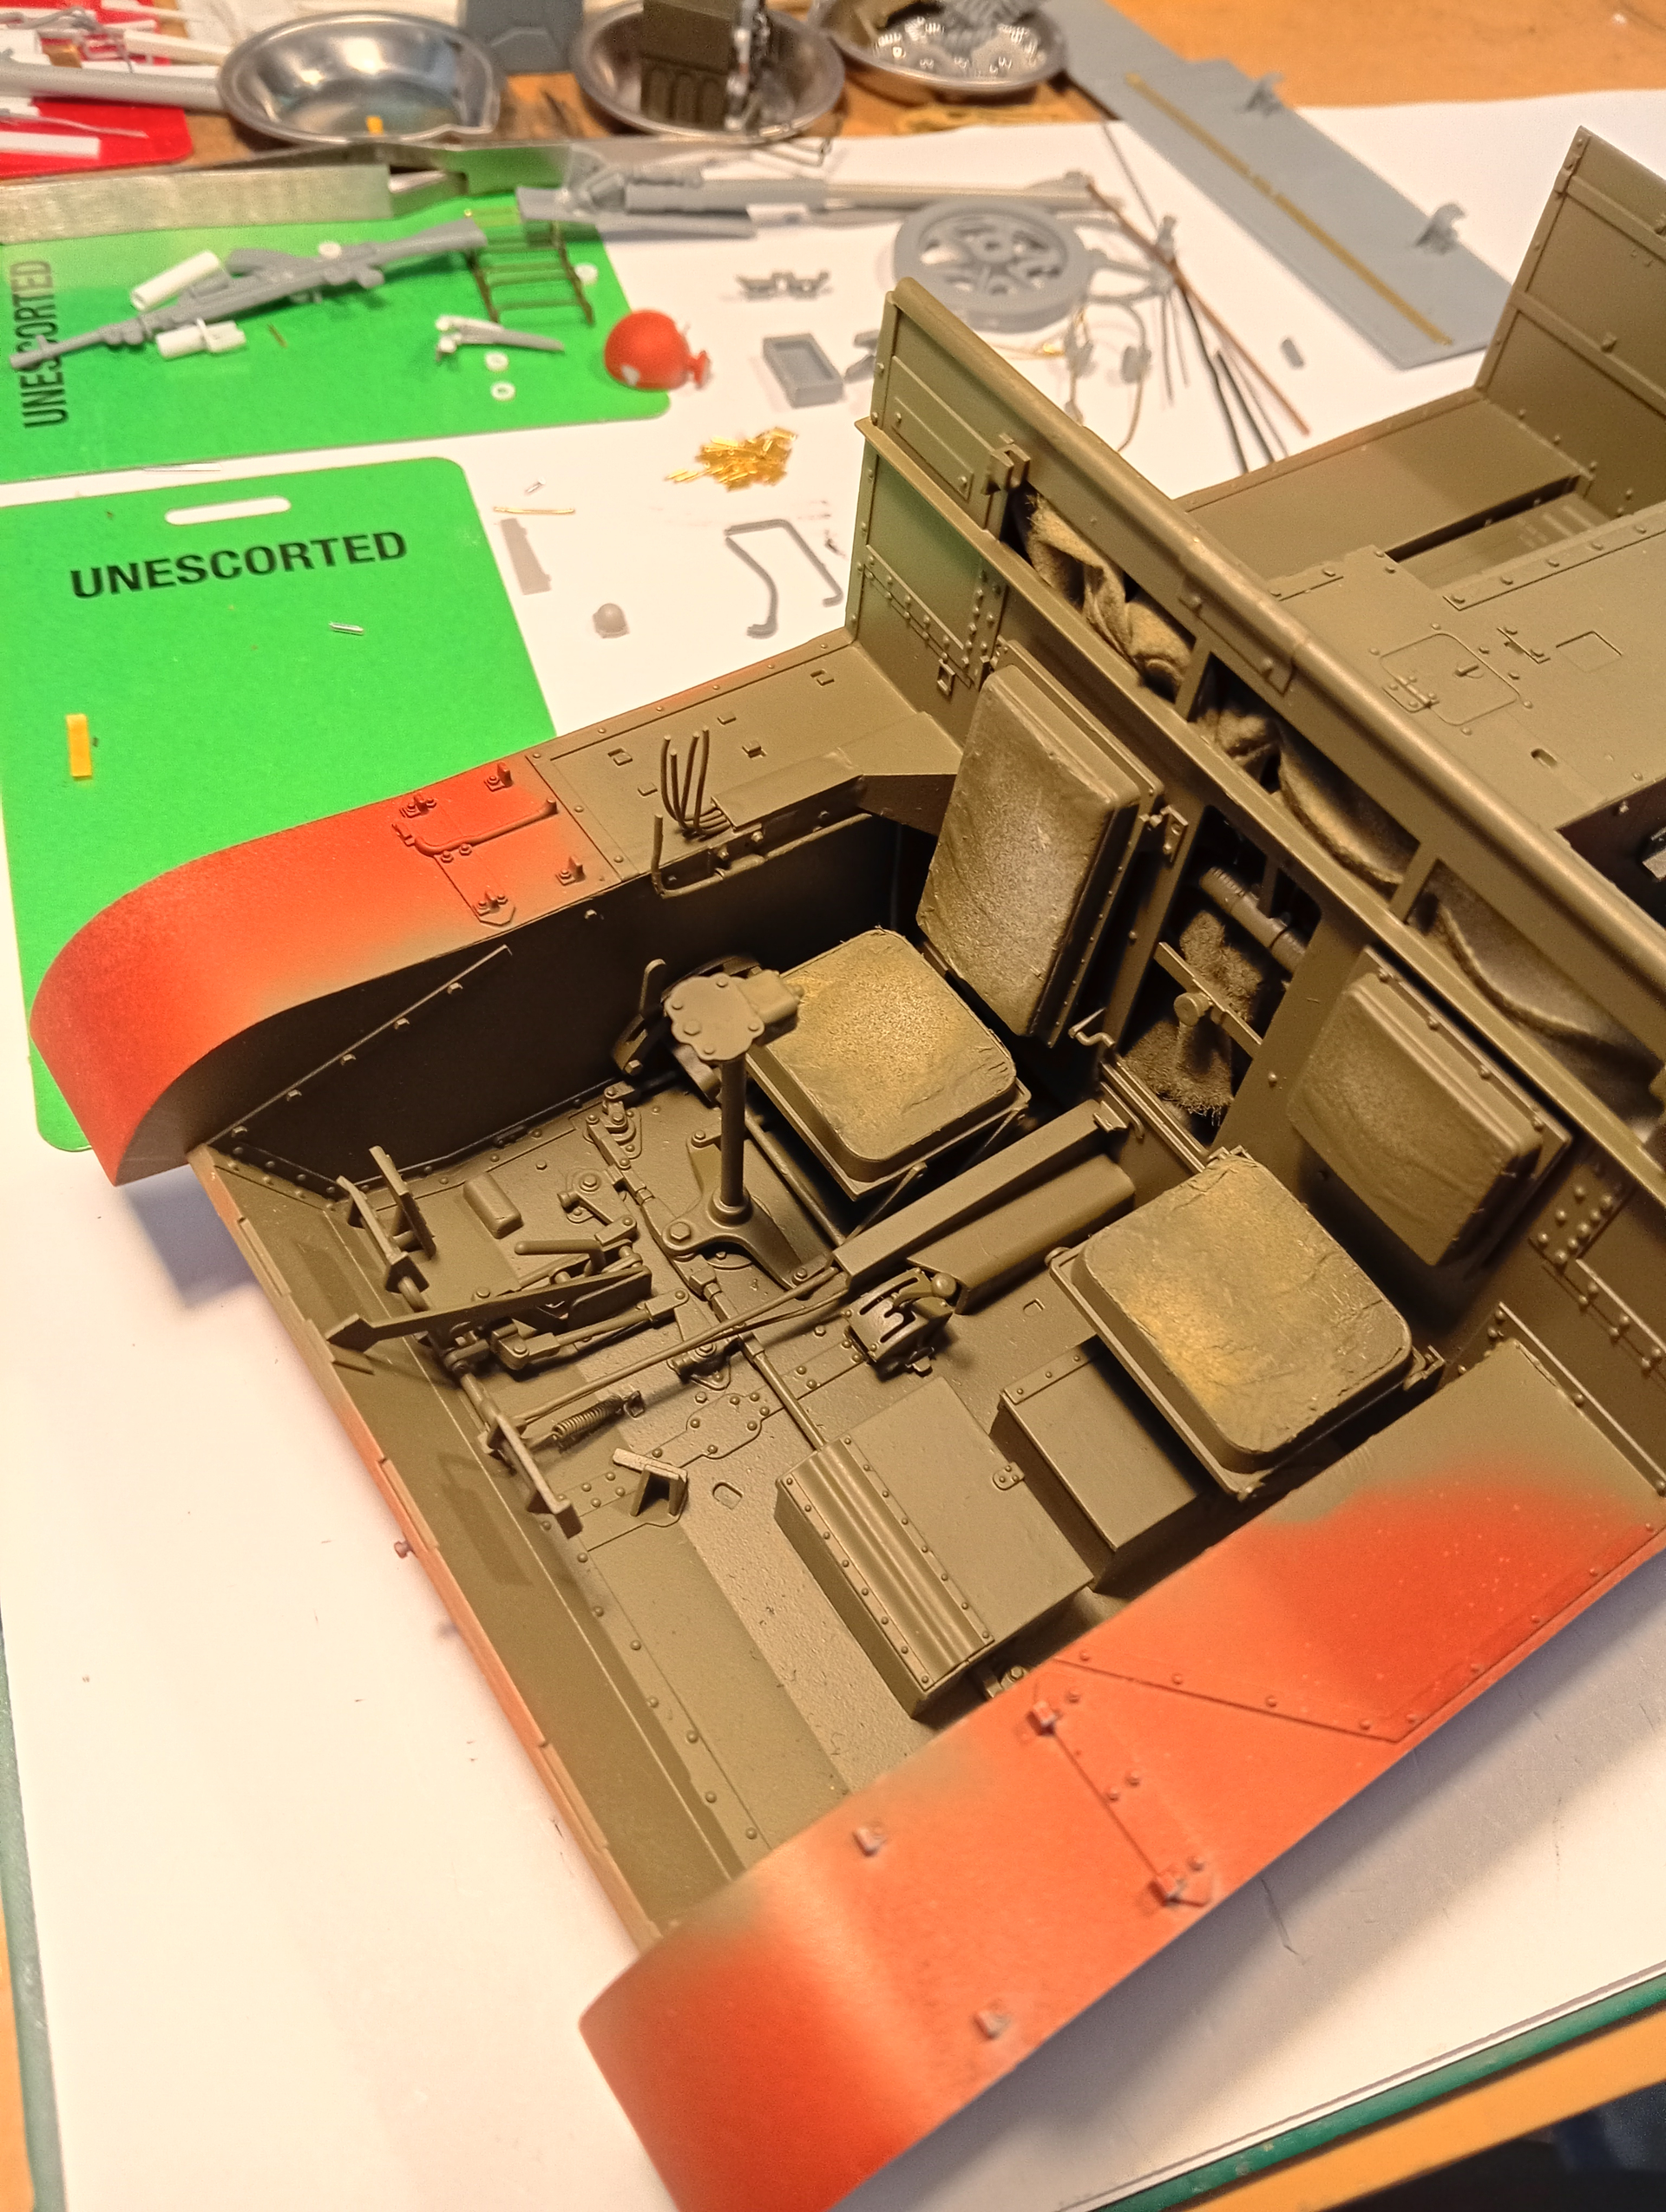
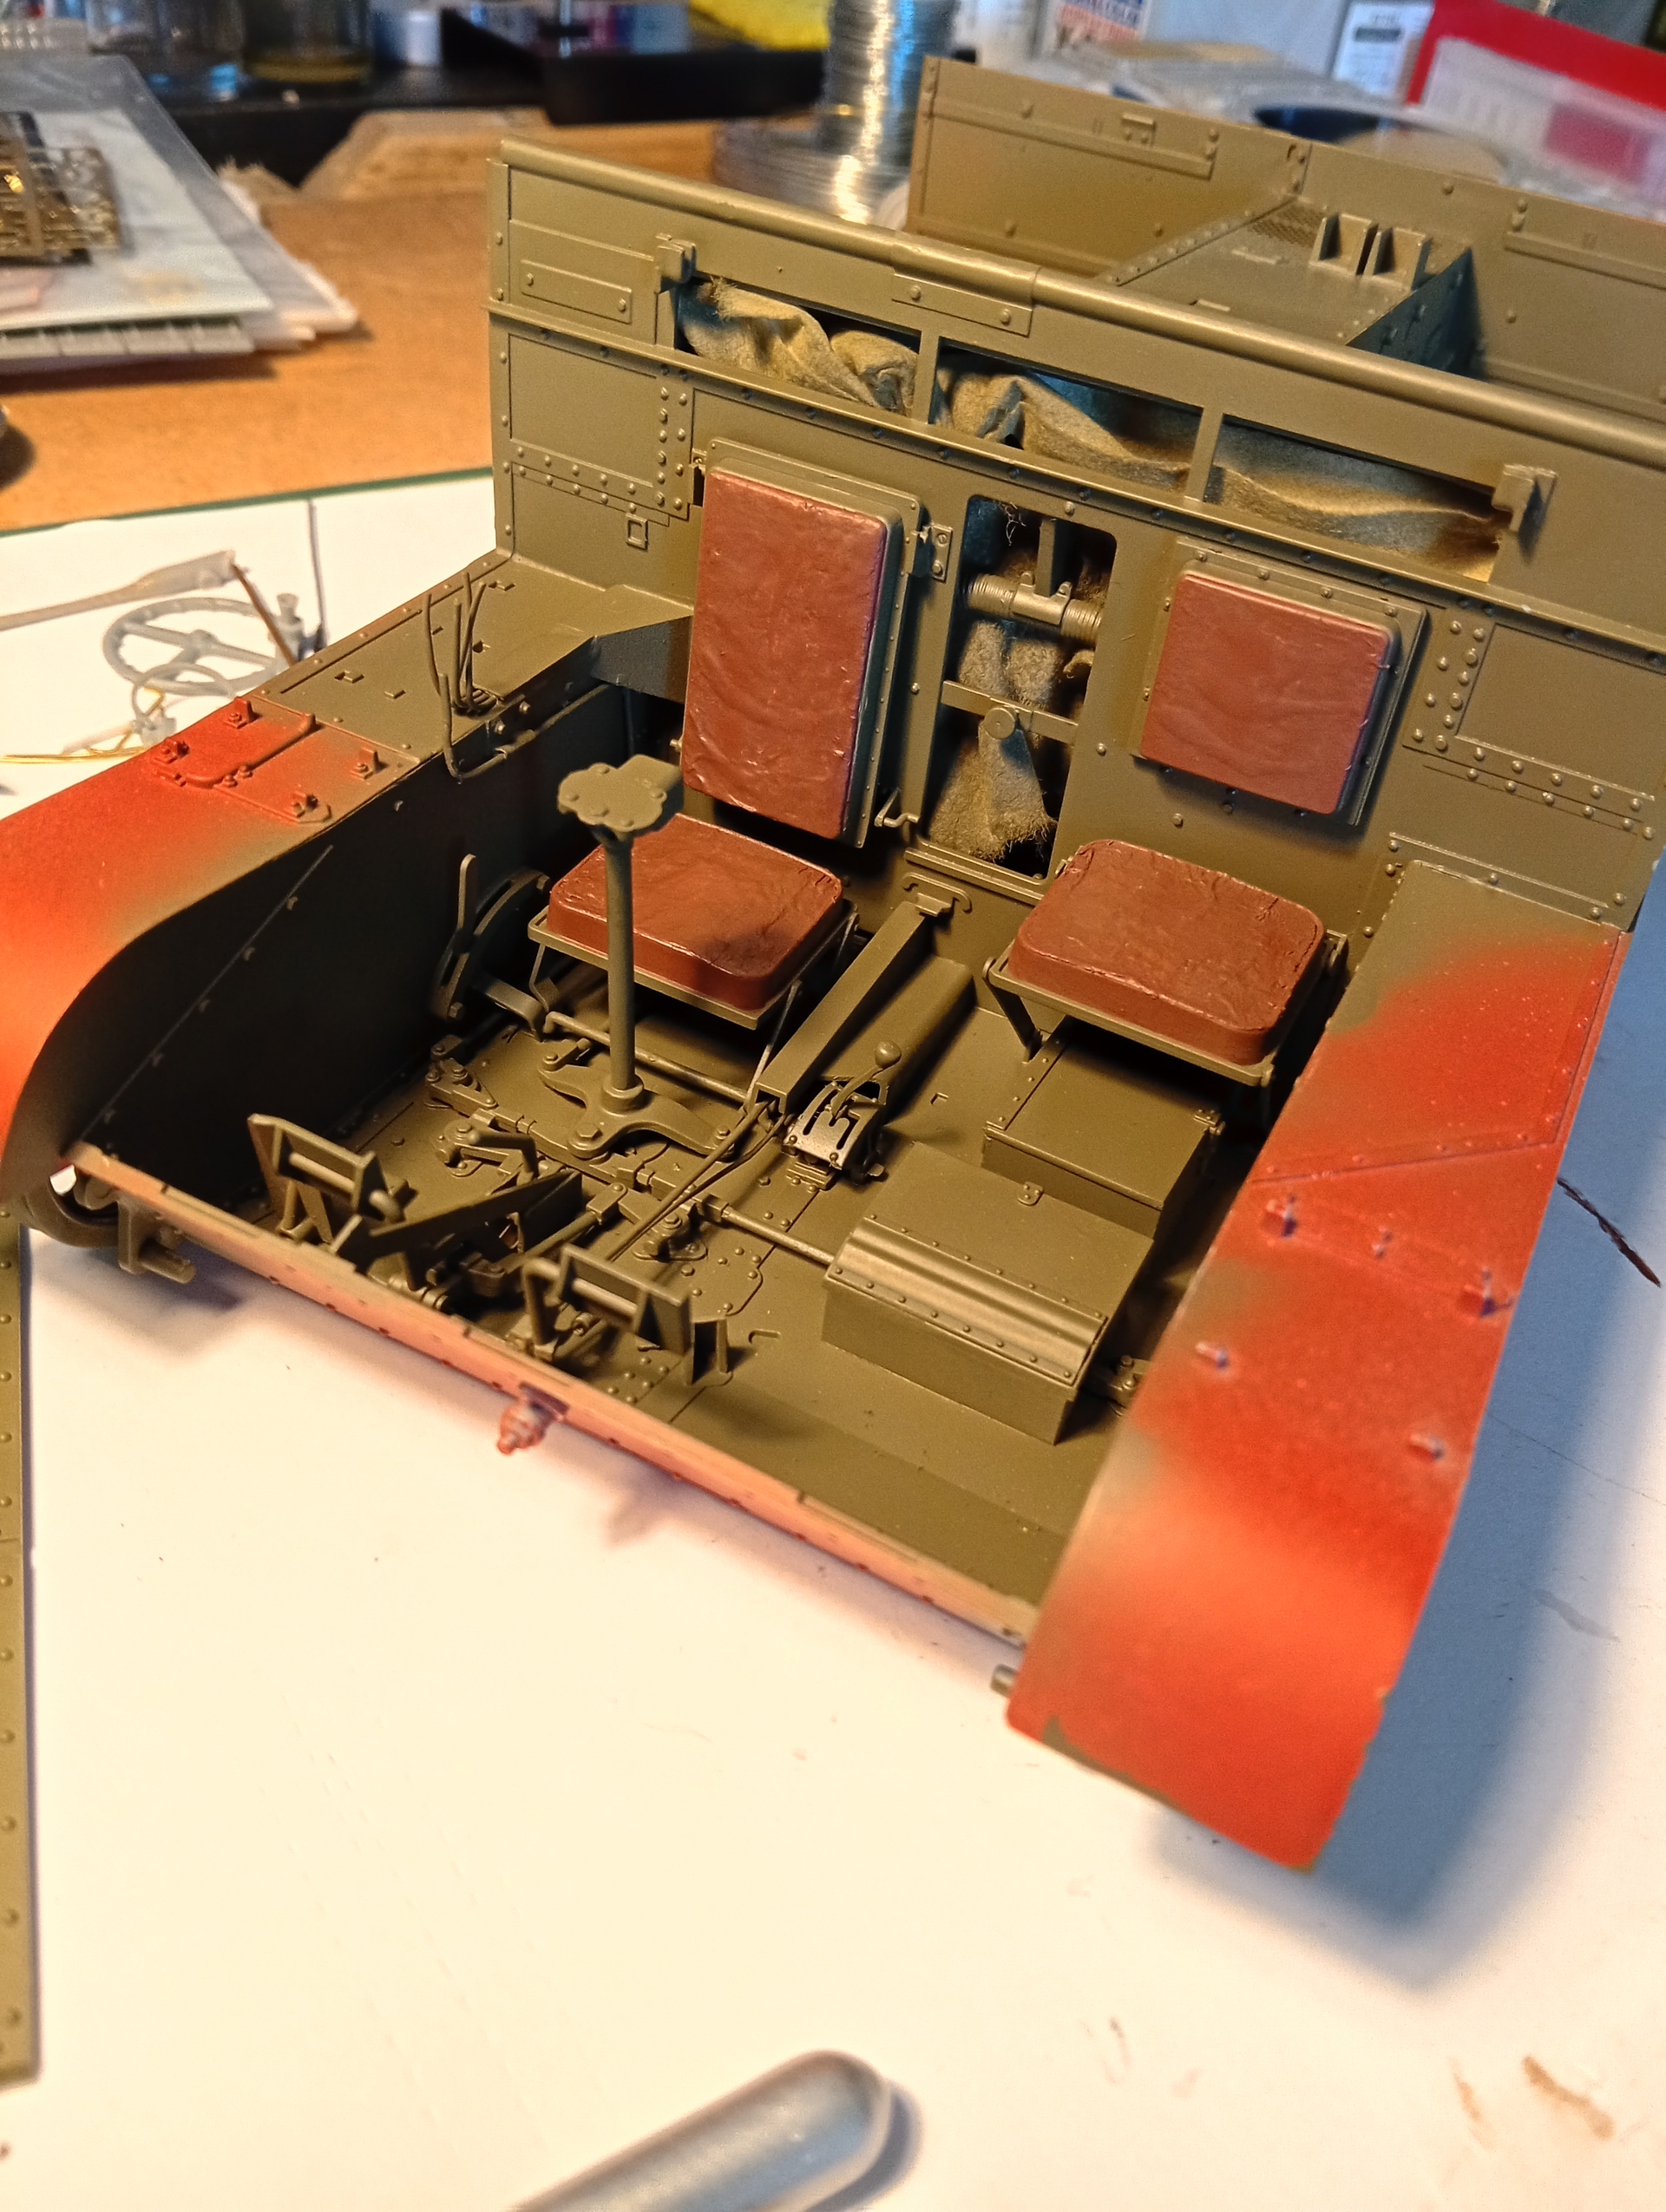
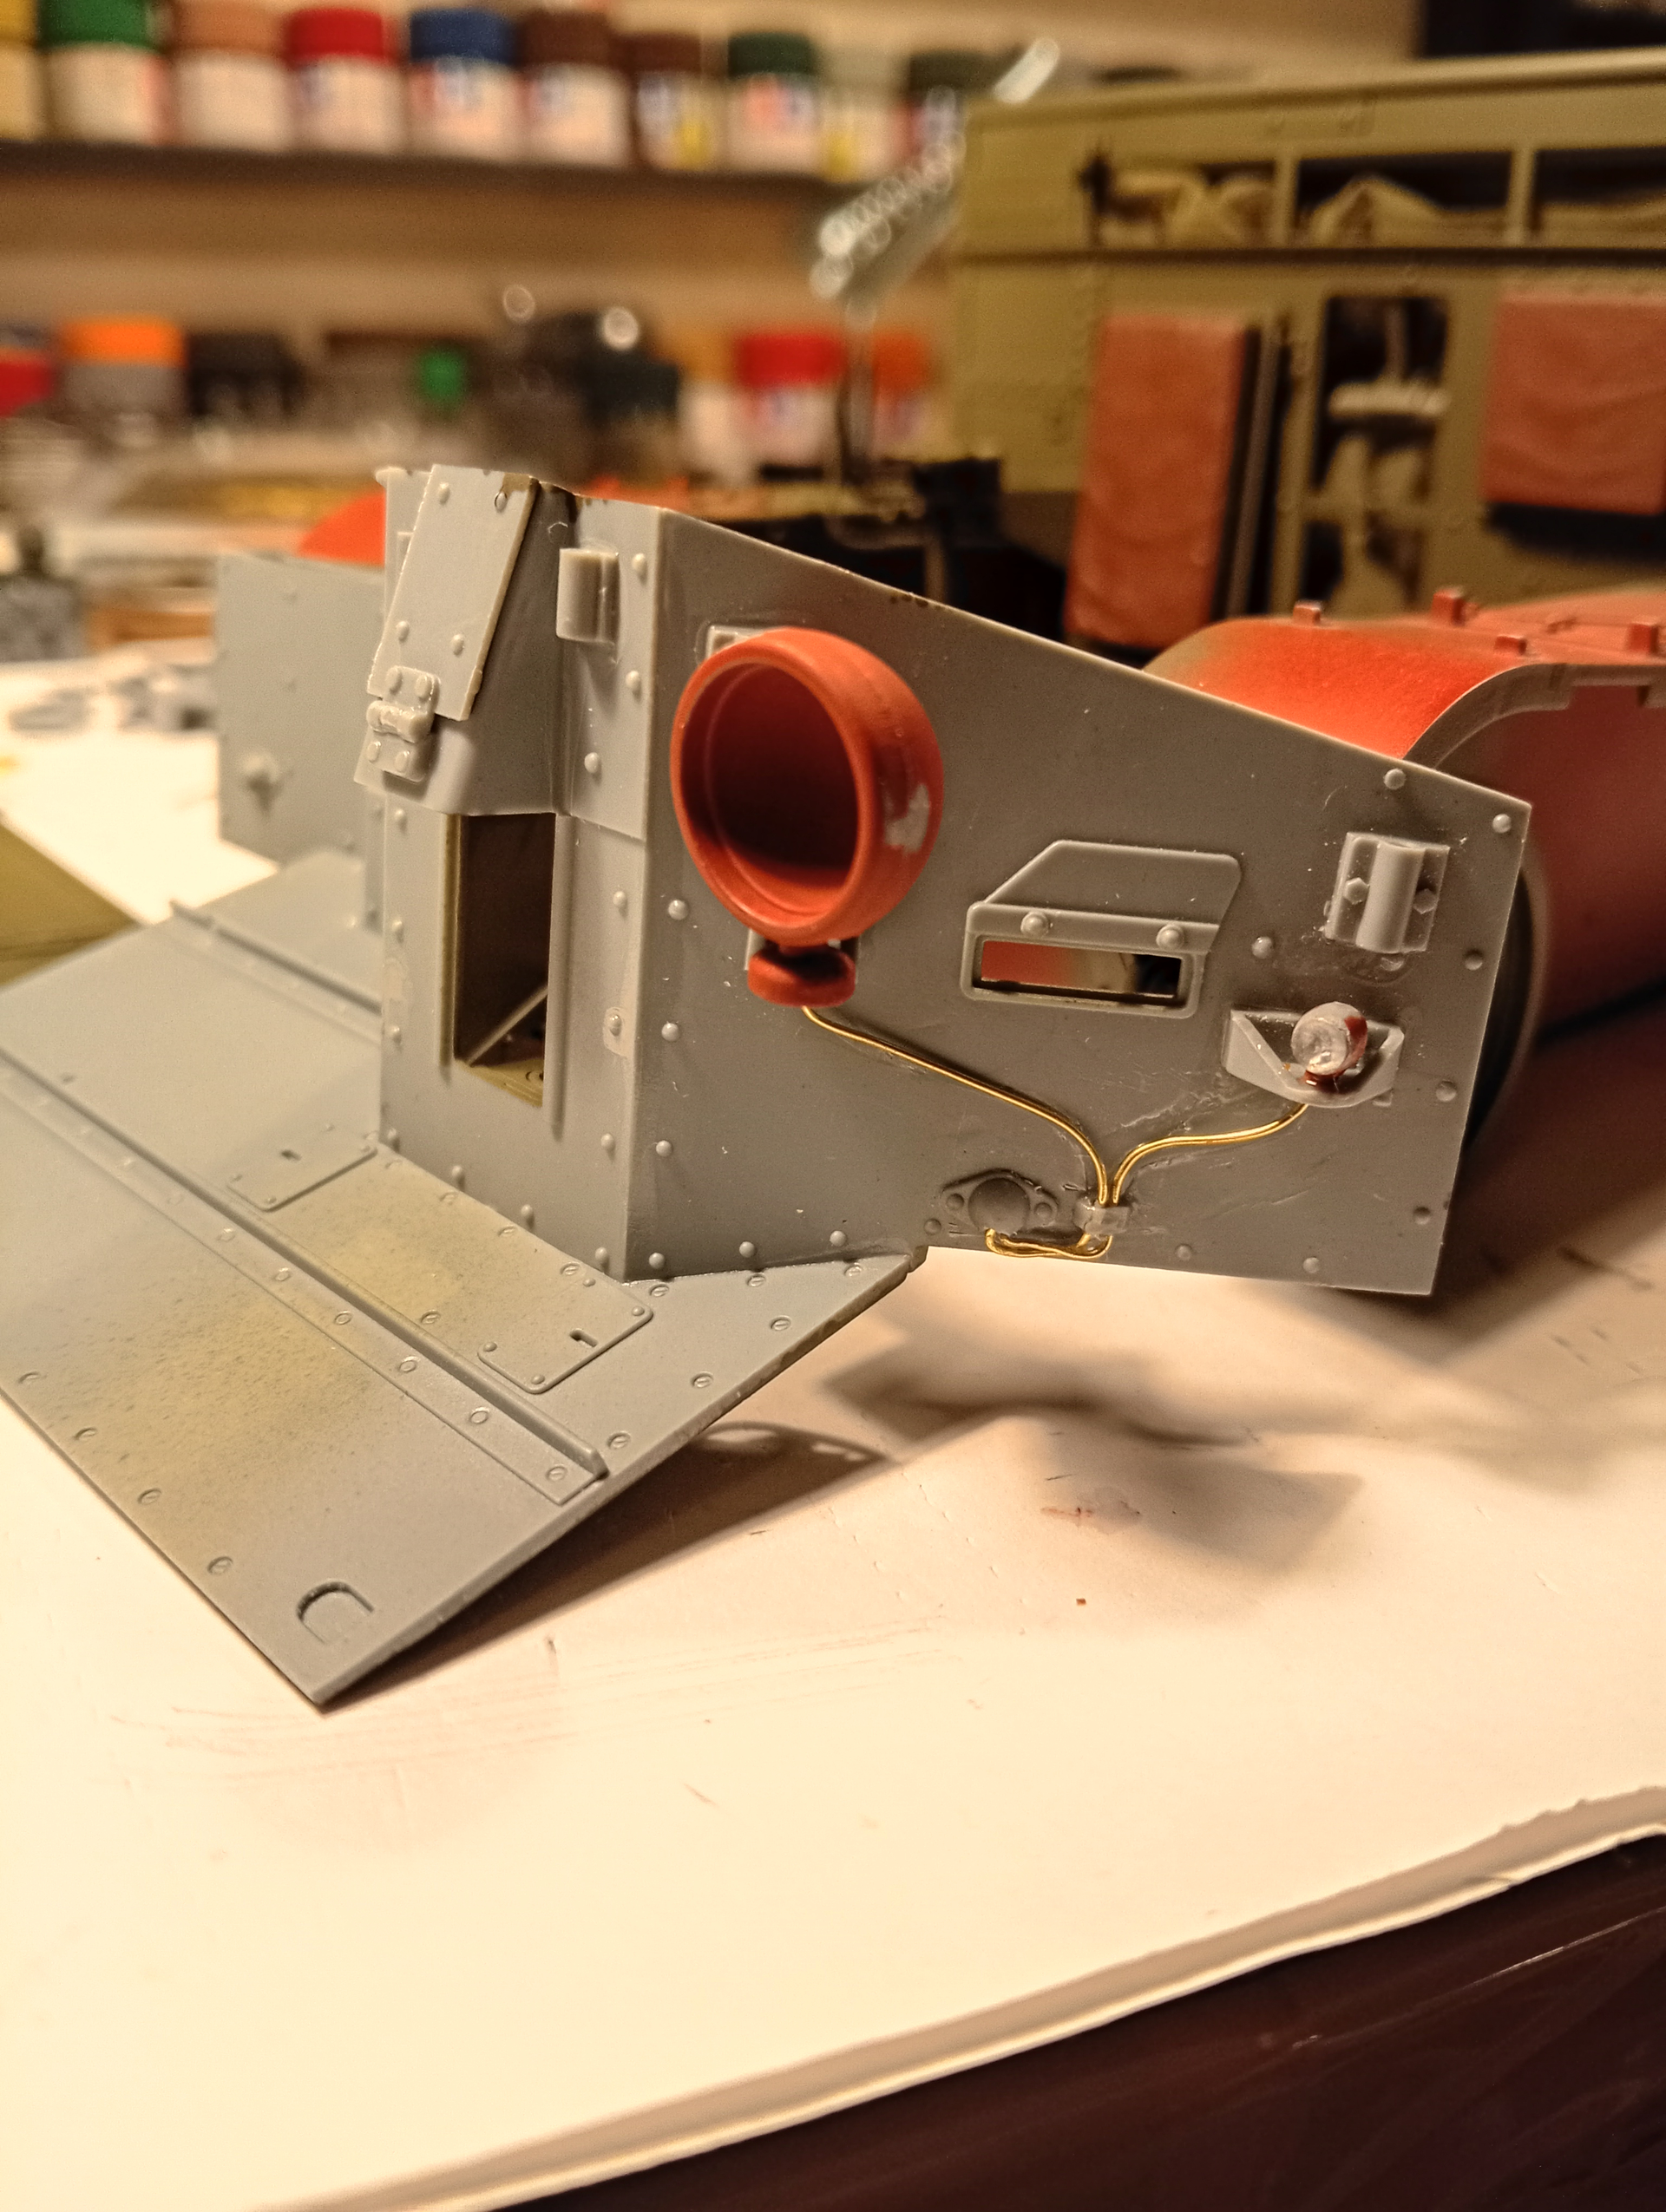
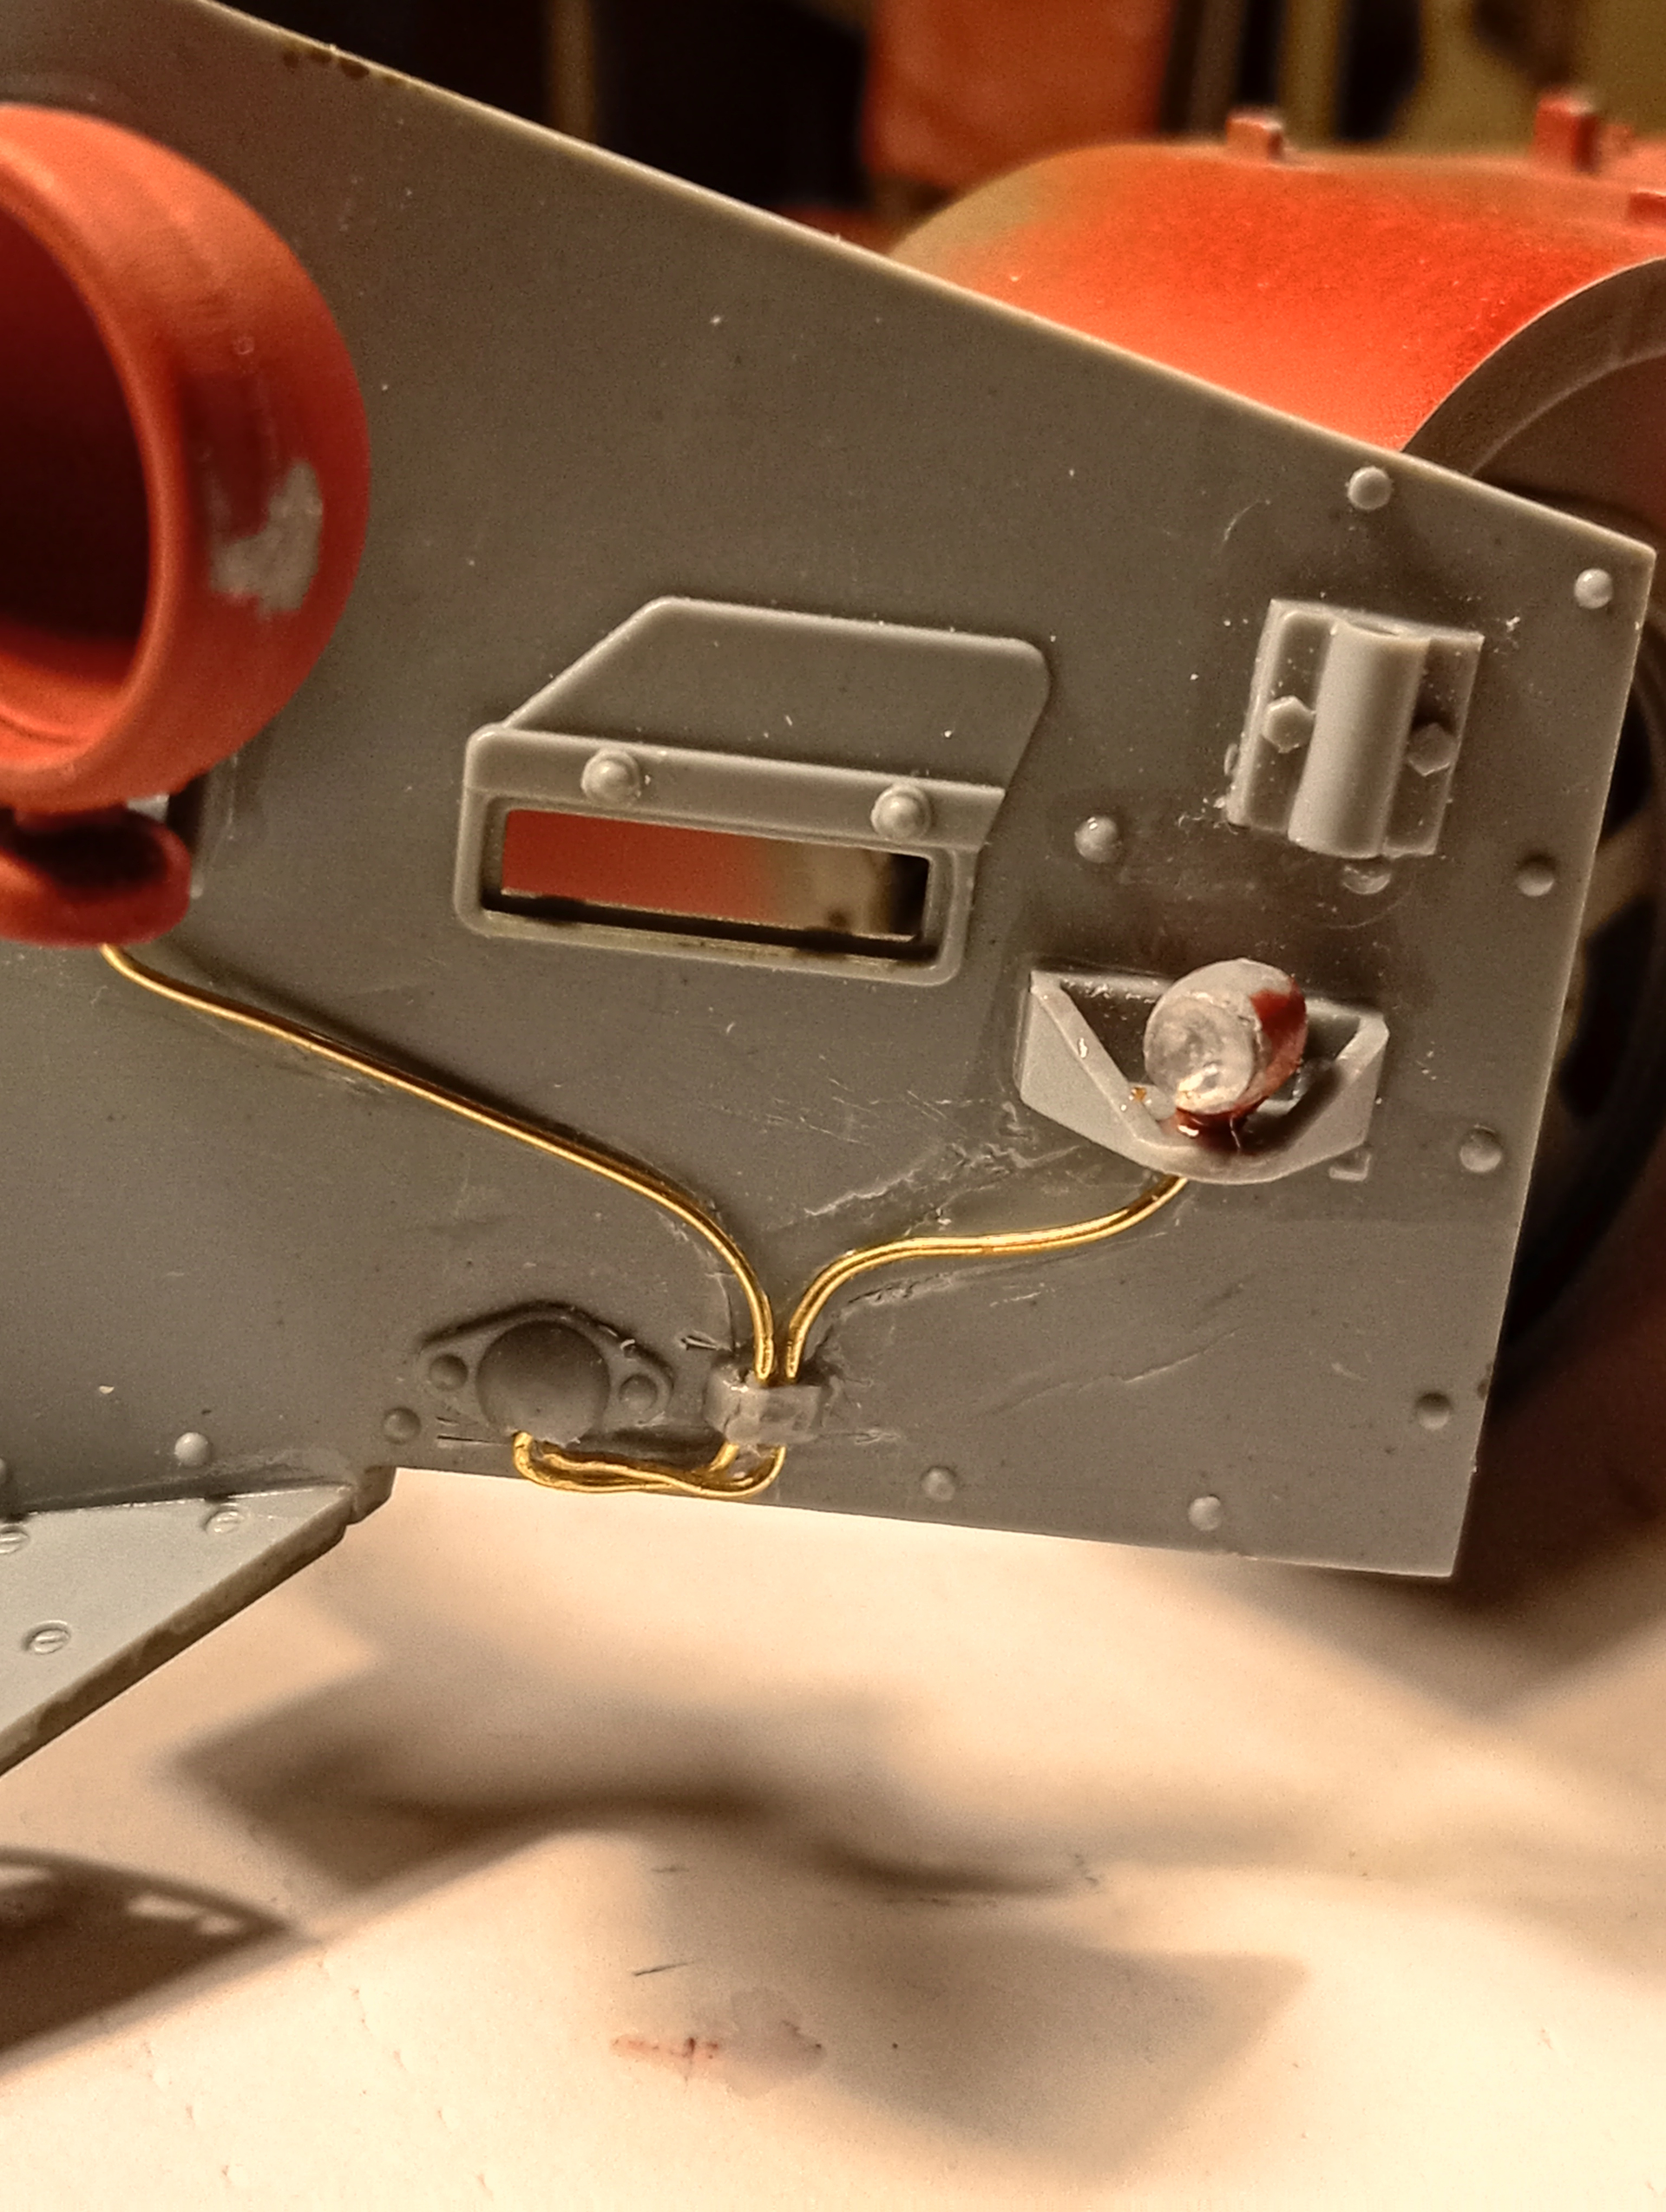
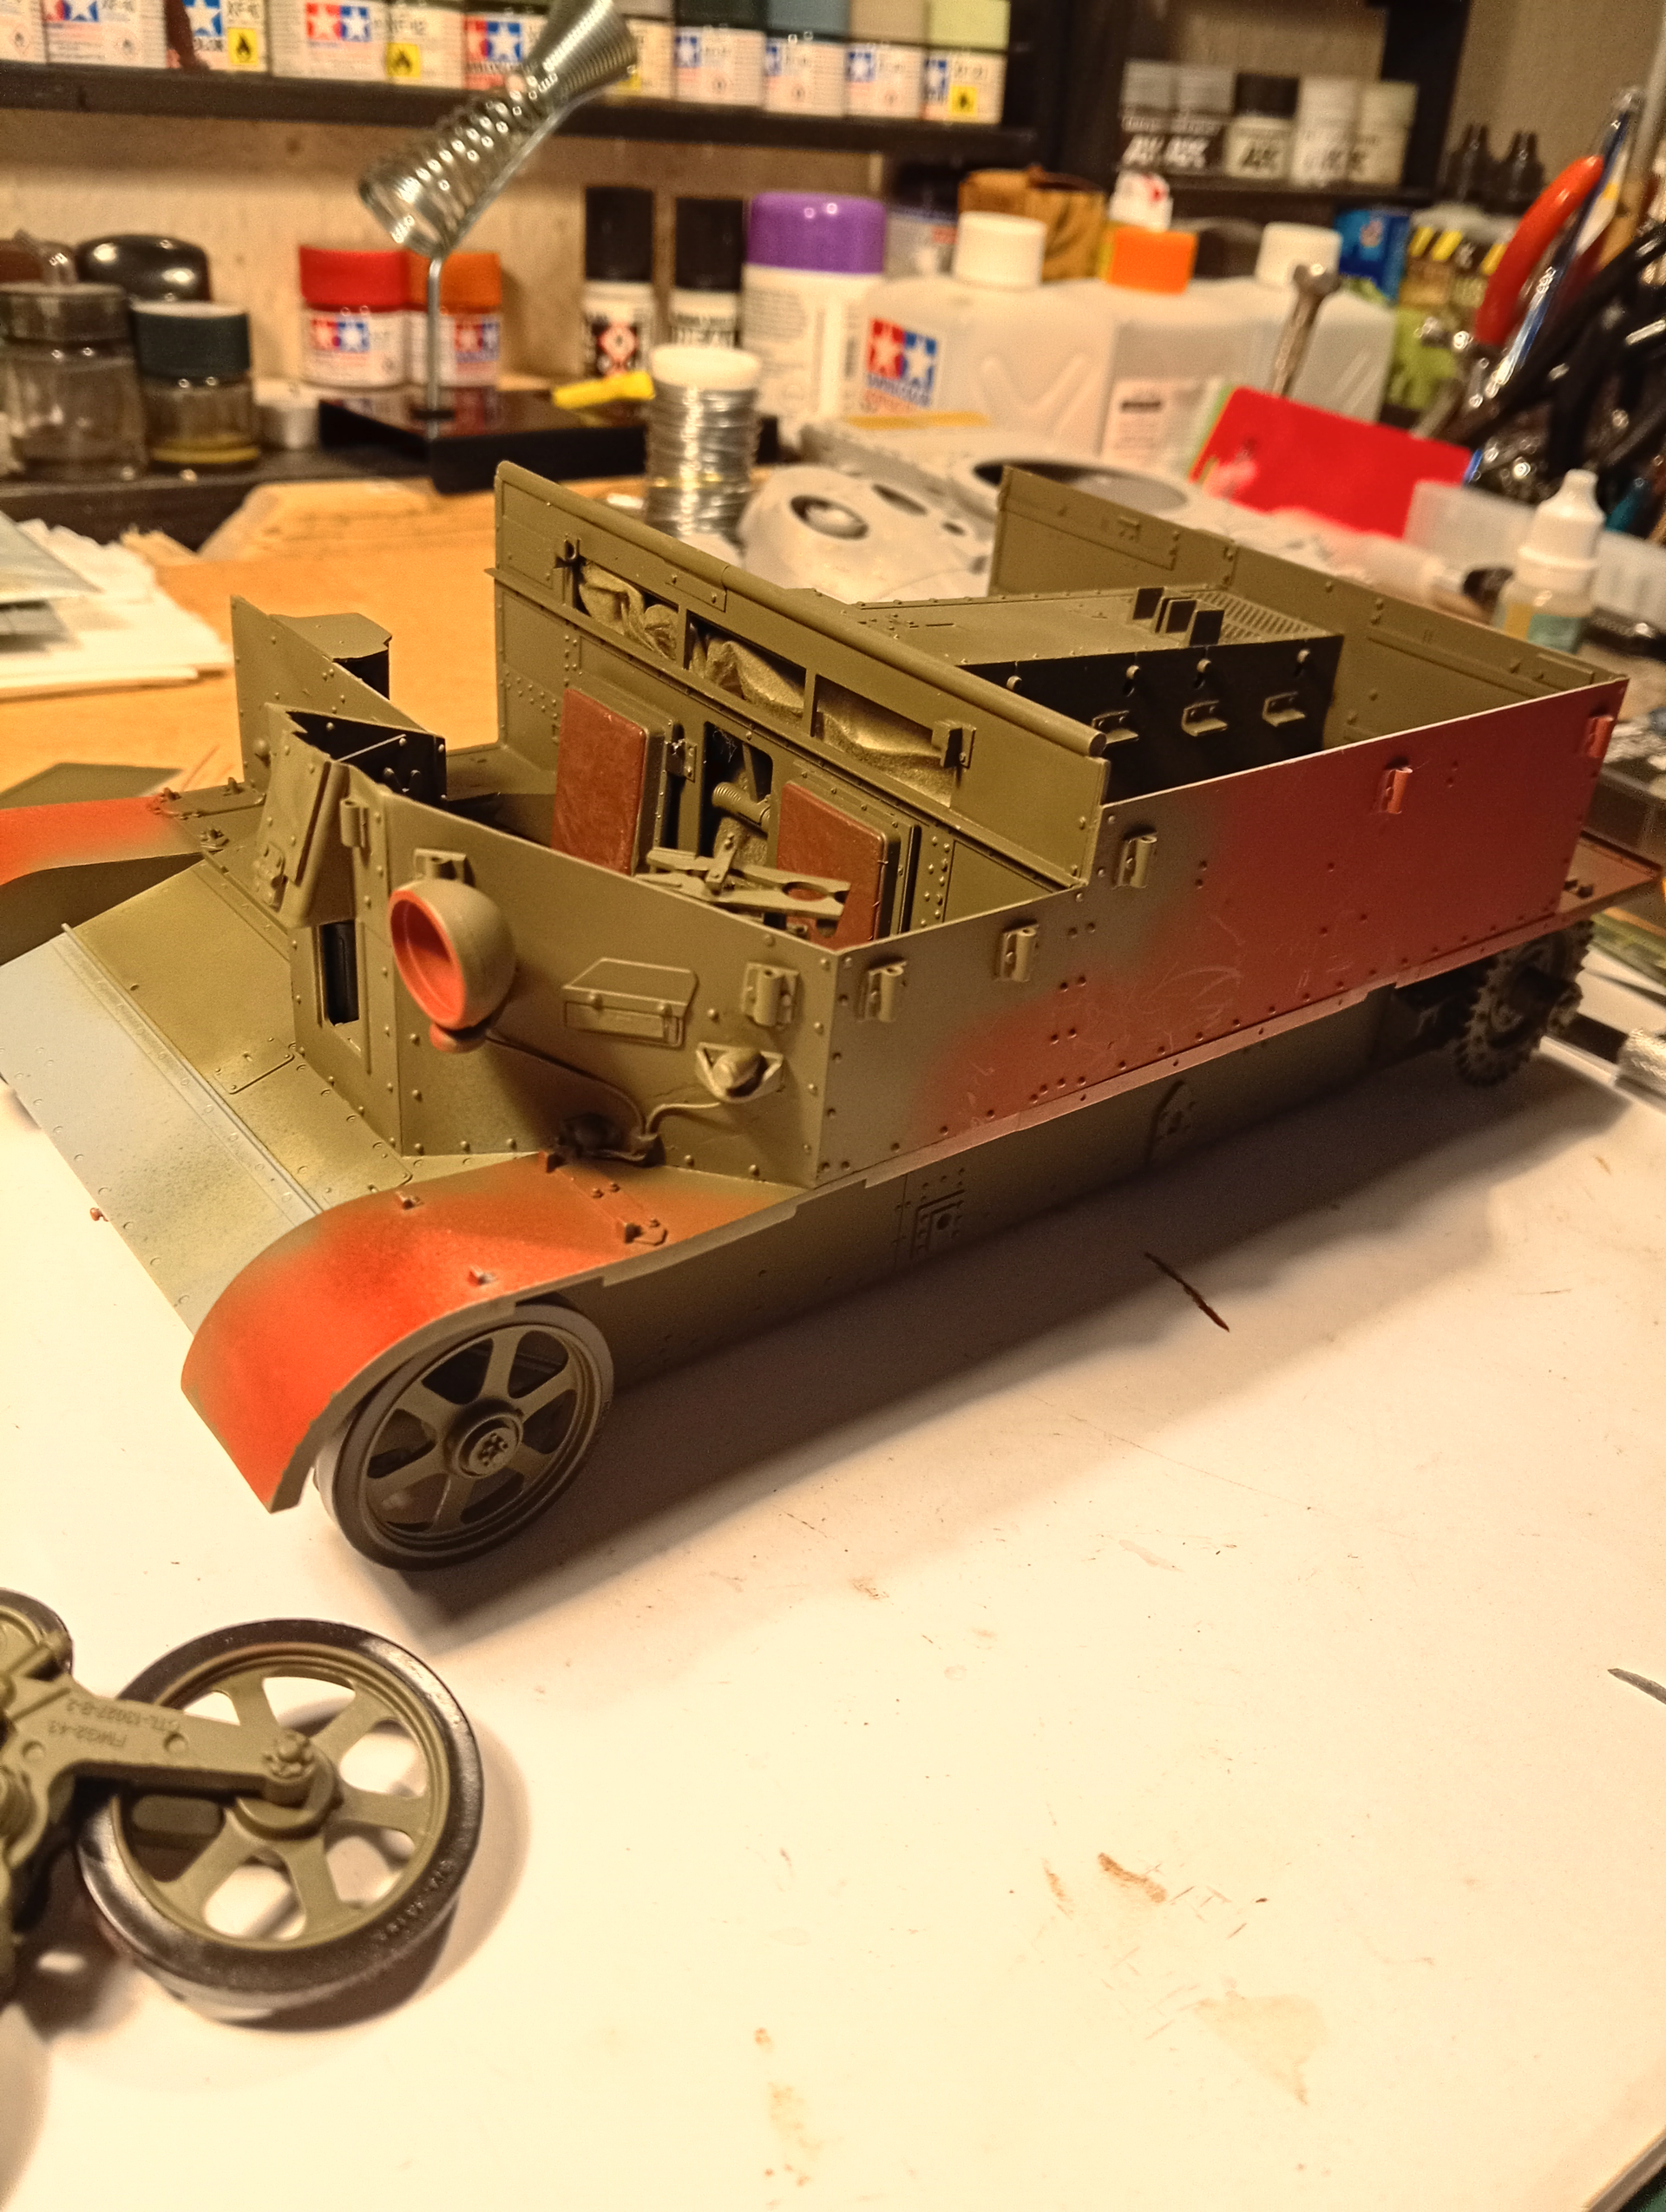
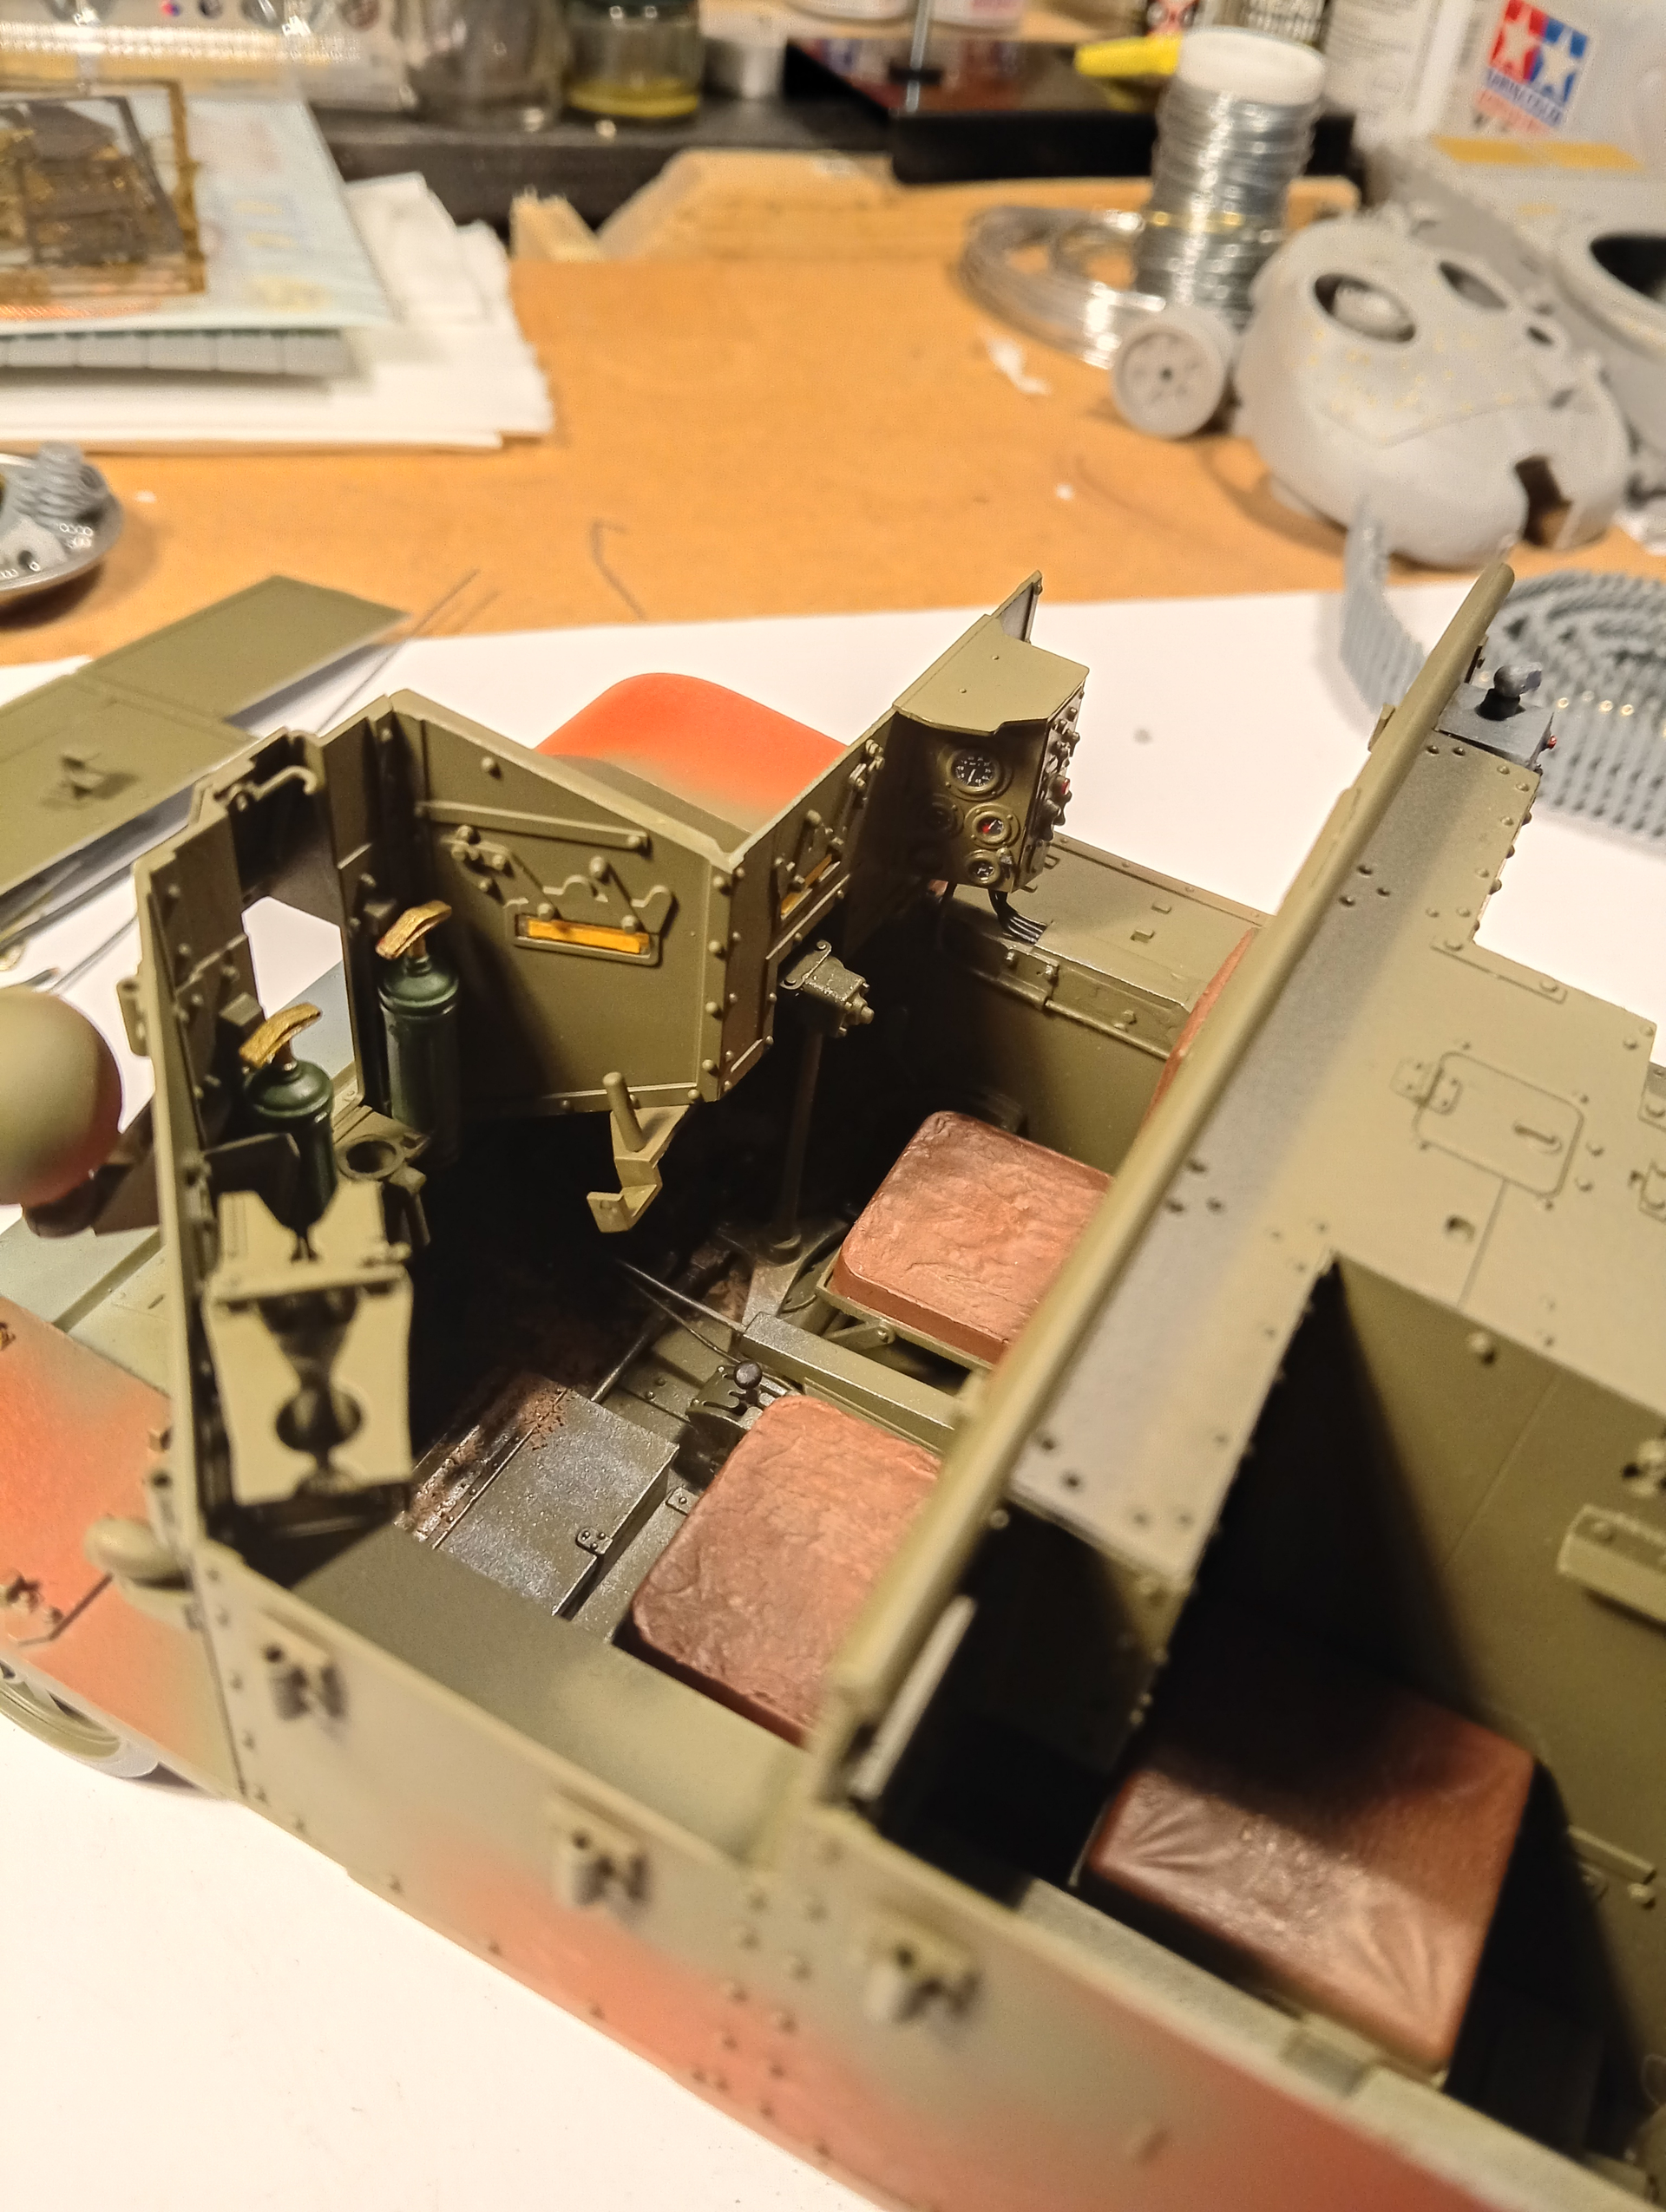
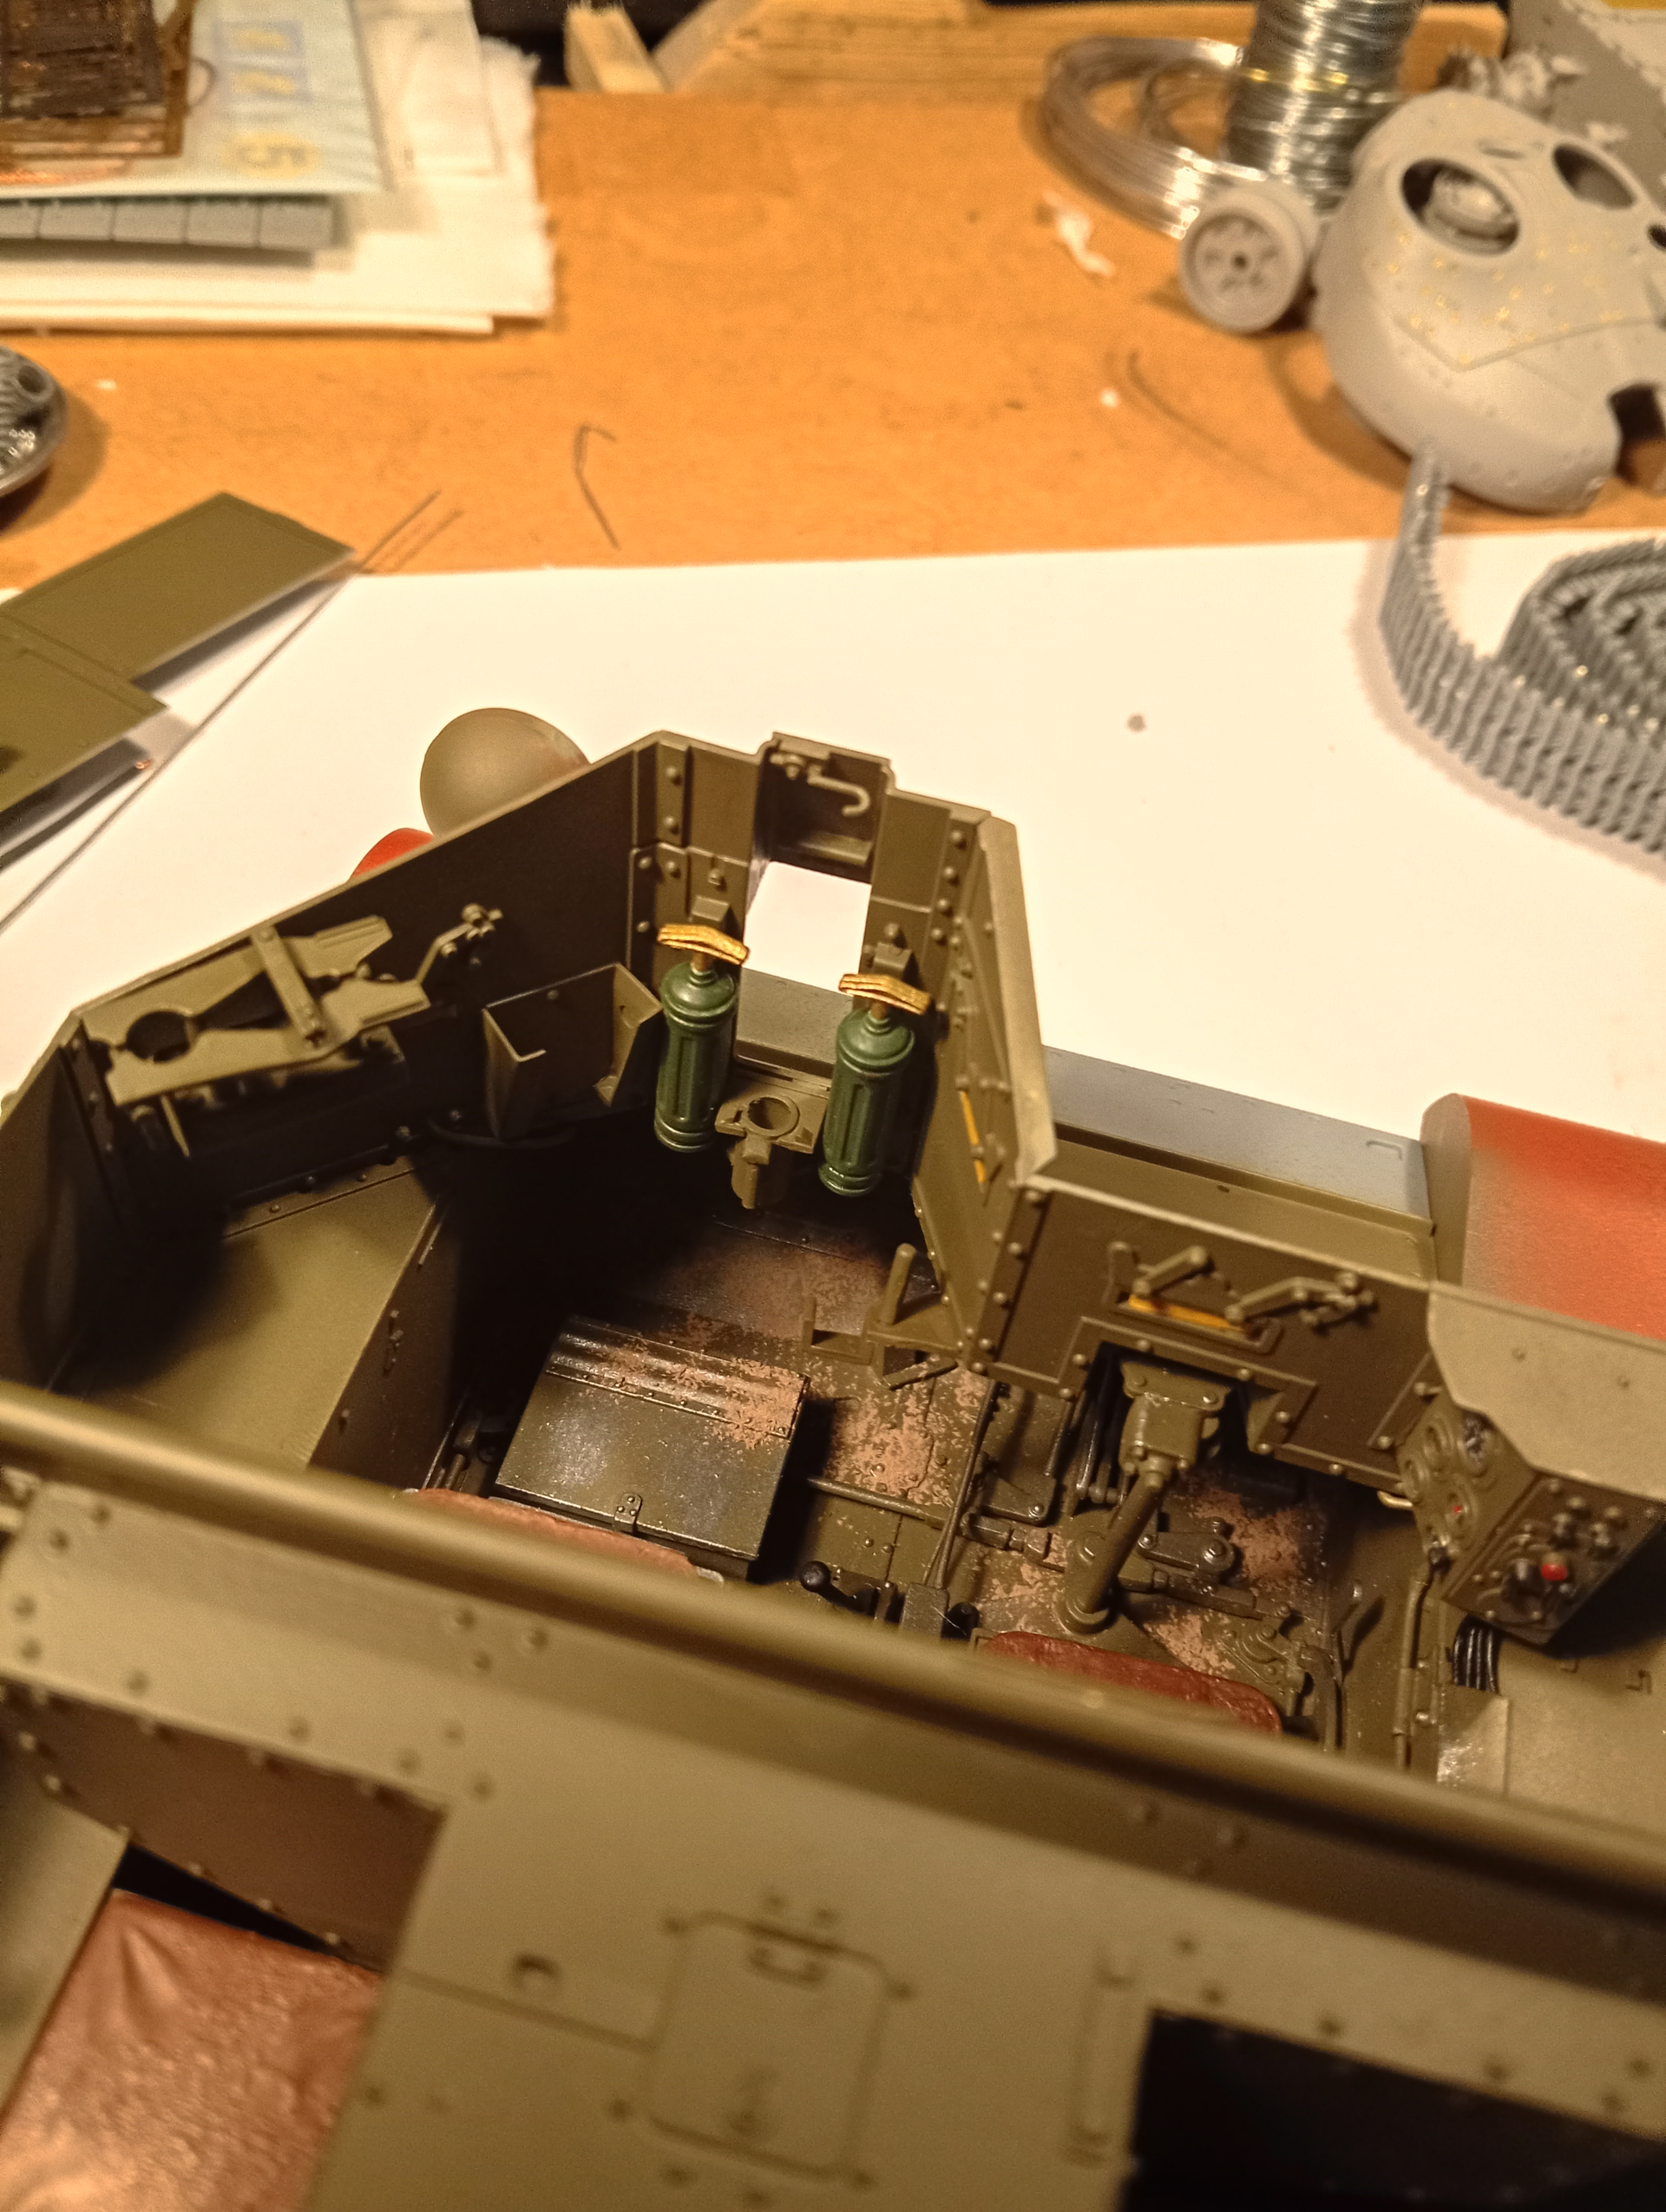
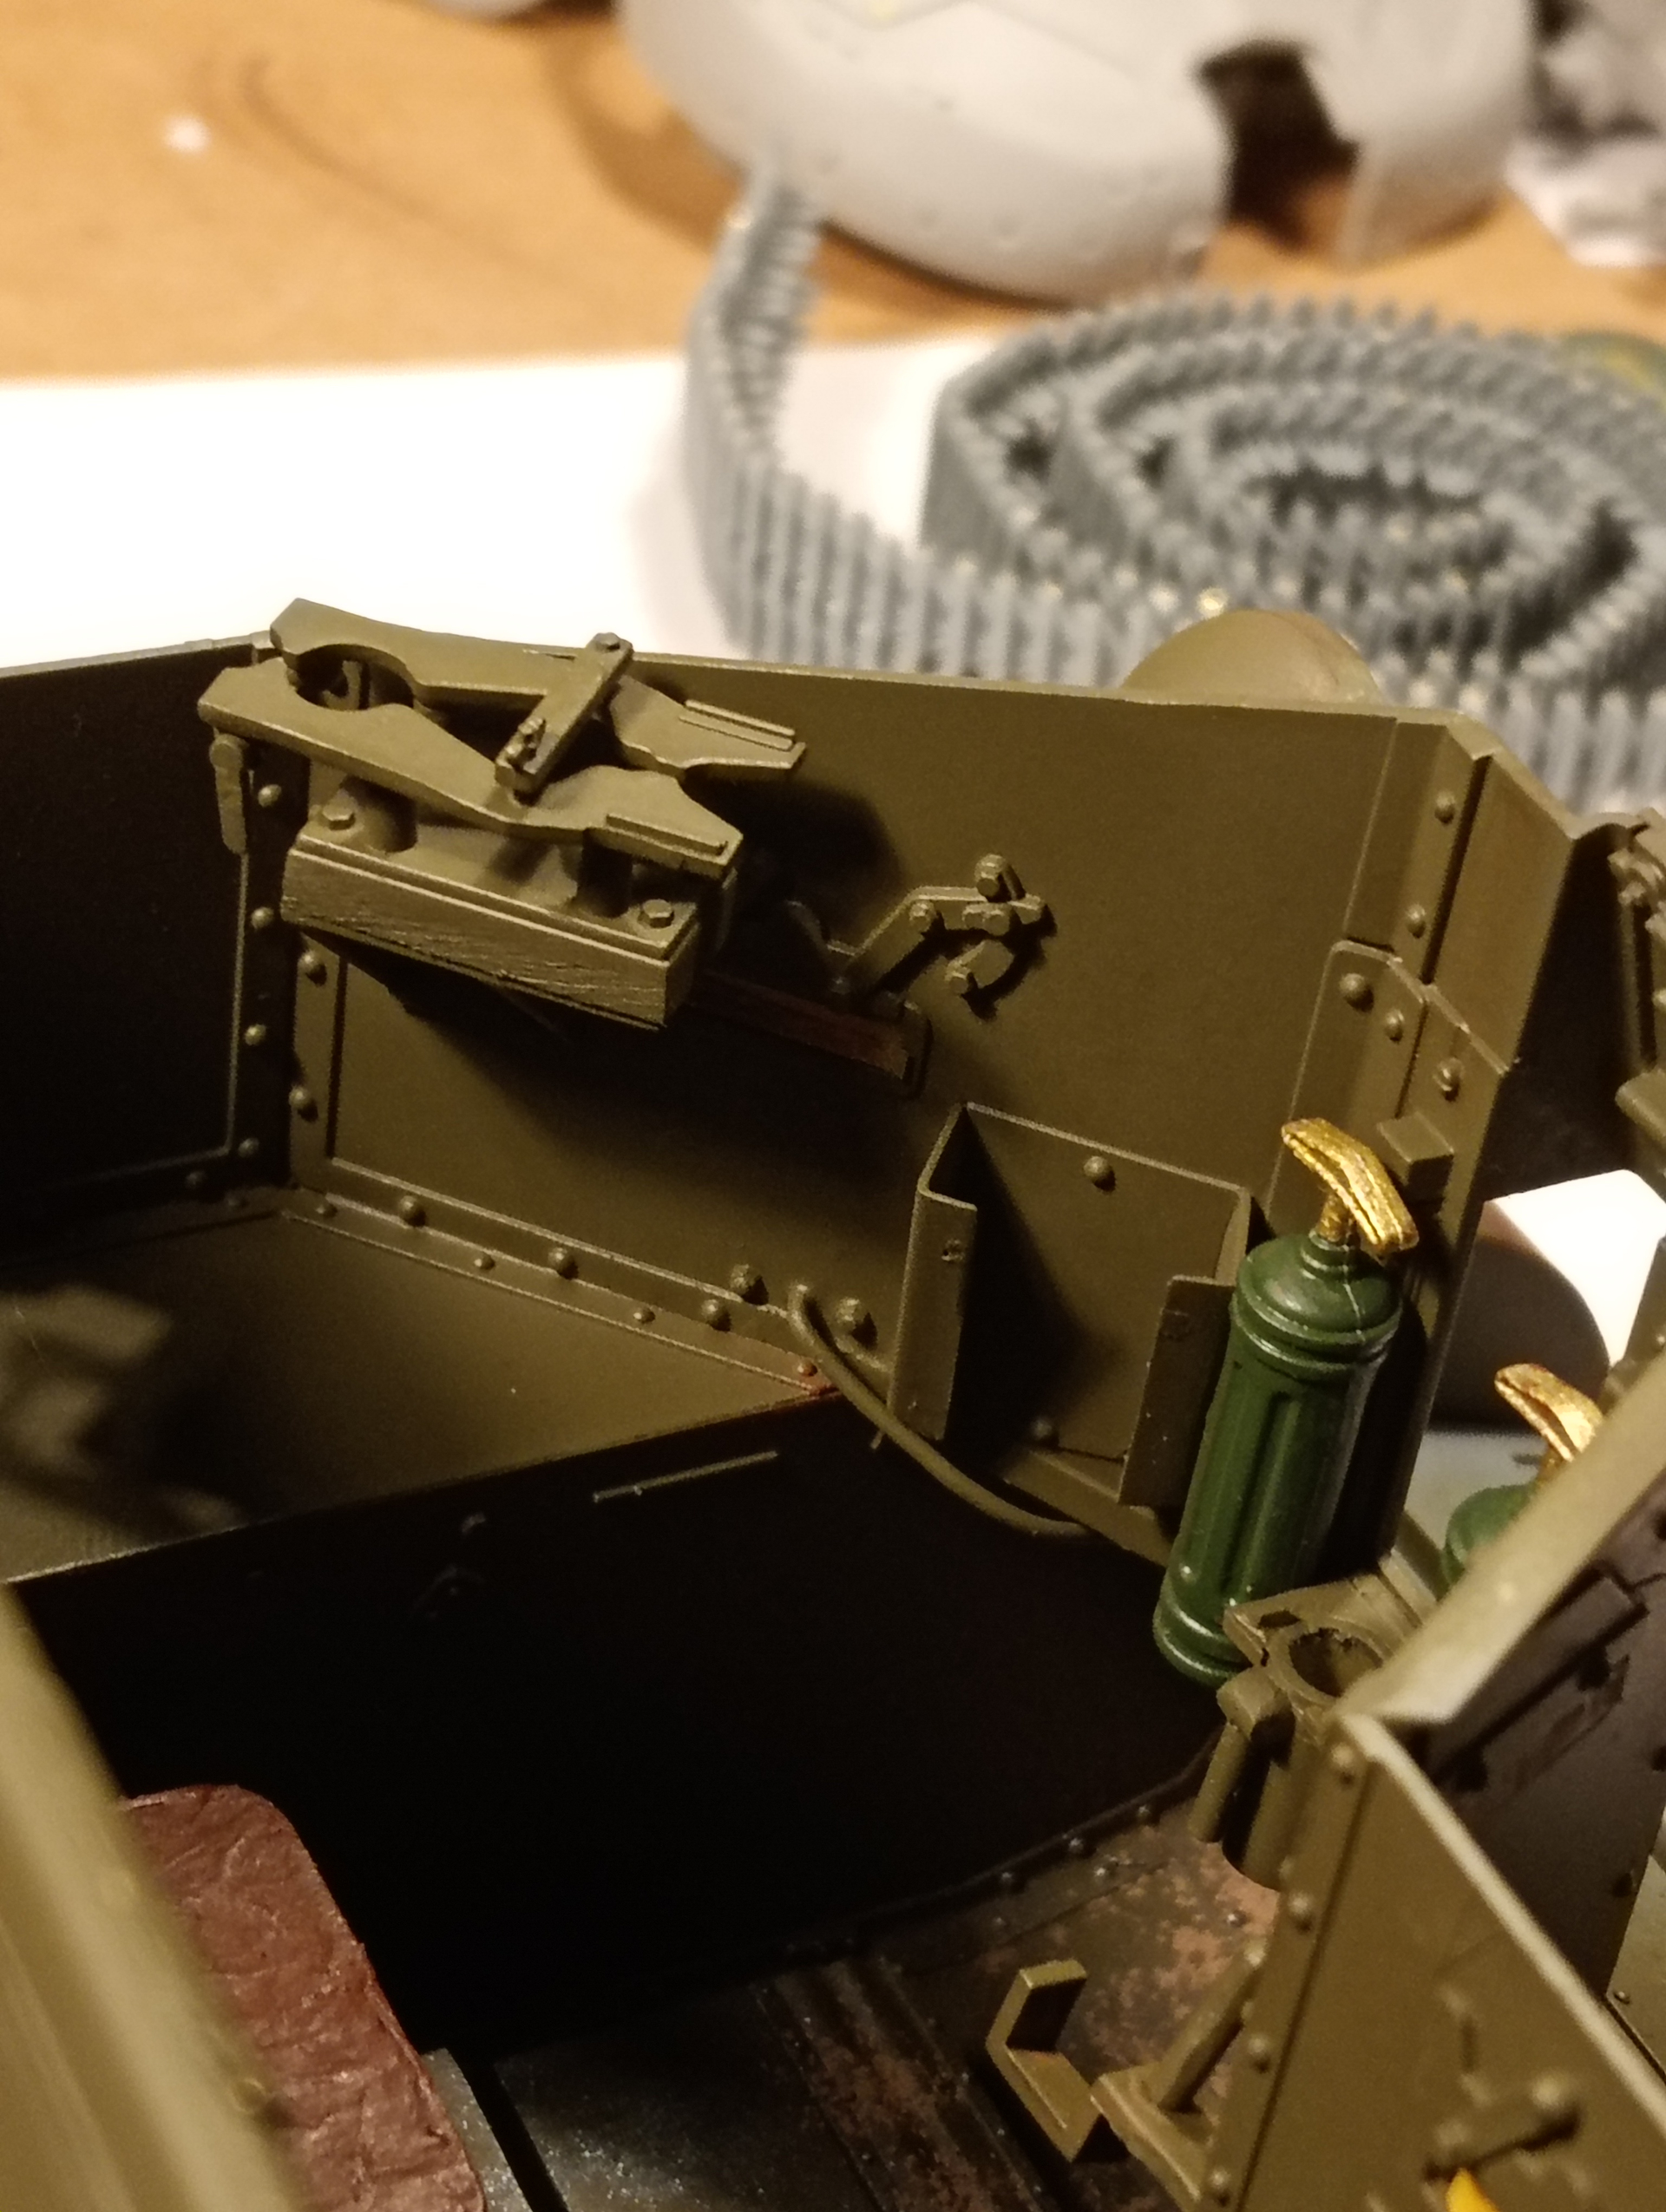
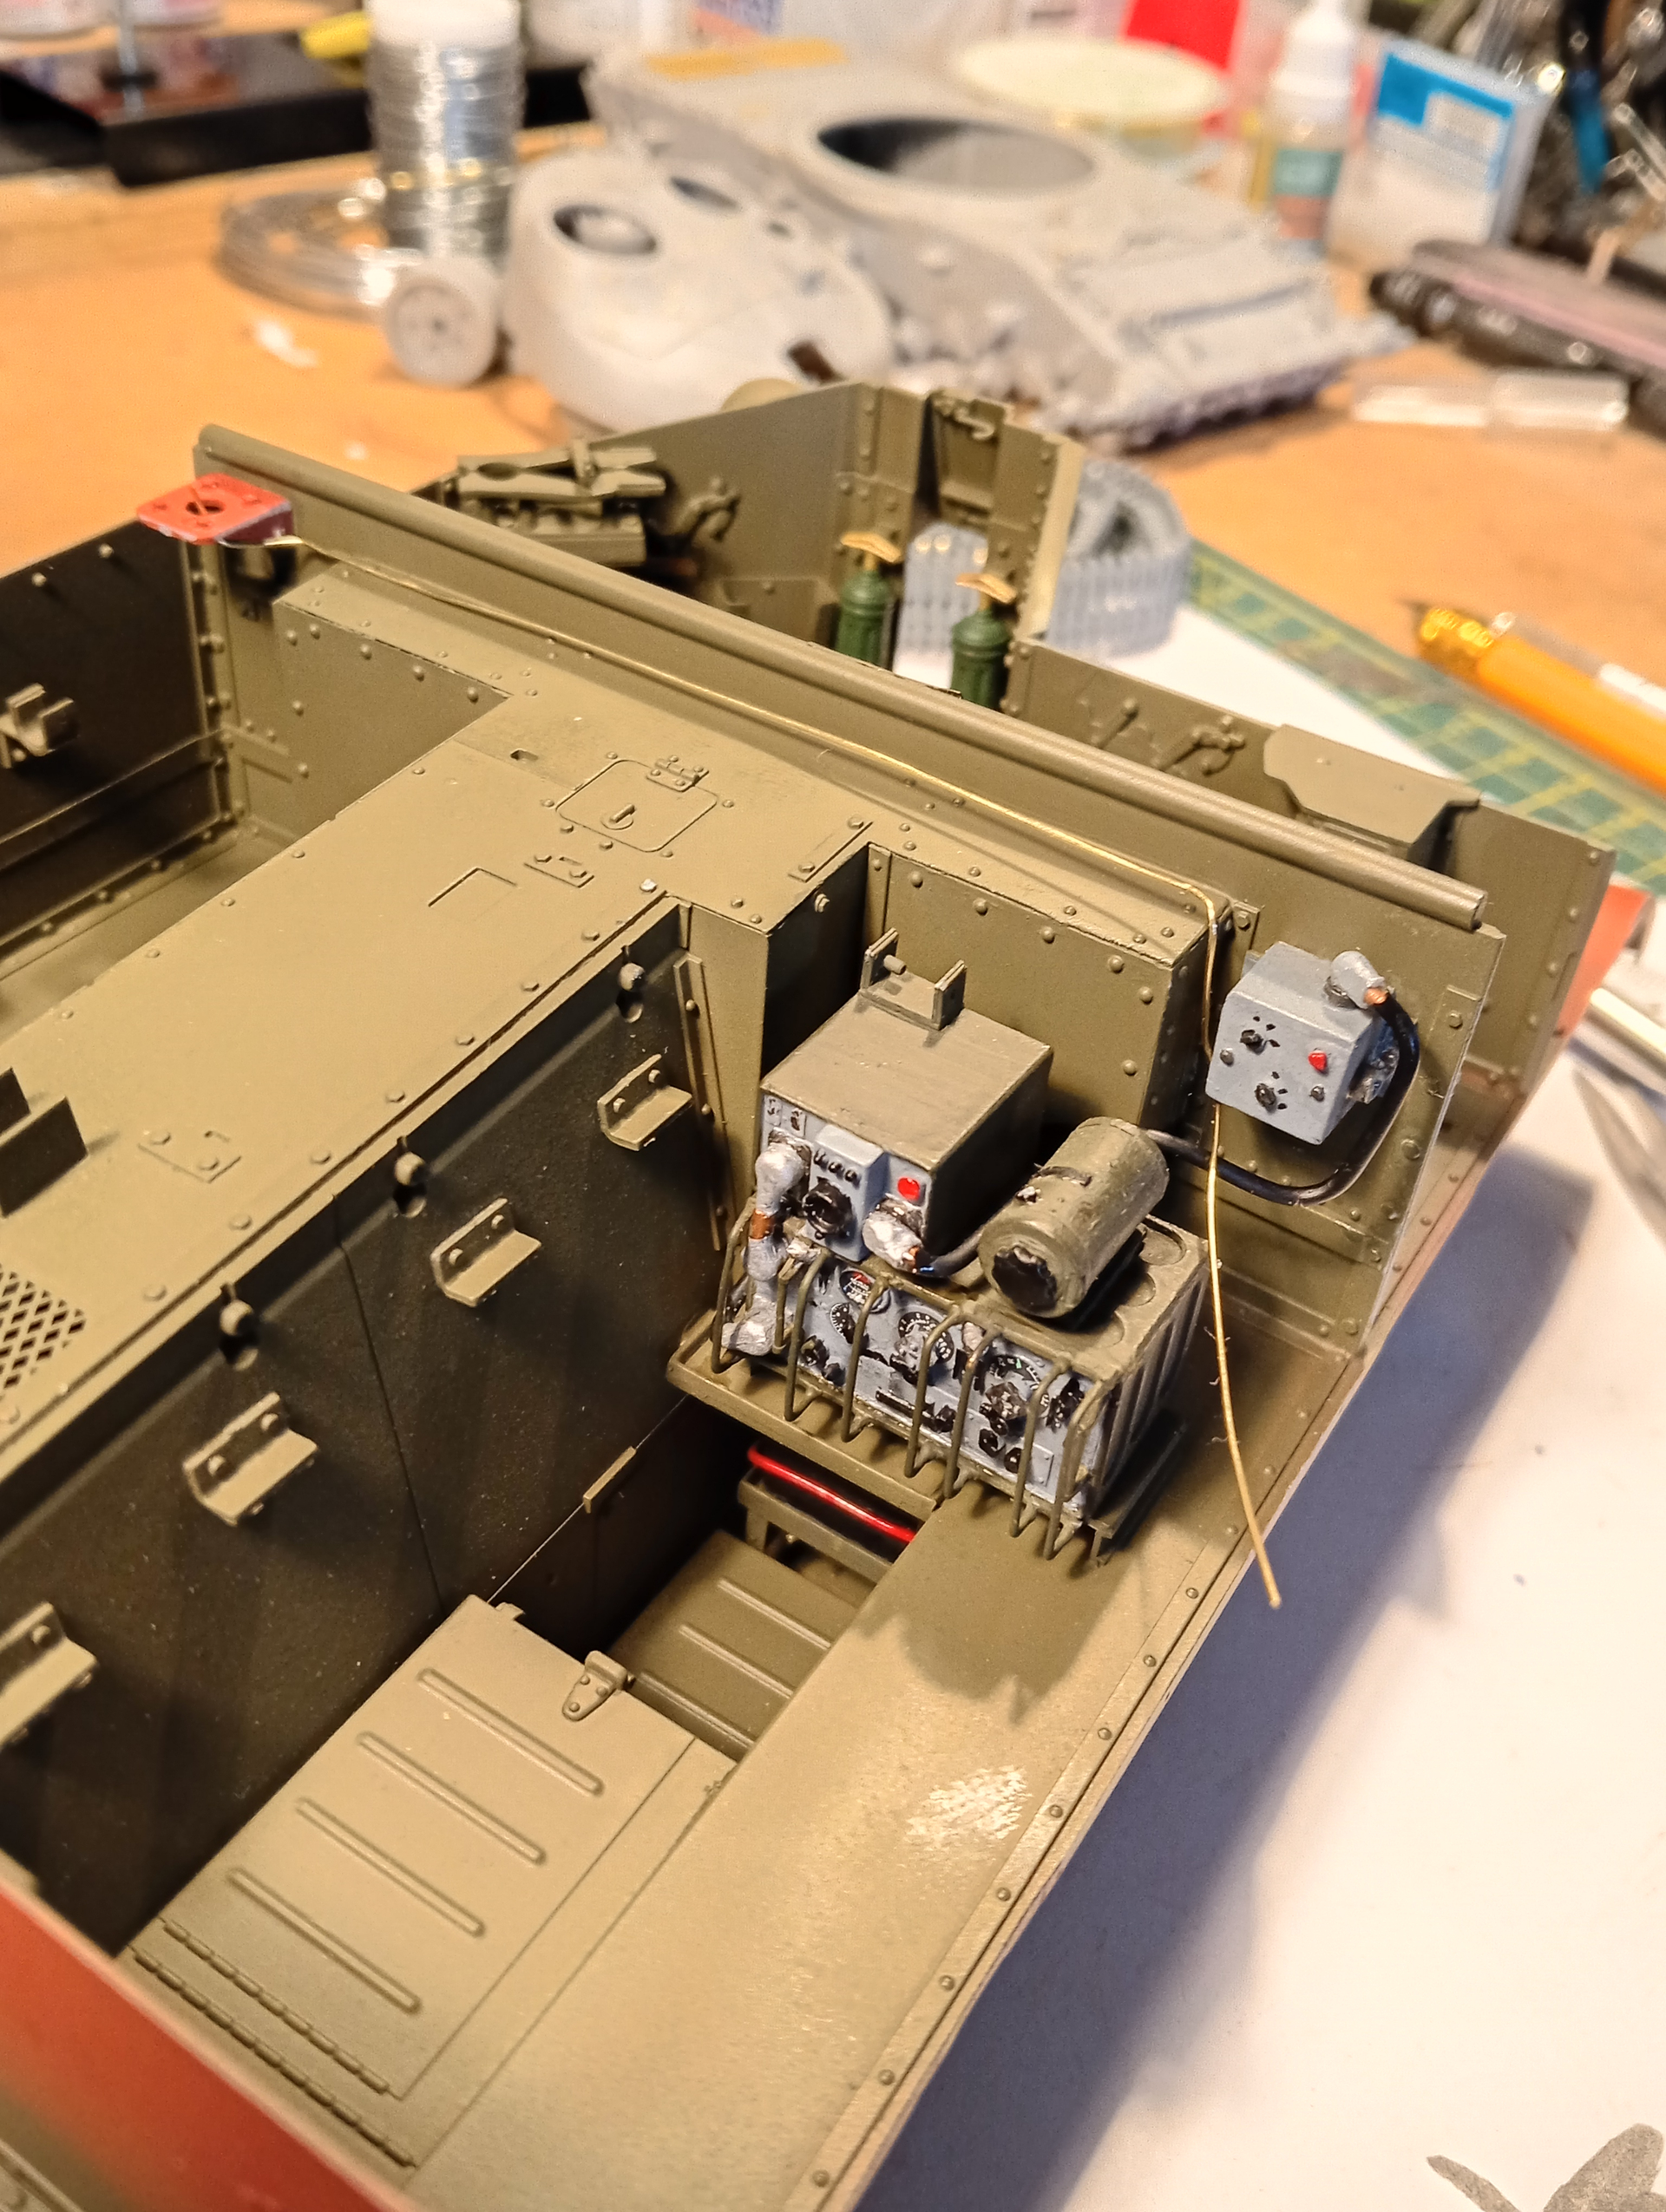
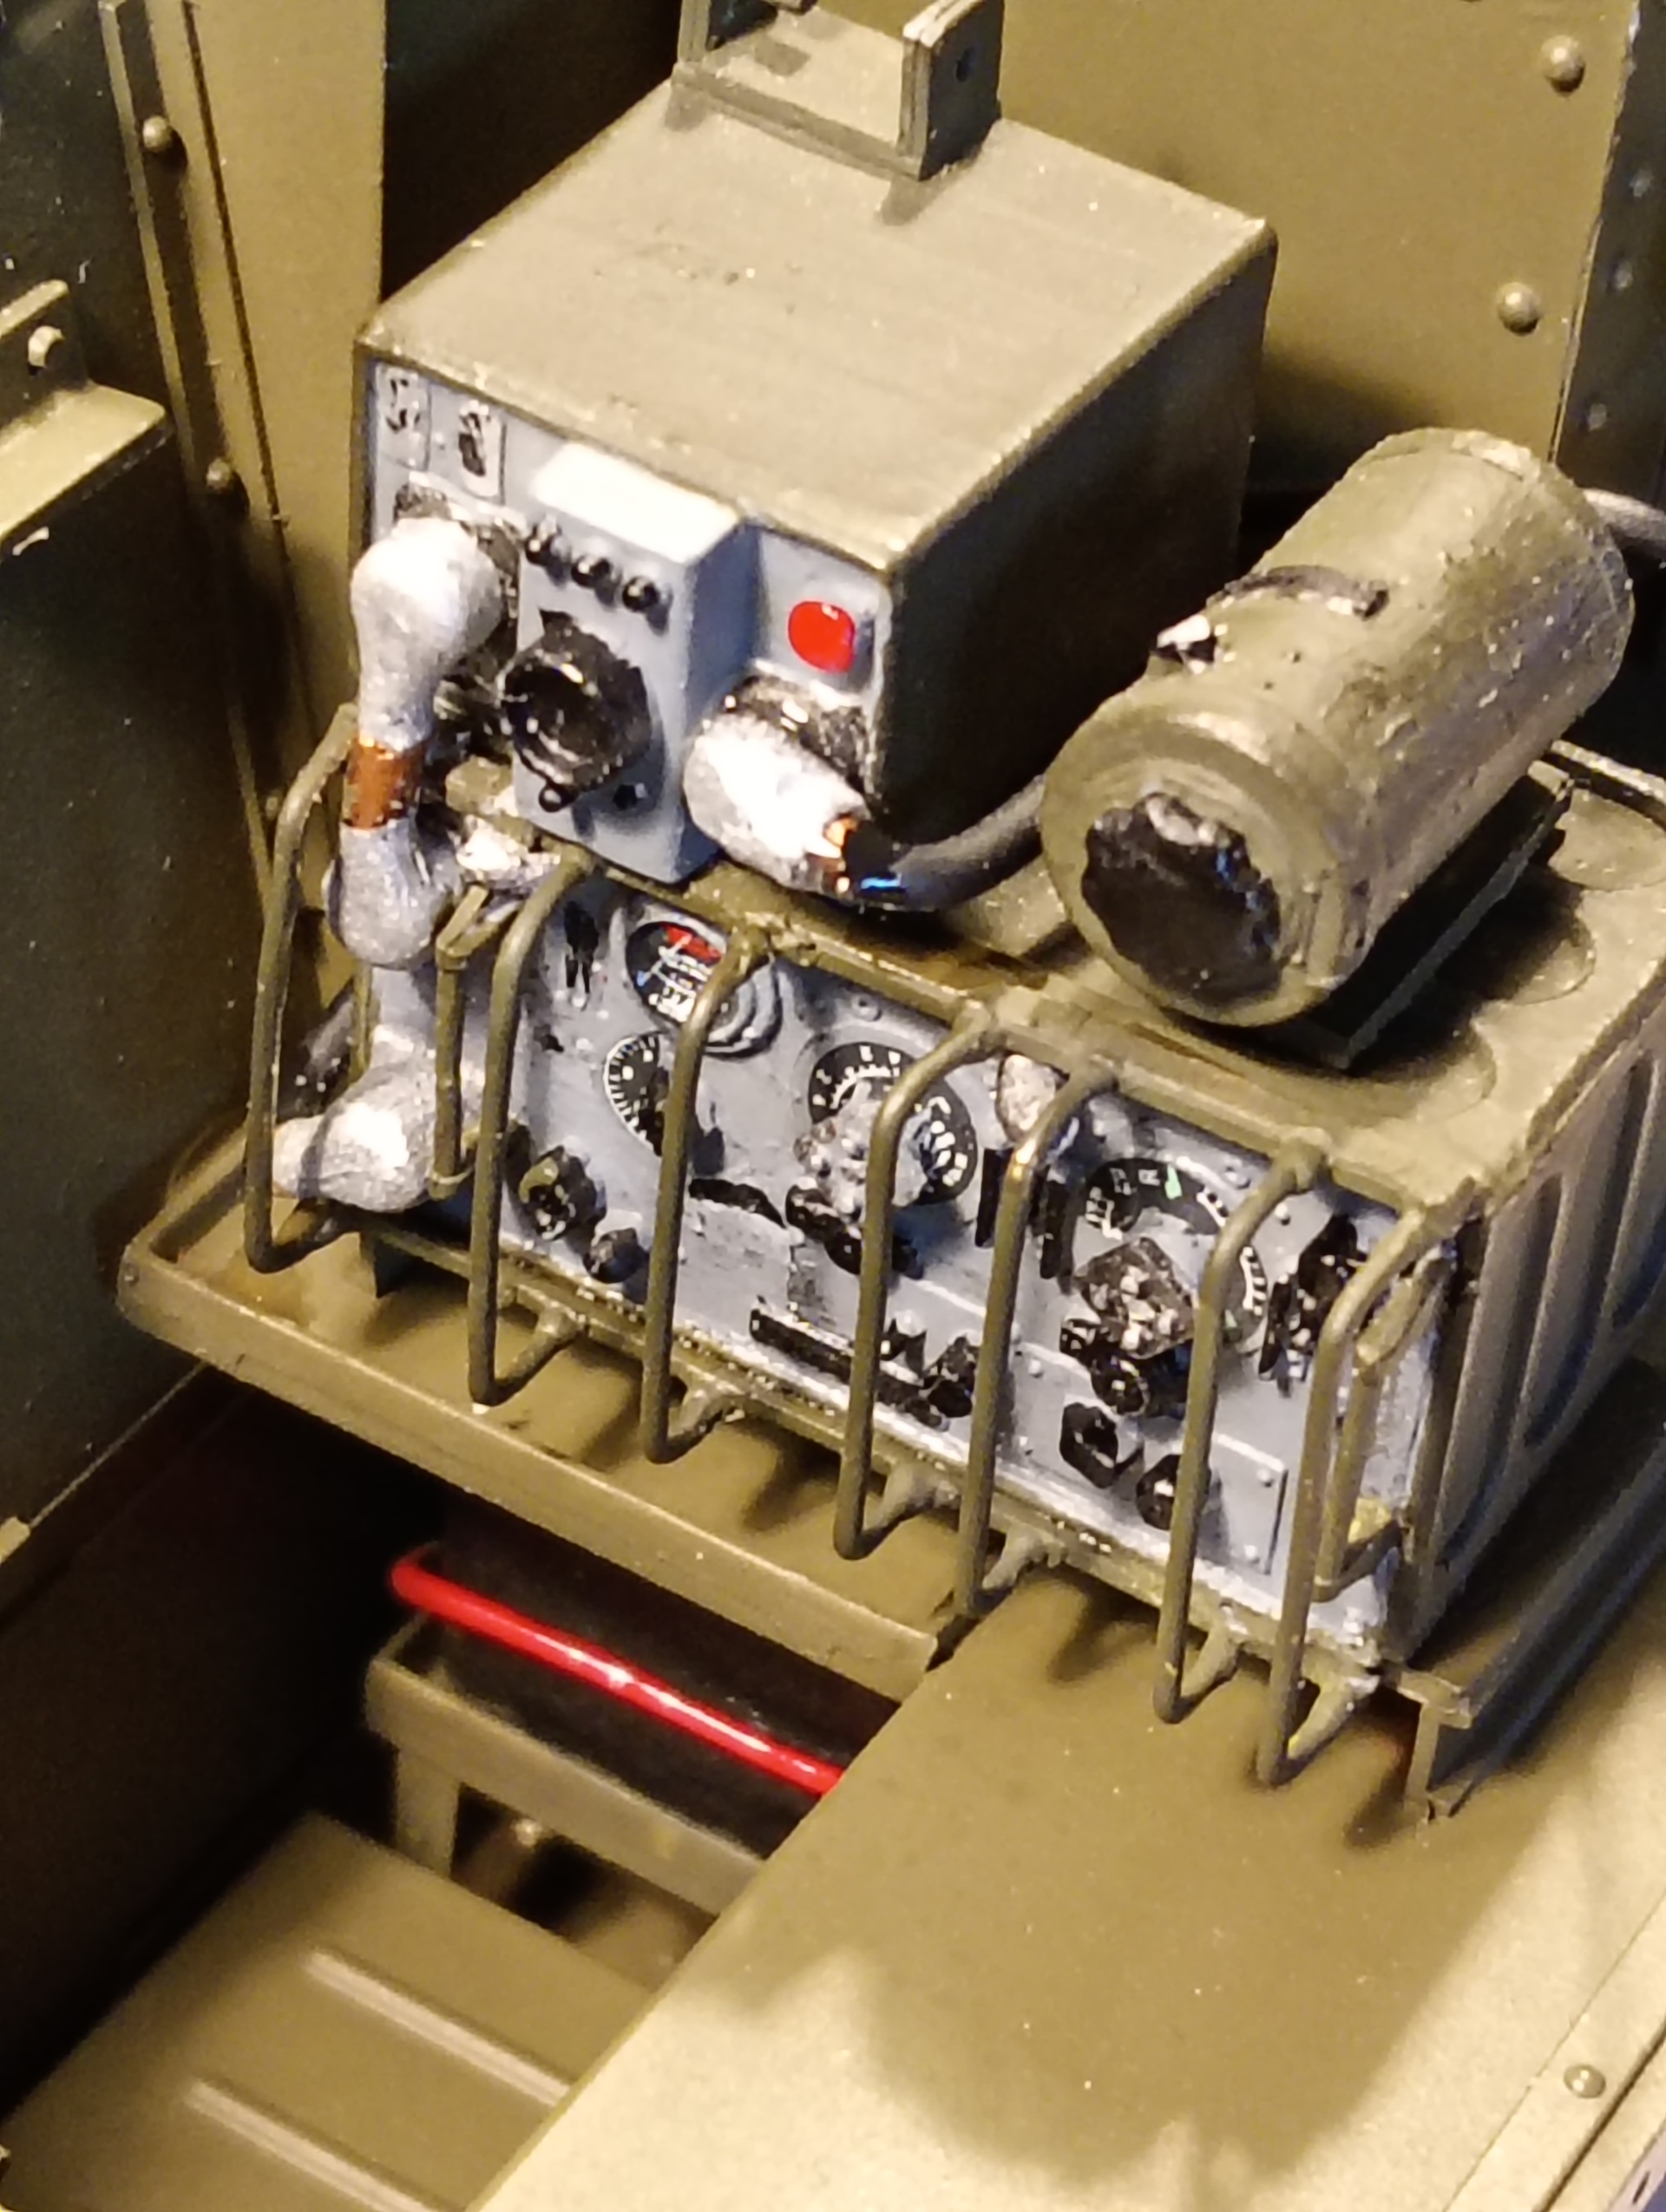
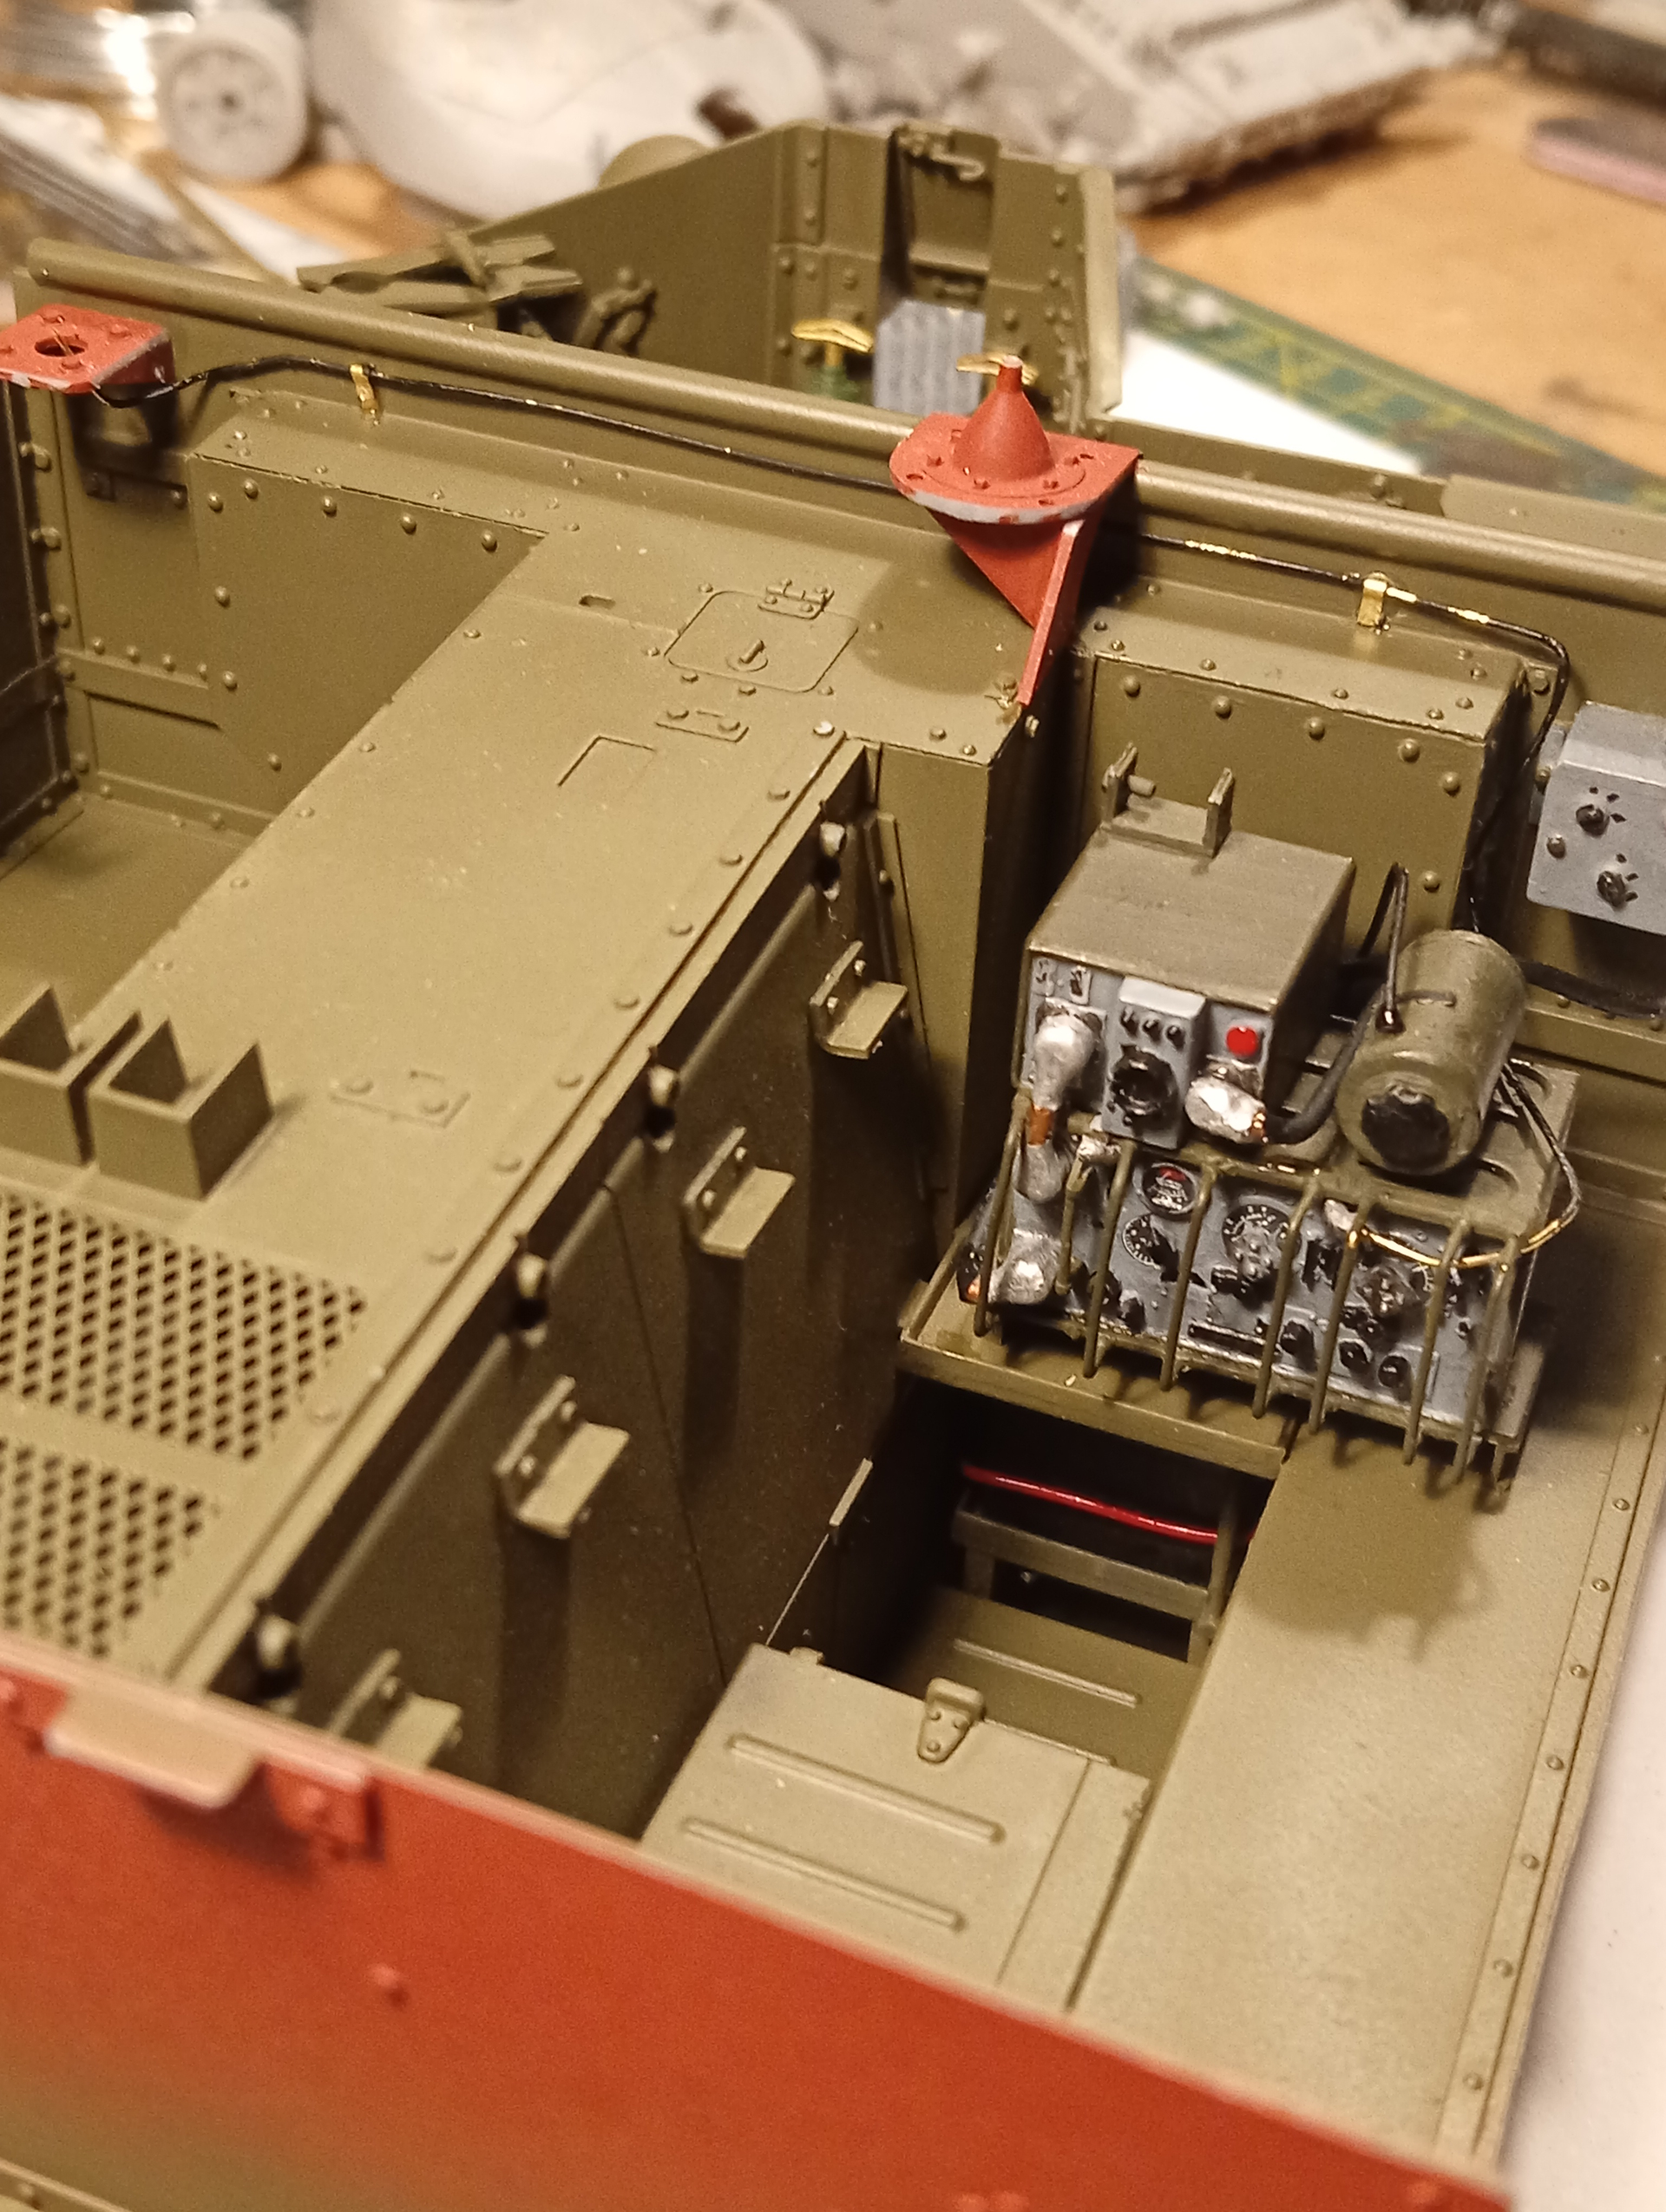
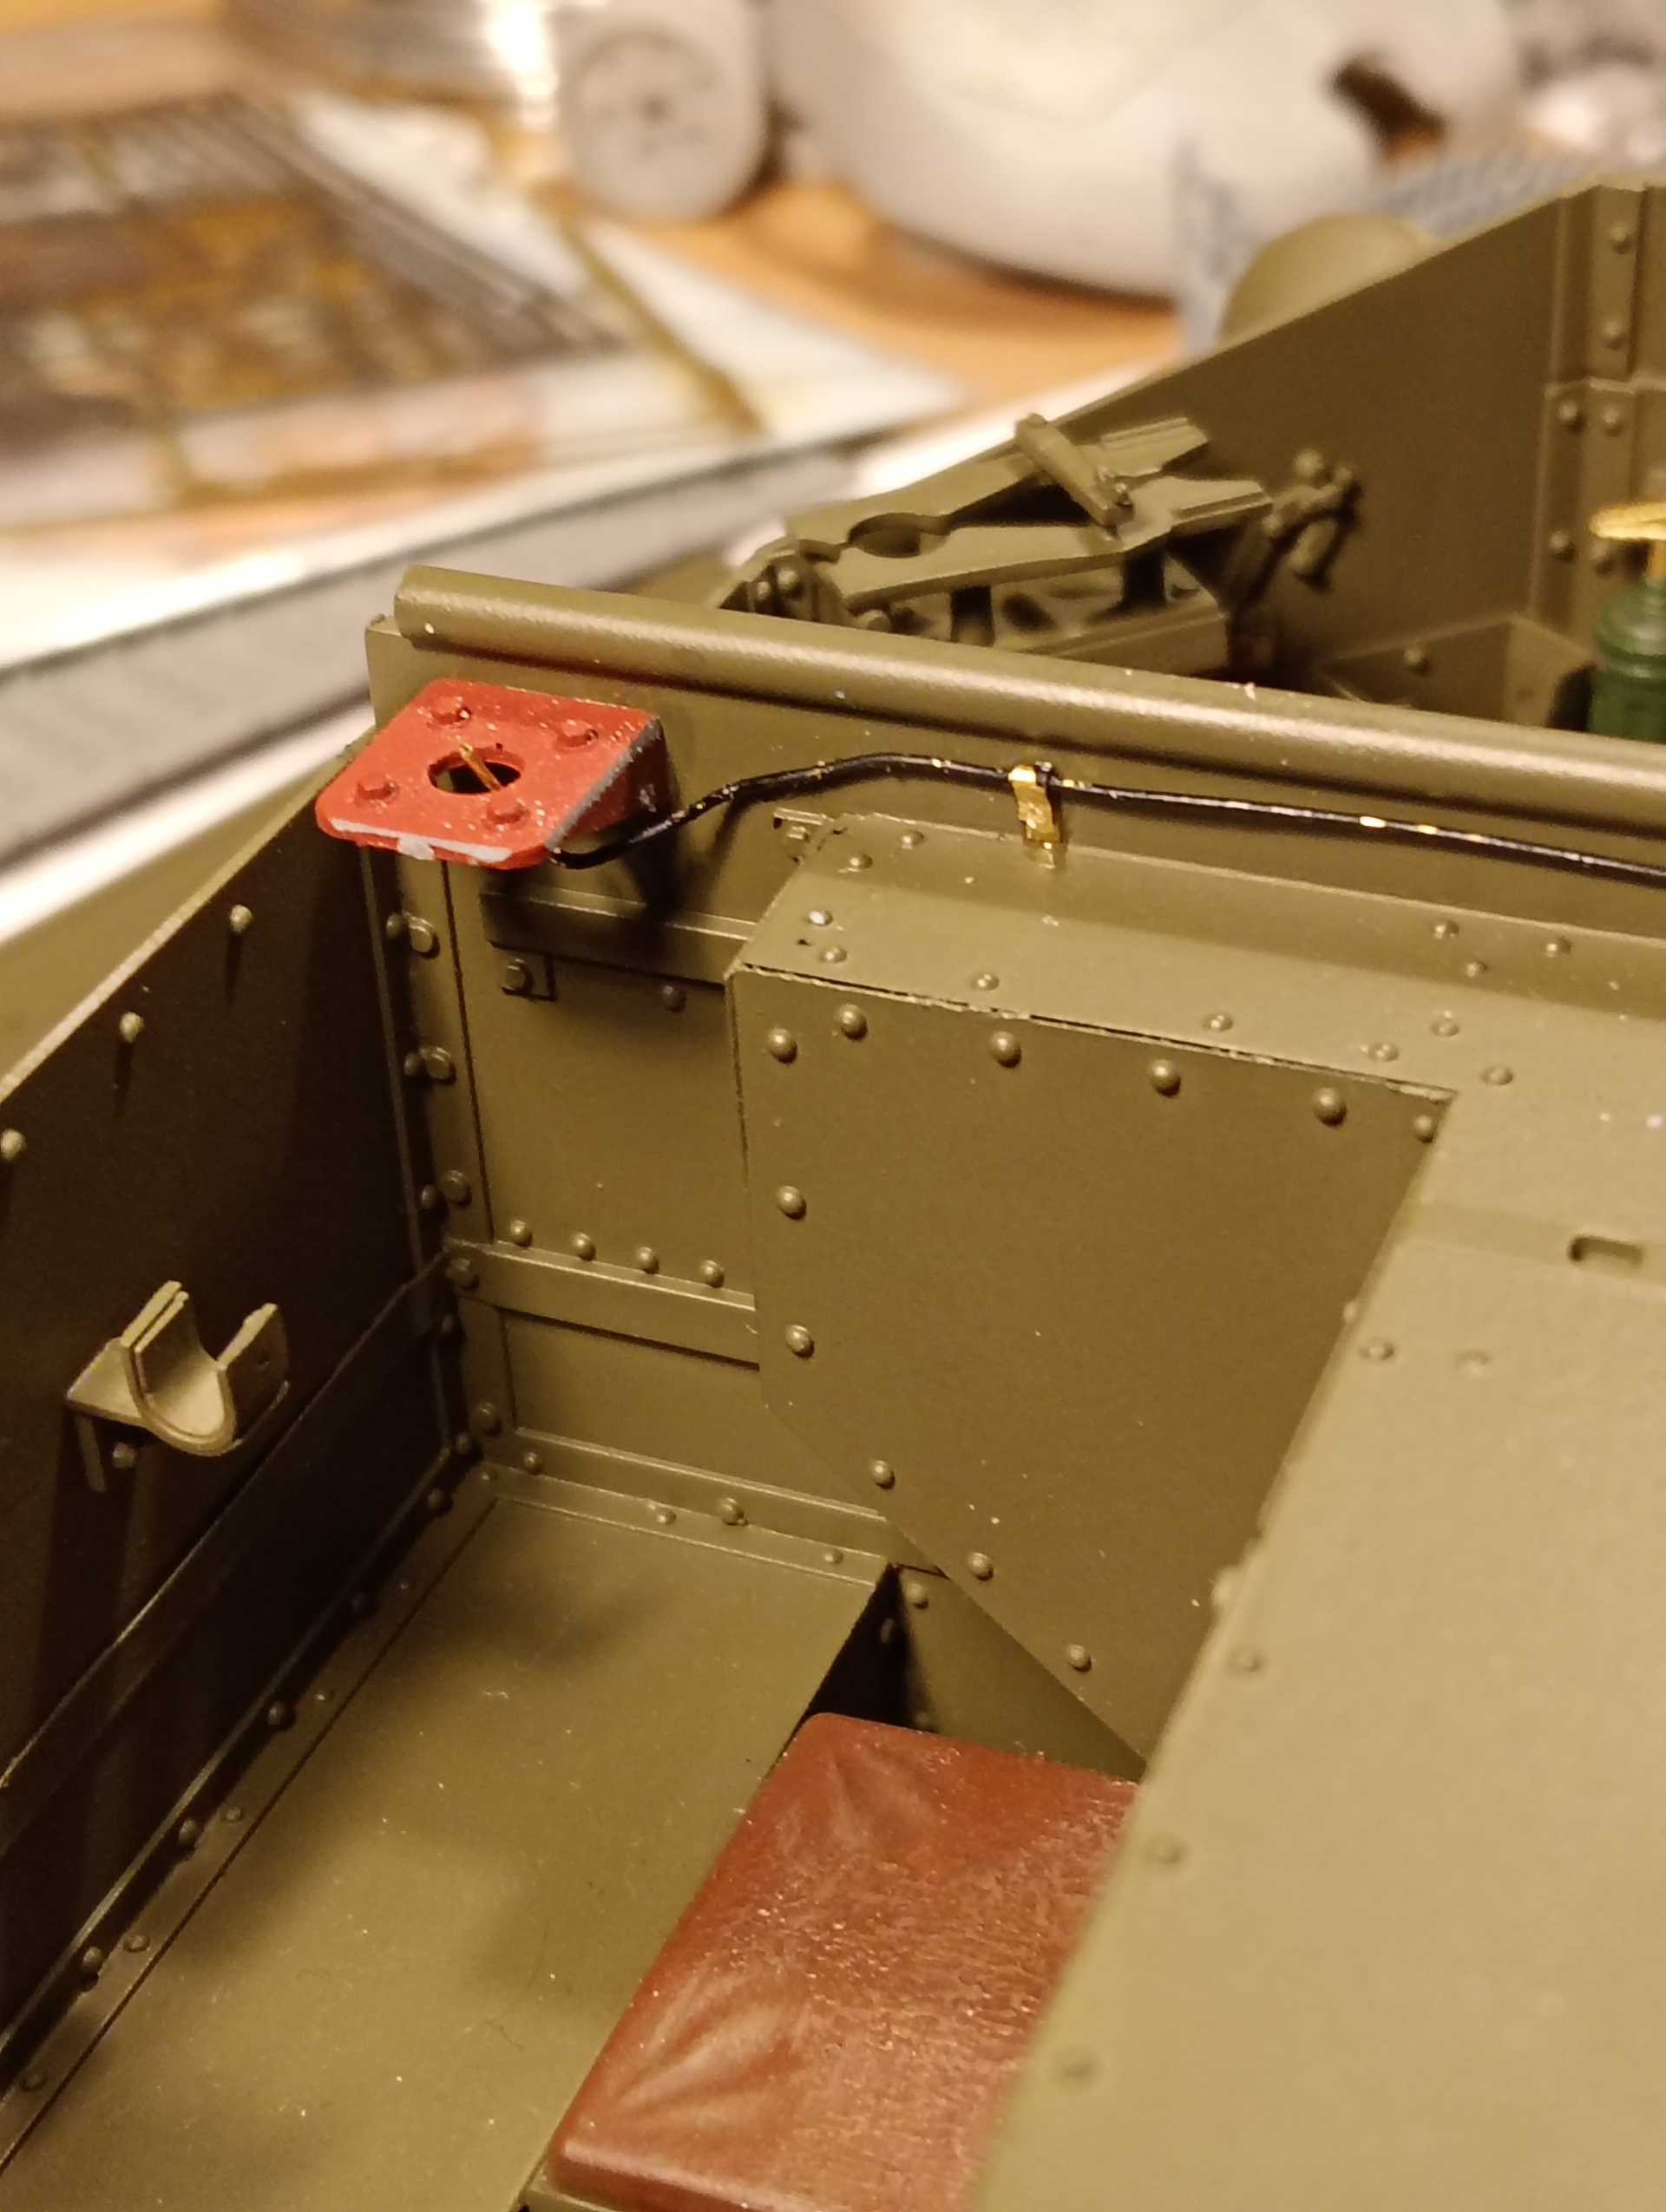
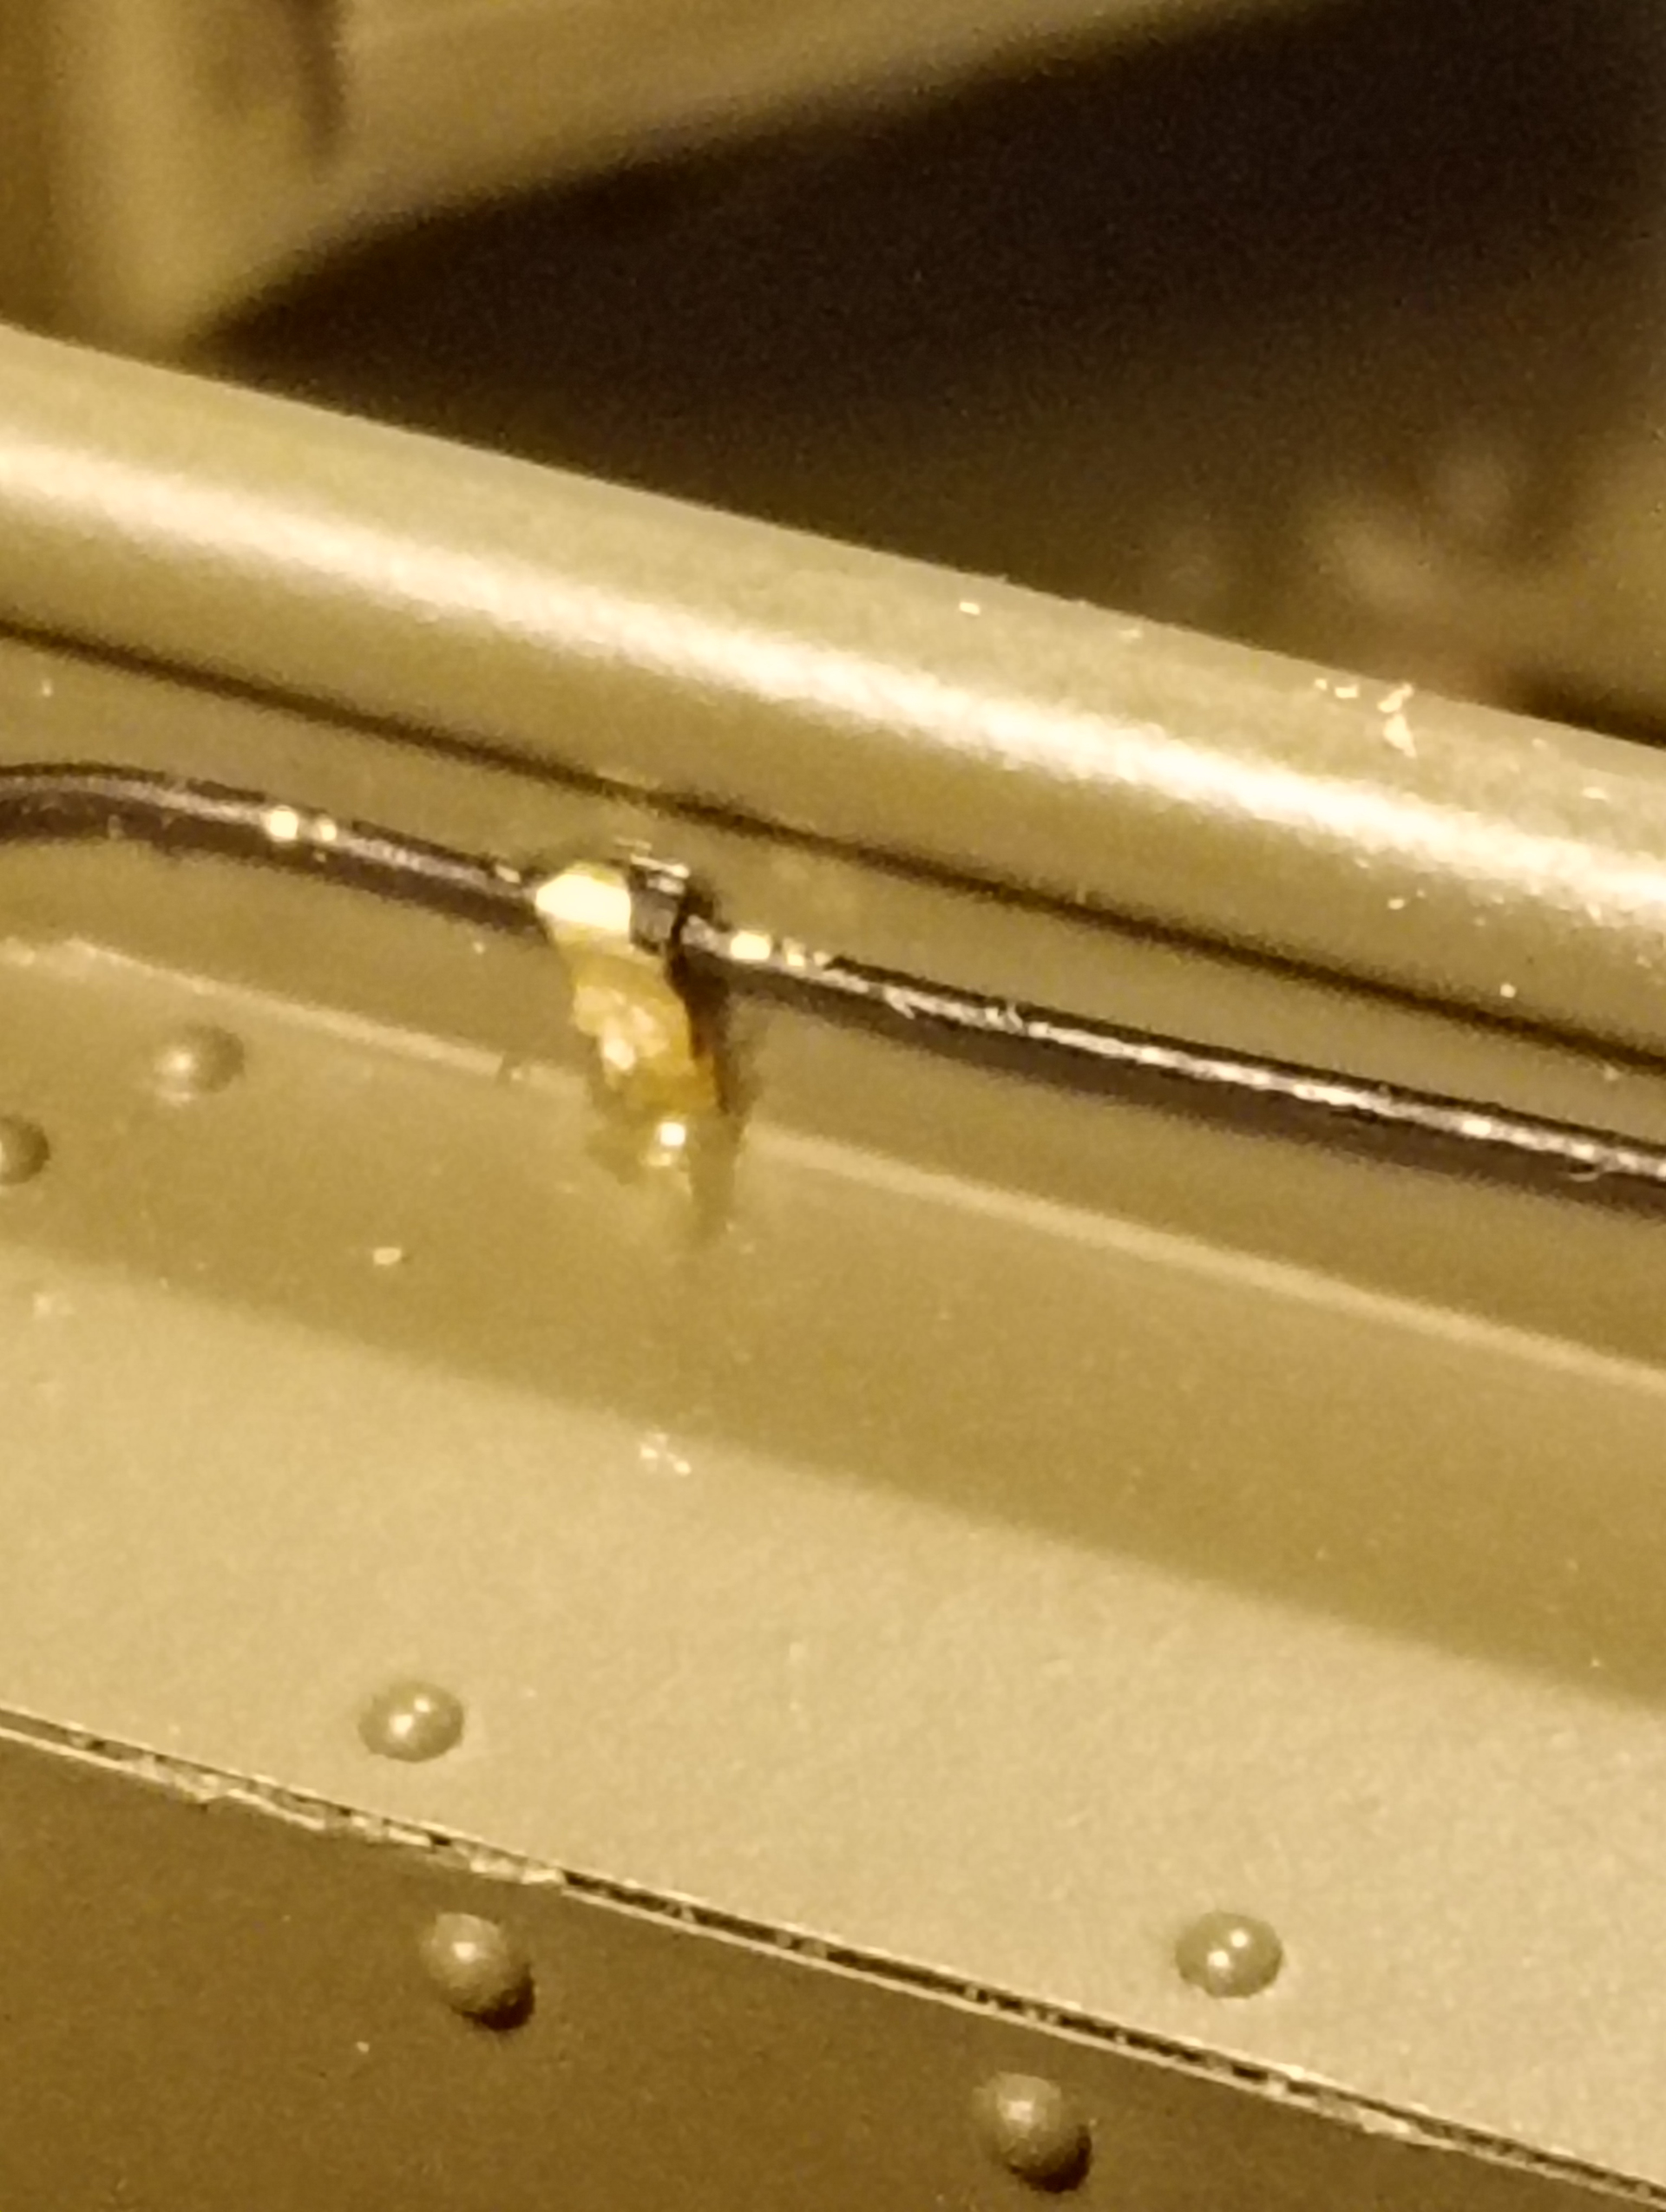
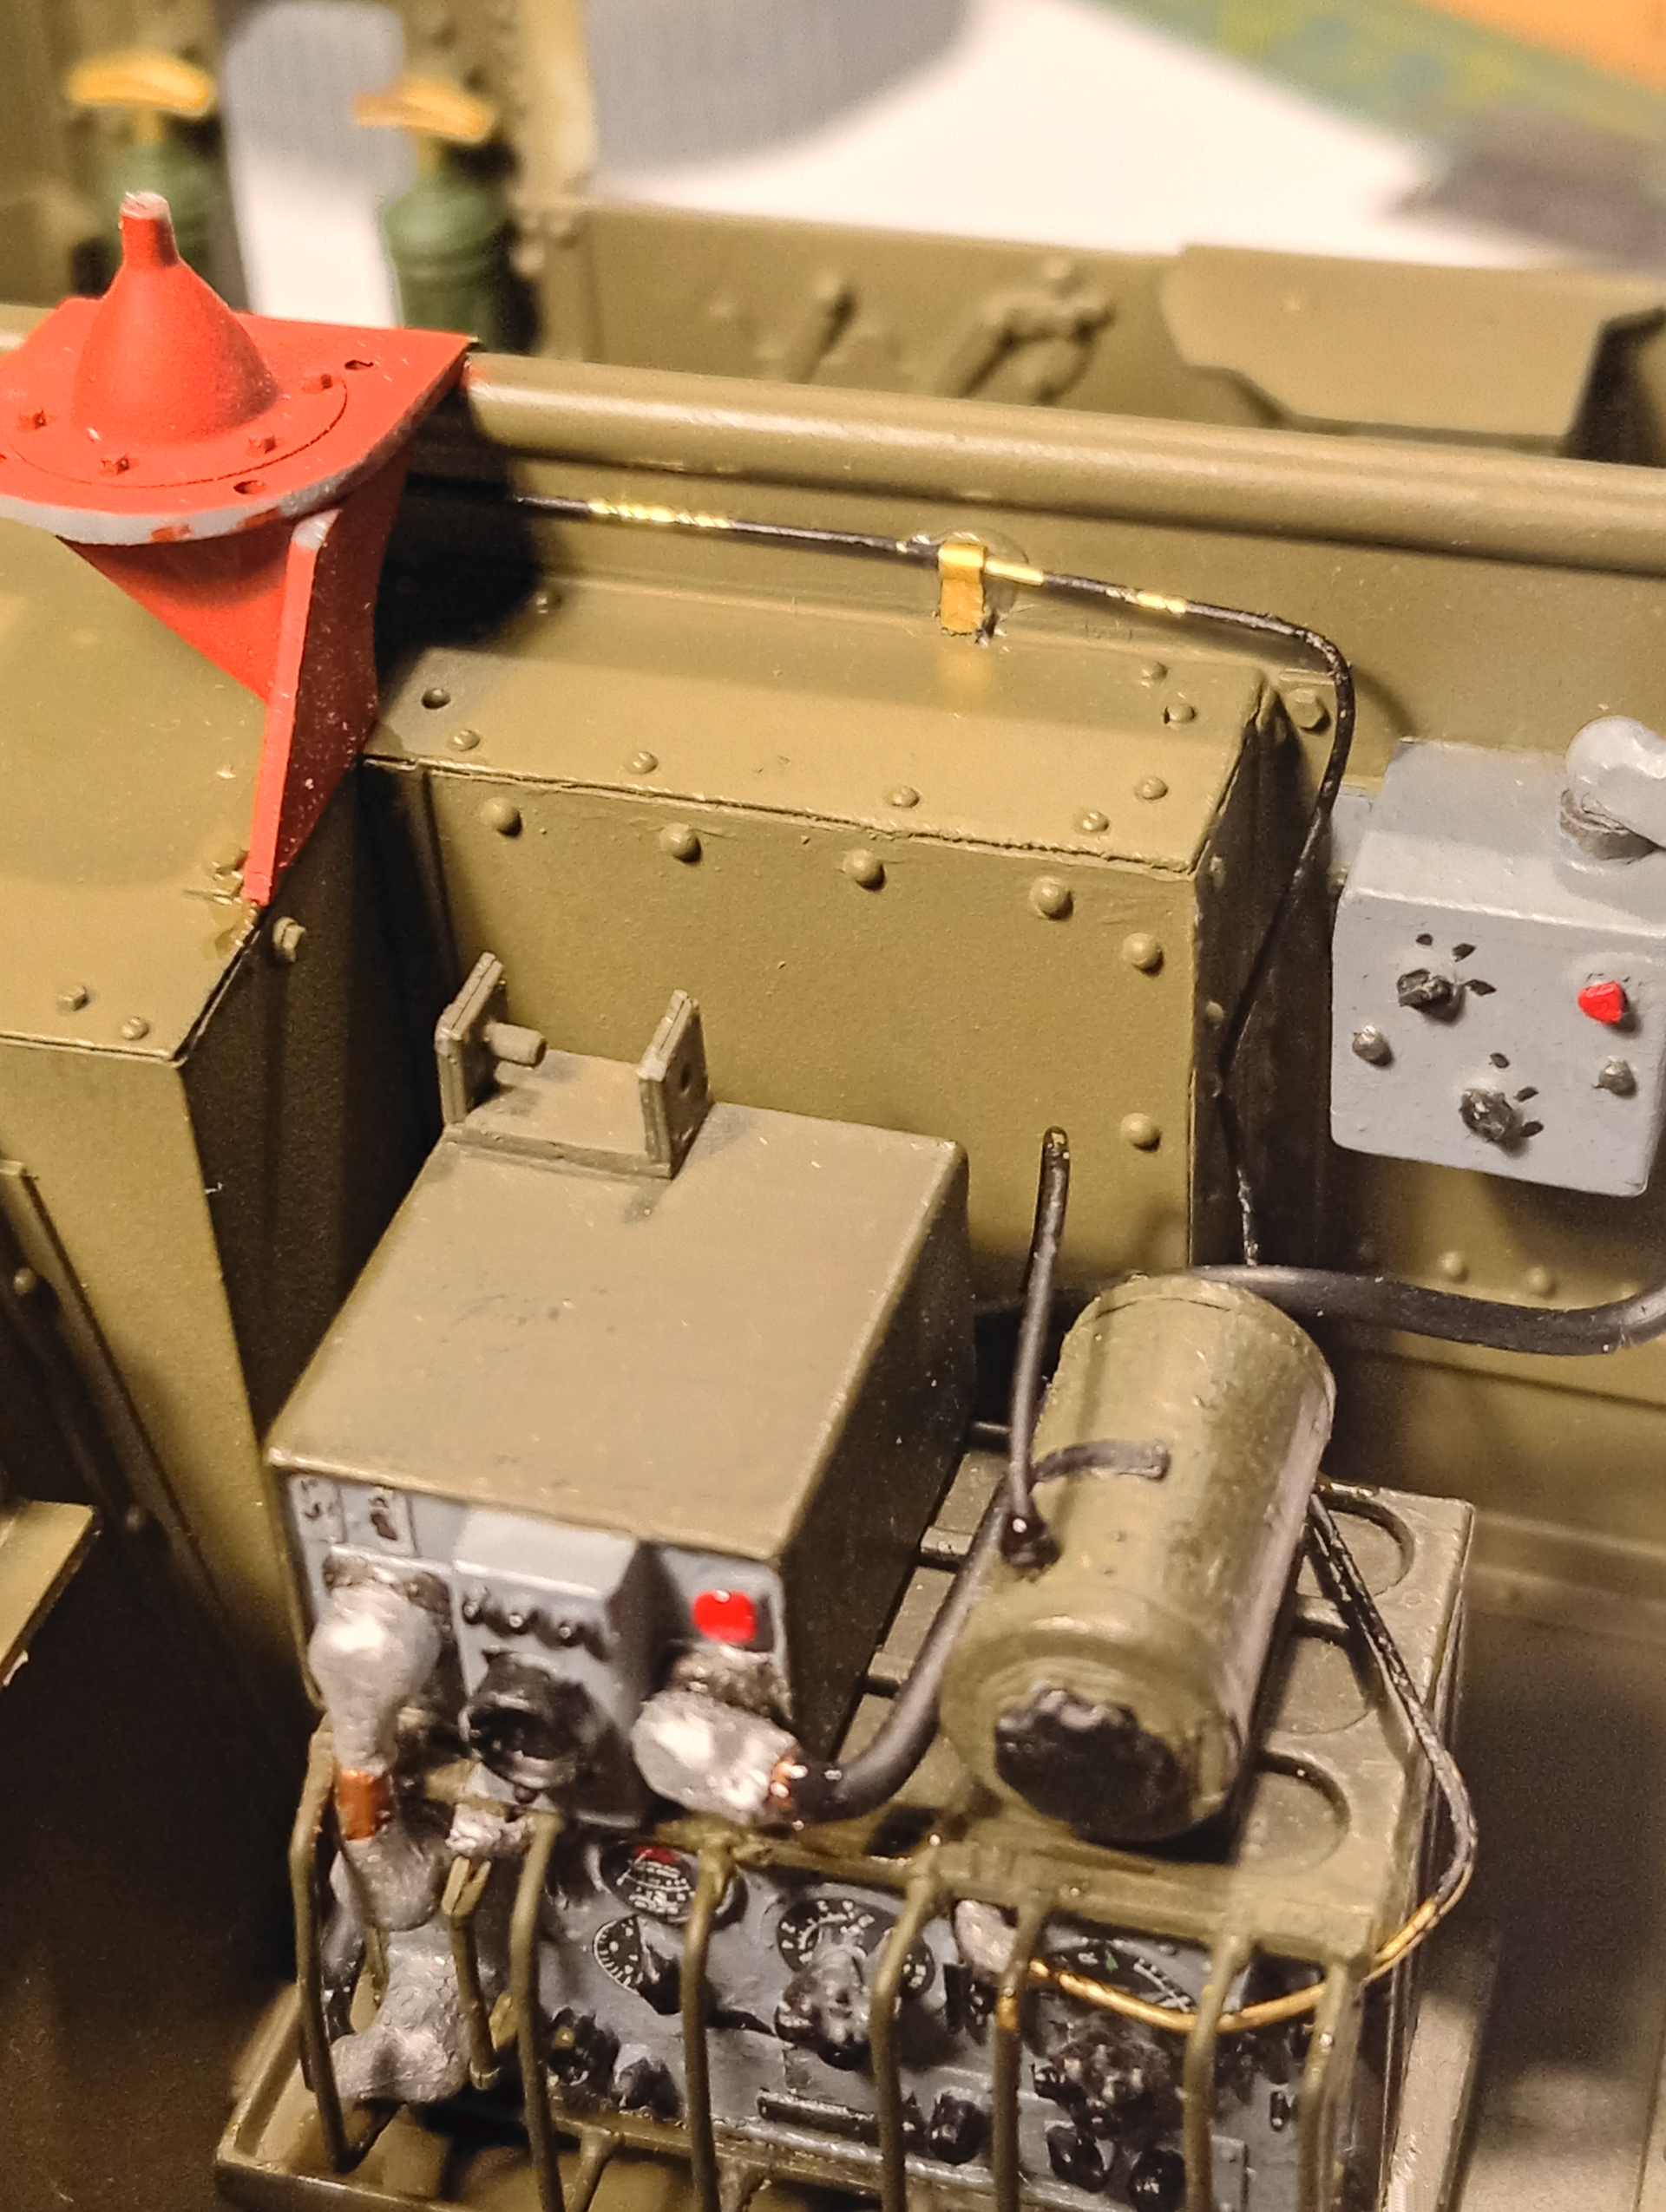
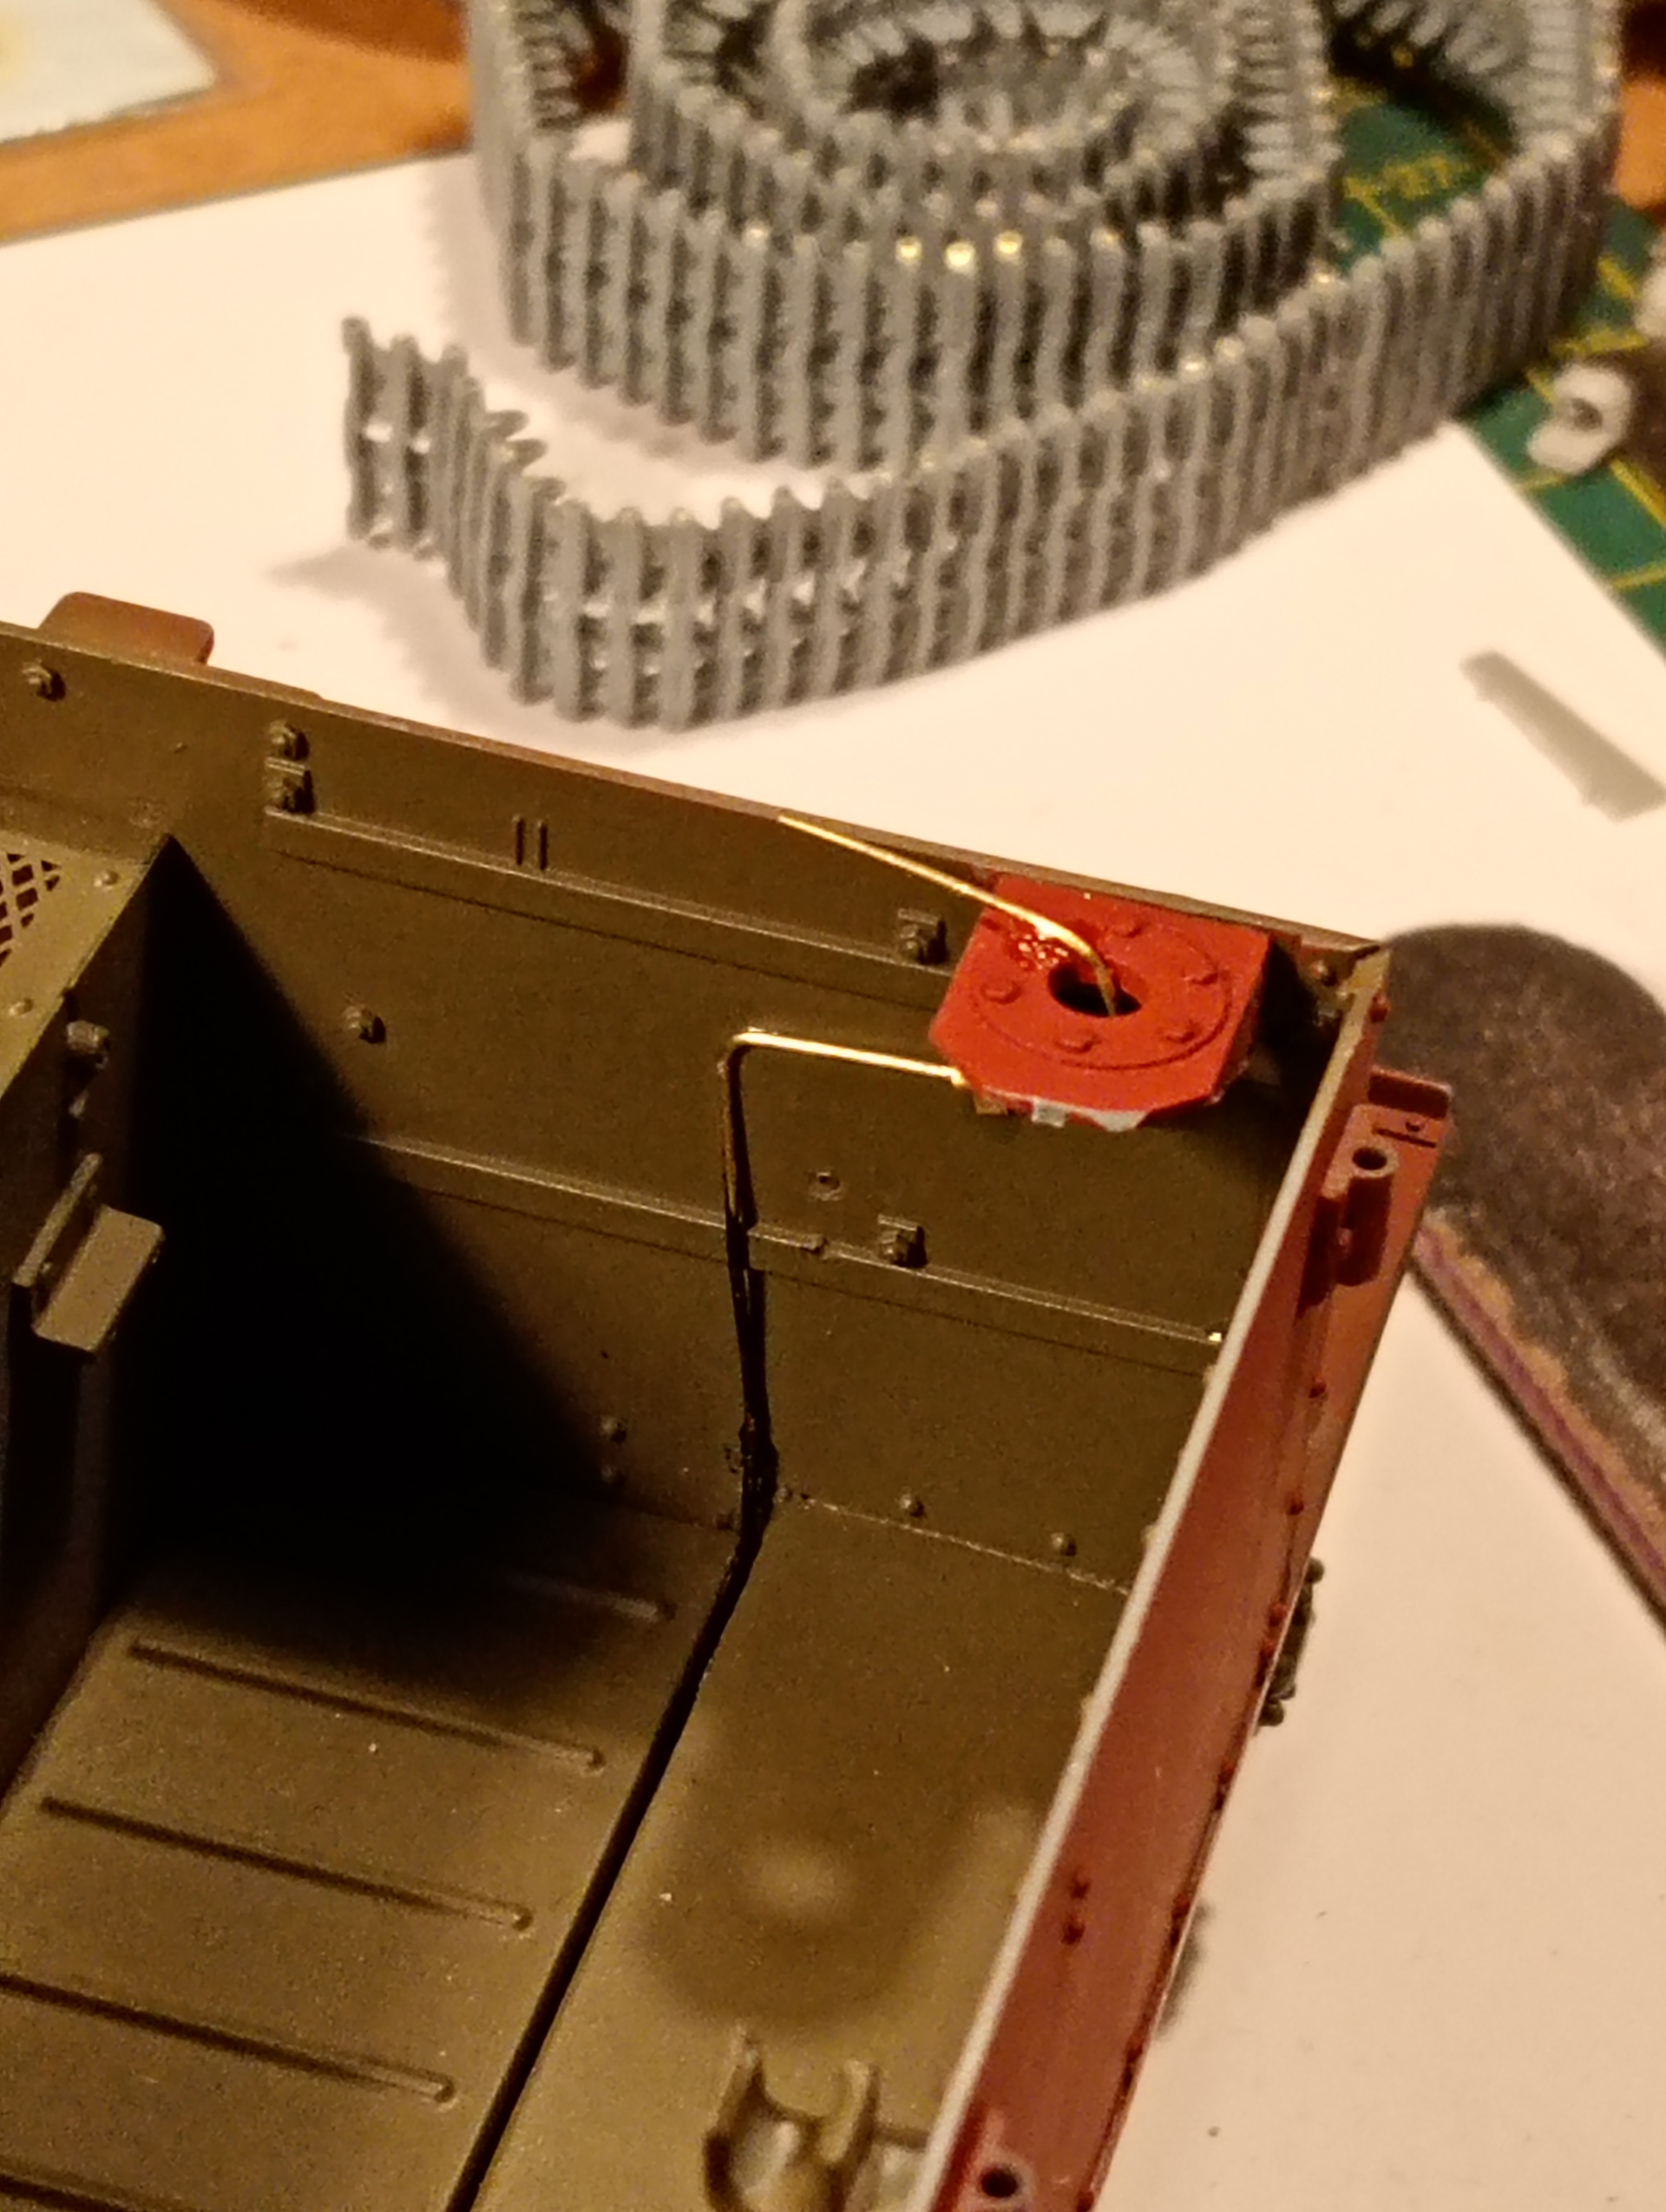
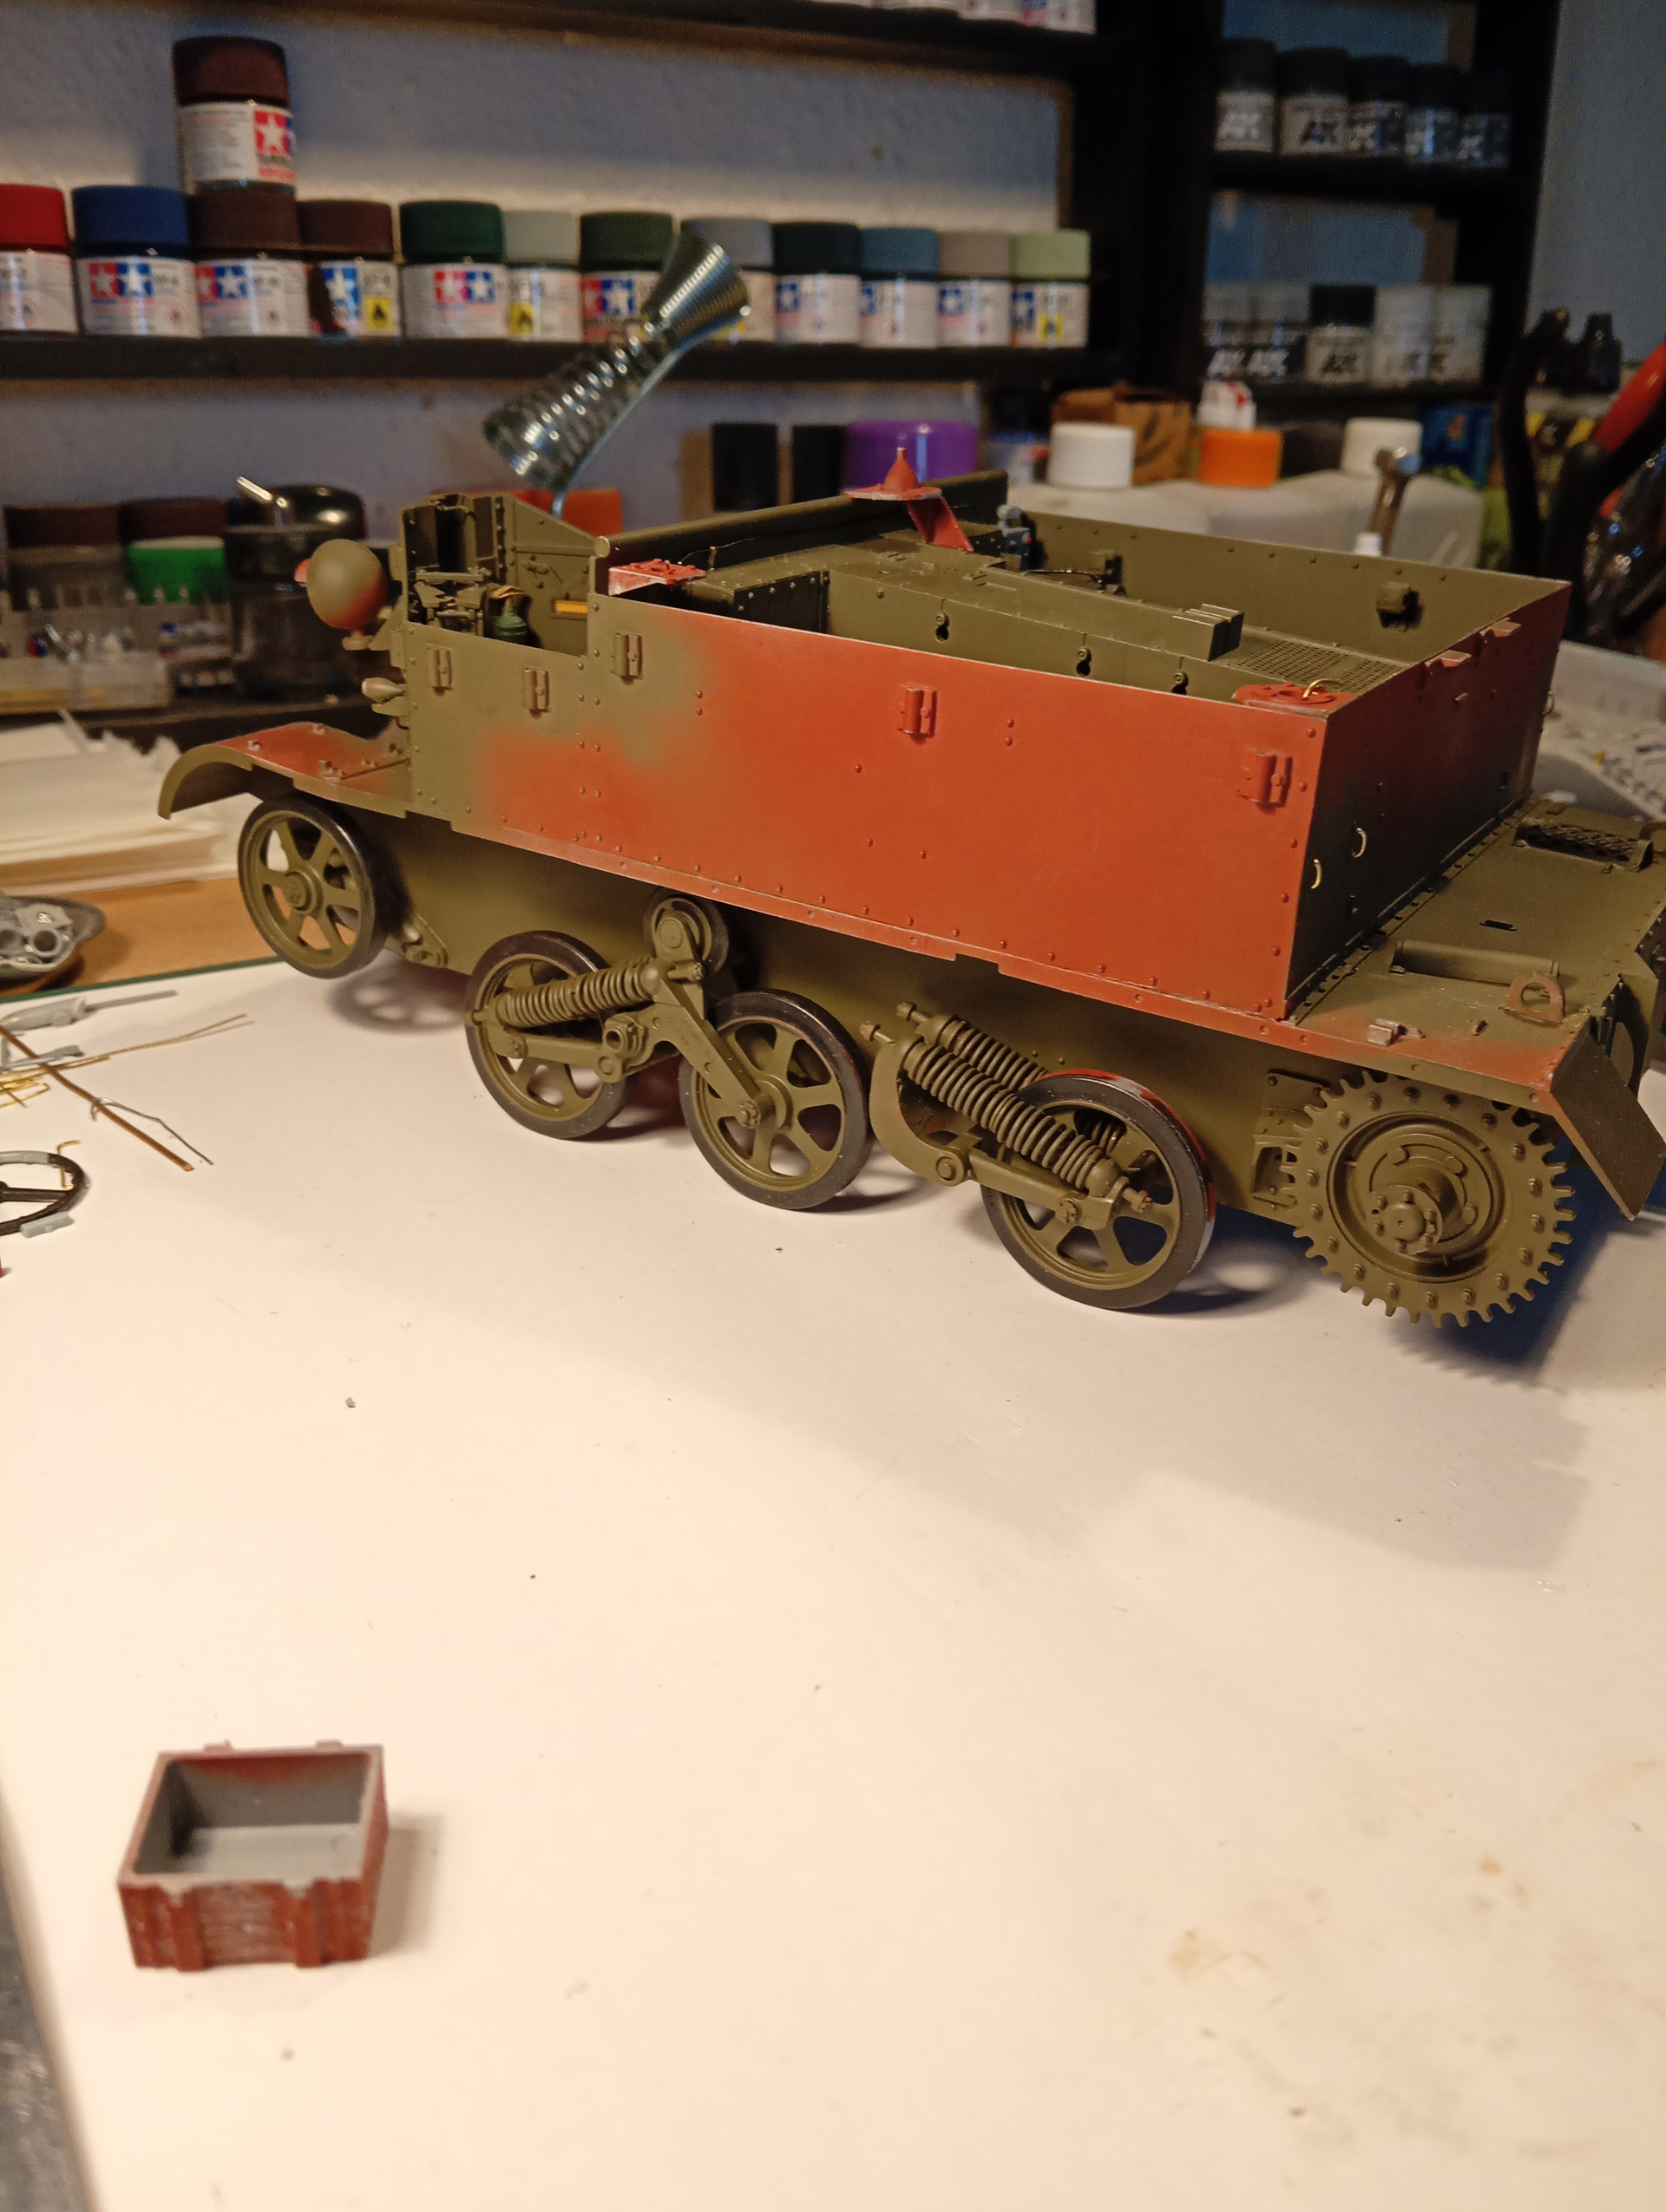
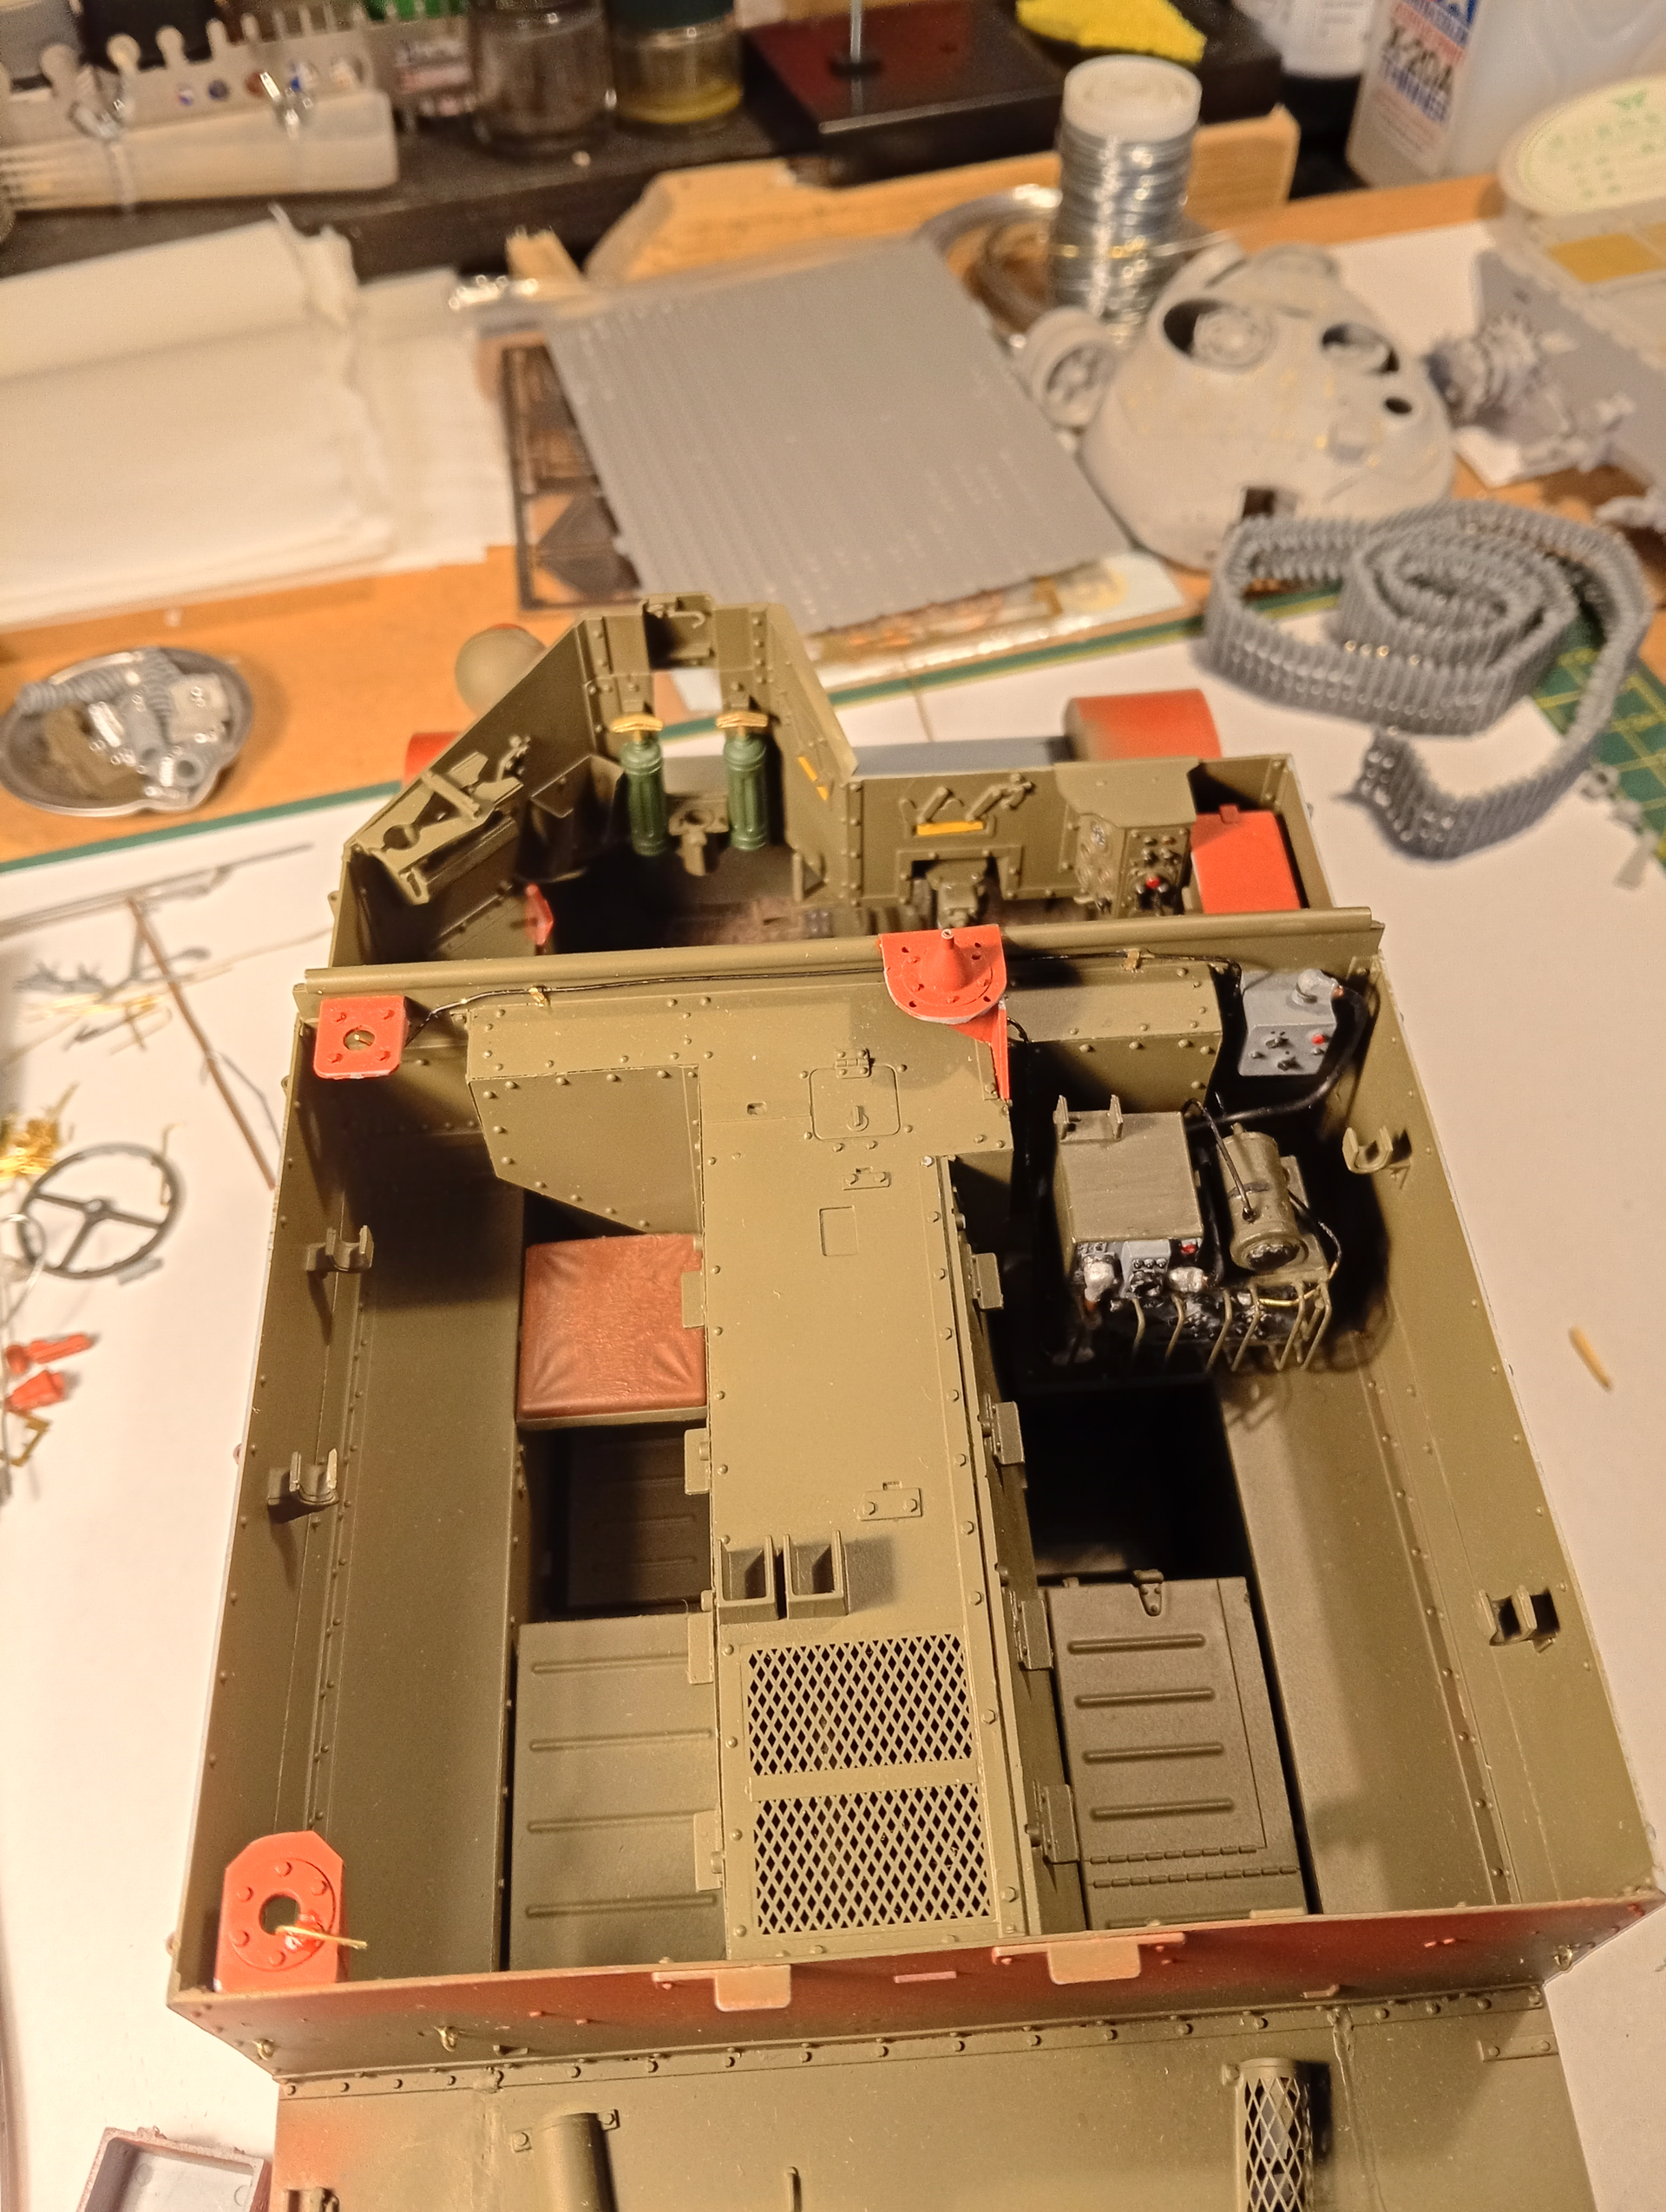
Worked on the cables under the front plate. Replaced 2 sections with .7mm wire on each end.
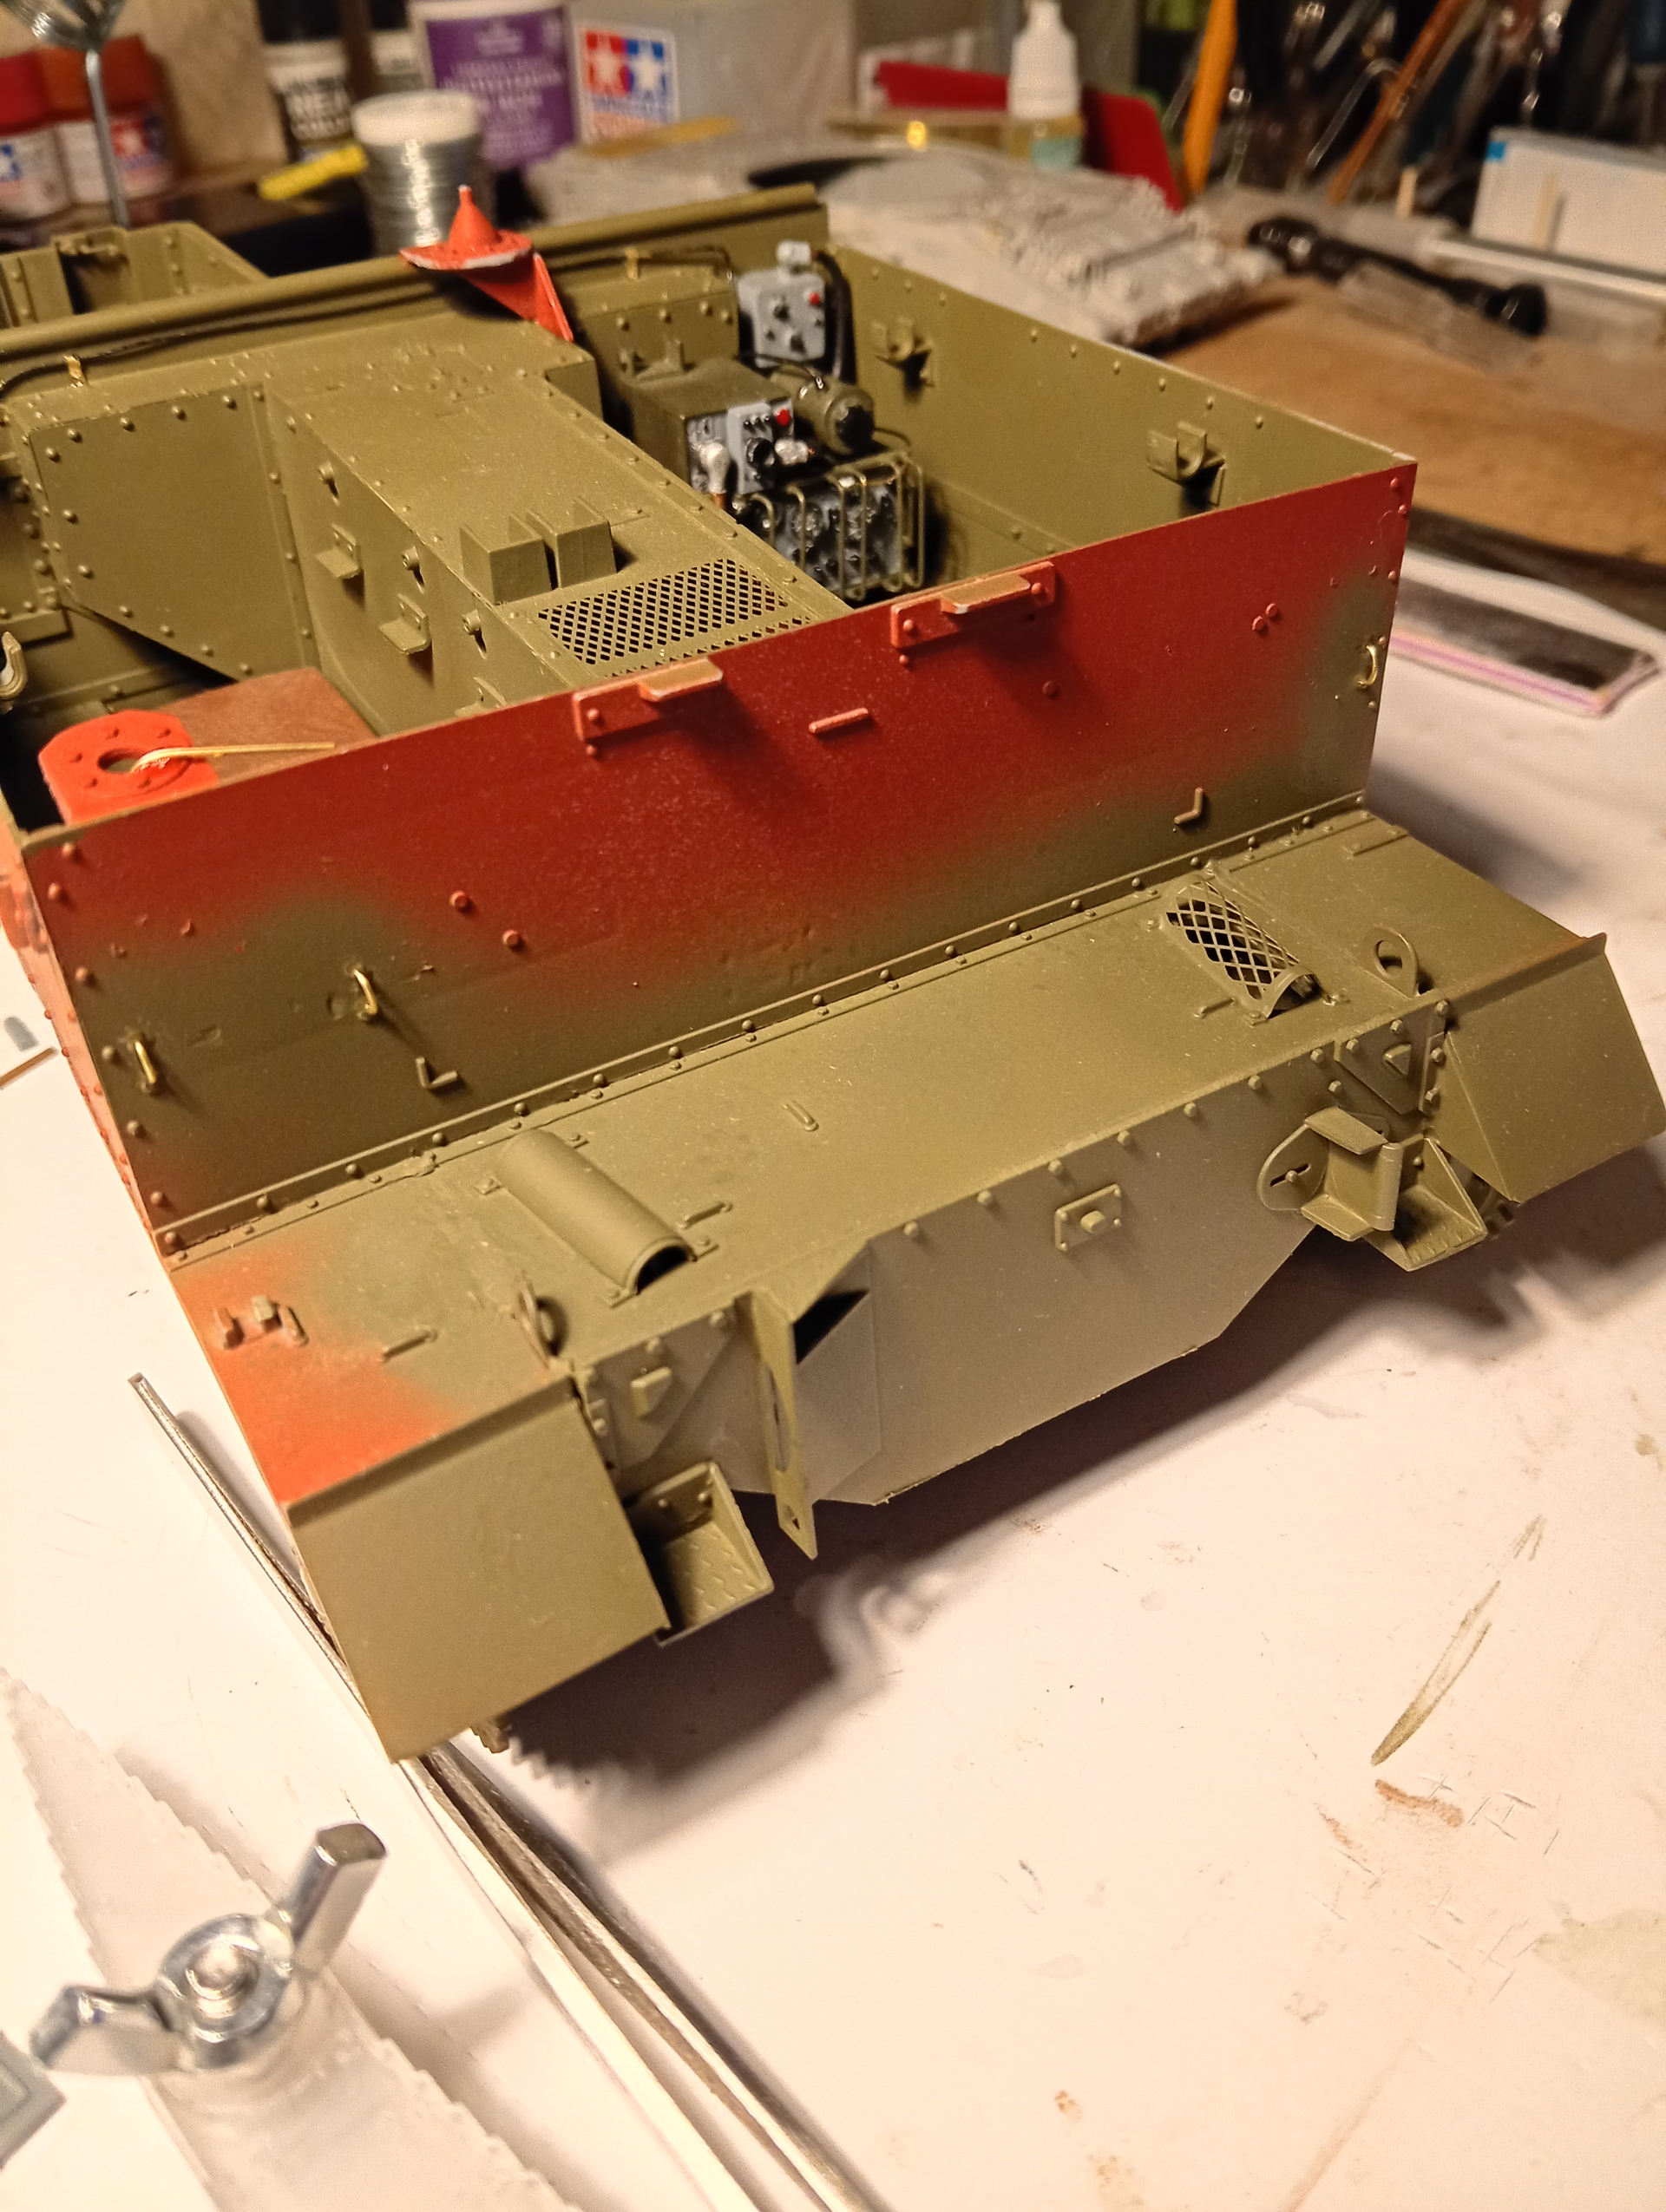
And gave a few areas on the inside and the upper front section a coat of SCC15.
I can now start on some weathering on the cab areas that will be hard to get to once the front plate goes on. And paint the seat cushions.
8 Likes
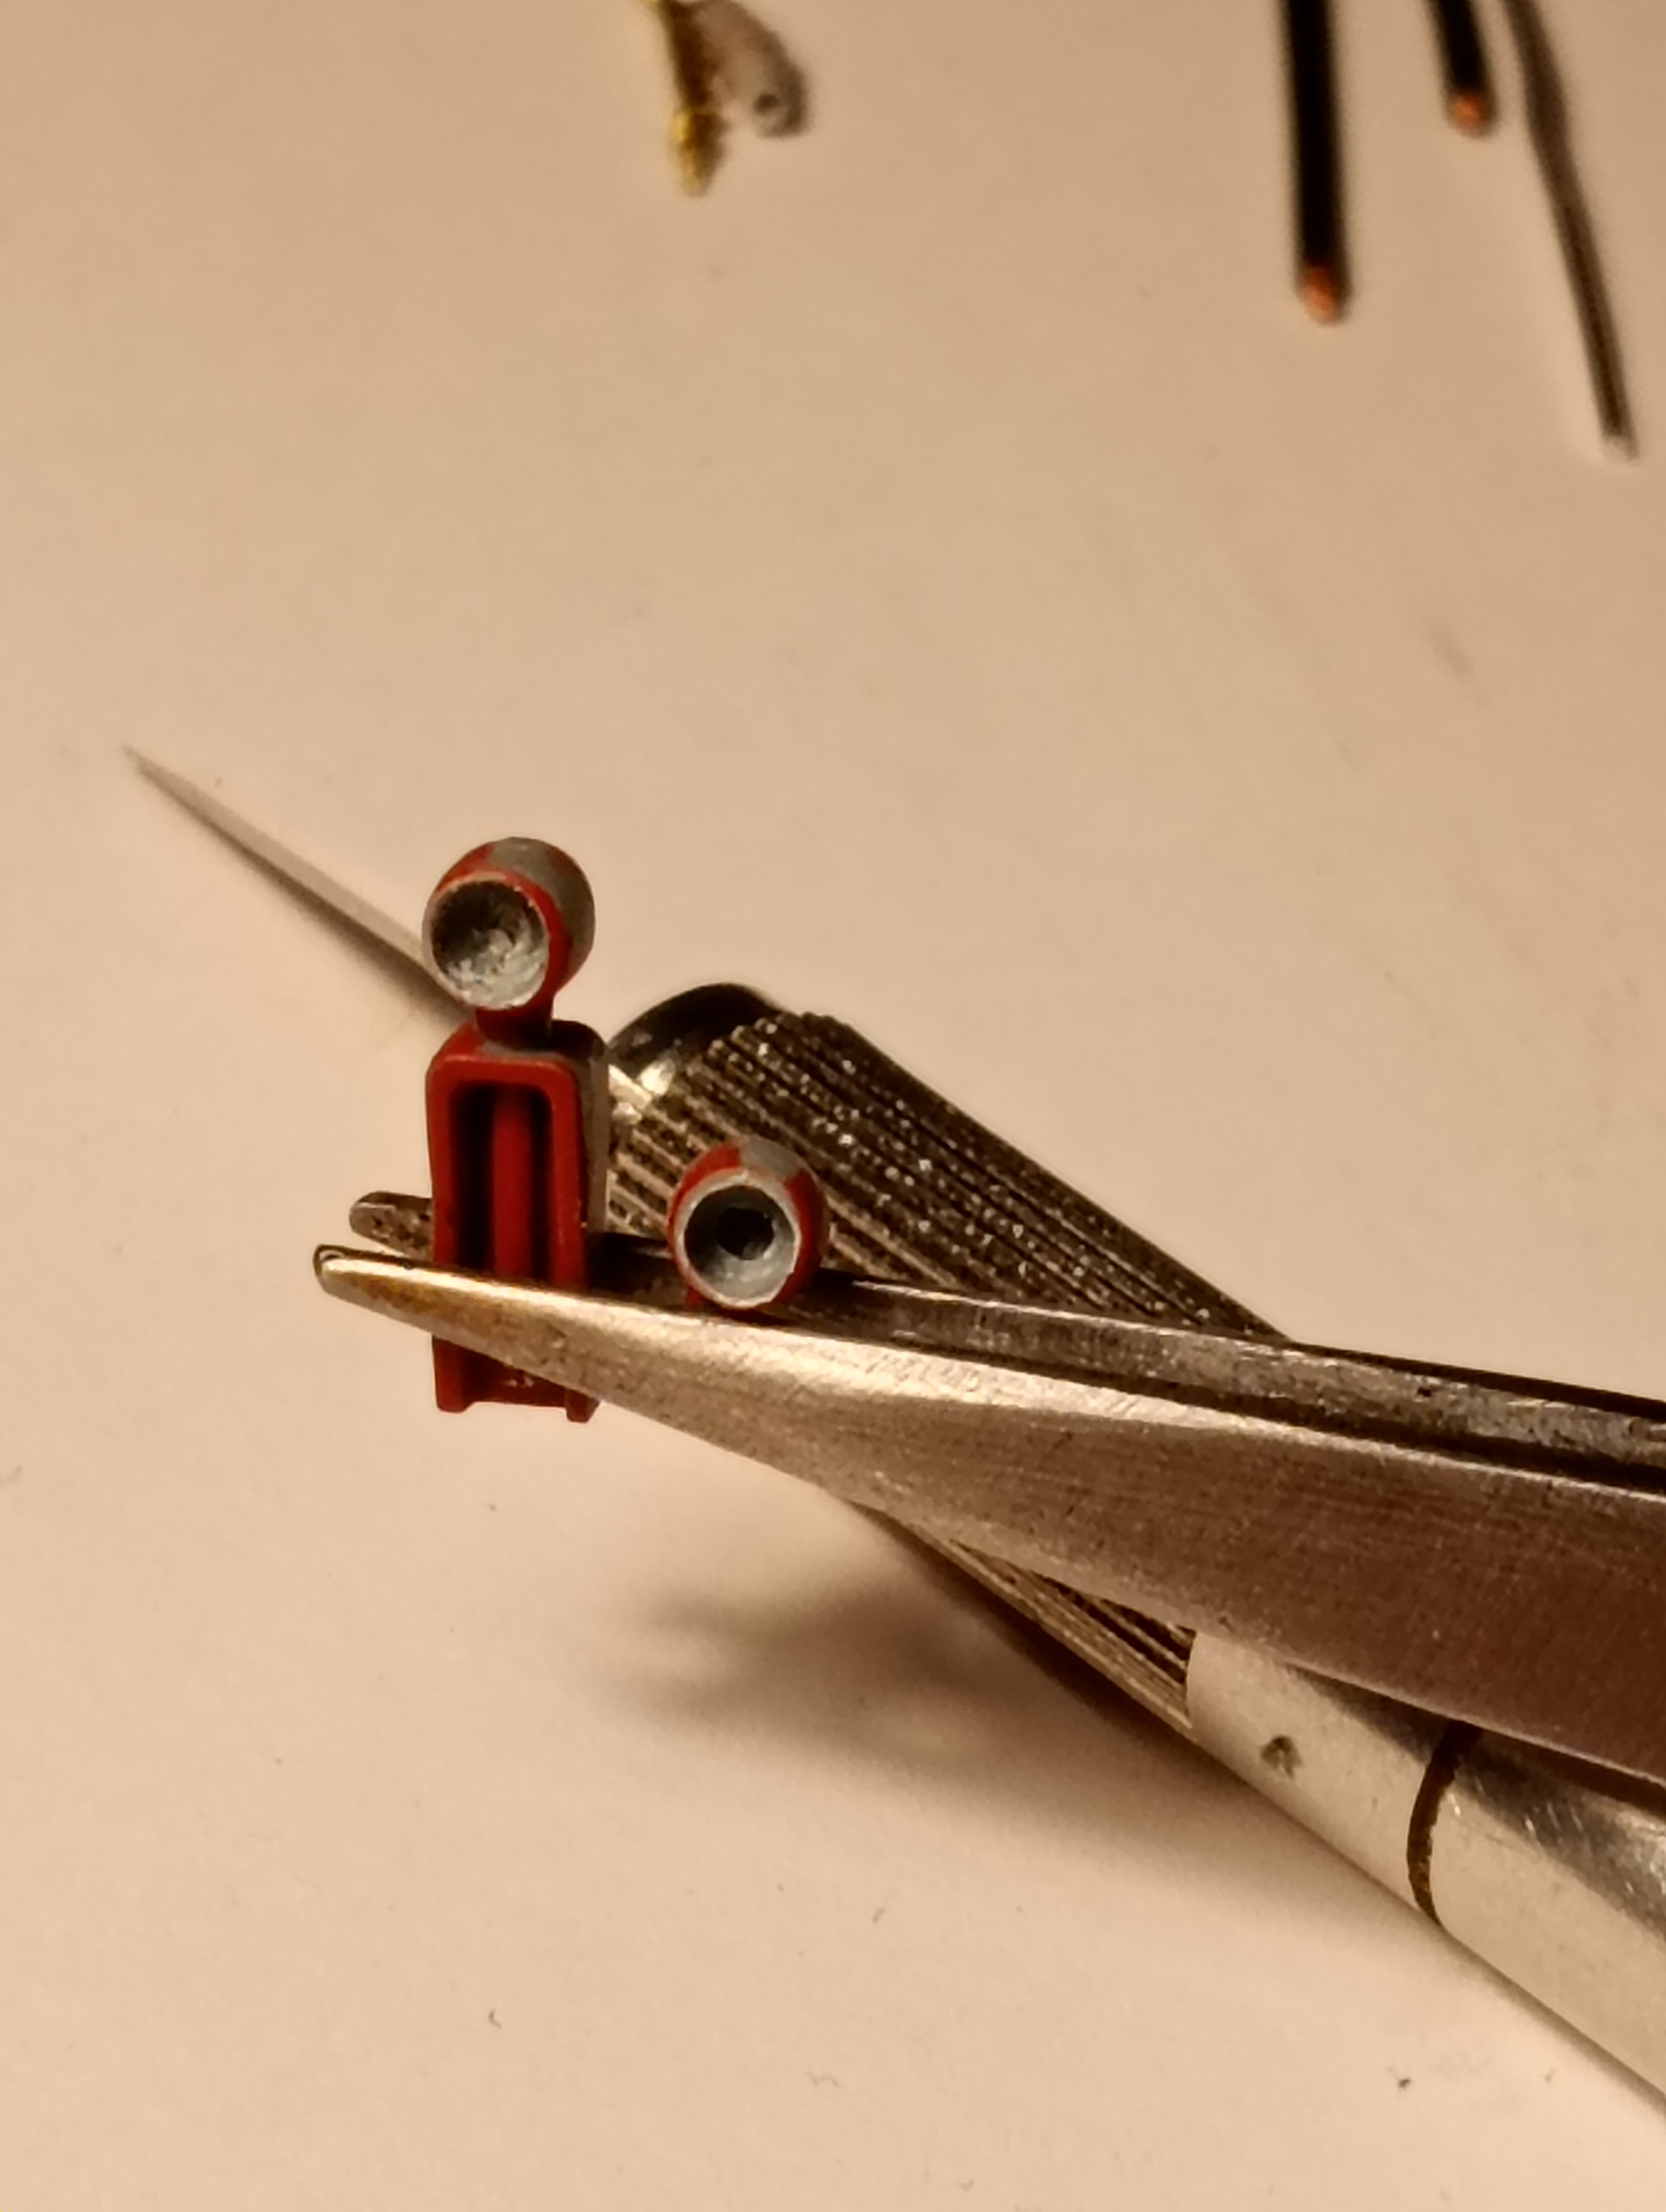
While starting to fit the shrouded main light and the side lights, I found another area that gecko missed the ball a bit …the side lights are offered as just one solid unit, and you are just meant to paint the lens white. 2 clear parts would have been so easy to include ?? Anyway … I hollowed out the front after cutting the curve away to flatten them, and found some spare clear parts that will fit (from an M1 clear sprue)
When completed, I will silver the inside, add the clear part and dab the front with liquid mask so the clear edges get a coat of the base colour.
9 Likes
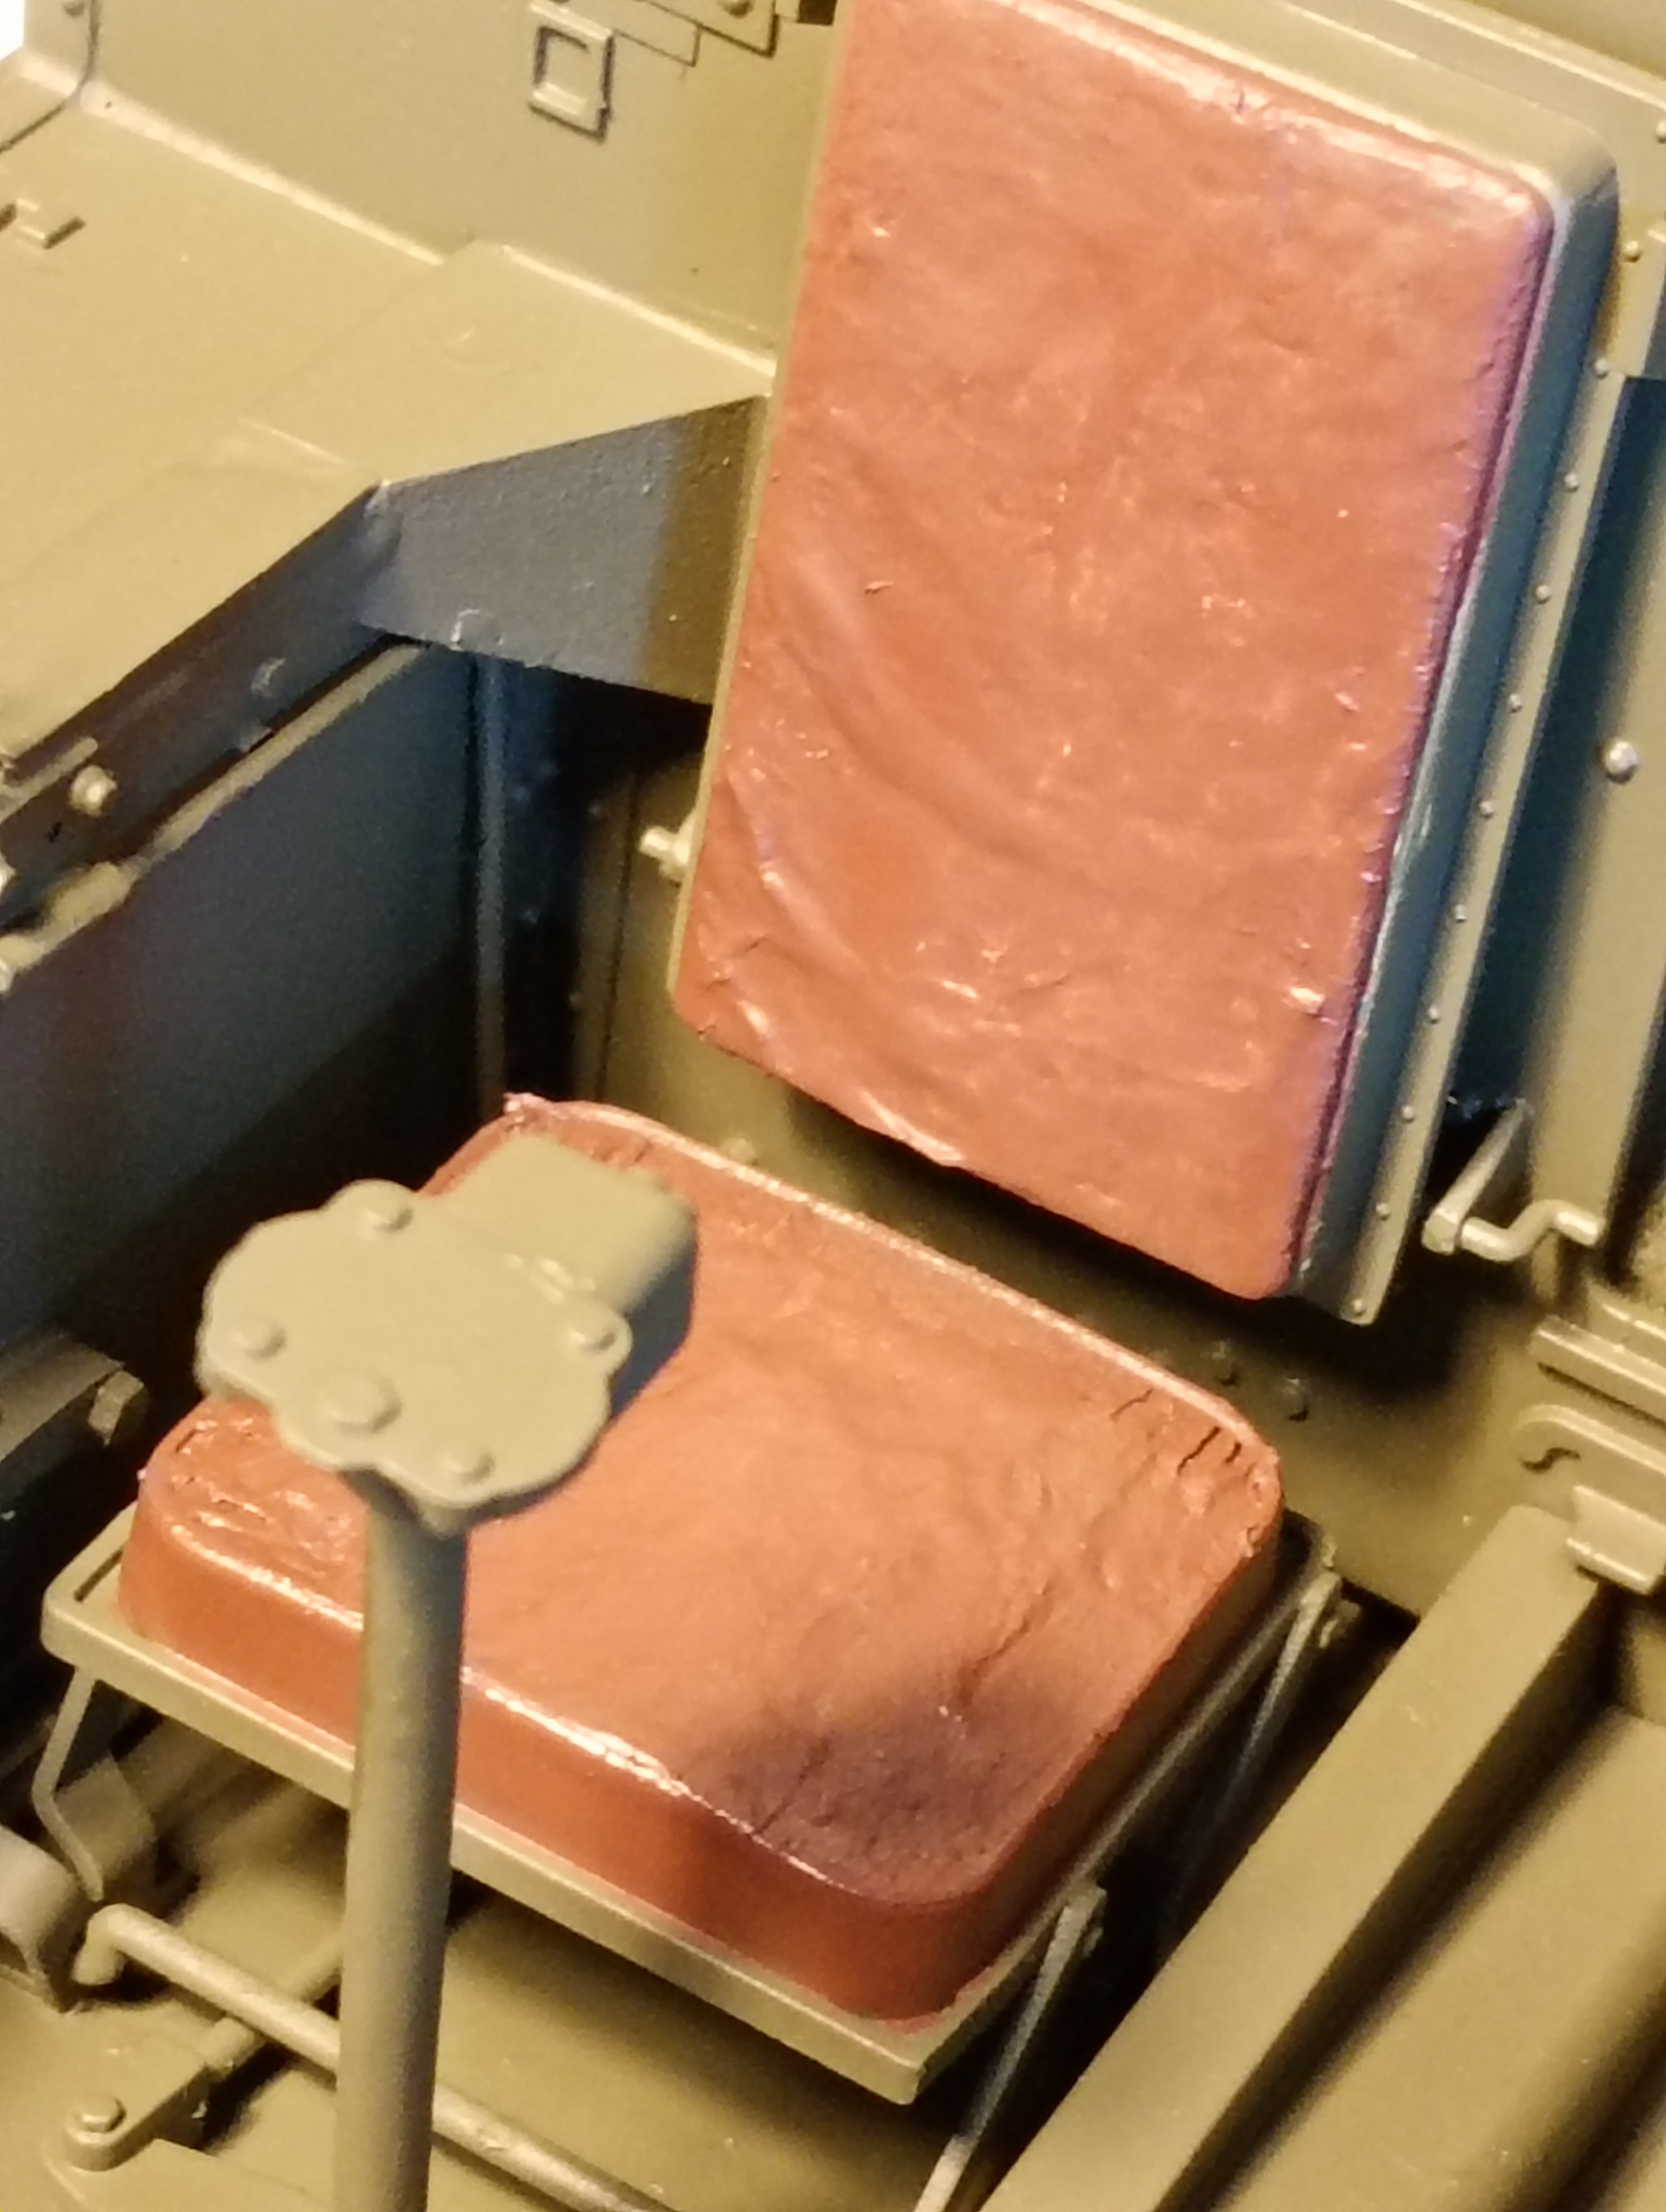
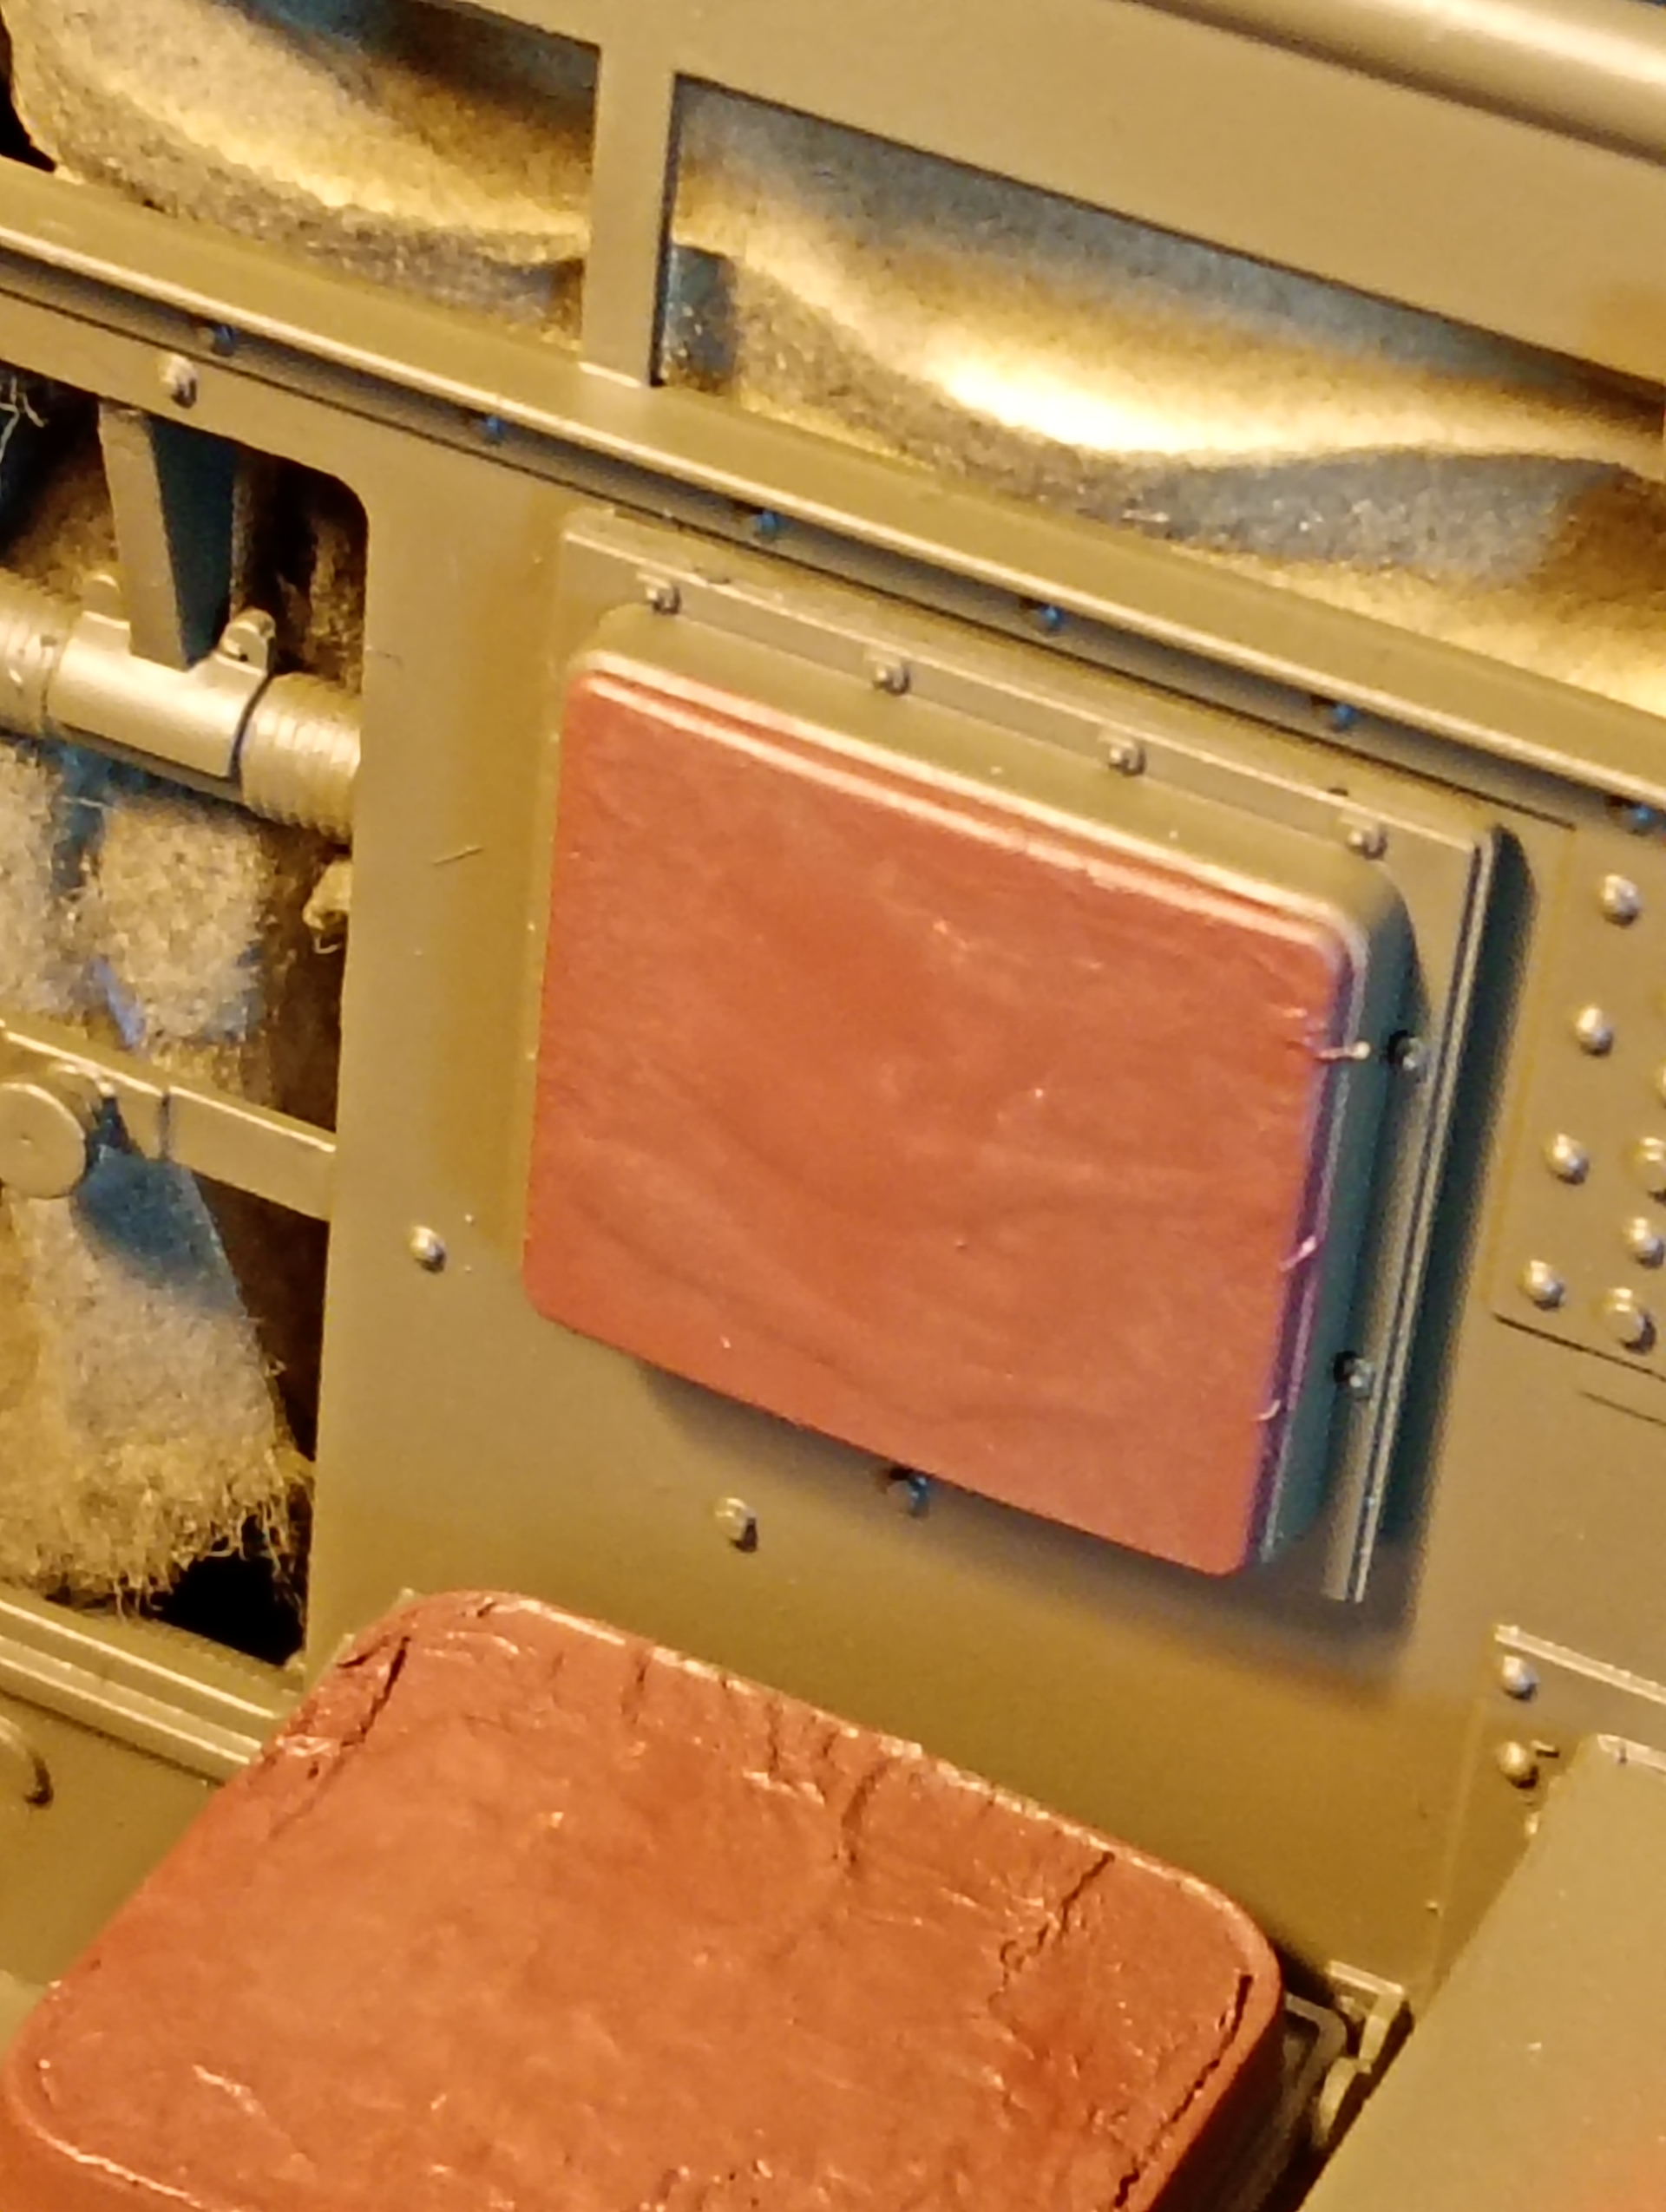
I was in a quandary about the colour of the cushion leather on this. Looking at online reference pics, they are all modern refurbs, with new covers which range from various shades of green to blue and black and brown…
In the end, I opted for brown and went with Tamiya NATO Brown…. It looks ok to me and I will dry brush a lighter shade over it to highlight areas and with the paint on, the textures I added to the cushions look quite nice as well.
At the end, it will also get a dark wash .
Will start on cab weathering and detail painting now before top plate goes on .
10 Likes
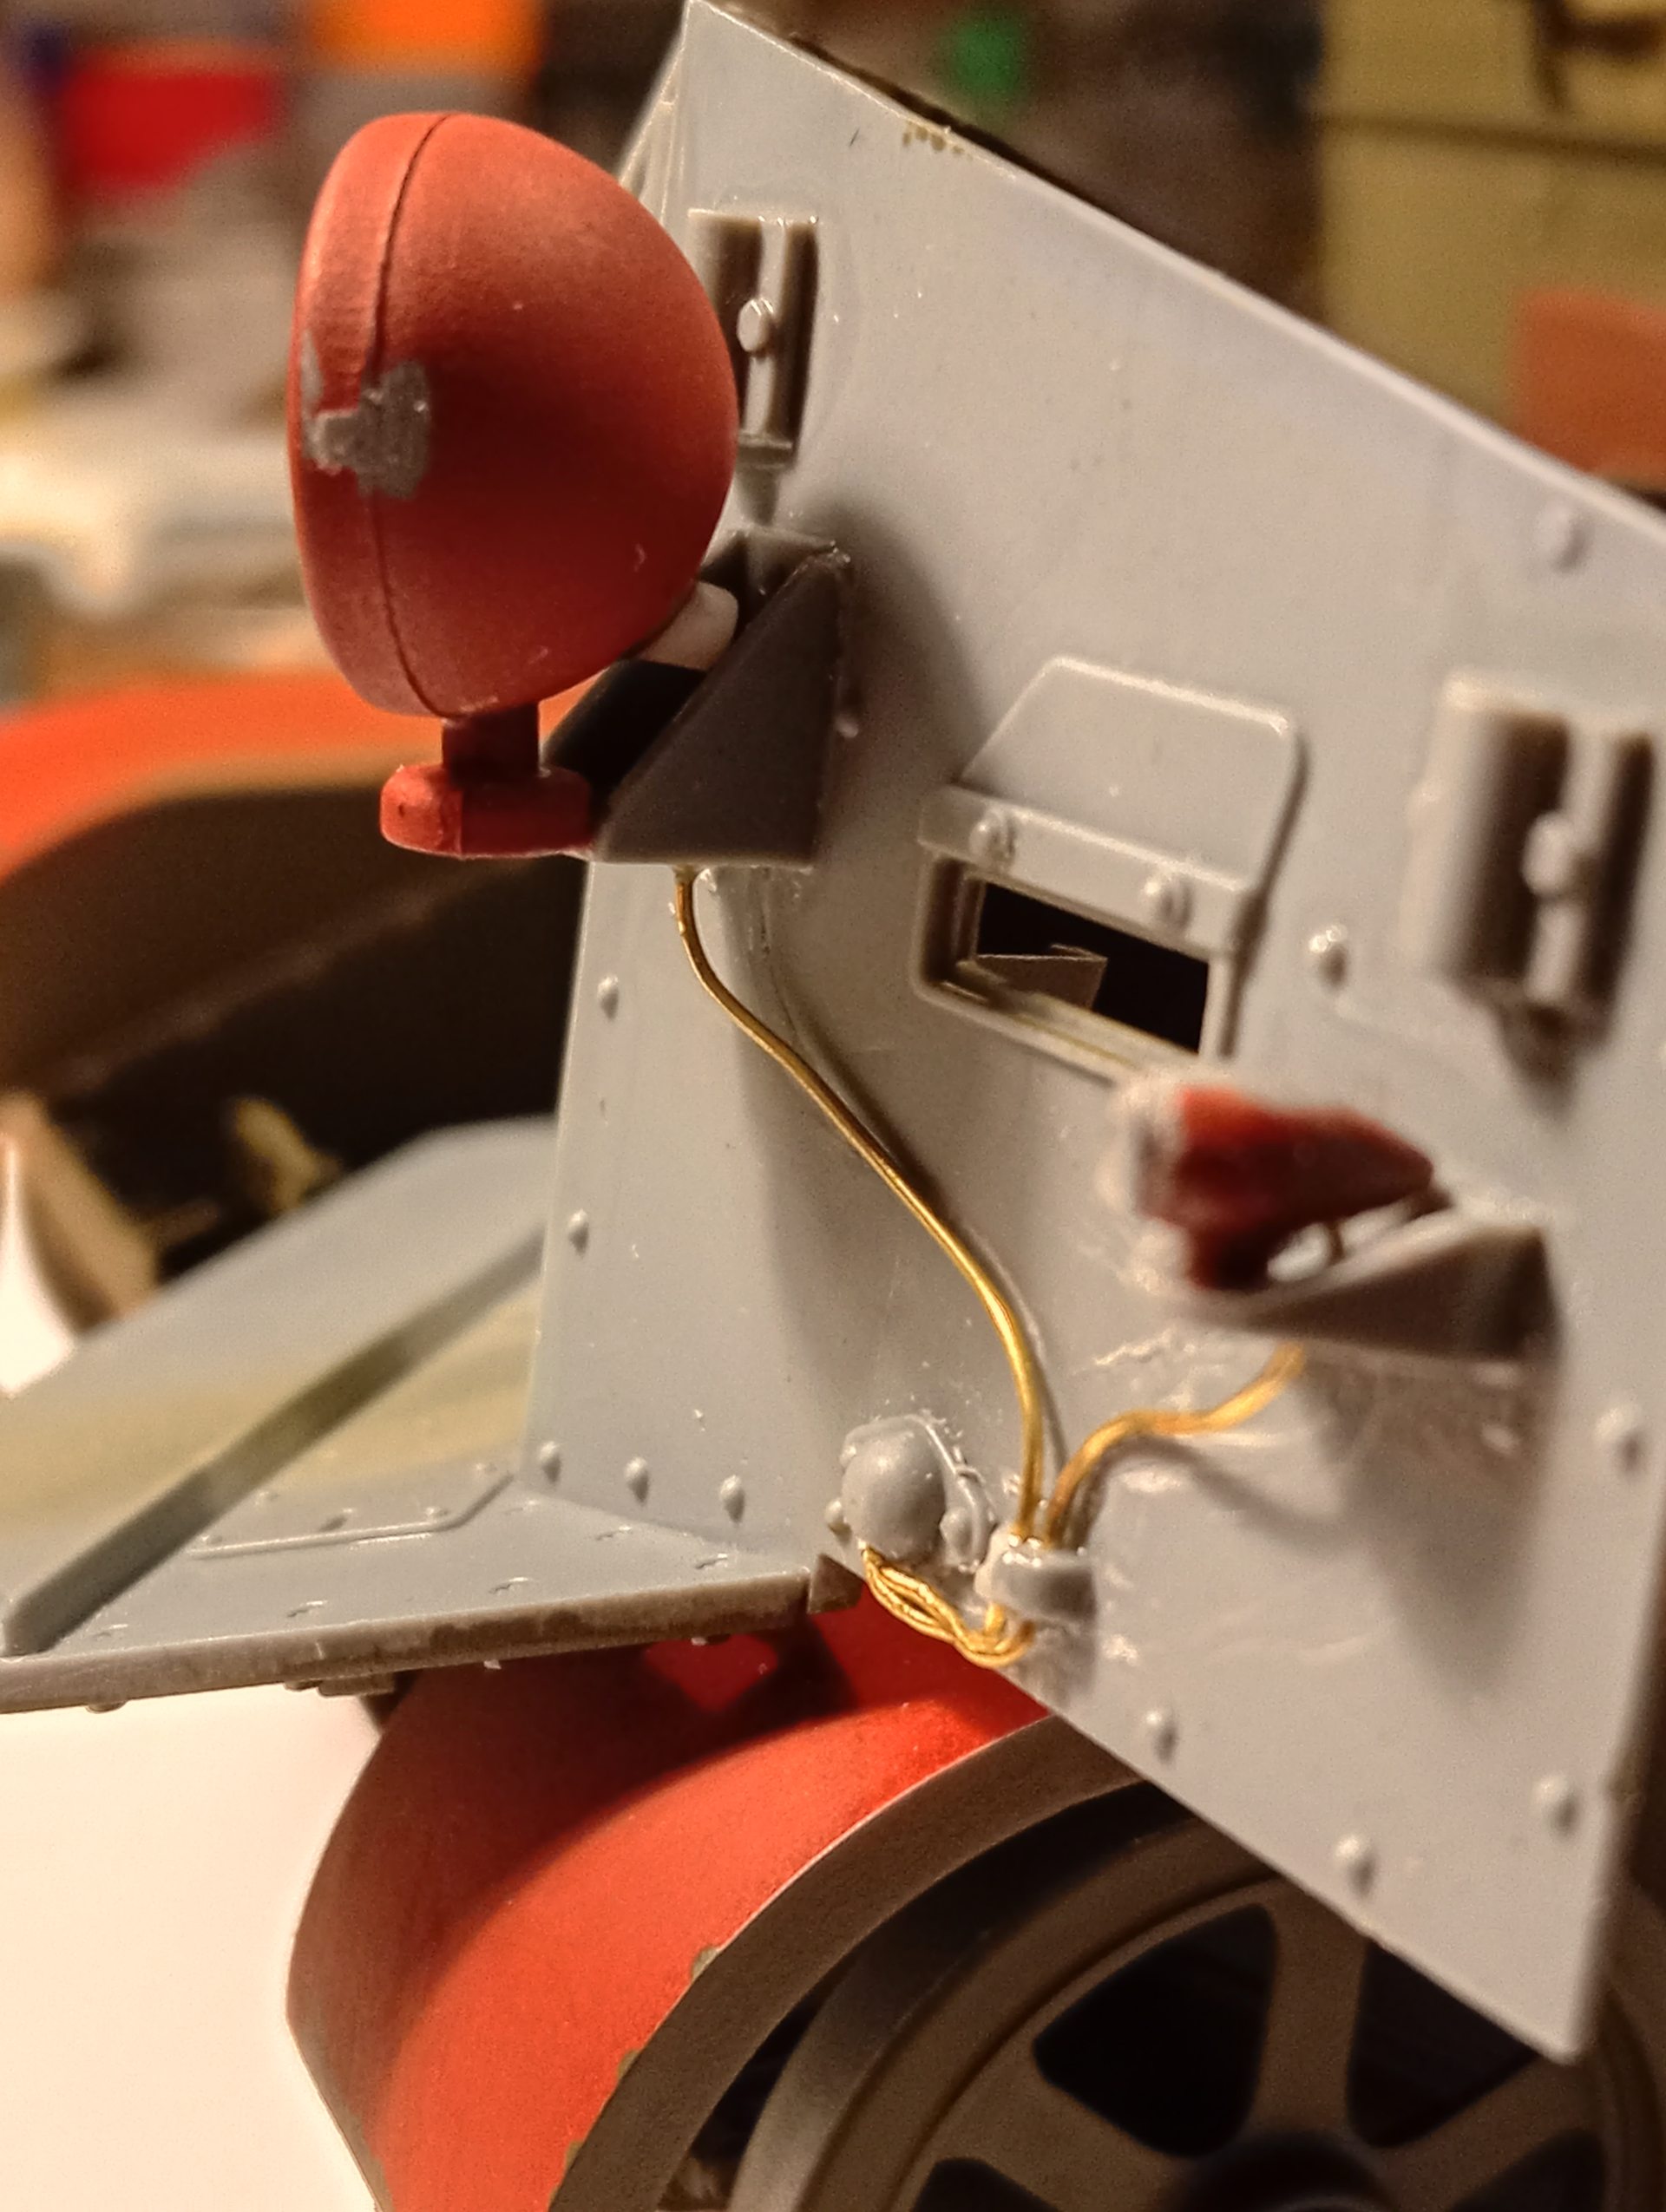
Shrouded Headlight and sidelight with new lens fitted
Sidelight
And headlight with rear electrical connection
More detail painting in cab………TBC …..
8 Likes
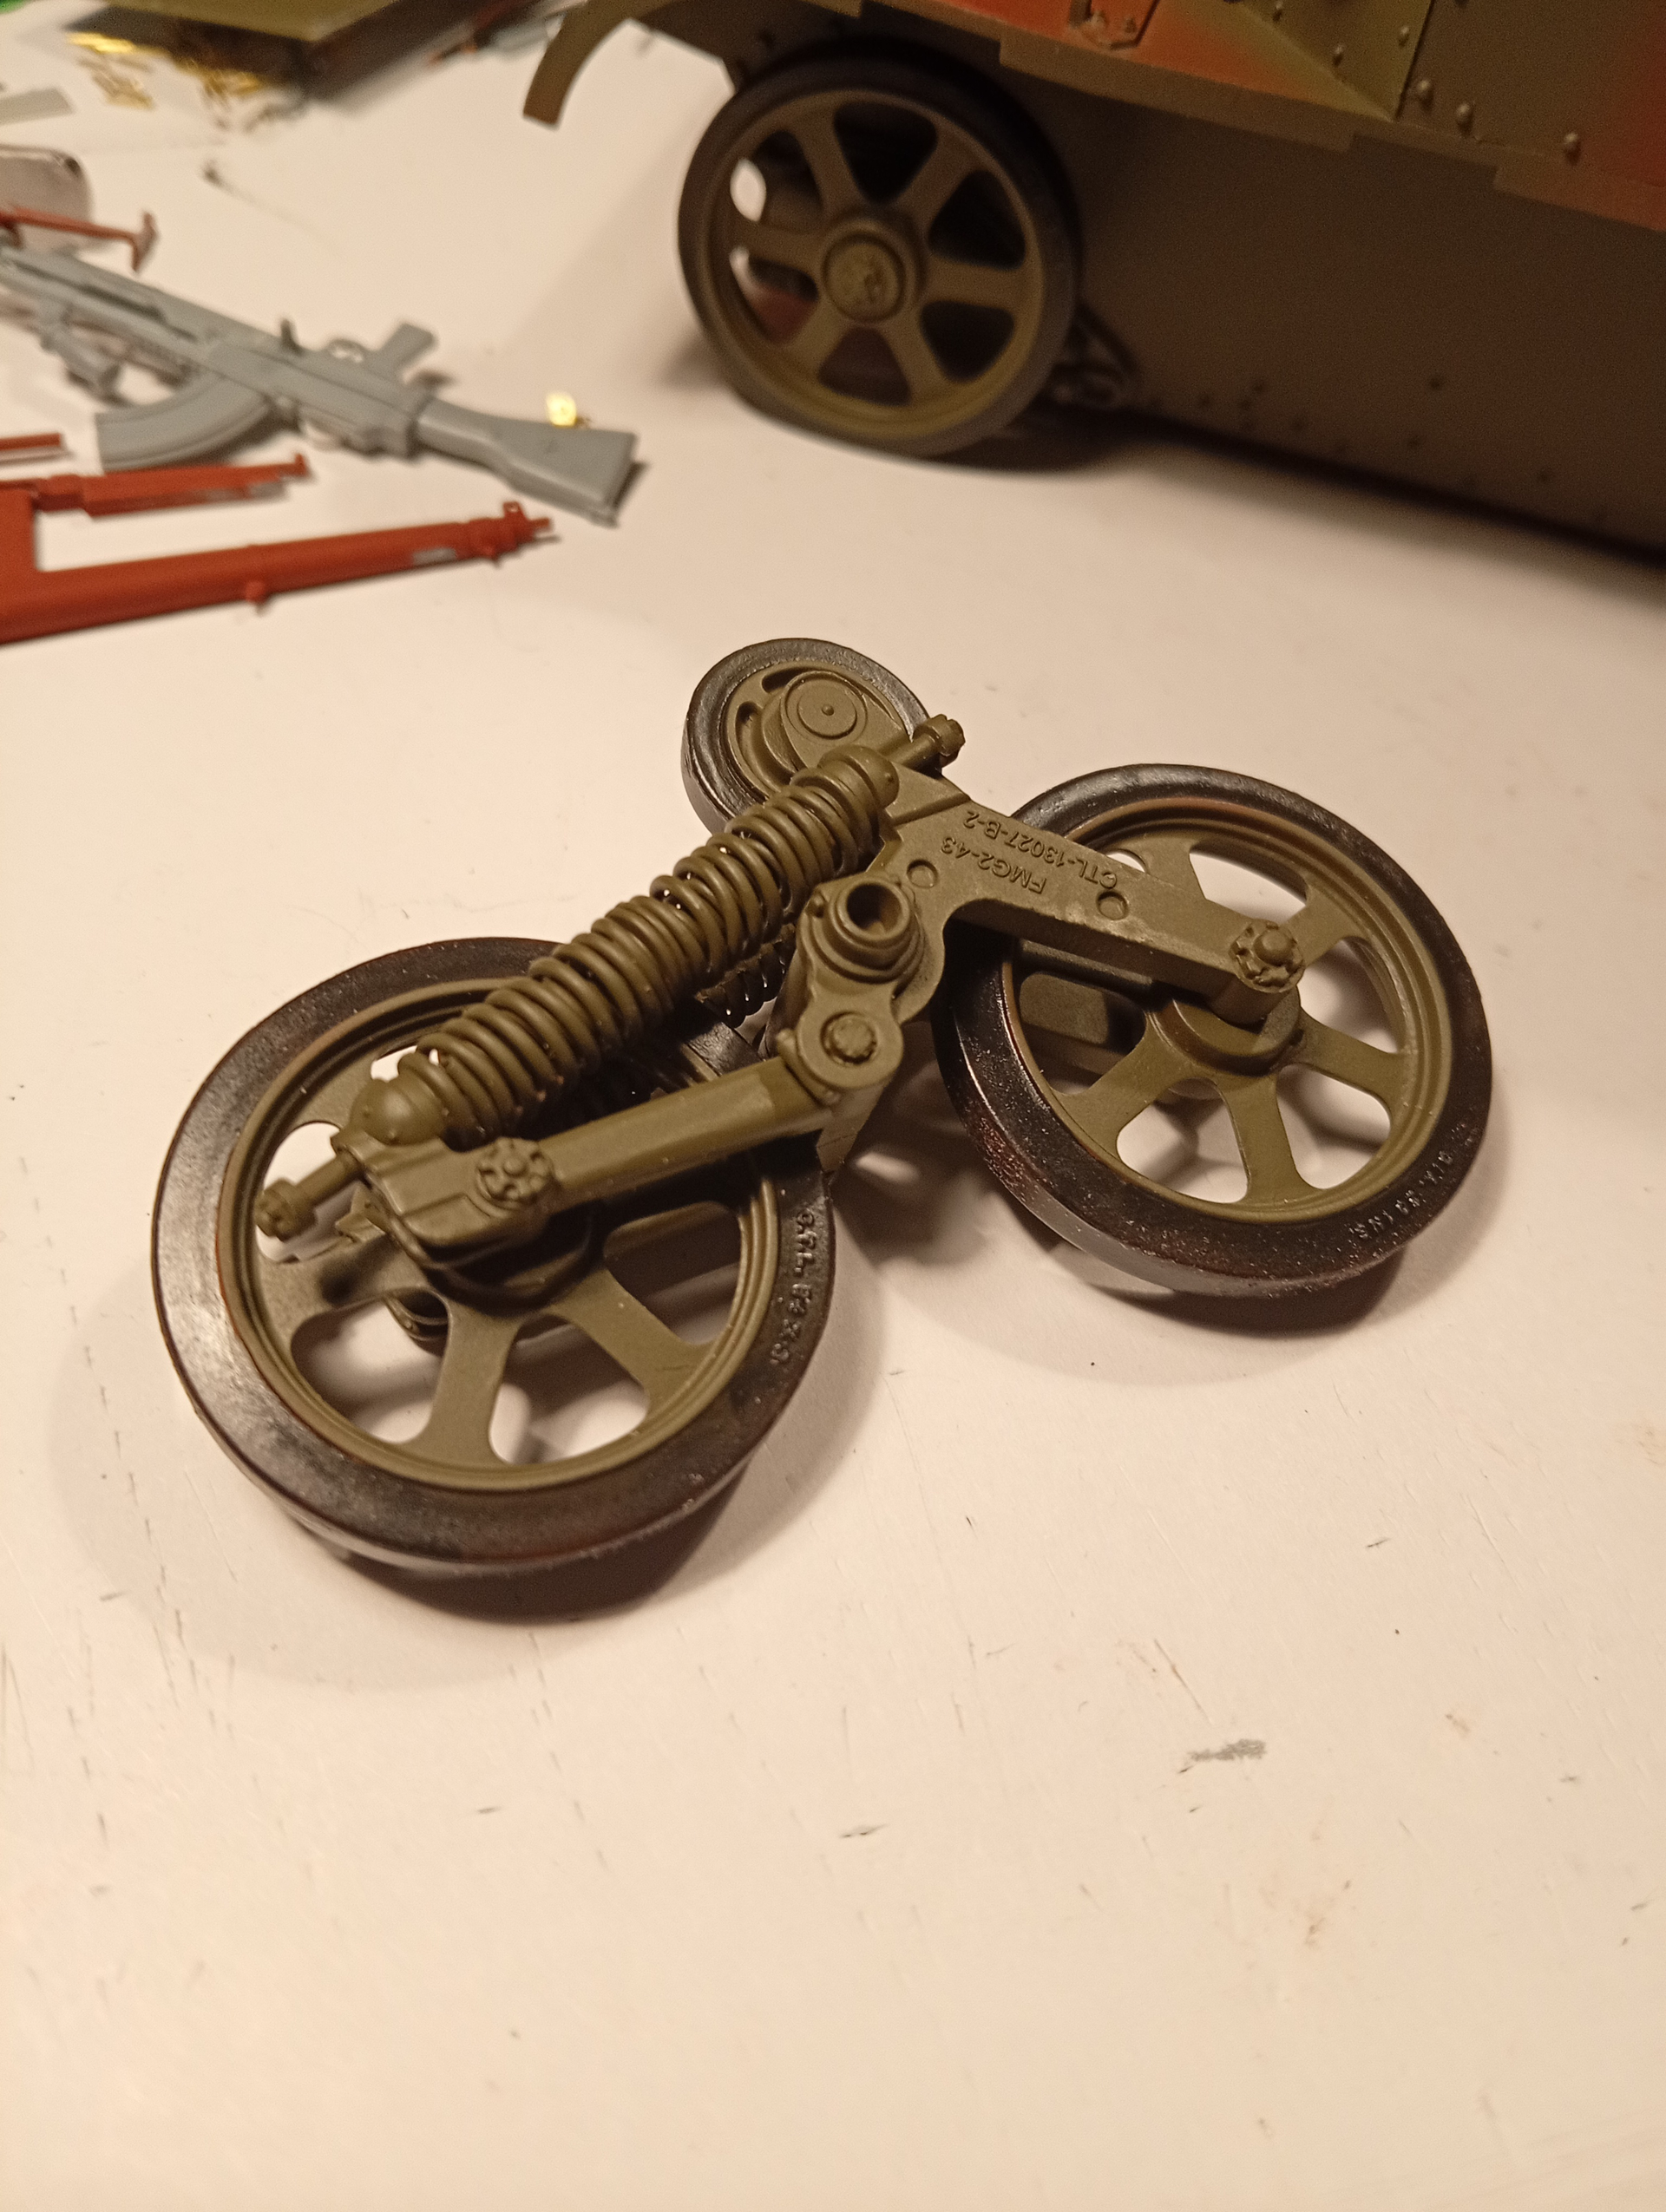
Few more things done to move it forward… started on the wheel stations and have completed one. Need to sand around the wheel axles as I forgot to mask them so they were a bit tight ….
Will paint tyre walls while they are on the sprue to make it a bit easier (for me)
Also have noe secured the upper front plate, added the 2 front fire extinguishers and the vehicle mortar mount, but not fitted the tube as previously mentioned….also fitted the the LH hull side plate and painted the lower hull sides.
And now you can see just how much of the cab gets hidden once the plate is fitted. You can even see the pedals anymore….
Mortar mount
Very happy with progress so far …. I am leaving the RH hull side off until I get the radio and all the cables fitted so I have better access.
11 Likes
She is looking very good. 
2 Likes
Thanks as always Ryan, appreciated mate.
2 Likes
Looks awesome. Did you make the wheel boogies workable?
2 Likes
Thanks Ian, and no, I didnt make them workable as there was no need to on this build. Once finished, its going in to a case on a basic base, so will never be getting handled from then on. However, if anyone wanted to make them workable, it would be pretty easy to do as internal workings would be hidden in the depths of the carrier inside the rear area.
1 Like
Some great progress John, this is a truly amazing and inspirational build, the level of additional detail is outstanding, .
.
G,
2 Likes
Cheers G…. Glad you’re enjoying the build of your favourite little tracked vehicle….. I have finished the wheel stations andd they are all together with a bit of sprue glue added to a couple of points which needs sanding flush then repainting …
Have made a start on the personal weapon painting and also getting the radio installed and wired up.
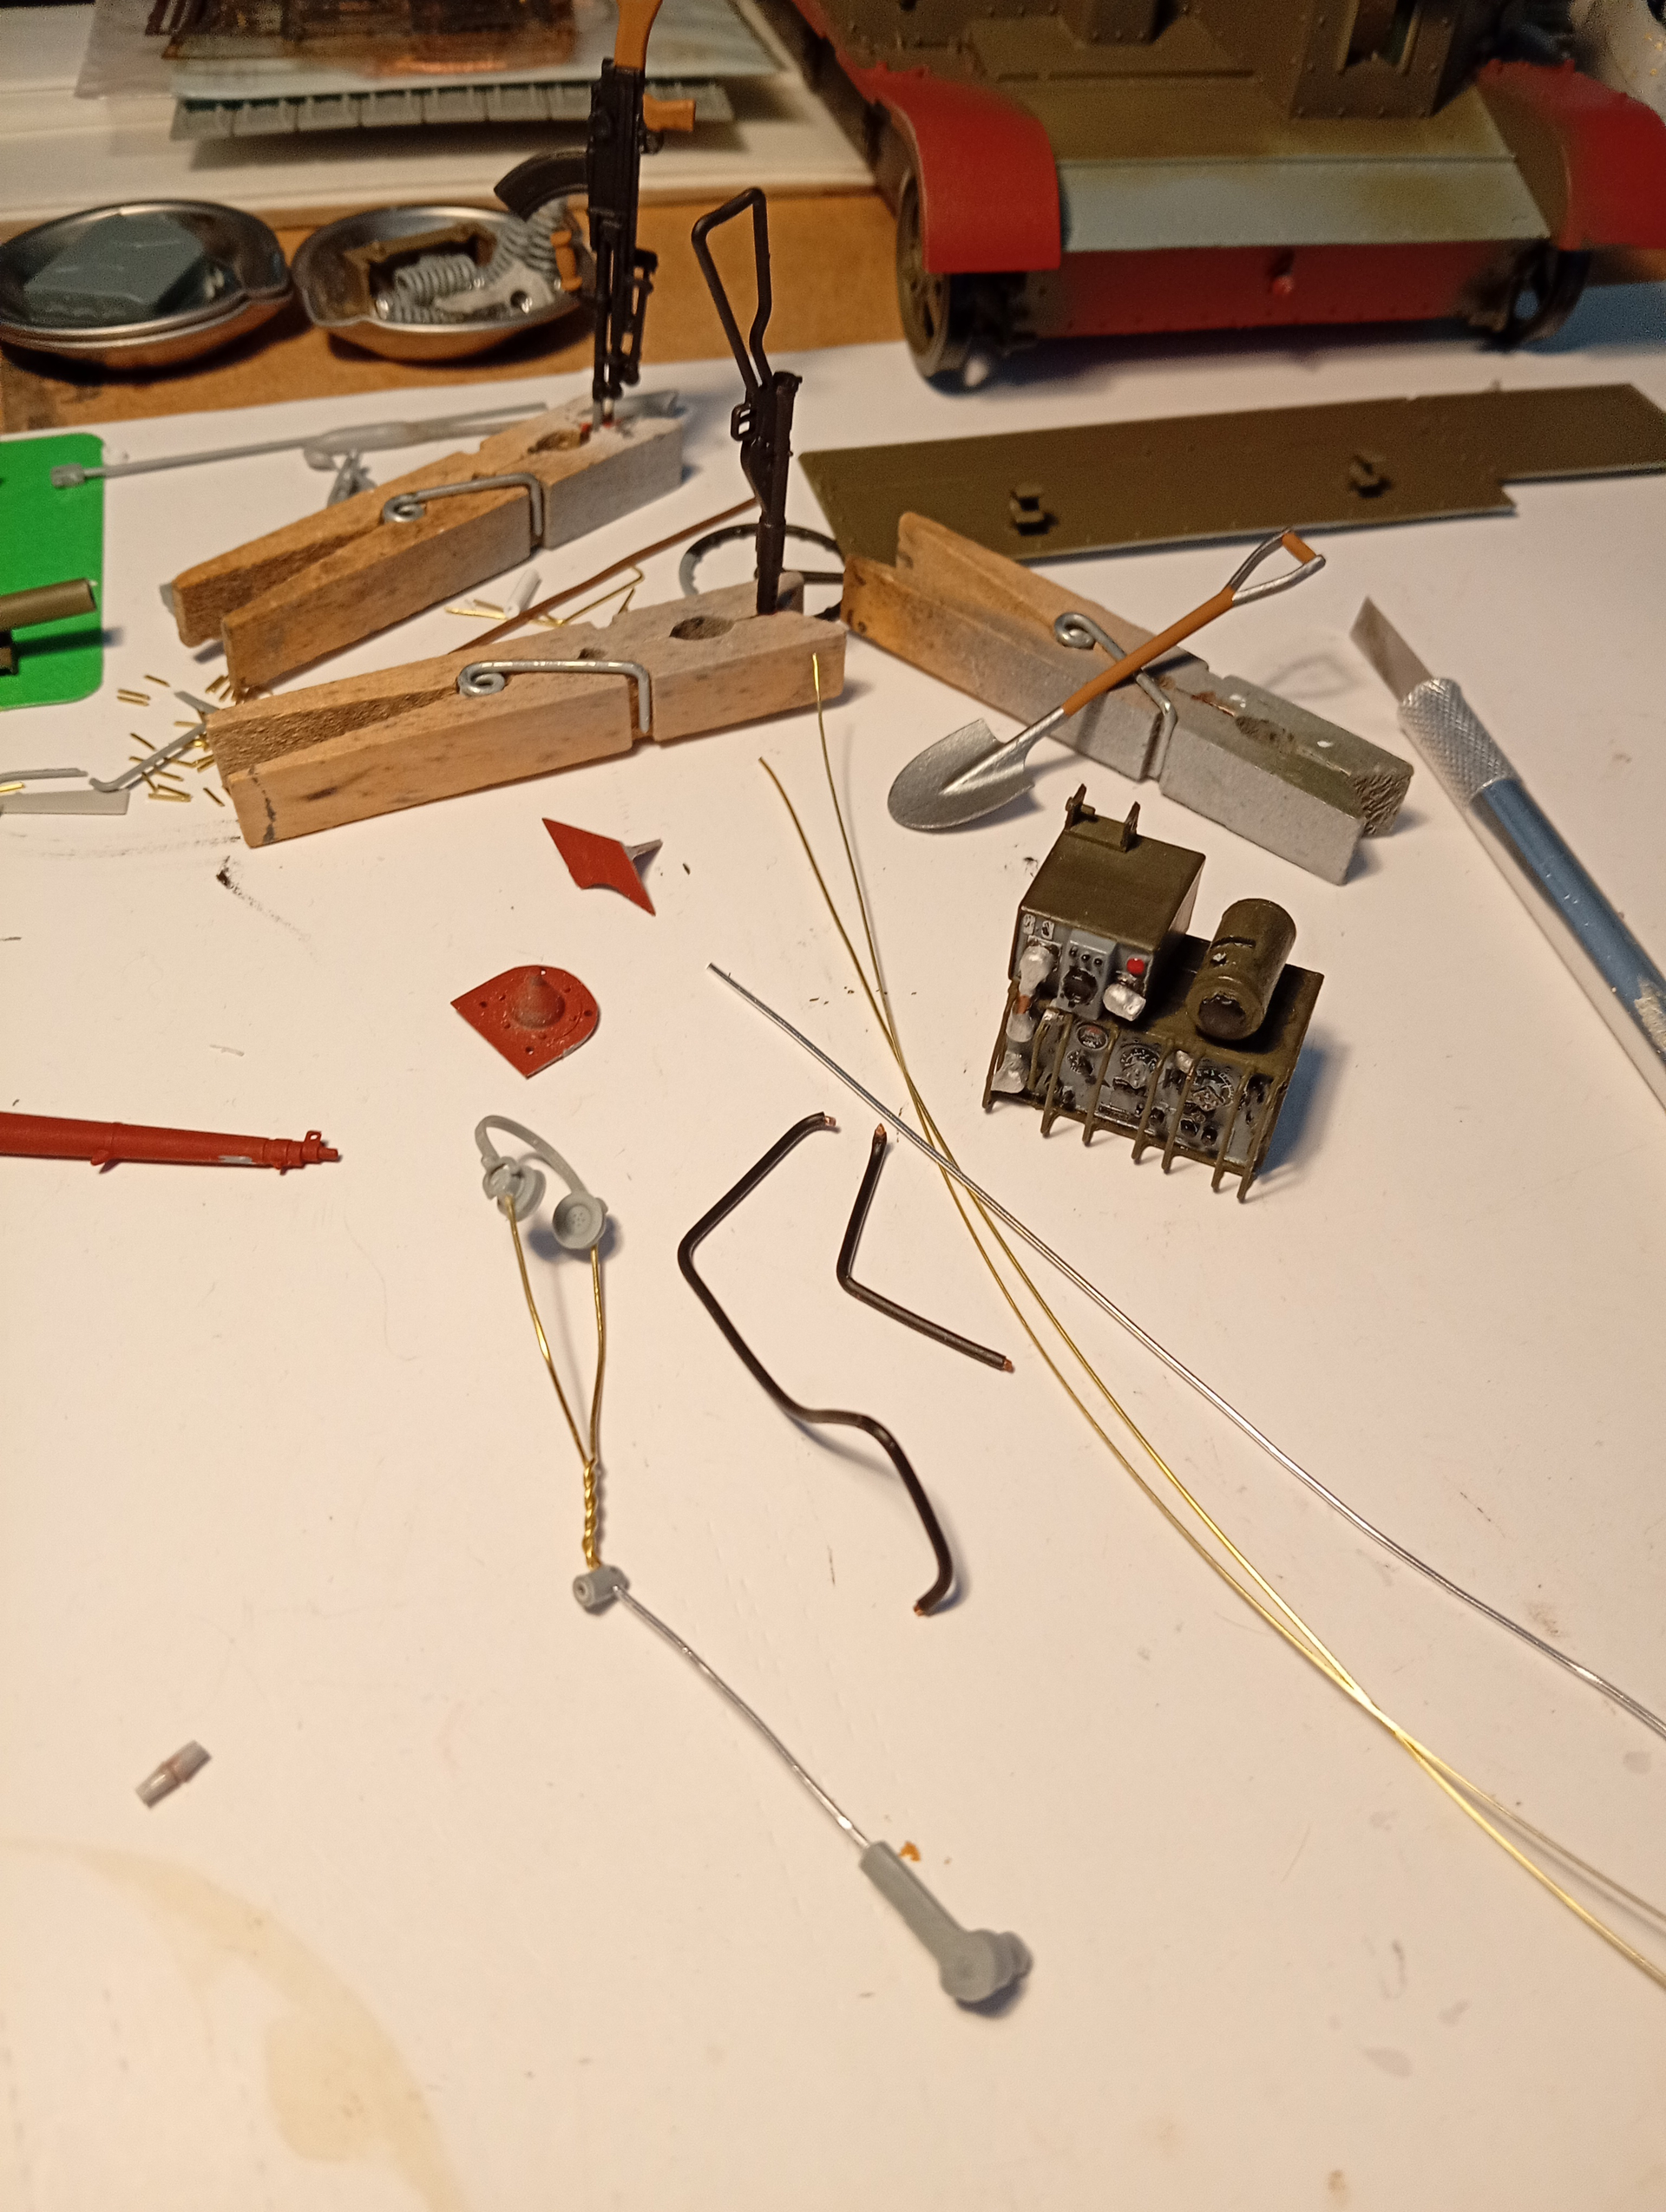
The parts ….
Microphone and headset with connector which will have another cable out of it which hours to a crew box. The black cables are the main power leads which I have pre bent to the correct shape to go round rear of radio and the 3 strands of wire, (.5mm,.6mm and .7mm) are for the headsets, coax leads to antennas and a smaller lead.
You can also see some weapons and the shovel in the process of painting…..
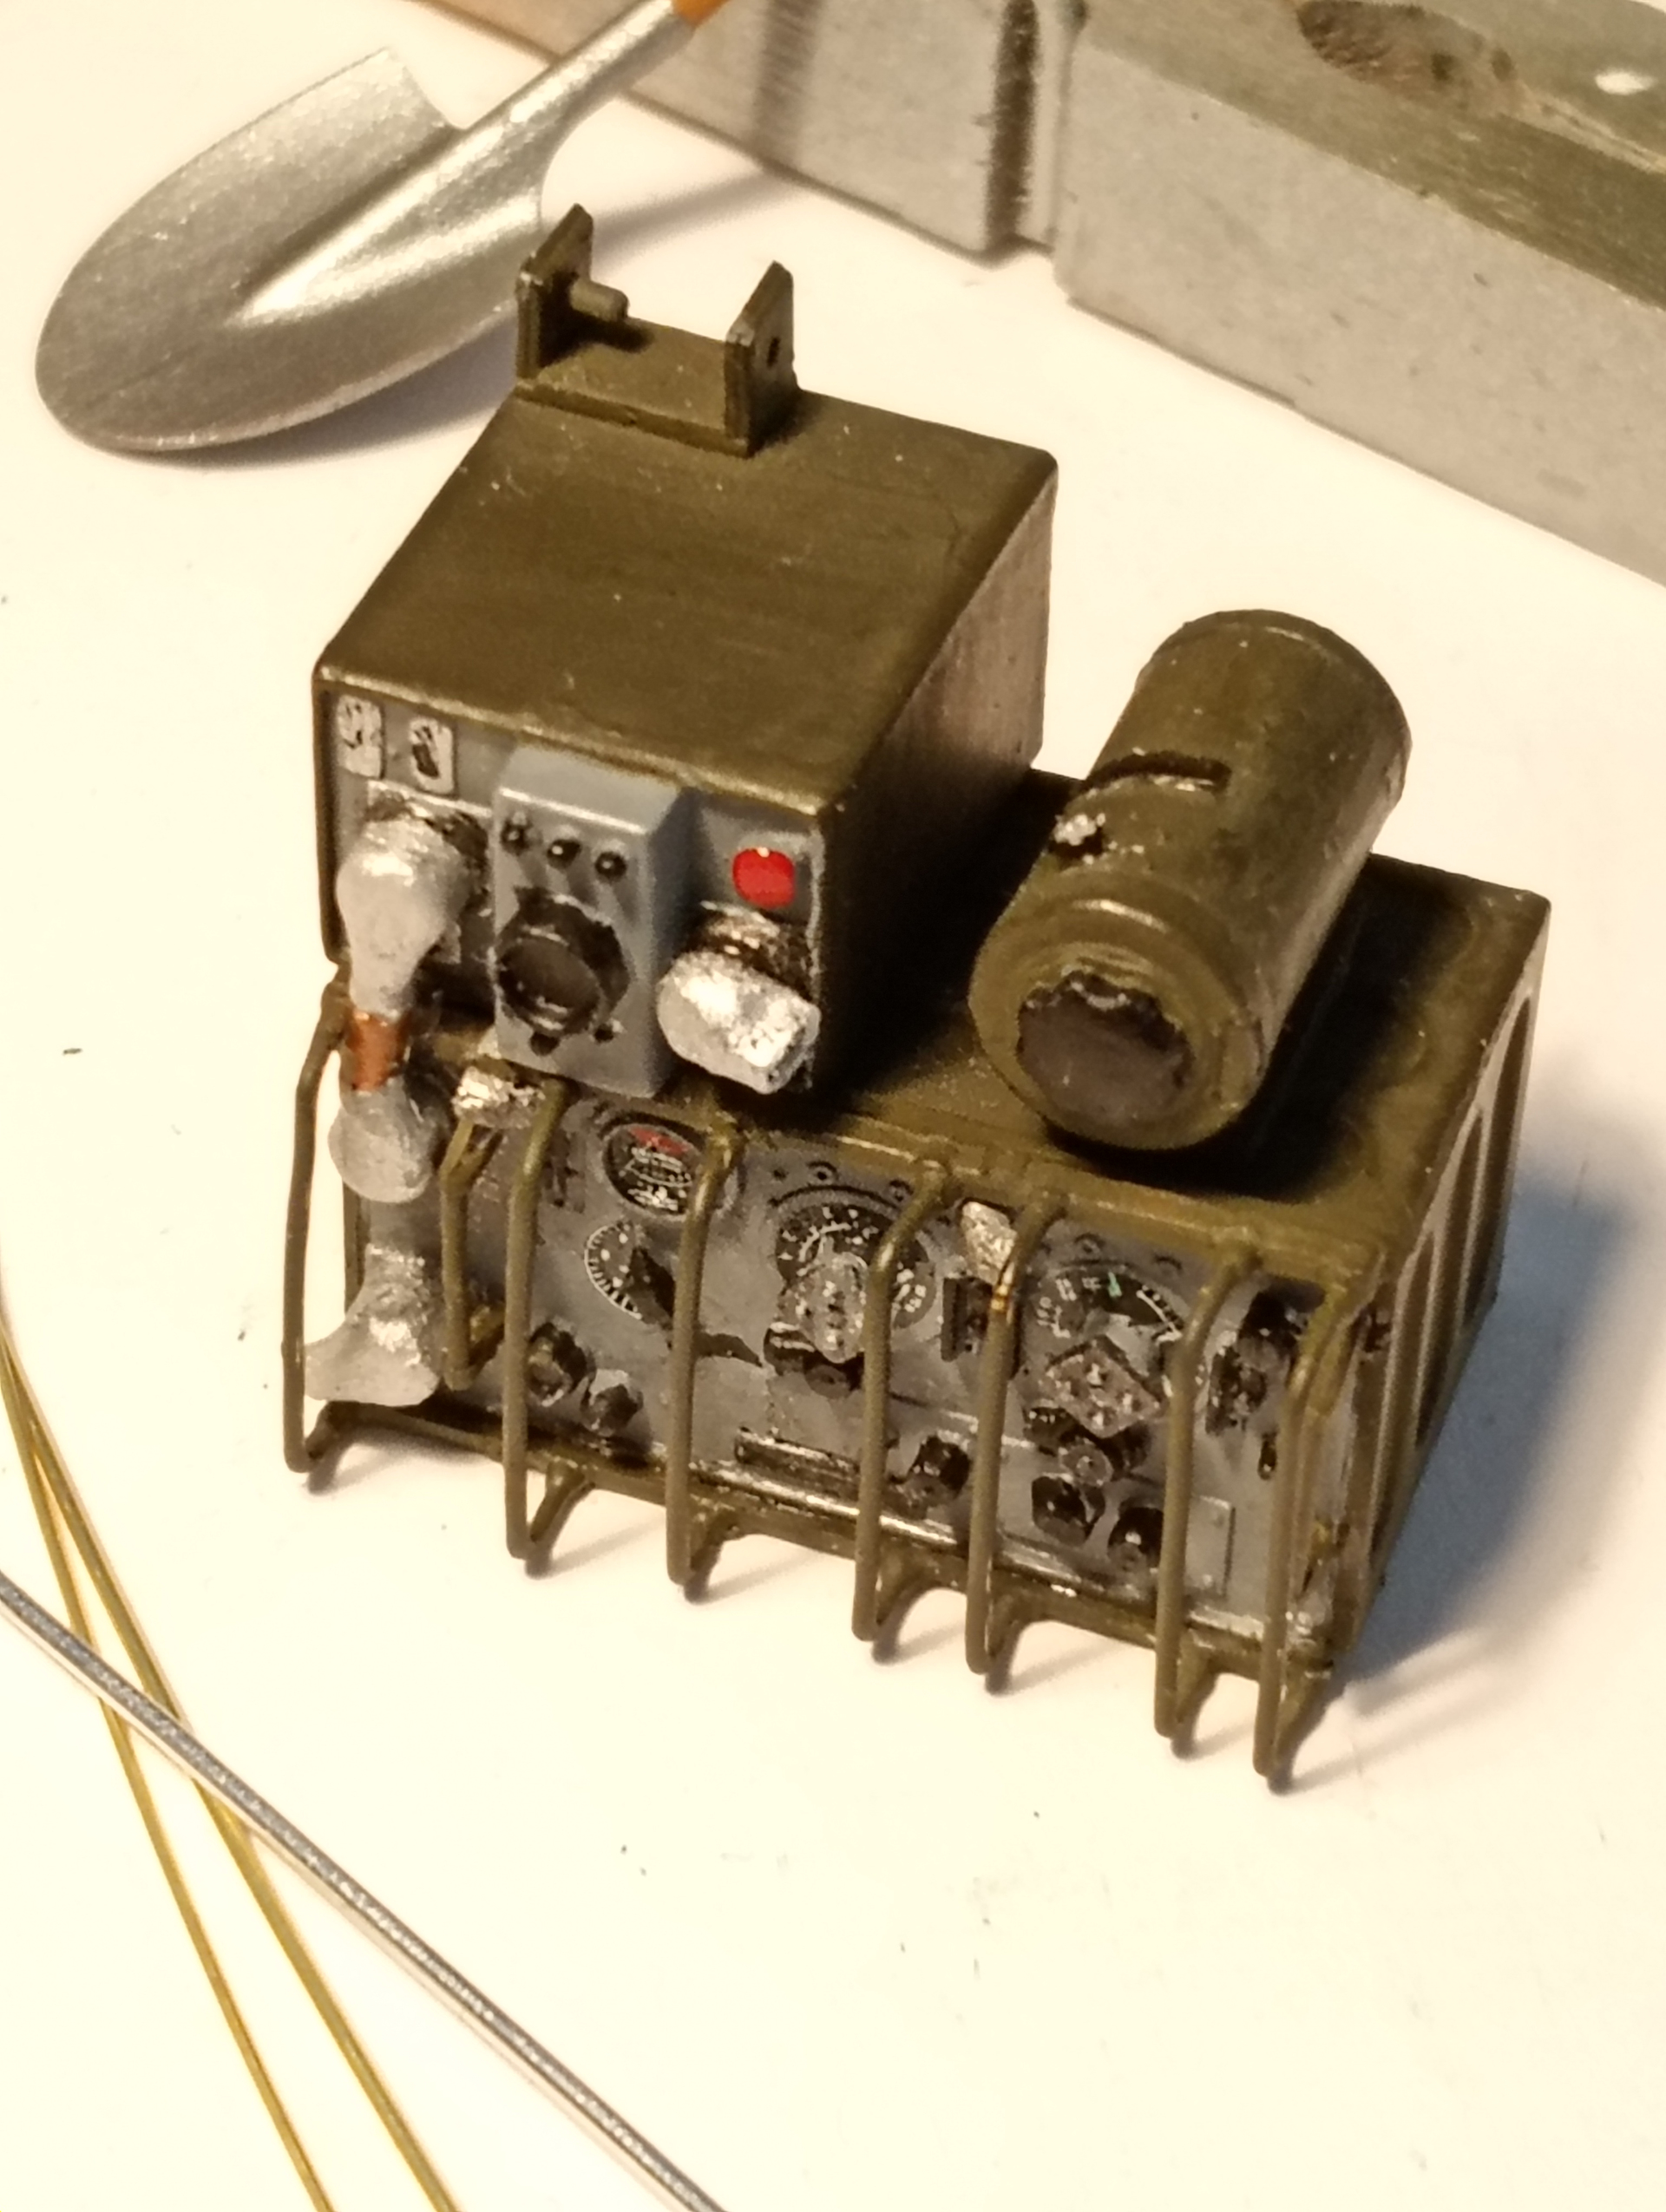
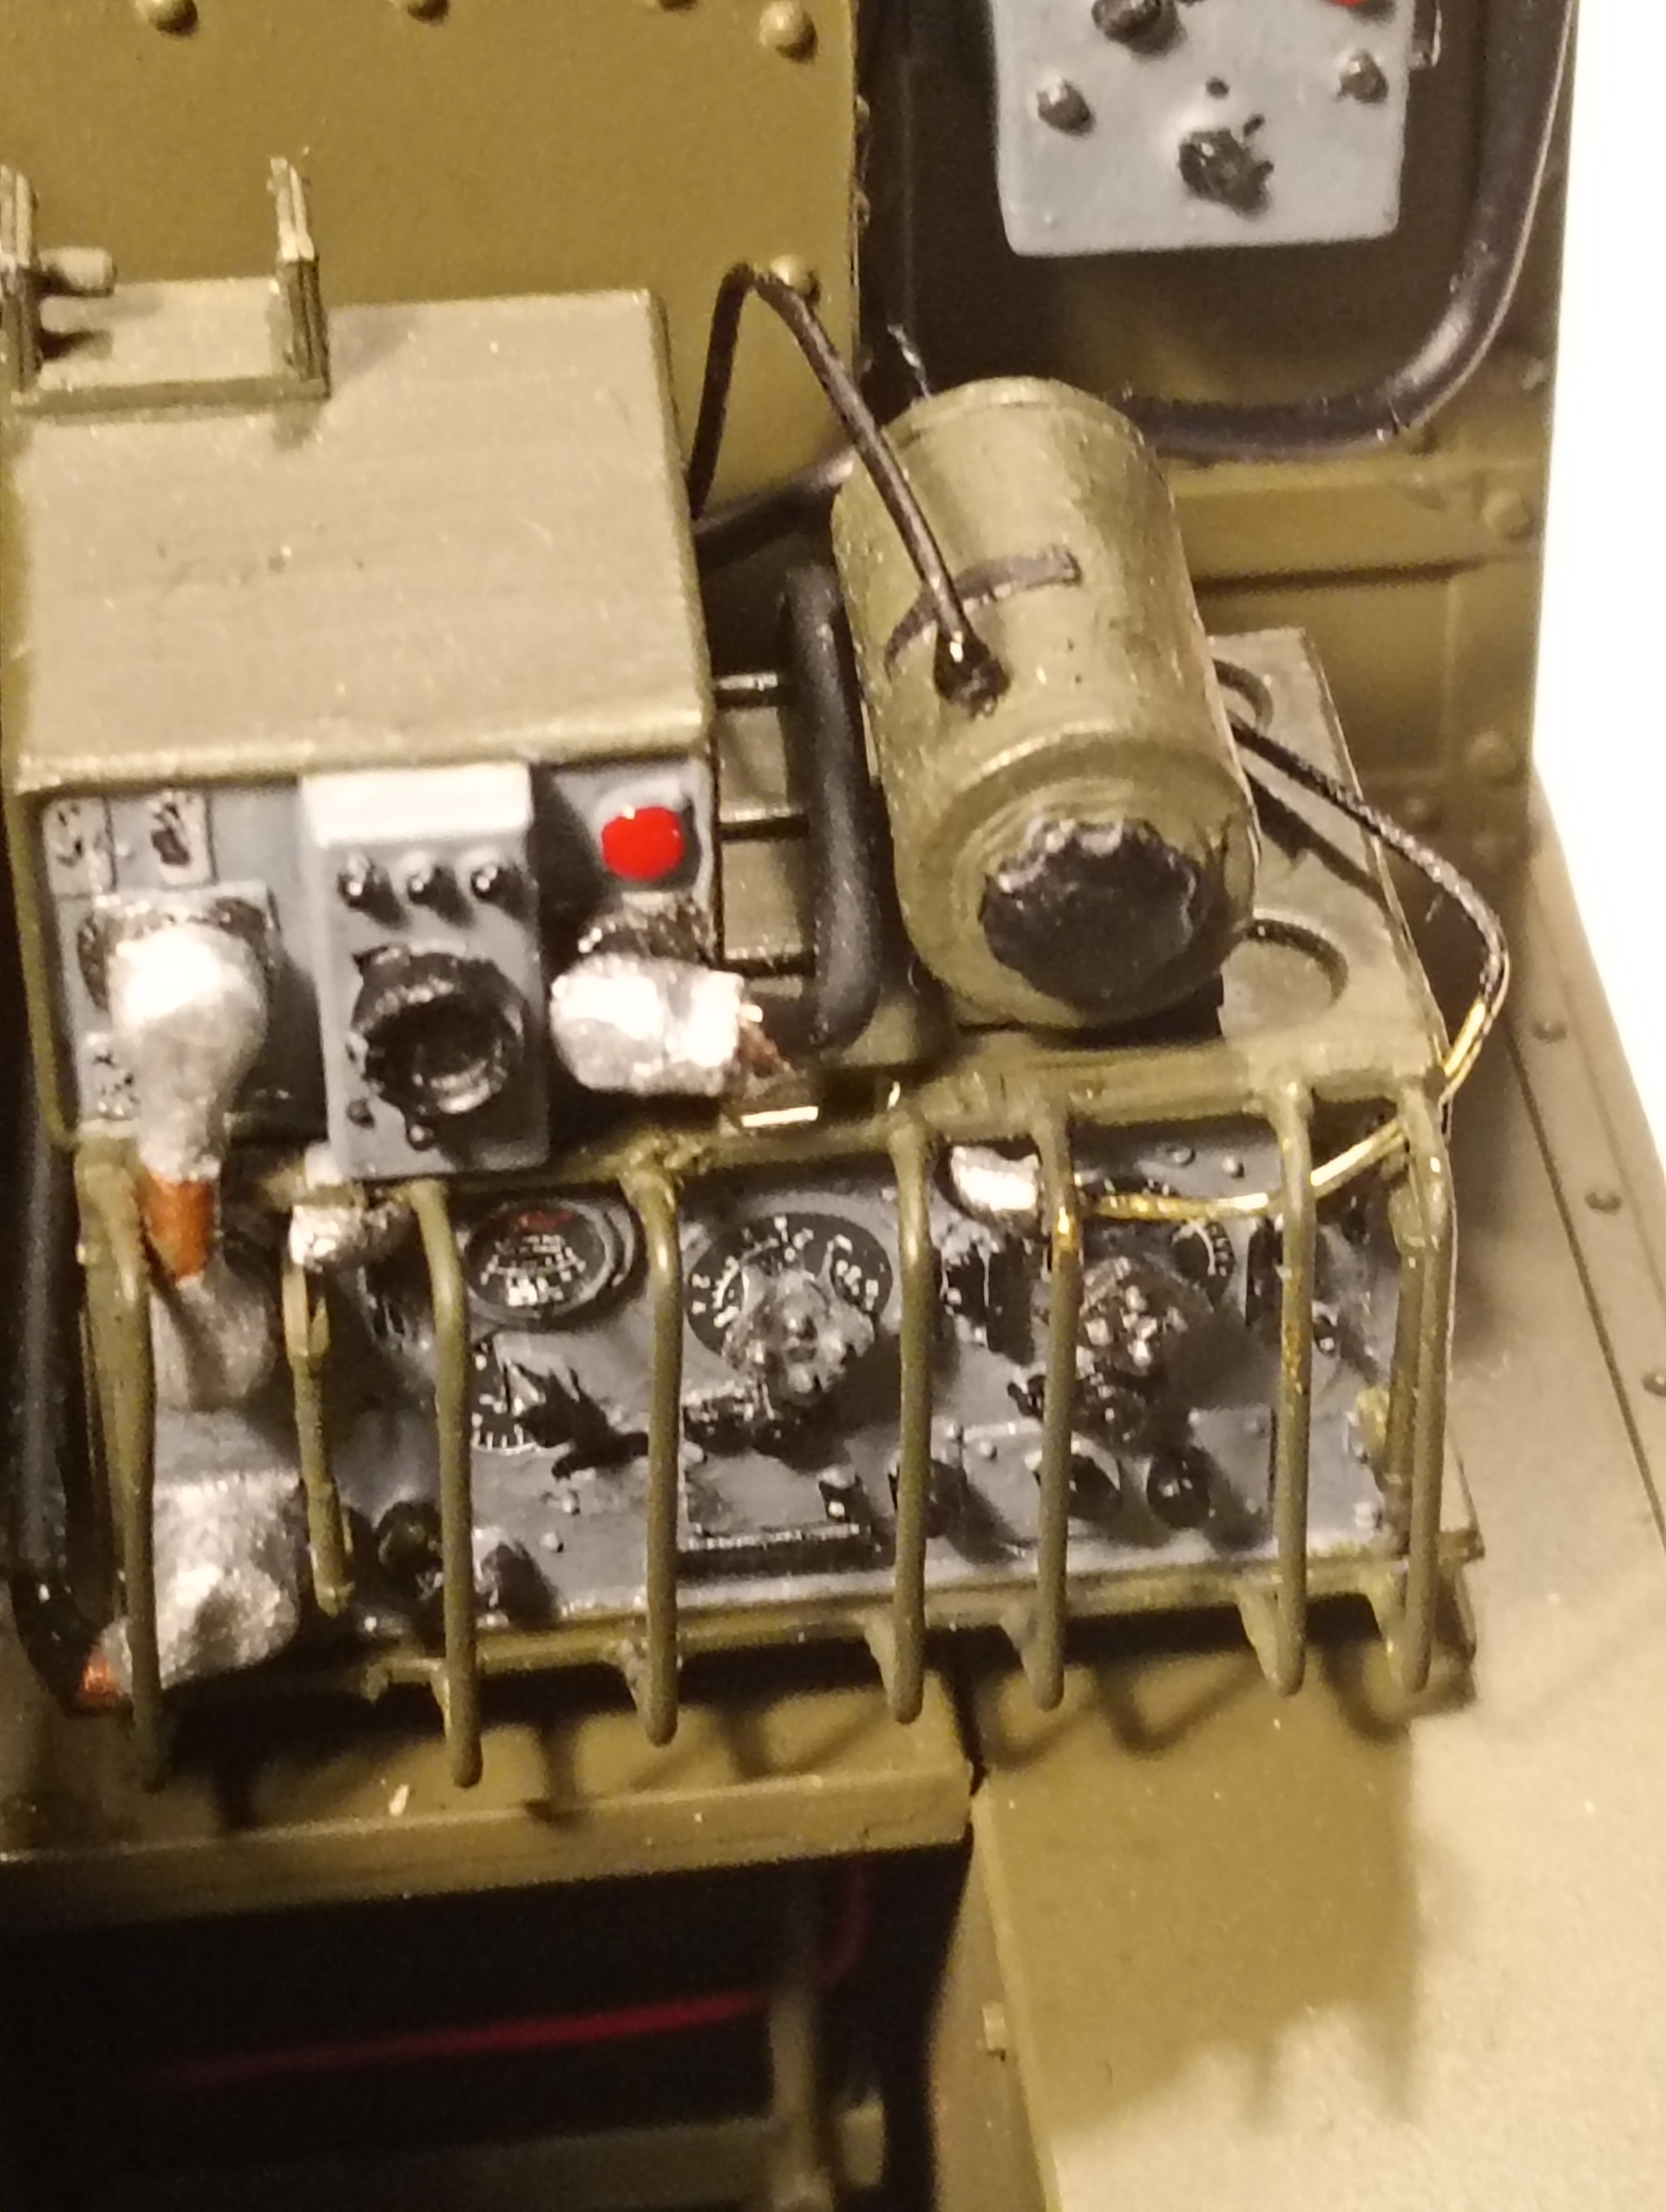
And the radio with fitted guard on the front with the correct amount of bars.
8 Likes
Radio is now secured and have begun the process of measuring and bending the various cables to get a good fit.
The 2 main pier cables (thick black) are fitted from radio to behind it and up to crew box. The brass wire is a basic layout of how that coax will go from radio up to the LH antenna.
And the power cables …..
There will be at least another 3 cables to add to all this
11 Likes
Got the first coax fitted to the front bulkhead and also made 2 small fixings mounts for it.
The cable.
And the securing mounts
Spare PE mounting bracket.
Also need to address that slightly ajar seam joint.
And new coax and power cables going into the set.
They will all need touch painting again as some of the black rubbed off while bending to the final shapes needed.
Will get to work on the left hand coax into the centre antenna mount ….
11 Likes
A few more bits done, not as much as I wanted, but some forward movement on it …
Got the RH hull wall fitted and the rear LH ABA along with a coax lead going up to it.
I was going to re-detail paint the cables, but will hold off on that until after I have done a coat of SCC15.
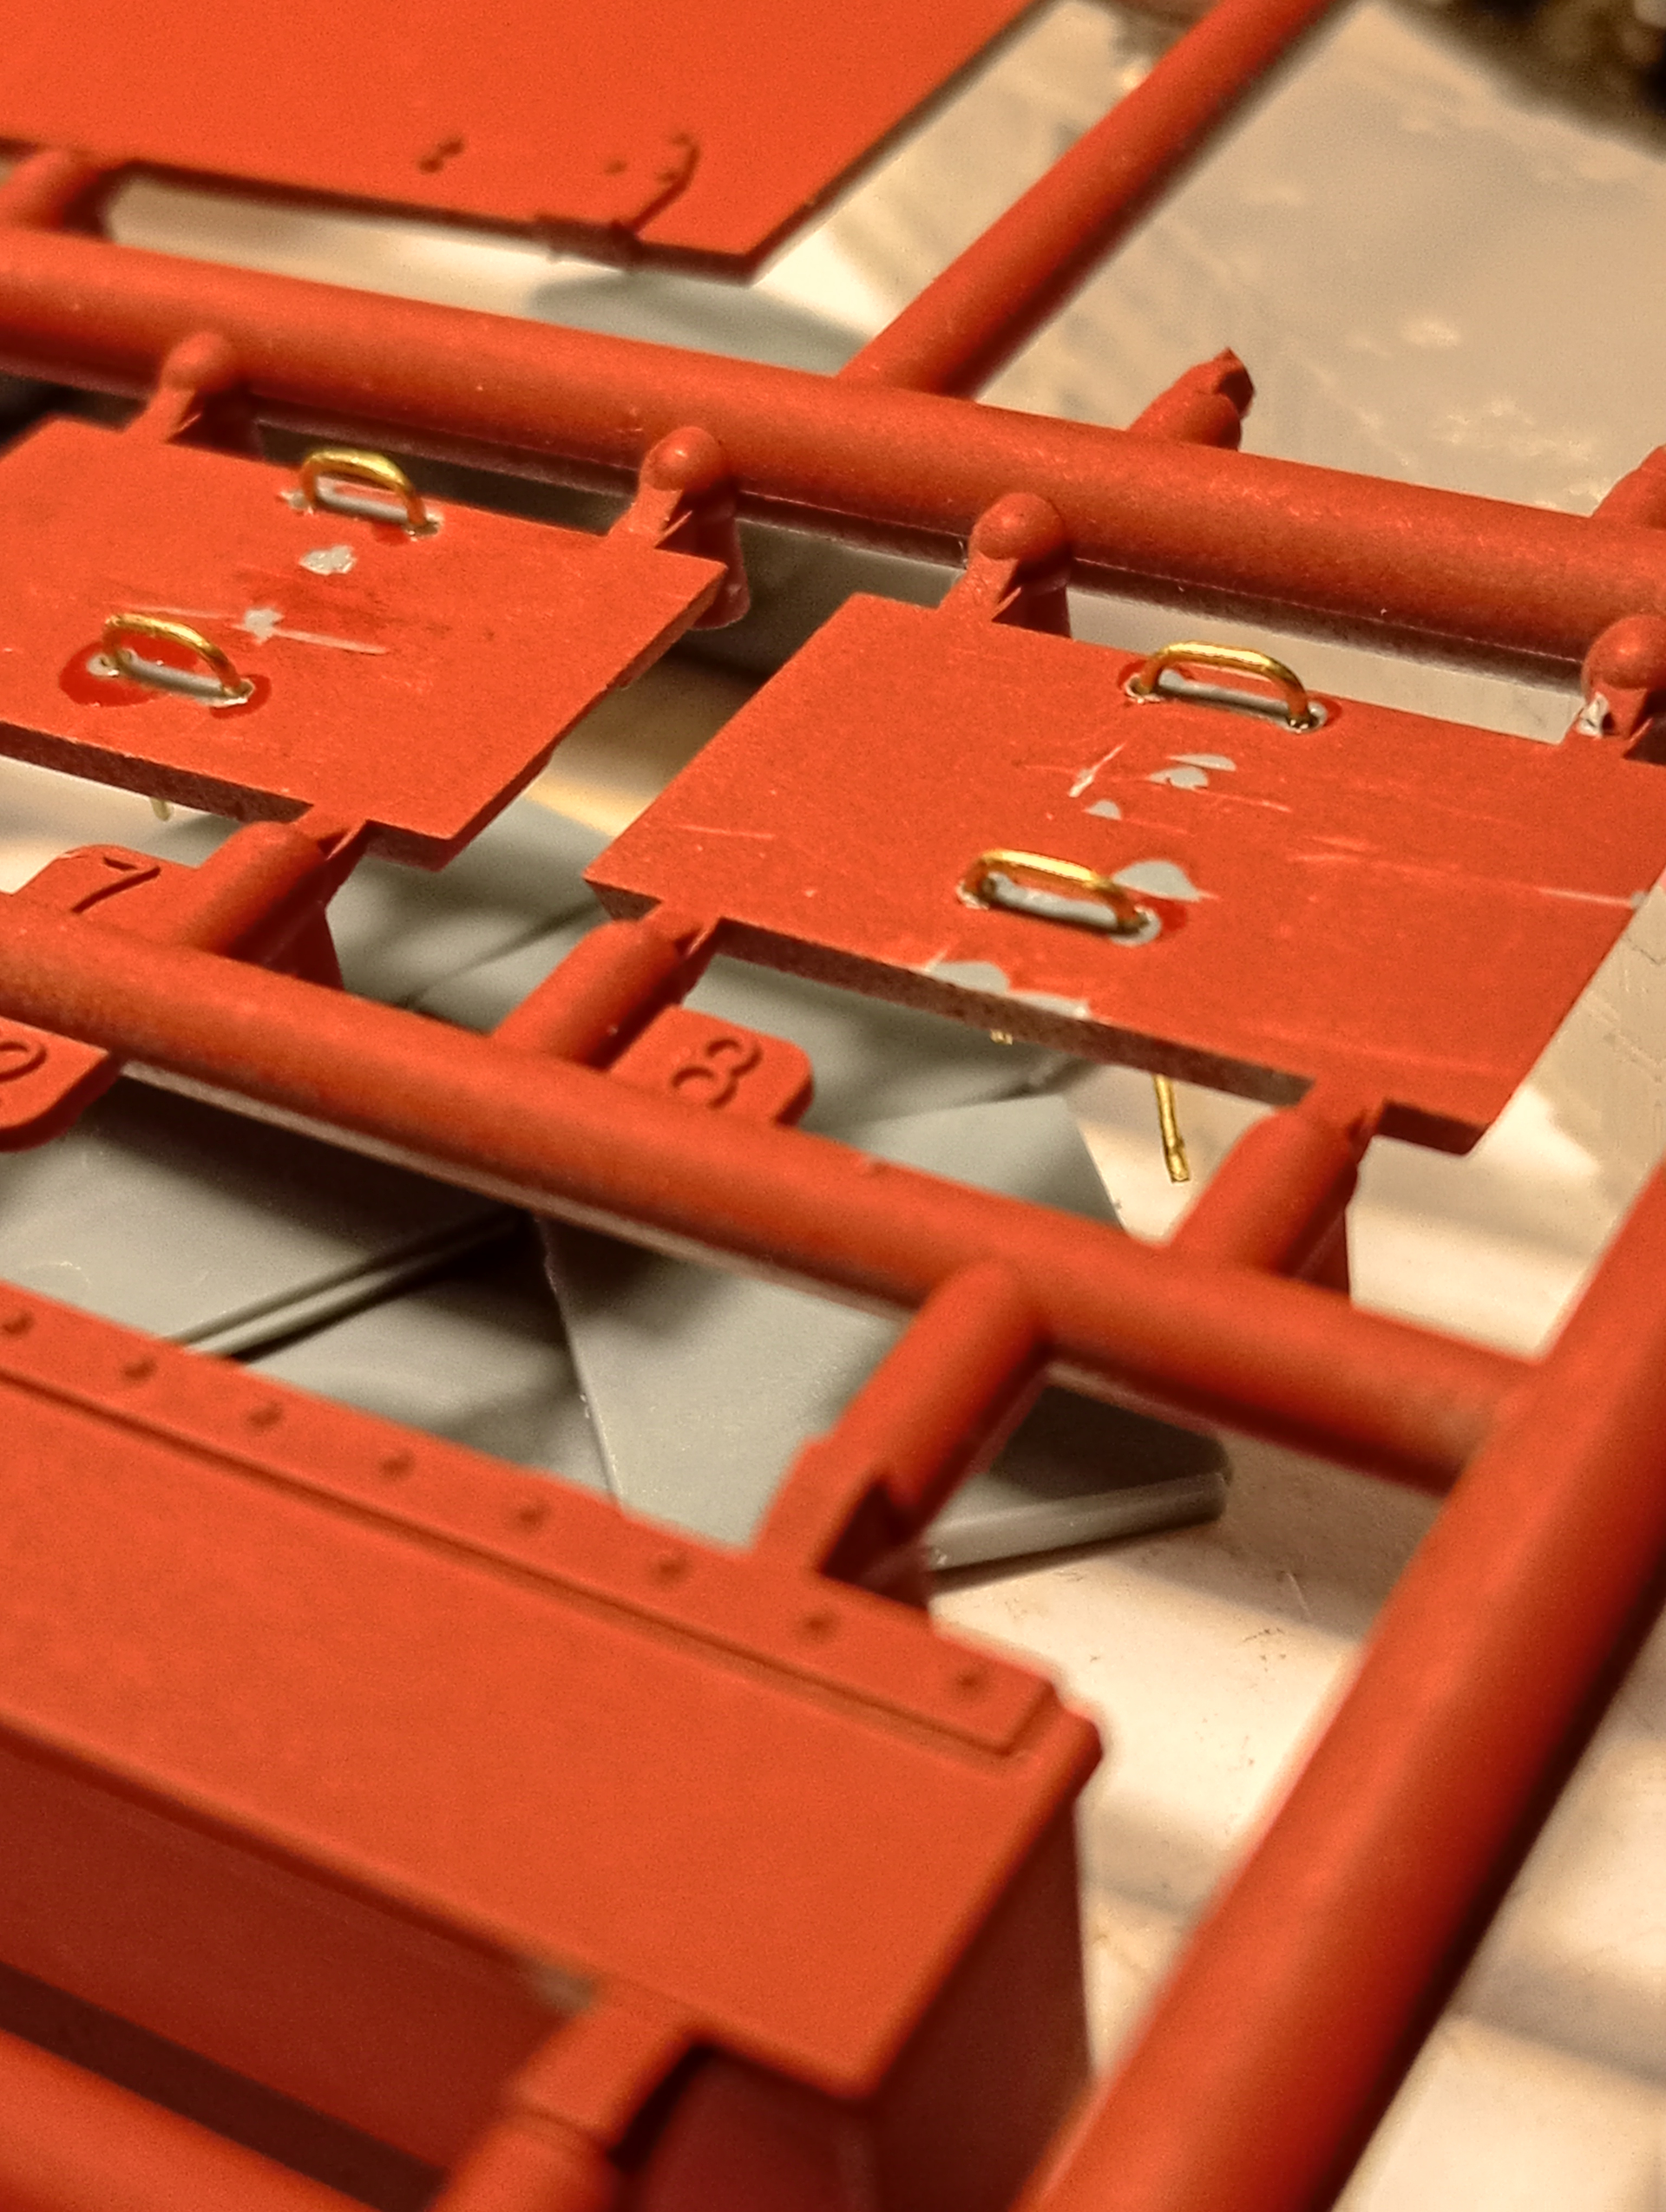
I also made and fitted 7 tie down loops for the rear door I can feed the scratch built securing straps that will be tying down the 2 spare jerrycans on each side at the rear.
Will get a bit done later today.
10 Likes
A few bits and pieces done … mainly getting the wheel stations on….. a bit of a faff …..
And an overview for the inside …
Biggest faff was the locators for the wheel stations… they are very shallow and when connected, it allows for some movement unless the whole thing is held firmly or safely until set …. In hindsight, I would have drilled these out and used a bit of brass rod for extra strength… but they are all on ok now. Rach wheel stations will get another over spray of SCC when the time comes… tyres have been started with the AK marker pen rubber black …
8 Likes
Progress is outstanding John. That interior detailing that you added is incredible. All the cables, rods, lines, and lights, phenomenal. You’re really going all out on this one; it is a pleasure to follow along.
4 Likes
I love your attention to detail, -the workaround where the kit details are a bit weak, -like the protective bars in front of the radio is impressive. I will look forward to follow your updates.
3 Likes
Thanks Matt & Ingvar @Ingvar_Sylegard …. appreciated …. Most of the major added detail is done now and we are into the final stages …… biggest thing to do now is the 2nd run of tracks ….
2 Likes