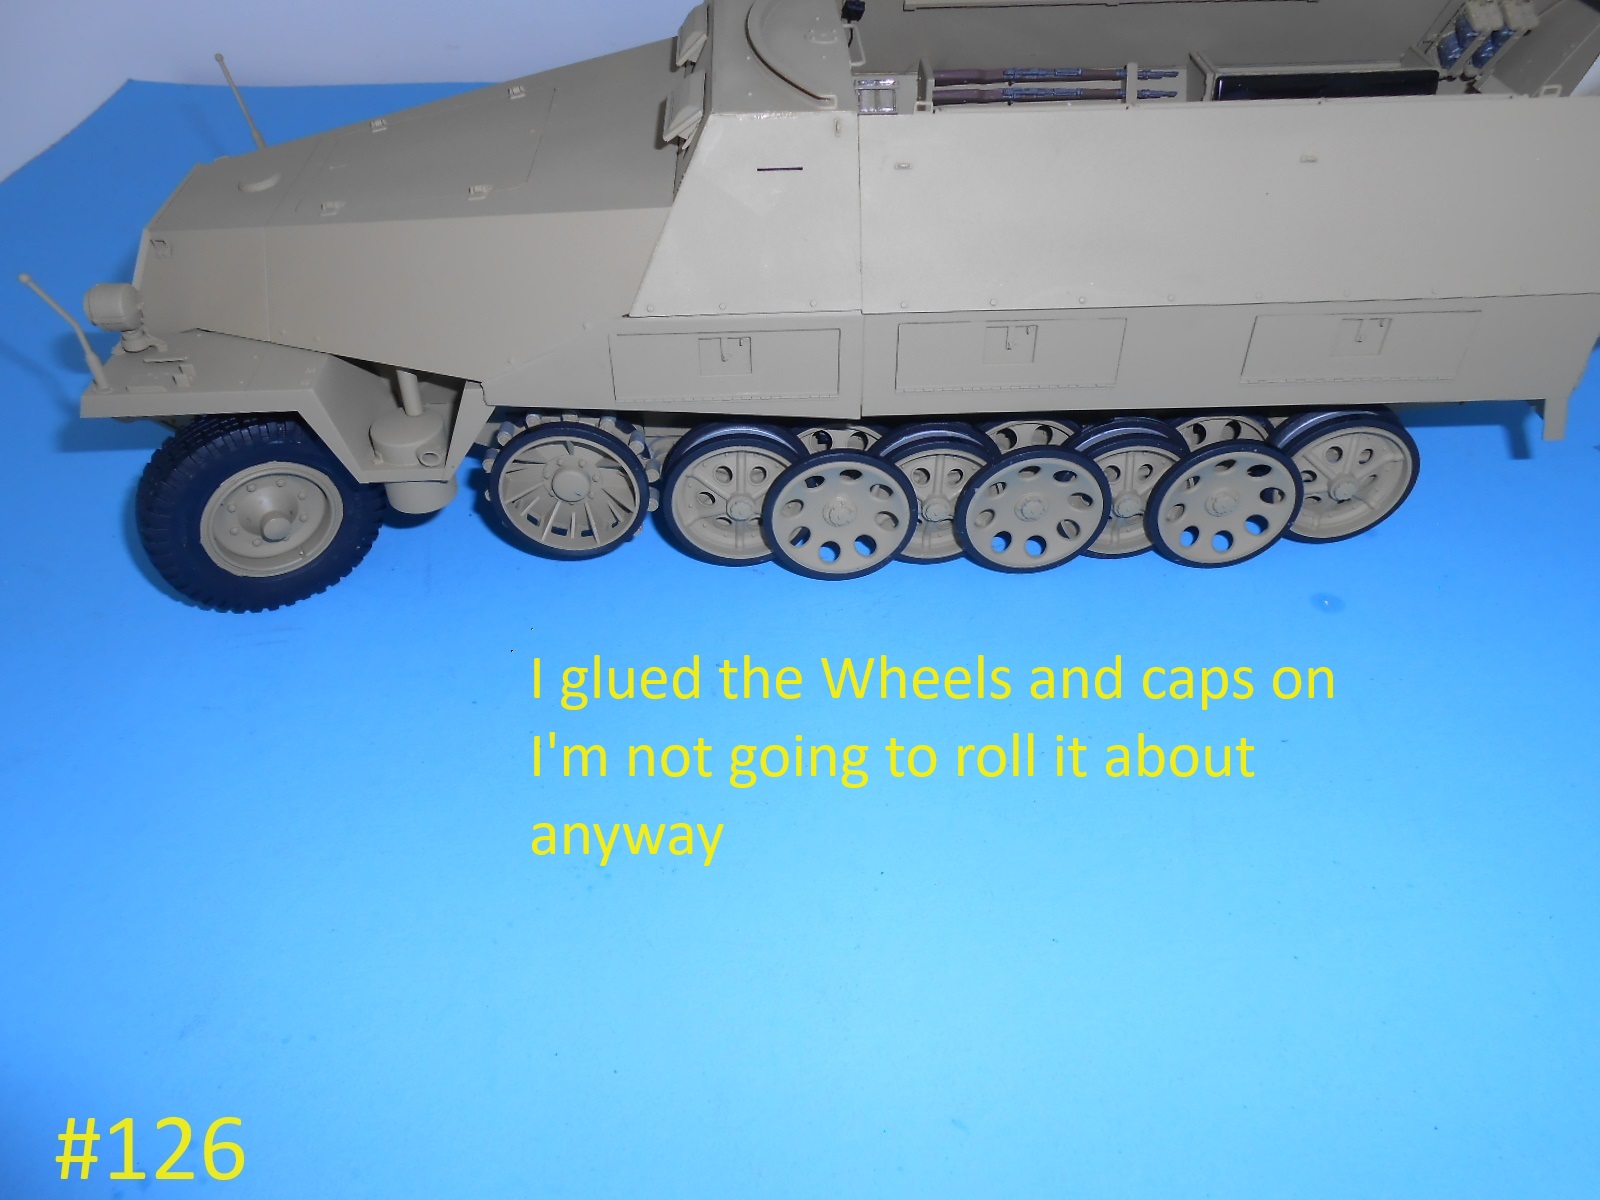
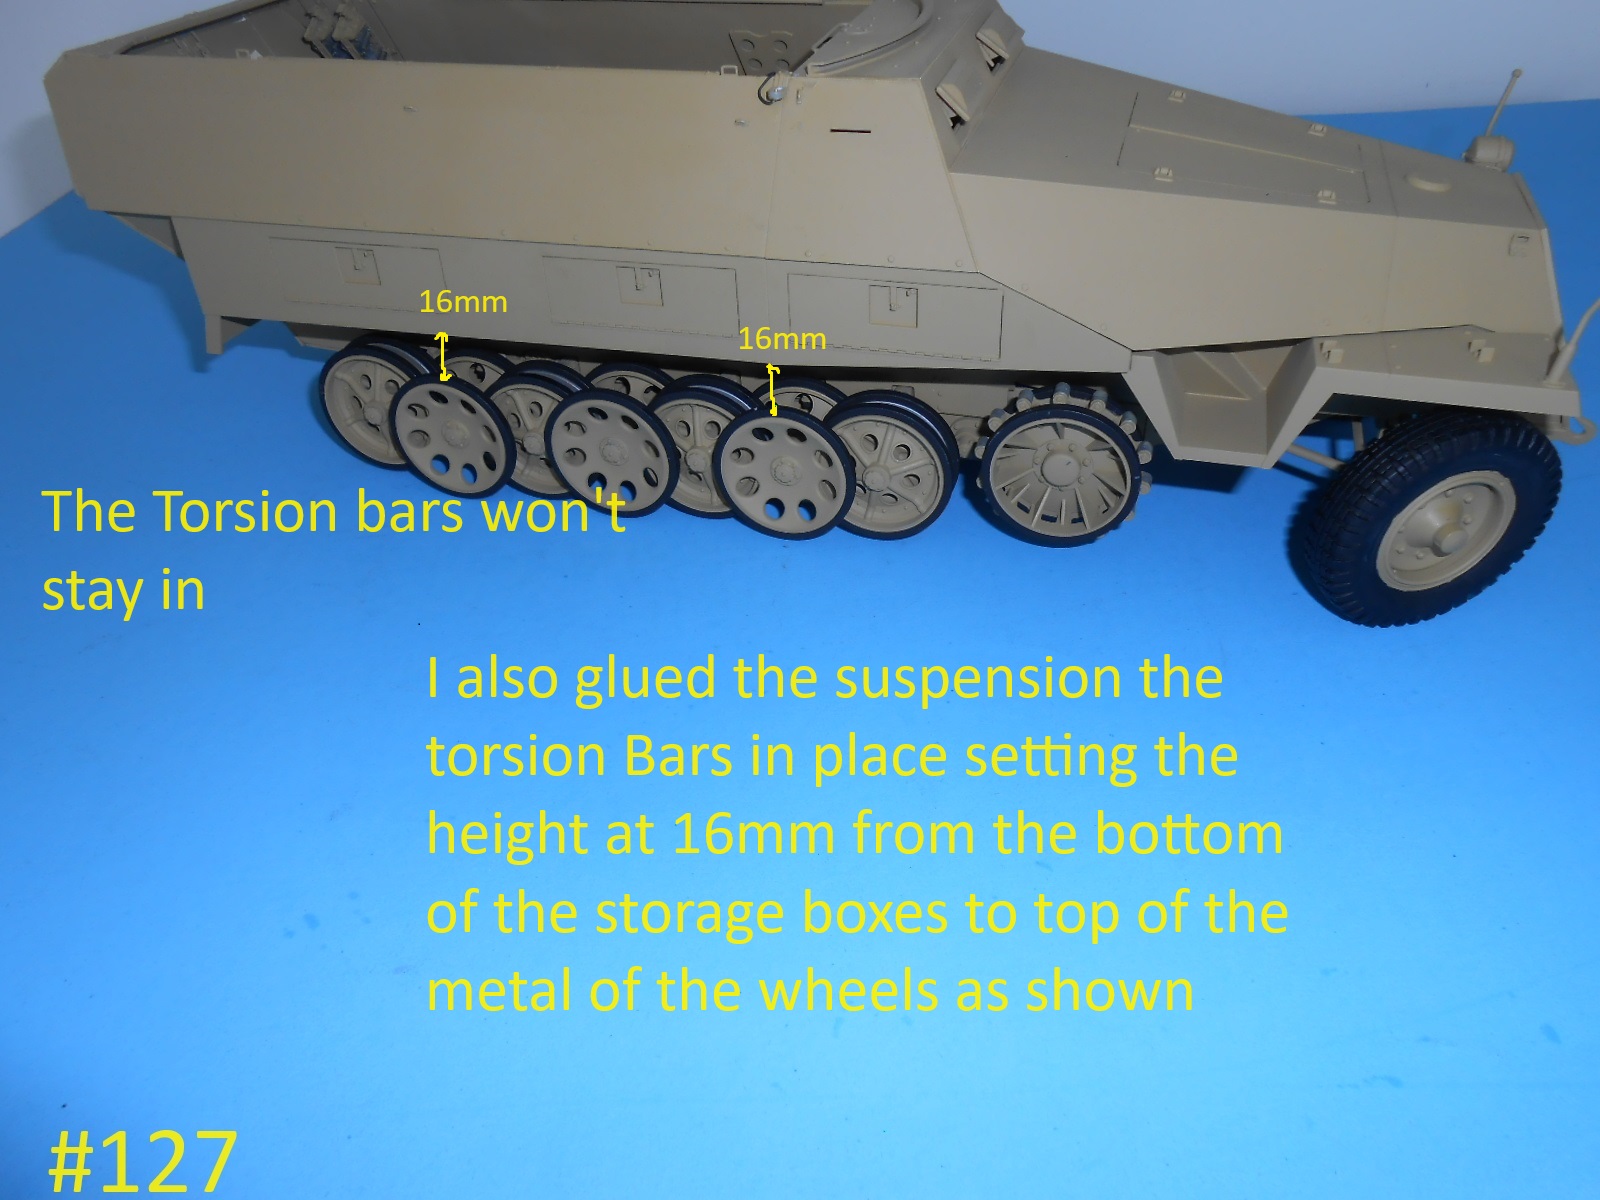
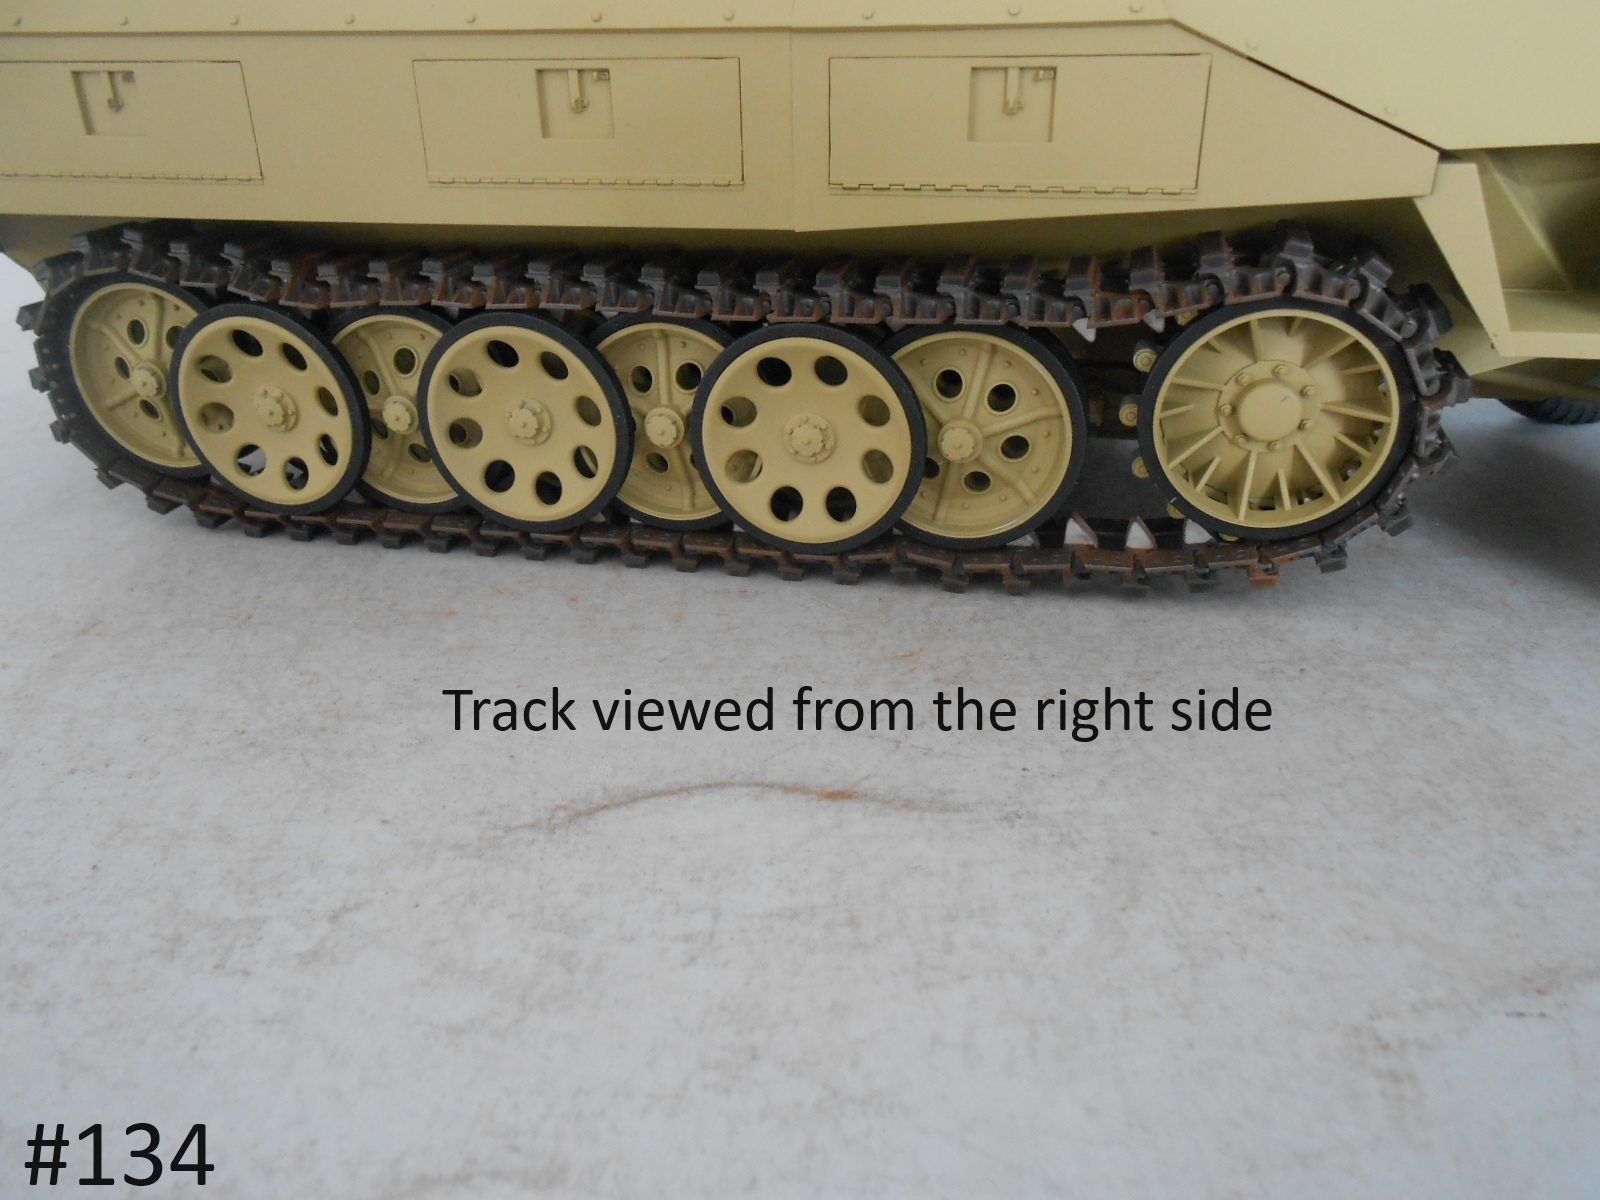
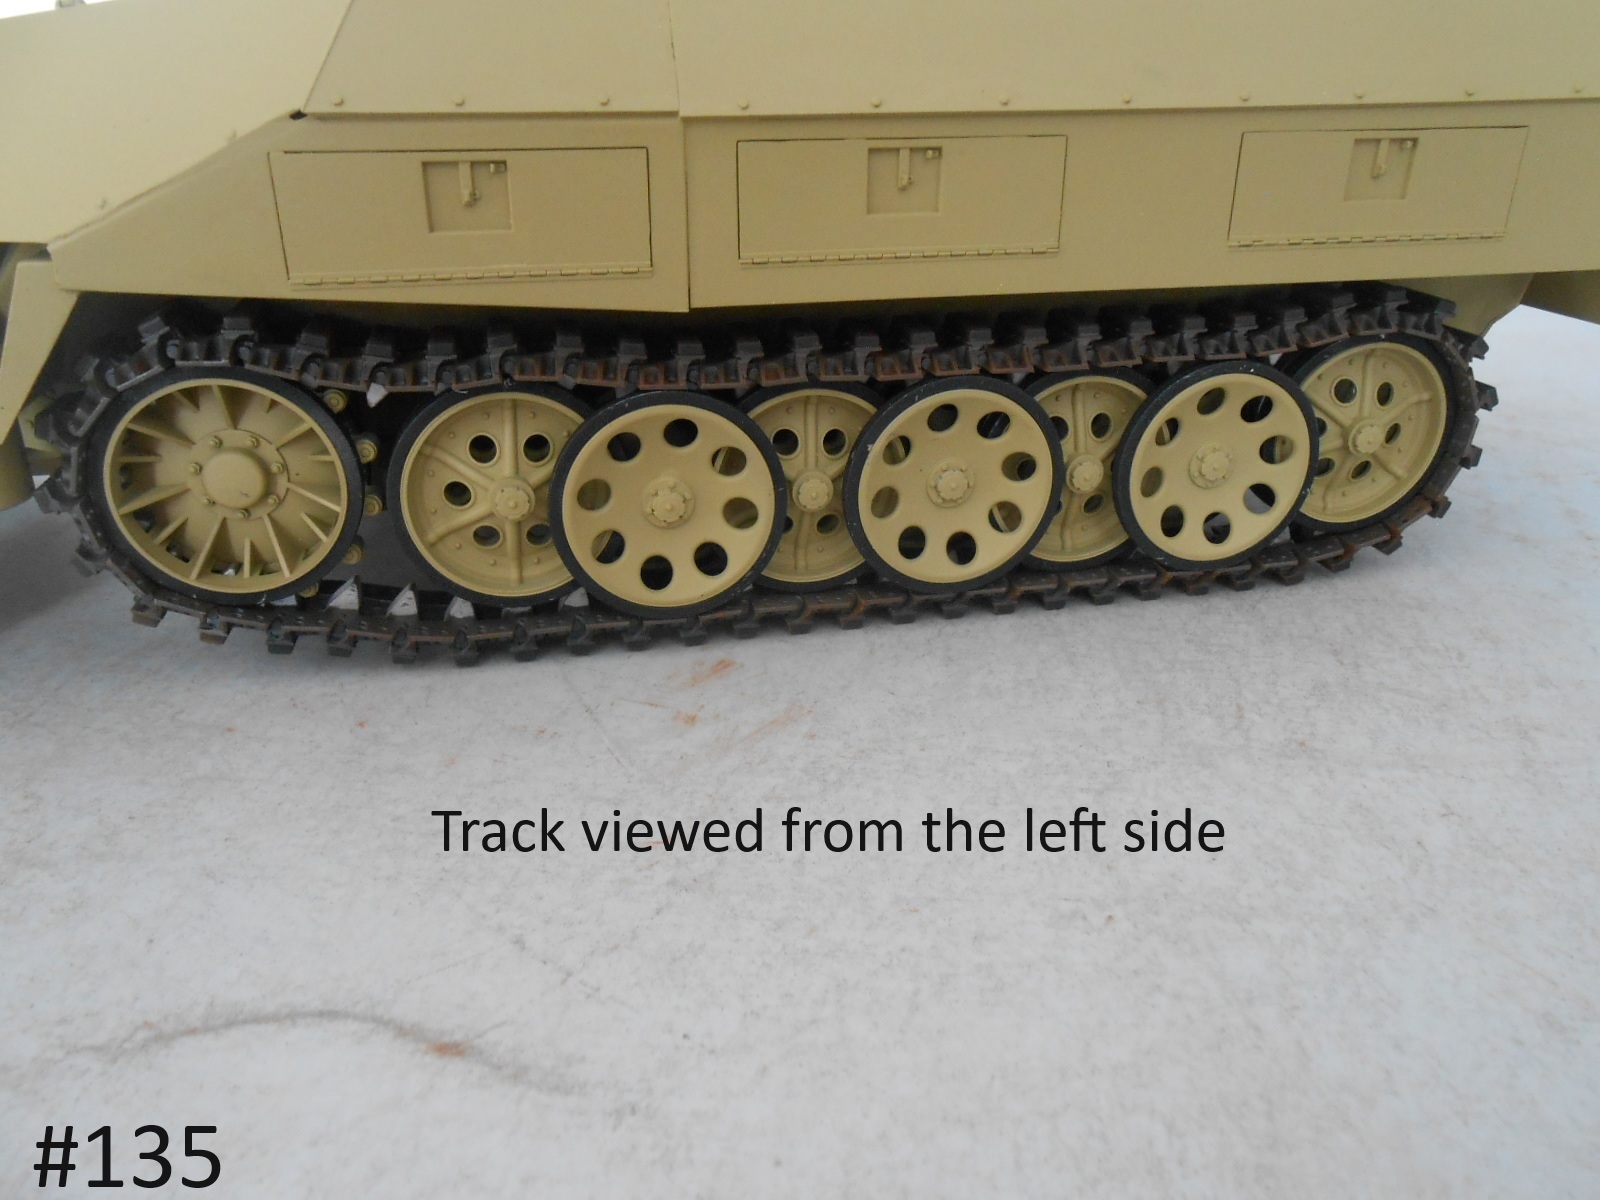
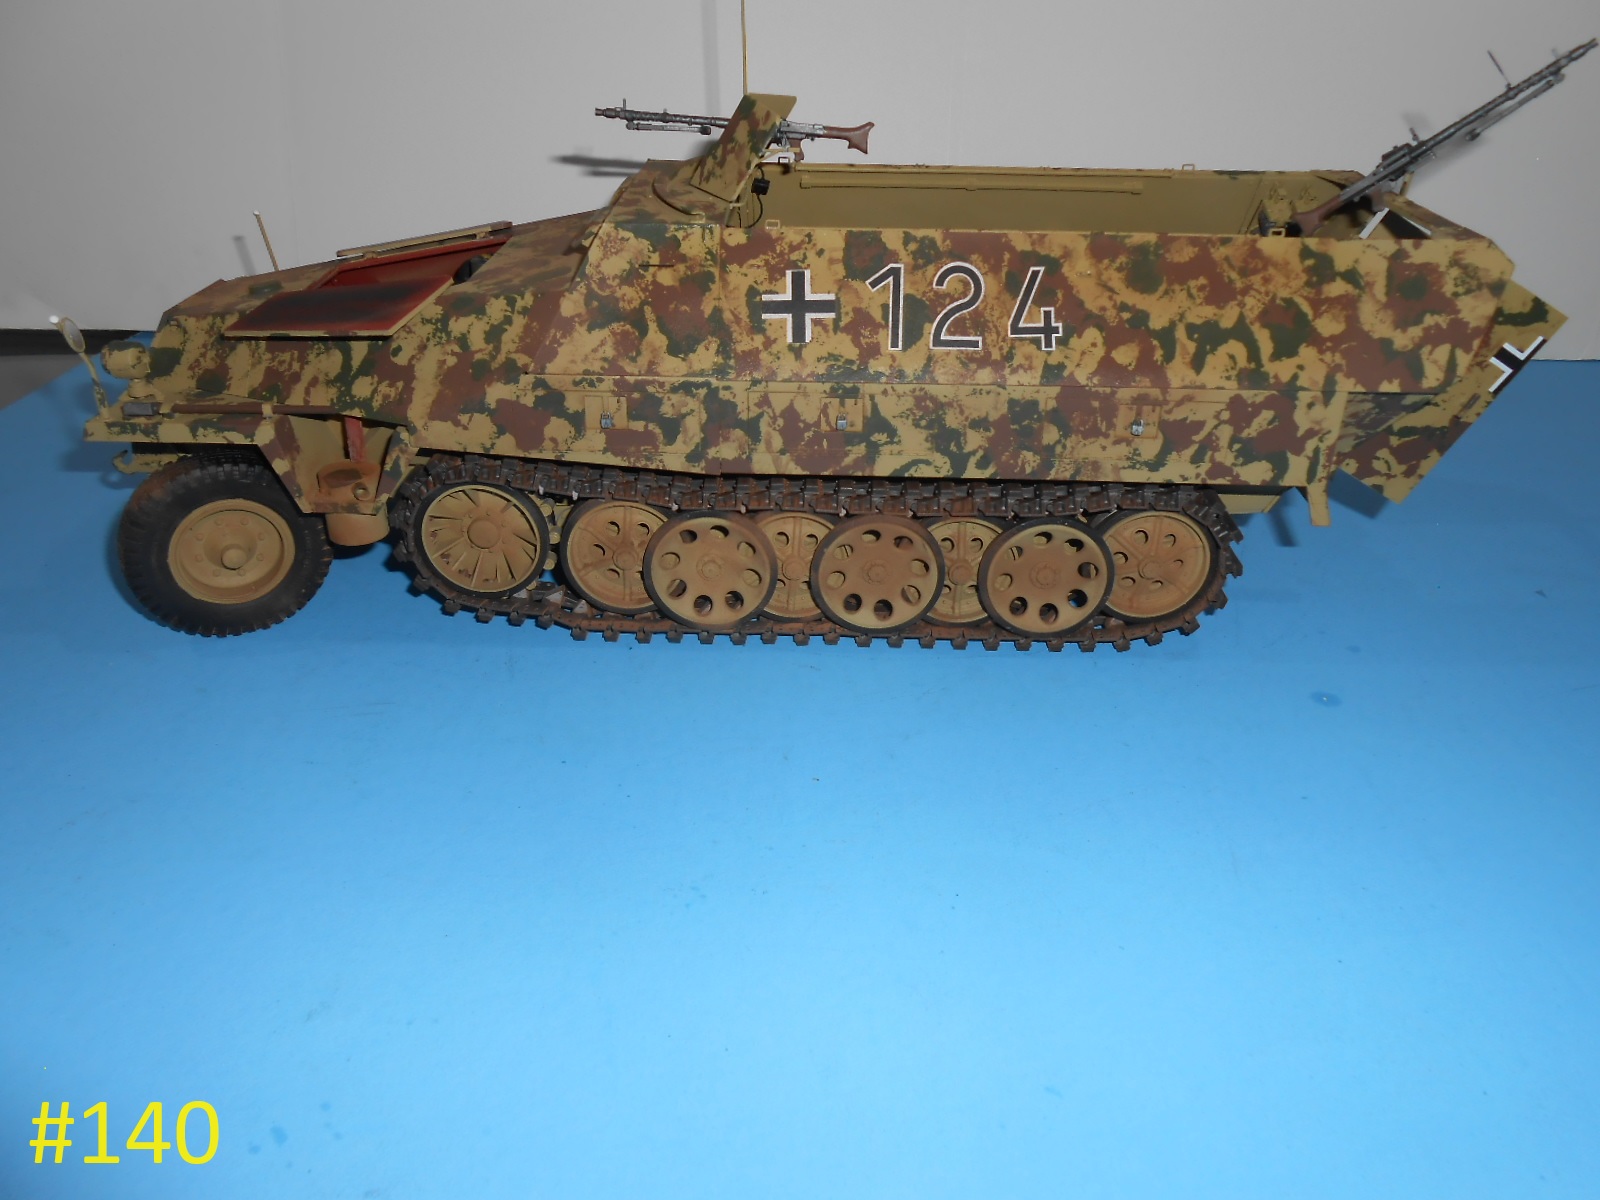
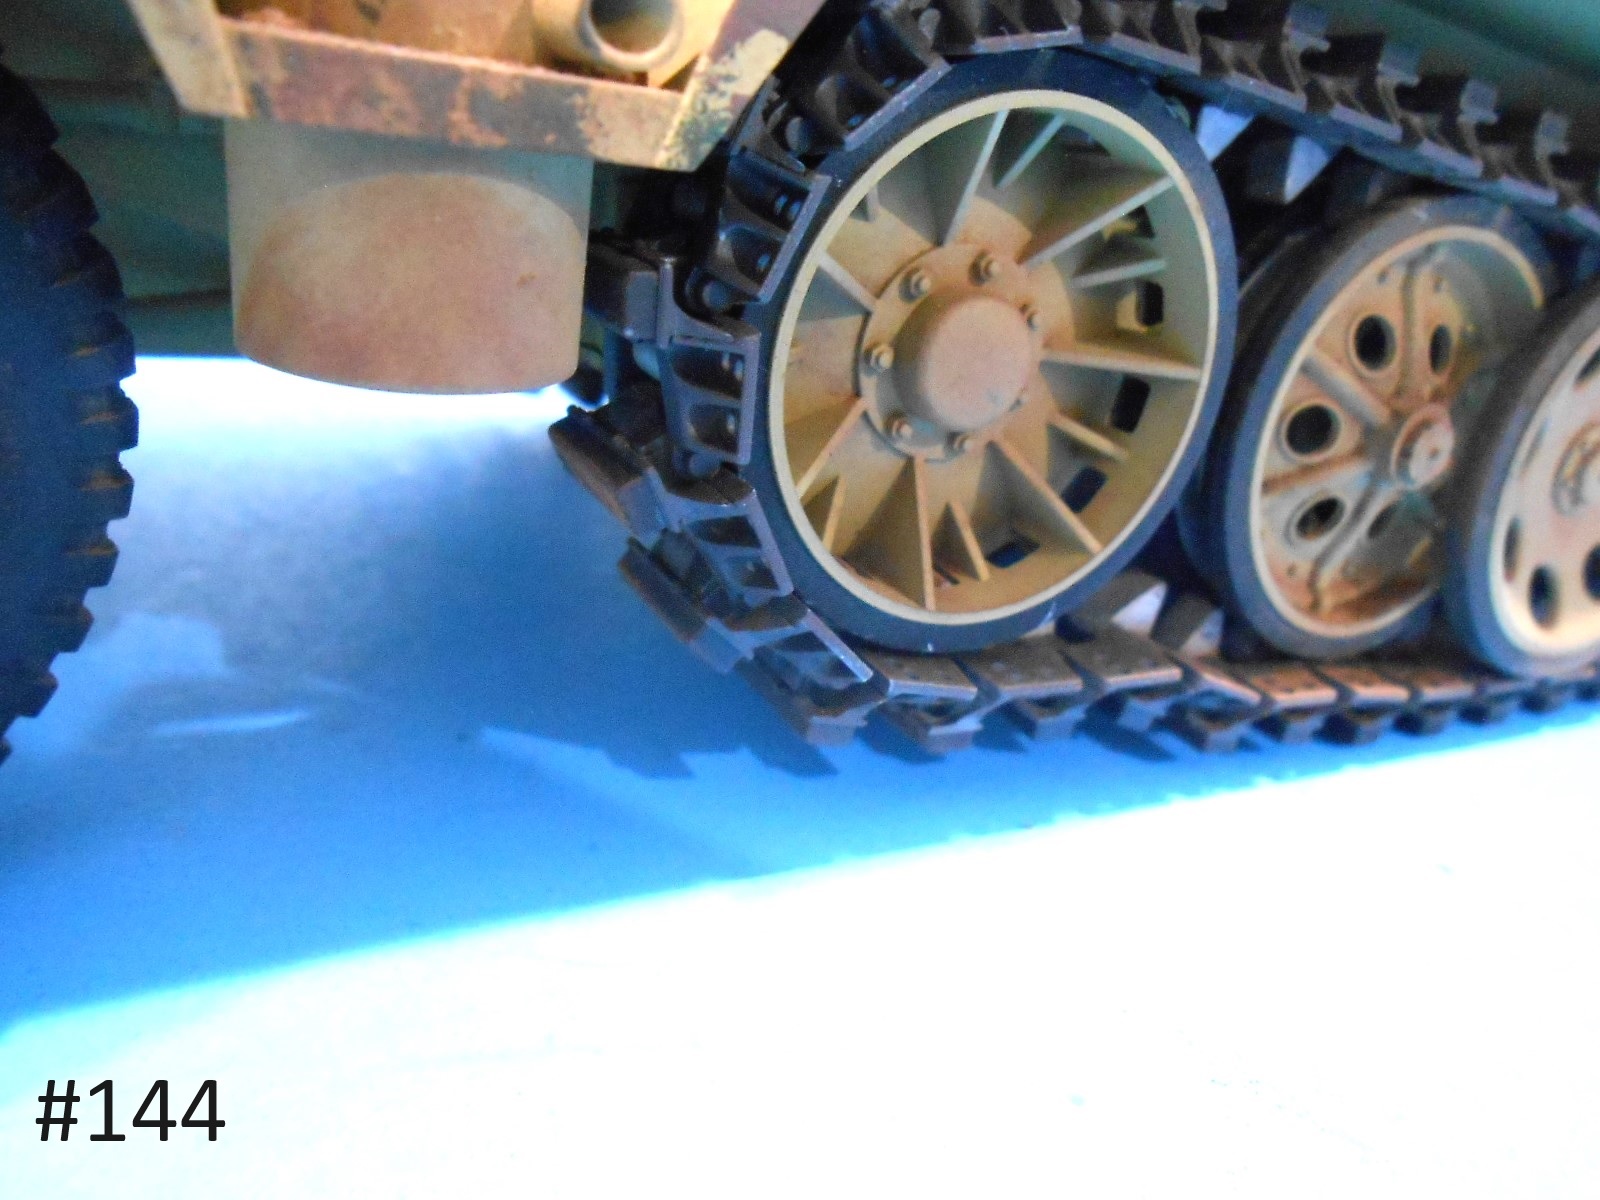
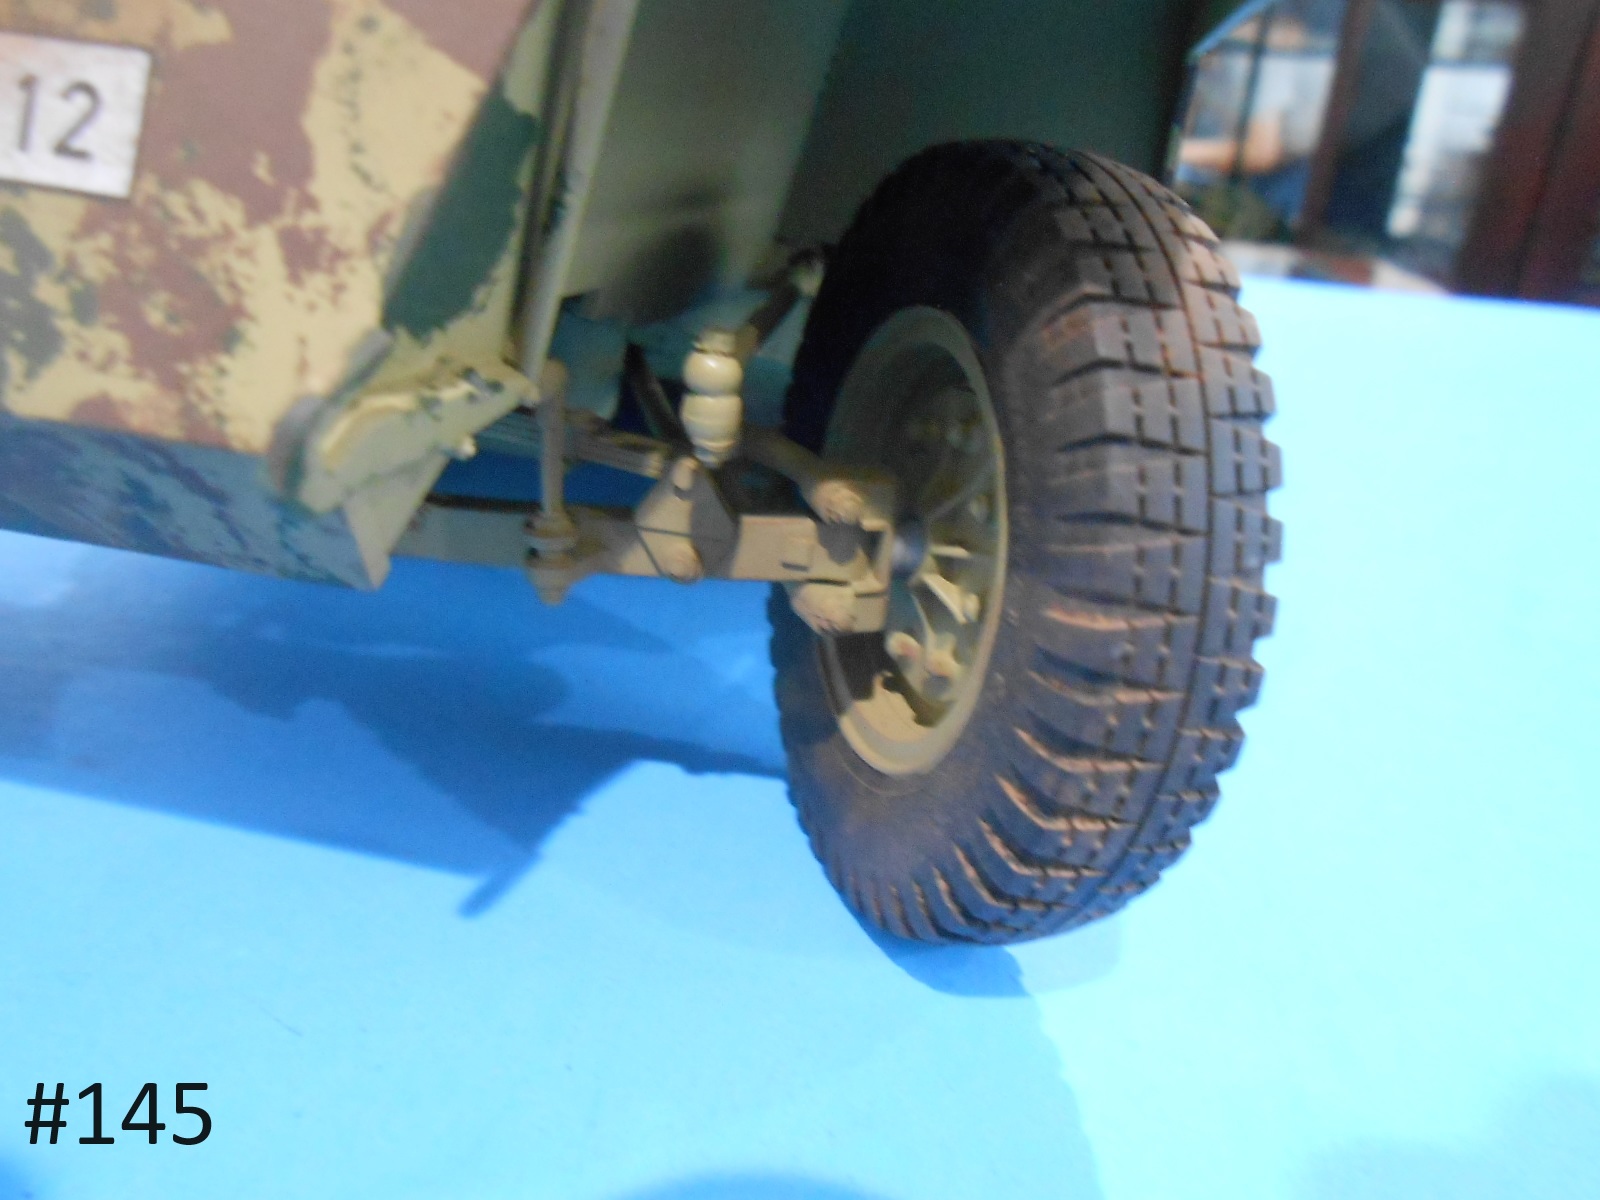
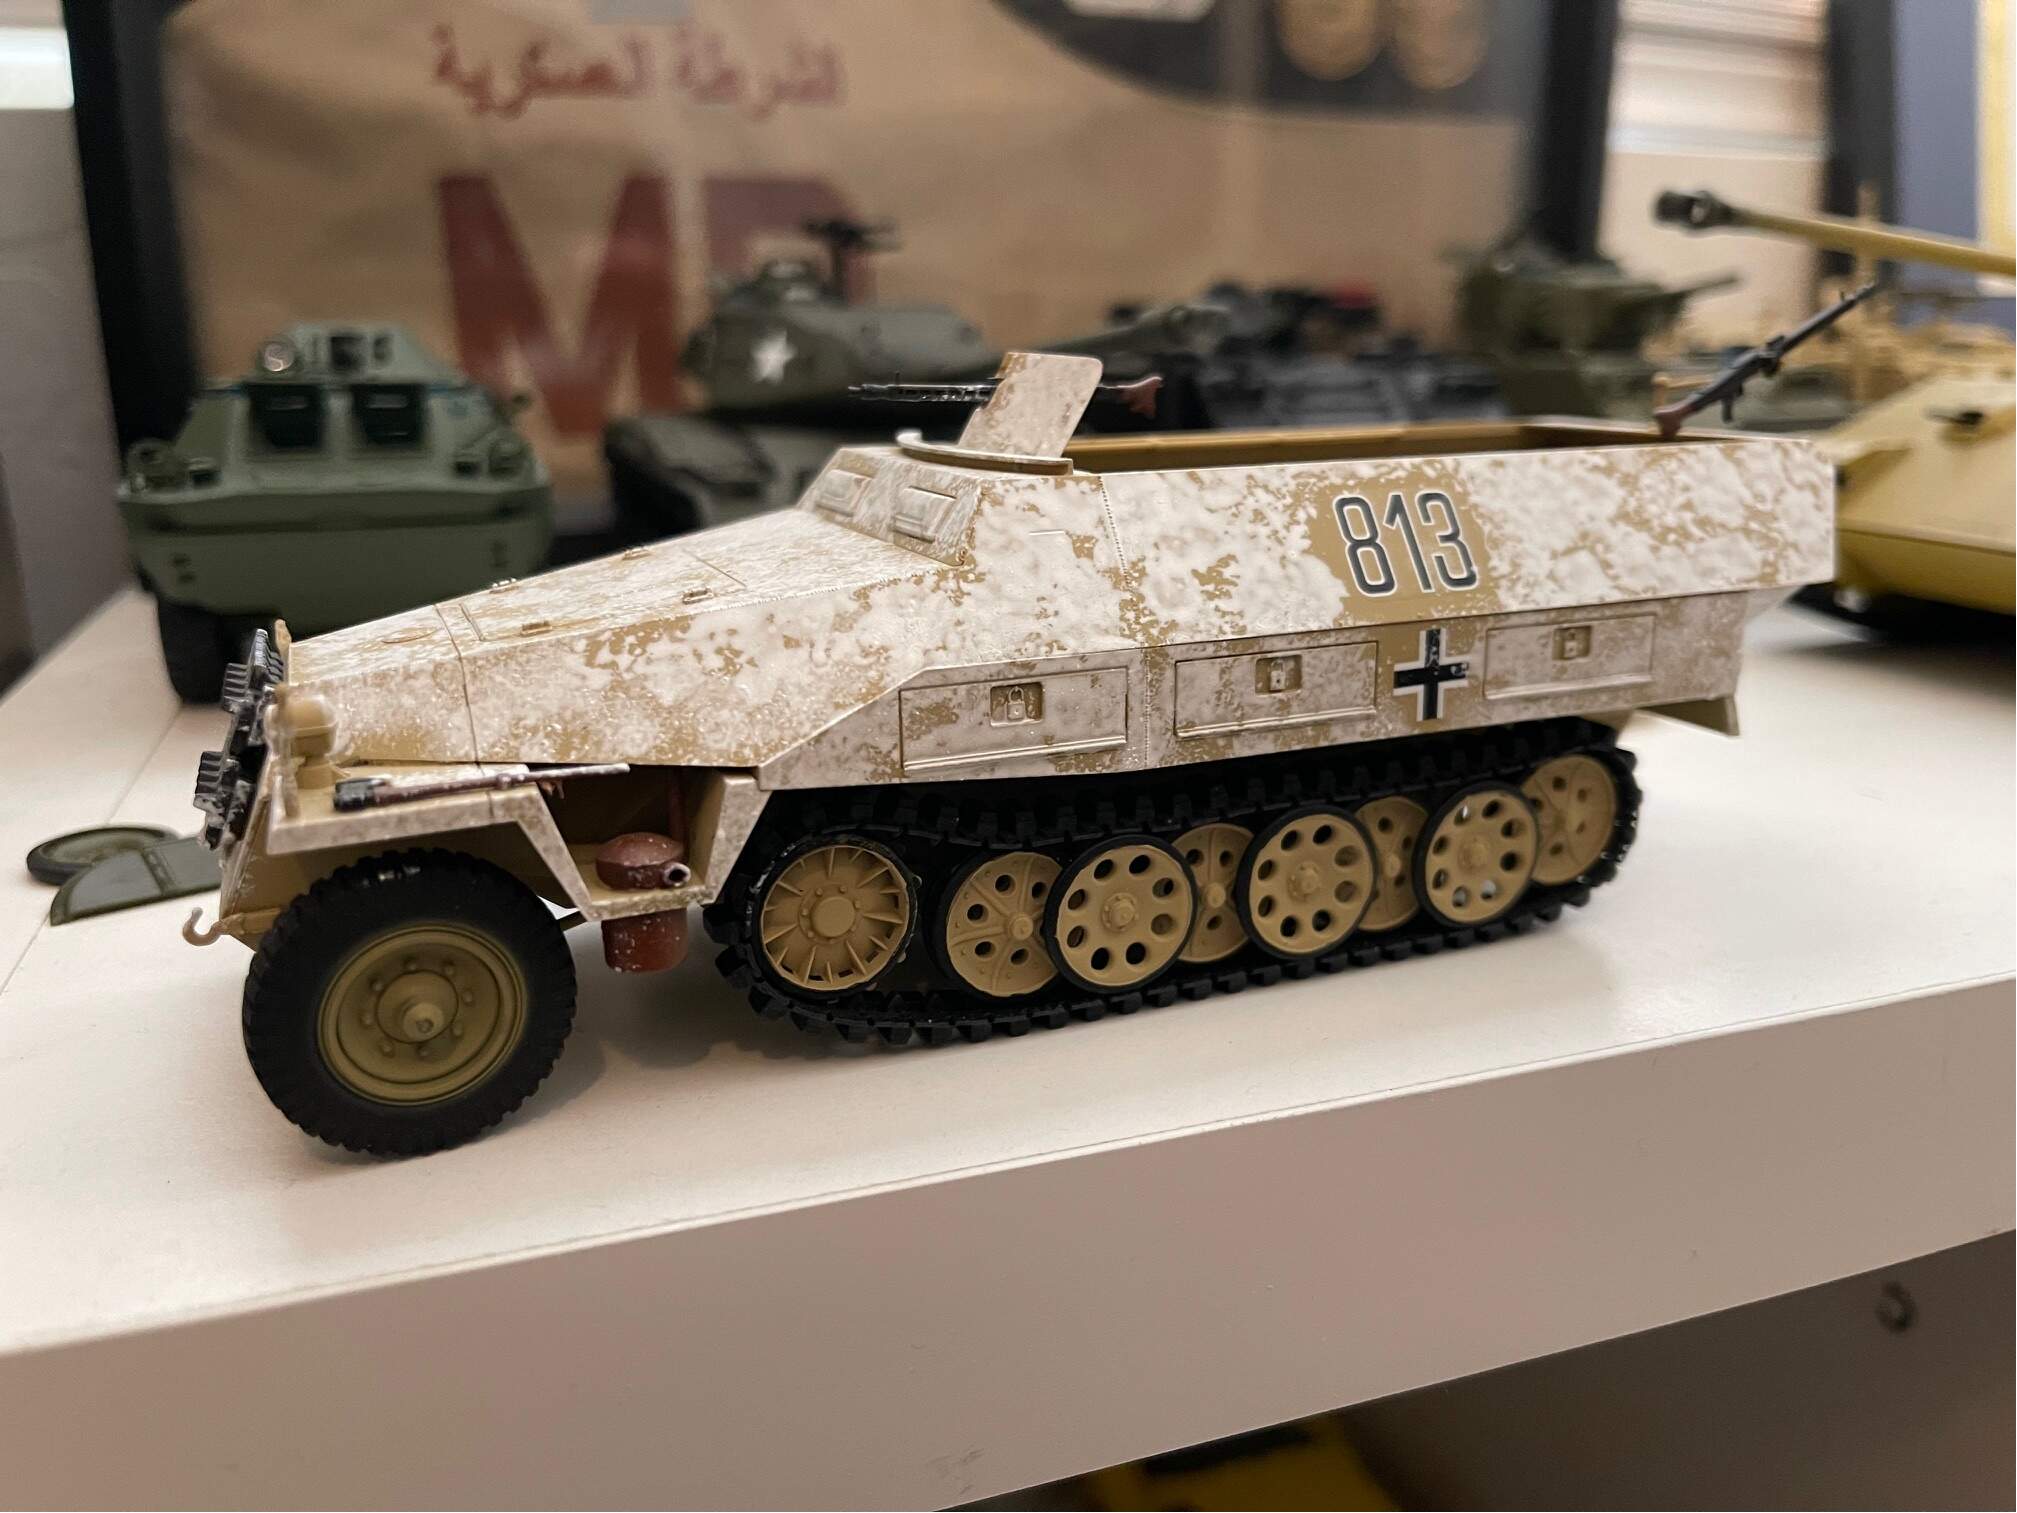
I have the Wheels installed , I glued them in place and glued the Torsion Bars setting the first and last pair of wide spaced wheels at 16mm. from the bottoms of the storage bins to the top of the metal (painted) part of the wheels.
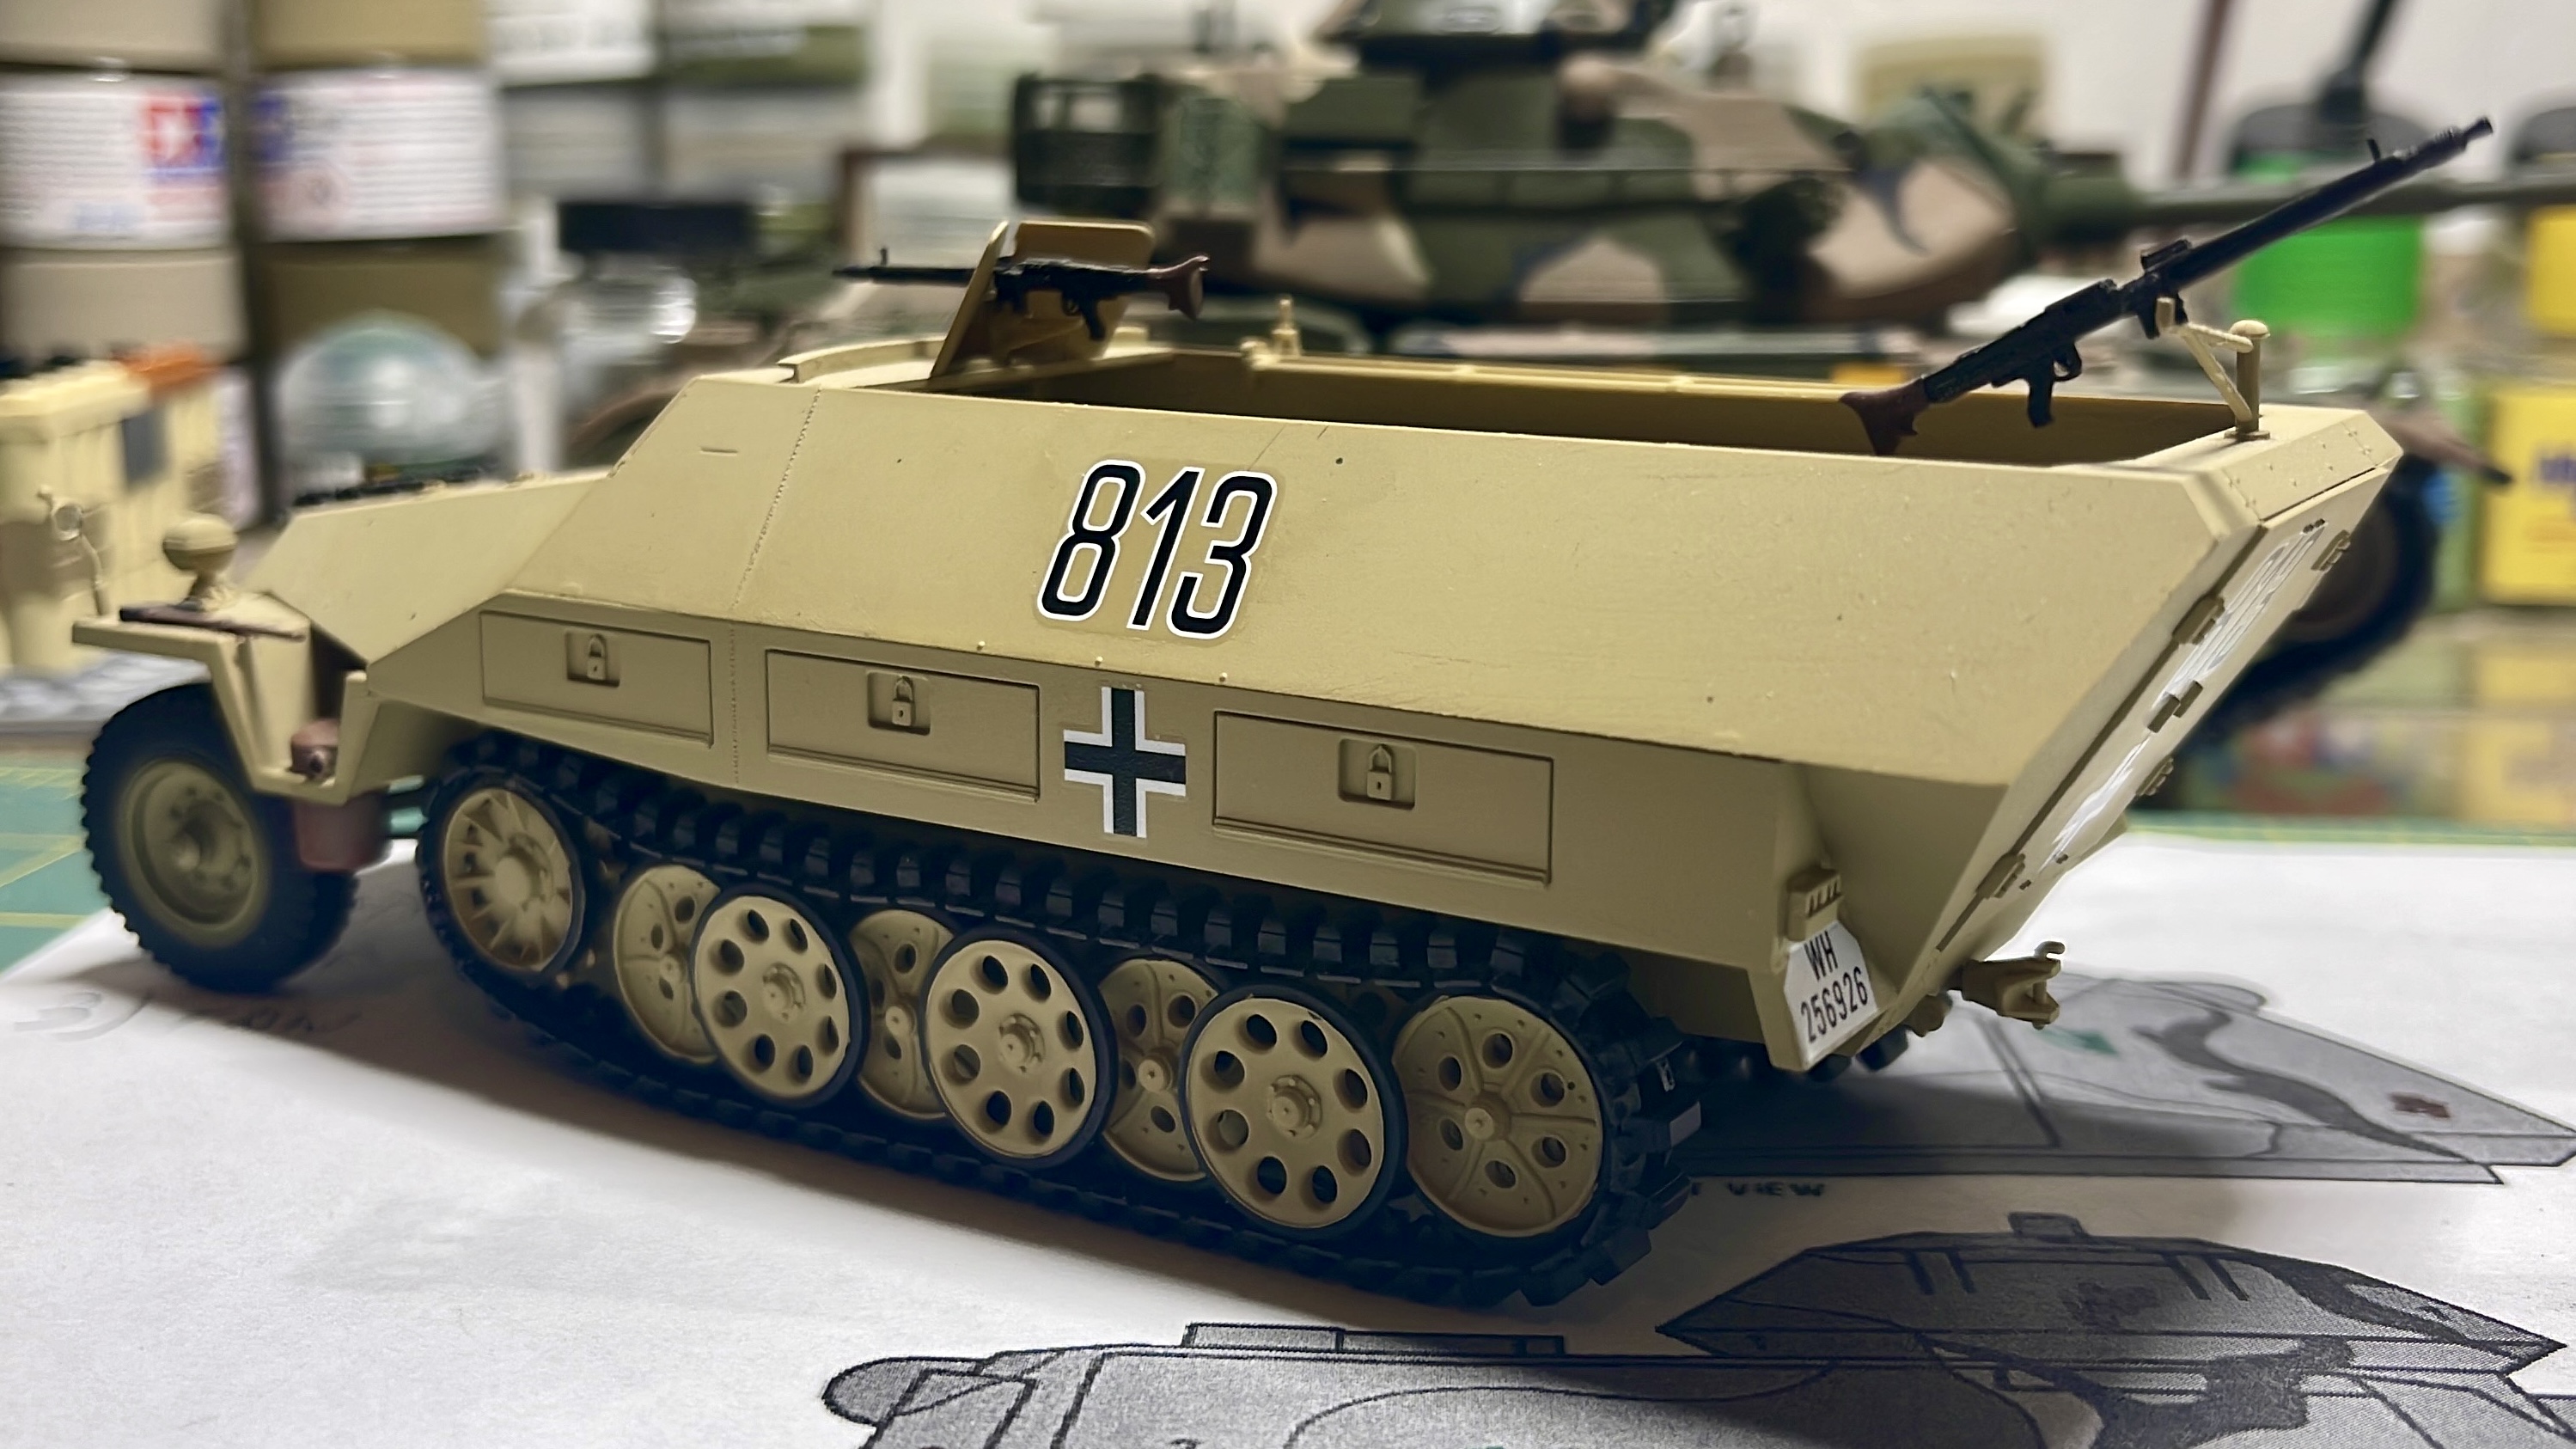
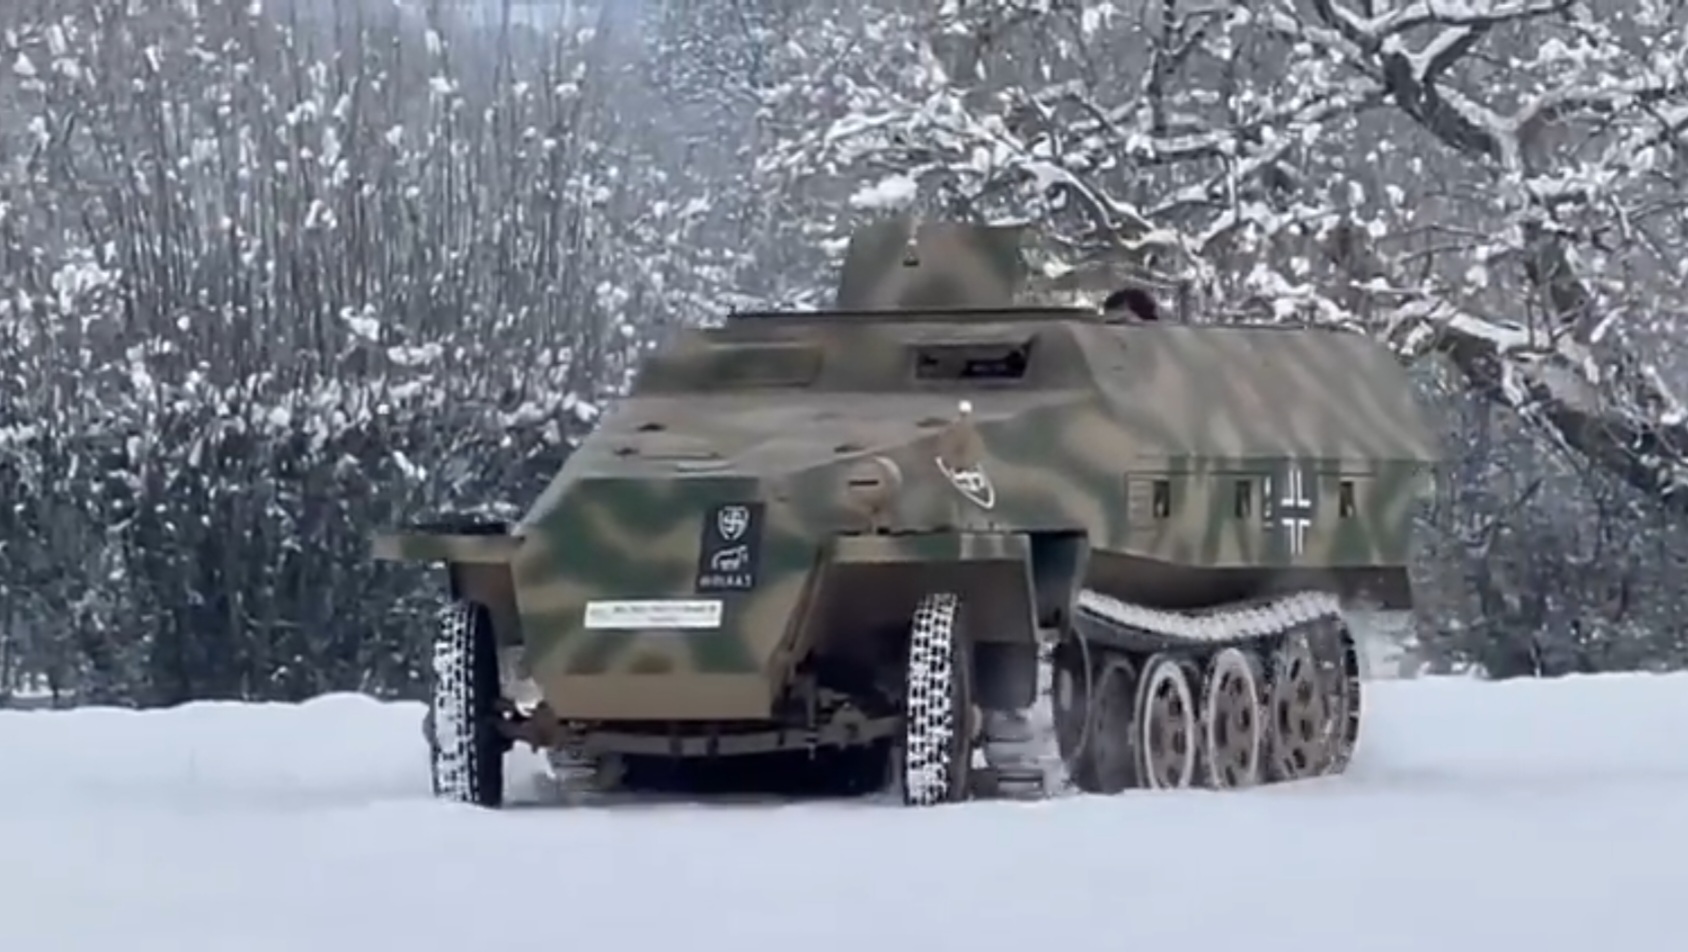
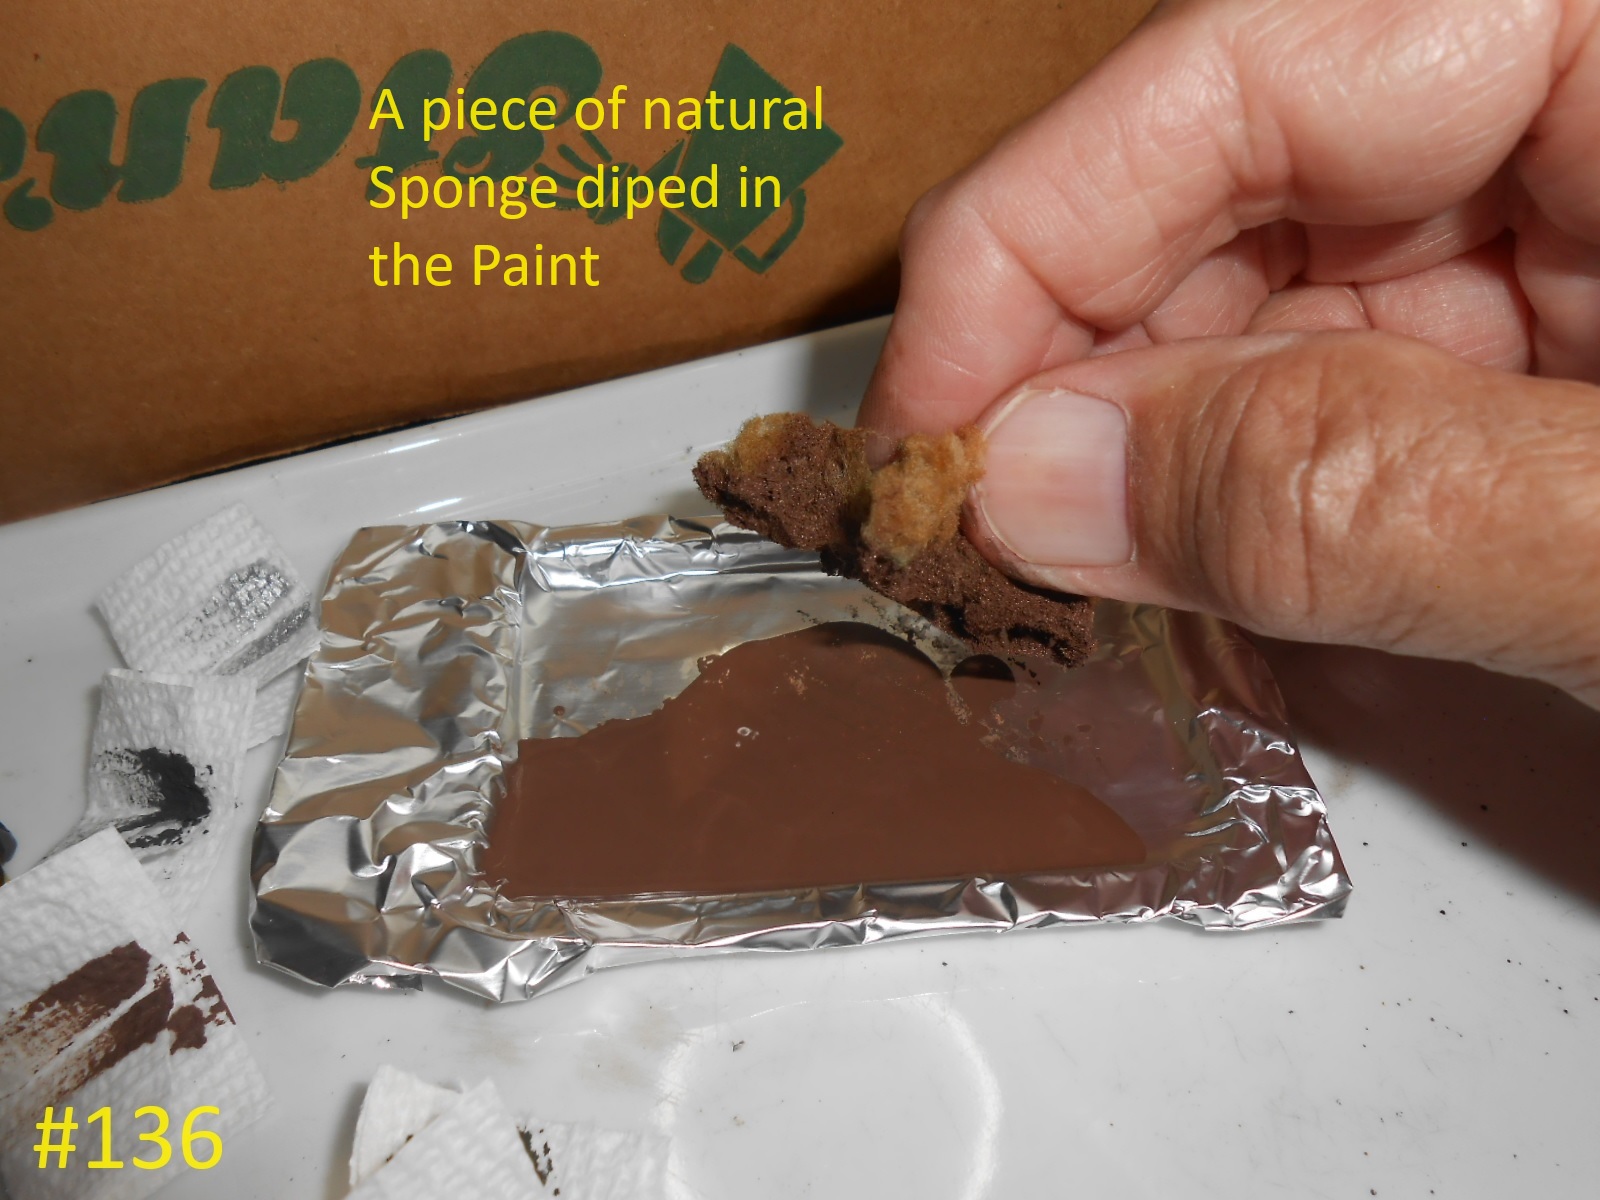
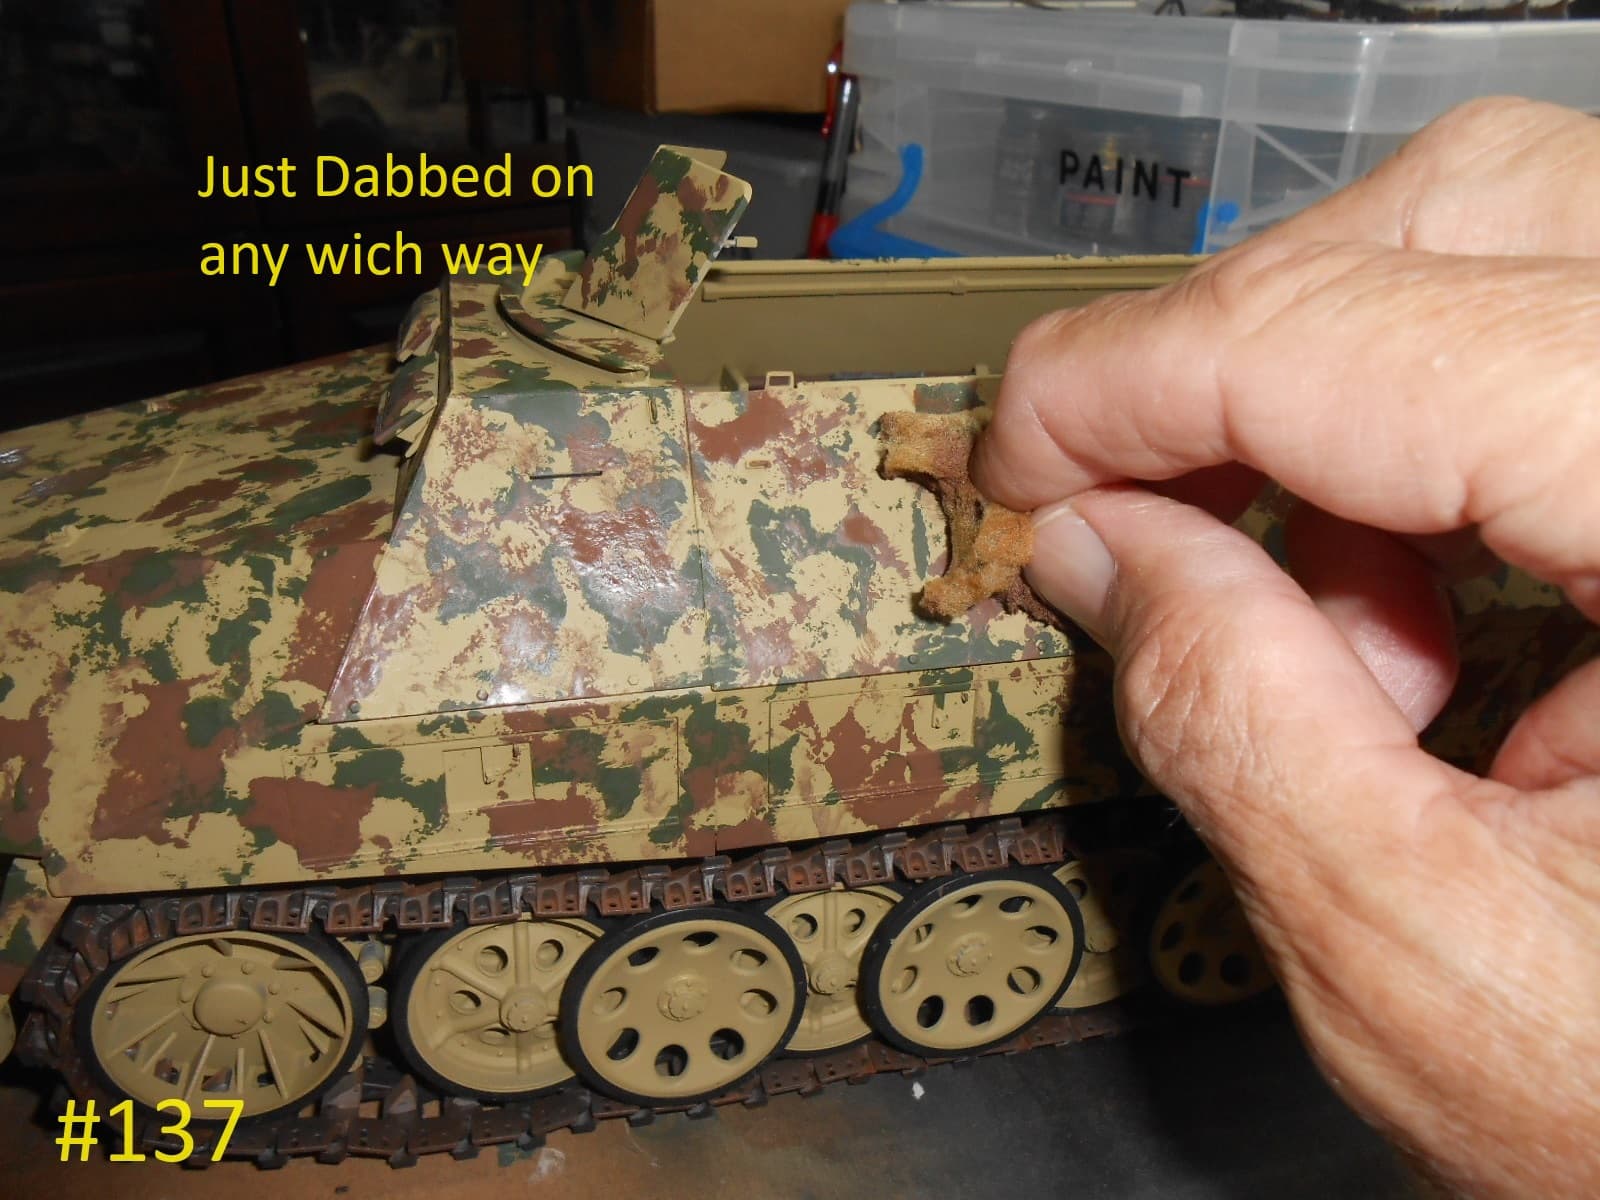
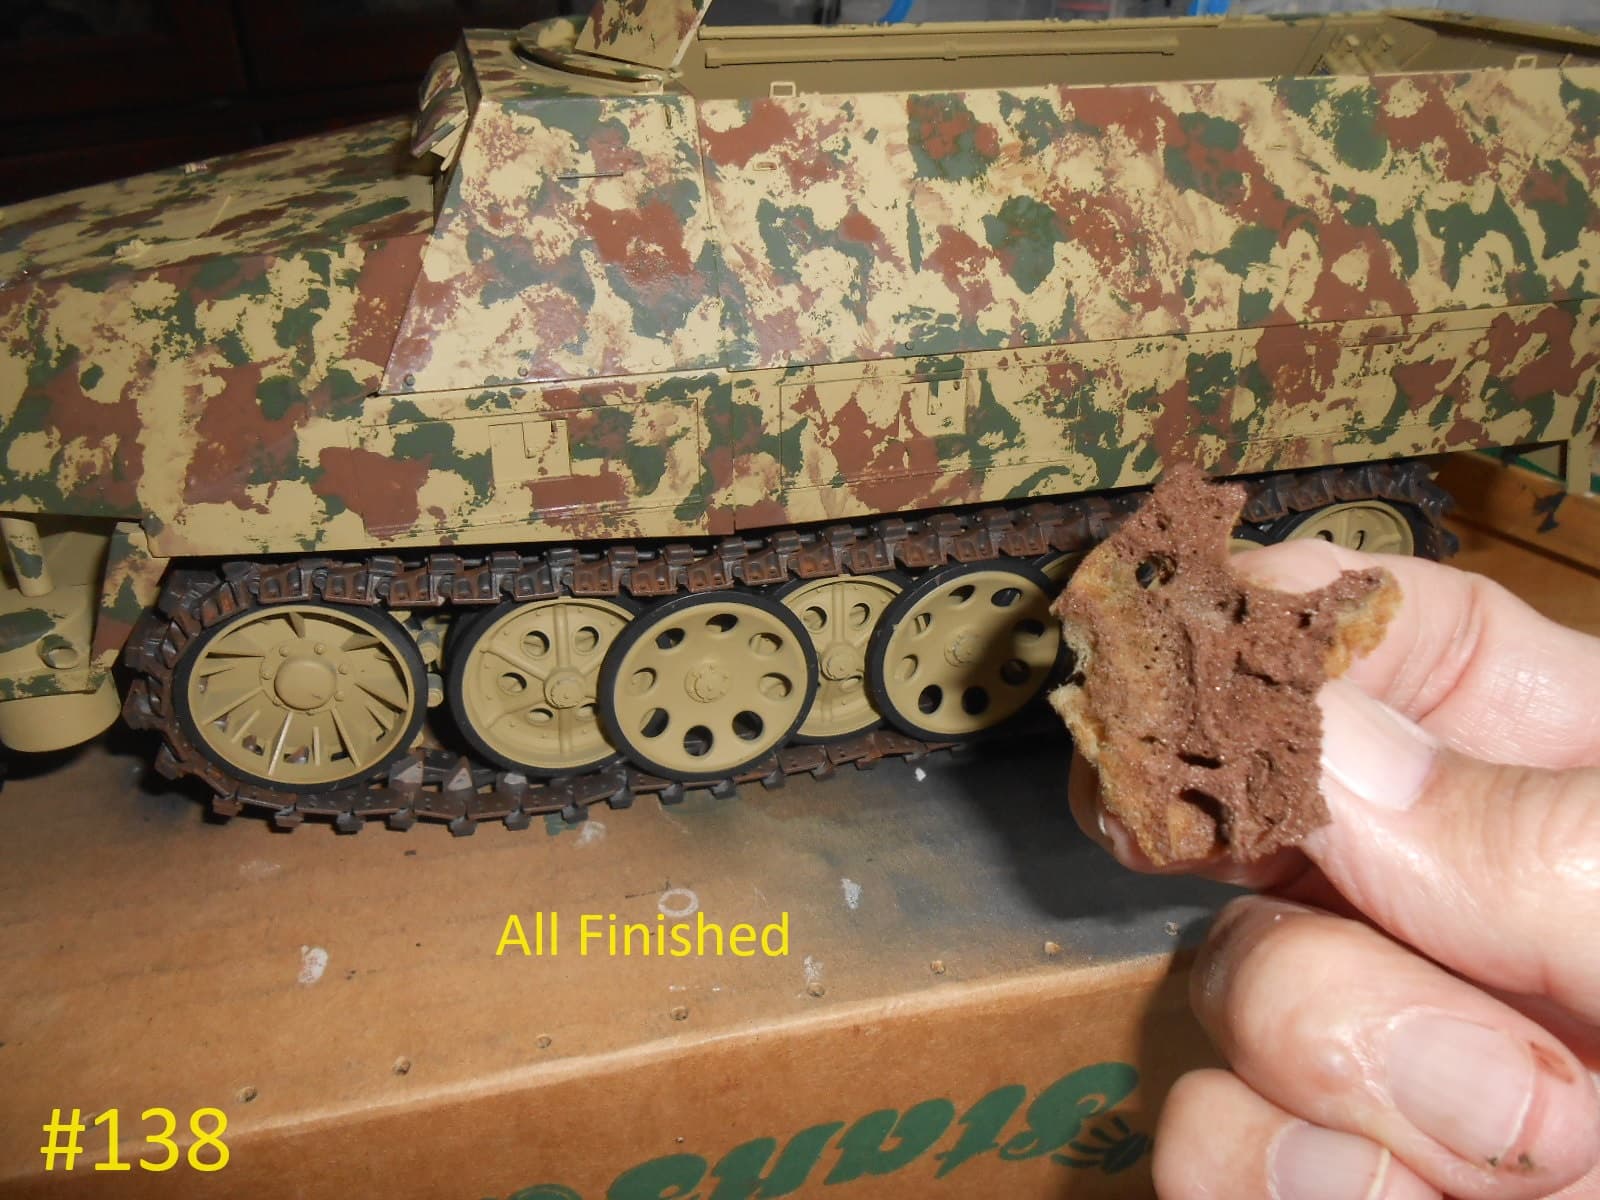
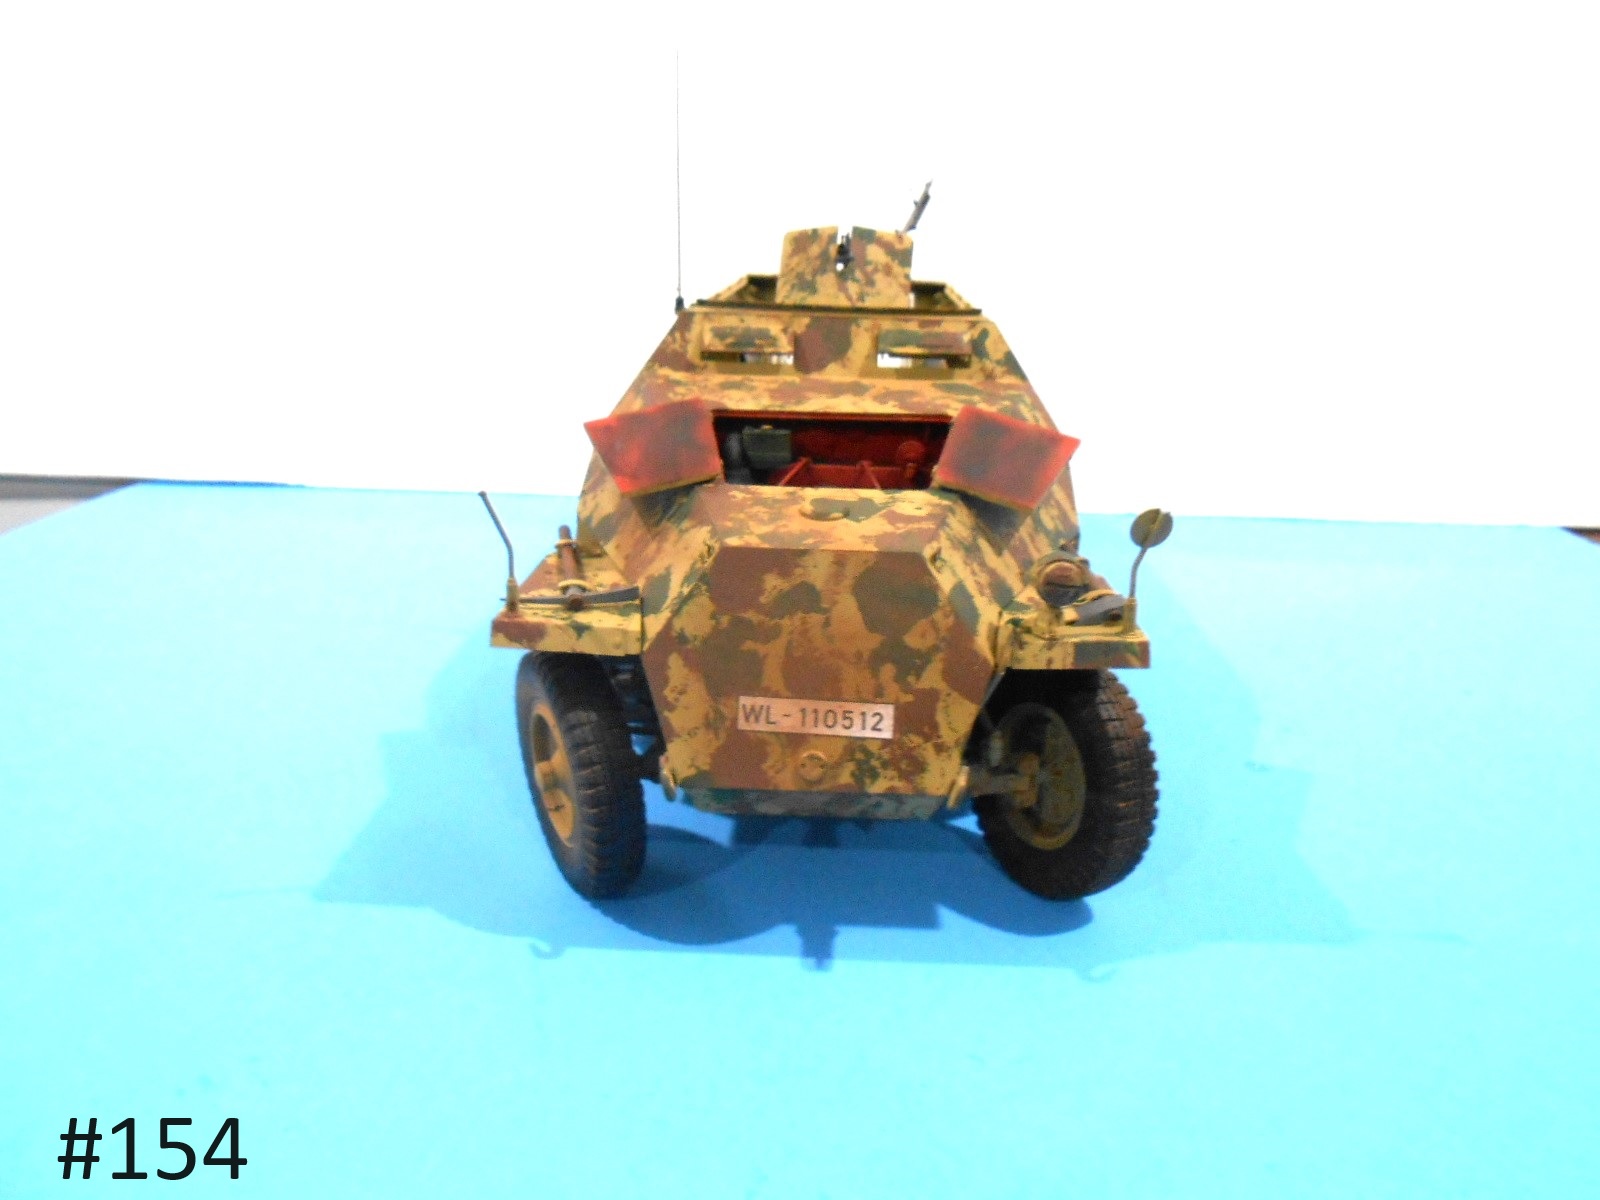
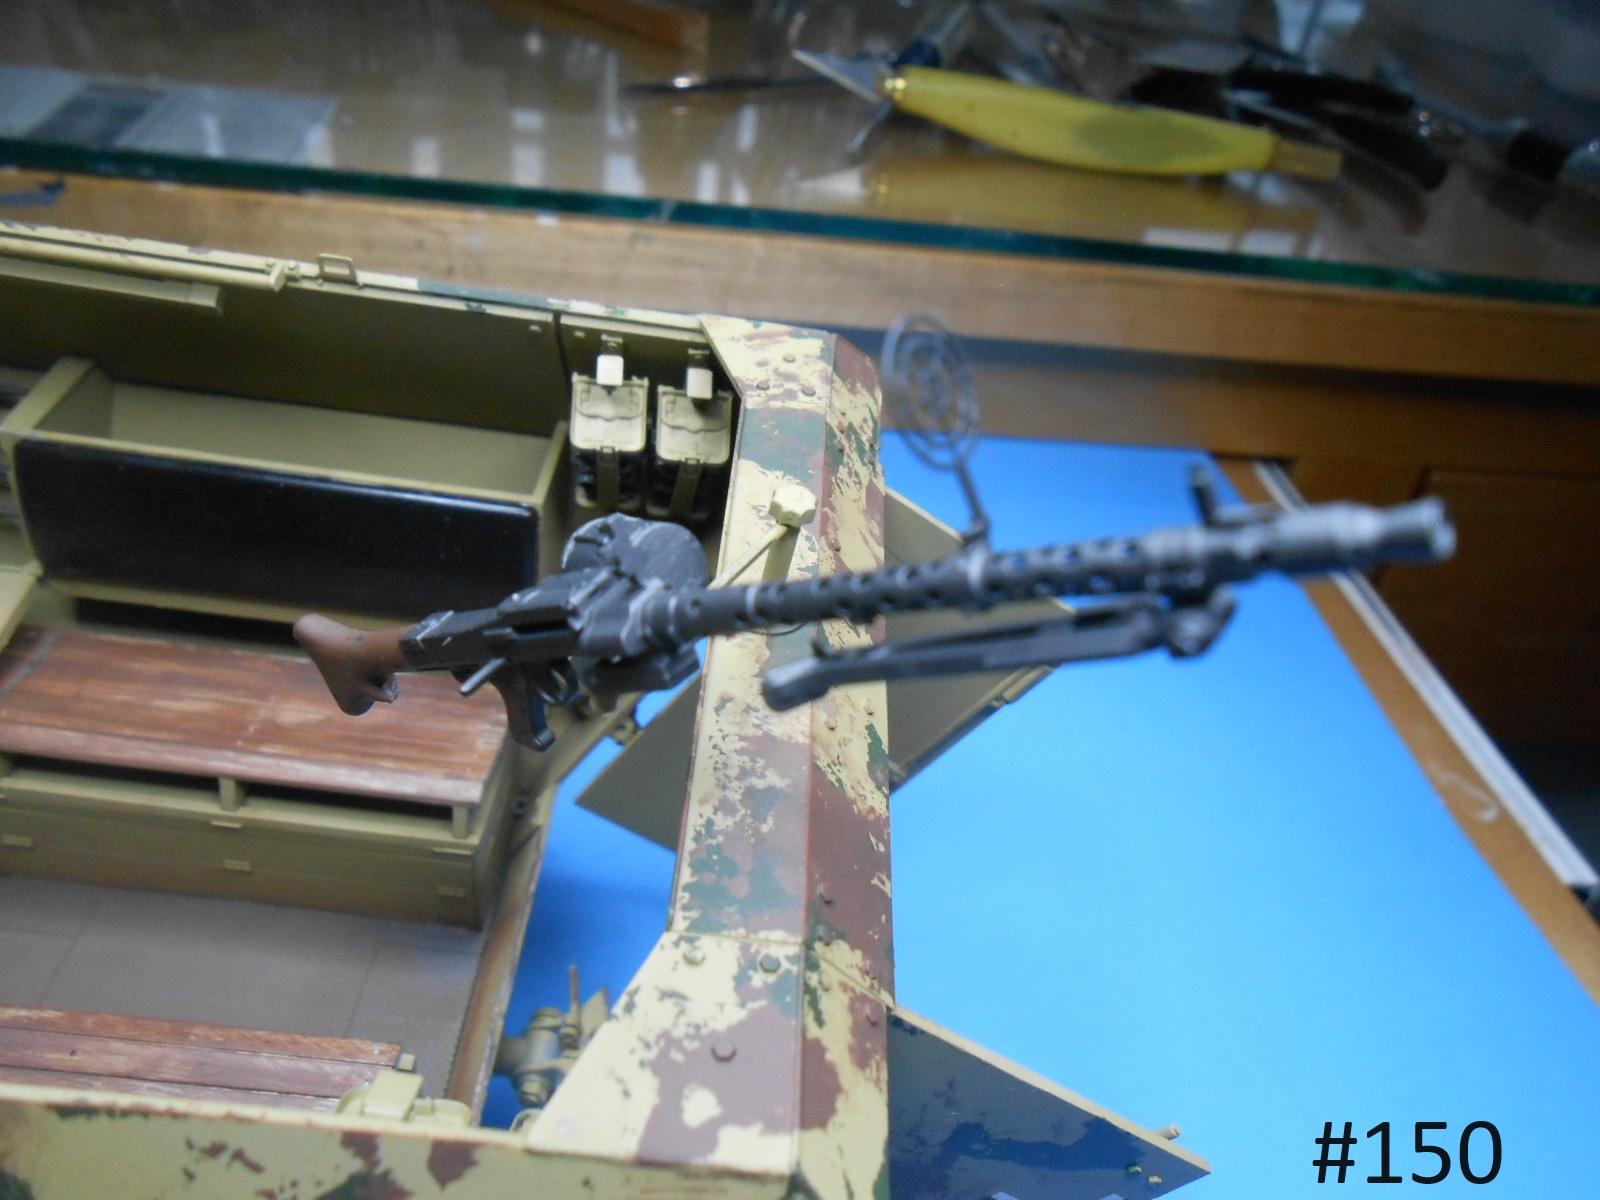
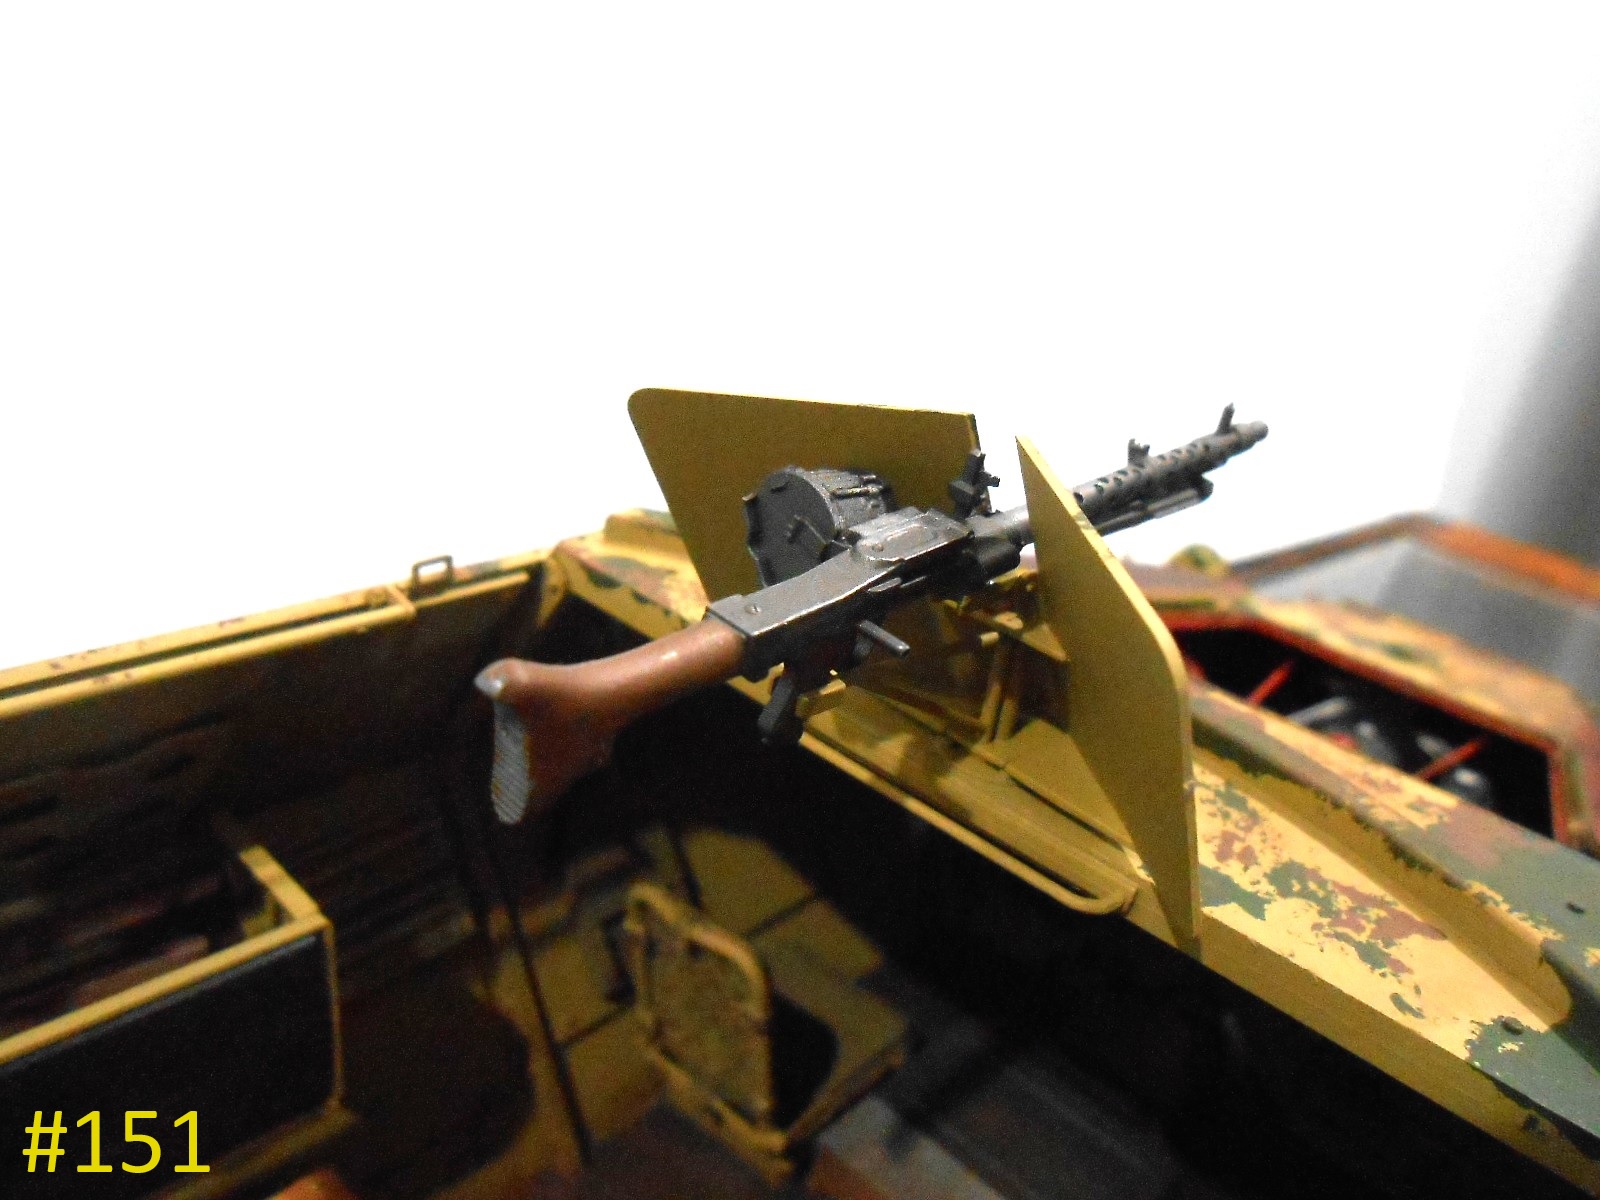
If it’s a vehicle from the period when the camouflage was factory-applied, I’d have to dislike it, because that was all a common spray-application technique. For field-applied camo, it’s perfectly good; I’ve seen pictures of troops applying the Olivgrun and Rotbraun paint with brooms or bunched-up bedsheets, which your technique replicates well.
Just some thoughts.
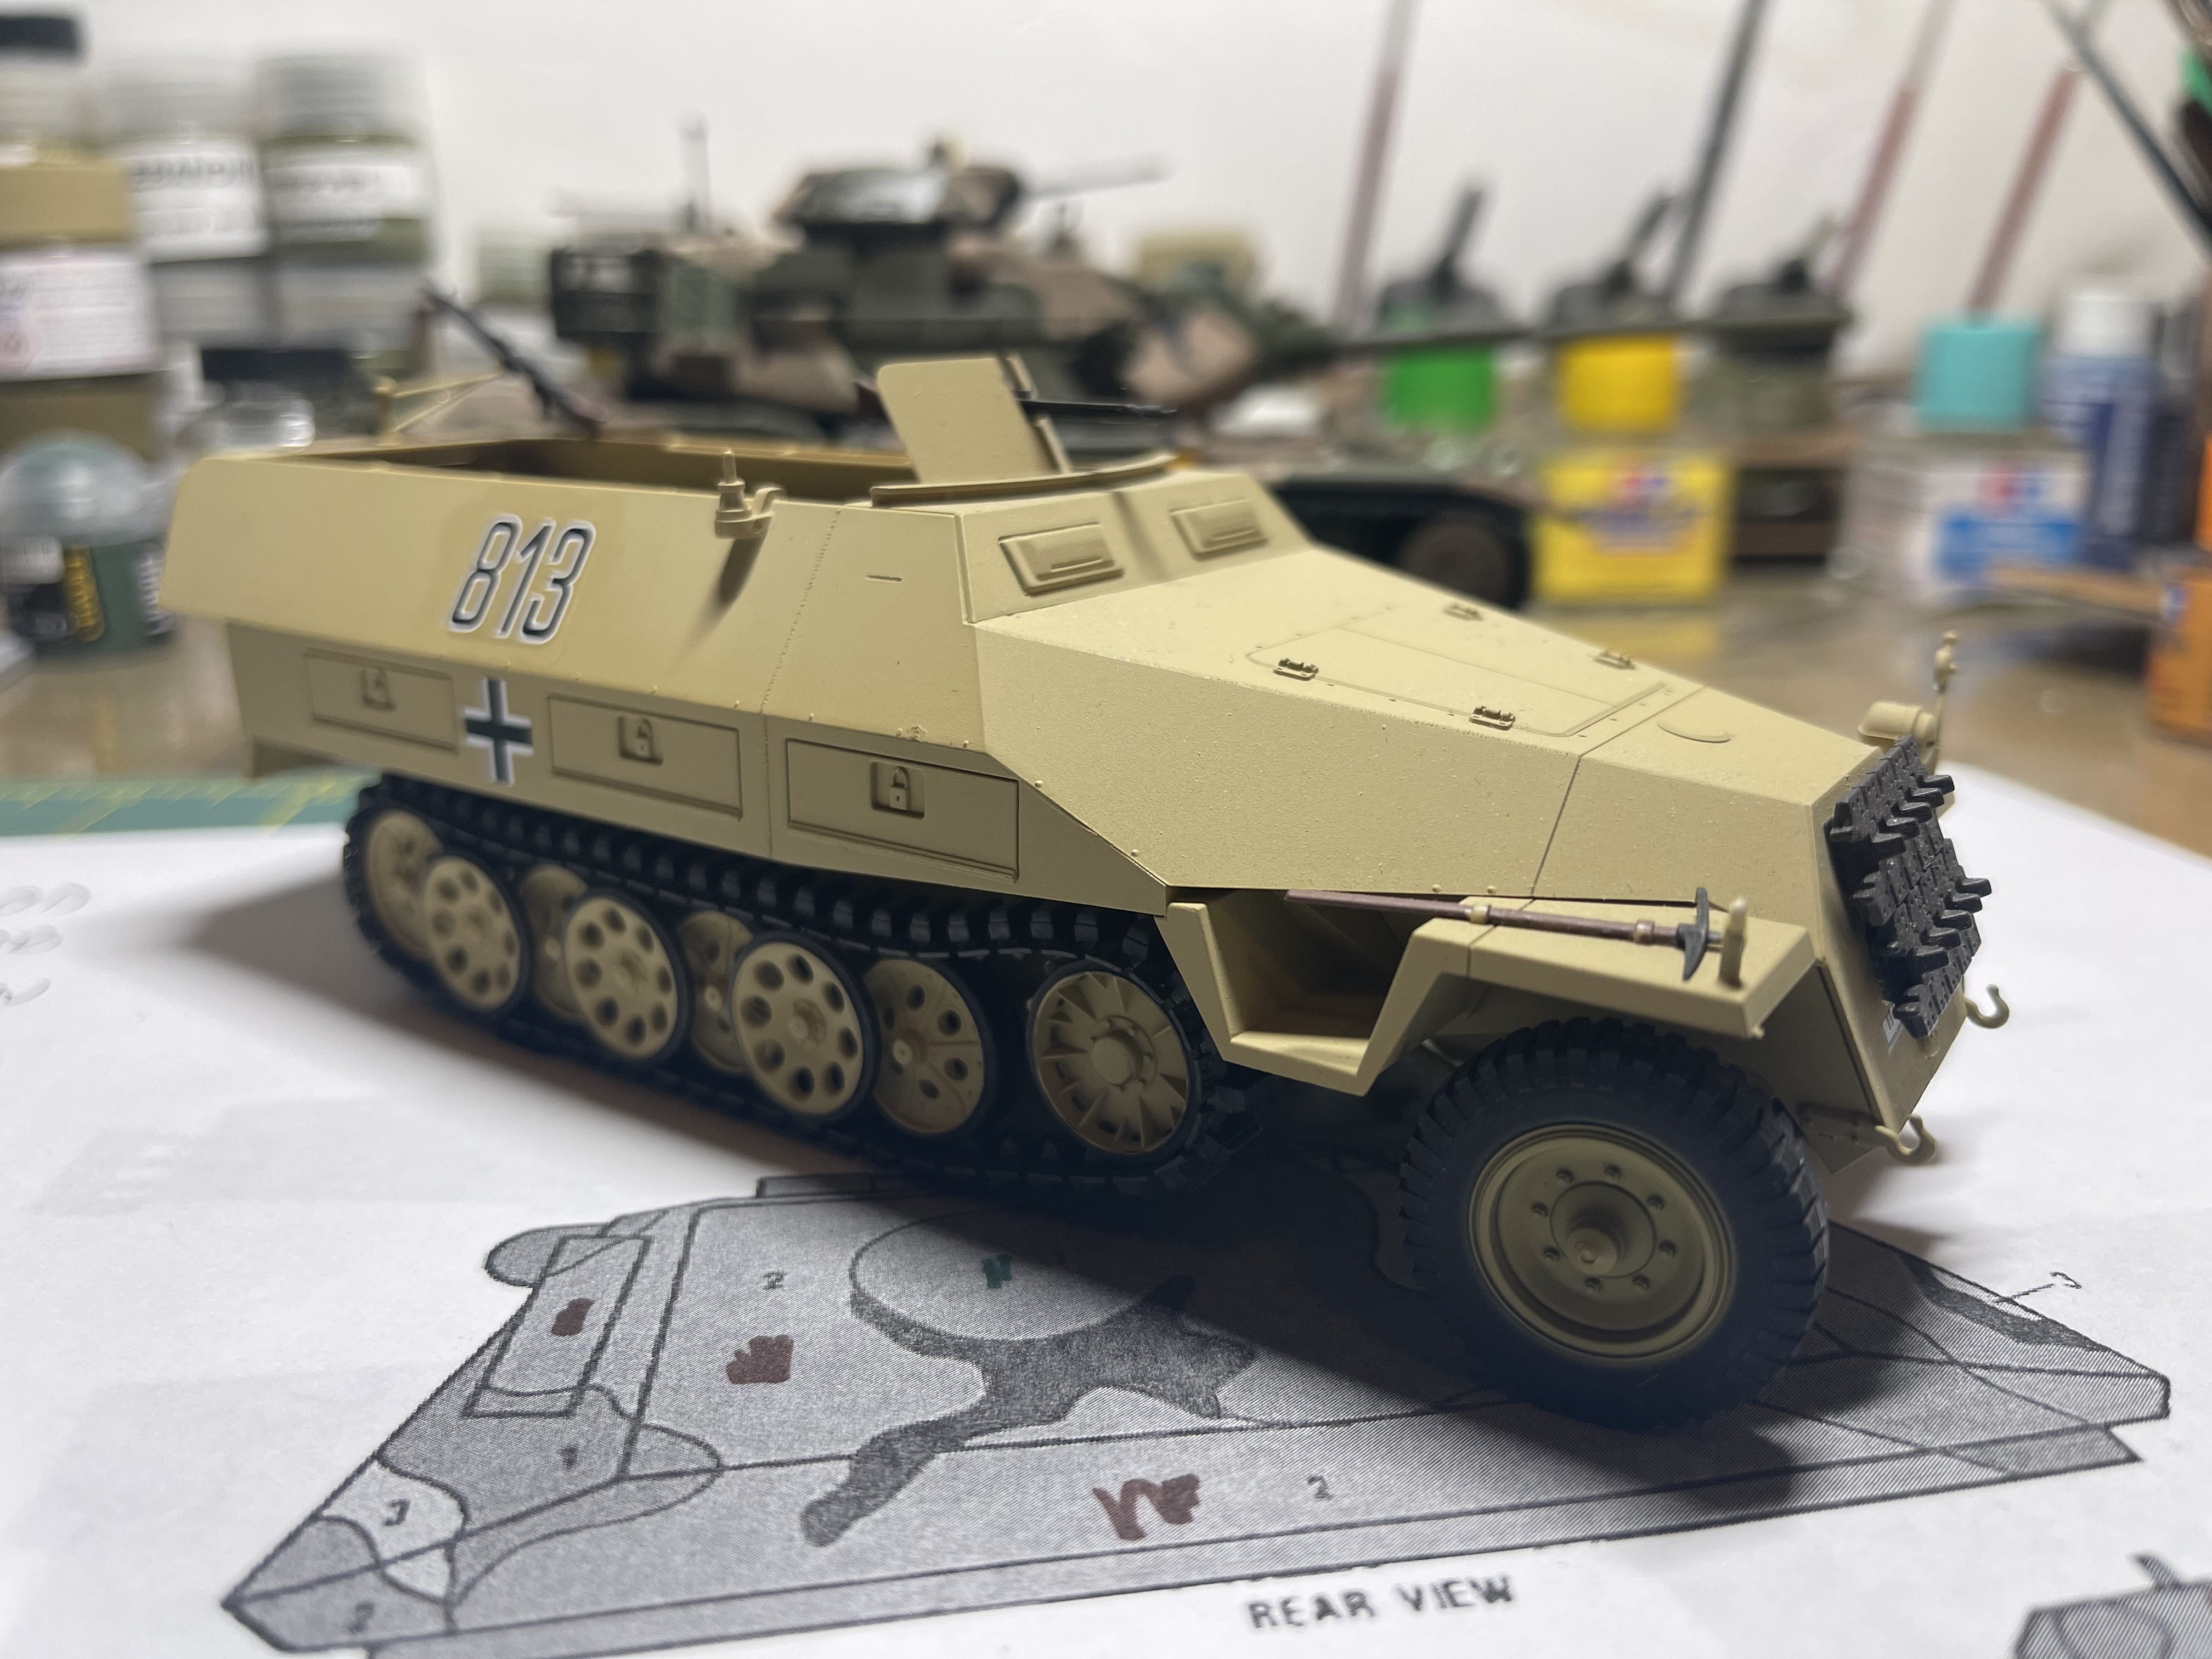
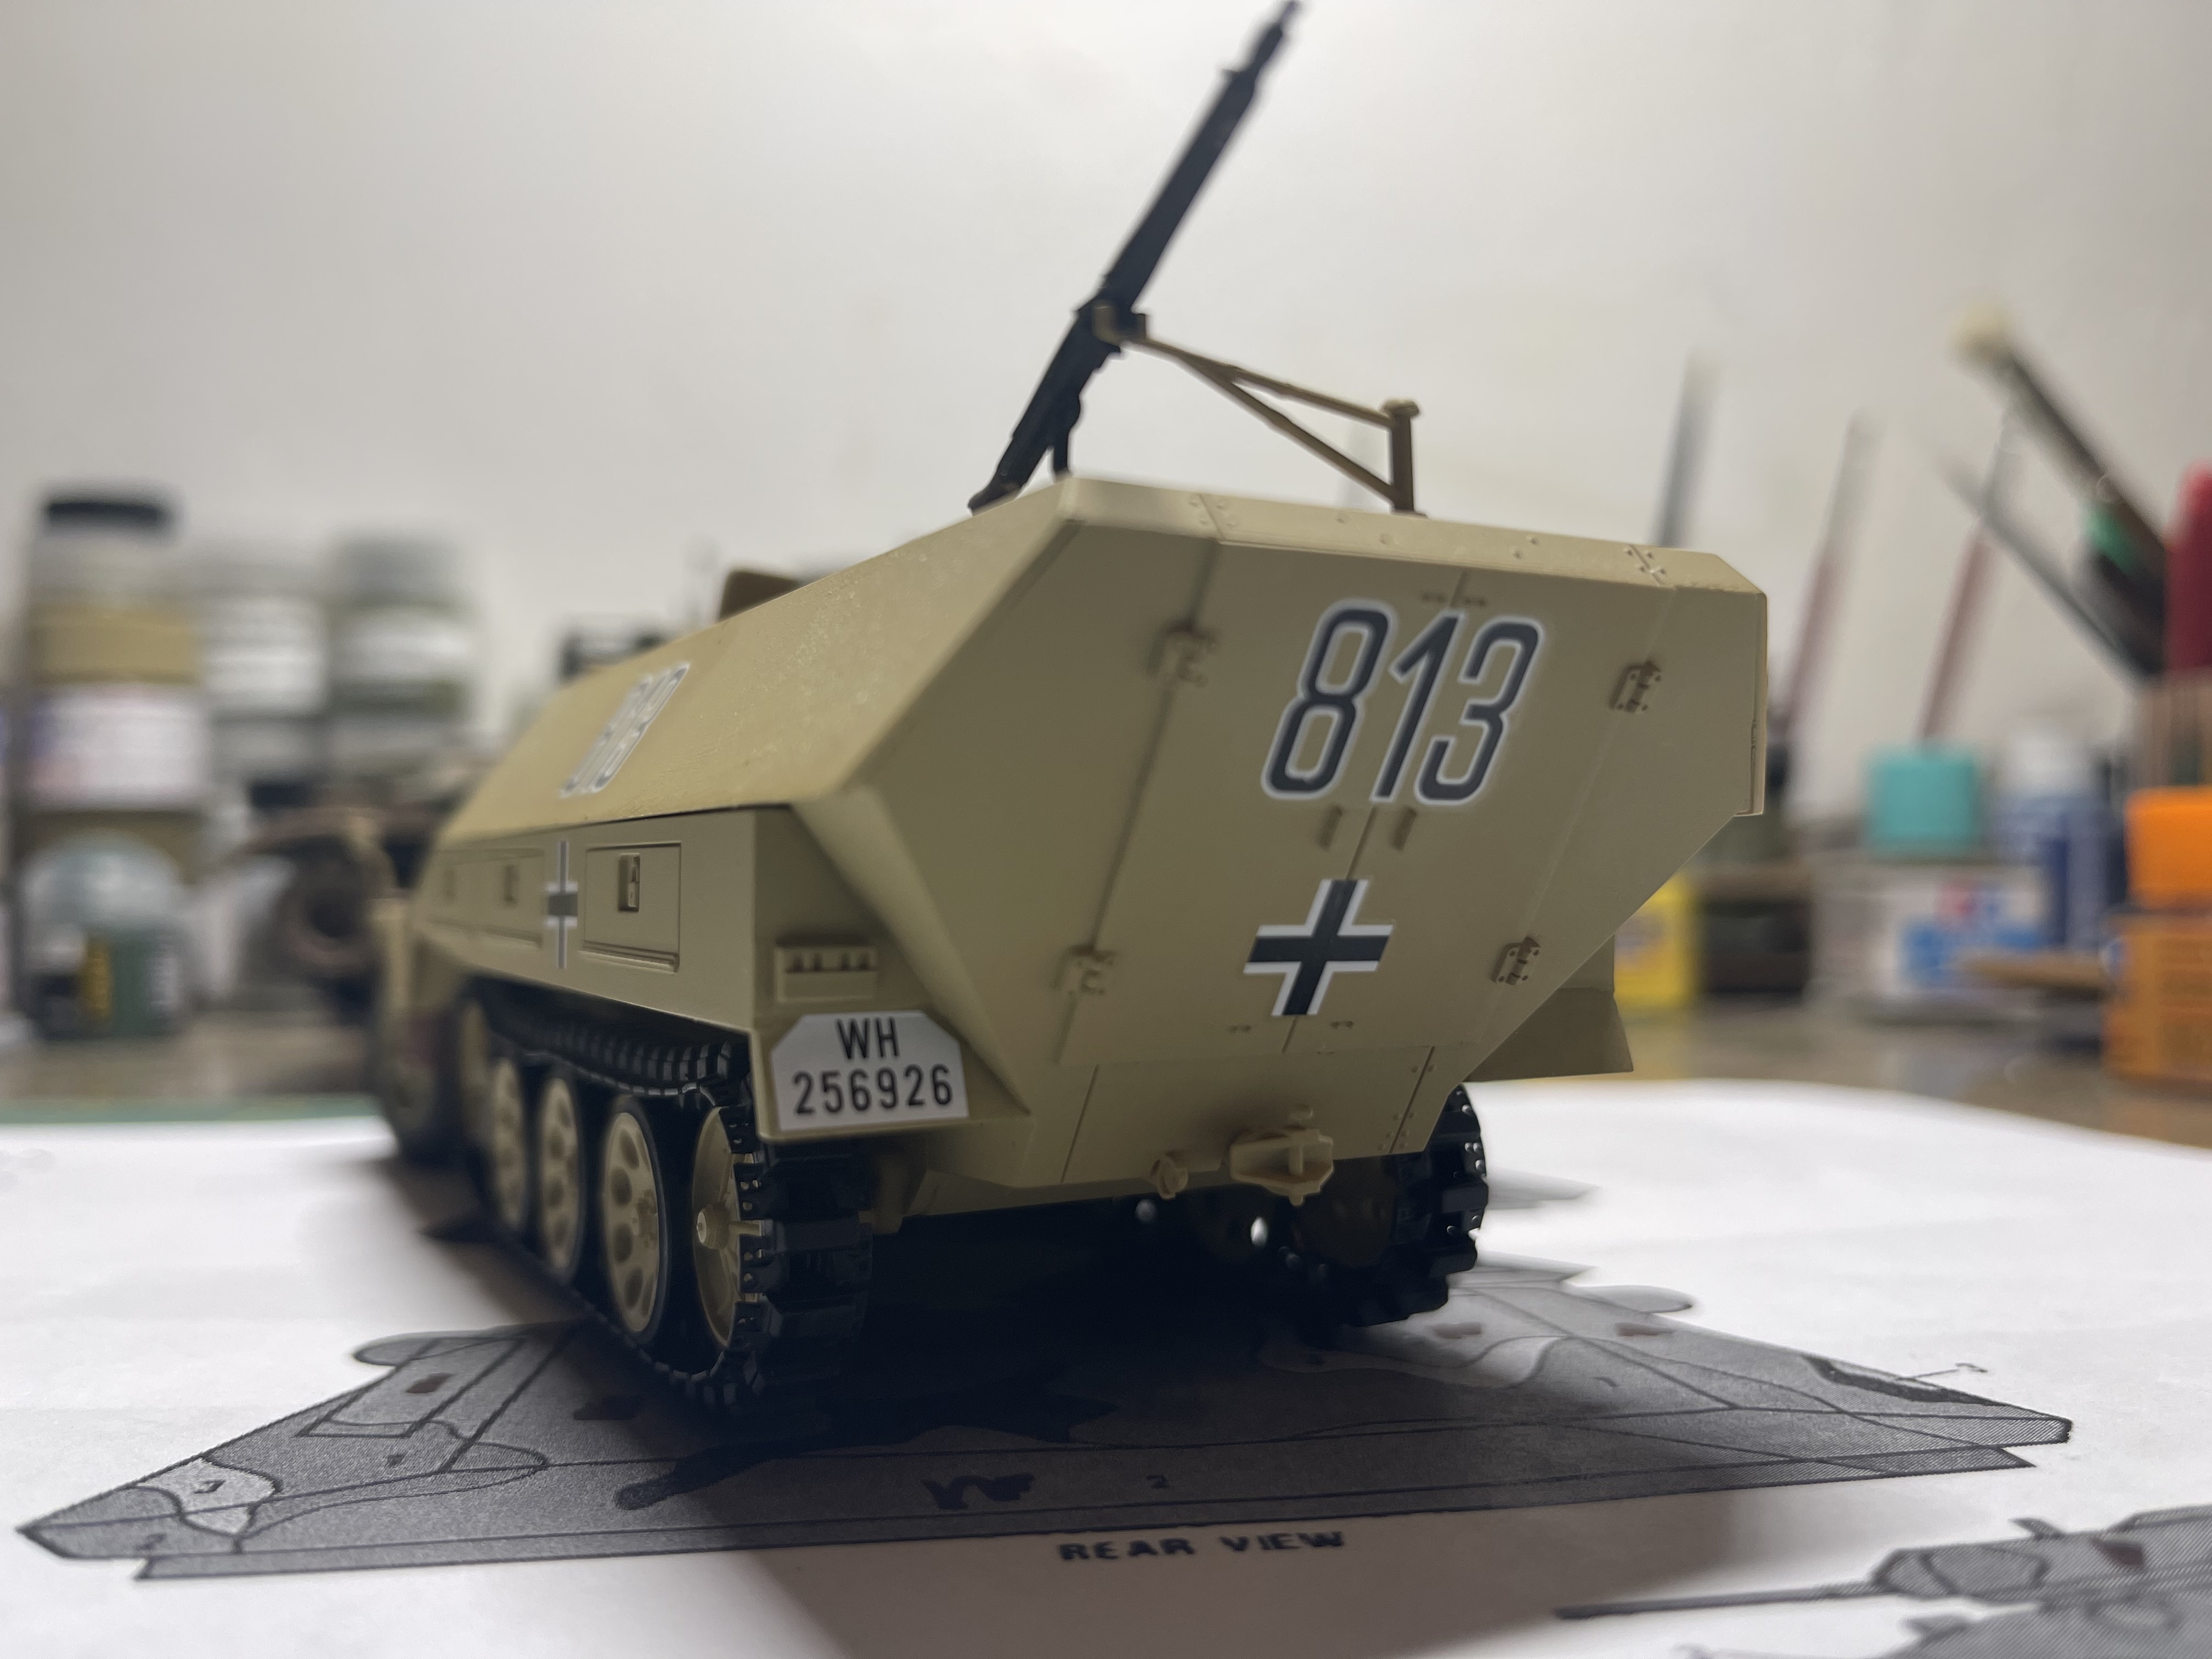
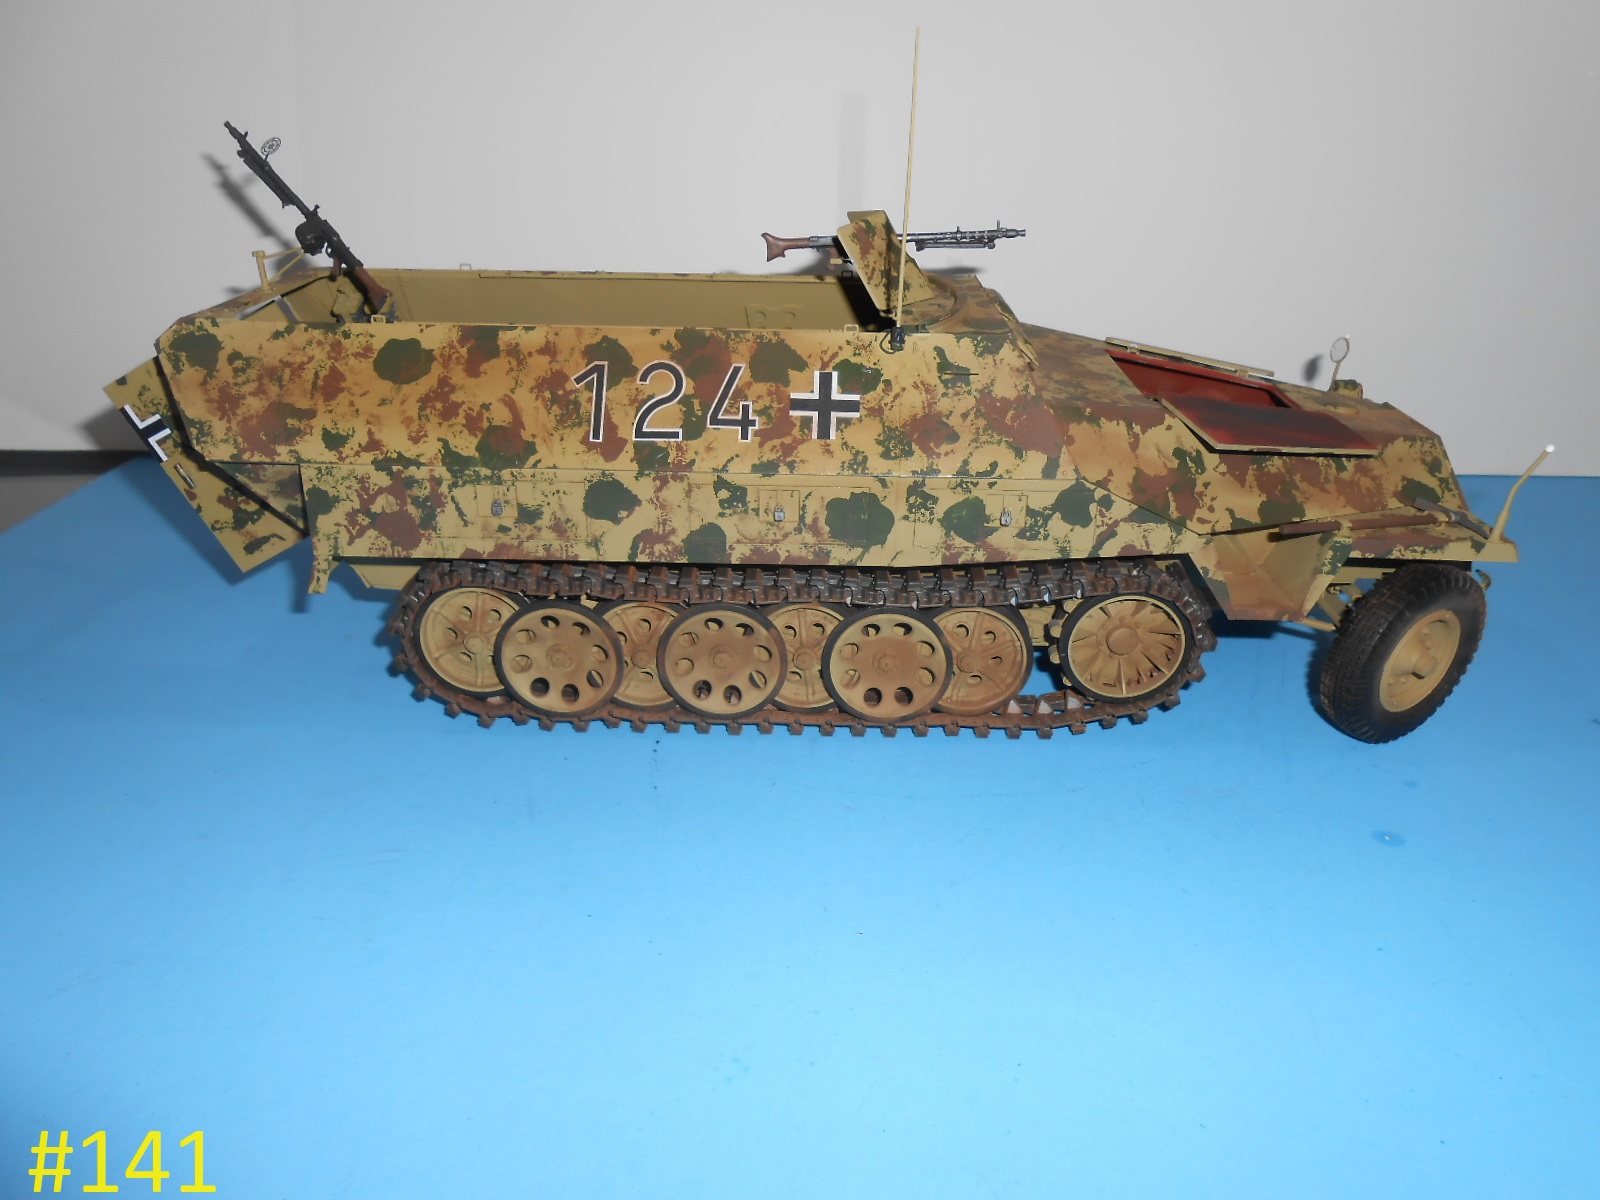
This was an interesting and challenging kit for me to build/
There are some details that need additions and some that need correcting.
The suspension is rather weak and really needs to be glued in place.
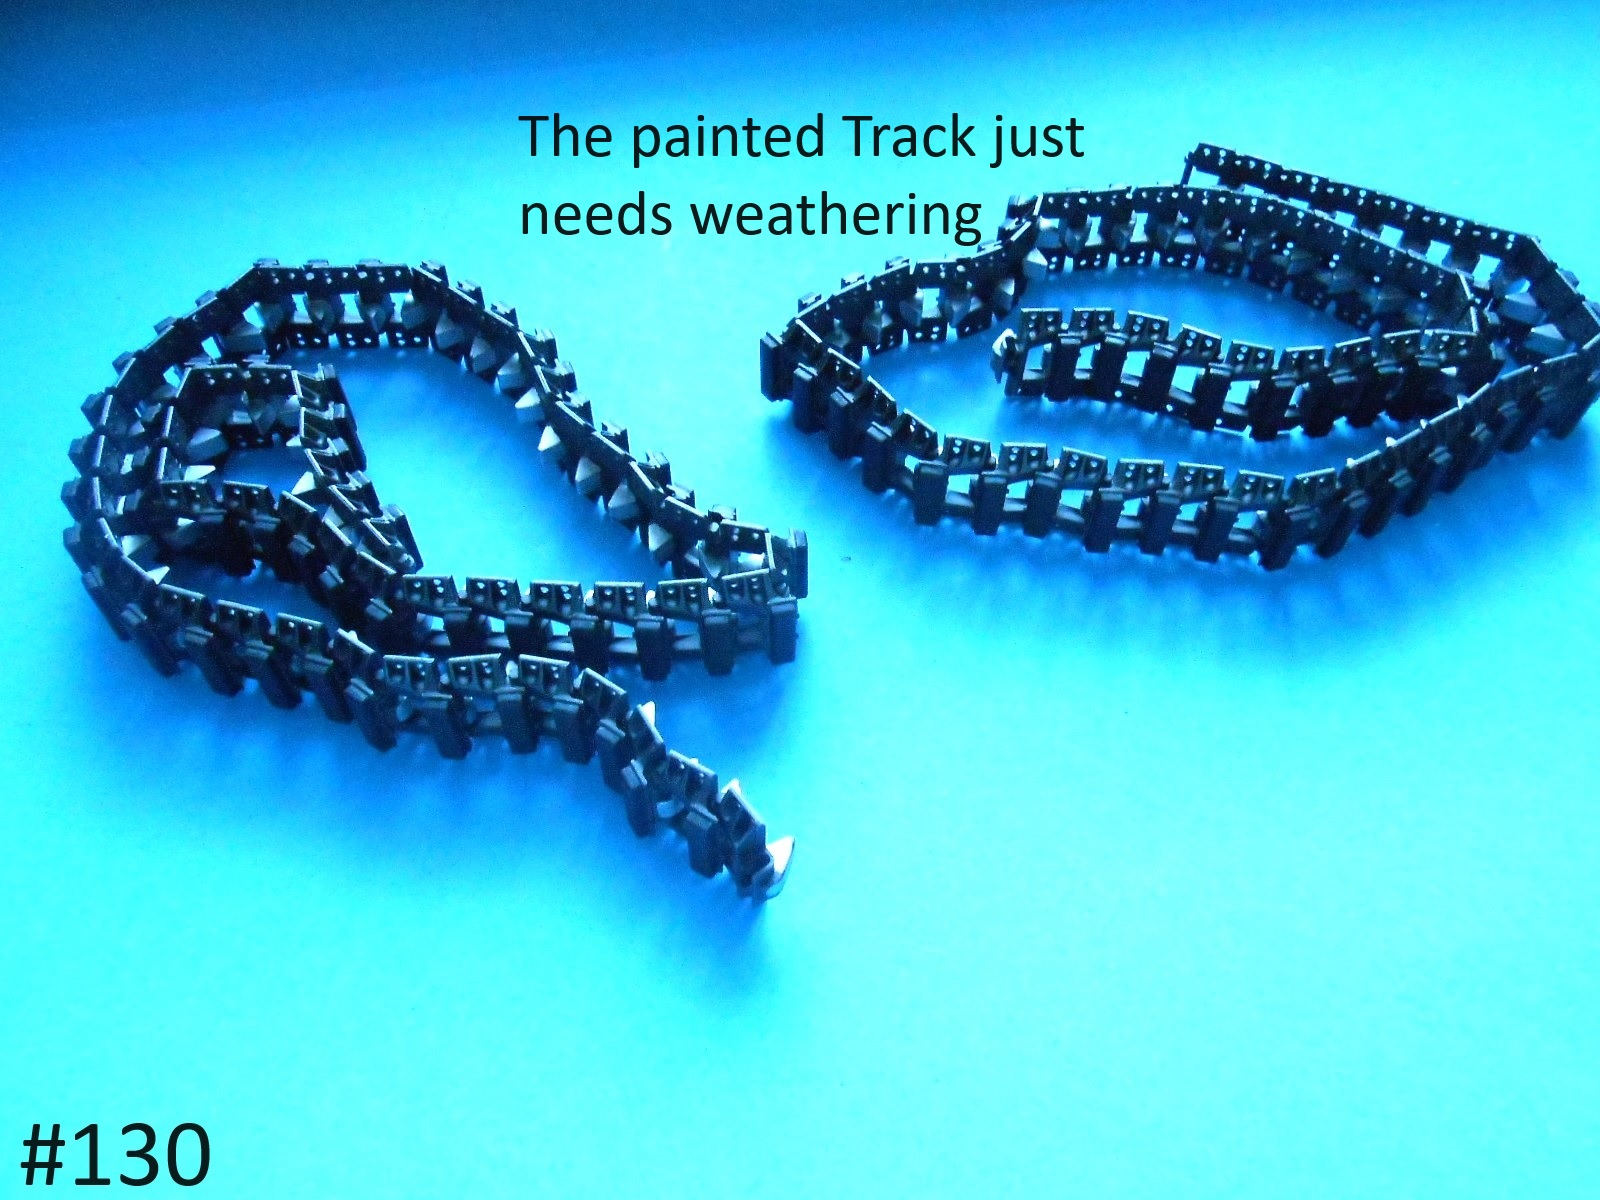
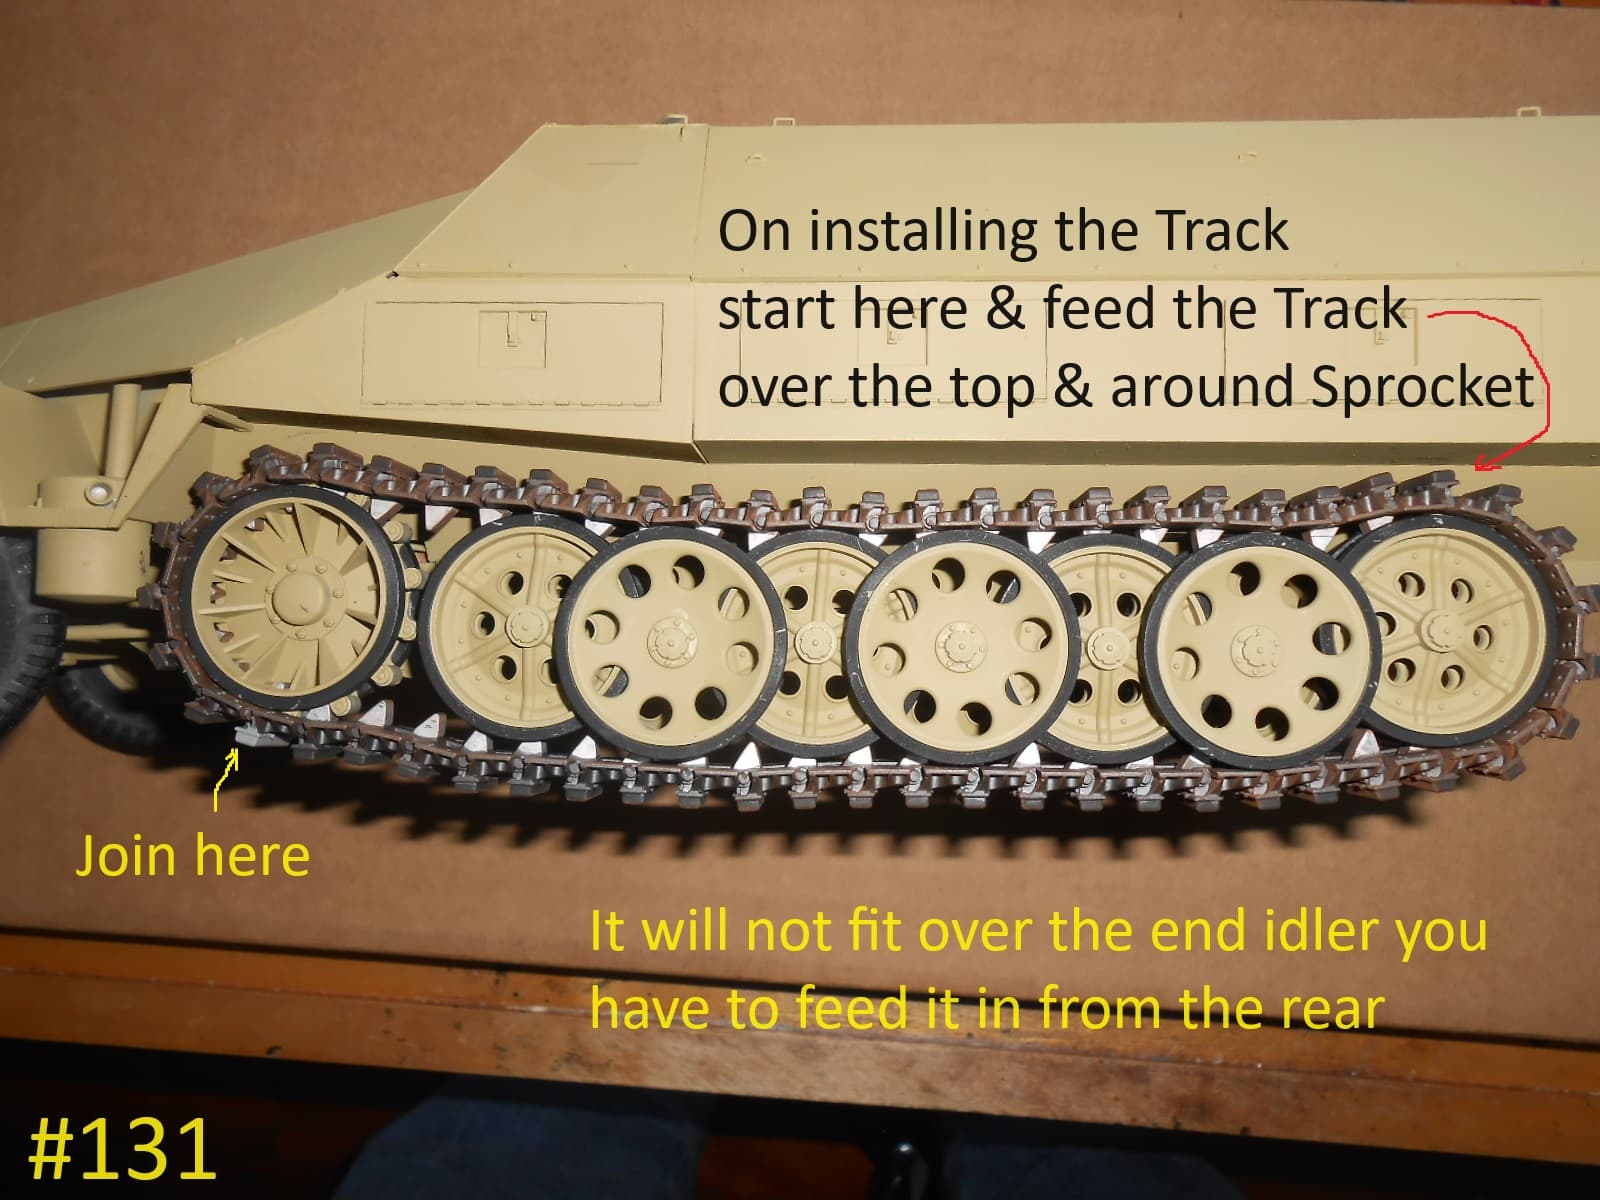
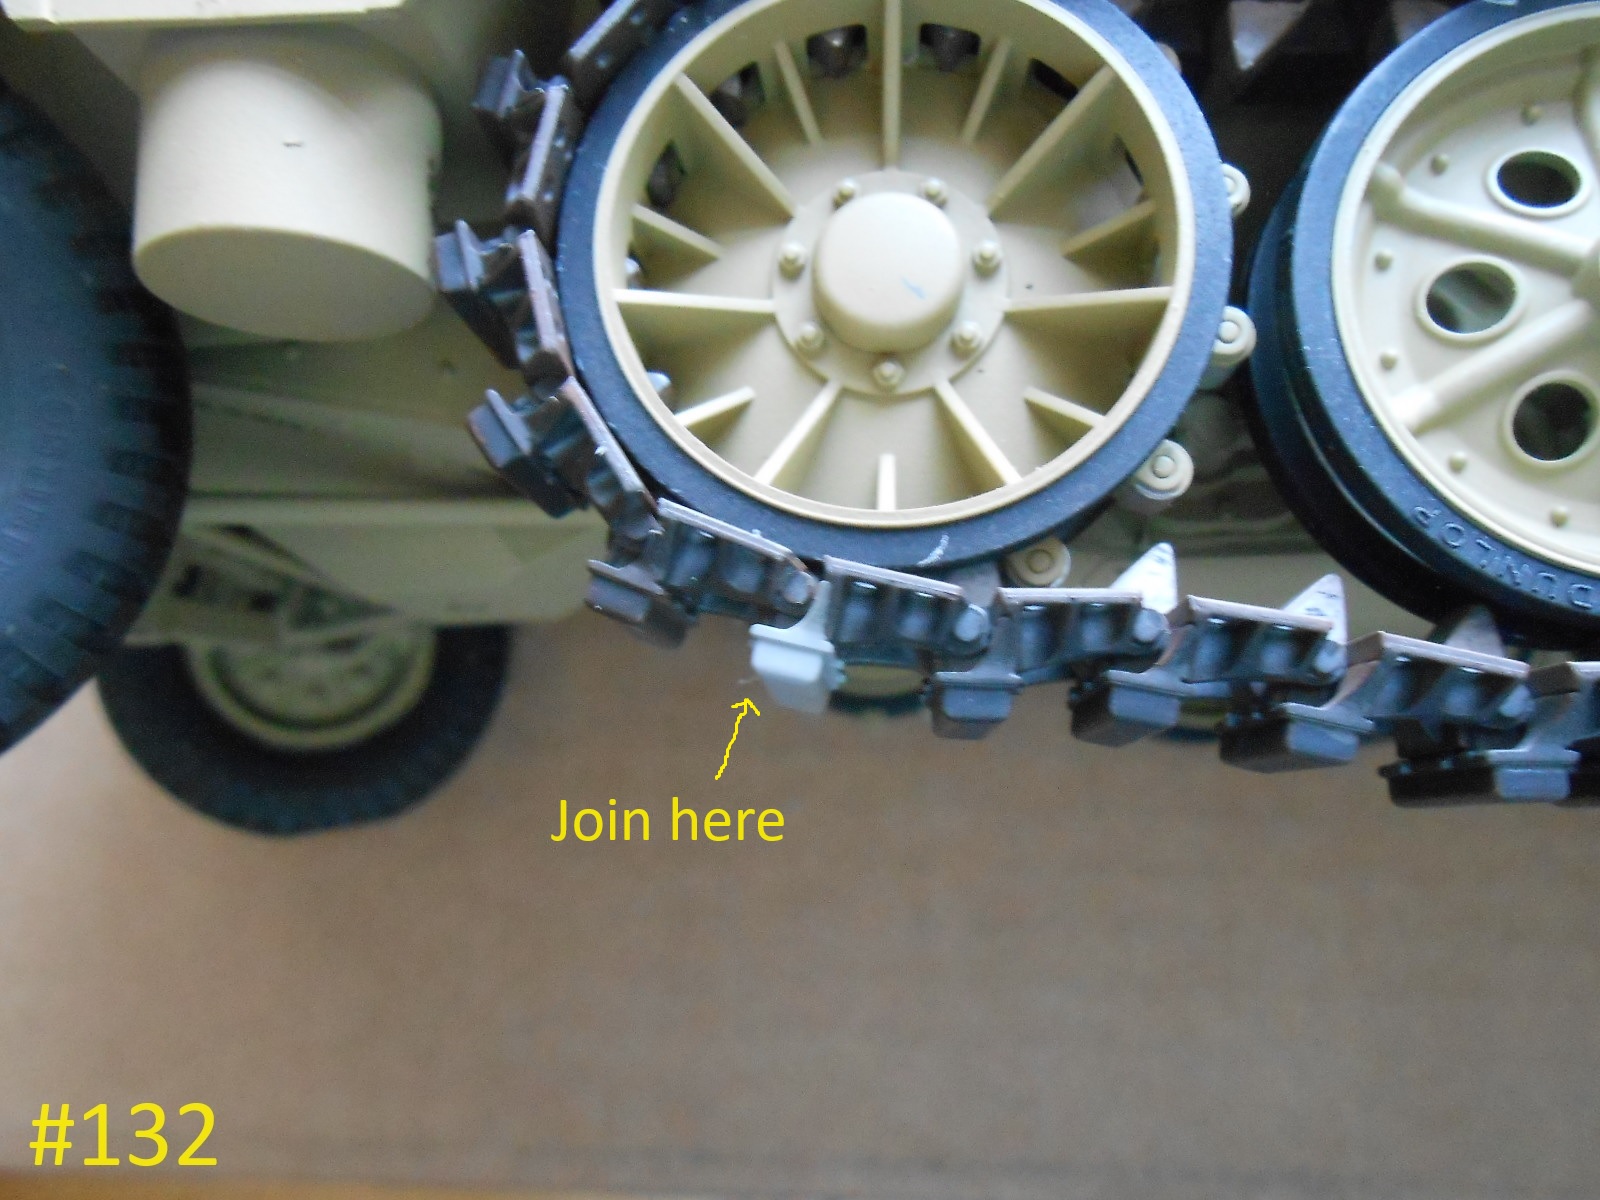
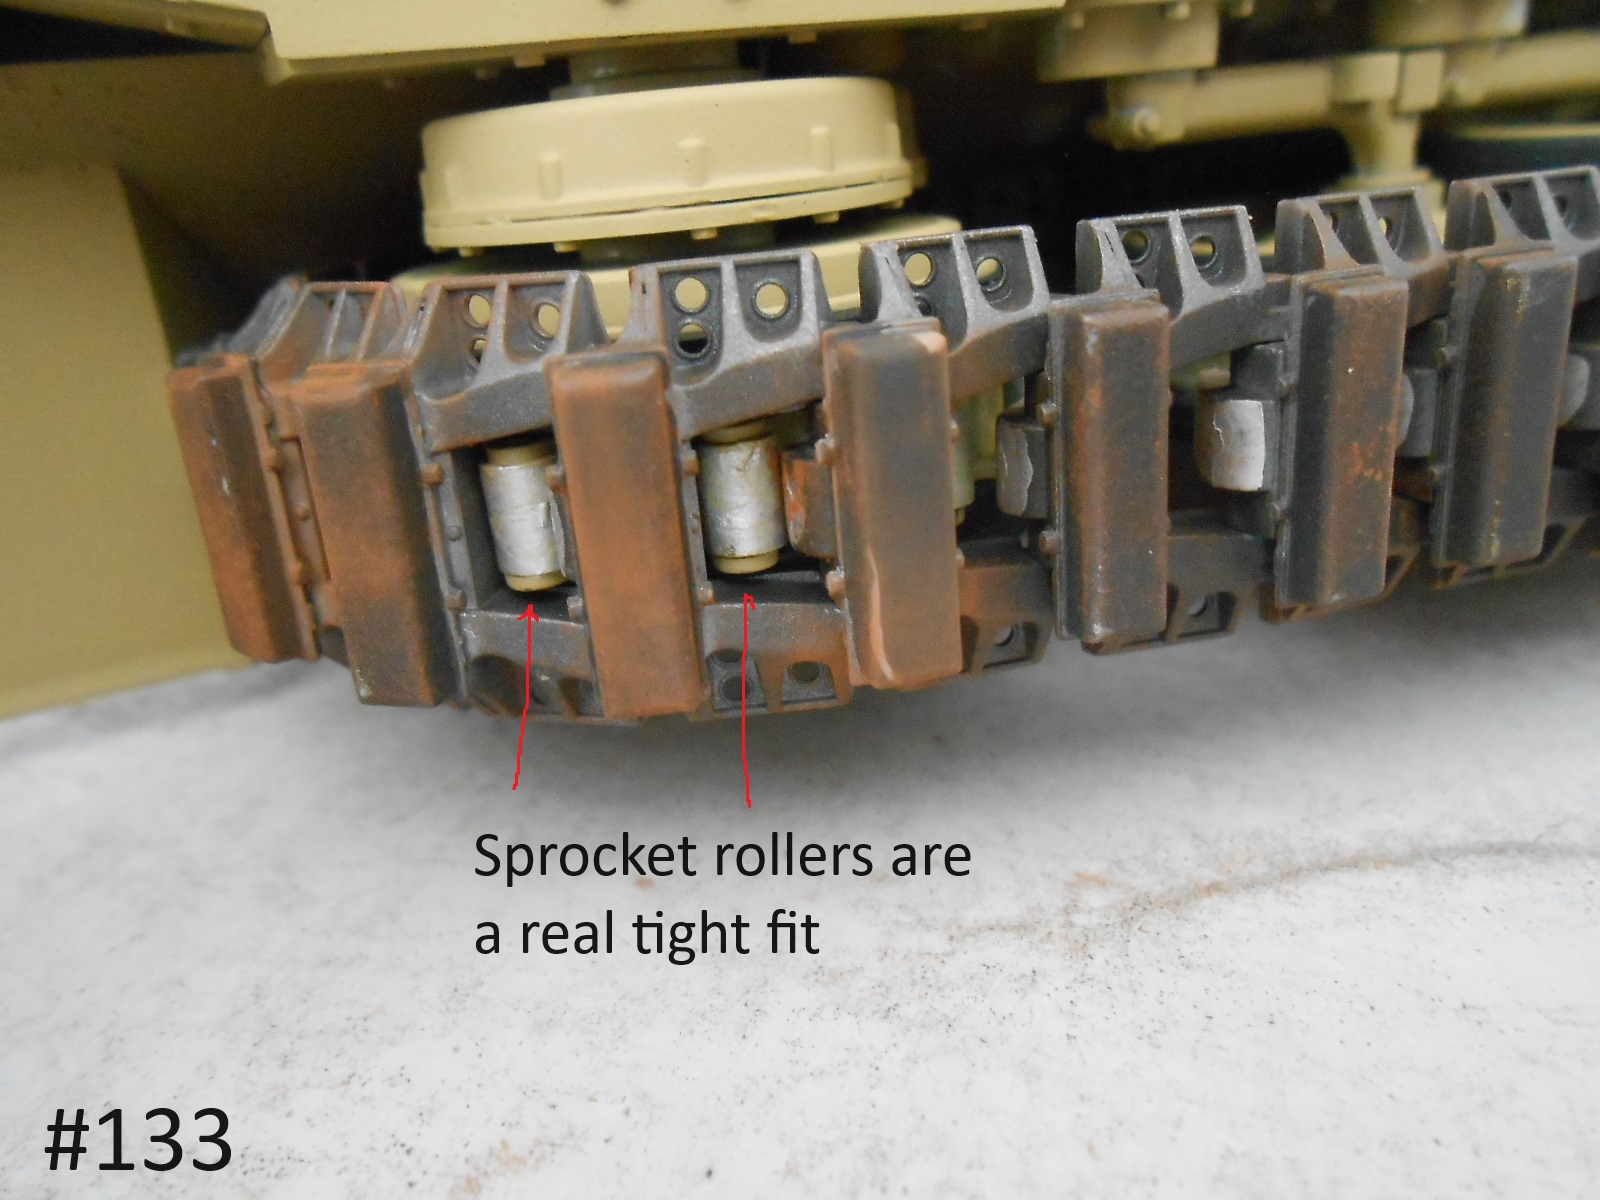
If you want the track to move around the sprocket you will need to trim the back sides of the roller teeth, they are too big.
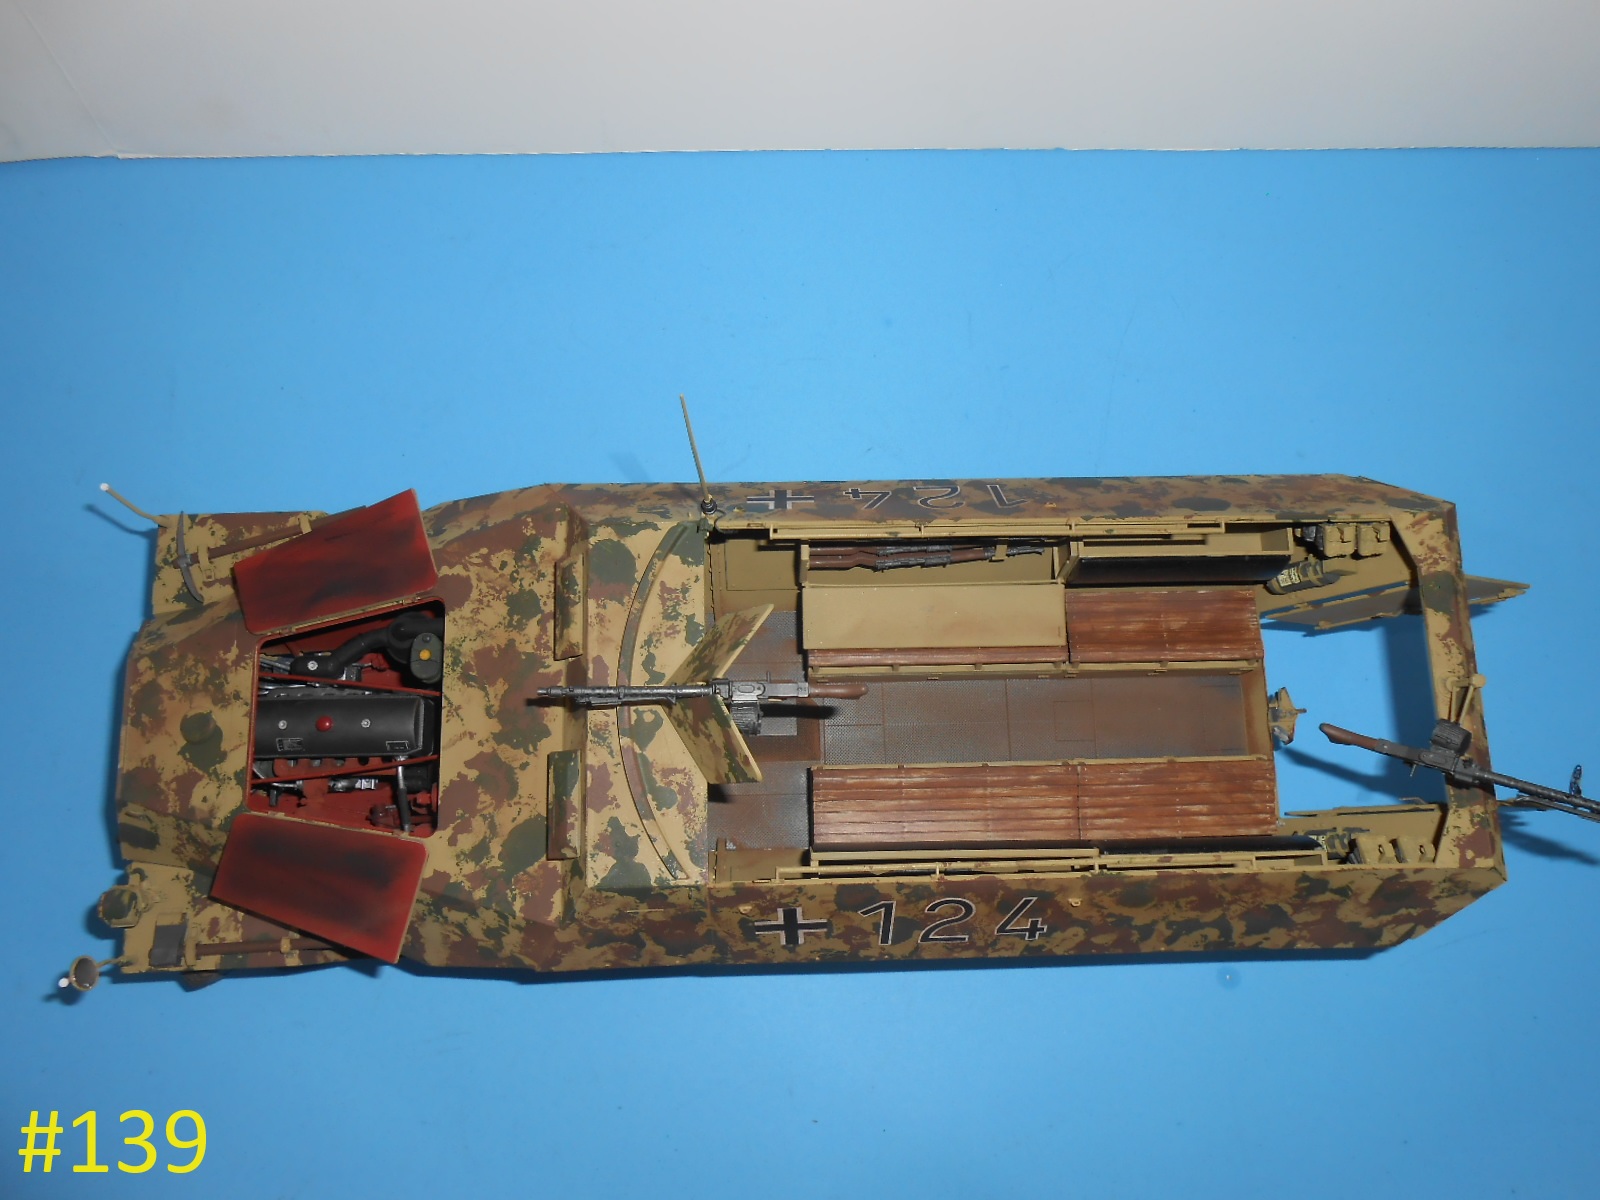
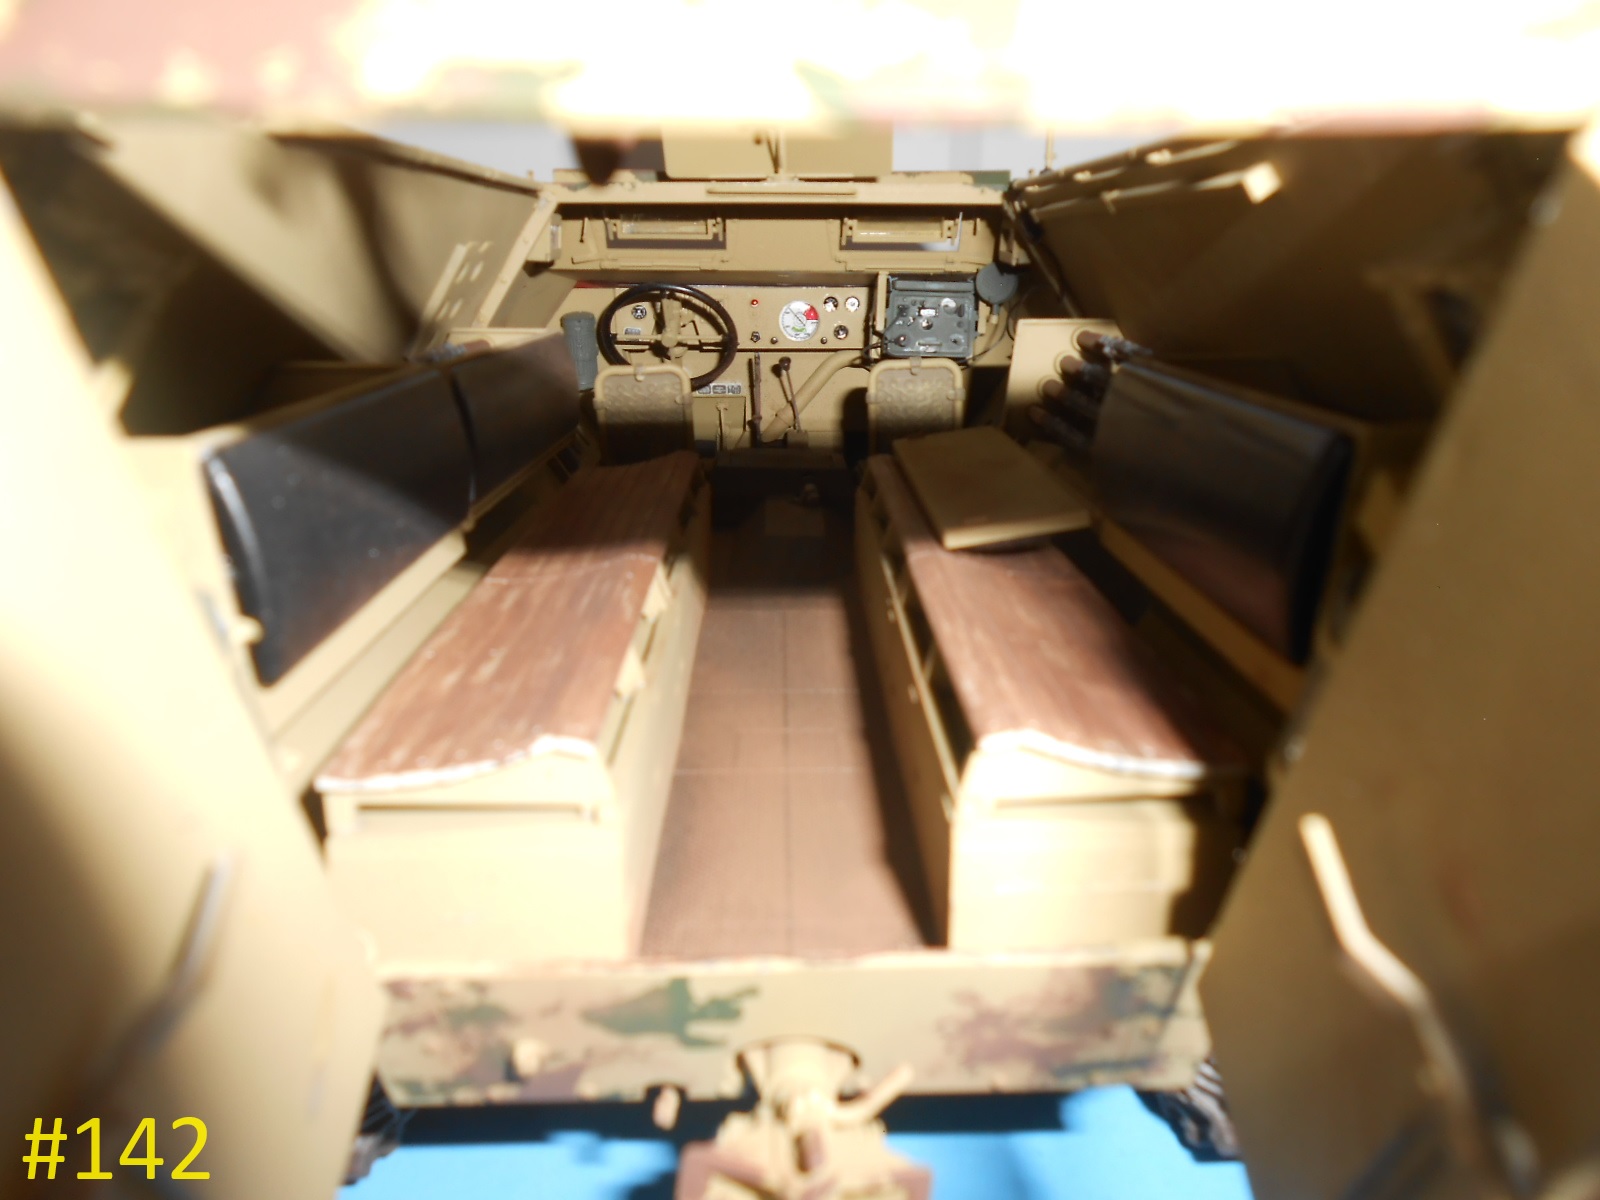
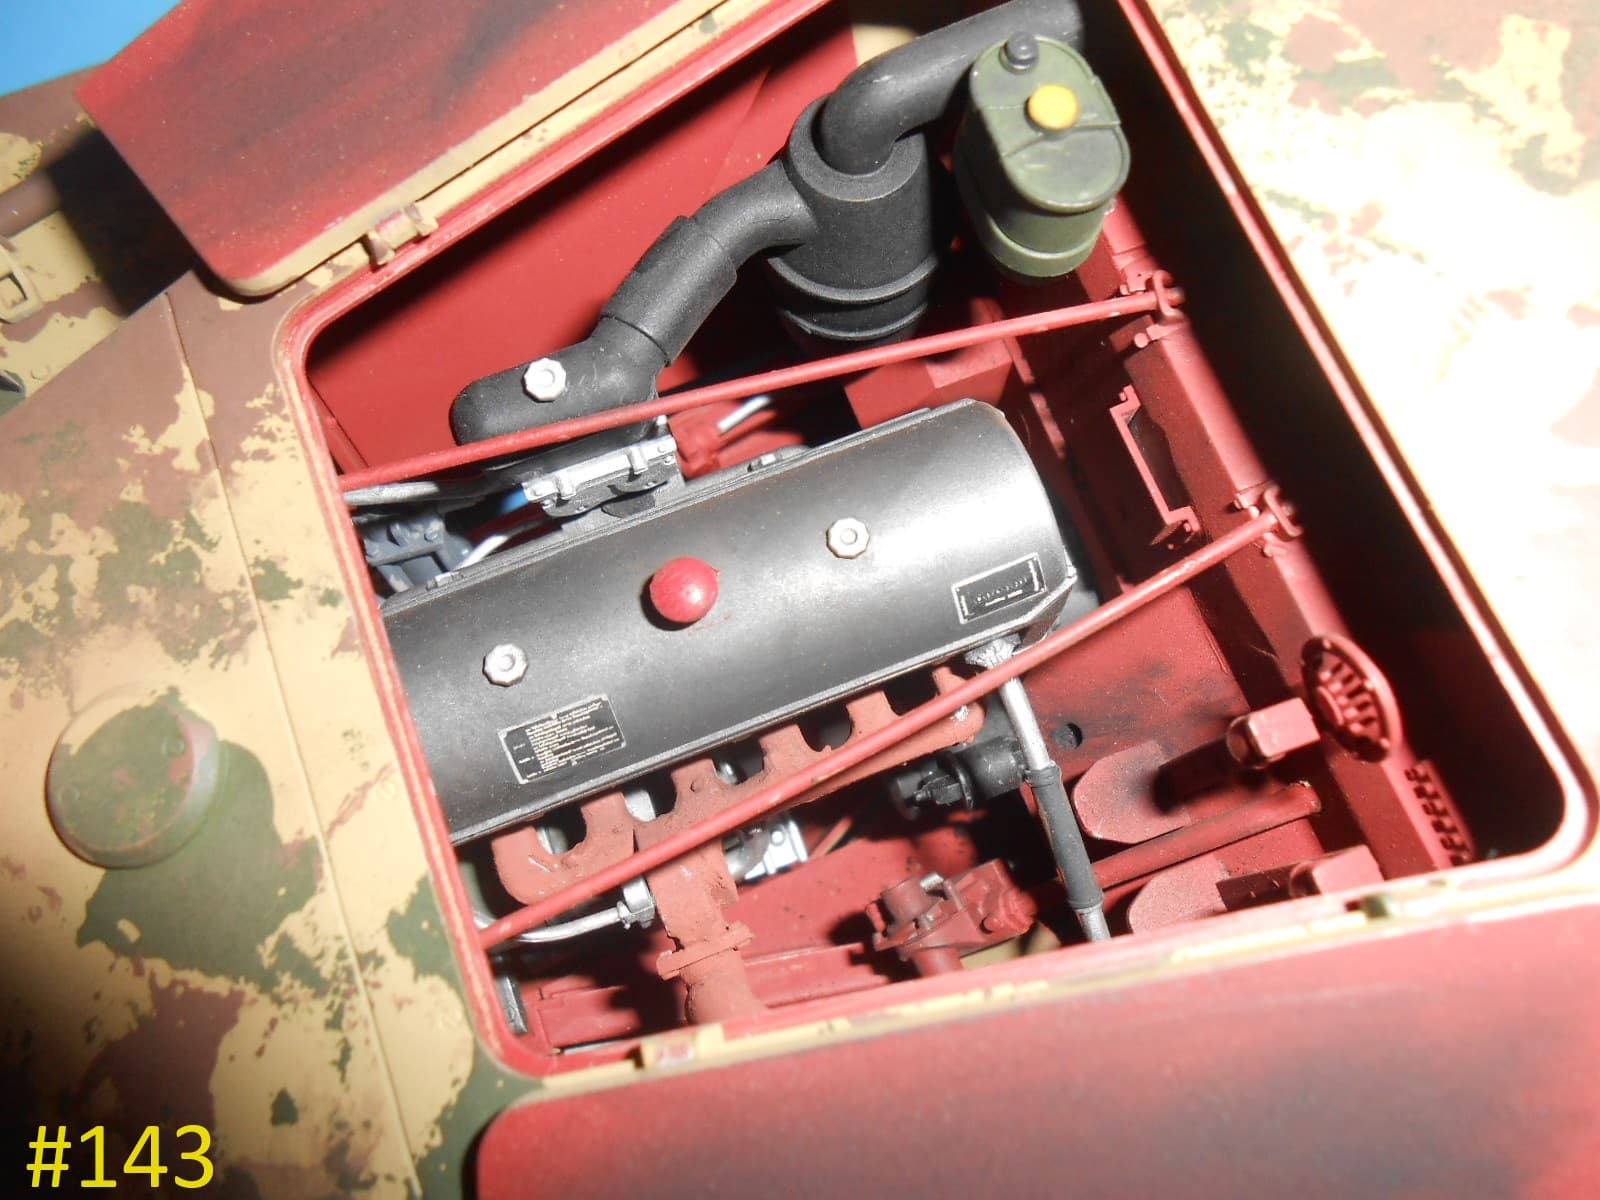
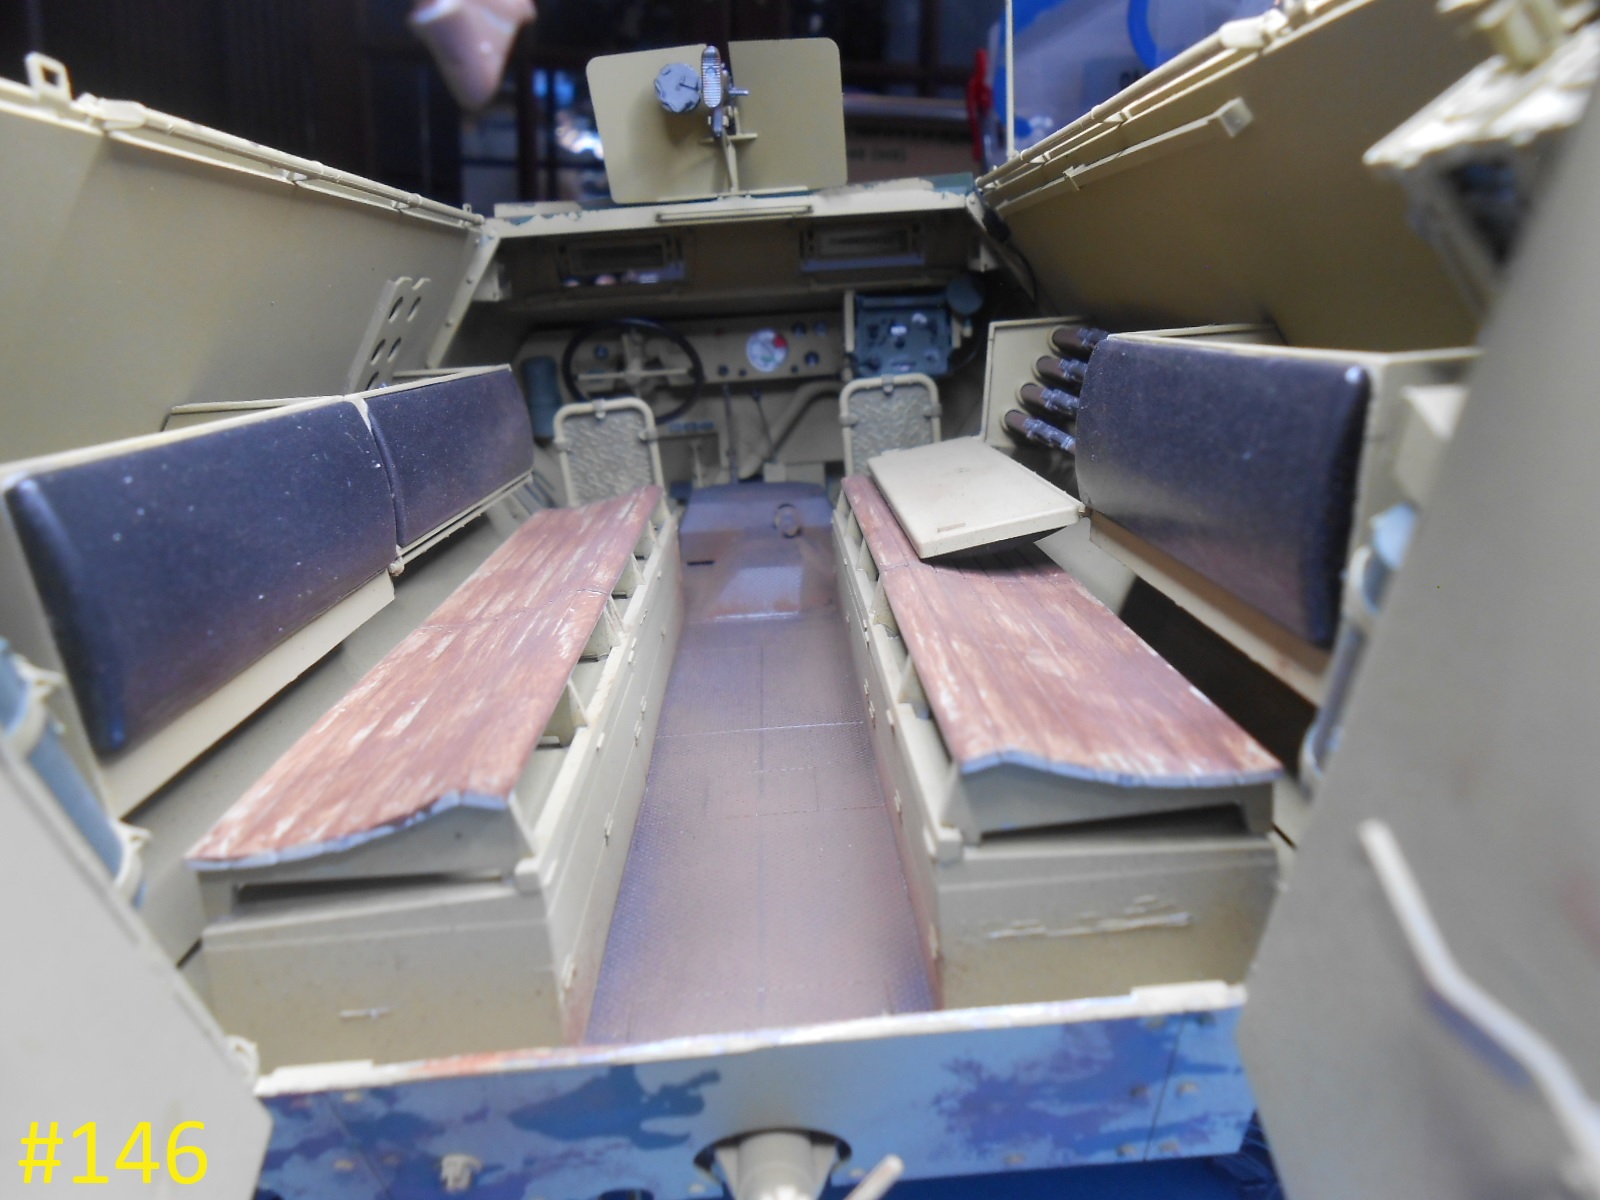
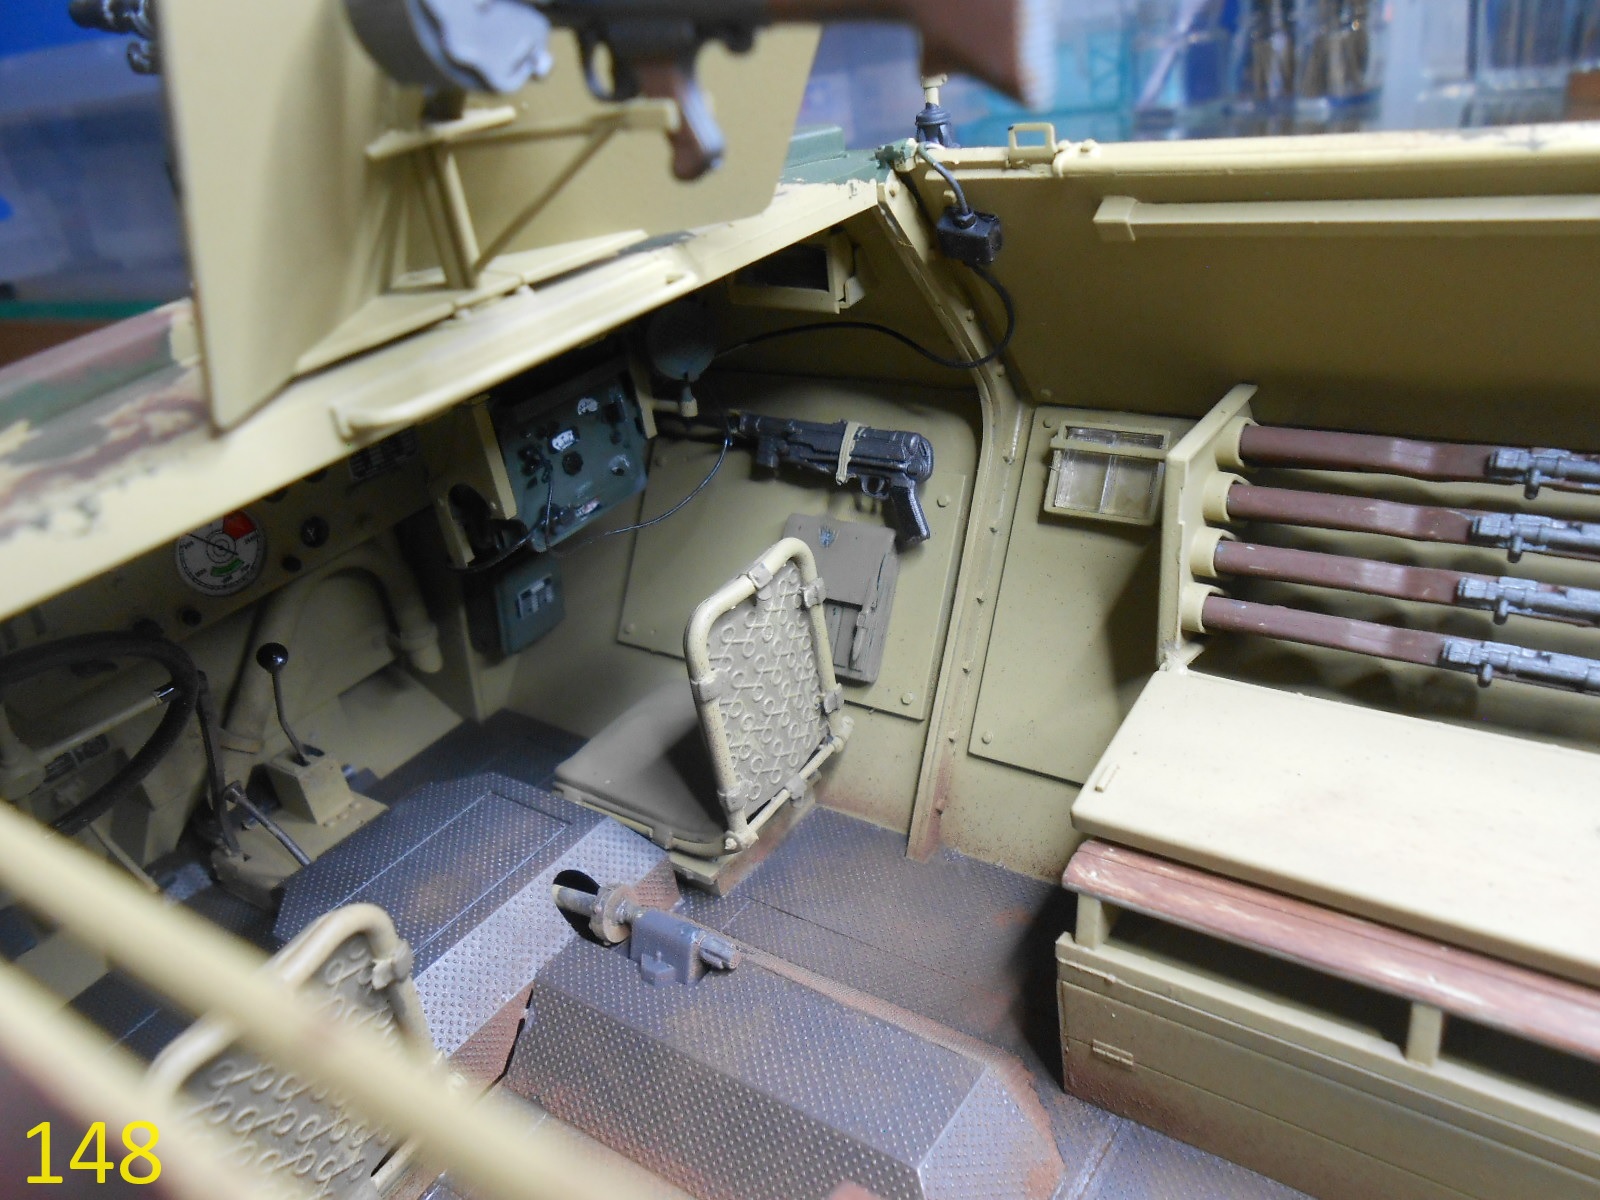
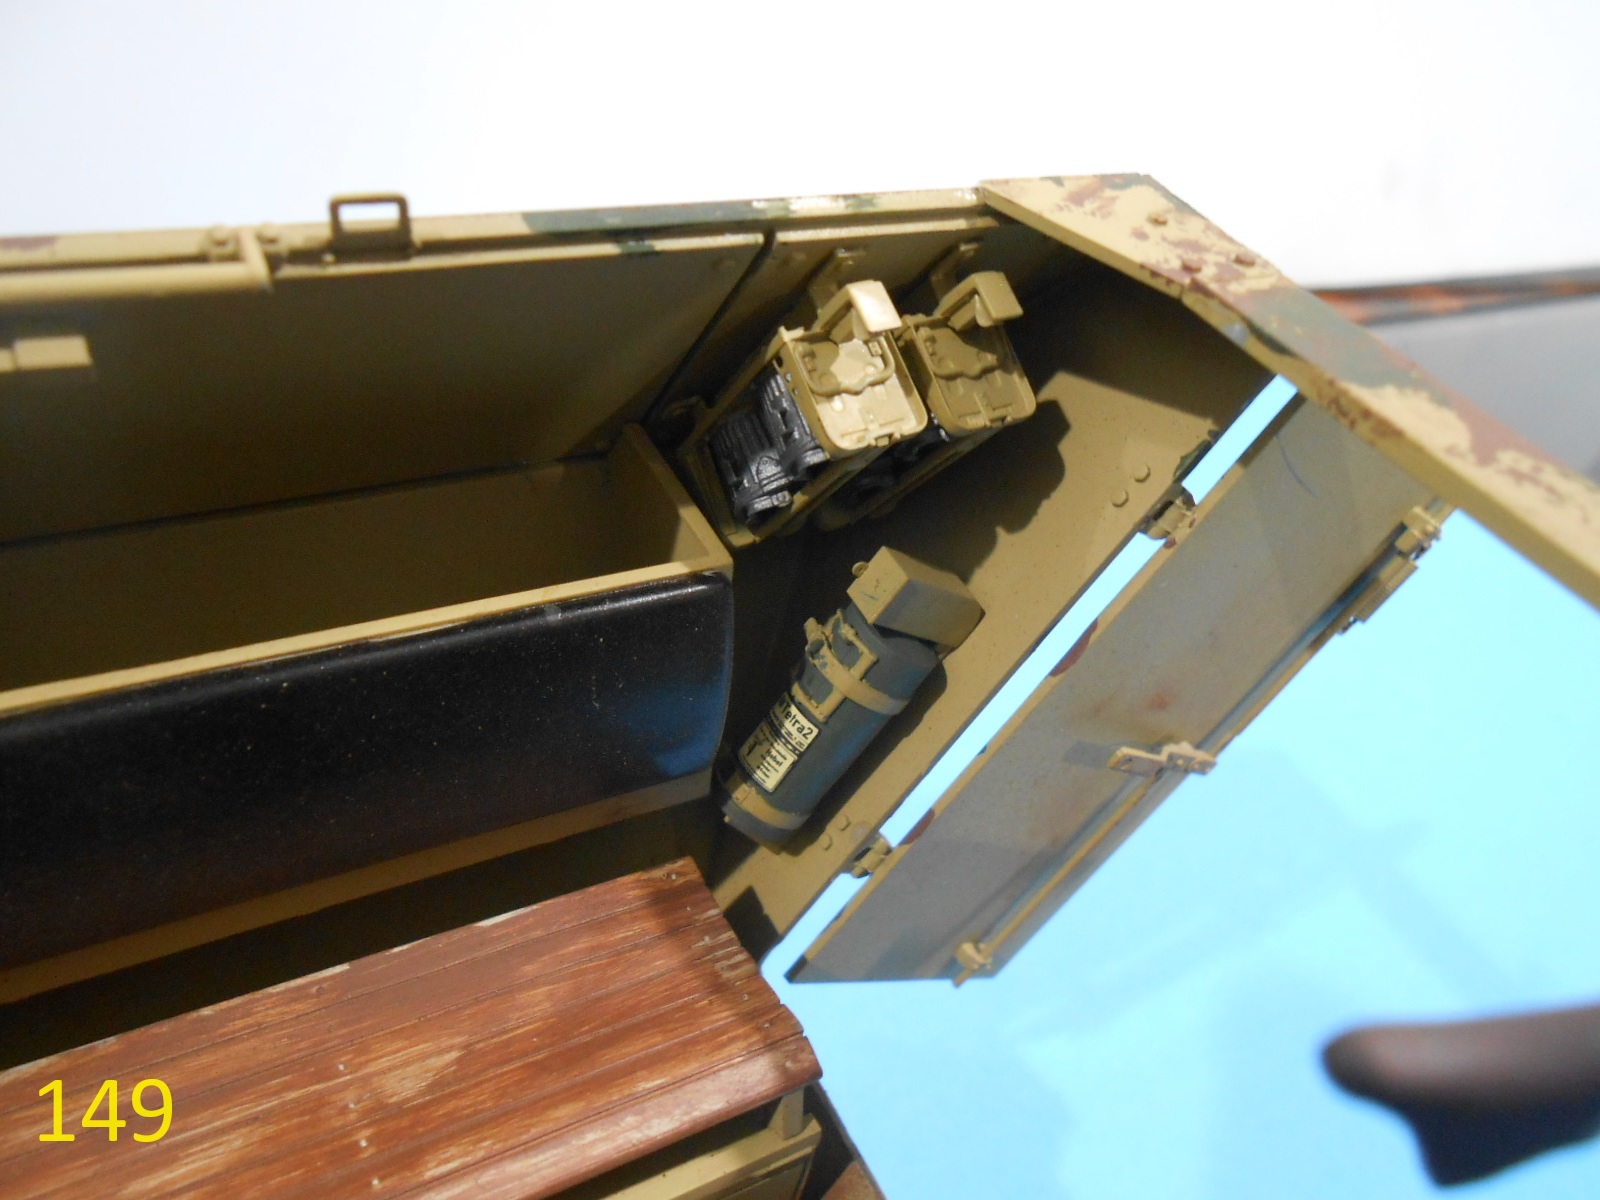
I built all the inside under the floor parts to show you what is there and how it goes together.
If I was doing another one I would leave it all out , it’s not practical to move the flooring like Andy did in his build, he left a lot of parts off.
I don’t know how the Trumpeter kit compares to this one , Maby I’ll build the one coming with the Pak40
AT Gun.
Regards
Donald
The Modellbau-König guys, who are involved in Das Werk have a clip on their YouTube channel were they present their model and the Trumpeter model too to compare the models. The Das Werk model is better, I think. But the Trumpeter one isn’t really bad and I will get the one with the PaK too. Looking forward to your build of this
Hey all,
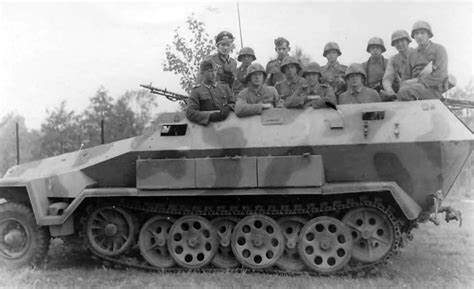
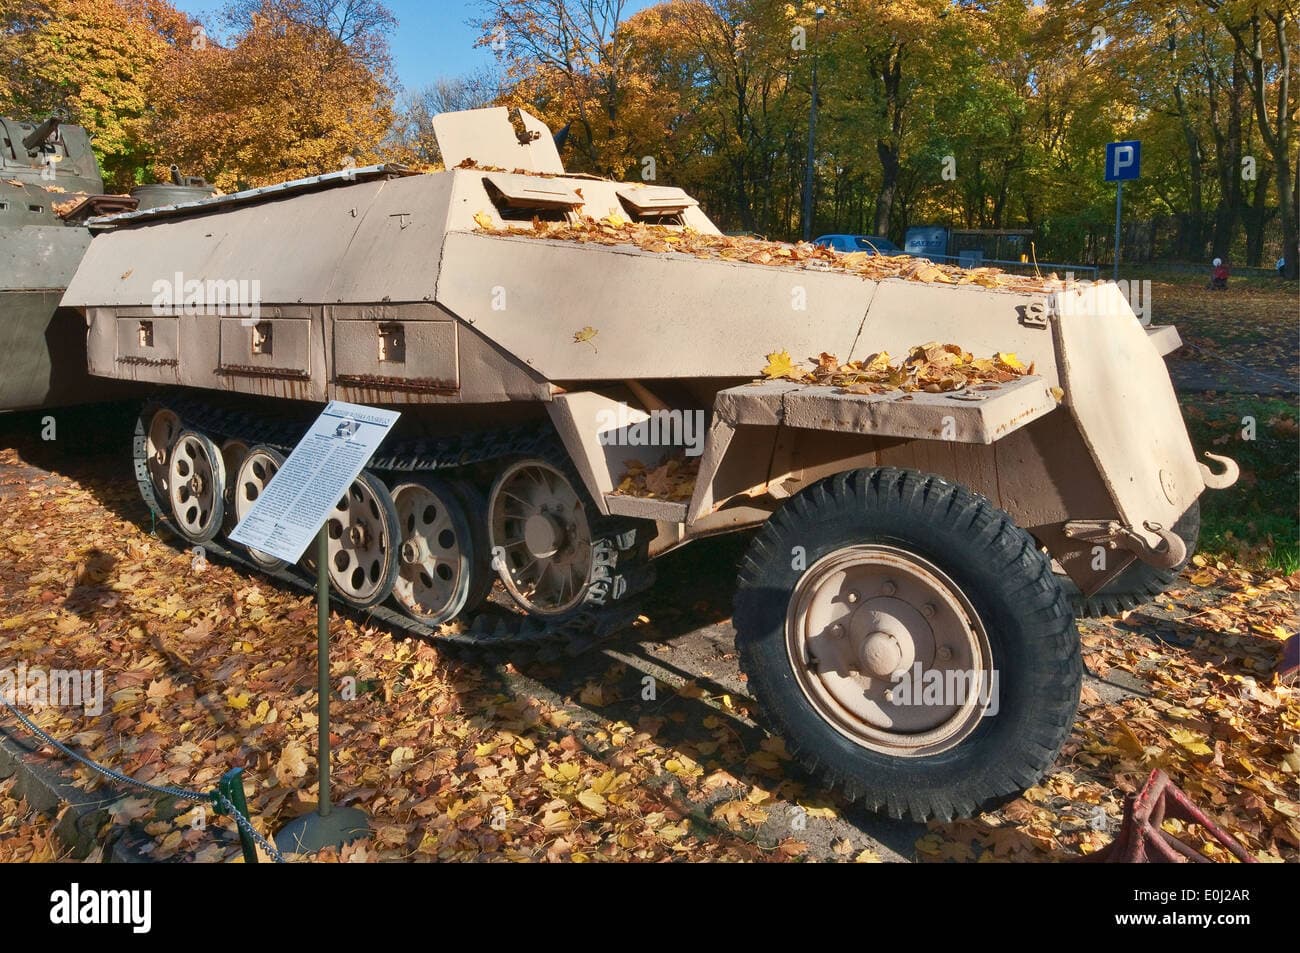
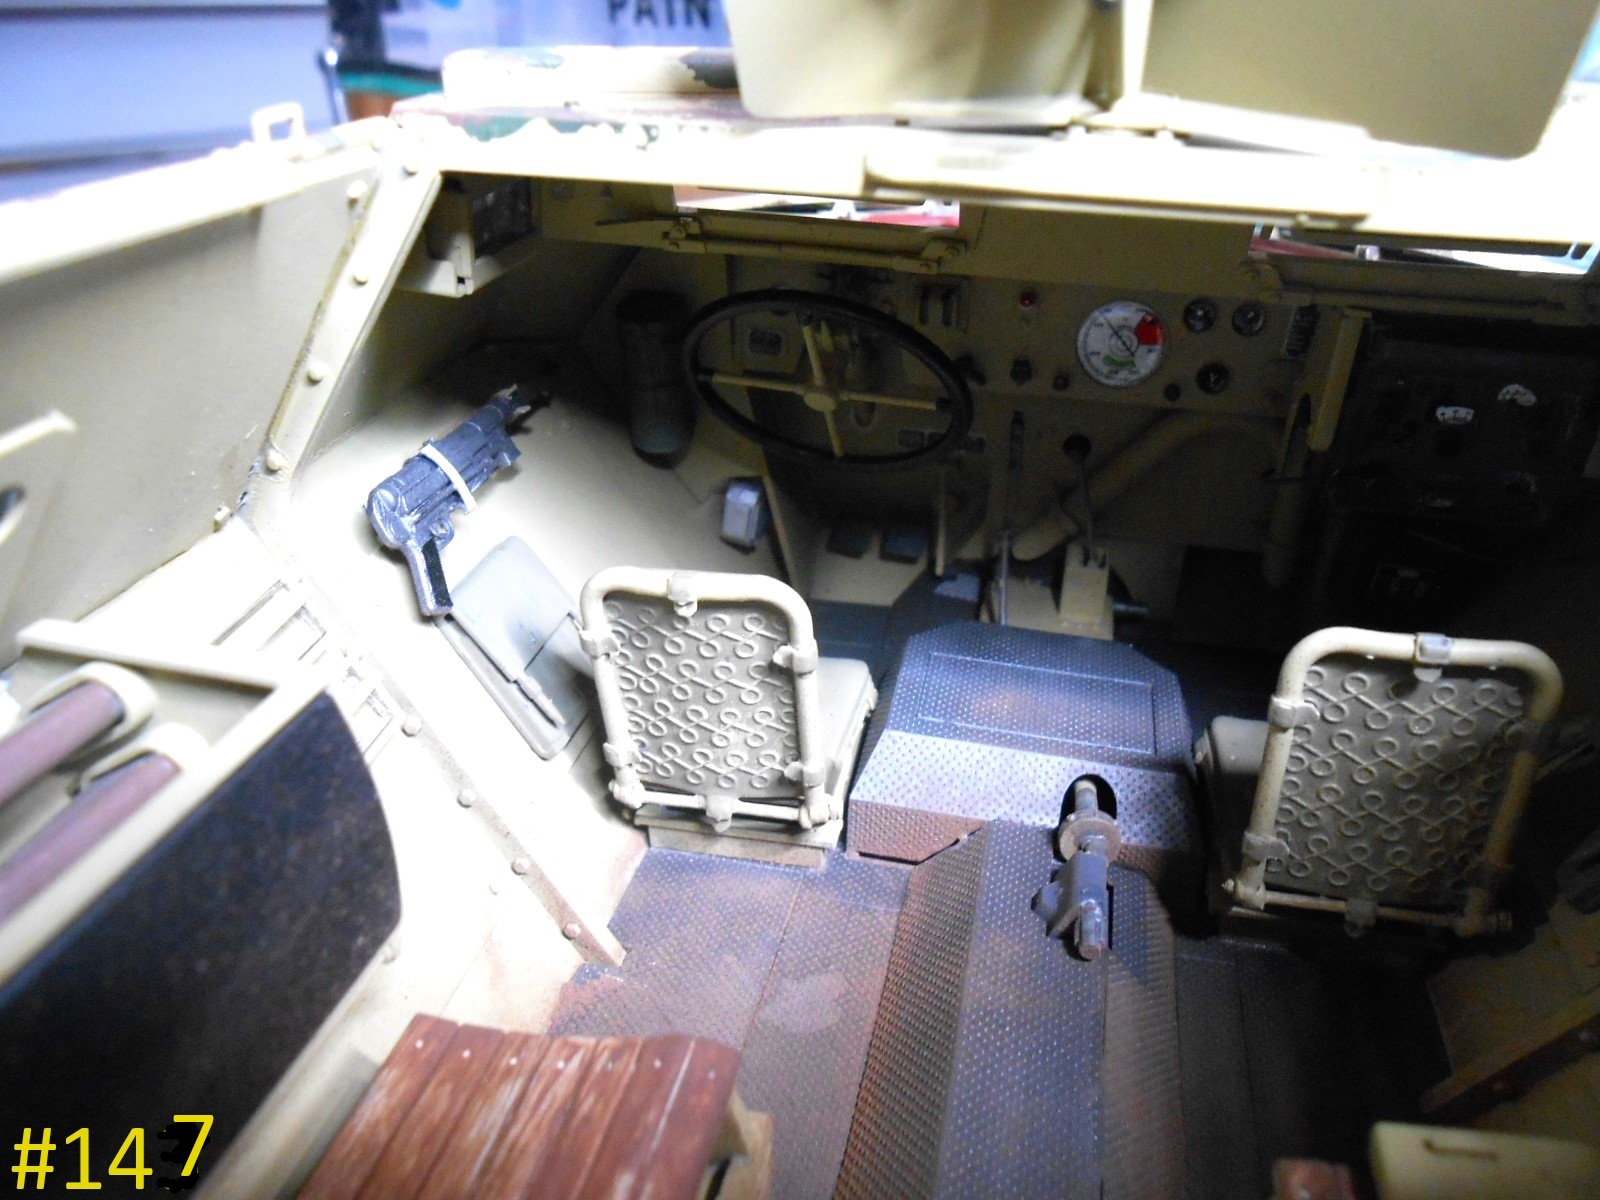
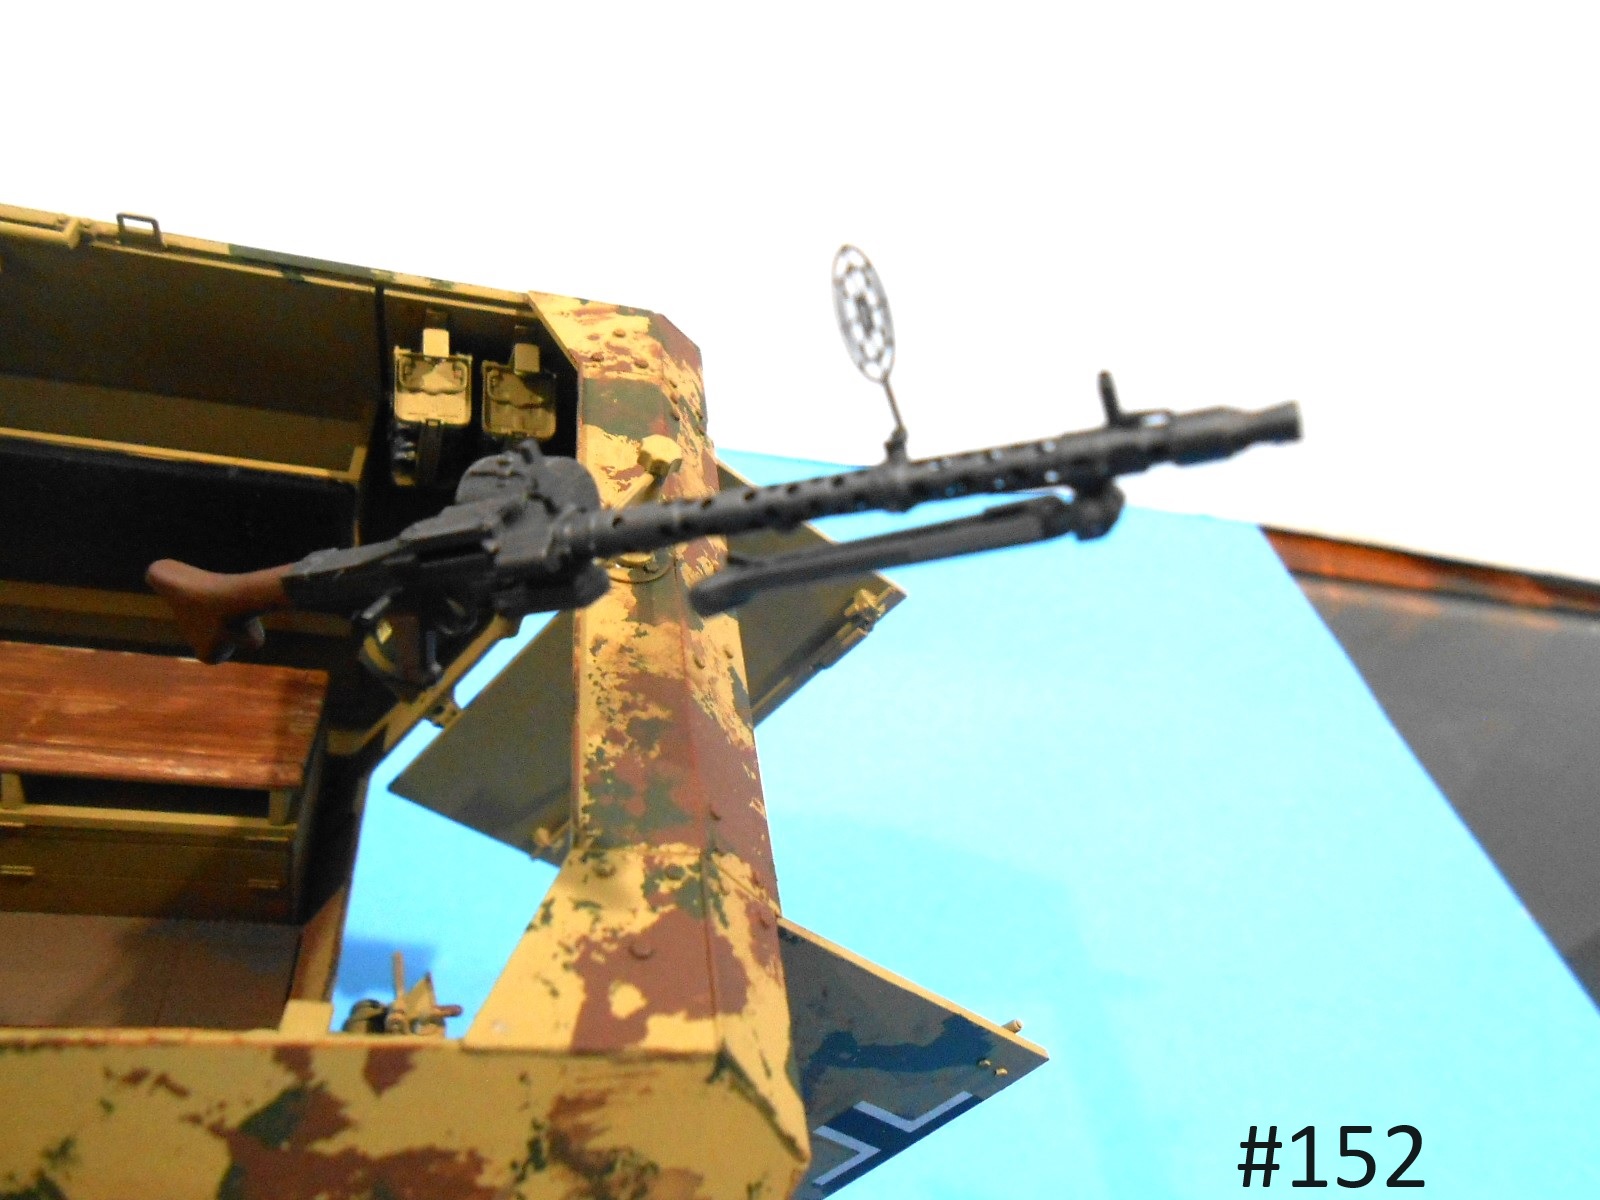
I would reference the “Sd.Kfz. 251 in detail by WWP (#37)” . Look at pages/ pictures 7 and 11. They will show how this is actually on the actual vehicle. A great reference.
It’s too late now. However, miniature brass hex nuts and bolts would have worked for your steering issue. Mines gonna be locked/glued down, so no issue with me. So perhaps, in the future, you can look into getting a box of different sized brass fittings. Regardless, it’s a good build so far!