Hi, i’m going to be using pigments to simulate dirt/mud on the running gear and hull undersides of my RFM Panther G.
I have a pretty good idea how to do this but if anyone has any hints or tips, or can point the way to youtube tutorials, i’d be most grateful.
Many thanks.
From the master himself!!
Pigments begin at 1:56:00 … The rest of the video is good as well.
Enjoy!

1 Like
This video shows you what to expect from various liquids used in conjunction with pigment powders.
The actual pigment fixer was by far the best choice IMHO.
This will also work with actual dry dirt and sand as well as plaster.
https://www.youtube.com/watch?v=VVw3Ylsa7Yw
Agreed the video is the way to go .
Definitely gotta try that technique
Well, the guy bubbles like a burst bum hole, but you can’t argue with the results.
Hello. I use www.Andy’s Hobby Headquarters on YouTube for building, painting, and camouflage help. It is a great help!
Bill
1 Like
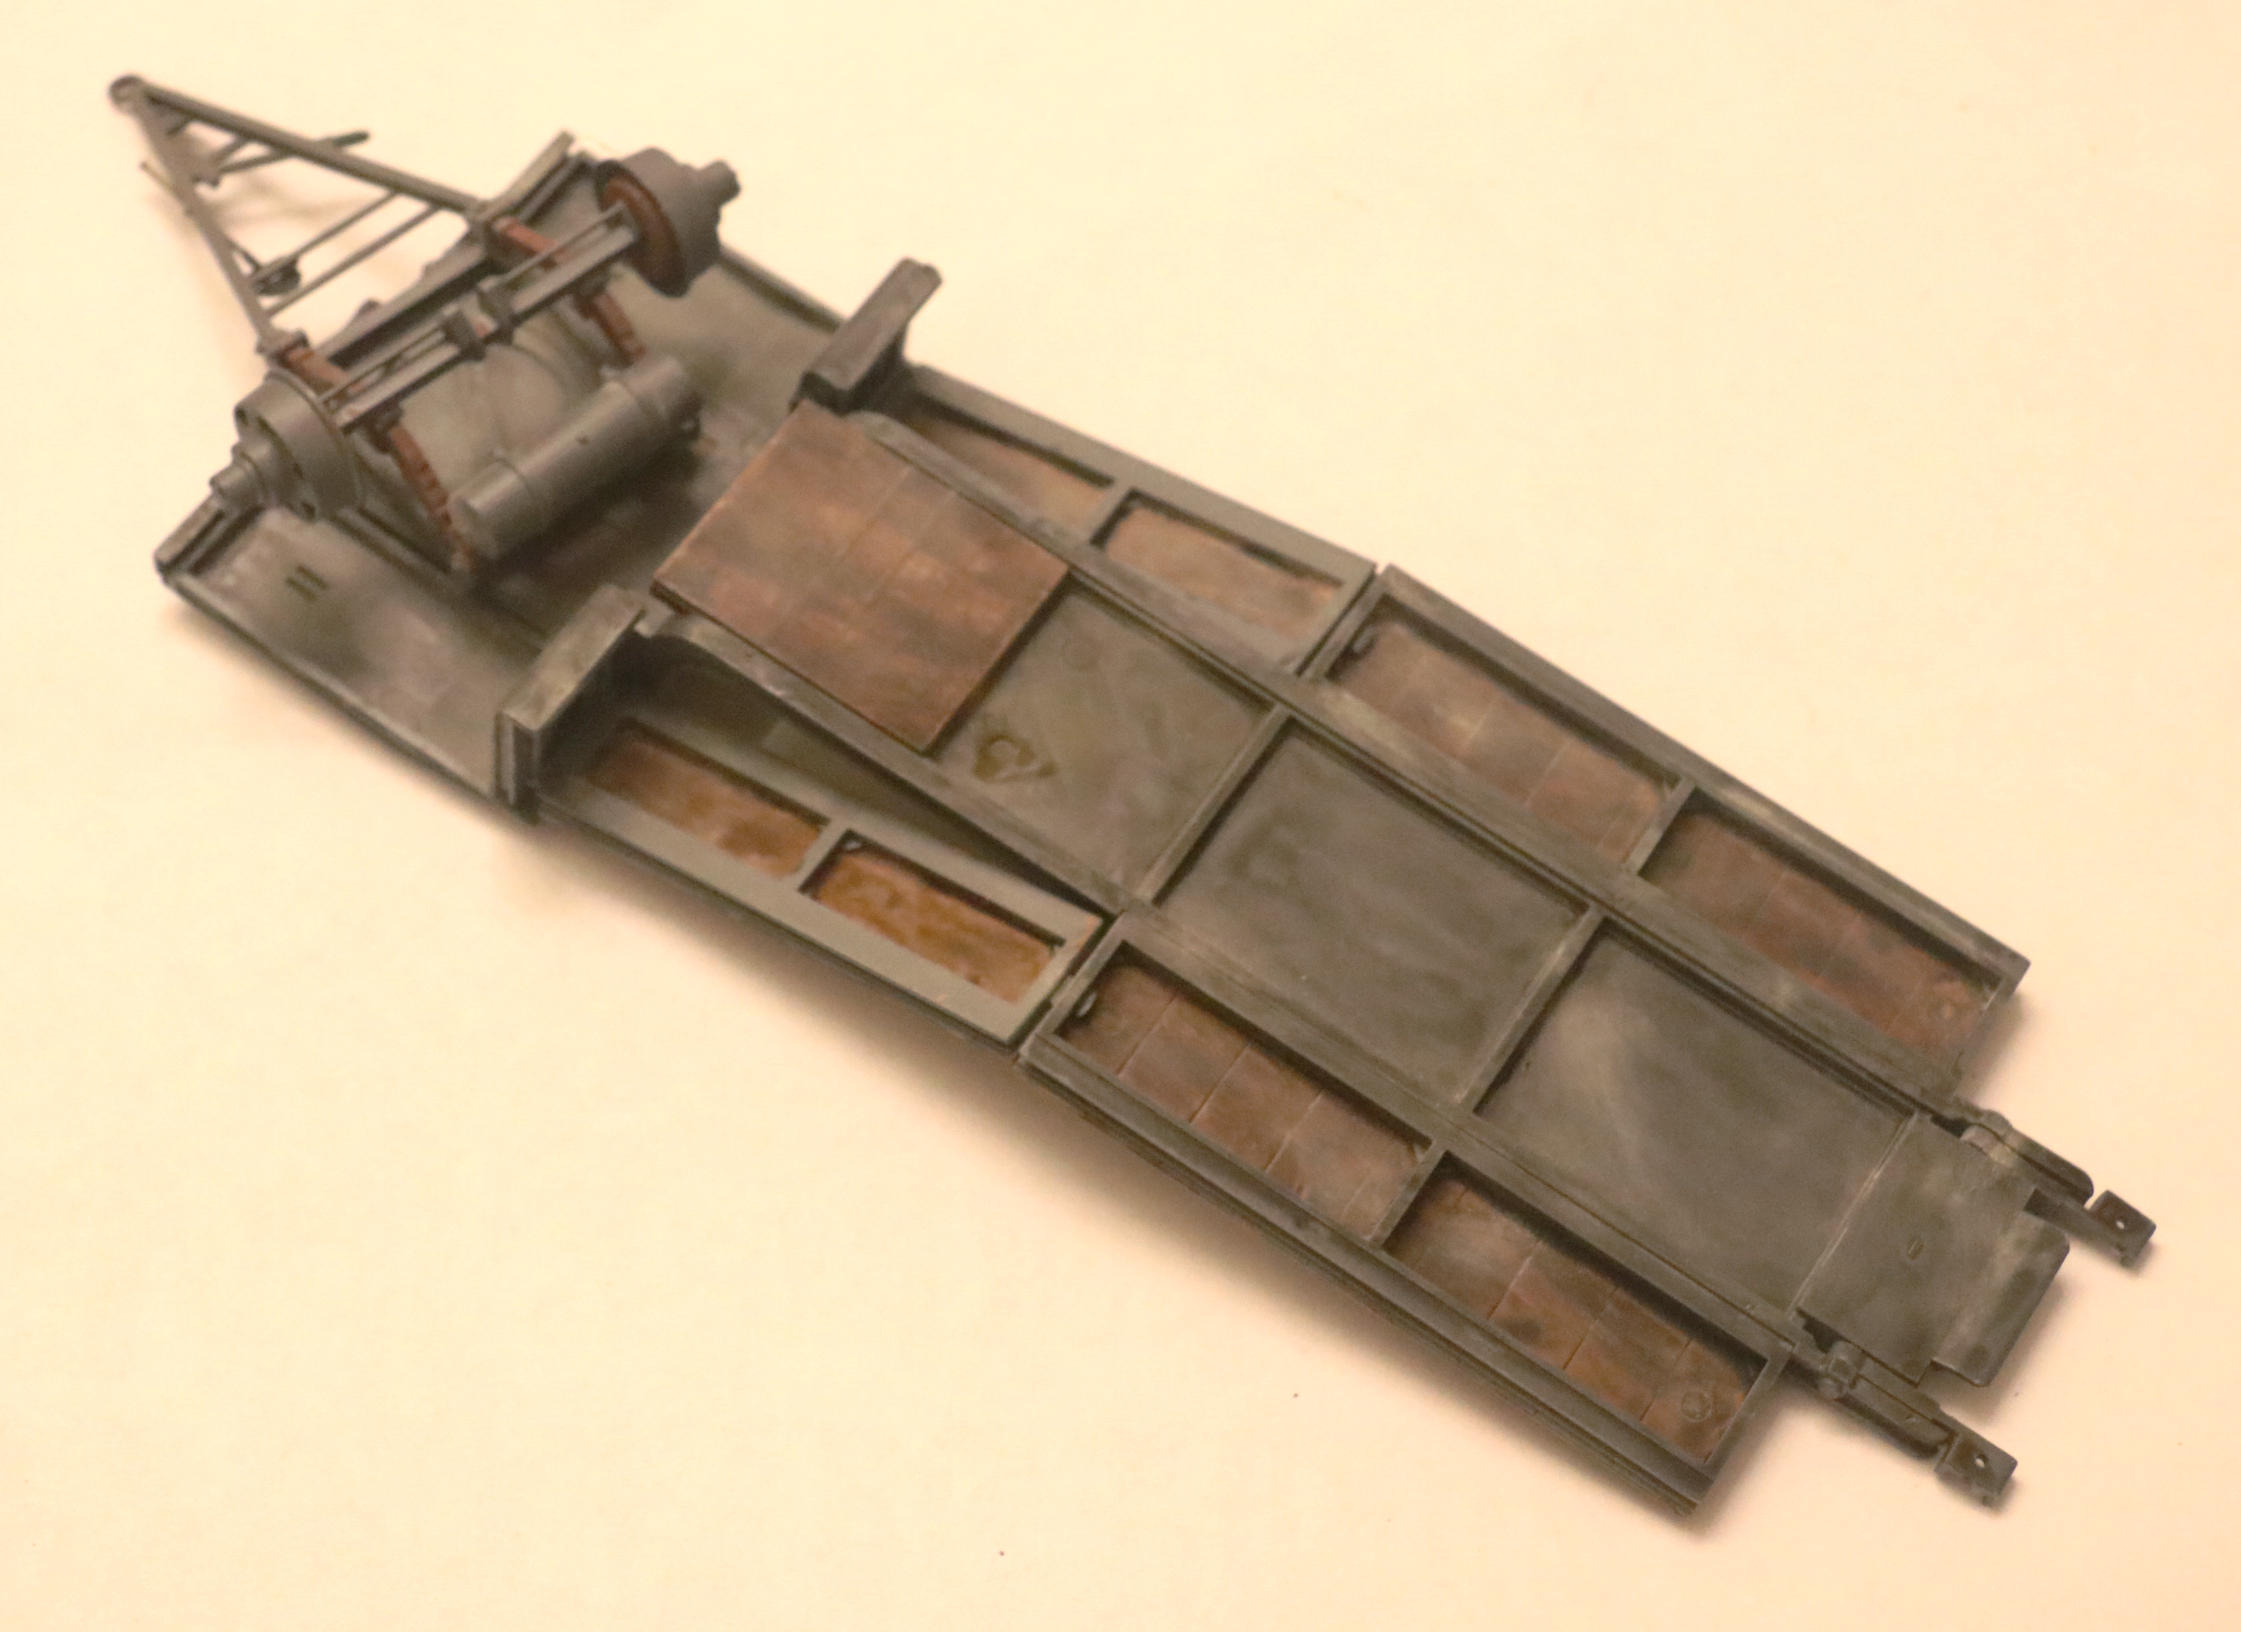
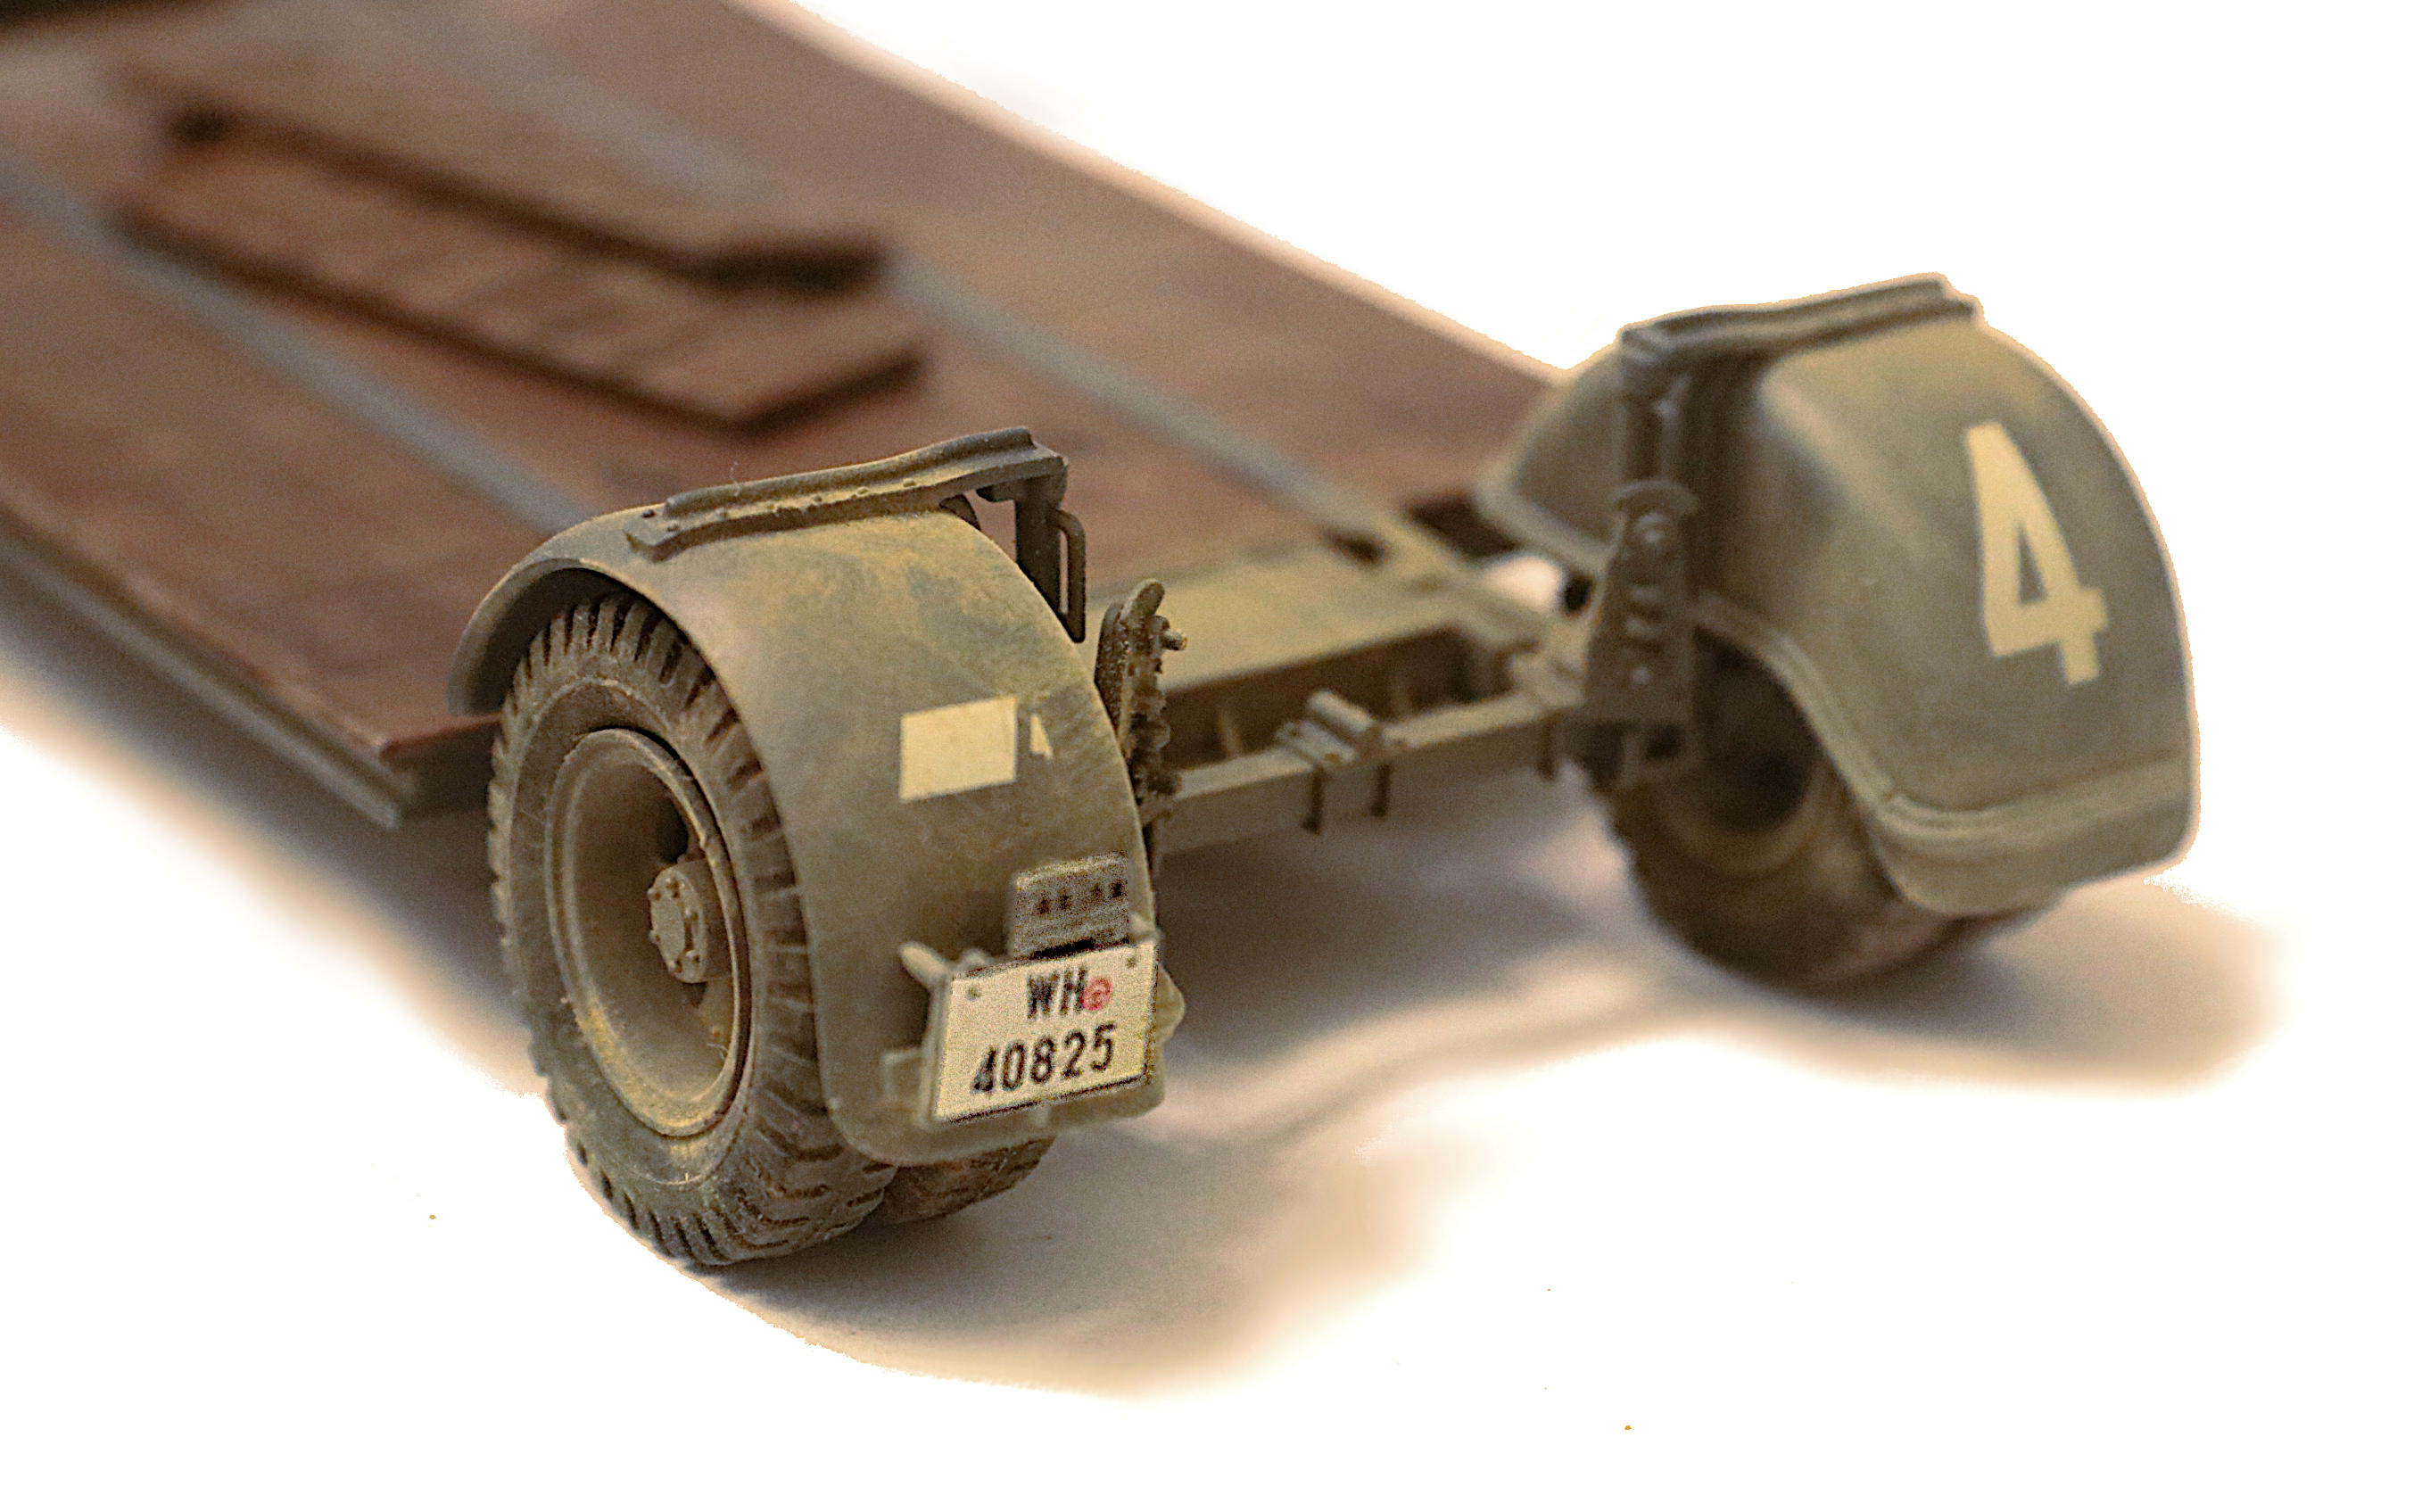
Showing here a trailer rather than an AFV:
I use a combination of shaders and pigments (Oil Pastels) for weathering.
Here the underside of an Sd. Ah. 115 trailer from Das Werk
Again using Pastels here for accumulated road dust.
1 Like
Here is another vehicle underside (again, a trailer) weathered almost exclusively with pigments.
1 Like
Are you using any sort of top coat over the pastels?
That is a long story in itself but the short answer is NO. (or rarely.)
Part of the long answer is that the rough “tooth” of the Matte Clear spray gives a surface that the pigments can be burnished into with my short, stiff bristled brush. So there is much less need to “fix” the pastels with an overspray.
There was a famous Railroad Modeler named John Allen. He had a huge basement HO layout with long bridges and mountainous valleys that came down to form the access aisles. He was quite well known to the pages of “Model Railroader” and an outstanding modeler. He truly advanced the hobby! Well, one of his quotes was/is “dust IS weathering - so DON’T touch my models!”
In other words he was instructing us to pick up our models by either pinching the wheels sets or by using the “double fork lift” approach of two fingers under each end of a vehicle.
He was saying “don’t disturb my dust”. I have expanded that statement to include "don’t disturb my weathering."
You should never pick up a model by grabbing the body sides. (It’s not a bottle of Coke!)
- First: that can deposit body oils that will later attract dust to become finger prints.
- Second: it runs the risk of breaking delicate gun barrels, antenna, light guards and rearview mirrors.
- Third: It might disturb my weathering!
If you were to swipe you finger tip over the fender of my 115 trailer you probably would disturb SOME of the pigments but not all. Also I could repair this event in seconds with my always available kit of Pastels. *Yes, I take my Pastels along with me to ALL hobby competitions as part of my standard tool kit, just as I would take glue, a hobby knife, small files, a small paint brush and a bottle of “touch up” Matte Clear .
1 Like
I agree on all counts. It means the pastels must pretty much be the final step.
I am sure you will find this frustrating on my part: ~ I often “weather as I go” because I want to enjoy the visual effects. I generally scrape away the paint before joining large assemblies anyway and this certainly removes the Pastel dust along with it.
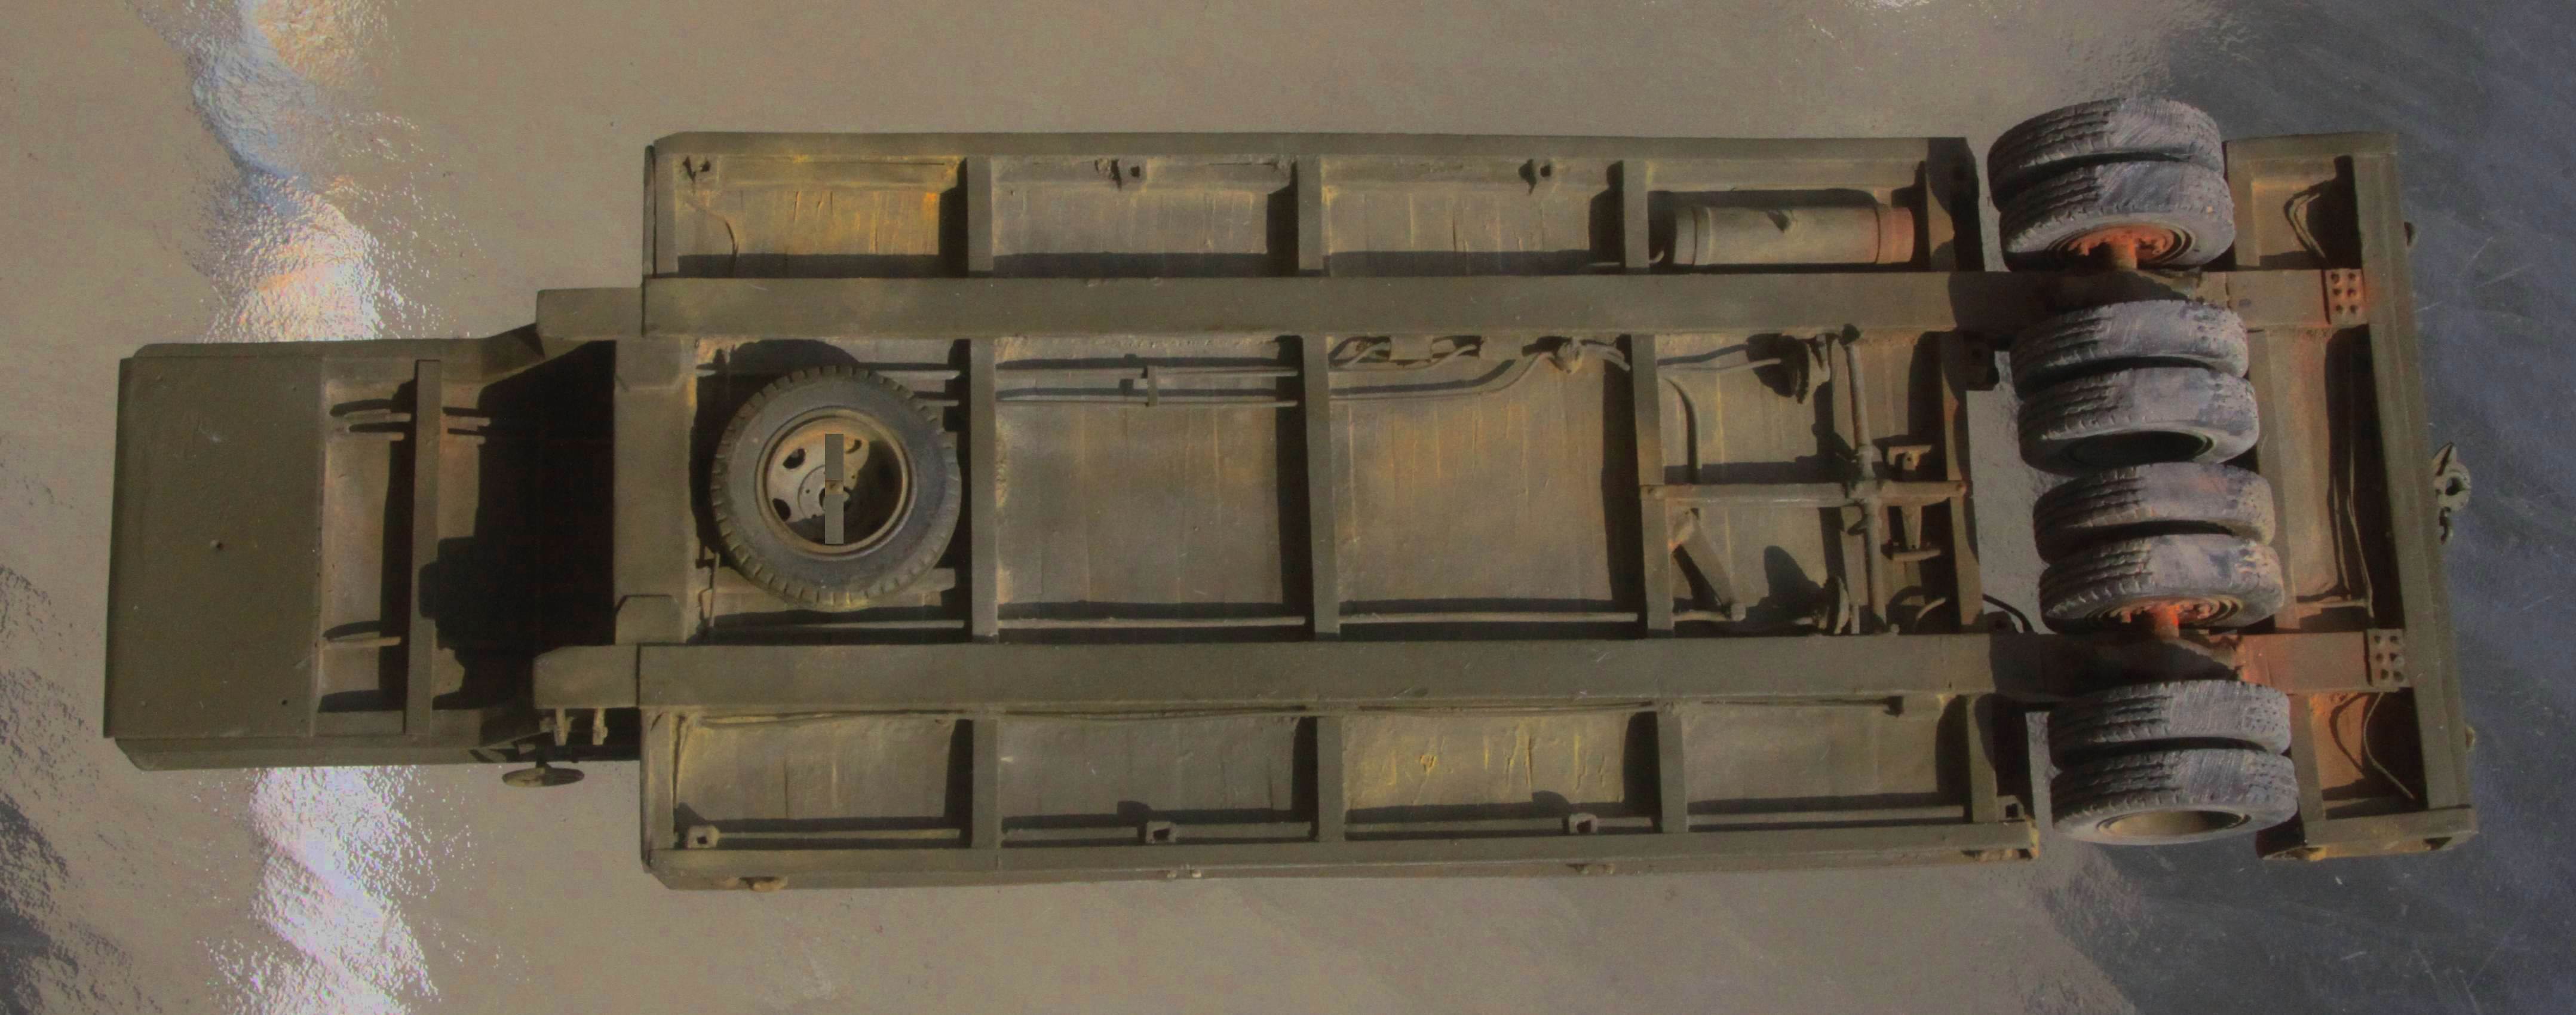
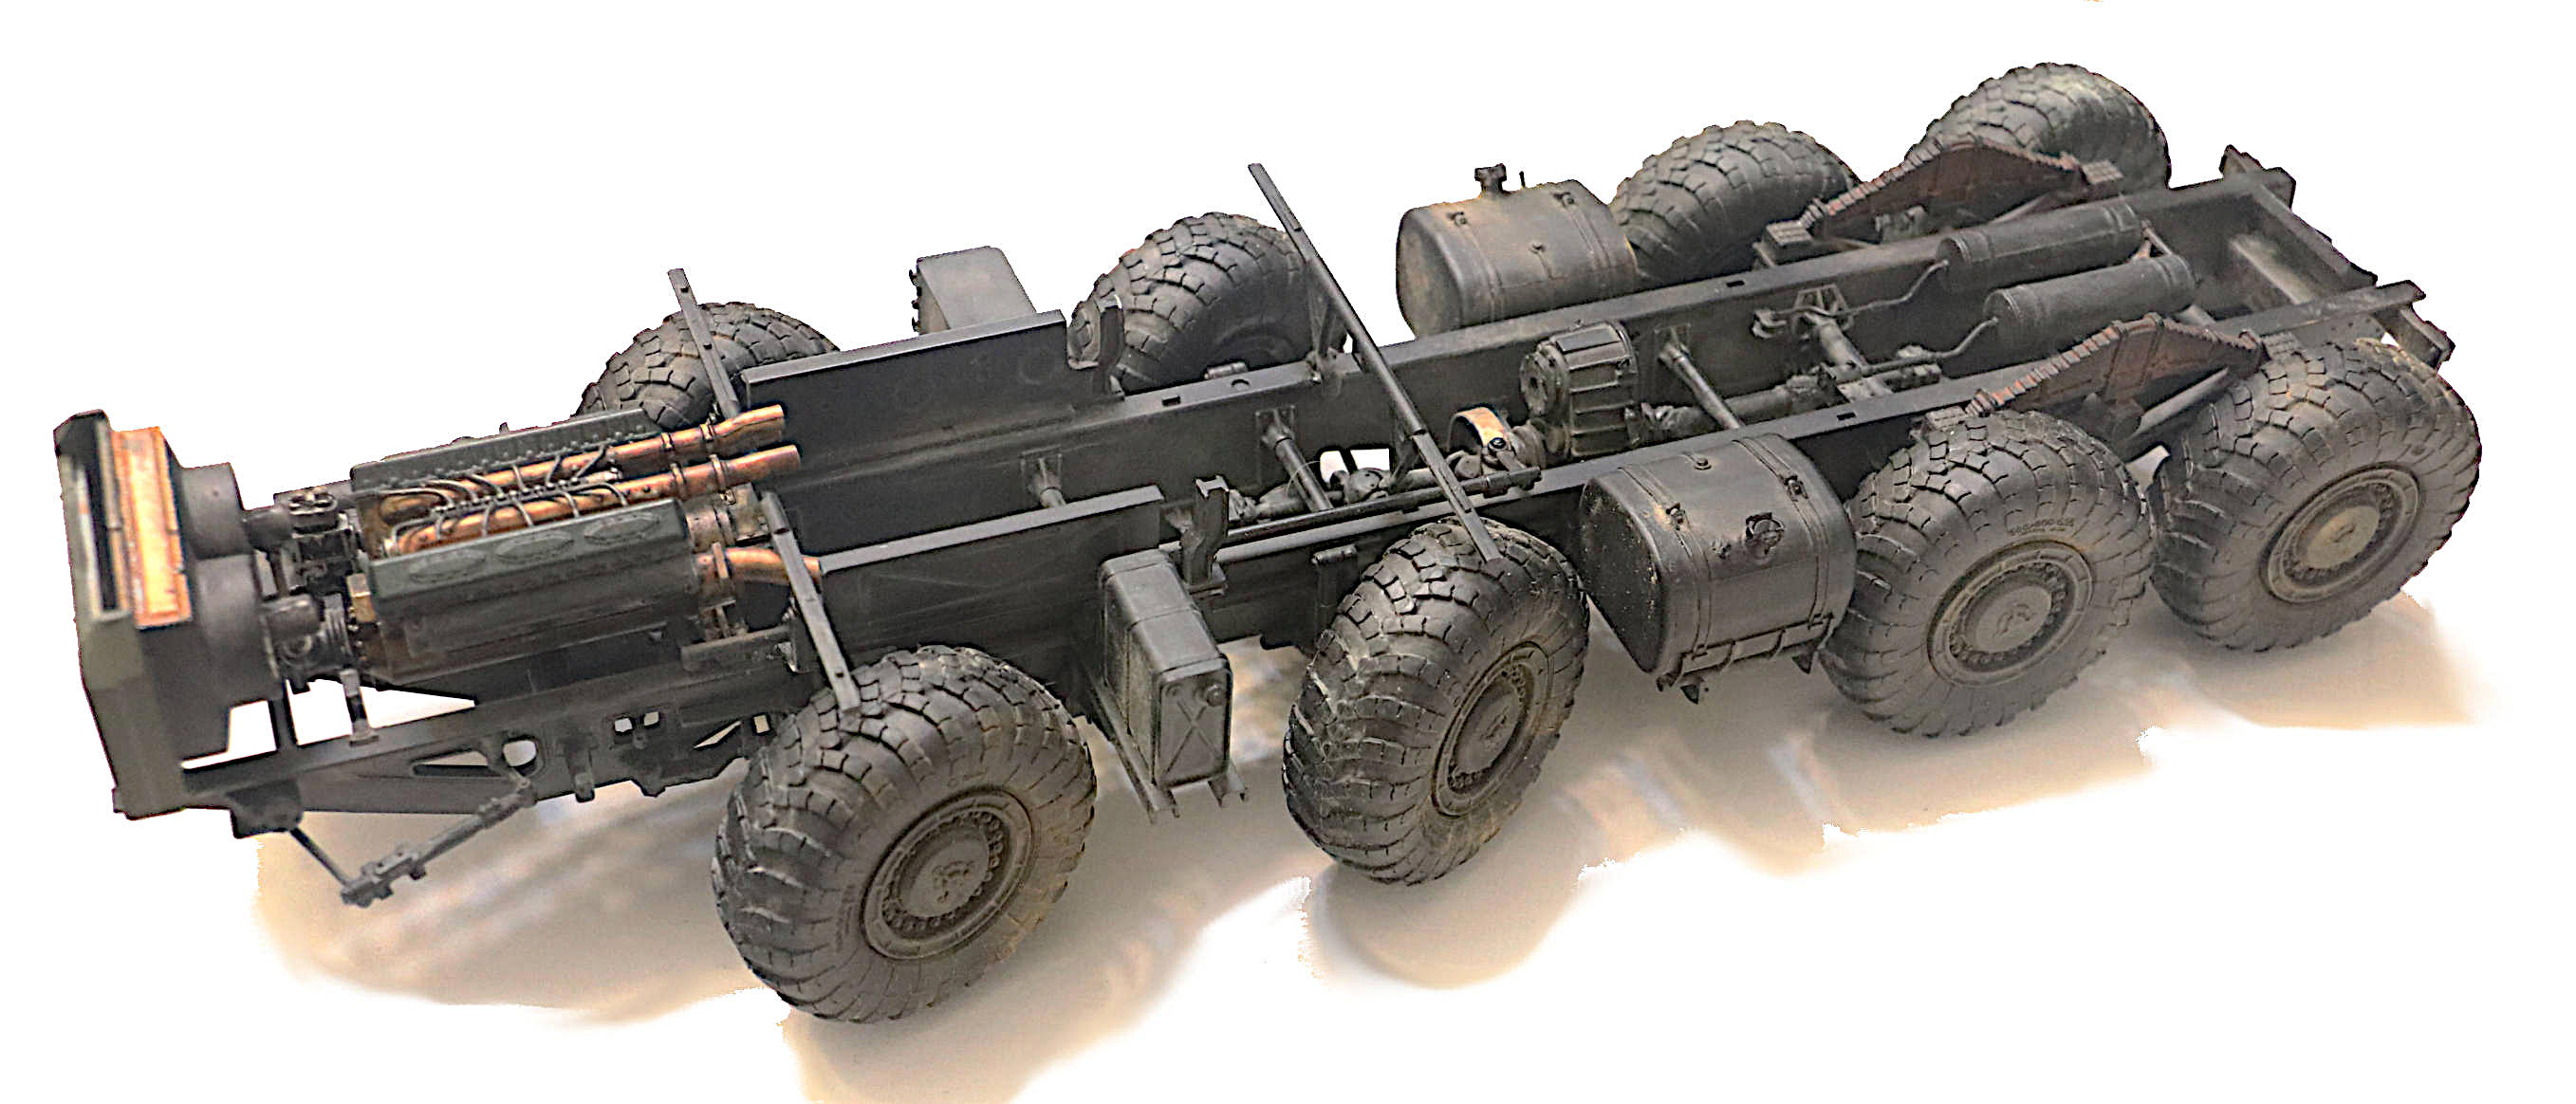
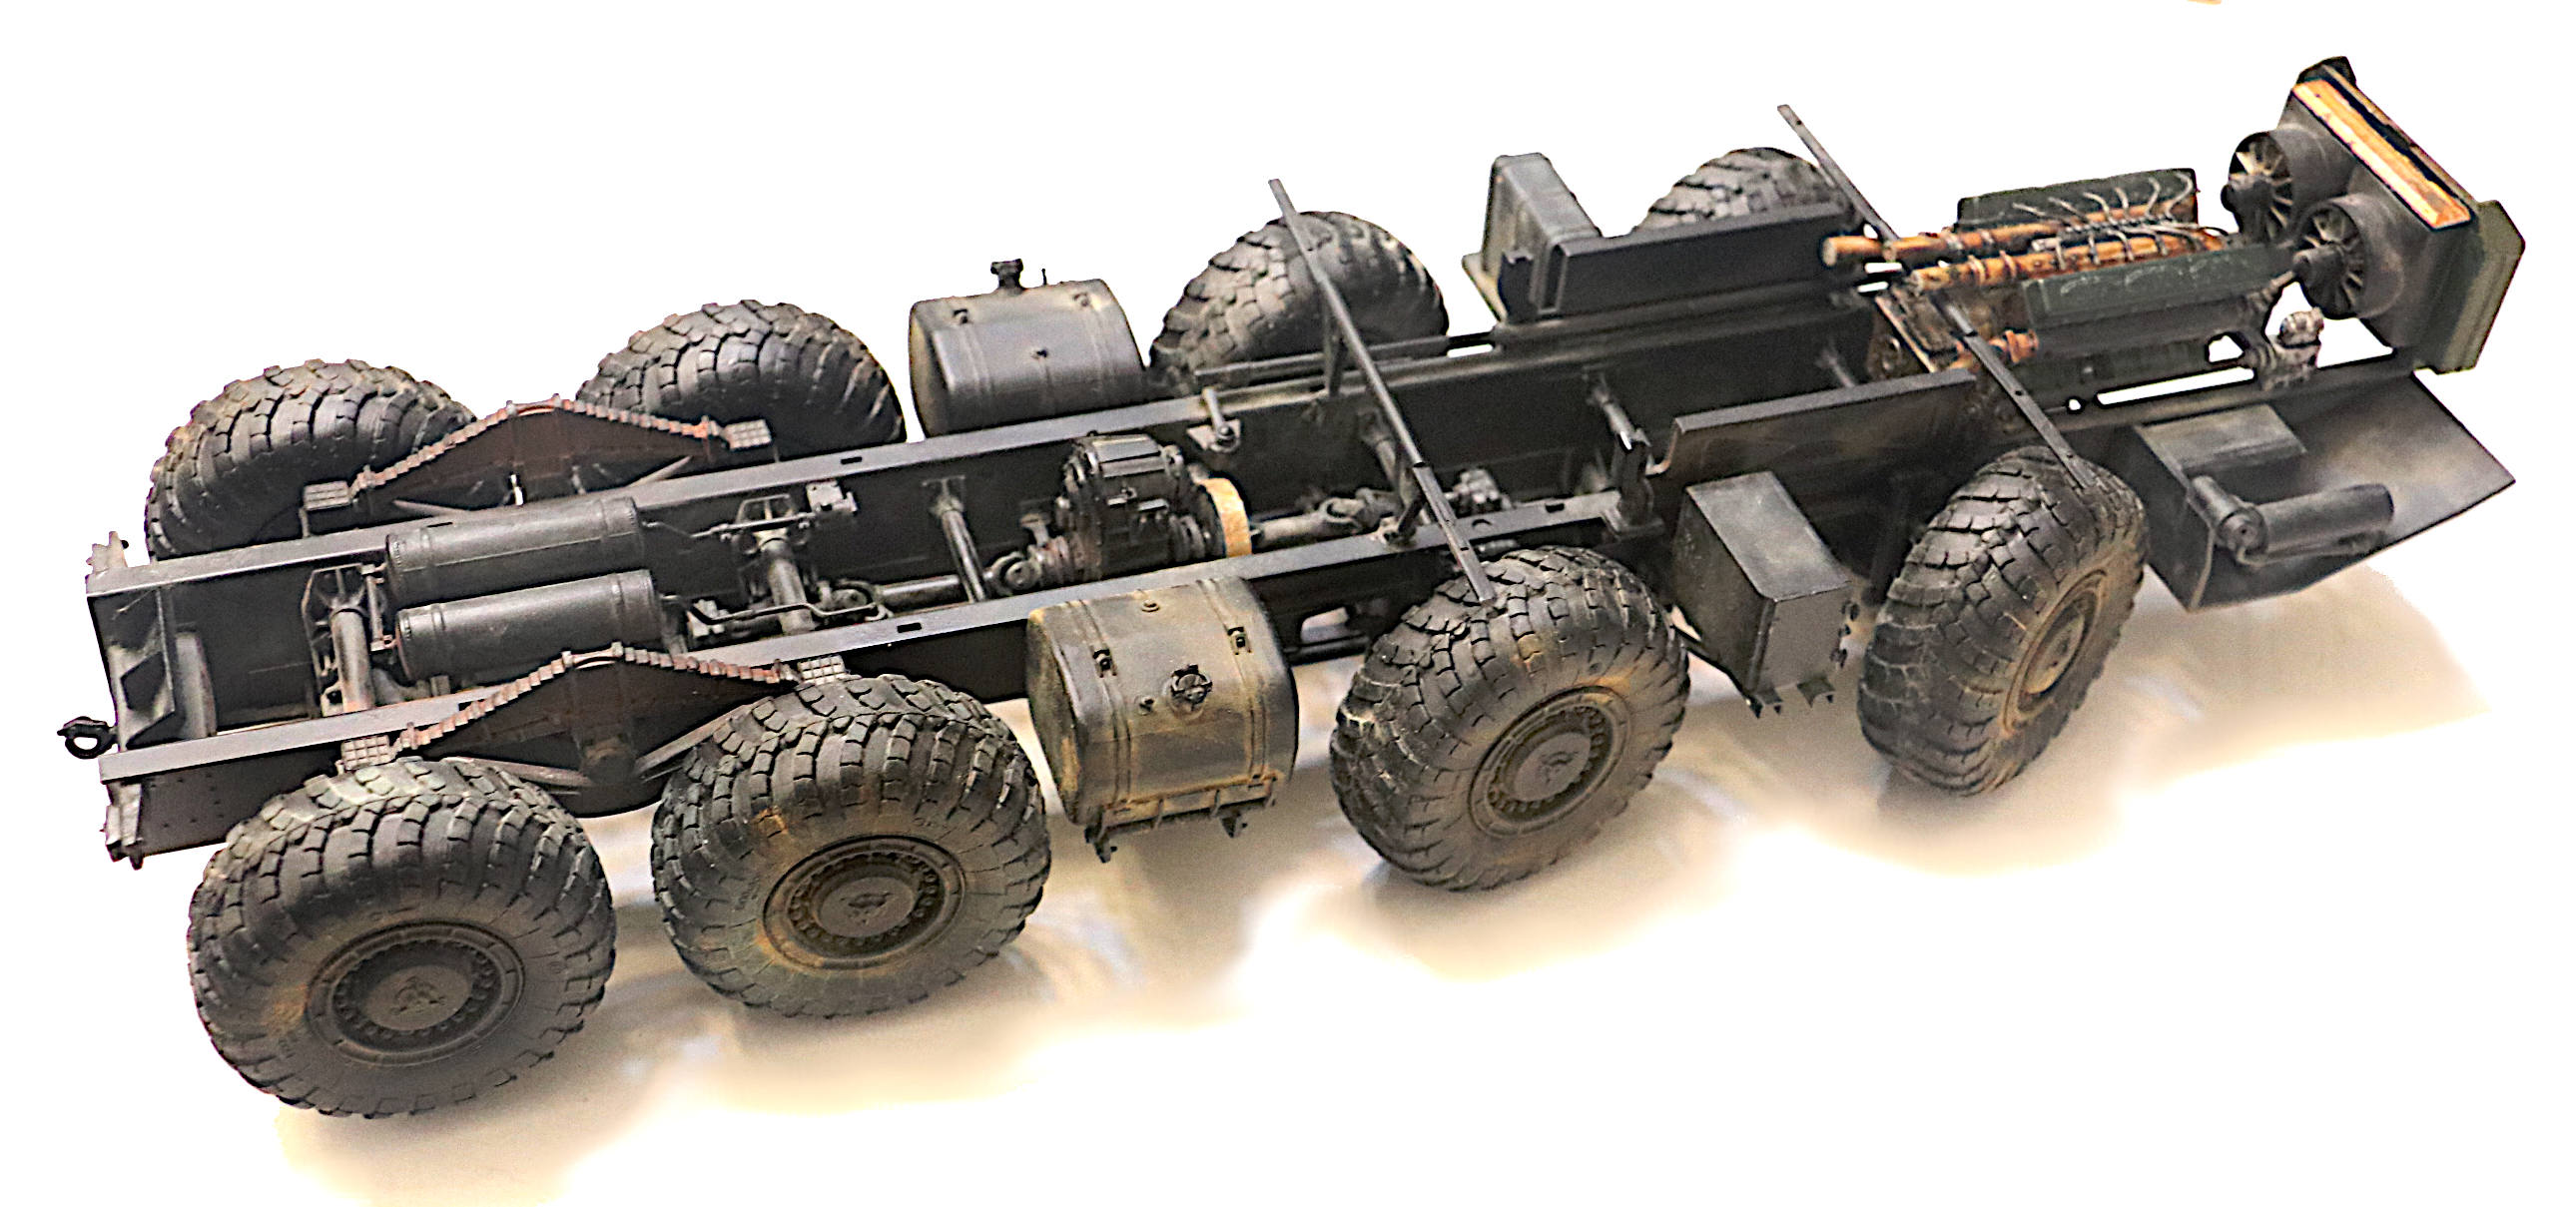
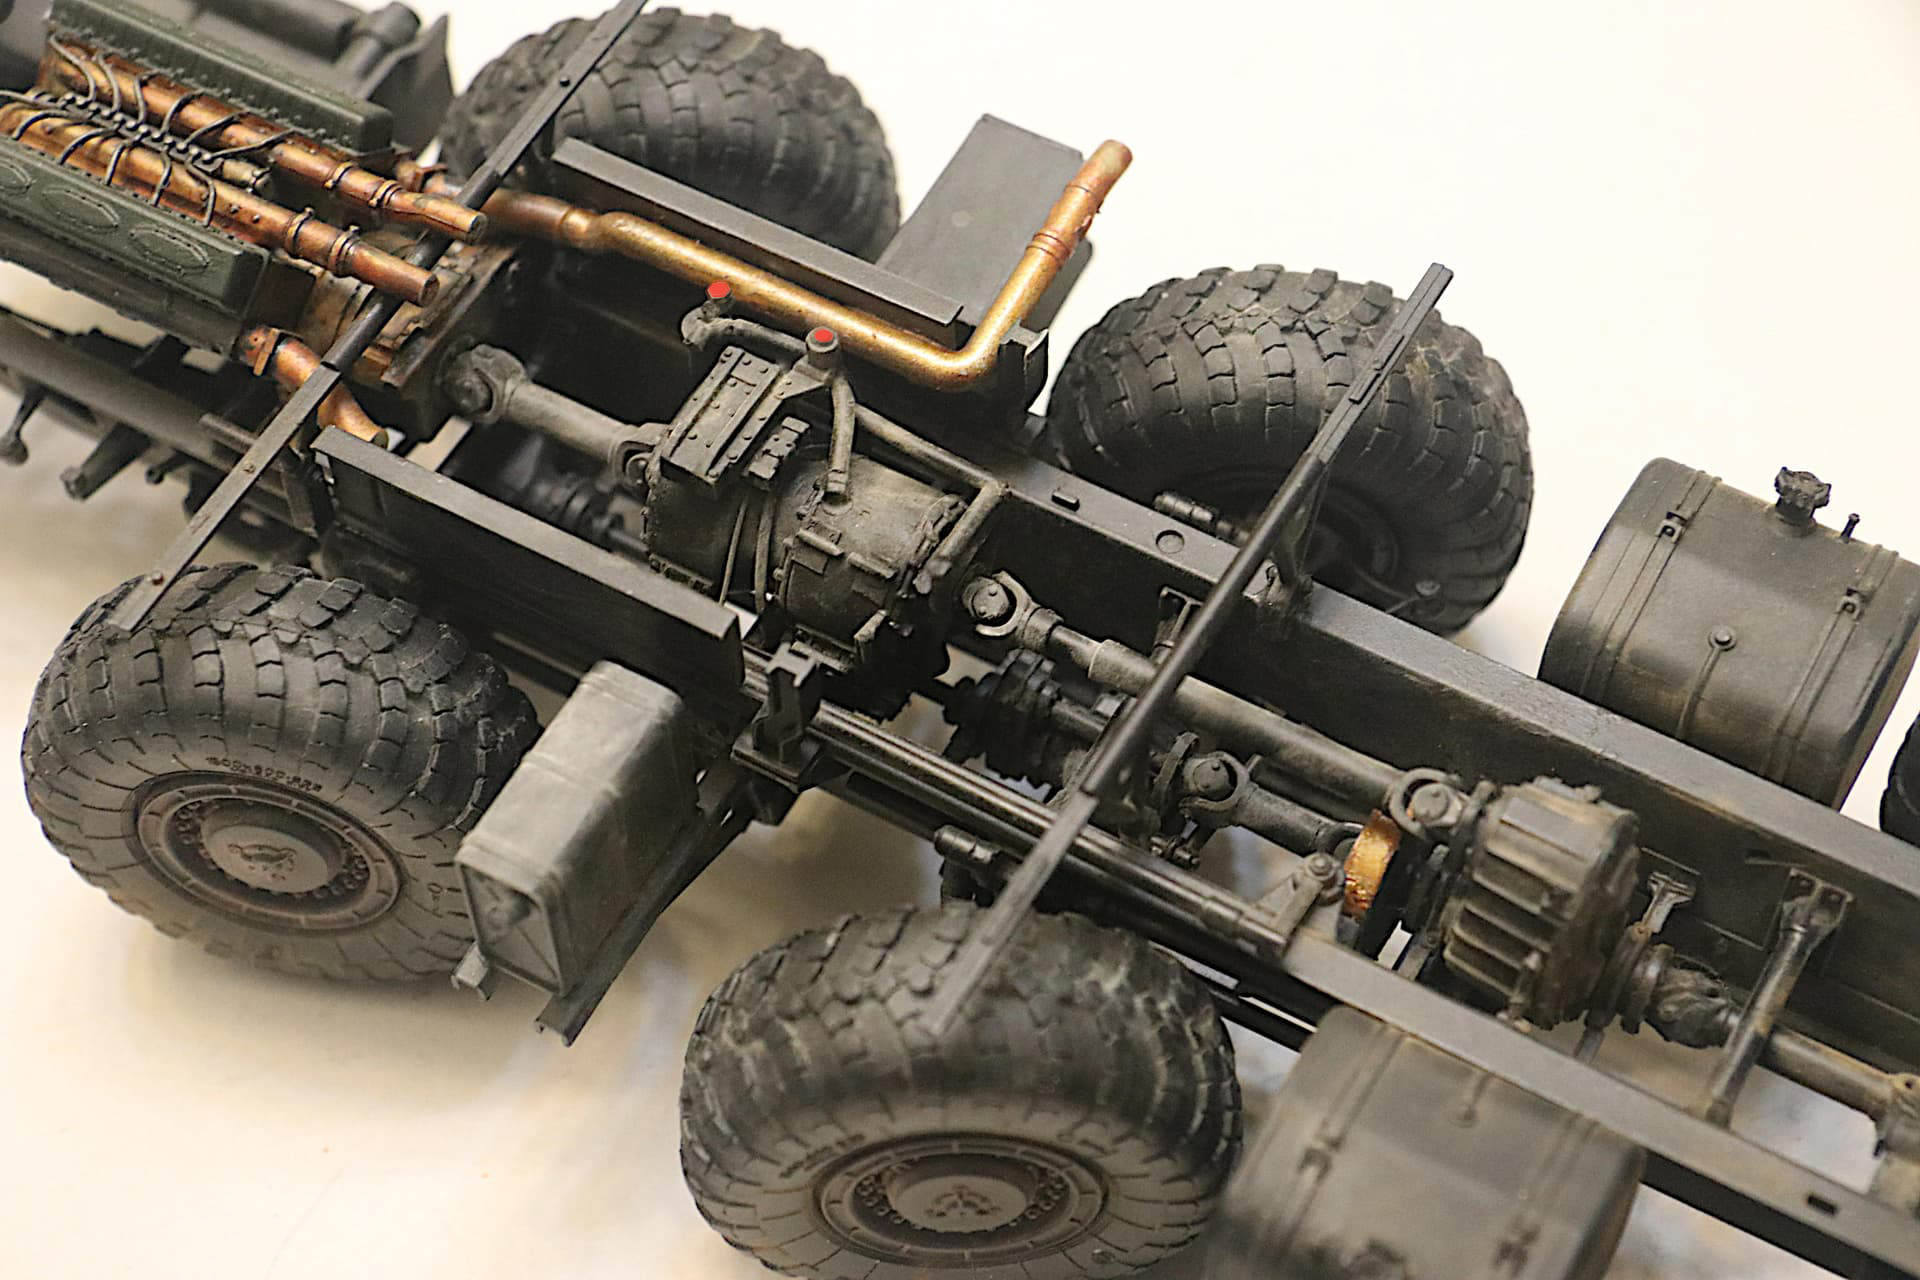
Here is my current build of the Trumpter MAZ-7410 semi-tractorwith the chassis already weathered. After spraying on all that black paint so much detail was visually lost that I could not resist bringing it back into view by using my Pastel “dust”. I will probably go even heavier on the finished model but for now I am again happy with it!
One reason I like the Semi-Tractor so much is because all that beautiful driveline detail is not hidden under a missile, massive gun or big boxy radar unit.
__________________________________________
p.s. In the photo studio (circa 1975) we had three “techniques” for bringing out detail in the black parts of electrical circuit breaker equipment.
(20 years with Square D Company, 8+ of those as a catalog studio photographer.)
This was all pre-computer, pre-digital cameras and pre-Photoshop!
- Reflect light off the black surface. (This is just a single cushion pool shot but done with a spotlight. - Angle of light in equals angle of light out. How place your camera in the path of that departing light angle.)
- Dissemble and repaint the black part a medium dark gray.
- Blow a “dusty” powder onto just the black part to help lighten and show more detail.
After a few years I came up with a fourth solution: Spray the glossy black surface with a very dry coating of a dulling spray. This breaks up that mirror smooth black surface. That “tooth” made by the dry matte spray scattered the light from our broad studio lights and actually made the black breakers appear more a deep gray and allowed the camera to “see” into the dark details of those black objects.
1 Like
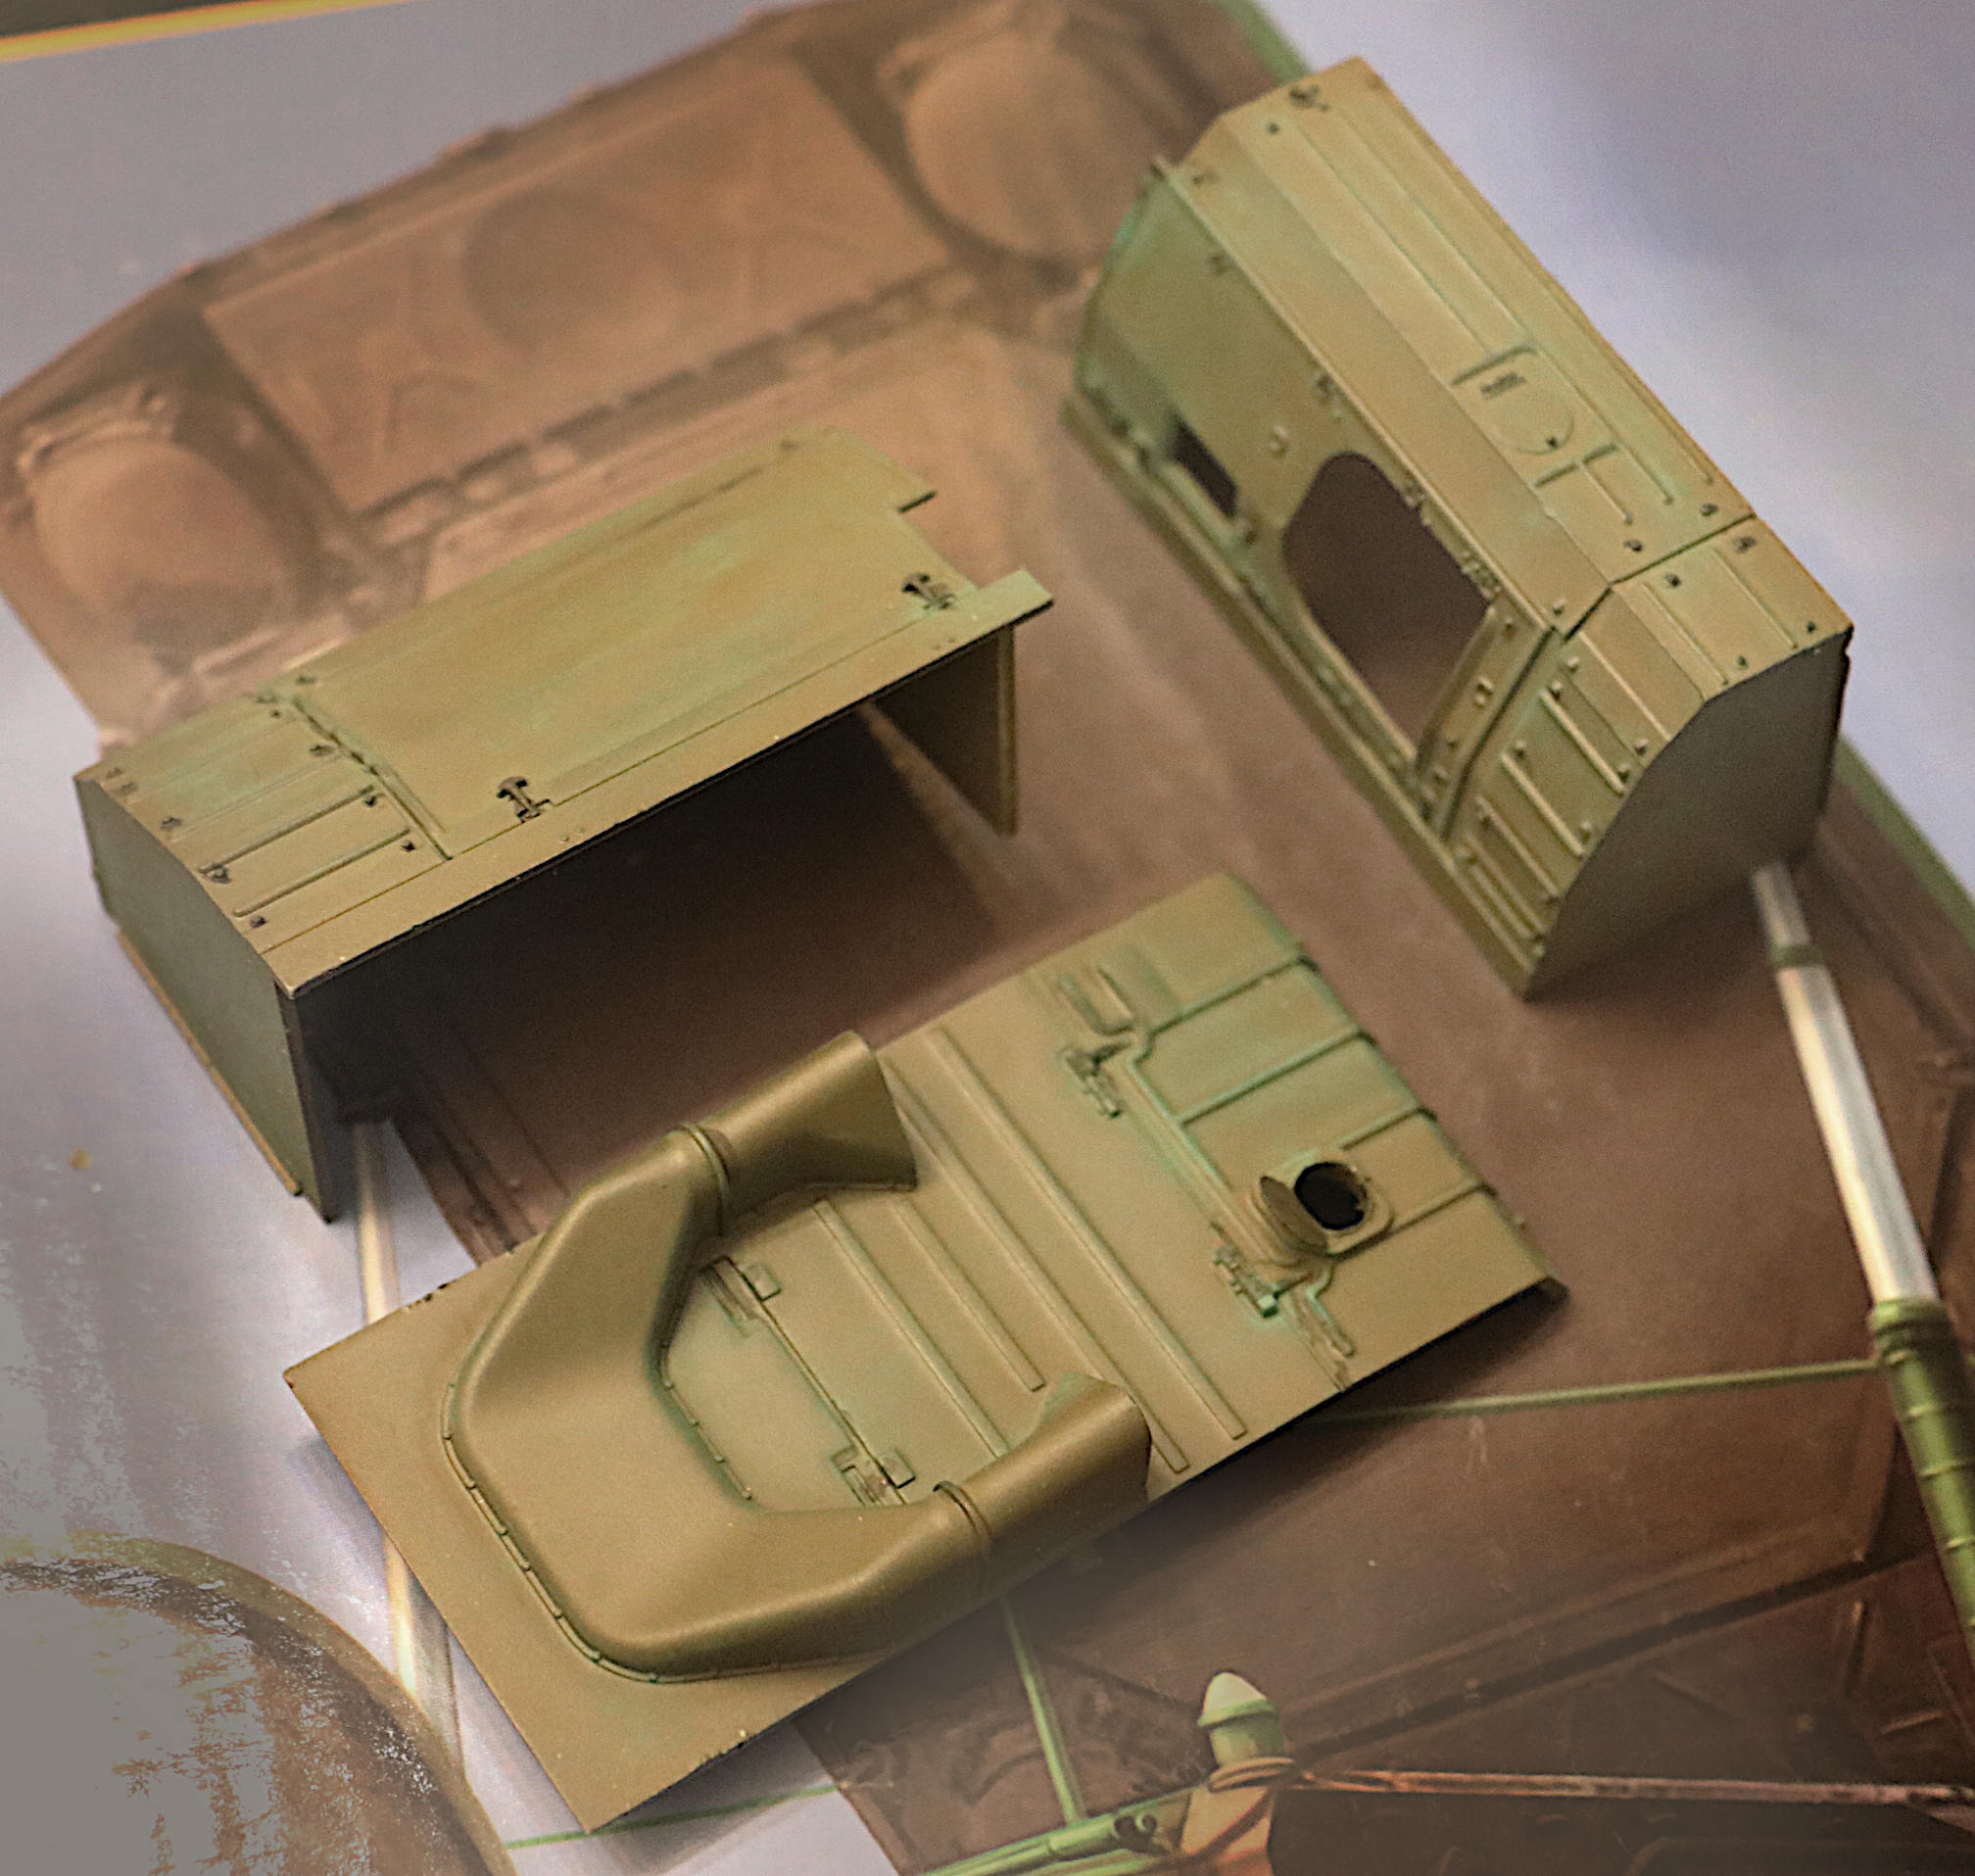
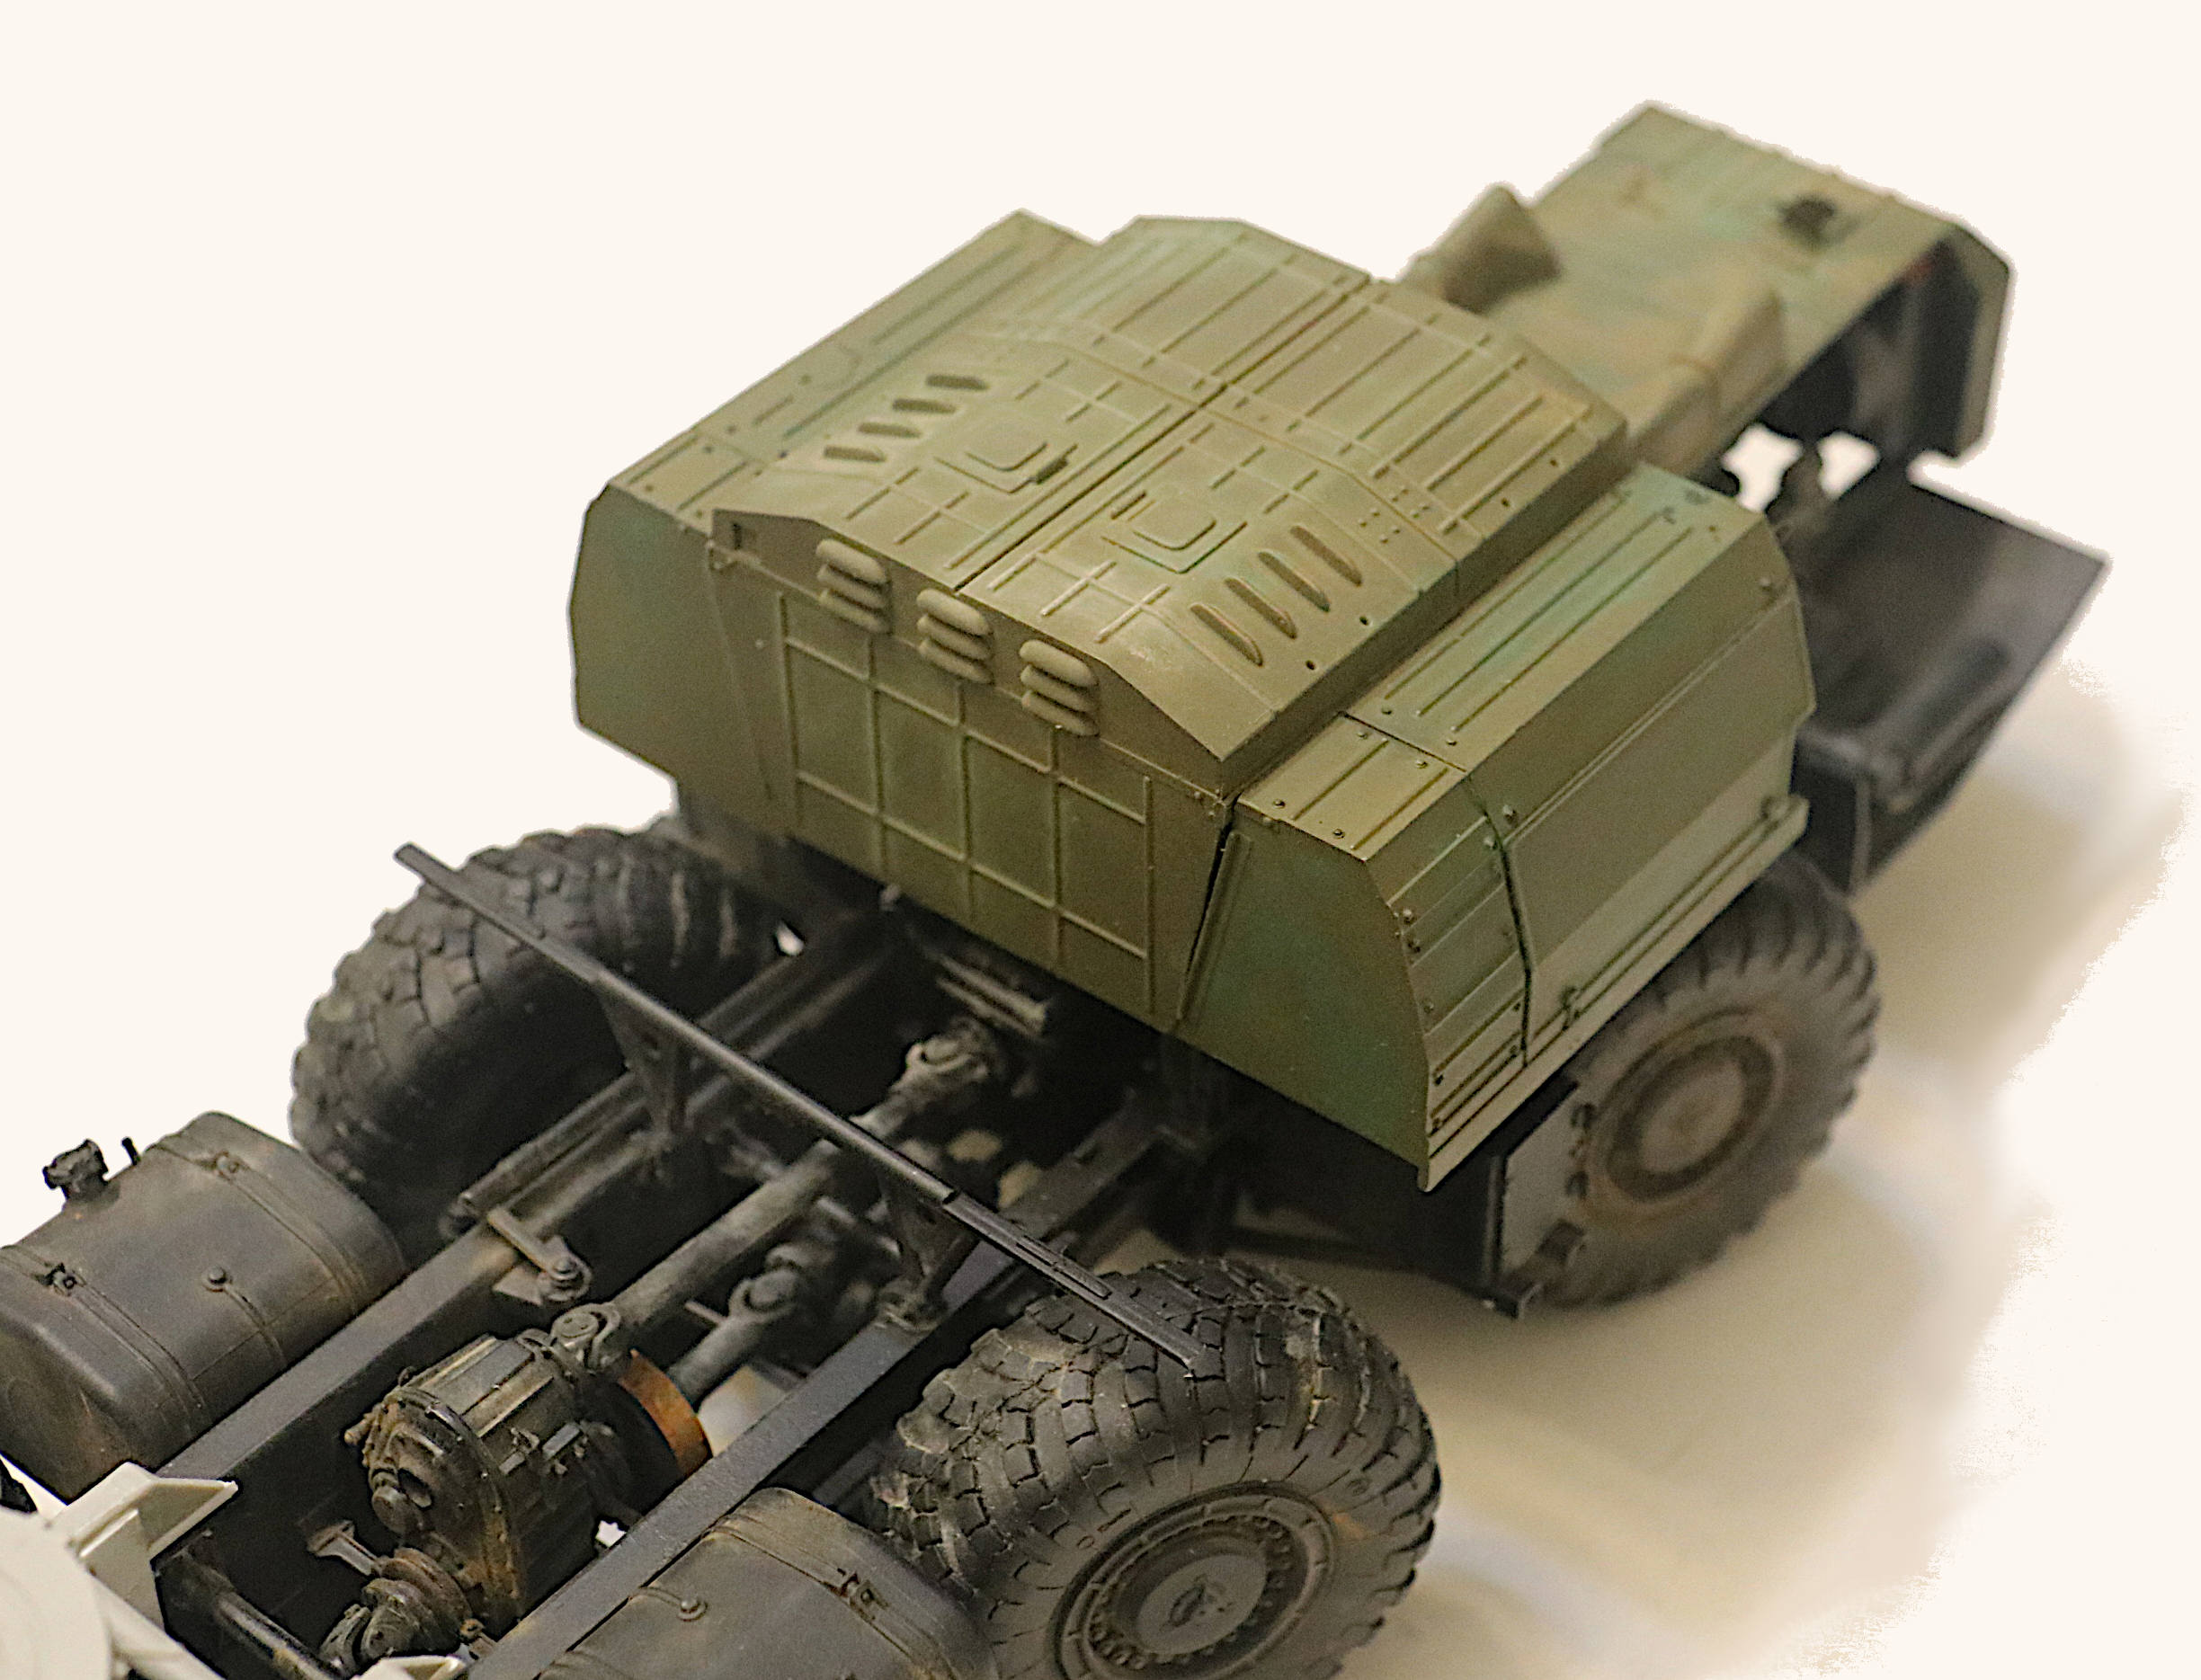
Using Shaders and Pigments these days I don’t really worry too much about getting the base color “shade” exactly right. With these products I can generally shift the shade of the base painted military color in any direction I want.
The base coat here is some shade of US Olive Drab, I don’t remember just what I used, and then applications of various light and dark shades of Yellow Ochre & Brown Pastels plus a bit of a Bright Green to show the fading process as having begun on this massive Russian vehicle.
1 Like