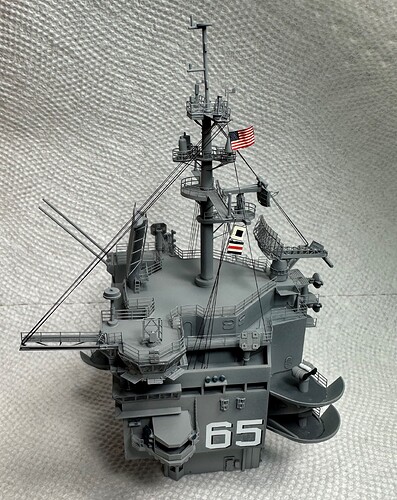
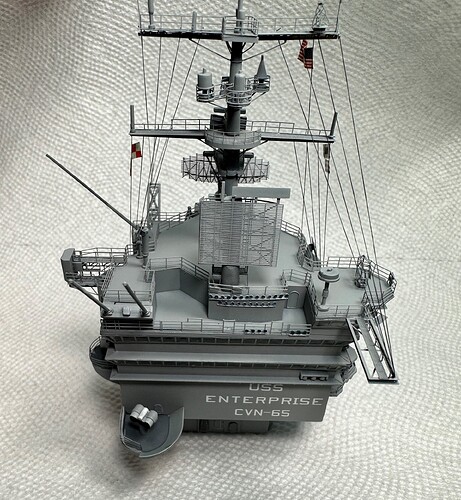
That island and new added parts are making this a huge wow factor … And I think “great” is an understatement… The bridge widows look superb and just make it complete ![]()
![]()
can you tell us more about using the krystal klear and hiw you applied it to make the windows please.
Not much to tell really. Never used it before but have seen good results online. Bought it and pretty much followed this youtube video on its usage.
Took some trial and error. I probably spend way too much time trying to clean up areas where it looked like it got on parts it shouldn’t but it dries completely transparent and you cant see where it got onto other areas. I would say it took me maybe 45 minutes to do all the windows.
Damn … I wish I had thought of that for the CTT windows … I think this now on my never ending shopping list
Hey Rory @McRunty, did you put a drop of Clear enamel on each pane to reinforce the Crystal Clear and protect it form humidity?
Cajun ![]()
No. I don’t have any clear enamel to add though I was thinking about some clear coat. May do some testing to see if the stuff I have will affect the krystal klear. I don’t think humidity will be an issue, at least not in the short term. The space I keep my models is pretty well climate controlled ![]()
I figured that was the case, wasn’t trying to butt in to your build but your carrier is so beautiful I’m sure we all would hate to see any thing mess it up. ![]()
Cajun ![]()
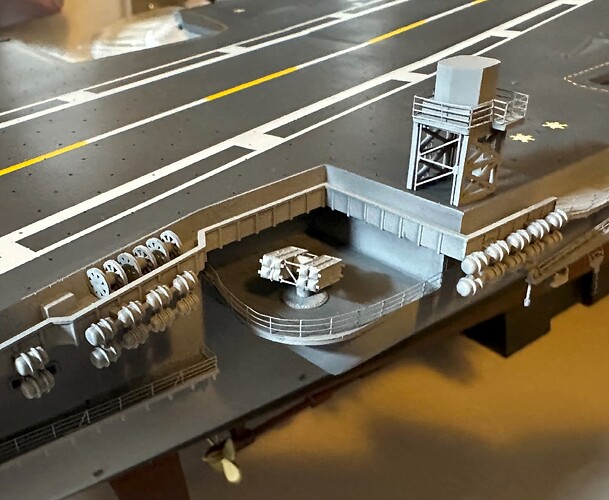
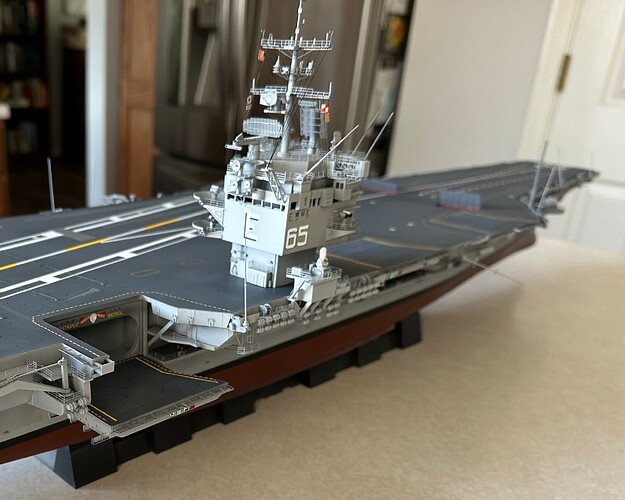
Nice seeing the Sea Sparrow installation on this sponson
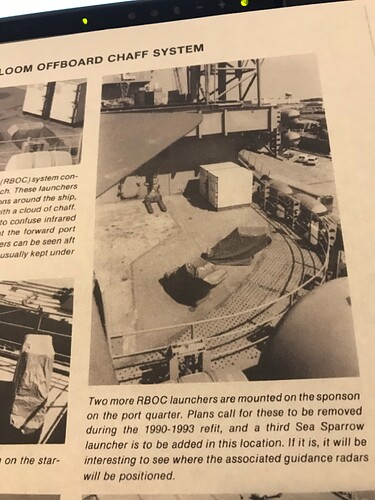
When I did my build it was in her mid 80’s fit and so I had to scratch the Mk 36 Rapid Bloom Offboard Chaff Systems. The photos in Detail and Scale clearly show that this sponson at that time had the RBOC system and indicated that a third Sea Sparrow installation was planned for the early 90’s refit.
Oddly the caption says this is a port sponson when clearly it’s on the starboard side as you can see the AN/SPN-41 radar installation directly forward in the picture.
Looking GOOD!!!
Its interesting because its a 1984 kit and comes standard with the third Sea Sparrow. Tamya know something the authors didn’t ? ![]()
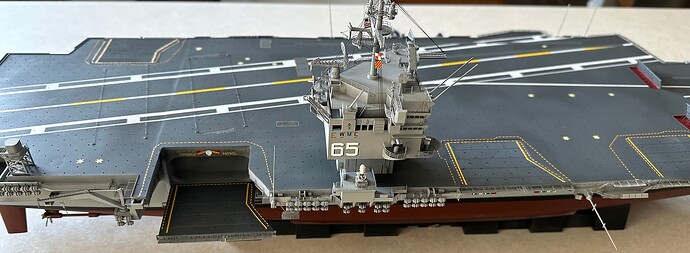
Island is completed and I am really happy with how it came out.
Honestly, once this is attached to the hull, the Enterprise will be completed as I have attached all the other bits and bobs including arrestor wires. Just the airwing and deck equipment to do!
Excellent build mate. She looked superb throughout ![]()
Oh, that takes me back. When I worked out at NPRDC on Point Loma, I wrote a series of simulators for the Mark 36 Mod 1 RBOC system running on the TERAK microcomputers (LSI-11, 64k of memory, two 8" floppy drives) at FCTCP. I still remember the egoboo I got when the instructors at FCTCP told me about an admiral coming through, and after showing him the other training software they had, they sat him down with the chaff simulator, and he kept half a dozen captains standing out in the hall for half an hour playing it, waving them off with “Don’t bother me, I’ve got a war to win!” That one event told me that I’d built it right.
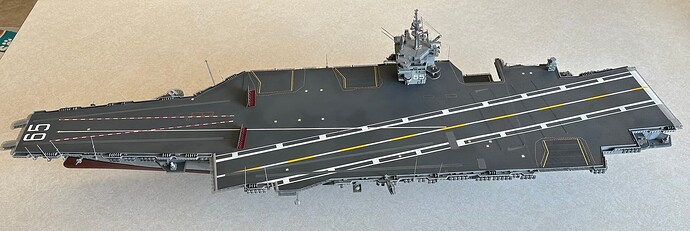
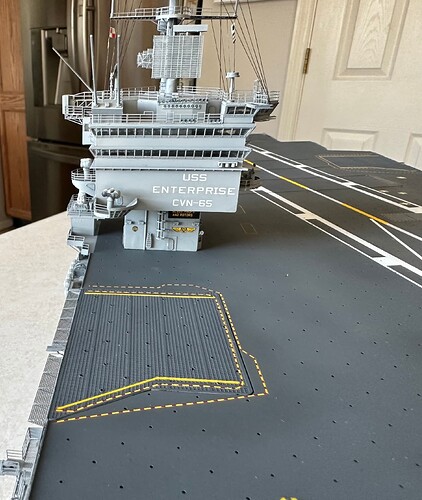
Launch day has arrived. My USS Enterprise CVN-65 is completed. Honestly took me longer than I had planned due to a couple months where I just had no interest in modelling at all but I think just under 7 months is respectable.
But don’t leave just yet. We will be having a proper commissioning when her airwings are all built up. I am hoping to get that done over the next couple months.
The antenna along the side of the hull aren’t glued in place yet, to much chance to get broken still. Will glue just before she goes into the display case permanently.
Now onto the ship. She is so long I wasn’t able to crop out parts of my kitchen ![]()
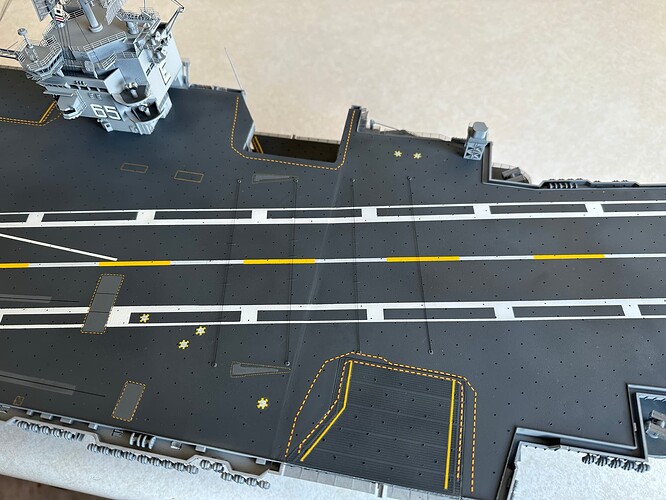
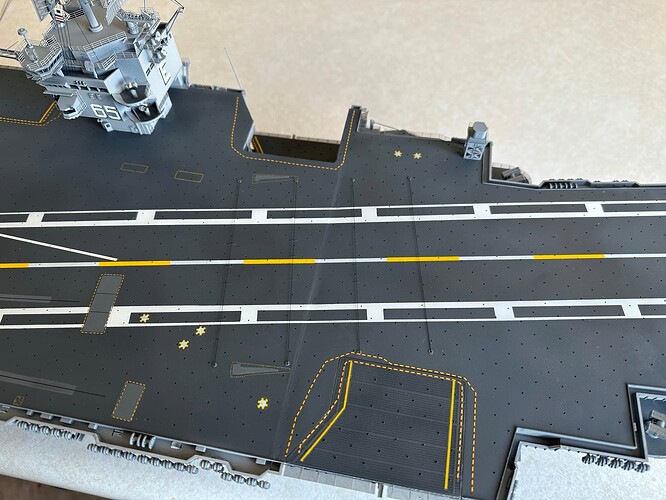
Lowered elevator so we can see the Hormuz Highway decal, not that it will be visible once in the case but I will know its there.
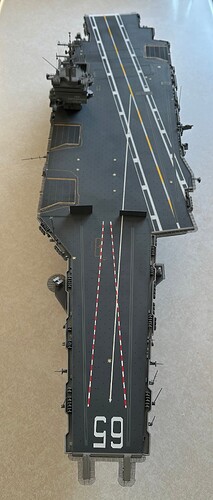
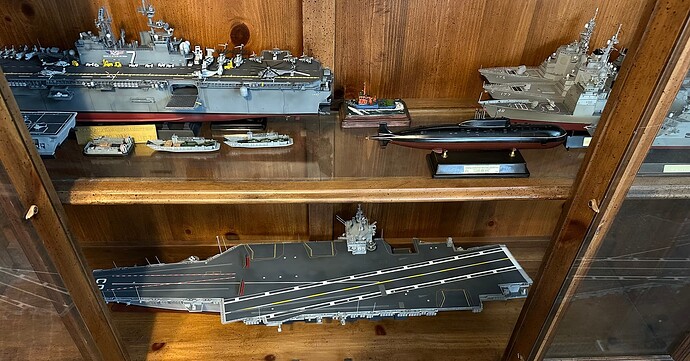
She is so wide she almost doesn’t fit into the case ![]()
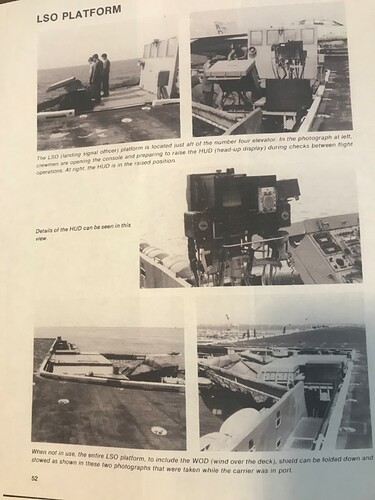
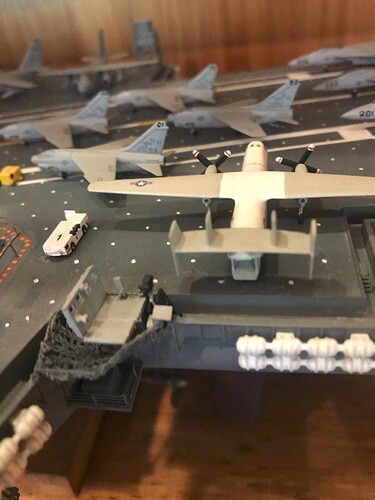
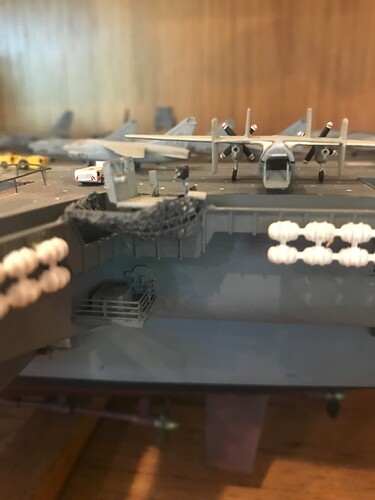
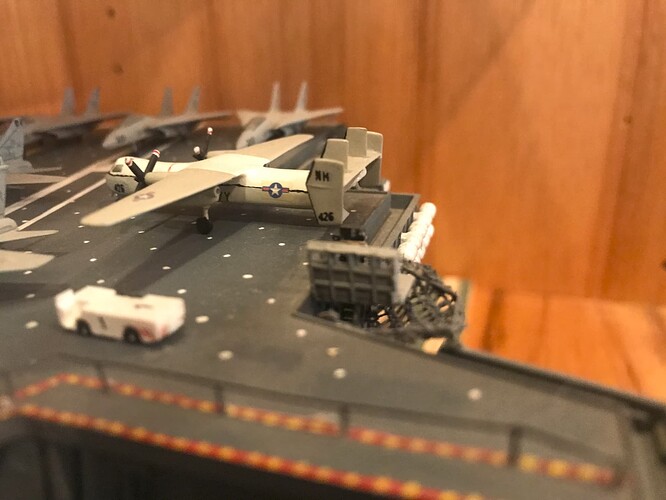
Looks awesome. But one small nit. I think you should add an LSO platform which should be just astern of this elevator… Why the kit didn’t include one is beyond me.
Mine wound up looking like this:
I may go back and add it when I am bored of doing the airgroup. Looks like a fairly simple scratch build.
Hardest part was the netting. I finally settled on an old worn out sock which I stretched out to get the proper webbing.
And while it’s very hard to see in the photos in the Detail and Scale reference, there is a sponson below the platform which if I recall was also left off the kit.
i can’t wait to see how it looks with a crowded flight deck.
Rory, she looks fantastic - and you built her so fast! I stand in awe. ![]()
Beautiful build!
Beautiful work Rory! 7 months is respectable in anyone’s book ![]()
Rory,
waht everybody says! Fantastic work, and 7 months - well, that’s nothing, in fact, that is really fast for a project of this size!
She looks great already, can’t wait to see her with the proper air wing on deck!
Cheers
Jan
